Learning to Quilt, Special Events

Quilter Playdate: Laying Out the Quilt and New Shelves

A follow up to the post Quilter Playdate: Learning to Piece the Blocks

At the end of July we met in J’s studio (she is my neighbor and I can walk over to her house – I now live in a community of quilters!) to continue to help D, a new quilter, make her first quilt.

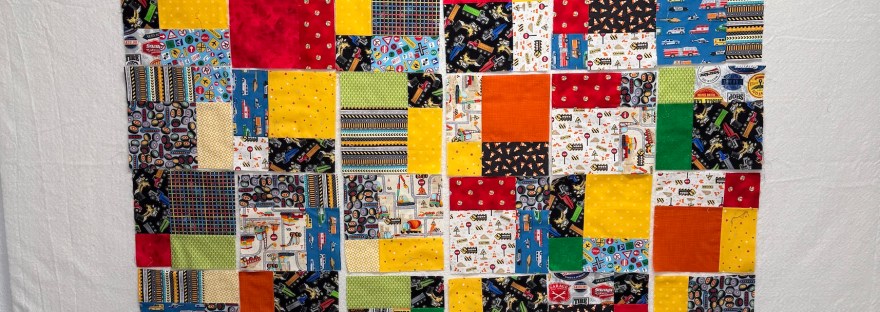
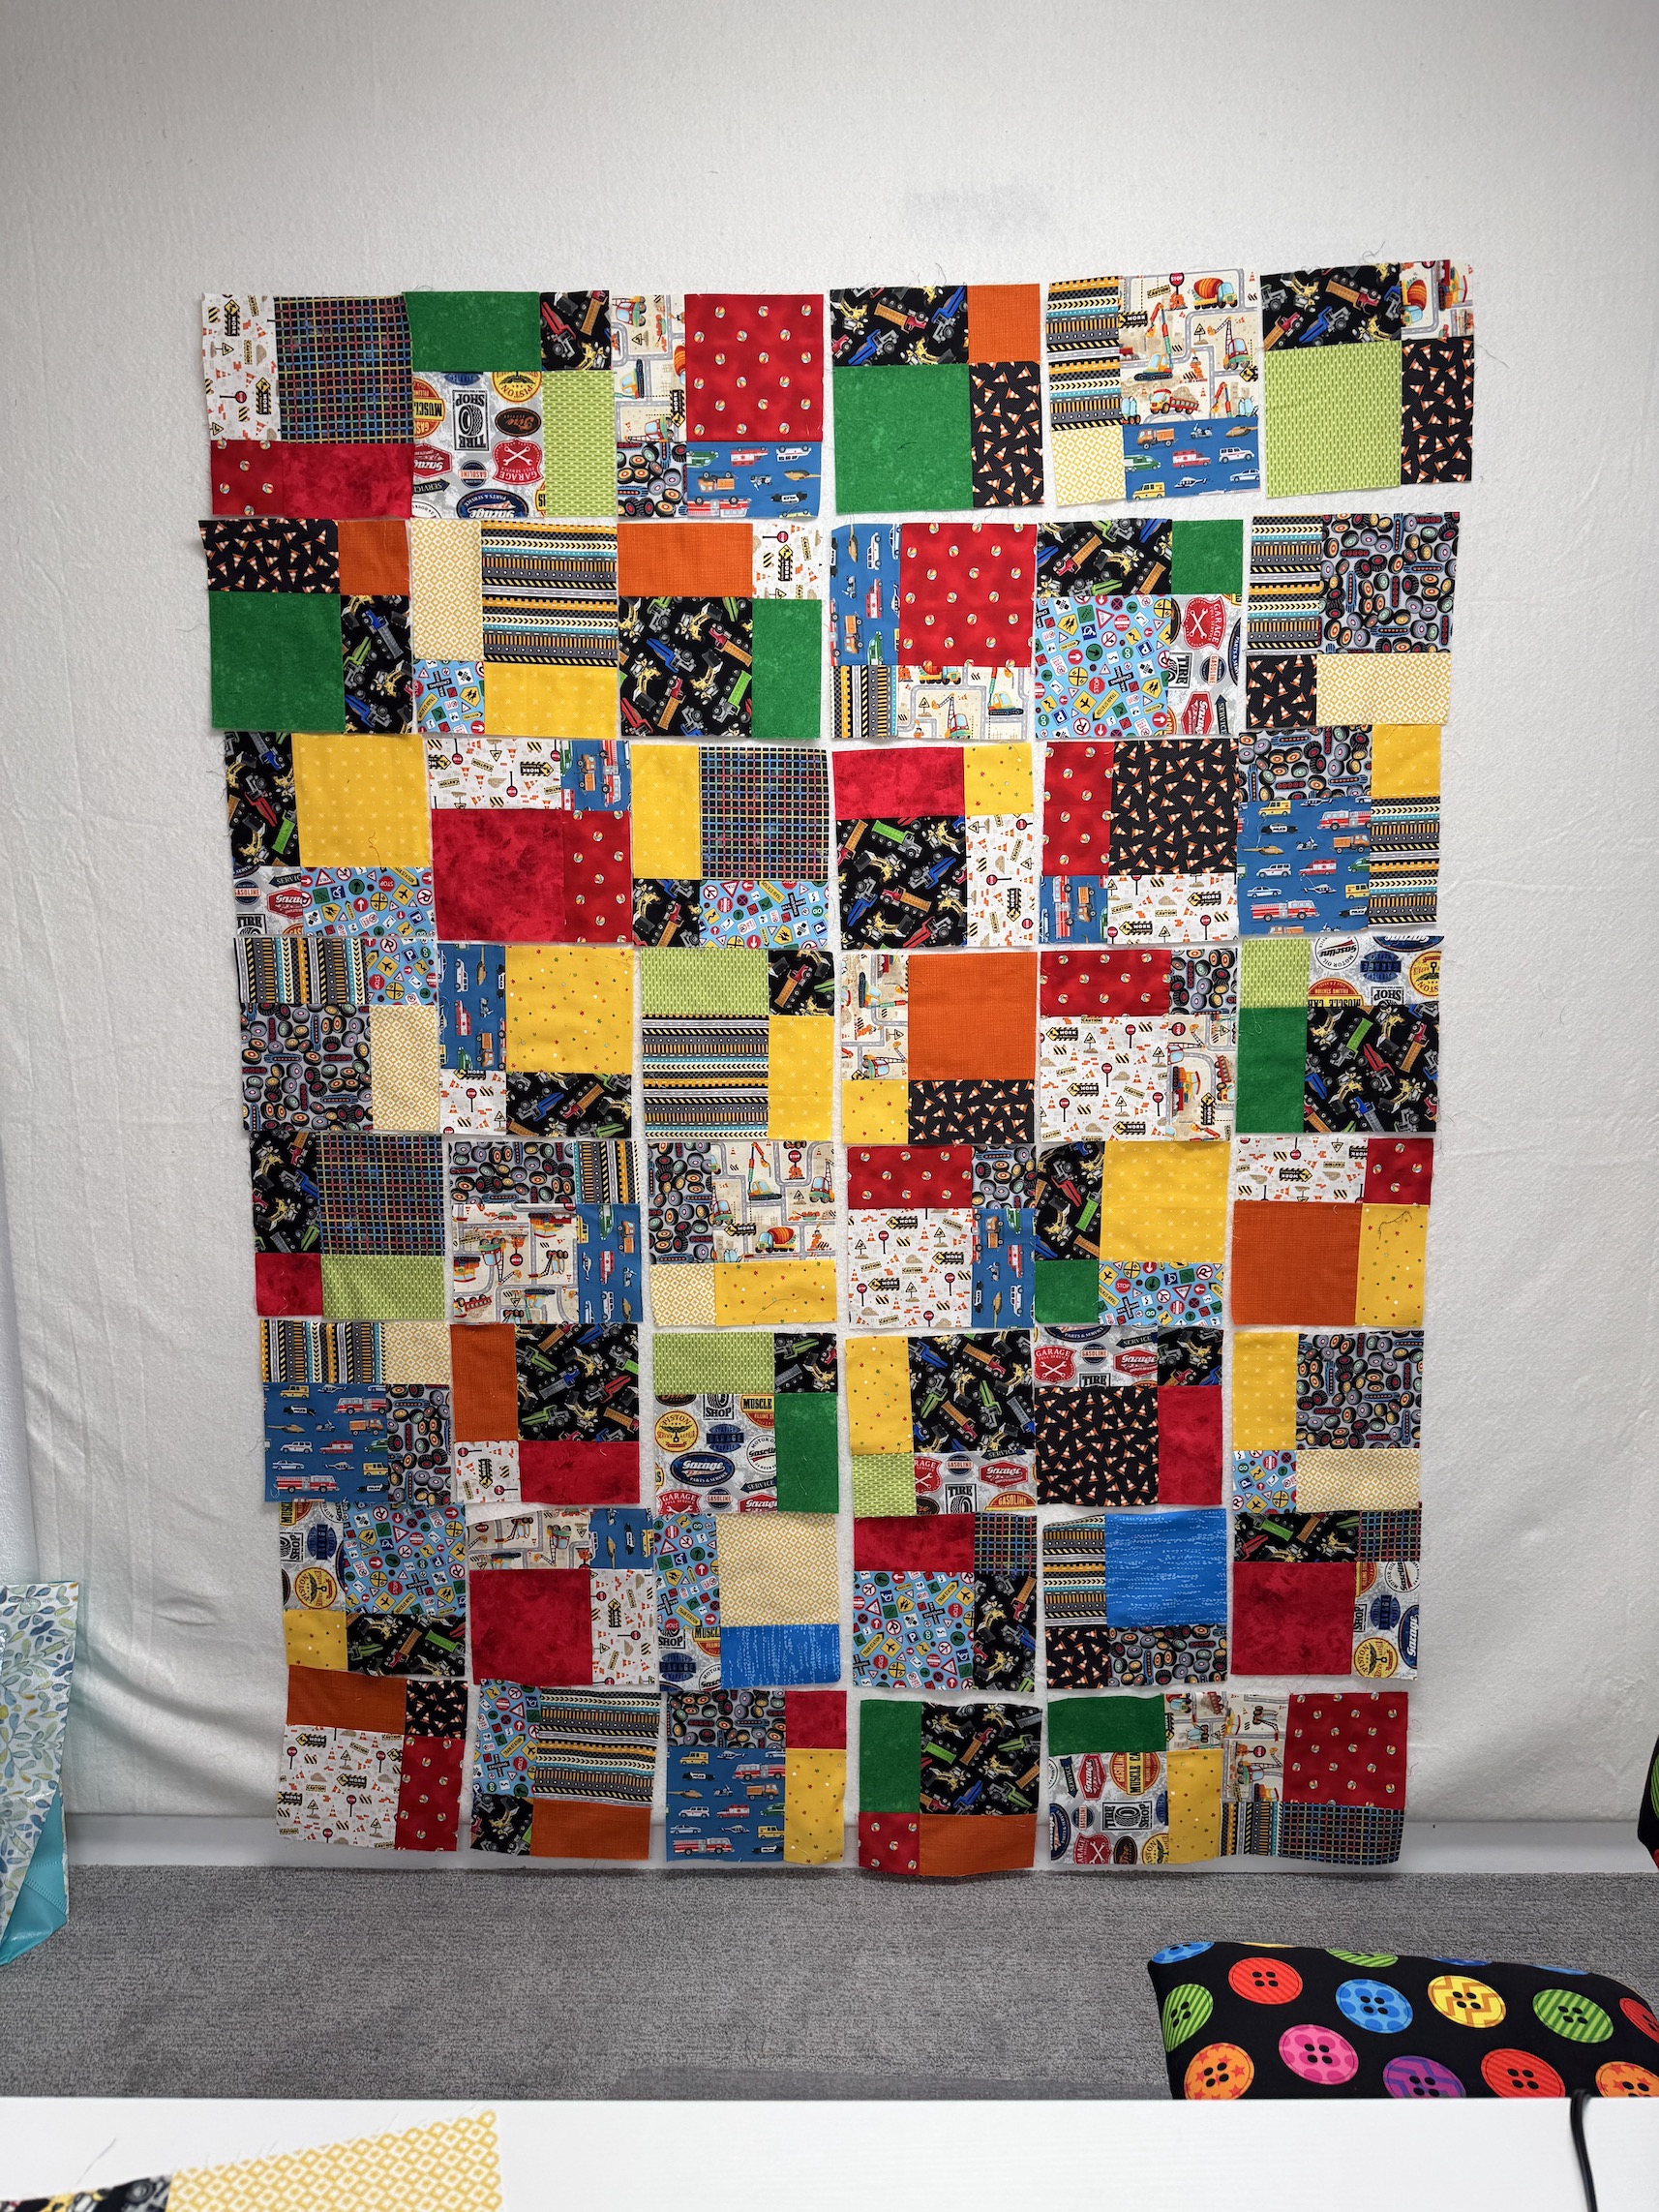
This session was laying out the quilt on the design wall! D had pieced all her blocks and it was time to find a layout. I won’t clog up this post with photos of all the different versions we worked through but here is the final version (to my knowledge unless she went home and changed it):
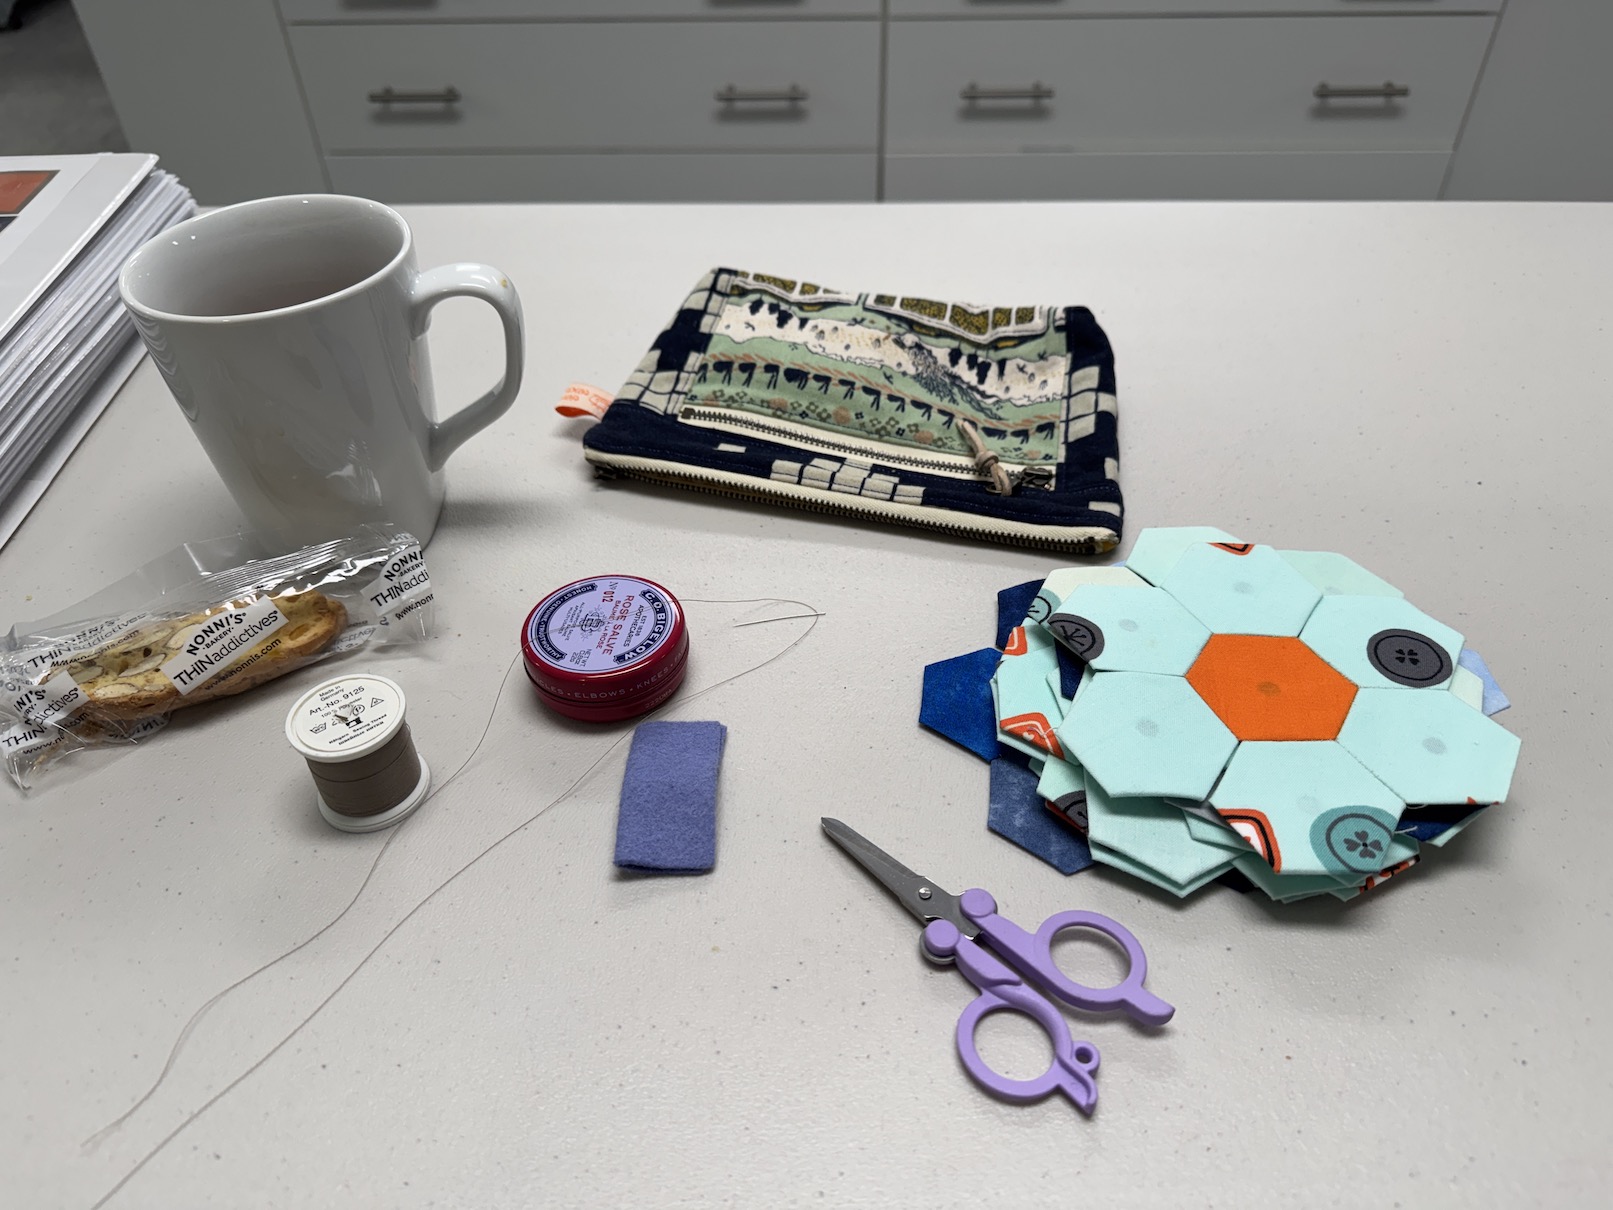
I worked on my EPP project (hand sewing the rest of the rosette hexagon sides together) during our get together:
D was so sweet and had gifted J a brand new ice maker that she bought a couple years ago and never used. J had been wanting an ice maker for her little kitchenette in her studio (for a tour of J’s studio where we are meeting see my post Project Linus Mini Retreat, Part II):
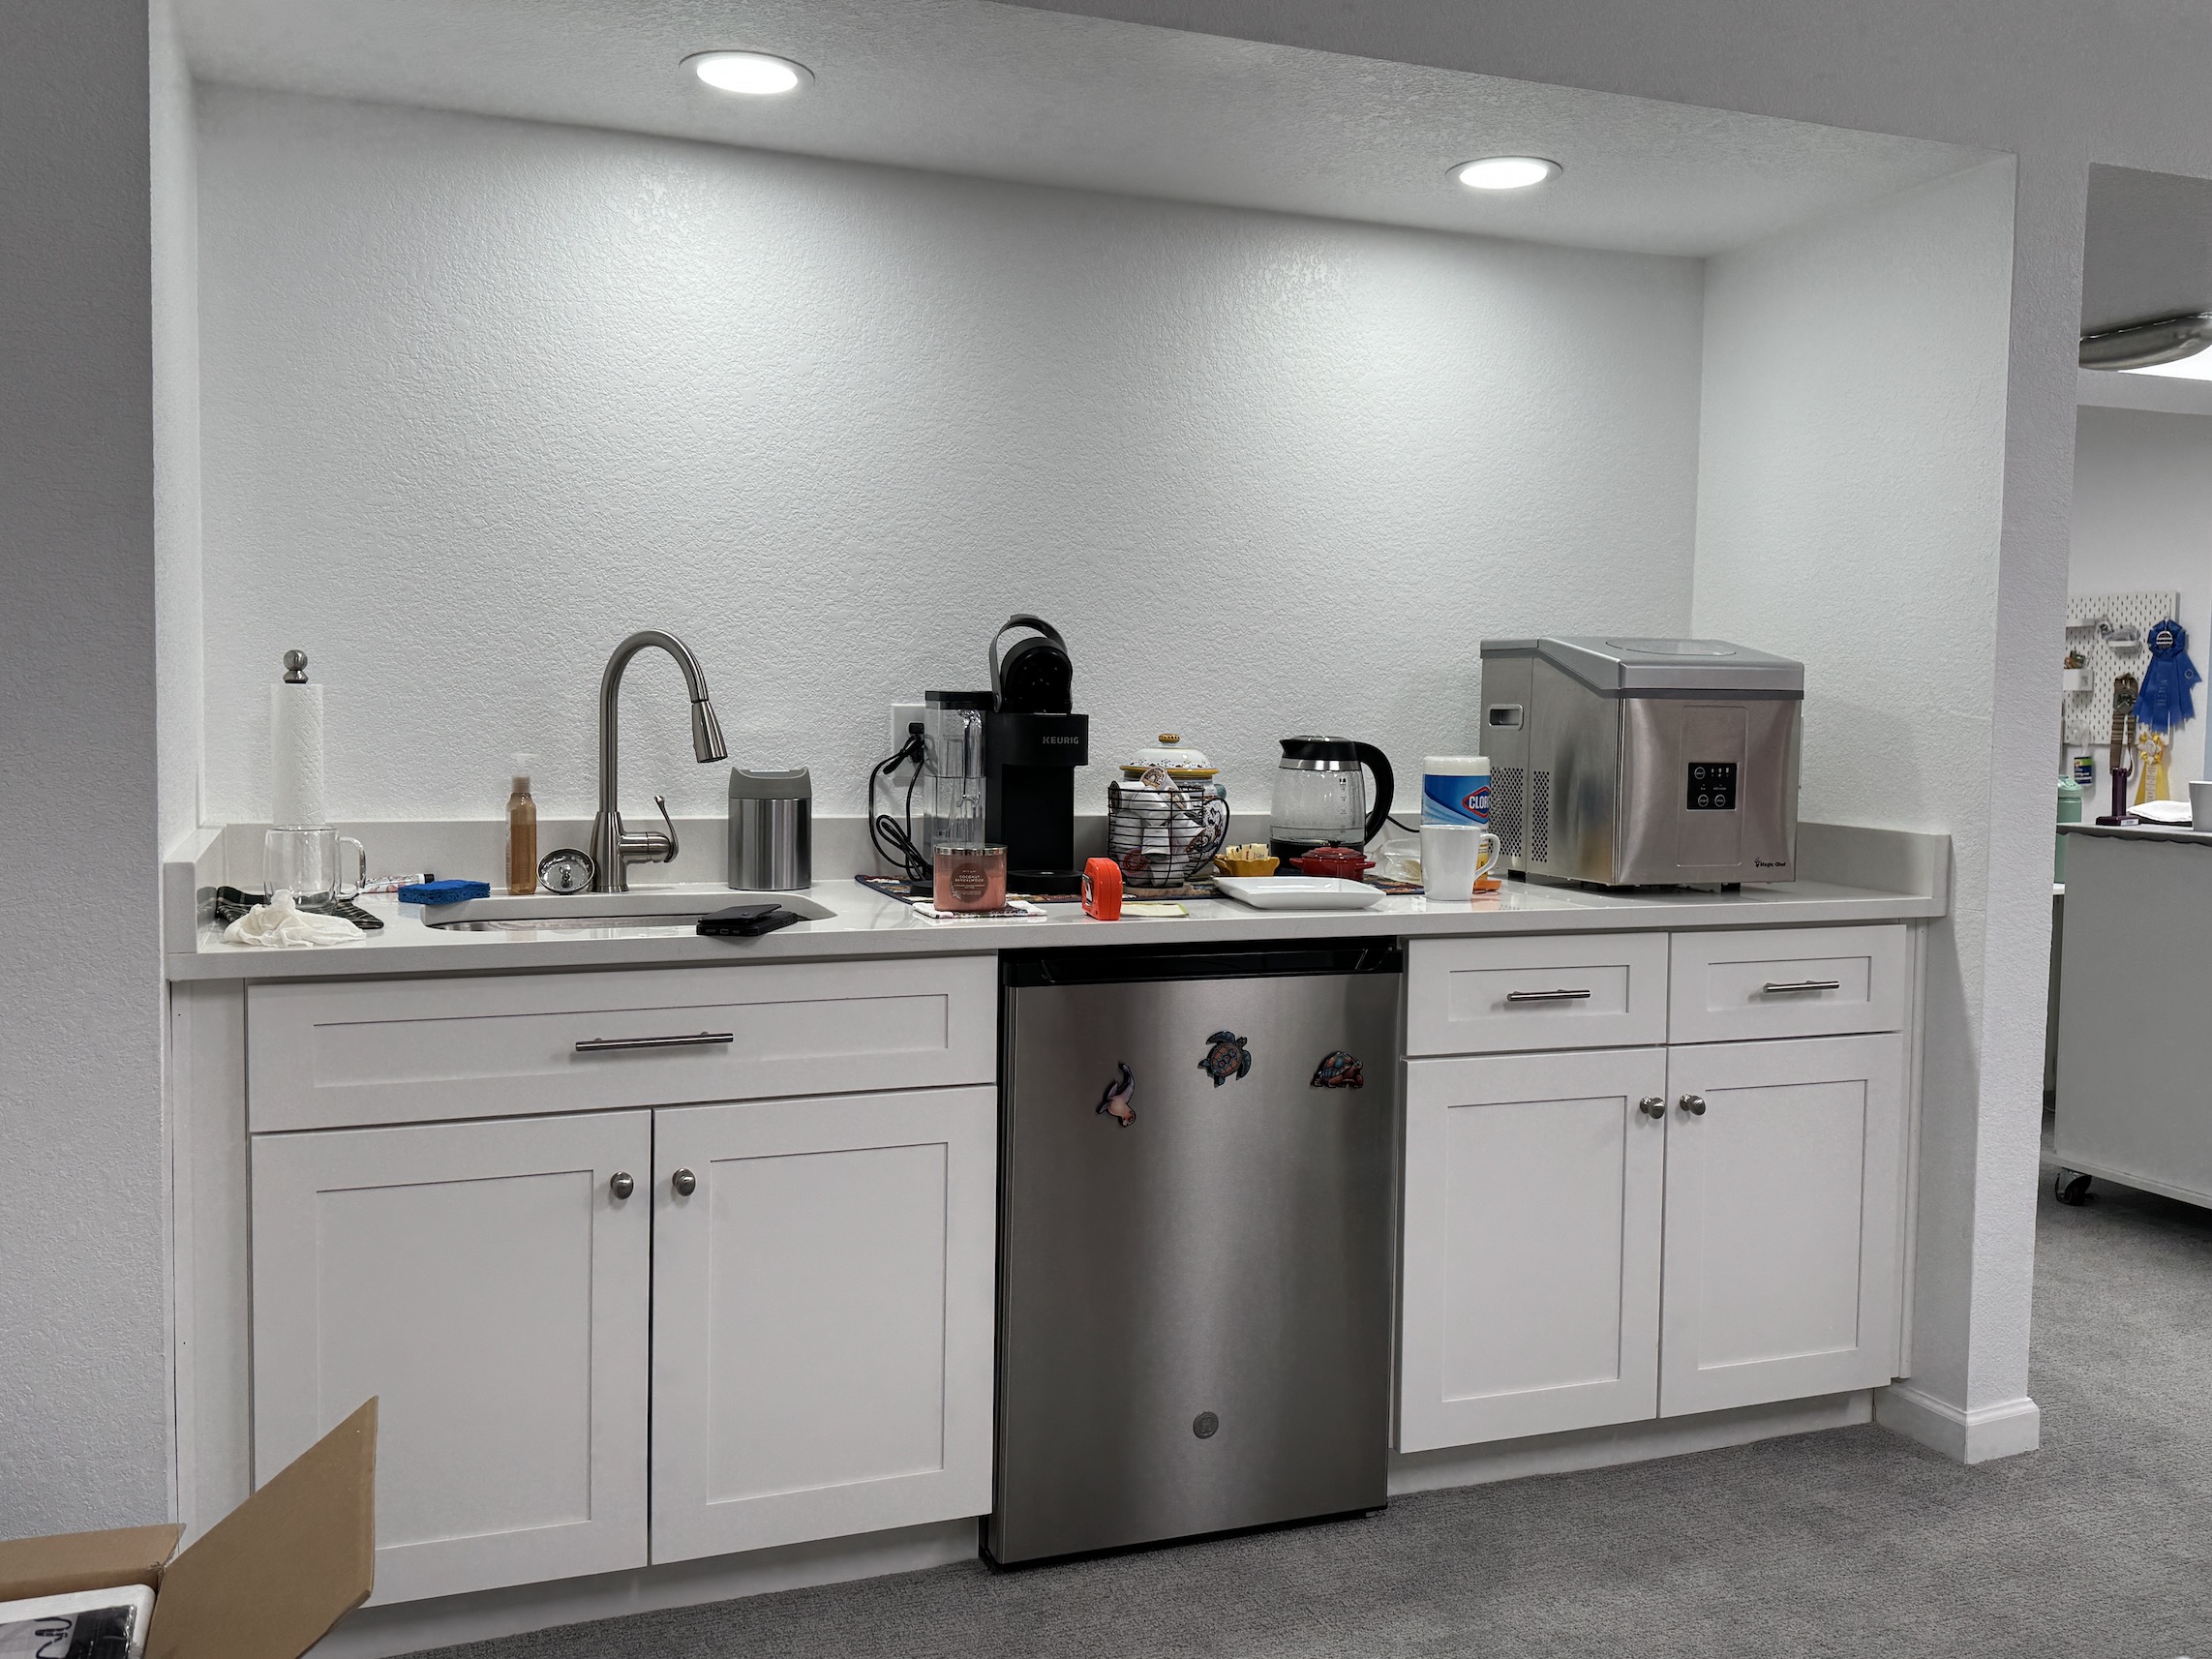
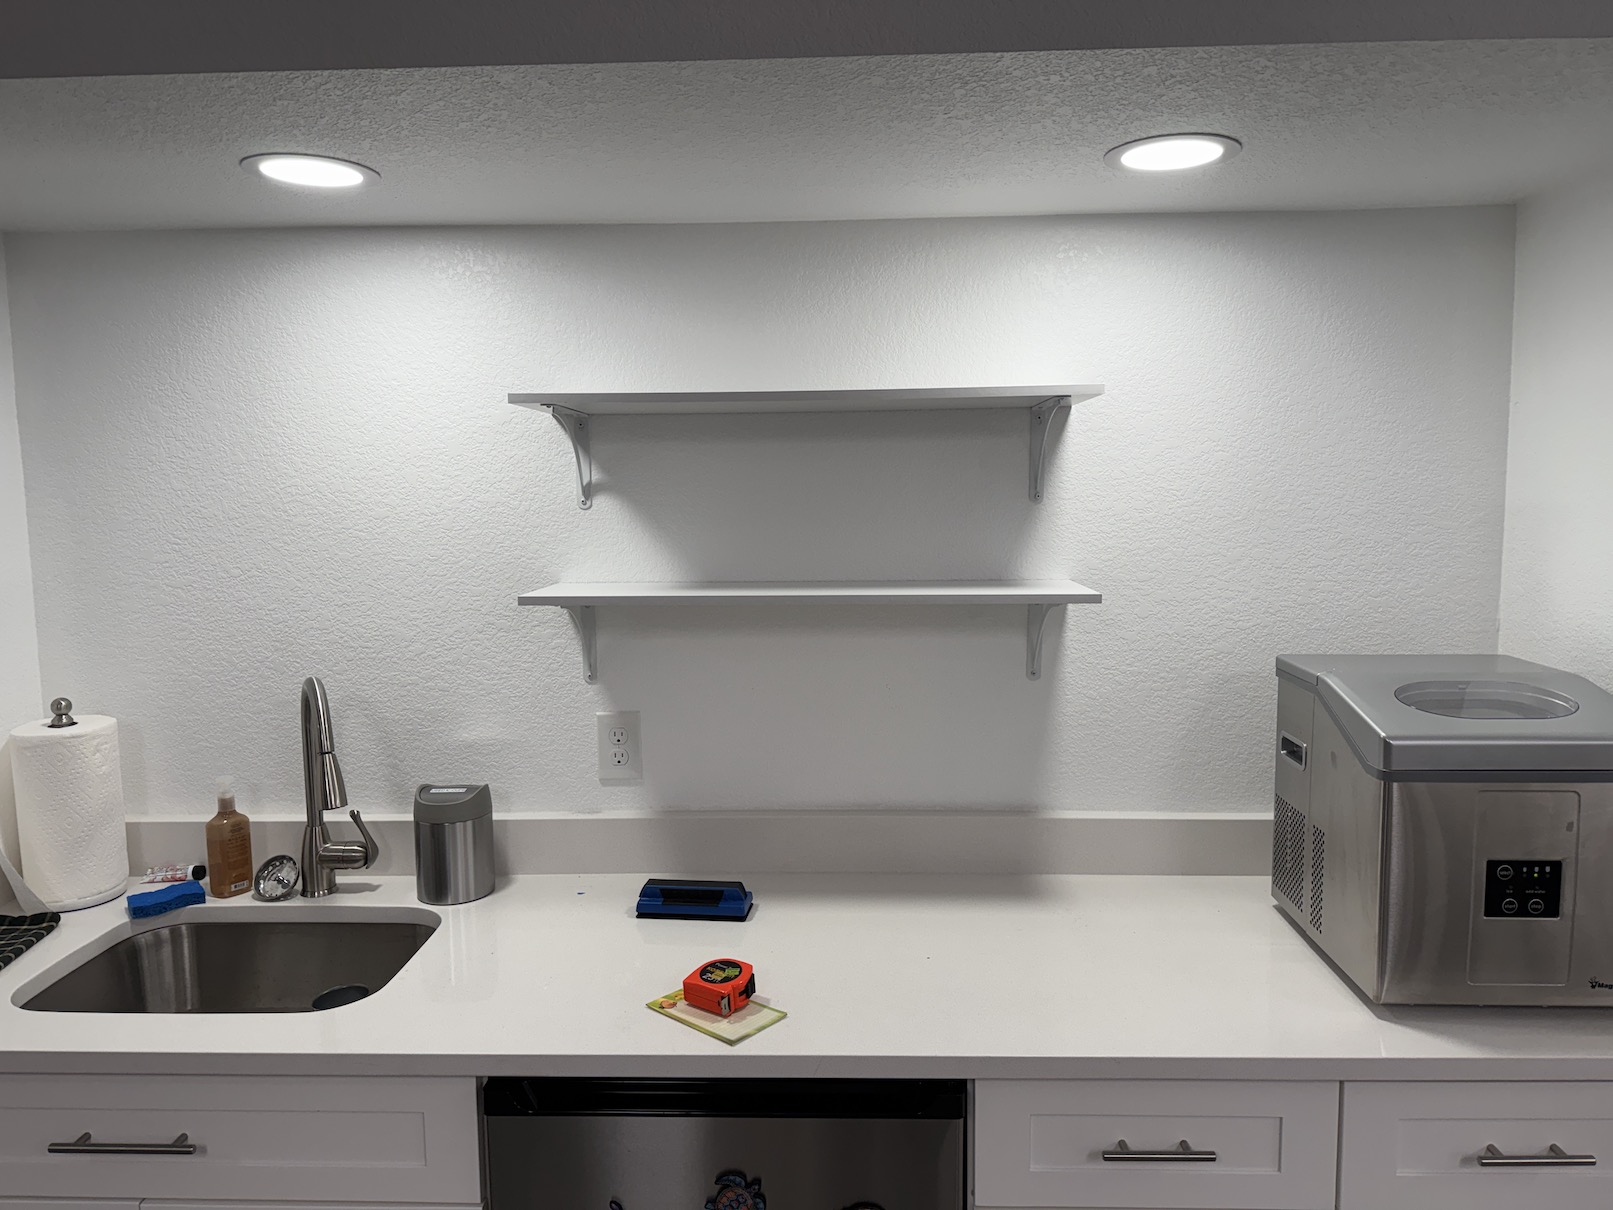
J mentioned she wanted to add some shelves to this area so she could get tea and coffee supplies off the counter, etc. So I decided to call my husband John and see if he would pop over and install some shelves!

And he did!
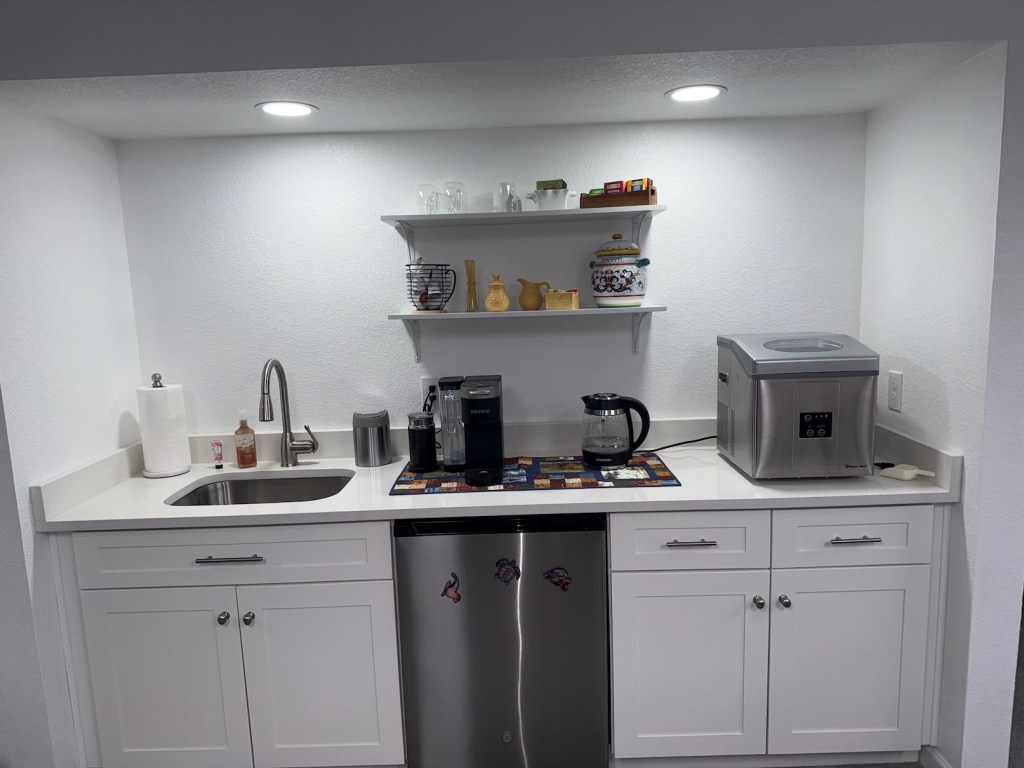
J later sent me photos of how the area looked after she organized her coffee/tea service:
I am in love with embroidered coasters with cute sayings, my wonderful friend K has gifted me several over the years; and J as a gift for getting John to come over and put up shelves in her studio made me one in a saying I selected.

I choose this one that she already had in her studio:
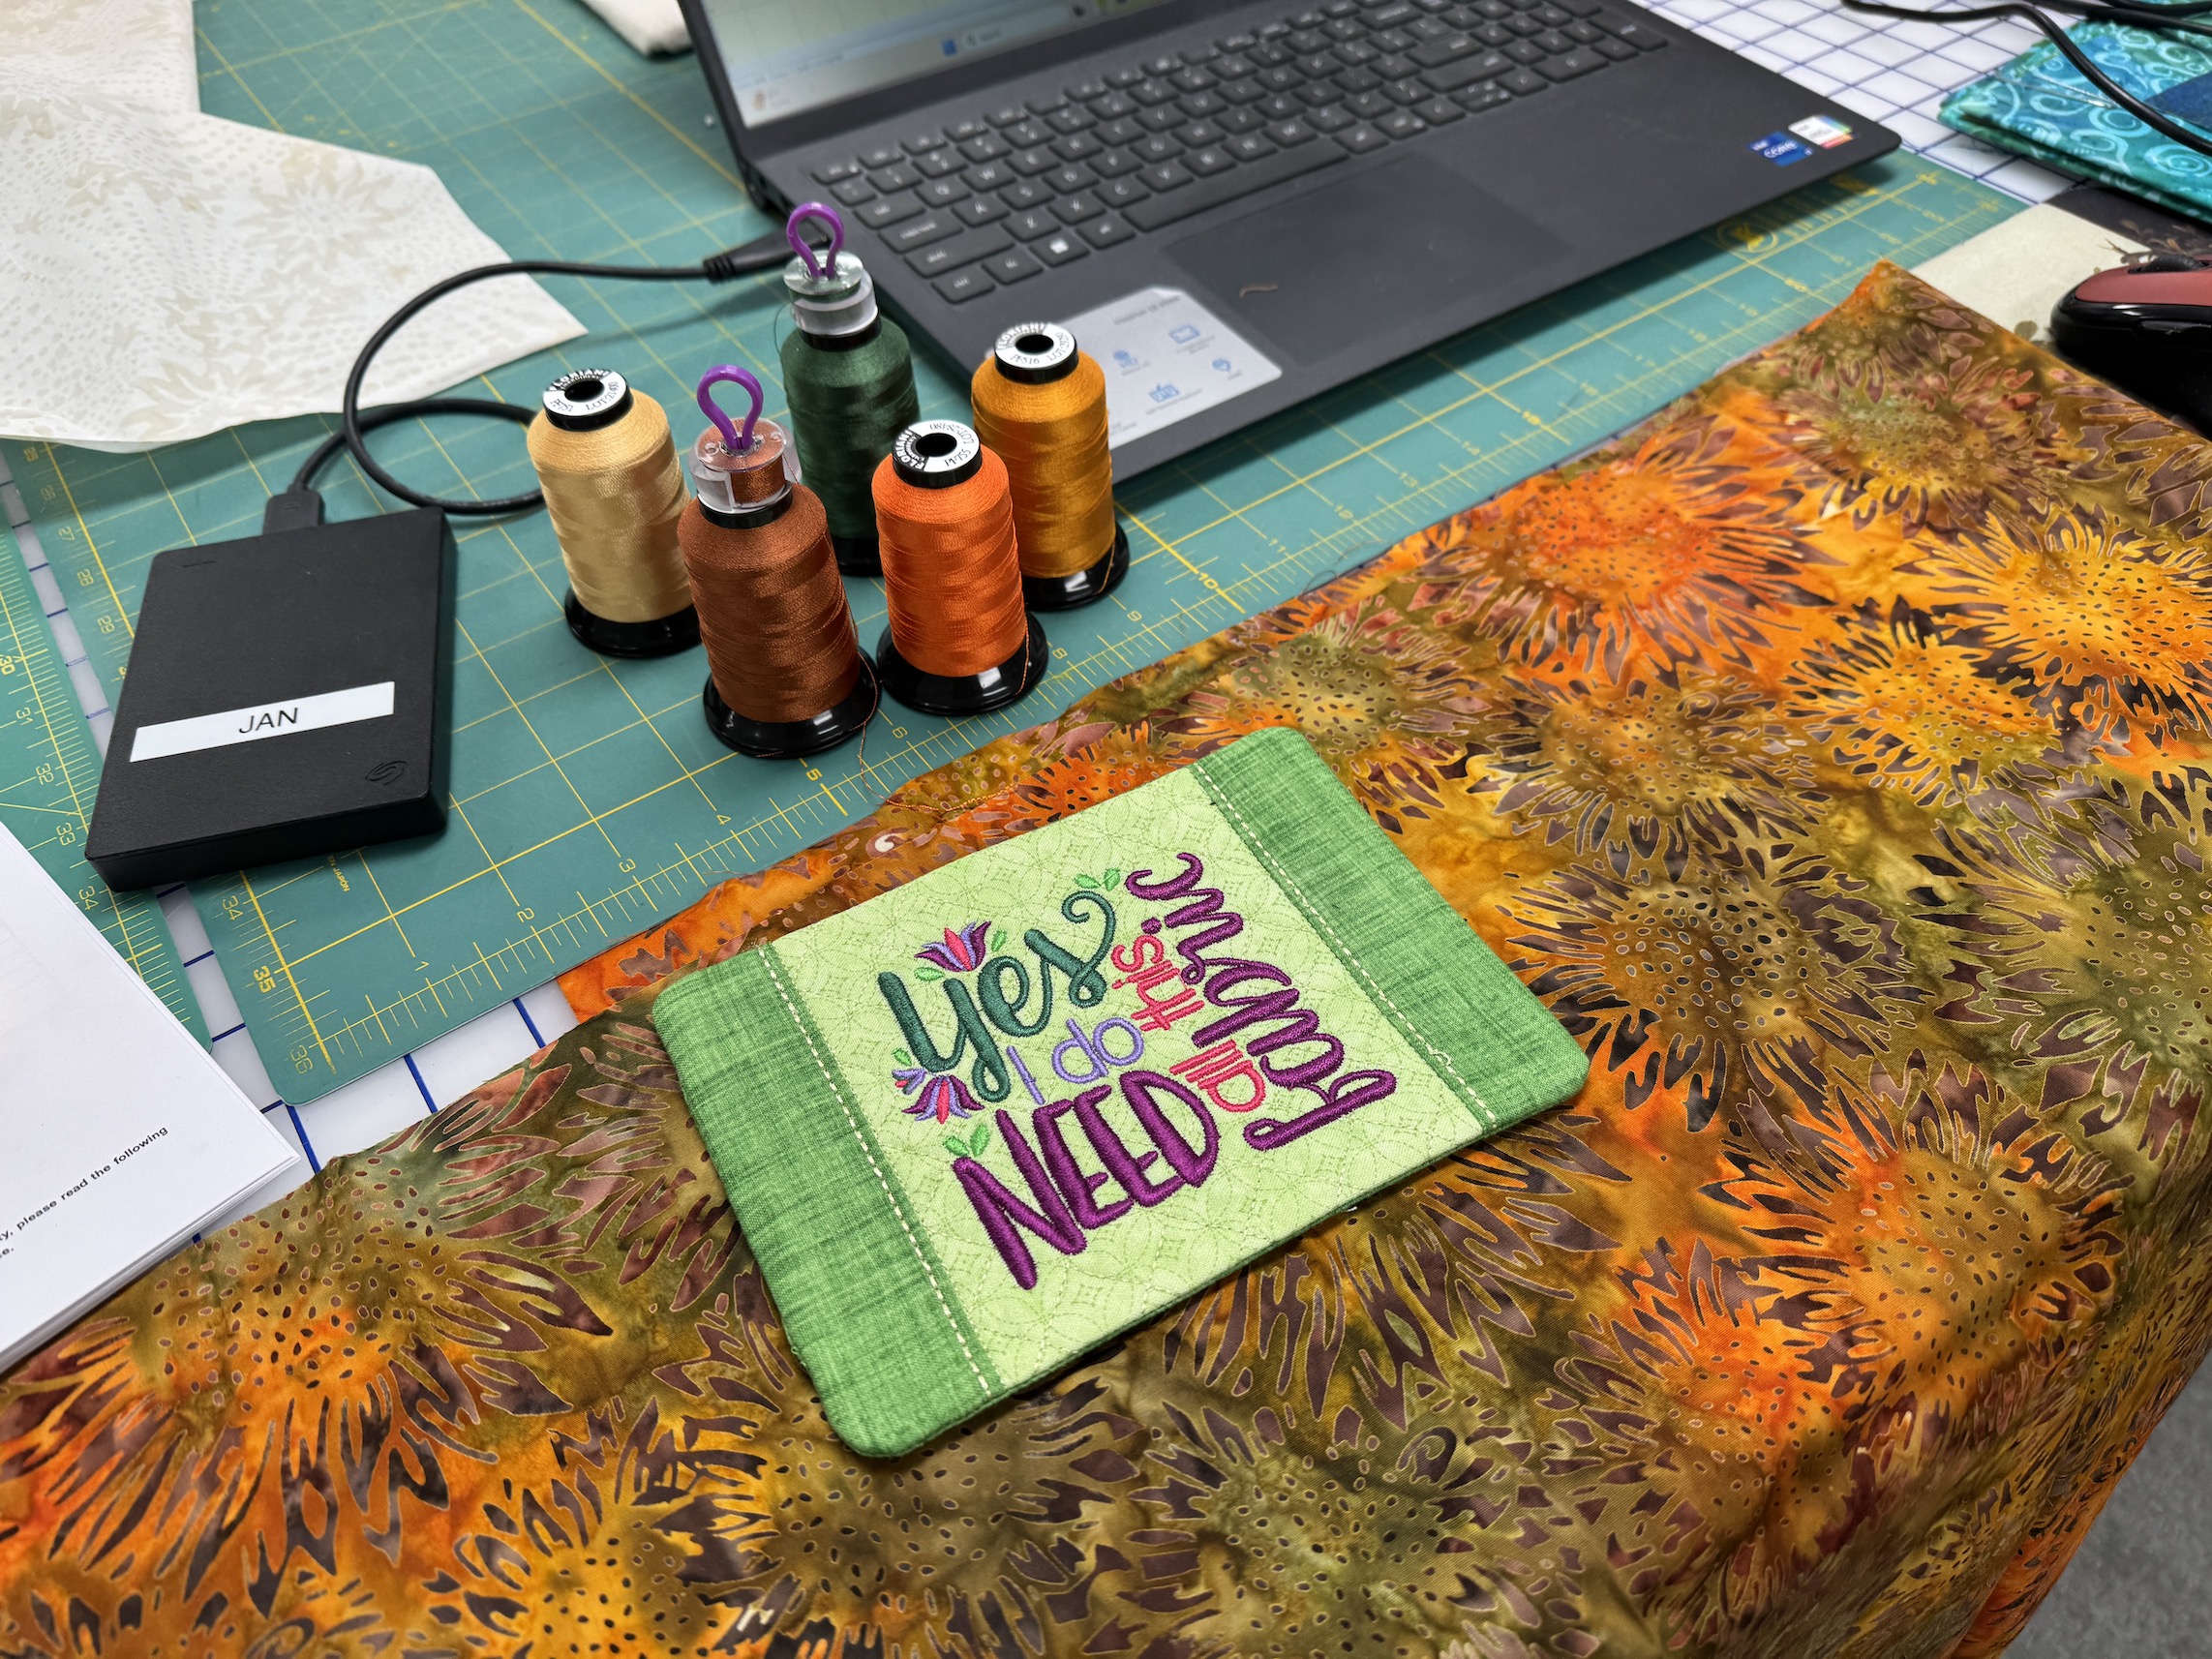
It was fun select the fabrics and threads and then watch her amazing embroidery machine create it!

I think we are getting together again this Friday so I will get to see D’s first quilt all sewn together!
Guest Blogger

Getting Started with Quilting: What You Need to Know (Guest Post)

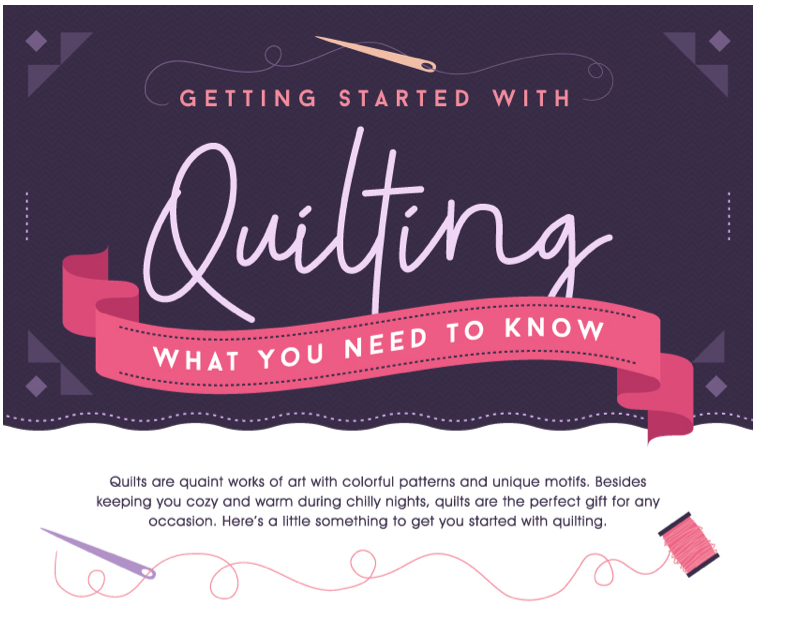
Today I have a guest post from Diana S. Clark of the Sewing Machine Club for anyone who is thinking about becoming a quilter but is not sure when to start.

Diana contacted me a week ago with the idea of a guest post and I love the information in her article and thought it would be fun to share with you!


What You Need to Know Before You Start Quilting

Screen Shot 2019-02-01 at 5.16.33 PM.png
Sewing Machine Club

There’s nothing more heartwarming than receiving a novelty quilt handmade with love and care which is why quilts make such great gifts!

Although quilting seems tedious and takes a lot of time and effort, they’re actually pretty simple. As a matter of fact, anyone can start quilting in the comfort of their own home.

If you’re on the fence on how to begin quilting, we got you covered. We have some tips to help you start your quilting project to ensure you’re fully prepared.

Screen Shot 2019-02-01 at 5.24.06 PM.png
Sewing Machine Club

Patterns, patterns, patterns!

Patterns are a crucial part of your quilt. It’s important to think about what patterns you want so you can prepare fabrics and equipment before quilting. Patterns come in different varieties and some may be a bit more complex than others hence, taking more time to create. So, keep in mind to choose a pattern that suits your taste and skill.

Preparation is Key

Before quilting, remember to gather all the equipment you need according to the instructions of the pattern since different patterns have different instructions. When searching for fabrics, opt for colorfast fabrics that don’t run when washed. Also, make sure to measure each block to figure out how much fabric will be needed.

Quilt Away

Find a comfortable space and set up your equipment such as your fabrics, sewing machine, and tools. Start by carefully cutting your patchwork pieces with a rotary cutter before sewing them. Once you’ve got all the patchwork pieces prepared, start quilting the top as it takes a lot of time and precision. Finally, make sure to iron the patchwork to set it.

Final Touches

Next, baste the quilt by combining the top and bottom layer and placing batting in between like a sandwich. Use pins or temporary adhesive to hold the layers while you sew them so the layers stay in place. When you’re done with sewing the layers, add some final touches with some decorative binding to the edges of your quilt to seal the layers.

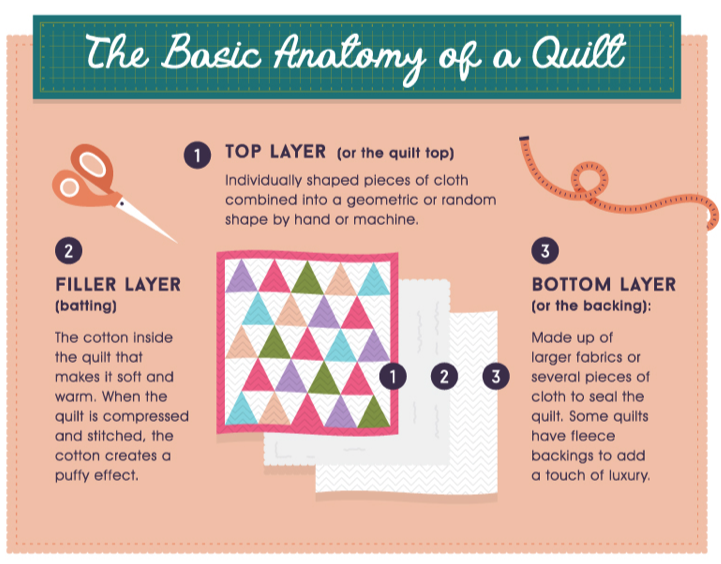
For more details and images, check out this infographic about quilting!


Feature Photo by Jeff Wade on Unsplash