Greetings from someone who has been away from the blogosphere for a little bit.
It’s the 15th of the month and I am part of the monthly ScrapHappy posting group hosted by Kate of Tall Tales From Chiconia.
Here are links to the blogs of the ScrapHappy participants:
Kate, Eva, Sue, Lynda, Birthe, Turid, Tracy, Jan, Moira, Sandra, Chris, Alys, Claire, Jean, Dawn, Gwen,
Sunny, Kjerstin, Sue L, Vera, Ann, Dawn 2, Carol, Preeti,Viv, Karrin, Alissa, Tierney, Hannah,
Maggie and Wizzy
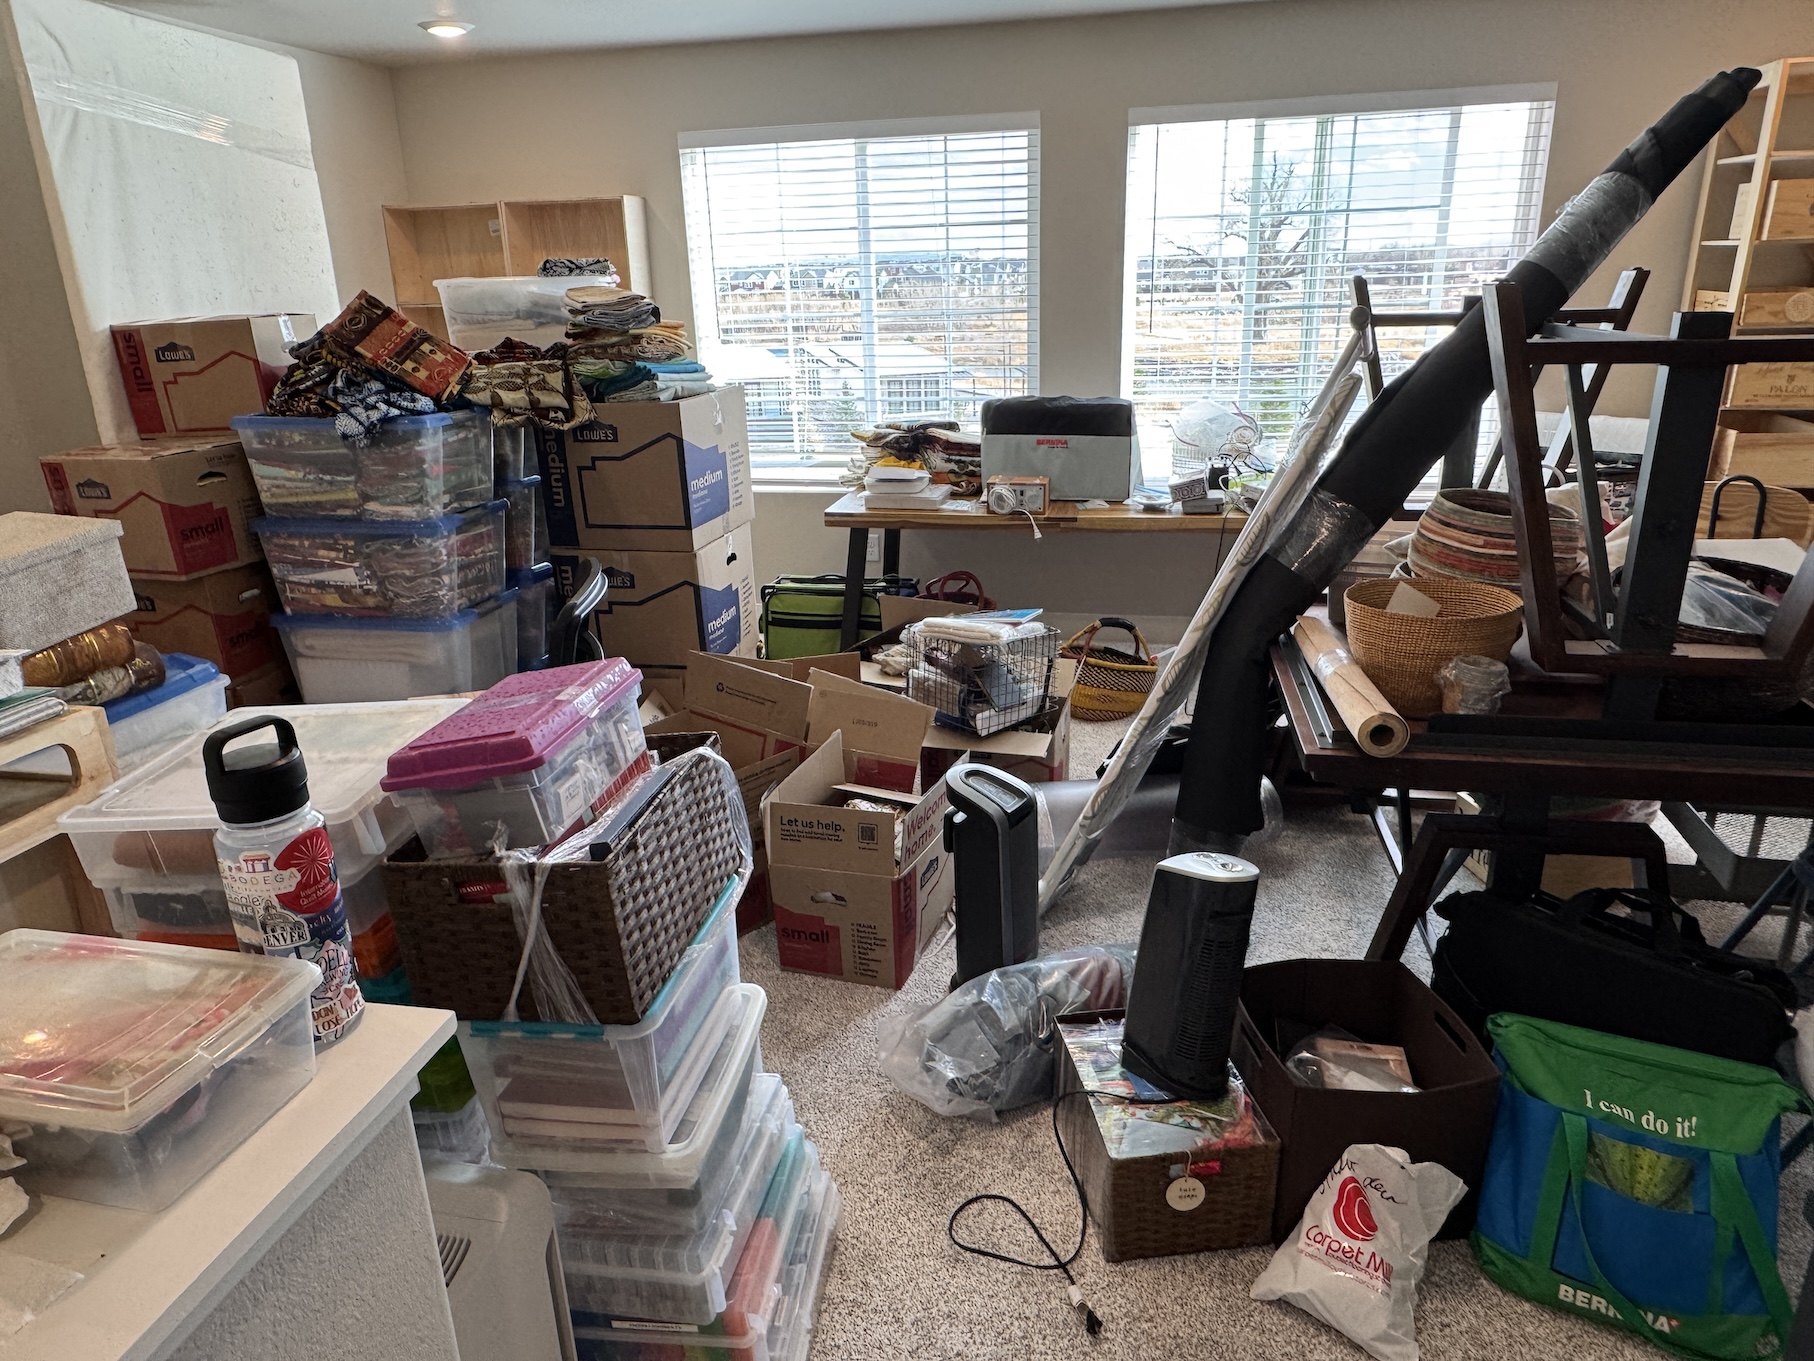
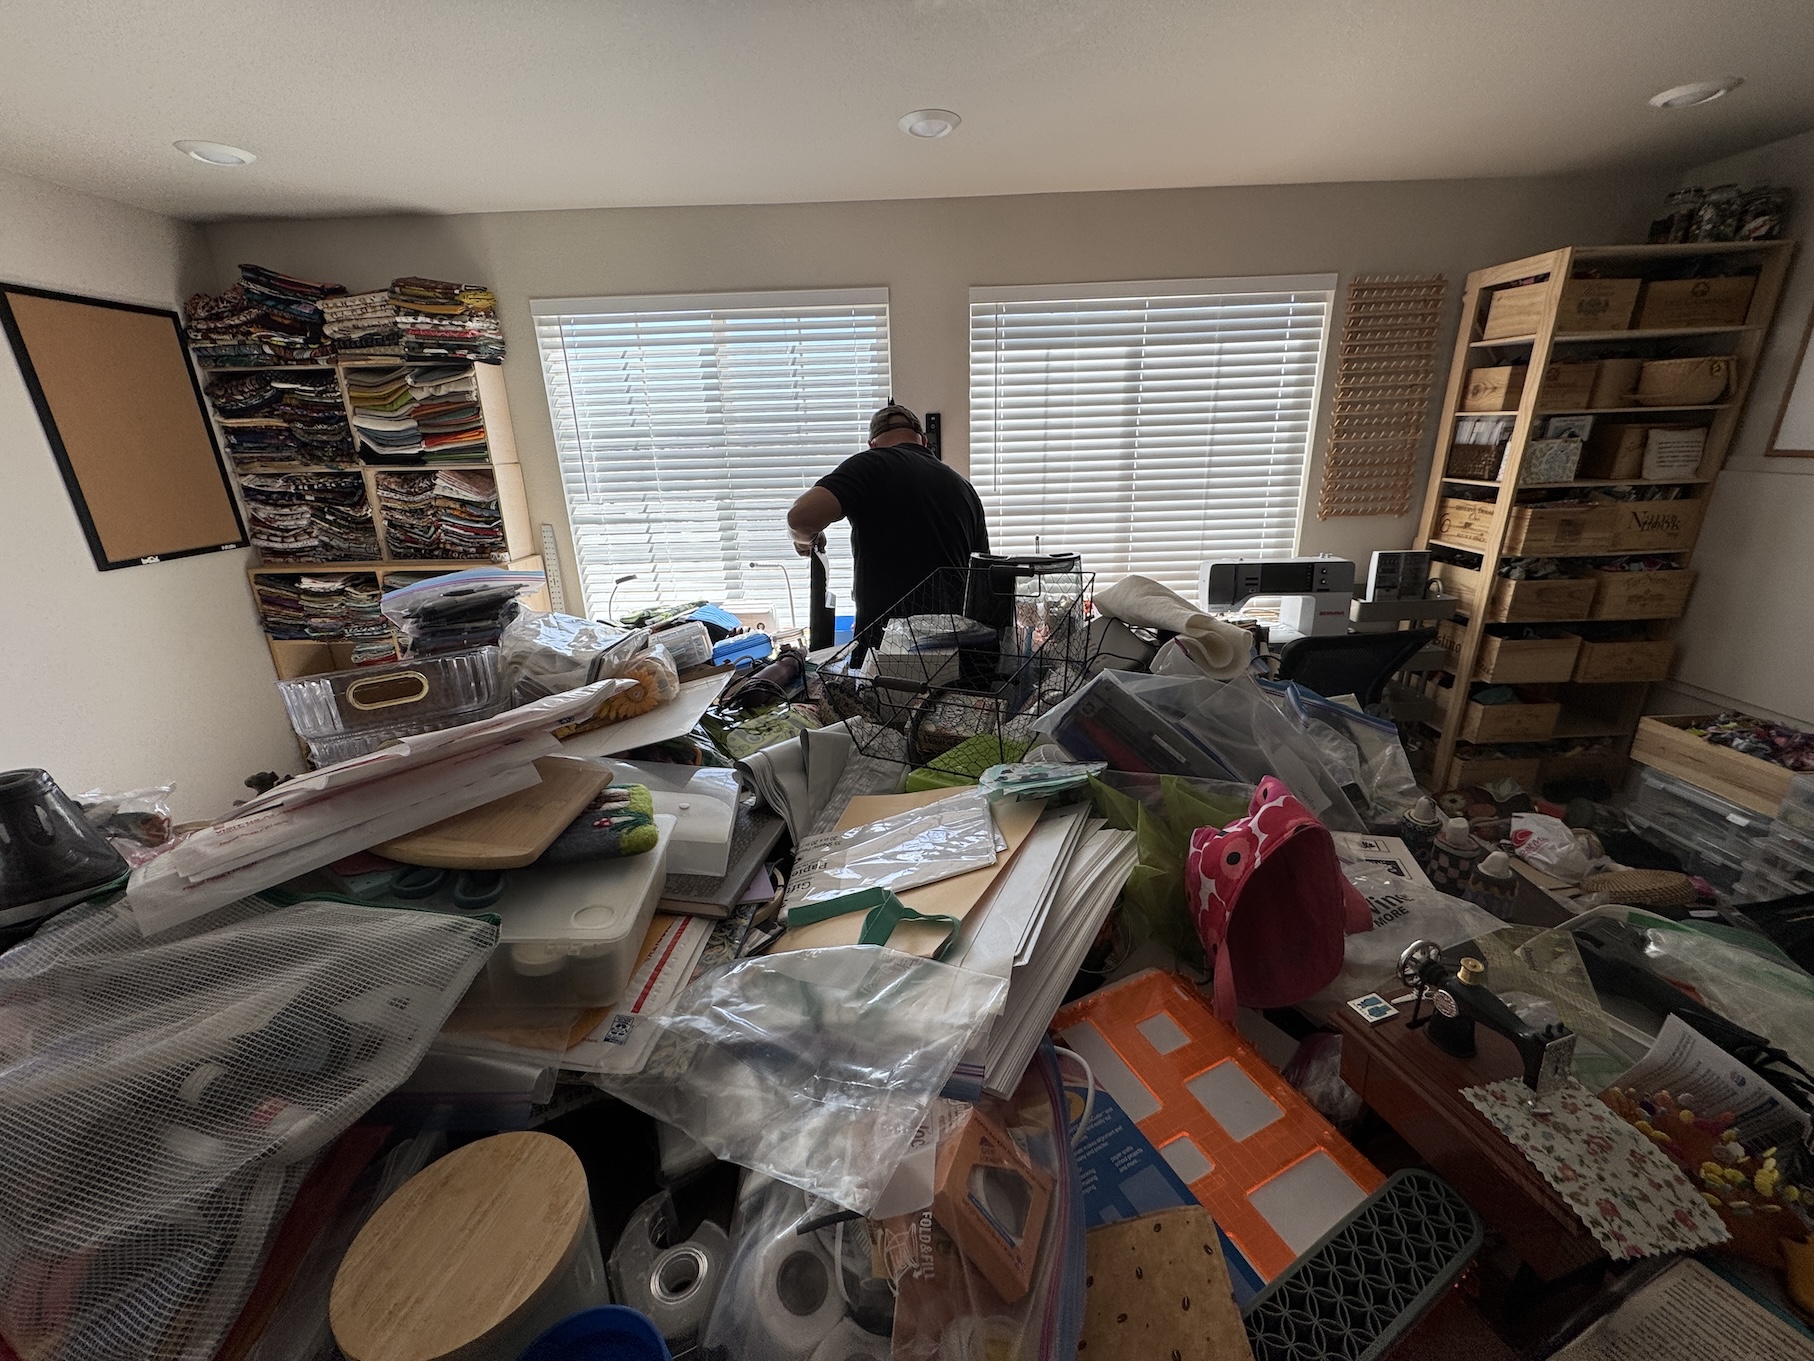
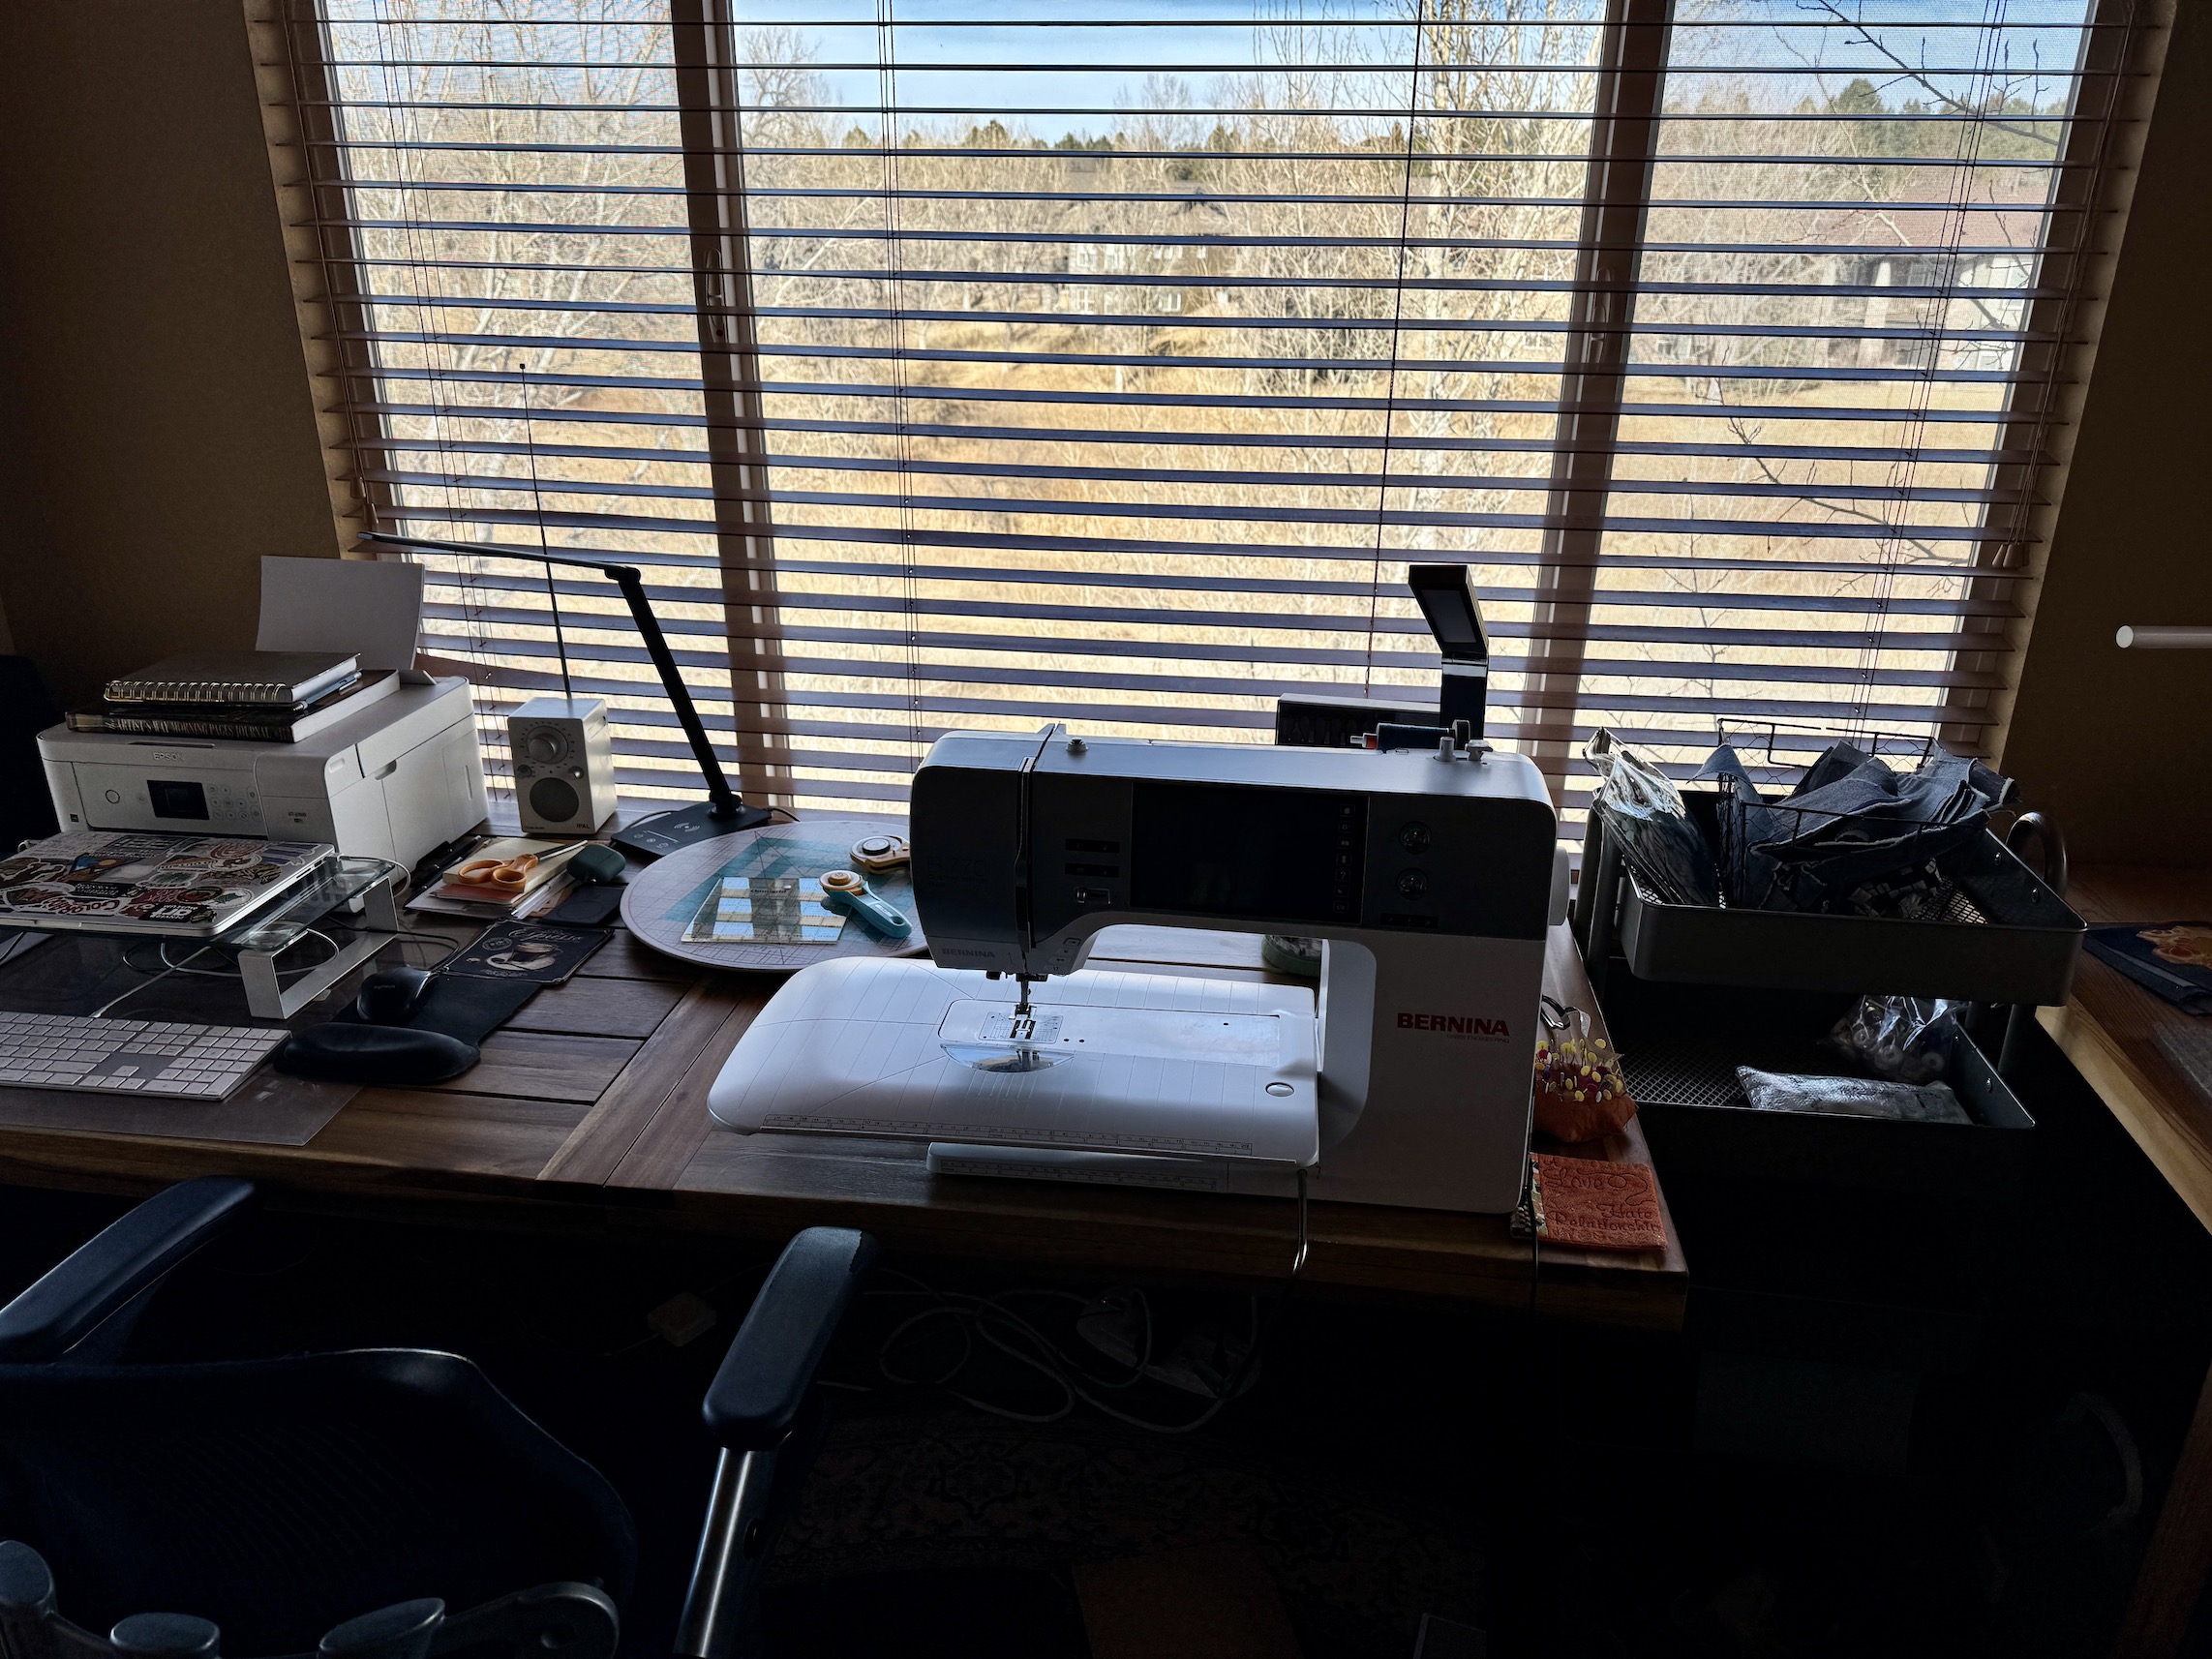
This month I have little to report as I’ve been hosting out of town visitors; and traveling (3 trips in the past month) including a big emotional return to Bend, Oregon for my birthday in May. It was my for first time in 7 years since I moved to Denver after my husband suddenly died in 2019. I’ll blog about that return sometime in the future.
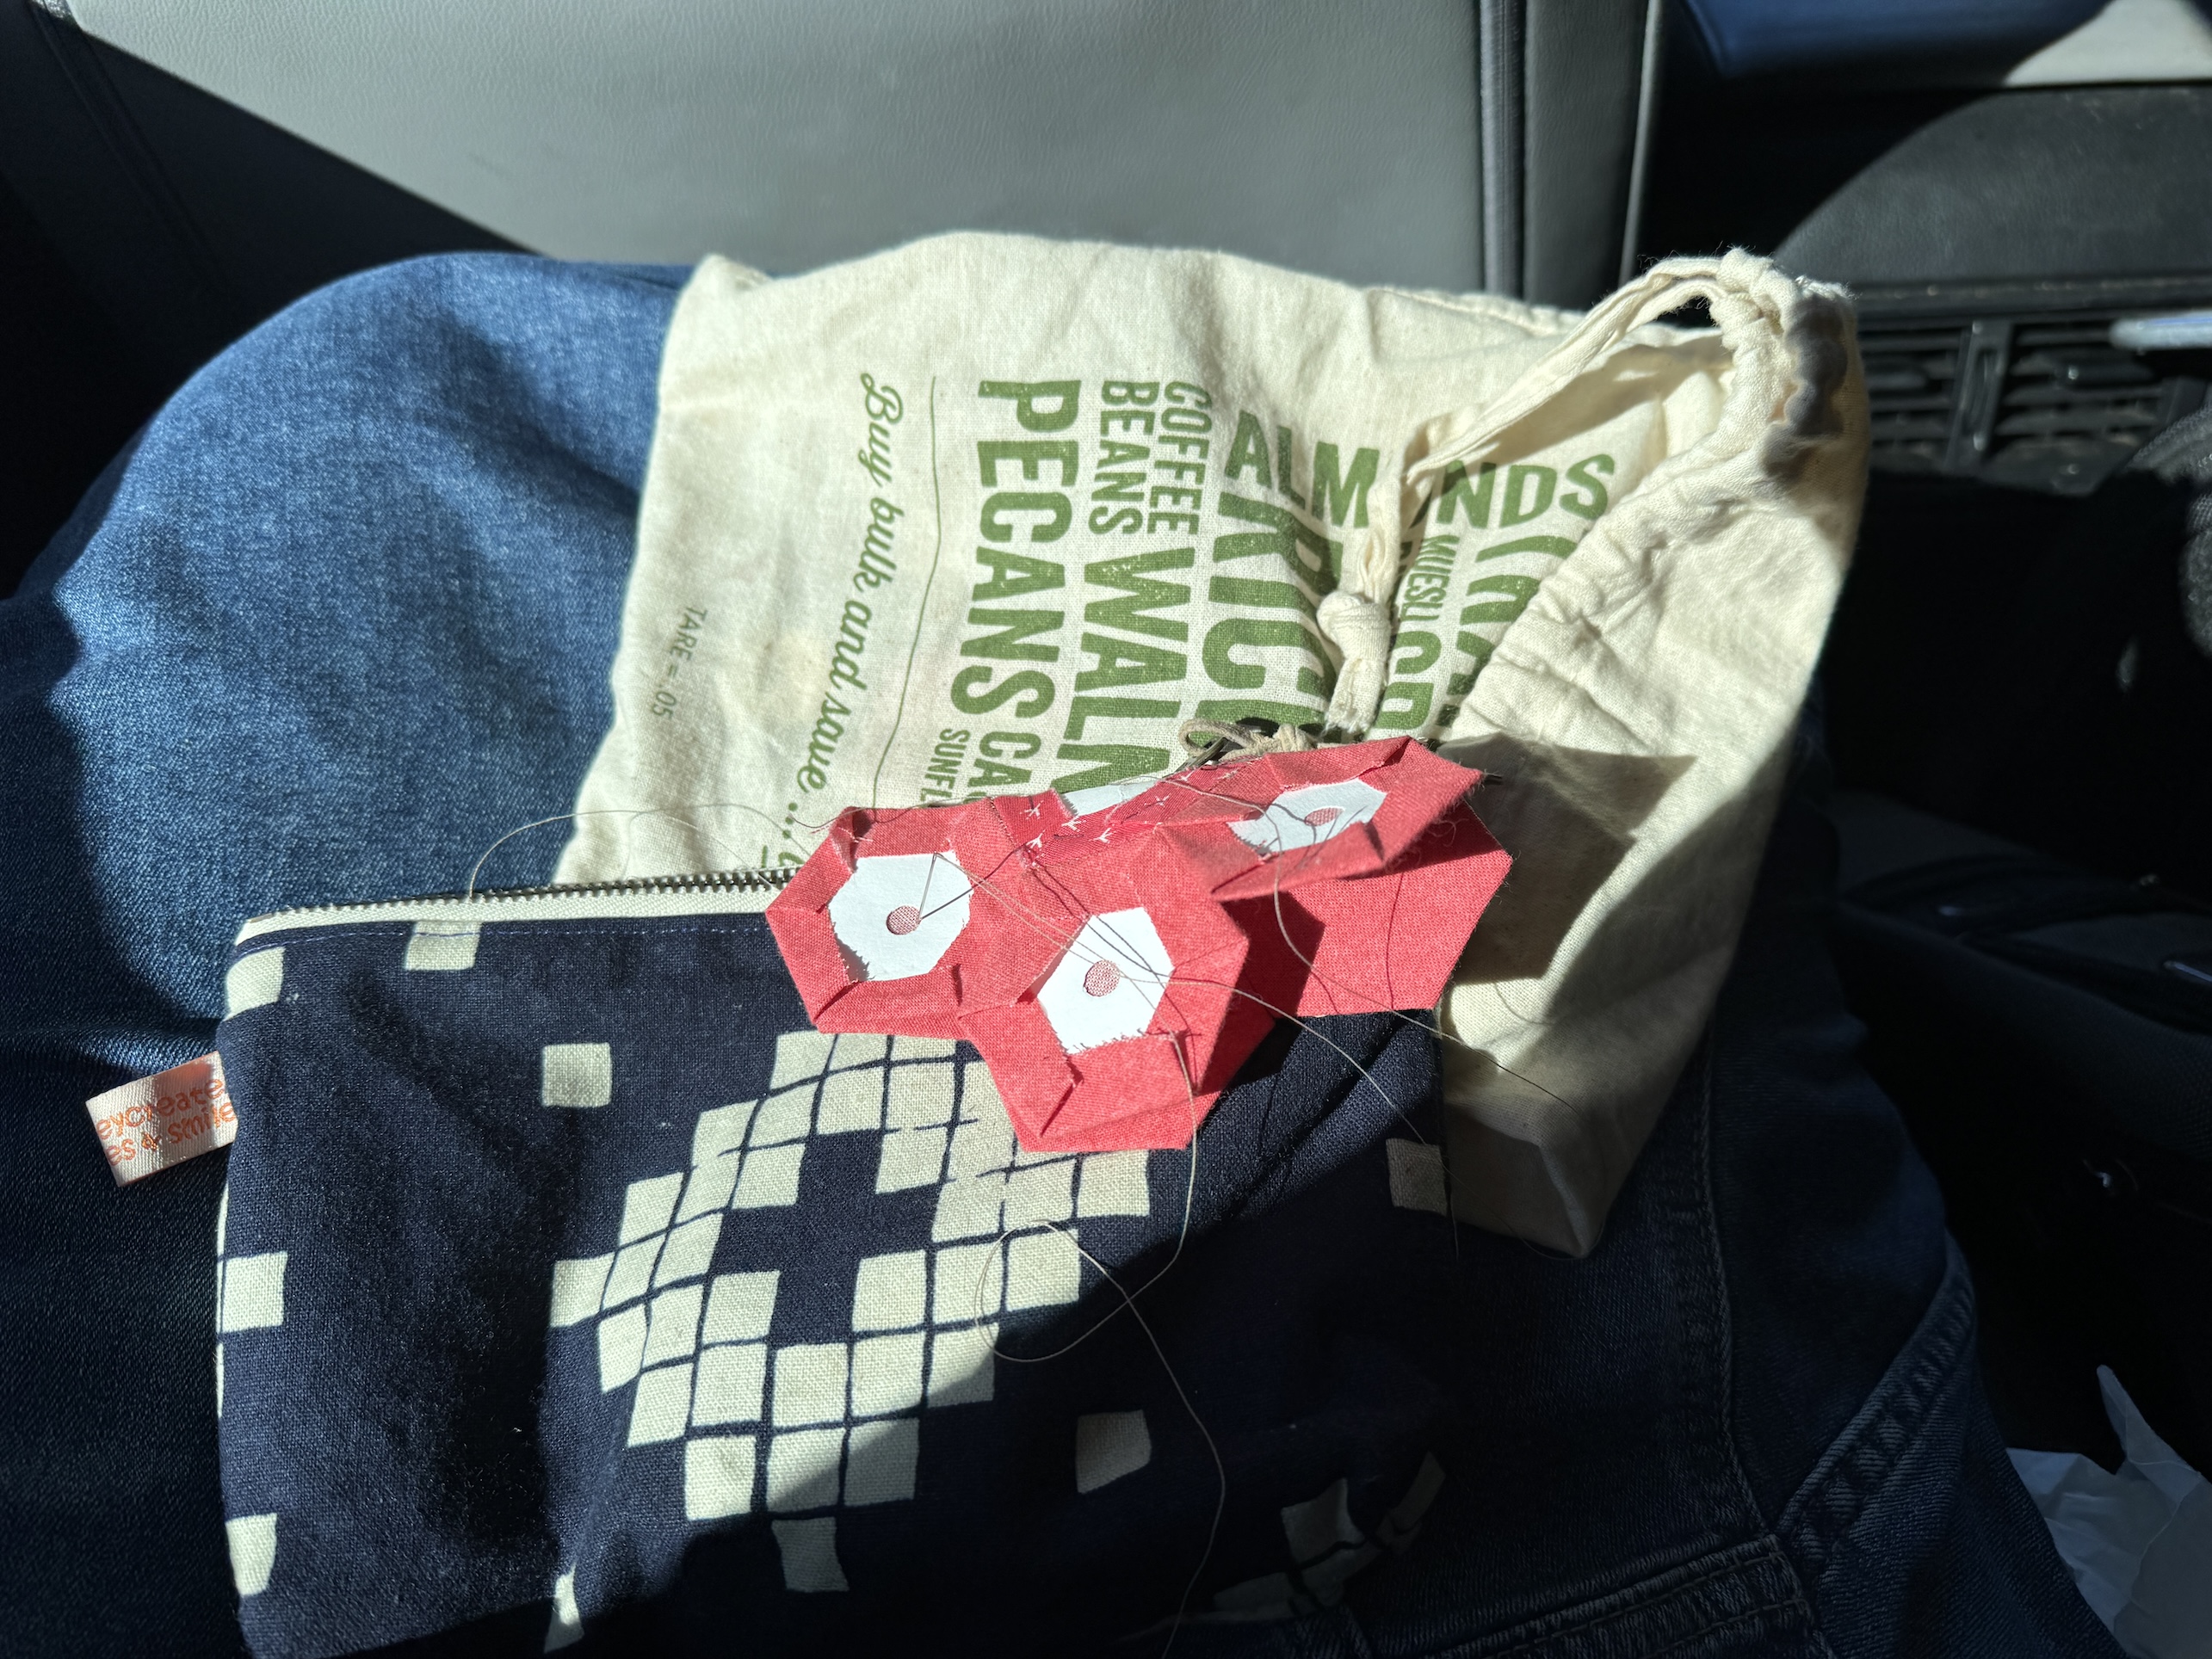
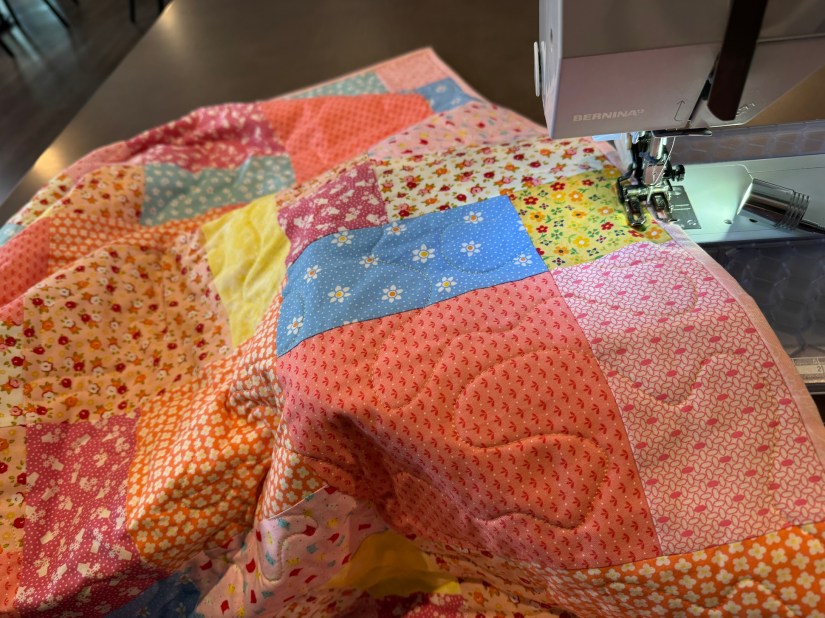
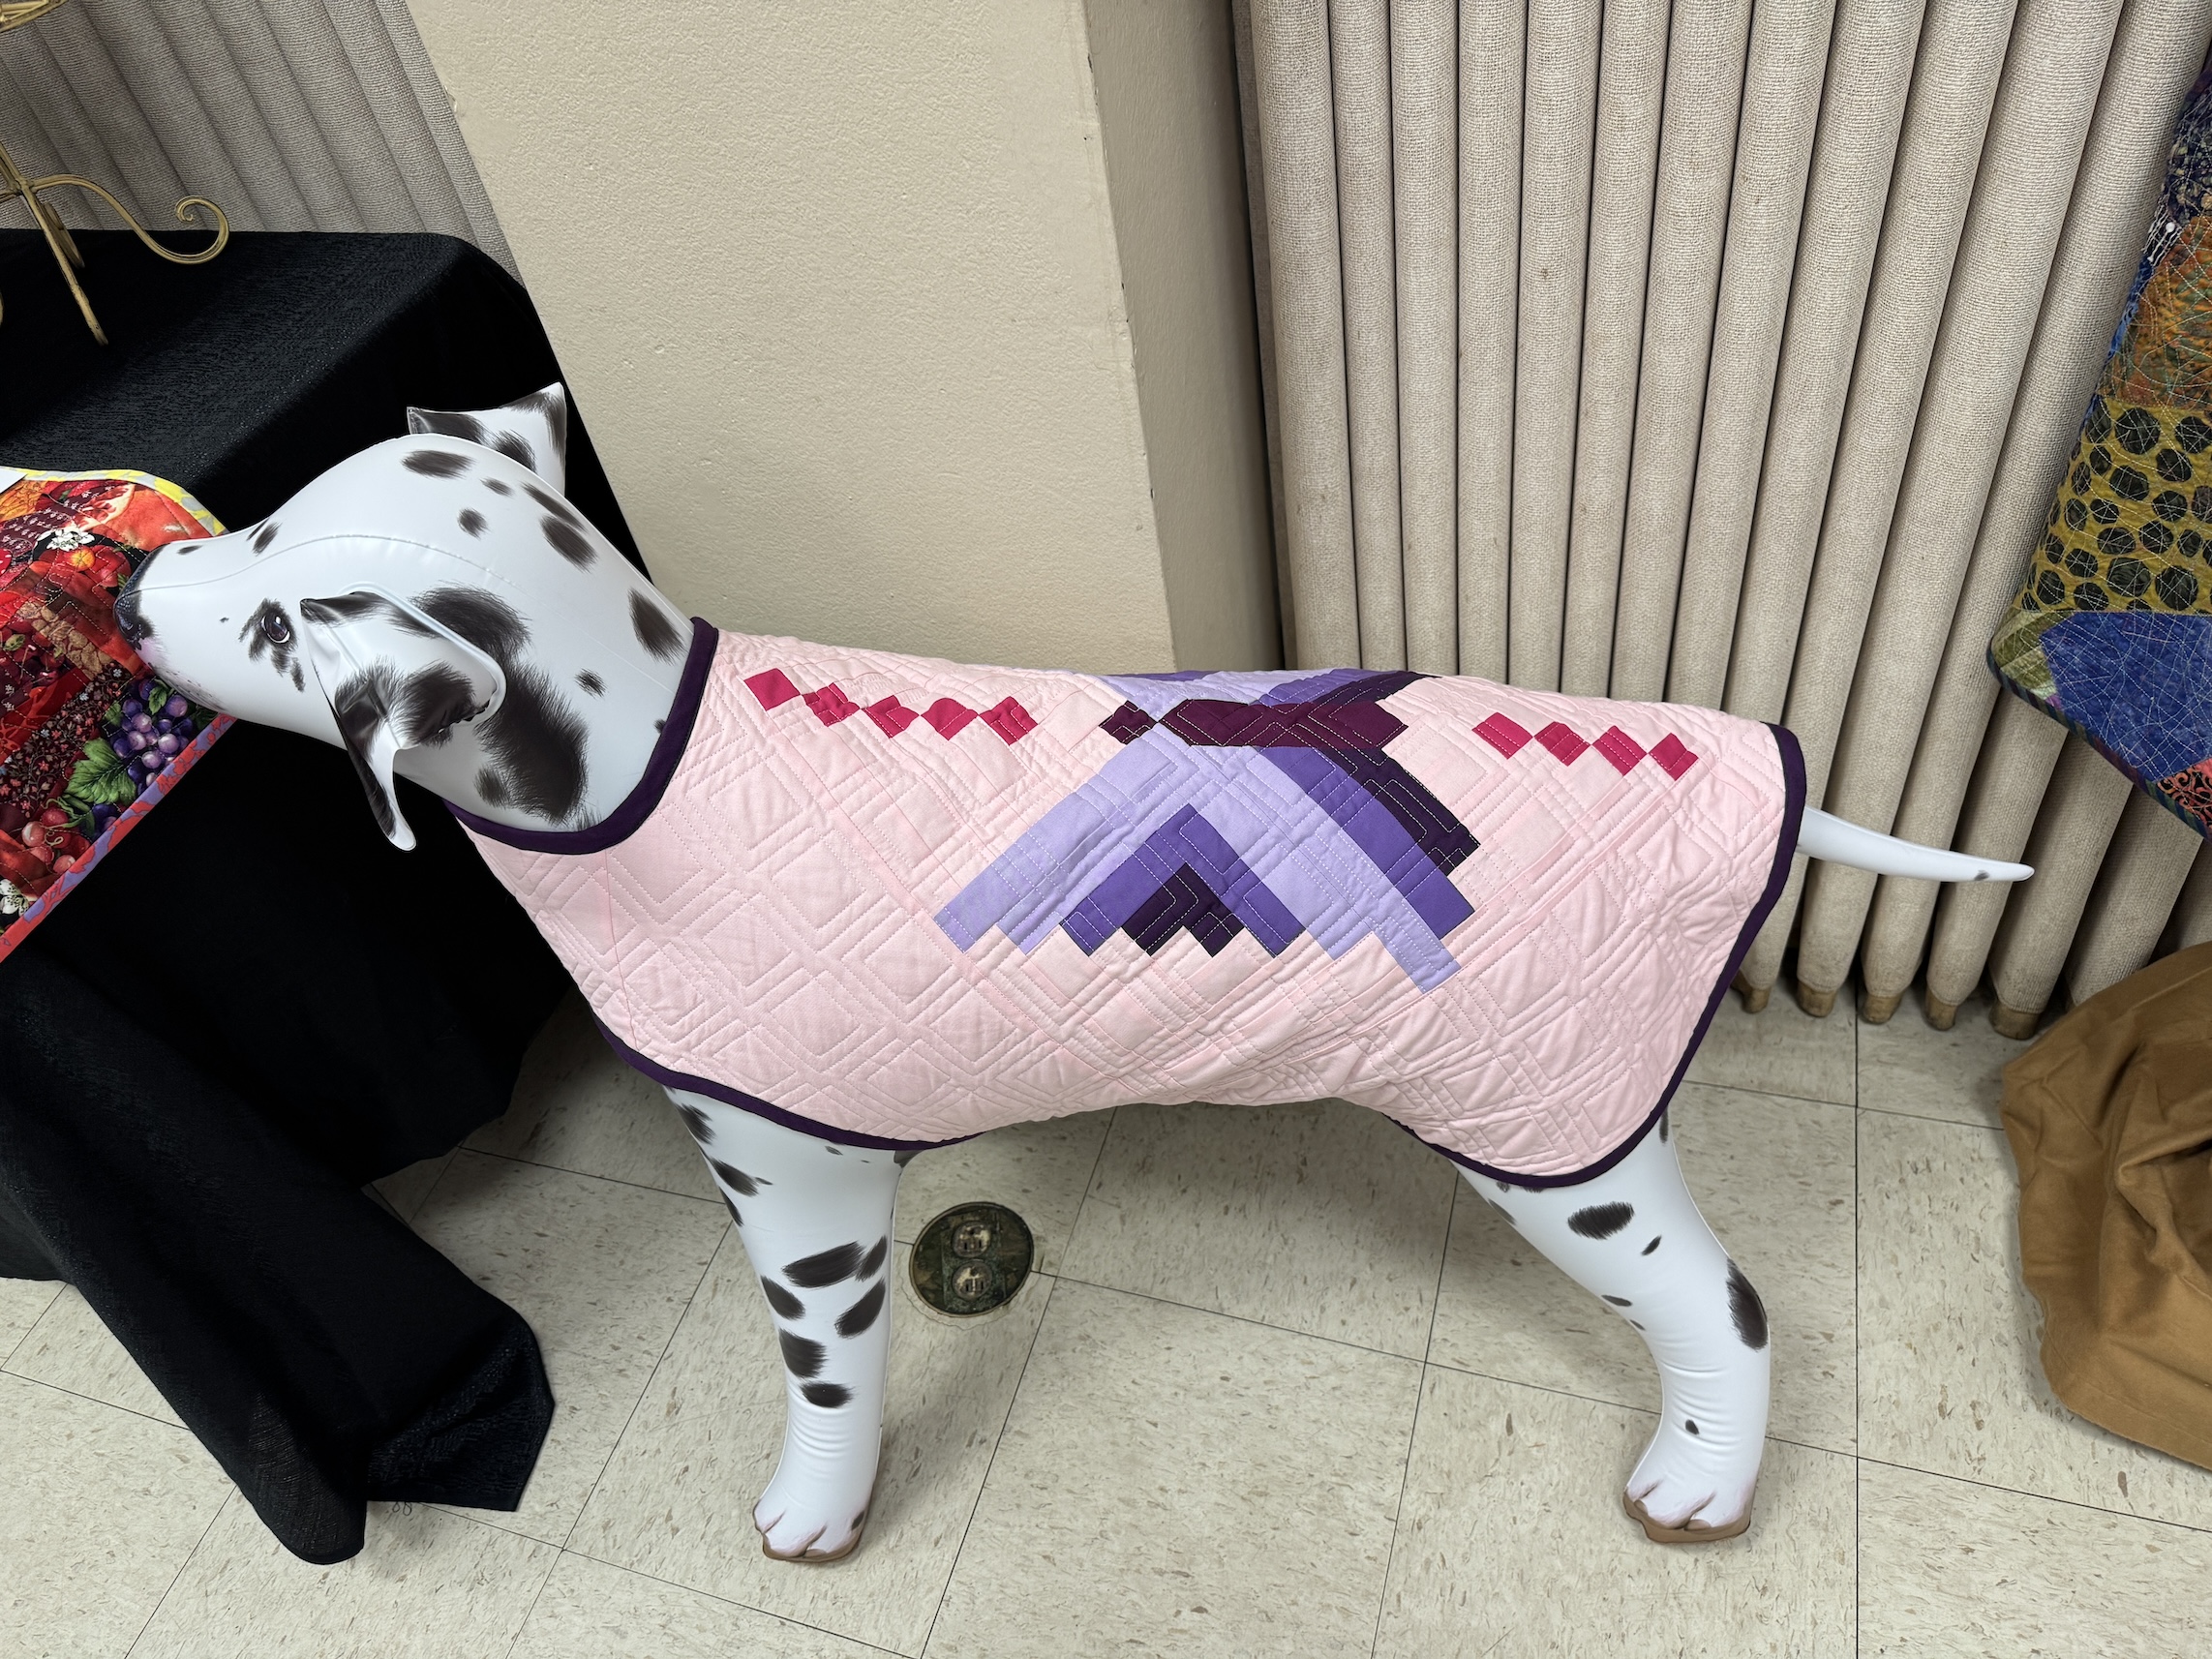
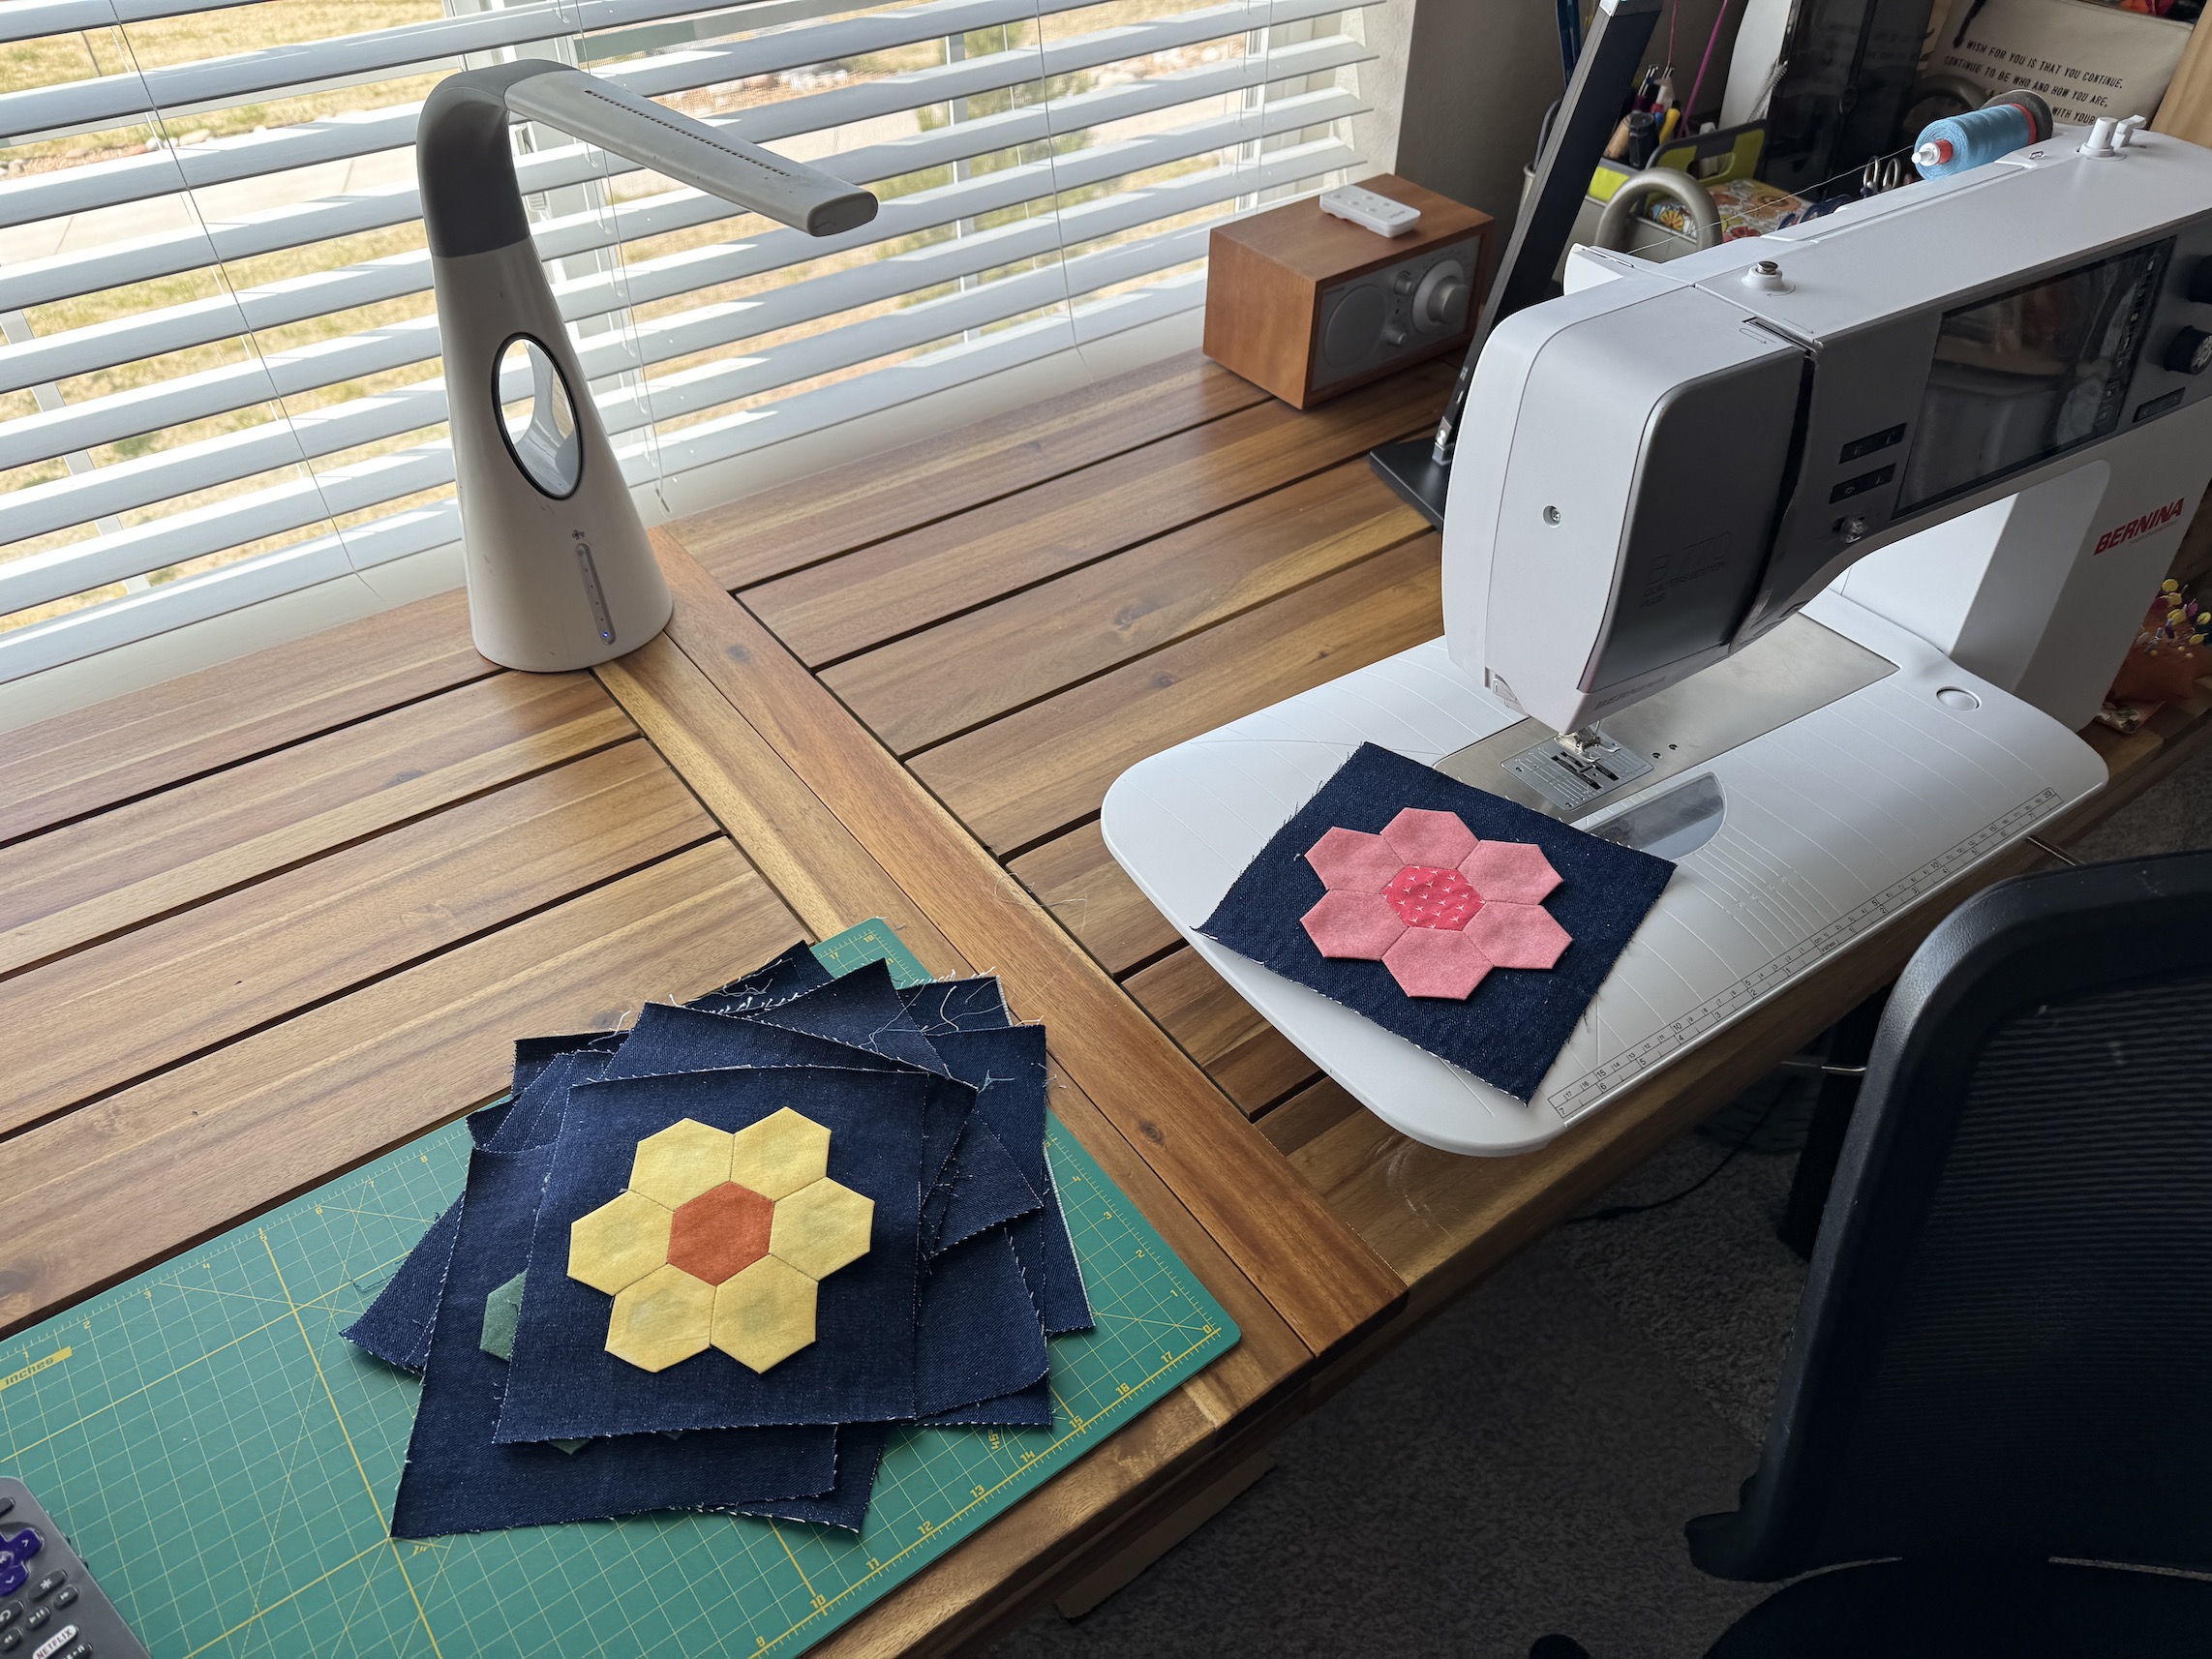
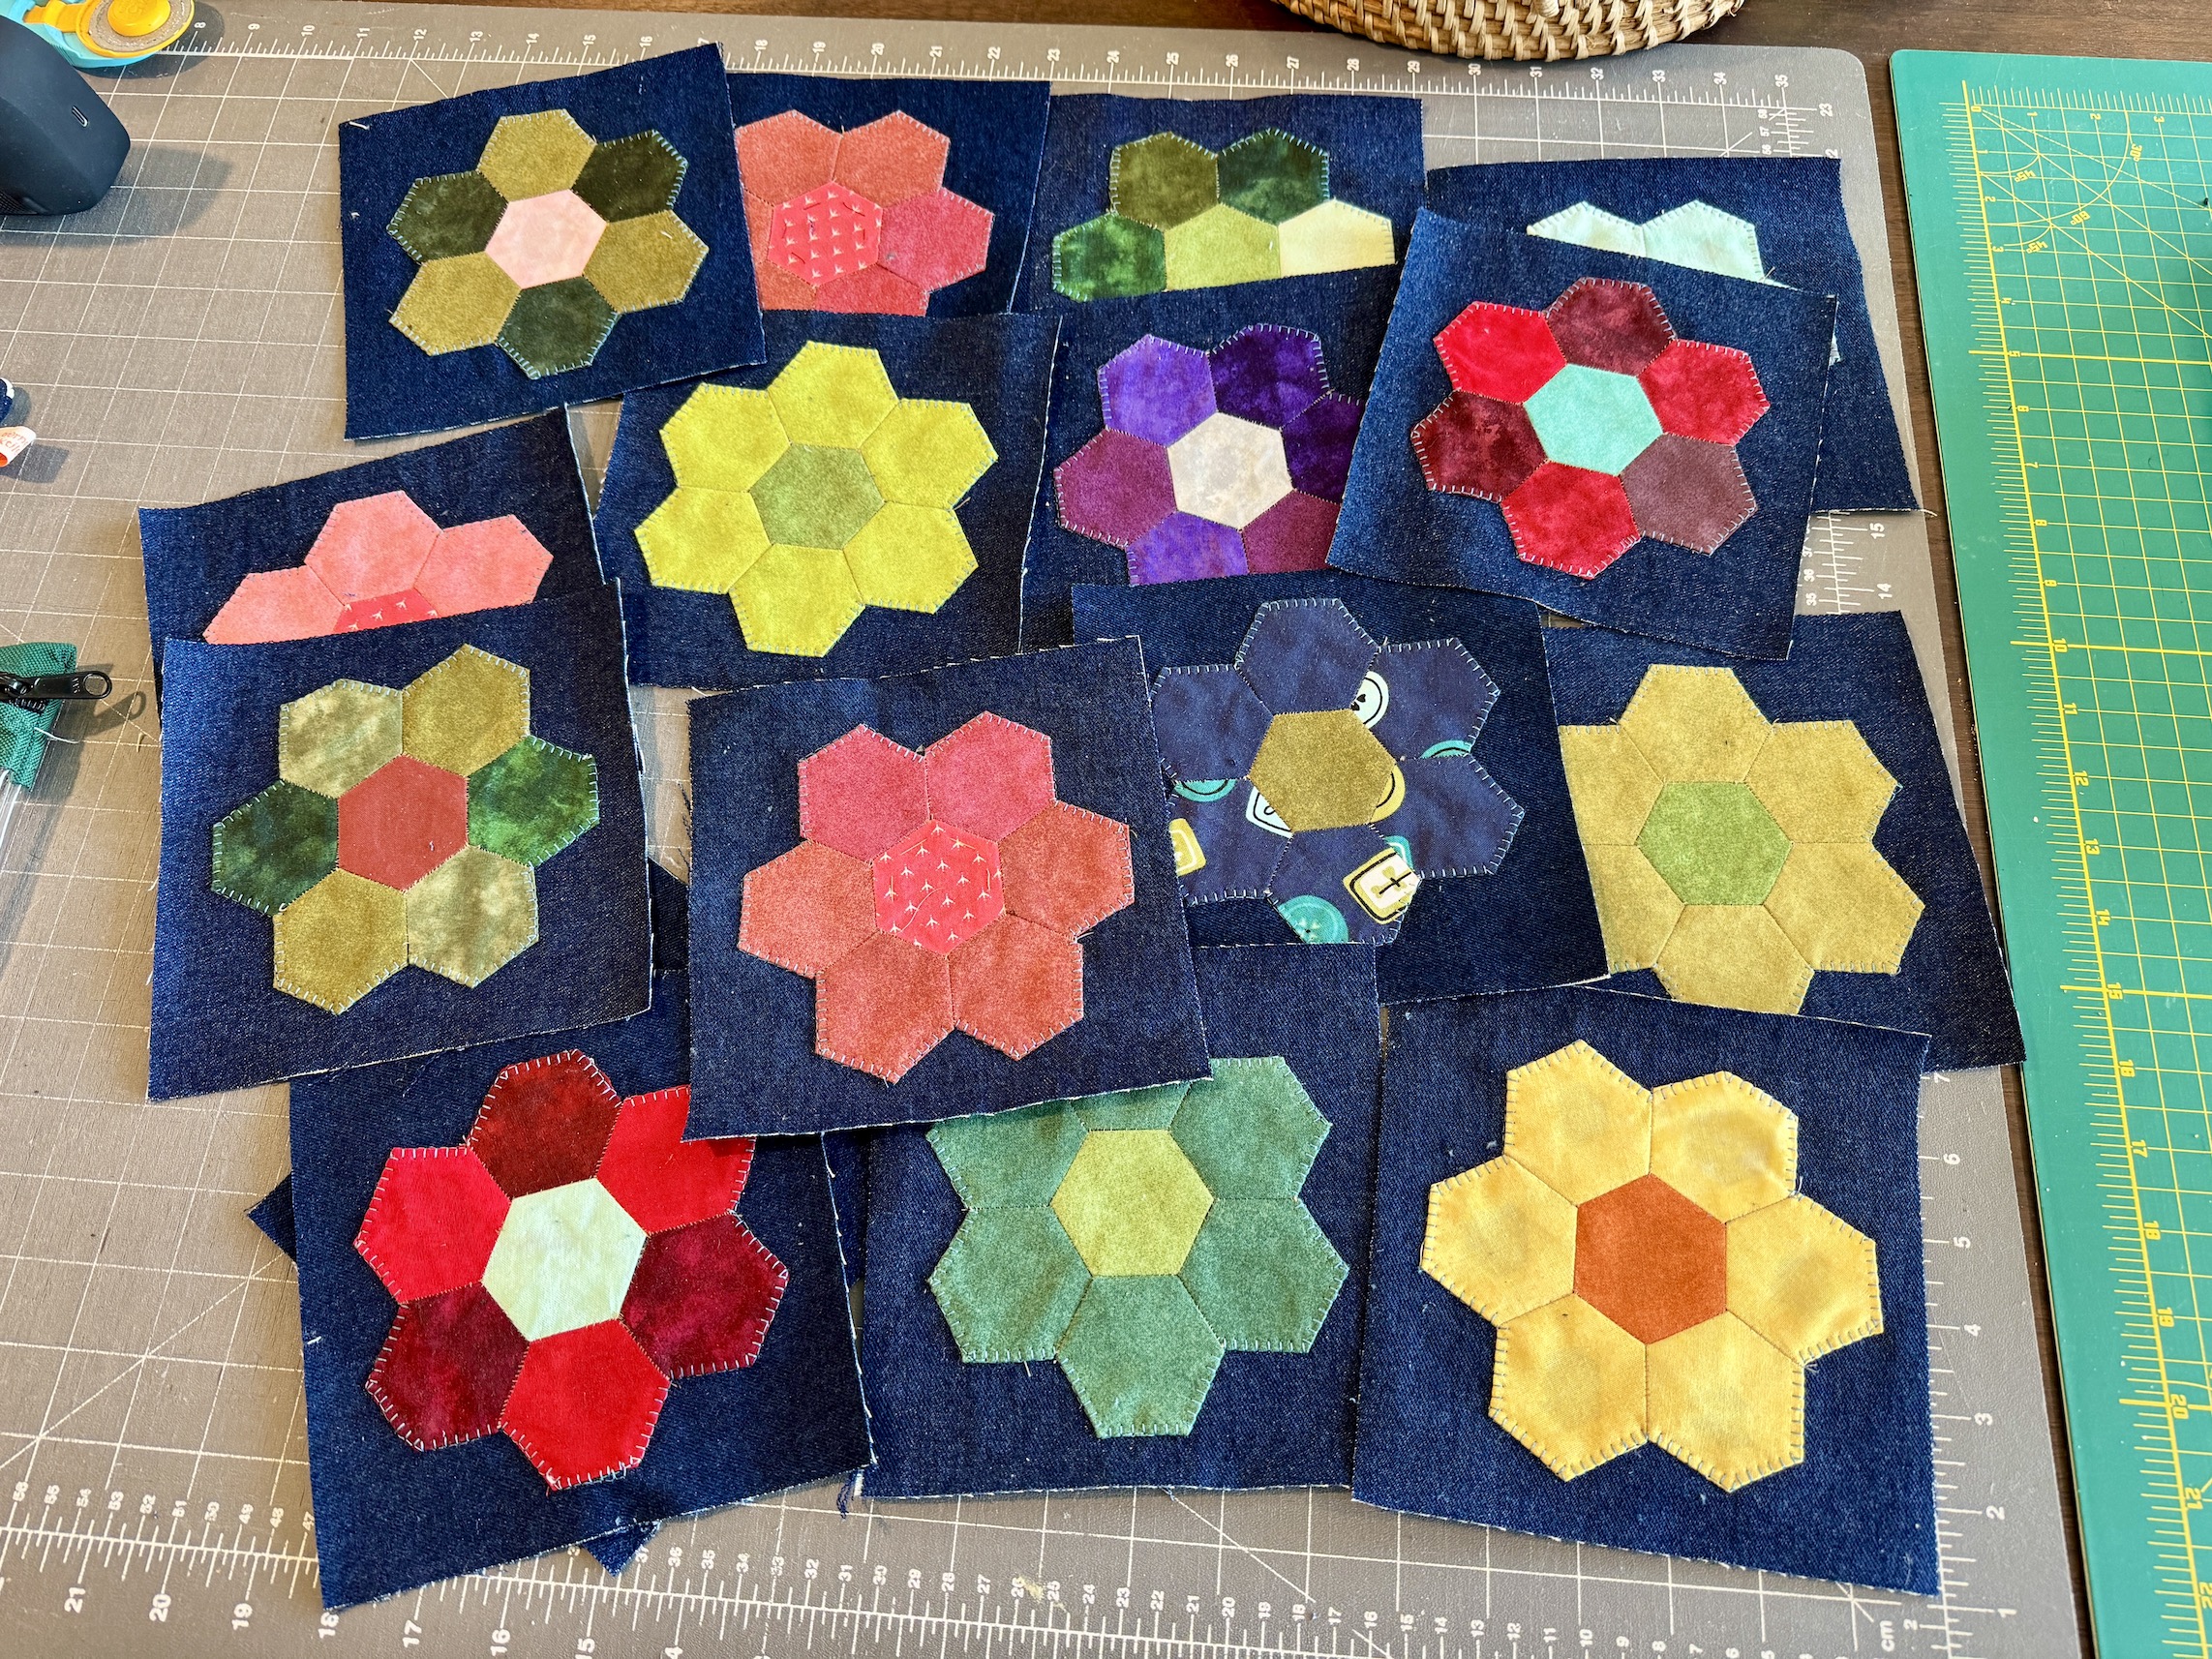
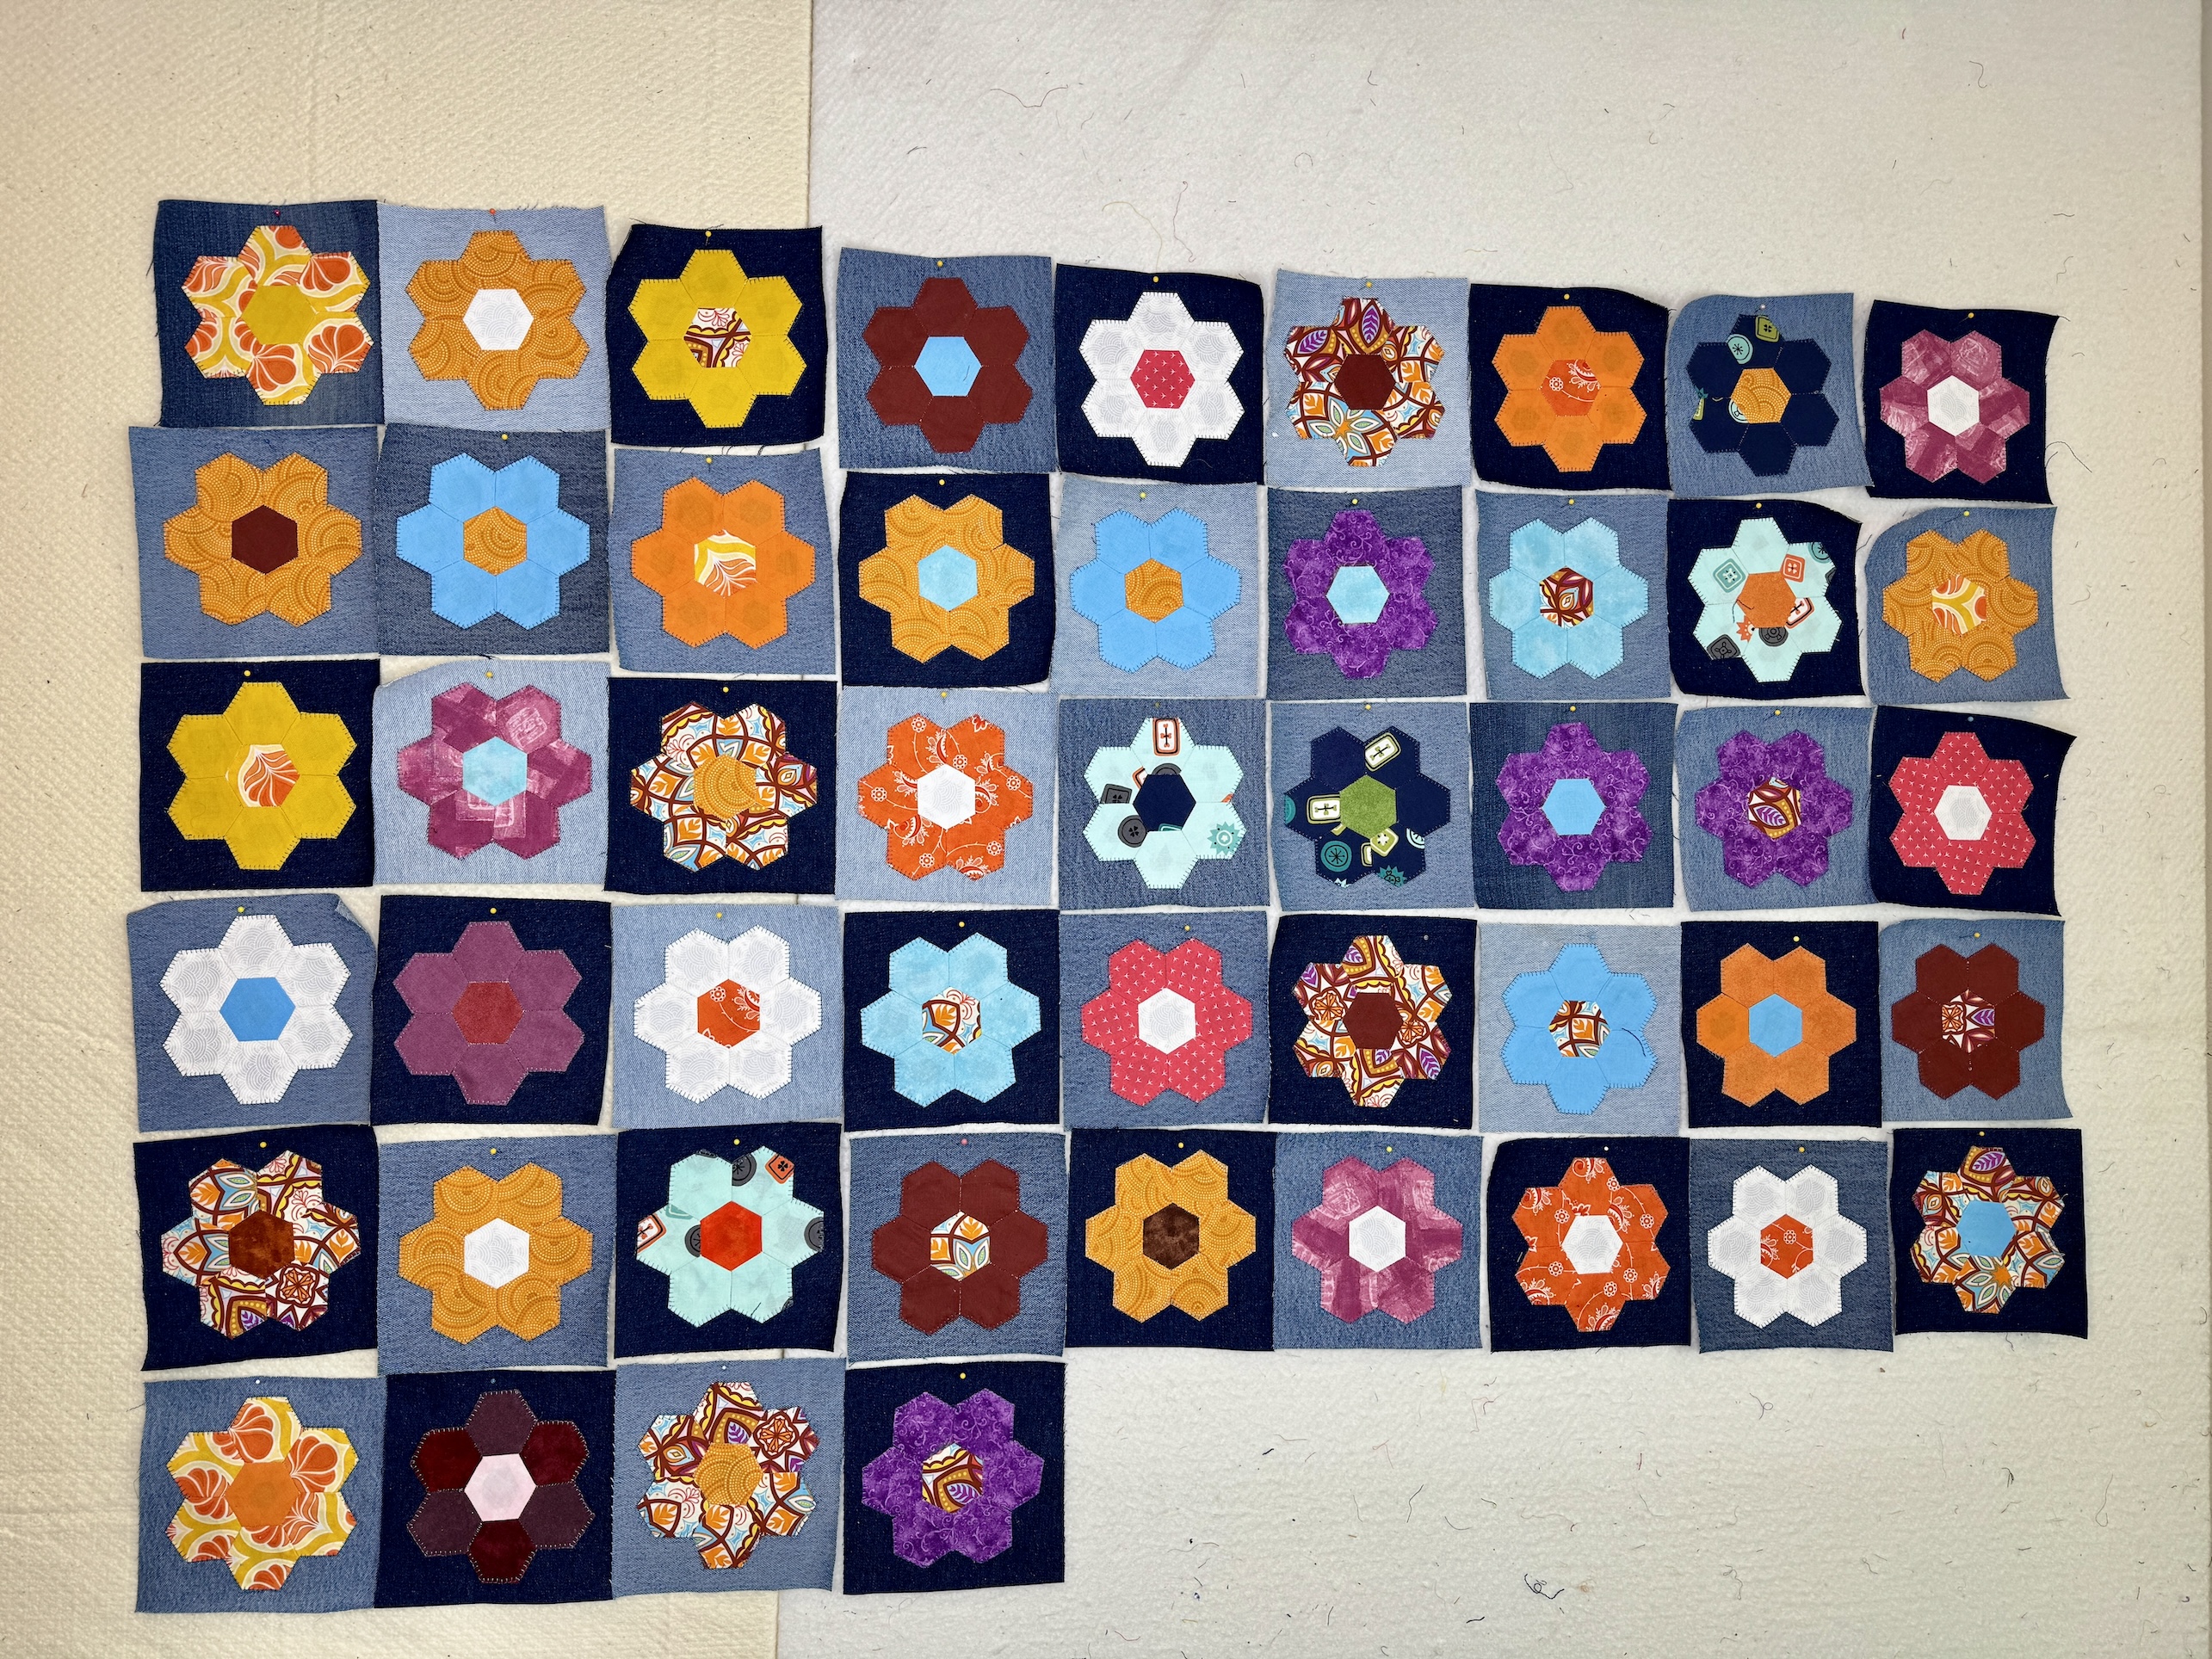
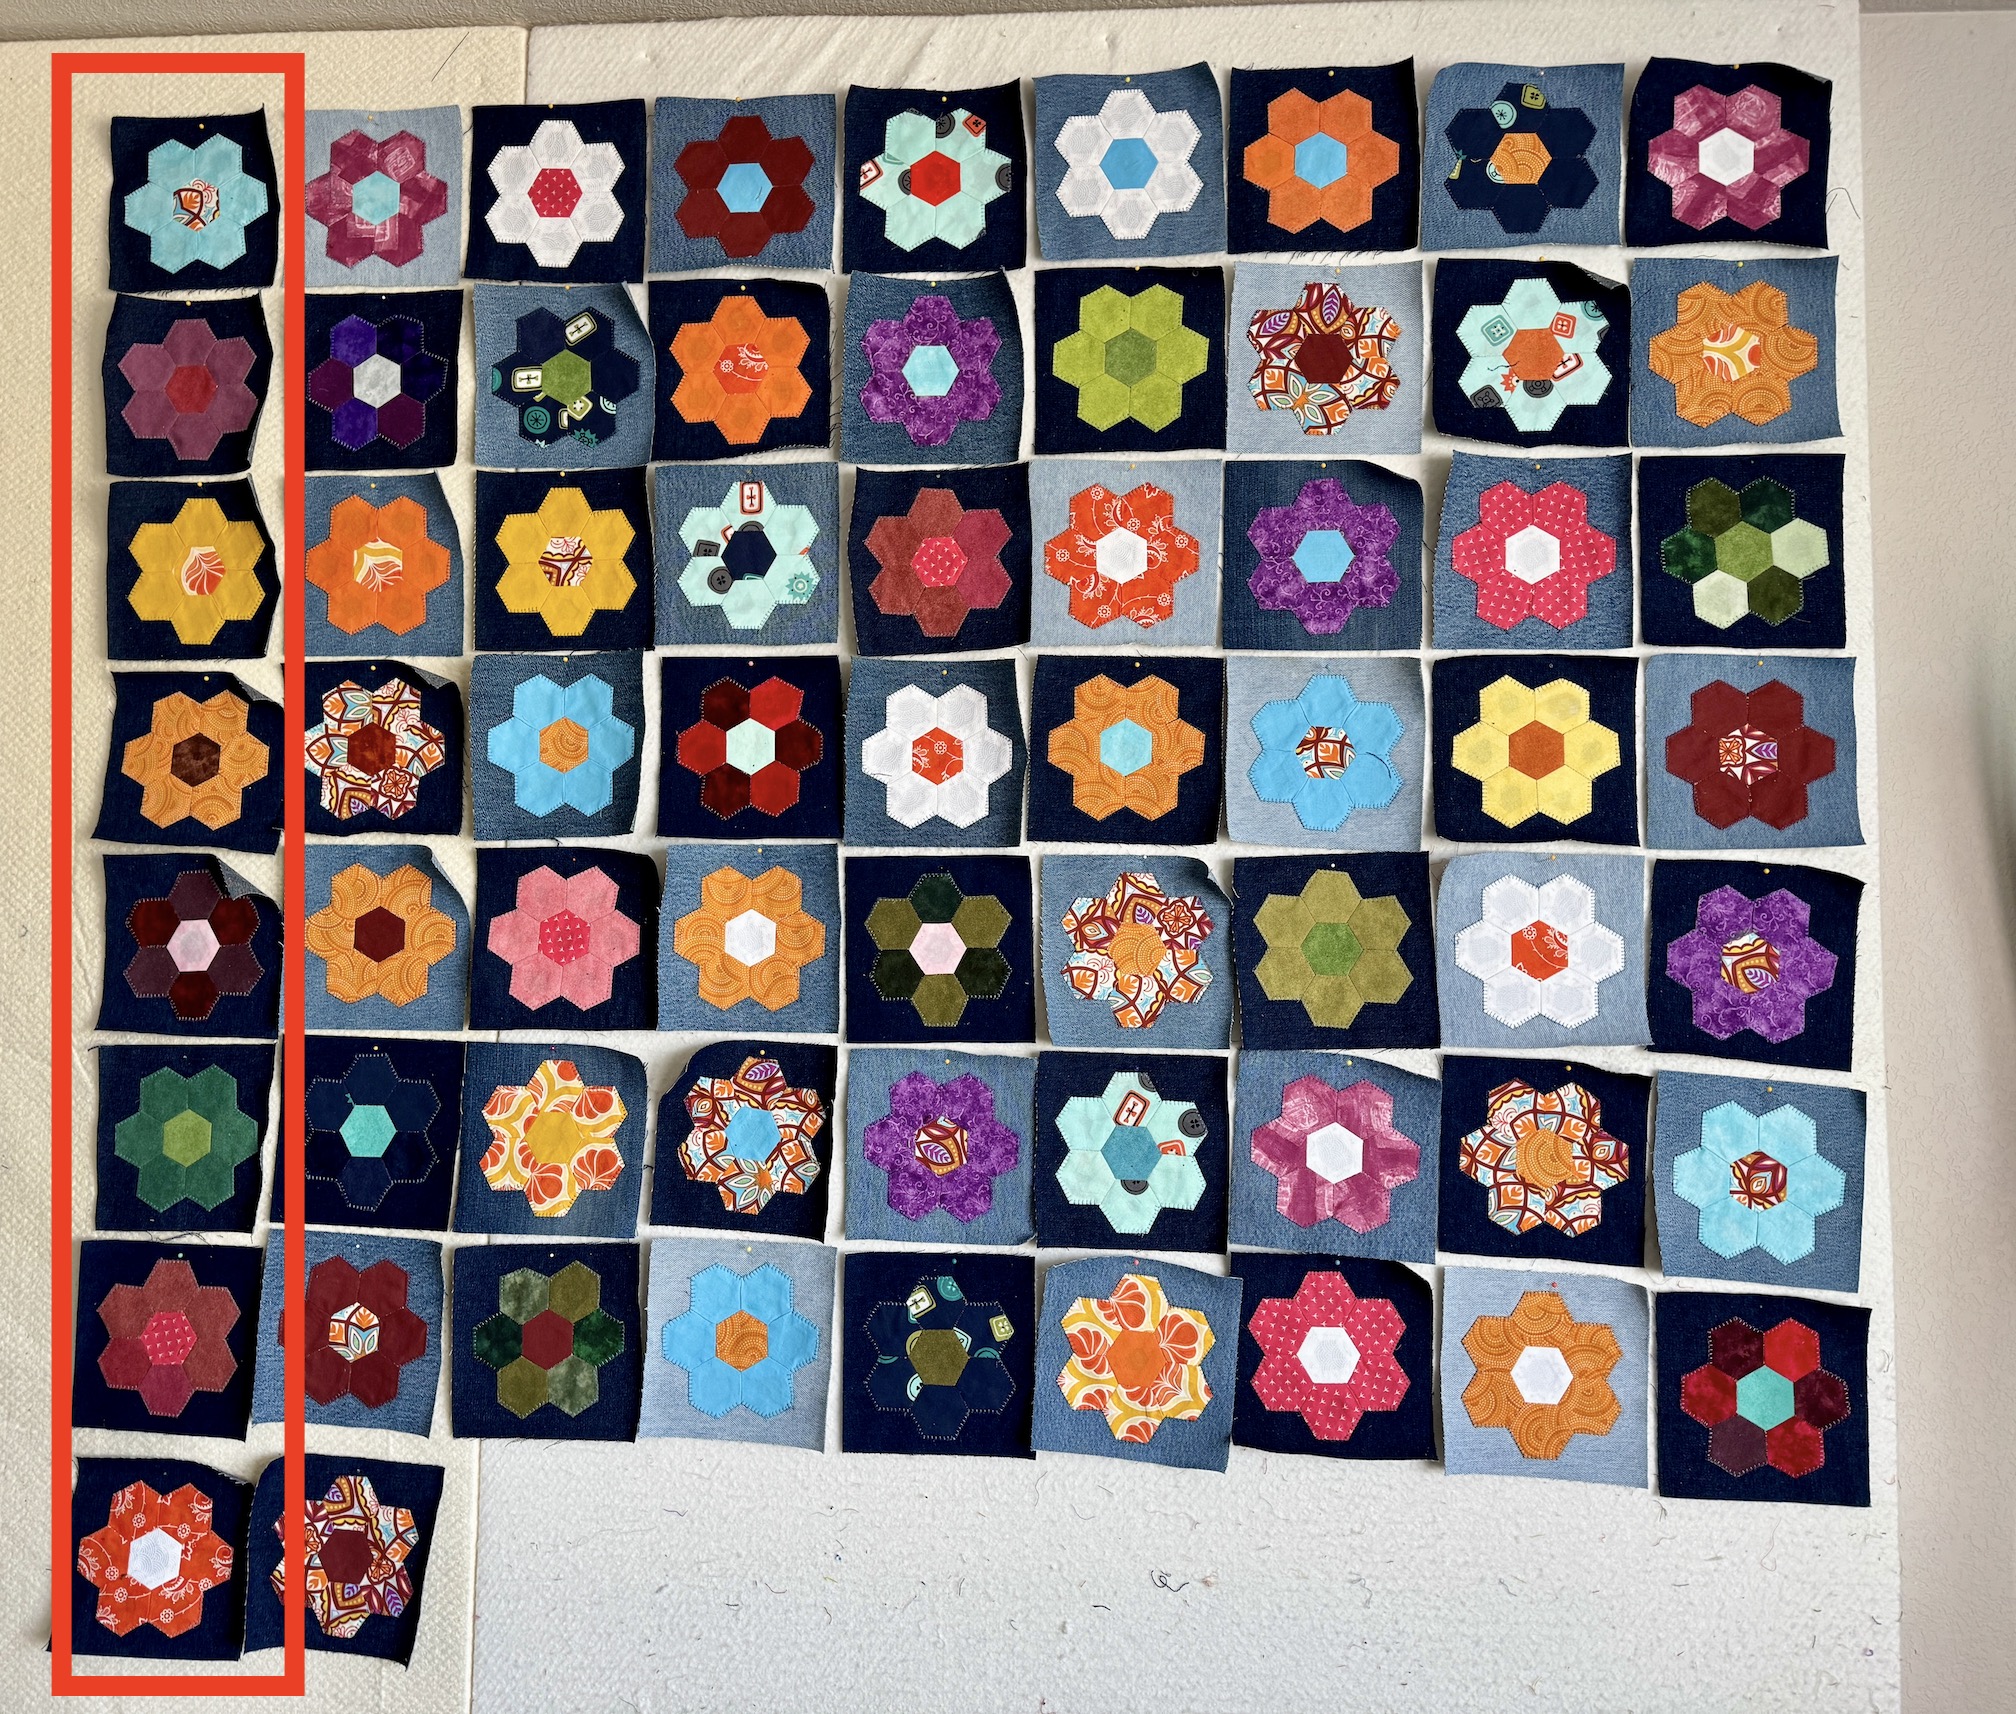
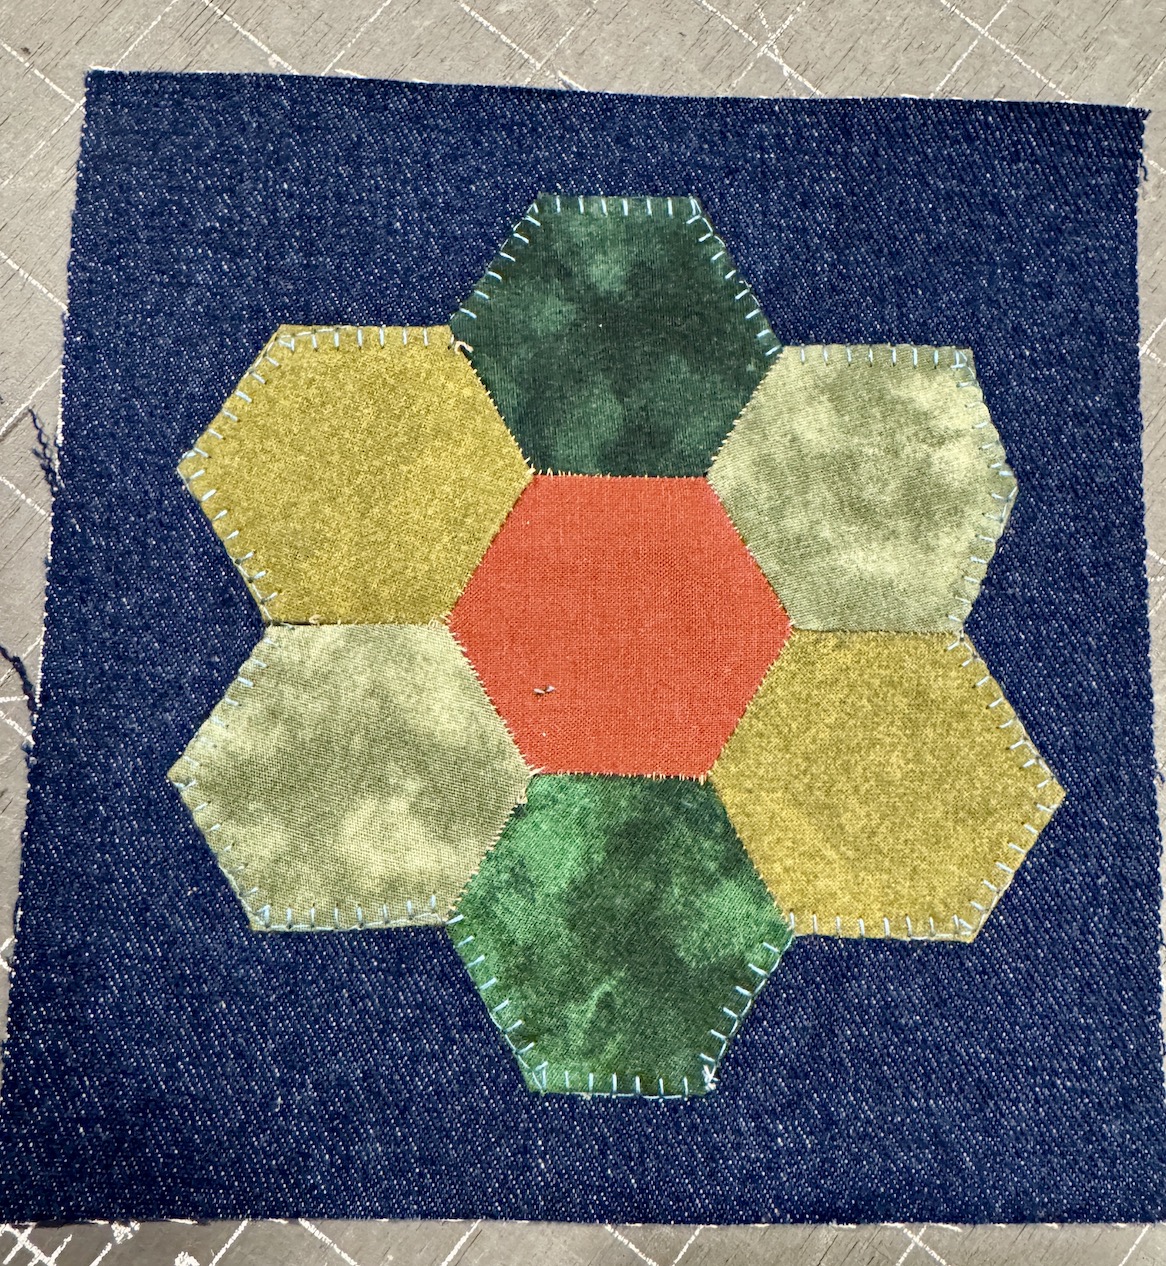
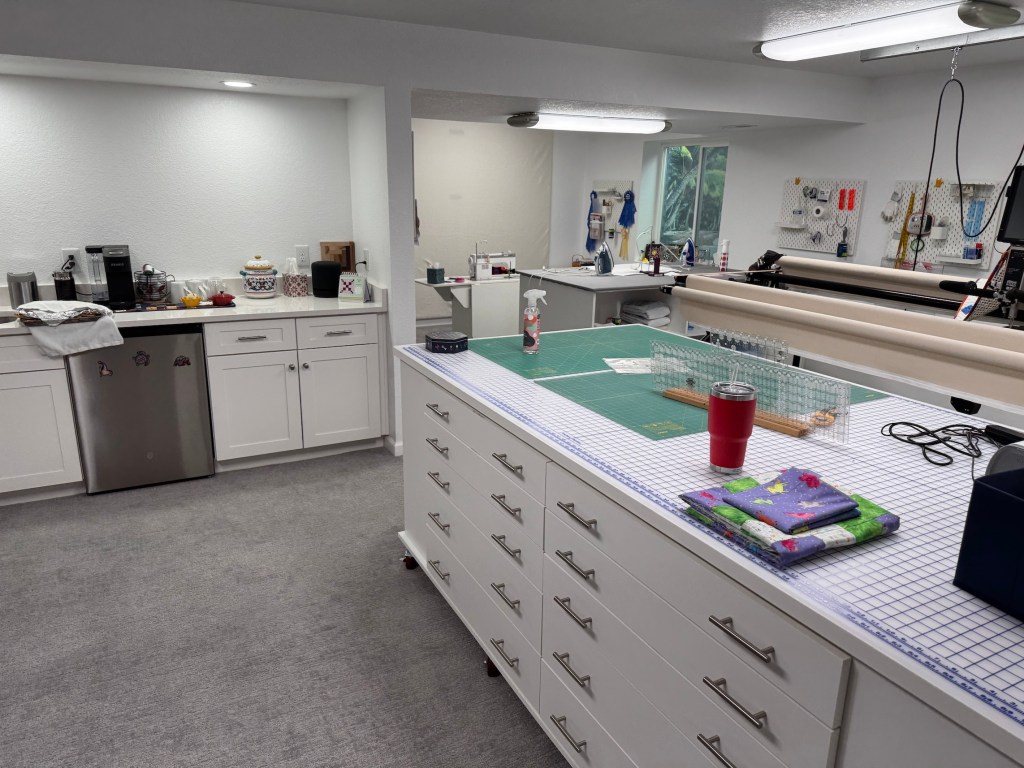
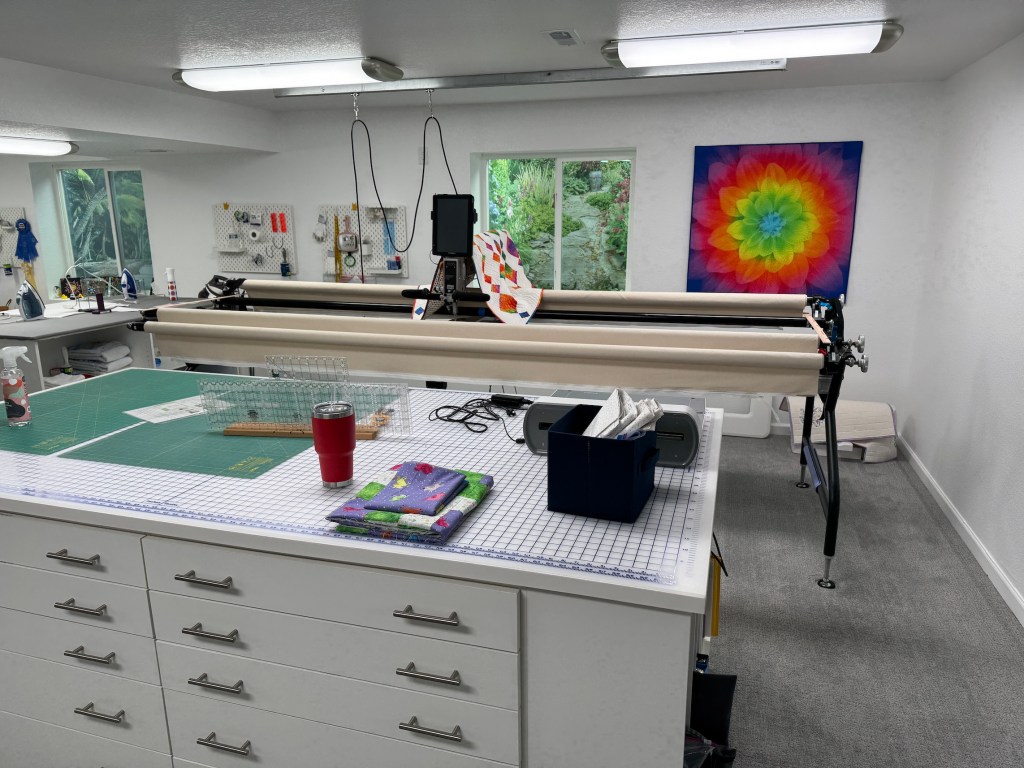
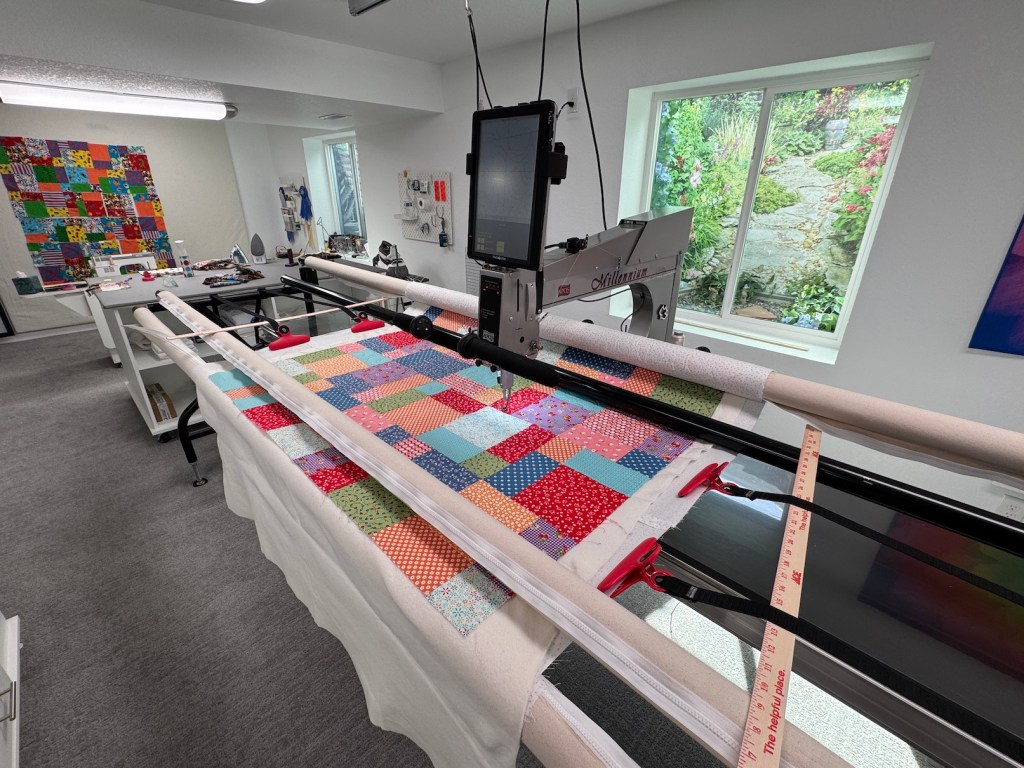
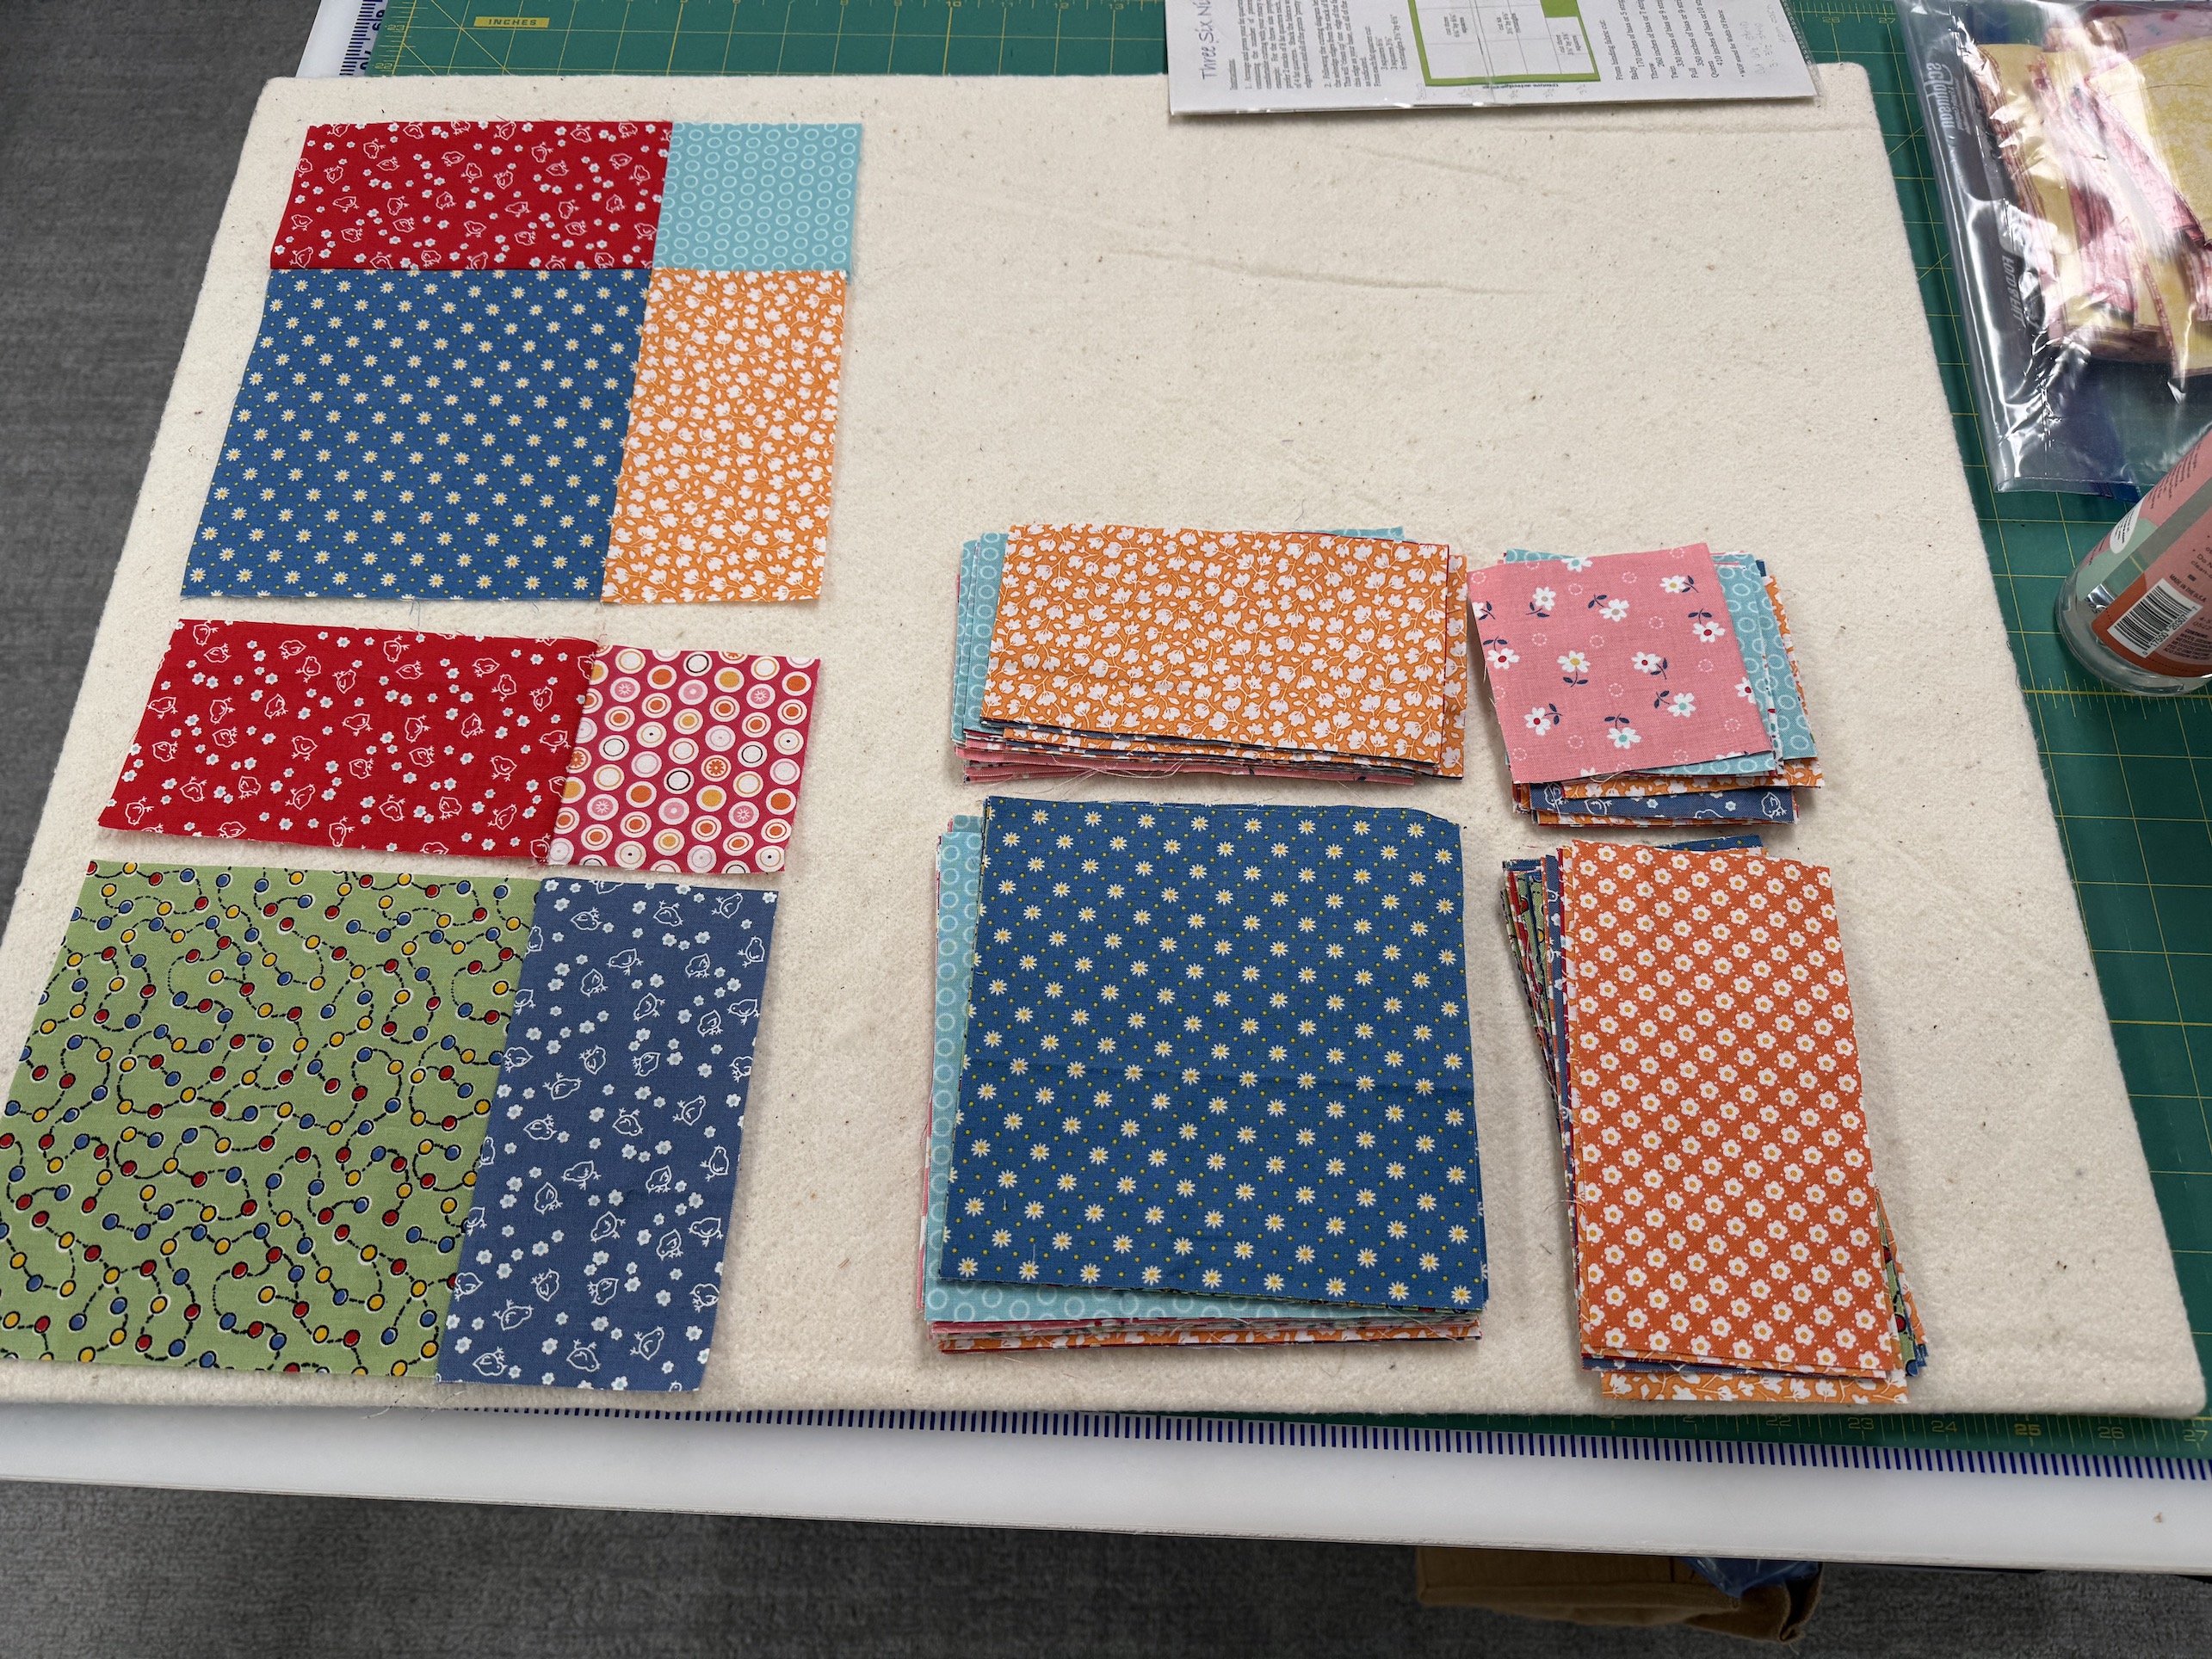
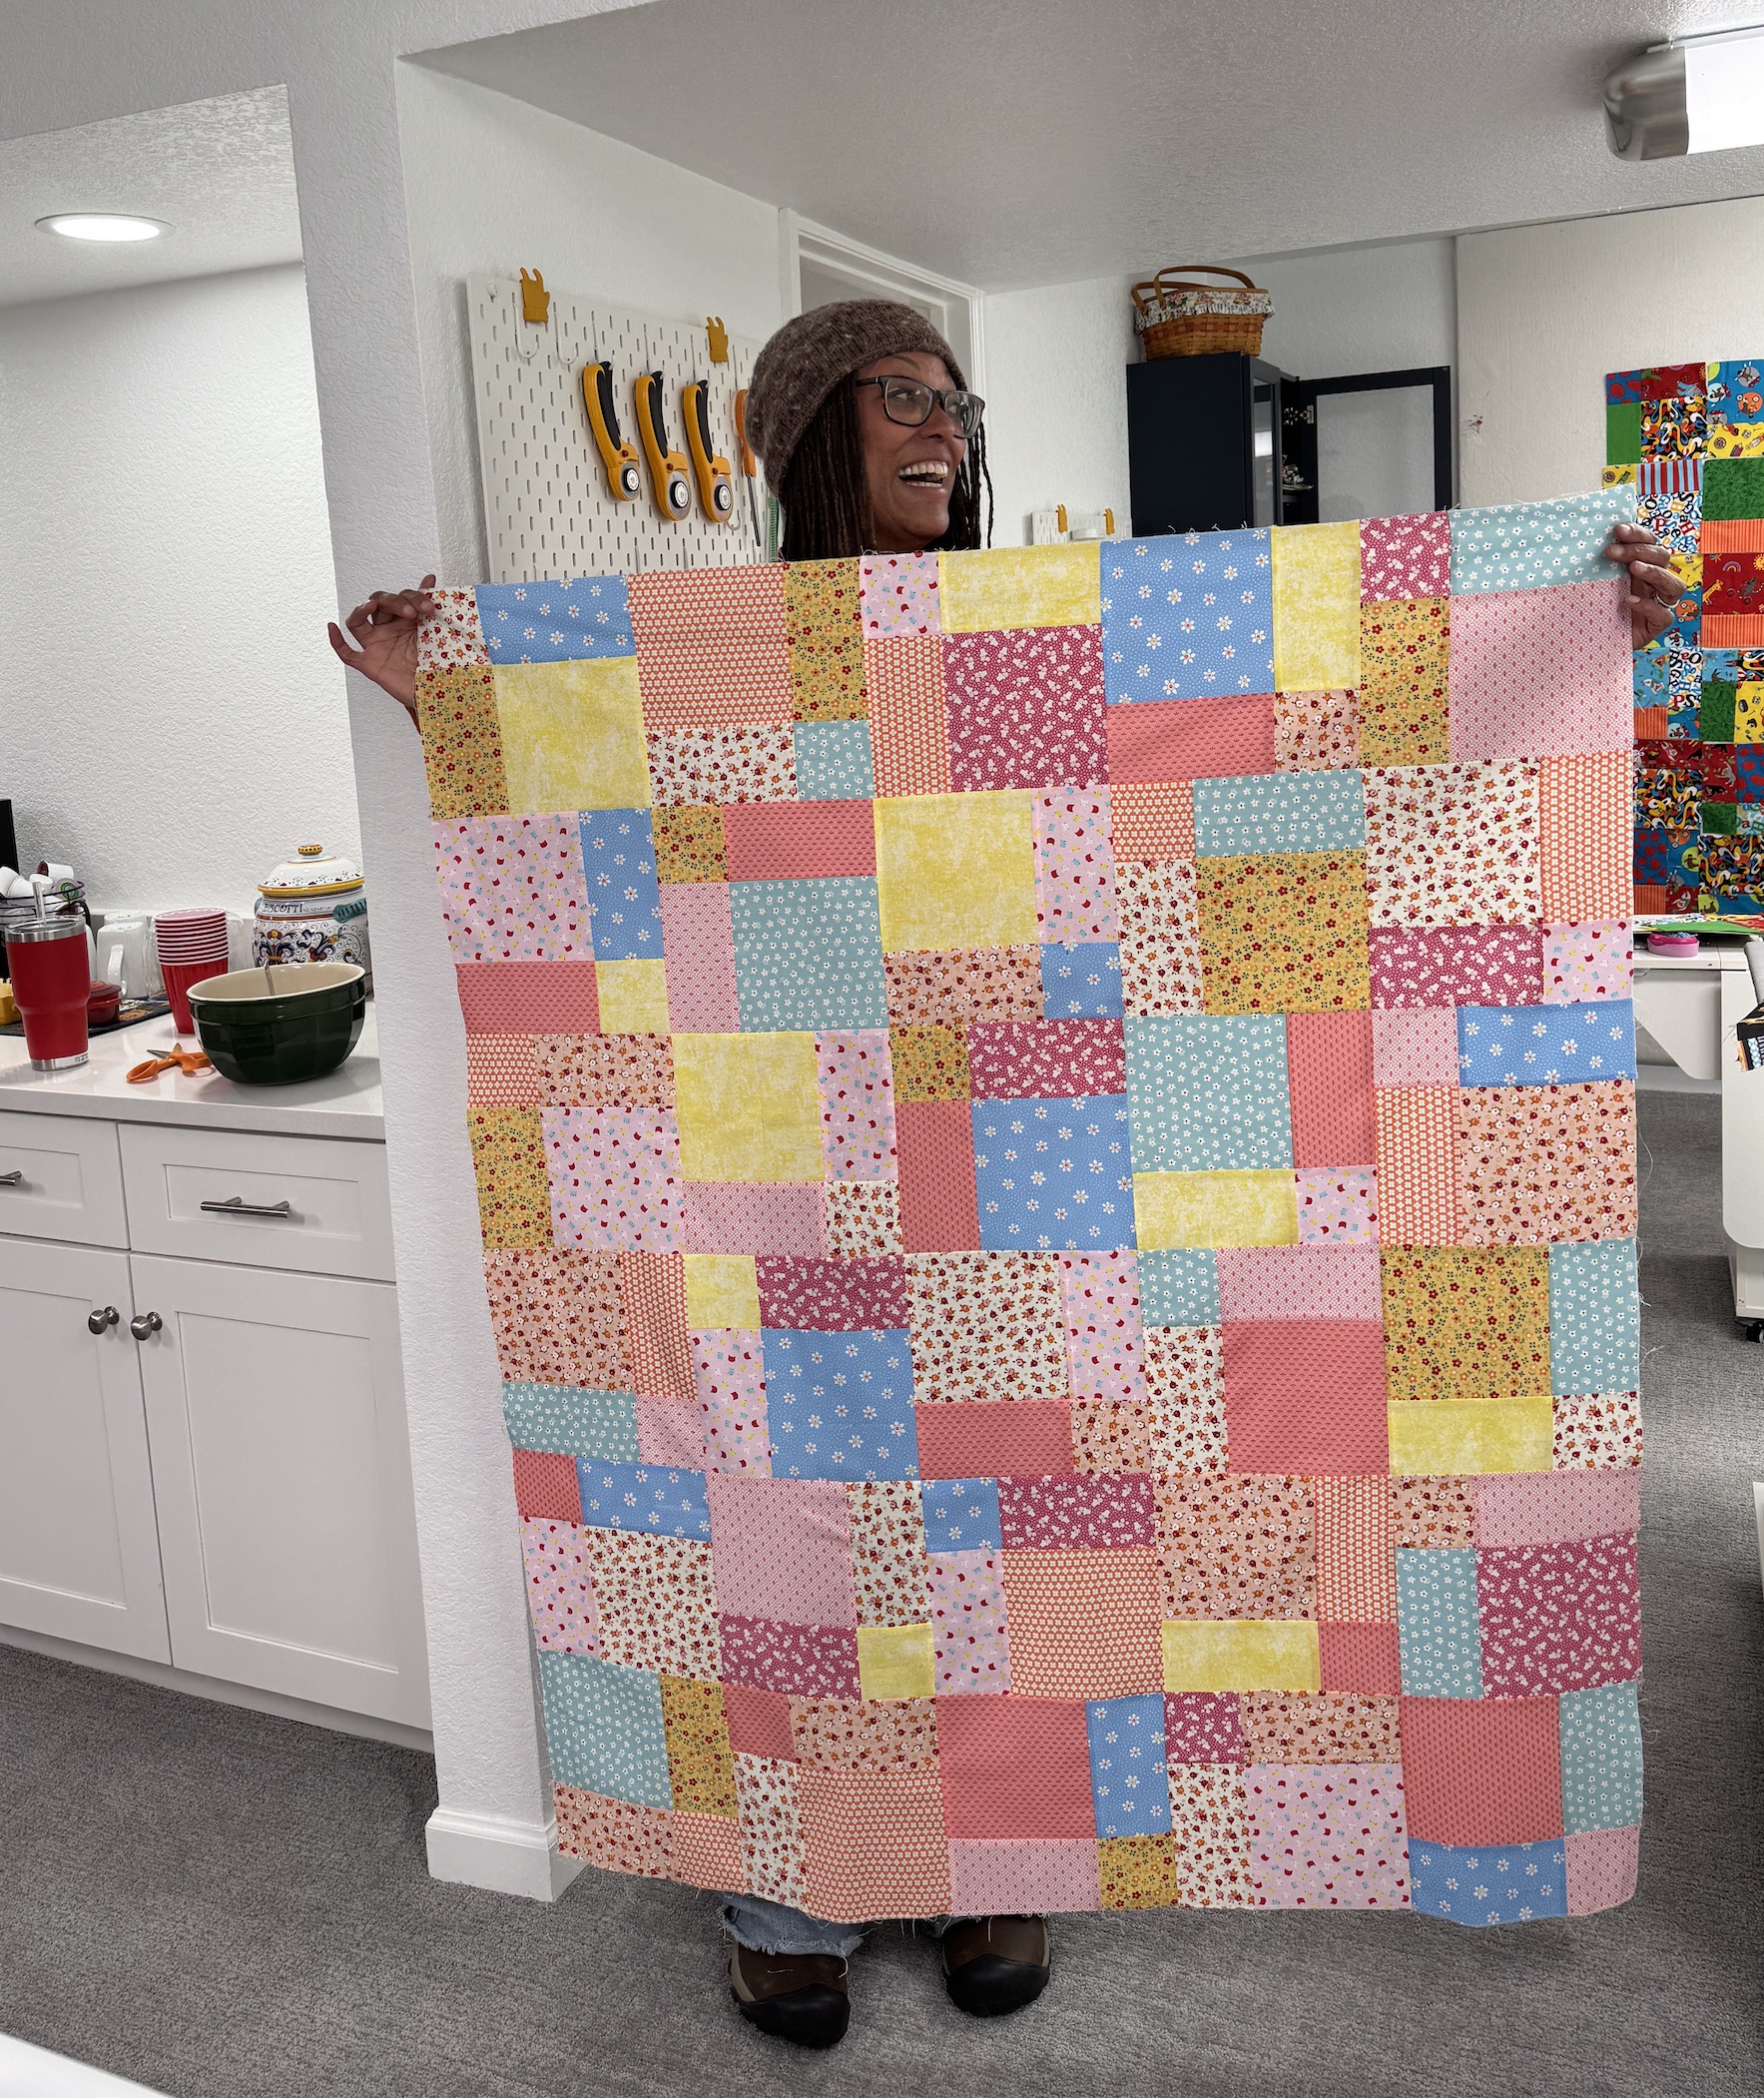
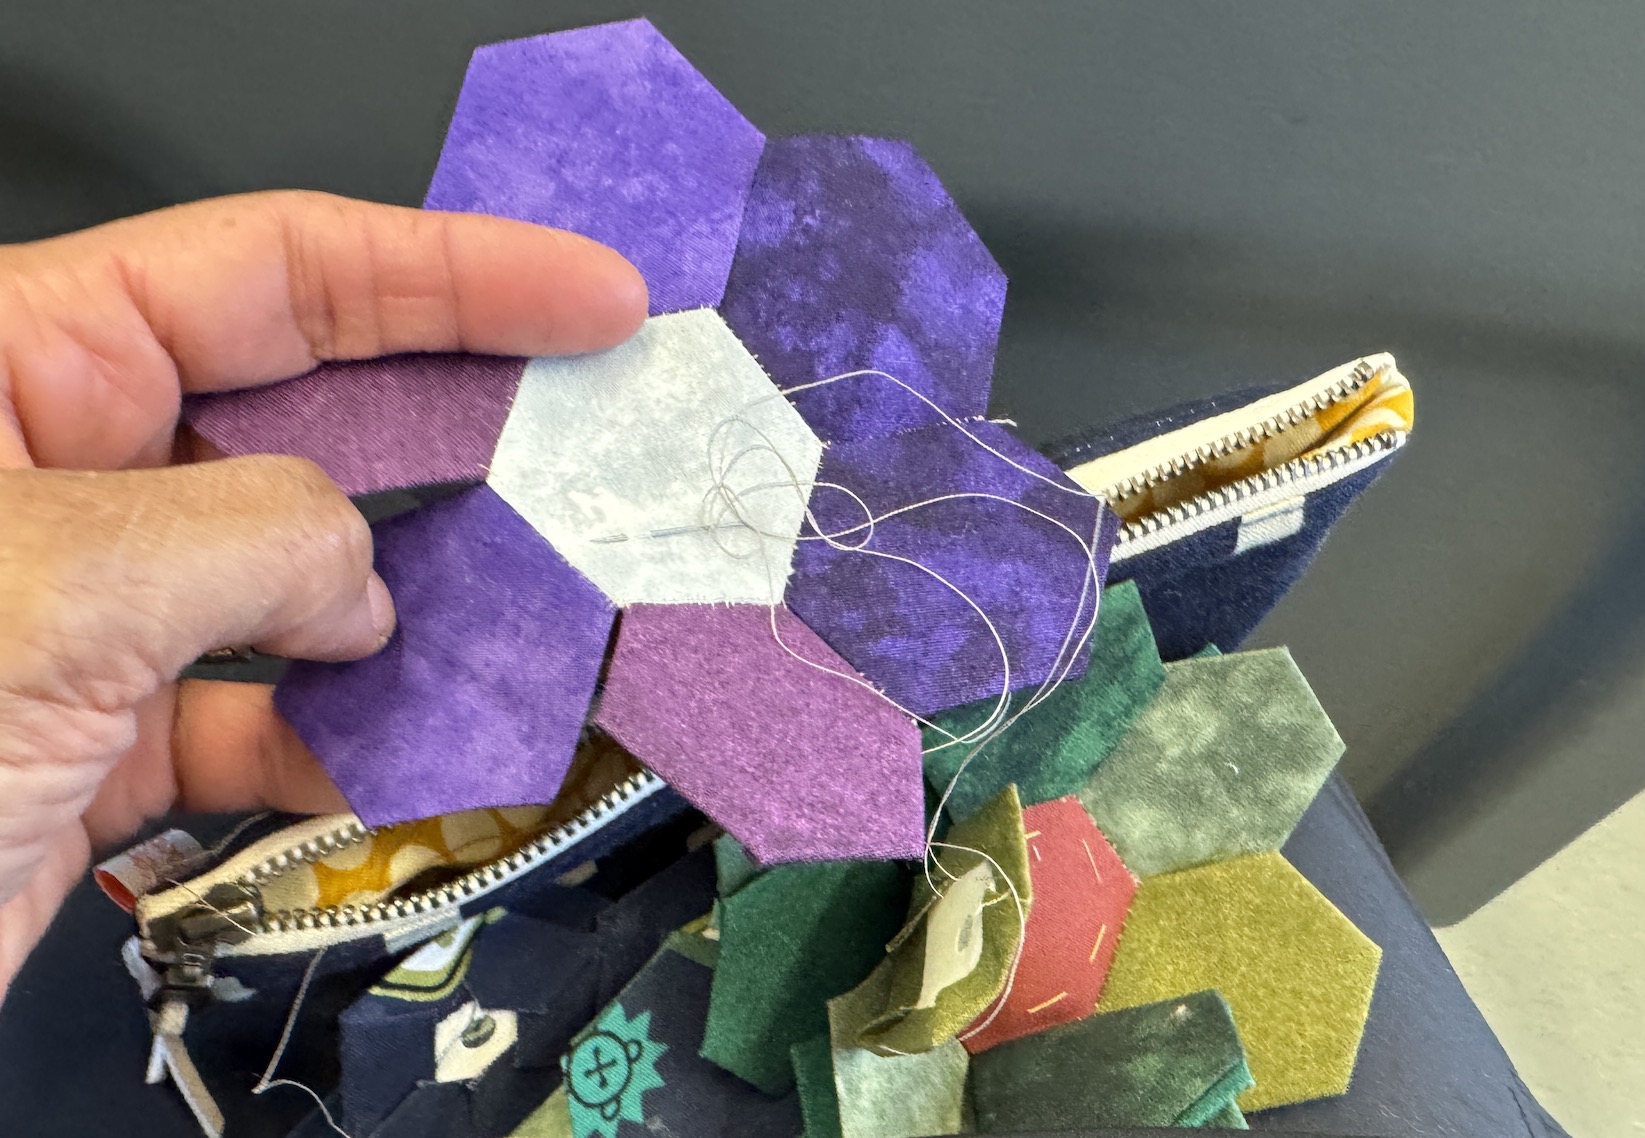
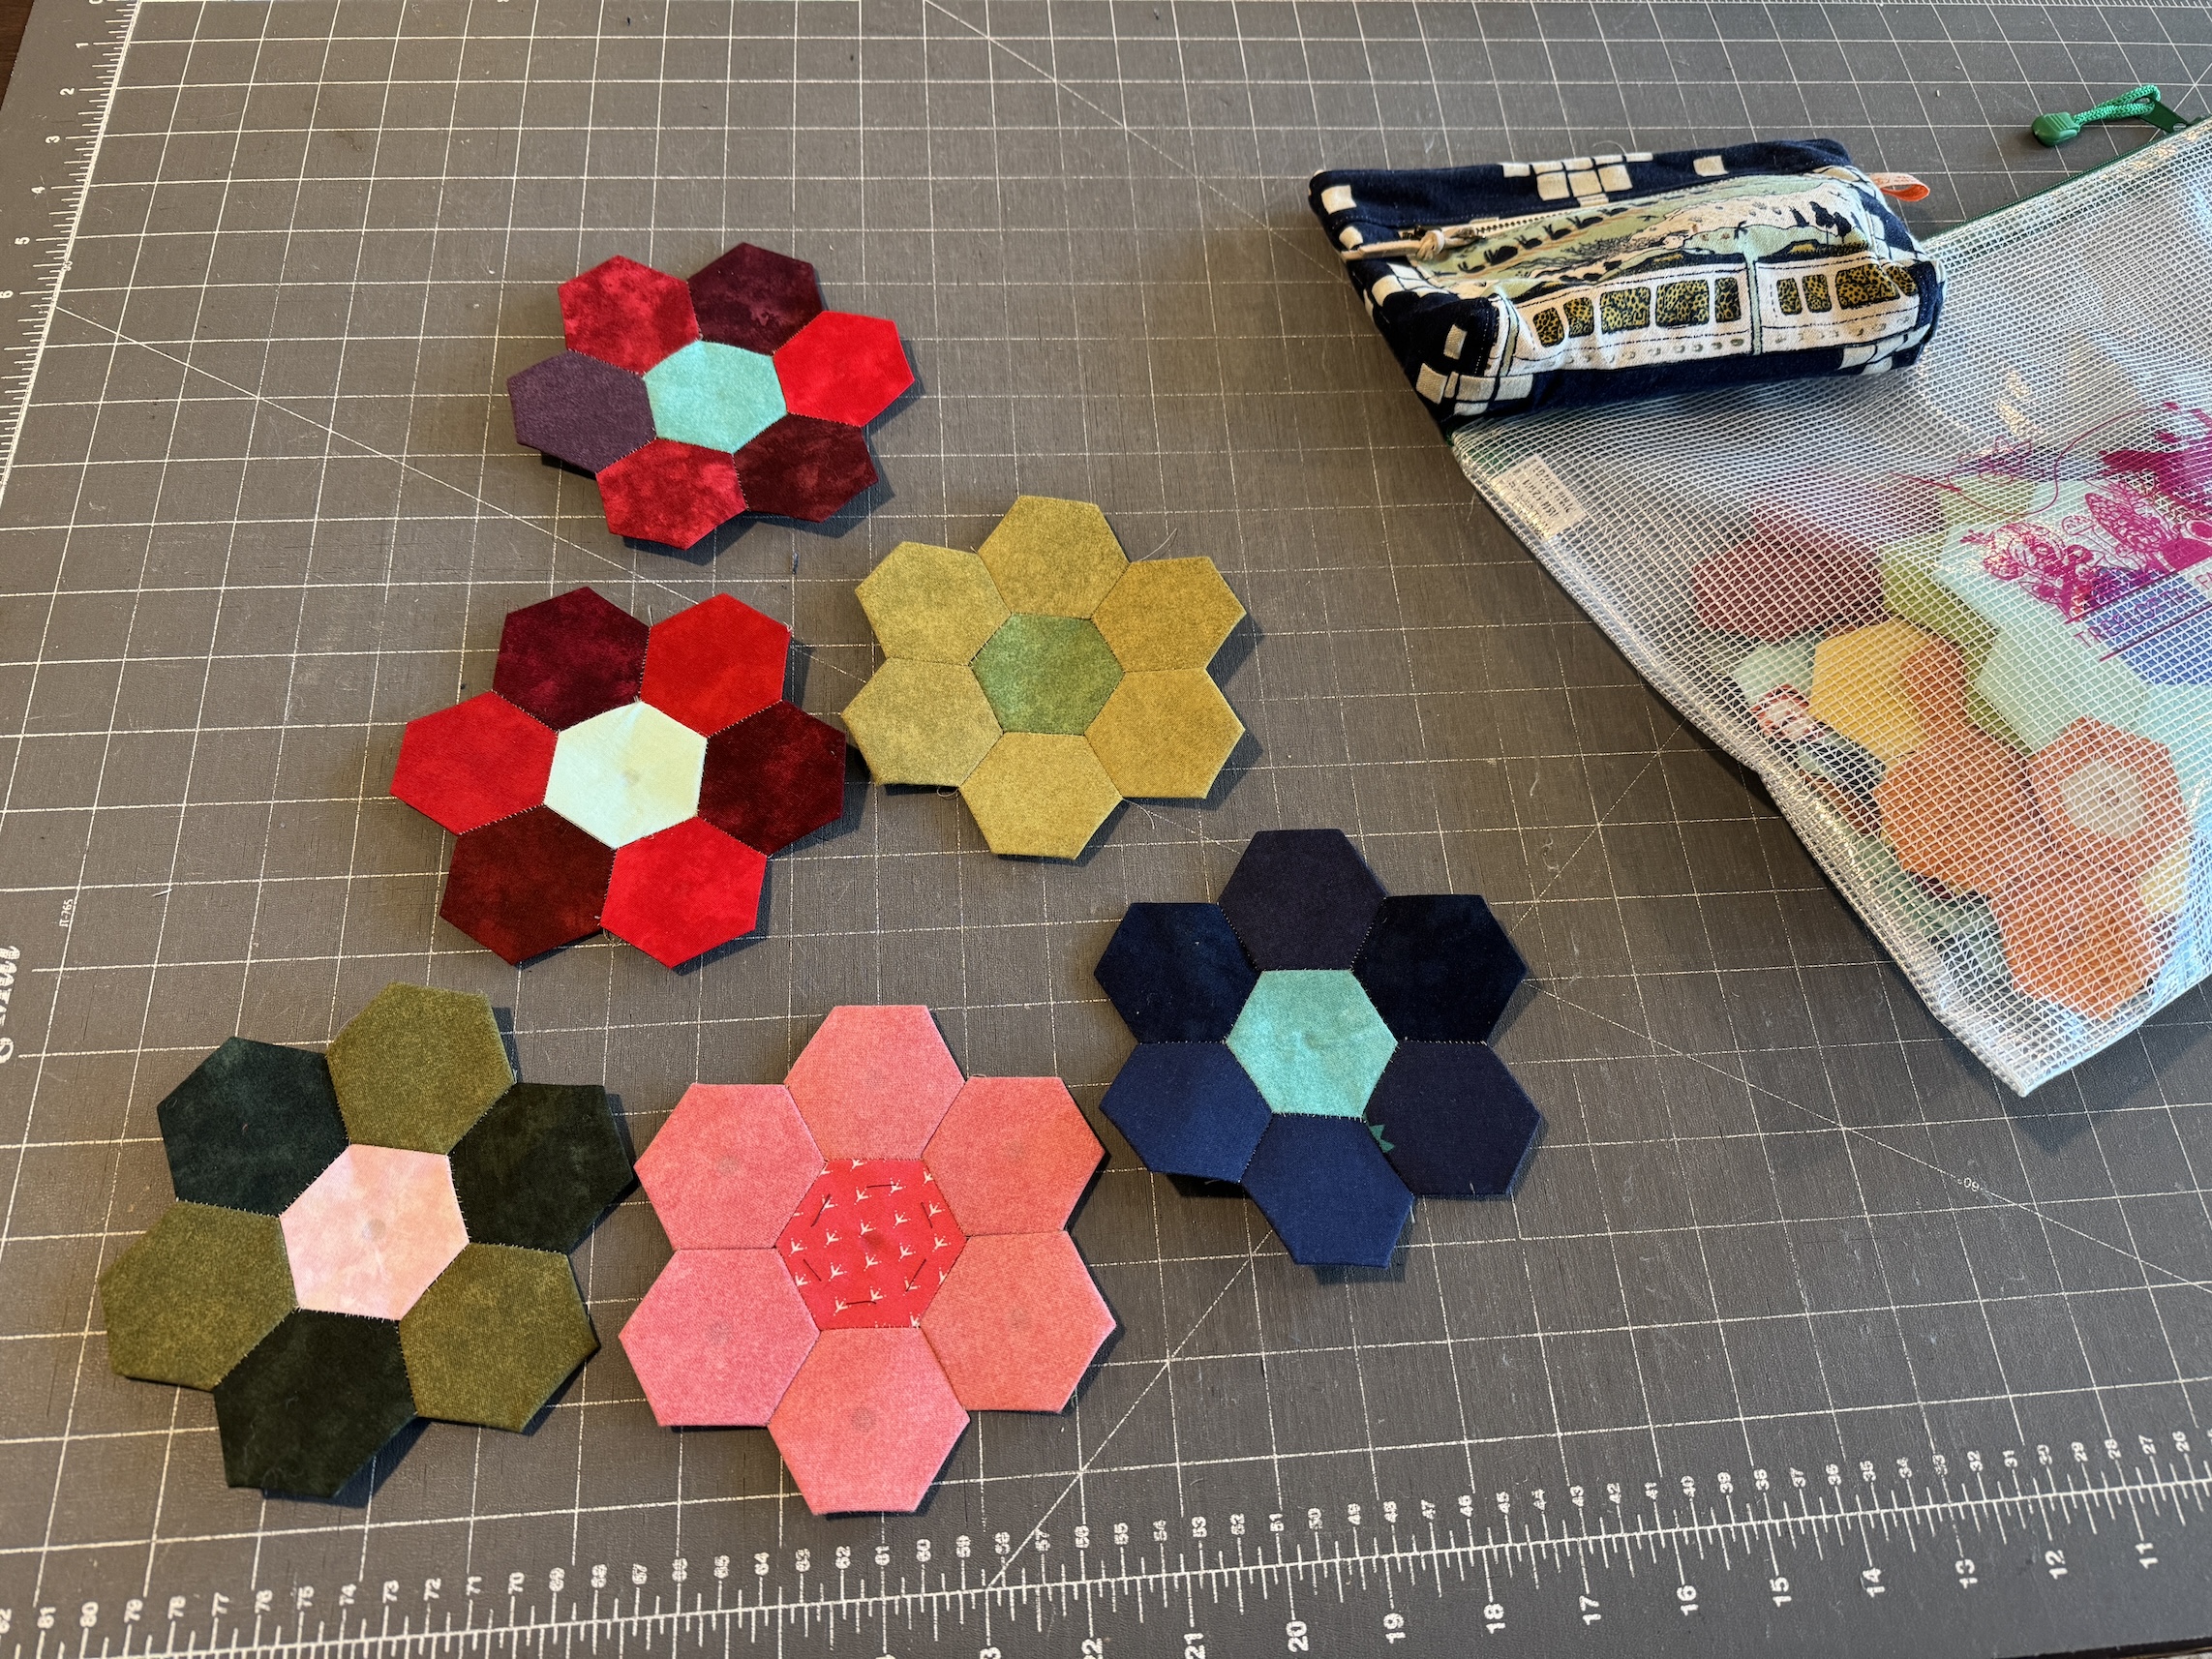
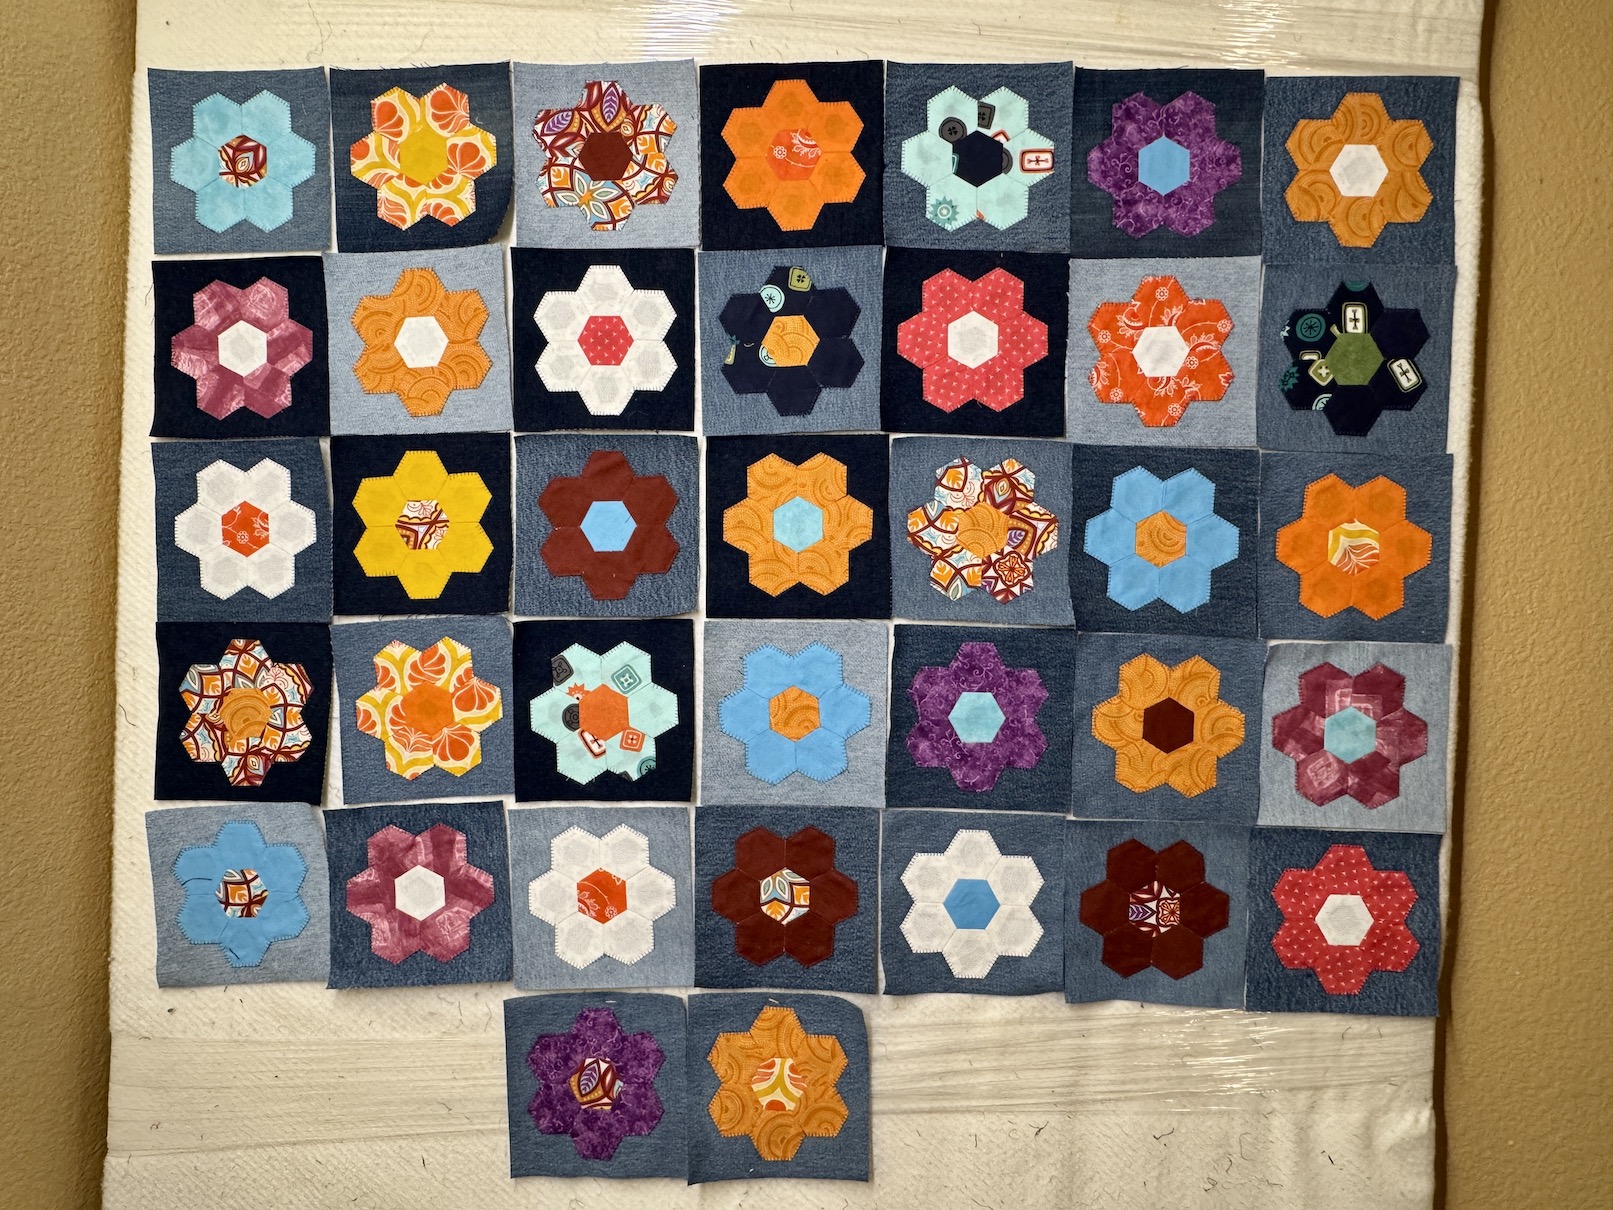
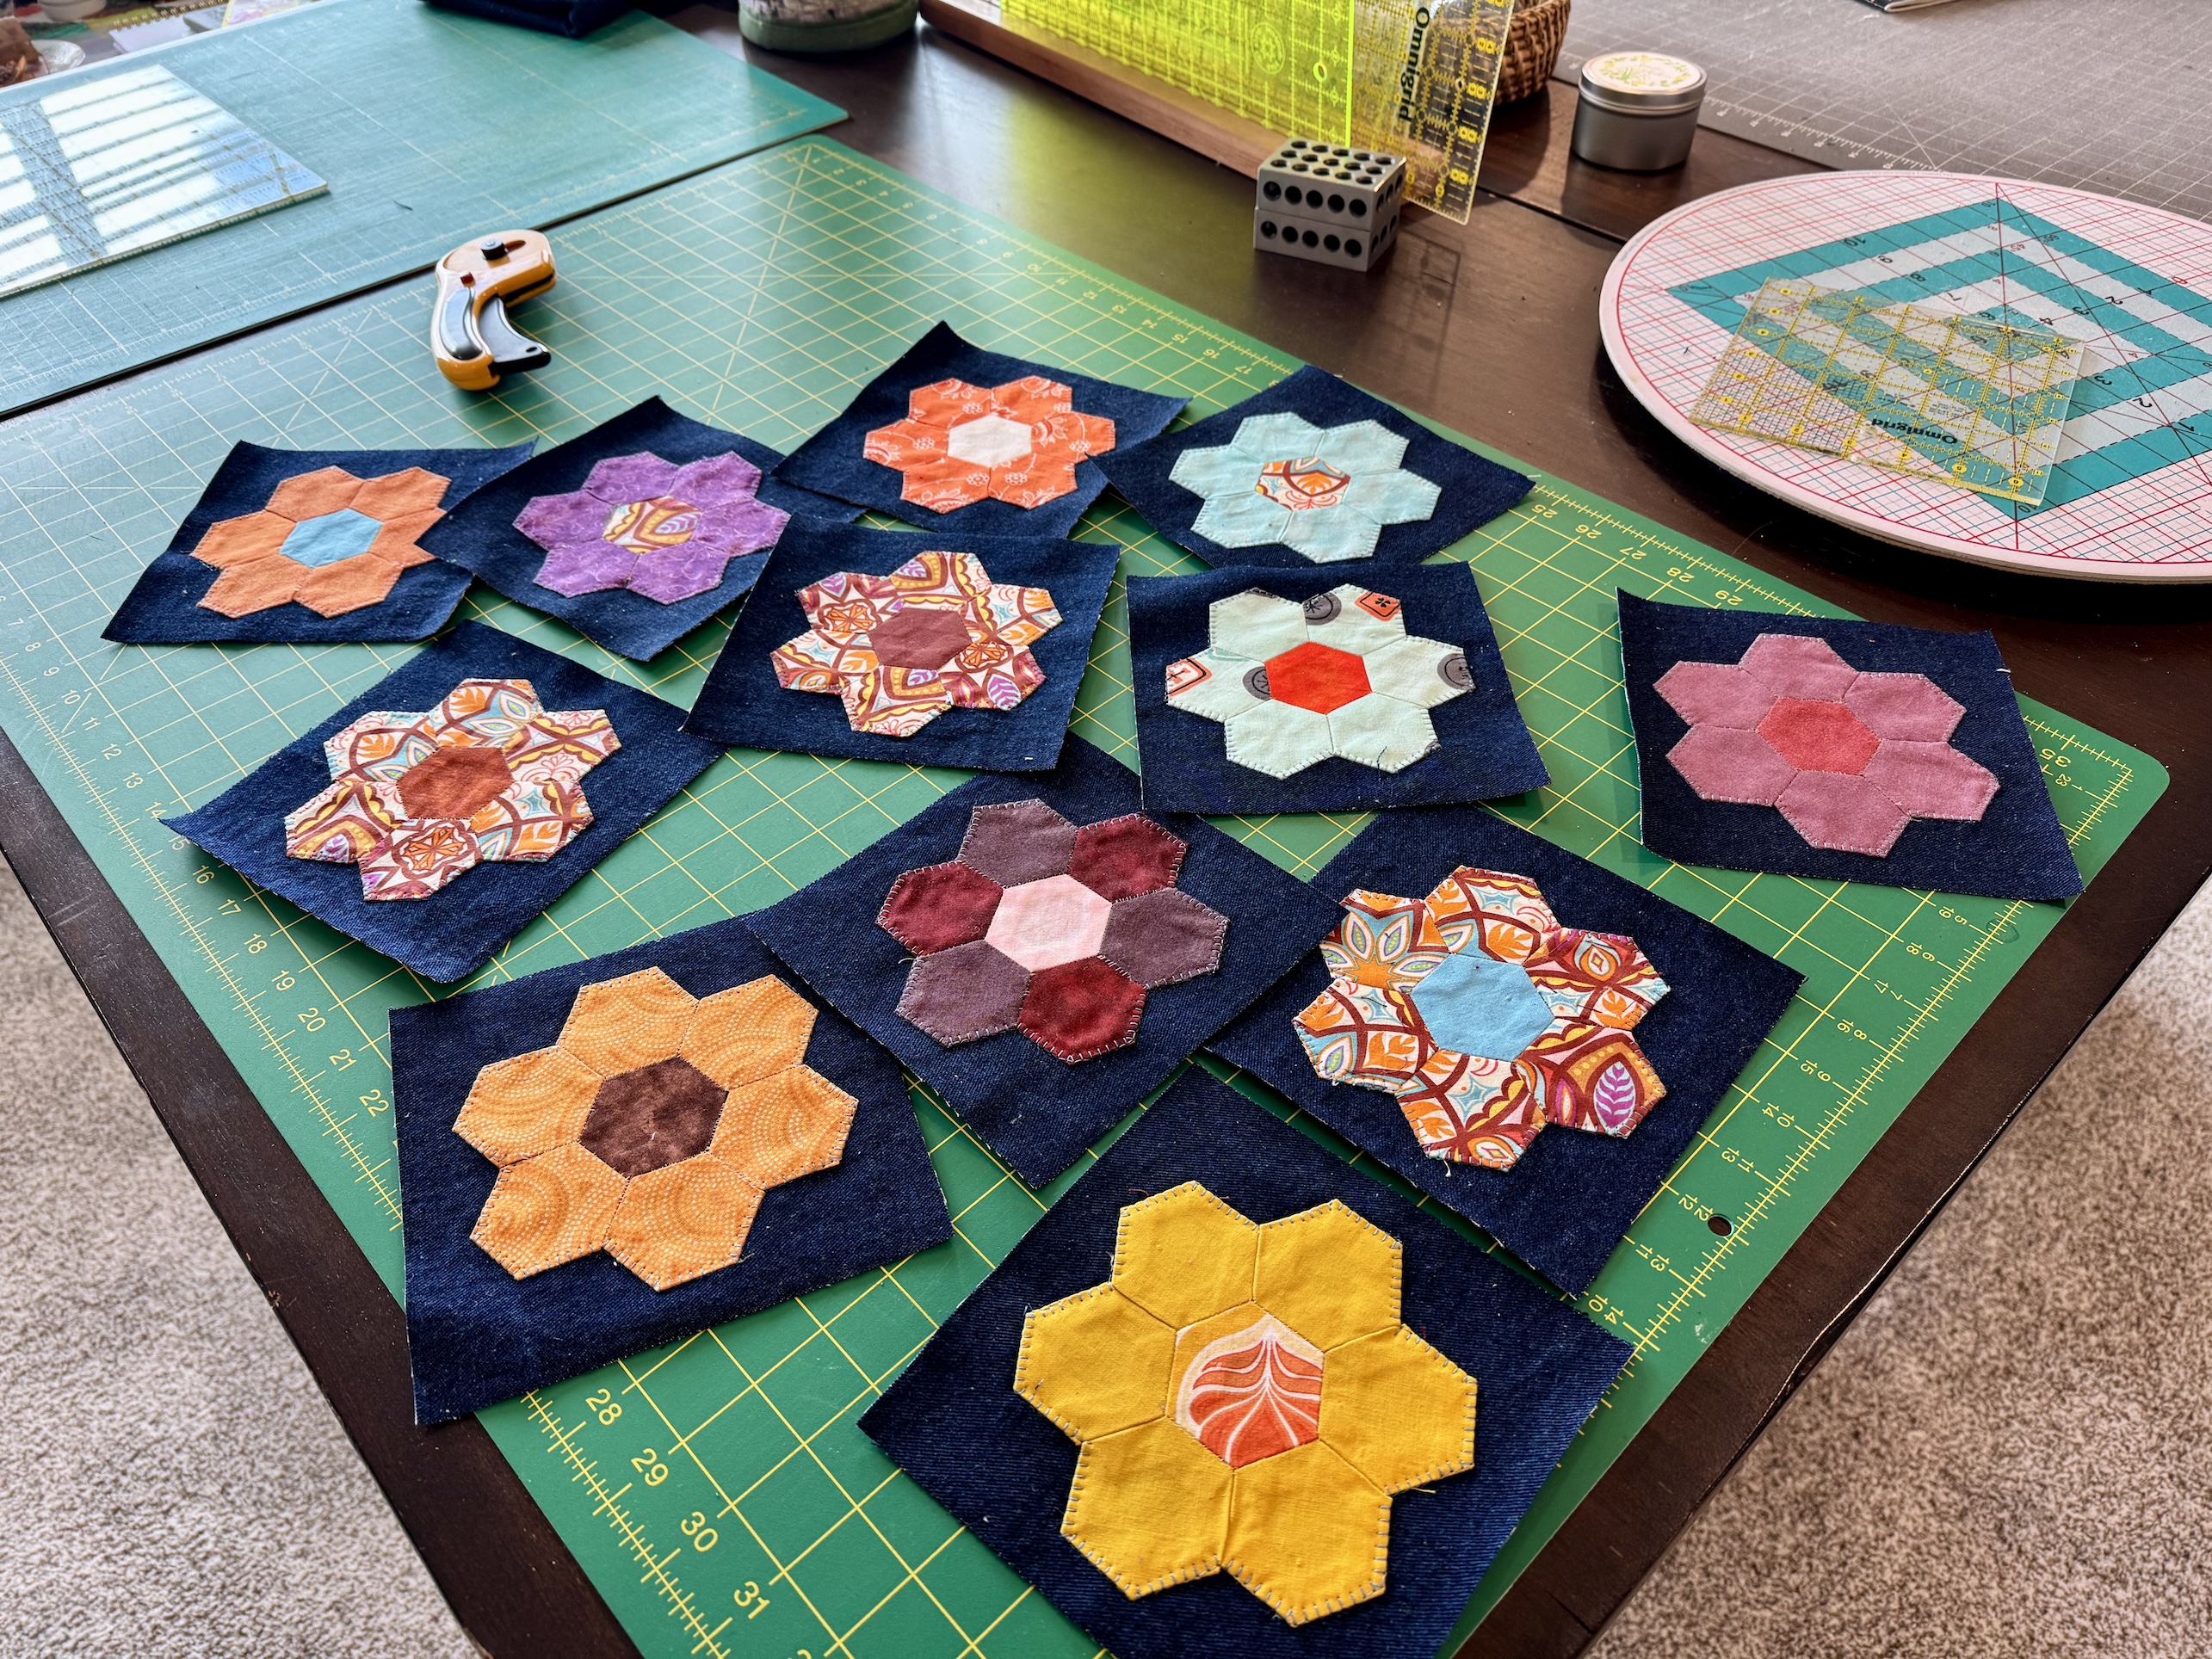
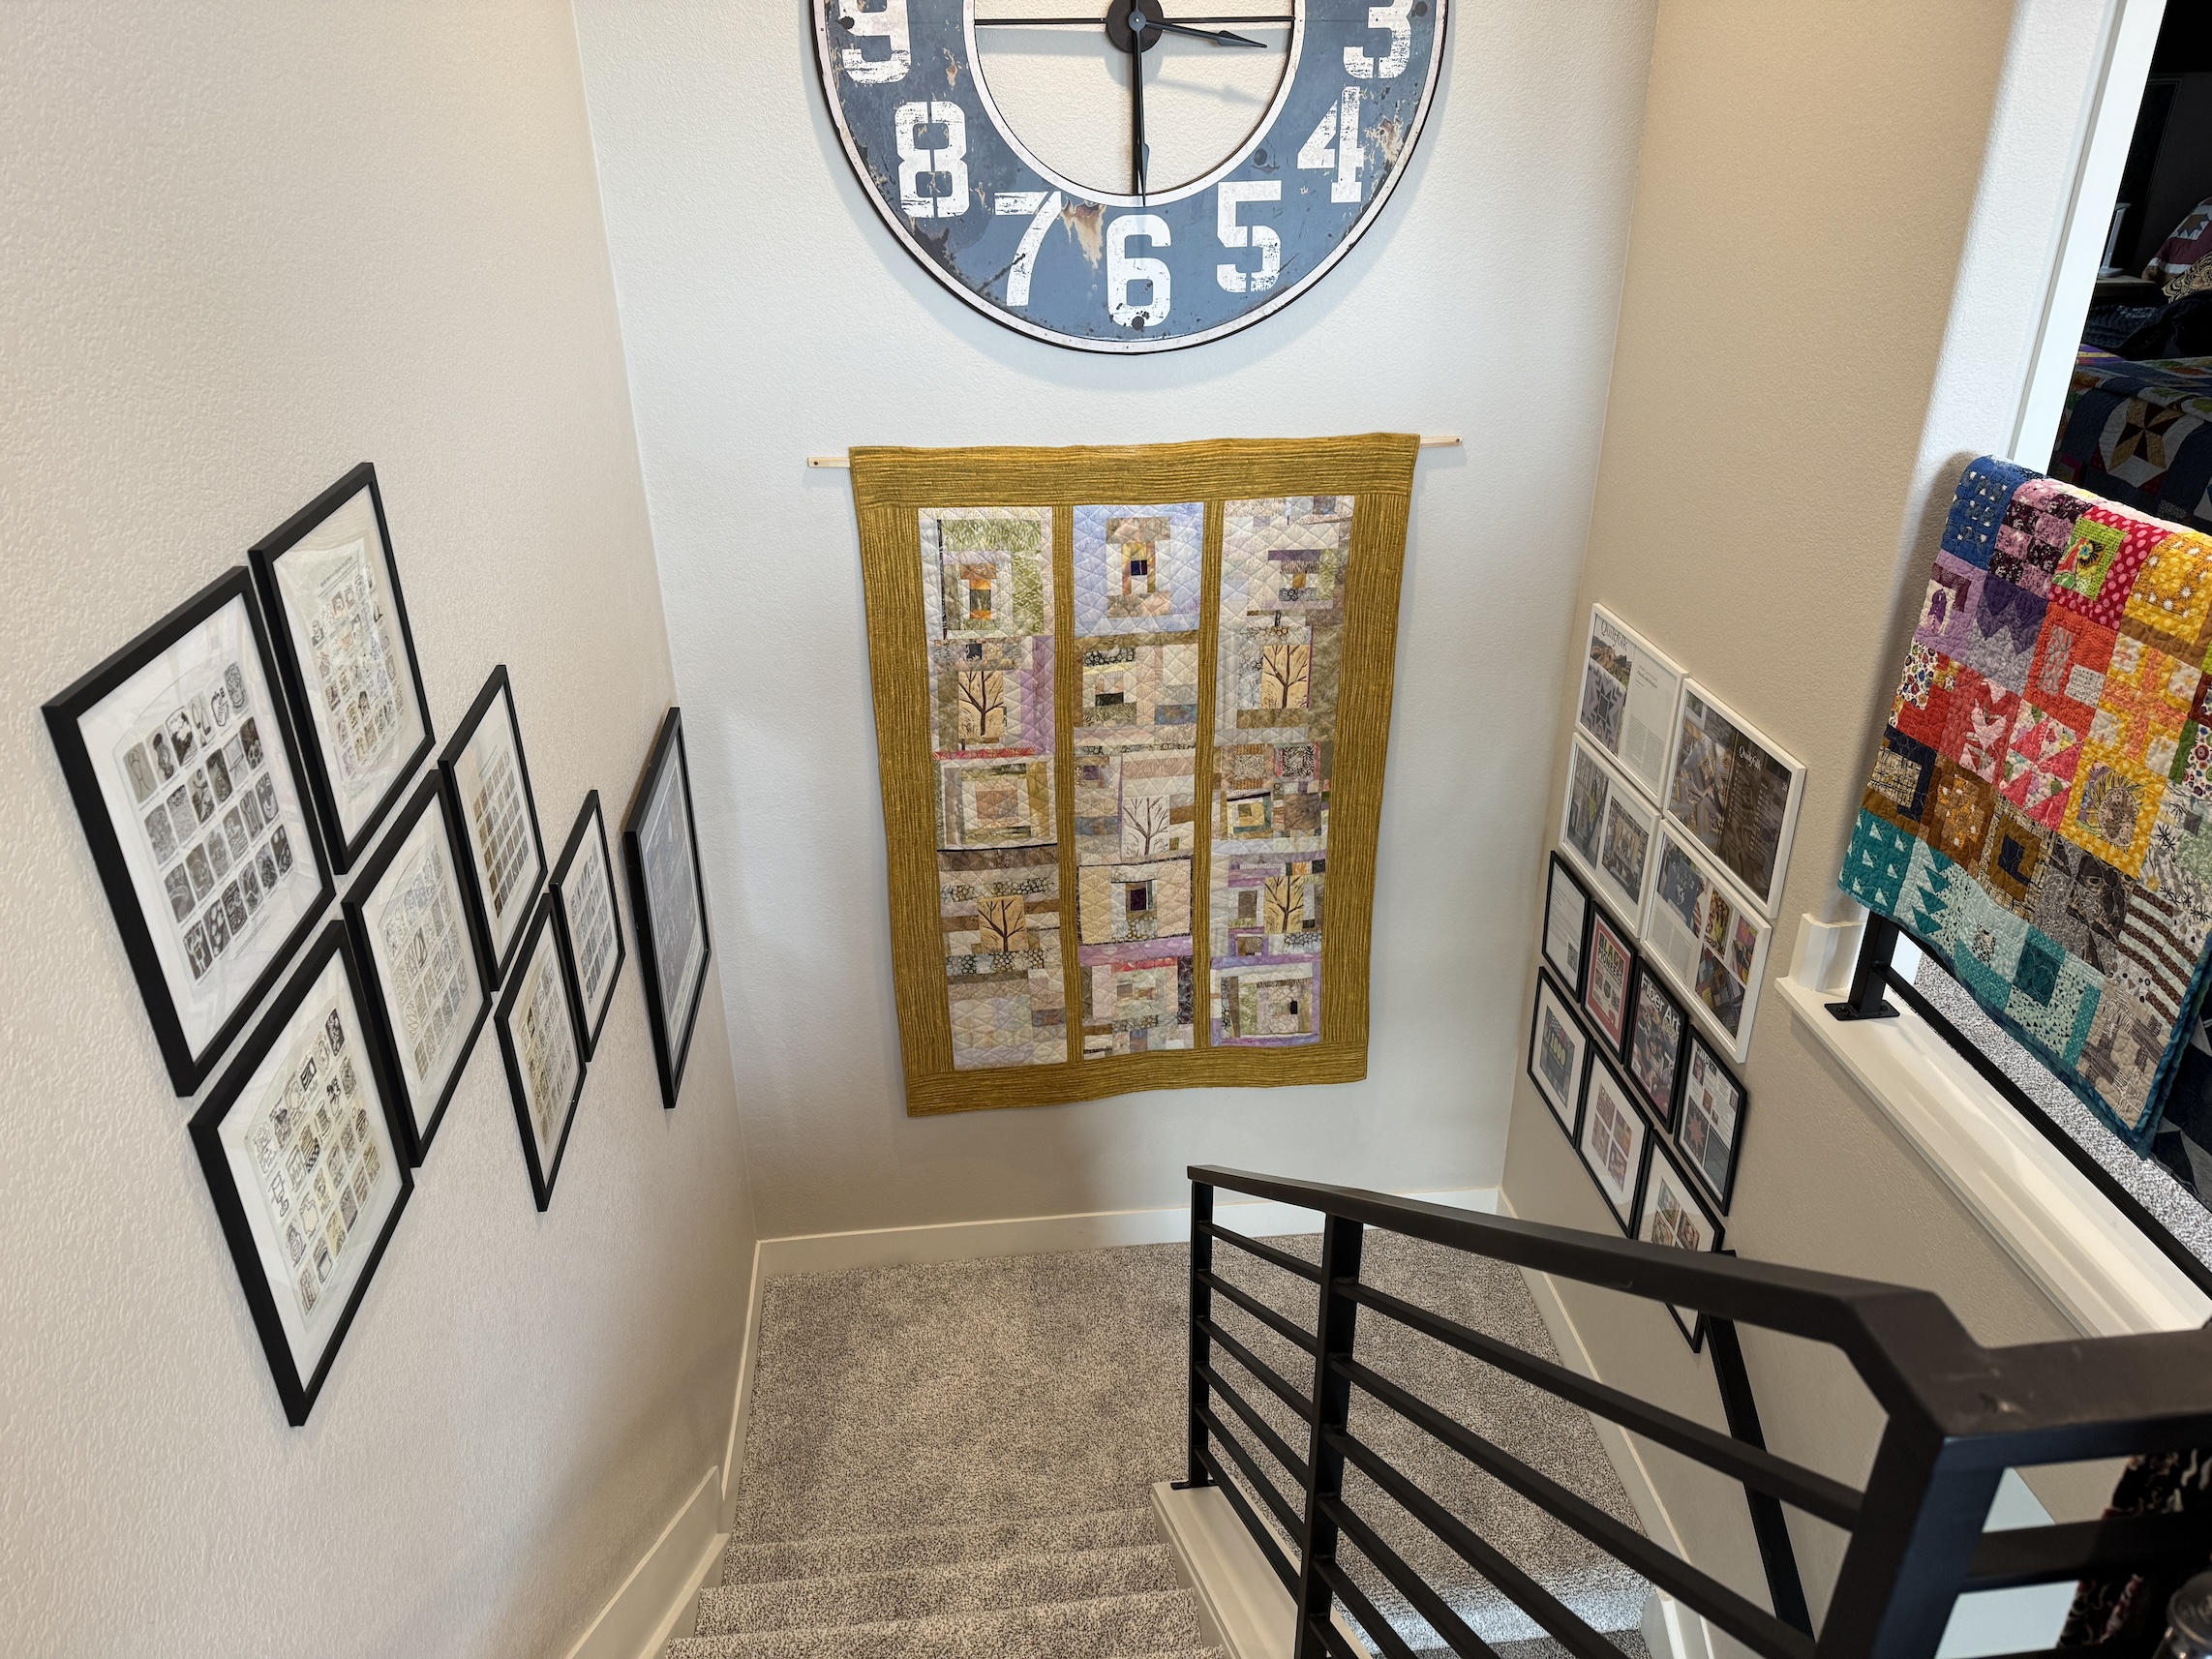
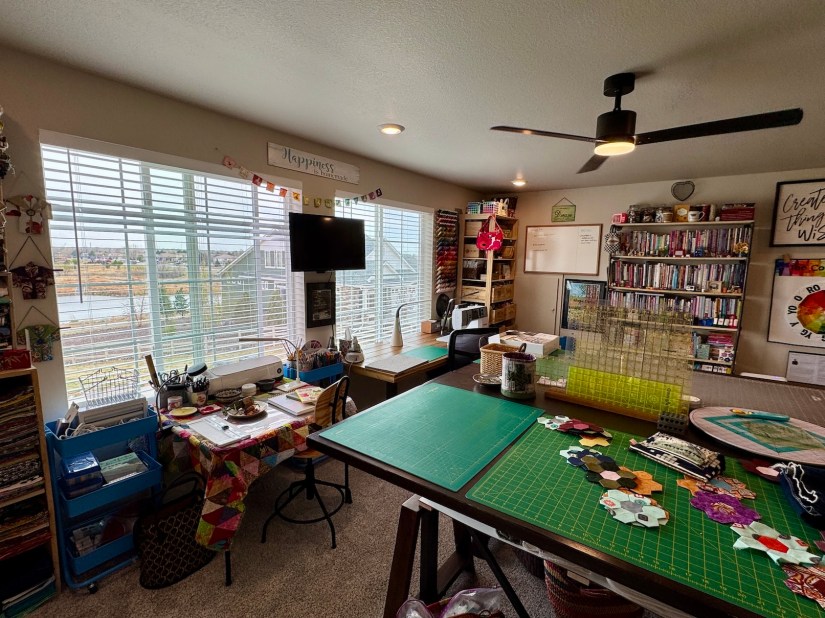
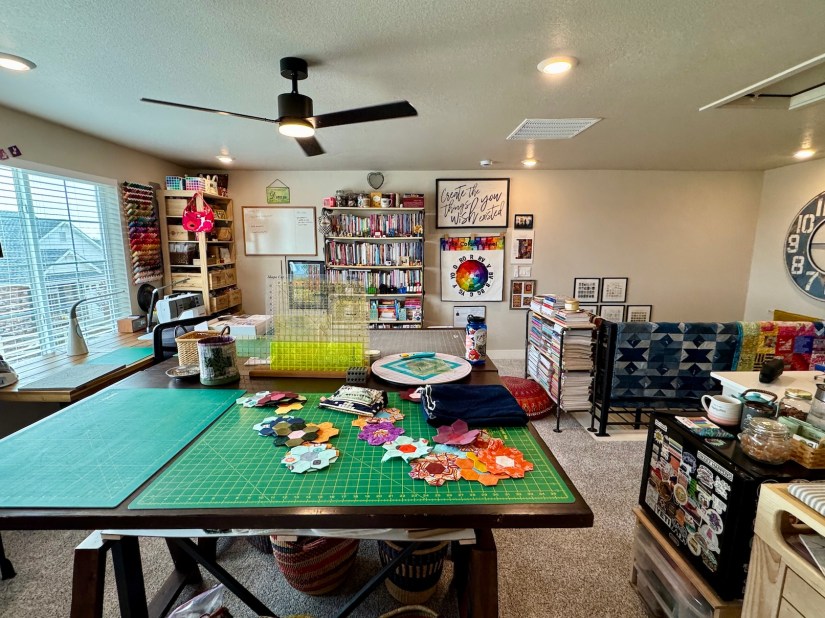
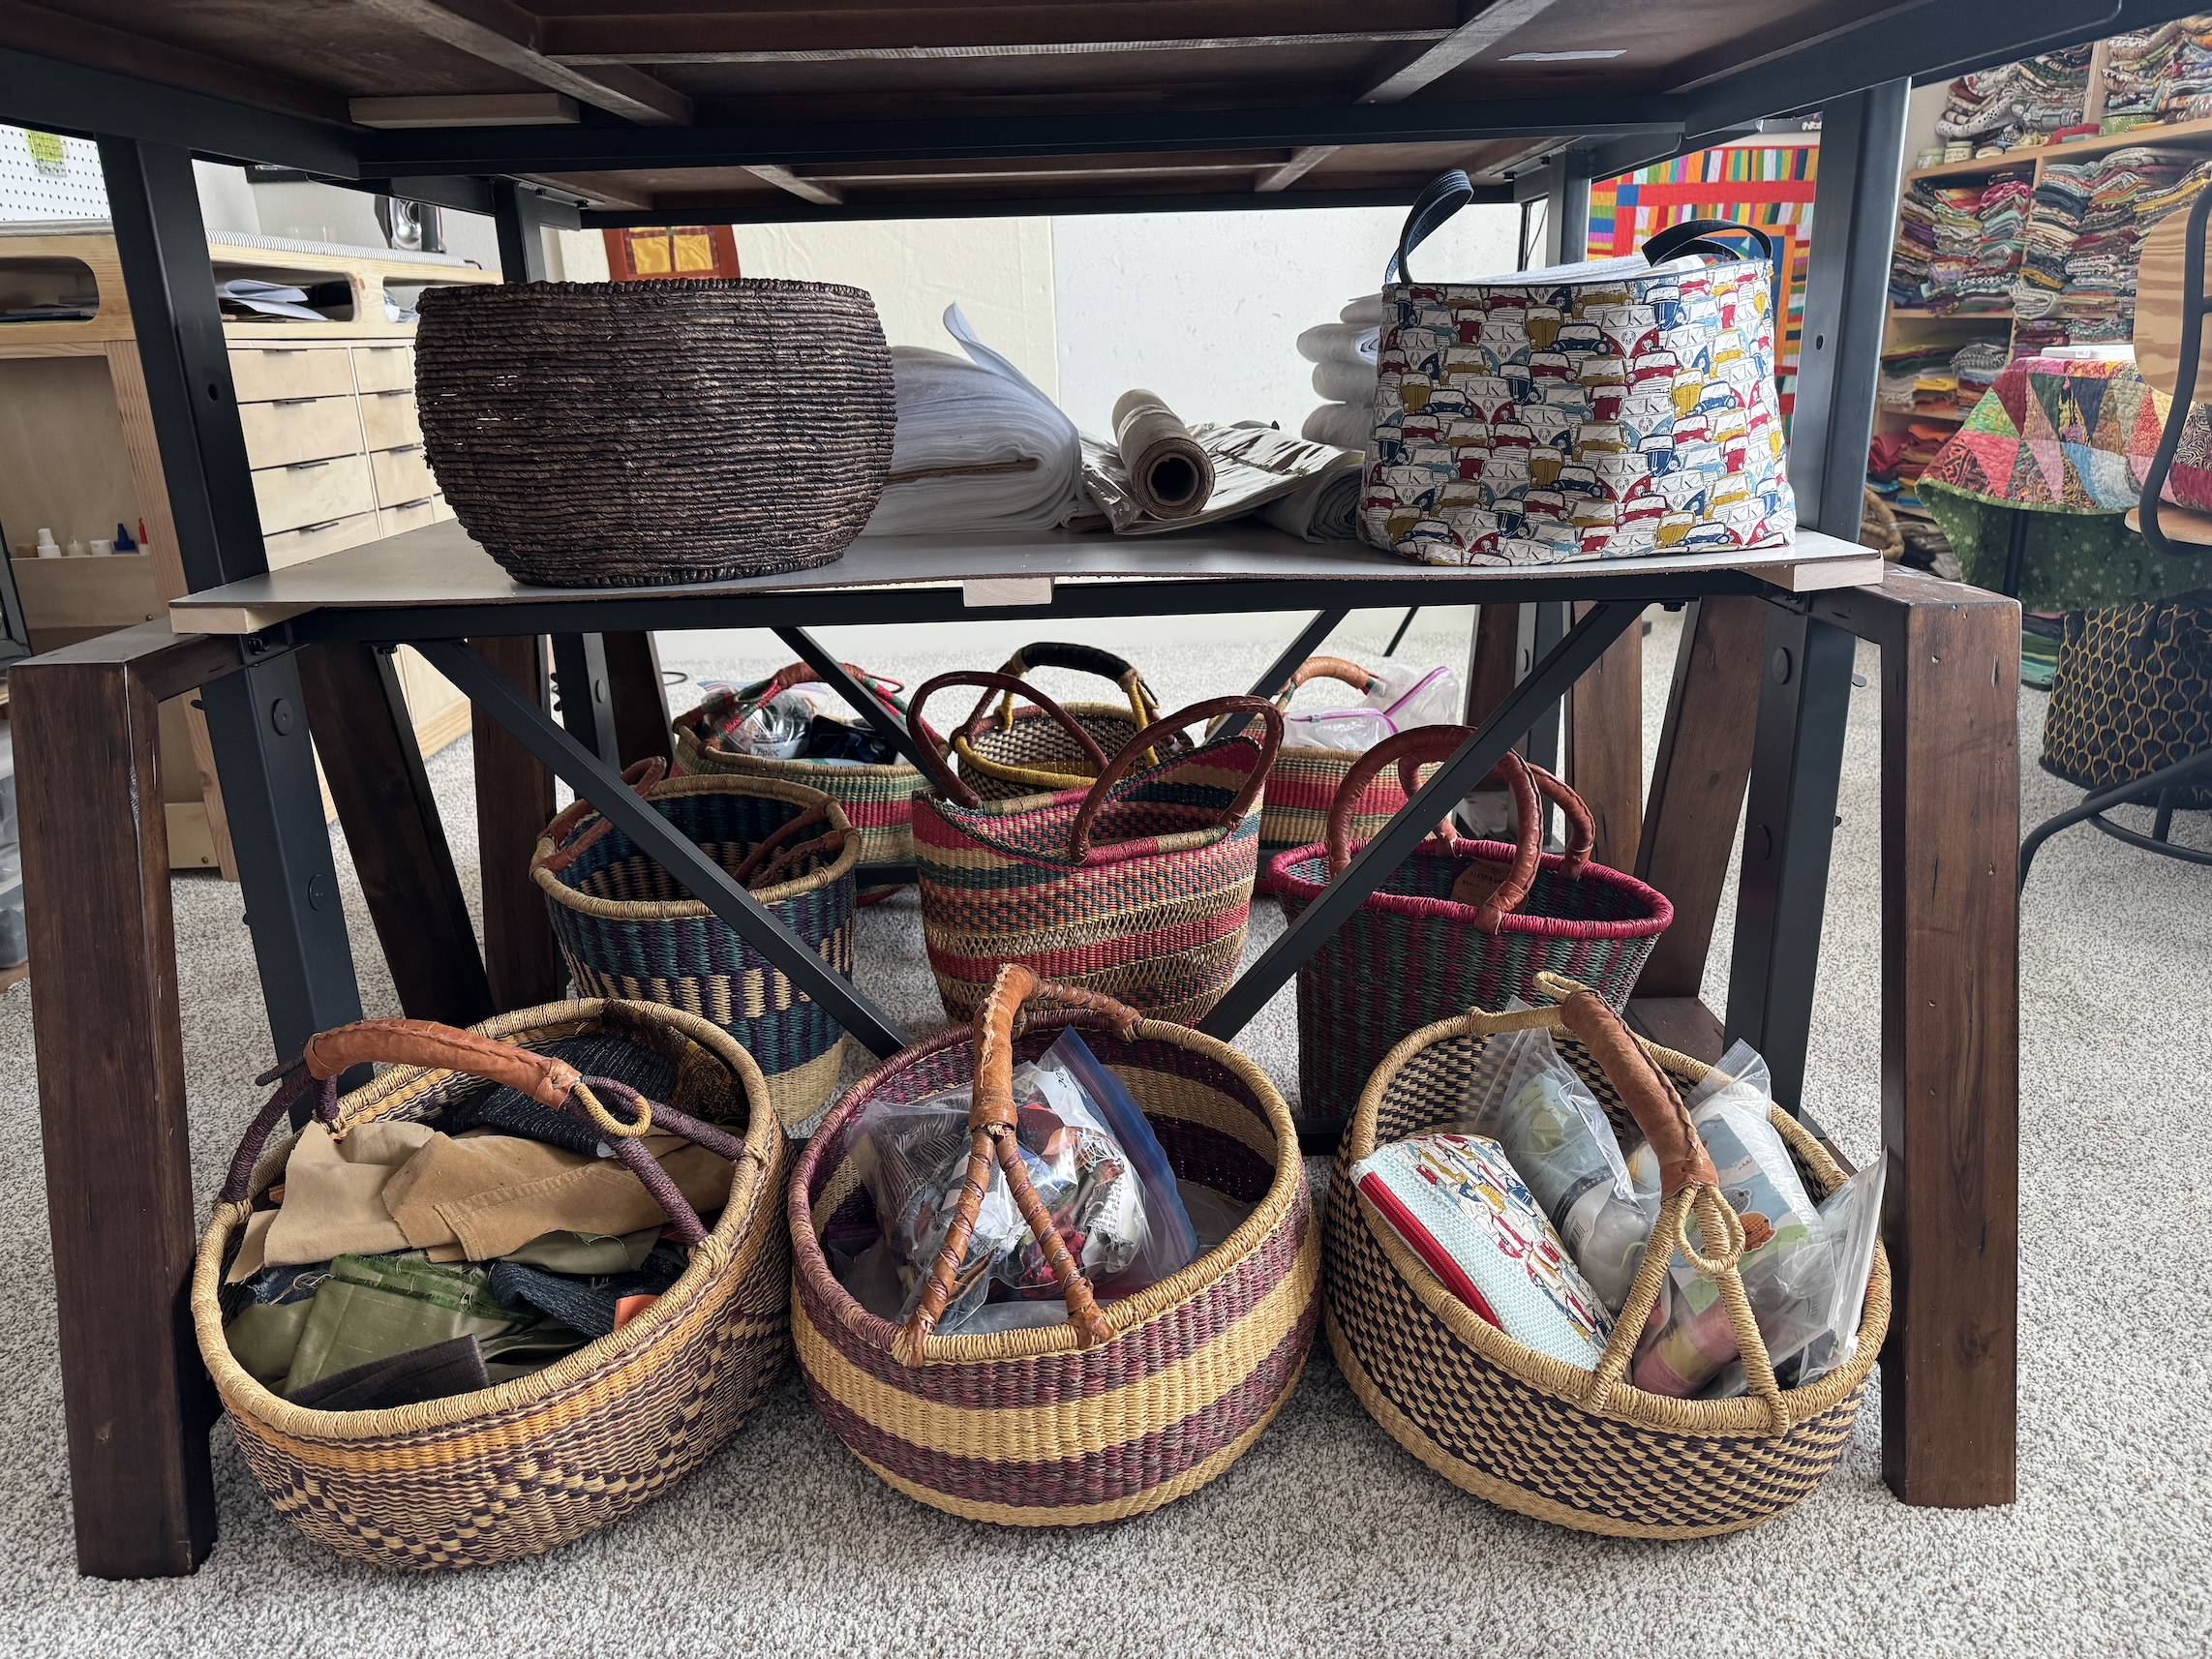
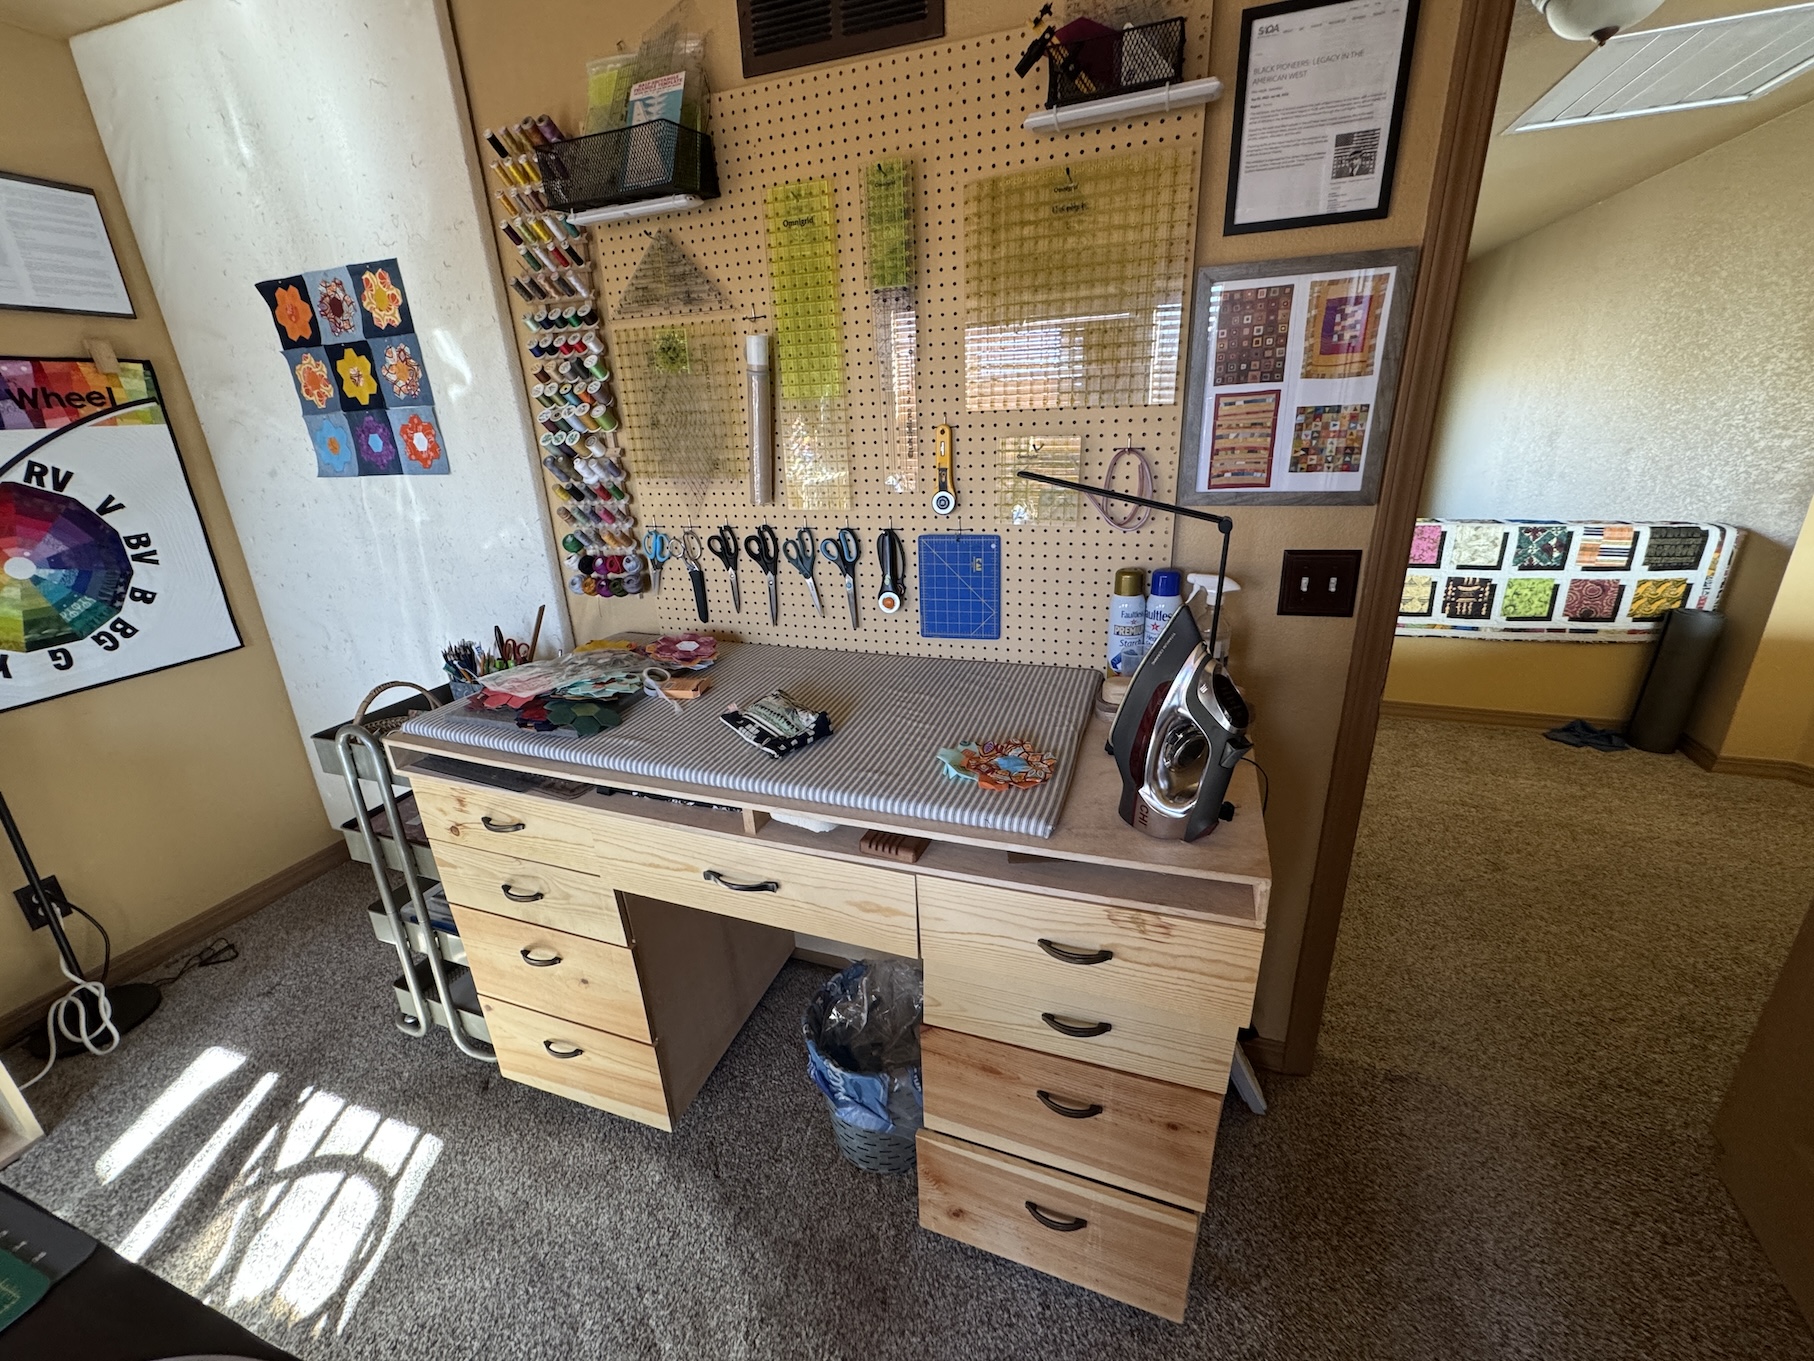
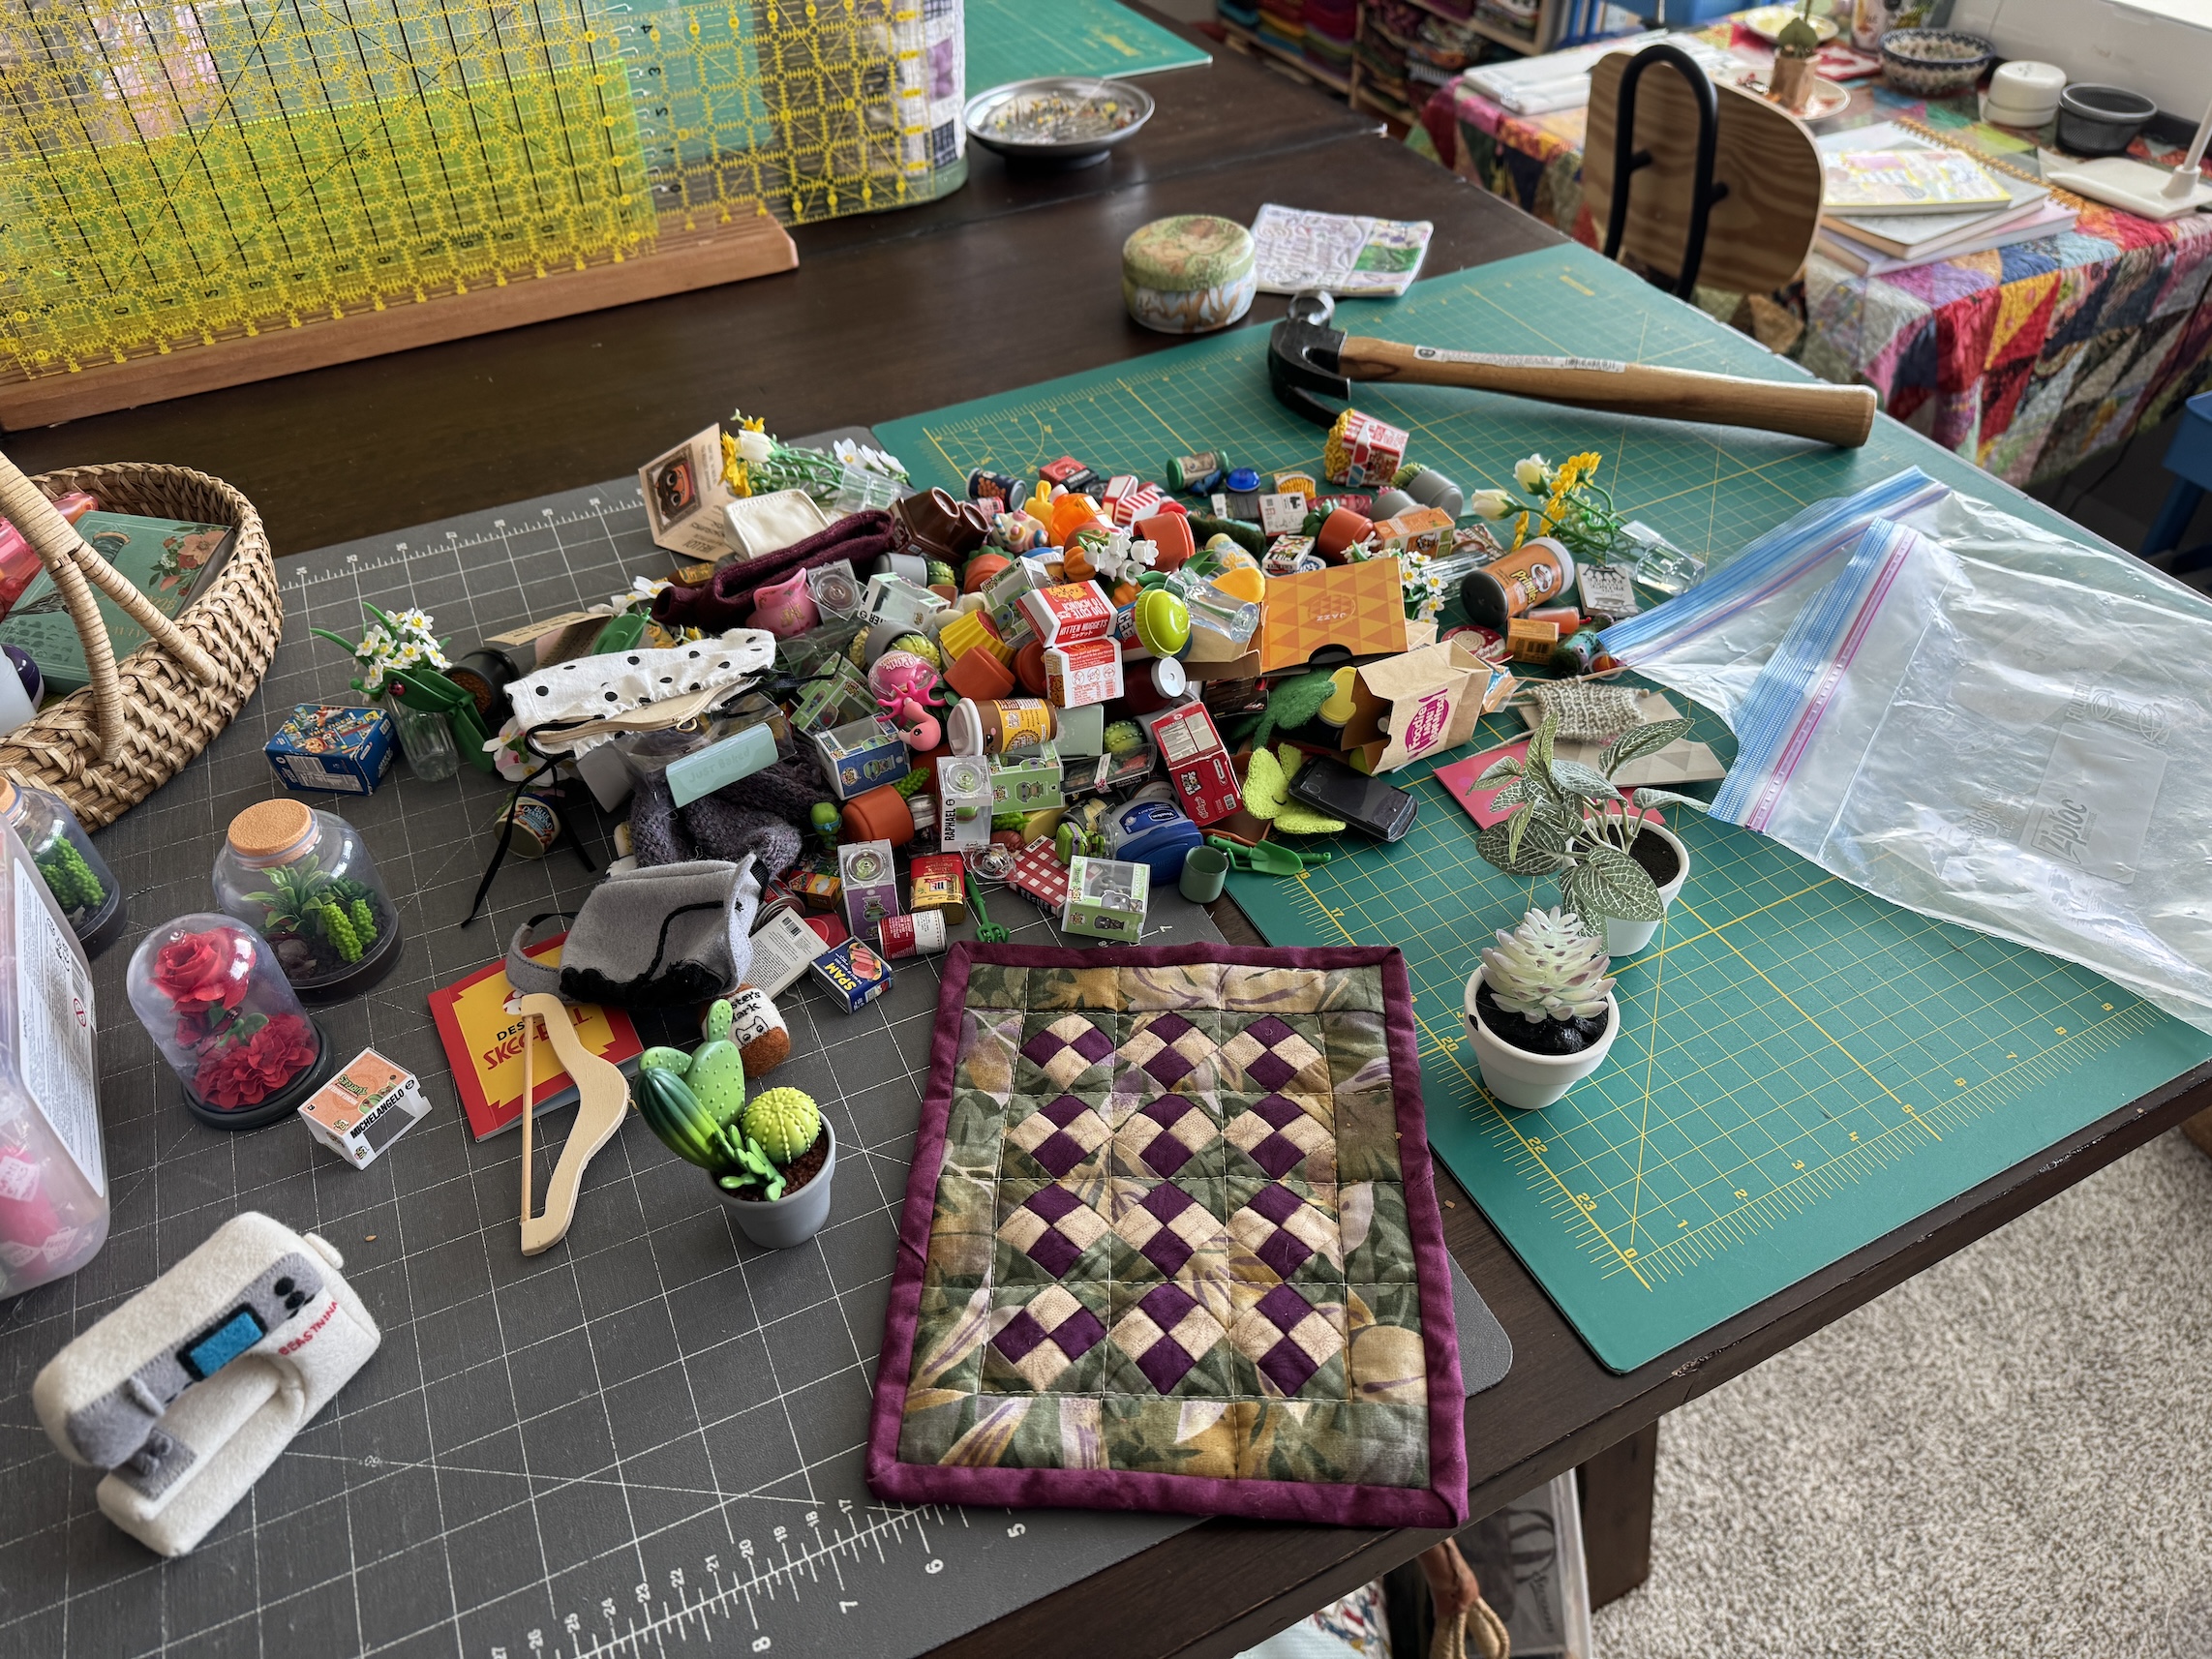
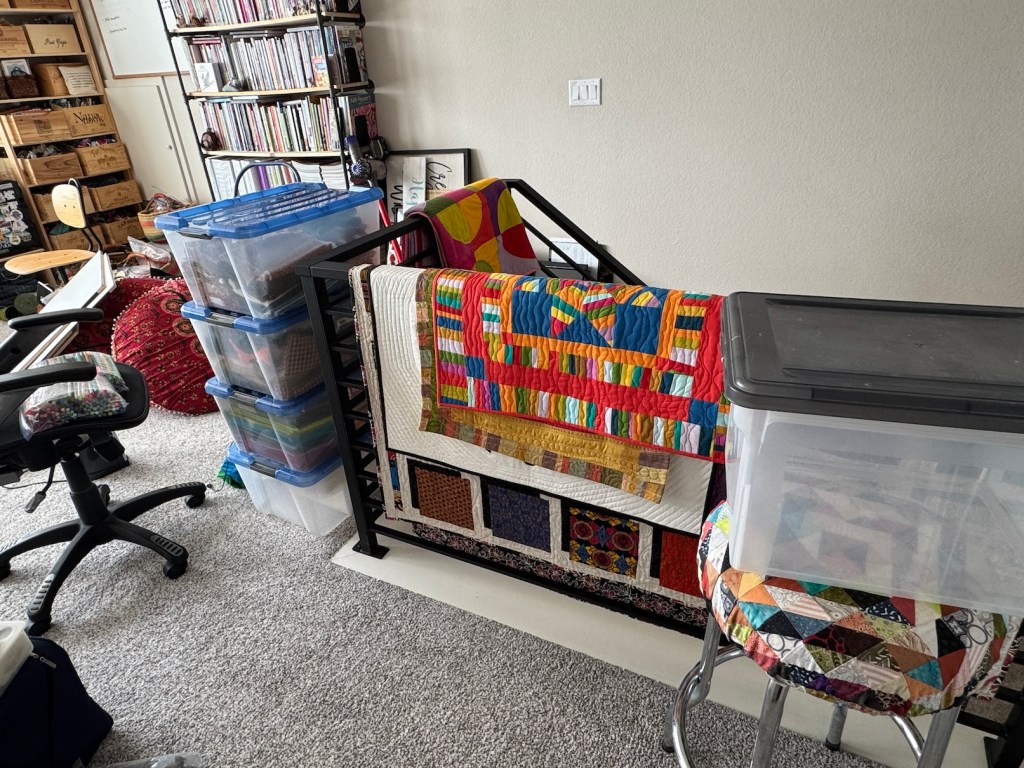
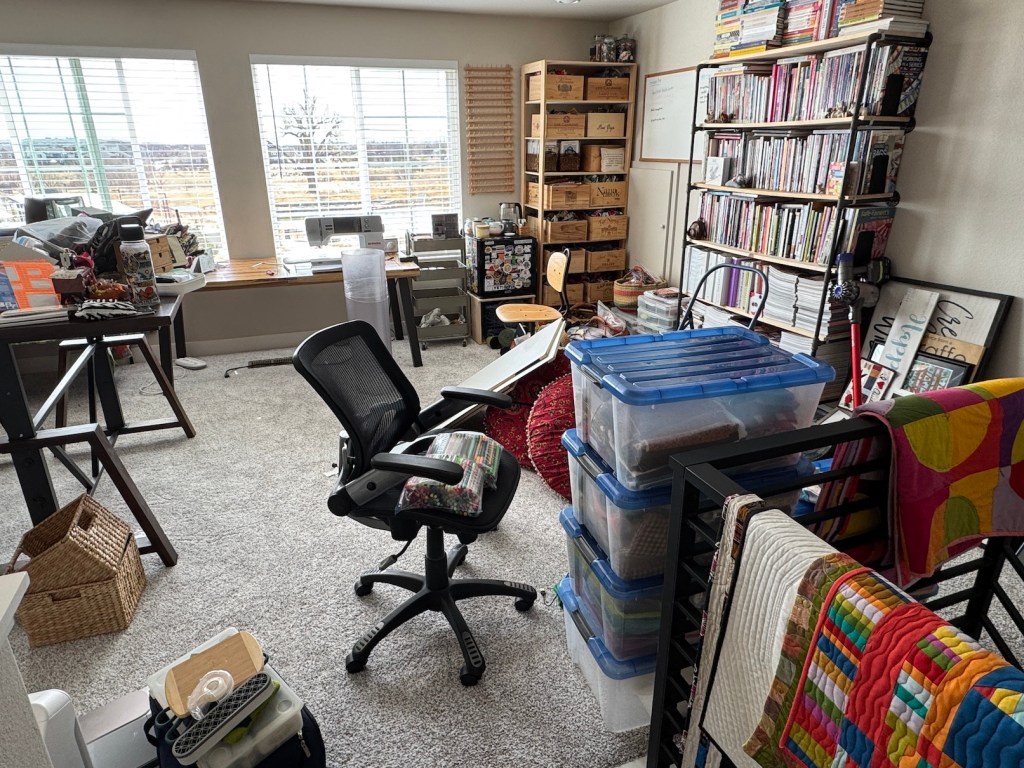
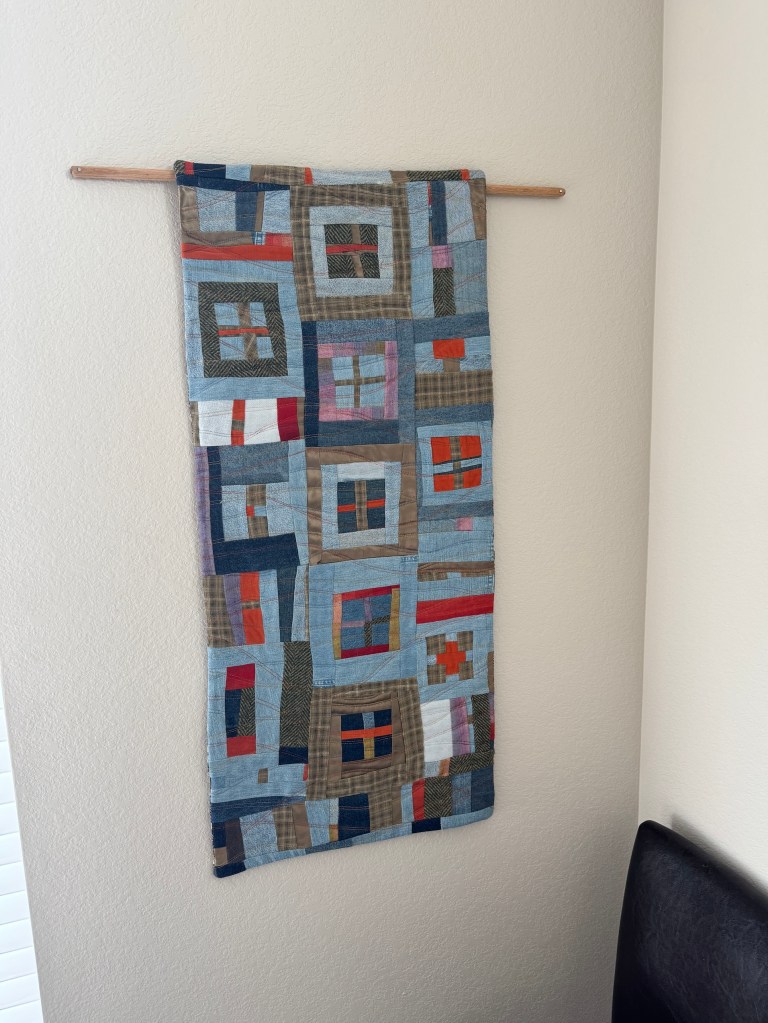
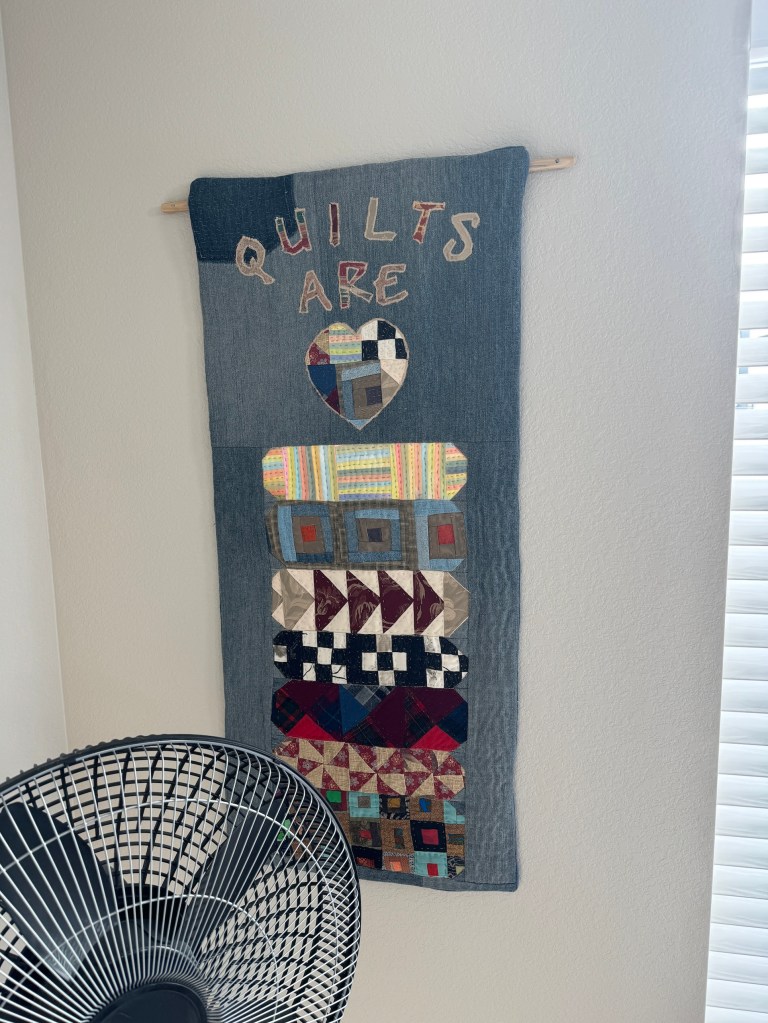
Following up on my May 2026 ScrapHappy post ScrapHappy May 2026 – Moving Along on the EPP Quilt , I did over the past month complete sewing together 6 more English Paper Piecing (EPP) rosettes.
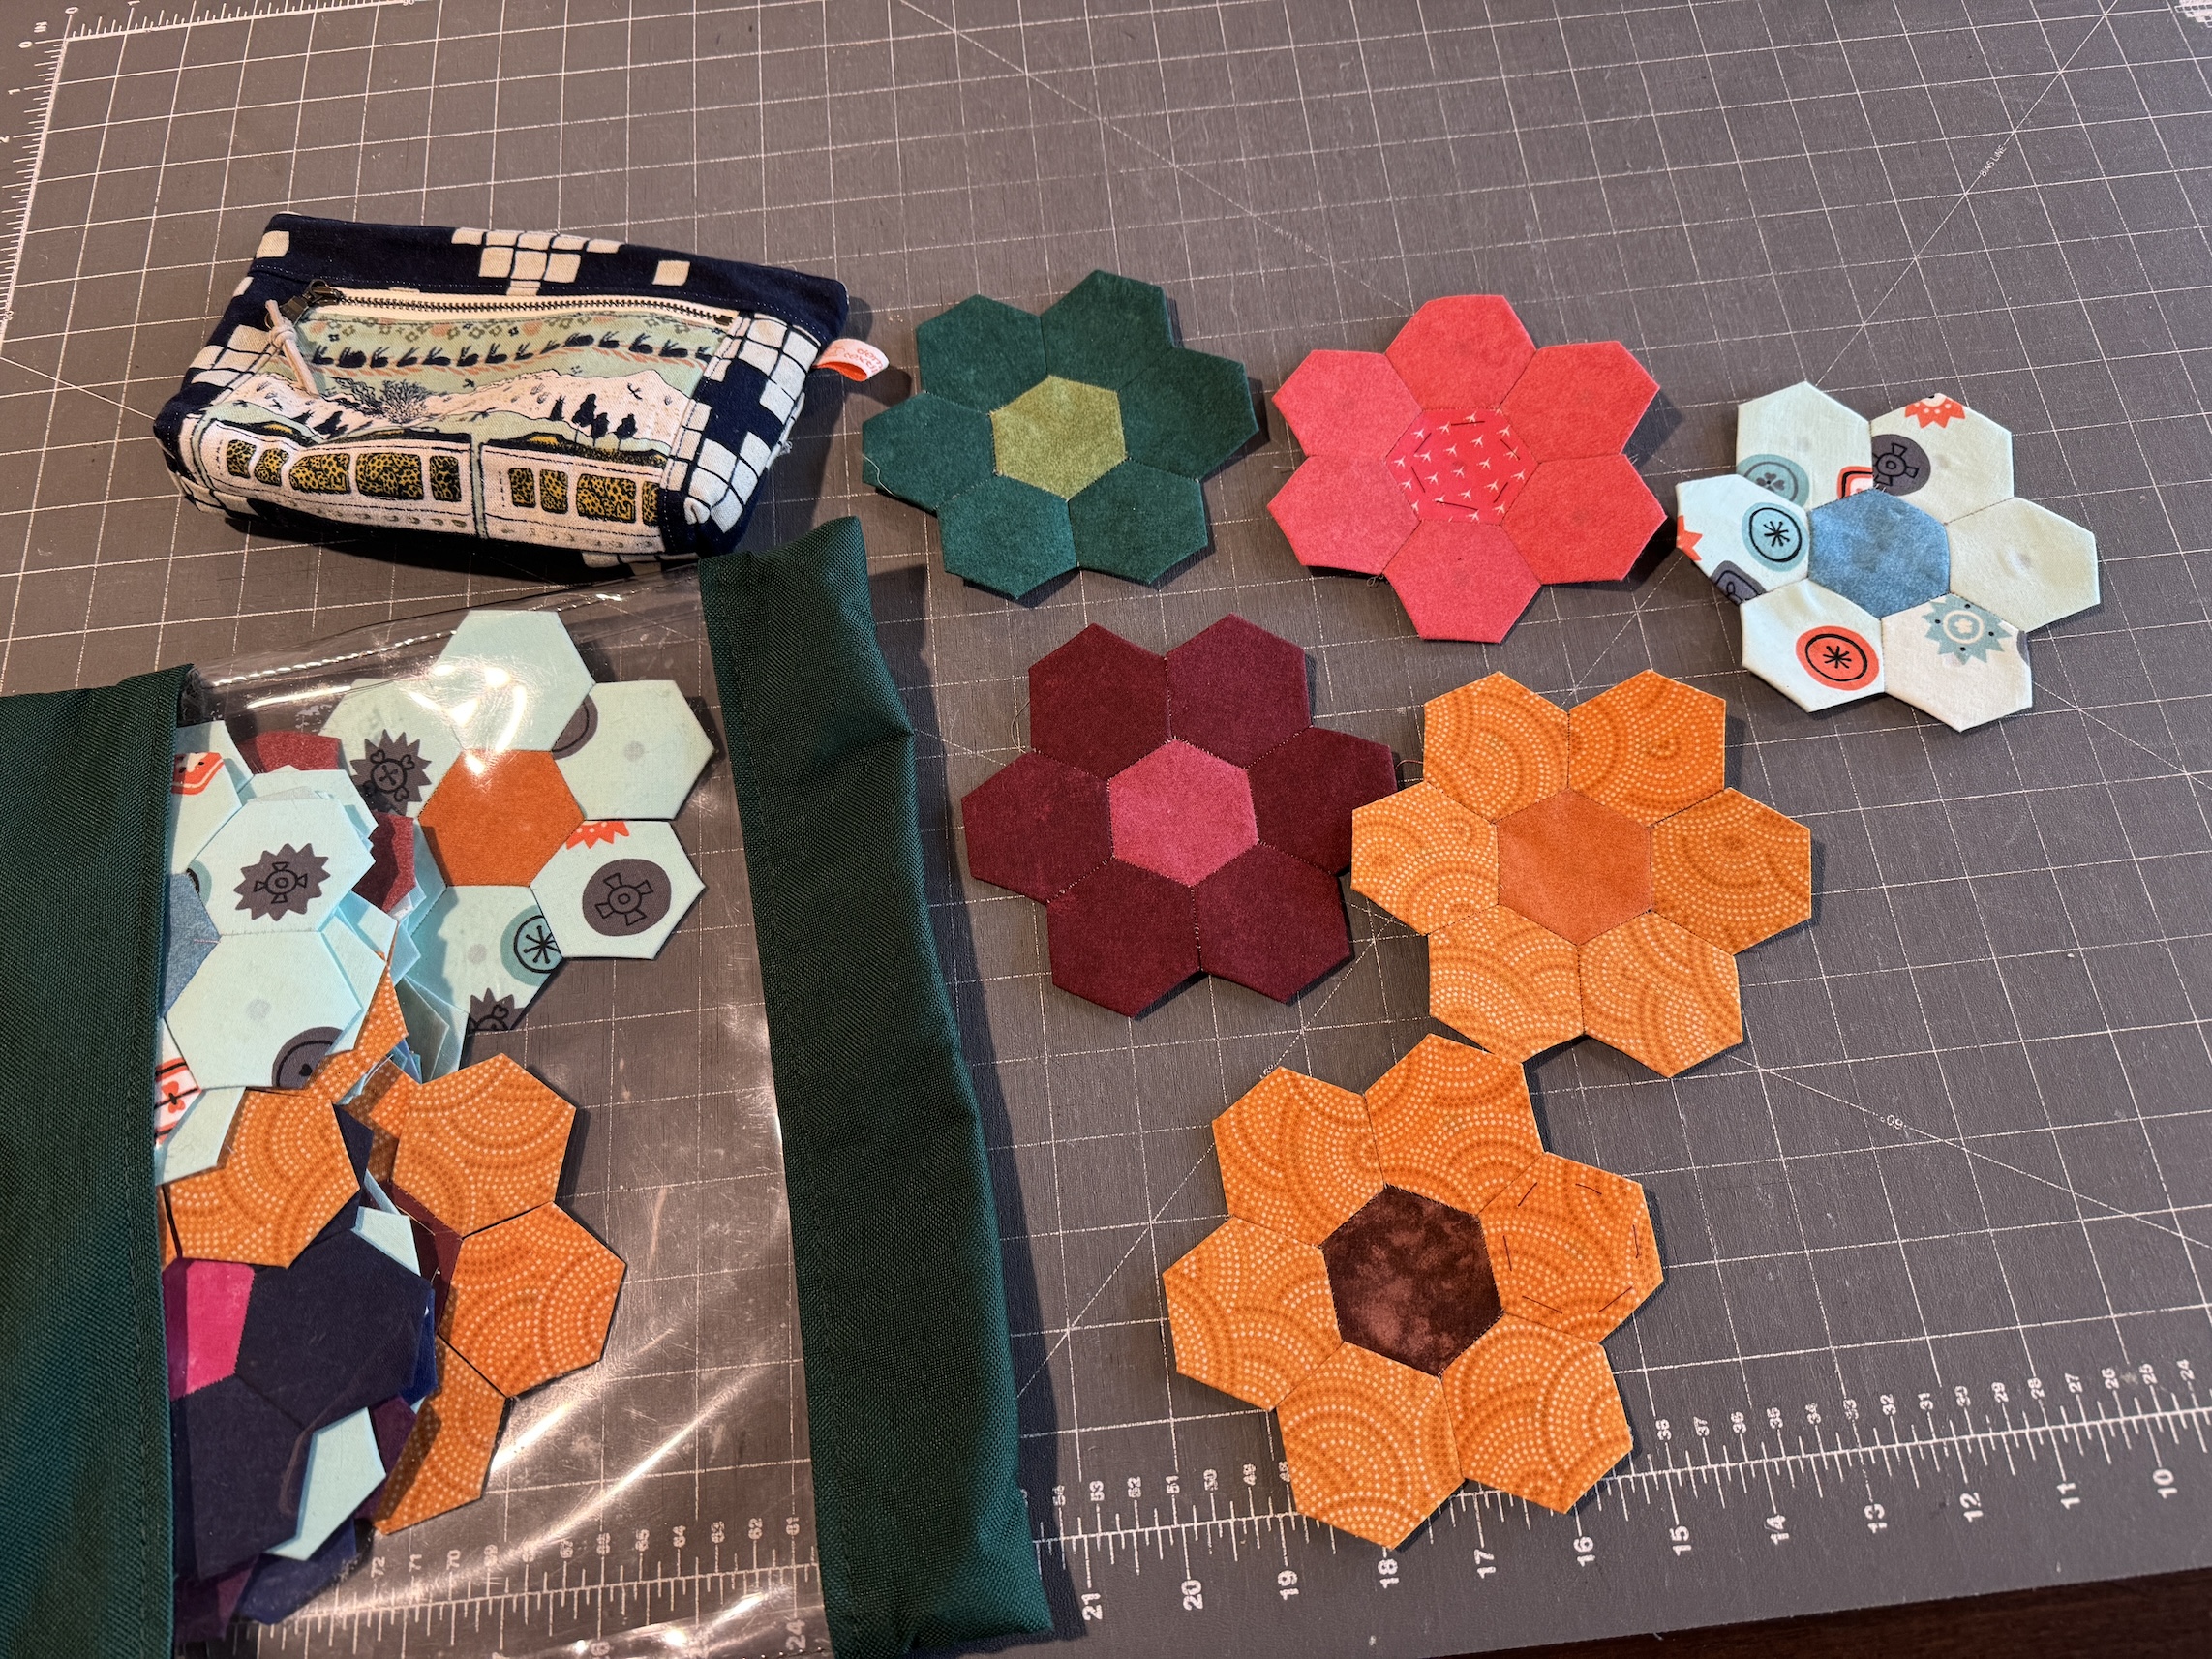
Yes, that’s it for the past month since the May 15th post!
But I do have a couple random curious things to share to conclude this post.
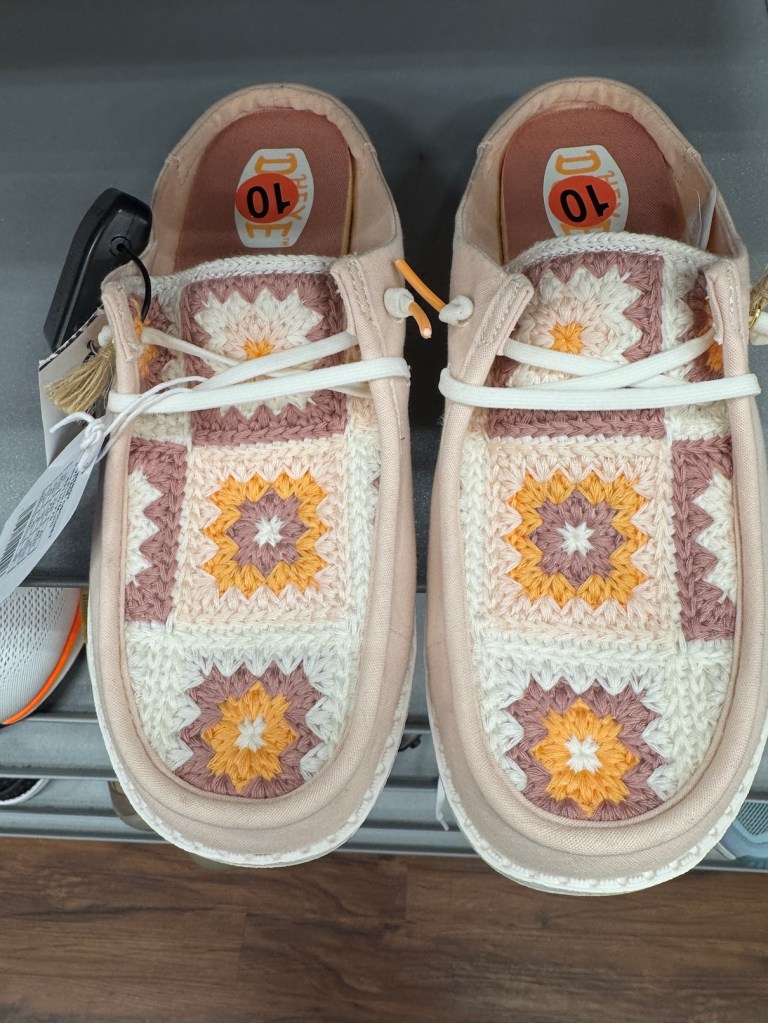
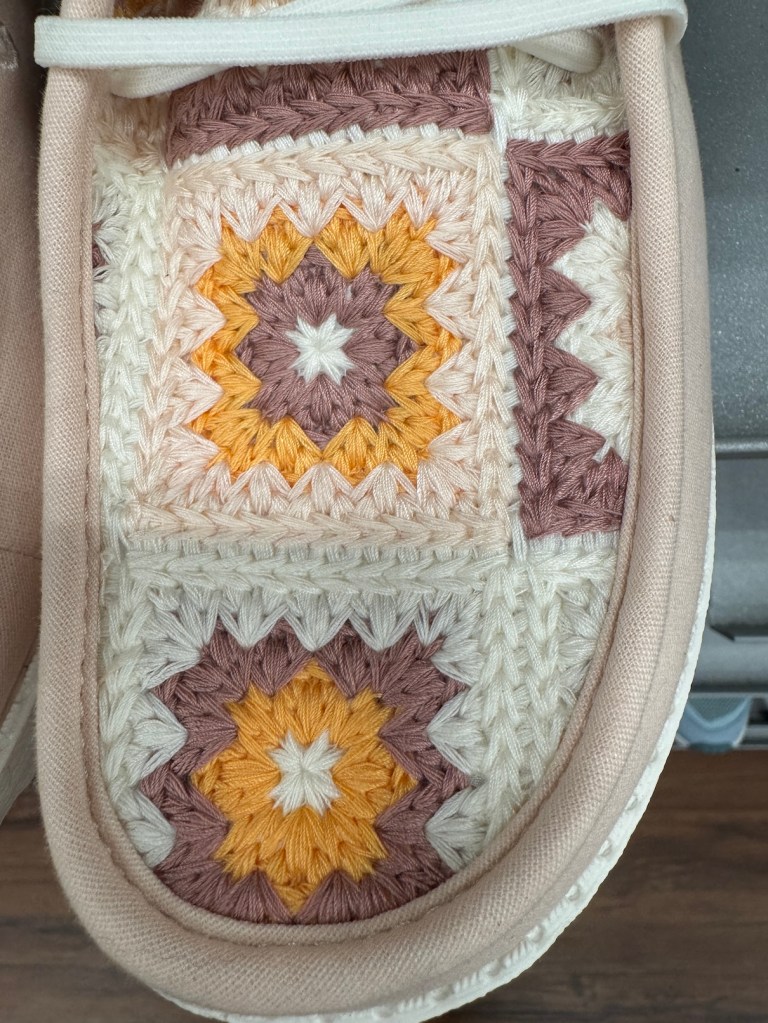
Granny Square Shoes?
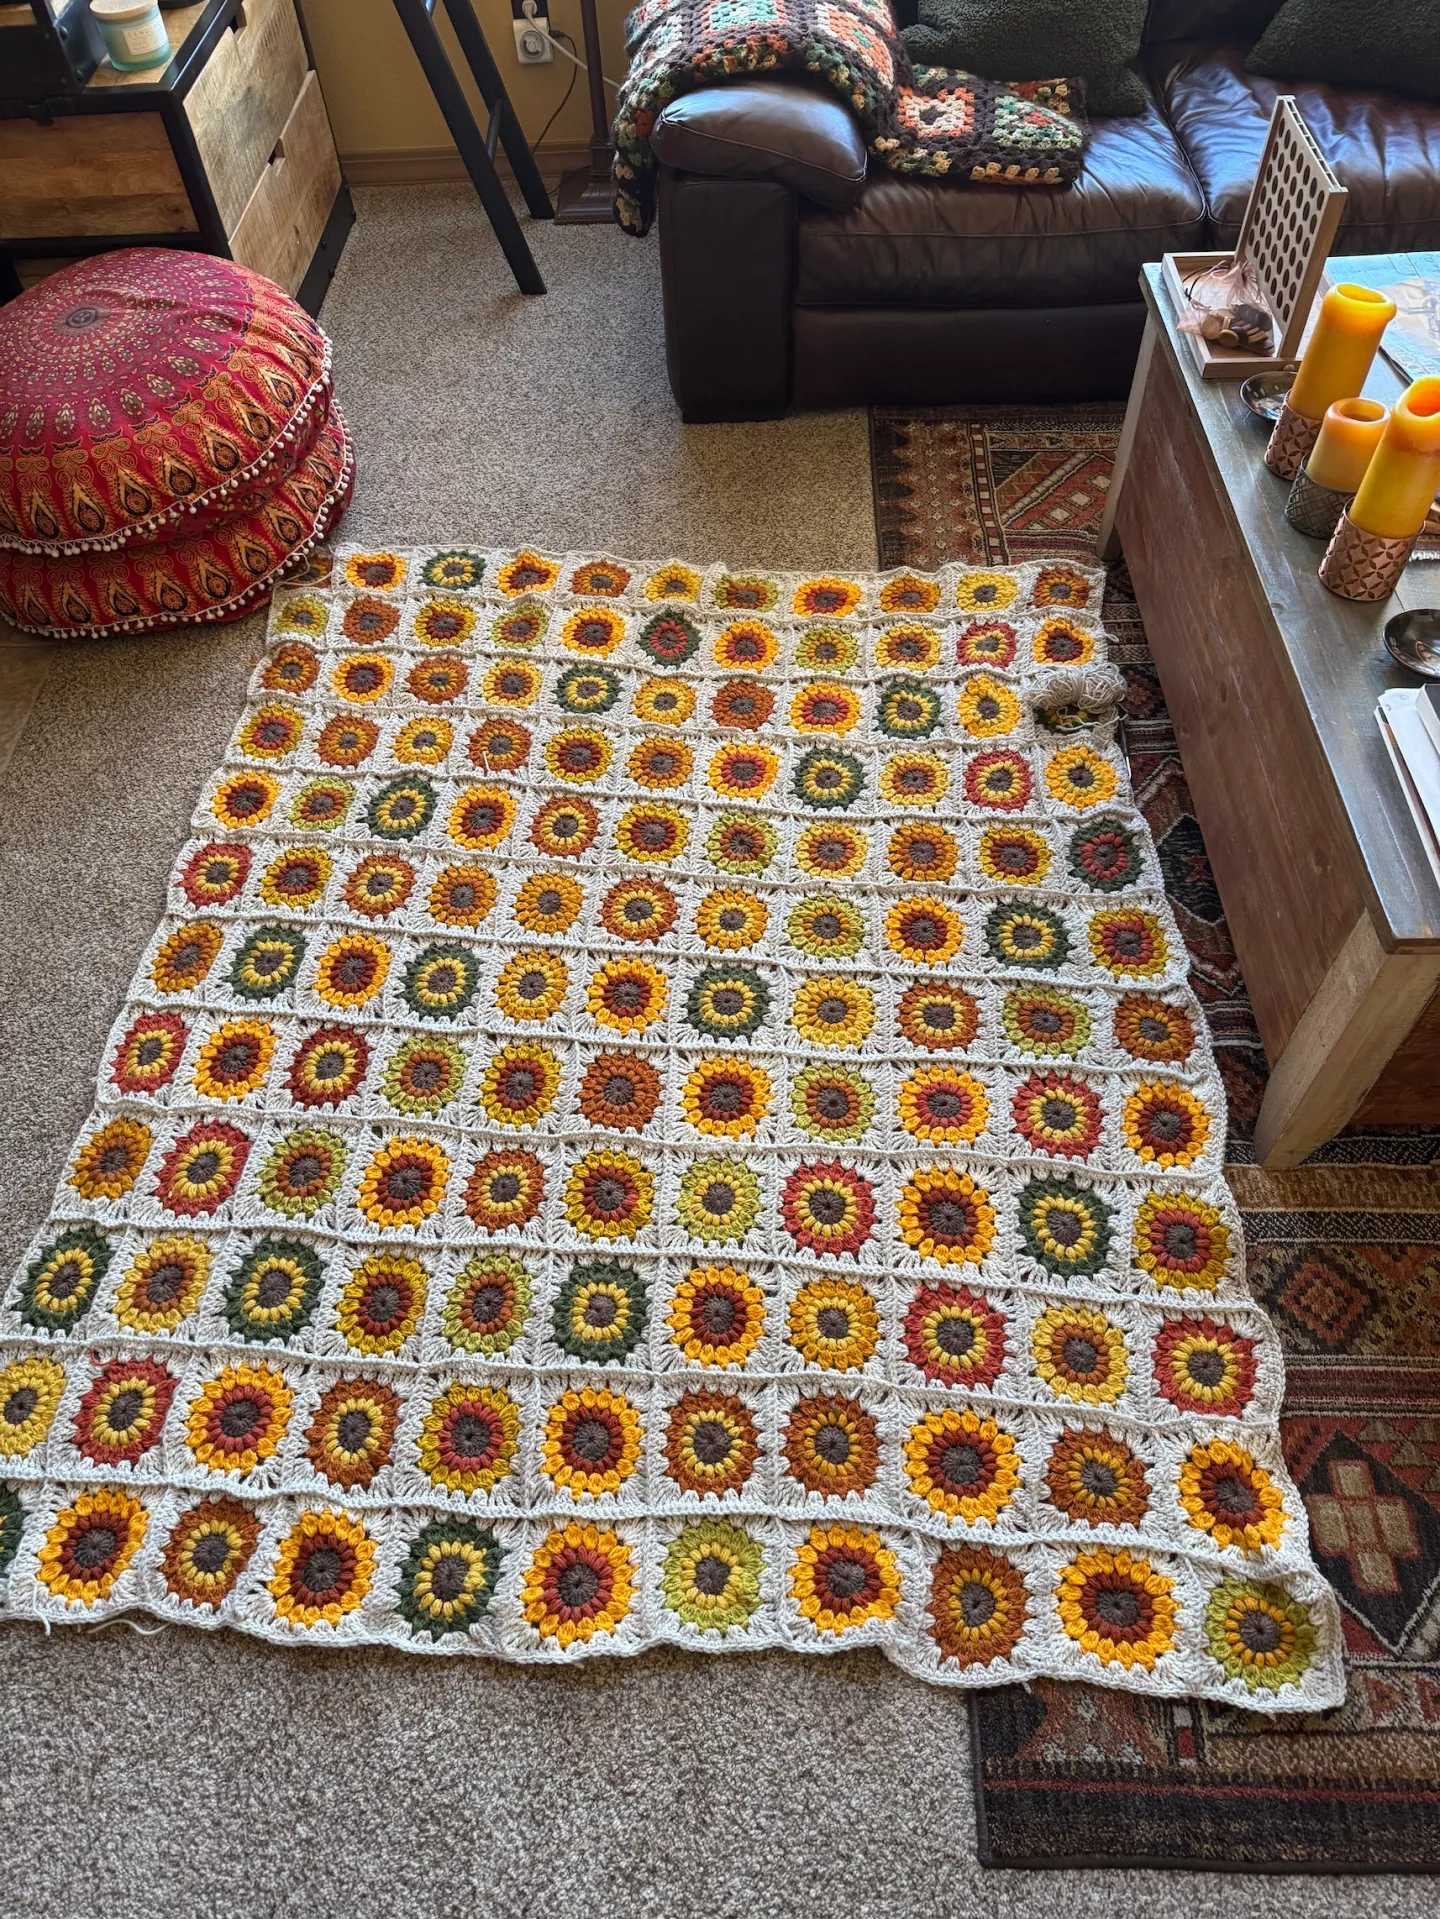
If you’ve followed my blog for a while you might note my obsession for crocheting granny square blankets like this one I completed in 2025:
During my recent travels I came across a pair of granny square shoes!!!! They weren’t in my shoe size and they actually did not look that well made but they were fun to look at!
Everybody Needs a Pair of Quilted Shorts…
I am a quilter and during my recent travels I came across a pair of quilted shorts that gave me a giggle too!
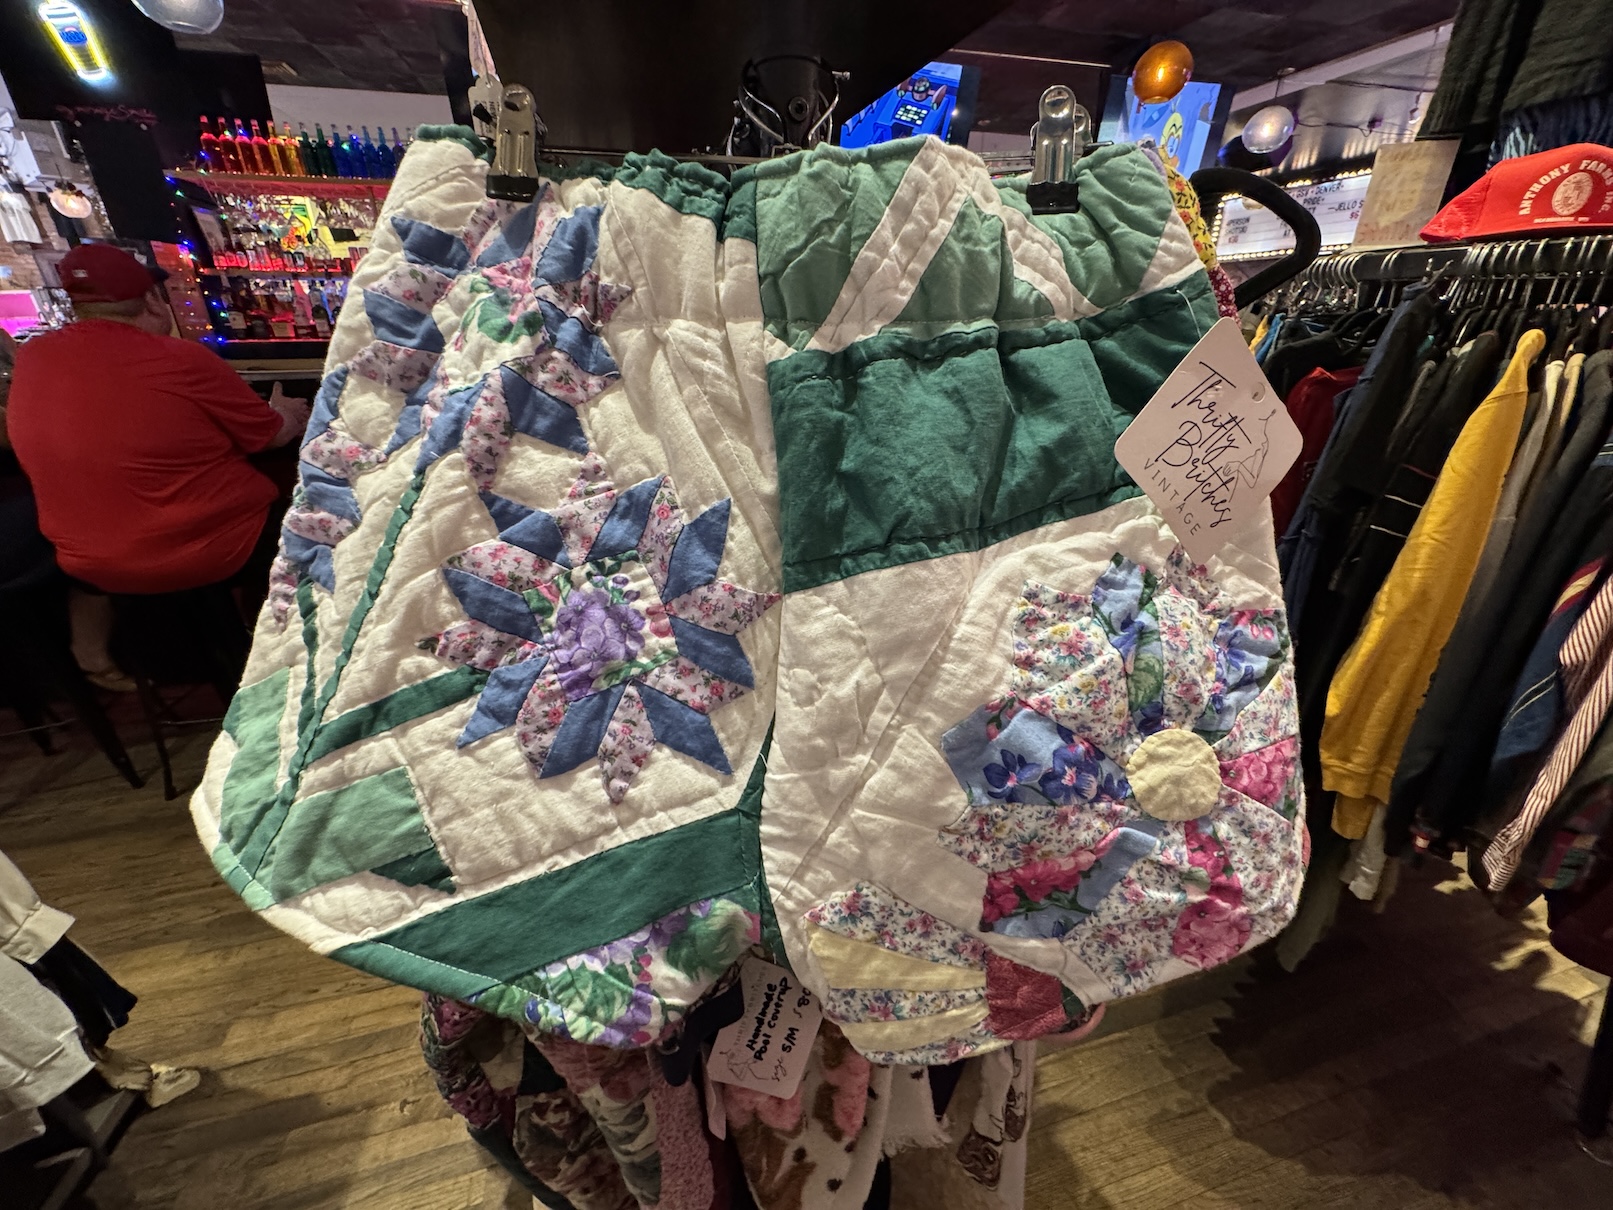
I think an old quilt was turned into clothing. I would suggest this a curious fashion choice, but no judgement if you need a pair of vintage quilt shorts to wear!
I bet the original quilt is “scrap happy” and was made from someone’s fabric scrap basket so these shorts might also count for ScrapHappy June 🙂
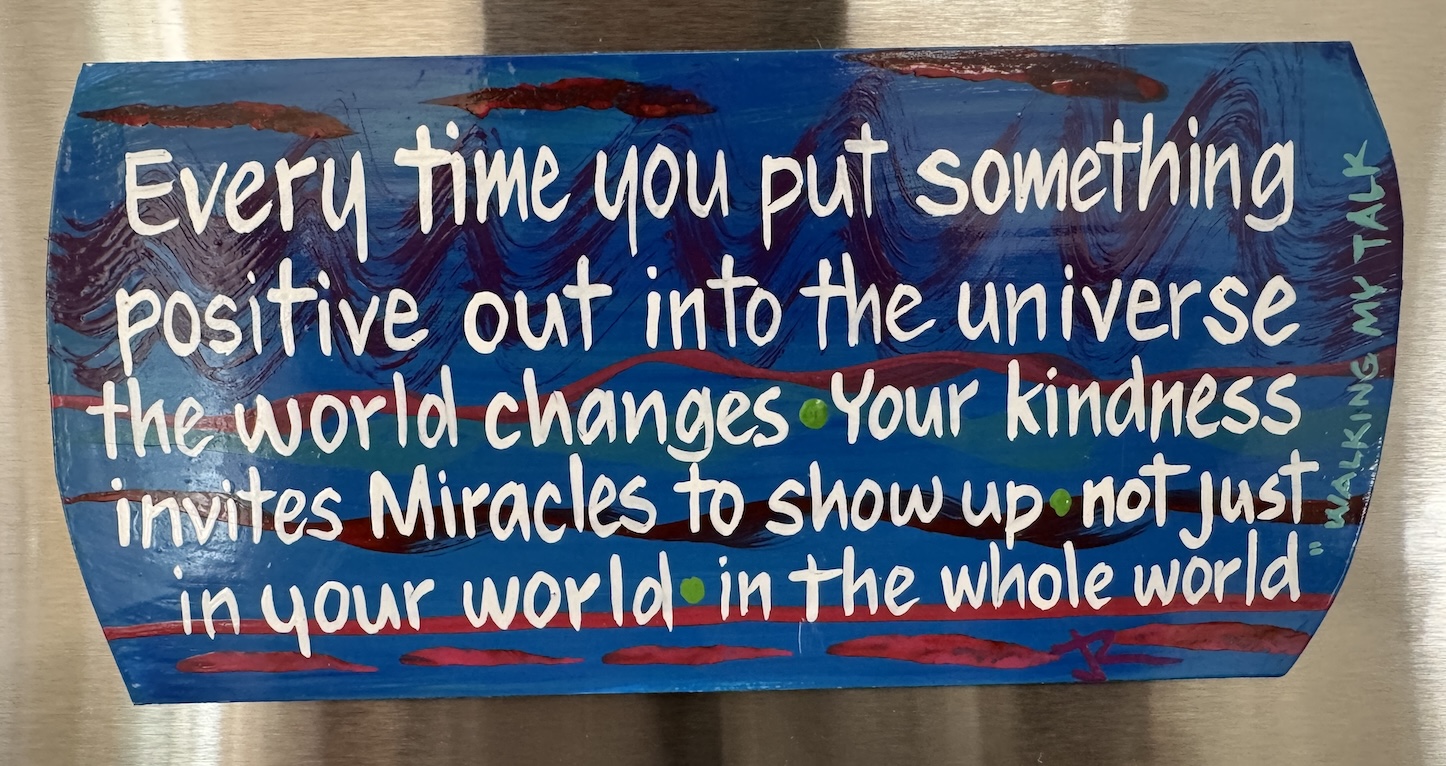
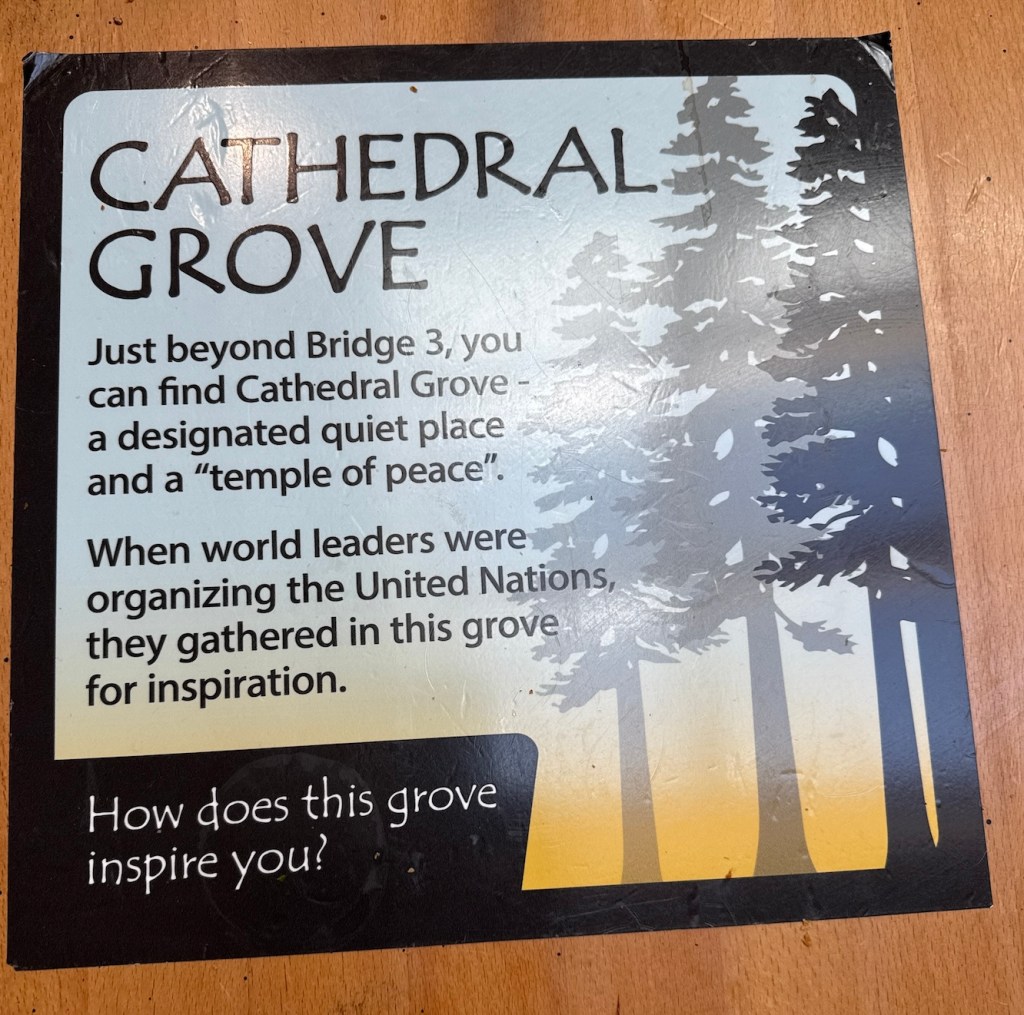
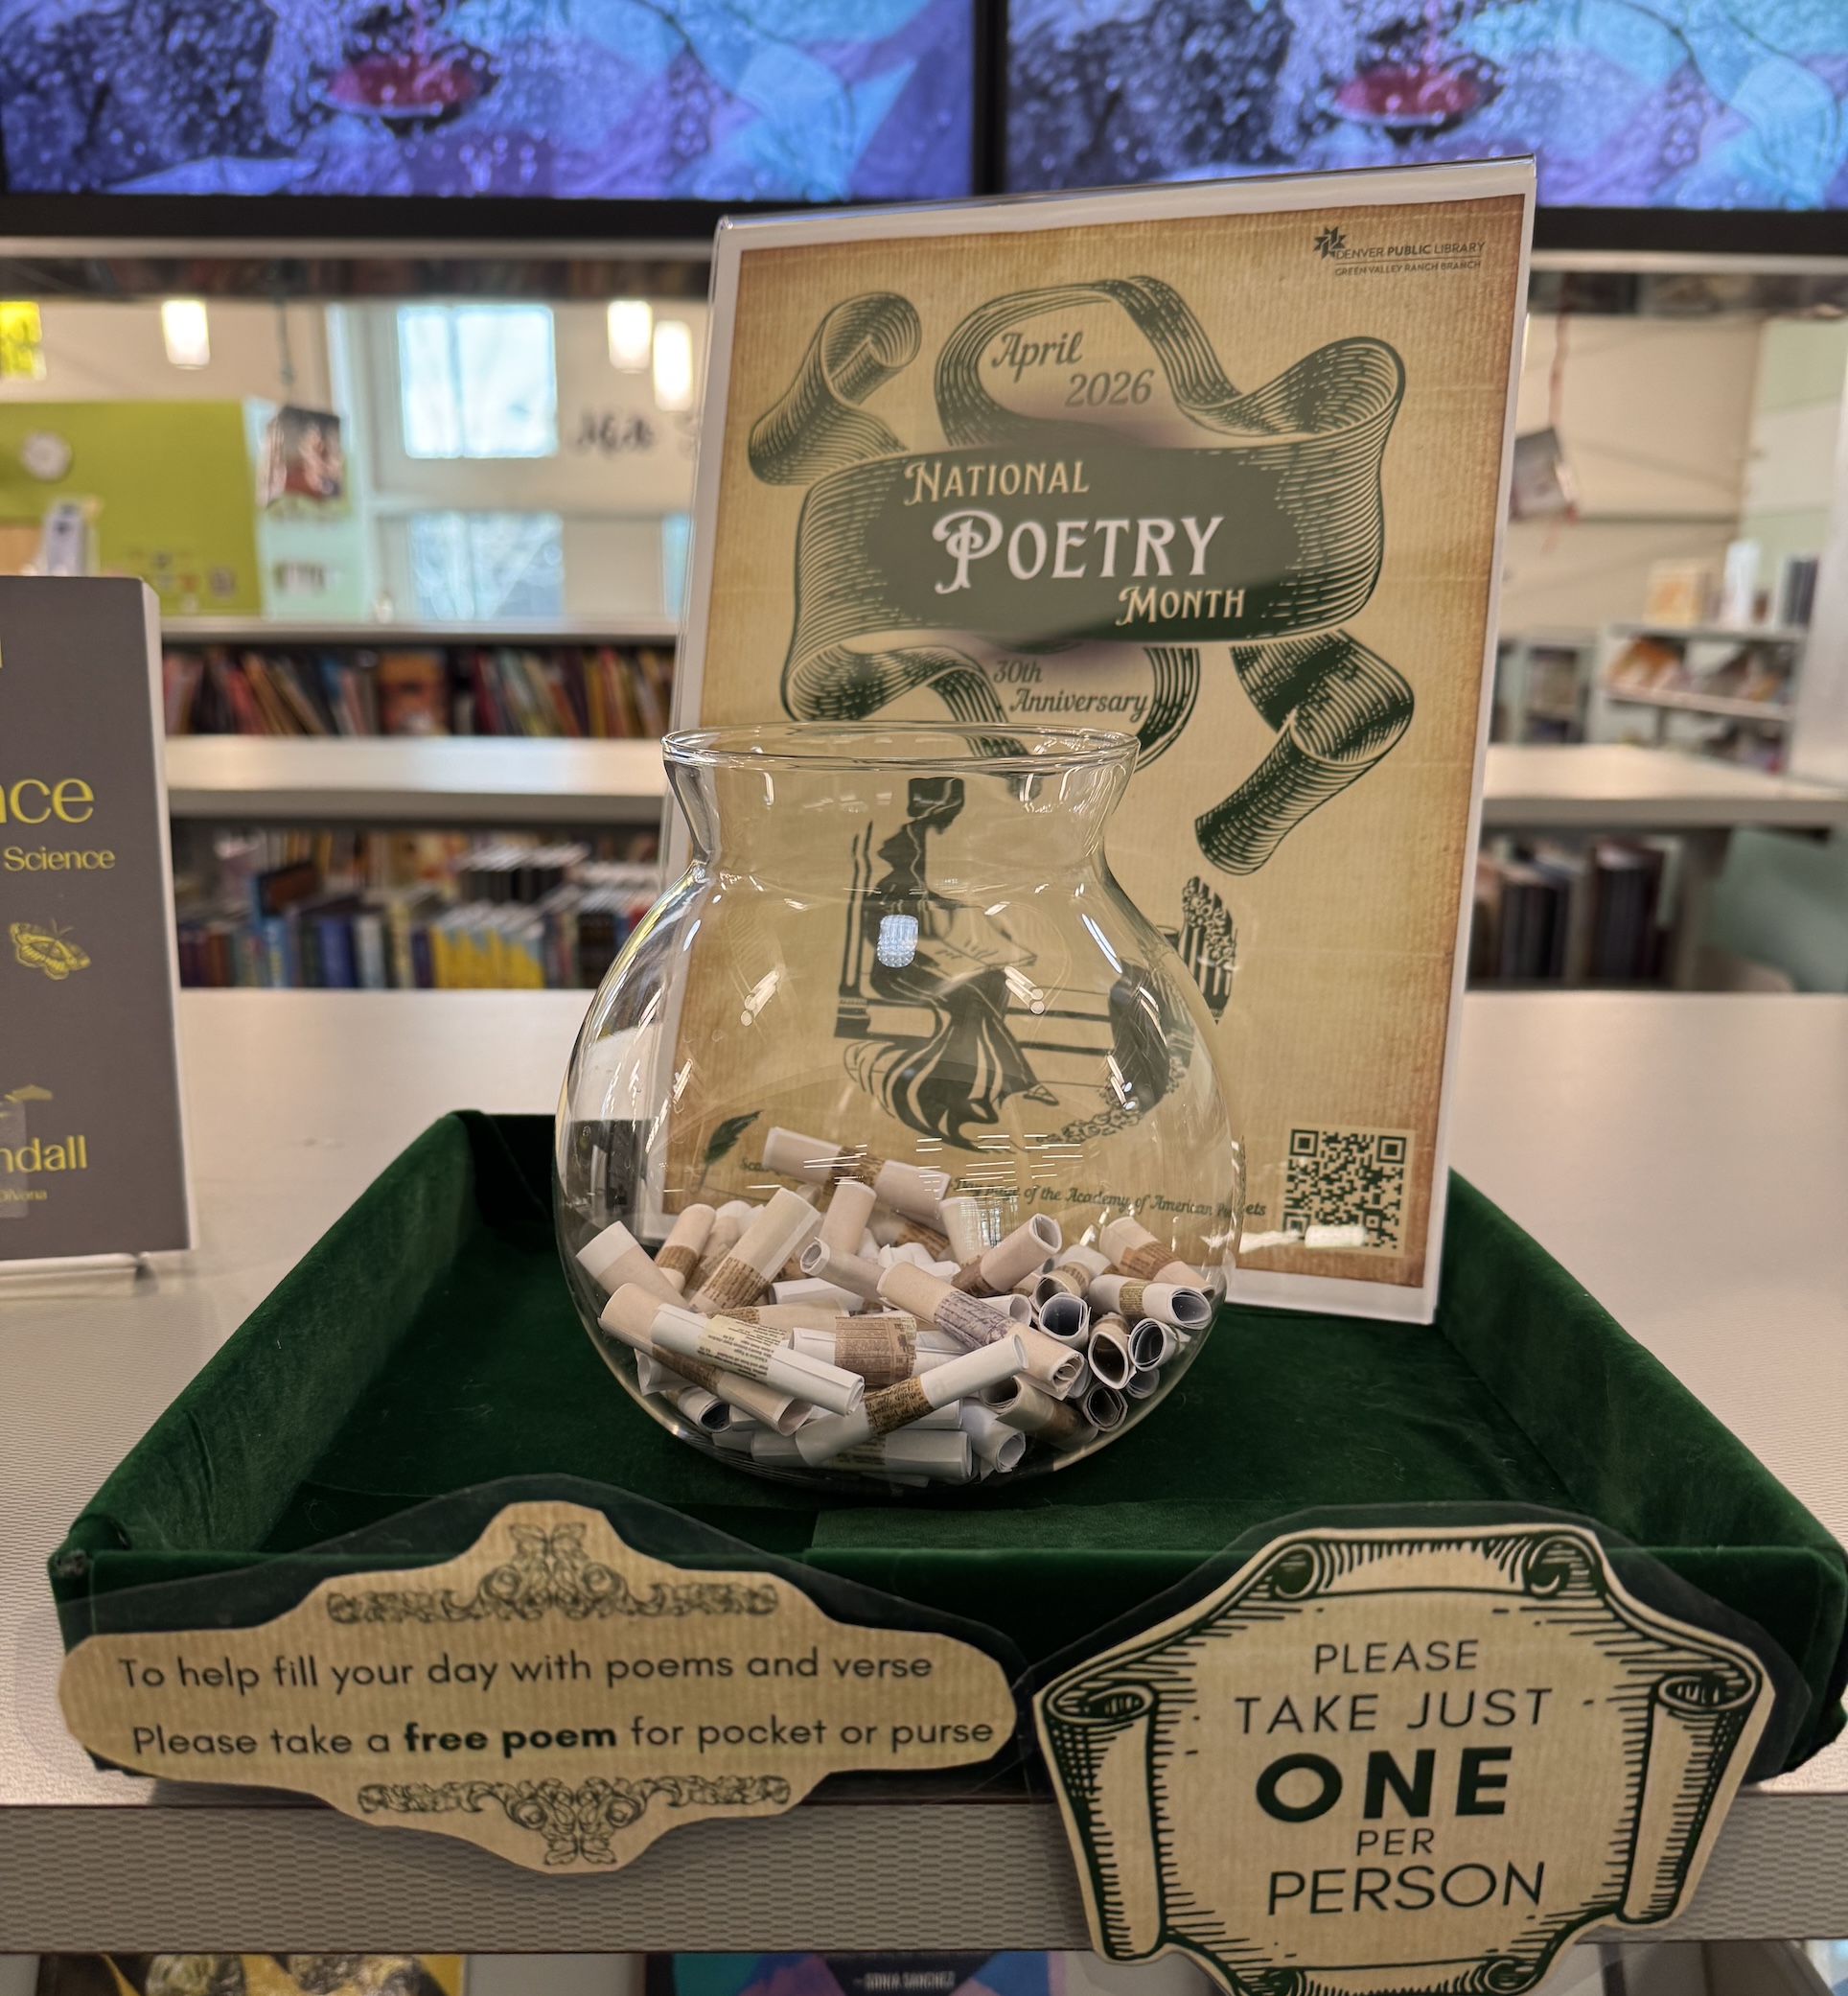
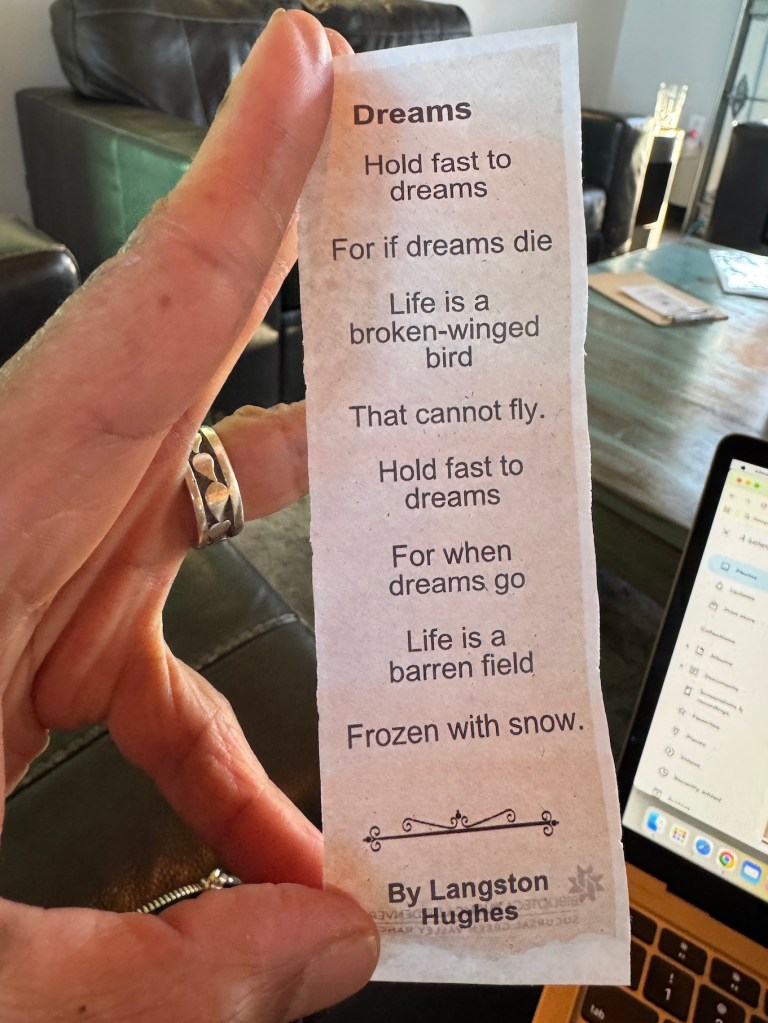
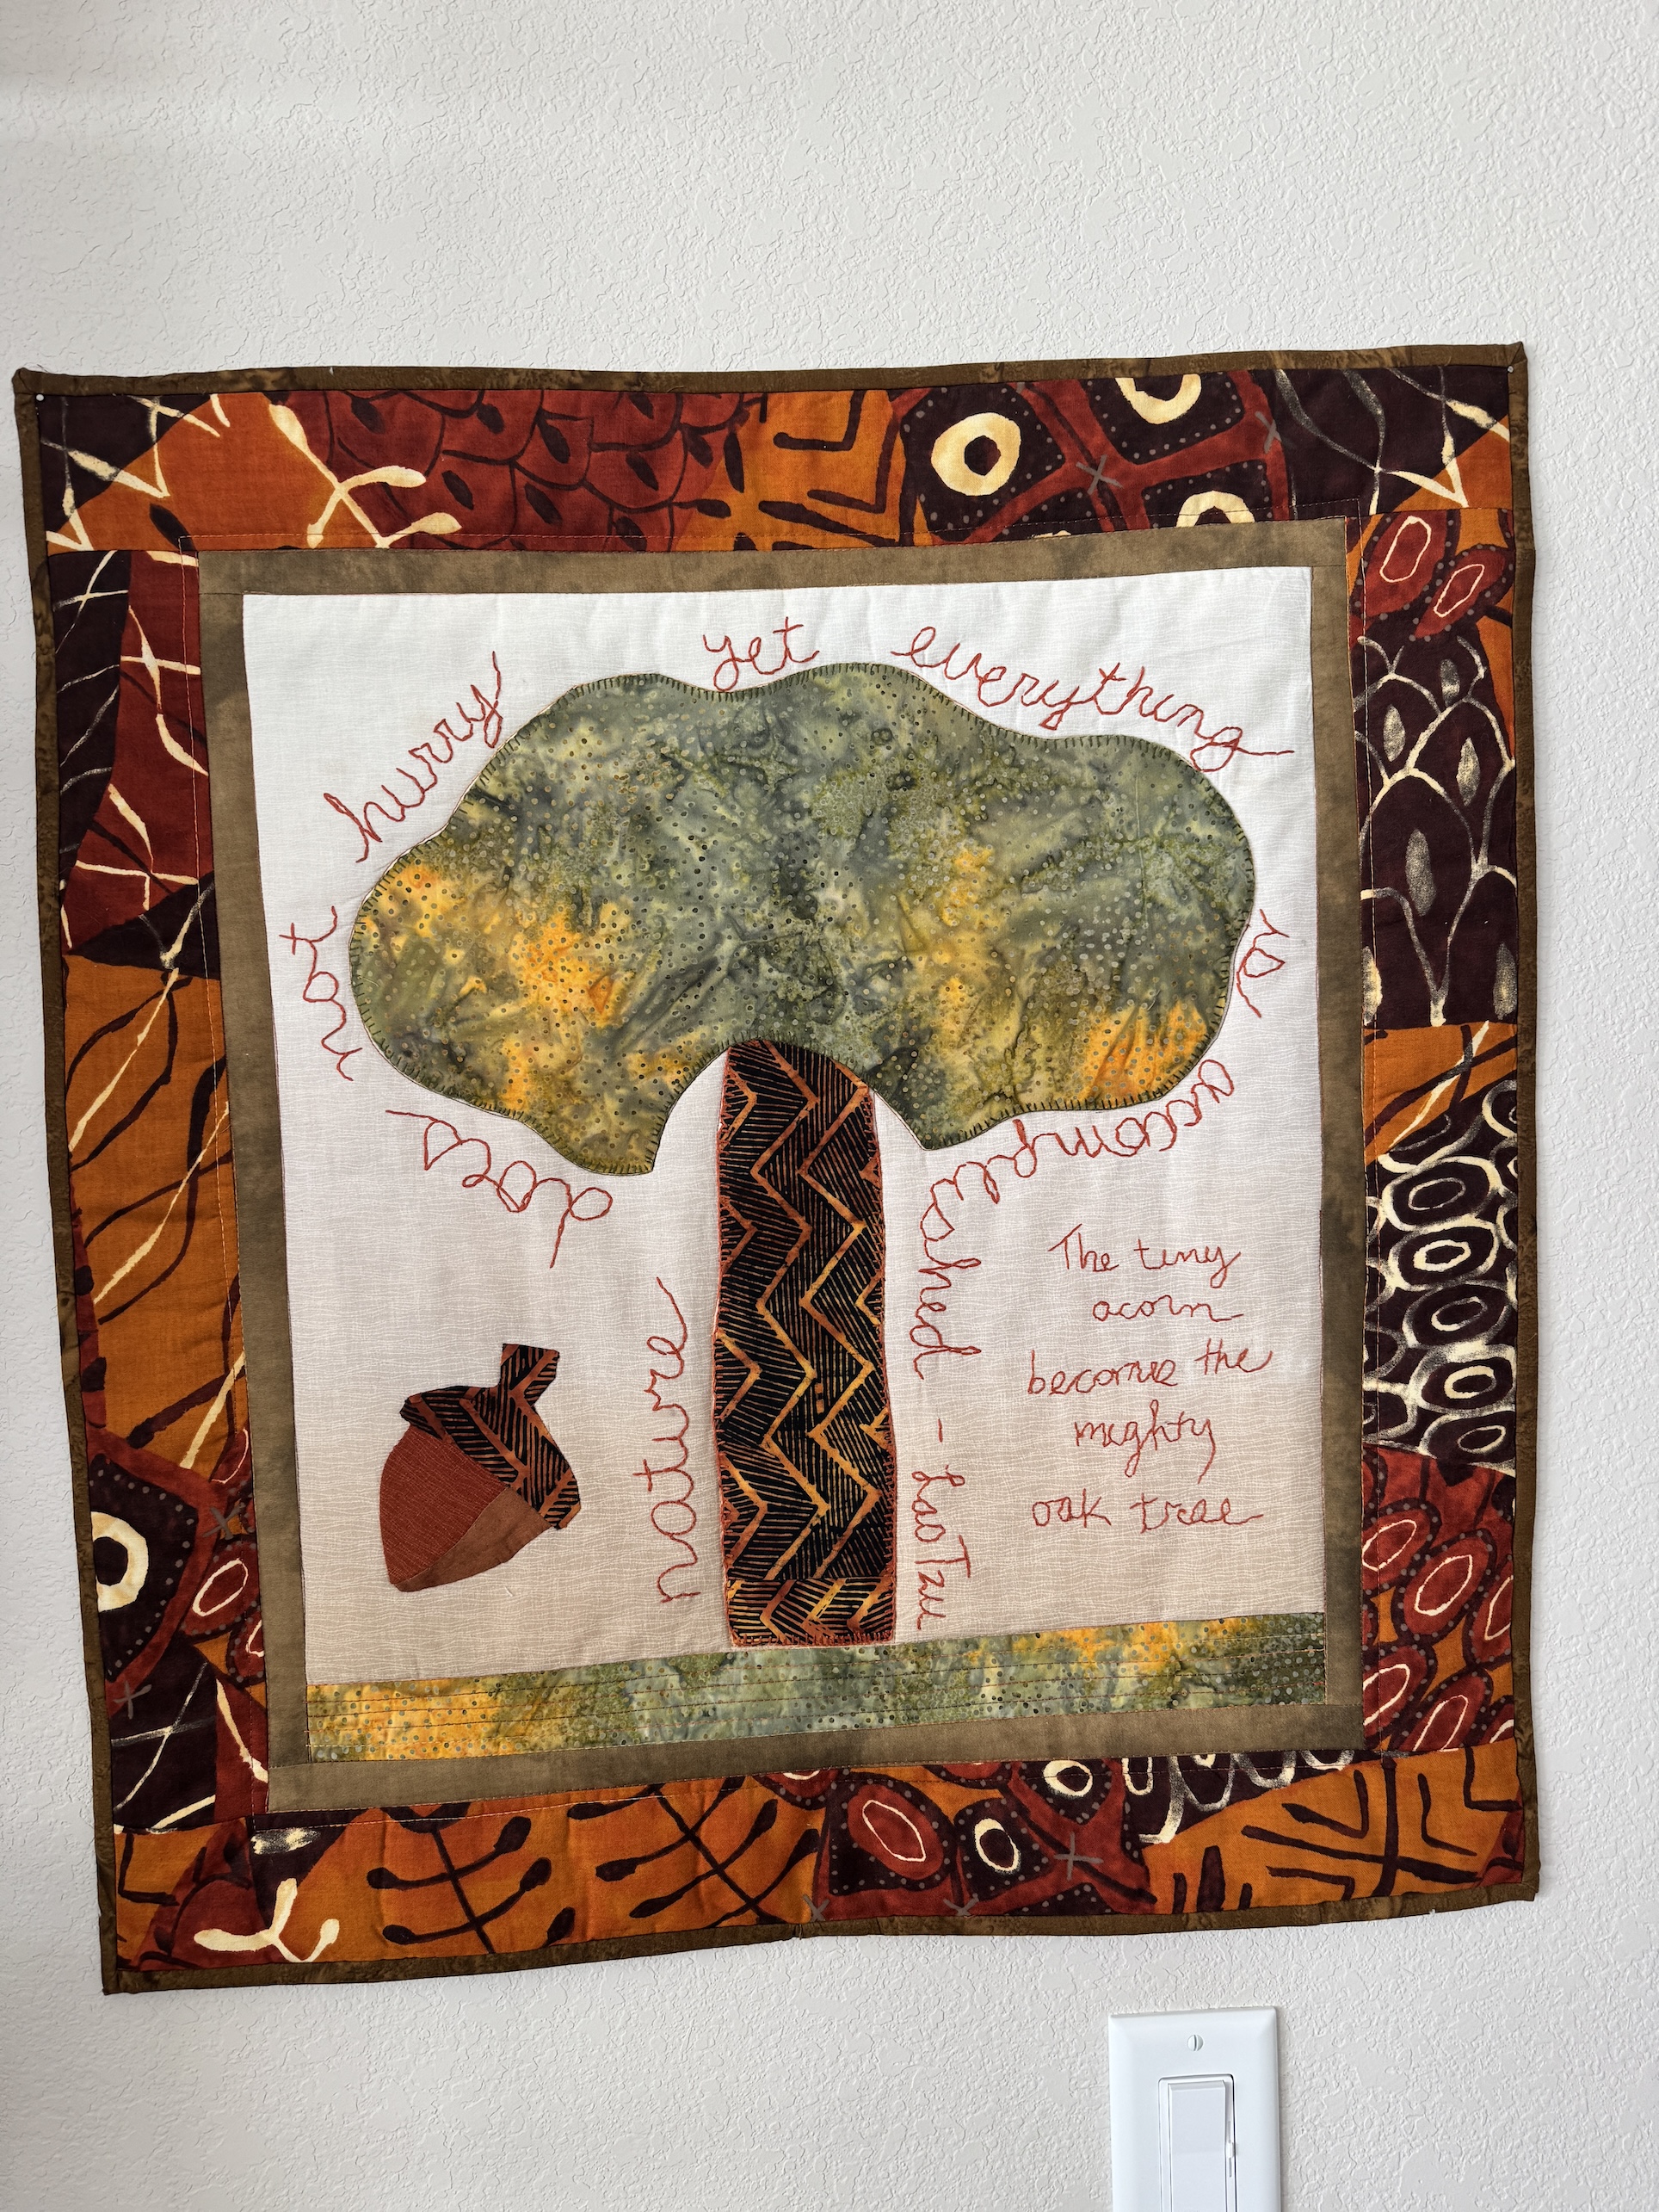
An Amazing Thought/Concept
I came across this sign in my travels and I think it is an amazing thought/concept to close this post.