Author: tierneycreates: a fusion of textiles and smiles
Quilter, crafter, obsessive tea drinker and lover of all furry creatures (especially dogs and cats) - join me on my tierneycreates blog as I share stories from "A Crafter's Life".
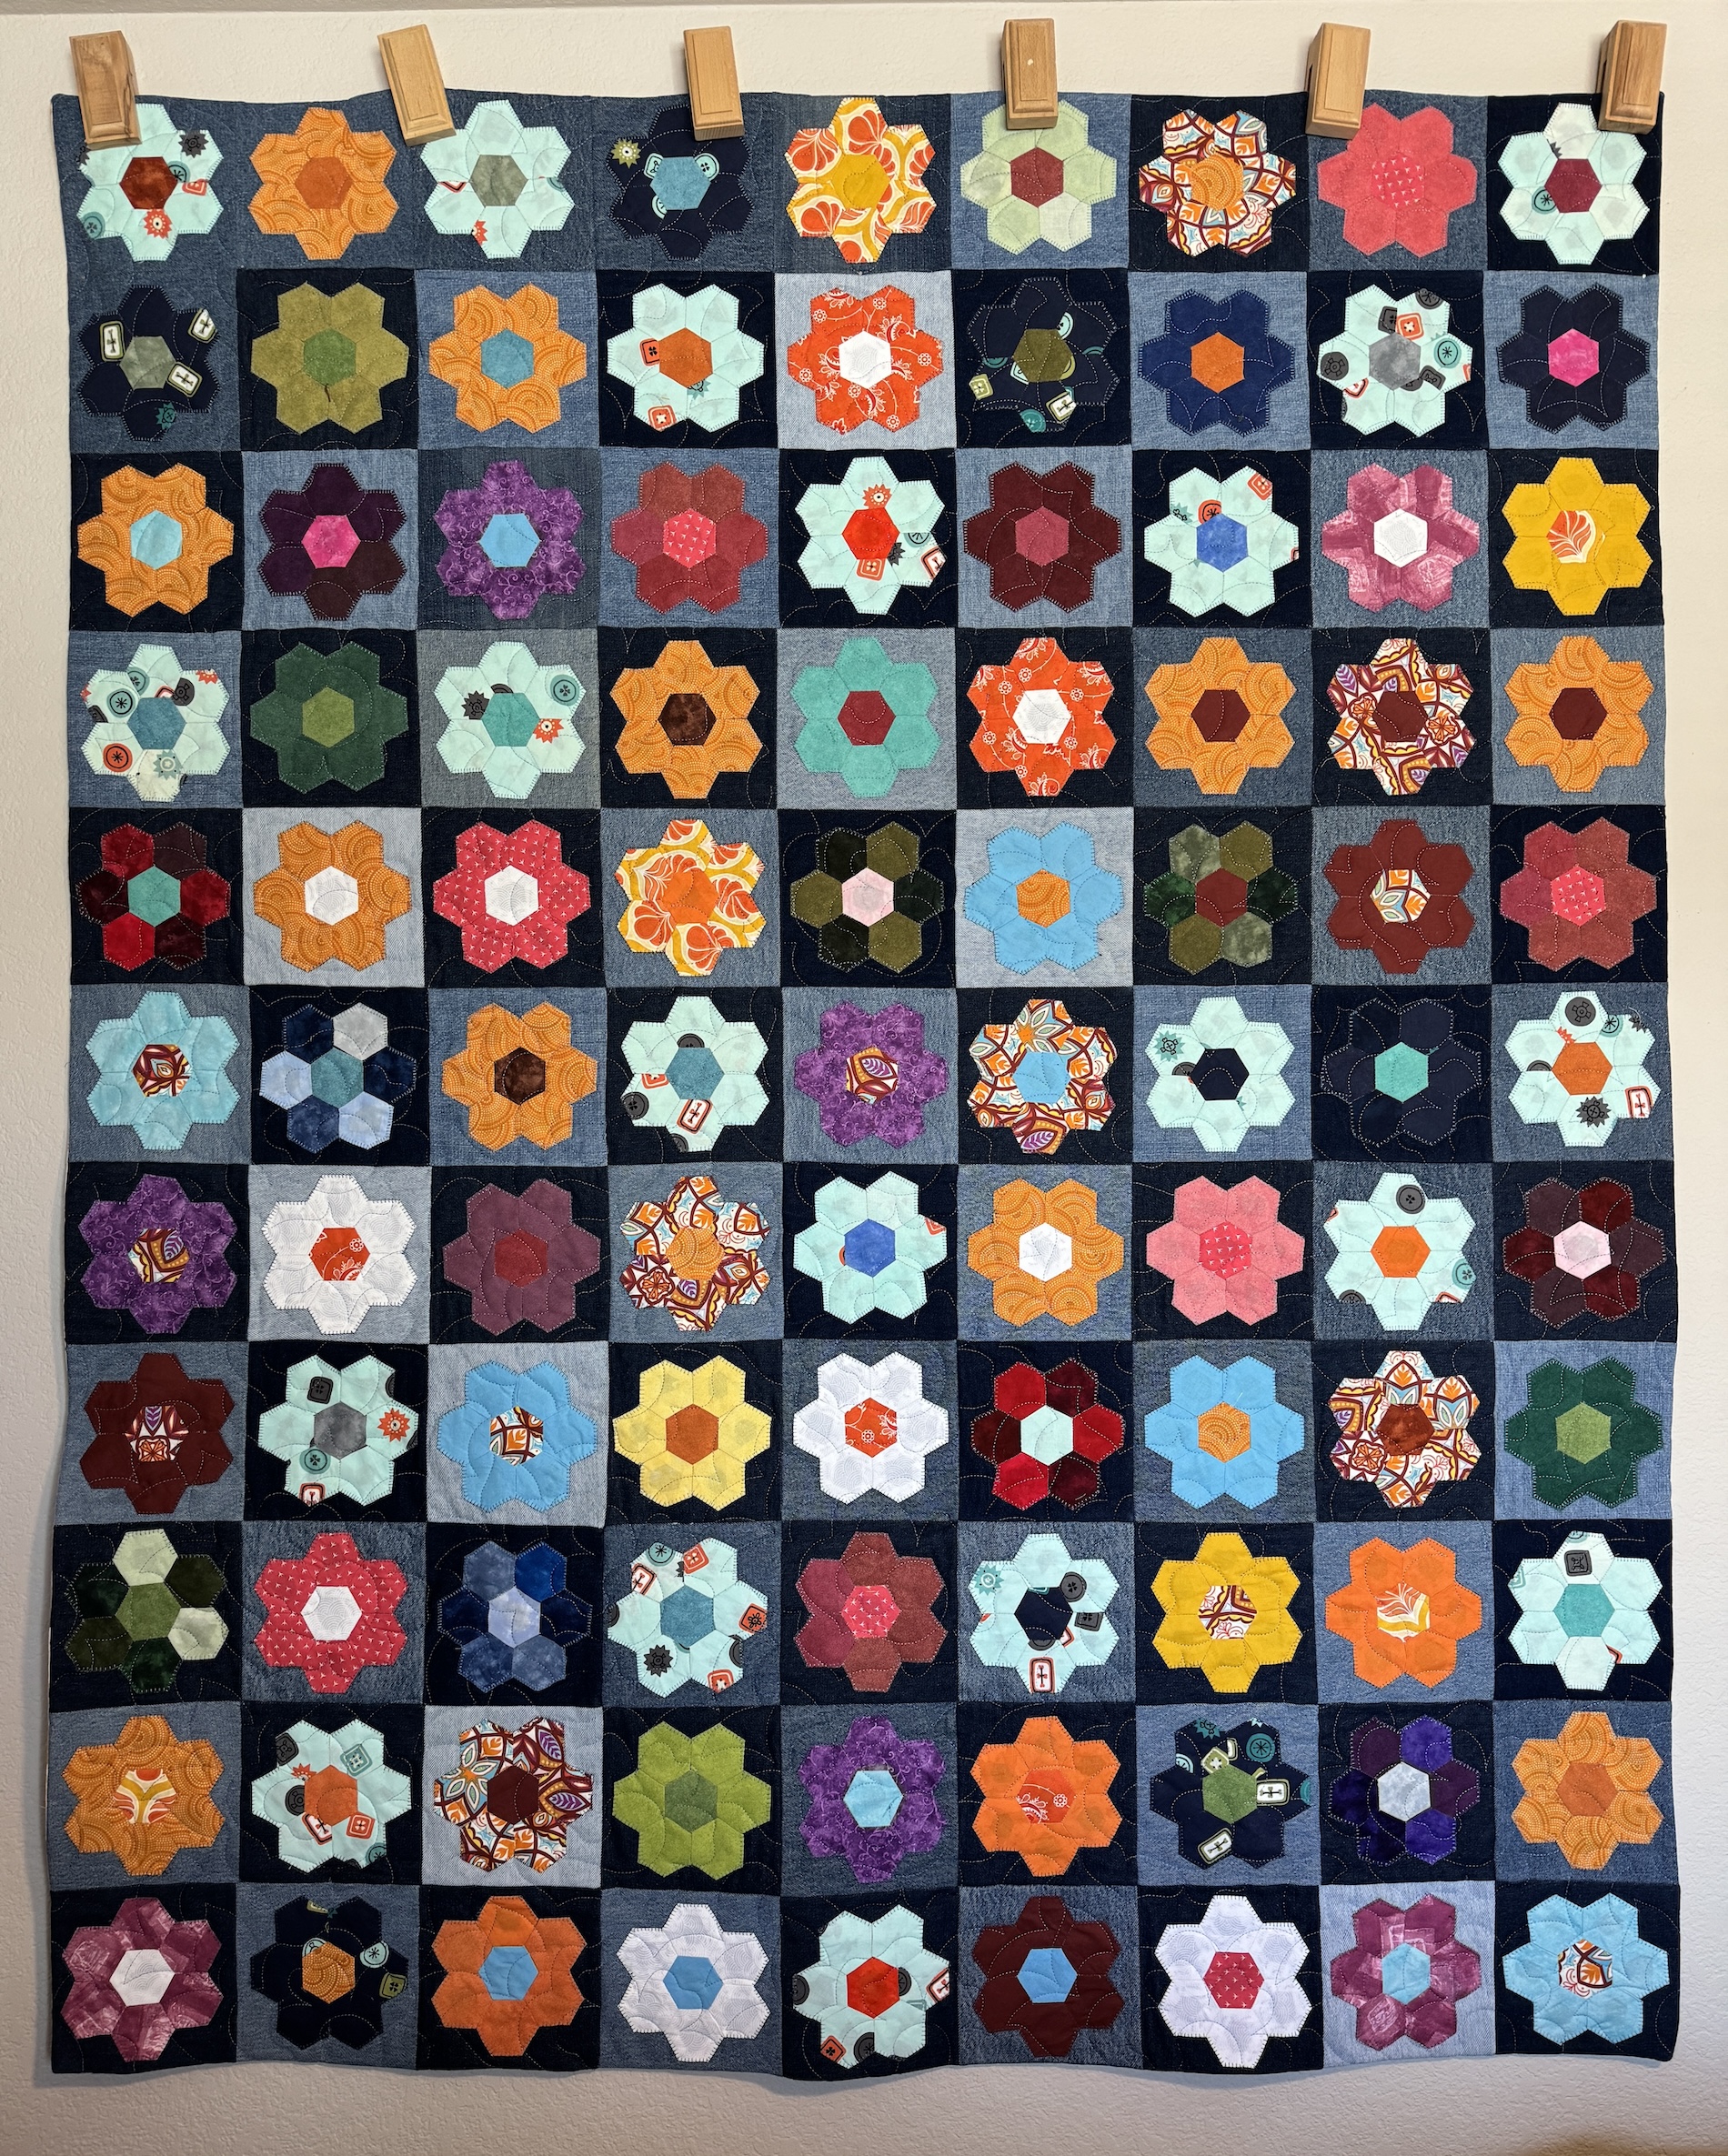
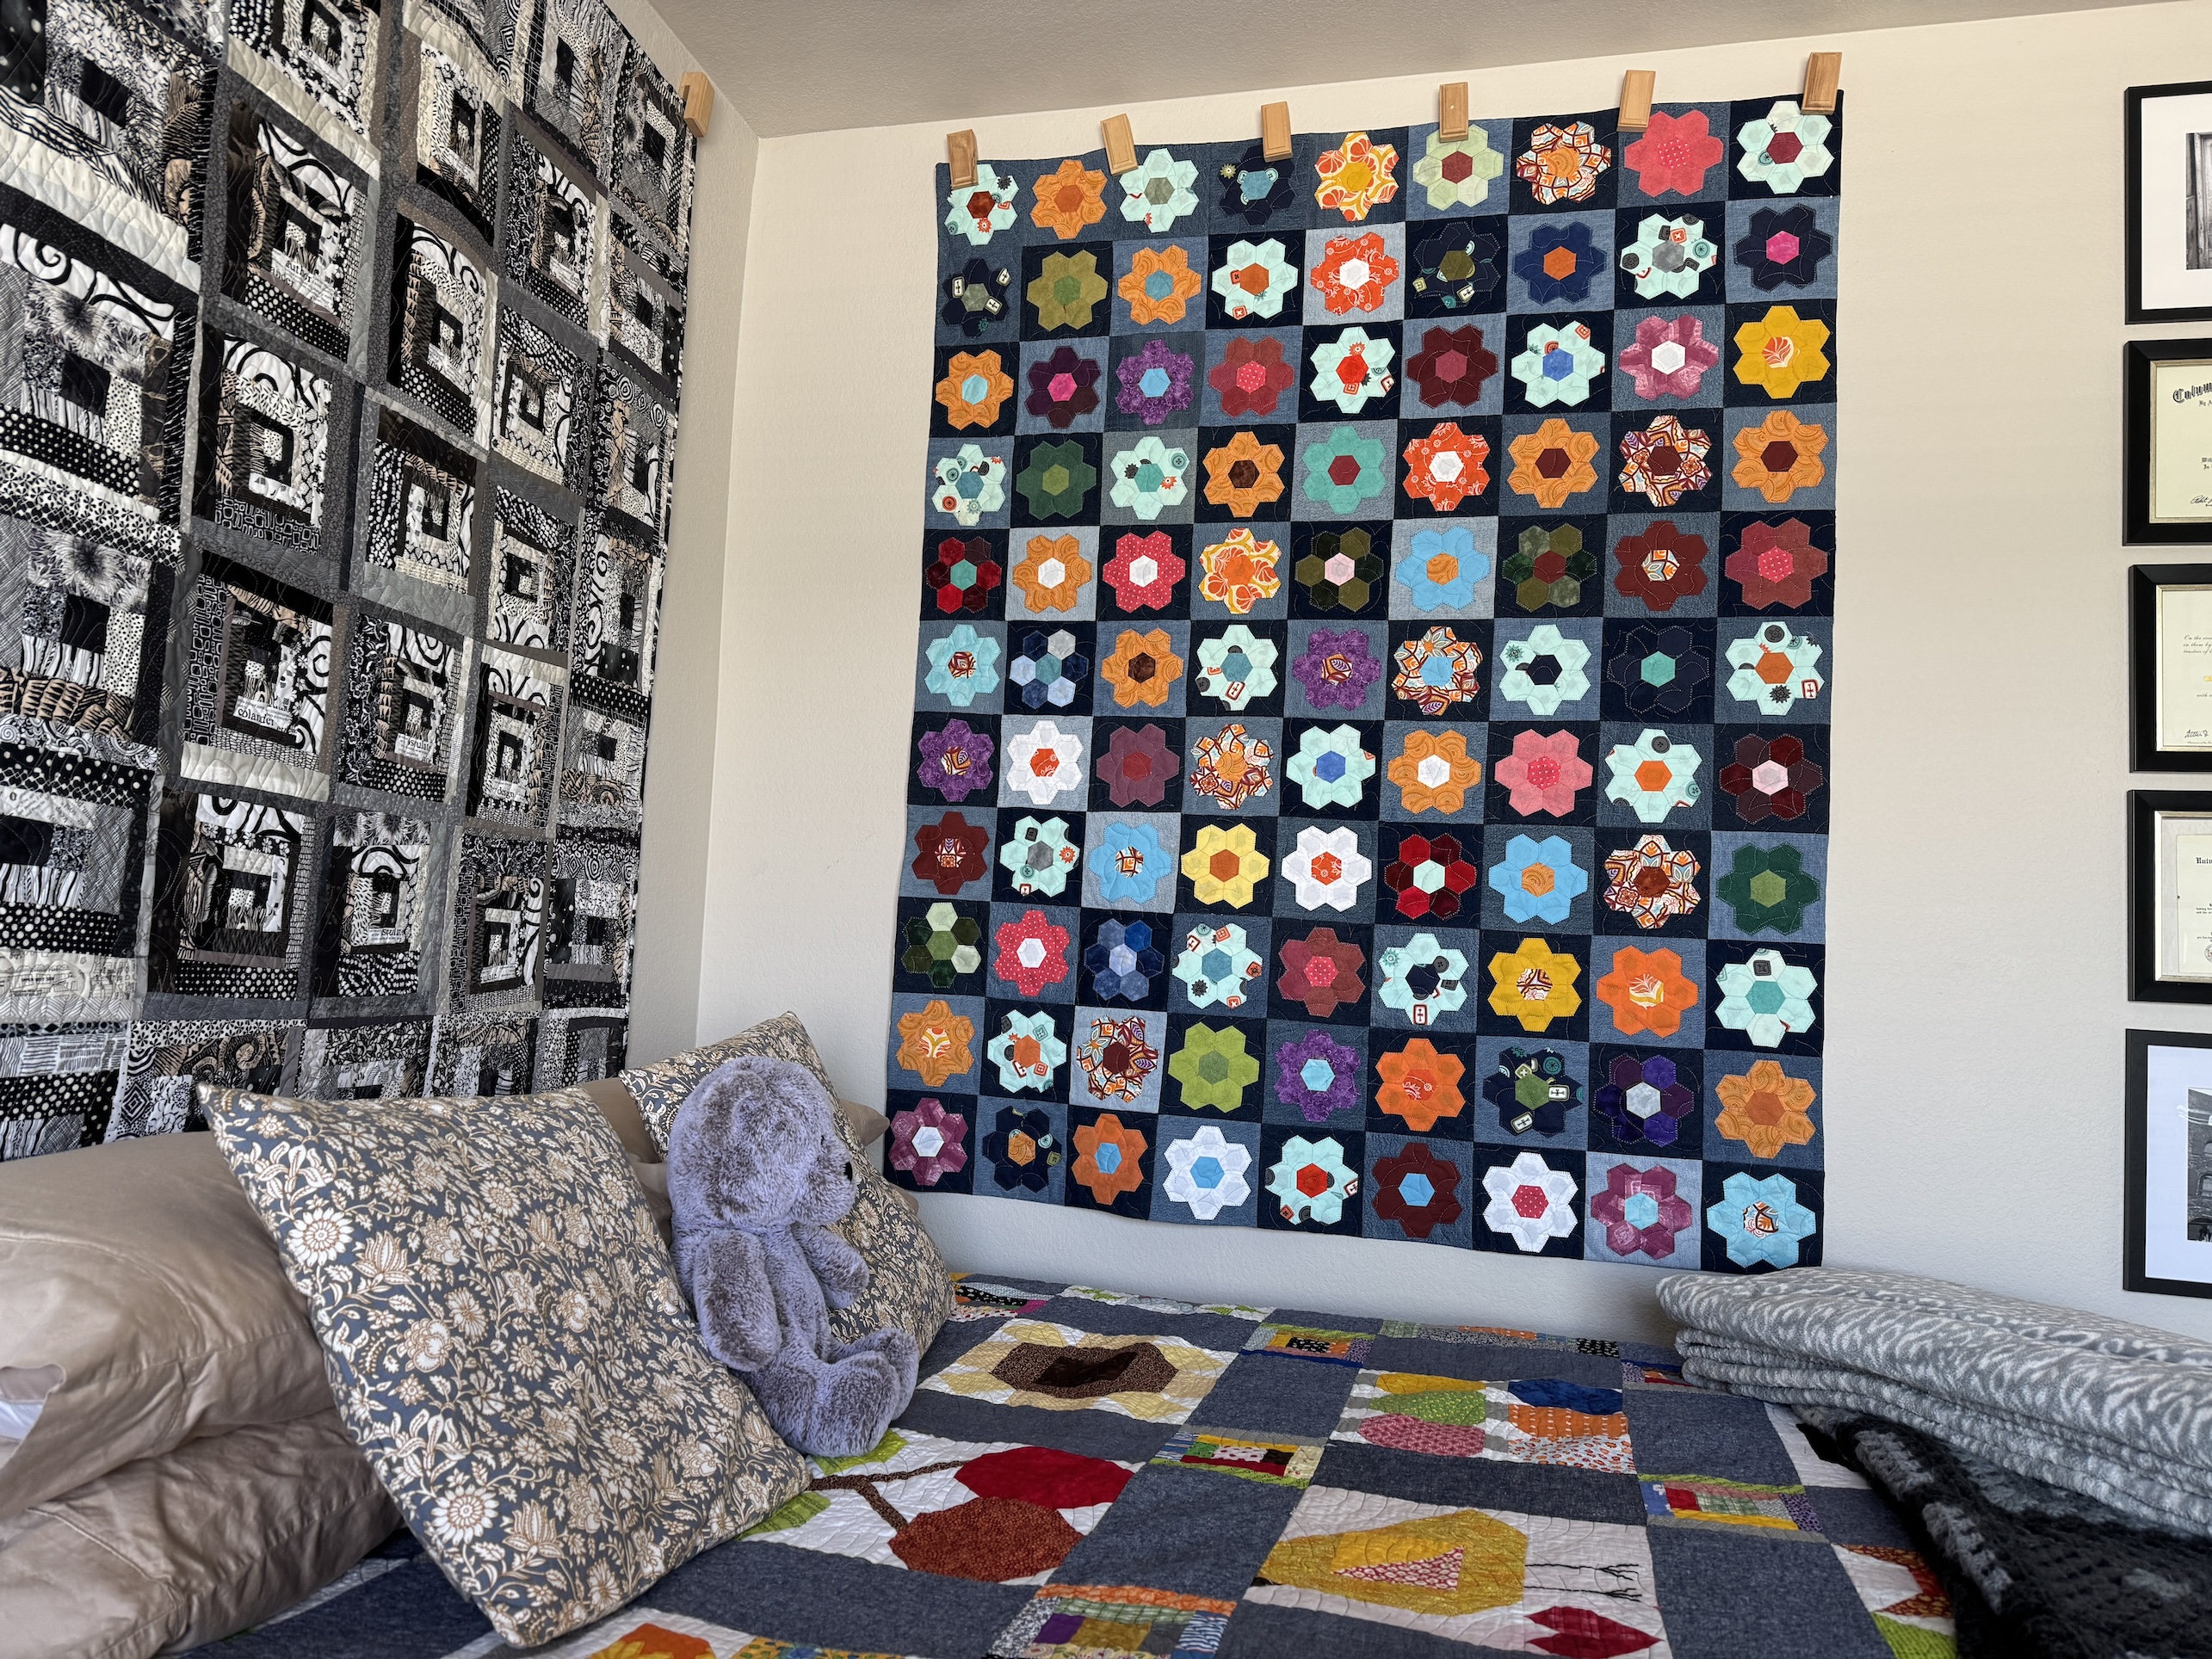
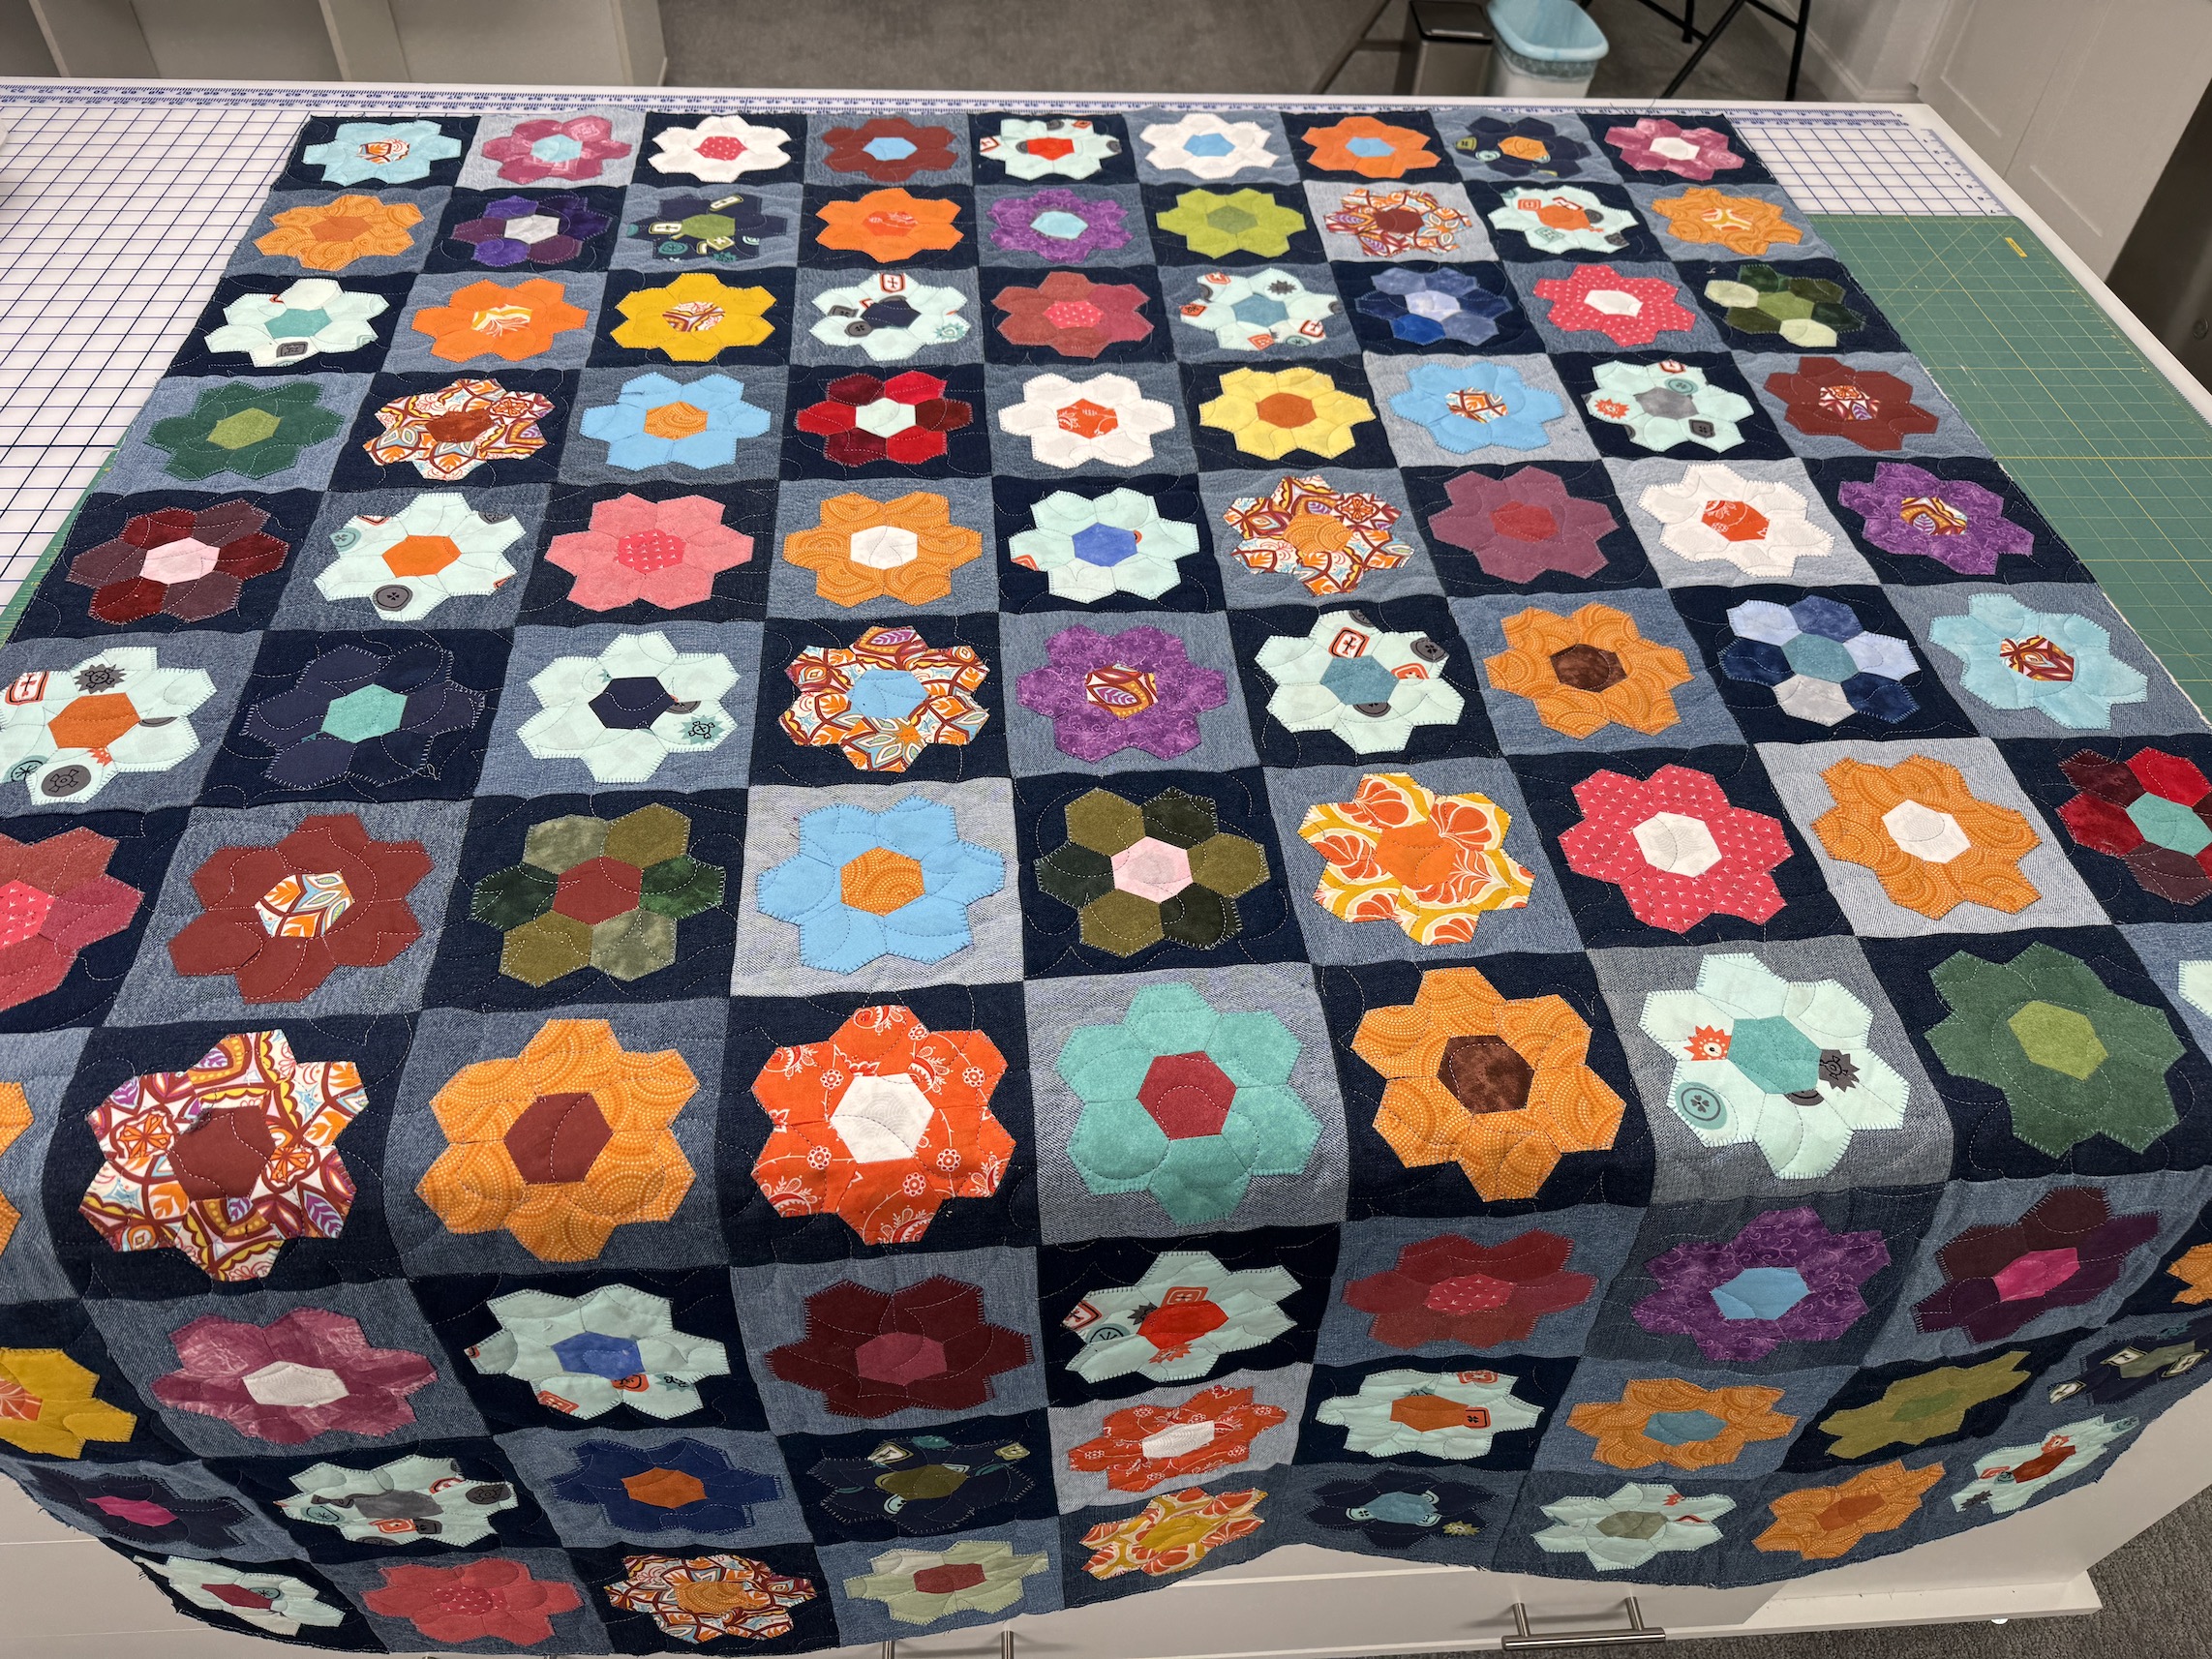
The quilt, an English Paper Pieced (EPP) Hexagon Rosette Scrappy Experience, that I’ve been posting about at various intervals over the past 10 years is now complete and hung on the wall.
The pattern of the flowers made from EPP hexagons that I appliquéd on recycled denim scraps is traditionally called “Grandmother’s Flower Garden”. I never gave it an official name so finally here goes: Grandmother’s Scrappy Flower Garden.
Instead of a traditional binding, I put a facing on the quilt like you might do for an art quilt, because it was already so thick with the denim and I planning on hanging it on the wall, not using it as a throw quilt.
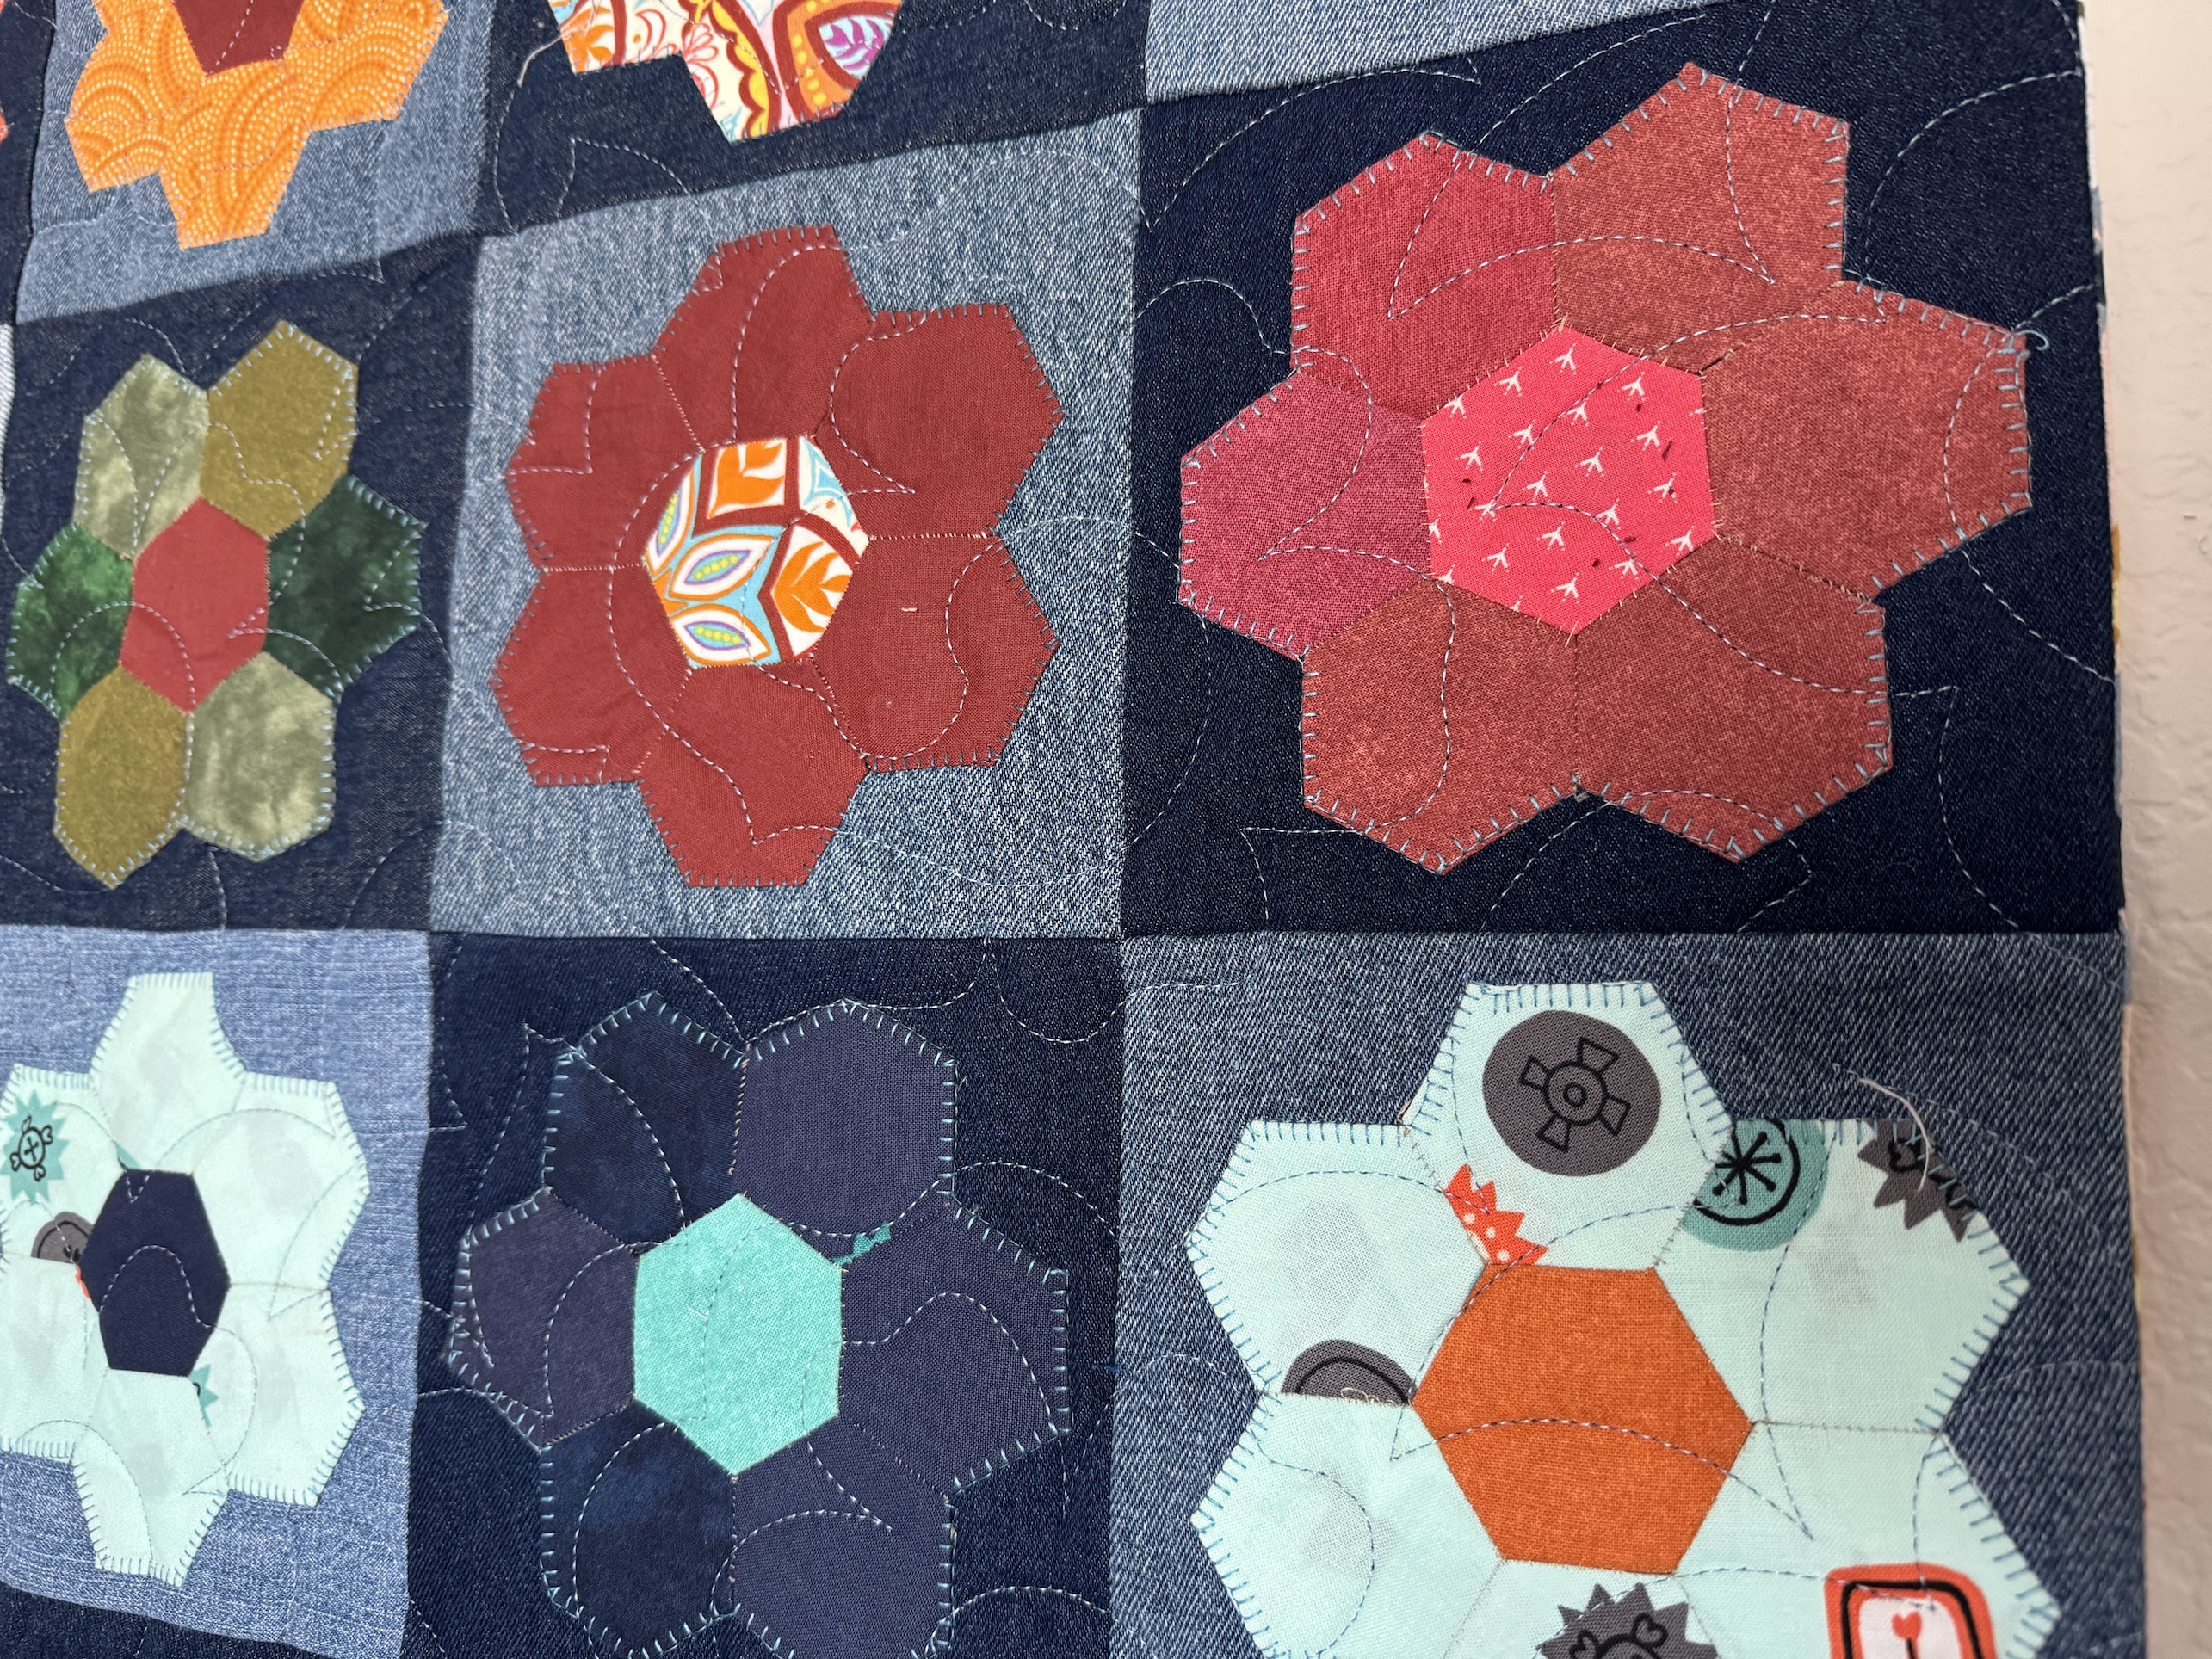
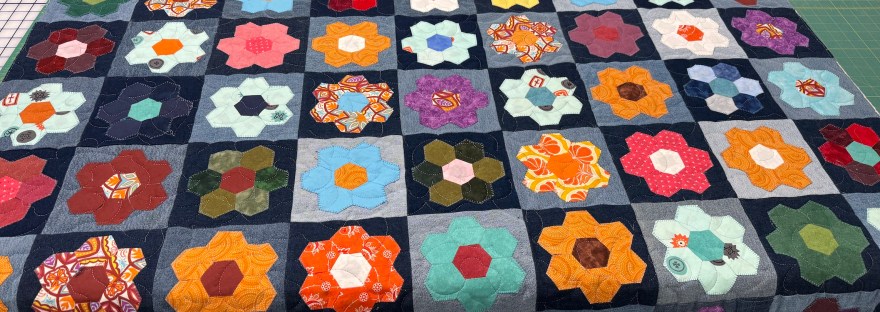
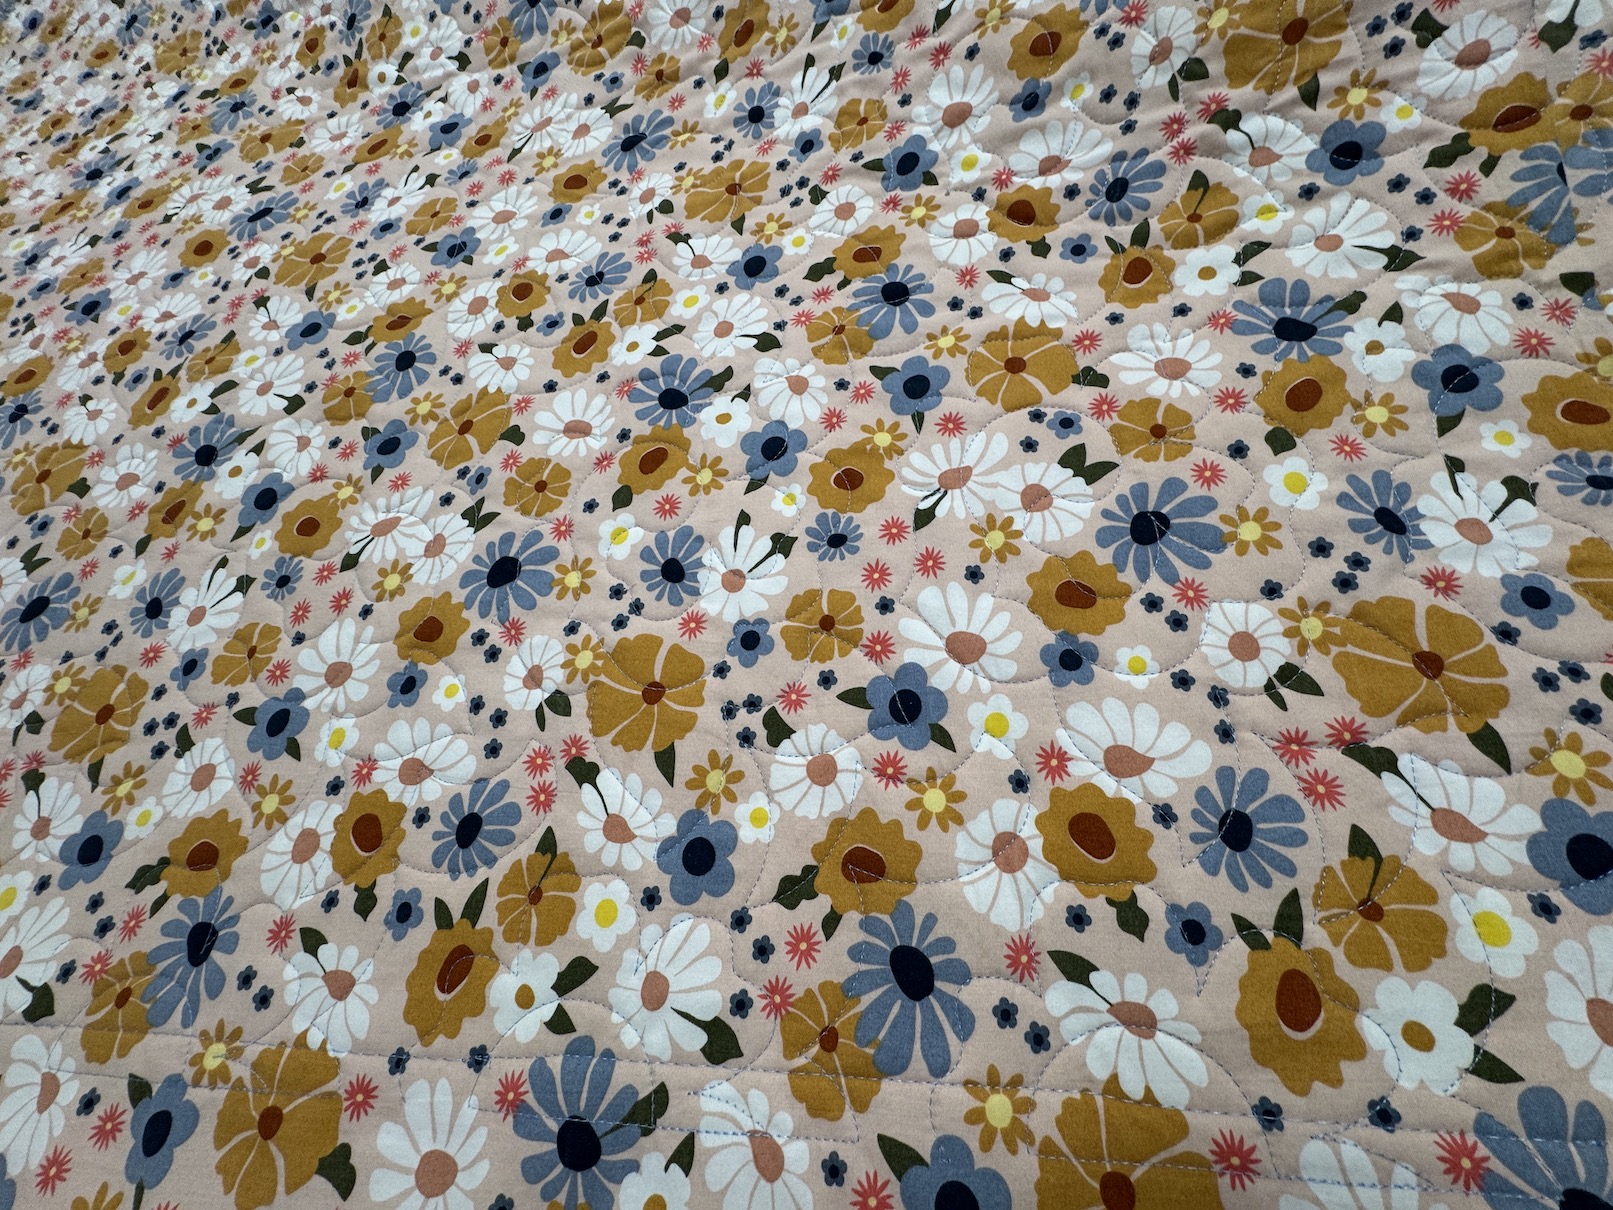
Here is a close up of the quilting. We selected a rose pattern and then my friend J who provided the longarm quilting, widened the pattern since she was machine quilting on thick denim:
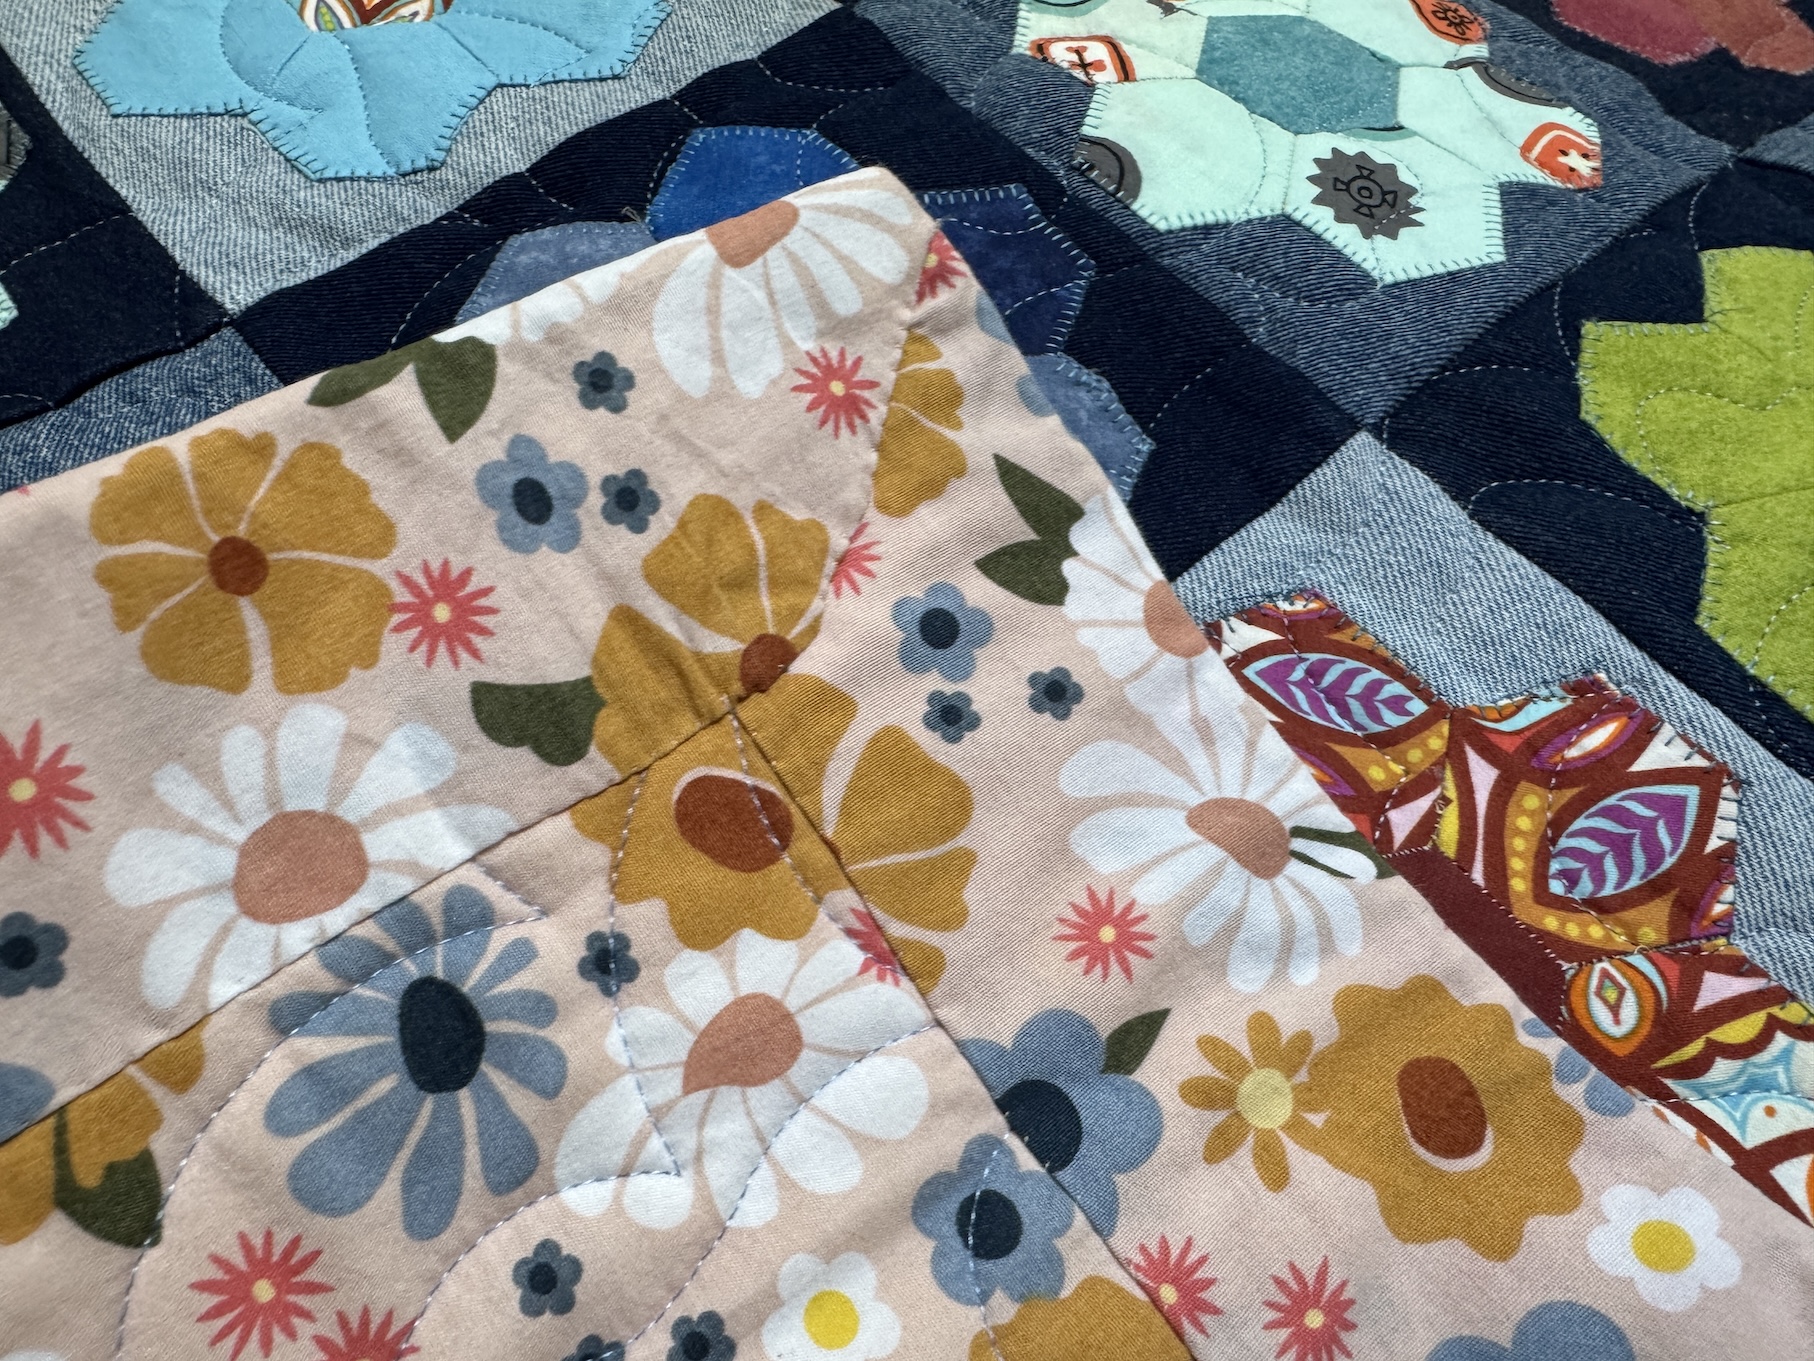
My facing was nothing to “write home about” but here is what is looked like (I failed on some of the mitered corners but no one will see them hanging):
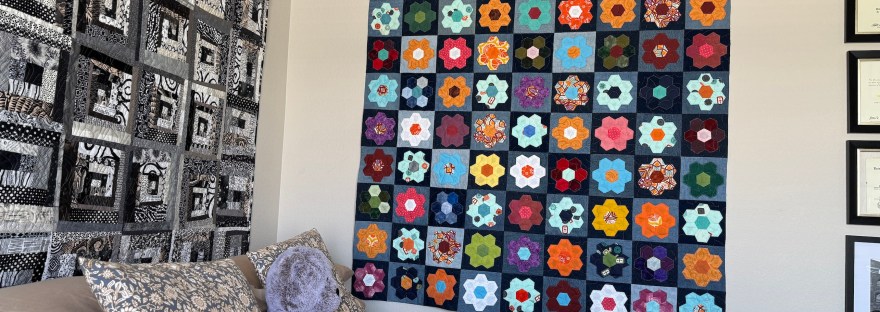
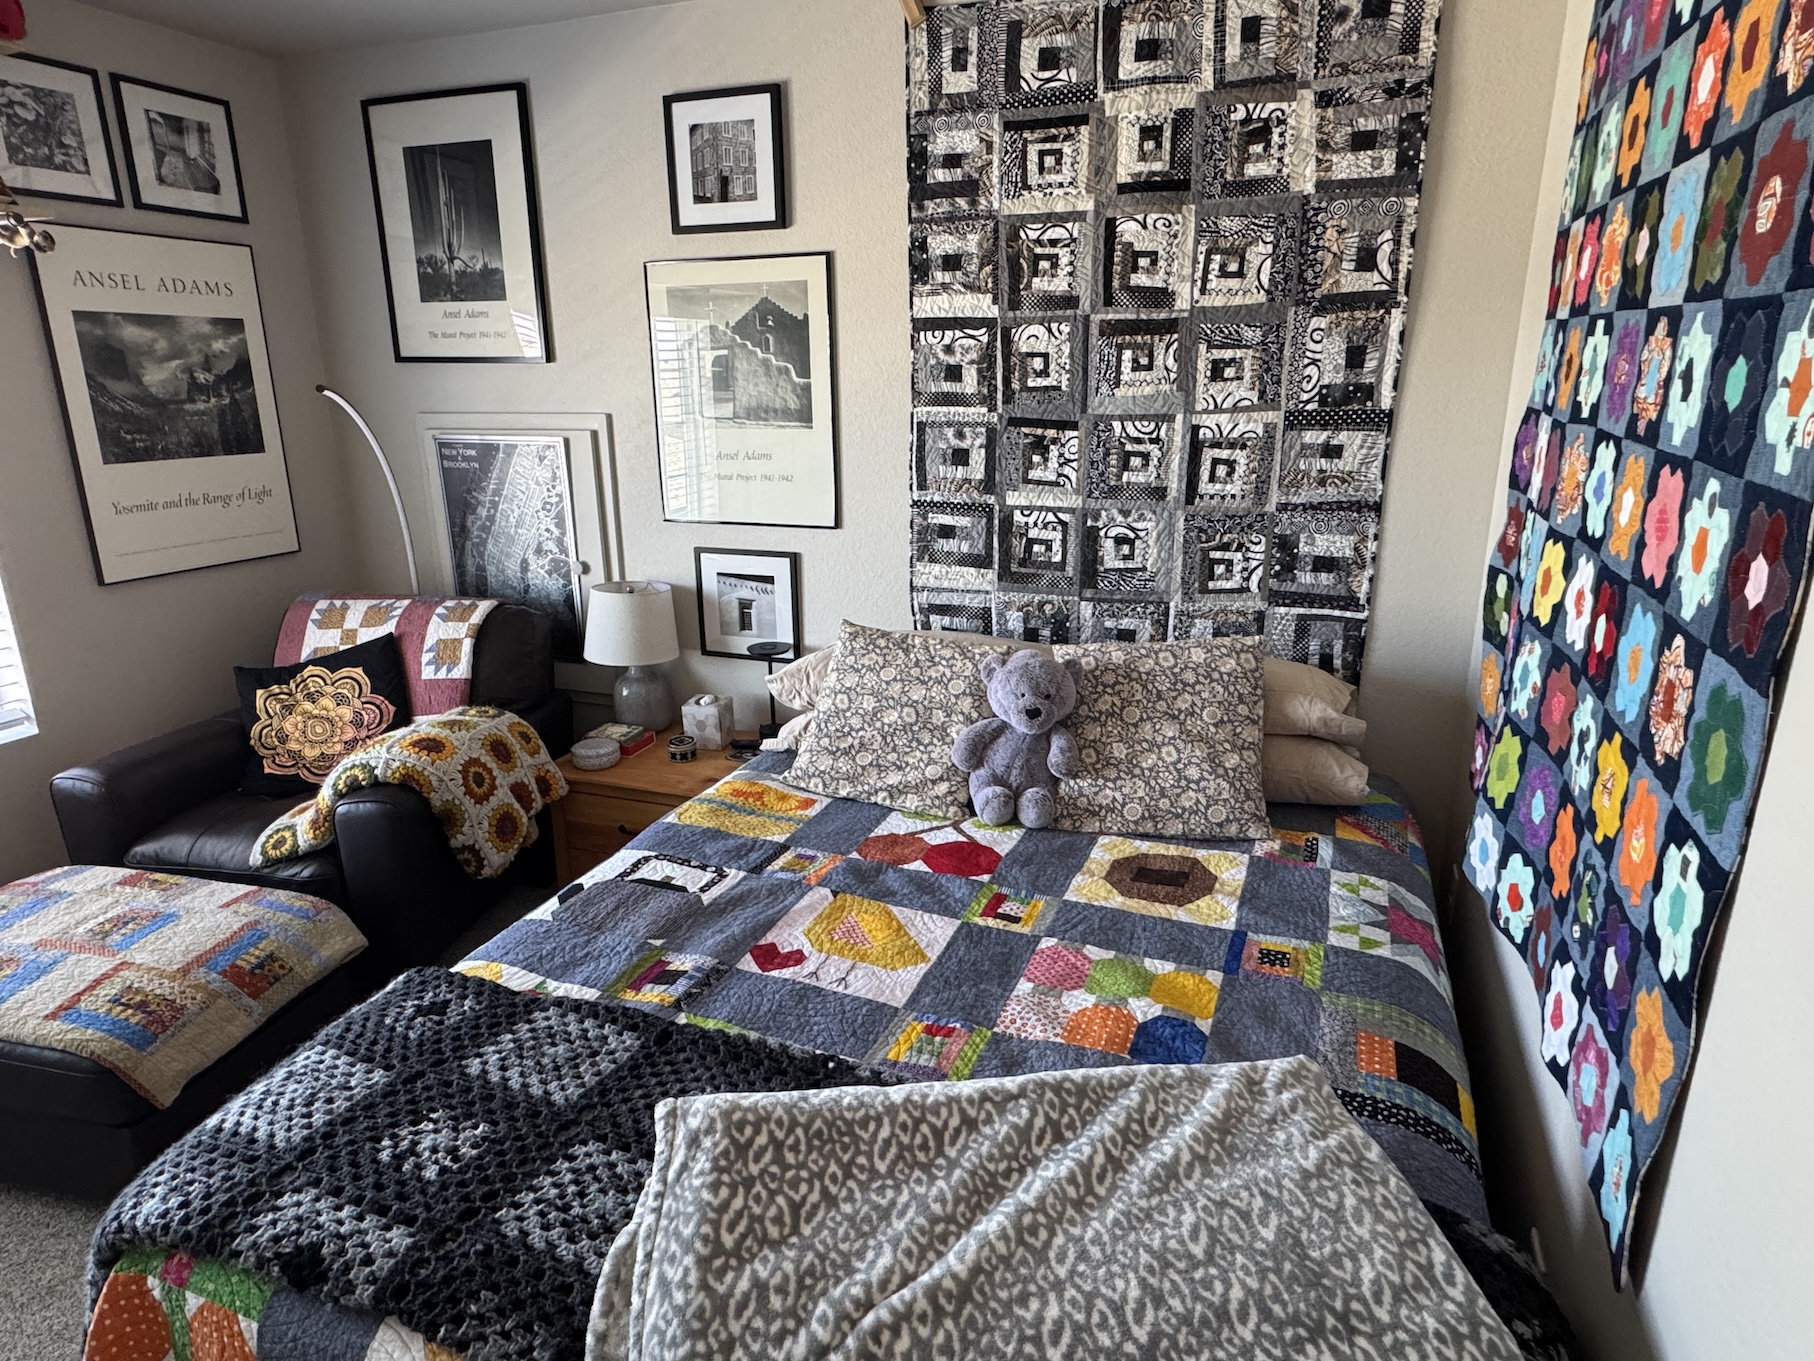
Here it is above the bed in the bedroom next to my studio in the loft. This extra guest bedroom also functions as my office off the studio.
Besides my desk, this bedroom also has my chair that I like to work on hand sewing or read a book in – and you will see my beloved Sunburst Sunflower Granny Square blanket I made on the chair:
(I have a thing for Ansel Adams and Black & White Photography so the walls are decorated with either B&W posters or my frame B&W photos)
You might notice on the bed another quilt I endlessly posted about on monthly ScrapHappy posts – my Scrappy FarmGirl Vintage quilt. I decided to use it as an actual bed quilt and not treat it so precious (though it also took years to finish). Additionally in the room is my scrappy Black & White log cabin quilt, and another one of my granny square blankets (in various shades of gray); and a couple of my older quilts, including a “bear paw” pattern quilt the 3rd quilt I ever made!
So my office/guest bedroom/reading room is feeling quite cozy with my finally finished Grandmother’s Scrappy Flower Garden!
Hi there – it’s tierneycreates Beastie stopping by the blog for a guest post.
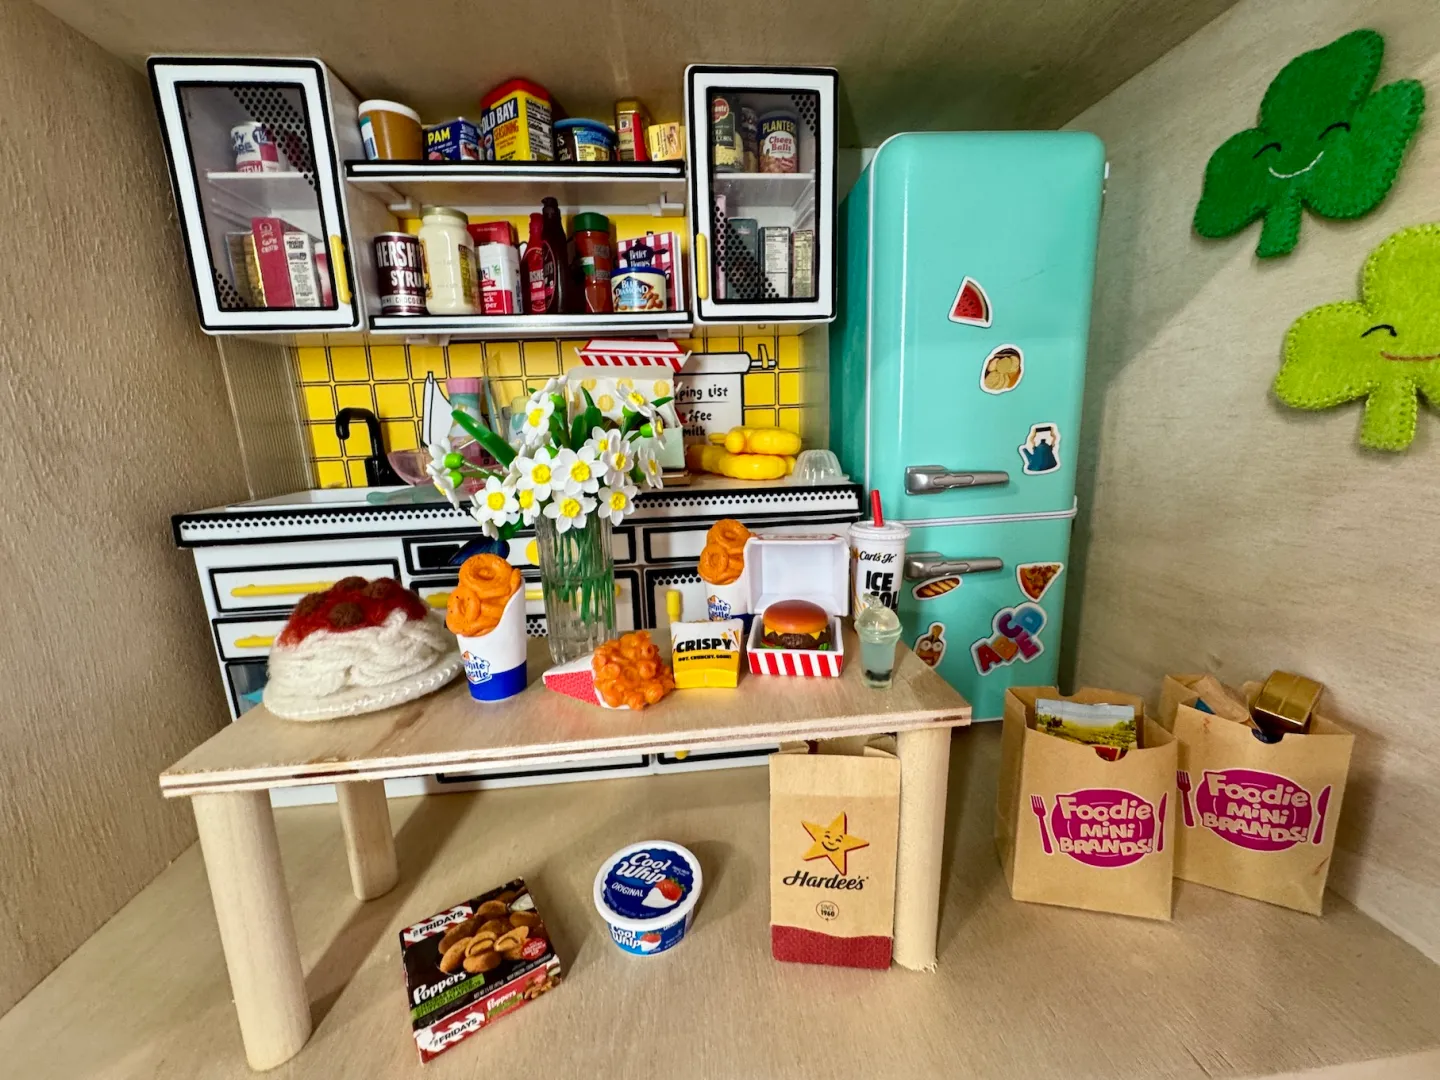
I wanted to share the mischief that my husband John Beastie got into while allegedly trying to help the humans in the “Human Kitchen”. By the way, we have our own Beastie kitchen at Beastie Towers:
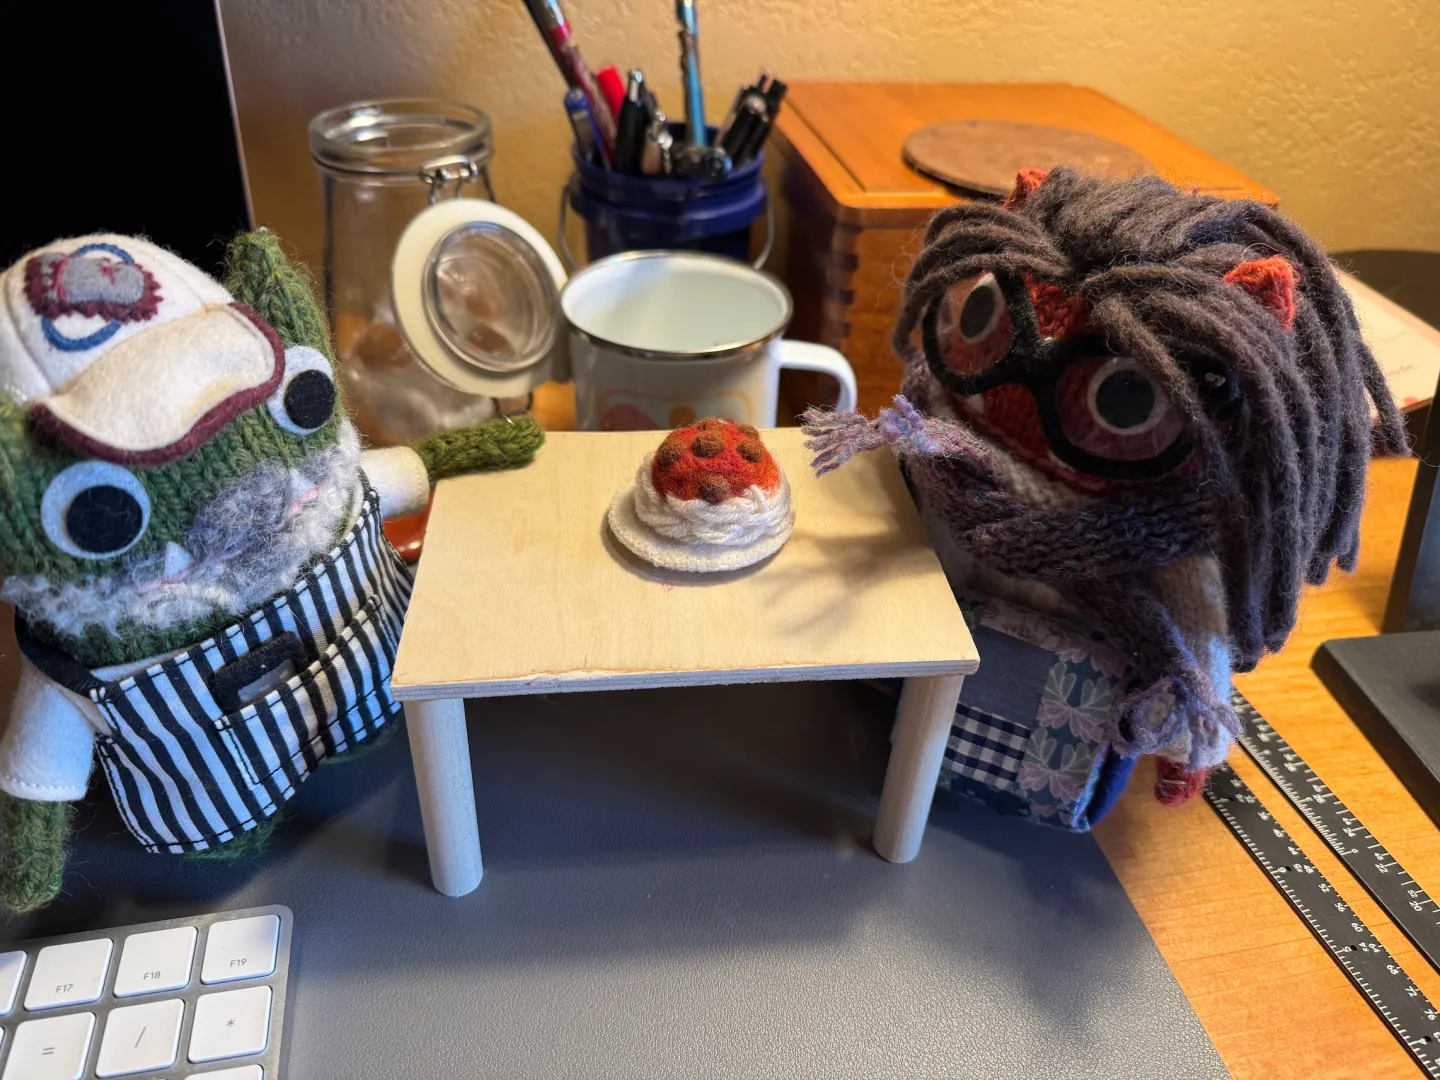
John Beastie like Human John loves to cook and always wears his apron. Here we are enjoying on of his spaghetti and meatball dinners:
Well yesterday John Beastie thought he had enough experience cooking wool/yarn based food that he could help the Humans with human food.
He noticed that Tierney in the mood for some “Fall Baking” and was planning to make banana bread and chocolate chip cookies.
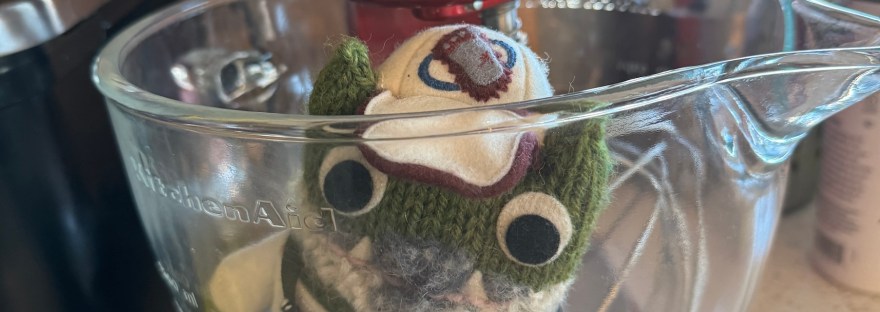
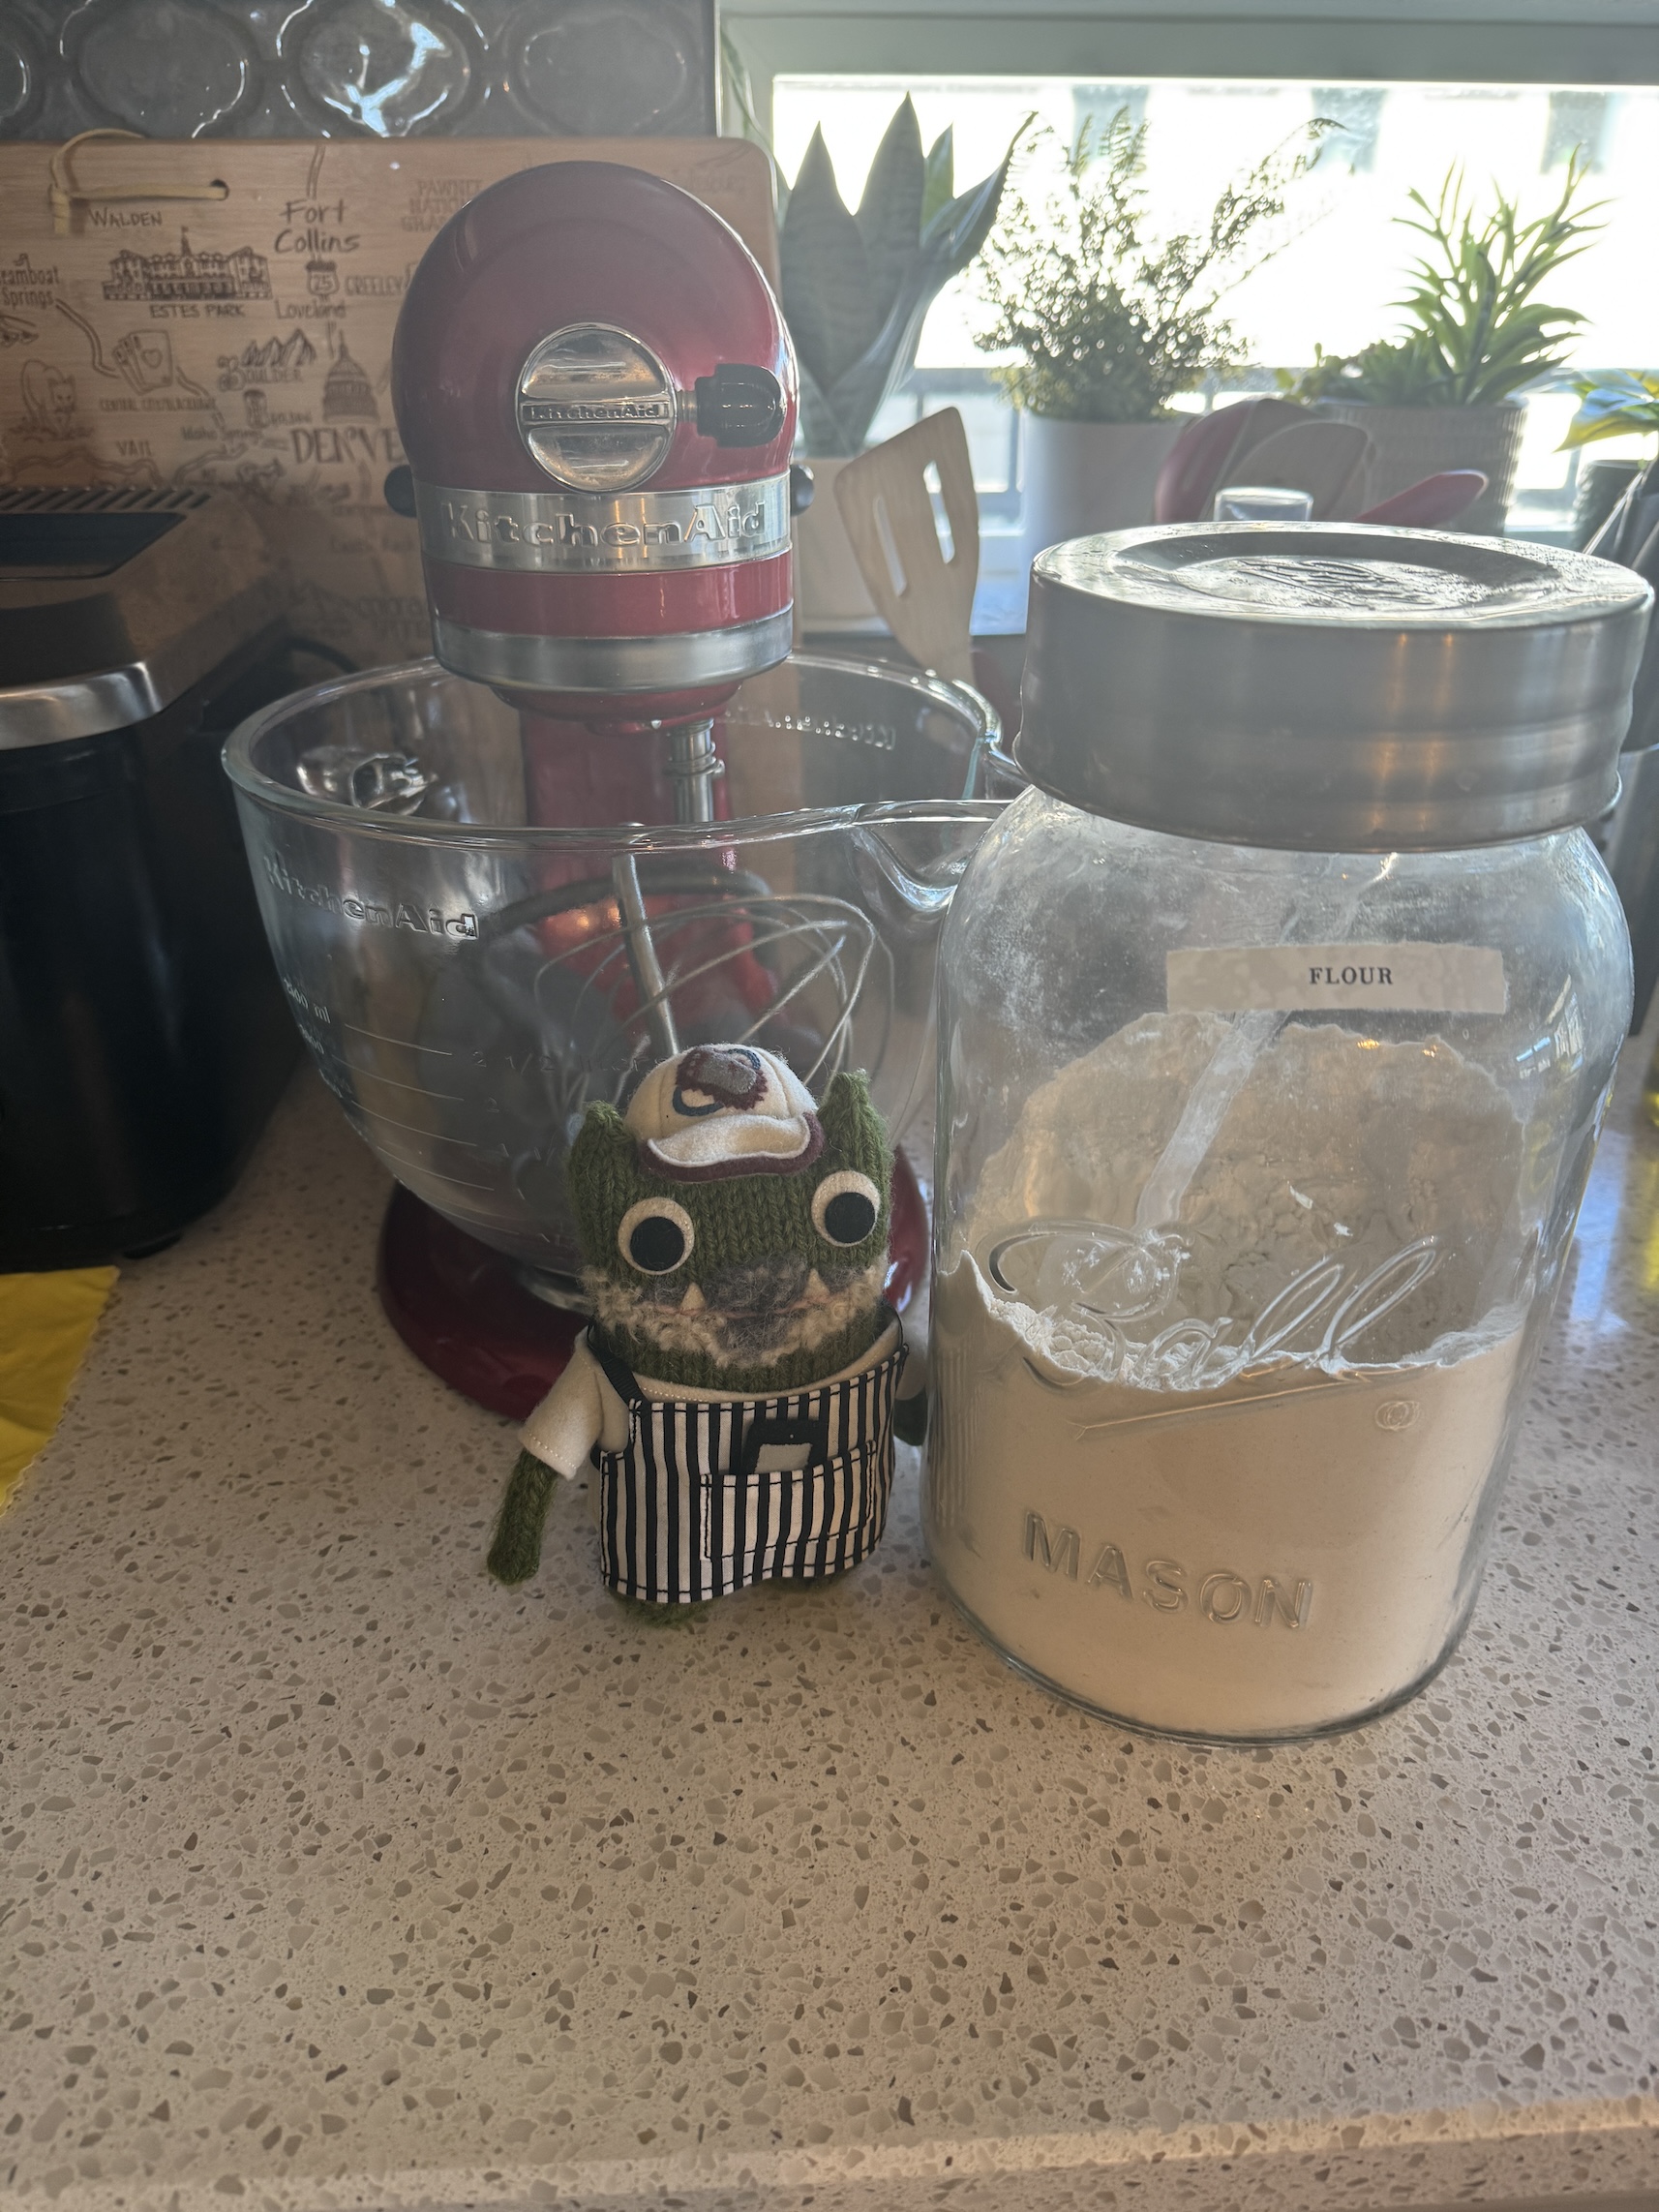
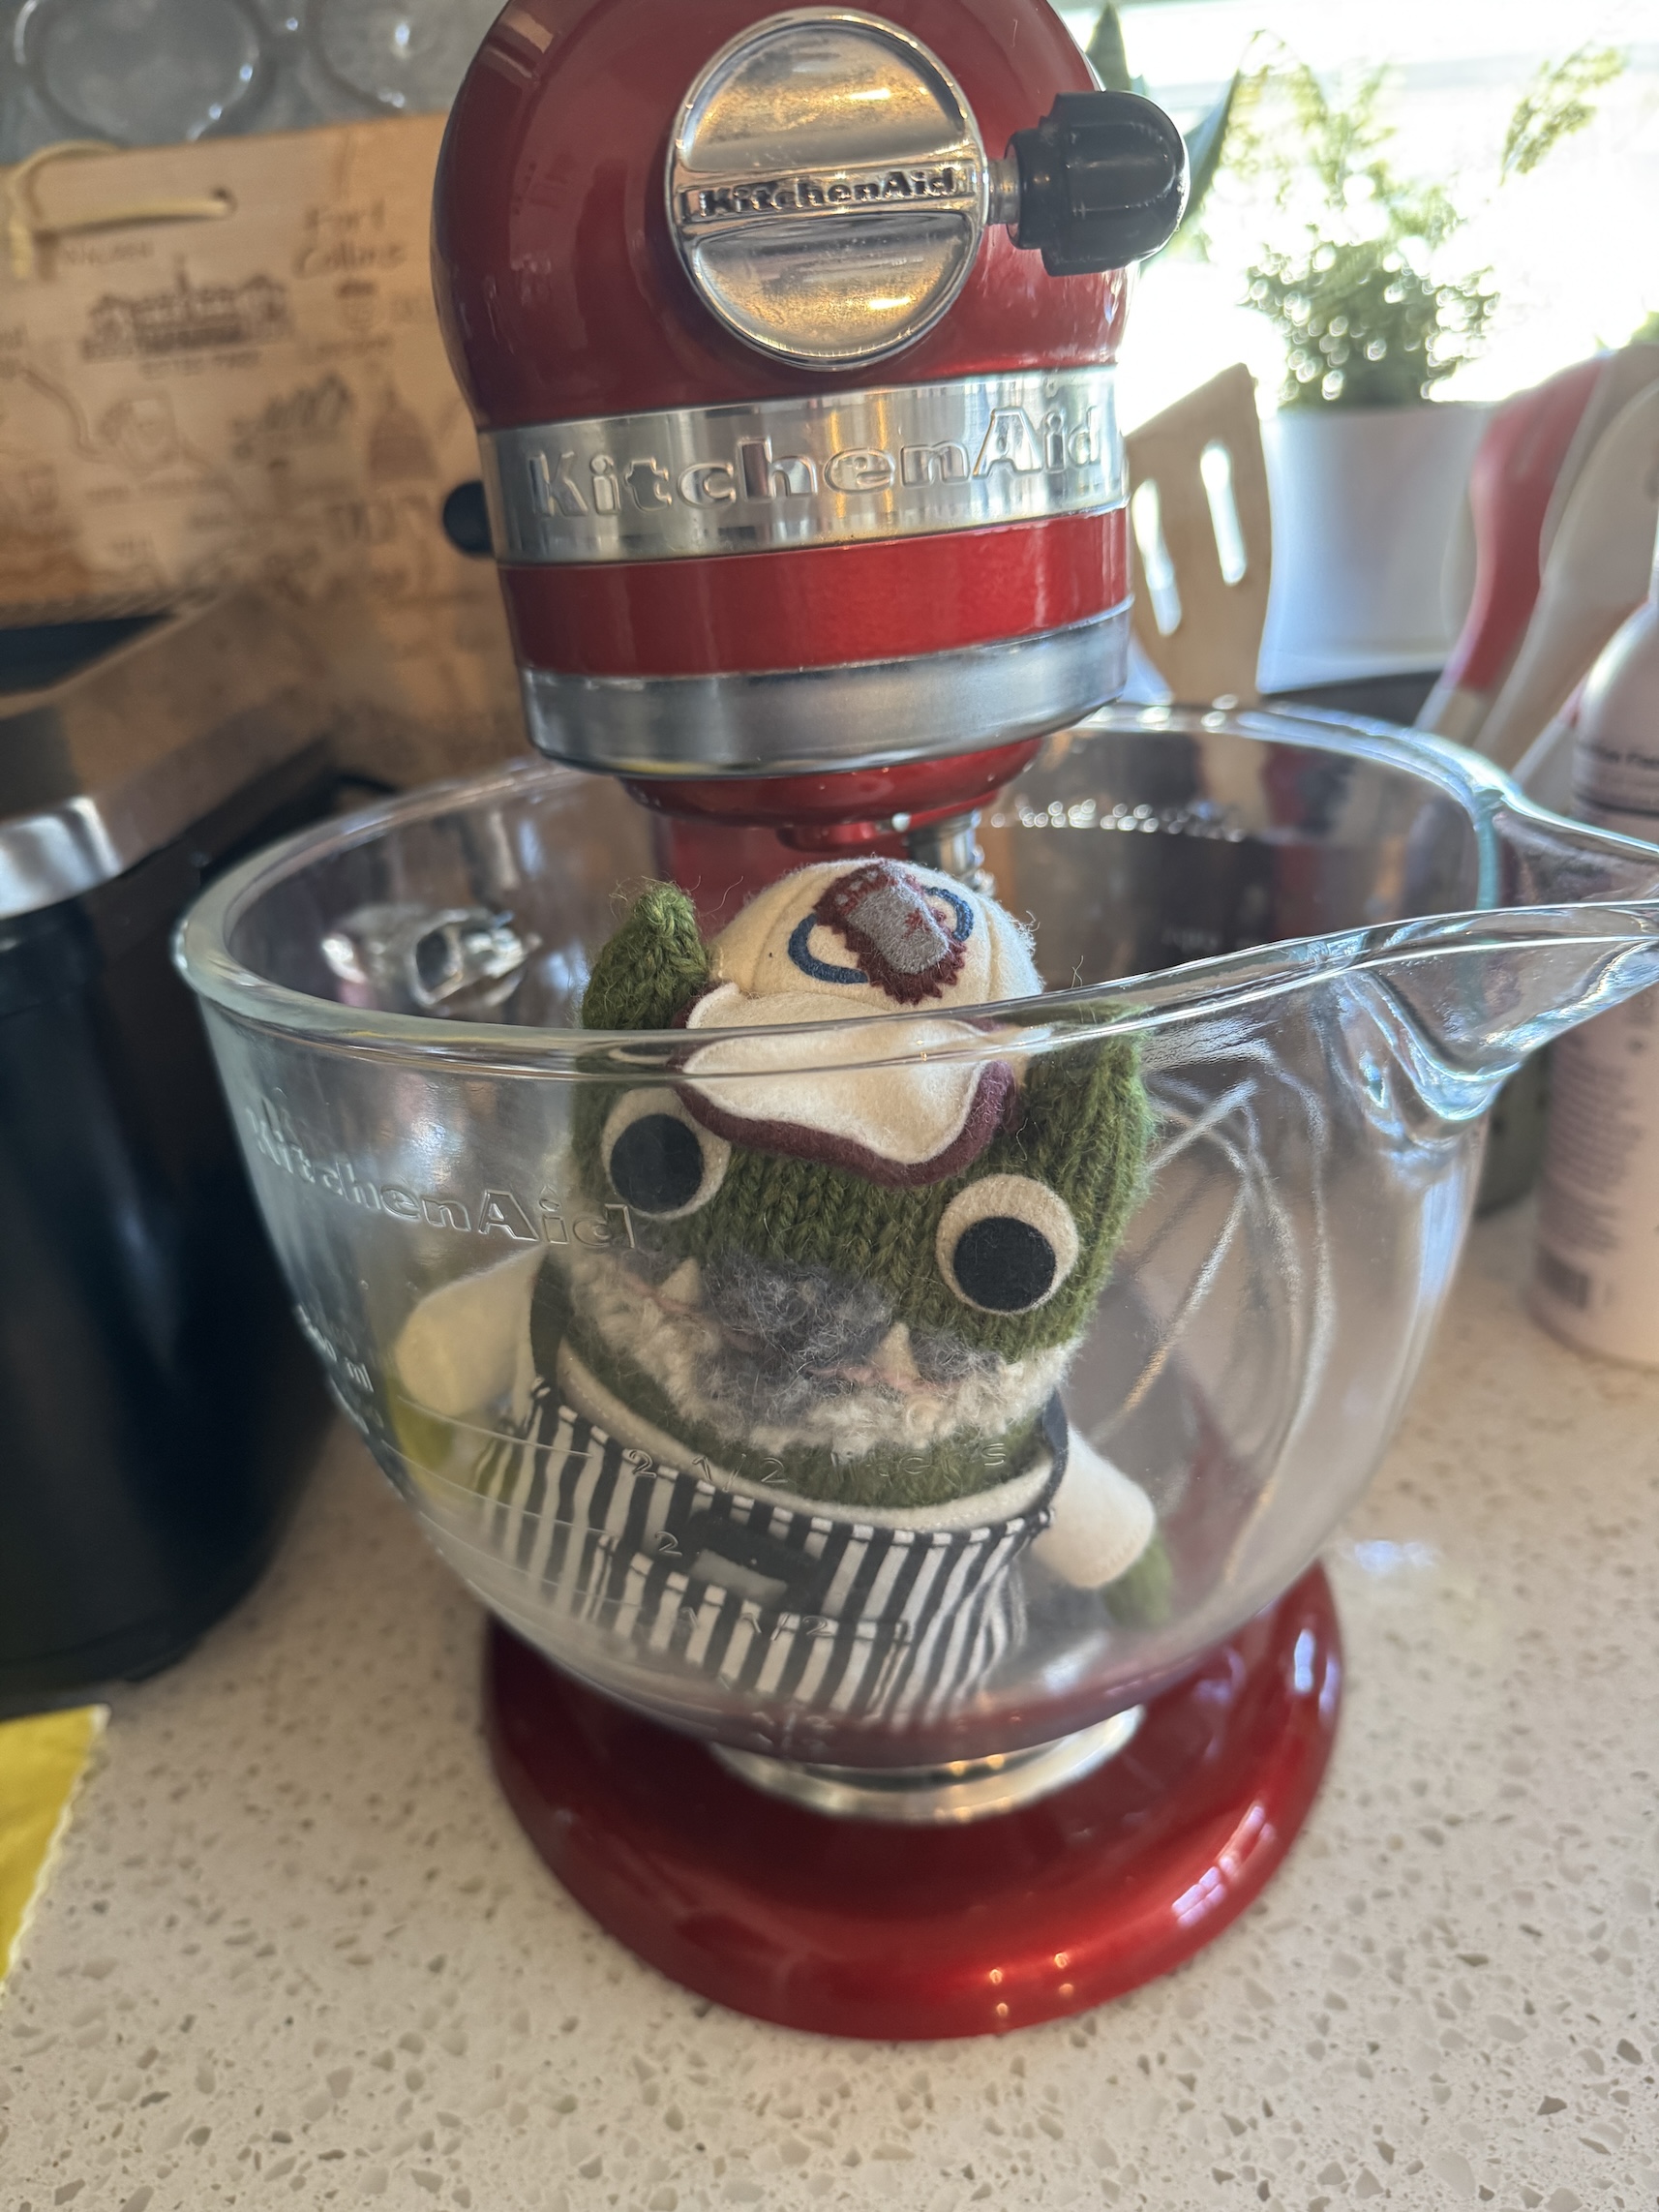
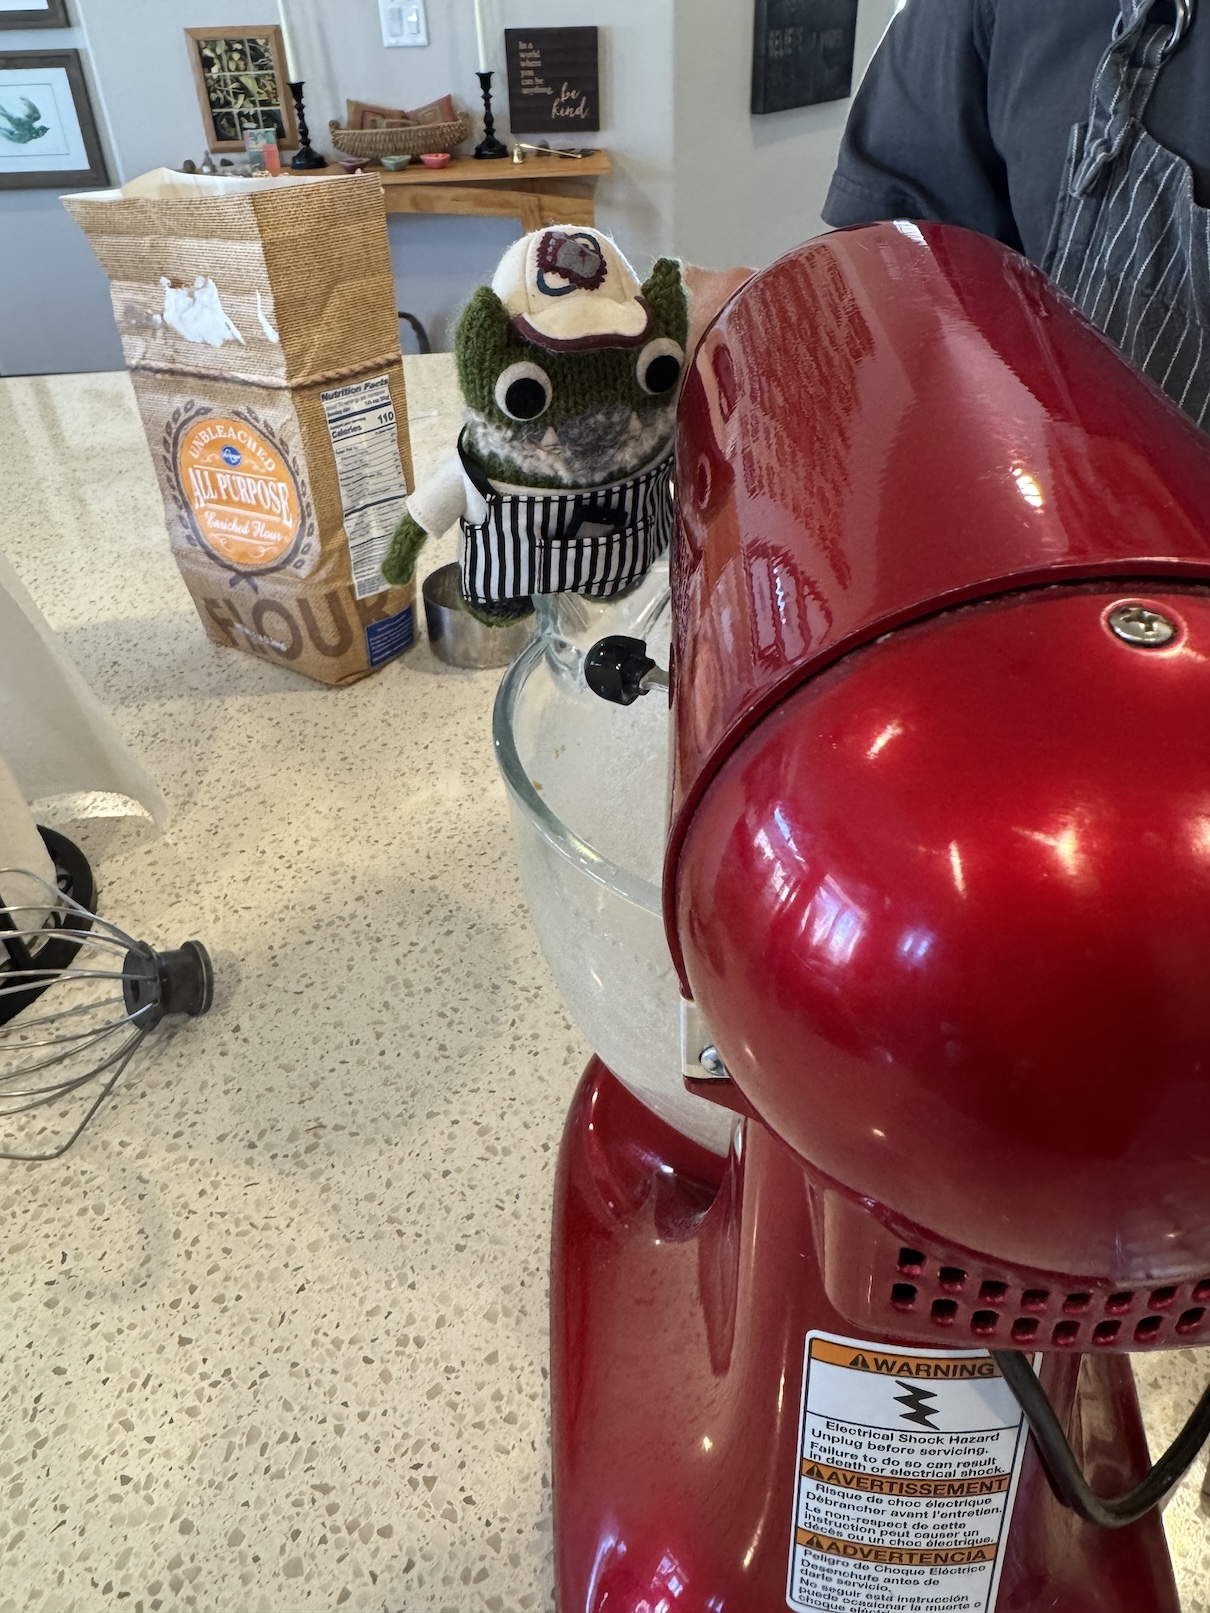
He is fascinated with the KitchenAid Mixer, jumped inside it and refused to leave it until Tierney agreed to let him help bake!
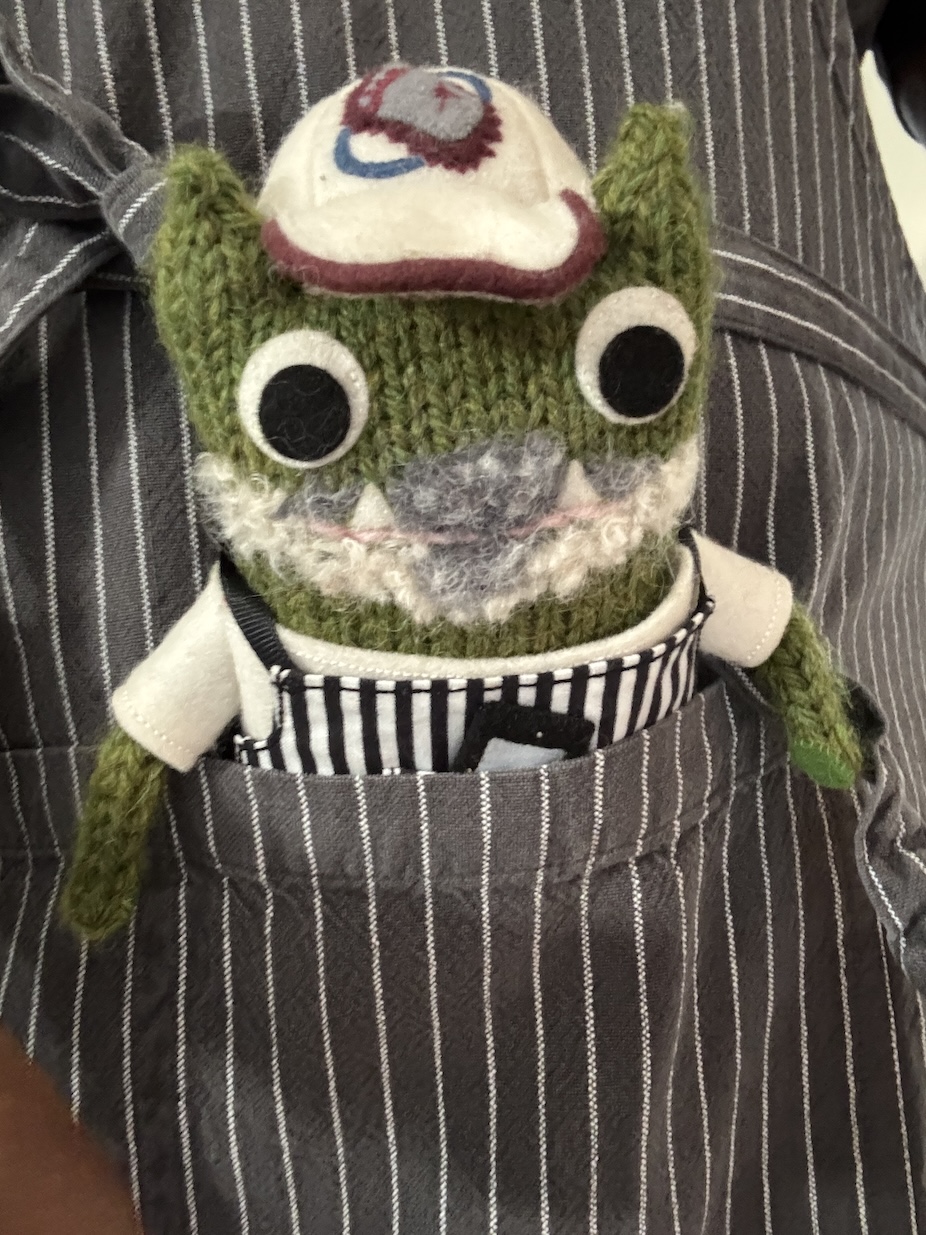
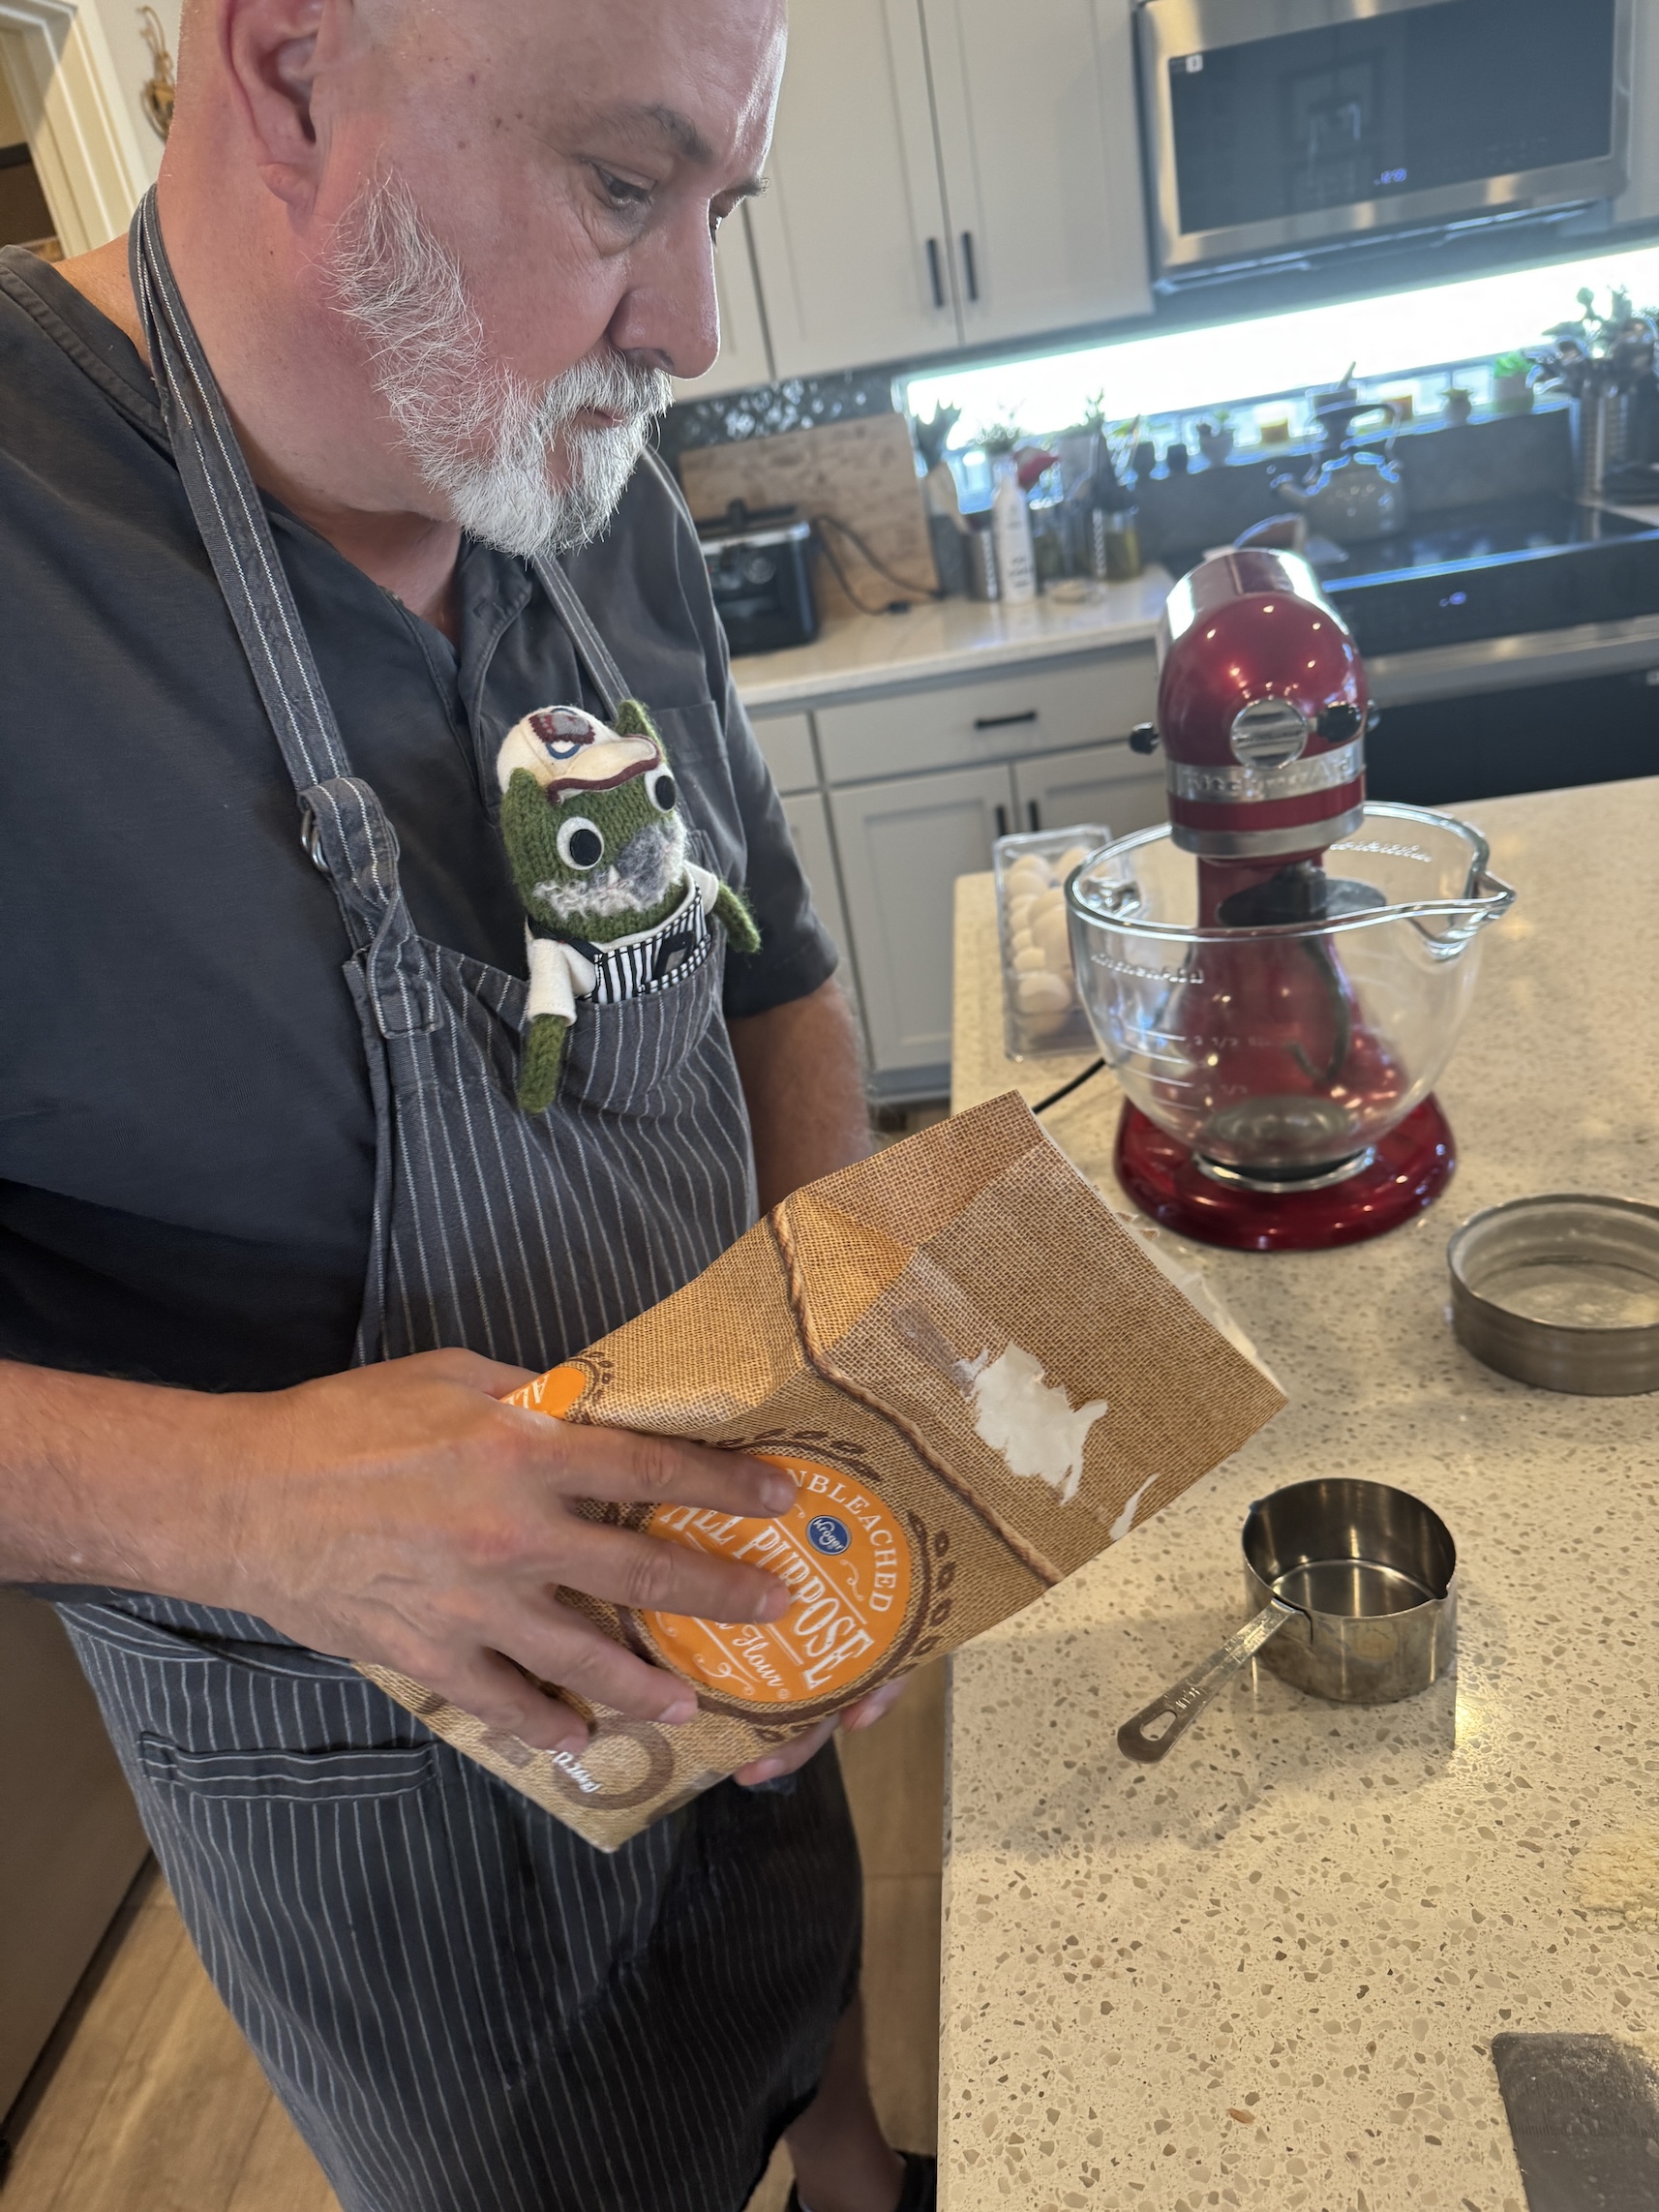
So Tierney agreed at first to let him observe only and put him inside her apron (human John’s apron that she borrowed), while she baked:
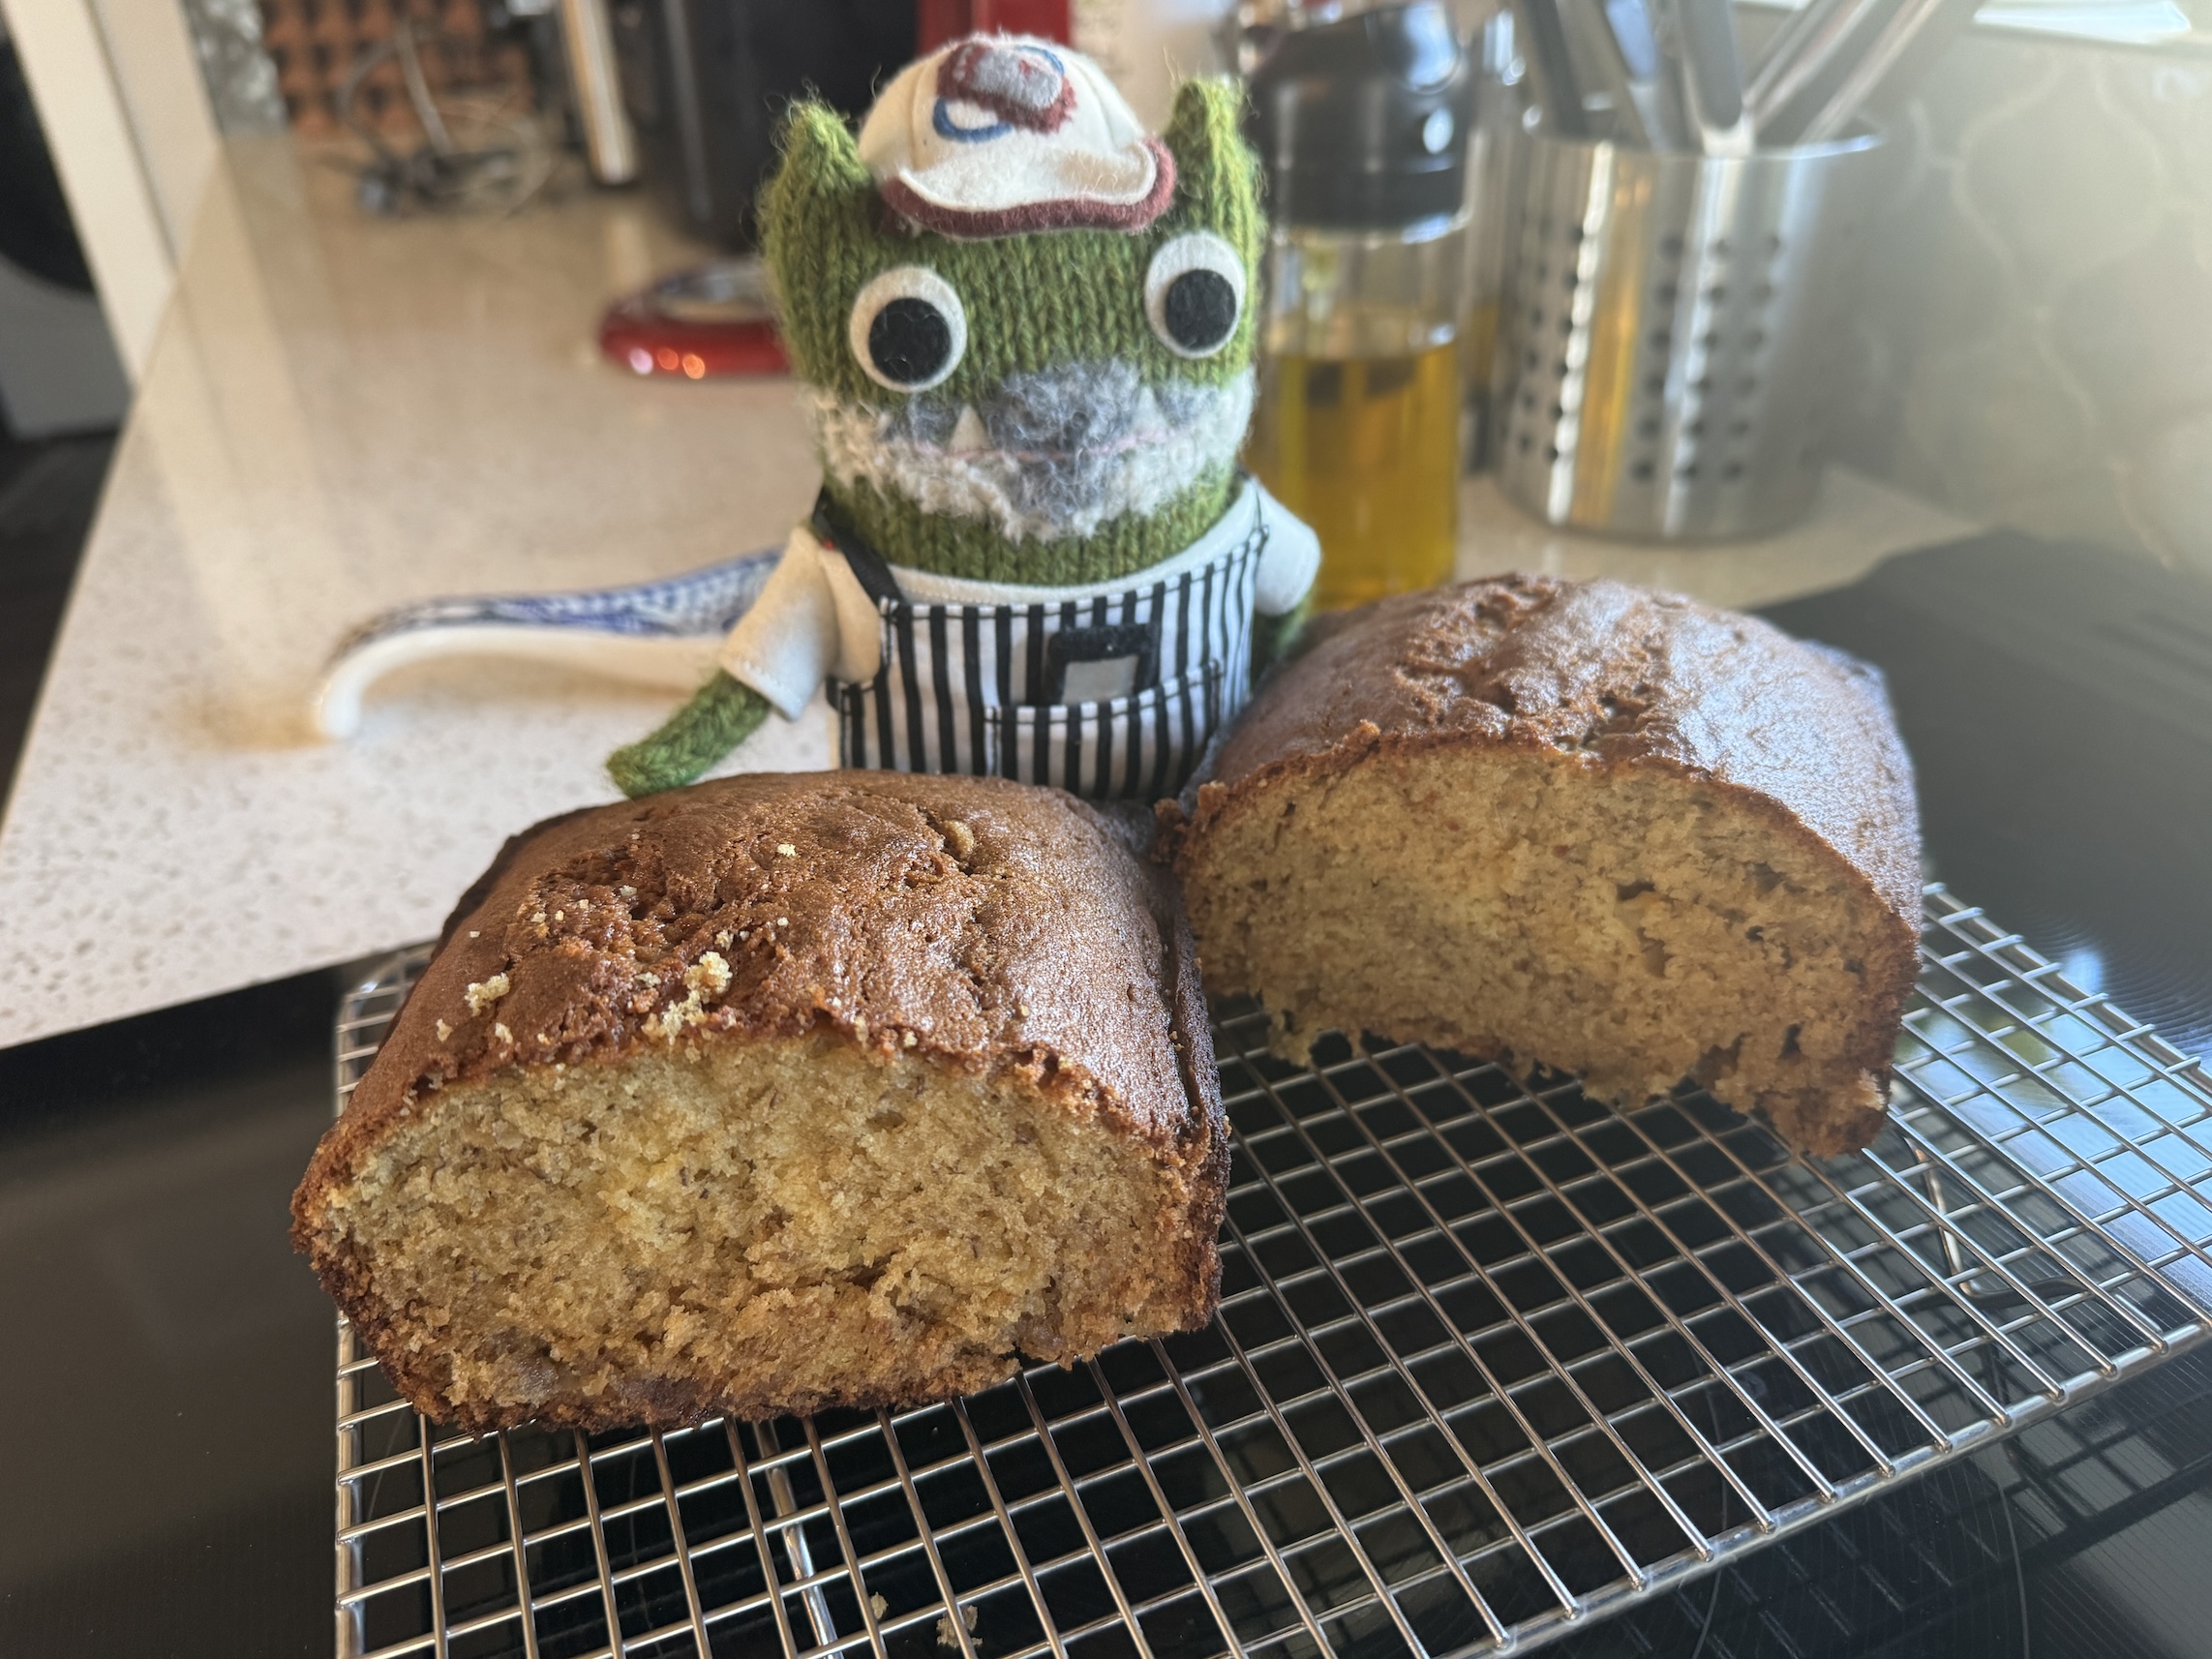
First she made banana bread and John Beastie acted like he had baked it!
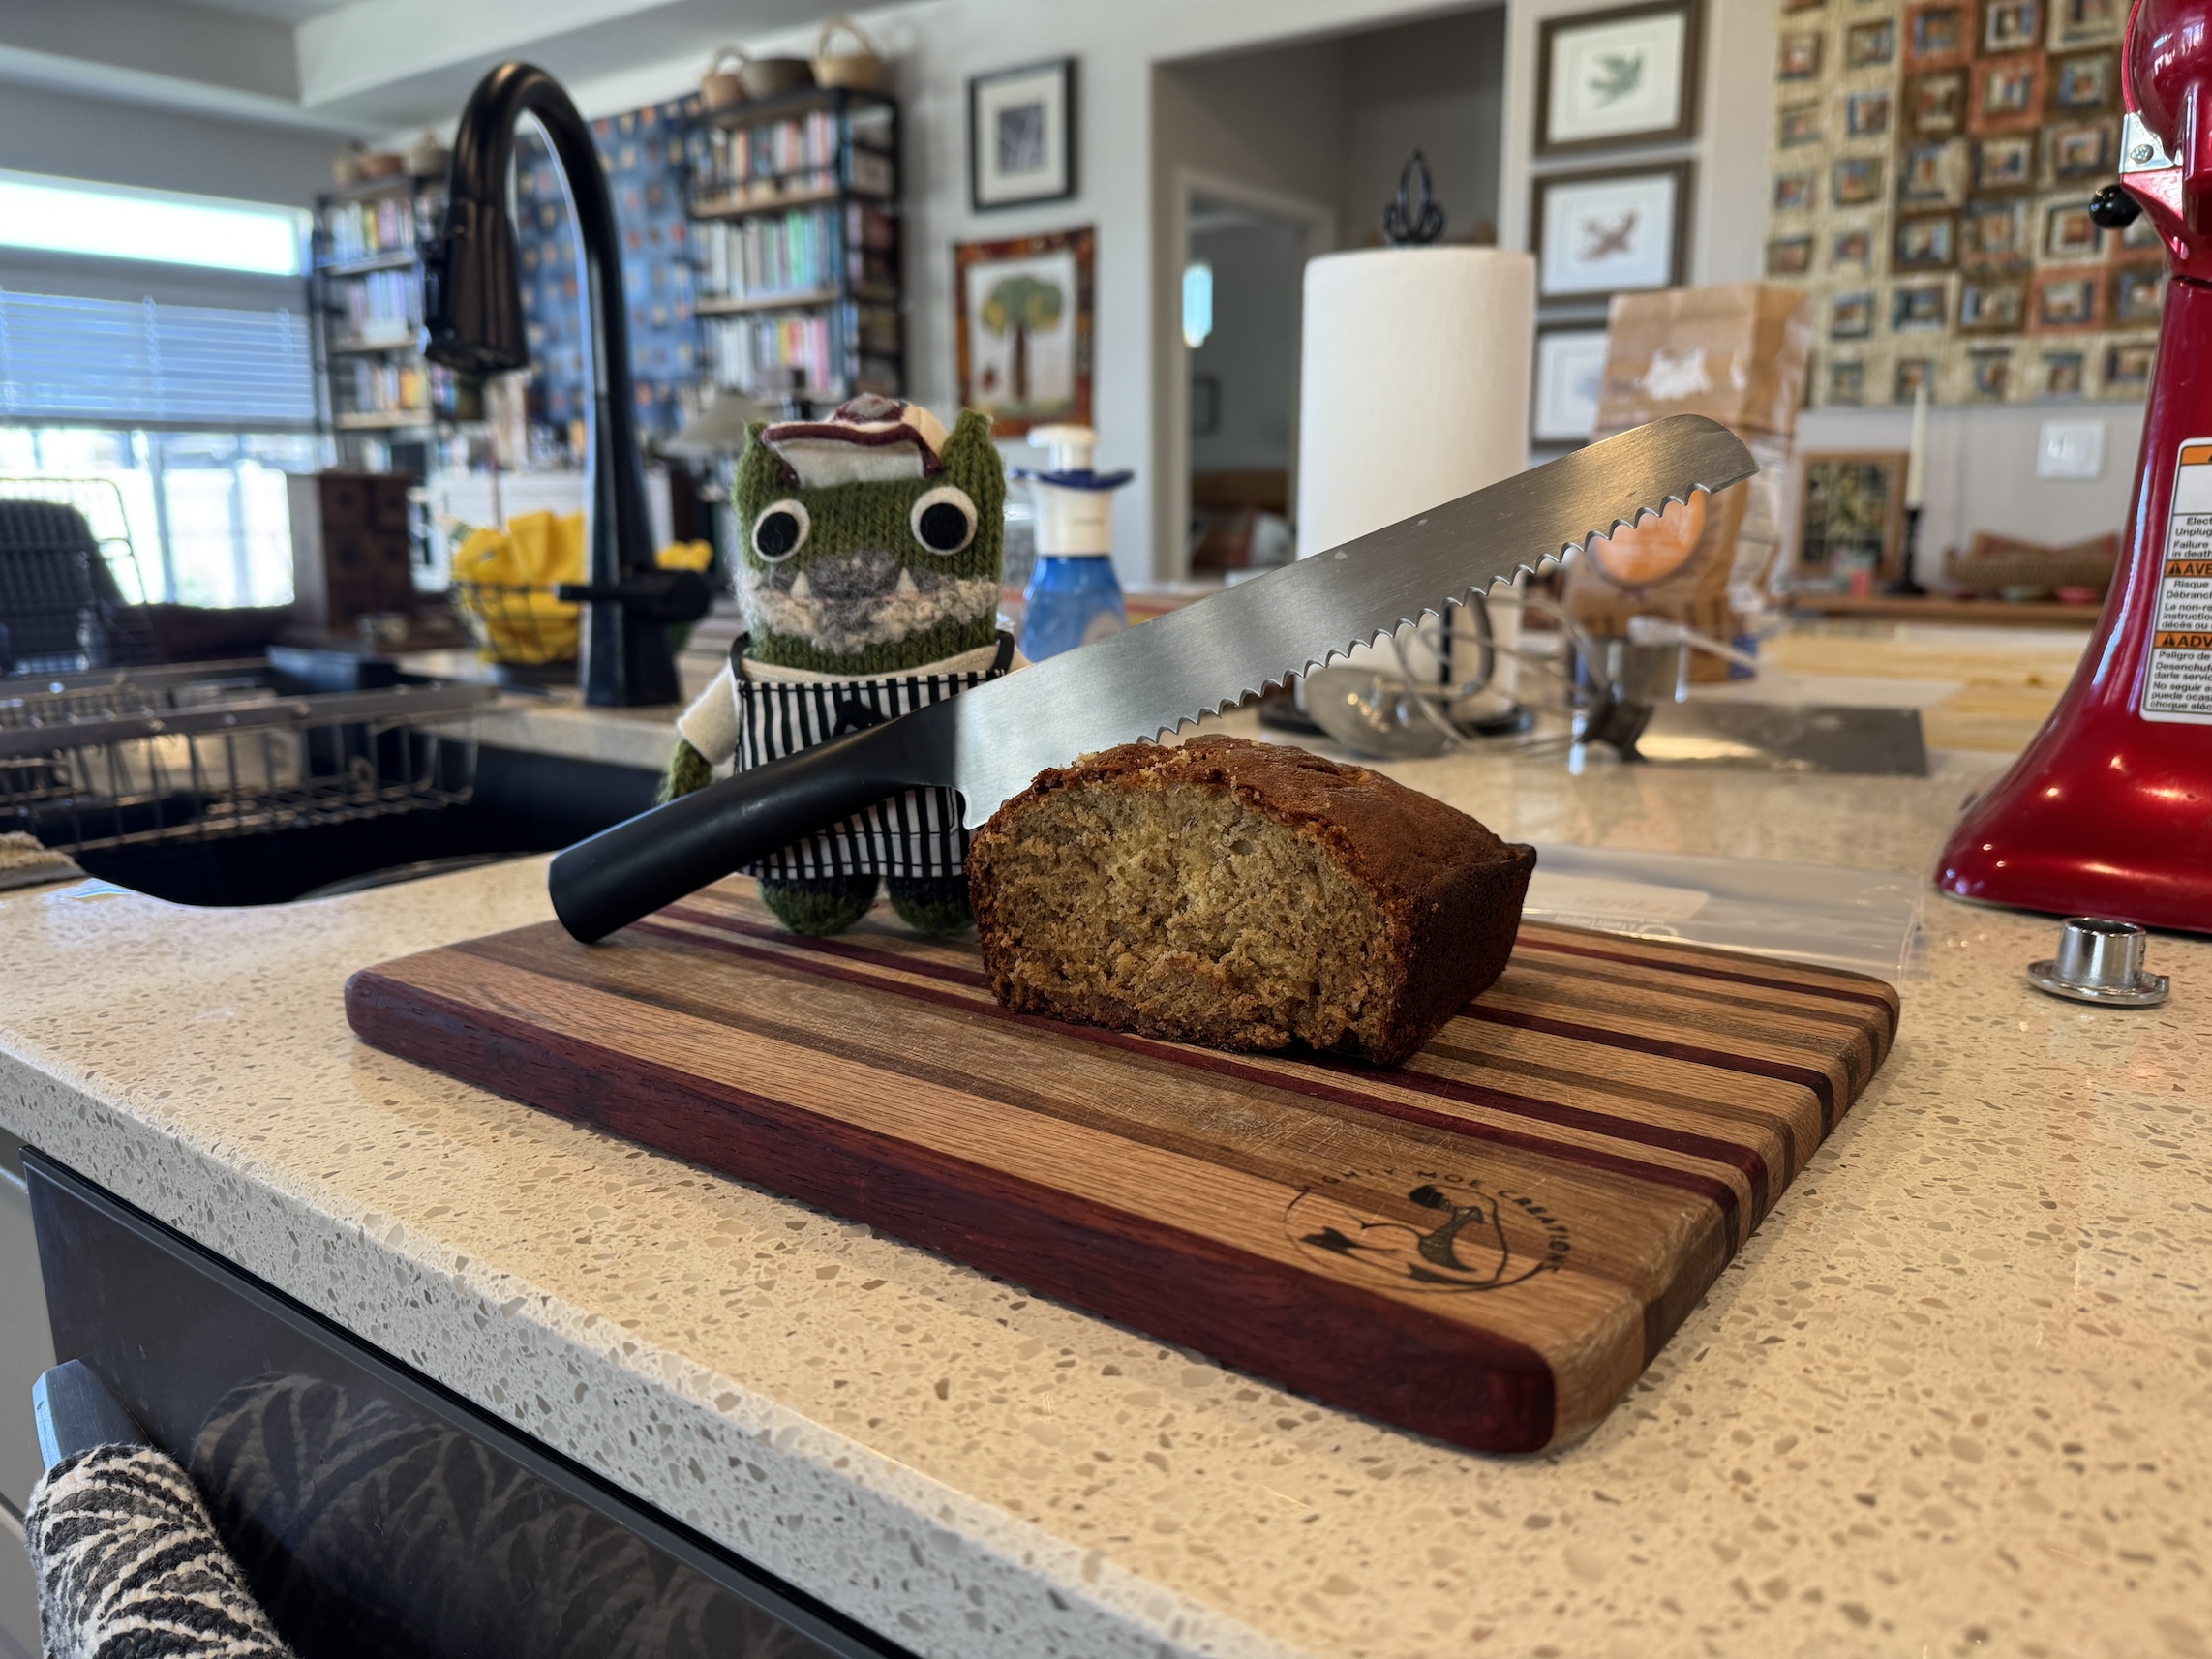
Then he tried to slice a piece to try out and Tierney quickly took away the knife which as way too big for him!
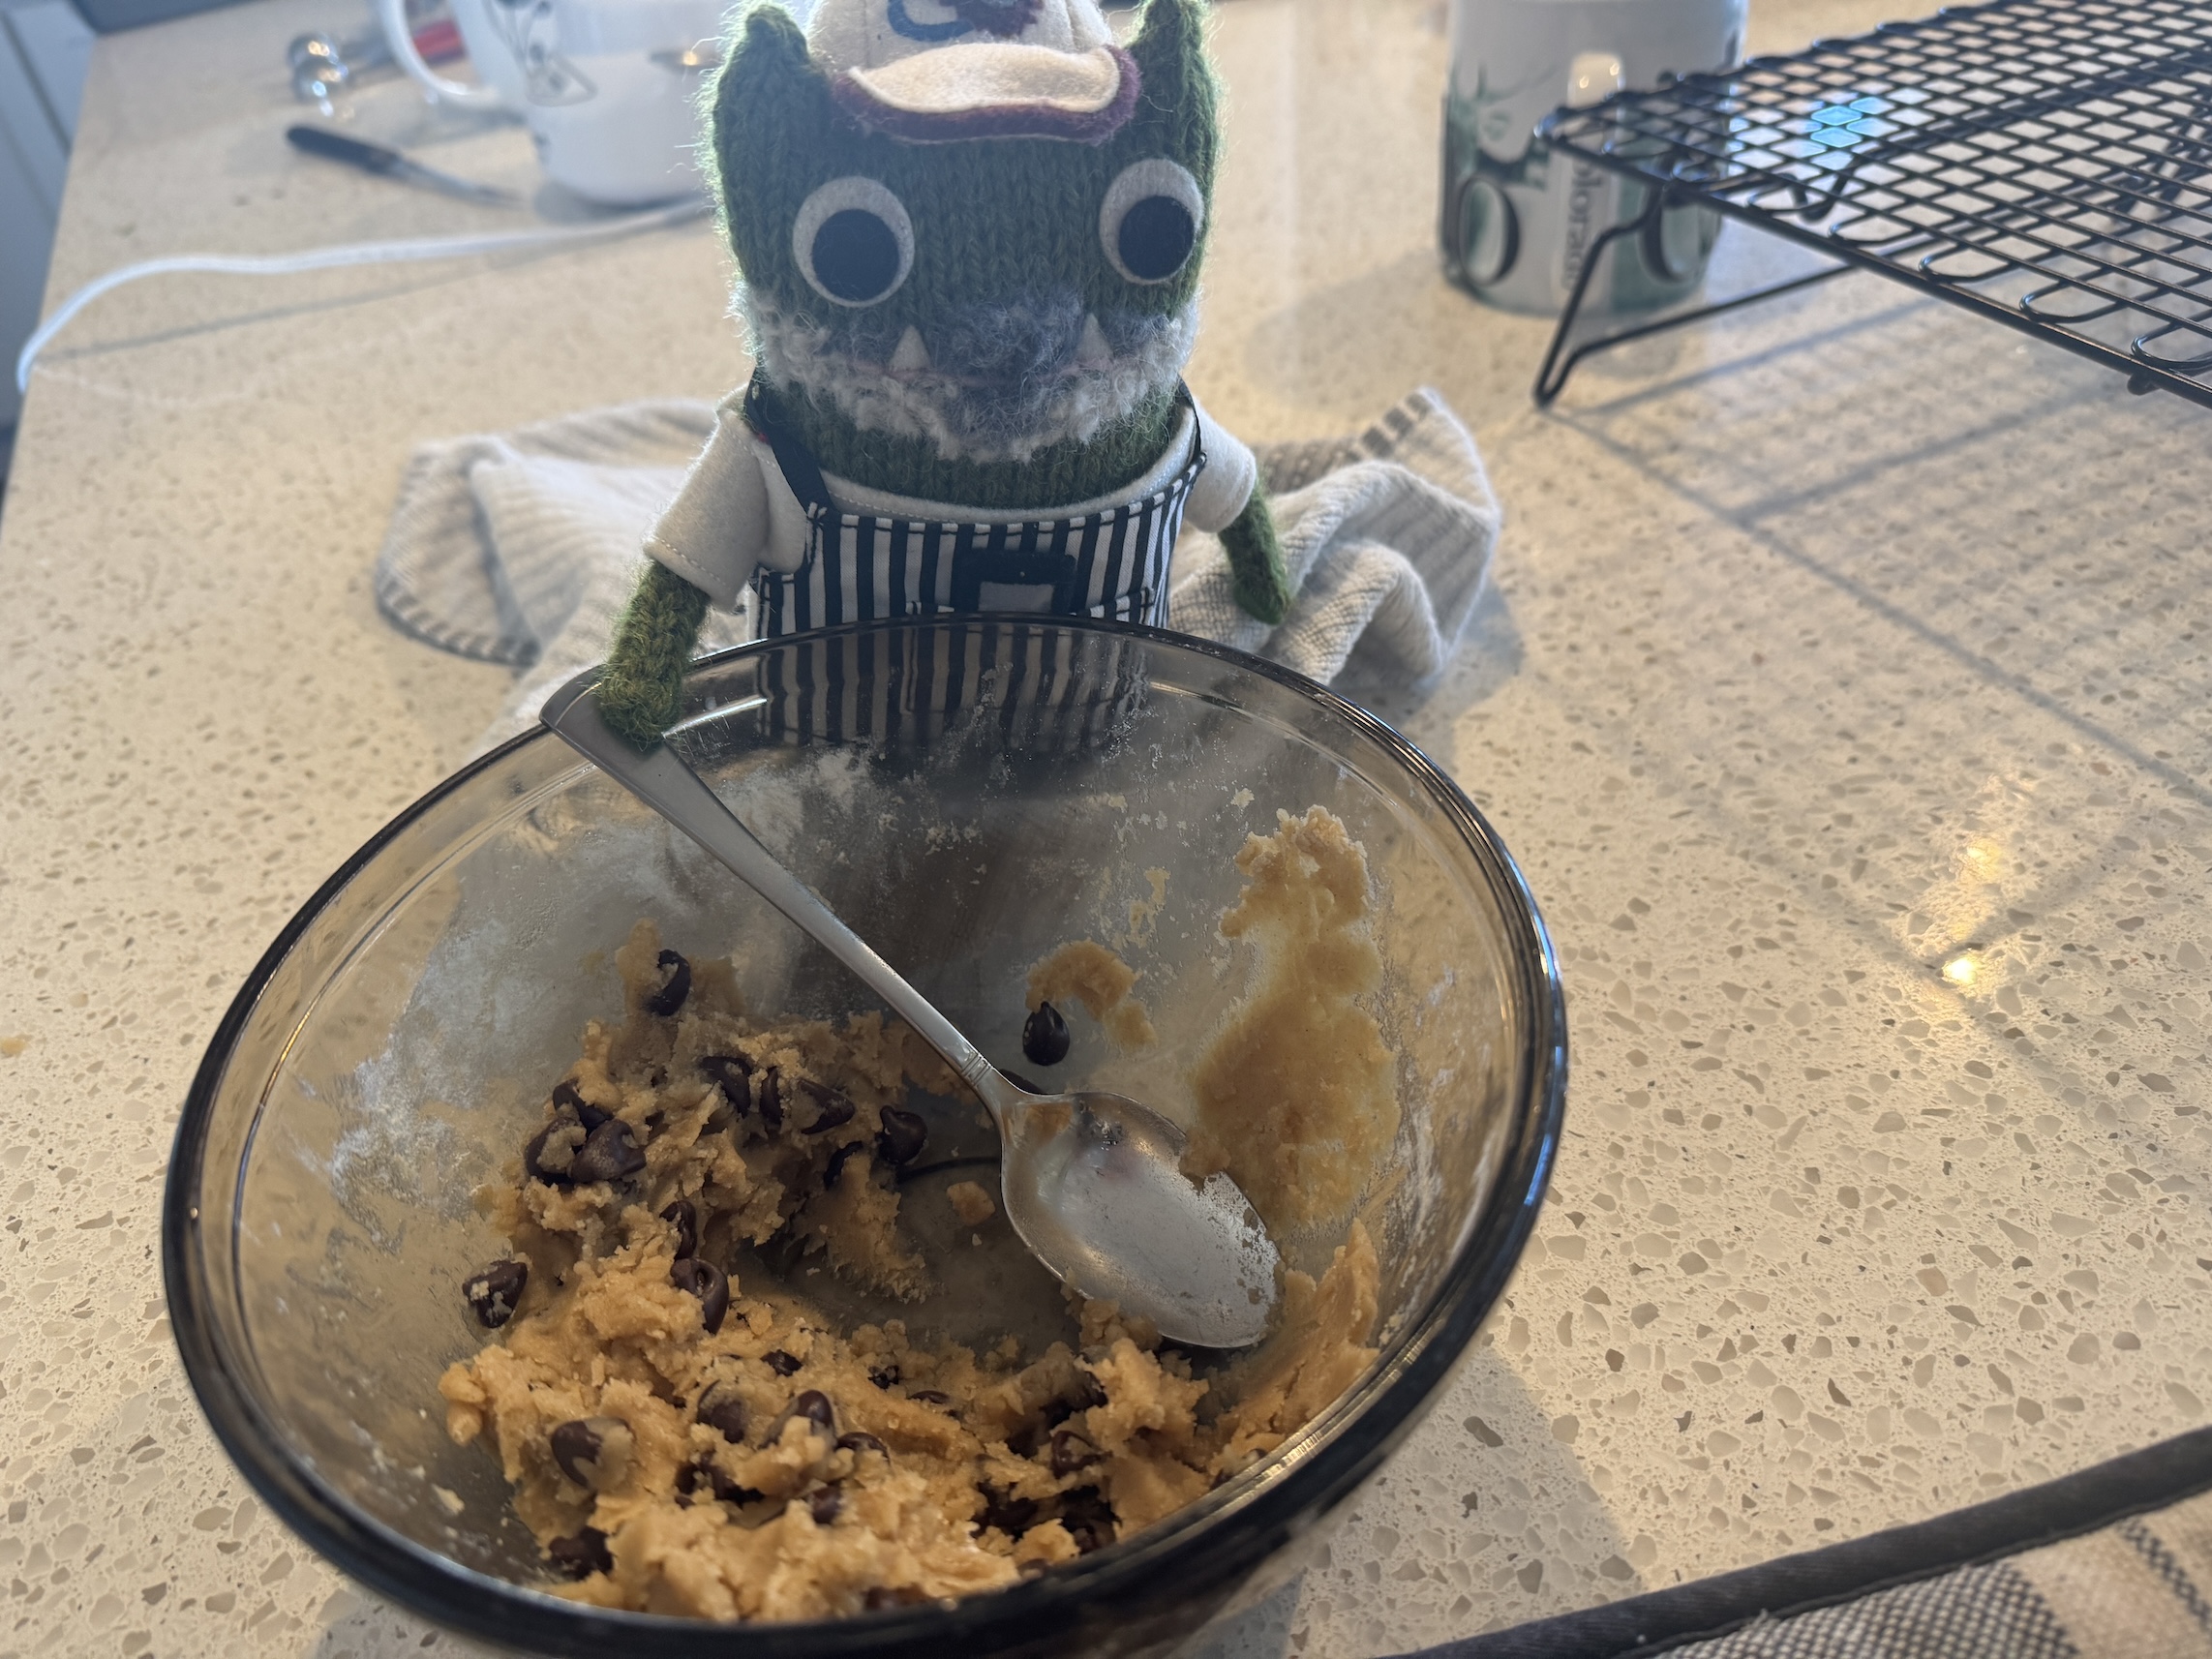
Tierney agreed to let him participate in making the chocolate chip cookies:
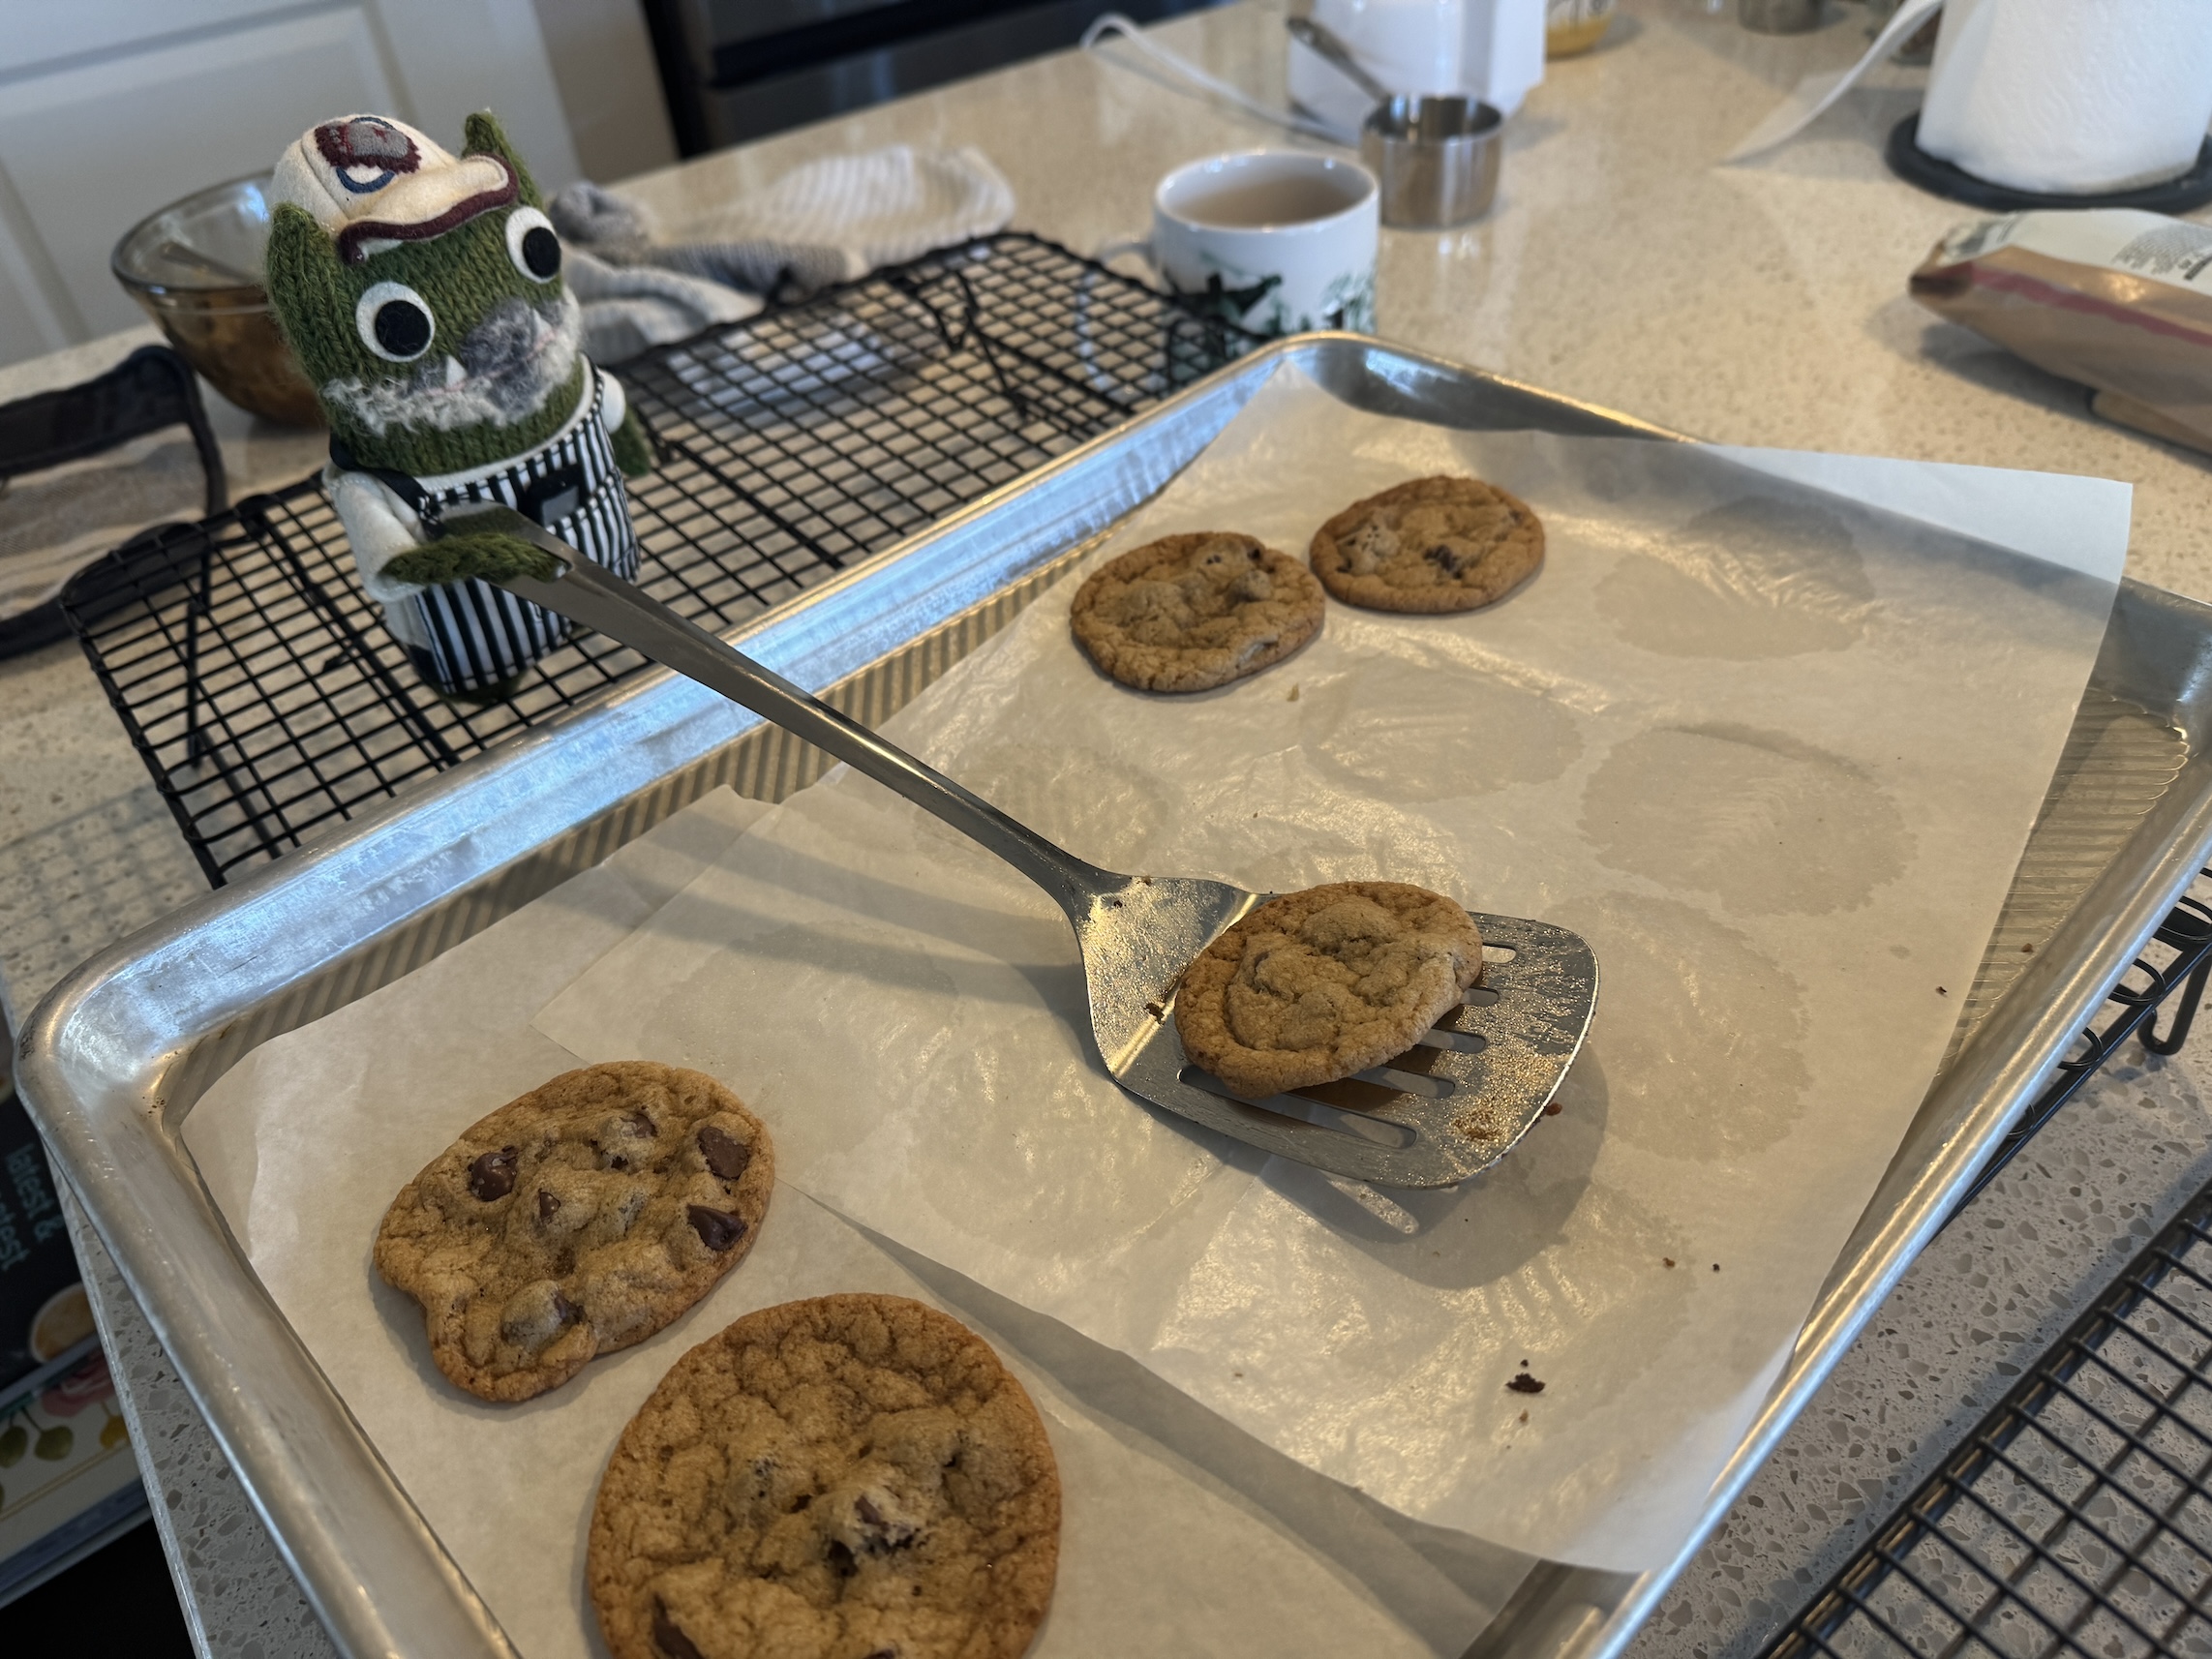
But he struggled with moving the cookies to the cooling rack:
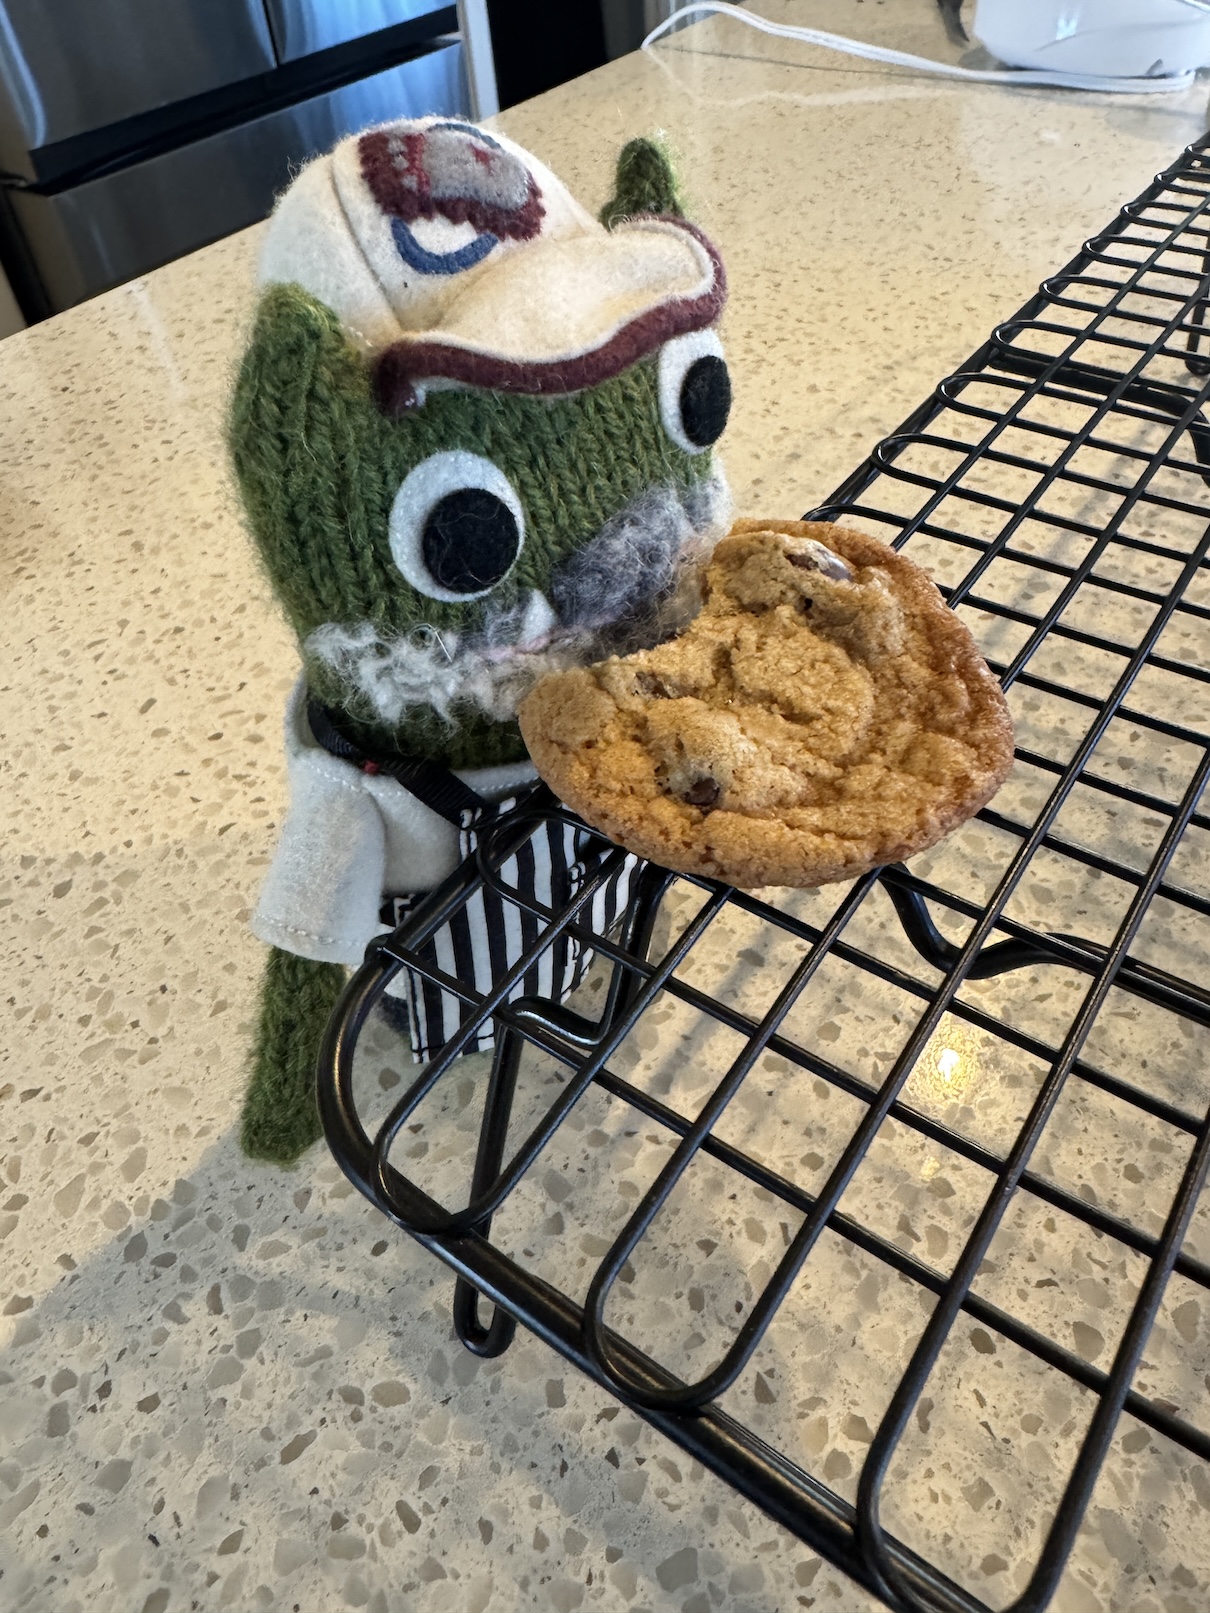
Later Tierney caught him sampling the cooled cookies on the rack…
He had the nerve to ask Tierney for a glass of milk to go with his cookie!
Tierney was about to return him to Beastie Towers when Human John came in the kitchen to start making fresh pasta for their evening meal. John Beastie convinced Human John to at least let him observe:
But John Beastie became obsessed with the KitchenAid mixer again…
So Tierney escorted John Beastie and I back upstairs to Beastie Towers.
This is a follow up to Monday’s post Quilters’ Playdate: It’s All About Me! about getting the English Paper Piecing (EPP) hexagon flower quilt I’ve been working on for 10 years machine quilted.
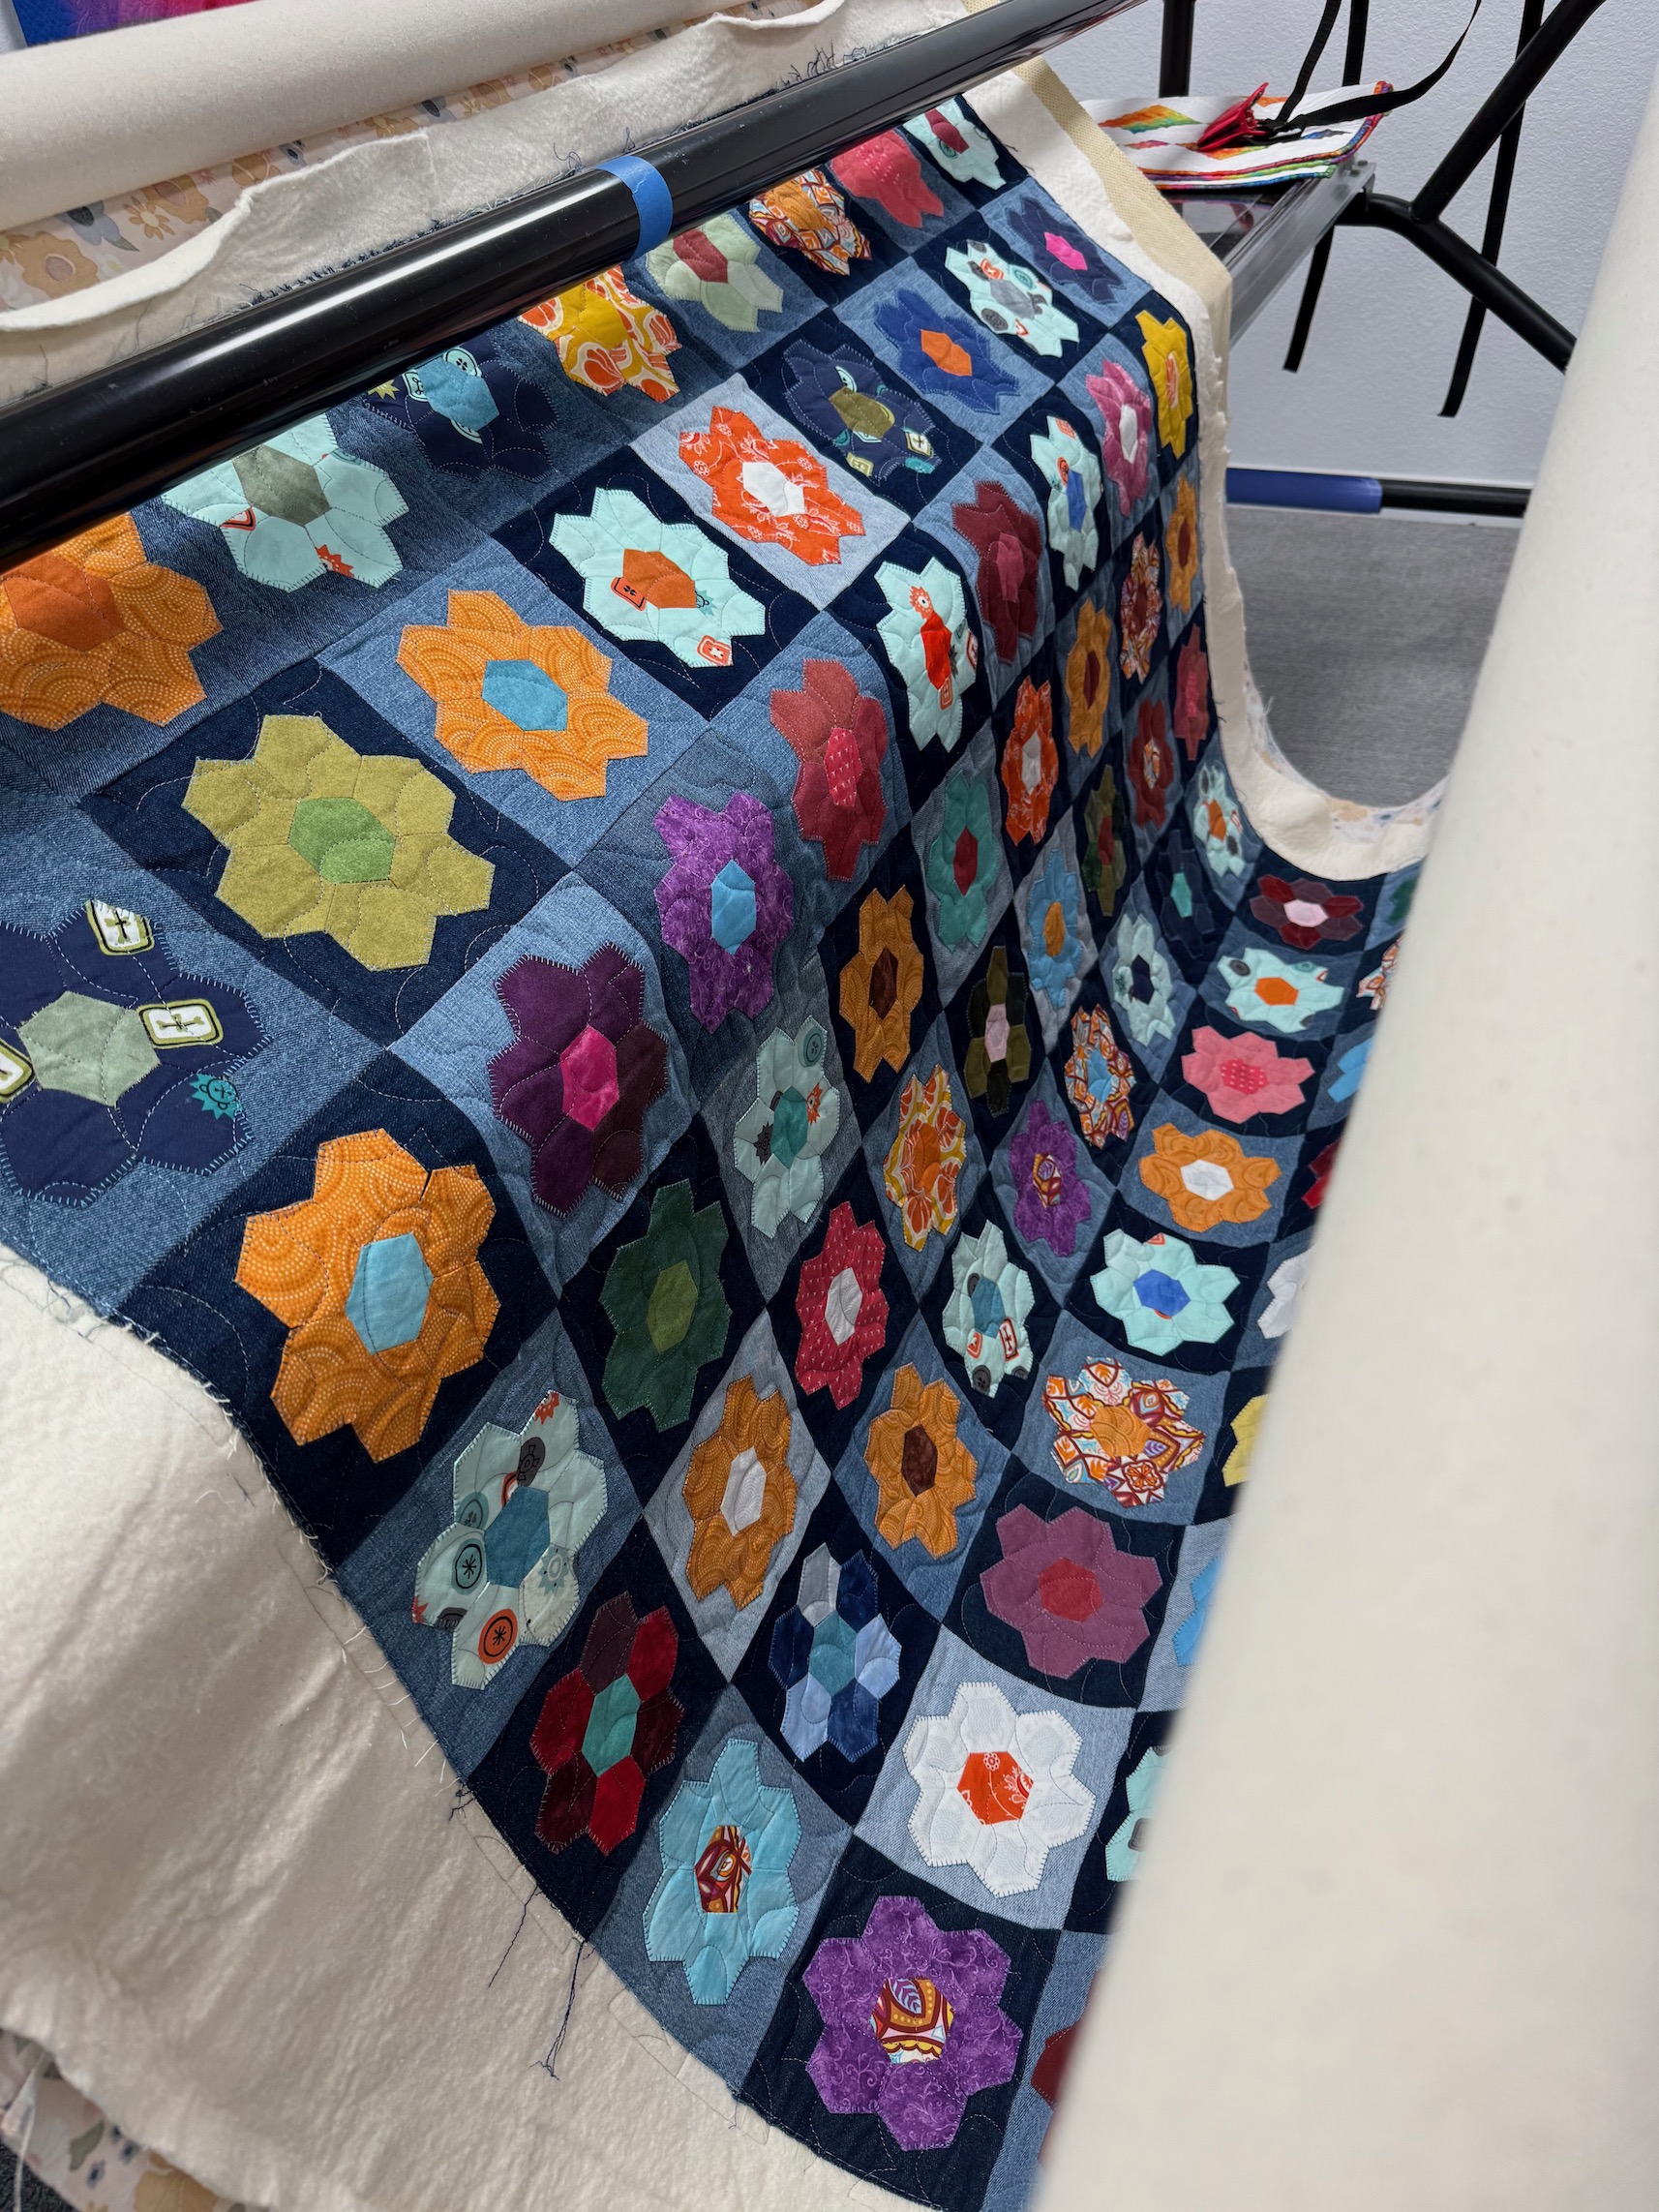
Later in the day on Friday, my friend J texted me that she and her longarm quilting machine had finished quilting my quilt and I could come and unloaded it off of the longarm machine with her:
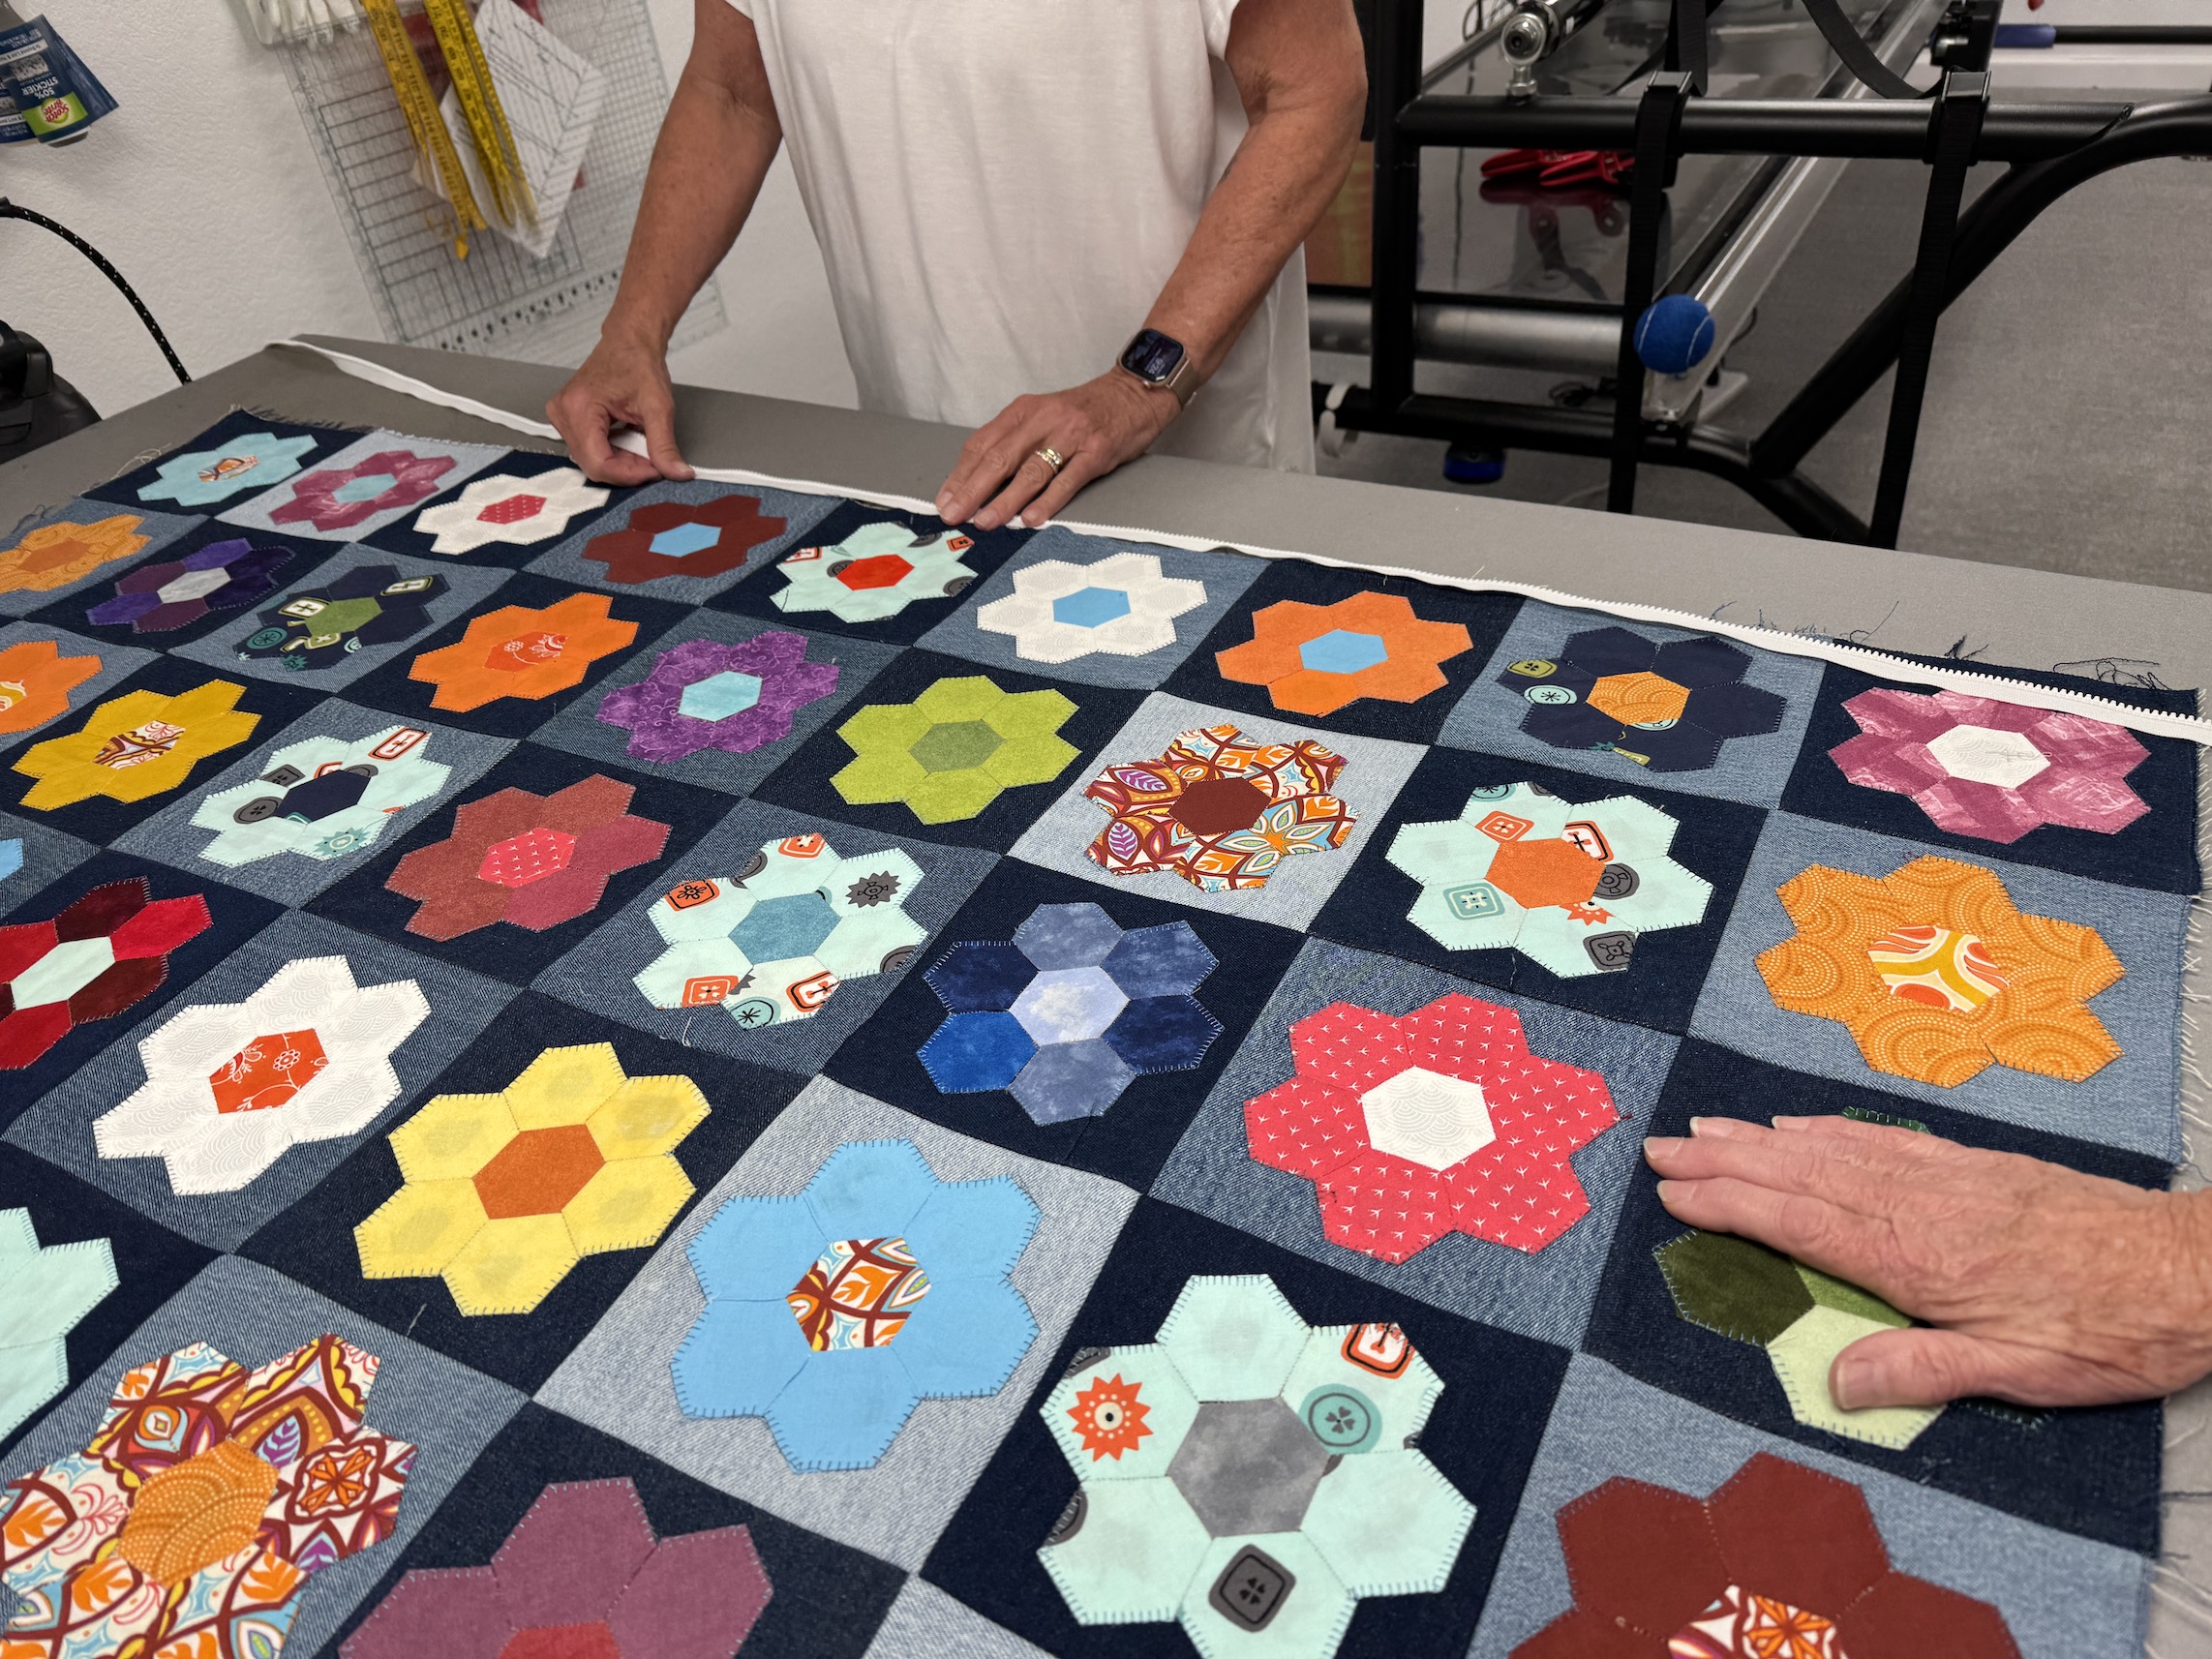
Here it is freshly unloaded (if only you could hear me giggling in the background as I gleefully helped her unloaded it):
Here is what the back looks like:
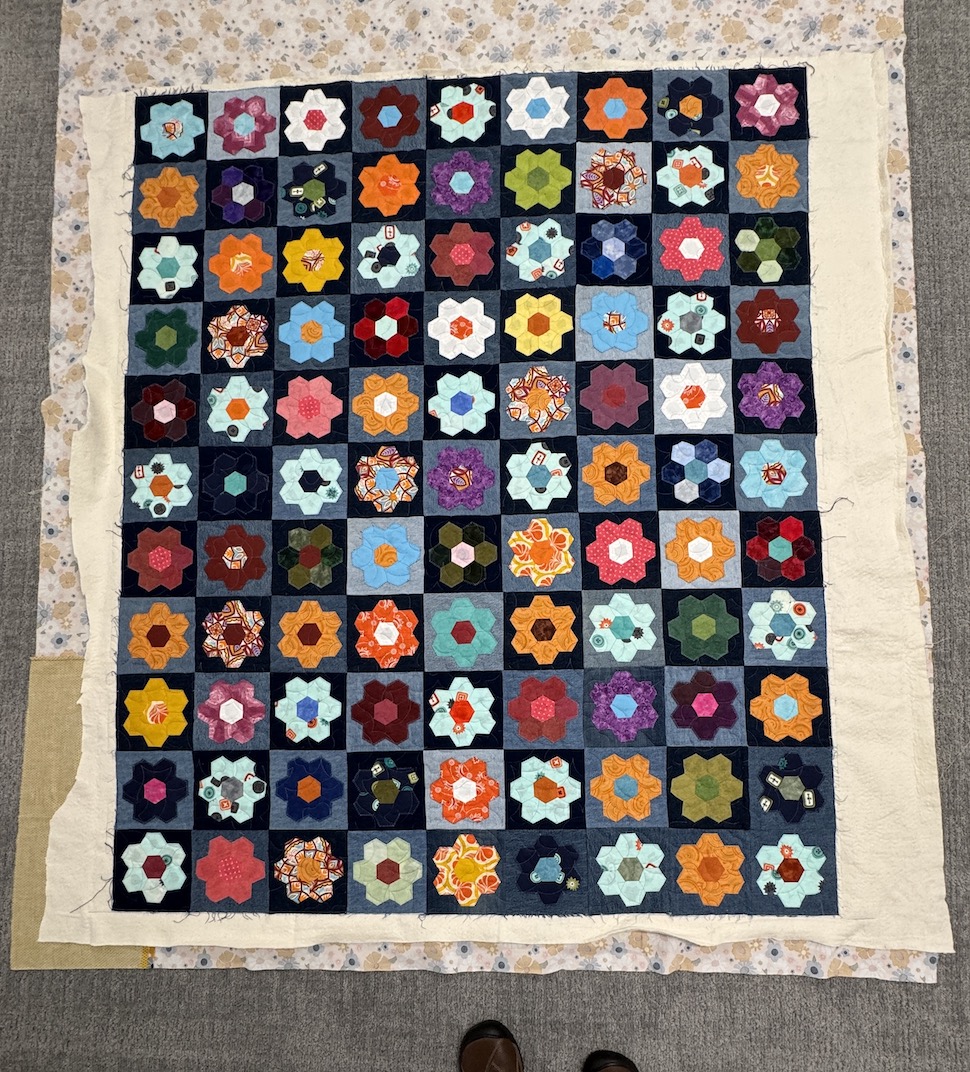
And here is the trimmed quilt (awesome J helped me trim the extra batting off on the long tables in her studio):
I’ve already started putting the facing on it. I am going to do a “facing” instead of a binding, like I would do for an art quilt because they denim is too thick to deal with trying to bind it.
If you’ve never heard about doing a “facing finish” on a quilt, here is a video about it:
I will share one more post of this quilt (because you all must be sick of it by now, ha!) when I finish the facing and then hang the quilt!
Continuing my series of posts about regular get togethers with neighborhood quilters J and D. The other posts about our get togethers can be found in my new blog Category “Quilters’ Playdate“. This post is also a follow to my post Quilt Top Finished.
We met last Friday and this time it was All About Me! Okay, it was about my quilt and getting it quilted.
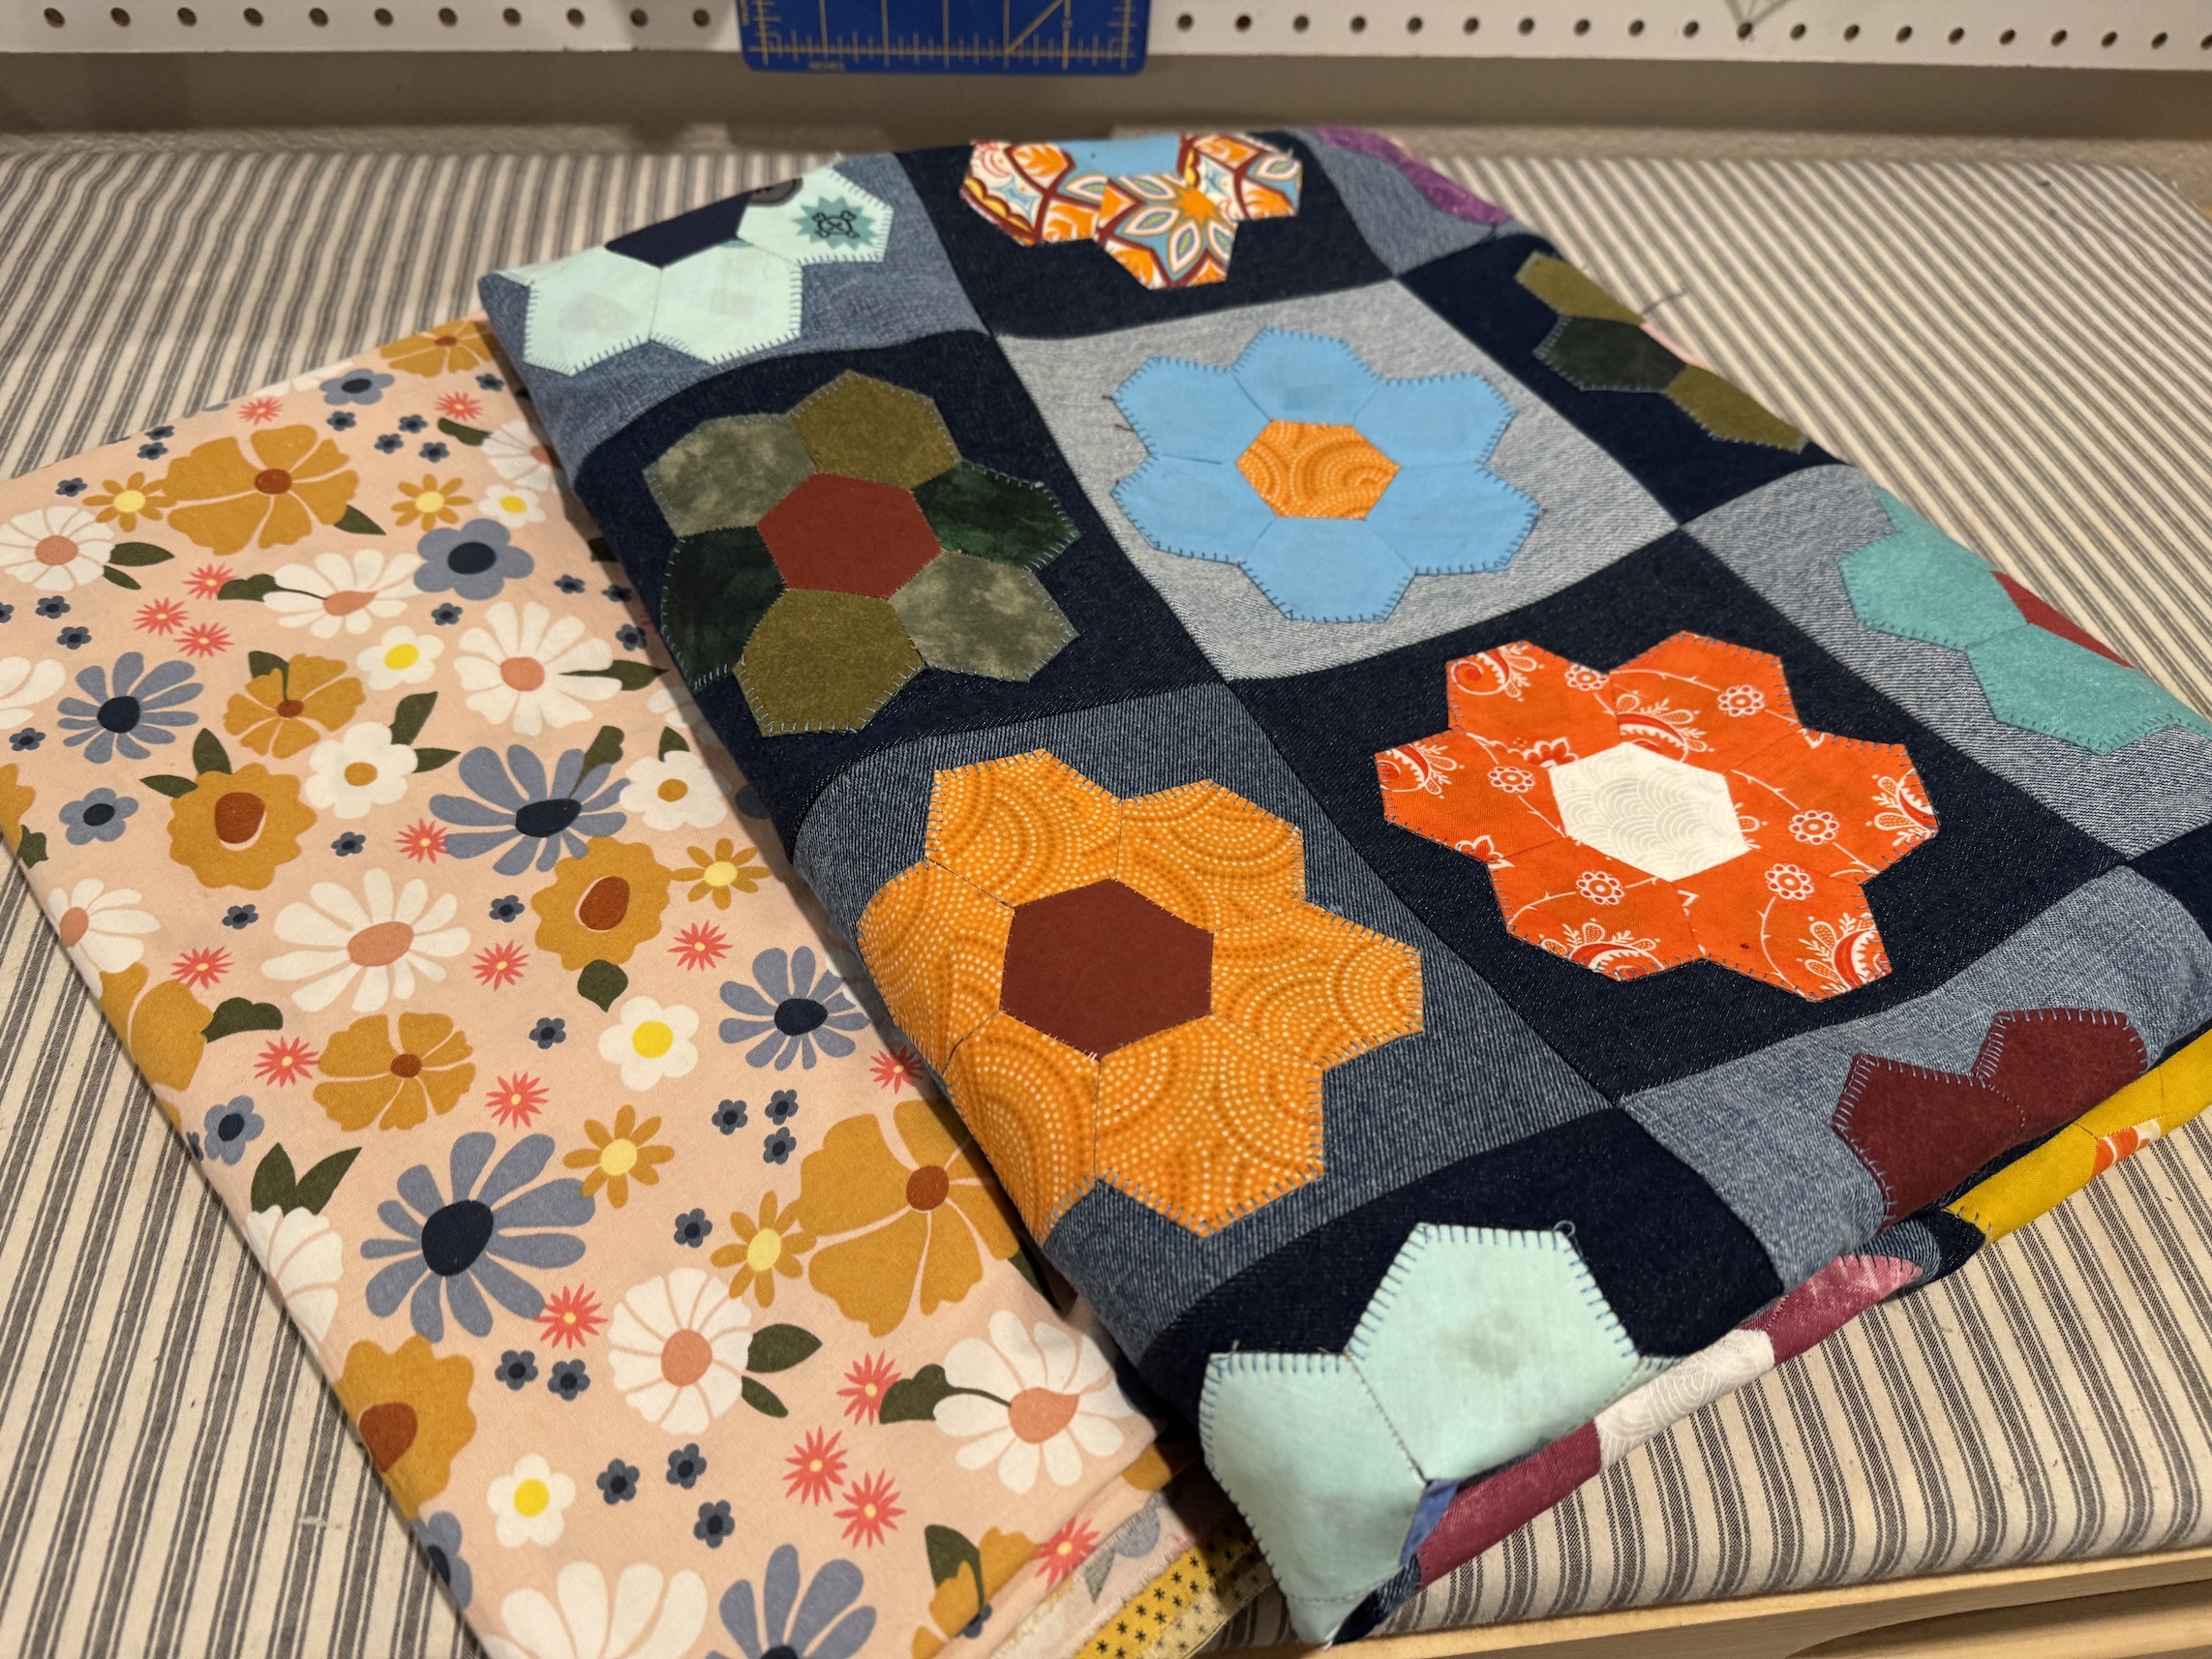
On the way over my neighbor’s house I got my (finally) completed quilt top and backing ready for the long journey of a couple street blocks down the road (ha!):
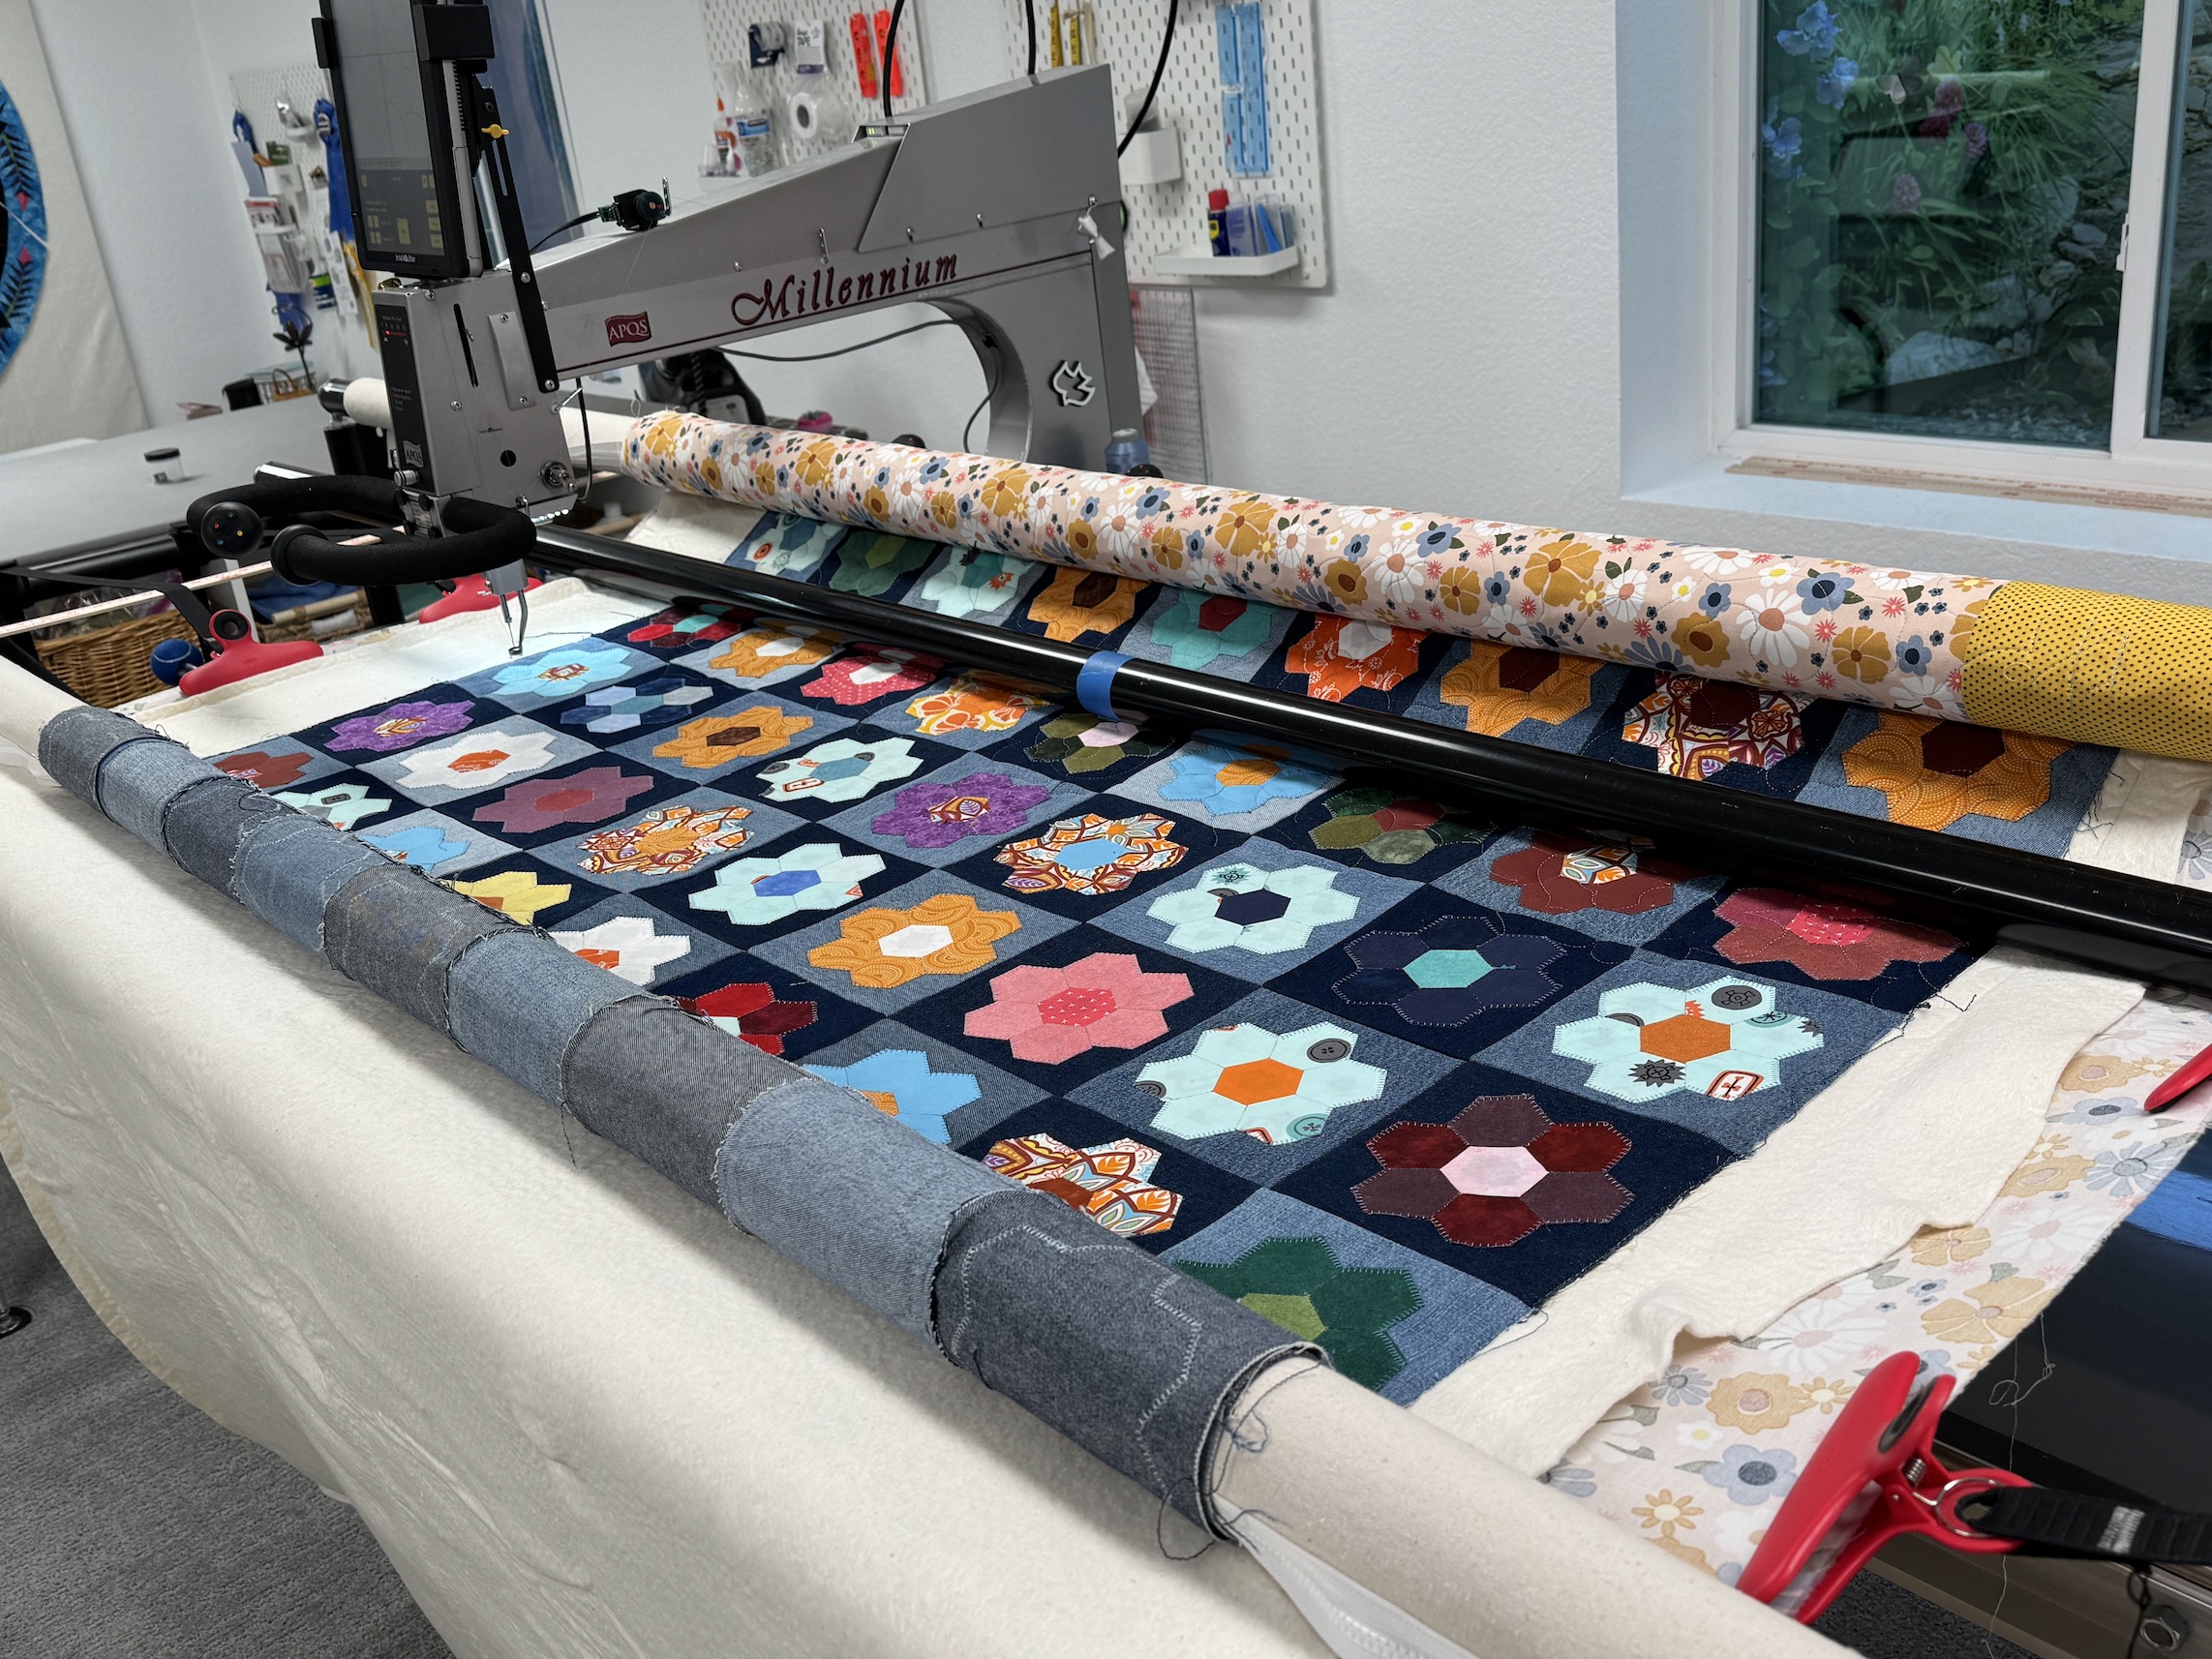
I got to help J load it on her longarm quilting machine (though she is doing most the work in this photo below…):
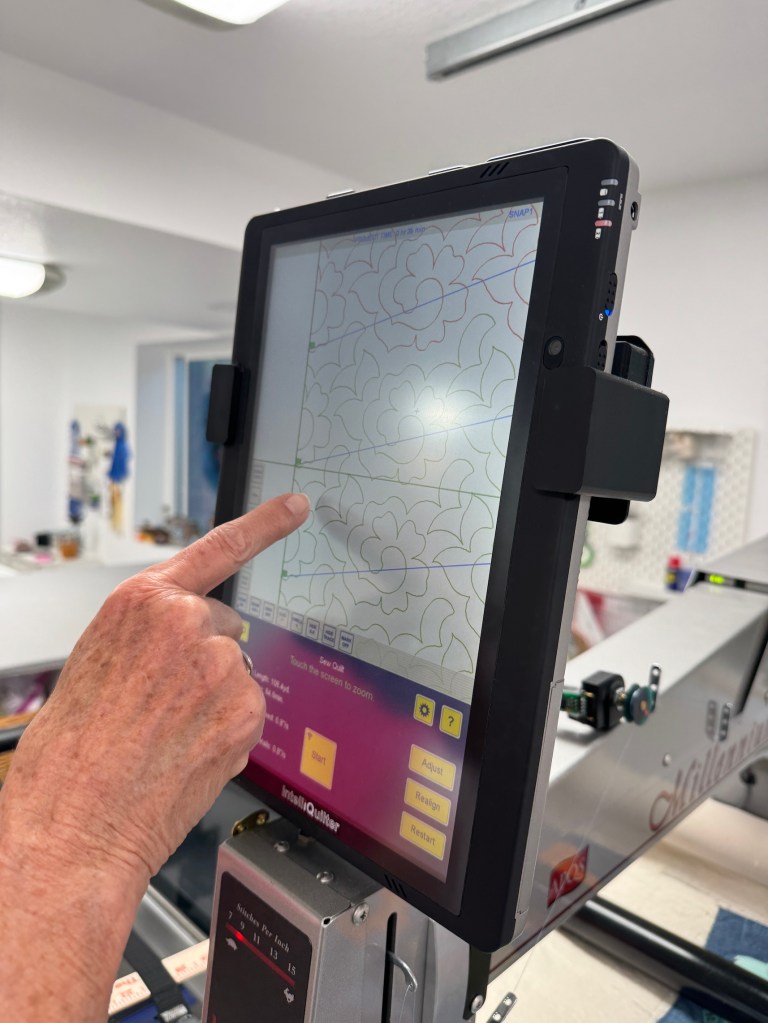
It was so exciting to be involved with all the steps on getting my quilt loaded and watching J set up the preprogrammed quilting pattern we had selected together:
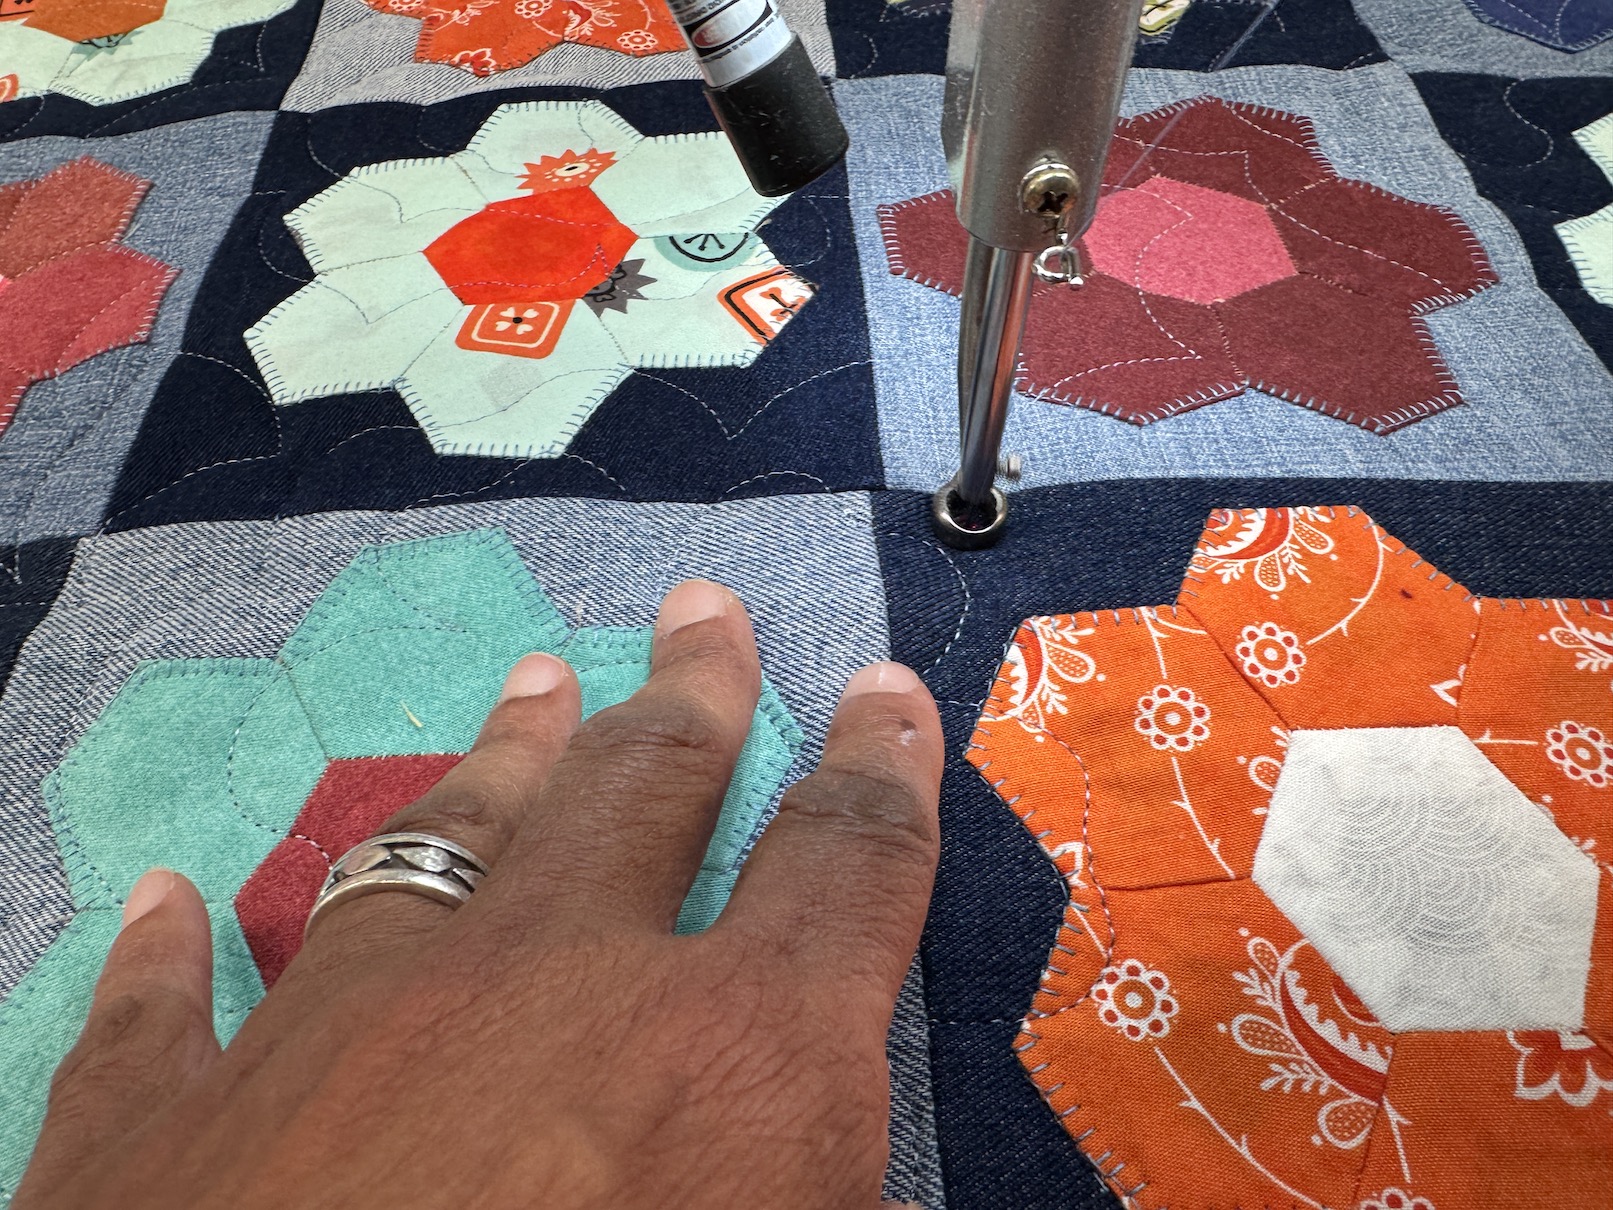
Because the quilt top was denim with applique on top of it (making it rather thick), we had to monitor the progression of the longarm machine quilting so the industrial needle did not get stuck on any edge or accidentally lift/rip and edge. J set me to work monitoring the quilting while she worked on other projects with D:
It was scary and exciting at the same time. I had to be careful not to let the industrial needle quilt through my hand (that would be a serious “ouch” and J reported to us she’d had that happen in the past).
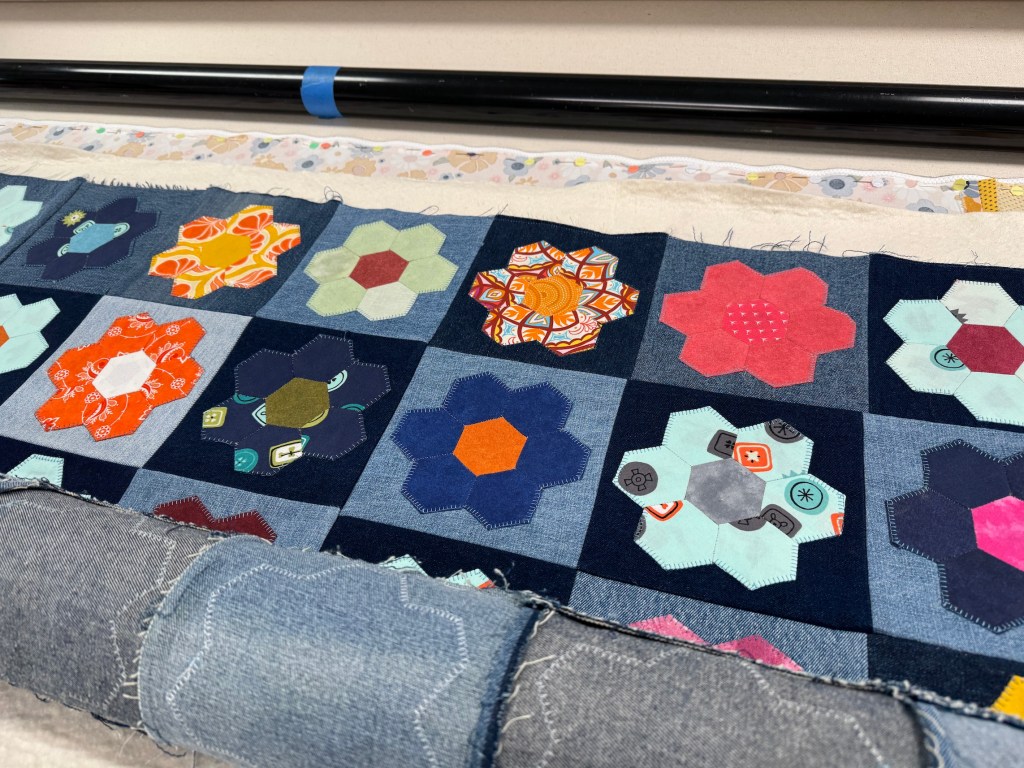
While I was there a couple hours, the longarm machine made great progress (and J had to keep adjusting the roller to move the quilt down sections):
My friend J and I went last evening to see Kaffe Fassett speak at Hotel Clio in the Cherry Creek area of Denver.
If you are not familiar with Kaffe Fassett, according to Wikipedia he is “an American-born, British-based artist who is best known for his colourful designs in the decorative arts—needlepoint, patchwork, knitting, painting and ceramics“
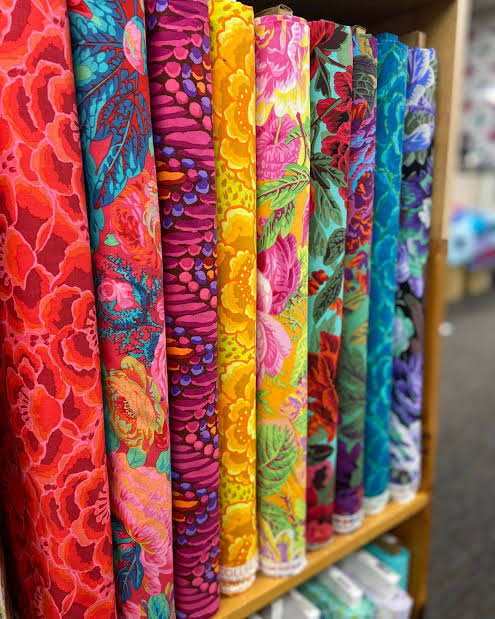
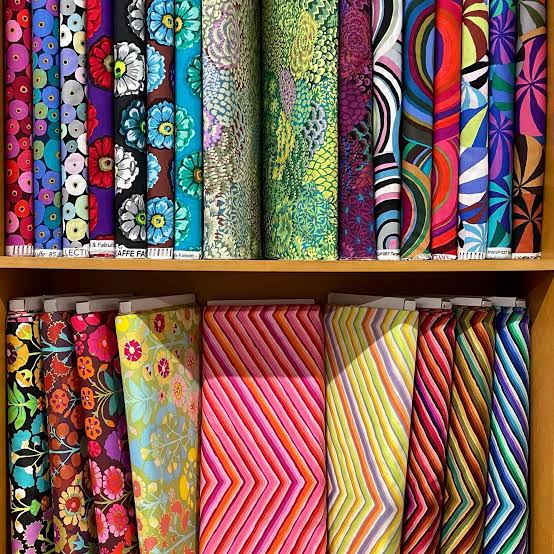
In the quilting world his fabrics a pretty popular, actually iconic. They are primarily bold and colorful florals and geometric patterns.
(photos credit Google AI)
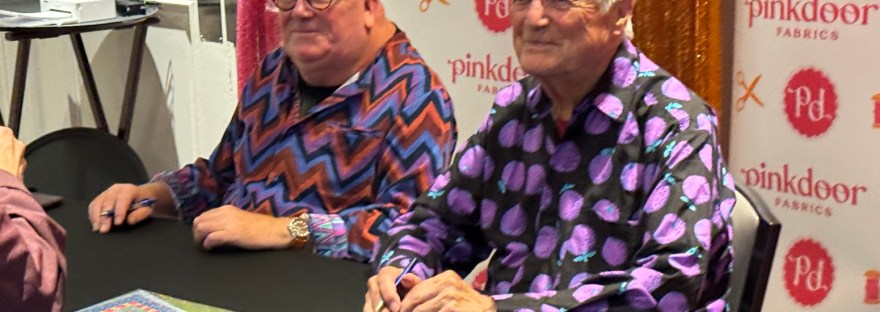
The evening with Kaffe Fassett and his partner Brandon Mably, who is part of the Kaffe Fassett Collective Designer group which includes Phillip Jacobs, was sponsored by Pink Door Fabrics.
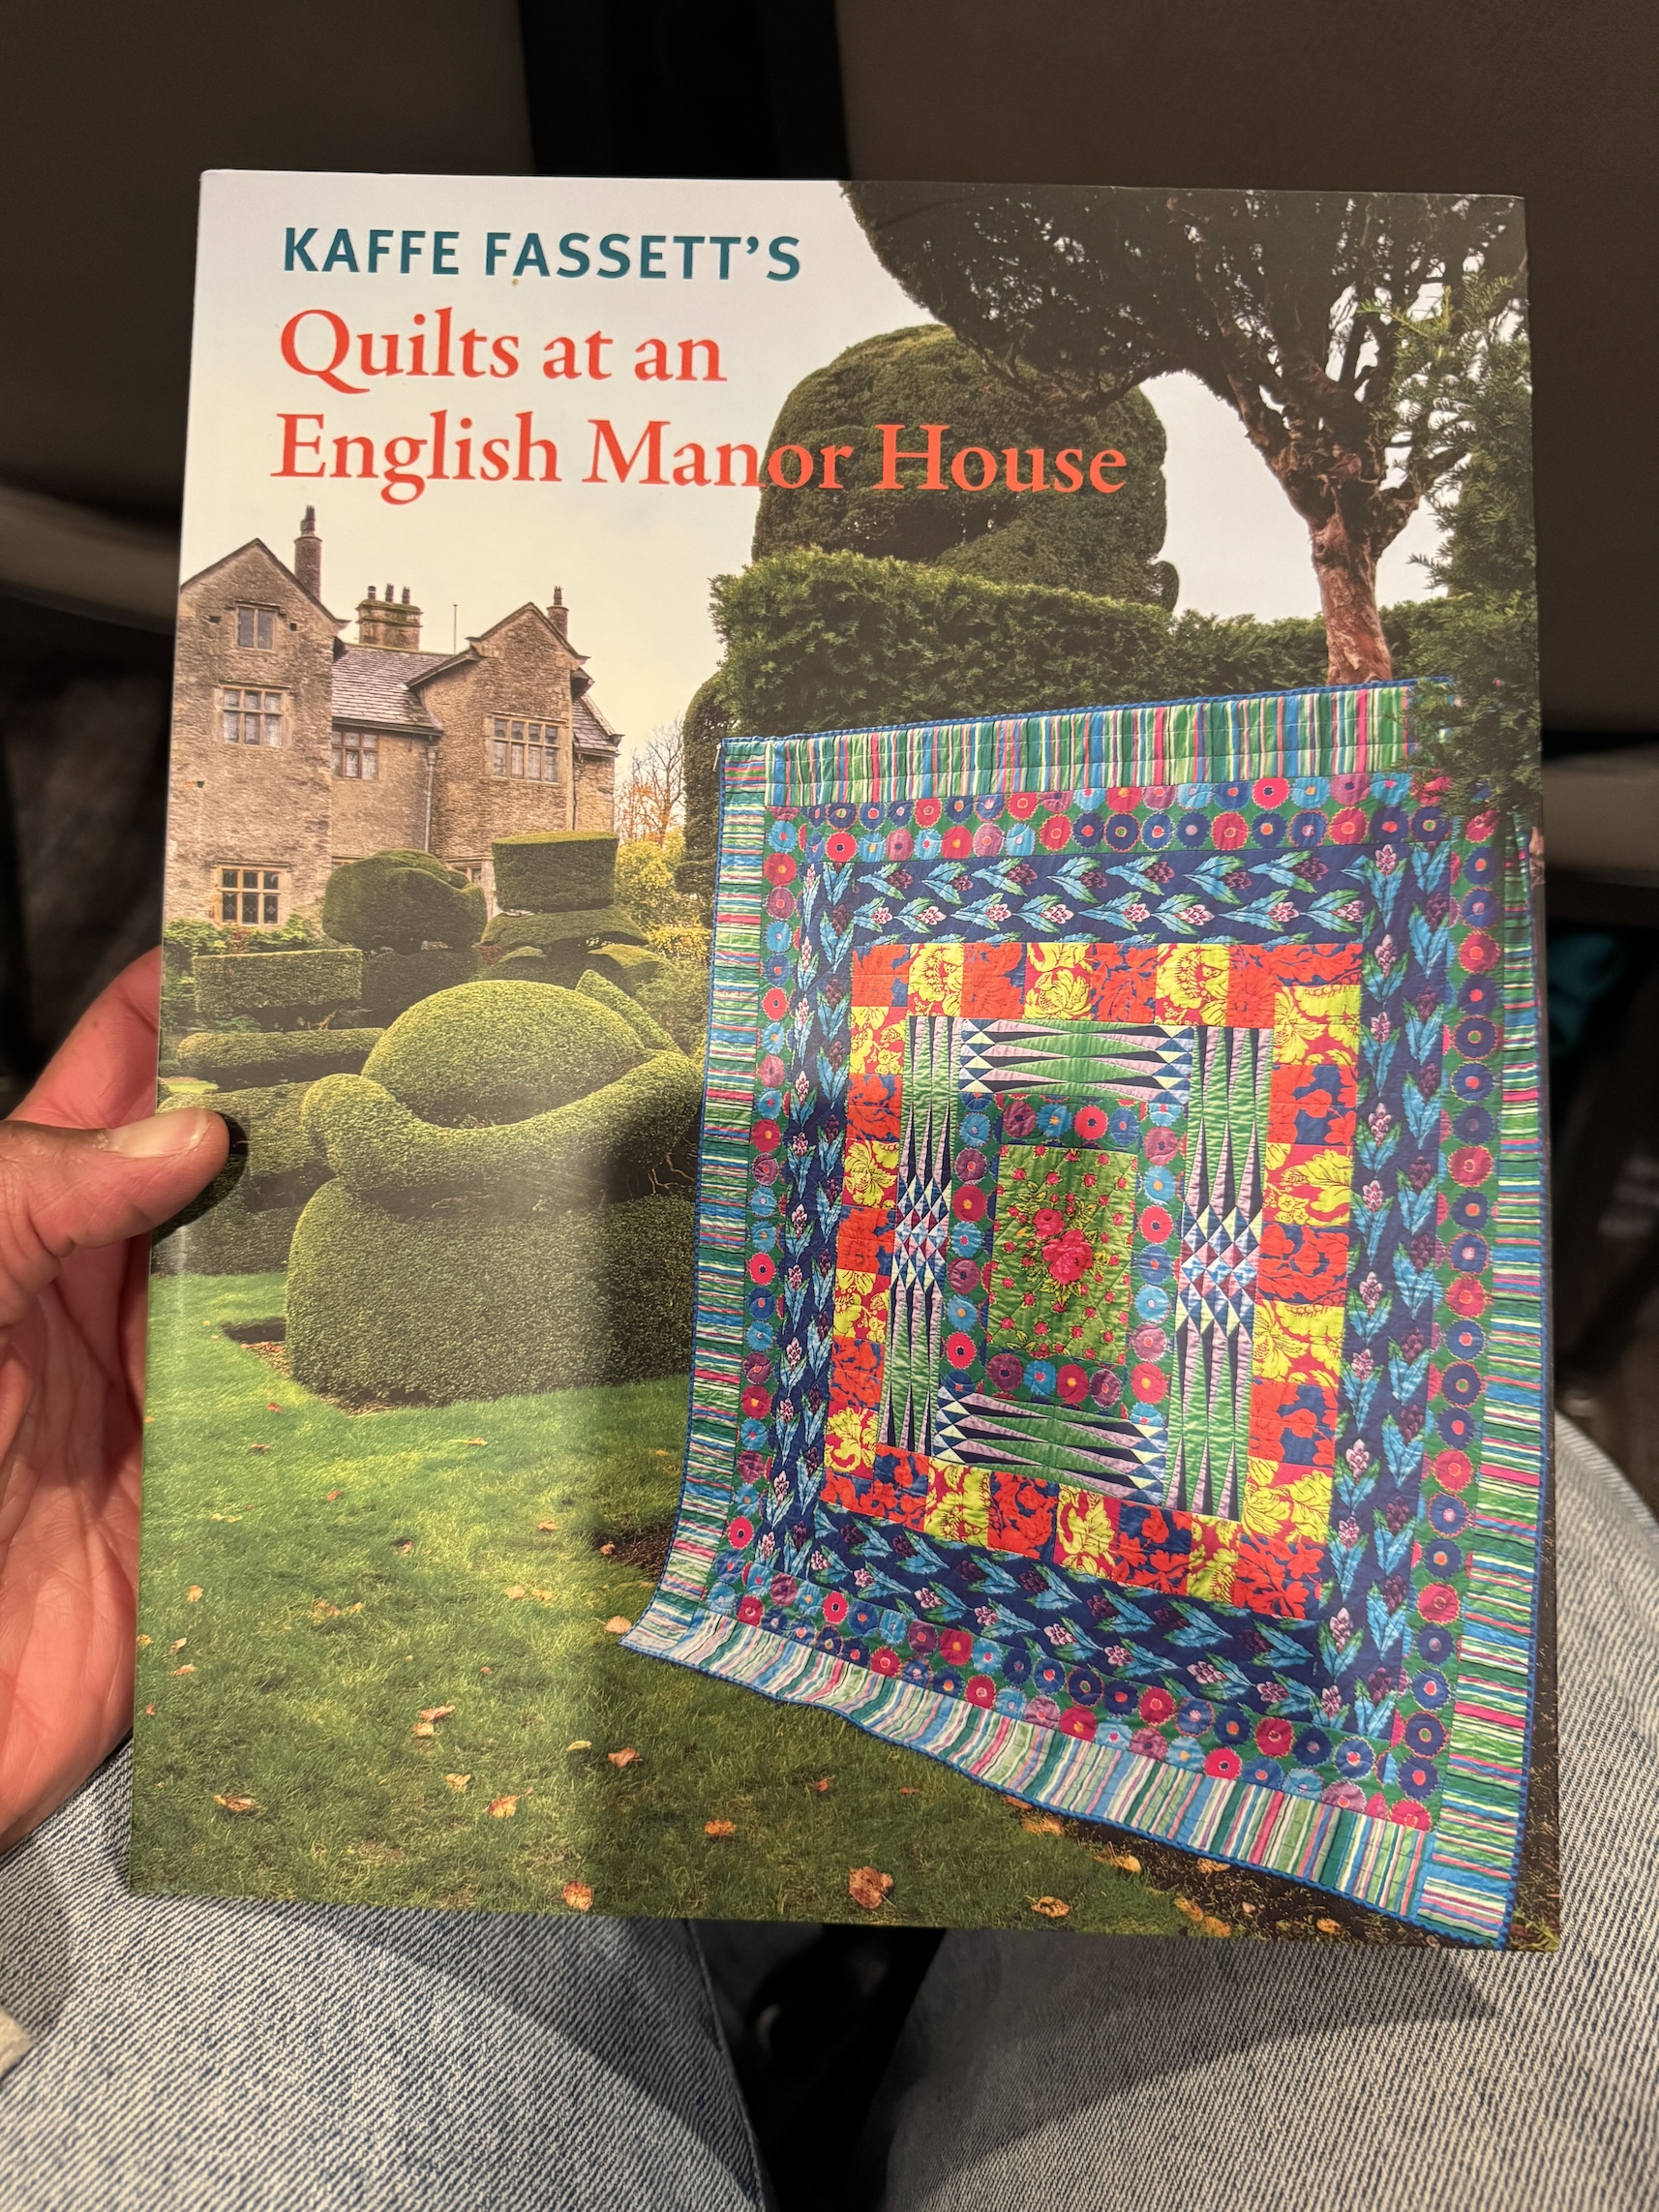
All attendees received a copy of Kaffe Fassett’s latest book Quilts at an English Manor House.
Kaffe Fassett’s talk was very interesting. He focused on his love of color and how he moved from knit pattern design into fabric design.
This was the second time I’ve seen him speak, the first time was in a small classroom at the Stitchin’ Post in Sisters, Oregon many years ago. It was a much more intimate setting.
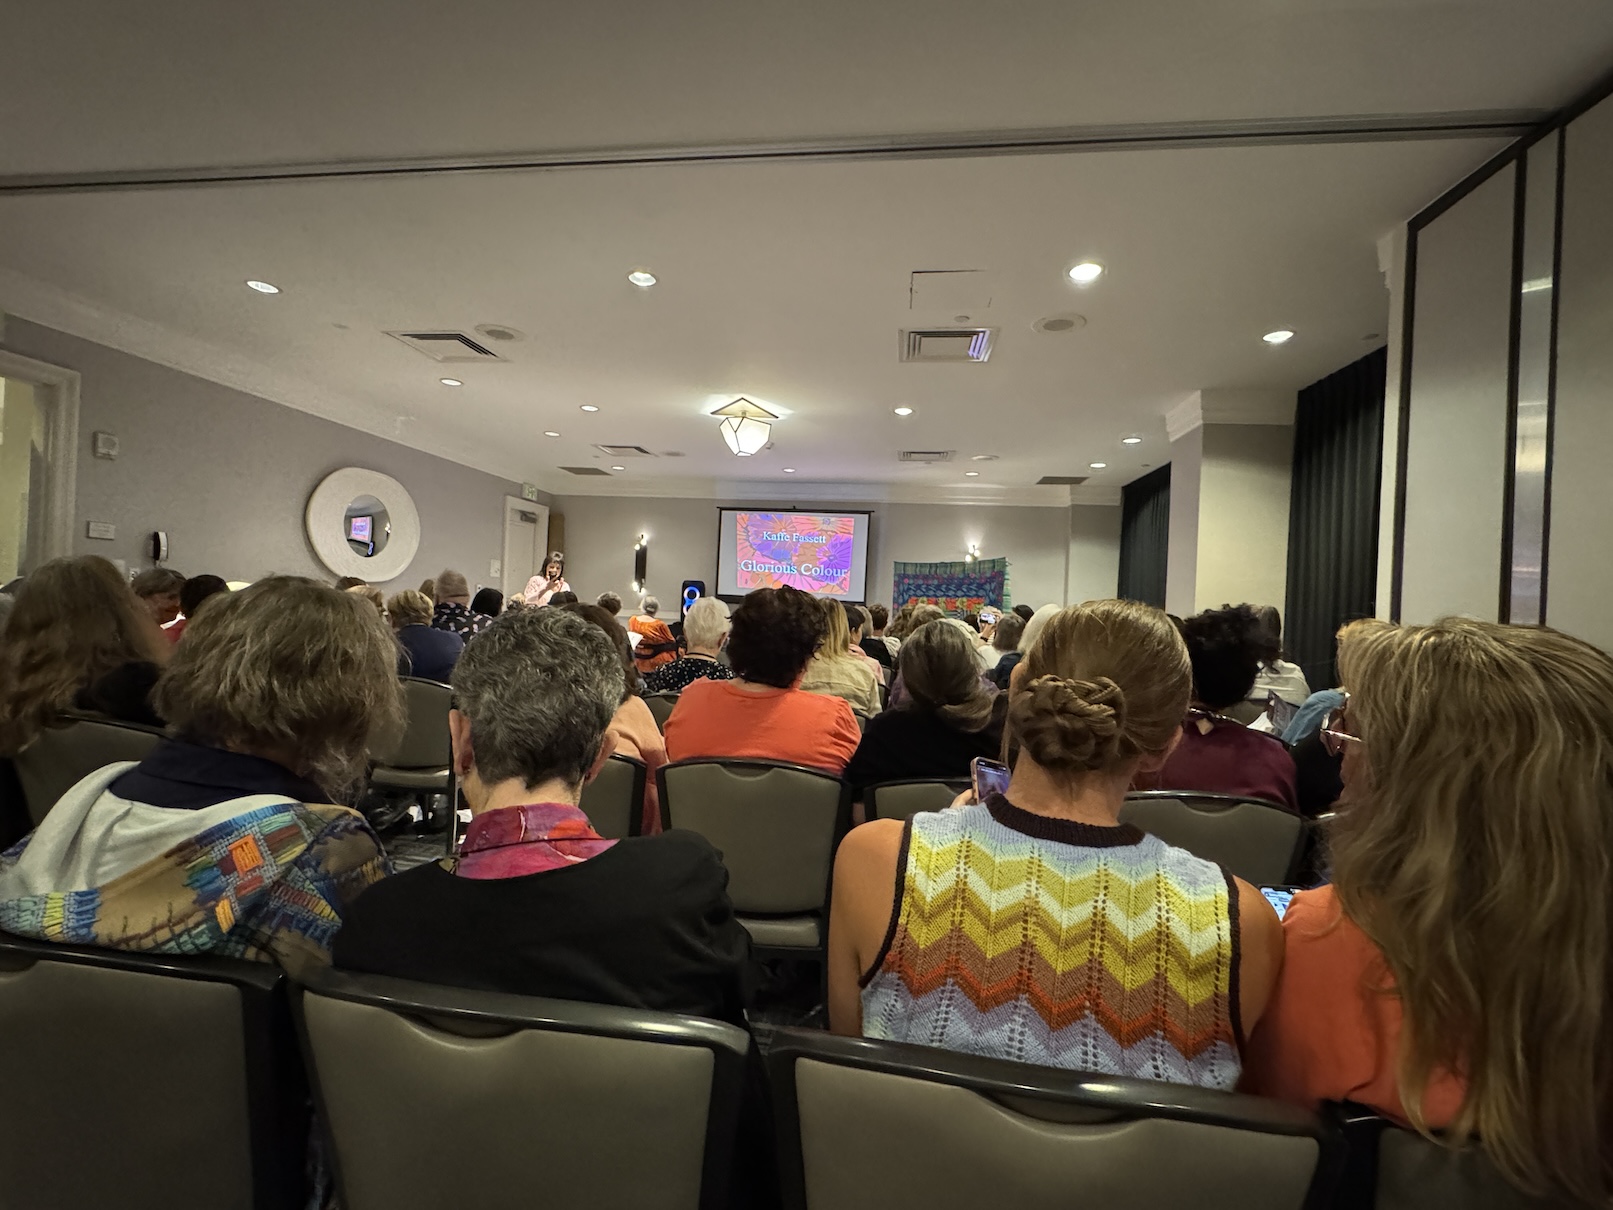
This time I was in a large conference room at the hotel:
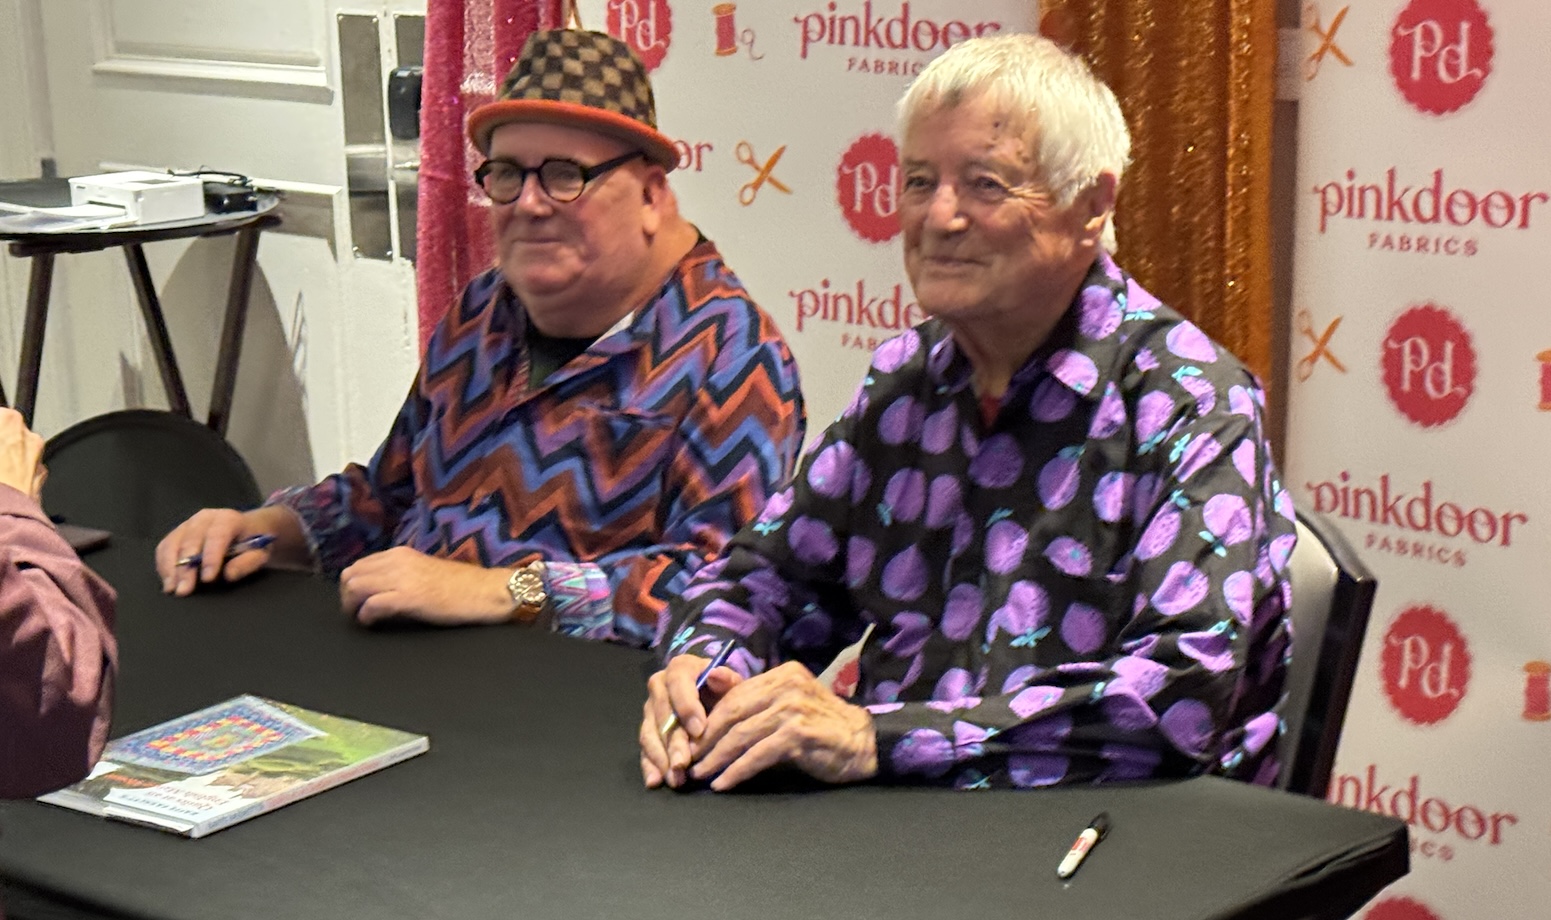
We couldn’t take photos or video during Kaffe’s presentation and glorious slide show, but here is Kaffe Fassett (with Brandon Mably) signing books after the presentation:
J and I didn’t wait in the long line to get him to sign our books. I’d chatted with him in person many years before in that more intimate setting, and had him at that time sign one of his books I owned.
As much as I love his fabrics I was good just seeing his slide show and hearing him speak about his artistic journey.
Postscript
This post made me think: “sometimes you don’t fully appreciate what you had at the time until you reflect back on it”.
Like I mentioned in the post above I saw Kaffe Fassett years ago (probably around 2014) at the Stitchin’ Post in Sisters, Oregon when I lived in Central Oregon. It either free or like $15 or $25 to attend and you could chat with him and easily get a book signed.
Jean Wells who owned the Stitchin’ Post for many years (her daughter the designer Valori Wells now owns it) was friends with so many of the big names in quilting as well as soon-to-be-quite-famous upcoming quilt fabric designers and quilt artists. I am guessing in addition to running a renown quilt shop, she also met a lot of them over the years in connection with the annual Sisters Outdoor Quilt Show where all the big names in quilting came to teach at Quilter’s Affair each year.
I would attend out of curiosity, some of the smaller open to the public low cost or free events just to see what these designers and quilt artists/teachers were about not really knowing much about them.
I remember standing around and chatting with Tula Pink and Angela Waters before they got big (and before they wrote their book together). I remember thinking Tula was talented, very sweet, a little shy, and I hoped she made it big! (She ended up exceeding those hopes – ha!)
I took for granted the easy access I got to legendary quilters such as Gee’s Bend Quiltmakers, the late Roberta Horton (who’d always give me a hug when she’d see me), the late Gwen Marston, Joe Cunningham, Rosalie Dace (who I got to chat with several times, take a low cost class with and have dinner with at a get together for the SAQA art quilting group I belonged), Sue Spargo and so many more!
How incredibly lucky I was and I didn’t even realize it or fully appreciate it until now!
What is an “Agriculture Report”? Well I was inspired by @quiteayarnblog‘s ongoing series of posts titled “Agriculture Report” (and this title always cracks me up) that are actually updates of what is going on in her garden.I just had to adopt this same title for updates on what is going on in my garden/my “garden report”
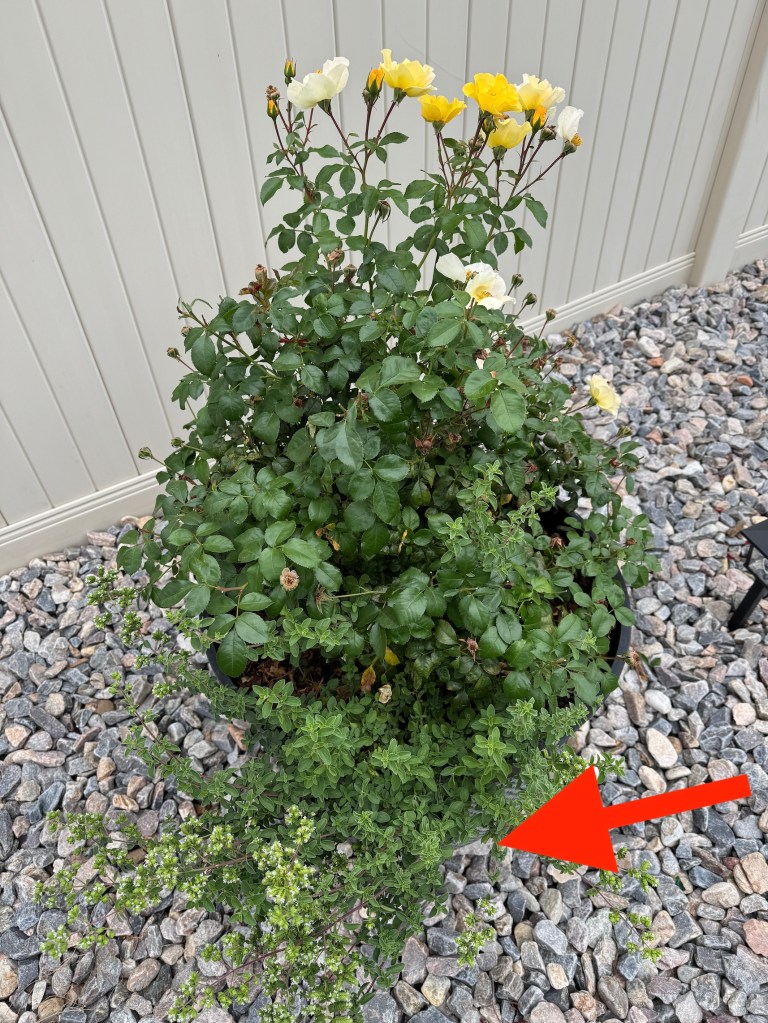
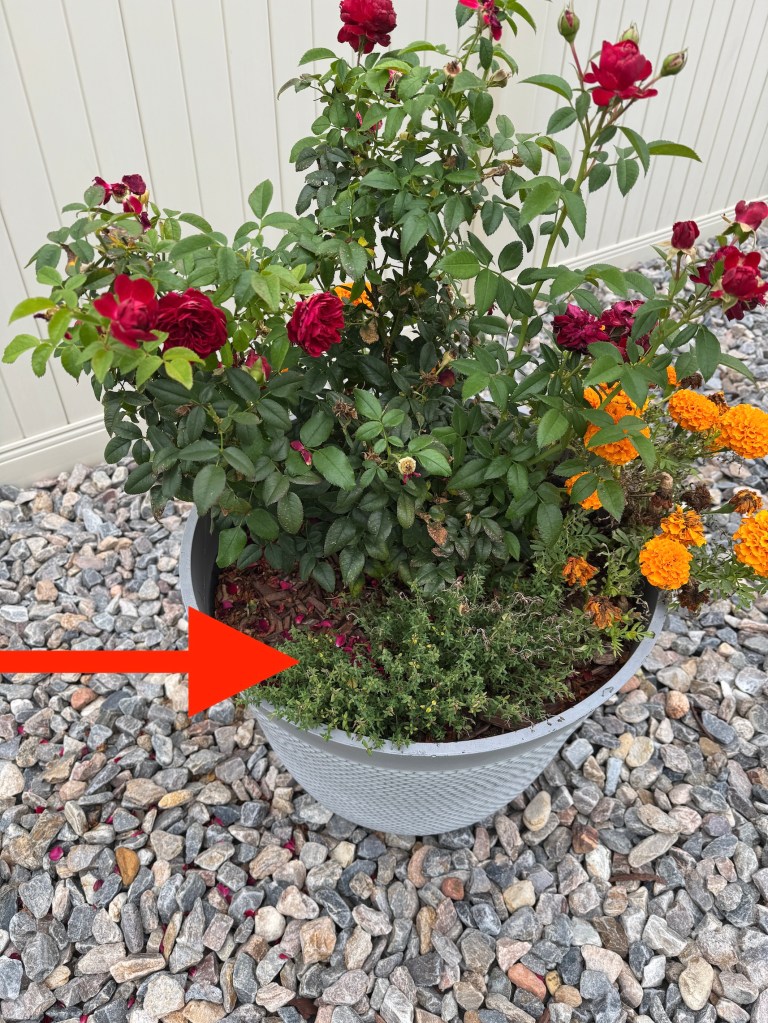
Well the growing season in my new “garden” is at its end and it was time to harvest my basil and my mint (I haven’t decided what I want to do with my rosemary, thyme and oregano yet…).
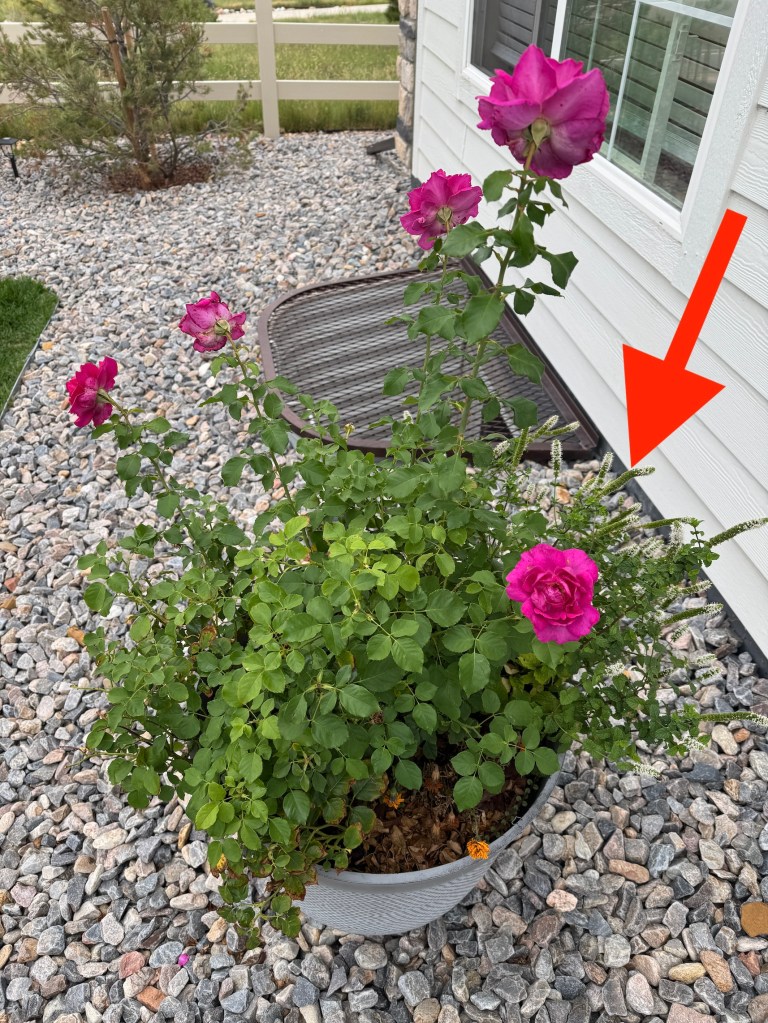
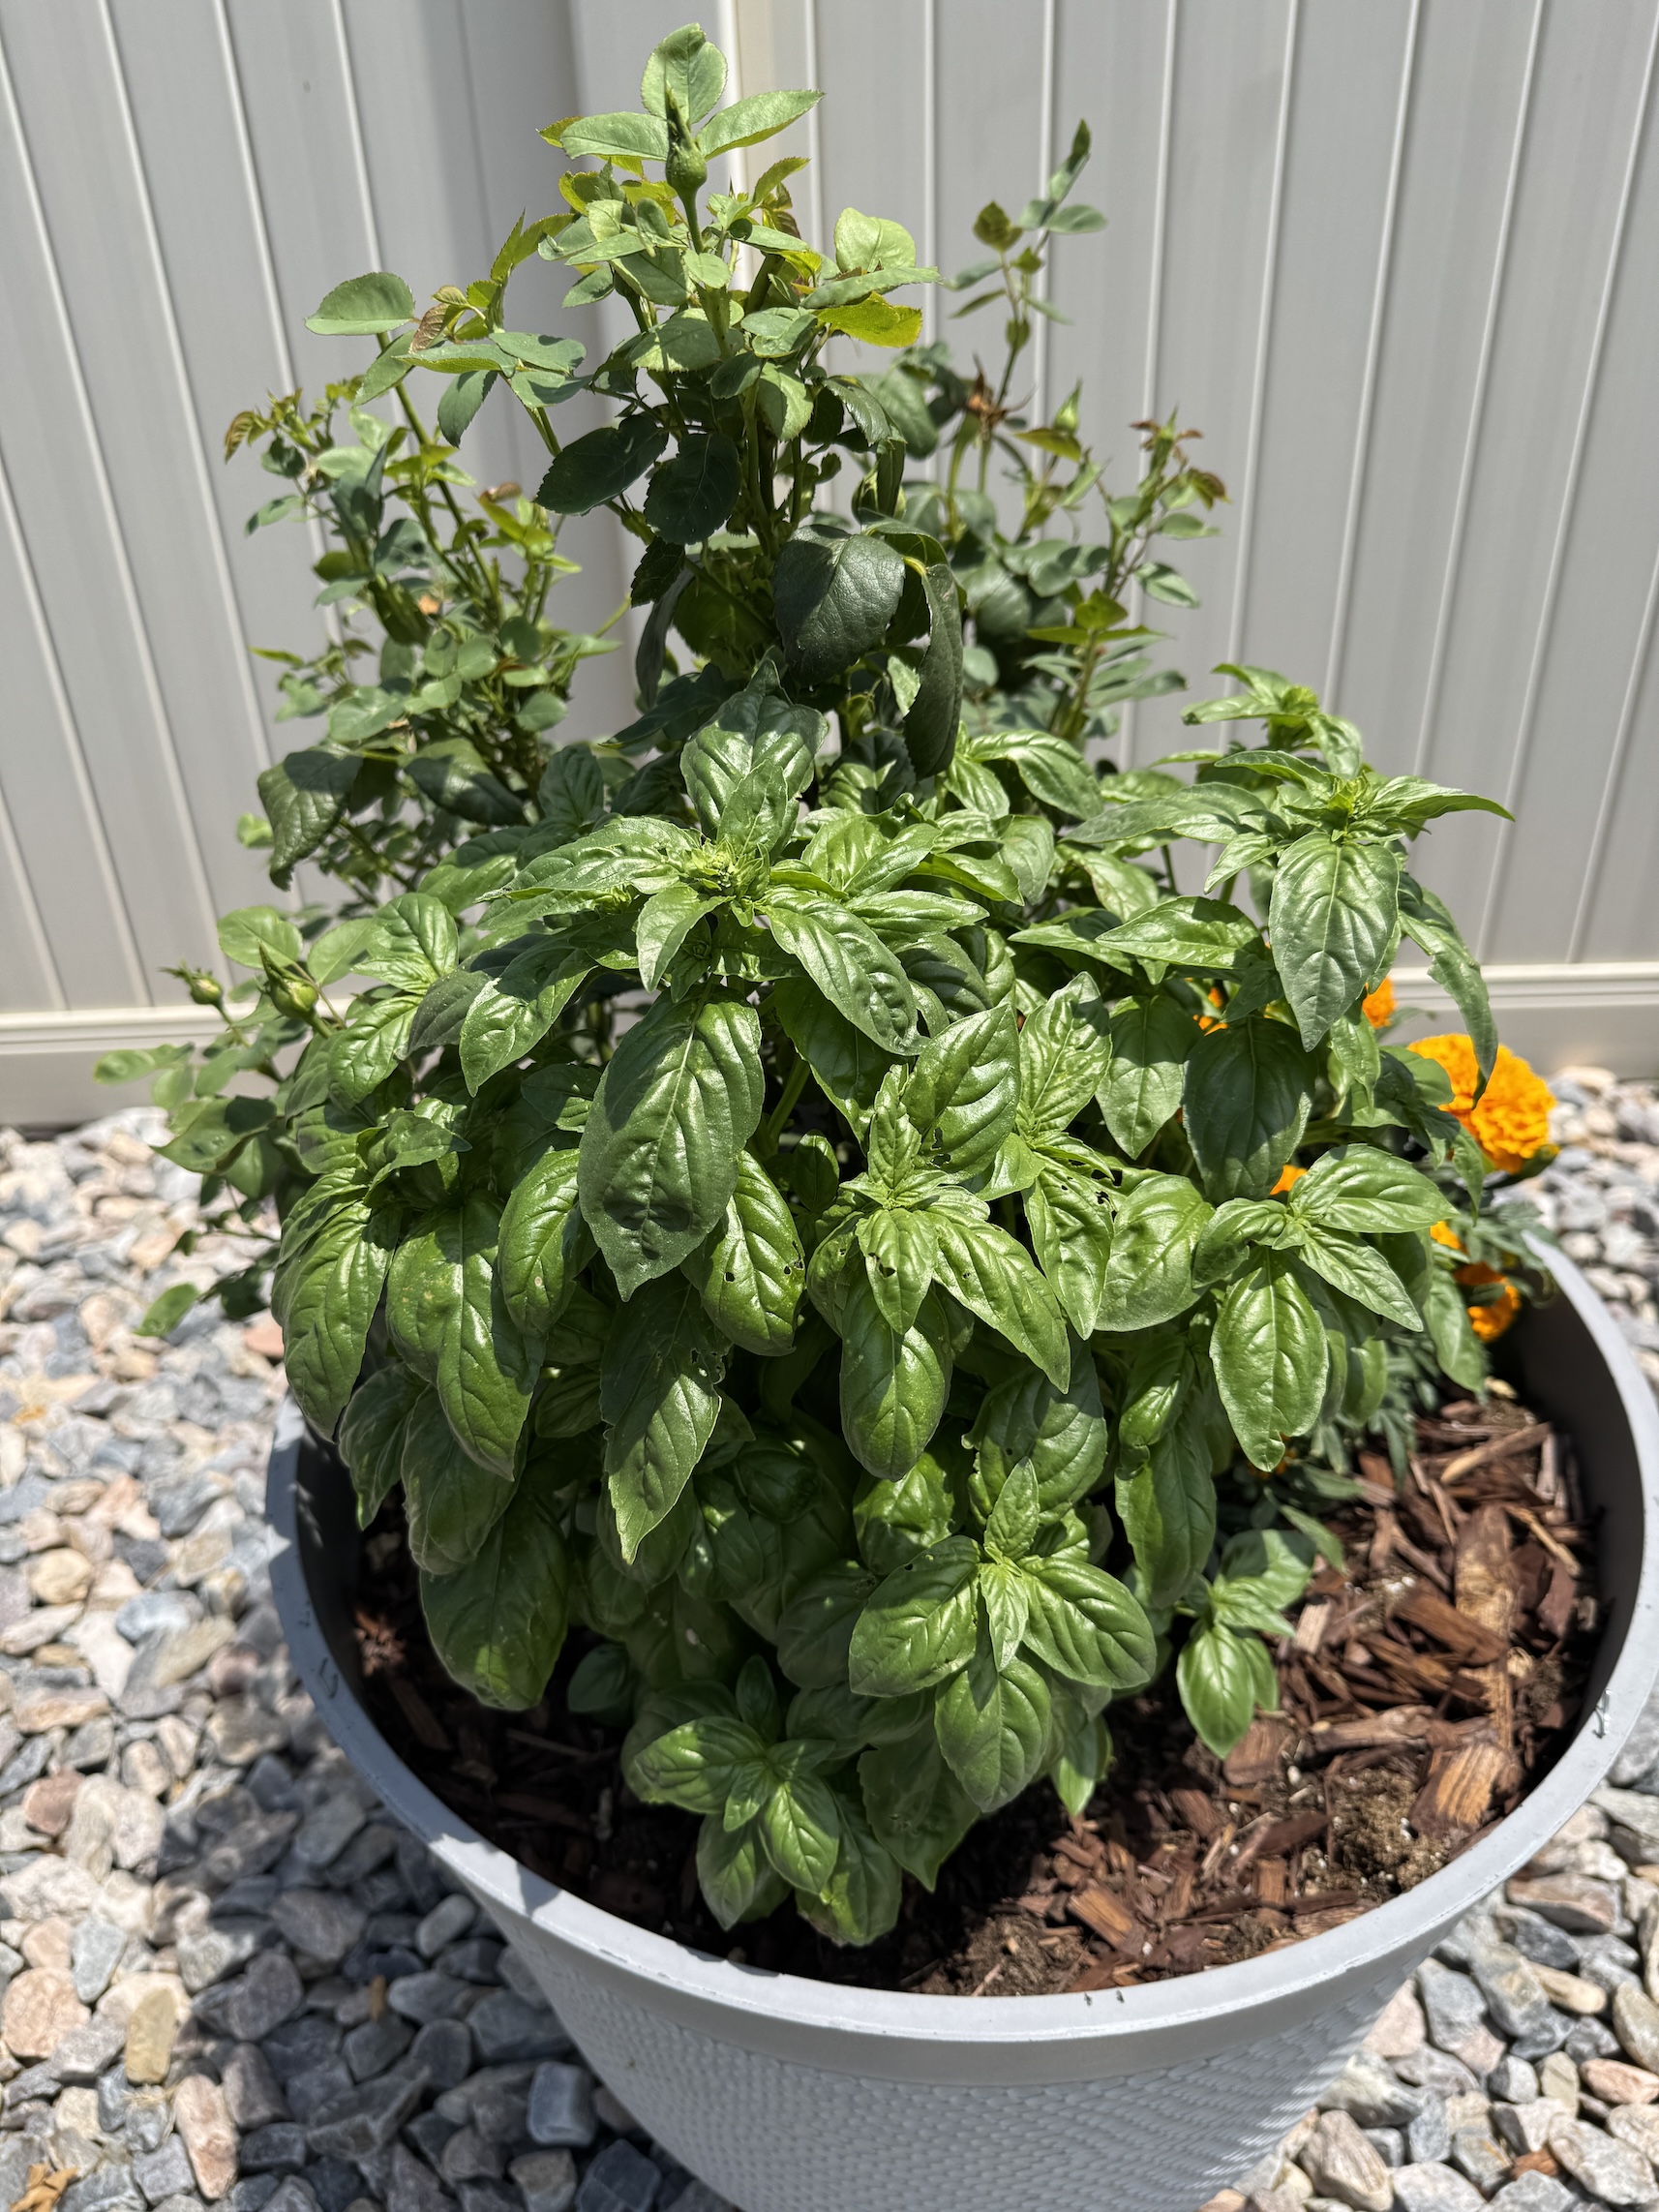
We don’t have a formal garden in our new house yet. What we did for our first summer growing season at our new house was to set up herbs to grow in the pots we planted roses, examples below:
THE BASIL HARVEST
Here’s the pot which had the basil (it has been all harvested as of this post so I am using a photo from July):
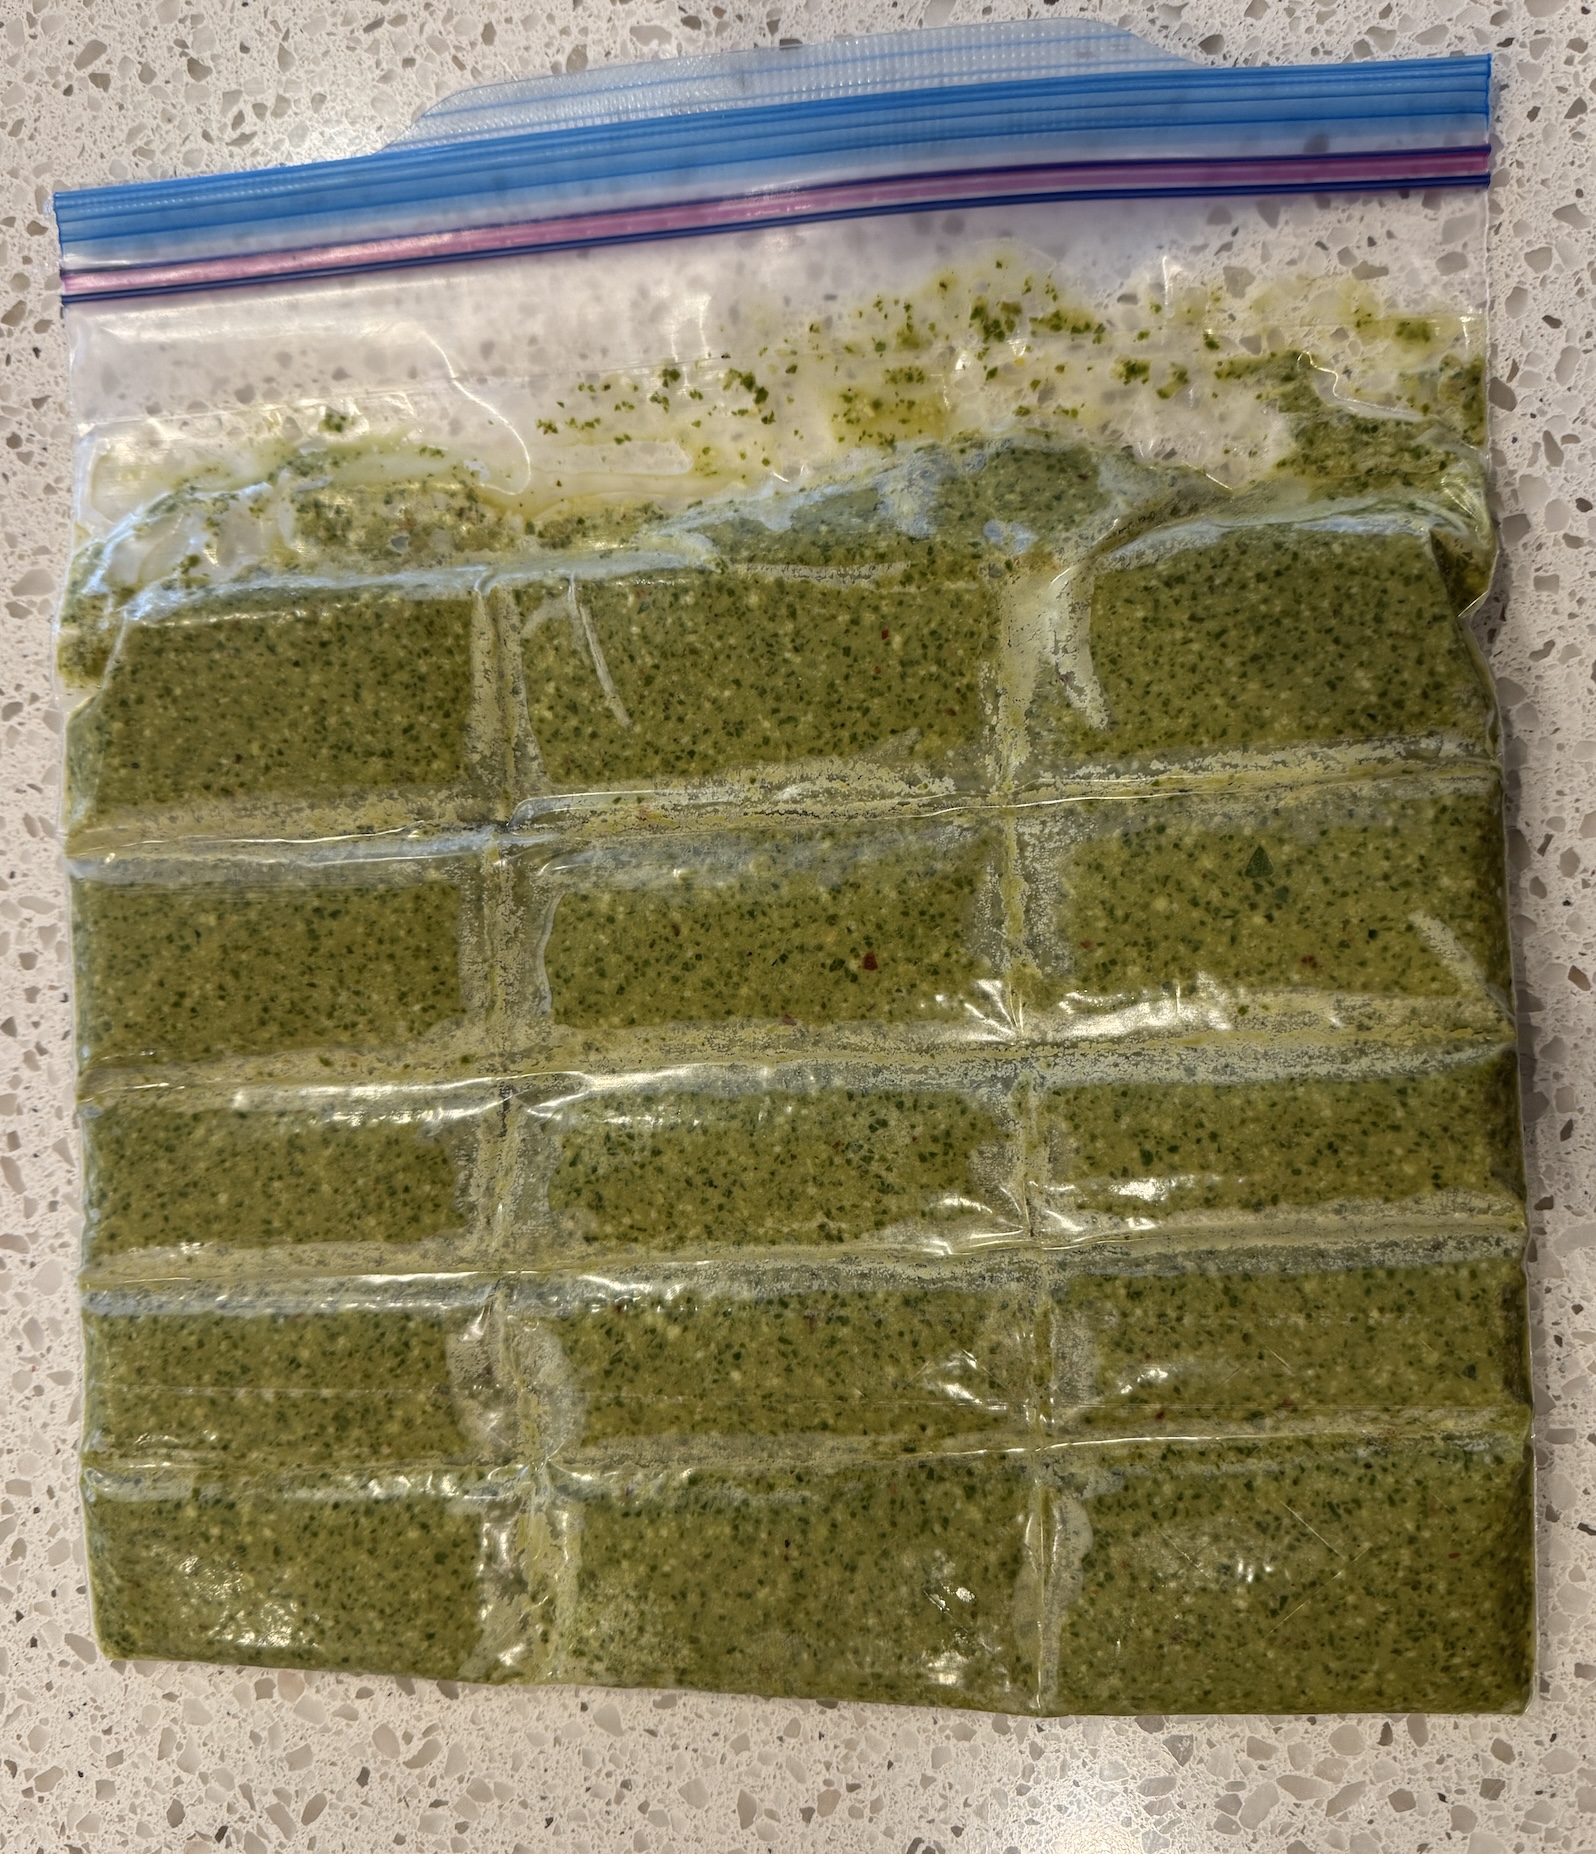
I used lots of the basil during the summer for various dishes. I decided to turn the rest of the basil into Pesto.
John came up with the idea (that he saw on a YouTube video or Instagram post) to freeze the Pesto in a block and while semi frozen partition into blocks to easily pull apart for use – and it worked!
THE MINT HARVEST
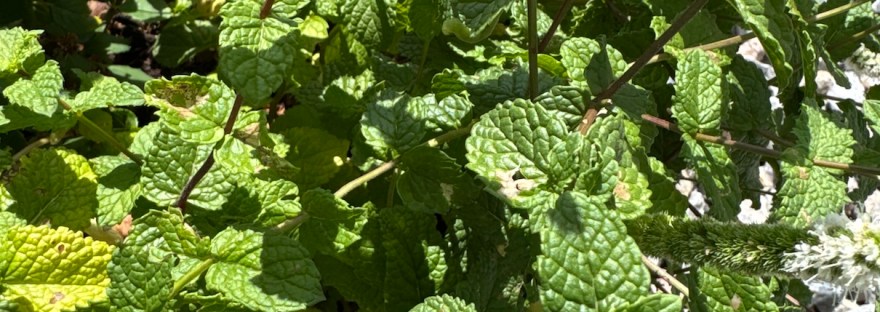
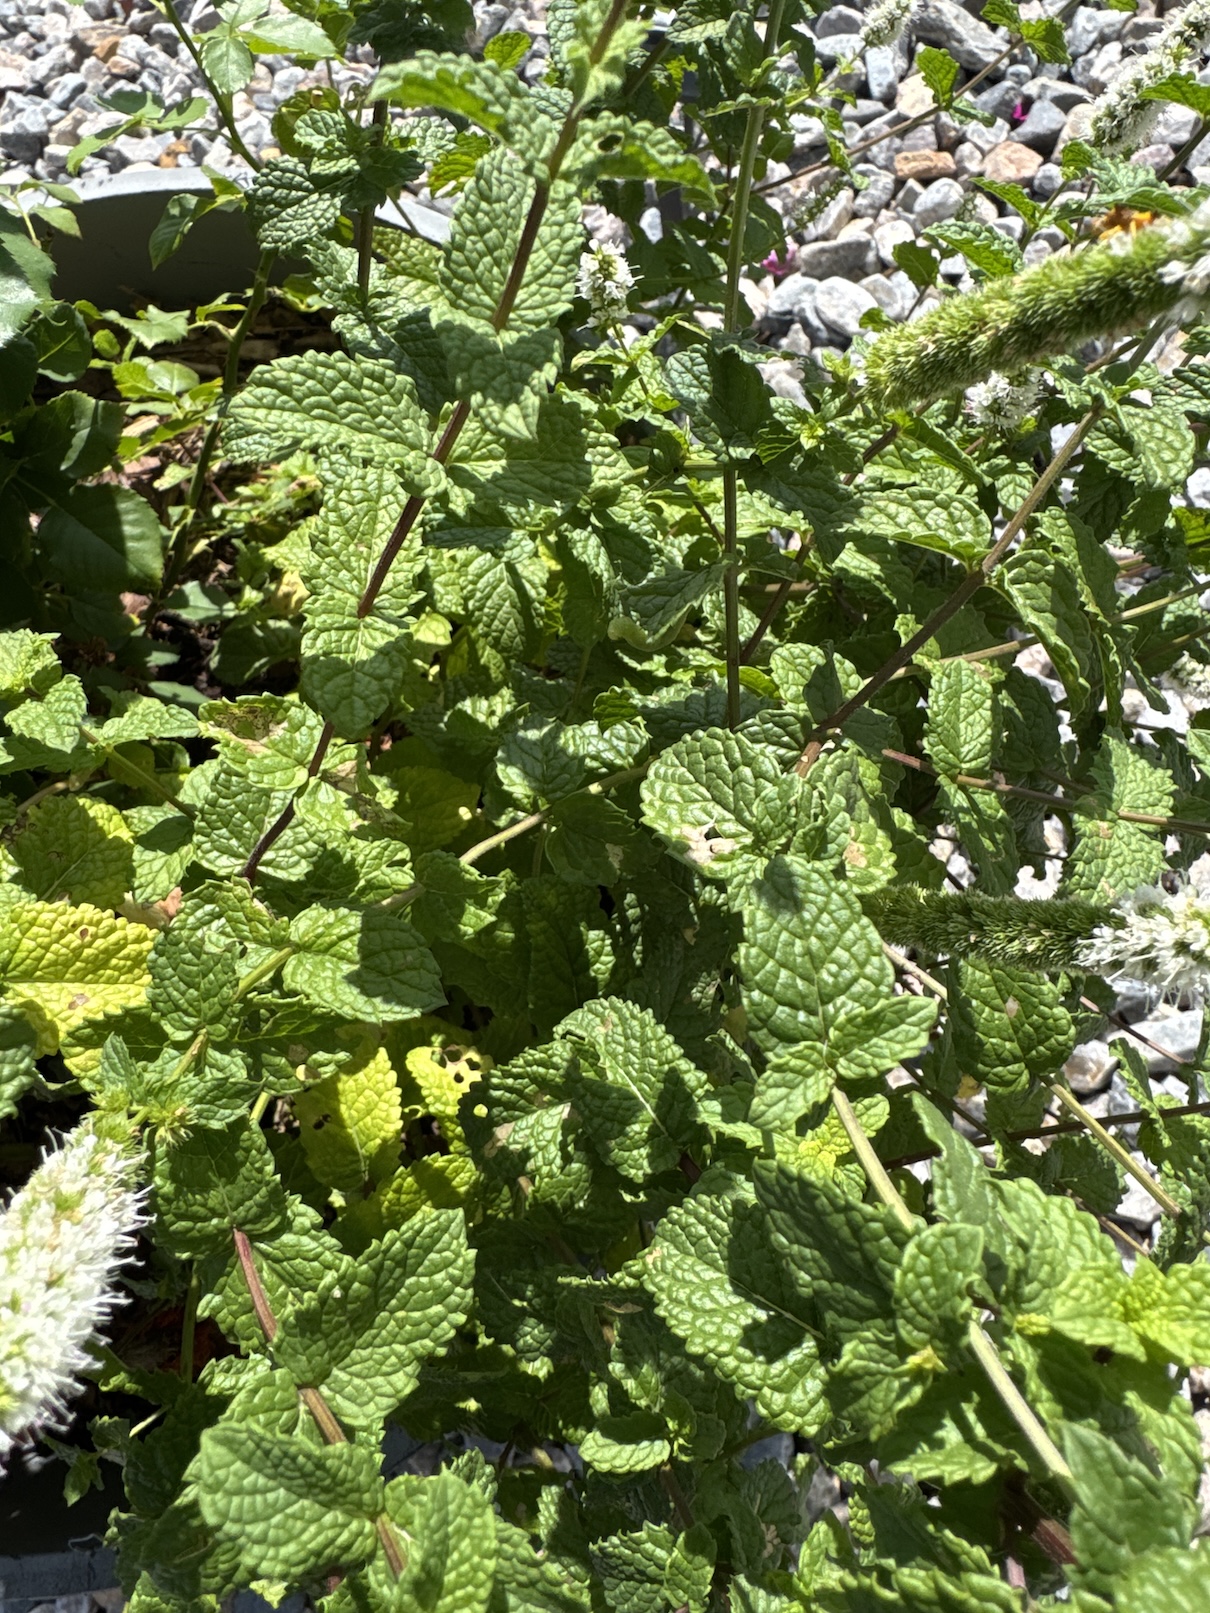
In addition to growing a lot of basil (which appeared to love sharing a pot with a rose), I grew a lot of mint.
John and I decided impromptu to invite some friends over for Mojitos (made with fresh basil).
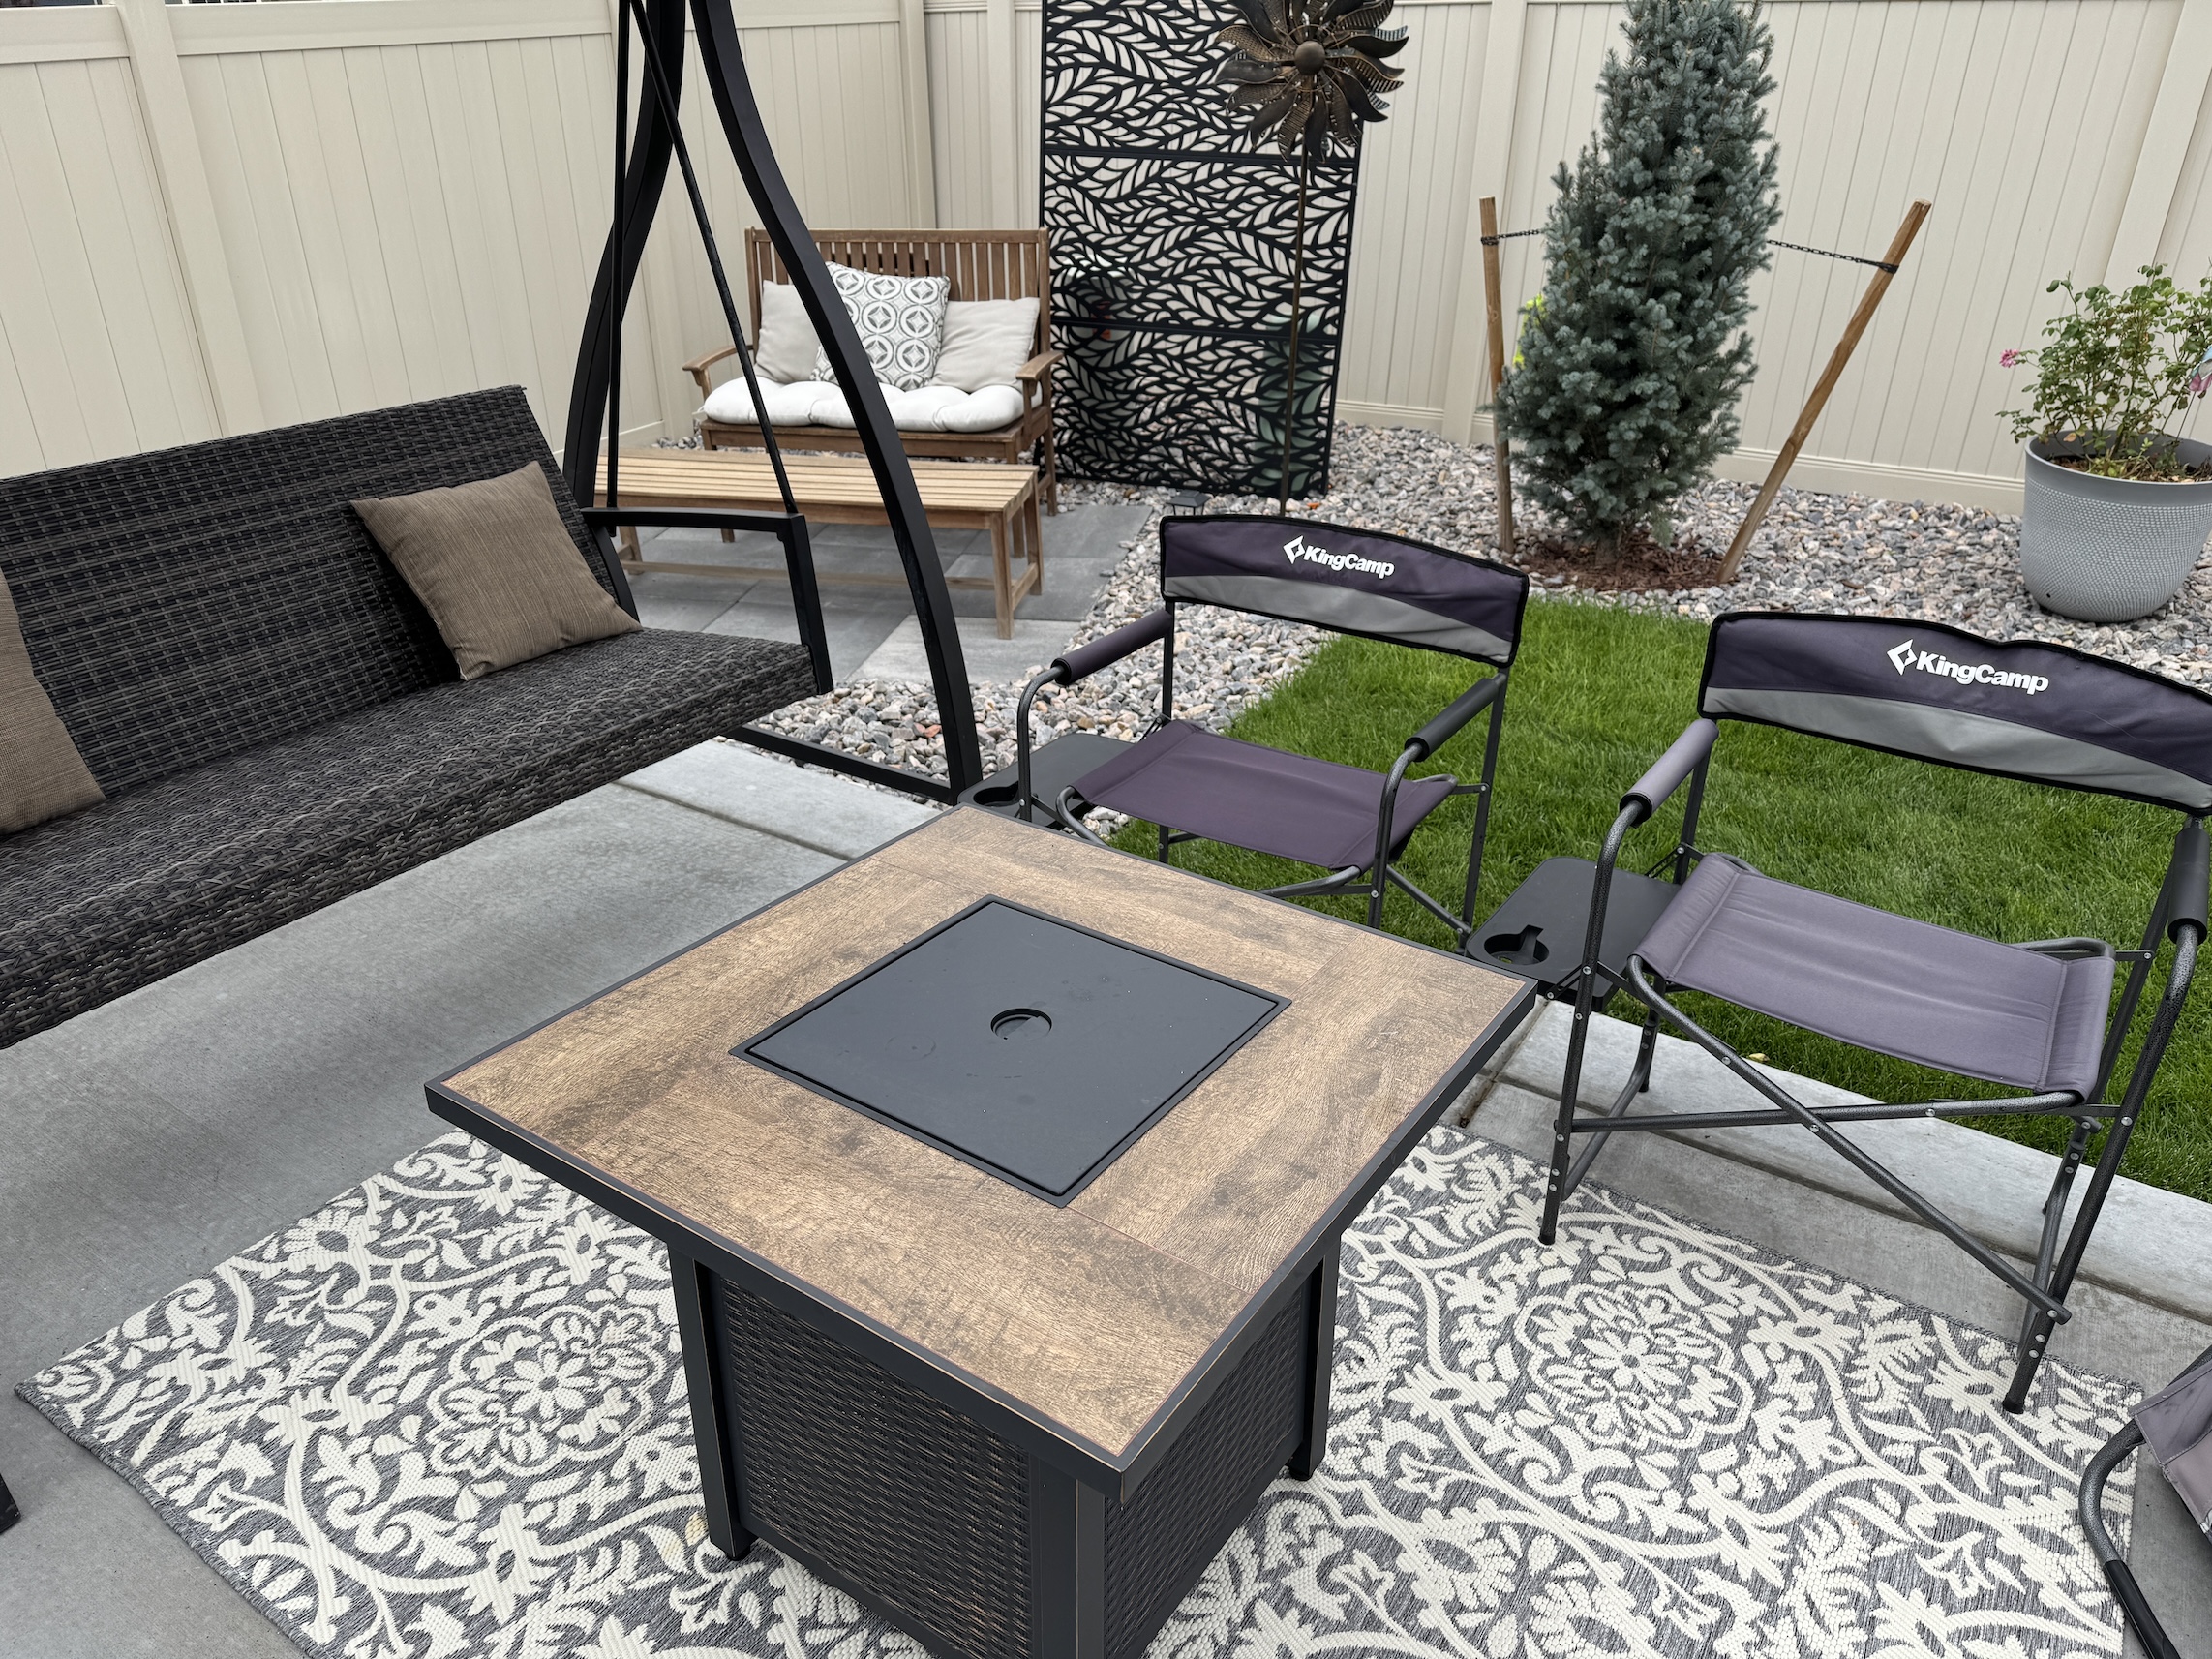
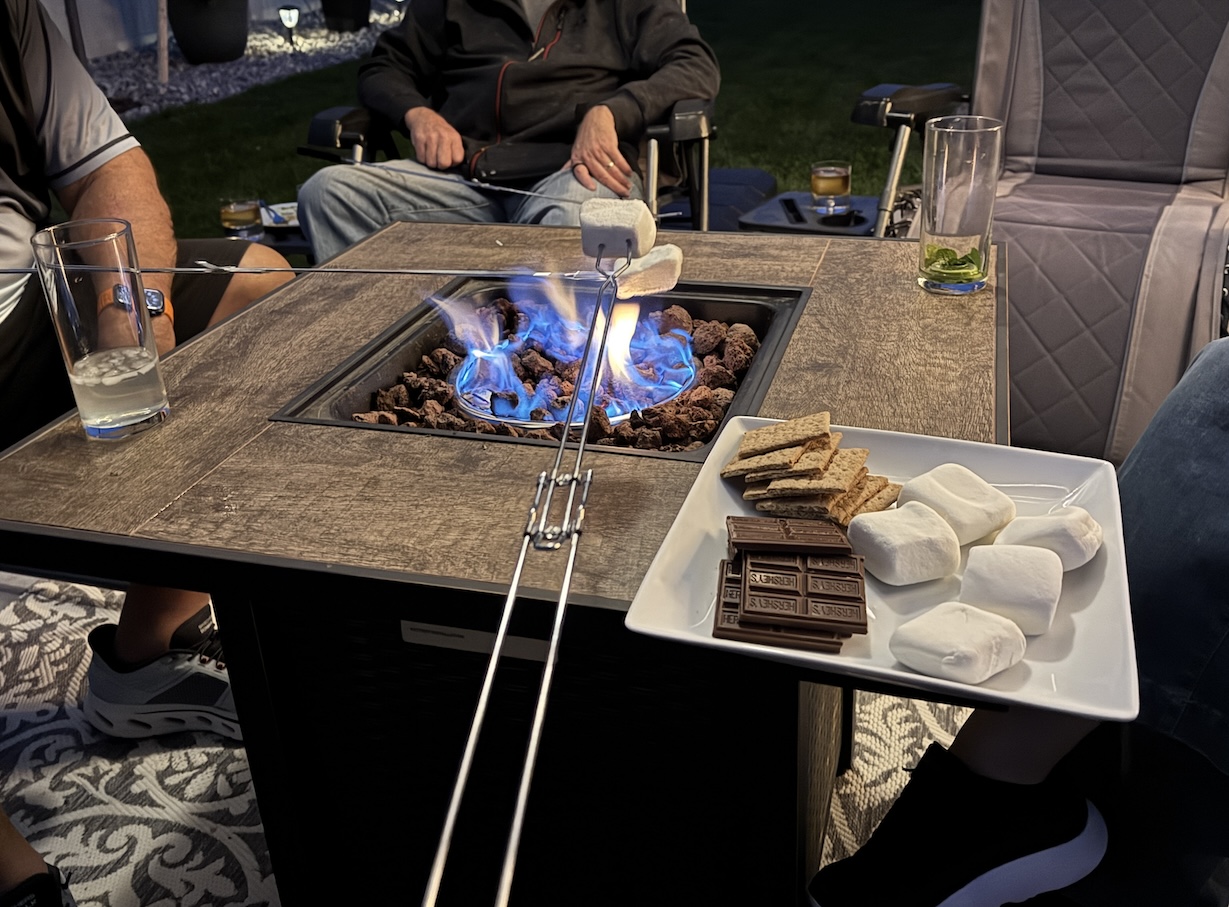
The weather has changed in the Denver Metro area and become for Autumn-like with cool evenings in the 50s F. We decided to also break on our new firepit table:
And we had a marshmallow roast/Smores making last evening!
I think that’s one of the best ways to gather around a fire – ha!
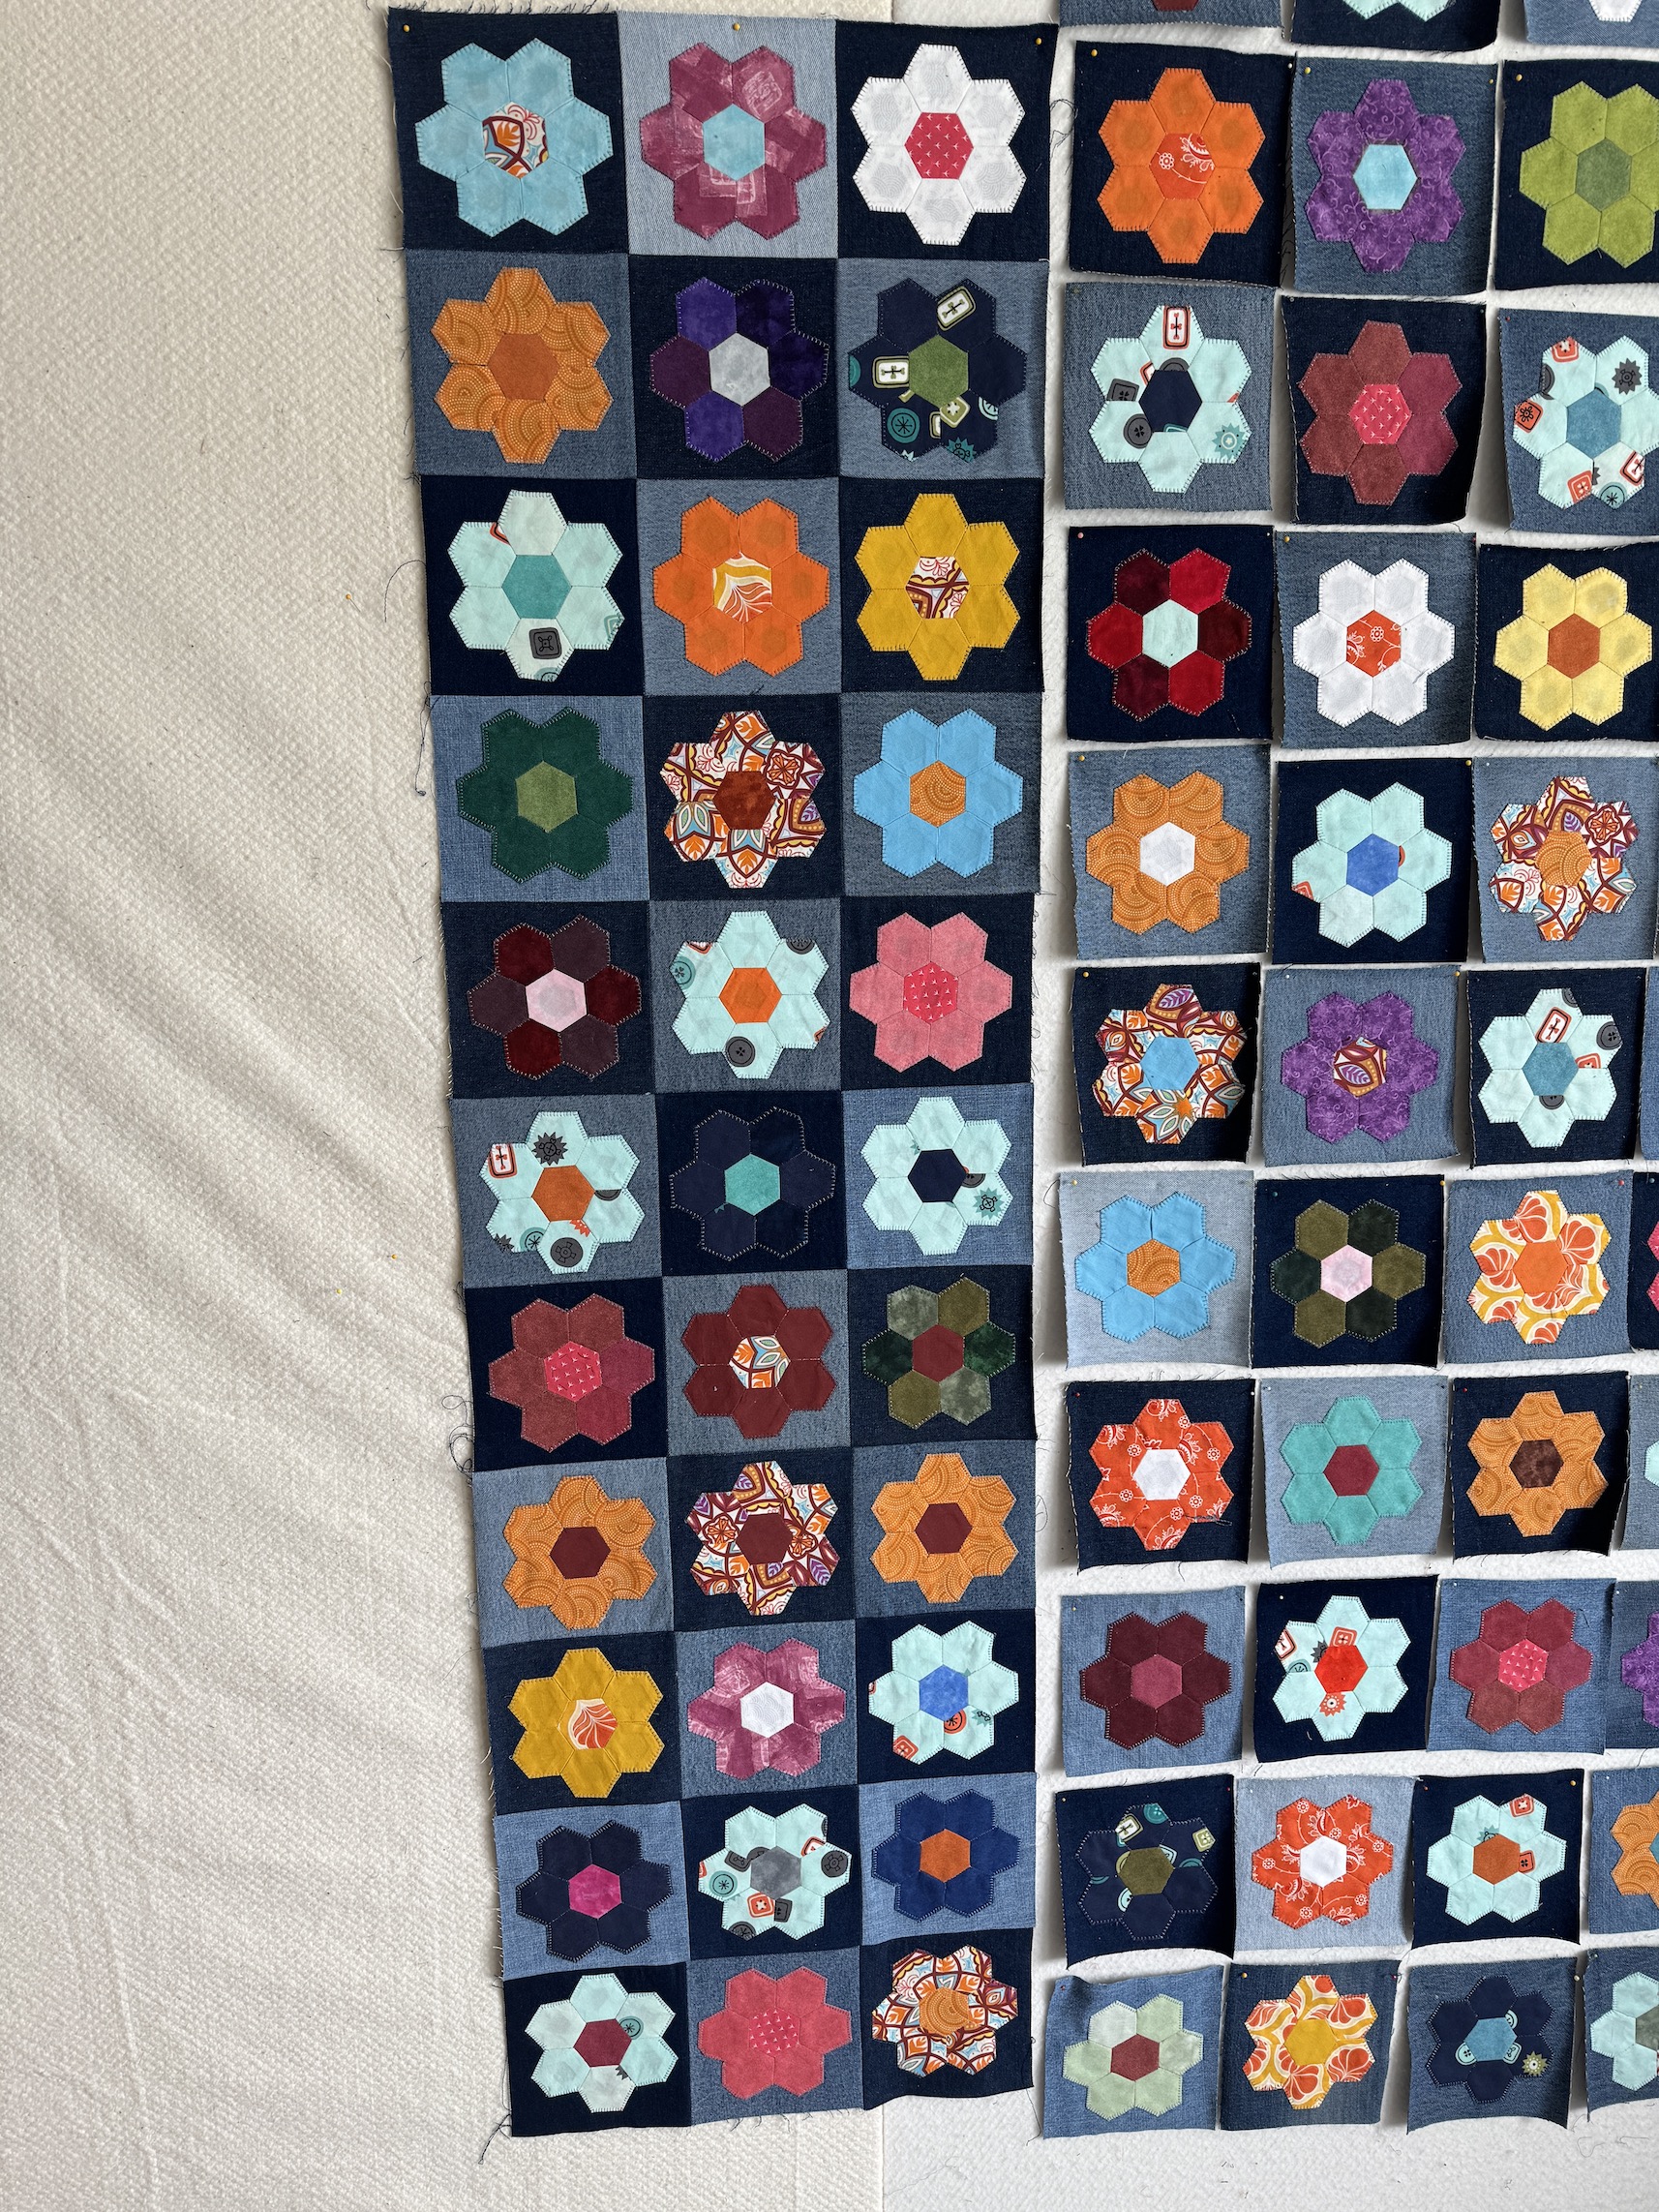
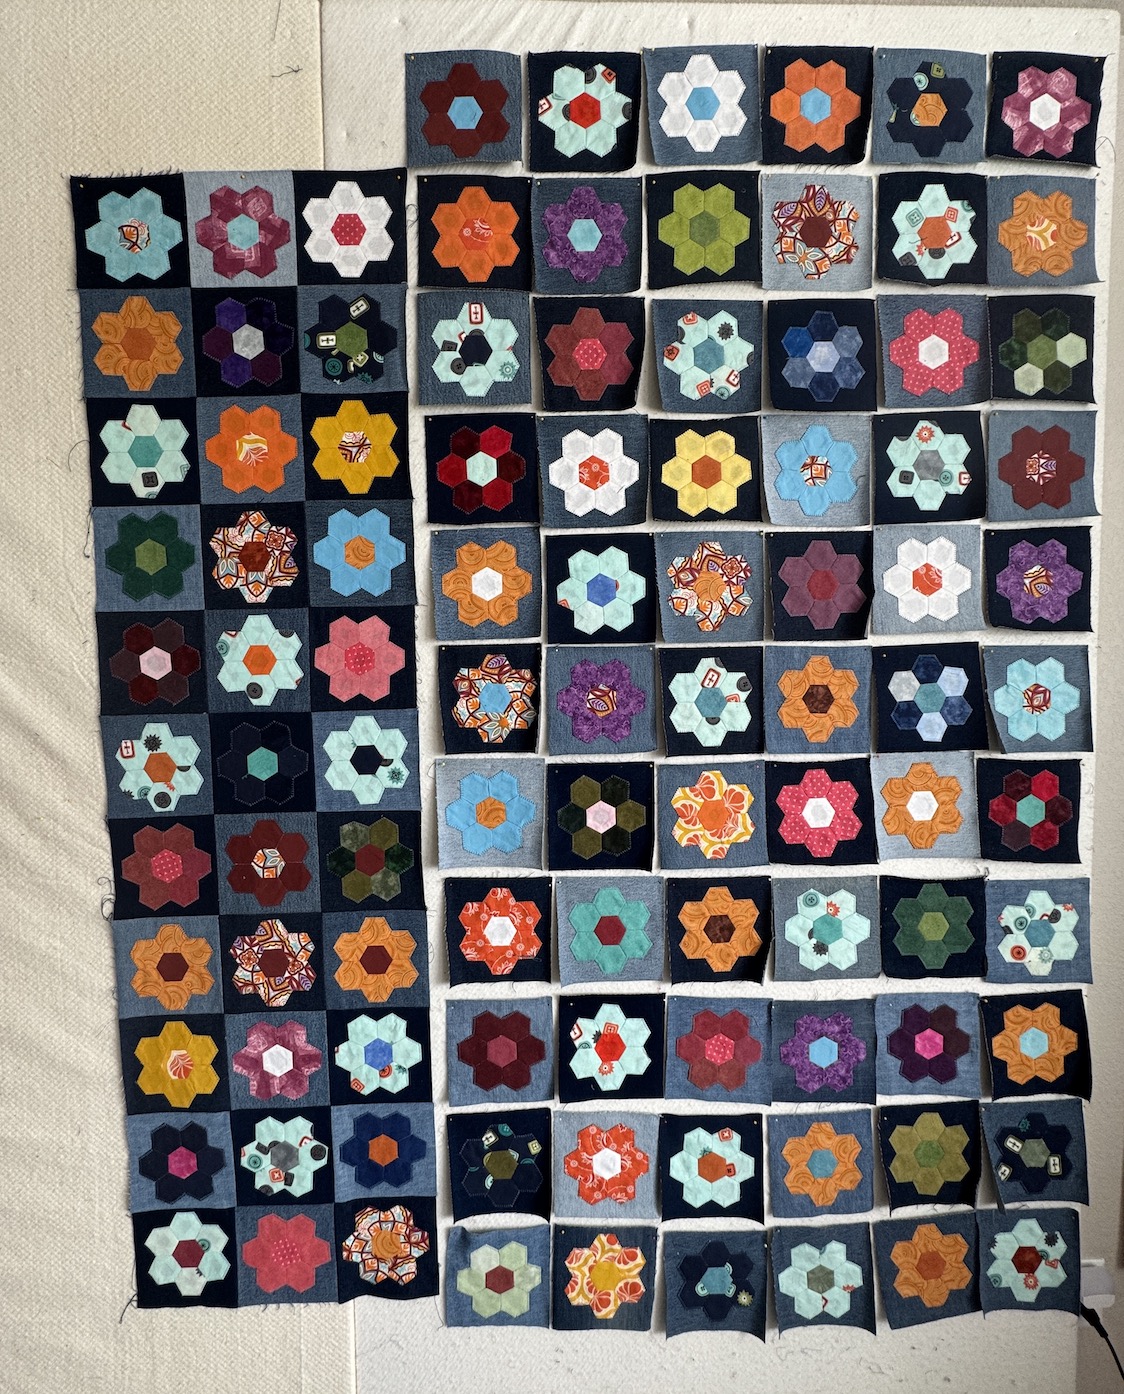
I now have 1/3 of the quilt (33 blocks), that I’ve been working on for 10 years on and off, sewn together – yay!
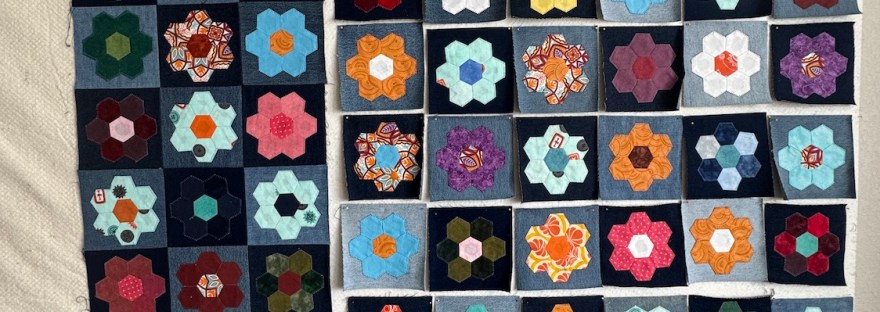
Here is the section I recently put together:
And with the rest of the blocks up on the design wall:
It’s so funny how it “shrinks” when you sew the blocks together!
I decided to take on piecing the blocks together by breaking them up into a group of 9; and two groups of 12 (= 33). Then I sewed those three groups together.
Hopefully I will by the weekend be able to hand it into my longarm quilter (fingers crossed). I have a fantasy…depending on her turnaround time…that I can feature the quilted quilt for my October 15th monthly ScrapHappy post!
Postscript
Here is the “and more” part of this post – just some random additional info….
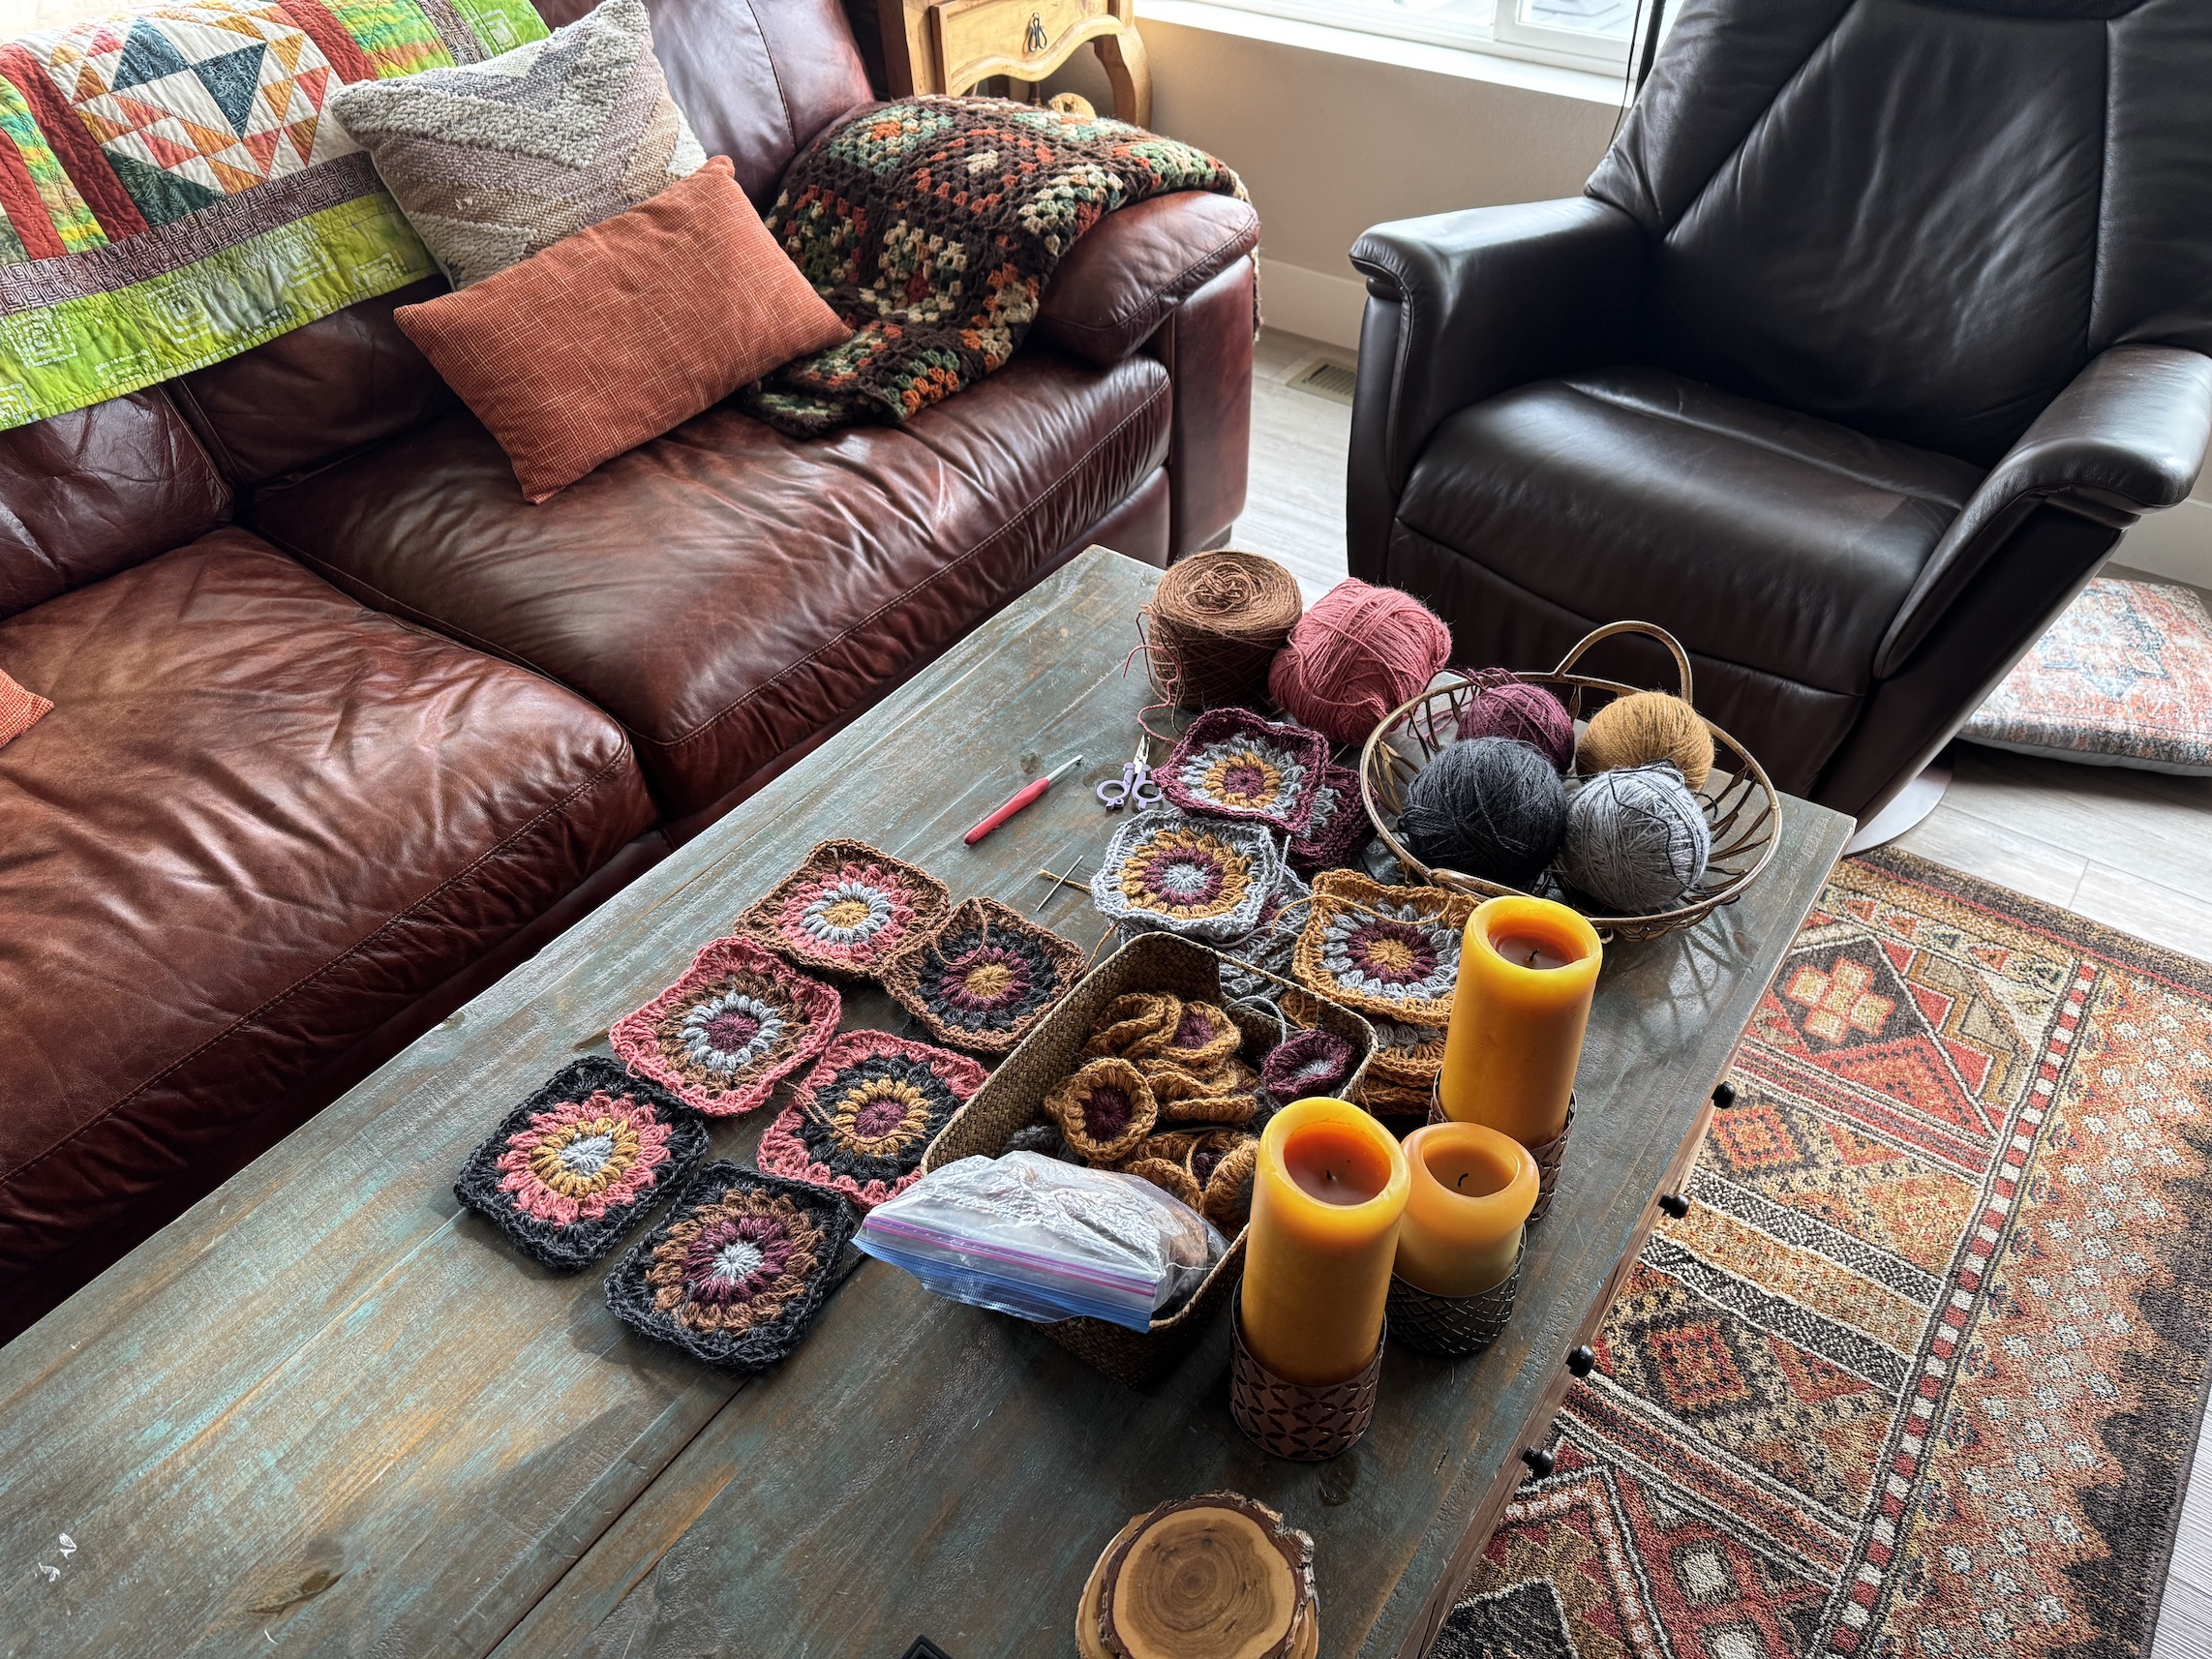
A follow up to the post What’s On The Design Carpet: First 20 Squares; I’ve been experimenting with the additional 3 yarn colors and once I finish all the sample blocks incorporating the new yarn colors I will do another post. For now, here is a photo of my “Granny Square Laboratory”!
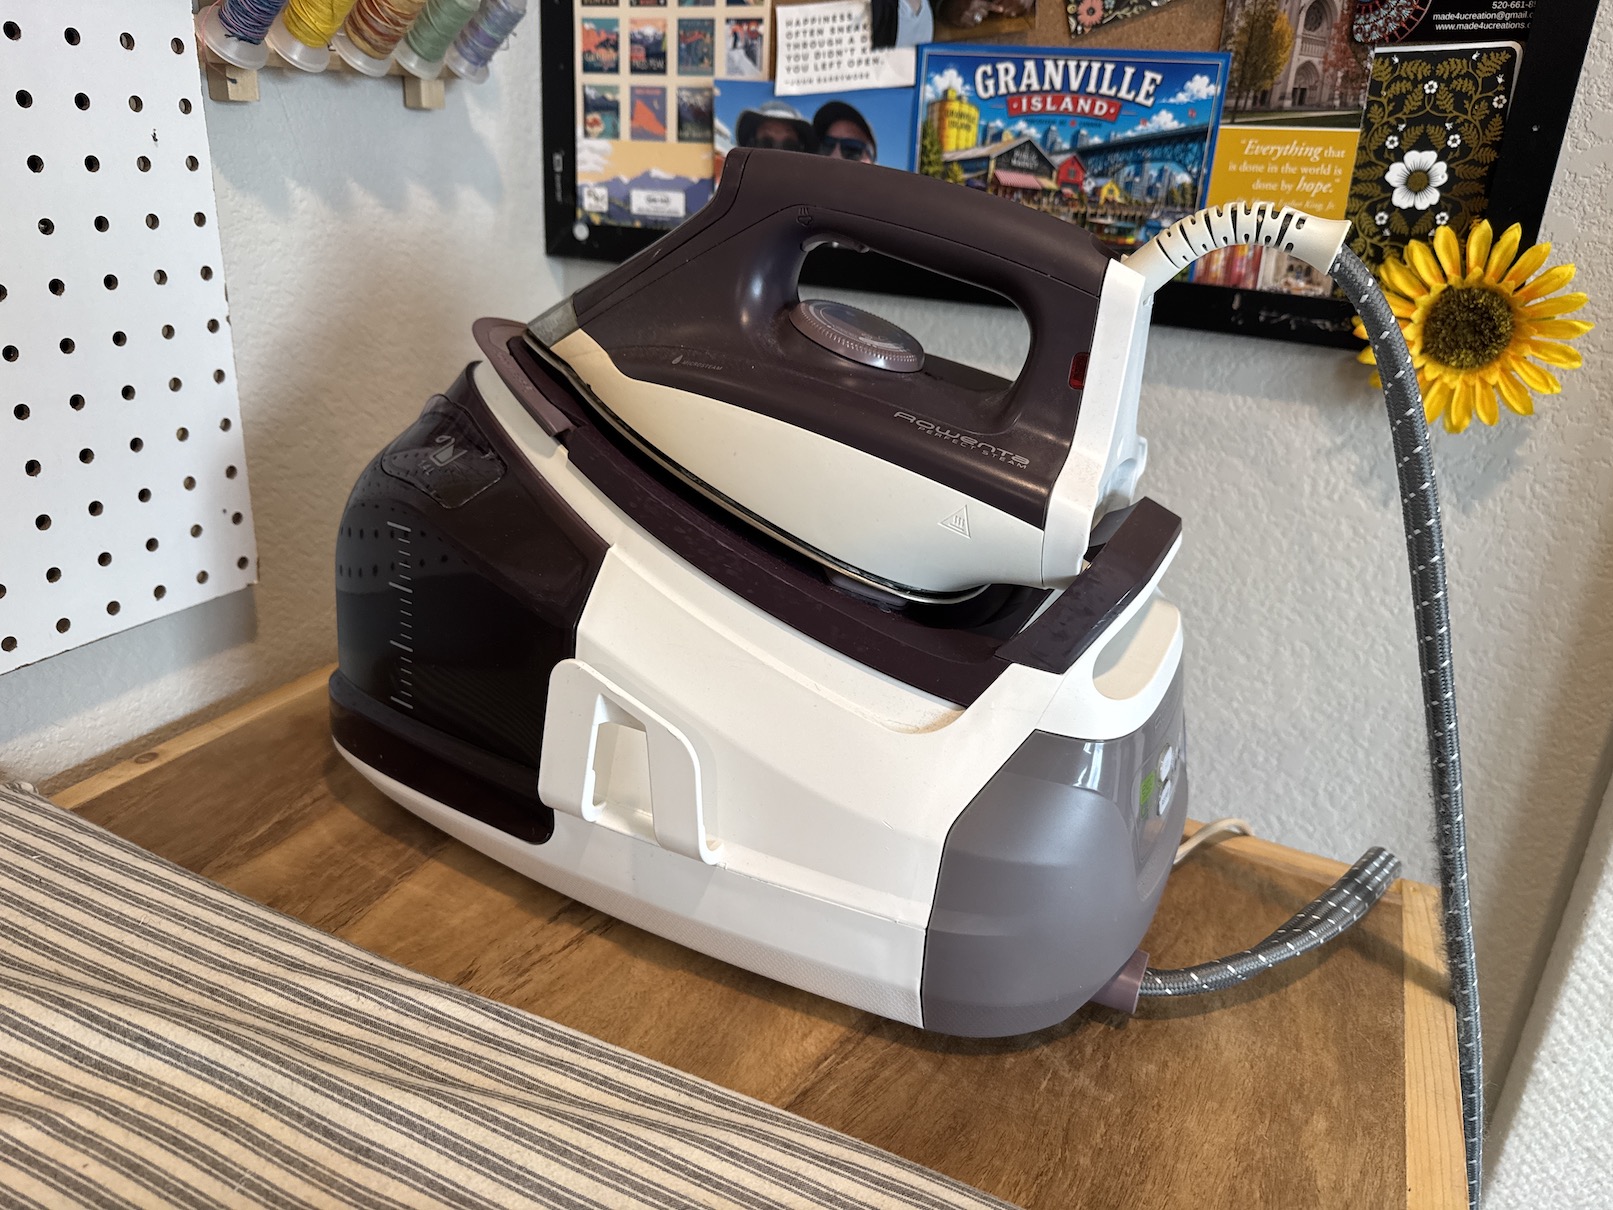
A friend bought a new Rowenta Steam Station and gave me her old professional steam station iron! I was a little intimidated by it at first but now I really like it! It was very hand to press down the seams on the denim quilt I am working on.
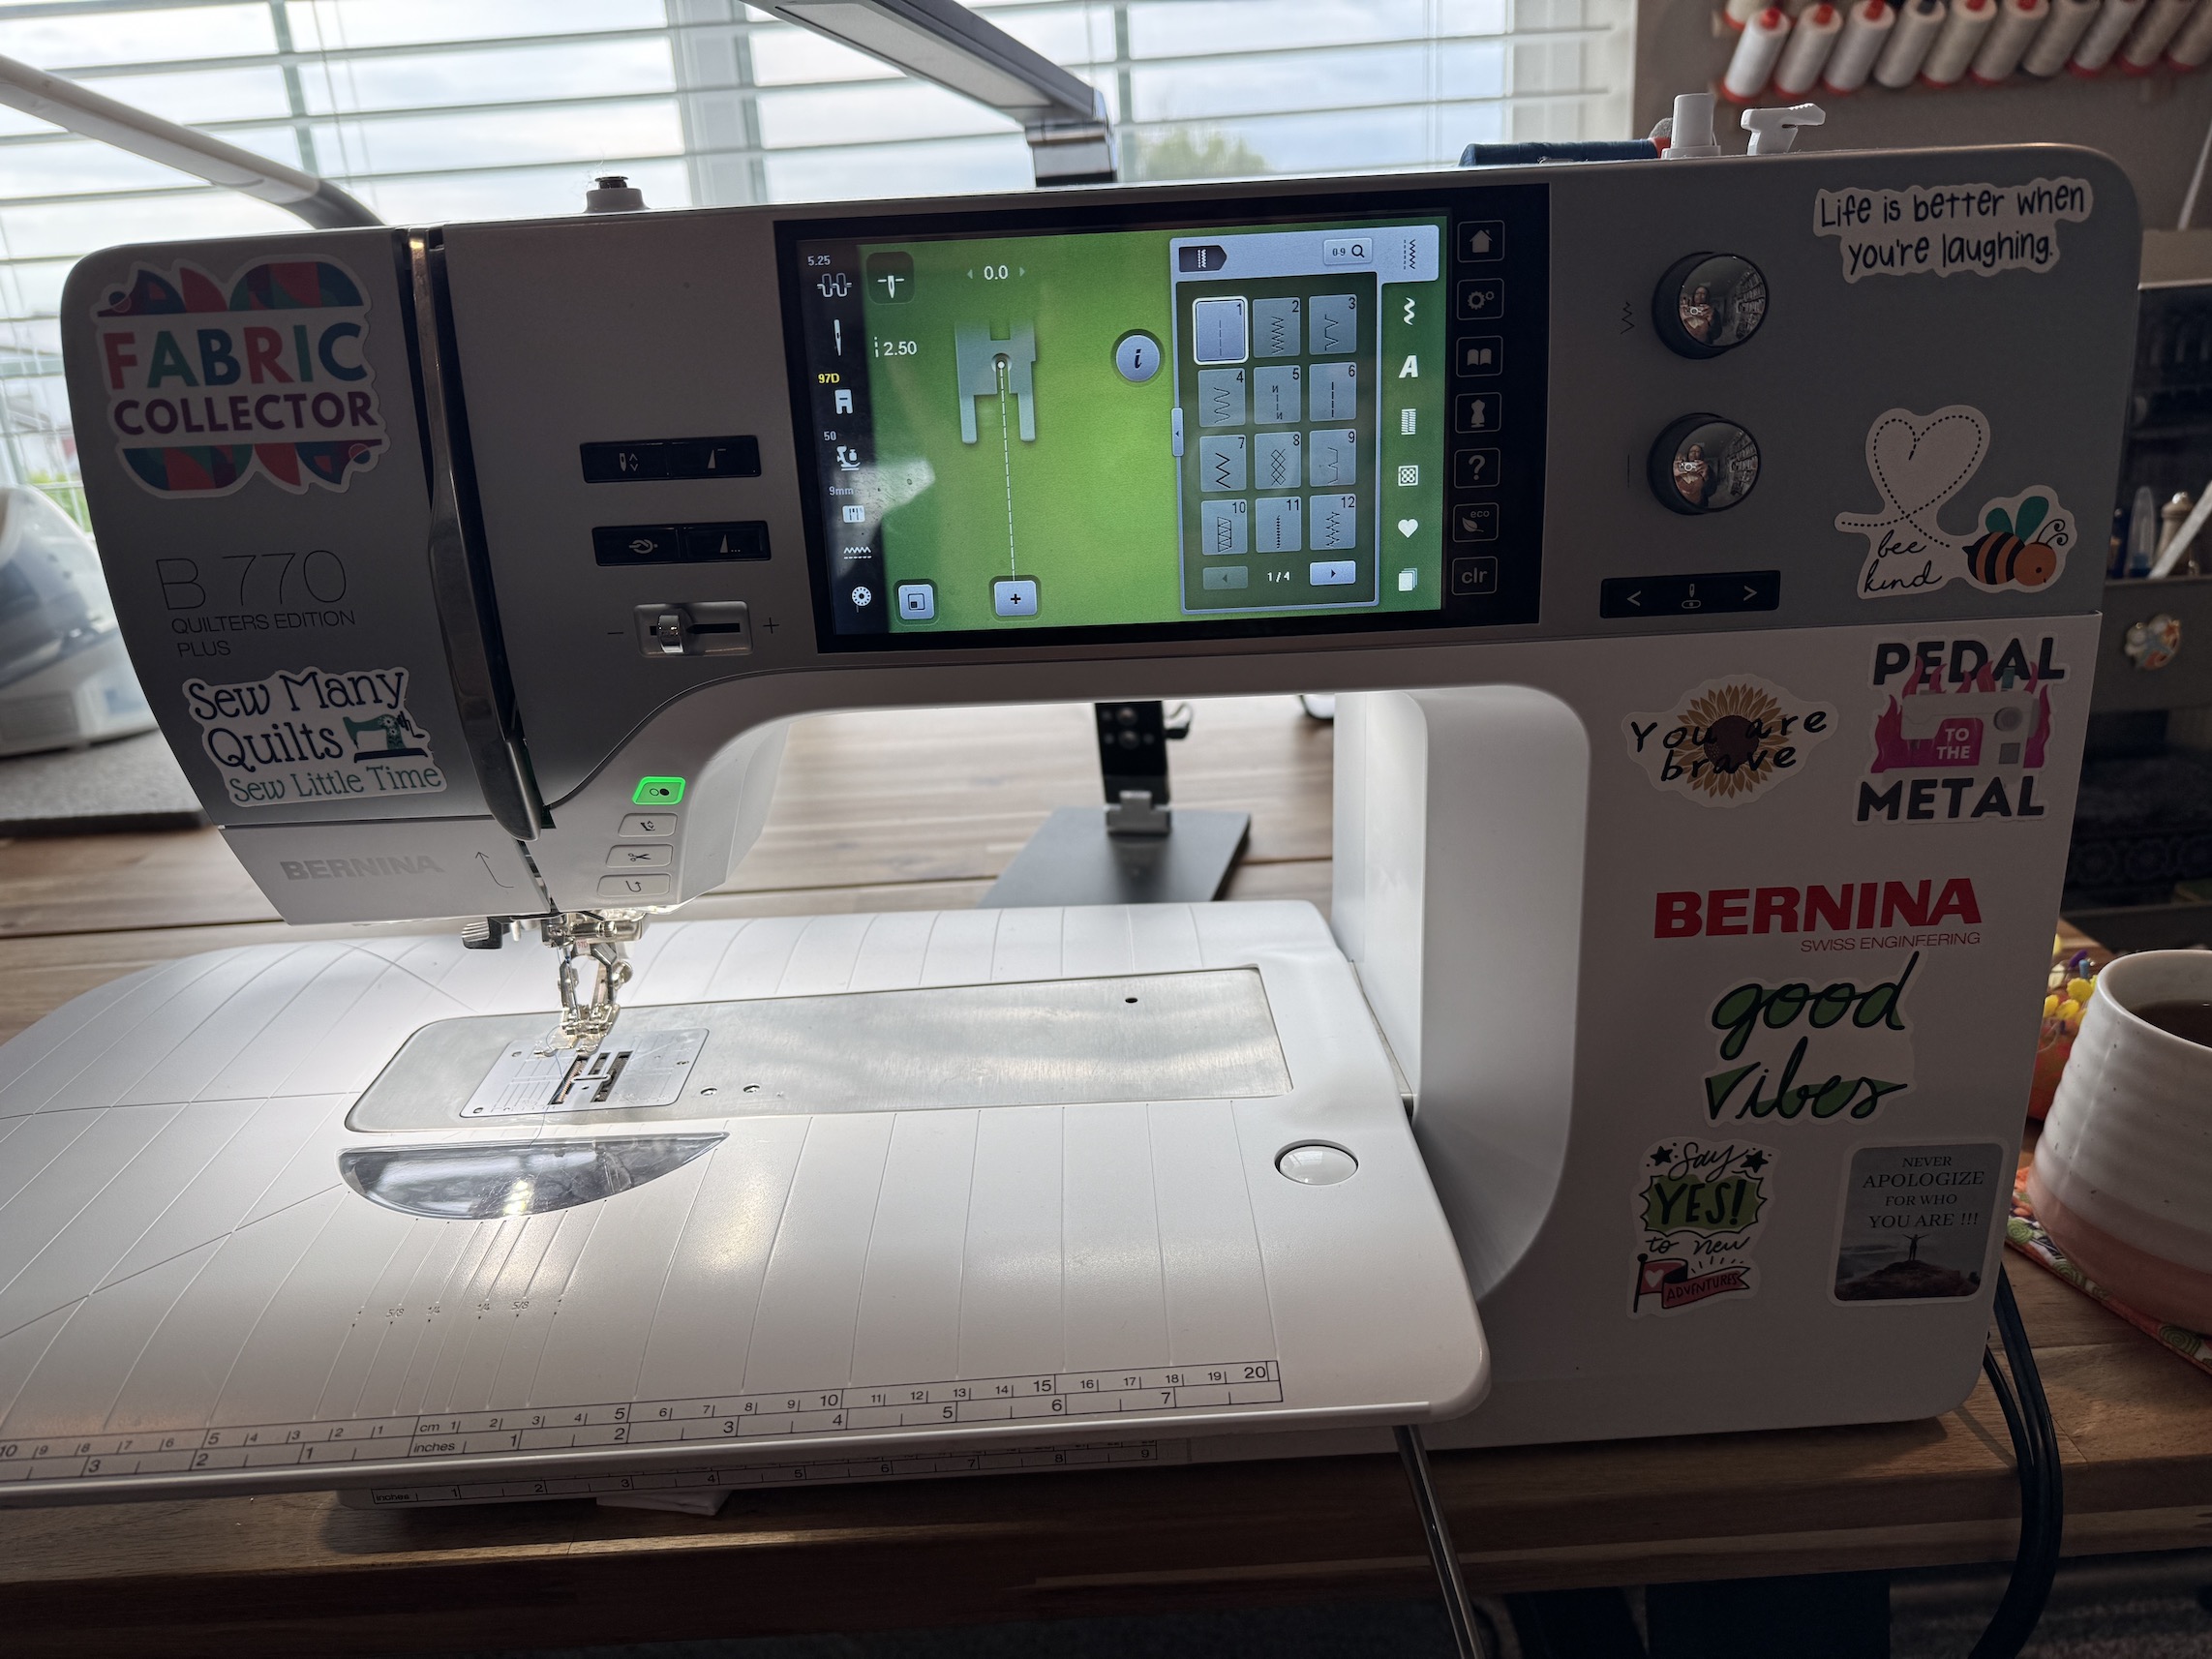
I love stickers and I decided – what the heck, I have no plans to sell my Bernina – why don’t I just brighten it up with some stickers. So for the first time ever, I put fun stickers on a sewing machine!
The stickers add a little smile to my face while sewing!
Continuing my series of posts about regular get togethers with neighborhood quilters J and D.
Wednesday I met up with J and D (the new quilter who just finished her first project – see my series of posts for the category Learning to Quilt) to see D’s progress on her second quilt (see previous post Quilter’s Playdate: What’s Next)
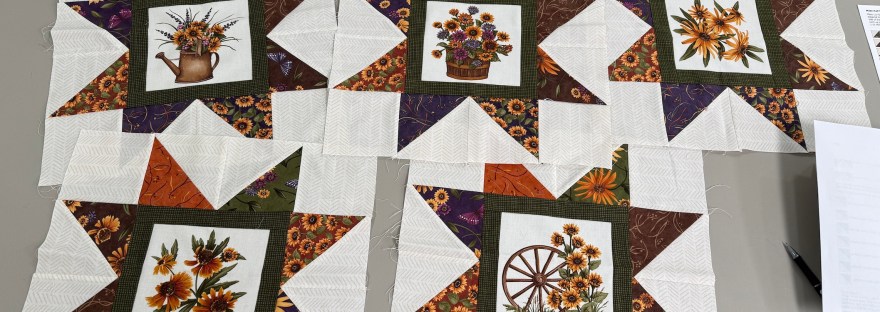
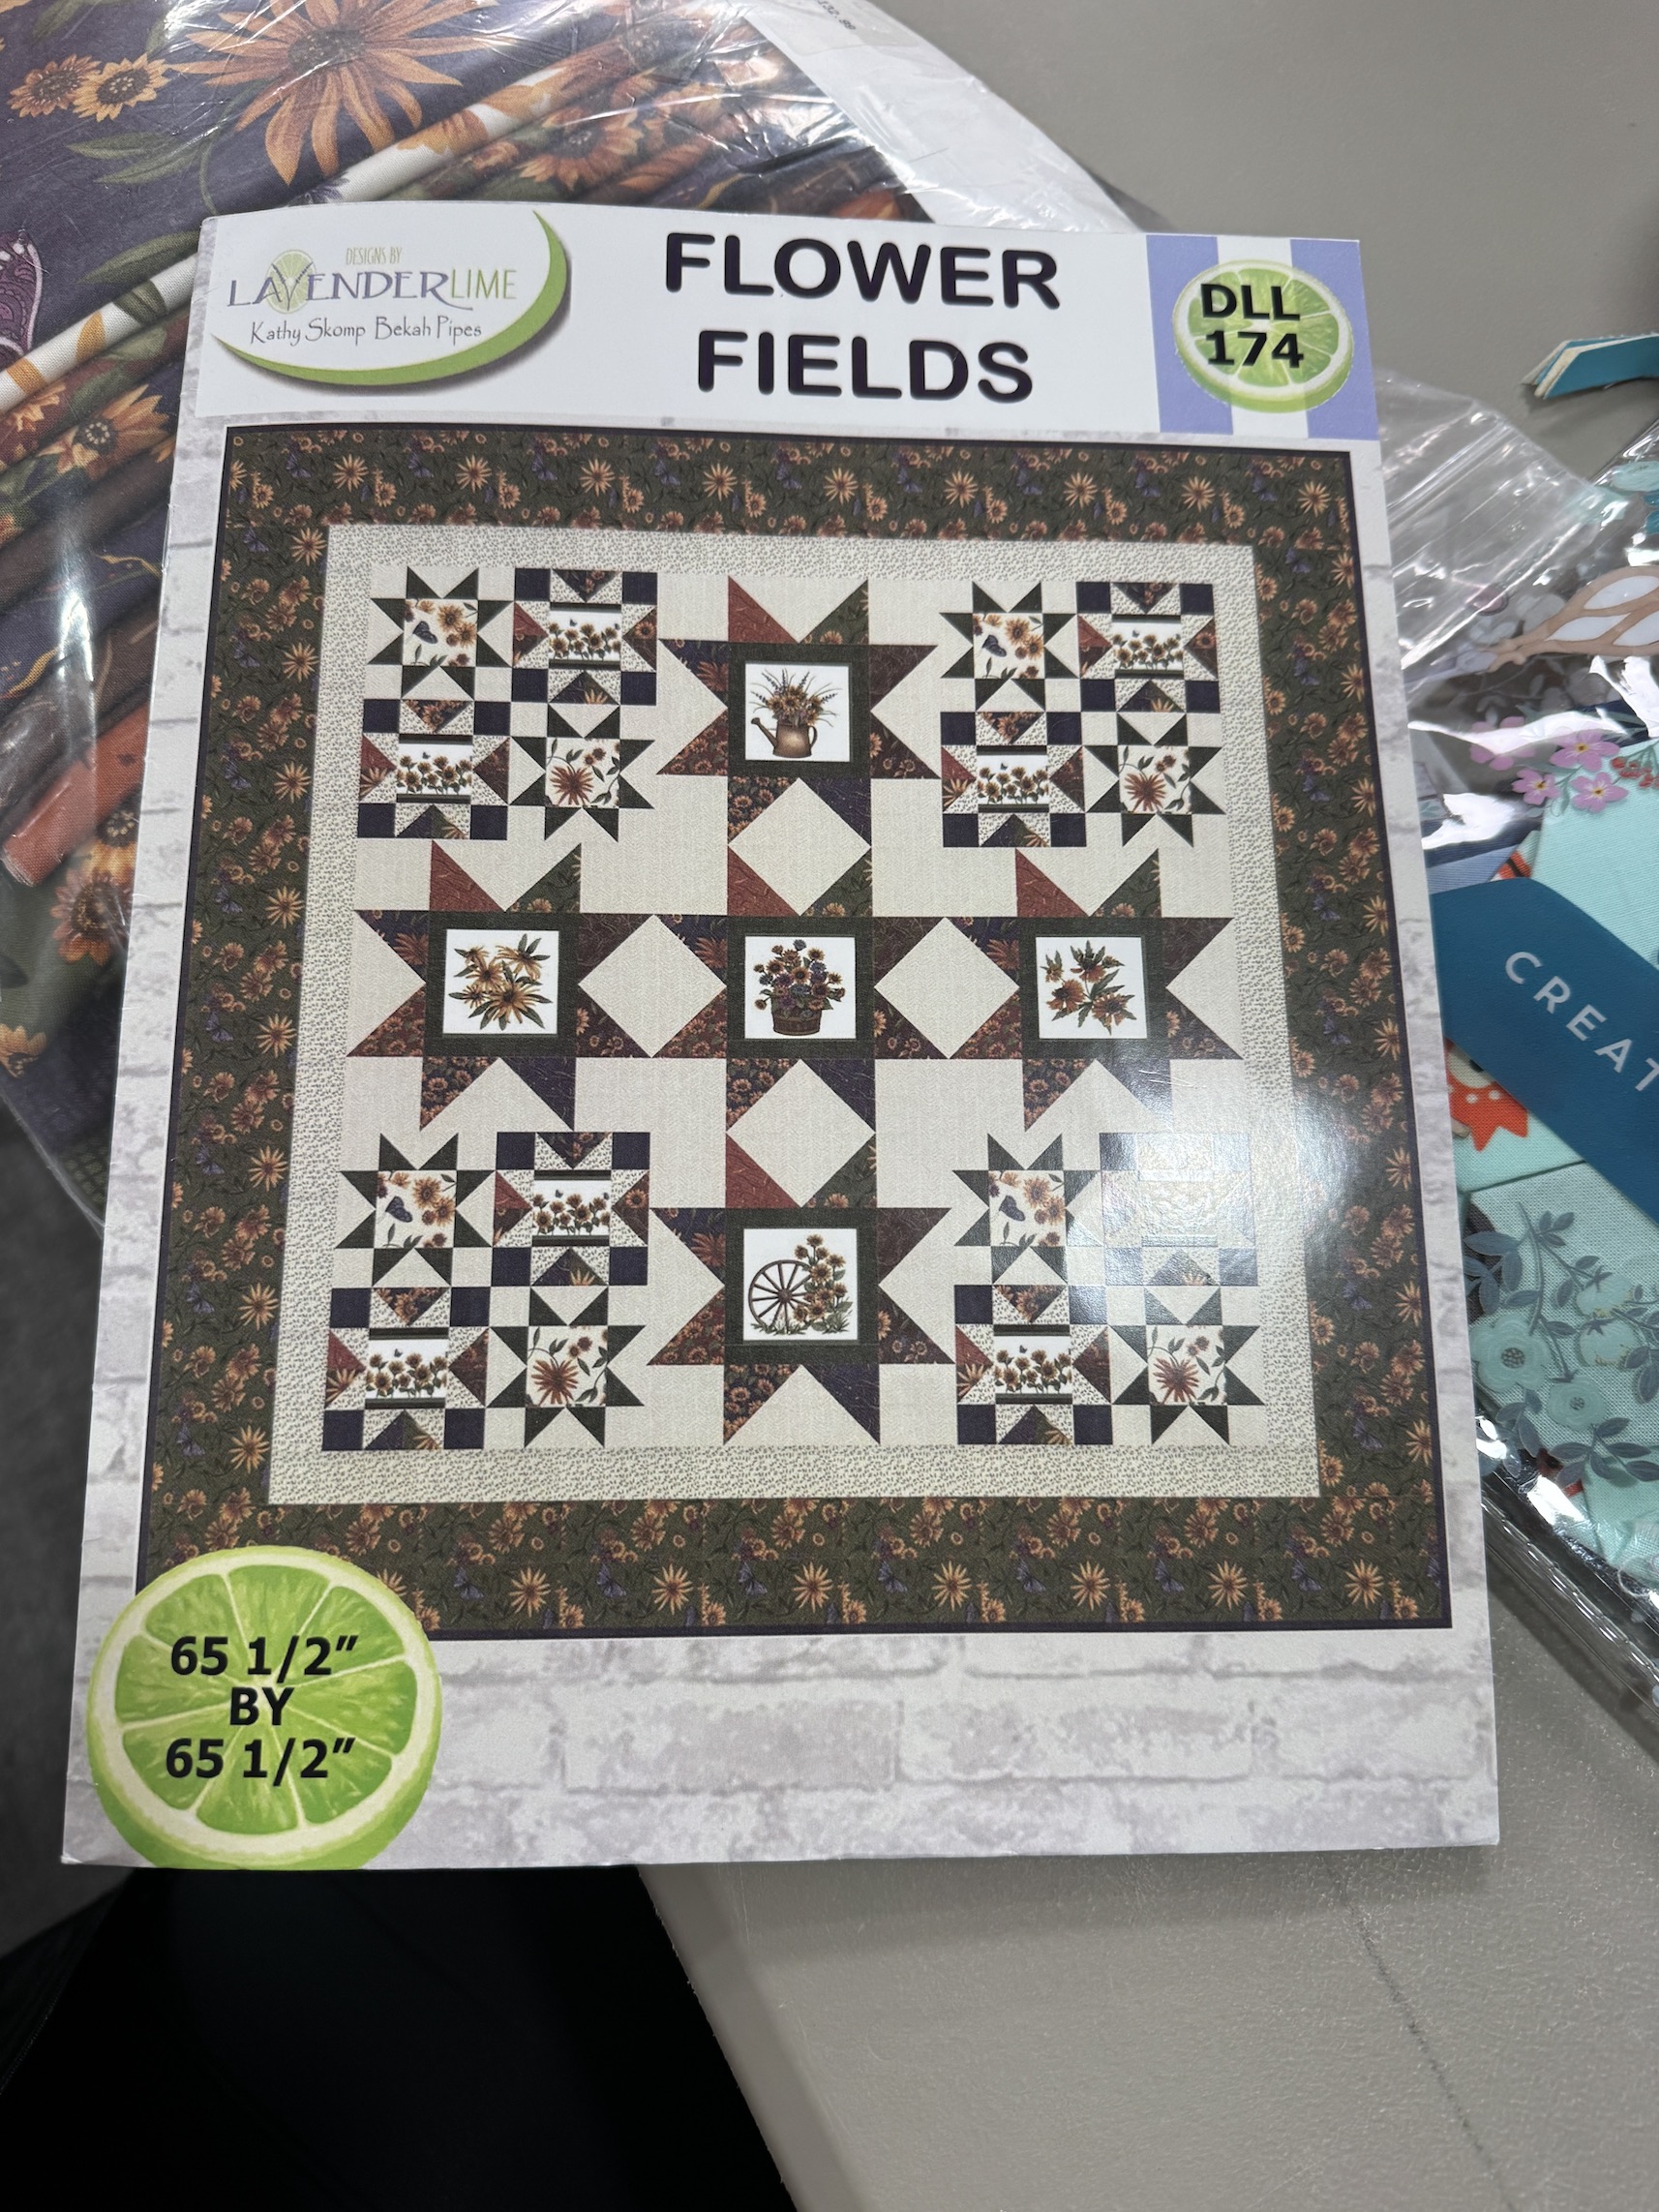
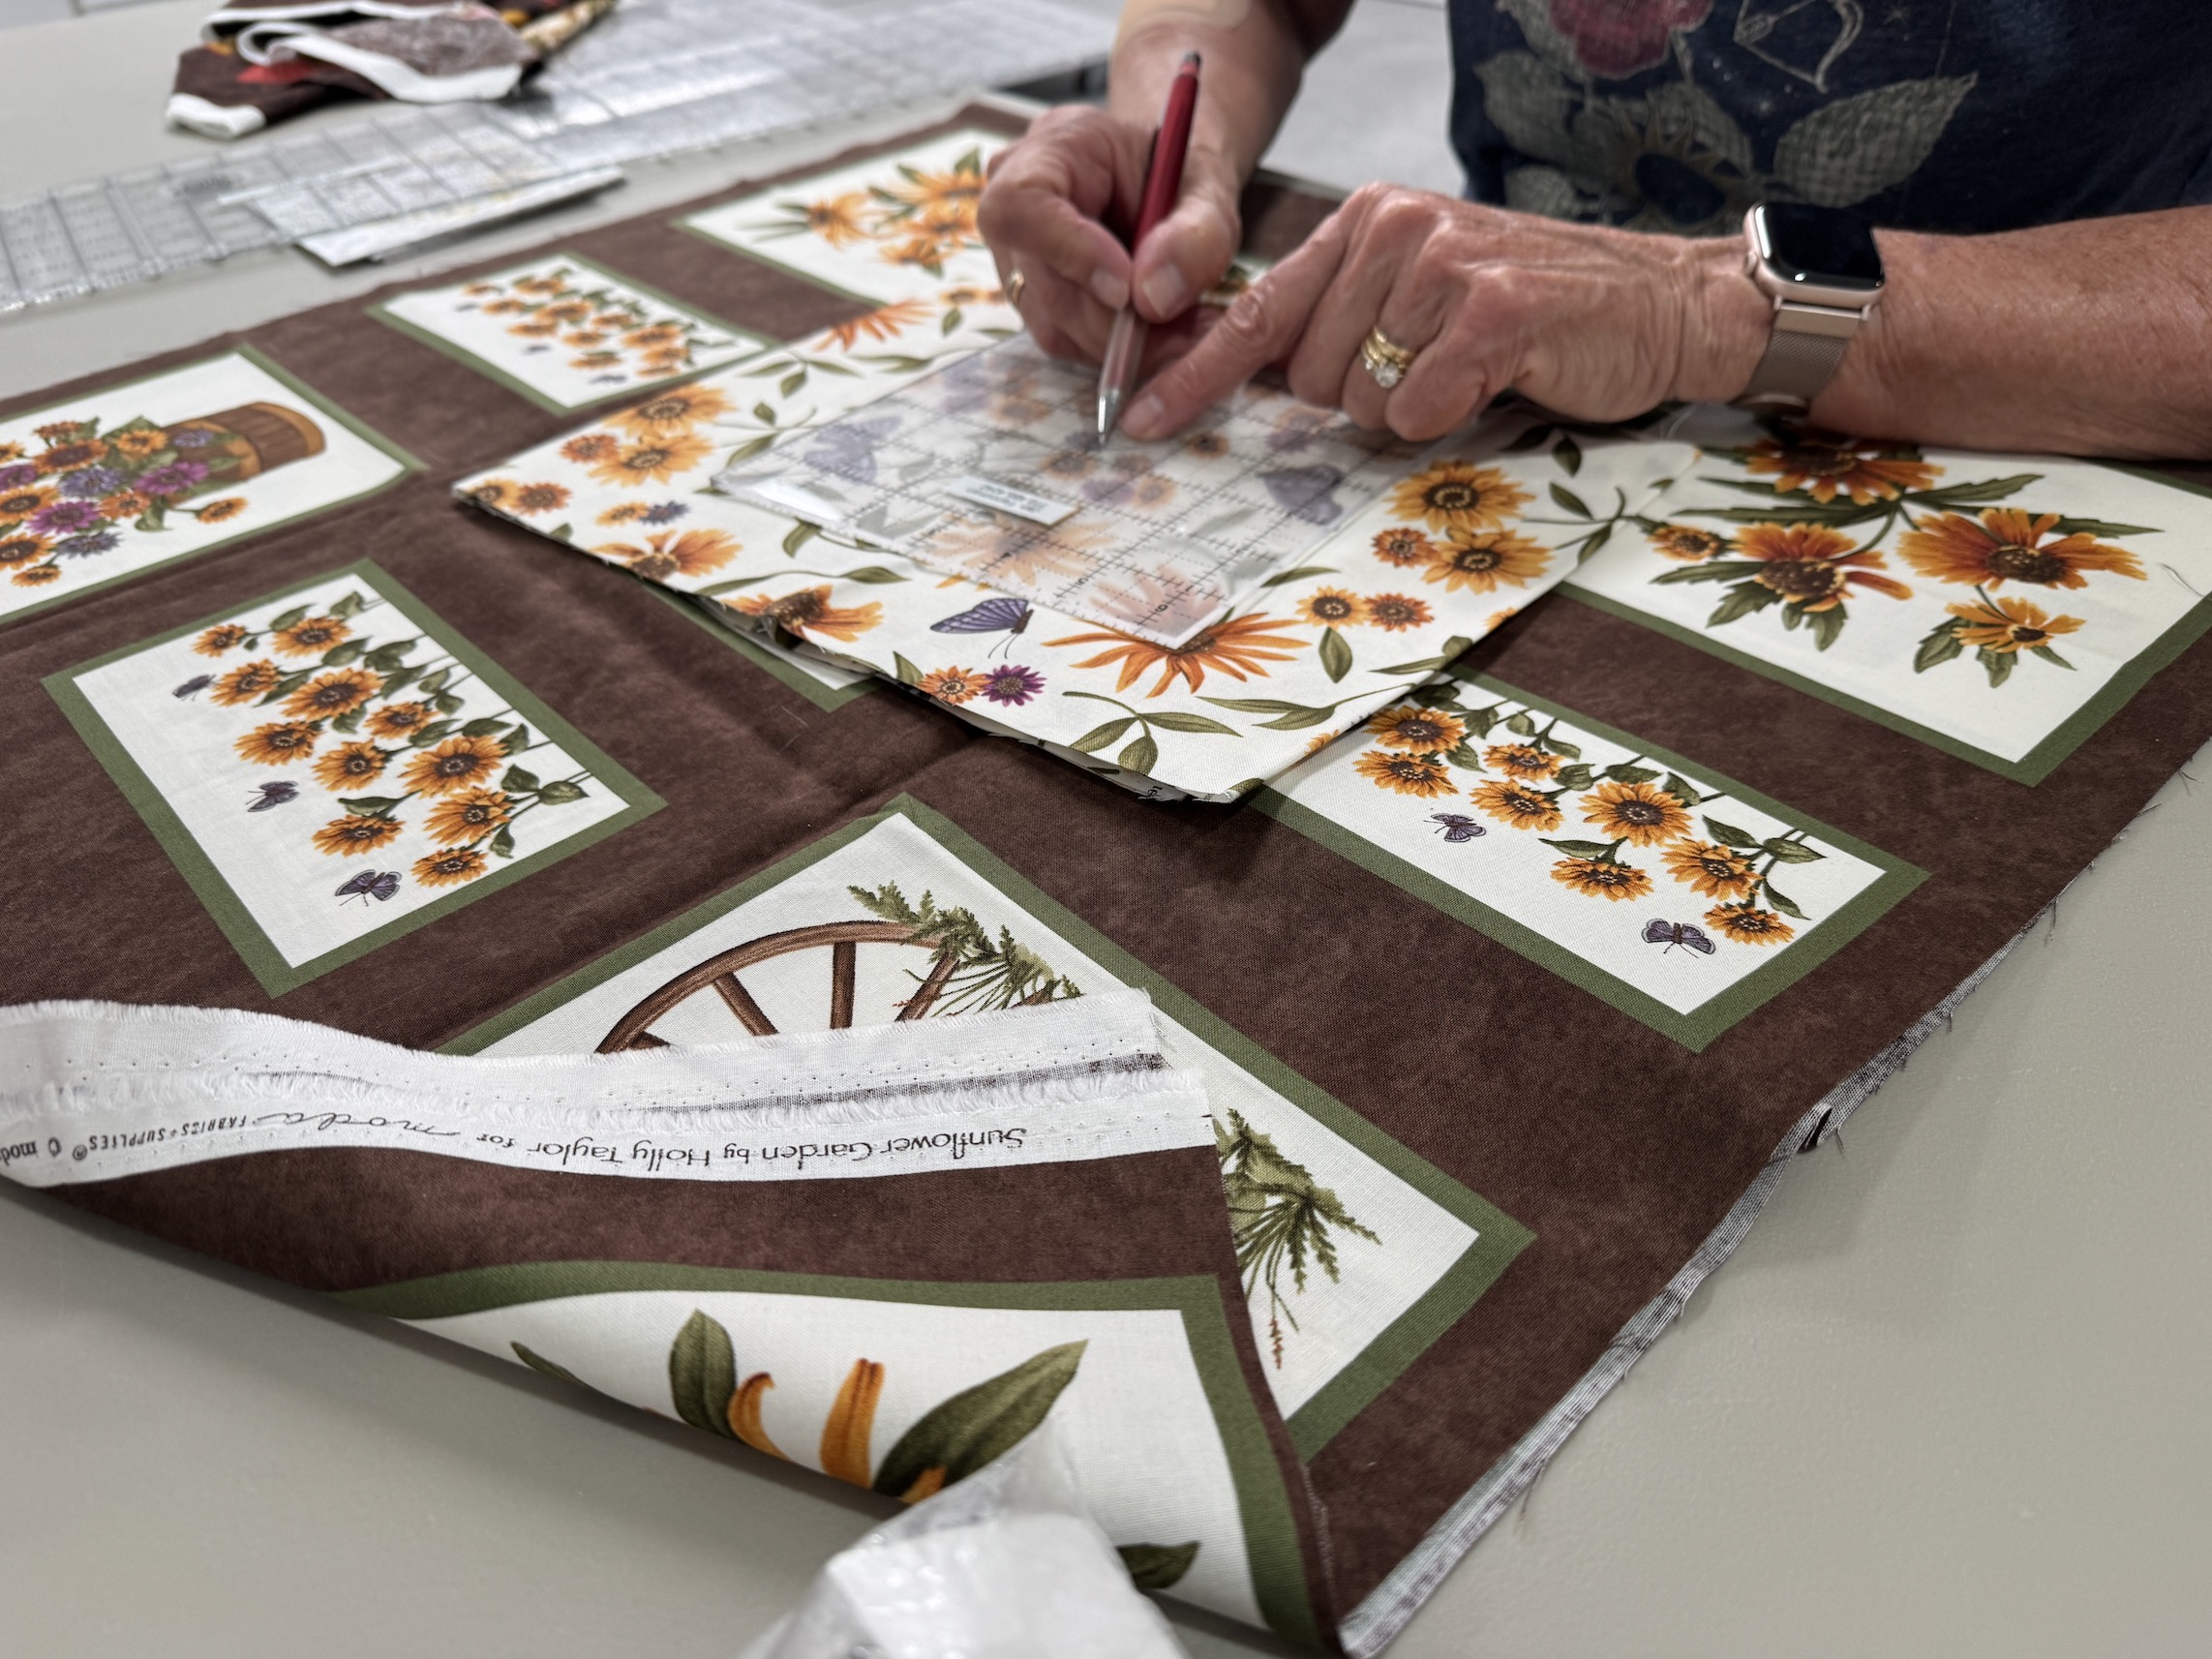
D is working on this kit, which is loaded with stars created with Half Square Triangles (HSTs) and fussy cut flower panel sections:
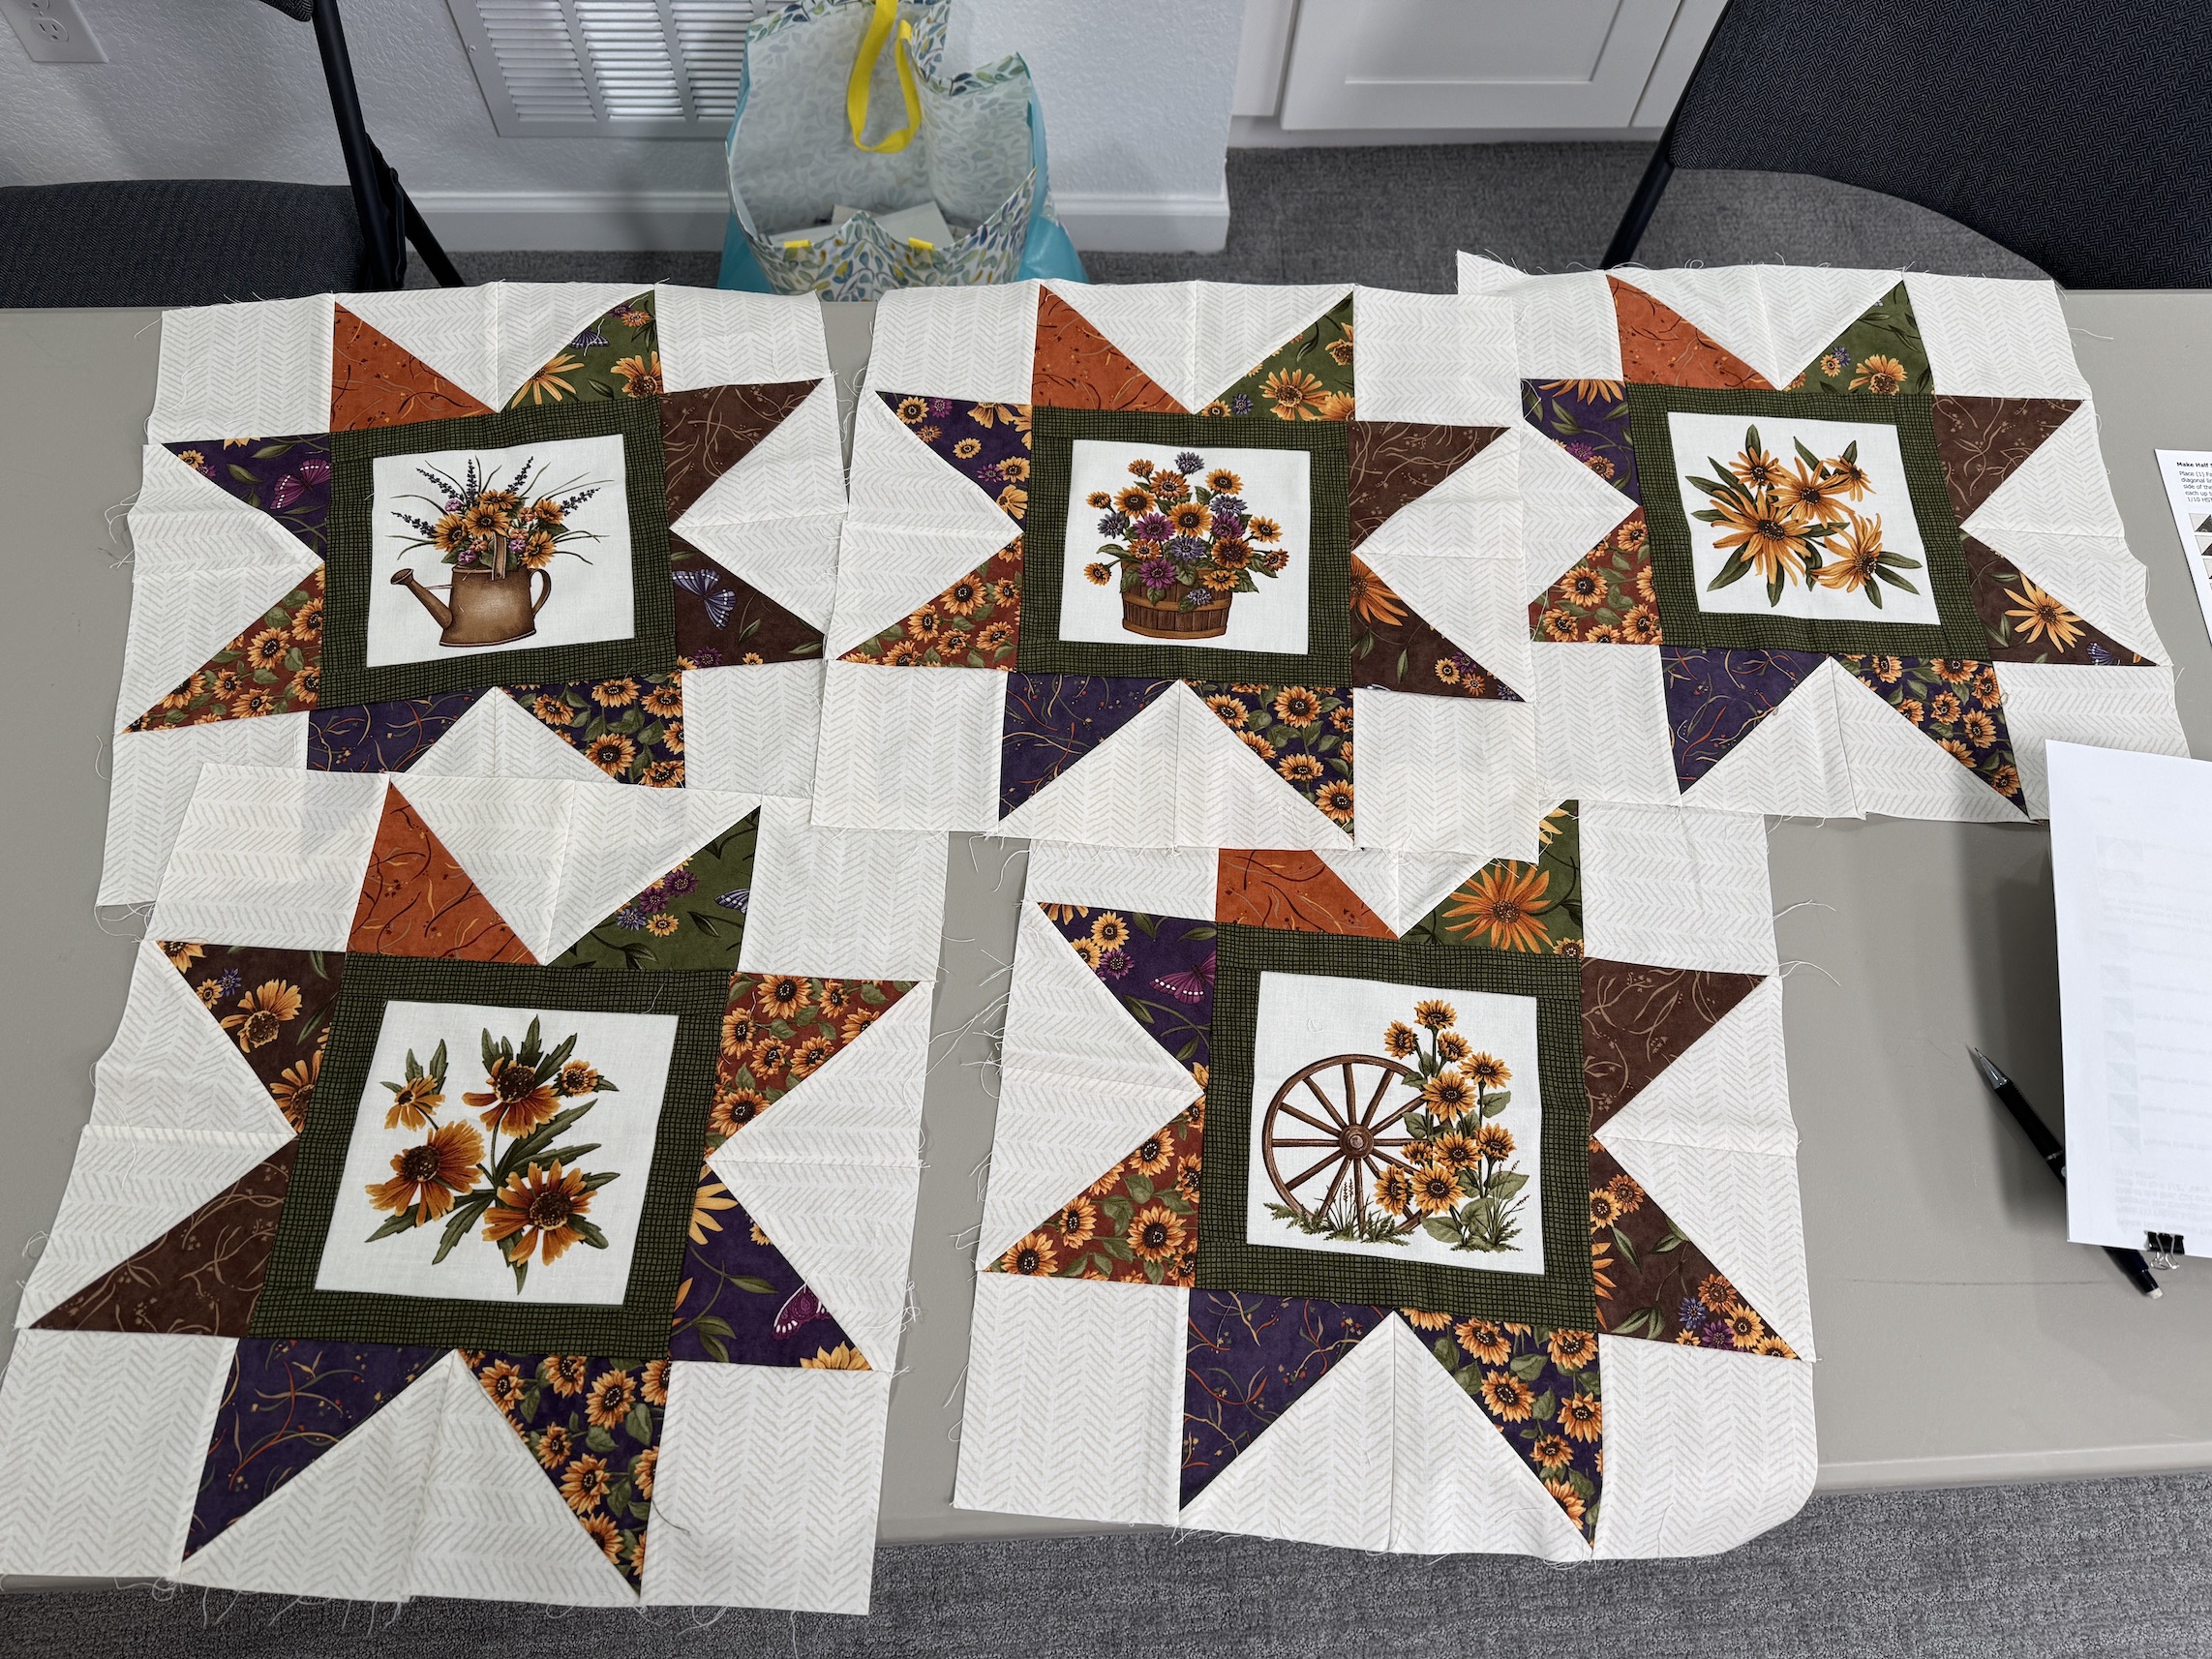
This is D’s first dabble in HSTs and she blew us away from the awesome work she did on the 5 large stars for the quilt:
The points on her stars were quite pointy! (For those of you who are not quilters, it is challenging as a new quilter to get your points on stars “pointy” and sharp as it can be a technical skill you have to develop over time and experience).
I had a flashback to my first star quilt and my points were not very pointy!
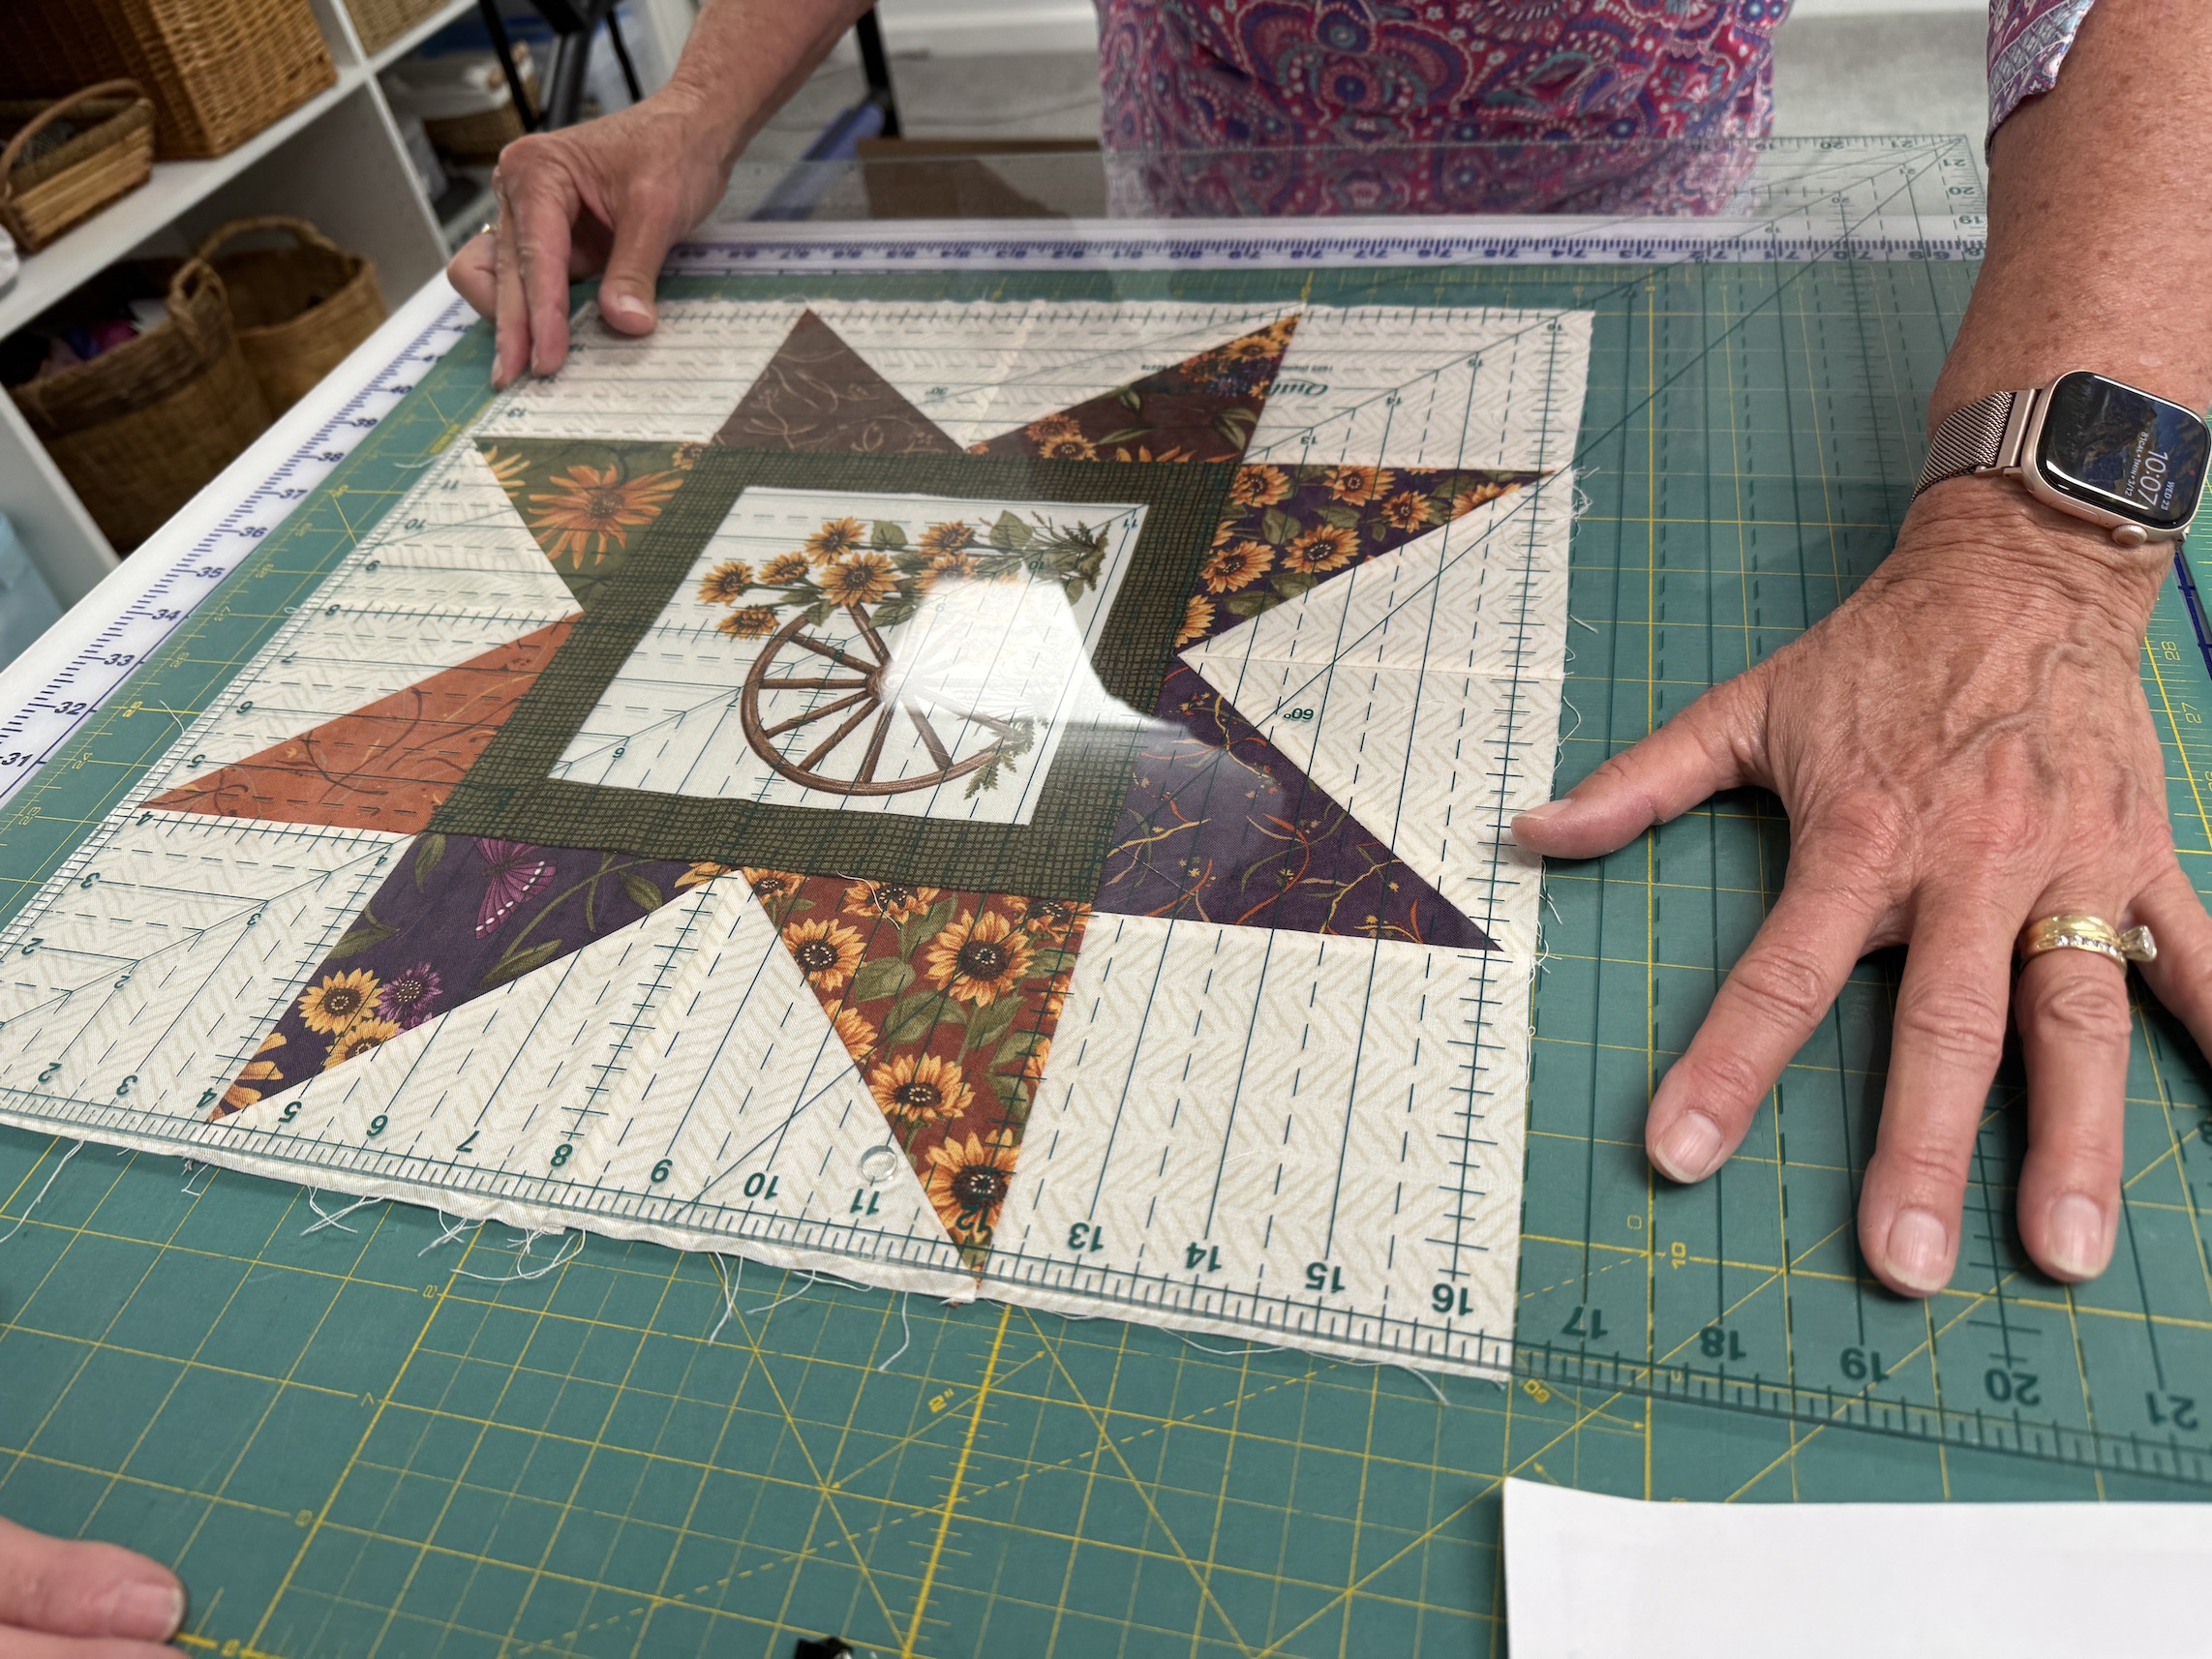
J demonstrated for D how D will eventually need to trim her star blocks to the “finished size” listed on the pattern:
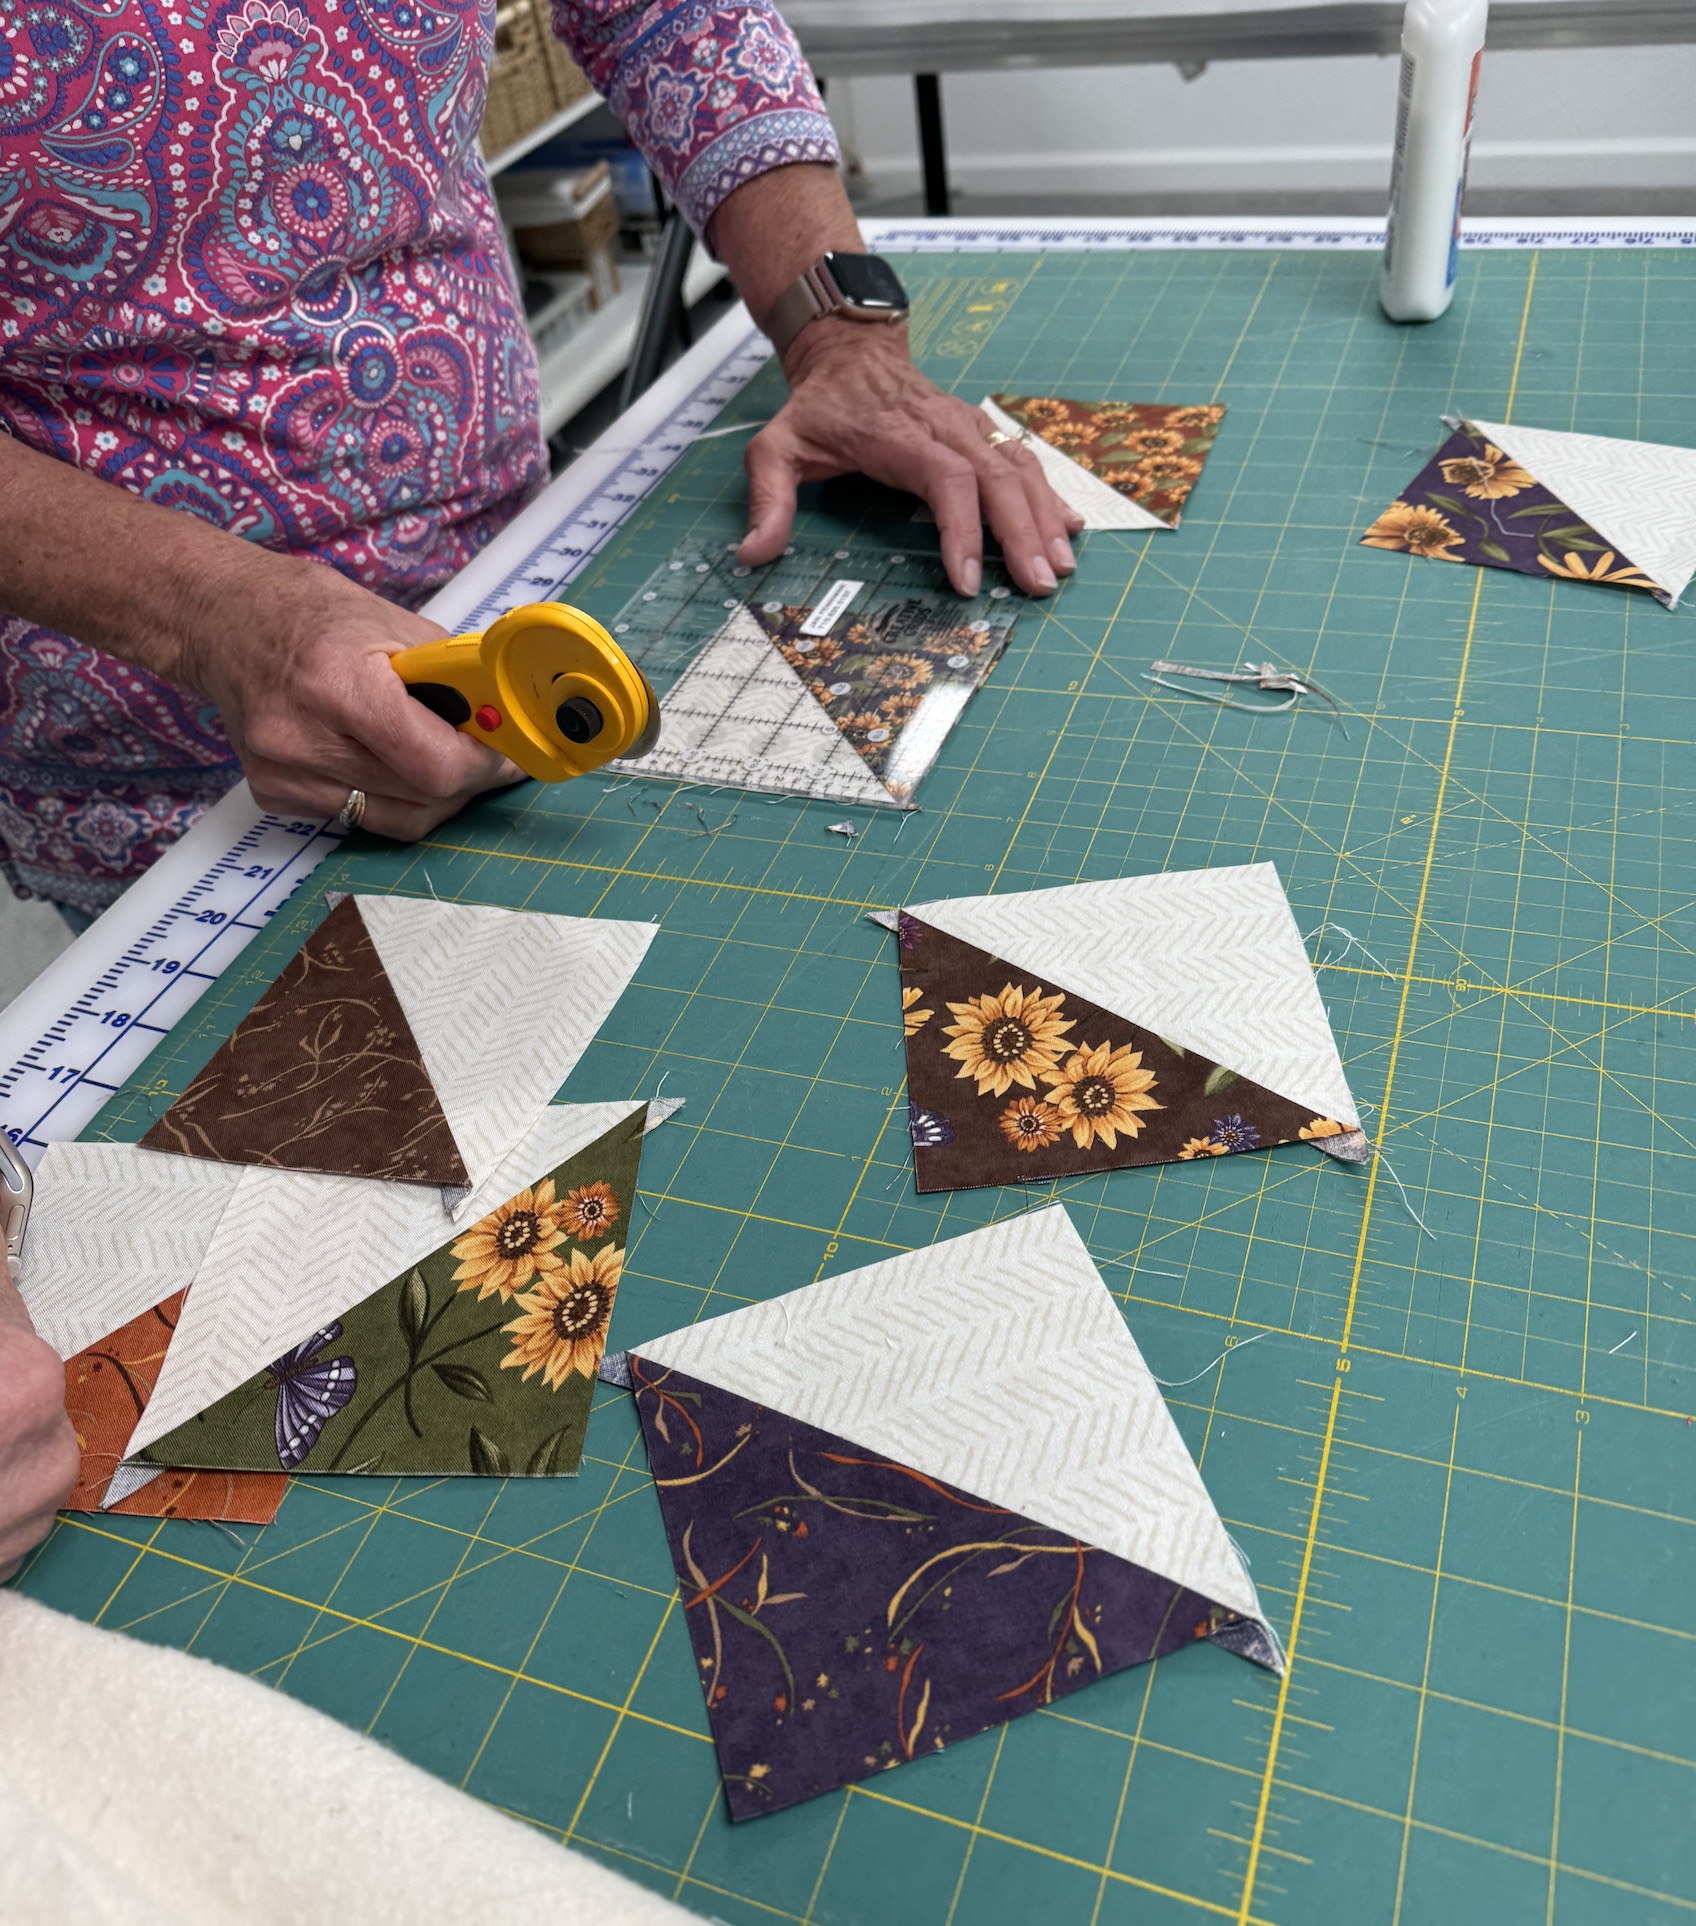
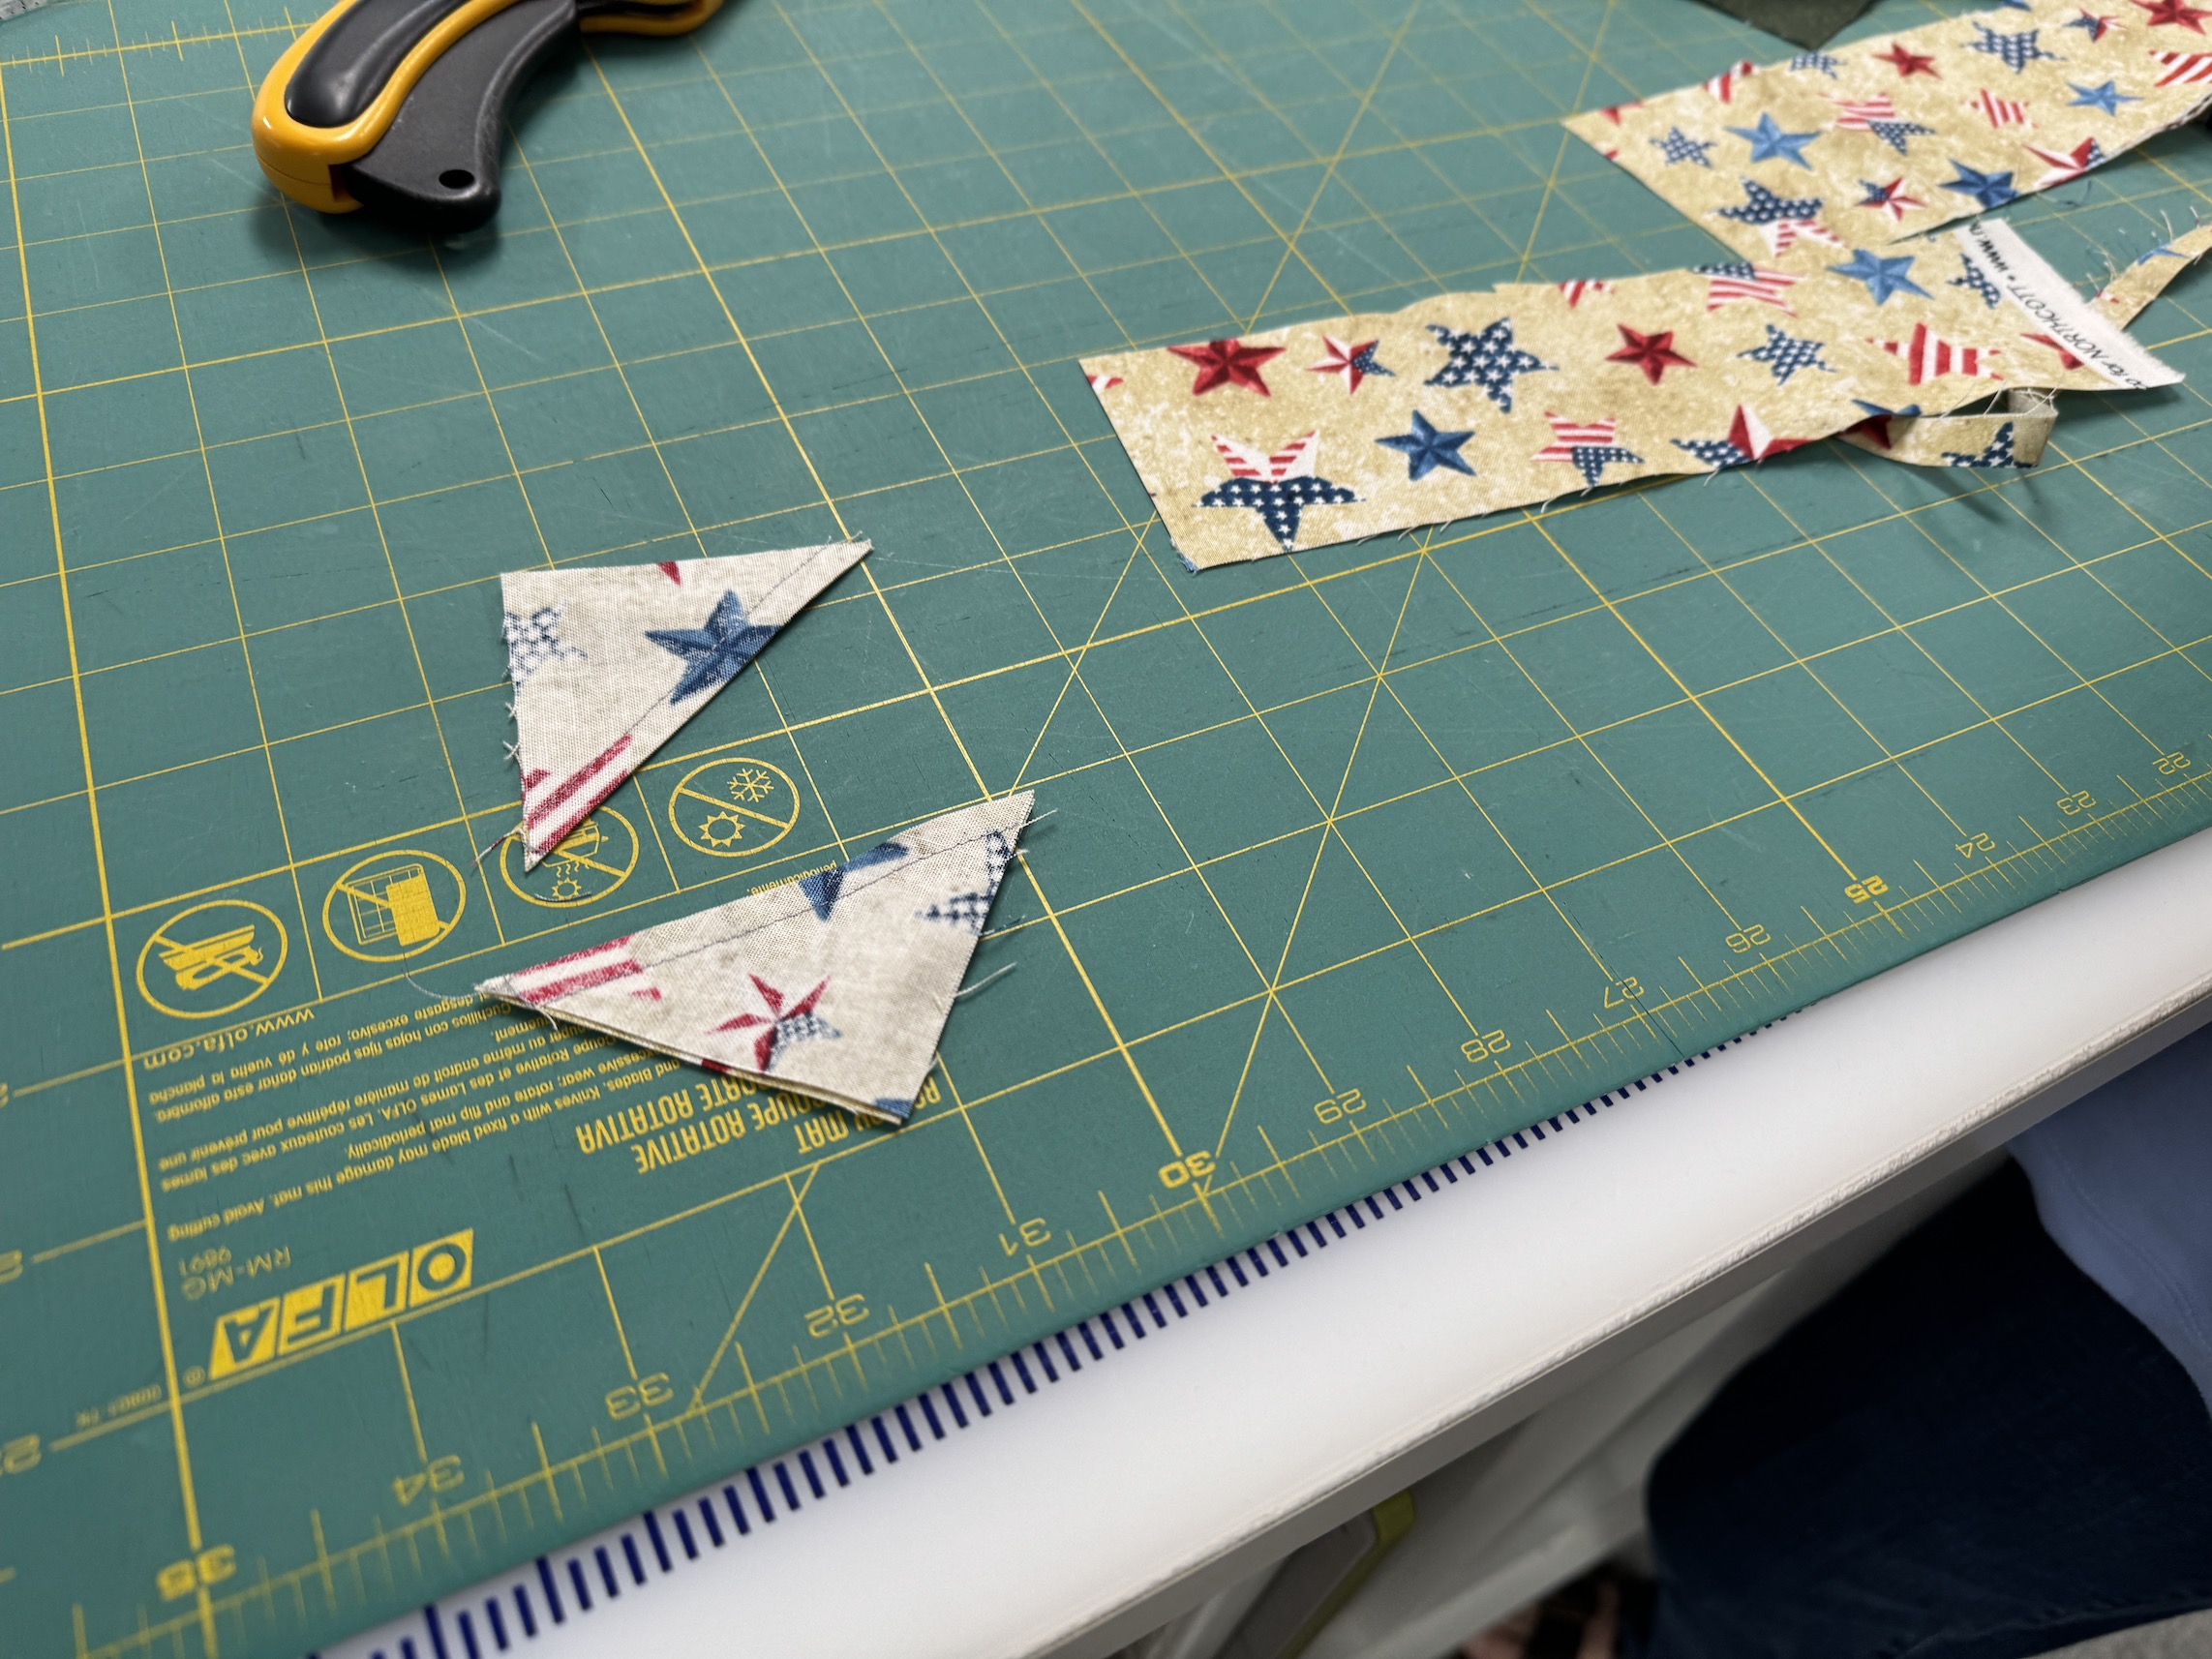
J also reviewed with D how to trim each HSTs as we catch a couple areas of improvement in piecing seams D could make (but only after searching through her seemingly perfect blocks!):
Then we took at look at what J was working on in her studio…
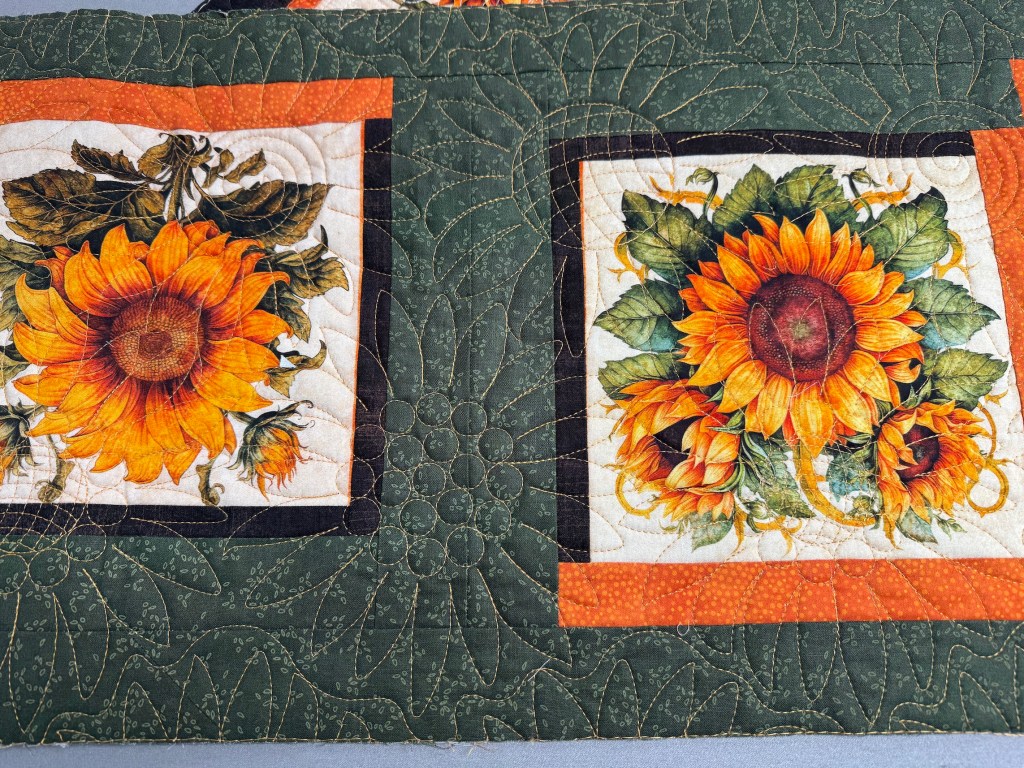
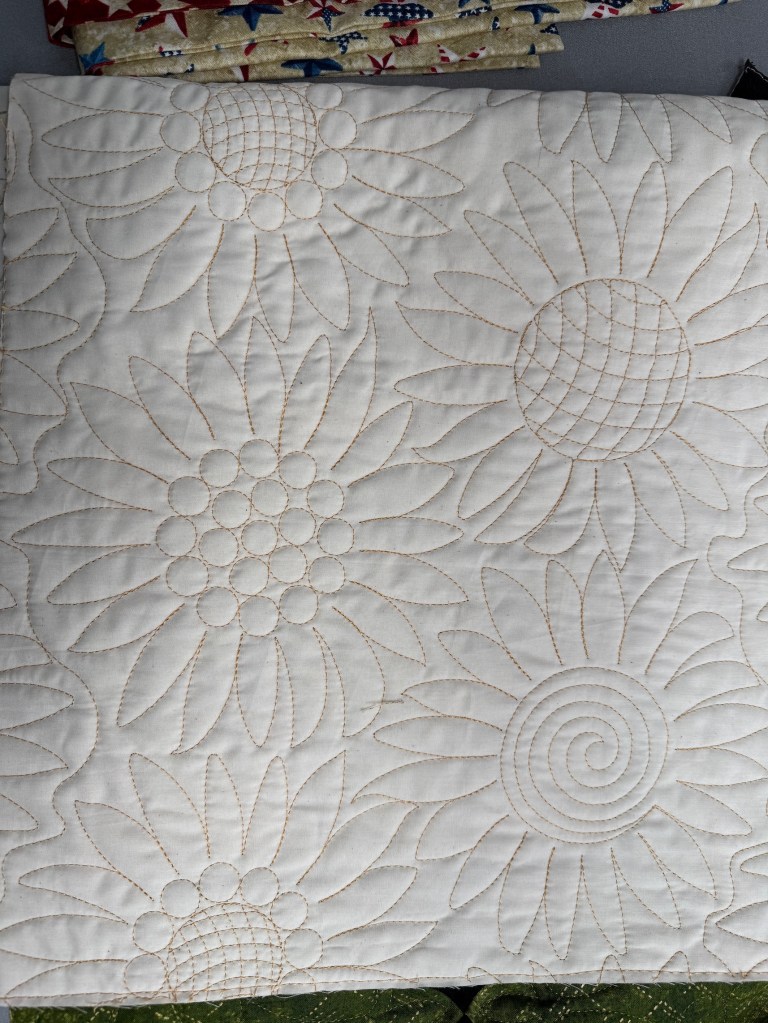
J quilted her sunflower panel based runner with a sunflower pattern:
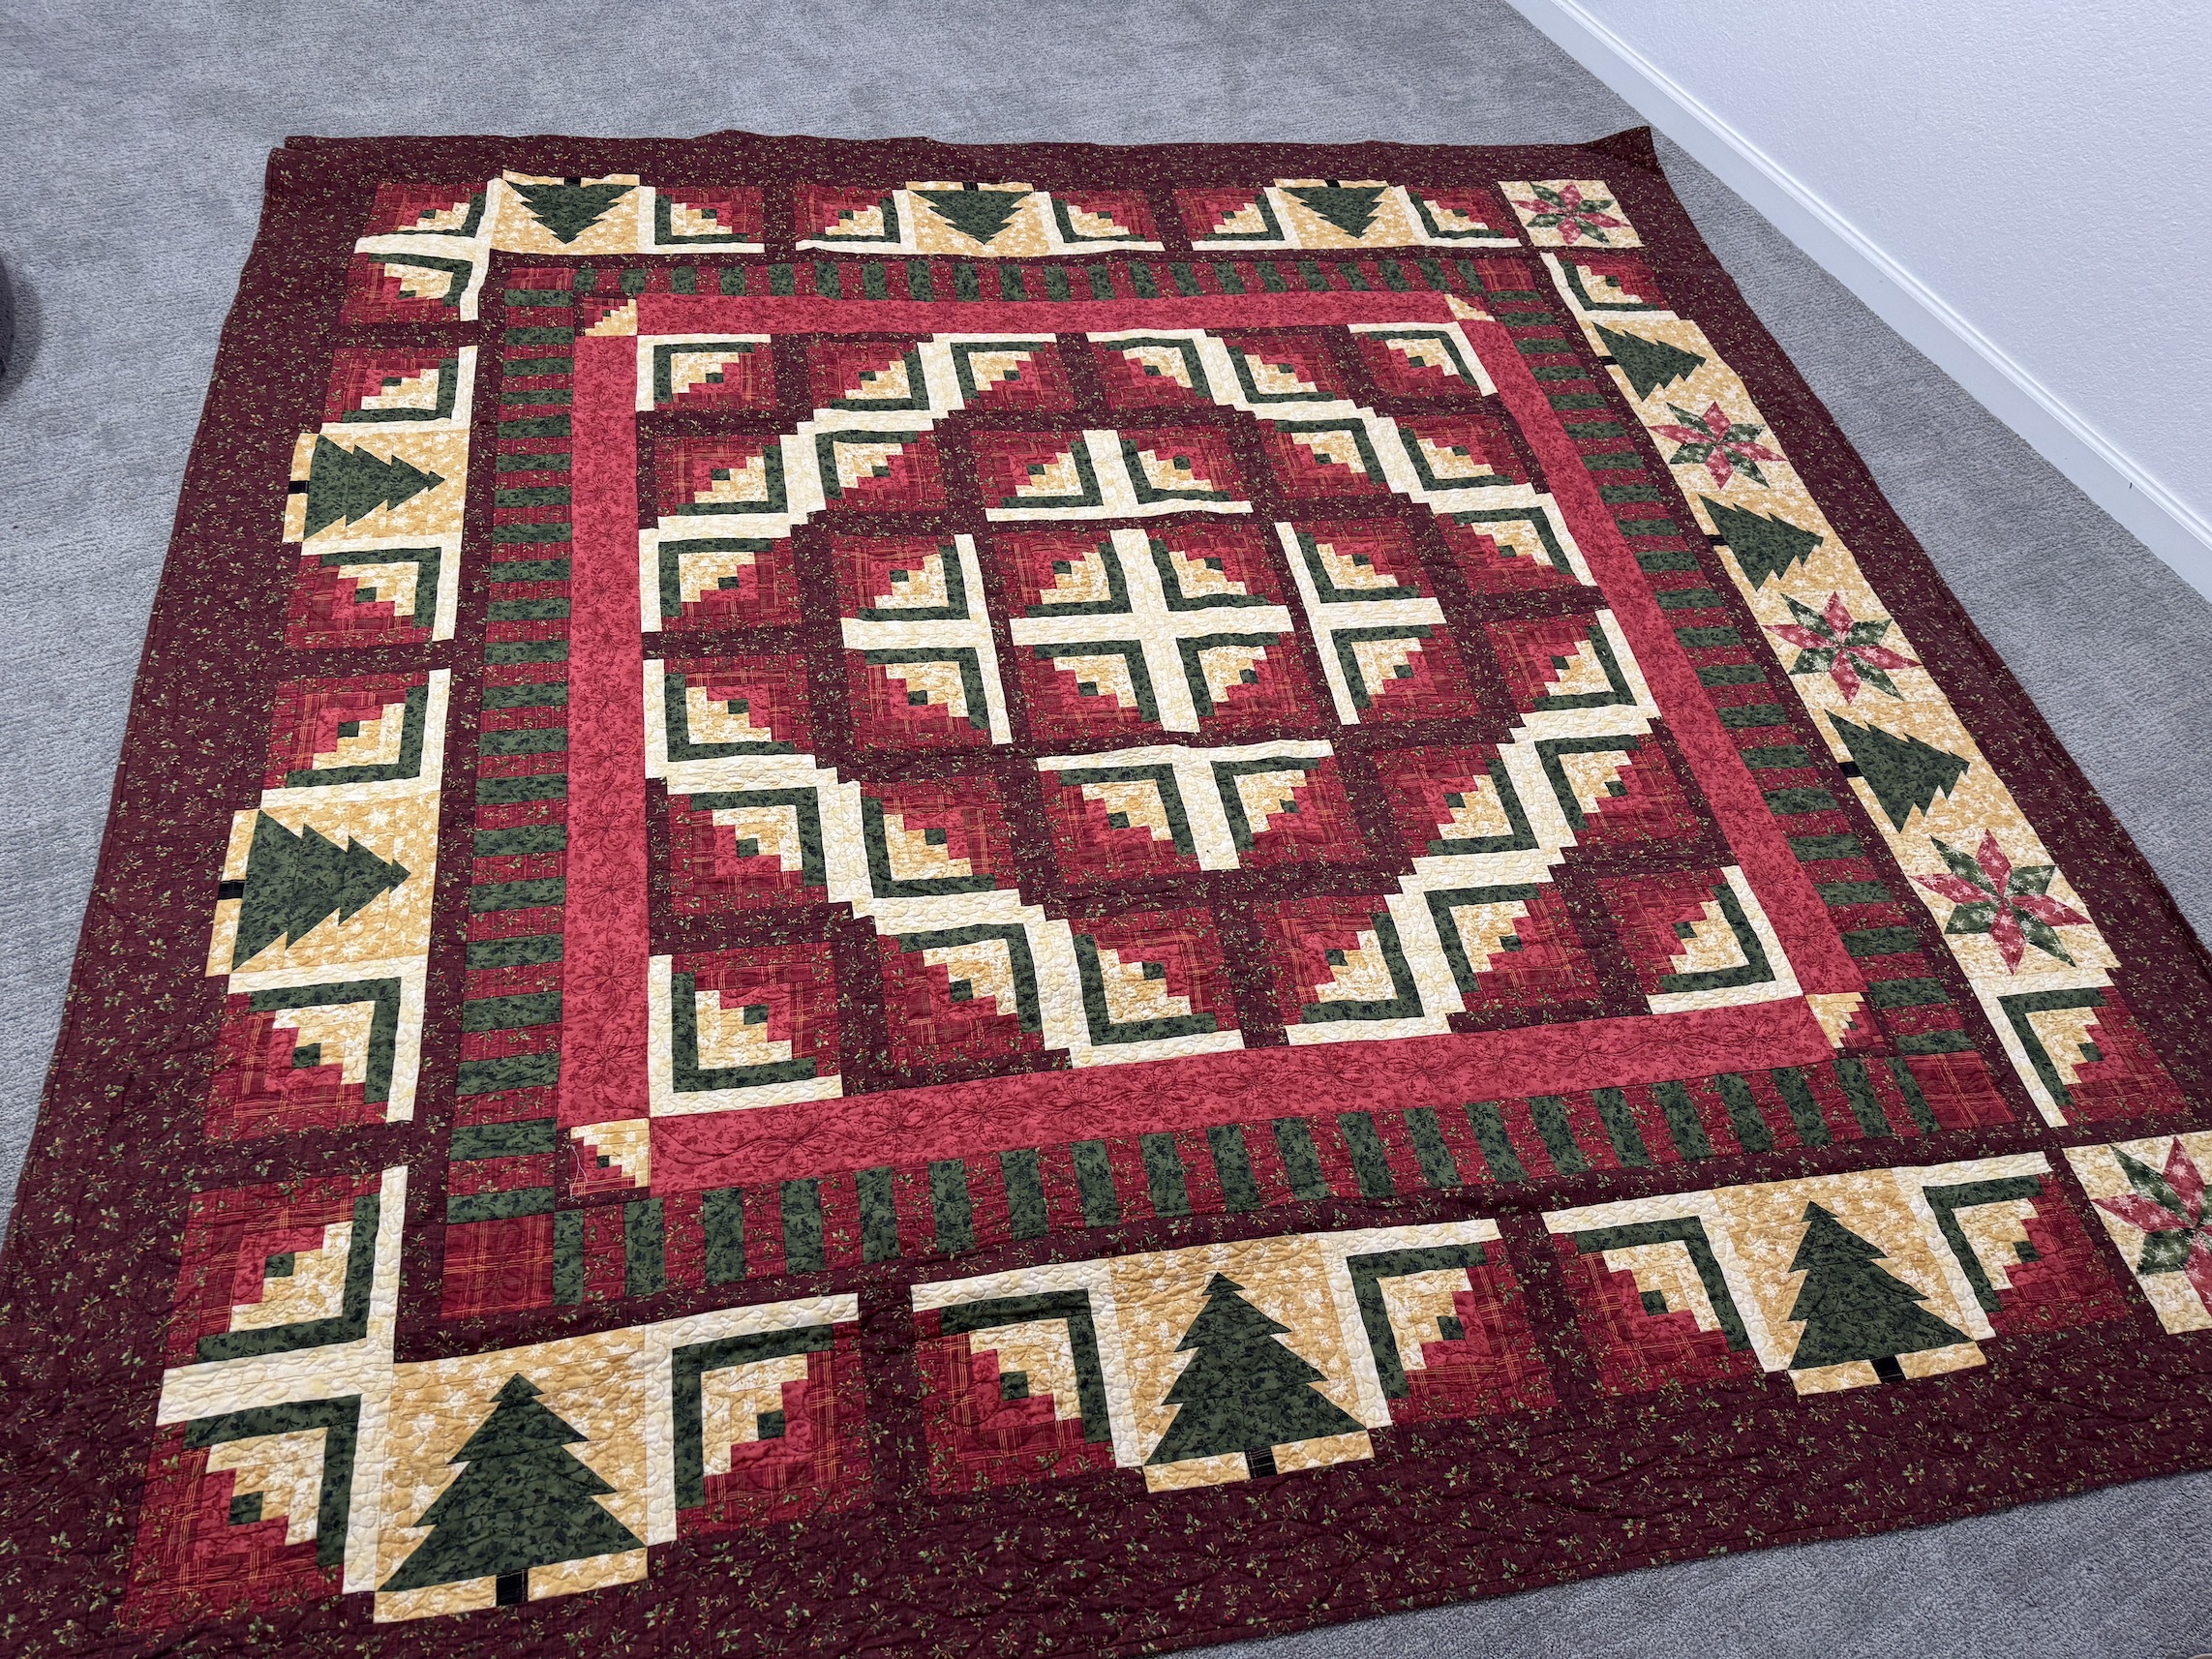
J also pulled out of the closet one of her earliest quilts – a Christmas log cabin and showed – she showed D some of the errors she made as a new quilter (that none of us noticed until she pointed them out):
I worked on my granny square blanket.
I might bring over my travel/for classes little Bernina sewing machine when we meet again next week and actually sew something during our Quilter’s Playdate.
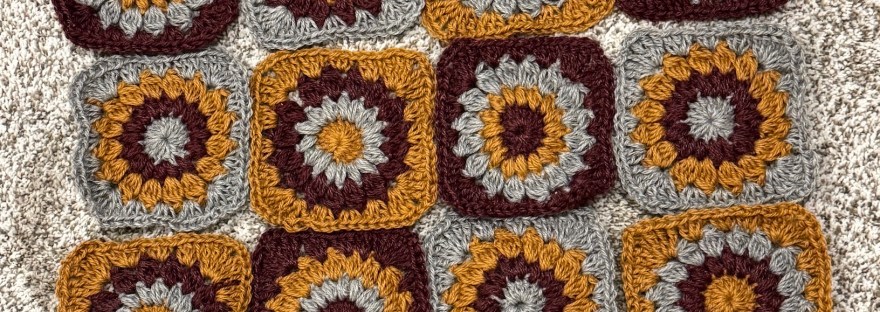
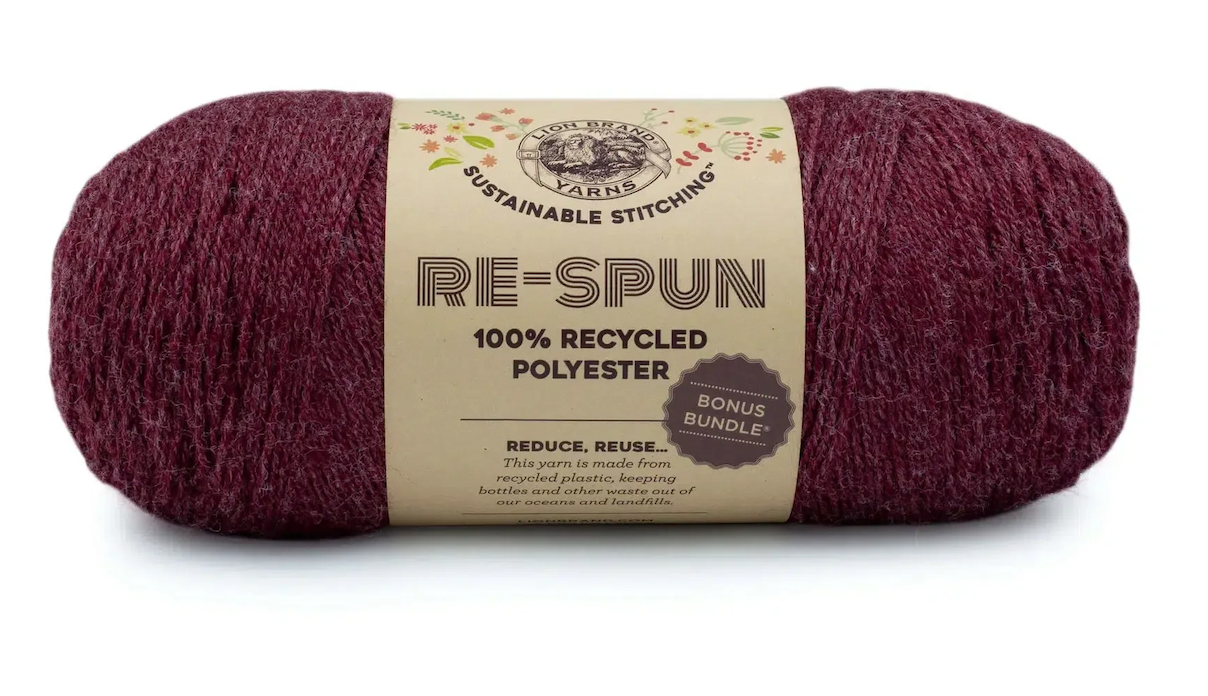
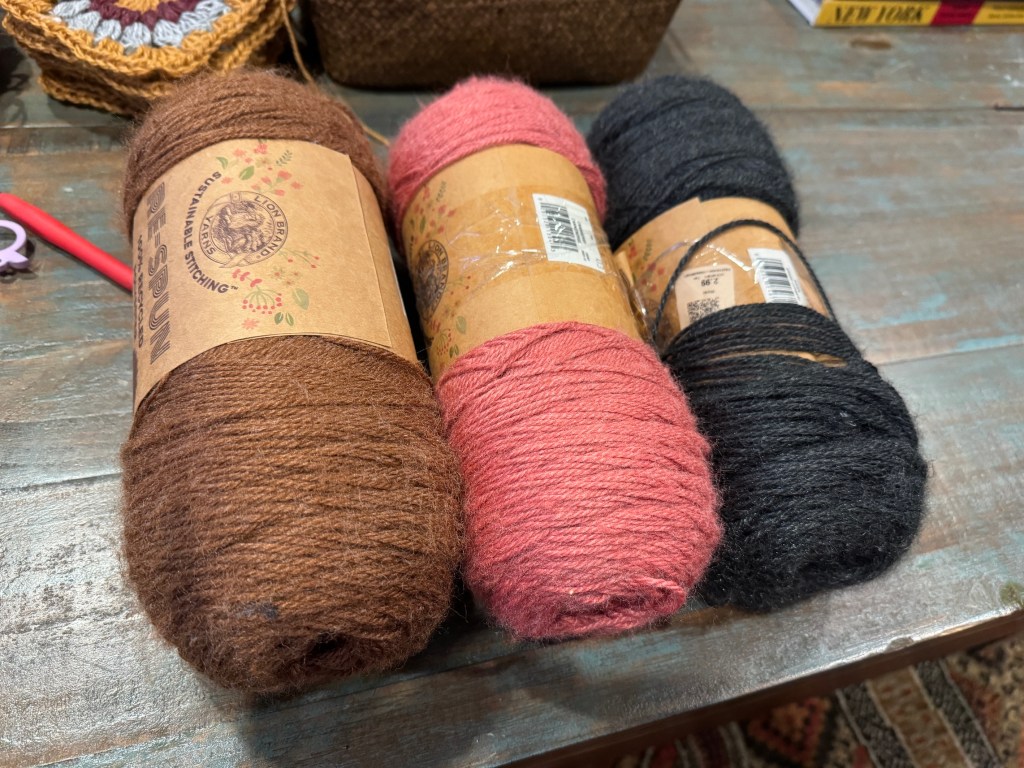
Here is an update to the post Update on Latest Granny Square Blanket and an update to my progress on my latest granny square blanket, this time made with Lion Brand Re-Spun – yarn made from recycled polyester.
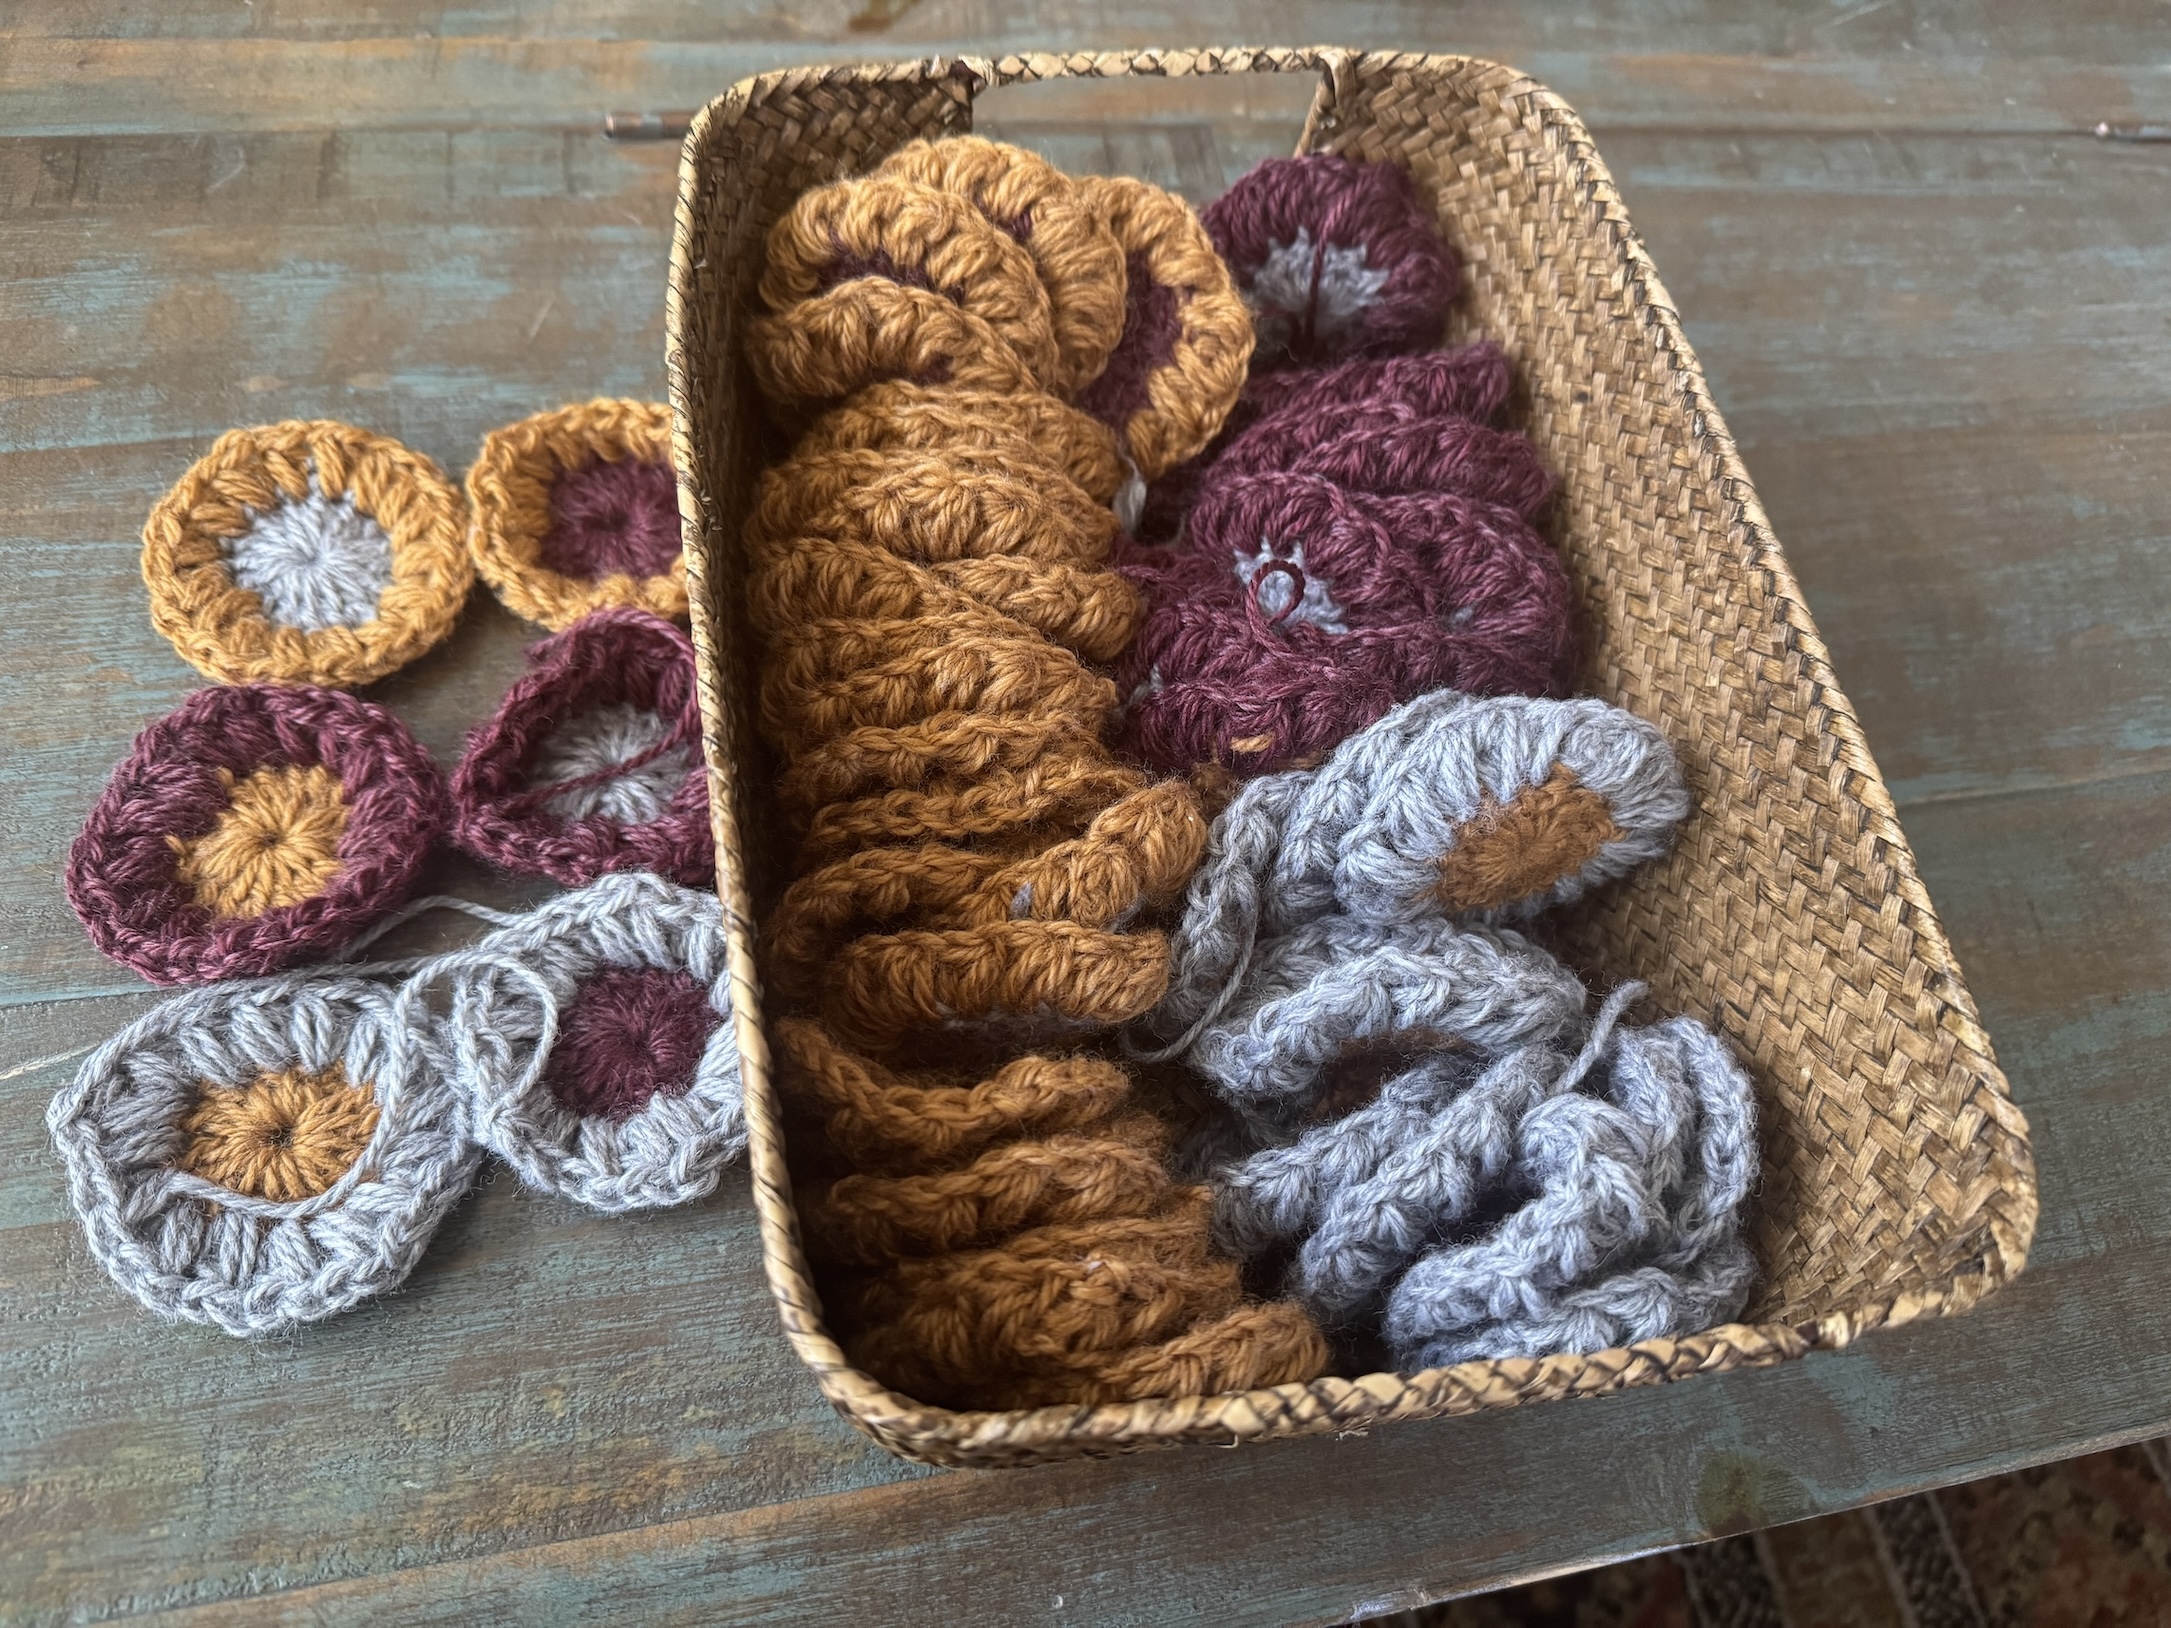
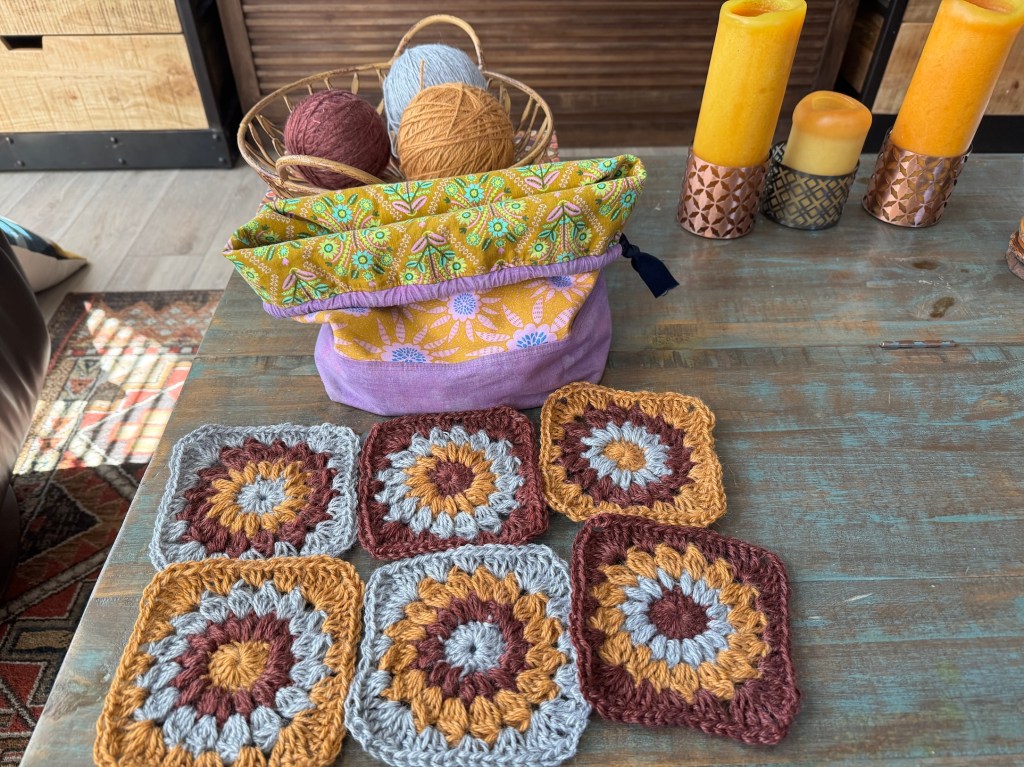
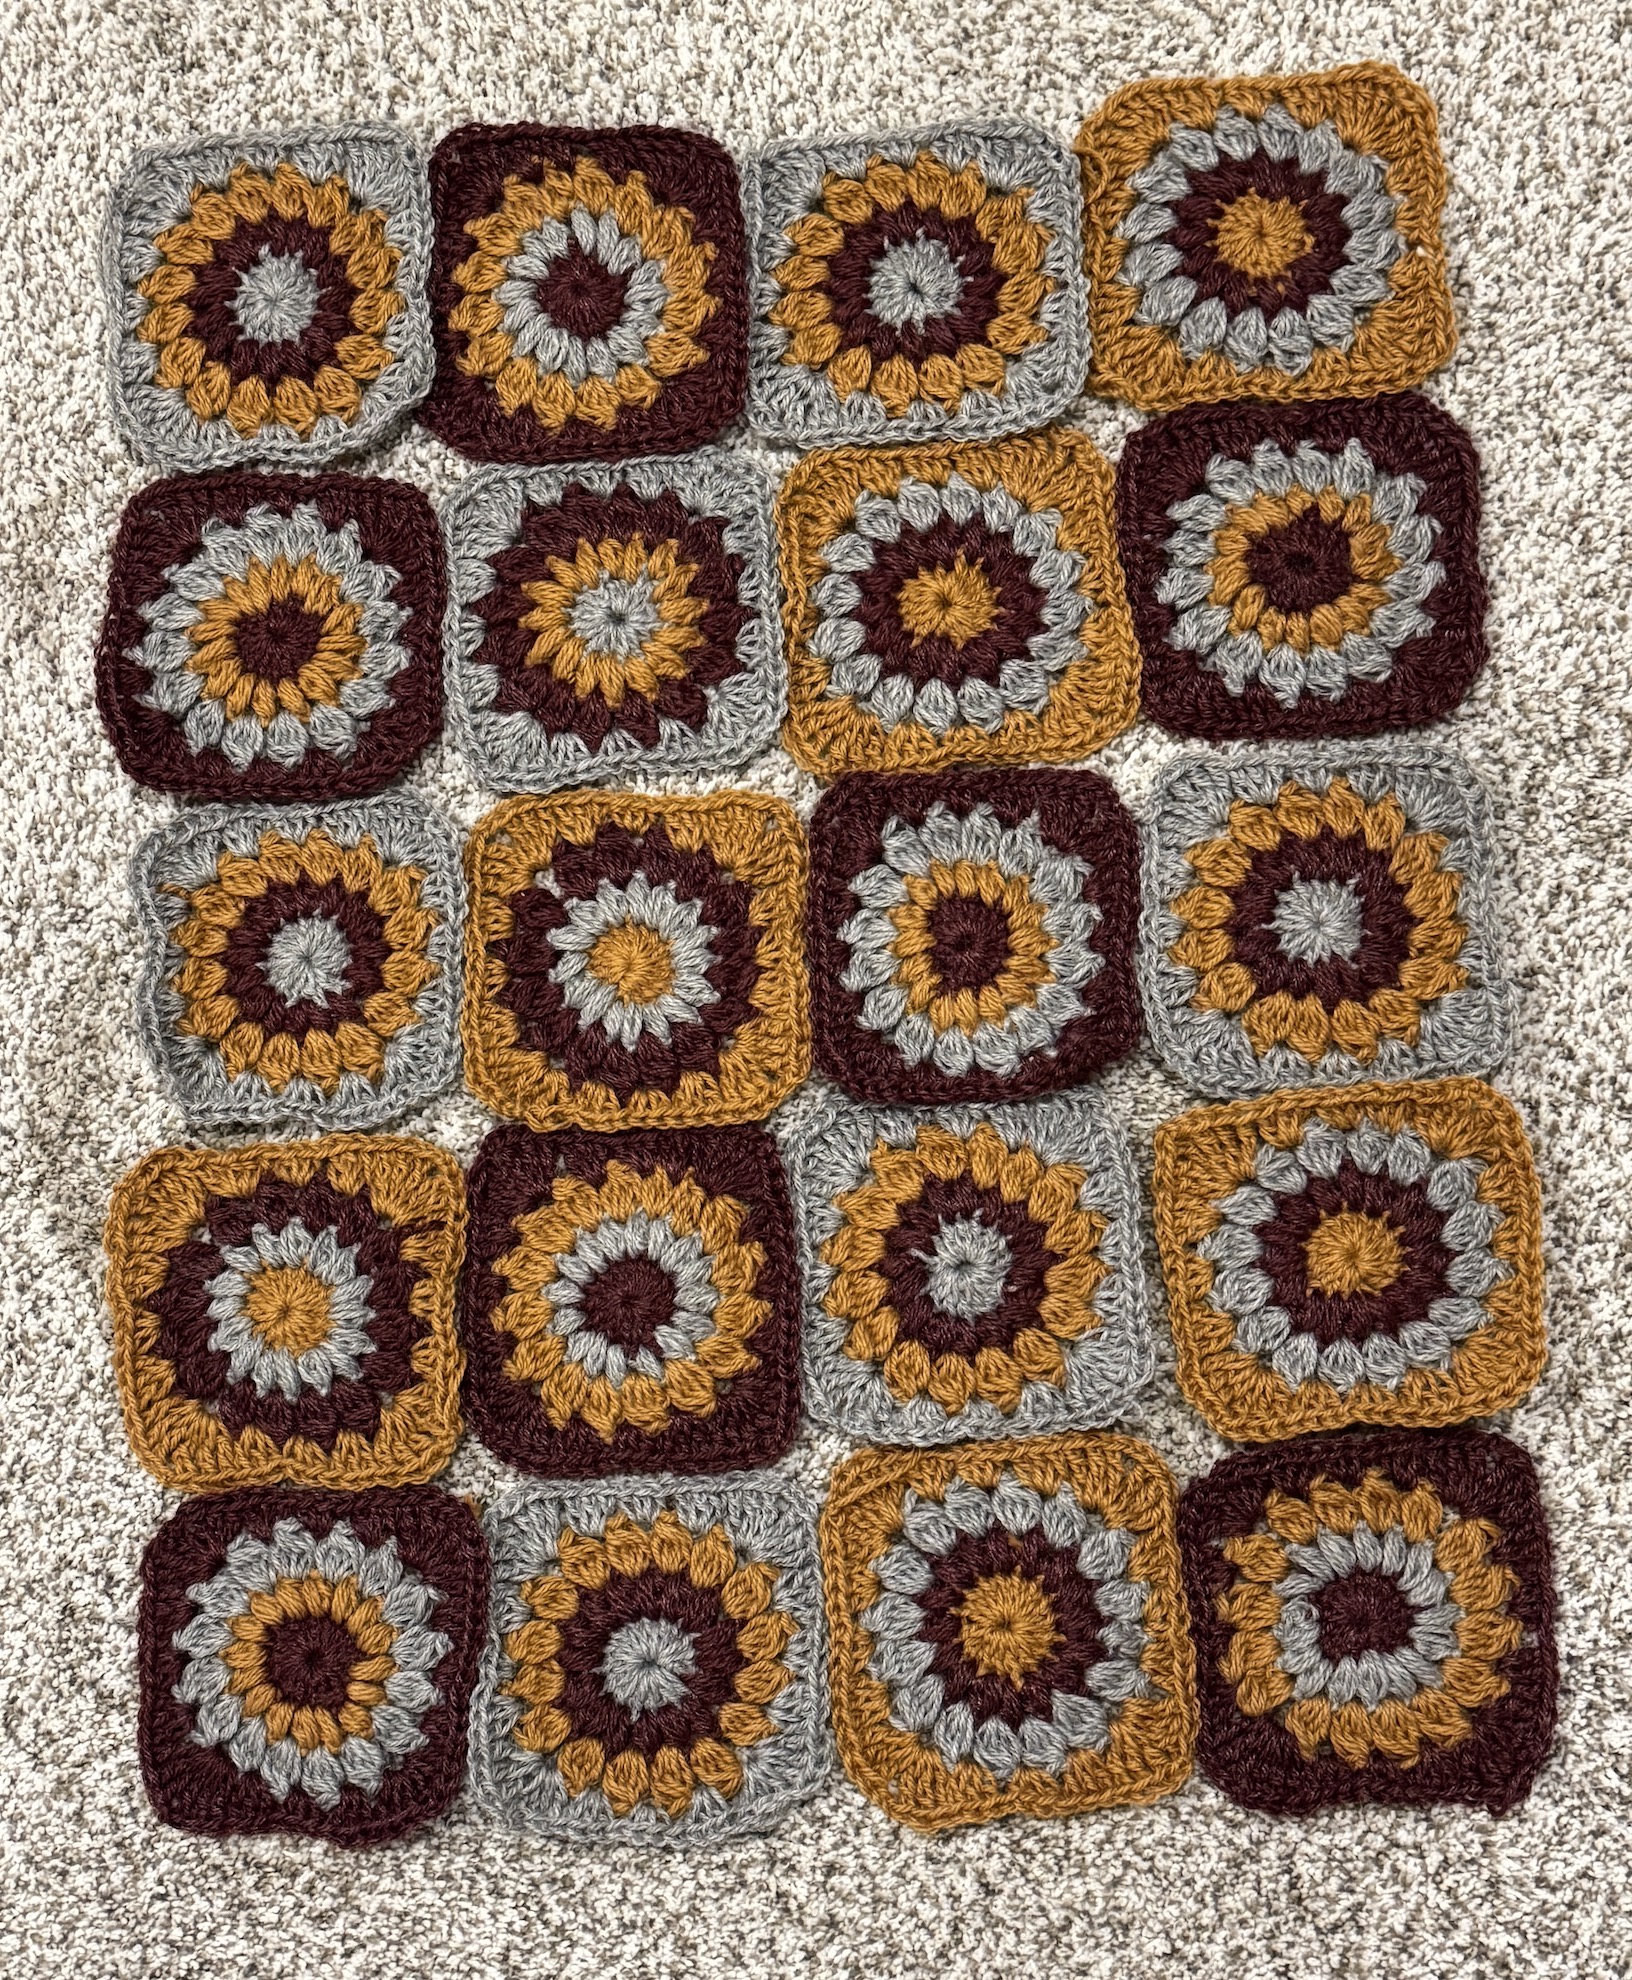
I’ve completed the first 20 granny squares from the in various stages blocks I started with 100 centers:
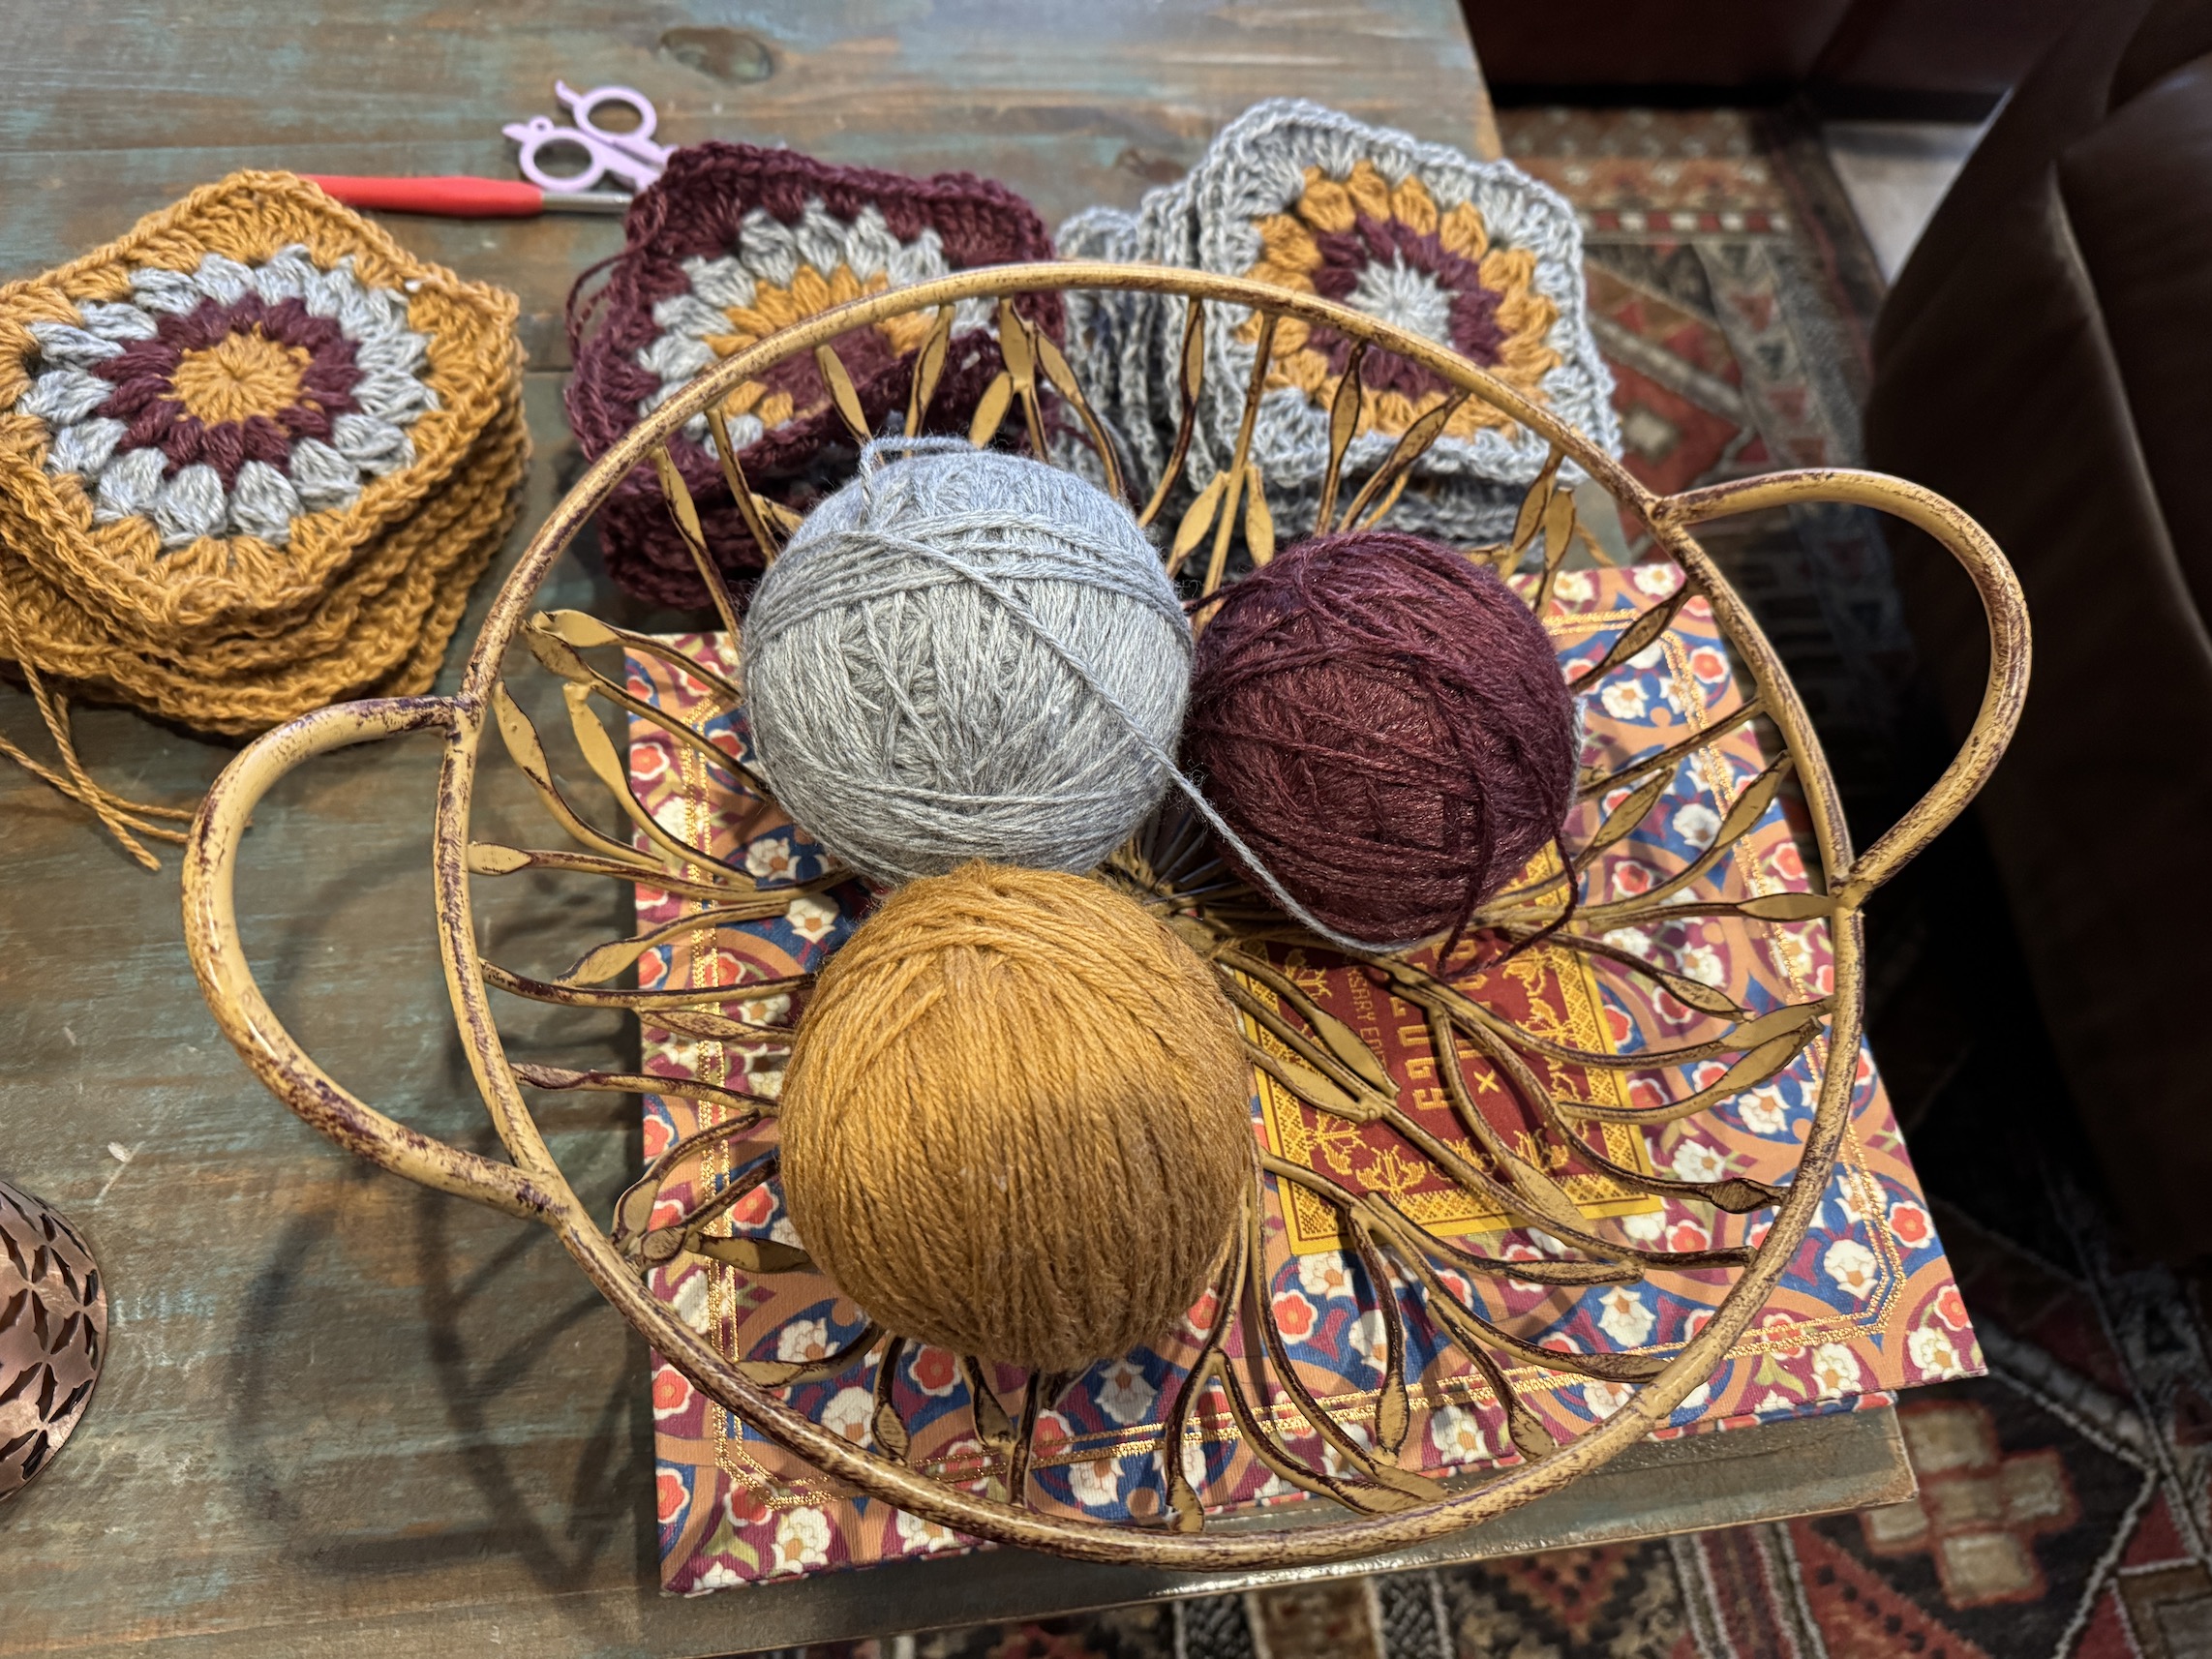
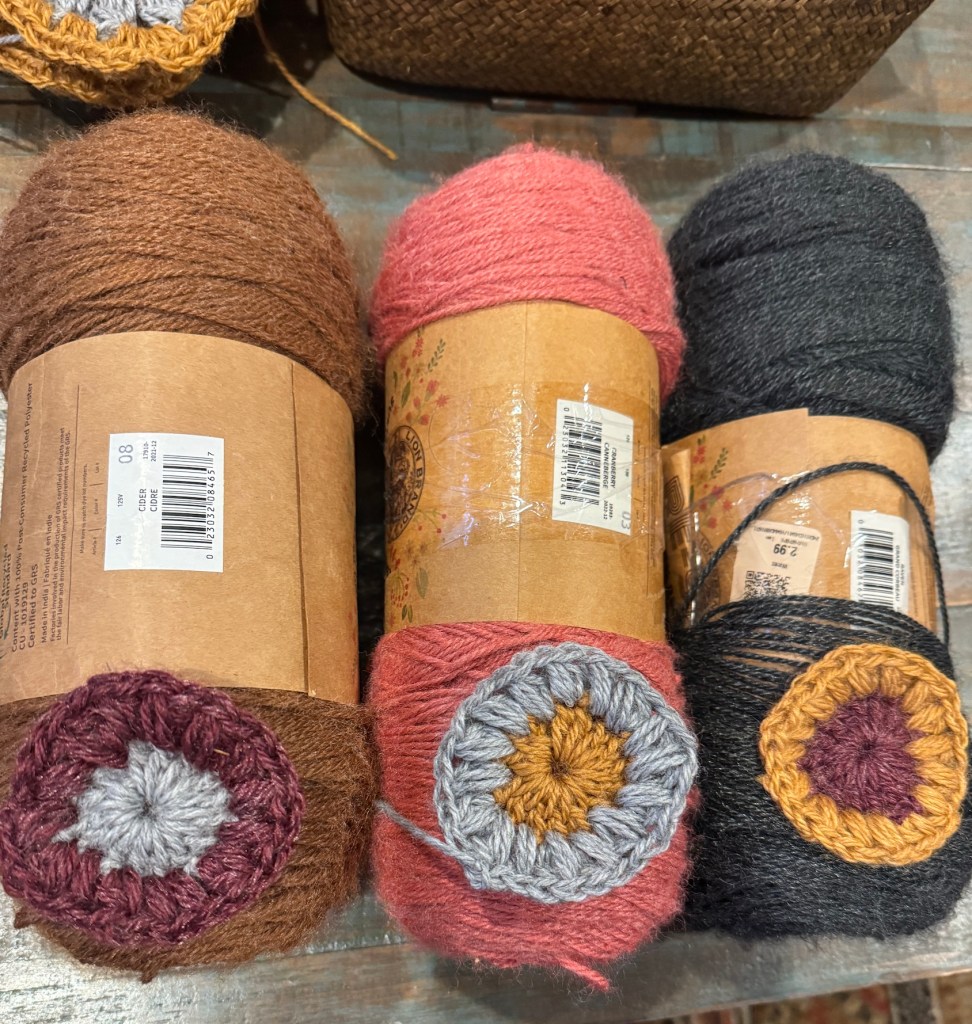
I’ve run into an issue: I realized the three skeins I’ve been using is likely not enough to finish 100 granny square blocks:
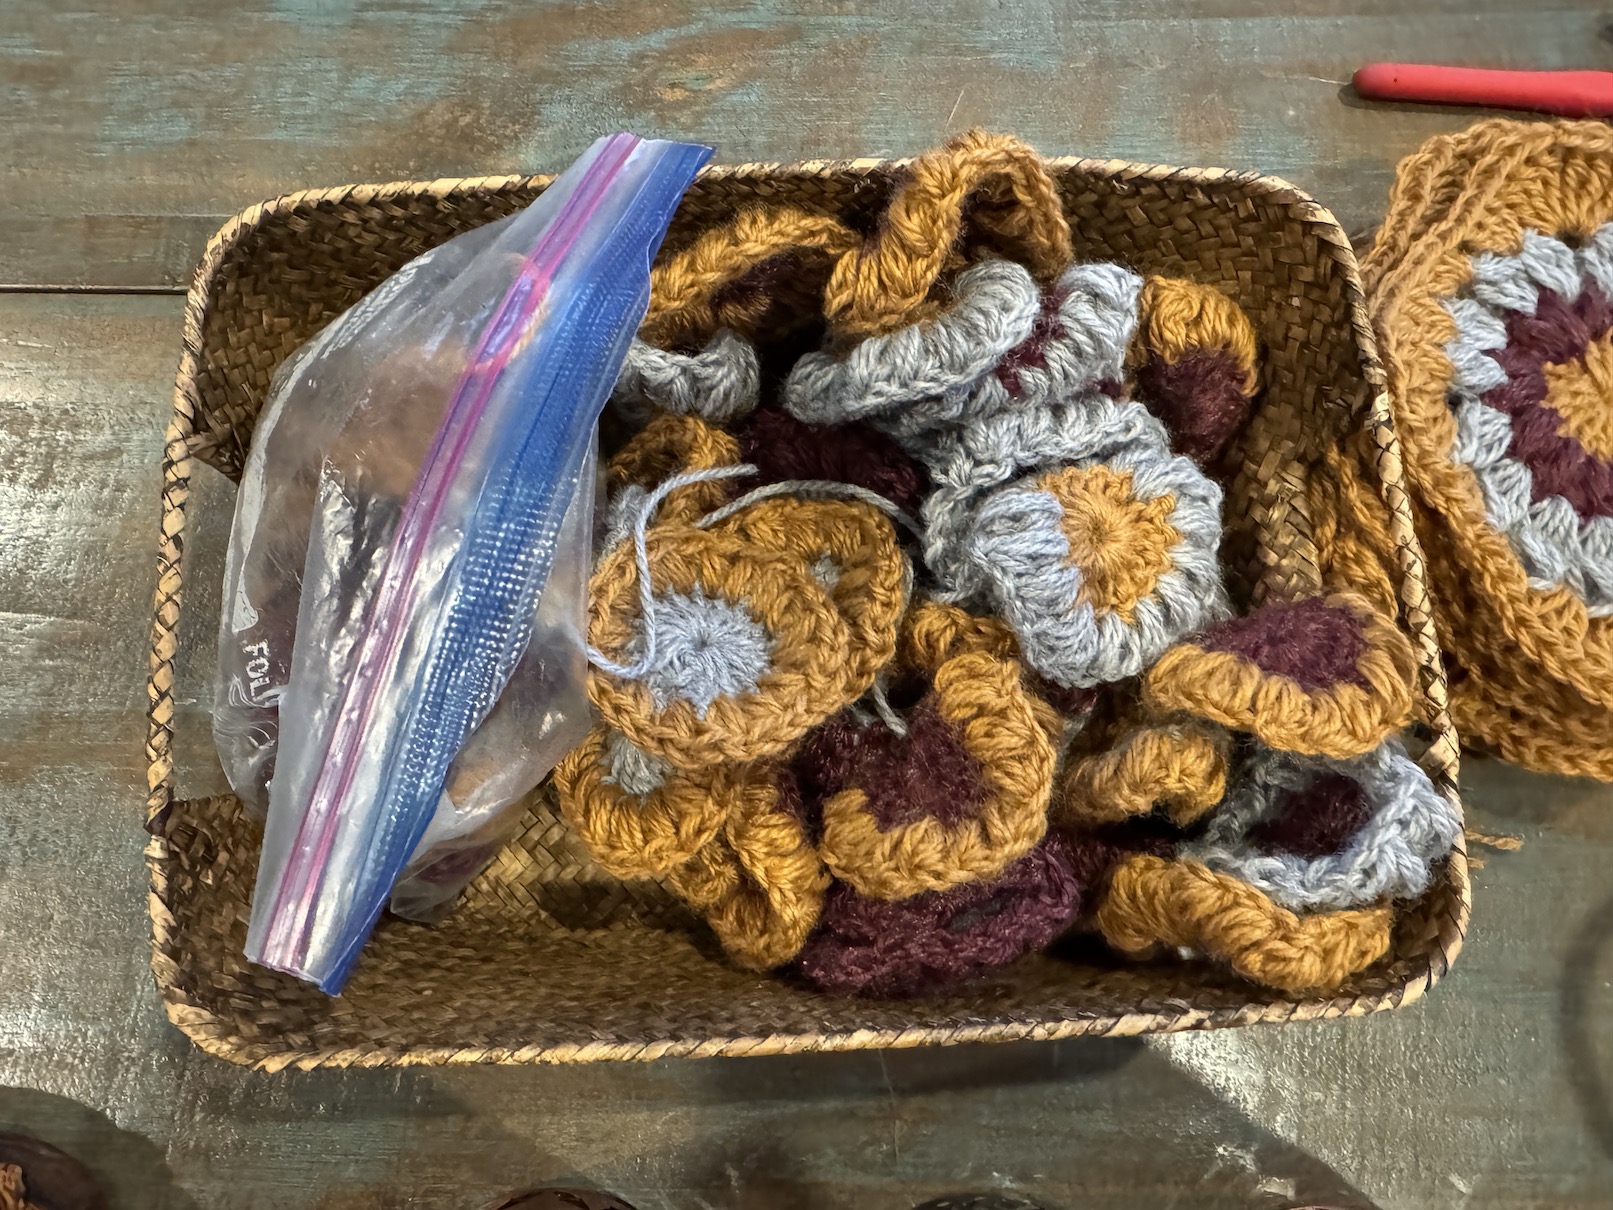
Here are the other granny square blocks in progress – the remaining 80 are either just centers, or a center and the next row (there are 4 rows in total to the block):
This yarn is hard to find unless I order it online; and I do have it in other colorways (I found a bunch for $2.99 a skein compared to $8 – $10 a skein retail, while thrifting one day).
So I looked through my stash of Re-Spun and found some sort of similar colors that might work to add to the existing blocks in progress:
I am going to make some test granny square blocks adding the new yarns to see how I like them.
I might need to make more centers as I am not sure 100 blocks will be a big enough blanket, and I can use the new yarns (if I ended up liking them for this project) for centers.
I am determined not to buy more yarn and use what is in my stash!
Postscript
Here is the YouTube video again if you want to see the pattern. I taught myself to crochet this pattern from the video and I refer back to it whenever my mind has disconnected when I am skipping around on completing rows 🙂
Our friends tease us that we now living in a “retirement home”, but we now live in a 55+ Active Community (it’s not even called a “Retirement Community” as many people still work, there just needs to be on person 55 or older in the household and no one under 21).
Our community has a Lifestyle Director who plans many awesome activities (and every time we tell a certain group of friends about these activities, ha, we add more fuel to the fire of them teasing us about living in a retirement home!)
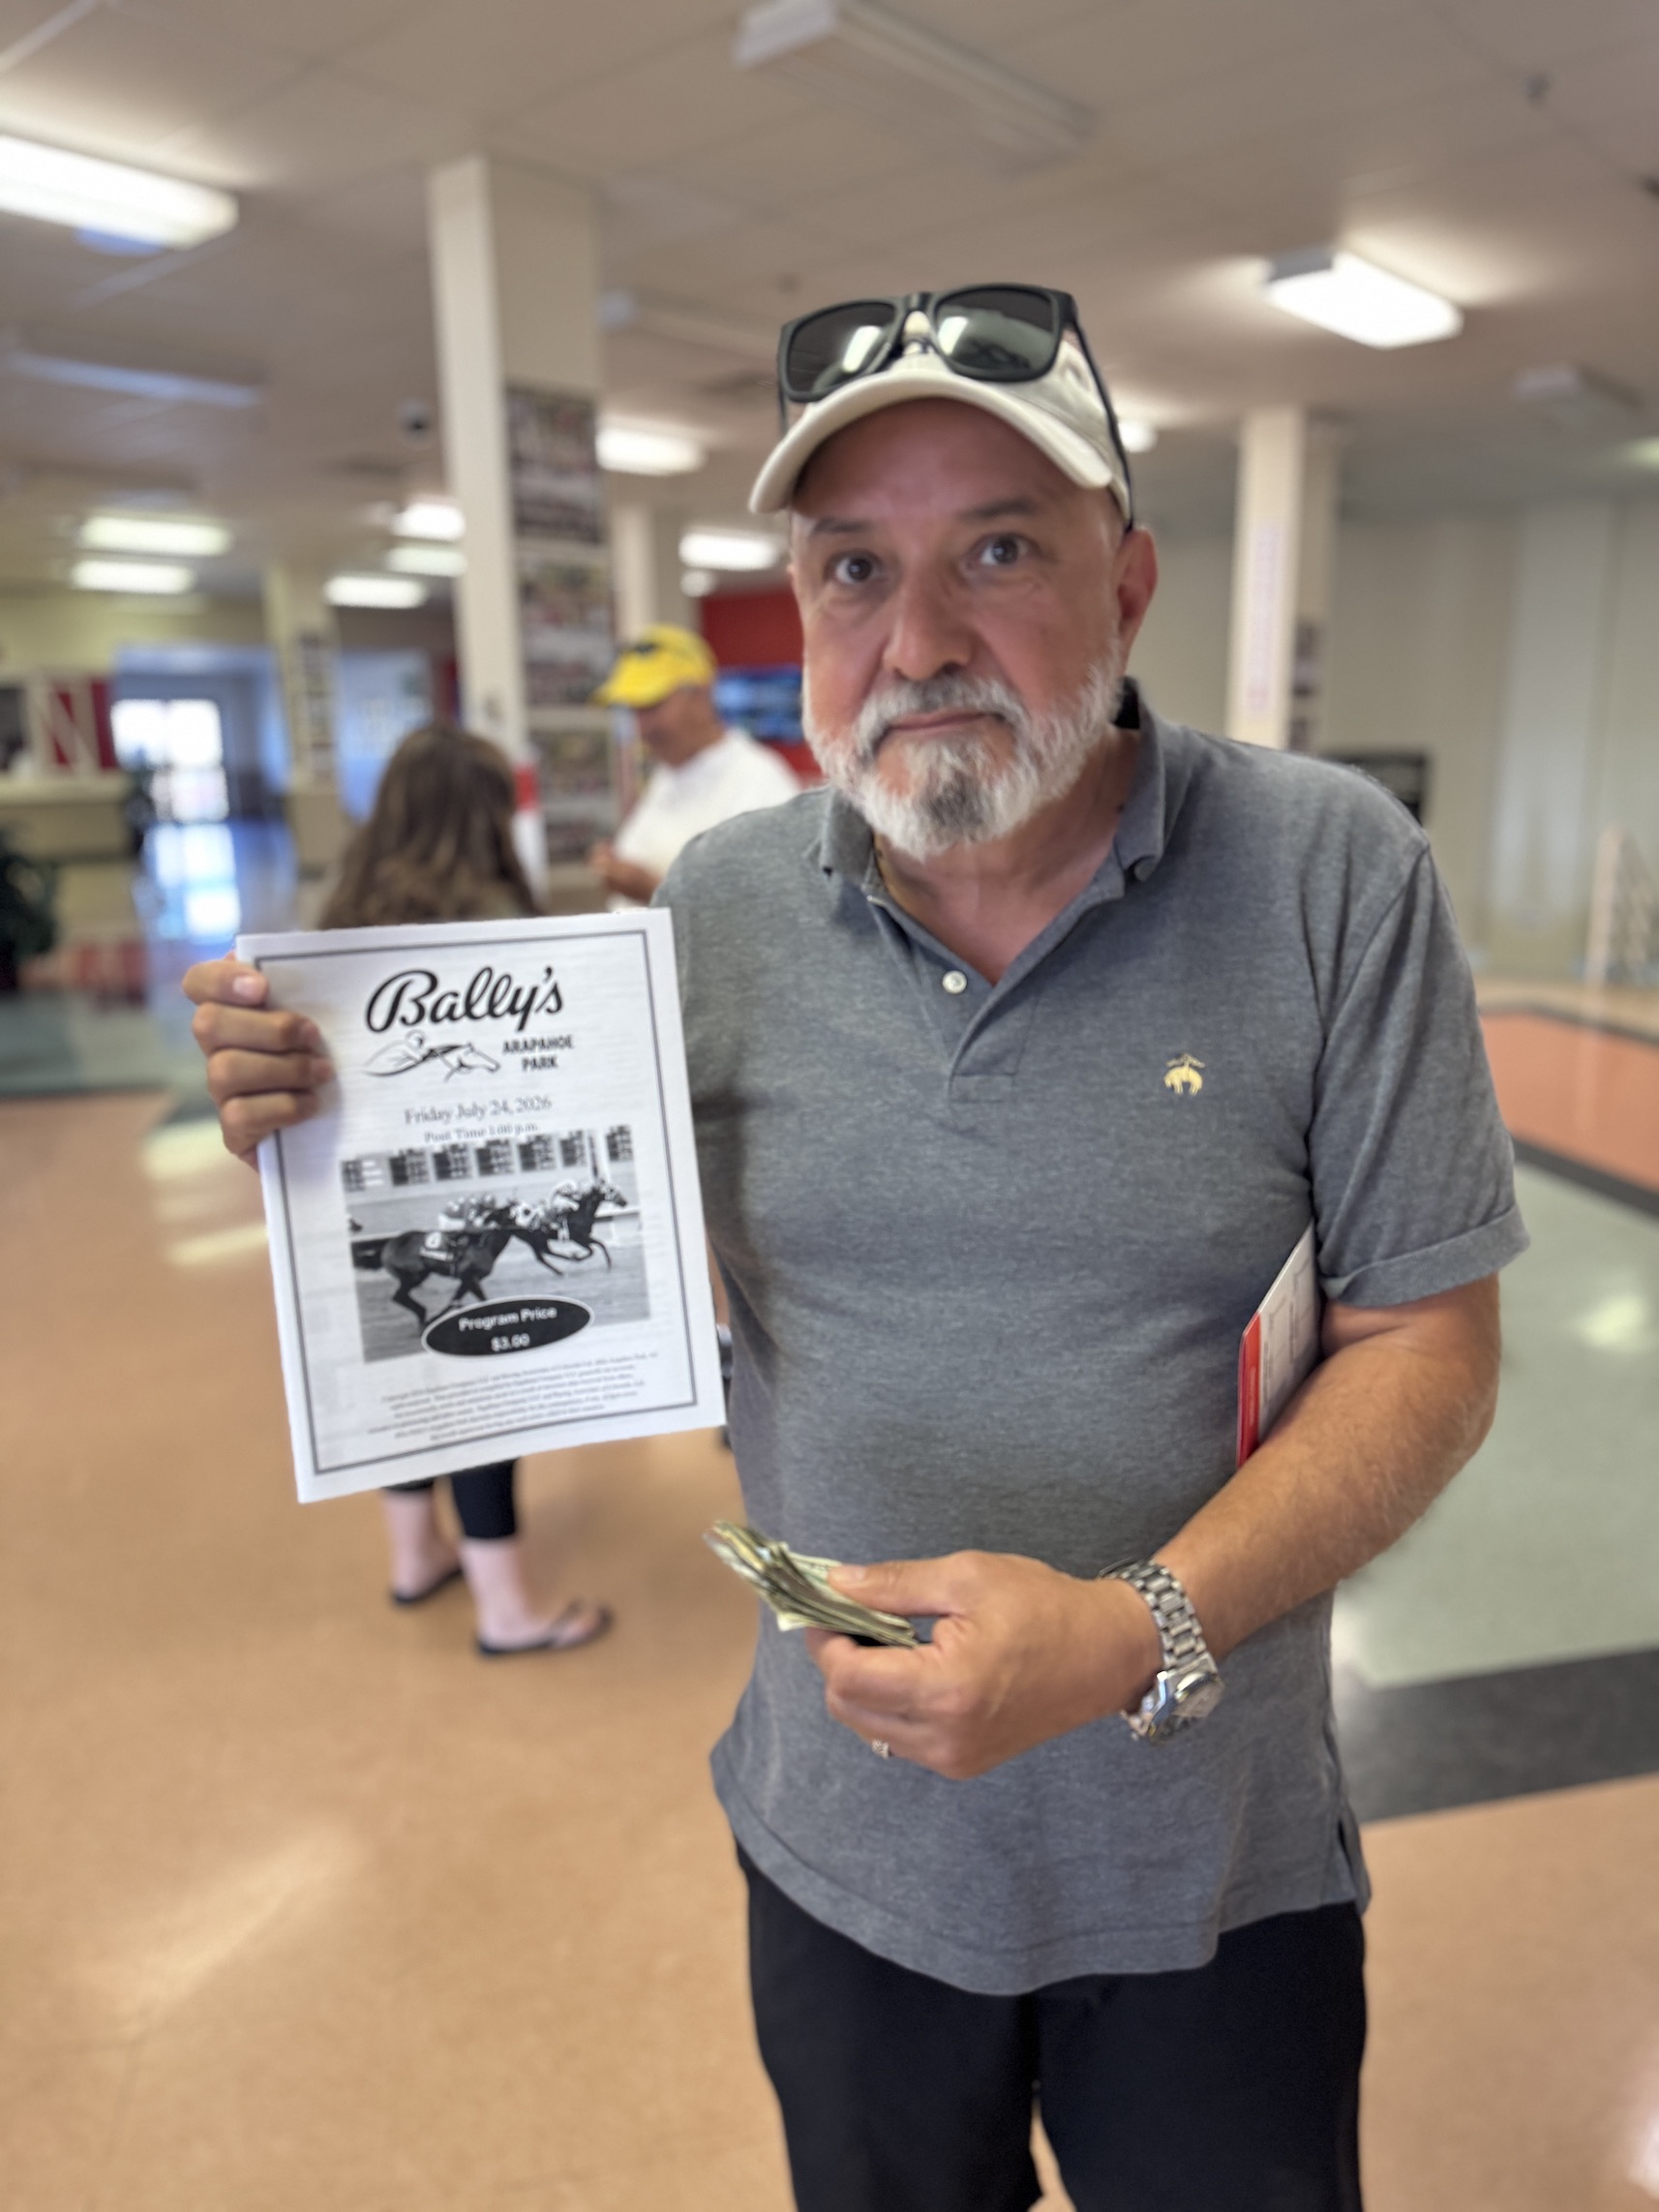
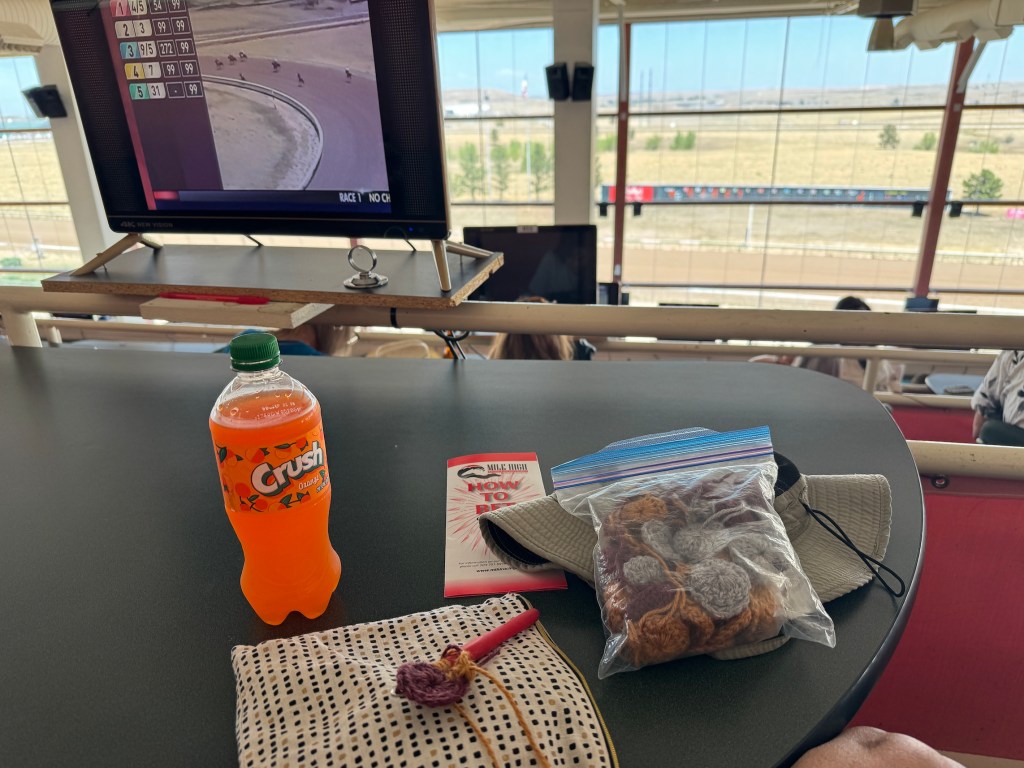
Before the outing we had a workshop in the community room on how to read the Racing Form/Track Program at a racetrack and how to do betting.
I haven’t been to a horse racing track since I was a kid growing up in Long Island, New York – Belmont Park.
For many years as an adult I was anti animal racing (horse and dog) due to the animal abuses I read about in these sports but over the years much improvement has occurred in the treatment and conditions for racing animals. So I was willing to try this outing; and a group of fun community members that we’ve befriended were attending.
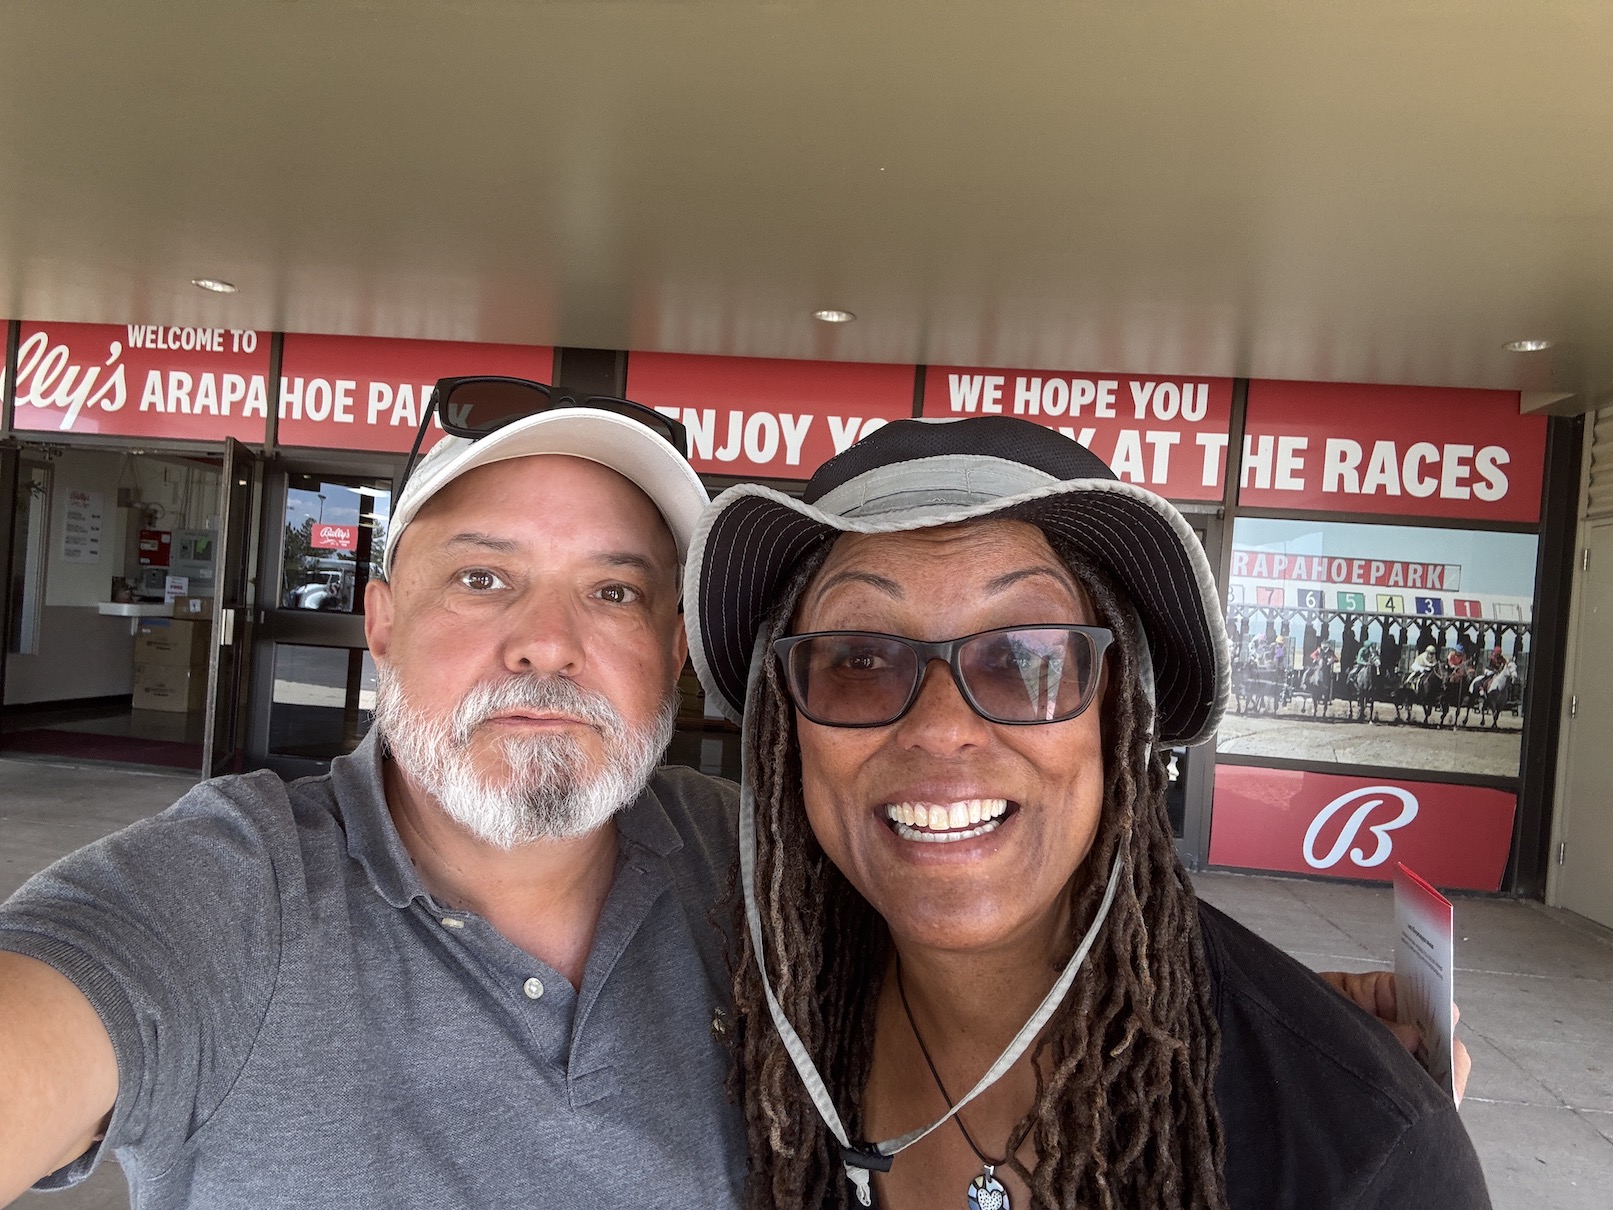
John was very excited about going to a racetrack and although he’s lived in Colorado all his life, he’s never been horse racing in Colorado before.
He couldn’t wait to place his bet.
I didn’t pay much attention to the horse racing (hence no photos of actual horse racing in this post by me) but I did enjoy the social aspect of visiting with people and working on my granny square project at our indoor viewing area.
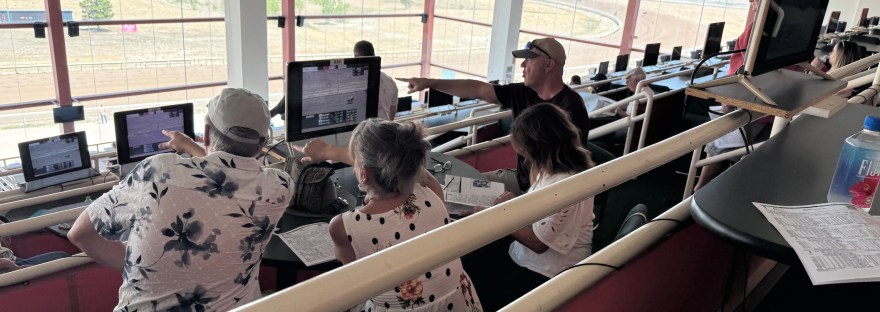
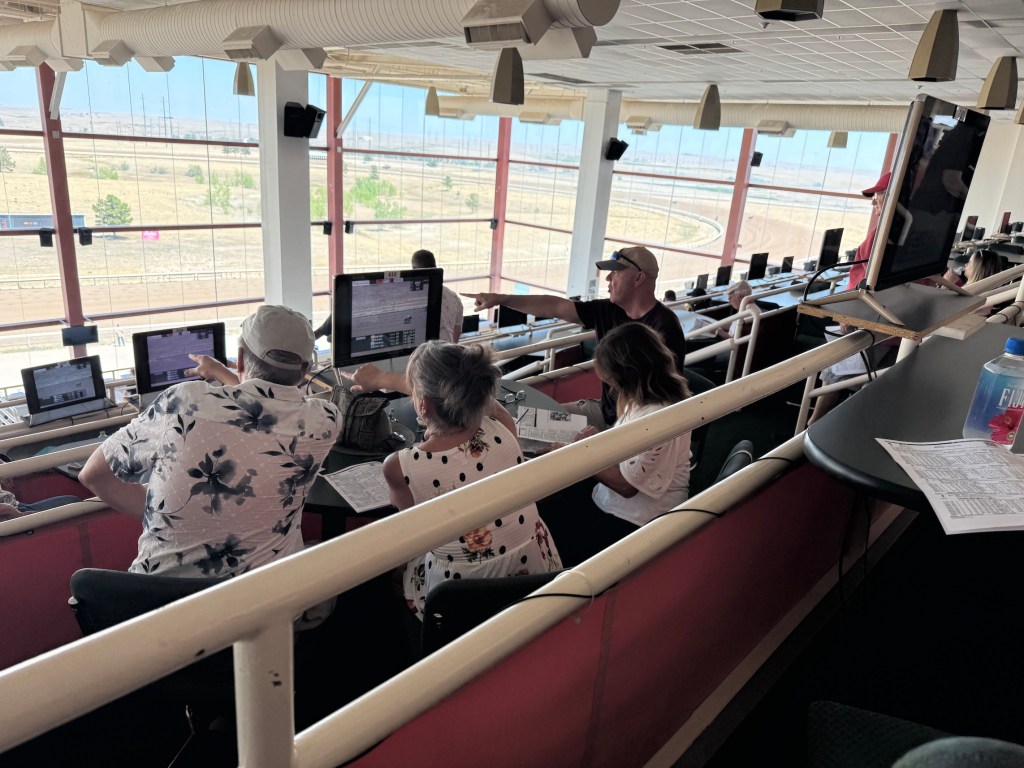
The photo above is of some of our friends in the community being very excited about the race. (Interesting tidbit about our new community – I’ve met many people from New York including Upstate NY and Long Island where I grew up! A lot of people moved to our community because they relocated from different states around the US to be near their grandkids.)
John did make $35 from horse race betting and it was a very fun afternoon with our community!
I’d go again with a group for the social activity but I don’t think I’ll become a regular at the racetrack, ha!
Continuing my series of posts about regular get togethers with neighborhood quilters J and D.
Last Friday I met up with J and D (the new quilter who just finished her first project – see my series of posts for the category Learning to Quilt) to discuss our next projects.
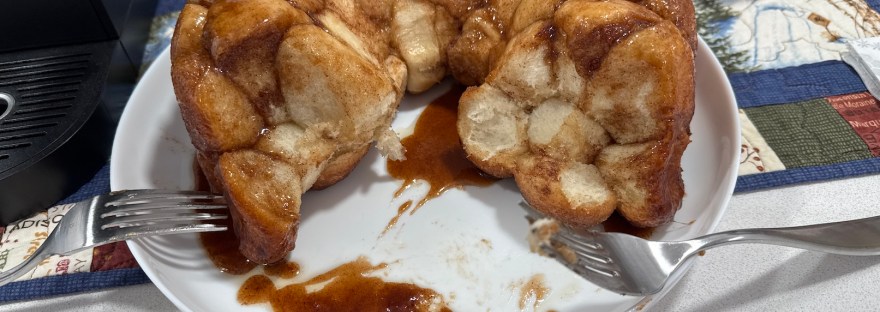
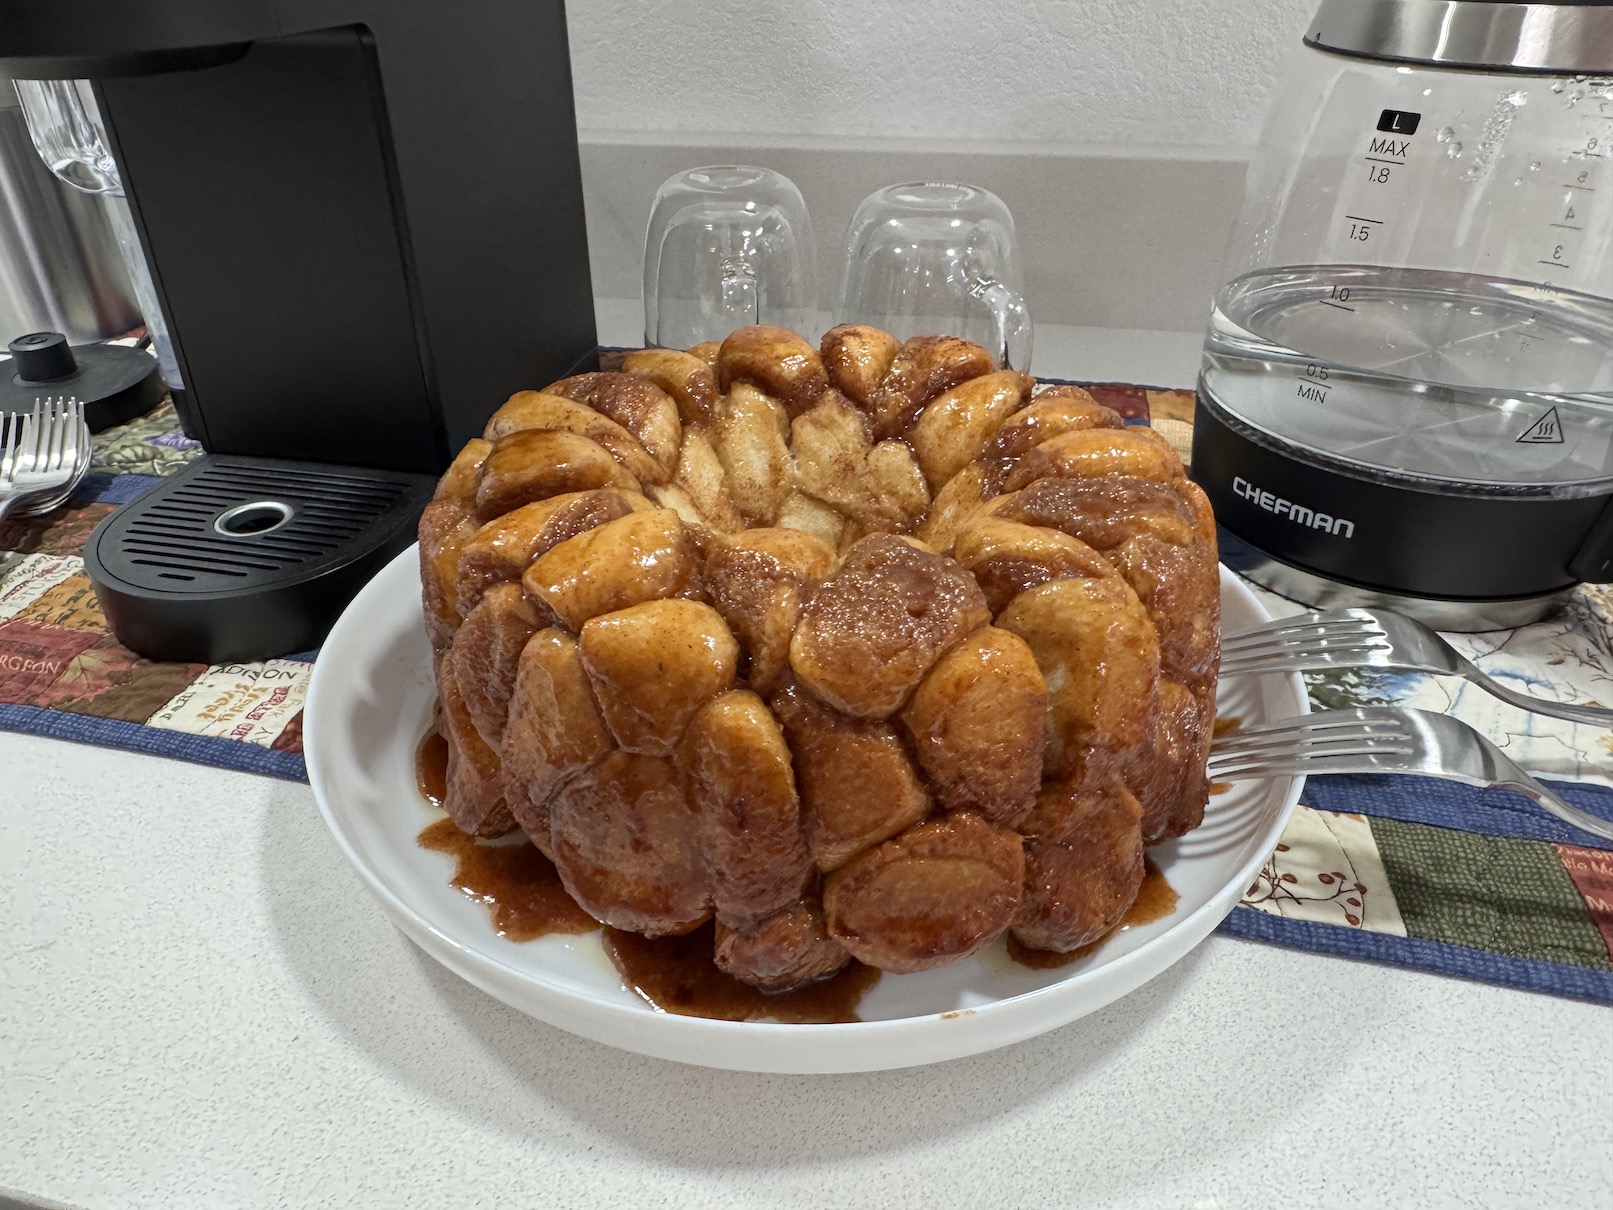
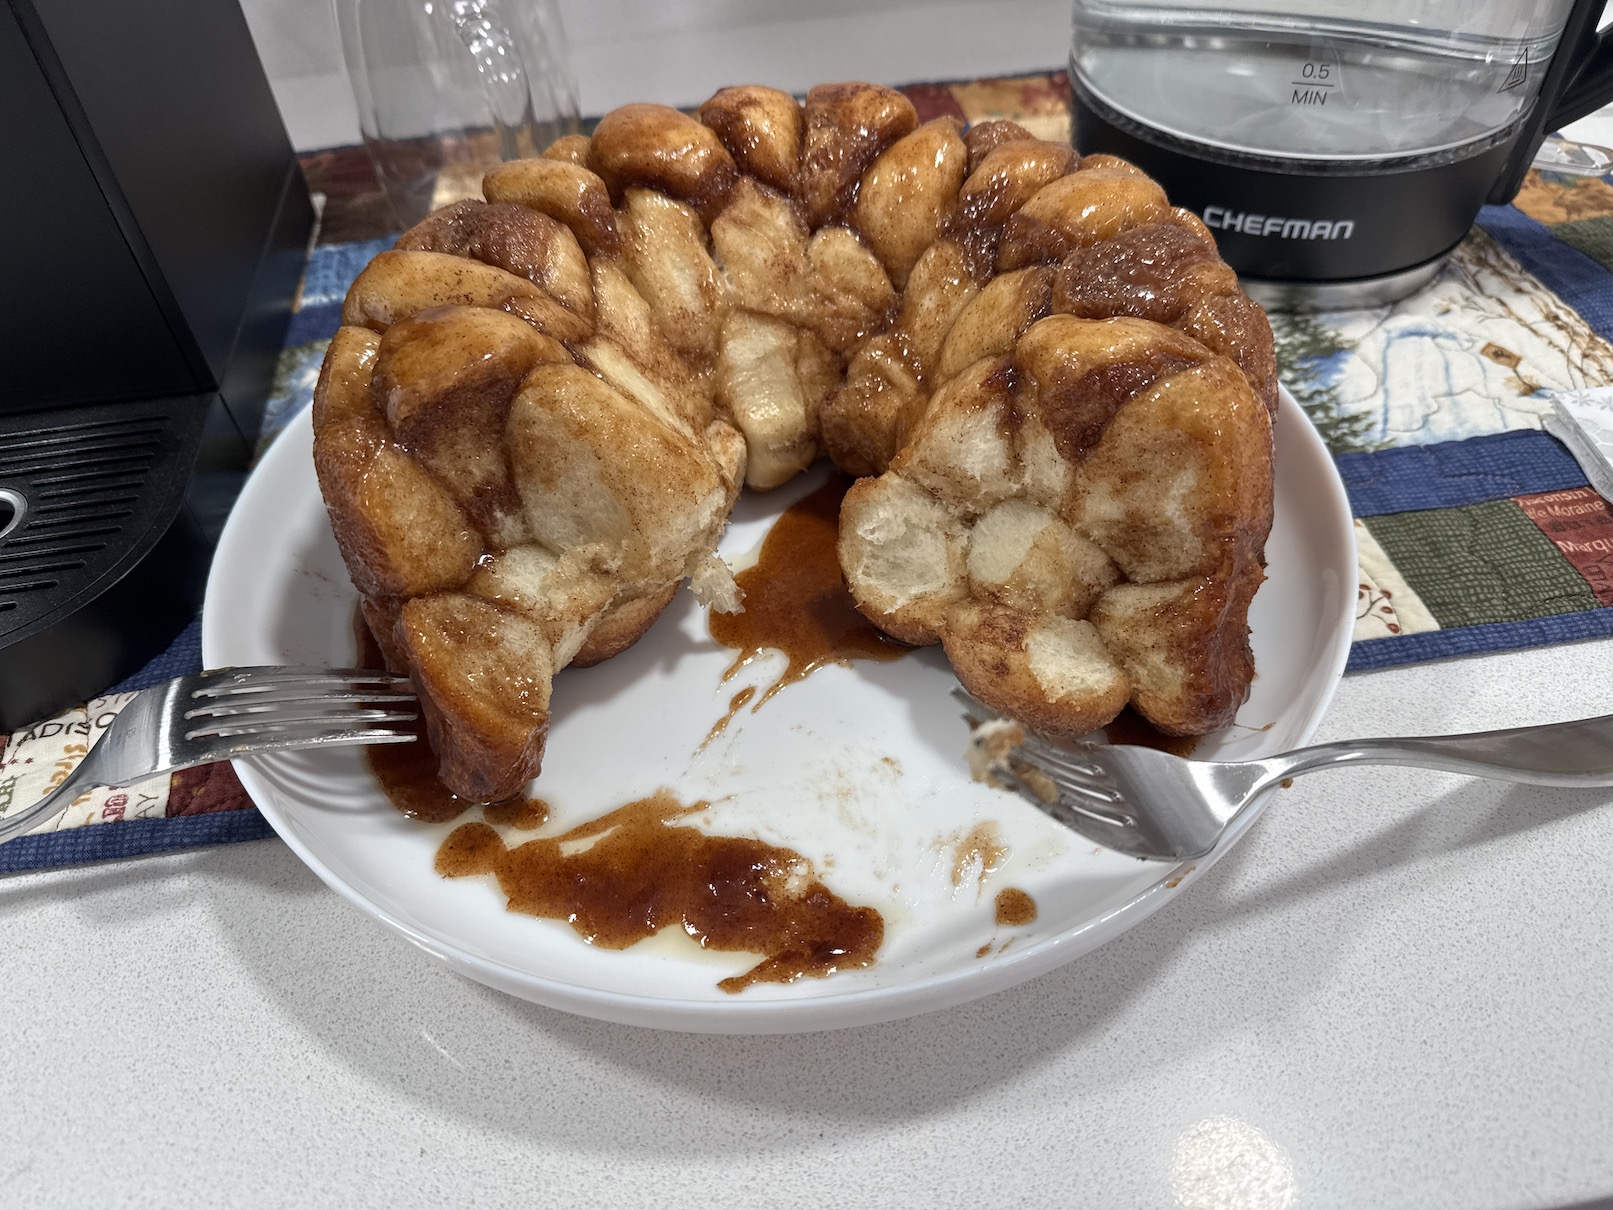
J who is originally from Wisconsin (and every lady I’ve met from Wisconsin appears to know how to bake very well…is it in the water?!?!) made us an amazing pull apart coffee cake/bundt cake thing for us to snack on while we met:
During this get together we primarily focused on the new quilter, D’s next project – a kit she had purchased when we took her on her first quilt shop hop (see post Taking a New Quilter on Her First “Shop Hop” ):
We opened up the kit and reviewed with D all the cutting instructions step by step for both the fabric yardage and the pre-printed panel. We spent a lot of time figuring out how D could most efficiently cut the panel to meet the pattern requirements.
J is a whiz at “quilt math” (she happens to have her degree in Mathematics and is a former Math Teacher!) and she is an expert at efficiently cutting fabric for a pattern.
The pattern has a a lot of half square triangles (HSTs) so J did a refresher for D, who had first learned about HSTs during an Intro to Quilting class she took at a quilt shop, on making and trimming HSTs.
After we (and I use the term “we” loosely as J does most the teaching/coaching) got D all set up with her assignment to complete before we meet again, it was time to look at what J was currently working on in her studio:
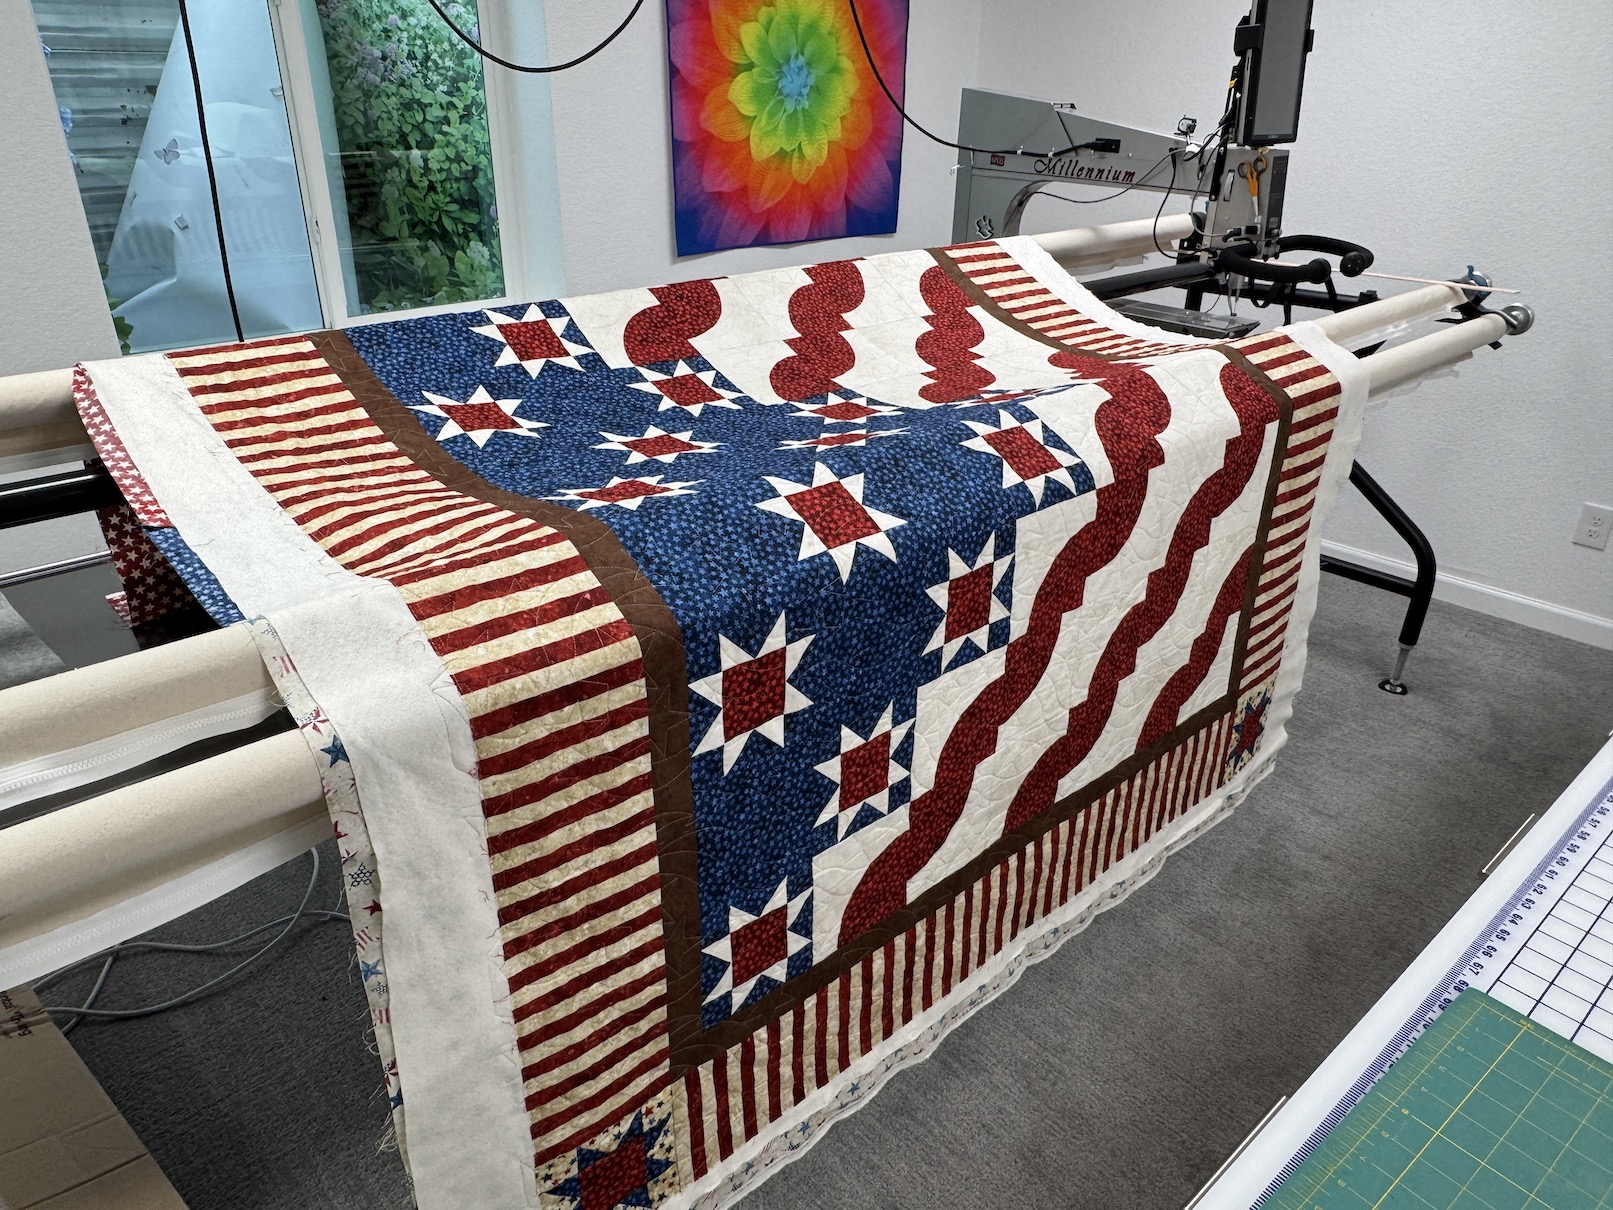
A quilt on her longarm quilting machine for the Quilts of Valor program:
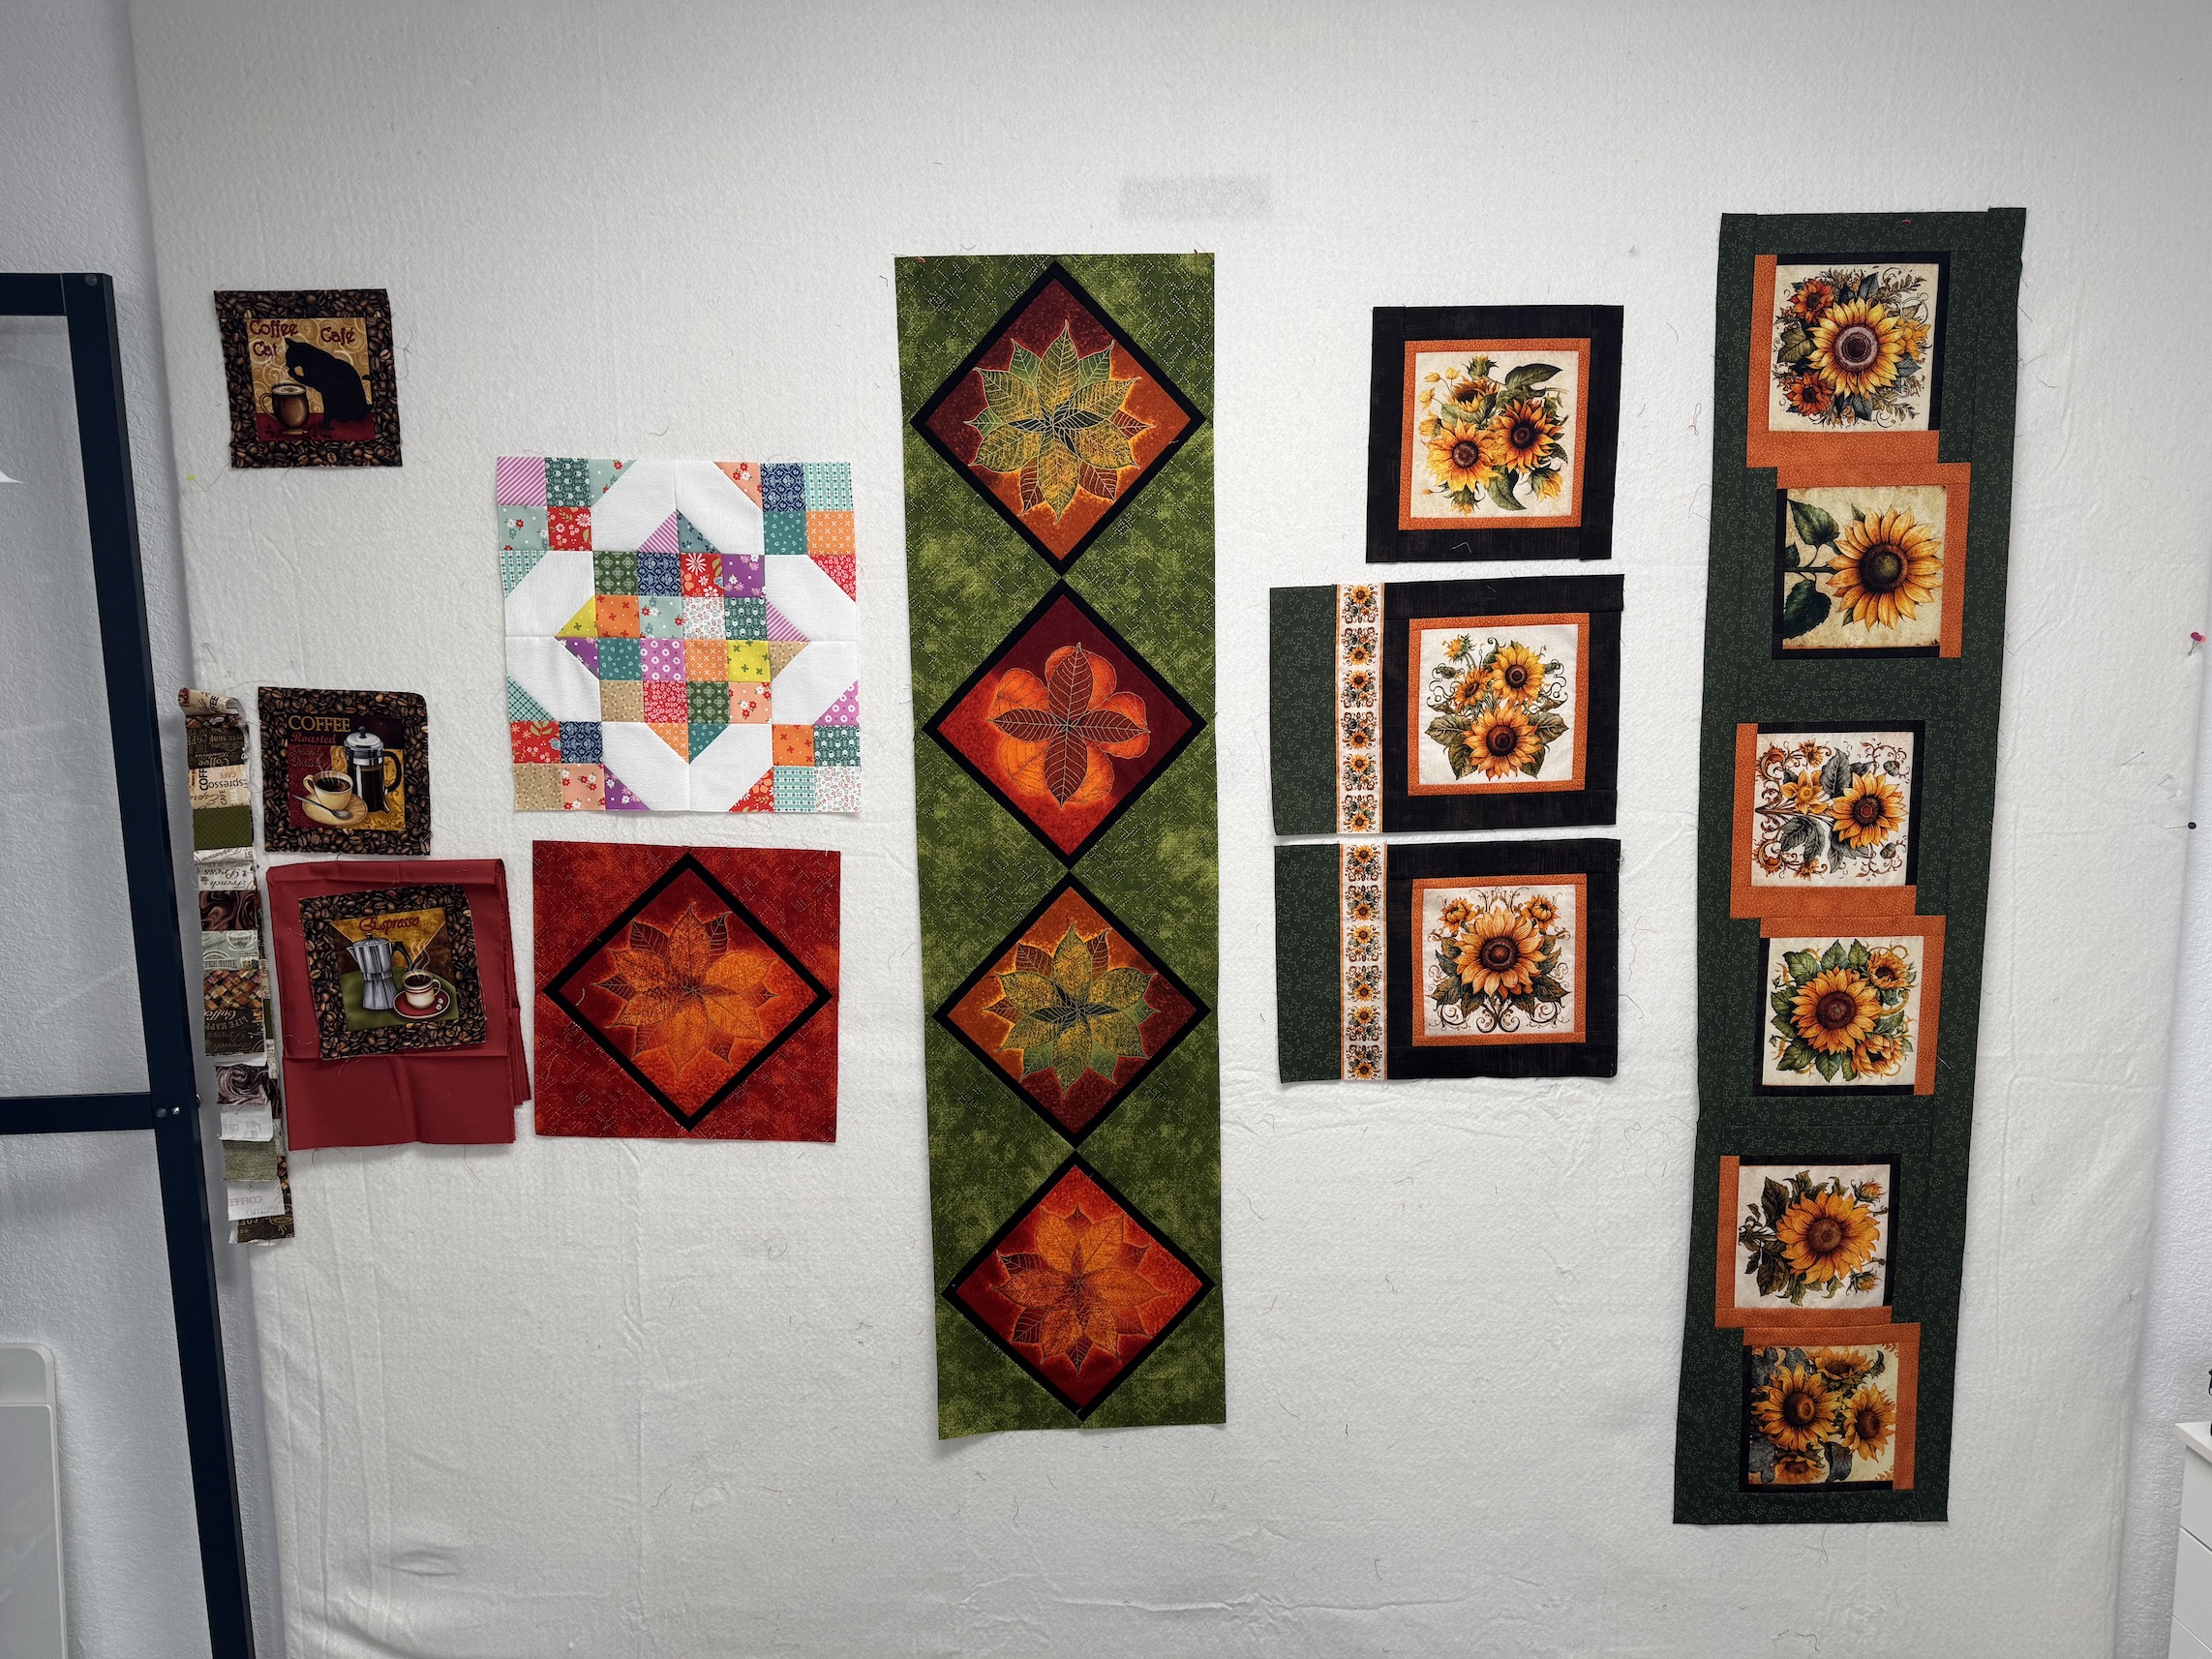
Autumn table runners and placements using several different panels:
And a wall hanging for her studio about the kitchenette area:
She was using her new basket of Batik fabric scraps we had recently organized together (see post Fabric Organization Emergency!).
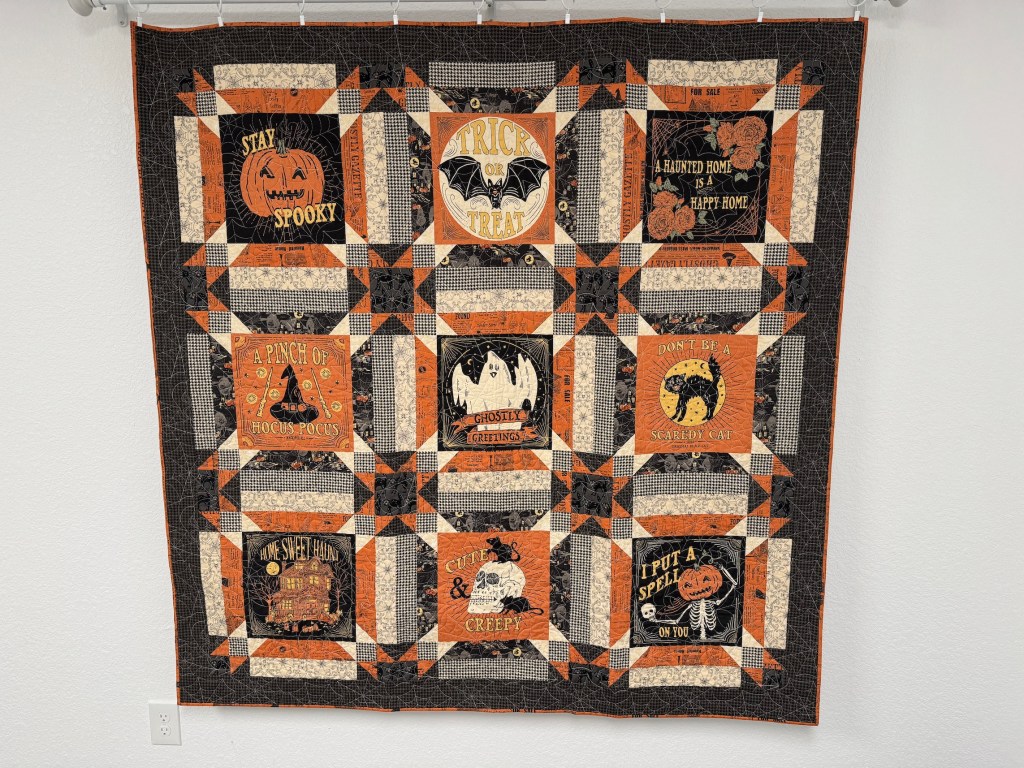
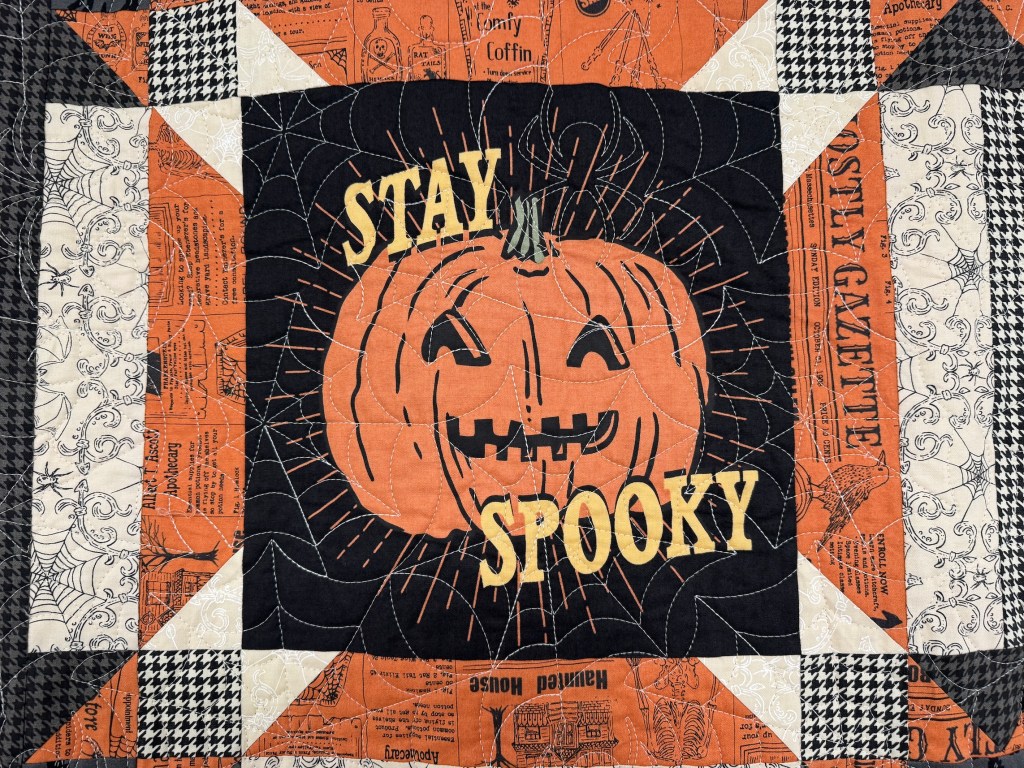
J had also recently put up a very cute Halloween quilt that she made years ago. I love the panel she used ofr the quilt; and the quilting (spider web) she did on the quilt!
By the end of our get together a dent had been made in the pull apart coffee cake (I wonder how that happened? Did elves sneak in and eat a bunch of the pastry?!!?)
“Central Oregon is where I got to be in my first quilt show – the Sisters Outdoor Quilt Show in 2007; and it is where my transition from traditional quilting to experimenting with art/improvisational quilt began.”
made me think about how much my art quilting journey has stalled over the past 7 years. Back in 2019, when I had my first solo show it looks like a very promising journey. Now at times it feels like that journey has ended.
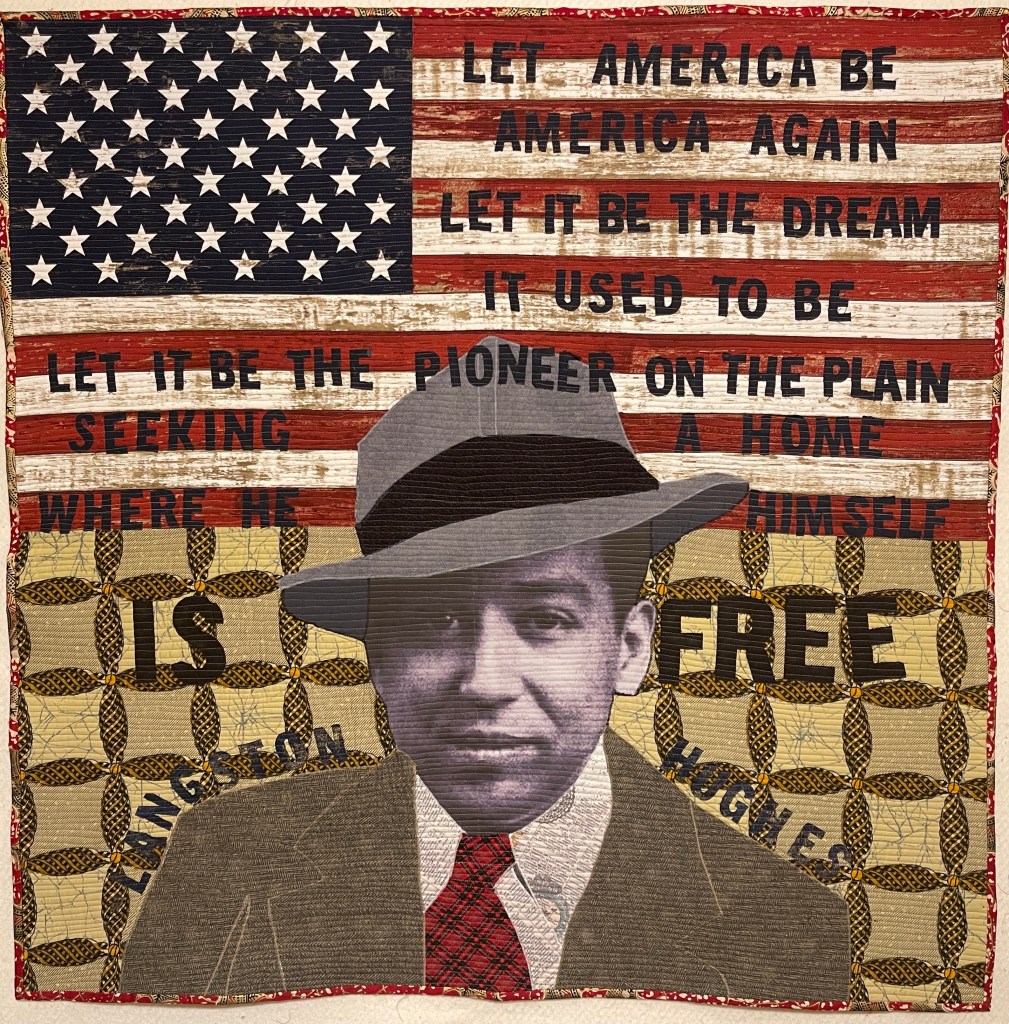
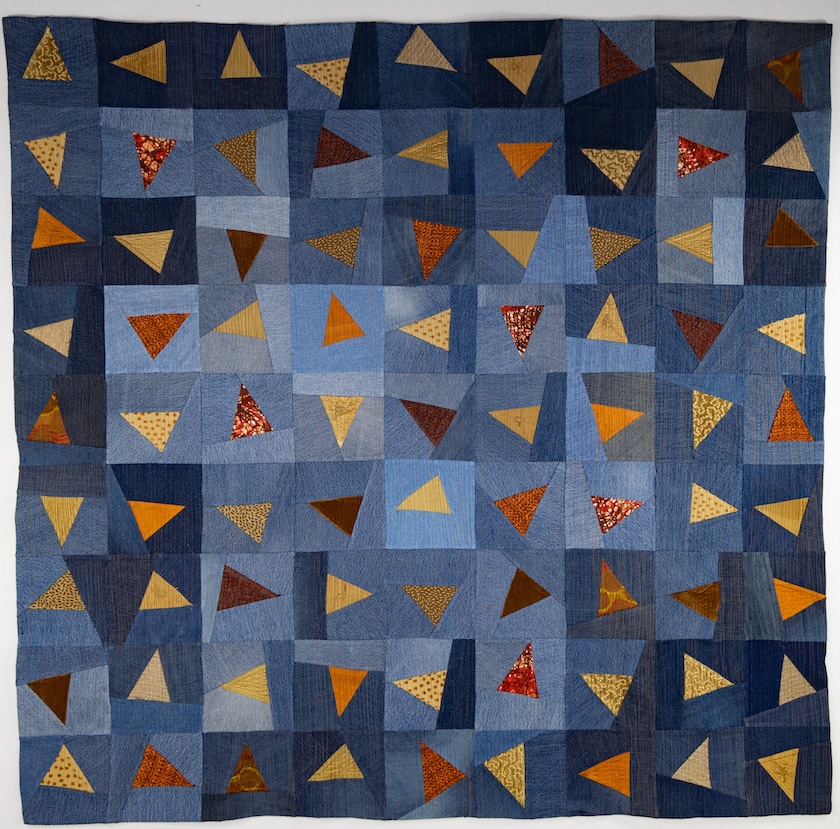
I was able to create my Langston Hughes, Pioneer Poet quilt for a Women of Color Quilting Network (WCQN) show in 2021; and my upcycled denim and home decor fabric quilt What Direction Do I Go? in 2023 (which was rejected from a show I entered).
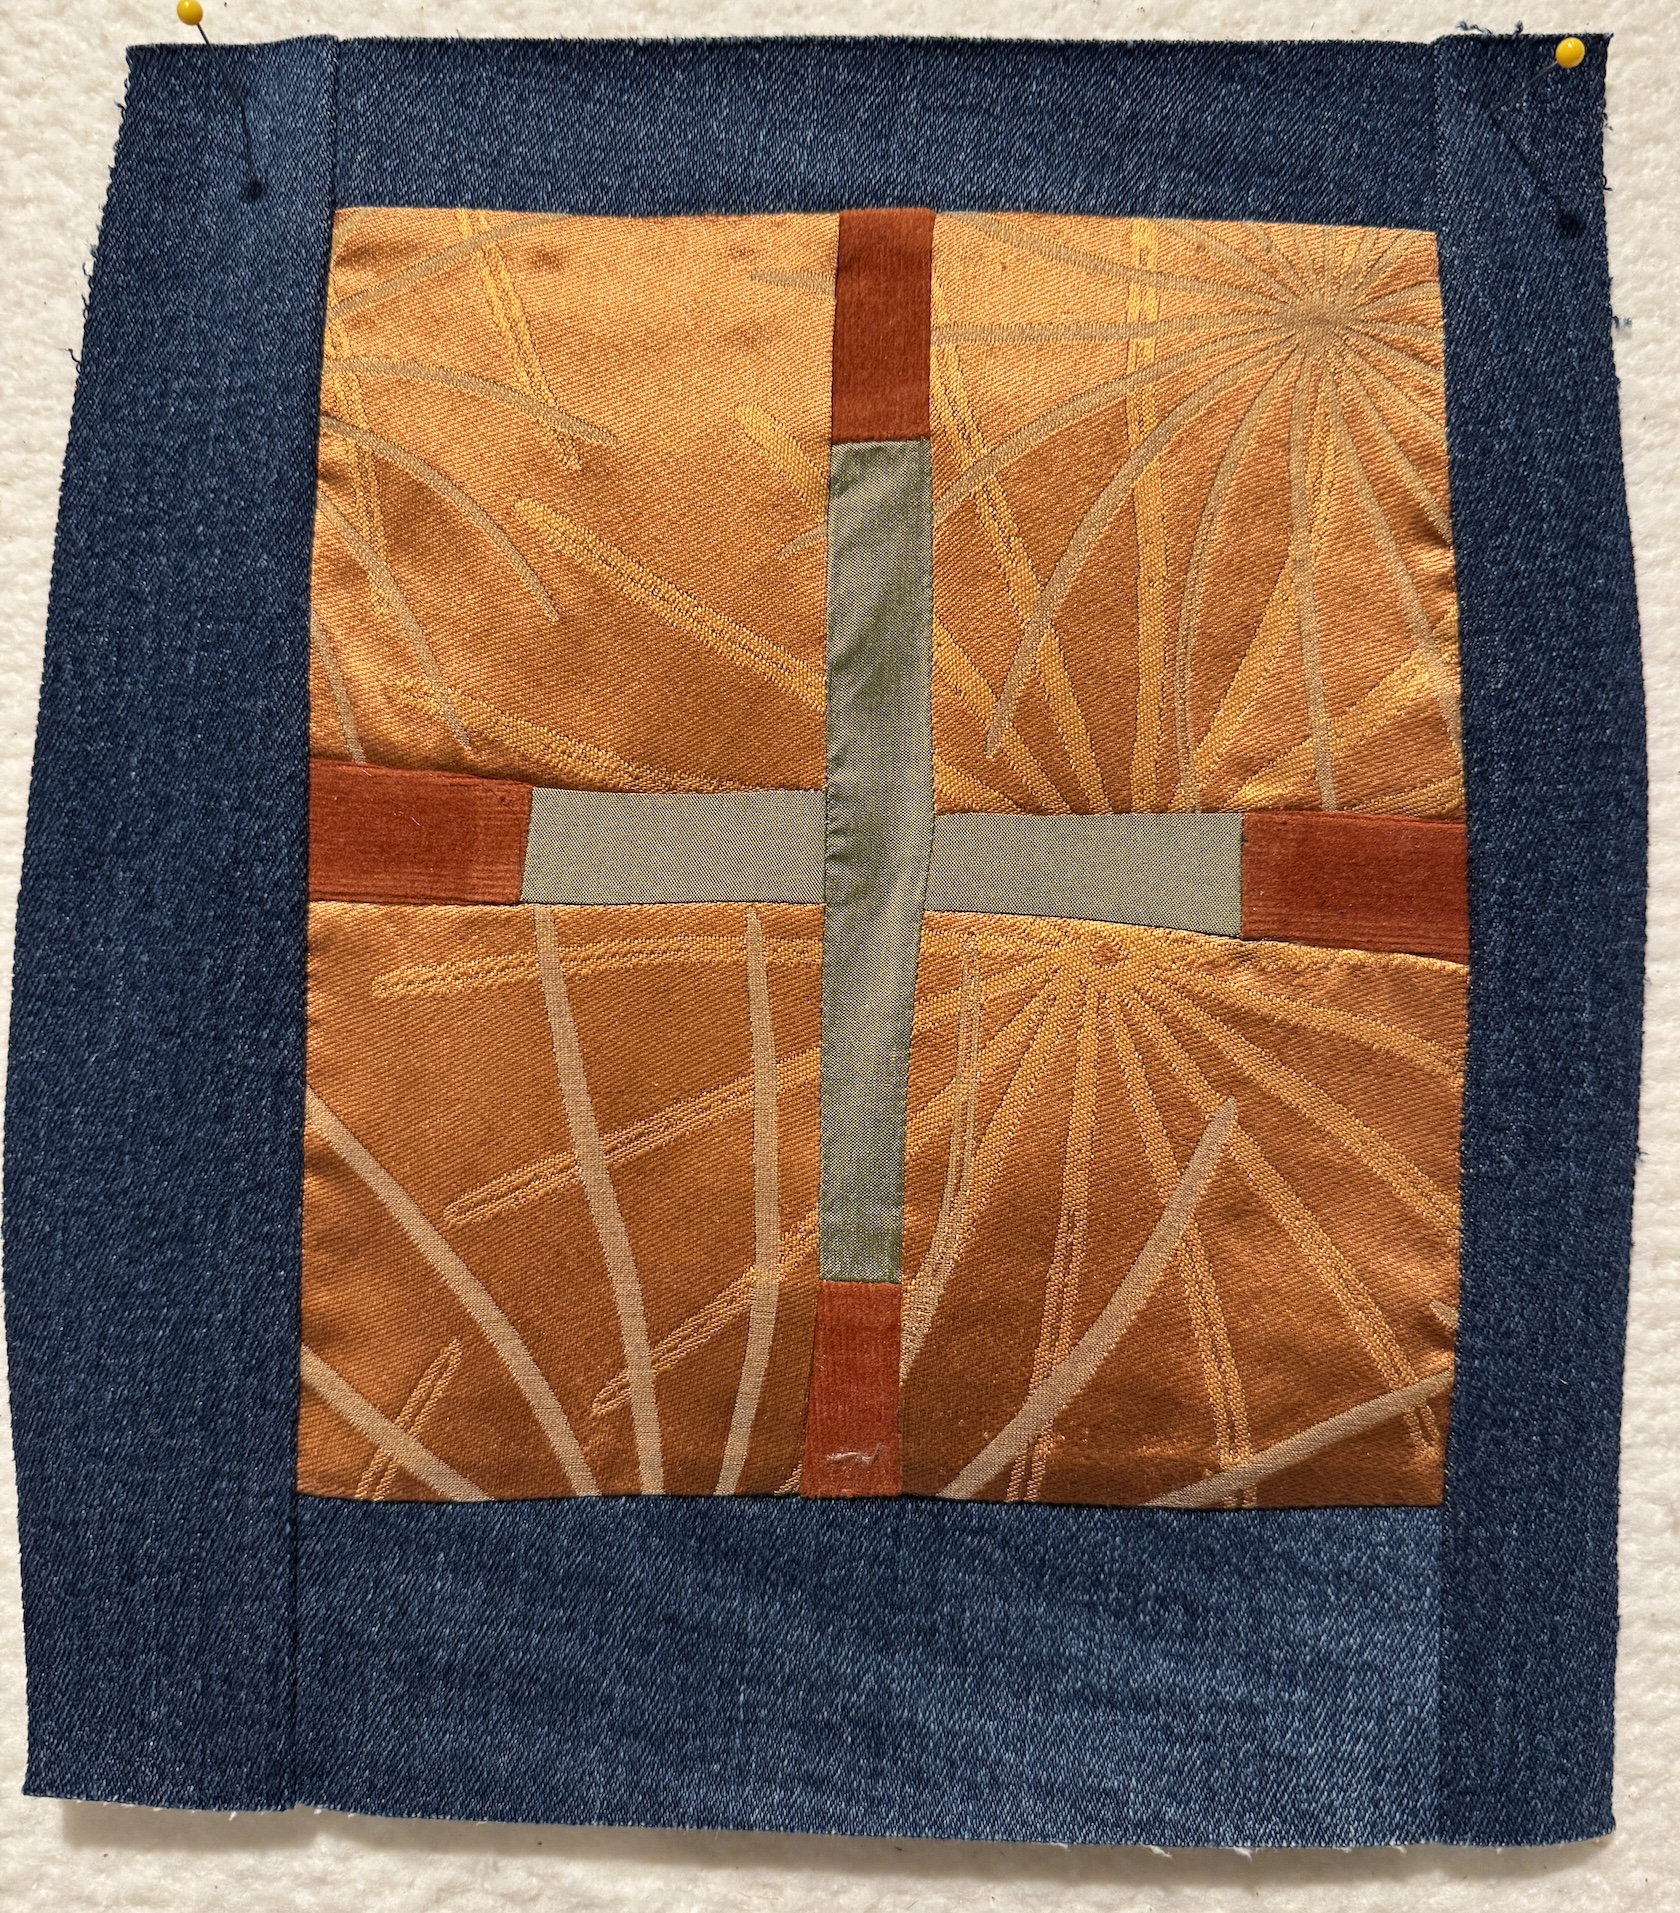
But that’s been it except for some playing with home decor and clothing scraps a little recently:
It feels like the improvisational and creative magic is gone in relation to “art” quilting.
I remember a time when I wasn’t interested in using quilt patterns, I just wanted to create original pieces.
Currently I primarily crave working from patterns and having direction. However even with using patterns I am not making as many quilts or other sewn projects (like when I was making a lot of bags and other non quilt projects).
I’ve been thinking about this and I just know it has to do with grief and how creativity, quilting and the fabric involved as so much a part of my prior life.
I definitely miss being around the amazing and inspirational art quilting community of Central Oregon.
I definitely miss my life long partner/best friend who was also a quilter (Remembering Terry the Quilting Husband (TTQH)) and all the fun fabric shopping related adventures we used to have. Terry loved dog themed fabric and every time I look at the amazing collection of dog themed fabric in my stash my heart hurts.
Every time I look at my fabric stash I struggle as so much of it is connected to old wonderful memories (and I realize how lucky I am to have had those experiences). Although I’ve paired down my fabric stash, getting rid of fabric that triggers memories is not a solution for me.
Joining local art quilting groups has not been a solution for me either.
I am working on figuring it out and seeing if I can find the passion I once had again. A couple years I even considering completely giving up quilting and just keeping my other crafts. But I know I still have a quilting and perhaps an “art quilting” journey still inside of me.
Thanks for reading my musings, sometimes it just helps to write about these things.
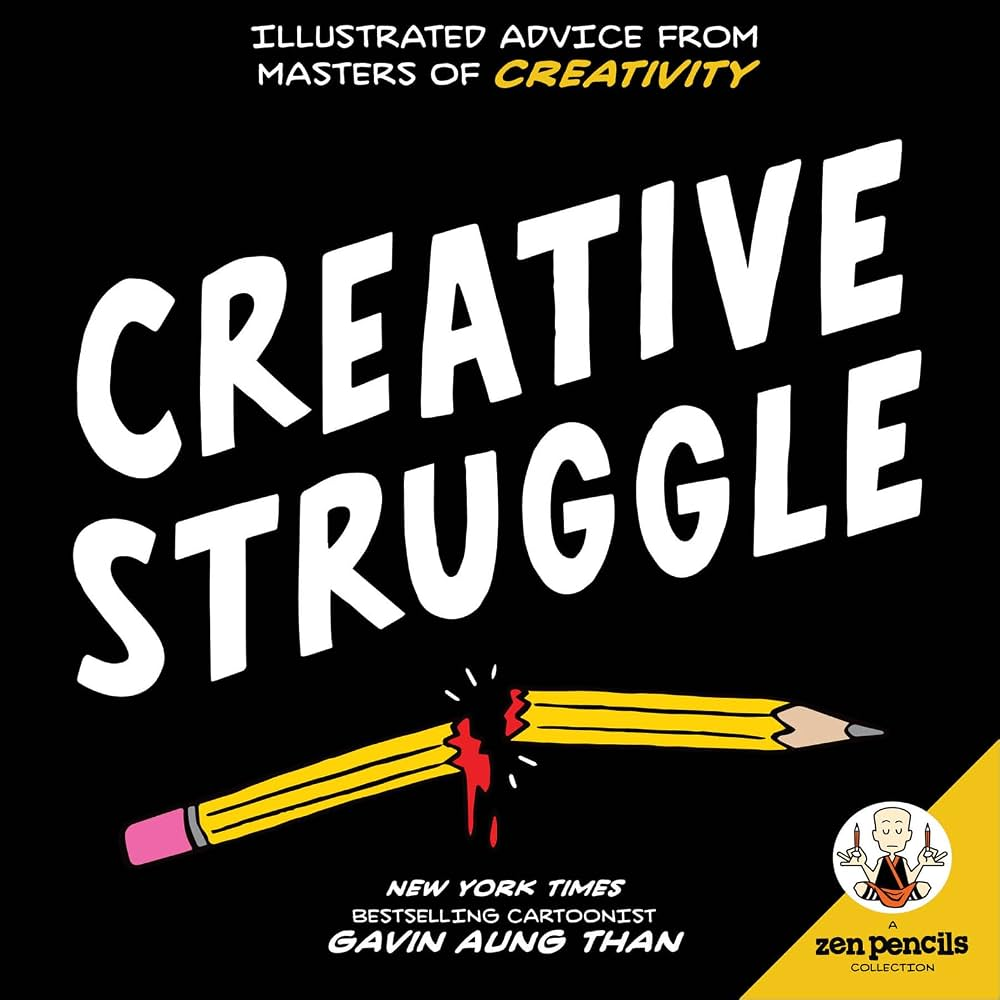
The featured image on this post is from a screen shot of the book Creative Struggle by Gavin Aung Than
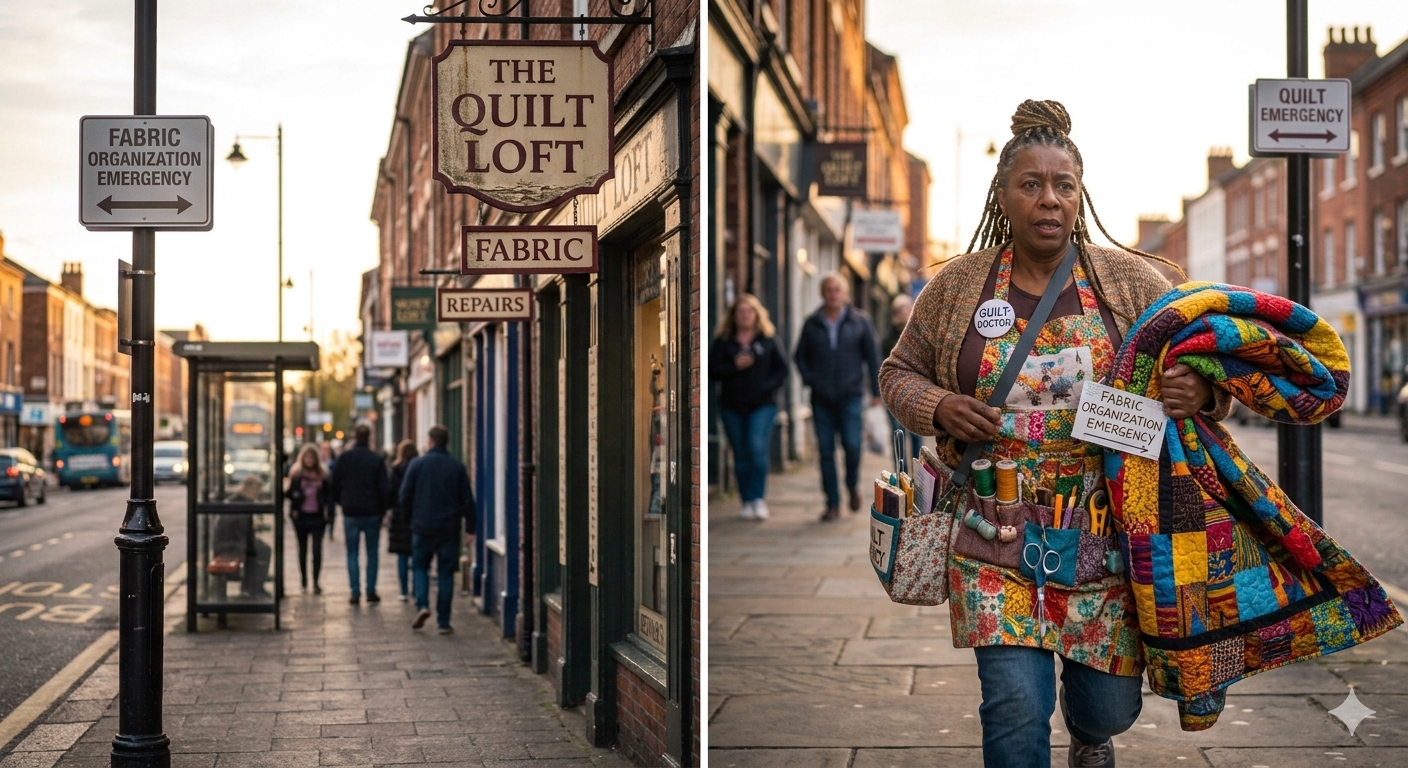
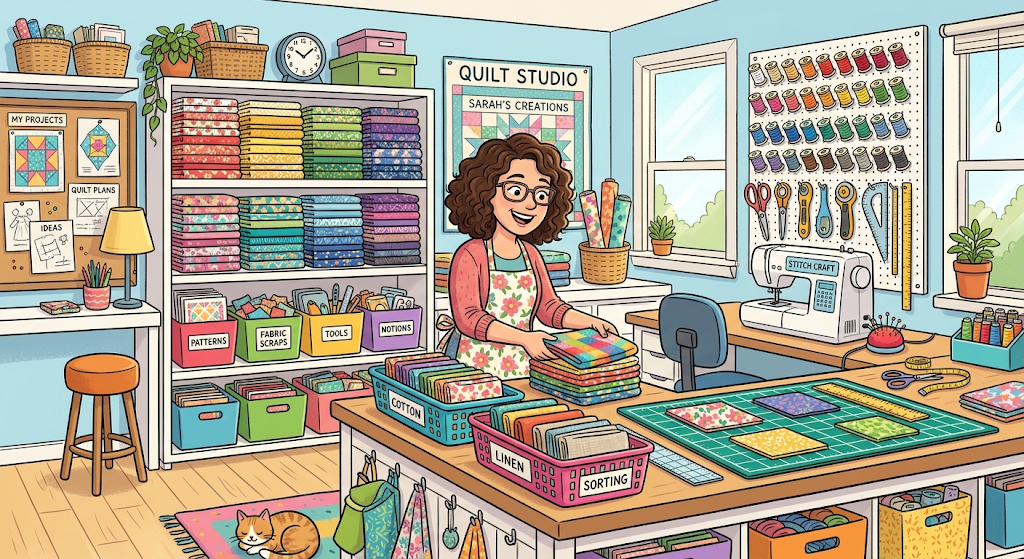
One day my friend and neighbor J texted me that she desperately needed to re-organize her fabric and could I help. I popped over immediately (because I love fabric and I love organization…and J is a fun quilting friend!). Tierney to the rescue!
(yes, fun with Google AI)
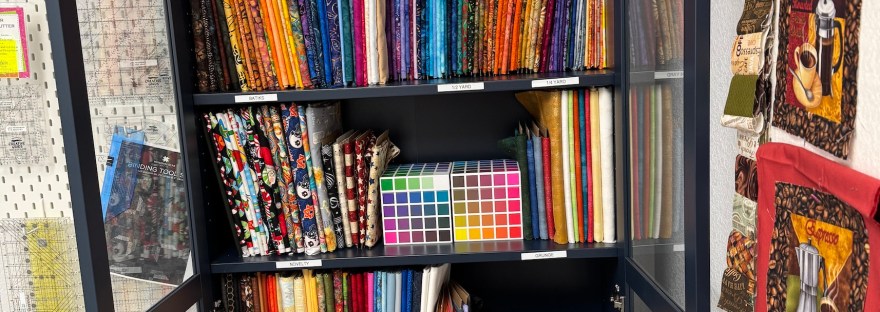
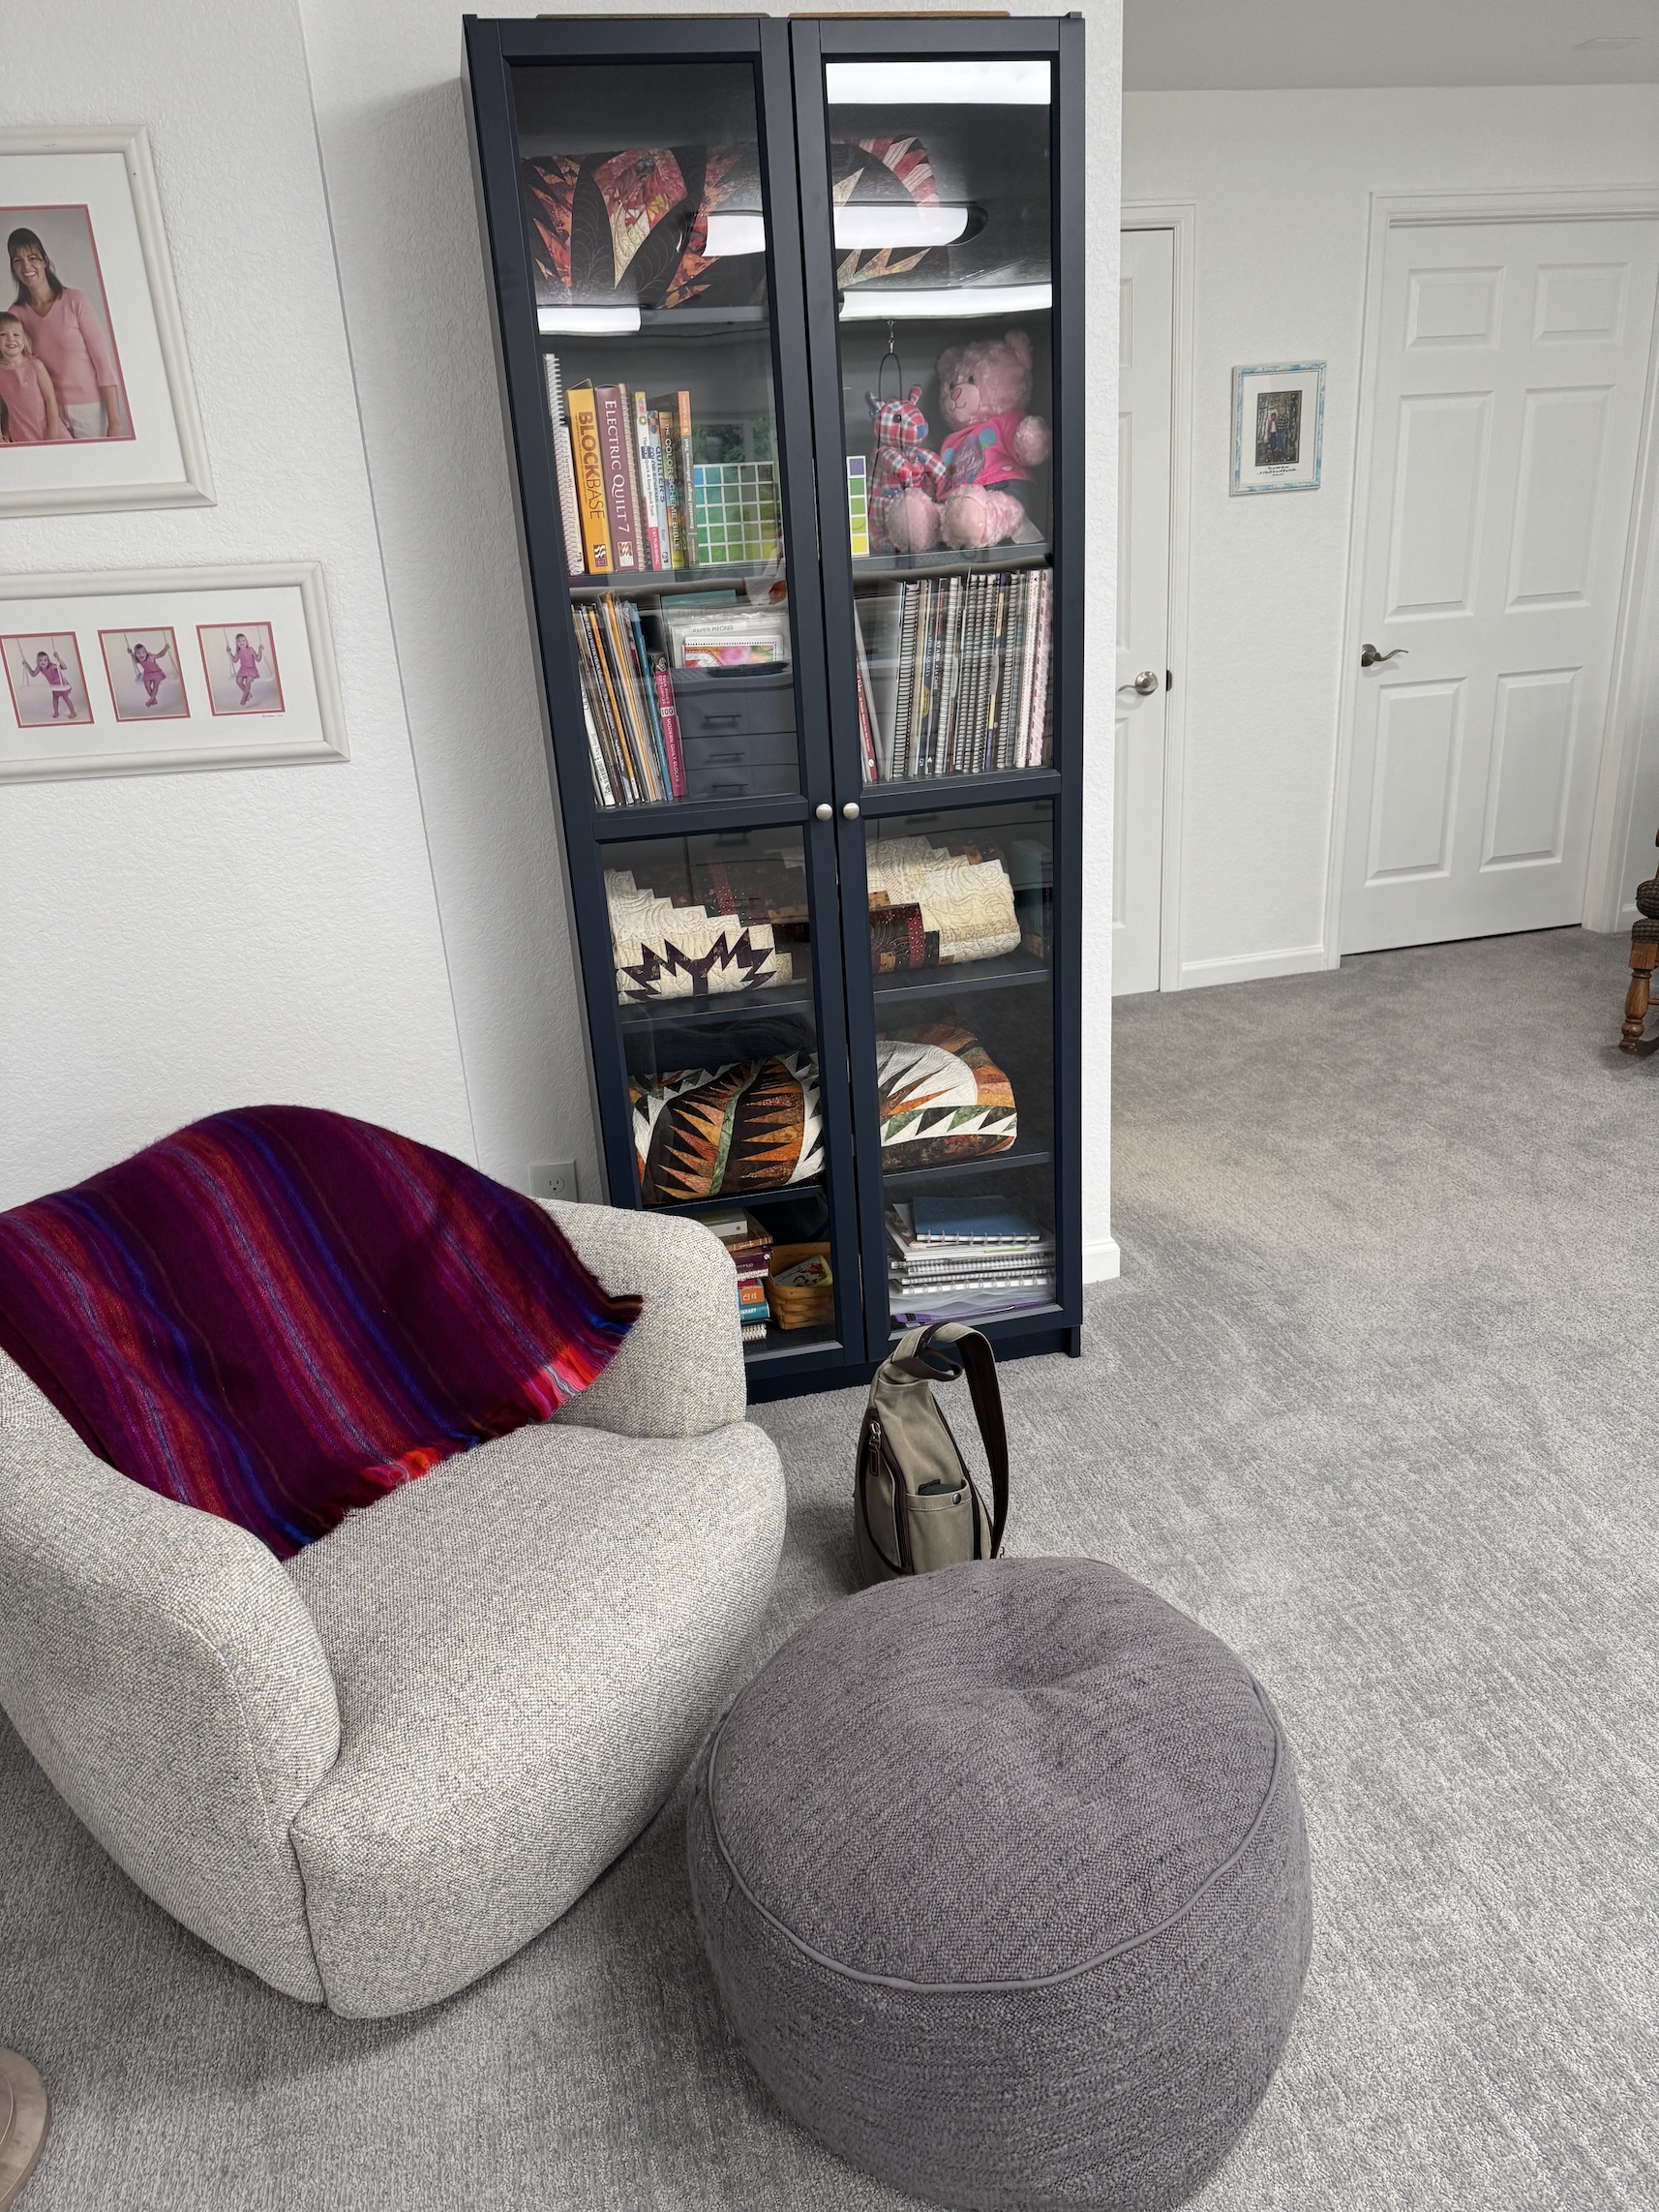
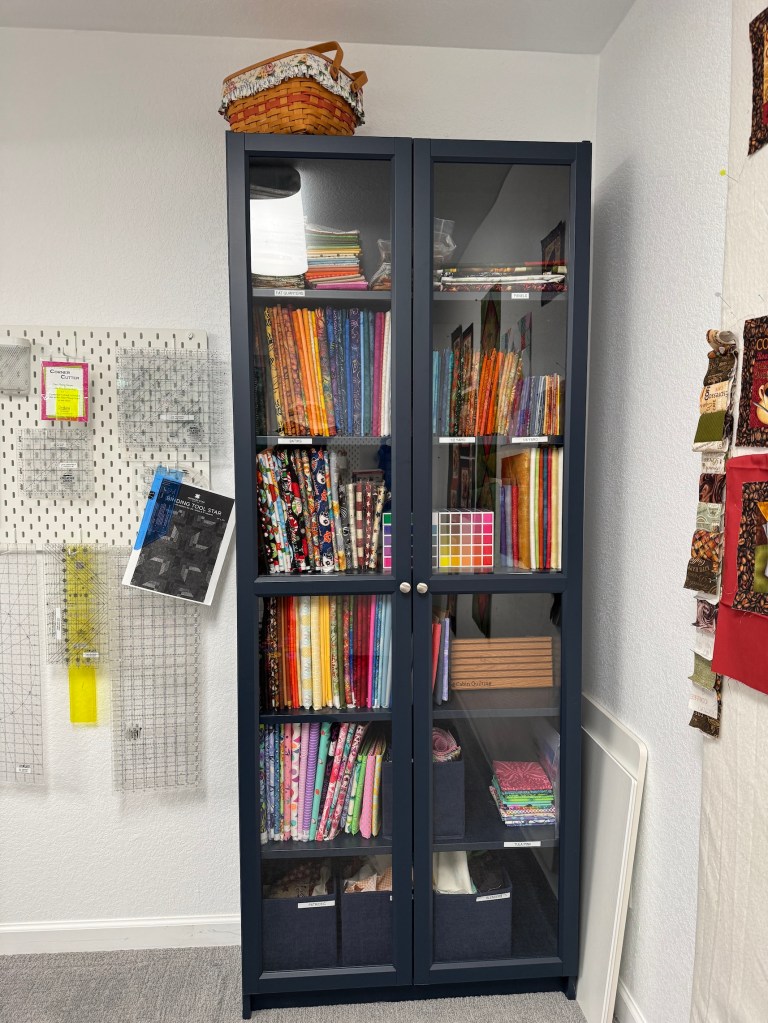
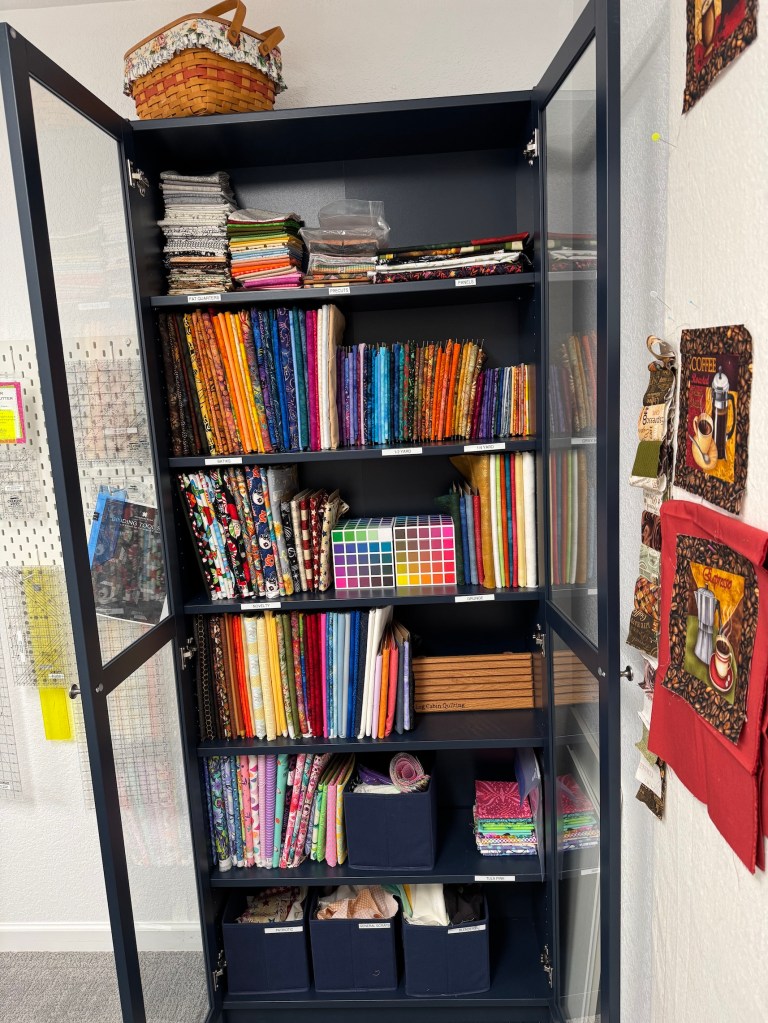
I don’t have a “before” photo but a lot of her fabric stash was organized in one of these IKEA “Billy” style bookcases (from the tour of her studio post Project Linus Mini Retreat, Part II )
J doesn’t have as much fabric as I do in regards to yardage and “precuts”. She’s been a quilter longer than I have but she seems to have great control. Only recently has she started holding onto her fabric scraps.
Unfortunately I was wrapped up in the re-organization process and did not take many photos but here are the steps we followed to make her fabric organization work for her and give her the feeling she was shopping in her own miniature quilt shop:
Pull all her yardage fabric (1/2 yard of fabric or larger) from shelves and baskets, etc. in her studio and pile them on one of her cutting tables
Test out ways to fold the yardage on cardboard she had purchased so that the fabric could fit neatly without the confines of her bookcase.
Dump out all her baskets and shelves of precuts (fat quarters, jelly rolls, charm squares, layer cakes, etc) onto another table in her studio.
Sort the fat quarters by color OR if they were part of a coordinated collection, sort them by the collection.
Separate all her Halloween and Christmas fabric (J enjoys making quilts and home decor like table runners and placemats for these holidays) and put them into baskets
Separate out all her “Quilts of Valor” fabrics and put them in a basket (she makes Quilts of Valor for Veterans).
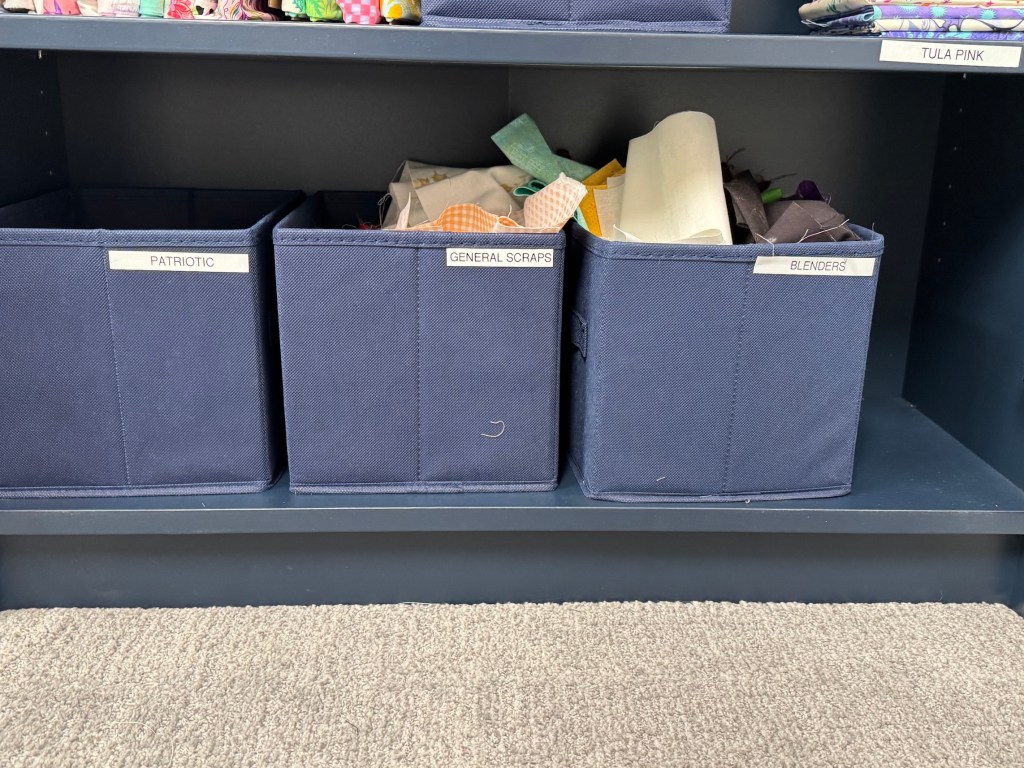
Dump all her scraps on the floor and I separated them into bins of Batiks (she has a lot of Batik scraps), general, and solids/blenders.
Refold all her yardage on to the new cardboard and sort by theme, fabric line, or color.
Organize her shelves as follows: 1) precuts, 2) yardage, 3) Tula Pink, and 4) scraps.
J came up with the idea of cutting the cardboard in half to fold half yards and quarter yards.
Here is the finished re-organization fabric bookcase. I forgot to take photos of the baskets we created for Batik fabric scraps and special occasion fabrics (Christmas, Halloween, and Quilts of Valor):
J reports that she does feel like she has her own little quilt shop in her studio. She says she can easily “shop from her stash” and find fabric, precuts and scraps for her projects.
For me an organized quilt studio makes my creativity flow!
I thought I would return to stories about our 2026 late Spring and Summer travels….
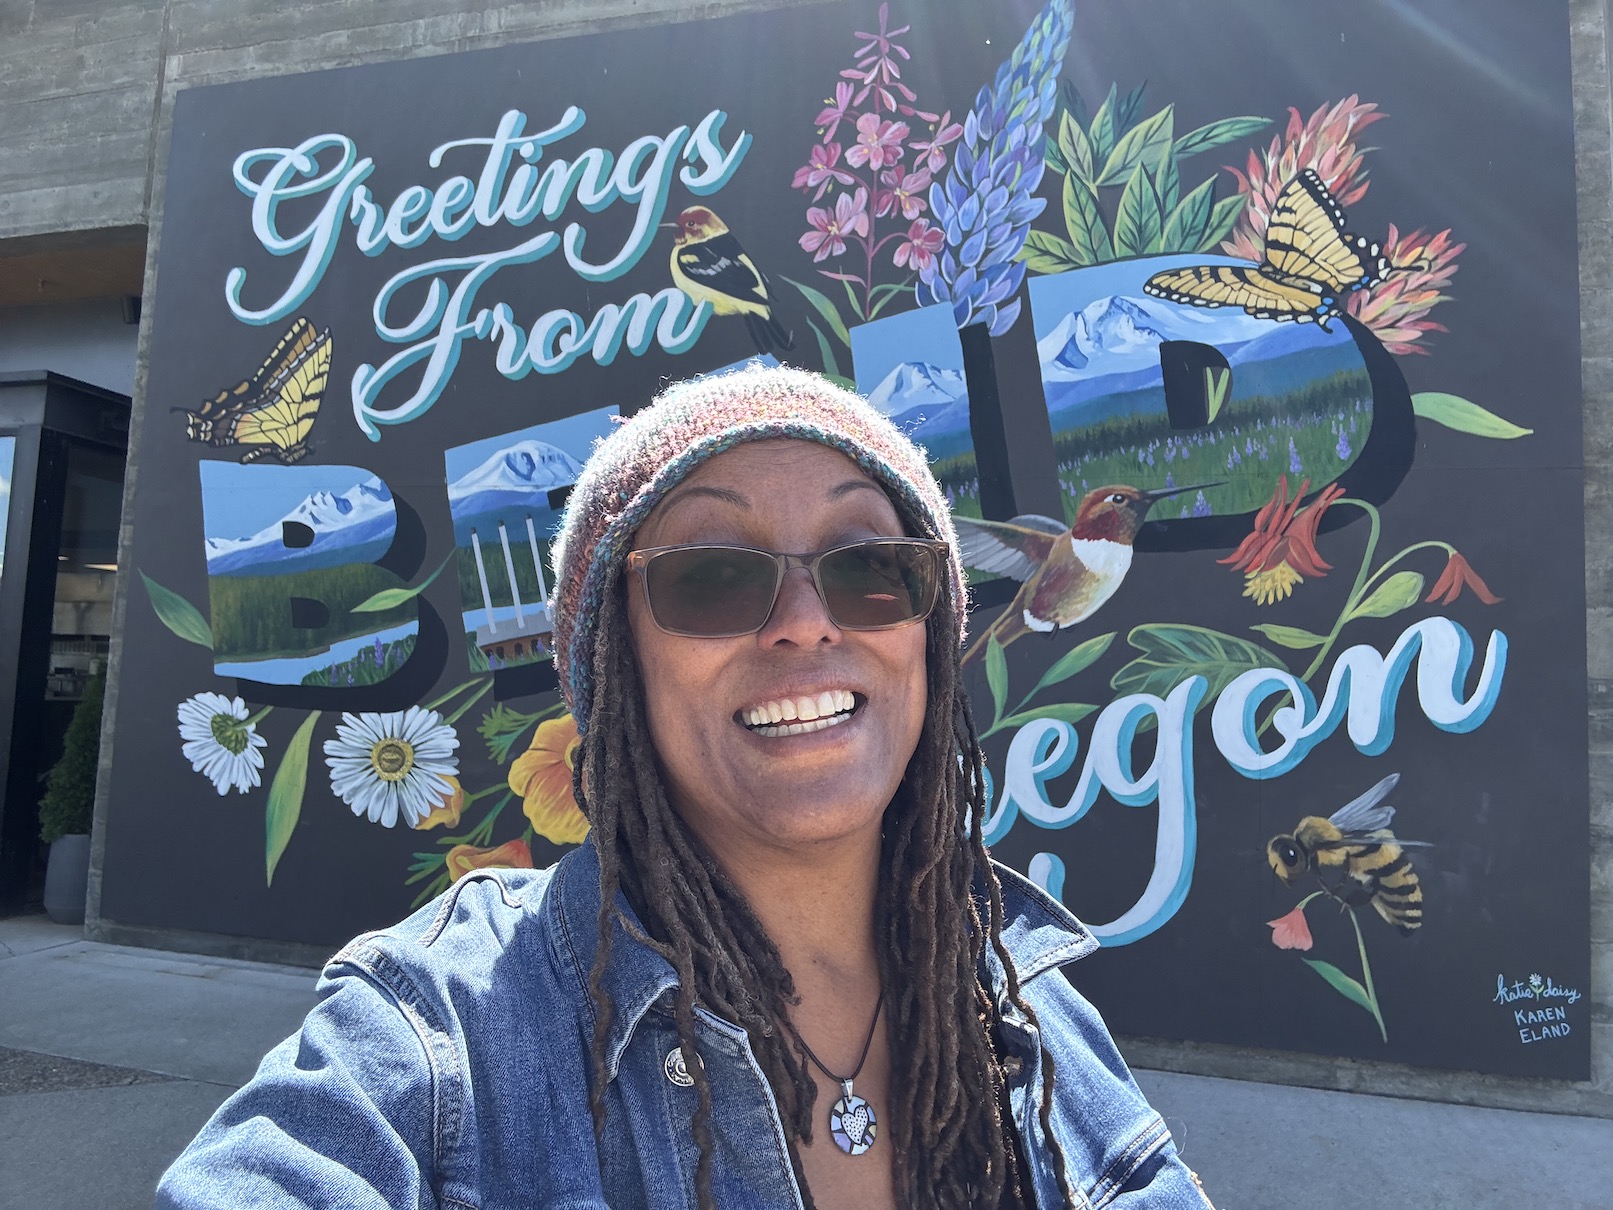
In May 2026, around my birthday, I did something very brave – I returned for the first time in 7 years to my beloved Central Oregon.
I haven’t been back there since I left in April 2019 and moved to Denver, Colorado for a new life adventure after my partner of 33+ years suddenly died in 2018.
I tried to return for the first time for my birthday in 2025 but cancelled as I was still unable to face returning.
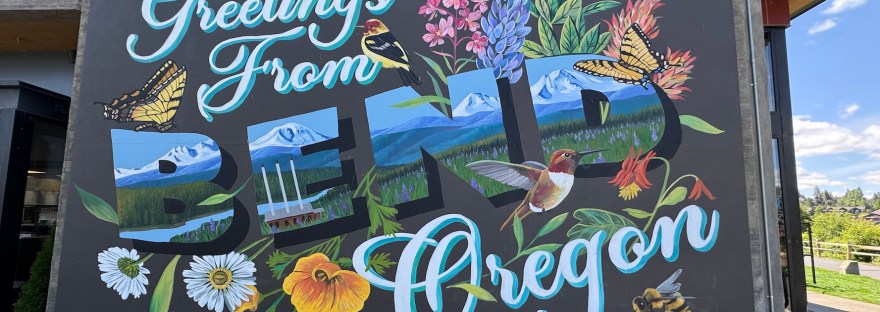
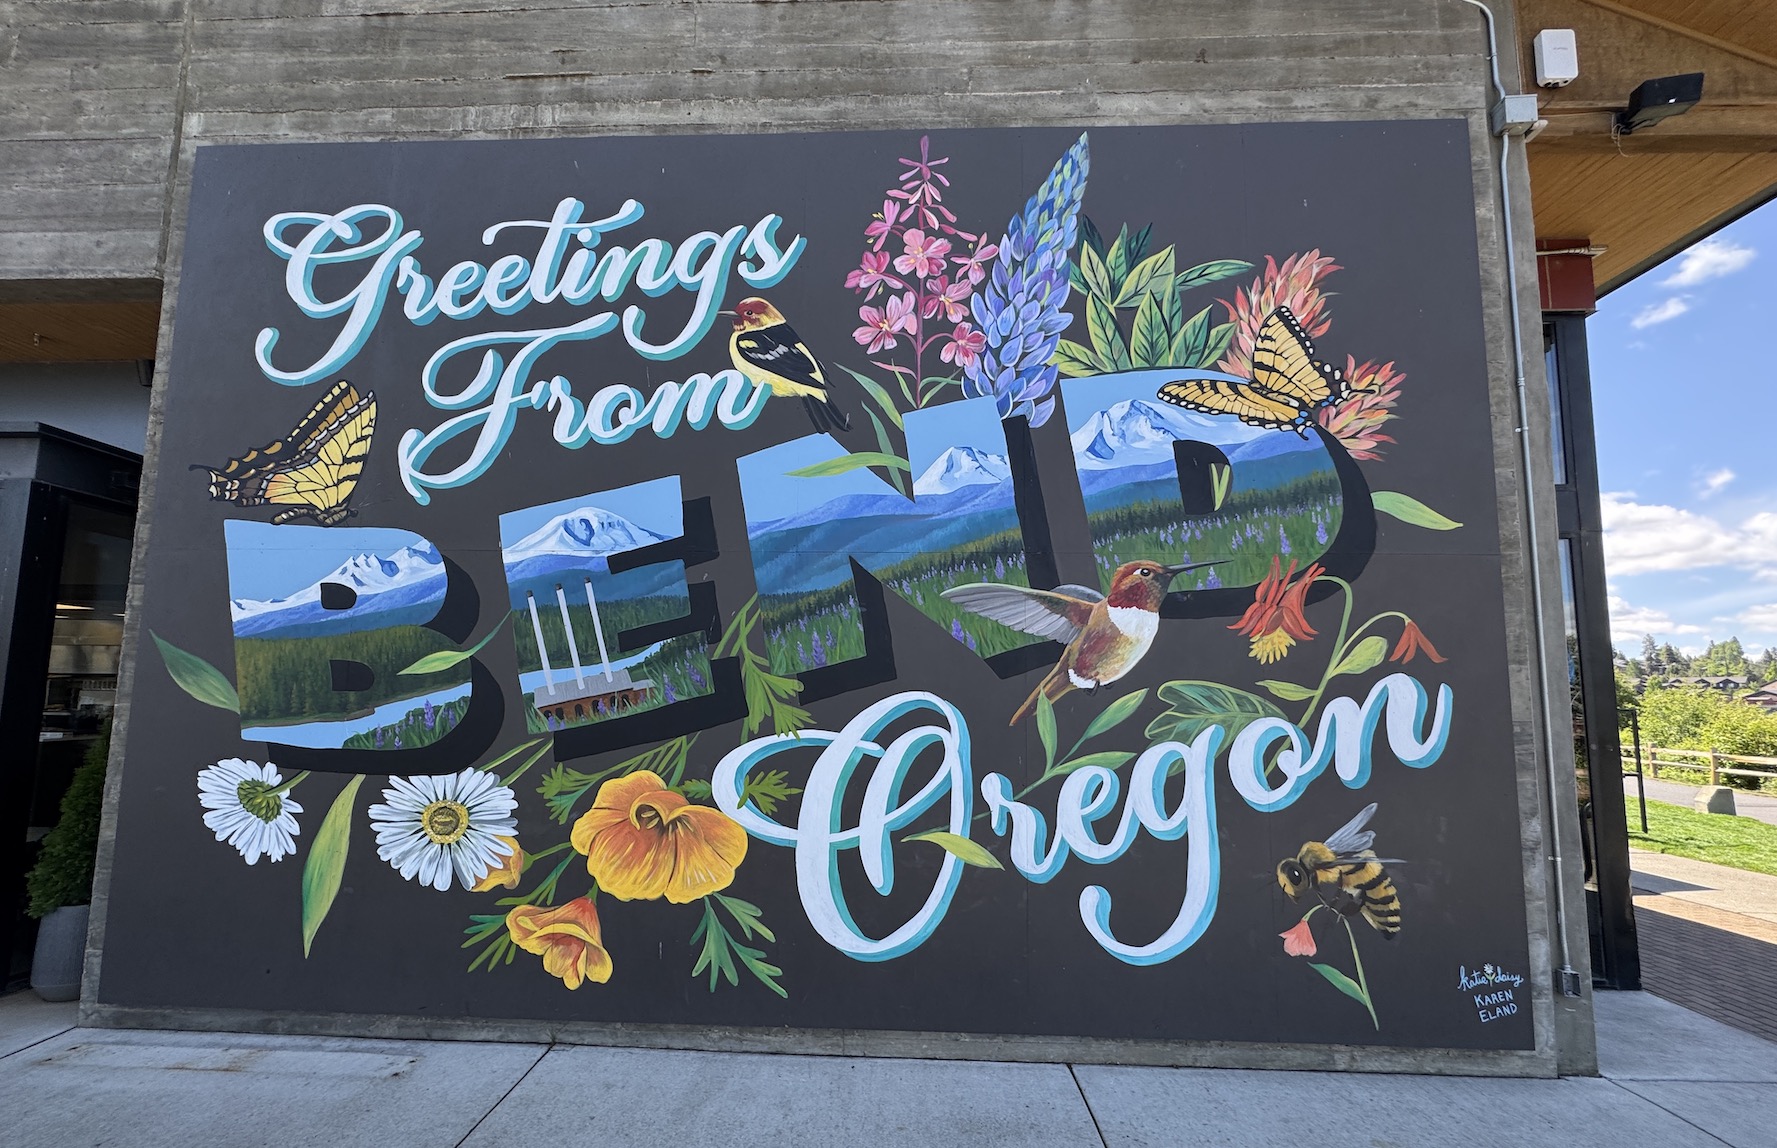
Bend, Oregon was the most wonderful place I had lived in my life and I had a glorious 14 years there with my best friend husband, our dogs, and some spectacular friends. During my grief journey I have grieved the loss of my life partner and the loss of our beautiful life together which included getting to live in this special place.
I am not sure how to put it all into words, but it was very difficult to return to the magical place I left.
If you’ve followed my blog since my early days of blogging (I started tierneycreates blog in 2013) then you might remember some of the sweet stories I shared of life in Bend, Oregon. Stories such as hikes on Pilot Butte, the little mountain (officially it is a giant hill…) near my former home; trips to my beloved local downtown Bend library; bike rides around my neighborhood picking fruit to make into pies; adventures with my husband and dogs; and fun adventures with local friends.
Central Oregon is where I got to be in my first quilt show – the Sisters Outdoor Quilt Show in 2007; and it is where my transition from traditional quilting to experimenting with art/improvisational quilt began.
I guess I avoided returning to avoid the intense feelings of grief that would come with returning; but I knew I had to return as part of healing and closure. So return I did in May 2026 and the pain of my return was eased by loving Central Oregon based friends who welcomed and supported my return. John came with me to see where I came from before he met me and to be my rock during a difficult time.
DOG THERAPY
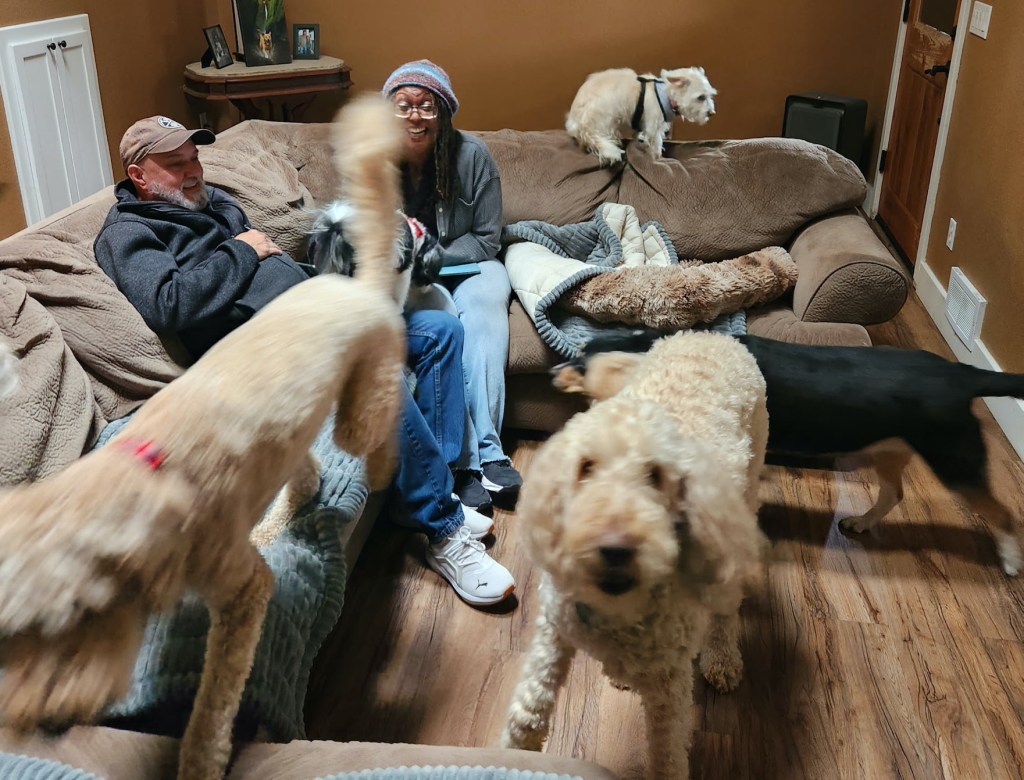
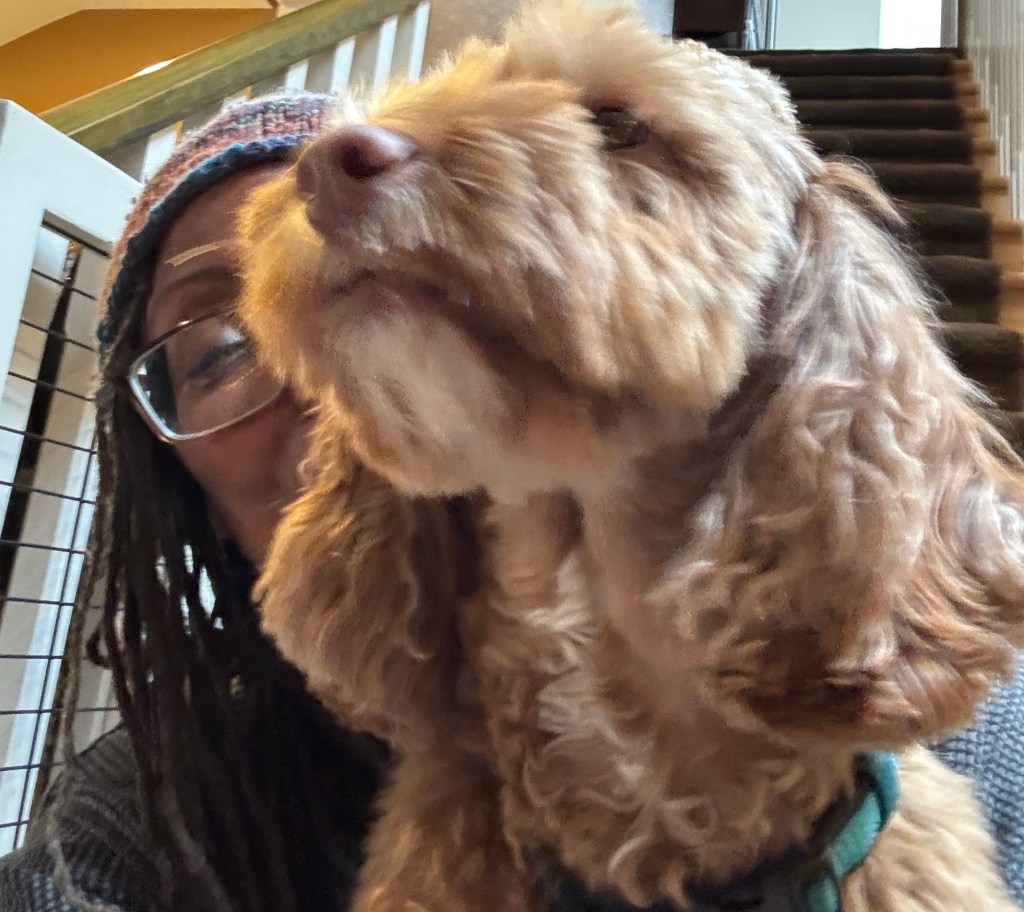
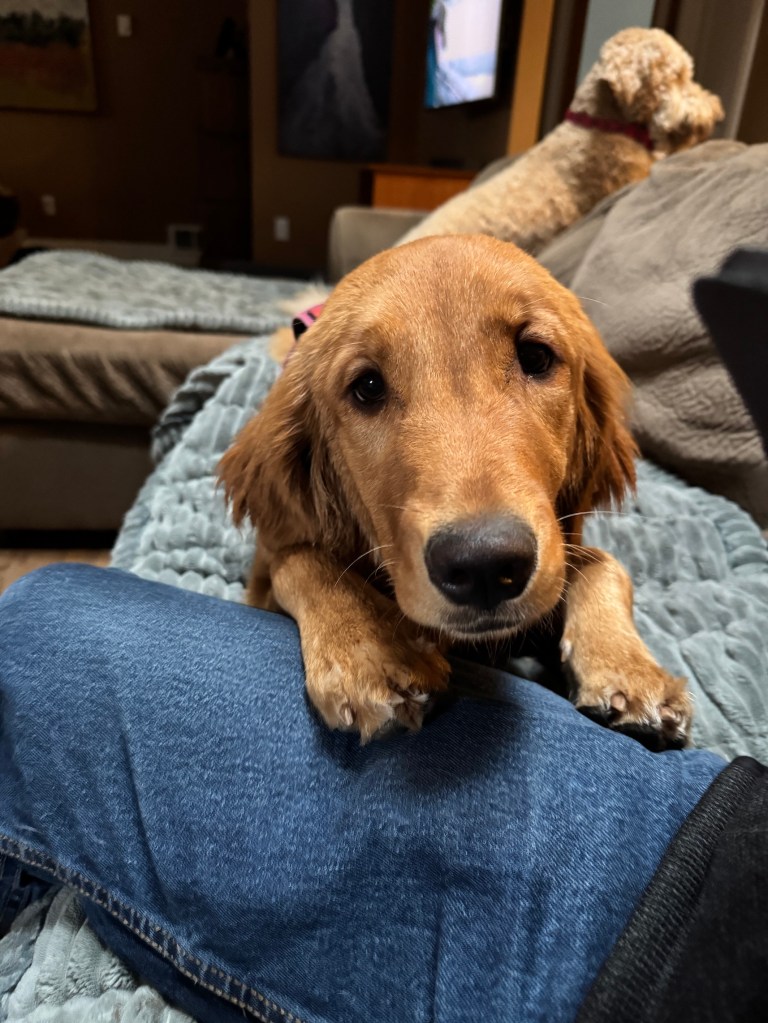
I love dogs and we spent time with my amazing friends (who have become John’s dear friends also over the past 7 years) MJ and J who adopt rescued dogs. They provided me with lots of dog therapy while I visited Bend.
It’s difficult to feel sad when there are plenty of wet noses nudging you to pet them or snuggle with them!
VISIT TO AN ALPACA FARM
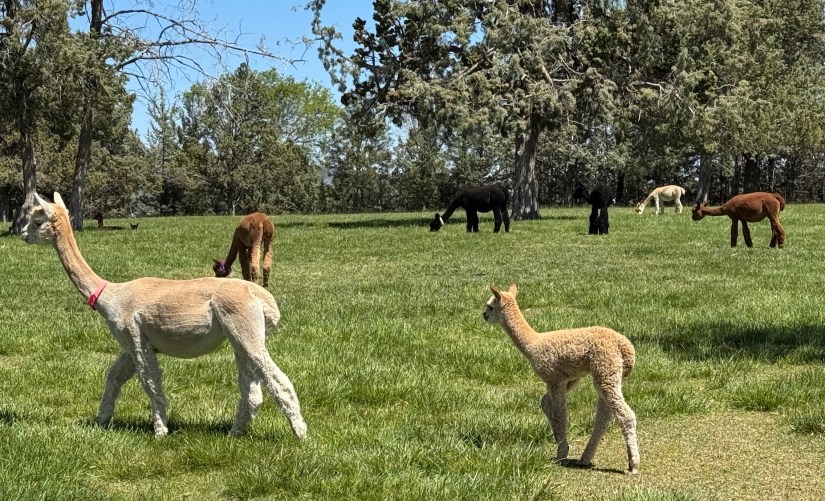
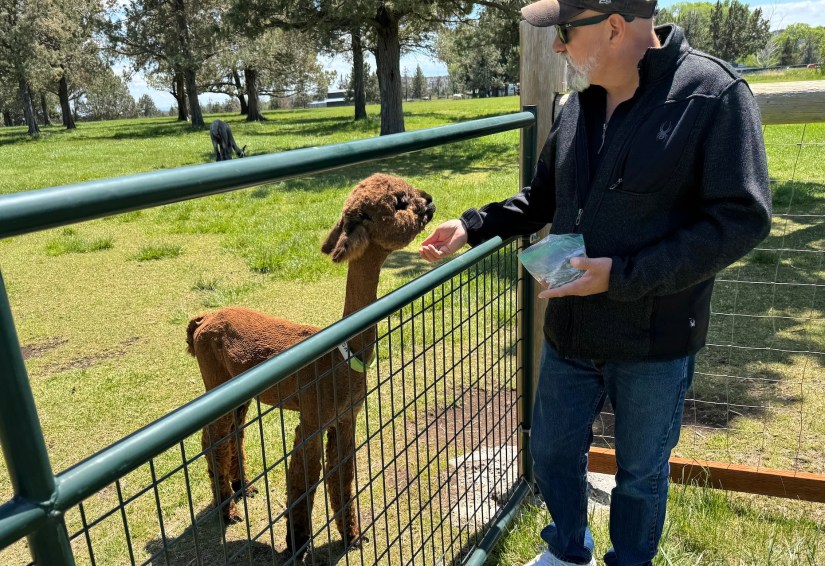
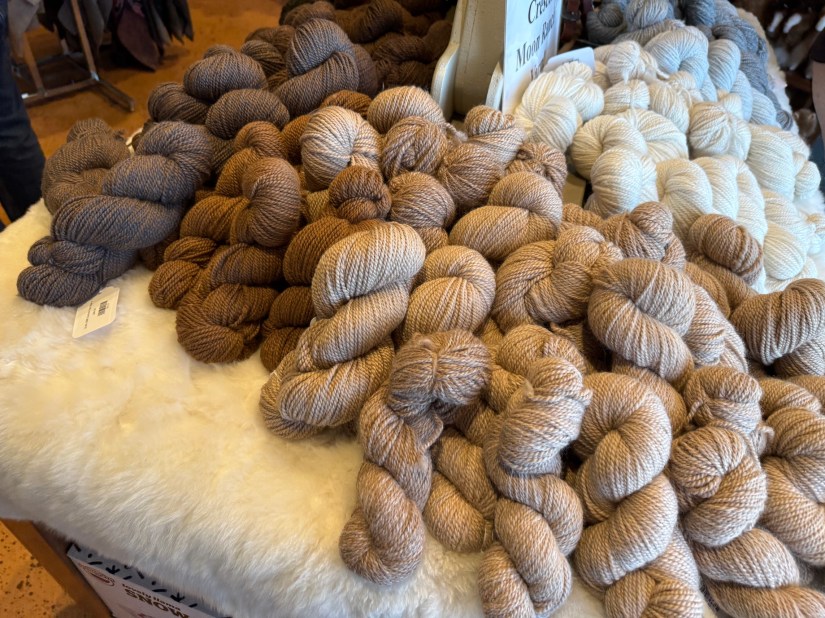
On my birthday, MJ and J took me to Crescent Moon Ranch Alpaca Farm. We had a blast petting and feeding alpacas! They had a gift shop with all the hand spun alpaca yarn you could imagine!
A LITTLE CENTRAL OREGON ROADTRIP
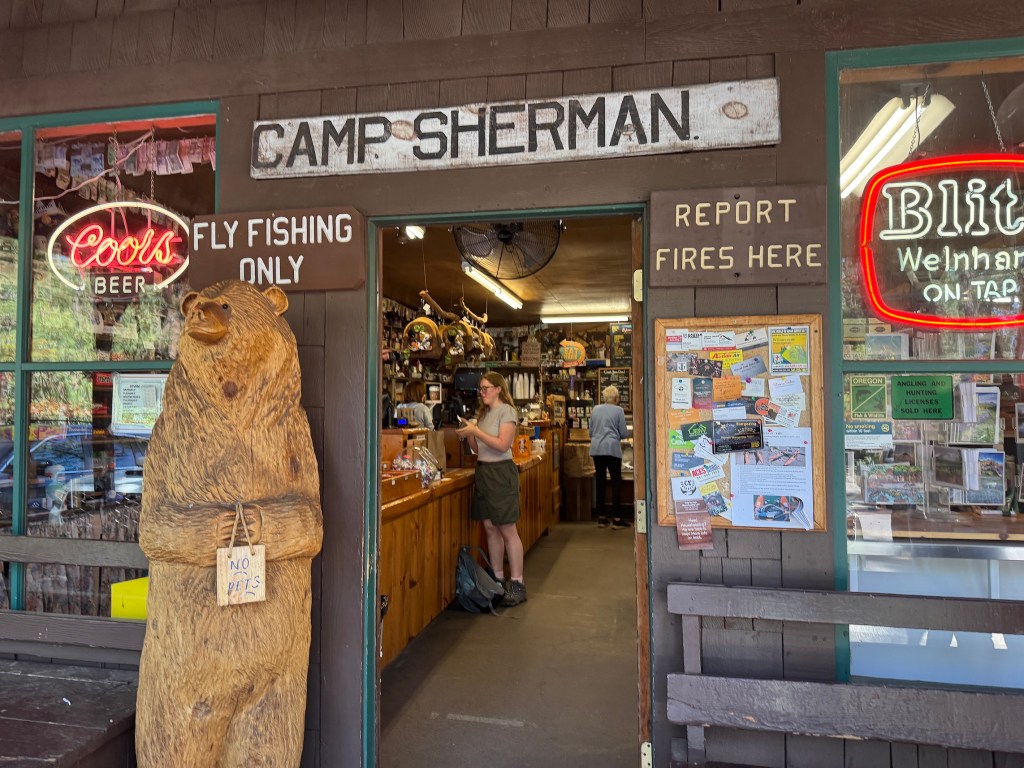
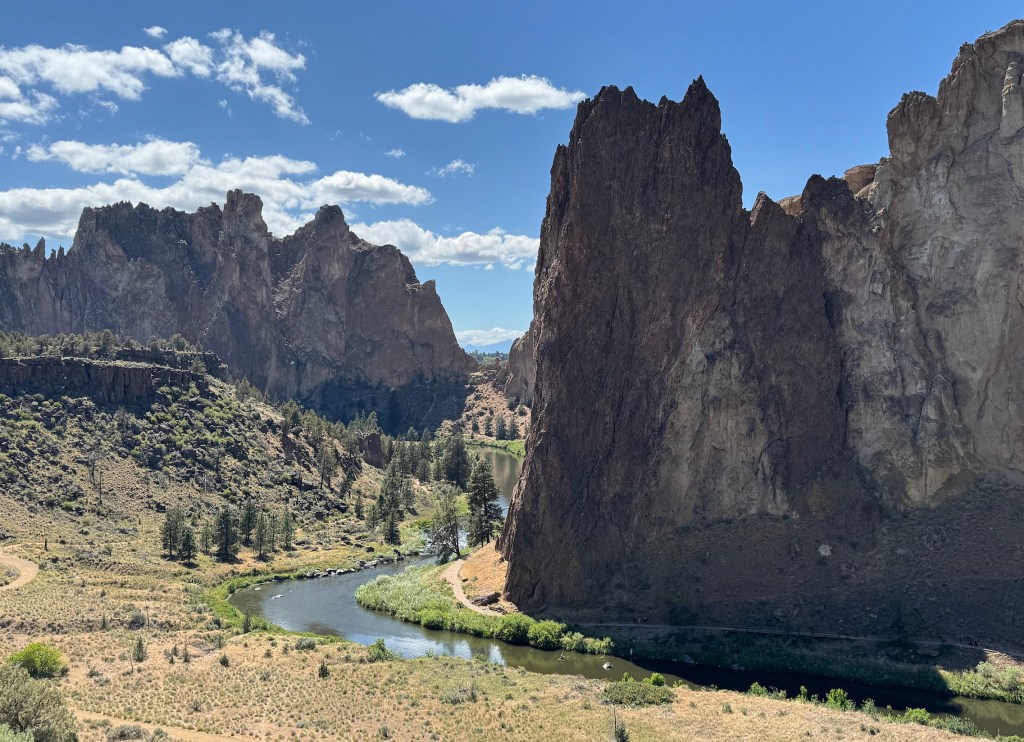
On my birthday MJ and J took us on a little Central Oregon roadtrip and visited Sisters, Oregon, the Camp Sherman area, and Smith Rock State Park. I was reminded of the beauty of Central Oregon and John was introduced to it.
Smith Rock State Park (photo above) was the most difficult place for me to visit during the trip. I had so many wonderful memories of going hiking and picnicking with my late husband. When I saw the beauty of Smith Rock (the photo does not do it justice) I just lost it.
I took a little hike around the area on my own and finally found some peace.
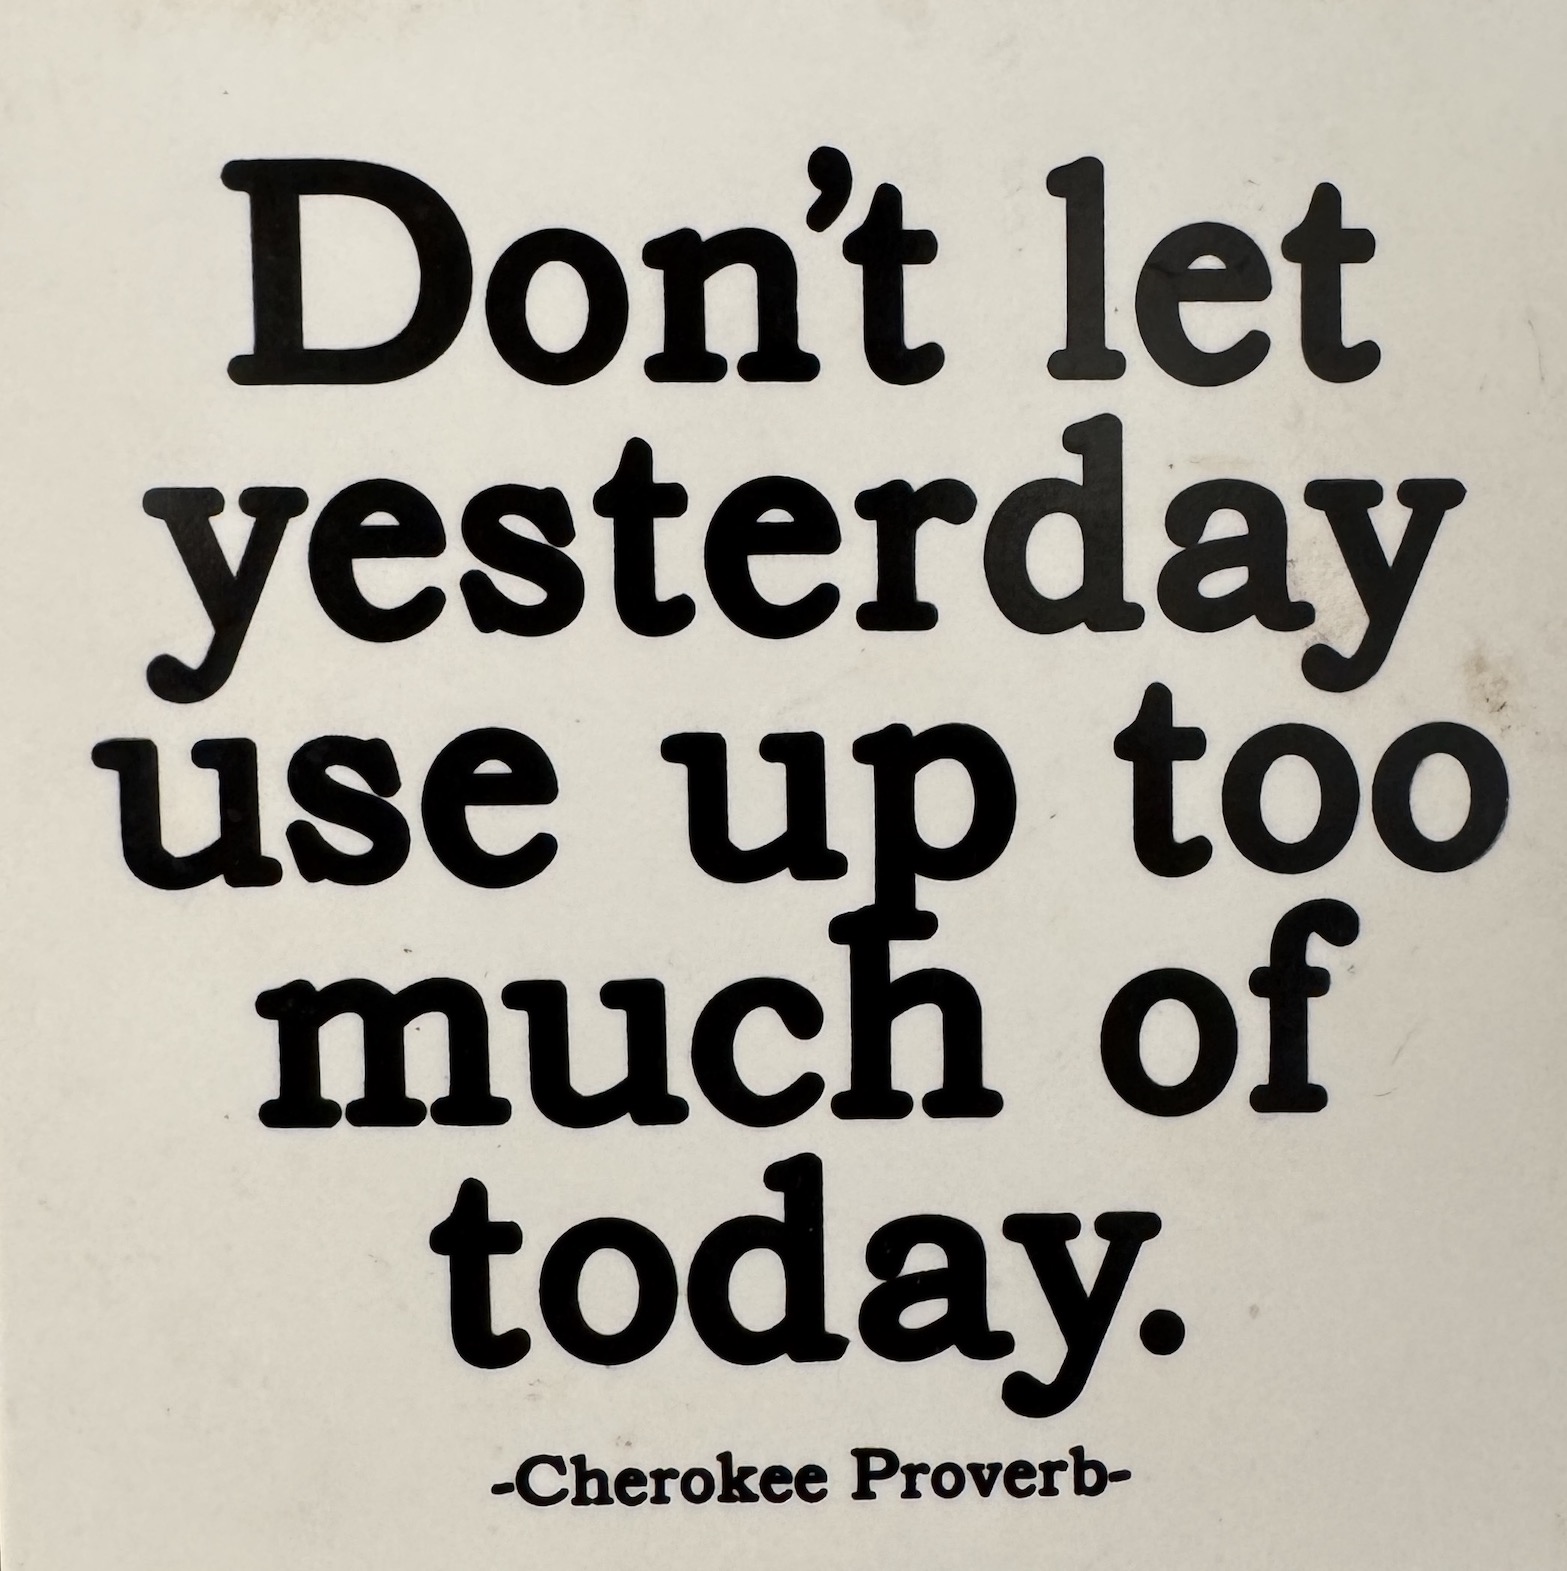
I did during our travels in Central Oregon come across this magnet and tried to keep it in mind to get me through the visit:
THE NEW BEND LIBRARY
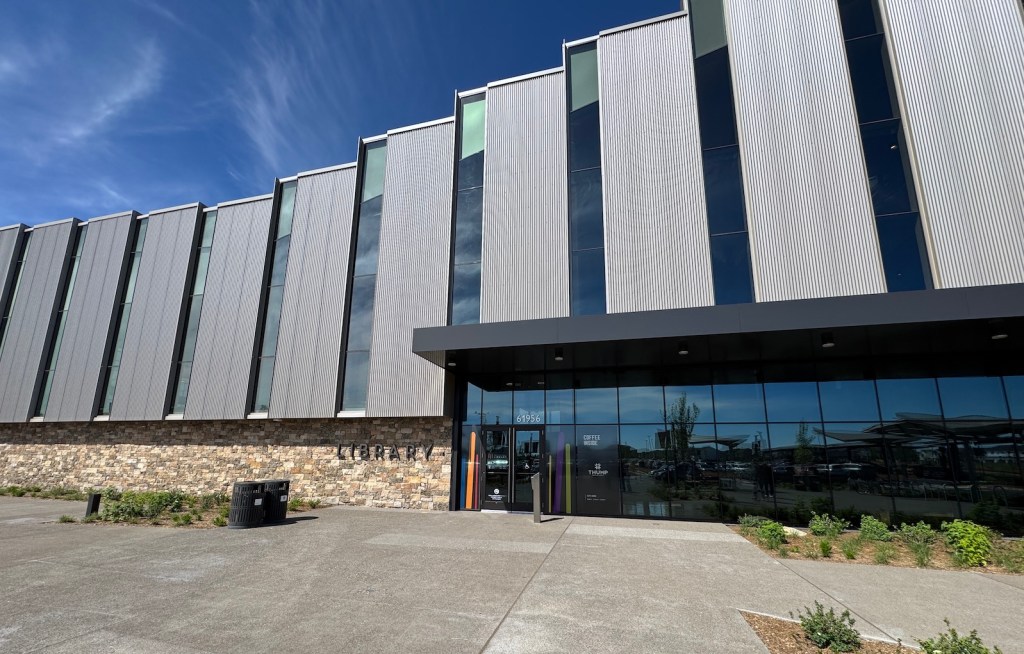
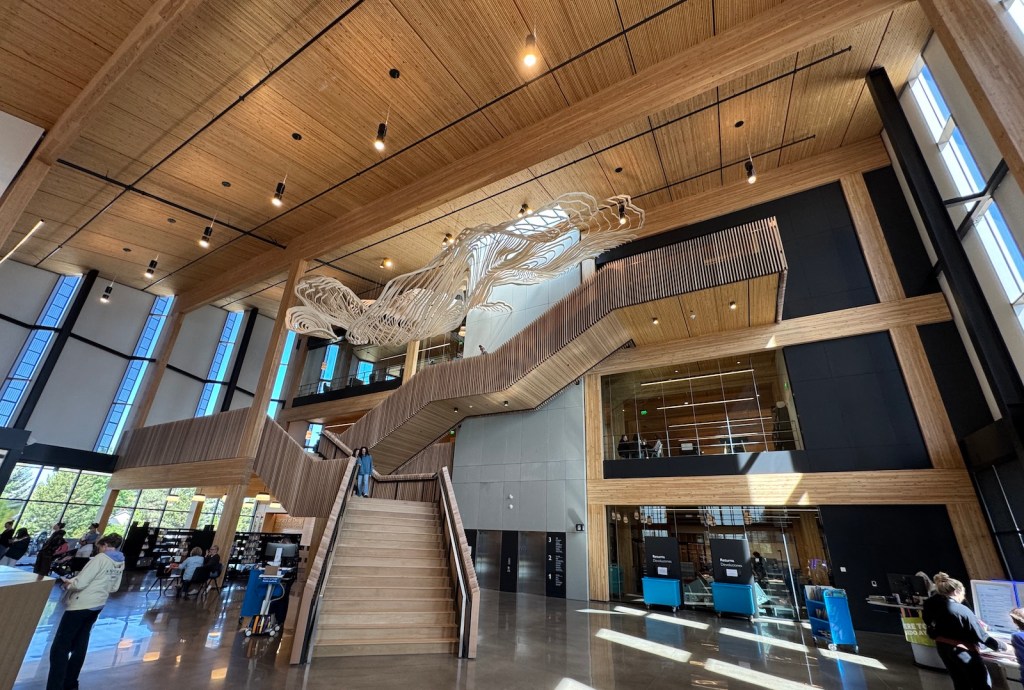
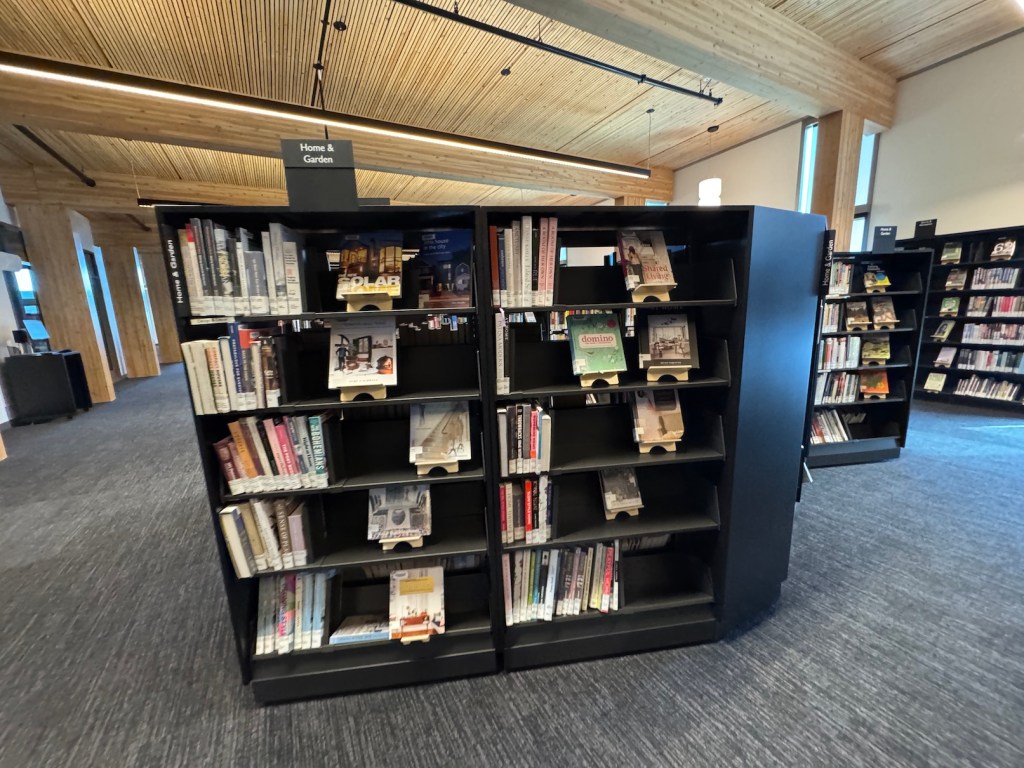
I loved the downtown Bend main library and visited it nearly every week (or more) when I lived there. That library closed and they built a new huge main library in a central location away from downtown Bend. MJ and J took us there.
It was beautiful but very surreal to me. I was in shock to see how my cozy beloved library had morphed into a modern huge structure. I wandered around on my own for a while trying to see if I could feel the “soul” of the place but it felt hollow to me. I appreciated the architectural design but it just made me sad for some reason. I felt like something special was lost by the community. (Also gone were all the library staff I used to know and visit with when I lived there for 14 years).
MORE TO MY VISIT
There was more to my visit but I seem to be only able to write about this trip briefly. I was originally going to make this a series of posts but I realized I can only deal with writing one post on this experience.
I did get to reunite with some other very special friends during the trip. I saw my friend art quilter Wendy Hill who I’ve mentioned on this blog before. We had a lovely lunch at her home.
I had a wonderful breakfast get together with my beloved neighbor of 14 years J who lived in the house across the street from me.
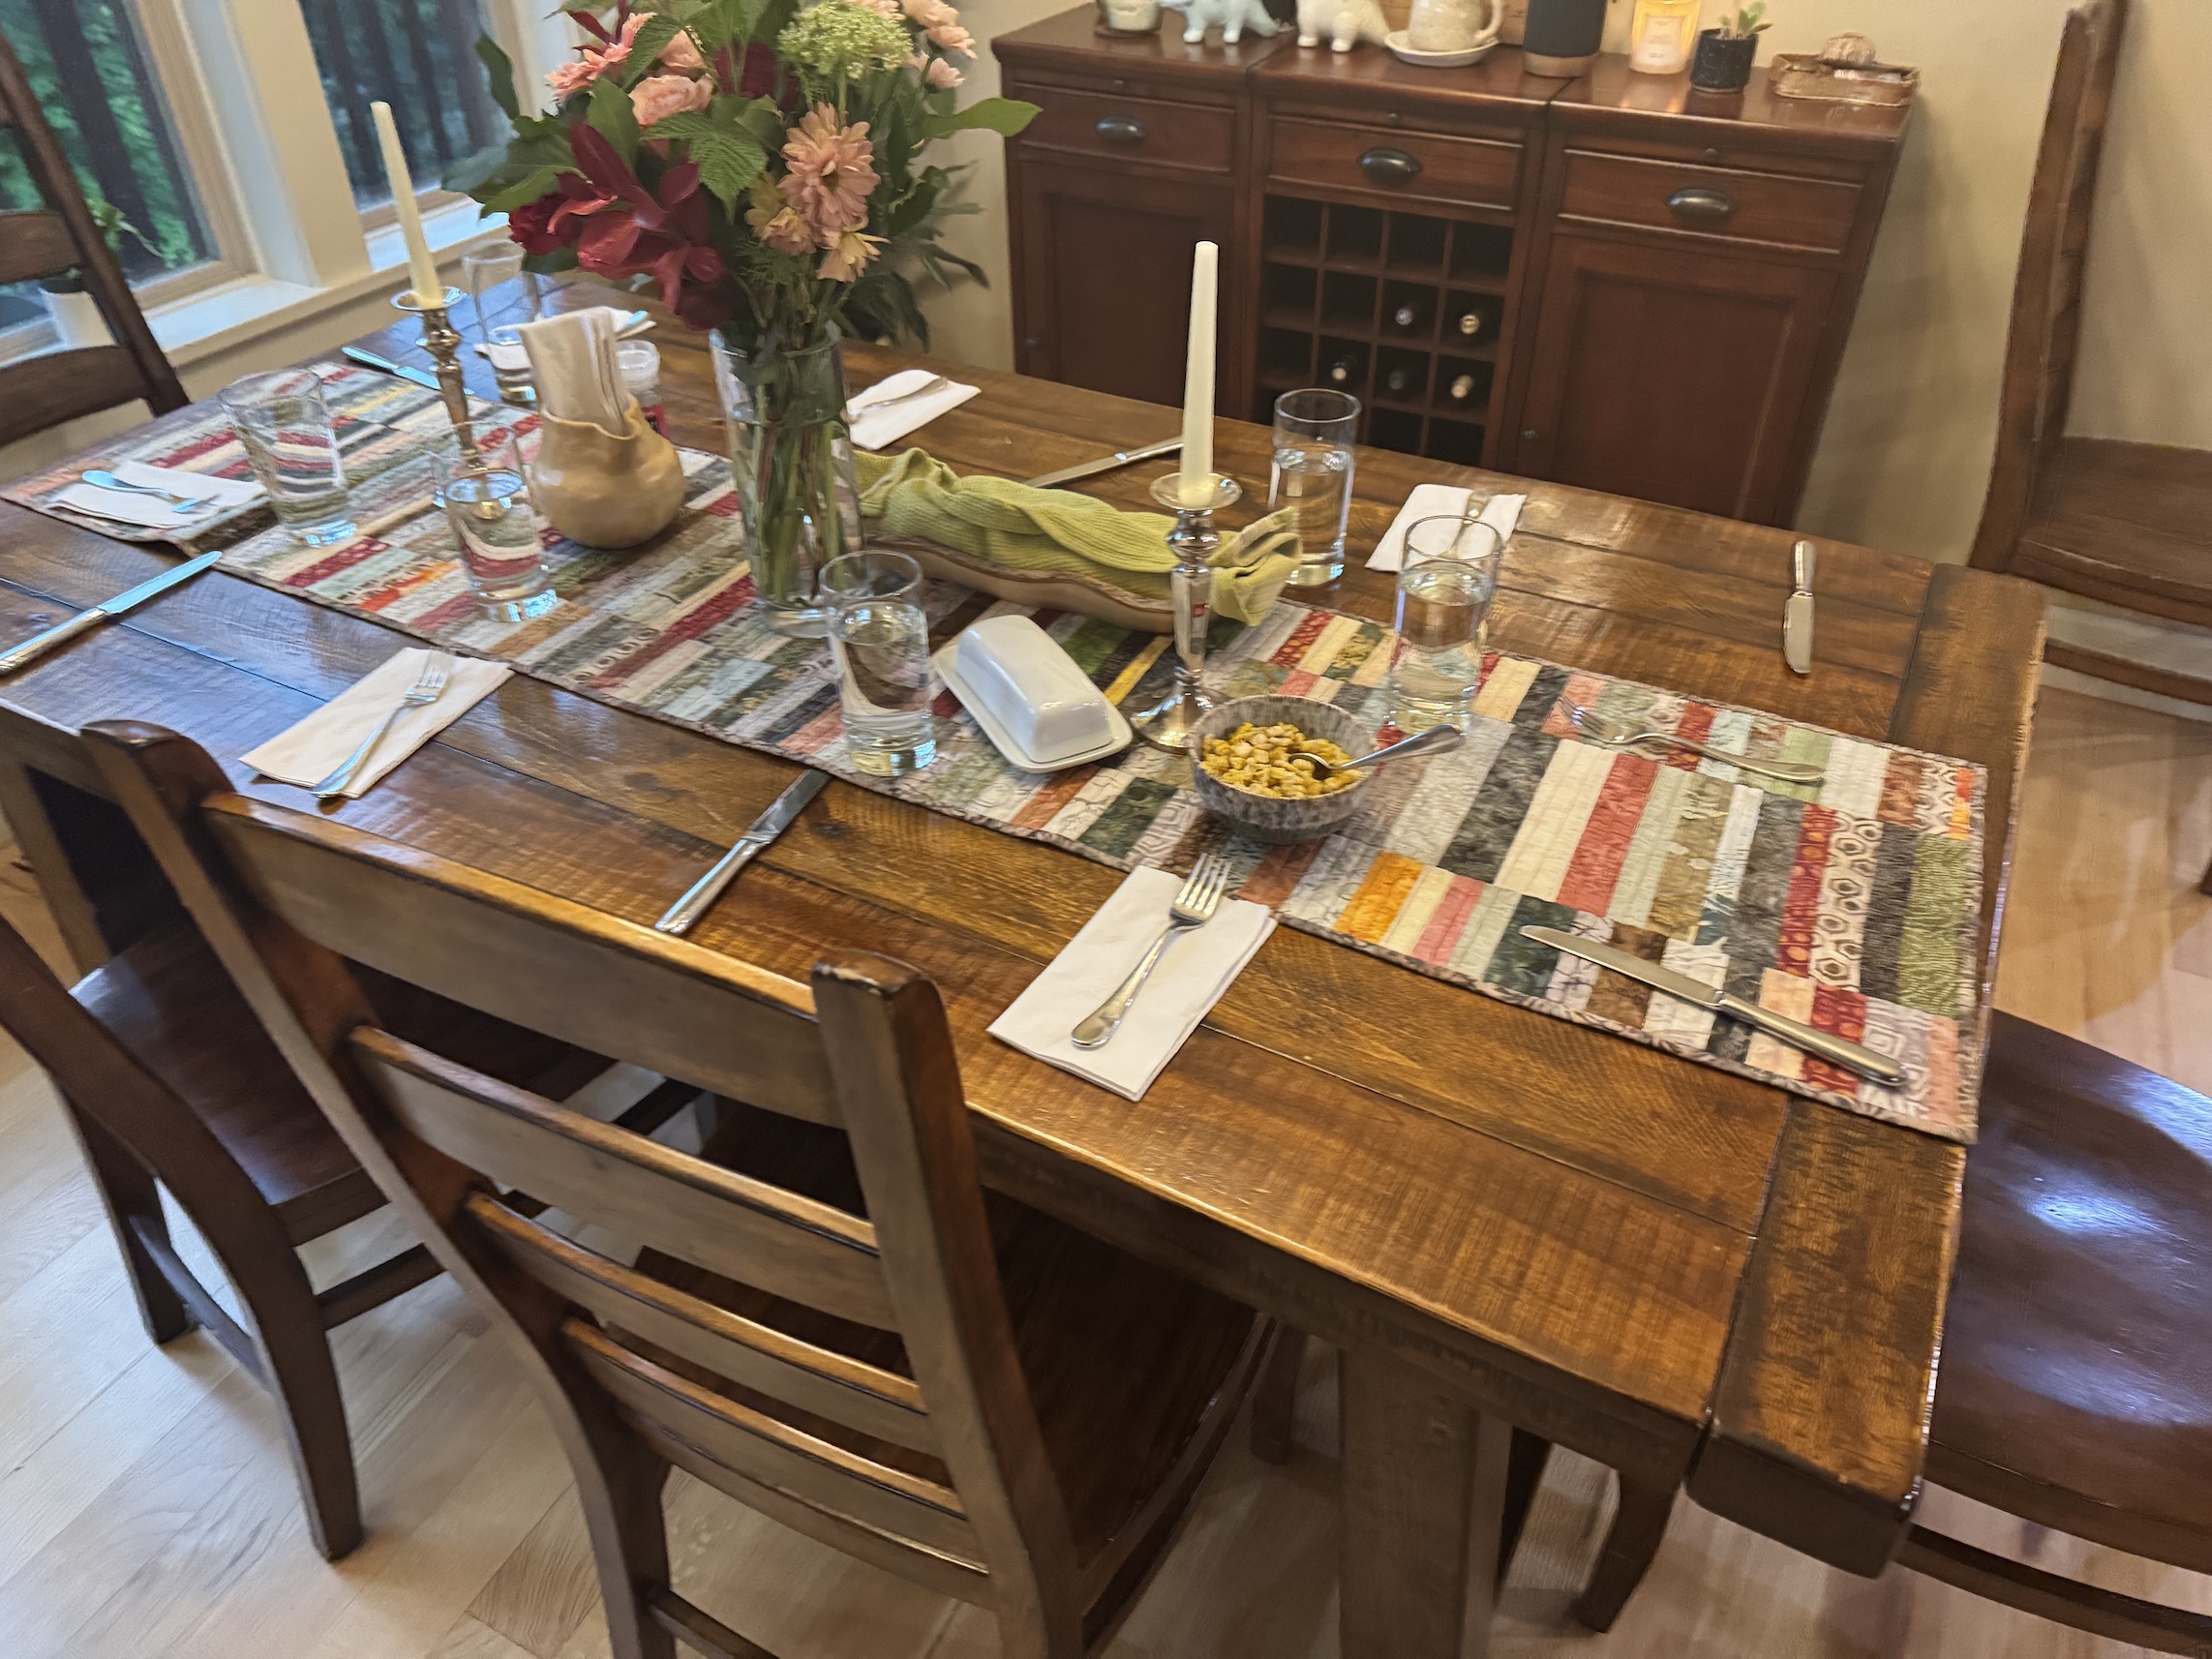
I also got to visit with my wonderful friend L, and got to visit with her wonderful family. We had dinner with her family at her table which was covered with the table runner I made her.
So I did it. I returned. Honestly I am not sure if I am up to returning ever again. Time will tell.
Postscript
In case you are wondering, I did go see my old home. John and I had a rental car and he drove us by it. At first my plan was NOT to go see my old home, it would just be too incredibly painful. But spur of the moment one early evening I decided I wanted to see it.
The good thing is that my old neighborhood looked fantastic and the area has really become built up. My old home also looked fantastic, the person who bought it has done a fabulous job of maintaining it. I couldn’t believe how lush and beautiful the trees and plants I planted all those years ago had become. The house looked better than when I lived in it.
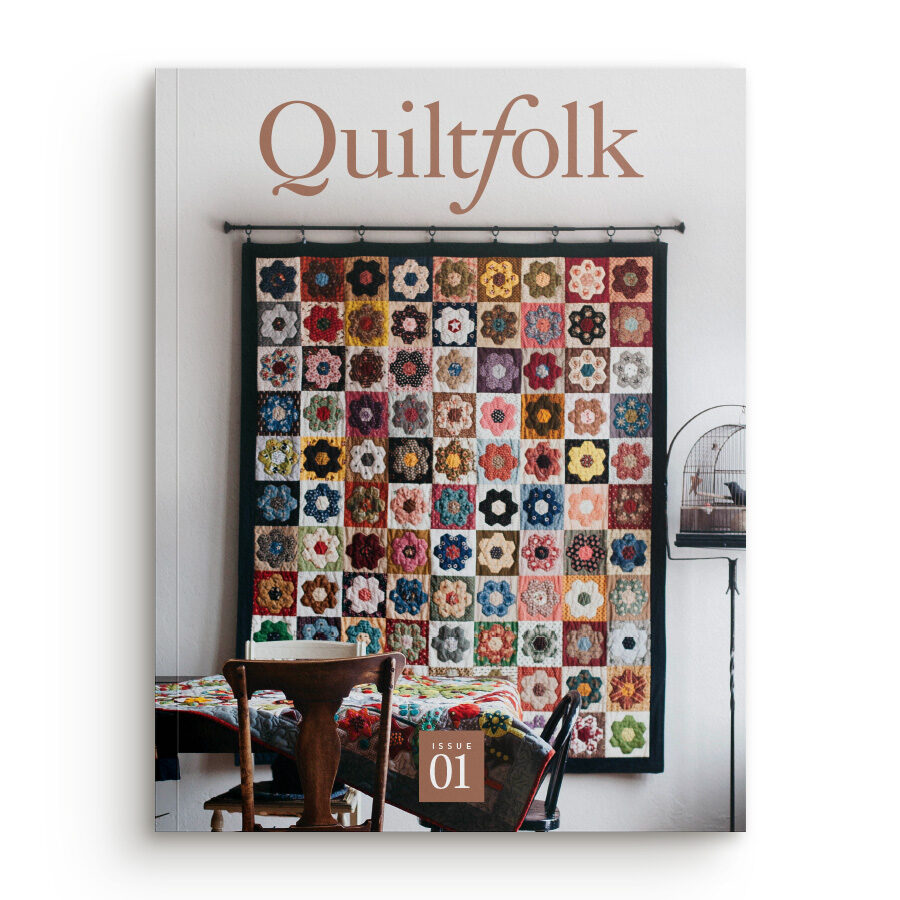
This post is an update to the August 10th post Very Good Progress on the EPP Quilt on the English Paper Piecing (EPP) hexagon quilt I begin in 2016 and am still working on finishing in 2026 (I mere 10 years…perhaps not the speediest quilt completion…). The quilt is composed of 99 blocks and was inspired by the cover for the first issue of Quiltfolk Magazine (Issue 1: Oregon):
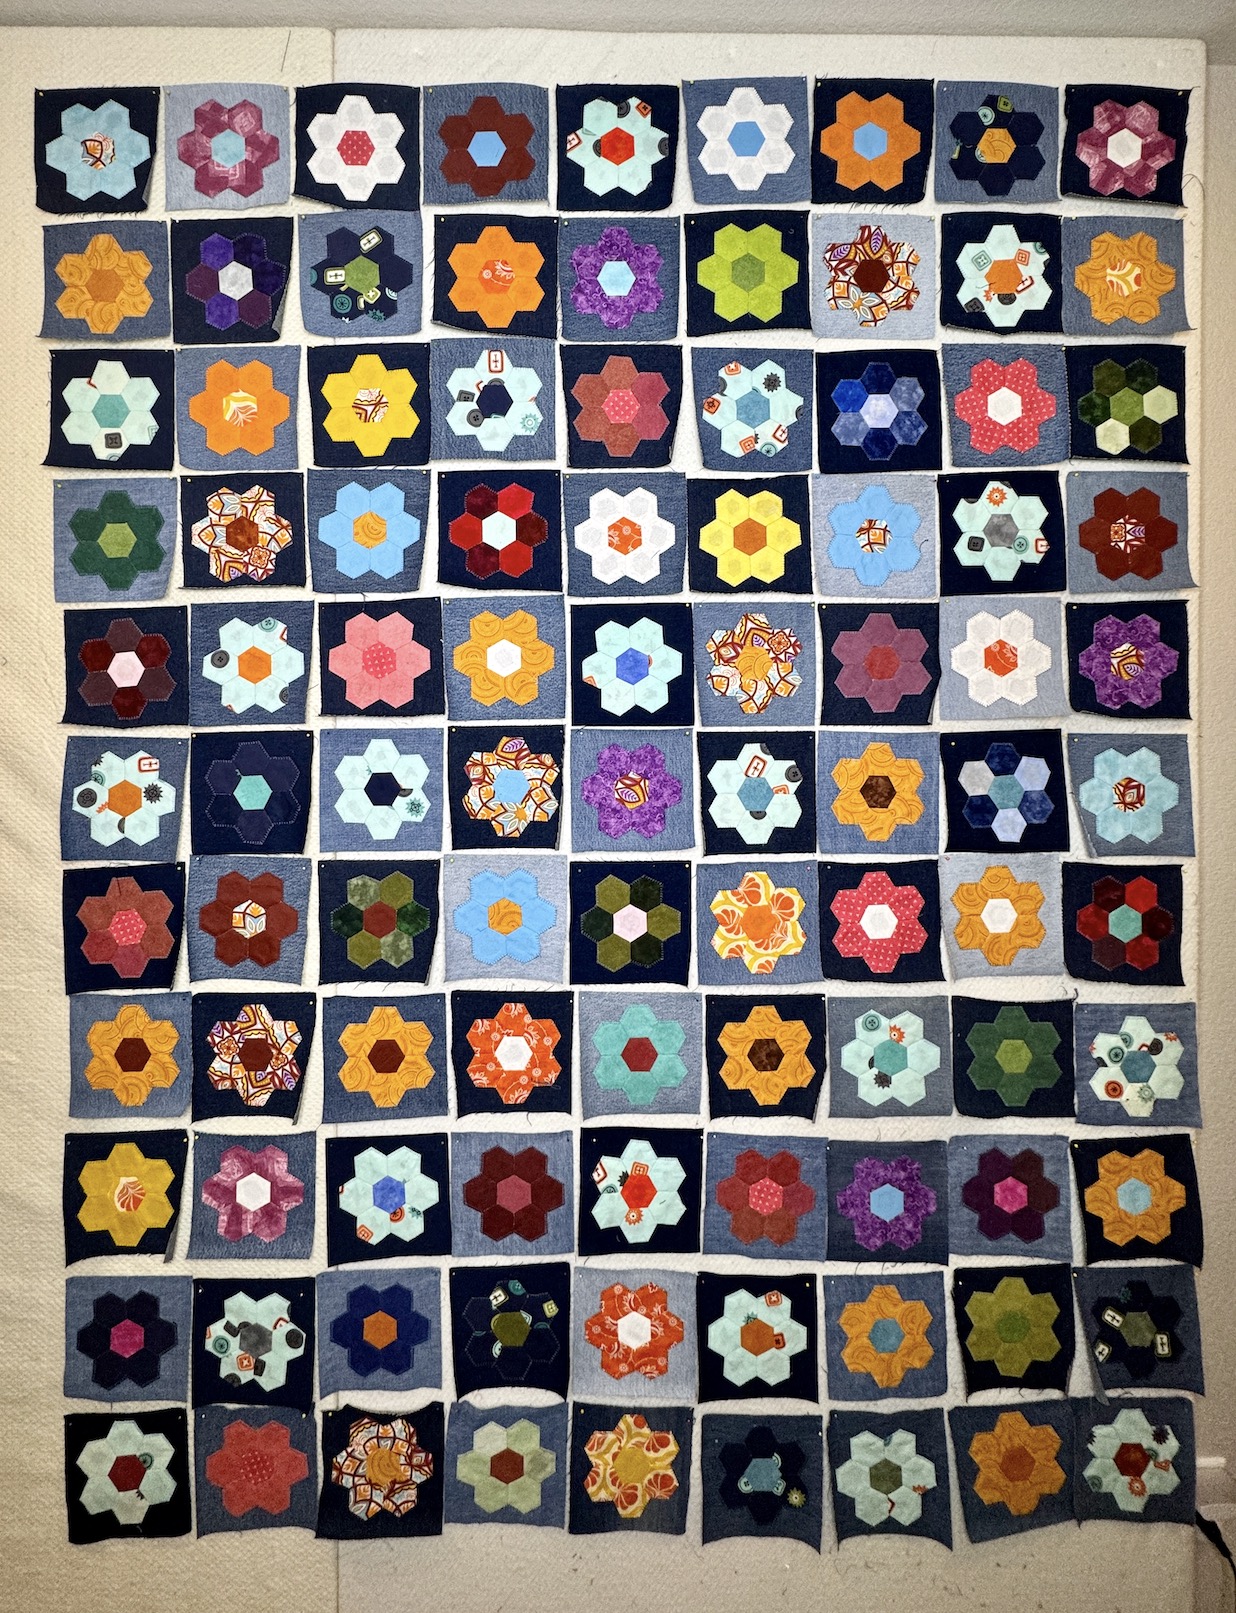
SO HERE IS THE BIG NEWS: I FINISHED ALL 99 BLOCKS!!!!
HAPPY DANCE!!!
Did you get up from your seated positions and dance along with me?!?!
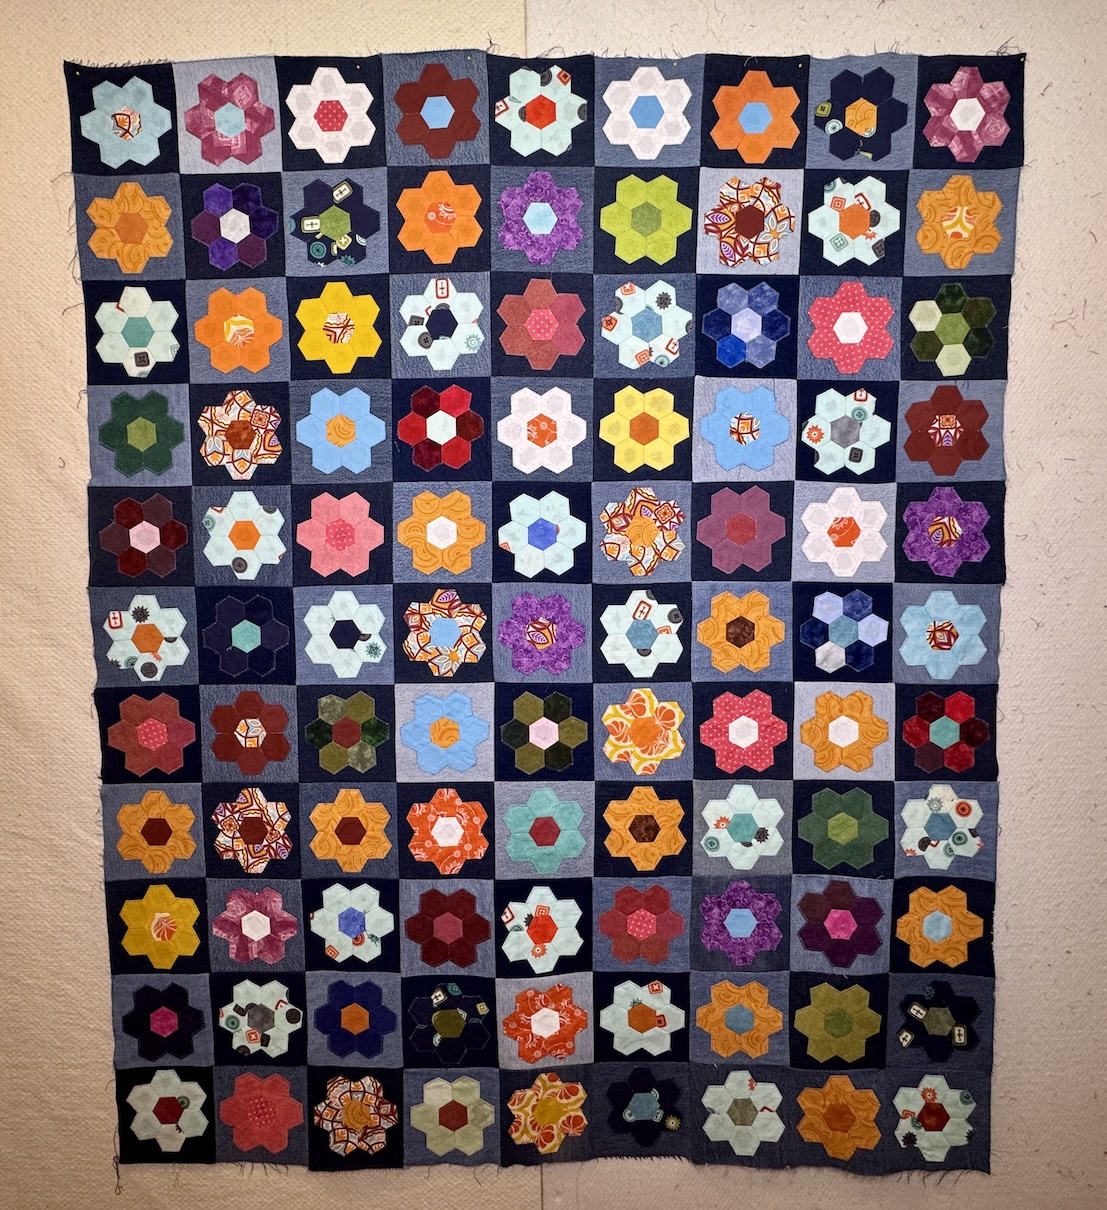
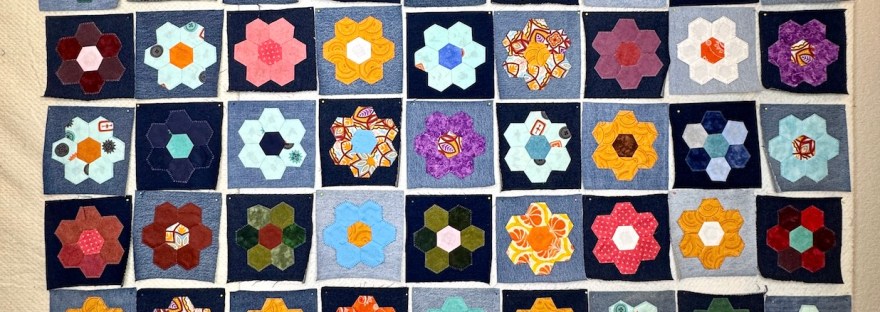
Here are all 99 blocks – the scrappy hexagon rosettes appliqued on to scrap denim:
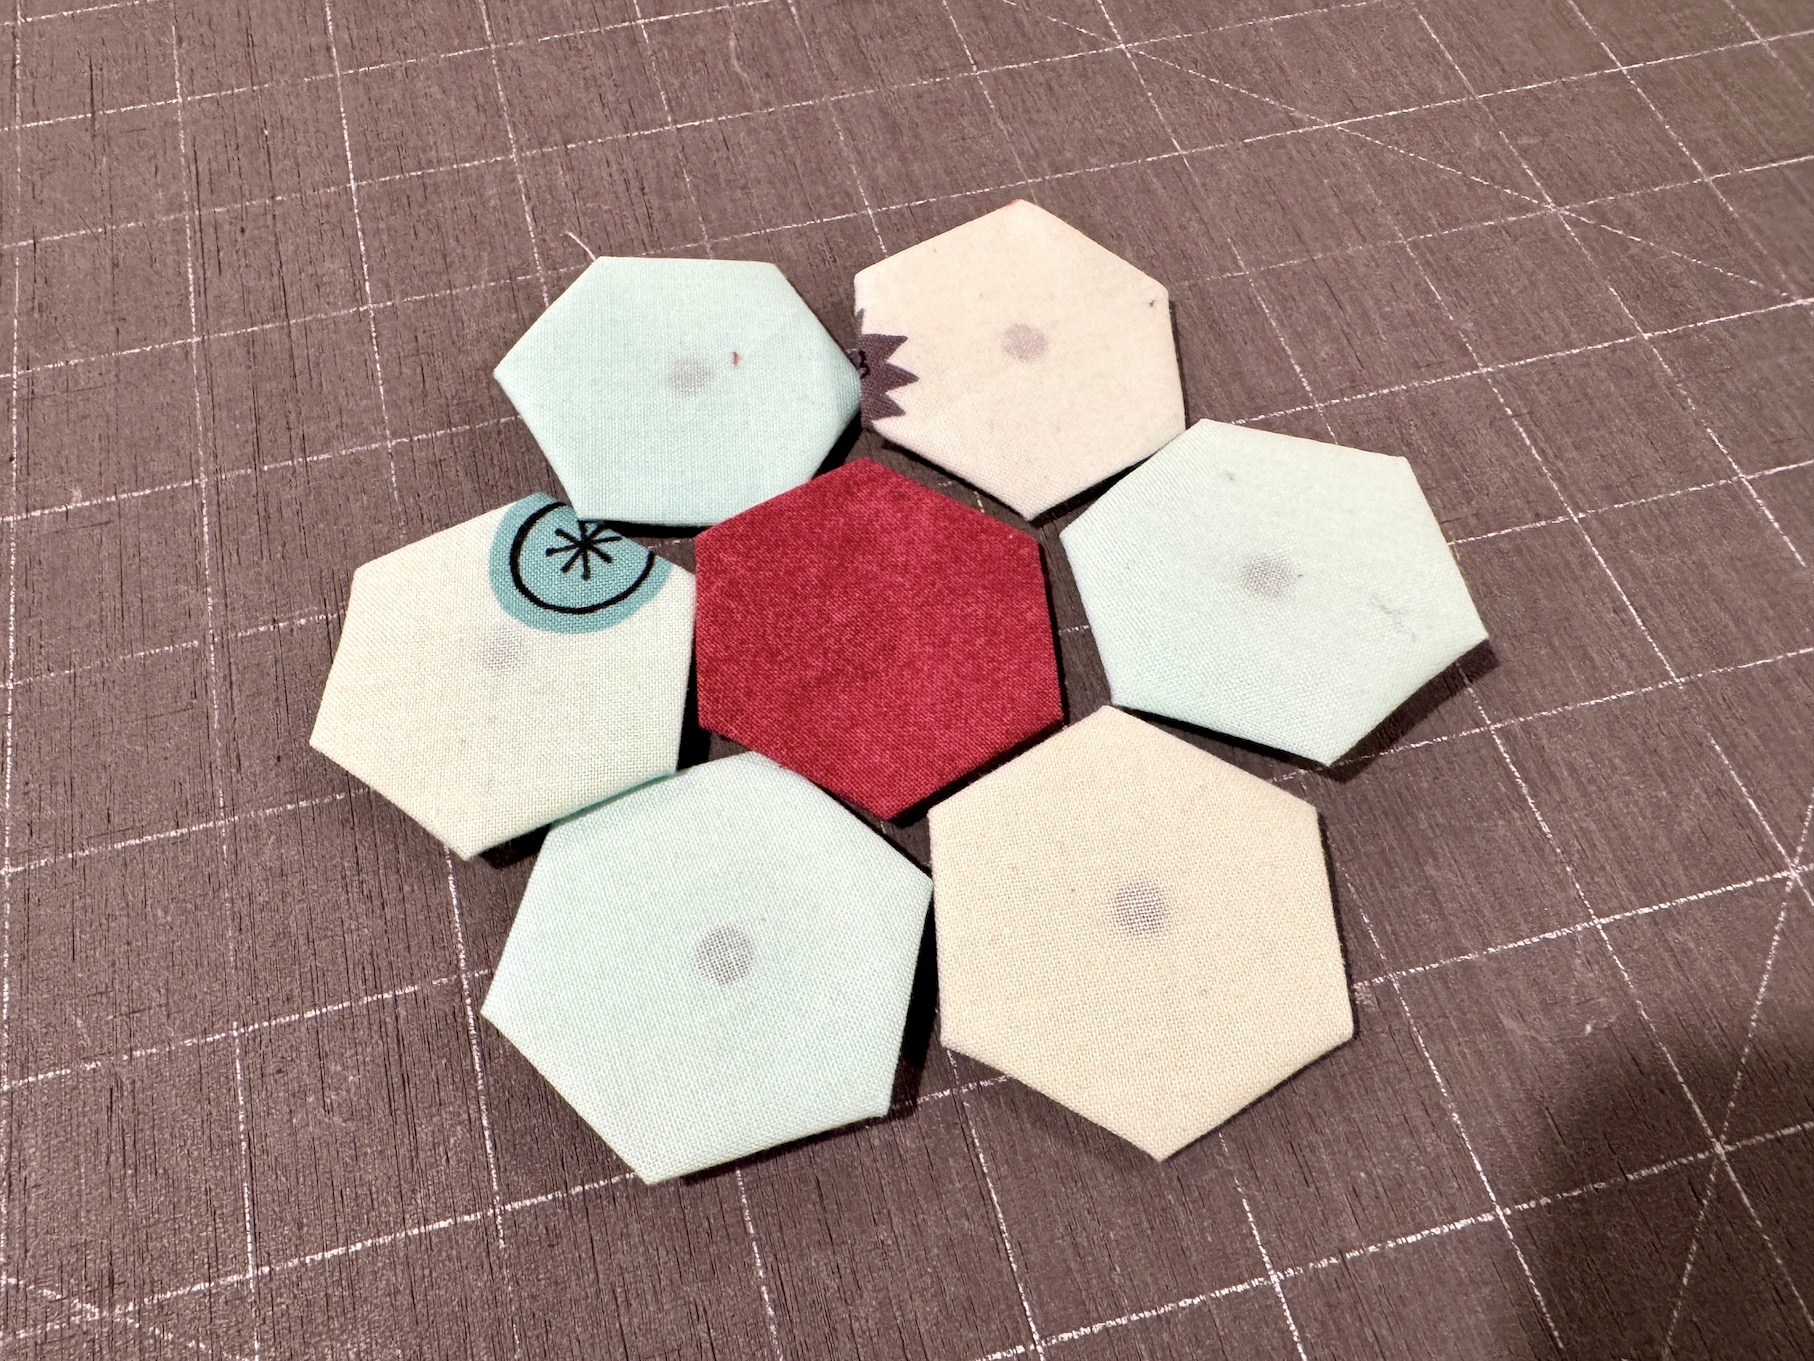
I had 98 blocks done and I remembered I had to one from scratch to make 99, because I’d lost one while traveling (I learned they did not make a good traveling project), So in the “eleventh hour” I had to pull out my EPP paper and paper piece six little hexagons (lucky I had one spare random hexagon and didn’t have to piece 7!) and sew them into a rosette (ugh).
But now all the blocks a done and I can start sewing the quilt blocks together and get them off the longarn quilter!!!
Back in October 2025, we visited New York City with my sister and her son after attending Country Calling in Ocean City Maryland (see post 2025: Year in Travel, Part 2– October). Our hotel was located across from the plaza from “Ground Zero” and the 9/11 Memorial and Museum.
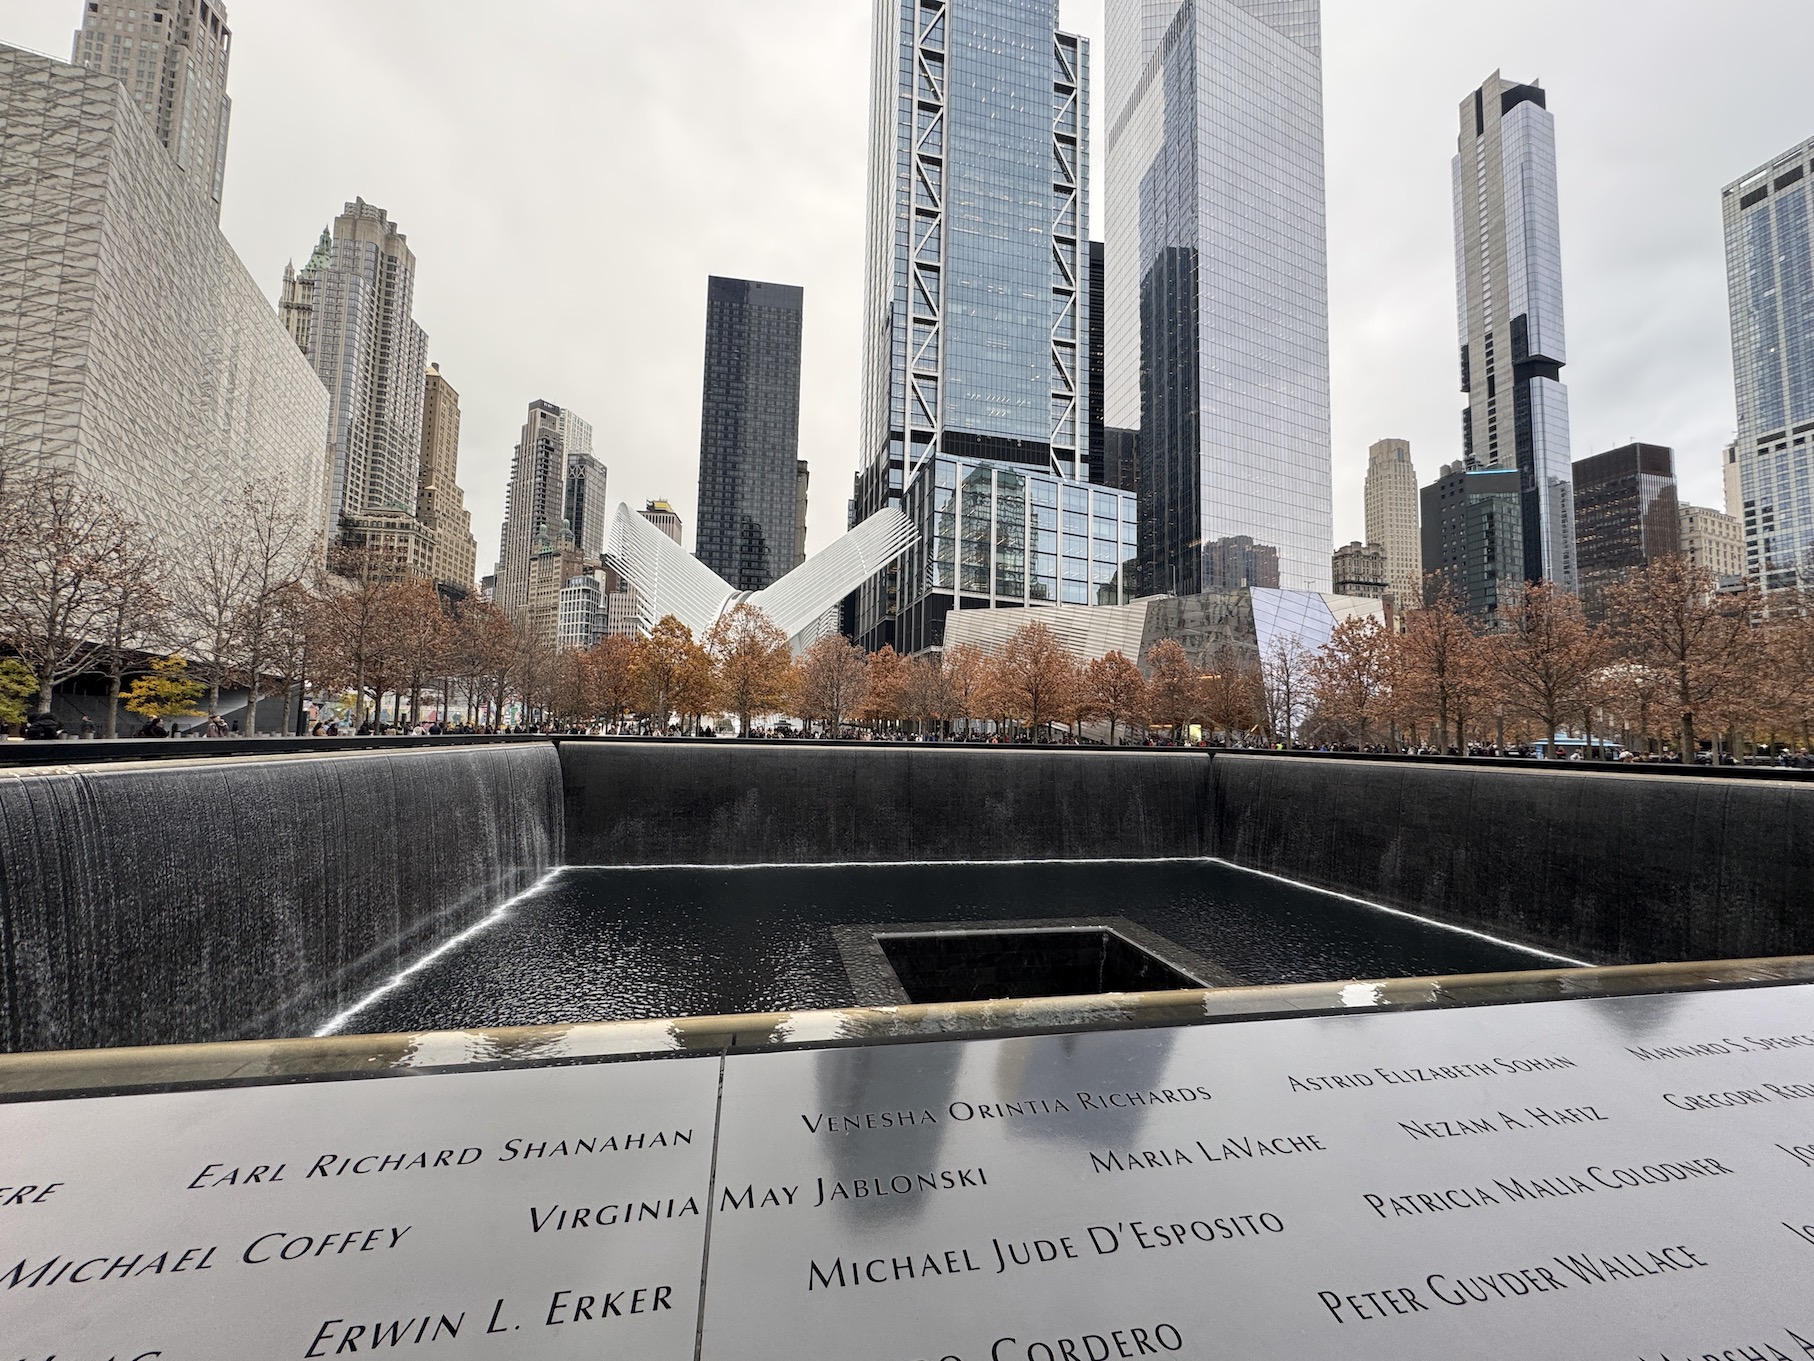
We were only there two days and had a packed schedule of what the group wanted to see; but one morning I got up early and headed over to the plaza of the 9/11 Memorial area and spent some time at one of the 9/11 Reflecting Pools (“Reflecting Absence” is the official name).
The two pools were created inside the footprints where the original Twin Towers once stood. Here is the one I visited:
It was a very solemn experience.
According to Google AI:
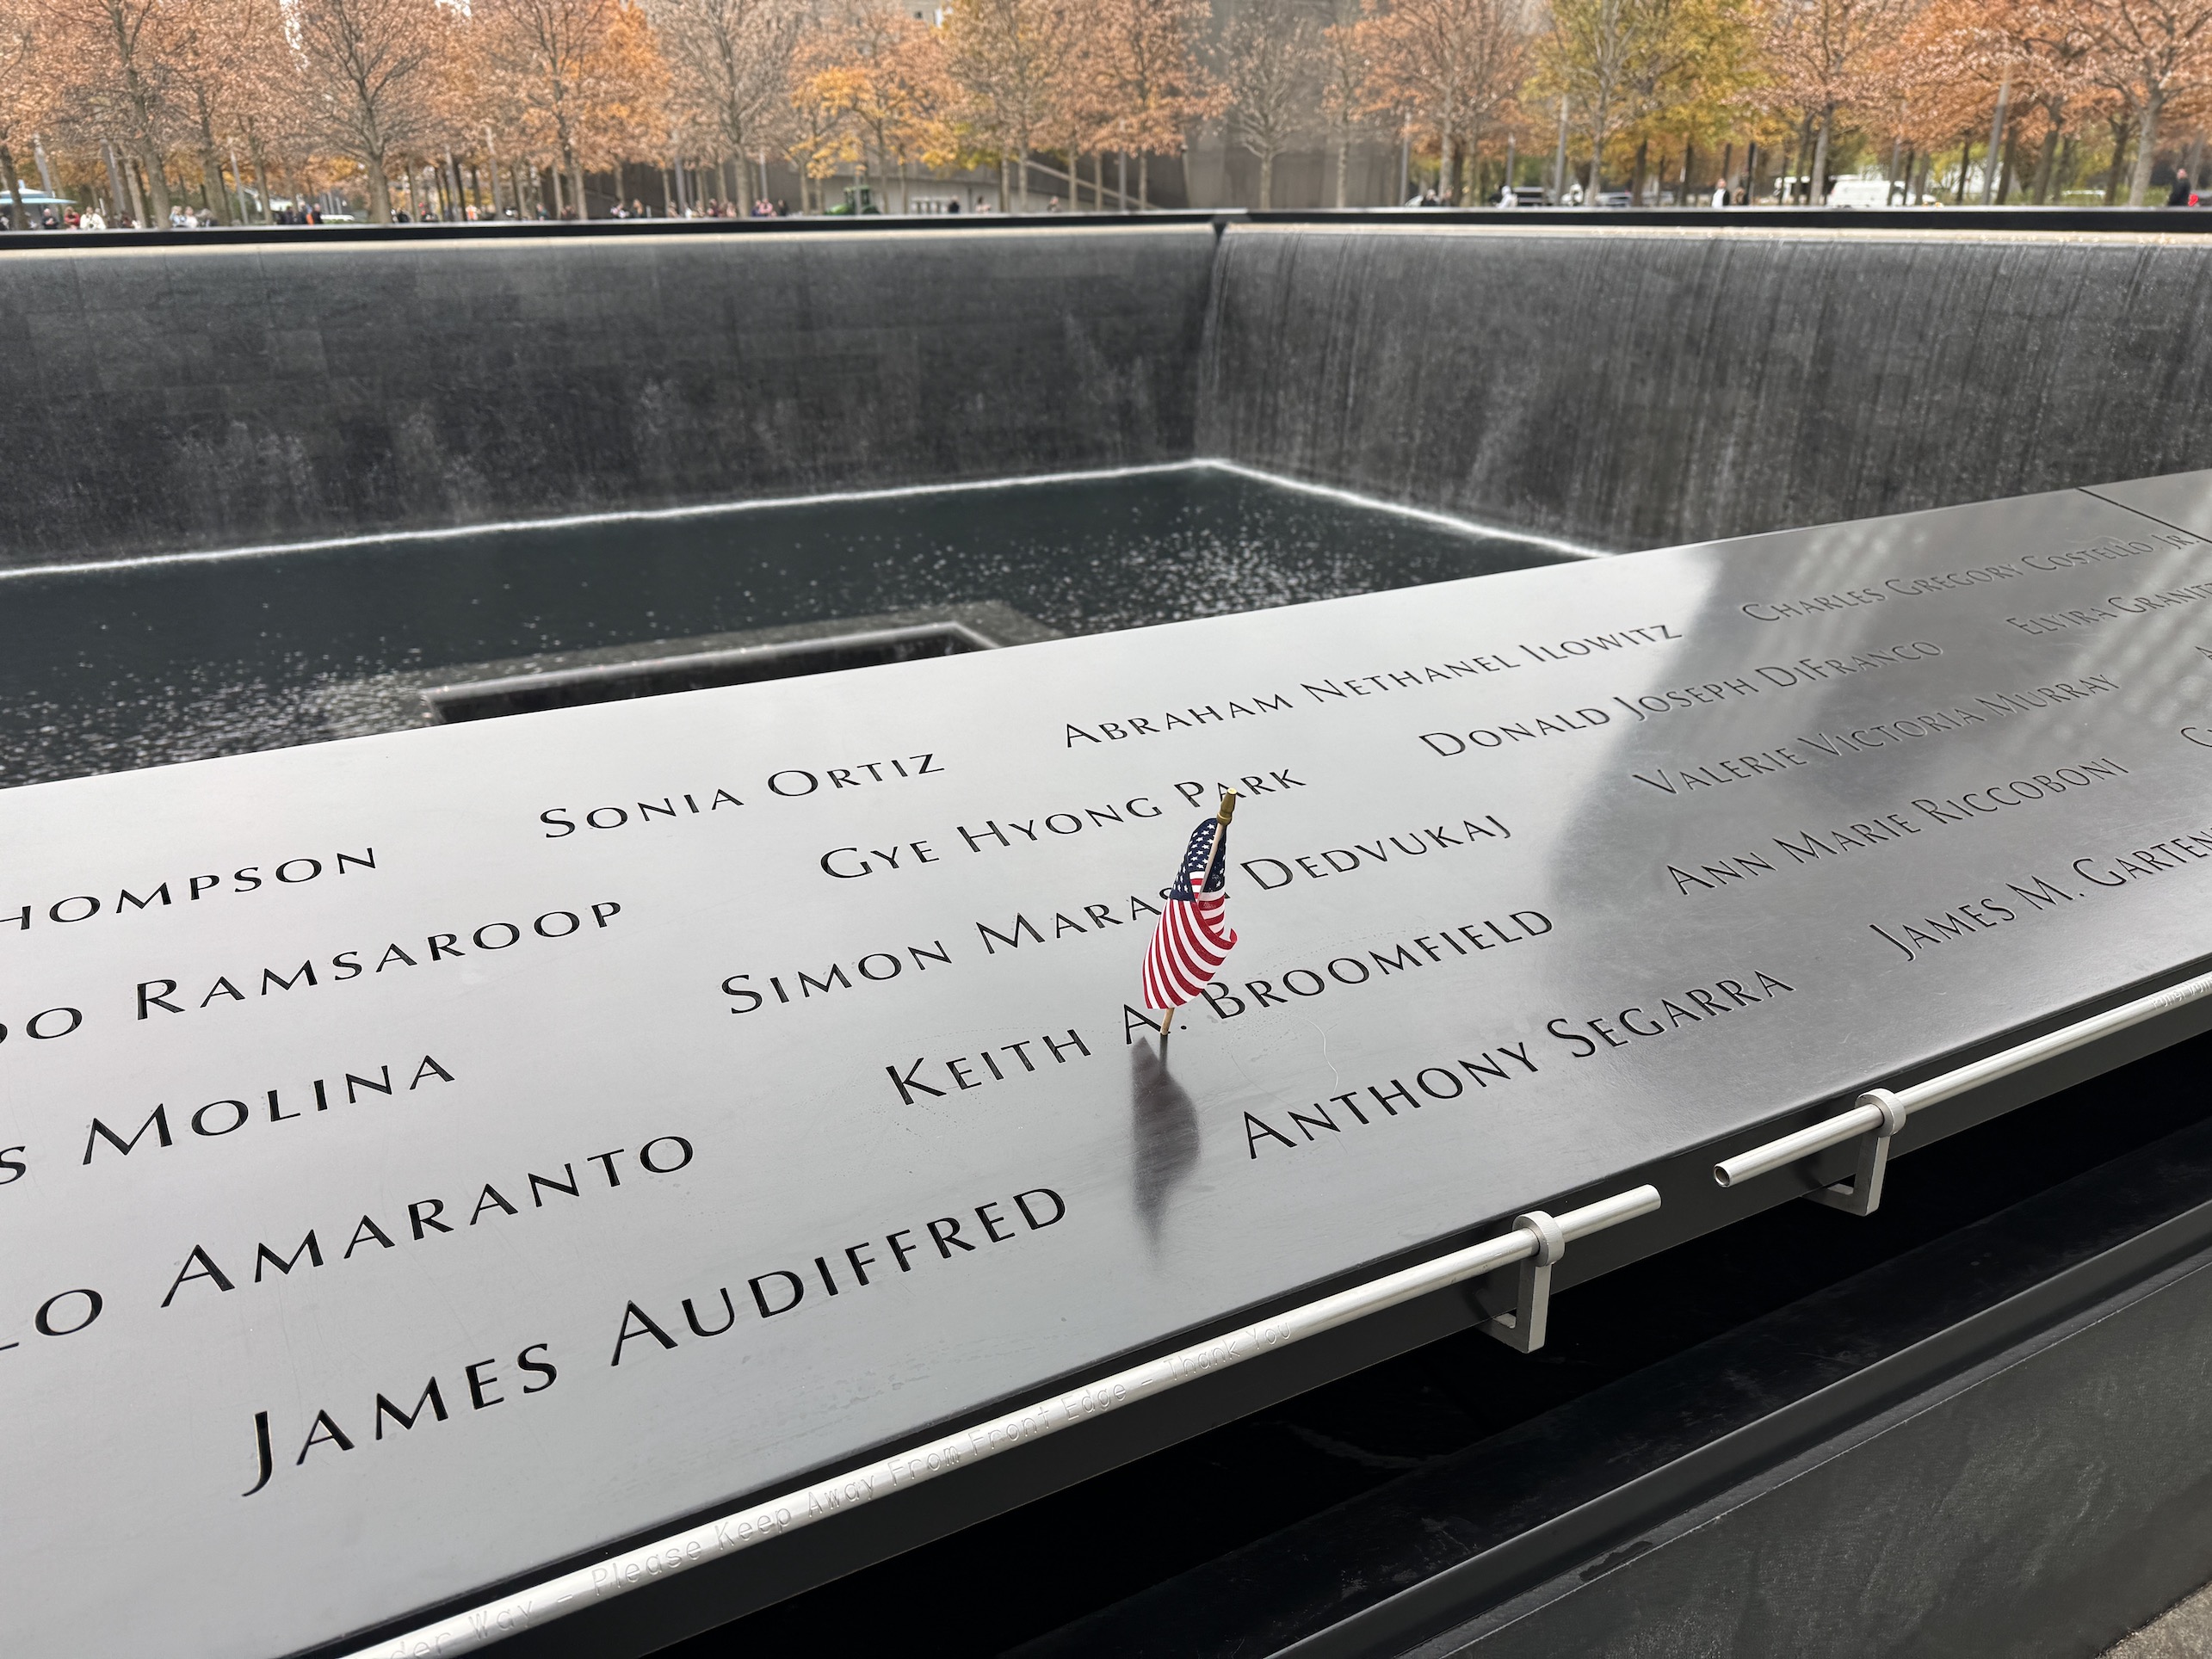
“Reflecting Absence” is the official name of the design for the twin 9/11 reflecting pools located at Ground Zero in Lower Manhattan, New York City. They were designed by architect Michael Arad and landscape architect Peter Walker.The pools are meant to represent “absence made visible”. They symbolize the physical void left by the fallen towers and the emotional emptiness felt after the attacks.Each pool contains massive, multi-tiered waterfalls that are the largest manmade waterfalls in North America. Water cascades 30 feet down the dark granite walls of the basin before dropping another 20 feet into a smaller, central void where it completely disappears from view. The pools are framed by bronze parapets engraved with the names of the 2,983 victims who died in the September 11, 2001 attacks and the February 26, 1993 World Trade Center bombing
It is was so chilling to walk around one of the reflecting pools and look at the names of 9/11 victims. I could think about how the lives of their surviving loved ones have forever changed.
I grew up in New York (Long Island and Upstate) and I’ve spent a lot of time in New York City from my childhood on. I always carry in my heart a deep sorrow that this terrible tragedy occurred in my beloved New York State (it would be a terrible tragedy anywhere it occurred of course).
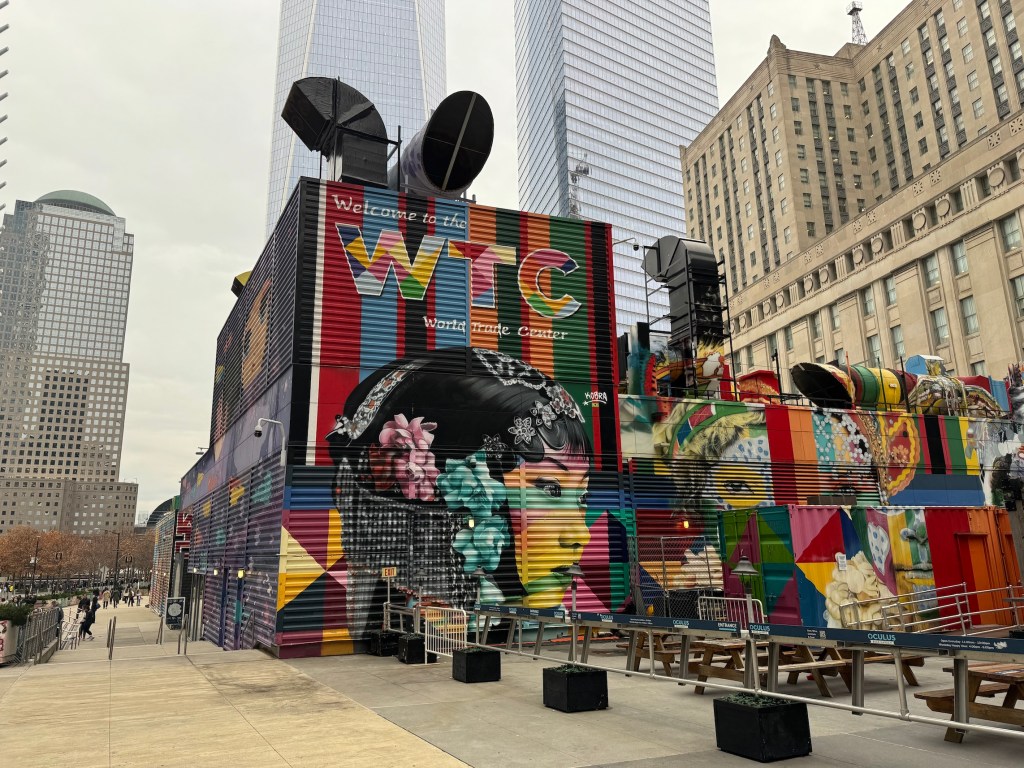
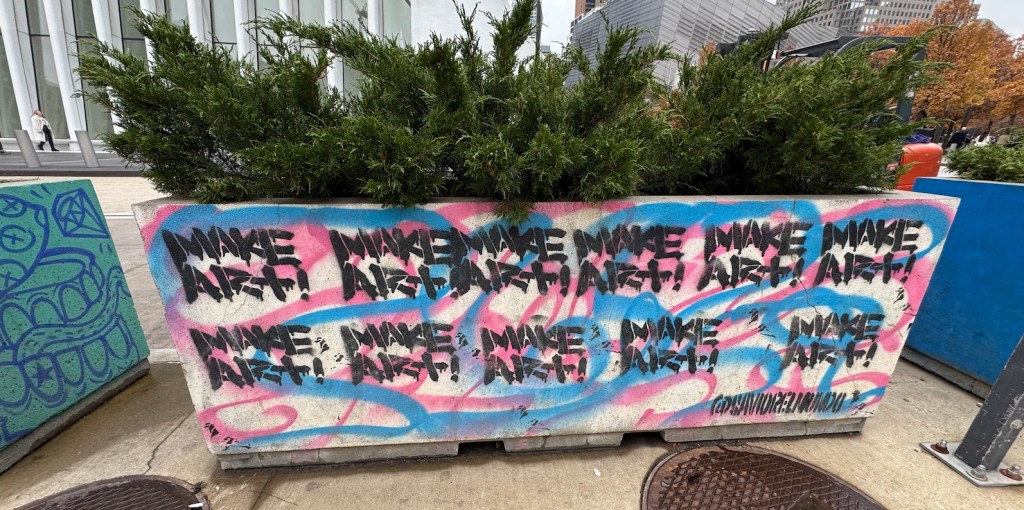
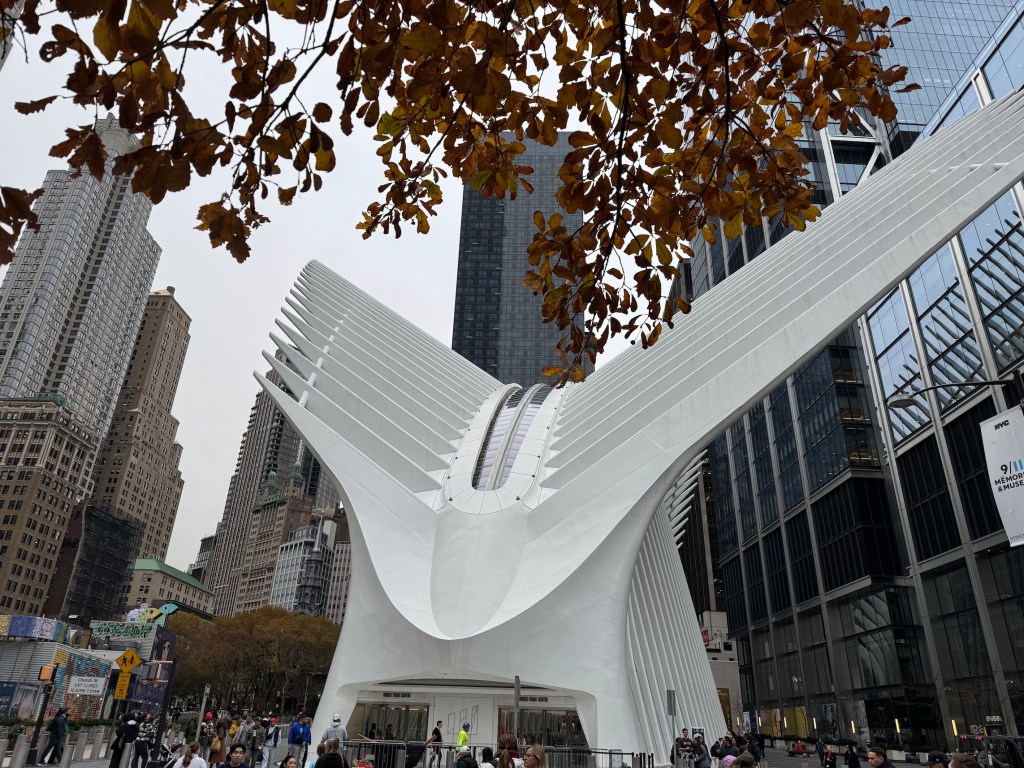
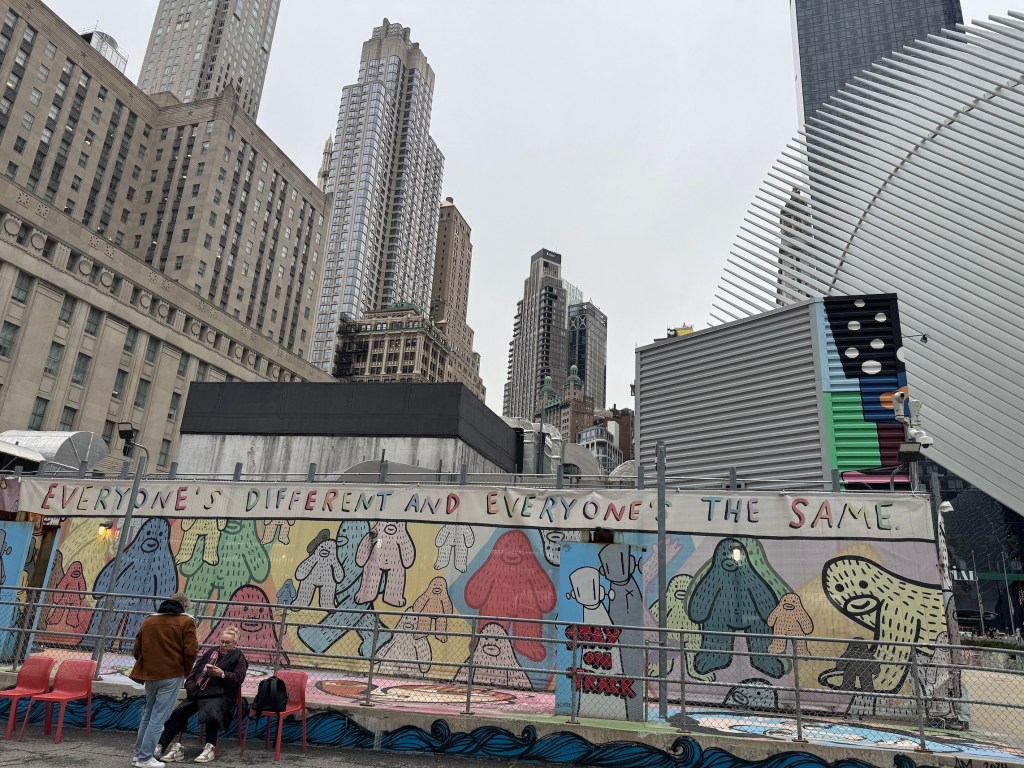
On a little bit more upbeat note, I didn’t visit the museum itself as I had a brief time to wander on my own before meeting up with the rest of the group, but I did wander about around the outdoor plaza area of Ground Zero. It was a lovely and uplifting area. The day was overcast but here are some of the sights I saw as I wandered around:
“Everyone’s Different and Everyone’s the Same” – that made me smile after my solemn experience viewing one of the Reflecting Pools.
I am so honored to participate in the anthology This is How We Create:Stories About Bringing Ideas to Life by our blogging buddy Dr. Yvette Prior of Priorhouse Books and Priorhouse Writes (Blog).
Image courtesy of Dr. Yvette Prior
The book was released on 09/10/2026 and is available as a Kindle and paperback format on Amazon.com (links at the end of this post):
Screenshot from Amazon.com
I wrote an essay for the anthology on creativity titled “Limits Expand Creativity”, and my quilt Flying Triangles is on the back cover of the book.
Image courtesy of Dr. Yvette Prior
Below is a graphic on the overall themes of the book:
Image courtesy of Dr. Yvette Prior
This book is part of Yvette’s How To series which includes the books that she edited that are also multiple contributor anthologies:
I cannot wait to hold a copy of the book in my hand! I’ve reviewed the various drafts with the excellent collection of essays about creating but there will be something so special to read it as a physical book (though Kindle is awesome too!)
I figured some of you would be interested in seeing the completed quilt since you’ve joined me virtually on the journey to see a new quilter make her first quilt from start to finish as shared in these posts:
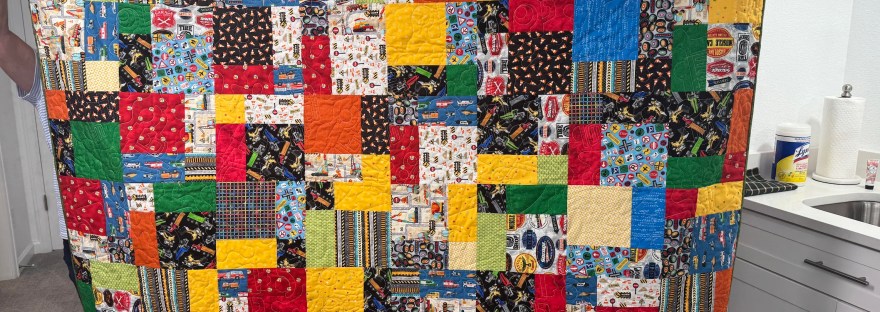
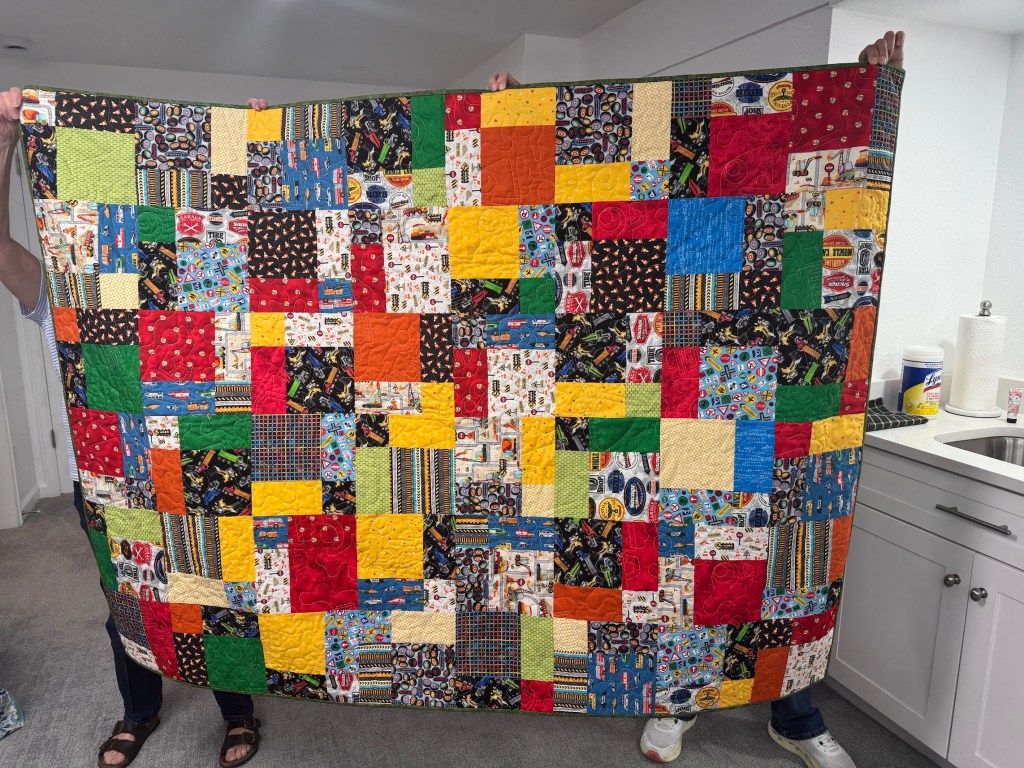
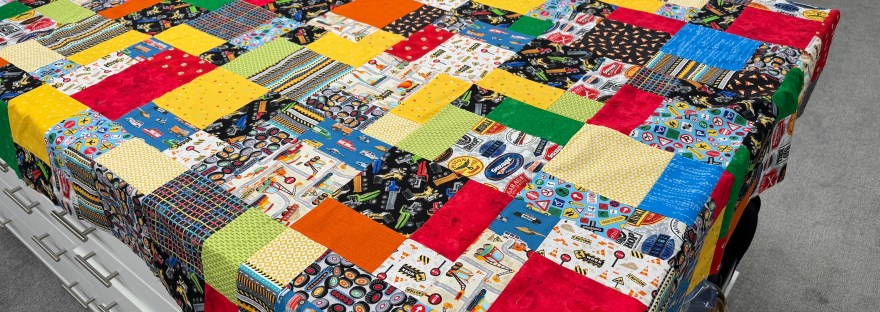
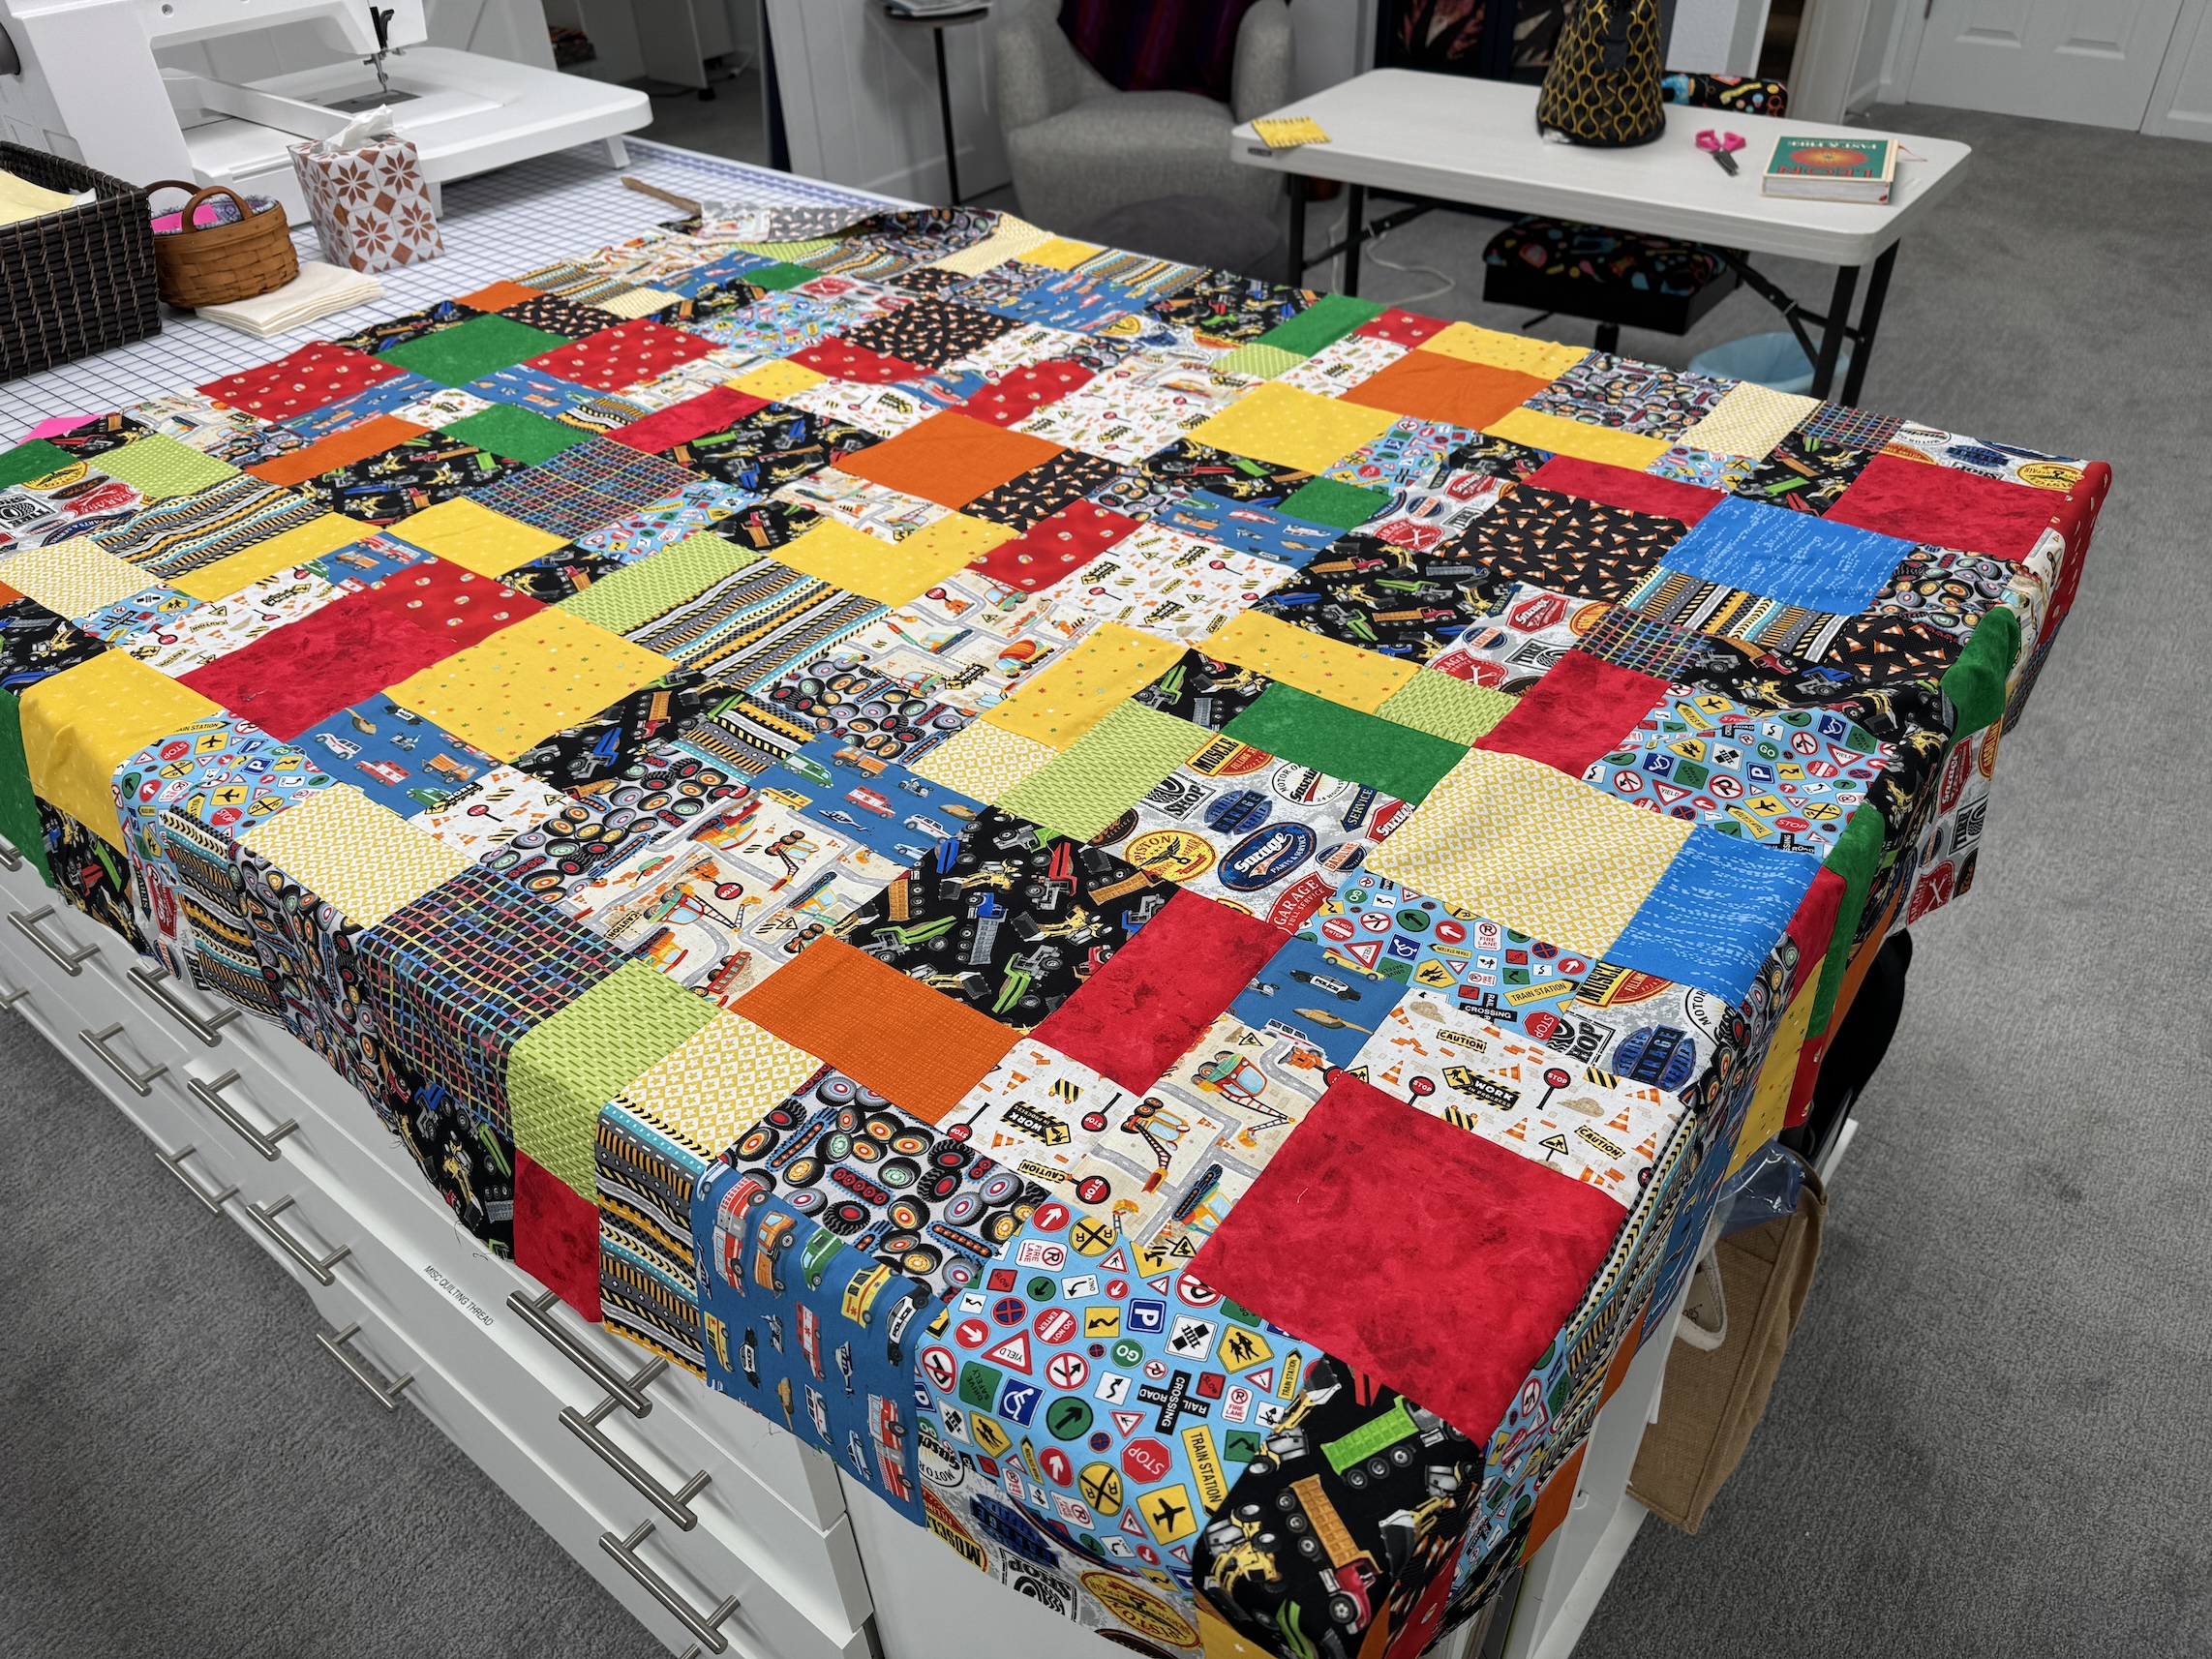
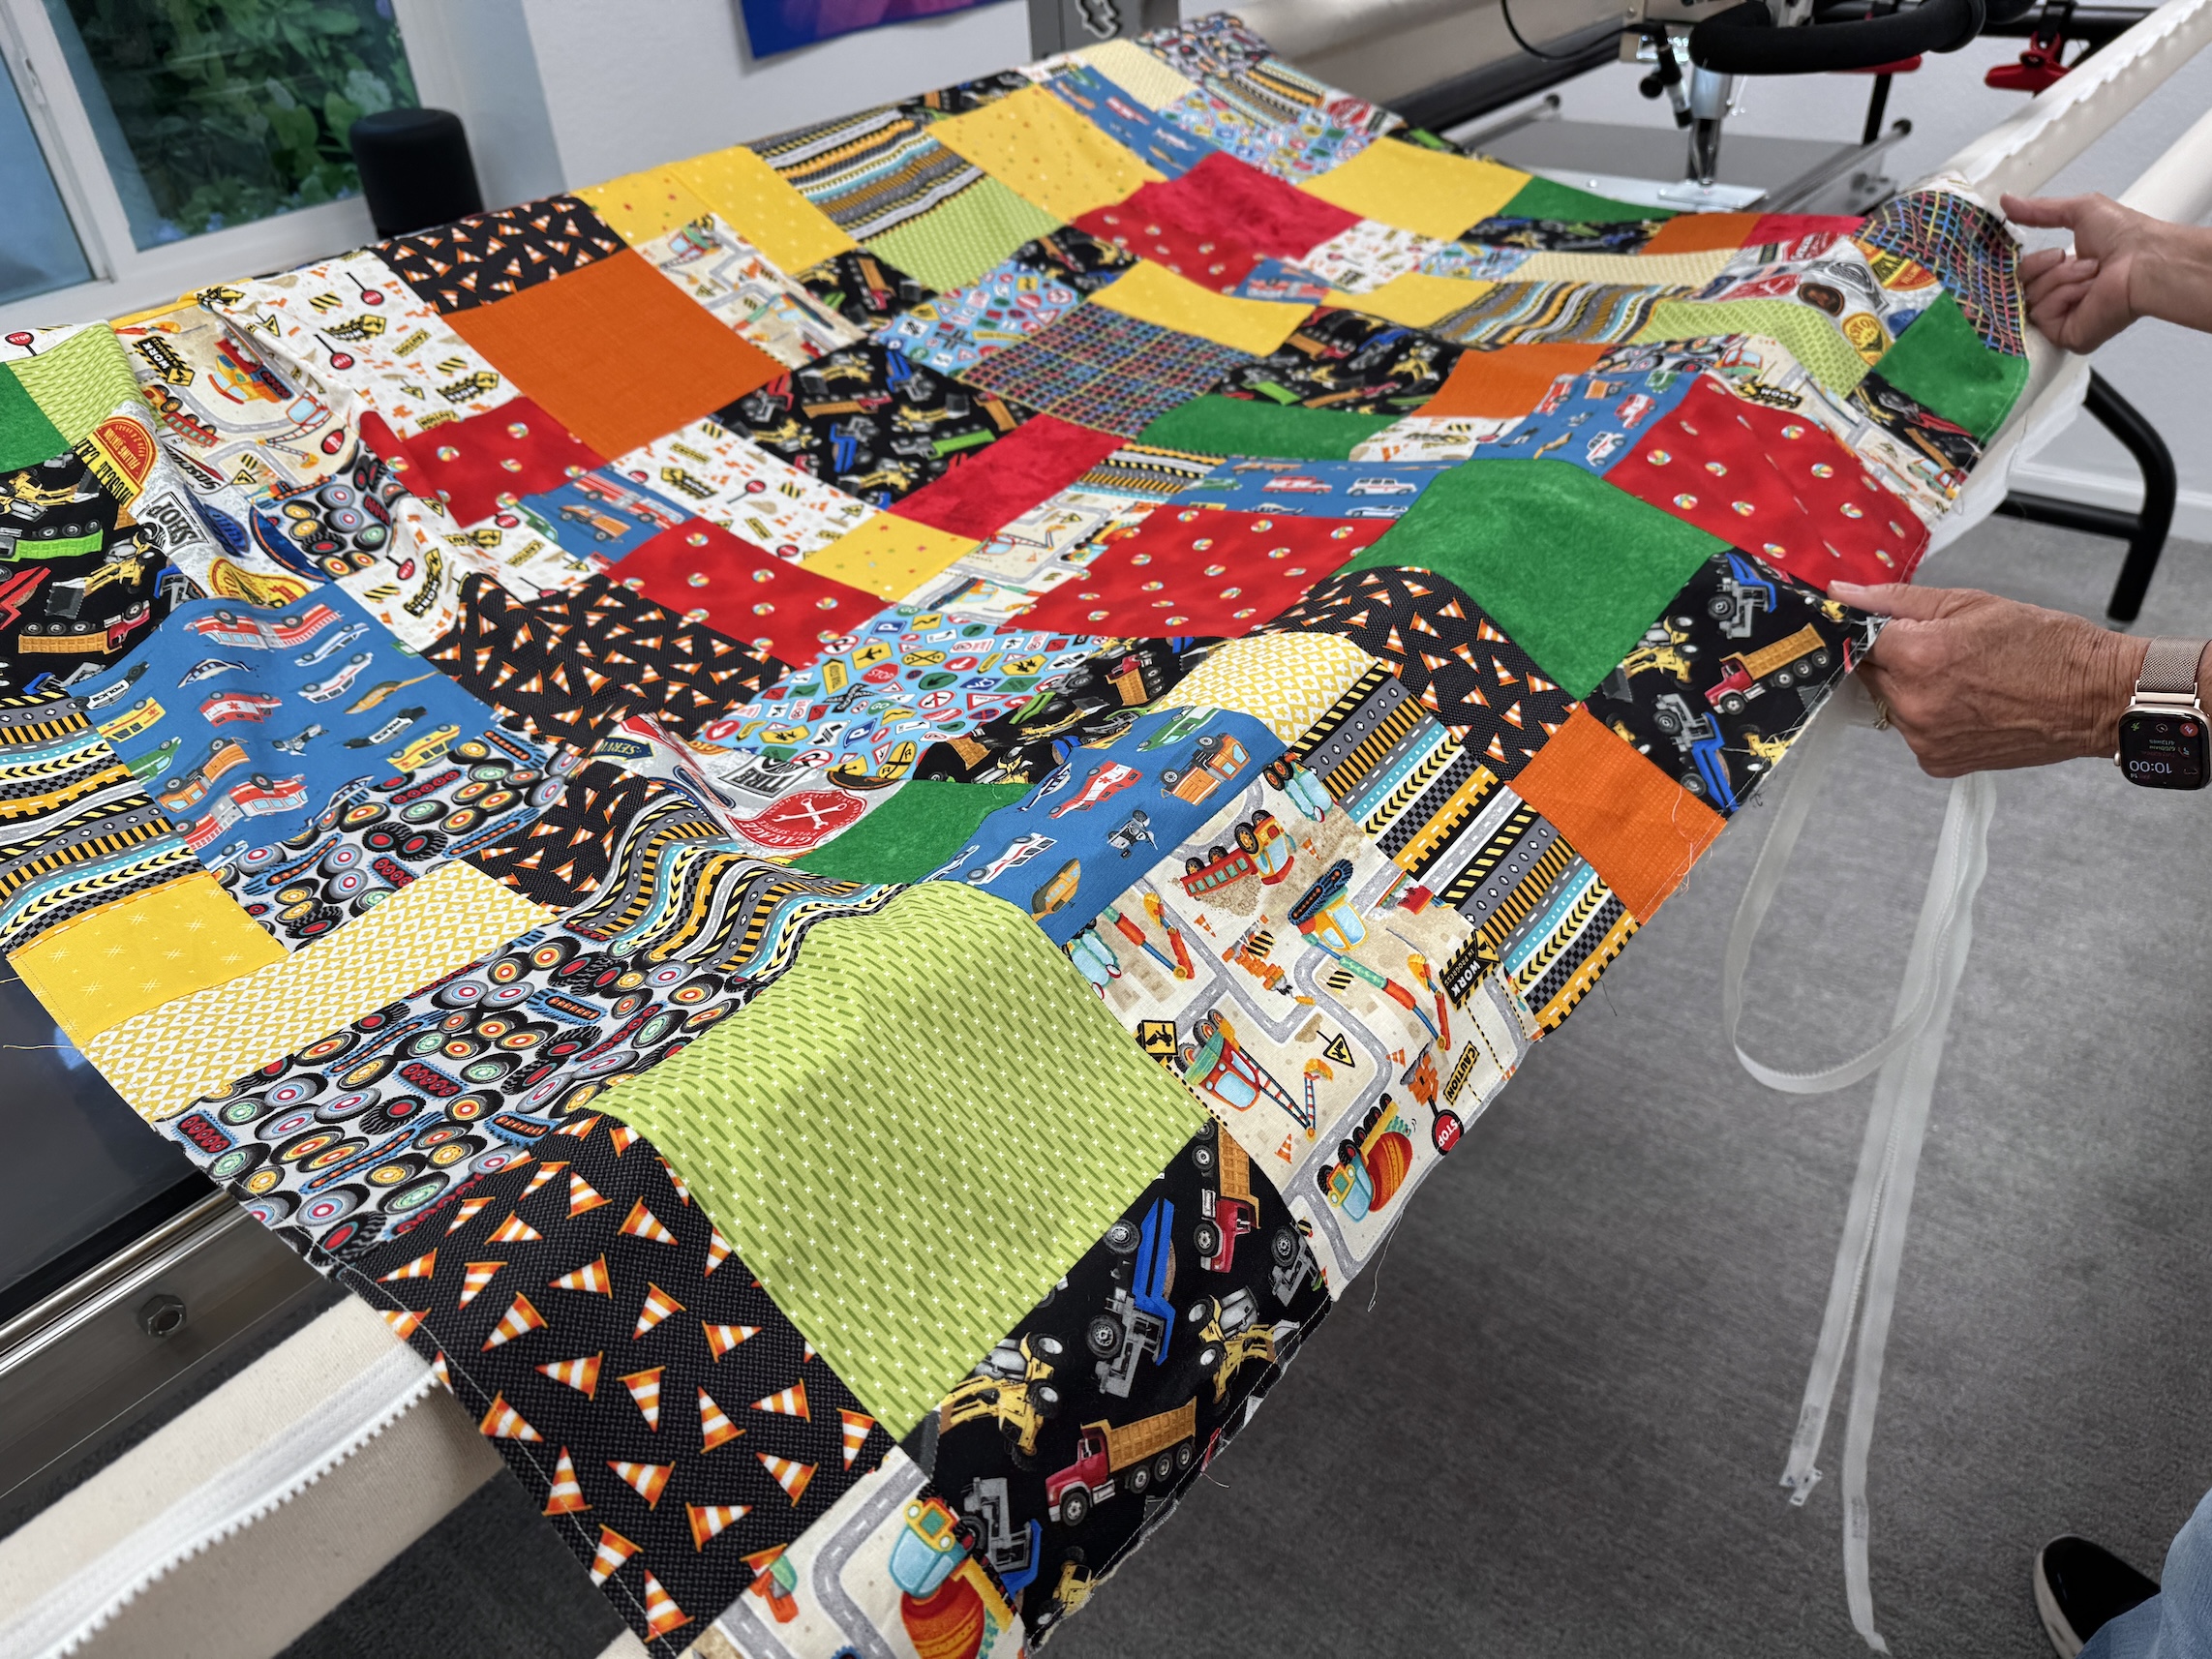
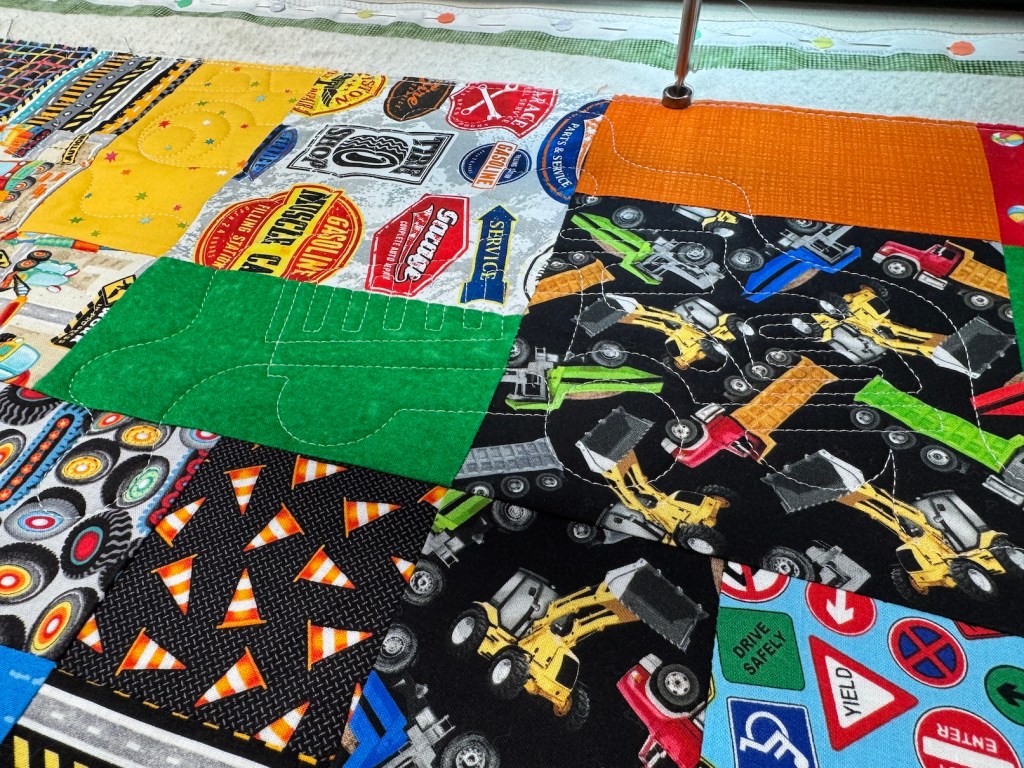
Here is the quilt that D completed while J and I mentored her, for her 1 year old great grandson (previously I stated “grandson” but realized its her “great” grandson – her granddaughter’s son) who loves trucks:
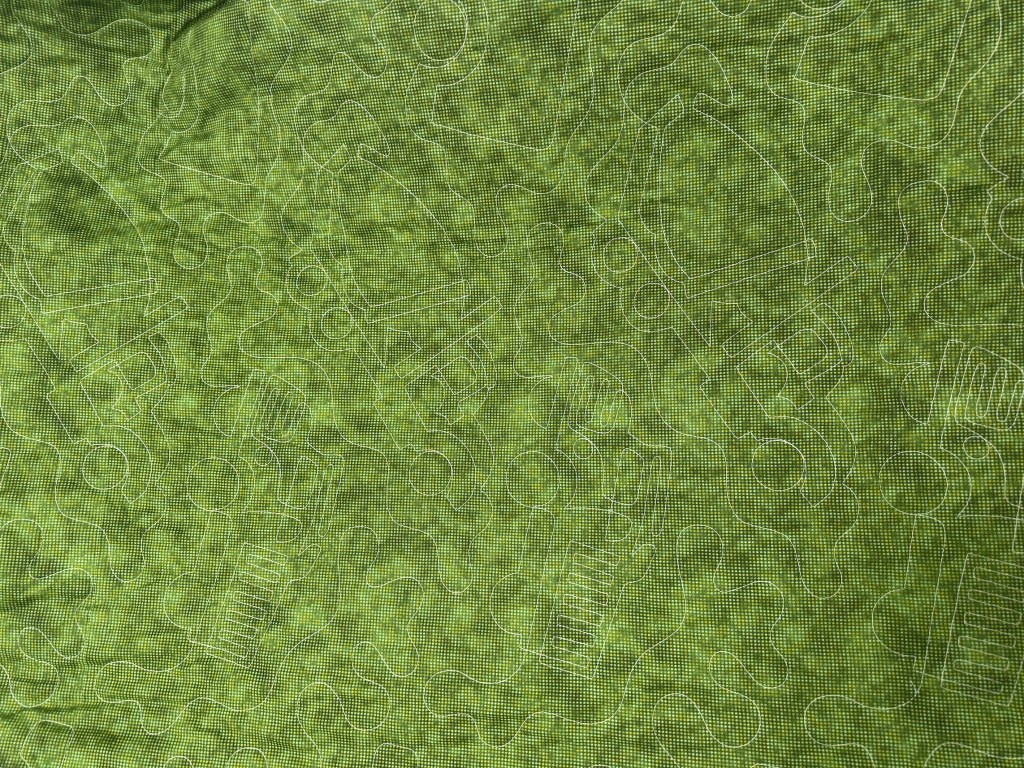
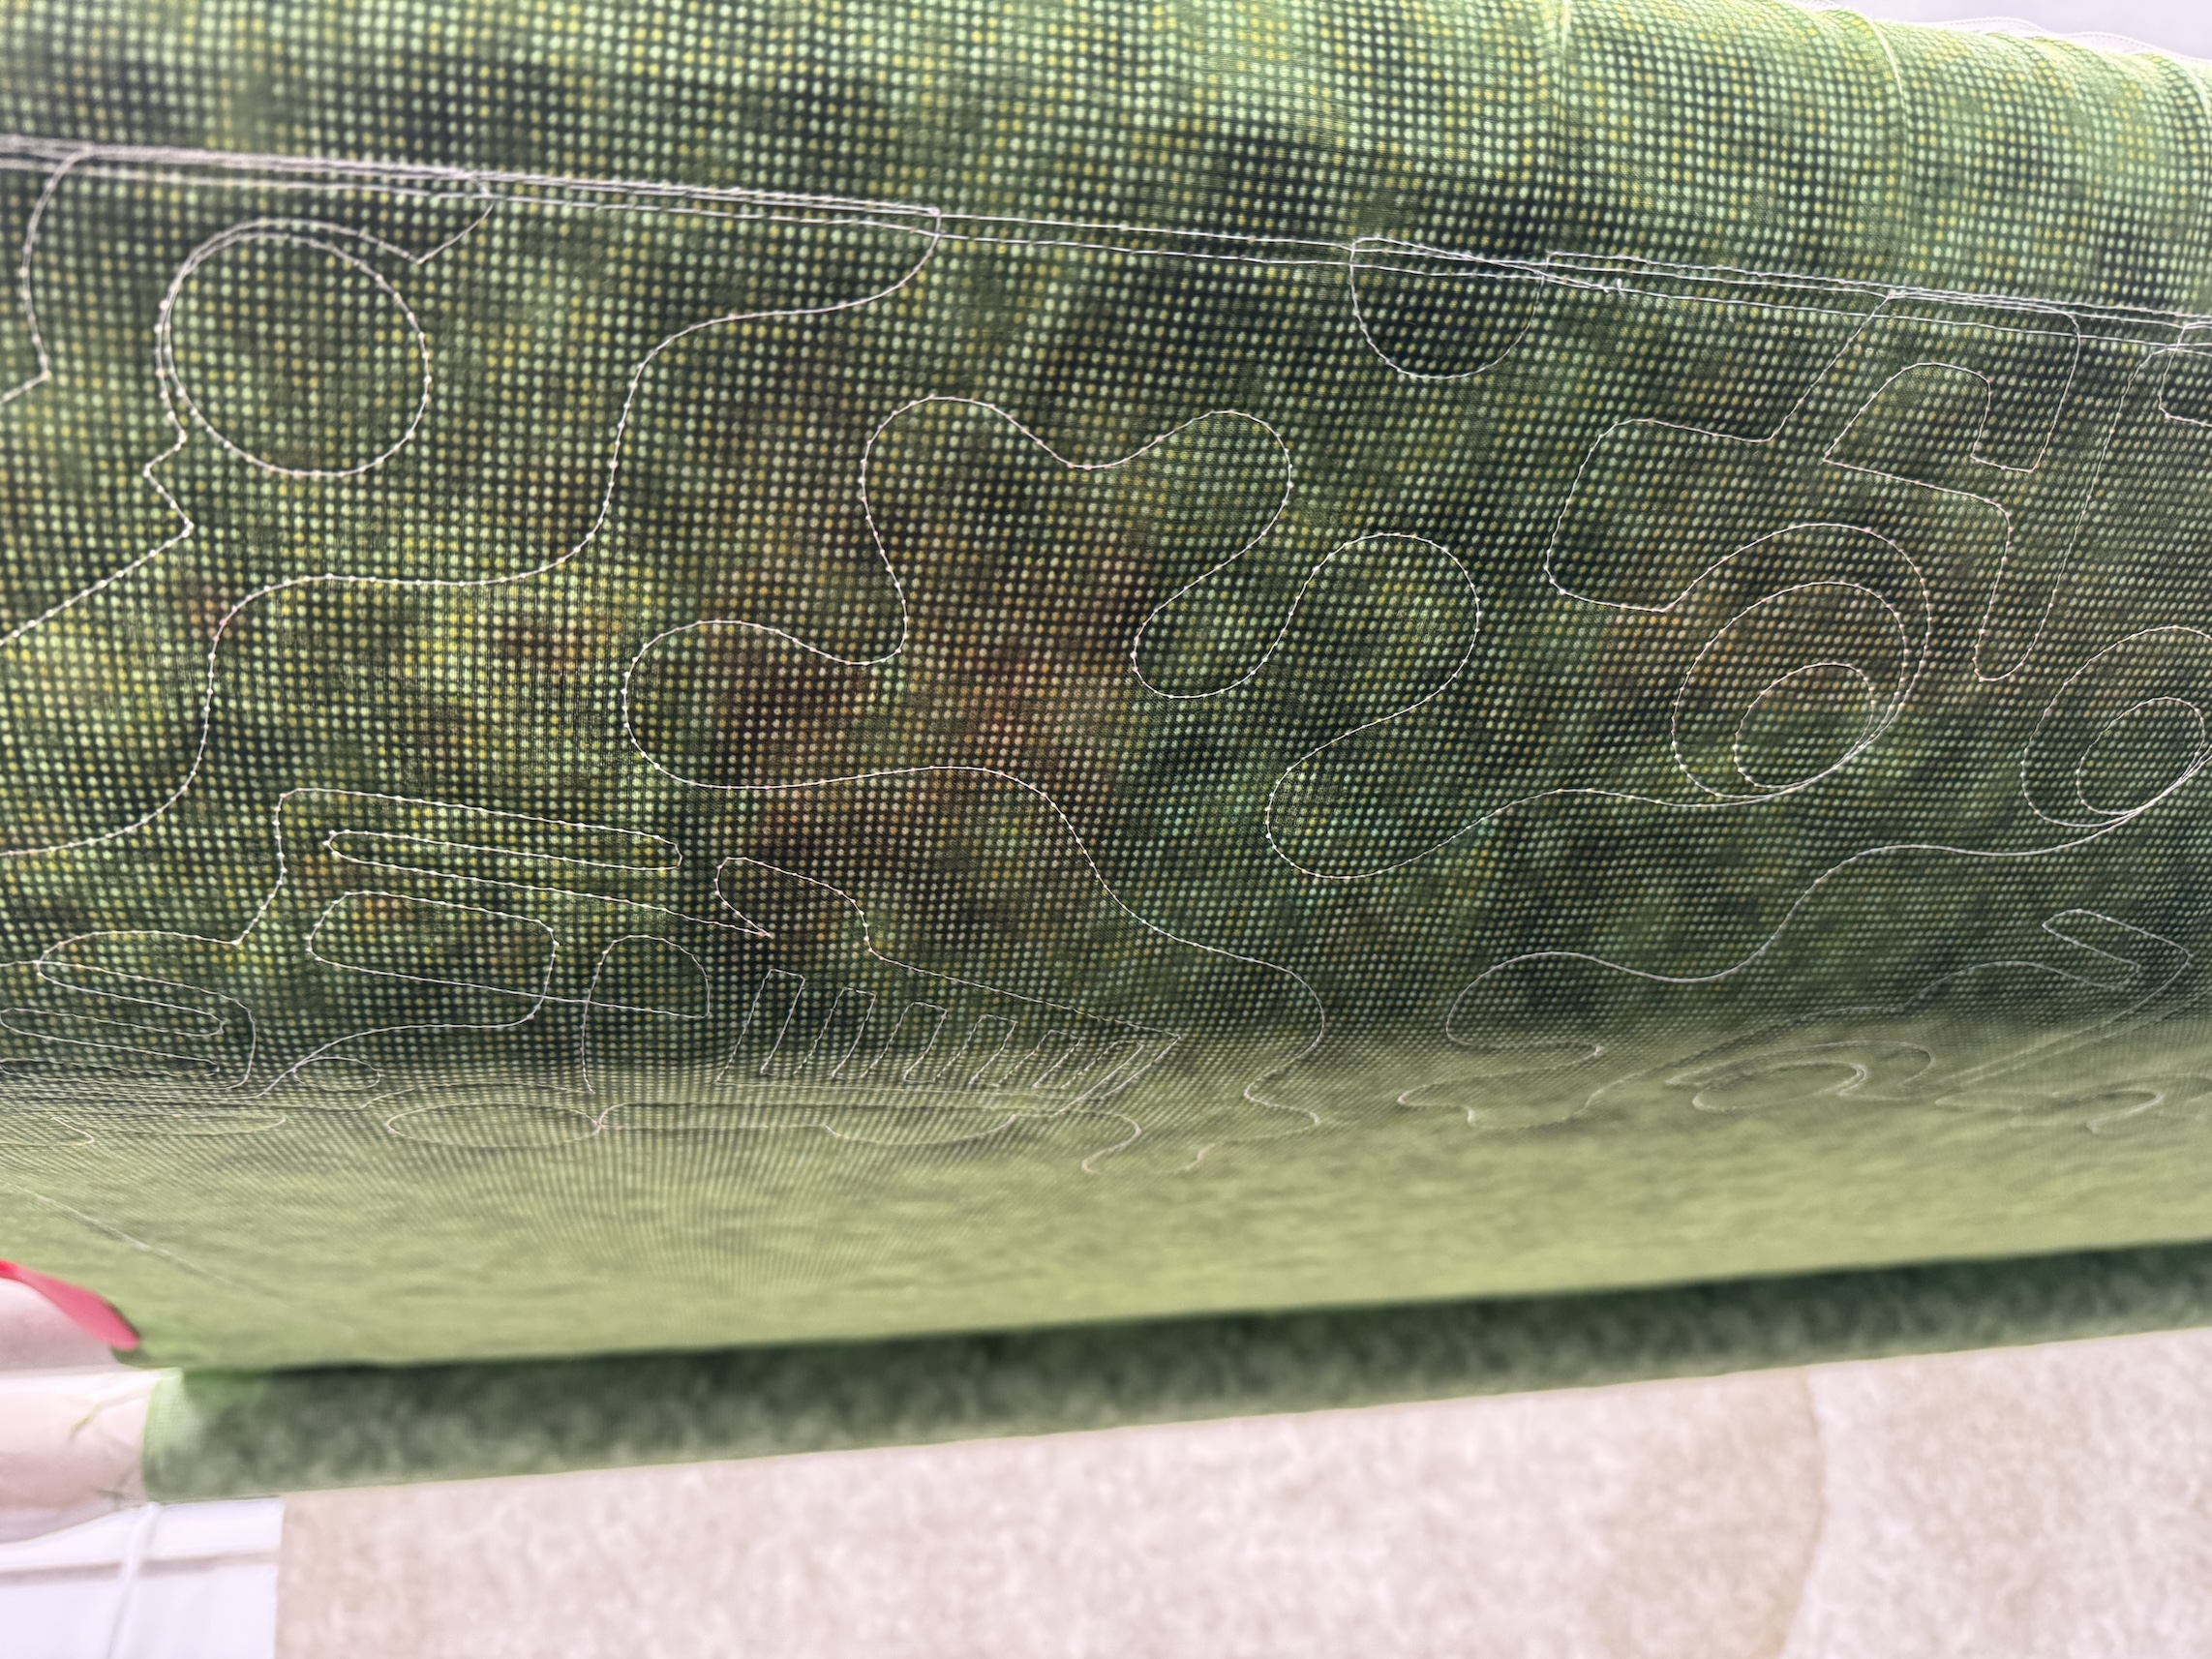
We are so proud of her! Soon she will deliver the quilt to her granddaughter’s family! I included an image of the back of the quilt so you could see the cool truck themed quilting patter J used when she did the longarm quilting.
The three of us meet again this Friday to plan our next projects for our weekly meetings, which might be separate or group.
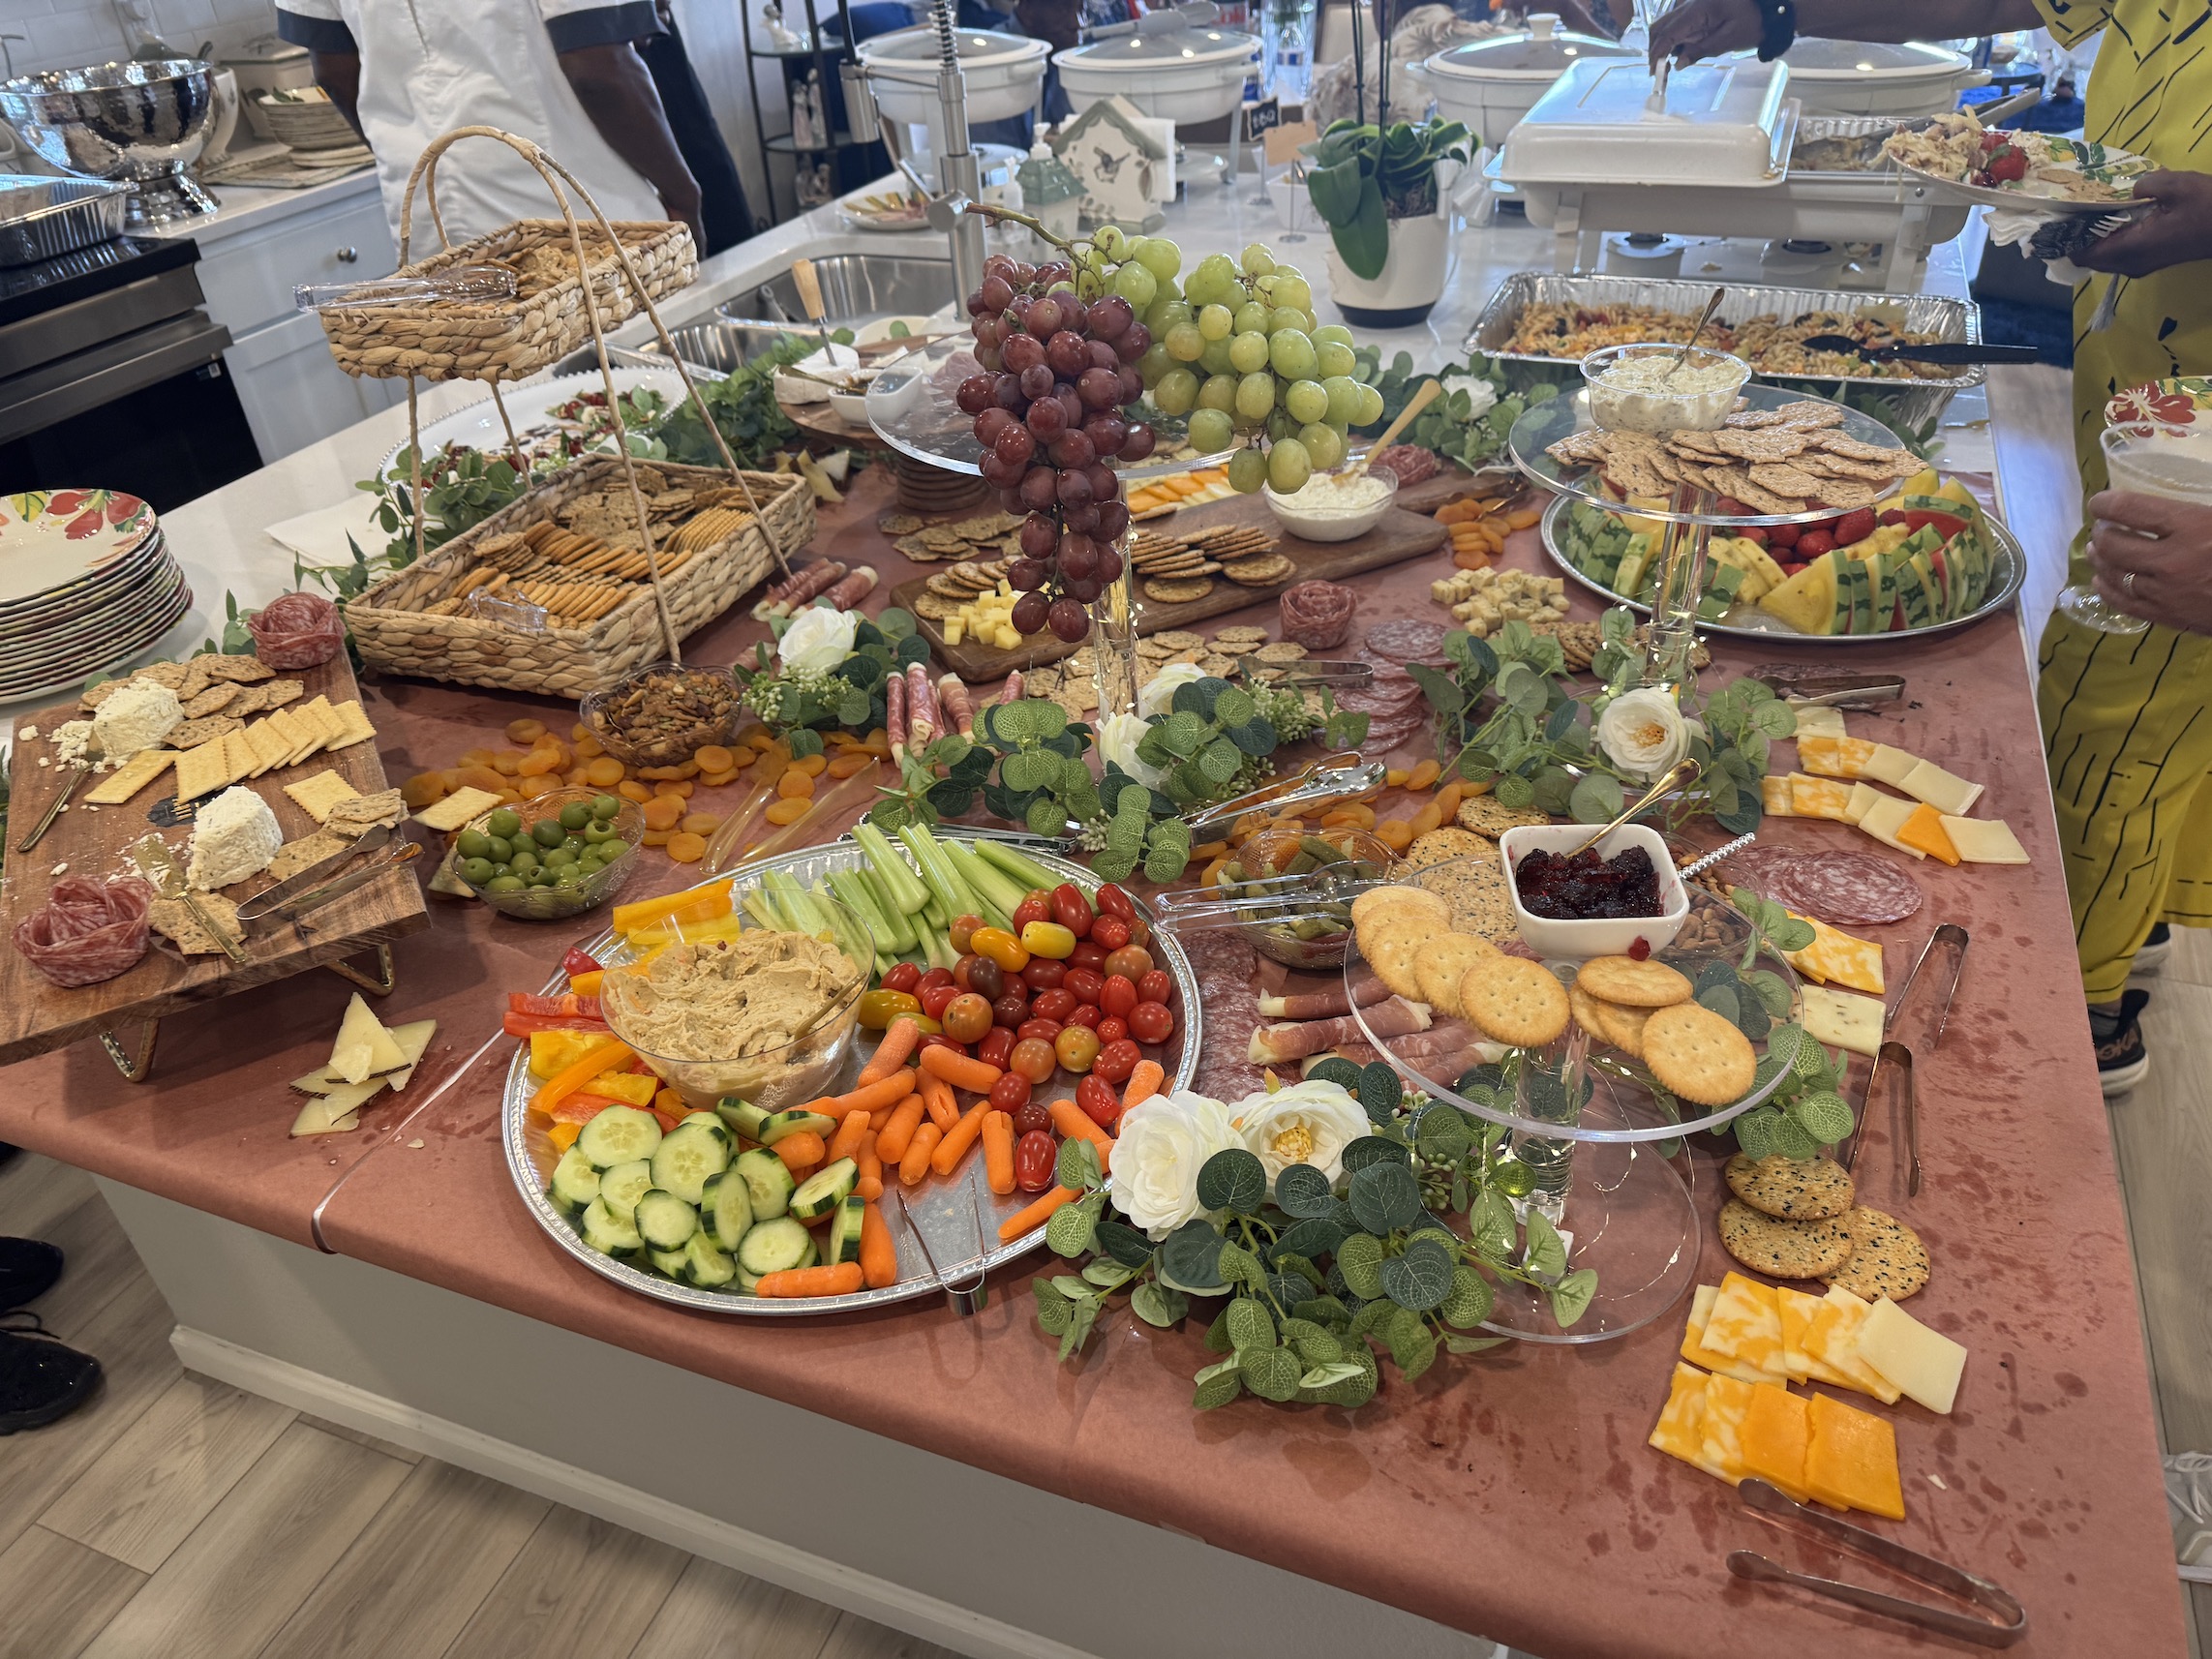
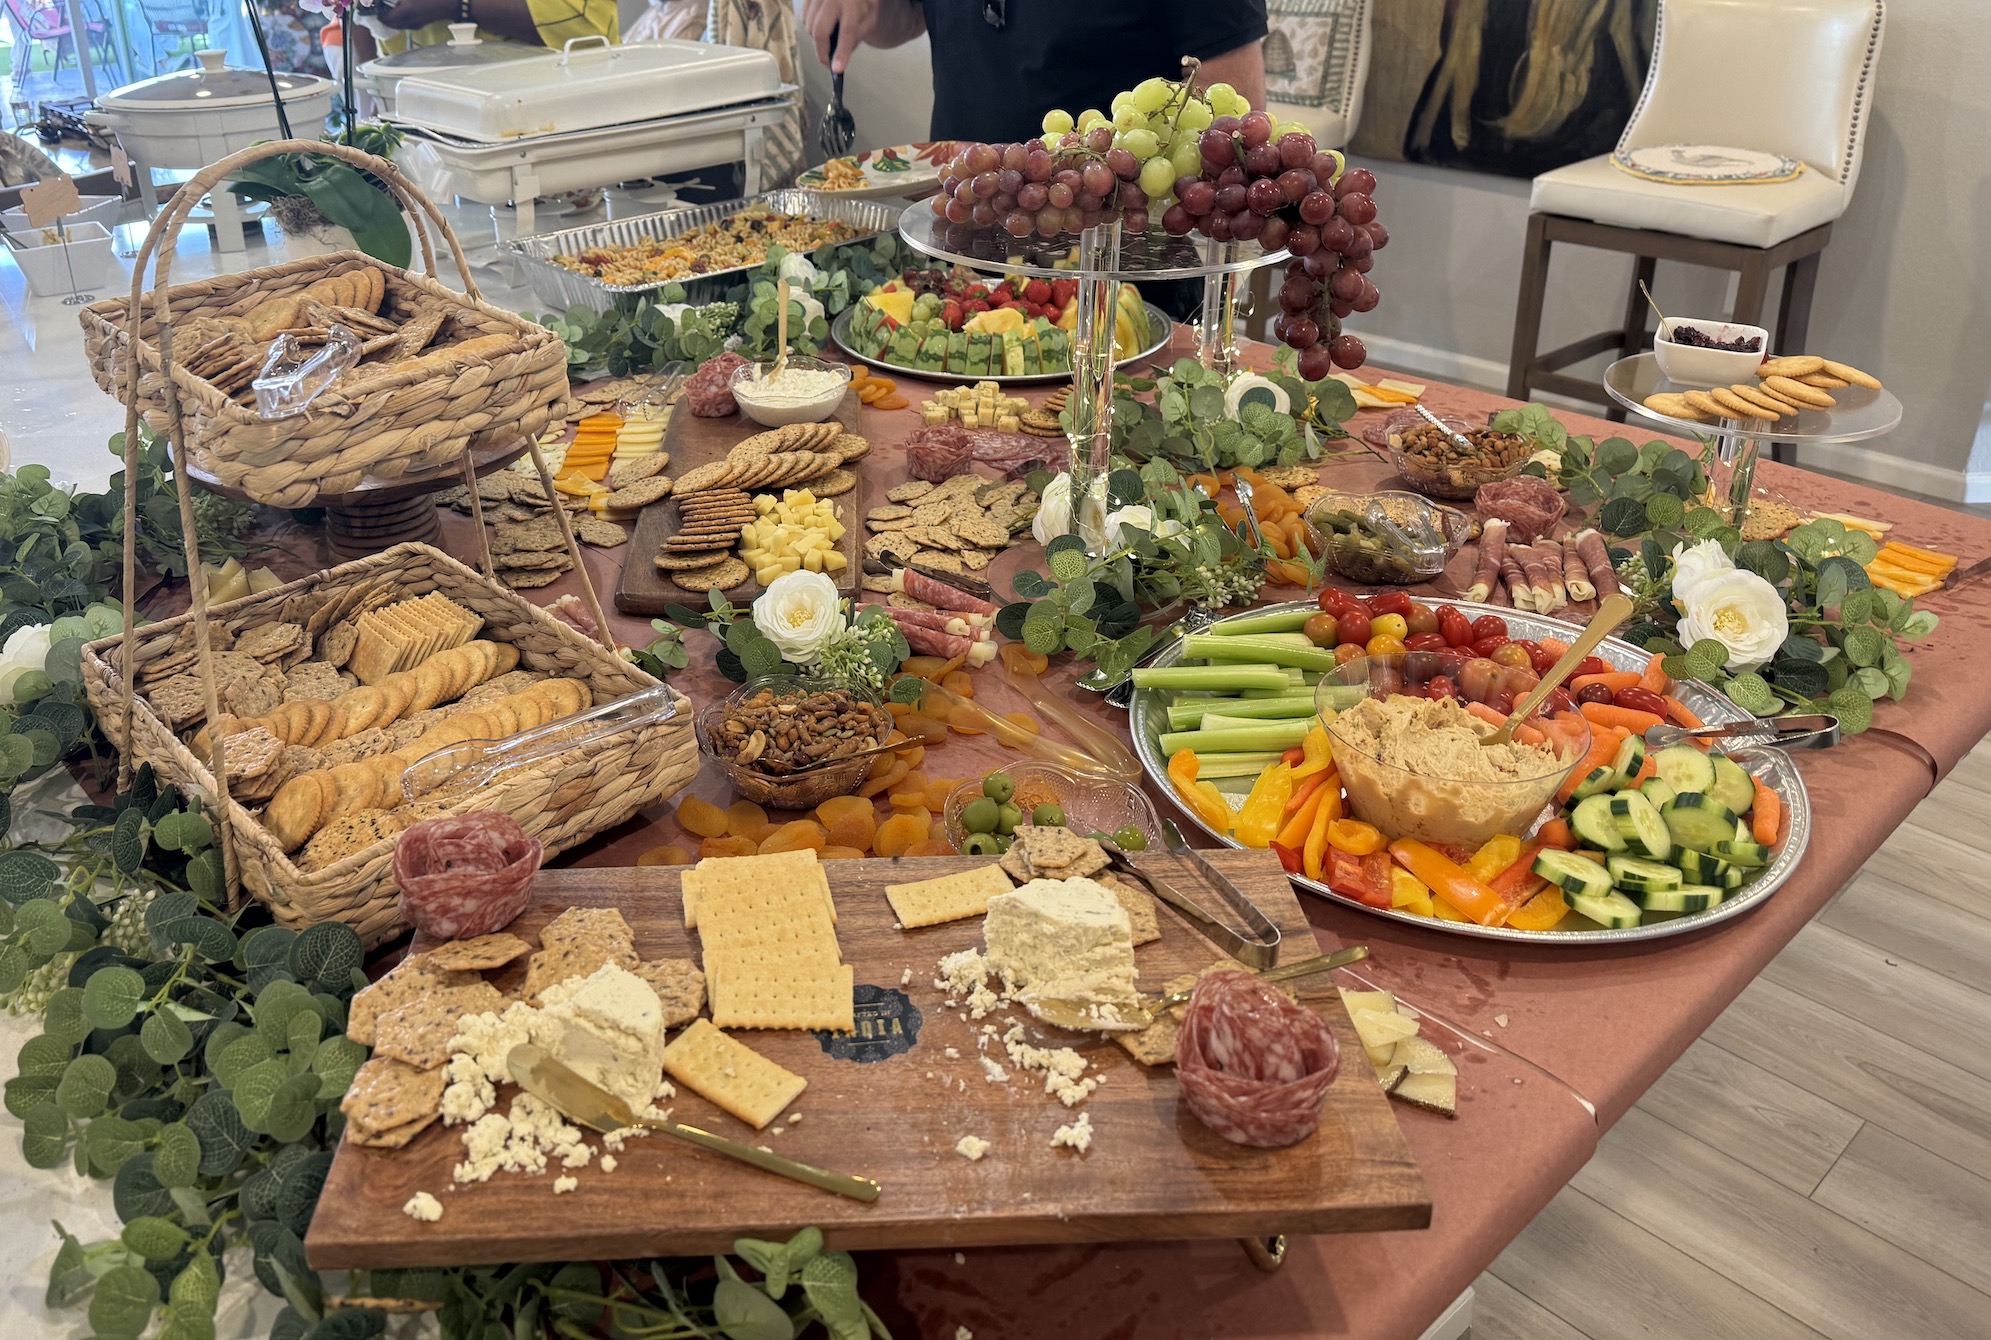
It’s been a busy Labor Day weekend, with several get togethers with friends and various events. One of the events we attended was a neighbor’s 65th birthday party which she had catered and the caterer went ALL OUT on the Charcuterie Board.
She had a Charcuterie Table! As I mentioned in that post Correspondence, Charcuterie, and Cute Roses, I am fascinated/obsessed with Charcuterie Boards. The photos do not capture the overwhelming awesomeness of this Charcuterie Table, and people at the party would have thought me a bit strange if I spent a lot of time trying to get the perfect photo while they were waiting to serve themselves!
The caterer covered a section of my neighbor’s kitchen island with butcher paper then laid out the Charcuterie (which was delicious…at least everything I tried to sample…I think I gave myself a stomach ache…)
Flower Arranging
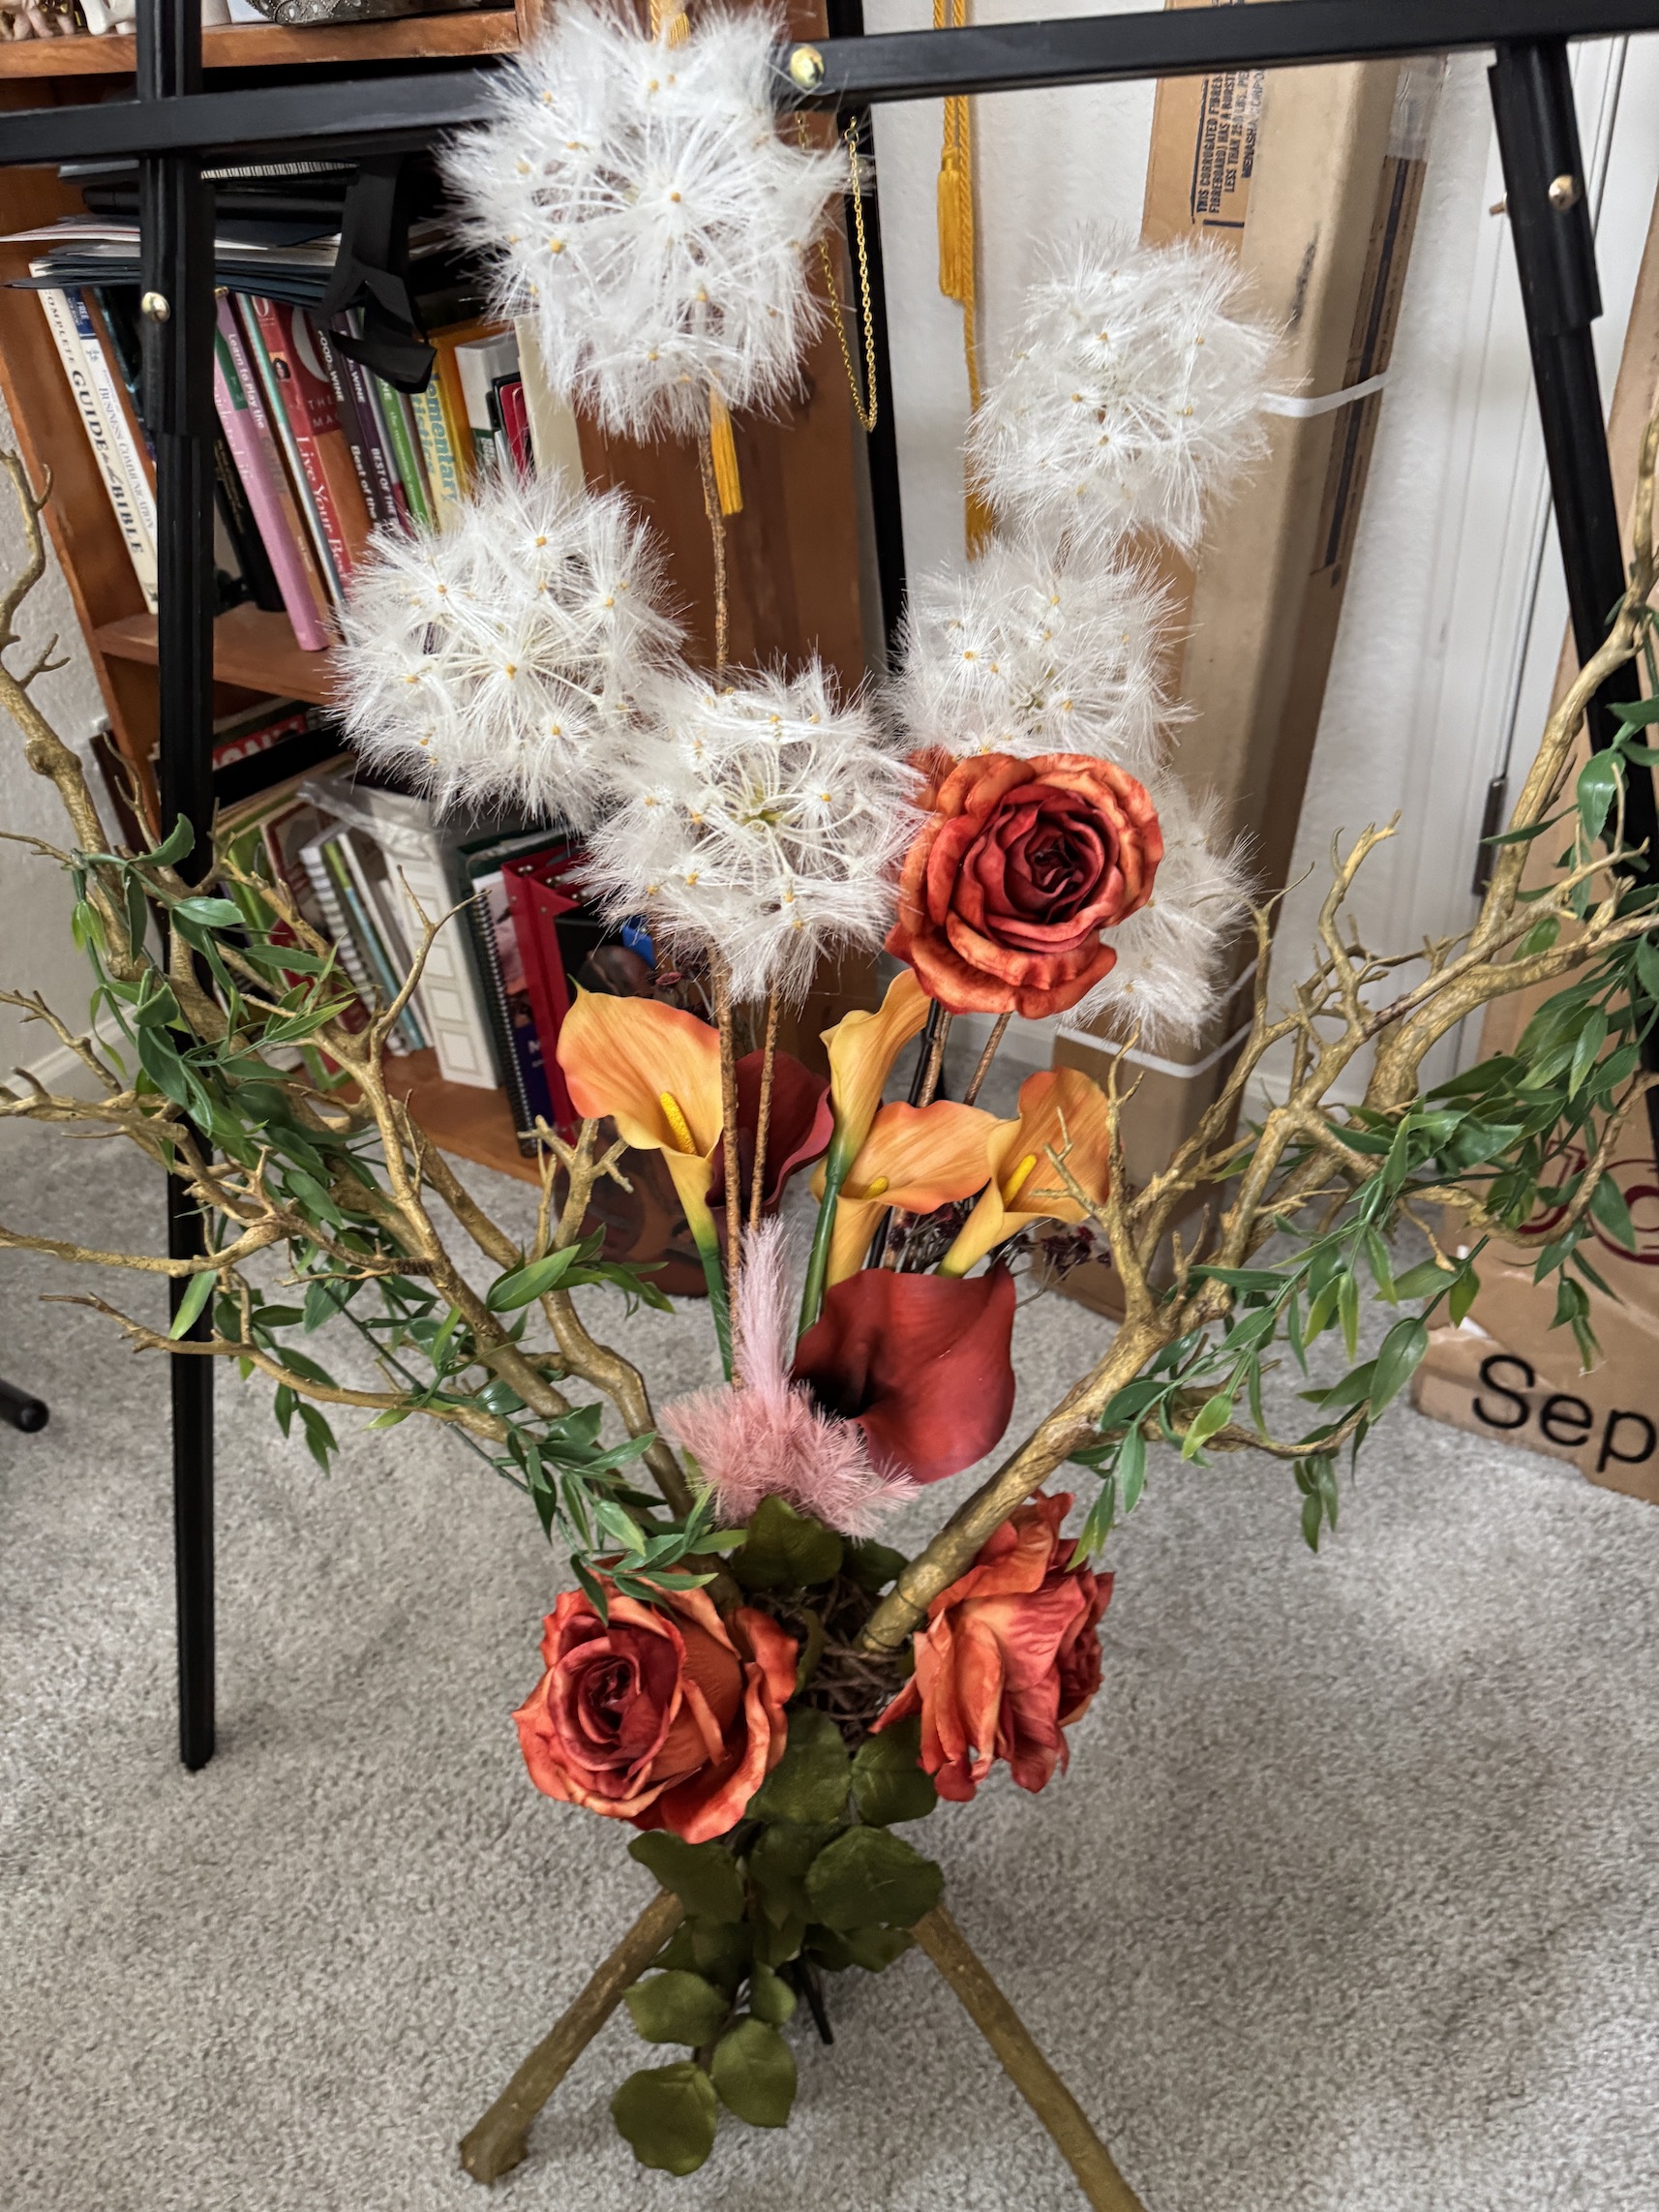
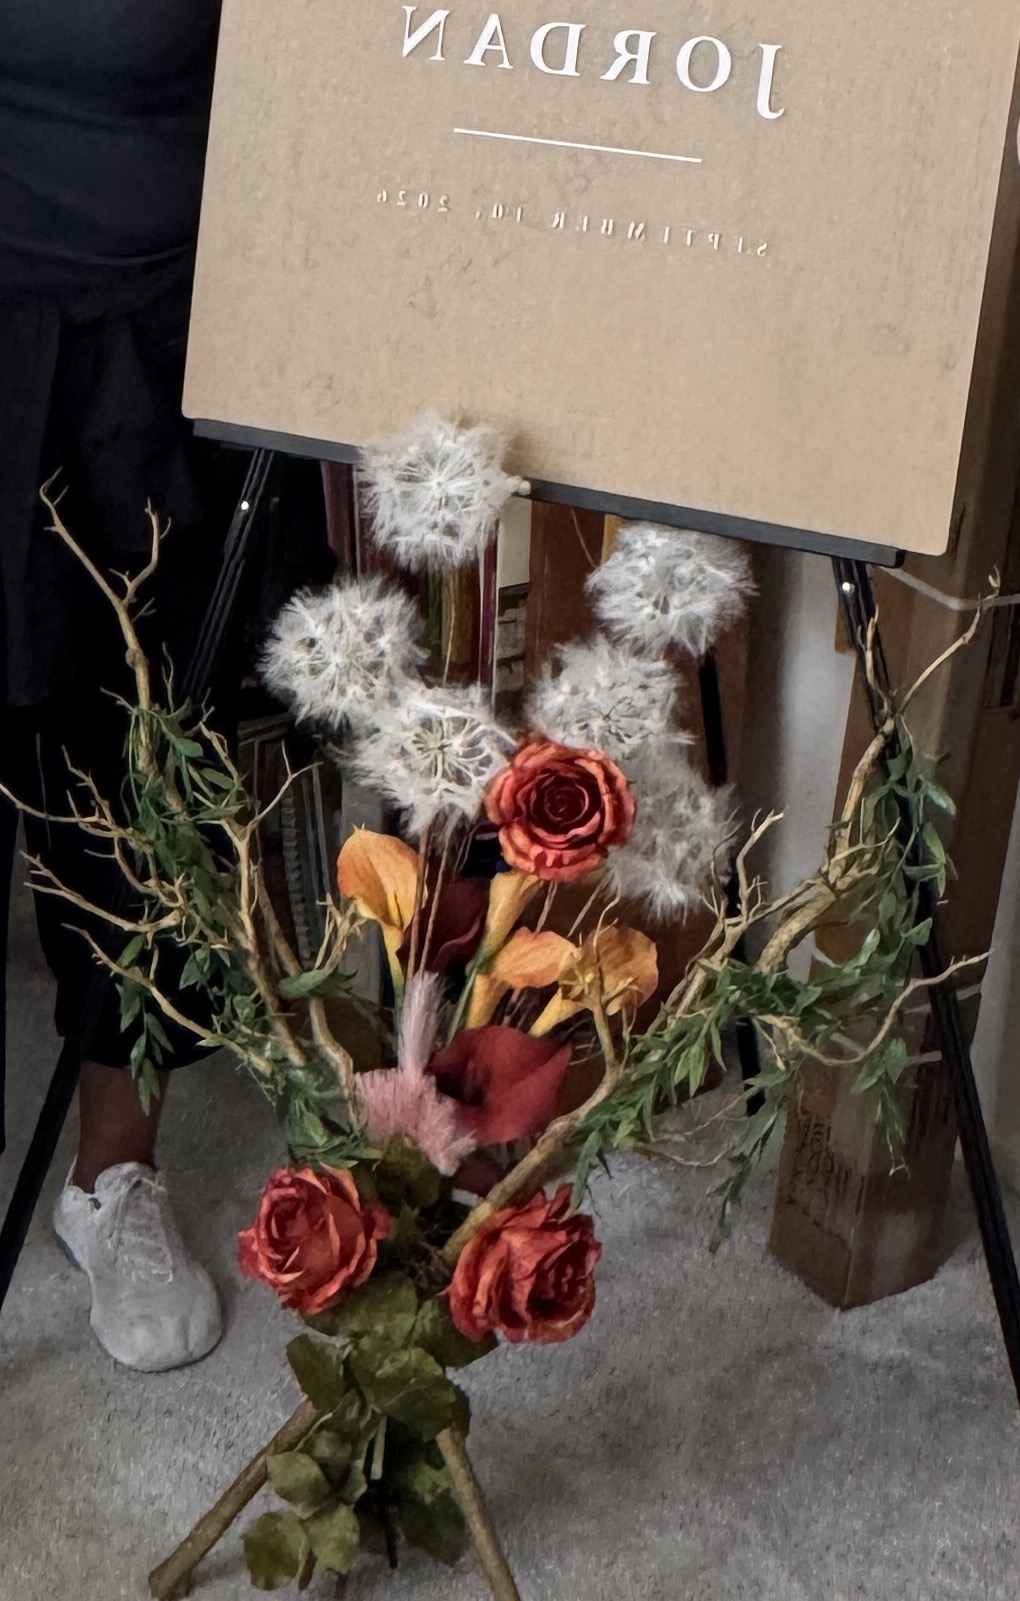
Over the course of several weeks, I’ve been helping a neighbor friend with creating a flower arrangement to go beneath the welcome sign on an easel to greet wedding guests. The wedding is this upcoming weekend so it was time to get very serious about finishing up the project!
With the help of her visiting sister, we finished up the flower arrangement (that we designed from scratch using the colors of the bride’s bouquet) this weekend. None of us had any background in or experience with flower arranging (especially not for a wedding!) but we were fairly pleased with ourselves!
This project took several trips to 2 different craft stores and lots and lots of auditioning potential layouts on an available table at the craft store.
The wedding will be held in Boulder, CO which is a beautiful mountainous location and we wanted the arrangement to have a “Colorado vibe” look as natural as possible even though we were using artificial foliage.
(The wedding sign looks like the text is backward but that is the back of the sign with the protective film covering it, not to be fully removed until the wedding)
Ready for Dot Painting
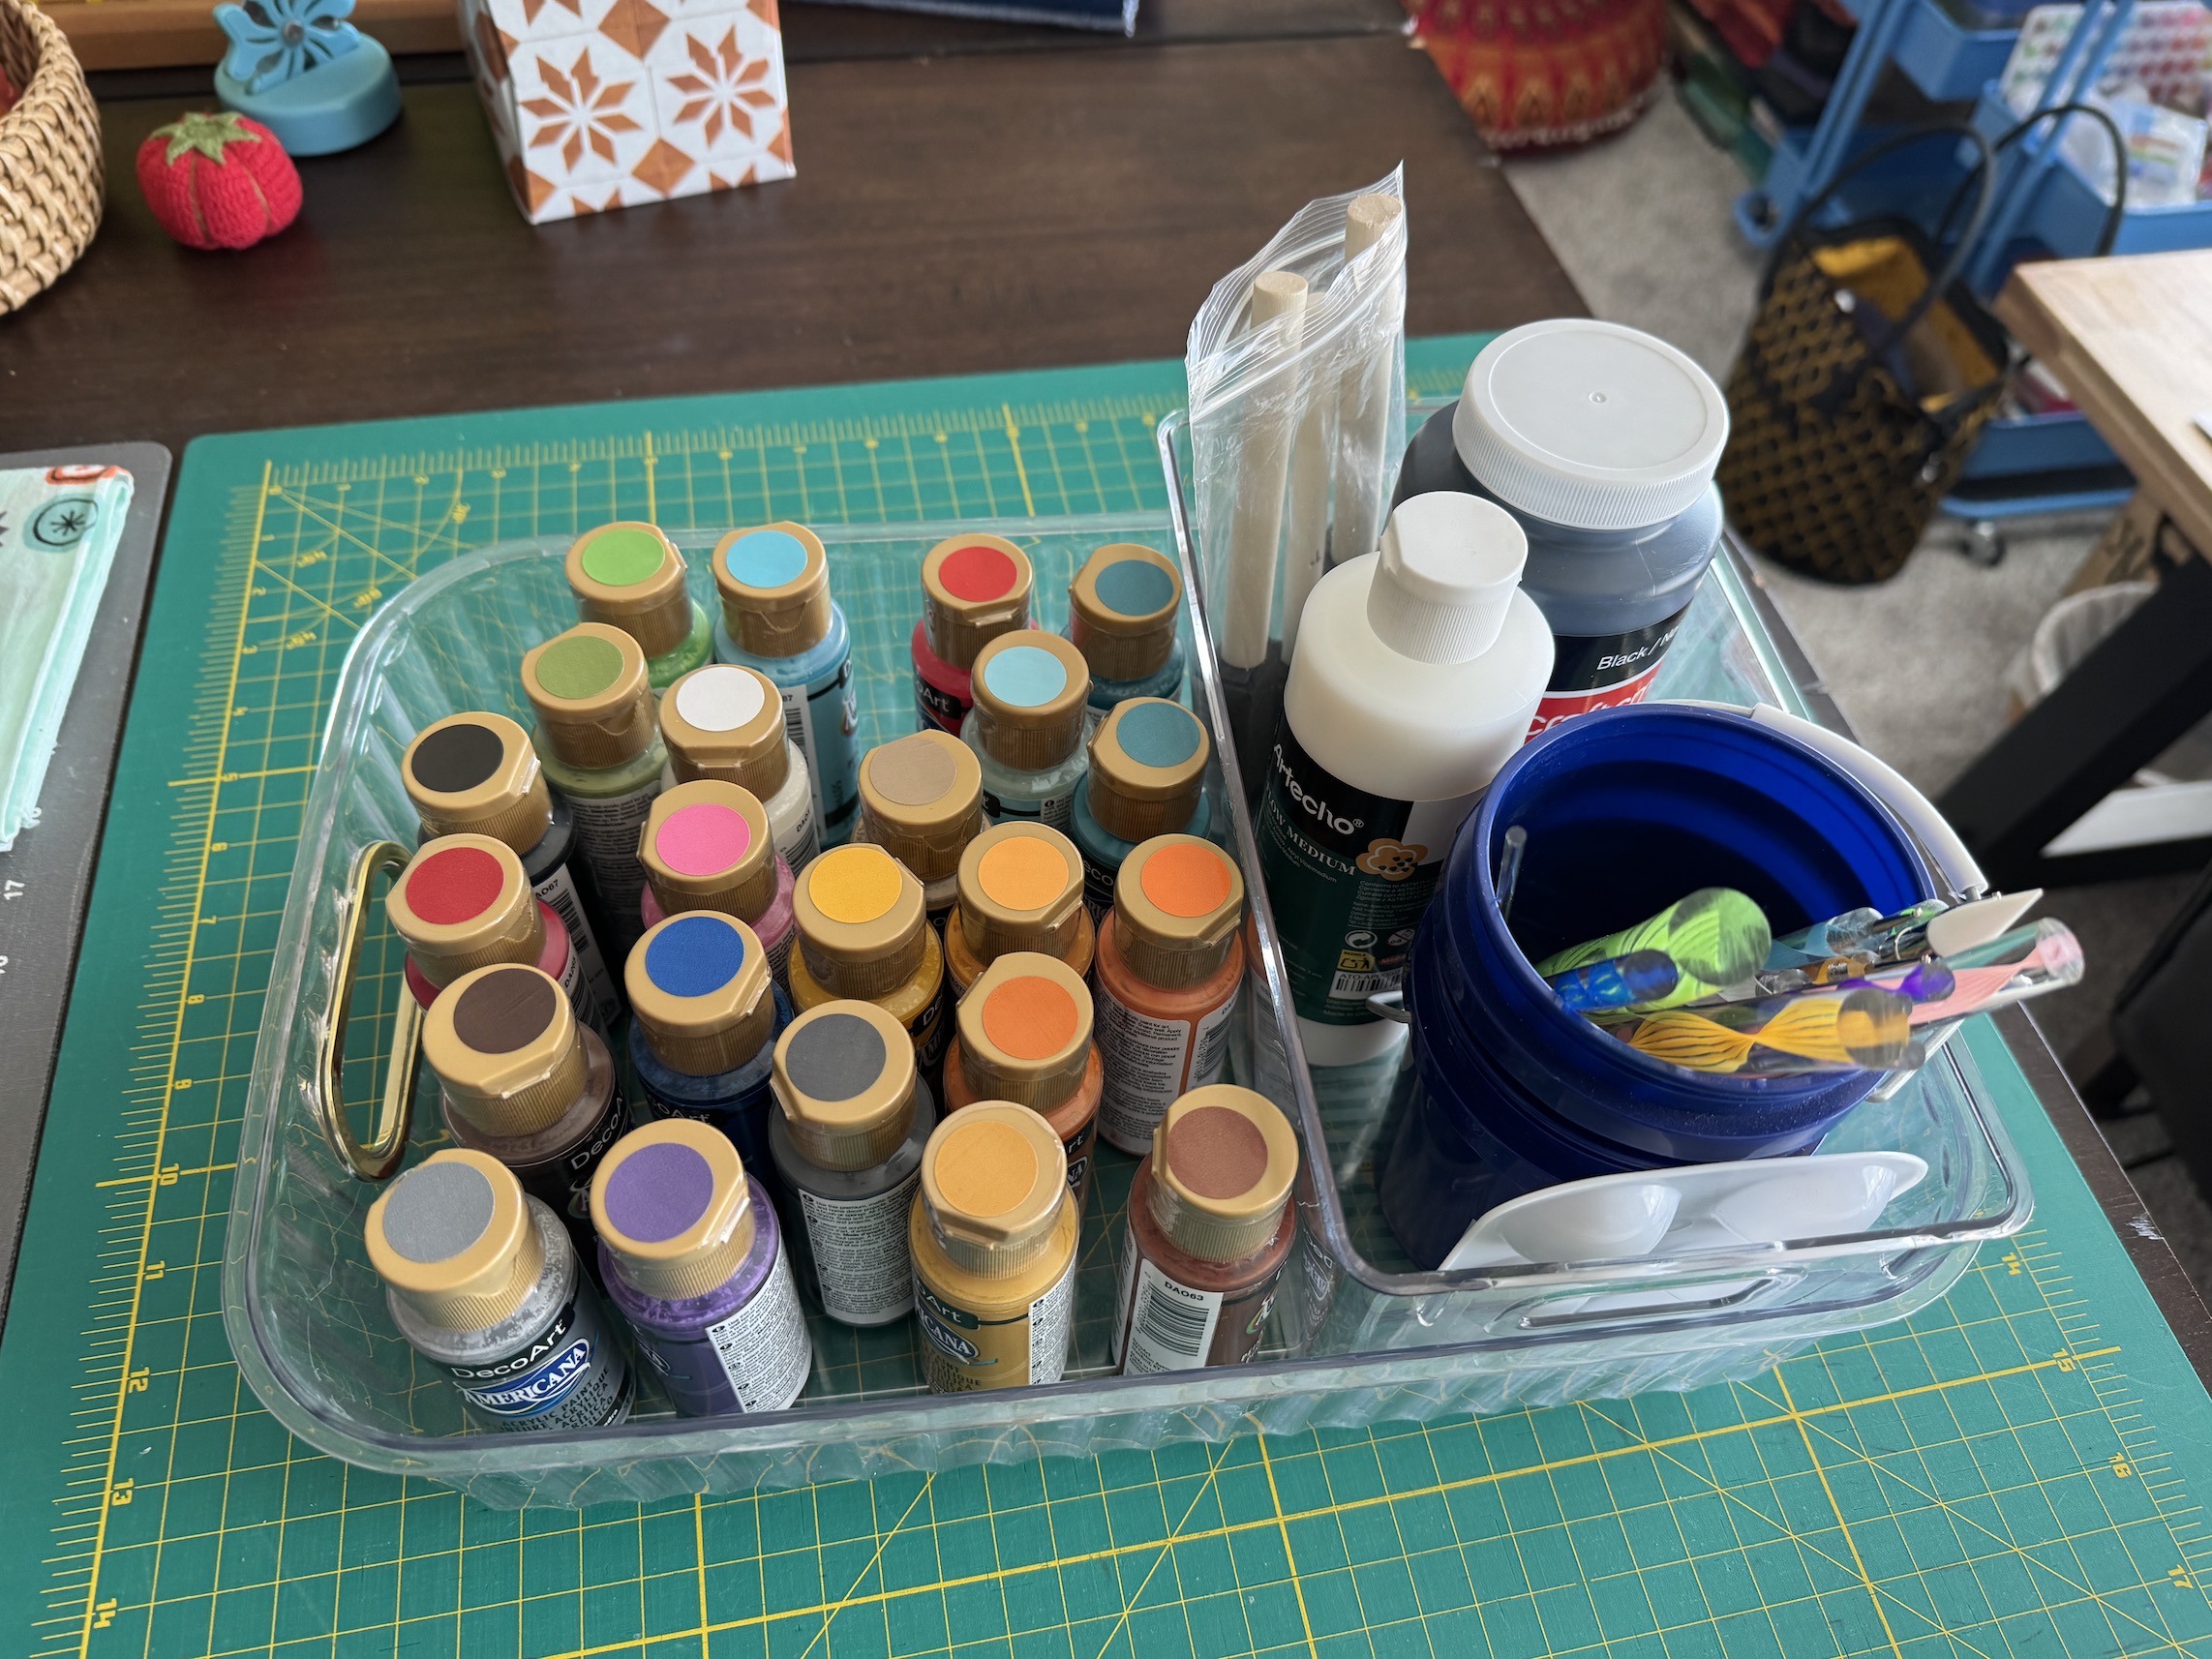
Just a little follow up to the post Dot Painting Class – after the fabulous class I don’t want to lose momentum in my potential new craft – dot painting. So this weekend I went to the sale a local craft store was having and picked up a set of the type of acrylic paints our instructor recommended and put myself together a “Dot Painting Kit”:
There we so many colors to choose from at the craft store but I tried to select colors I might actually use. I always have the dot painting tools (like the glass rods you use) from the set I purchased from the instructor.
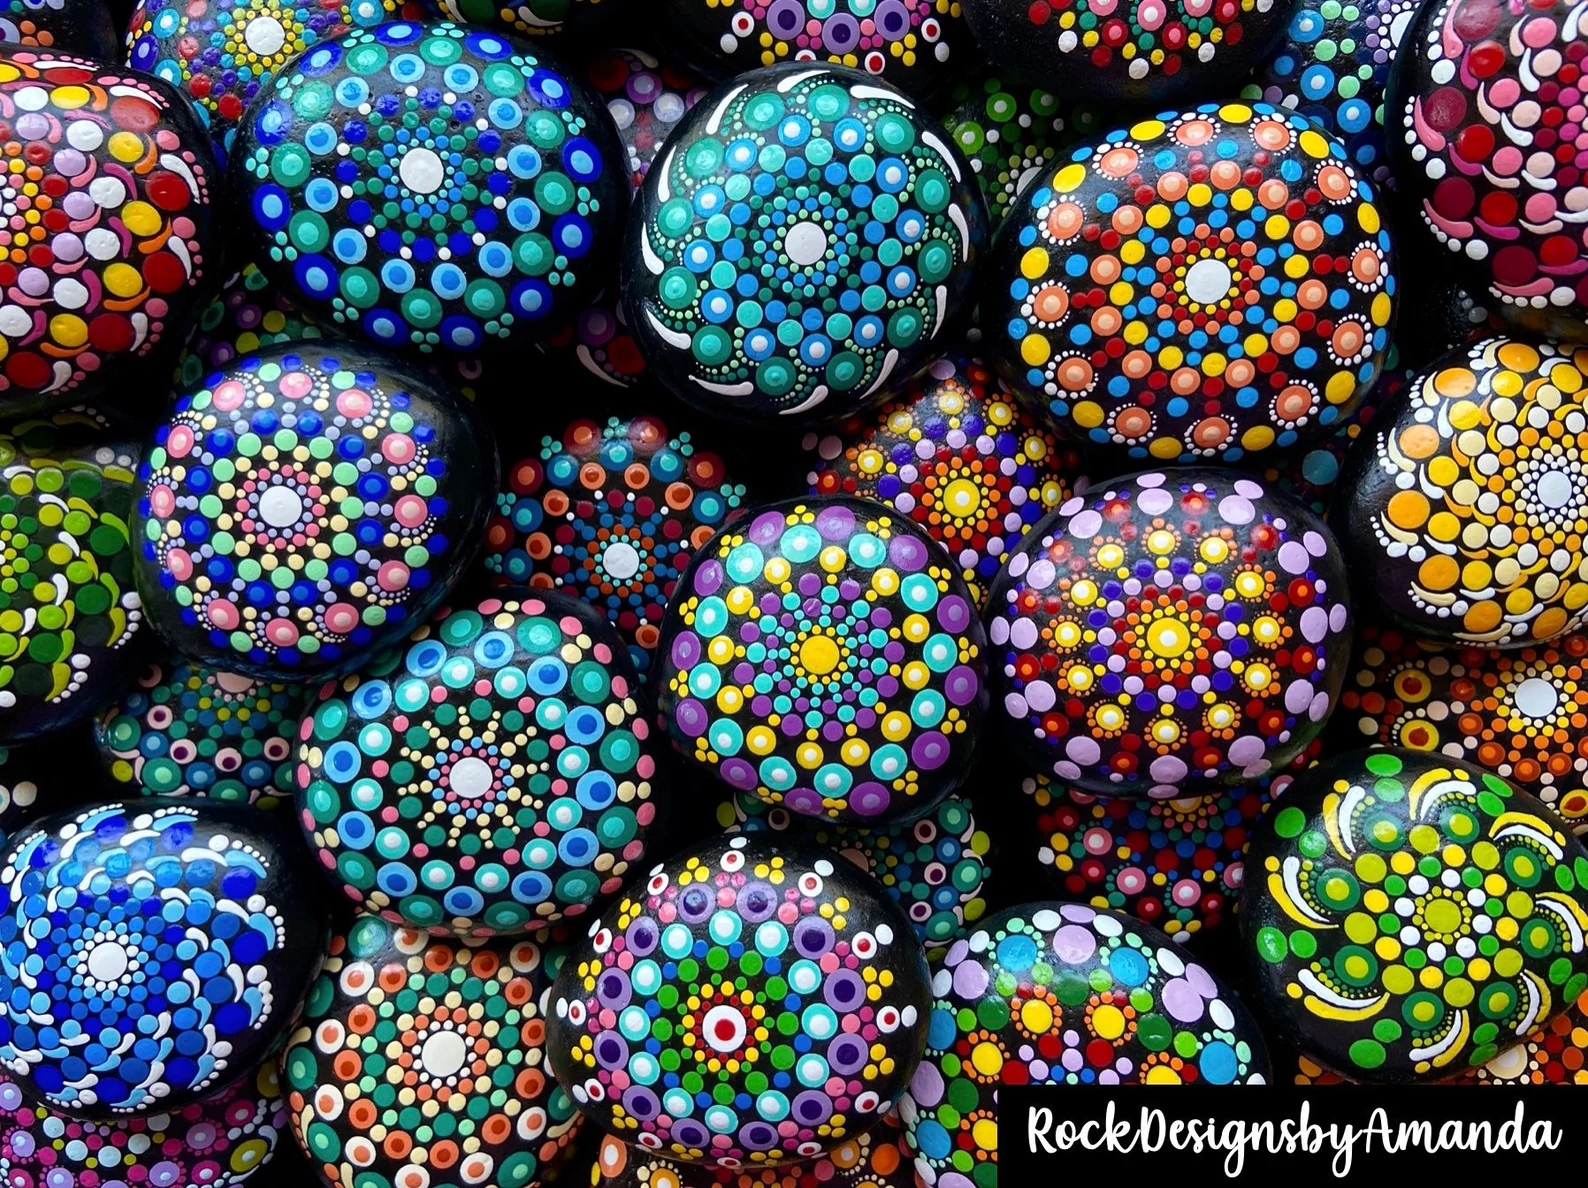
Now I just need something to paint! I would love for my first solo project to be a rock mandala like the examples below from the Etsy Shop Rock Designs by Amanda.
I’ve already started watching YouTube videos like the one below:
Bourbon Tasting Club
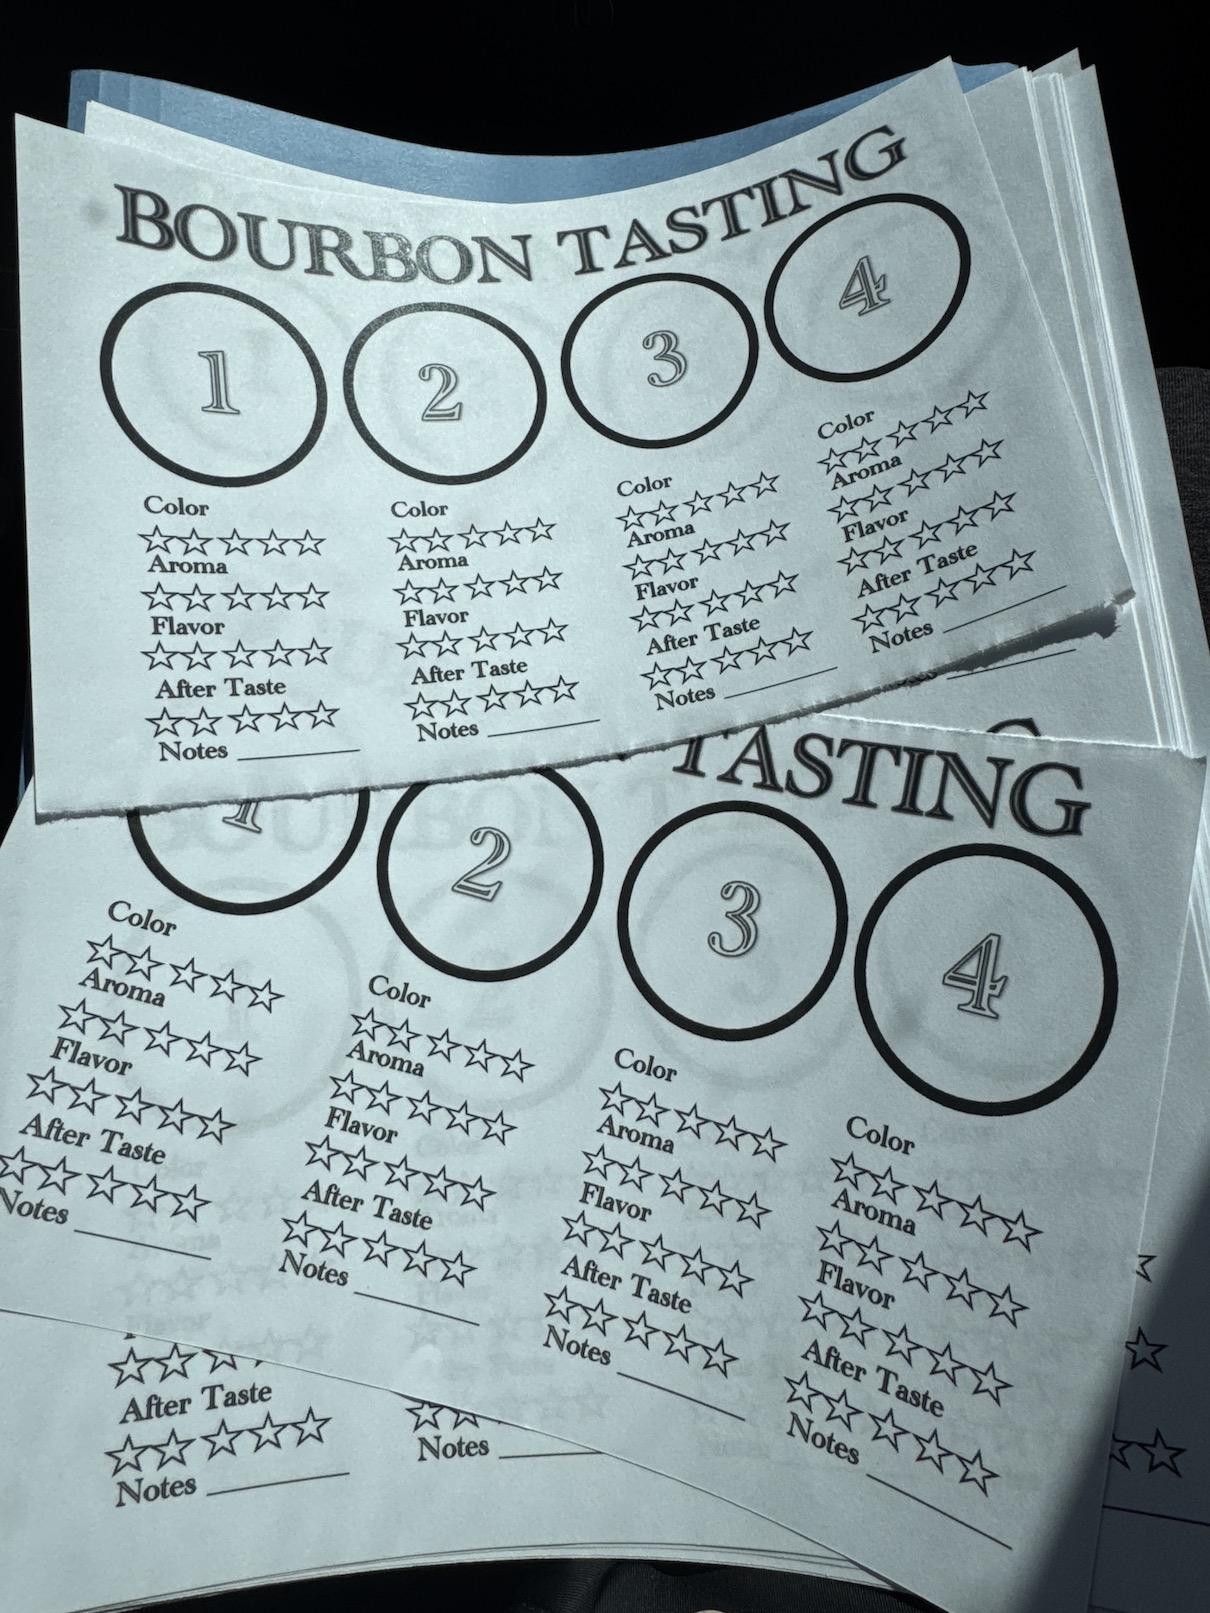
John and a friend he met in our new community started a Bourbon Tasting Club. I am helping them with administrative tasks and this weekend I created these Bourbon Tasting sheets (inspired by examples I found online) for the club.
How this tasting sheet will work:
Each person is issued a Glencairn Whiskey tasting glass and 4 small paper cups of a 1 oz whiskey sample for tasting labeled 1 – 4. The person using the tasting sheet will place their Glencairn glass on the sample number they are tasting and pour the paper cup sample into the tasting glass.
This is to reduce the number of Glencairns needed and the amount of dishes the club would have to clean. Here is an example of a traditional whiskey tasting in which you have a glass for each whiskey sample:
I was planning on catch you all up on my summer travel but I’ve been in the mood to share some crafting and quilting related posts (oh yeah my blog is called “tierneycreates” so I have to pretend…).
In the middle of August I got together again with my quilting buddies J and D to help D complete her first quilt – a lap-sized truck themed quilt for her 1 year old grandson.
Wow – I’ve been quilting for 25 years and I forgot the learning curve with learning how to make quilts. There are a lot of steps to learn!
If you are just joining us and want to see the other related posts here 4 previous posts in order:
How quilts are quilted via a longarm machine (so help a quilter understand why their are specific requirements to prepare a quilt for longarm quilting).
On her own D finished sewing her blocks together (which she began during our session shared in the post Quilter Playdate: Learning to Piece.
(It was fun to see the fabric that J and I helped her select during our Quilt Shop Hop in June become a quilt!)
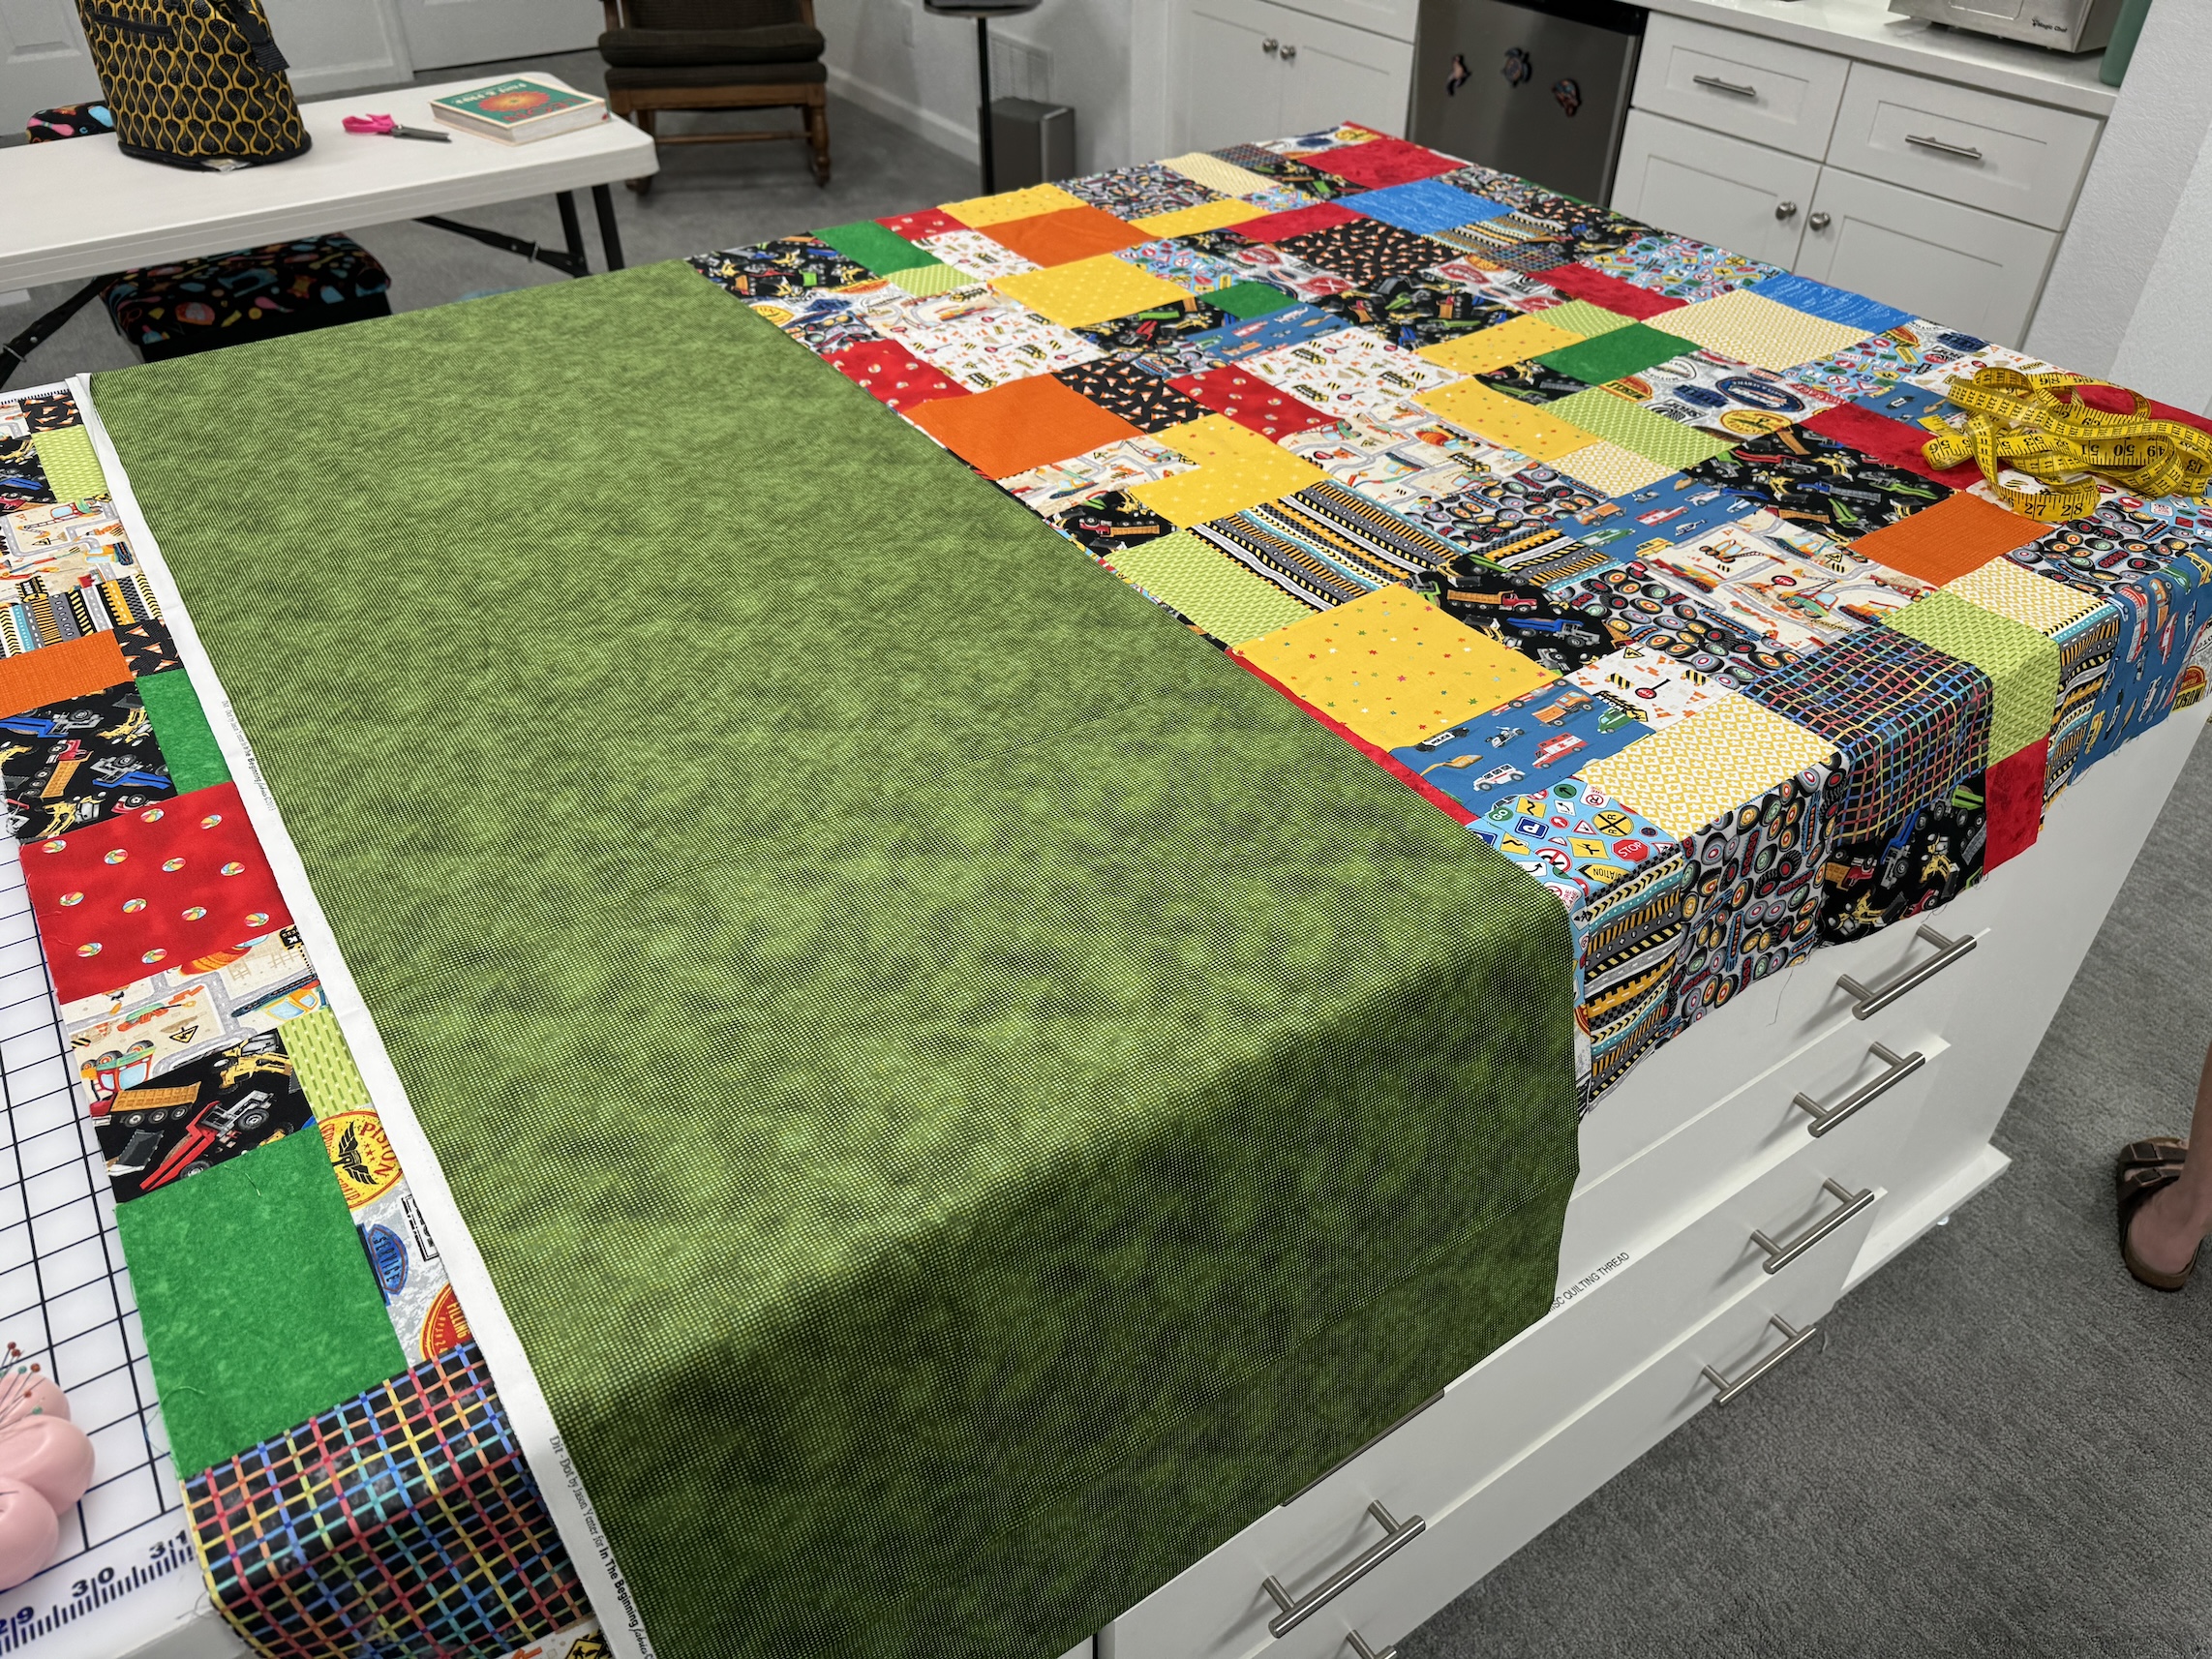
It was time to measure the quilt in order to piece the back to the correct length and width:
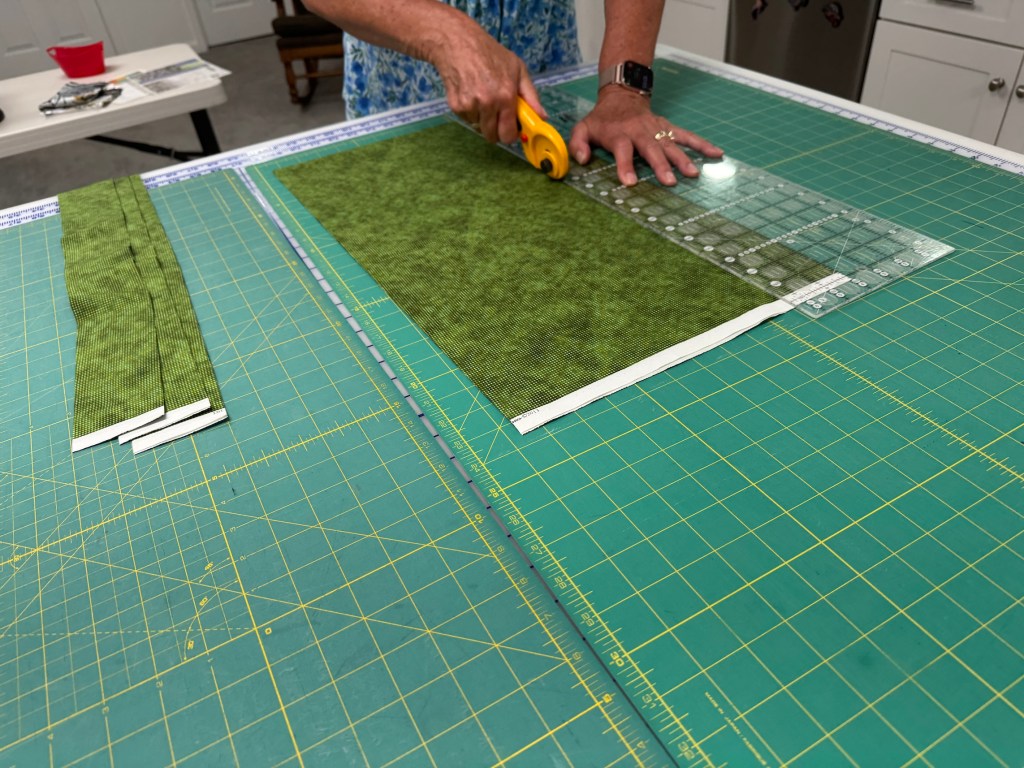
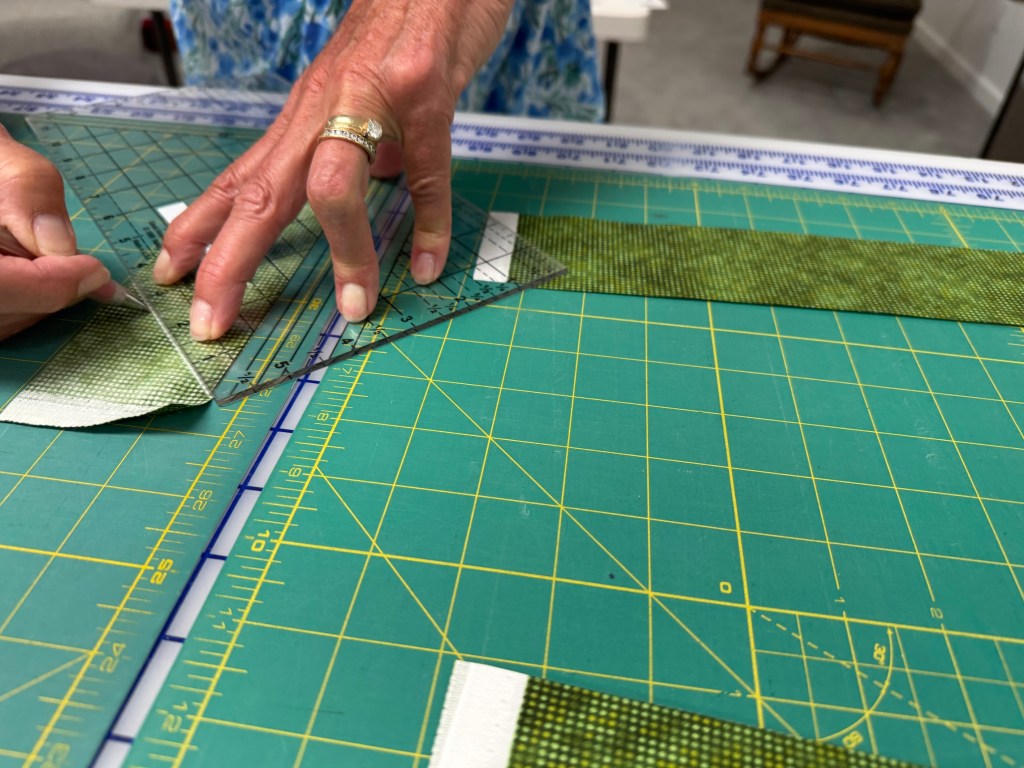
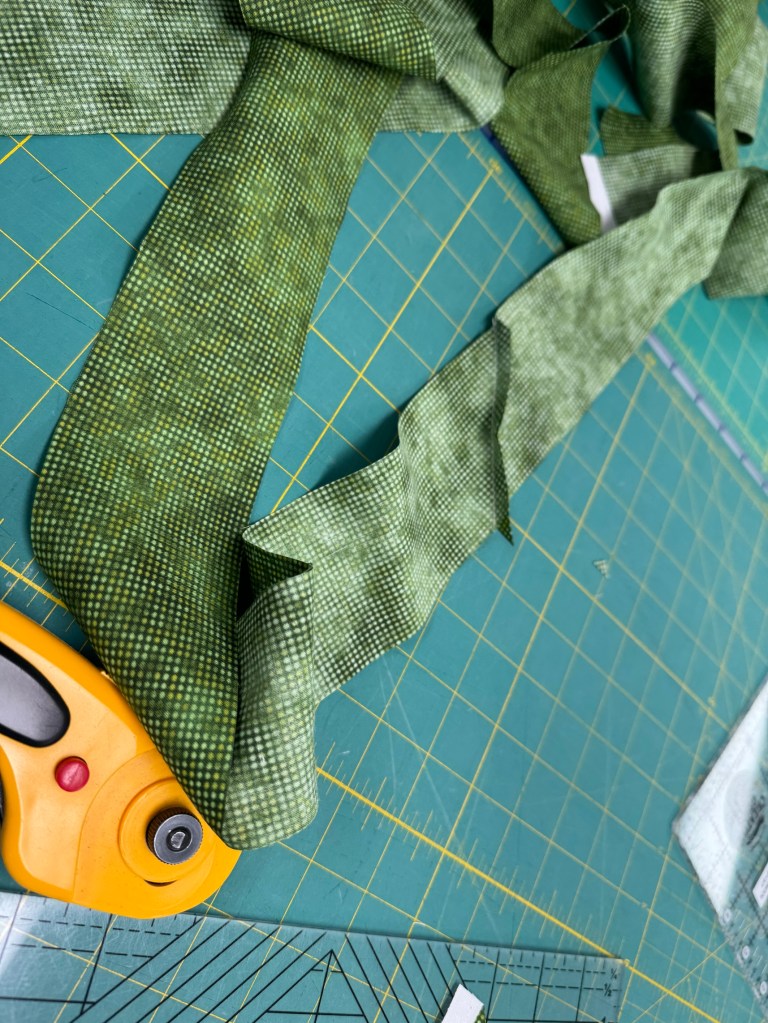
After that was figured out, D pieced the yardage for the backing together, reserving some of the backing yardage for the binding. J then taught her how to cut strips for and then piece together the binding strips:
Sometimes I wonder how on earth did I originally learn what I can now do in my sleep after 25 years of making quilt bindings?
J had her do a 1/8″ stitch around the edge of the entire quilt to protect from block edges separating during longarming:
Then J, who is a professional longarmer, treated us to a “behind the scenes” of how a longarm machine is loaded, programmed (for pre-program stitch patterns), and monitored. Wow it’s a lot of work!
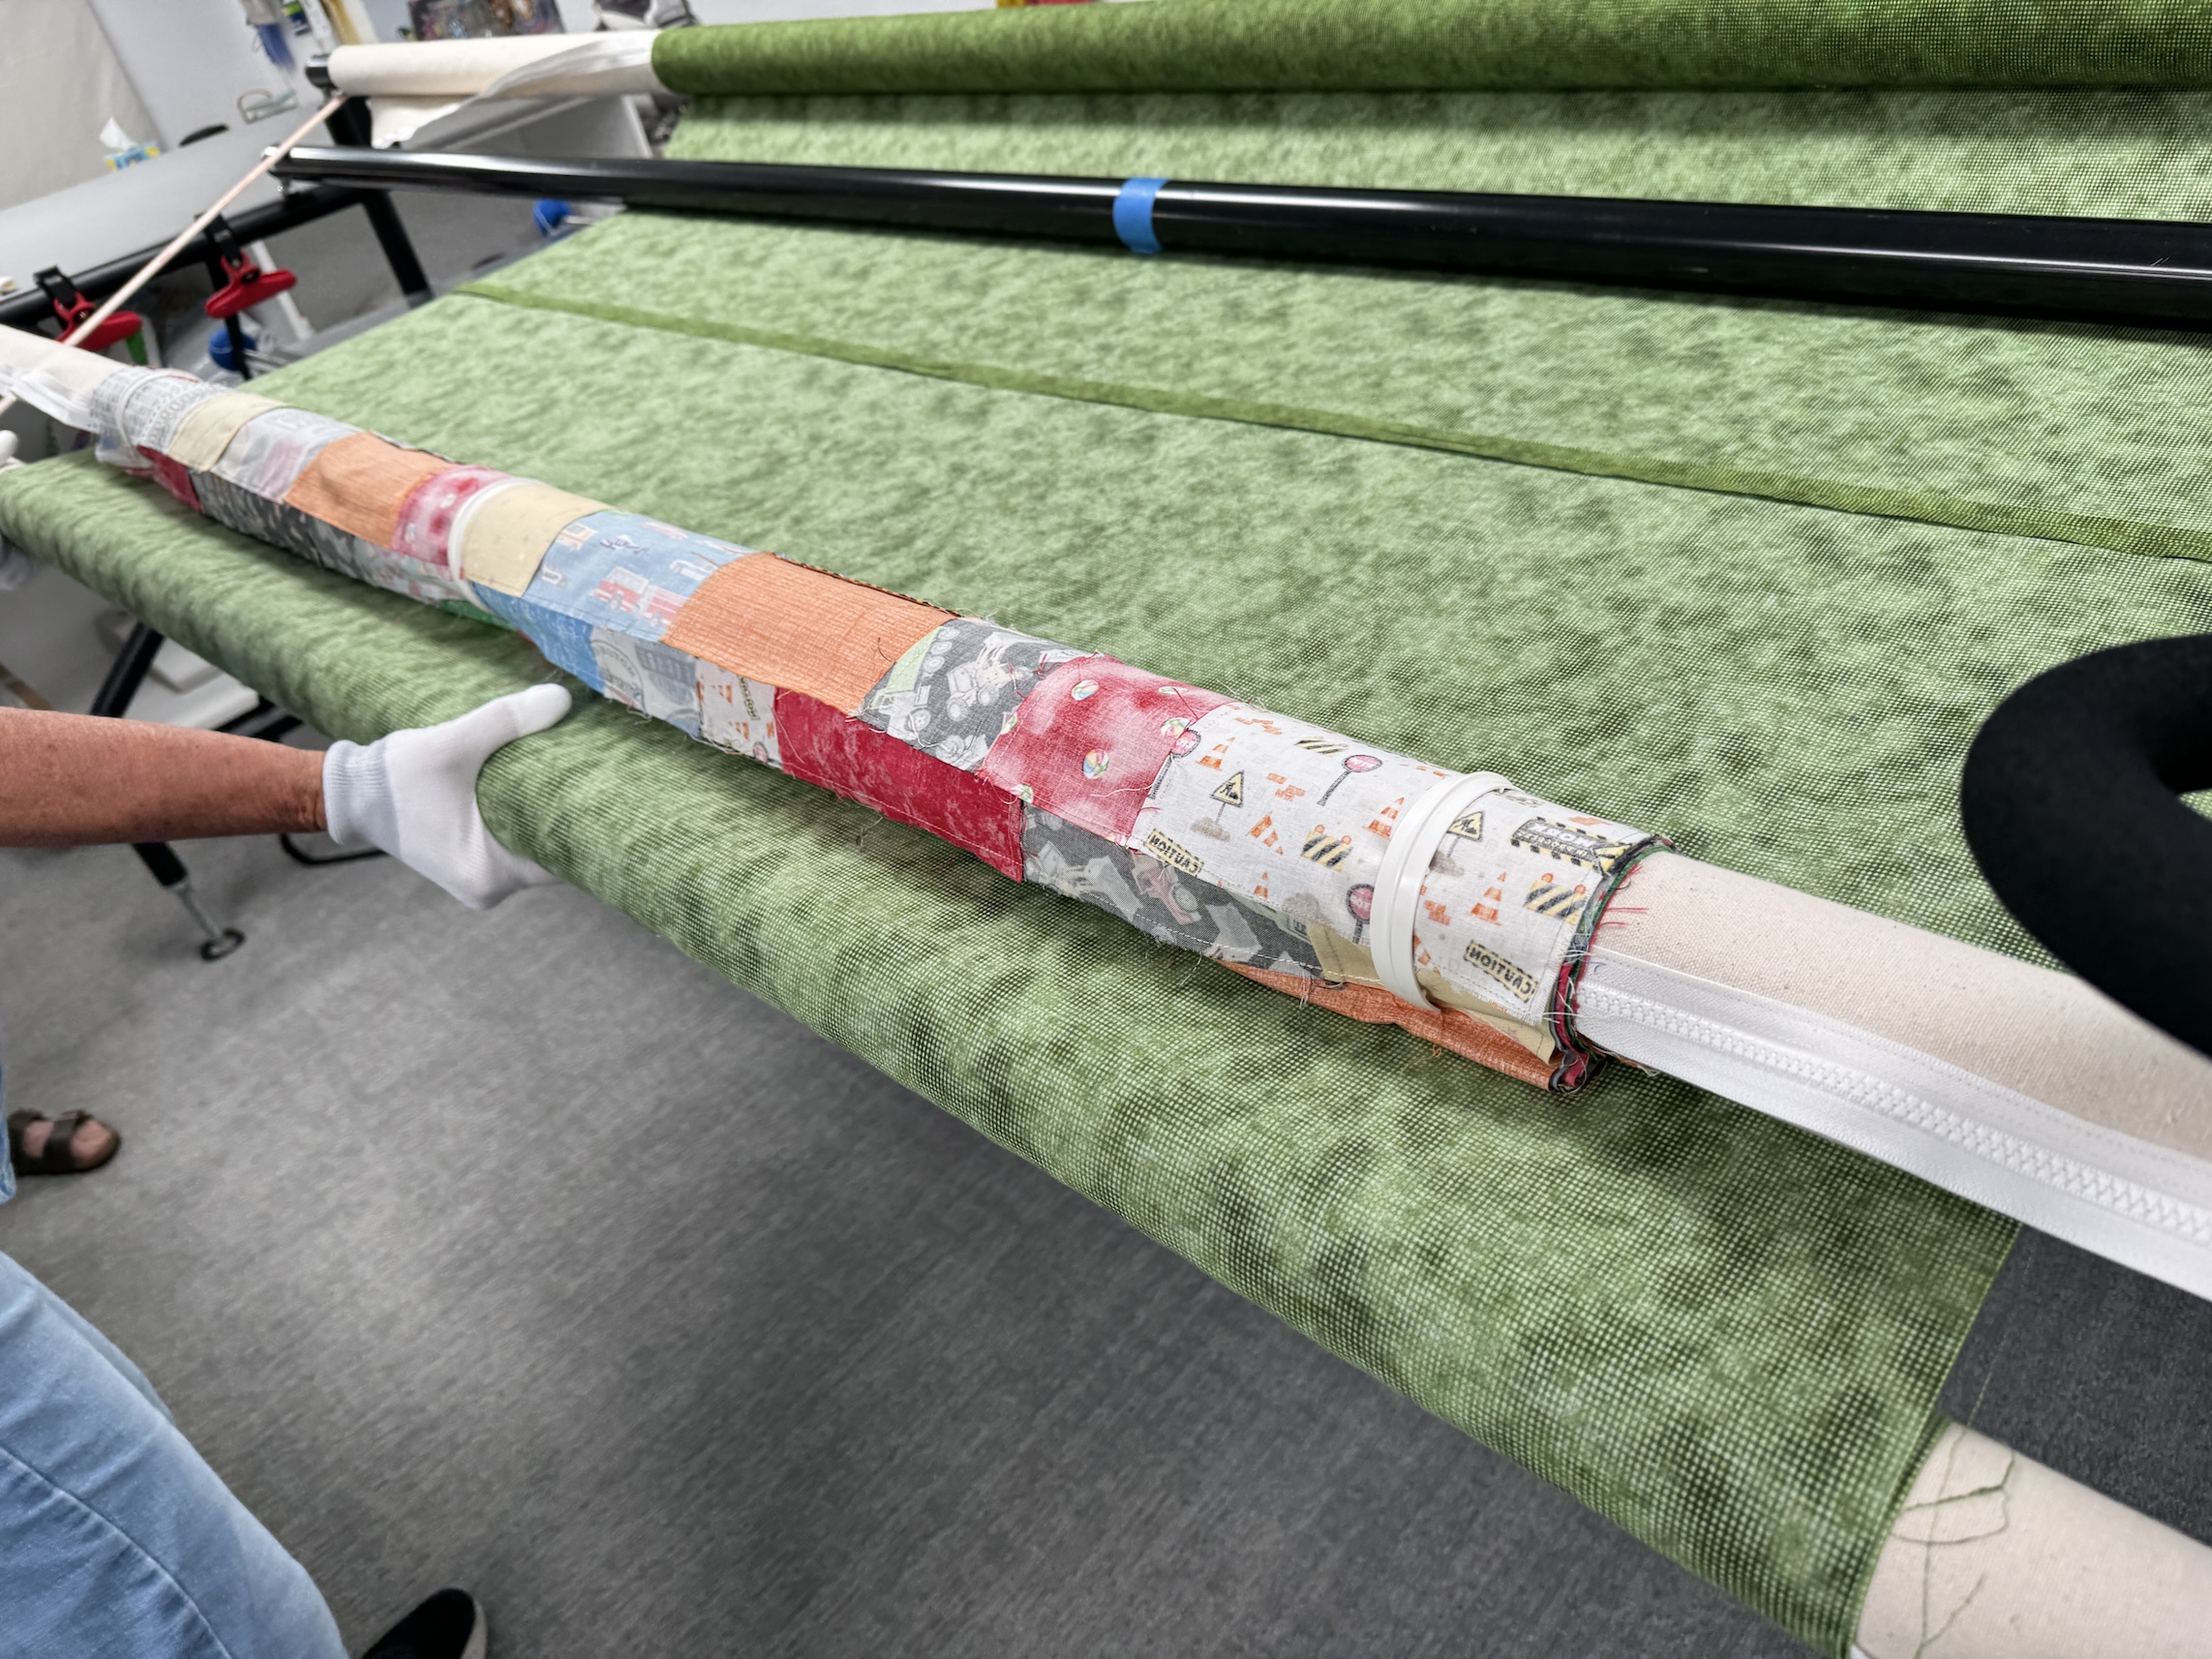
It is pretty physical – we saw J climb under her machine and check adjustments, etc. but first we were fascinated with how the quilt top is zippered onto the machine:
And all the physical work of aligning the quilt top and quilt backing; and adjusting:
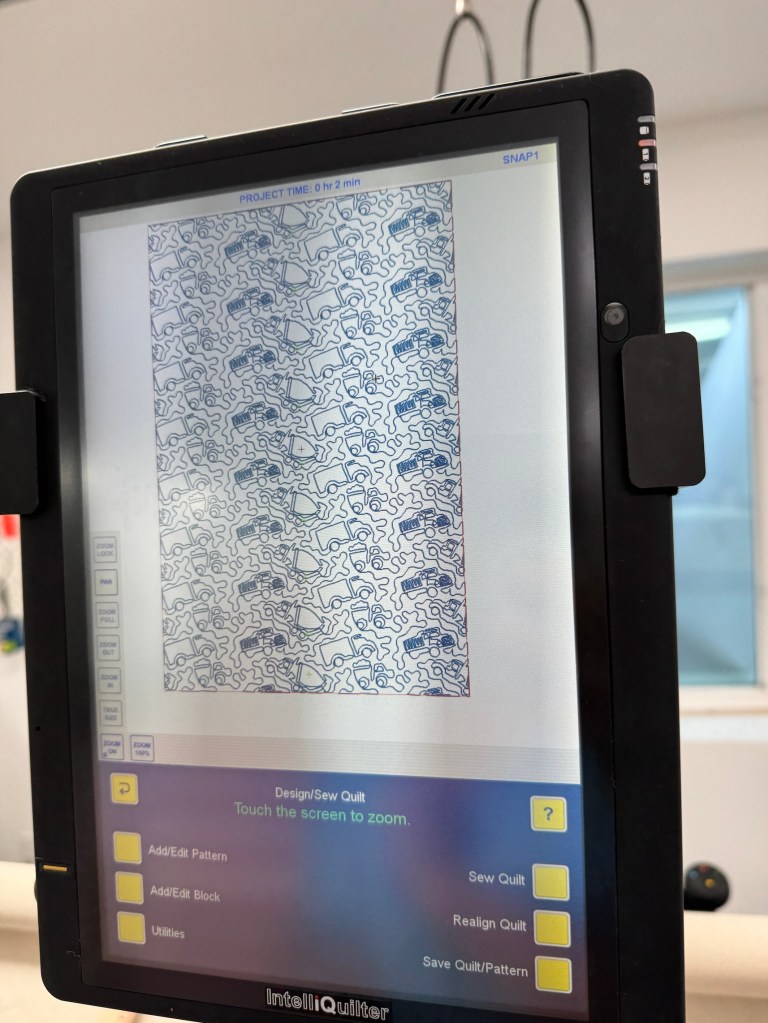
J and D had selected a truck quilting pattern for the truck themed quilt! It was fascinating to see how the computerized longarm machine “read” the pattern and progressed with stitching it onto the quilt!
We peeked under the machine frame to see the underside of the stitching on the quilt back – the pattern really shows on the solid color of the backing:
(Watching the entire setting up a quilt to be longarm machine quilted really help me understand why longarm quilters request that your backing is at least 4 inches (some request more) beyond the size of your quilt top.)
At our next together I will see the completed quilt – and see the conclusion to the journey that J (who did most the teaching) and I went on with D! Then the 3 of us will decide what project is next and we might work on the same quilt (or maybe a bag) together during our future Quilter Playdates 🙂
Since in yesterday’s post you saw “crocheted Tierney”, I figured you should in the next post see what Tierney is currently crocheting.
This is an update on my blog post Starting a New Granny Square Blanket and here is where I am at with the 100 flower block blanket I’ve been working on since April 2026.
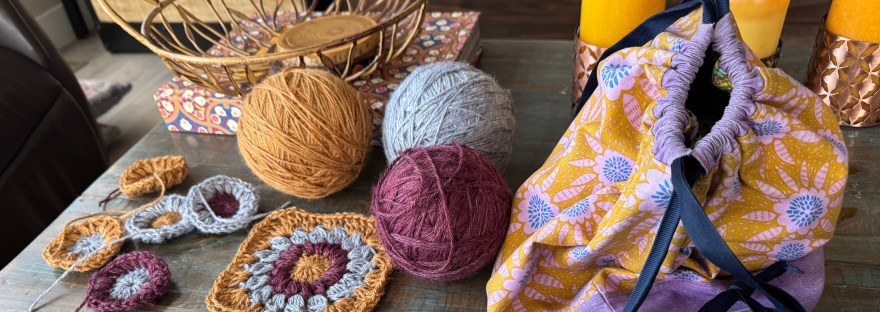
I’ve made 100 centers in three different yarn colors:
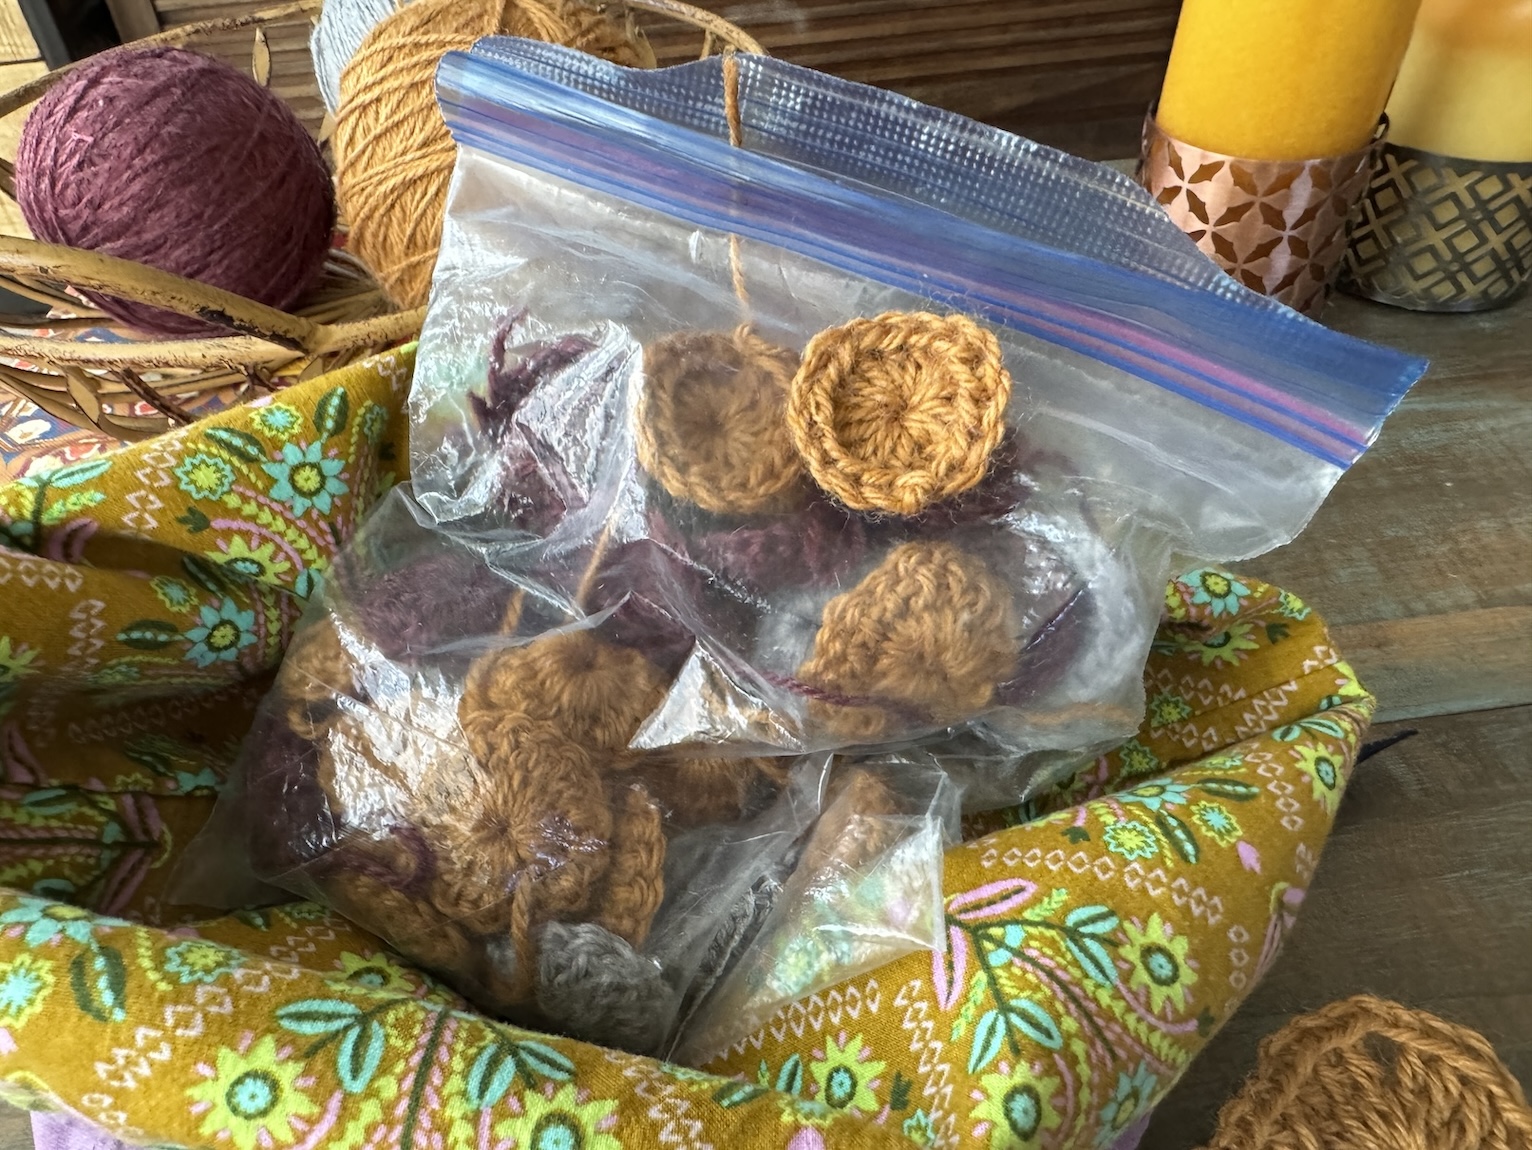
I’ve turned about 40% of those centers into “centers with a second round” (there are 4 rounds in this granny square block total):
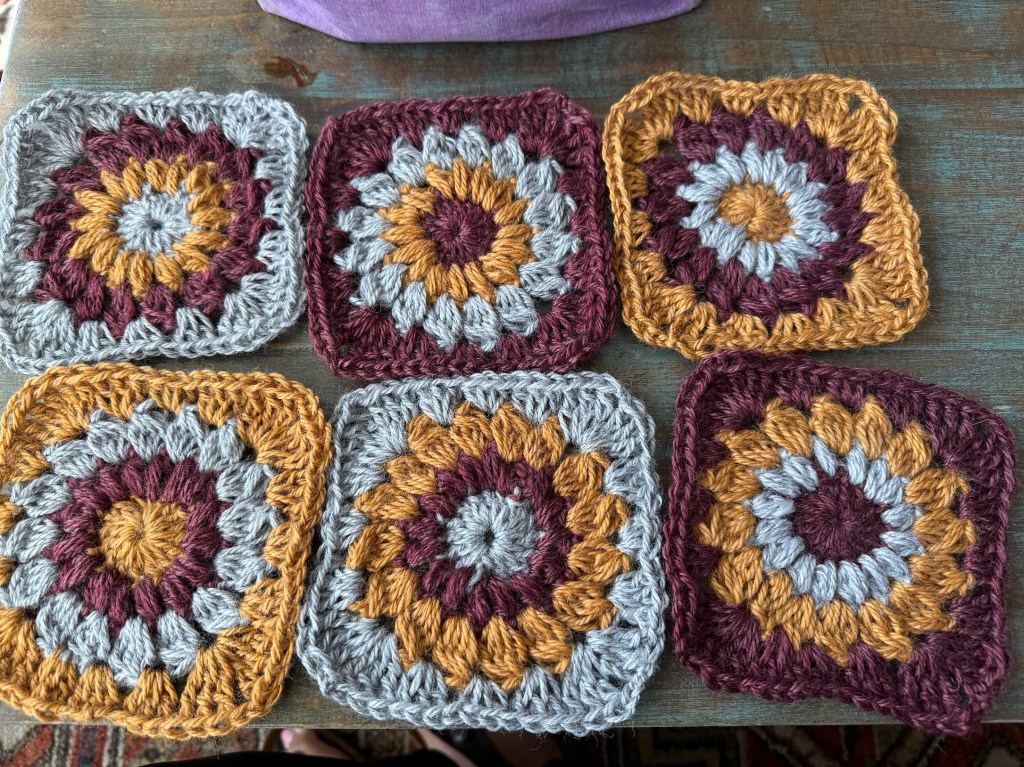
I had a third round to go and then a fourth round in order to finish/square out each block and I was getting impatient, so I went ahead and finished all 4 rounds on six blocks to get a better idea of what the blanket will look like:
I have 6 different combinations with the 3 yarns as you can see in the image above. I will stick with these combinations unless I start to run out of yarn. I have 3 back up yarns (1 is the same yarn and the others are different shades of the same colors) that I will bring into the mix if needed. I think to be safe I will make as many full blocks as I can with the centers that have a second round on them; and save the centers with no rounds on them to use if I need the back up yarns.
I guess I could have actually planned, but of well – it will be a surprise to see how many other combinations I need to add to complete all 100 blocks!
And if you are interested in the pattern I am using, I have posted below the instructional video from YouTube:
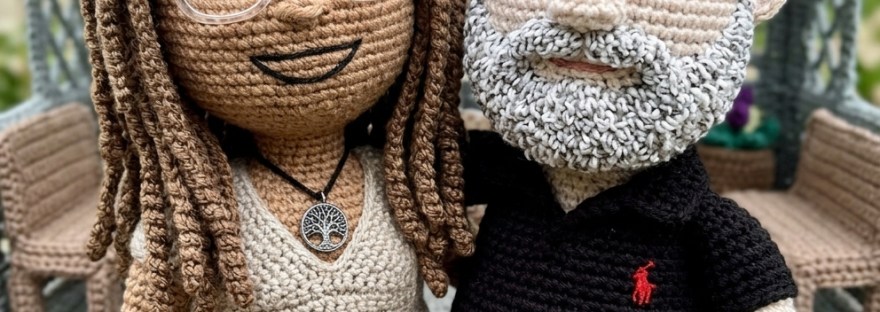
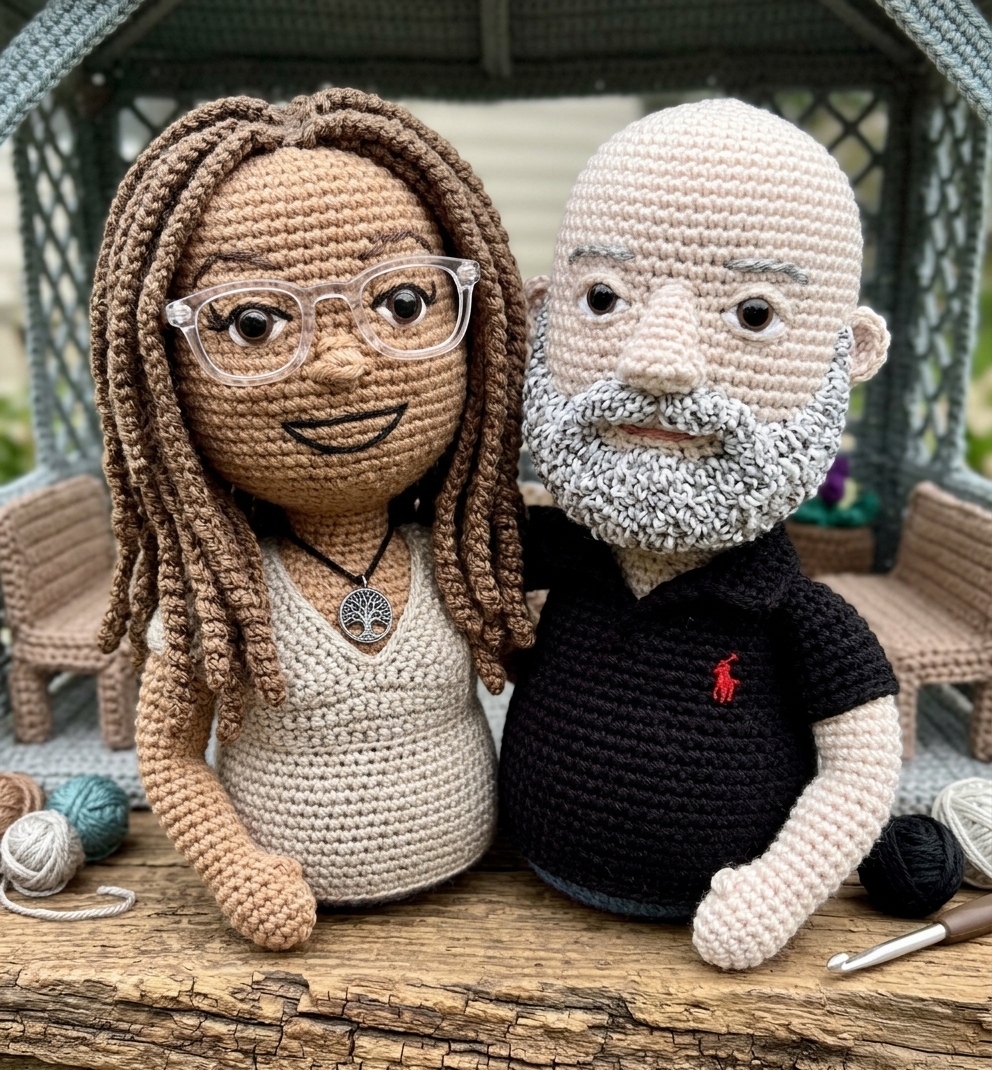
I had quite the giggle reading my blogging buddy Claire’s post “before the novelty wears off” in which she used Gemini (Google AI) to change herself into crochet/amigurumi.
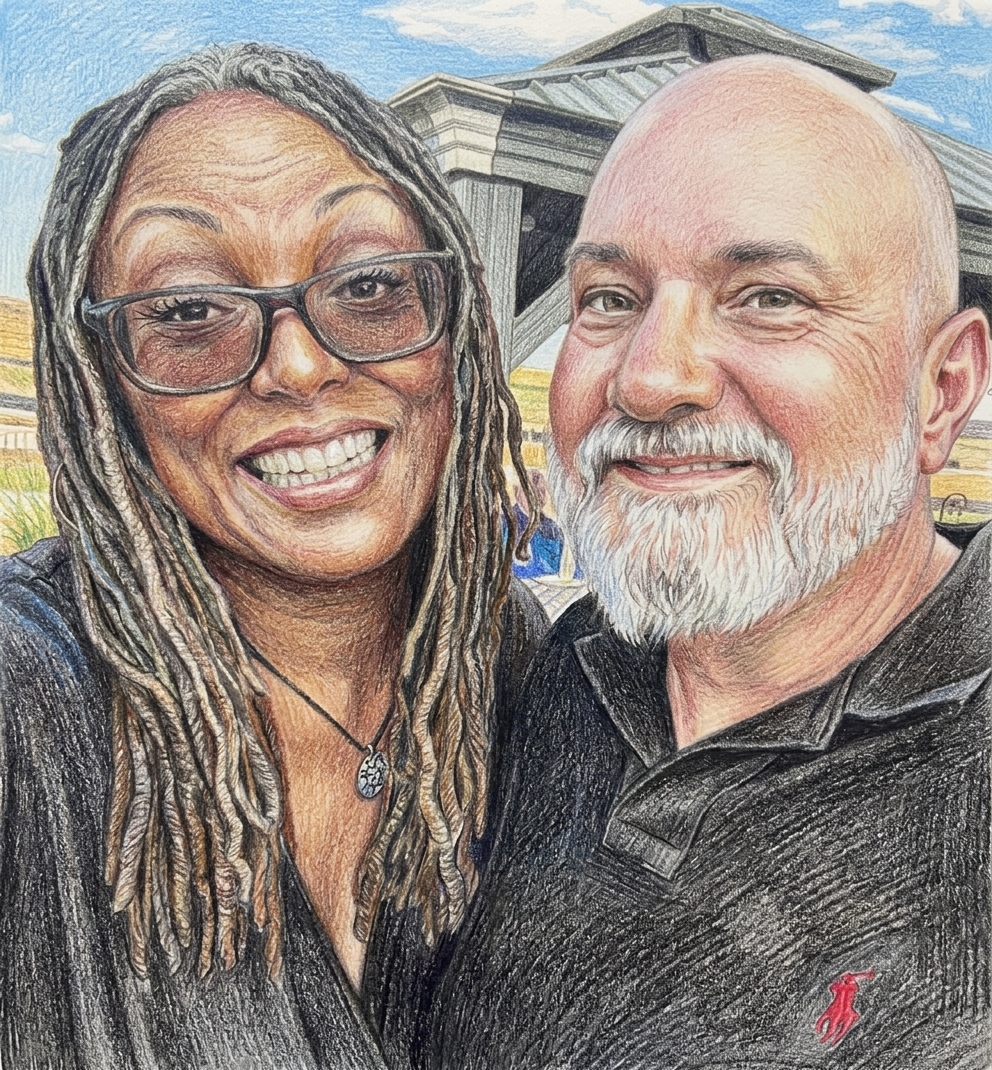
I was so tickled by her images (which also included her dog turned into amigurumi), I had to do the same with an image I had on my laptop of John and I.
Enjoy my silliness below:
I guess AI left the crochet needle out in the image so we could crochet ourselves some legs – ha!
I also turned the original image into a colored pencil drawing using Gemini; and I think it came out pretty cool (even if you can see every wrinkle on my face highlighted, ha!):
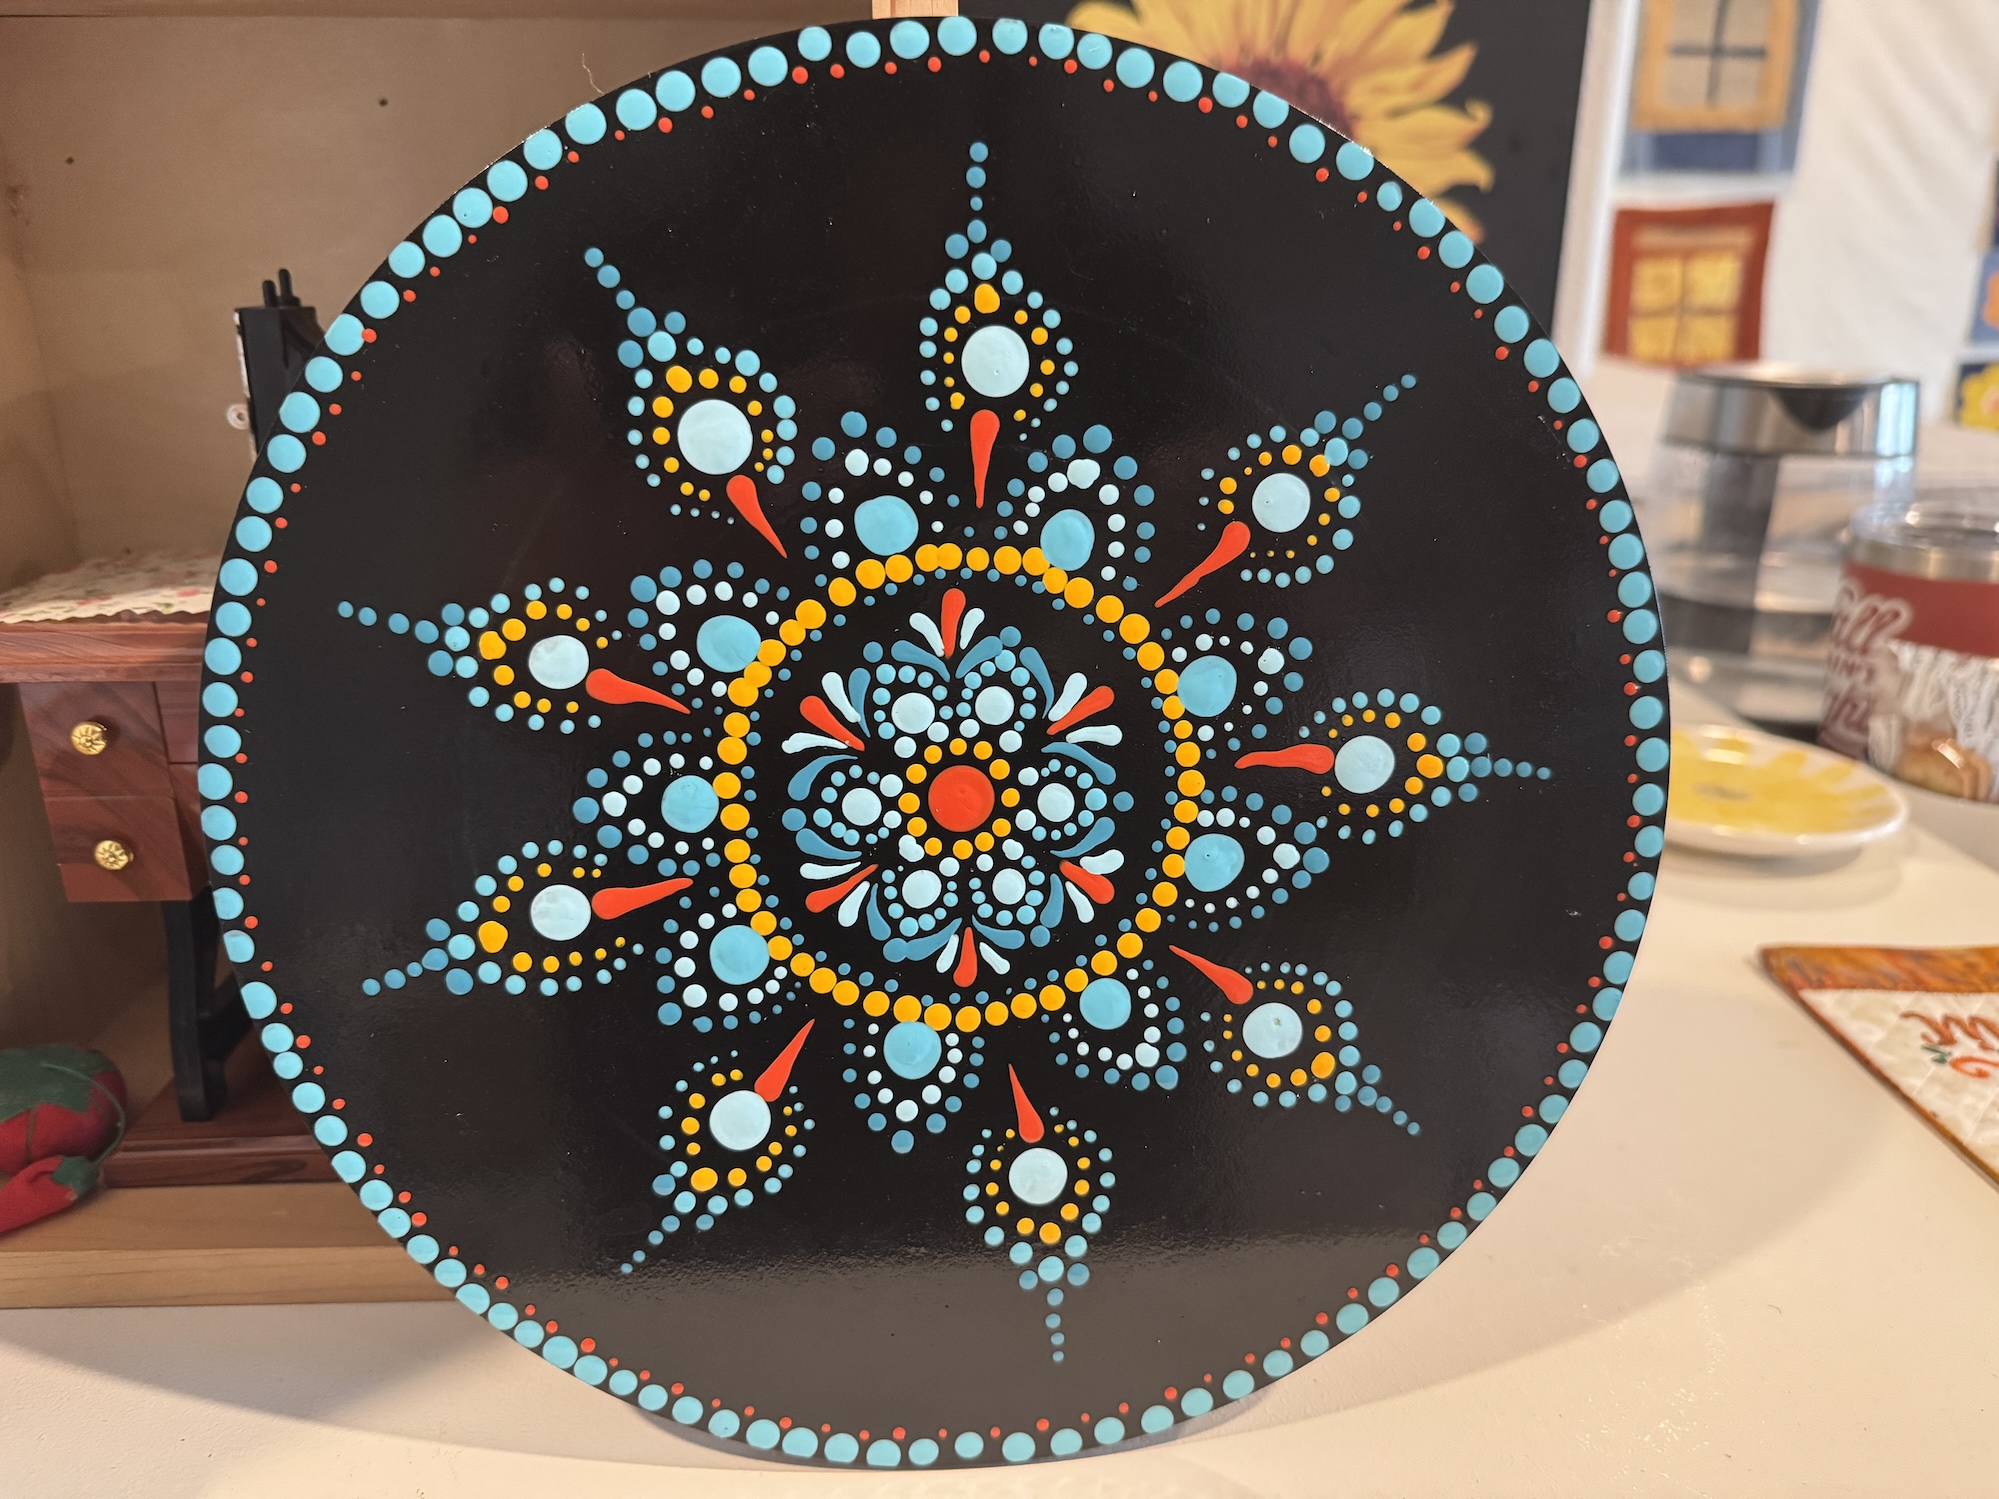
Somewhere in the middle of August, between trips to Canada (see post The World Needs More Canada) I took a Dot Painting class at Pinspiration in Loveland, Colorado with my friend J and her granddaughter P (who is 28).
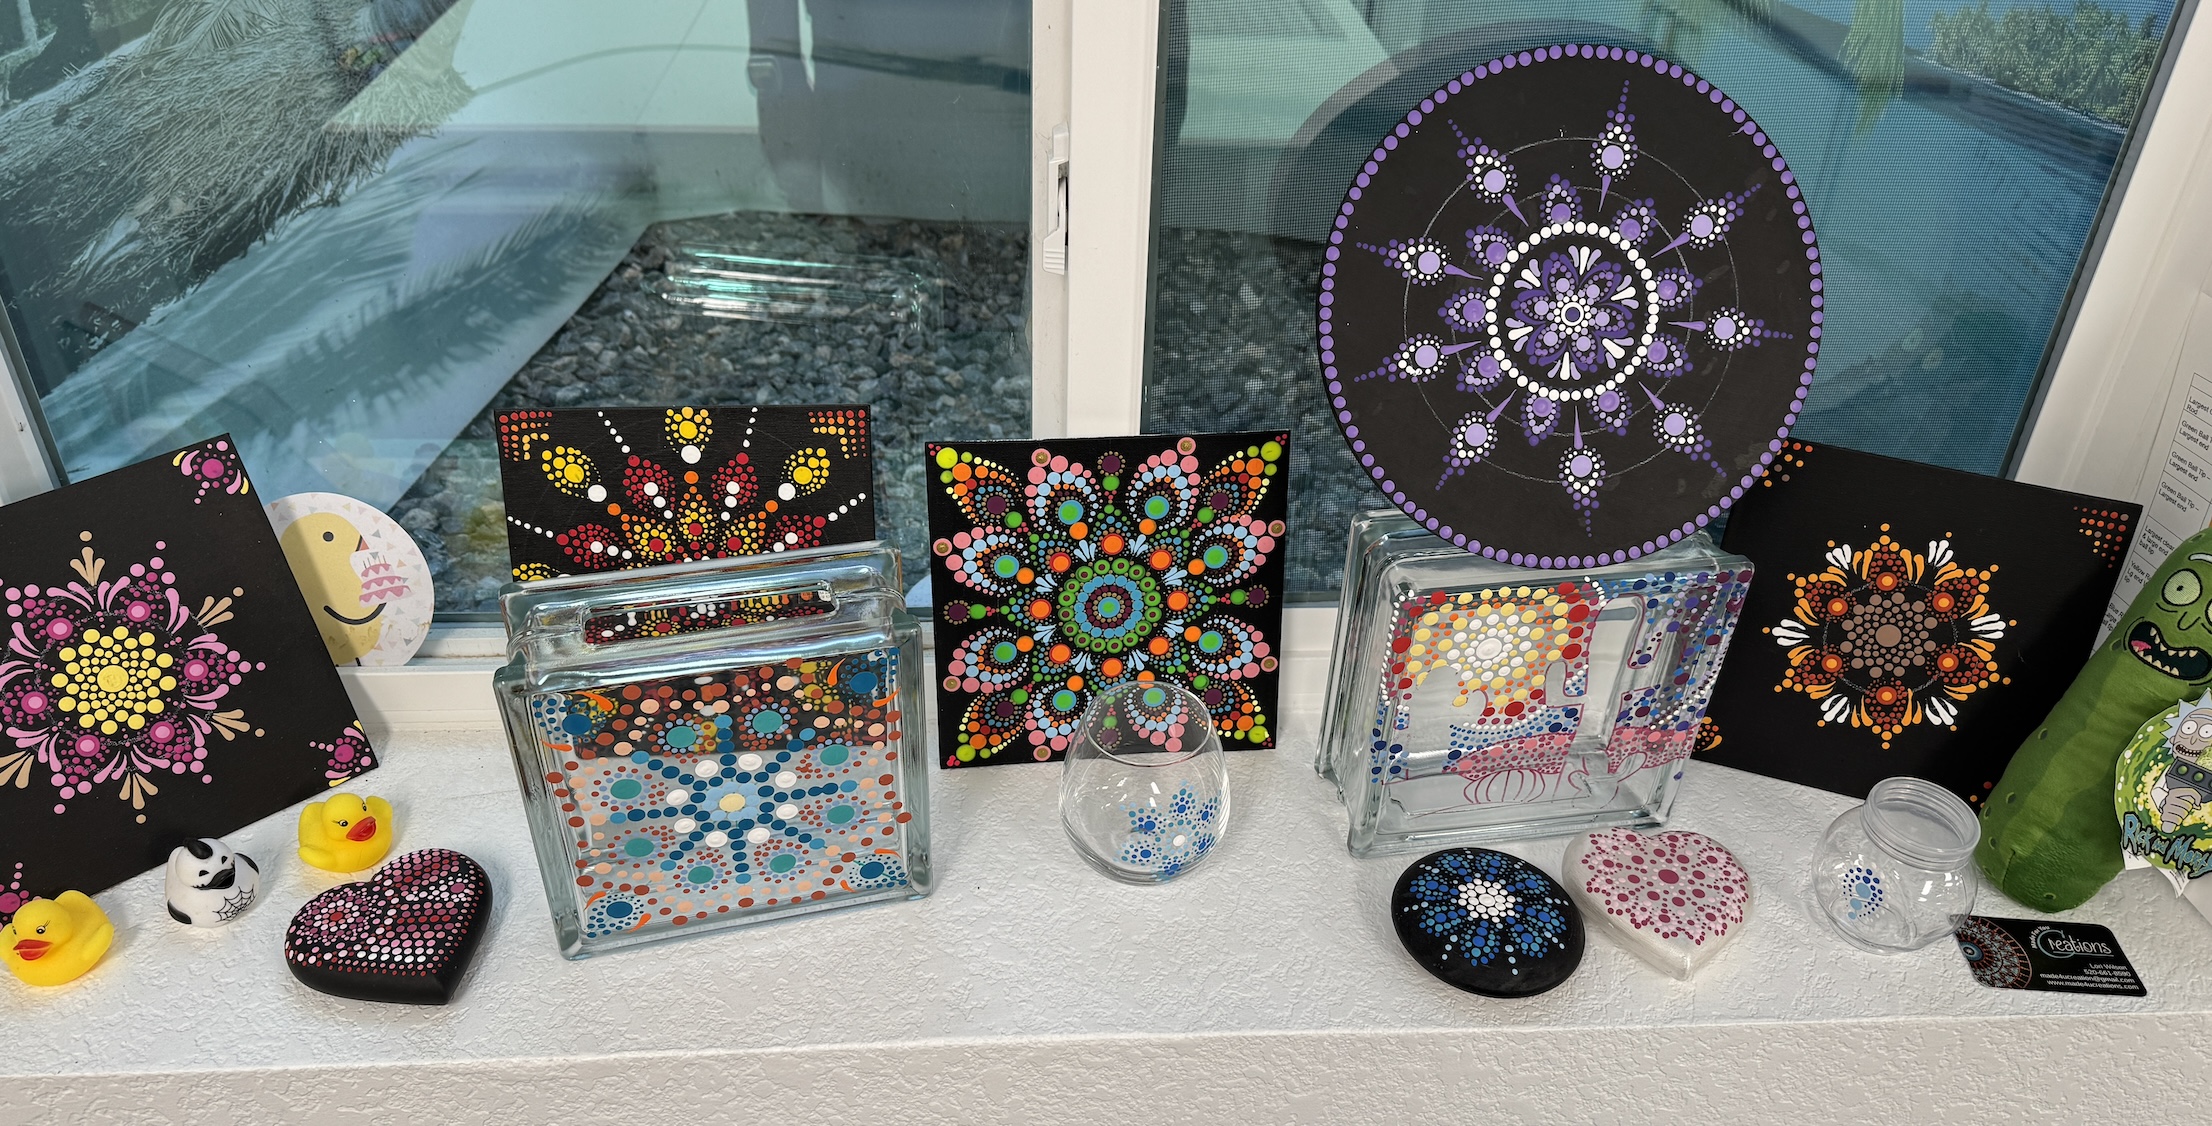
I was inspired to take the class by this display in J’s amazing quilt studio (see post Project Linus Mini Retreat, Part II) at her window well (basement window):
J and P had taken several Dot Painting classes before and most of the pieces were made by P who has become very adept at Dot Painting!
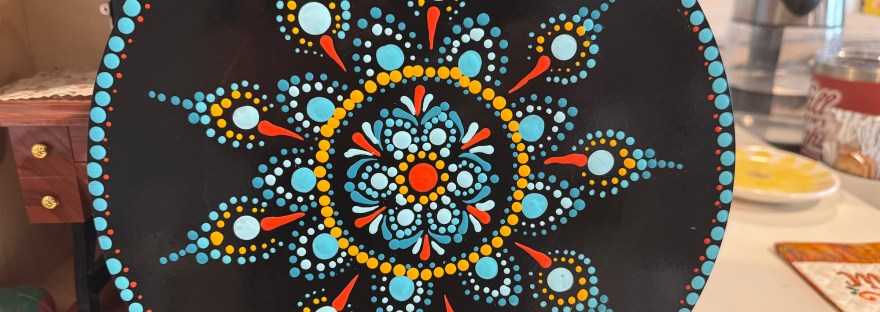
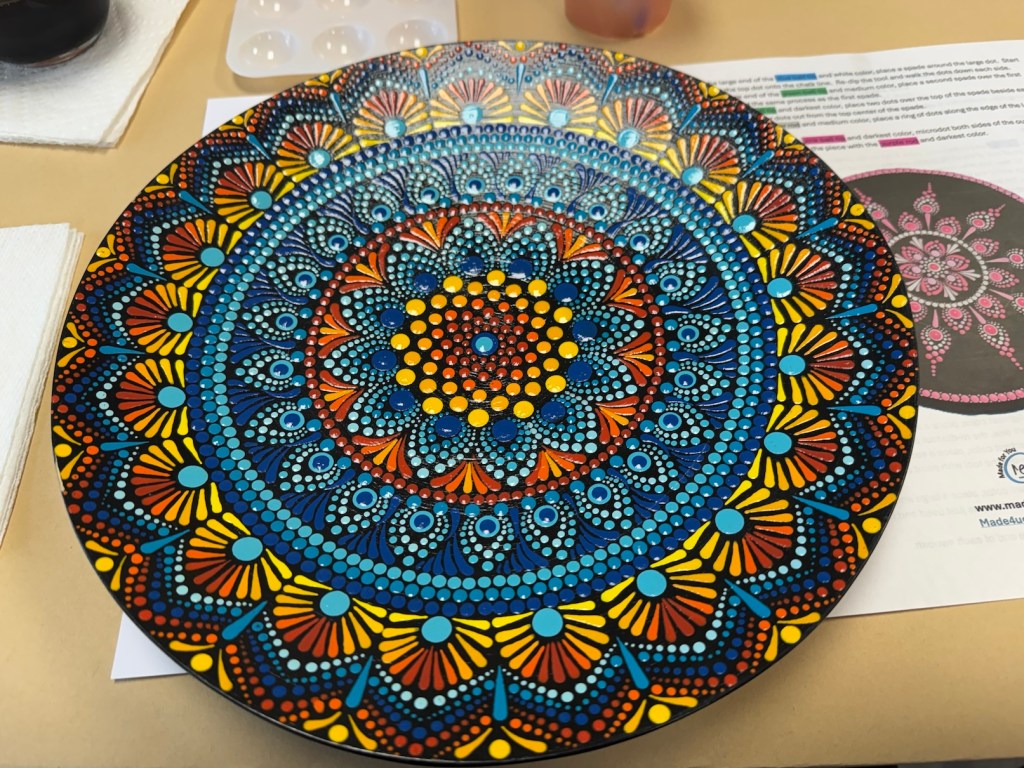
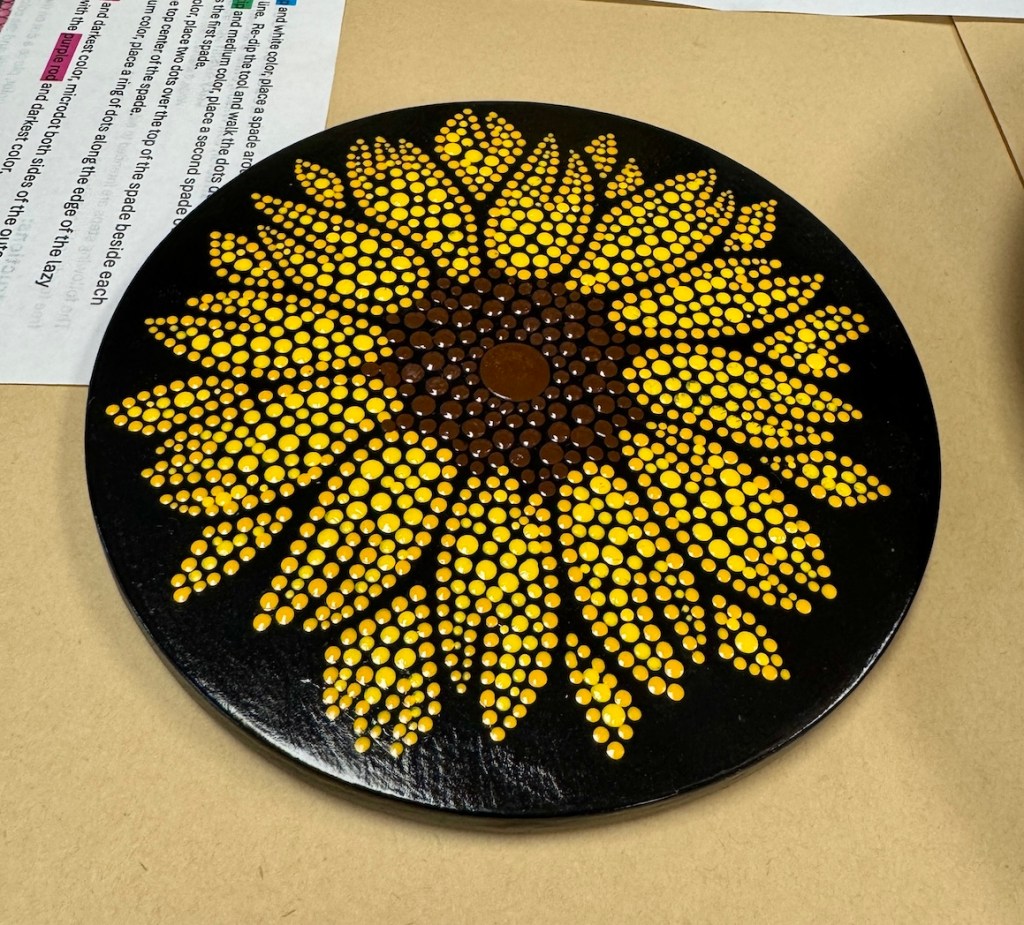
The class was taught by amazing Lori Wilson of Made for You Creations and the class attendee were painting a small “lazy susan”/turntable. She brought in some examples of her turntables and the class sample:
If you remember how much I LOVE SUNFLOWERS, I loved the sample in the second image!
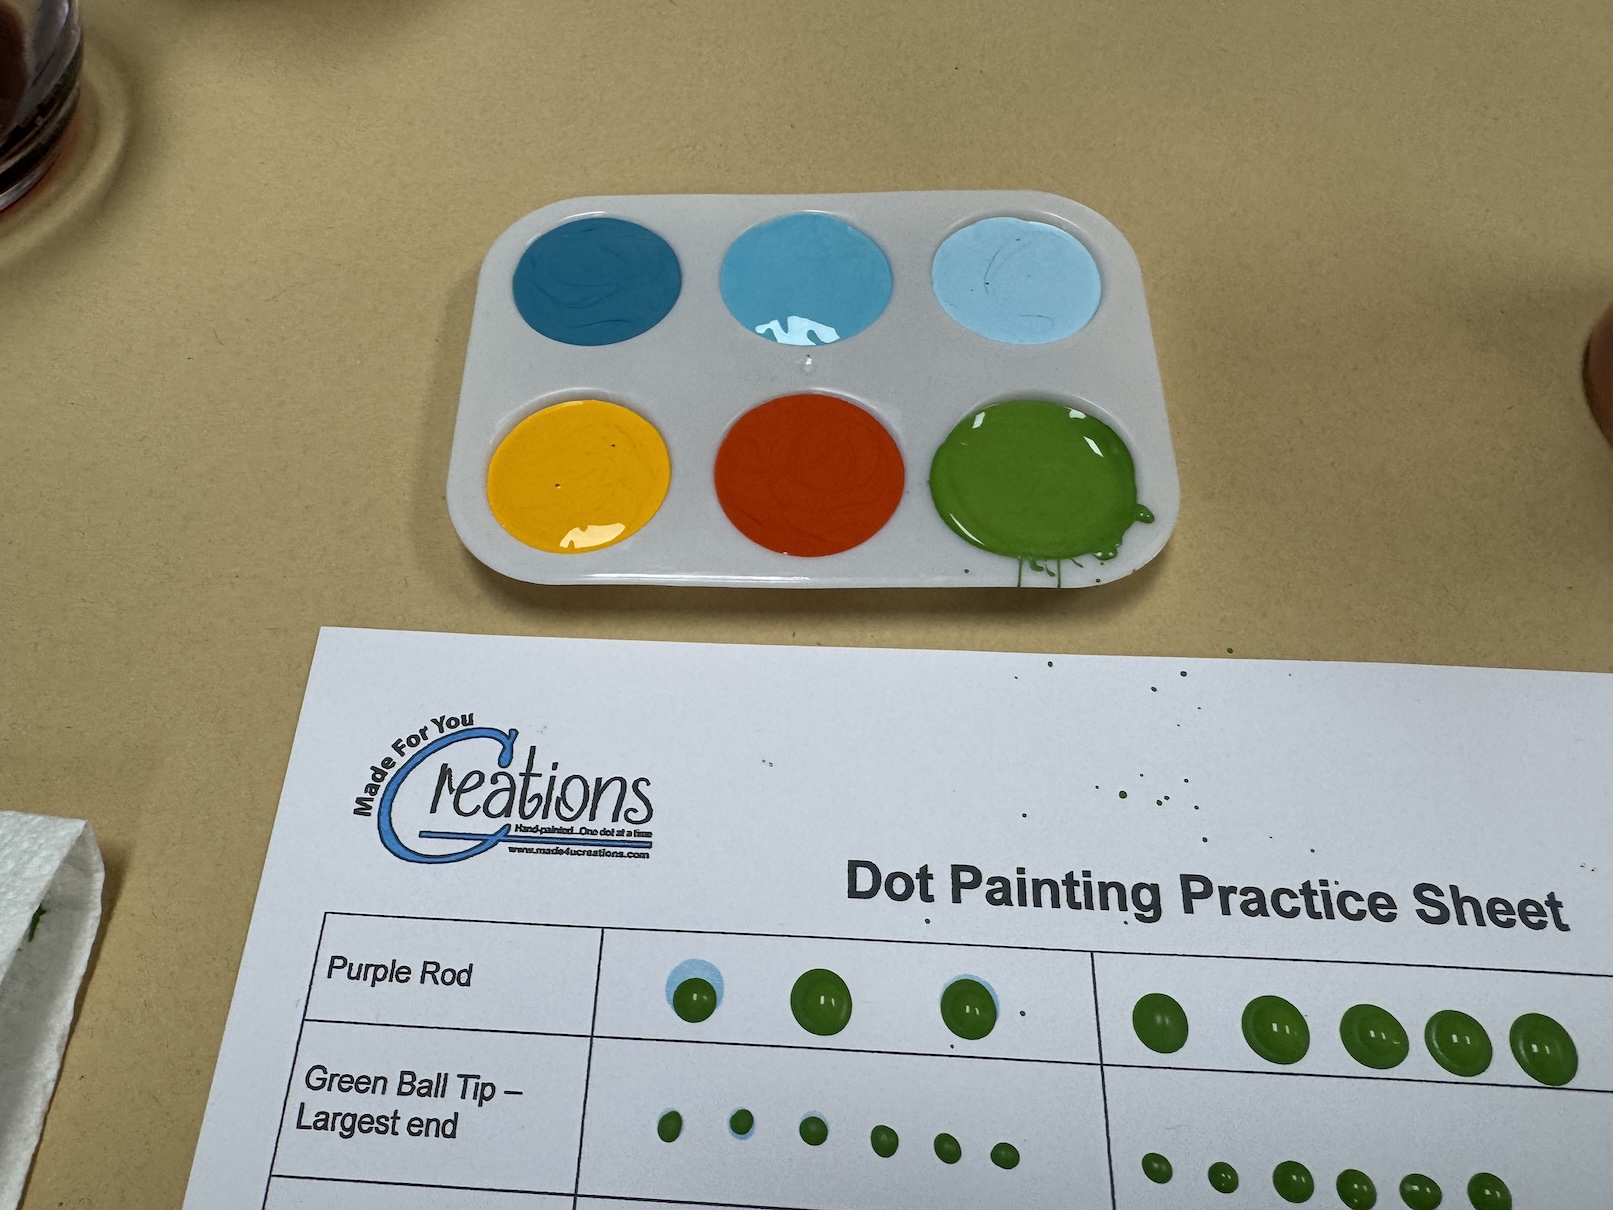
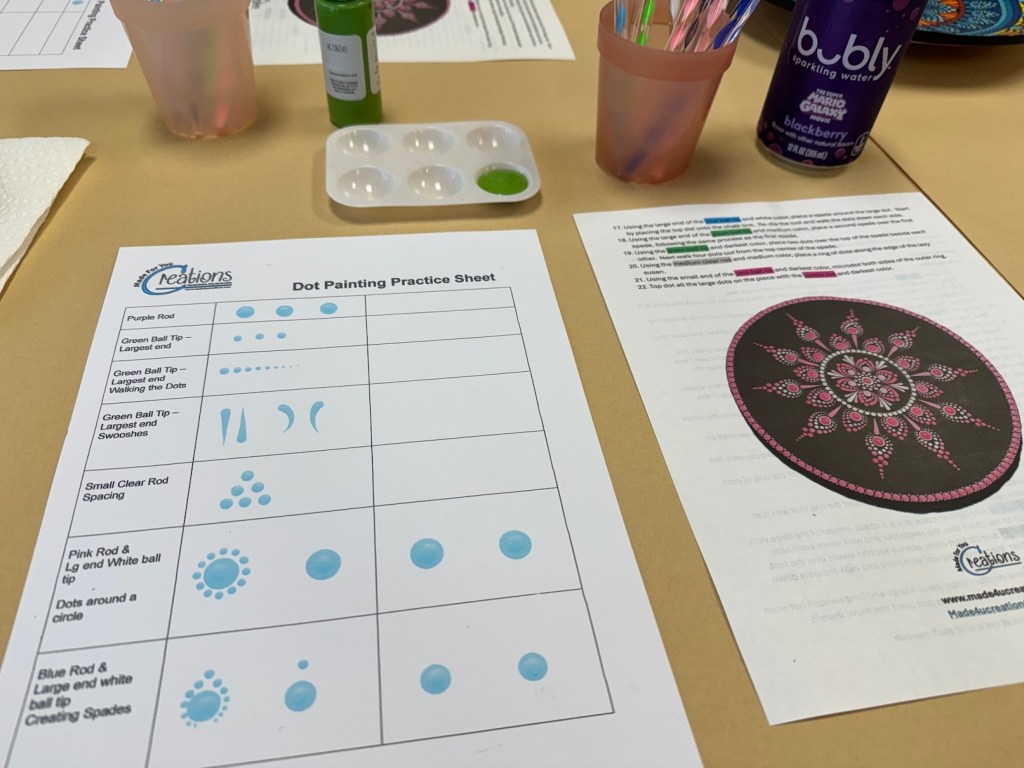
So first we learned Dot Painting techniques and practiced with the color palette we selected from the available acrylic paints:
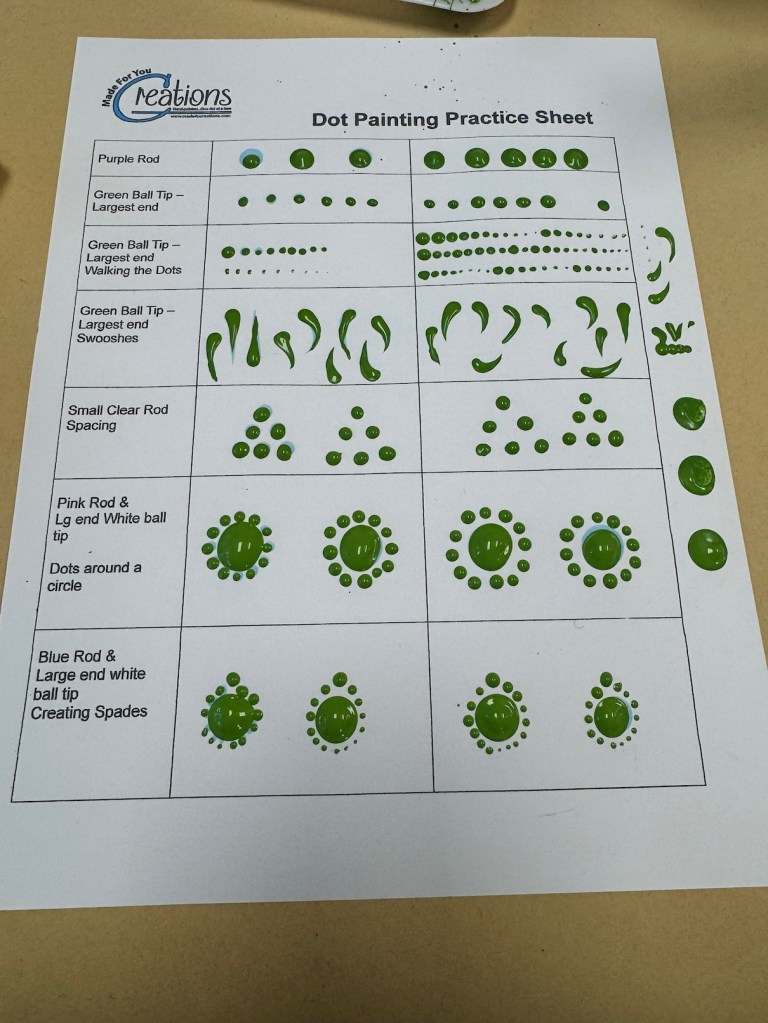
But here is my practice sheet (first image) vs. the instructors example (second image):
I was either too heavy handed or too hesitant but I got more comfortable with practice 🙂
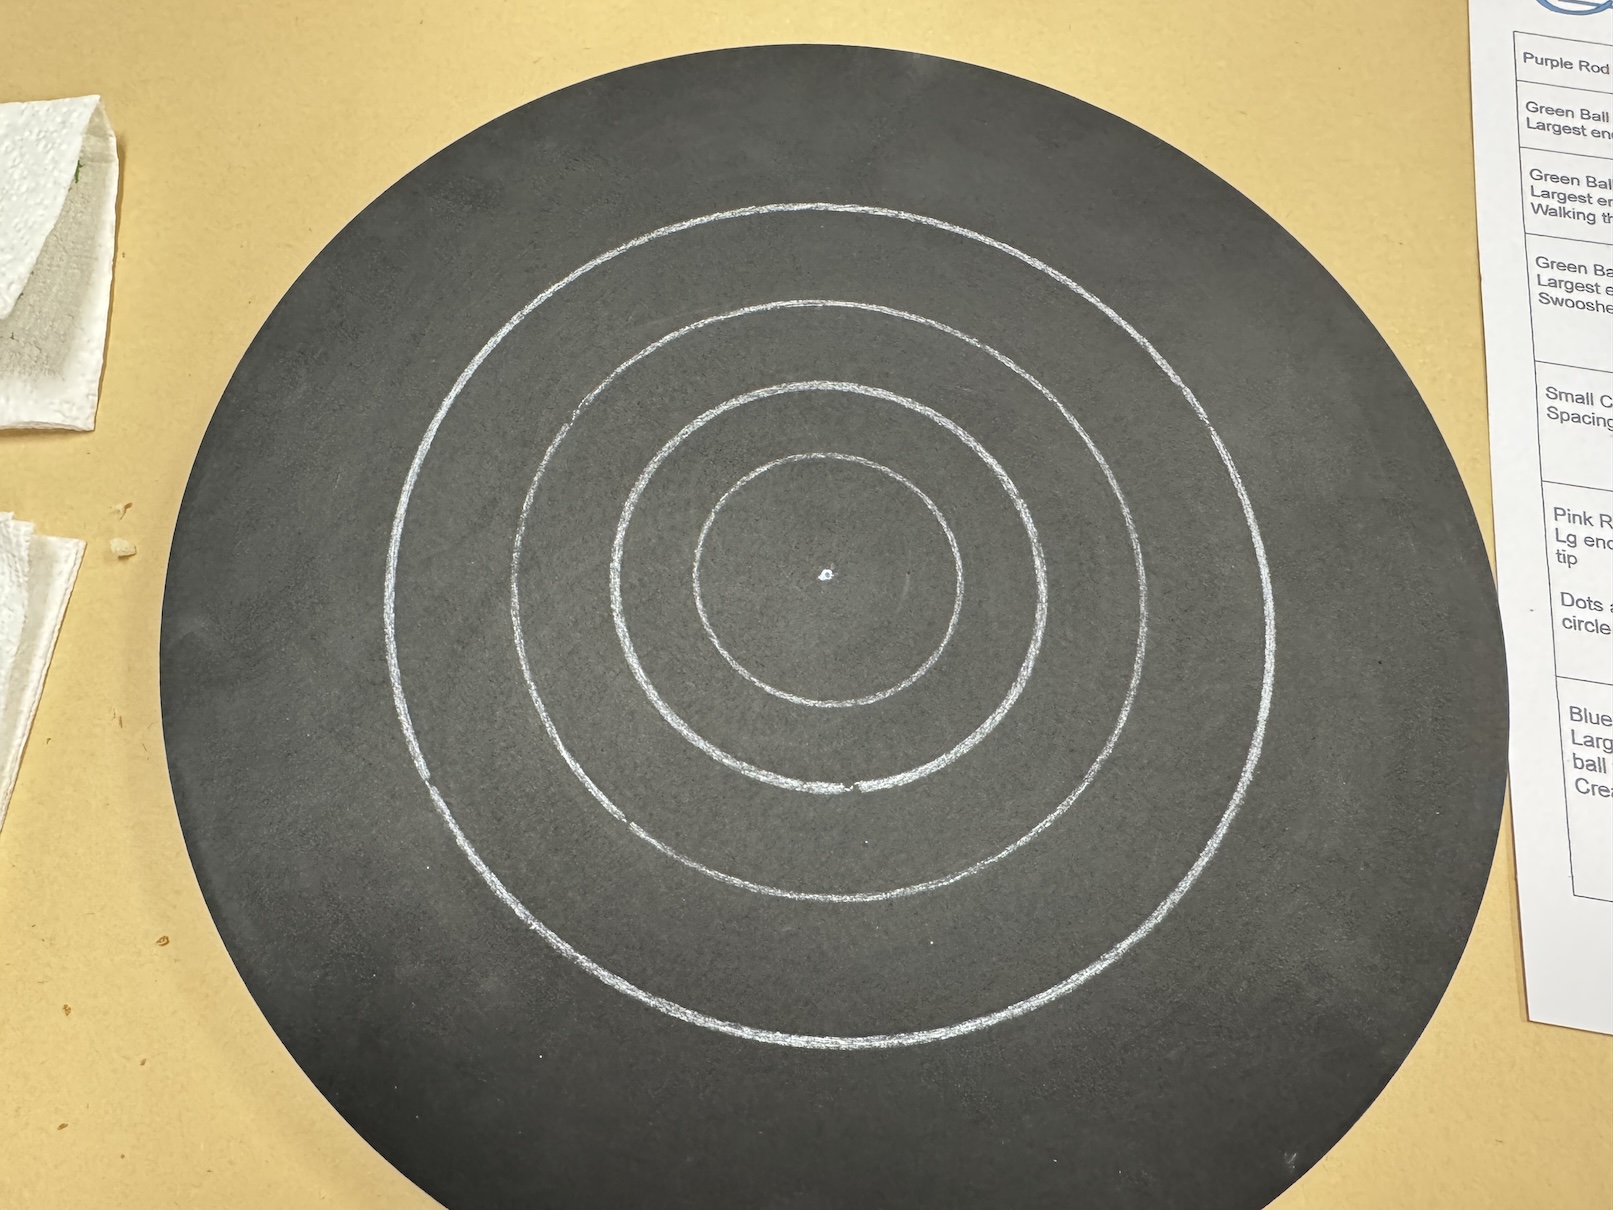
Then it was time to put paint on my turntable (a little bit of fear setting in), but the instructor had marked the turntable with chalk markings to guide us.
And then I progressed from this:
To this:
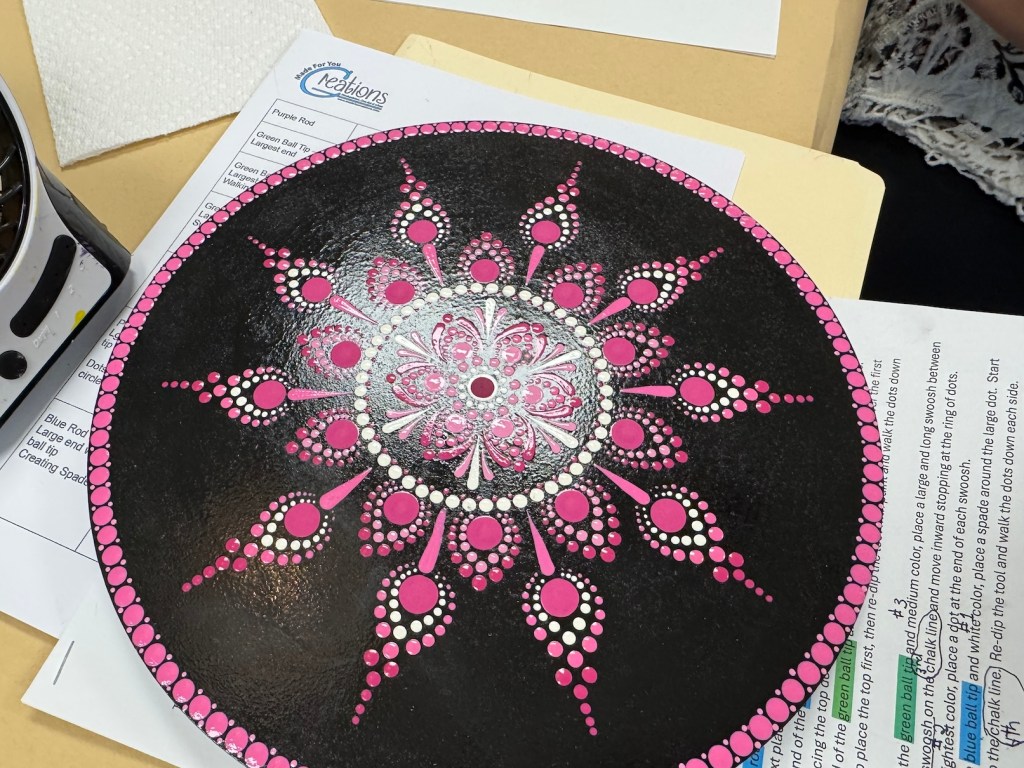
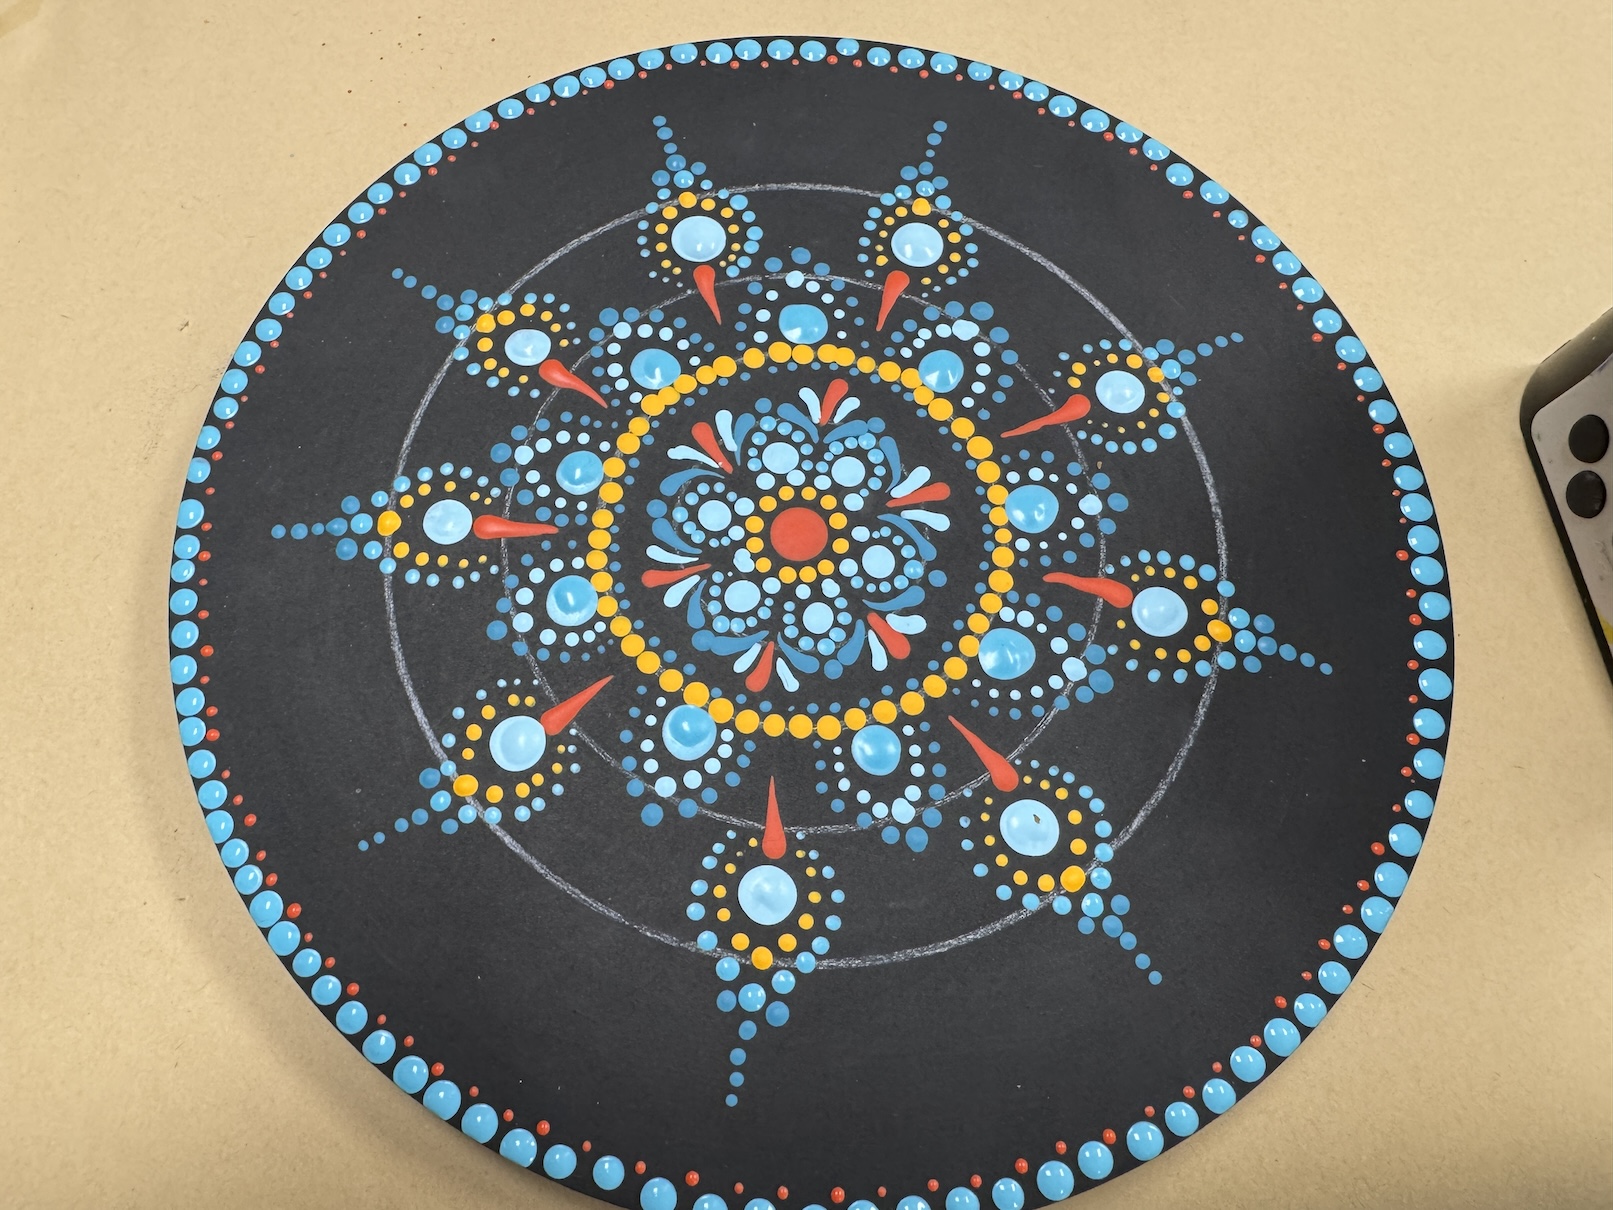
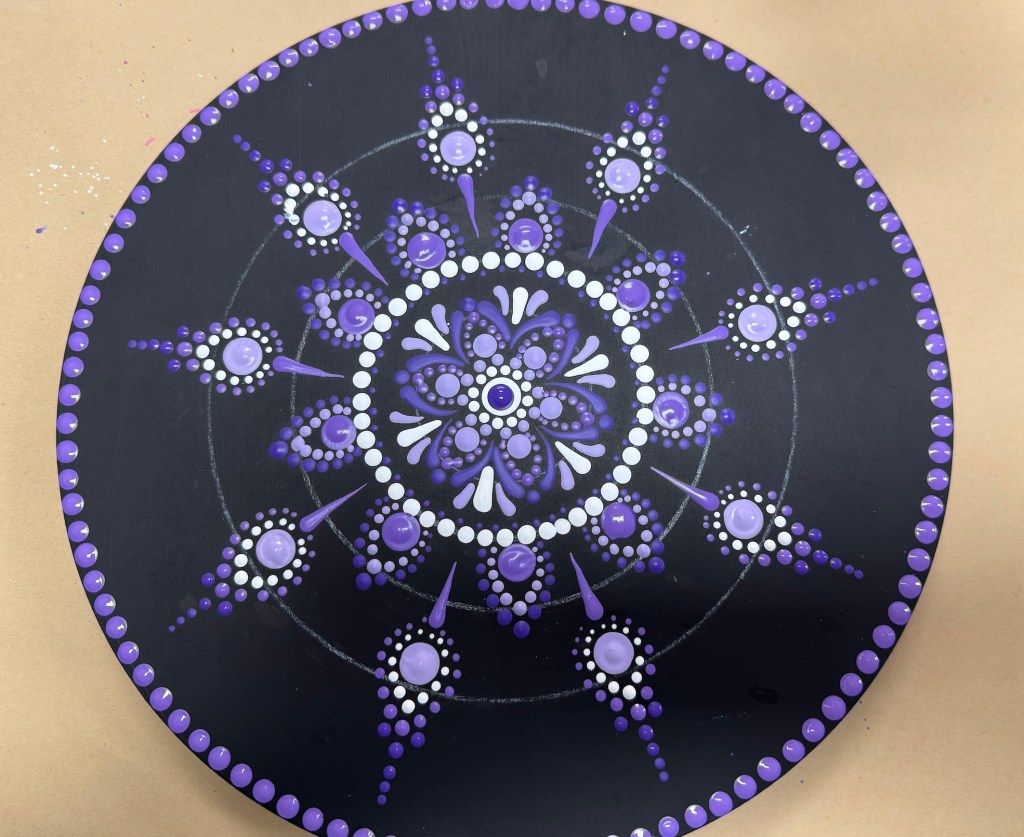
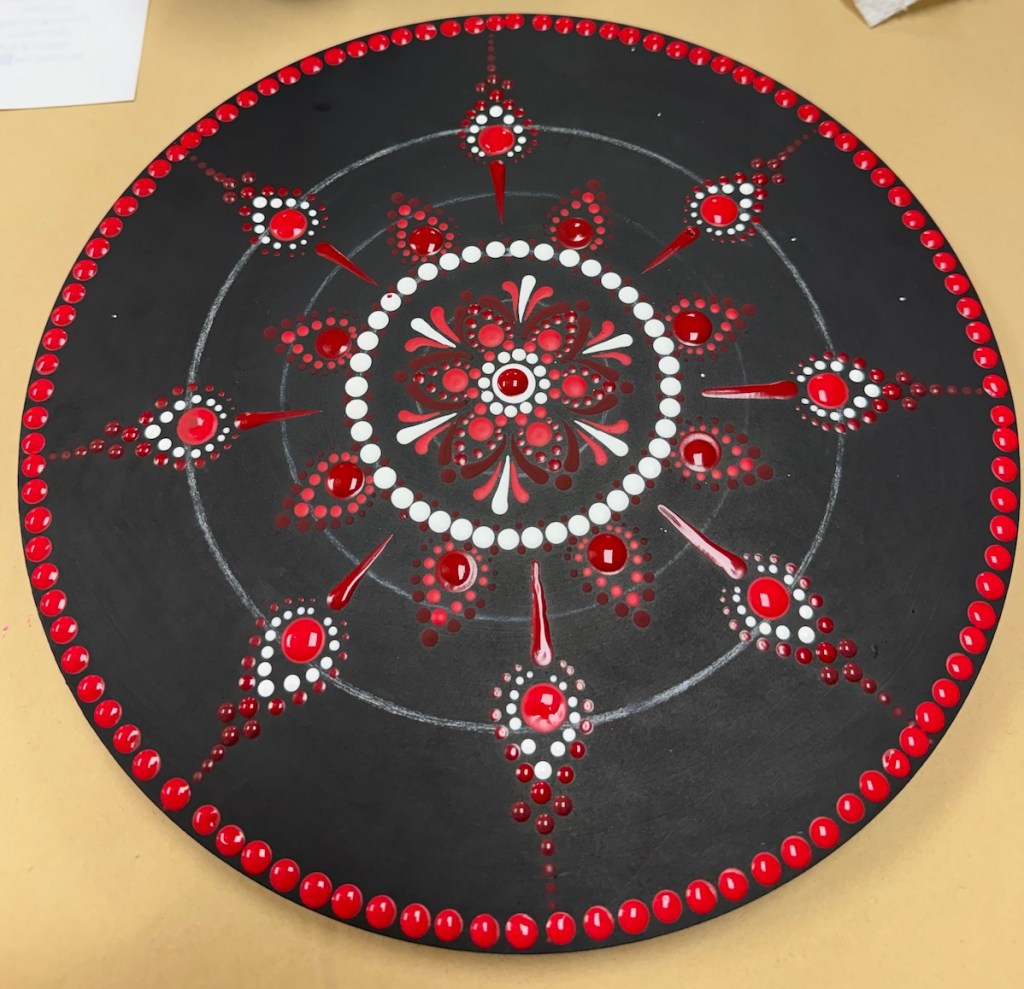
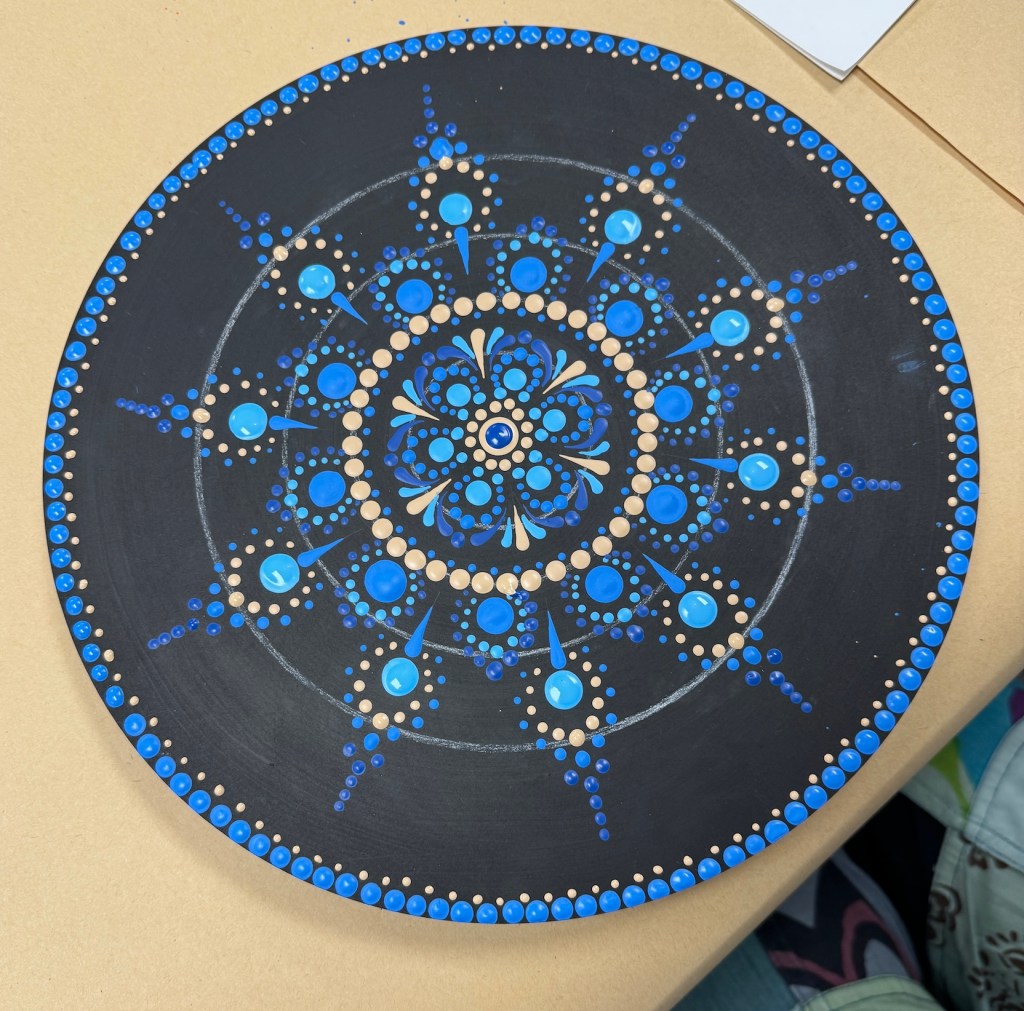
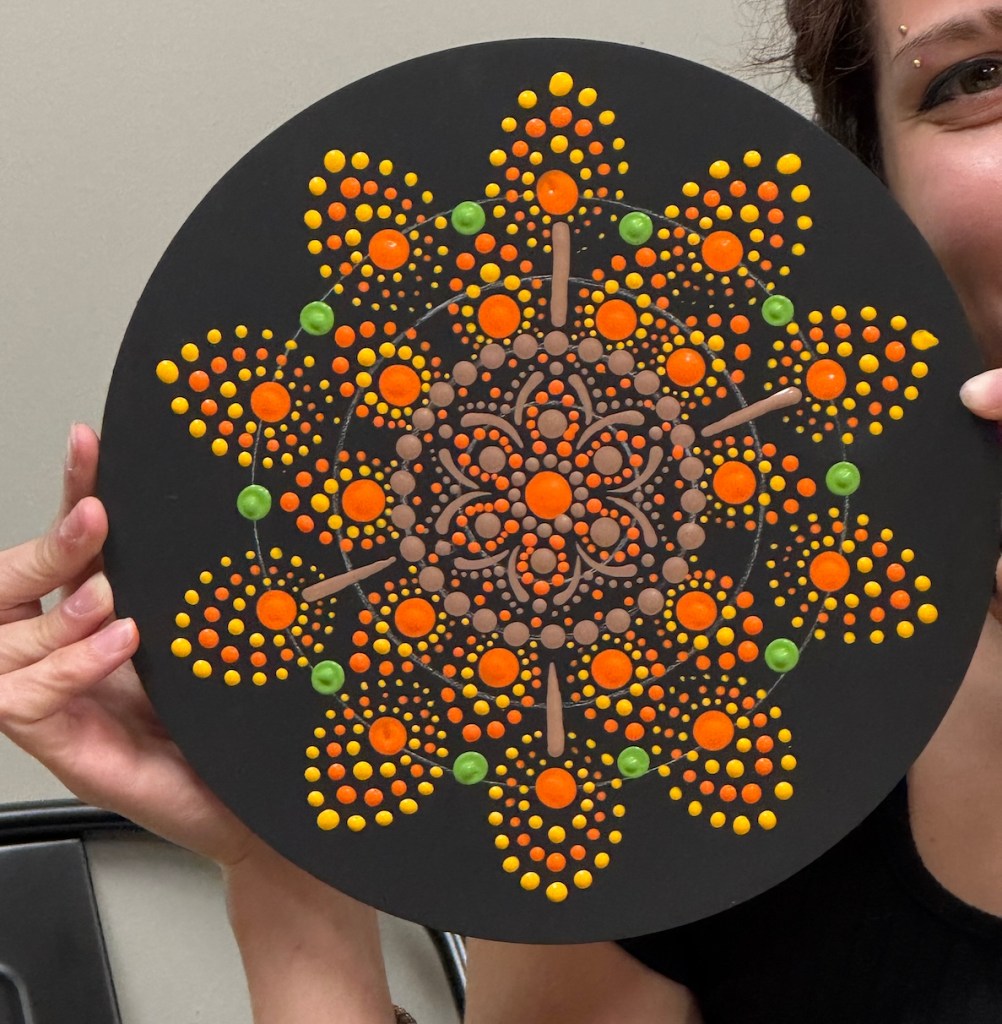
Here are examples of some of the other students work in class including my friends J and P who are the first two images:
In the last image, the student deviated from the sample pattern we followed after making a mistake on one of the rounds and instead created a masterpiece!
It was such a fun class with lots of laughs, special adult beverages, and snacks!
J and I went thrift shopping in Loveland before class with some great finds, and P met us for a yummy dinner at PF Changs before class. A very good afternoon/evening!
The next day after returning home I bought a can of shellac and shellaced my turntable to seal in the paint and protect it.
I did buy one of the inexpensive toolkits the instructor was selling and some blackboard paint (the base layer for whatever you want to dot paint) and I want to try making something on my own someday. I am waiting invest in paints when I am actually ready and I’d like to do a mandala on a rock (and I recently found a book on doing just that at a second hand bookstore!)
As I threatened (ha!) in my previous postThe World Needs More Canada, I’m going to start catching up on sharing my summer travels.
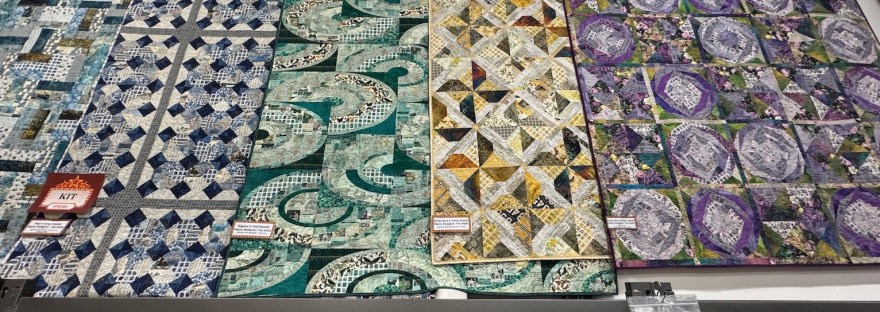
Back in May, which is “pre-summer”, we traveled to Northern California to visit our friends K and M who live outside of Sacramento and went on a road trip to see the John Muir Woods (see my post Visiting the Muir Woods), enjoy some of the Northern California coast, see a quilt show (see my postLoomis Quilt Show): and to do some extensive quilt shop hopping in the Bay Area (my friend K is a quilter and we have very patient husbands, her’s acted as chauffeur to all those shops!).
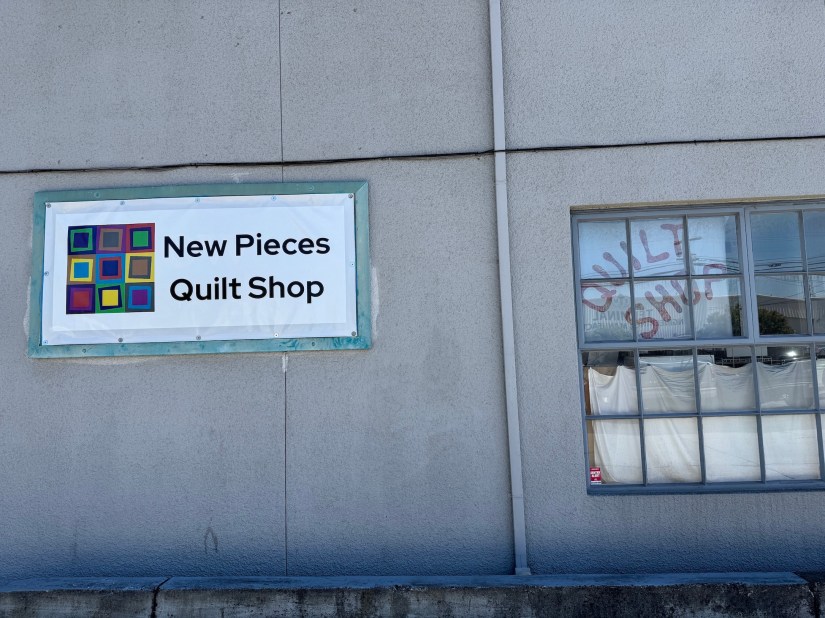
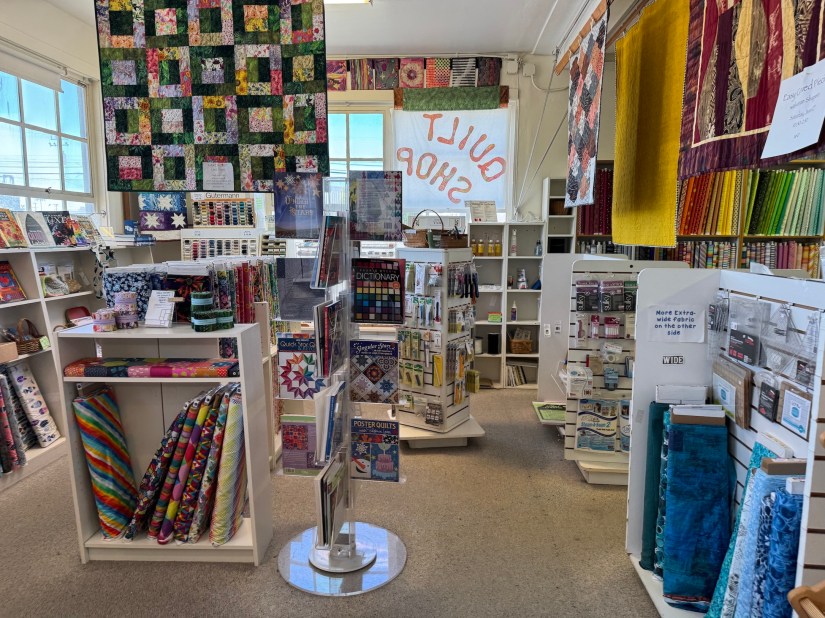
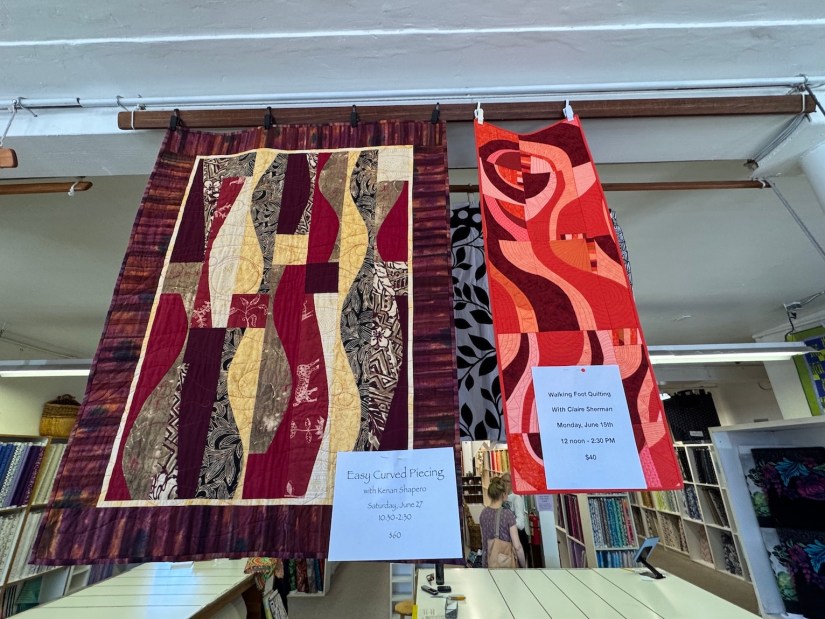
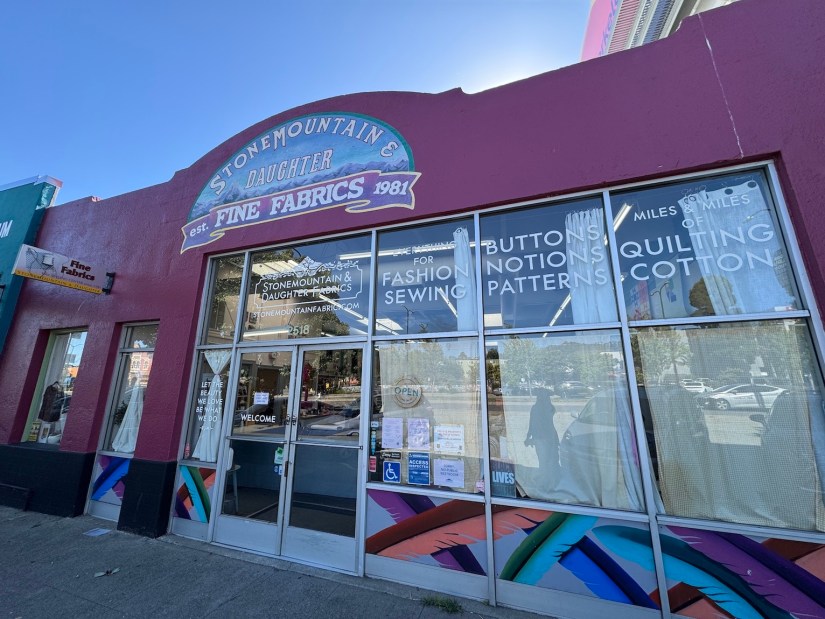
In this post I thought I’d share some highlights from our quilt shop hop! (And yes, there was some fabric and pattern purchases from this shop hop, but I’ve since filed them all alway, so no photos, sorry
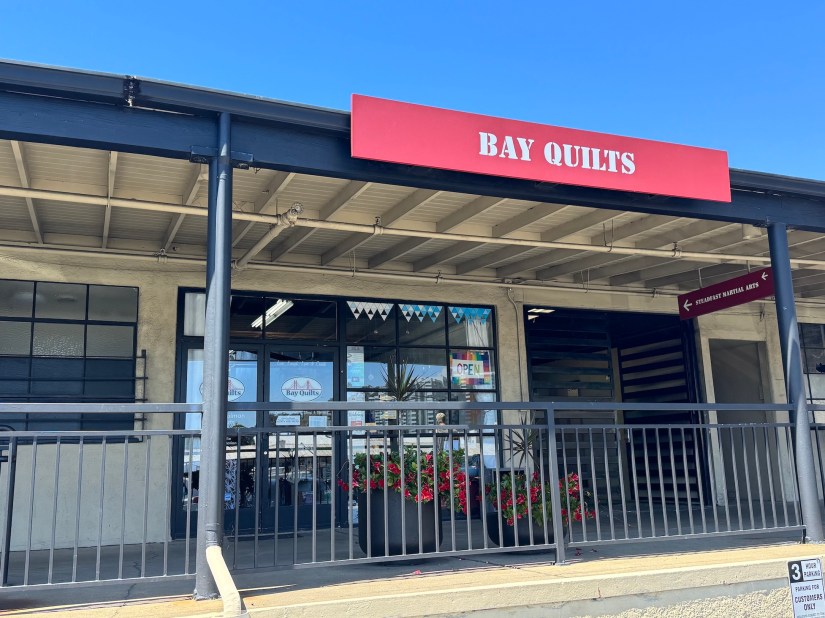
Bay Quilts
Our first stop was Bay Quilts in Richmond, CA, which I’ve been to before – 7 years ago when I visited K and M and their new pup for the first time in Northern California, right before I moved from Bend, Oregon to Colorado to start a new life.
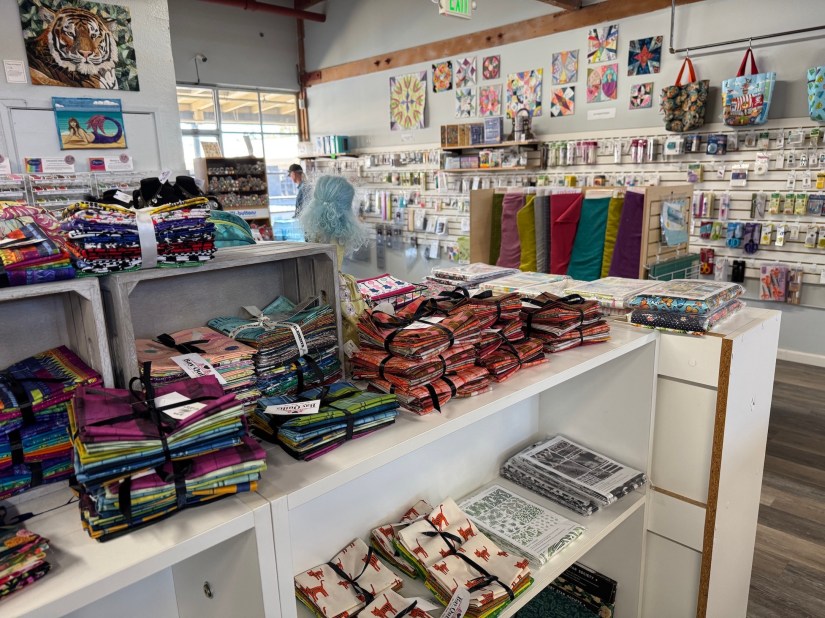
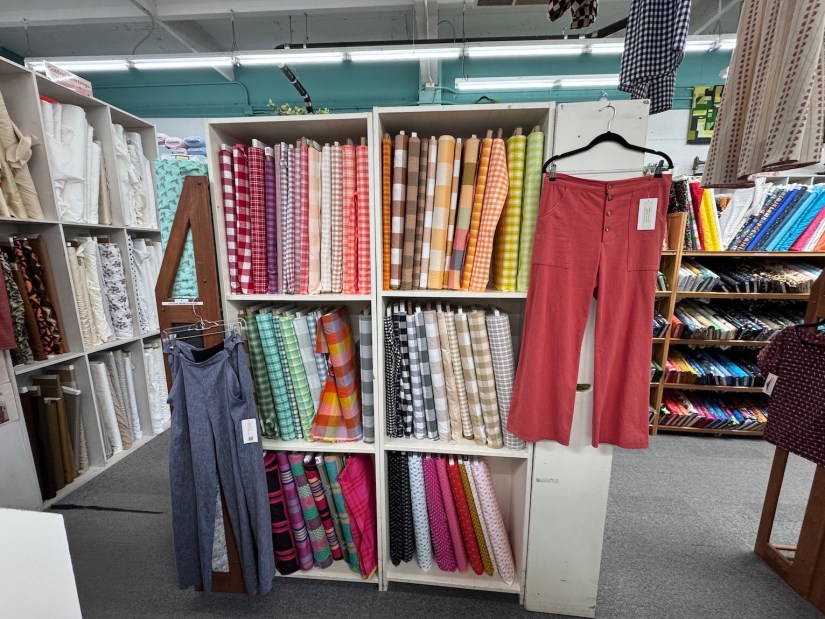
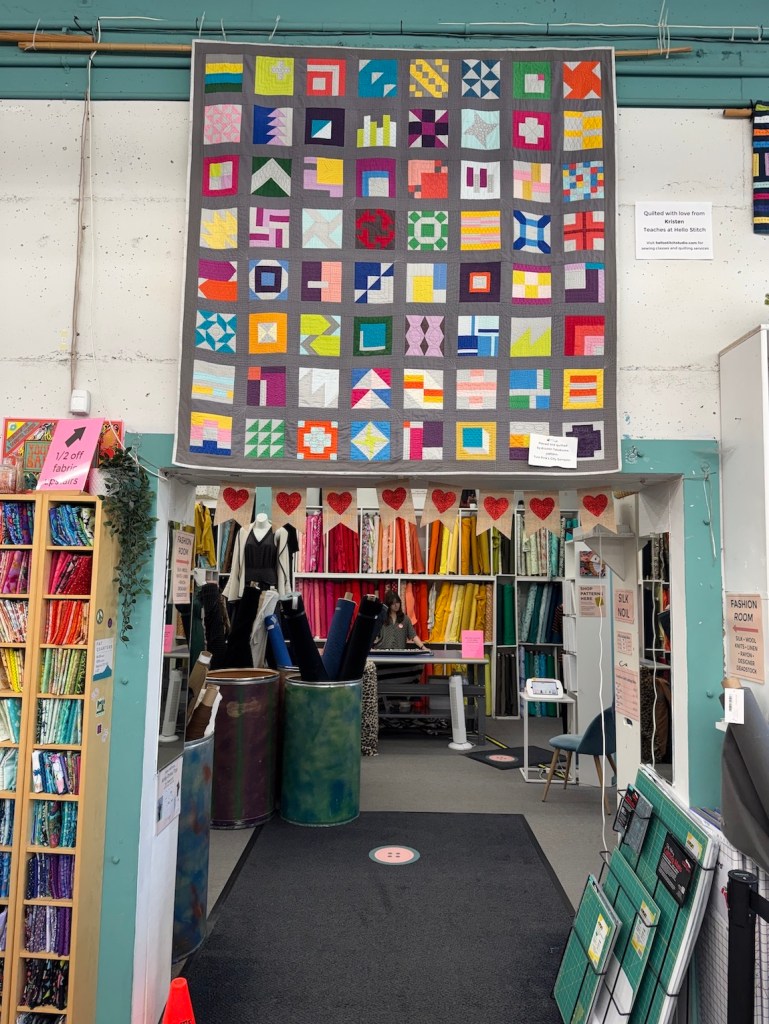
This shop is not a quilt shop (although they carry quilting fabric), they are a general fabric store with a focus on garment making fabrics and some quilting fabrics. Those of you who make clothes would love this place and they have a spectacular garment making fabric selection!
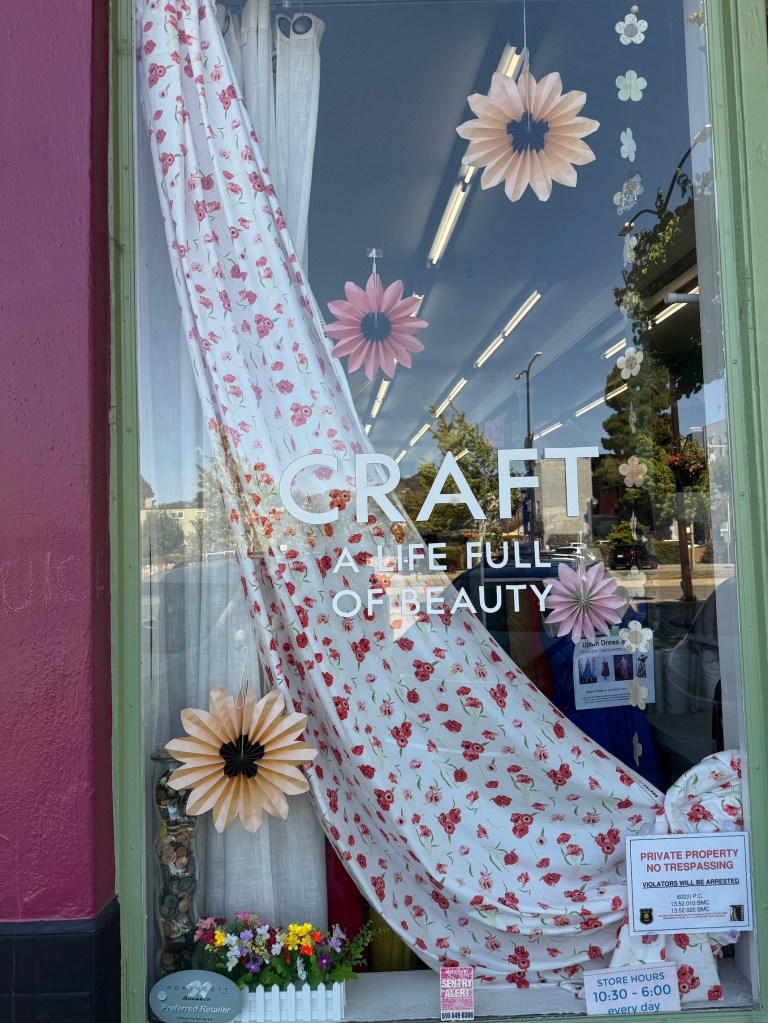
I really like their window displays like the one above!
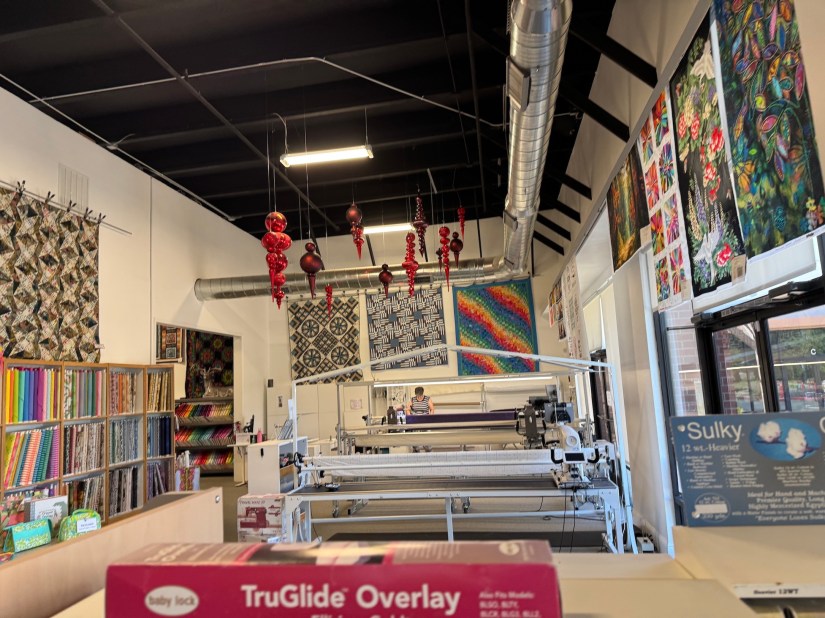
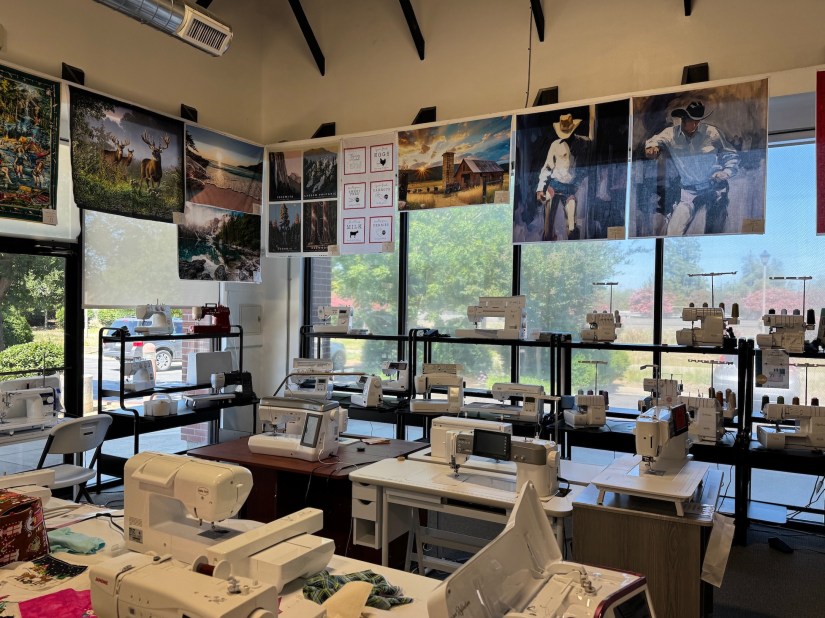
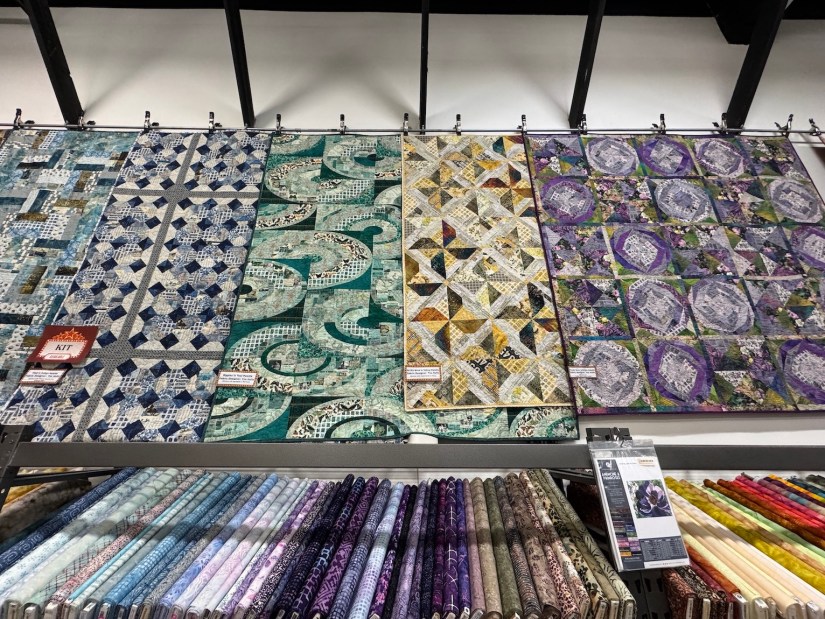
The fourth and final shop in our shop hops was In Stitches quilt shop in Dixon, CA.
In Stitches
The previous shops were awesome but this one was my favorite of the shop hop. (I don’t remember visiting this shop before so it was a fun new experience.)
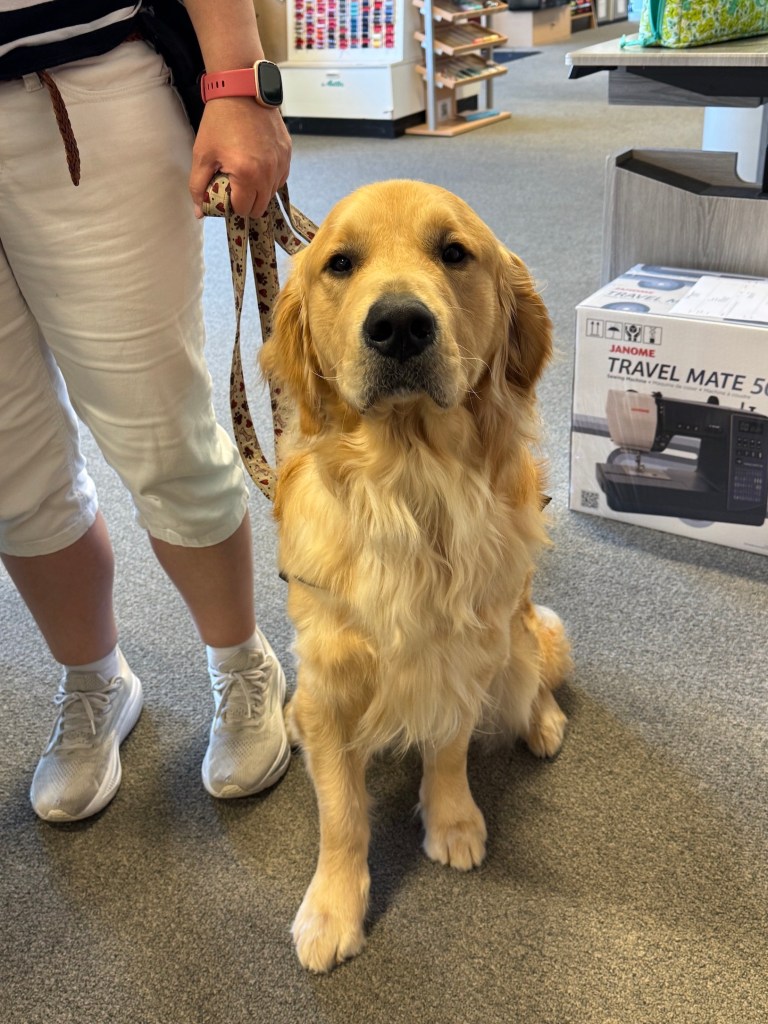
What made the shop my favorite was it had a sweet beautiful Golden Retriever in it – a Guide Dogs for the Blind Puppy in training!
We got to pet it, with permission, and a dog always makes a quilt shop a better place!
So that concludes the shop hop, thanks for virtually coming along!






 Canada:
  United States:
  United Kingdom:
  Germany:
  France:
  Italy:
  Spain:
  Netherlands:
  Poland:
  Belgium:
  Sweden:
  Australia:
  Japan:
  Mexico:
  Brazil:
  India: