So a couple days ago John and I decided to switch back my studio to another room and our bedroom back to the primary bedroom.
In case you have no idea what I am talking about, see this post from June 2025 – Thrifting for the Studio.
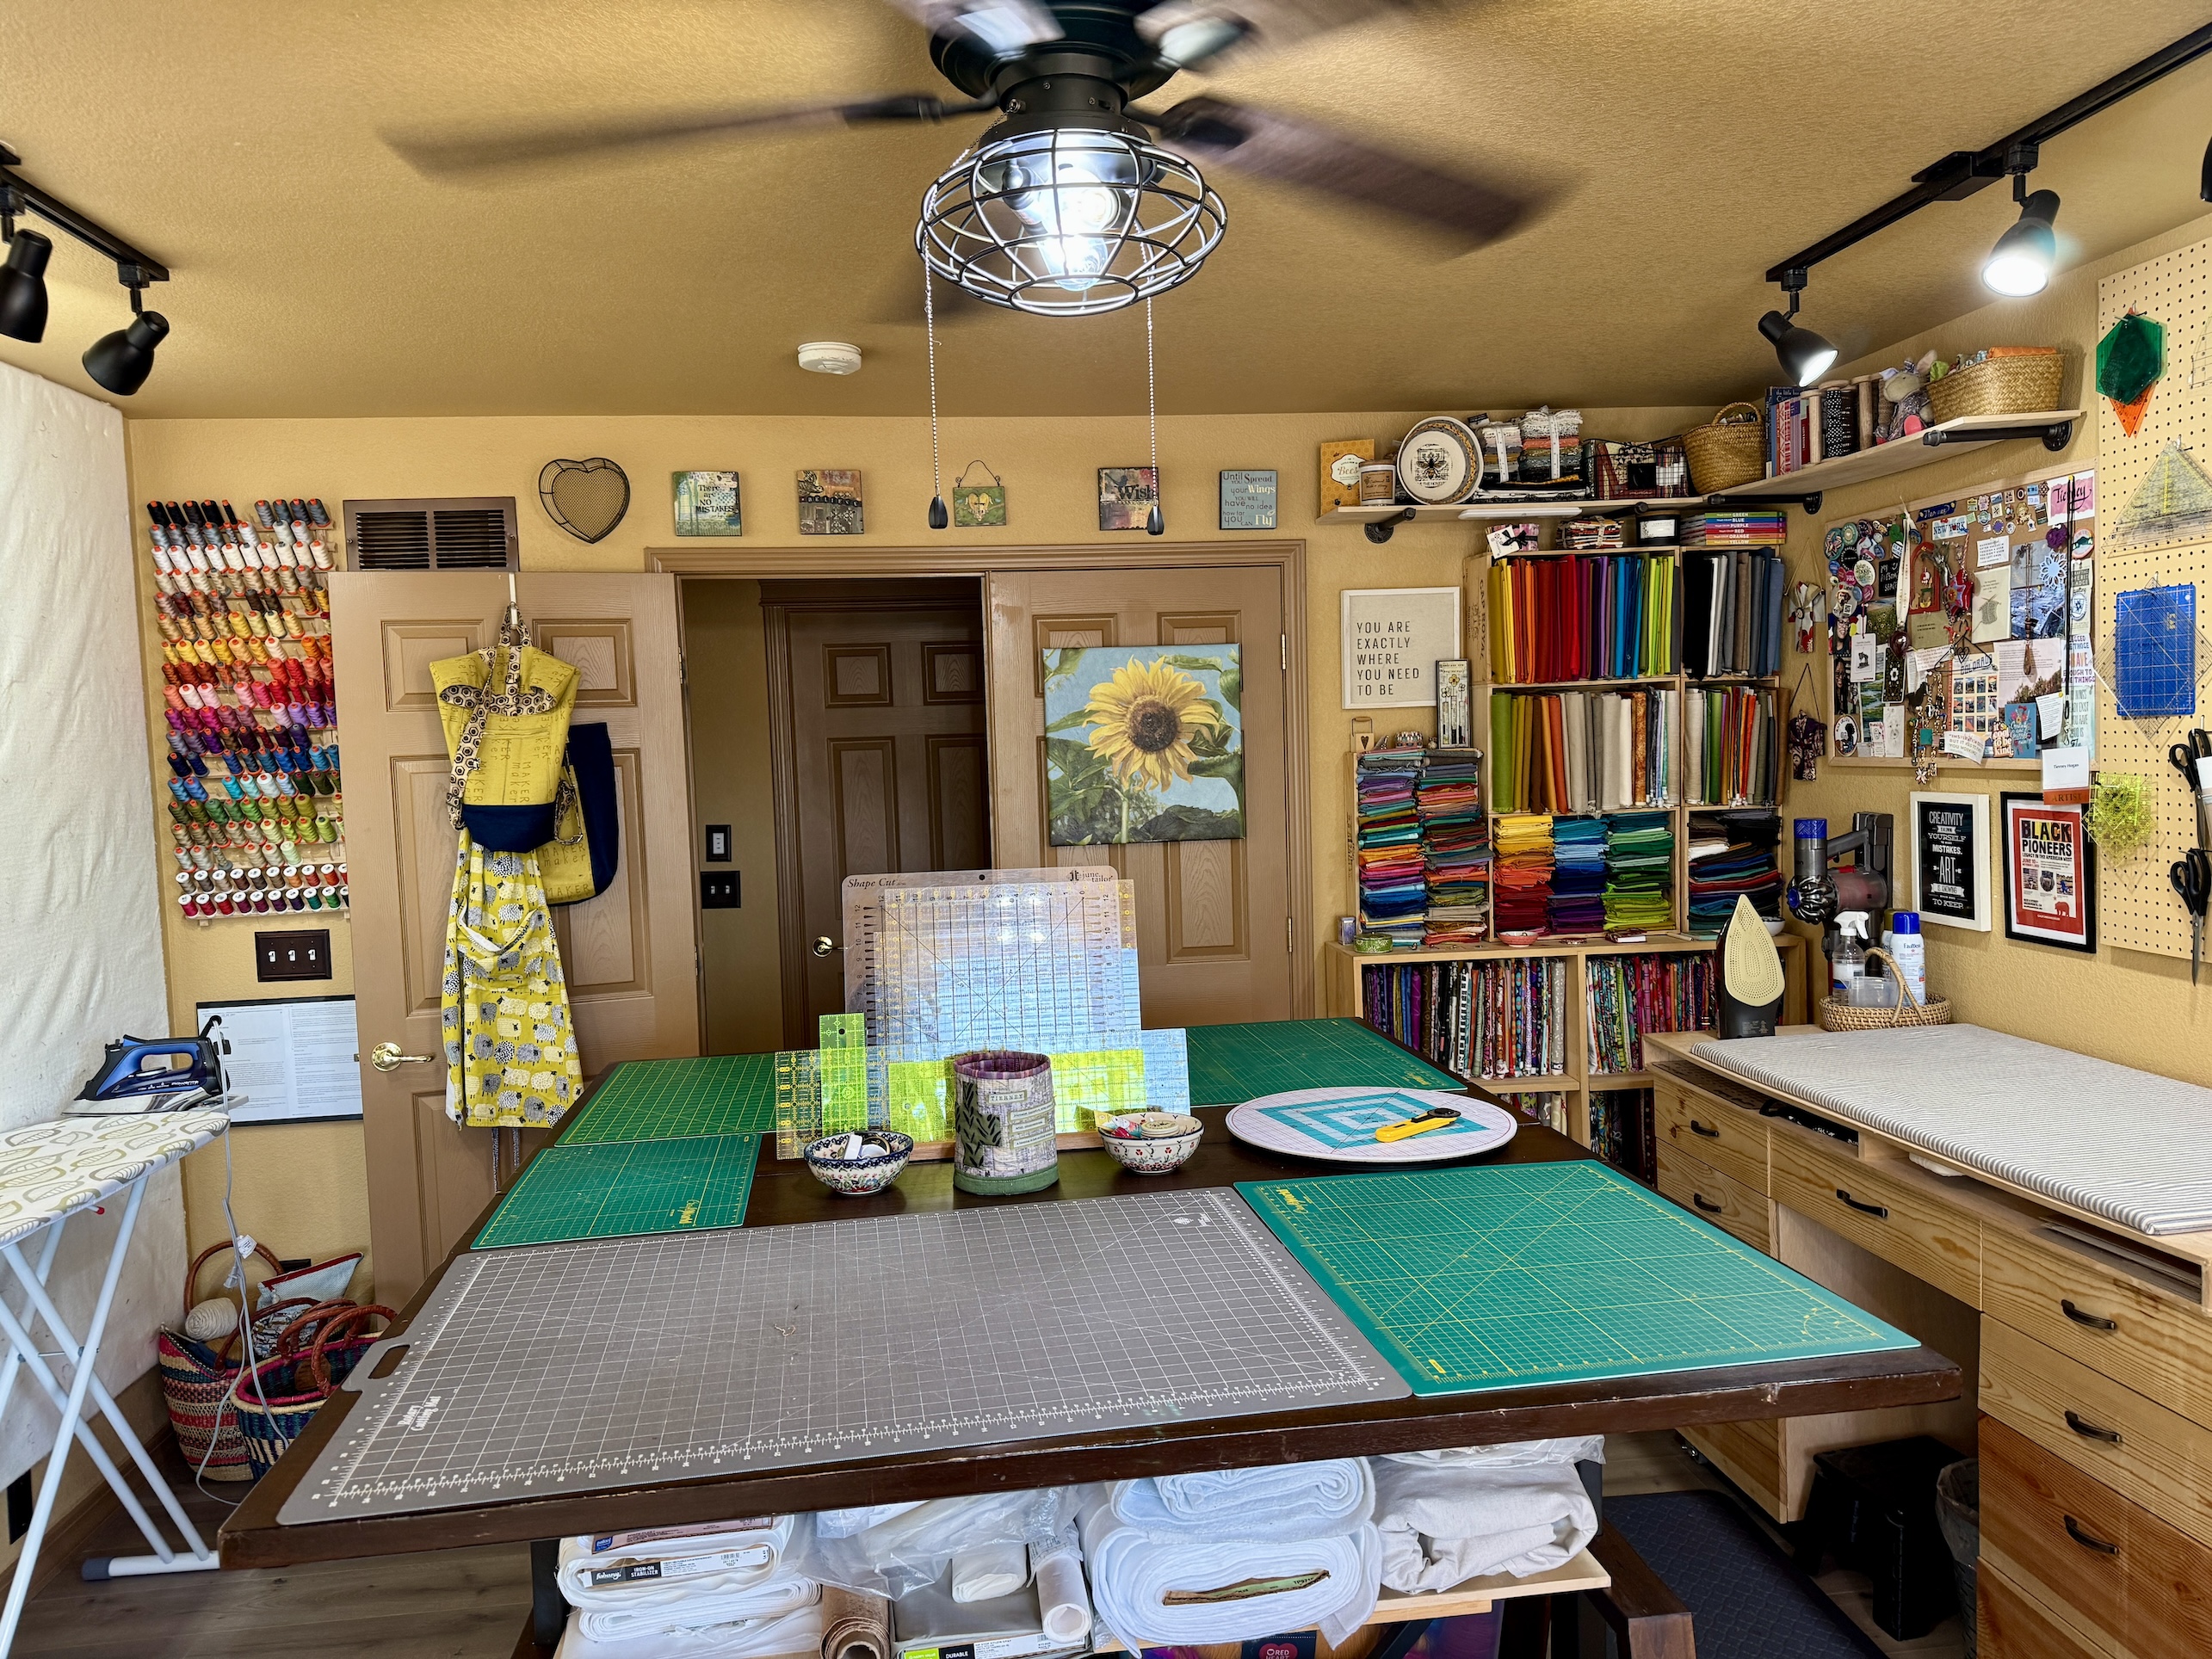
My studio is located in the former Primary Bedroom of the house. A couple years ago my husband John and I decided we didn’t need that much room for our main bedroom and moved to a smaller bedroom. Originally it was a carpeted room but in summer 2024 John put in a floor.
I’ve always had a small space to sew and craft until I met John and then a couple years ago we turned our primary bedroom (which is fairly large) into my studio.
However In my small crafting spaces I created entire bodies of work such as those I exhibited in my solo show (see 2019 post Solo Show Seattle Municipal Tower, Part III) The Wardrobe Meets the Wall. (And no new body of work has occurred in my large studio!)
I made that entire The Wardrobe Meets the Wall collection of 12+ quilts in a tiny little back bedroom of my house in Oregon where I had to use part of my hallway as my design wall.
I know of course I traveled a lot in 2025 but this has been an ongoing problem – I don’t seem to be as “creatively inspired” in a large space. I just had a gut feeling that I needed a cozy little space of creativity again.
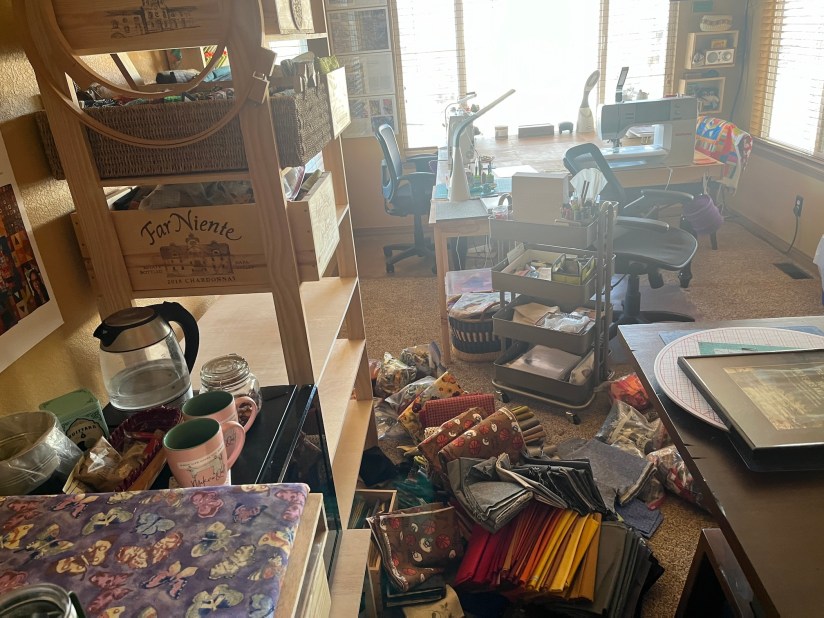
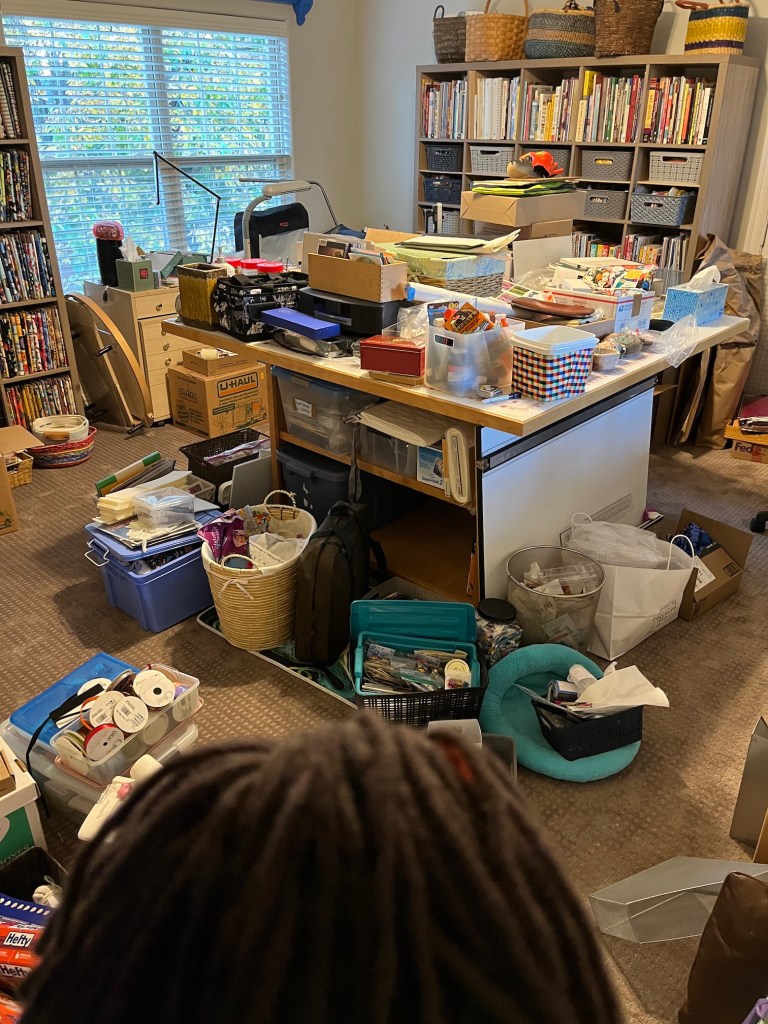
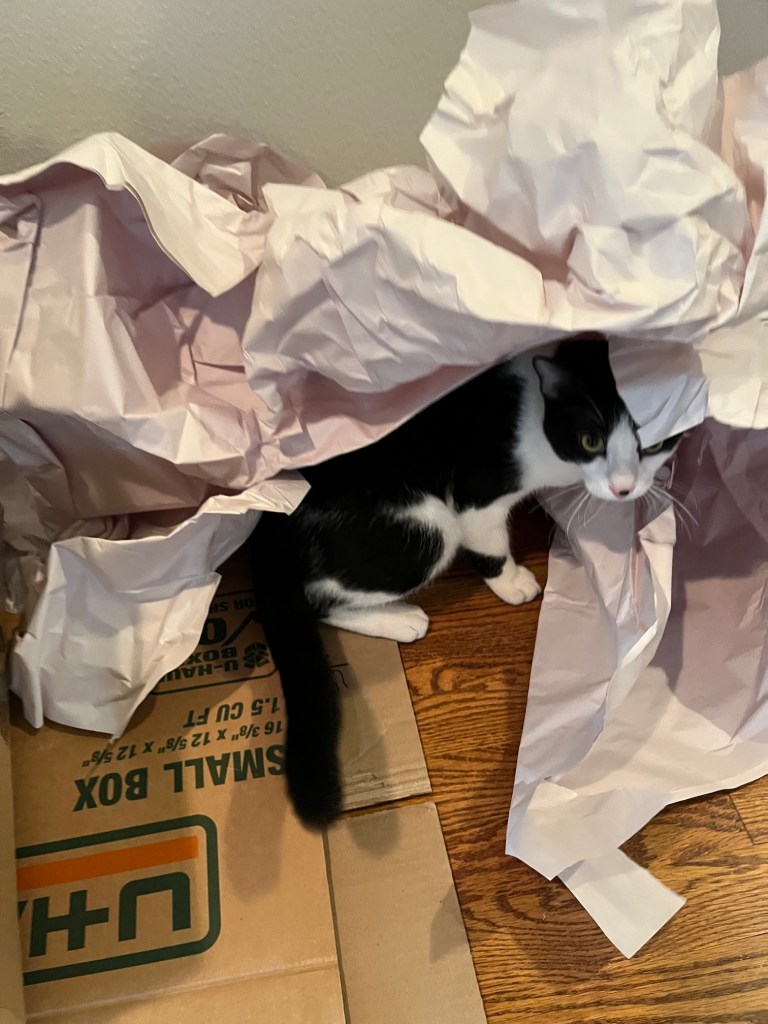
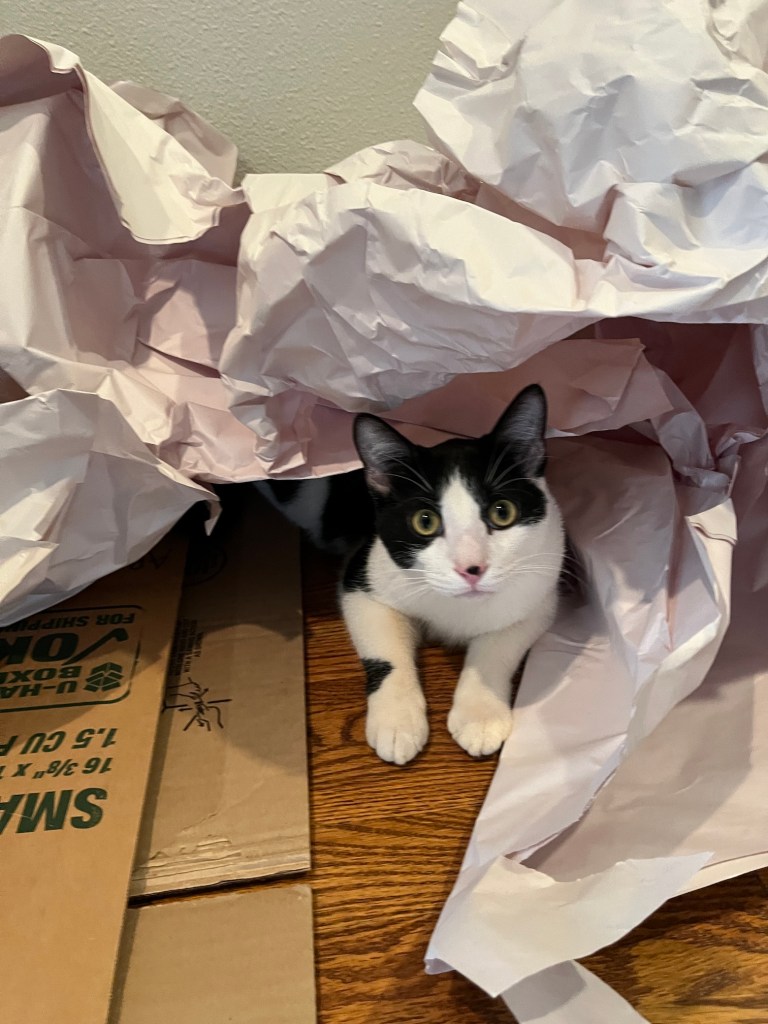
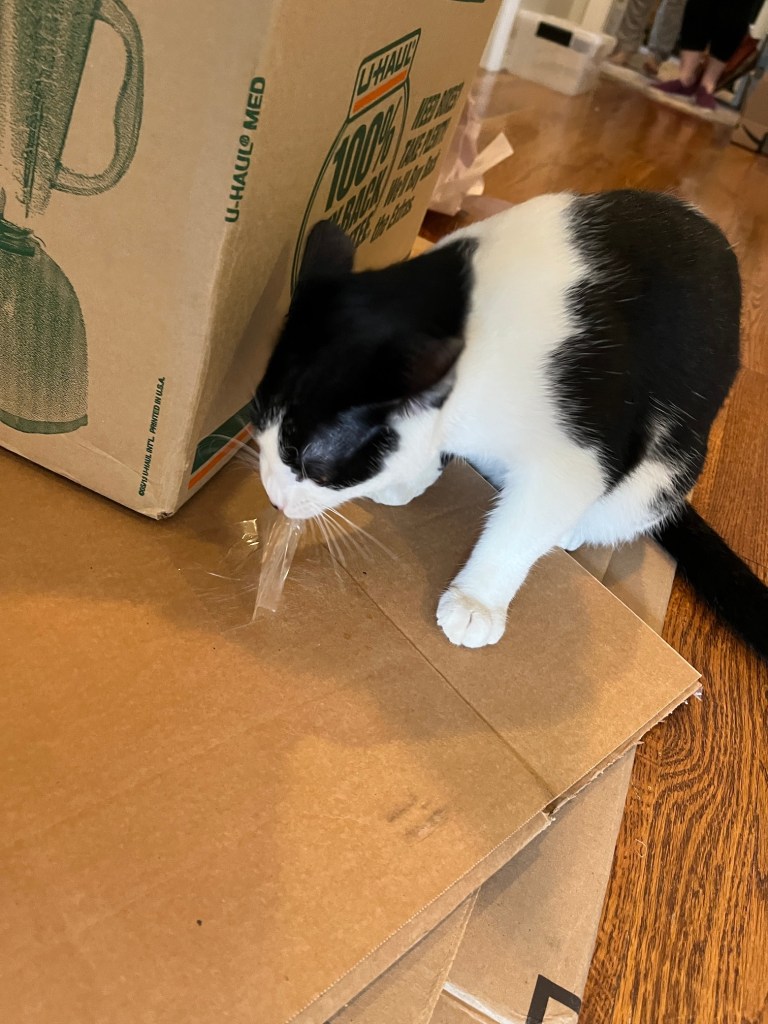
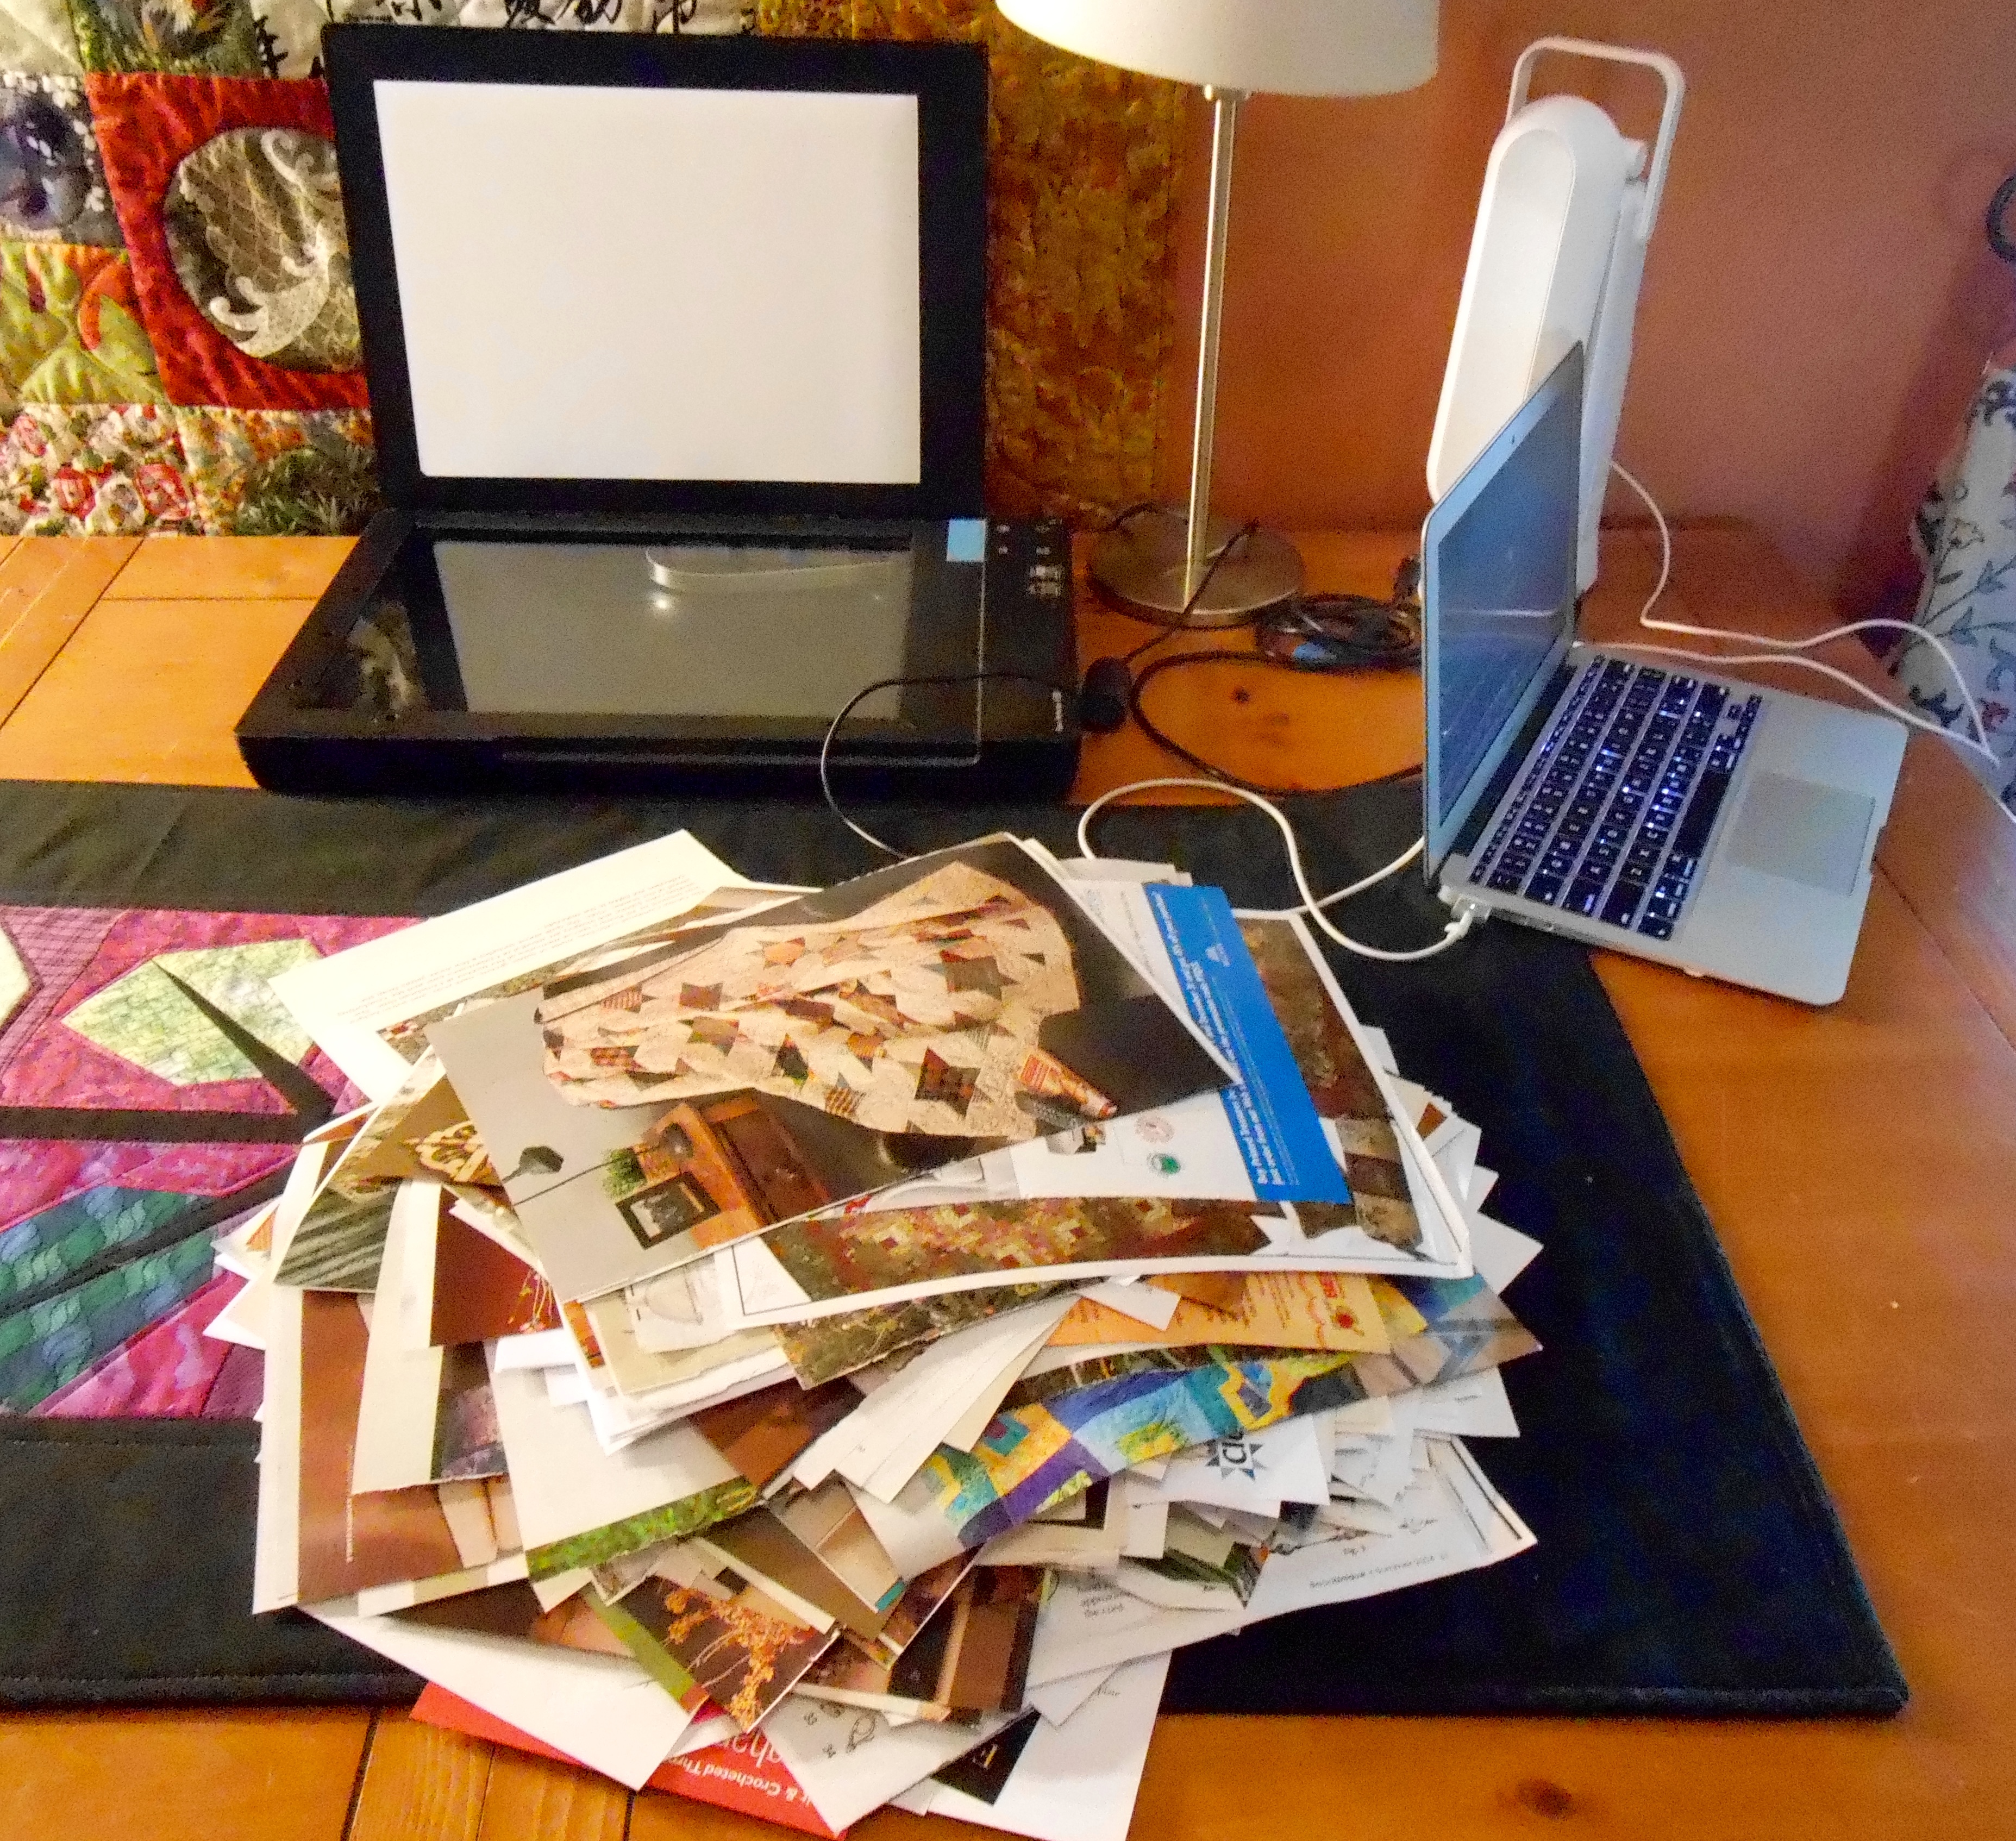
So we switched the rooms back and Chaos in the Craft Room ensued:
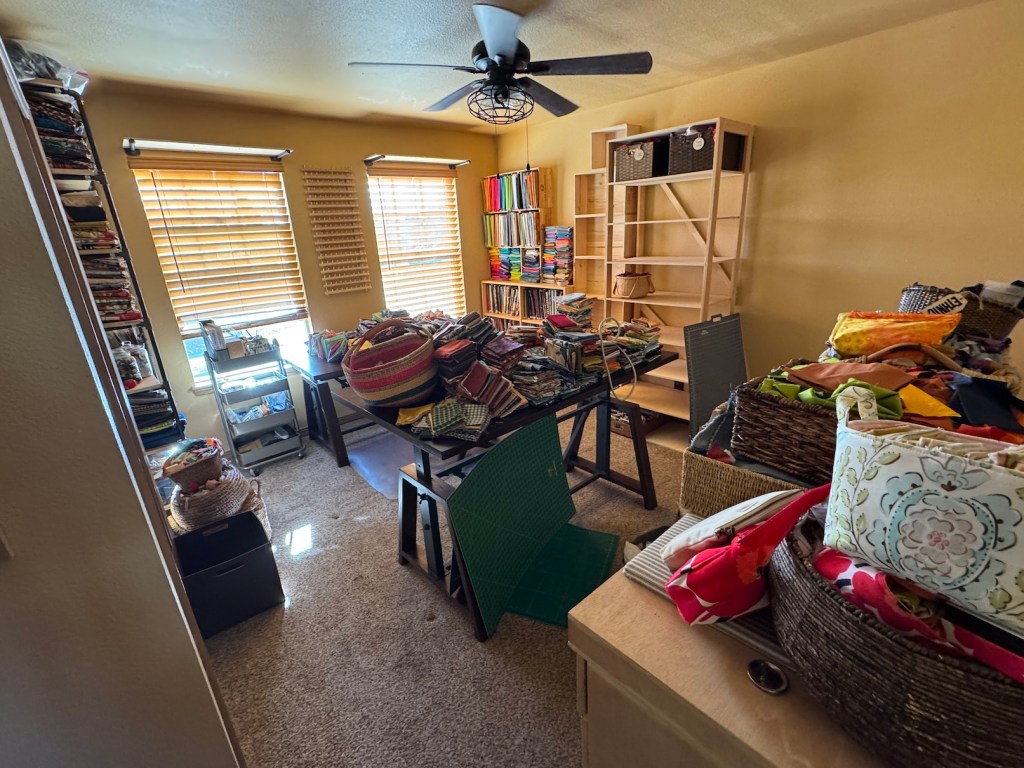

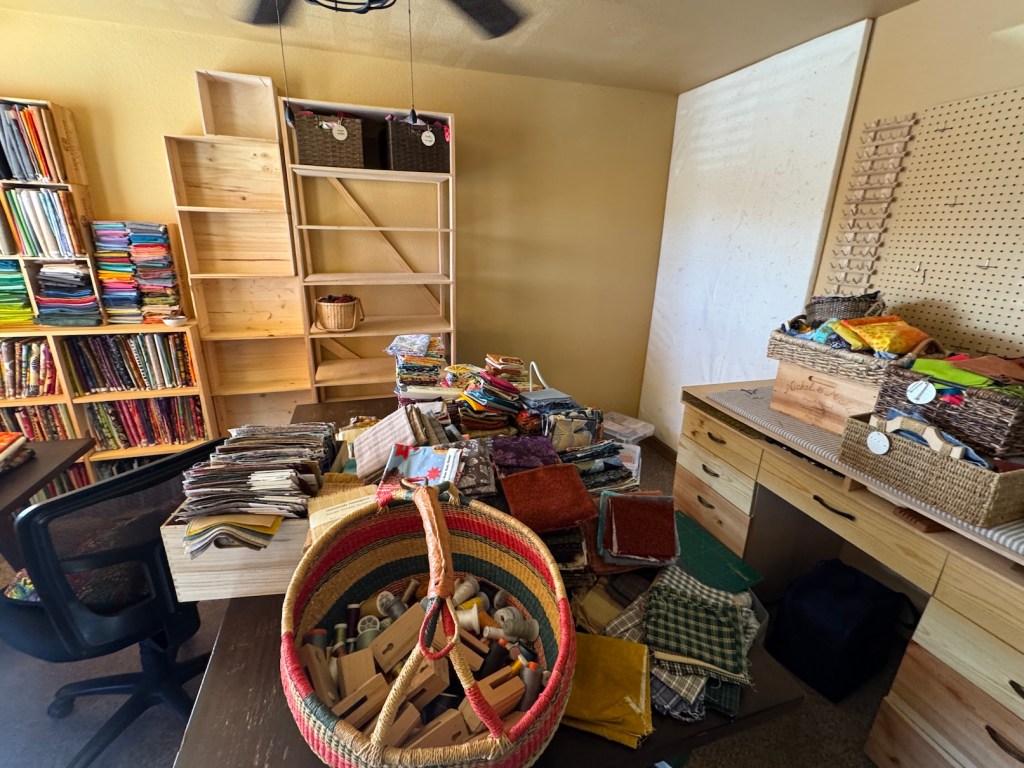
Moving the contents of my large studio and walk in closet into a much smaller space was quite the undertaking!
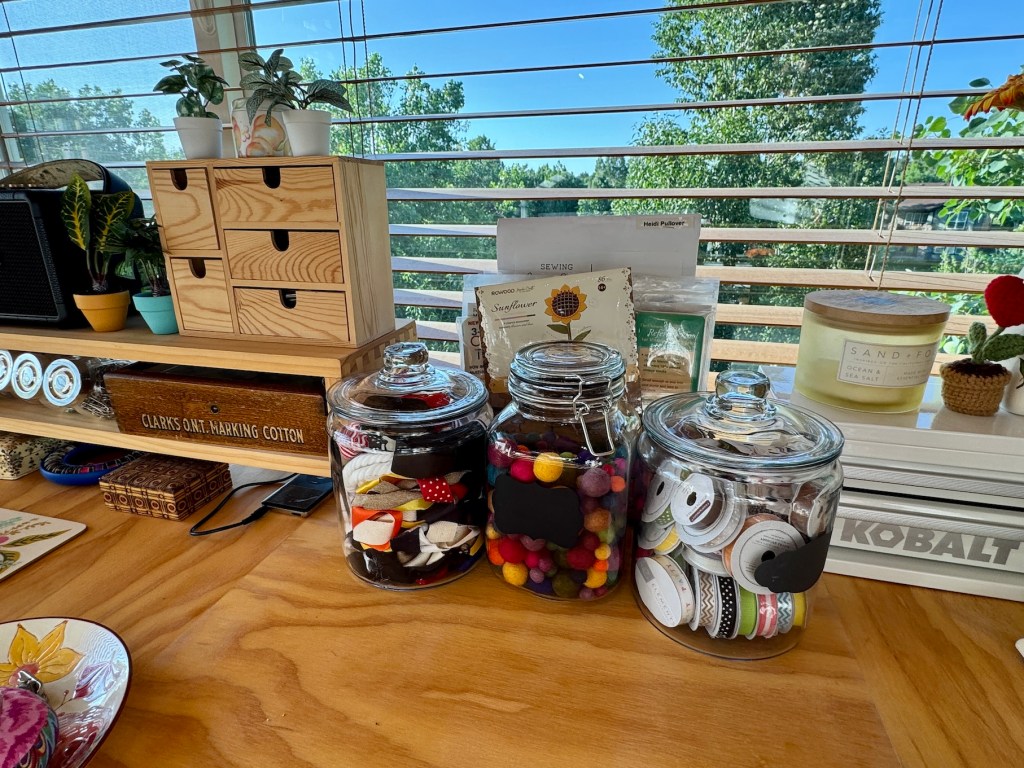
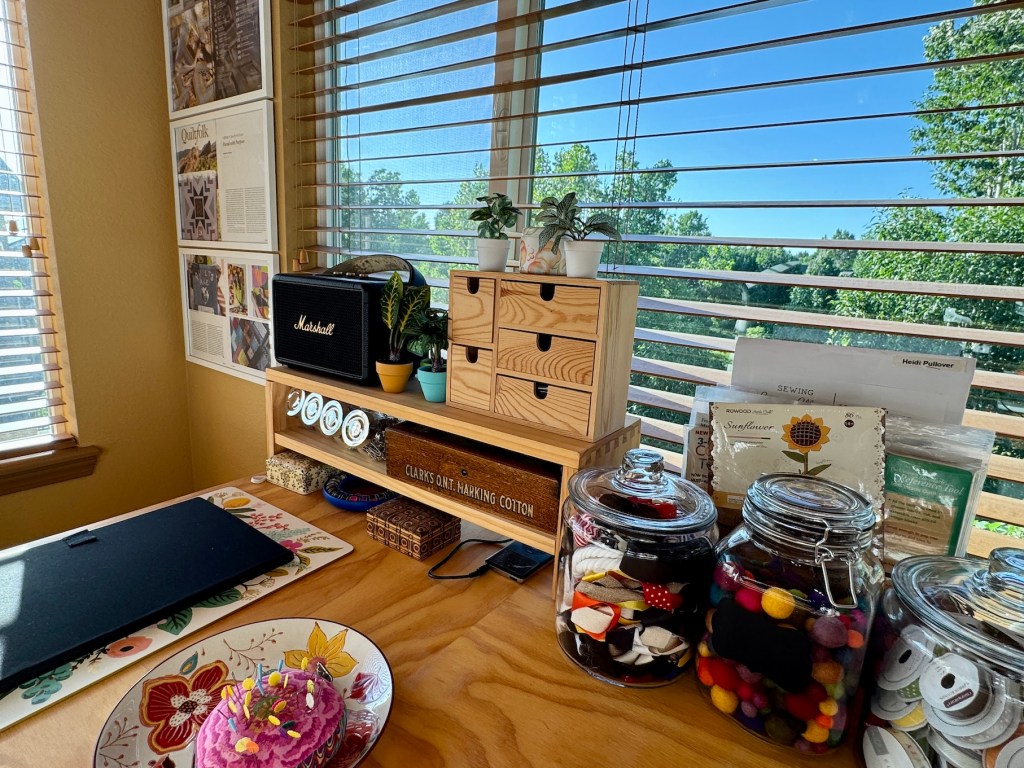
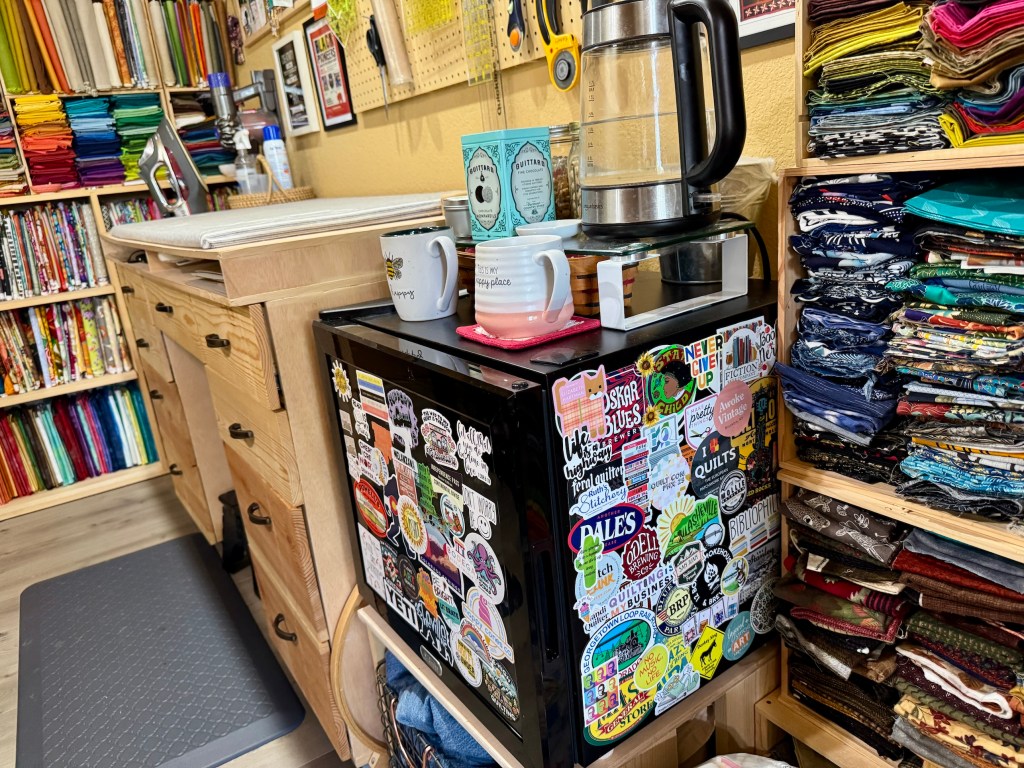
The good thing of this move is I spent a couple days preparing for it and purging what I didn’t really need. It seems that I thrifted stuff to fill the space – I expanded to fill the space…
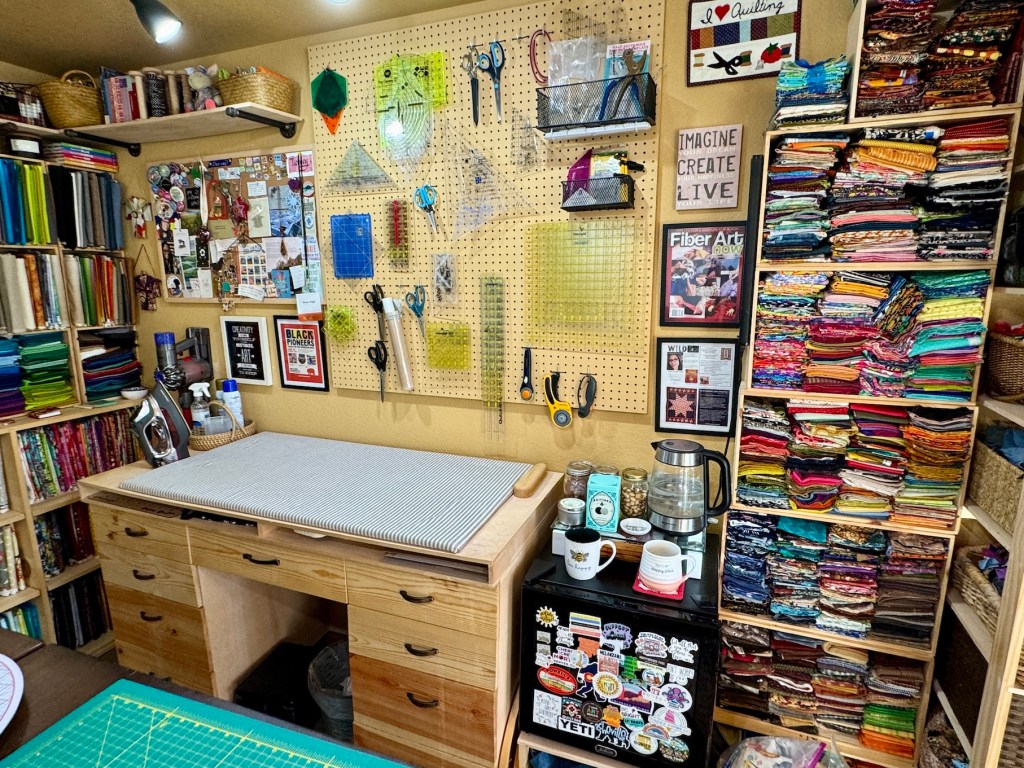
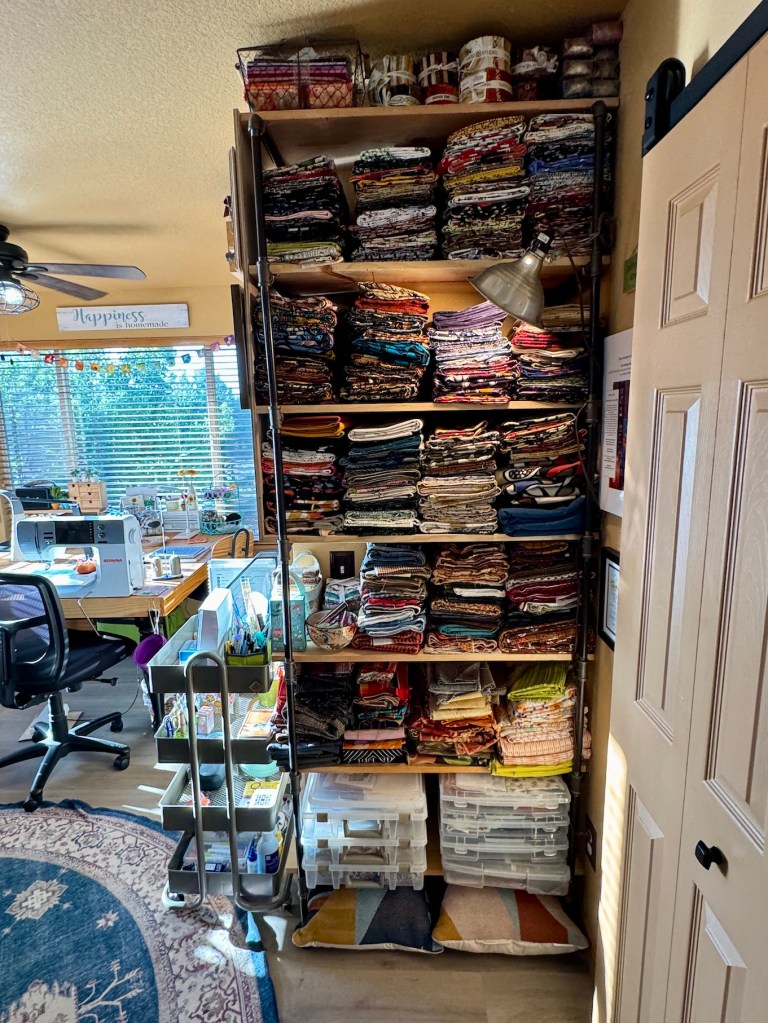
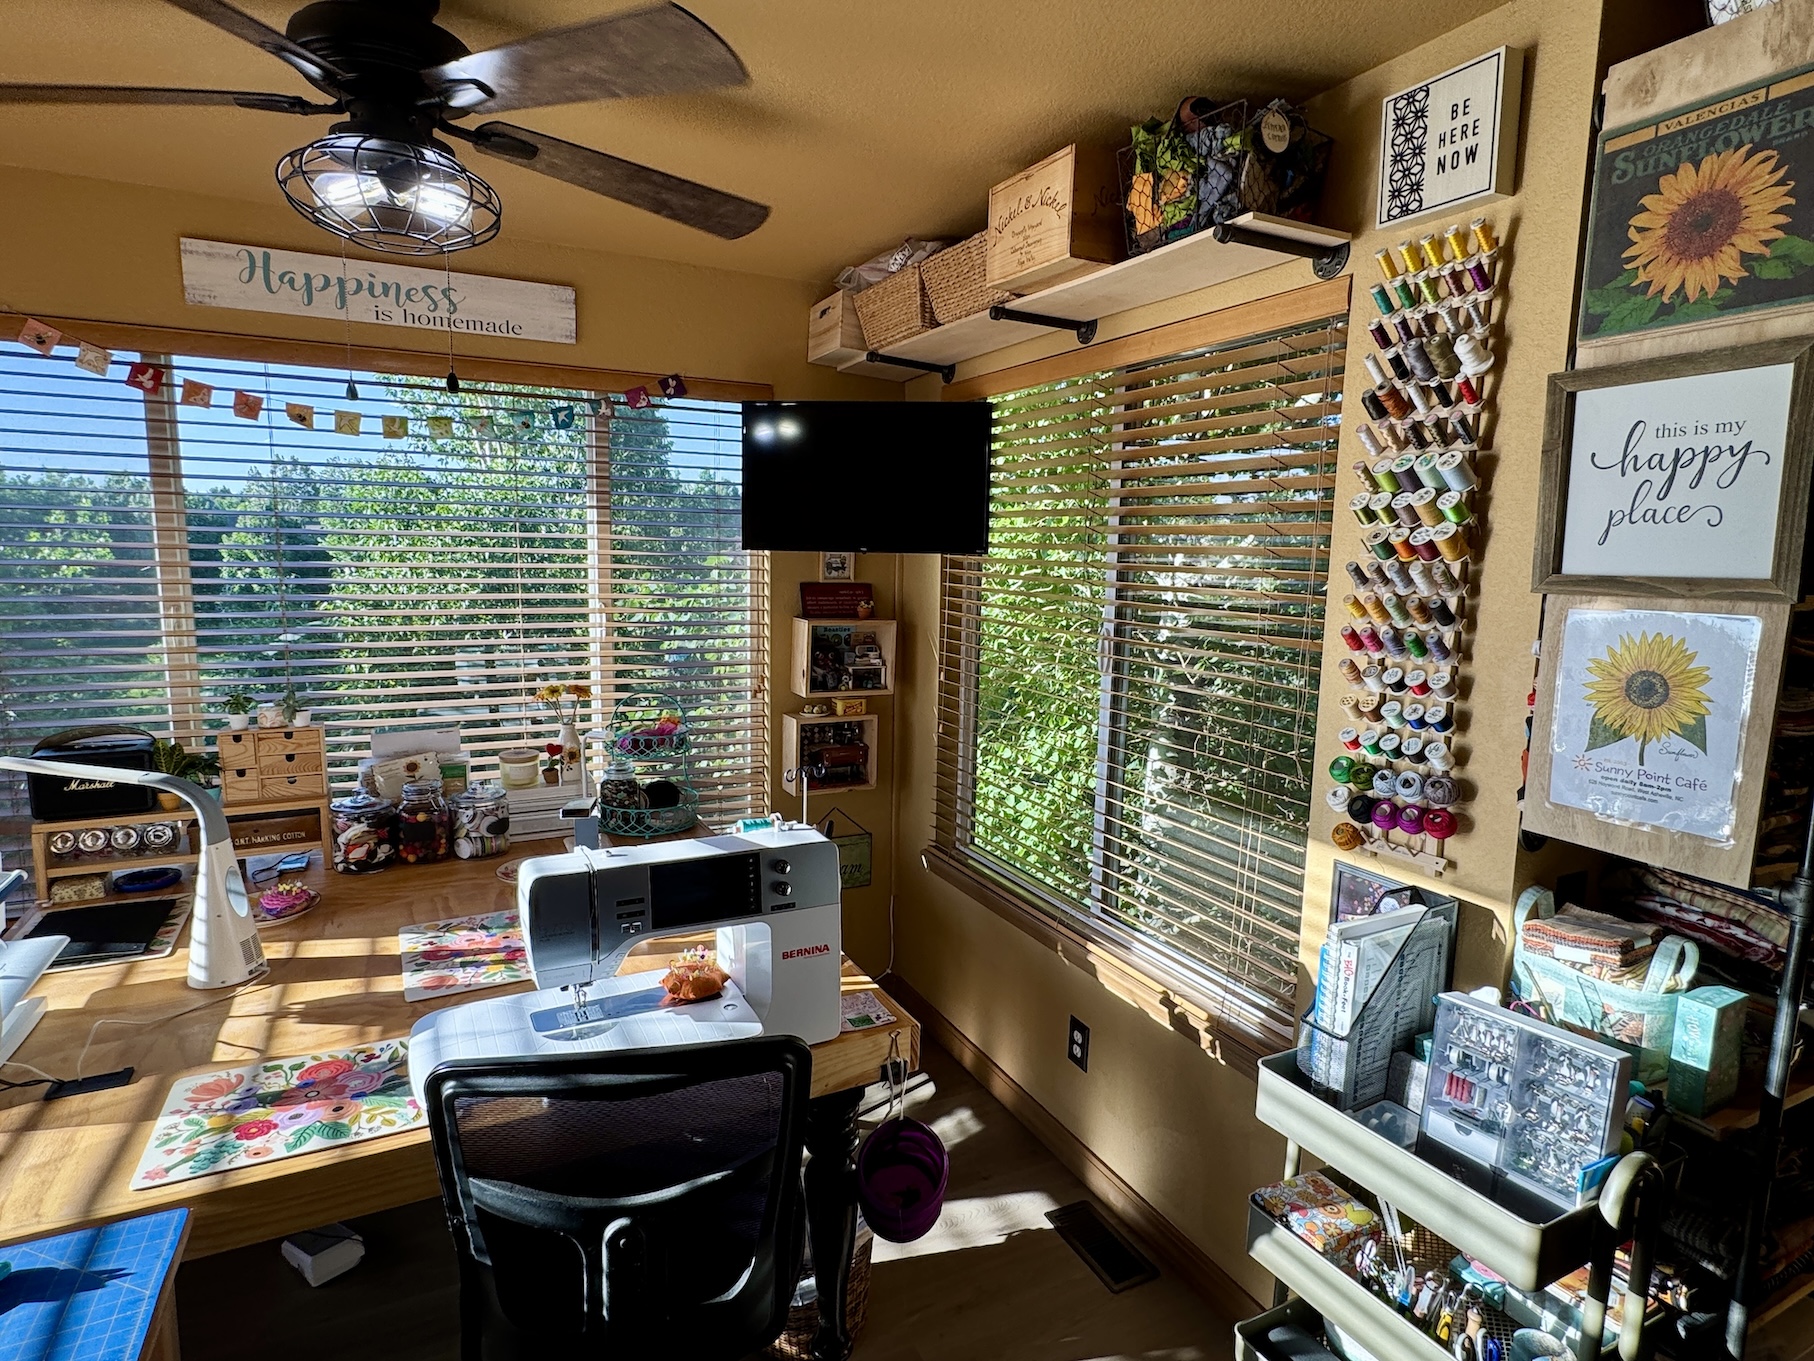
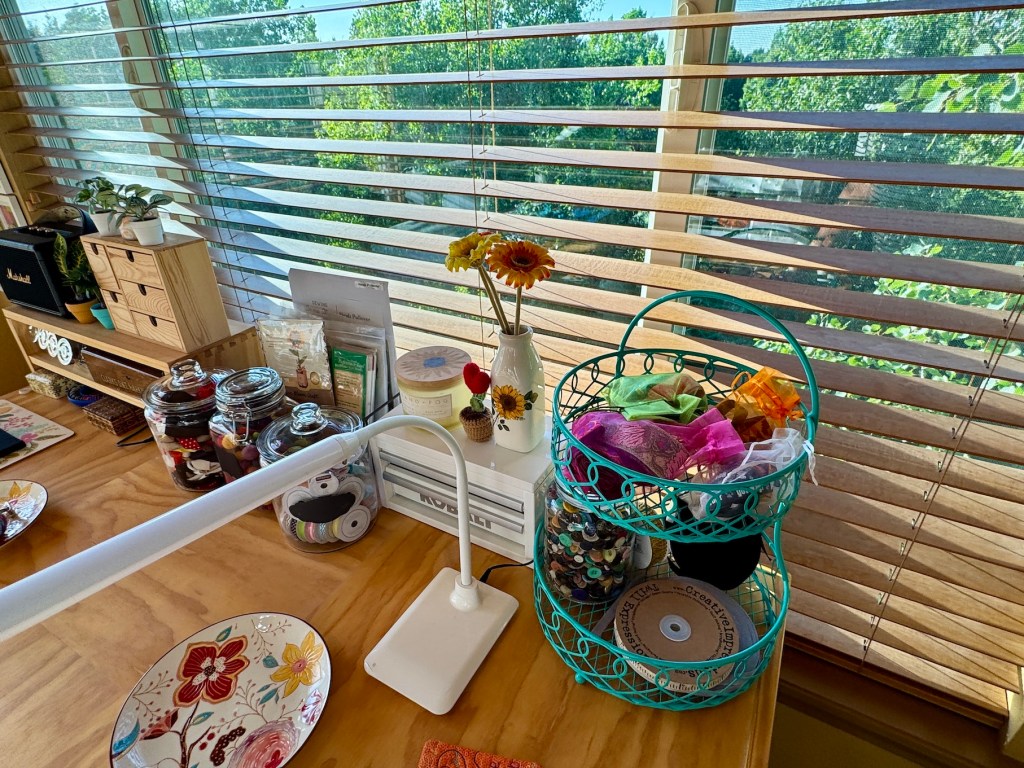
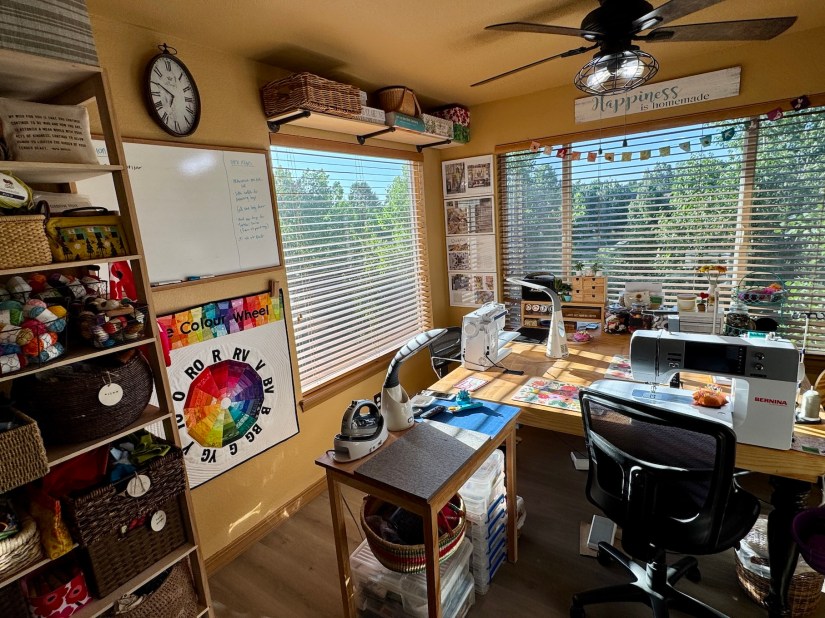
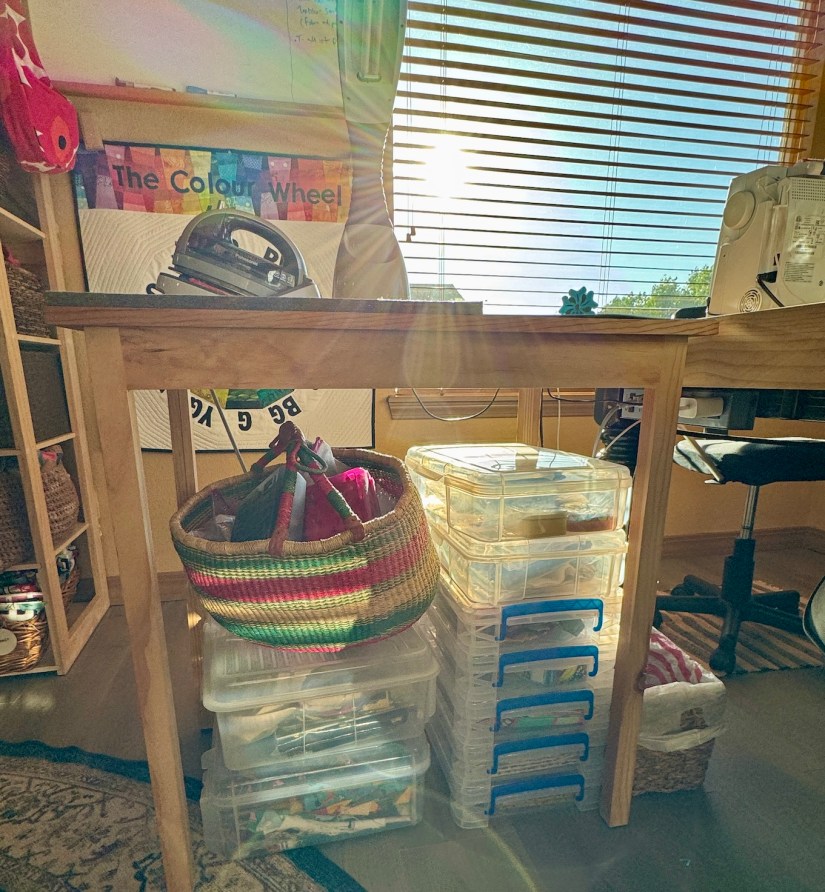
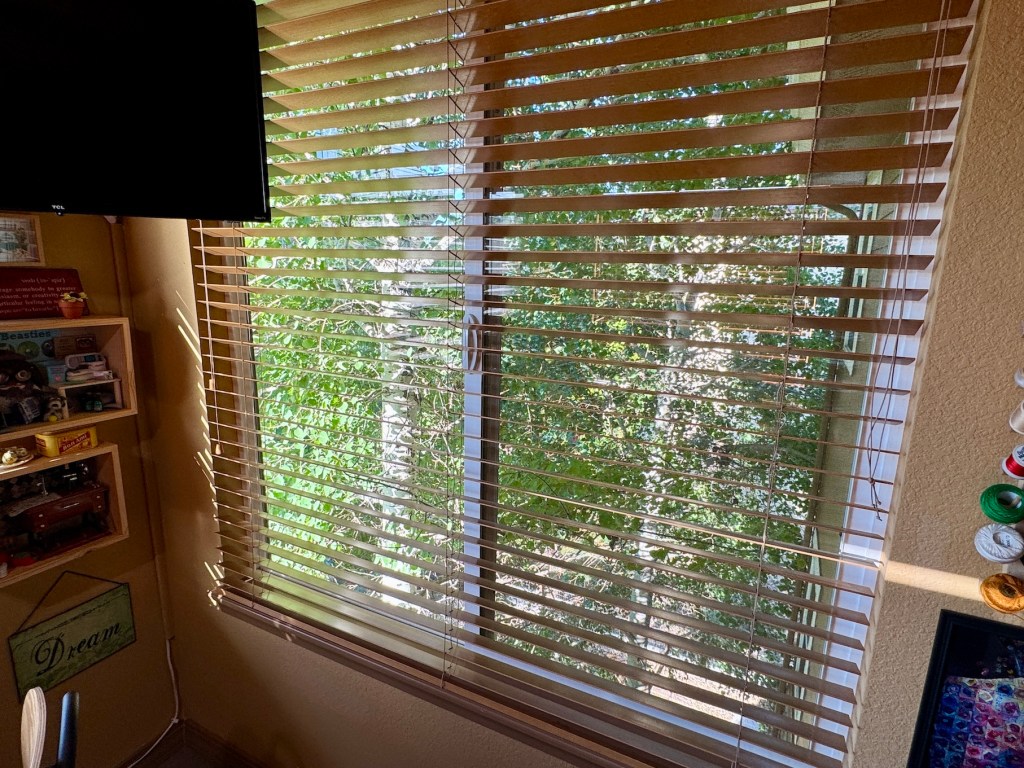
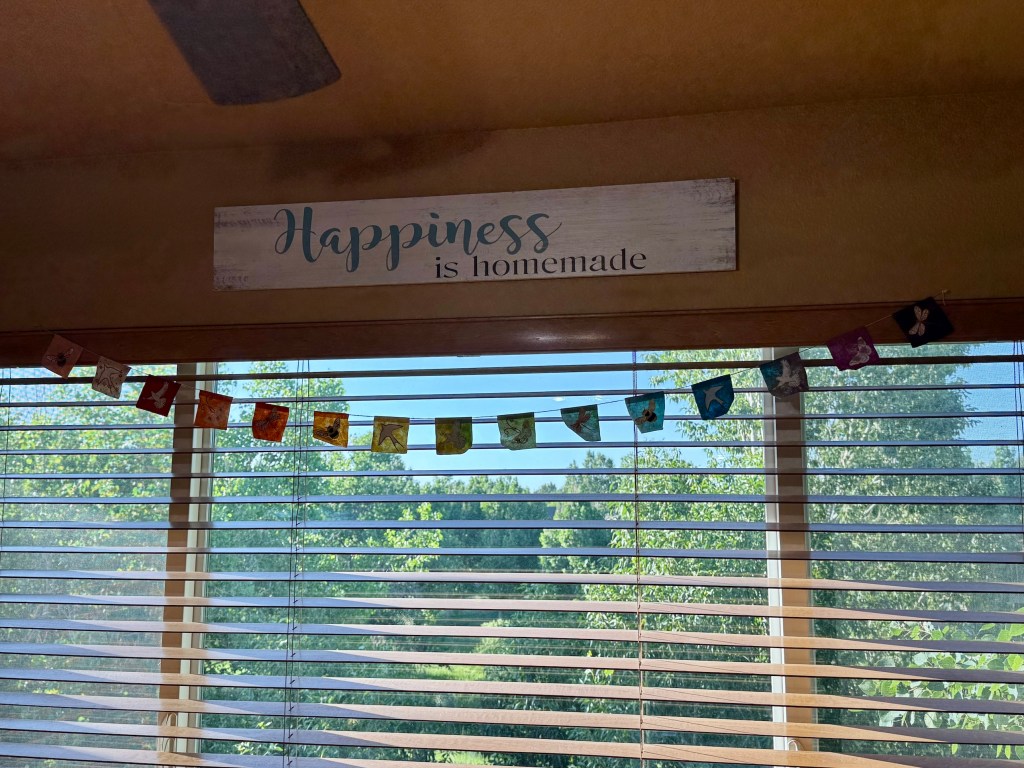
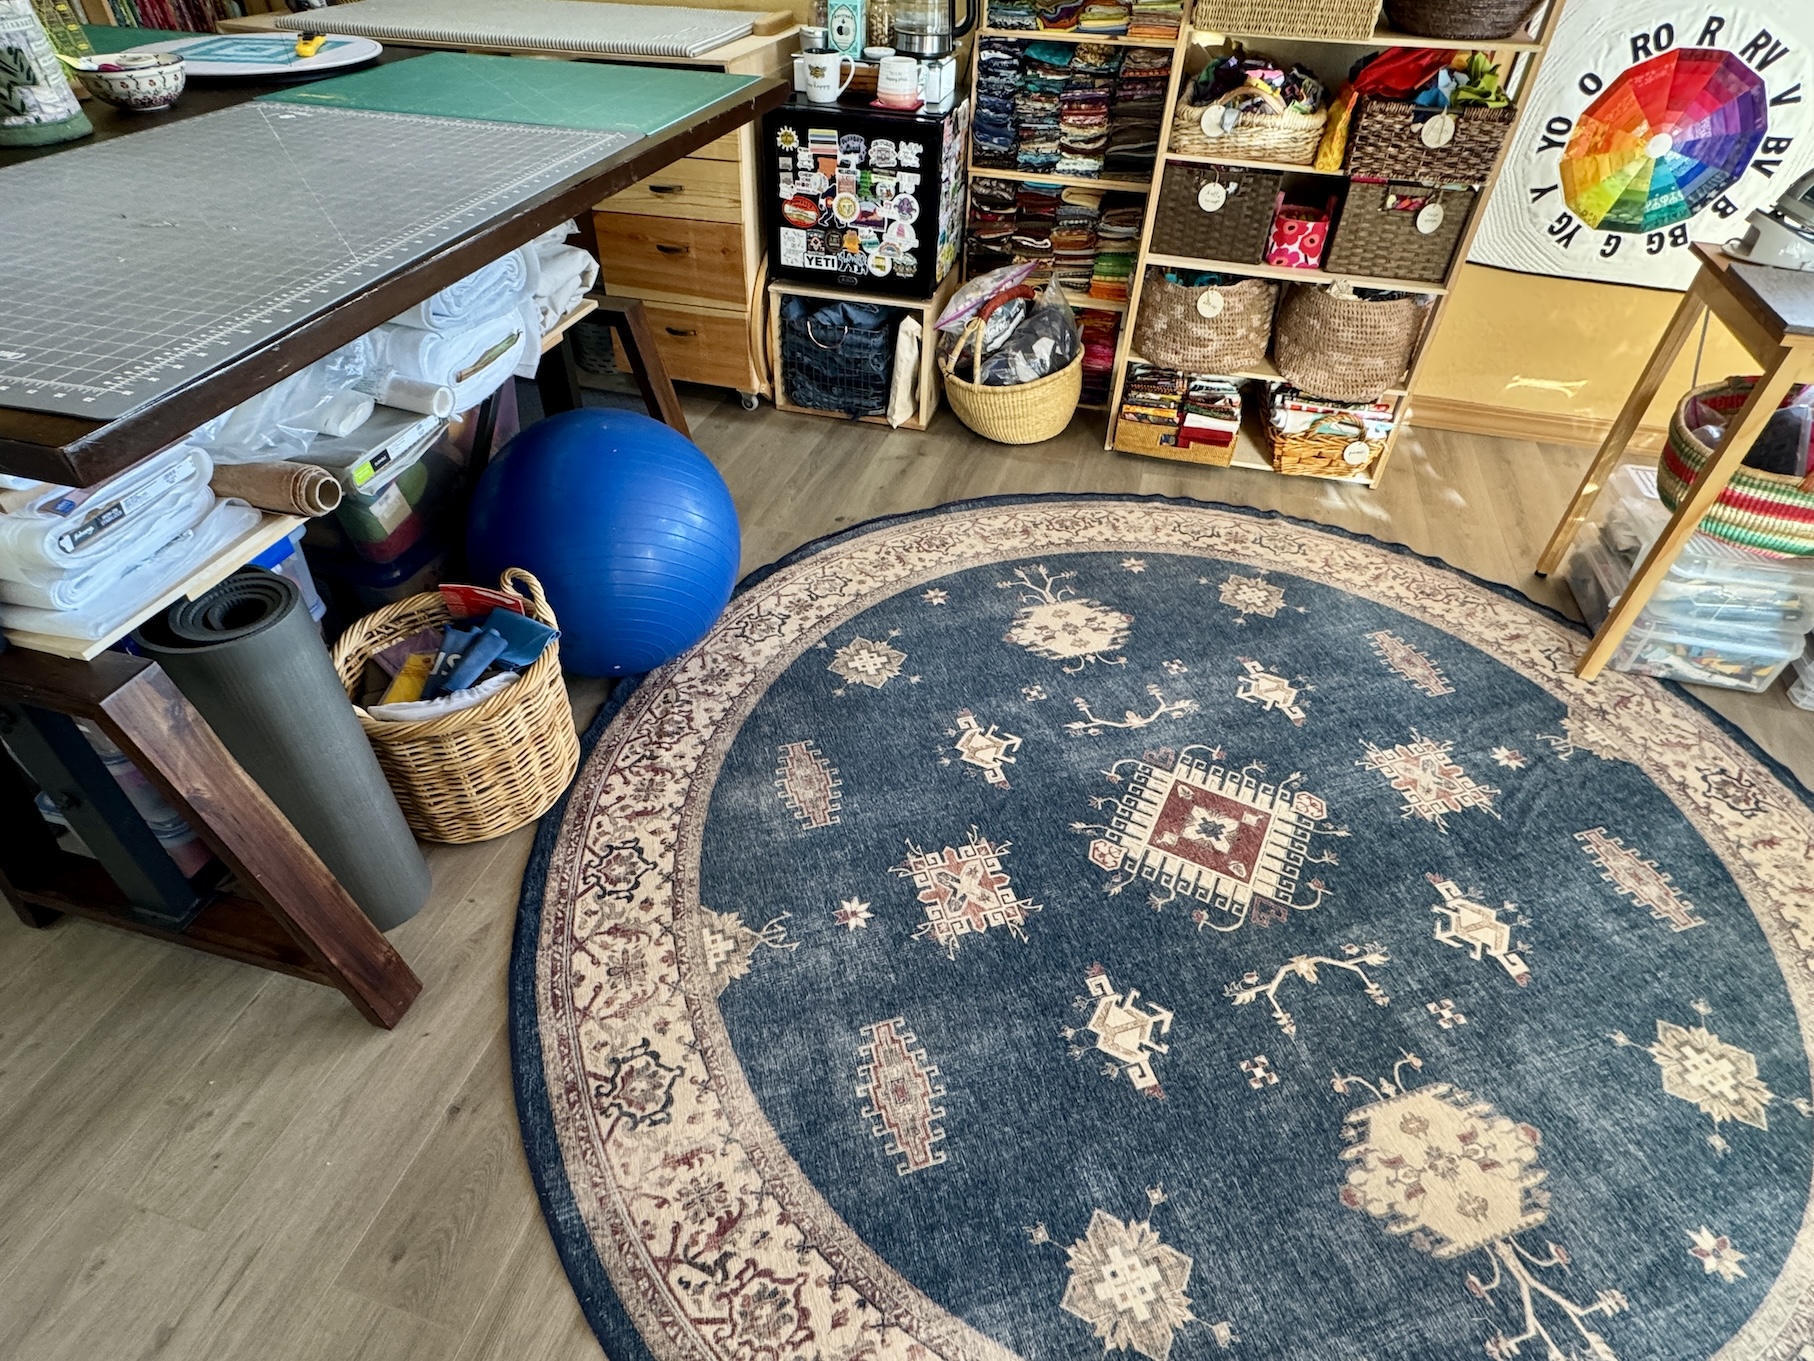
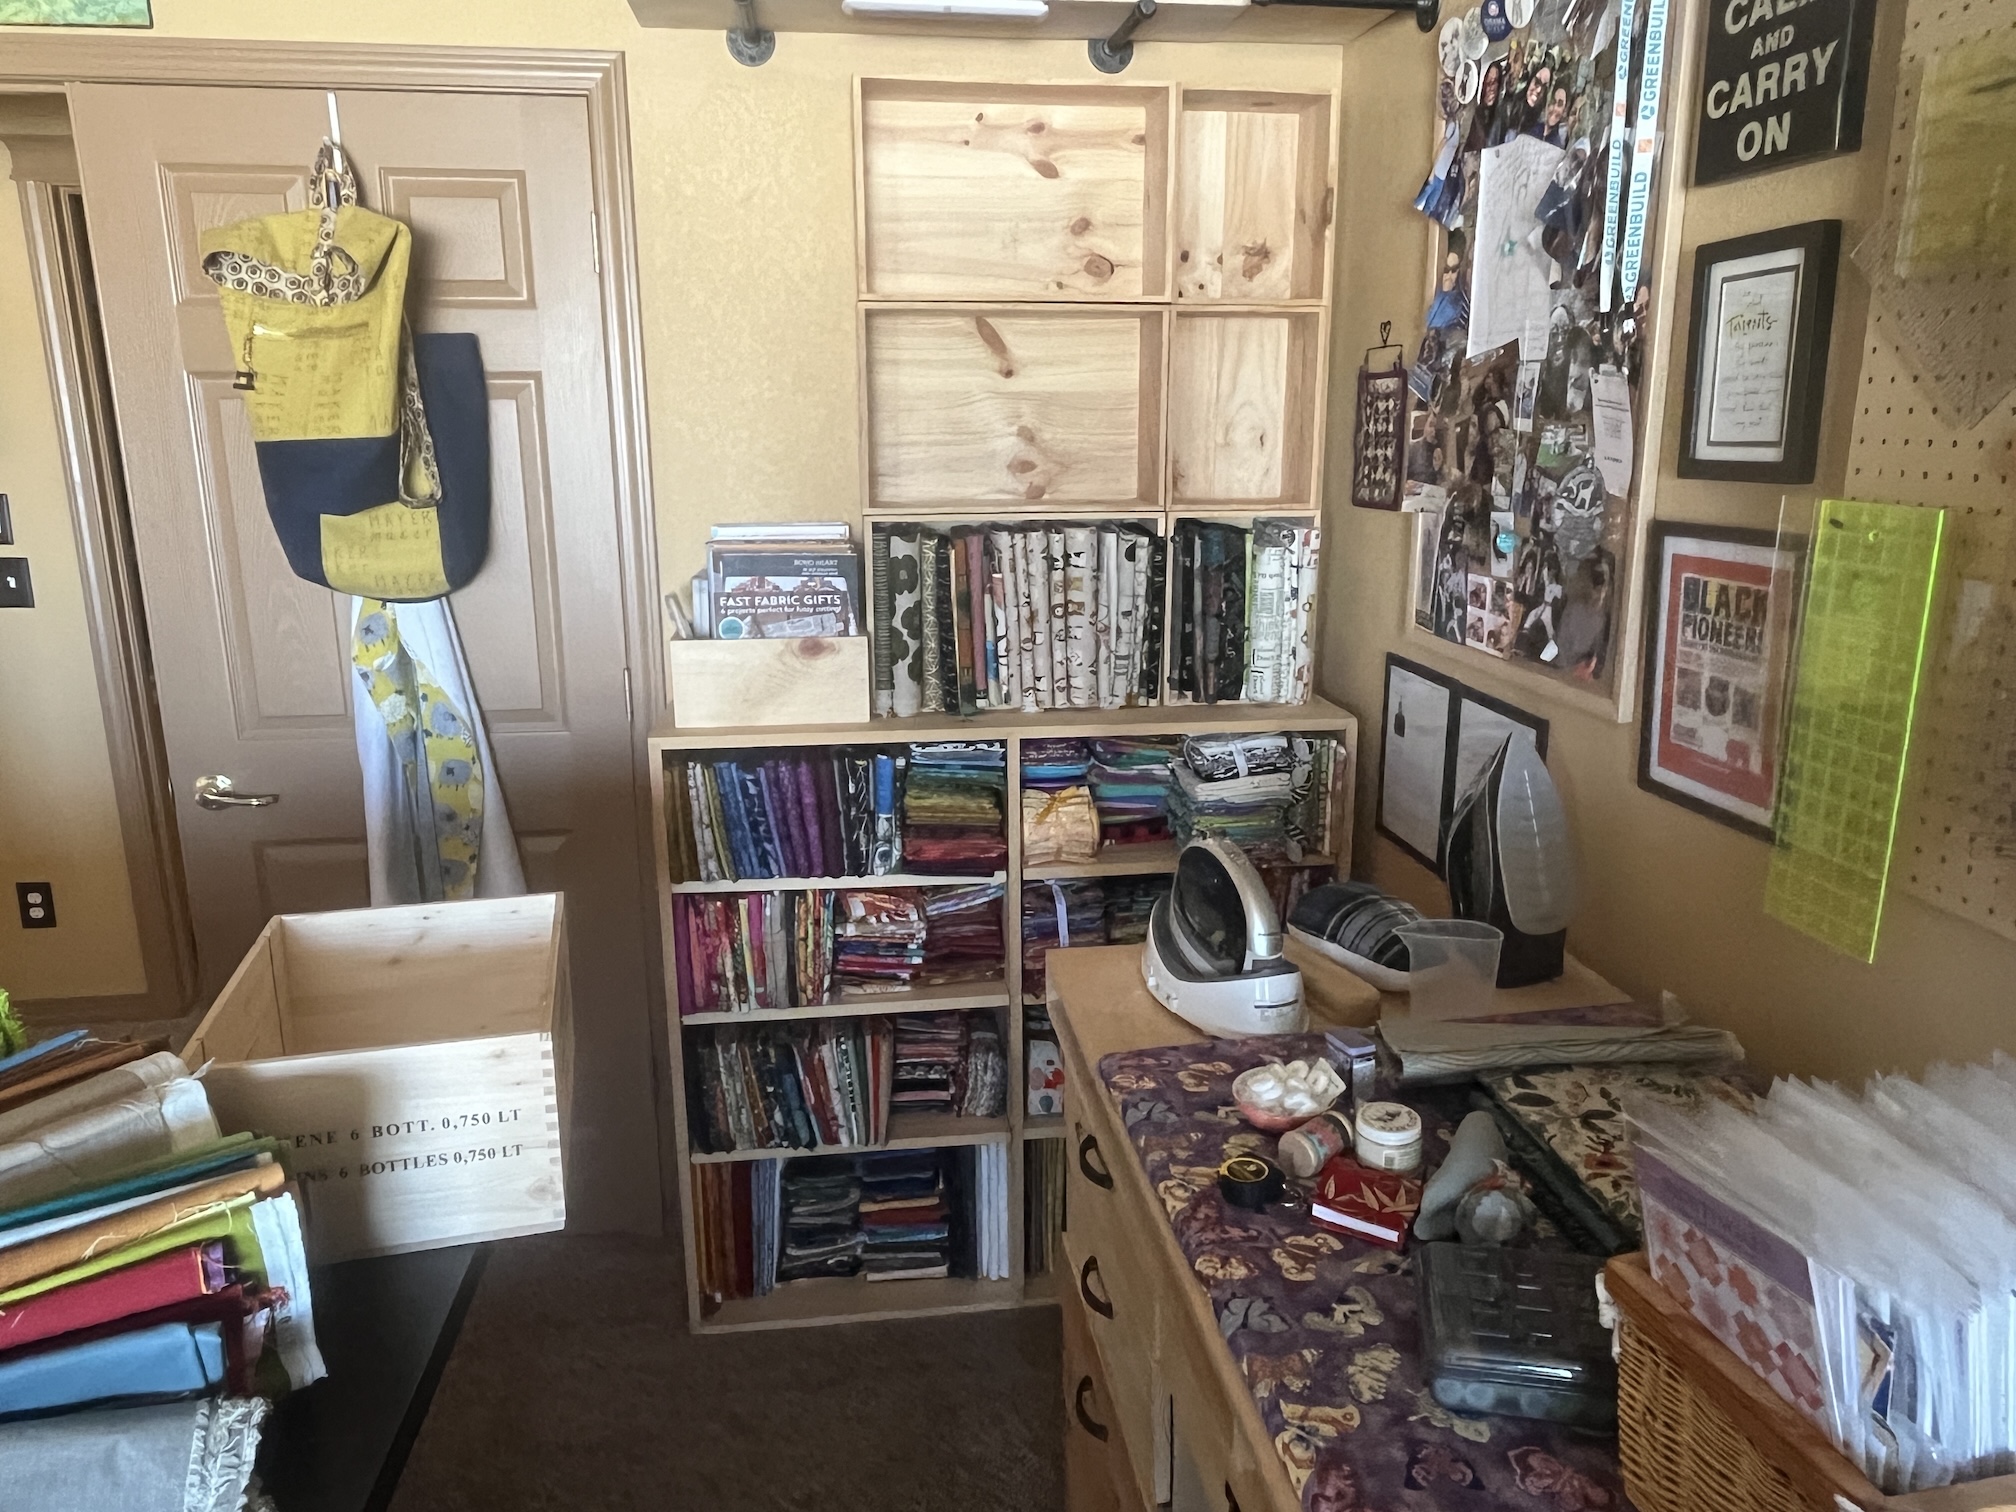
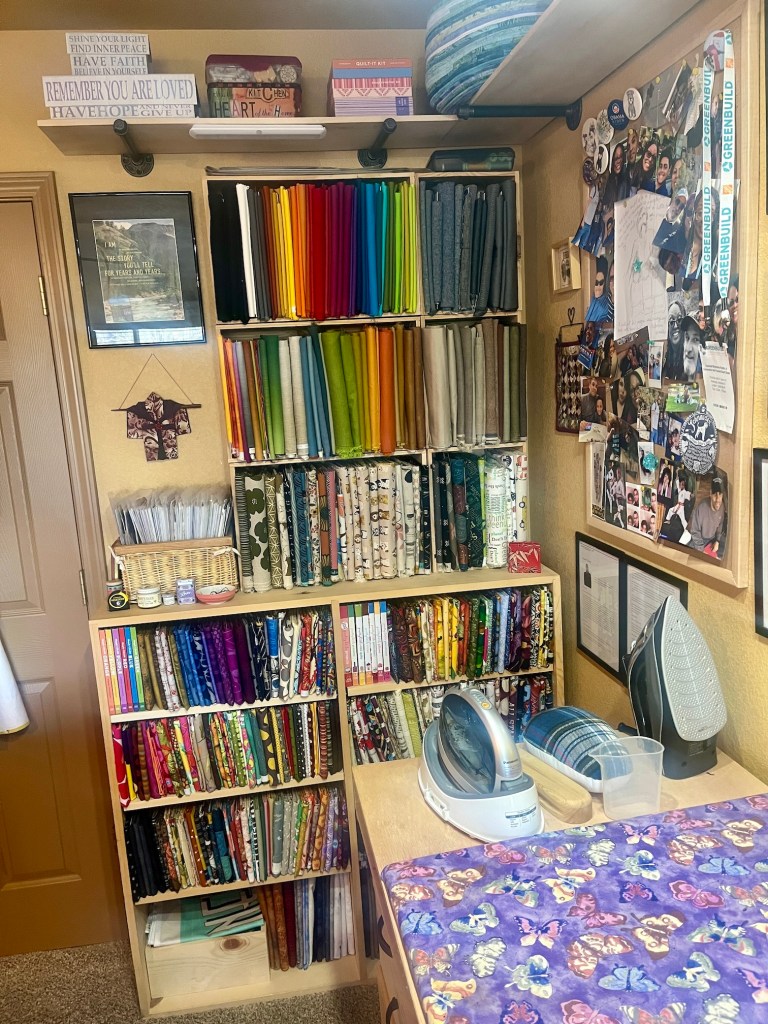
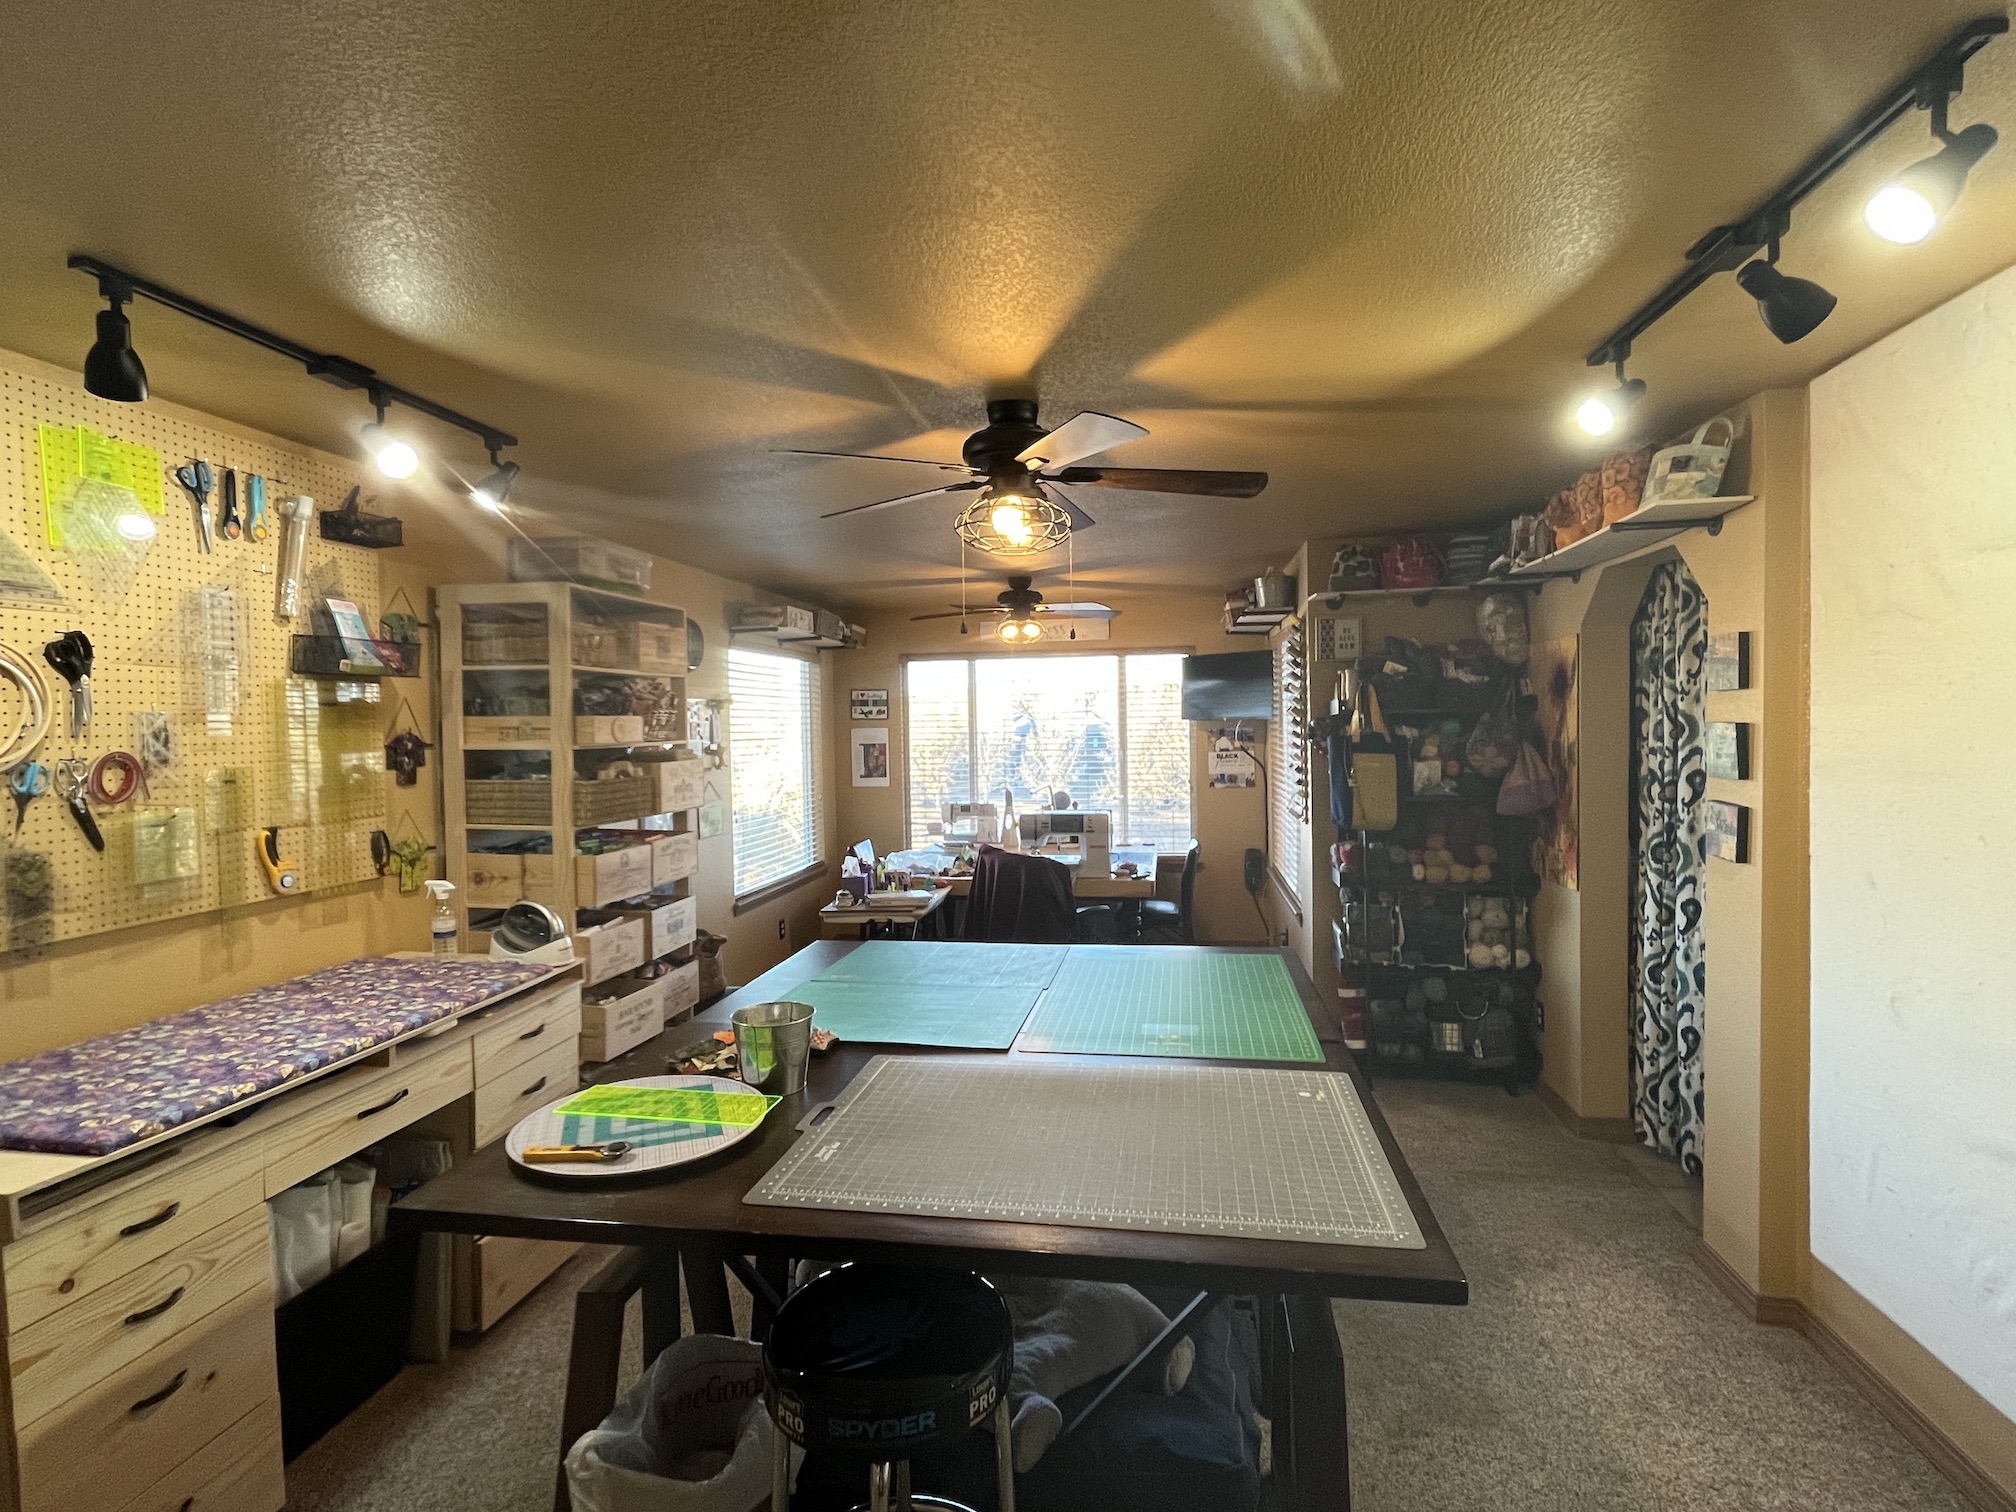
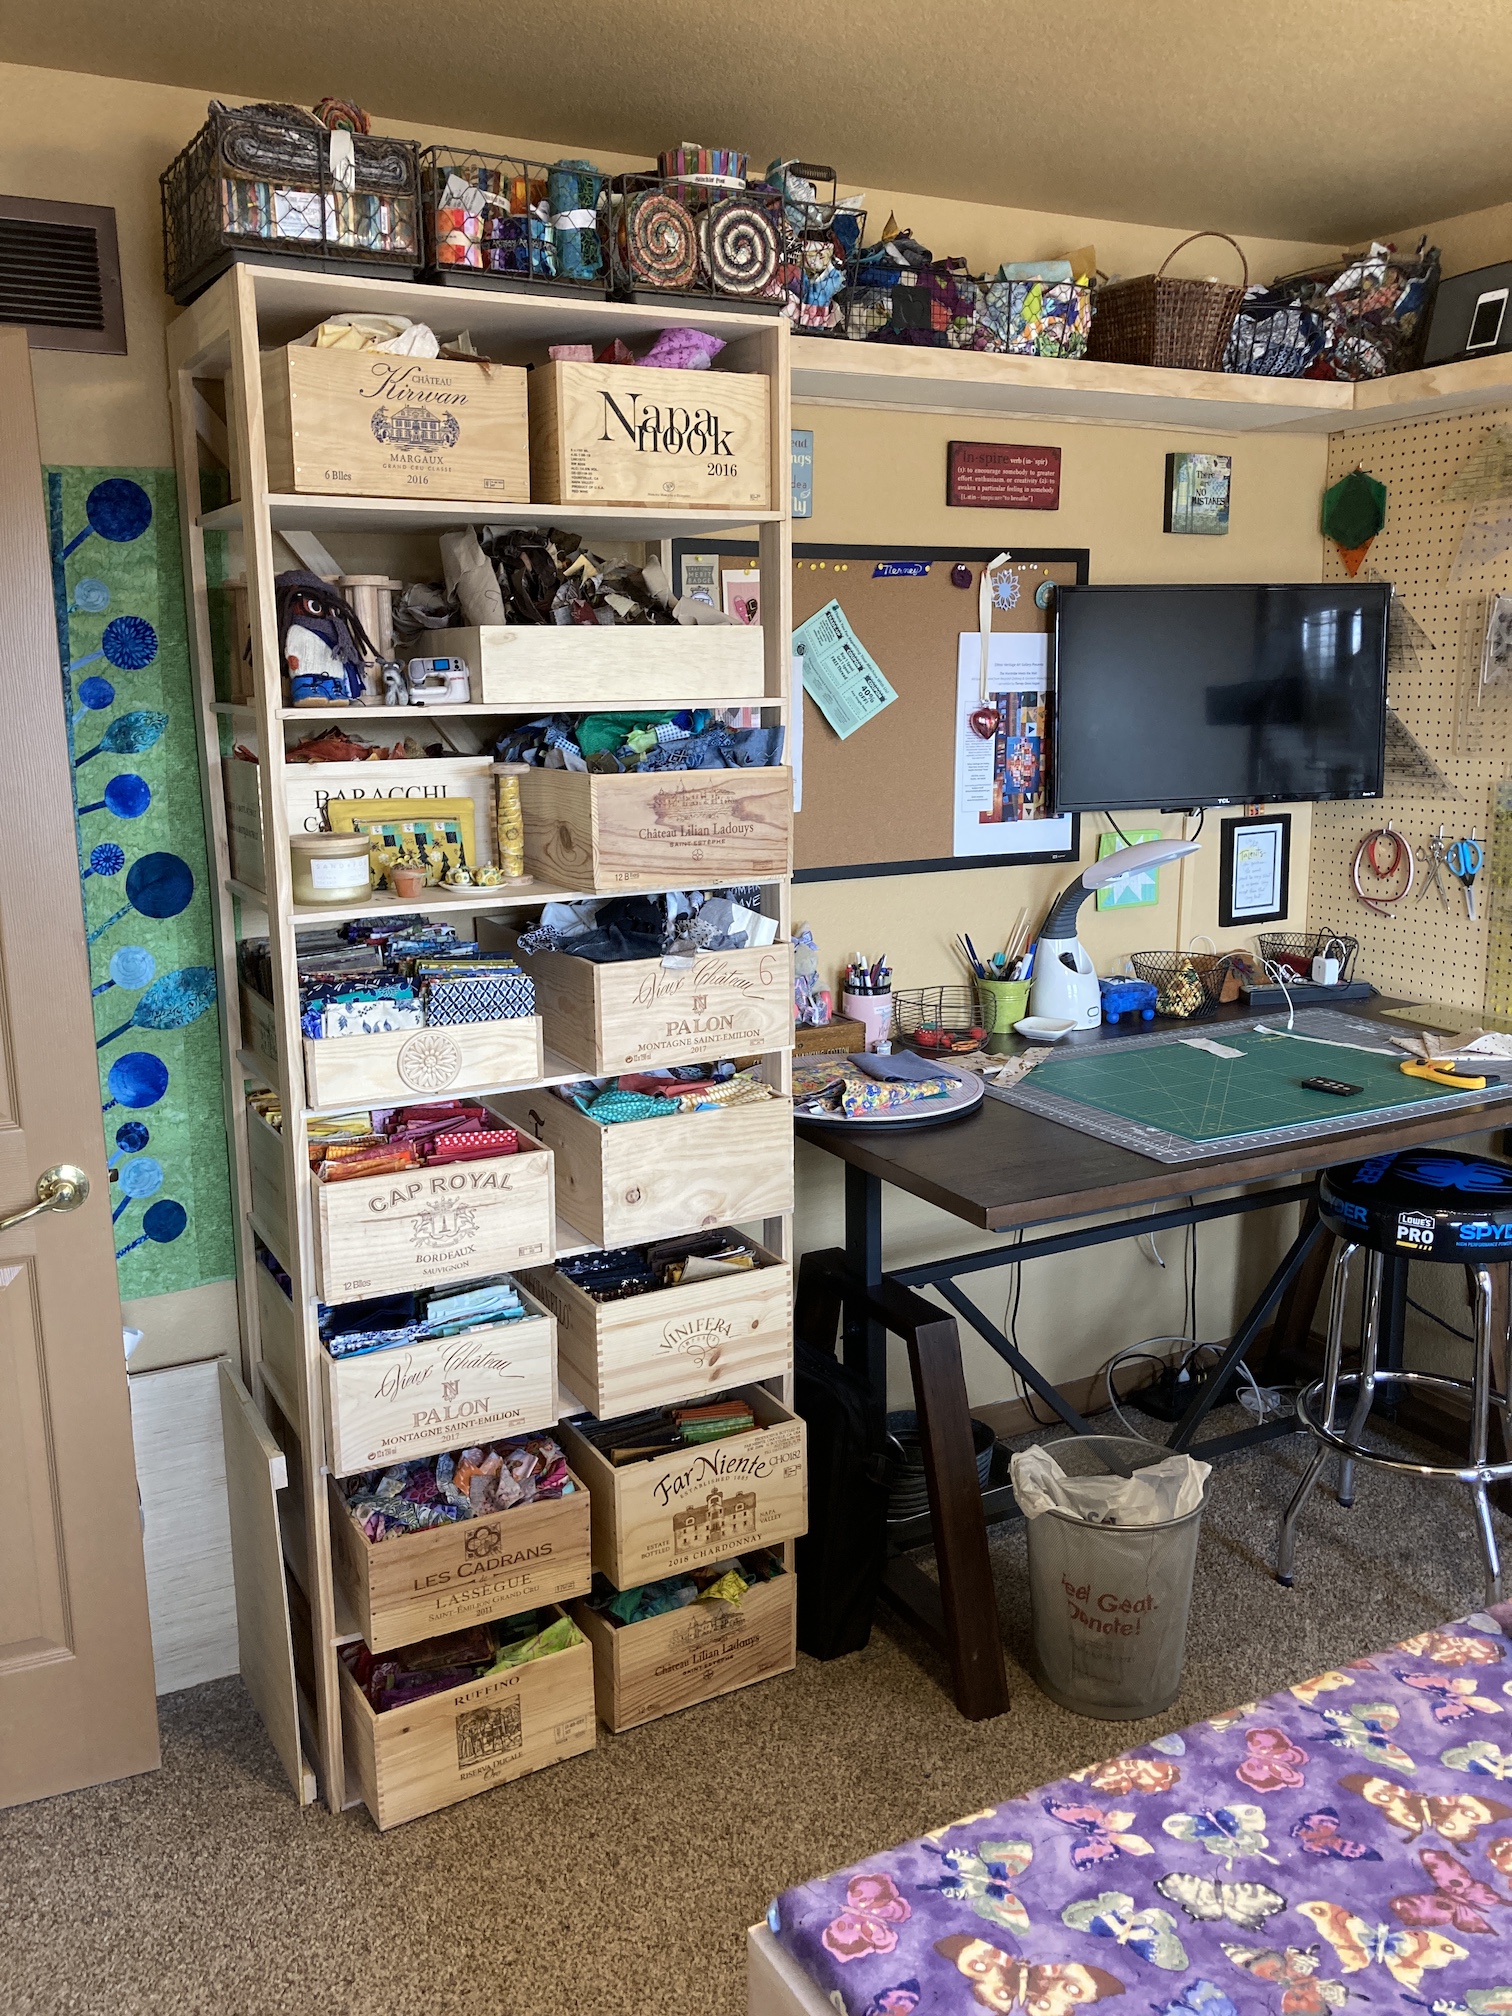
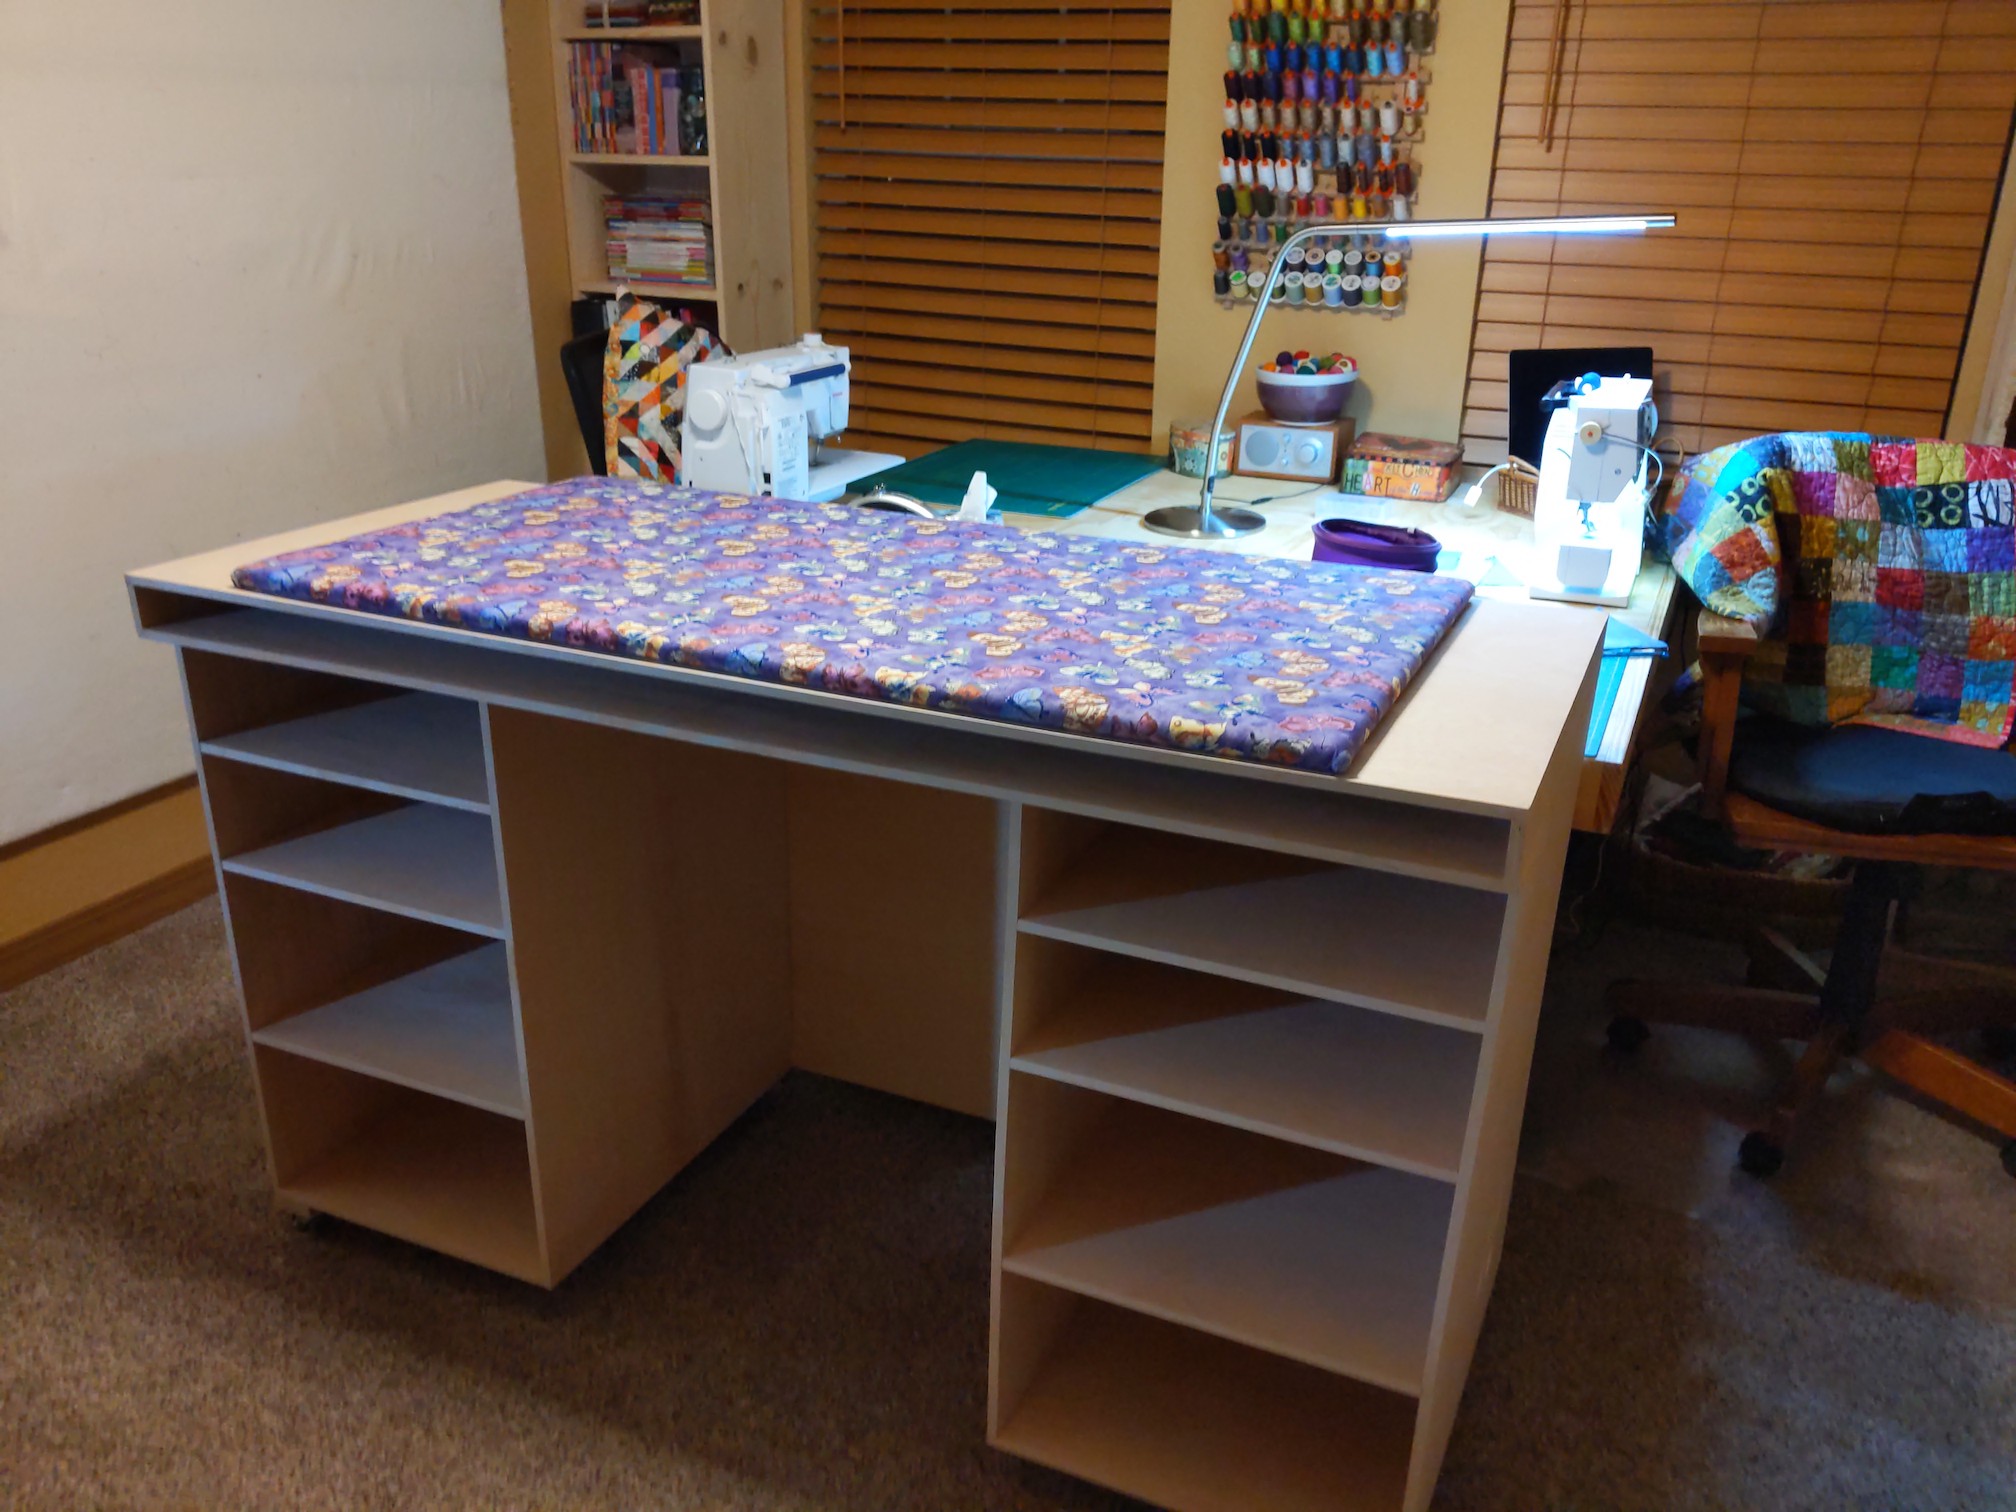
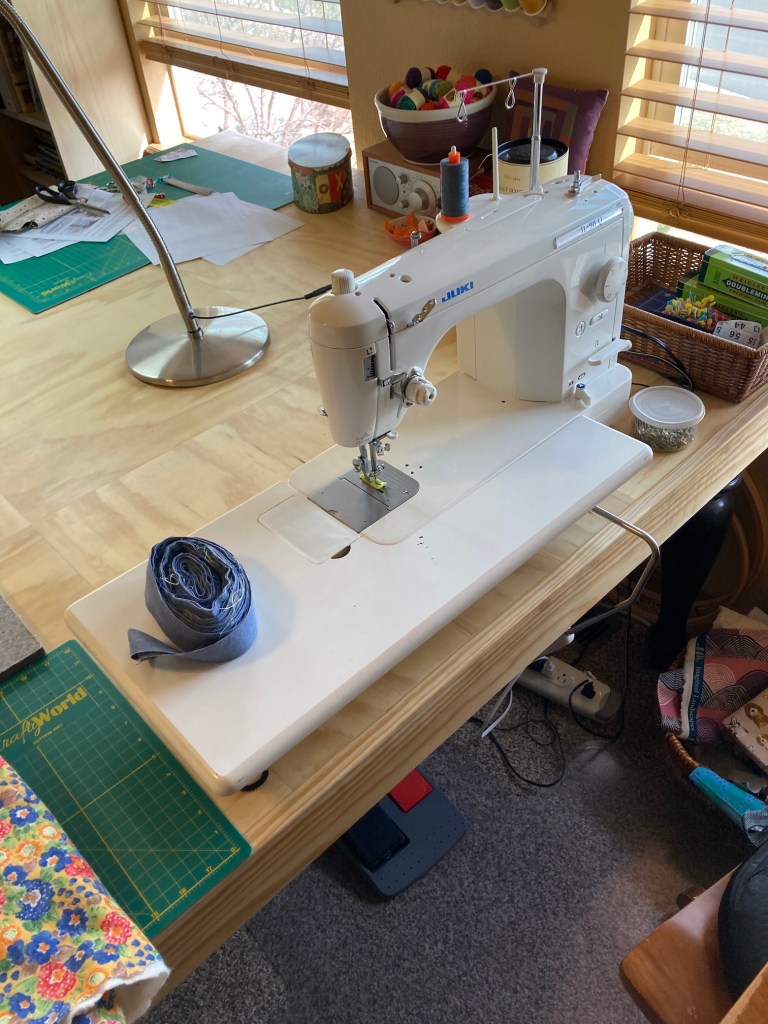
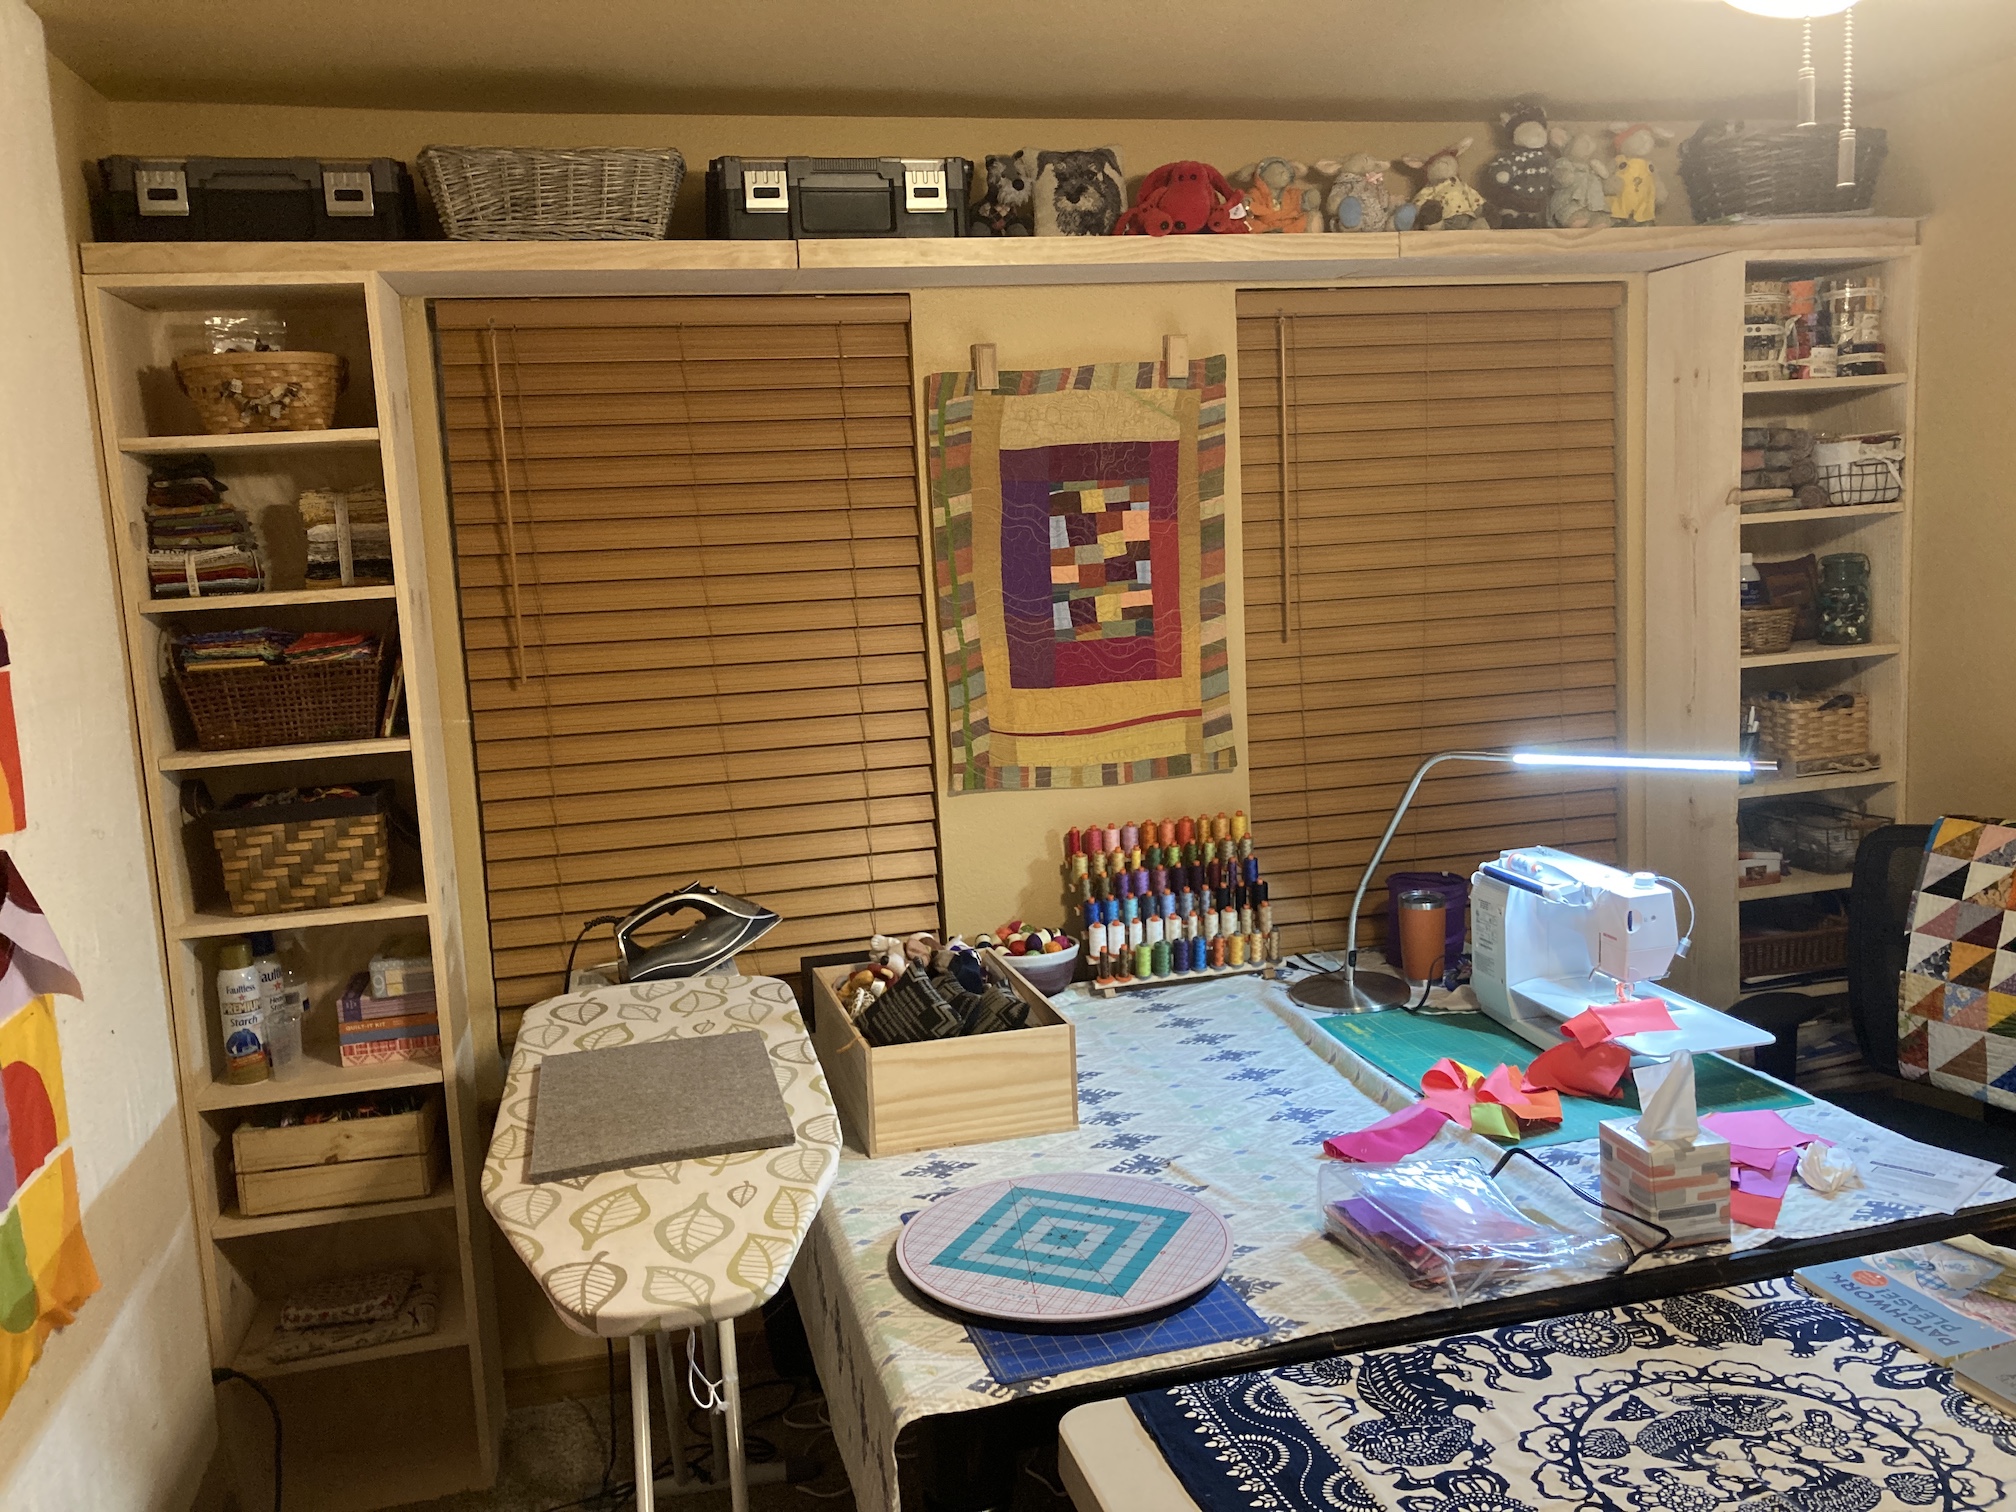
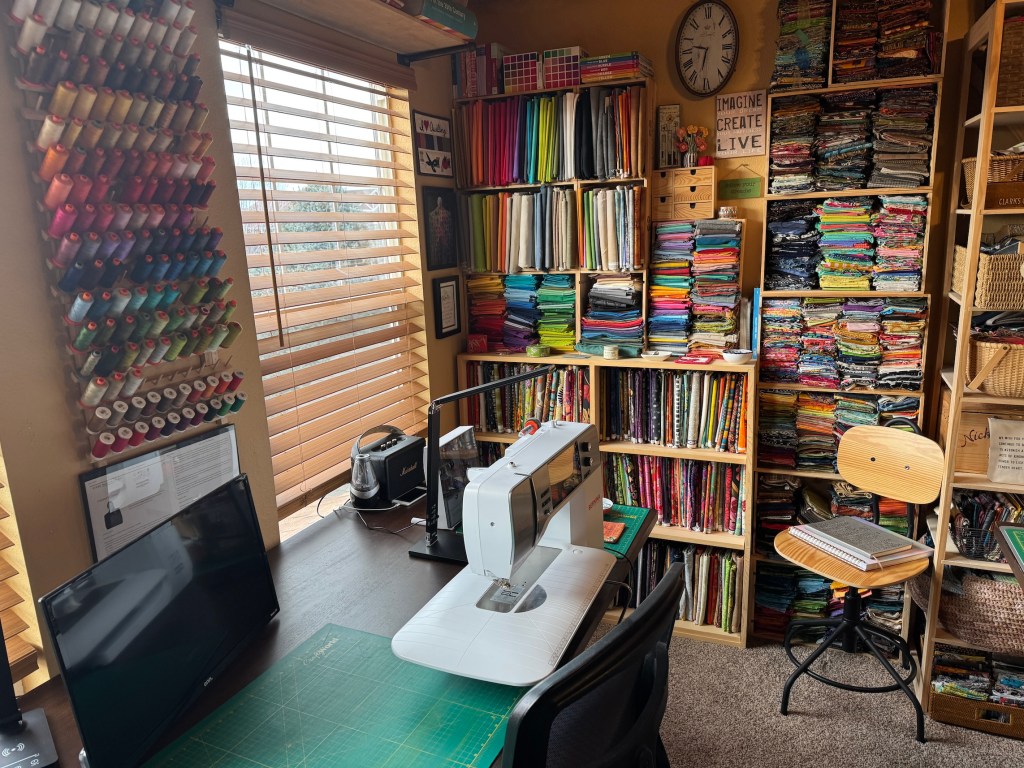
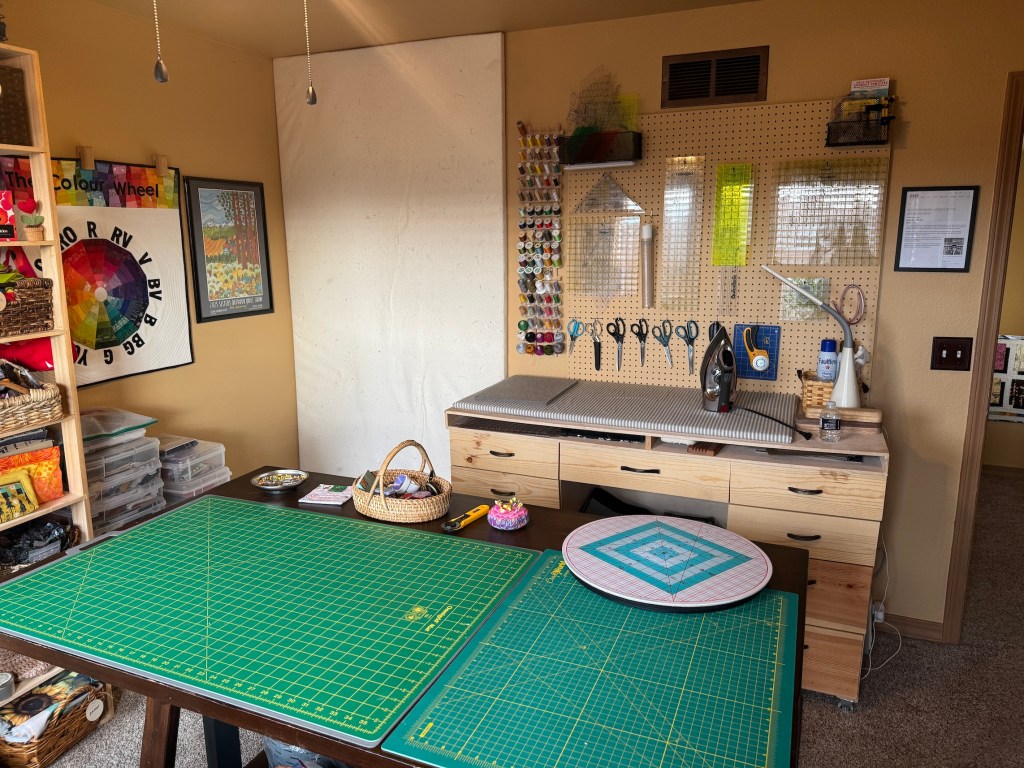
It took a couple days after we switched rooms to settle into my new room, which is less than half the size of the space I had in the primary bedroom, and here is what it looks like now:
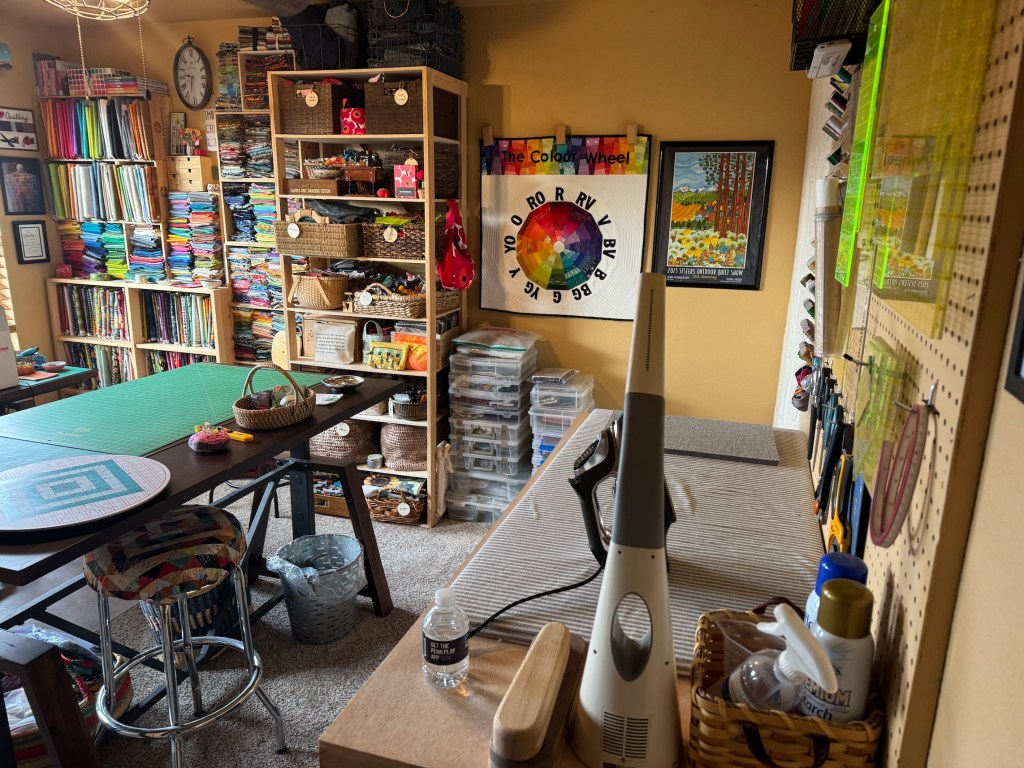
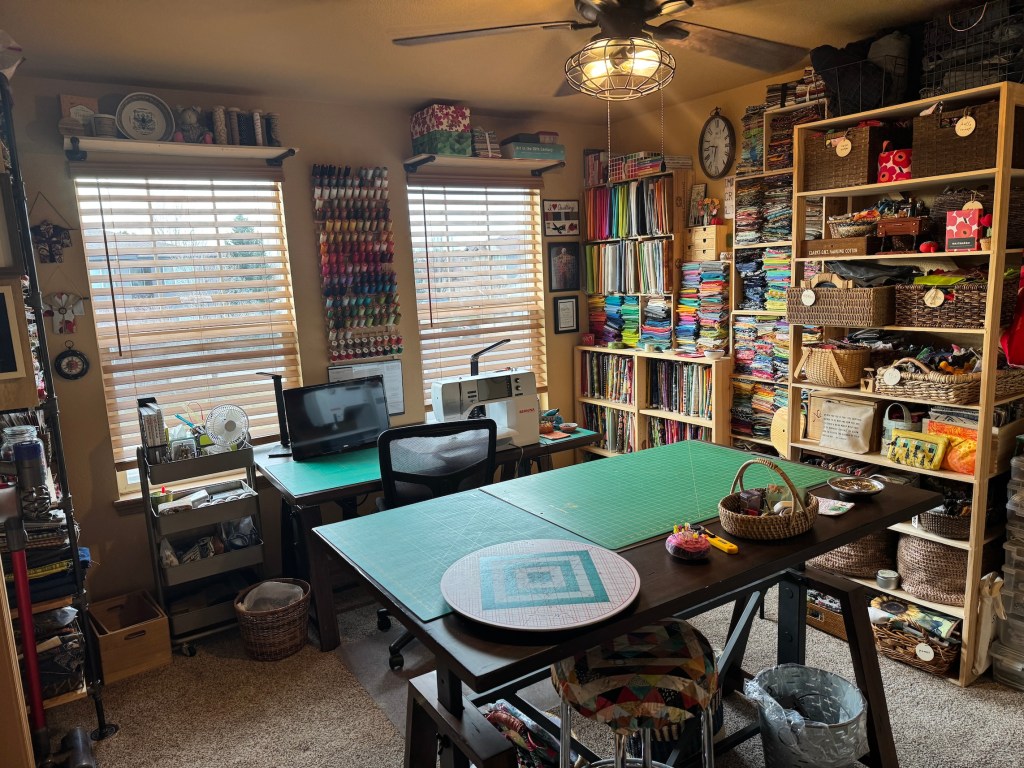
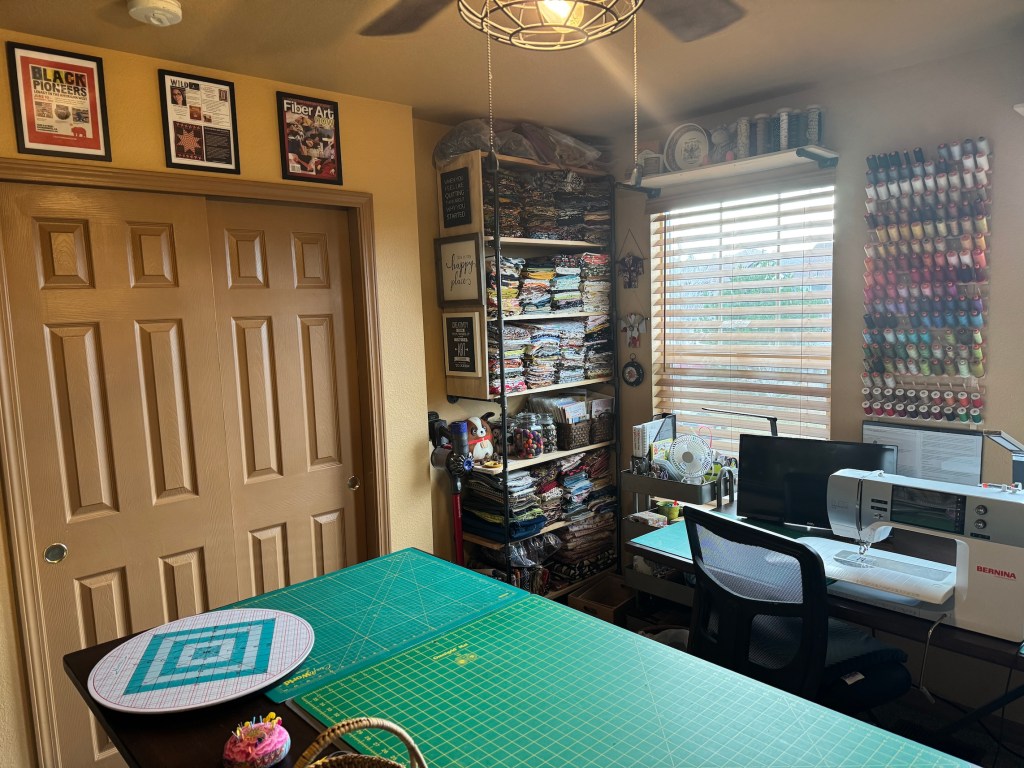
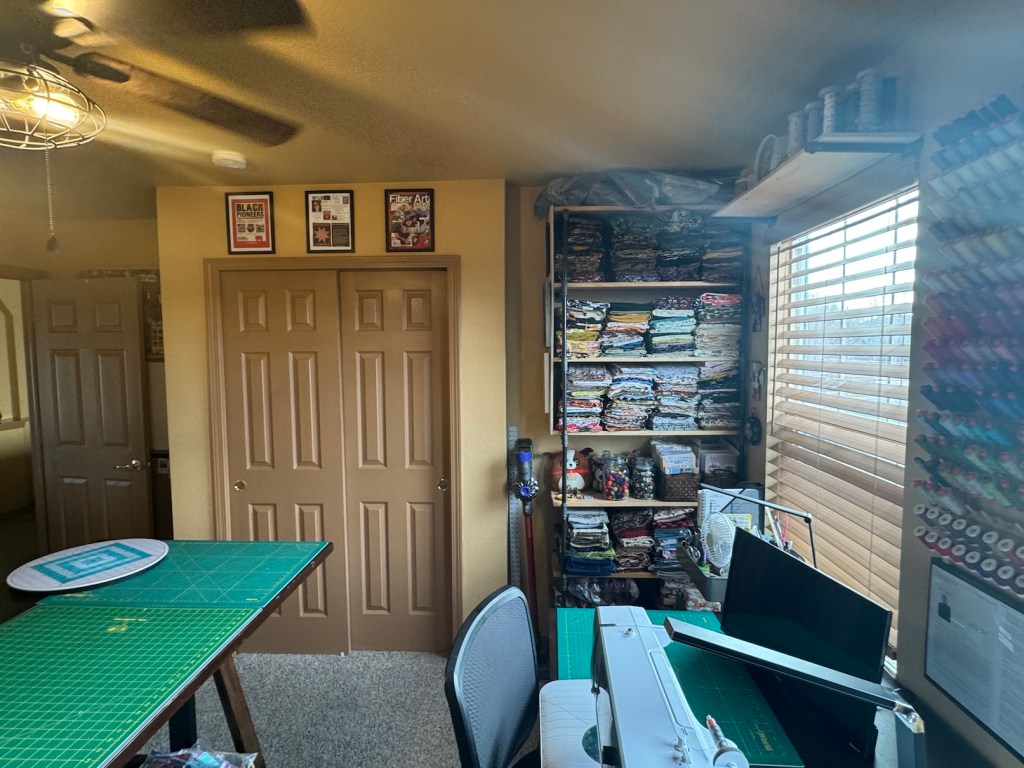
Yes my design wall had to be split into half as it wouldn’t work in the room in it’s full size.
Besides giving me a small cozy space to work in to stimulate my creativity, John and I also made this switch because we are considering selling the house someday and moving to a smaller Ranch-style house. We recently toured houses in a cool new development in another section of the Denver Metropolitan area and fell in love with a one story house with a basement that could be finished however we liked.
We aren’t ready to sell/move just yet, but we were going to have to switch the rooms back anyway someday in order to put our house on the market.
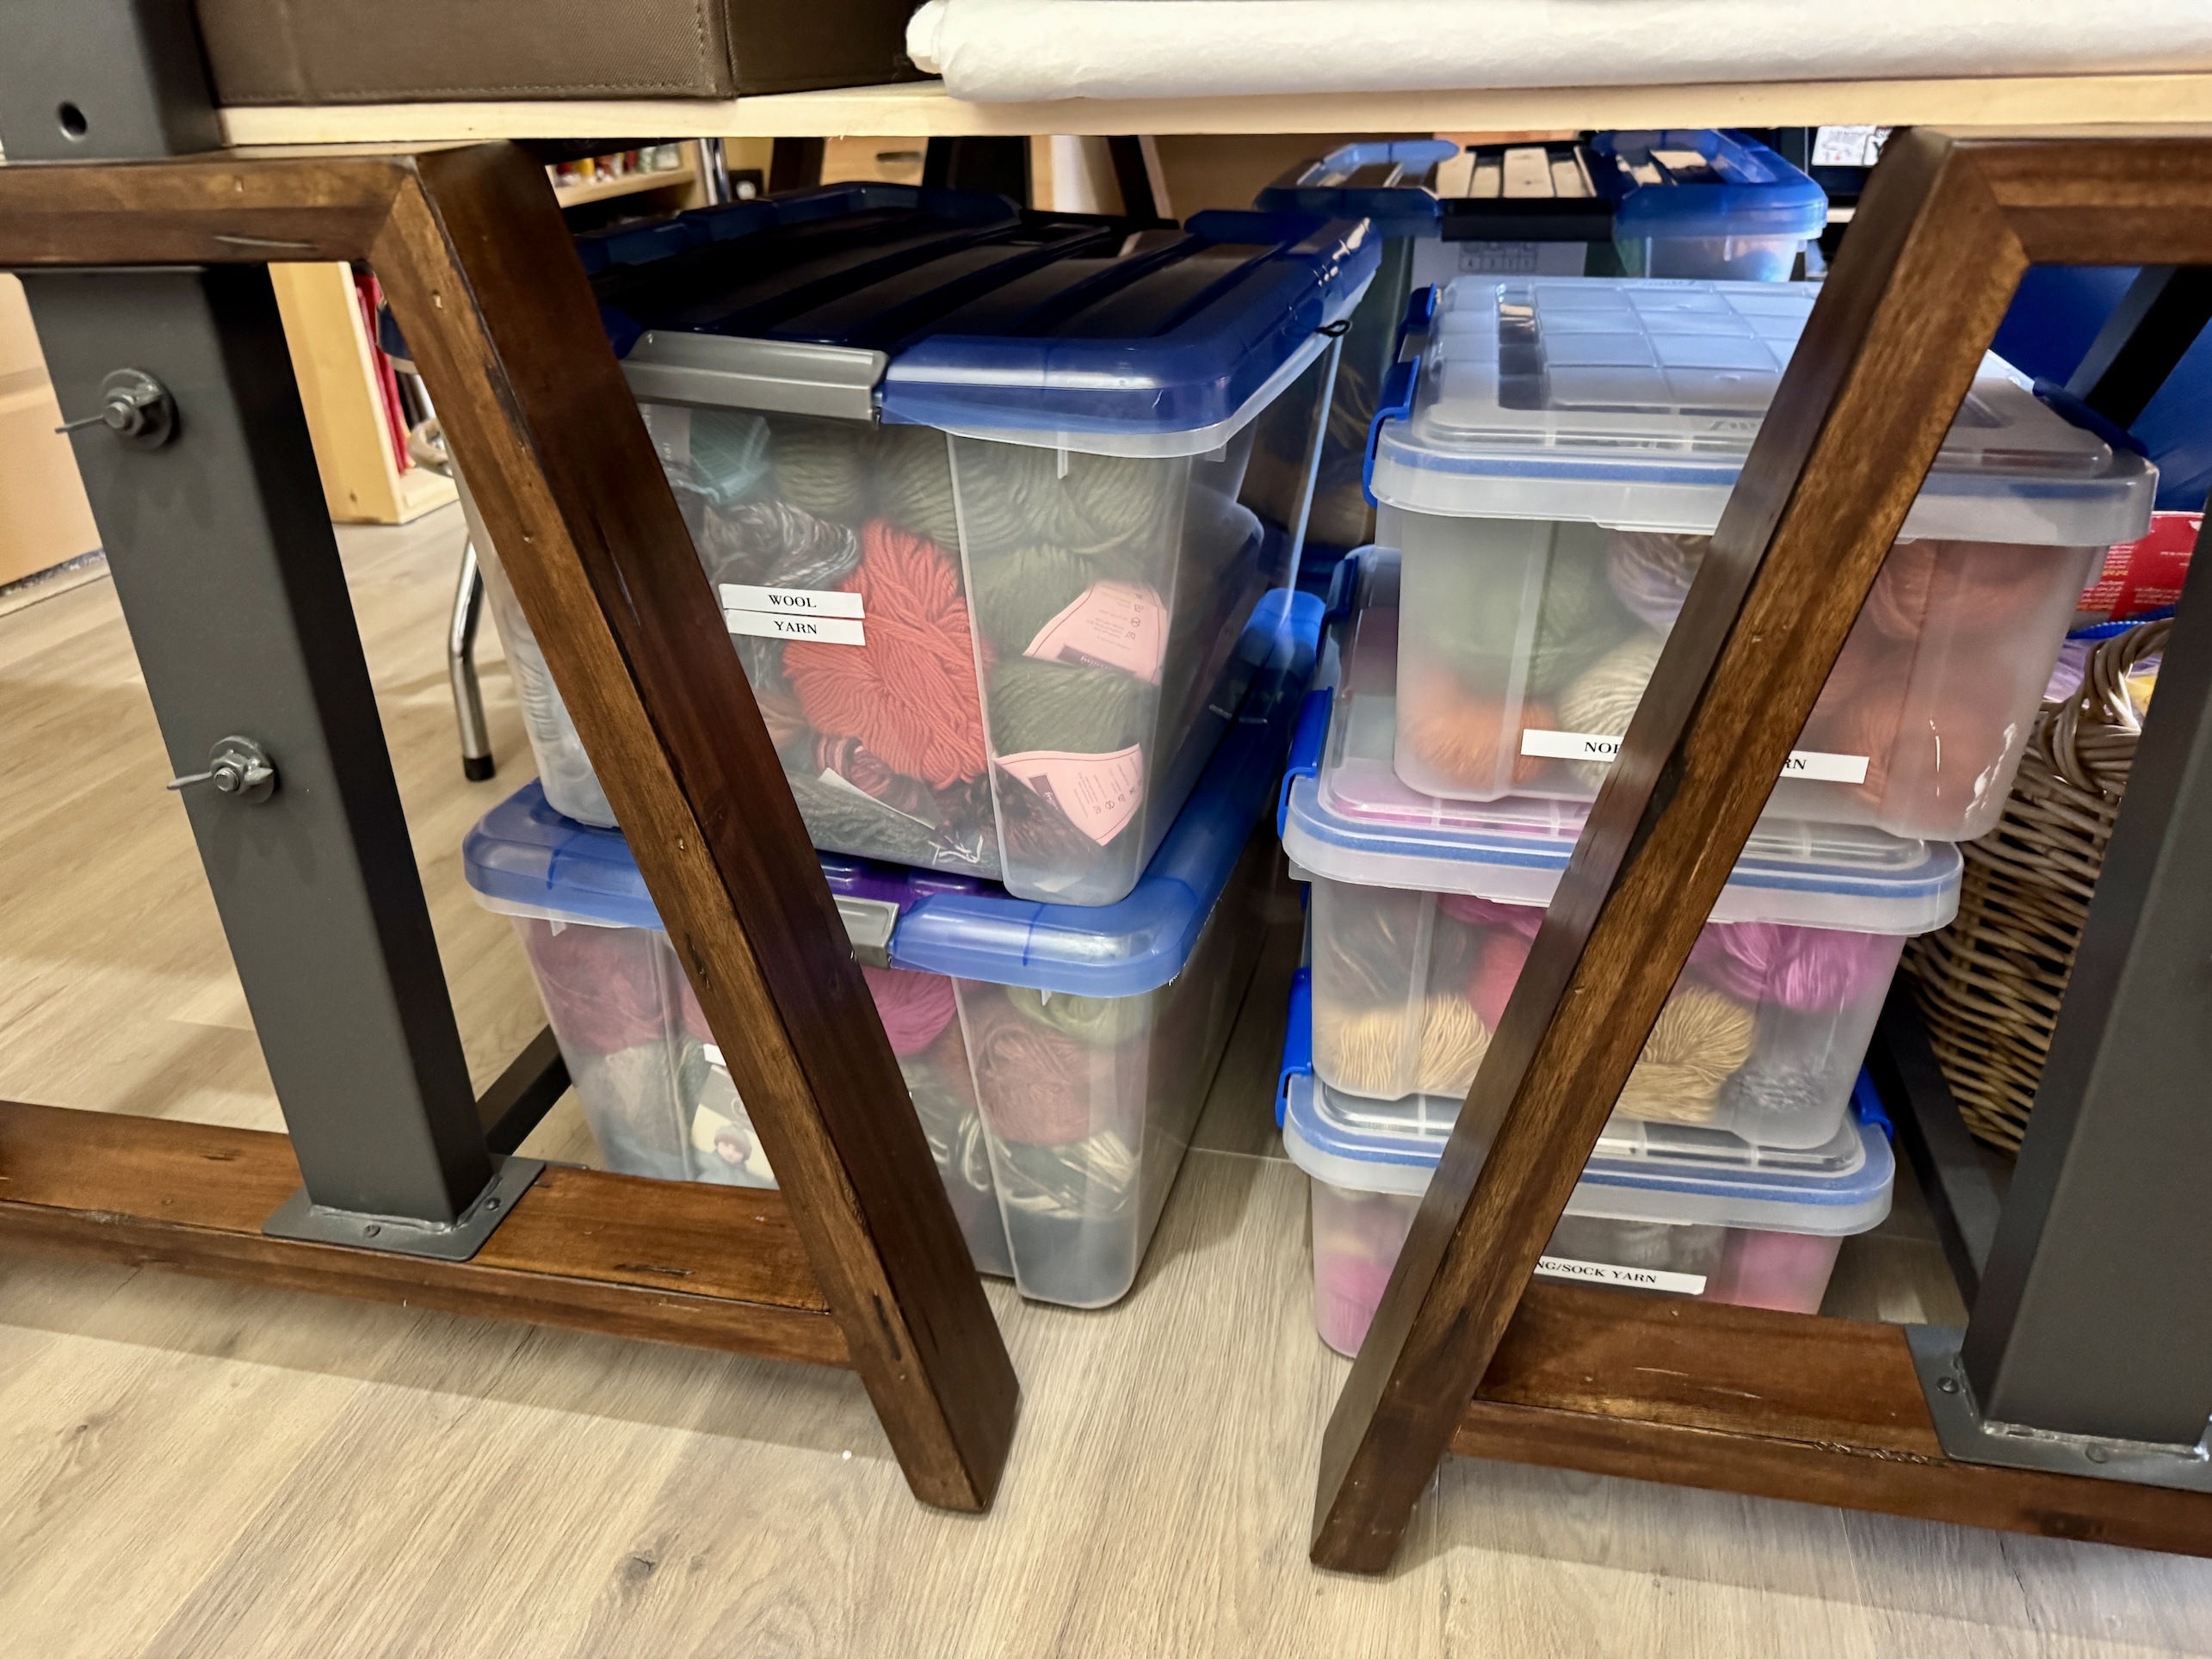
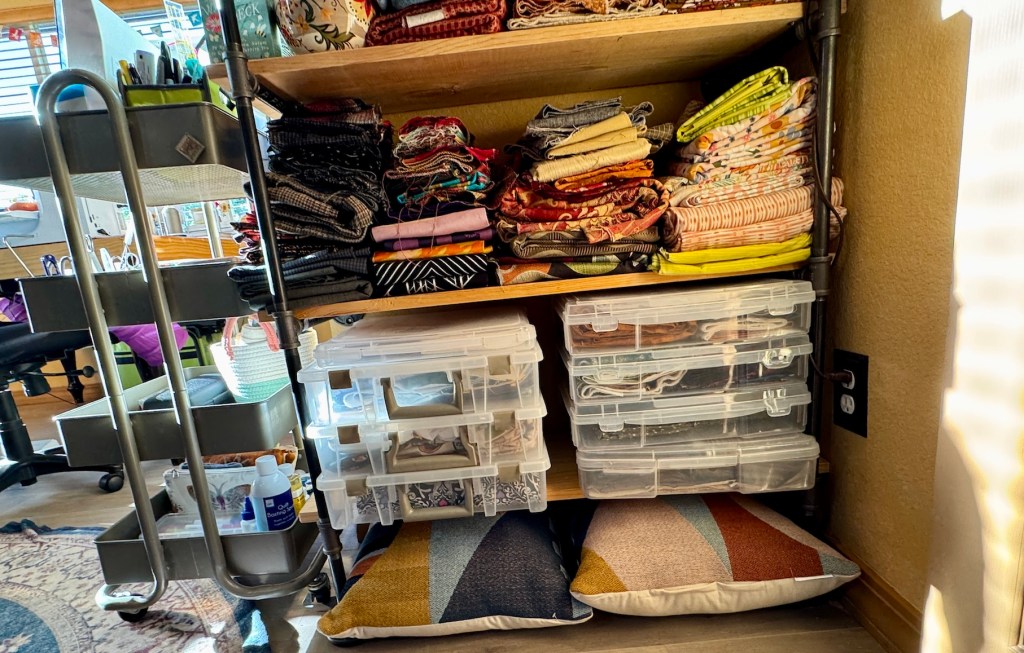
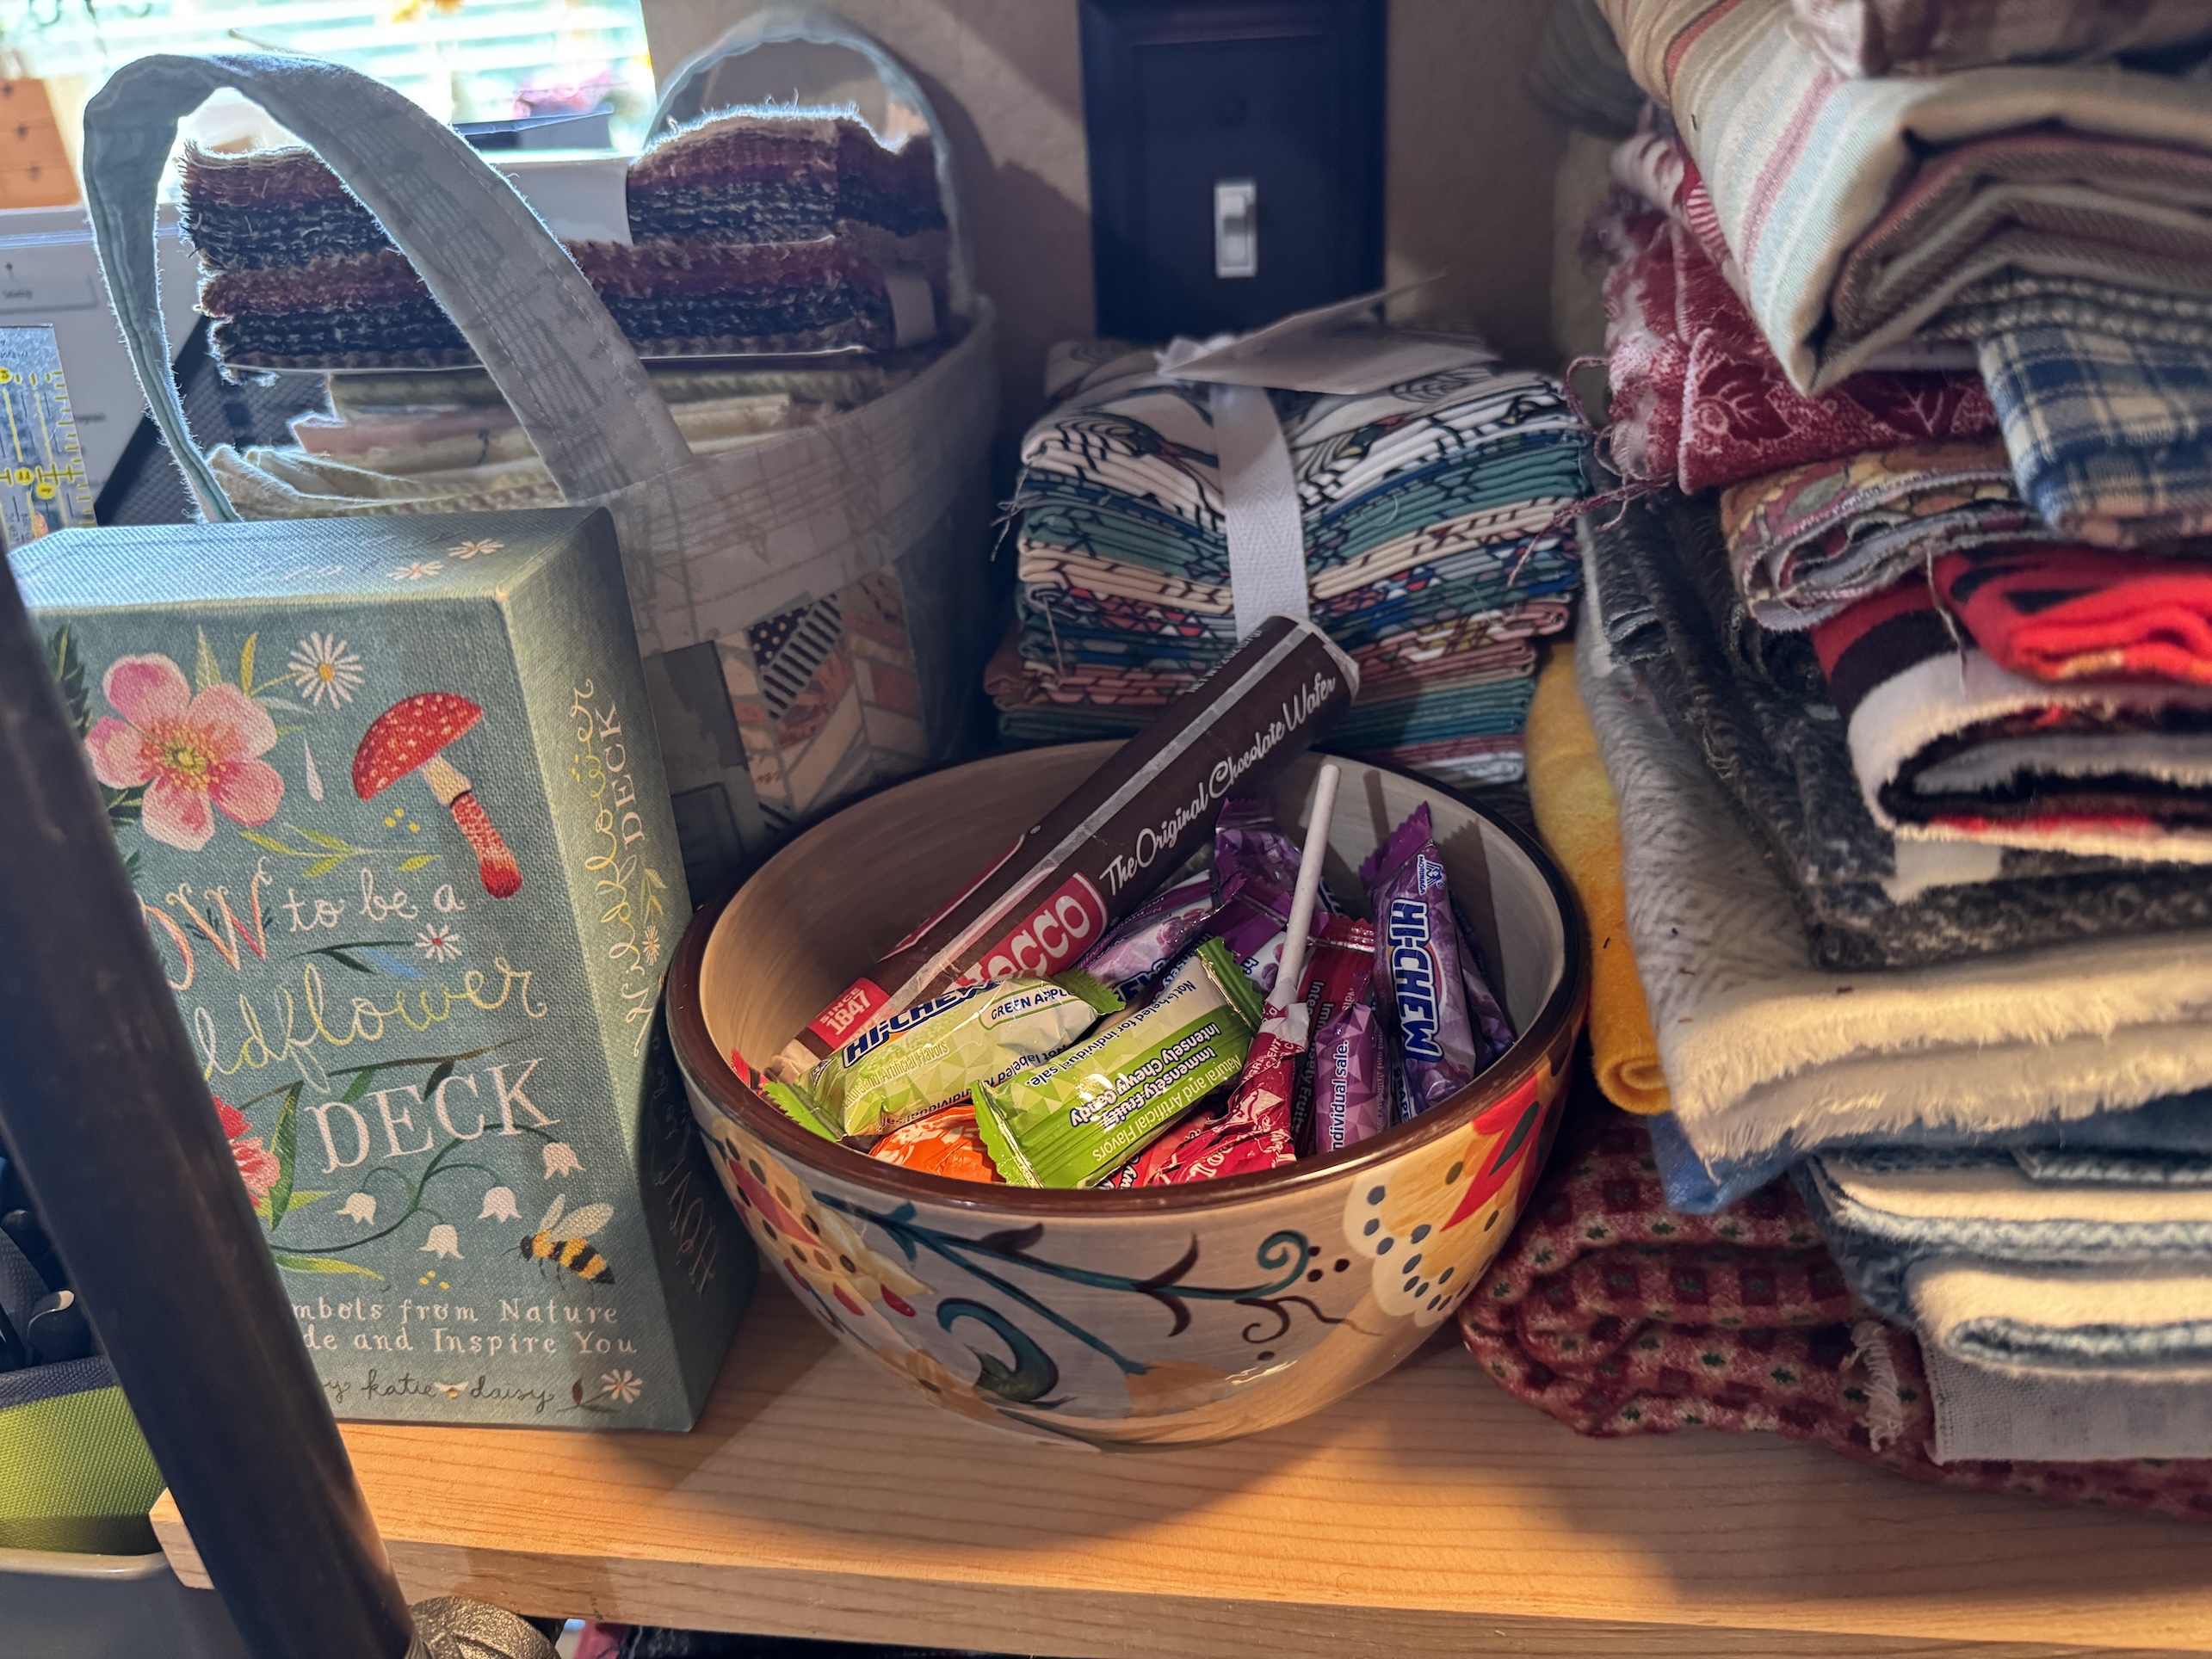
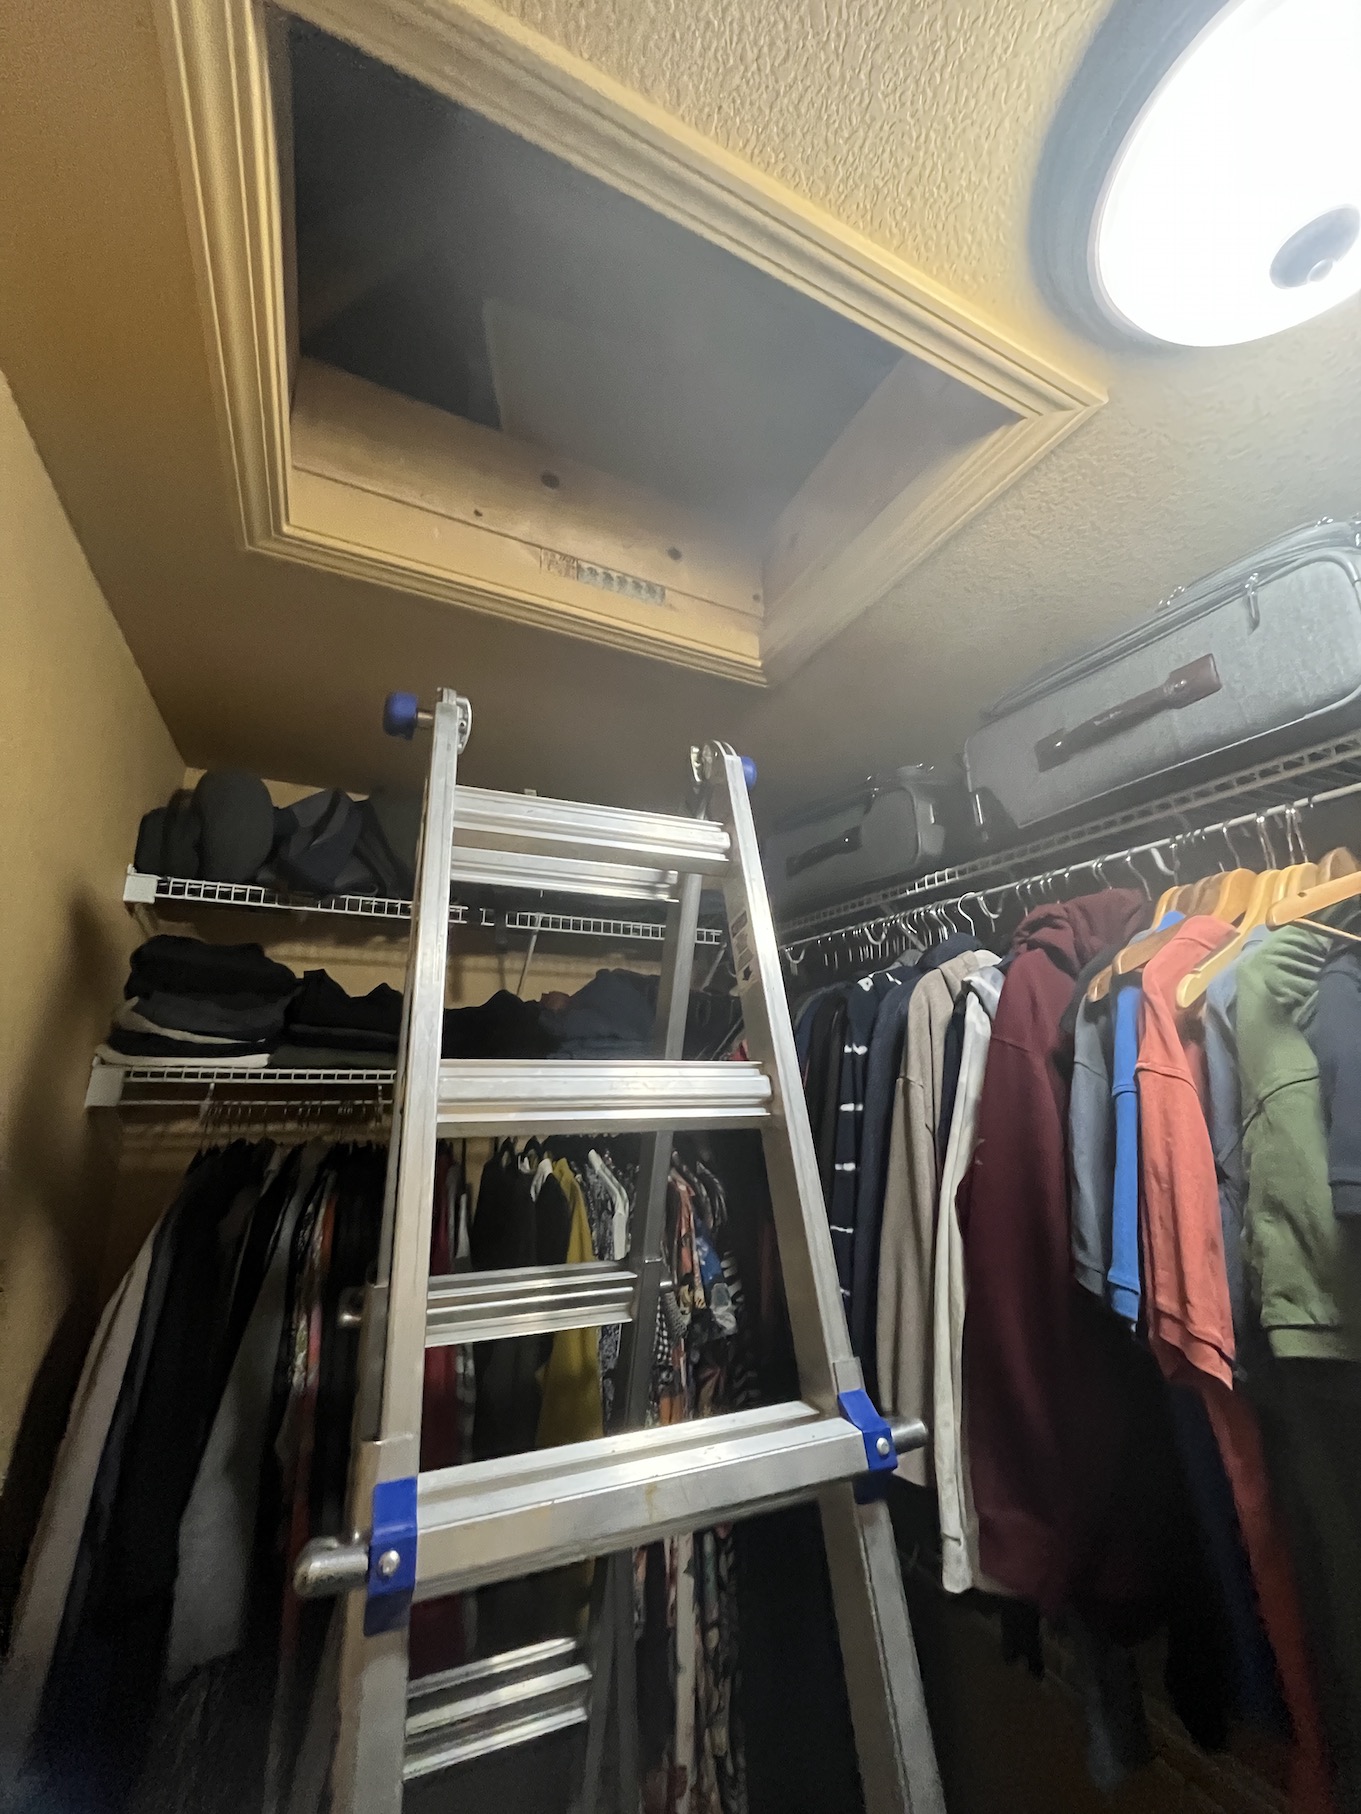
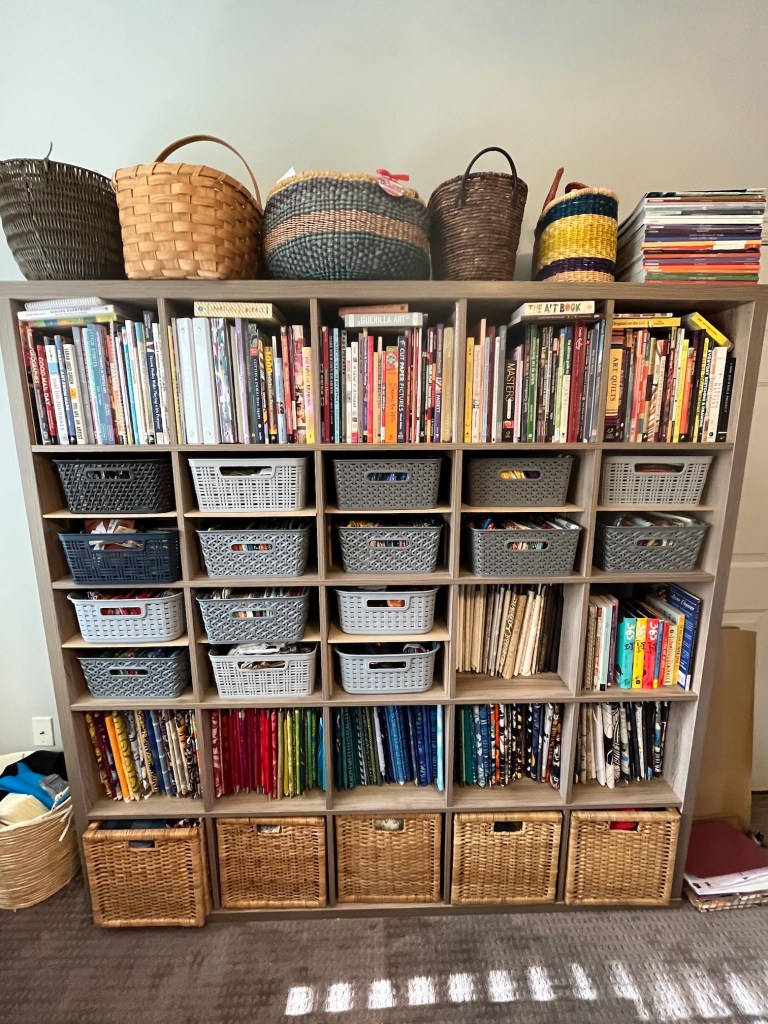
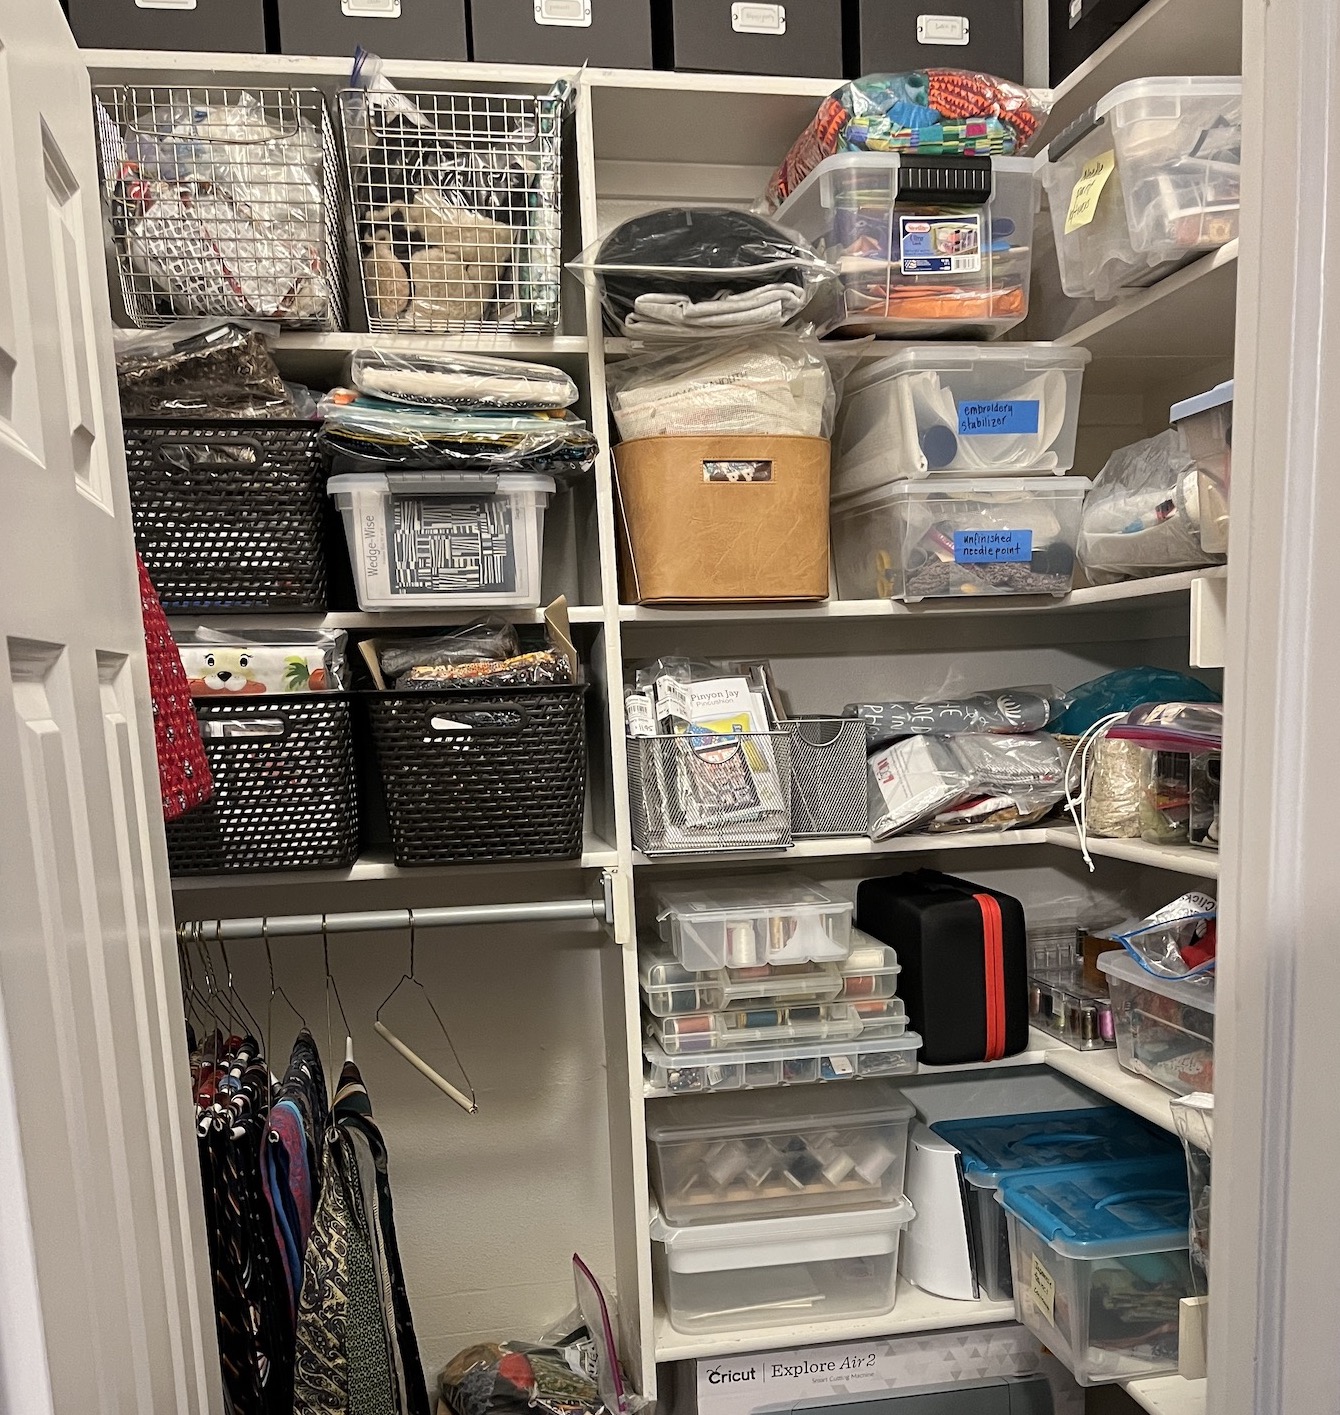
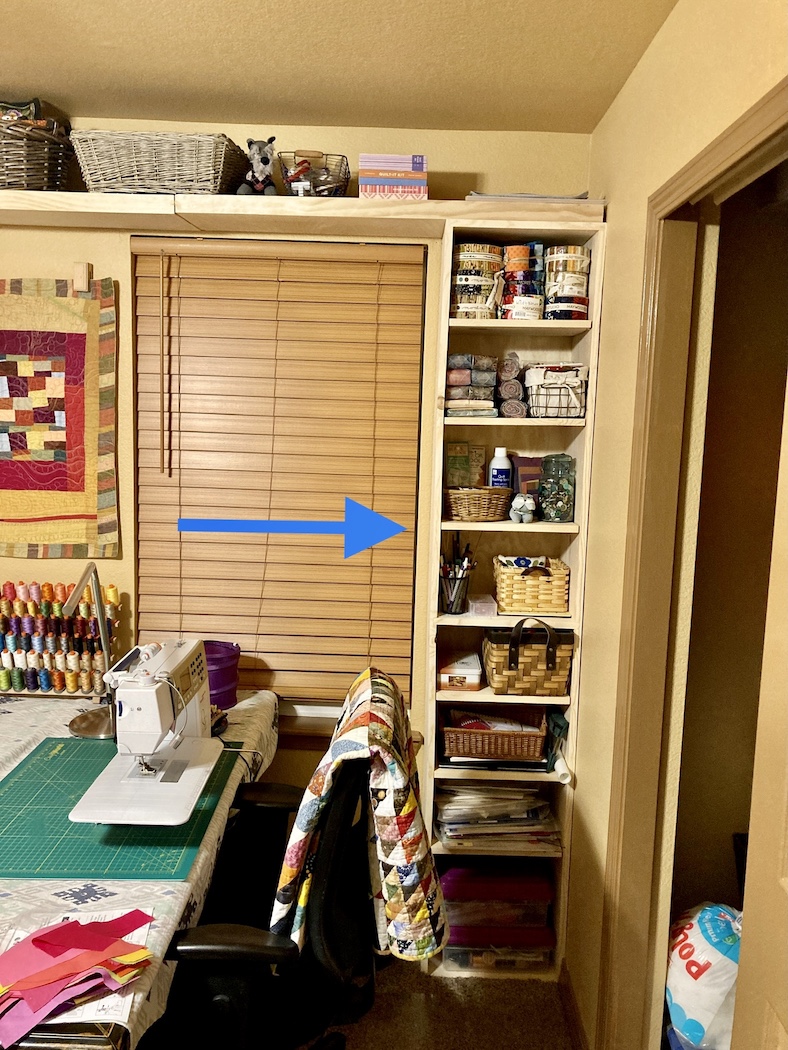
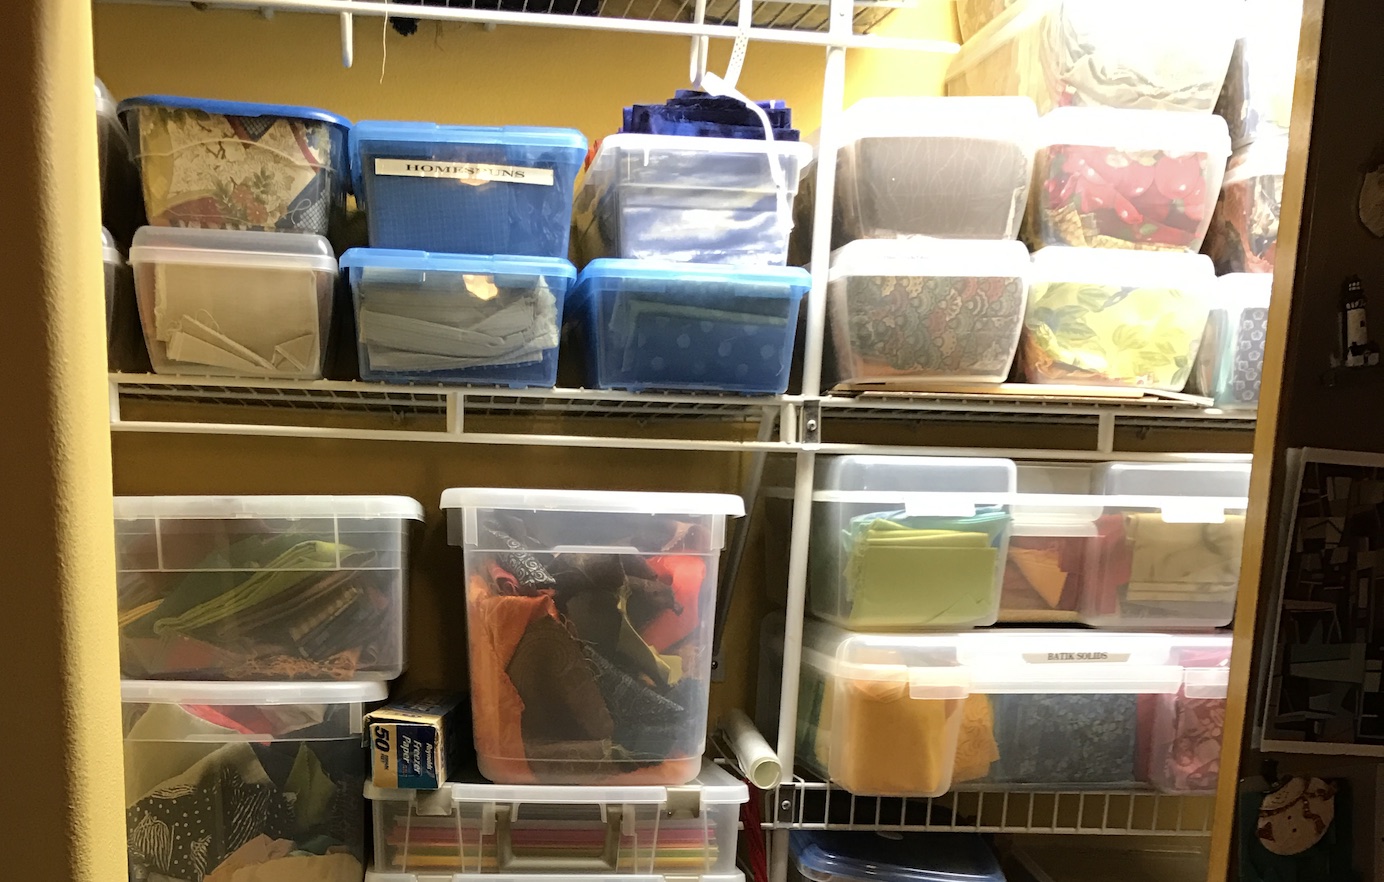
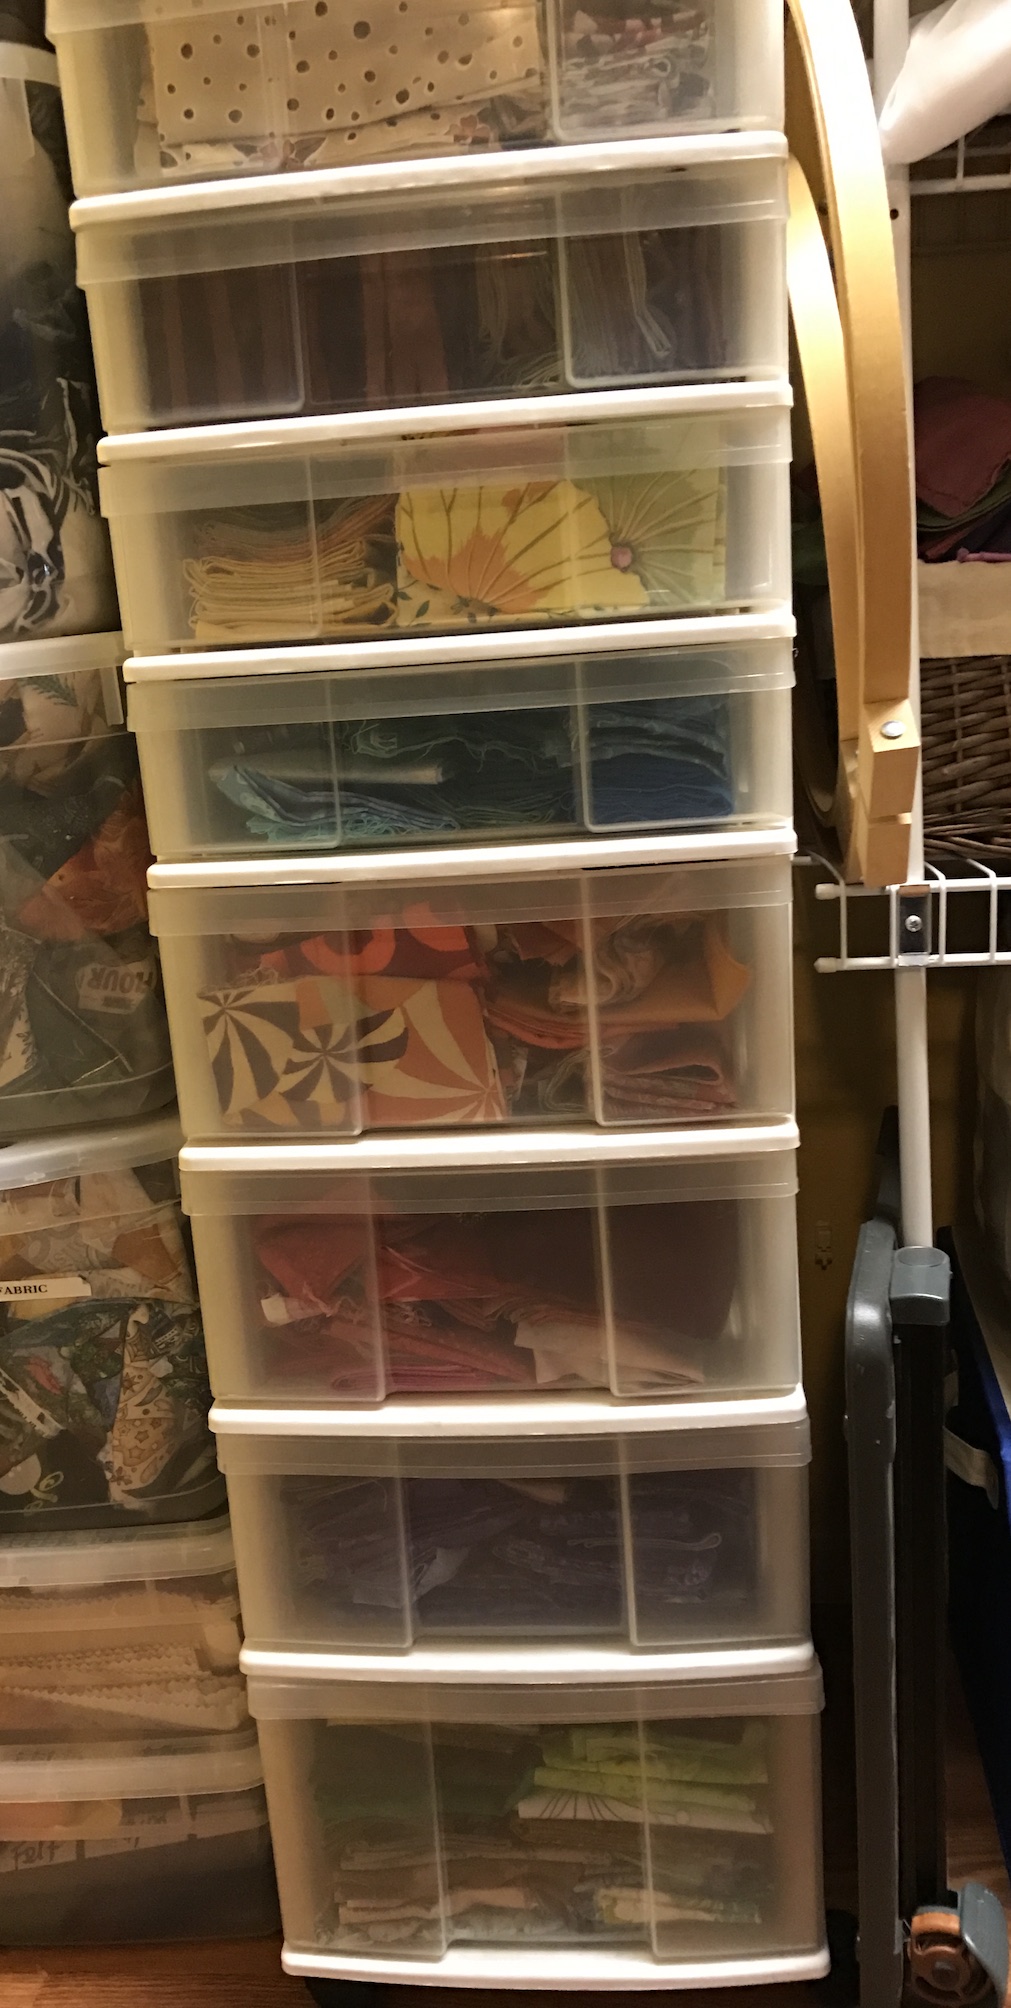
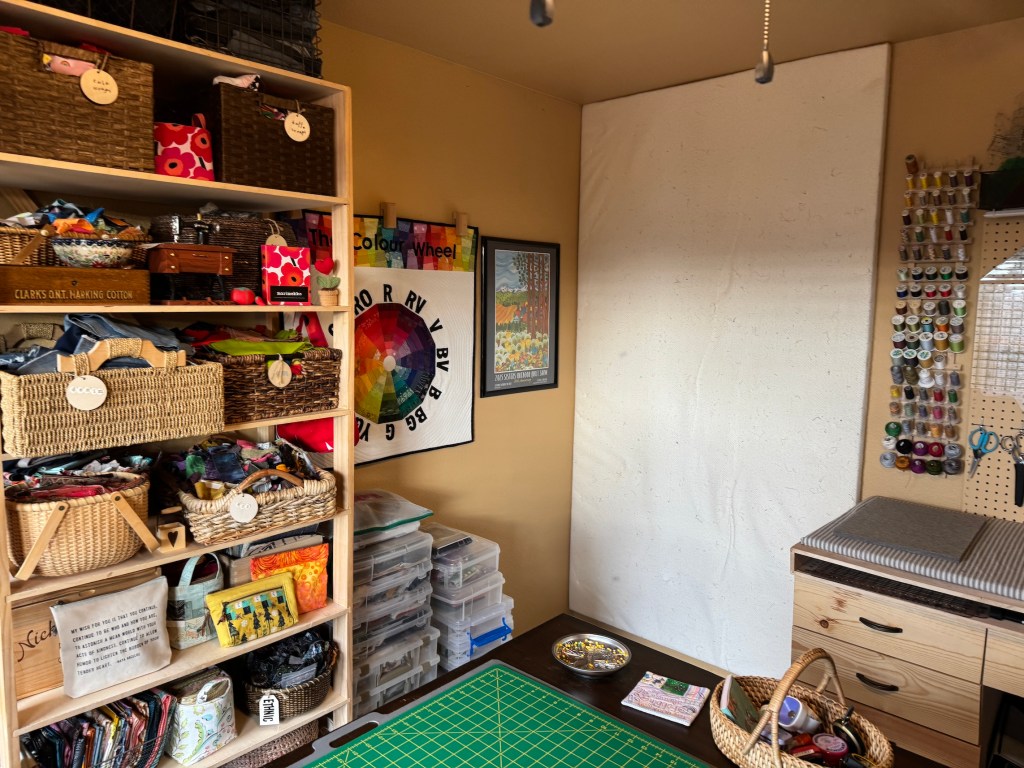
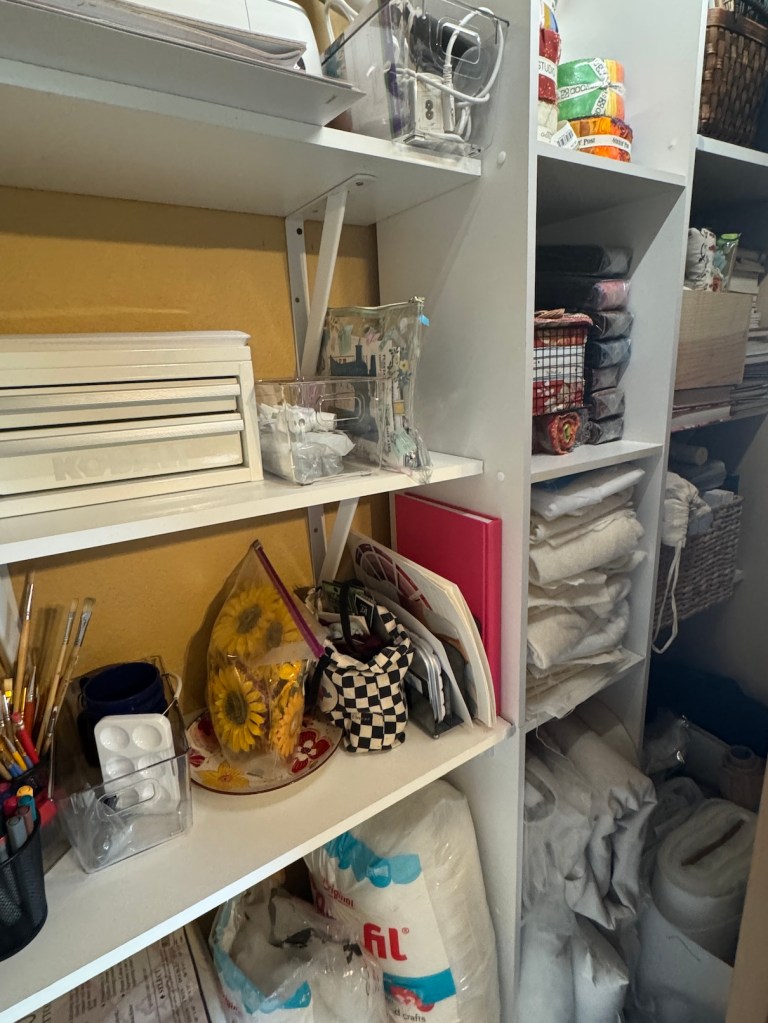
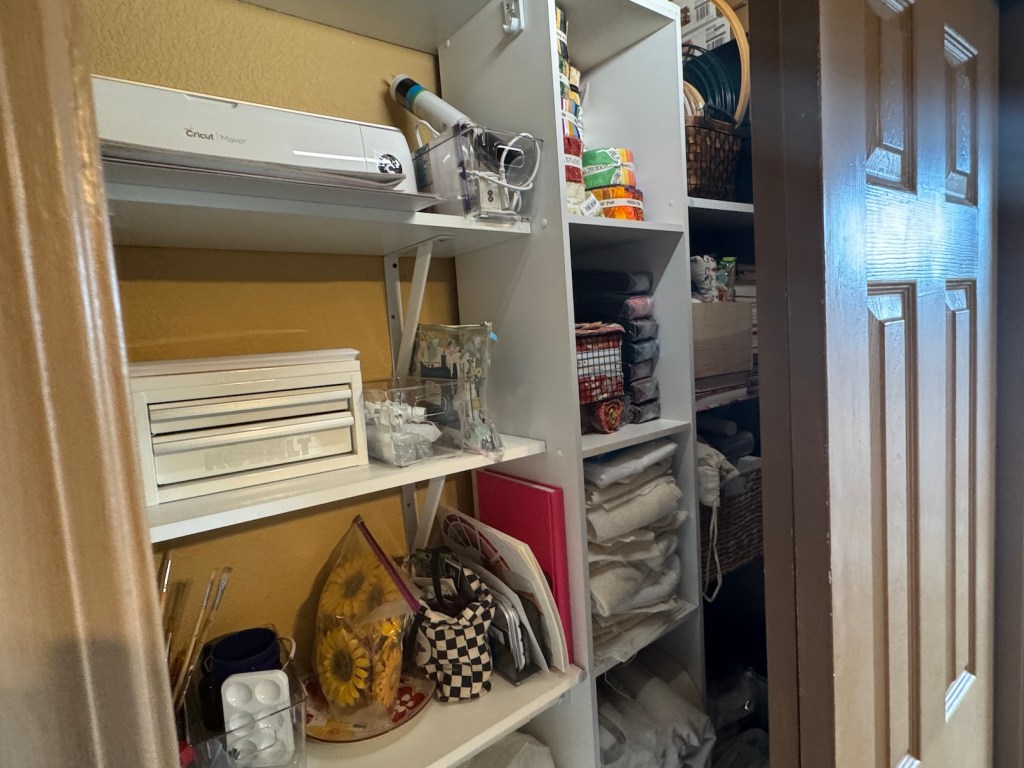
So what became of my huge stash of craft supplies (most of them thrifted)? Well I moved all the sewing related supplies that didn’t fit in the studio shelves into the closet in my new studio:
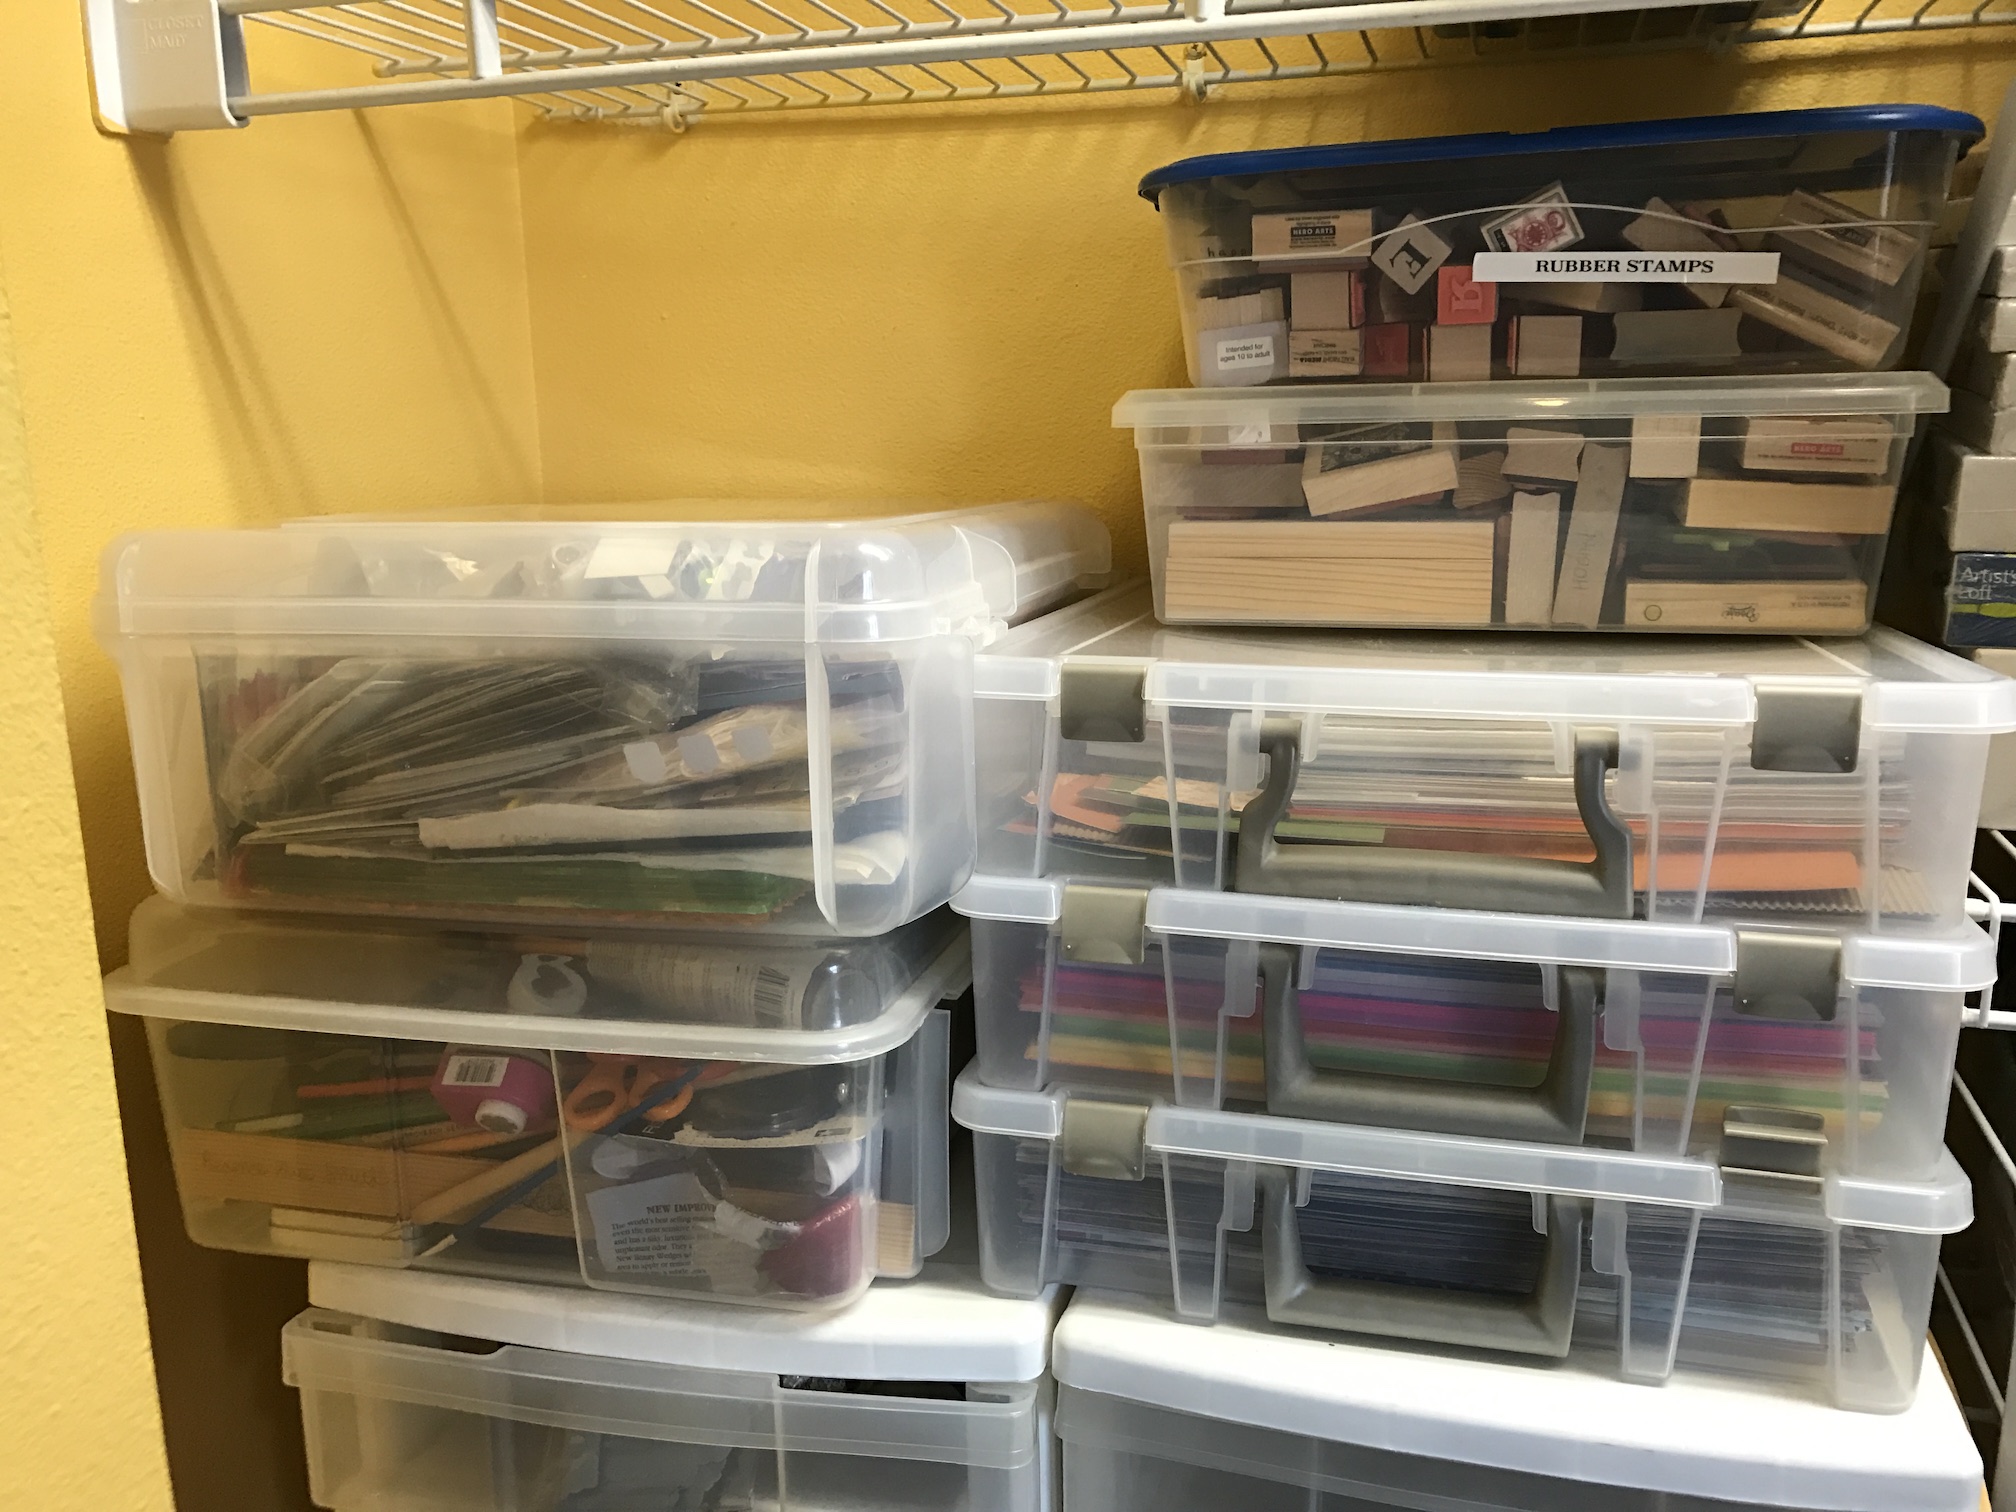
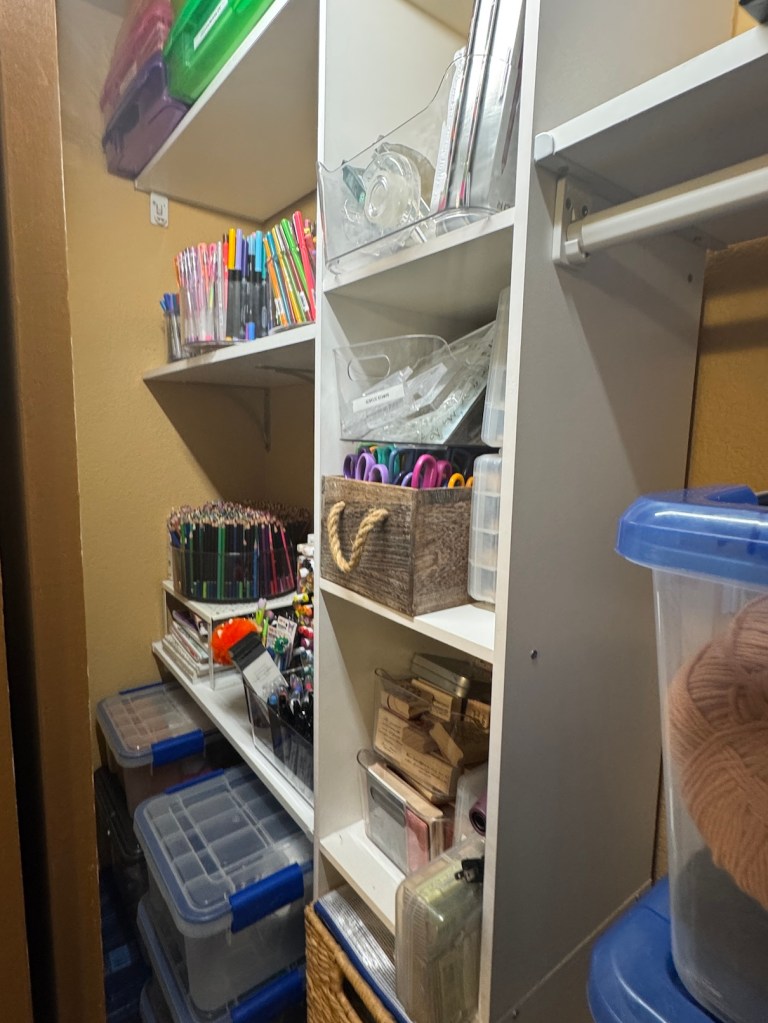
The non sewing supplies got moved to the closet in the upstairs guest room which had previous housed my clothes, which are now moved into the walk in closet off the primary bedroom.

And…
As far as the Primary Bedroom, John and I took a couple days and turned it into a relaxing bedroom sanctuary. I want it to be our private sanctuary so I am not sharing any photos. (I recently saw on YouTube a tour of a Hollywood actor’s home on the Architectural Digest channel and she wouldn’t show her bedroom because she said that was her private sanctuary. That inspired me!)
Well here’s to getting into my cozy new studio and creating!