My partner John has been busy with a bunch of home improvement projects (I have helped a tiny bit) and I thought I would share. I have nicknamed him “Project Man” because he loves staying busy with projects (though I’ve been working with him on just relaxing and not always being busy).
SOFA TABLES
We like to hang out and watch movies on the sectional sofa in our basement (and it is right near John’s bar so easy access to cocktails too!) but we needed some additional options on where to put our popcorn and drinks.
But we constantly had to lean over to access our snacks and beverages while movie watching.
So a little research online and John and I found a style we liked for a table that would slide under the sofa and make our snacks and drinks quickly accessible.
Here is John working on the first of the two tables he ended up making, it was his first time making “dovetail joints“ for furniture:
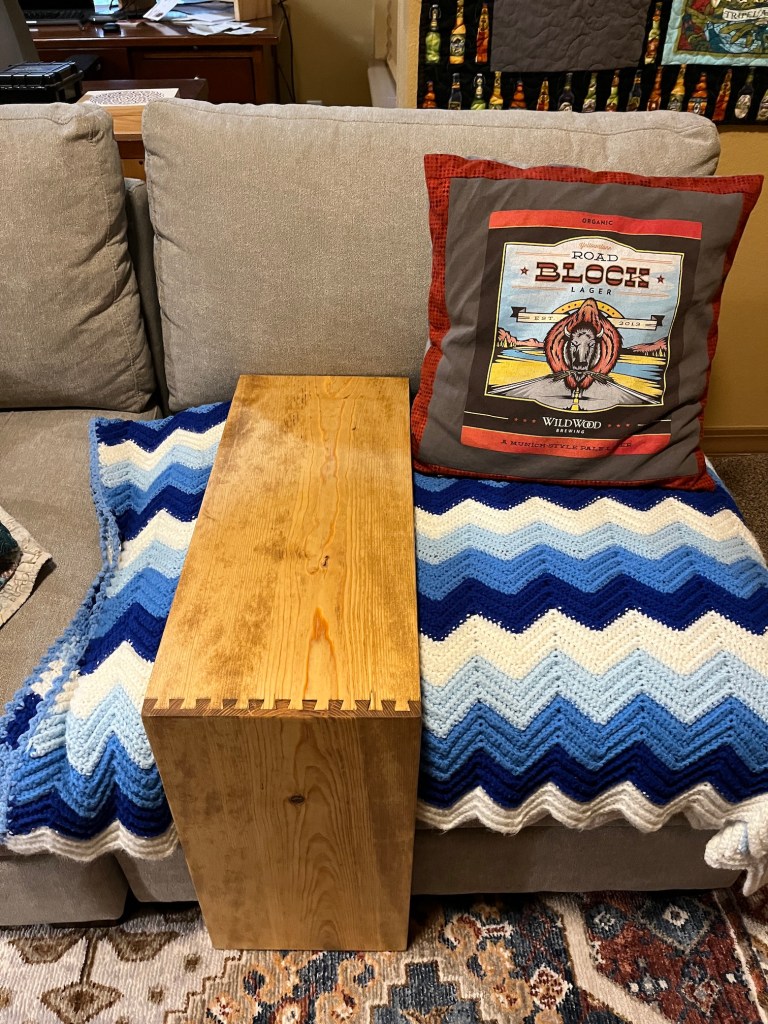
Here is the first table in use:
Sometimes we set that table between us and sometimes John just uses it on his side of the sectional sofa (we each have our own areas that we “nest” on the sofa).
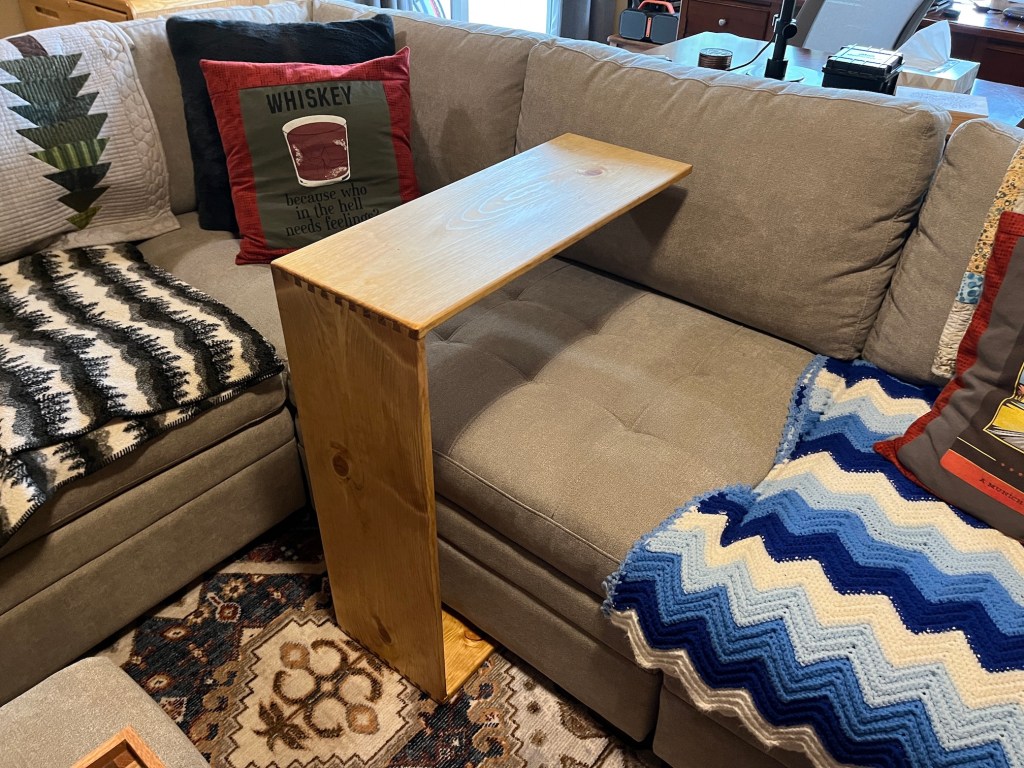
After that table I was made, I thought – “what about a bigger version of that table that I could sit under and working on my laptop or eat a meal on?”. So John made a bigger version and here it is in use:
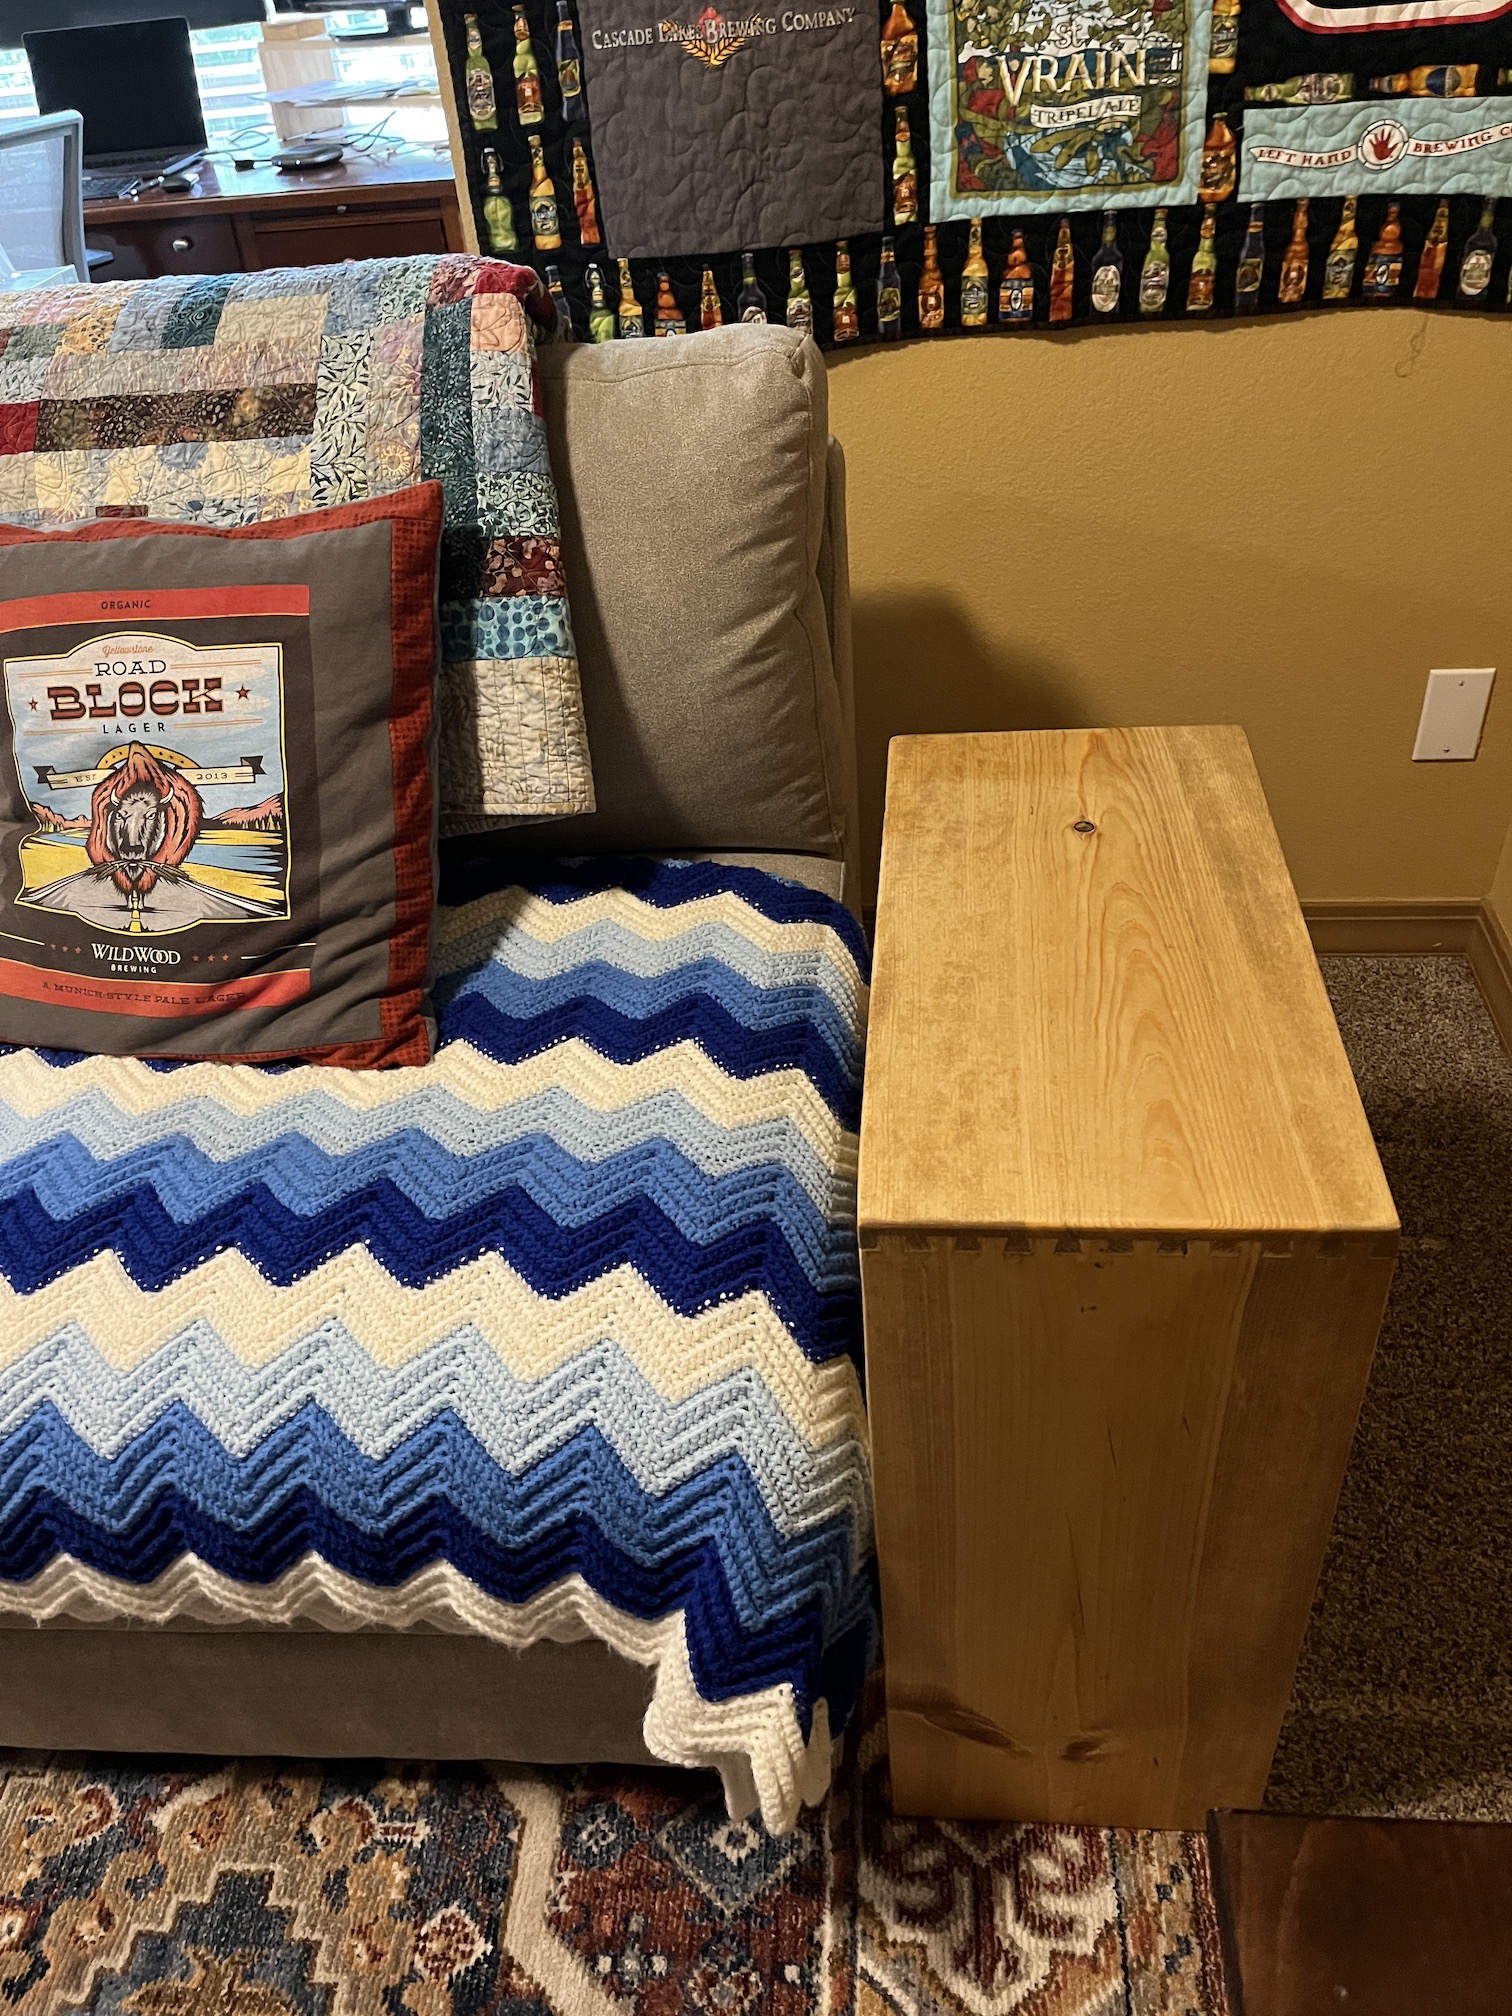
It also works well as an end table:
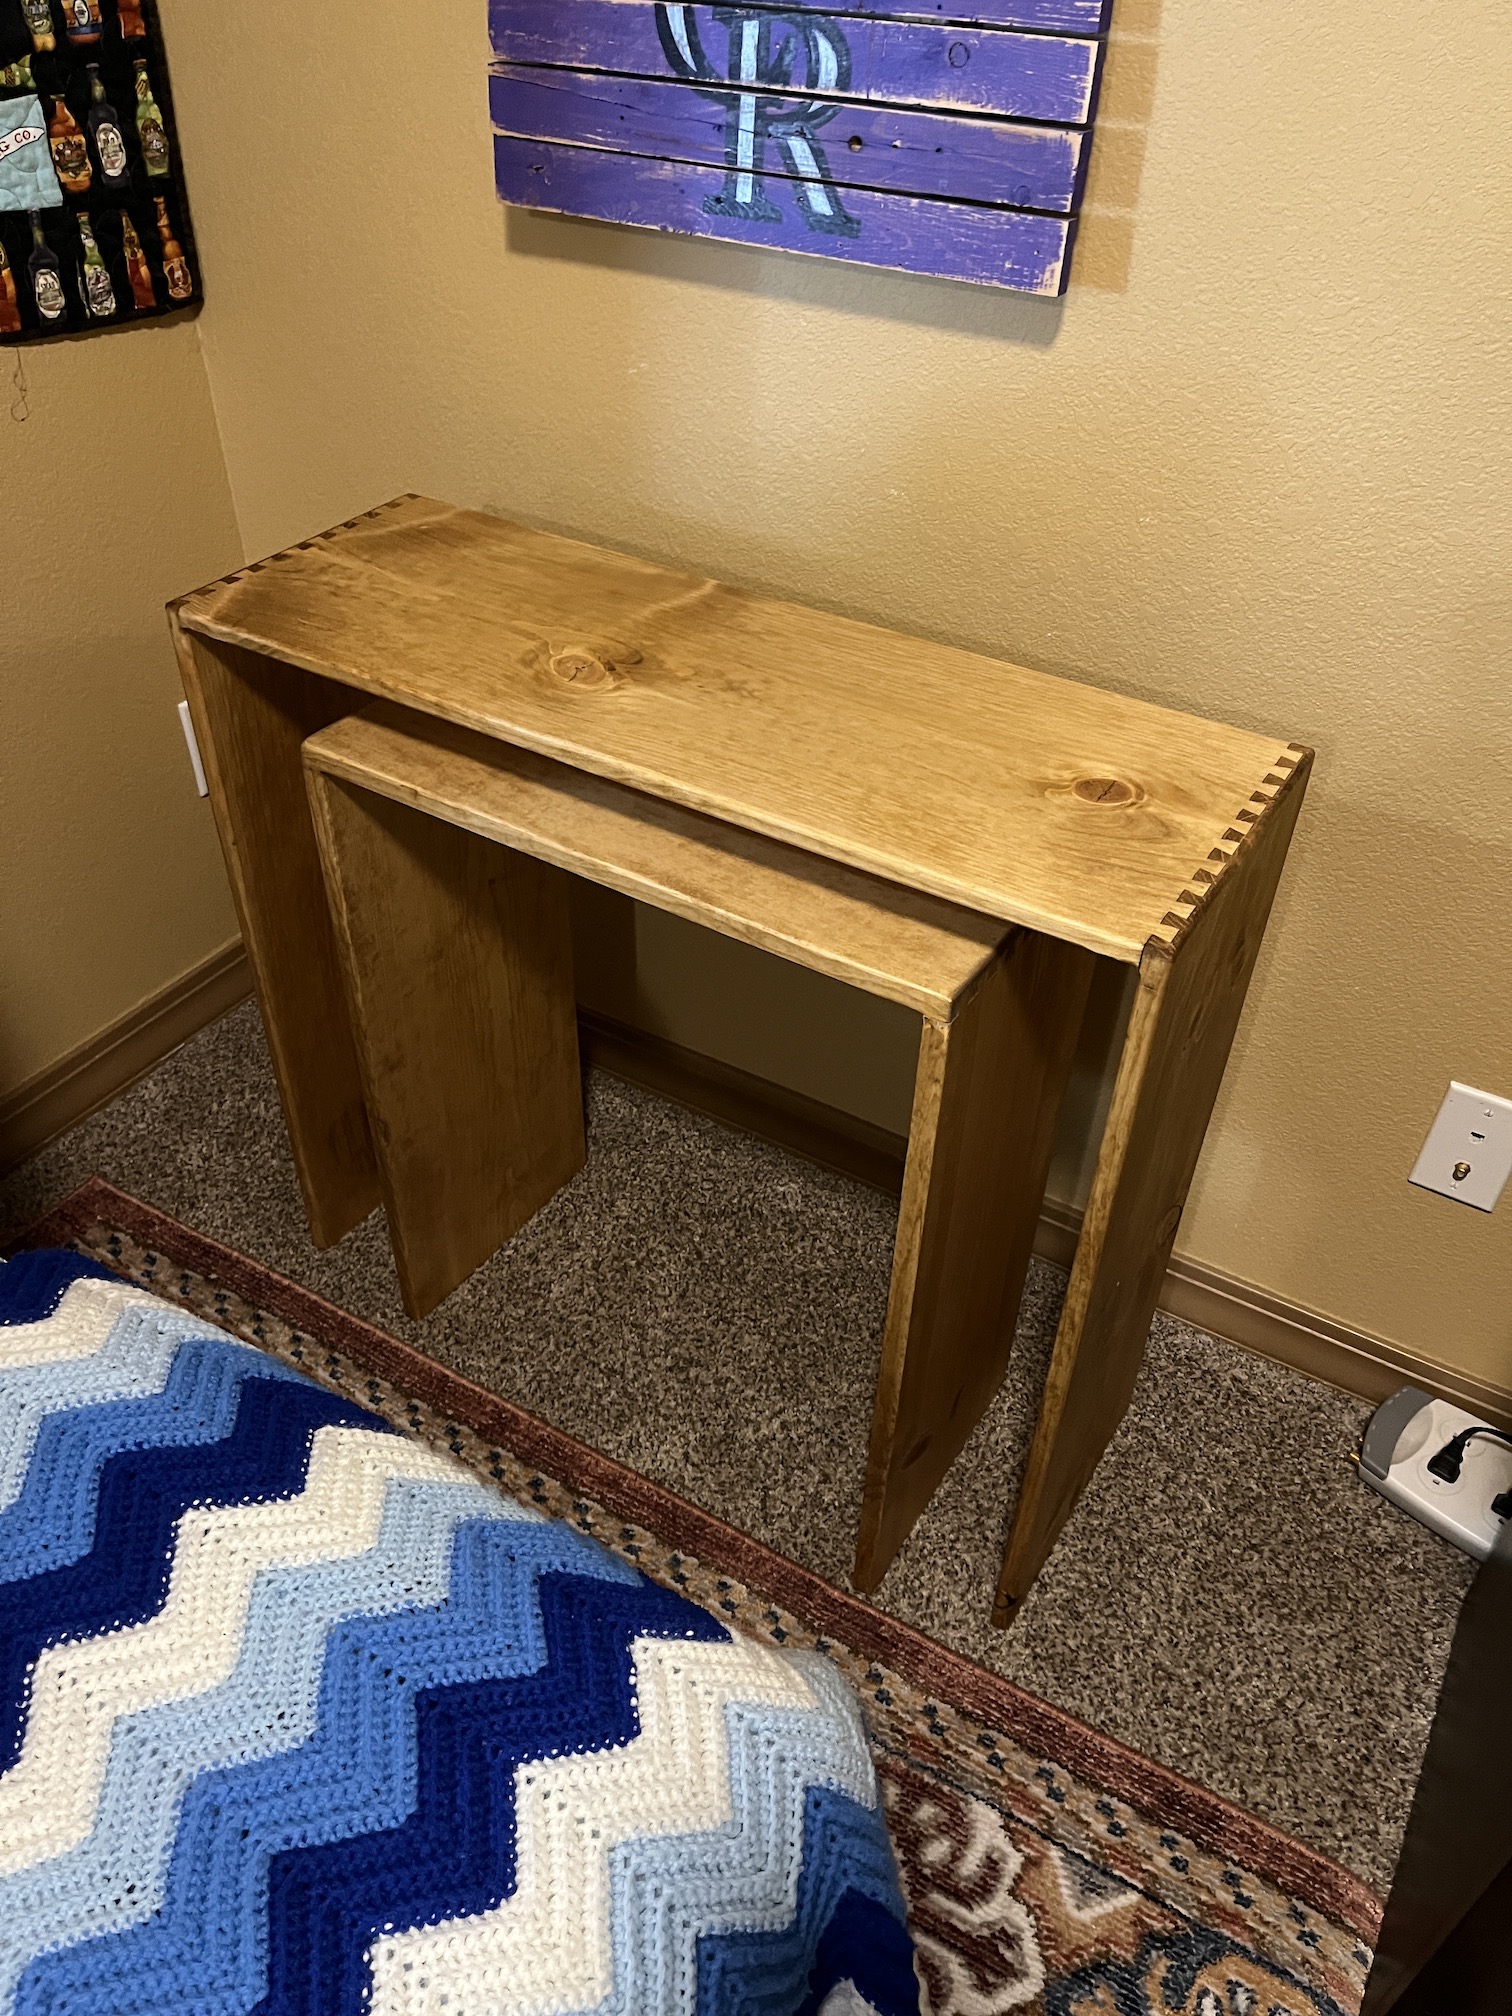
John made sure the two tables could nest together out of the way when we are not using them:
We’ve definitely enjoyed them on a couple recent movie nights!
SCREEN FOR SWING
One of the things I loved about my backyard in my previous life in Oregon was my backyard swing. Last year we found a lovely swing on sale and installed it in the backyard.
Last summer (2021) John made a screen for the backyard patio area to make it more cozy:
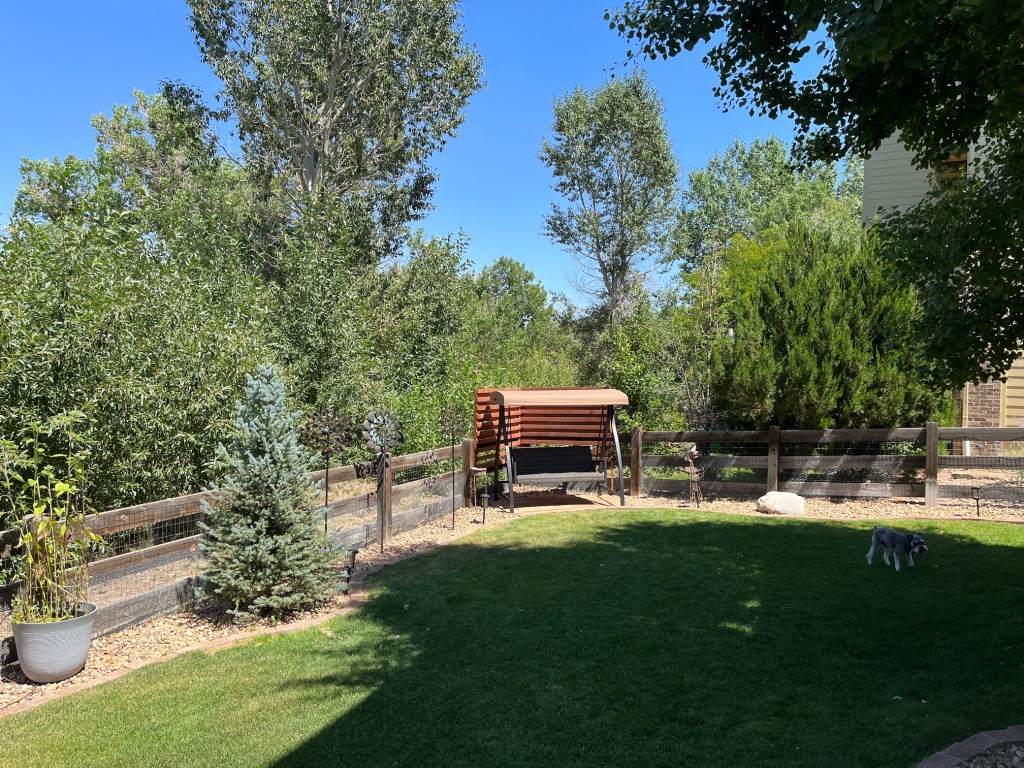
Recently, I asked John if we could repeat the concept he used last year for the patio screen, for the section of the backyard with the swing. So a couple weeks ago, John made a screen for the swing so you can feel super cozy when relaxing on it:
It is now a wonderful place to read a book! (And if I bring a couple pillows over from the patio seating, it is a great place to take a lazy afternoon nap!)
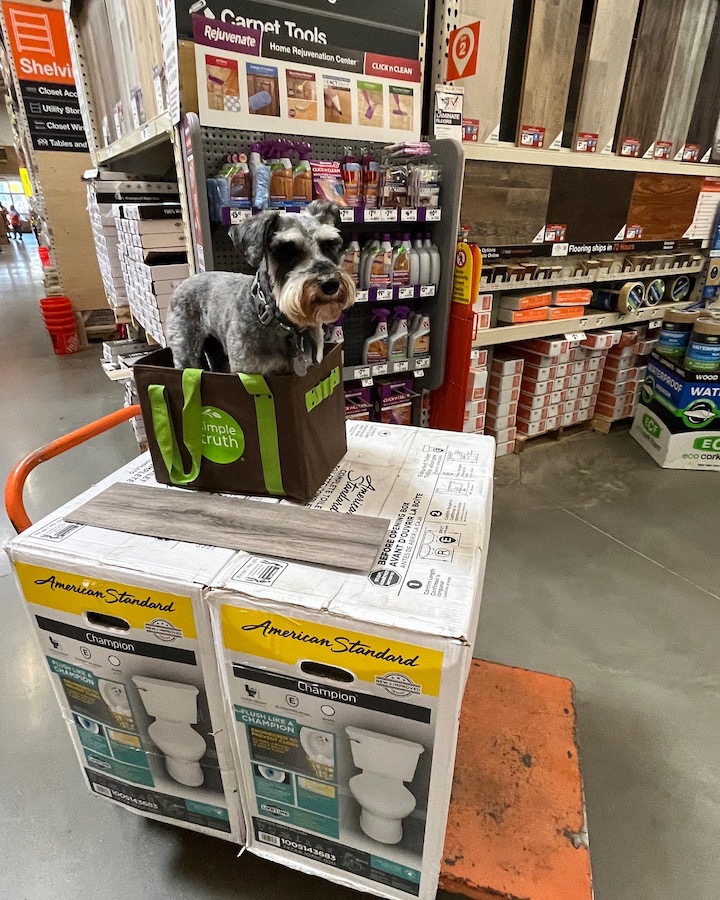
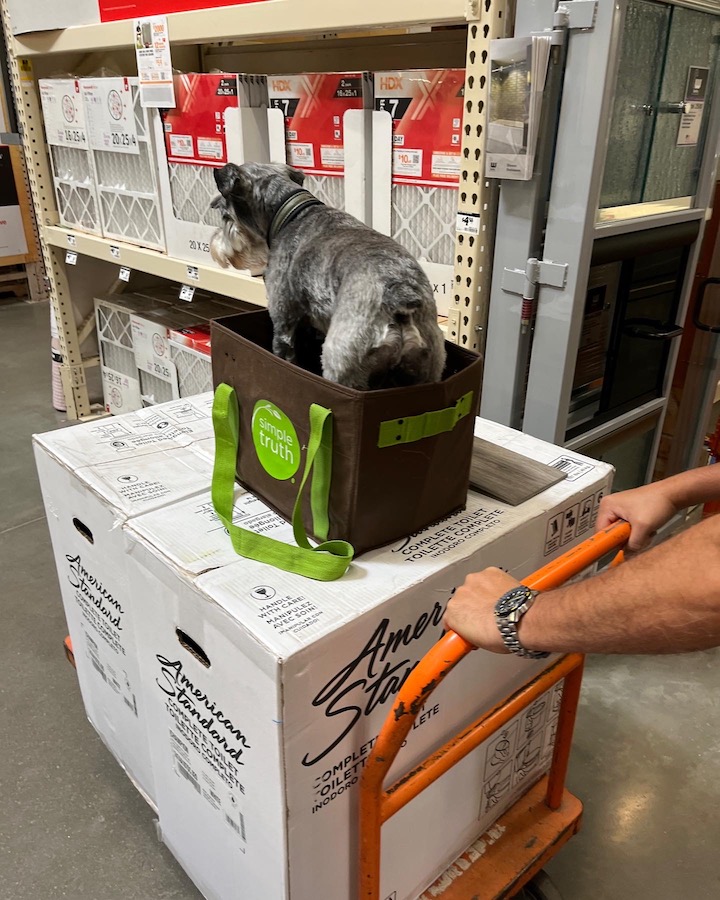
I continue with more projects in Part II of this series of posts, but let me close the post with pictures of Mike the Miniature Schnauzer at one of his favorite places – a home improvement store. He loves to ride around in the cart (we call him “Mike in the Box”).
He was helping us buy toilets for the projects I will share in the next post.
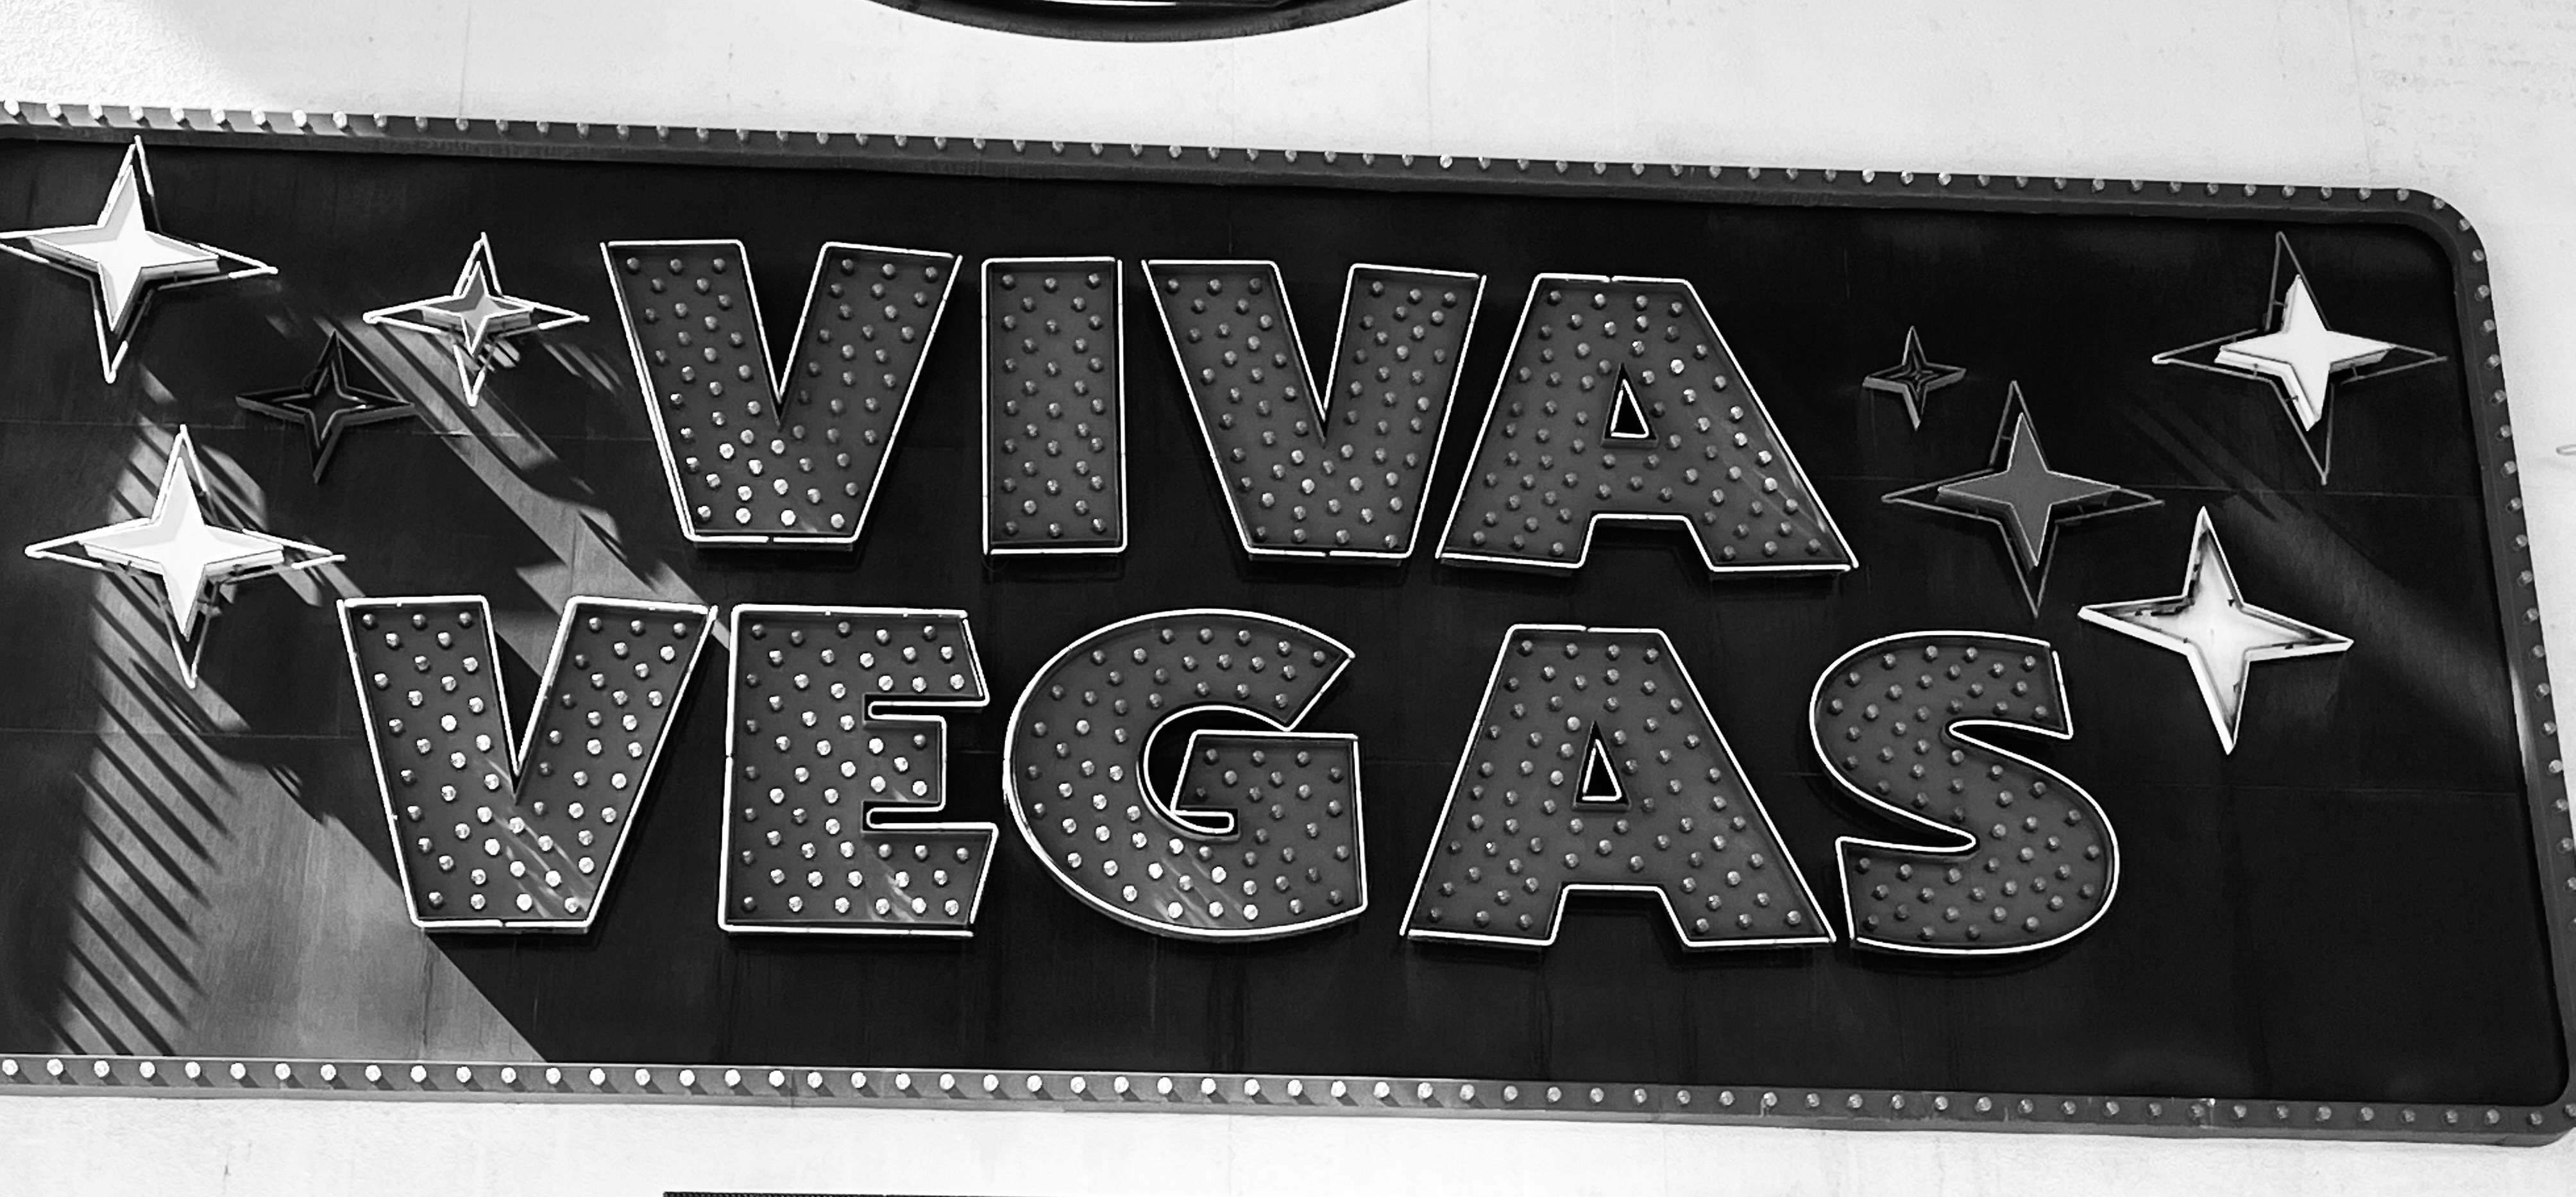
Recently we returned from a long weekend trip to Las Vegas, Nevada. This time we did not stay on “The Strip” (the Las Vegas Strip where the major hotels, shows and attractions are located), instead we stayed in the section of downtown Las Vegas know as Freemont, or the “Freemont Experience“.
Freemont is older and grittier than the Vegas Strip and definitely filled with colorful characters. Initially I took photos in color but then I thought it would be fun to take a series of photos in Black & White and share them with you as part of my ongoing blog post series – Life in B&W.
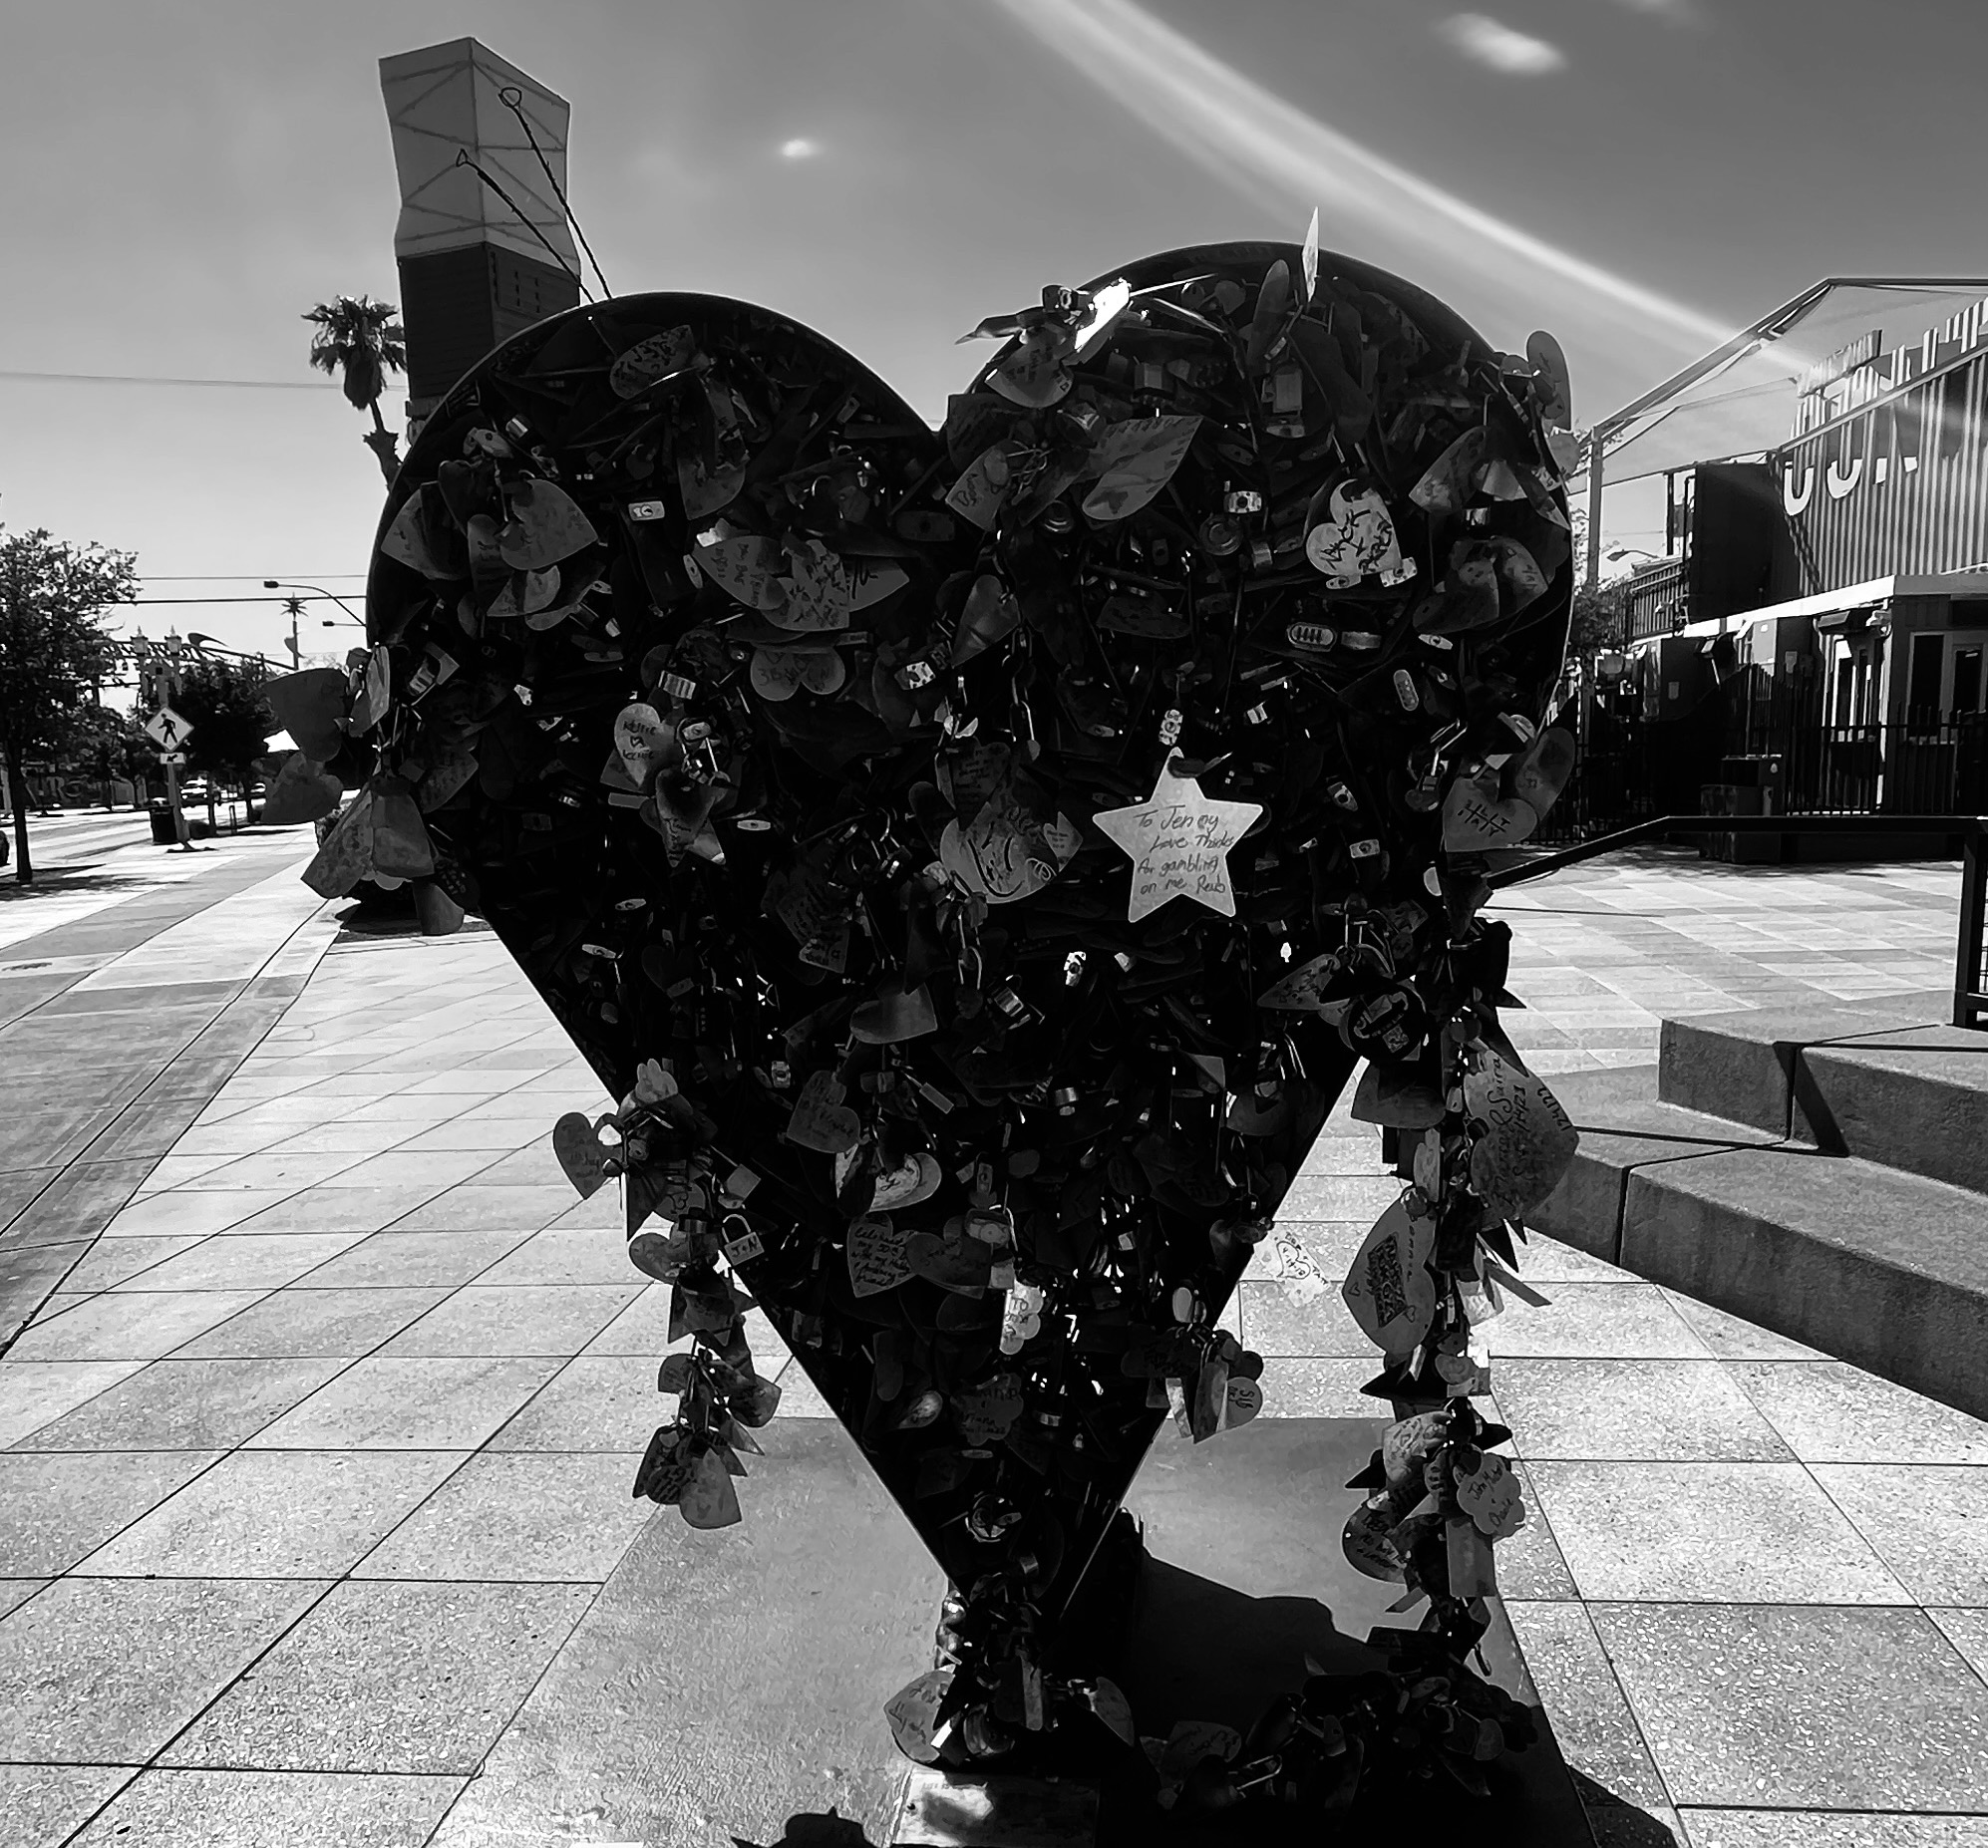
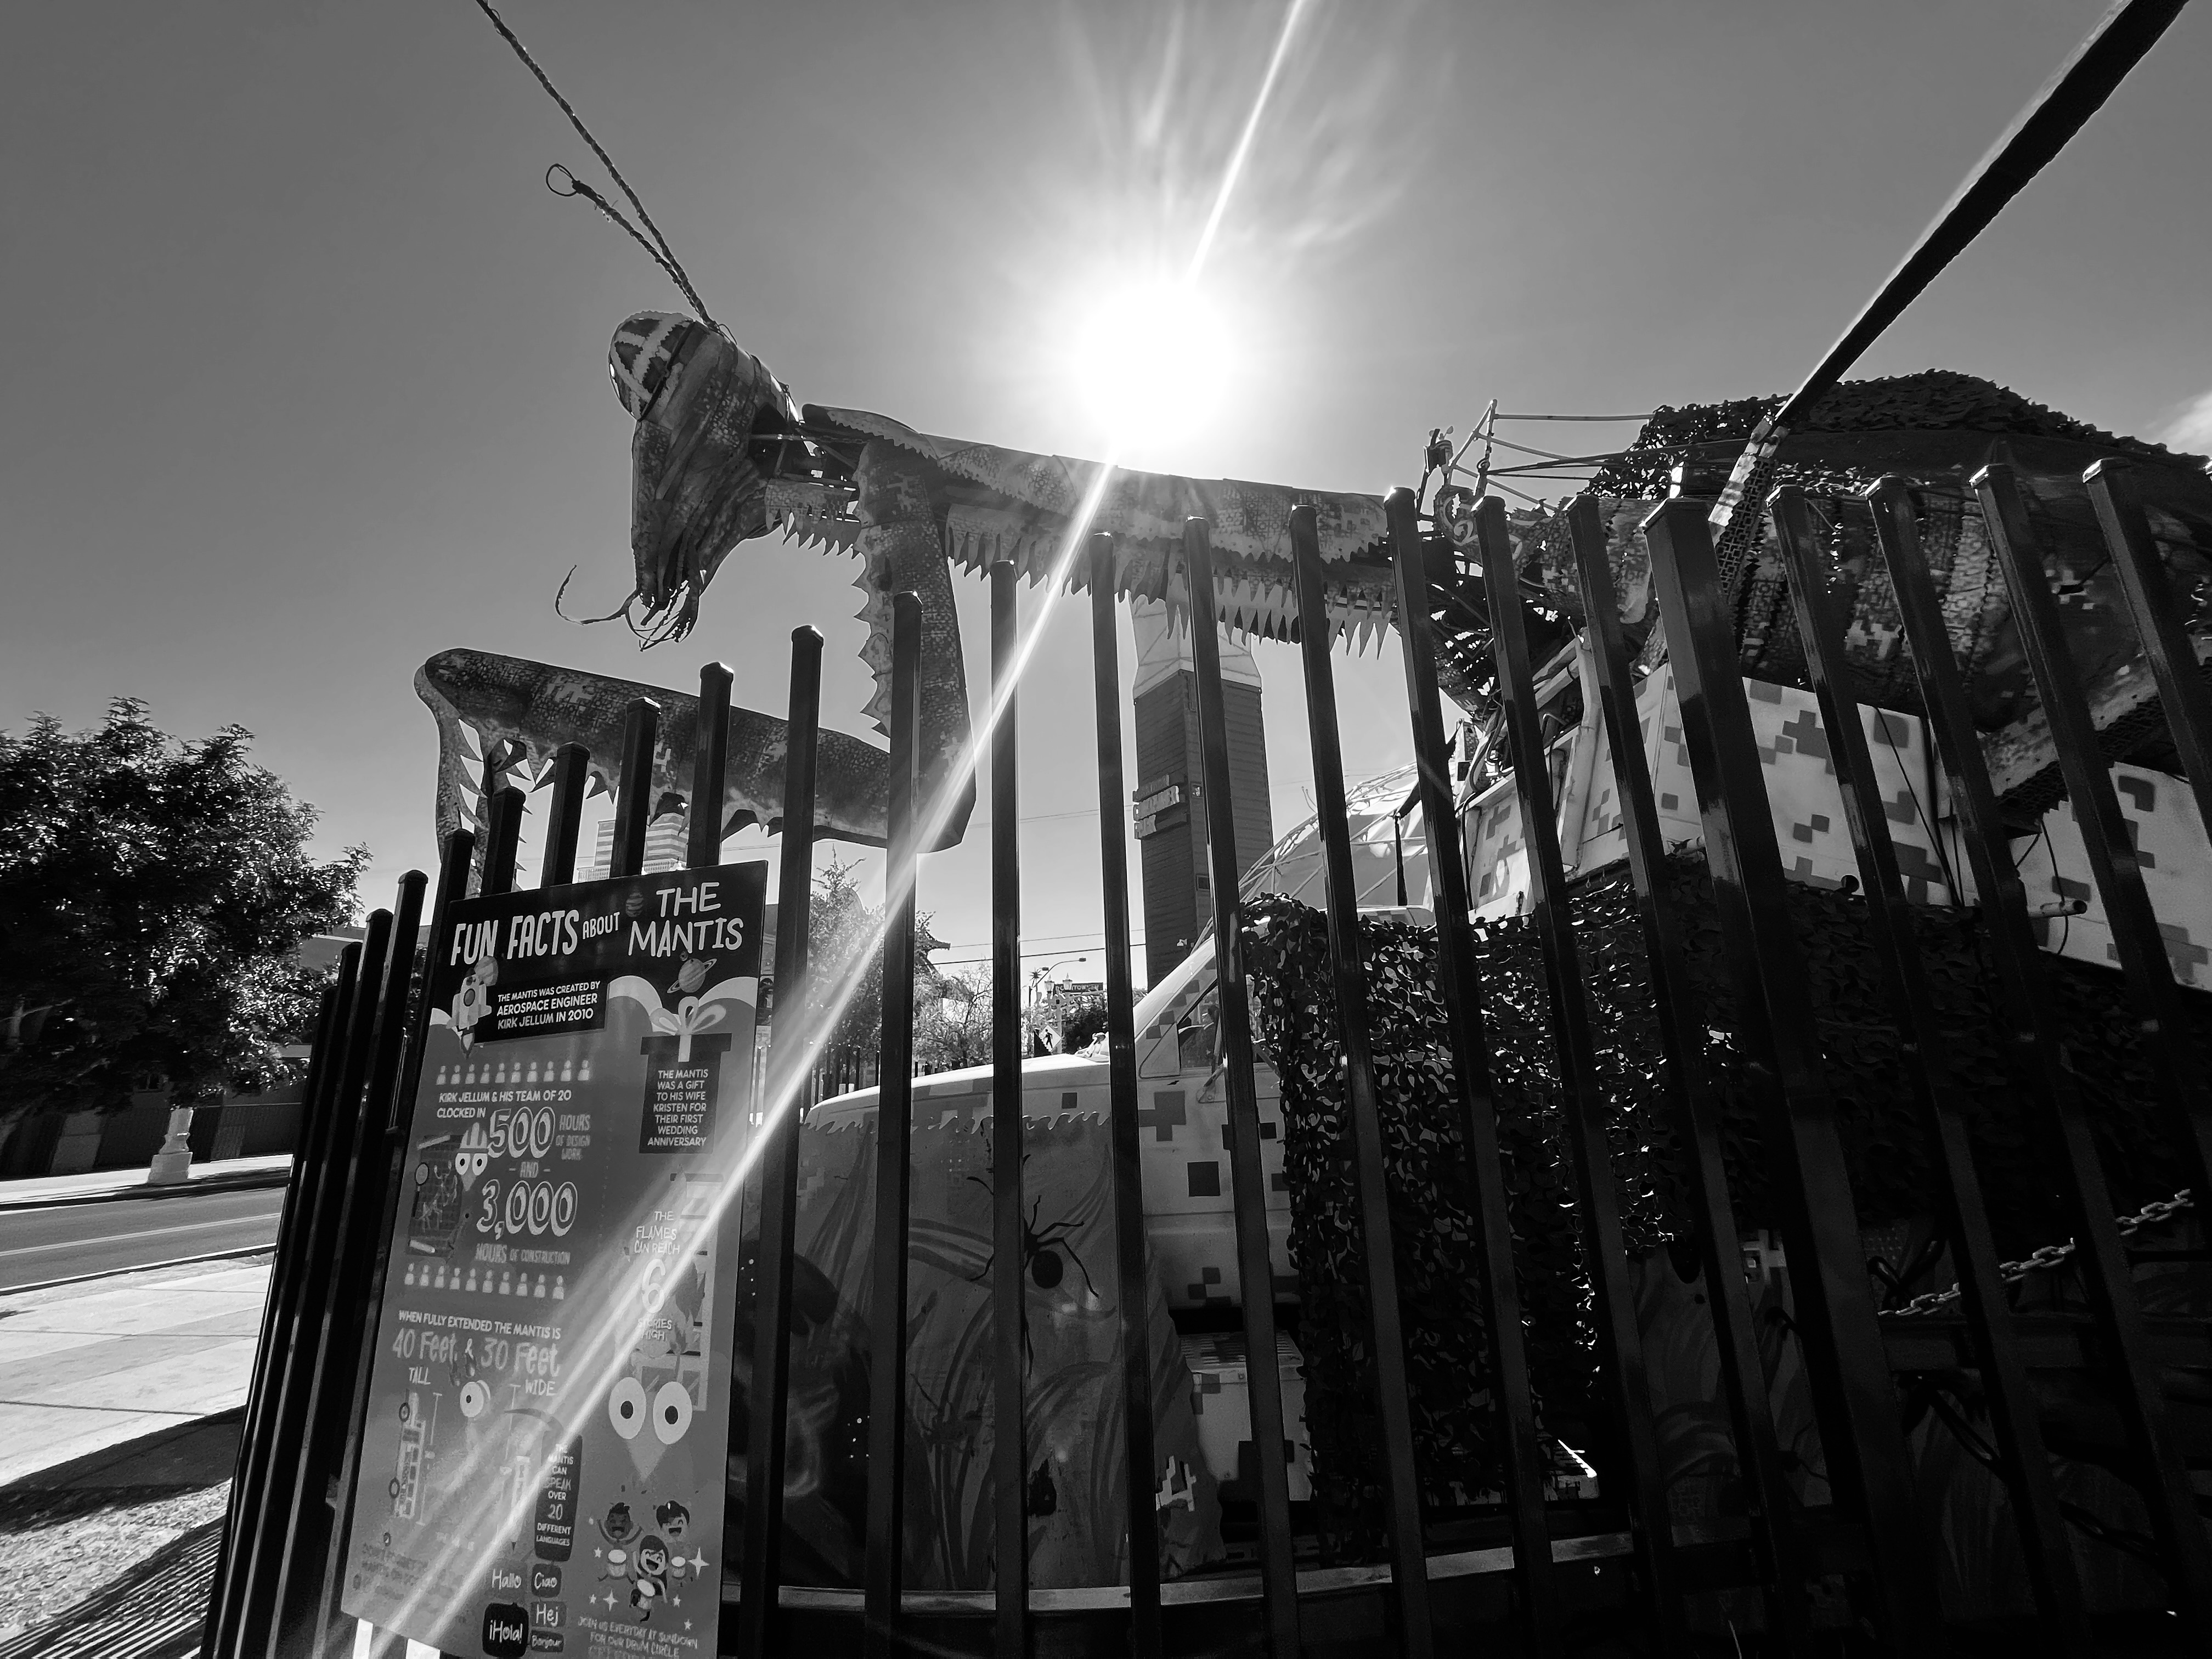
One morning I went wandering and there were a few interesting metal art installation in downtown Vegas including a heart filled with locks and keys; and a very large praying mantis:
You’ll see the sun in some of the photos – it was only 9:00 am but it was already very hot (eventually climbing to 100 degrees F/38 degrees C) and the sun was definitely part of my walk.
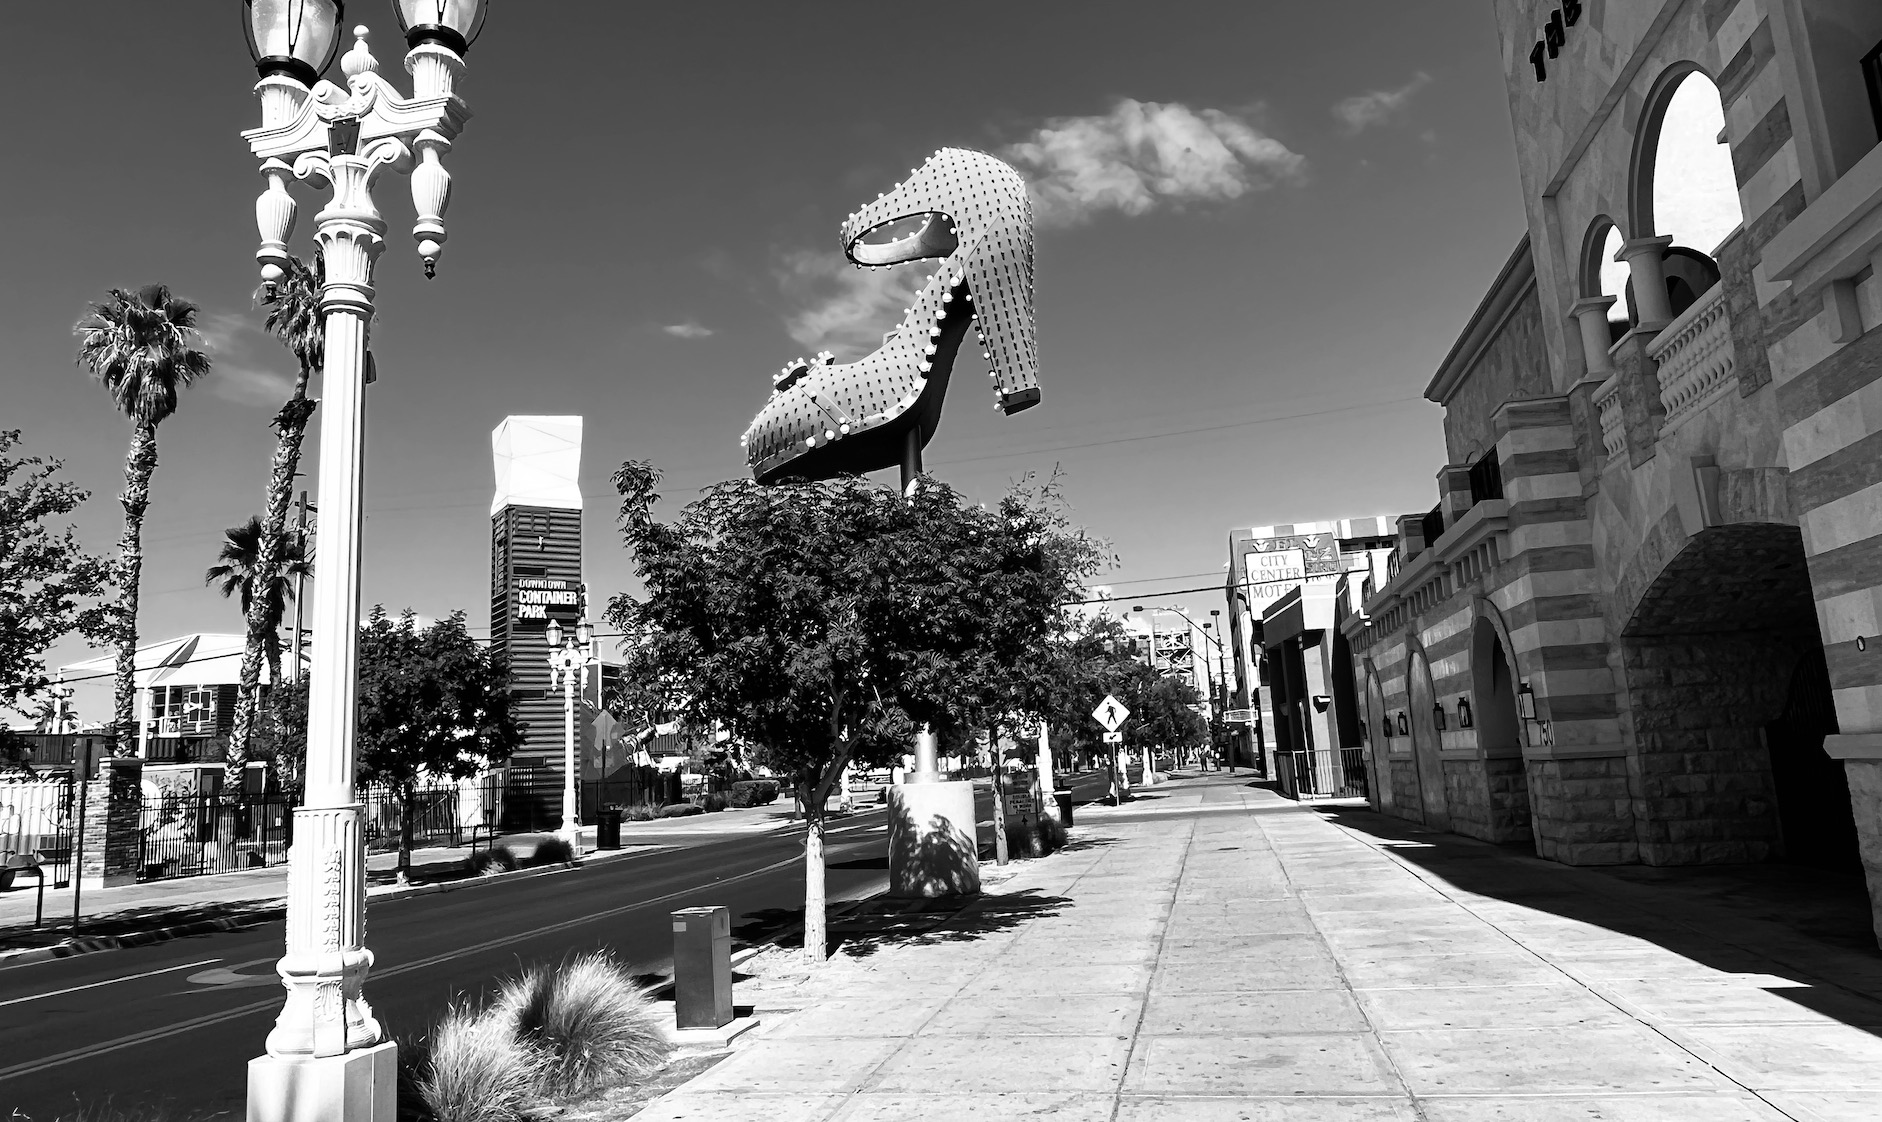
Here are some buildings and street scenes that caught my eye:
Here is a little of the actual “Freemont Experience” section of downtown Vegas:
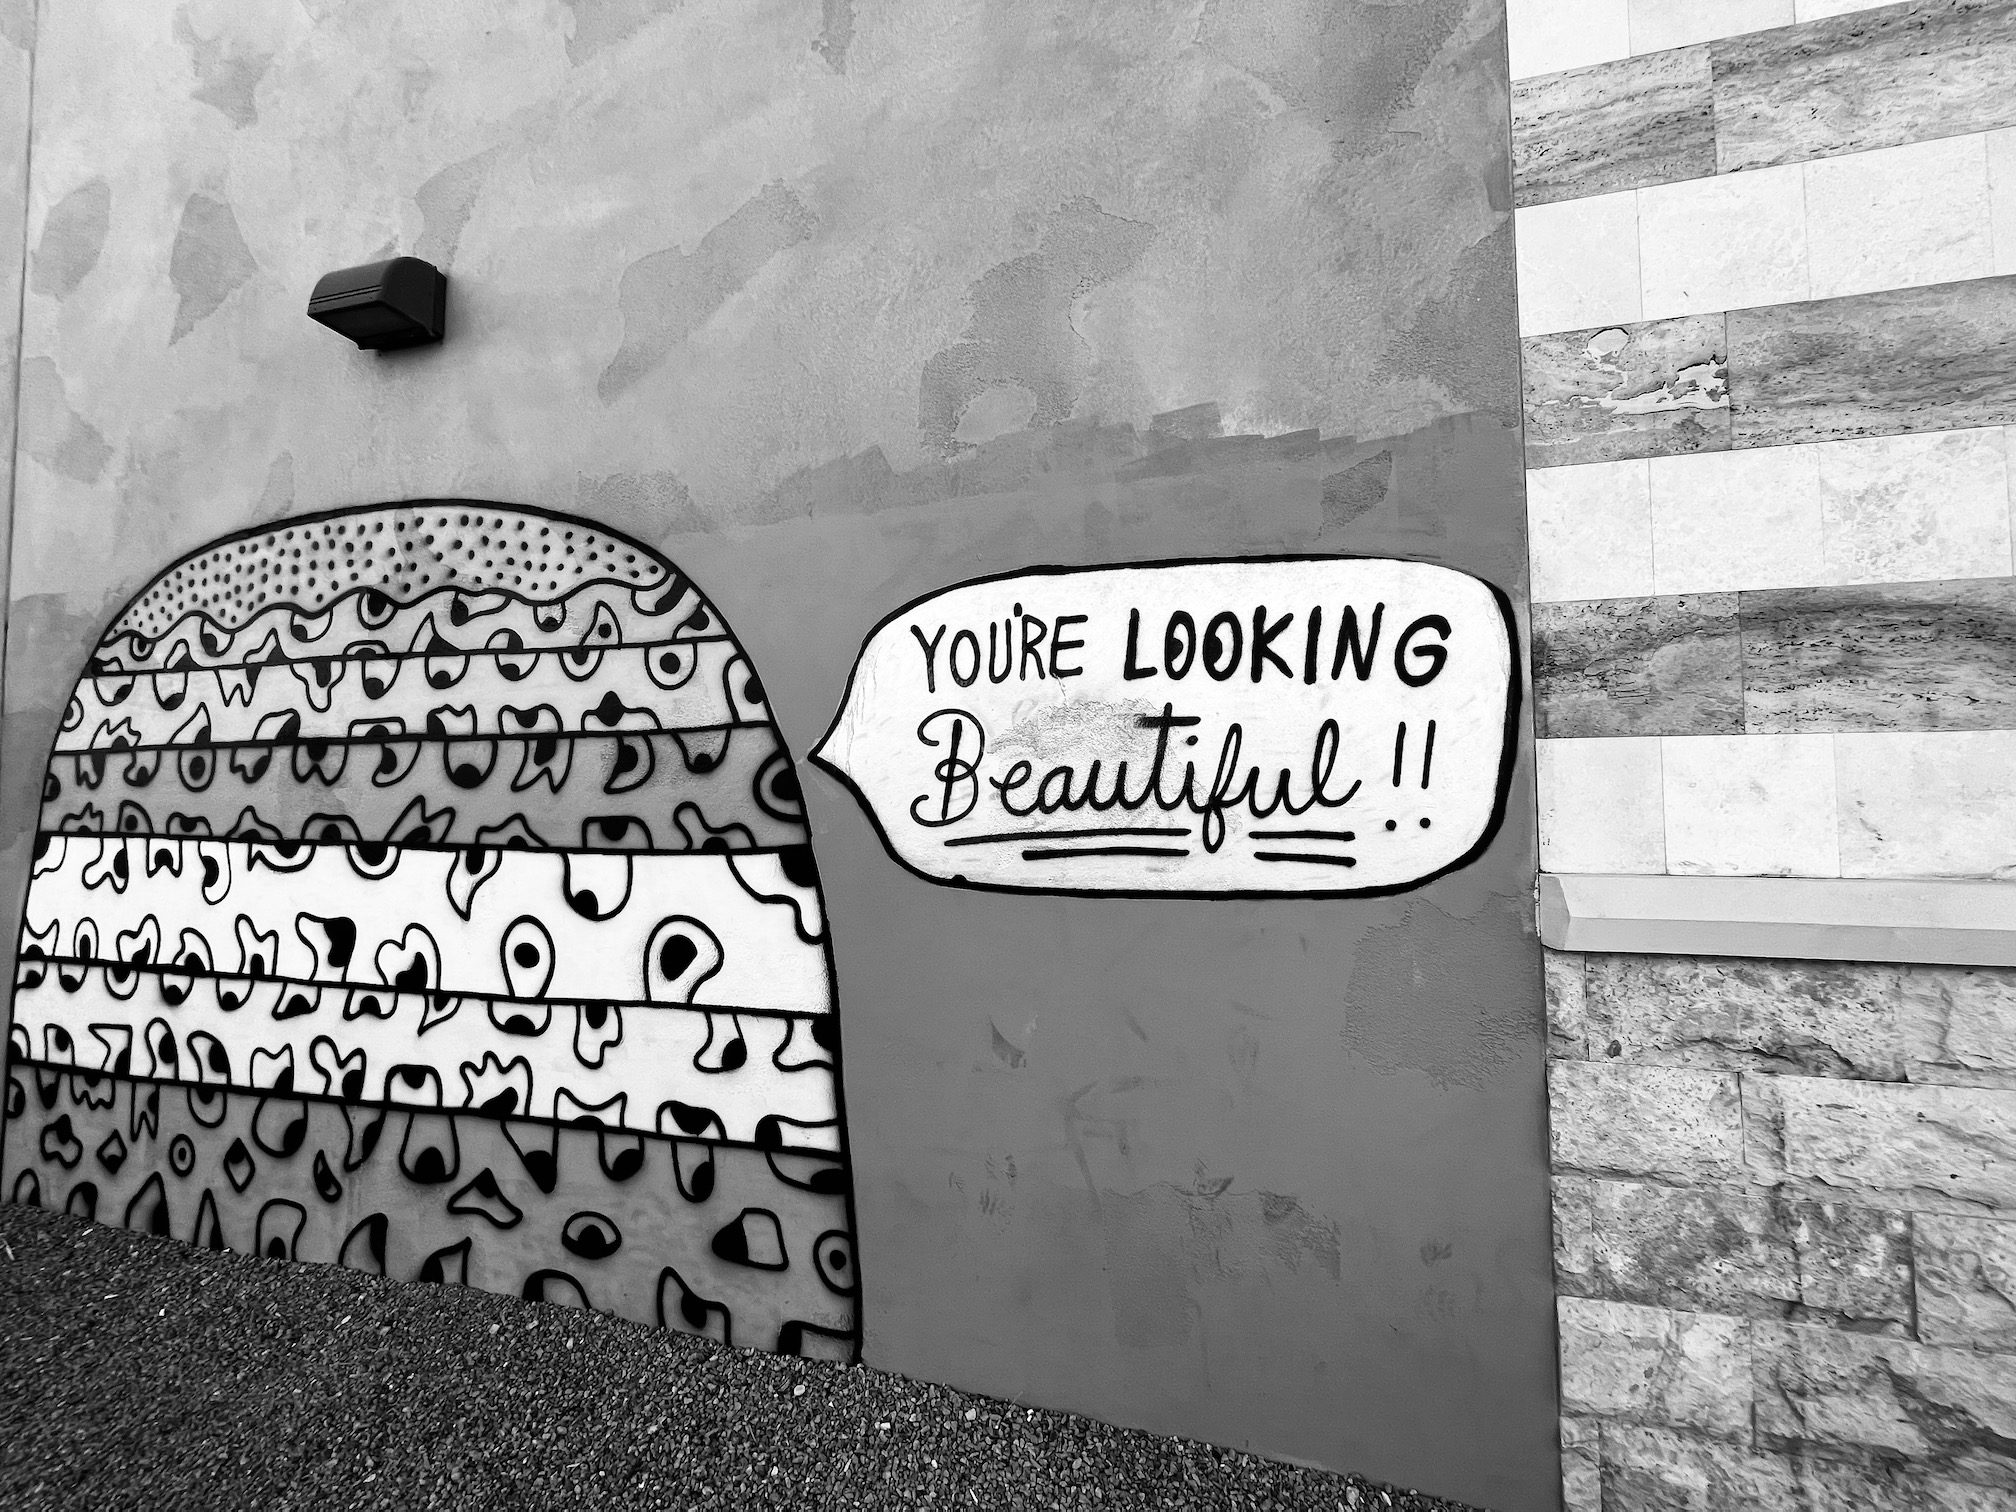
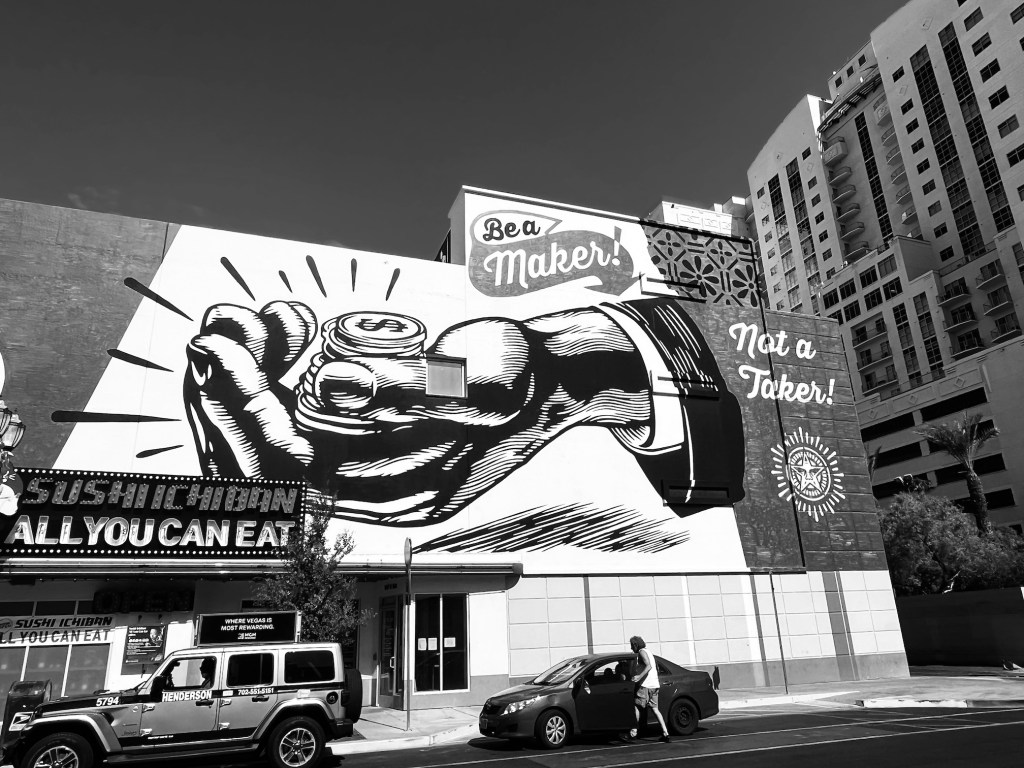
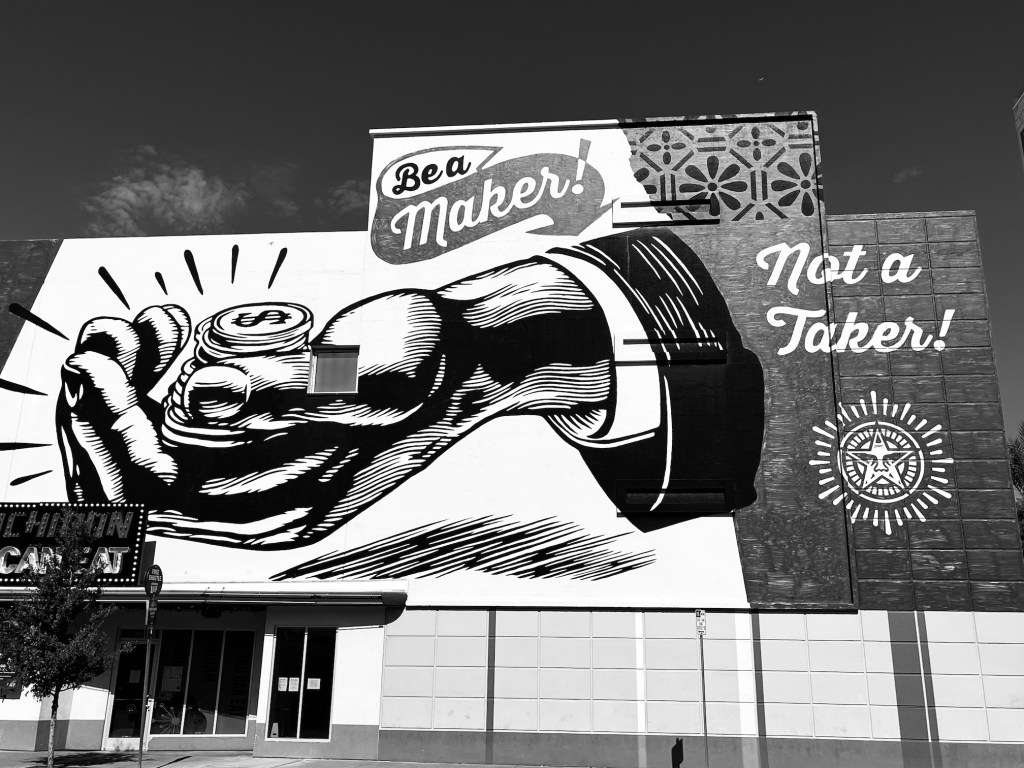
My favorite discovery during my wander in downtown Vegas was the street art on some of the buildings:
And here was my favorite:
Be a Maker! Not a Taker!
So awesome!
Oh and in case you are wondering – I donated a little money to the slot machines and called it good. I am not much of a gambler. We did take the bus and spend part of one day of the trip on the Vegas Strip and had some wonderful meals at a couple favorite eateries on the Vegas Strip: Eatalyand Din Tai Fung.
We didn’t catch any shows this time but we had a lot of fun lounging at the amazing pool at our hotel (Golden Nugget) that had an aquarium in the center.
My partner John was brave and did the water slide that takes you through the aquarium. I stayed poolside sipping on my frozen cocktail!
This post is not about starting a specific art quilt* (though I will share an art quilt I am in the progress of making), it about a little of the process I use to design a new art quilt.
*When I use the term “art quilt” I mean a quilt using an original design that you design/create; not based on an existing pattern (though a pattern could inspire it); and either improvisational or based on a specific idea/concept/photo that inspired the quilt.
What do you find successful when you are creating a design?
What is one thing you do that helps you focus and get rid of all the noise and clutter that come with color, design, prints, etc.?
There are so many complicated variables (in making an art quilt), how do you start?
I let her know I would answer her questions in a blog post in case anyone else finds my musing interesting and possible useful. (And at the end of this blog post I am going to invite you all to weigh in with your answers, so start thinking about them now as you read mine!)
What do you find successful when you are creating a design?
THE MEMORY QUILT
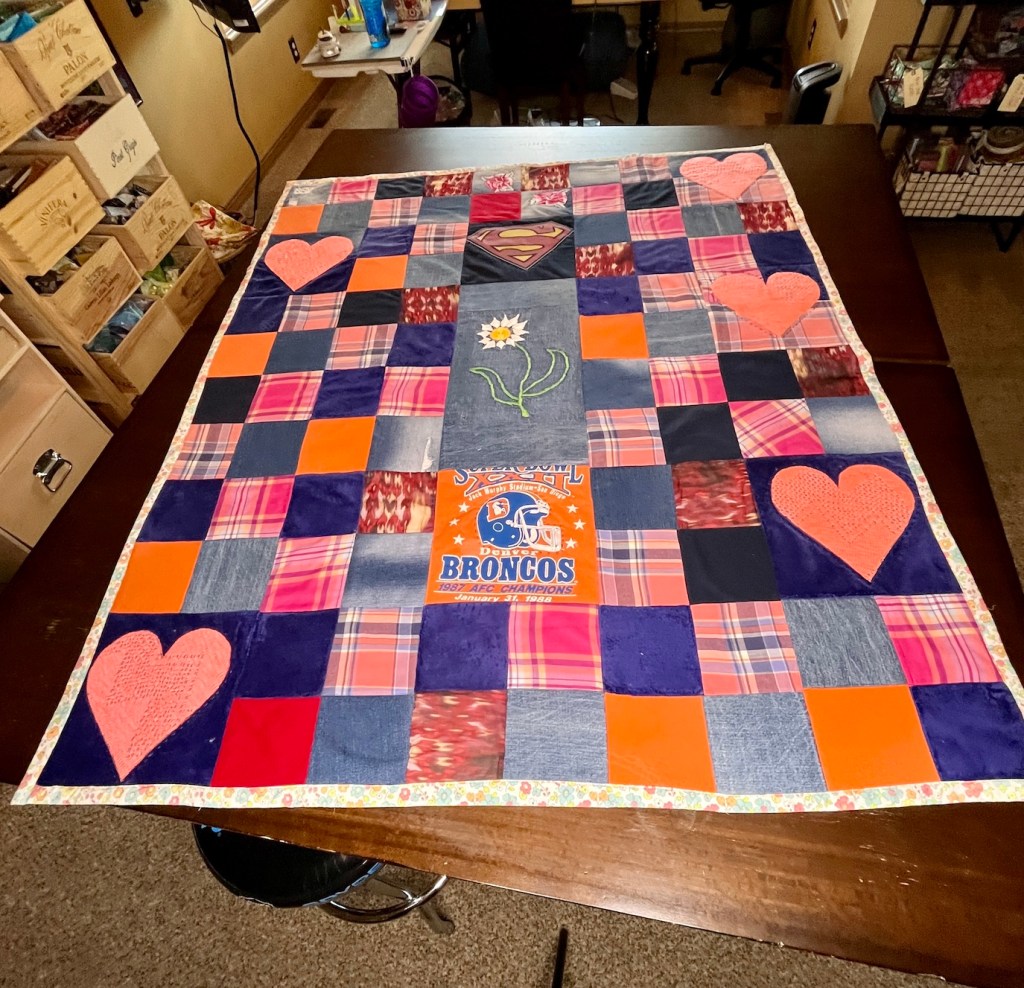
What I find successful in creating a design is to sit down and write out my general concept and what I want to accomplish with this quilt. For example on the memory quilt I made my friend I wanted to 1) make a quilt from as many of her mother’s favorite clothes that I could; 2) make something that feels like it is a hug from her late mother; 3) try and use some of the more challenging fabrics in the design.
In writing out my general concept, I consulted some traditional quilting books for ideas. I did not want to make it “improvisational” with a lot of little pieces placed randomly (or in a format such as a free form log cabin). I wanted it to have some defined structure.
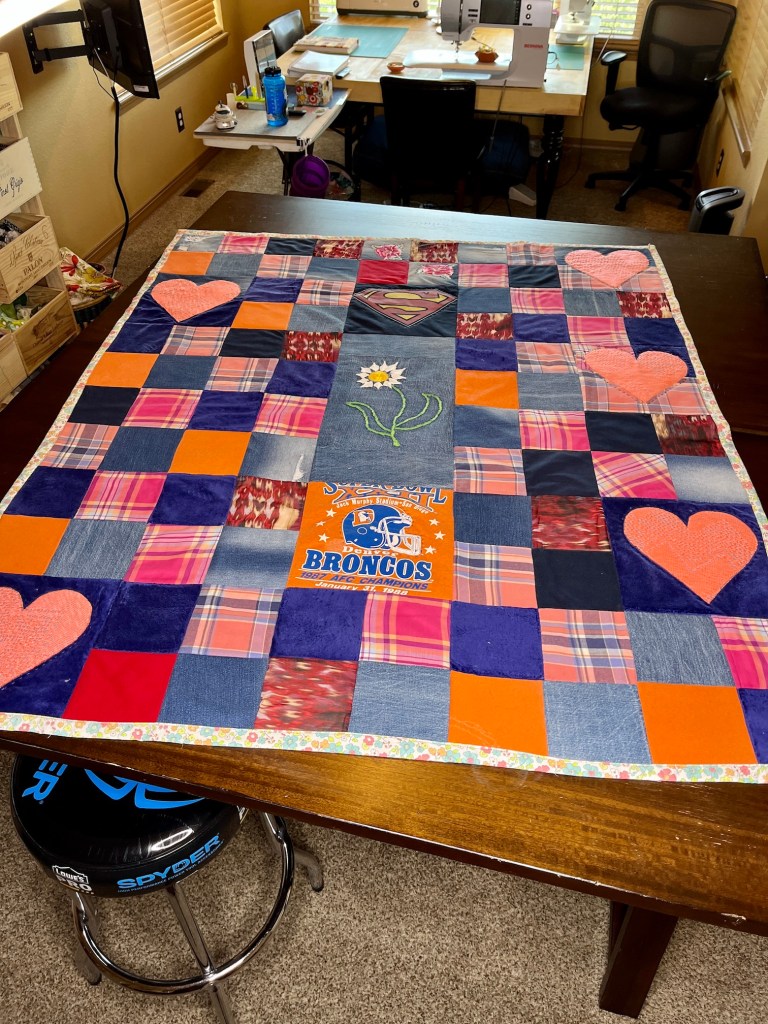
During my research (looking through my collection of quilting books) I found a pattern that had hearts appliquéd over plaid (via four patches) squares. I thought – “yes that is it!” – the hearts could represent love from her late mother; and the plaid design (four patches) was doable with the challenging fabrics I needed to work with (like velour, a polyester scarf, etc.).
MY CURRENT ART QUILT IN PROGRESS
Recently I’ve started a new art quilt for a special show I am hoping to get into. It would be my first international show. I’ve been invited to submit a quilt for it but it has to be acceptable for the exhibit in order to make it into it. That’s all the details I’ll provide on the reason for the quilt for now, but more to come in the future.
My art journal where I sketch out ideas, I made a cover for it to make it special
Ideas about the quilt are not just focused on how the finished quilt might look. They are also about what I’d like a viewer of the quilt to see, experience, think about, etc. What feelings and thoughts so I want to evoke when someone looks at the quilt? What do I want the quilt to say (or try to say). What is the theme of the art quilt, what is it about. I might also start to write a draft Artist Statement for the quilt to really get me thinking what I want the quilt to “say”. See my little “side bar” below for more discussion on this concept.
*** SIDE BAR ***
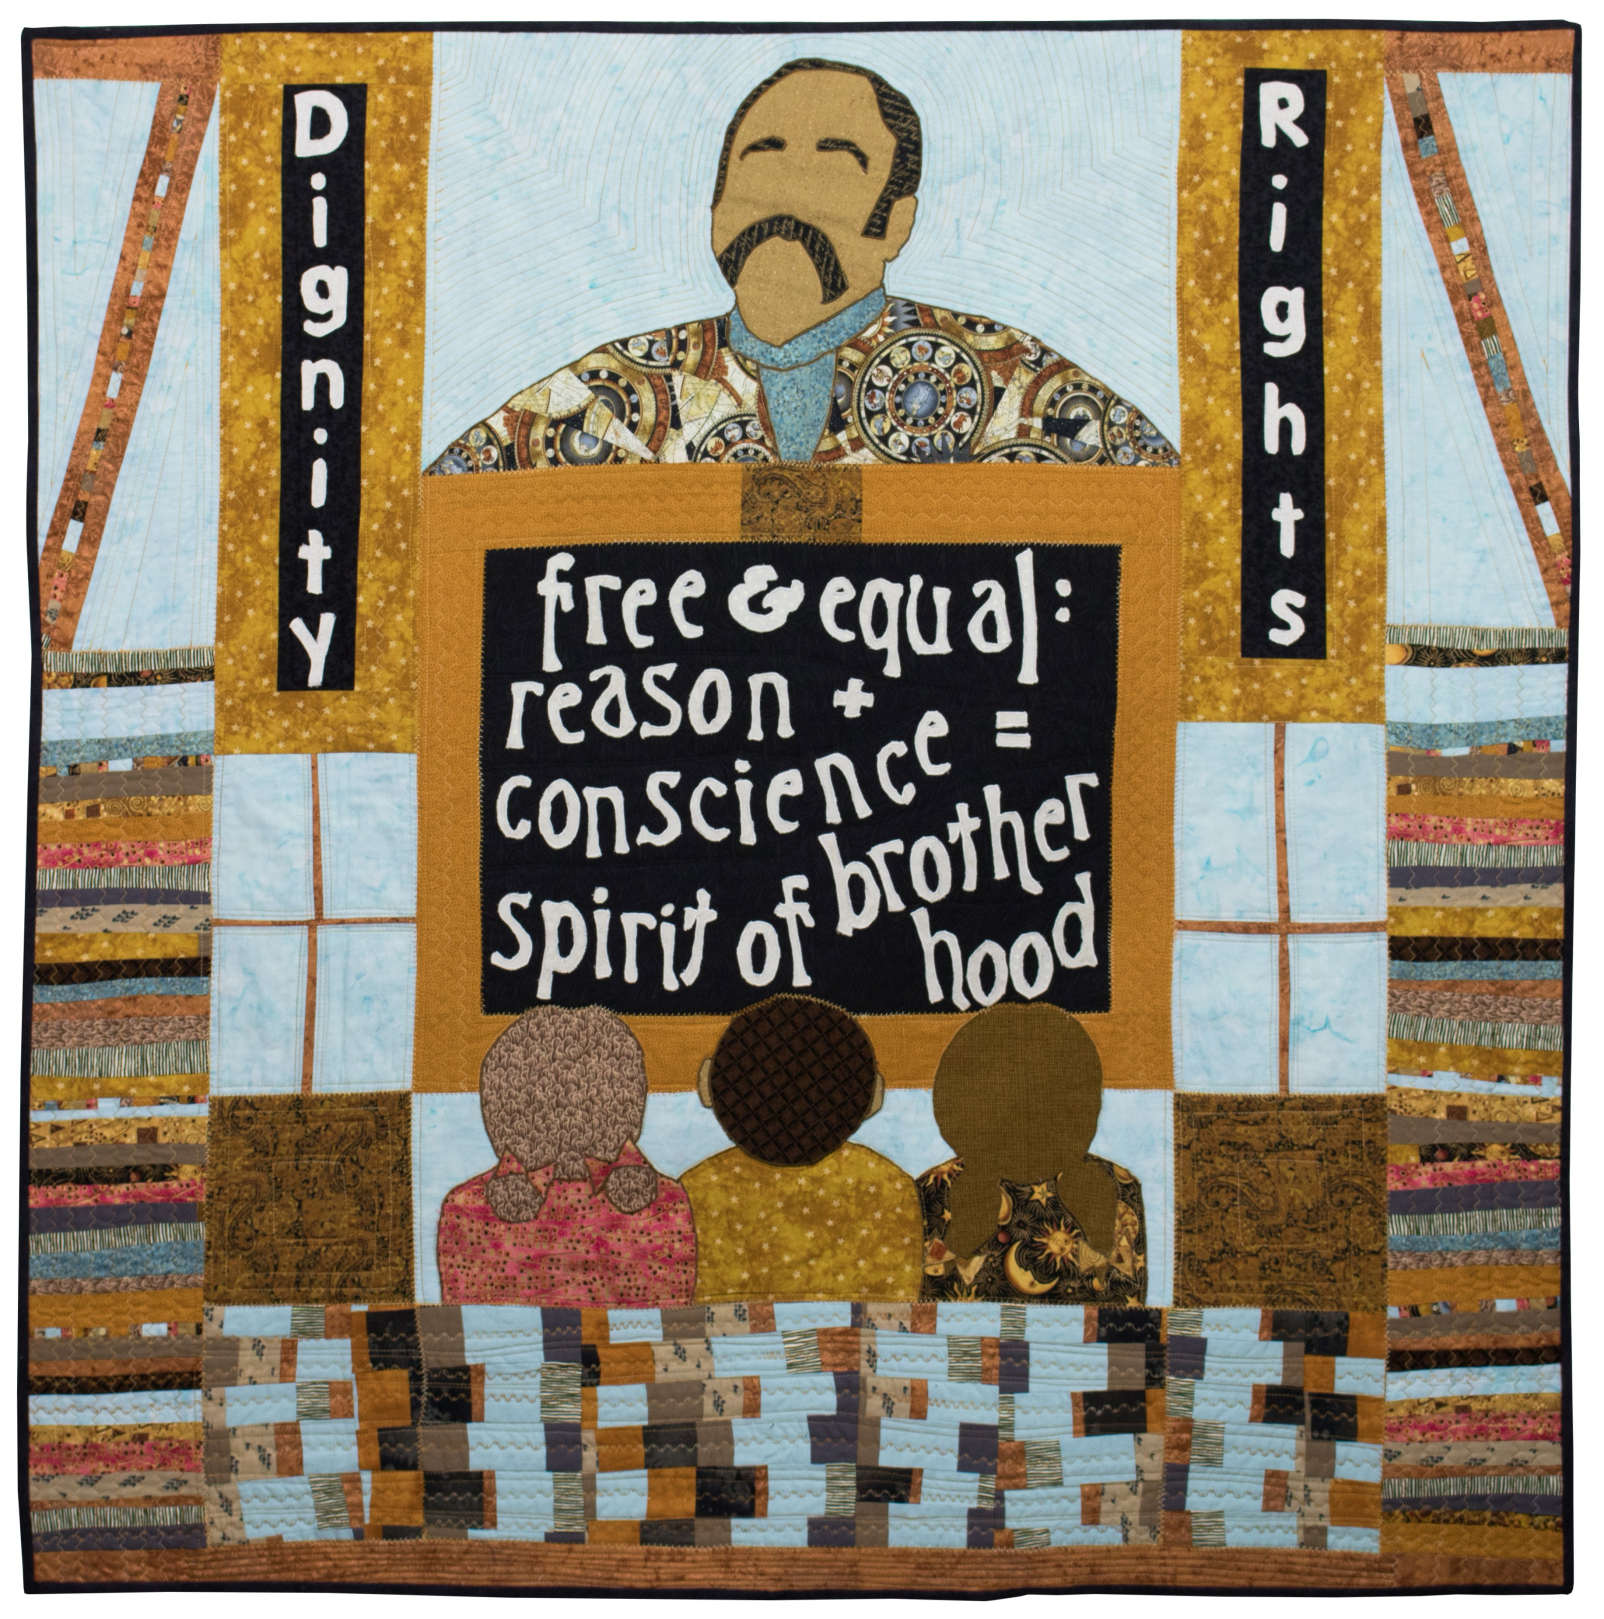
For example, all of quilts I’ve made for the Women of Color Quilting Network (WCQN) shows that I’ve been in had specific themes so I had a starting point. I knew what the quilt needed to in general “be about”and from there I had to narrow it down to what I wanted to share about that topic. Example below with the quilt I did for the WCQN show “Visioning Human Rights in the New Millennium: Quilting the World’s Conscience“ which was inspired by the U.N. Universal Declaration of Human Rights. I was assigned (actually I got to select which Article from the Declaration I wanted to use) Article I: All human beings are born free and equal in dignity and rights. They are endowed with reason and conscience and should act towards one another in a spirit of brotherhood.”
So that was my starting point. I knew what I needed to portray in the quilt, I just had to figure out how to get there.
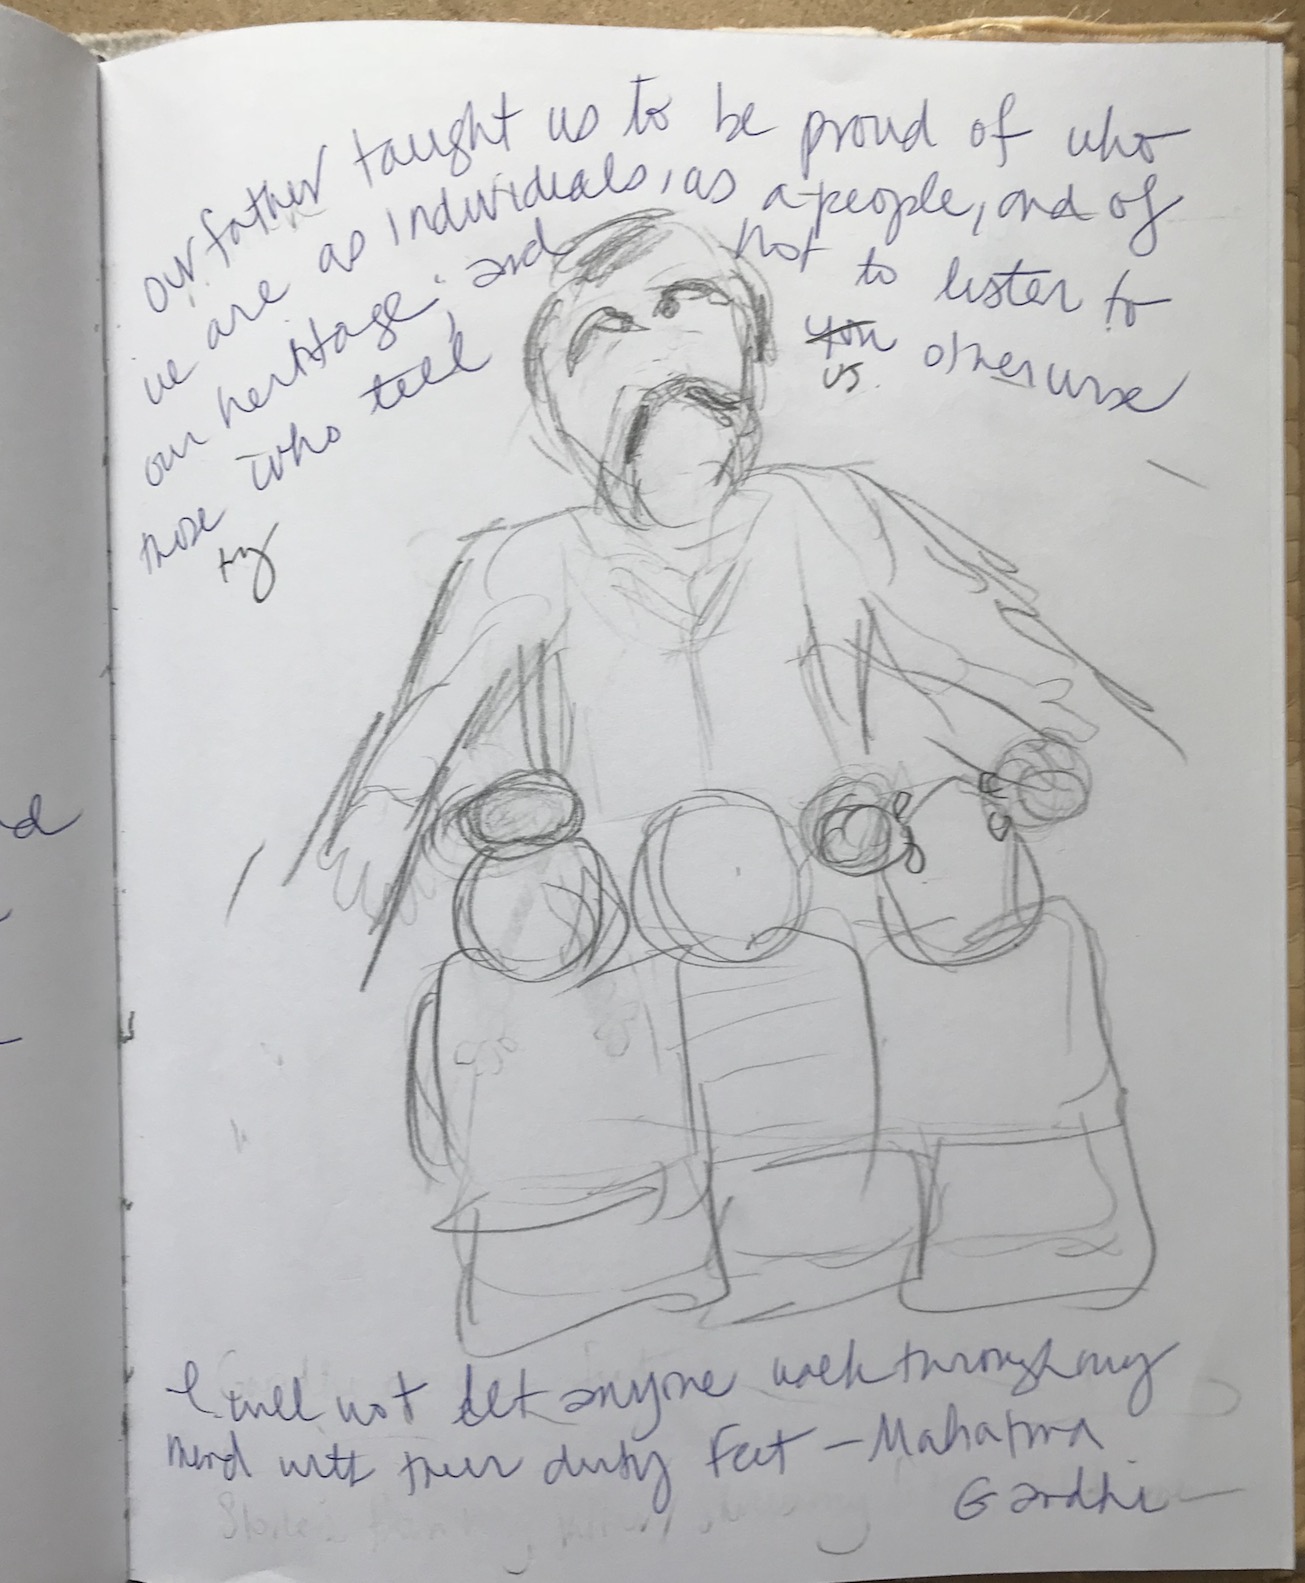
Here is an early sketch from my journal as I was working on the quilt:
And here is the completed quilt:
I am not sure how to put in to words how I got from the sketch to the completed quilt but it was through trial and error, and lots of experimentation. But I knew I wanted it to be a classroom with a person who looked like my father in the 1970s teaching because he was the one who taught my two siblings and myself the values in Article I. Also I come from a long line of teachers and I wanted to honor education/teaching.
If you know what you want to accomplish with the art quilt, then it helps you have a clearer vision.
Okay that the end of the side bar, so back to the current art quilt in progress….
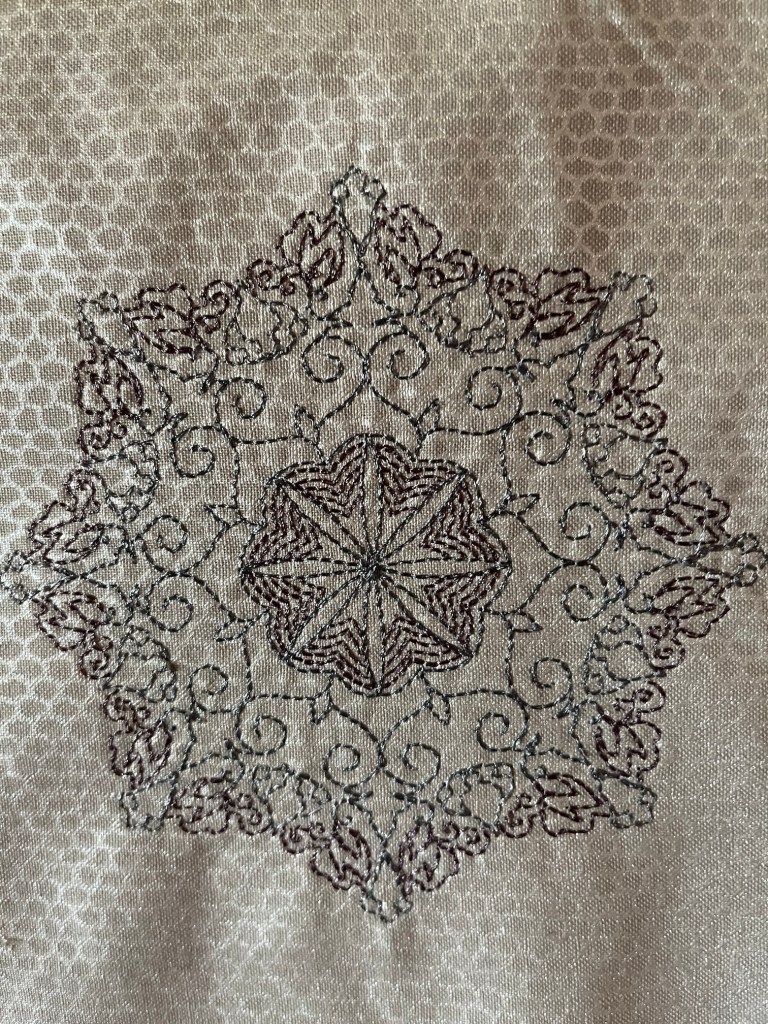
This time the quilt was inspired by a collection of machine embroidered blocks a friend gave me years ago along with coordinating 10 inch x 10 inch sections of coordinating fabric; as well as a group of fabric printed “trees” I designed and printed years ago in a fabric ink printing class.
What I want to accomplish with this quilt I am still working out. I am thinking through whether I want it to be a deeply personal piece about grief based on the somber colors of the quilt and the tree images, or it if I want it to be more uplifting (or some blend of both).
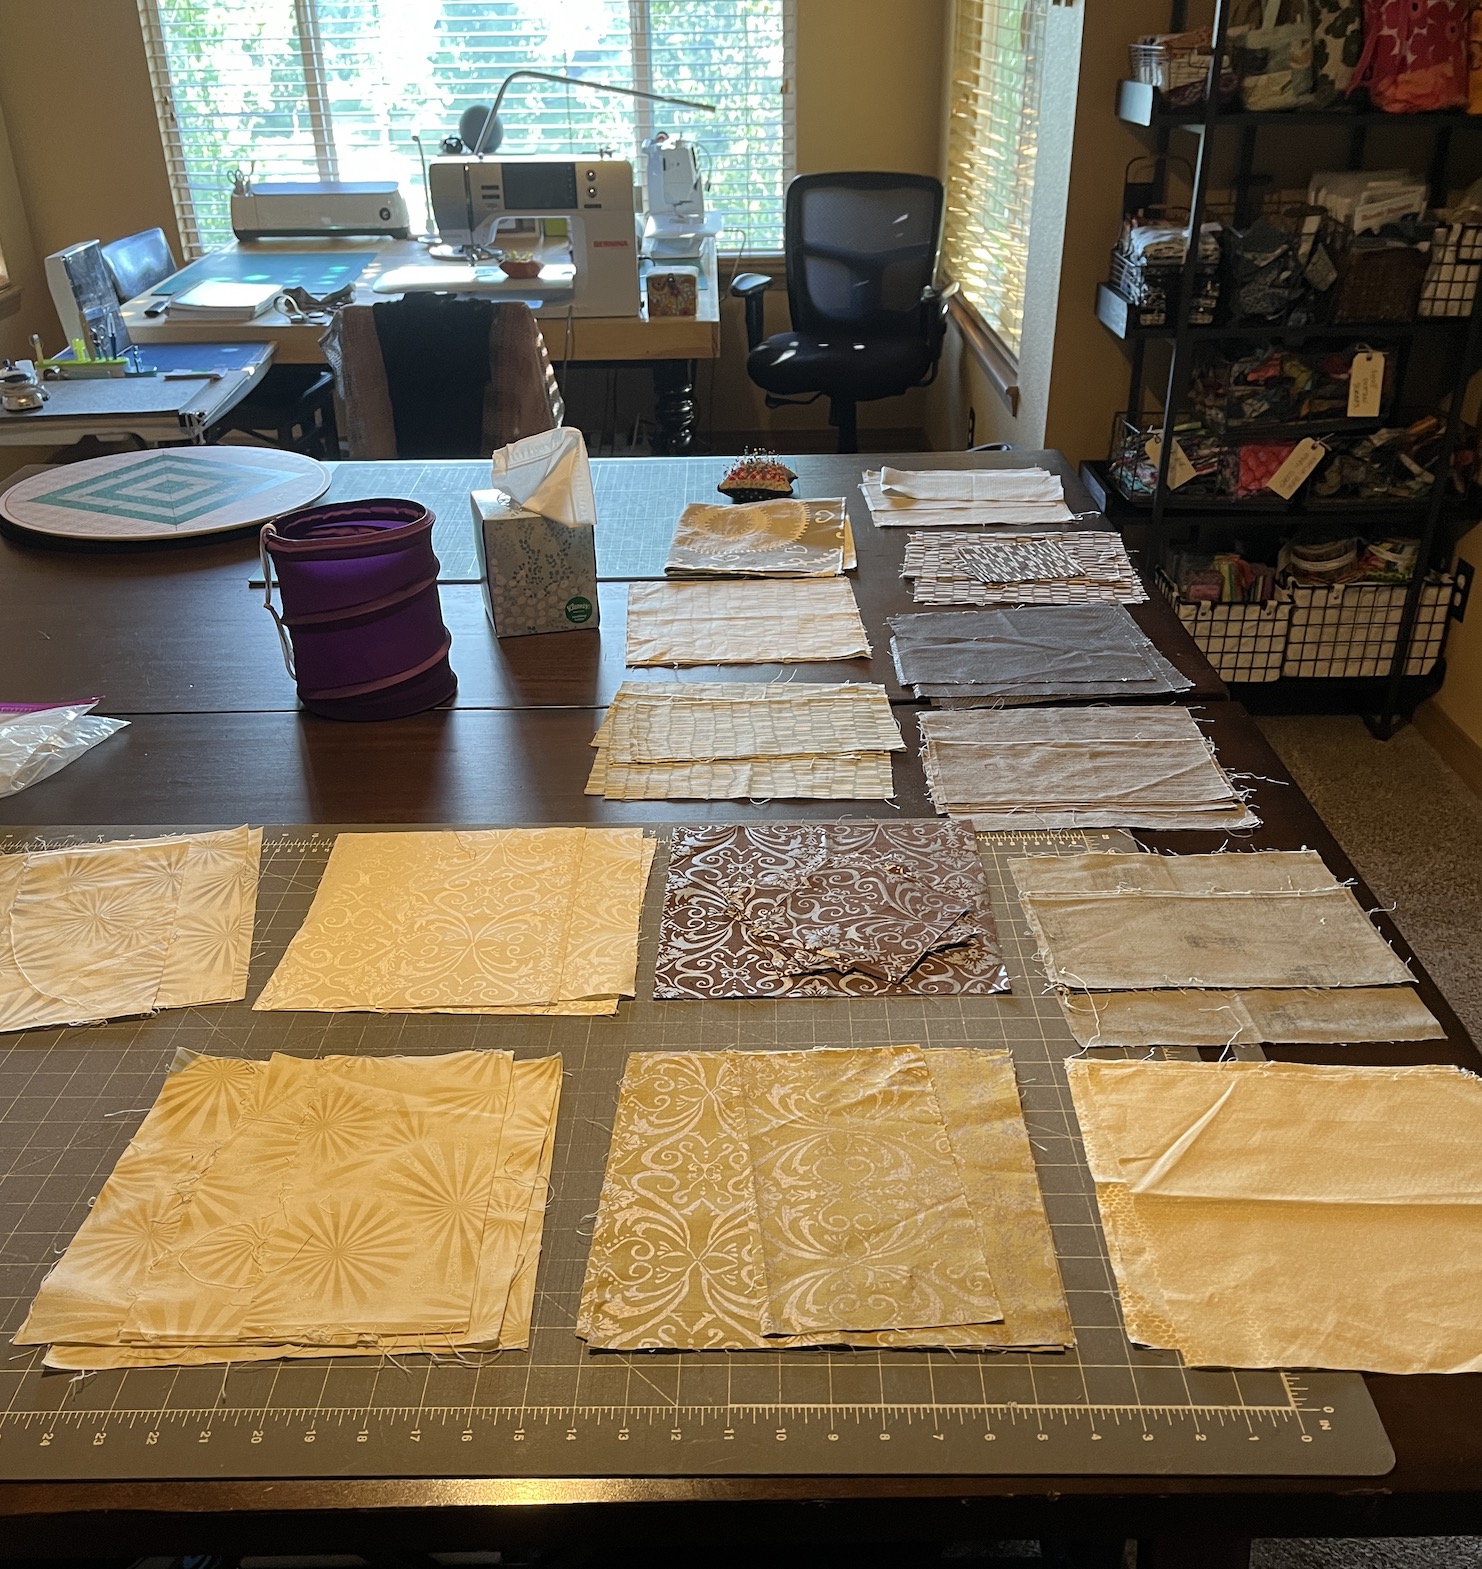
After I came up with my initial concept/idea/layout, I laid out all the fabrics I’d selected for the piece on my cutting table in my studio:
All the fabrics I am considering laid out on the table
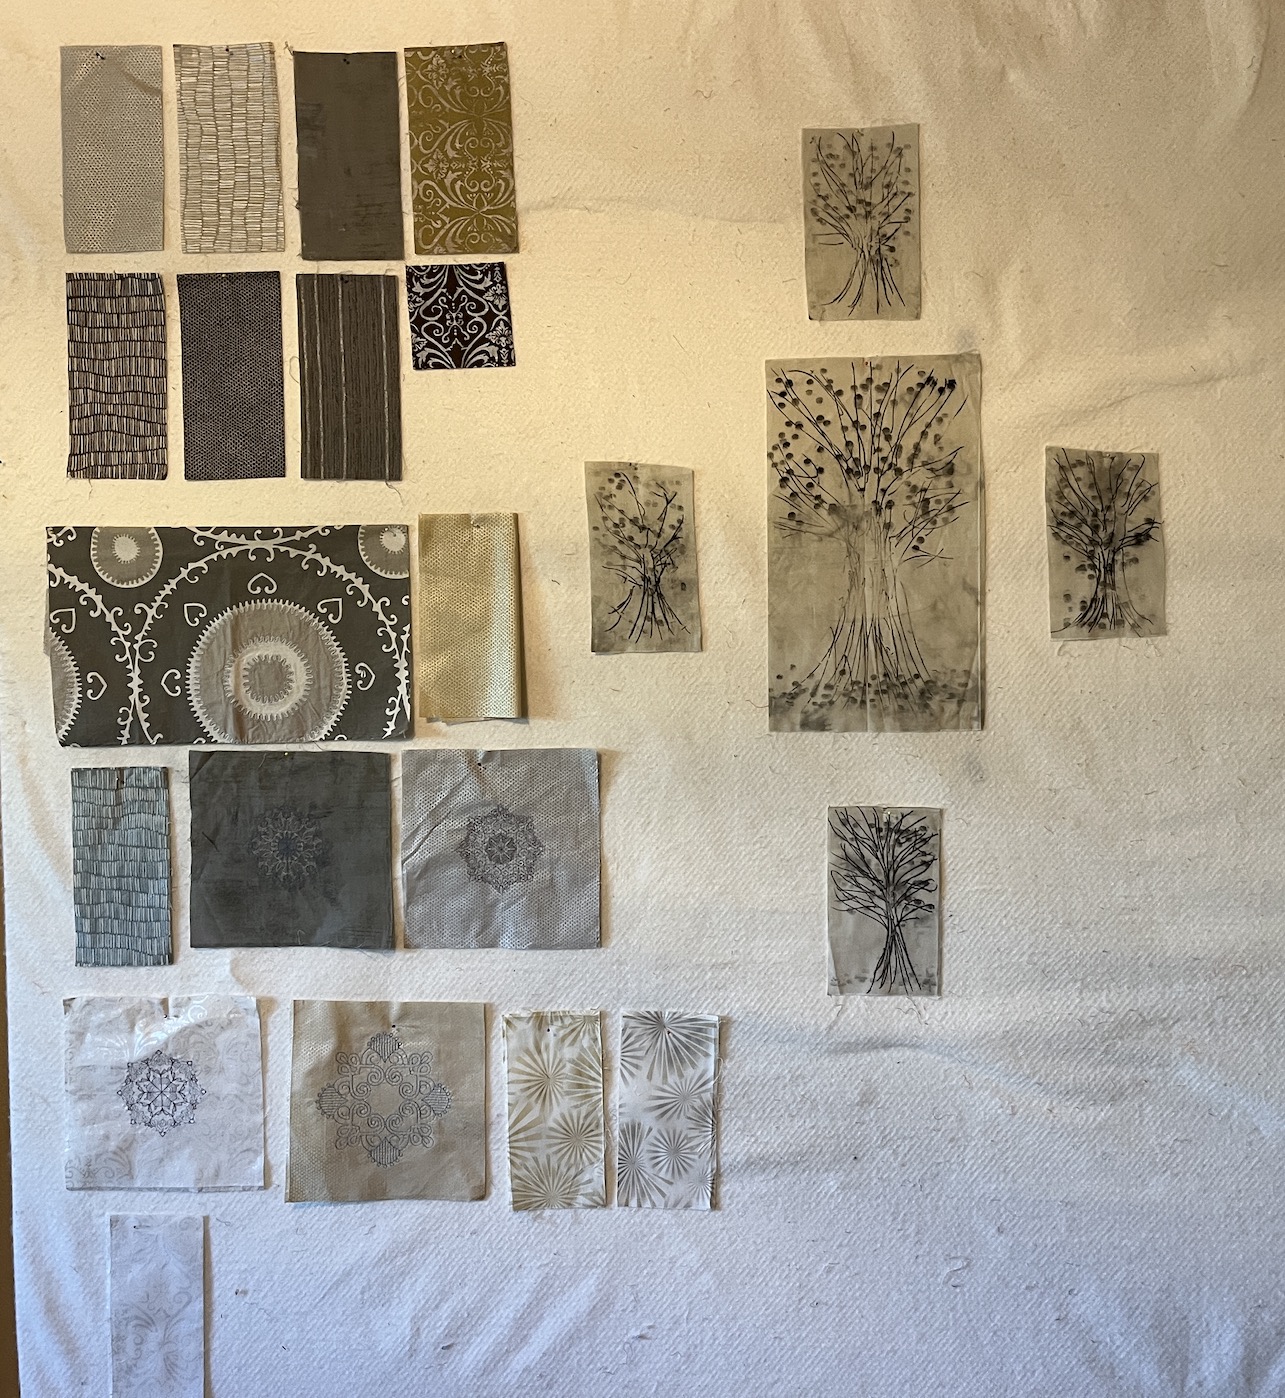
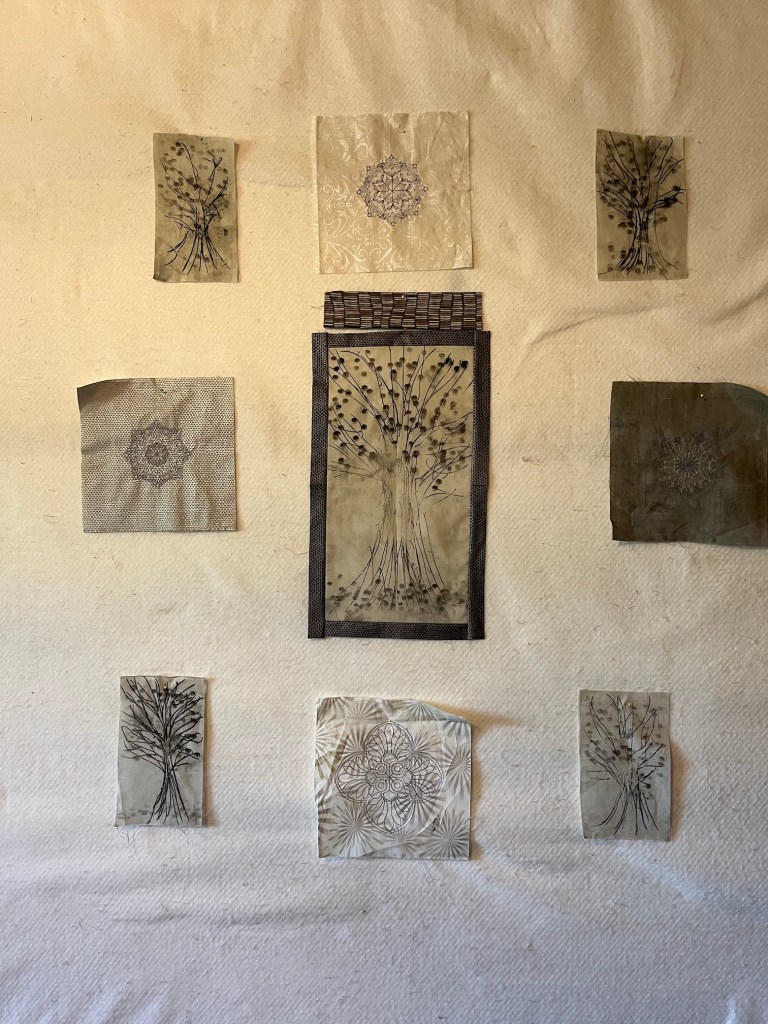
Then I put up a sample of each fabric and the special blocks (the embroidered blocks and the printed trees) up on my studio’s design wall:
One of each laid out on the design wall
Having the fabrics up on the wall helped me think about addition and subtraction (what I need to add to the design as far as fabrics, and what I need to take away) and I decided not to use the gold tinged fabrics in my design. I decided to just stick with muted grays, browns and taupes.
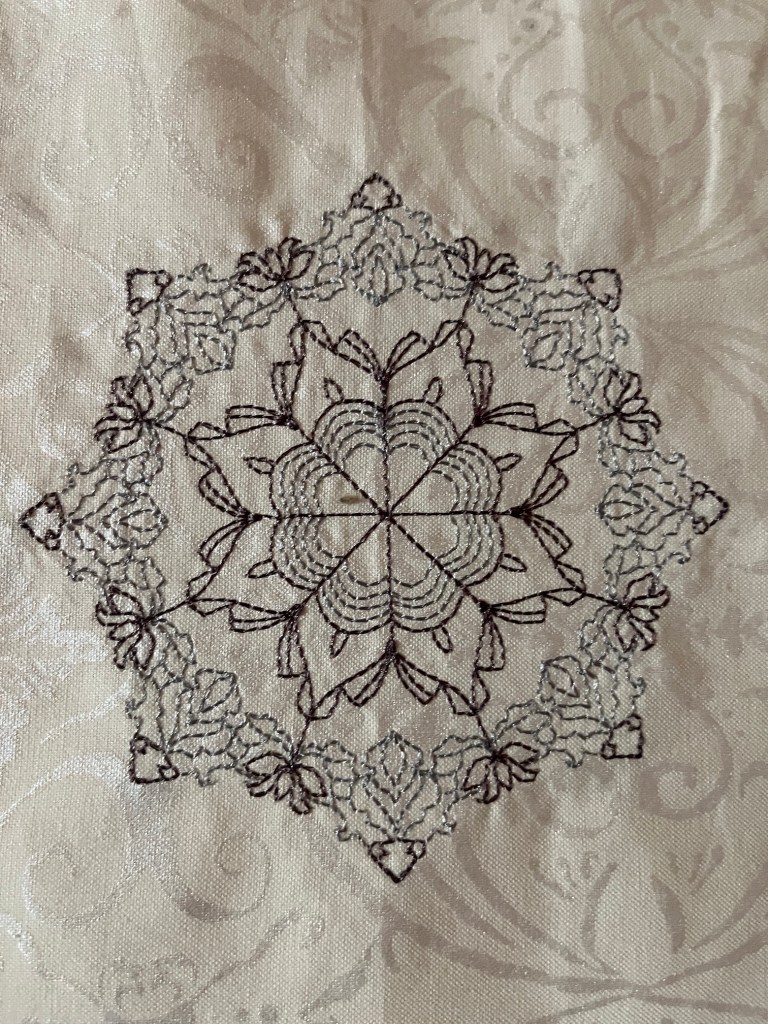
Here is a close up of some of the embroidered blocks I am using in the piece, one of the printed trees, and an example of the cool fabric my friend gave me:
If these fabrics looks familiar (and you’ve been following my blog a long time) I first shared them back in 2018 in a post called What’s Simmering on the Design Wall. But I abandoned the project as something else caught my attention (I guess I let it “simmer” too long and the inspiration evaporated away!).
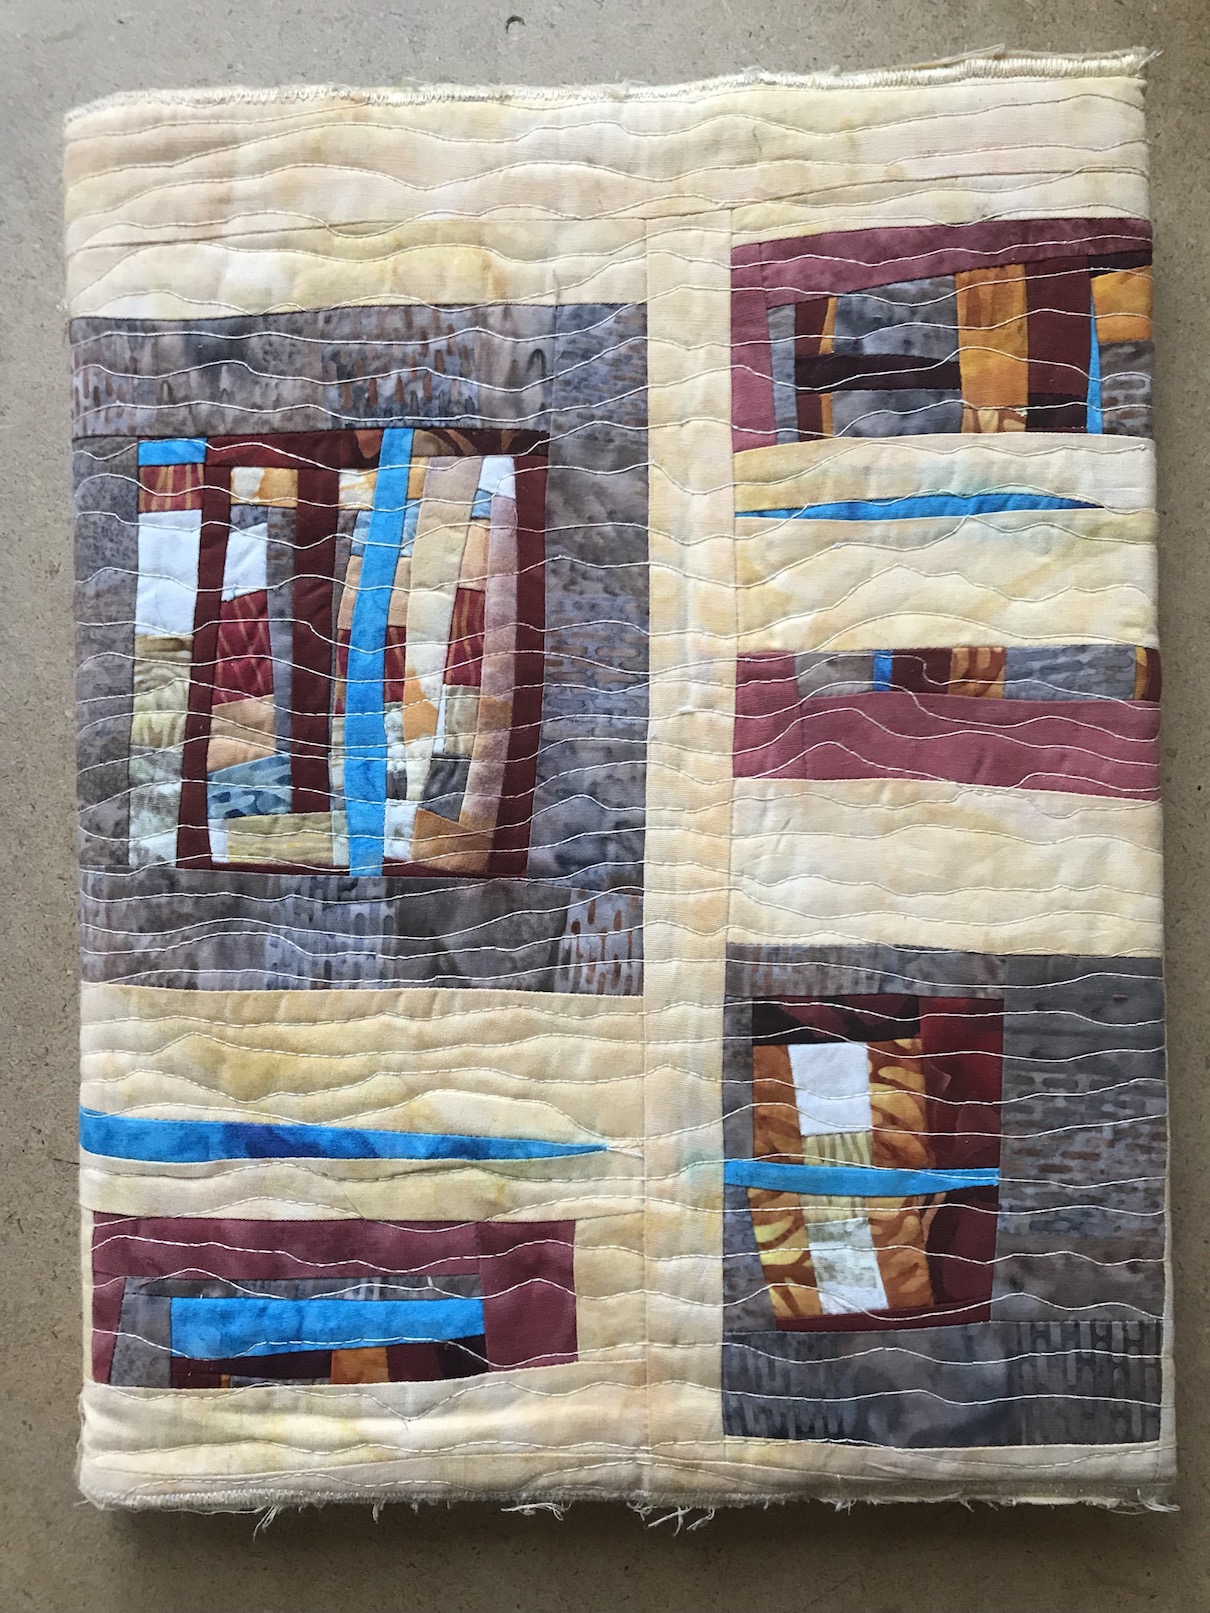
Here I am with the quilt design right now – I am thinking of a medallion quilt layout…
Okay time to move on to the next question…
What is one thing you do that helps you focus and get rid of all the noise and clutter that come with color, design, prints, etc.?
Writing down my ideas on in my art journal, that is the number one thing that helps me focus. If my ideas change as I play with the fabrics on the design wall or the table I have them laid out upon, then I write down my new ideas.
As far as eliminating “the noise and clutter”, for me that is reduced by having a clear concept of what I want to accomplish (see “SIDE BAR” above).
I usually select a color palette early on in designing a piece. I’ve noticed that I am attracted towards “Southwest” and “Desert” type colors – rusts, beiges, greens, sky blues, etc. and I have repeated that palette in several art quilts. I read somewhere that if artists select a palette that they usually work from it can become a signature of their work.
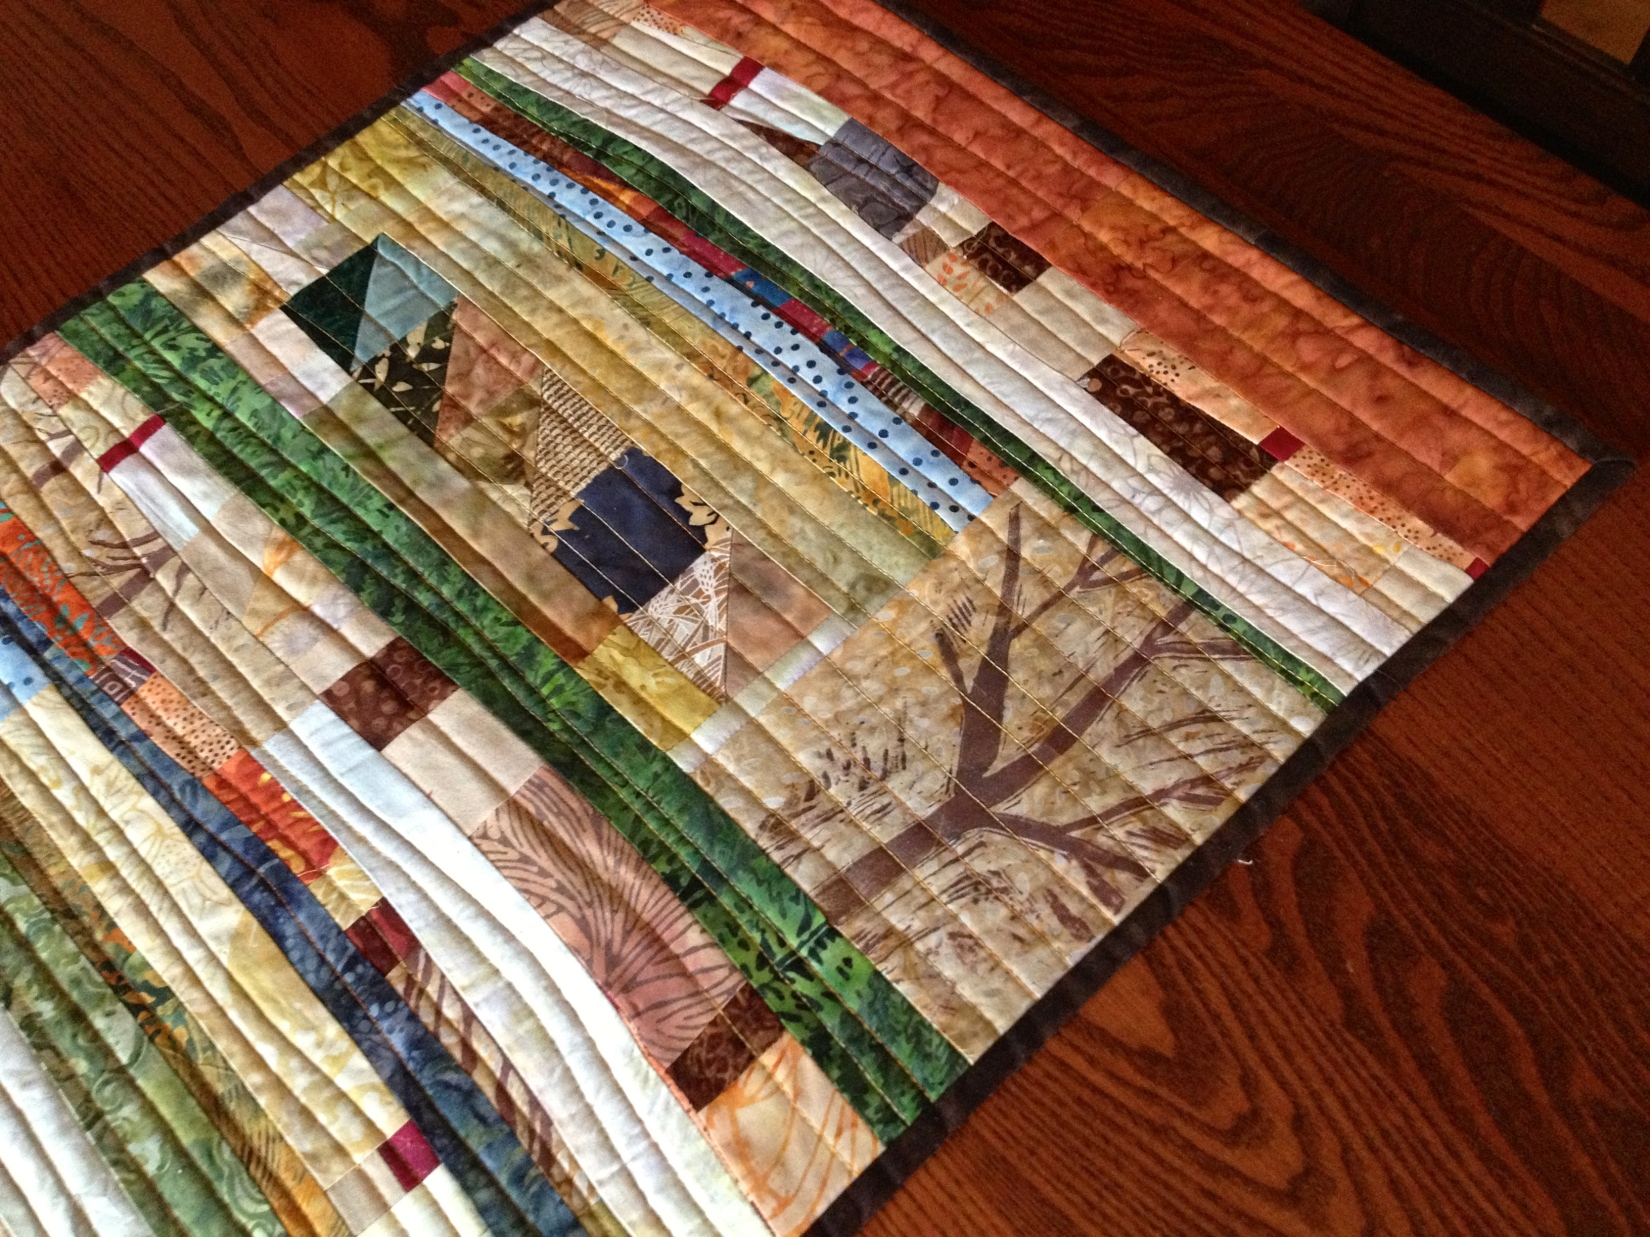
Here is an example of an early art quilt I did called Central Oregon is Central to Me which uses that palette:
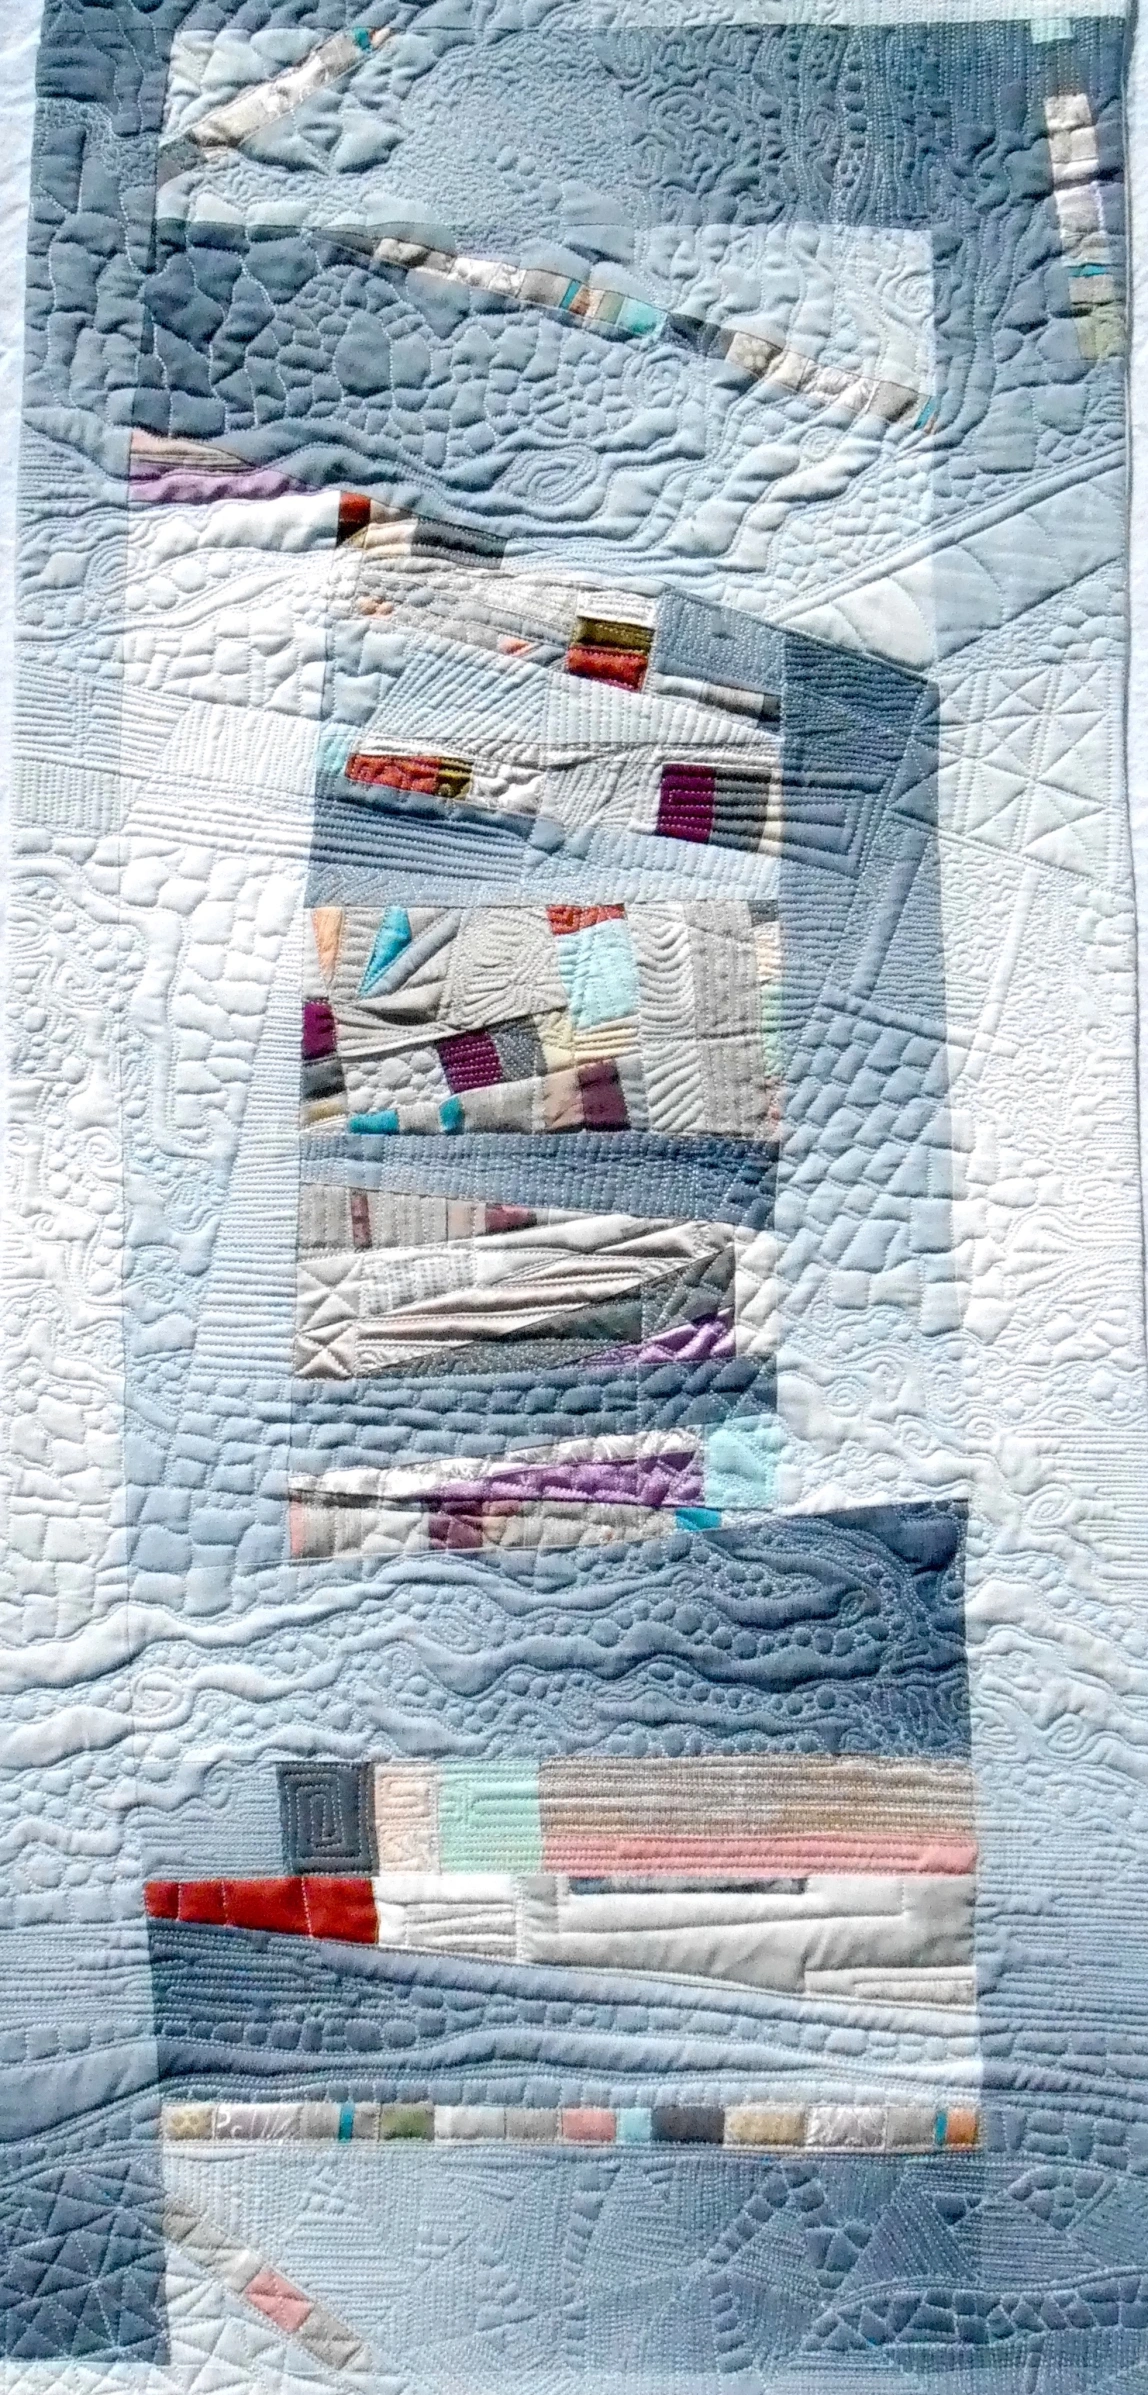
And then you can see I repeated this palette years later in a quilt I made for the WCQN show Yours for Race and Country: Reflections on the Life of Colonel Charles Young”. The name of this piece is Giant Among the Sequoias.
Color is very powerful and I’ve read a couple books about select coloring in the design of quilts. Two that I highly recommend were written by one of my teachers when I lived in Central Oregon – Jean Wells Keenan: Intuitive Color and Design and Journey to Inspired Art Quilting.
It was actually in her Journey to Inspired Art Quilting Workshop series that I took at the Stitchin’ Post in Sister, Oregon that I began the quilt Color Story V: Abandoned Water Structure, which was the first of my art quilts purchased by the City of Seattle for their Portable Works Collection (the City of Seattle now owns 4 of my art quilts made from recycled silks which they rotate through their municipal offices).
I might be rambling at this point, but I want to take a moment to share two additional major things that have helped me “get rid of all the noise”: 1) reading books about art quilting; and 2) taking classes with experienced art quilters (ongoing workshops are especially helpful – a series of classes with the same instructor helps you build upon concepts learned). You can also find a mentor and that can come from joining either a local or national art quilting group.
You cannot become an art quilter on your own (well maybe you can but I couldn’t) – you need mentors and teachers and it is very helpful to learn some formal art quilting concepts and techniques so you have them in your “tool bag”.
I know I need to take some more in person classes in the future. For now I just read art quilting journals, watch YouTube videos, and read books. So many awesome books have been written by some very talented art quilters!
Now on to the last question.
There are so many complicated variables (in making an art quilt), how do you start?
See above (smile).
So those were my answers to the three questions:
What do you find successful when you are creating a design?
What is one thing you do that helps you focus and get rid of all the noise and clutter that come with color, design, prints, etc.?
There are so many complicated variables (in making an art quilt), how do you start?
I INVITE YOU TO SHARE YOUR ANSWERS AND FEEL FREE TO RAMBLE AS I DID 😉
Yesterday I discovered treasures in my fabric stash: a collection of what I believe to be South African Shweshwe fabrics.
Many years ago, an art quilting mentor in Oregon had shared with me some of the bounty of fabrics she inherited from her friend’s aunt who had died, who was a world traveler, and had collected fabrics fromall over the world during her travels (primarily small samples and pieces, rarely yardage/metres).
I was able to select a sampling of fabrics from the huge stash of fabrics and I was attracted to a collection of blue and white fabric fabrics, that had a lot of texture to them, that I thought were Japanese textiles.
I end up shoving this collection of blue and white fabrics away with my collection of Asian fabrics and I did use a some of them to make this simple blue and white quilt years ago, along with a large collection of Japanese blue and white fabrics I got from the inherited stash:
I was just trying to put to use a bunch of the awesome fabrics I got from the late aunt’s stash, little did I understand the treasures I was using up….
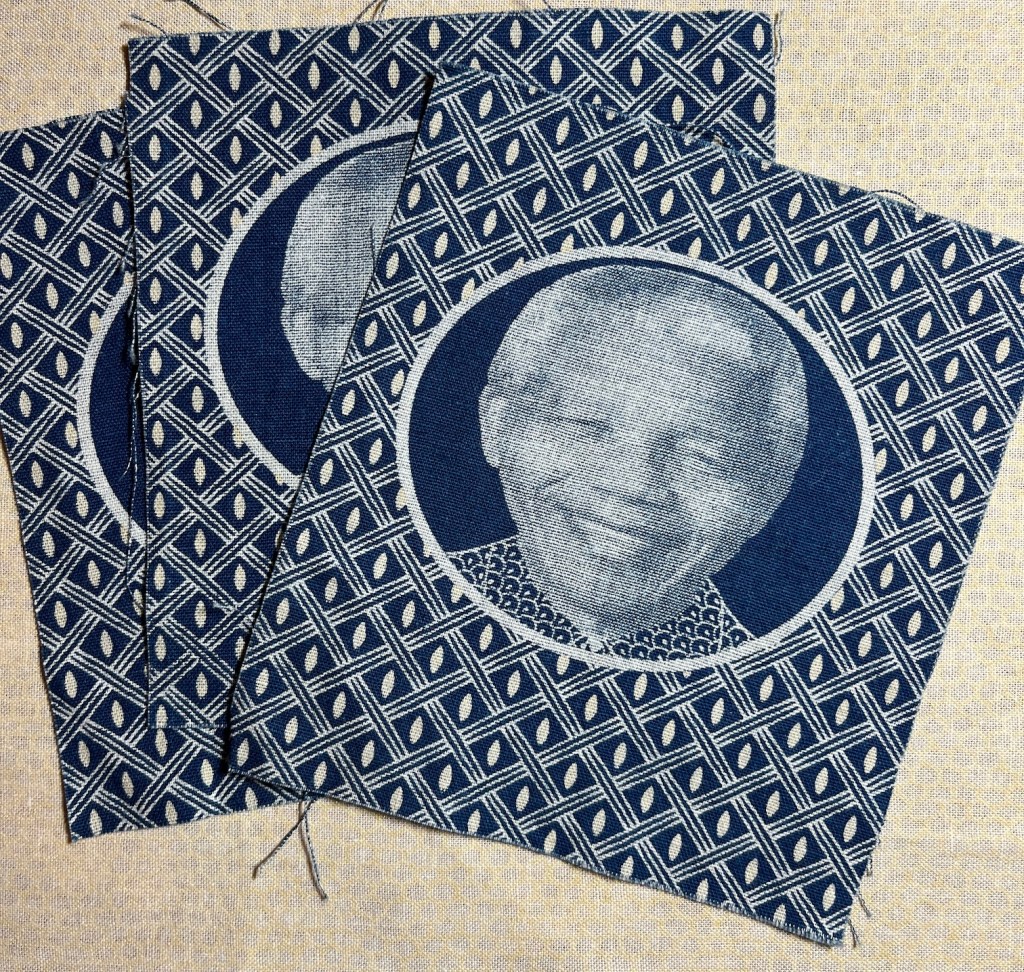
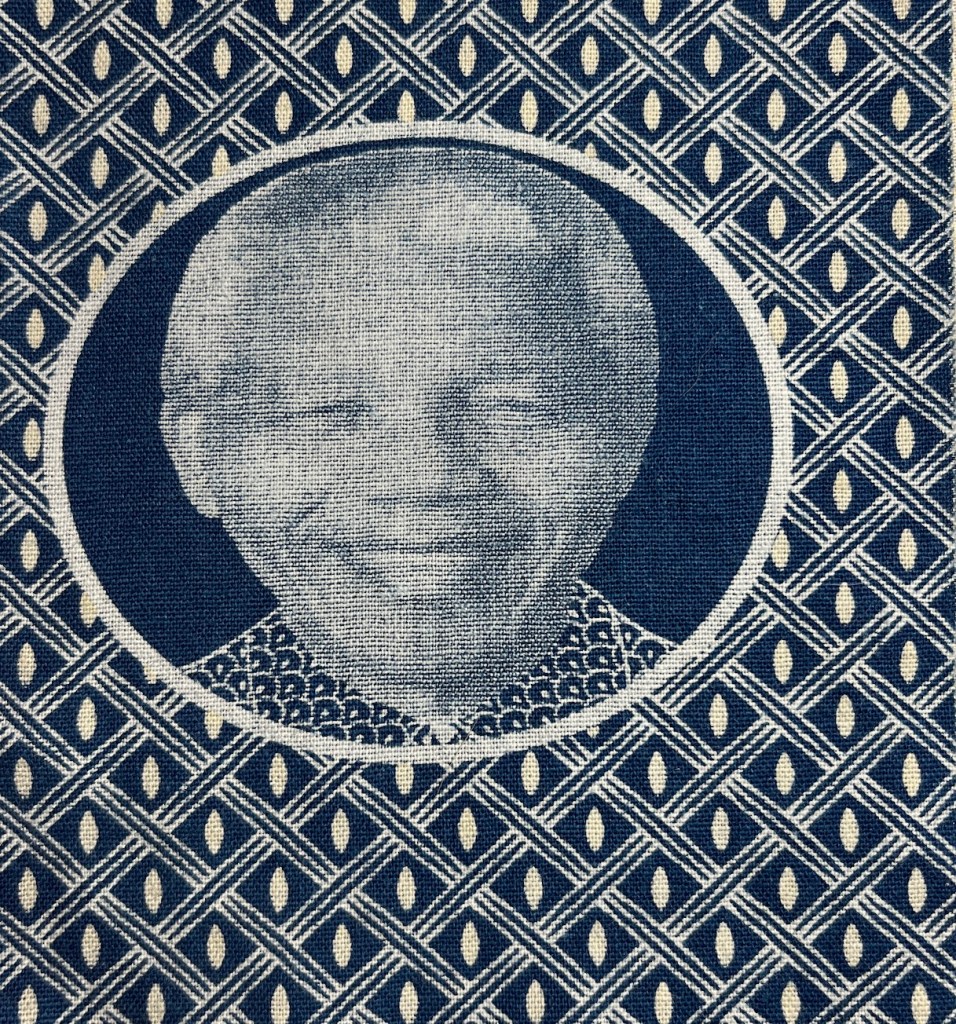
So, as I shared in the August 2021 post Awesome Surprise Treats in the Mail!, my South African based long time blogging friend Mariss (@fabrications) sent me some treats in the mail all the way from the other side of the world, which included these awesome Nelson Mandela fabric pieces:
At the time I received these fabrics (June 2021), I did not make the connection to the similar other fabric in my stash, which I had mistakenly labeled as “Japanese”.
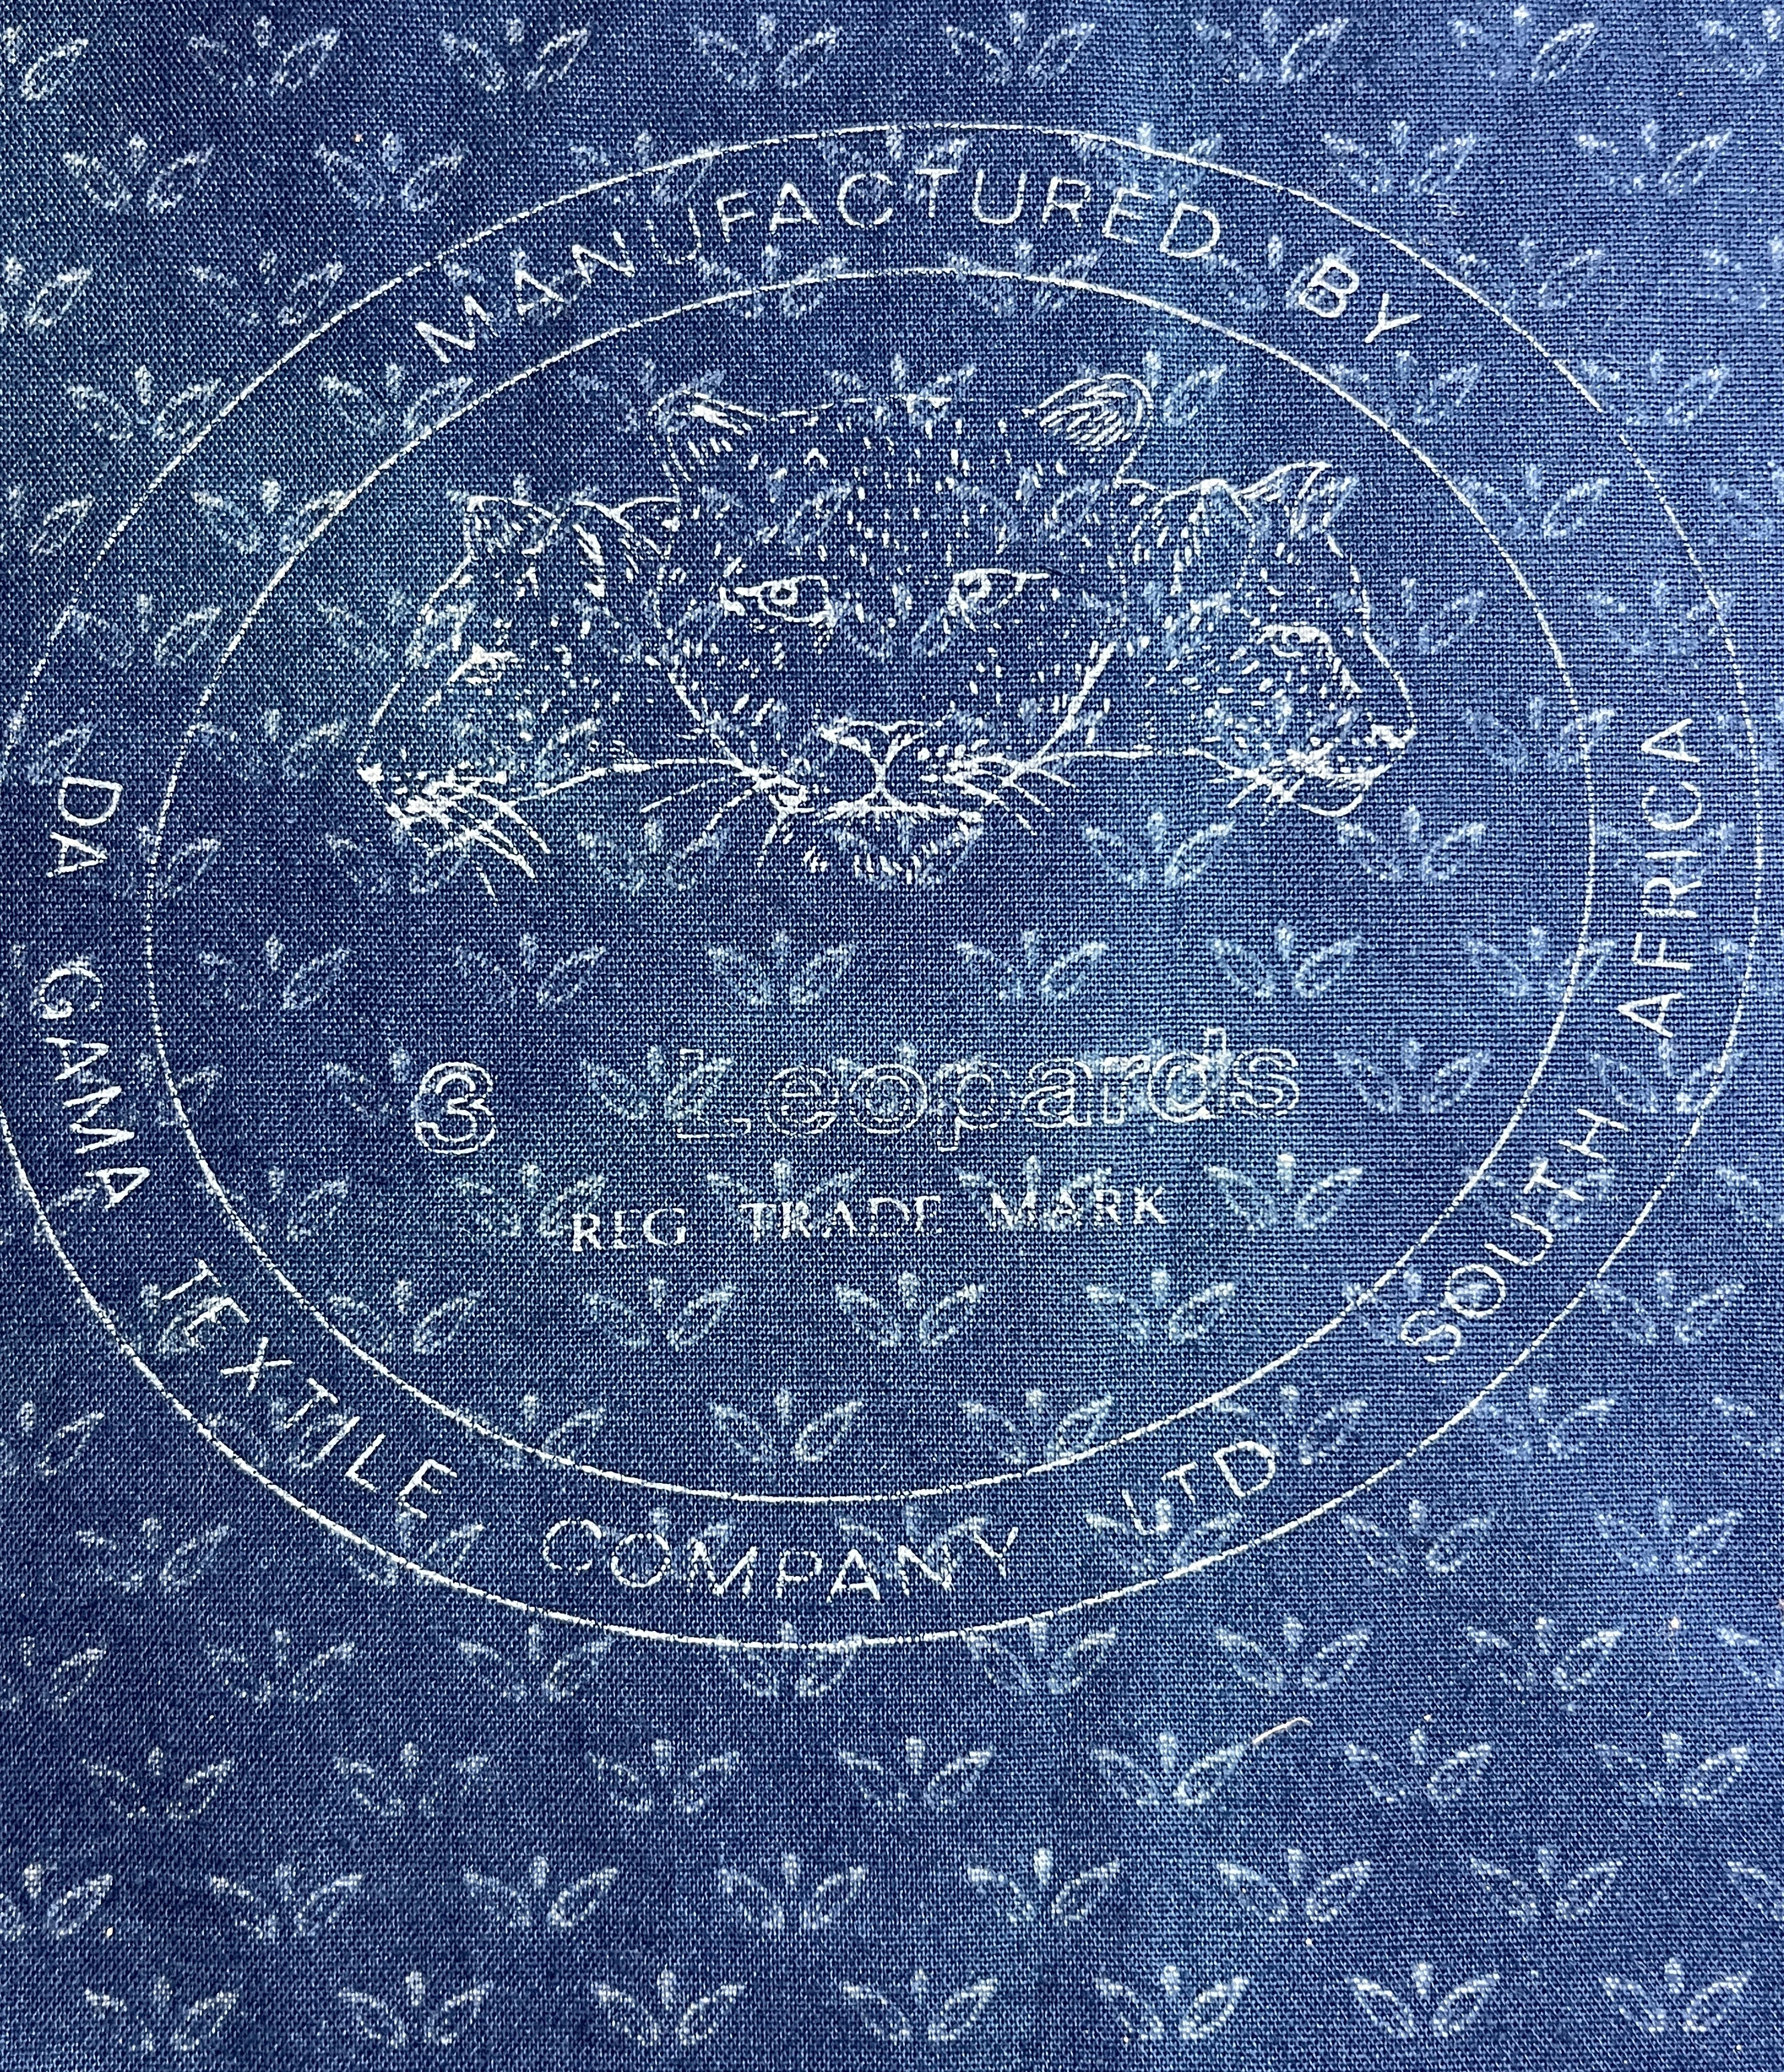
But yesterday a light bulb went on in my head (oh how dim my brain has been sometimes) and when I came across that stash of blue and white fabrics again, I took a close look at the label most of them had on the back:
3 Leopards fabric by the Da Gama Textile Companyin South Africa! A little further research and the fabrics appear (and please correct me if my brain bulb is being dim) to be South African Shweshwe fabrics.
From the Da Gama Textile company’s website, here is some background on Shweshwefabrics if you are not familiar with Shweshwe:
Shweshwe has a history going back thousands of years, with the shweshwe we know and love today making its way to SA for the first time in the early 1840s. Today, we produce shweshwe by the traditional processes, using a weak acid solution to bleach out distinctive designs. This gives the fabric an authentic look and feel, as well as the distinctive smell that consumers know and love. Shweshwe is a unique Eastern Cape fabric and Da Gama Textiles is aptly referred to as the “home of the original shweshwe”. It is not uncommon to see patrons taste, smell and feel the fabric before committing to a sale, to ensure the cloth is authentic. Shweshwe is sold by folded bolt and not on a cardboard core in roll form, staying as close as possible to its roots of origin. All of these unique characteristics date back to the long sea voyages from the UK to South Africa, which formed the original transport route for this cloth. A strong starch is used to preserve the fabric, resulting in the hard handle and distinctive smell, which disappear after washing.
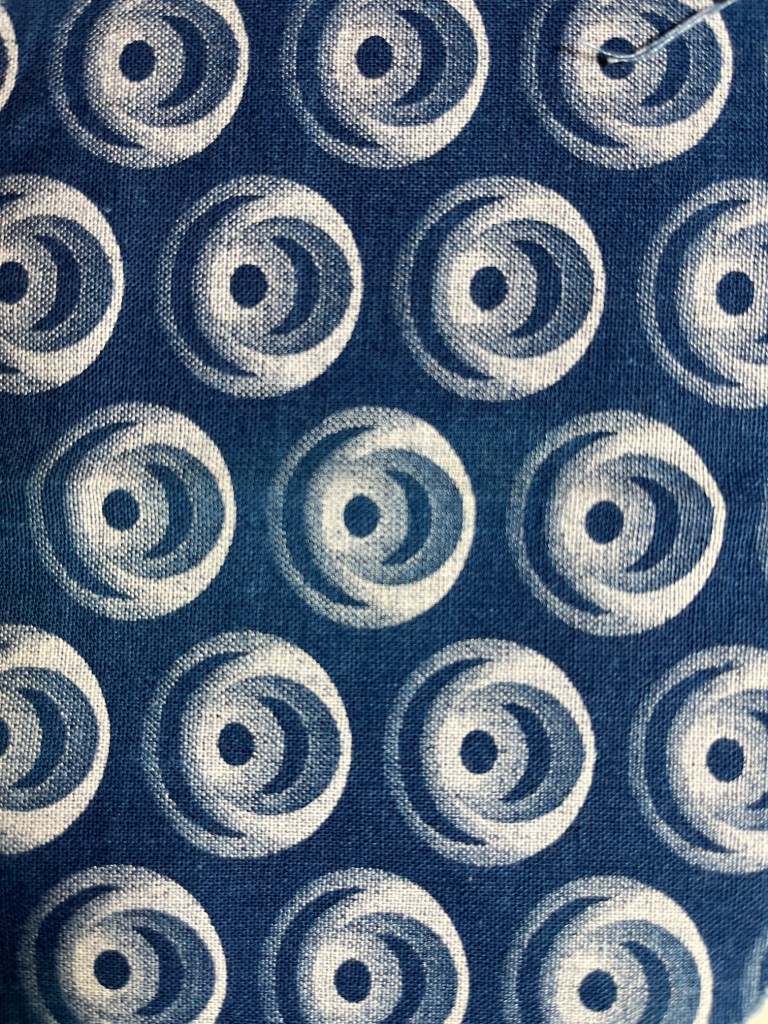
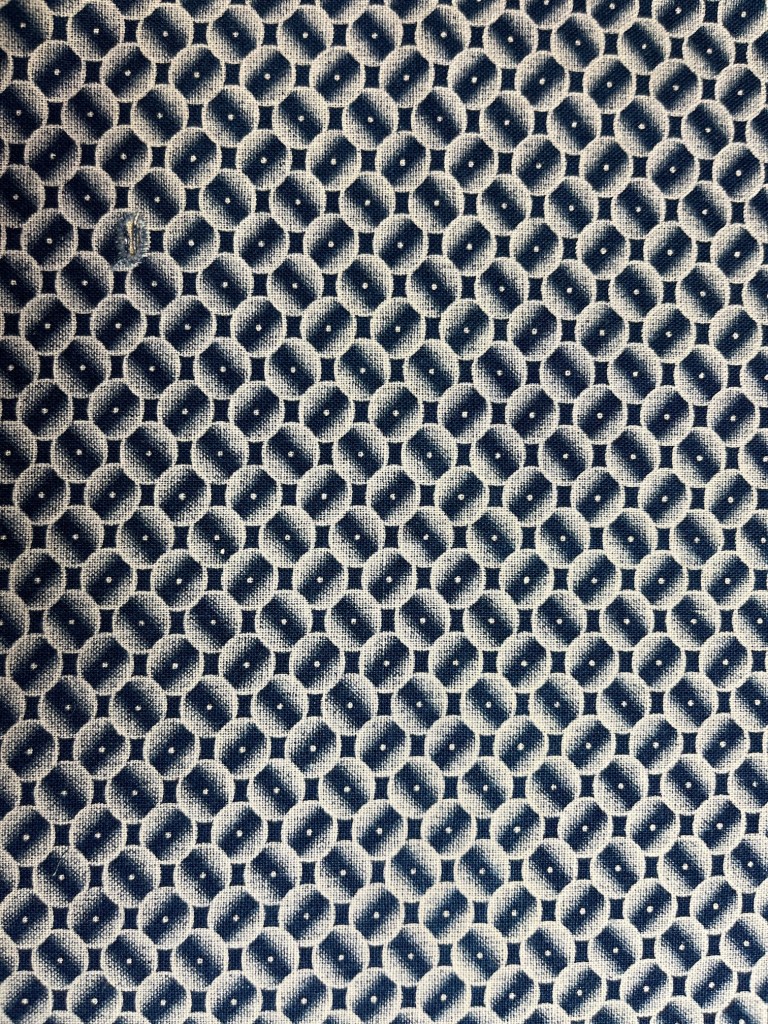
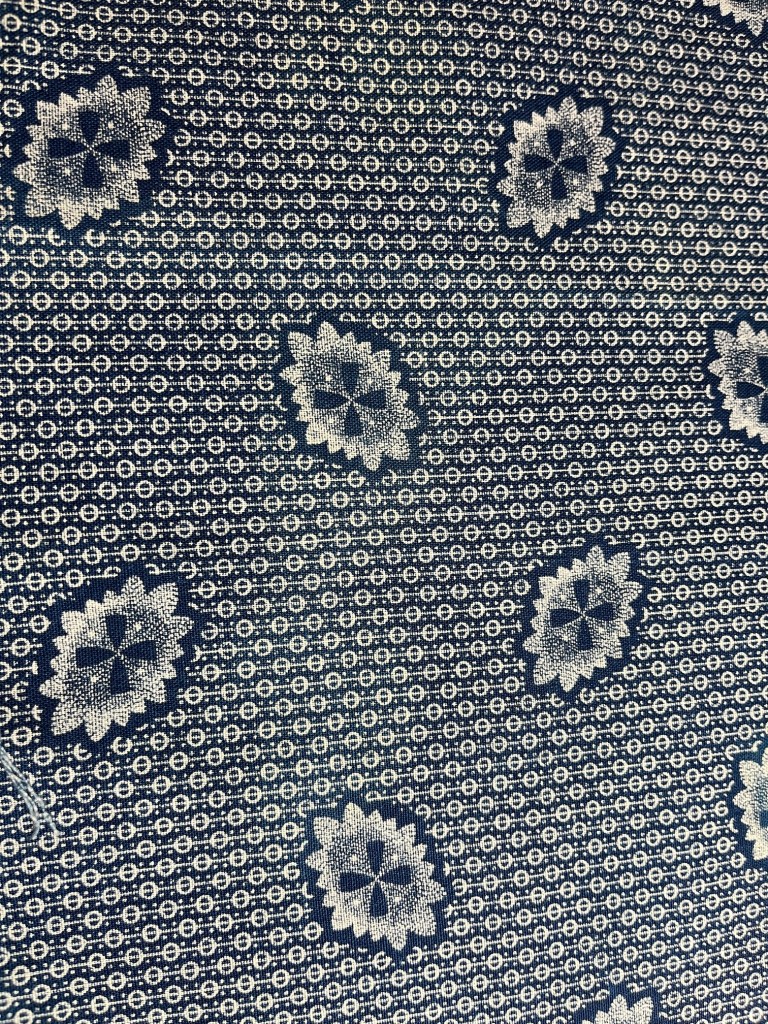
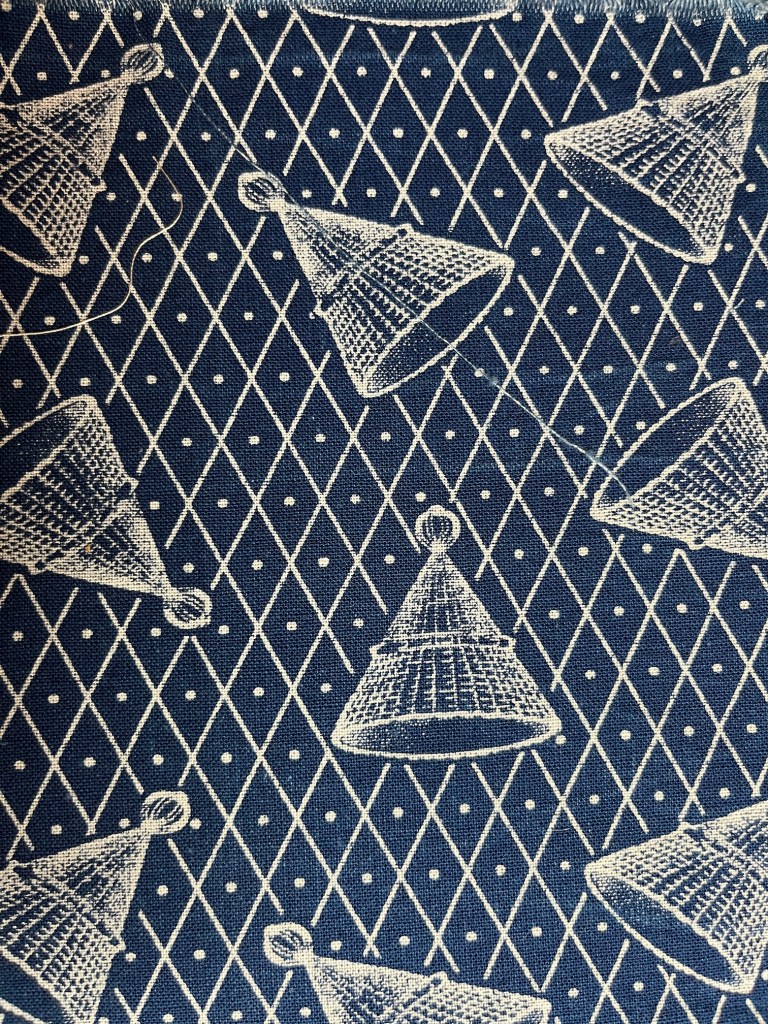
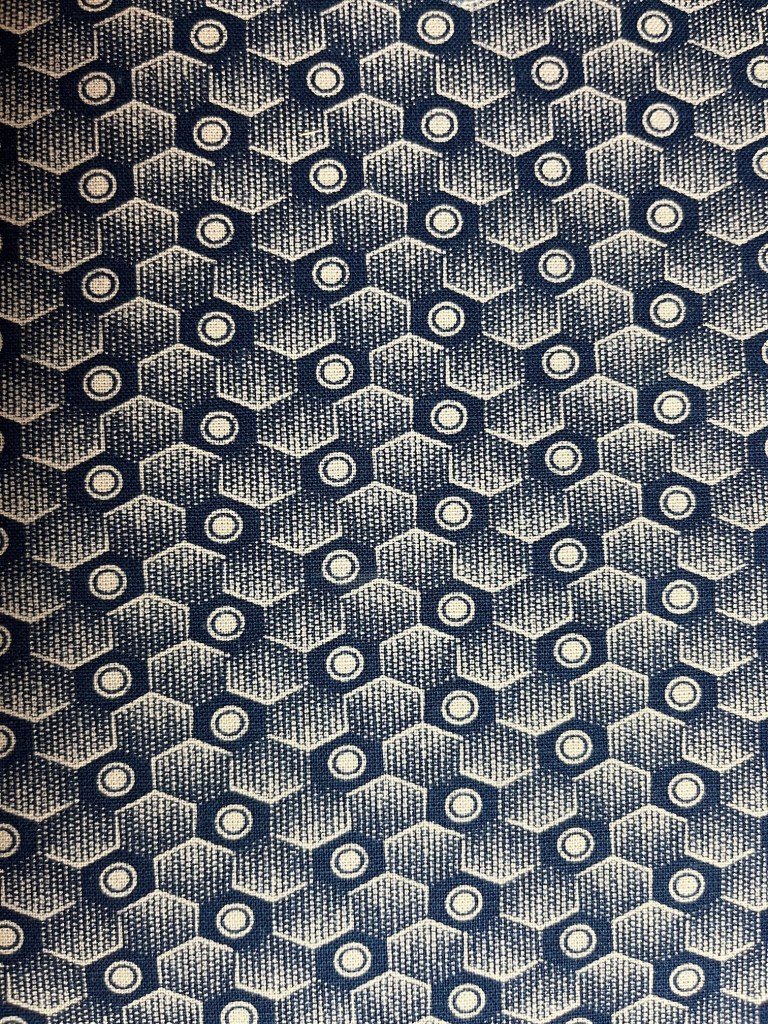
The Shweshwe fabrics I am lucky to have in my fabric stash are so beautiful and have an amazing texture and feel to them. Here is a sampling of some of the fabrics I have:
All the backs are marked with either a full or partial version of the Da Gama Textile Co. label.
And here is the whole pile including the Nelson Mandela fabric that Mariss sent me:
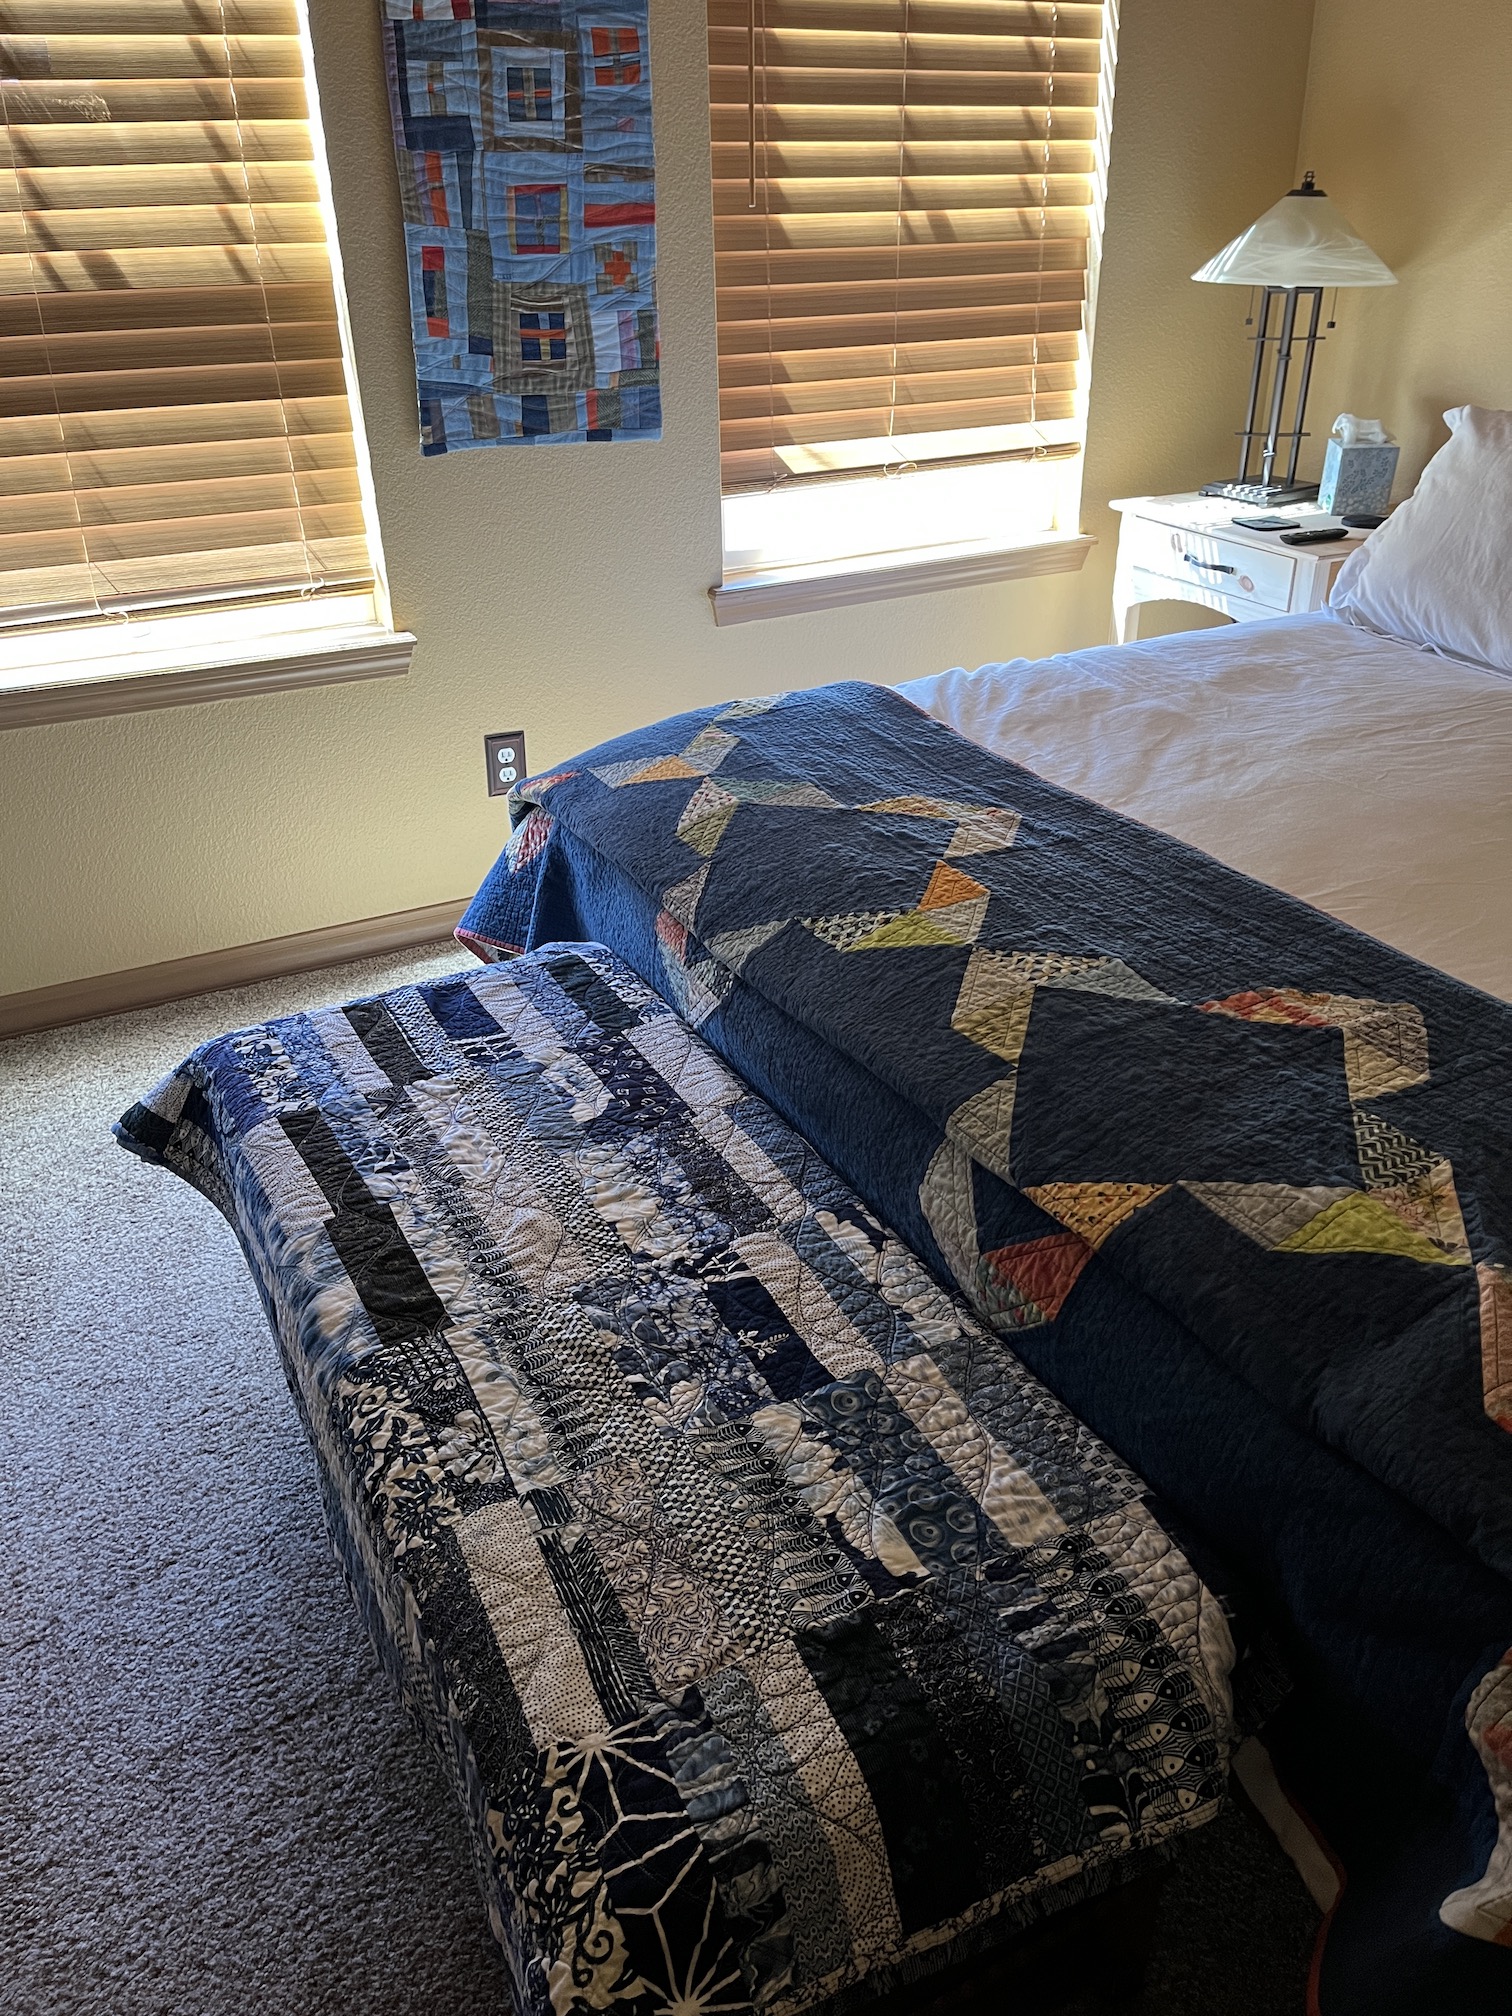
I revisited that blue and white quilt I made many years ago and winced to see fabrics such as this example below in the quilt:
I was thinking: “I should have saved that fabric for something really special.” But then I remembered that I look at/enjoy this quilt every day as it at the foot of my bed on my partner John’s grandmother’s antique chest. So the Shweshwe I’ve already used in my stash has gone to good use!
POSTSCRIPT
I found this awesome blog post from 2018 by Urbanstax called What is Shweshwe, that is worth a read:
I decided to quilt is myself and did a combination of hand and machine quilting. I talk more about this (and share photos) on the previous post “Update on Memory Quilt “.
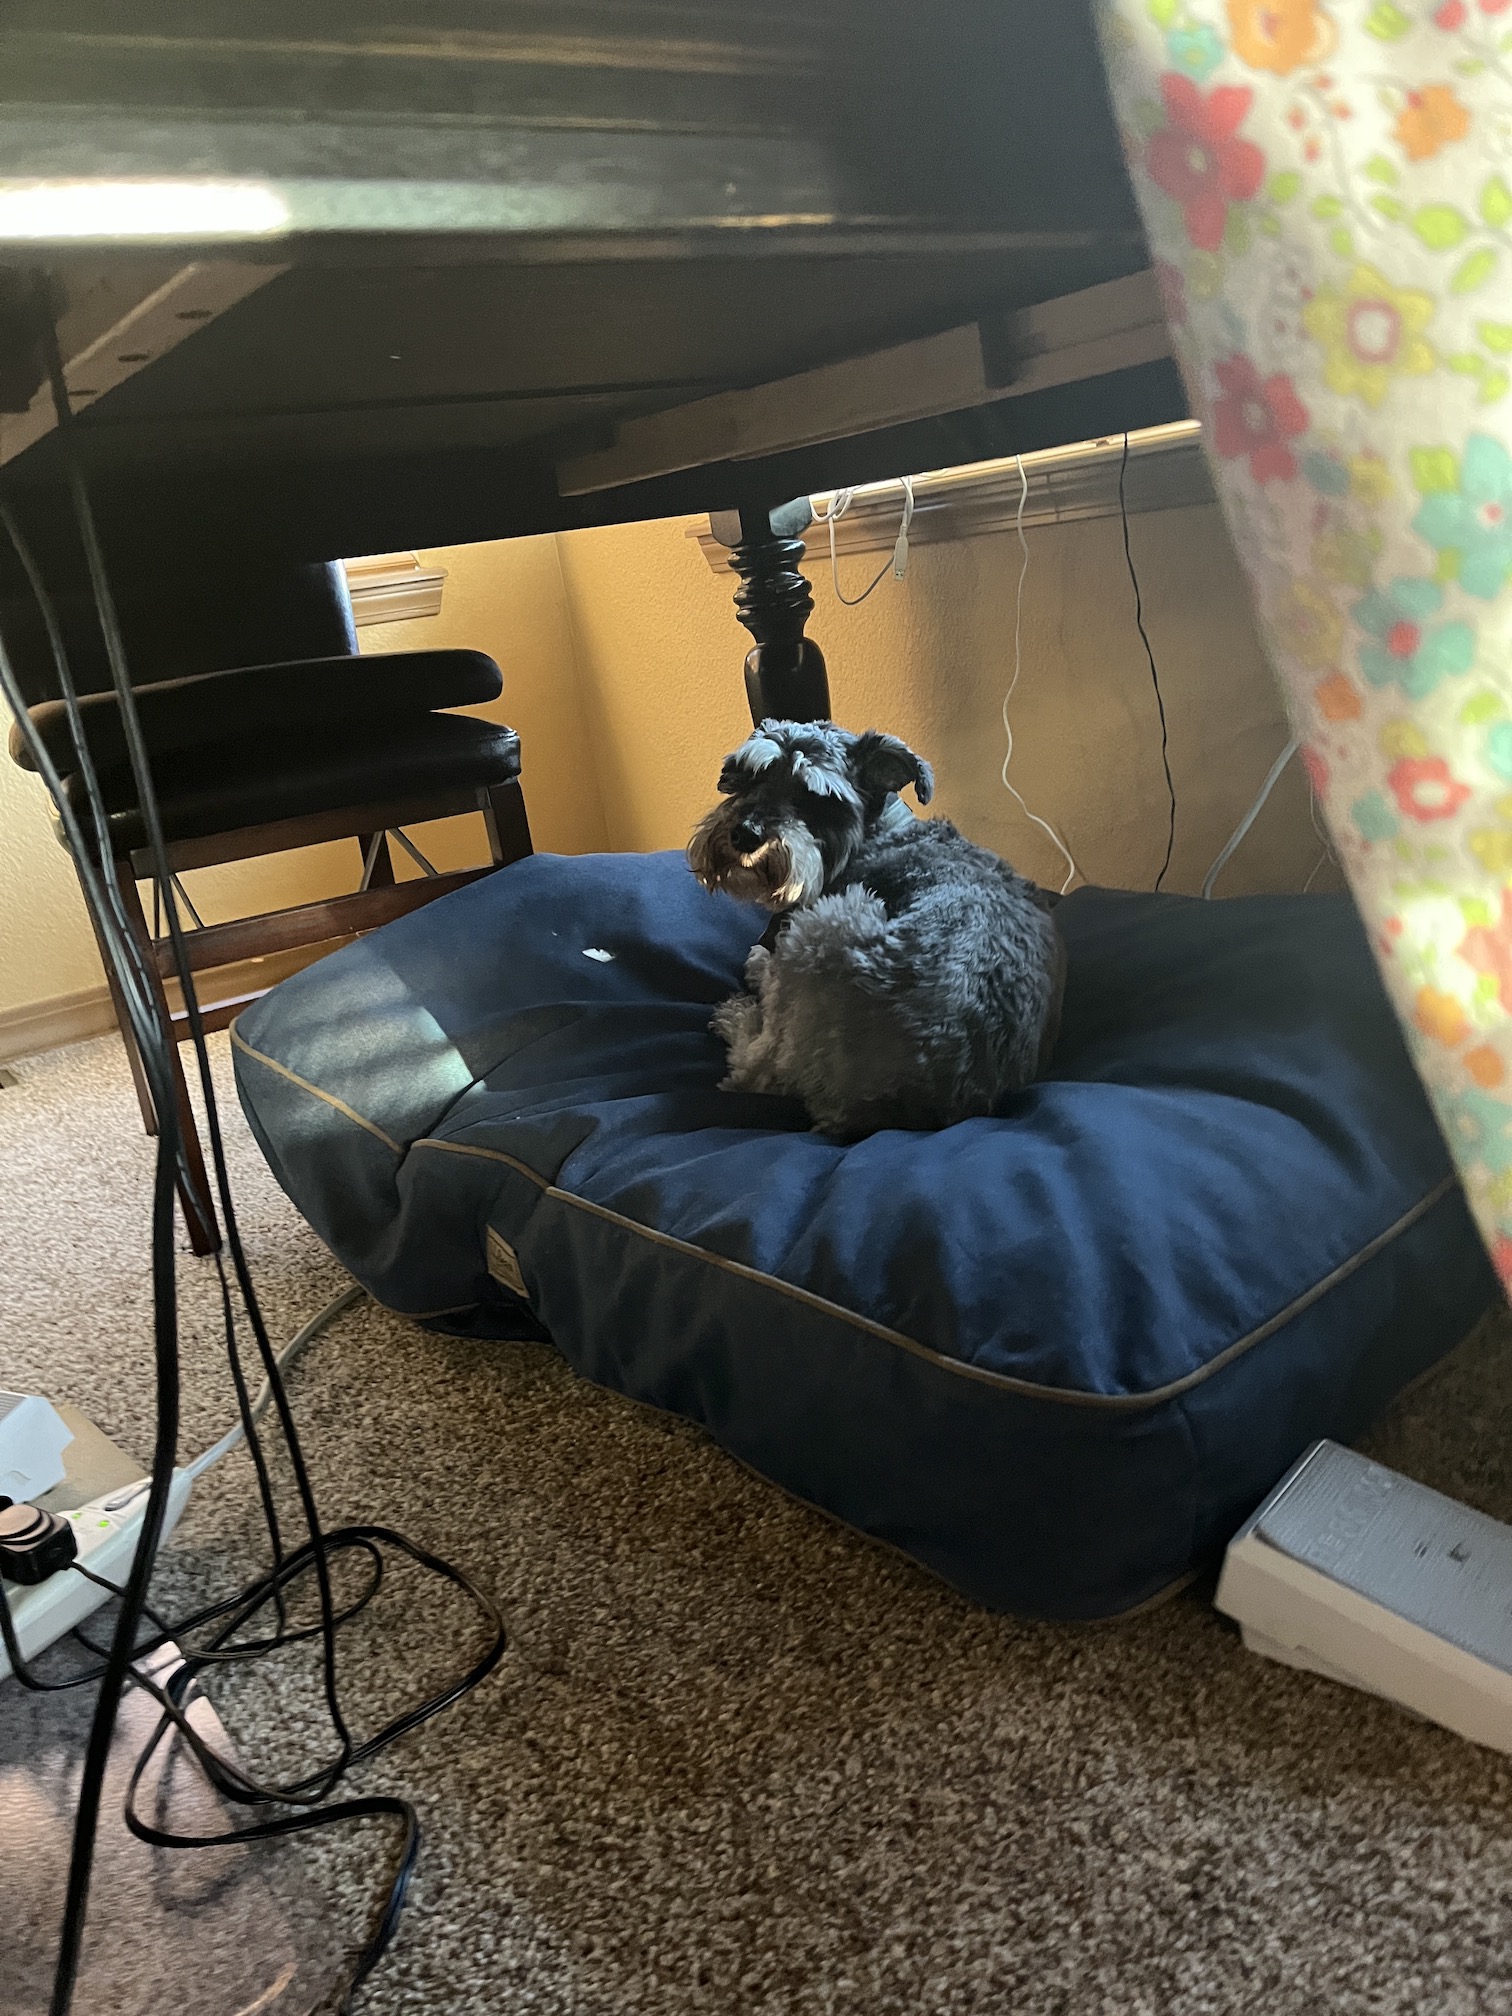
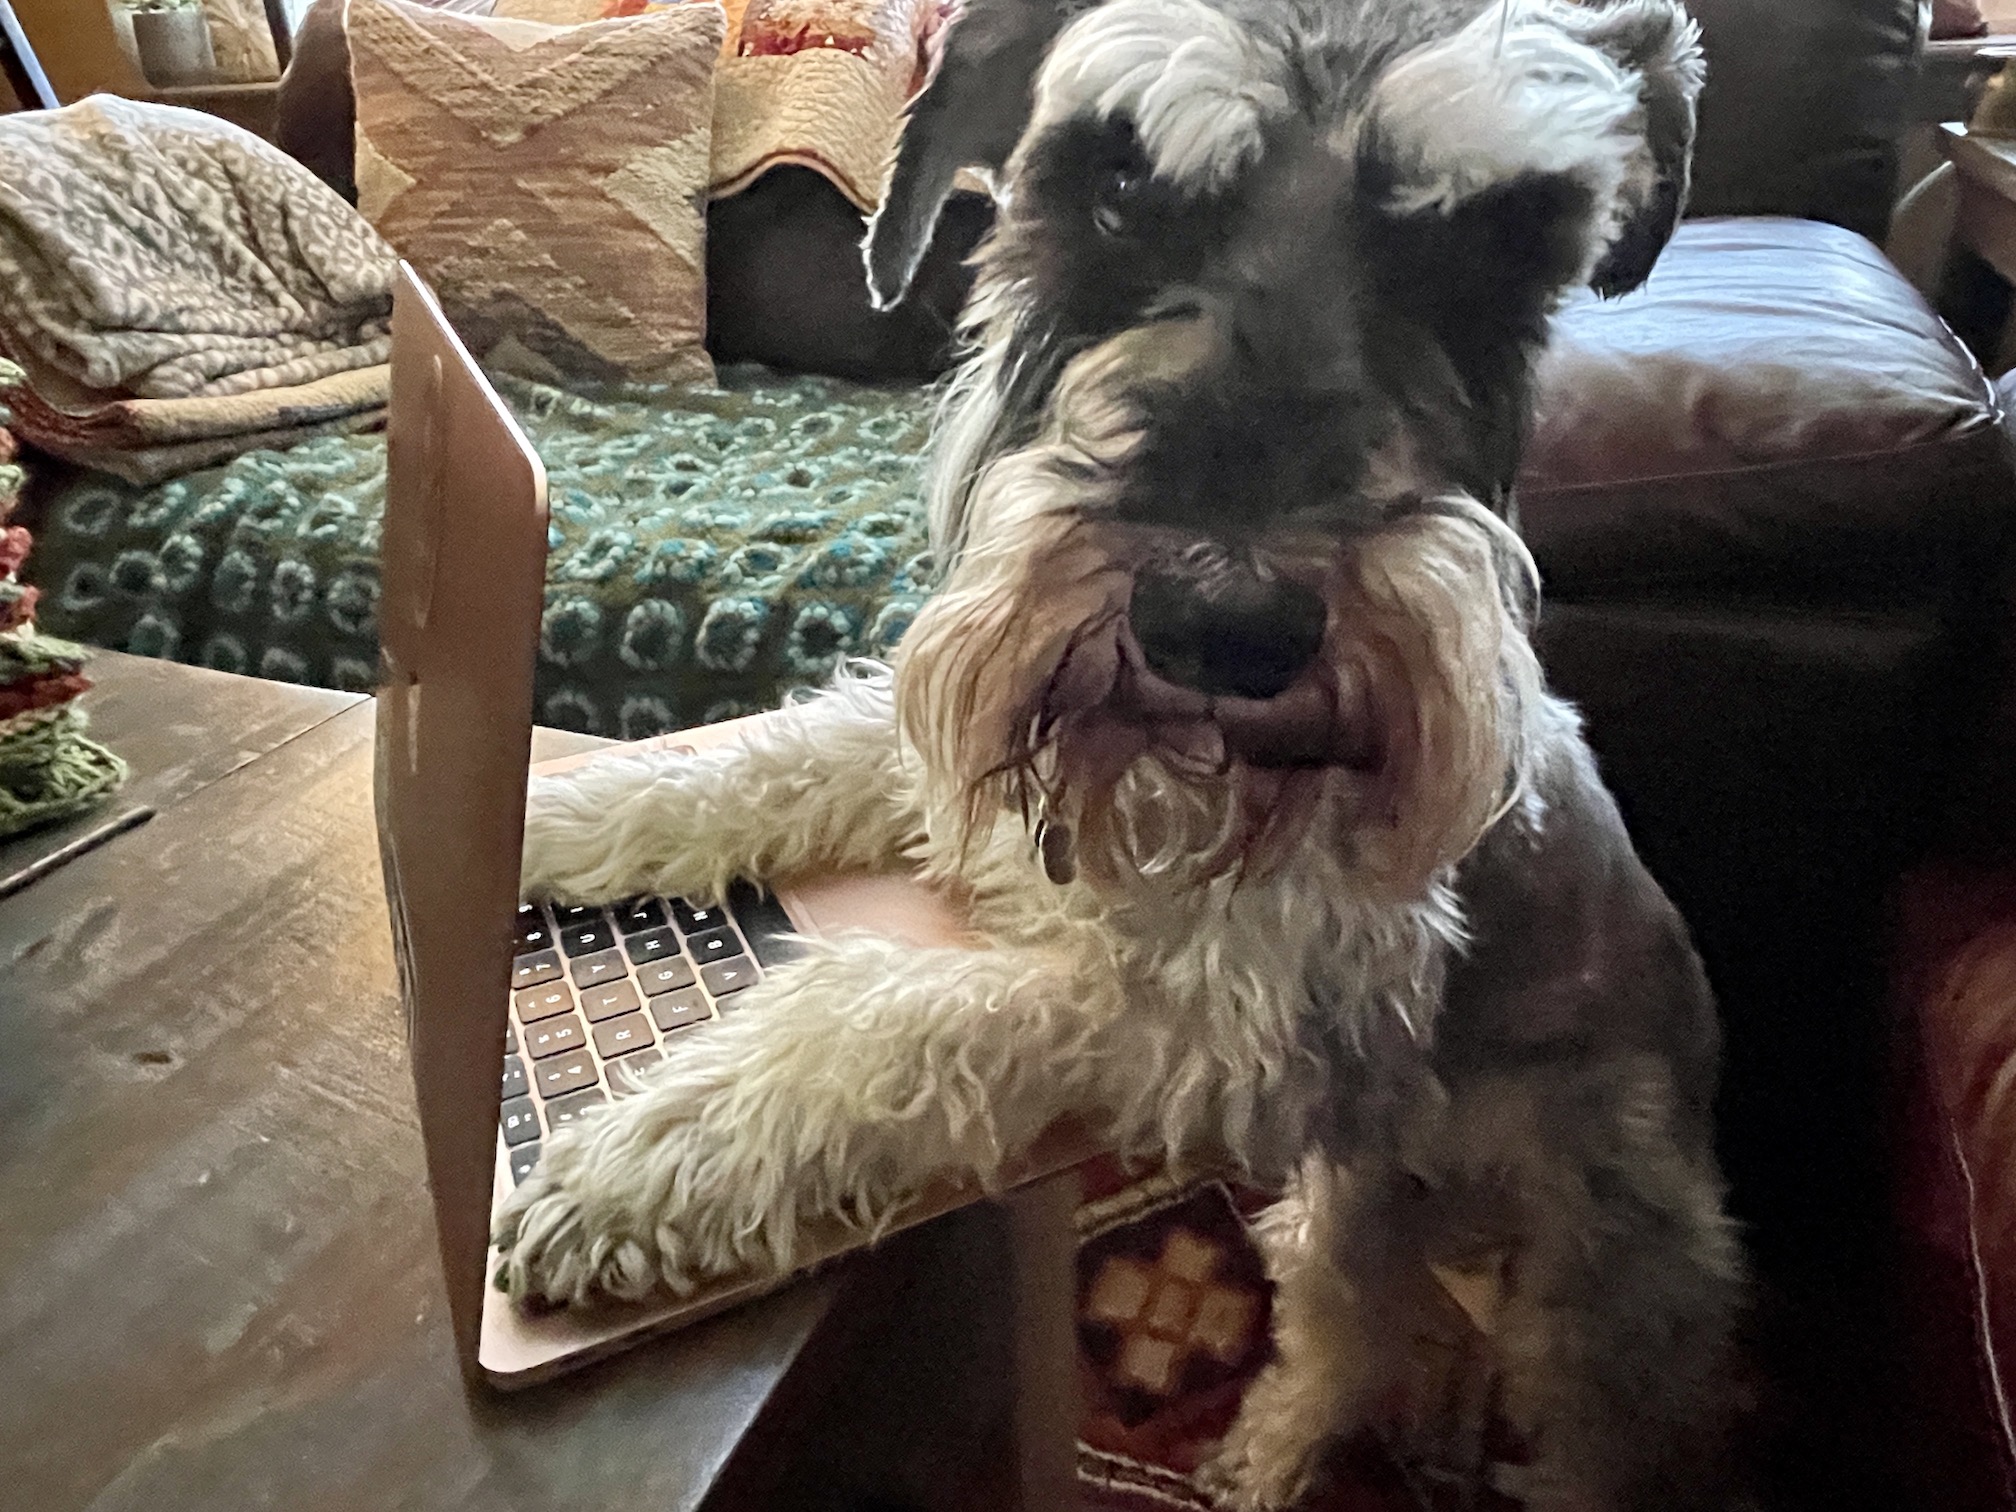
Slogging through machine quiltingMike the mini schnauzer providing emotional support under the table while I quilt
I used a floral fabric with the colors in the quilt top as the back and the binding.
Here’s the completed quilt (which is of course a rectangle, it just looks triangular from the camera angle) in my studio:
A couple more photos:
And yes that is me at the bottom of the photo above awkwardly trying to take a photo of the quilt on my cutting table in my studio while trying to use my ring light.
Something I did not mention in the previous post on this quilt – before I quilted it, we met my friend and her husband for dinner while my sister was visiting a couple of weeks ago. I brought the quilt top (not quilted yet) with me to show her.
At the restaurant I pulled out the quilt top and handed it to her to look at before our food arrived.
She started crying. She was so touched and overwhelmed with seeing her mother’s favorite clothes made into a quilt top she could not contain her emotions. My eyes started to get moist too and I was touch.
She was very happy with the final product which was delivered to her on Saturday. She wants to hang the quilt on the wall but I strongly encouraged to cuddle under it and let it be a “hug from her Mom”.
This is Mike the Miniature Schnauzer that lives with Tierney and John. I see that pesky Beastie has had like 4 guest blog posts recently; and it is time for me to have one. (Plus I am a REAL miniature schnauzer, I am tired of that allegedly cute little fake miniature schnauzer – Mikelet.)
In my Dog Camp post, I shared my challenges of being EXTREMELY popular at the Dog Camp I attend whenever my humans go out of town (though occasionally I stay with John’s Dad who refers to me as “his dog” even though he now has a miniature schnauzer puppy living with him).
The Dog Camp is only for smaller dogs and I am always surrounded by the little female dogs that attend camp for daily dog daycare or are boarders when their humans go out of town like mine.
Recently I spent a stint at Dog Camp when my humans went to Chicago and oh my goodness – from the minute I arrived the ladies went crazy!
The human that runs Dog Camp took this video and my human Tierney uploaded it to YouTube so you can see what happened the moment I arrived at Dog Camp!
Ladies, there is only one of me, calm down!
I am so glad to be back home and take a break from the ladies. I am neutered but it still does not matter, they all follow me around!
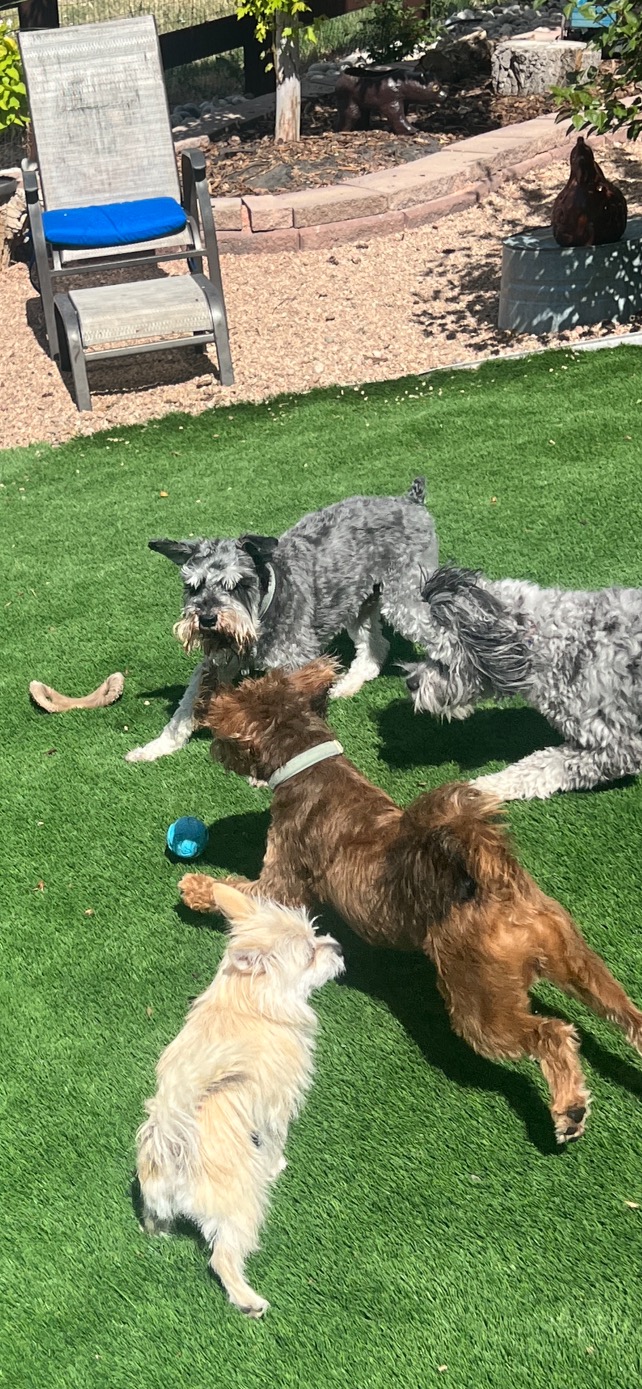
It is not all “Mike-stalking” by the female dogs at Dog Camp, I did also have time to play lots of ball with my buddies there:
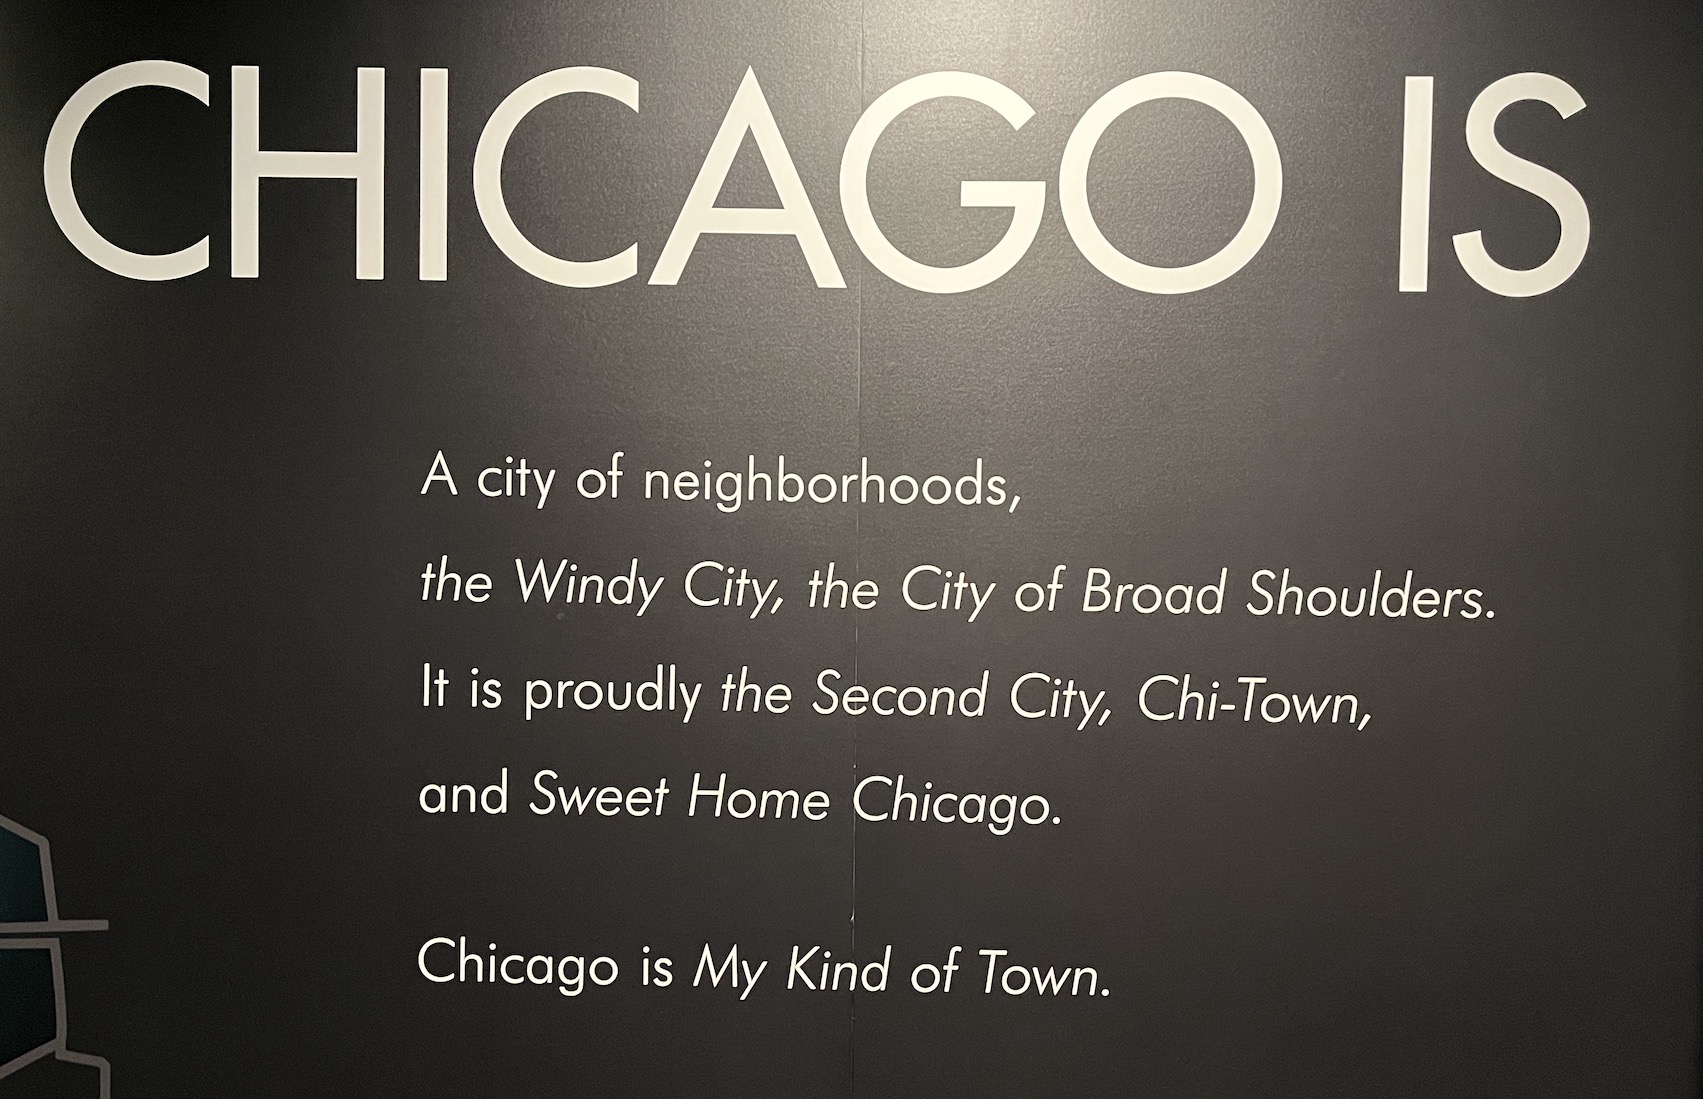
Early July we met my brother, his wife and son in Chicago for a long weekend.
I’ve been to Chicago, Illinois many times, and each time I visit it is like visiting for the first time as I have a different experience each time.
While visiting I took a bunch for B&W photos and this post is a photoessay of my visit.
STARBUCKS RESERVE CHICAGO ROASTERY
We went to our first Starbucks Reserve Roastery while in Chicago and it was so cool! I rarely go to Starbucks and would rather support a small independent coffee shop, but I would recommend if you come across on you should visit it at least once, it is quite an experience.
Here is a photo from first entering the roastery:
MILLENNIUM PARK
We spent a bit of time in Millennium Park which is a “mandatory” place to visit on first trip to Chicago.
DOWNTOWN CHICAGO
Here are some photos from wandering around downtown Chicago.
360 CHICAGO OBSERVATION DECK
On our last day in Chicago we went to the the 360 Chicago Observation Deck at the top of the former John Hancock building. I’ll close the post with these photos from 1000ft above Chicago on the Magnificent Mile.
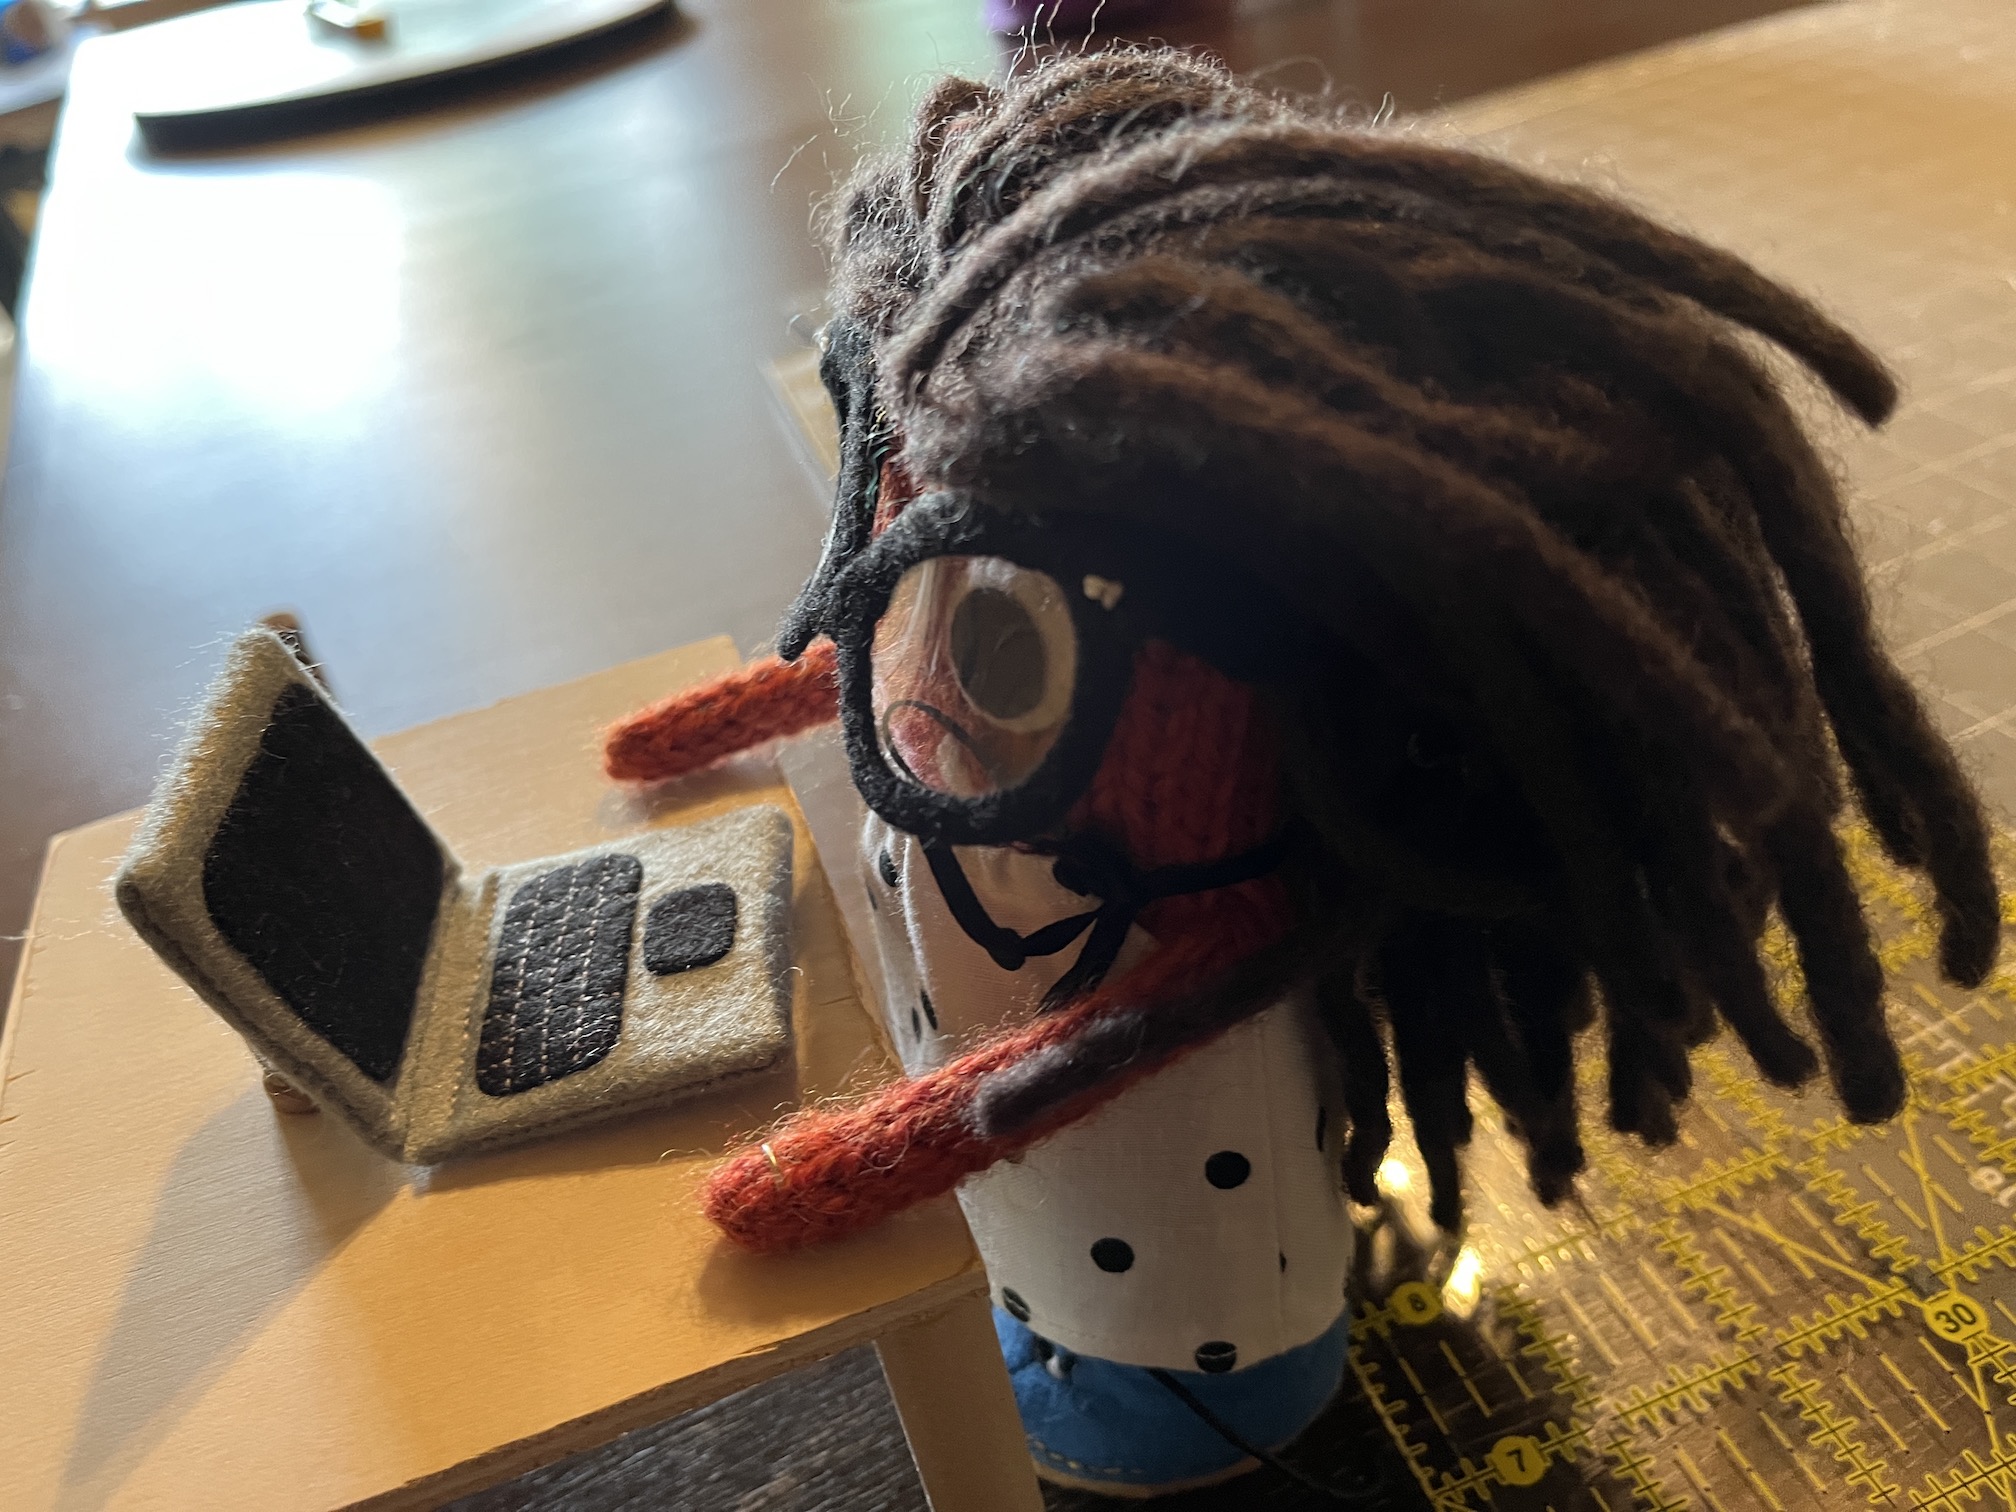
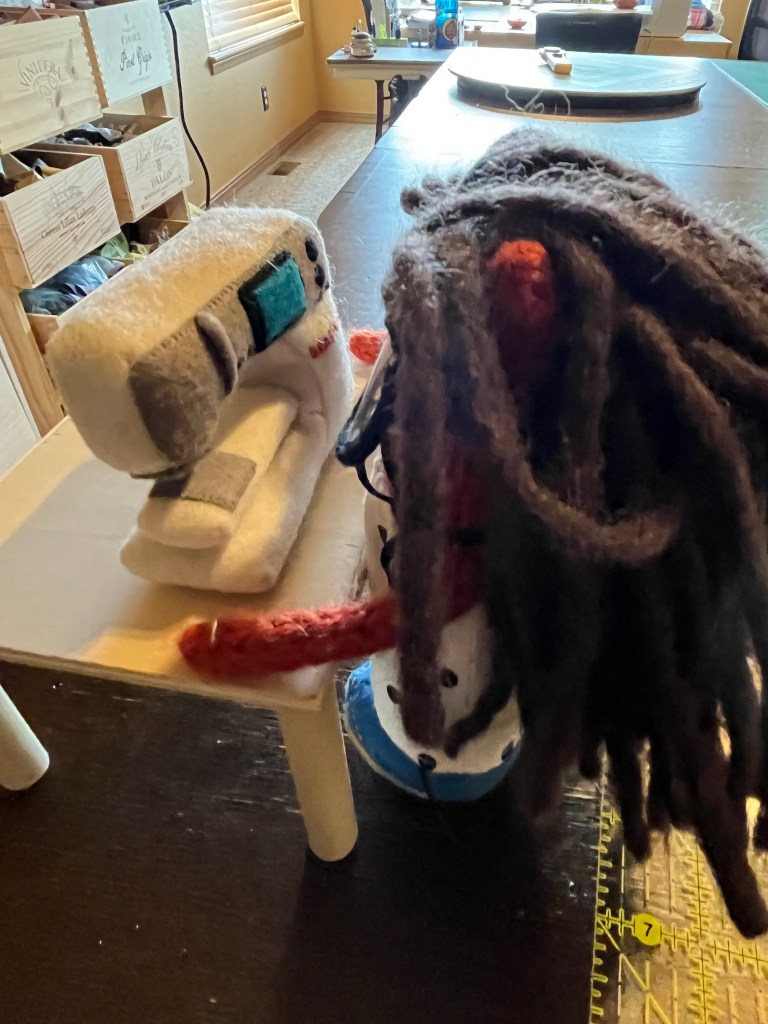
I bet you are surprised to hear from me again so soon! This is the tierneycreates Beastie, and I am sneaking in for a post about my new desk that Tierney’s partner John built for me yesterday.
Tierney had a post planned today on Black & White photos she took in Chicago (my monster eyes are rolling) but I asked her to delay your boredom a day while I shared news about my new desk (which I am writing you from right now!):
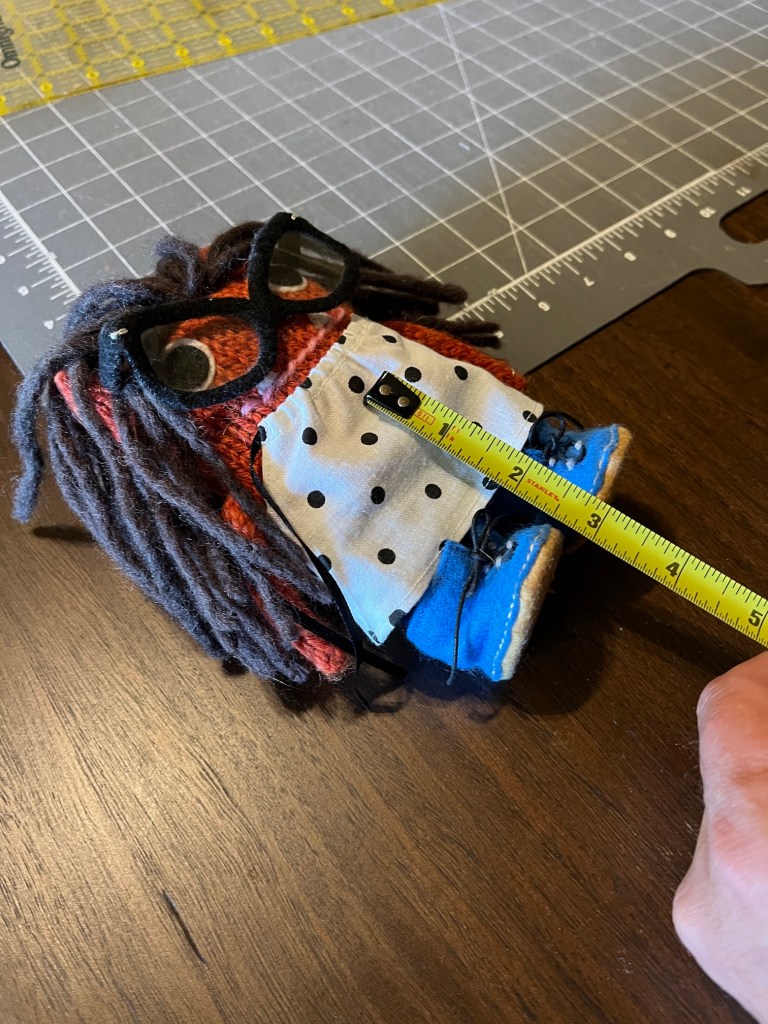
First John came up to Tierney’s studio (which is also the home of my dog Mikelet and me) to take my measurements for the desk:
He went down to his woodshop in the basement (where my partner John Beastie lives, yes we stay in separate sections of the house its a long story – but it best not to let two Beasties hang out continuously, trust me…).
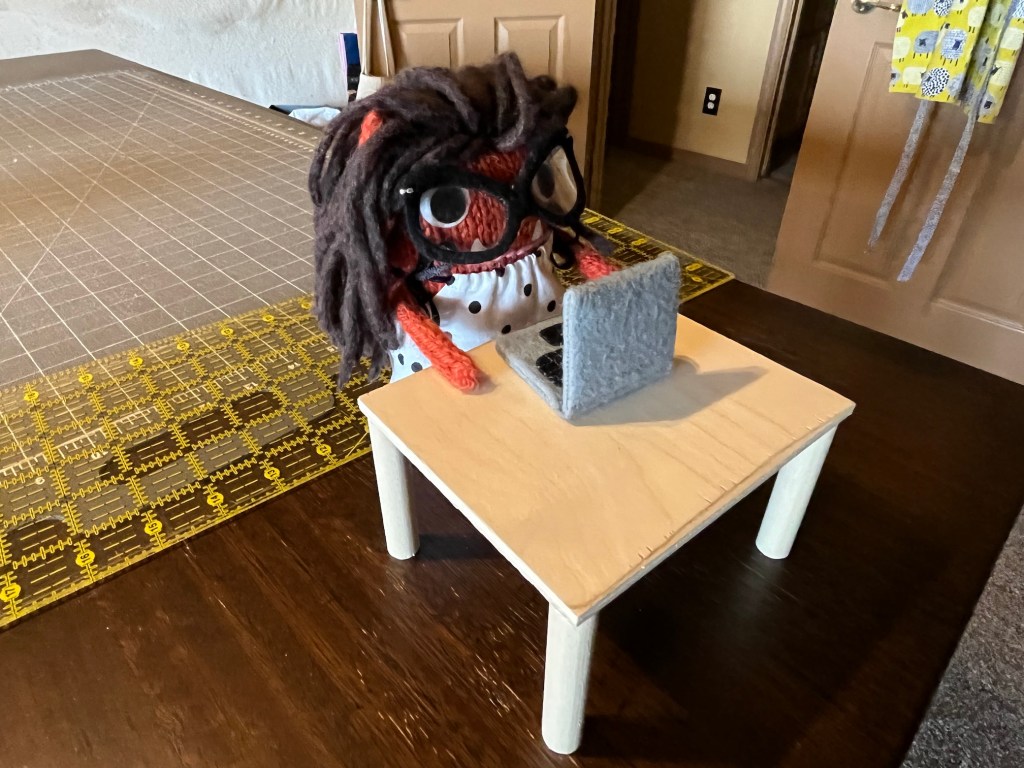
An hour later John returned with my new desk:
Then Tierney and John did a photoshoot (and I am not sure why they were giggling so loudly during the photoshoot, it was quite rude) of me at my new desk:
We also discovered the desk is great for me to sew on my Beastnina, so I can help Tierney out with her backlog of UFOs (unfinished objects for the non-quilters reading):
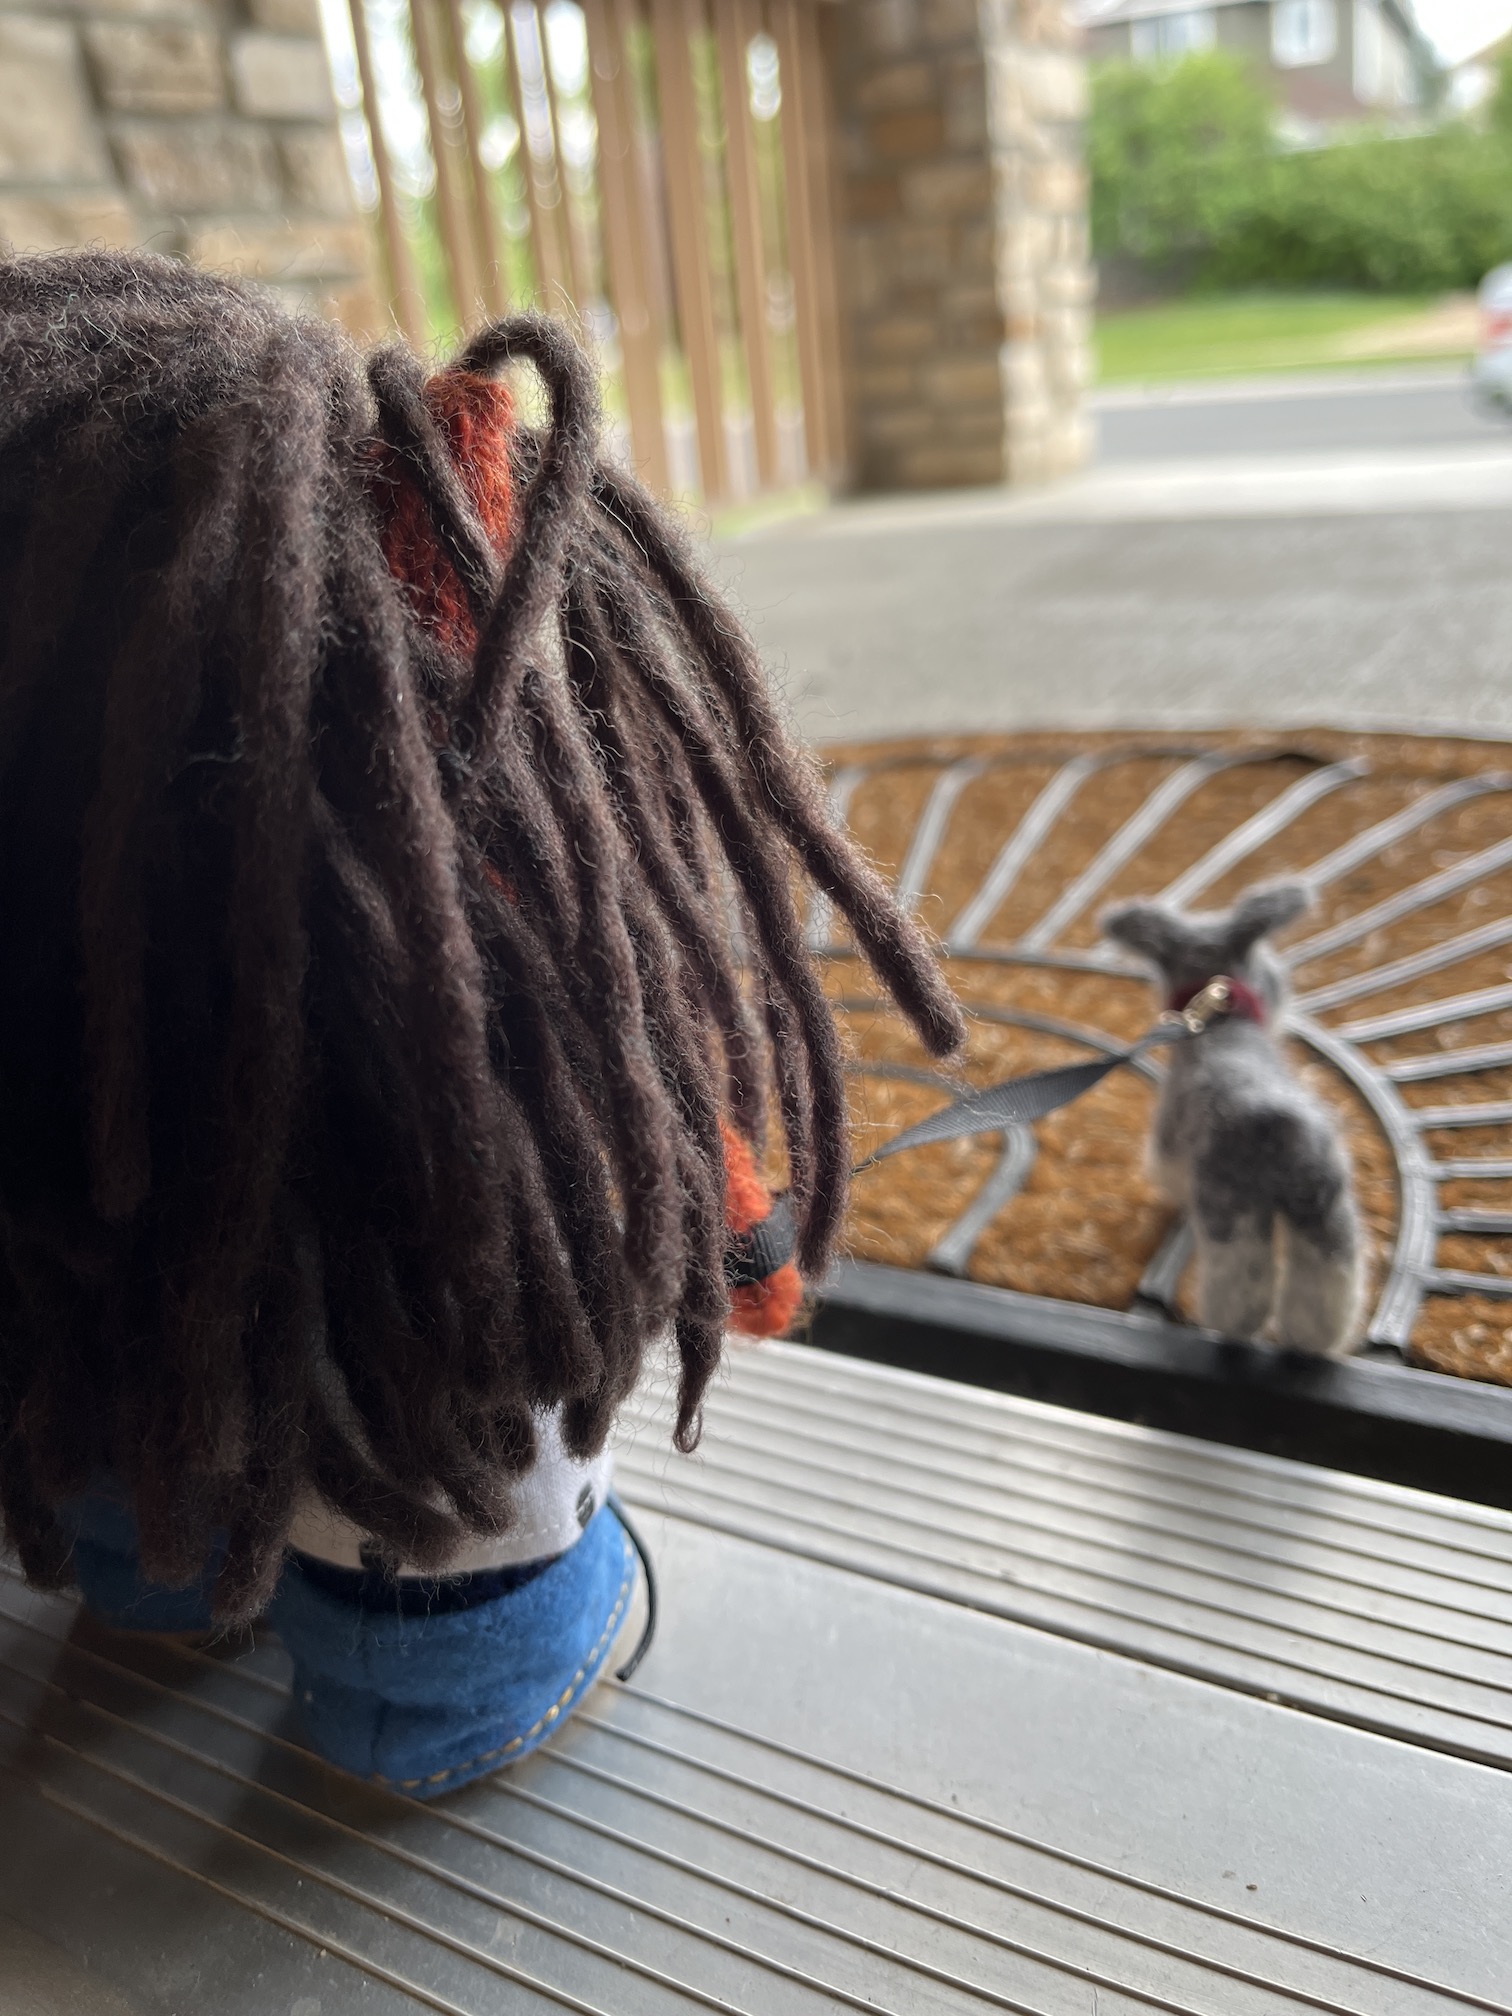
My dog Mikelet was getting impatient during the photoshoot because it was time for his after dinner walk:
So I stopped playing with my new desk, and took Mikelet out for his walk:
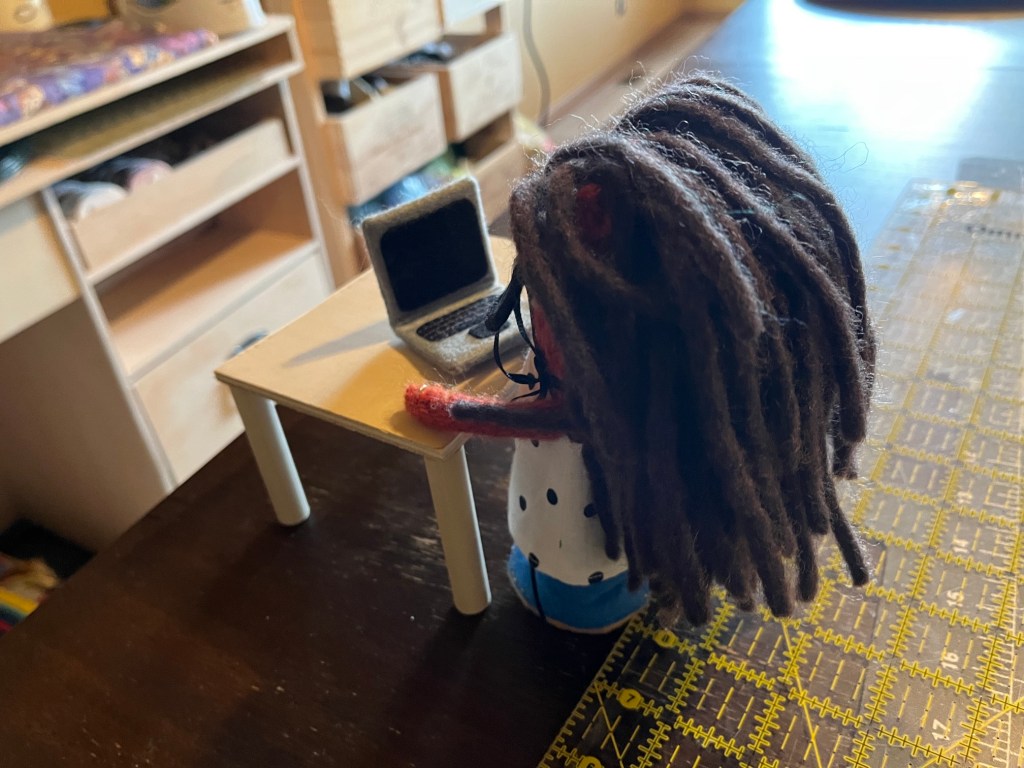
So that’s my new desk story. Now that I have a great place to write I might pop in more frequently with blog posts.
And don’t worry Tierney will be back tomorrow to bore you to tears with more of her B&W photography from her delusion that she is a photographer (but just keep playing along).
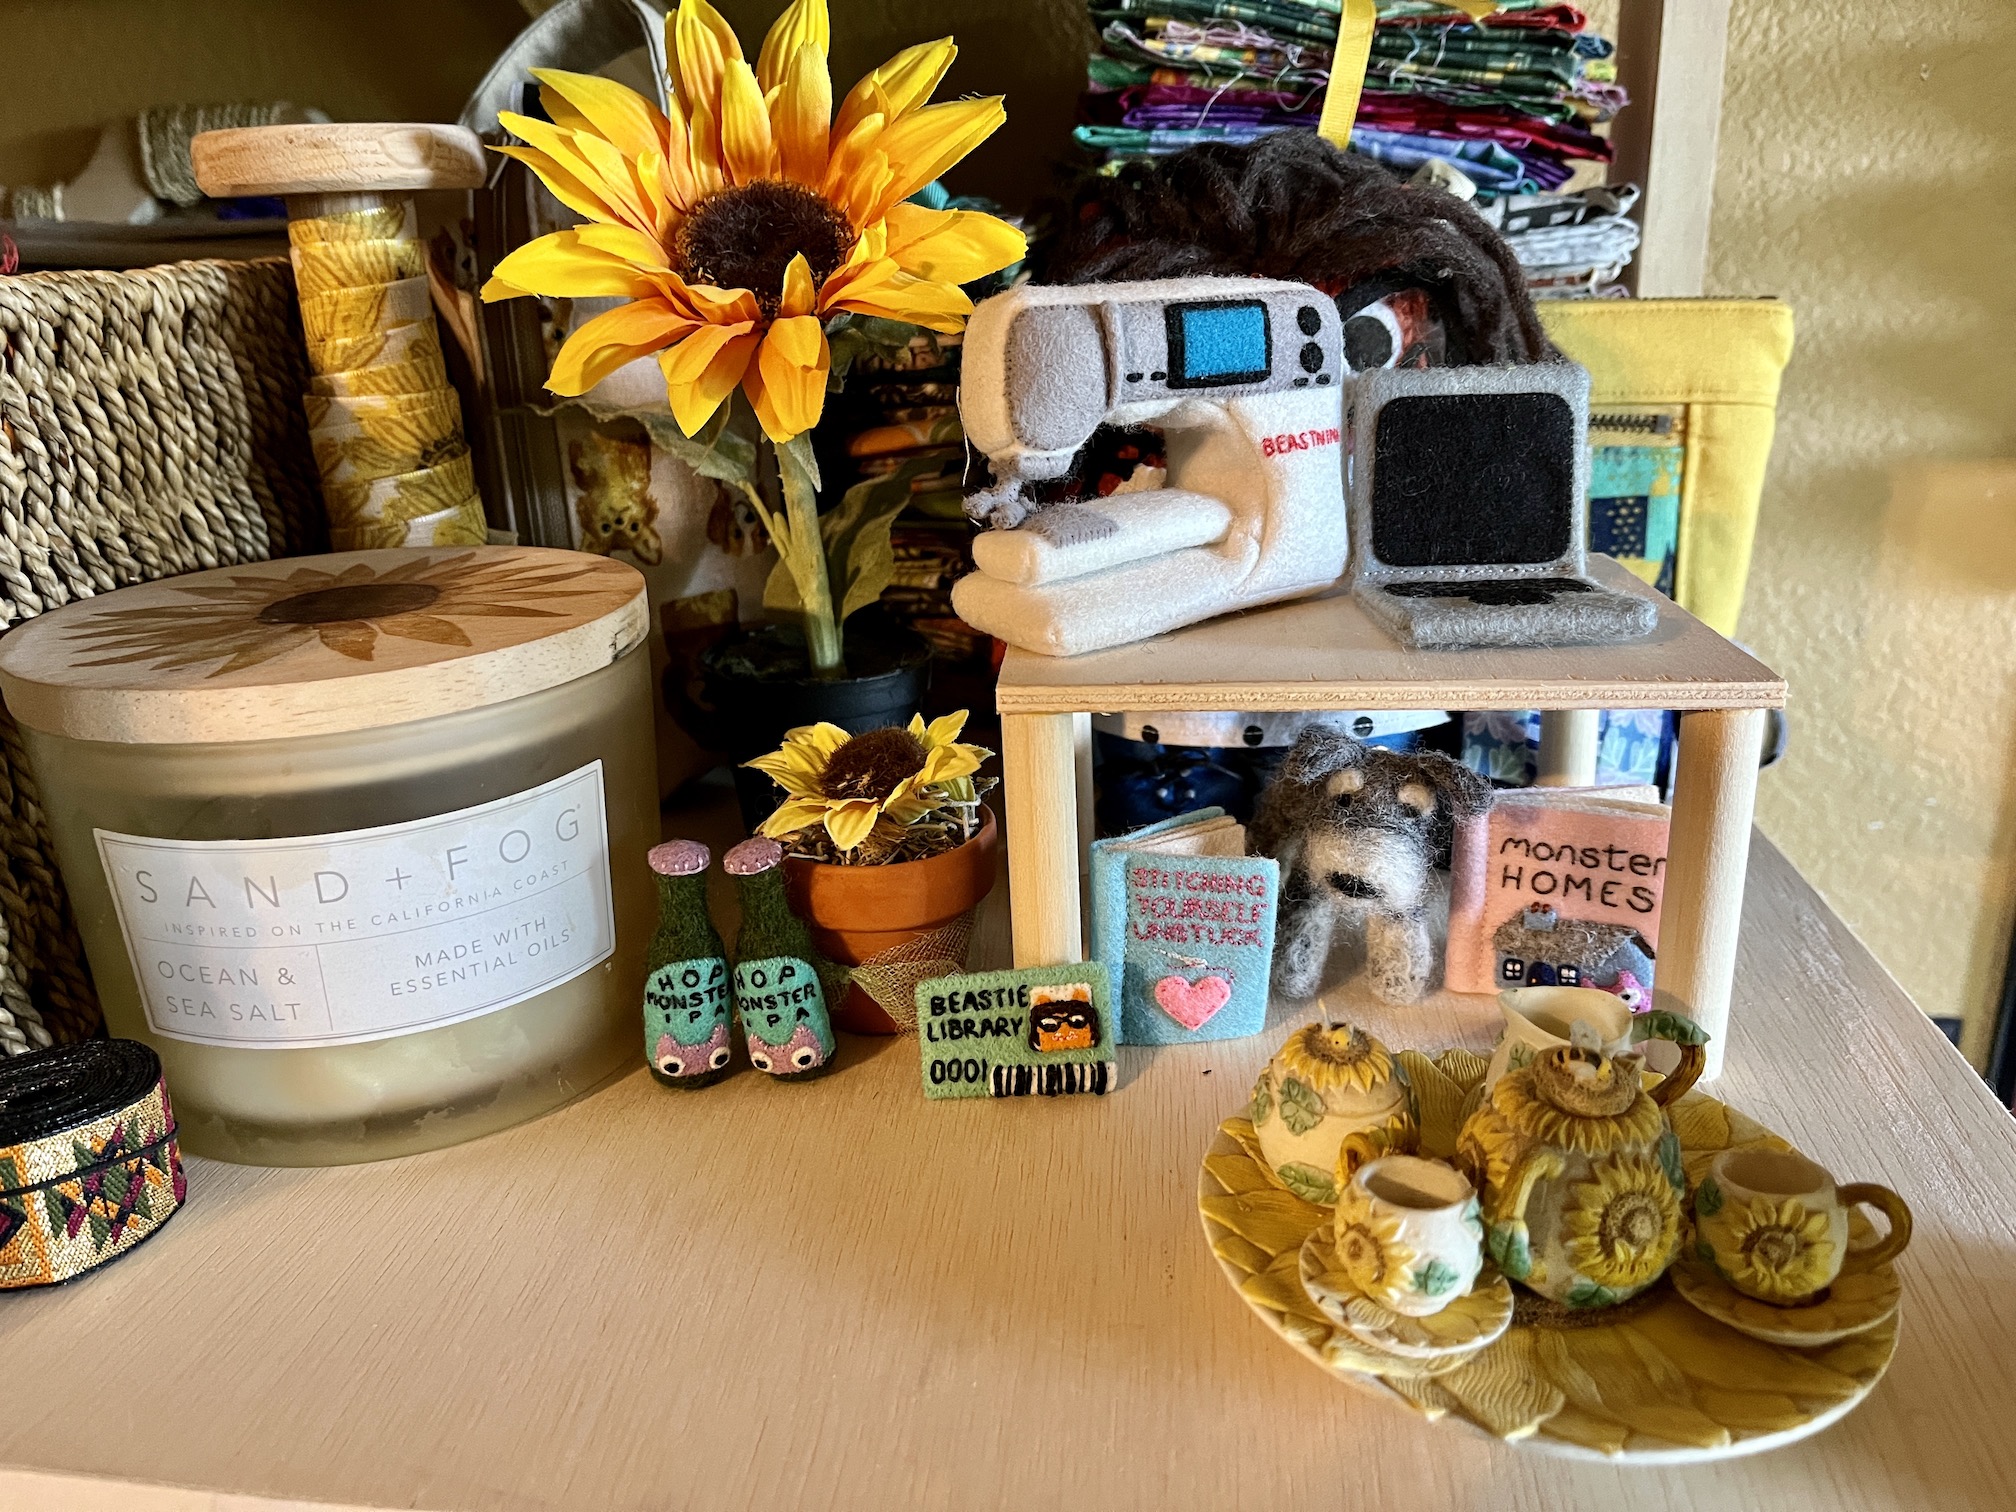
Oh and to close this post – here is a photo of me back in my area of Tierney’s studio, with all my accessories made by Helen of Crawcrafts Beasties (crawcraftsbeasties.com):
Thought I would give a little update on the memory quilt I am making for a grieving friend who lost her mother, with her mother’s favorite clothes. Here is a link to the previous post if you’d like some additional background – Update on “The Challenge”.
Here is the quilt top completed that I shared in that previous post:
Originally I was thinking of sending it out for professional long-arm quilting and my friend was going to pay for the professional quilting. Then I got concerned with there being issues over the unusual fabrics I had used in the quilt (acrylic sweater, polyester scarf, velour robe, etc) with the long arm quilting machine.
I discussed it with my friend and she was good with me quilting it myself (though it would not be nearly as lovely quilting as a professional long-arm) and she would give me money for the cost of the batting, etc. She is not a quilter and does not have expectations of super high quality machine quilting on my part – whew!
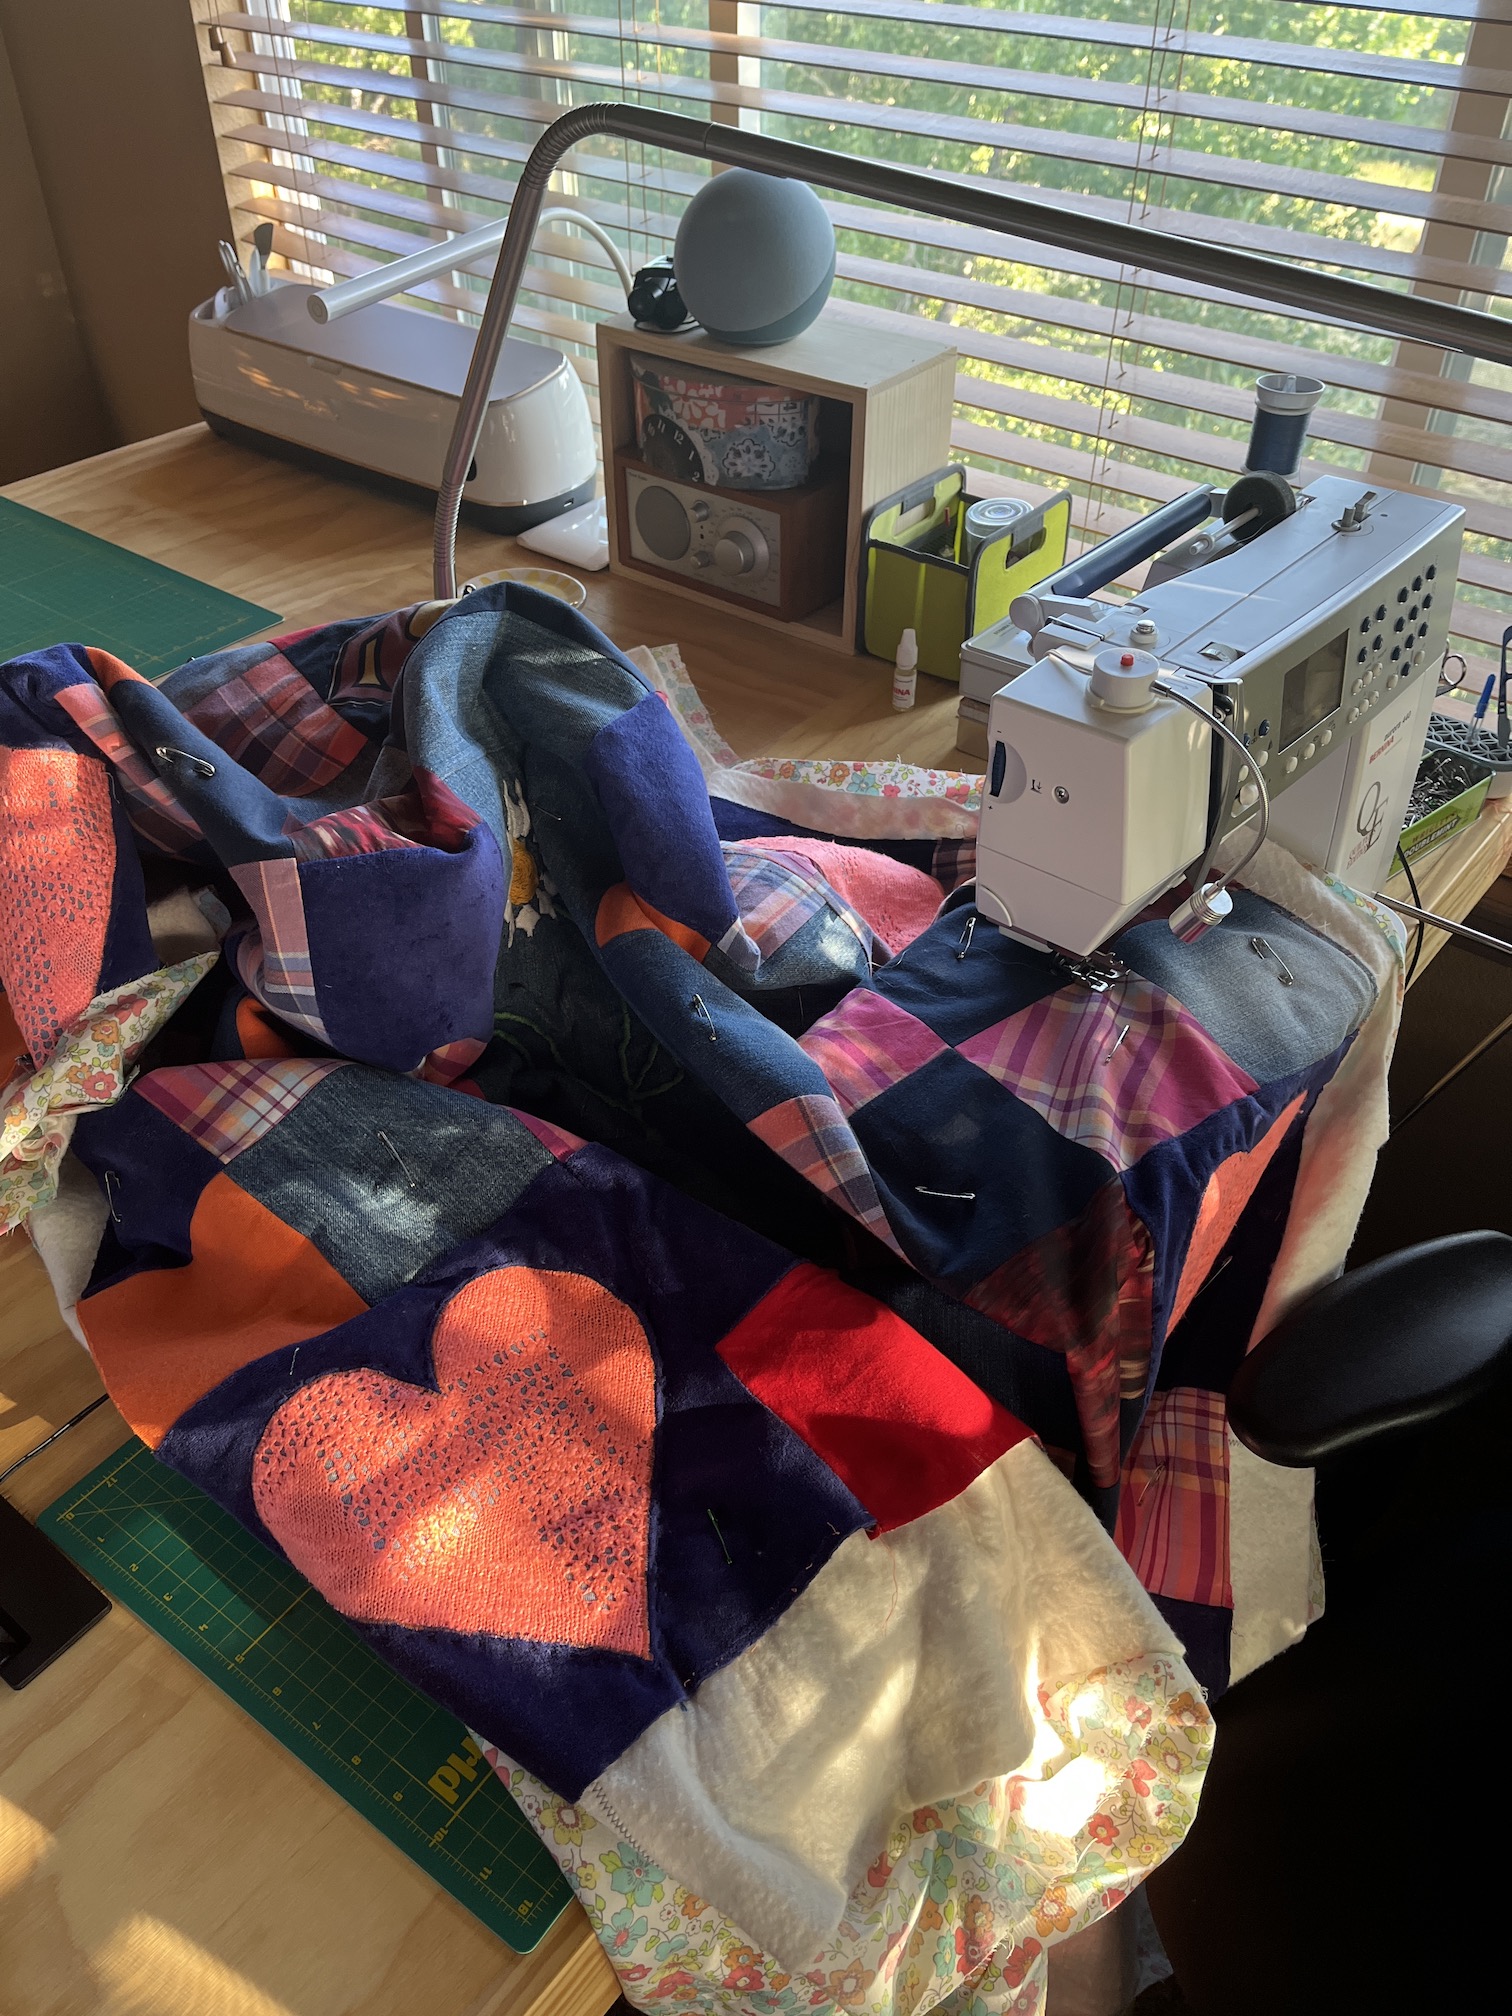
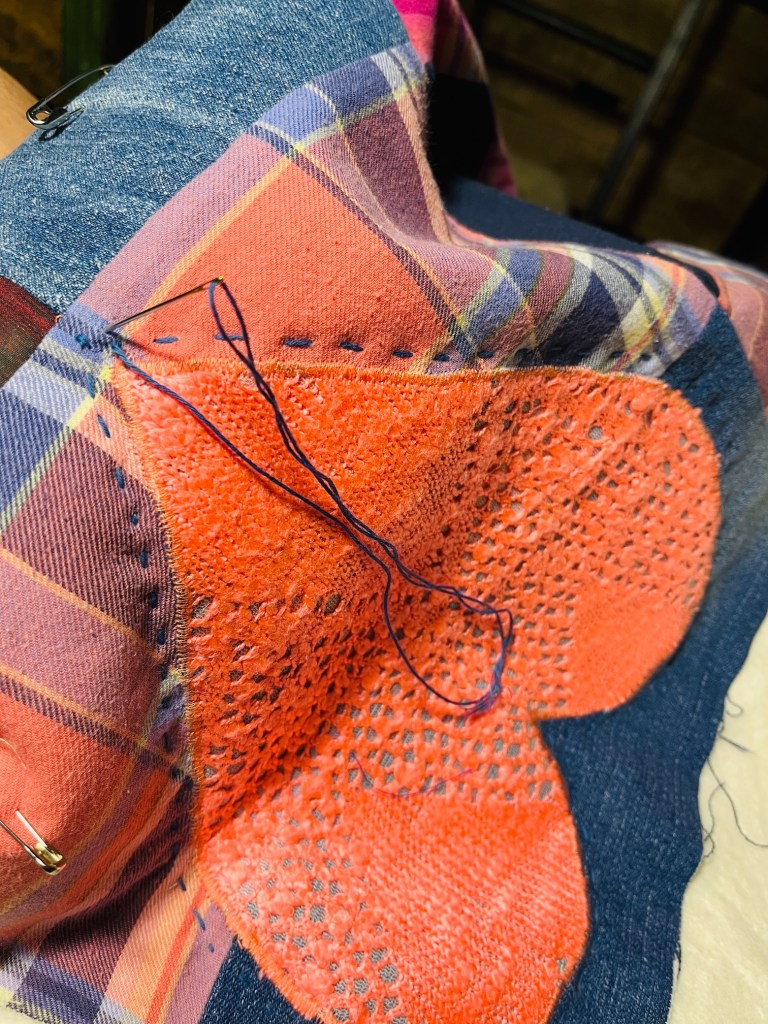
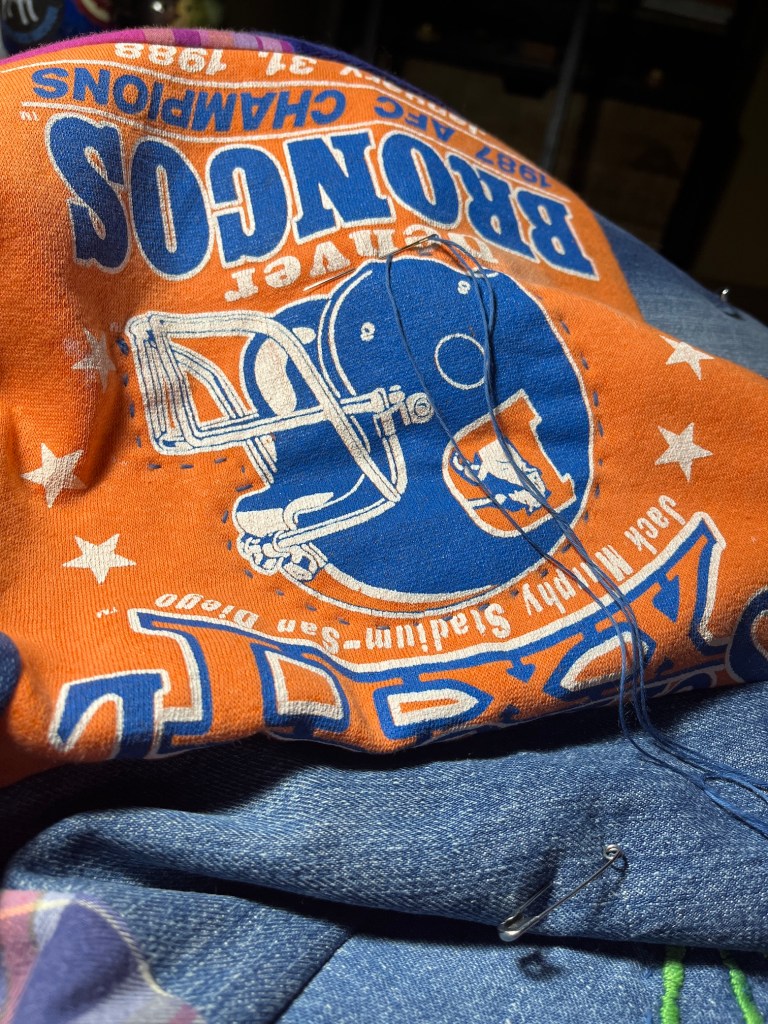
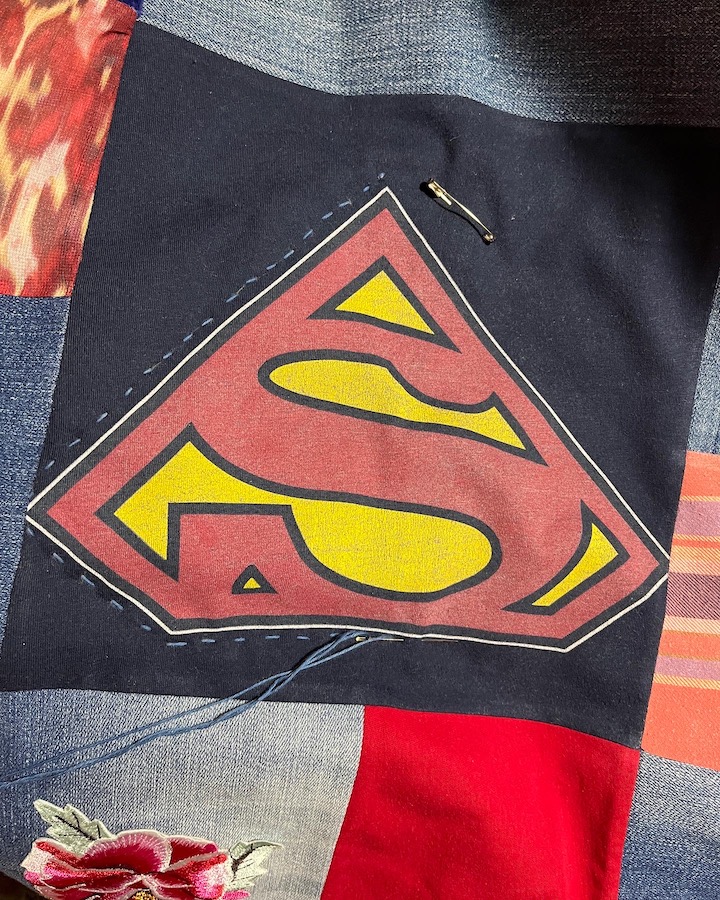
Last week I was trying to figure out the logistics of domestic machine quilting and thought I better hand stitch some of the blocks that have special logos, embroidery, etc. to secure them instead of trying to machine quilt around the logos. I found some heavy embroidery thread from my stash of thread of Sashiko* stitching and did some lap quilting (in the middle of the hot summer):
(*but wait a minute Tierney: I’ve followed your blog a long time and I do not remember any posts about Sashiko stitching…Why yes, I have the supplies and started a piece like 10 – 12 years ago…but someday I am really going to pick the piece up again and then blog about it..)
It was fun and for a moment (yes only a wee moment), I actually considered hand quilting the entire quilt. But I came to my senses as that would not be very fun in the hot summer and I would like to get this quilt to my friend, who is facing some other life challenges right now, sooner than in 6 months to a year! (Exhibit A – “Seattle Scrappy” which took me over a year to hand quilt – Seattle Scrappy is Done!)
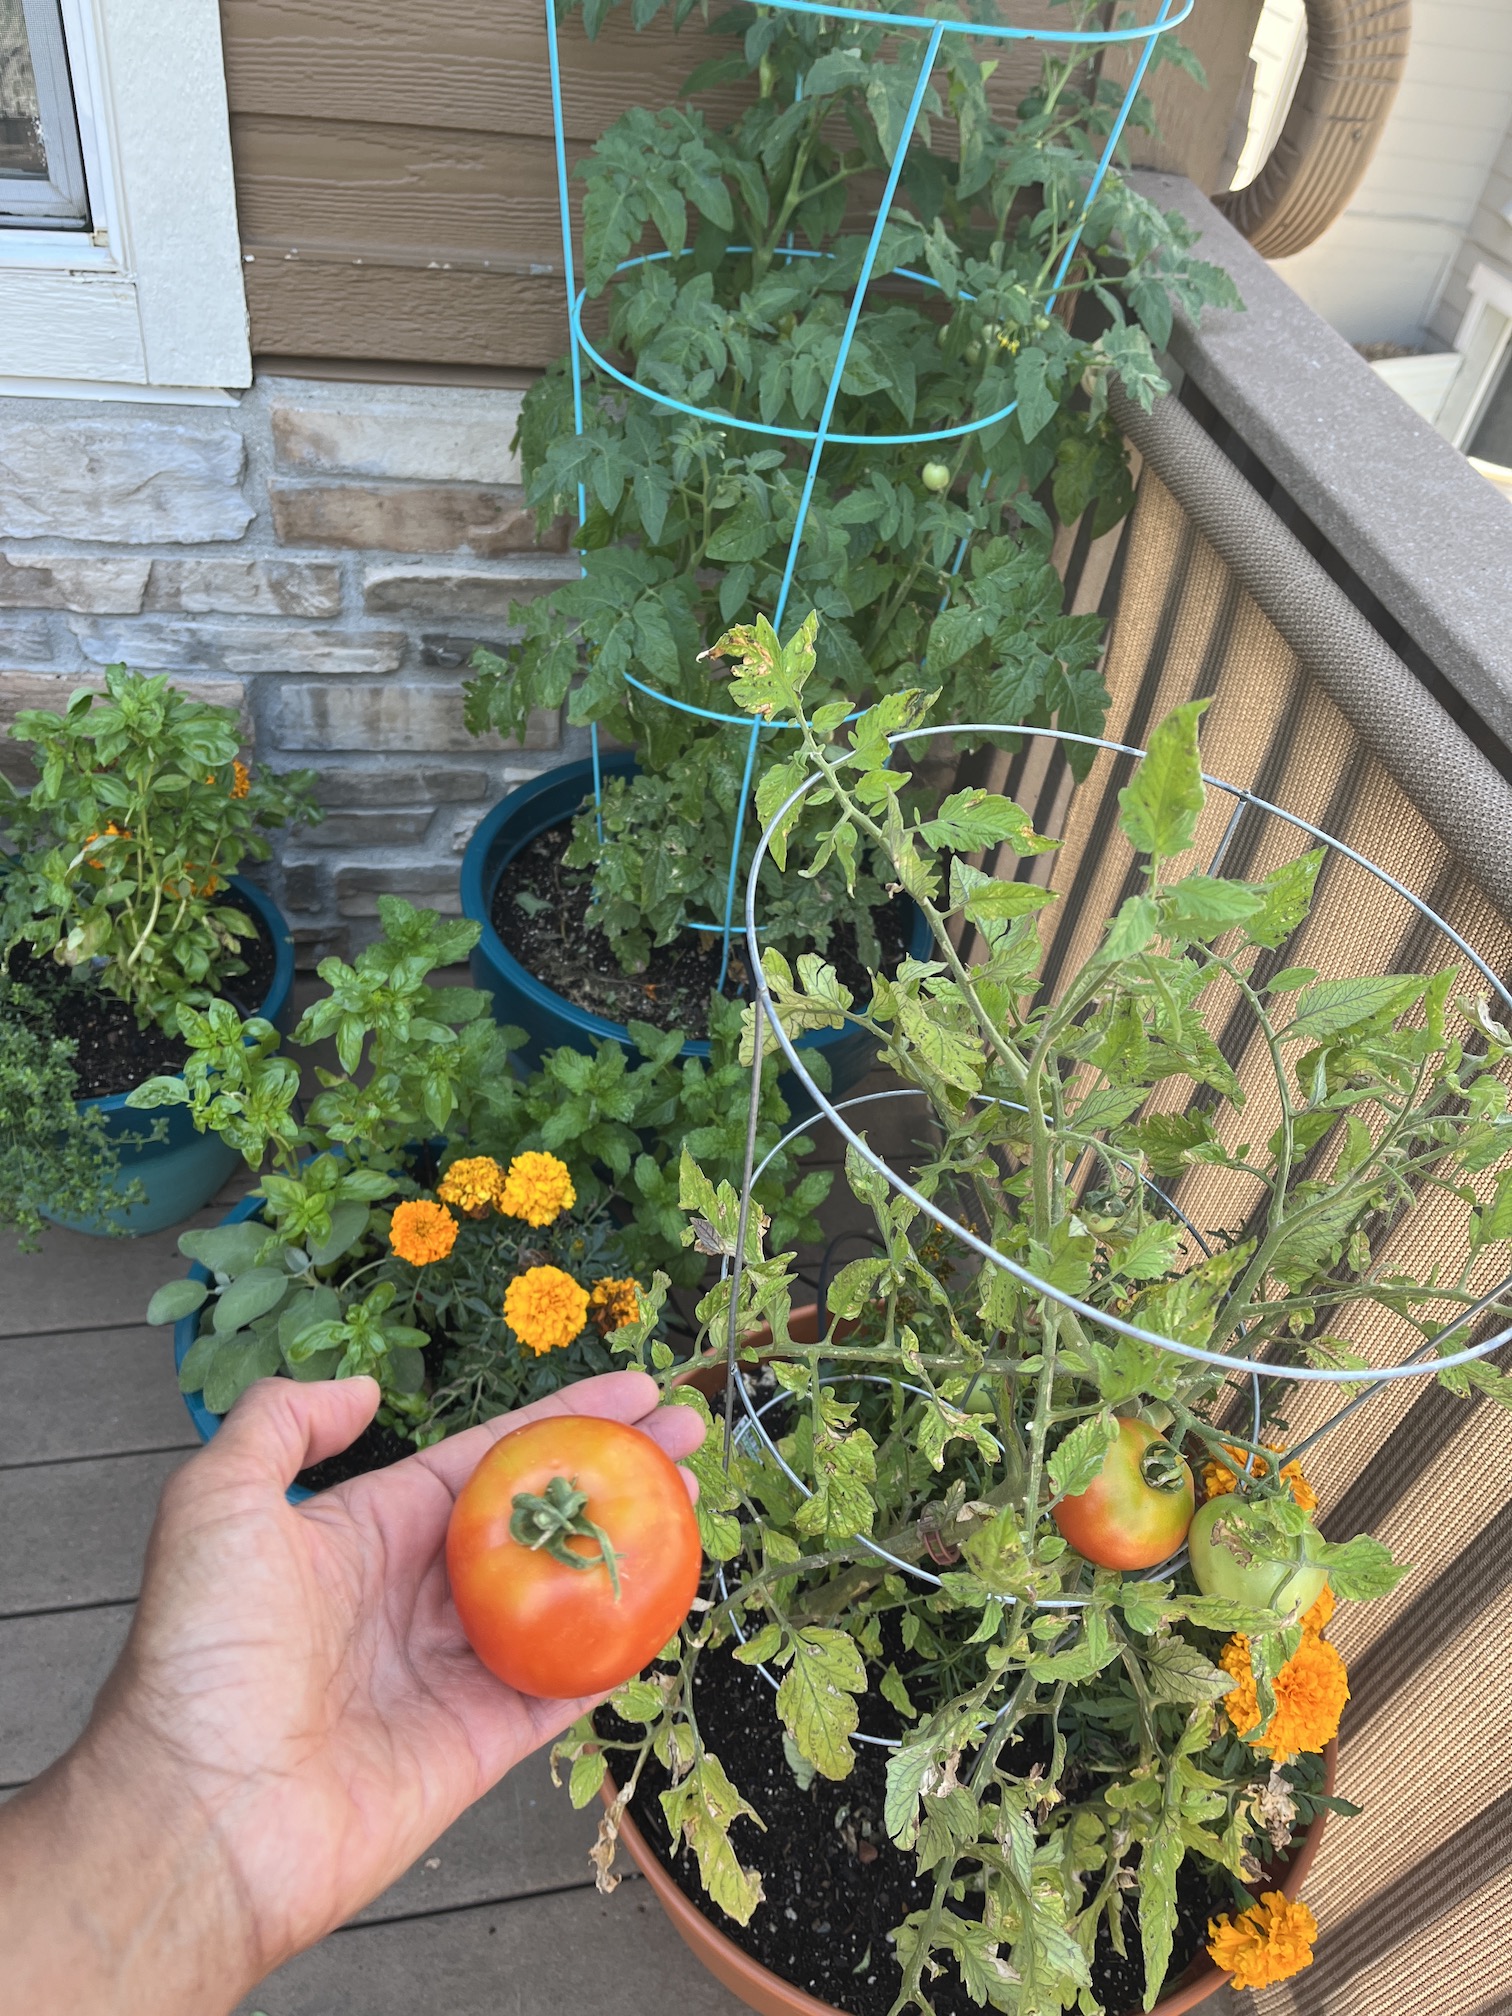
Speaking of hot summer, I recently got my first full sized tomato (as opposed to the grape or cherry tomatoes I have successfully grown) in my little container garden on my upper back deck and I was so happy!
As I joked on my @tierneycreates Instagram account, I wanted to frame it! As of this writing, I now have two full sized tomatoes. Right now both tomatoes are sitting as decoration on my kitchen counter and I better use them before they go bad!
I am also celebrating the appearance of the first sunflower in my garden. I love love love sunflowers and I’ve blogged about them several times in the past especially when I lived in my house in Oregon where I grew sunflowers every year.
Postscript
We are at that point in summer (August), where for me I am OVER summer and the heat, longing for Fall/Autumn.
I was so longing for Fall that I made one of my favorite colder weather dishes – chicken pot pie:
I made two because we help feed John’s recently widowed father (John’s stepmother suddenly passed at the end of 2021) who lives nearby and he loves my chicken pot pie!
Yes it was lovely (not) having the hot oven, in the heated up kitchen due to the hot oven, in the hot weather outside. Brilliant, eh?
Also just sitting around one evening with that memory quilt on my lap hand quilting it made me yearn for cooler weather.
But then I reminded myself that come early March, I am only dreaming of warm weather! I have to always remember to just embrace the current season I am in.
So back to relishing in my 2 full sized tomatoes and my sunflowers (smile).