Hello, it’s the 15th of the month and I’ve rejoined the monthly ScrapHappy posting group hosted by Kate of Tall Tales From Chiconia.
Here are links to the blogs of the ScrapHappy participants:
Kate, Eva, Sue, Lynda, Birthe, Turid, Tracy, Jan,
Moira, Sandra, Chris, Alys, Claire, Jean, Dawn, Gwen,
Sunny, Kjerstin, Sue L, Vera, Ann, Dawn 2, Carol, Preeti,
Viv, Karrin, Alissa, Tierney, Hannah and Maggie
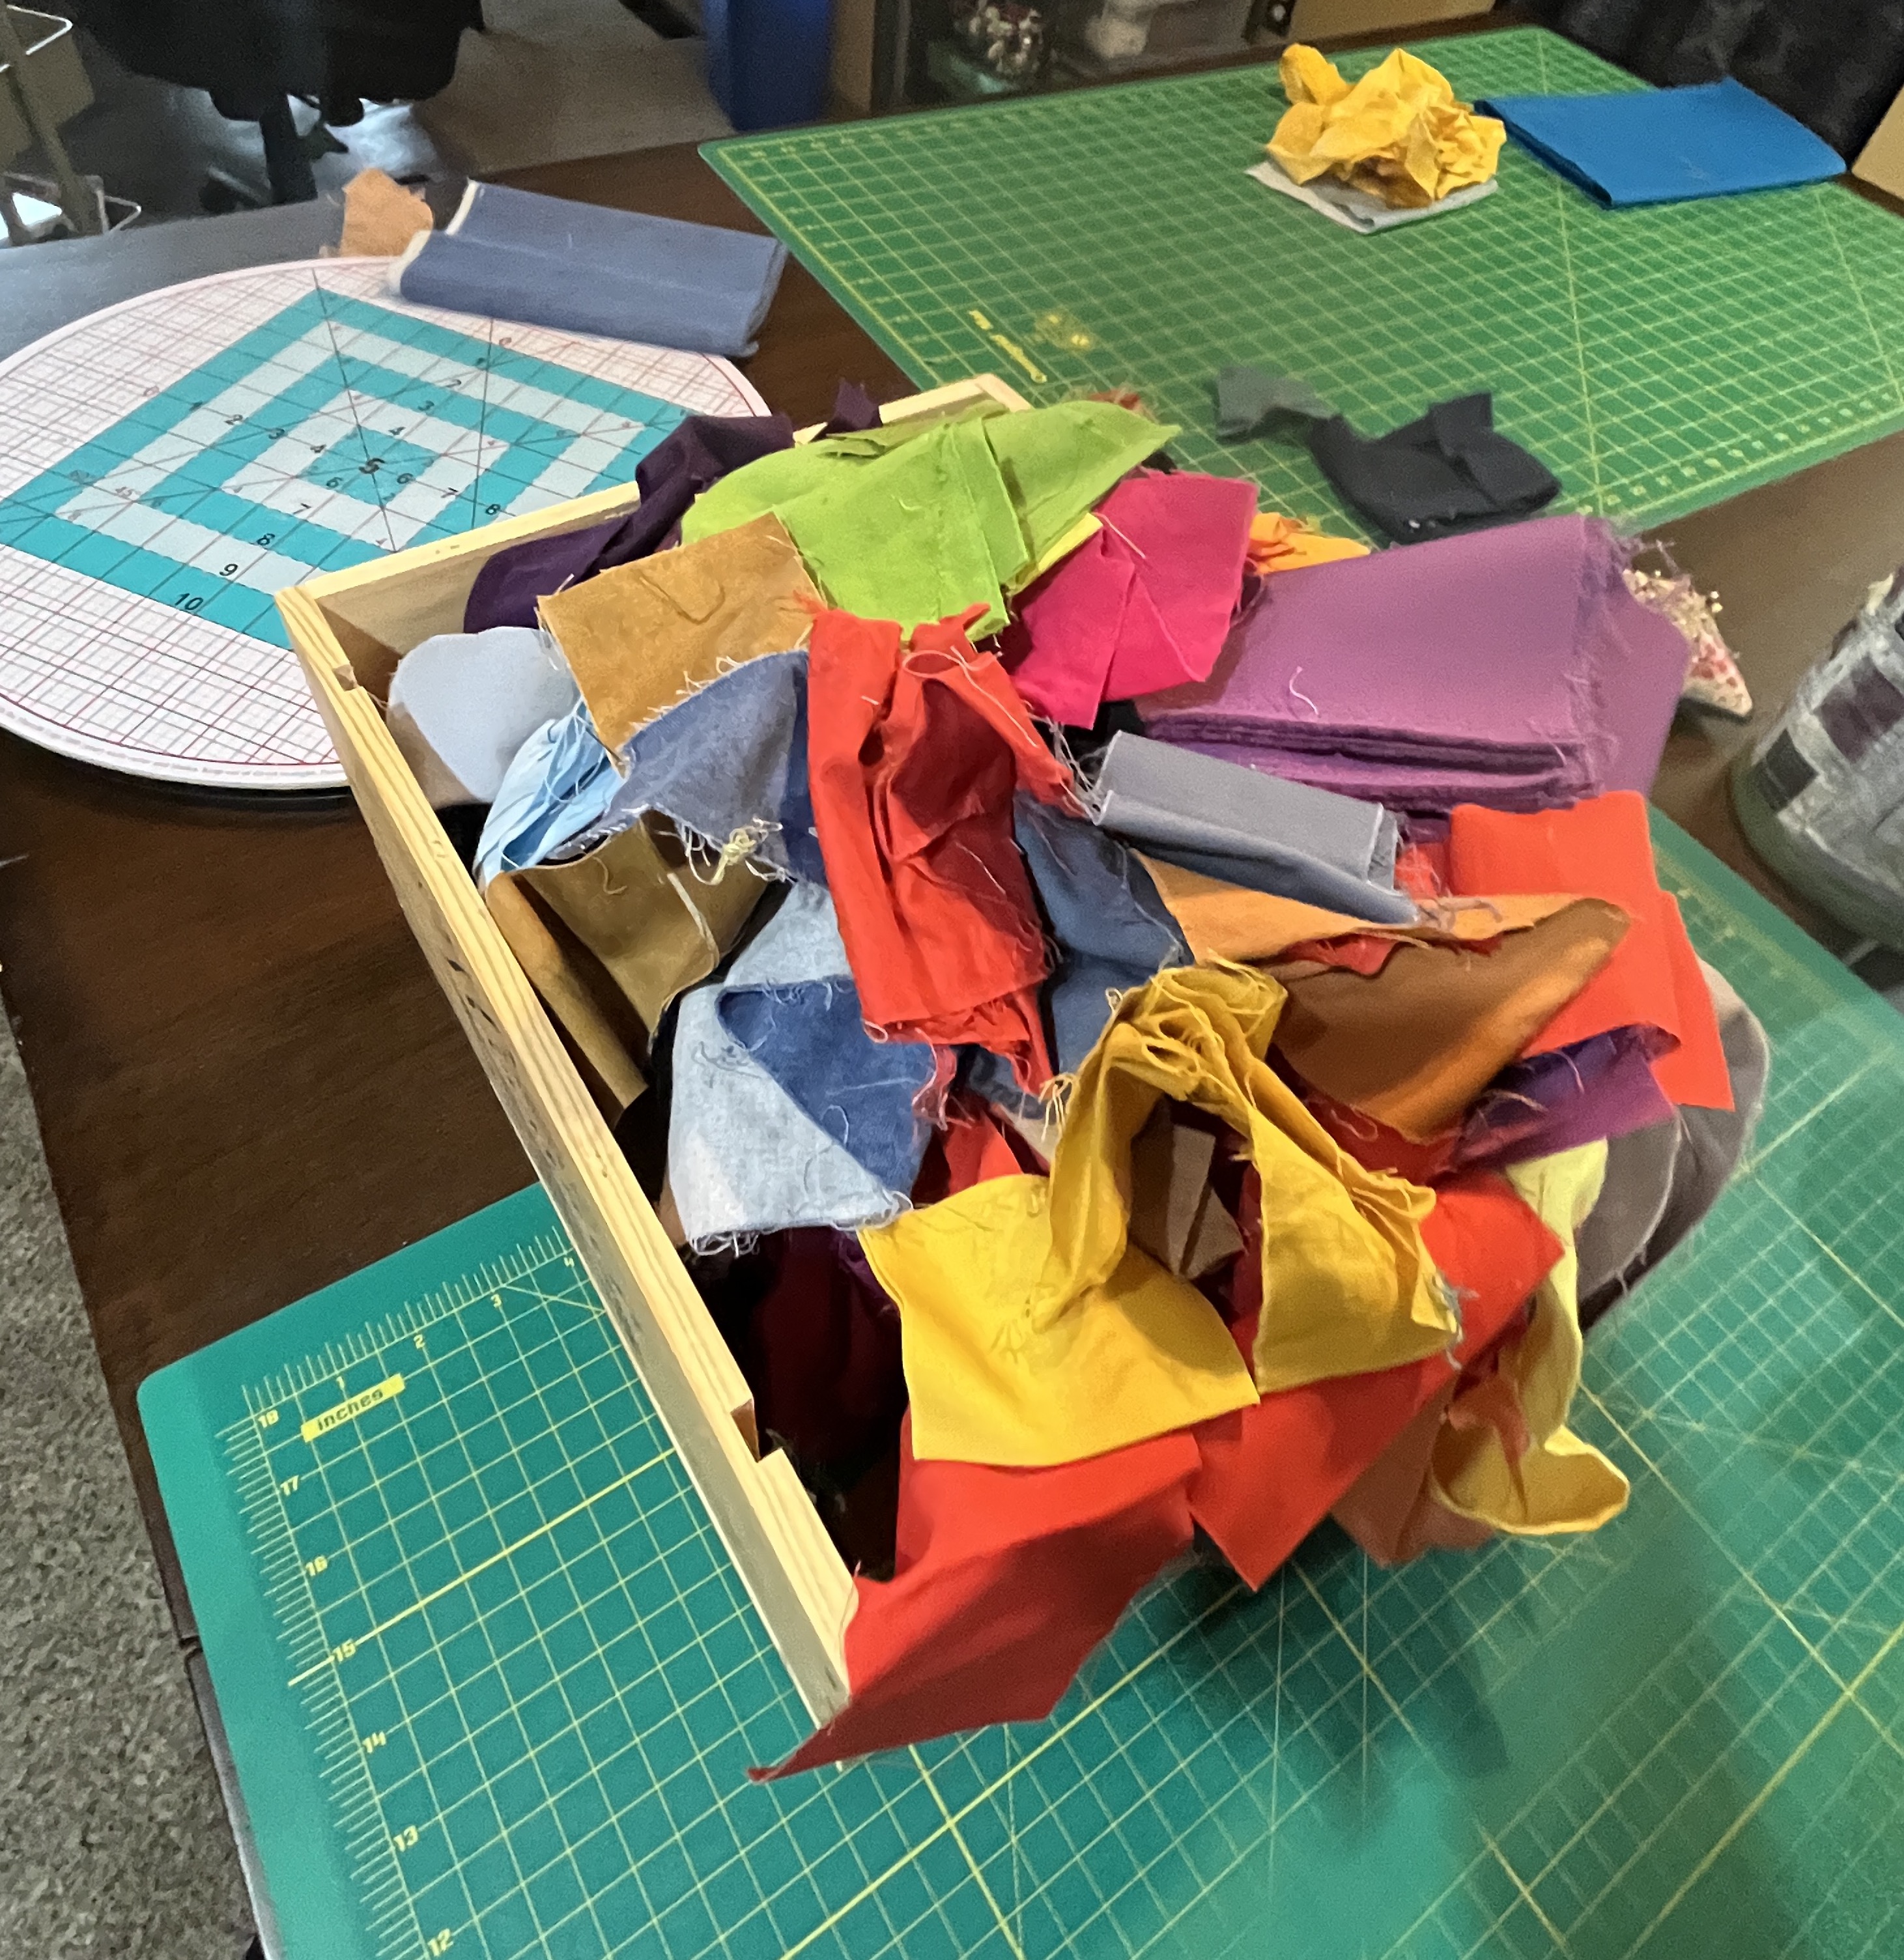
Life is currently crazy and filled with lots of boxes (see post How Did We Get Here? ) but I do have an update on the scrappy English Paper Piecing (EPP) hexie rosette project I’ve been working on since 2016 that I previously posted about in this post – ScrapHappy January 2026: Moving Forward on the Hexie Project .
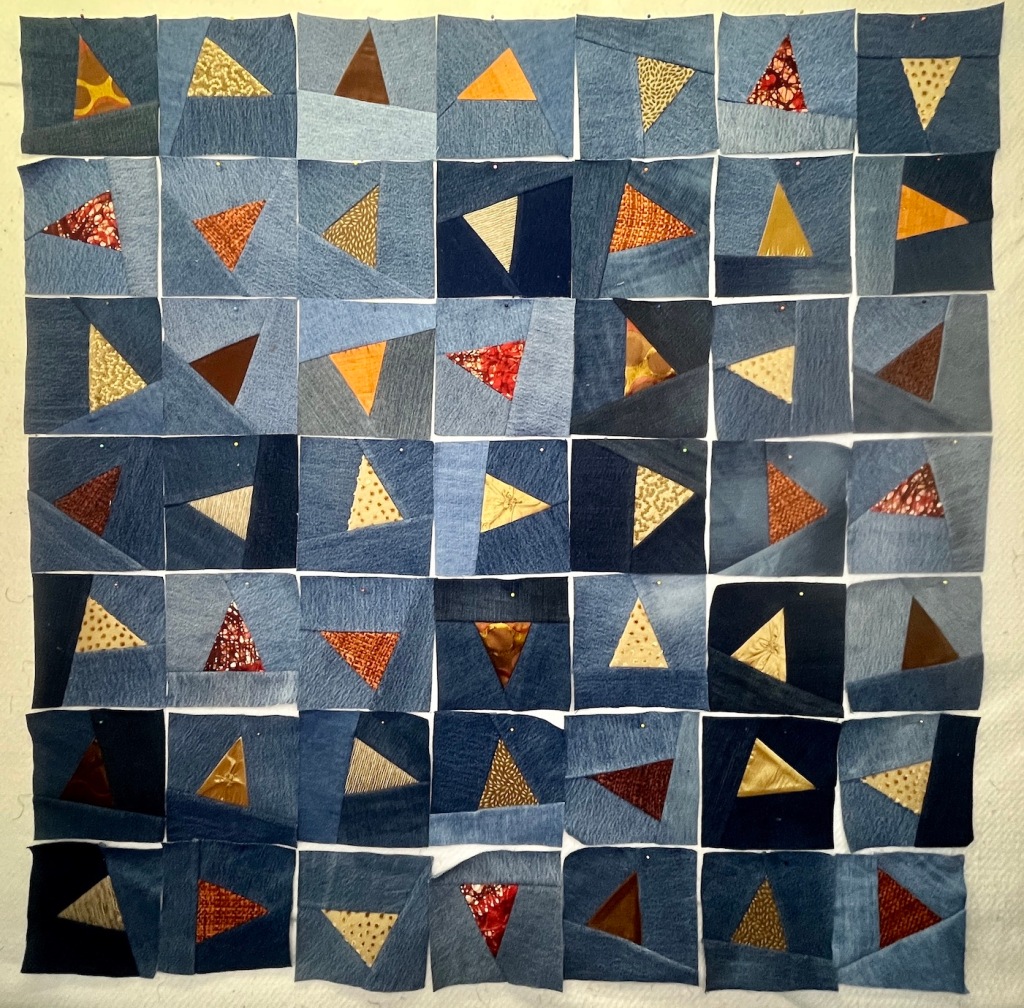
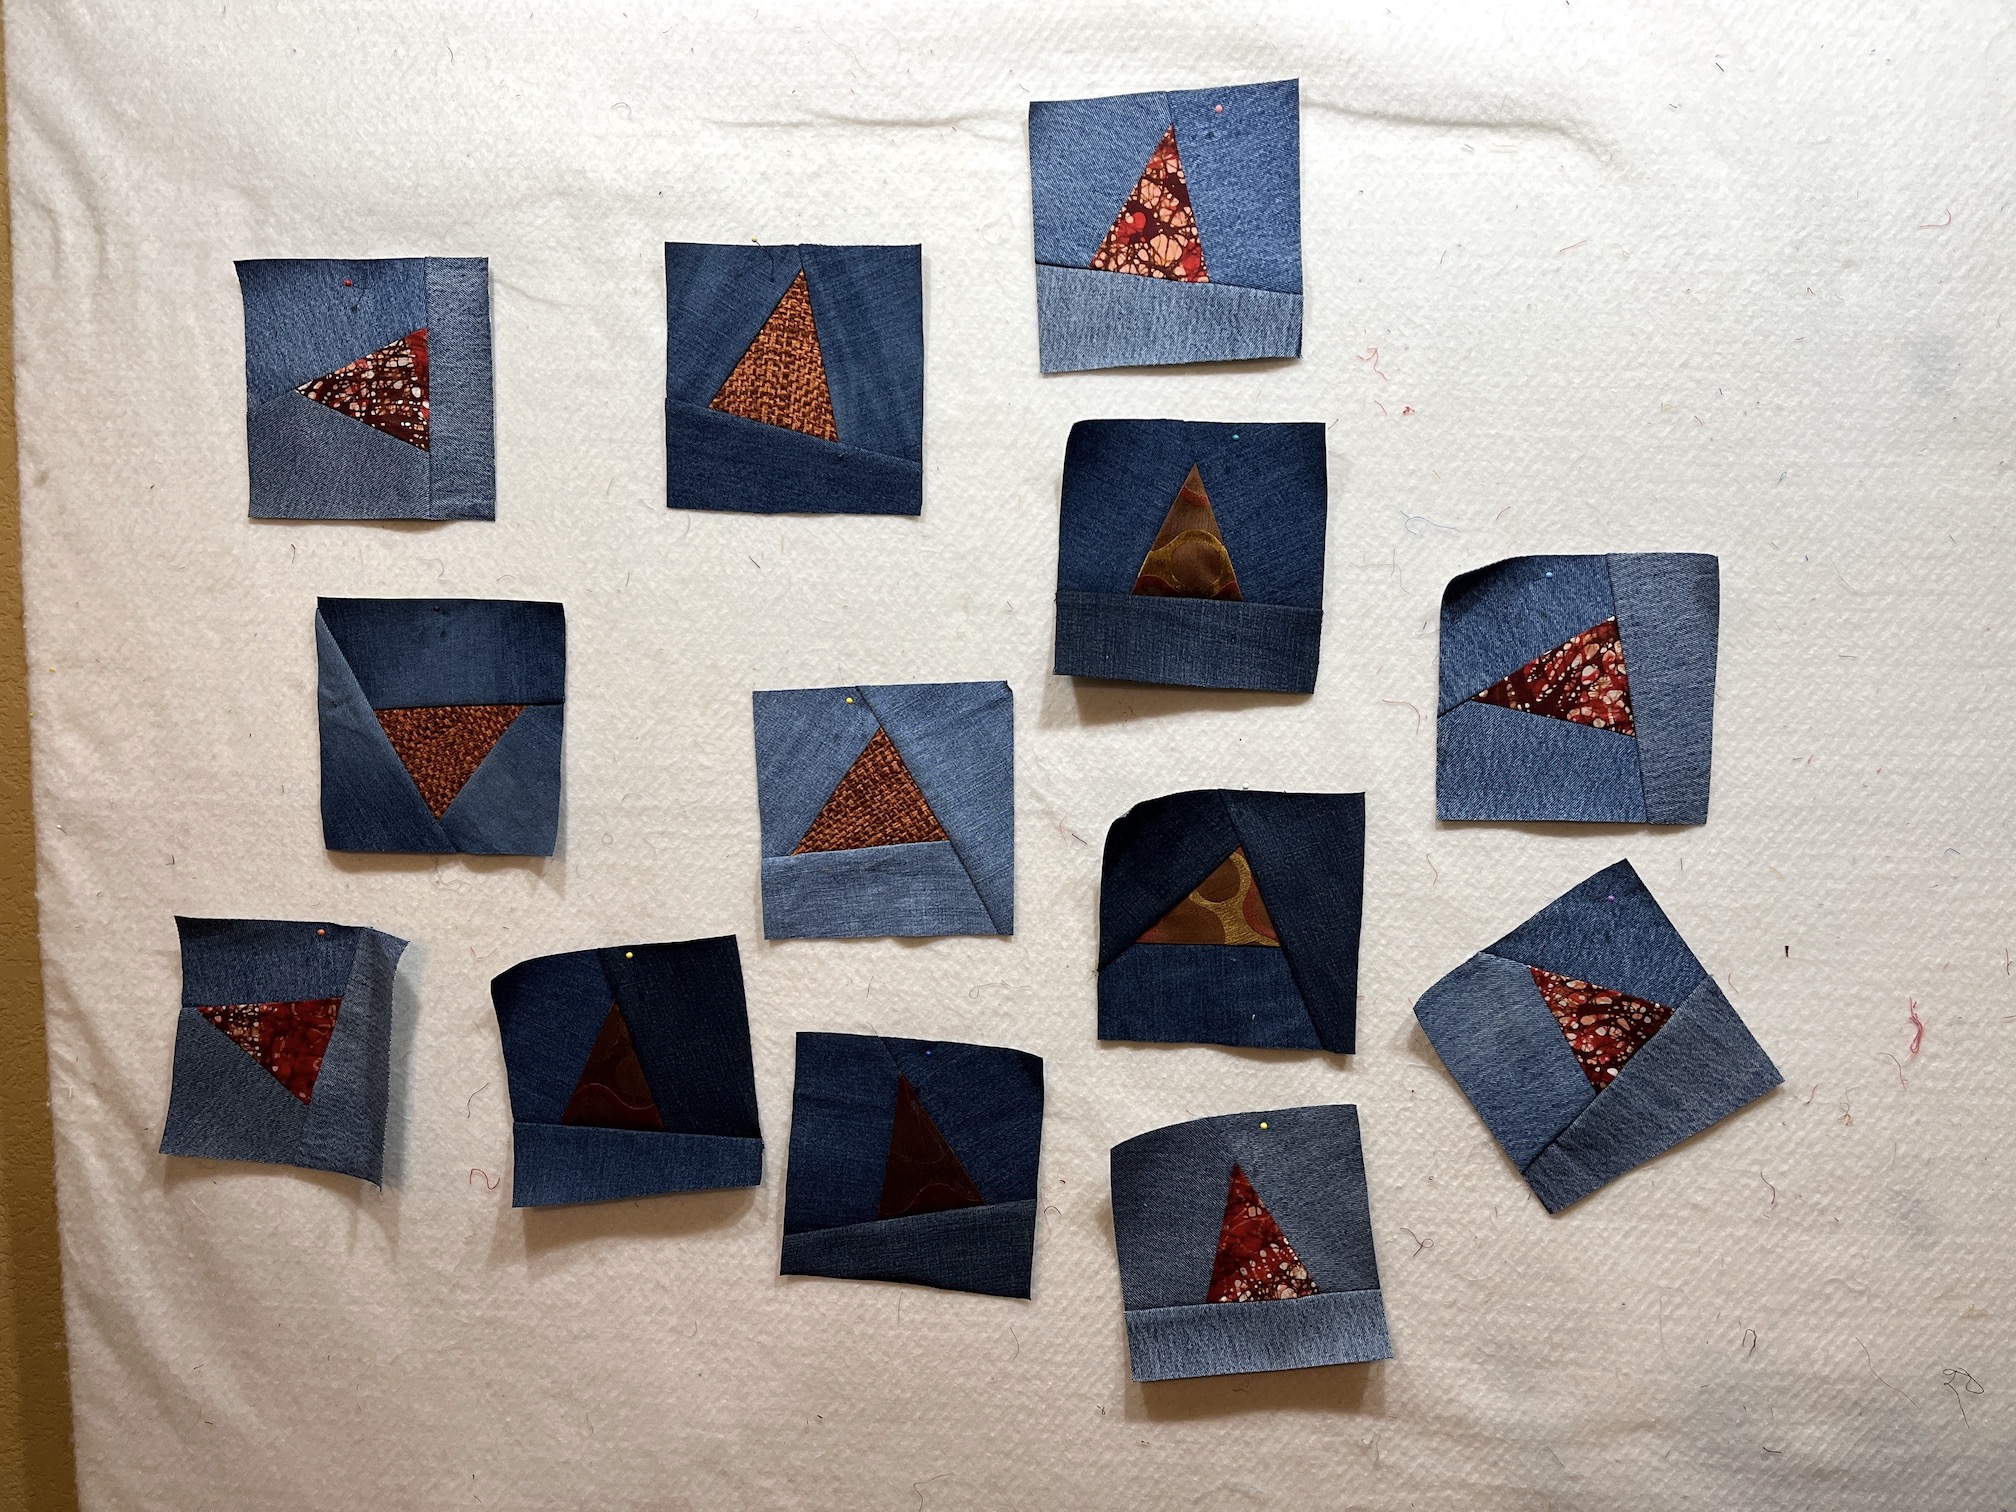
In the January 15th 2026 ScrapyHappy post I shared this progress – 9 scrappy EPP flowers machine appliquéd to 6.5 inch by 6.5 inch scrap denim backgrounds:

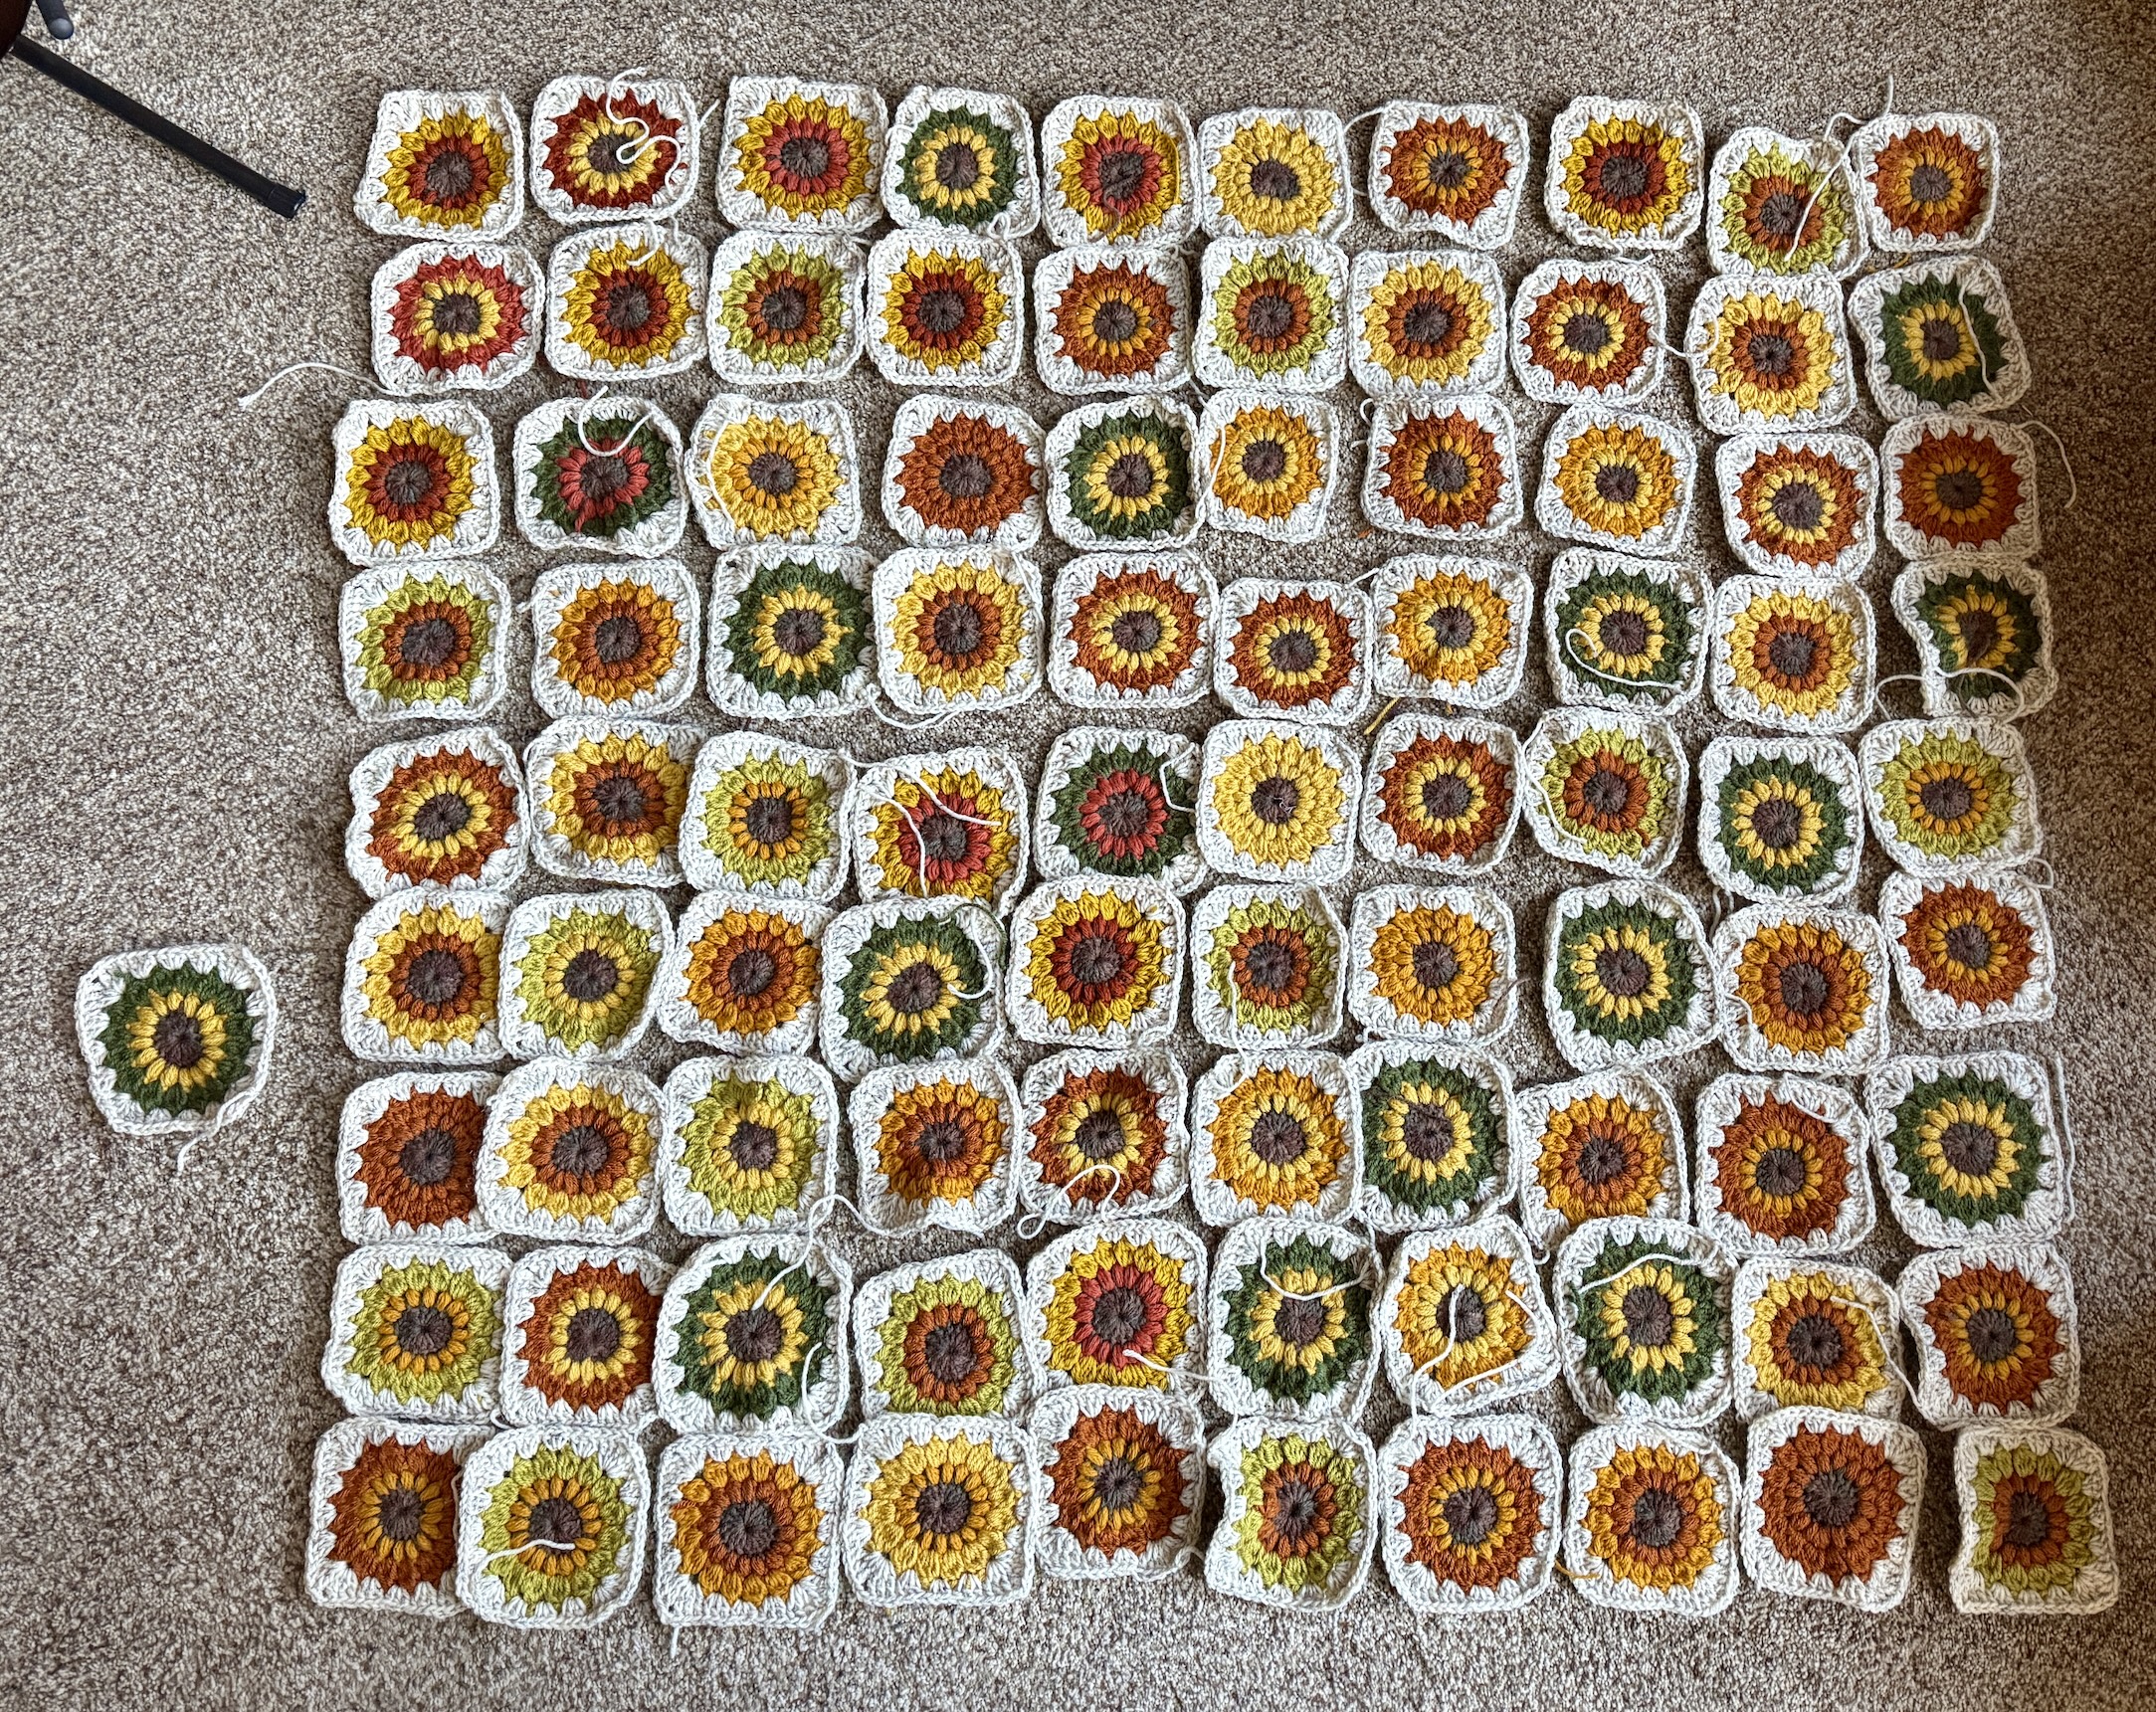
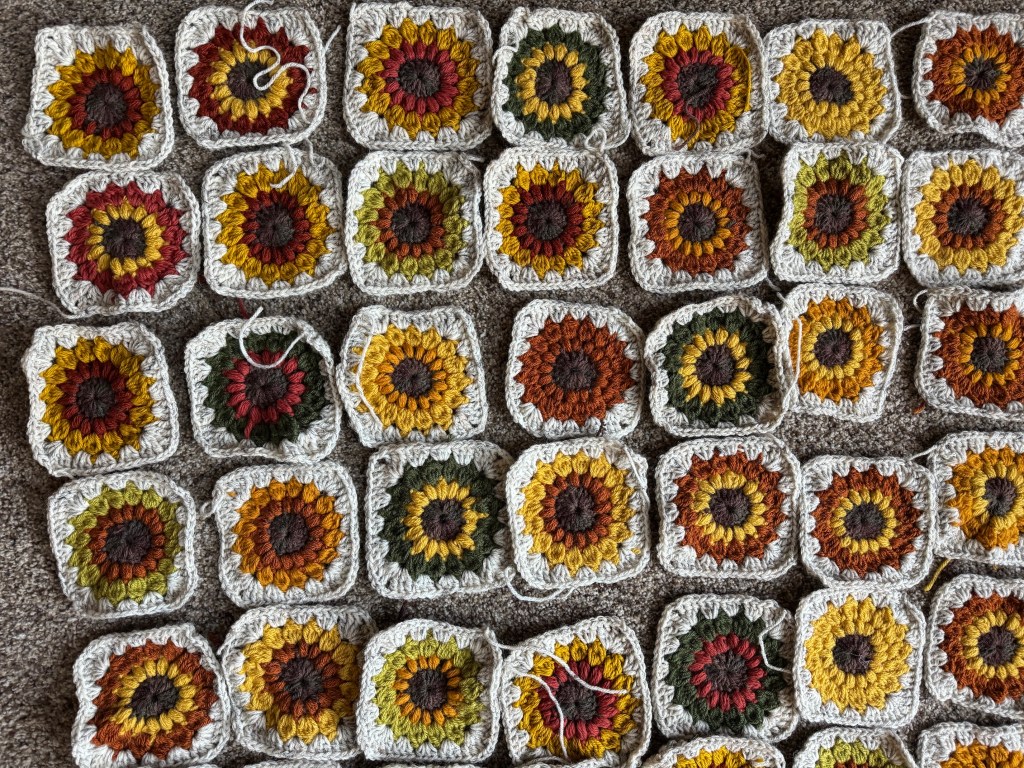
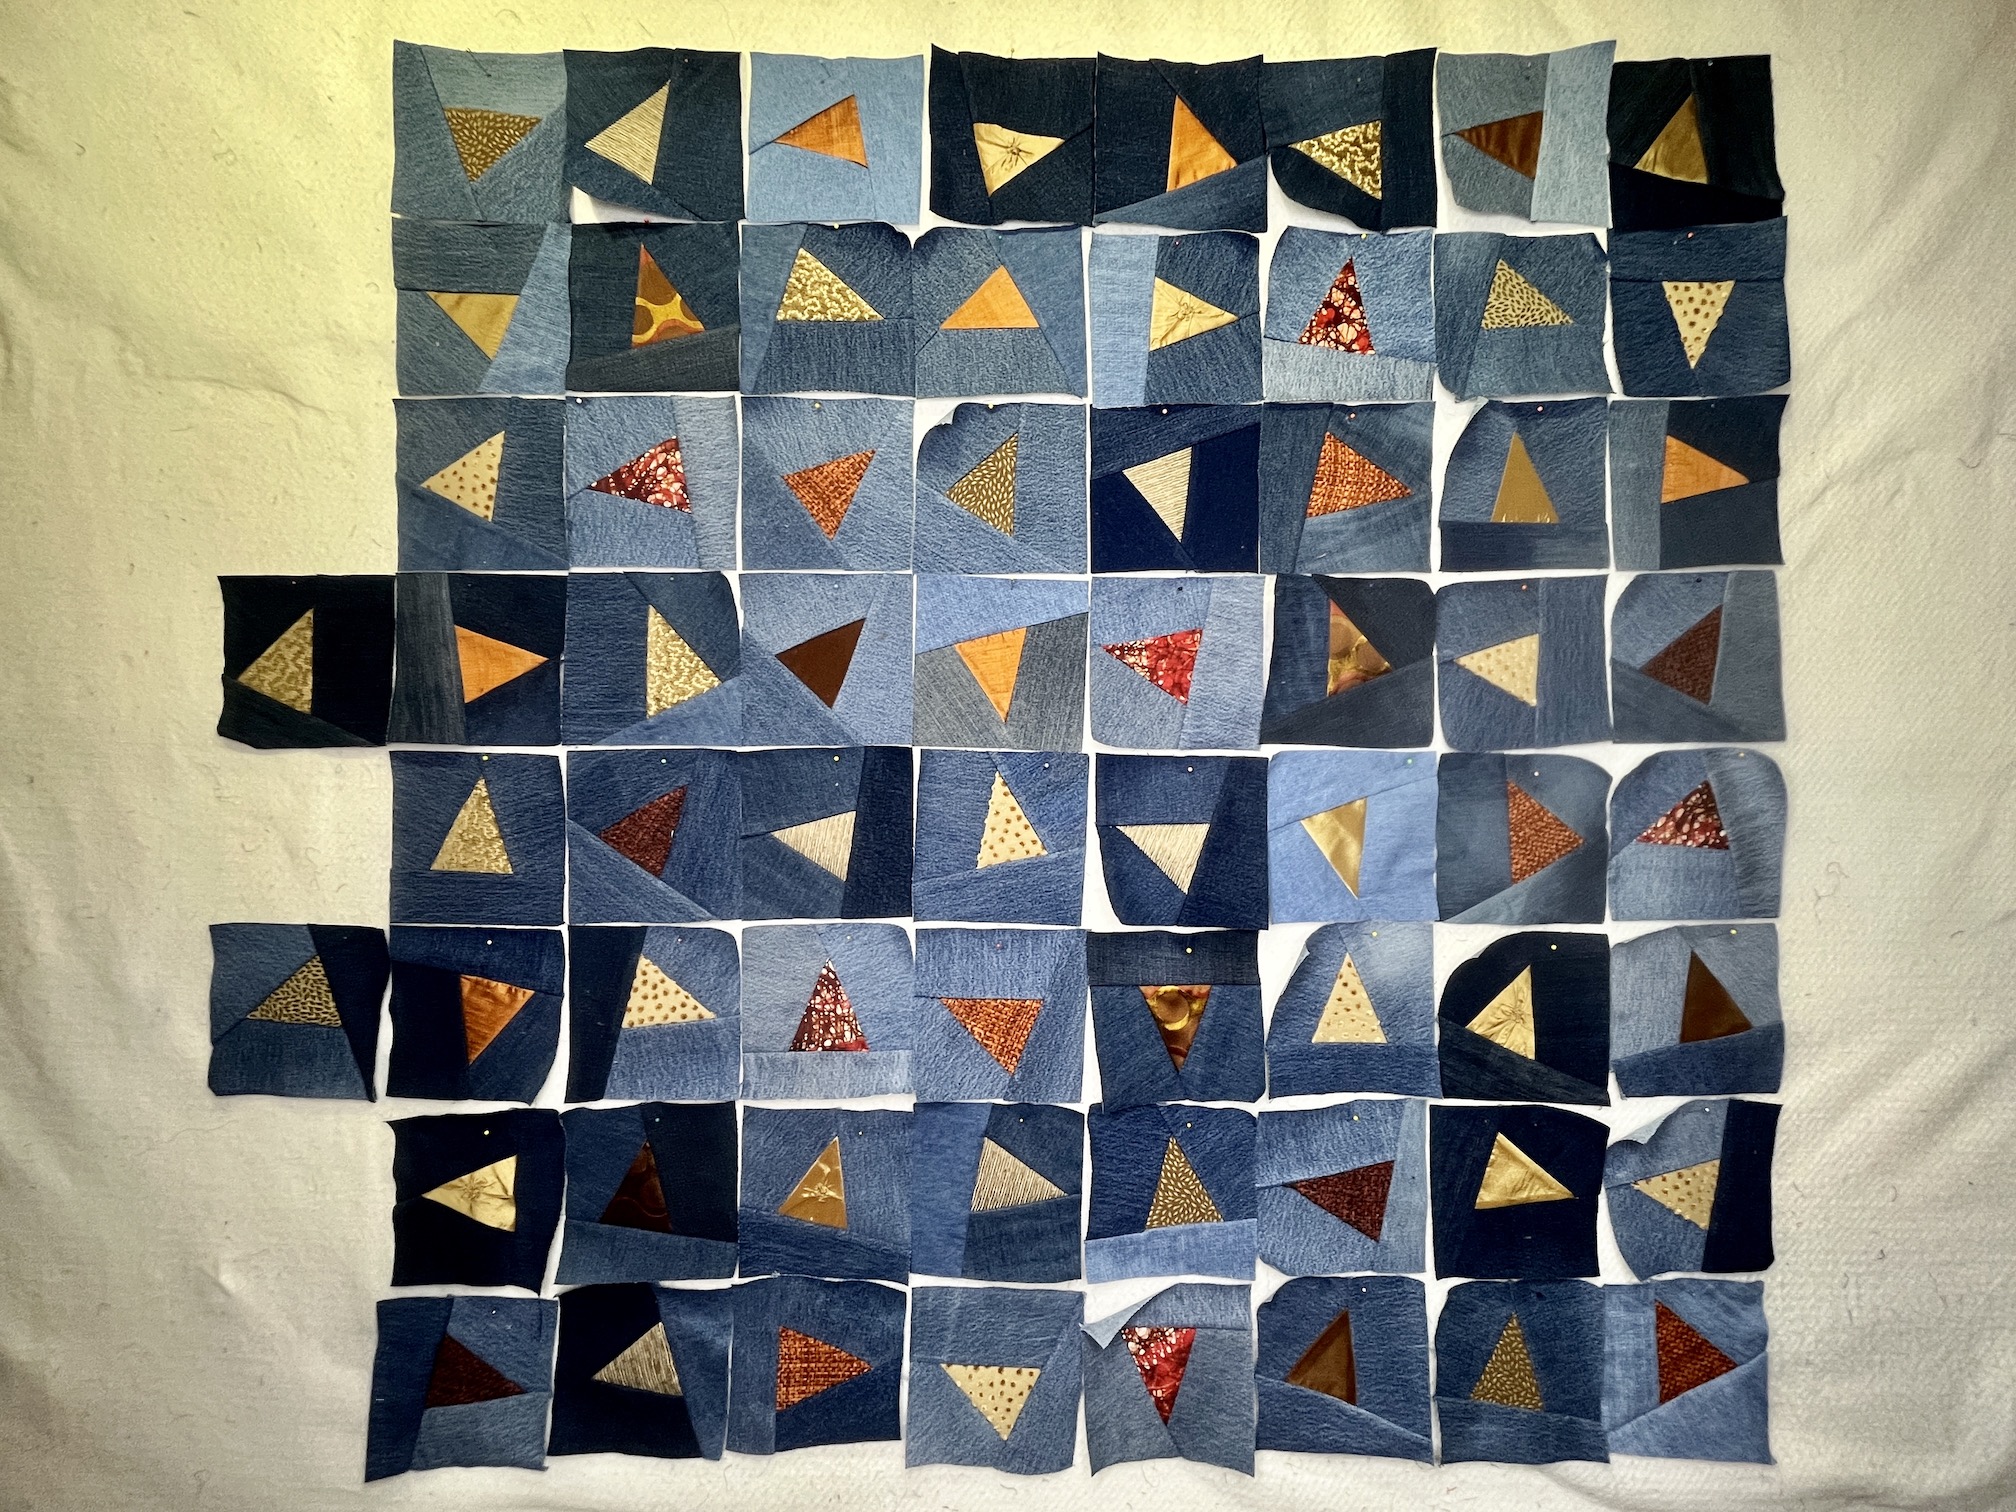
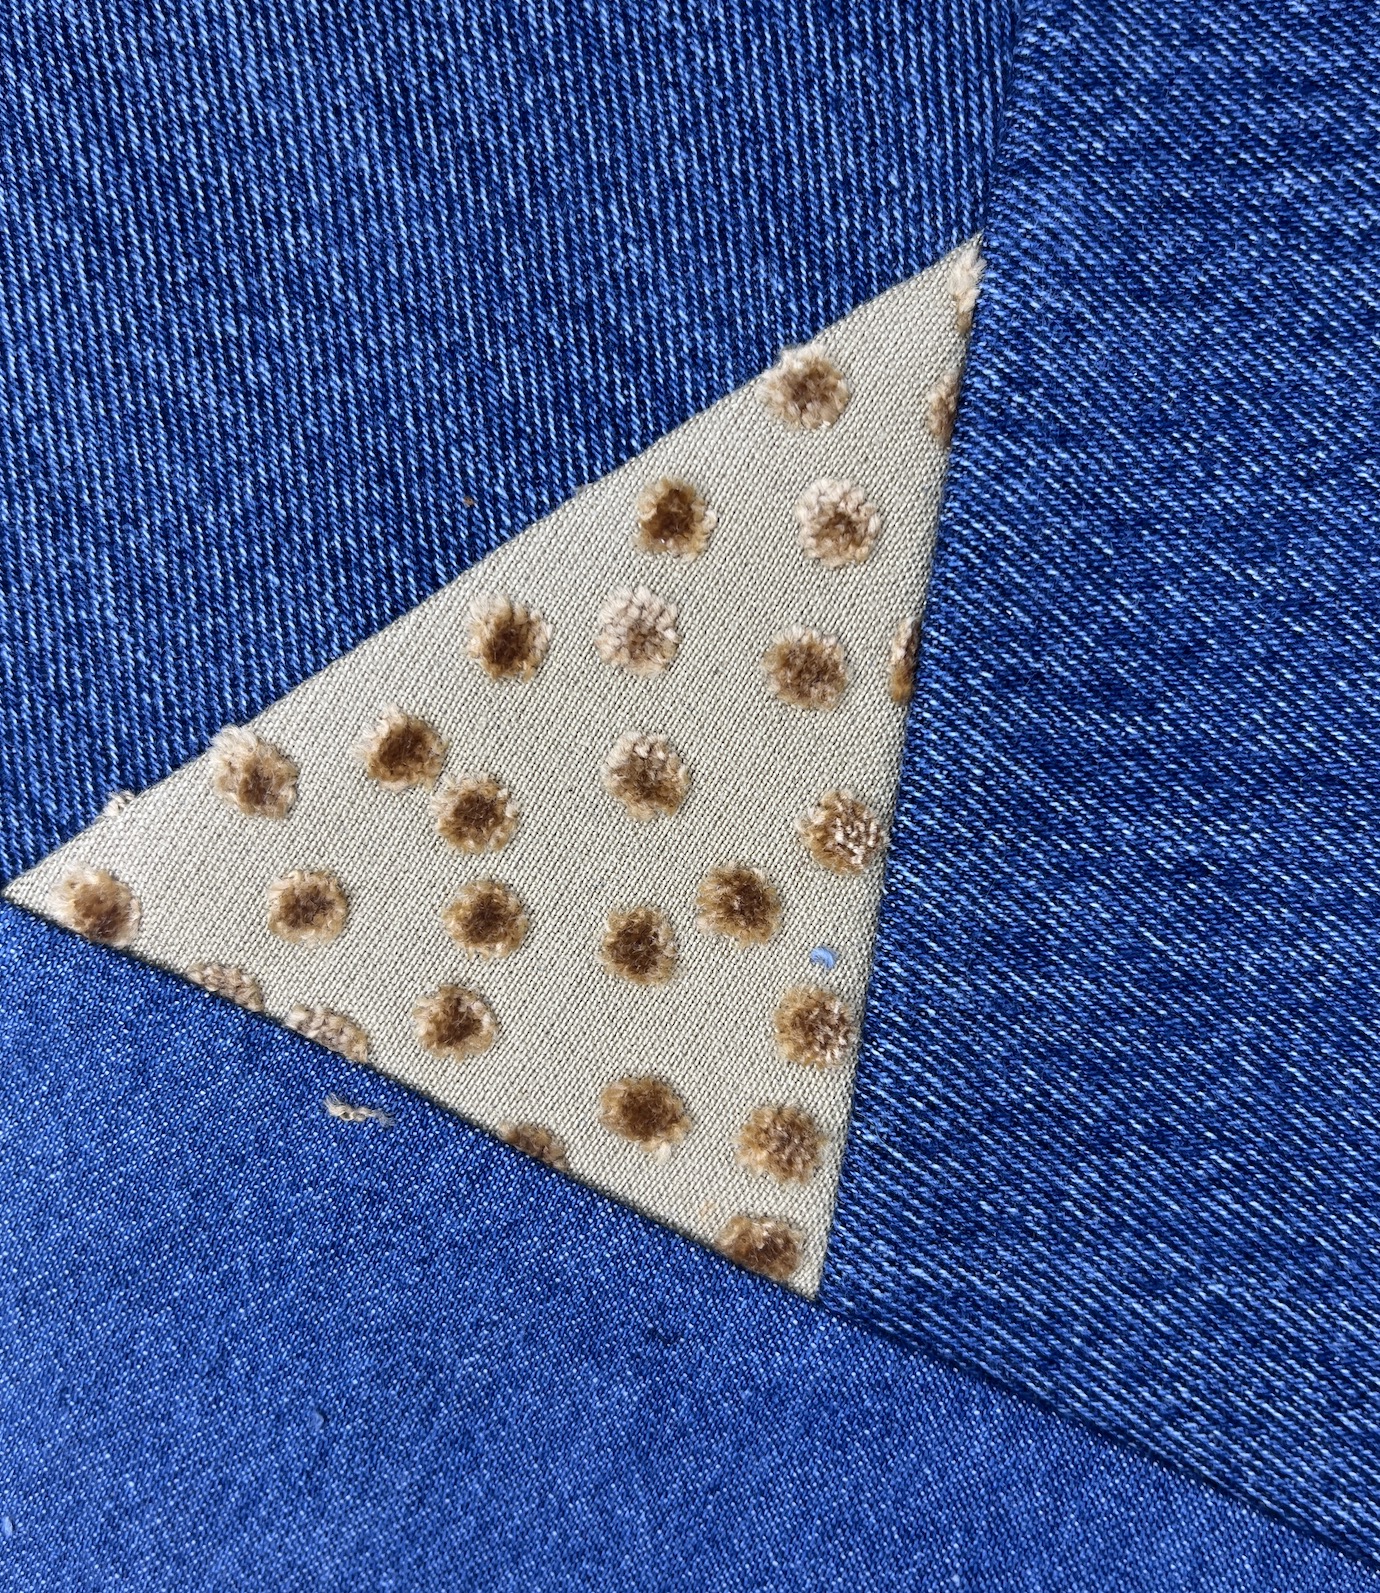
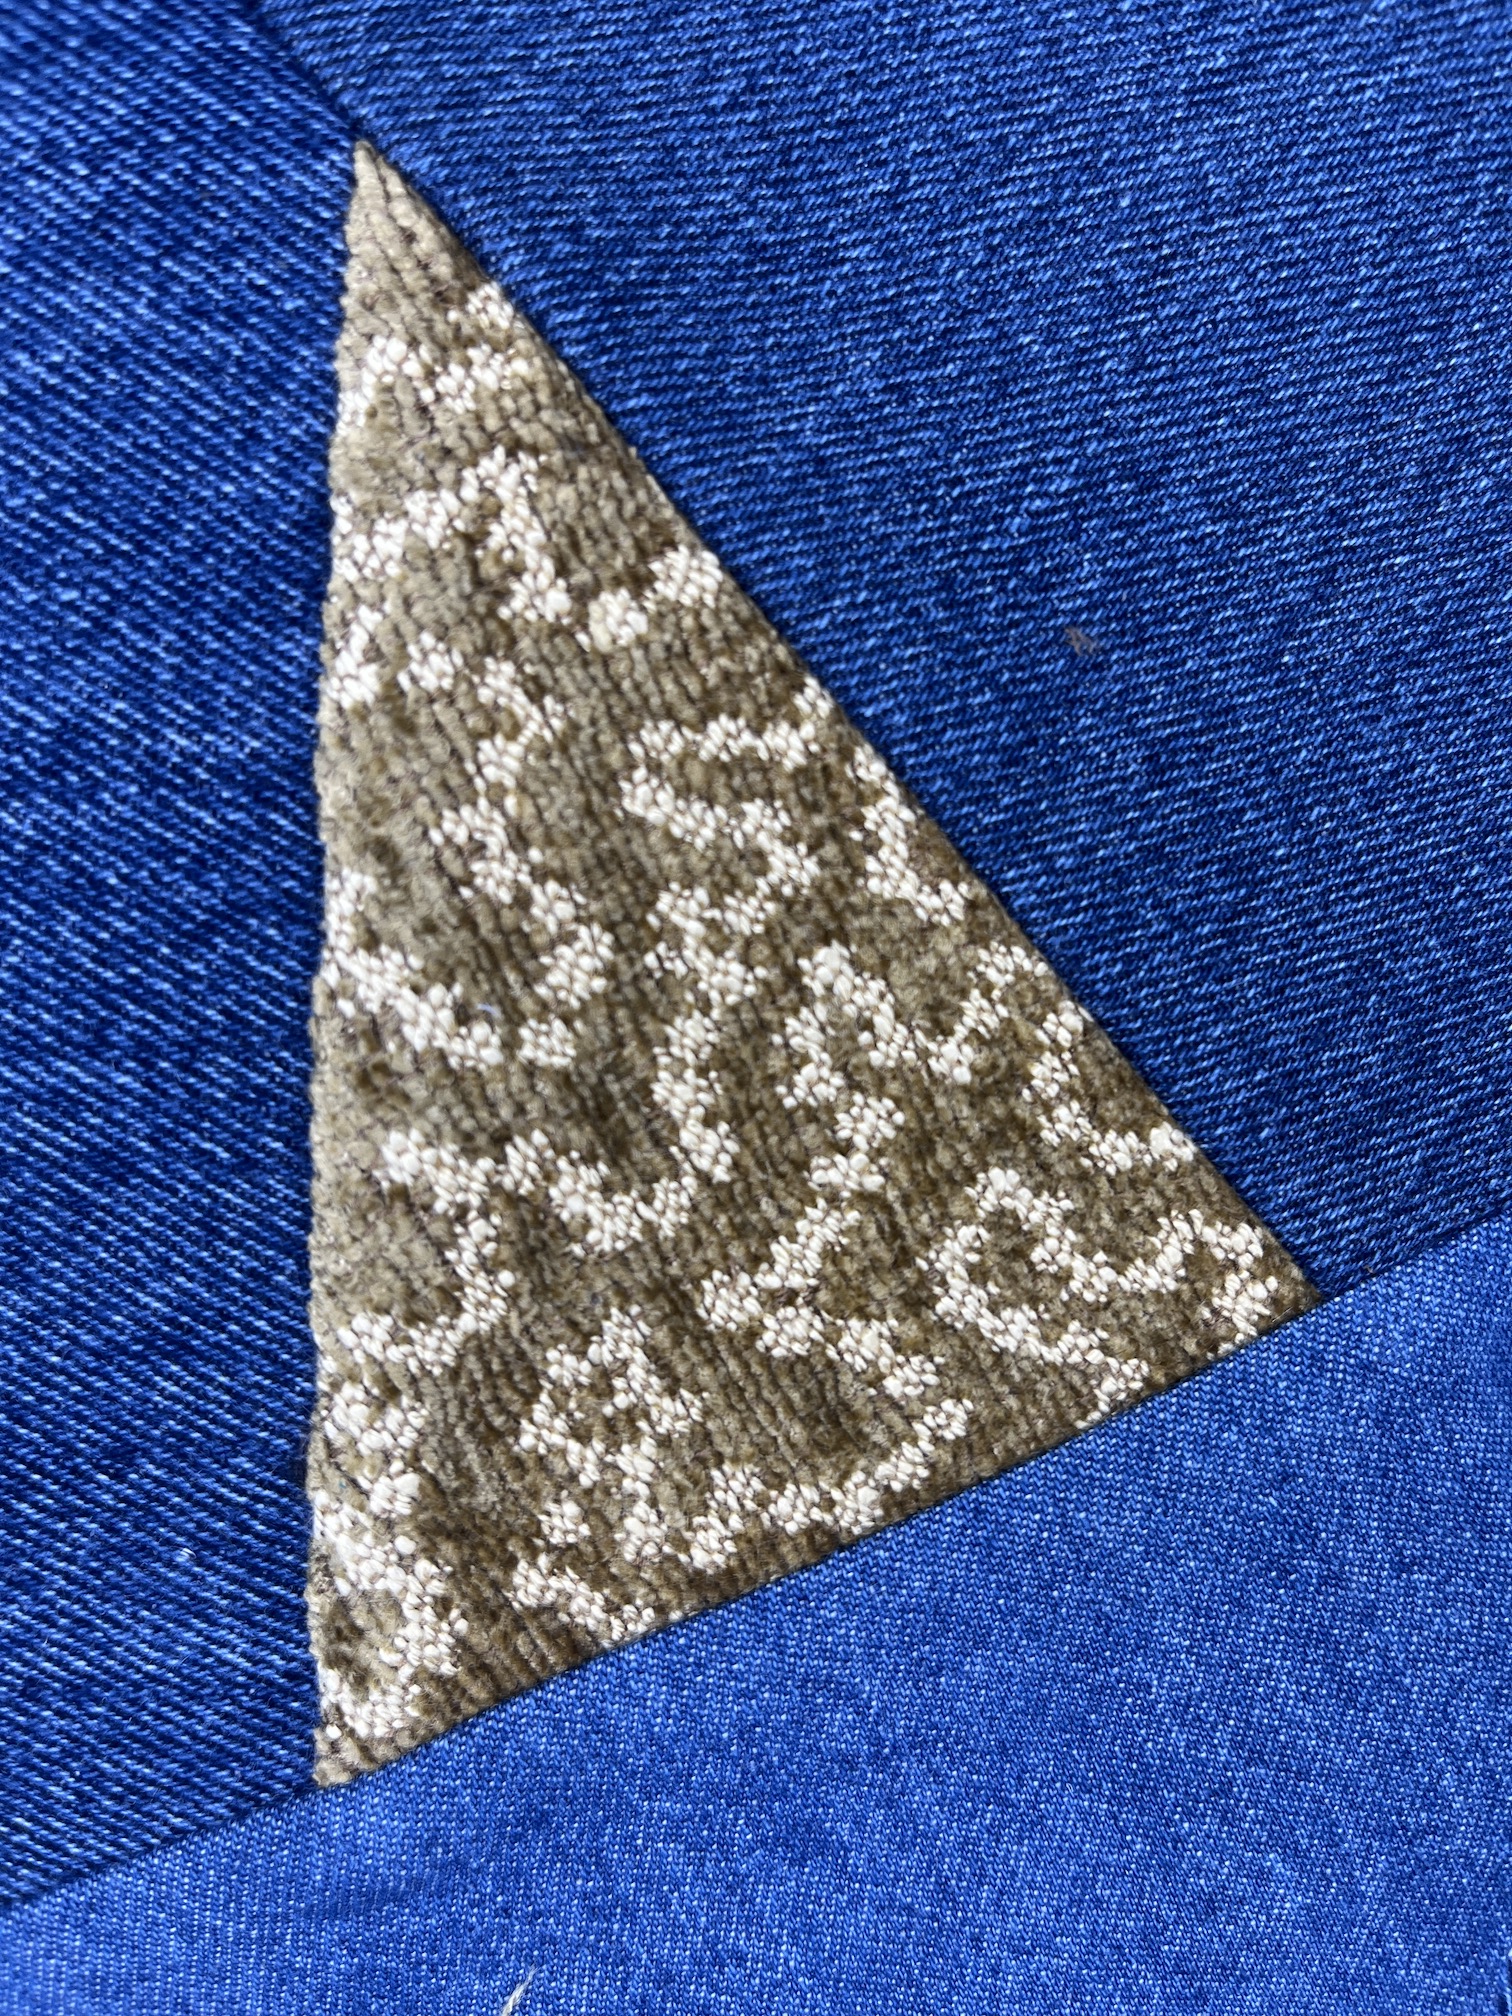
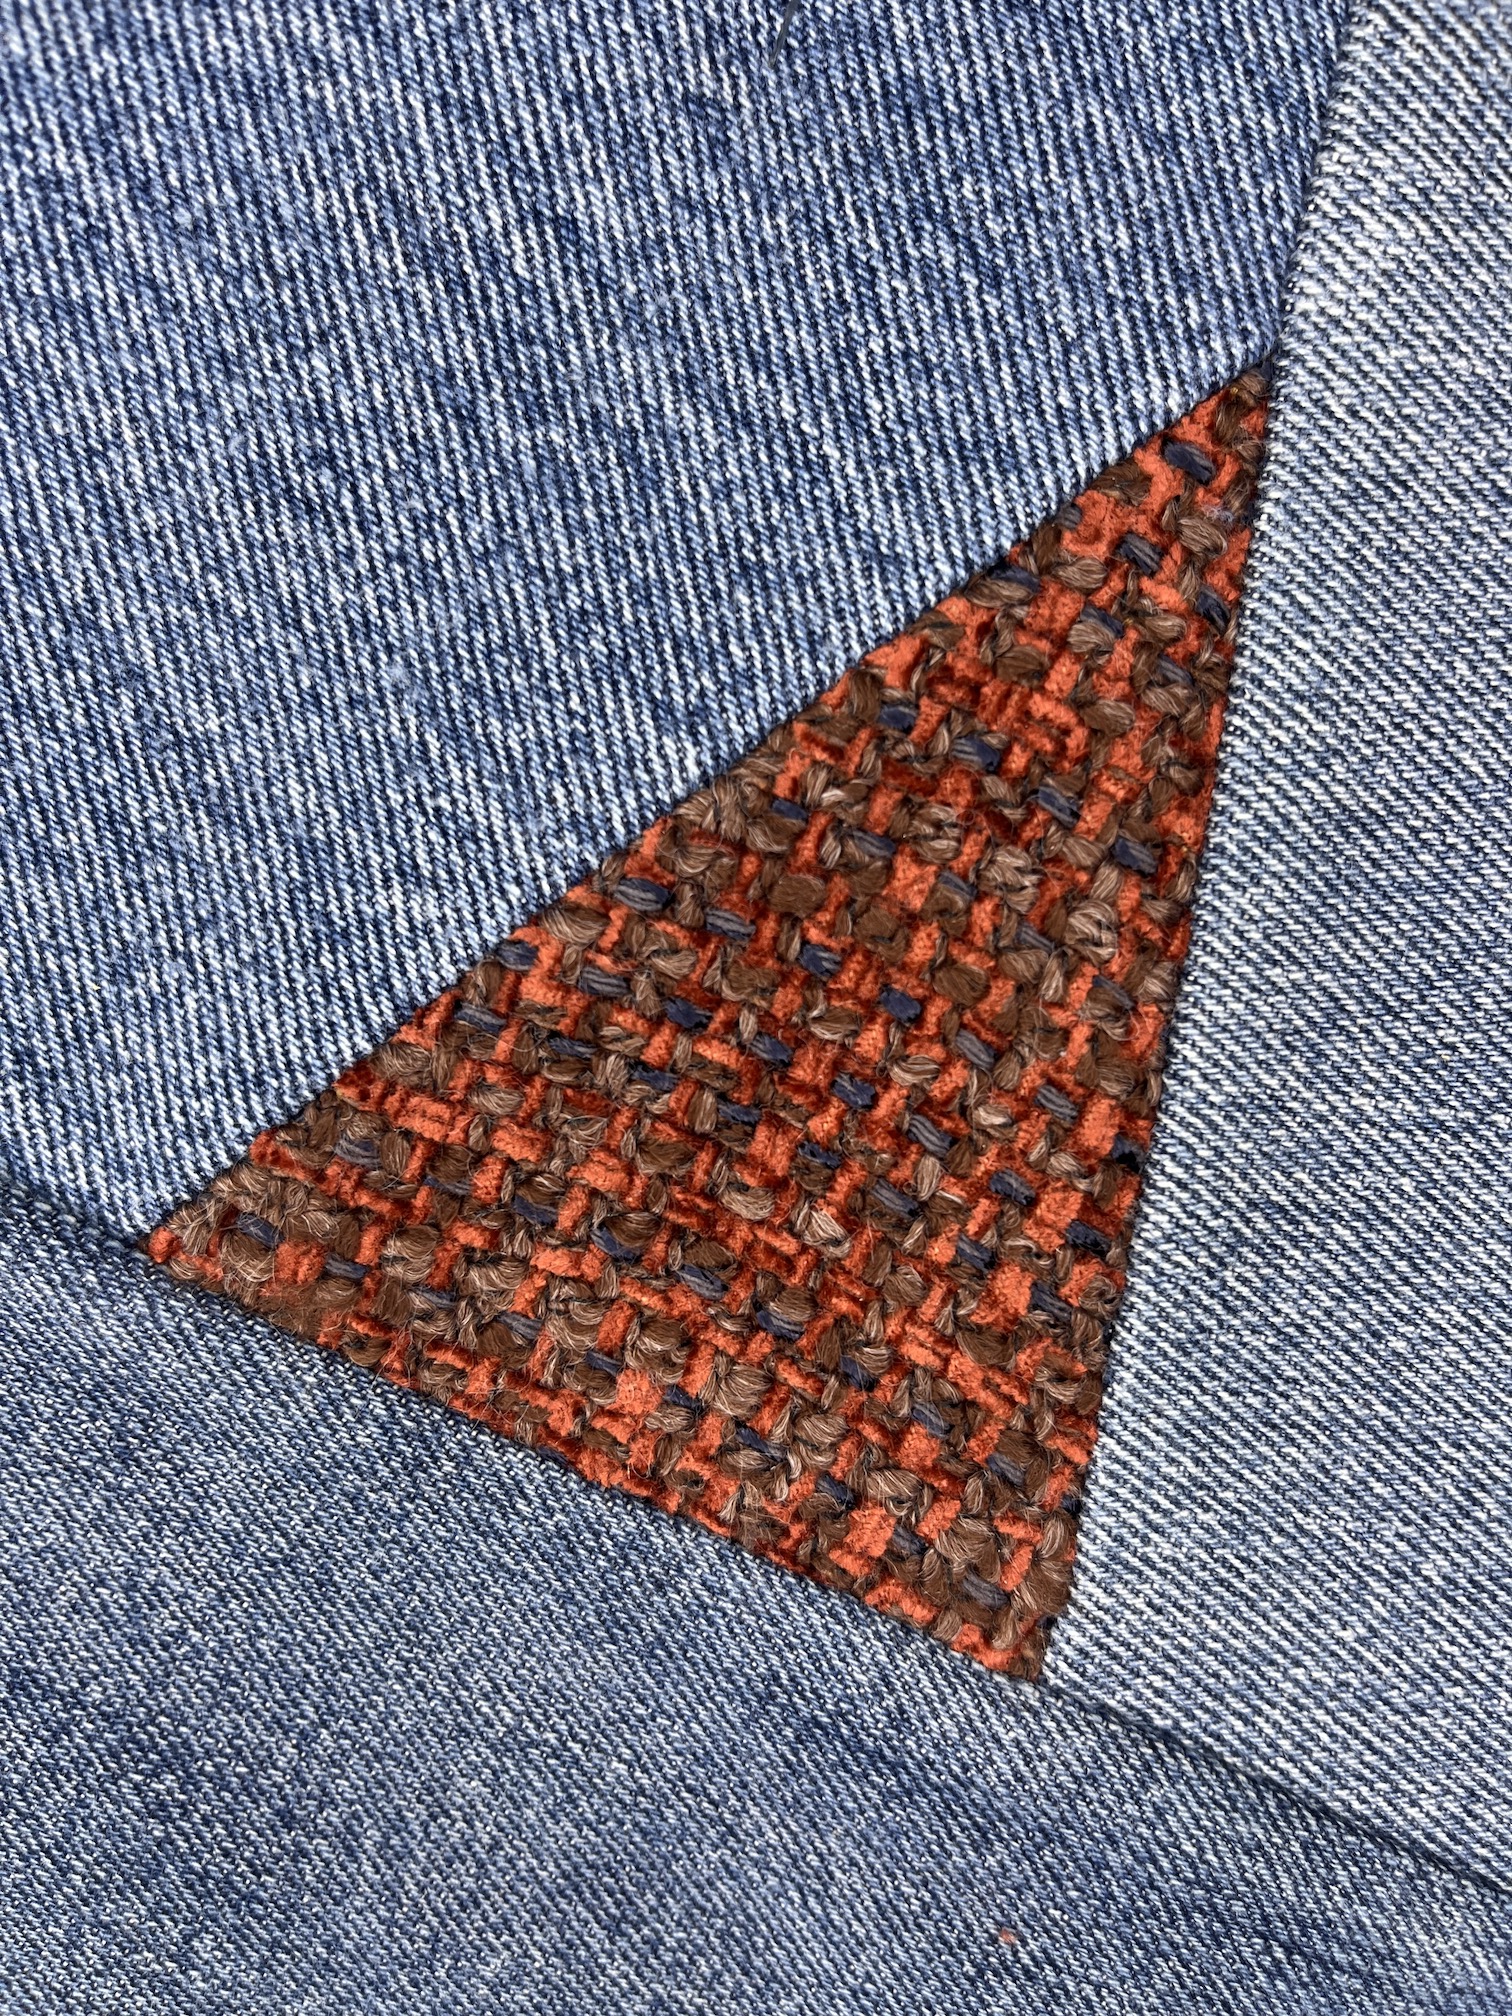
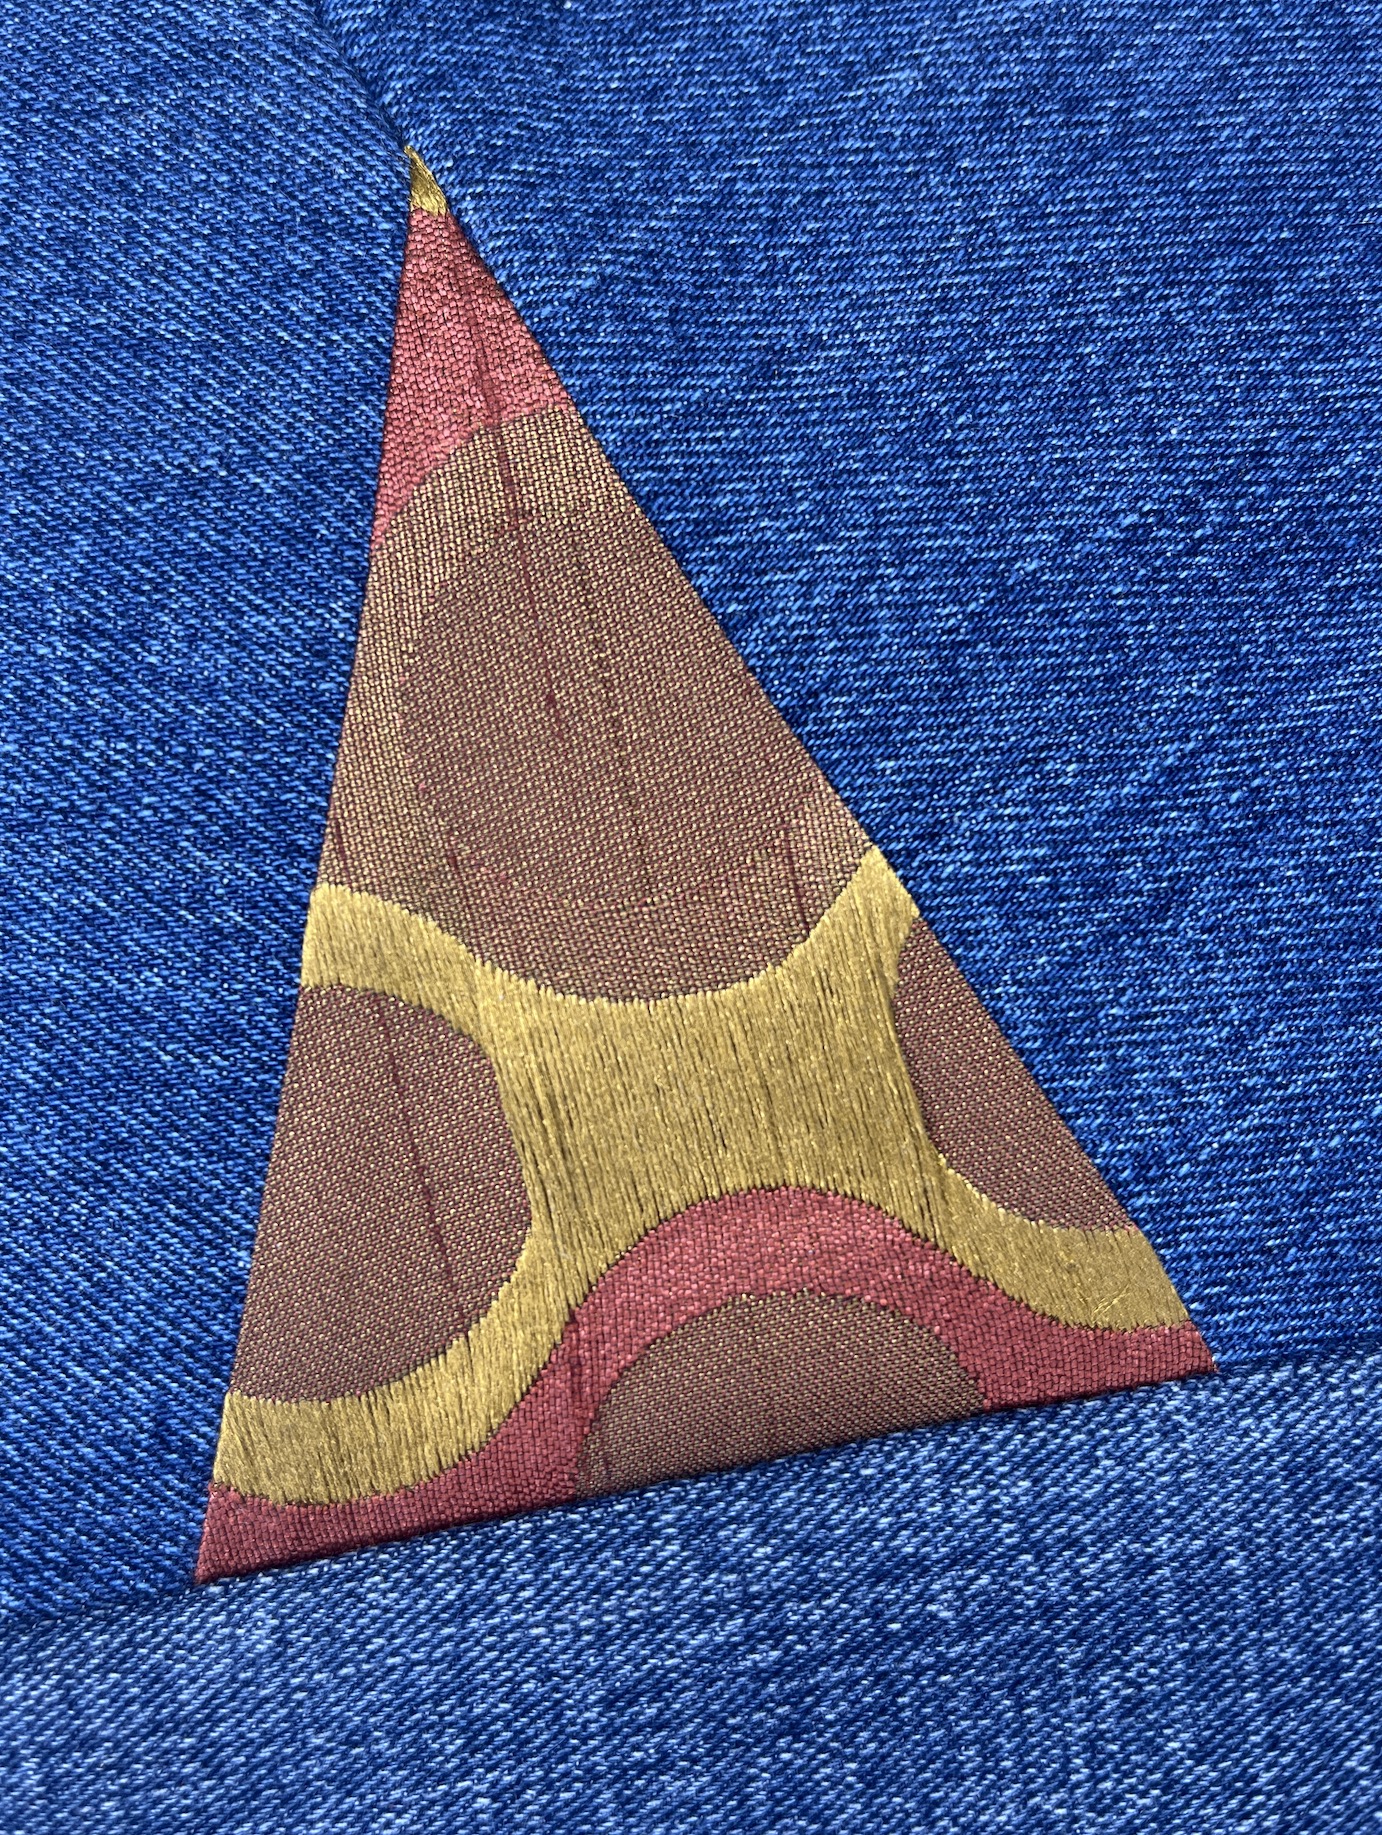
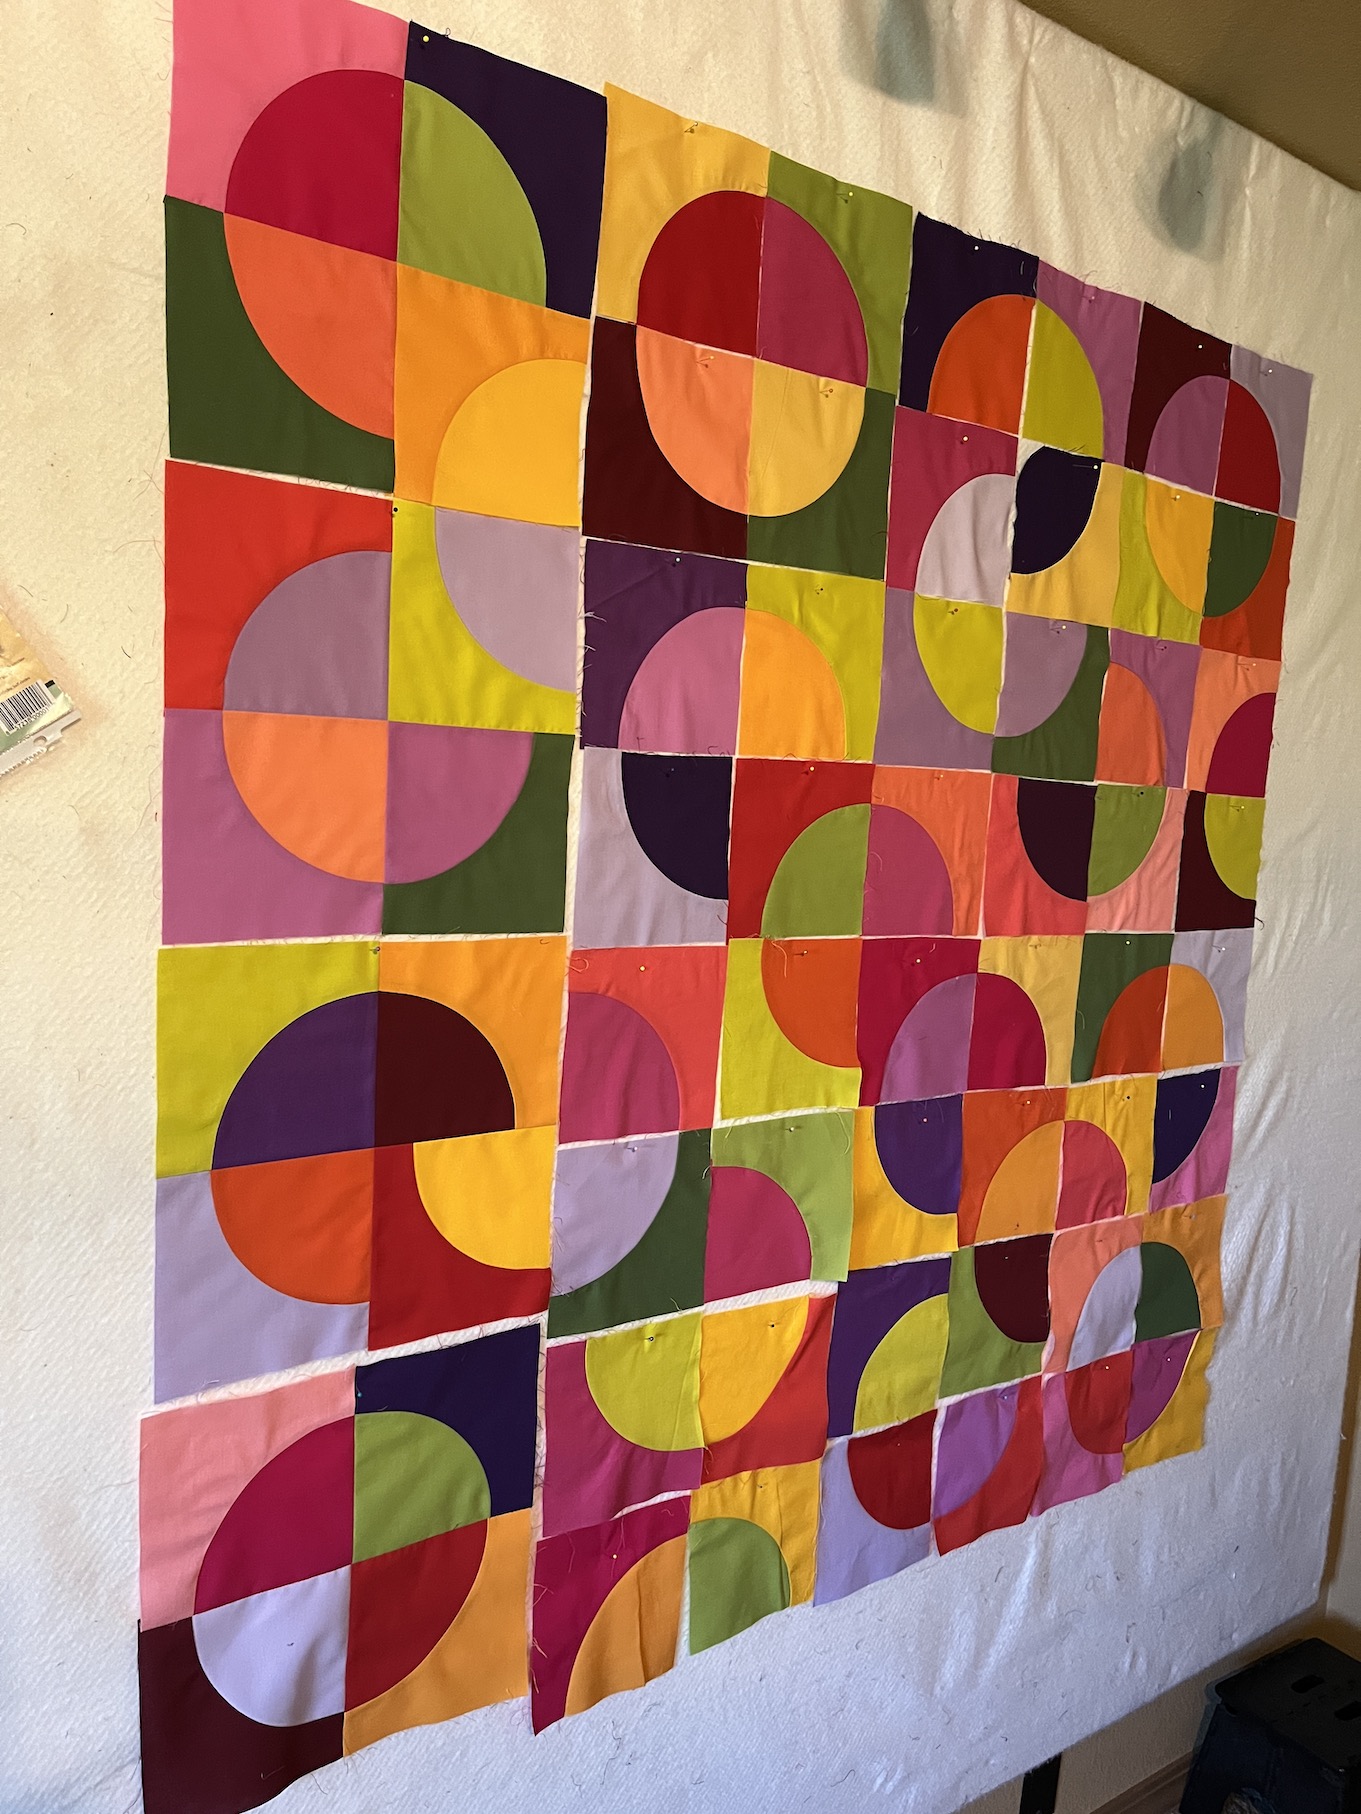
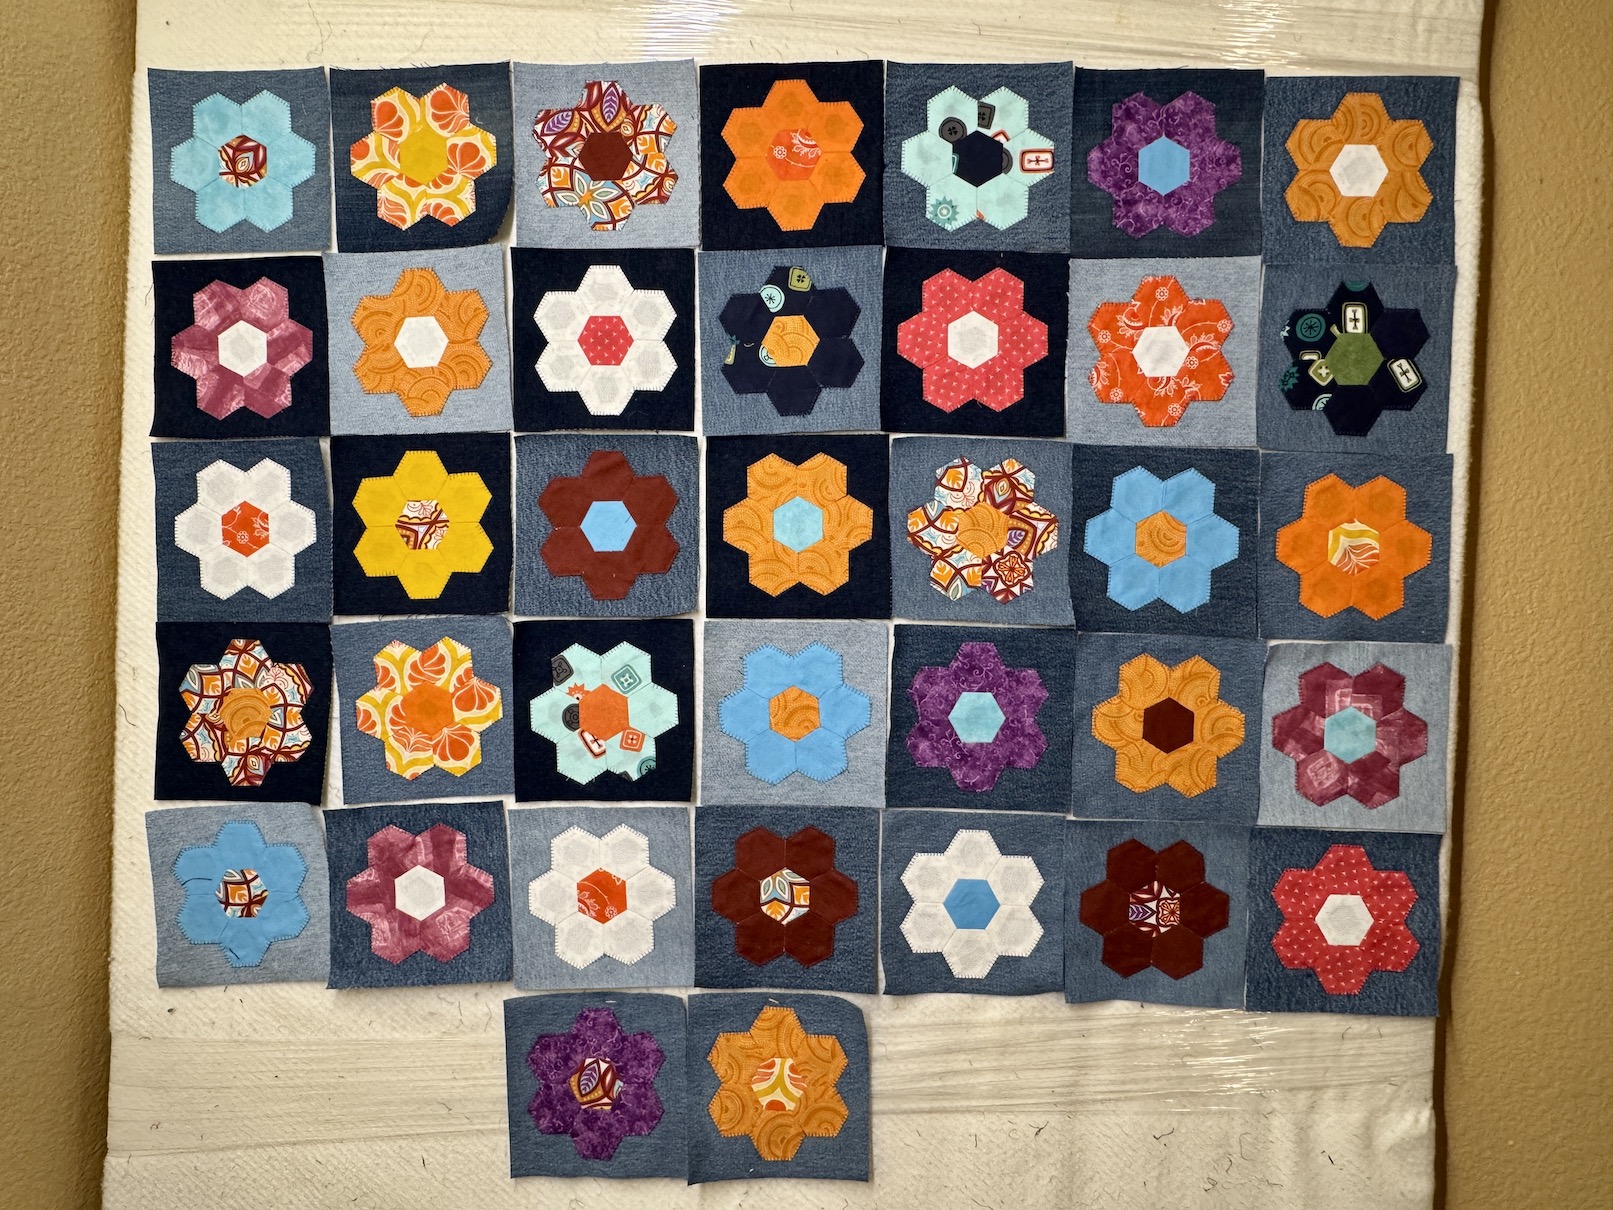
I made some great progress since then and I now have 37 EPP flowers machine appliquéd to scrap denim:
I’ve developed a rhythm to my machine appliqué of the flowers onto the denim and it’s now so cumbersome now to do it.
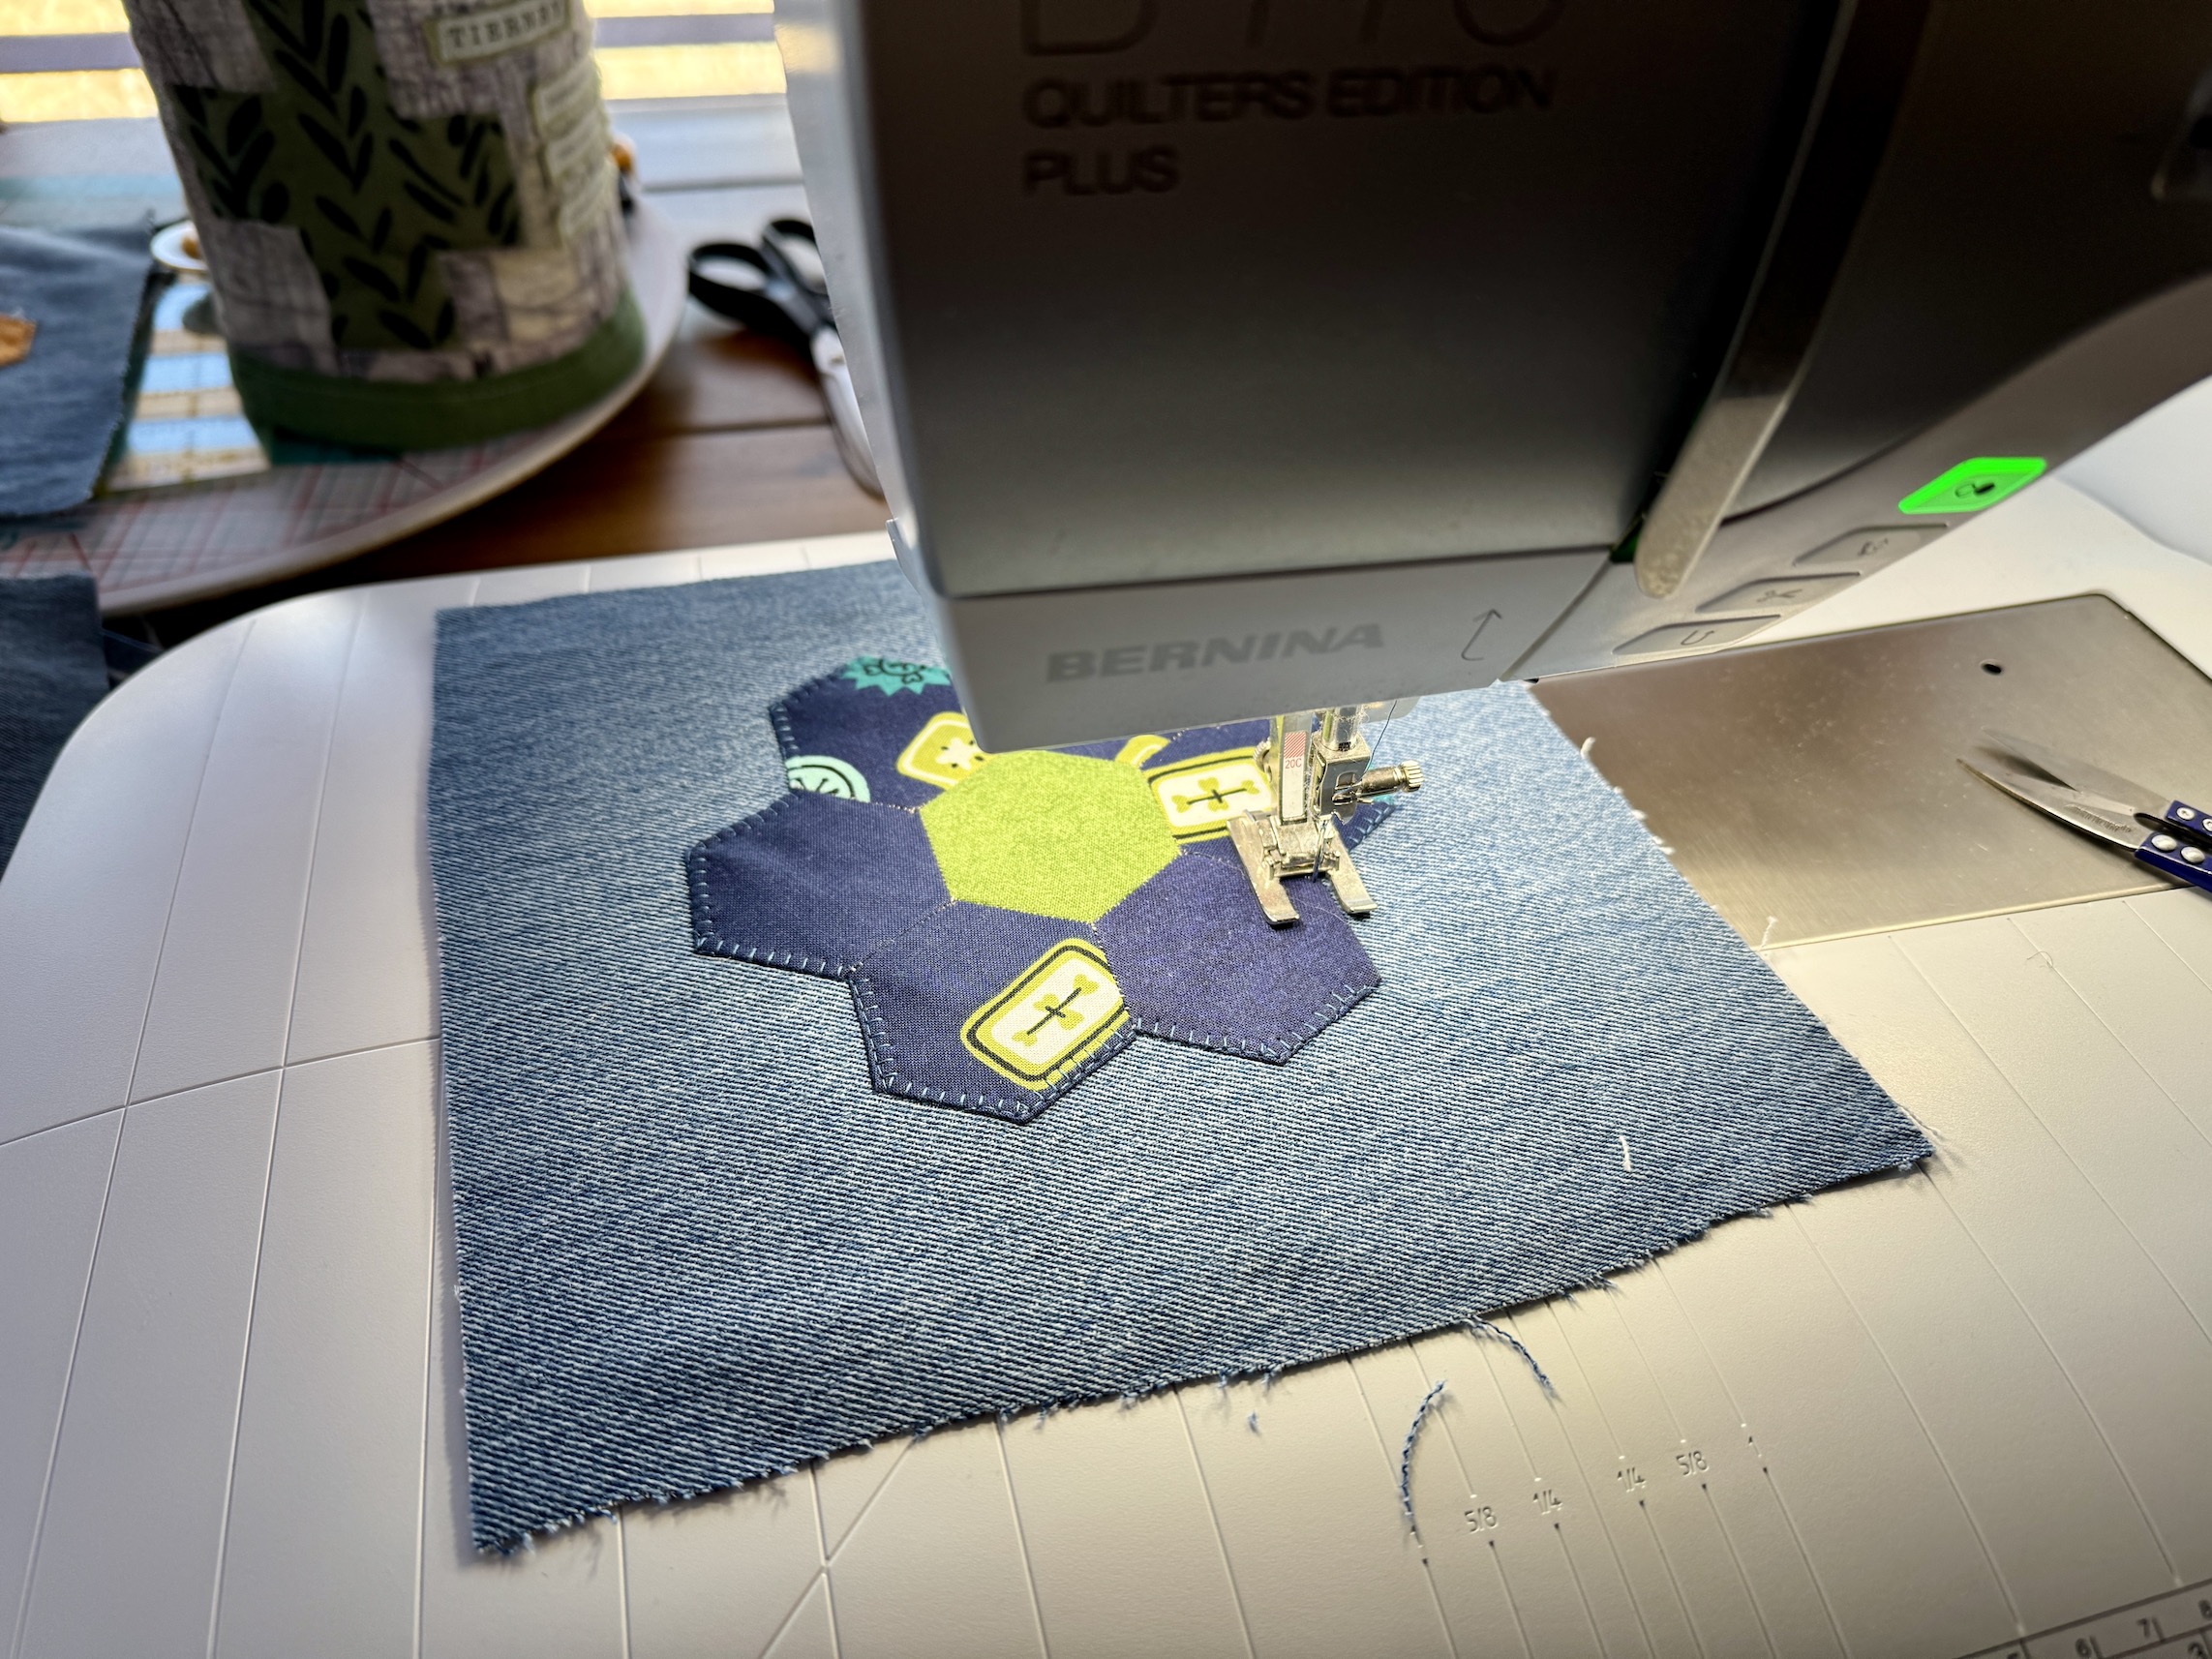
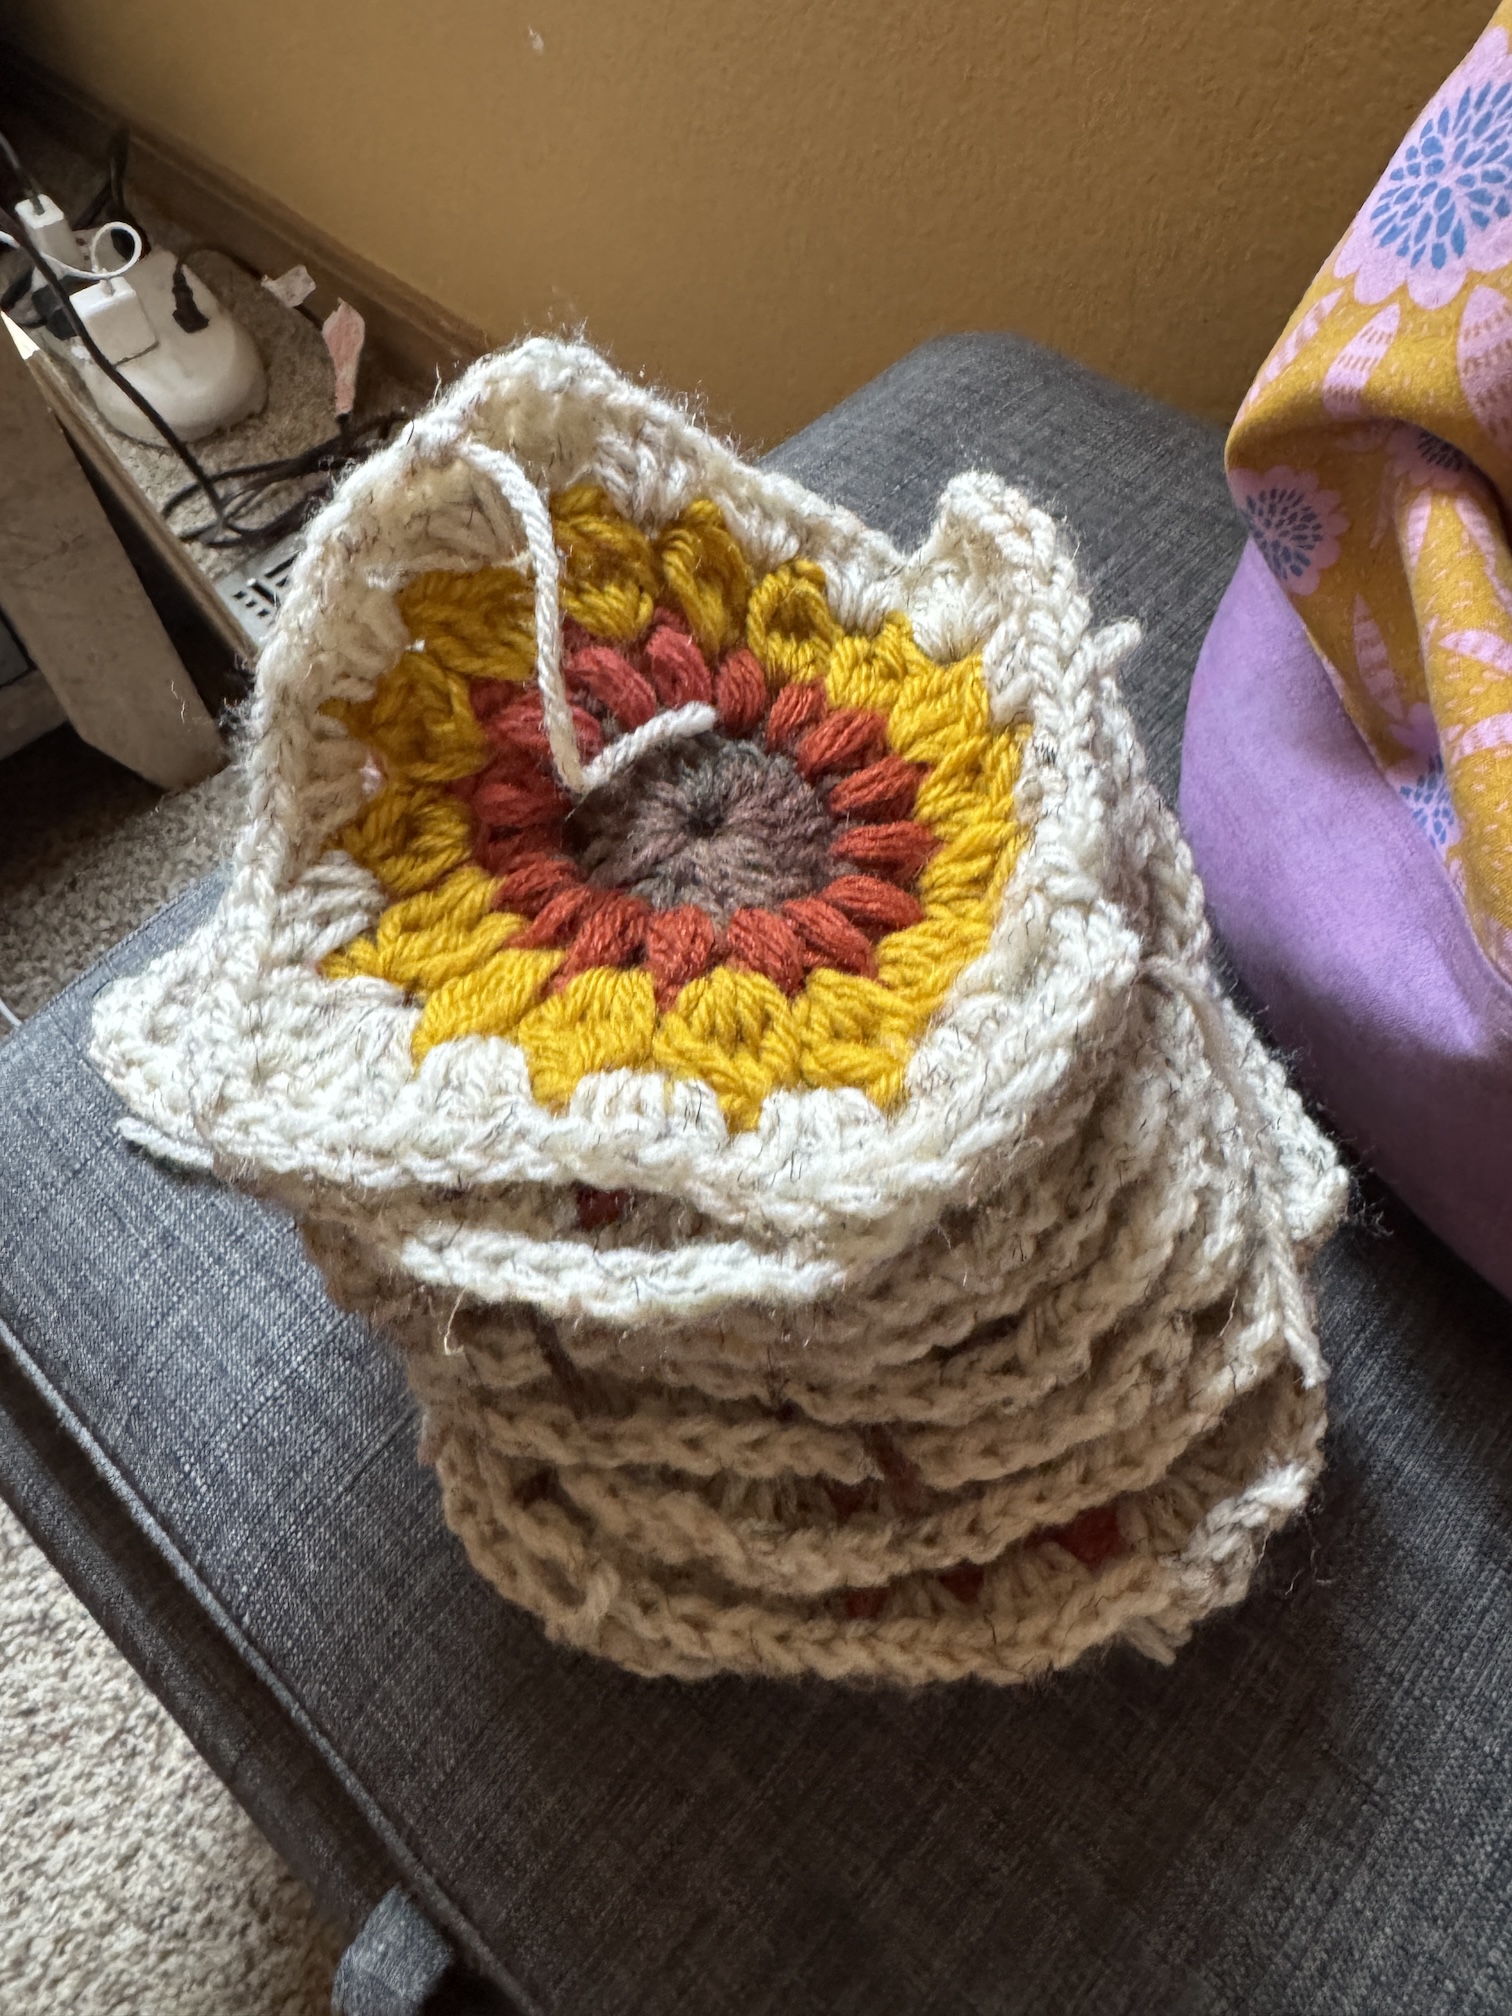
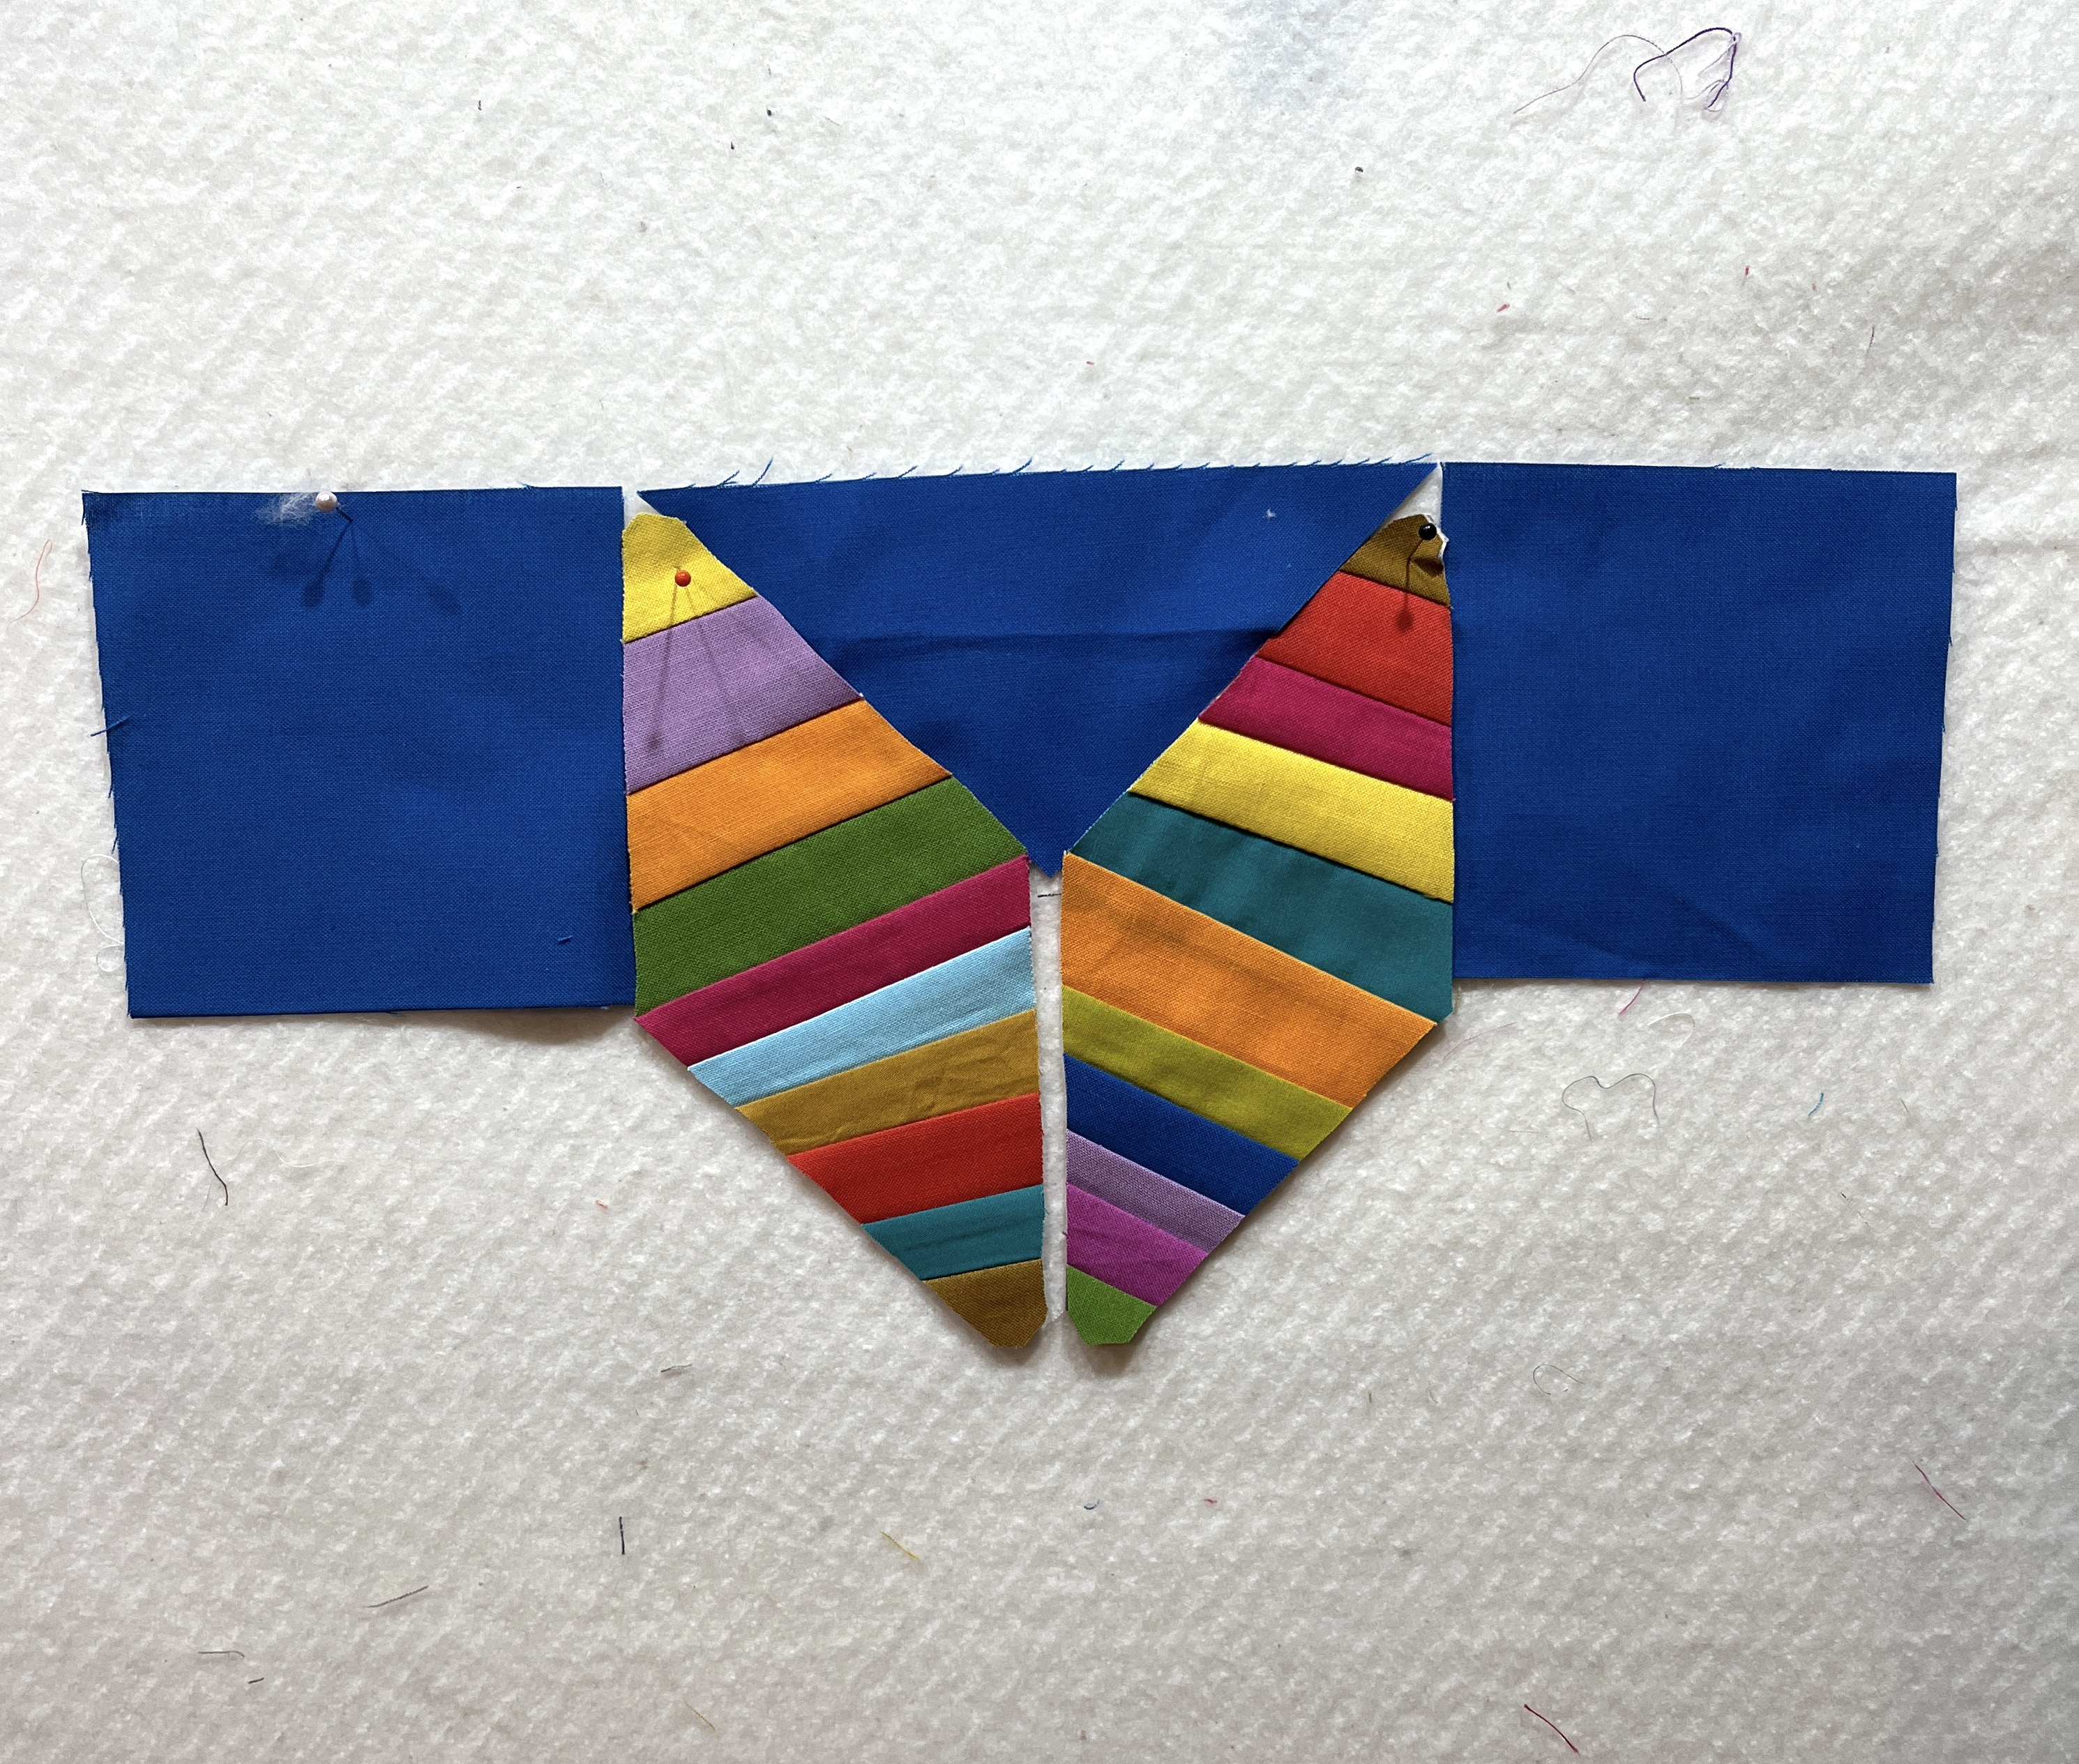
I stitch them on a slightly larger than 6.5 inch by 6.5 inch square and then trim to size after I stitch them onto the scrap denim.
Only 62 more blocks to make of the 99 EPP flowers I’ve created.
Postscript
Just a little follow up to my previous post – How Did We Get Here?
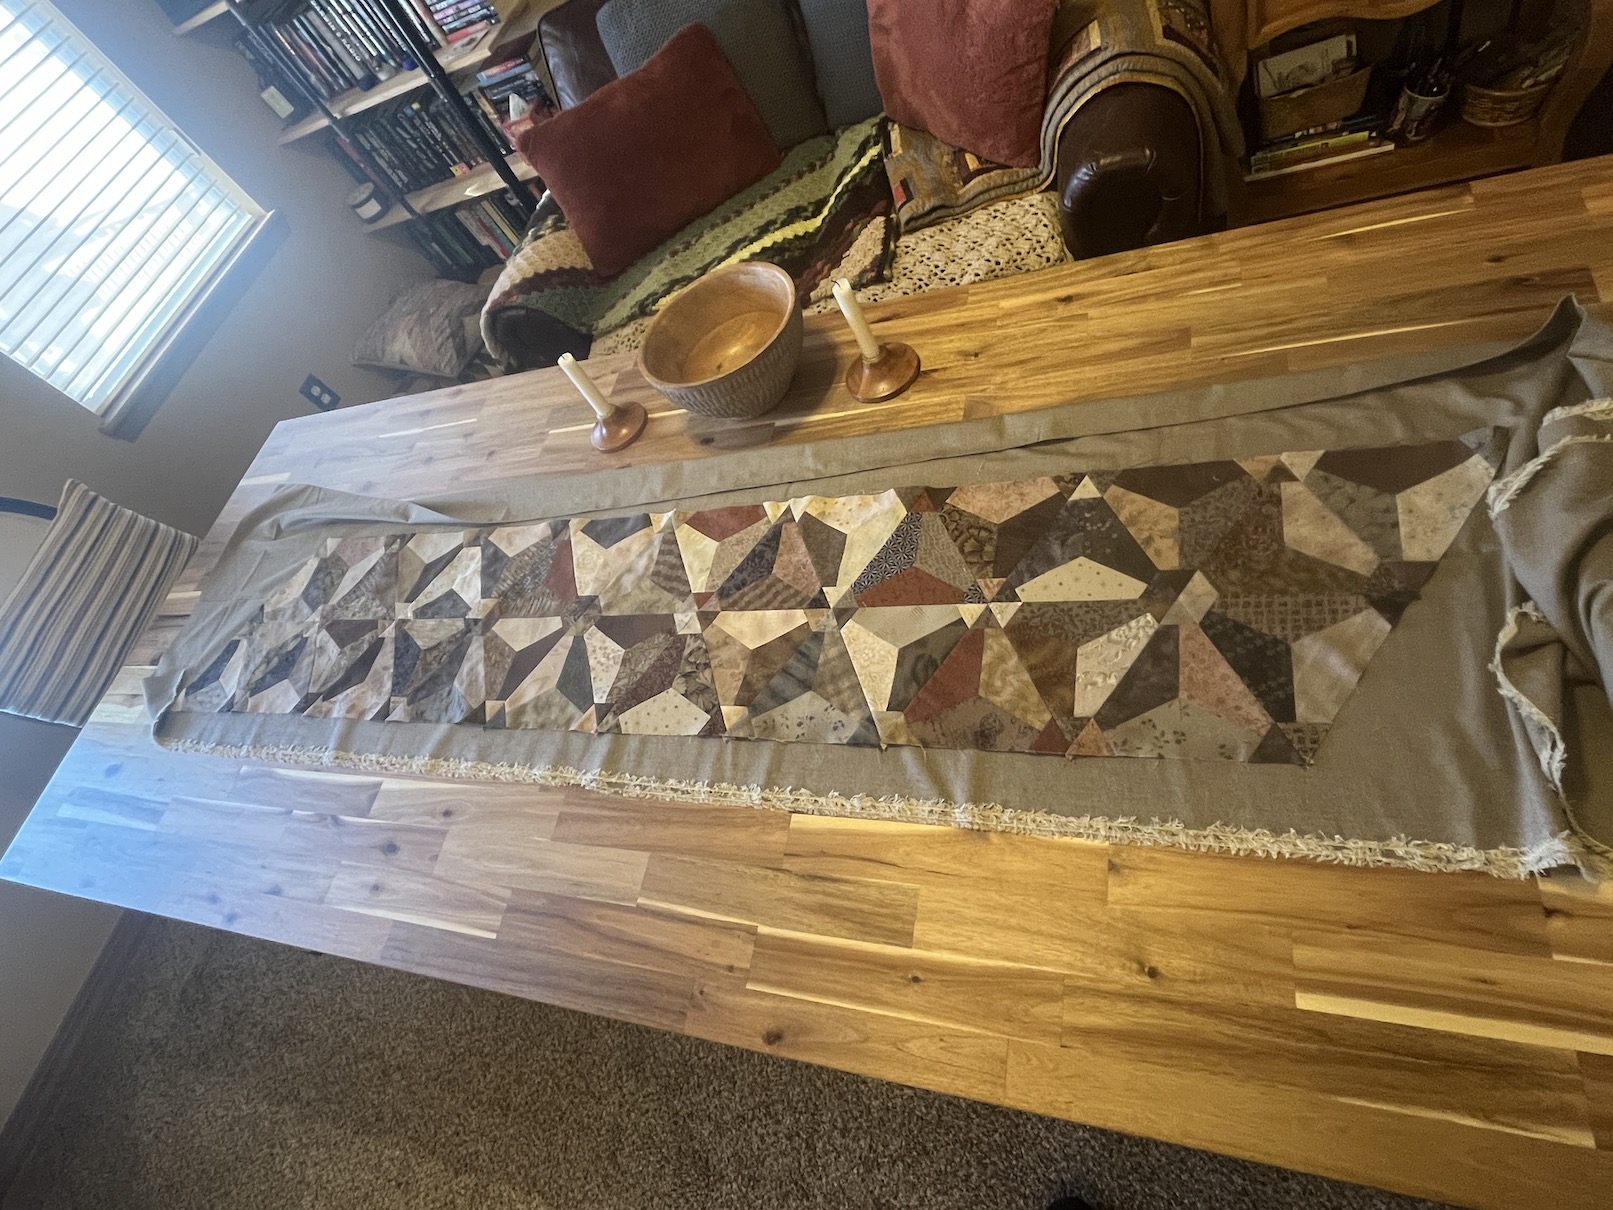
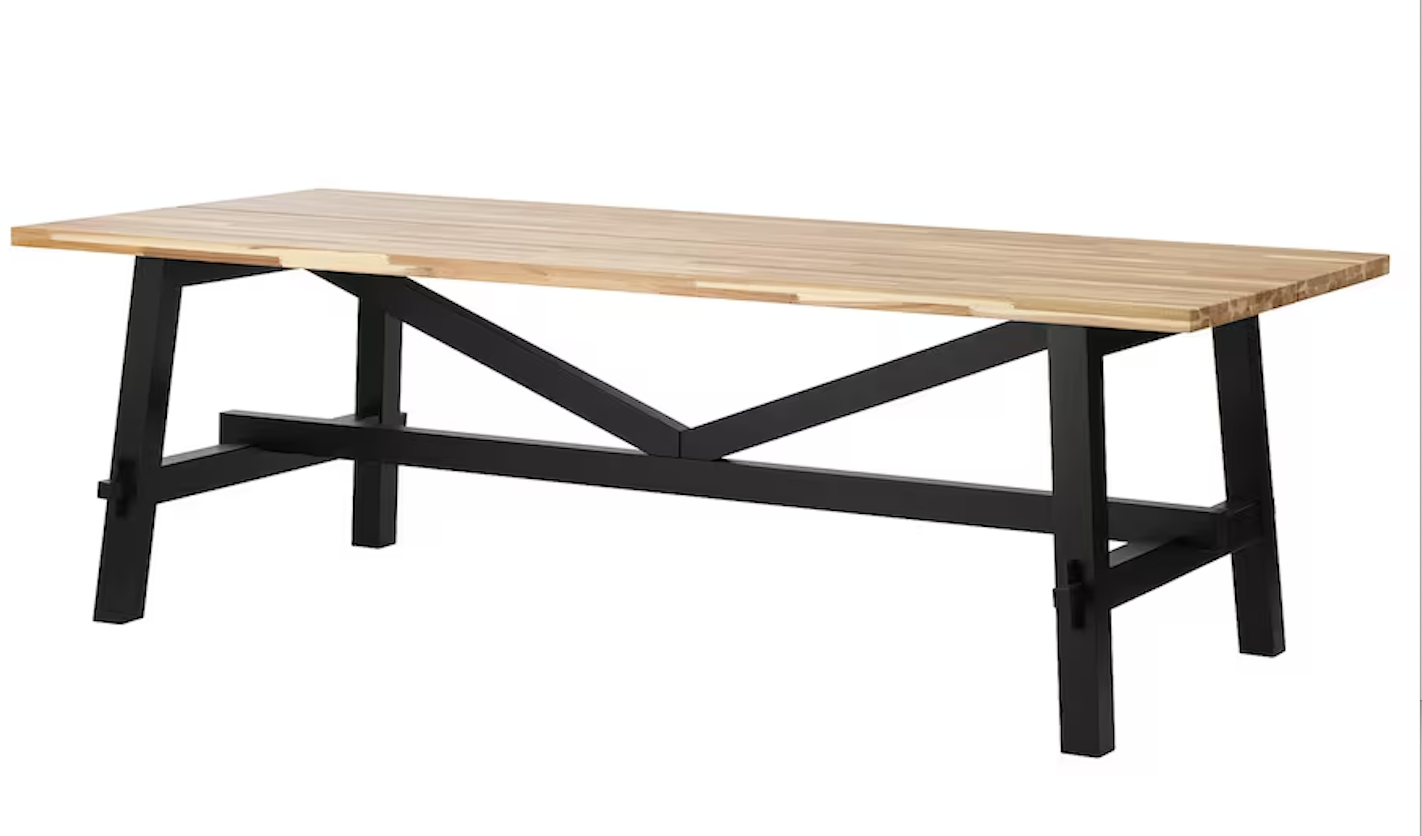
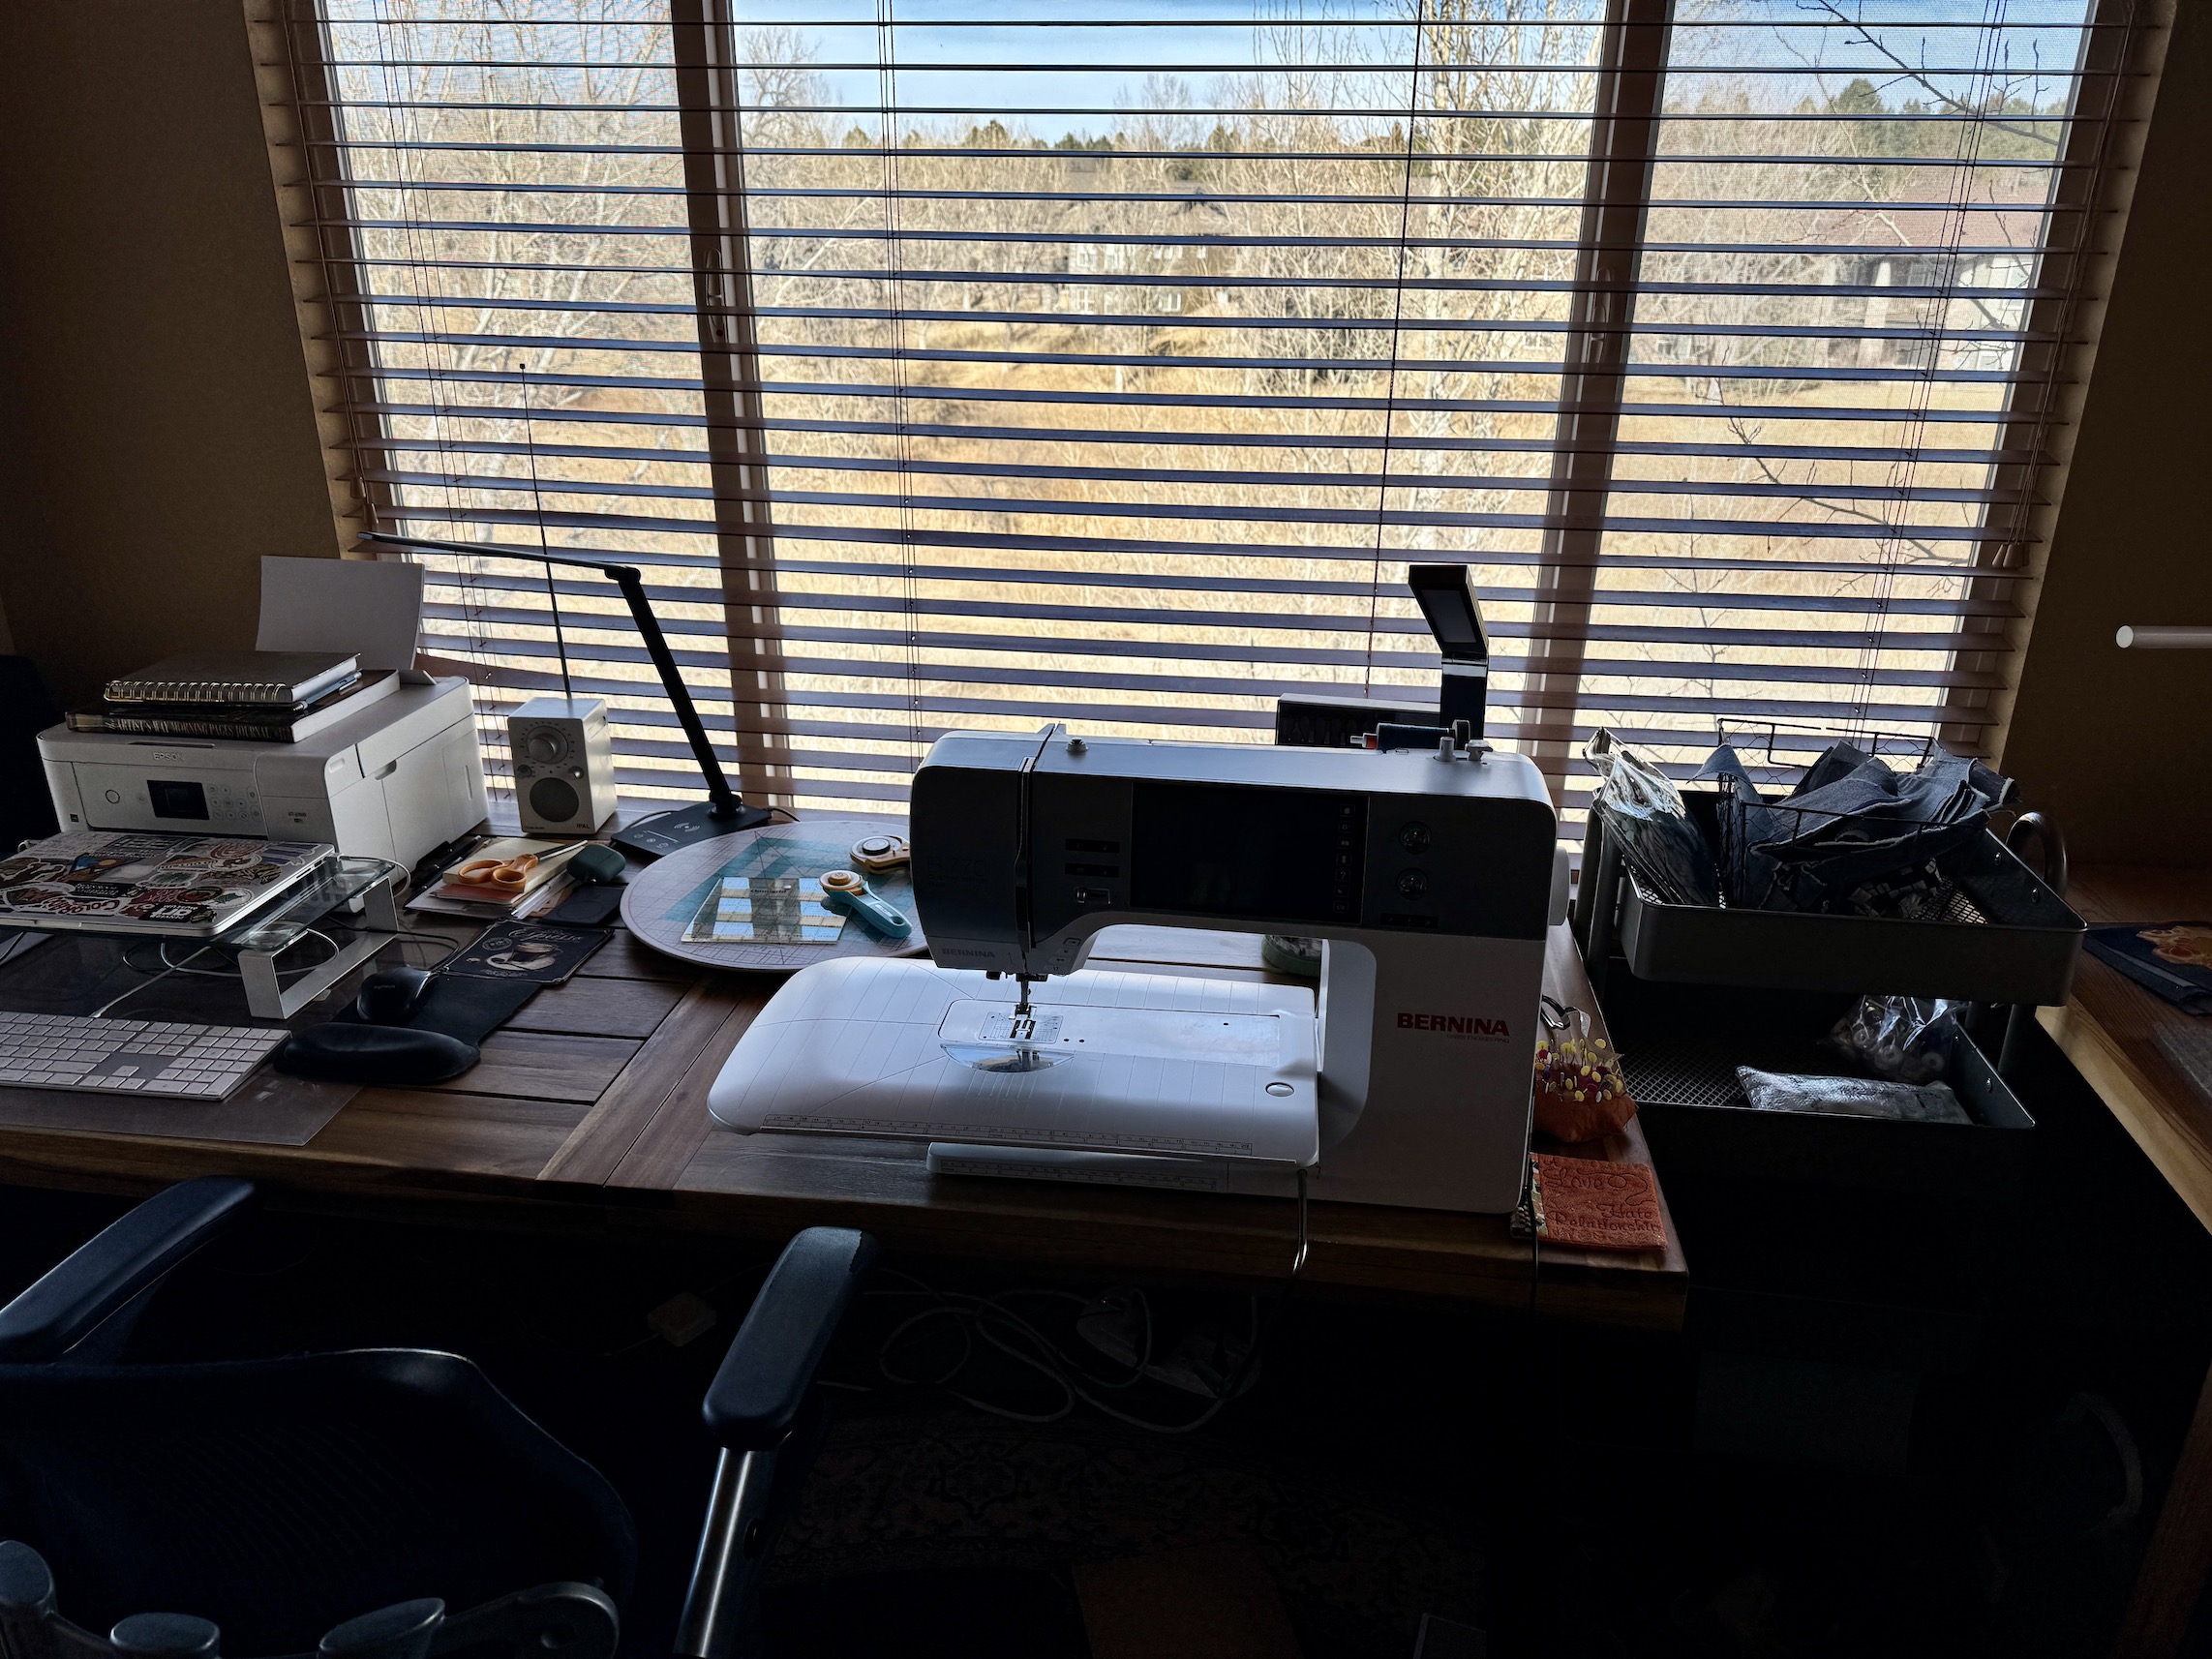
The house is currently in such chaos I needed a calm place in which I could blog and sew if I wanted until we get closer to our move date in early March. John came up with the idea of moving a table into our bedroom in front of the window and setting up my laptop and my sewing machine.
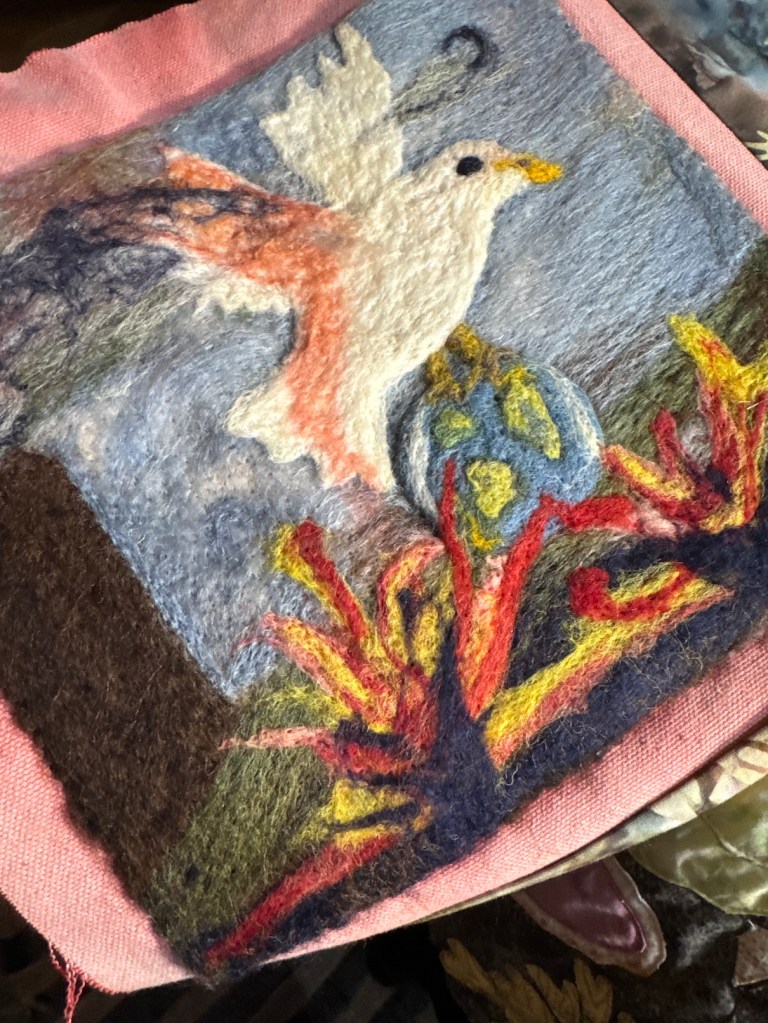
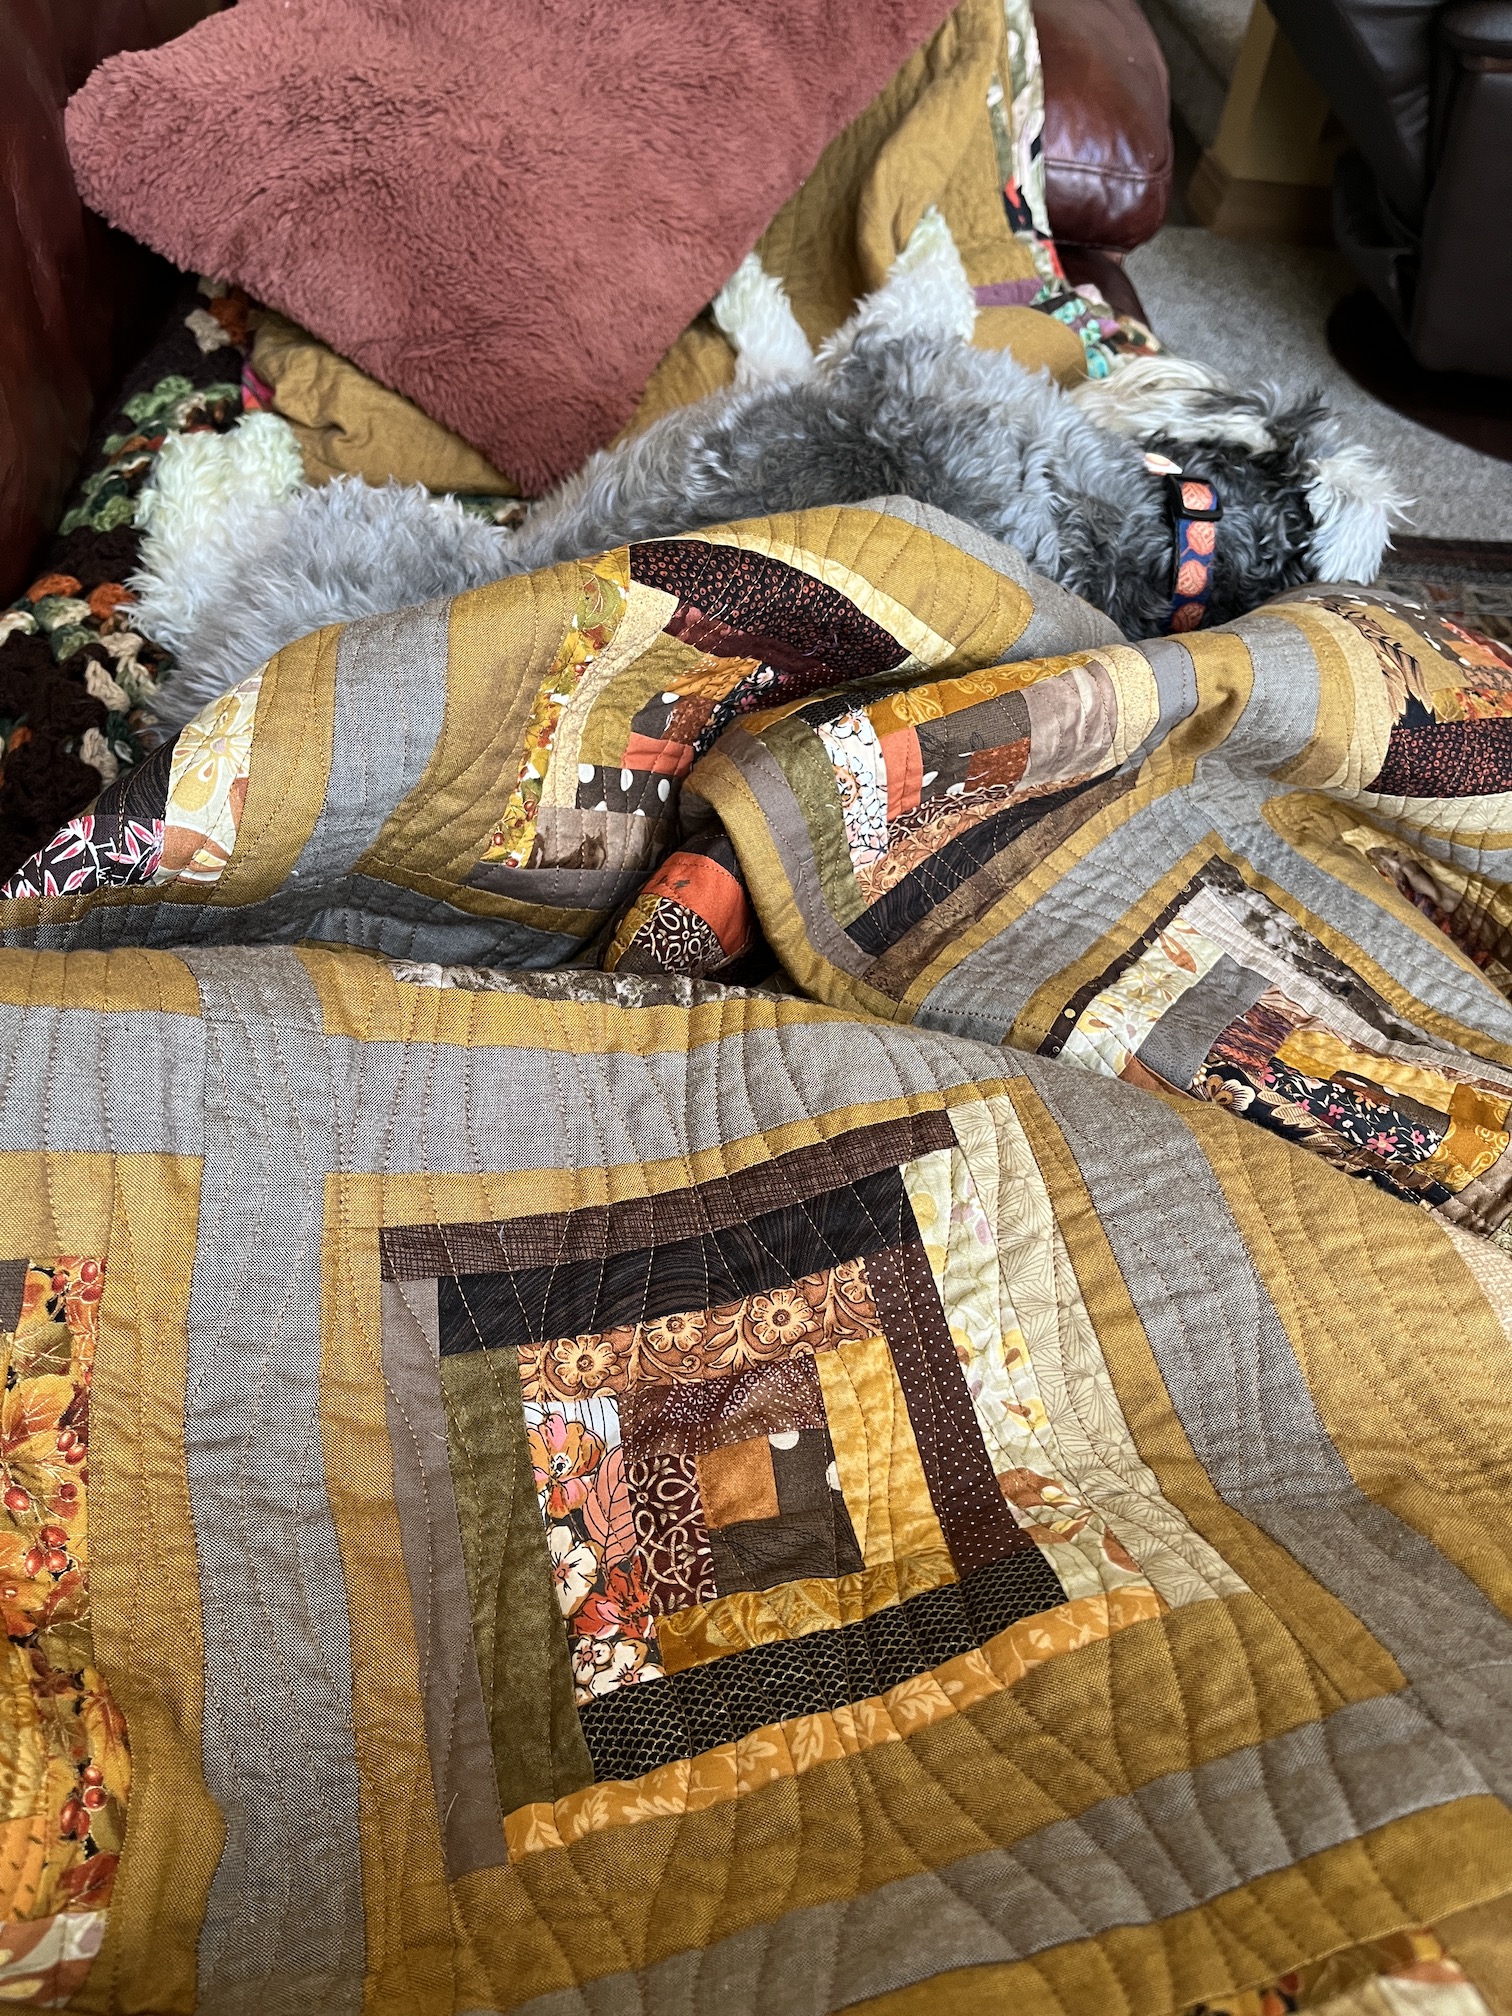
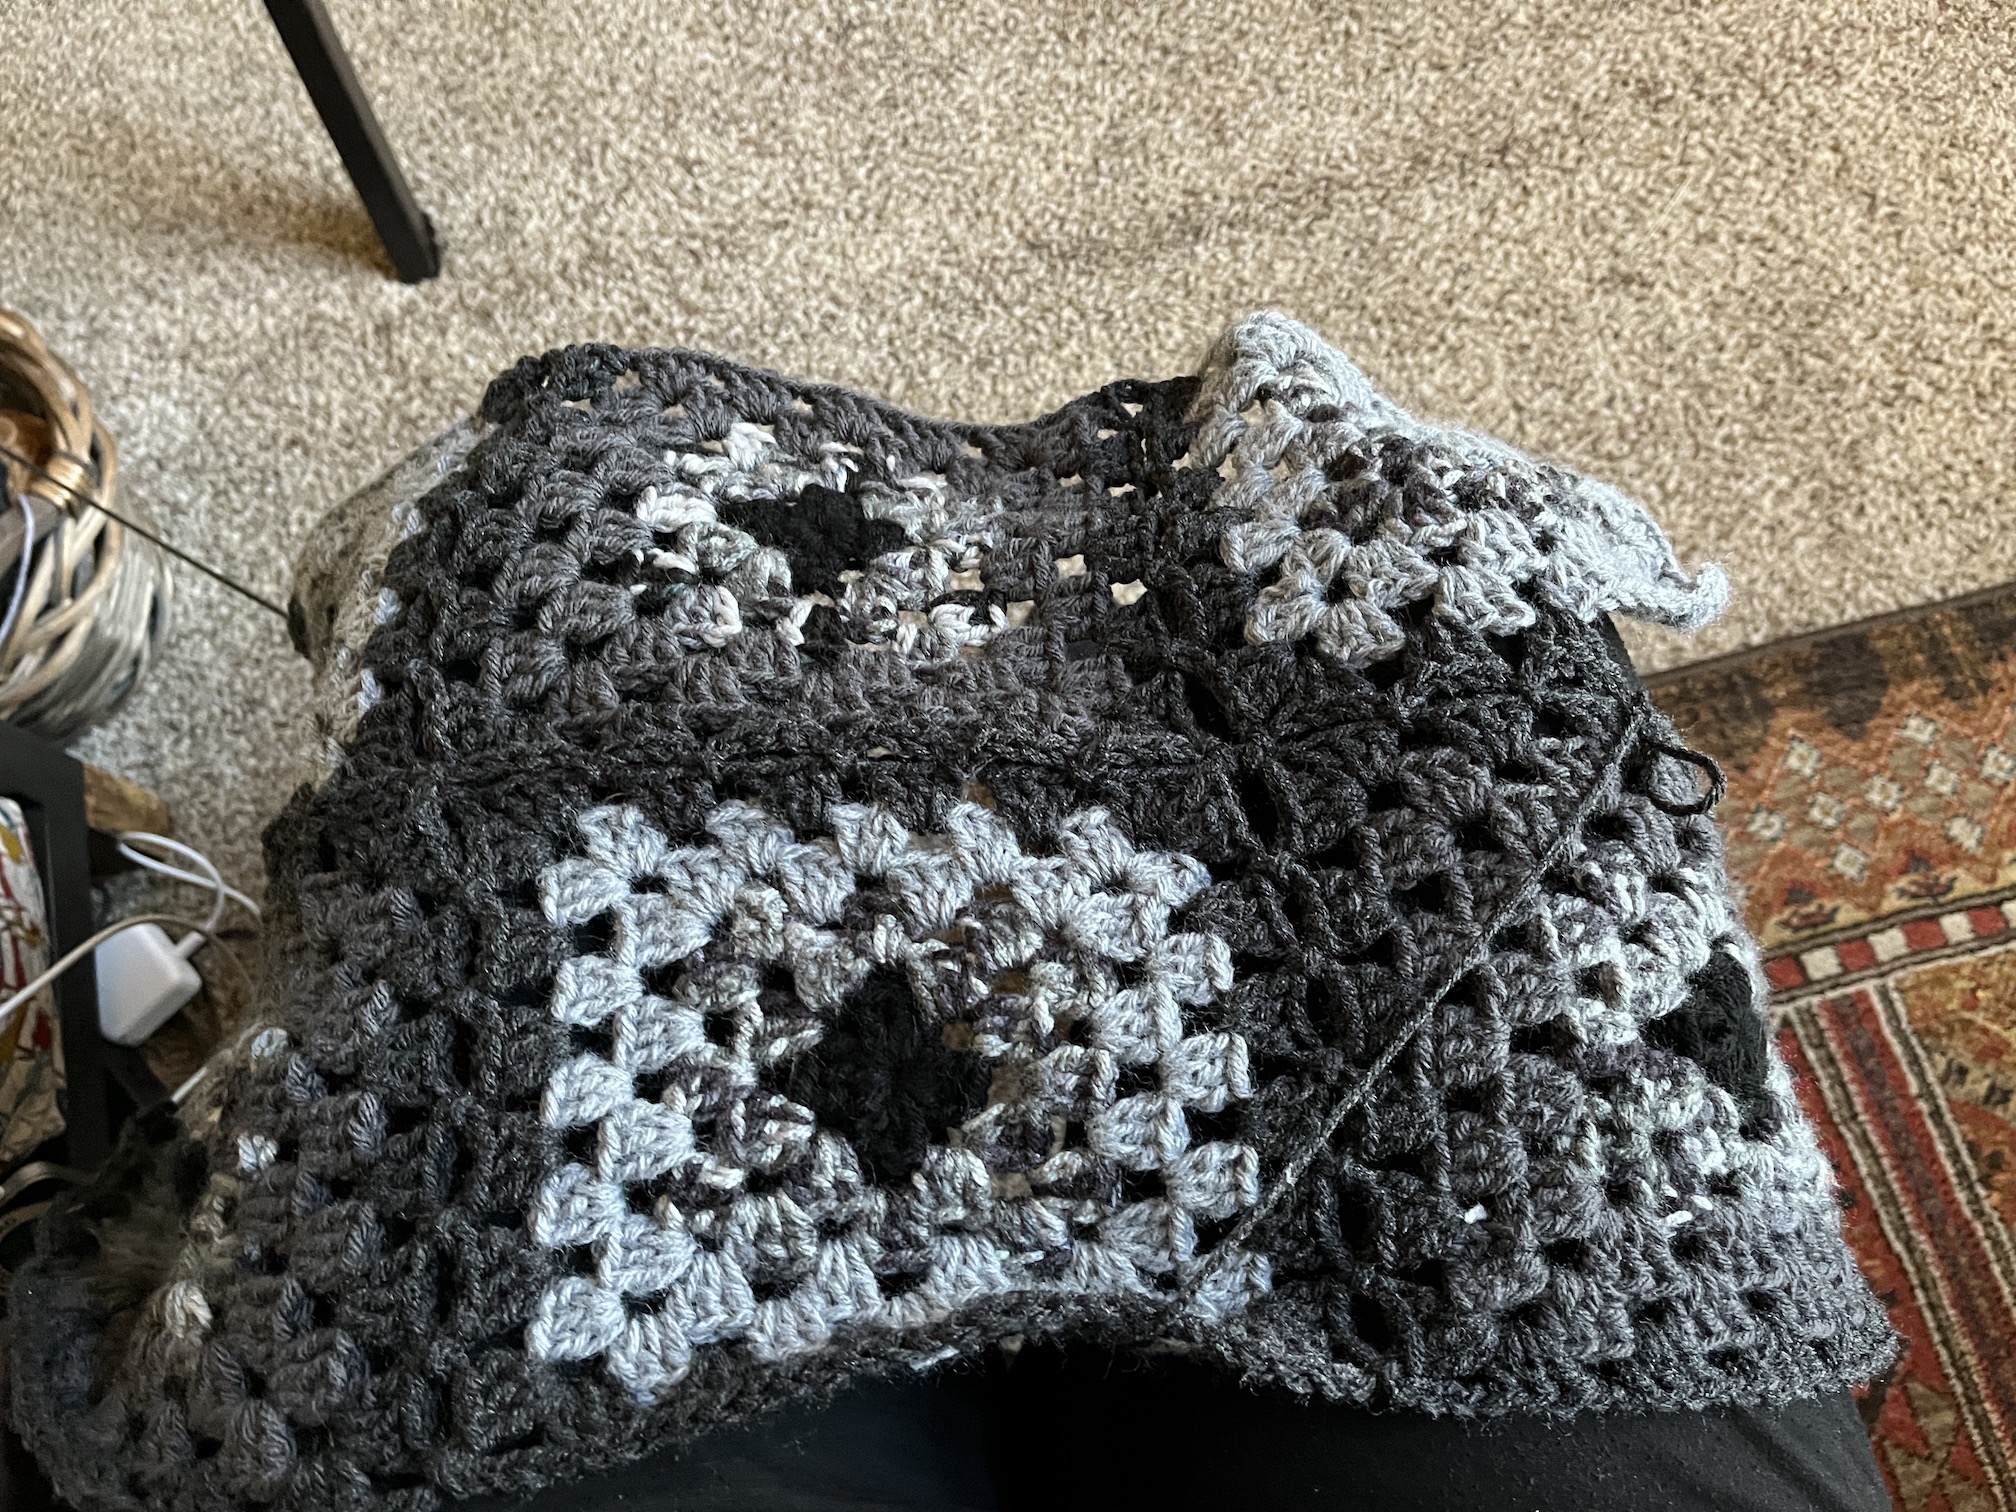
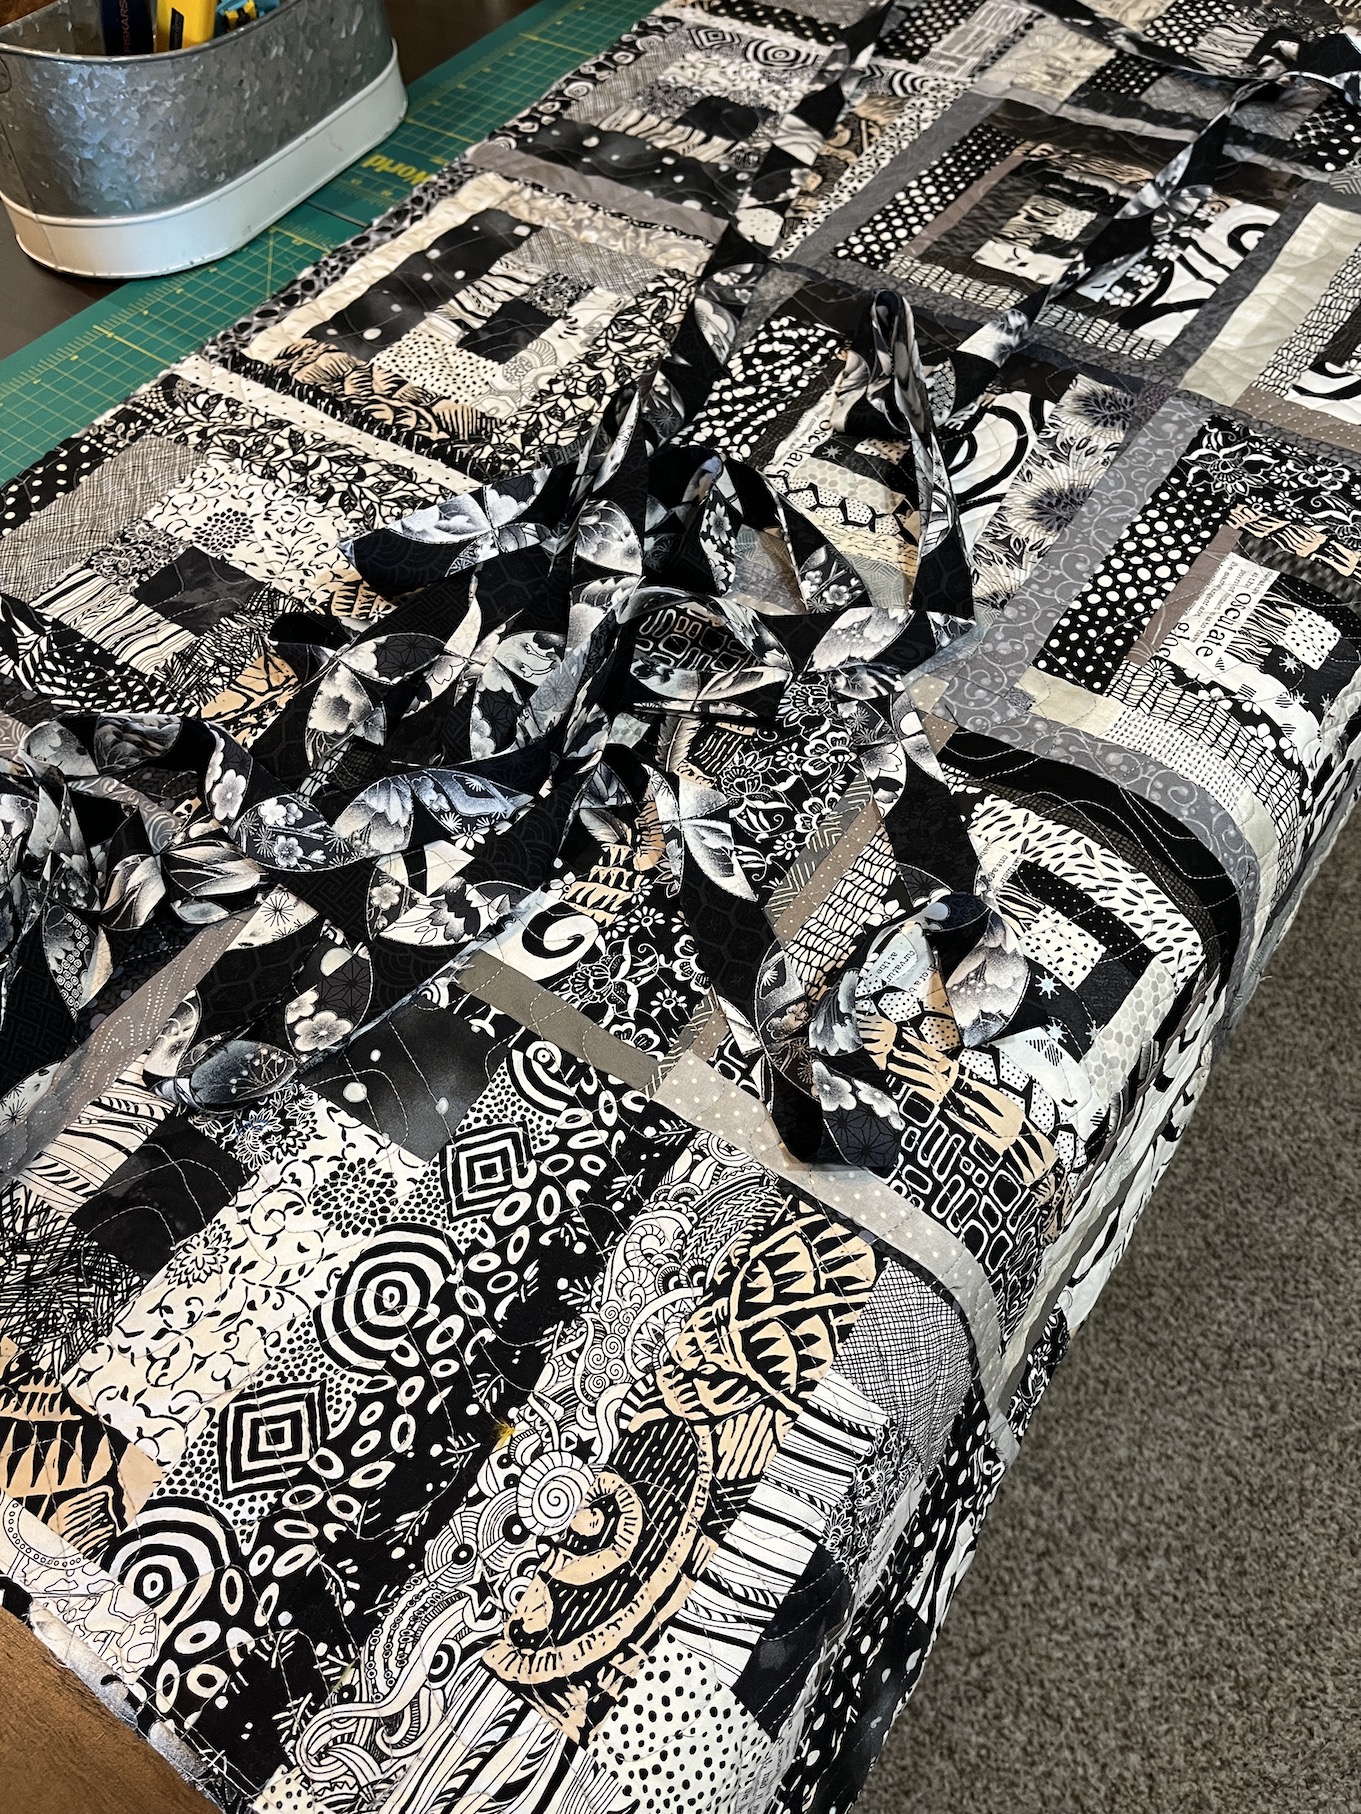
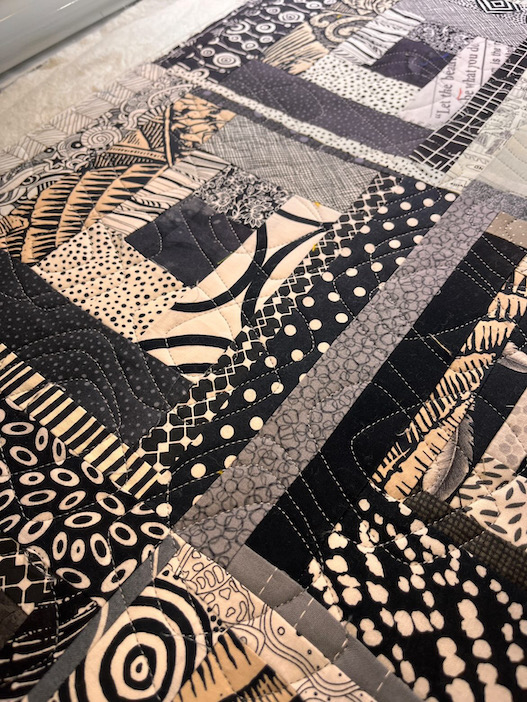
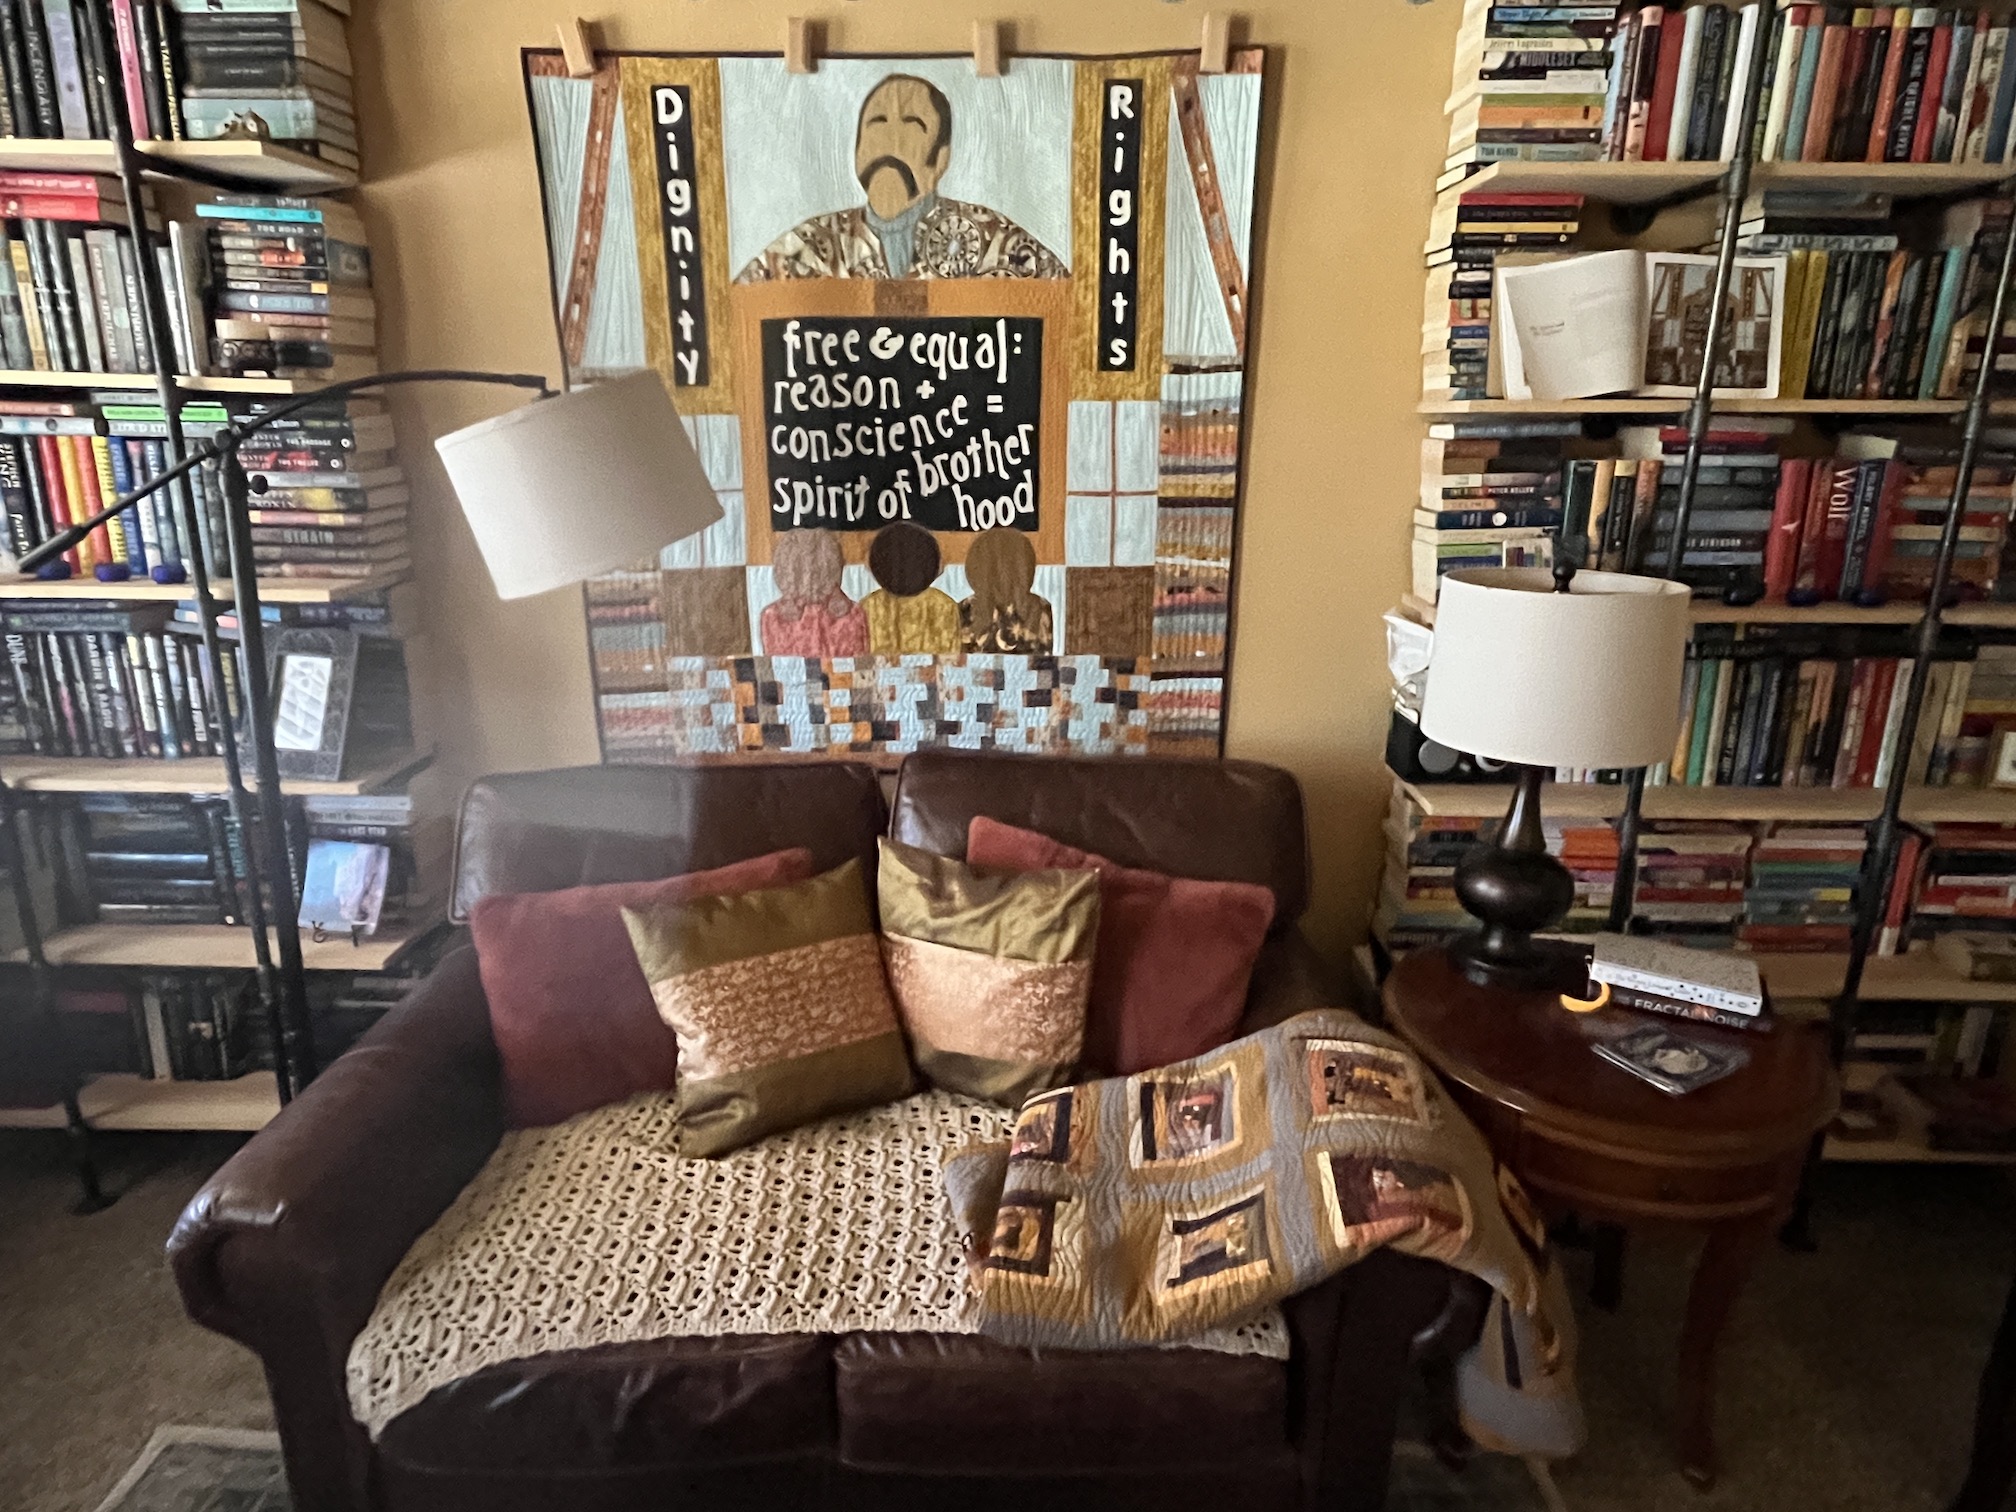
We also set up an area in our bedroom where I could sit and stitch on the quilt I am hand quilting (Hand Quilting “Go Boldly”) or read a book…or just enjoy an escape from boxes…
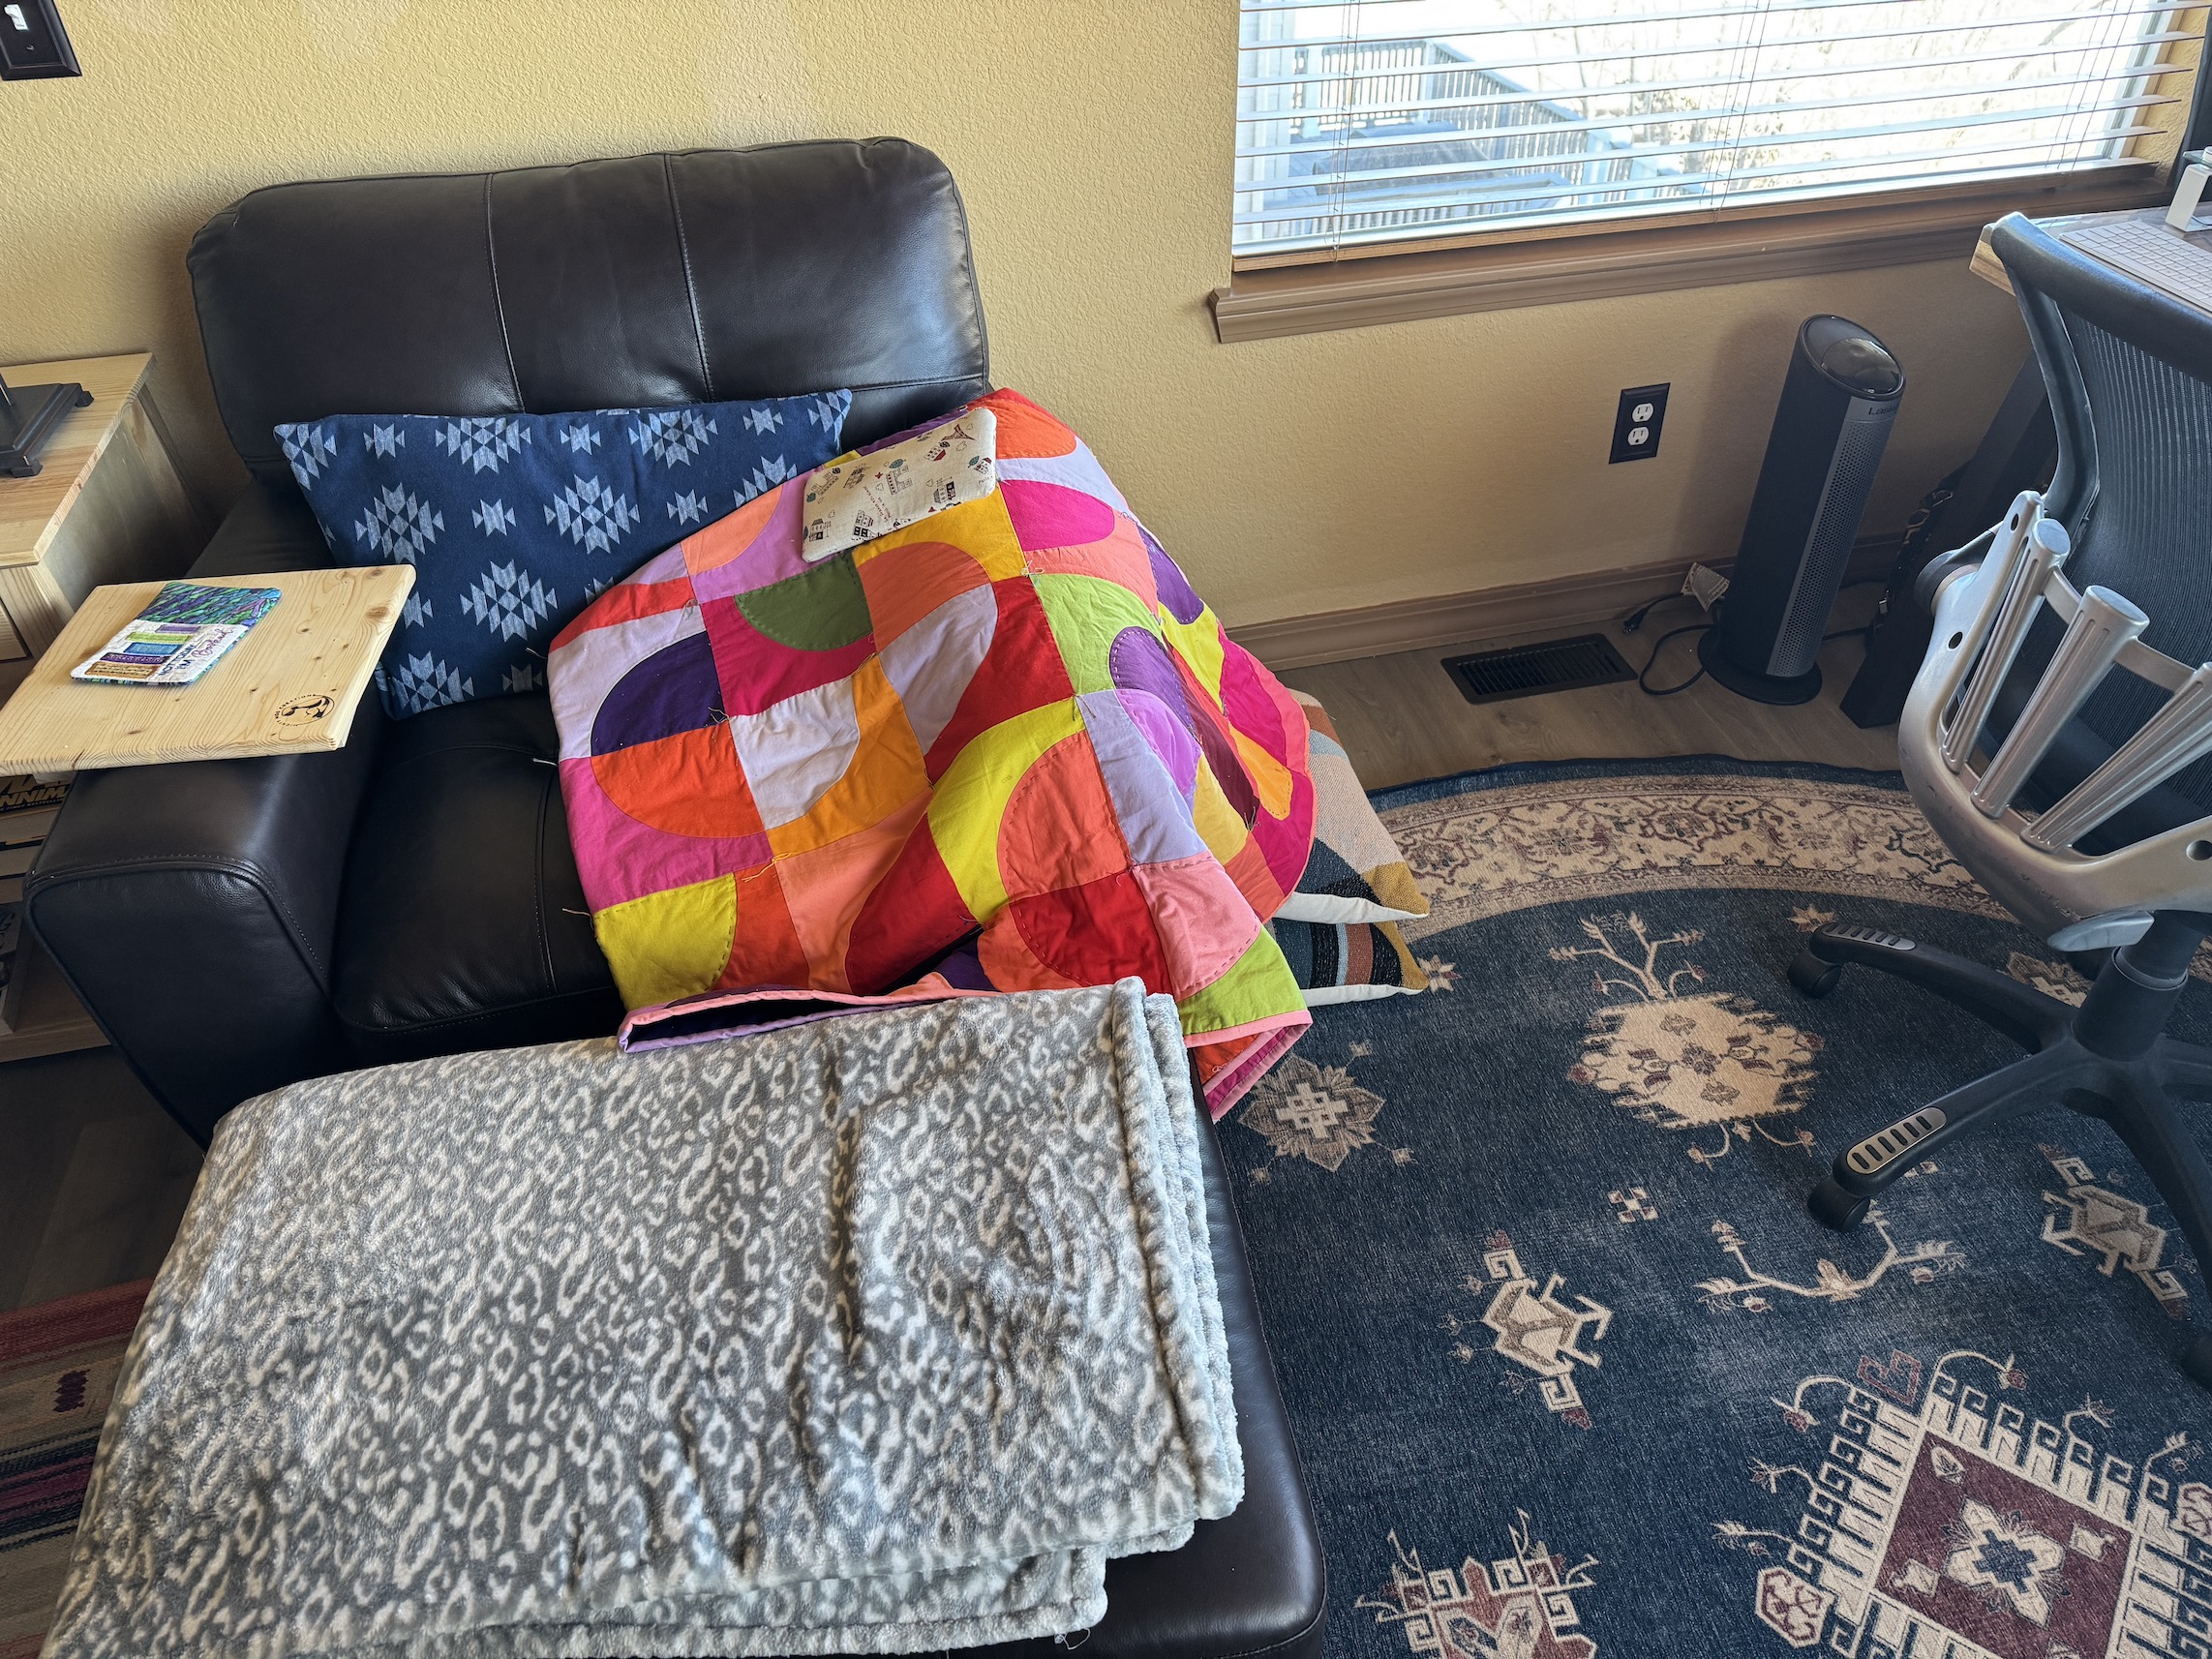
So now I have a place to escape the madness in the rest of house and write or create (even if most of my stuff is packed up now).