Here is the 4th installment of the guest blog post series by my talented friend Wendy Hill on the awesome quilt she made during quarantine with the four rambunctious boys next door (aka “The Boys”) ages 2 – 8. Wendy has a background in teaching (and quilt book writing) and in this post she provides details on her process of basting, quilting and binding one GIGANTIC Quarantine Quilt!
If you are just joining us, see these posts for Parts I, II and III of the story by Wendy:
Quarantine Quilt Project: Life in the Time of Coronavirus
Part IV: Basting, Quilting & Binding The Gigantic Quilt
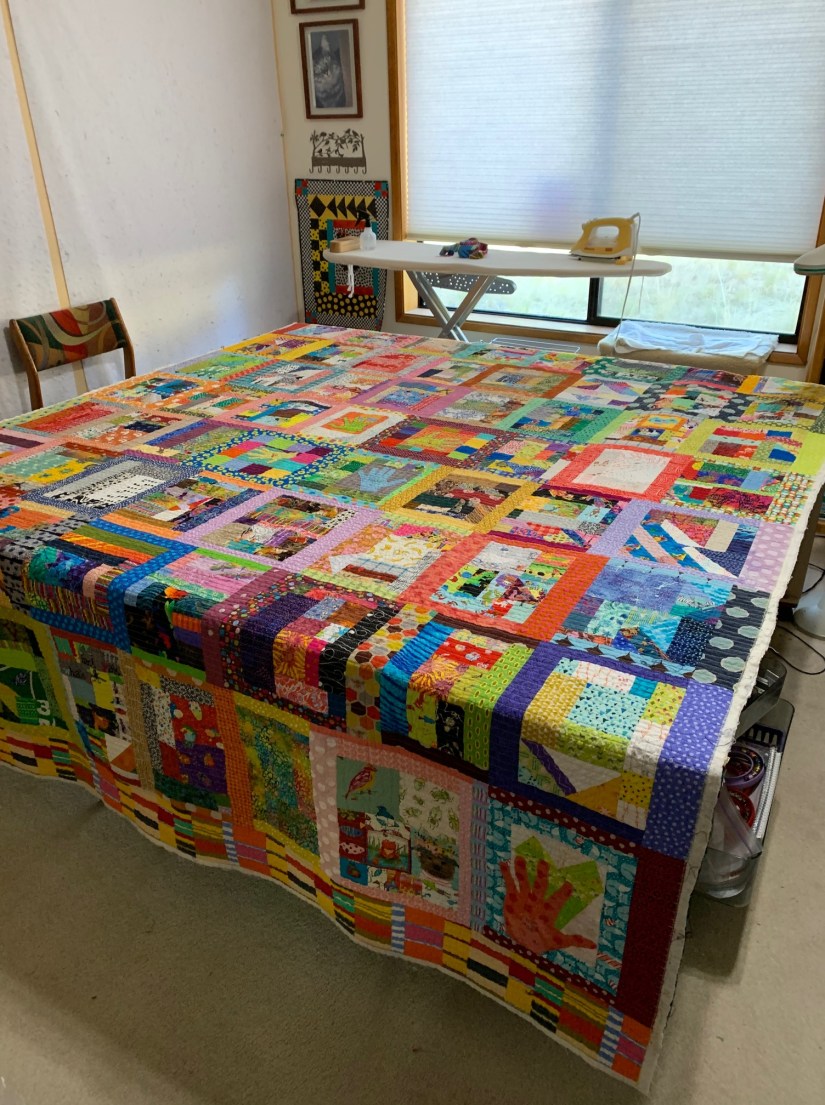
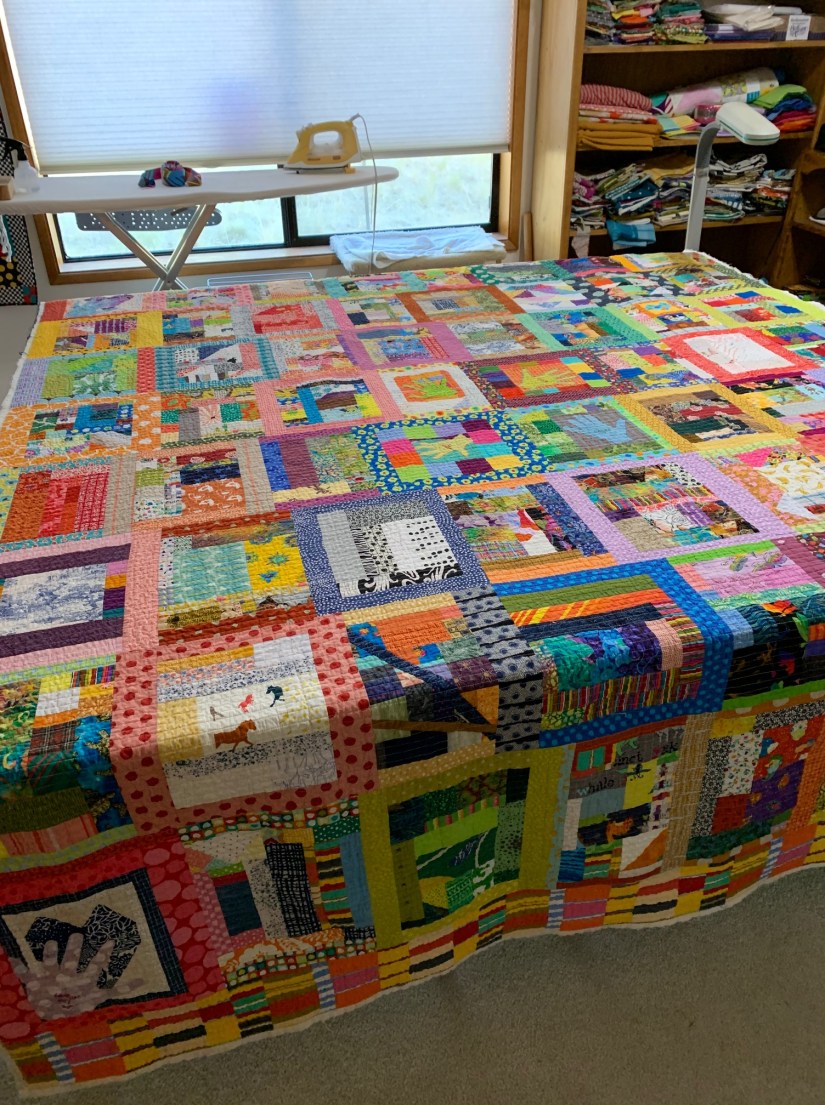
If you’ve been following along, you know that my collaboration with The Boys next door led to a gigantic quilt top measuring 82” by 104”, and a quilt back 84” by 106”. Time to baste and quilt this monster-sized quilt!!
Basting
Basting is a two-step process for me: spray baste first with Odif 505 Temporary Adhesive followed by stitching a large grid with water soluble thread by Superior (Vanish Lite). This foolproof method lets me quilt without any problems.
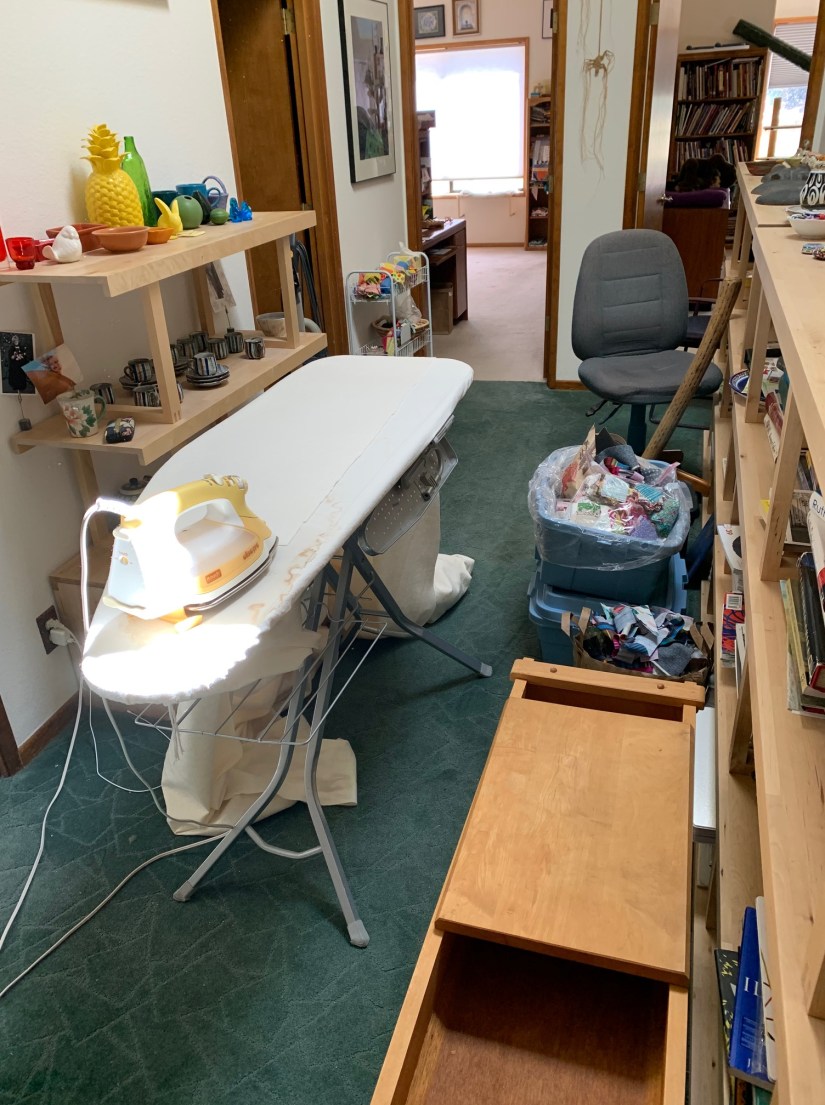
But first, I have to clear the sewing room. After ironing the batting to smooth out any creases, I tape the batting to the floor to hold it in place.

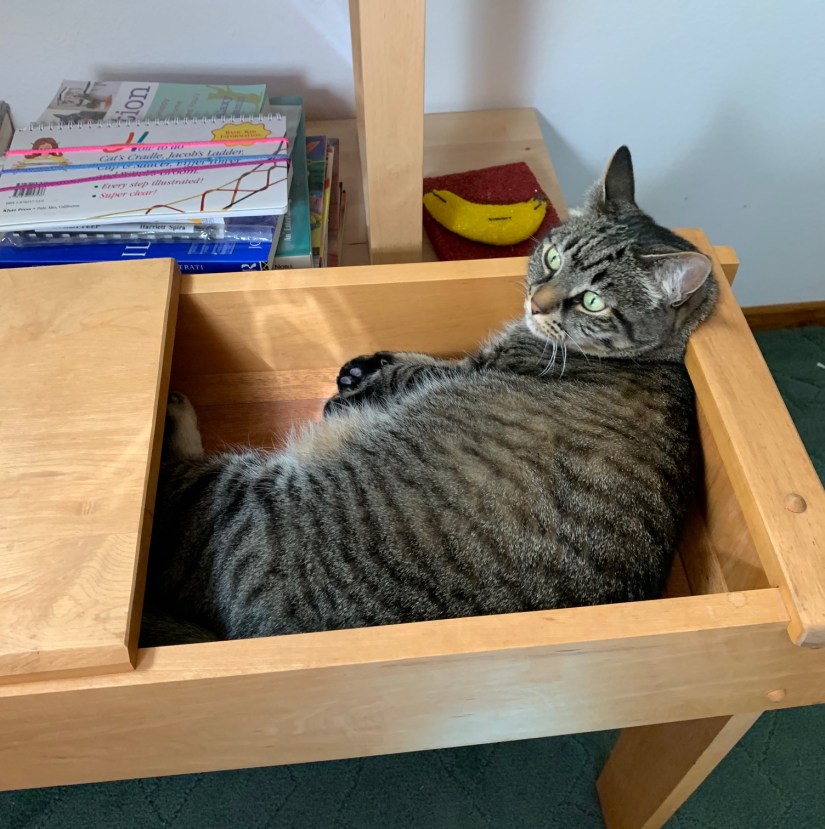
 We had to navigate the crowded hallway for a day or two, but the cats loved exploring this new-to-them space.
 With the quilt back centered on the batting, the window open, the ceiling fan on low, and paper around the edge to catch any over spray, I’m ready to baste.
 I can baste any size quilt with my “assistant”: a swim noodle. (My assistant never complains but getting up off the floor is another story!)
Roll up half the quilt onto the swim noodle. Spray a light coat from side to side, covering about 15” from the rolled up quilt towards you. Unroll the quilt over the sprayed area, smoothing as you go. Here is a photo of a different quilt ready to spray, unroll, and smooth.
 Repeat to spray baste both halves of the quilt. Trim the excess batting along the fabric edge. Allow to dry for a few hours or overnight before turning over and taping the quilt to the floor.
With the quilt front centered on the batting, repeat the steps above to spray baste. Allow to dry.
 With both ends of the quilt rolled up to the middle, I stitched lines about 3”-4” apart with the water soluble thread, from the middle to the edge. Repeat with the other half. Re-roll the quilt in the other direction, stitching perpendicular lines about 3”-4” apart.
A bonus benefit is the way these stitching lines change how the quilt handles, making it easier to do the actual quilting lines.


Tips for Using Any Spray Baste
- Ventilate the room.
- Cover up to prevent overspray on unwanted places.
- Hold the can at least 12” away from the surface.
- Keep the can moving from side to side- do not soak the batting.
- After the layers are basted, allow time for the spray baste to dry & set.
- It will evaporate out, especially in dry climates. Another reason for stitching a water soluble thread grid is to buy time before you start quilting.
Quilting
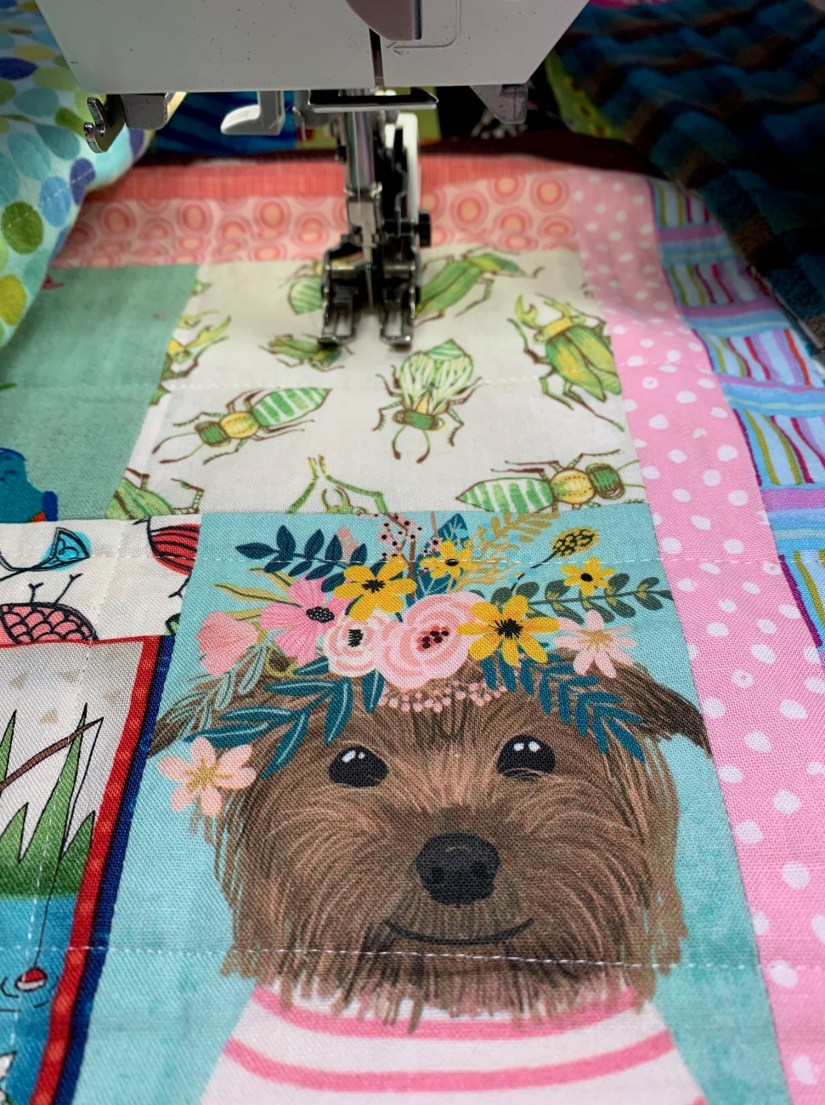
I like using roughly parallel quilting lines, but with a quilt this size, this will be the easiest thing for me to do on my home sewing machine.
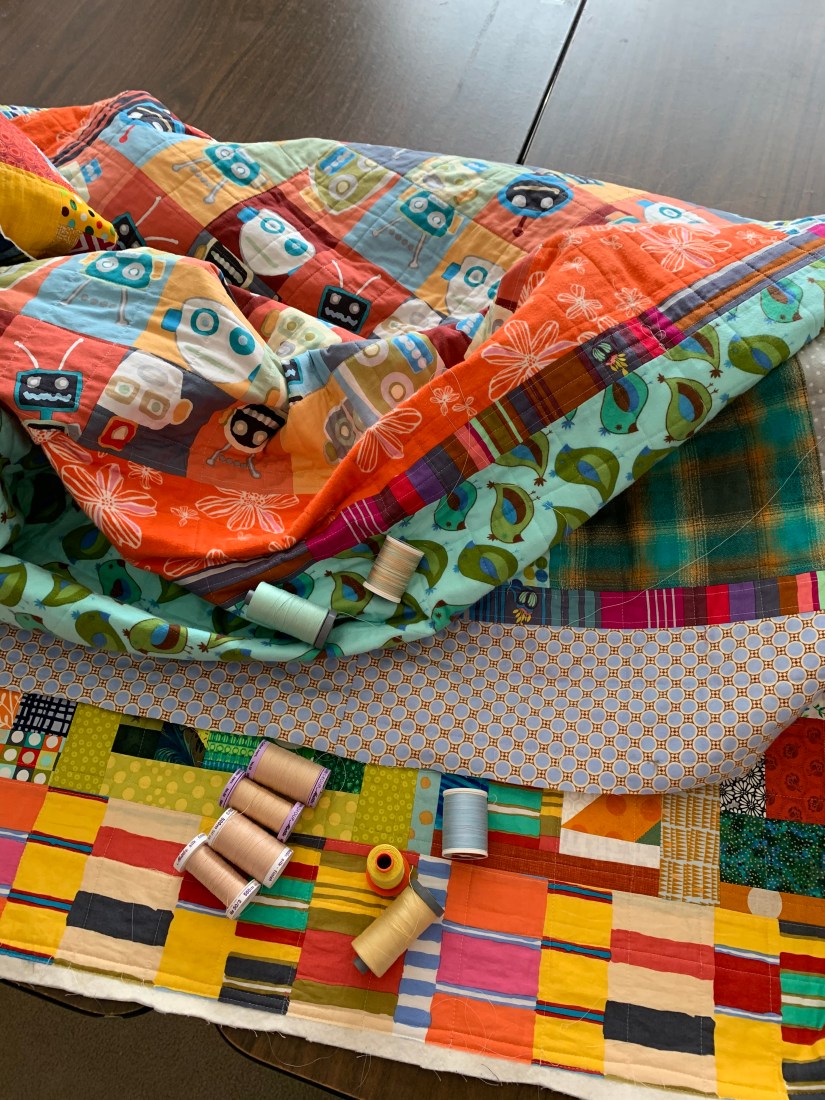
But first, thread choices. I selected Aurifil 50 wt cotton for the front (yellow) and back (blue).
 With the quilt rolled up from both ends to the middle, I started stitching the roughly parallel lines, using the pressor foot as a guide. Ignore the water soluble thread lines.
I accordion folded the quilt in my lap, but with big quilts, you can get some drag from the rolled up quilt coming out behind the sewing machine. When you start to feel some drag, accordion fold the quilt behind the sewing machine, which will reduce or eliminate the dead weight.
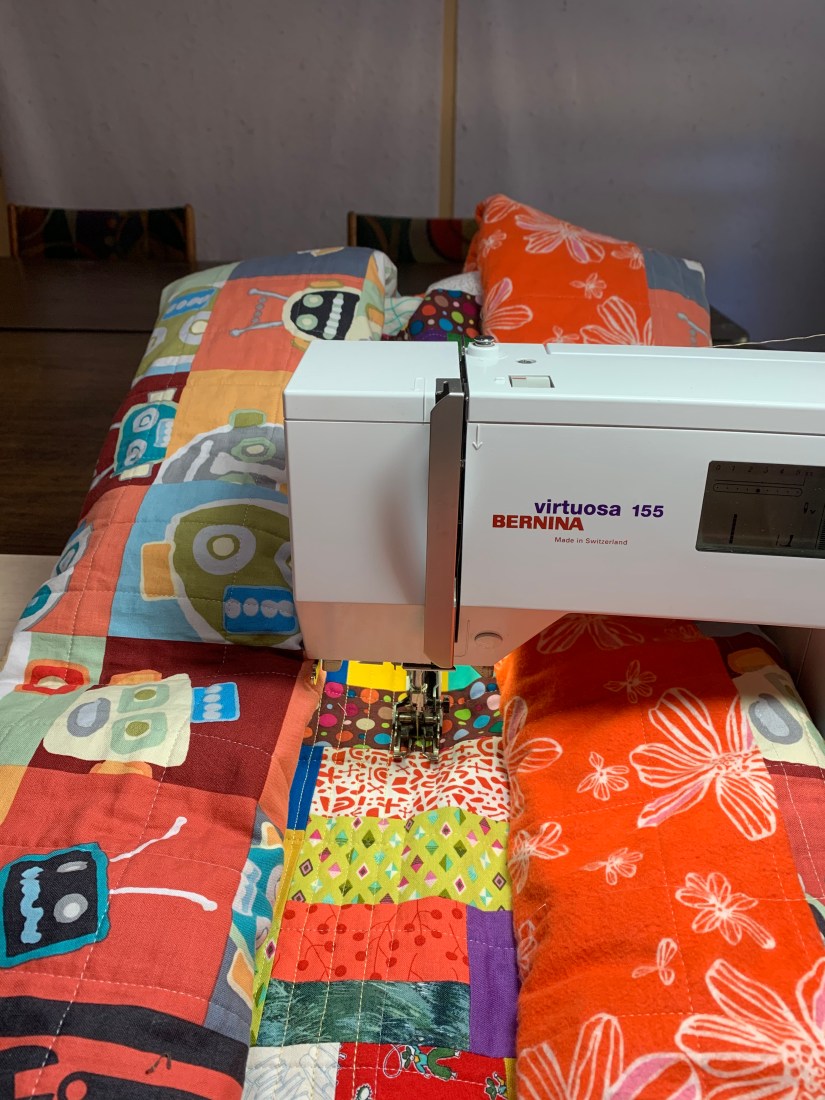
 Keep quilting! The lines are actually unequal distances apart and not perfectly straight, but I like this look on a scrappy quilt.

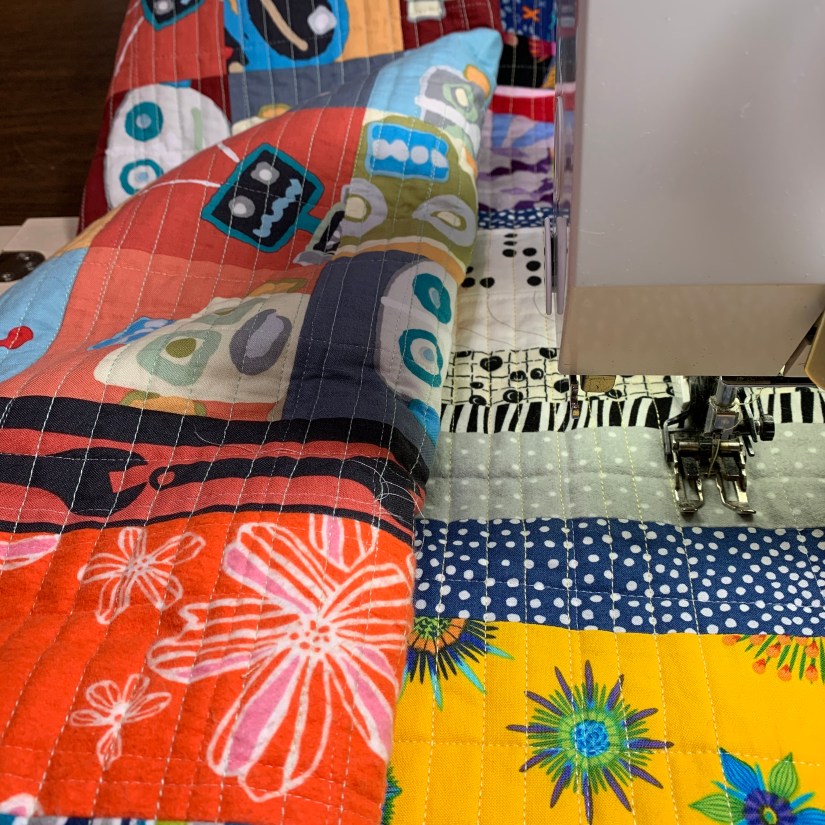 I used the seam lines between the rows to “square up” my parallel lines.
In the last couple of inches before the seam line, I start my course correction strategy. I start stitching parallel to the seam line, so that the next row/section starts over with an accurate straight line. The stitching lines can get way off line without some kind of course correction fix.
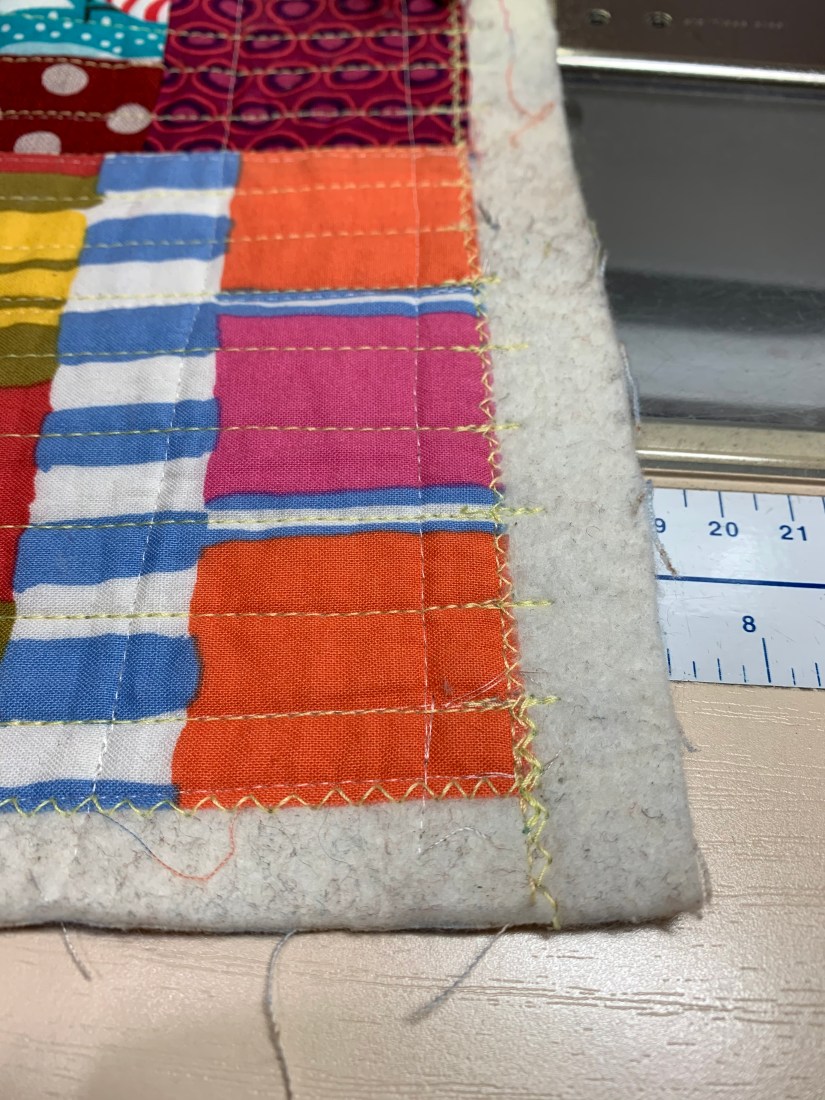
 Celebration! The very last line of stitching!! I zigzagged the edges and trimmed the batting before tossing the quilt into the washer and dryer. I like to let the quilt shrink at this stage, before sewing on the binding.

 Remove the quilt from the dryer while still slightly damp and allow to air dry the rest of the way.
Binding
I’m always searching for alternative techniques. I invented a way to machine topstitch binding that is easy and looks great. For quilts that will be loved, used, and washed & dried, this method is also makes for a sturdy binding.
I started with a double French fold binding. A 3/8” seam allowance gives me the wide binding I like so much. I flattened the seam allowance with my faux serge stitch (or zigzag works too) to get a flatter looking binding.


 After folding over and pinning (or clipping) the binding in place, I hand sewed the mitered corners, about 1” in each direction from the corner.
Next, I basted along the very edge of the binding, from the back of the quilt. This big stitch goes fast.
 Flip over. From the front, you can see the basting thread: this shows you exactly where the fold is on the other side.
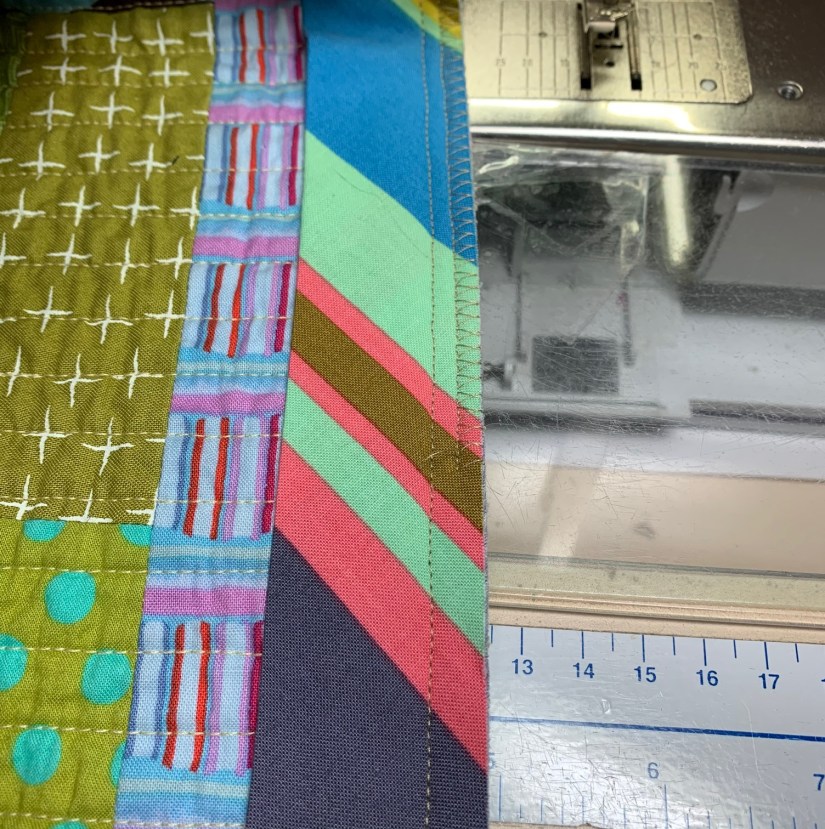
 I machine topstitched the binding from the front, by stitching just to the right of the basting line. (You can stitch anywhere between the basting line and the ditch of the binding seam.)

 I removed the basting thread and checked the back to make sure the stitching line is along the edge of the binding. Finished!!!


Next Week: The Big Giveaway!


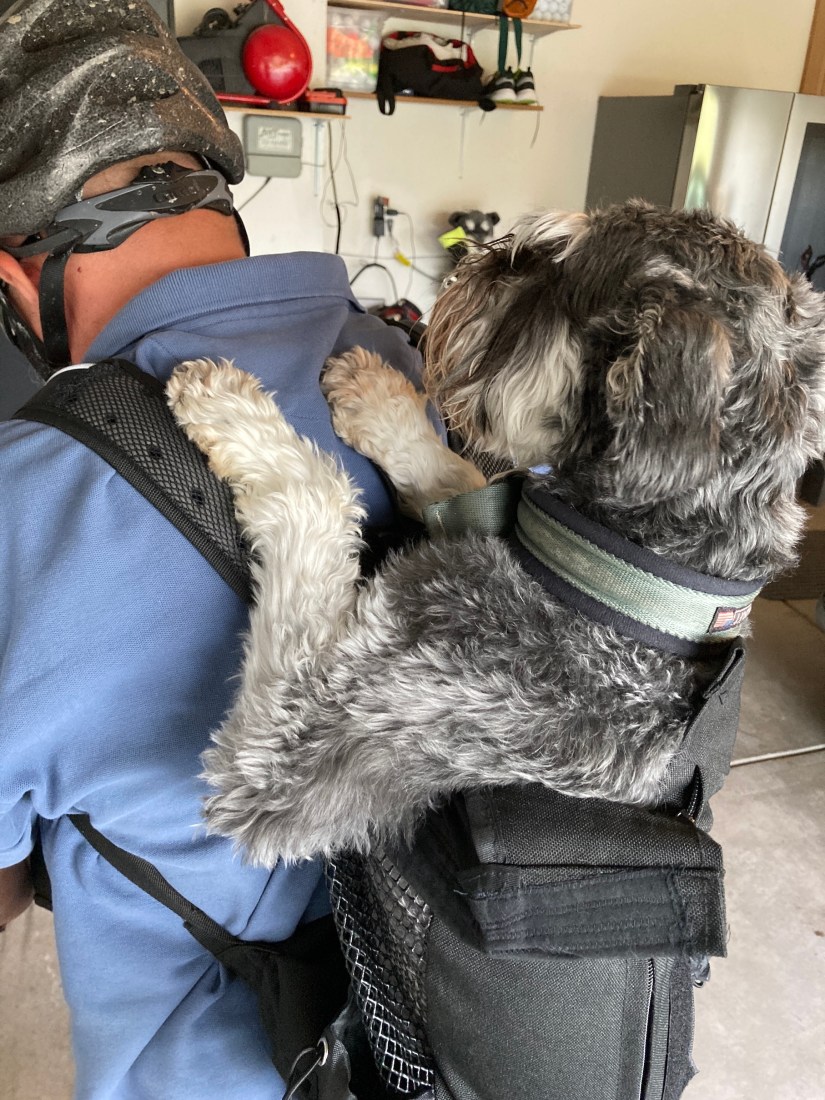
 Speaking of Mike, here is an image that either he forgot to share in his recent post – Guest Blog Post: A Whole Lot of Remodeling Going On; or the tierneycreates Beastie forgot to share in her recent post – Guest Blog Post: Mail Order Groom.
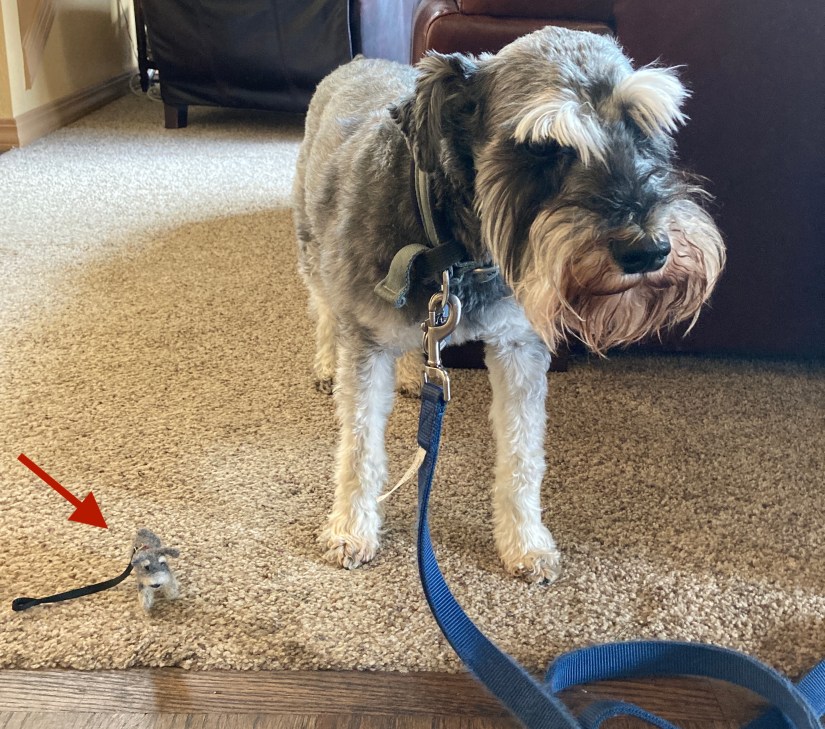 Yes it’s a photo of Mikelet (tierneycreates Beastie’s dog) and Mike, ready to go on their walks. I put a red arrow in the lower left hand corner of the photo above so you would not miss Mikelet who is a considerably smaller miniature Miniature Schnauzer!

 And here is the link to a post I wrote in 2015 called
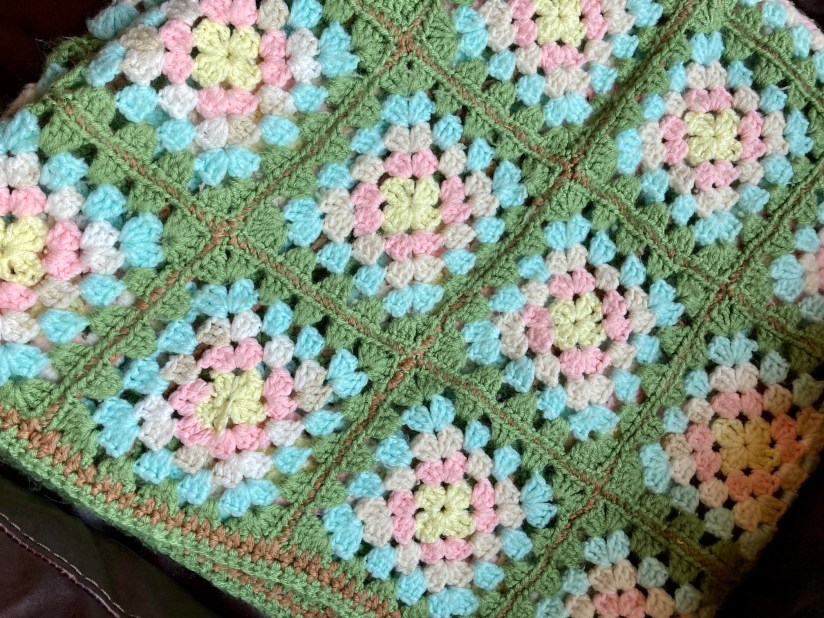
  A couple days ago I randomly decided that it was time I learned how to make Granny Squares and a Granny Square afghan.
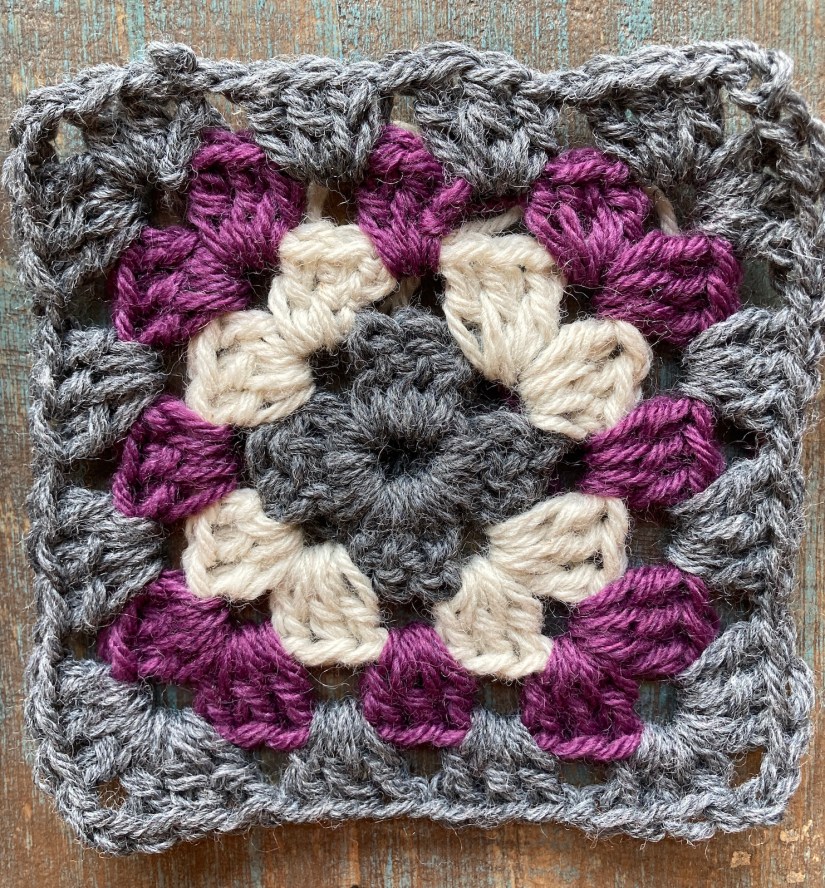 I cannot tell you how pleased and excited I was to have completed my first Granny Square!
 Now I plan to make up a bunch of centers and get started on “production line” crochet.
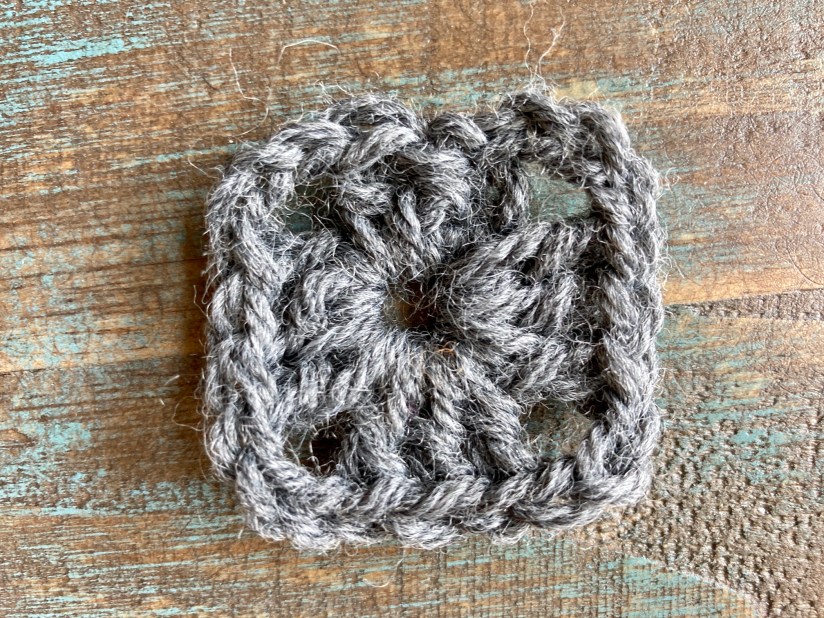 This is going to be a lot of work but I am so excited to make my very own!
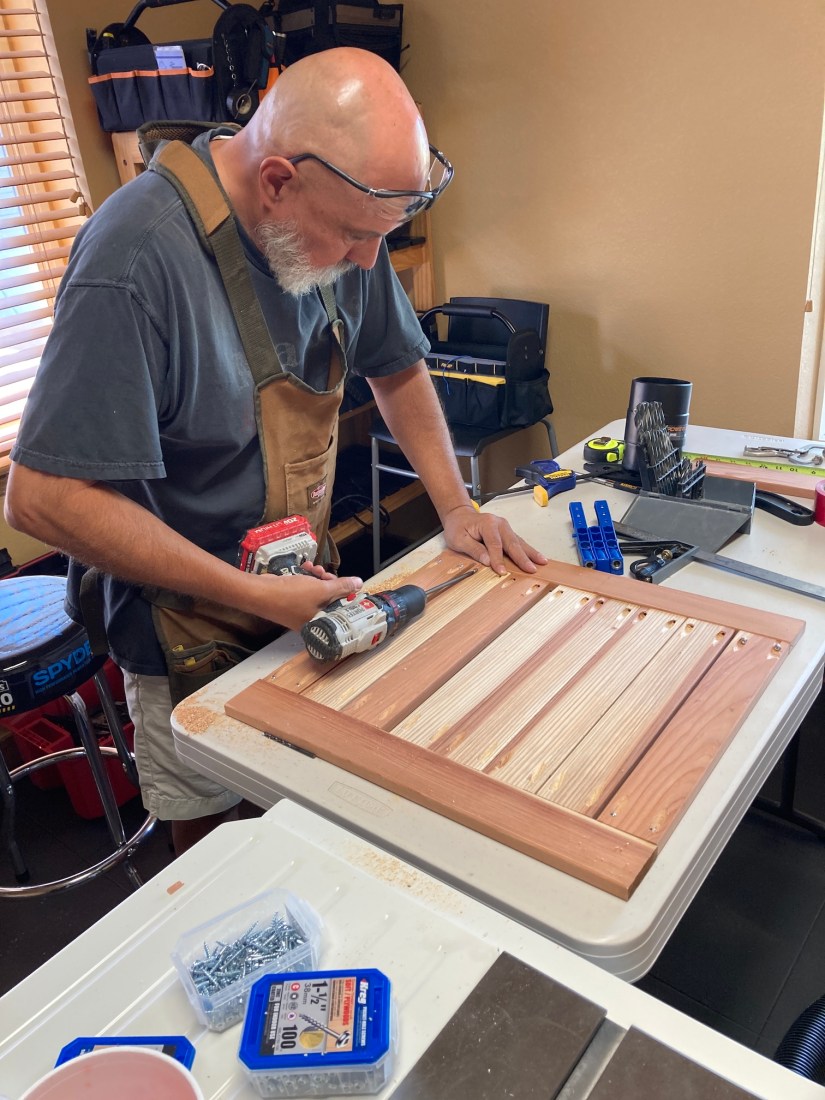
 So we were both pretty proud of ourselves!

 Back in late March/start of April 2020 my humans made the decision not to move to a new house they were going to buy and instead to stay in their current abode (see post
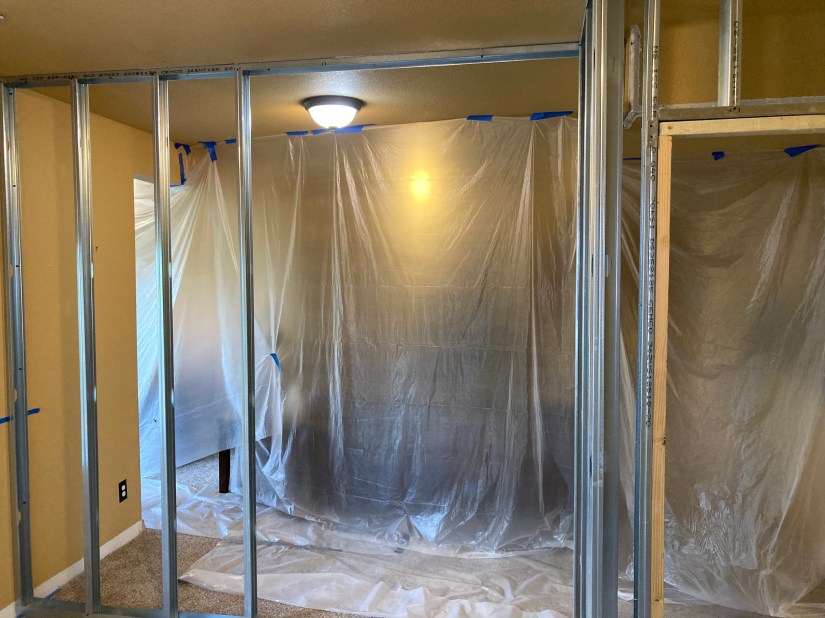
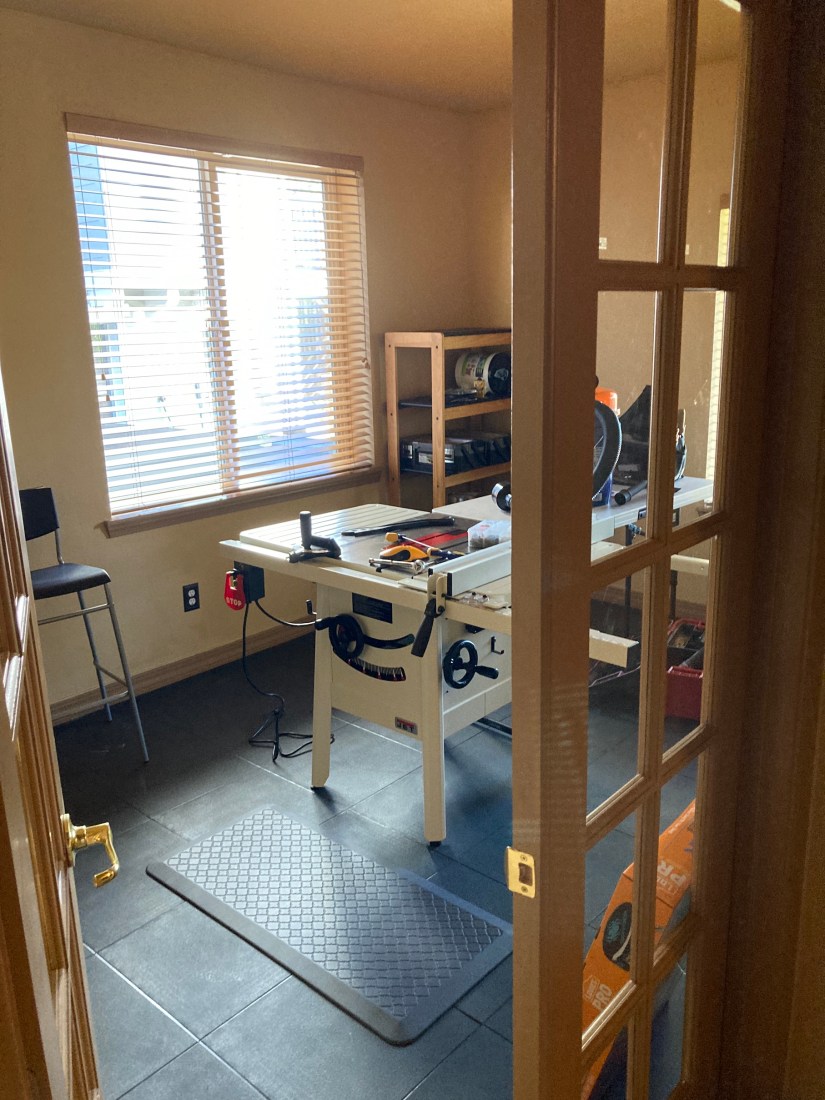
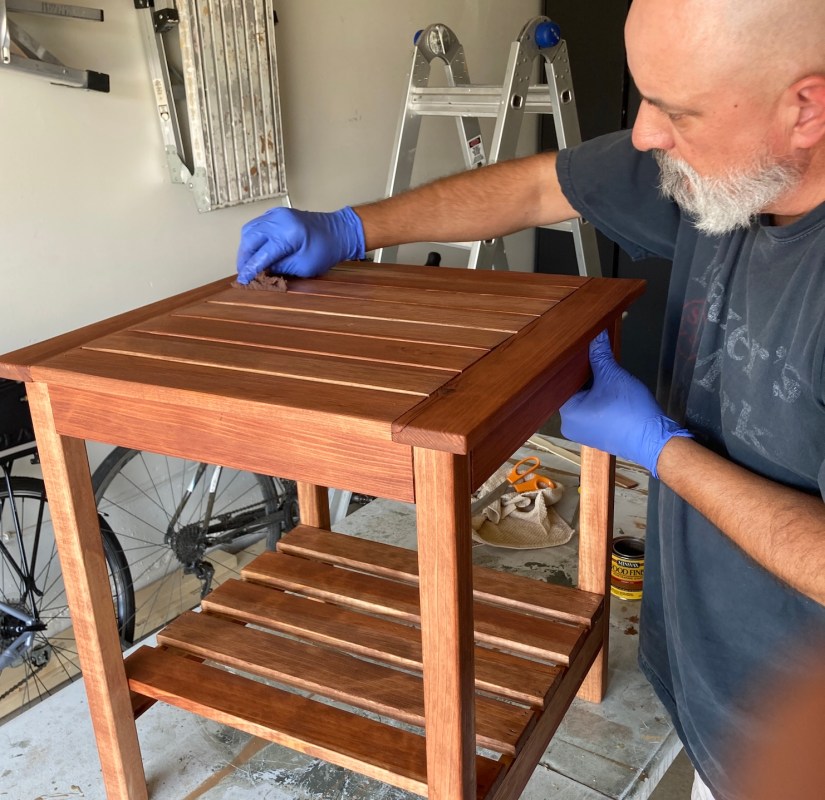
 His workshop is still a work in progress but he is very happy to now have his own “playroom” like my female human!
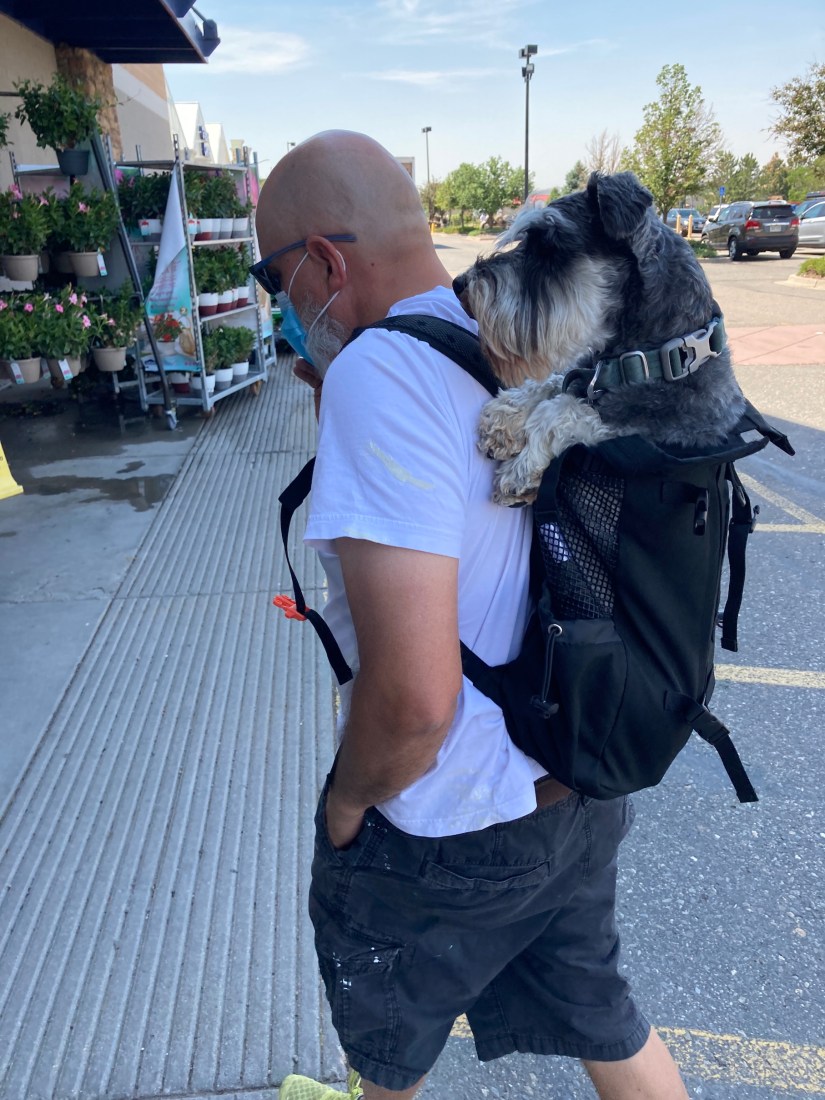
 And sometimes in the shopping cart:
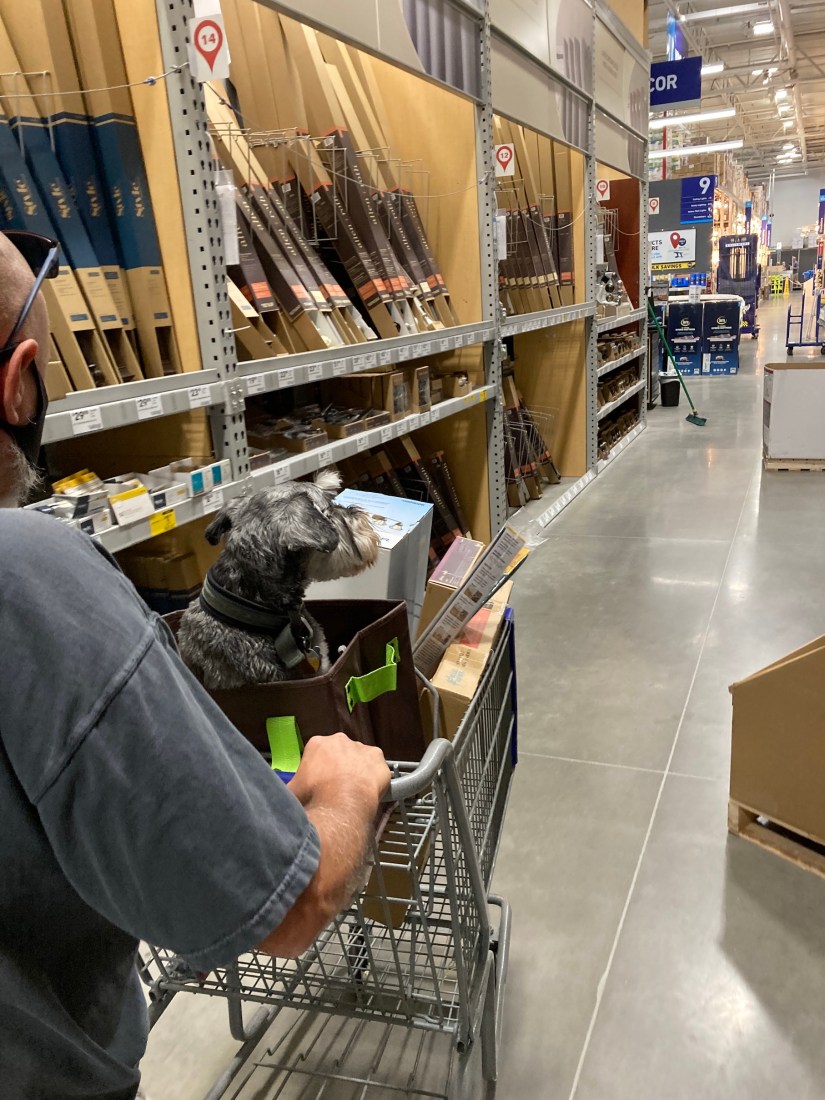
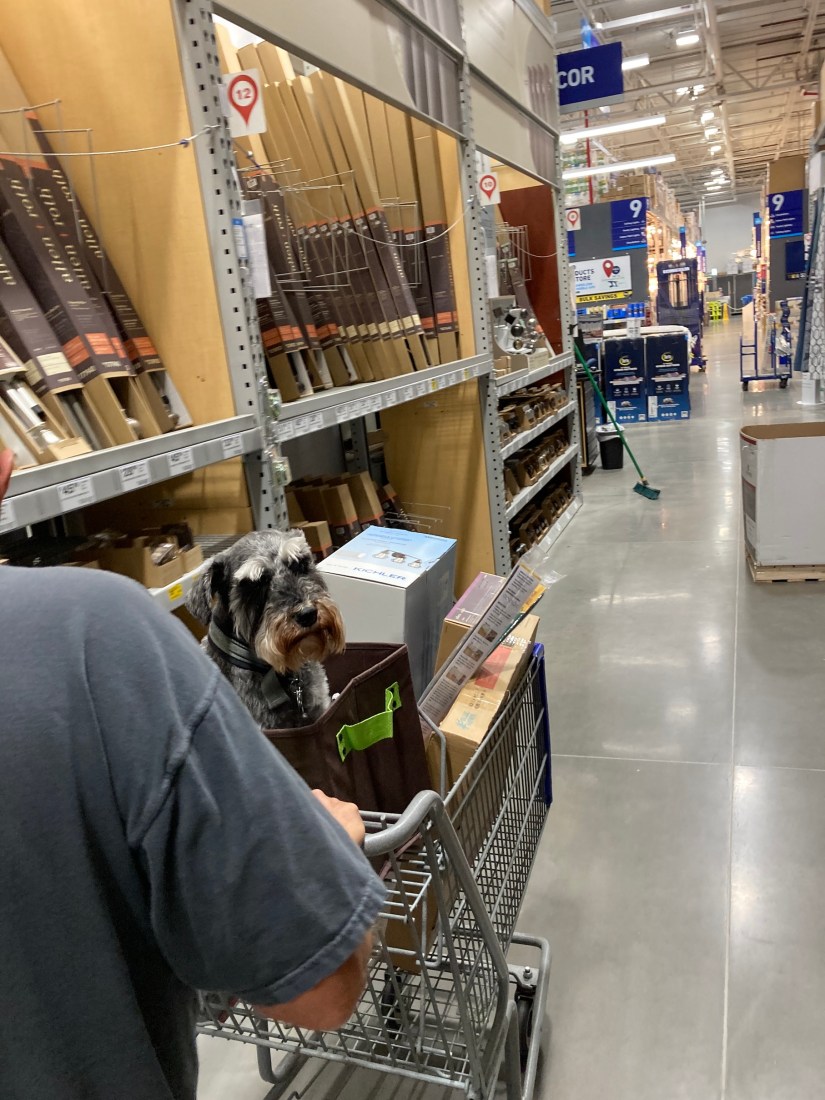
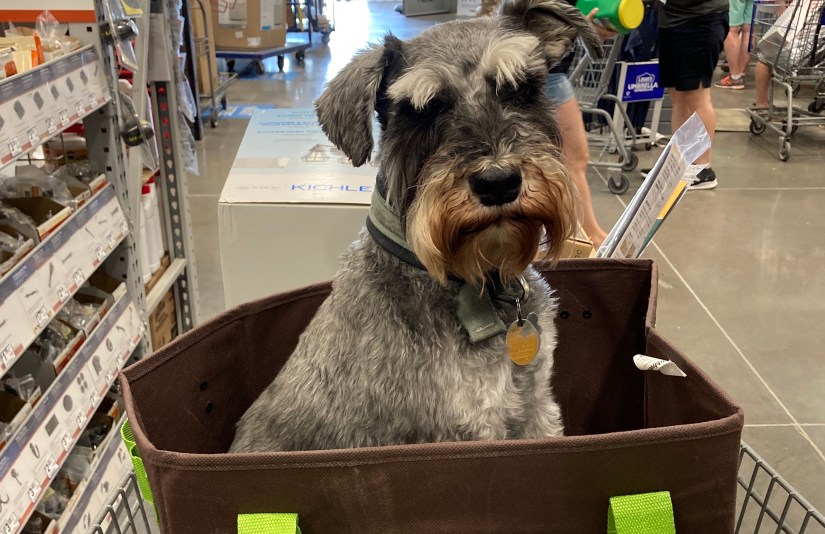
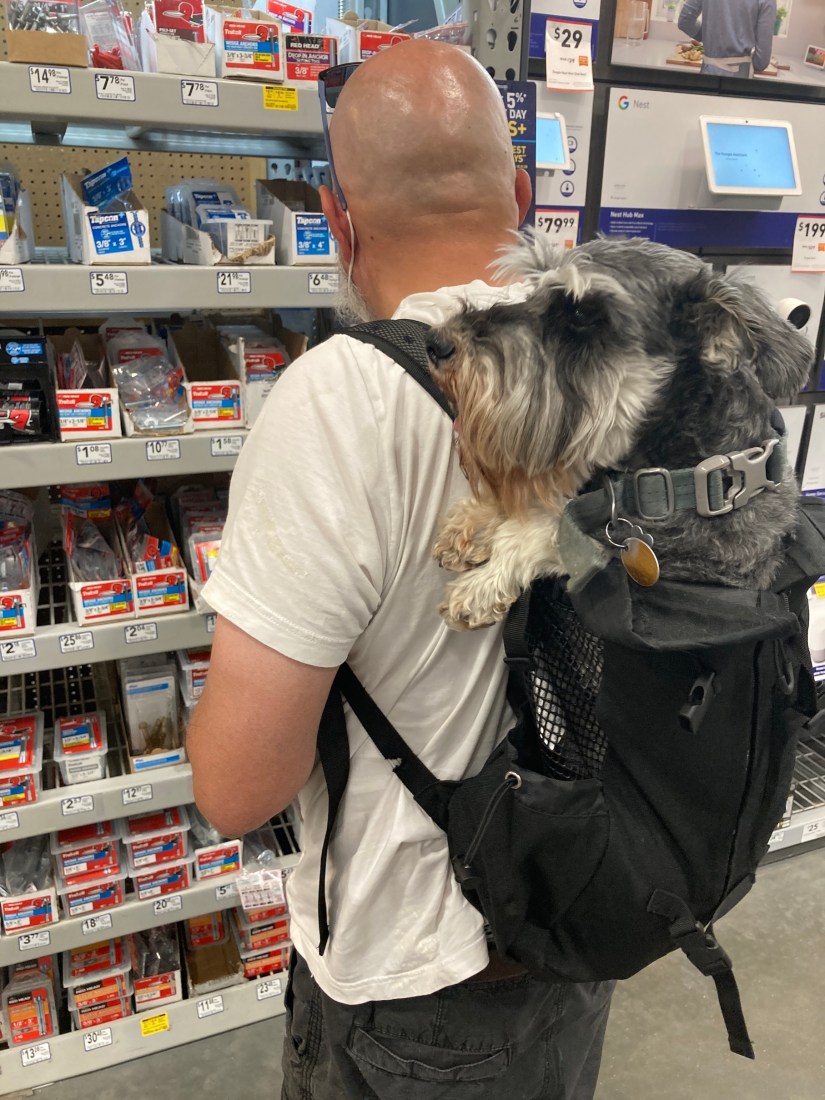
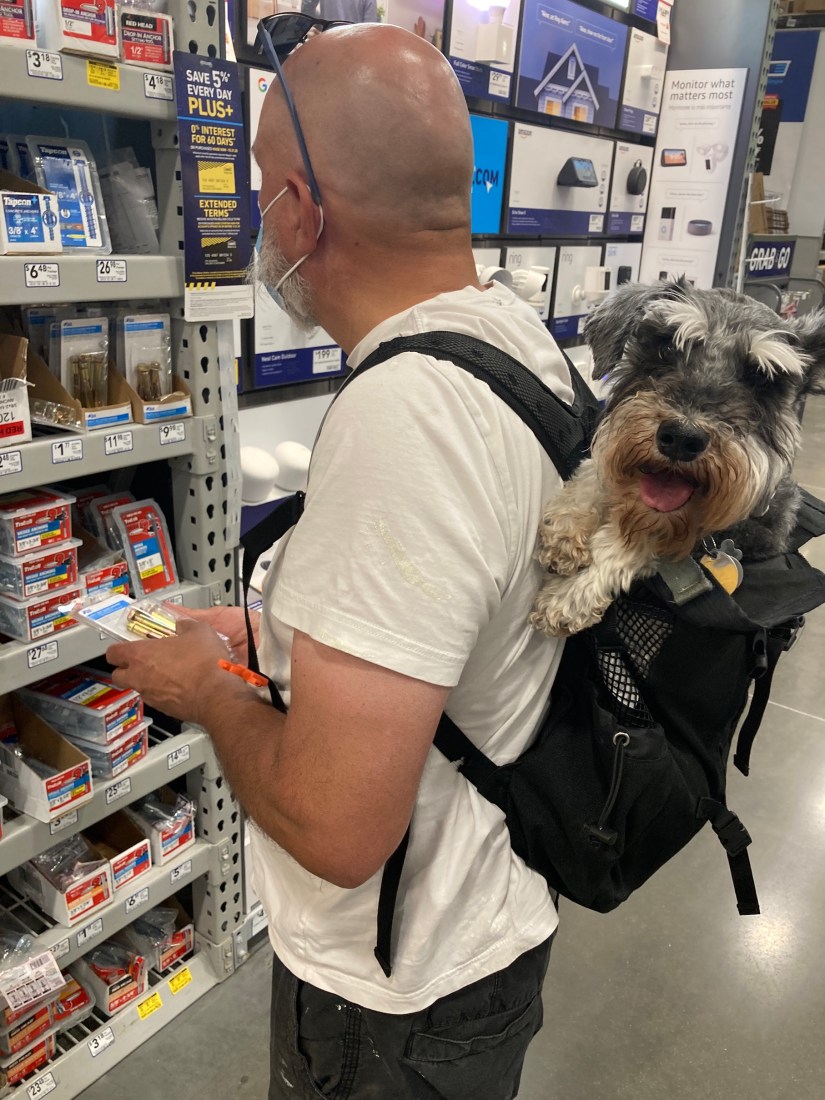
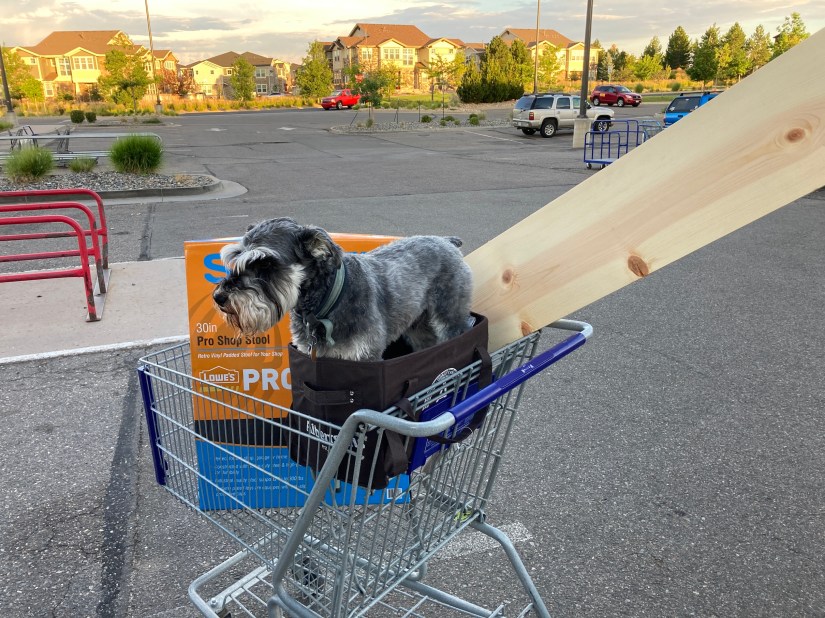 I know, I know, you just can’t get enough of the cute photos of me in a shopping cart. Unfortunately my female human said we have to limit the photos to only four (4) because she has to protect her digital storage allotment on her blog (sigh).
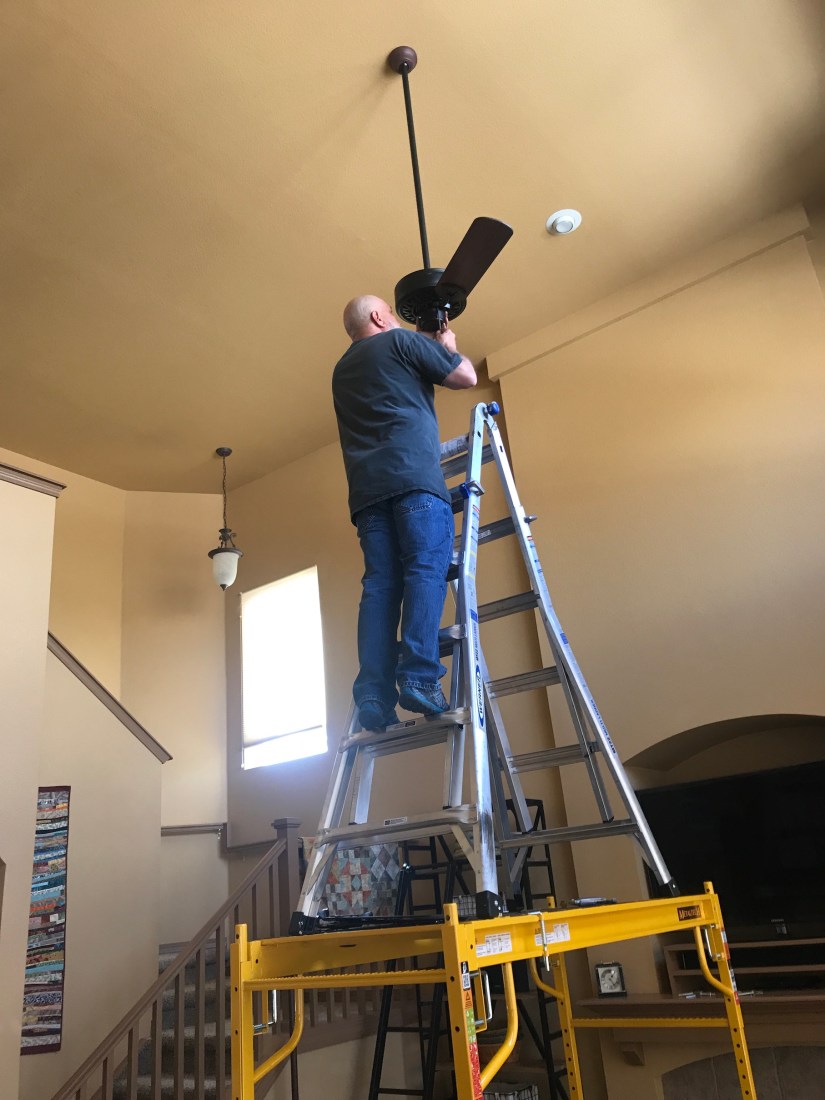 Yes that is a ladder, on top of scaffolding. Looks pretty safe to me (NOT!)
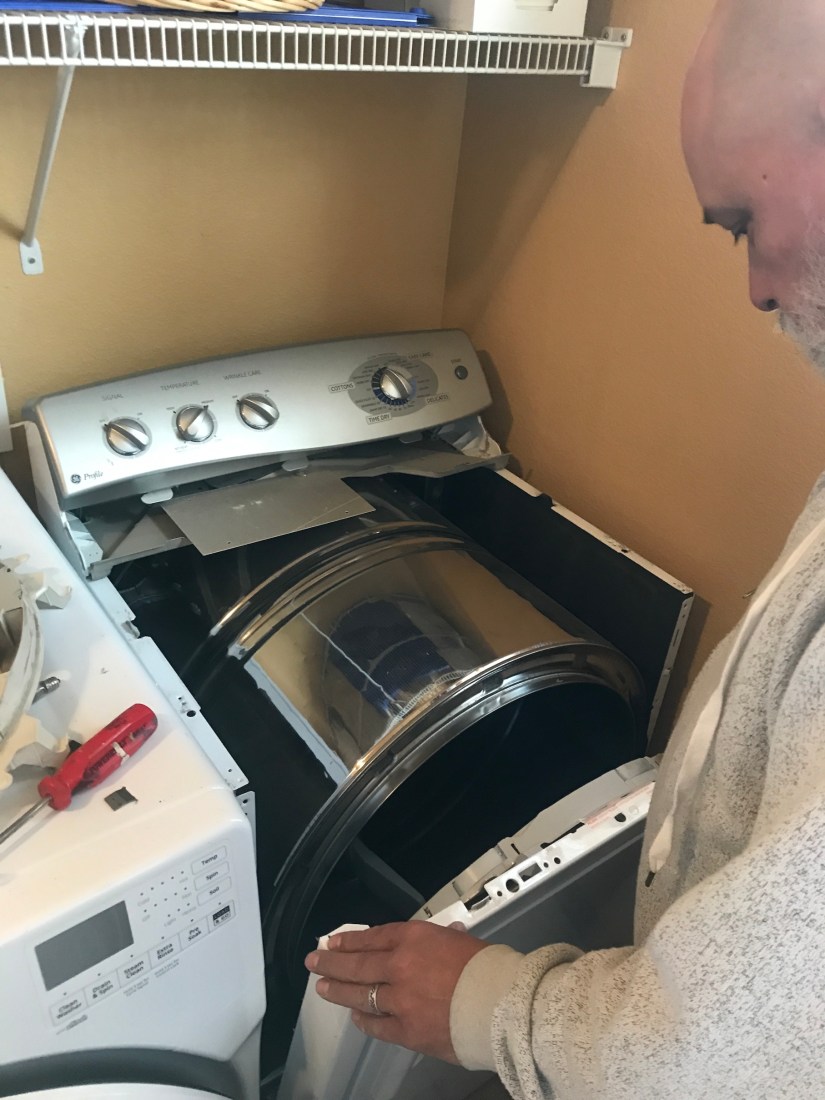 He also completely redid the garage, drywalling it in, painting it and installing shelves:
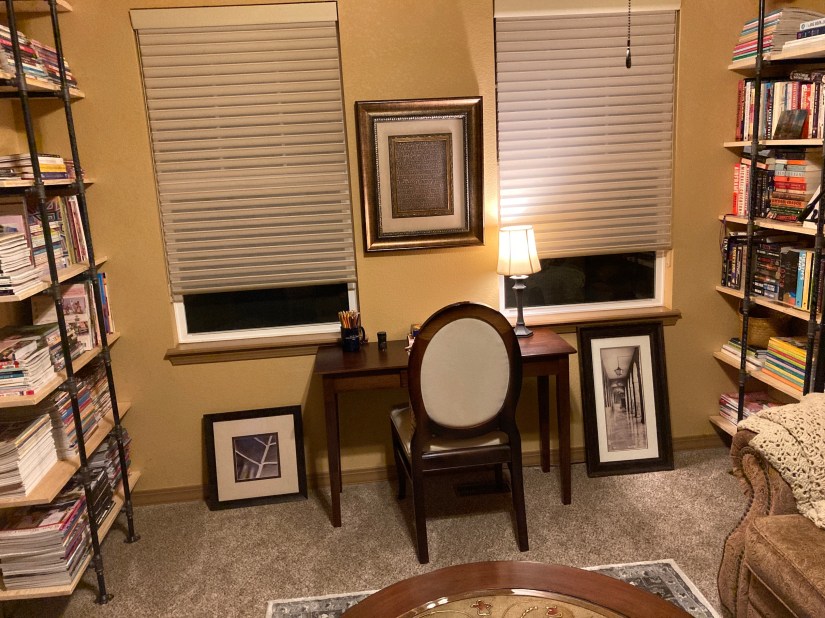
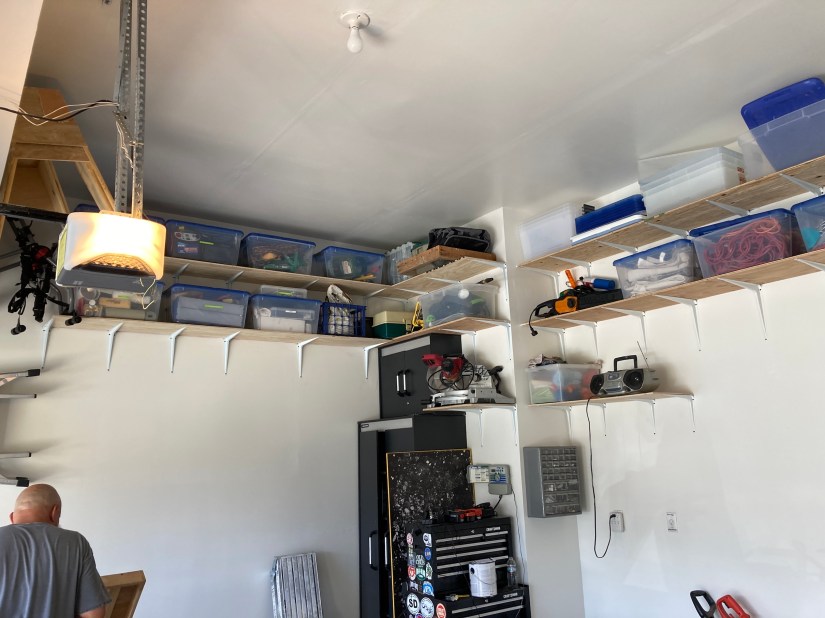 He also built bookcases in the front room to create our “home library” as my female human mentioned in this post –
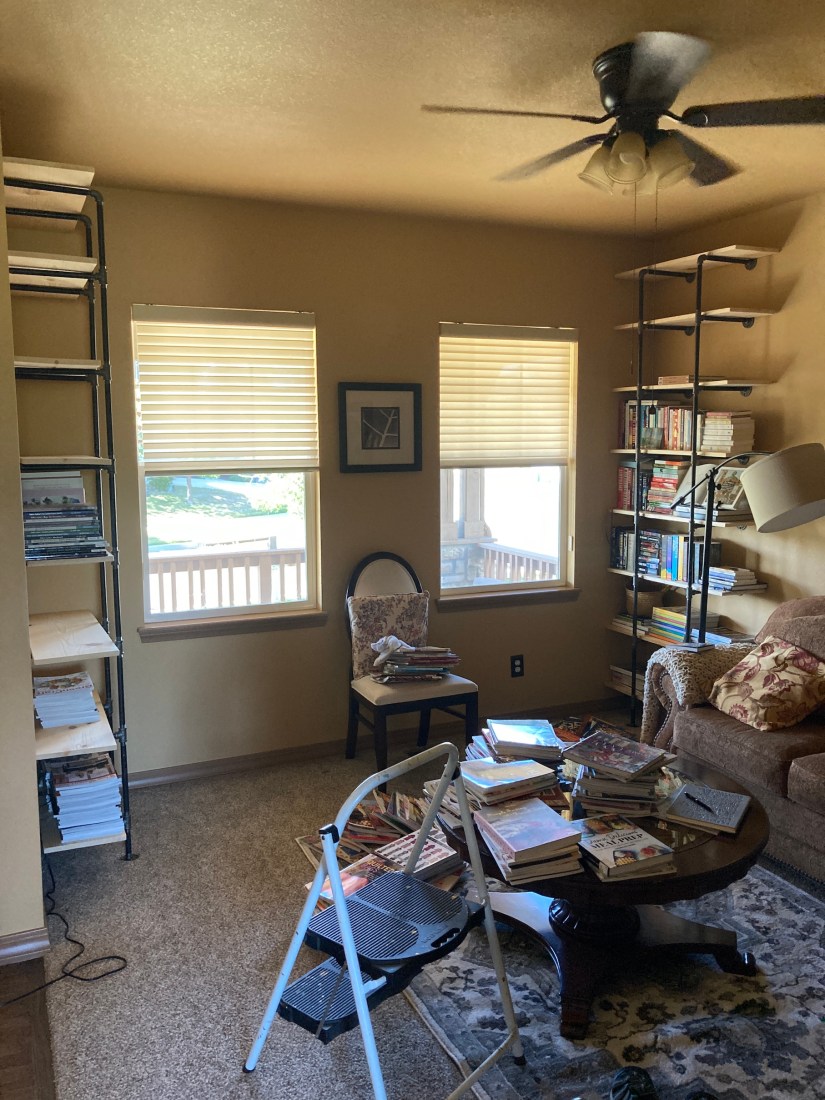
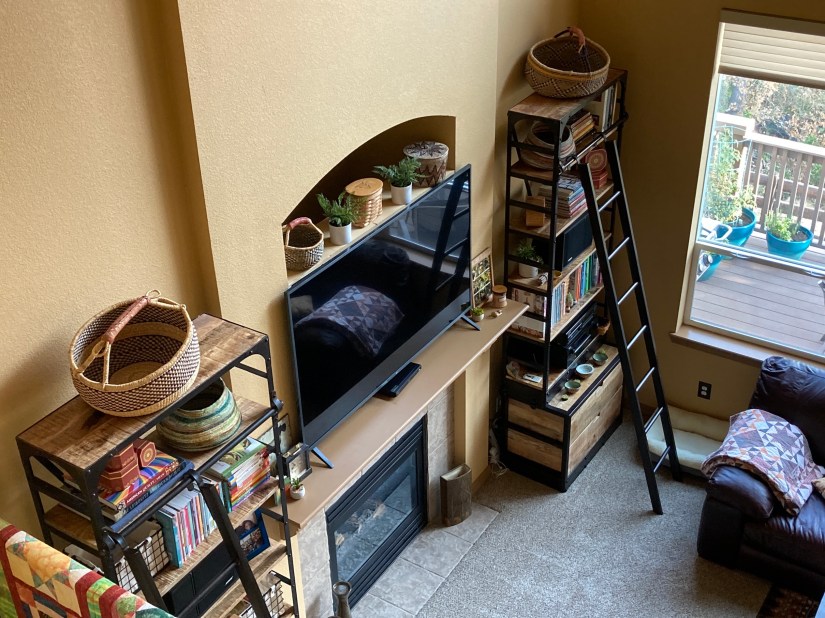
 Most recently he added in a shelf behind our living room TV to distract your eye from the fact the flat screen TV is in front on an alcove (circa early 2000s) for a large deep TV. This was my female human’s idea from looking at too much Instagram home decorating feeds!
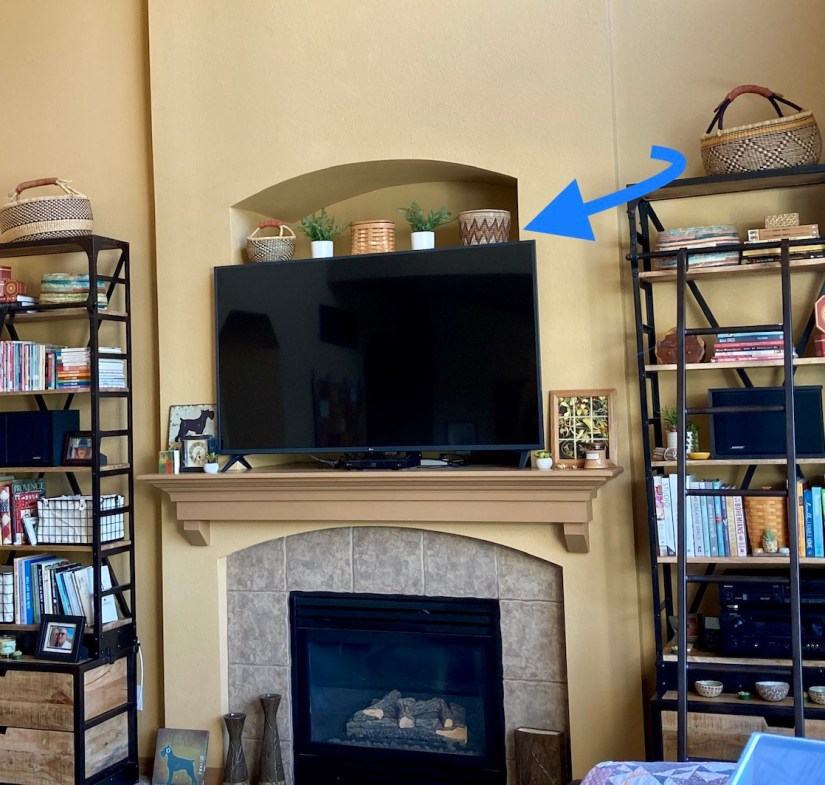
 I am sure there were a lot more home remodeling projects that occurred over the past four (4) months but this is all I can remember since I was sleeping through many of them.


 At home, I took some detail photographs. Of course, the cats found the quilt in no time….The Quarantine Quilt is officially cat approved!!
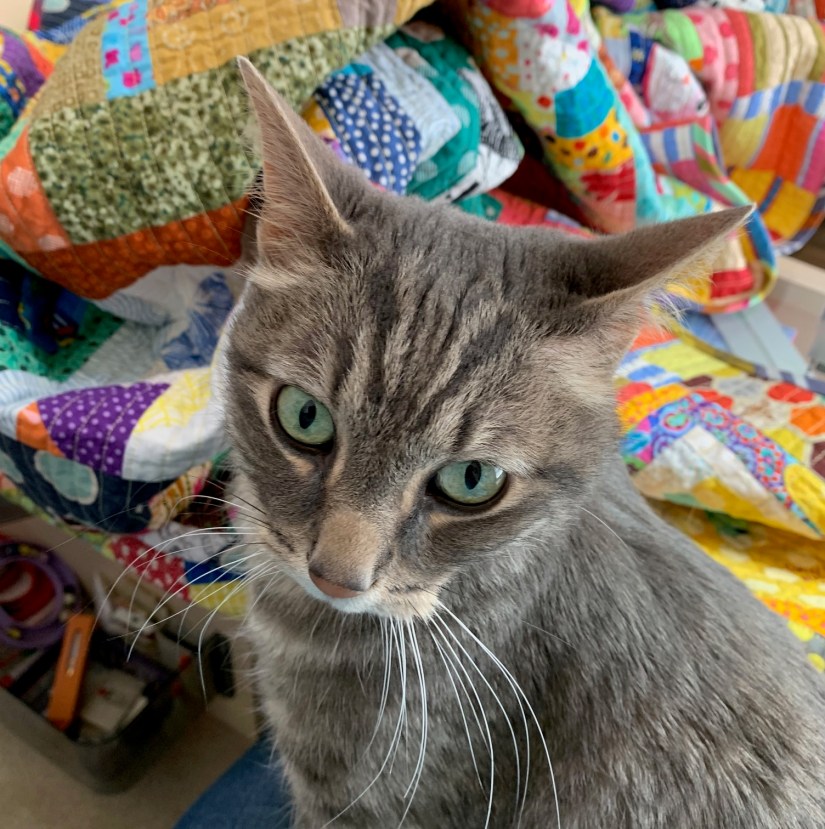
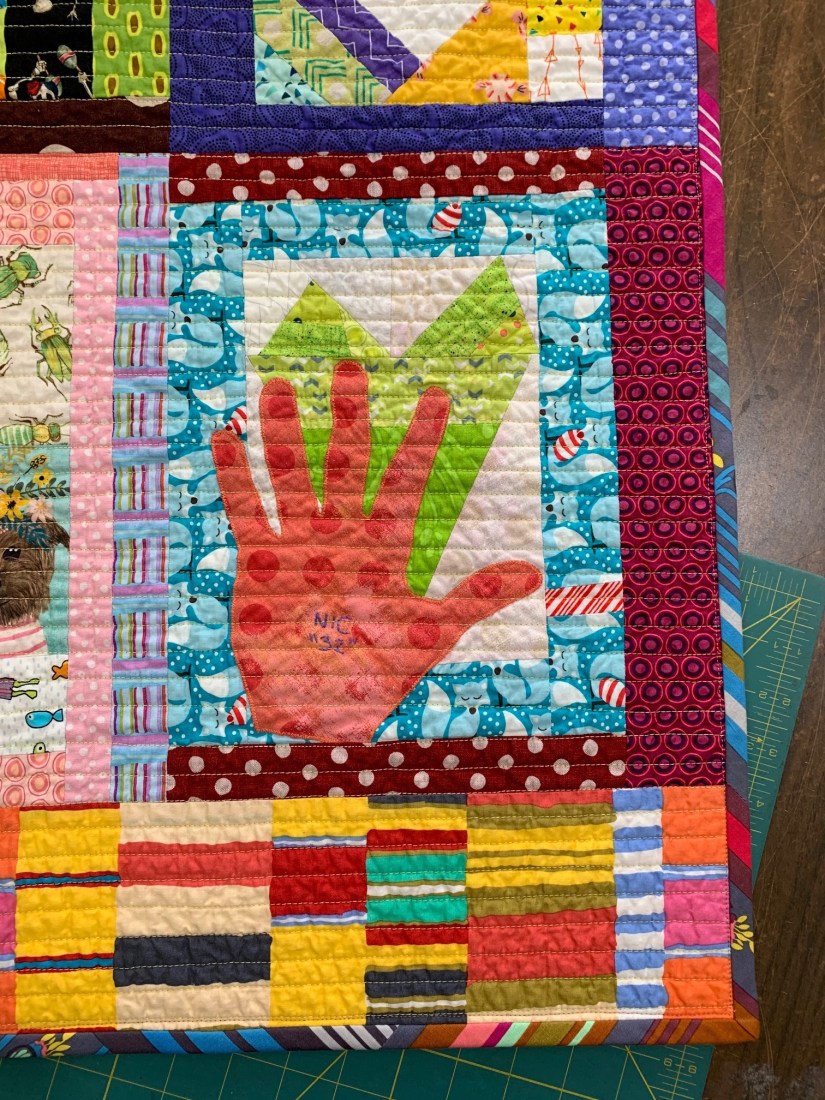
 Let’s start with the appliquéd hand blocks. I put The Boys’ hands in the middle, with the adults’ hands on the four corners. It’s symbolic on purpose: the adults are looking after the kids.


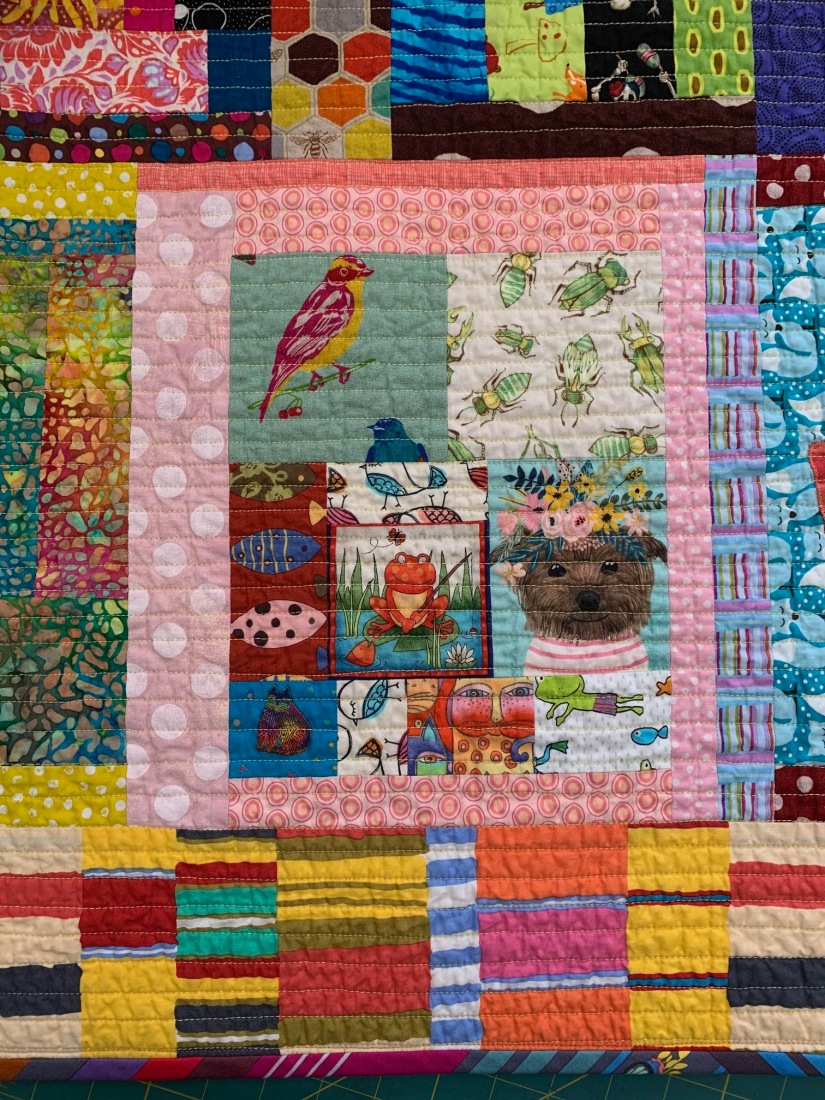
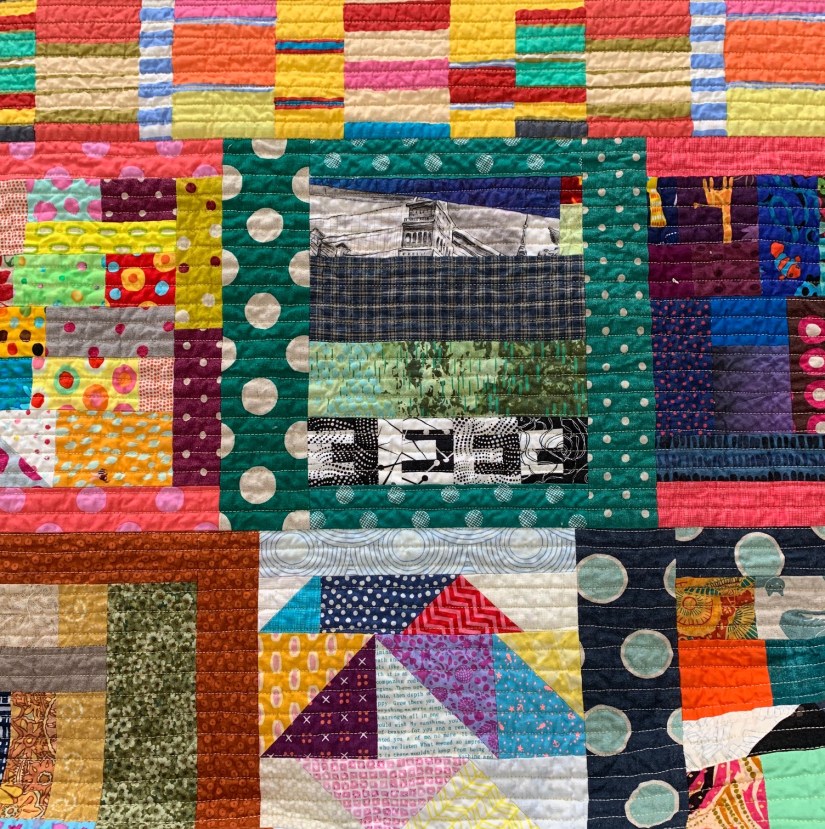
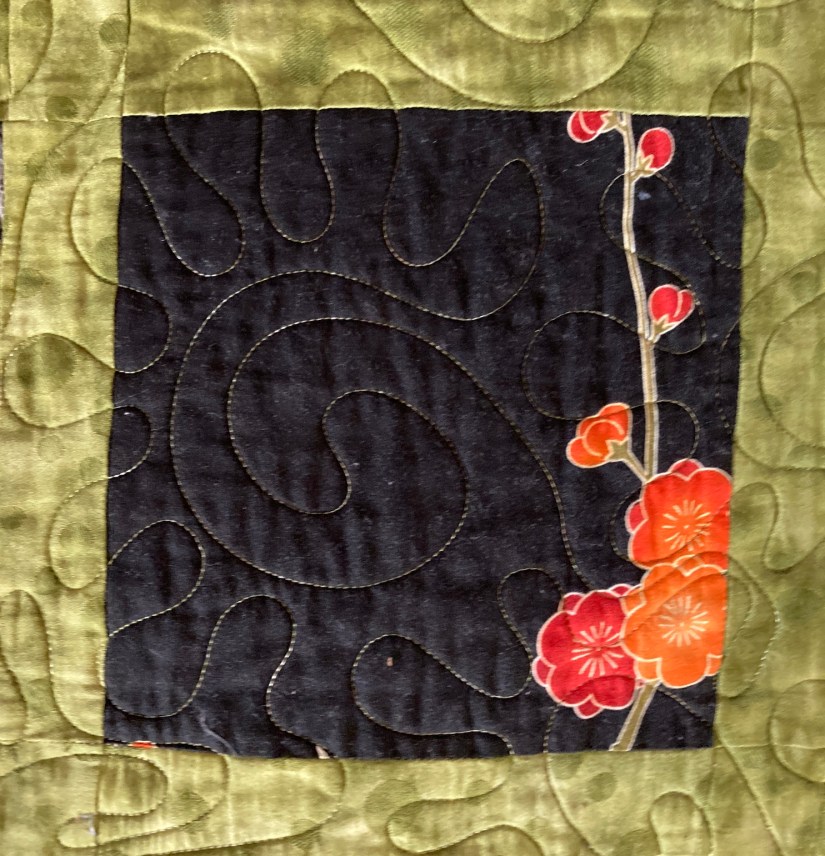
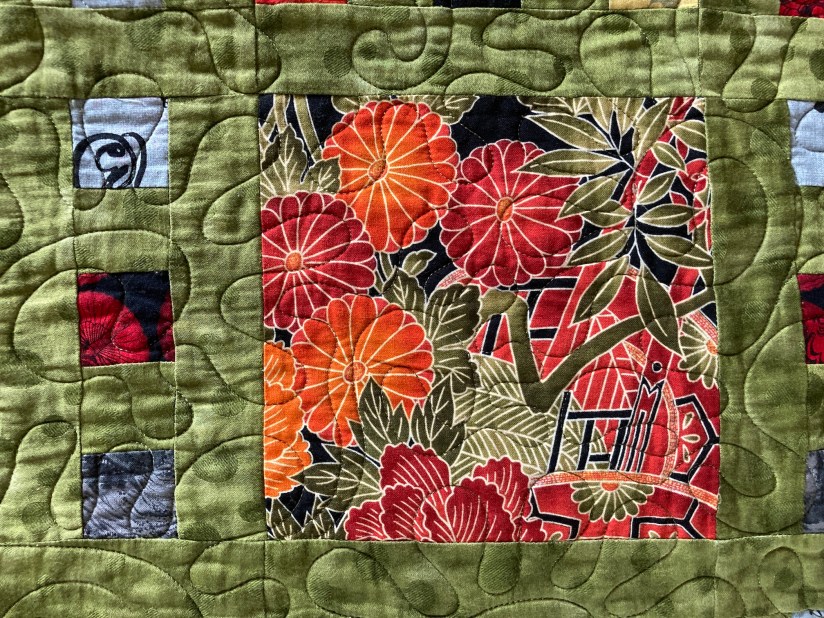
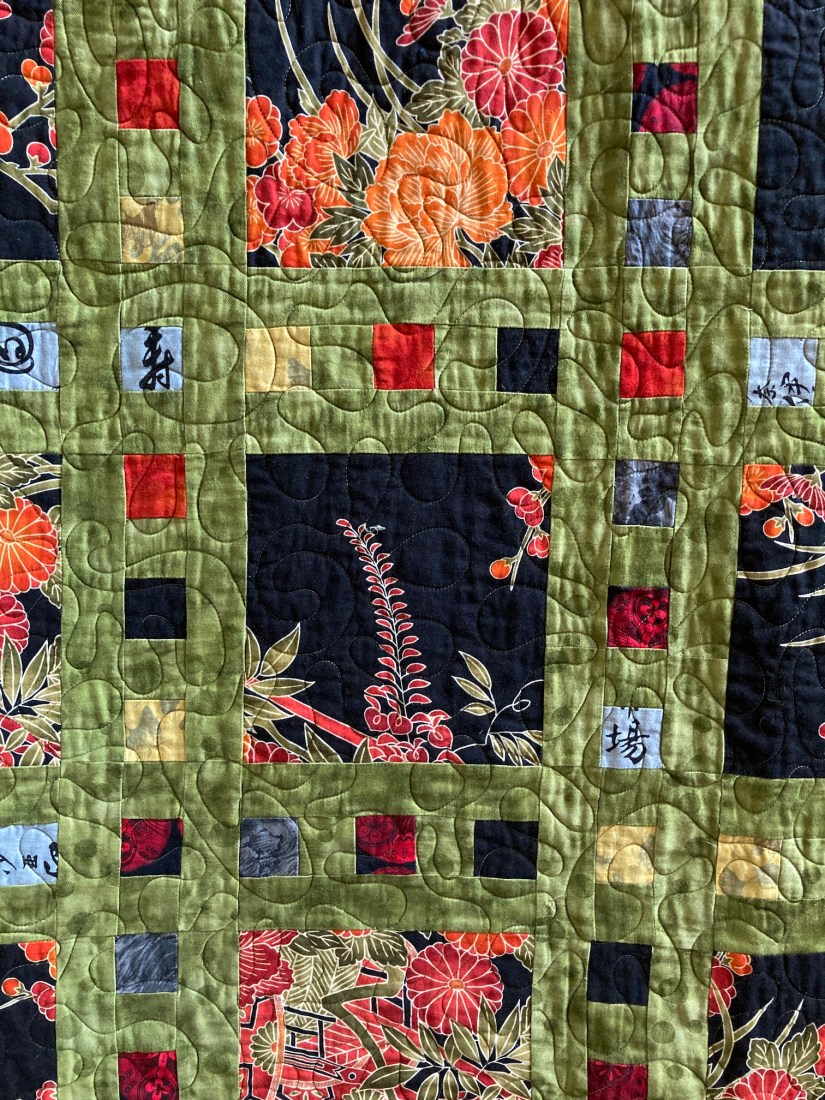
 Here are a few more detail photographs of the quilt front:
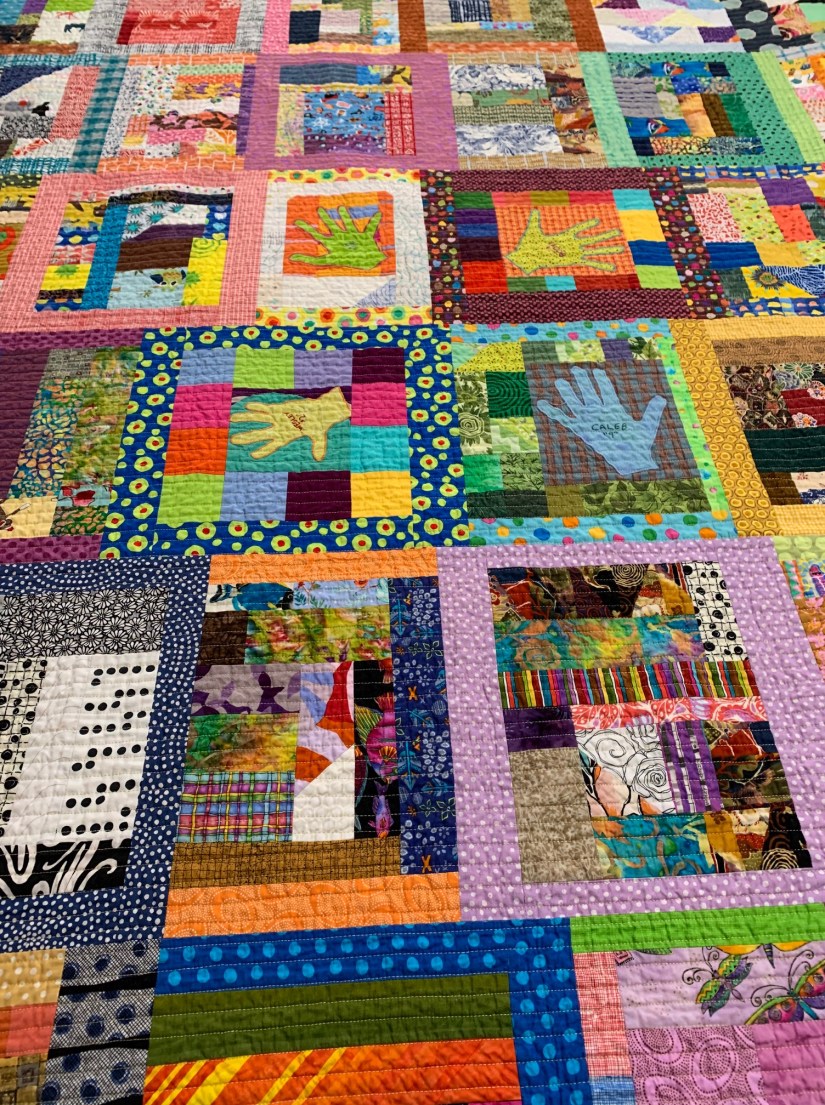
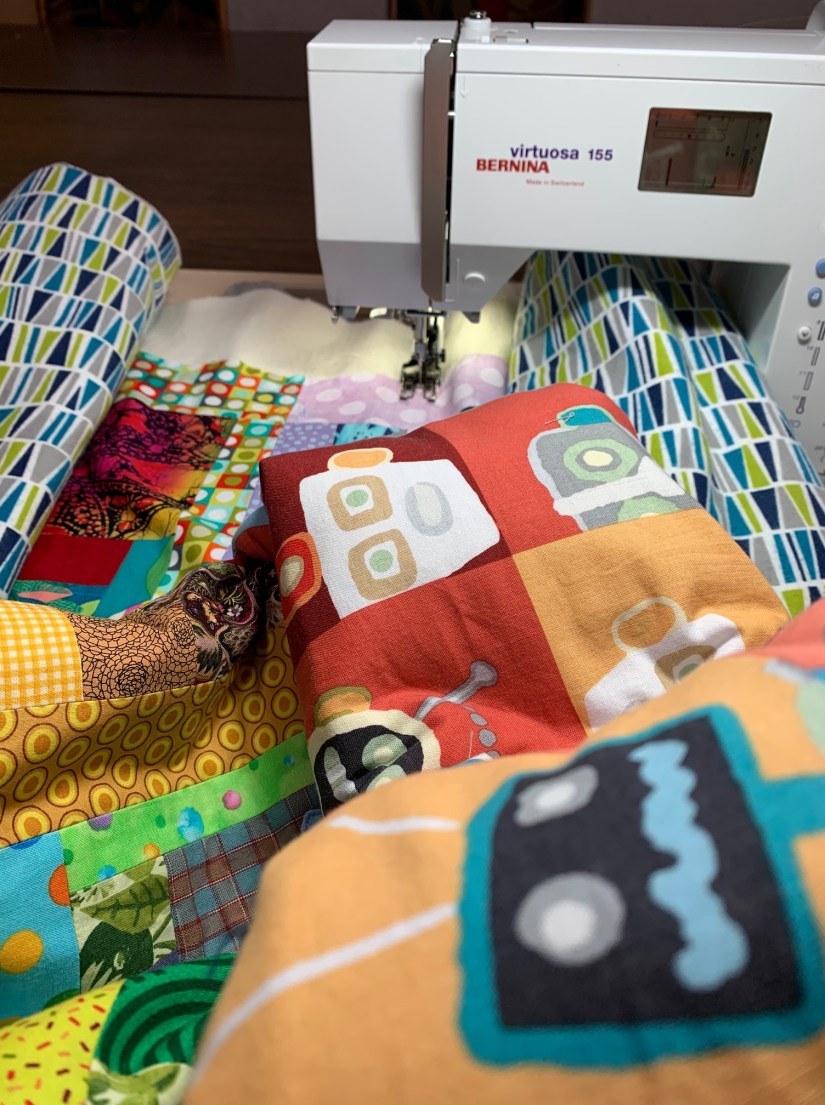
 The quilt back is fun too, with the assortment of found fabrics and leftovers. A friend sent me her found robot boy yardage for the center; she thought it perfect for The Boys.
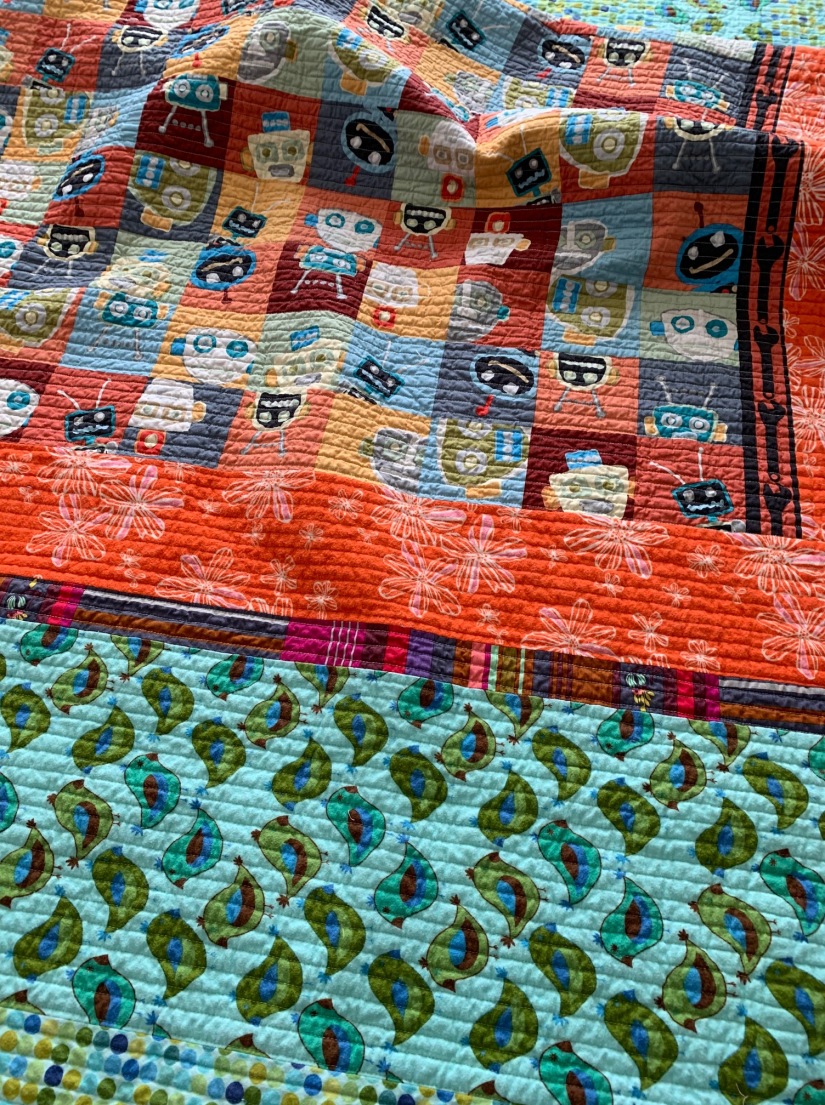
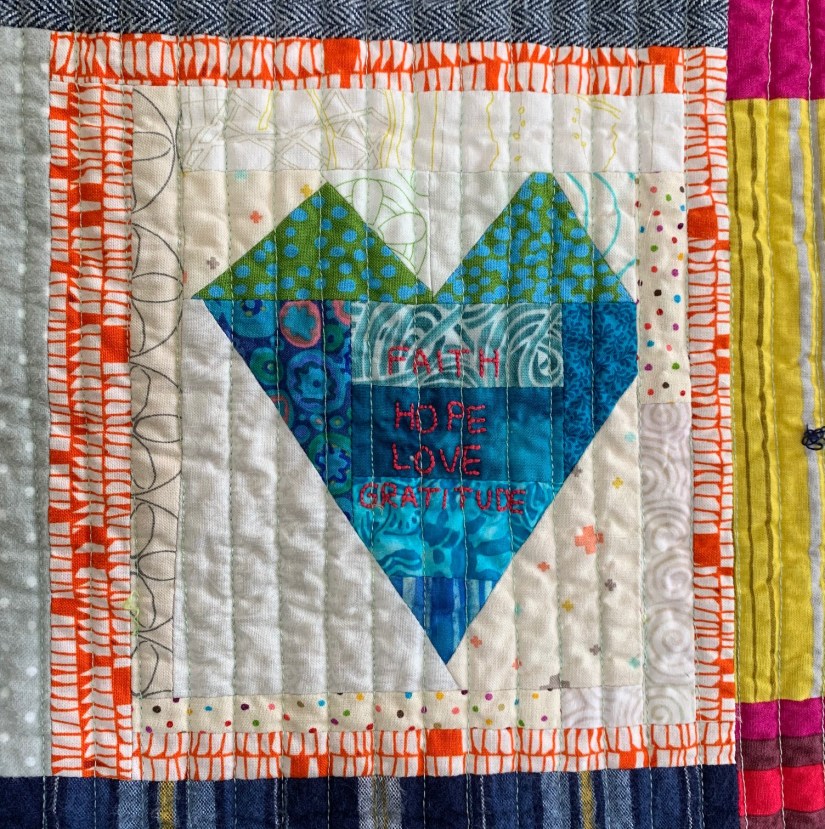
 I’m so pleased I took the time to embroider the labels. These labels will last as long as the quilt.
 It had been a long time since “The Boys” had seen the blocks, and I wondered what they would remember about their creations. But the 3 older boys wasted no time in finding their hand and favorite blocks.
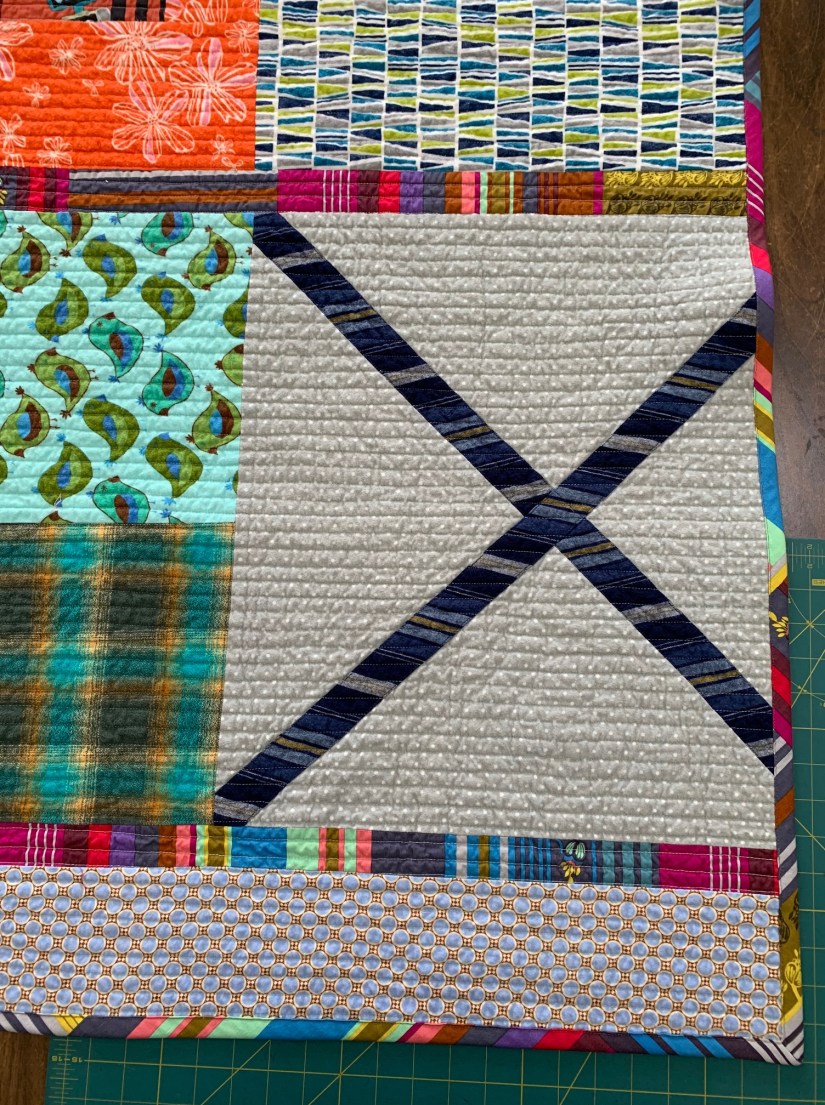
 Another favorite of The Boys was this block. I think it’s graphic and moody, in a good way.
 Finally the day for the Big Giveaway came. David and I spread out several sheets on our back deck. As we watched the kids scramble around the quilt (while staying 10’ apart), some of us burst into tears while the rest became teary. This project was definitely a good thing.
 In the beginning, we were two neighbors who banded together when the state government ordered a month-long lockdown. At first, we joined forces to add something special to the daily life of “The Boys”, whose routines had changed suddenly with the Pandemic.


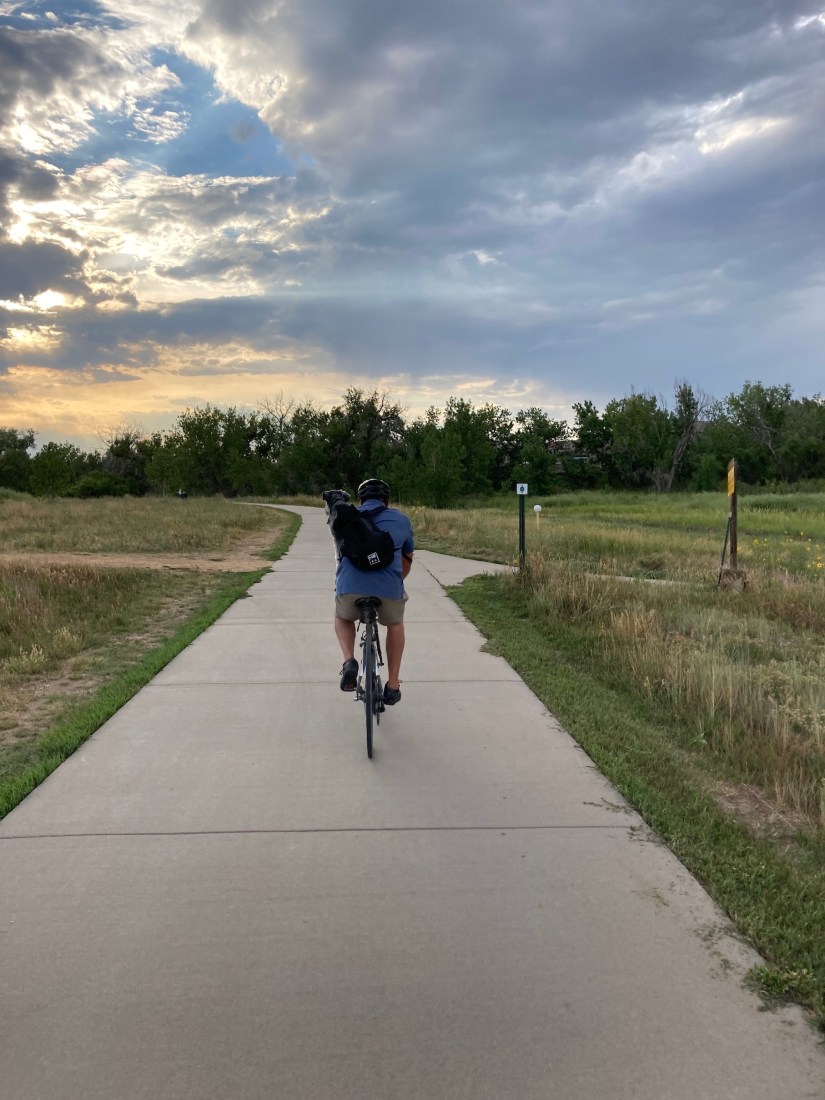
 I so enjoy seeing beautiful nature/landscape photos on the blogs I follow and I wanted to share a couple with you!

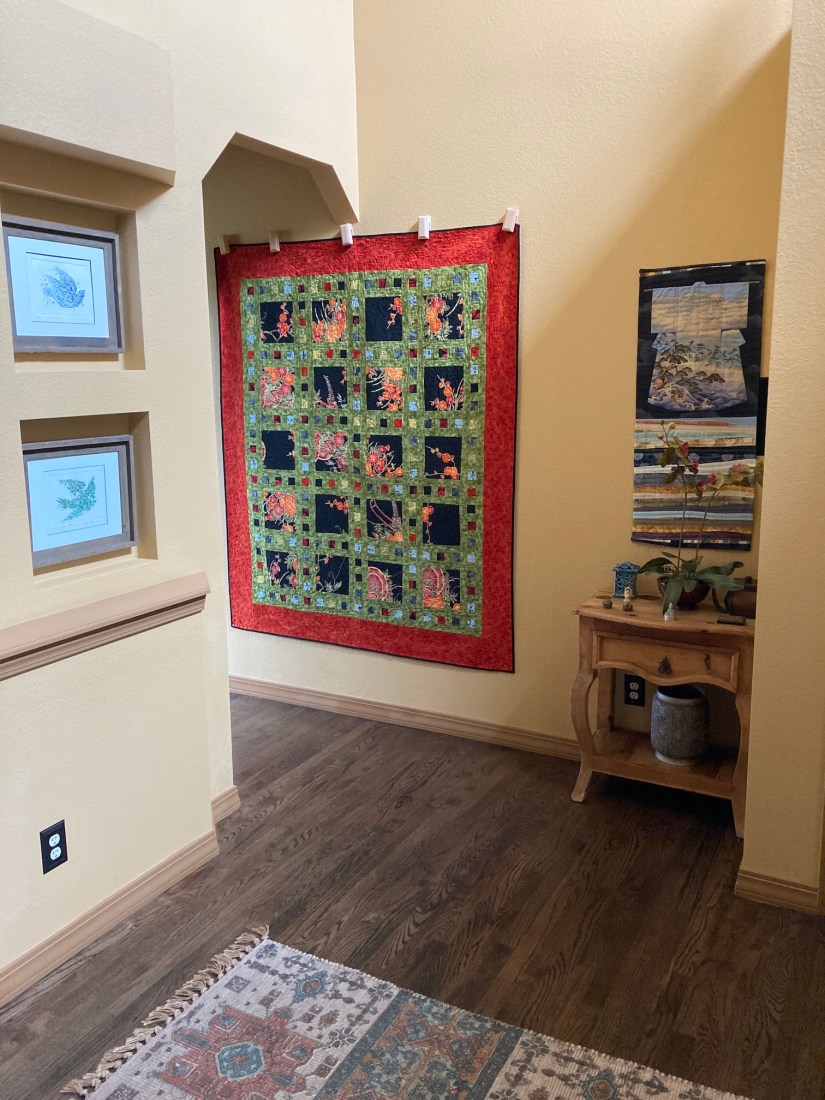

 Somewhere in the late 2000s as I began to make quilts with batik fabrics, I became attracted to strong/bold colors.
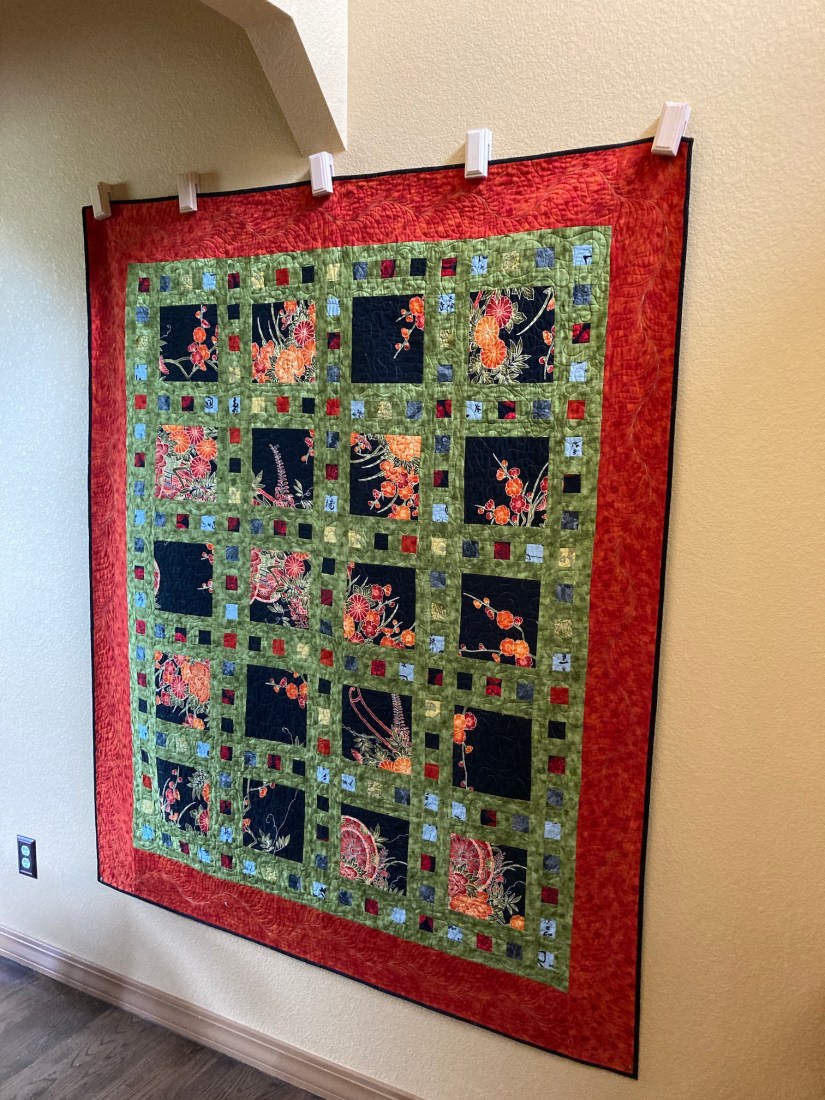
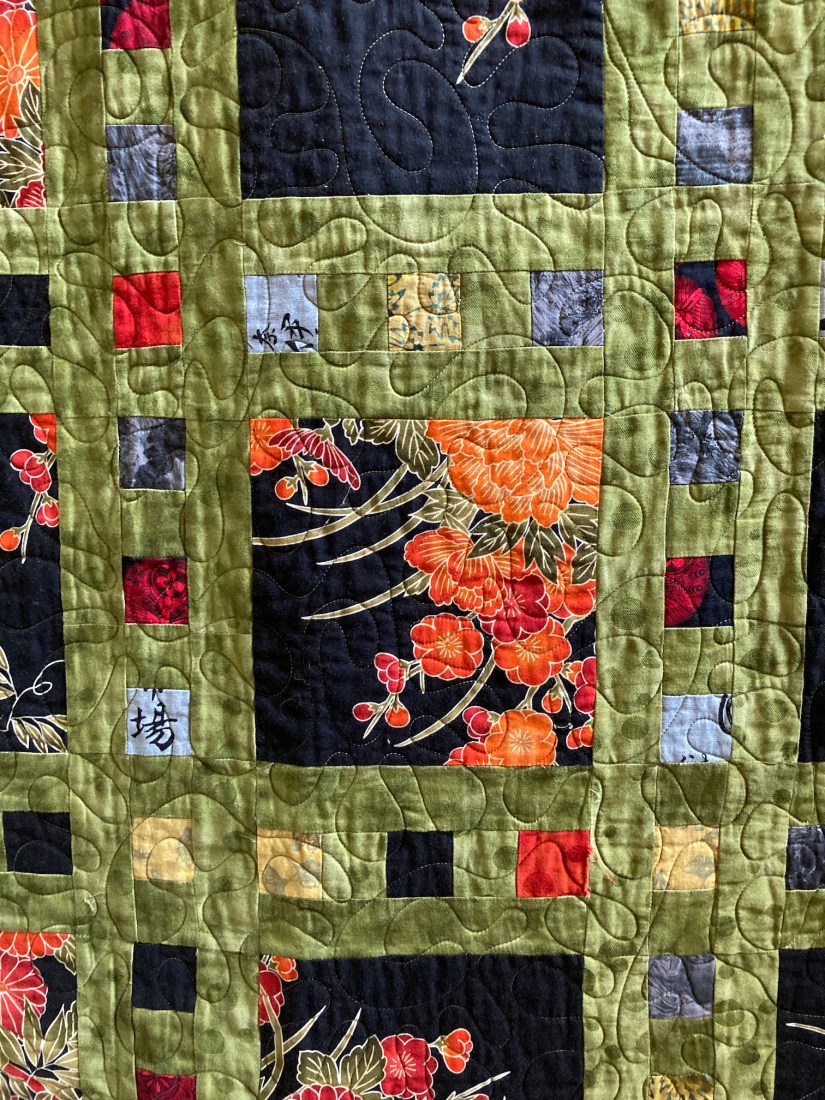
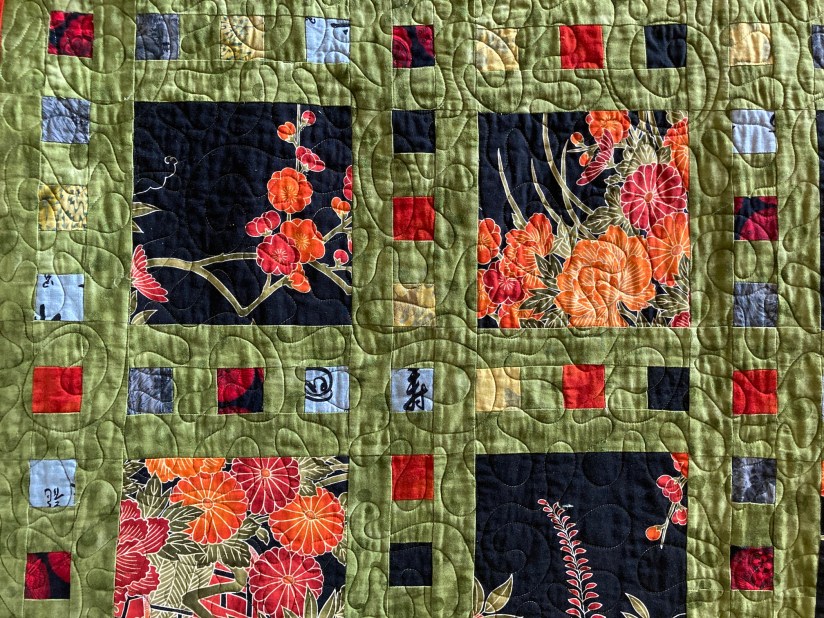
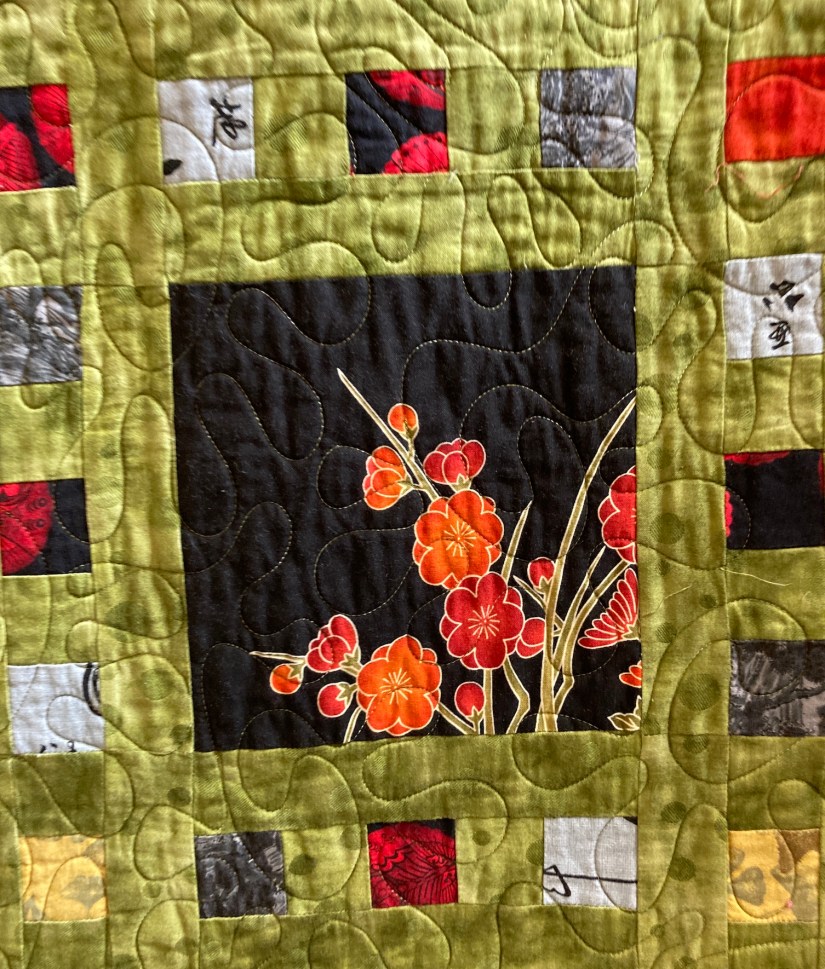
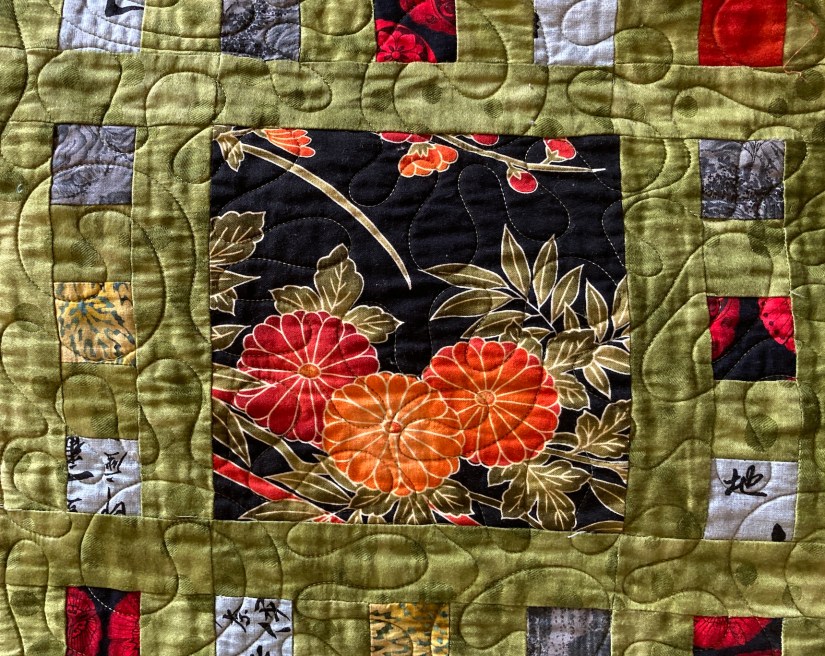
 For the little blocks surrounding the larger squares, I decided to experiment with adding a fabric that WAS NOT in the featured fabric but added a pop of color that appeared to go well with the other fabrics which were coordinated.
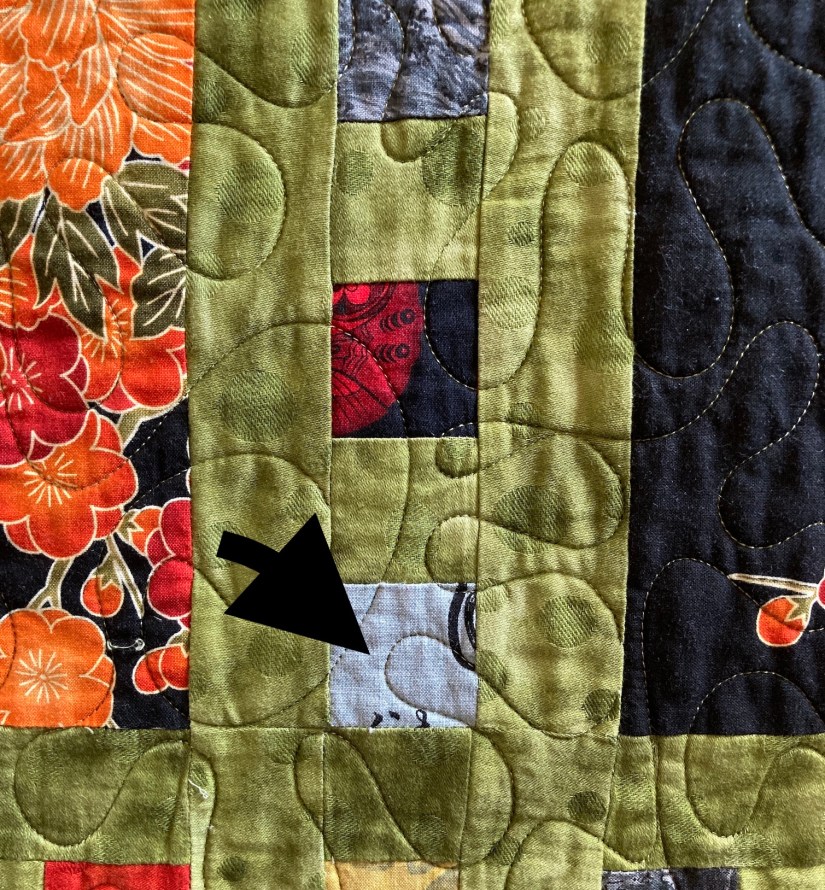 Then I got really crazy with the quilt and added a very strong deep orange as the border. I’d never used this much orange in a quilt before. In the past I would have used the green I used in lattice or a black as the border. I am not sure what got into me but I decided to make the border really pop!
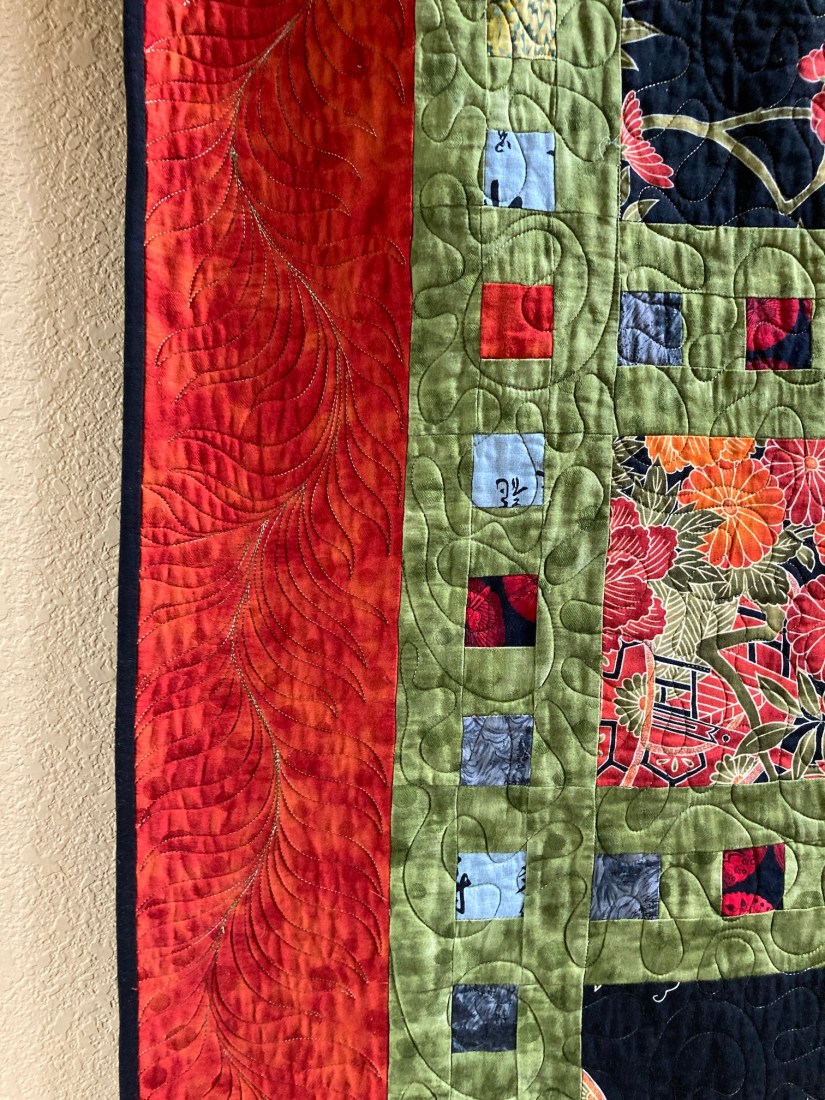
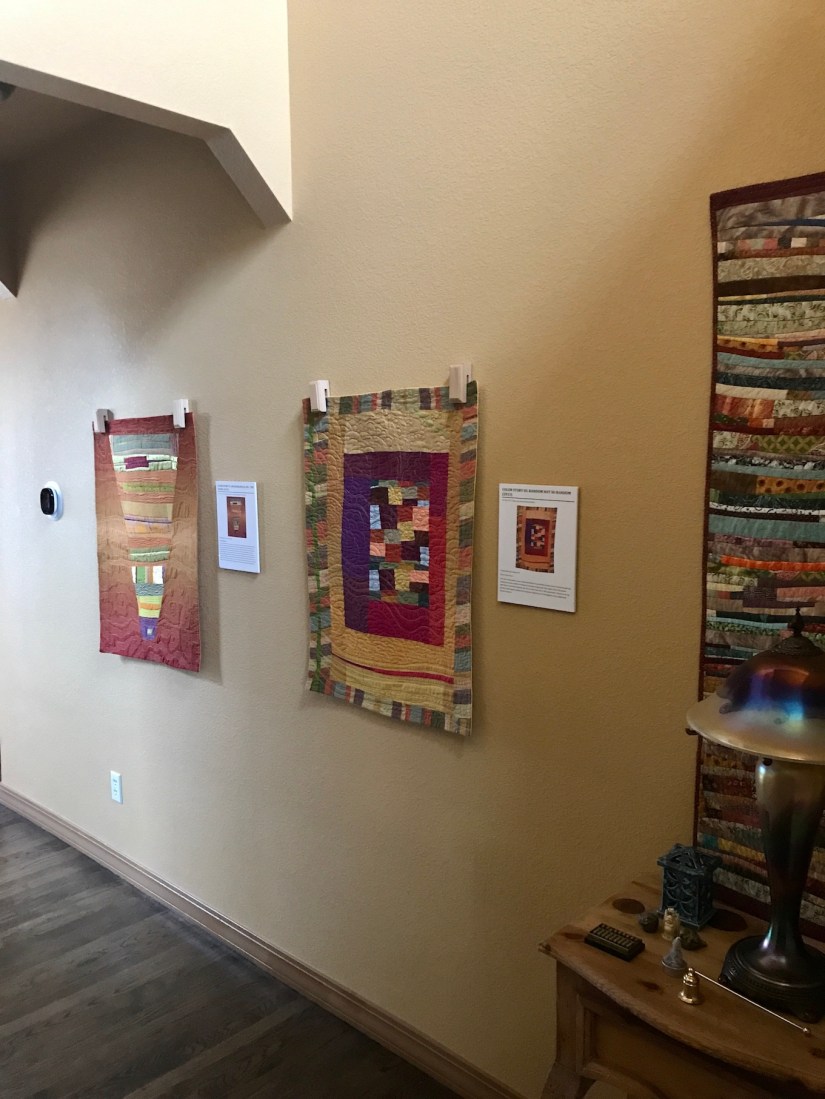
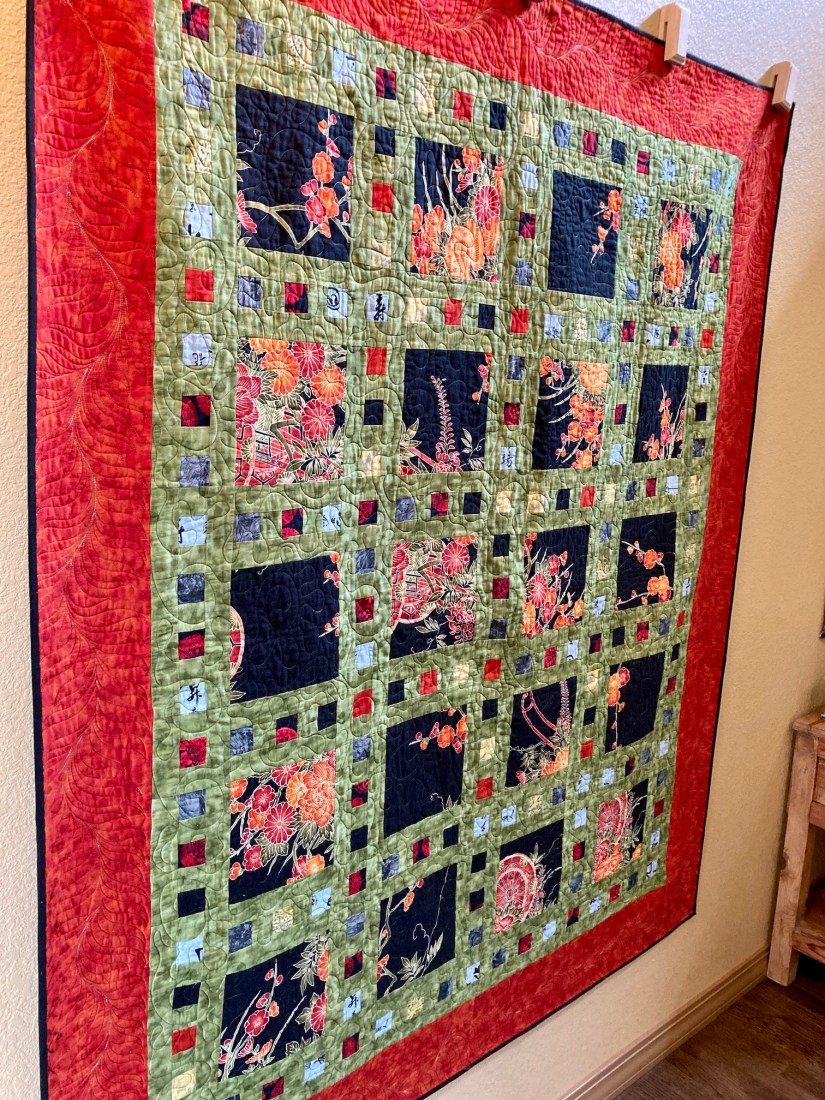 It wasn’t until I recently rotated the quilts in the hallway that I remembered this part of my quilt journey.