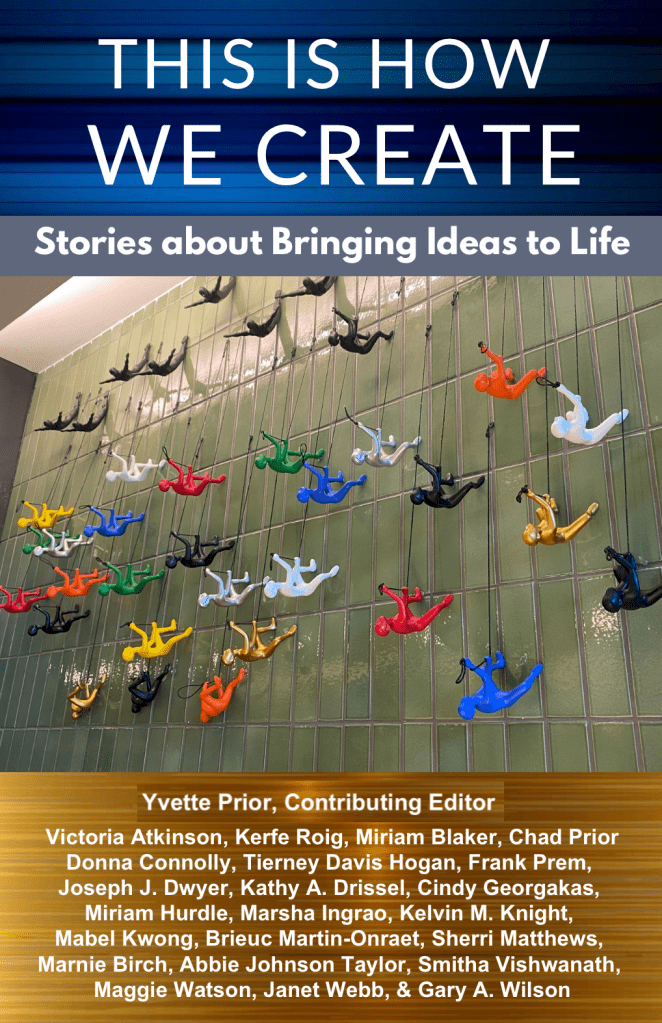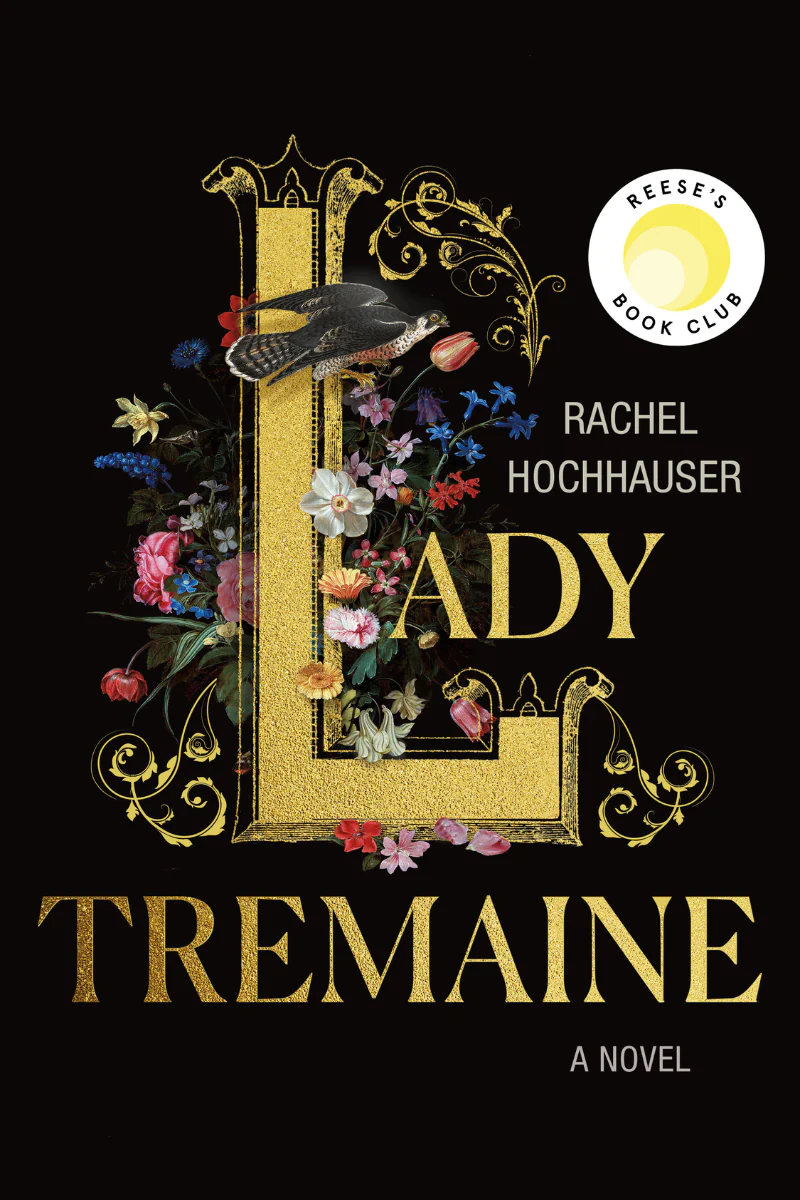
I am so honored to participate in the anthology This is How We Create:Stories About Bringing Ideas to Life by our blogging buddy Dr. Yvette Prior of Priorhouse Books and Priorhouse Writes (Blog).
Image courtesy of Dr. Yvette Prior
The book was released on 09/10/2026 and is available as a Kindle and paperback format on Amazon.com (links at the end of this post):
Screenshot from Amazon.com
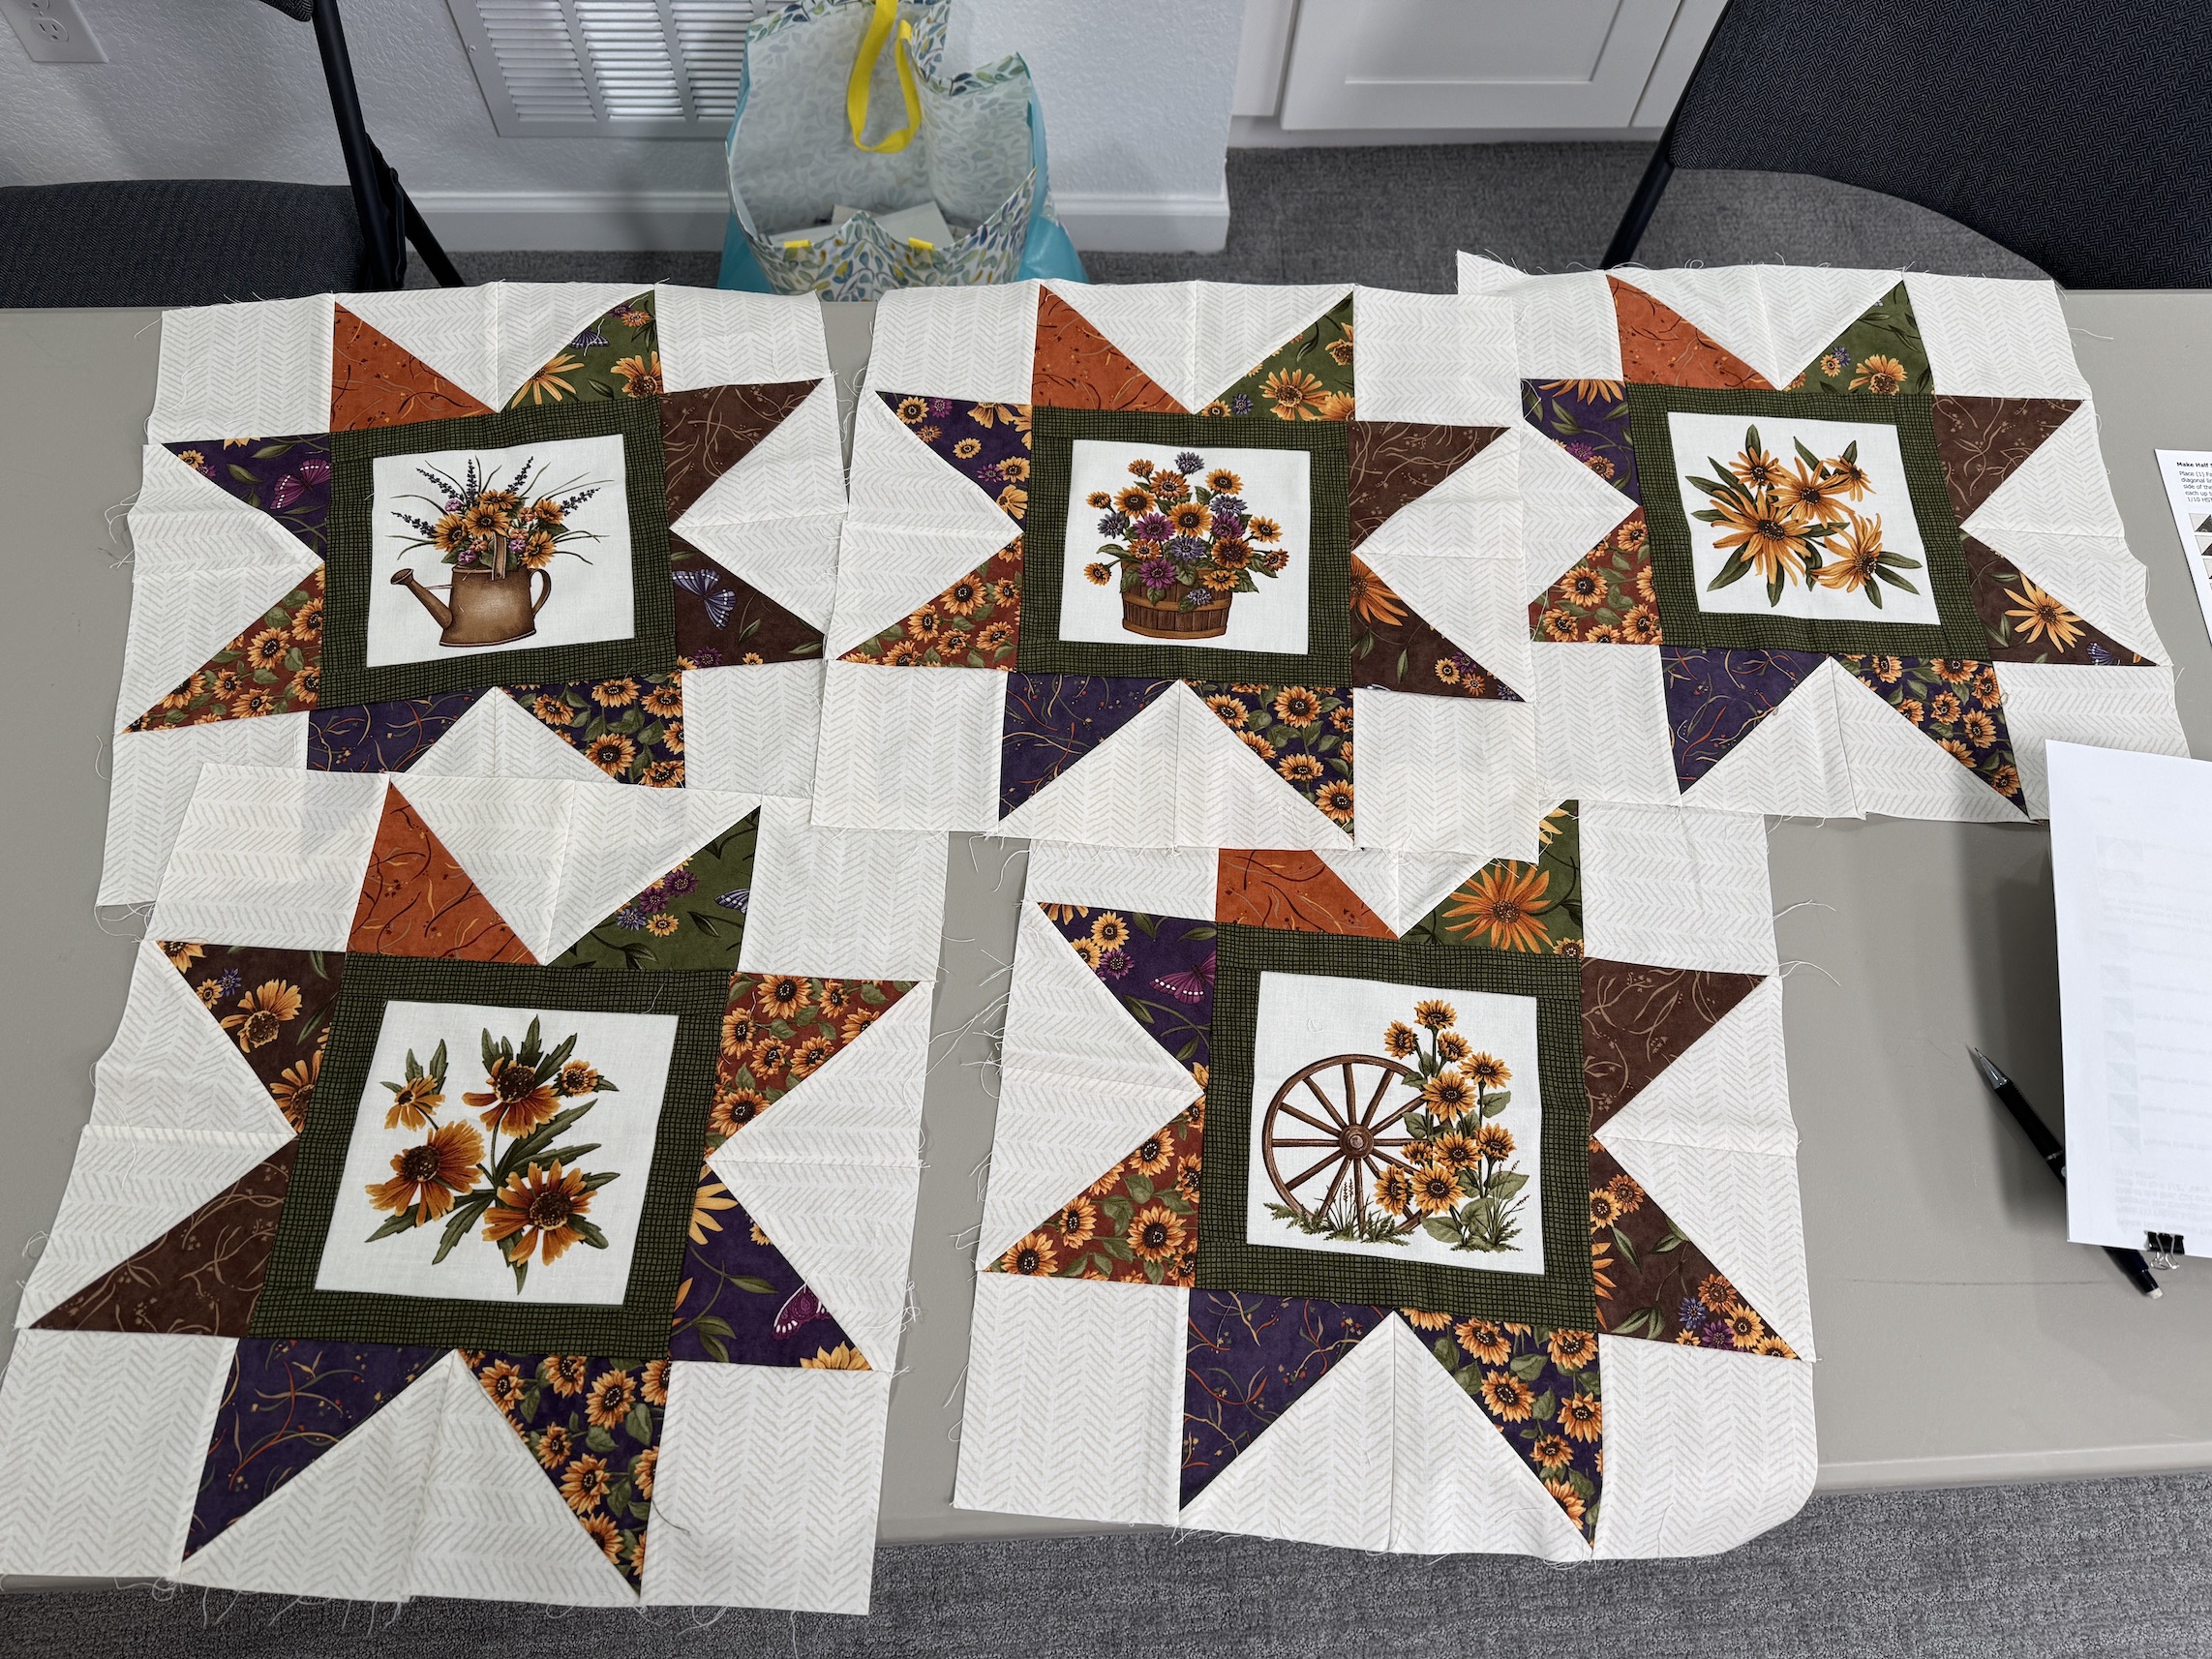
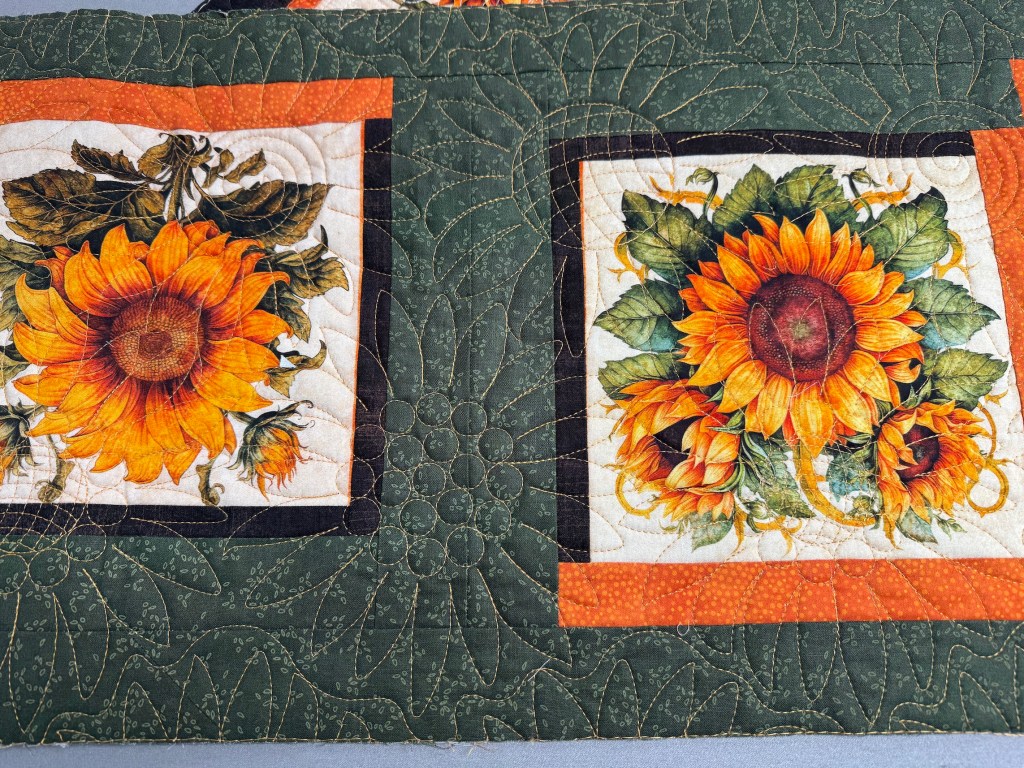
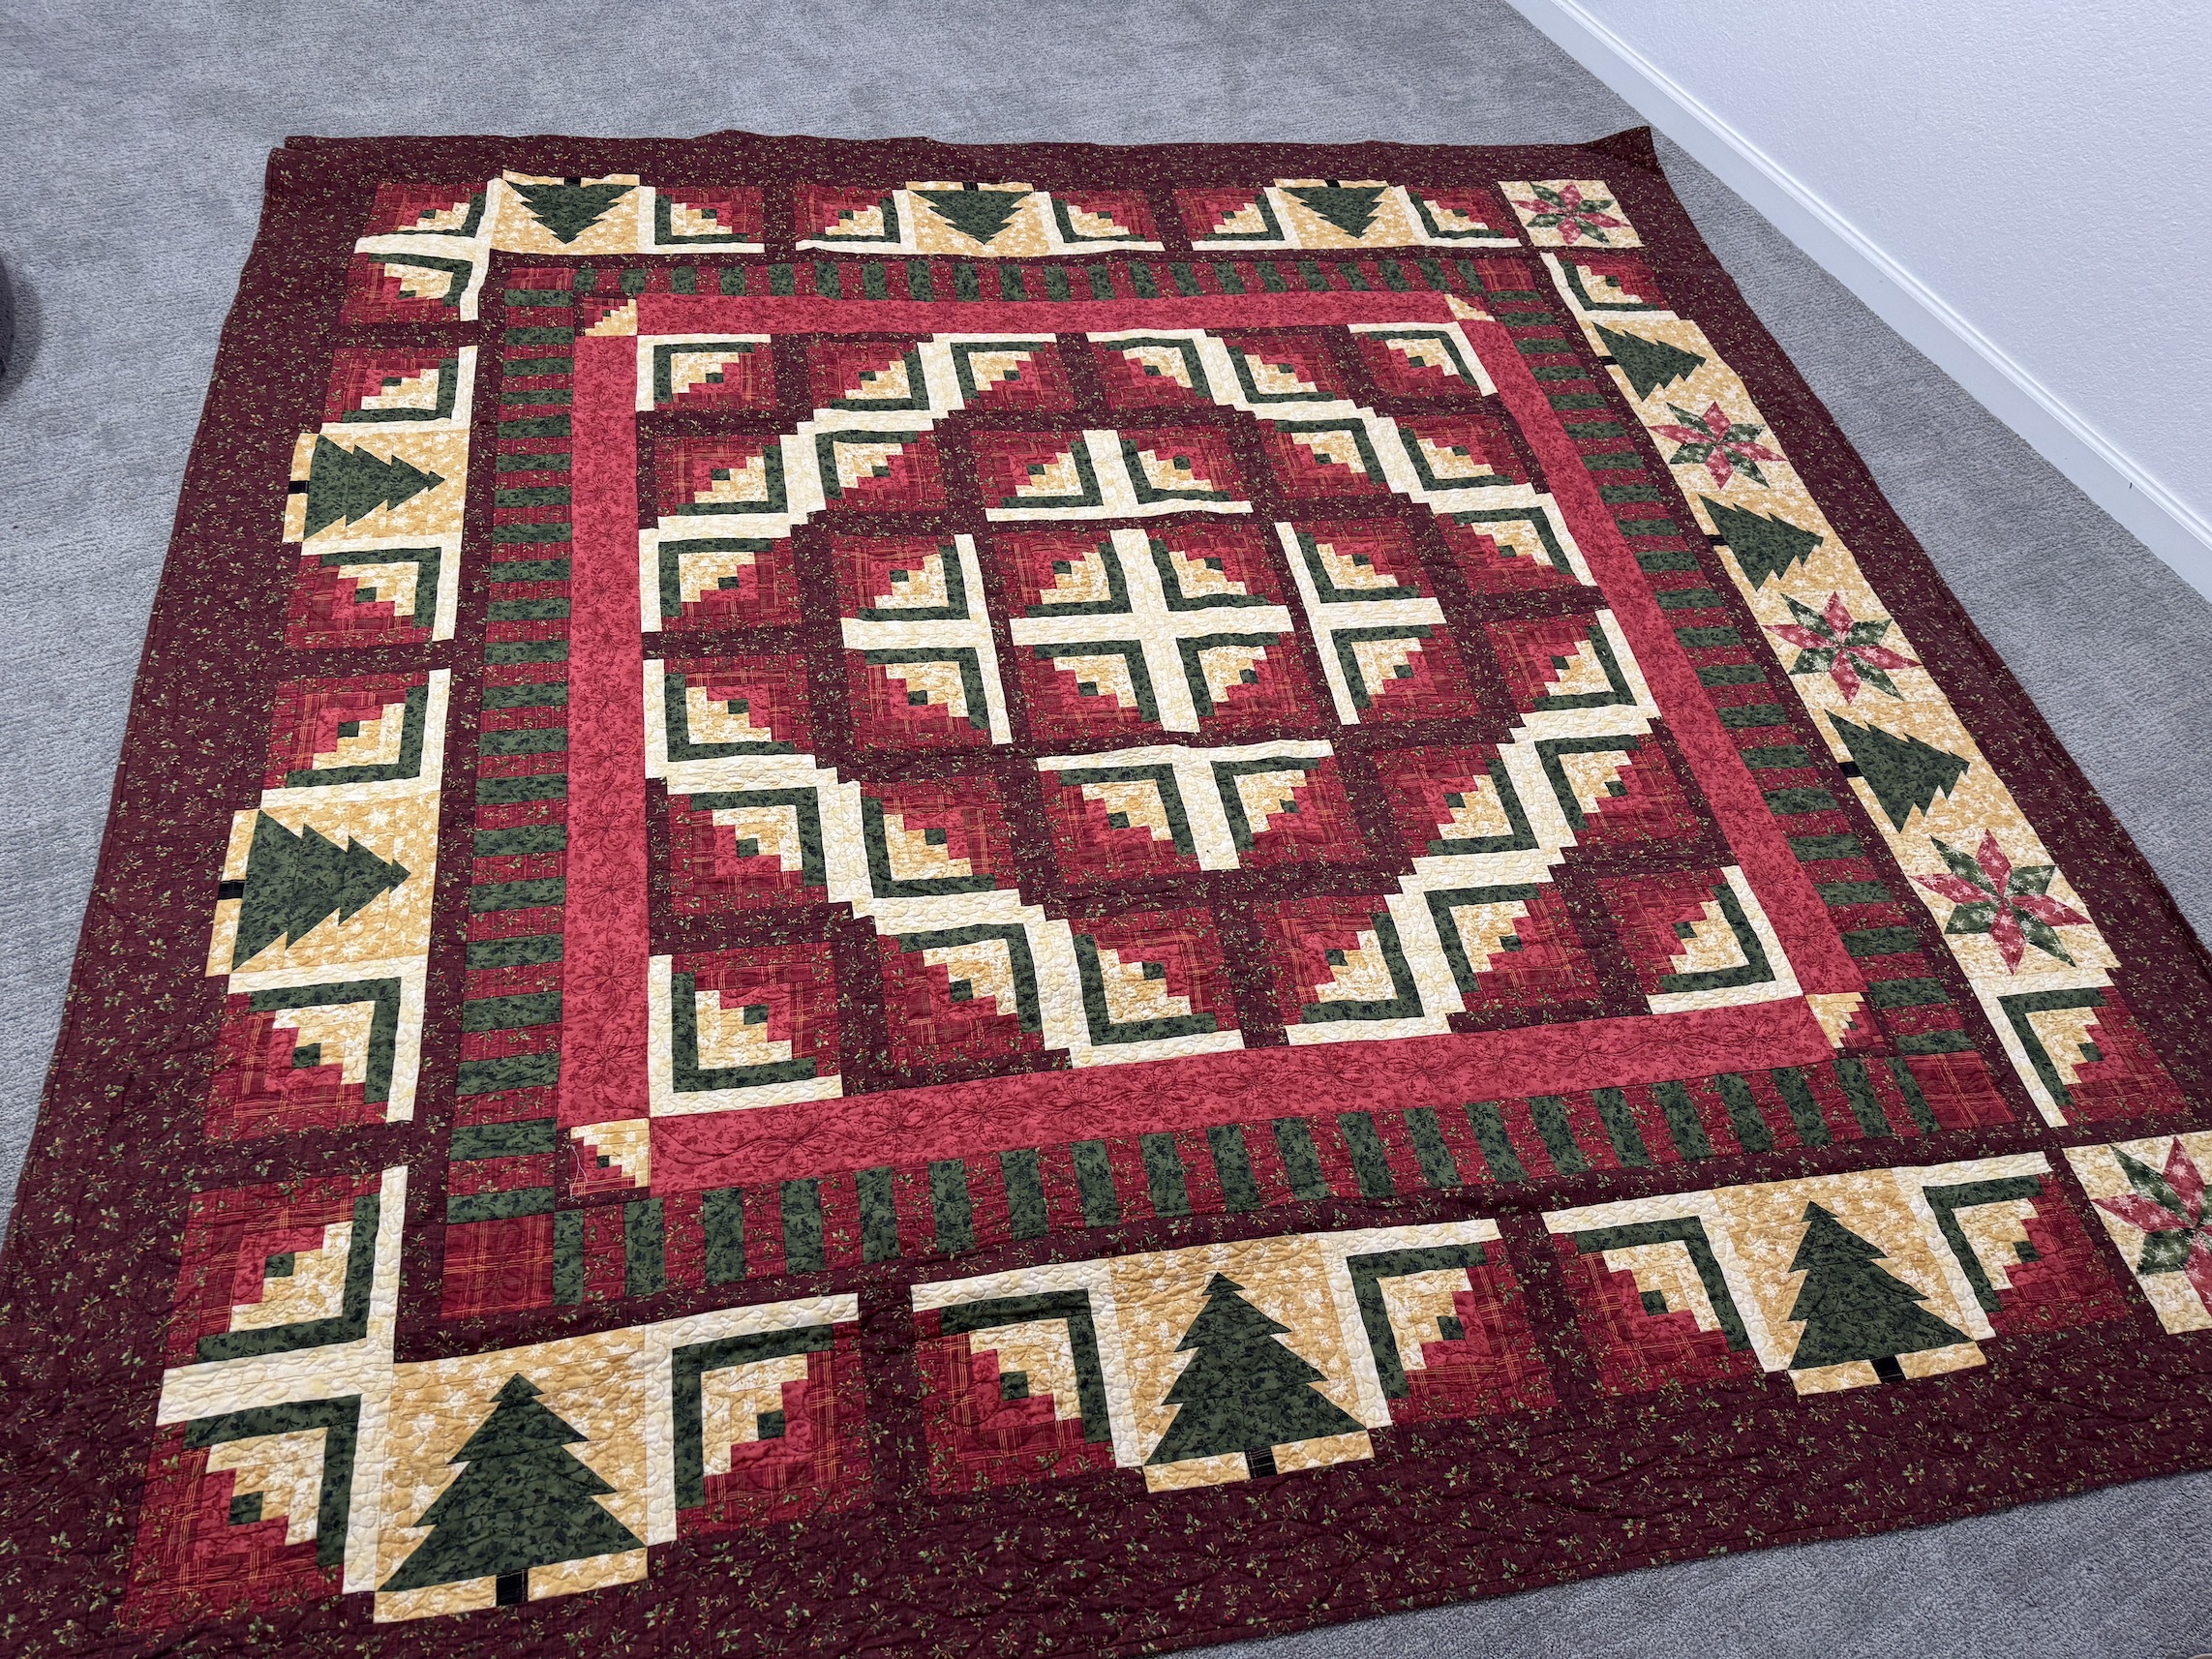
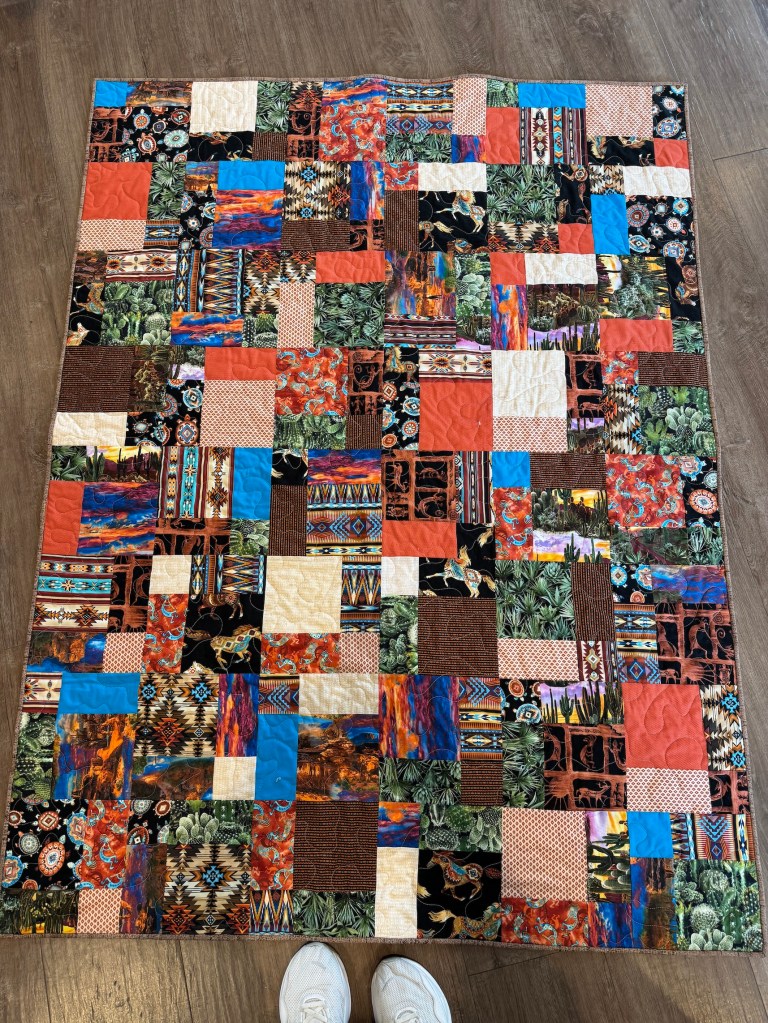
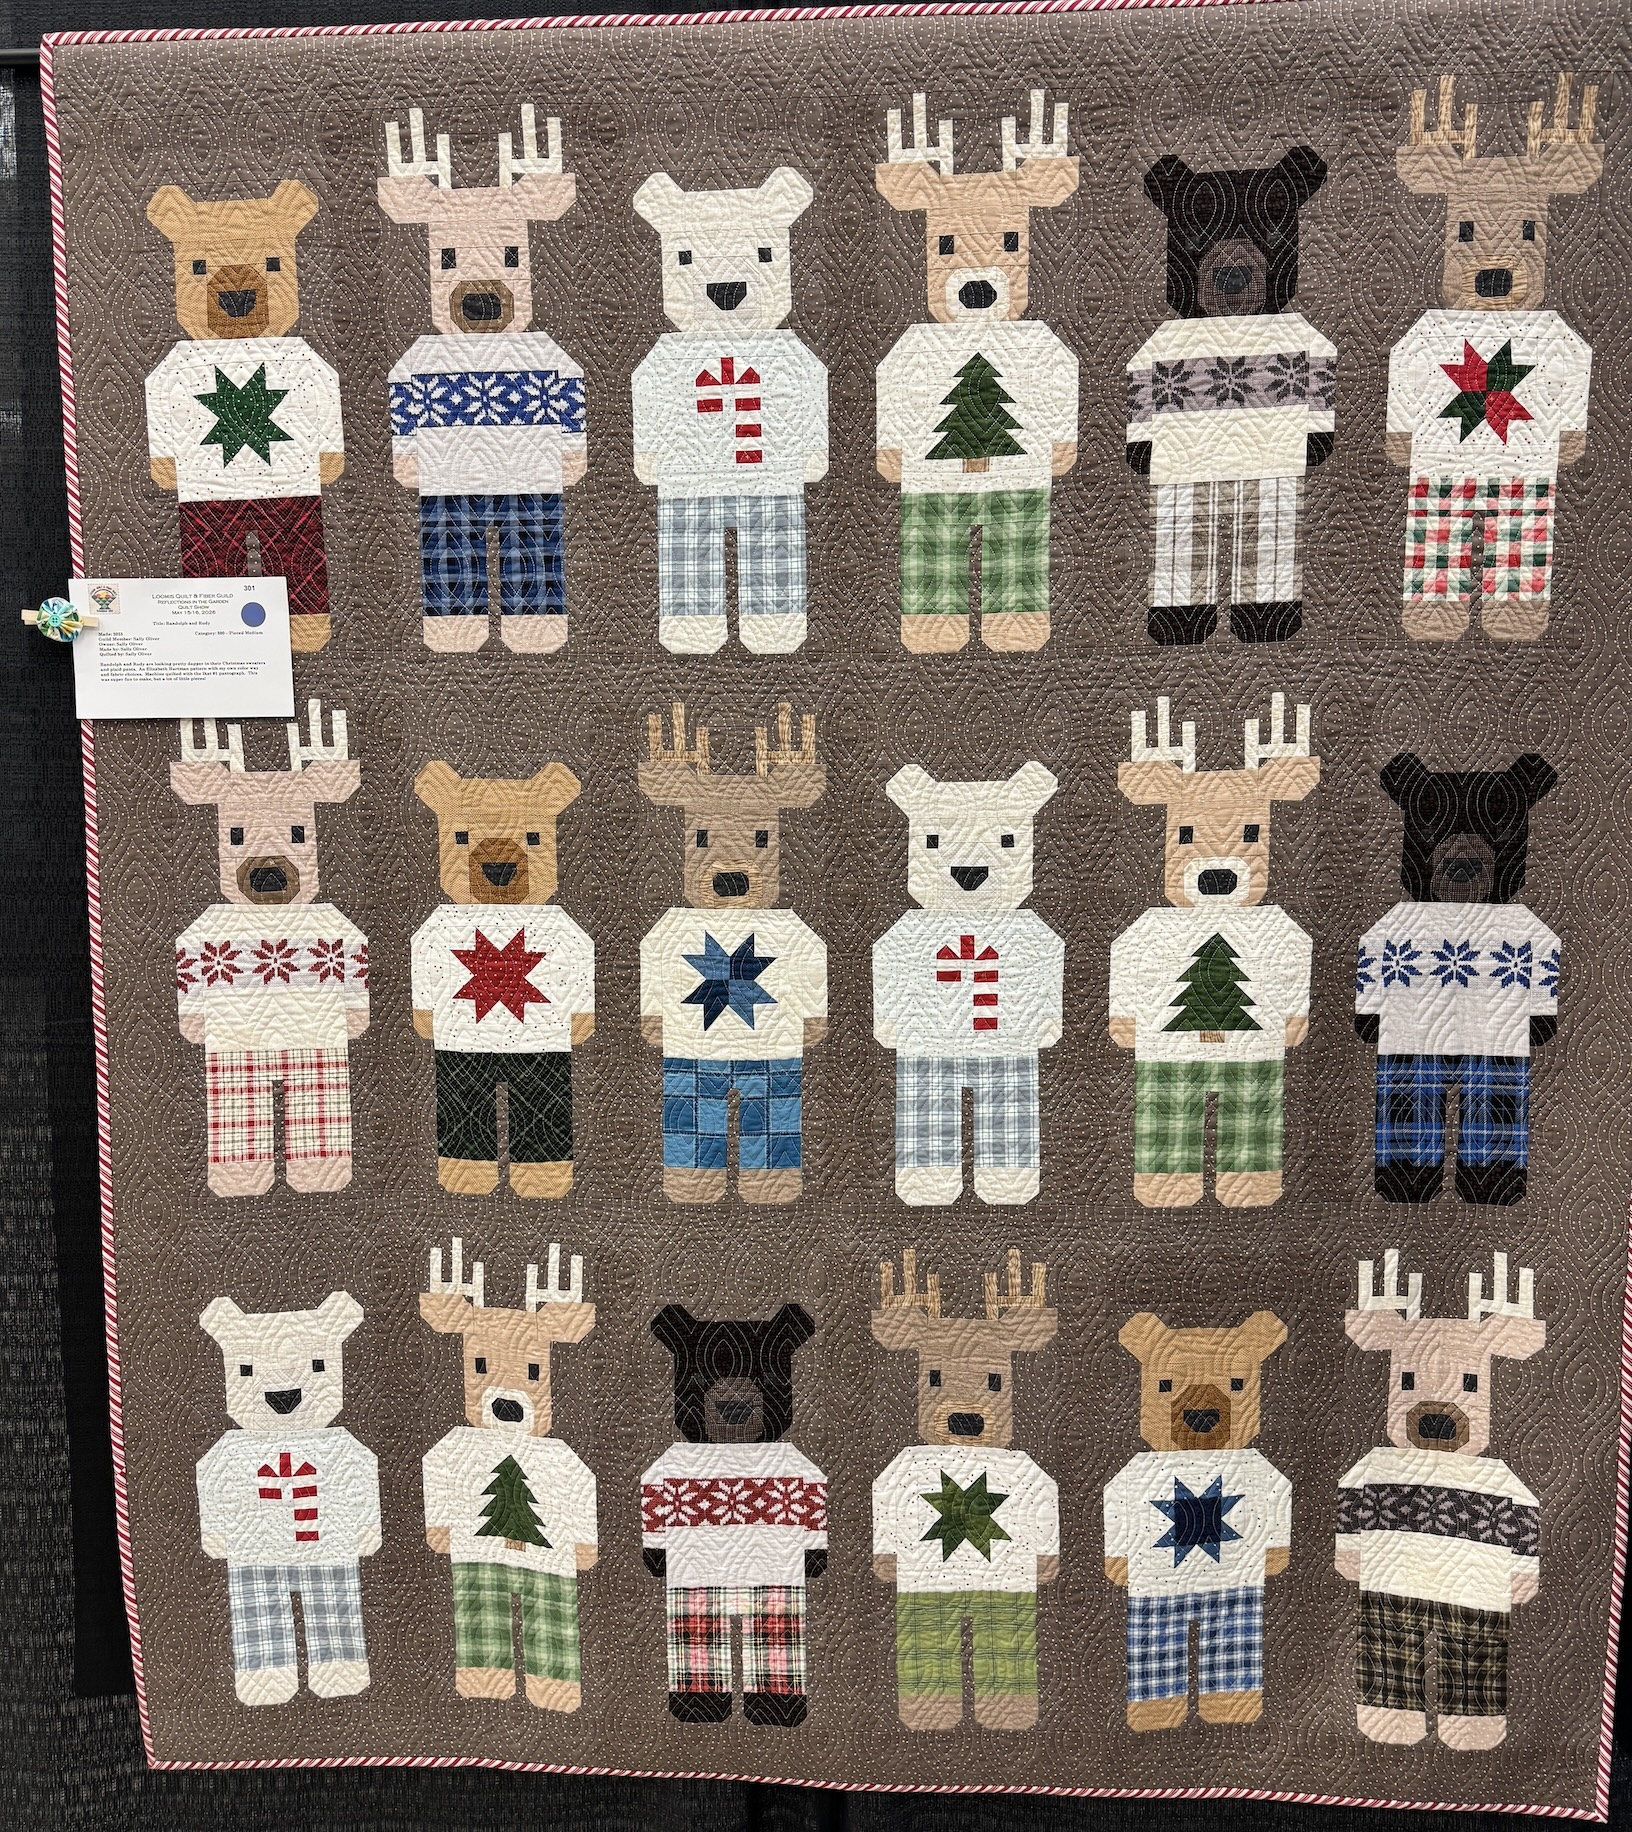
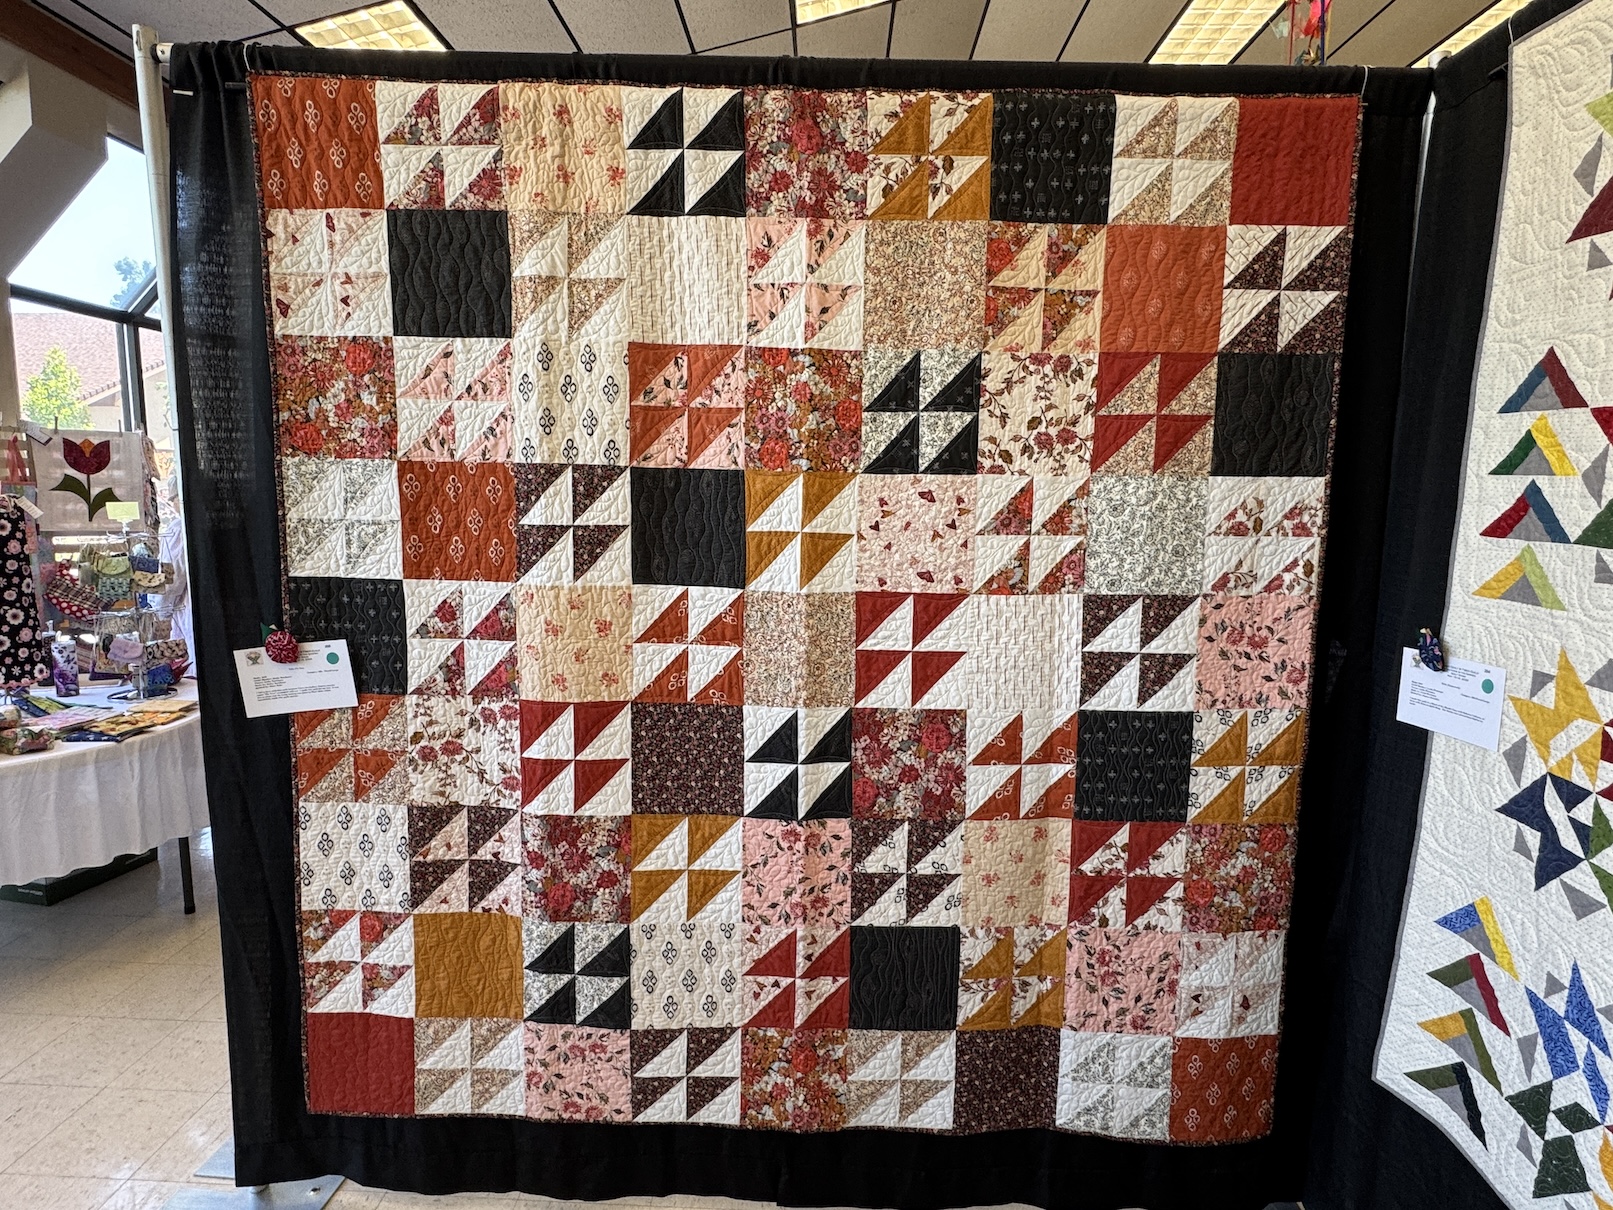
I wrote an essay for the anthology on creativity titled “Limits Expand Creativity”, and my quilt Flying Triangles is on the back cover of the book.
Image courtesy of Dr. Yvette Prior
Below is a graphic on the overall themes of the book:
Image courtesy of Dr. Yvette Prior
This book is part of Yvette’s How To series which includes the books that she edited that are also multiple contributor anthologies:
I cannot wait to hold a copy of the book in my hand! I’ve reviewed the various drafts with the excellent collection of essays about creating but there will be something so special to read it as a physical book (though Kindle is awesome too!)
I figured some of you would be interested in seeing the completed quilt since you’ve joined me virtually on the journey to see a new quilter make her first quilt from start to finish as shared in these posts:
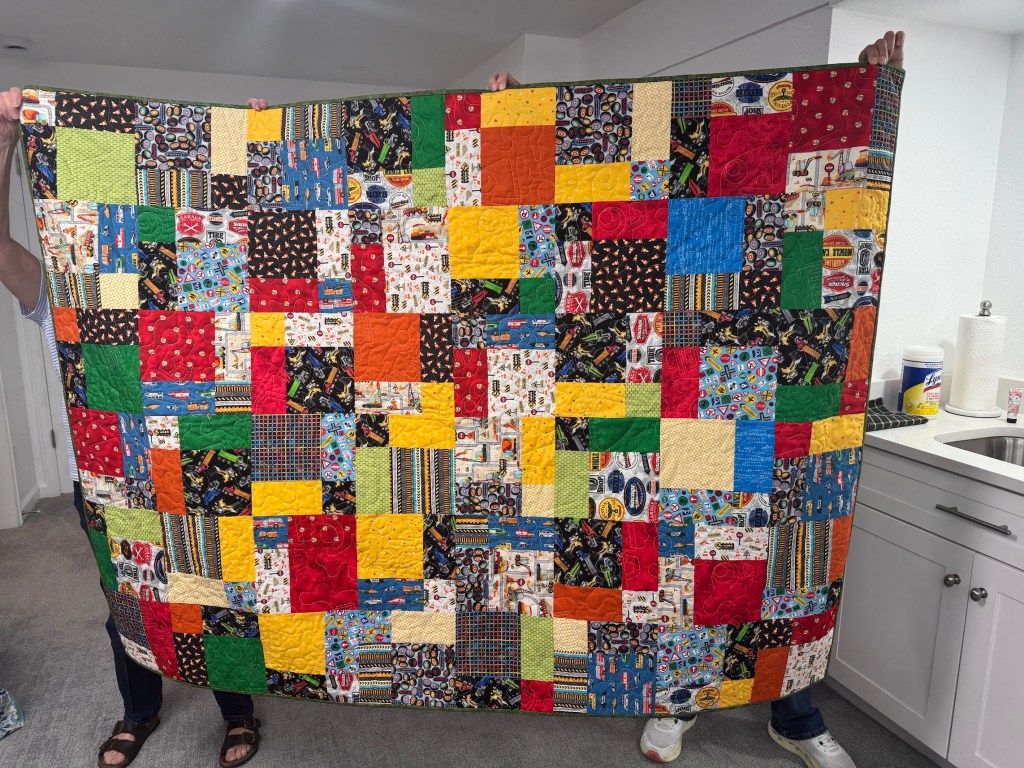
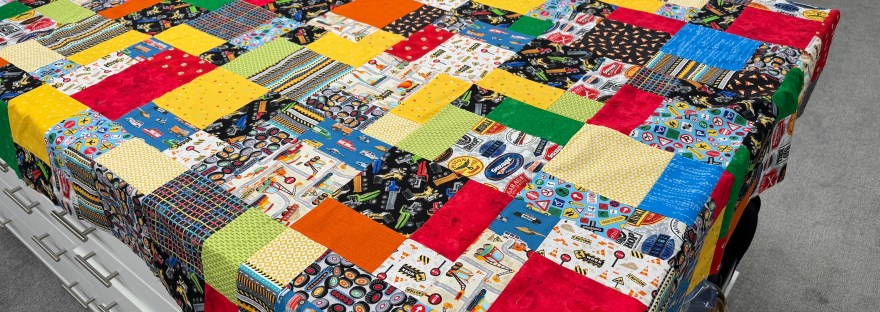
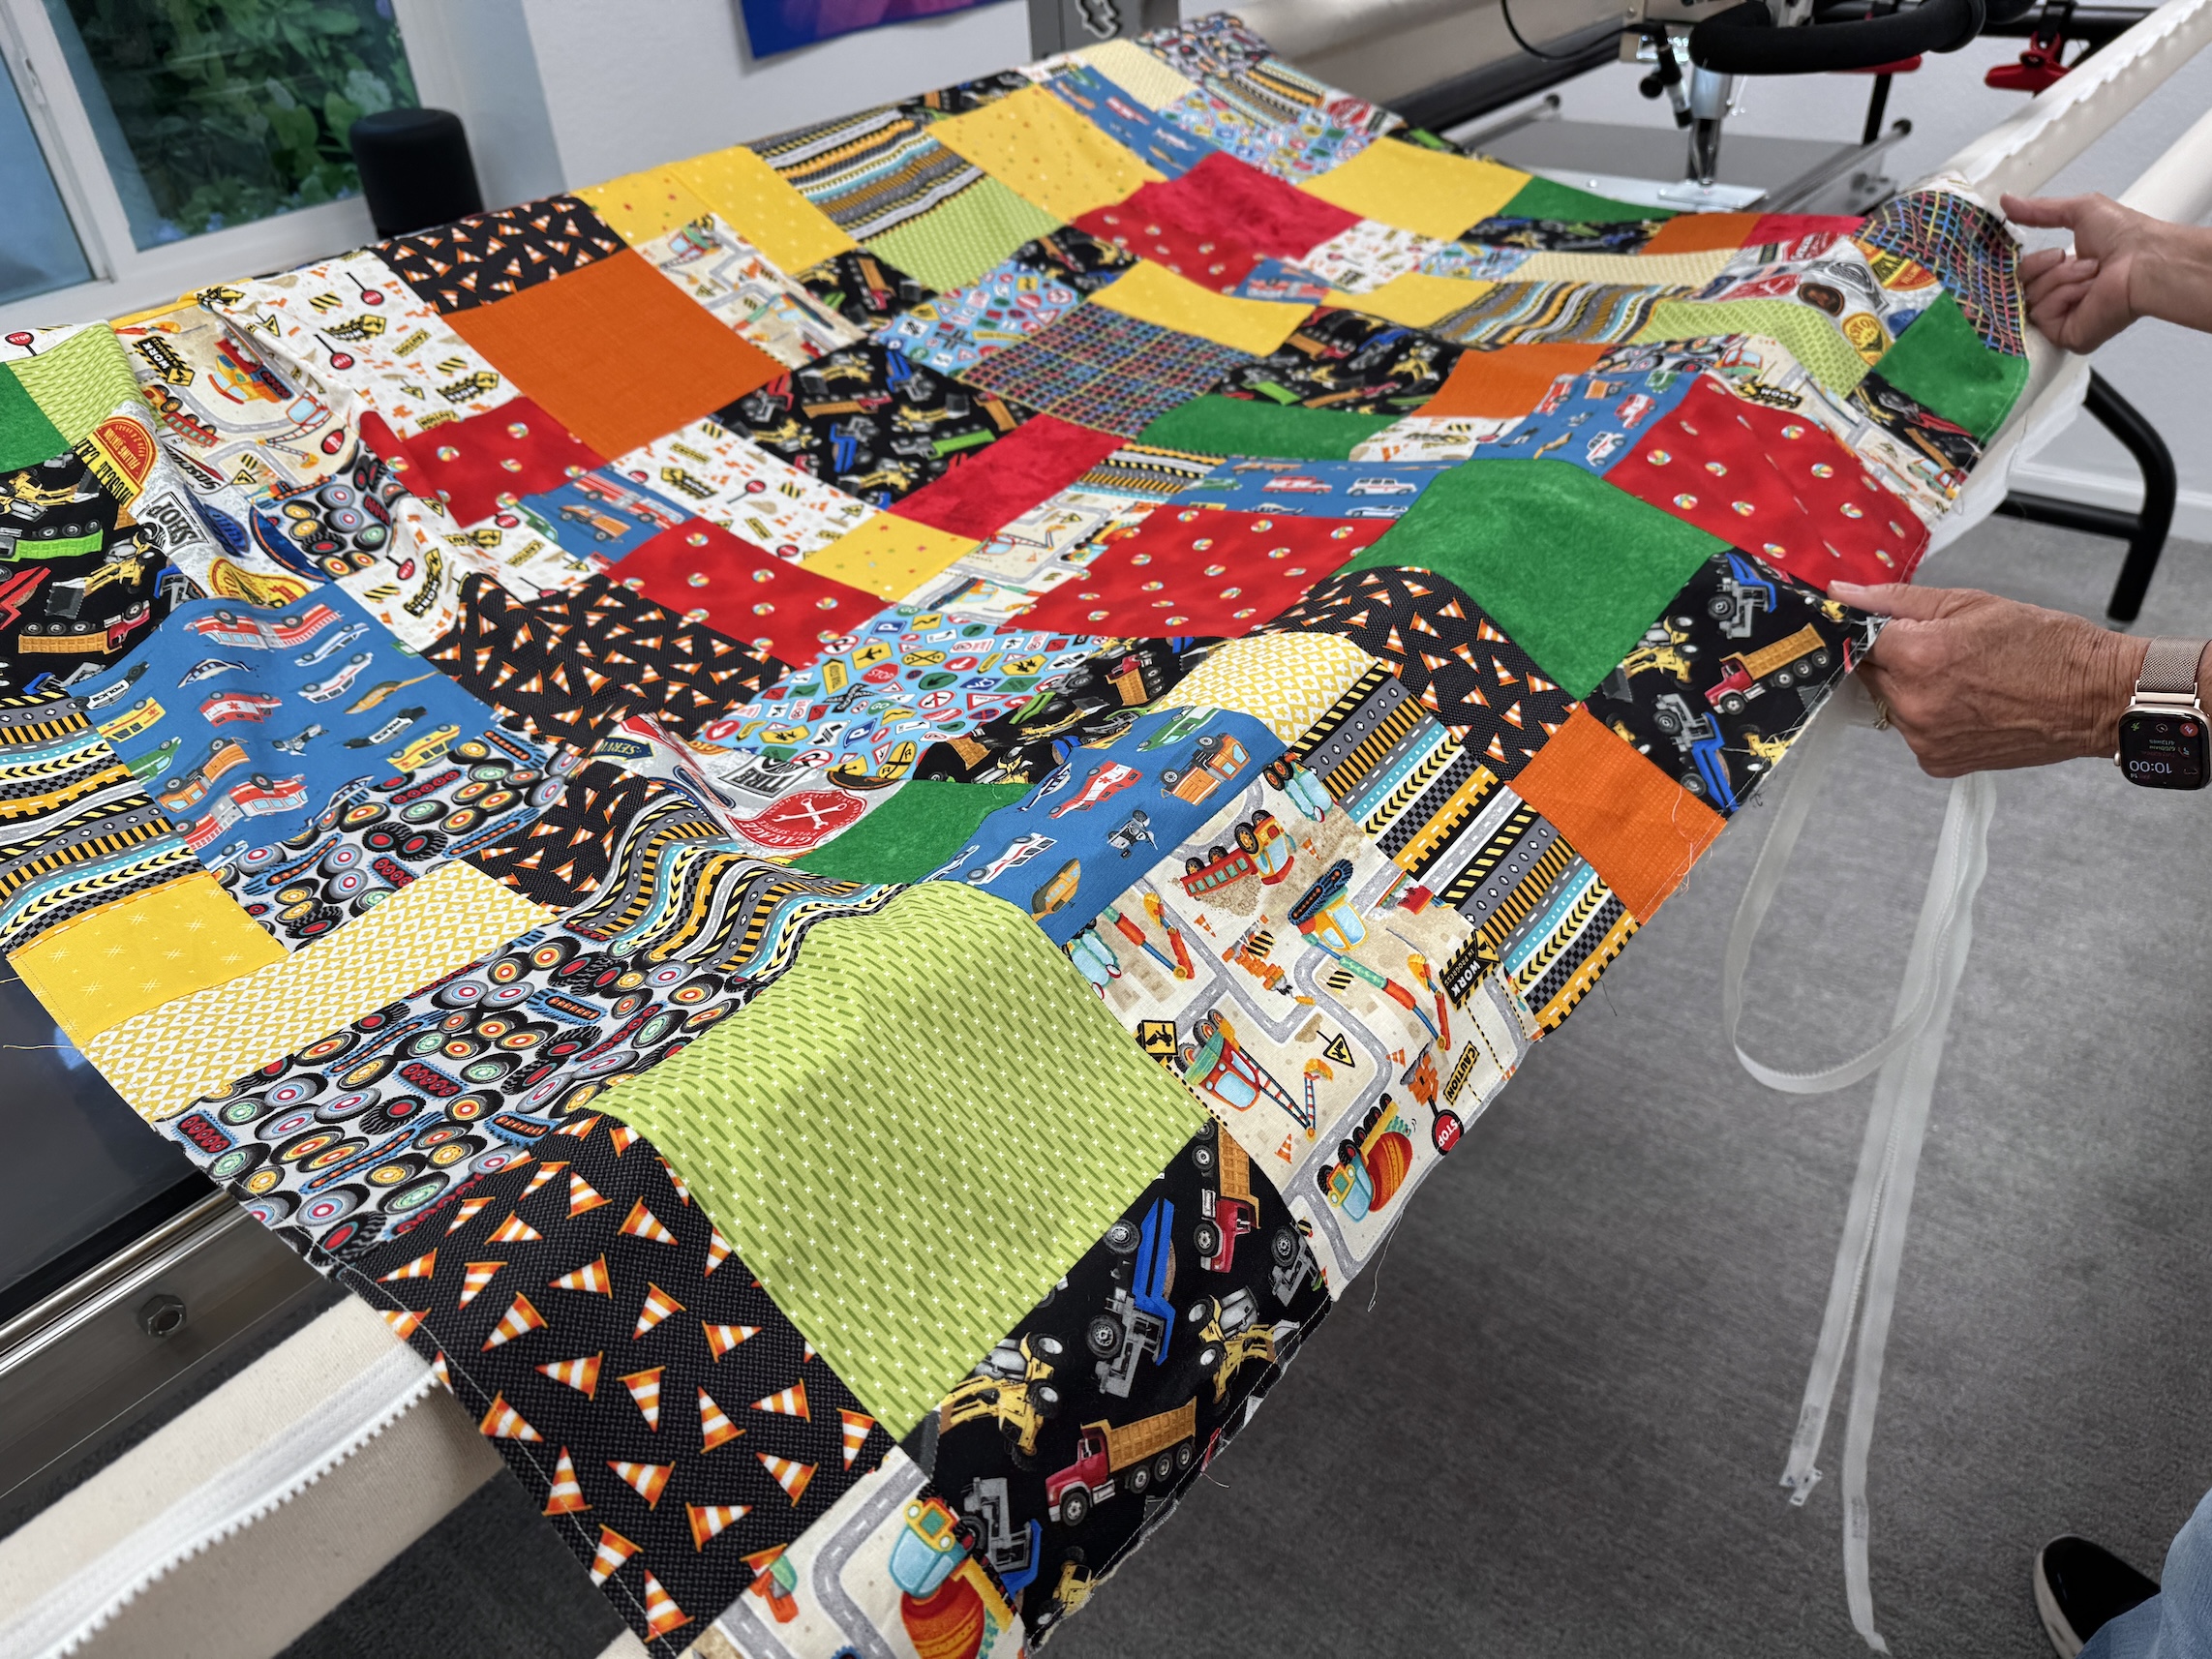
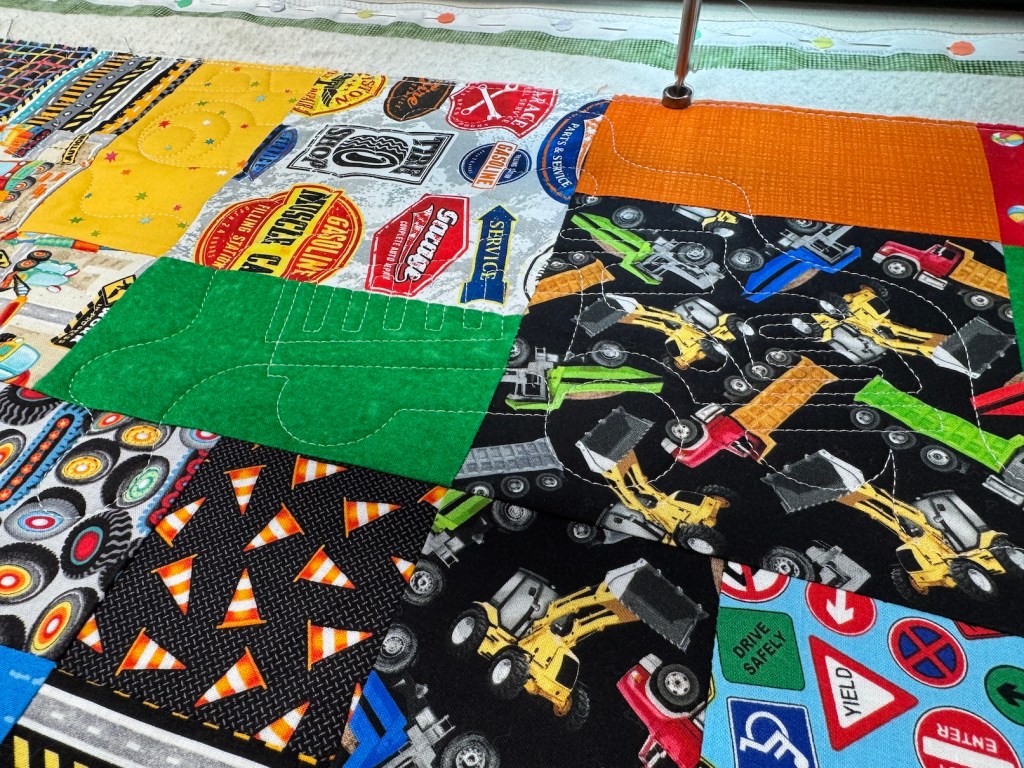
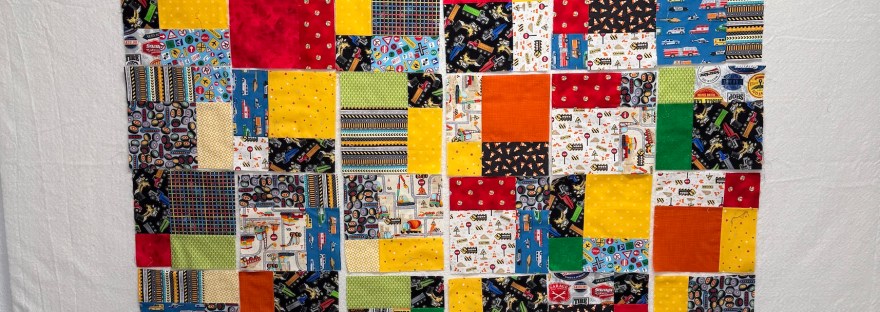
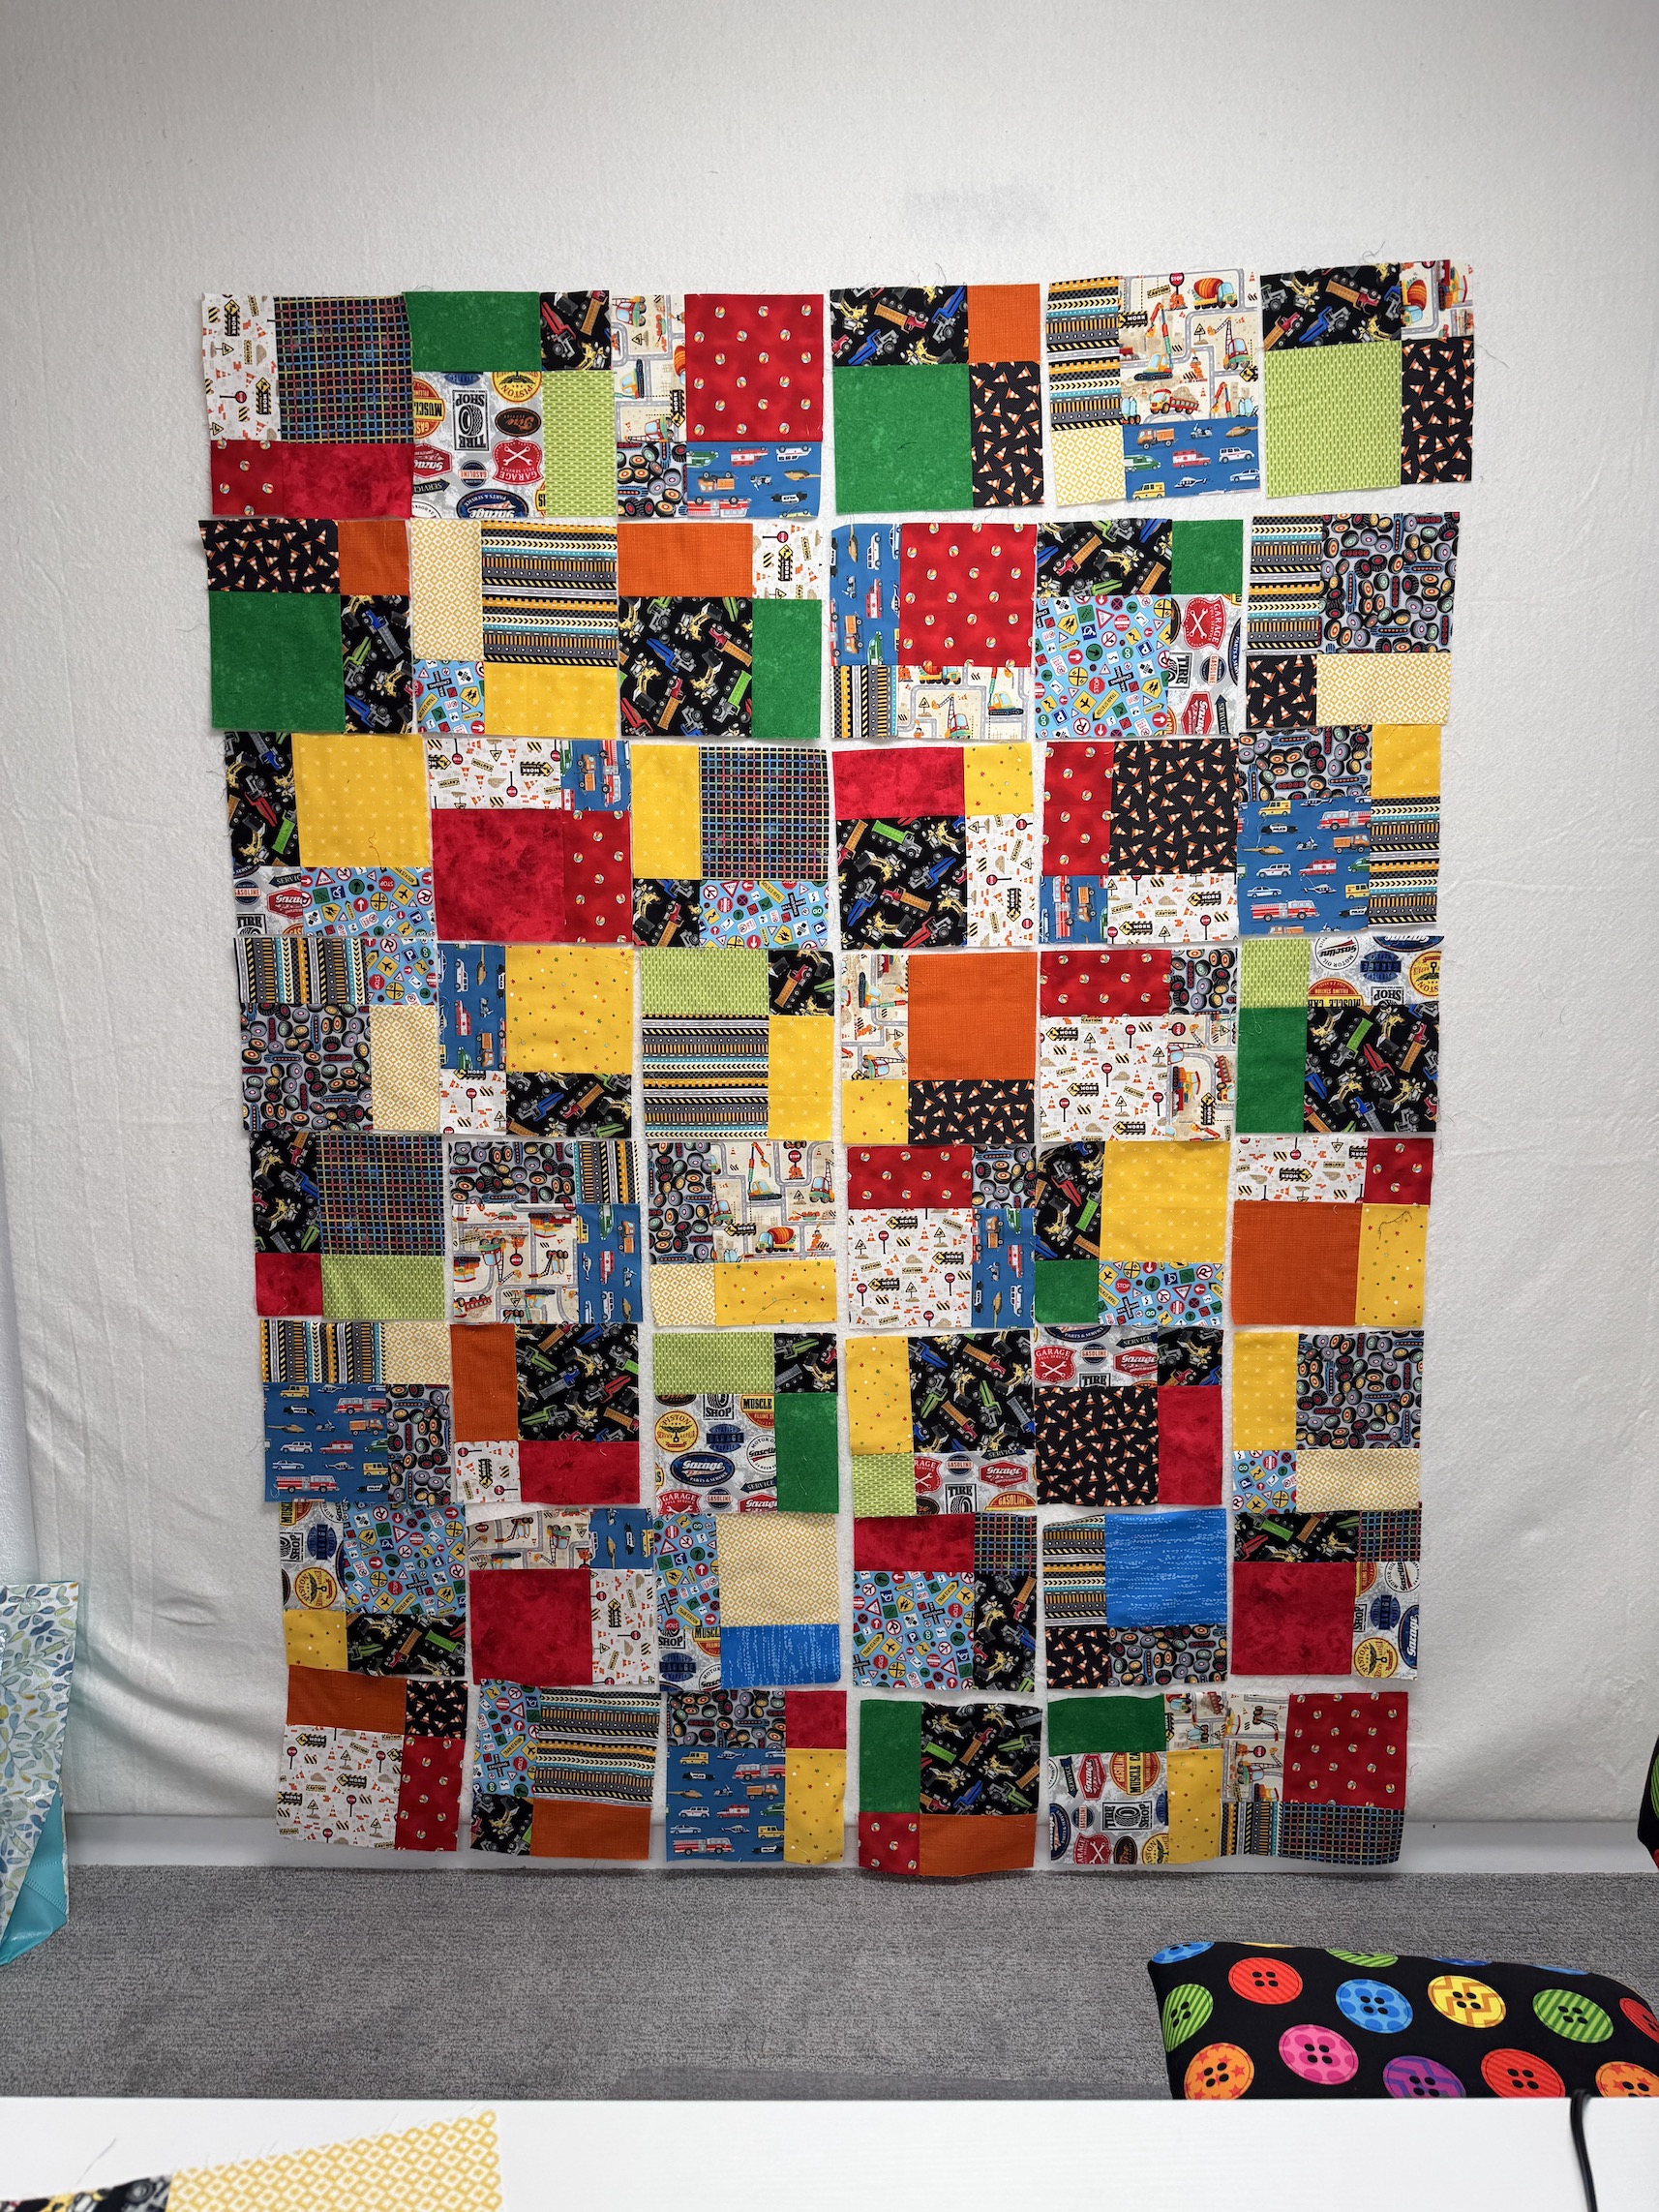
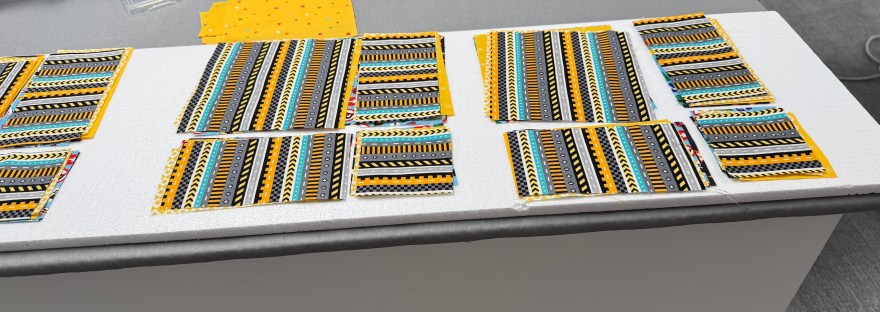
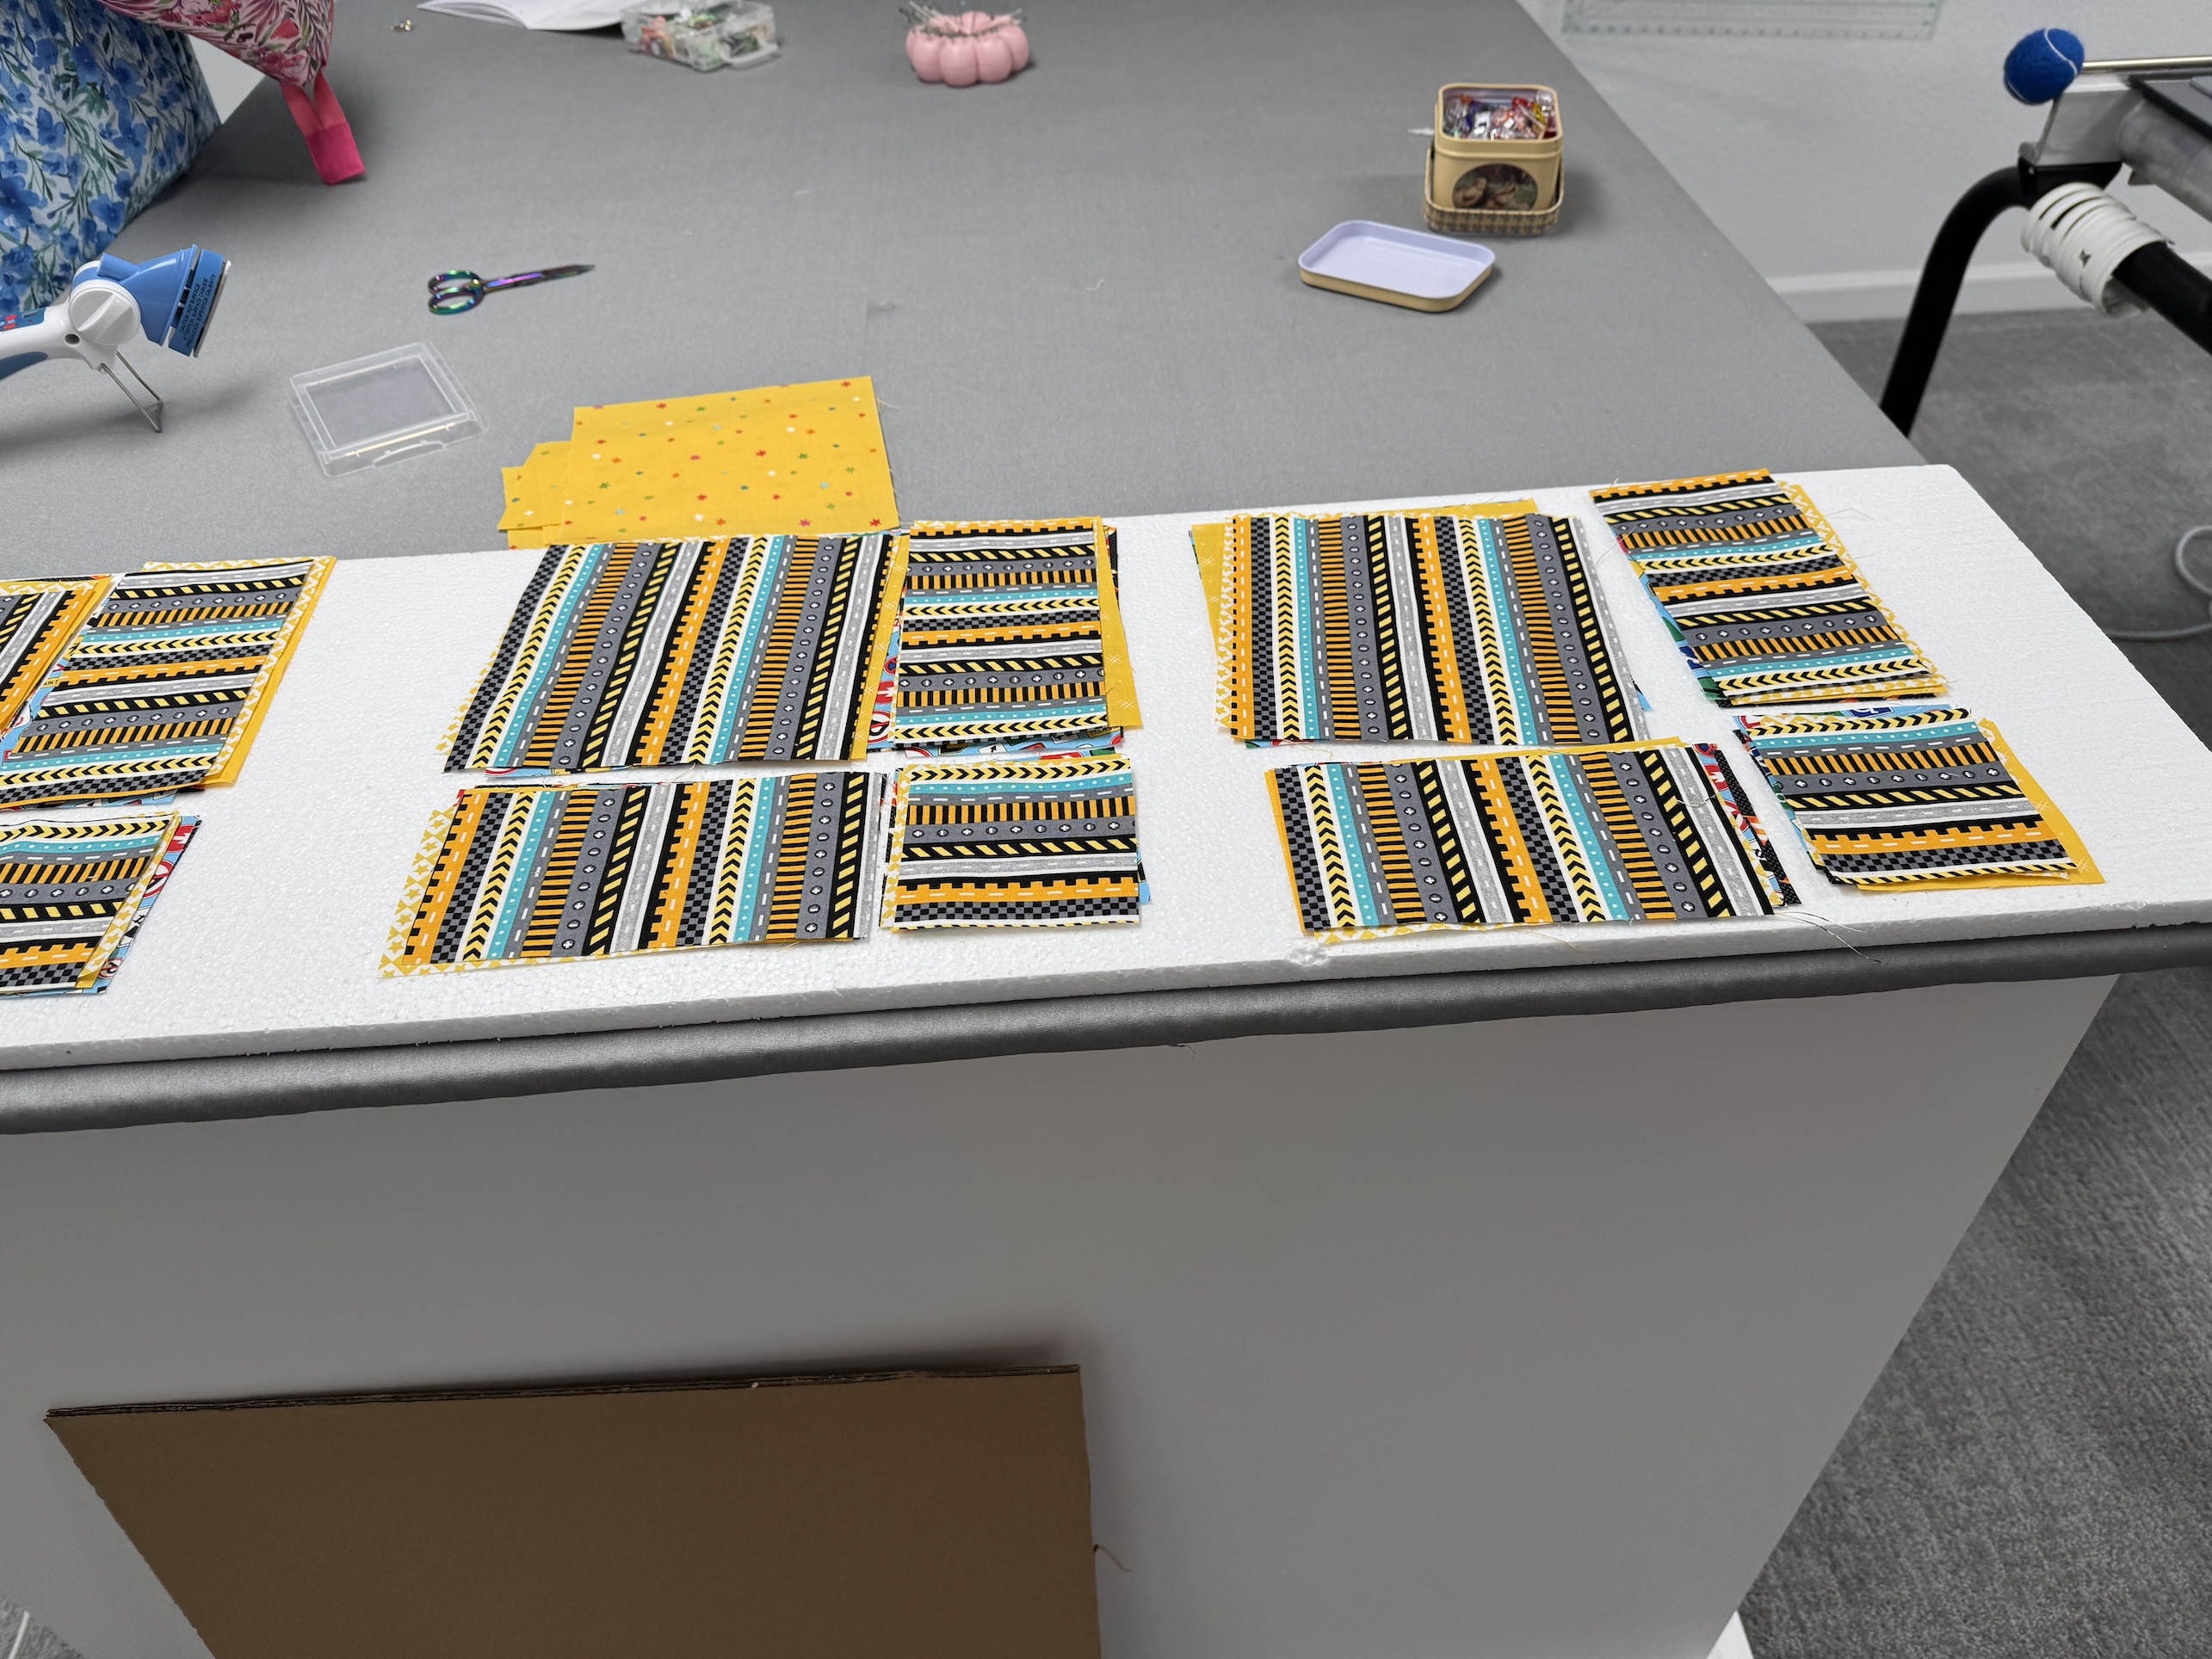
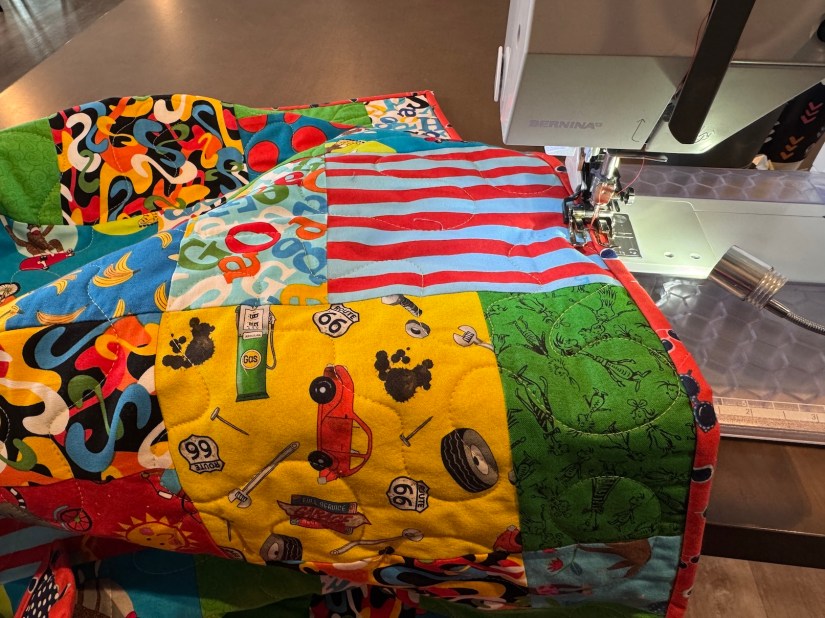
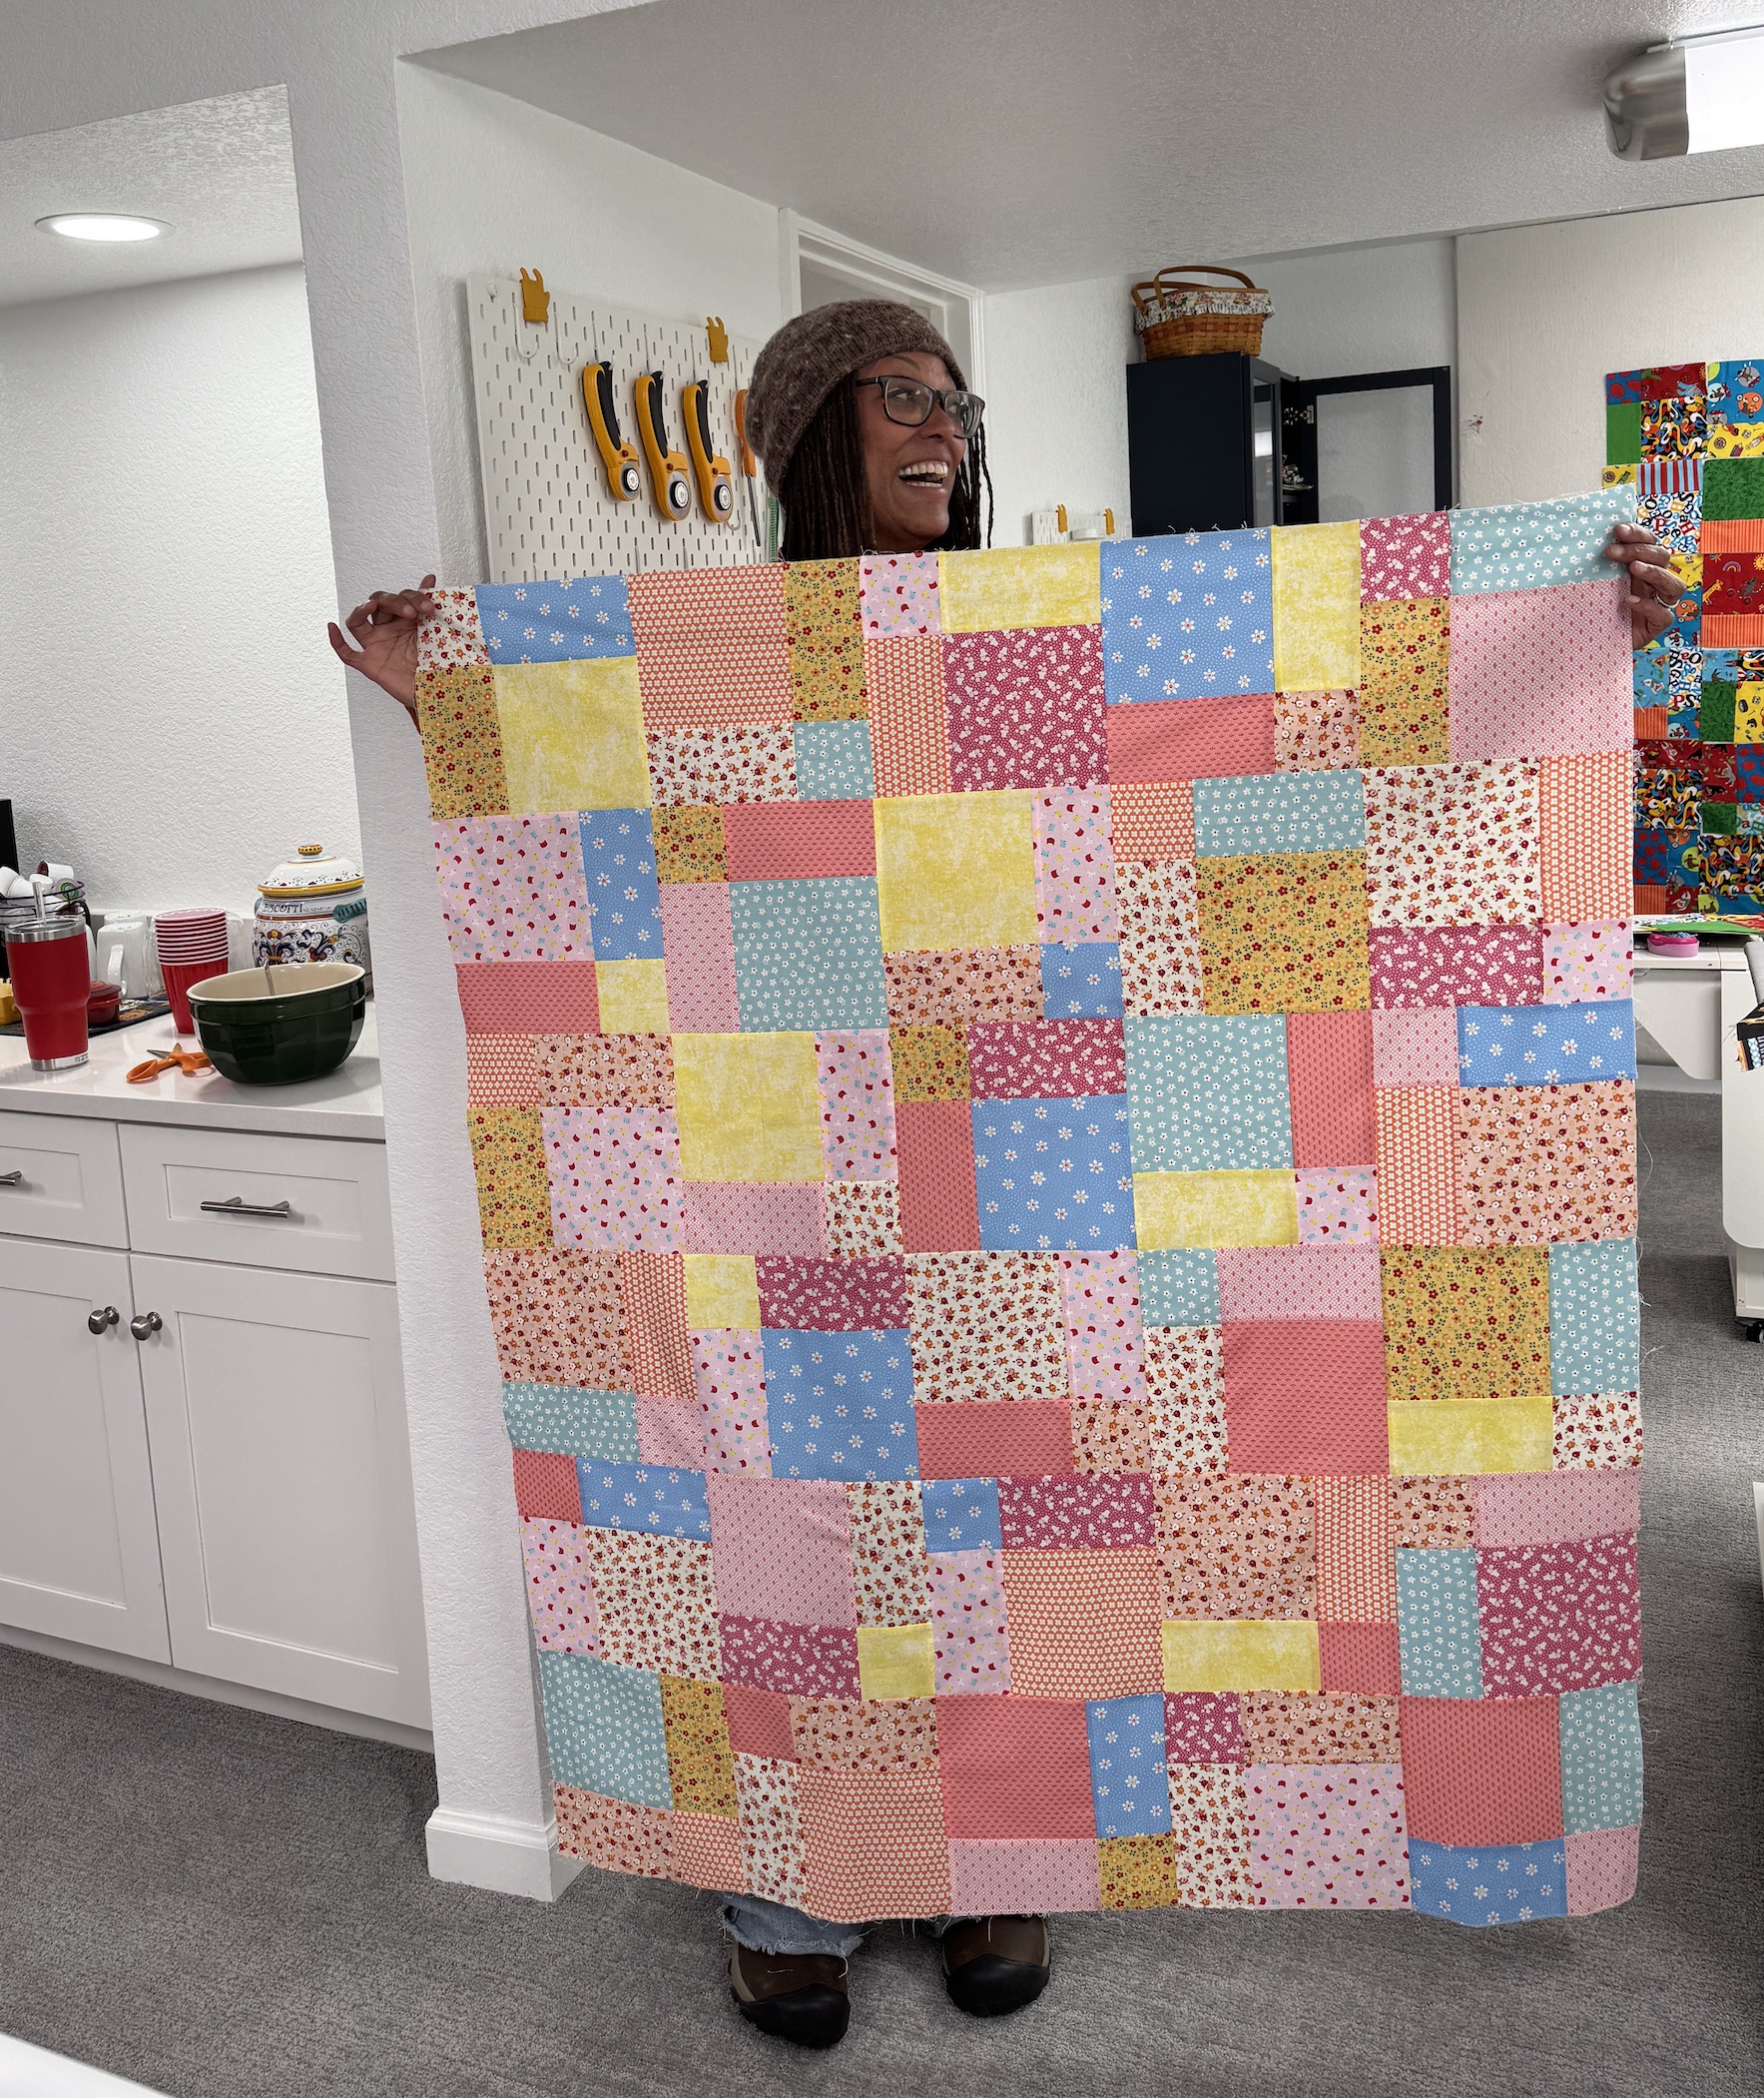
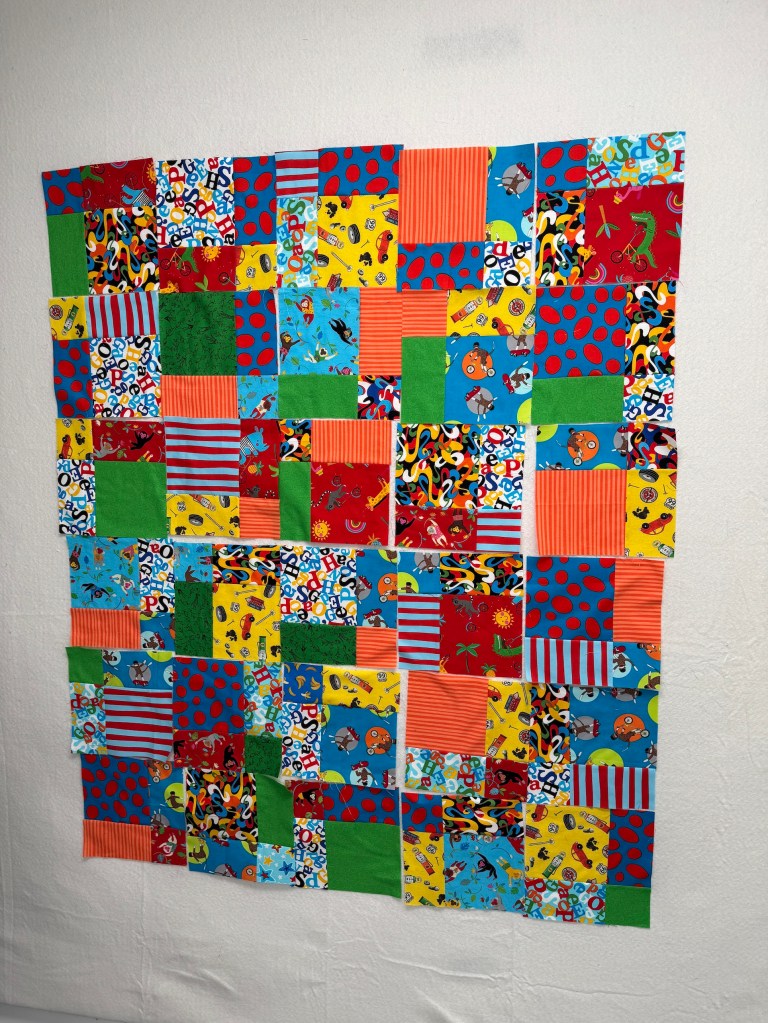
Here is the quilt that D completed while J and I mentored her, for her 1 year old great grandson (previously I stated “grandson” but realized its her “great” grandson – her granddaughter’s son) who loves trucks:
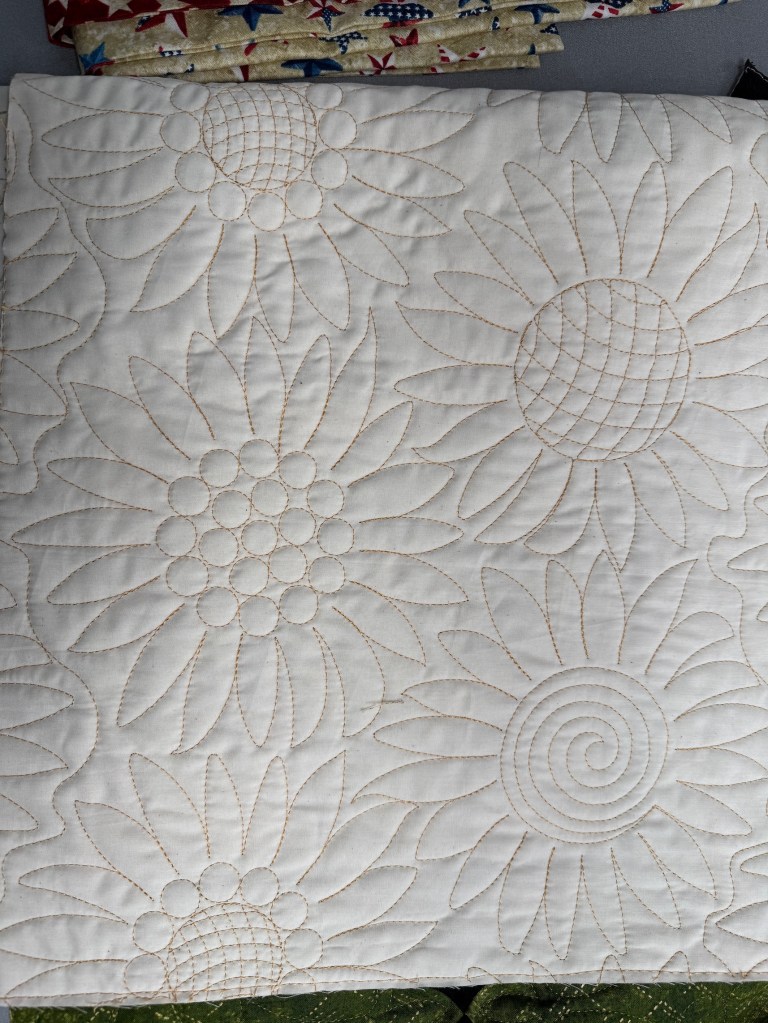
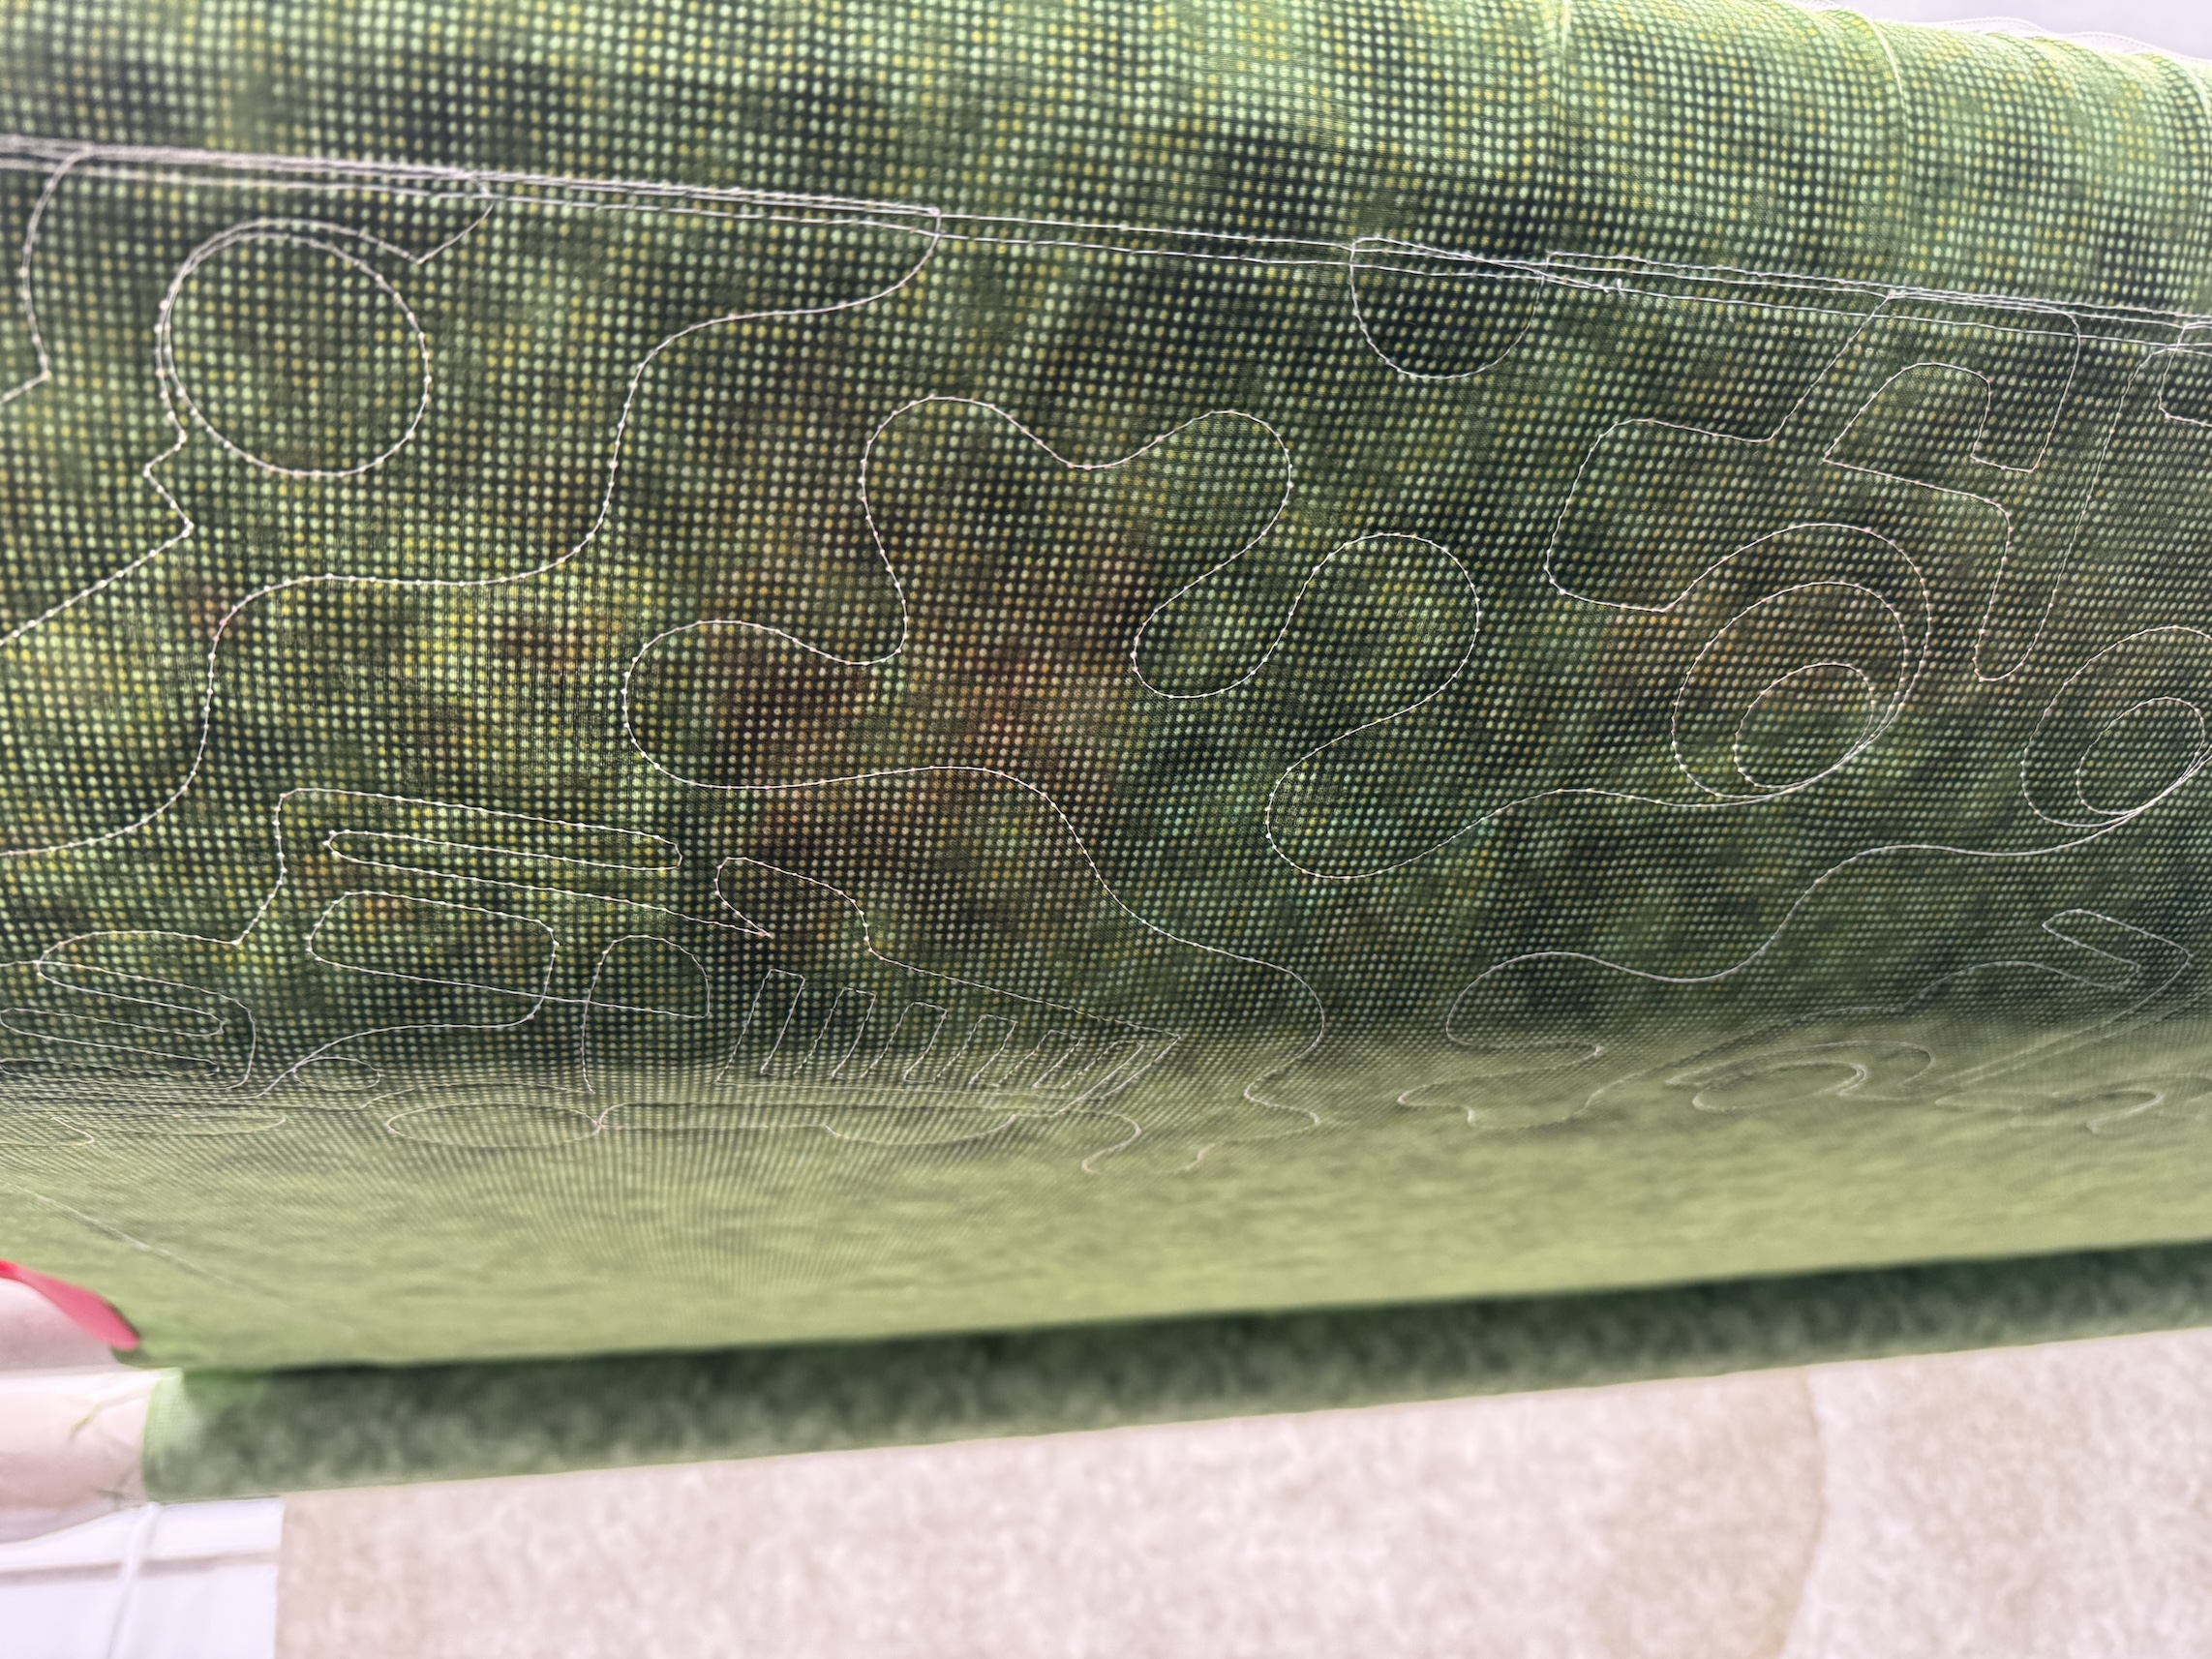
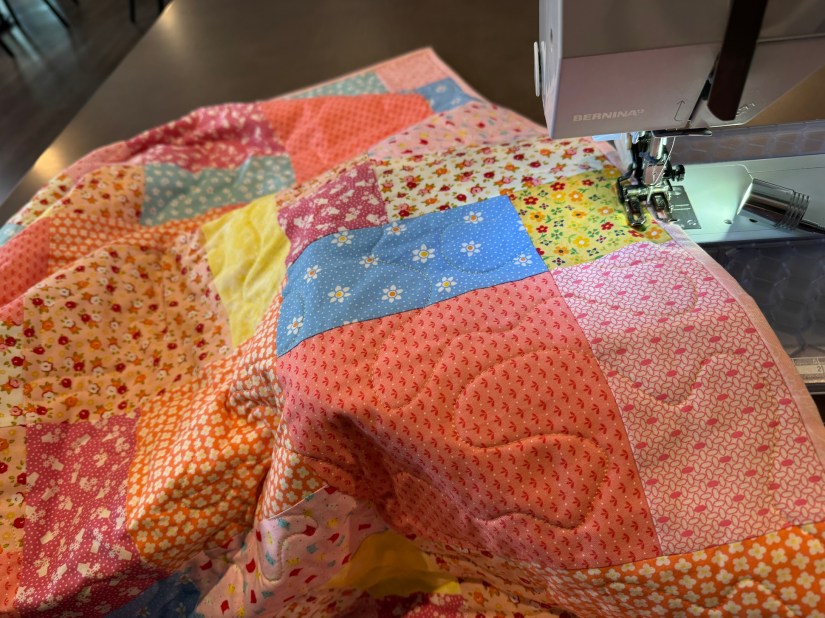
We are so proud of her! Soon she will deliver the quilt to her granddaughter’s family! I included an image of the back of the quilt so you could see the cool truck themed quilting patter J used when she did the longarm quilting.
The three of us meet again this Friday to plan our next projects for our weekly meetings, which might be separate or group.
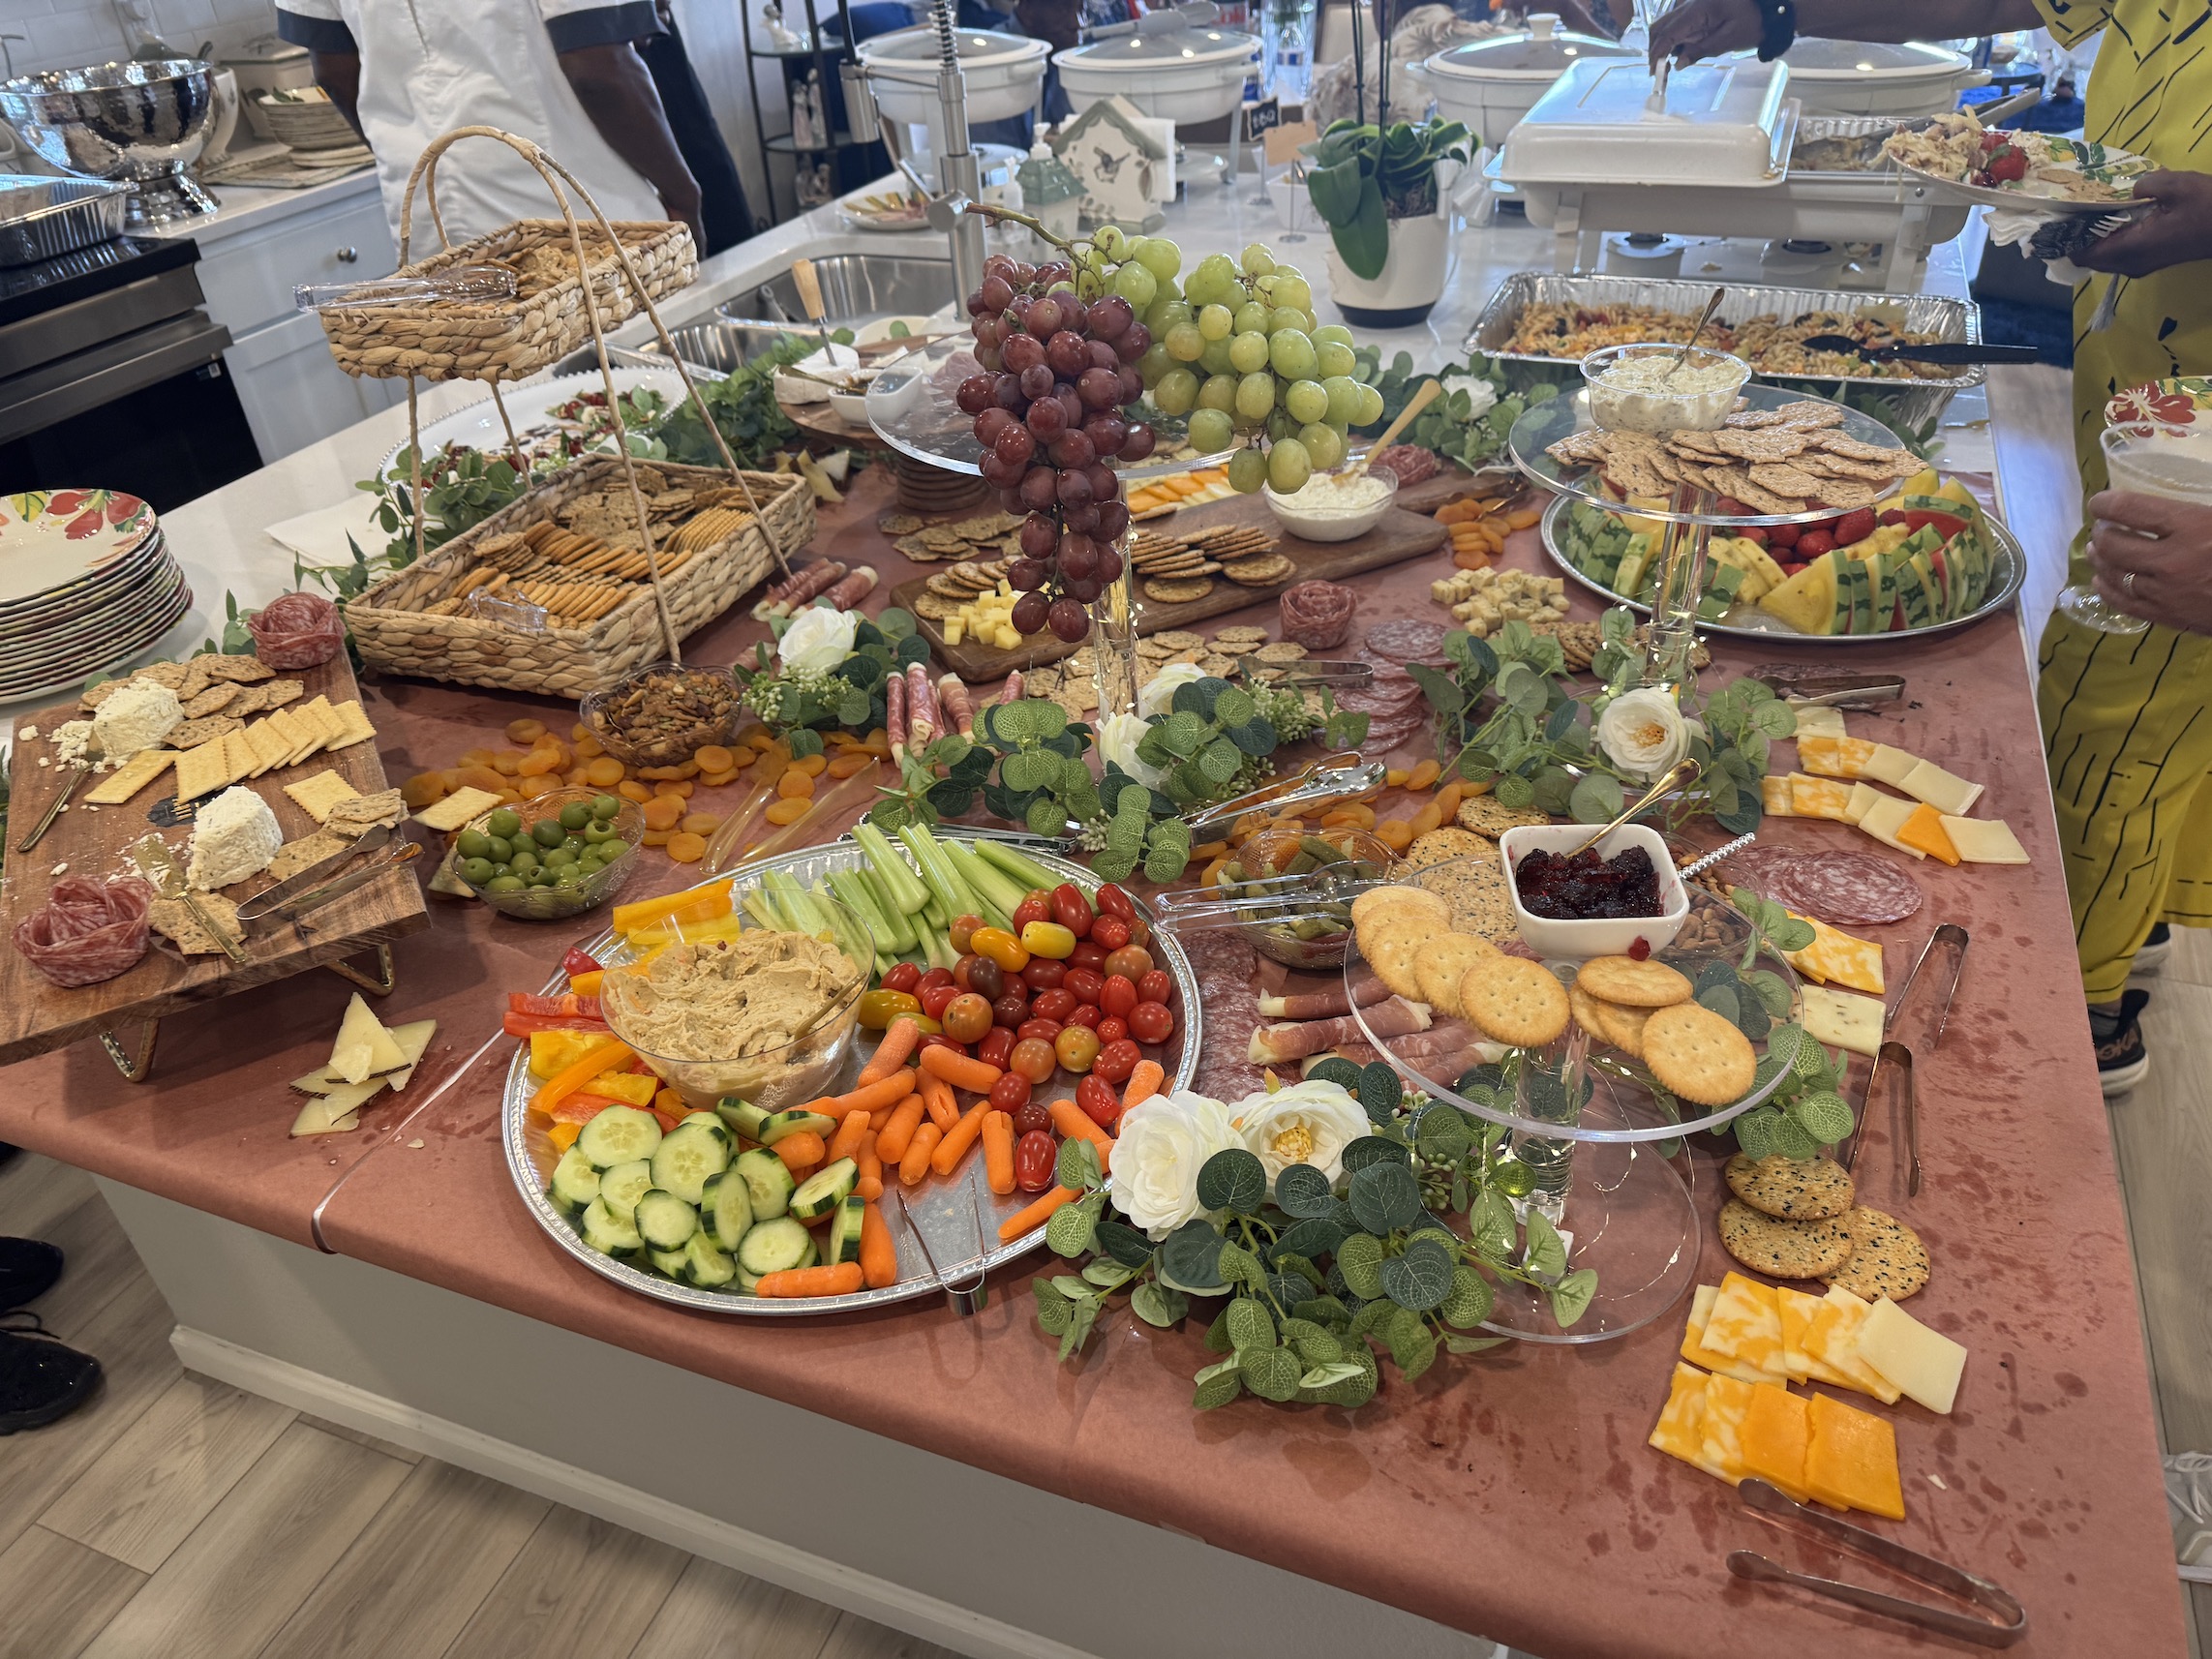
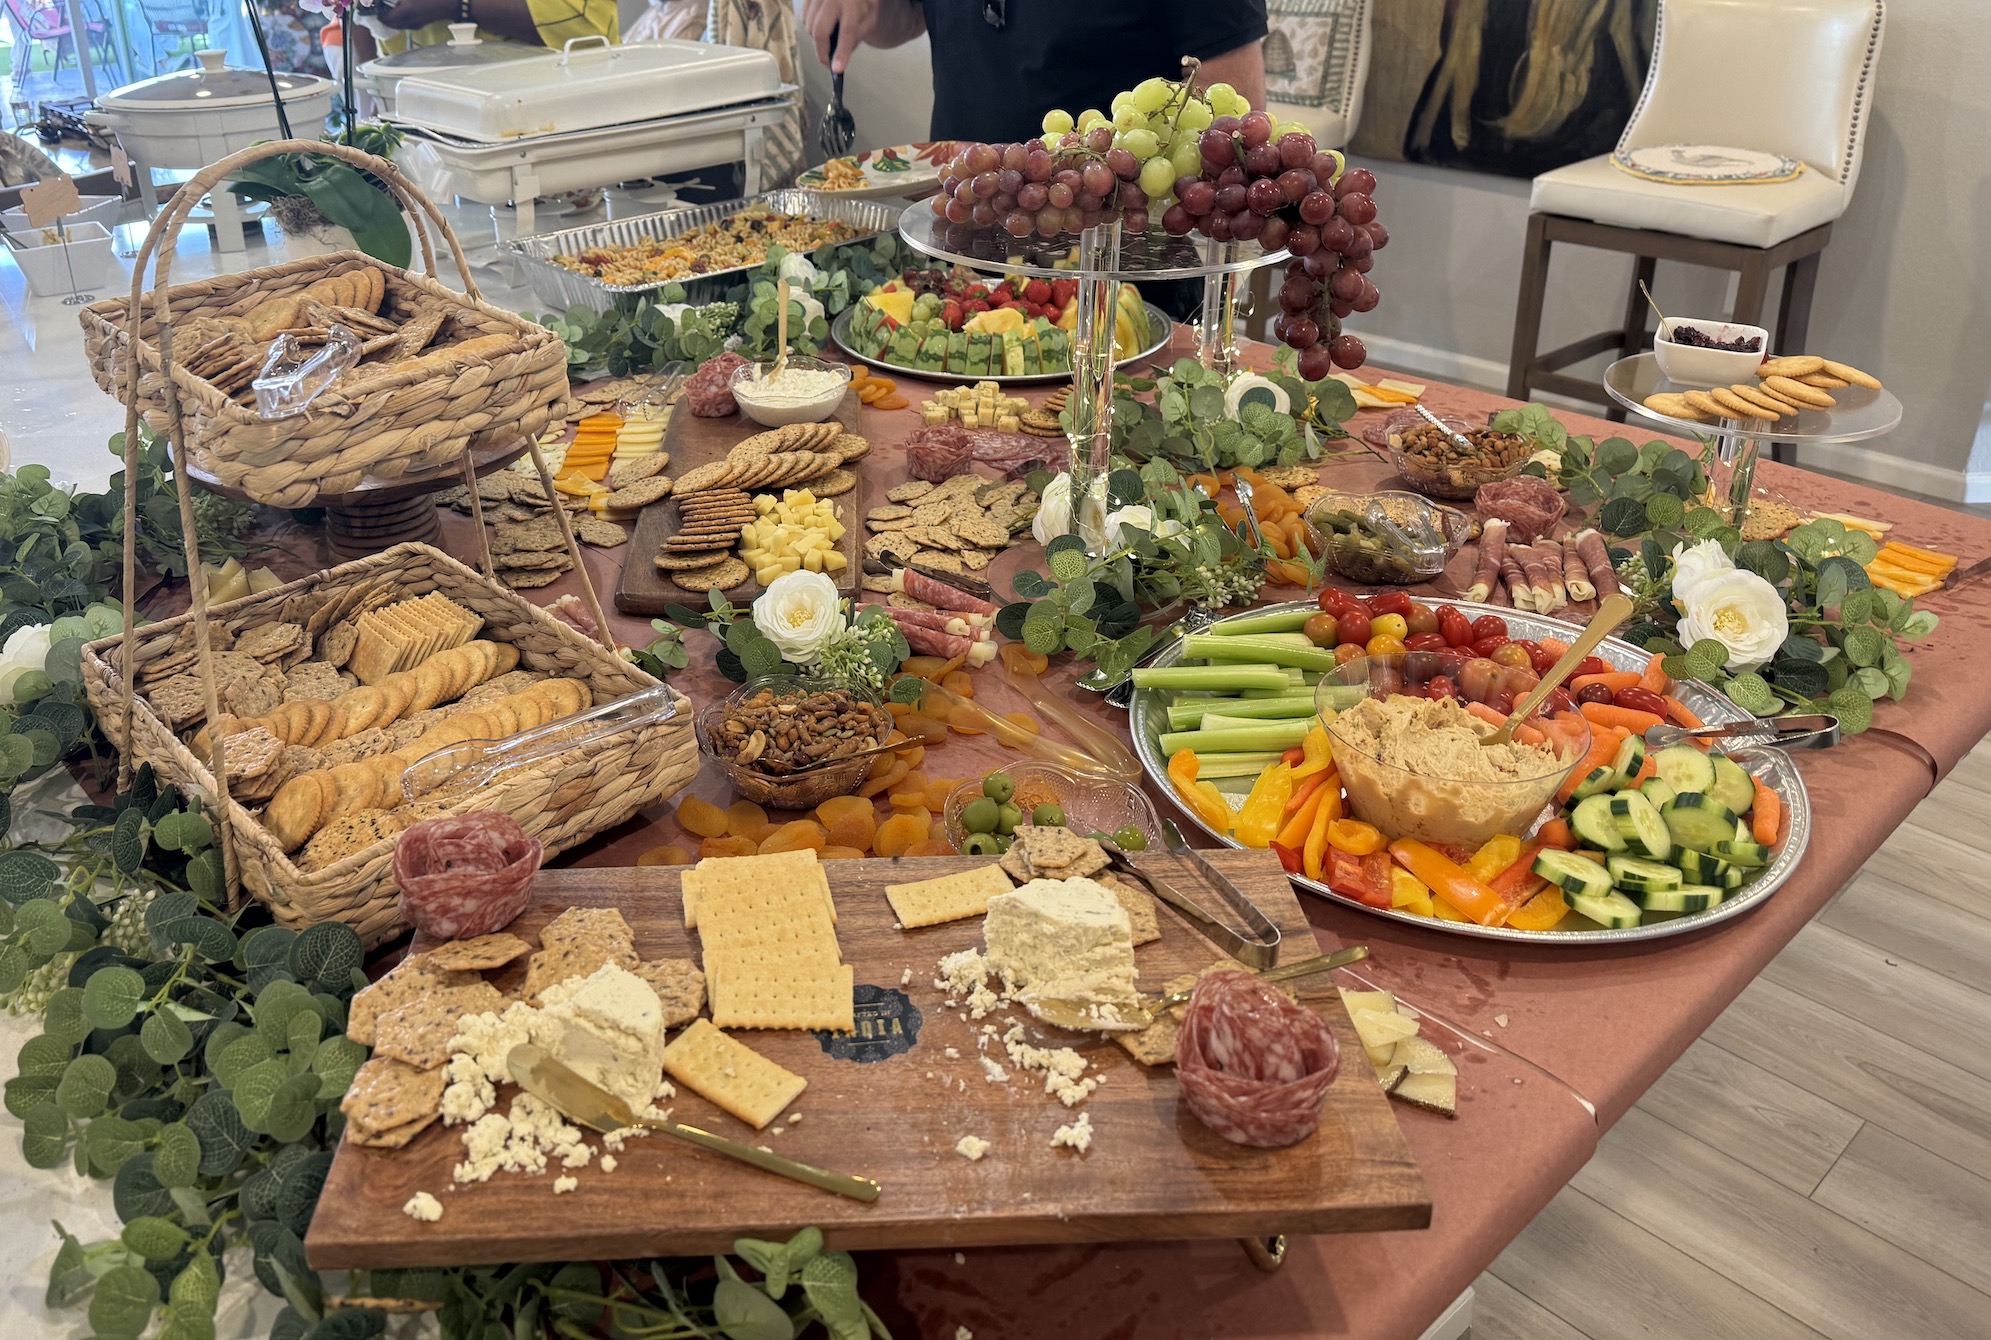
It’s been a busy Labor Day weekend, with several get togethers with friends and various events. One of the events we attended was a neighbor’s 65th birthday party which she had catered and the caterer went ALL OUT on the Charcuterie Board.
She had a Charcuterie Table! As I mentioned in that post Correspondence, Charcuterie, and Cute Roses, I am fascinated/obsessed with Charcuterie Boards. The photos do not capture the overwhelming awesomeness of this Charcuterie Table, and people at the party would have thought me a bit strange if I spent a lot of time trying to get the perfect photo while they were waiting to serve themselves!
The caterer covered a section of my neighbor’s kitchen island with butcher paper then laid out the Charcuterie (which was delicious…at least everything I tried to sample…I think I gave myself a stomach ache…)
Flower Arranging
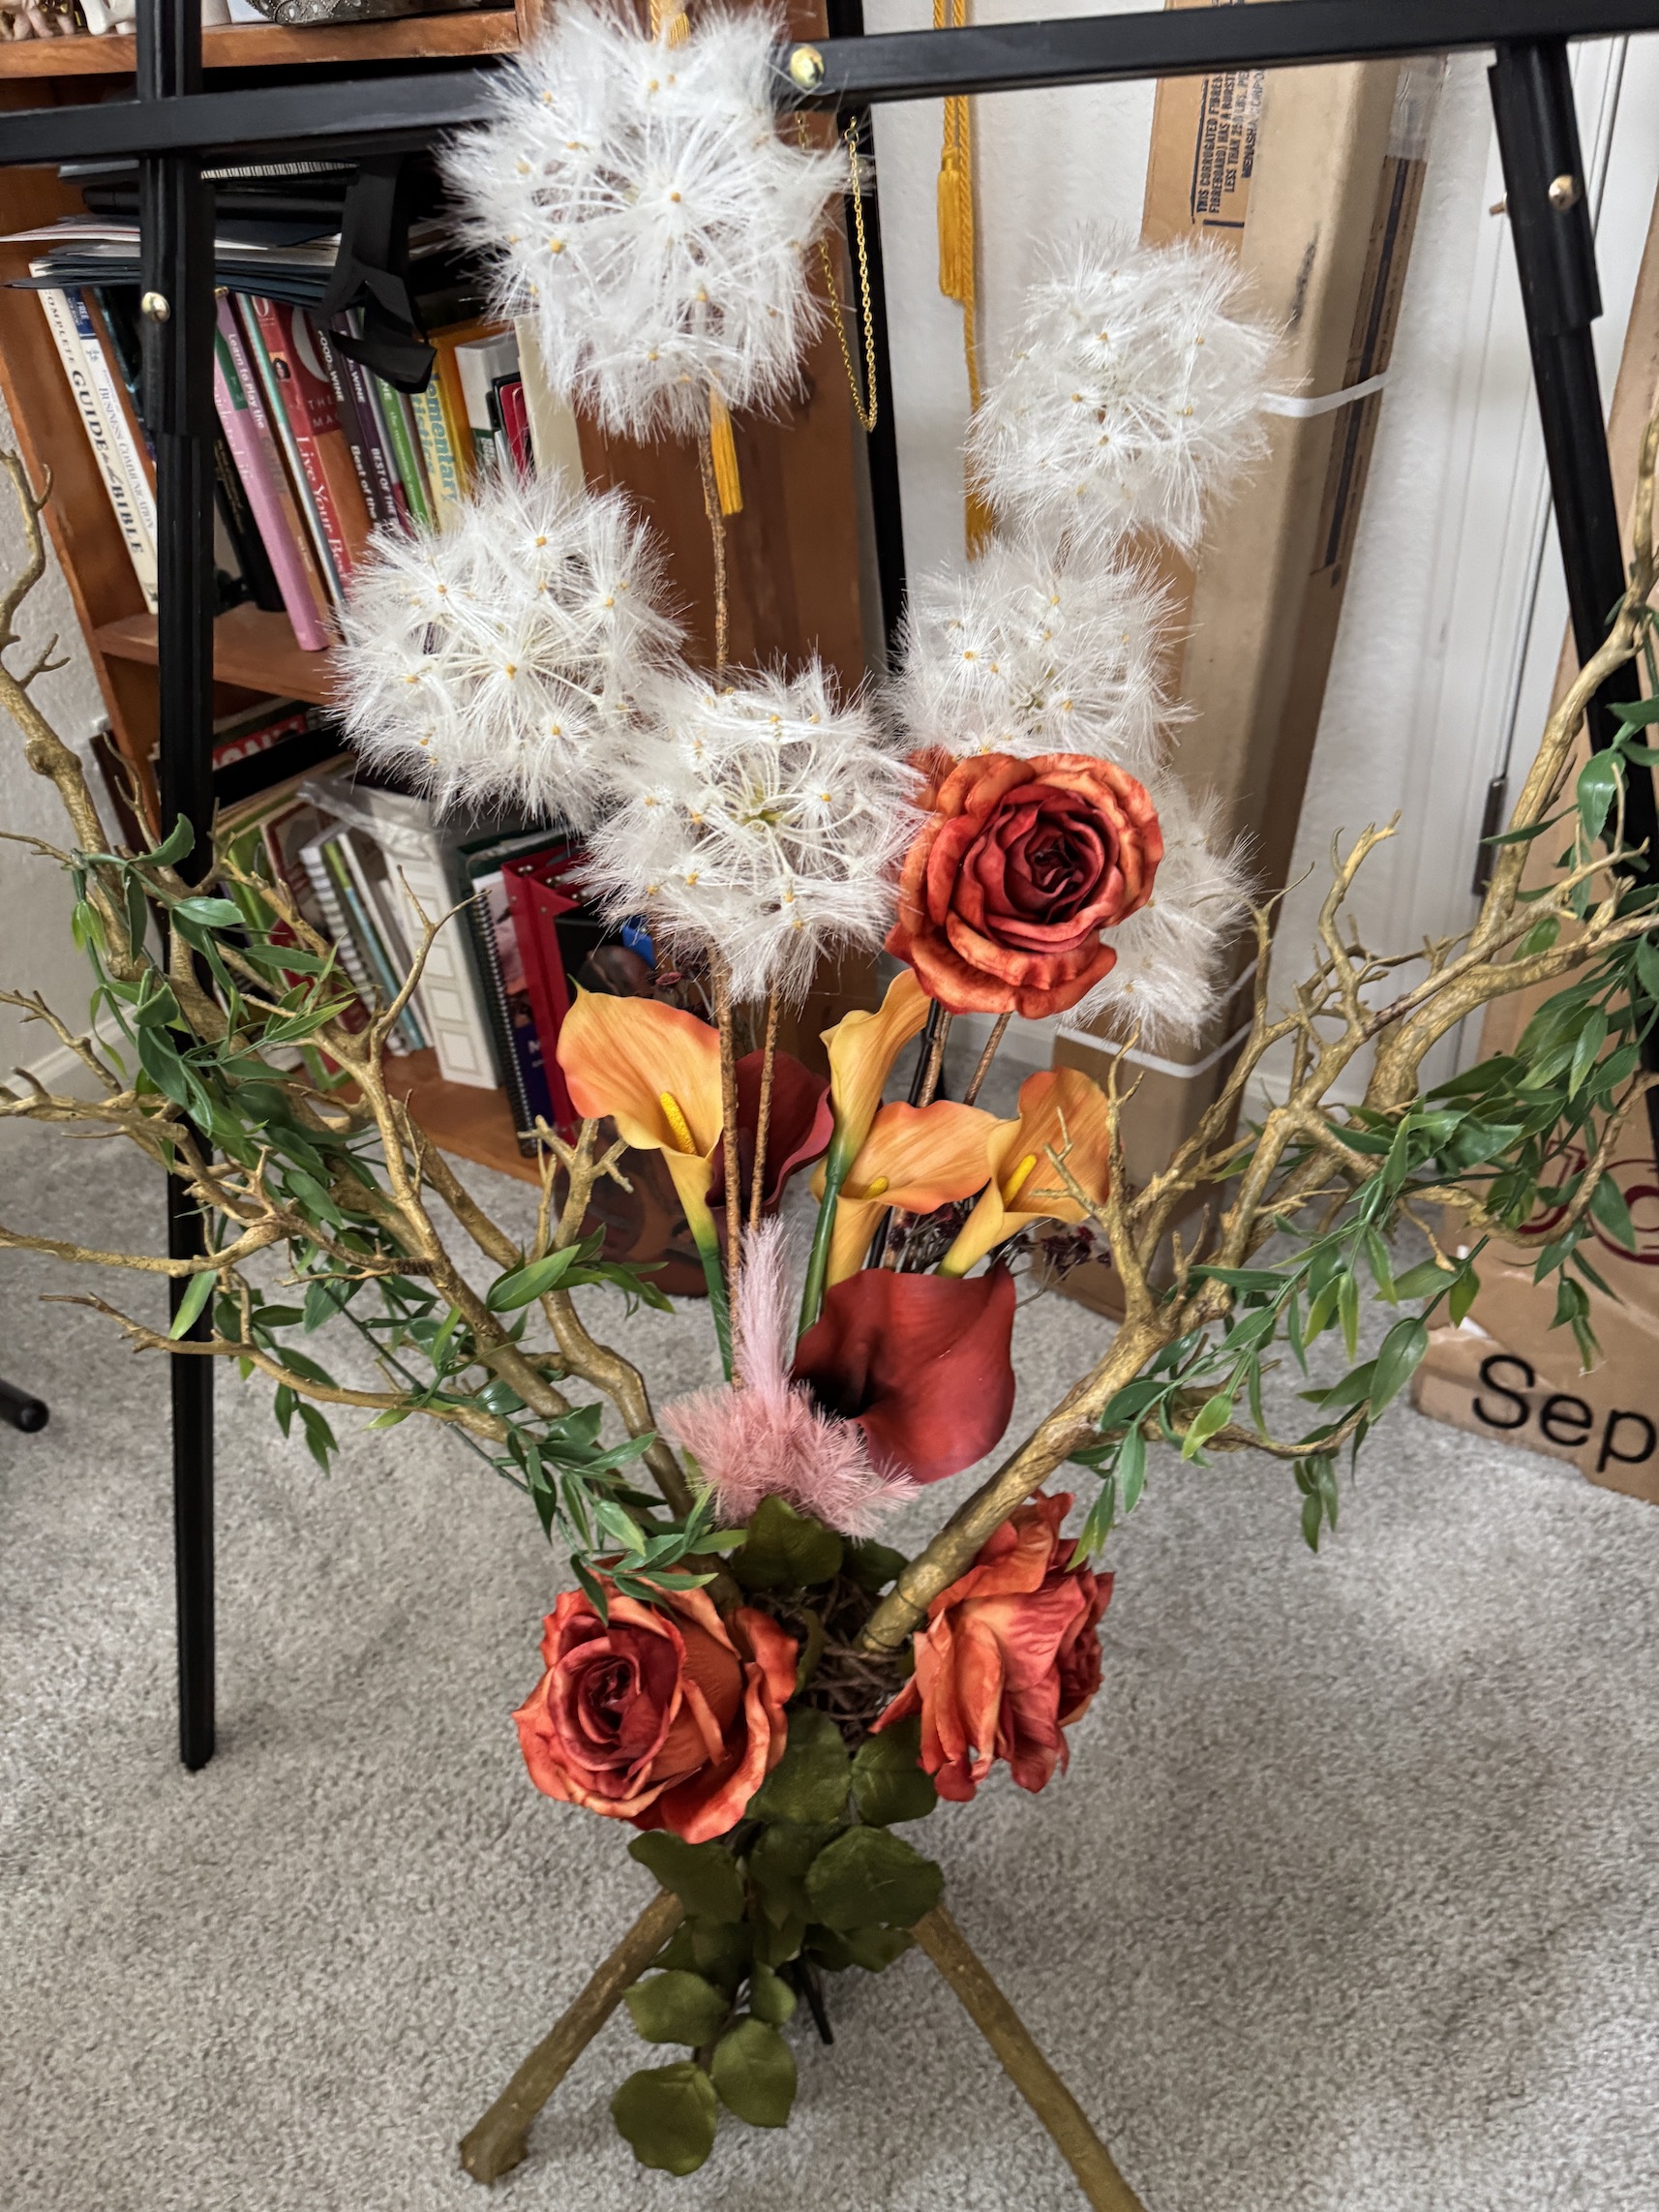
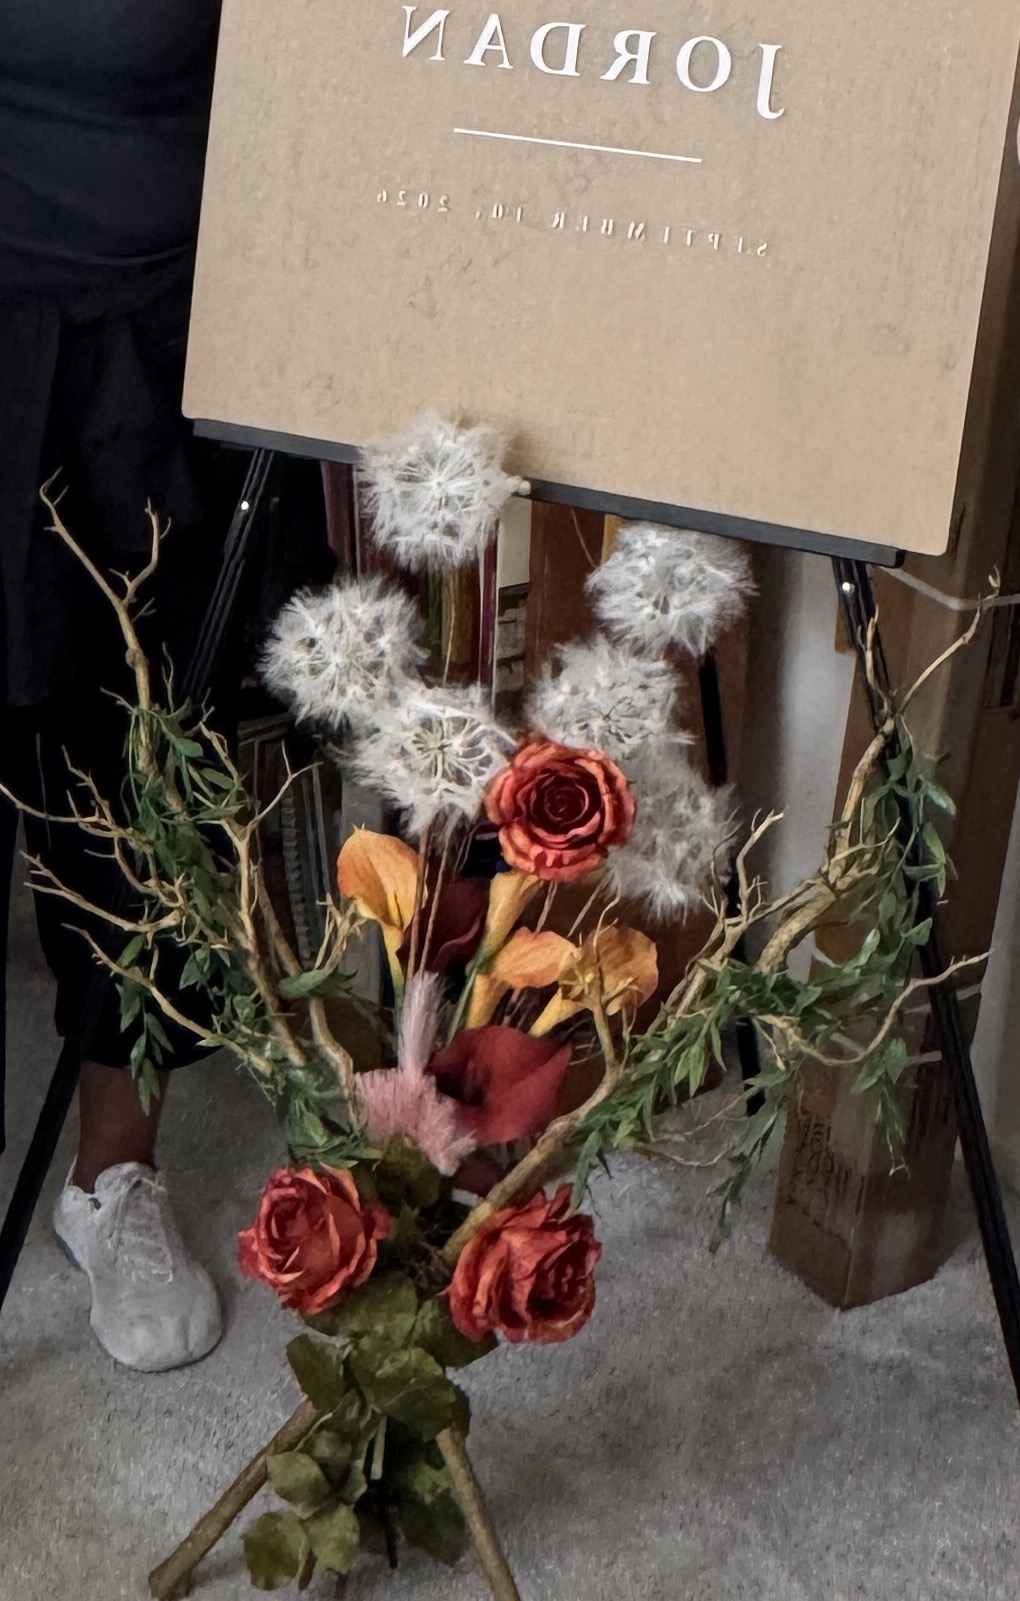
Over the course of several weeks, I’ve been helping a neighbor friend with creating a flower arrangement to go beneath the welcome sign on an easel to greet wedding guests. The wedding is this upcoming weekend so it was time to get very serious about finishing up the project!
With the help of her visiting sister, we finished up the flower arrangement (that we designed from scratch using the colors of the bride’s bouquet) this weekend. None of us had any background in or experience with flower arranging (especially not for a wedding!) but we were fairly pleased with ourselves!
This project took several trips to 2 different craft stores and lots and lots of auditioning potential layouts on an available table at the craft store.
The wedding will be held in Boulder, CO which is a beautiful mountainous location and we wanted the arrangement to have a “Colorado vibe” look as natural as possible even though we were using artificial foliage.
(The wedding sign looks like the text is backward but that is the back of the sign with the protective film covering it, not to be fully removed until the wedding)
Ready for Dot Painting
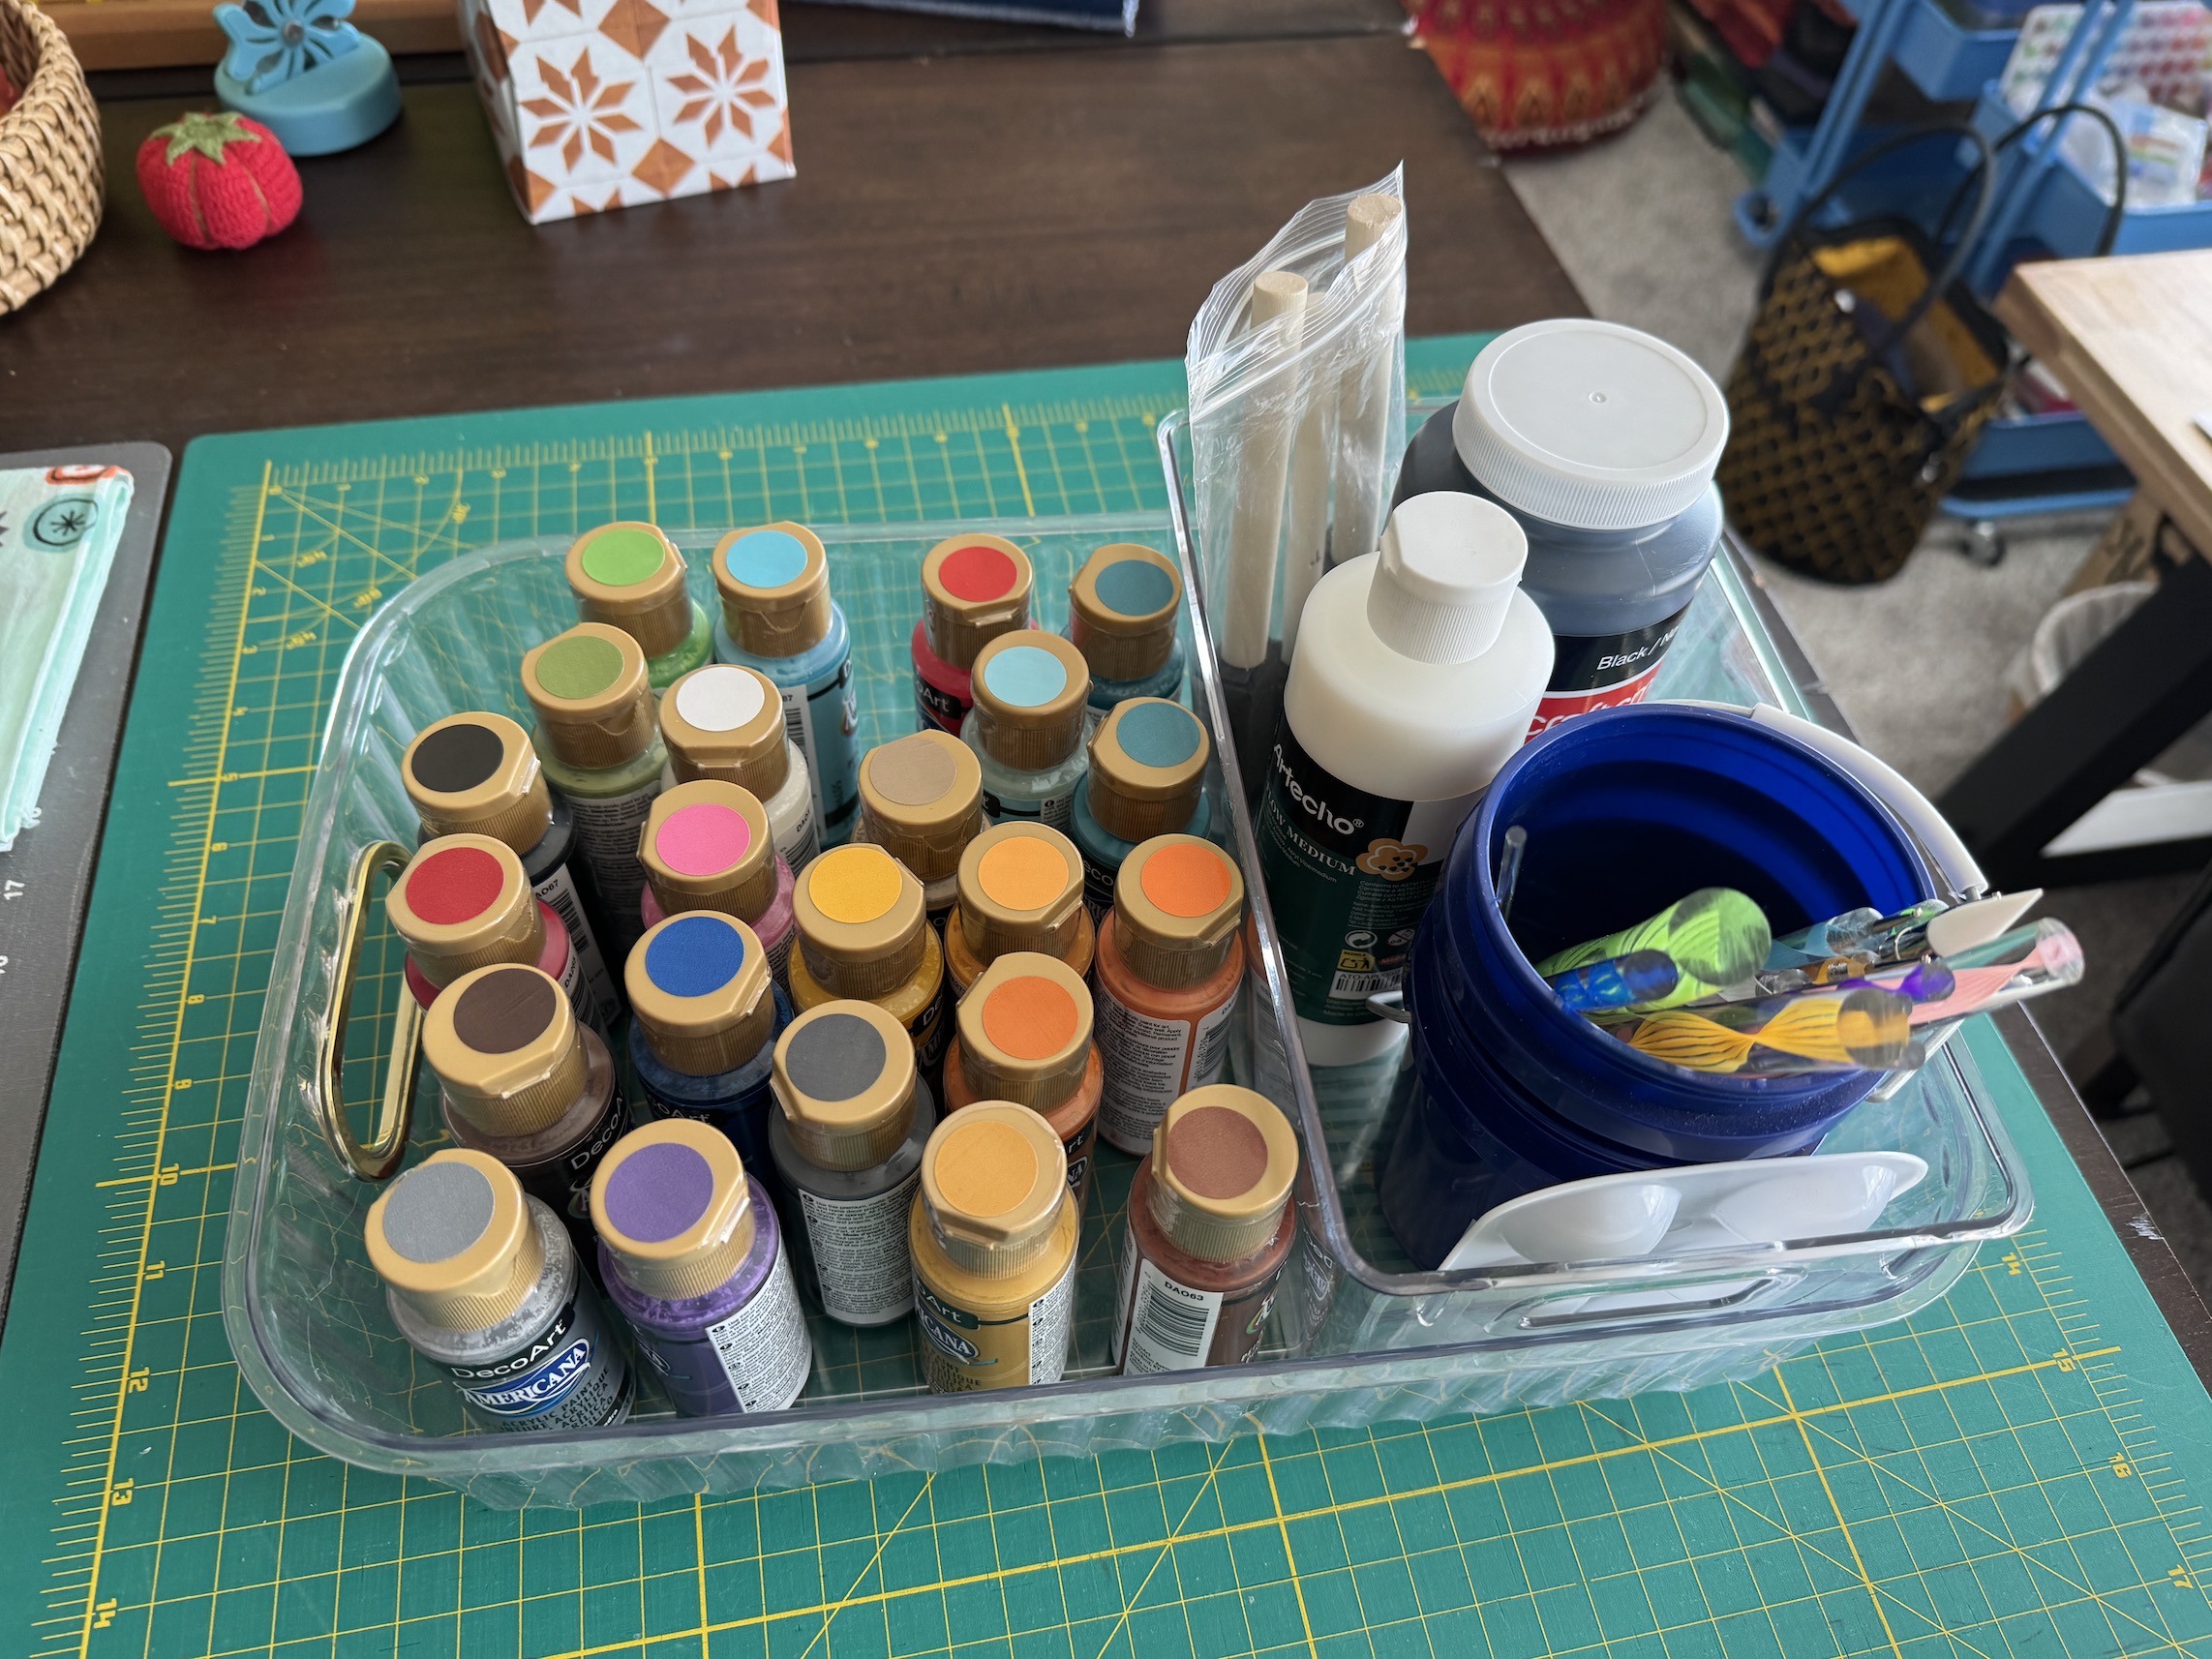
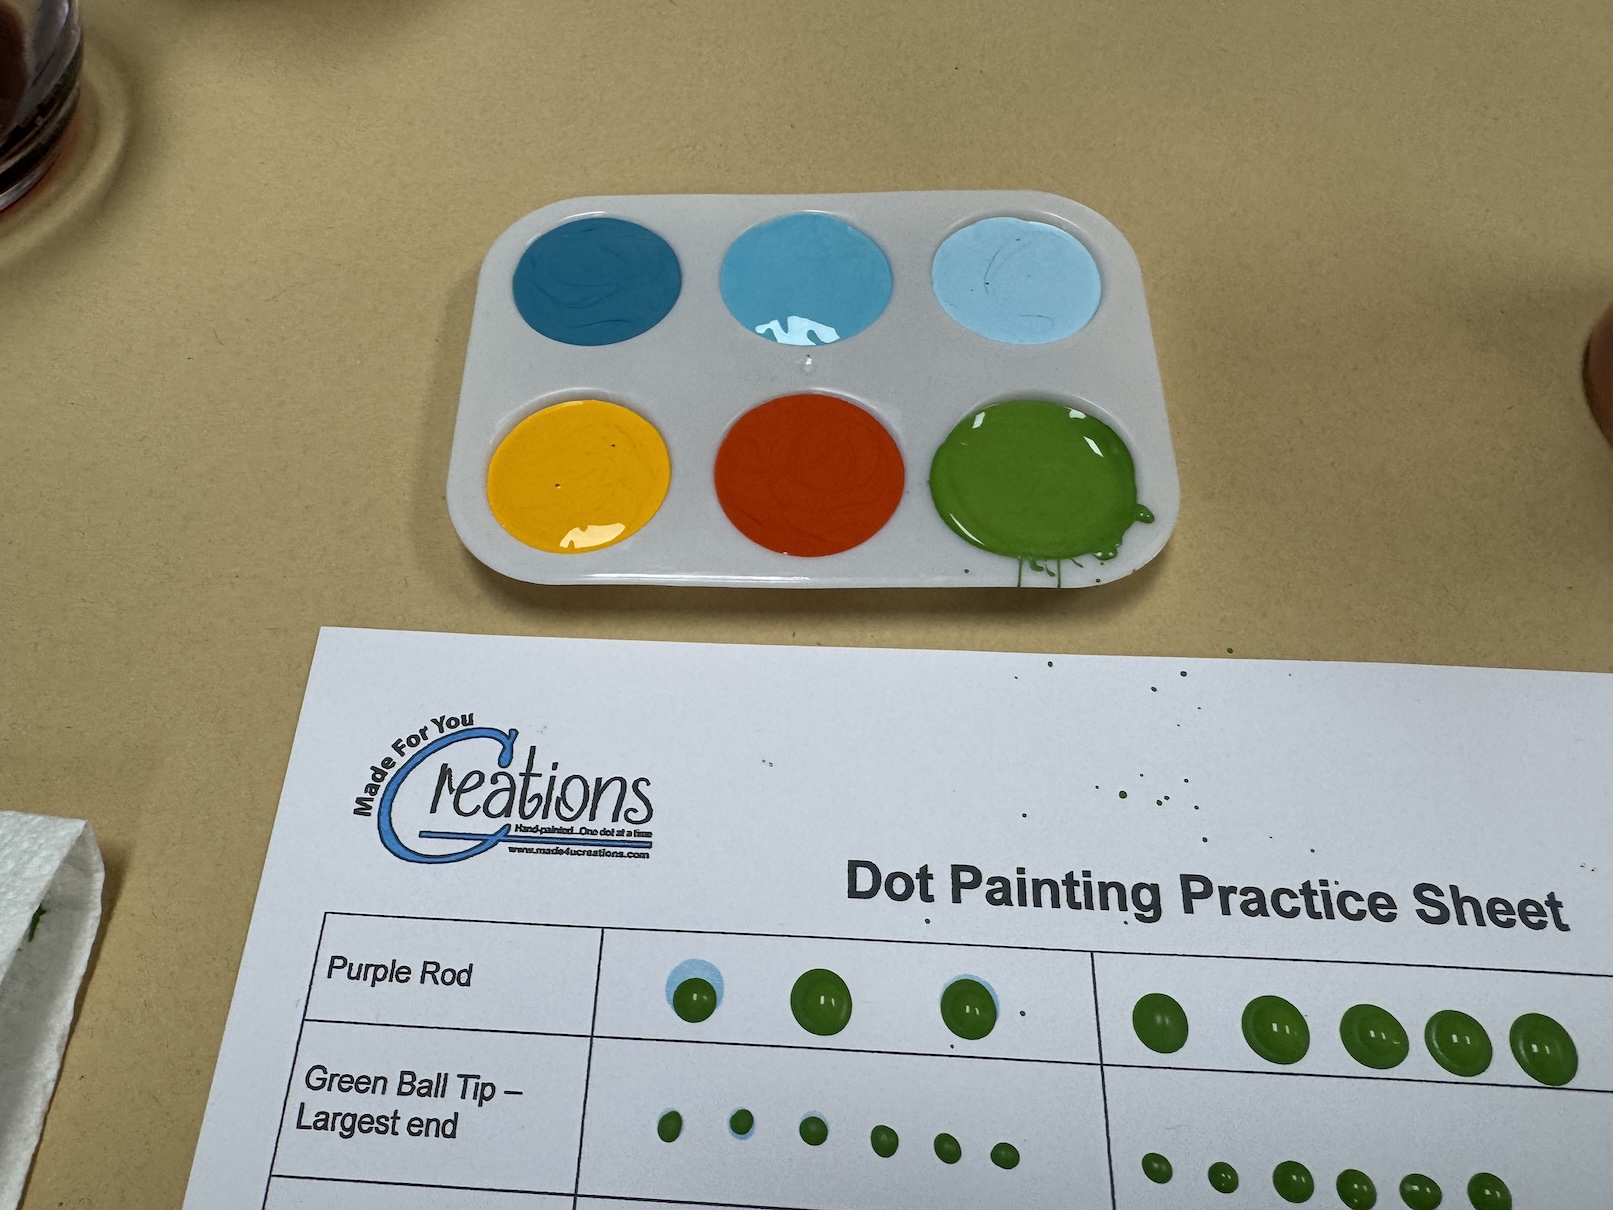
Just a little follow up to the post Dot Painting Class – after the fabulous class I don’t want to lose momentum in my potential new craft – dot painting. So this weekend I went to the sale a local craft store was having and picked up a set of the type of acrylic paints our instructor recommended and put myself together a “Dot Painting Kit”:
There we so many colors to choose from at the craft store but I tried to select colors I might actually use. I always have the dot painting tools (like the glass rods you use) from the set I purchased from the instructor.
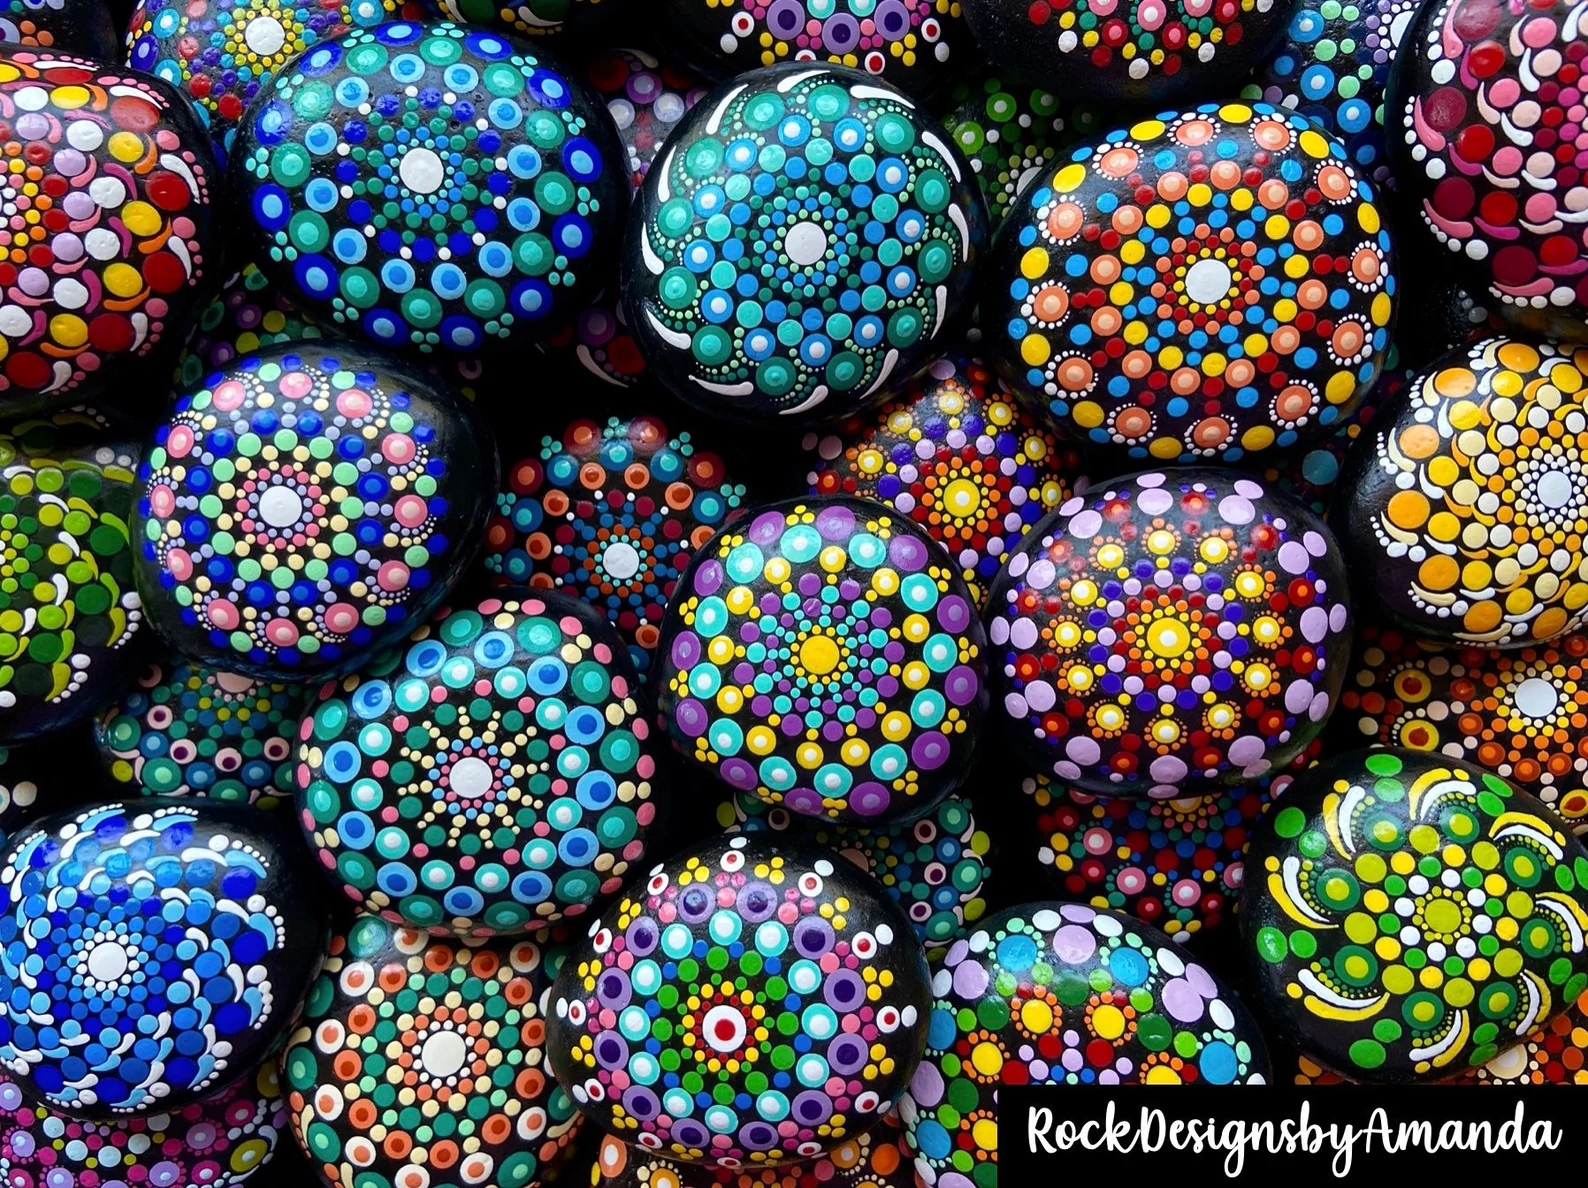
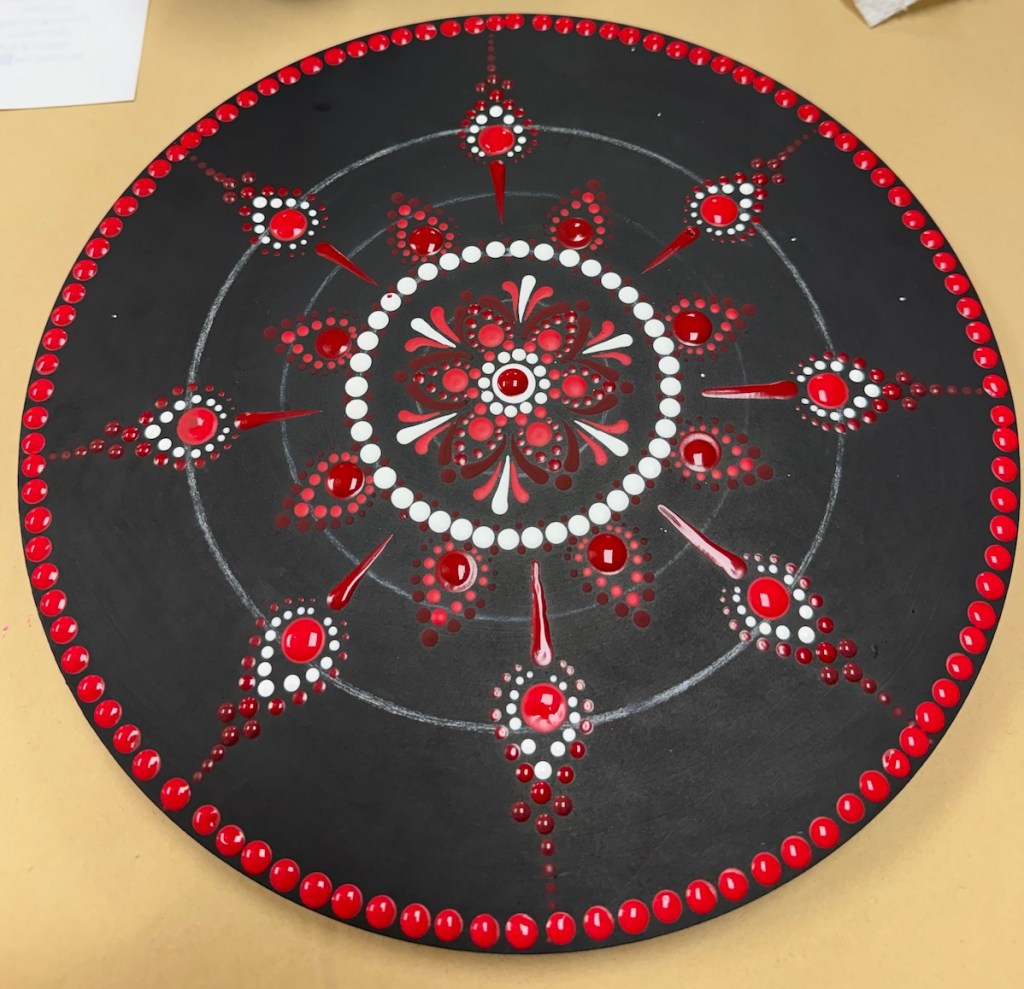
Now I just need something to paint! I would love for my first solo project to be a rock mandala like the examples below from the Etsy Shop Rock Designs by Amanda.
I’ve already started watching YouTube videos like the one below:
Bourbon Tasting Club
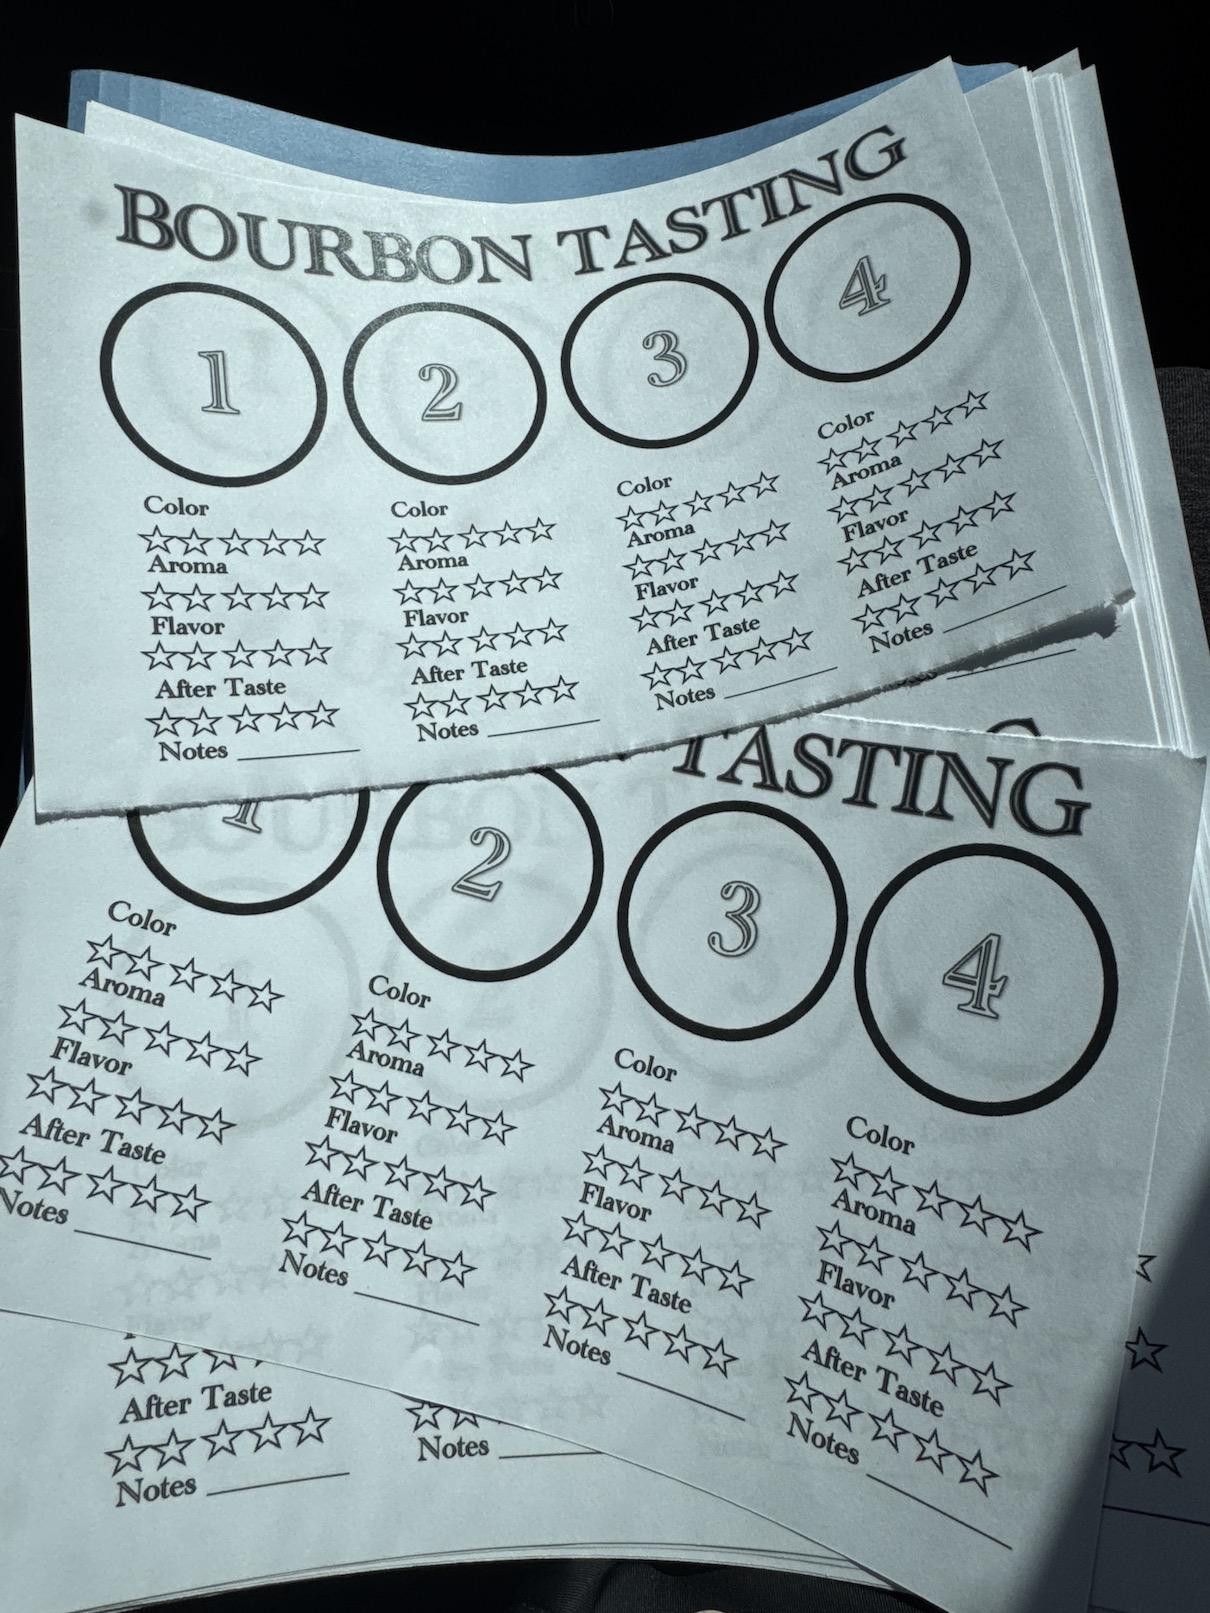
John and a friend he met in our new community started a Bourbon Tasting Club. I am helping them with administrative tasks and this weekend I created these Bourbon Tasting sheets (inspired by examples I found online) for the club.
How this tasting sheet will work:
Each person is issued a Glencairn Whiskey tasting glass and 4 small paper cups of a 1 oz whiskey sample for tasting labeled 1 – 4. The person using the tasting sheet will place their Glencairn glass on the sample number they are tasting and pour the paper cup sample into the tasting glass.
This is to reduce the number of Glencairns needed and the amount of dishes the club would have to clean. Here is an example of a traditional whiskey tasting in which you have a glass for each whiskey sample:
I was planning on catch you all up on my summer travel but I’ve been in the mood to share some crafting and quilting related posts (oh yeah my blog is called “tierneycreates” so I have to pretend…).
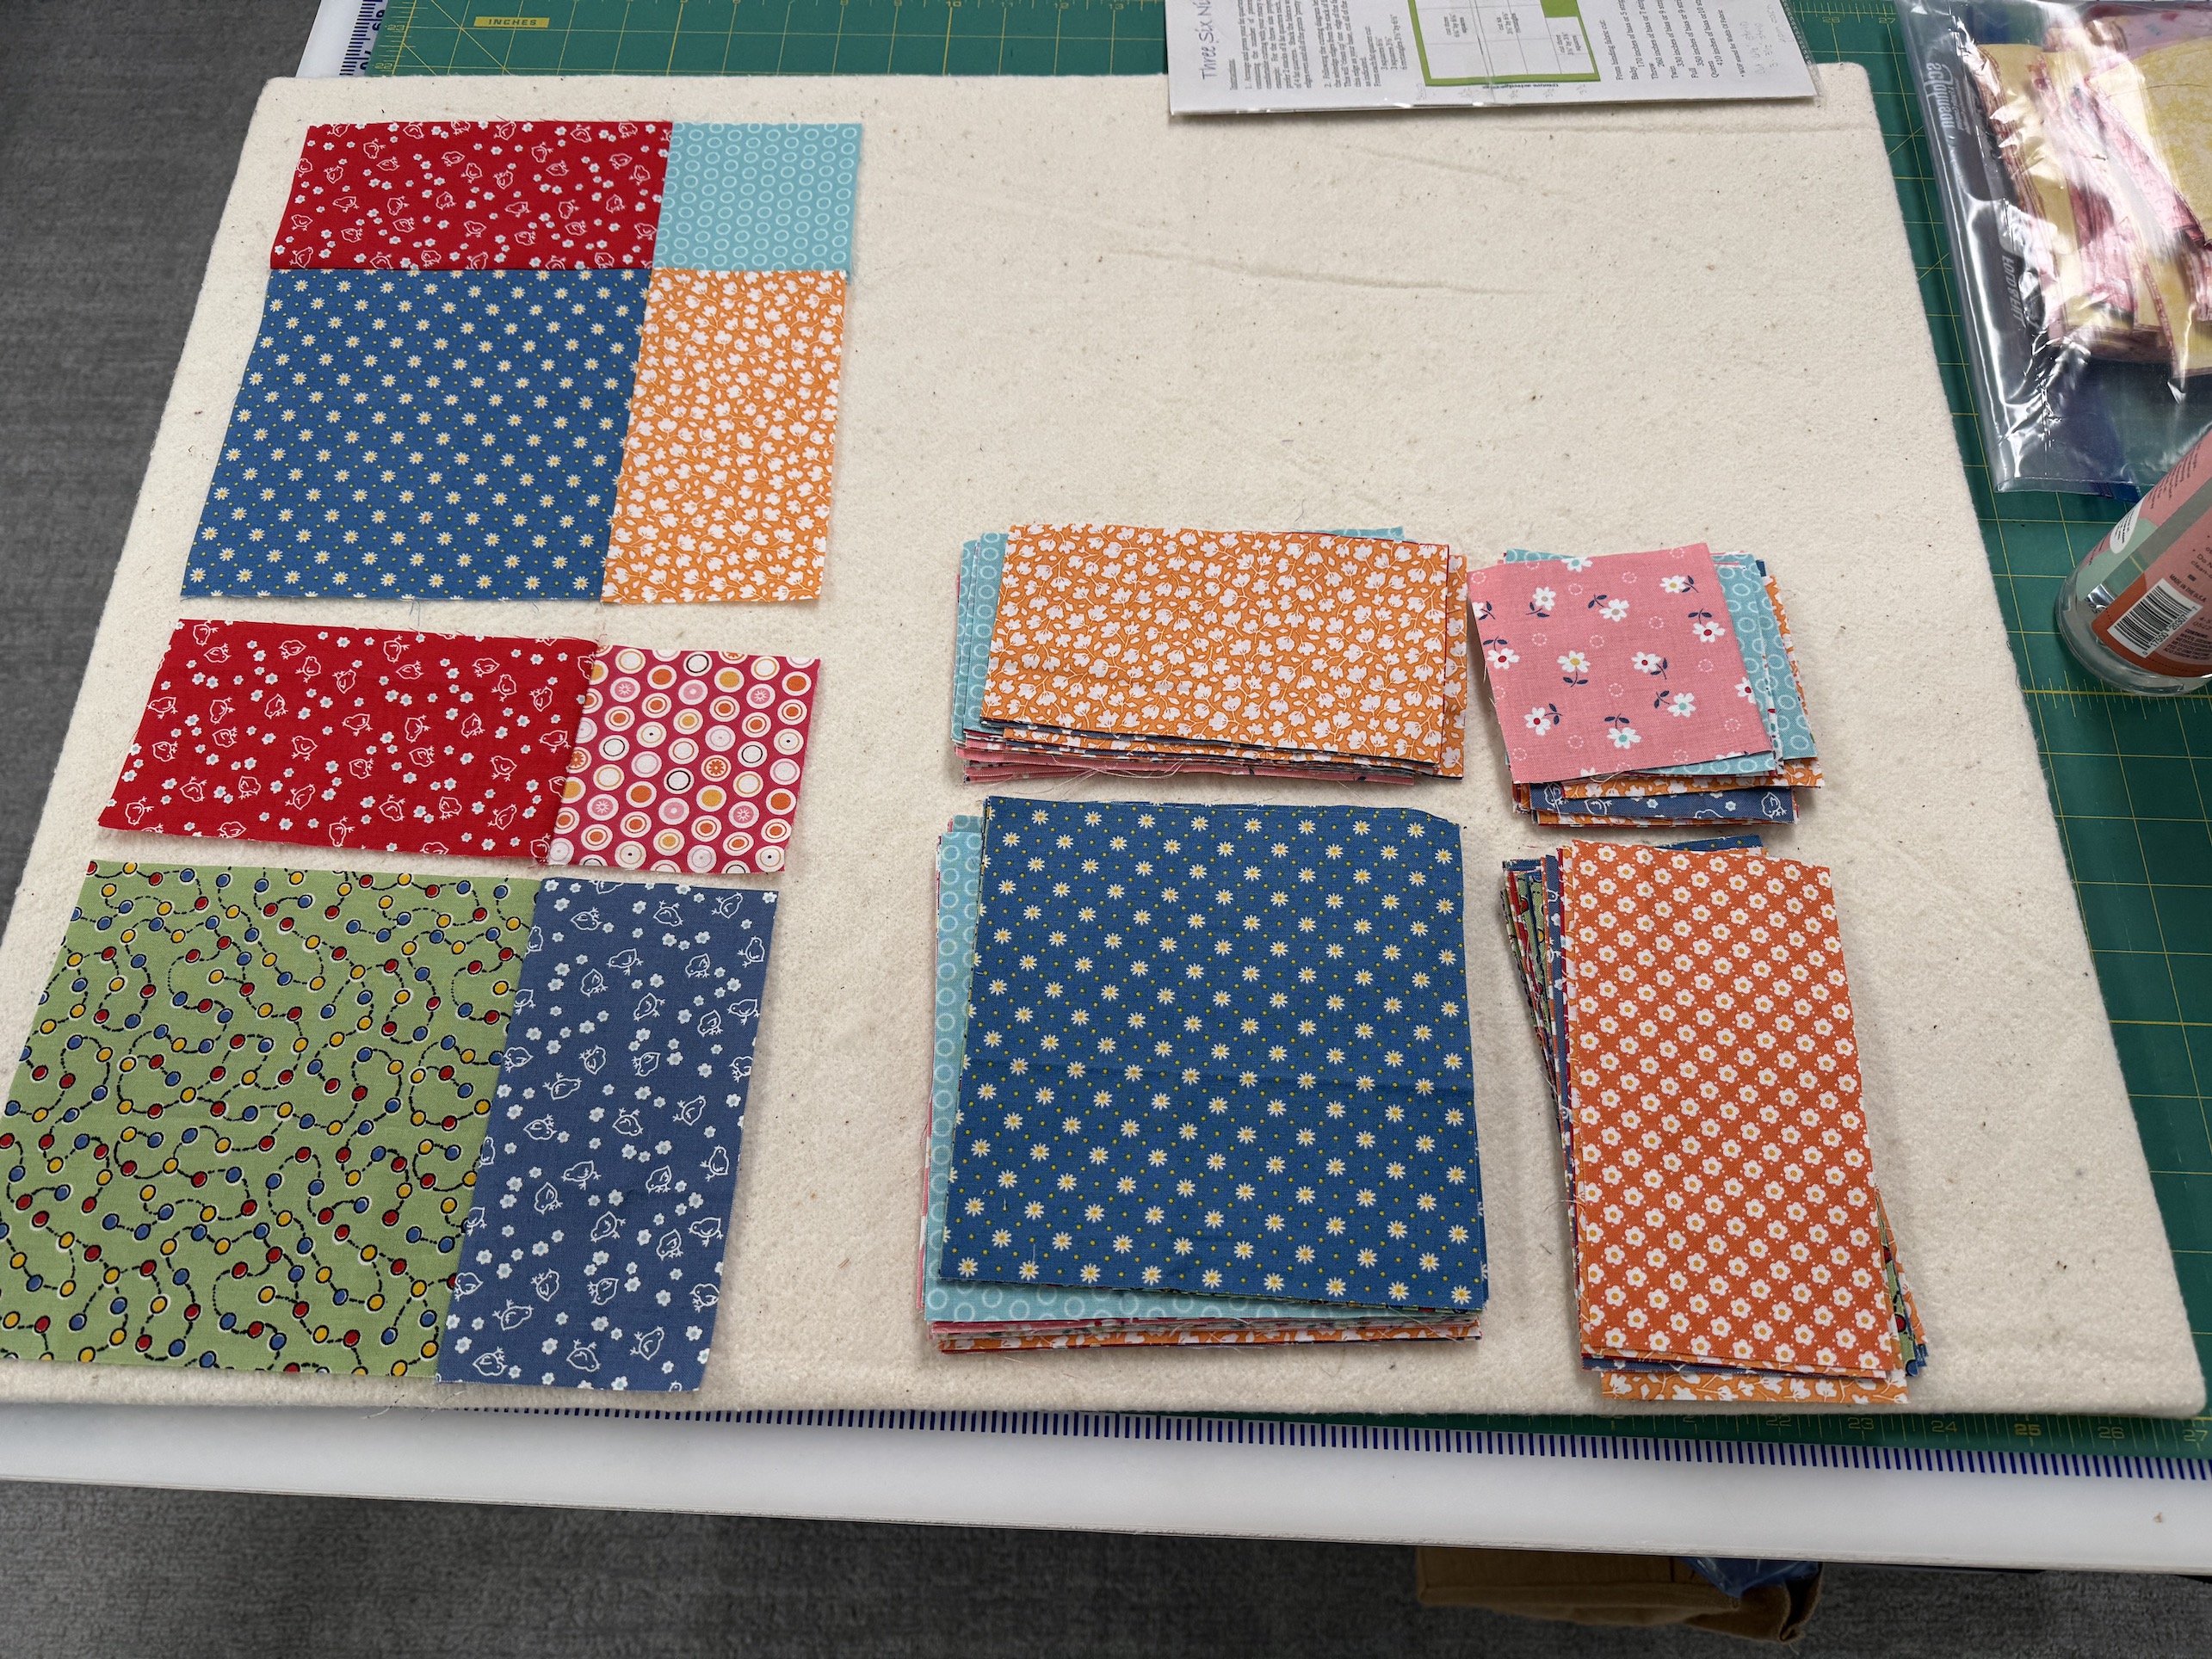
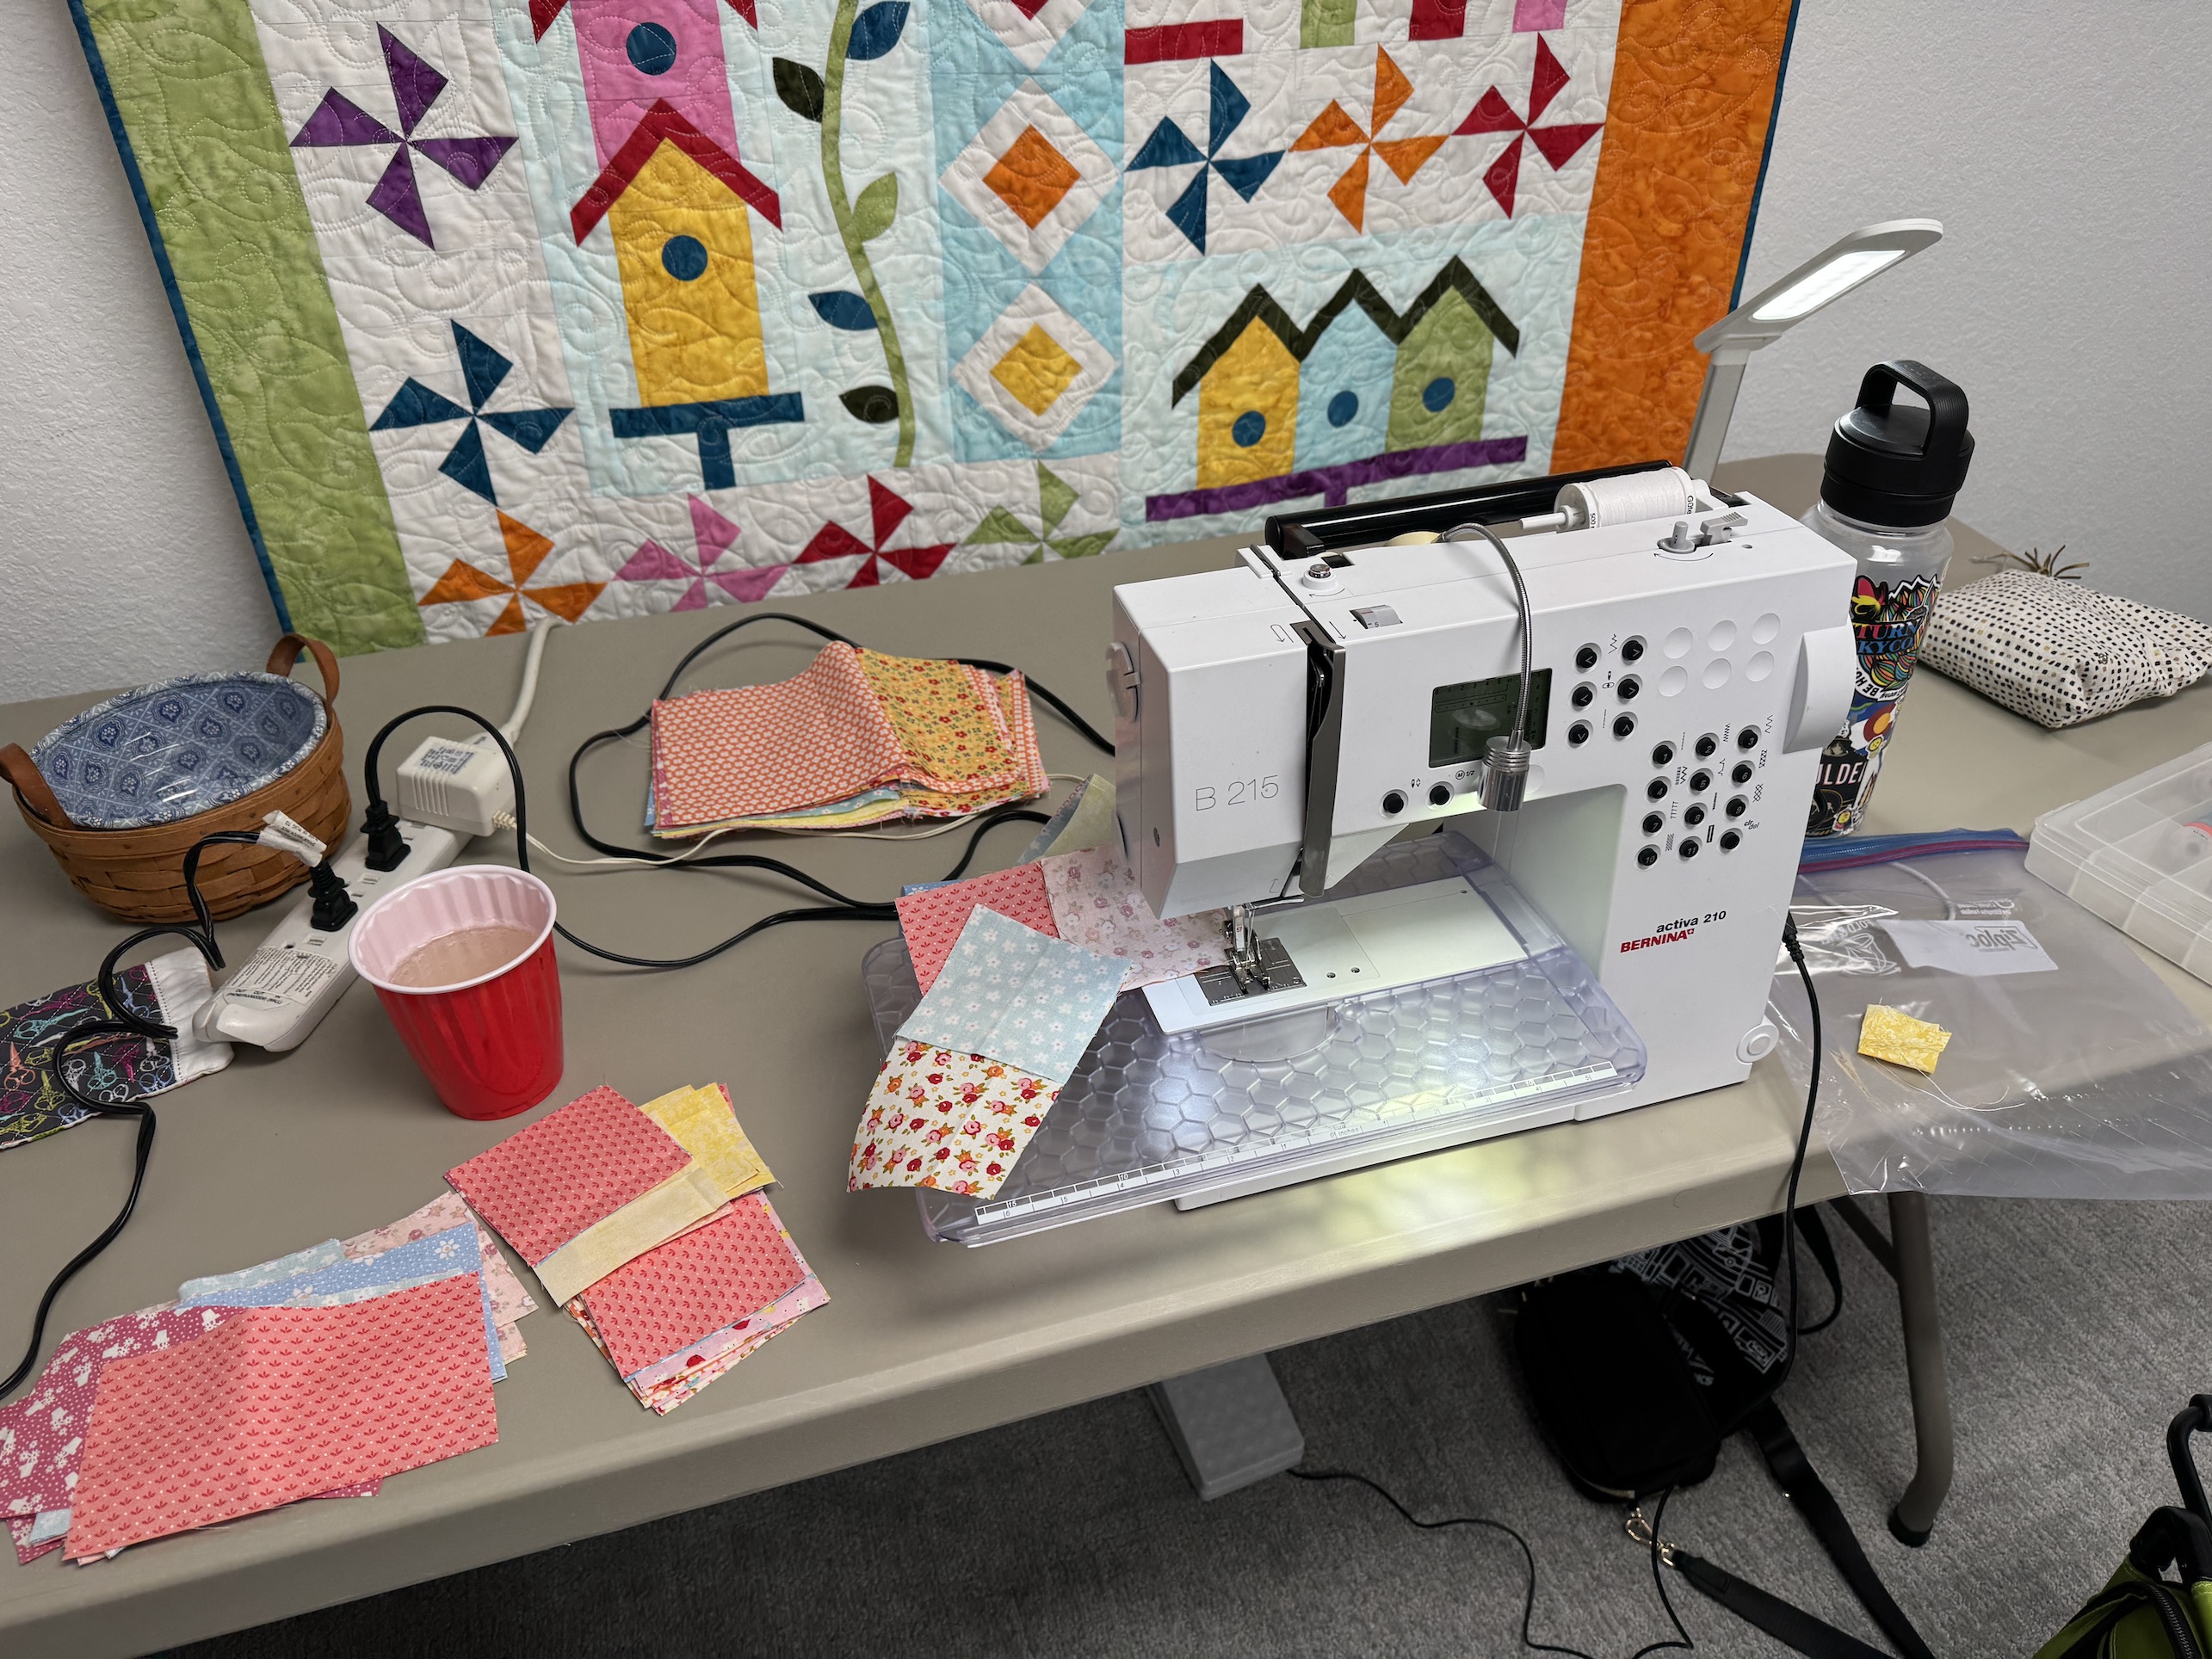
In the middle of August I got together again with my quilting buddies J and D to help D complete her first quilt – a lap-sized truck themed quilt for her 1 year old grandson.
Wow – I’ve been quilting for 25 years and I forgot the learning curve with learning how to make quilts. There are a lot of steps to learn!
If you are just joining us and want to see the other related posts here 4 previous posts in order:
How quilts are quilted via a longarm machine (so help a quilter understand why their are specific requirements to prepare a quilt for longarm quilting).
On her own D finished sewing her blocks together (which she began during our session shared in the post Quilter Playdate: Learning to Piece.
(It was fun to see the fabric that J and I helped her select during our Quilt Shop Hop in June become a quilt!)
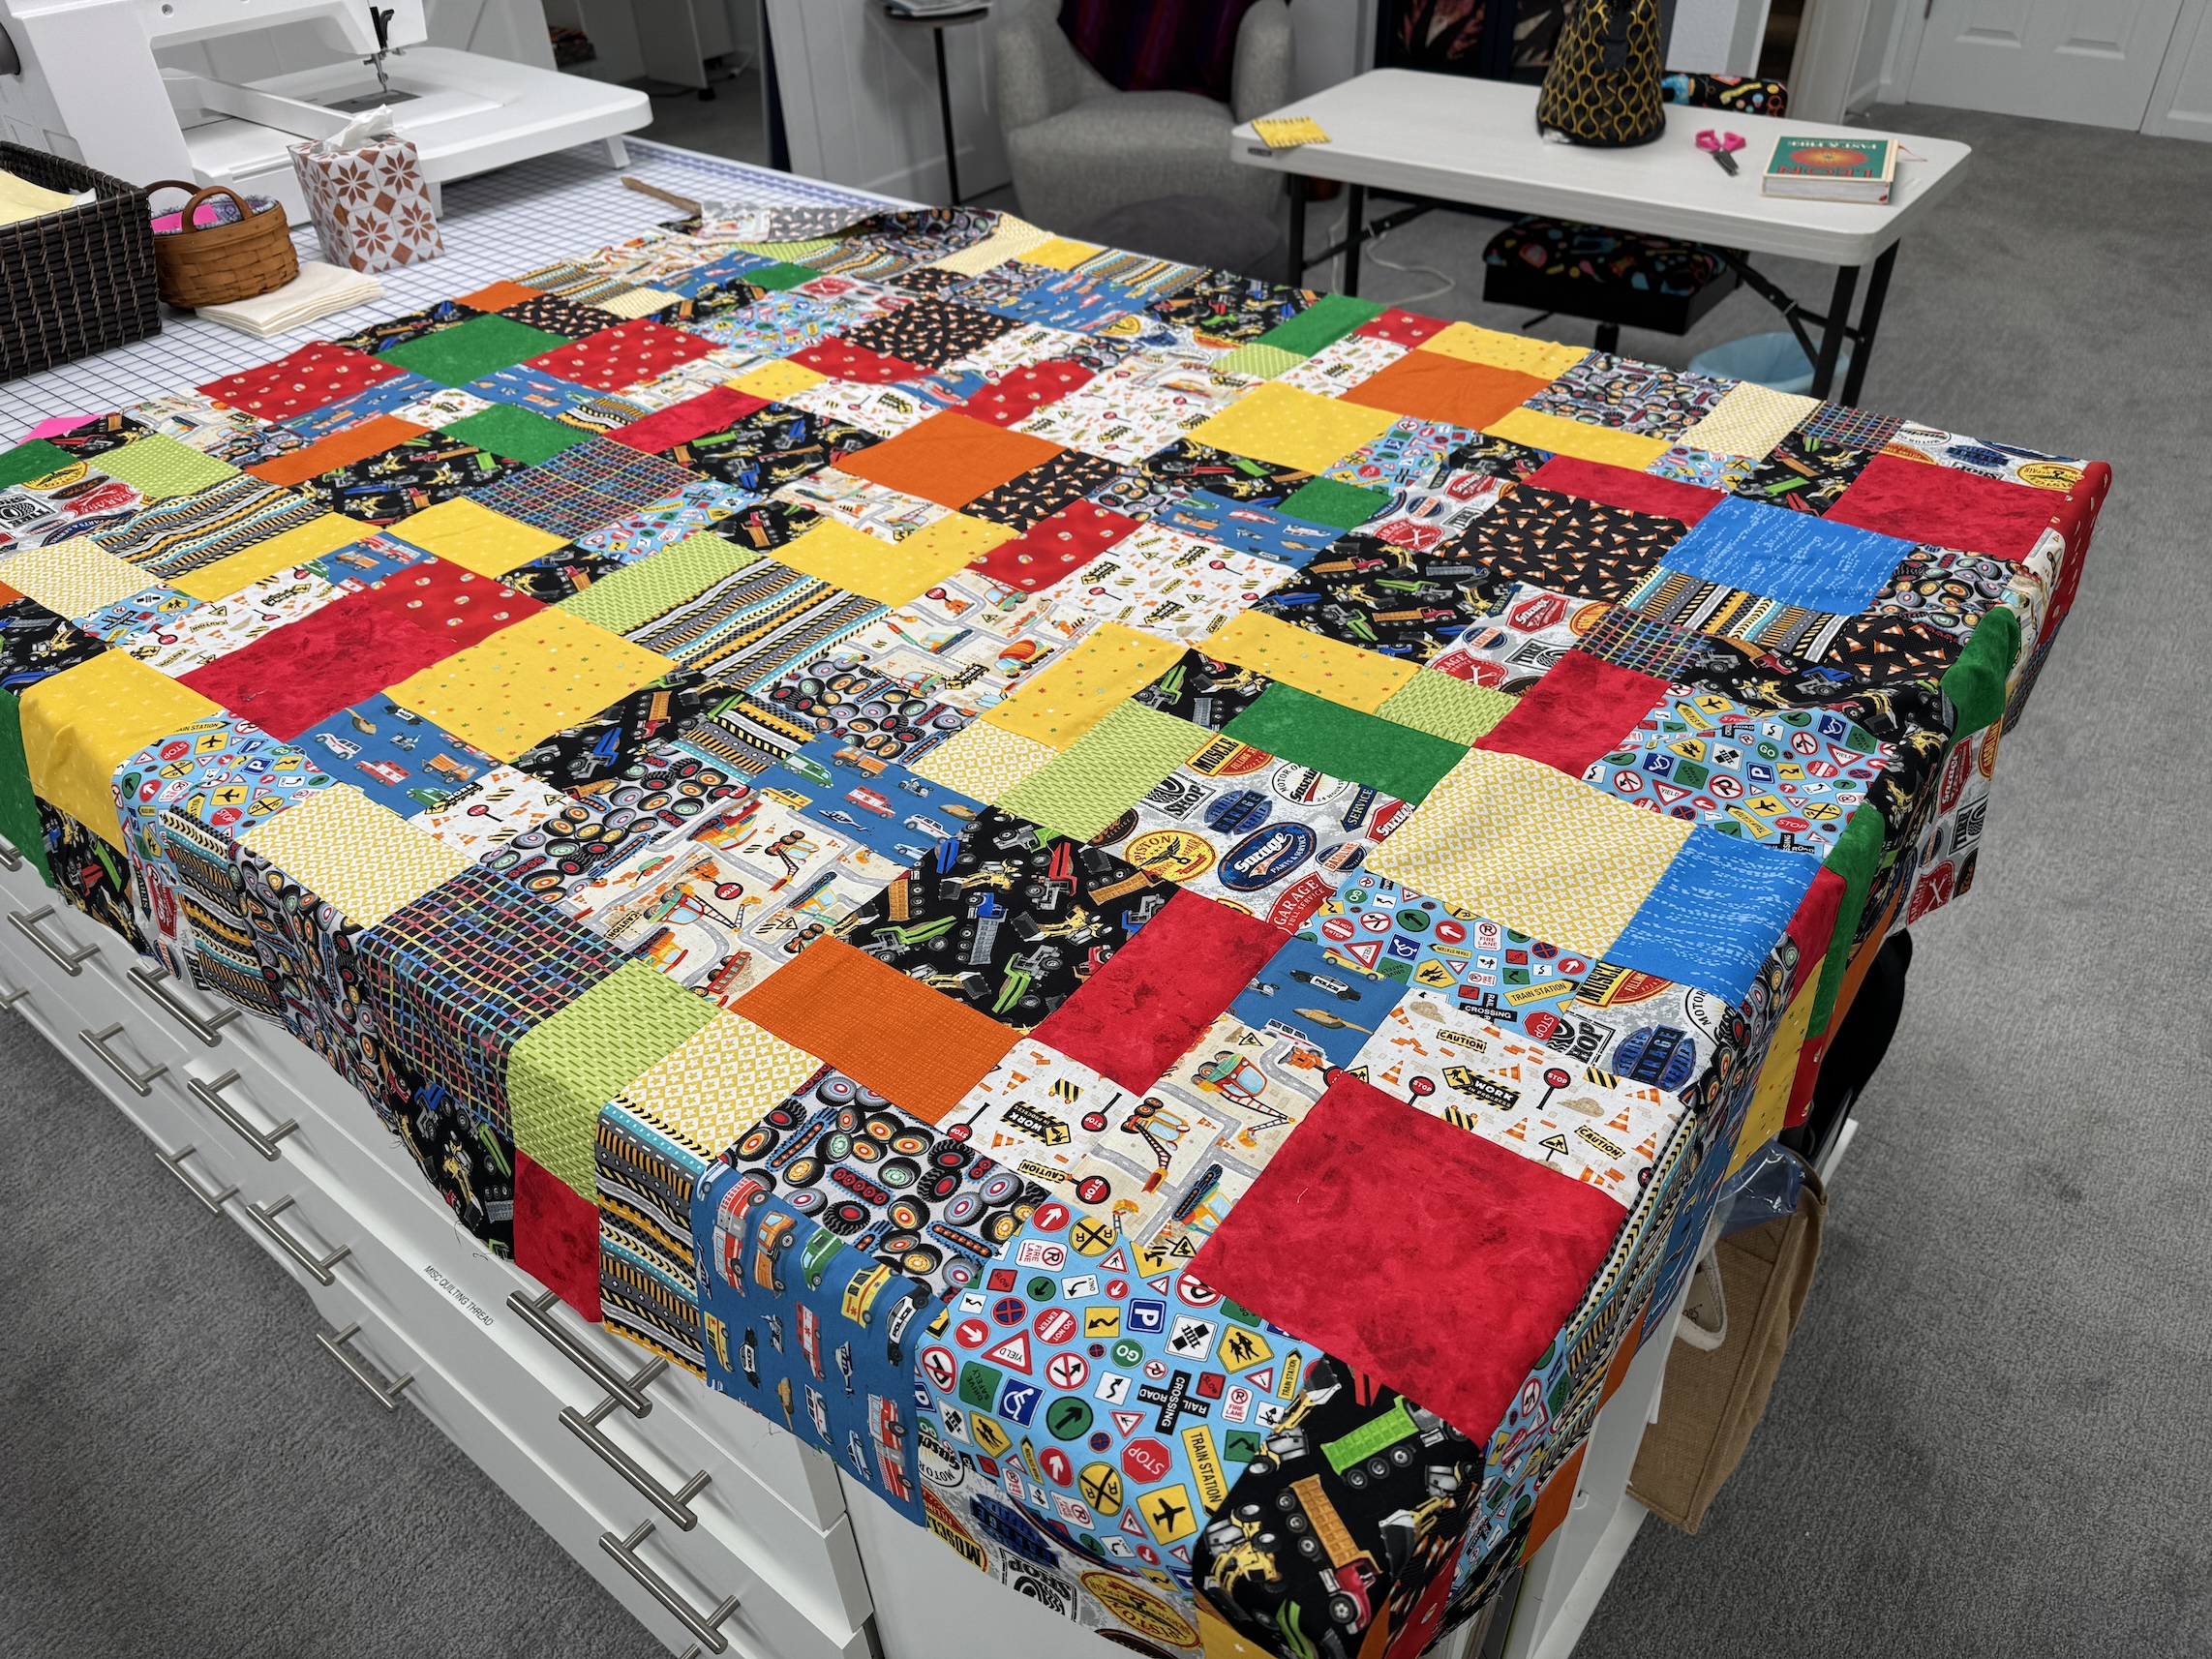
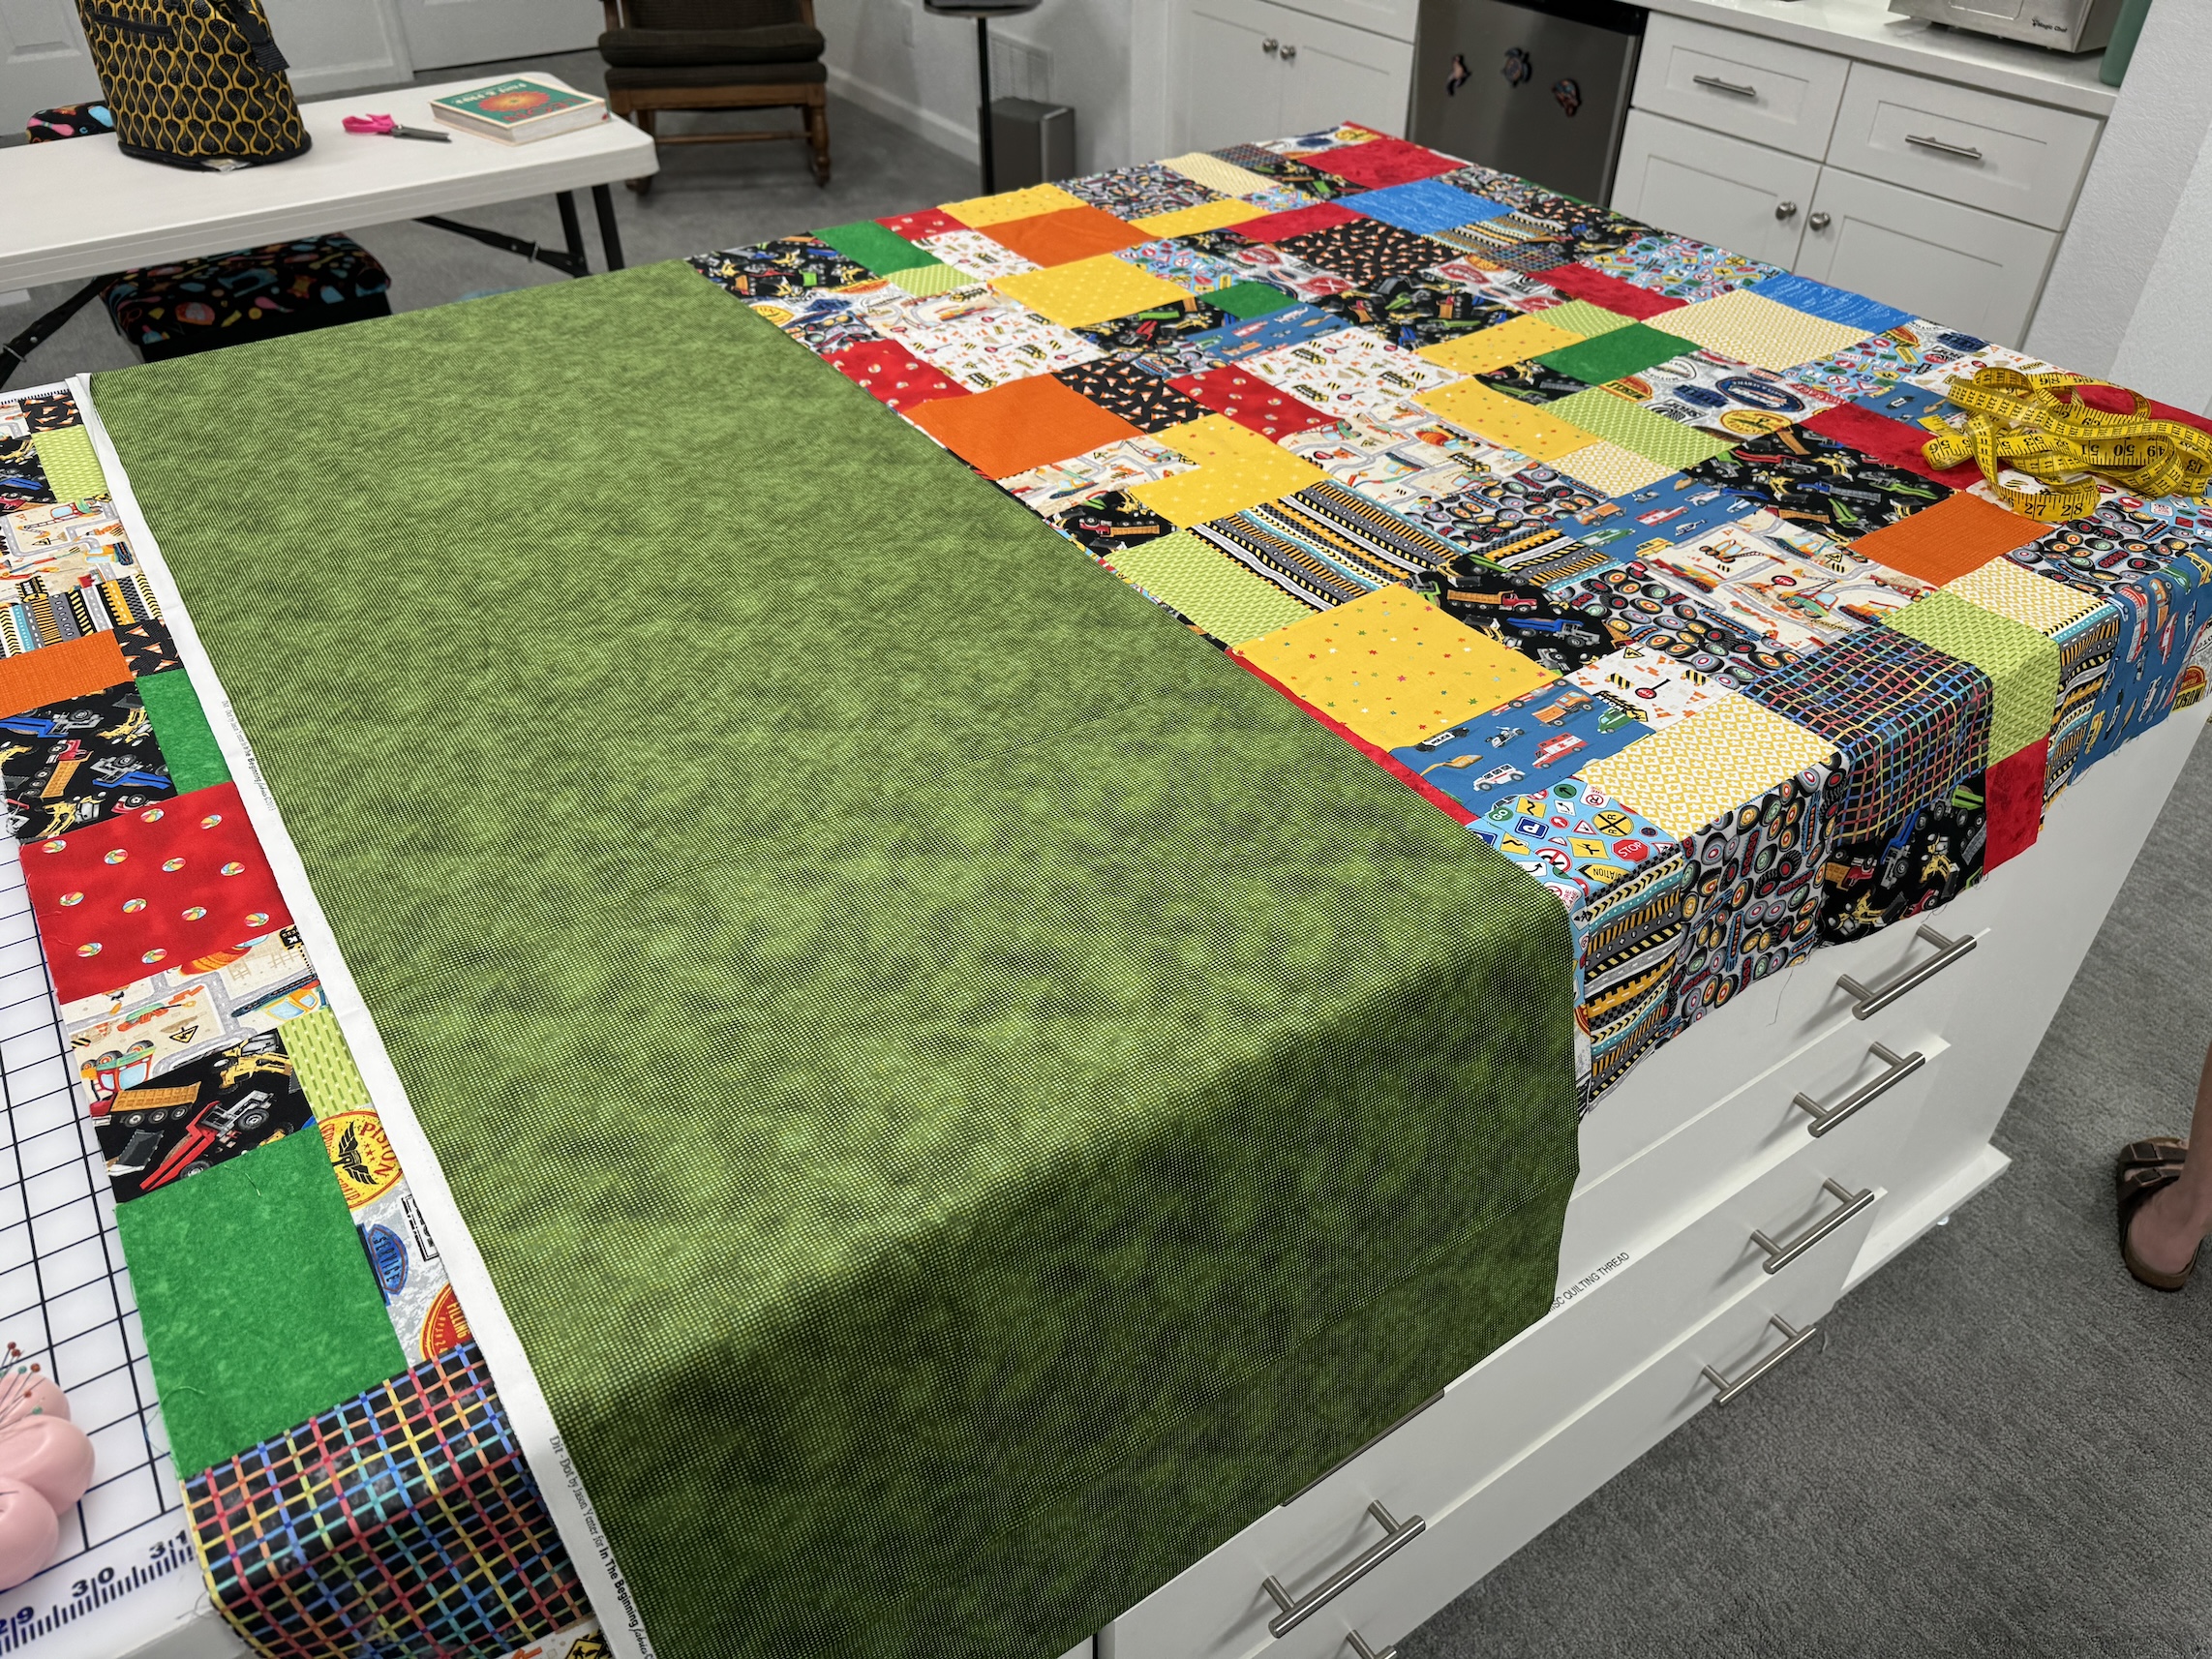
It was time to measure the quilt in order to piece the back to the correct length and width:
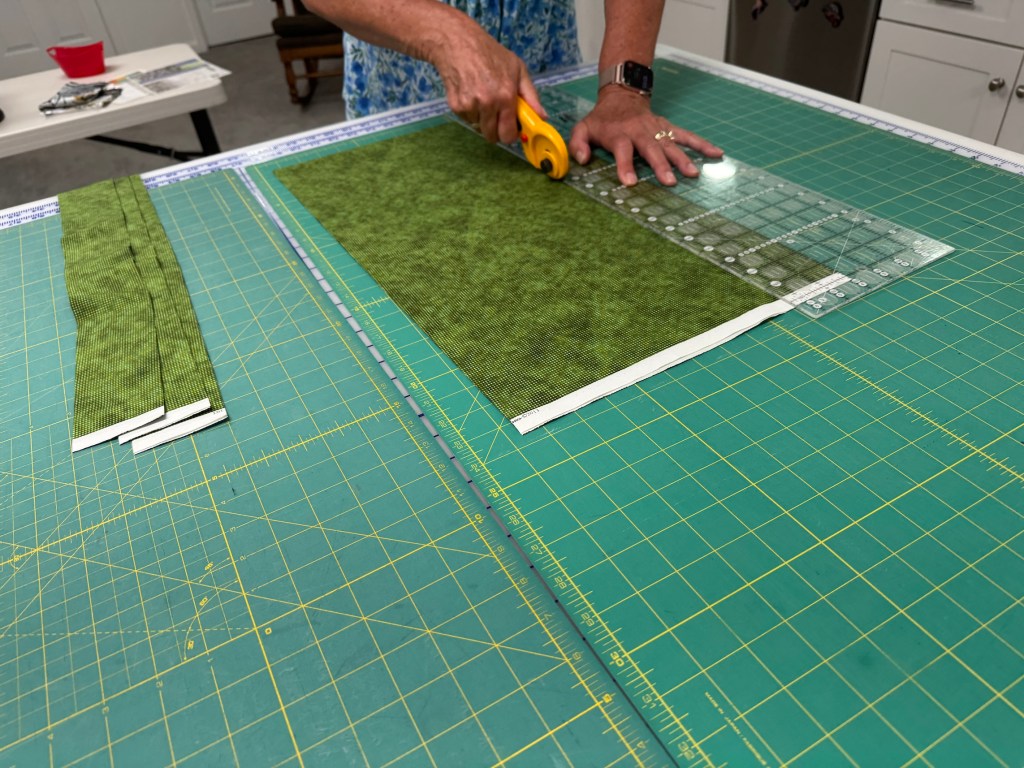
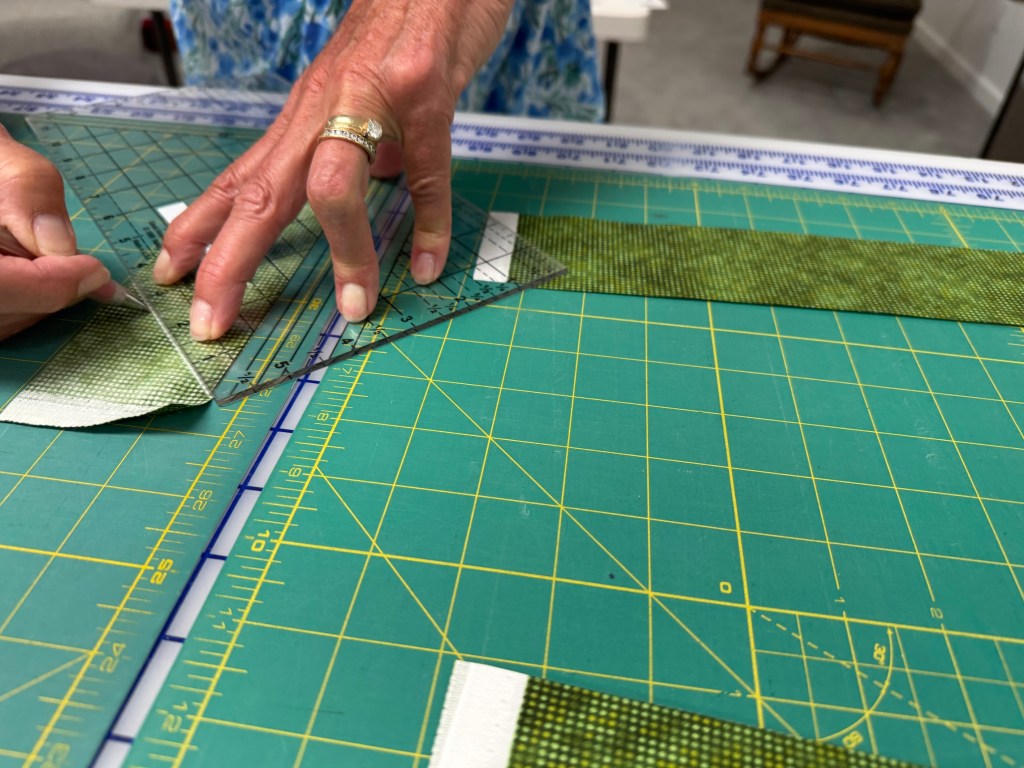
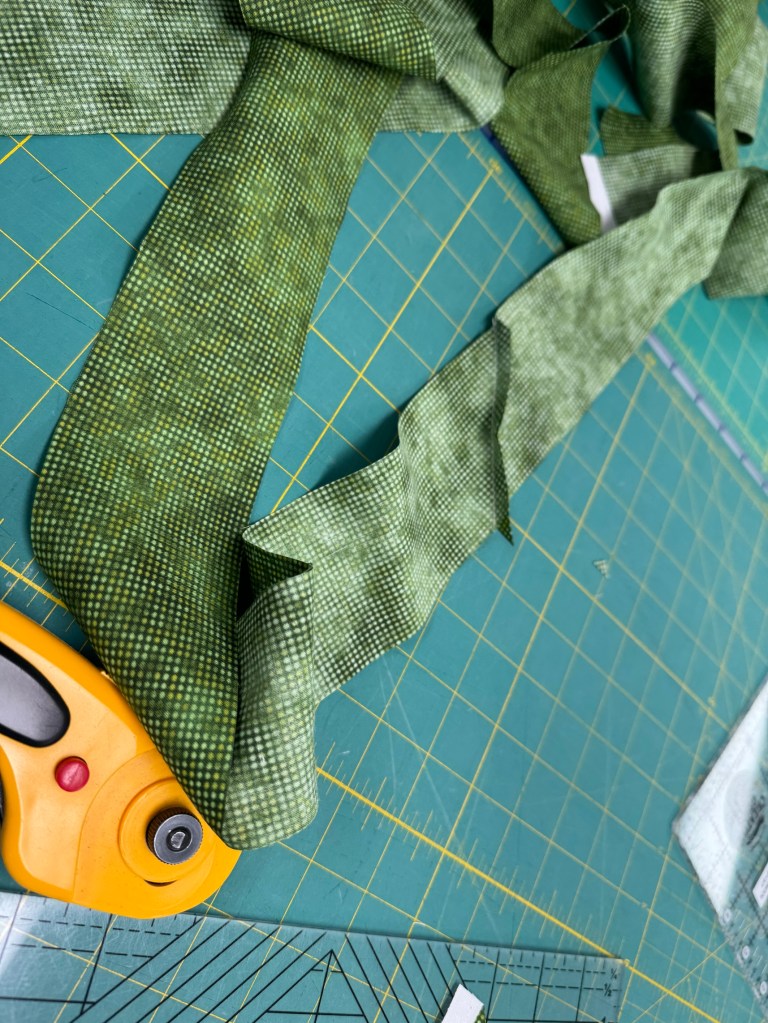
After that was figured out, D pieced the yardage for the backing together, reserving some of the backing yardage for the binding. J then taught her how to cut strips for and then piece together the binding strips:
Sometimes I wonder how on earth did I originally learn what I can now do in my sleep after 25 years of making quilt bindings?
J had her do a 1/8″ stitch around the edge of the entire quilt to protect from block edges separating during longarming:
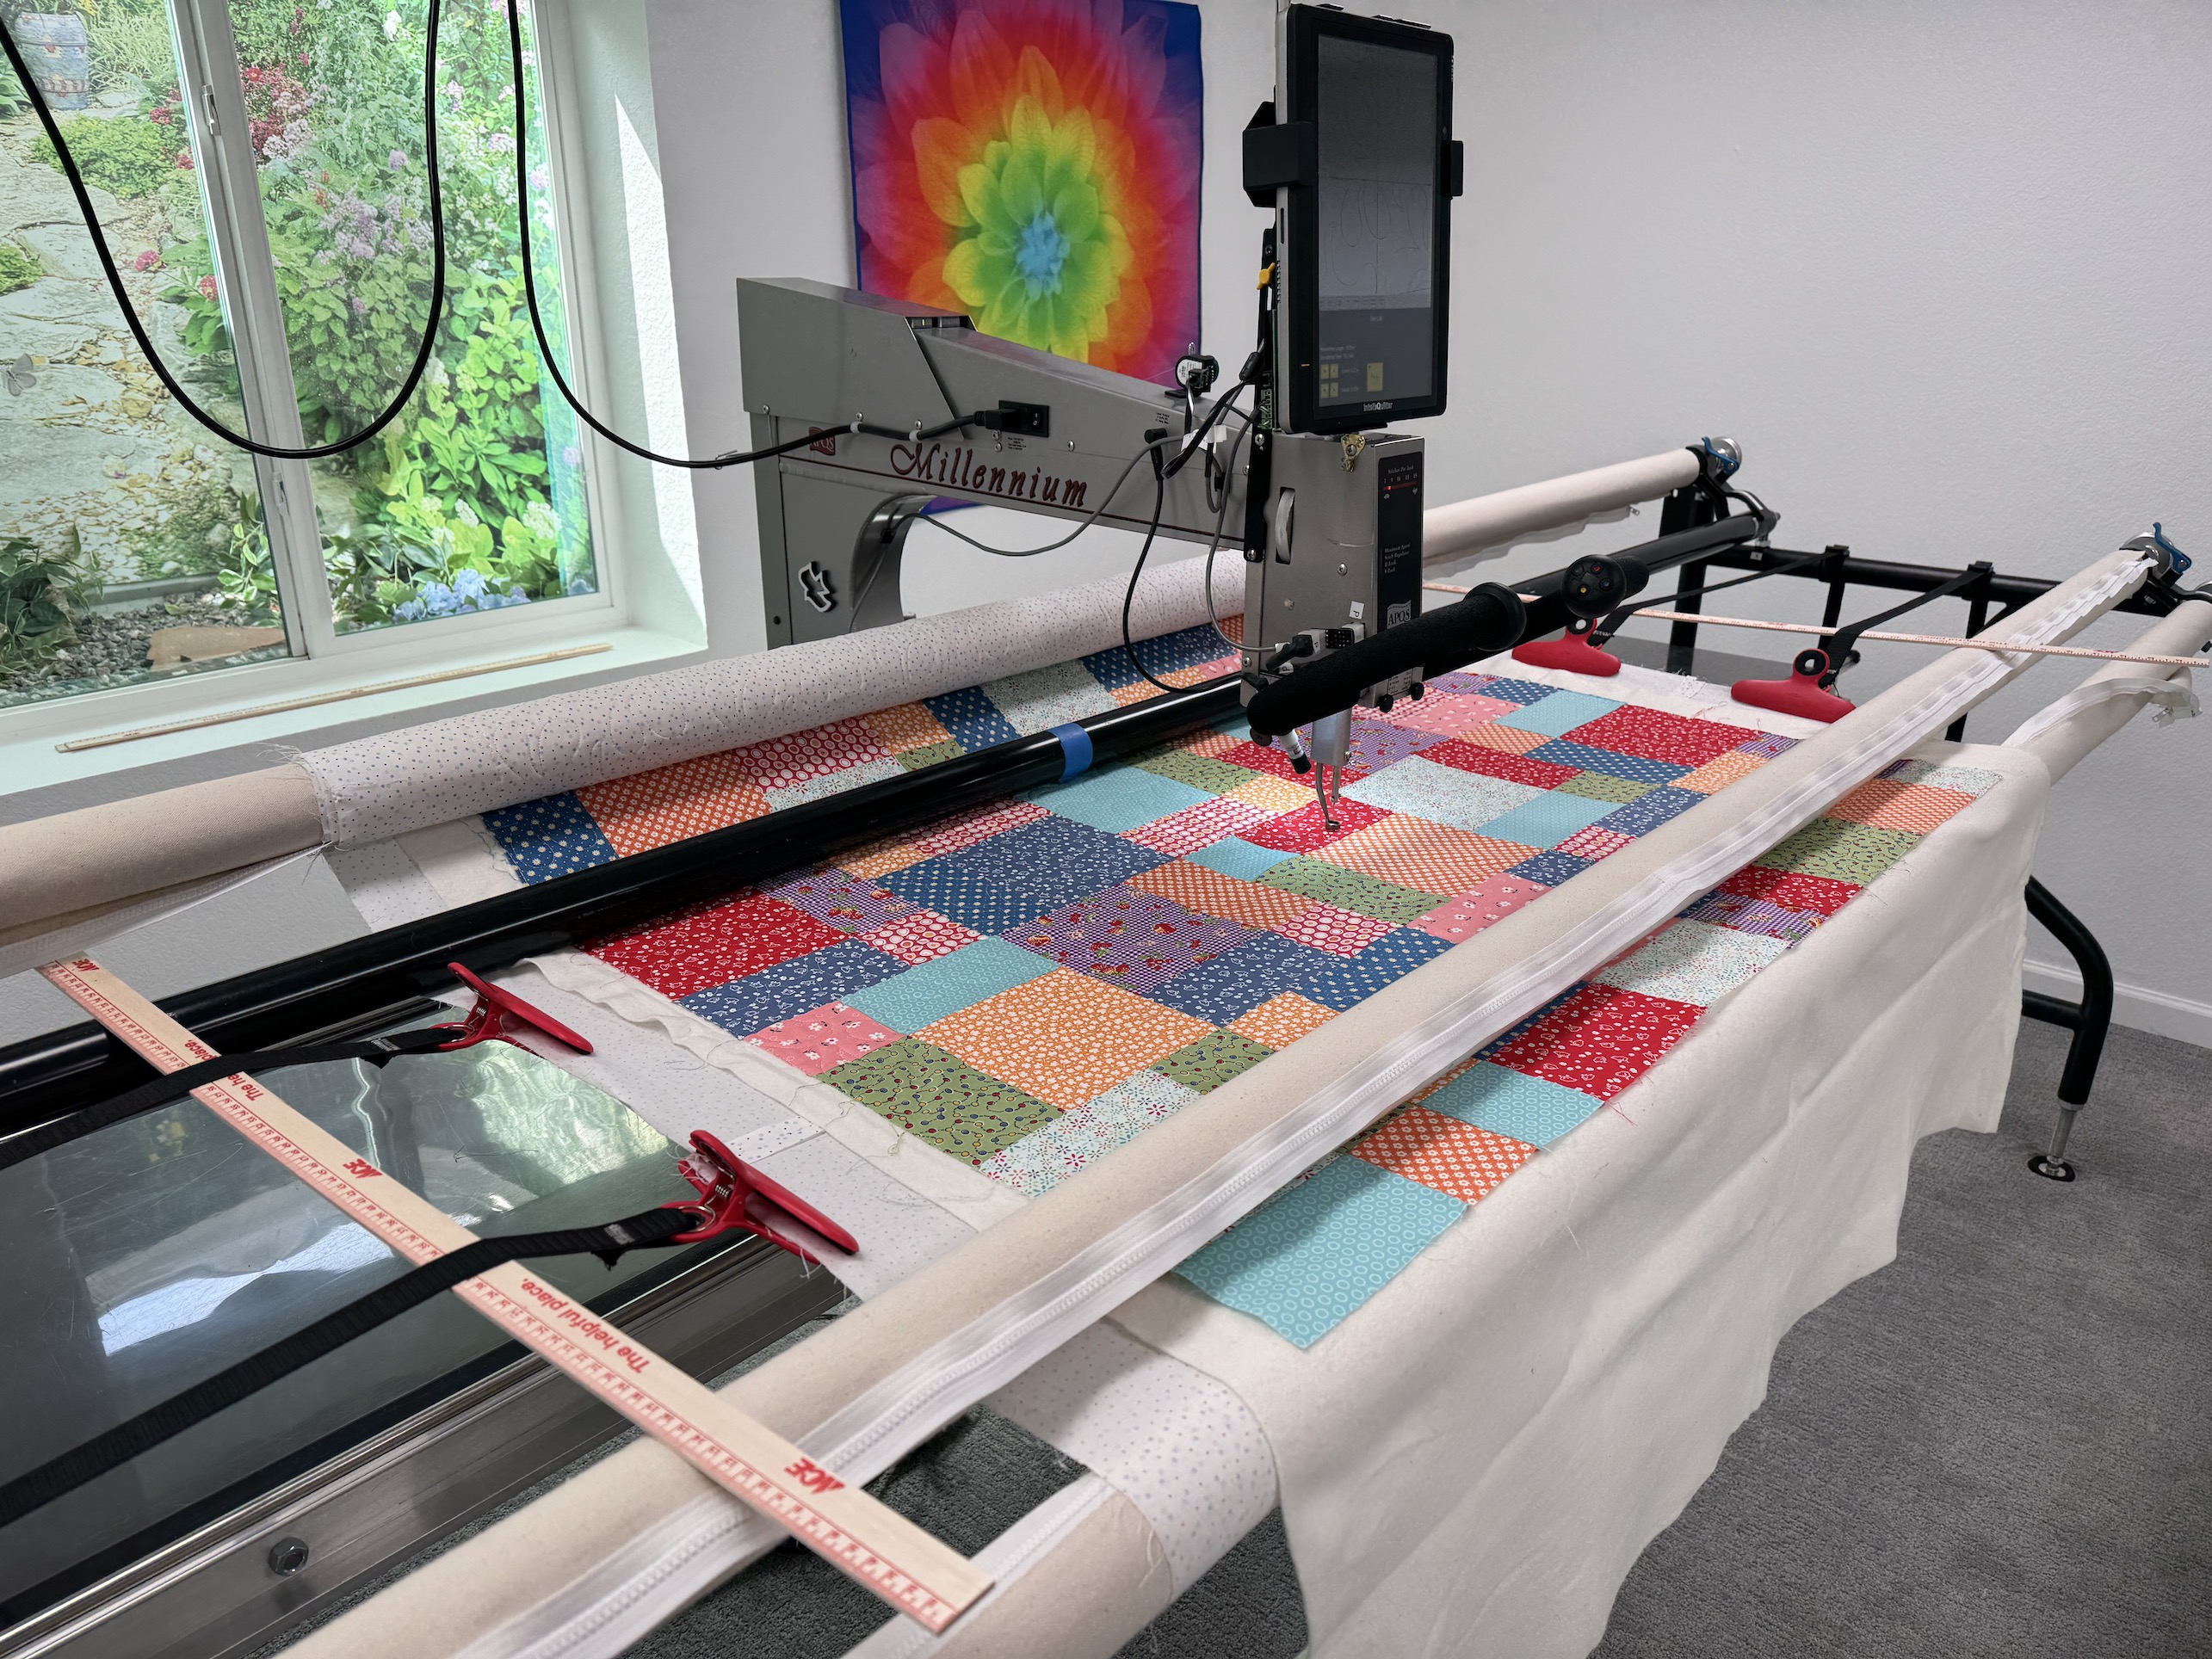
Then J, who is a professional longarmer, treated us to a “behind the scenes” of how a longarm machine is loaded, programmed (for pre-program stitch patterns), and monitored. Wow it’s a lot of work!
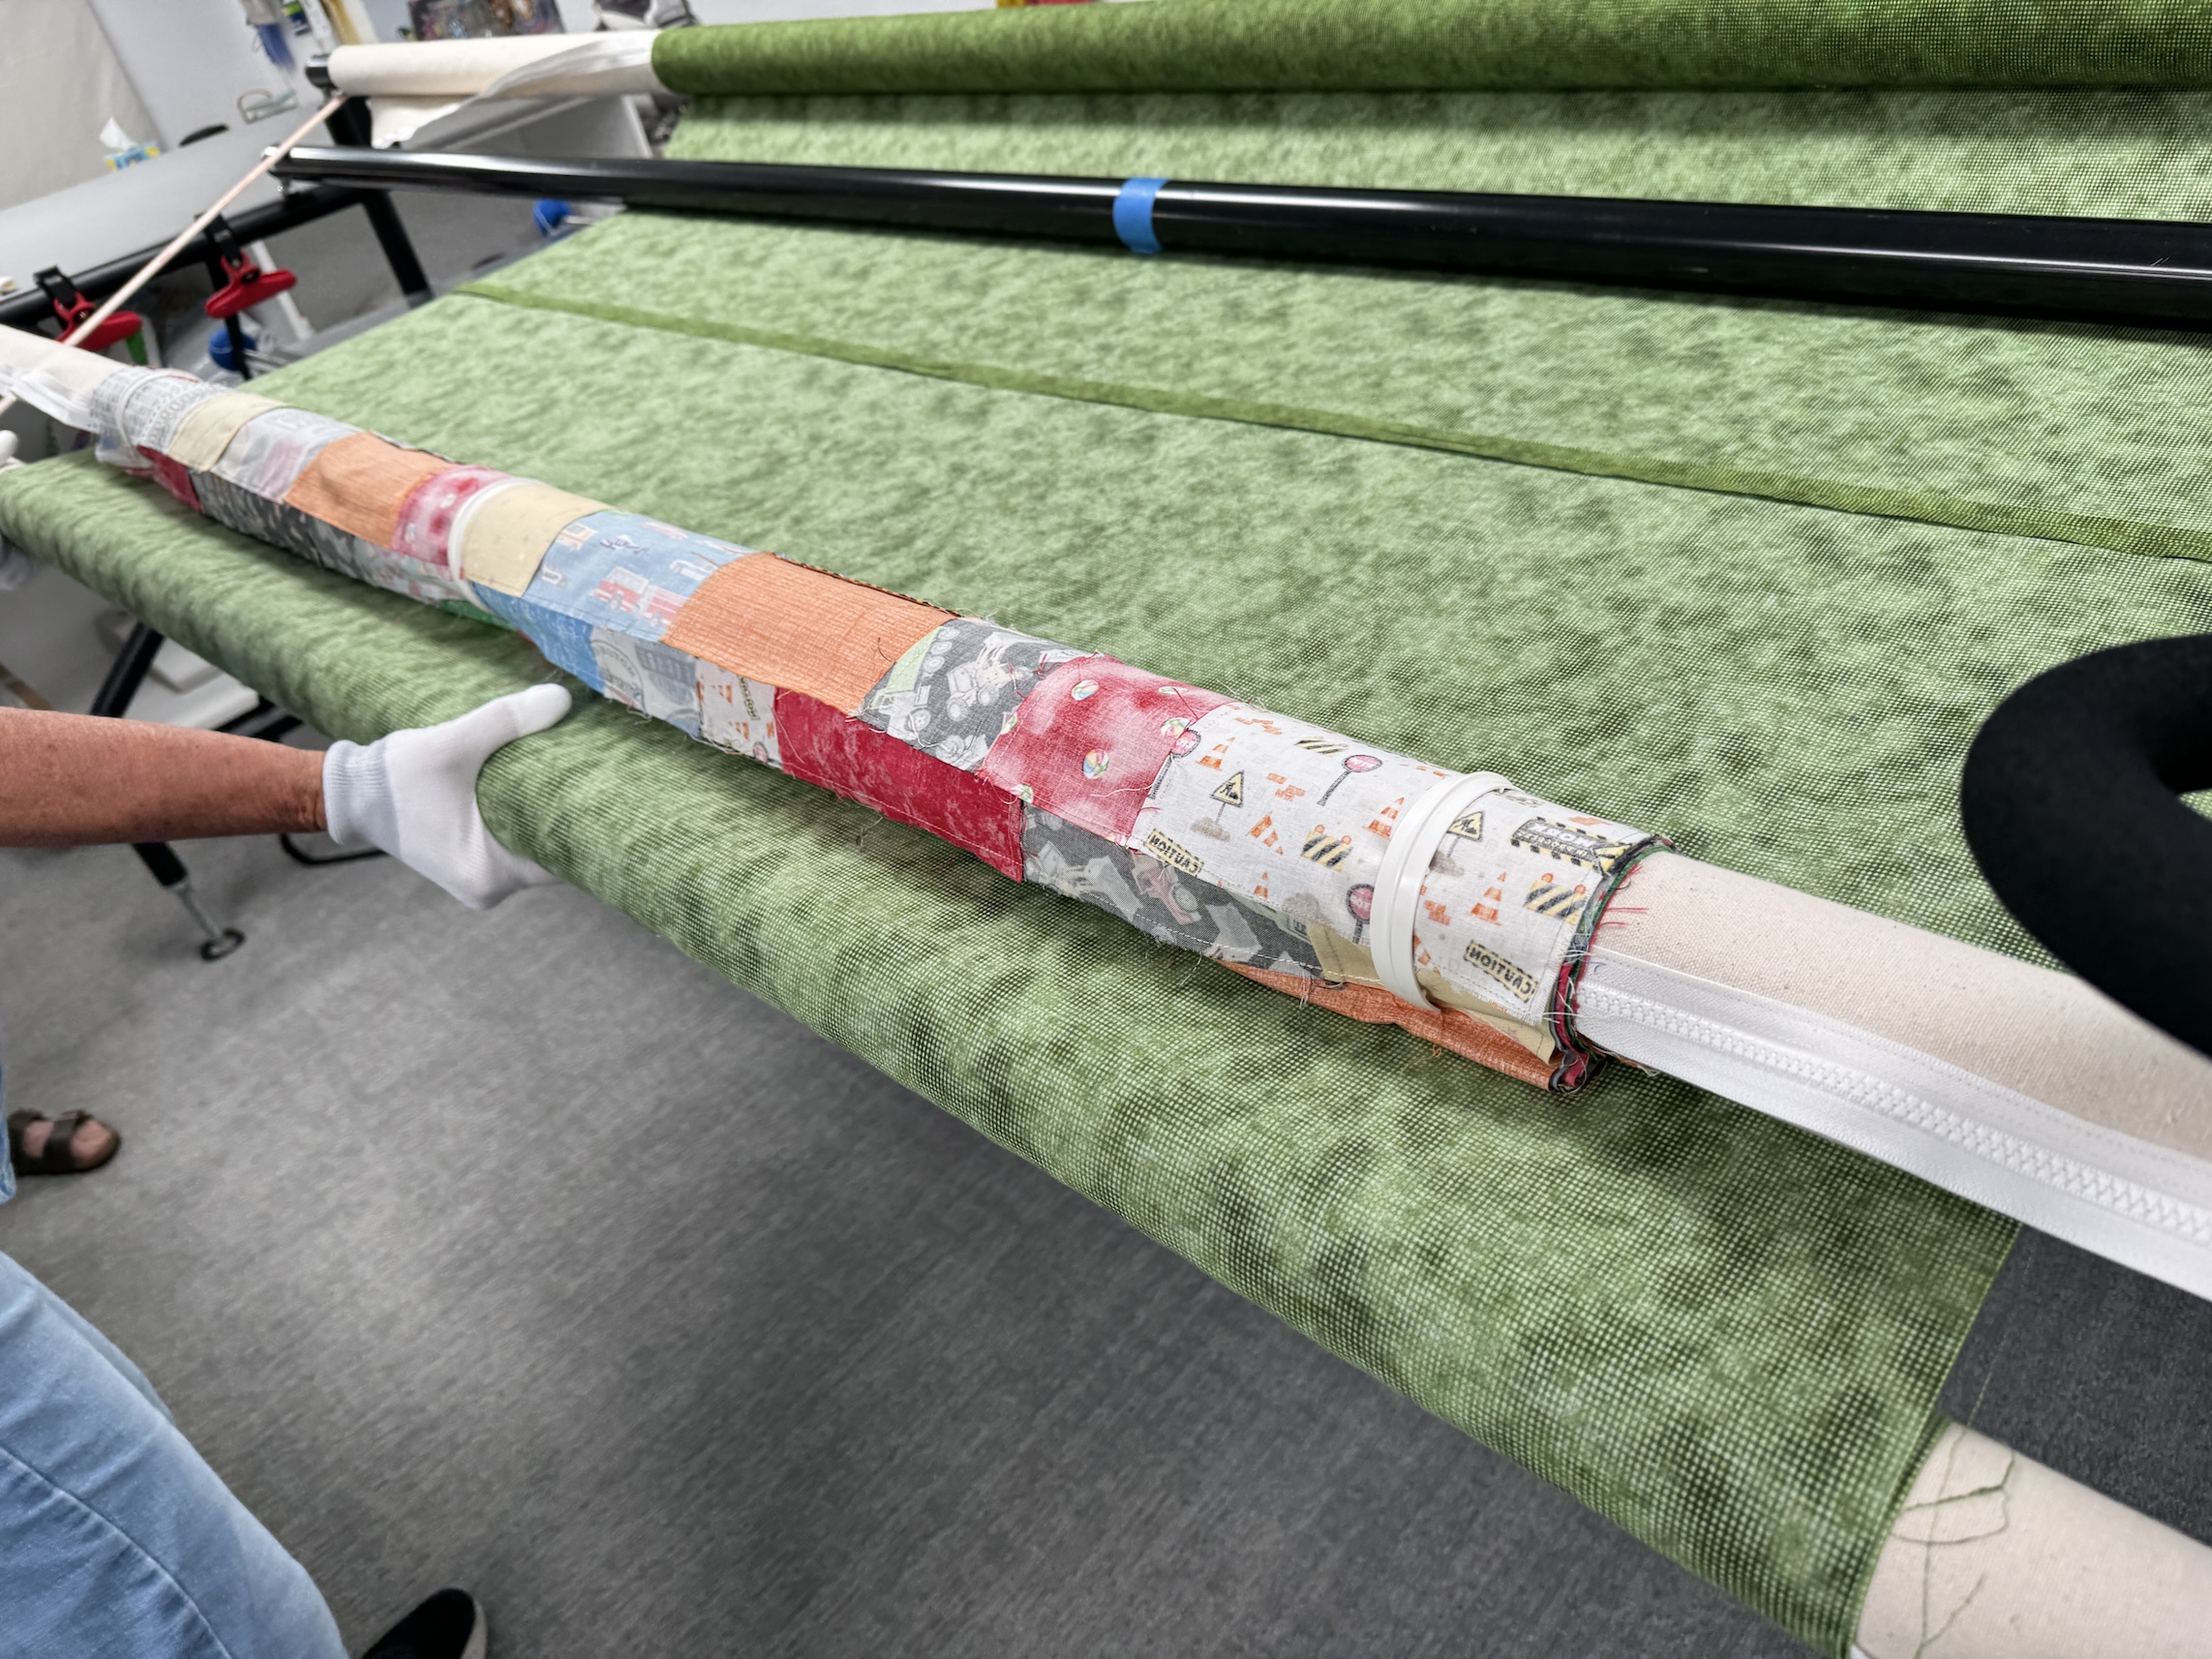
It is pretty physical – we saw J climb under her machine and check adjustments, etc. but first we were fascinated with how the quilt top is zippered onto the machine:
And all the physical work of aligning the quilt top and quilt backing; and adjusting:
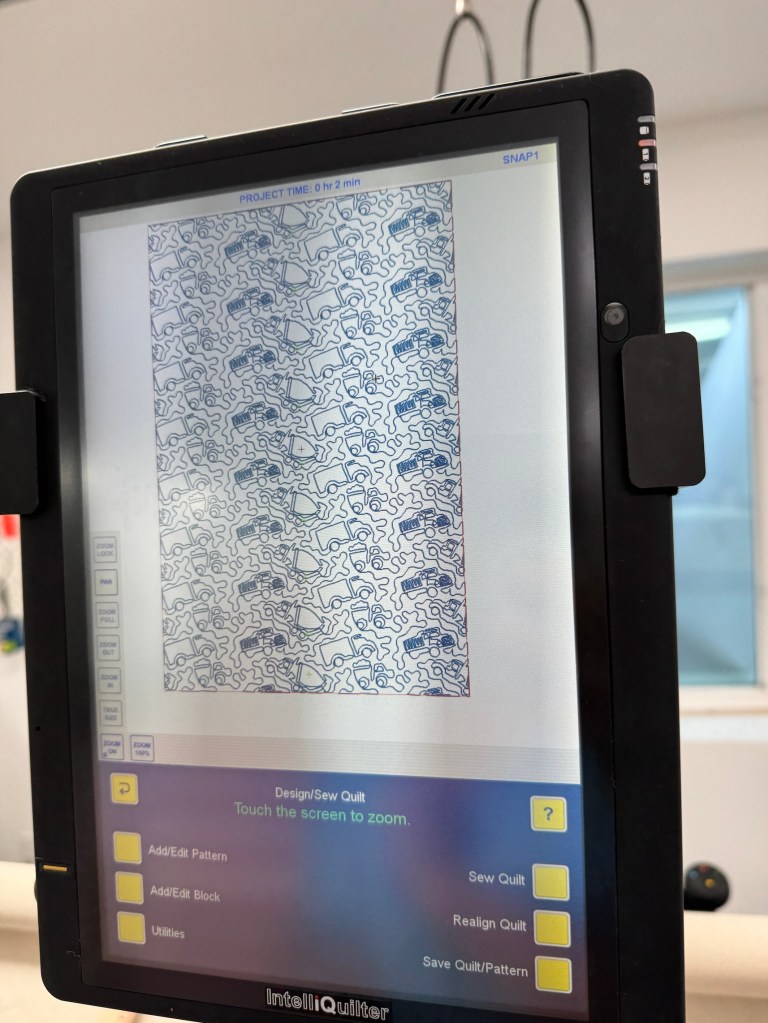
J and D had selected a truck quilting pattern for the truck themed quilt! It was fascinating to see how the computerized longarm machine “read” the pattern and progressed with stitching it onto the quilt!
We peeked under the machine frame to see the underside of the stitching on the quilt back – the pattern really shows on the solid color of the backing:
(Watching the entire setting up a quilt to be longarm machine quilted really help me understand why longarm quilters request that your backing is at least 4 inches (some request more) beyond the size of your quilt top.)
At our next together I will see the completed quilt – and see the conclusion to the journey that J (who did most the teaching) and I went on with D! Then the 3 of us will decide what project is next and we might work on the same quilt (or maybe a bag) together during our future Quilter Playdates 🙂
Somewhere in the middle of August, between trips to Canada (see post The World Needs More Canada) I took a Dot Painting class at Pinspiration in Loveland, Colorado with my friend J and her granddaughter P (who is 28).
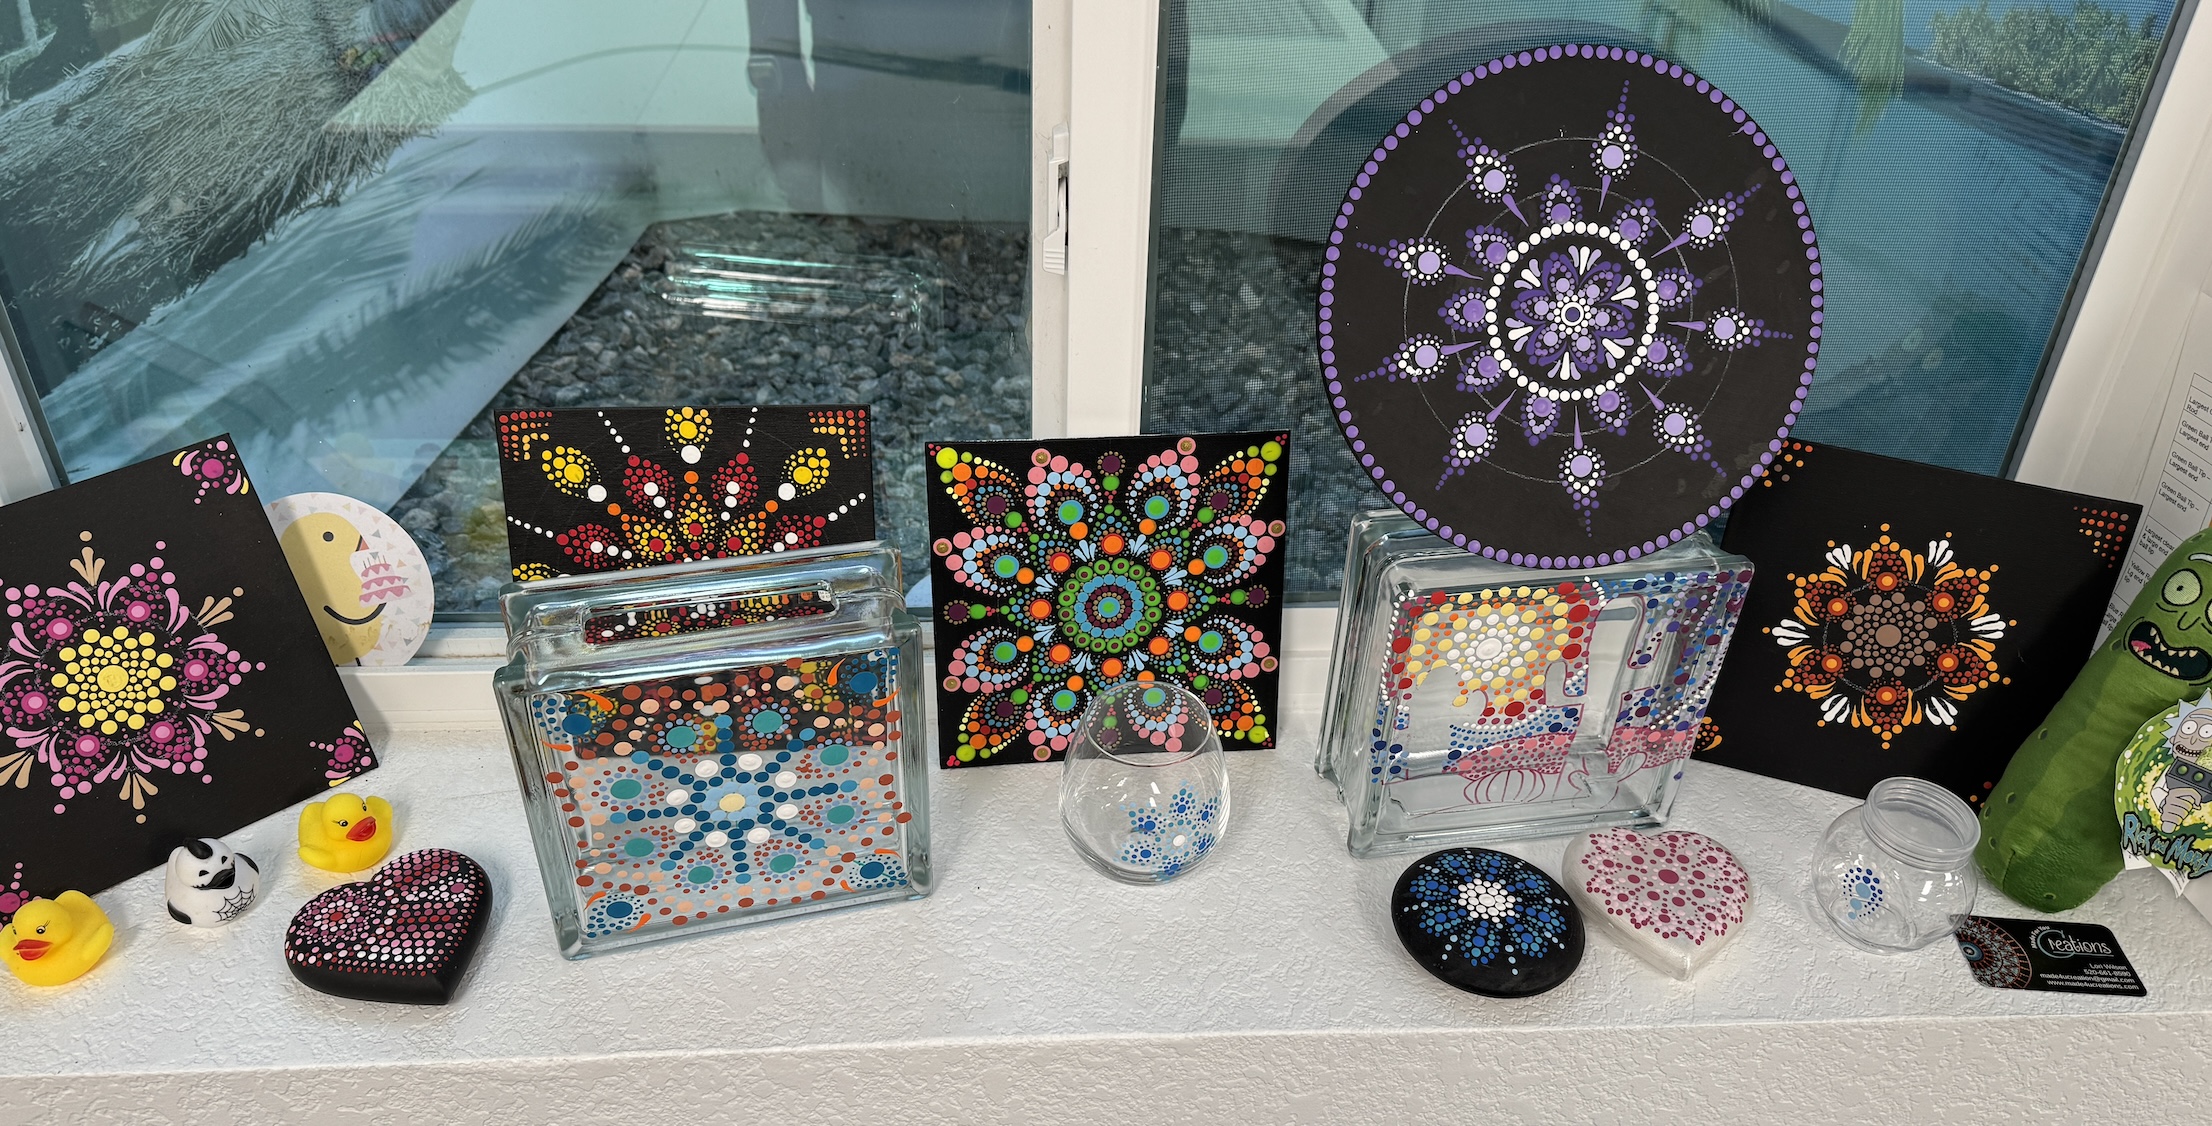
I was inspired to take the class by this display in J’s amazing quilt studio (see post Project Linus Mini Retreat, Part II) at her window well (basement window):
J and P had taken several Dot Painting classes before and most of the pieces were made by P who has become very adept at Dot Painting!
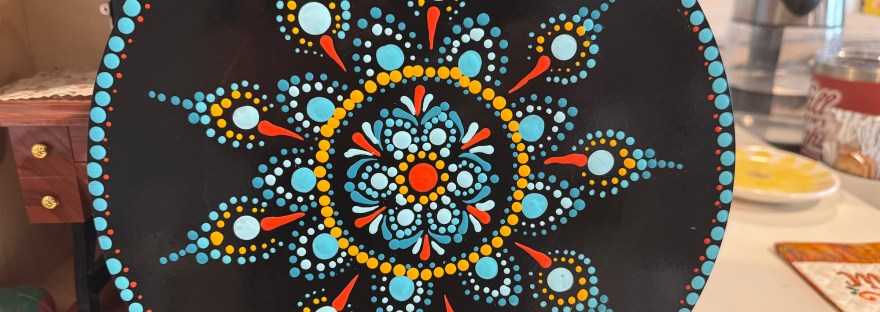
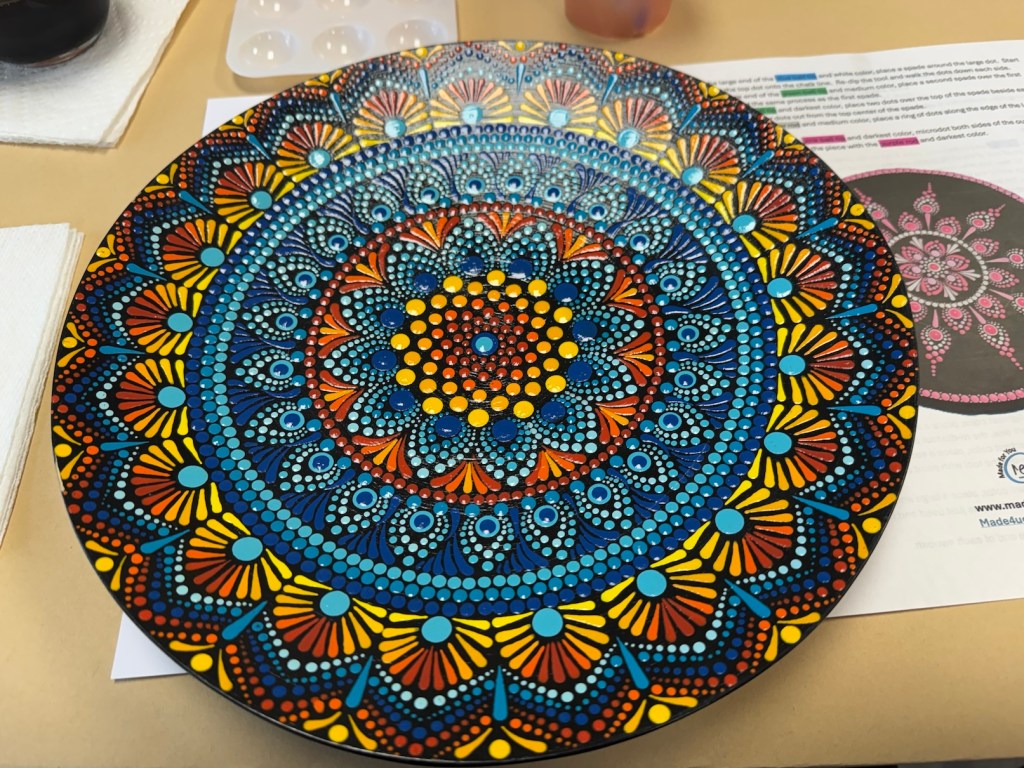
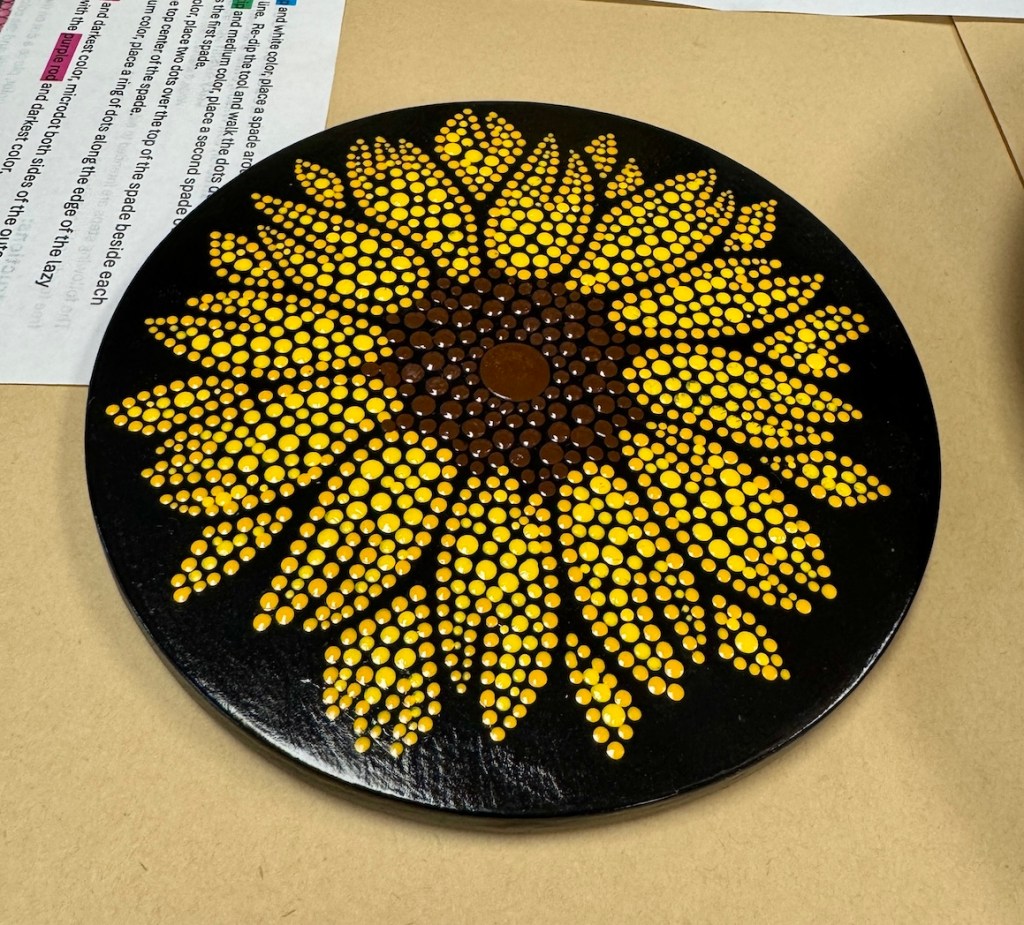
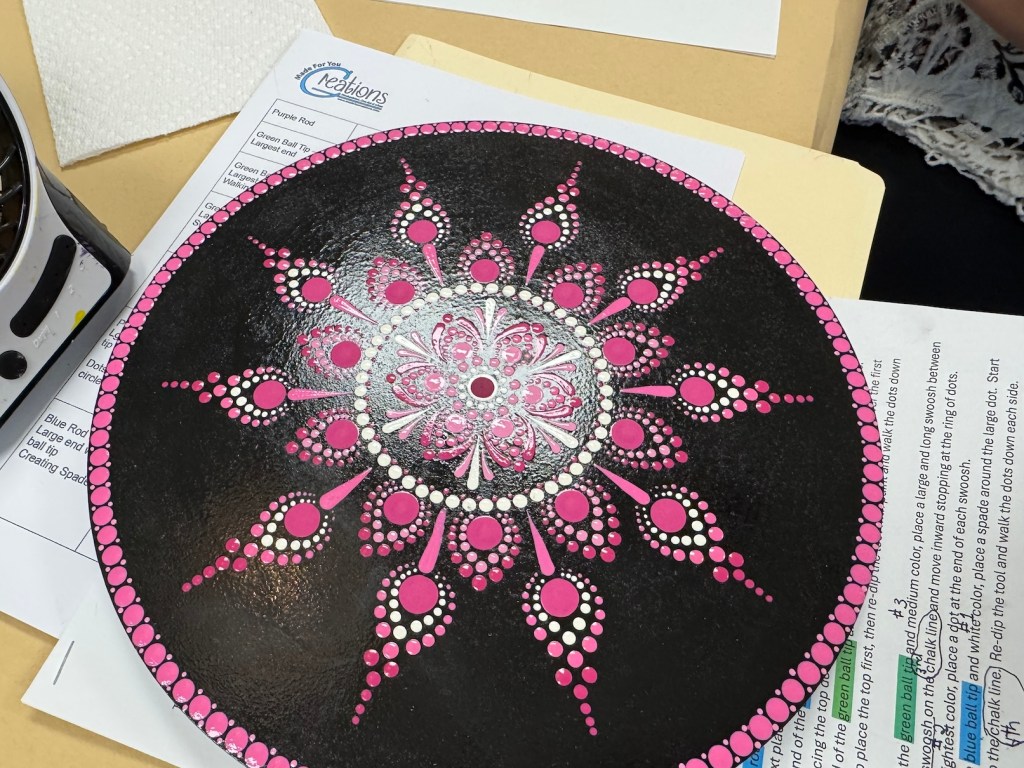
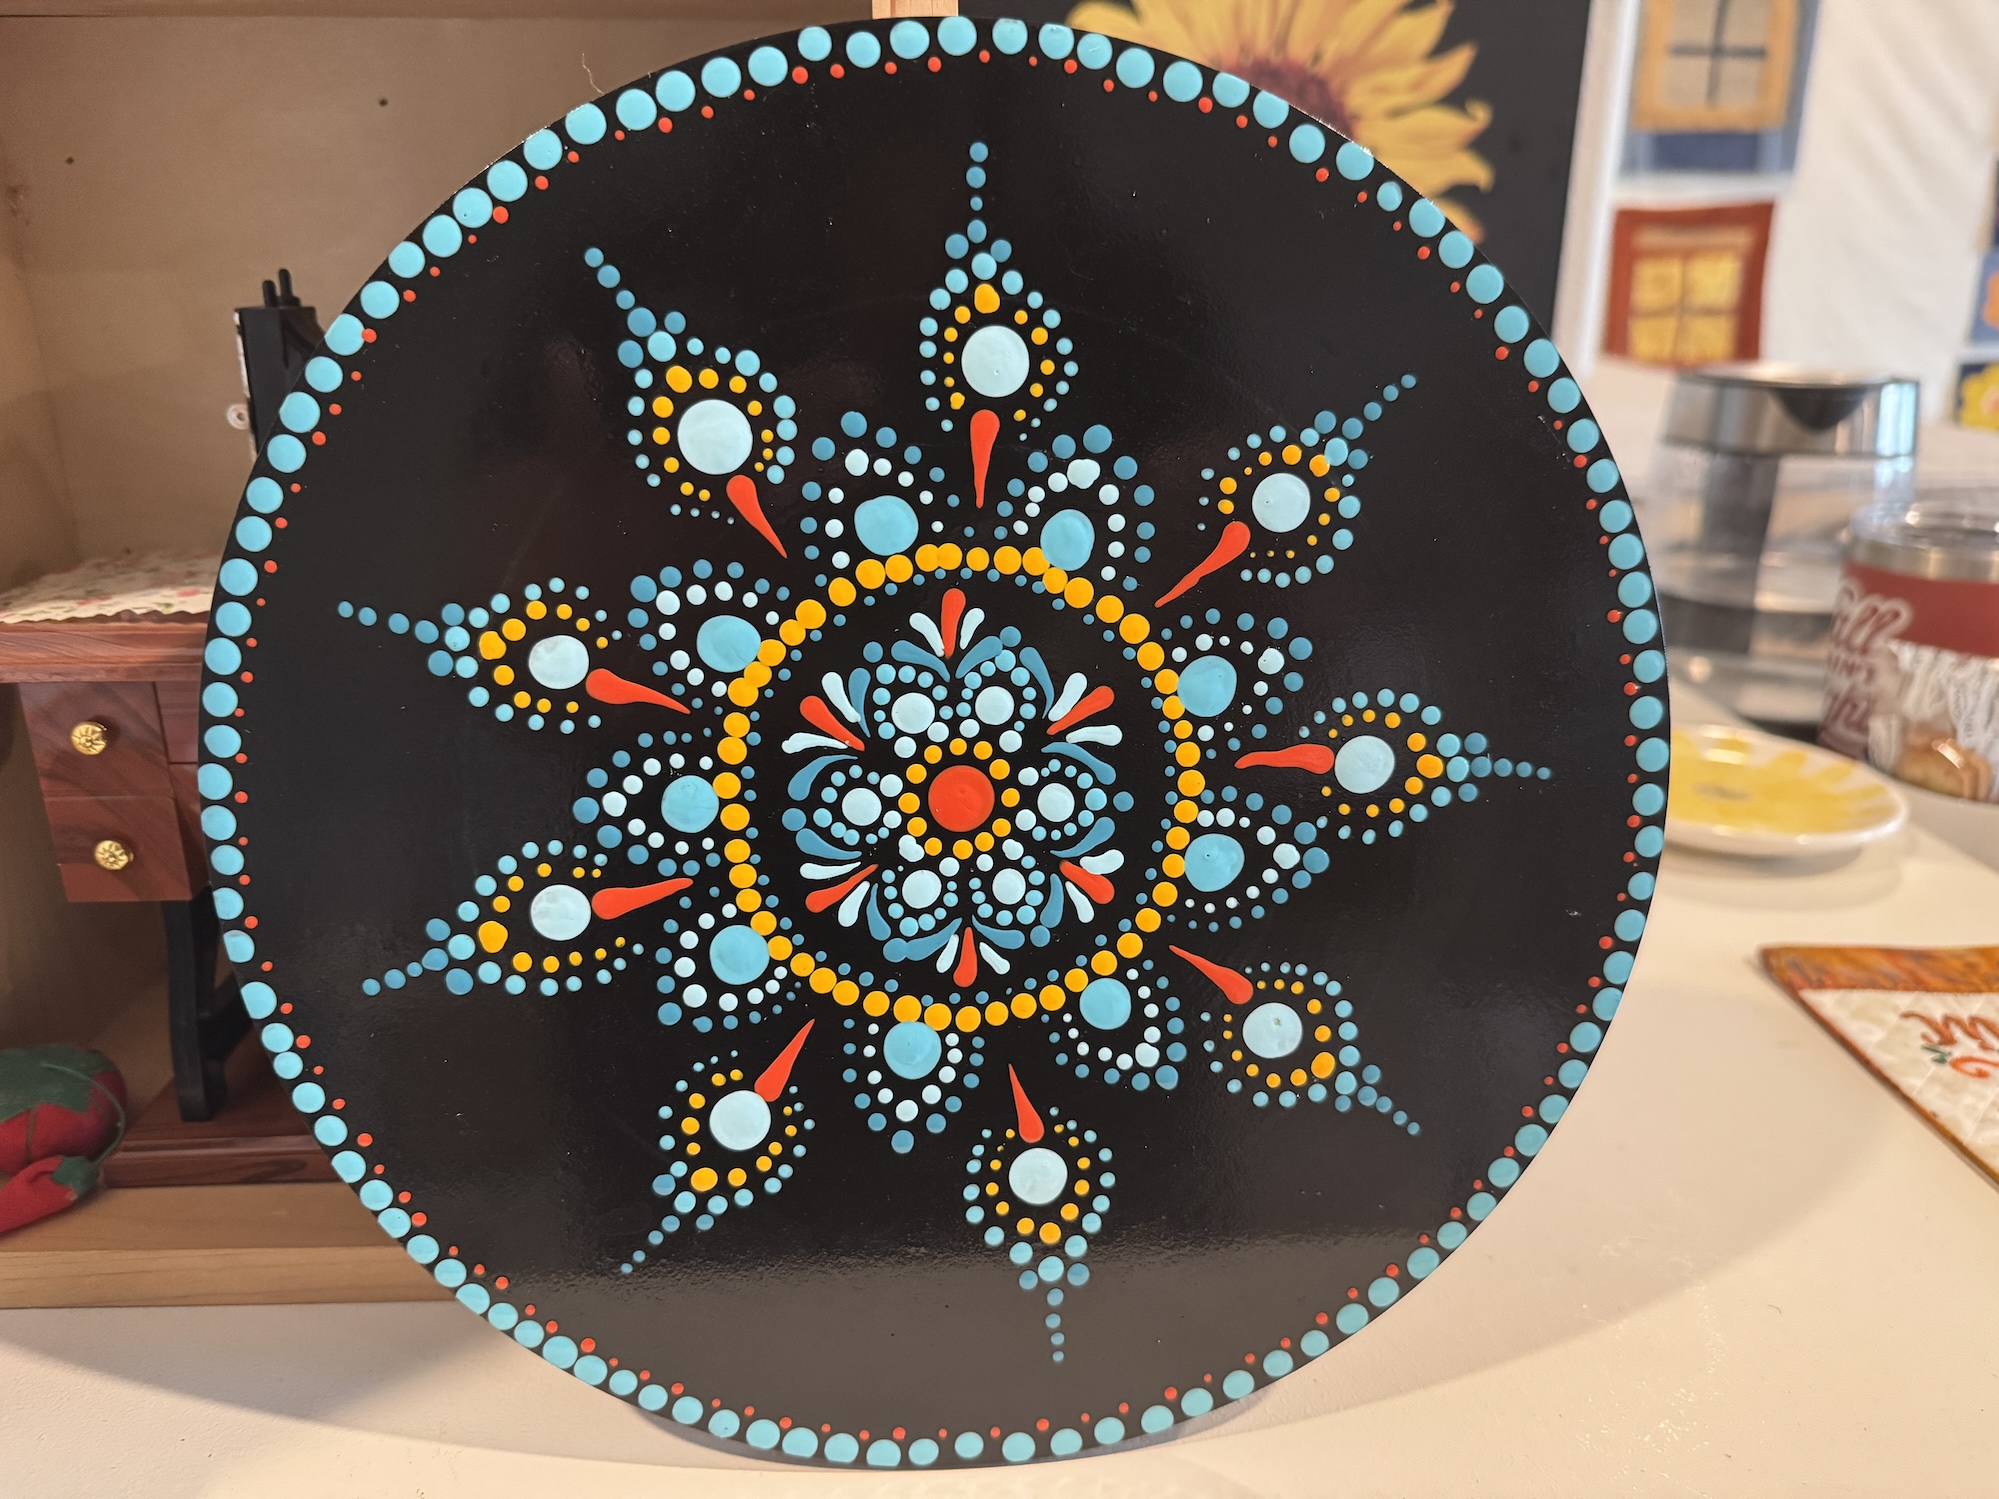
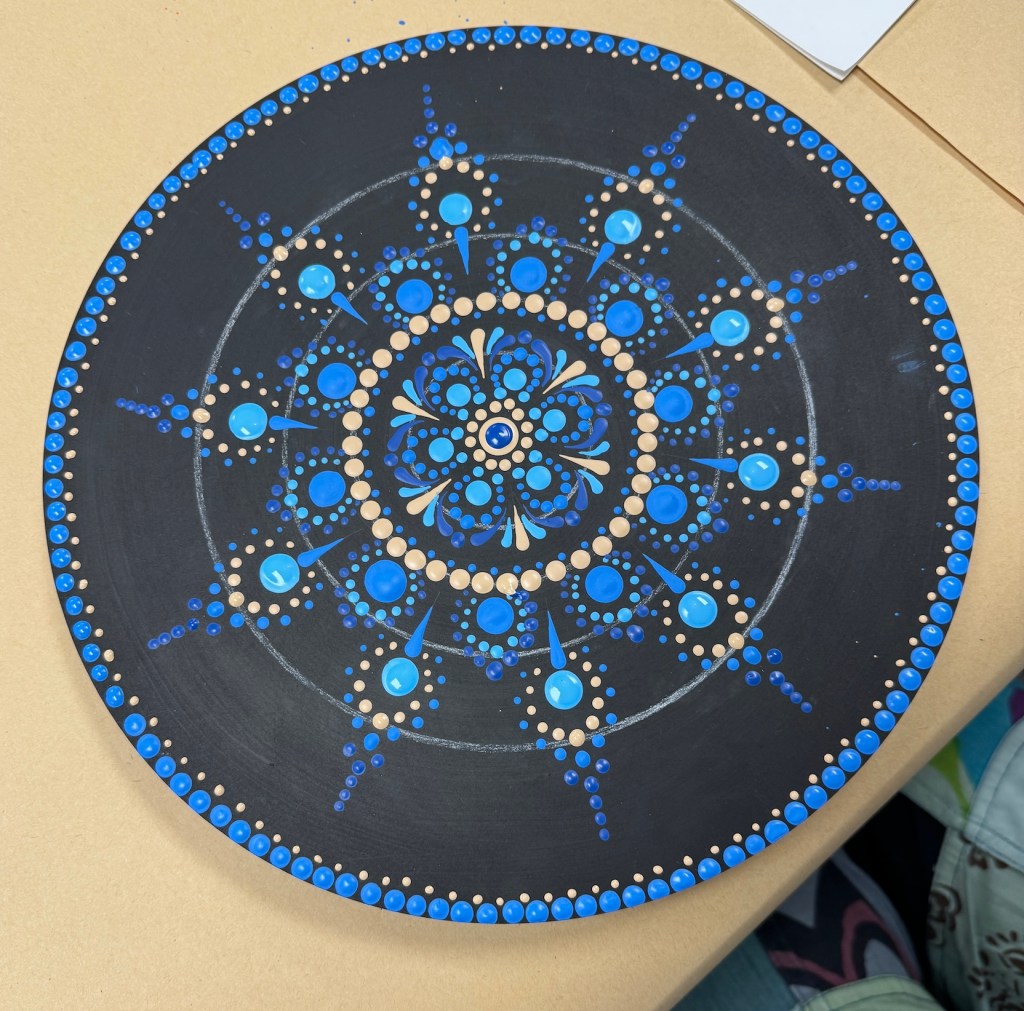
The class was taught by amazing Lori Wilson of Made for You Creations and the class attendee were painting a small “lazy susan”/turntable. She brought in some examples of her turntables and the class sample:
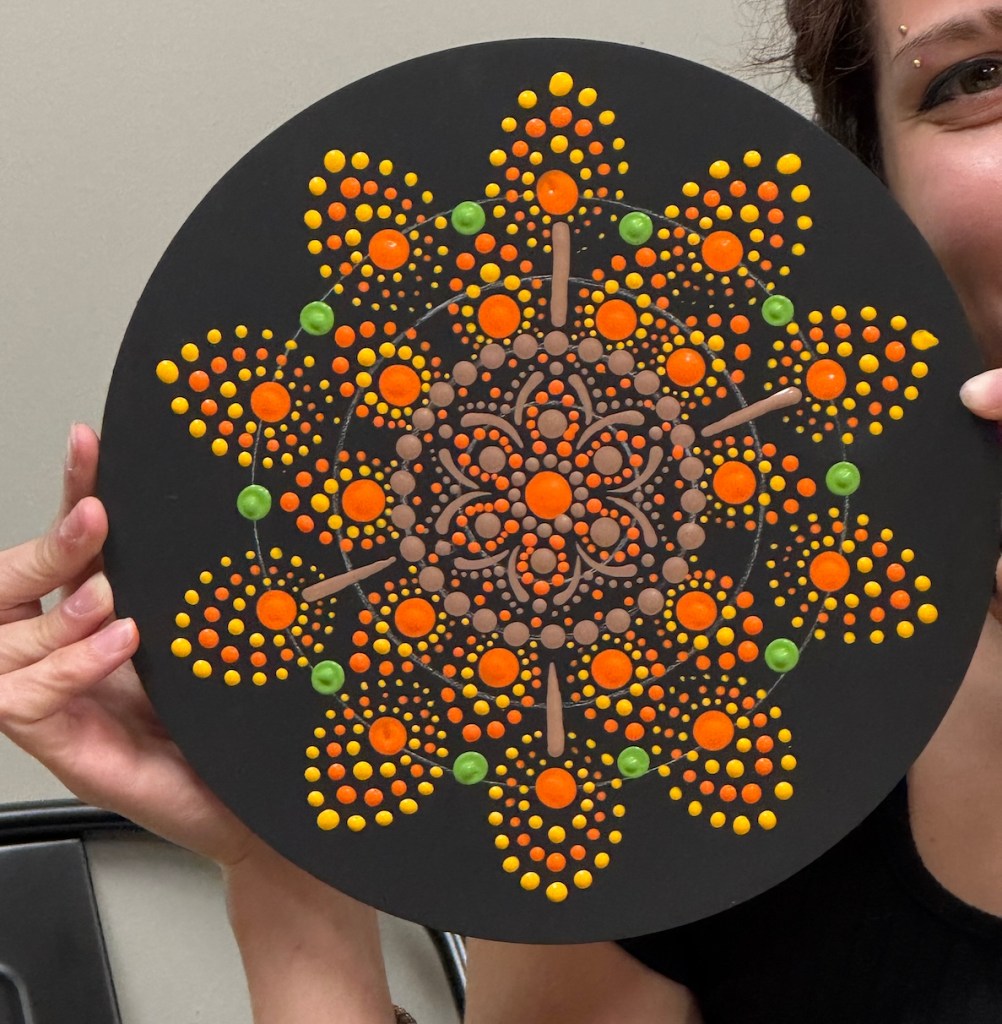
If you remember how much I LOVE SUNFLOWERS, I loved the sample in the second image!
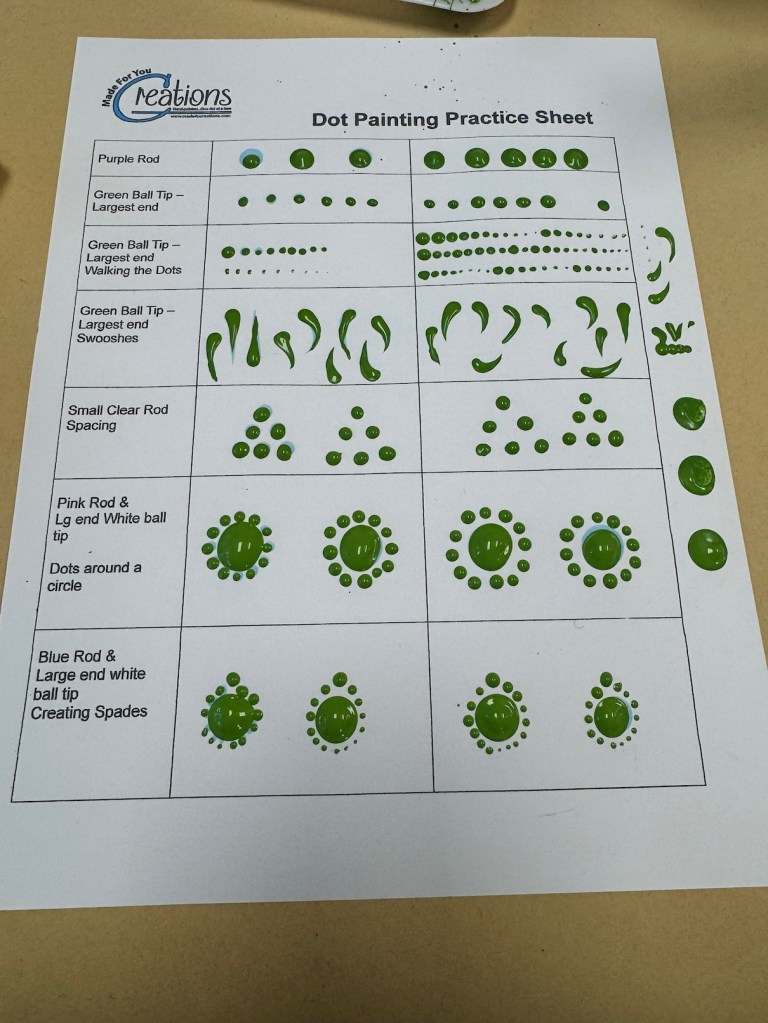
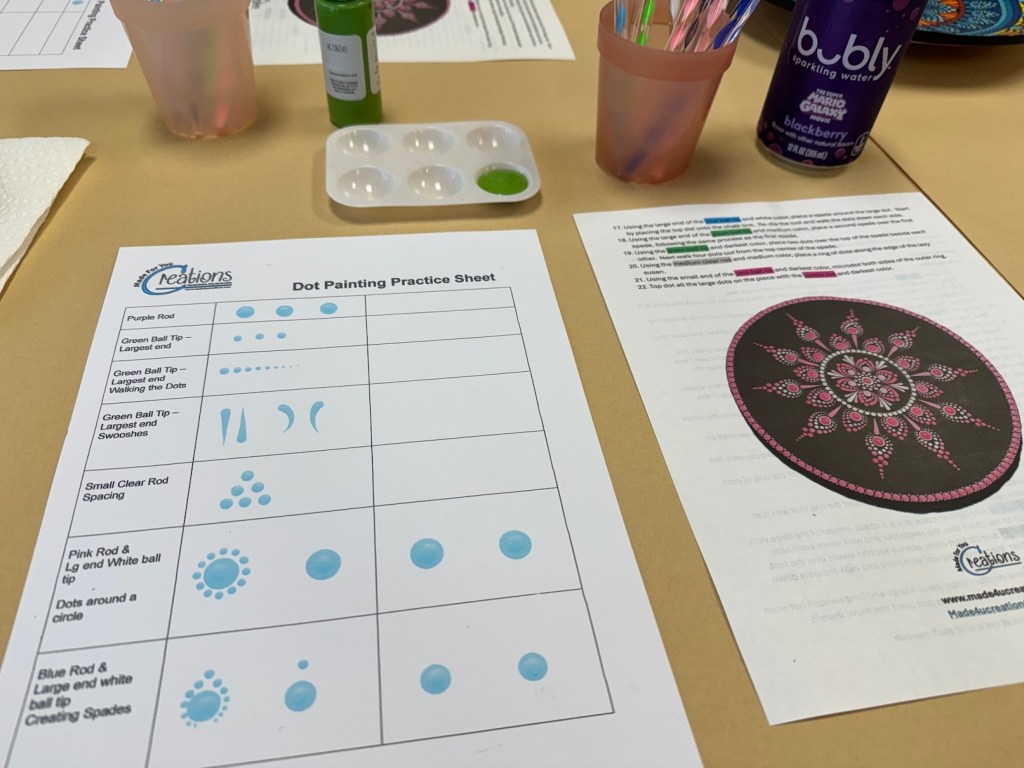
So first we learned Dot Painting techniques and practiced with the color palette we selected from the available acrylic paints:
But here is my practice sheet (first image) vs. the instructors example (second image):
I was either too heavy handed or too hesitant but I got more comfortable with practice 🙂
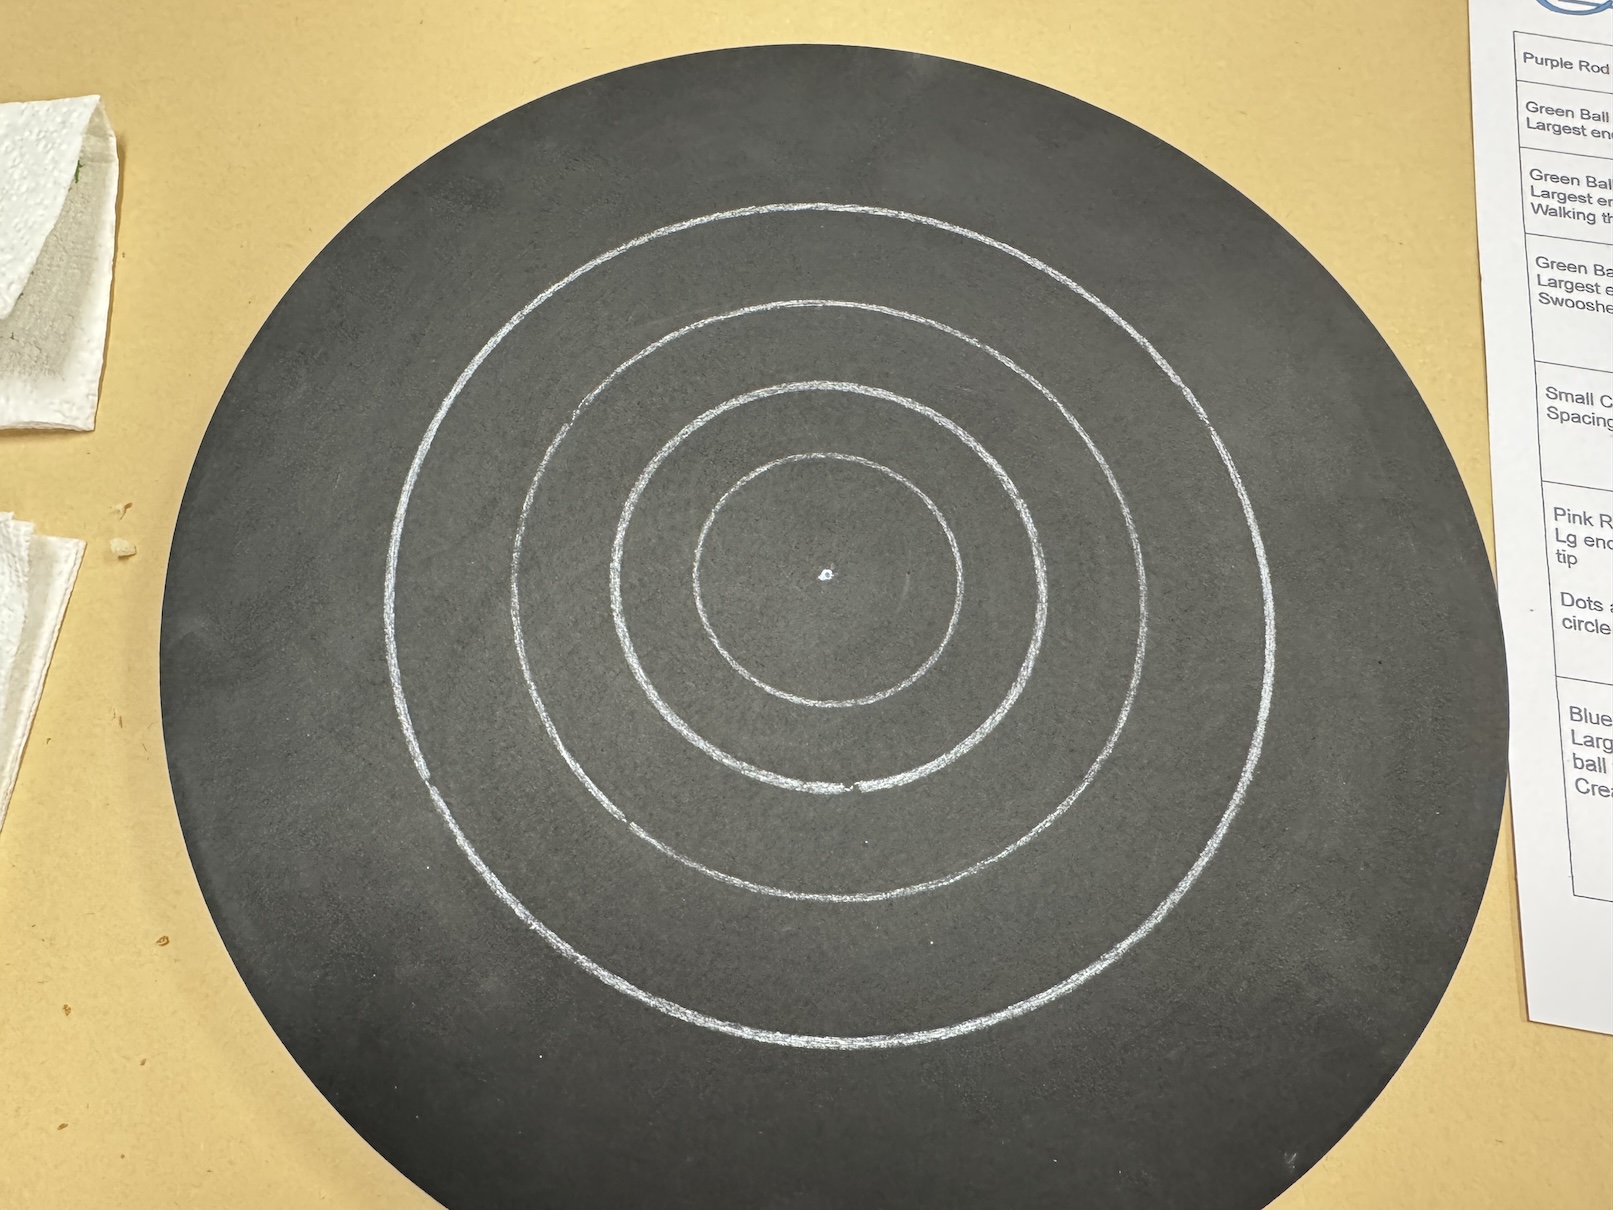
Then it was time to put paint on my turntable (a little bit of fear setting in), but the instructor had marked the turntable with chalk markings to guide us.
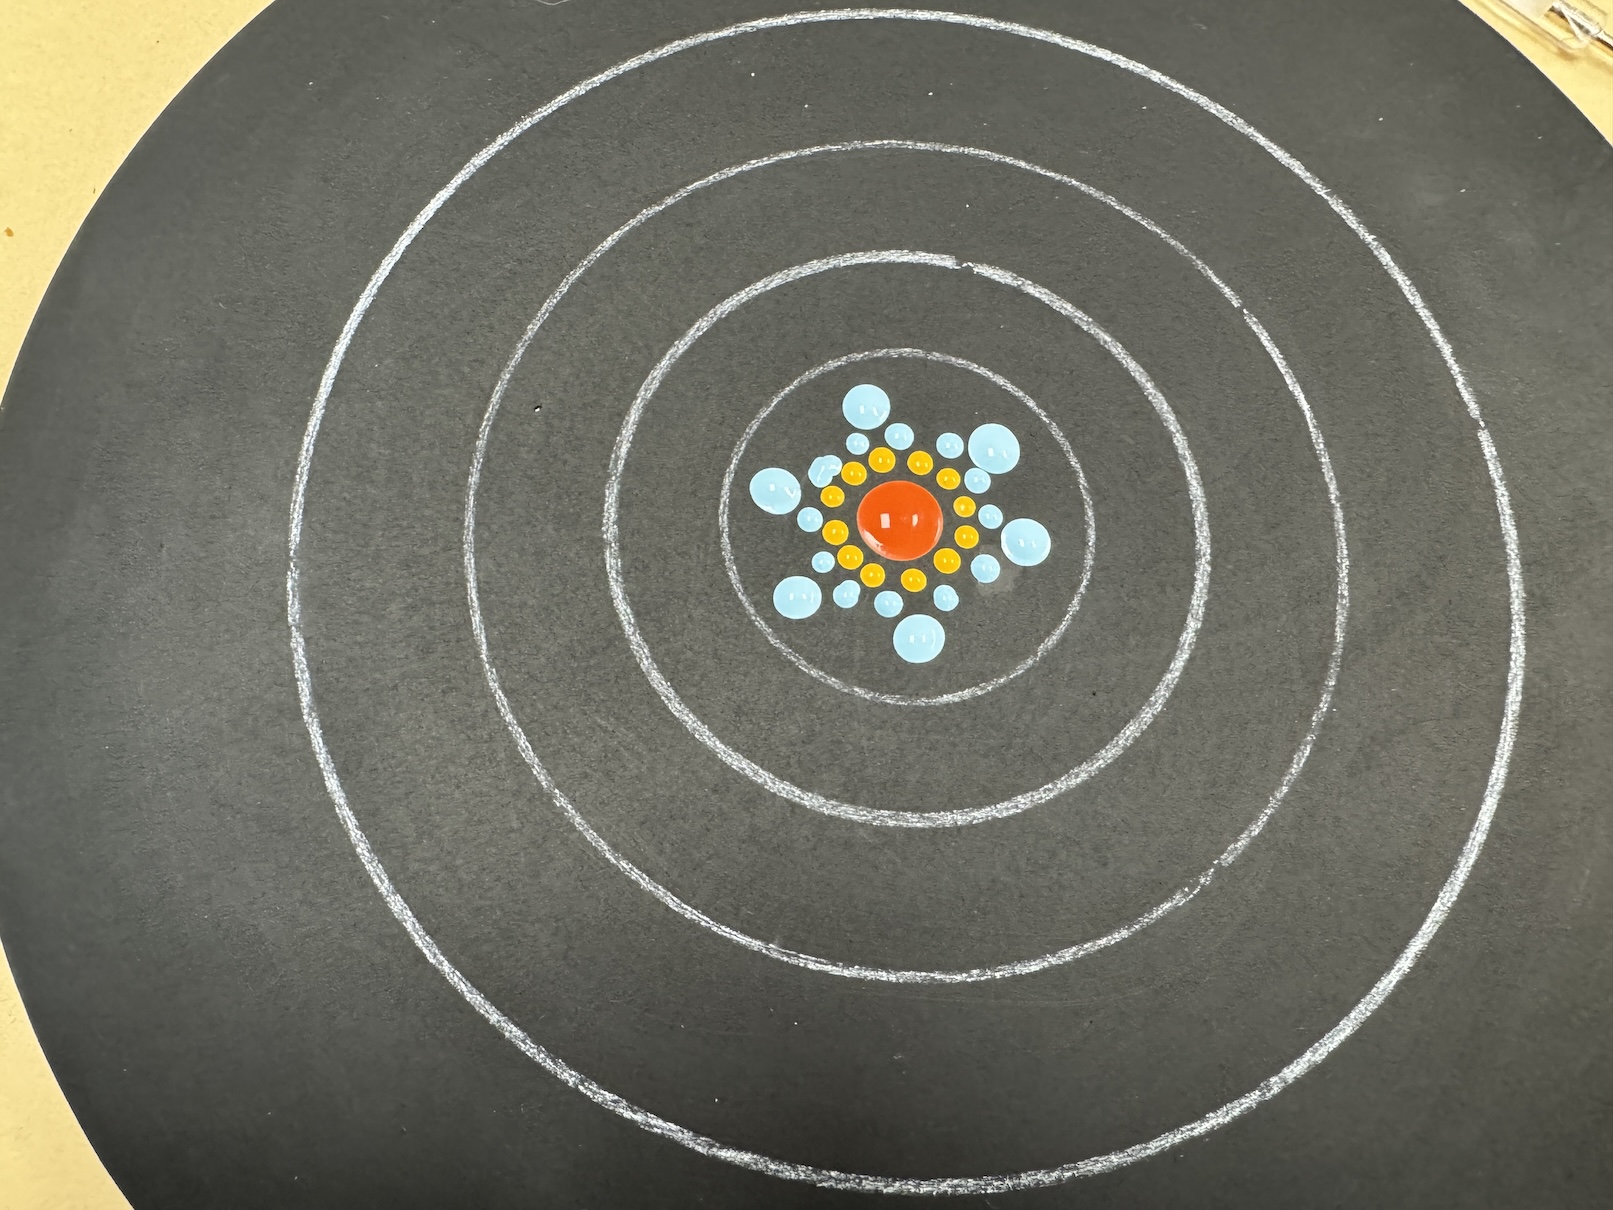
And then I progressed from this:
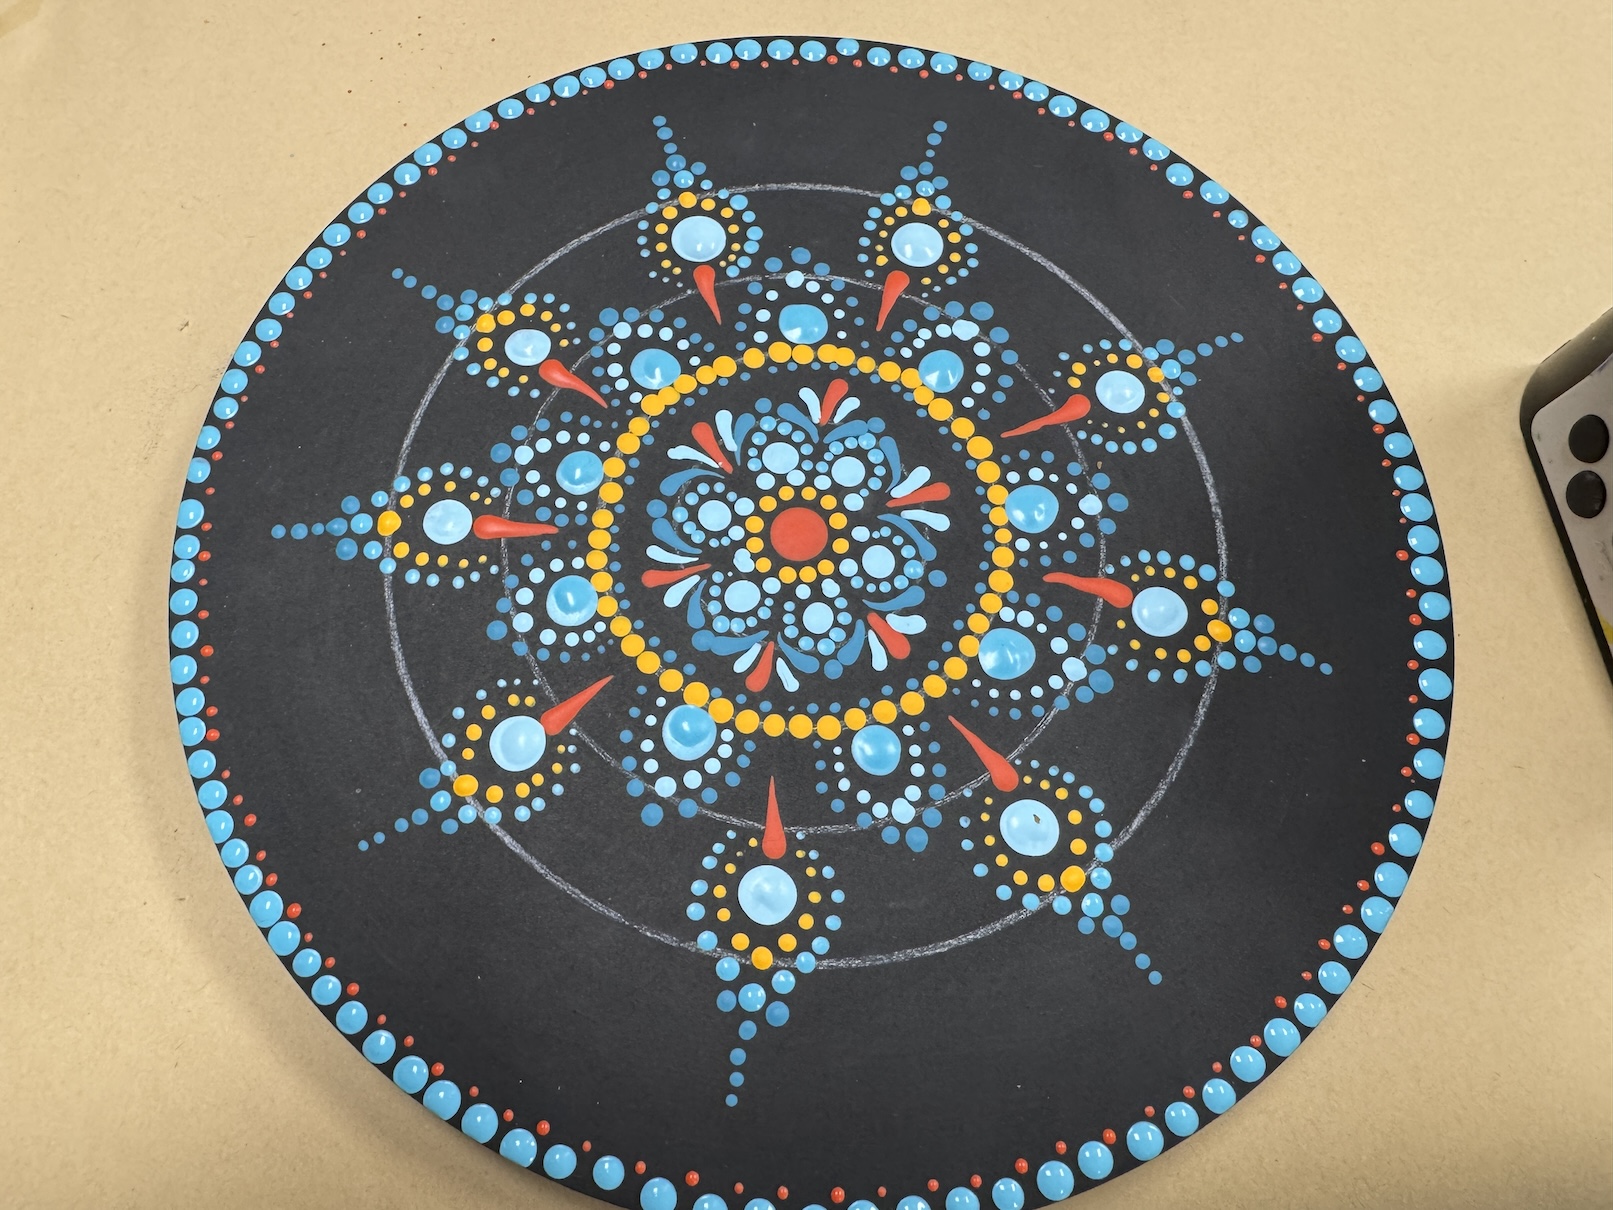
To this:
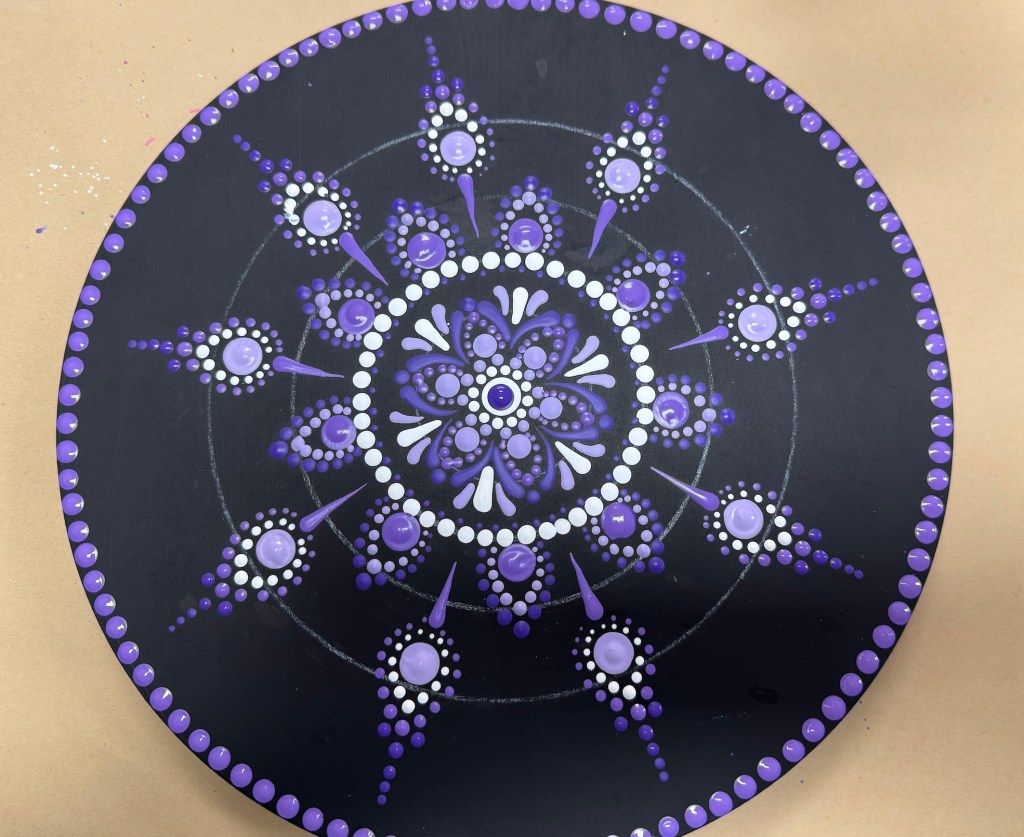
Here are examples of some of the other students work in class including my friends J and P who are the first two images:
In the last image, the student deviated from the sample pattern we followed after making a mistake on one of the rounds and instead created a masterpiece!
It was such a fun class with lots of laughs, special adult beverages, and snacks!
J and I went thrift shopping in Loveland before class with some great finds, and P met us for a yummy dinner at PF Changs before class. A very good afternoon/evening!
The next day after returning home I bought a can of shellac and shellaced my turntable to seal in the paint and protect it.
I did buy one of the inexpensive toolkits the instructor was selling and some blackboard paint (the base layer for whatever you want to dot paint) and I want to try making something on my own someday. I am waiting invest in paints when I am actually ready and I’d like to do a mandala on a rock (and I recently found a book on doing just that at a second hand bookstore!)
At the end of July we met in J’s studio (she is my neighbor and I can walk over to her house – I now live in a community of quilters!) to continue to help D, a new quilter, make her first quilt.
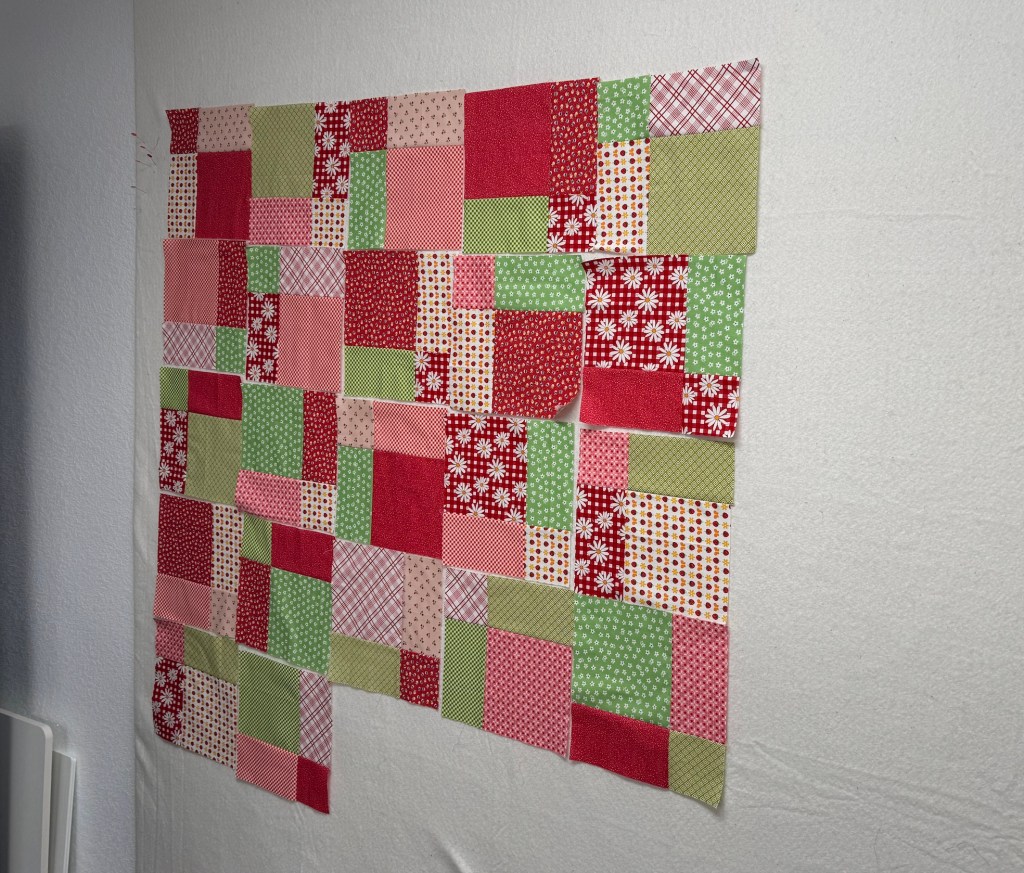
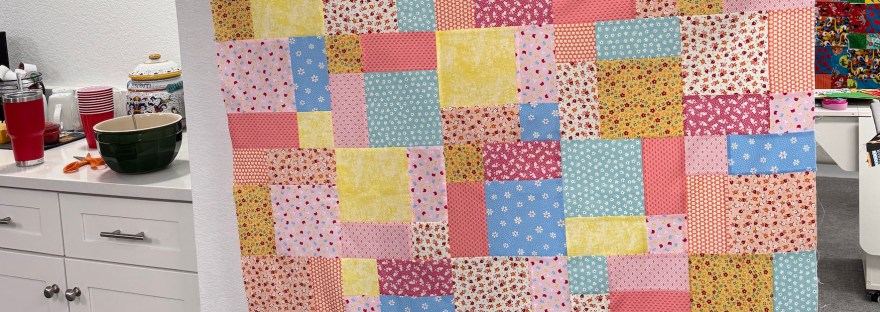
This session was laying out the quilt on the design wall! D had pieced all her blocks and it was time to find a layout. I won’t clog up this post with photos of all the different versions we worked through but here is the final version (to my knowledge unless she went home and changed it):
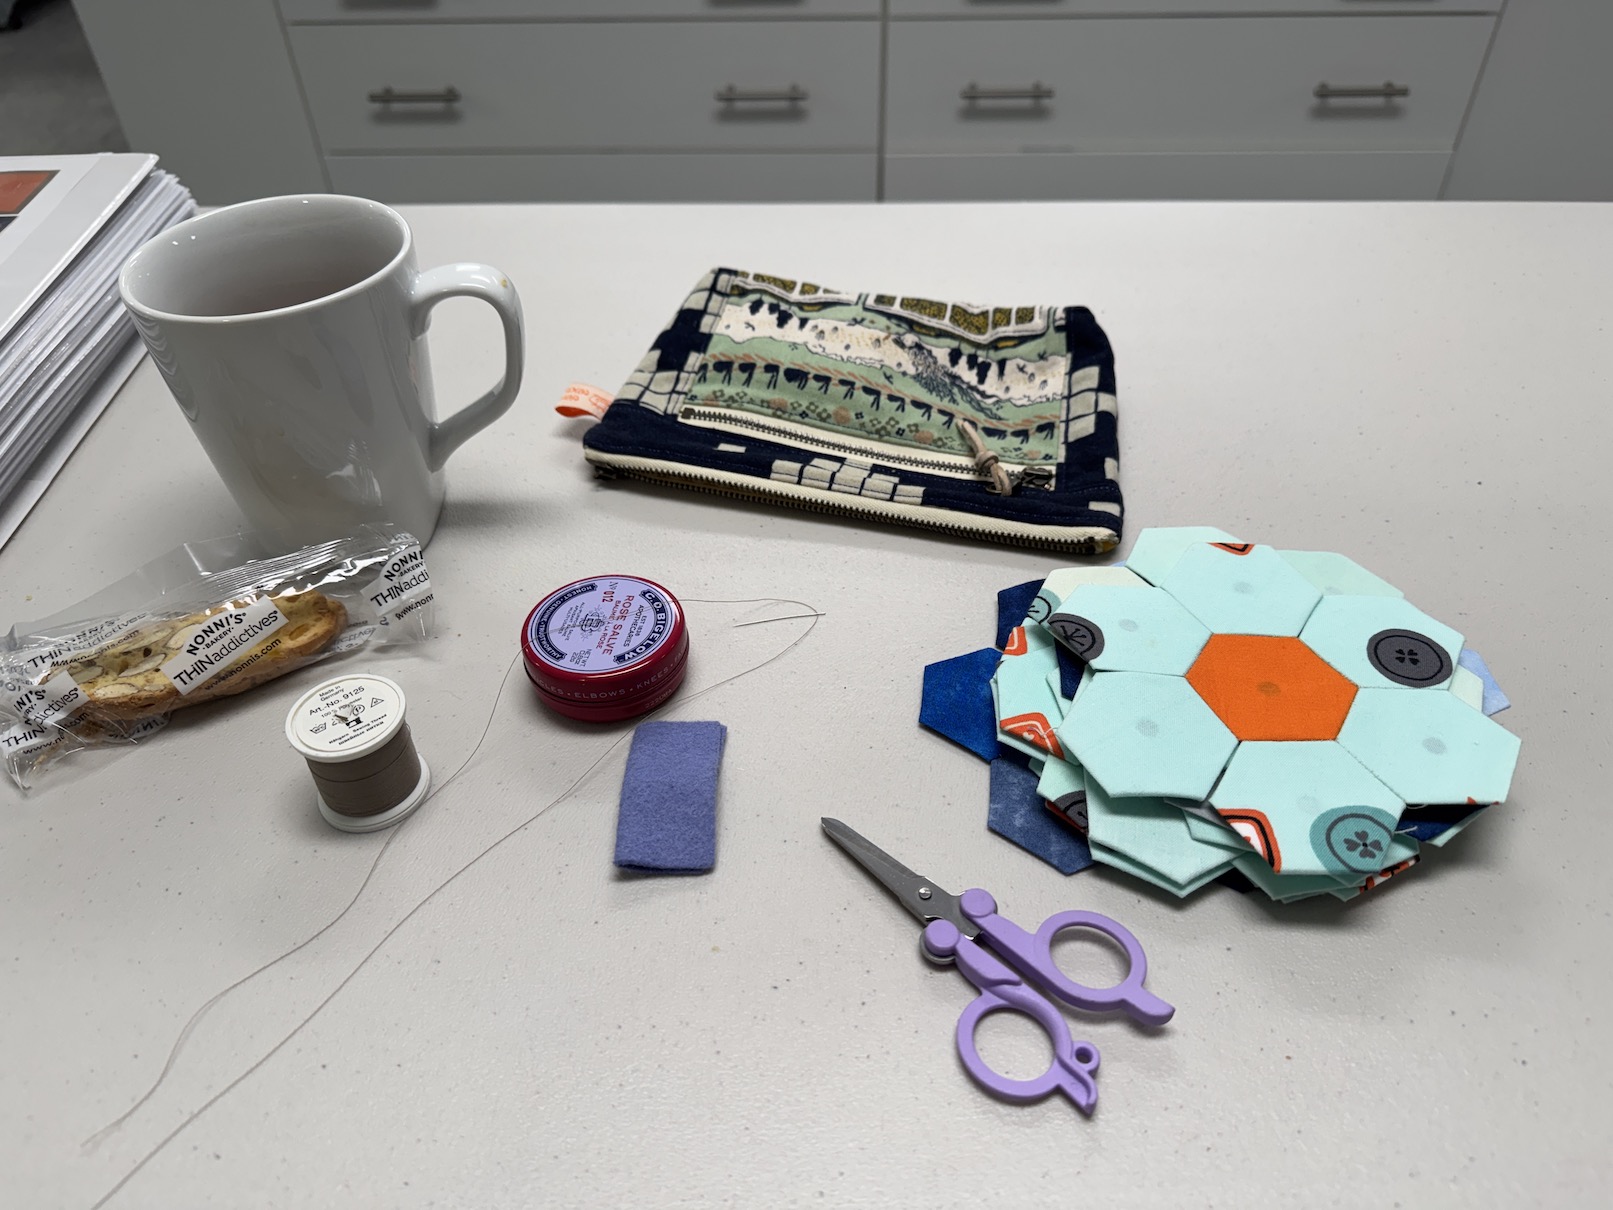
I worked on my EPP project (hand sewing the rest of the rosette hexagon sides together) during our get together:
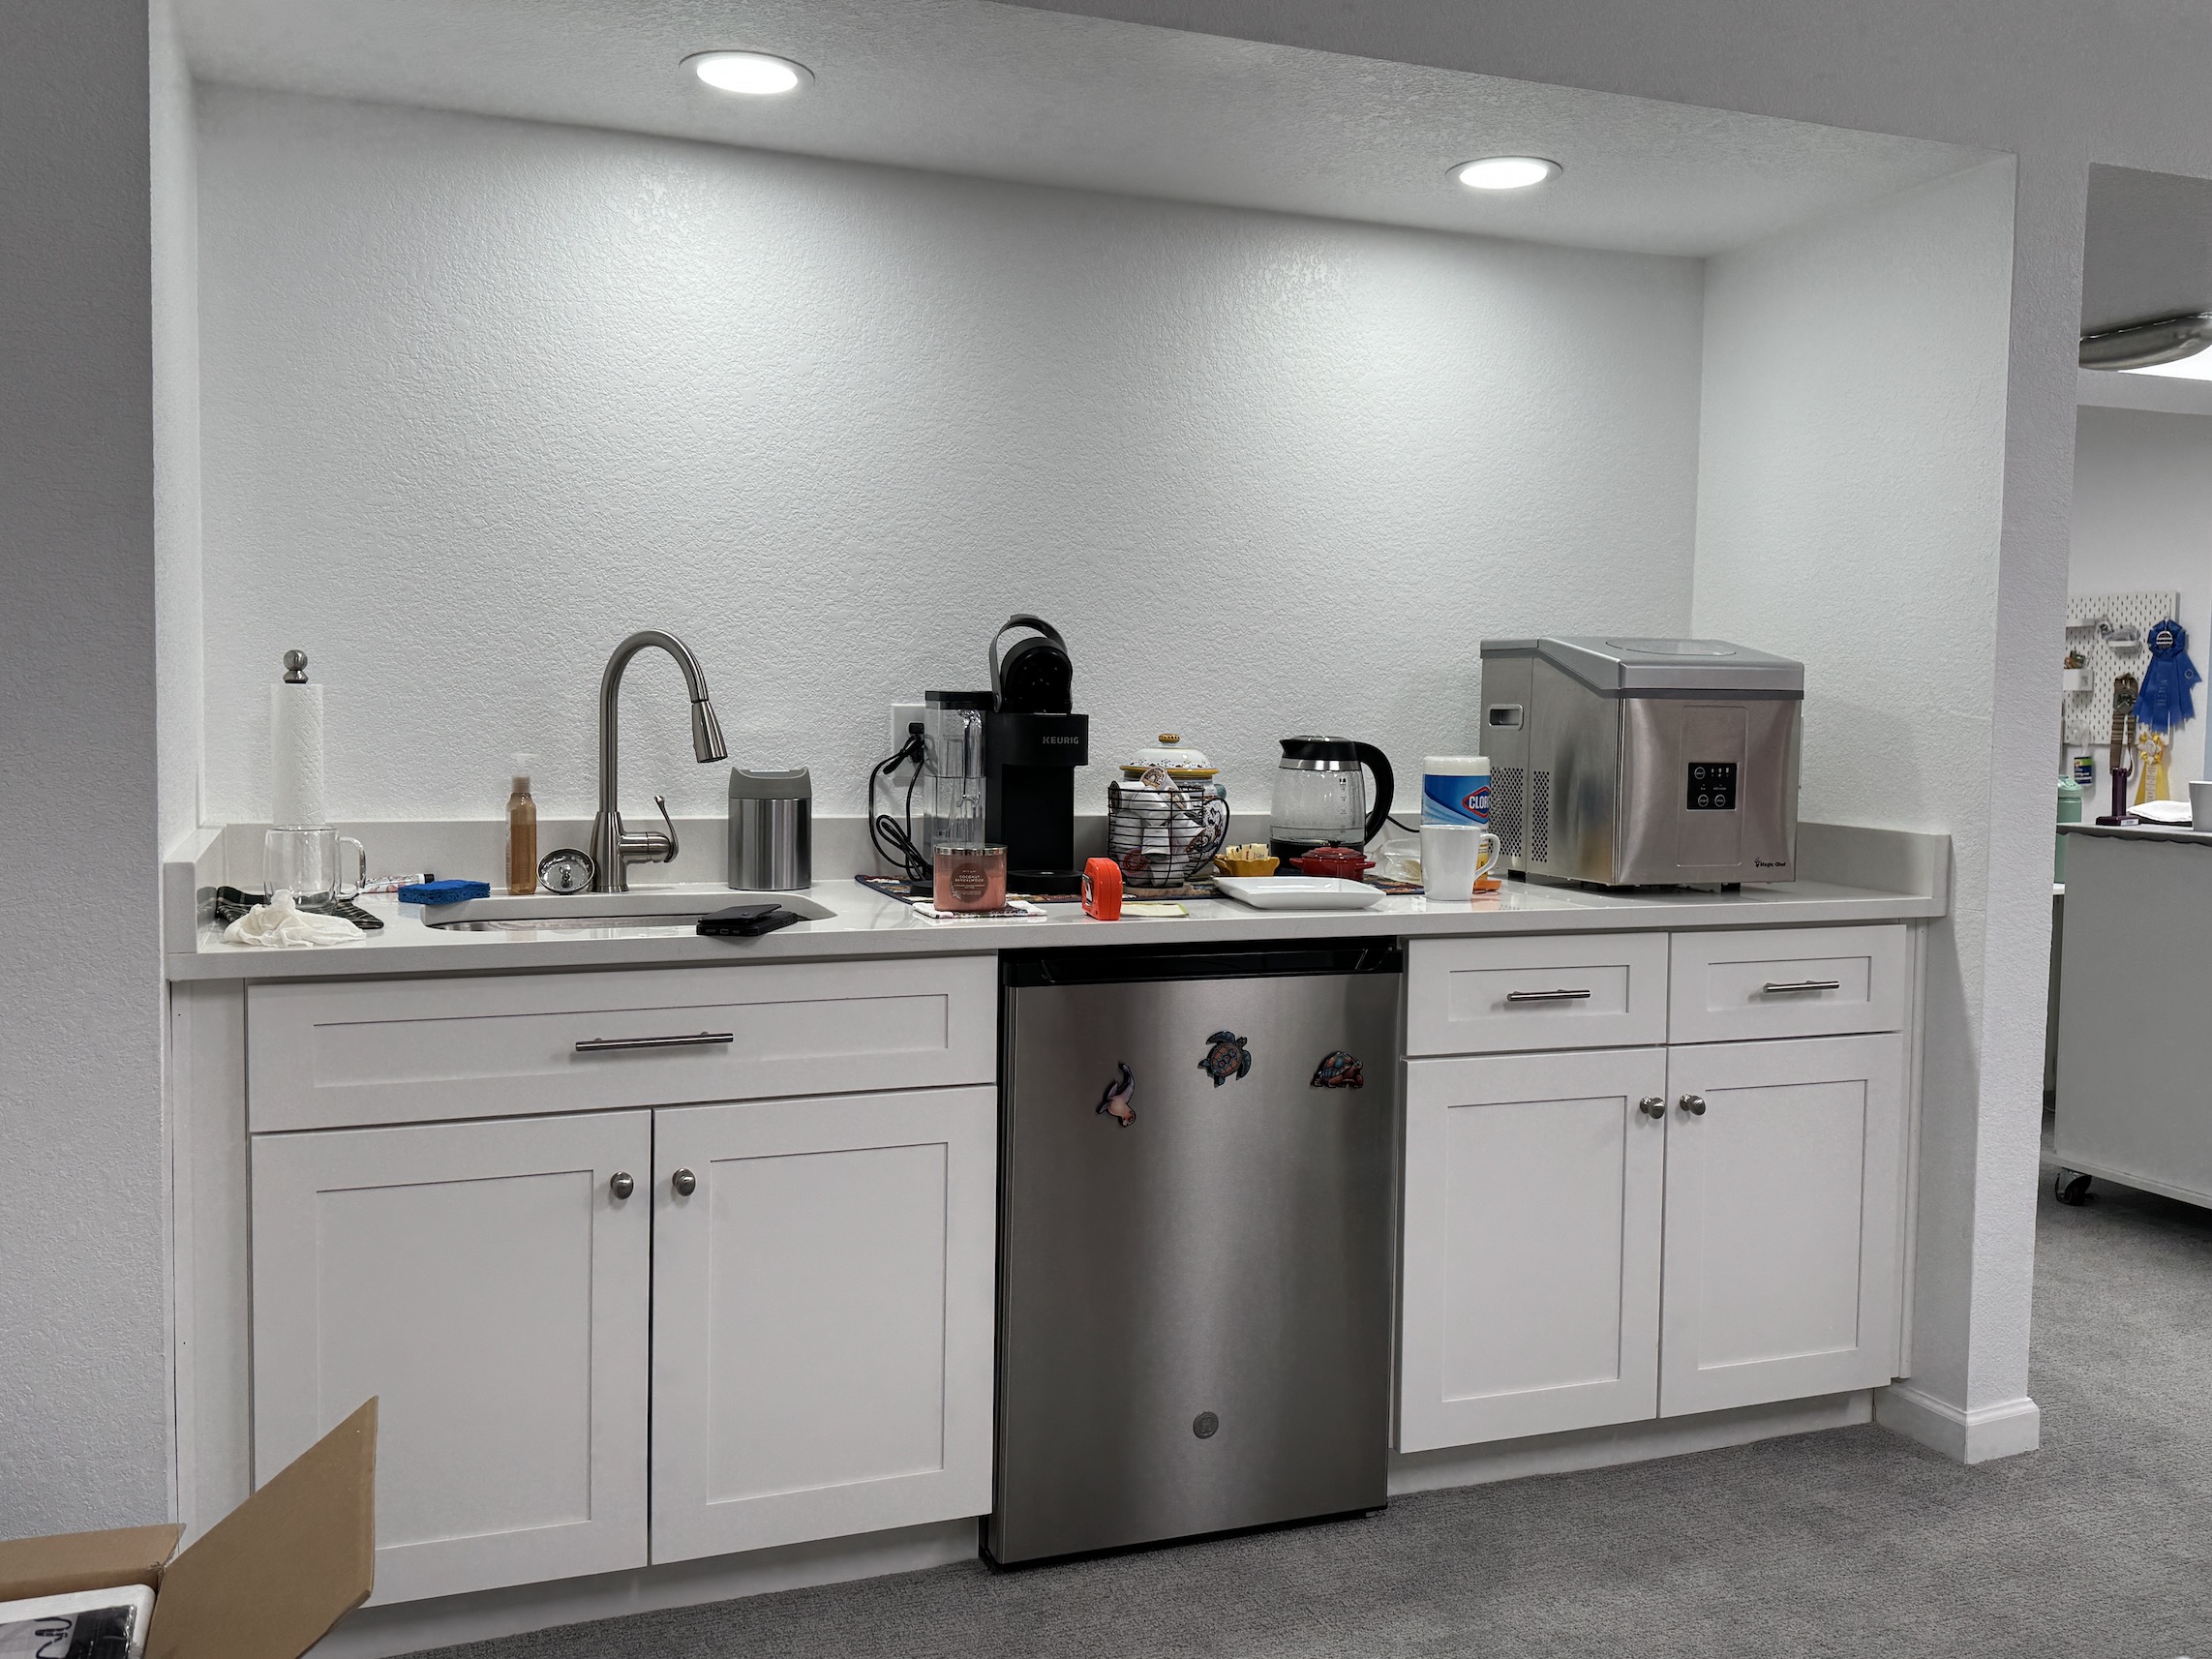
D was so sweet and had gifted J a brand new ice maker that she bought a couple years ago and never used. J had been wanting an ice maker for her little kitchenette in her studio (for a tour of J’s studio where we are meeting see my post Project Linus Mini Retreat, Part II):
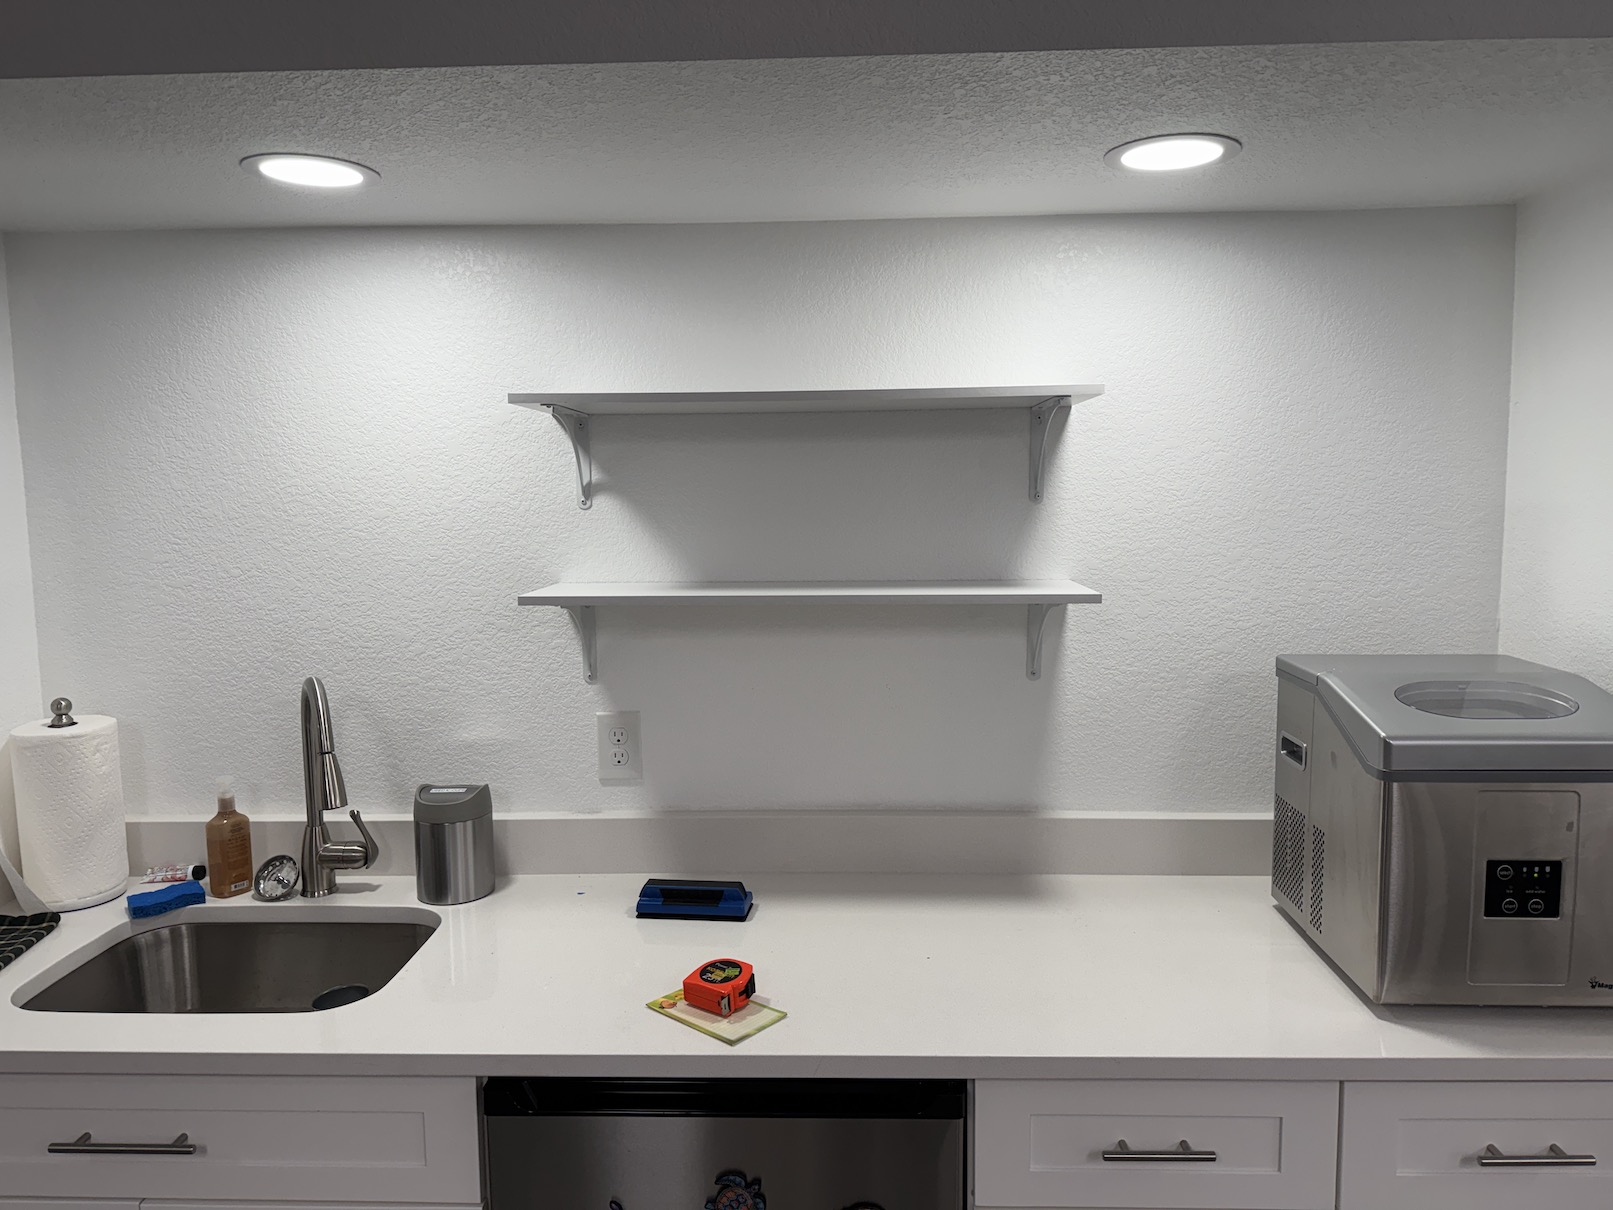
J mentioned she wanted to add some shelves to this area so she could get tea and coffee supplies off the counter, etc. So I decided to call my husband John and see if he would pop over and install some shelves!
And he did!
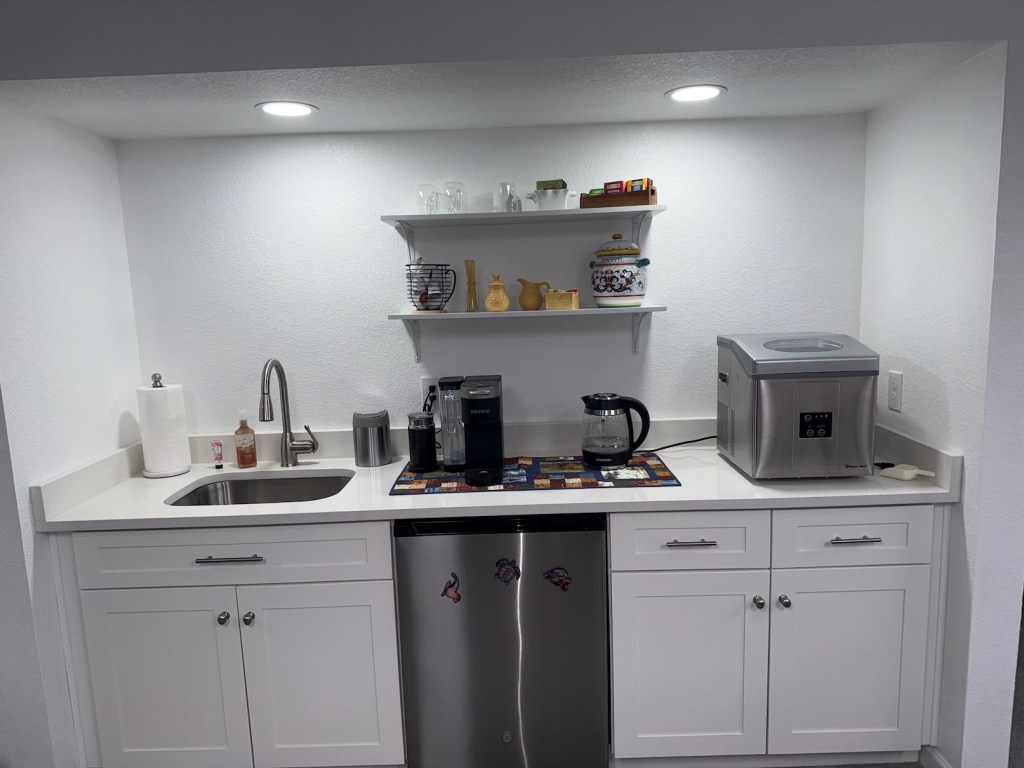
J later sent me photos of how the area looked after she organized her coffee/tea service:
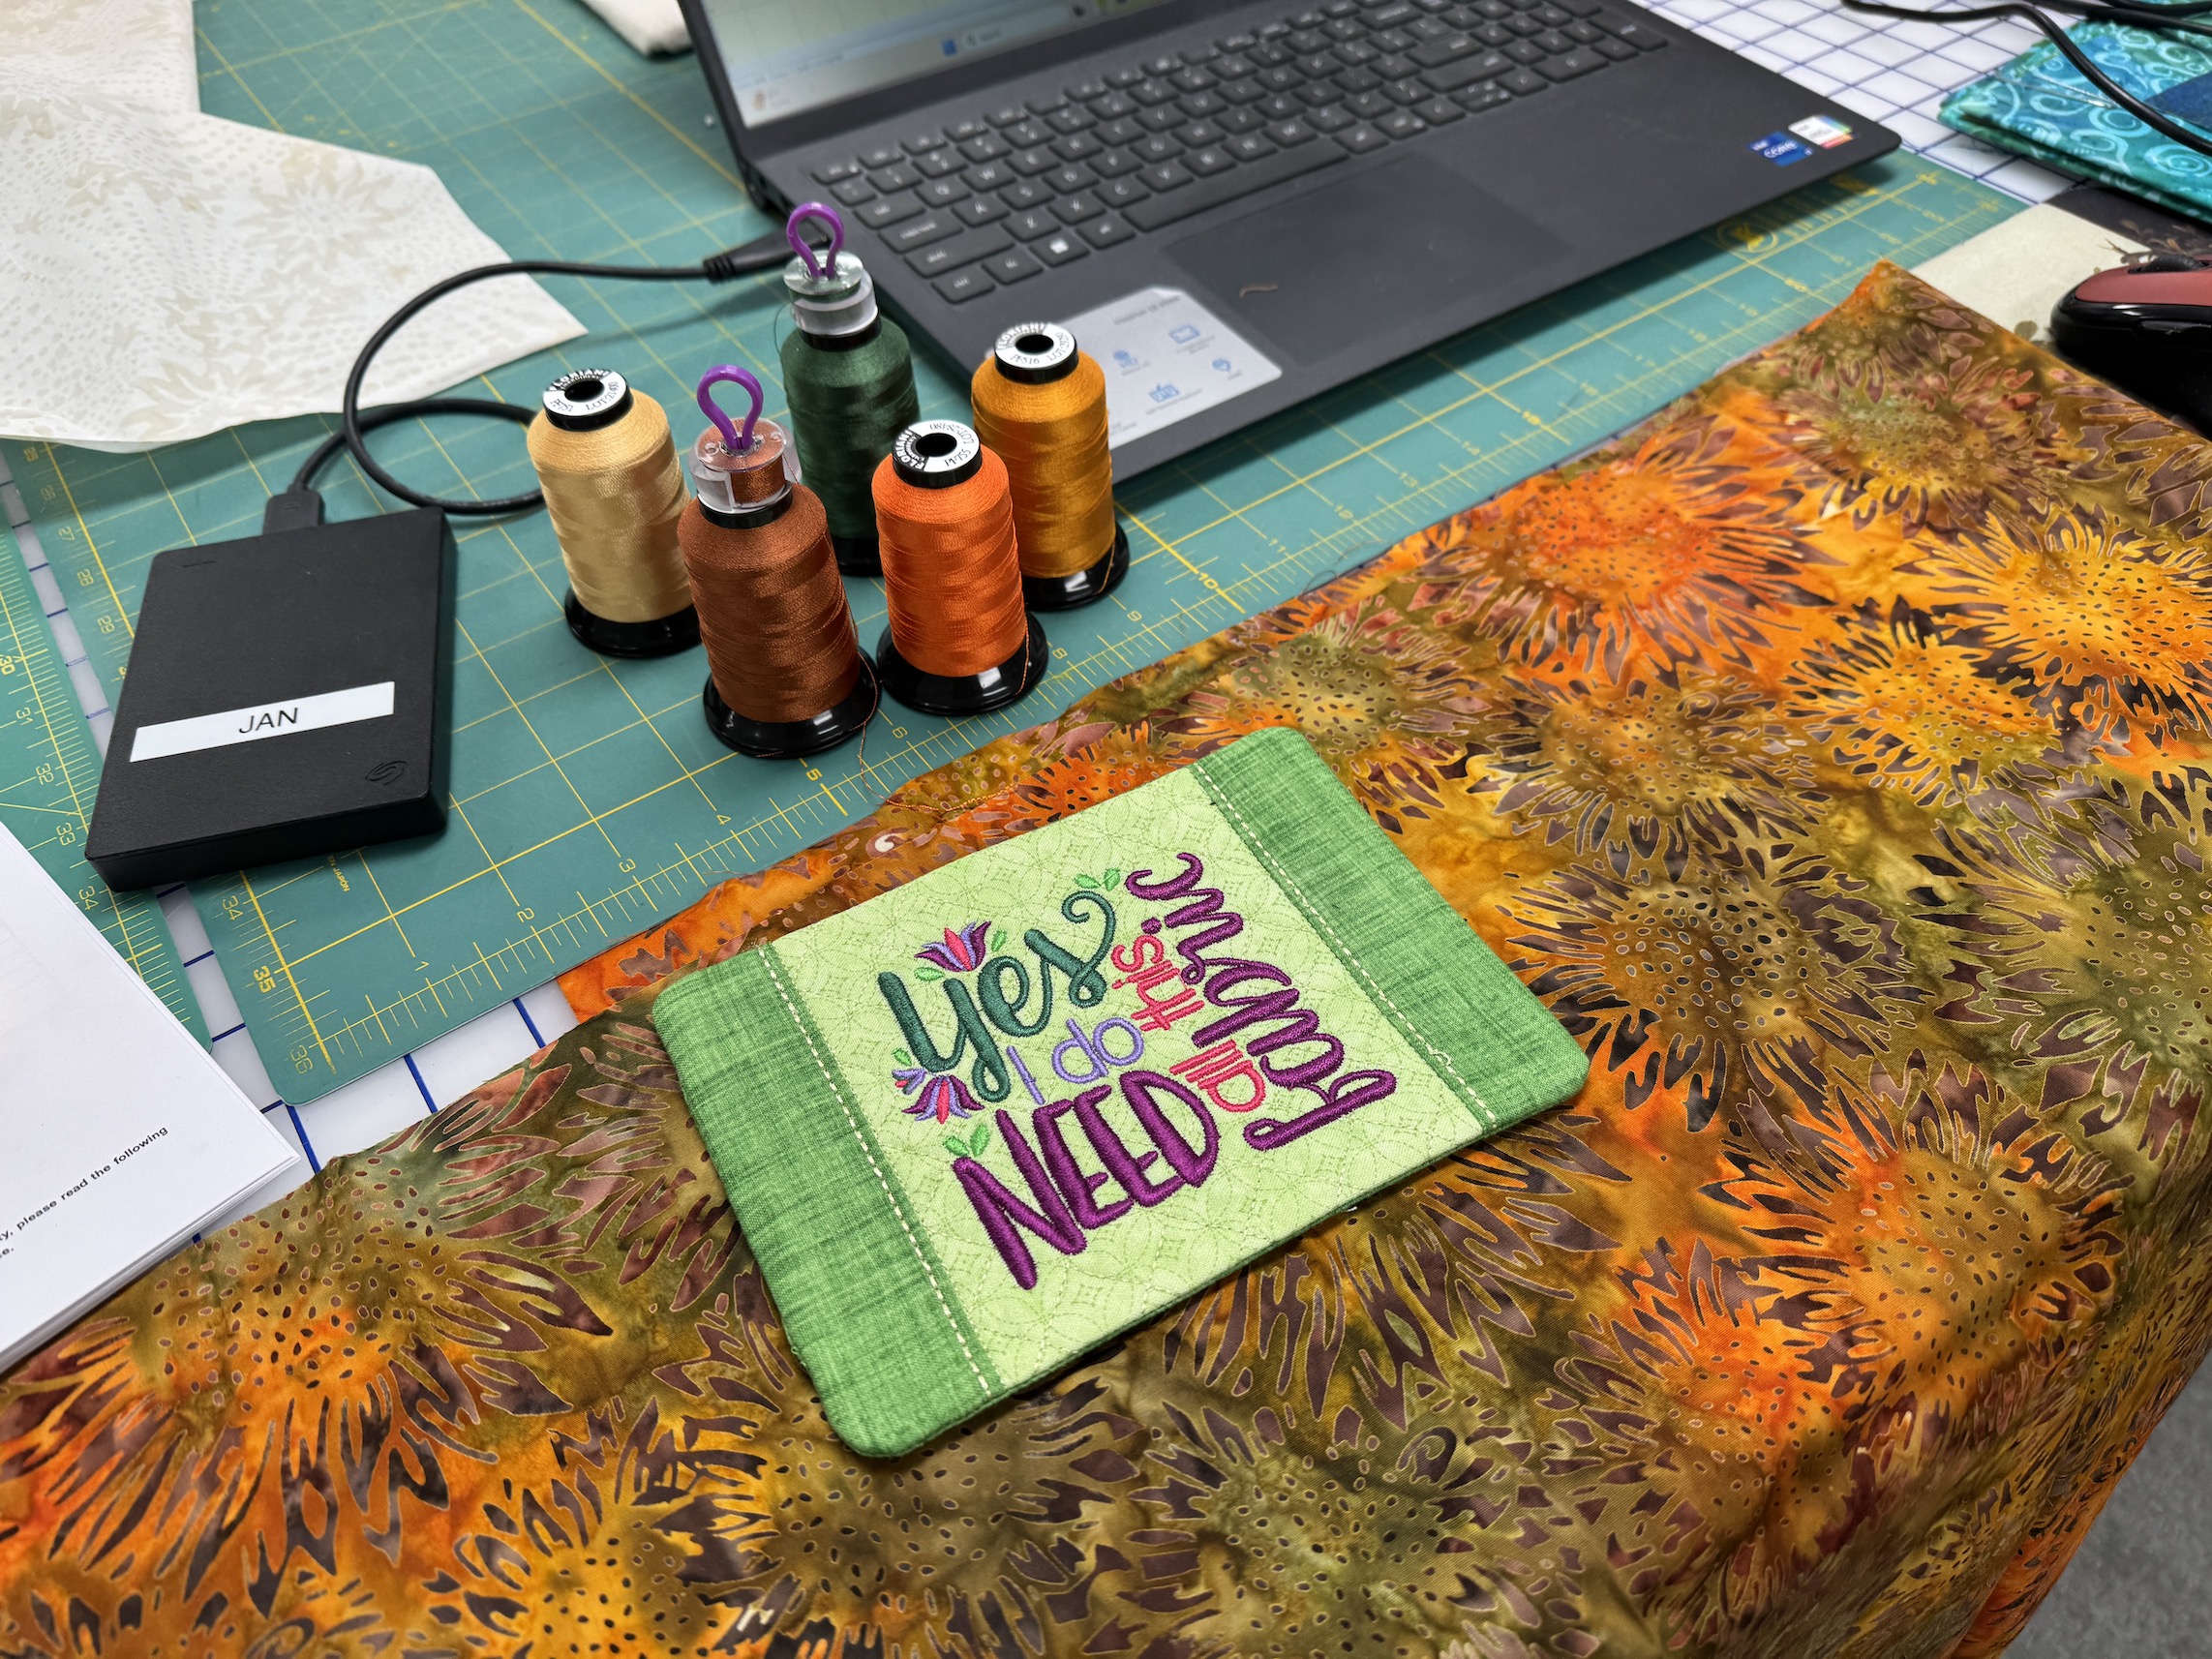
I am in love with embroidered coasters with cute sayings, my wonderful friend K has gifted me several over the years; and J as a gift for getting John to come over and put up shelves in her studio made me one in a saying I selected.
I choose this one that she already had in her studio:
It was fun select the fabrics and threads and then watch her amazing embroidery machine create it!
I think we are getting together again this Friday so I will get to see D’s first quilt all sewn together!
I am back dating this post as I’ve been distracted with life and did not post as much as I would have liked to in July. So perhaps you will see more posts for me in August…perhaps 😉
Starting in June, my friend J and I have been helping a new quilter D learn to make her first quilt (for her baby grandson). J, who I think has been quilting since birth, ha, is taking the lead on teaching and I am tagging along and offering occasionally useful advice from my 25 years of quilting experience.
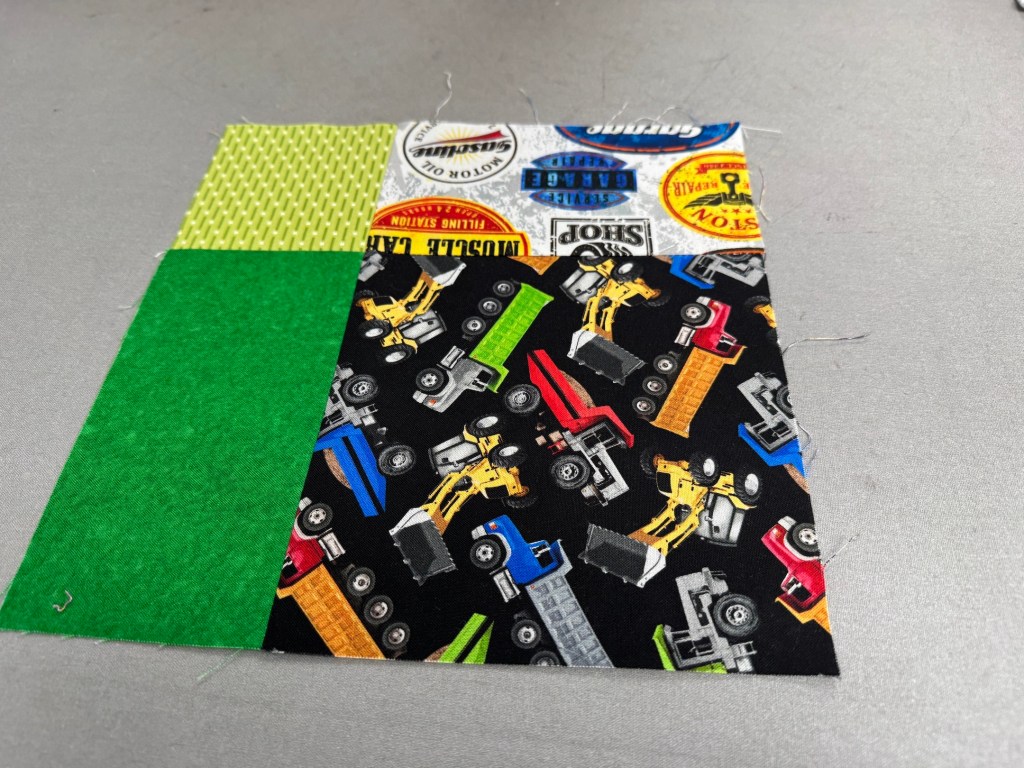
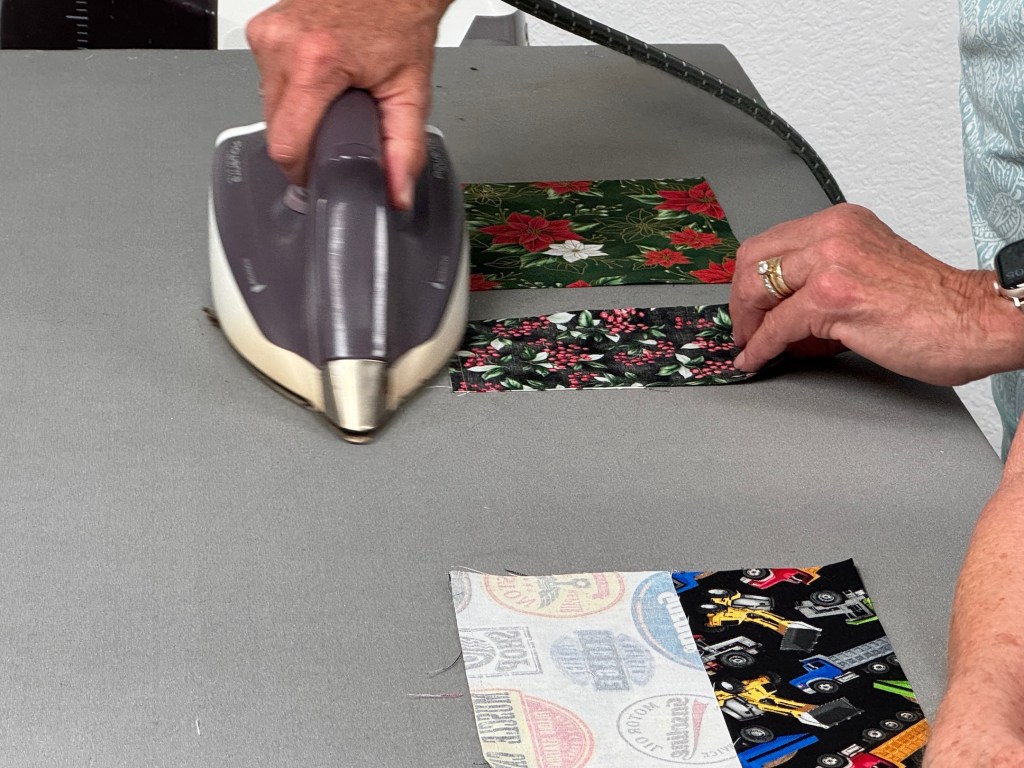
It all began with taking D on her first quilt shop hop (see post Taking a New Quilter on Her First “Shop Hop”) where she learned to select fabrics for a quilt and get yardage cut; then she learned how to rotary cut; and a couple weeks ago she learned how to piece, press/iron, and even chain piece her blocks together.
Here are some photos from that session:
Here is J demonstrating chain piecing (she is working on the same quilt in Christmas fabrics to create examples for D as she progresses):
I love chain piecing and I always laugh when my chain of pieced blocks gets eventually wrapped around my leg/ankle – ha!
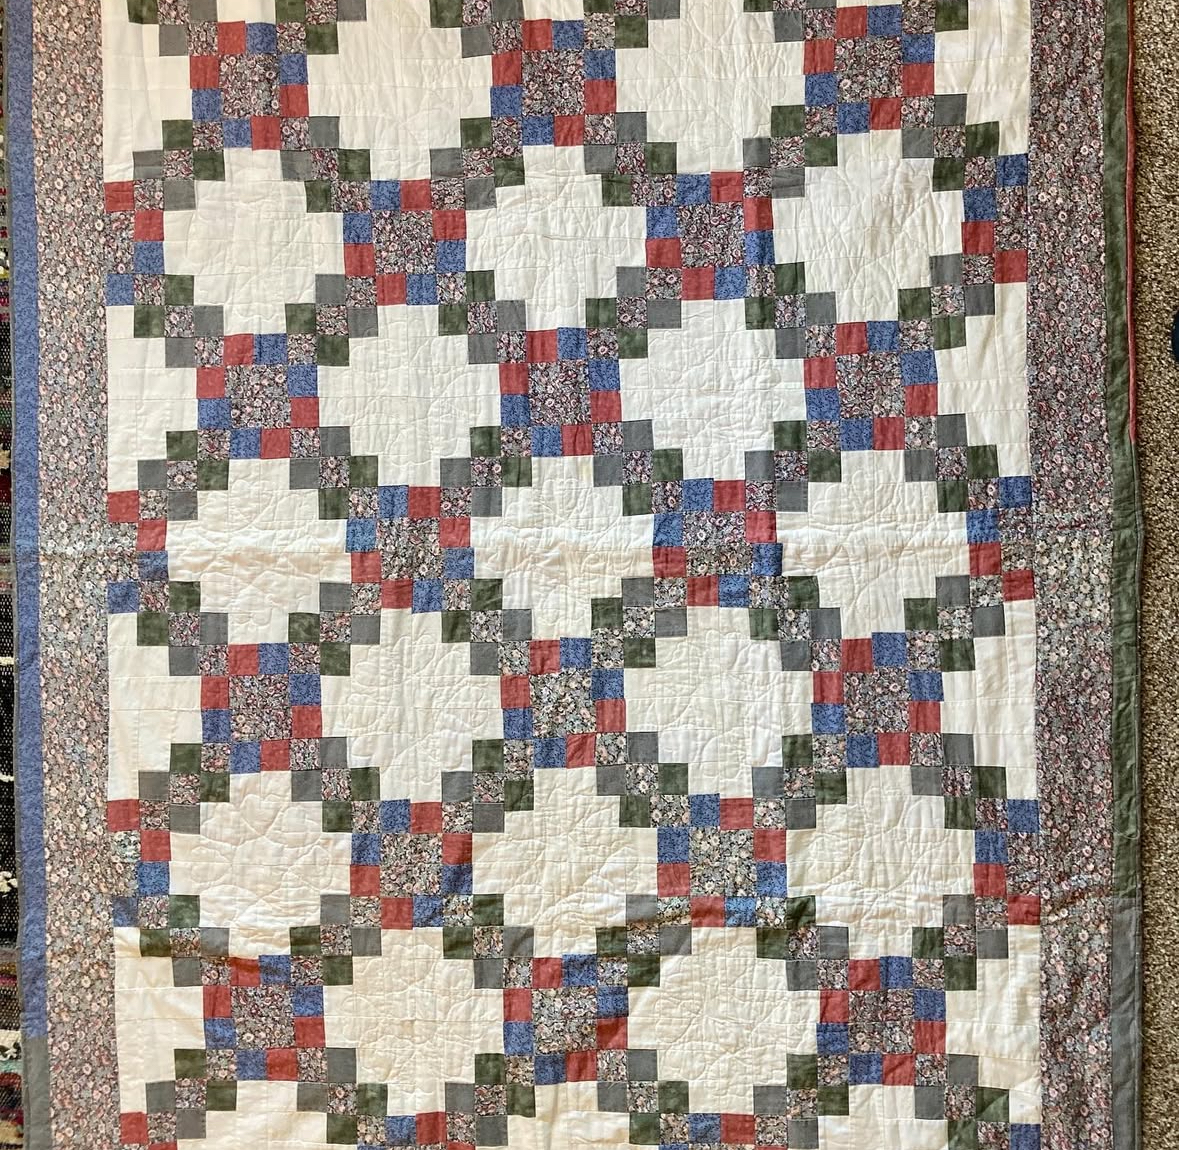
It is really cool to be part of seeing a new quilter make her first quilt. I remember when I made my first quilt 25 years ago (I used to think I made it in 1999 but I figured out it was 2000). My first quilt was a traditional “Irish Chain’ pattern, here is a photo I found recently as I was cleaning up old photos:
Weird thing – I no longer have this quilt and I am not sure what I did with it! But I remember taking a nap under it after finishing it and being so pleased!
J showed us this cool little bag that she made for her daughter and granddaughter using a By Annie Pattern and we might get together with D the new quilter and do some bag making after she finishes her first quilt.
D is an experienced seamstress so she is very comfortable with a sewing machine. That has greatly helped her while working on her first quilt.
As I mentioned in the post Taking a New Quilter on Her First “Shop Hop” my friend J who I met in my new neighborhood at the community quilt group, is helping a new quilter D make her first quilt and I am tagging along (and occasionally being helpful as an experienced quilter).
Today we met up for a “quilters playdate” at J’s studio (which I featured in the post Project Linus Mini Retreat, Part II) and J taught D how to use a rotary cutter to cut her fabric into the sizes required for the pattern.
D made great progress on cutting her fabrics out with a rotary cutter for the first time:
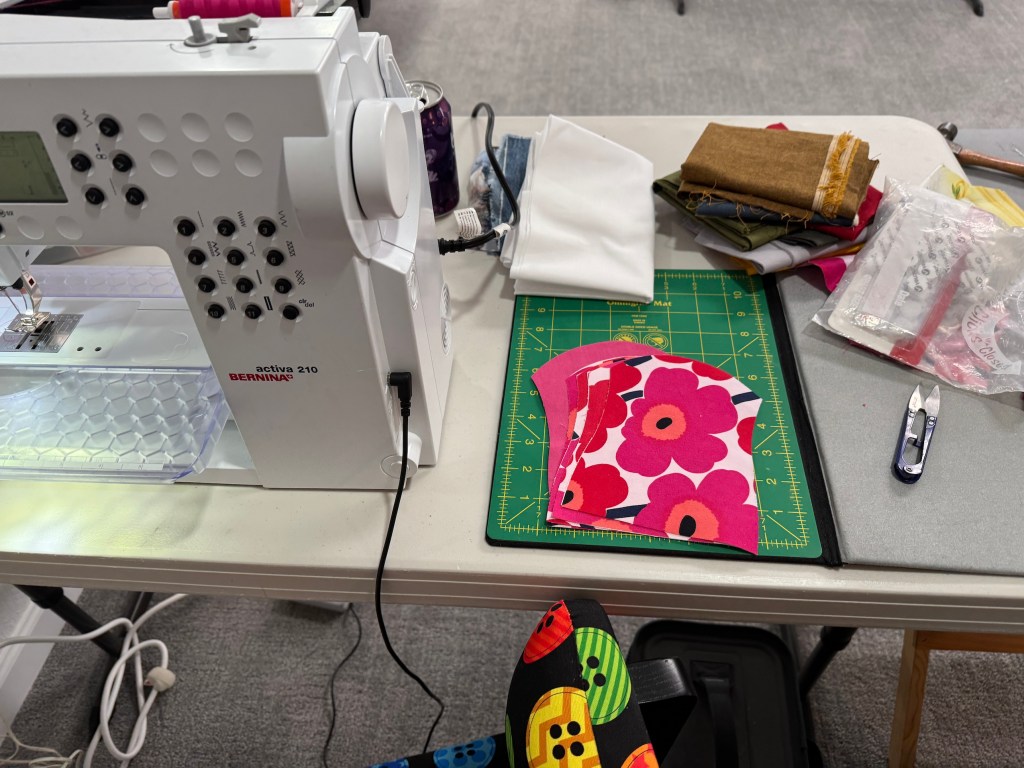
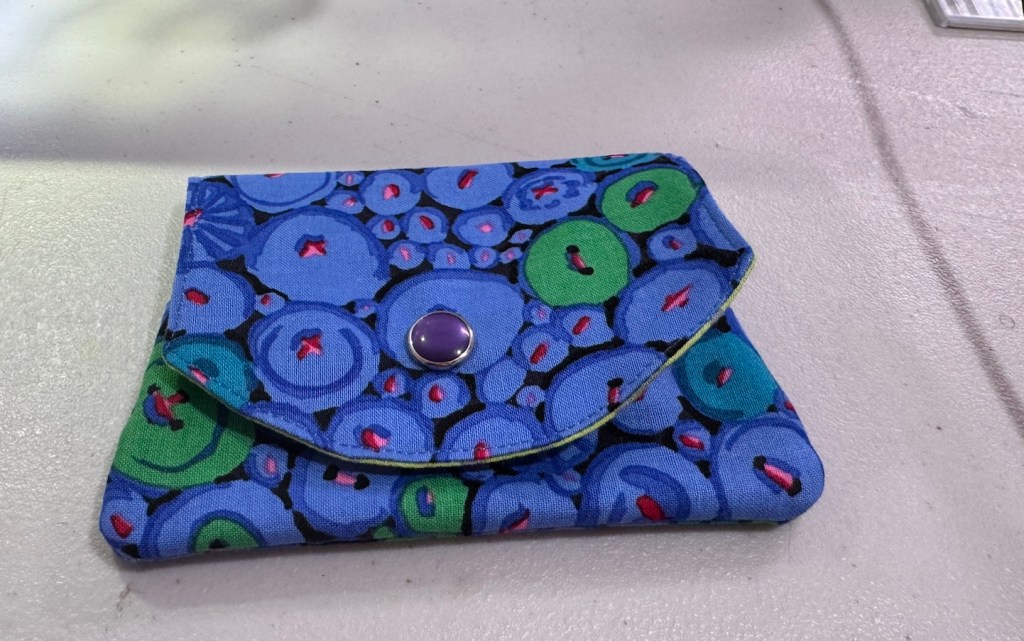
While I worked on making some little wallets as something easy to work on while I visited with the group:
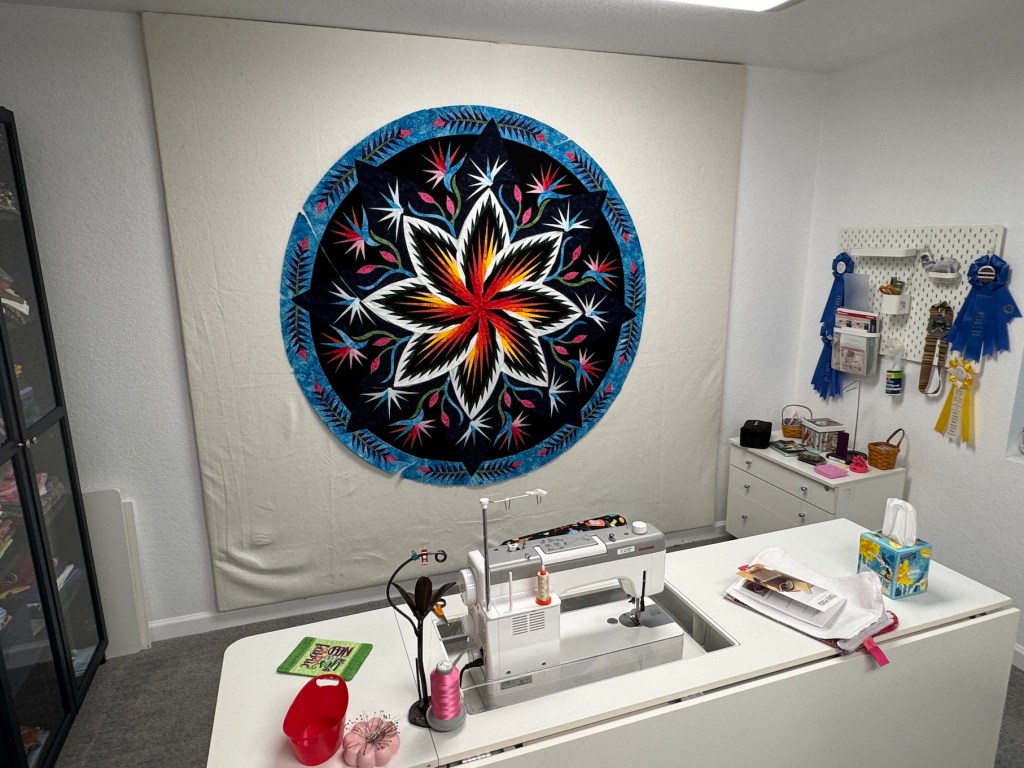
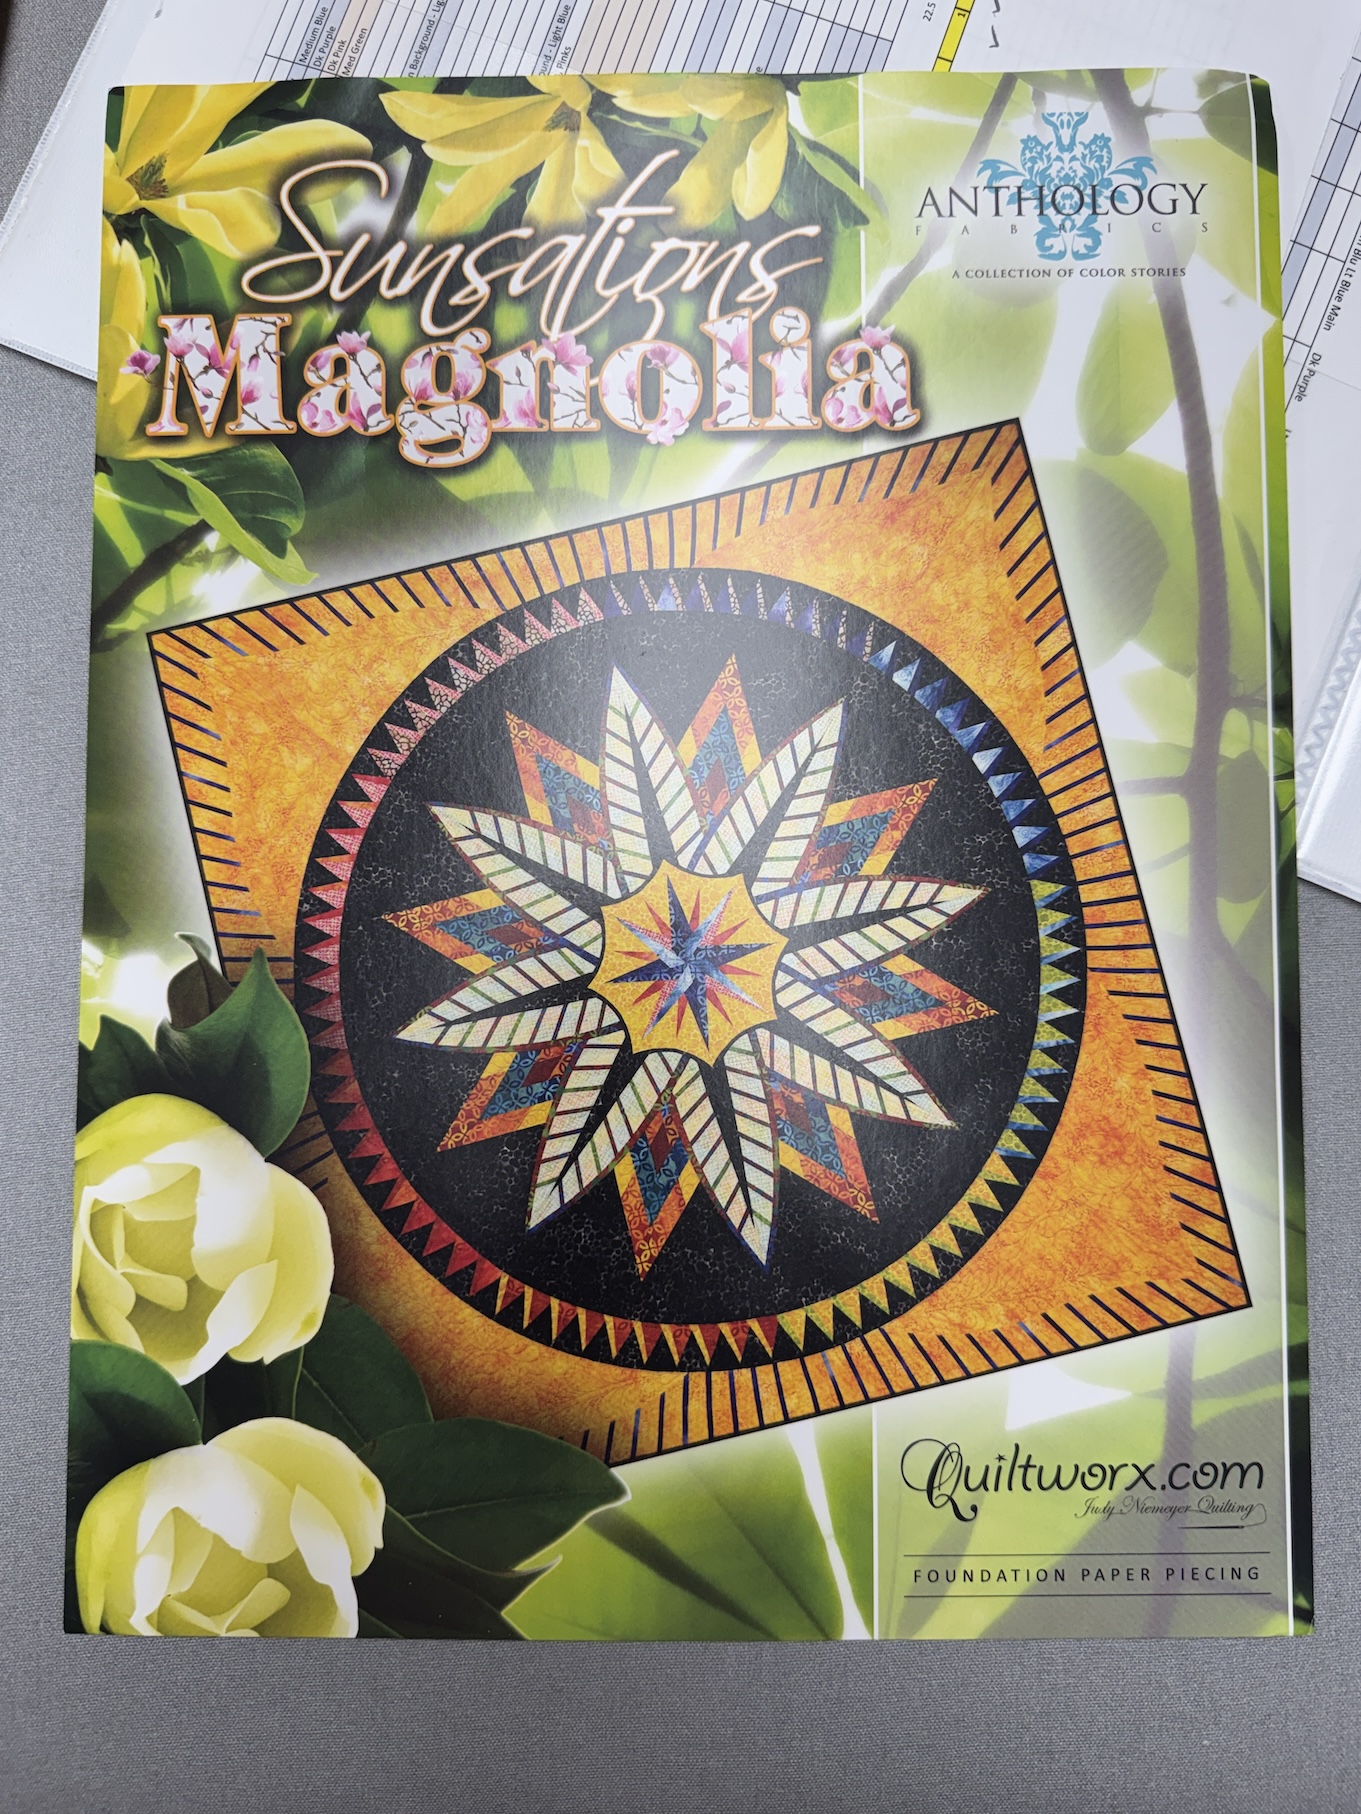
She also showed us on her design wall is amazing and complex Judy Niemeyer pattern she was working on (pattern piecing and applique!):
I am intimidated!
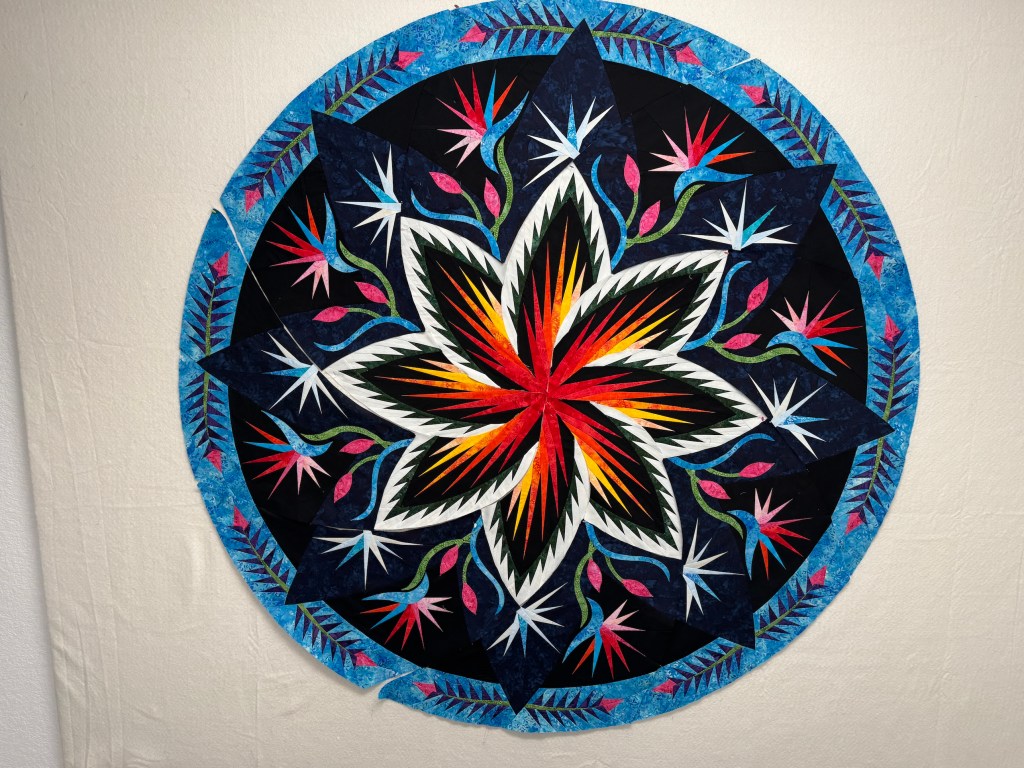
J is a Judy Niemeyer pattern expert, has taking many classes from her; and made many of her complex paper piecing quilts. J was even selected to longarm machine quilt one of the cover quilts for one of Judy Niemeyer’s pattern booklets!
She thinks I should make one someday…
I’m just trying to get through my English Paper Piecing quilt from heck!
But I do have the pattern for the Plover Pouch and will make that one someday 🙂
The three of us are meeting again next Friday to teach D how to sew a quarter inch seam to piece her quilt together. J will be doing most the teaching and I will provide moral support!
I am excited to share that an essay I wrote on creativity will be part of the anthology This is How We Create, edited by Dr. Yvette Prior of priorhouse blog and PRIORHOUSE WRITES.
Here is the draft book cover:
According to Dr. Prior’s Book page on her PRIORHOUSE WRITES it is scheduled for release in September 2026. Based on other books listed on that blog page, I think it will be available as a paperback from Amazon, a Kindle book and perhaps other mediums.
When you make something for someone you may never know what becomes of it…and you may be pleasantly surprised…and even DEEPLY touched when you find out!
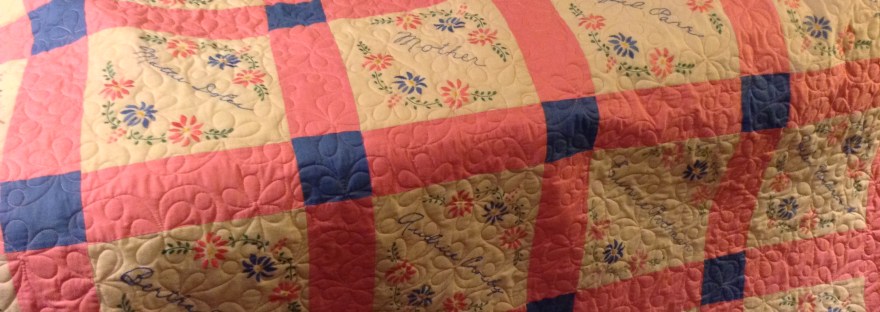
Back in 2023 I did a post A Reminder on Why I Make Quilts in which I shared my surprise that a baby quilt I made (now) 16 years ago for my “Danish Brother”‘s first born son was being used as a “family heirloom” in their family – passing it around to all newborns in the immediate and extended family. I was blown away and very honored 🙂
Well recently I discovered that my long time (and at times long lost) friend’s daughter, who is now 24, has been dragging around the baby blanket I made her 24 years ago! It went to undergrad and graduate school with her and is always by her side.
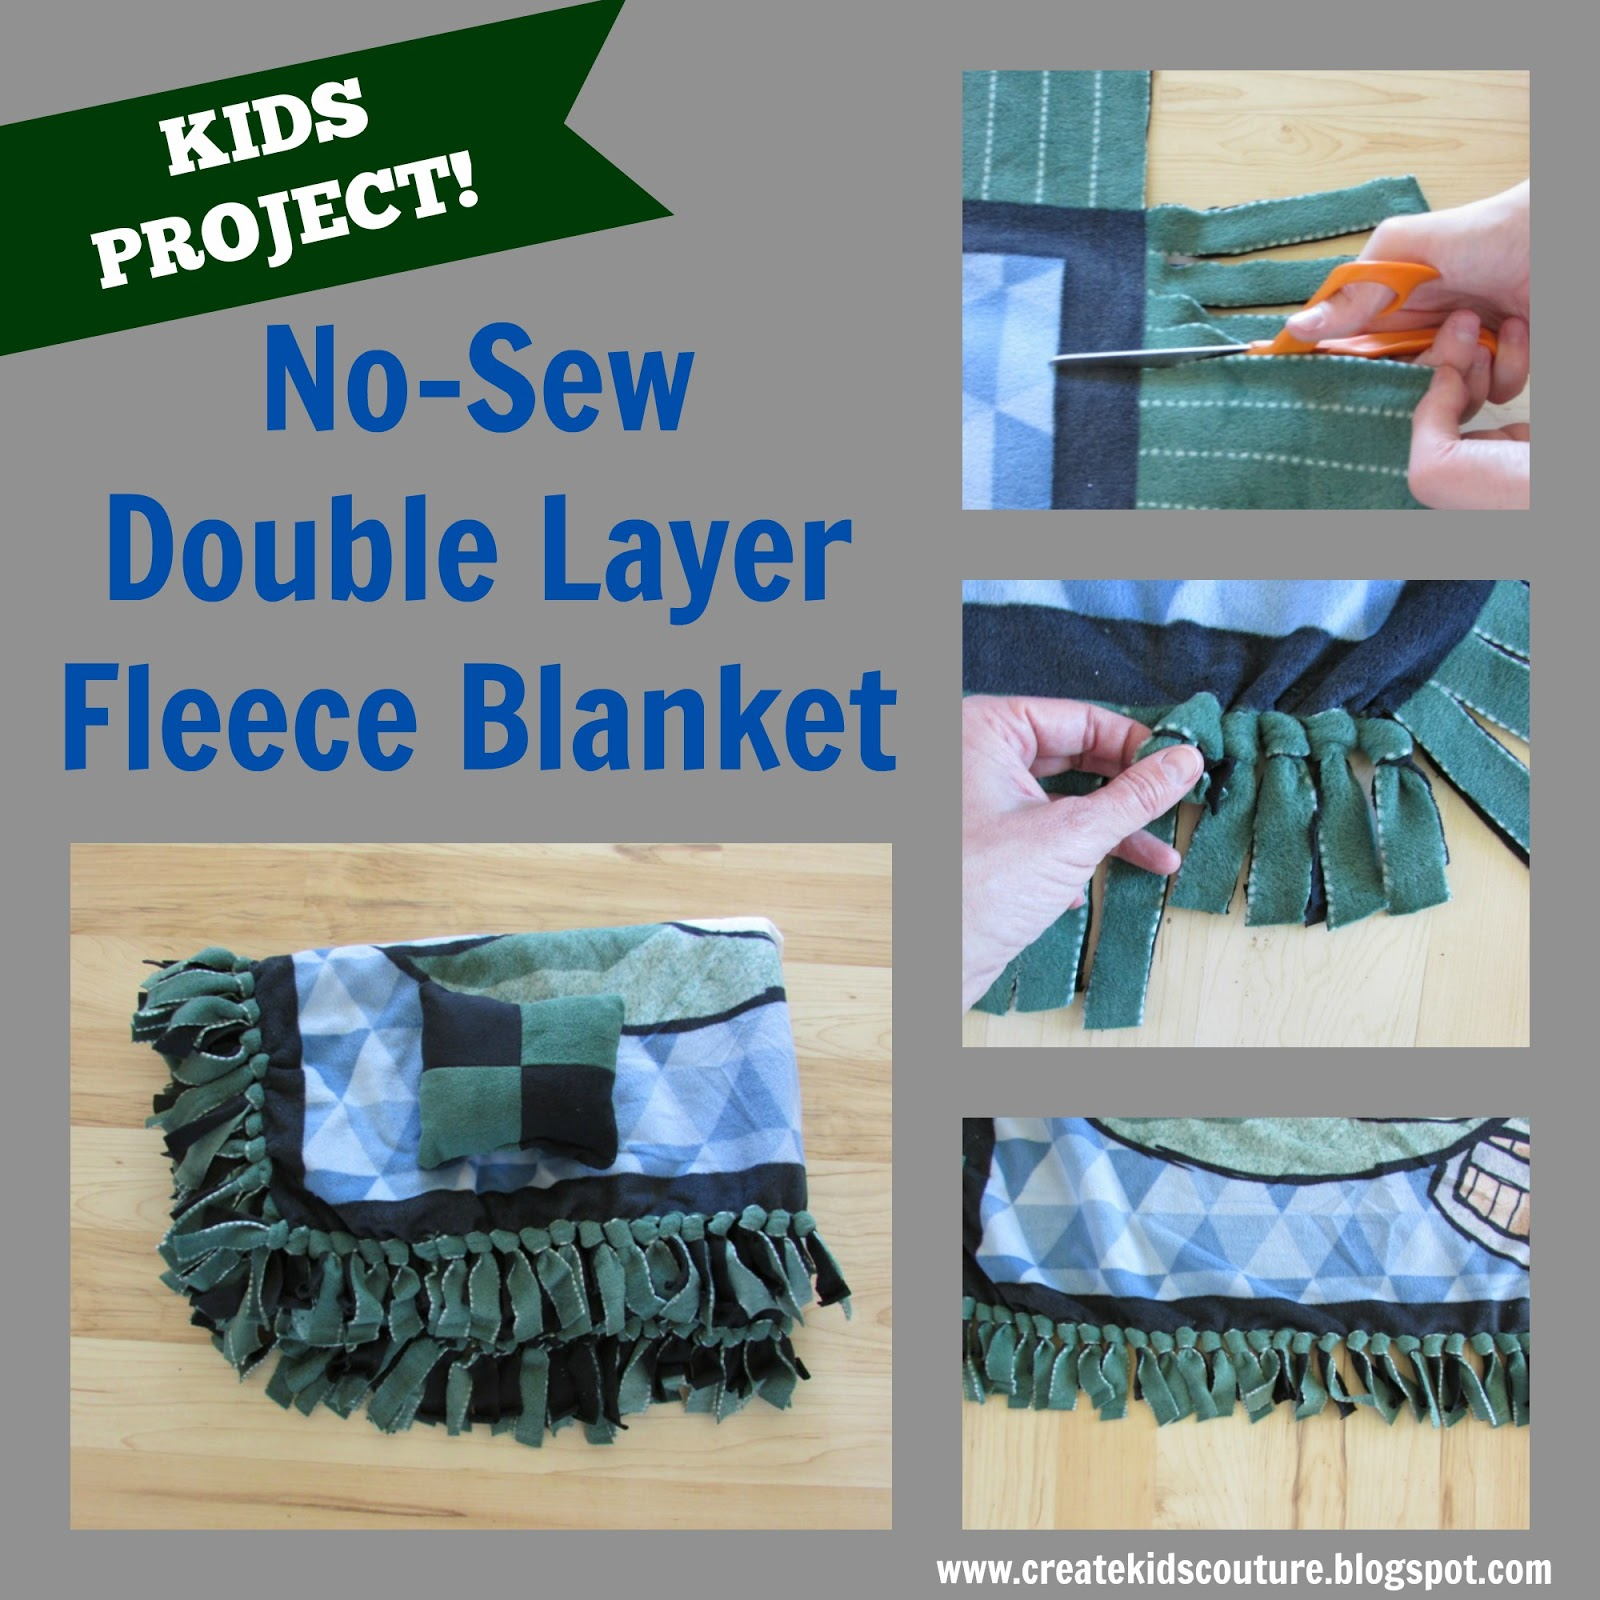
I made this blanket back when the “no sew/tied fleece” blankets were very popular.
During my lunch hour at my job in Seattle a group of us used the conference room to teach each other how to make them! It seemed like I made at least 10 of them on year to give as gifts on Christmas!
Example of a “tied fleece blanket/no sew blanket”:
I met my friend K when I moved to Seattle, Washington in 1997 and we became fast friends. I was her doula when she got pregnant and was there for the birth of her daughter. My friend K moved to Bend, Oregon and it was because of her I discovered Bend, Oregon and spent 14 glorious years of my life there.
A couple years of living in Bend, she and her young daughter and husband moved to Kodiak, Alaska and we stayed in touch on and off over the years but not as often as we’d both like (life happens when you are raising a family and/or building a career). We reconnected after my husband Terry passed in 2018 and stay in touch on and off.
Recently she notified me that her amazing daughter just graduated from her Masters program, just got engaged, and still carried around the baby blanket I made her over 24 years ago! It is her security blanket and although pretty shredded, it is still beloved.
My friend K, her husband M, their daughter, and her fiancé were going to be in the continental US for a week and John and I decided to meet up with them for a reunion.
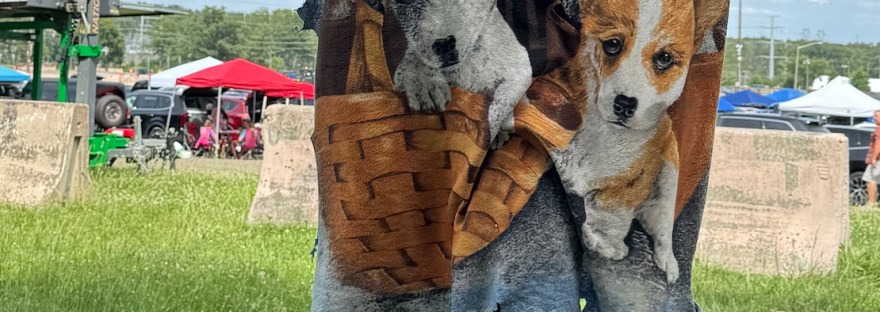
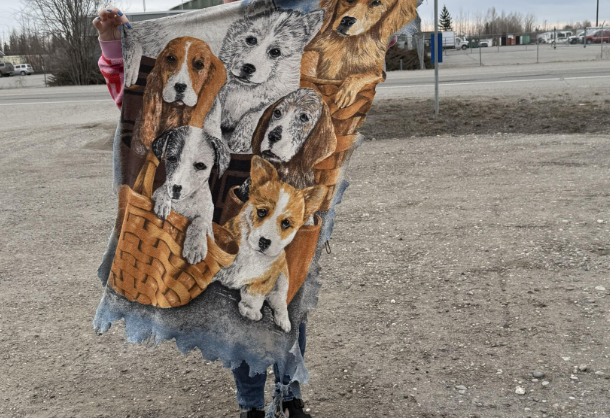
K sent me a photo of the very loved/shredded/in tatters blanket her daughter carries with her:
I decided I needed to make her a replacement.
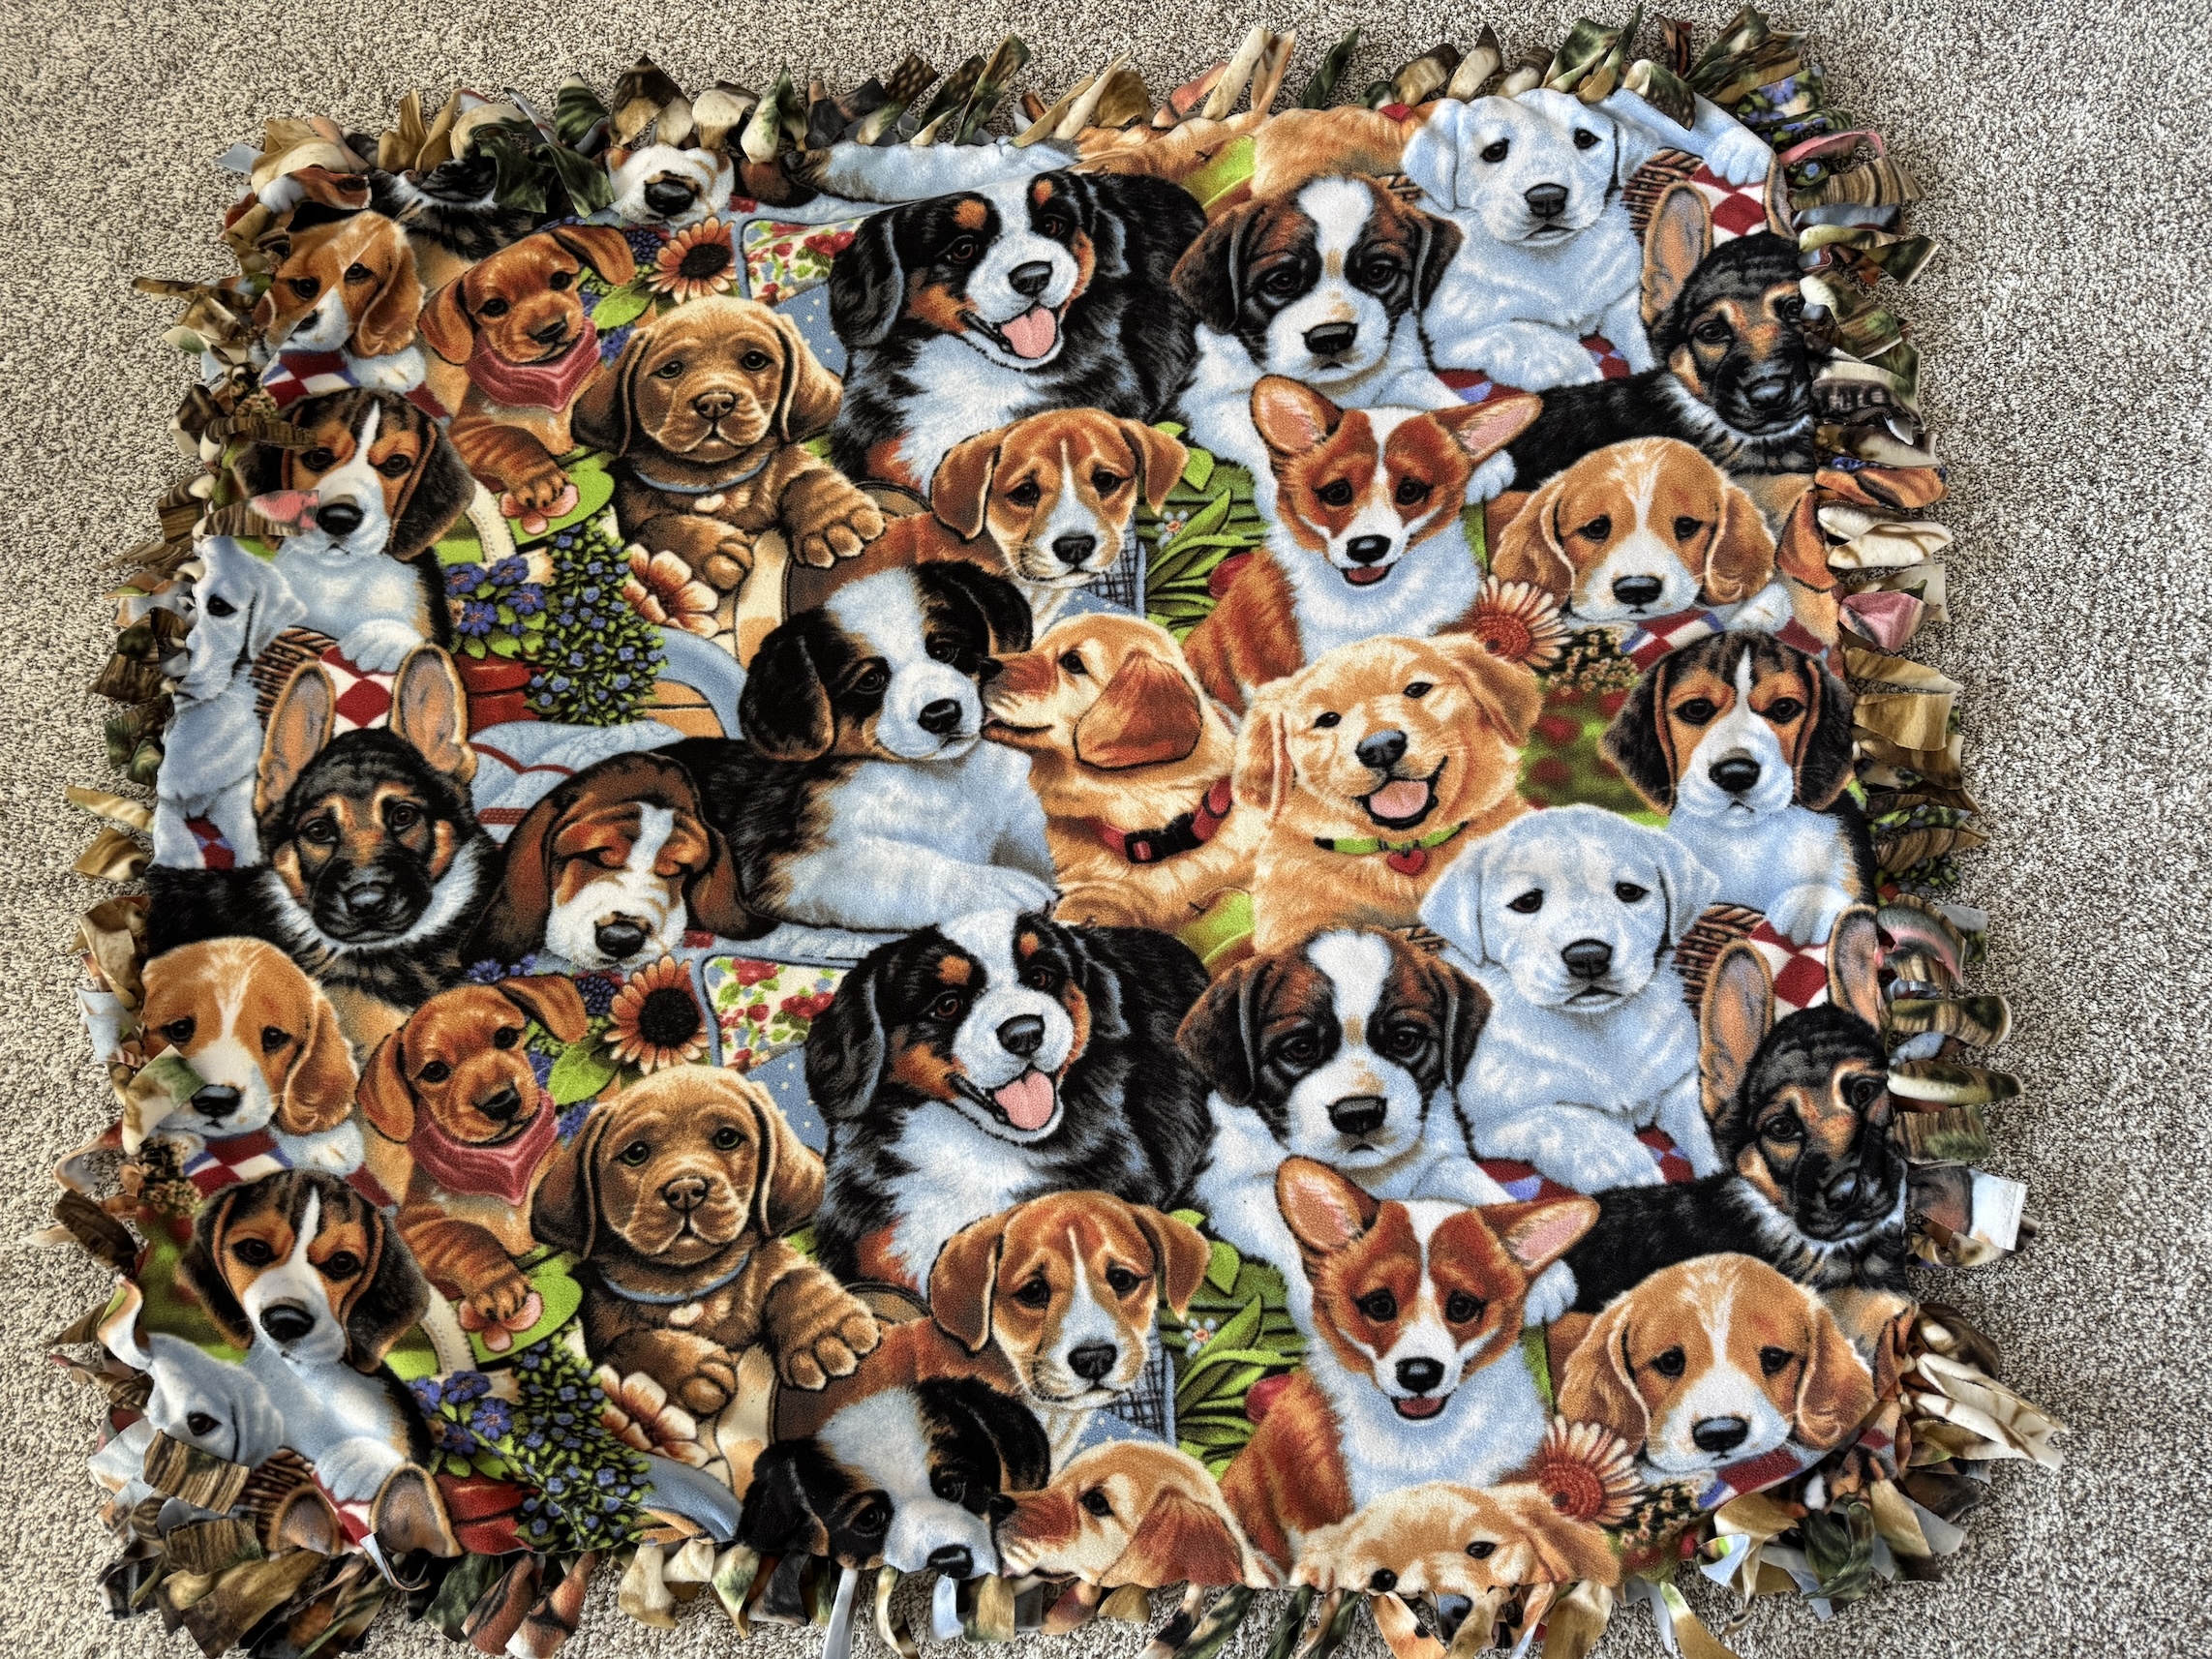
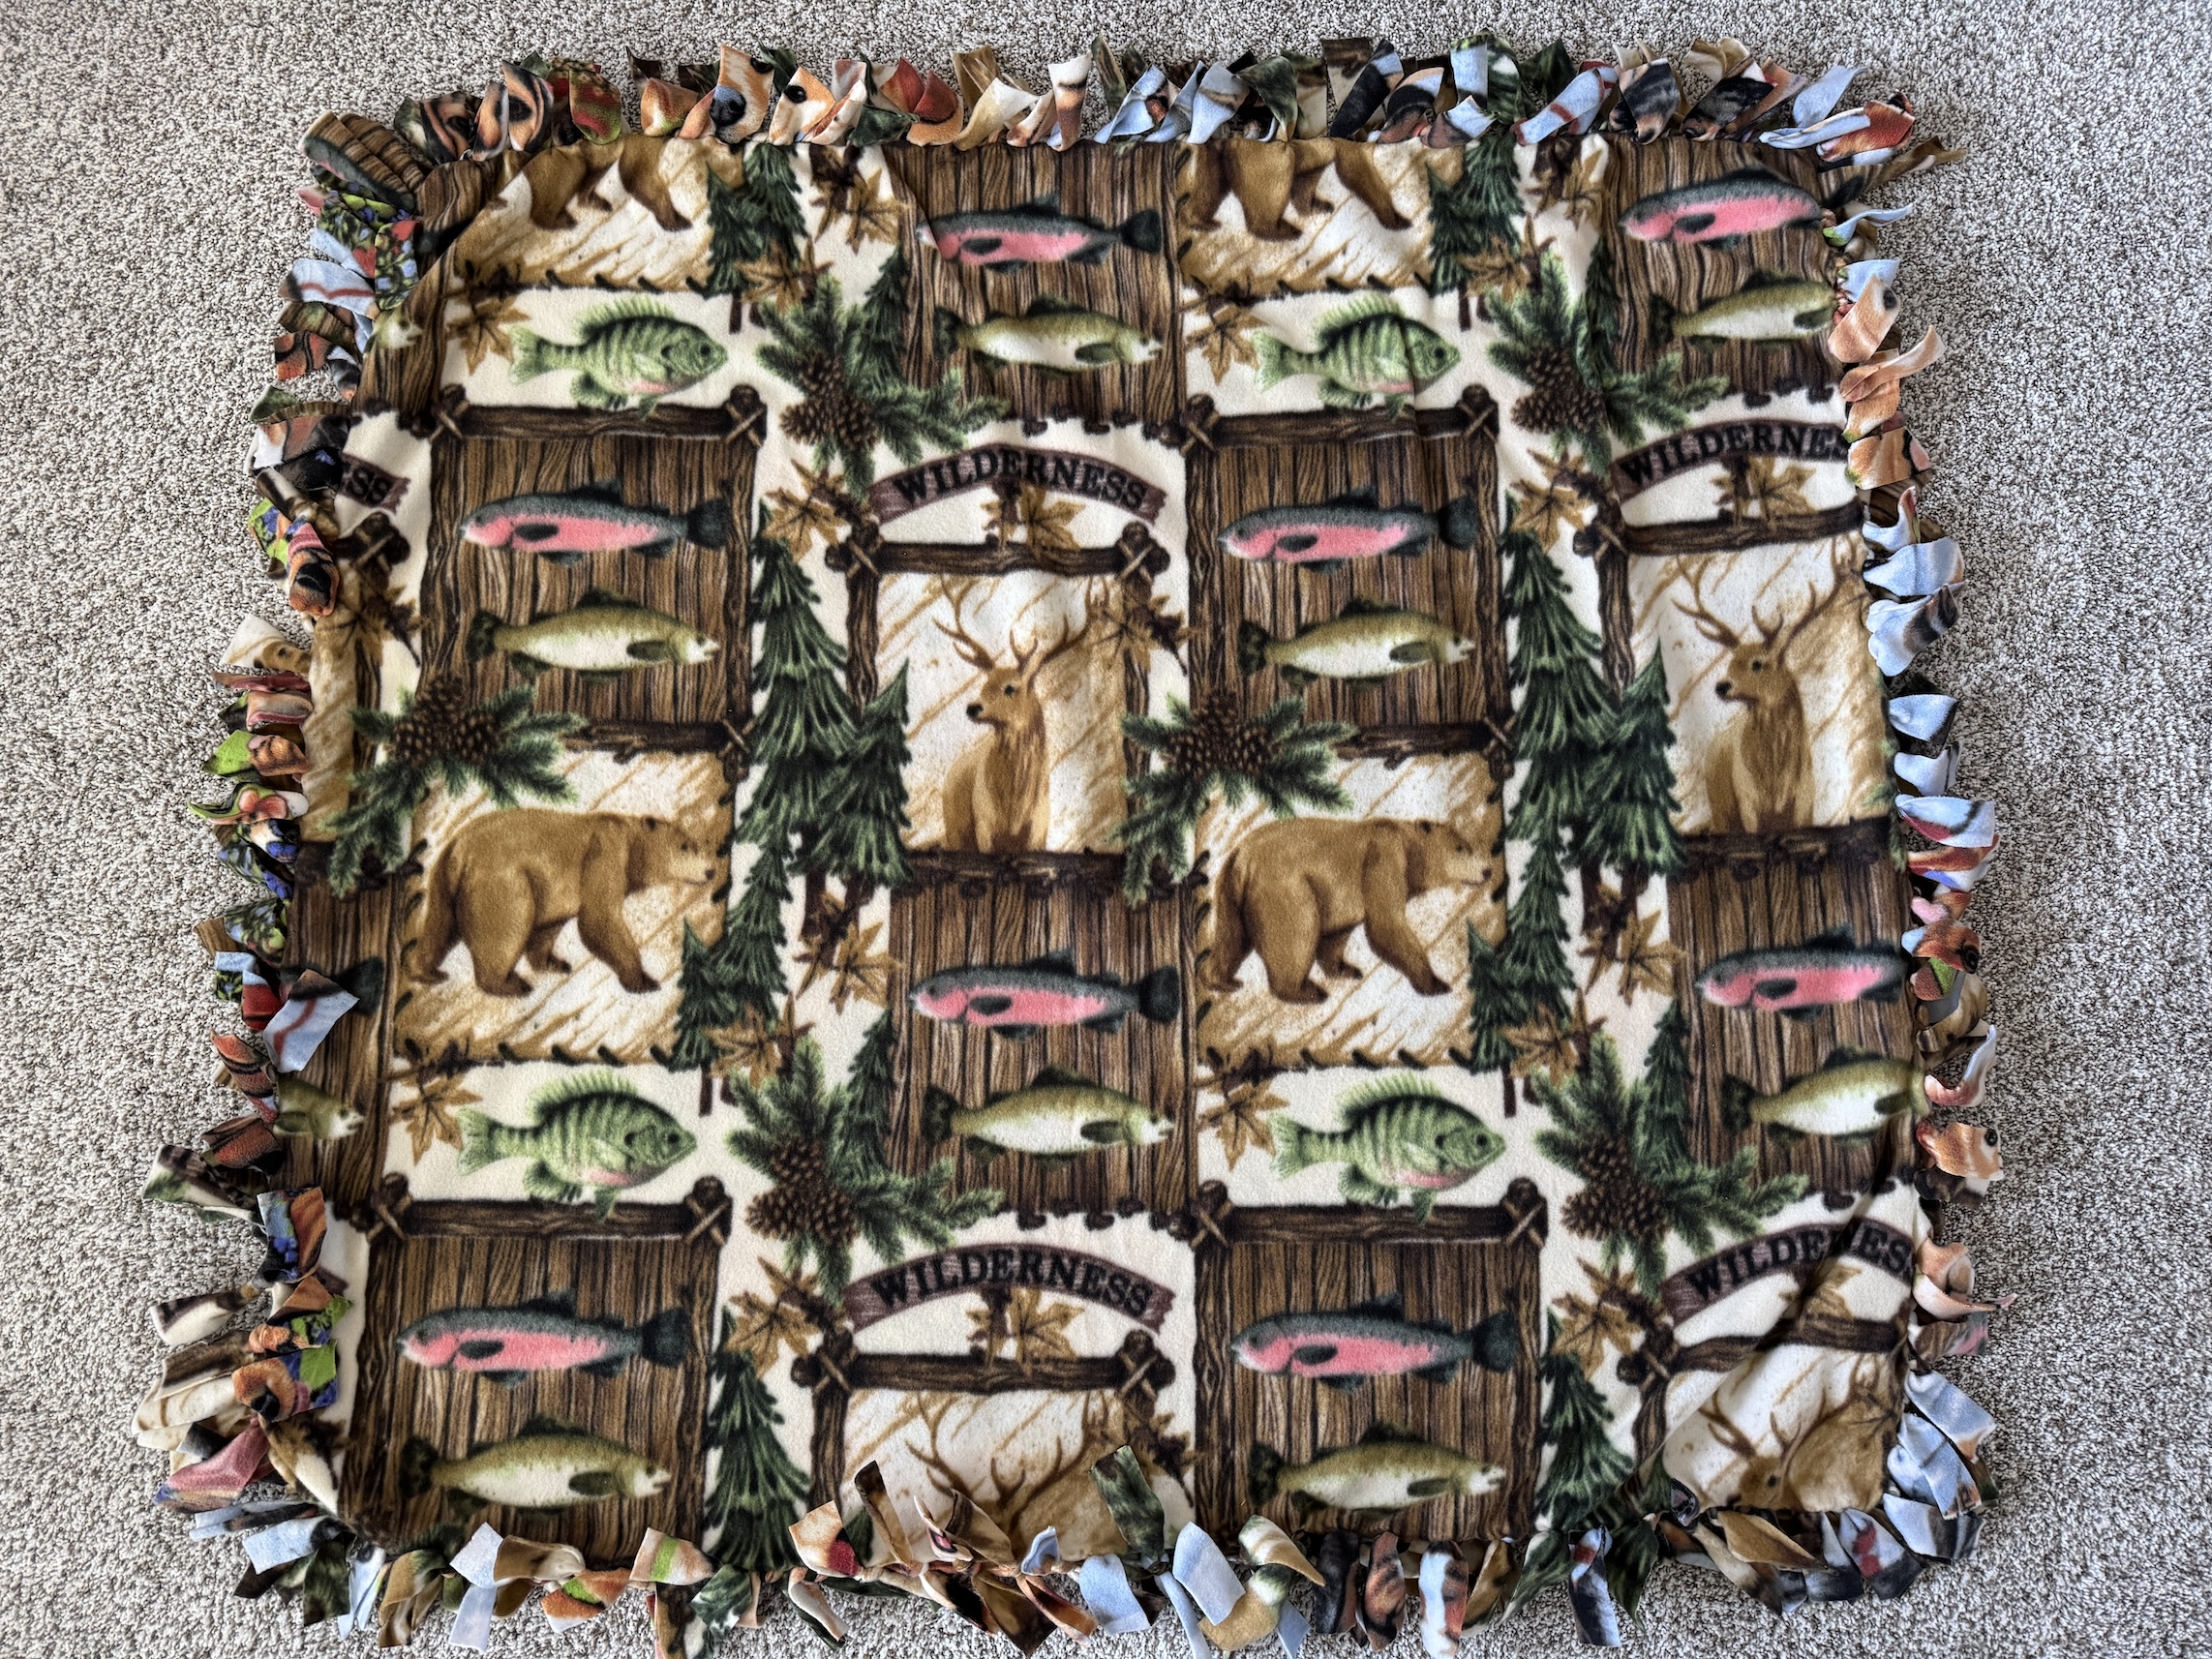
I searched and searched but the original fleece pattern was not available however I did find another cute dog themed blanket to make her for our reunion:
For the back of the blanket I chose a fleece that celebrated her growing up in Alaska:
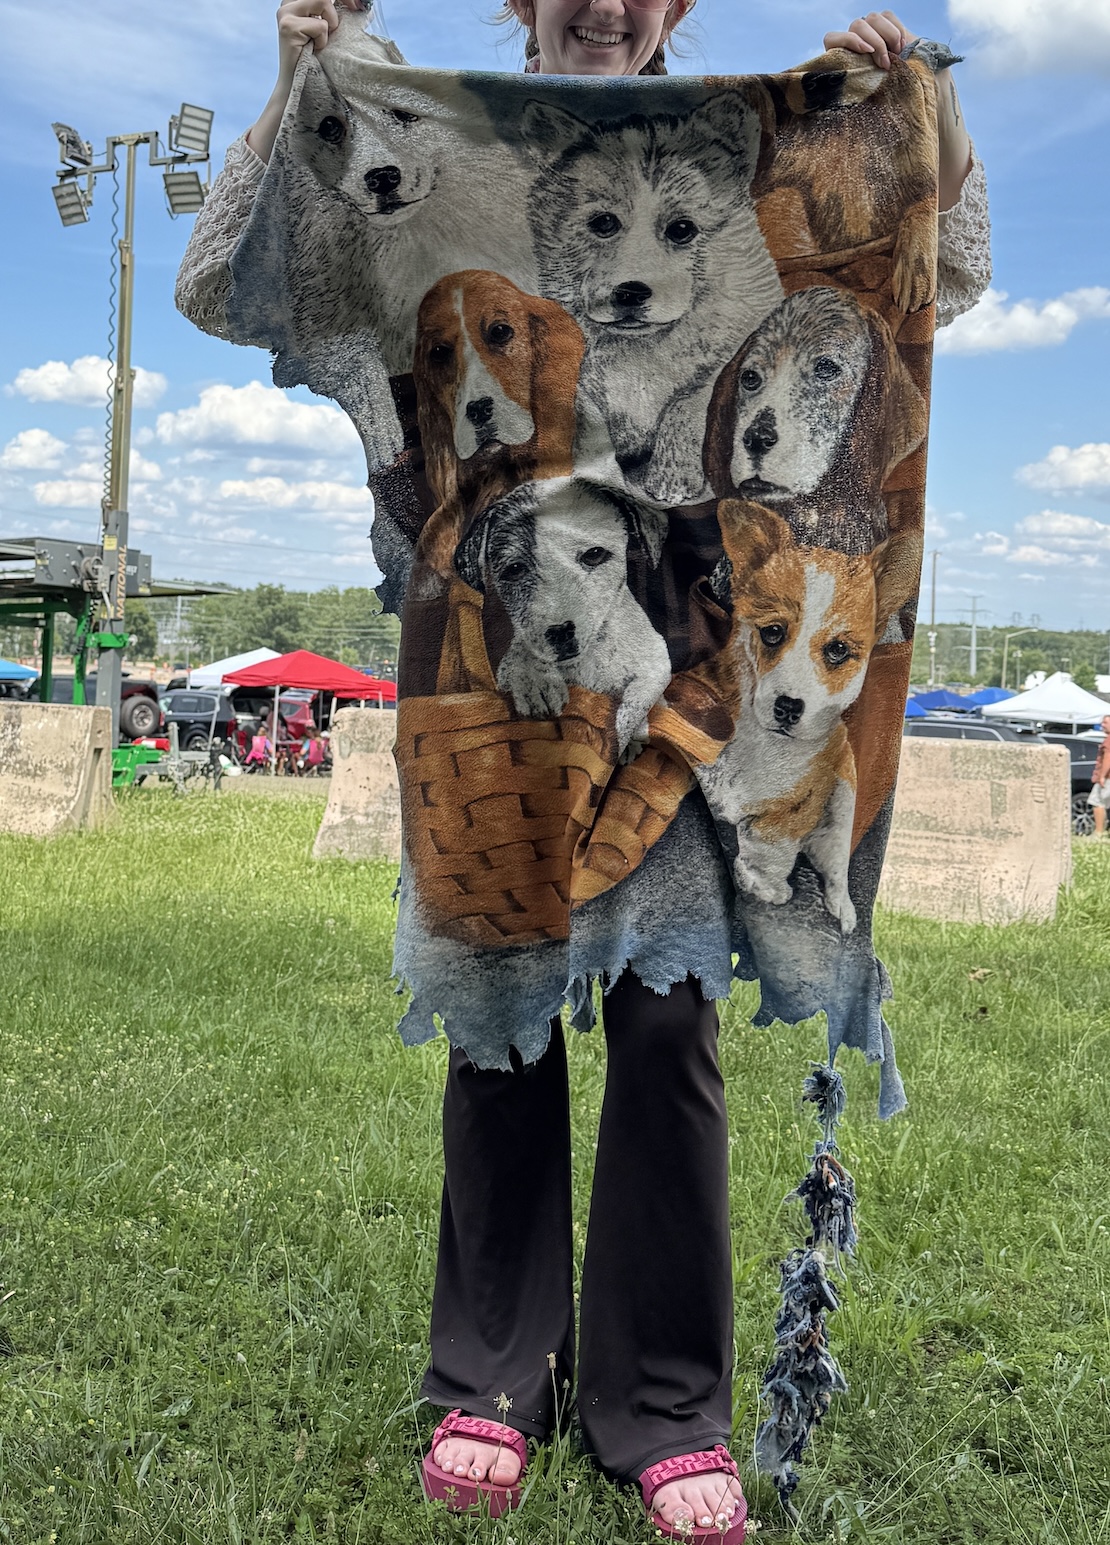
So when we recently met up with them, I got to take a picture of her daughter and her beloved 24 year old blanket:
It looks even worse in person, ha! It is so well loved. She said she actually has a box of pieces that she rotates.
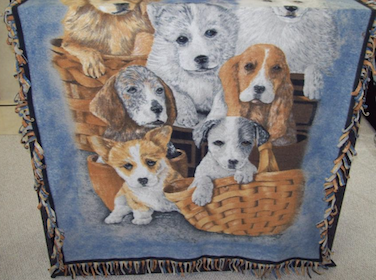
By the way, here is what the blanket originally looked like (I was able to locate a phote online but not any resource in which to buy this fleece pattern):
Although it could never replace the original blanket I made her, I think the new blanket I gave her daughter was a hit (she appeared to be deeply touched)!
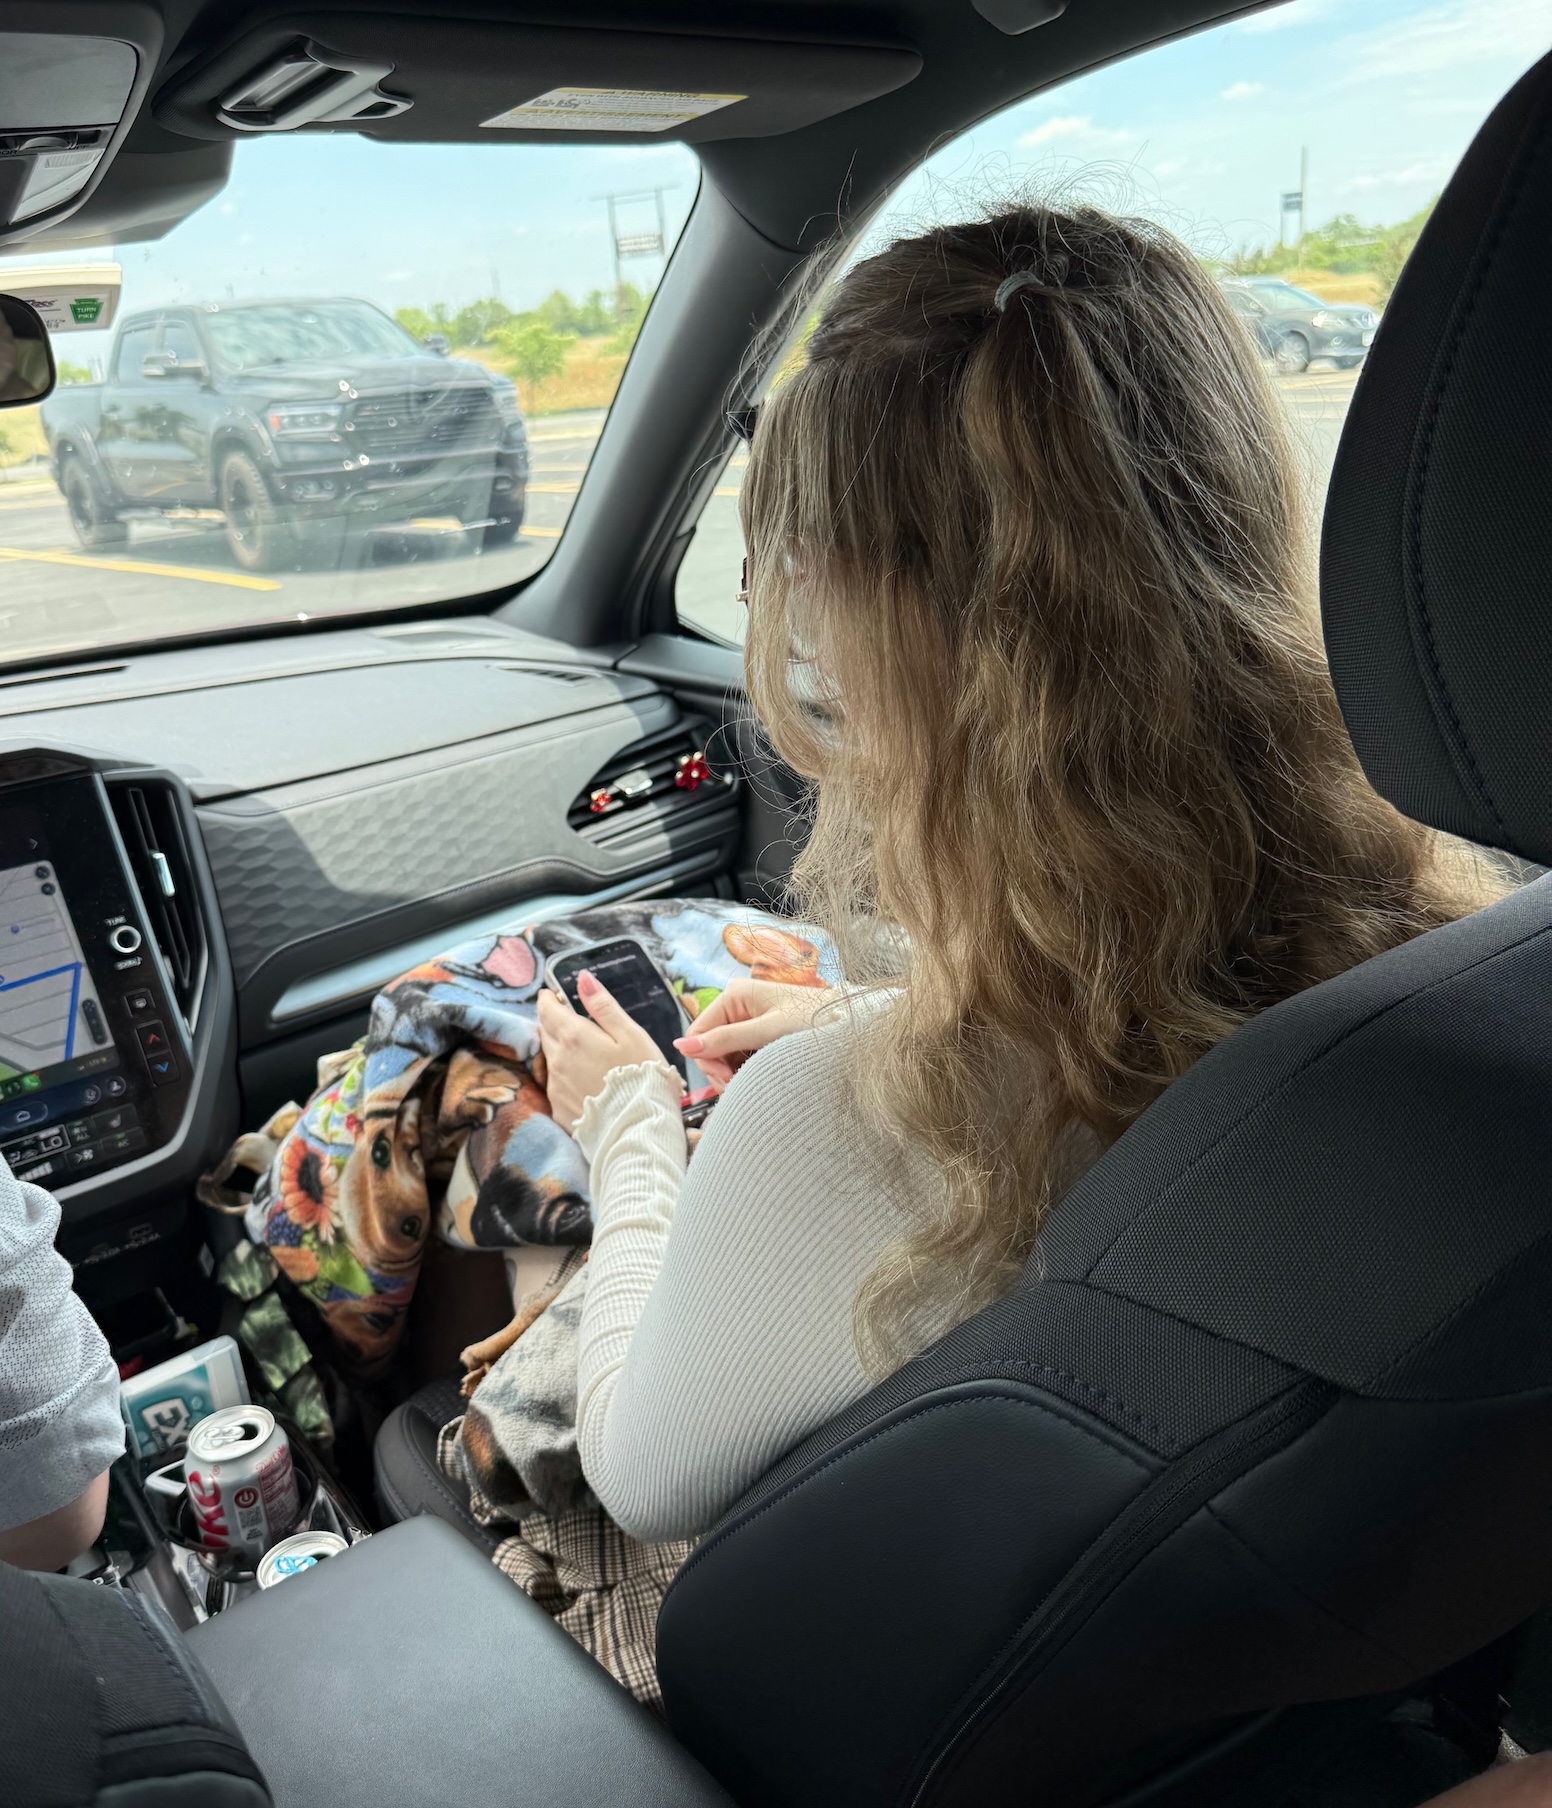
After we returned home from meeting up with them, my friend K sent me a photo of her daughter with her new Tierney blanket on her lap!
You just never know what a handmade item you give means to someone else (and that for 24 years they would make it an intergal part of their lives).
Postscript
06/20/26
Going through comments on this post, one person’s awesome comments made me think of that famous passage from the children’s book The Velveteen Rabbit by Margery Williams Bianco (published in 1922):
“Real isn’t how you are made,’ said the Skin Horse. ‘It’s a thing that happens to you. When a child loves you for a long, long time, not just to play with, but REALLY loves you, then you become Real.’
‘Does it hurt?’ asked the Rabbit.
‘Sometimes,’ said the Skin Horse, for he was always truthful. ‘When you are Real you don’t mind being hurt.’
‘Does it happen all at once, like being wound up,’ he asked, ‘or bit by bit?’
‘It doesn’t happen all at once,’ said the Skin Horse. ‘You become. It takes a long time. That’s why it doesn’t happen often to people who break easily, or have sharp edges, or who have to be carefully kept. Generally, by the time you are Real, most of your hair has been loved off, and your eyes drop out and you get loose in the joints and very shabby. But these things don’t matter at all, because once you are Real you can’t be ugly, except to people who don’t understand.”
Last Wednesday the new community based quilt group I joined met to finish up the Project Linusquilts they started in April. Several members with longarm quilting machines completed the quilting on the quilts and put on the binding. Now it was time to sew down the binding so the 5 quilts could get donated.
Instead of hand stitching down the binding, the team decided to just “stitch in the ditch” the binding to finish the quilts.
I got the binding on three quilts sewn down, while others worked on adding the binding to those not finished. Here are some photos from the morning:
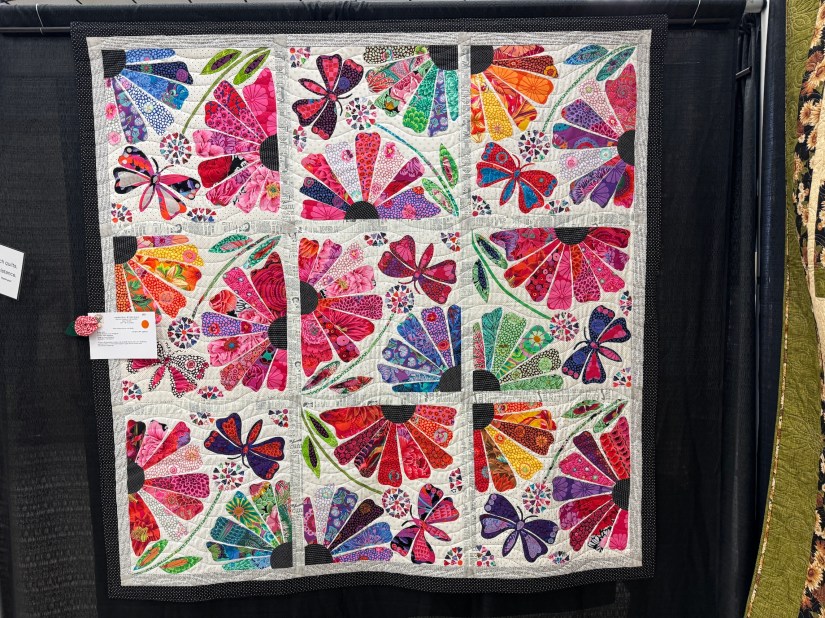
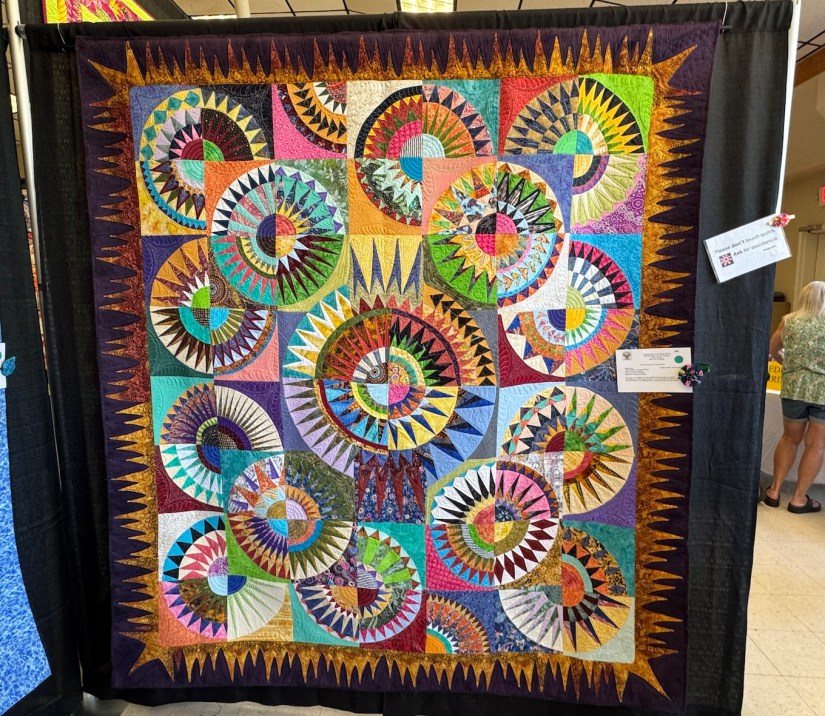
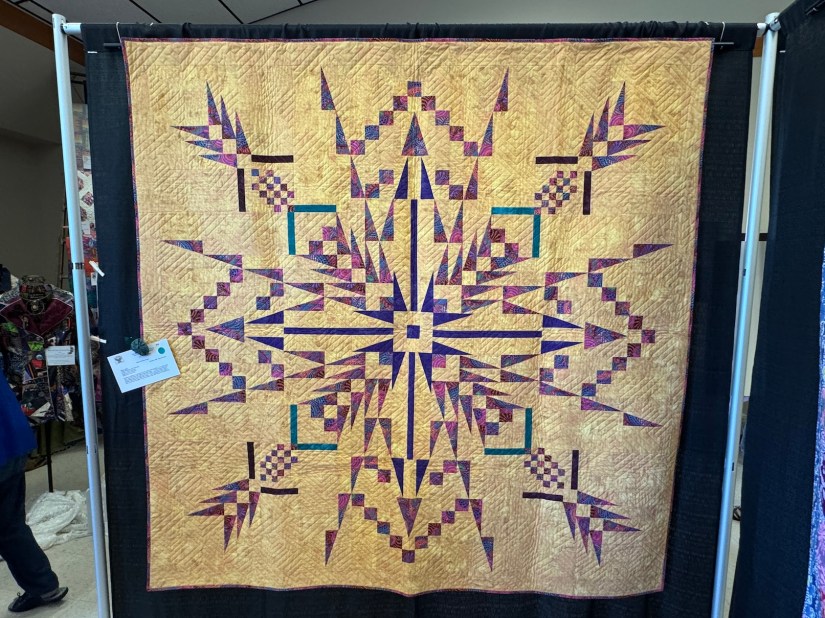
While on a recent California road trip with friends we stopped in Loomis, California to see theLoomis Quilt & Fiber Guild Quilt Show in which one of my friends is a member.
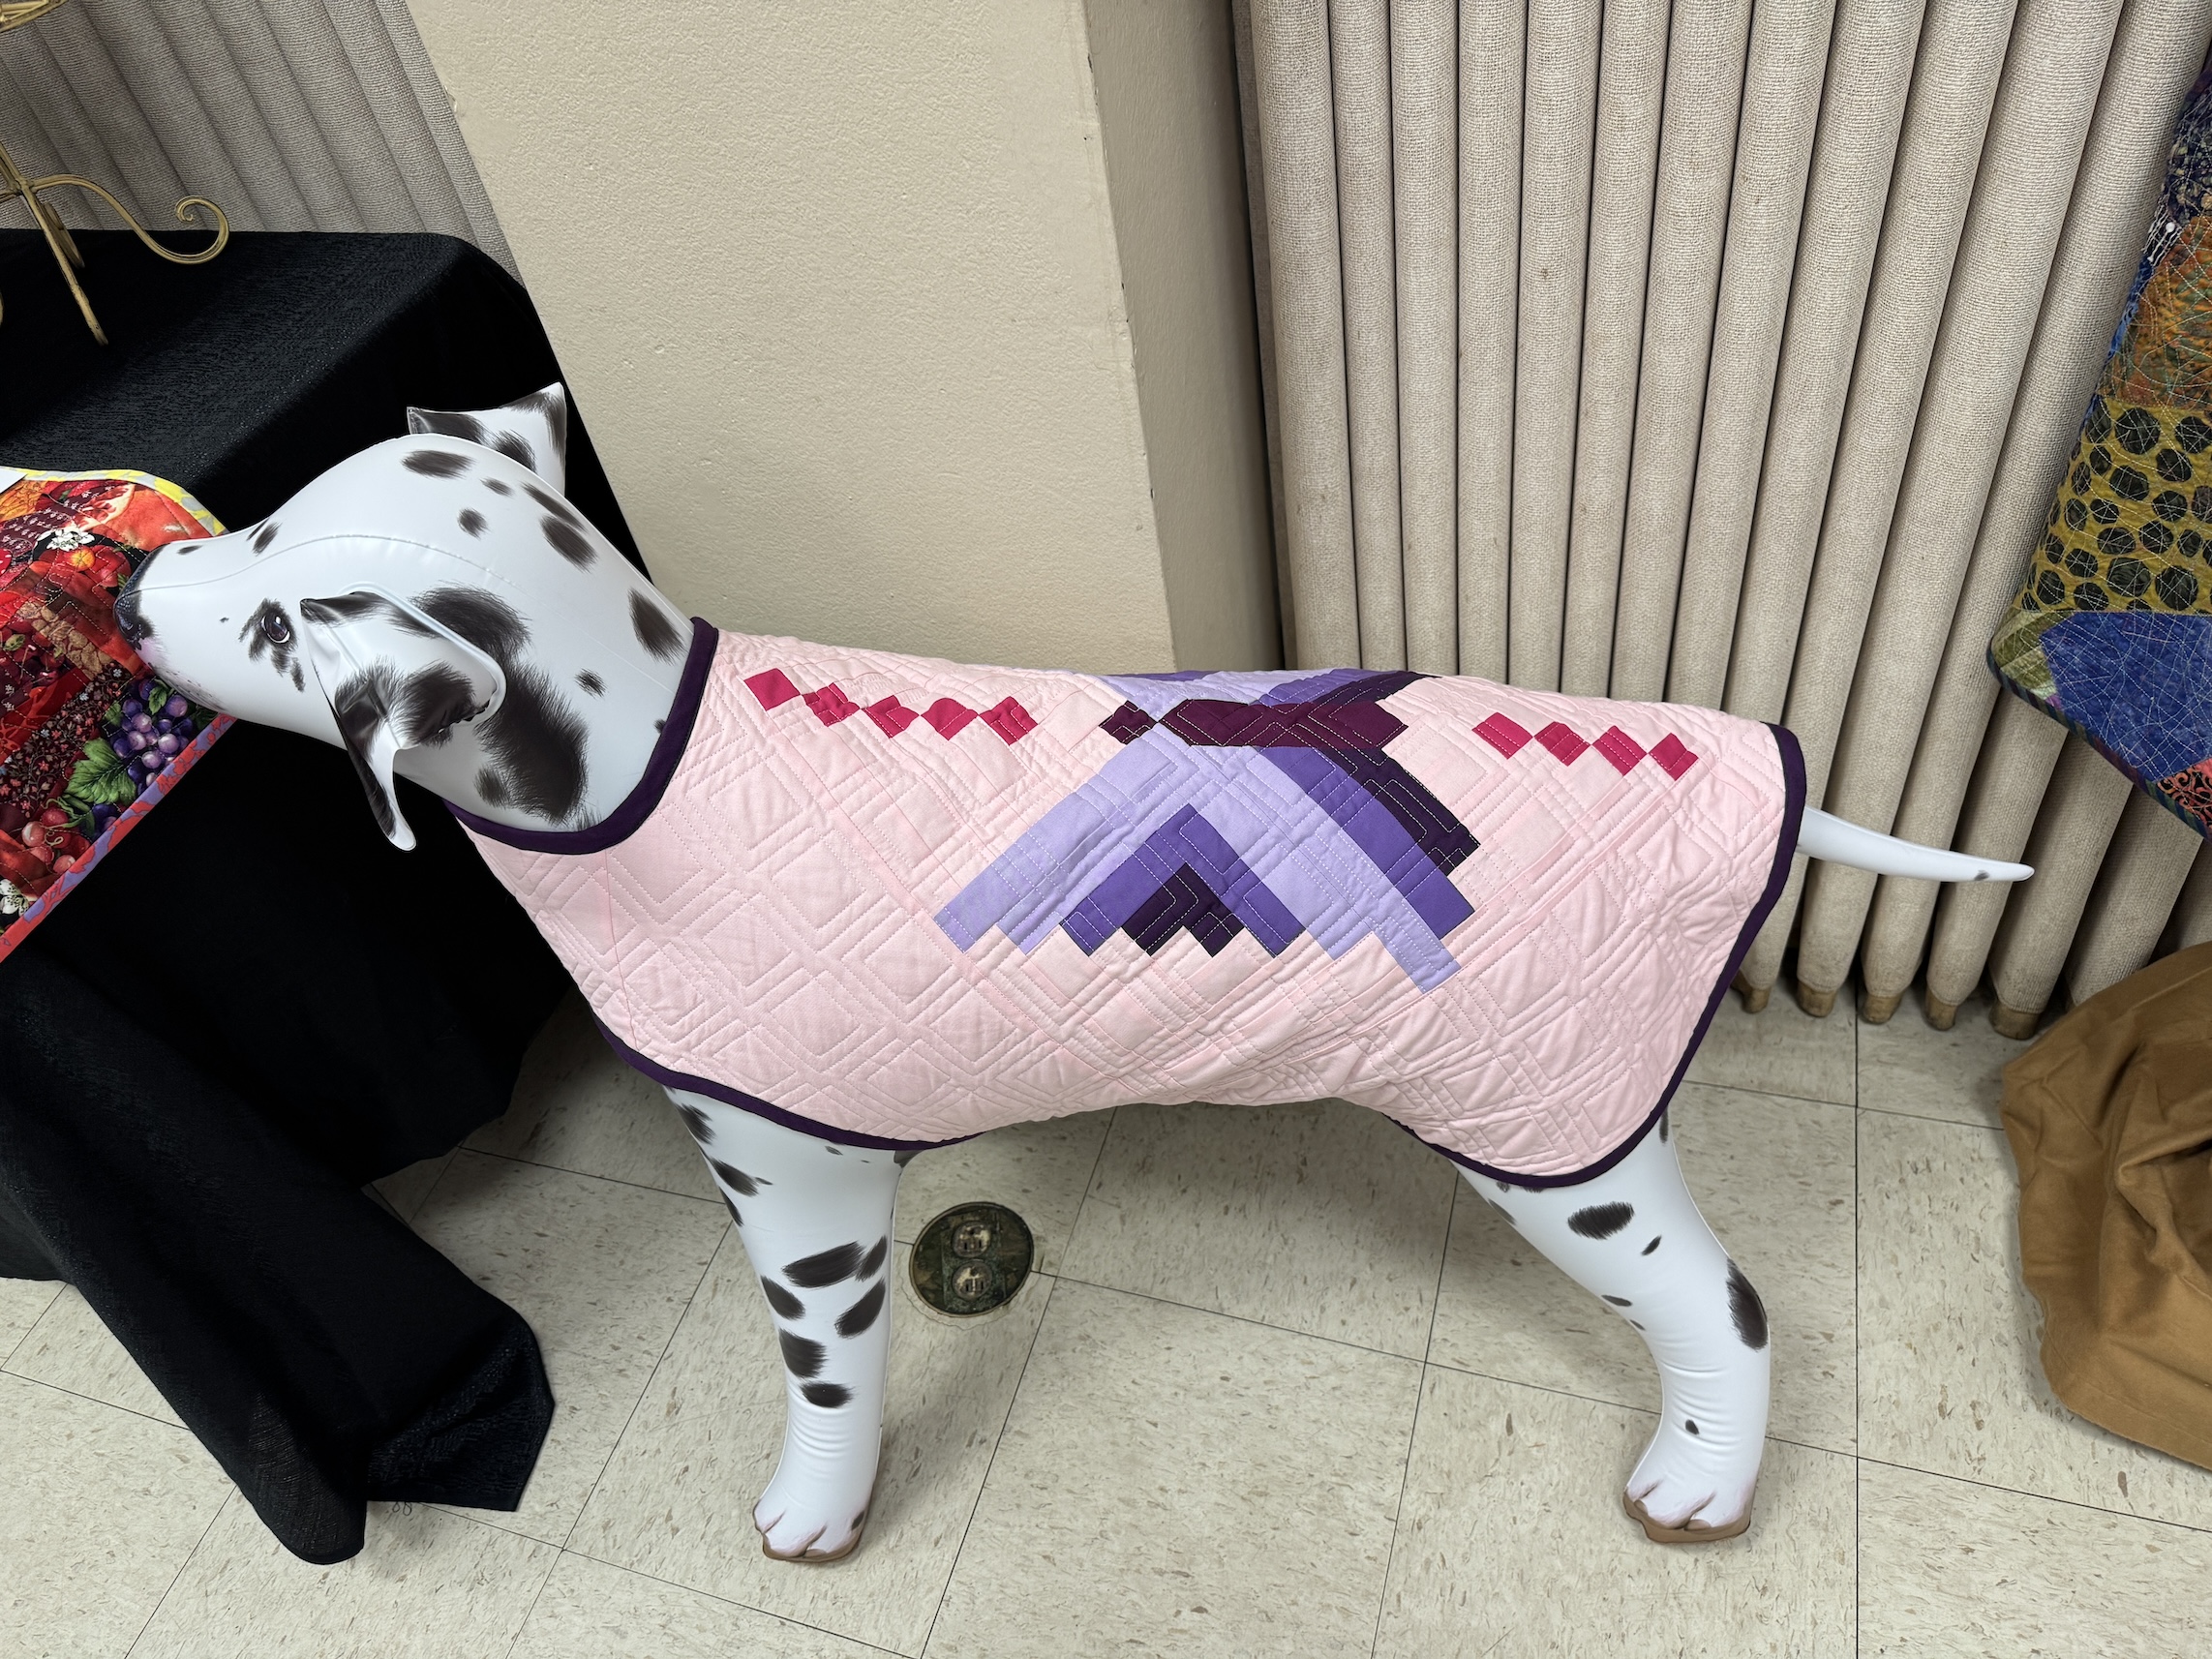
For those of you who quilt, I thought you might like to see a sampling of some of the quilt in the show. I had a fun time wandering around the show and stopping at the vendor booths (I was well behaved and did not buy anything). Oh it was crowded so I had to work around people to take photos so they are not at the best angle…
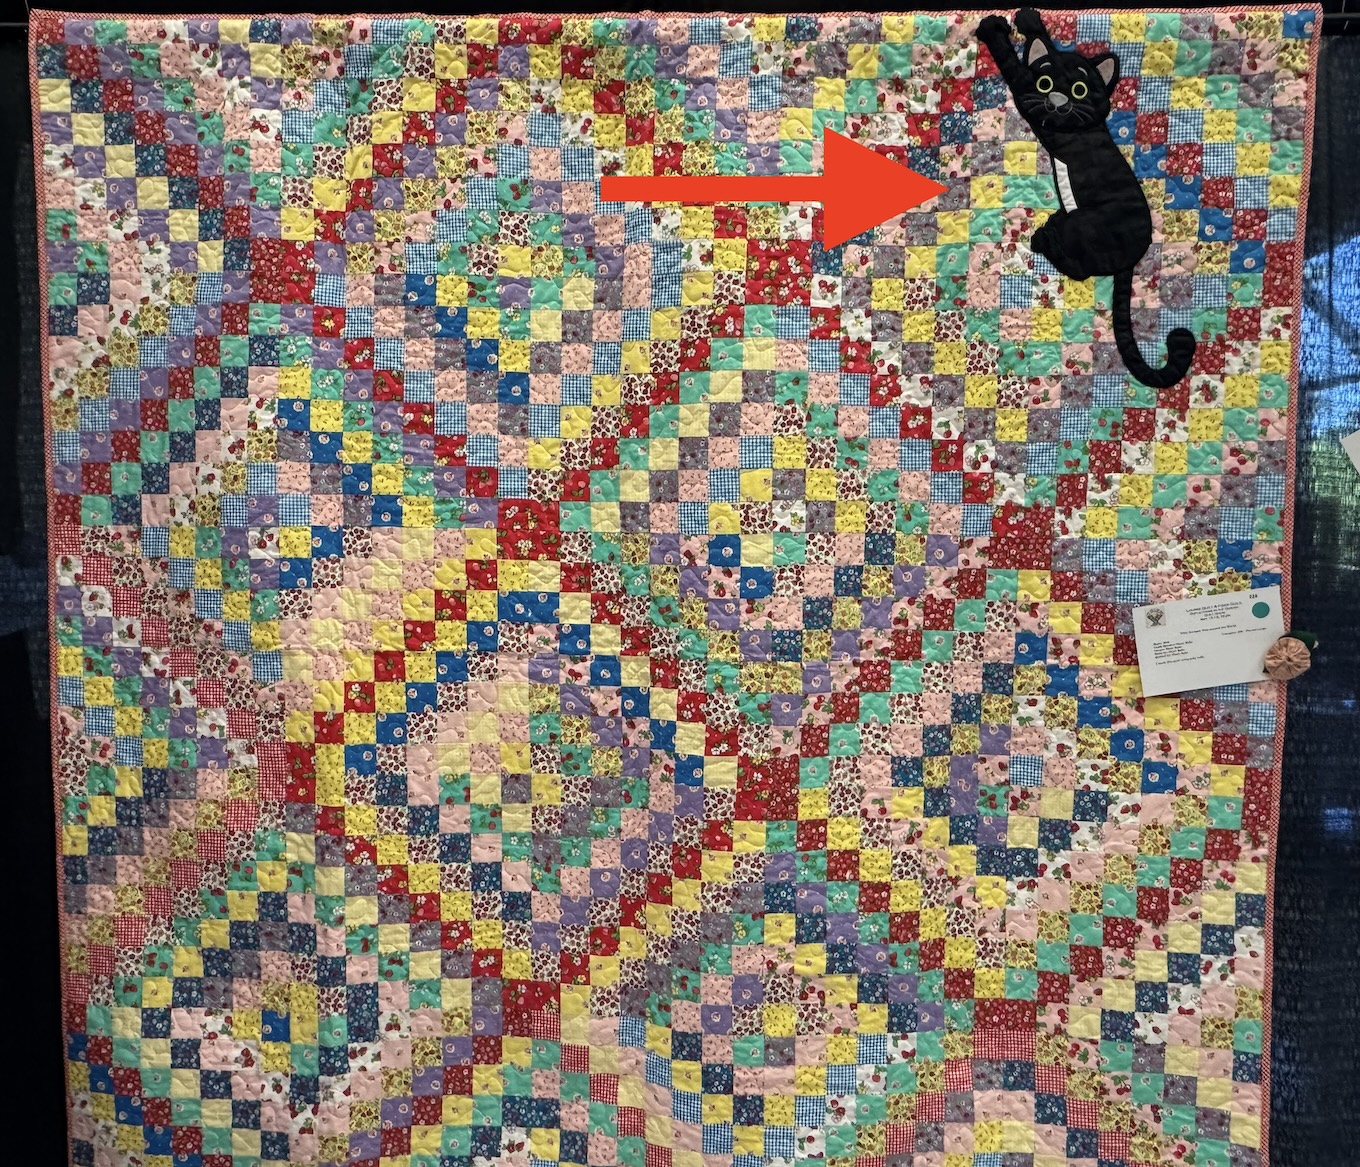
I got a kick out this “postage stamp” style traditional quilt but with a kitty hanging from it (see red arrow):
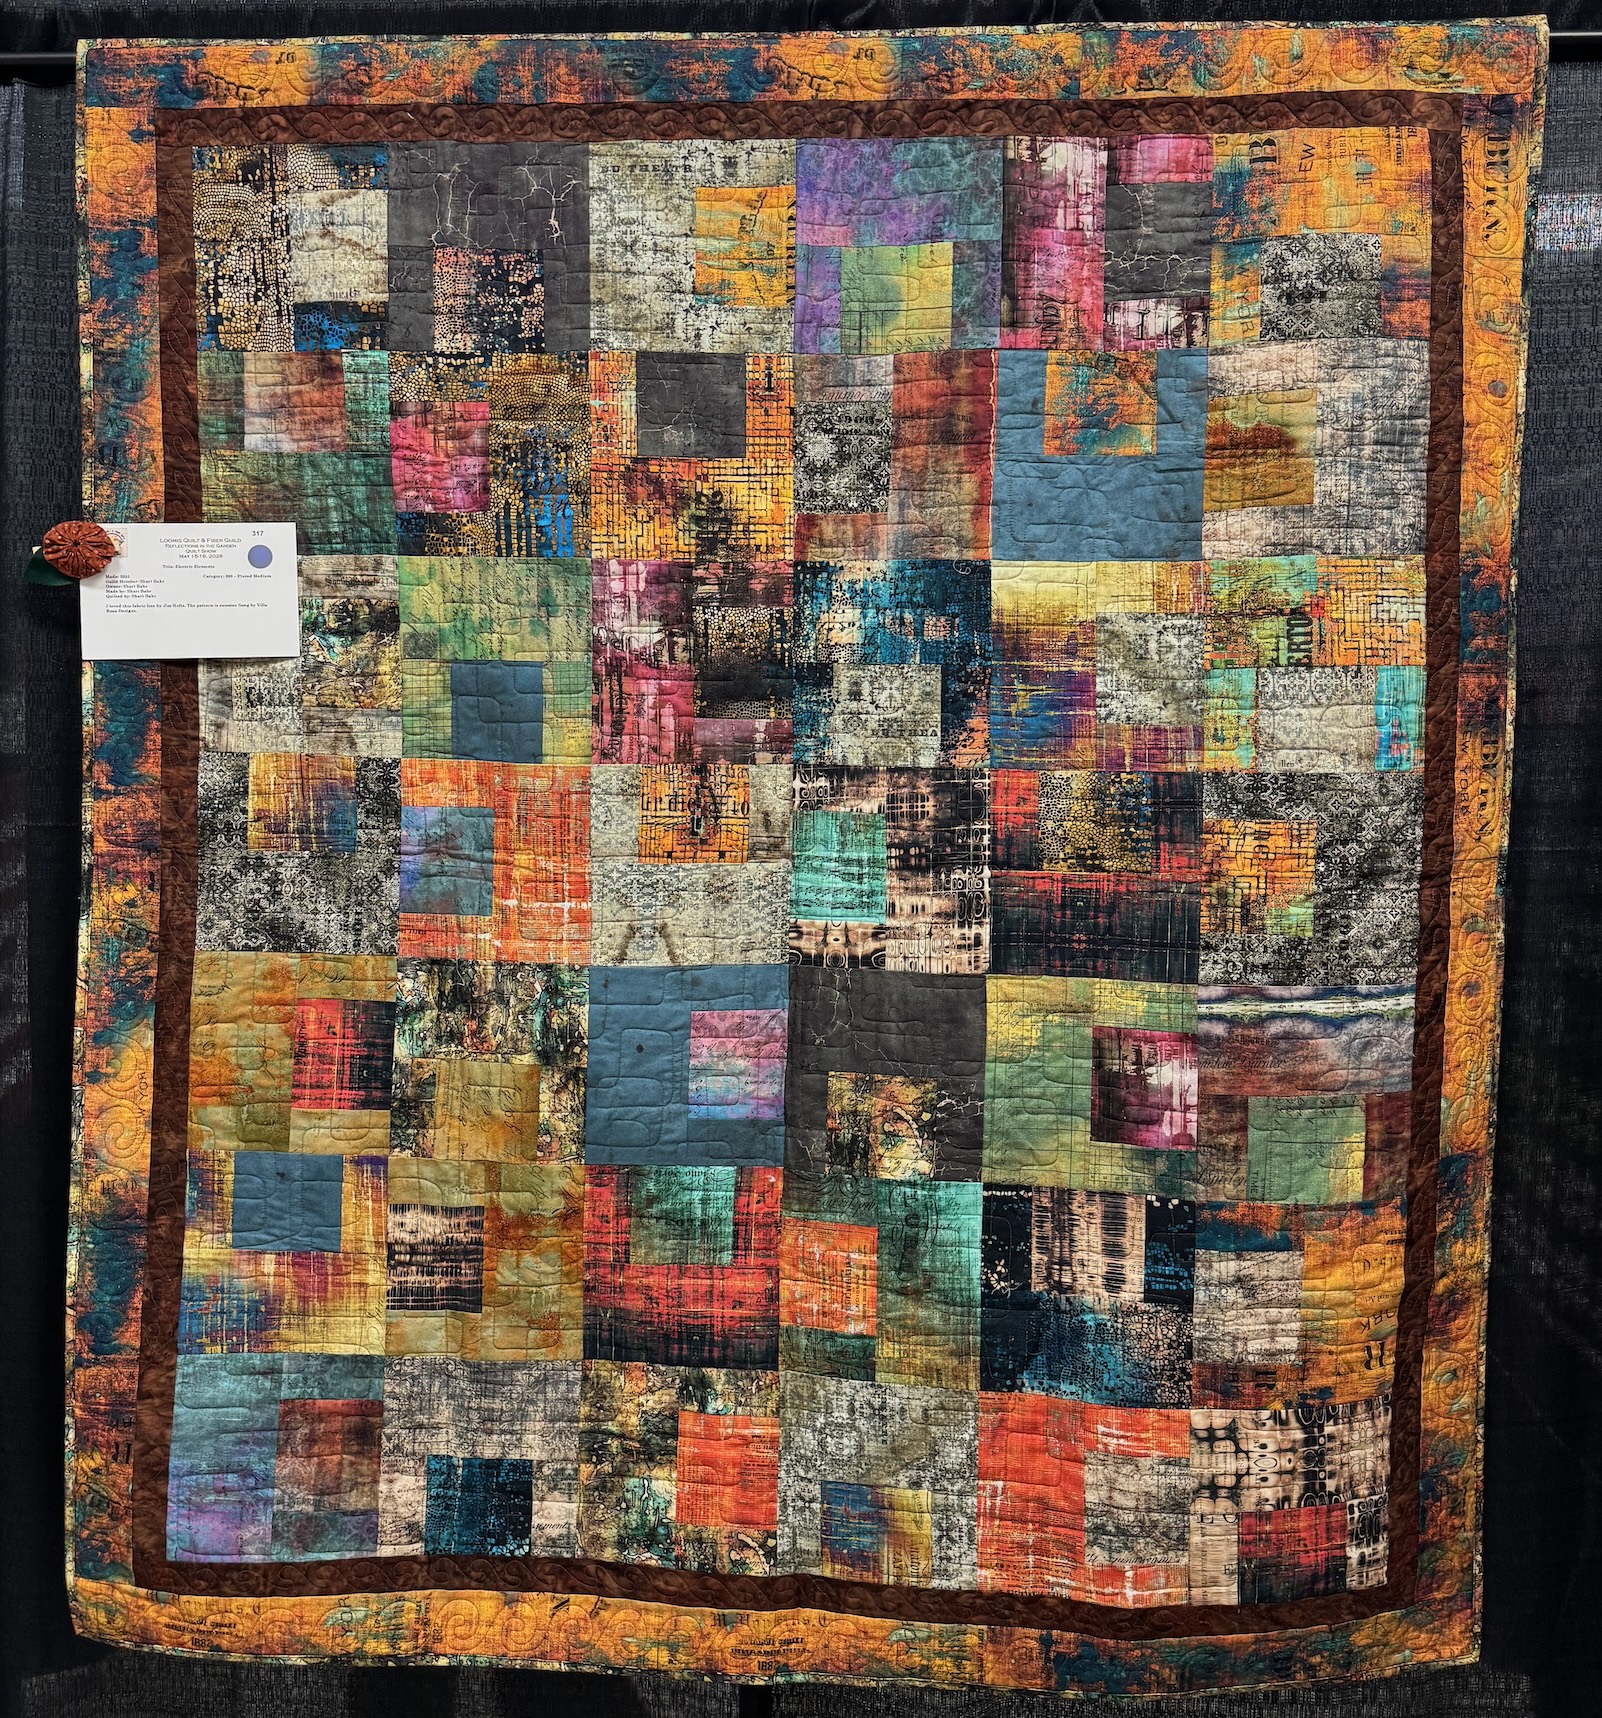
I liked this quilt with Tim Holtz fabric – not a complex pattern but the fabric really makes the quilt spectacular:
One of the things I like about the new community that John and I now live in is that they have a lot of community activities and clubs.
For example John joined the Poker Club and the Sports Fanatics Club, and so far I’ve joined the Quilting Club.
Saturday the Quilting Club met at the home of one of the members who has turned her entire basement into an AMAZING quilt studio (which I will show photos of in part 2 of this series of posts), to work on Project Linus quilts.
If you aren’t familiar with Project Linus, it is a volunteer organization that “provides handmade blankets to children 0-18 in the United States who are seriously ill, traumatized, or otherwise in need” (projectlinus.org). The “blankets” donated are usually handmade quilts or crocheted/knitted blankets.
My community quilting group has many years of experience making quilts for kids as part of Project Linus and the group thought a day of intense group quilt production would be a great way to whip up some donation quilts.
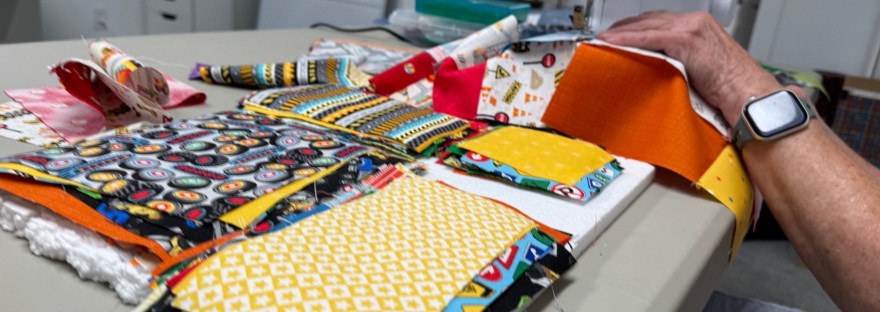
We were assigned either cutting, ironing, or sewing; and the long-arm quilters in the group would do the machine quilting on the quilts. They chose a simple pattern and precut packets of coordinate fabrics for those of us assigned to sewing (I was in that group):
I brought my little travel Bernina and had fun hanging out with the other “sewing assigned” quilters, sewing our pieces together while the “ironing assigned” quilters came and took out chained pieces from our machines to press!
Here I am with my completed quilt top at the end of the mini retreat day:
Here are some of the other quilts (same pattern) in progress or completed:
And here is one of the completed quilt tops on the long arm machine getting quilted:
It was a very fun day, though we joked we were in a “quilting sweat shop” – ha! We did take breaks and visited/chatted a lot. We had a wonderful potluck lunch.
We got at least 5 quilt tops completed and a couple more started.
Next post I will show you a tour of the amazing full basement quilt studio of the lovely woman who hosted our mini retreat.
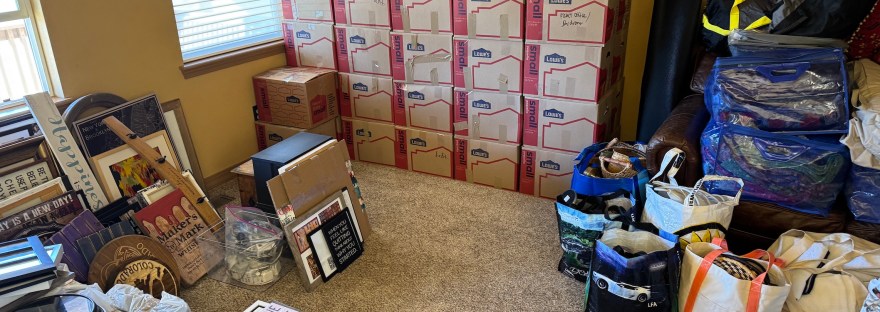
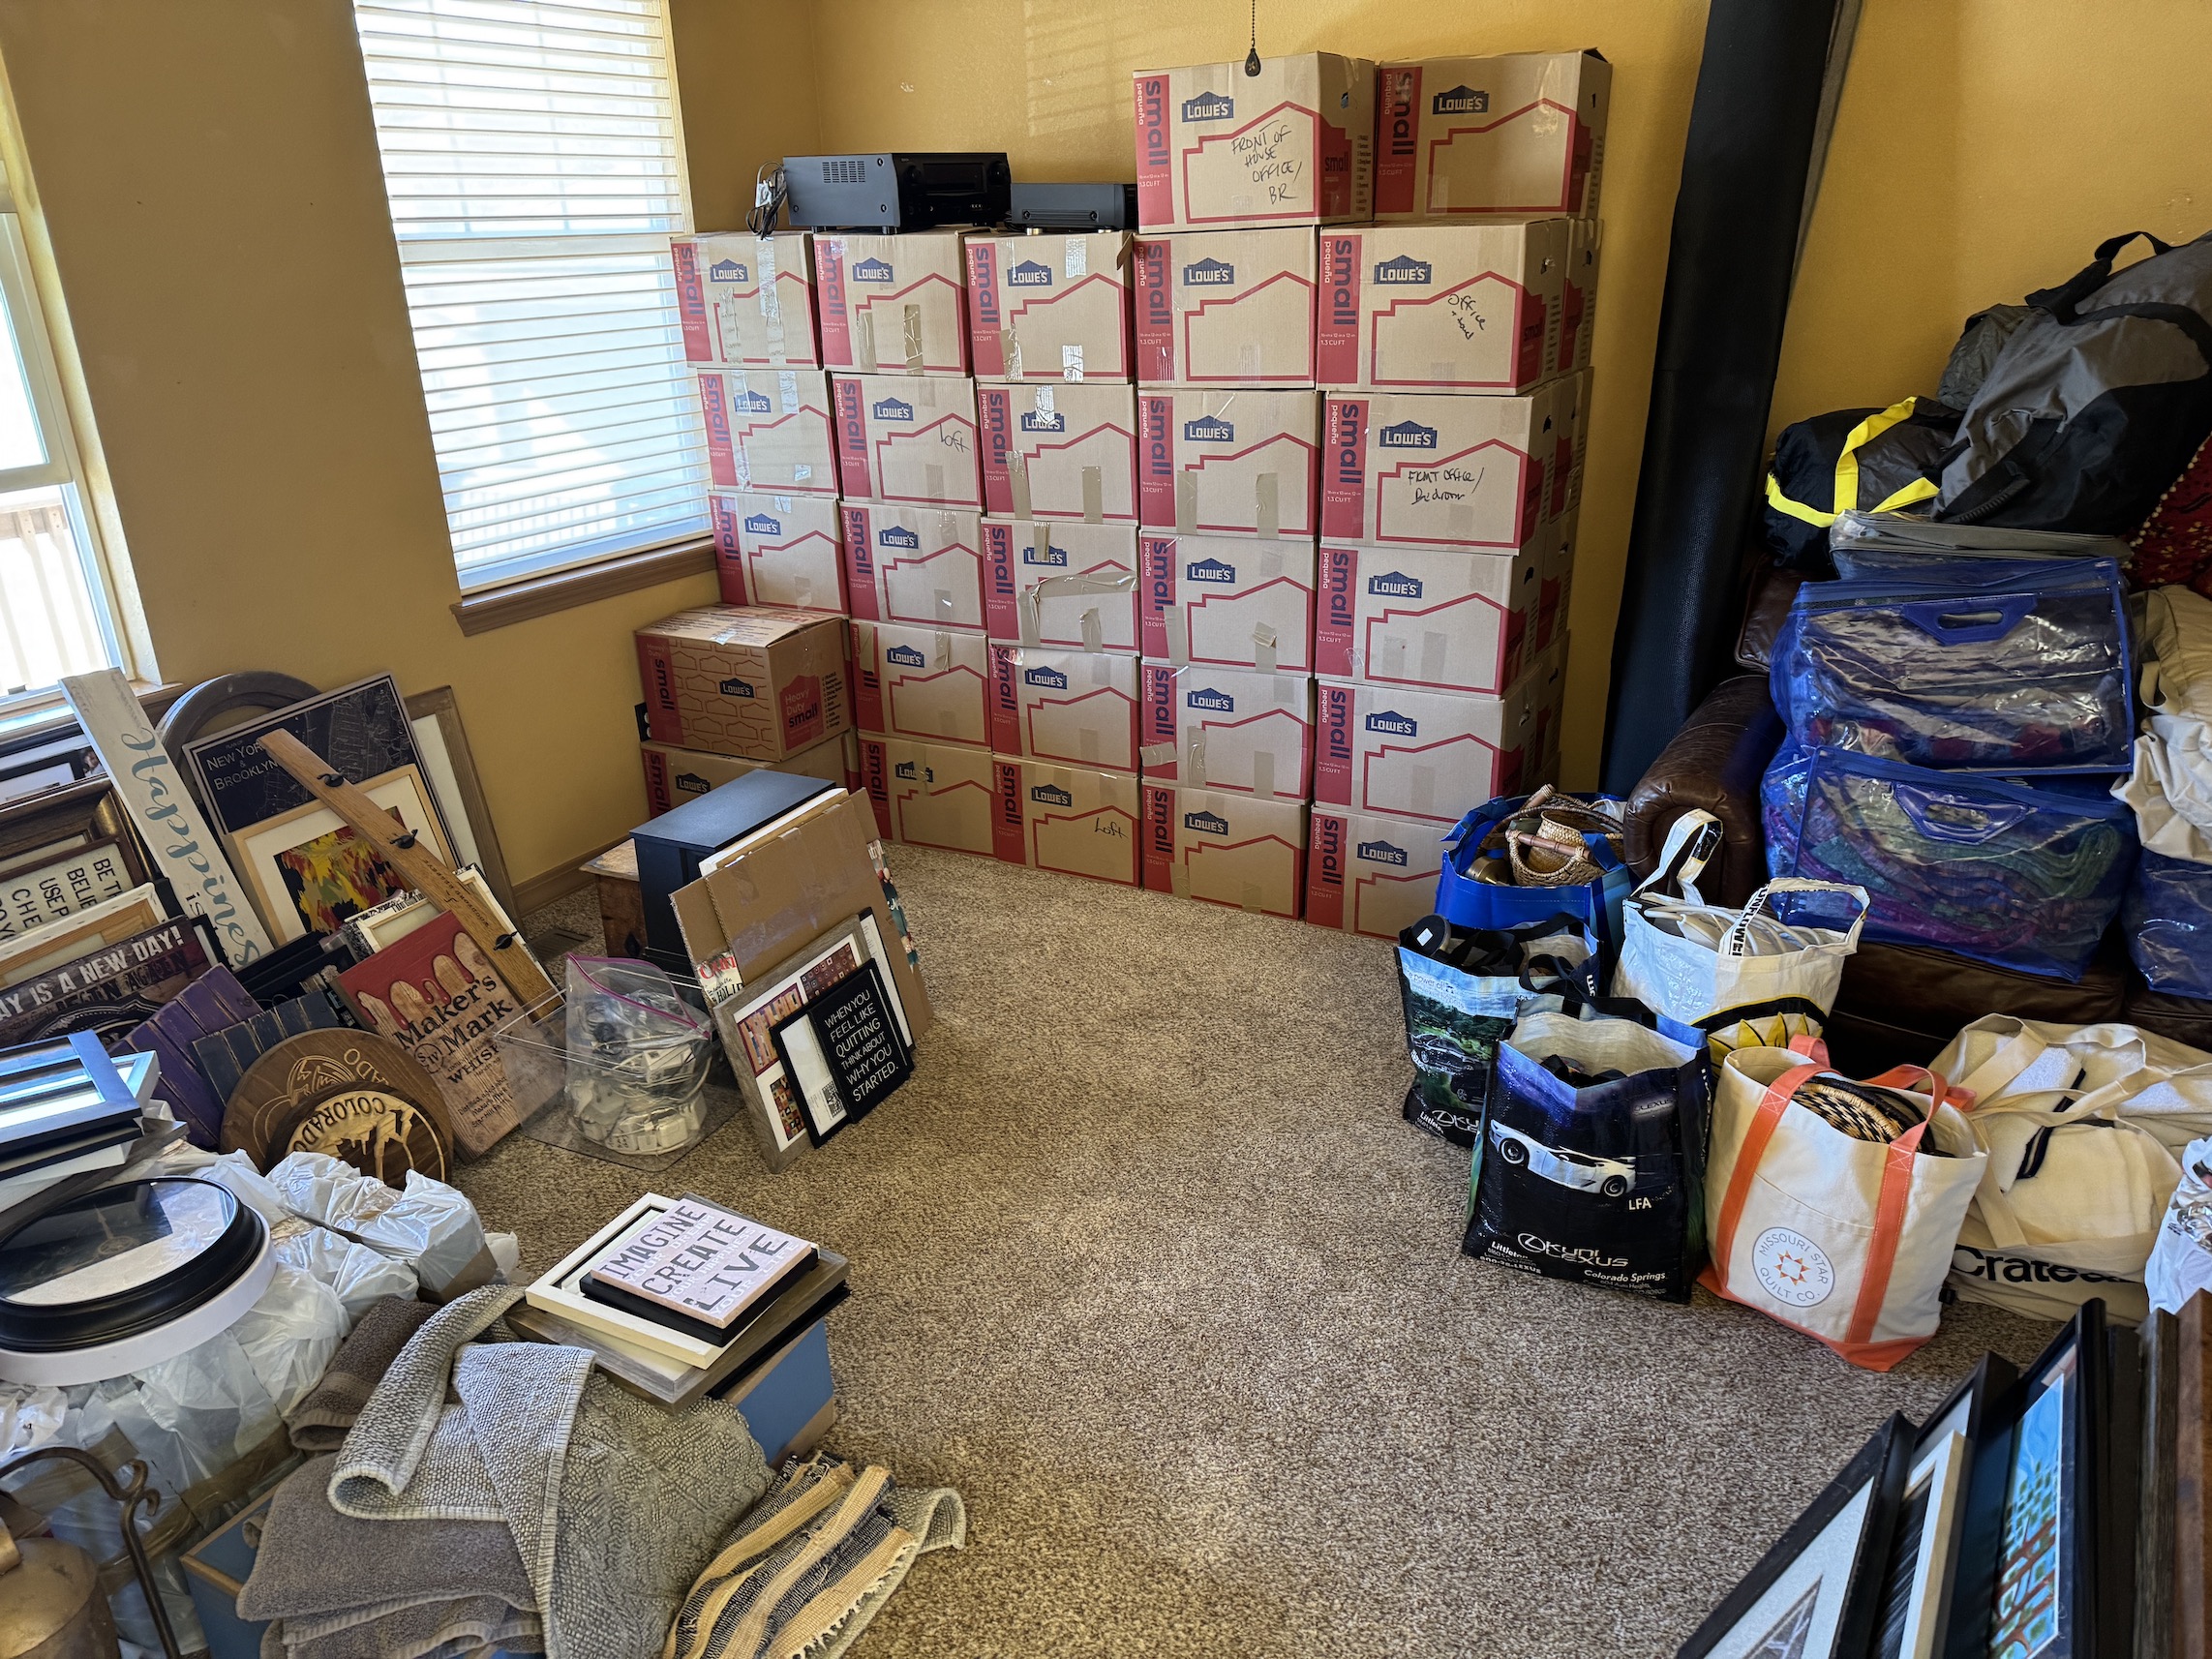
We are in the process of packing up our house in order to move to a new house in early March 2026 and put our existing house on the market.
So far I’ve packed 75+ small boxes (the image above is only a small sampling) while John works on various house projects to put the house on the market.
In a December 2025 post (Chaos in the Craft Room!) I mentioned that John and I were looking at downsizing and selling our house someday. At the time I wrote that, “someday” meant in early to mid 2027. We didn’t have any plans to move in 2026!
So how did we get here?
Well a month ago, on a lovely day in late January 2026 (we’ve had a bout of unseasonably nice weather in the lower elevations in Colorado…we live at 6000 feet above sea level which is a lower elevation in this high altitude state) John and I decided to go explore neighborhoods north of us.
We absolutely fell in love with a new-ish community near the Denver Airport (but not on the flight path, ha!) and found a perfect ranch-style house (one level living but this ranch house also had a loft where I could have my studio and a 70% finished basement) and made a major life decision to move now instead of next year!
You never know how much stuff you have until you try to pack it…
So John and I put an offer on the new house, which was accepted, and began packing up our lives. We’ve also been purging a lot from our lives. This has been kind of freeing and kind of frustrating as we wished we hadn’t bought the stuff in the first place. Oh well, the charity thrift shops will have some nice things to sell.
I didn’t purge more fabric as I’ve already had a couple purges over the years, but I did purge more craft books (I guess I’m never going to get into macrame or making paper flowers, ha!)
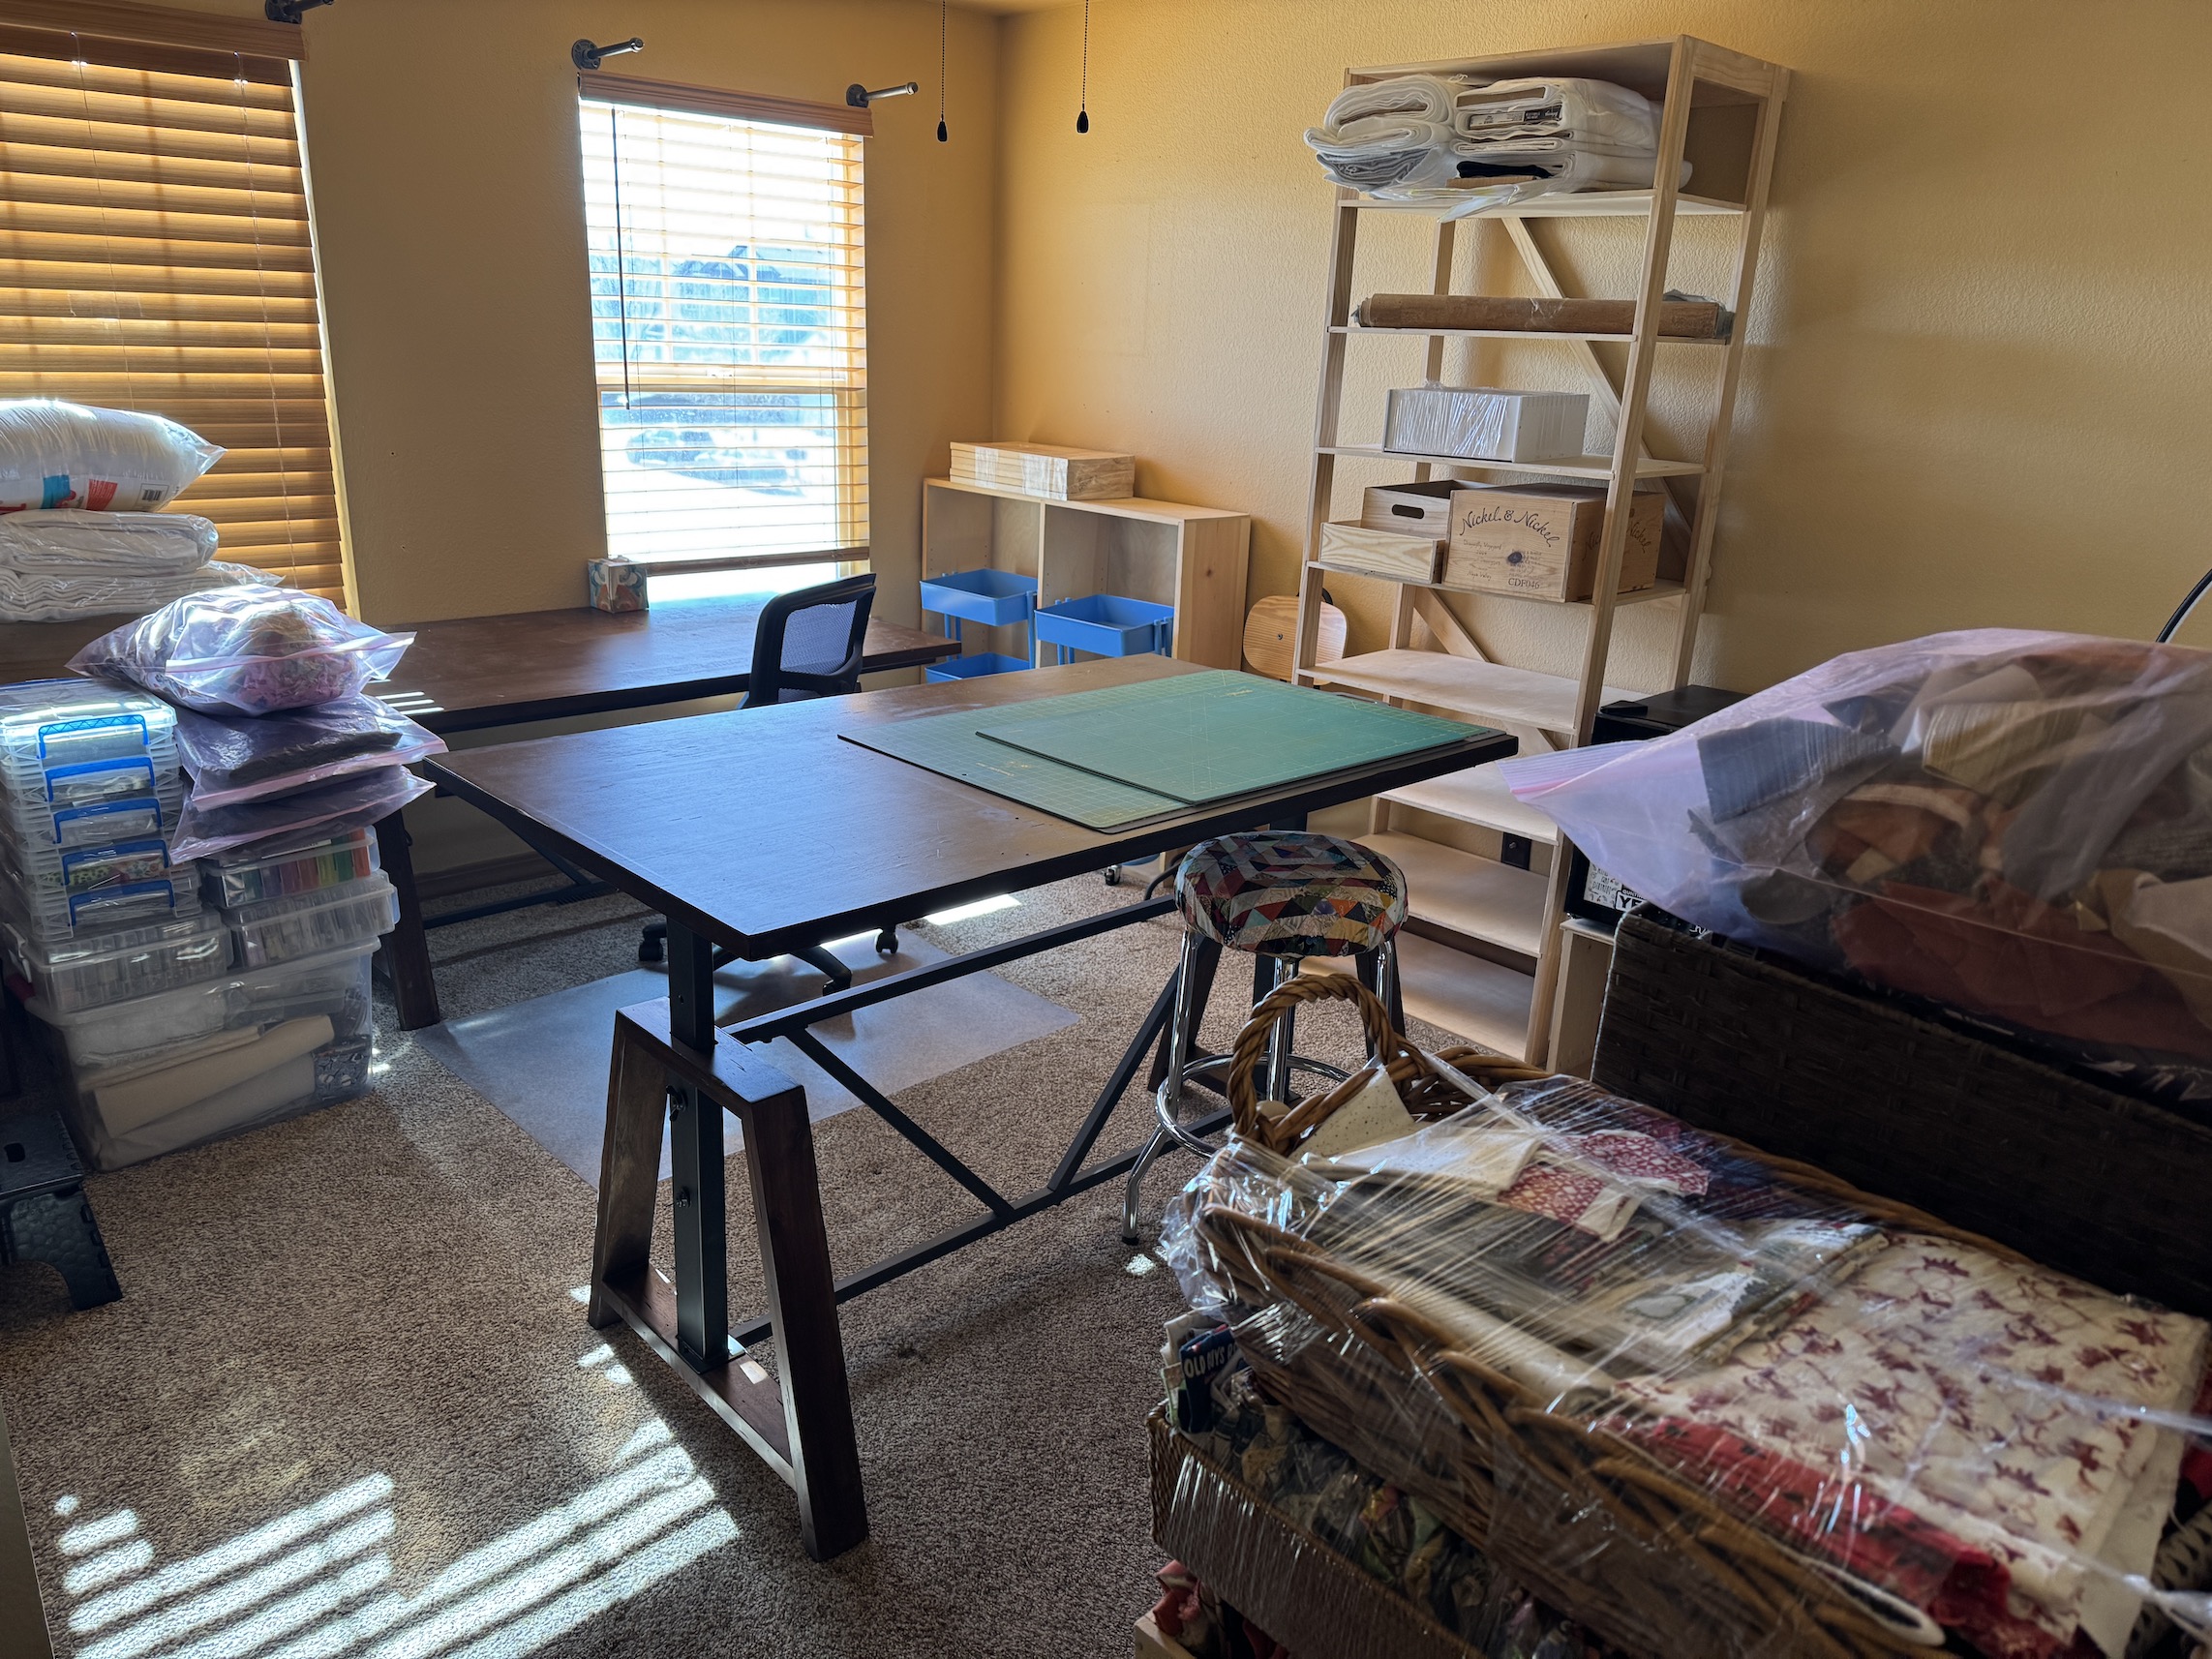
Here is what my studio, that I just moved in December to a smaller room, currently looks like:
It’s been an exhausting whirlwind of major life change but we are trying to focus on the excitement of moving to our new “forever home” and that John will have a new woodworking workshop in the garage and I will have a cozy studio in the loft.
Plus it is a new construction home (it is a former model home) and we will be the first people to live in it!
First I want to wish each of you a Wonderful Holiday Season and Happy/Merry Christmas to those of you who partake in Christmas like I do.
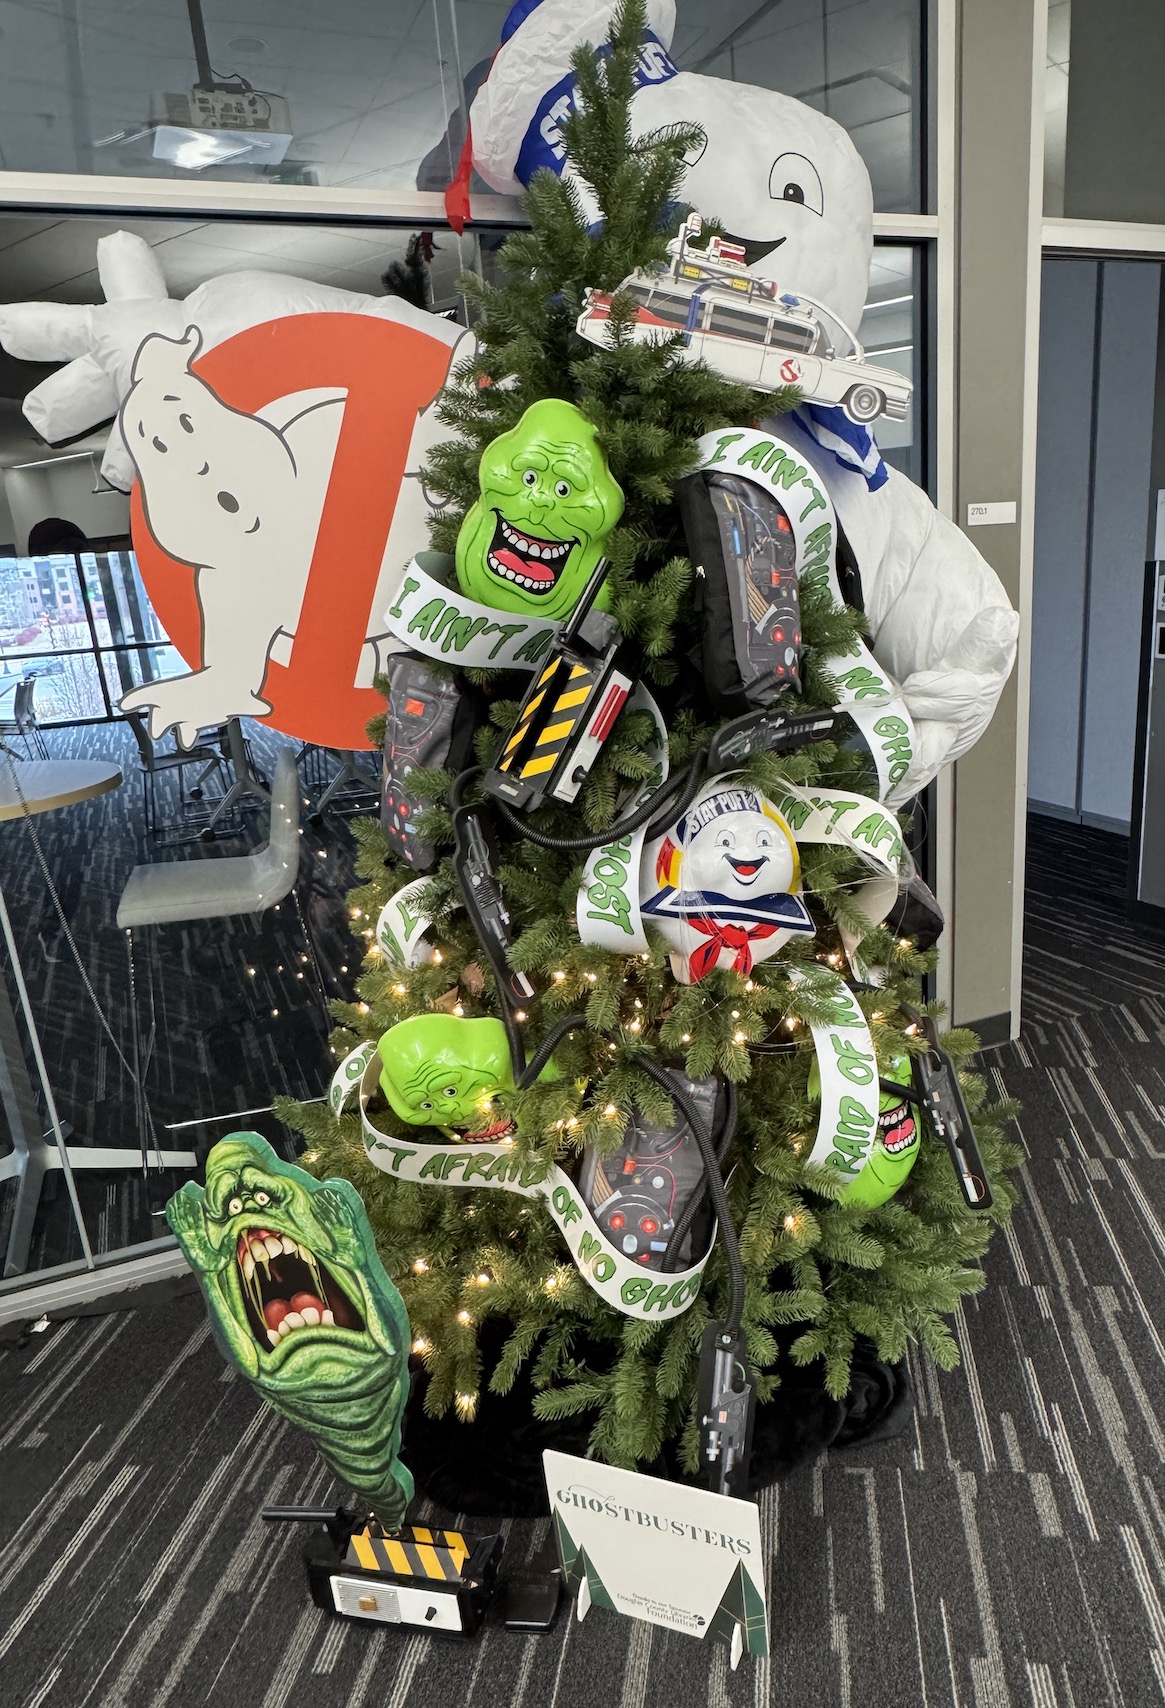
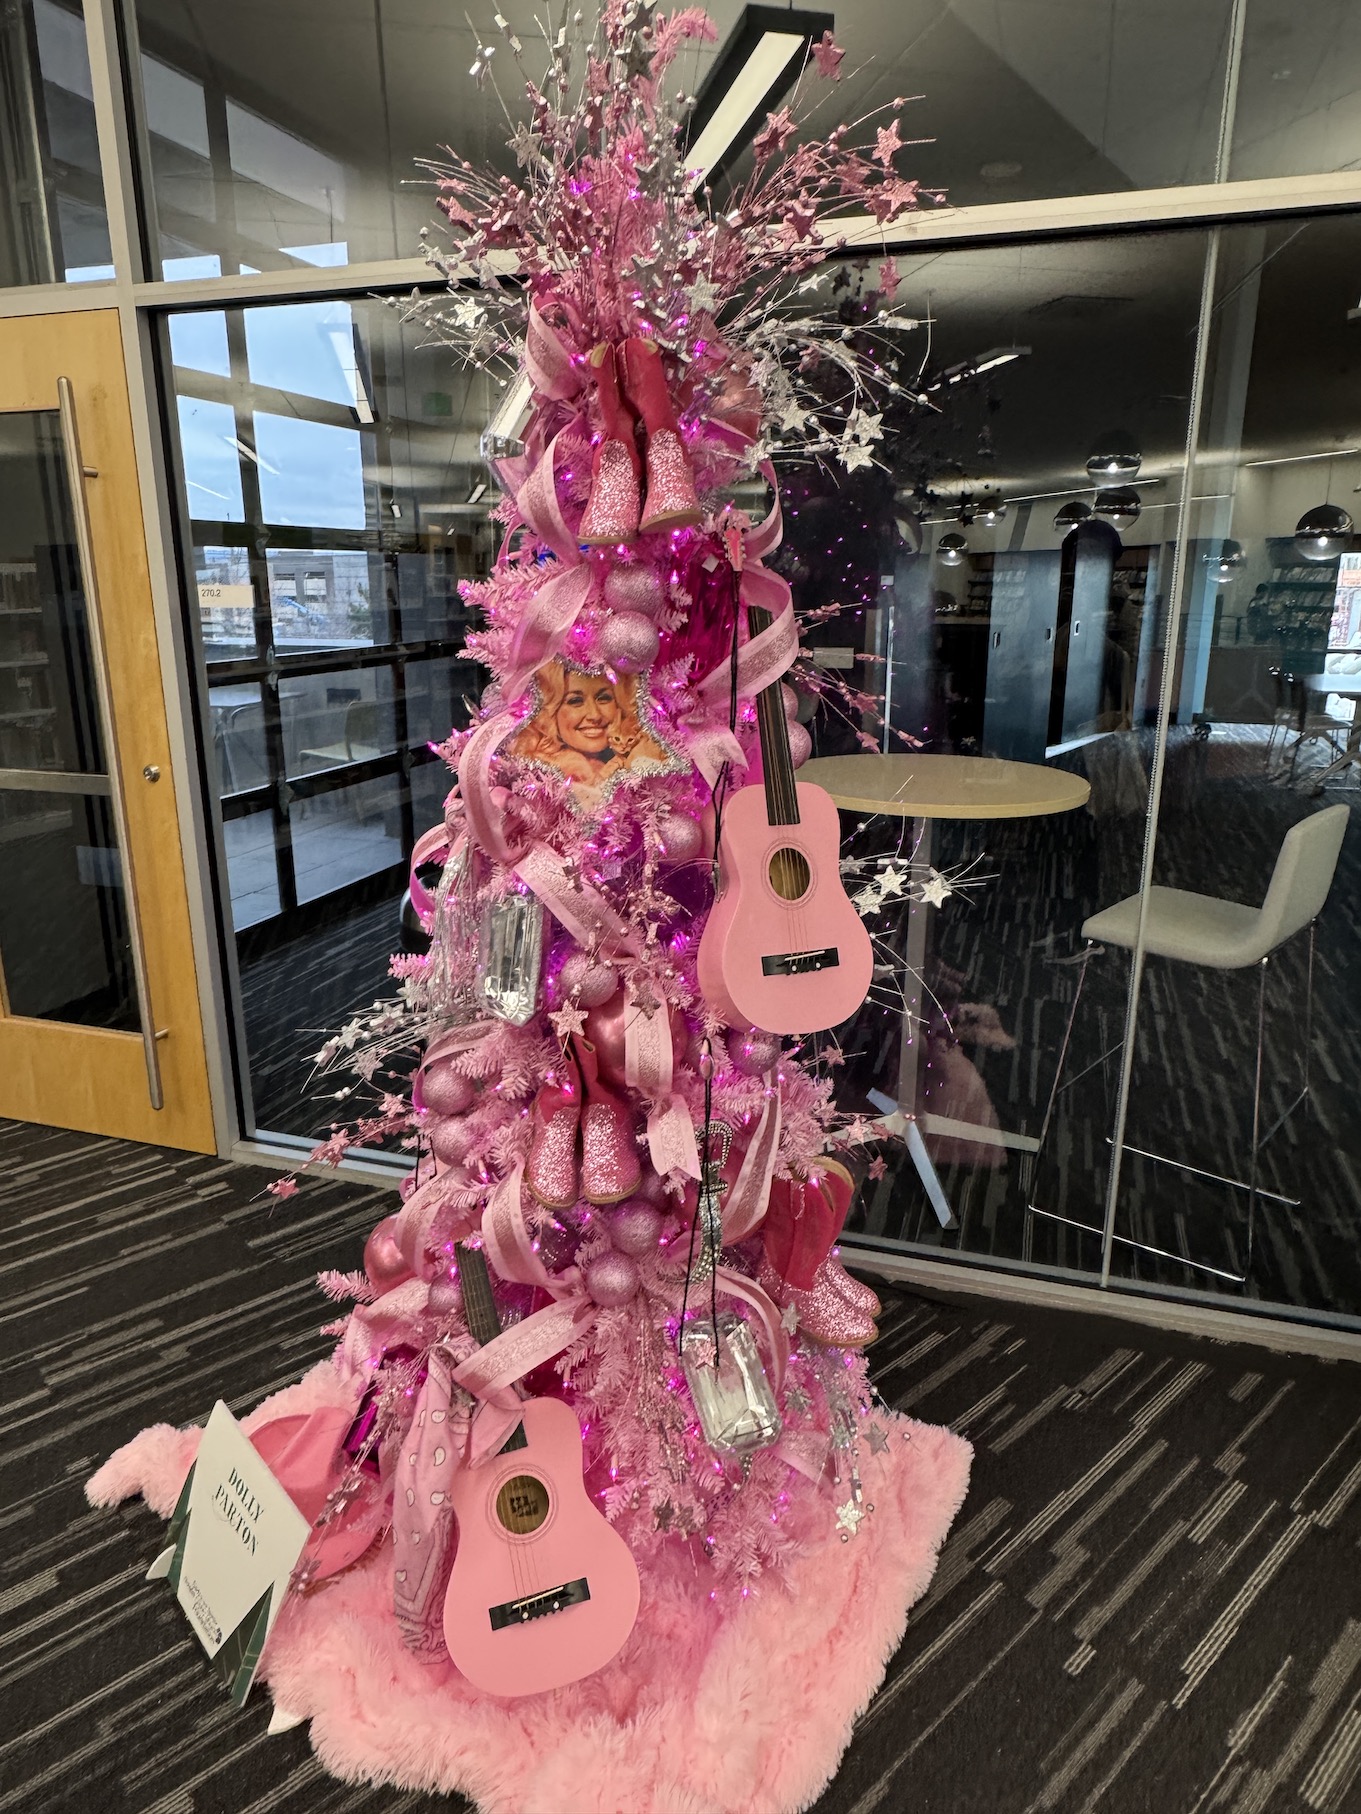
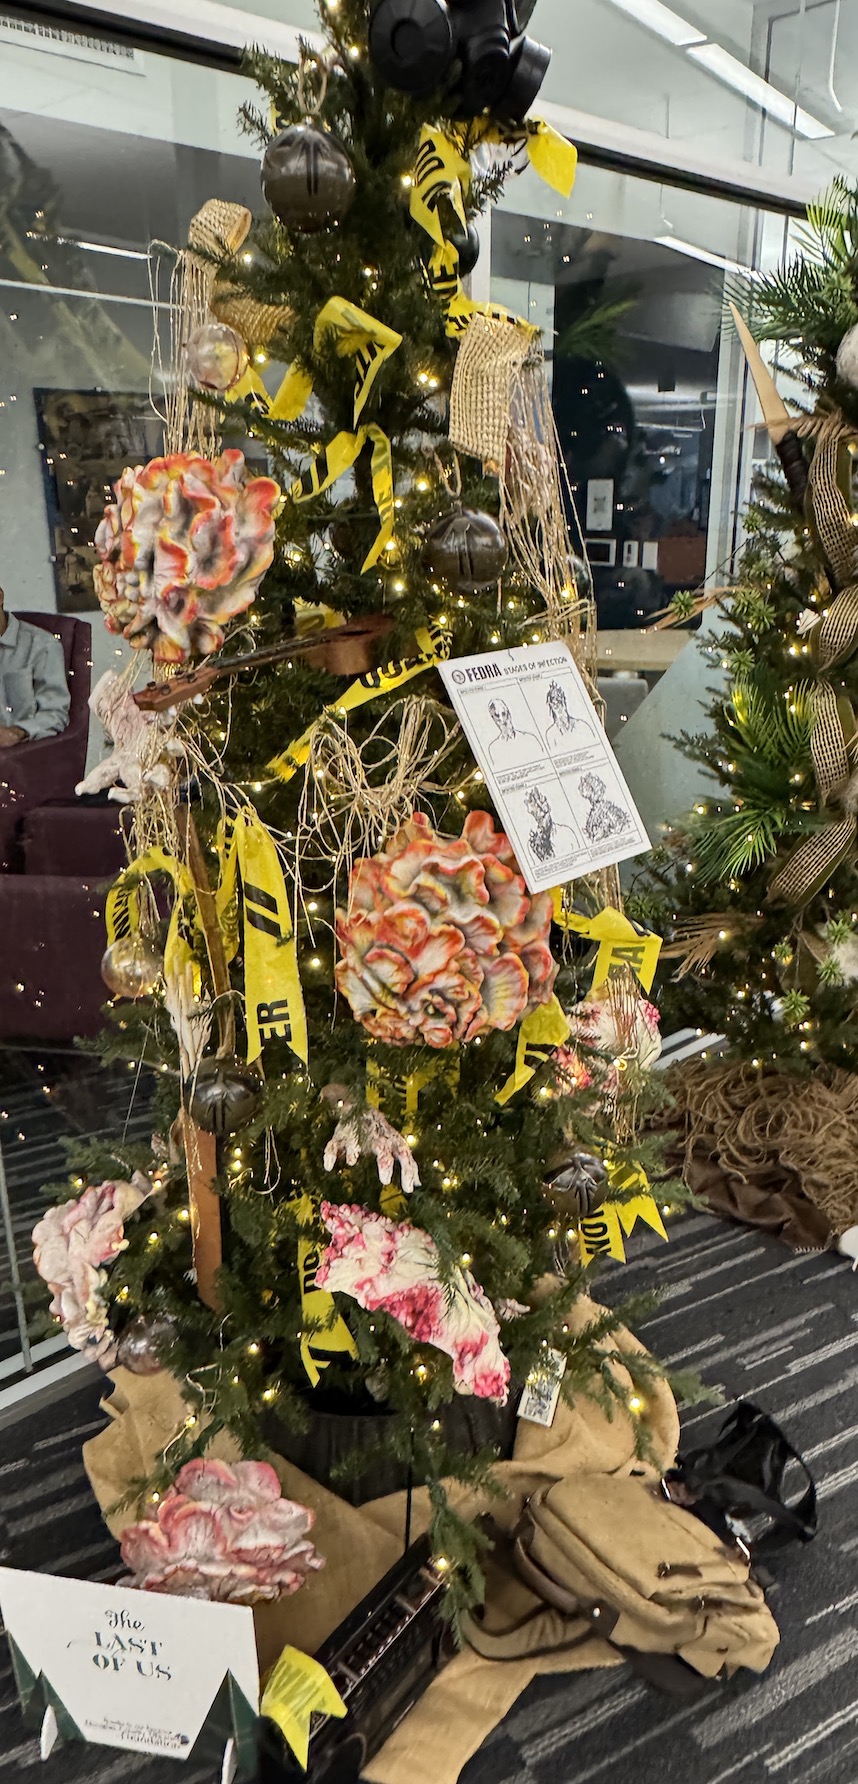
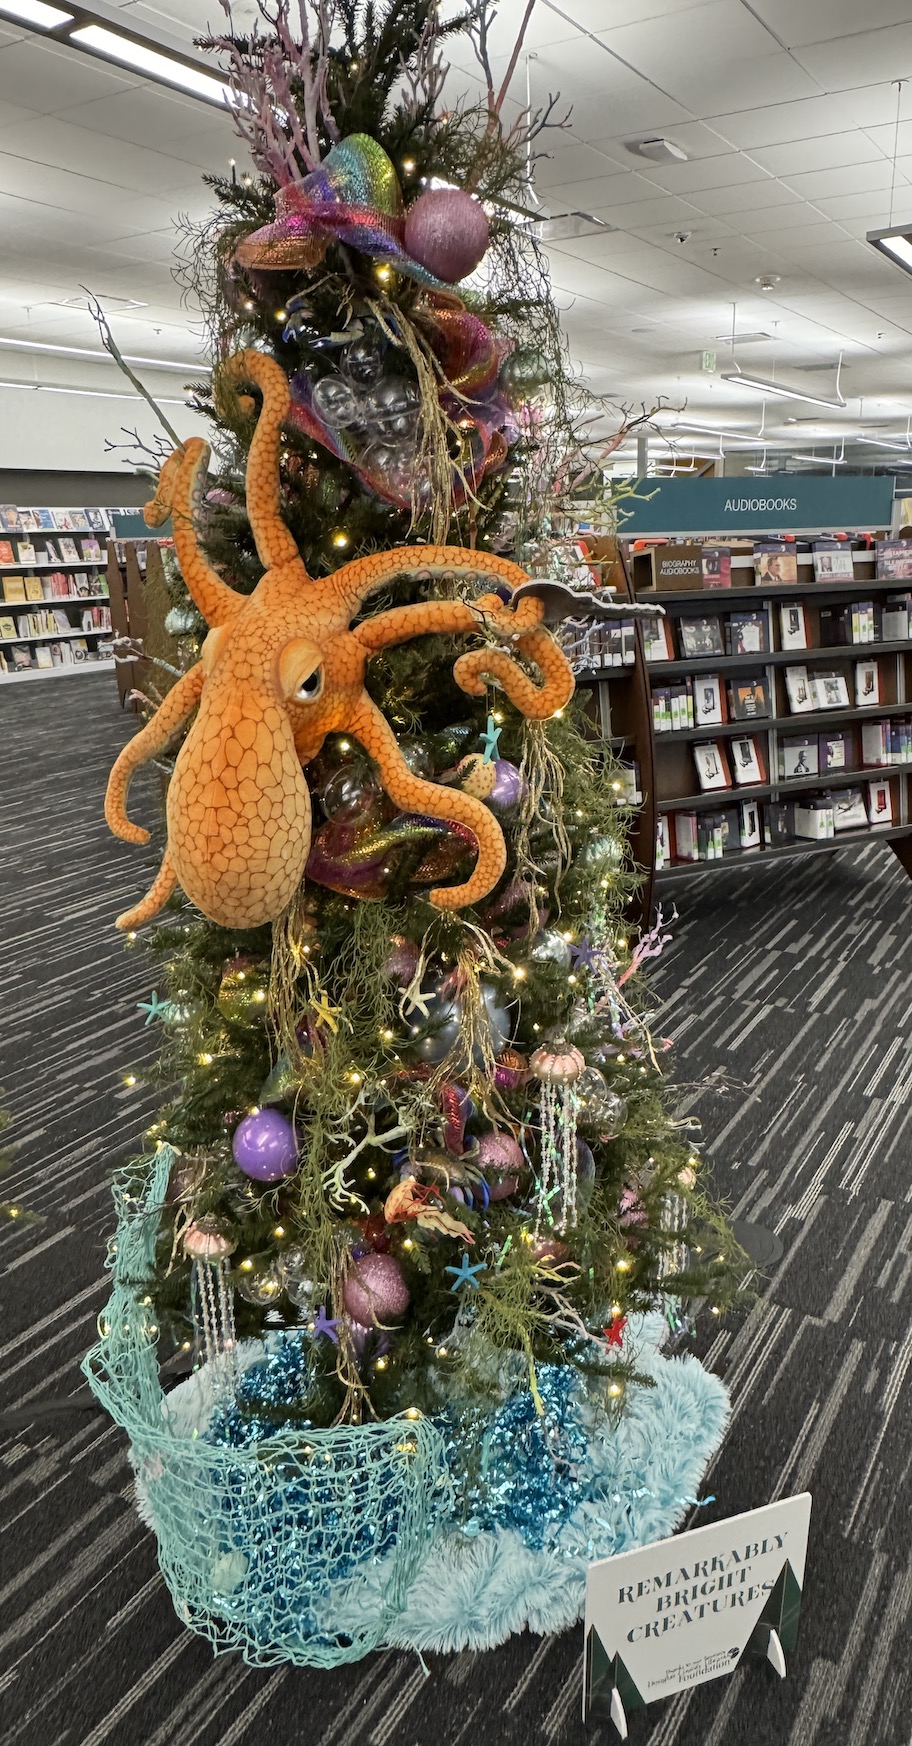
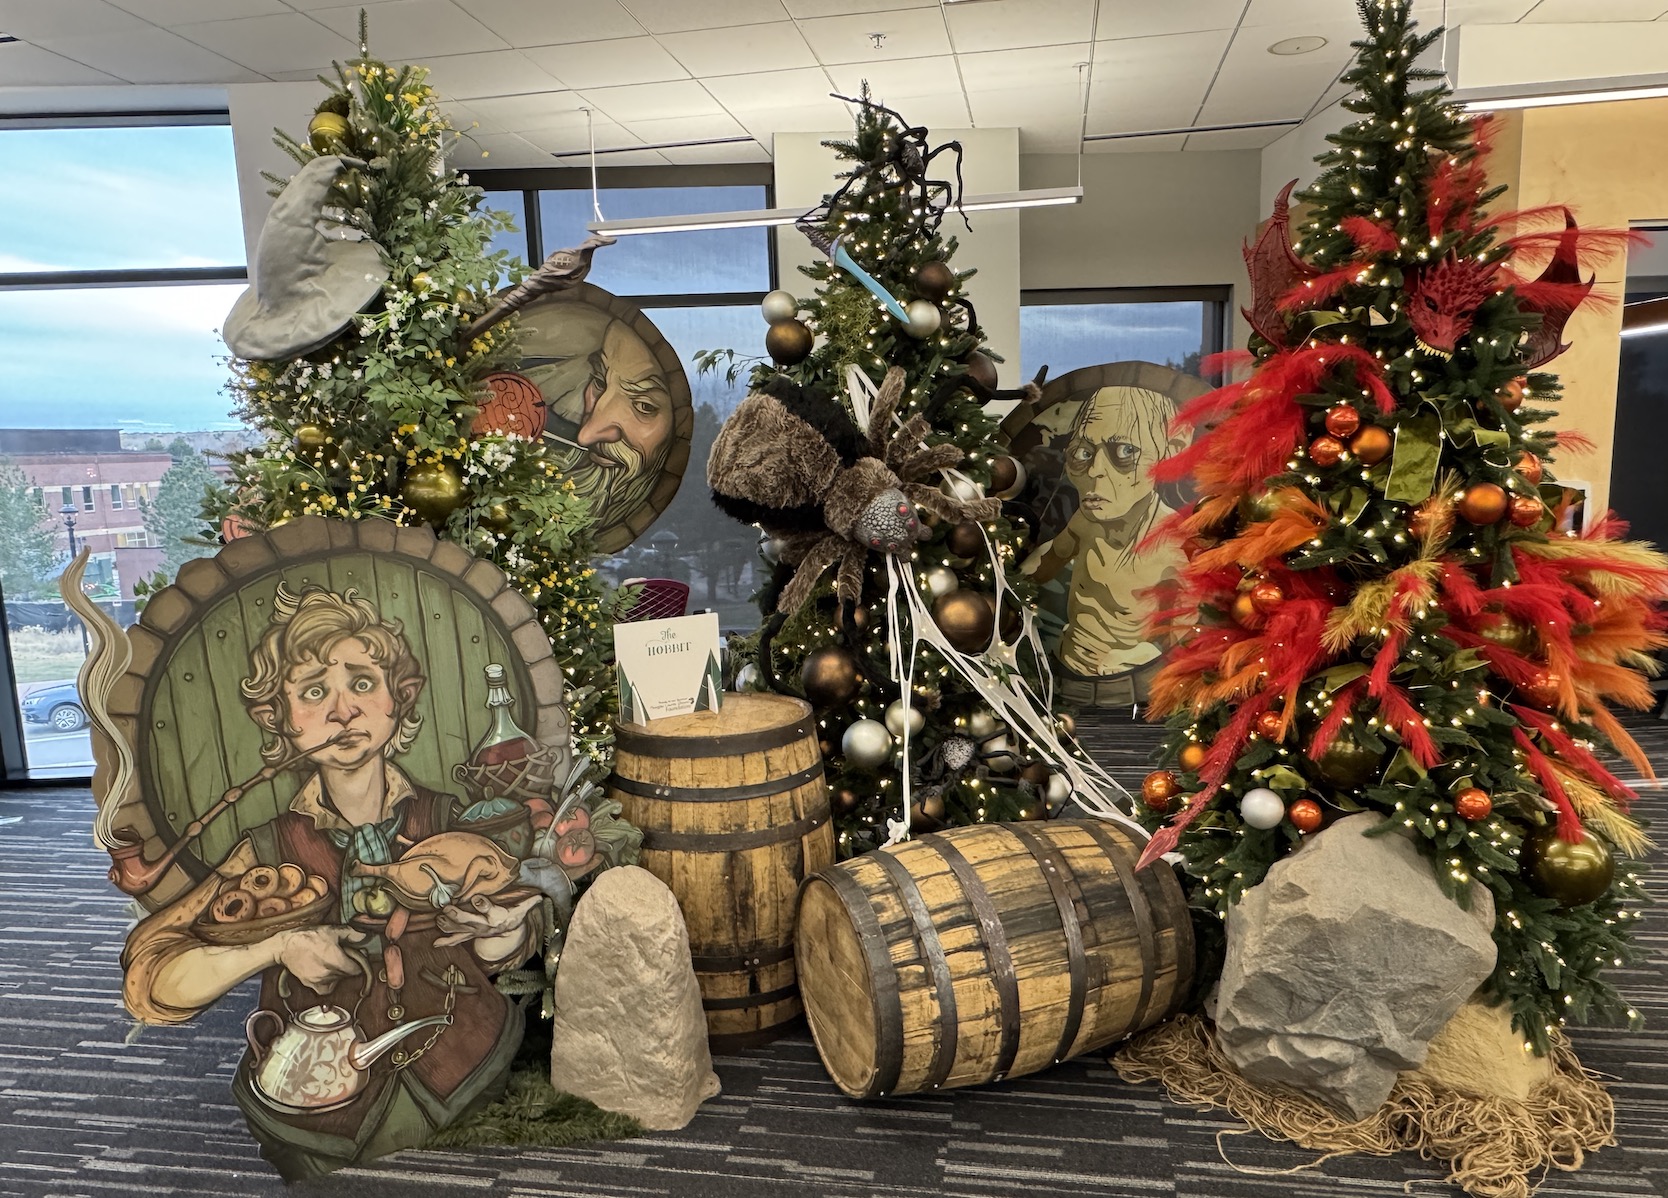
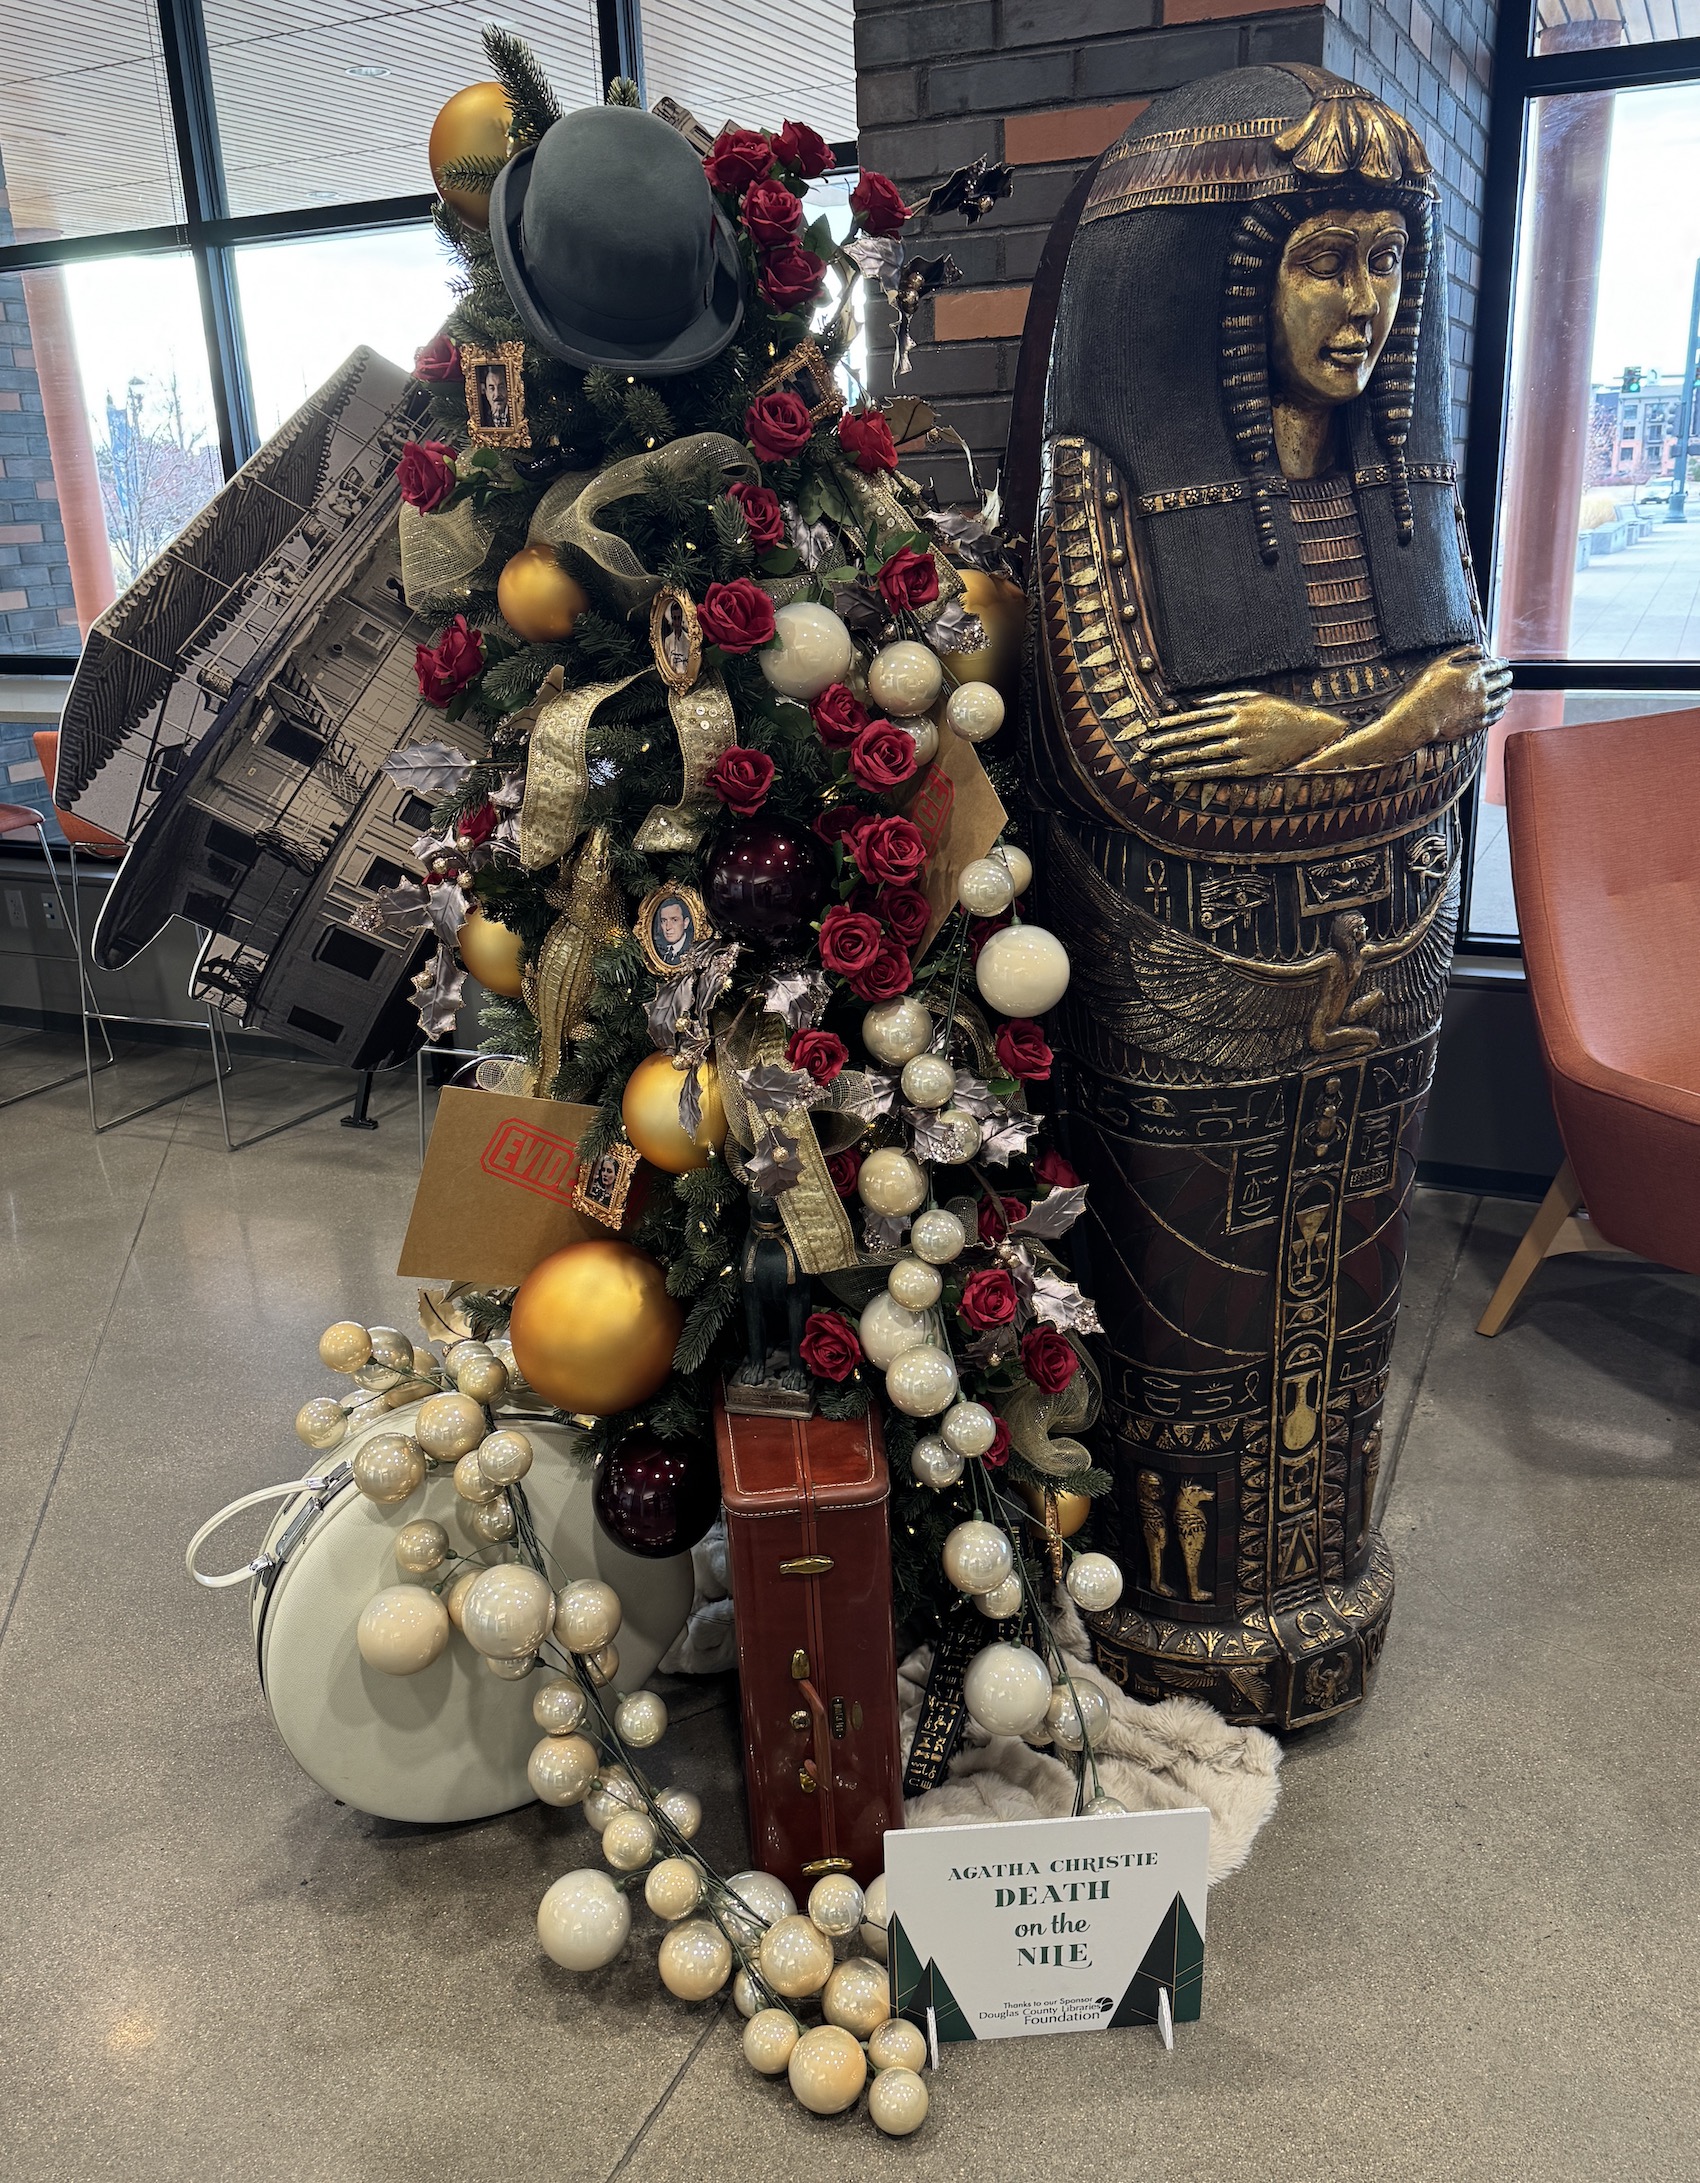
I thought I would continue my tradition of sharing some of the themed Christmas trees one of my local libraries displays each year. They are decorated by the library staff and you can tell they have fun decorating them each year!
THE LION, THE WITCH, AND THE WARDROBE (Chronicles of Narnia):
DEATH OF THE NILE:
There were so many wonderful trees on both floors (2 stories) of the library I only photographed a sampling. Here are the posts from previous years if you’d like to see a sampling of their past designs:
I’ll be back posting after the holidays but in the meantime I will be reading/catching up your posts…you know blogging activities seems to take a backseat during this busy season!
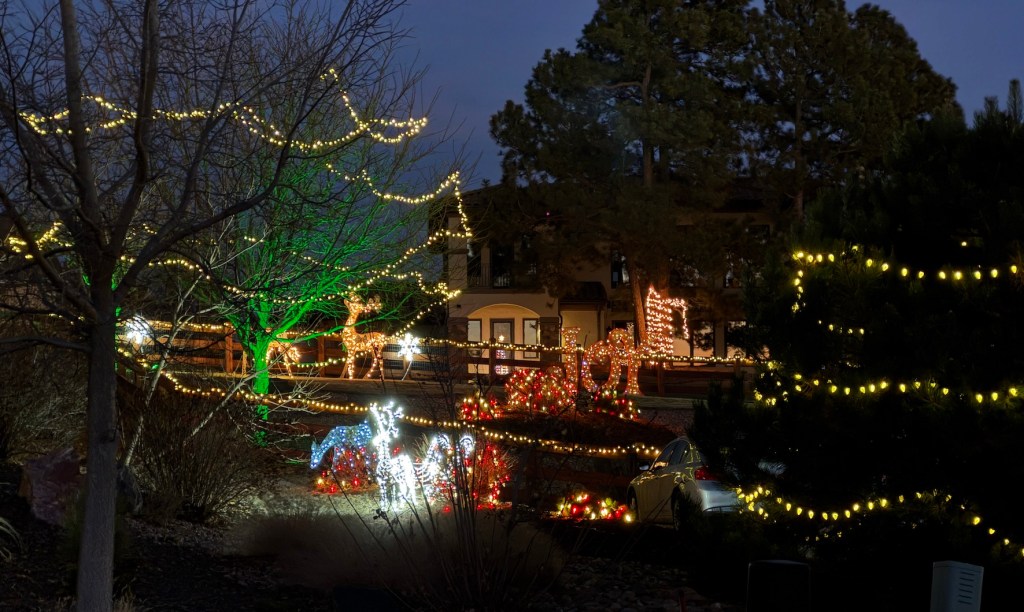
The other day I happened to be taking my daily walk at dusk because the day got away from me and for the first time I saw the holiday decorations at night in that particular street I walked (usually I only walk it during daylight). The “Halloween House” was looking quite Christmas Festive (and not nightmare inducing)!
A representative from the PNW Quilting Bloggers Comfort Quilt Drive reached out to me via my Inquiries page on my blog (which forwards to my email) asking if I could share this with my blog followers (edited a little bit for flow).
I have no background on, experience with, or affiliation with this project so it is at your discretion to decide to participate and you can contact the project coordinator directly for more information.
From Monique Arnold of The Sandpiper Project:
Just over a month ago, we launched our 10th bi-annual Comfort Quilt Drive, and with it came a wonderful idea: reaching out to the vibrant and generous quilting community here in the Pacific Northwest.
The Sandpiper Project is a community outreach dedicated to bringing comfort, spreading joy, and offering hope to children facing critical illnesses—primarily pediatric cancer.
Our work goes beyond delivering quilts. We also serve as ambassadors, using quilt auctions and community engagement to raise awareness and vital funding for nonprofit organizations that support children and their families during the most difficult seasons of life. The Sandpiper Project began as a way to pay forward the extraordinary care and compassion our family received when our oldest daughter was diagnosed with ovarian cancer at age 16.
In just four years, our community has: -Delivered over 1,300 handmade quilts to major children’s hospitals -Raised more than $100,000 for 12 children-focused nonprofits across the Pacific Northwest
Today, I’m reaching out with a heartfelt invitation. We would be honored if you—and your readers or followers—would consider participating in this year’s Comfort Quilt Drive by donating a quilt & helping us share the drive within your quilting community. Each quilt becomes a tangible reminder to a child that they are seen, cared for, and not alone.
This year’s quilts will be delivered to: —OHSU Doernbecher Children’s Hospital (Portland, OR) —Randall Children’s Hospital (Portland, OR) —All Ronald McDonald Houses in Oregon and Southwest Washington
The drive runs from November through January 15, 2026. If you choose to participate, we would love to feature your quilts, acknowledge your blog and community, and keep you updated on the meaningful ripple effects your generosity helps create.
Thank you for the beautiful work you do and for considering being part of this season of comfort and hope.
Warmly, Monique Arnold The Sandpiper Project c/o Wish Ambassador Lizzie Arnold 3650 NW Witham Hill Drive Corvallis, Oregon 97330 moakey2@icloud.com Facebook Group: The Sandpiper Project – Quilting the Fabric of Hope
The Sandpiper Project on Facebook Being Able To Say “Wish Granted!” Is AMAZING!
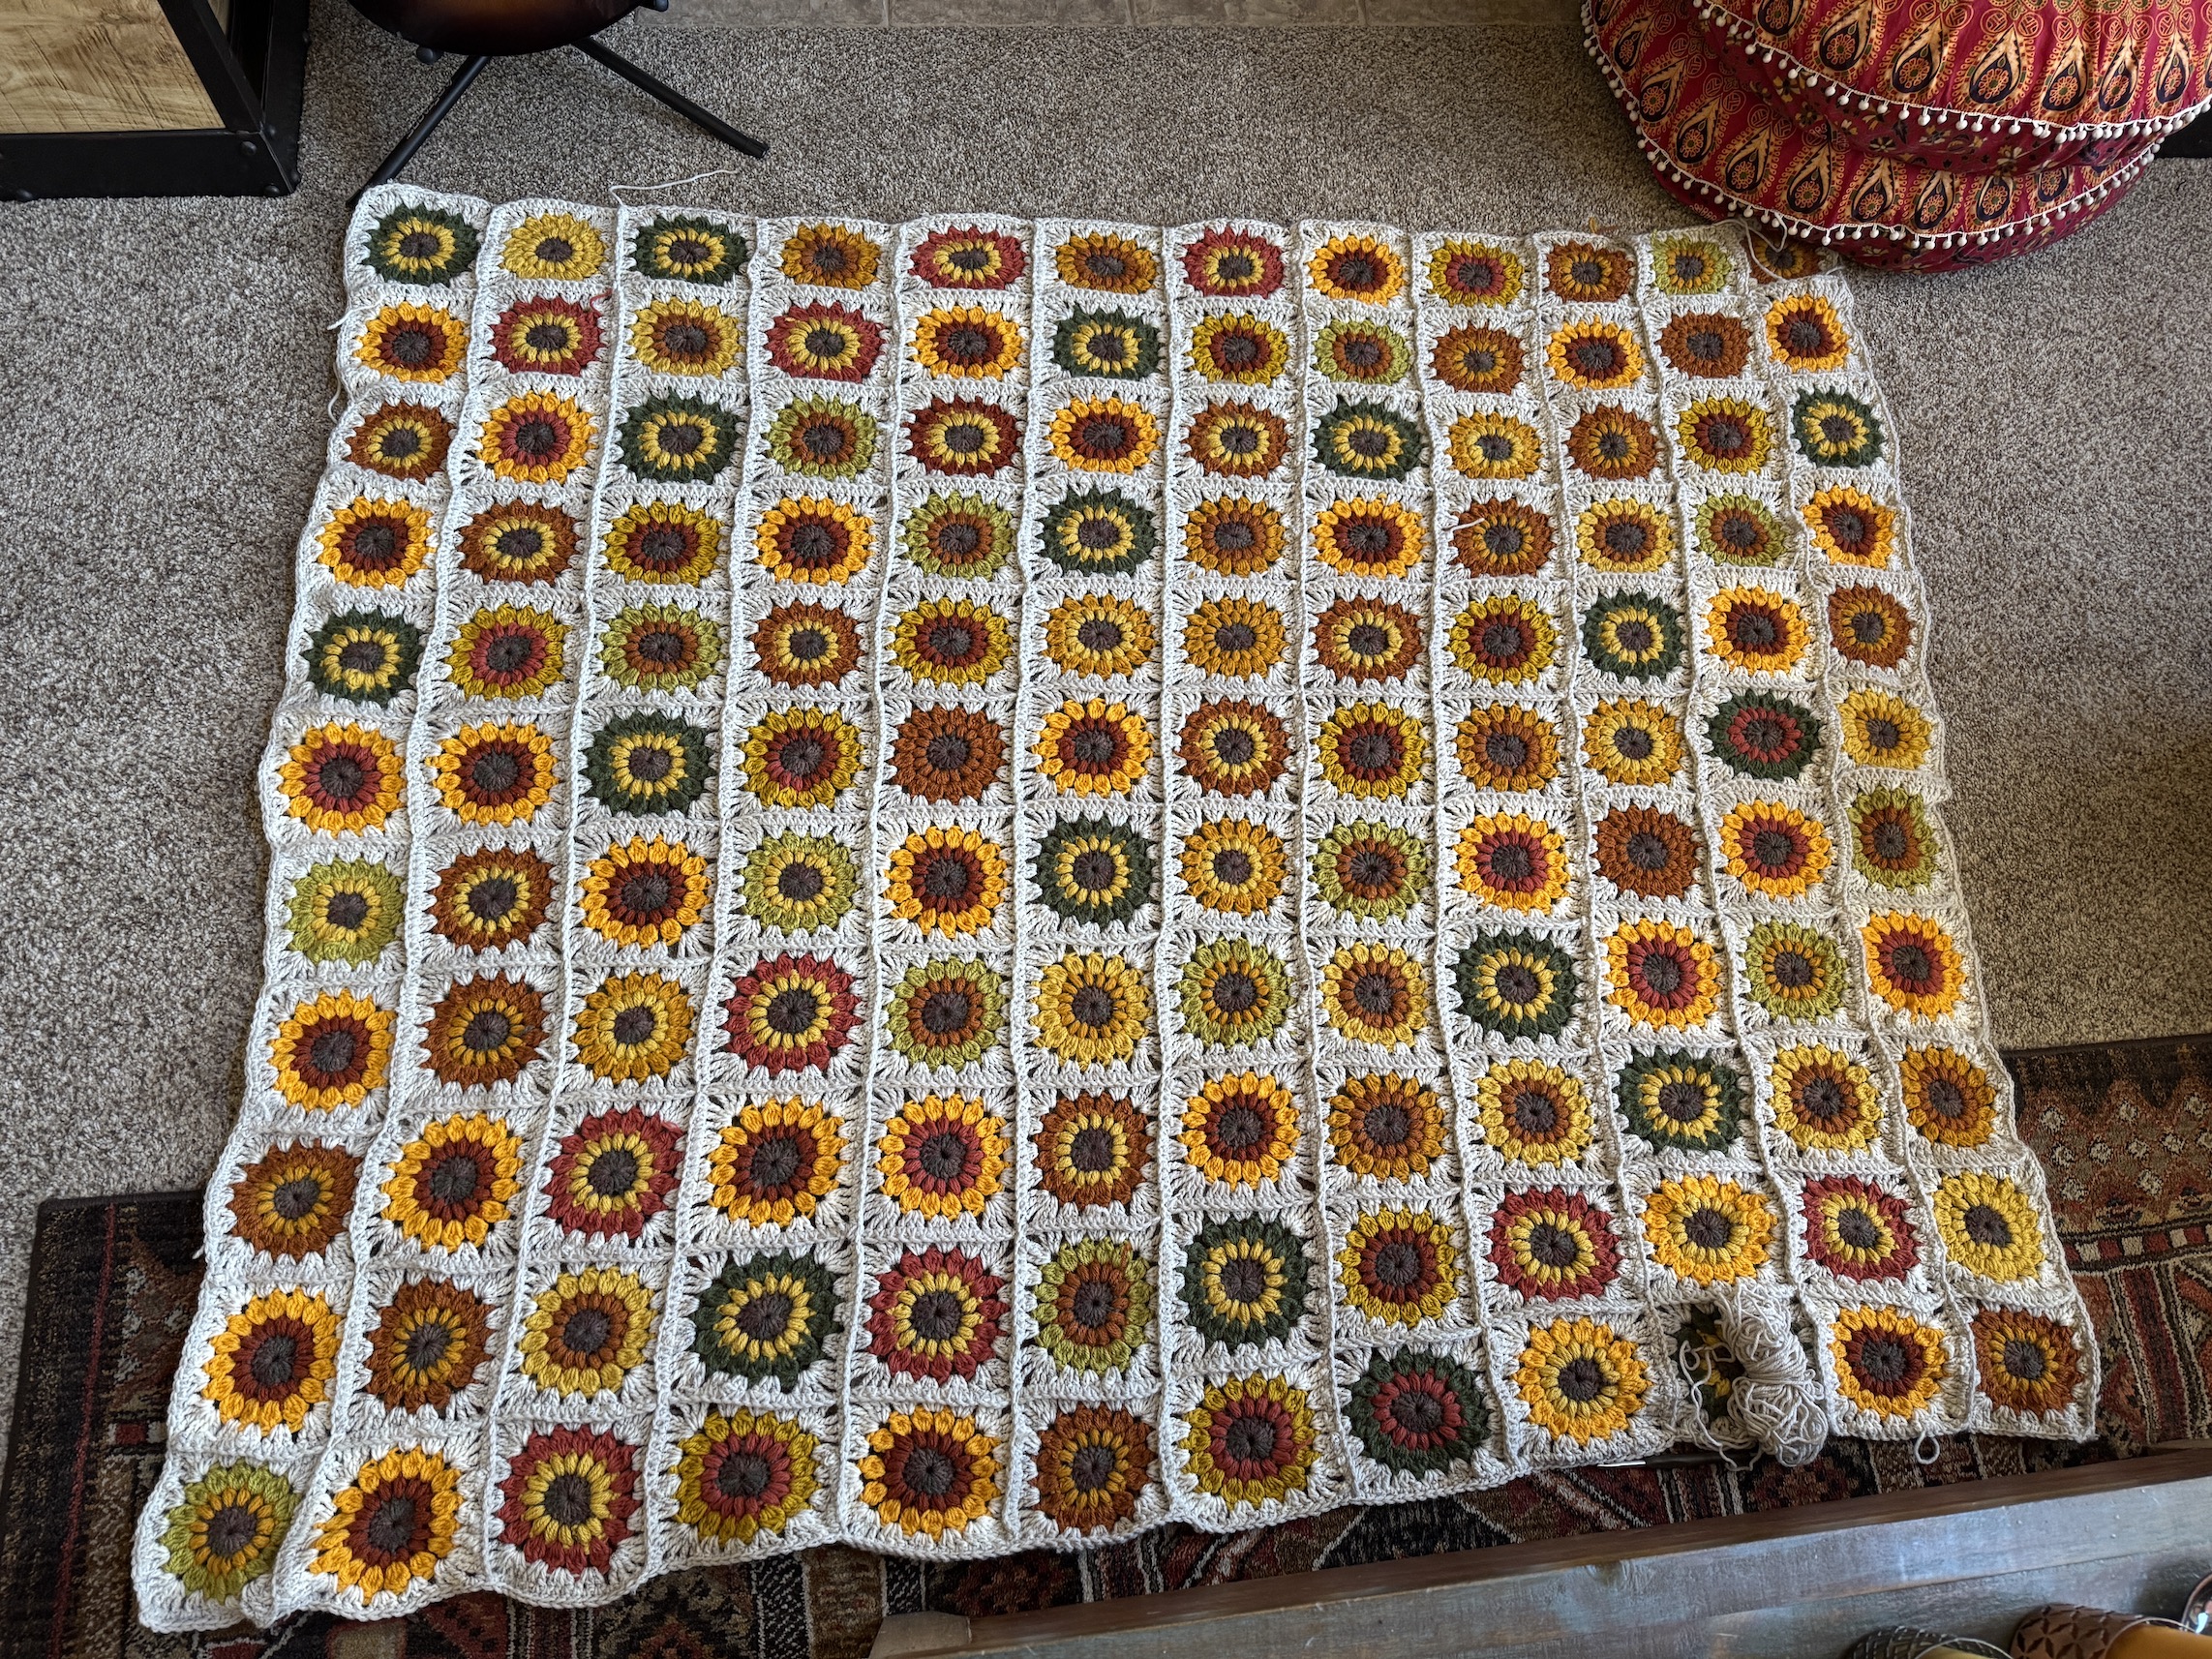
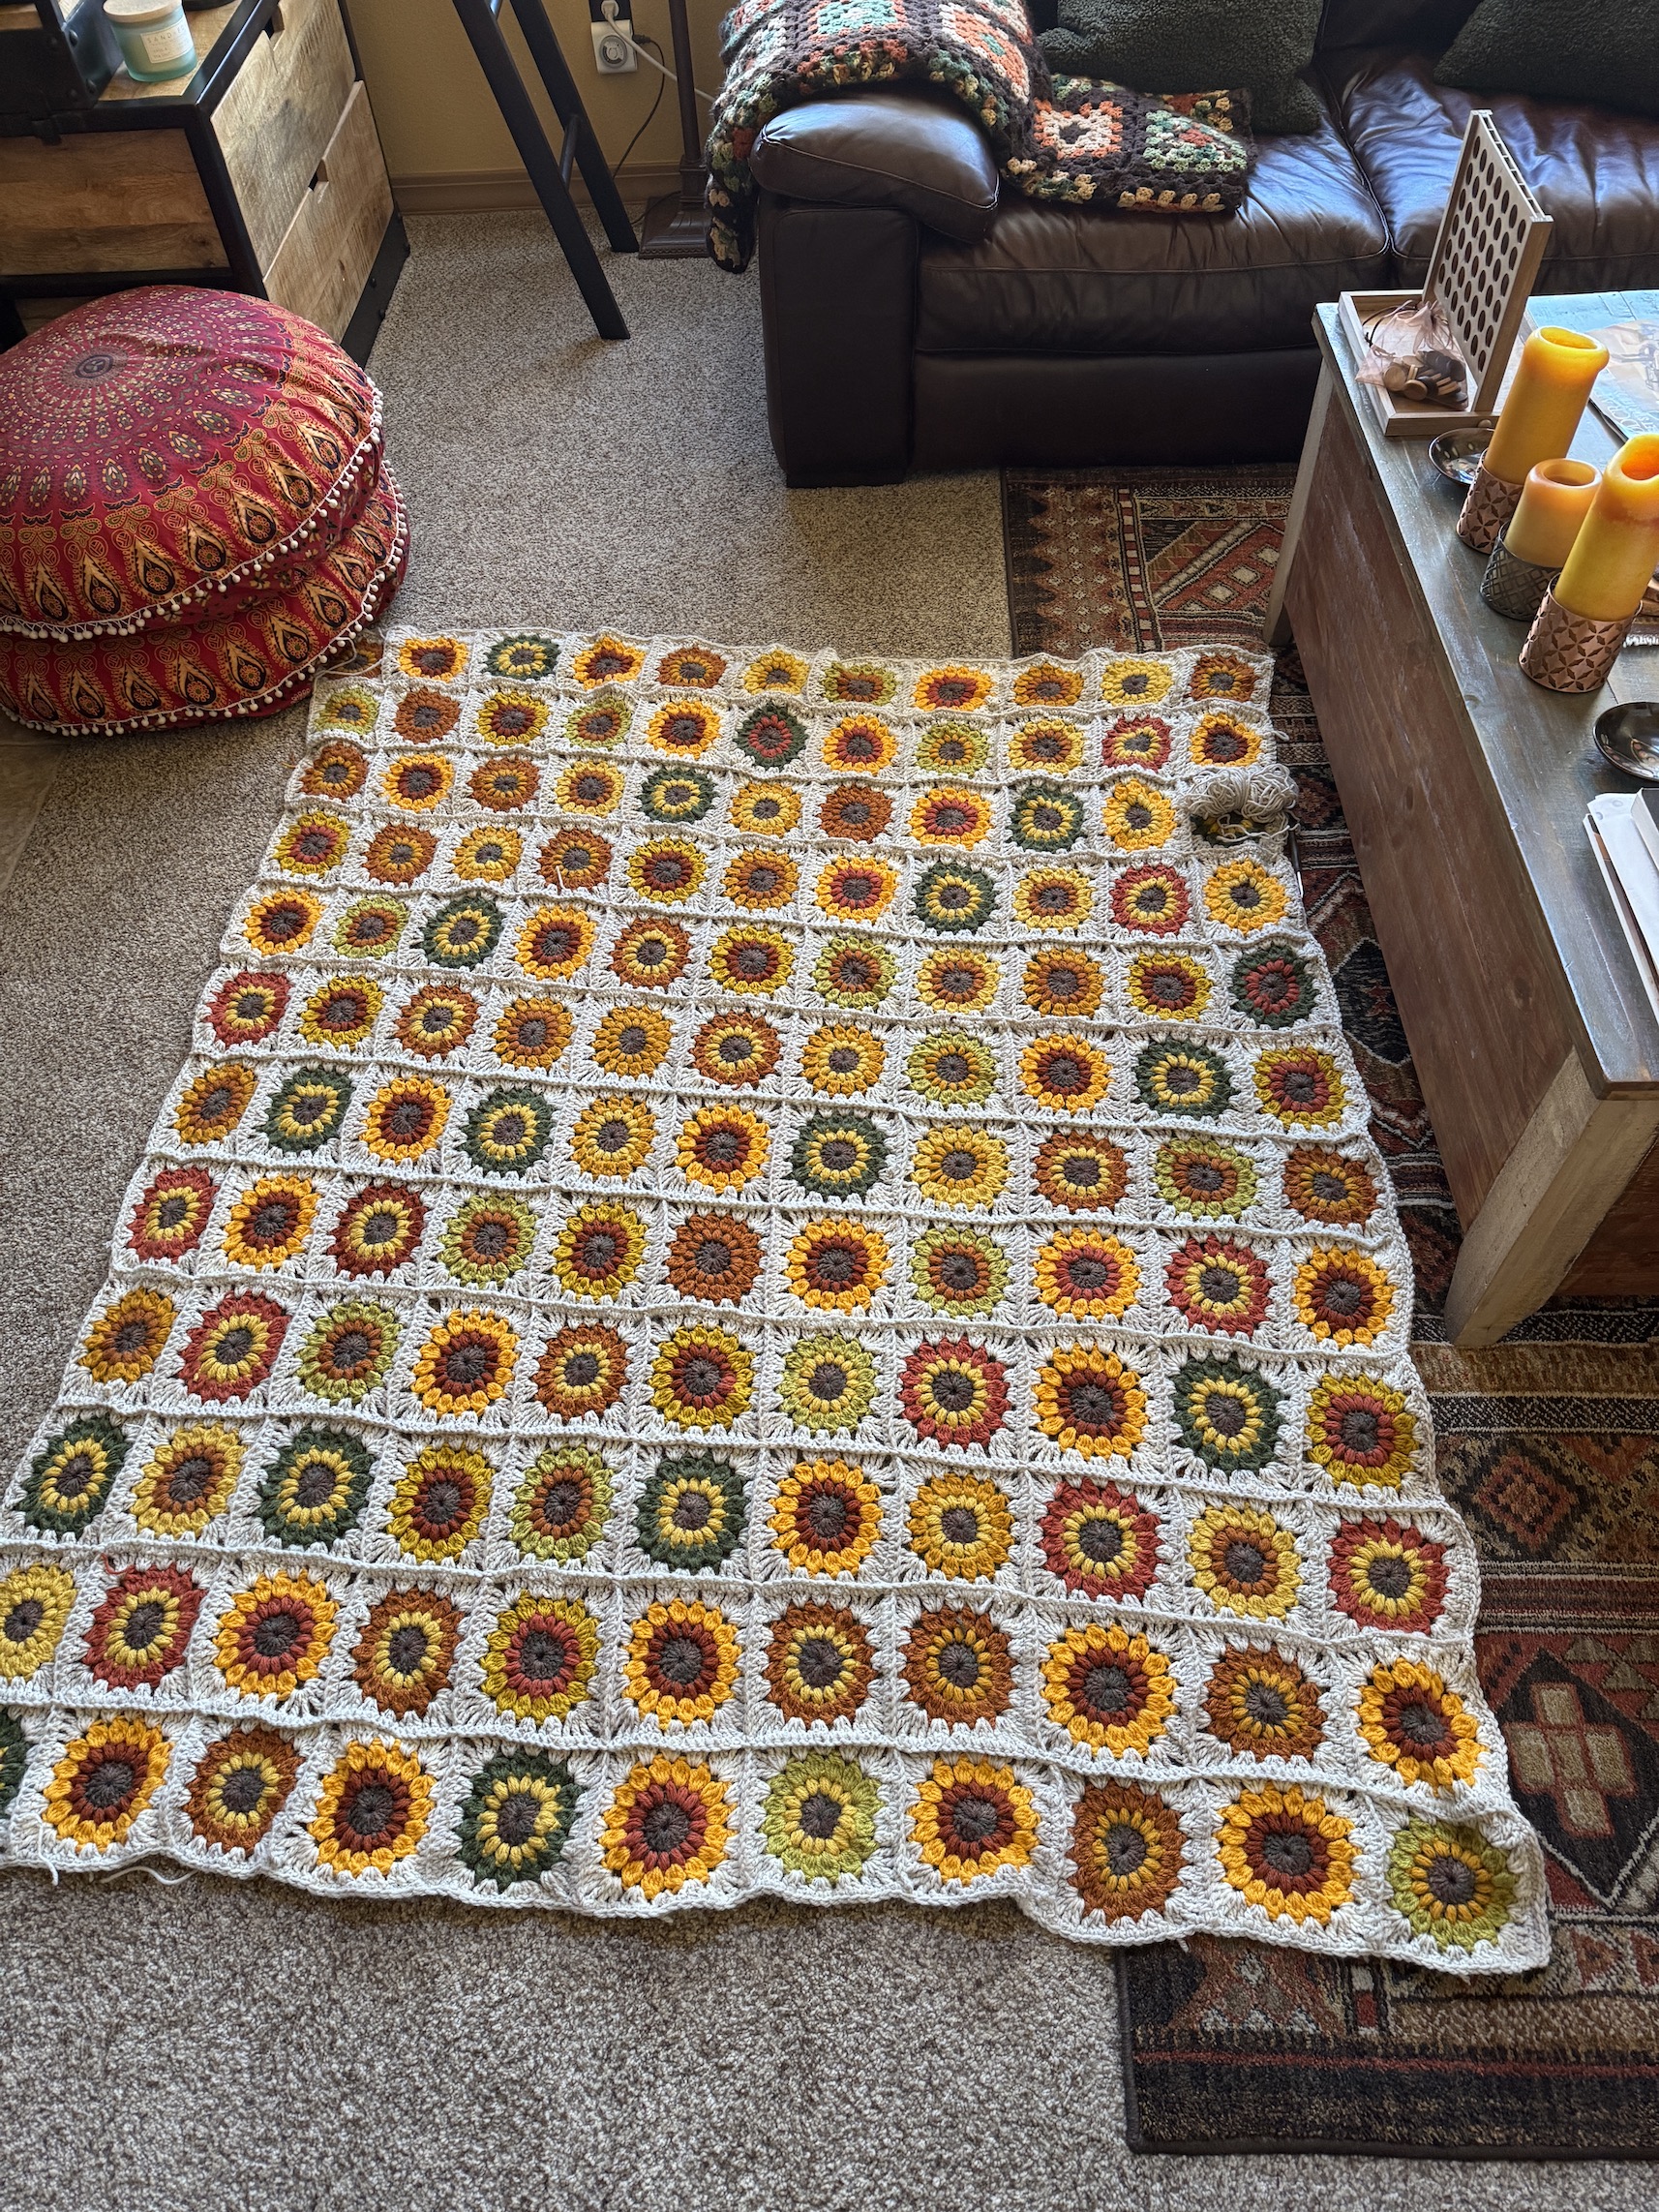
I made big progress and got the whole Sunflower themed Granny Square blanket all attached (horizontal and vertical) using a single crochet stitch to join the squares in both directions.
Here it is on the “Design Carpet”:
Here is another photo:
Now I am adding a single crochet border around the whole thing, likely several rows of single crochet, I’ll decide as I go along.
And then it will be time to weave in all the thread tails that are hiding in the back!
Oh I did try to make finishing the granny square blanket a portable project on like to I did with the individual granny squares, where I would work on them while riding in the car…
But it was a disaster and we had the “Great Hunt for the Lost Crochet Hook” in the car as well yarn tangling and blanket in my feet tangling disasters. So I had to finish it in my living room sitting in a chair to limit the drama – ha!
House Holiday Decorating
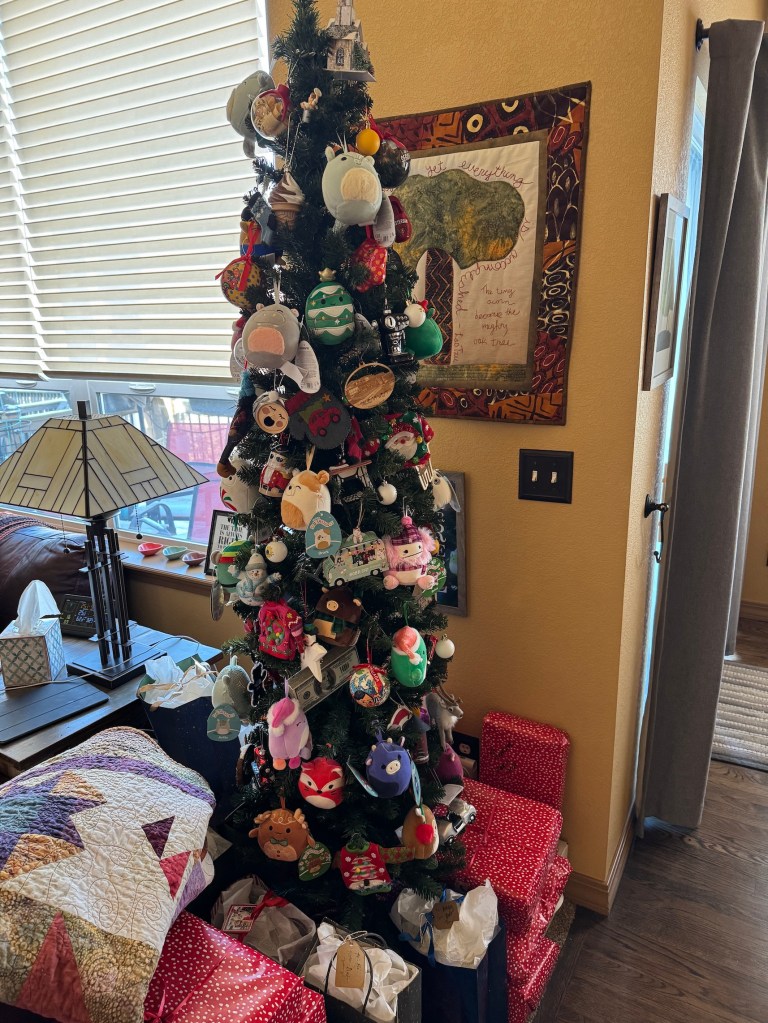
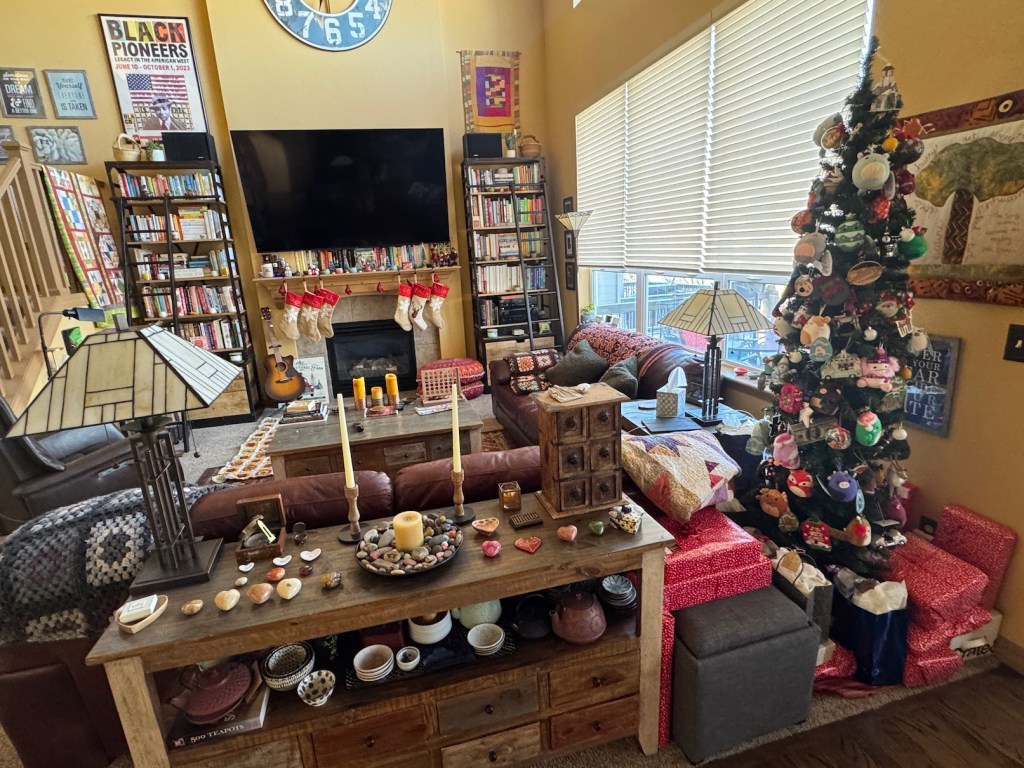
After I got the blanket assembled I felt very industrious and with the help of John got the Christmas tree up and the fireplace mantle decorated for the holidays!
It was fun to pull out our ornaments and various decorations and see them again! I missed these three holiday bears that I’ve had for over 25 years – they’ve held up pretty well:
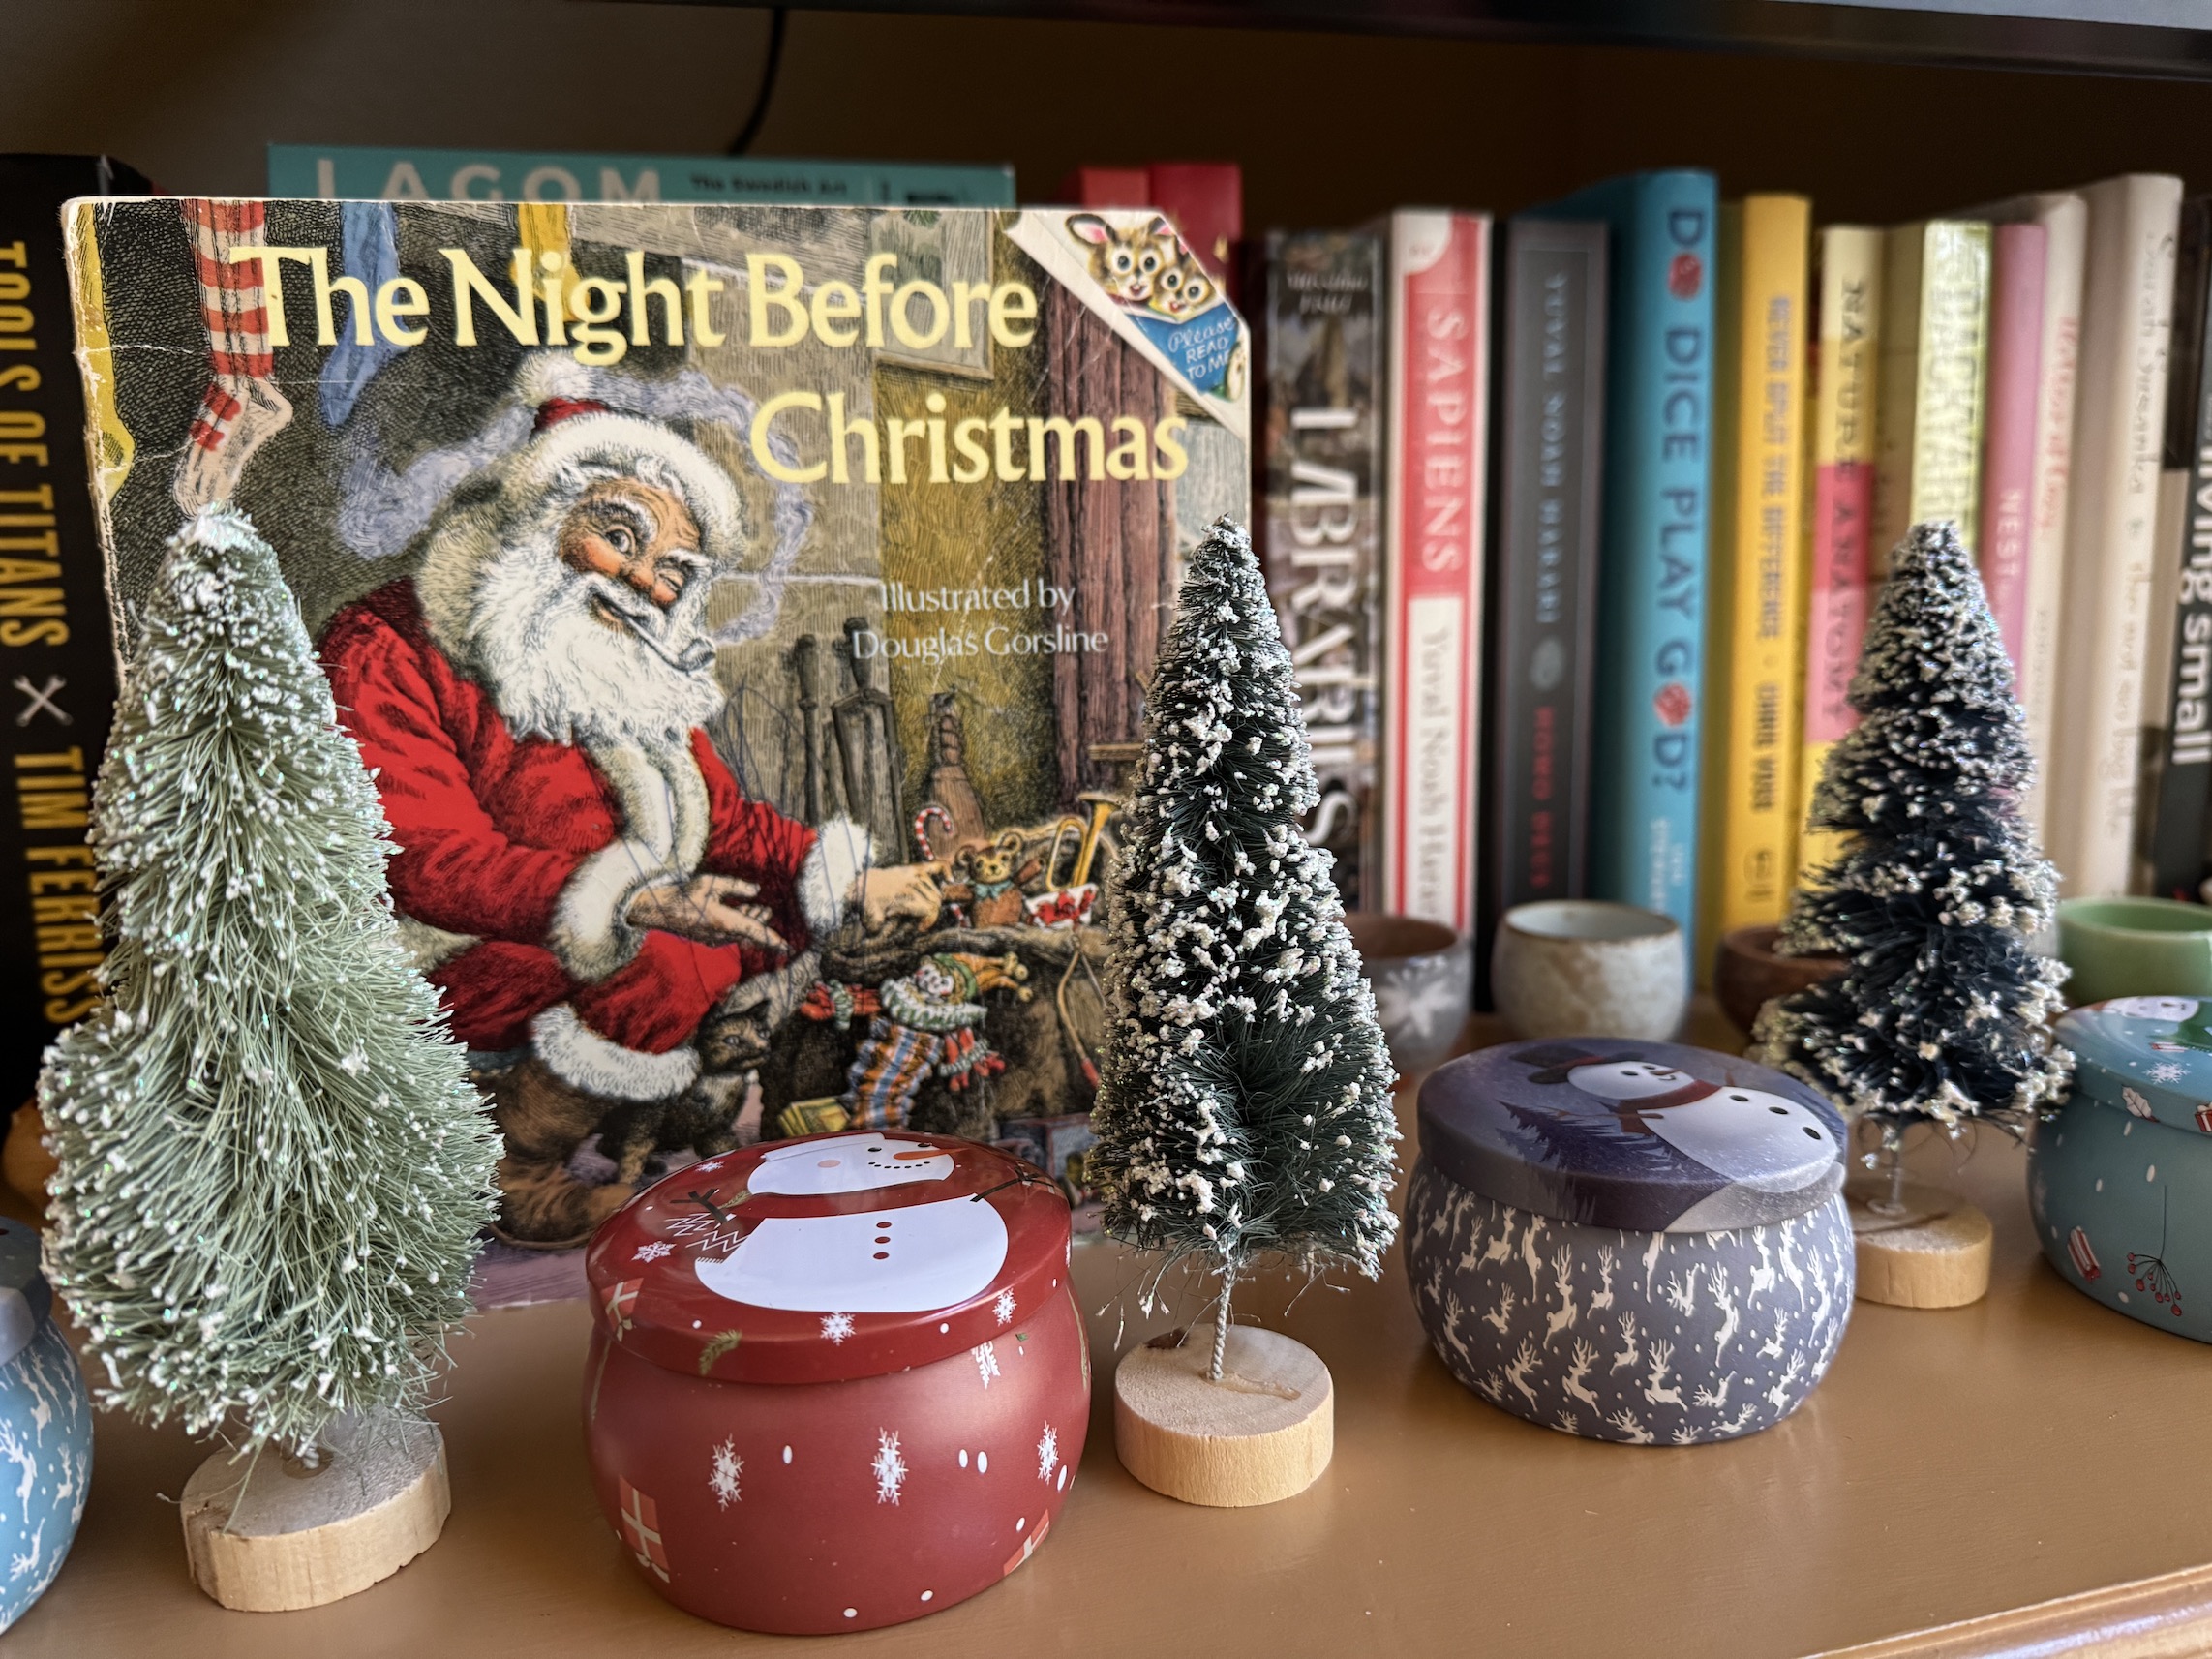
I also put up this copy of The Night Before Christmas that John has had since he was a child.
The pages are on the verge of falling apart but I like reread it every year.
Do you need any help getting in the mood for the upcoming Christmas holidays? Do you want to see where Christmas has “exploded” and holiday cheer is spewed everywhere? Well I have a post for you 😉
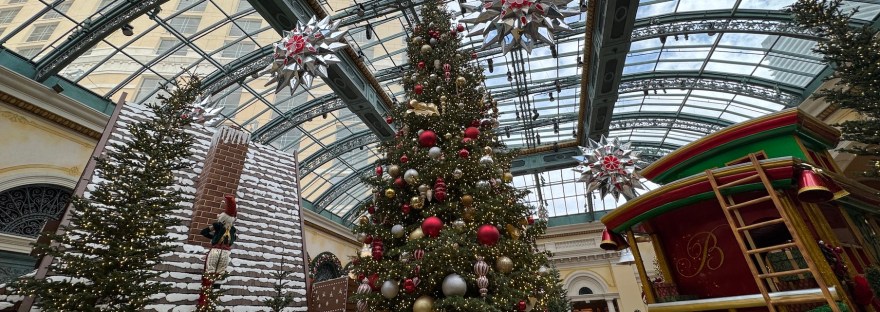
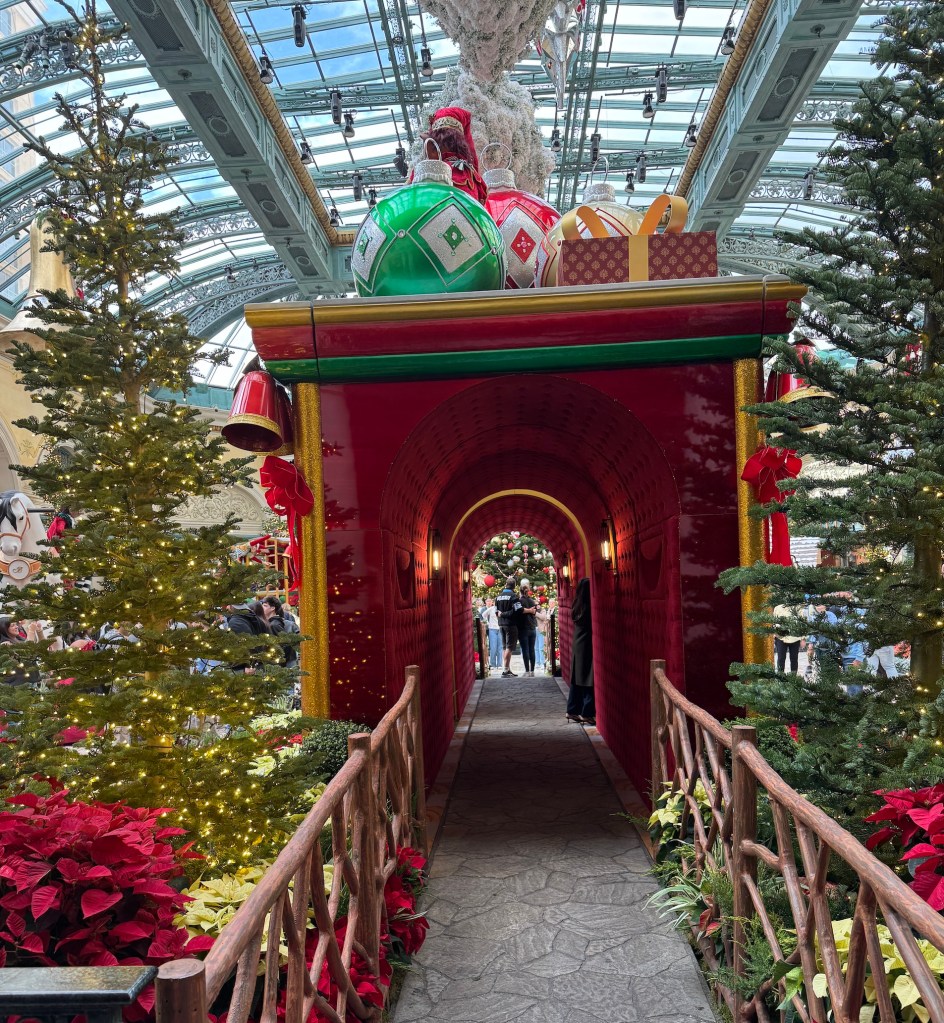
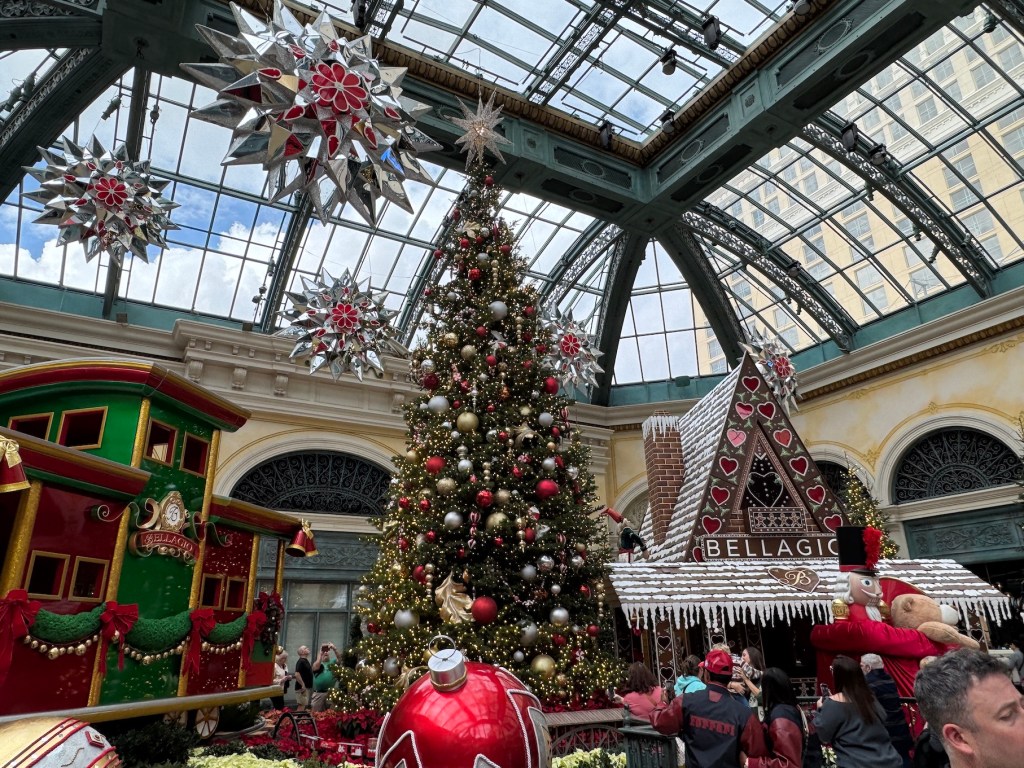
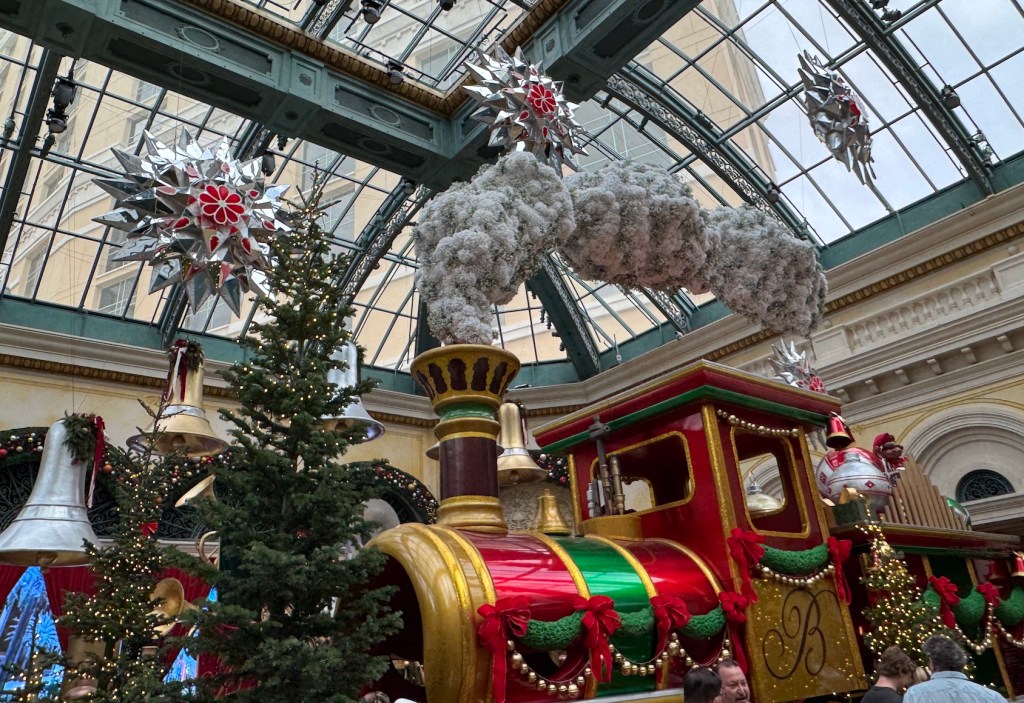
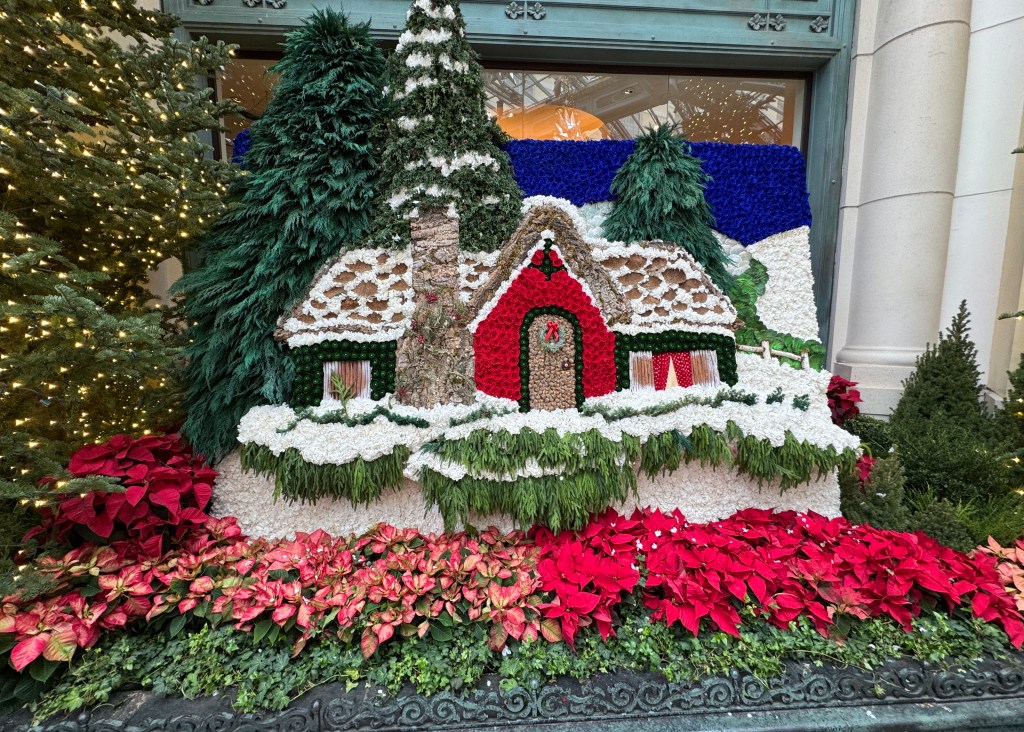
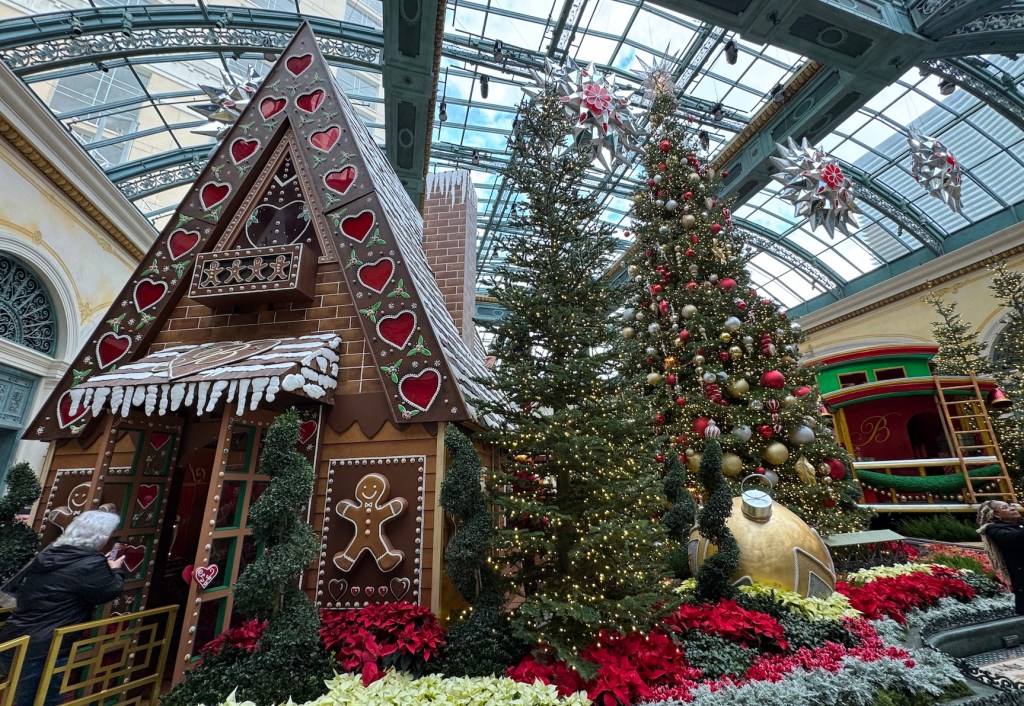
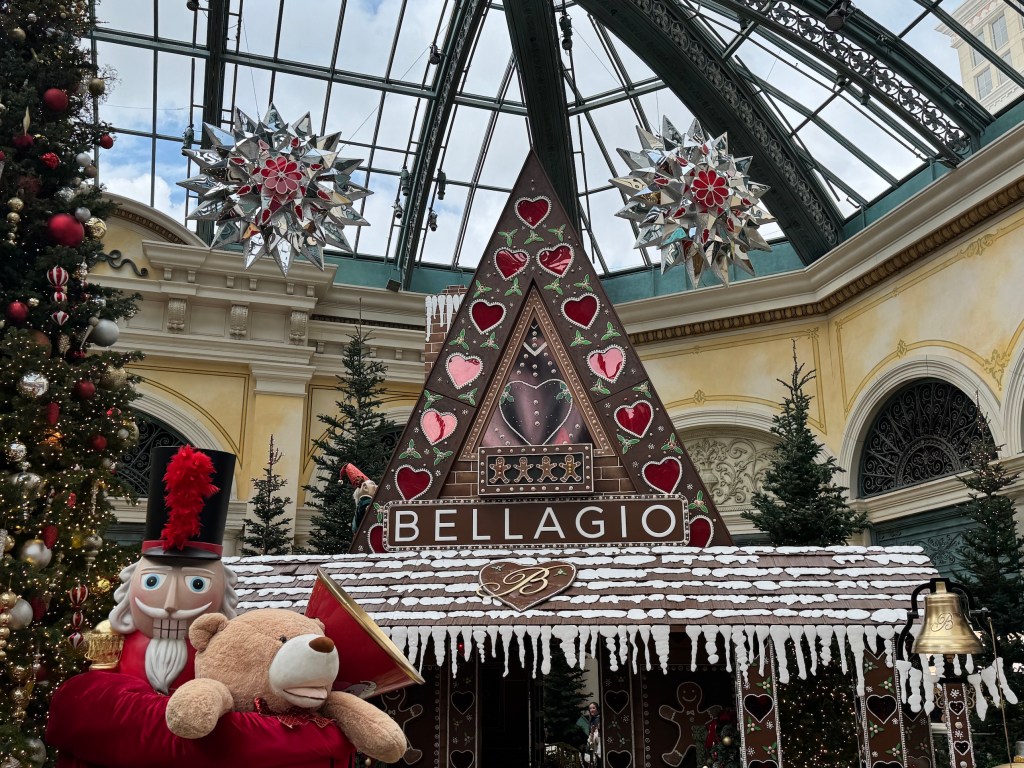
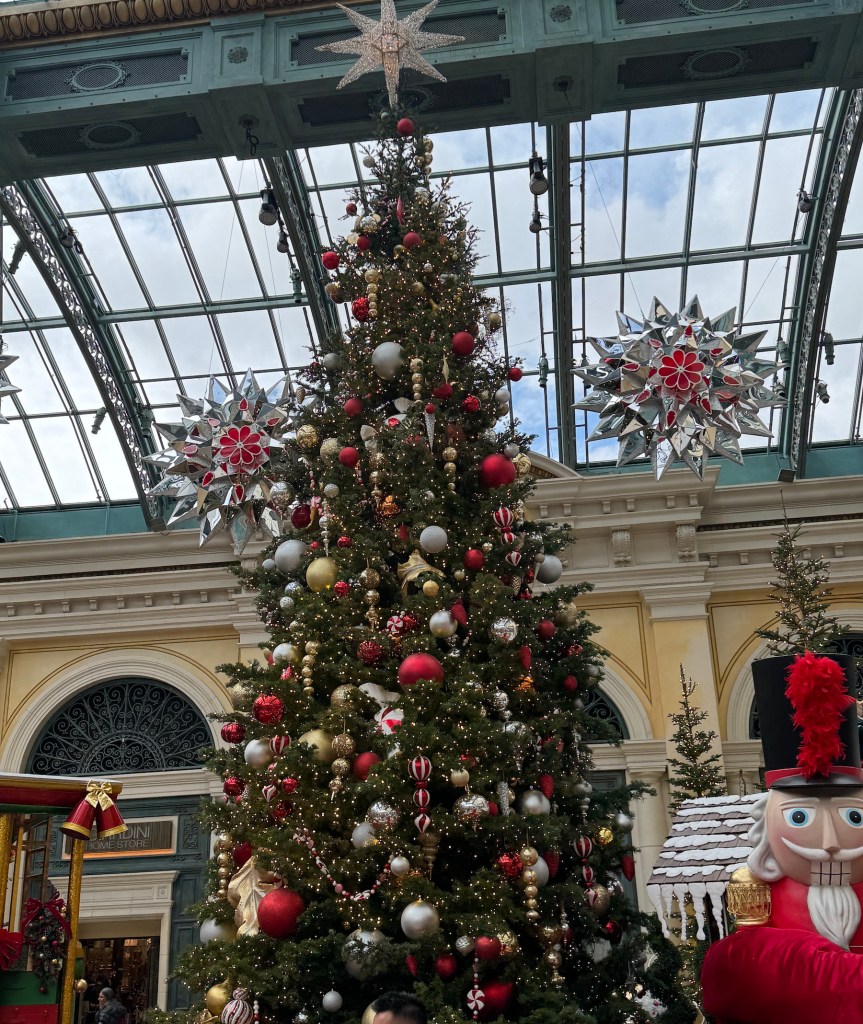
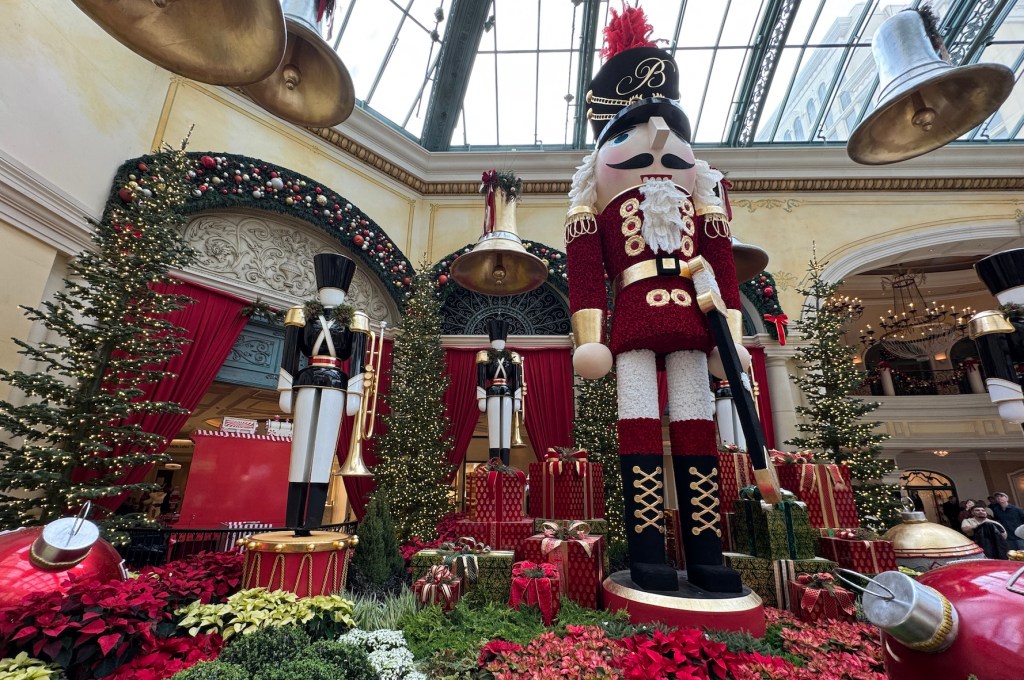
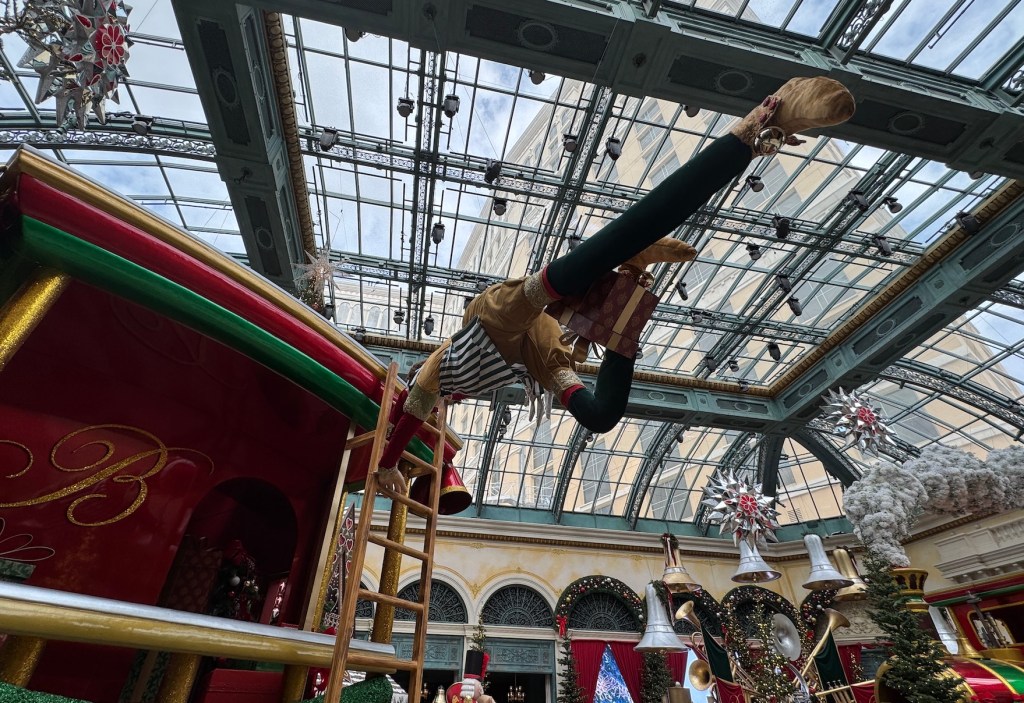
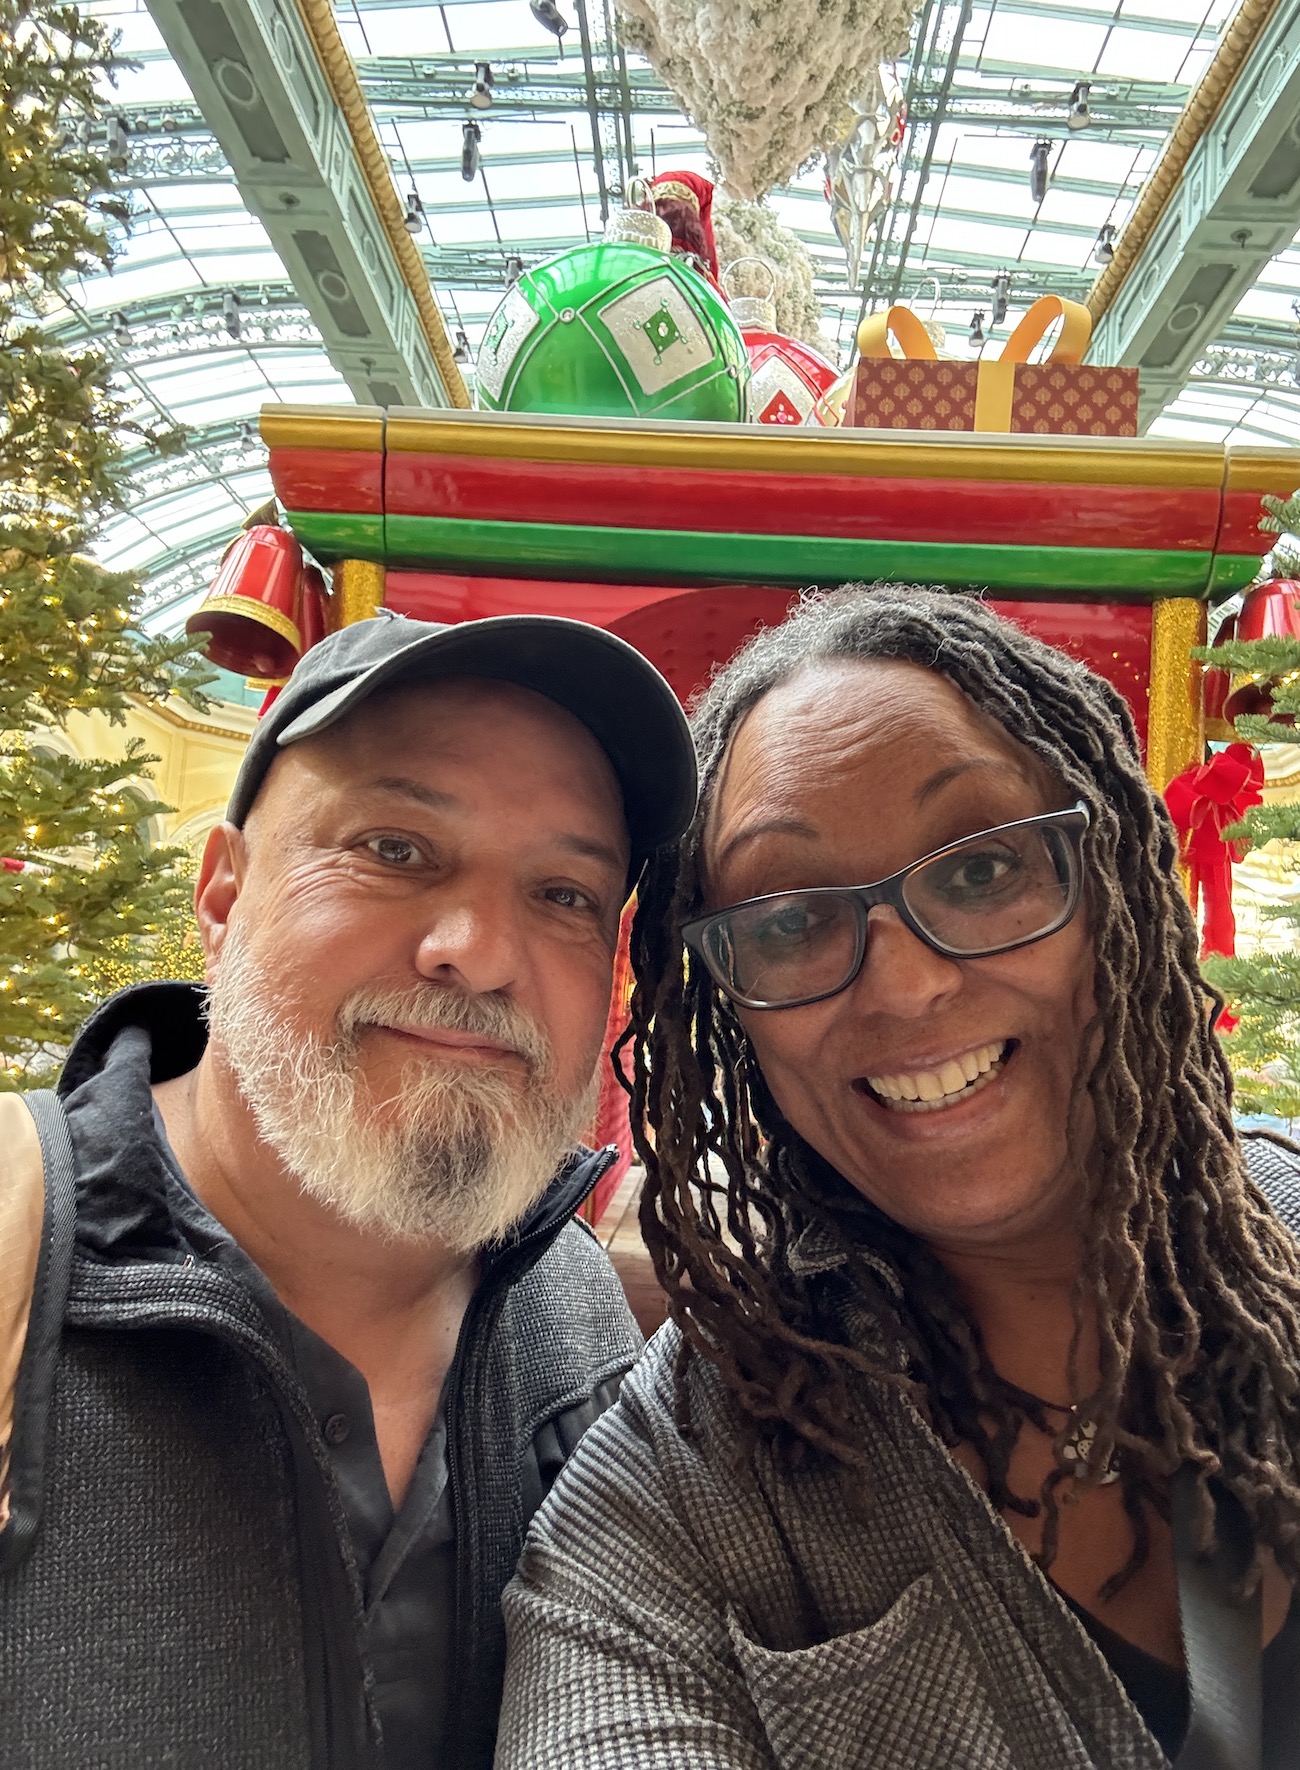
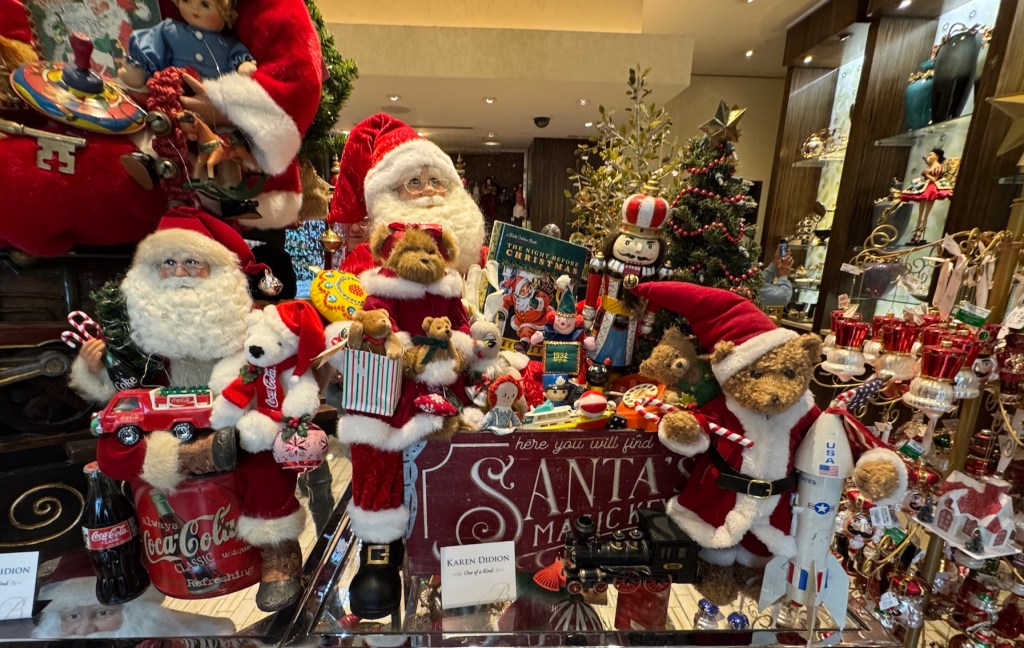
John and I were recently in Las Vegas for his poker tournament and we stopped one day at the Bellagio Hotel’s Conservatory and Gardens where they had outdone themselves on Christmas decorations.
Here we are, overwhelmed with holiday cheer 😉
I don’t mean to make fun of it, the display was actually very lovely and the Bellagio’s team did a spectacular job with the design and decorations.
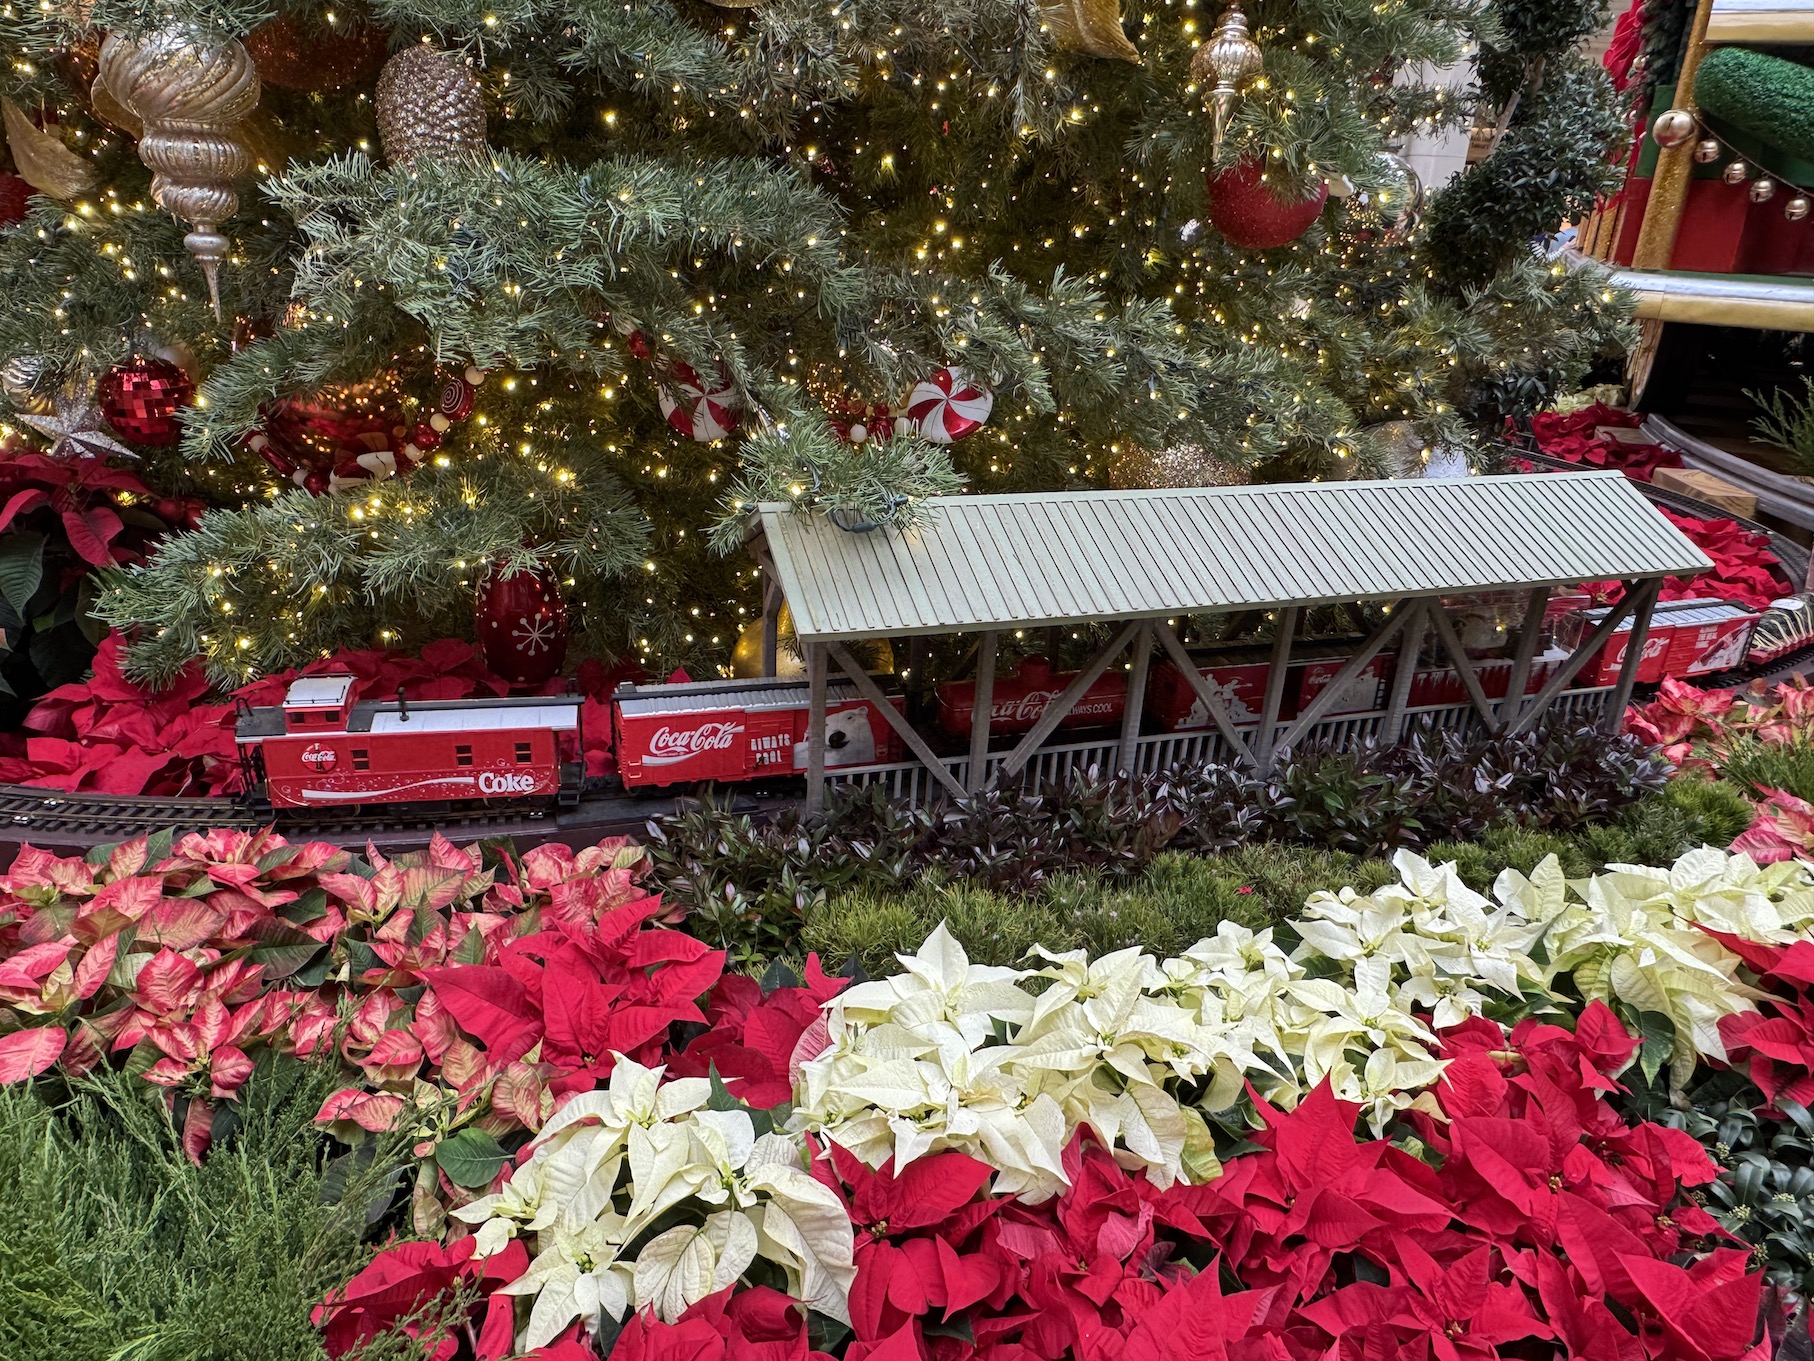
I got a kick out of the miniature train set circling one of the Christmas trees on display. It reminded of the electric train set we got from my grandfather that always chugged around our Christmas tree when I was a kid.
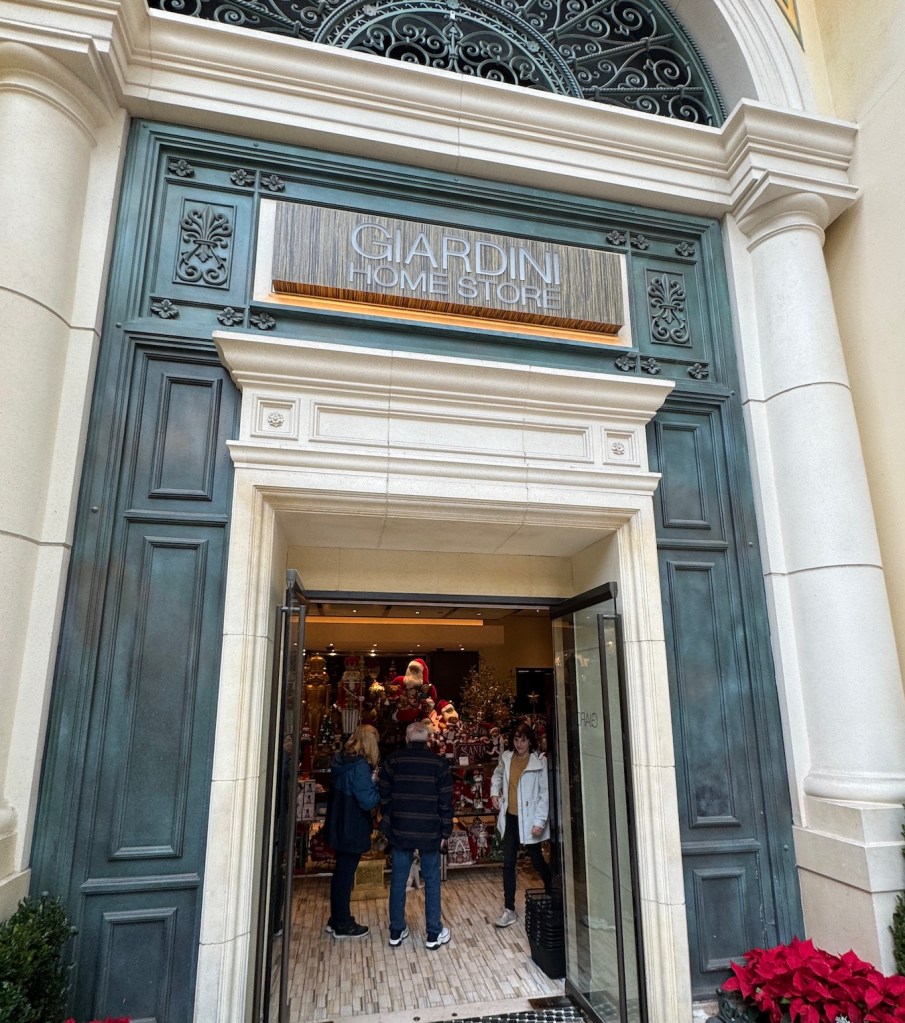
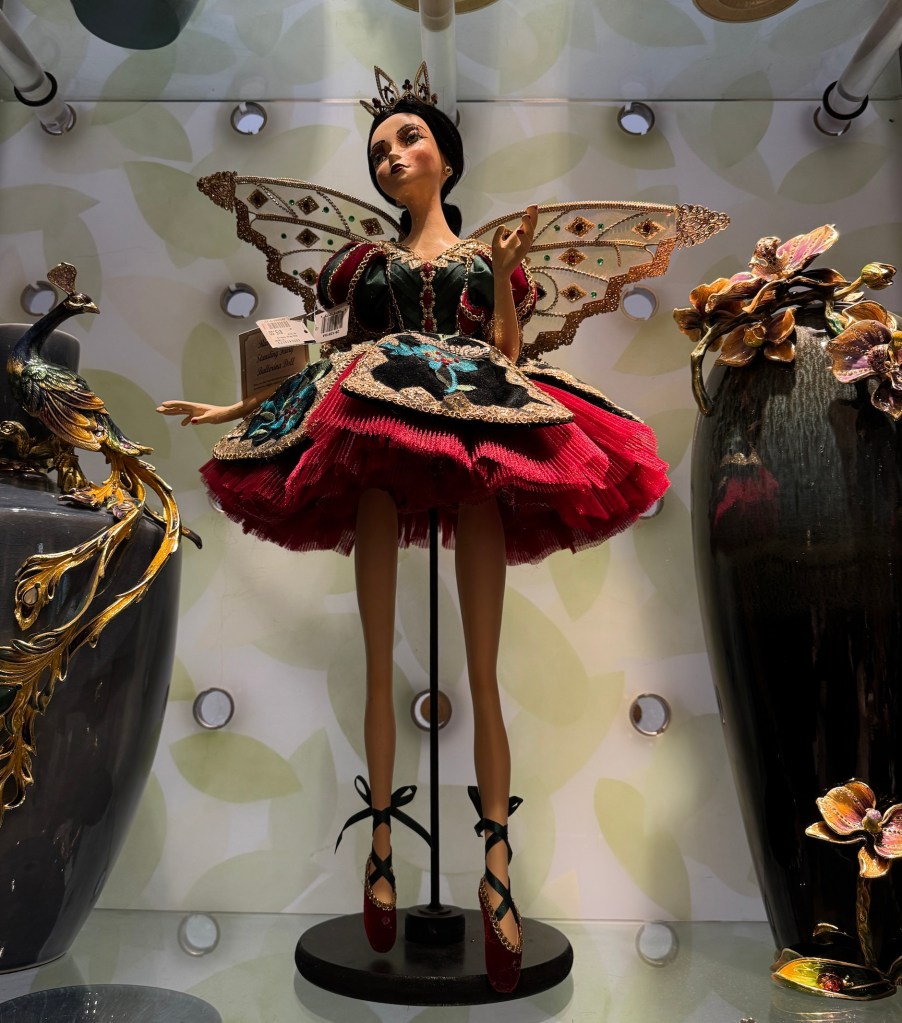
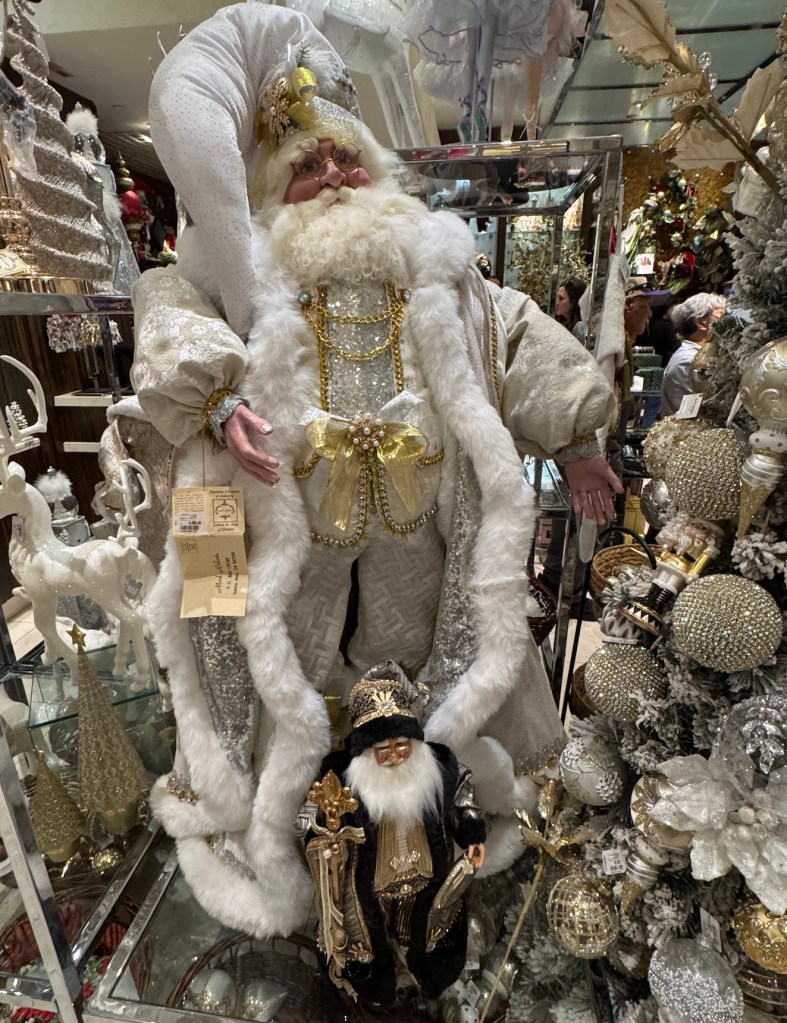
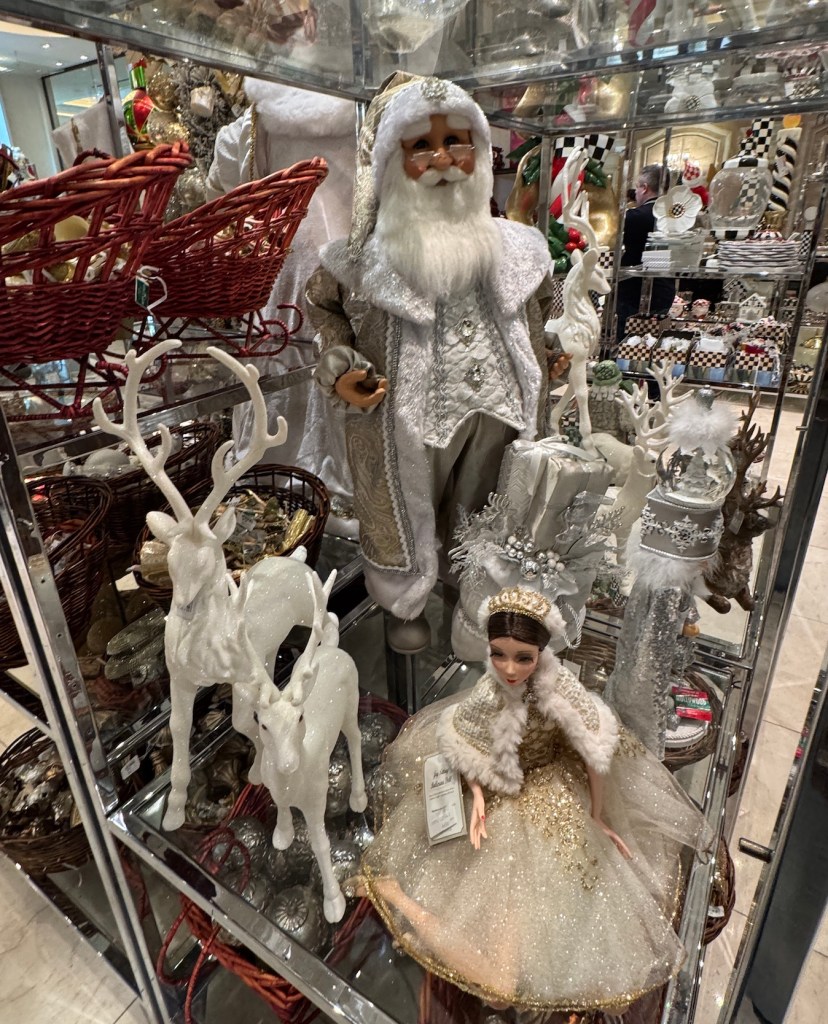
After touring the gardens we popped into the over the top Christmas Shop at the Bellagio where many items cost a mortgage payment.
But they were beautiful to look at and we had fun browsing the very crowded shop.
Update on the post 48 Granny Squares Now Connected – I now have 84 sunflower granny squares joined together vertically! I am plugging along 🙂
So 7 out of the 11 rows of 12 granny square each, are done and just 4 more rows (48 granny squares) to go.
Then I am of course going to single crochet them together horizontally and add a single crochet border all the way around to anchor everything. After that I will decide if I want to make a fancy border, etc.
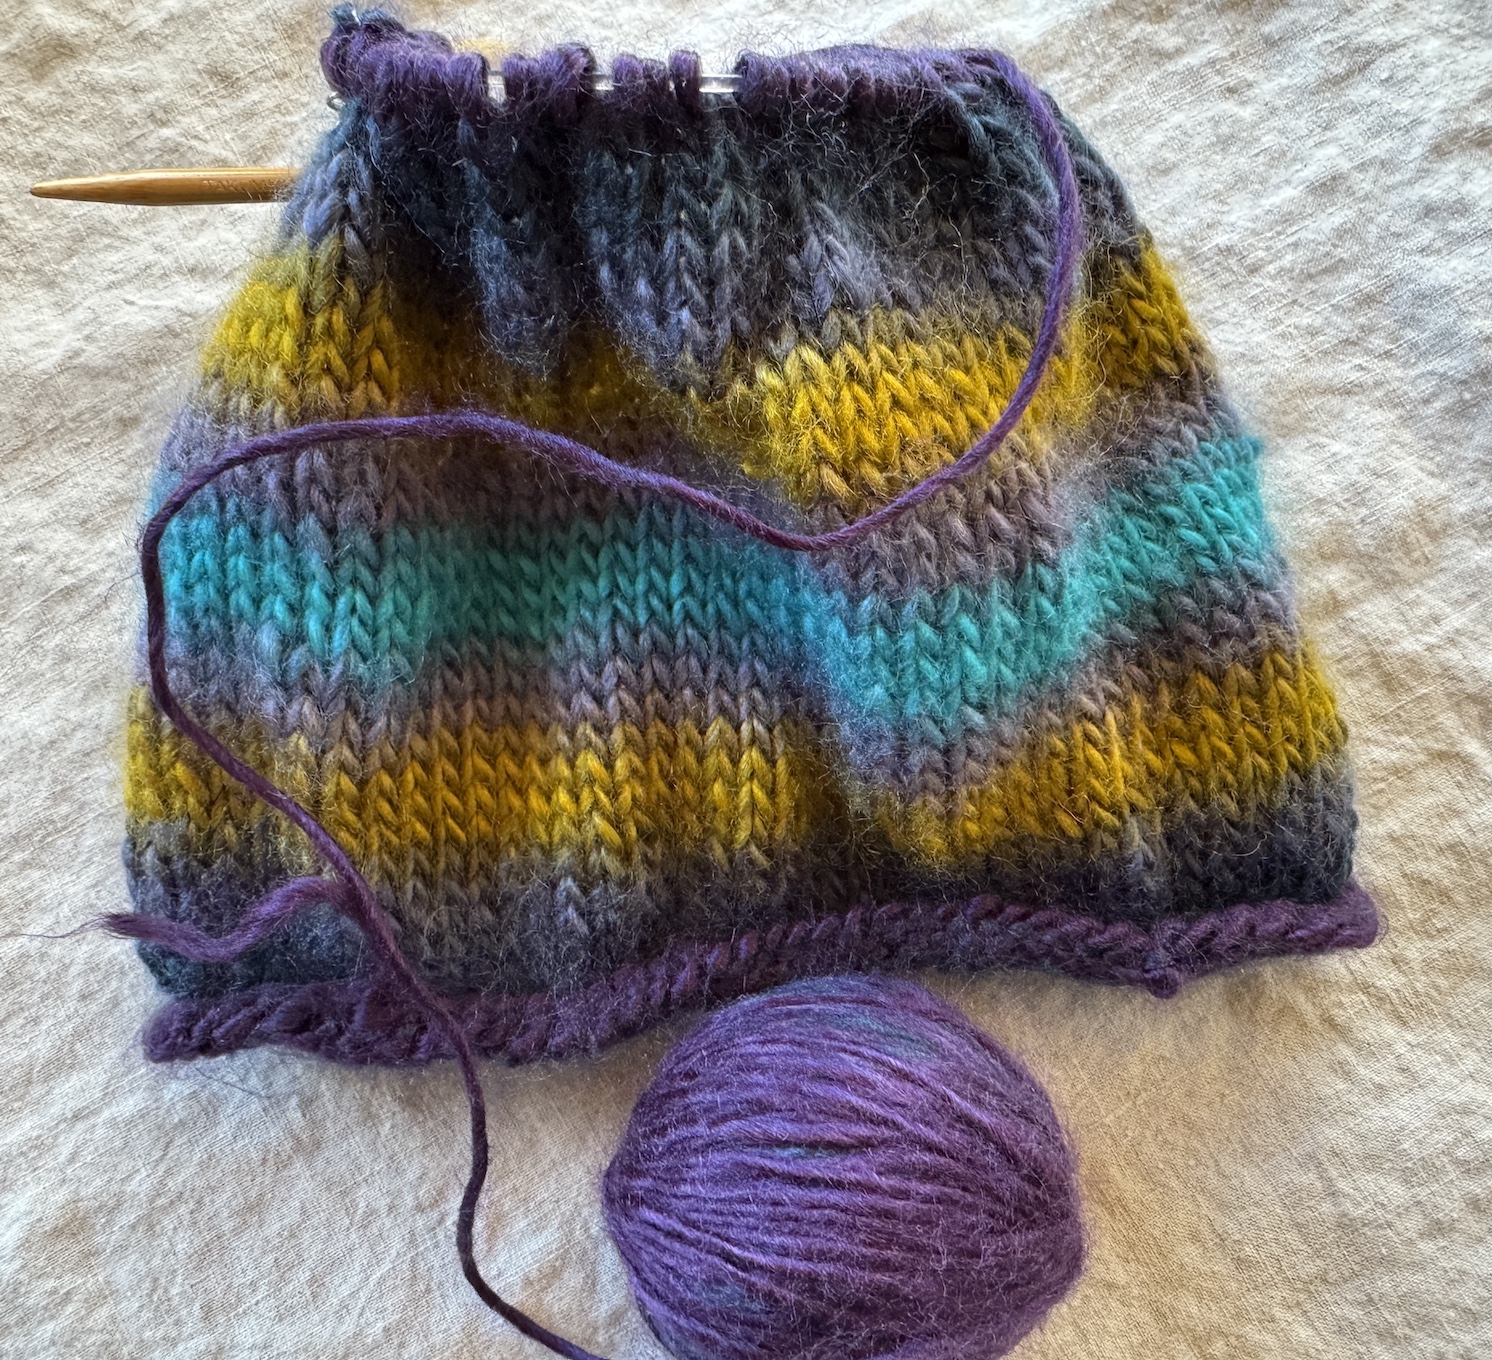
Revisiting a Hat I Started Last Winter
I made 137 sunflower granny squares while riding in cars, planes, trains and sitting at events beginning May 2024. Now that the making of the individual sunflower granny squares is done (and the blanket is finally being assembled) I needed another portable project.
I used a variegated ball of yarn I found thrifting with little idea of what the different colors would be since it was already rolled into a ball and I could only see a little of the color changes!
It was my leap of faith hat!
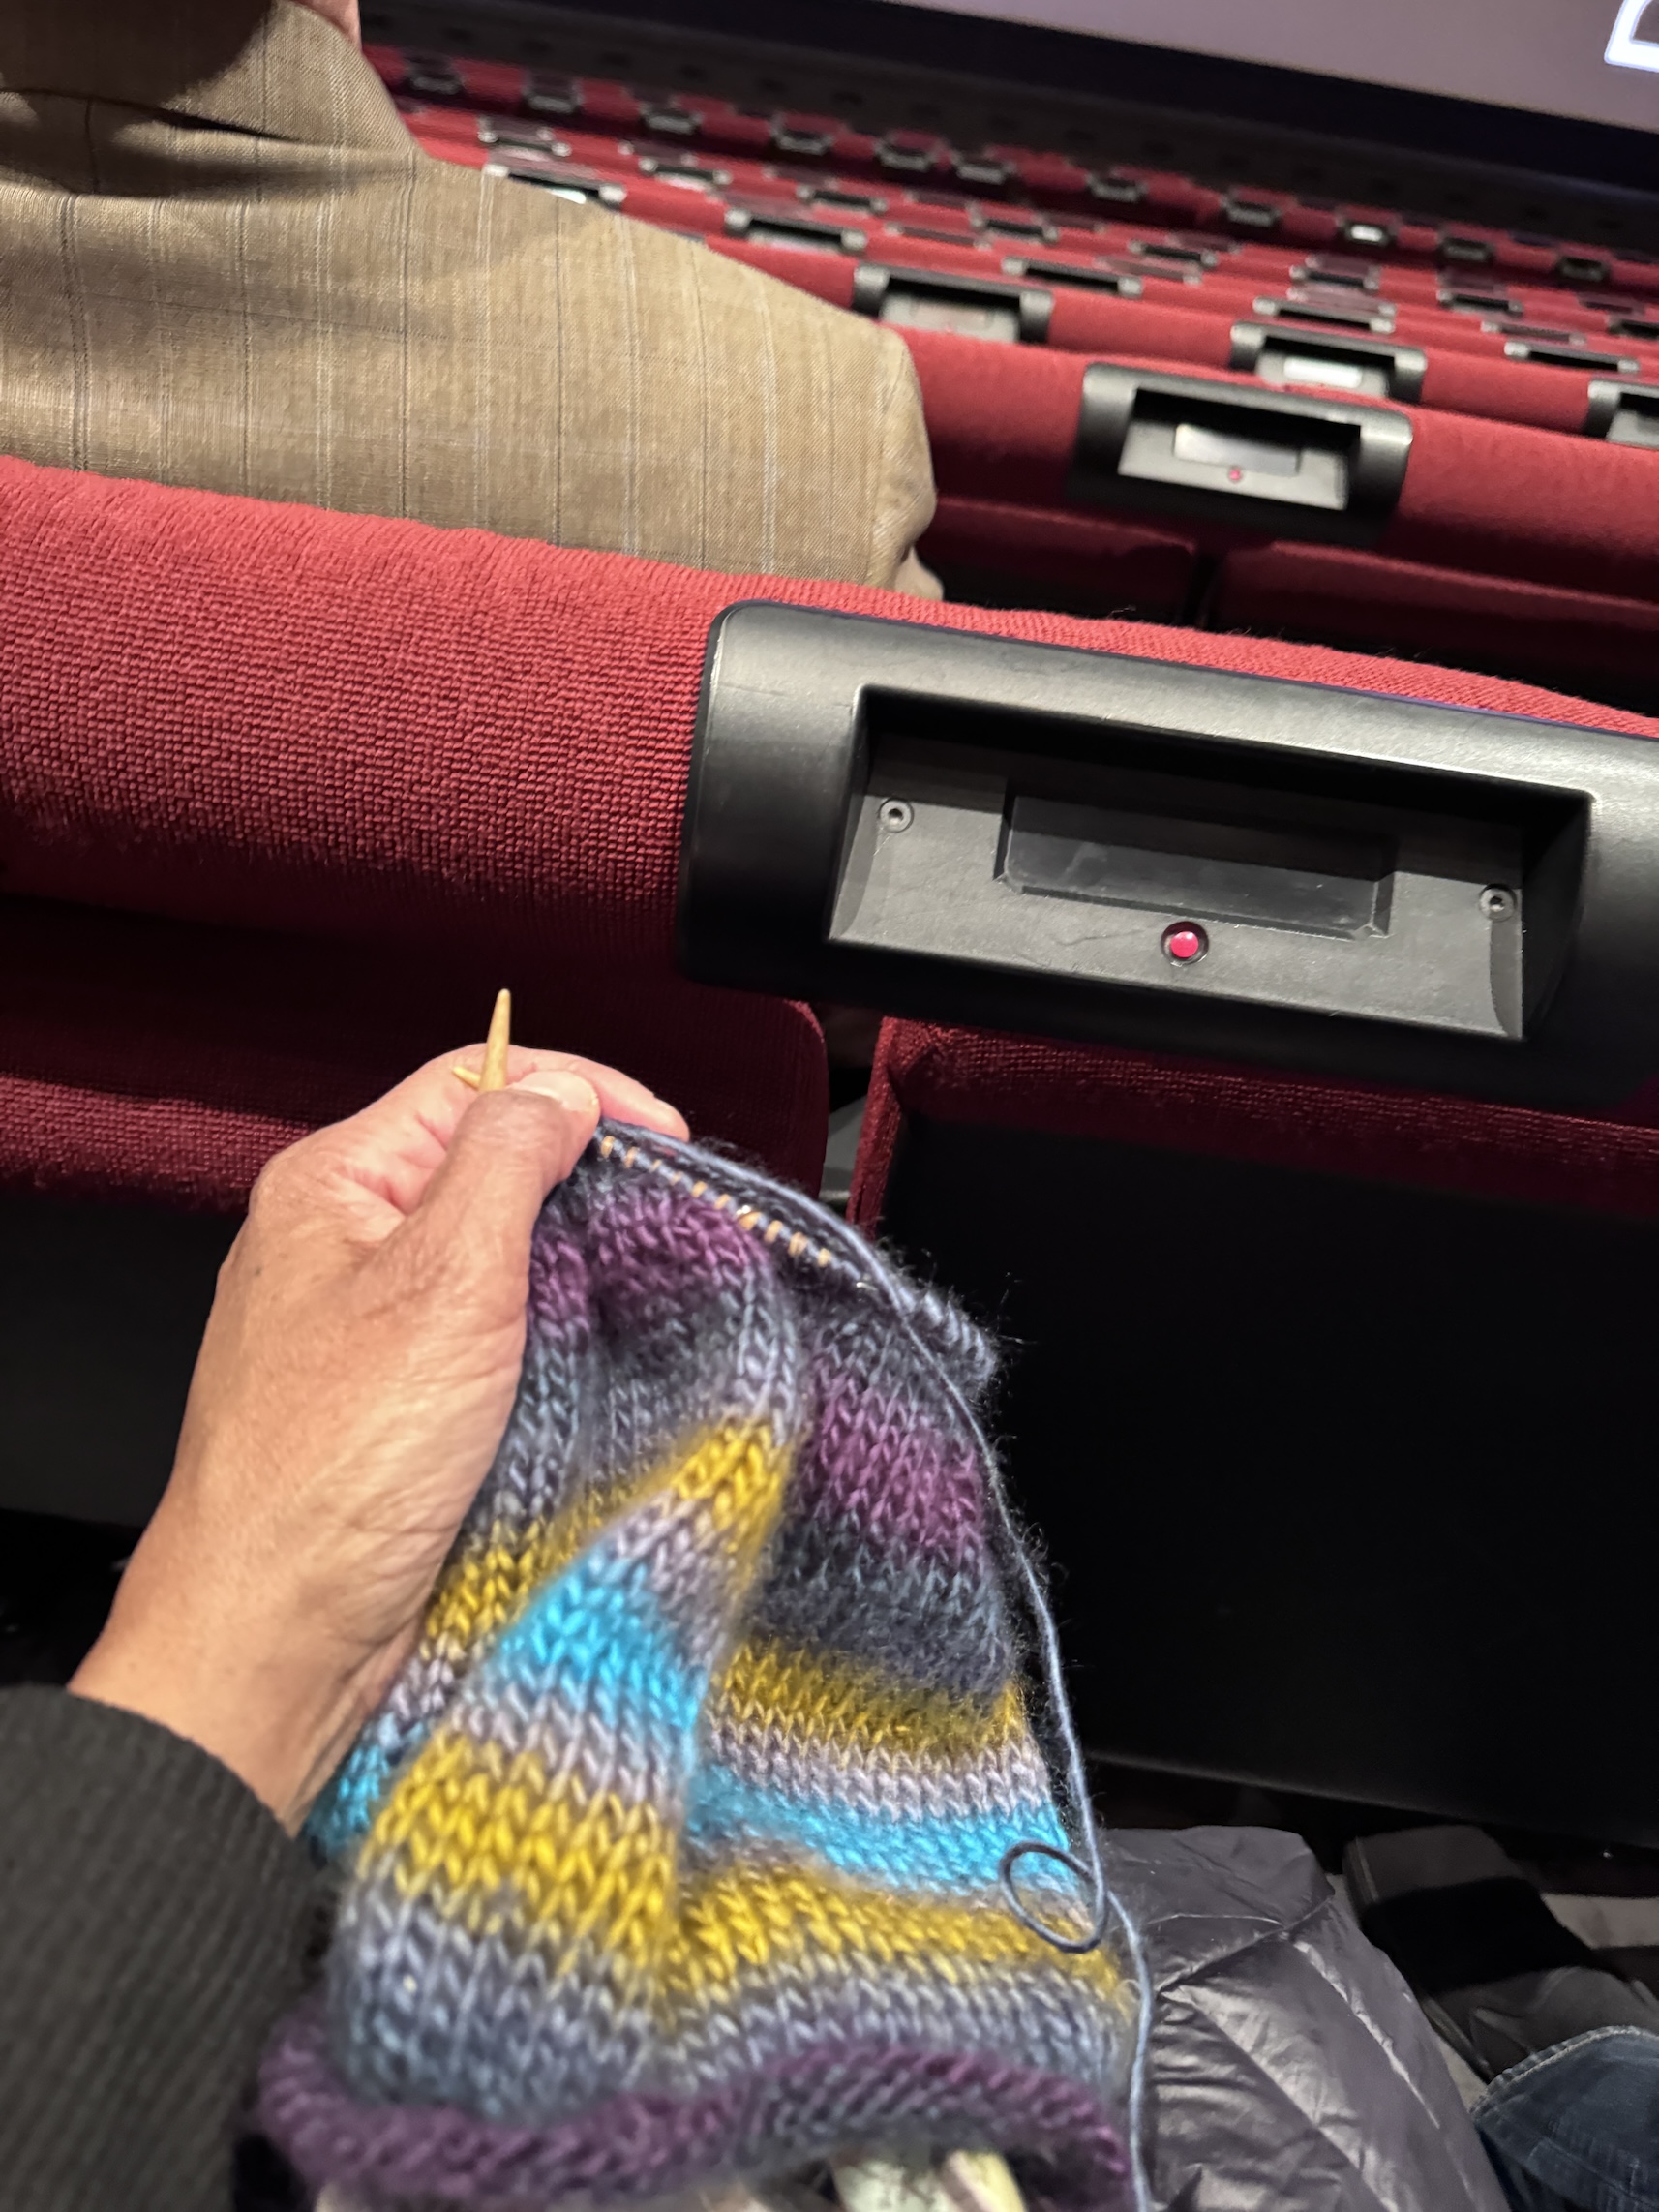
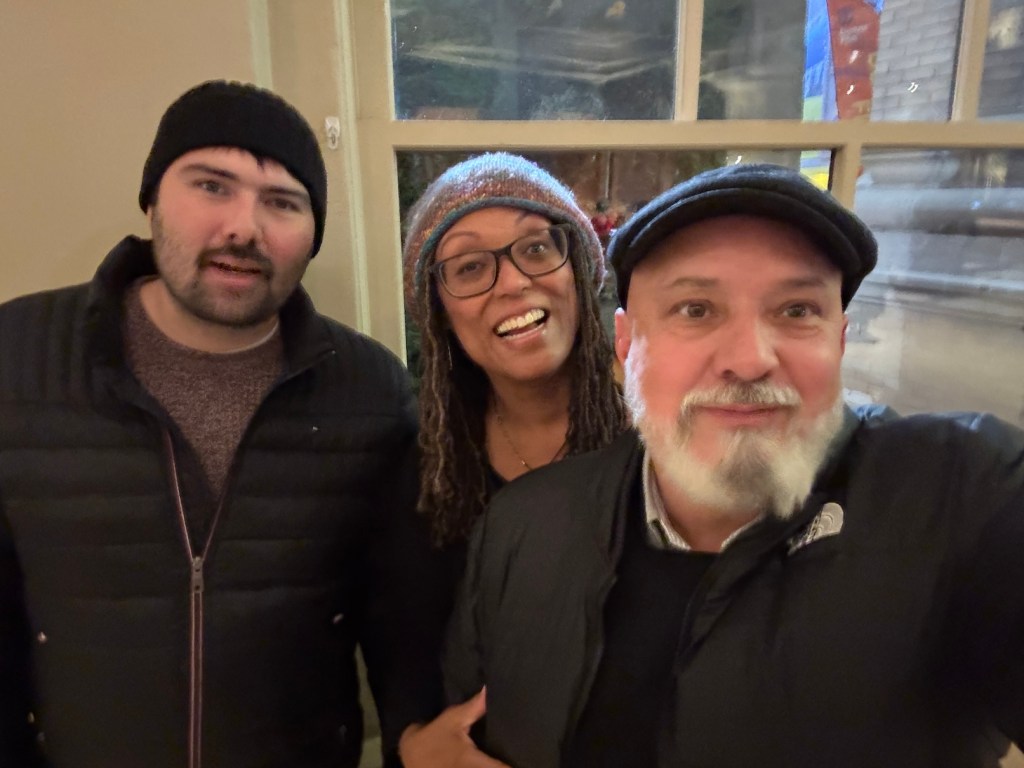
So on Friday John’s son Z was visiting and we took him to the Denver Film Festival and saw the premiere of the film Wake Up Dead Man: A Knives Out Mystery, starring Danile Craig, I brought my hat and worked on it in the car on the way to the event and at the event before the film showing began (we arrived early to get good seats and had a bit of a wait before the movie started).
Here’s some additional images from the festival including the lovely Chihuly chandelier that hangs in the Ellie Caulkins Opera House where the film was premiering.
The film was really fun and I recommend it when it premieres on Netflix in December.
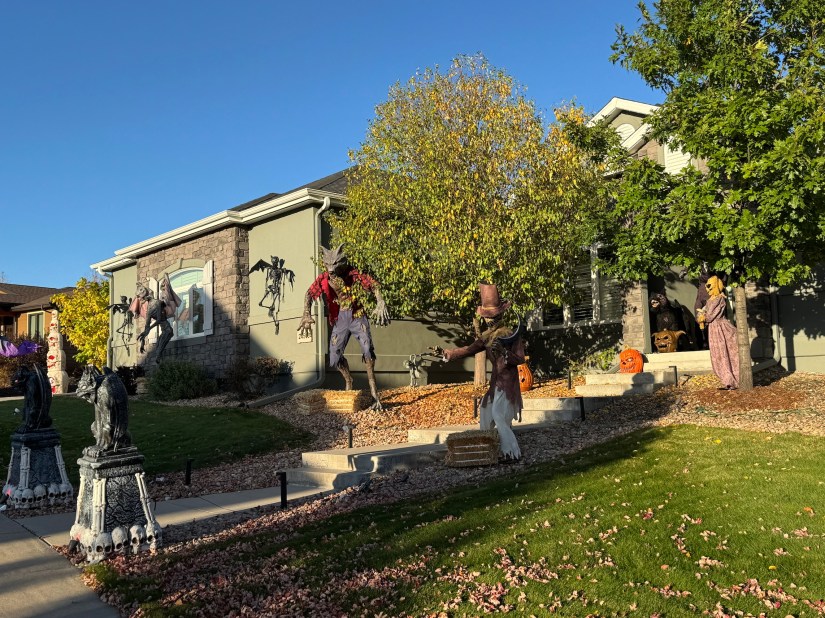
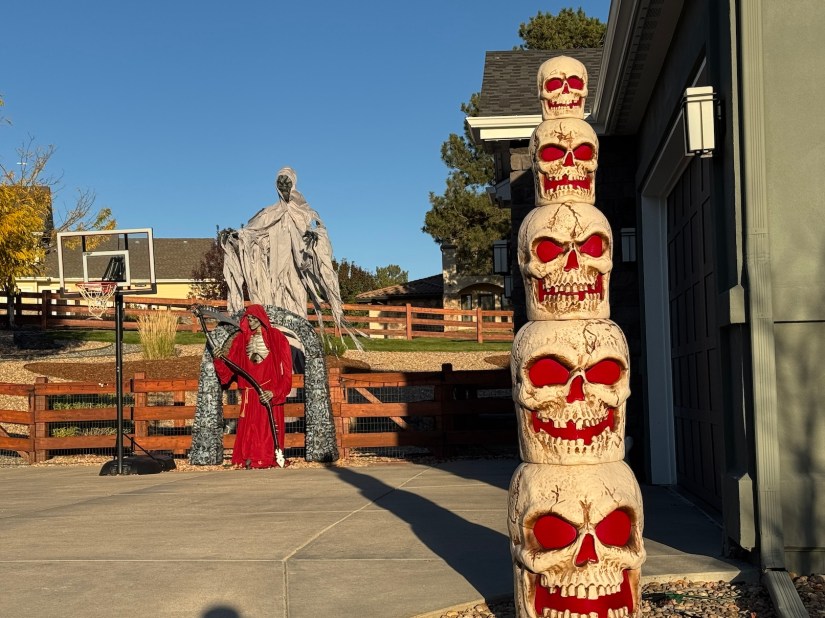
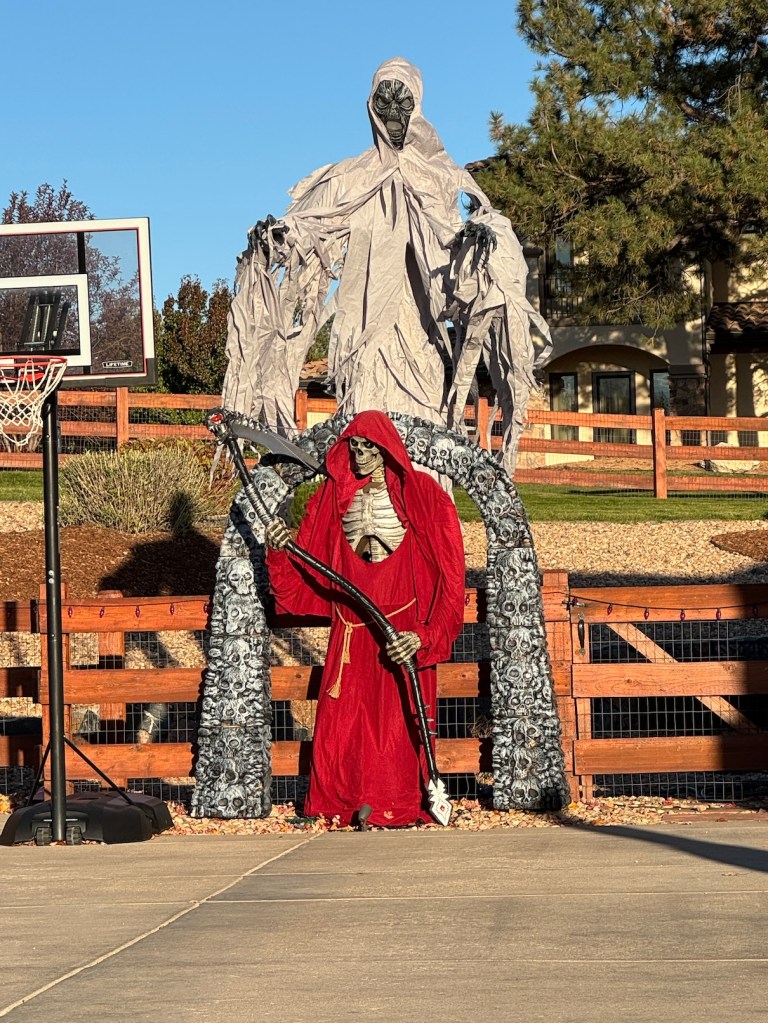
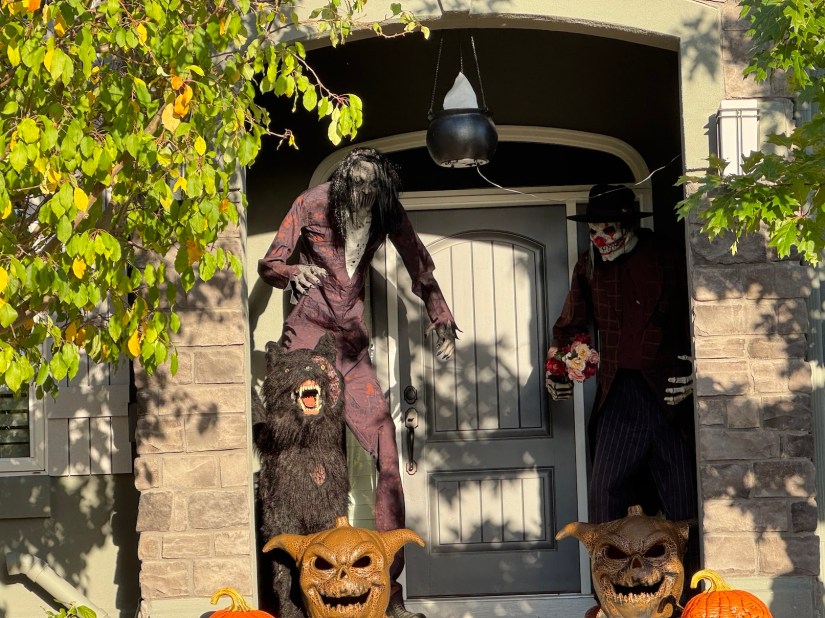
Well they are at it again and they keep winning Halloween in my opinion!
The other day on my neighborhood walk I took another series of photos of the annual Halloween display of one of the area houses. Posting again for those of you who love Halloween (of course my photos do not do their display justice, it is so awesome and epic in person!)
Postscript
Bonus photo: John loves Maple Leaf cookies from Trader Joes and they finally had them in stock at our Trader Joes. He posed with this cookies in the pumpkin display in front of the store!
Skipping around in my Summer of Travel stories to share a recent story (this past weekend).
I recently returned from a 3-day weekend in Portland, Oregon. I went with John to visit his son Z and decided to take a craft class in Portland one day so John and Z could have time on their own one day.
At first I looked into classes on crafts I already know – quilting, bag making or knitting/crochet. I couldn’t find any class that interested me on the weekend I was in Portland.
Then a crazy idea came to mind: I’ve been interested in learning to paint using Watercolors (not sure why I am so drawn to Watercolor but I am) – why not find a Watercolor Painting class?
I found two options at Wildcraft Studio School: 1) Introduction to Watercolor Painting; or 2) Color Theory: Watercolor.
I am very interested in Color Theory (see my post about my Colour Wheel Quilt – The Colour Wheel Quilt is Done) and the class said it was for beginner and experienced Watercolor artists.
So I selected this class. I figure I can watch YouTube videos to learn Watercolor painting techniques but I’d really like some hands on instruction with how to mix colors using the Watercolor paint medium.
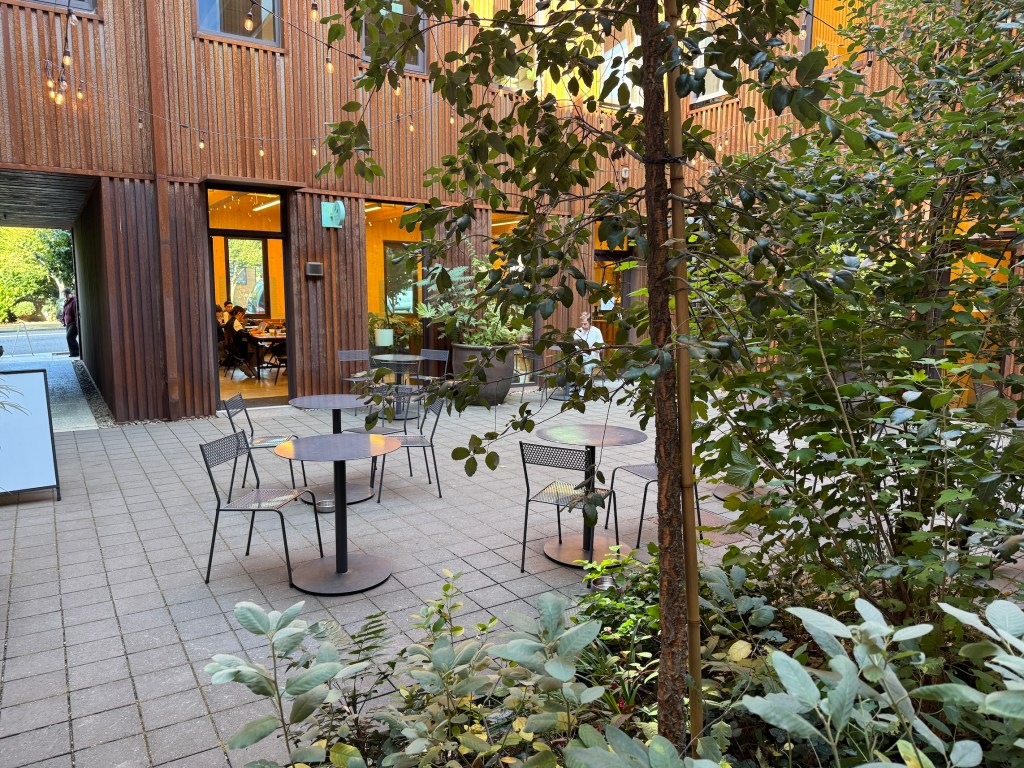
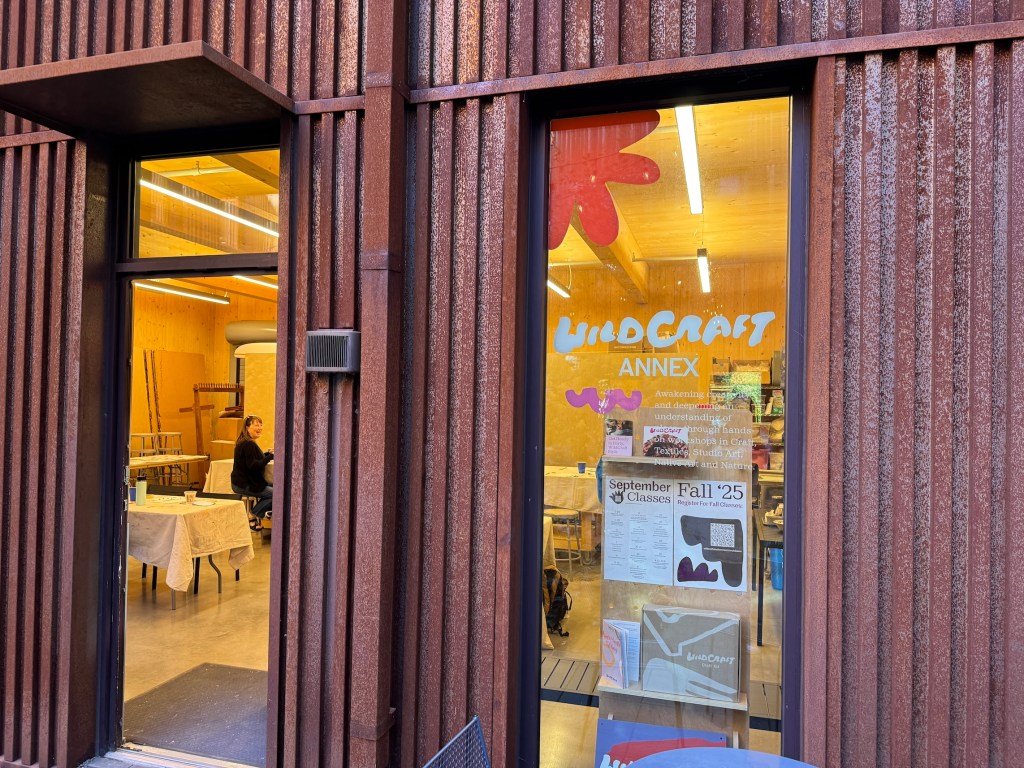
Arriving to class this past Saturday I was greeted with a lovely courtyard in front of the studio as you enter (I ended up enjoying my lunch in that courtyard during our break):
I felt very intimidated as I sat down at my table – what was I thinking dabbling in Watercolors?!?!?
The class was comprised of women in my age group, one young woman and one man. They were a friendly and engaging group and I really enjoyed chatting with the two women who sat at the table with me.
The class was taught by the Seattle-based Watercolor Artist Robin Bundi who was kind, patient and an excellent instructor!
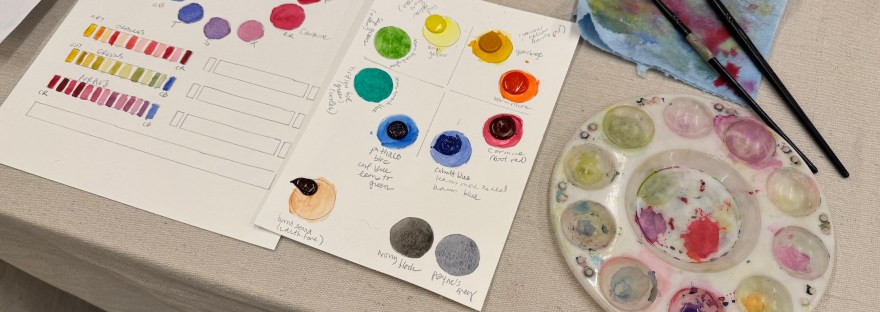
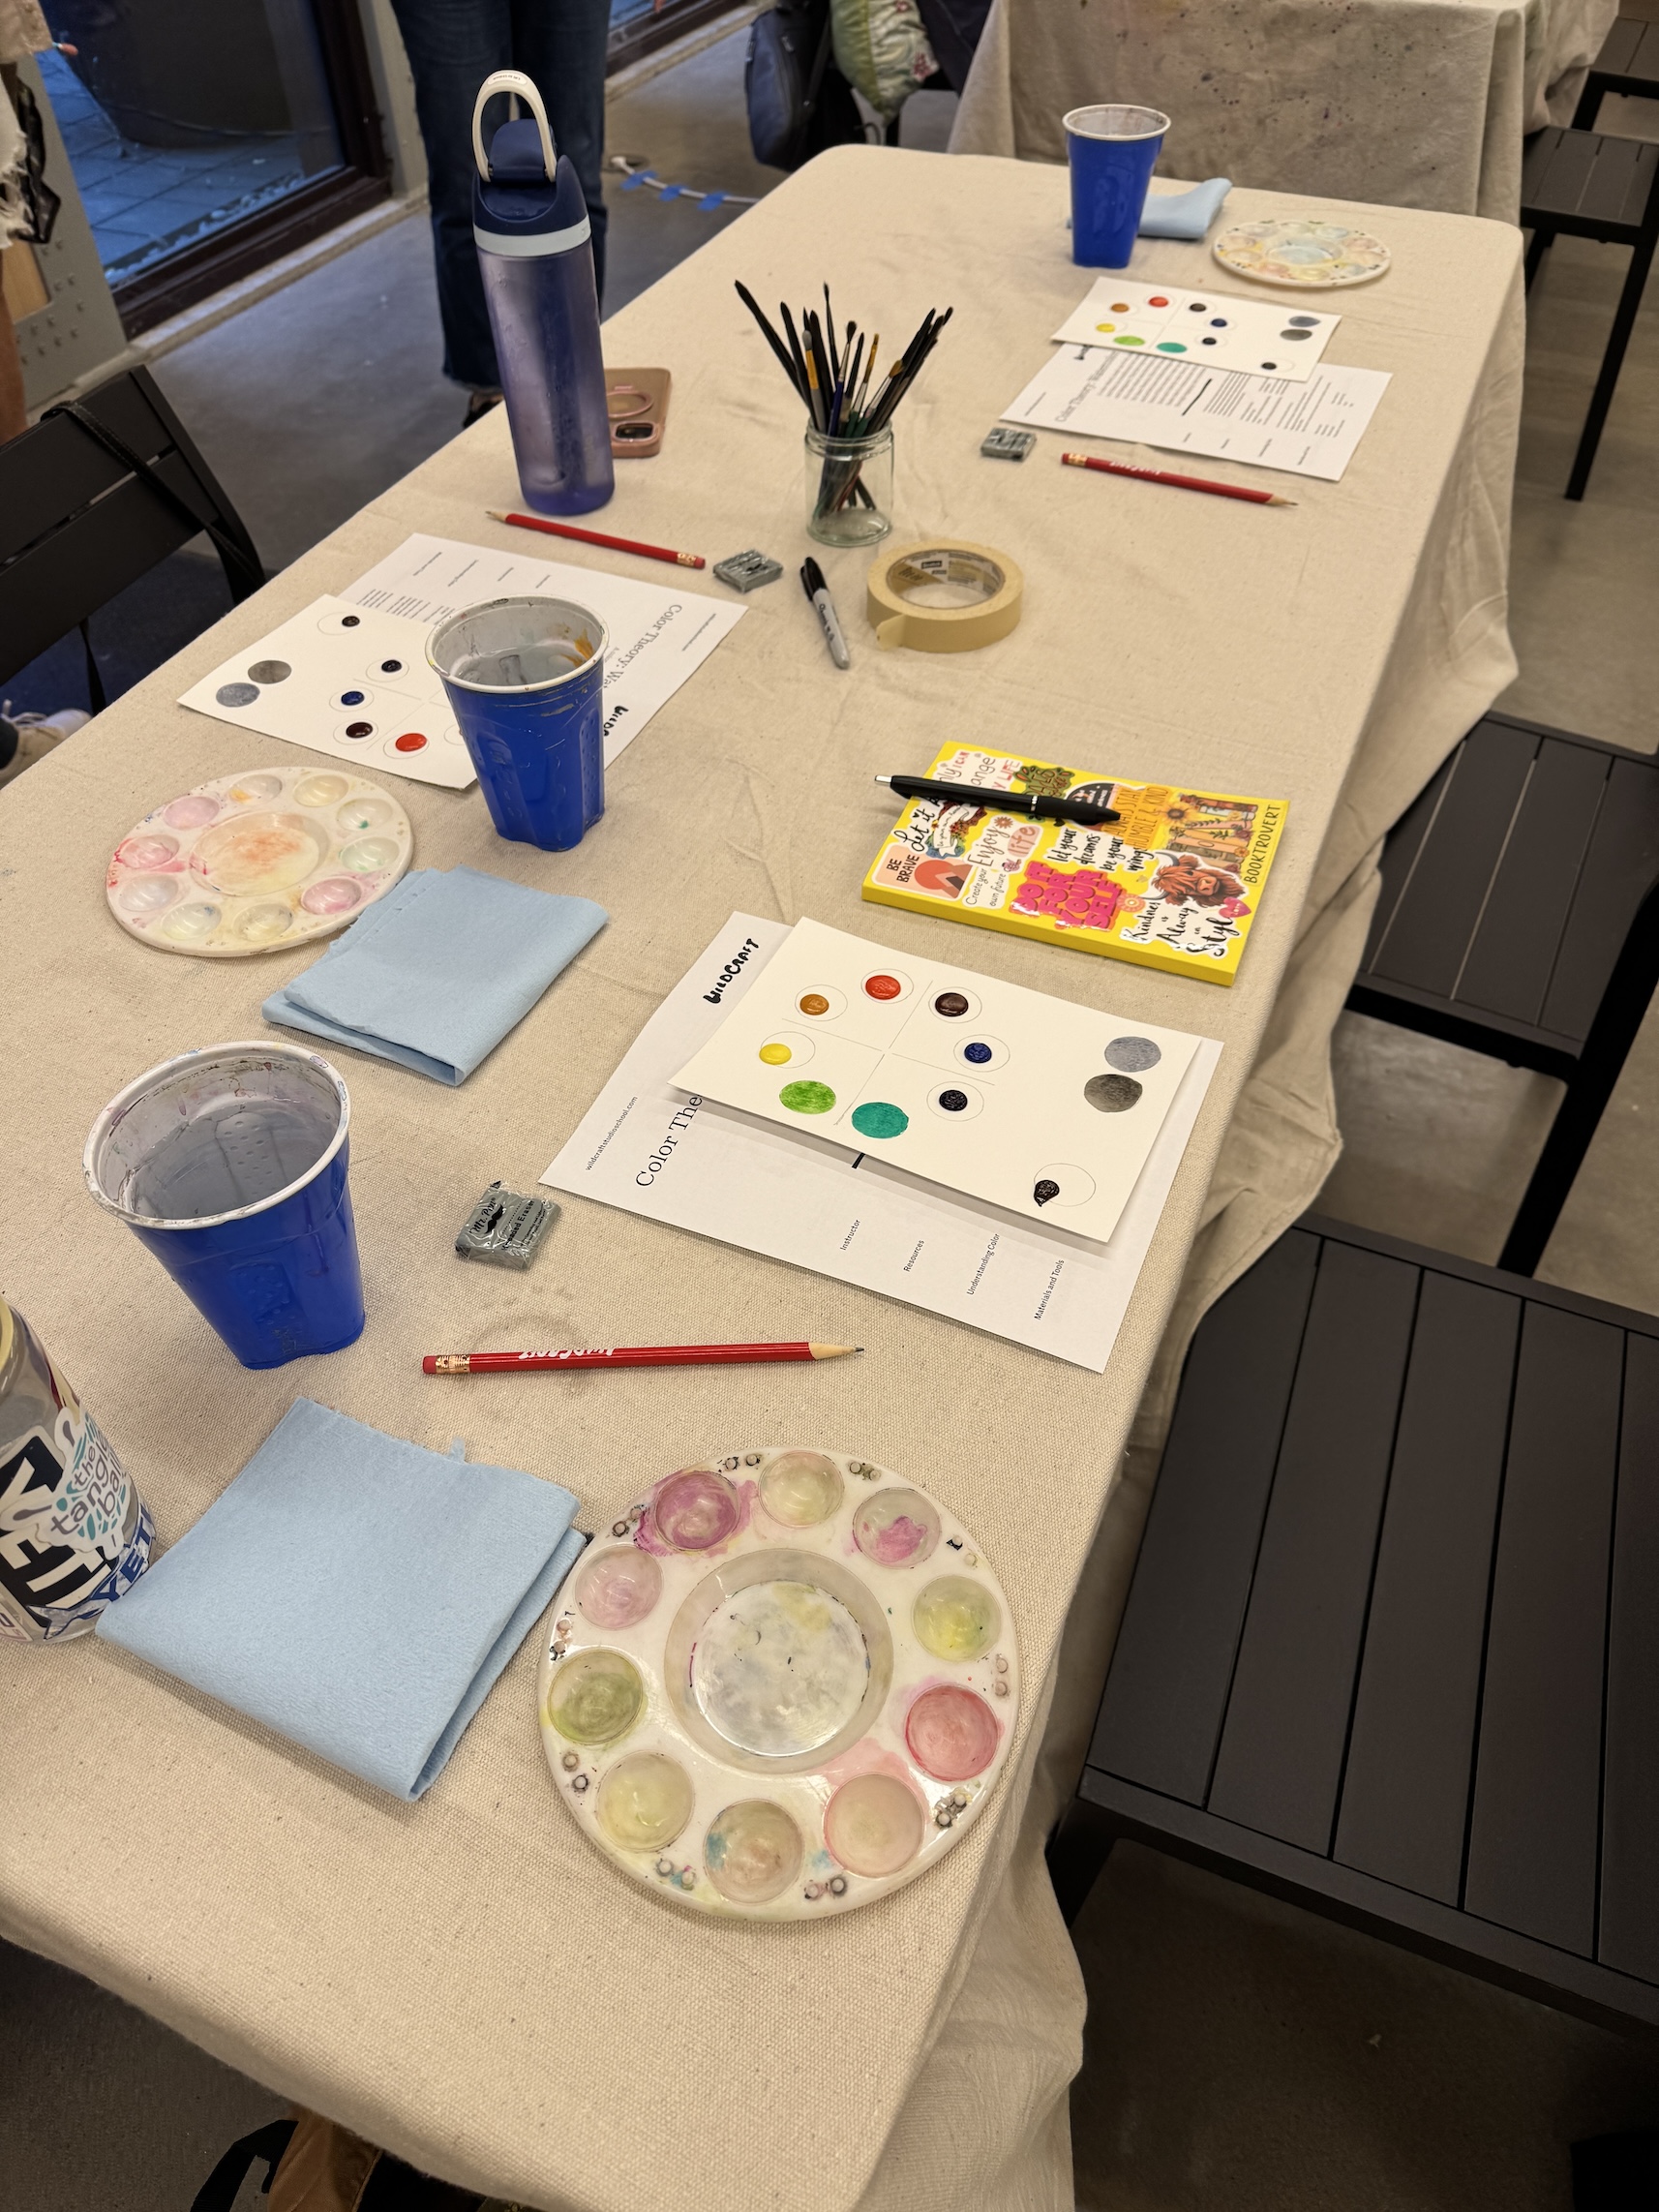
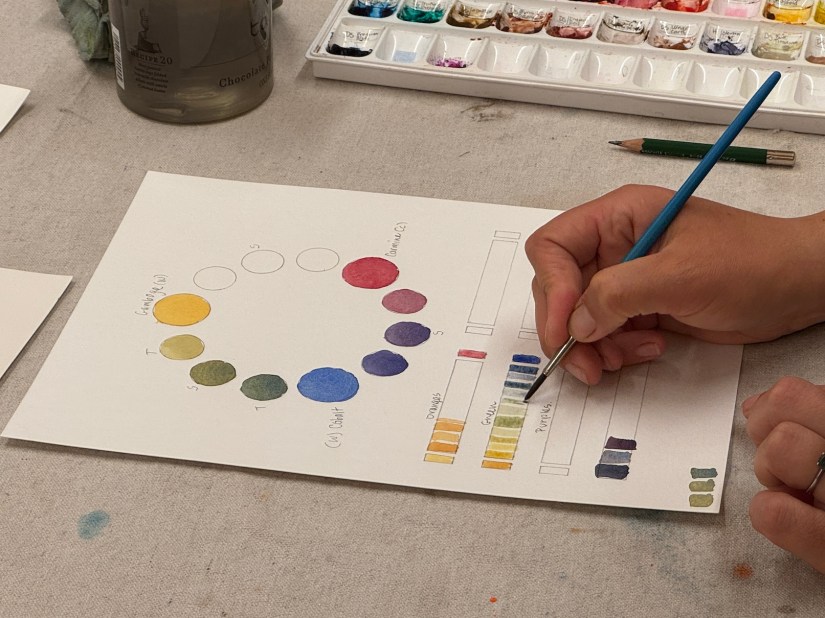
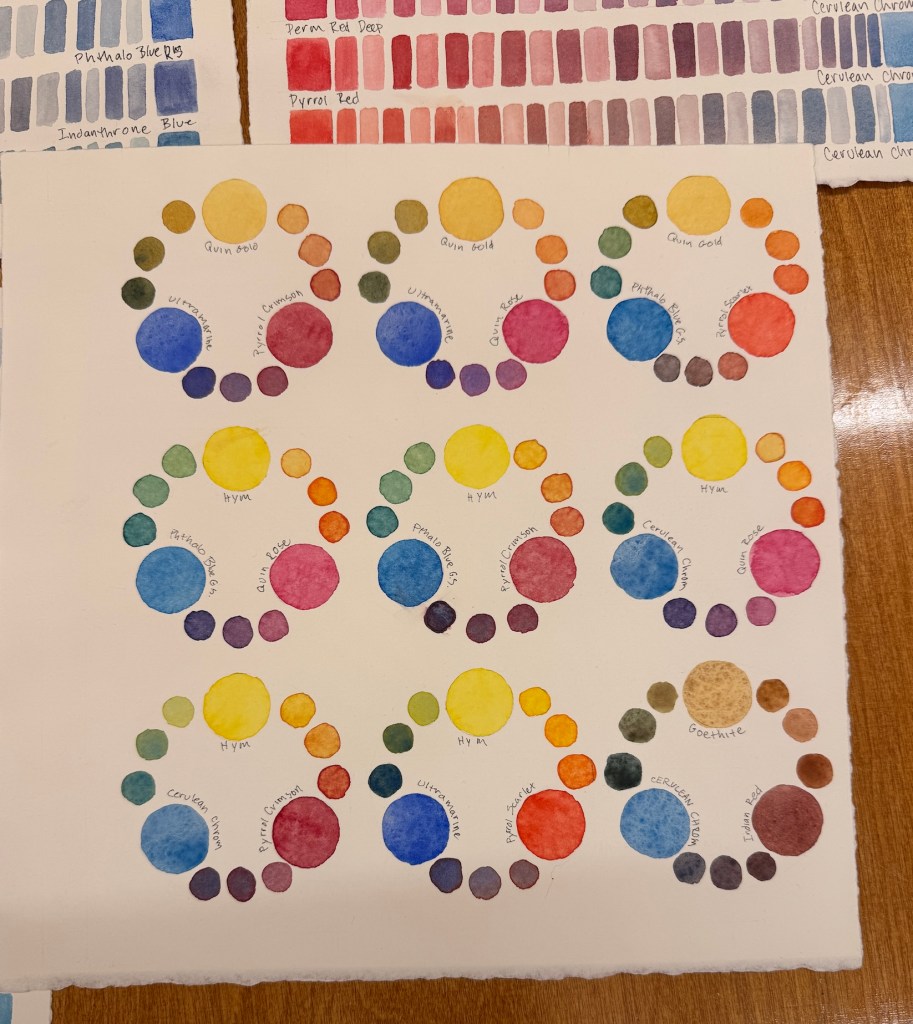
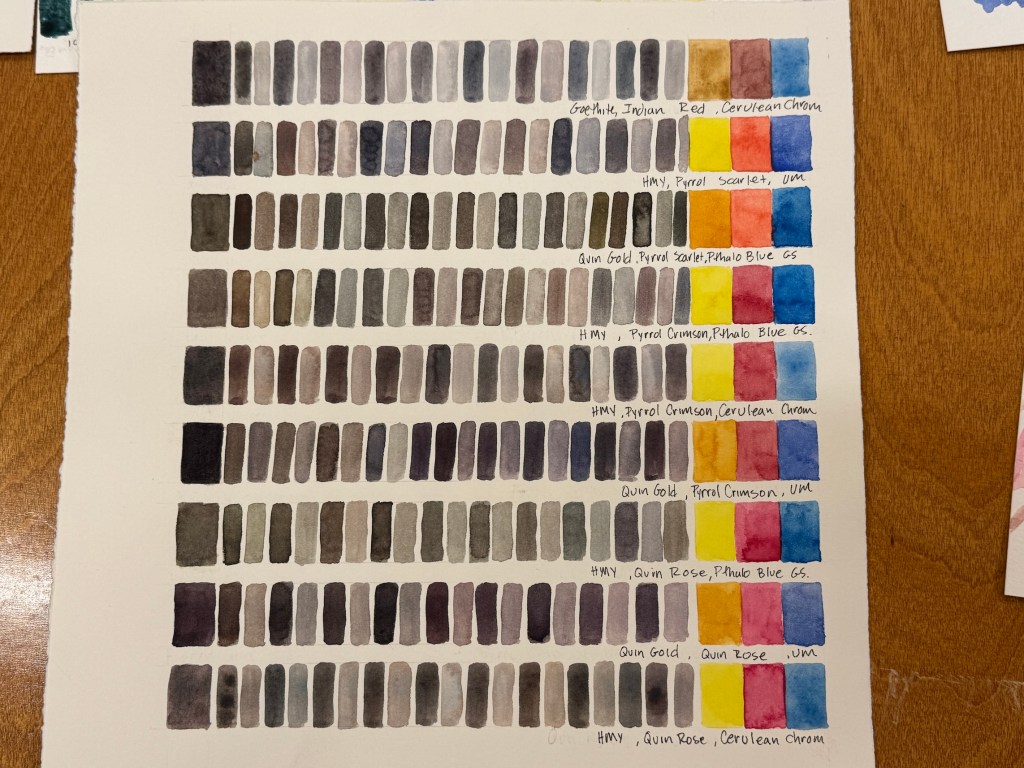
The class was focused on understanding color and color mixing and our primary class exercise involved creating color wheel mixing samples using different sets of primary color palettes.
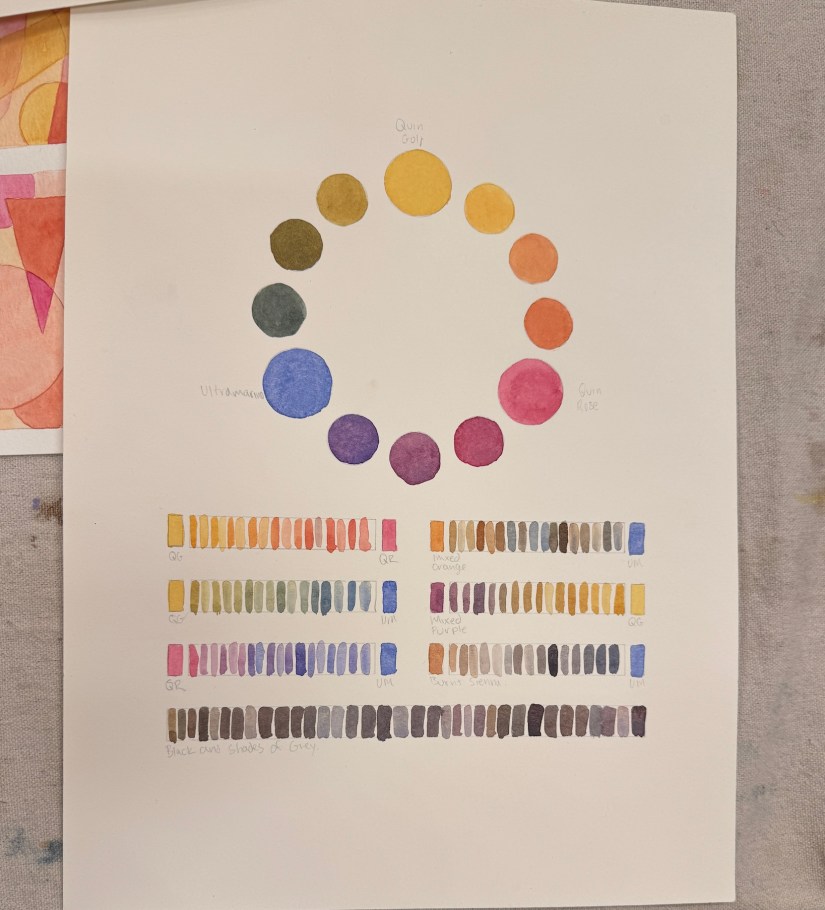
The instructor had many amazing examples of how just a couple primary colors (some version of red, blue, yellow) can make an endless assortment of colors, tints and shades.
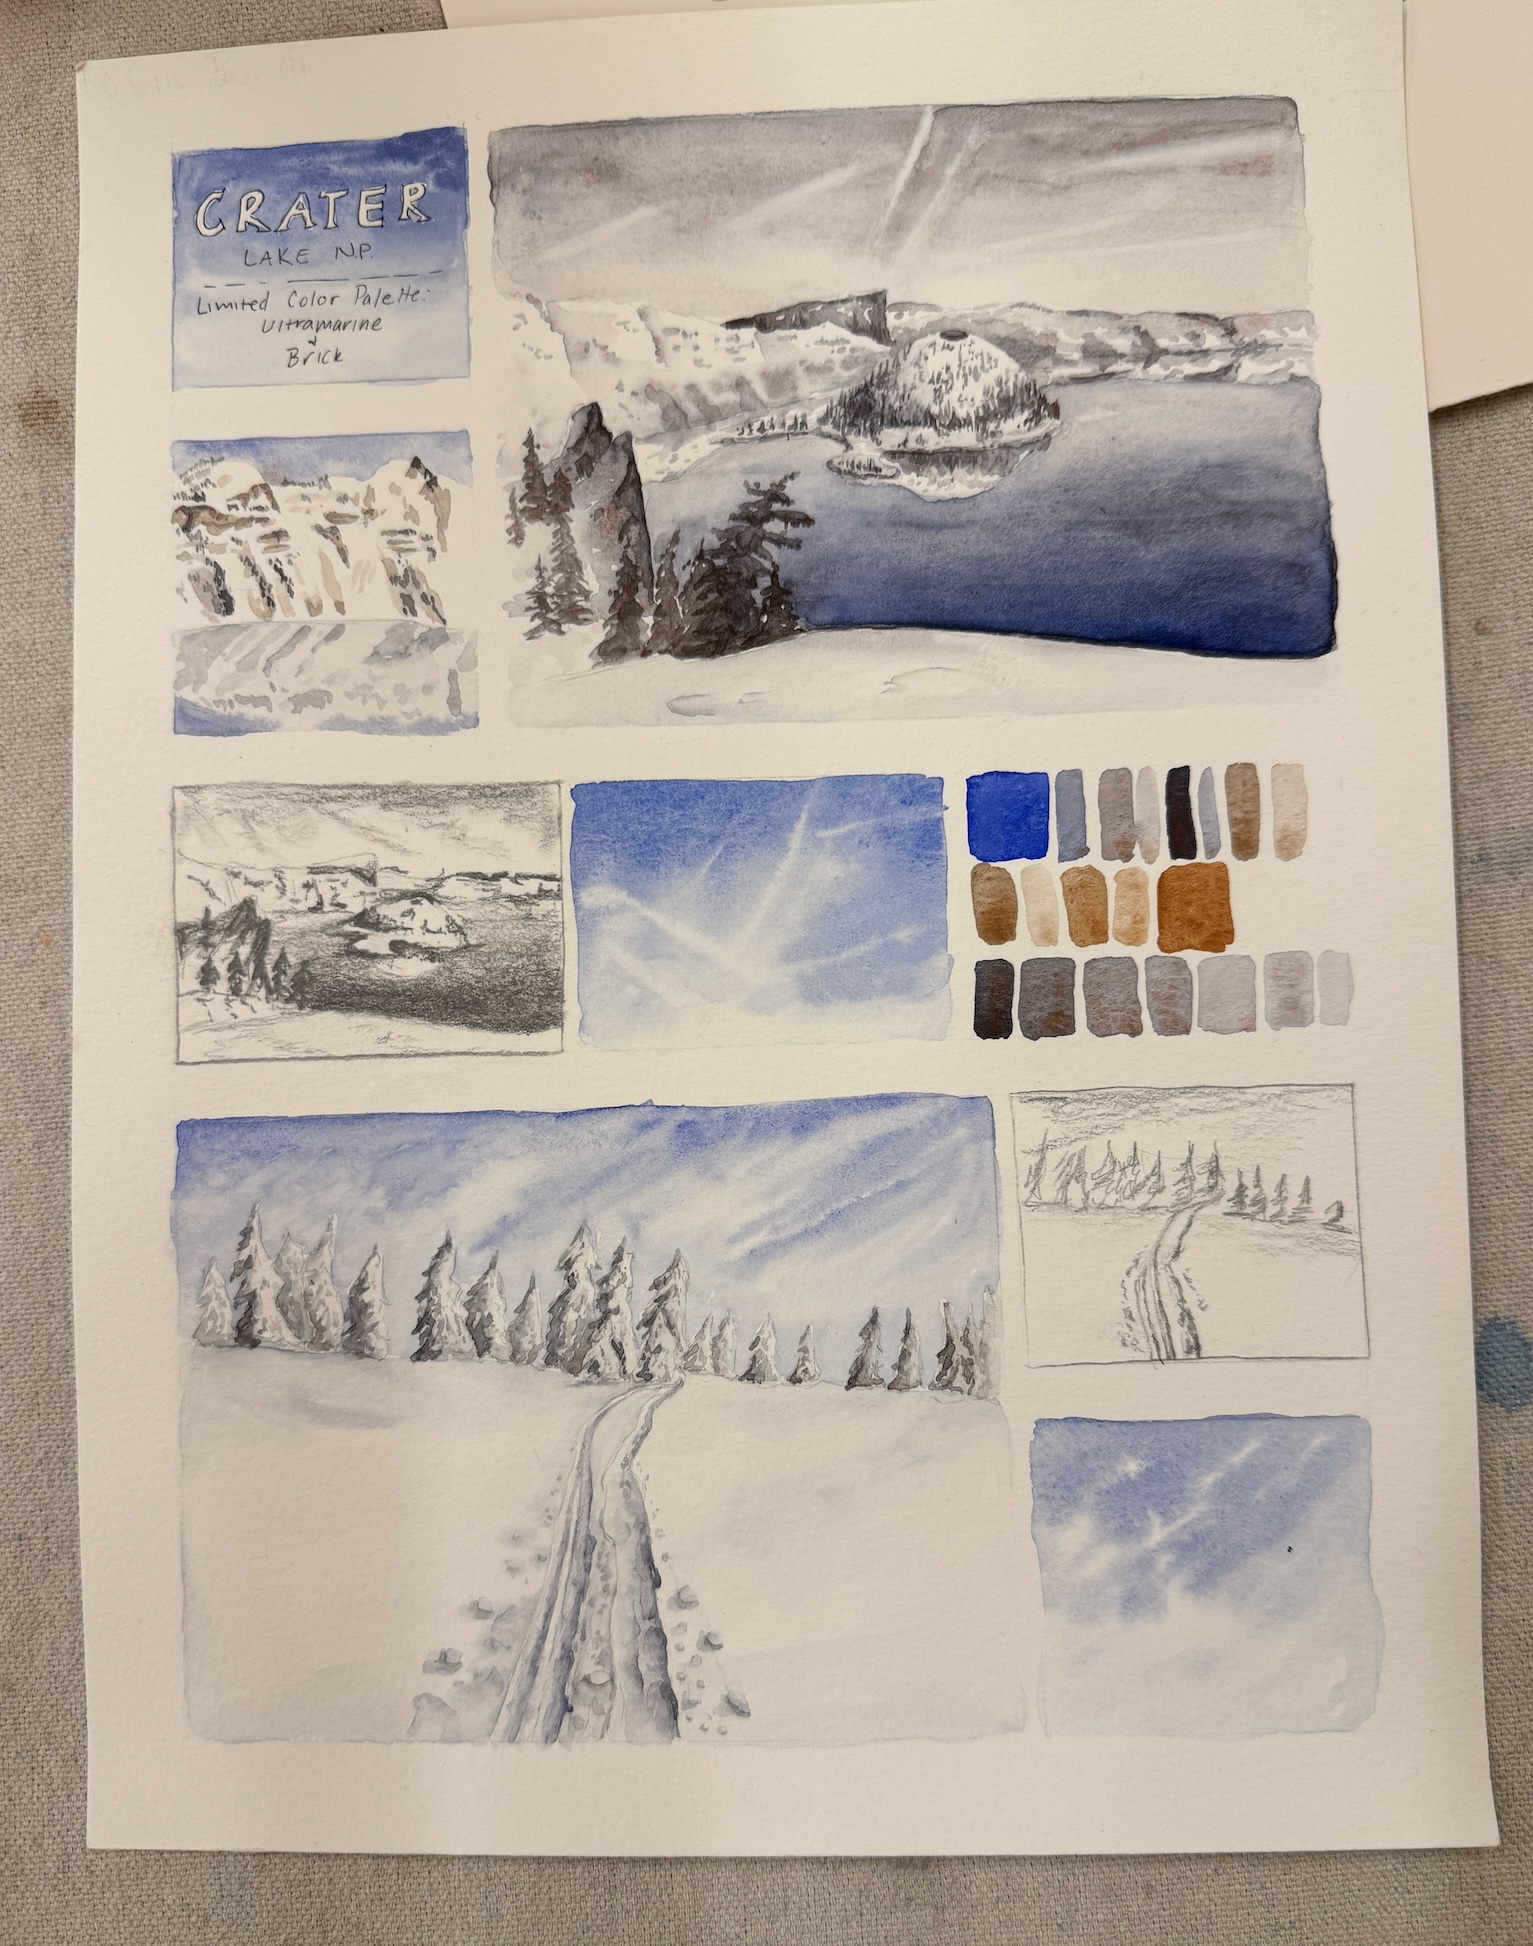
Here’s an amazing sample piece created by the instructor demonstrating how you can just use two colors (Ultramarine and Brick) to create a palette:
So I got to work and finally (sort of) got the hang of mixing colors.
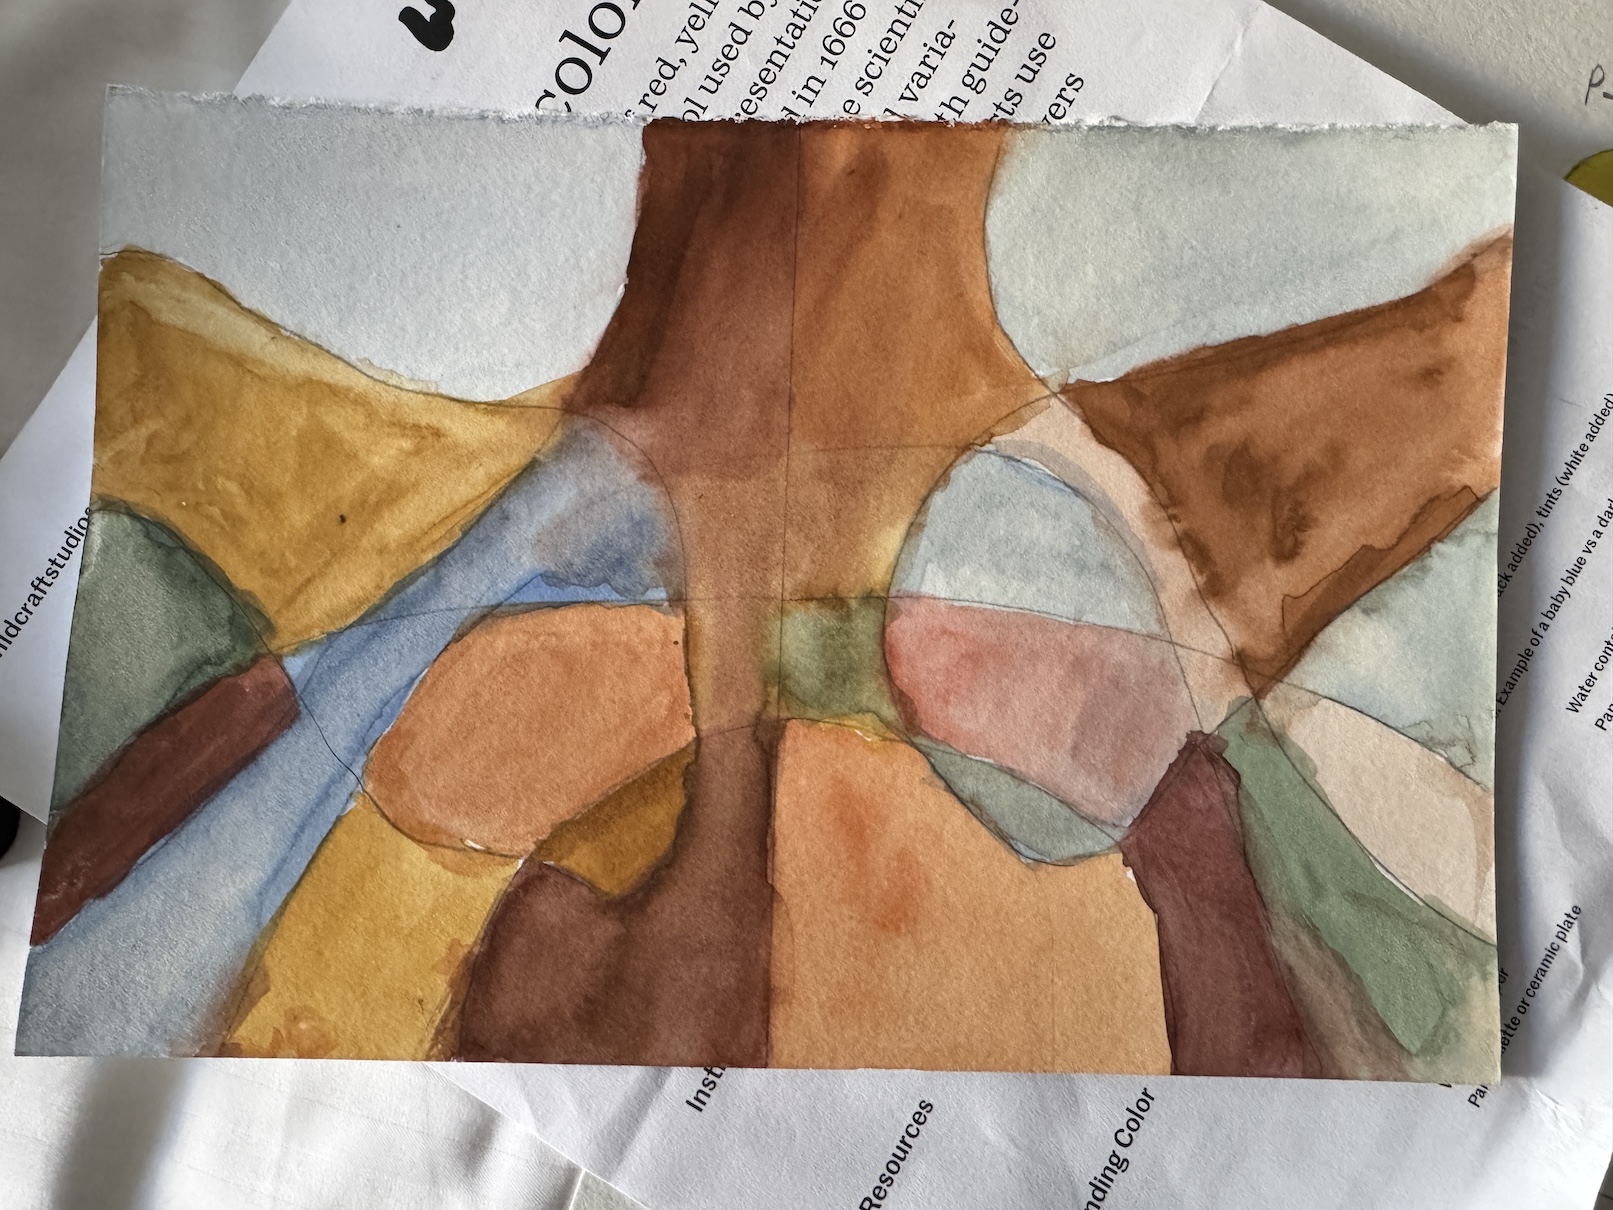
And at the end of the class she had us each paint a small piece with basic shapes/improvisational design, using what we learned of color mixing as well as color washing techniques.
Here is the piece I made (yes, not ready for a solo exhibit in Watercolors yet, ha!) but I forgot to erase/lighten the original pencil lines I used (and then ignored) when sketching the piece.
I joked with the instructor when she critiqued the piece that it looks like I took some mind altering substances before I began painting – ha!
Now when I catch up on my sewing projects I am going to work through an Introduction to Watercolor book I found a couple months ago thrifting as well as watch YouTube videos on painting techniques.
I think my goal is to be able to make Watercolor cards to send to friends (for them to recycle – ha!)
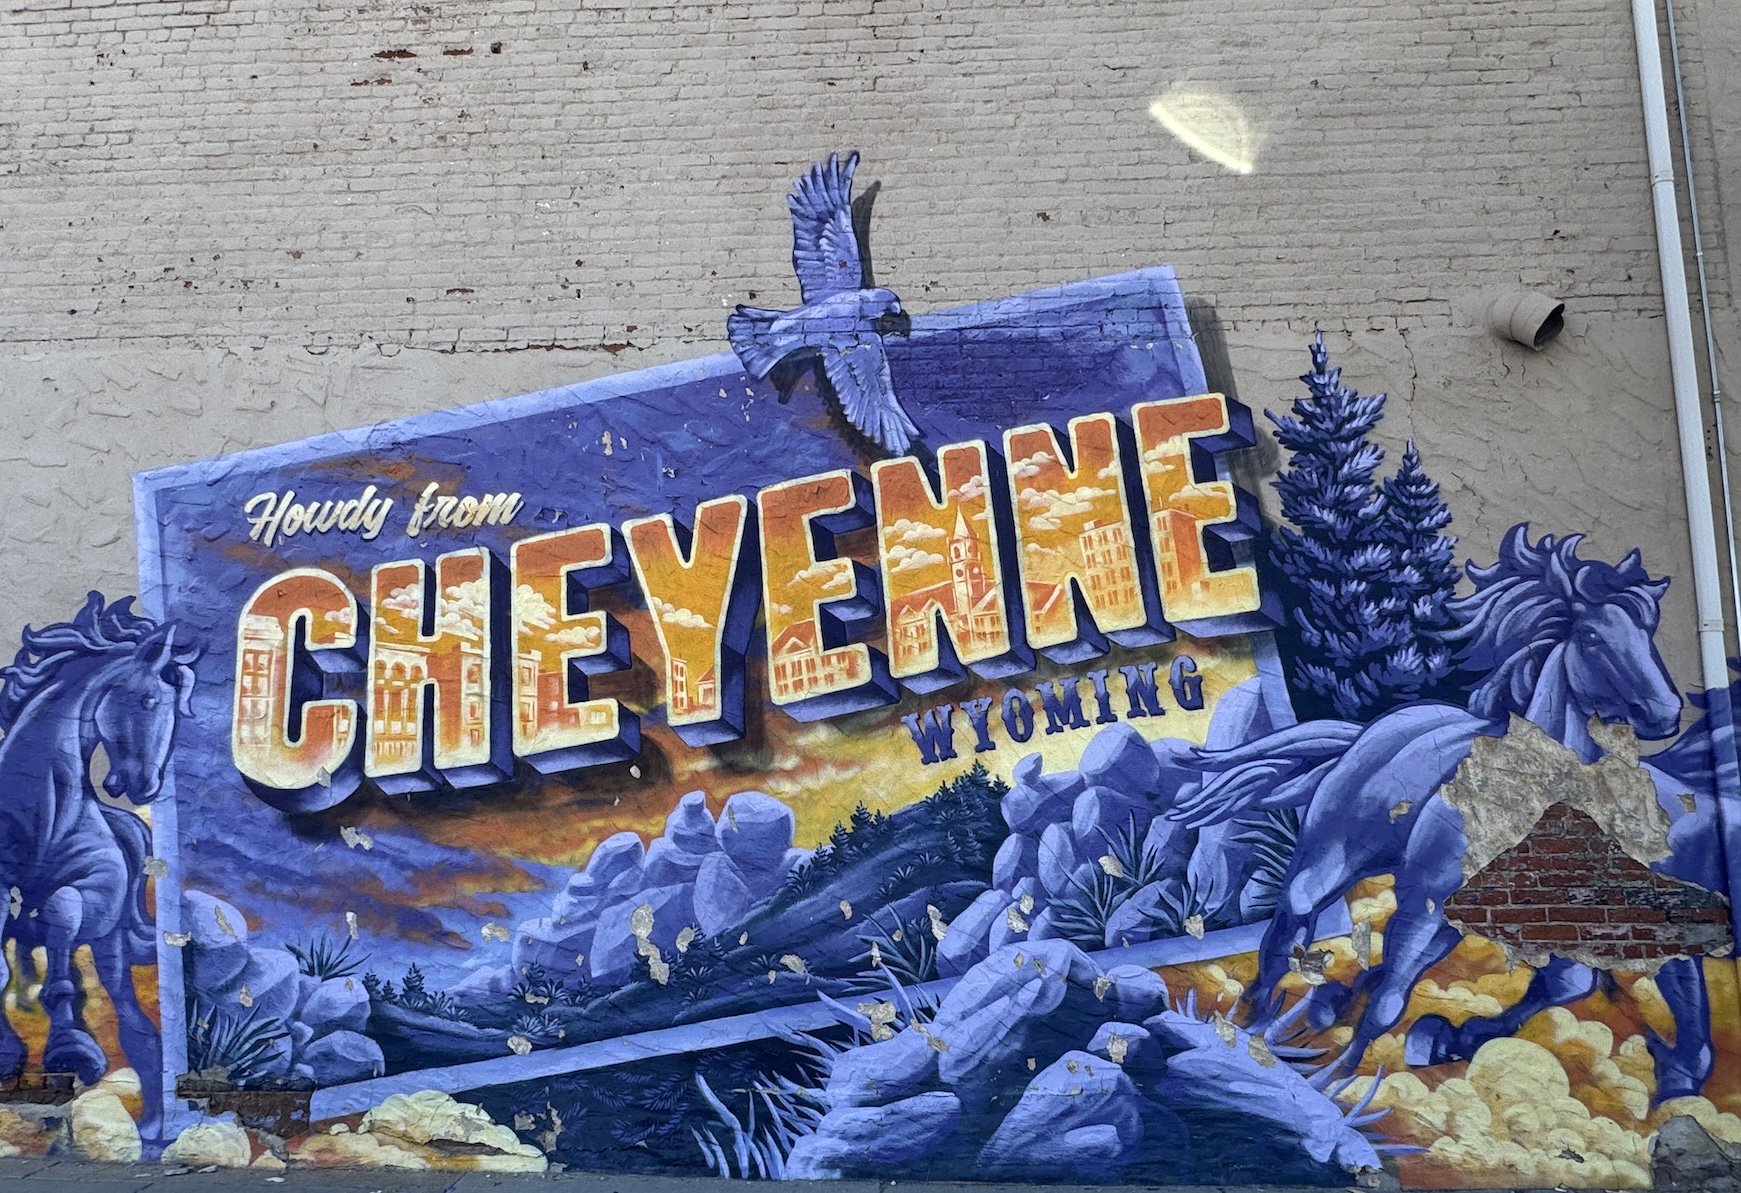
Well I will close out my serious of posts about our ambitious roadtrip in July 2025 to Wyoming, South Dakota, and Nebraska with a post about where the roadtrip adventures began – in Cheyenne Wyoming.
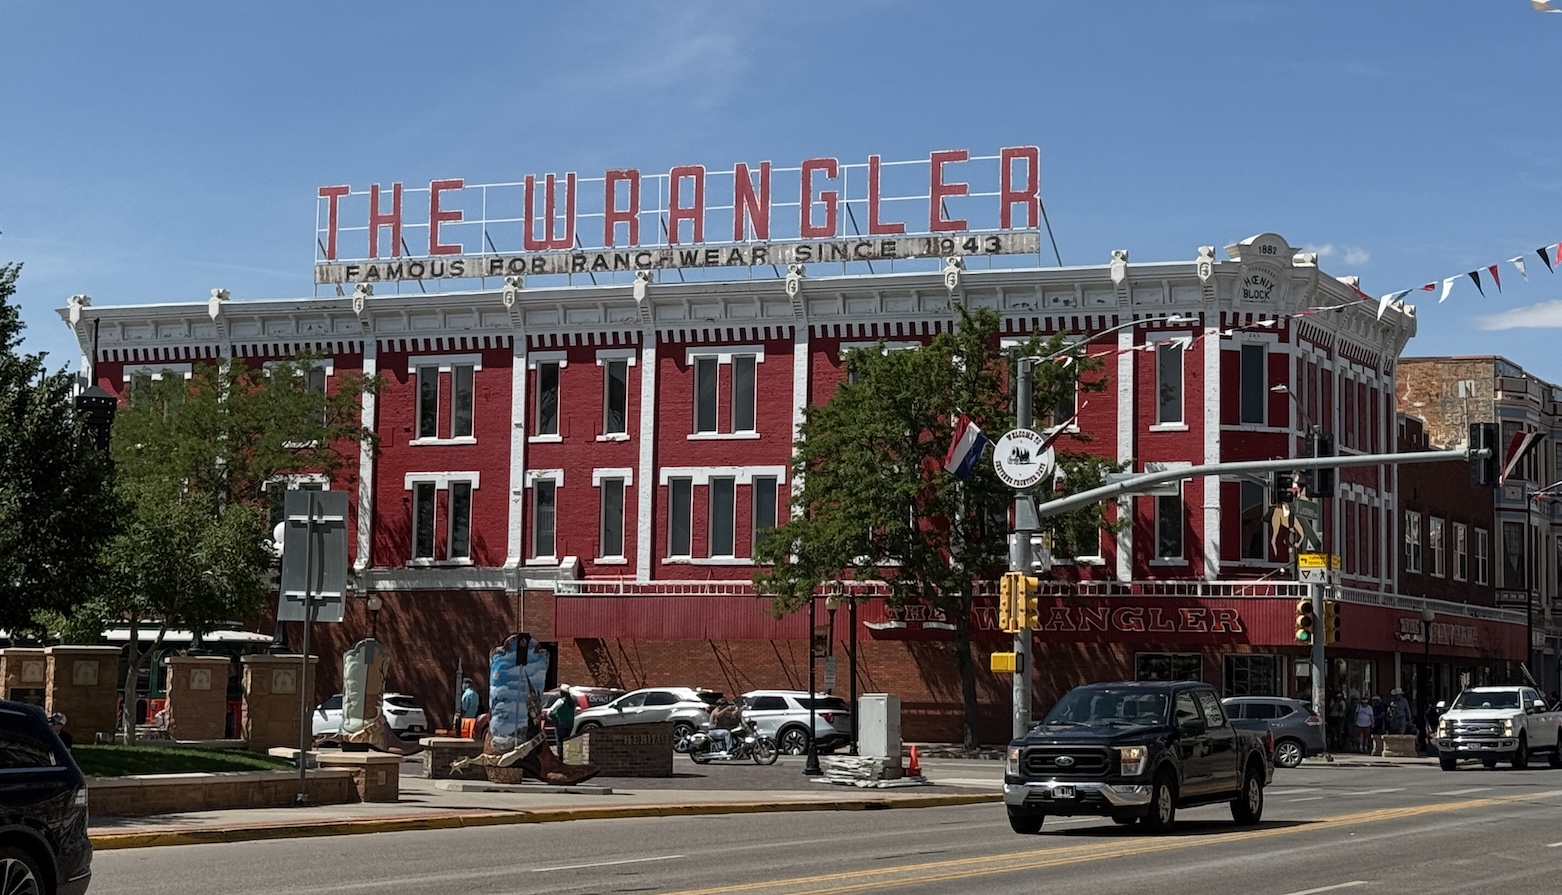
Before we headed to Frontier Days in Cheyenne, we wandered around downtown Cheyenne, stopping at the famous The Wrangler western store.
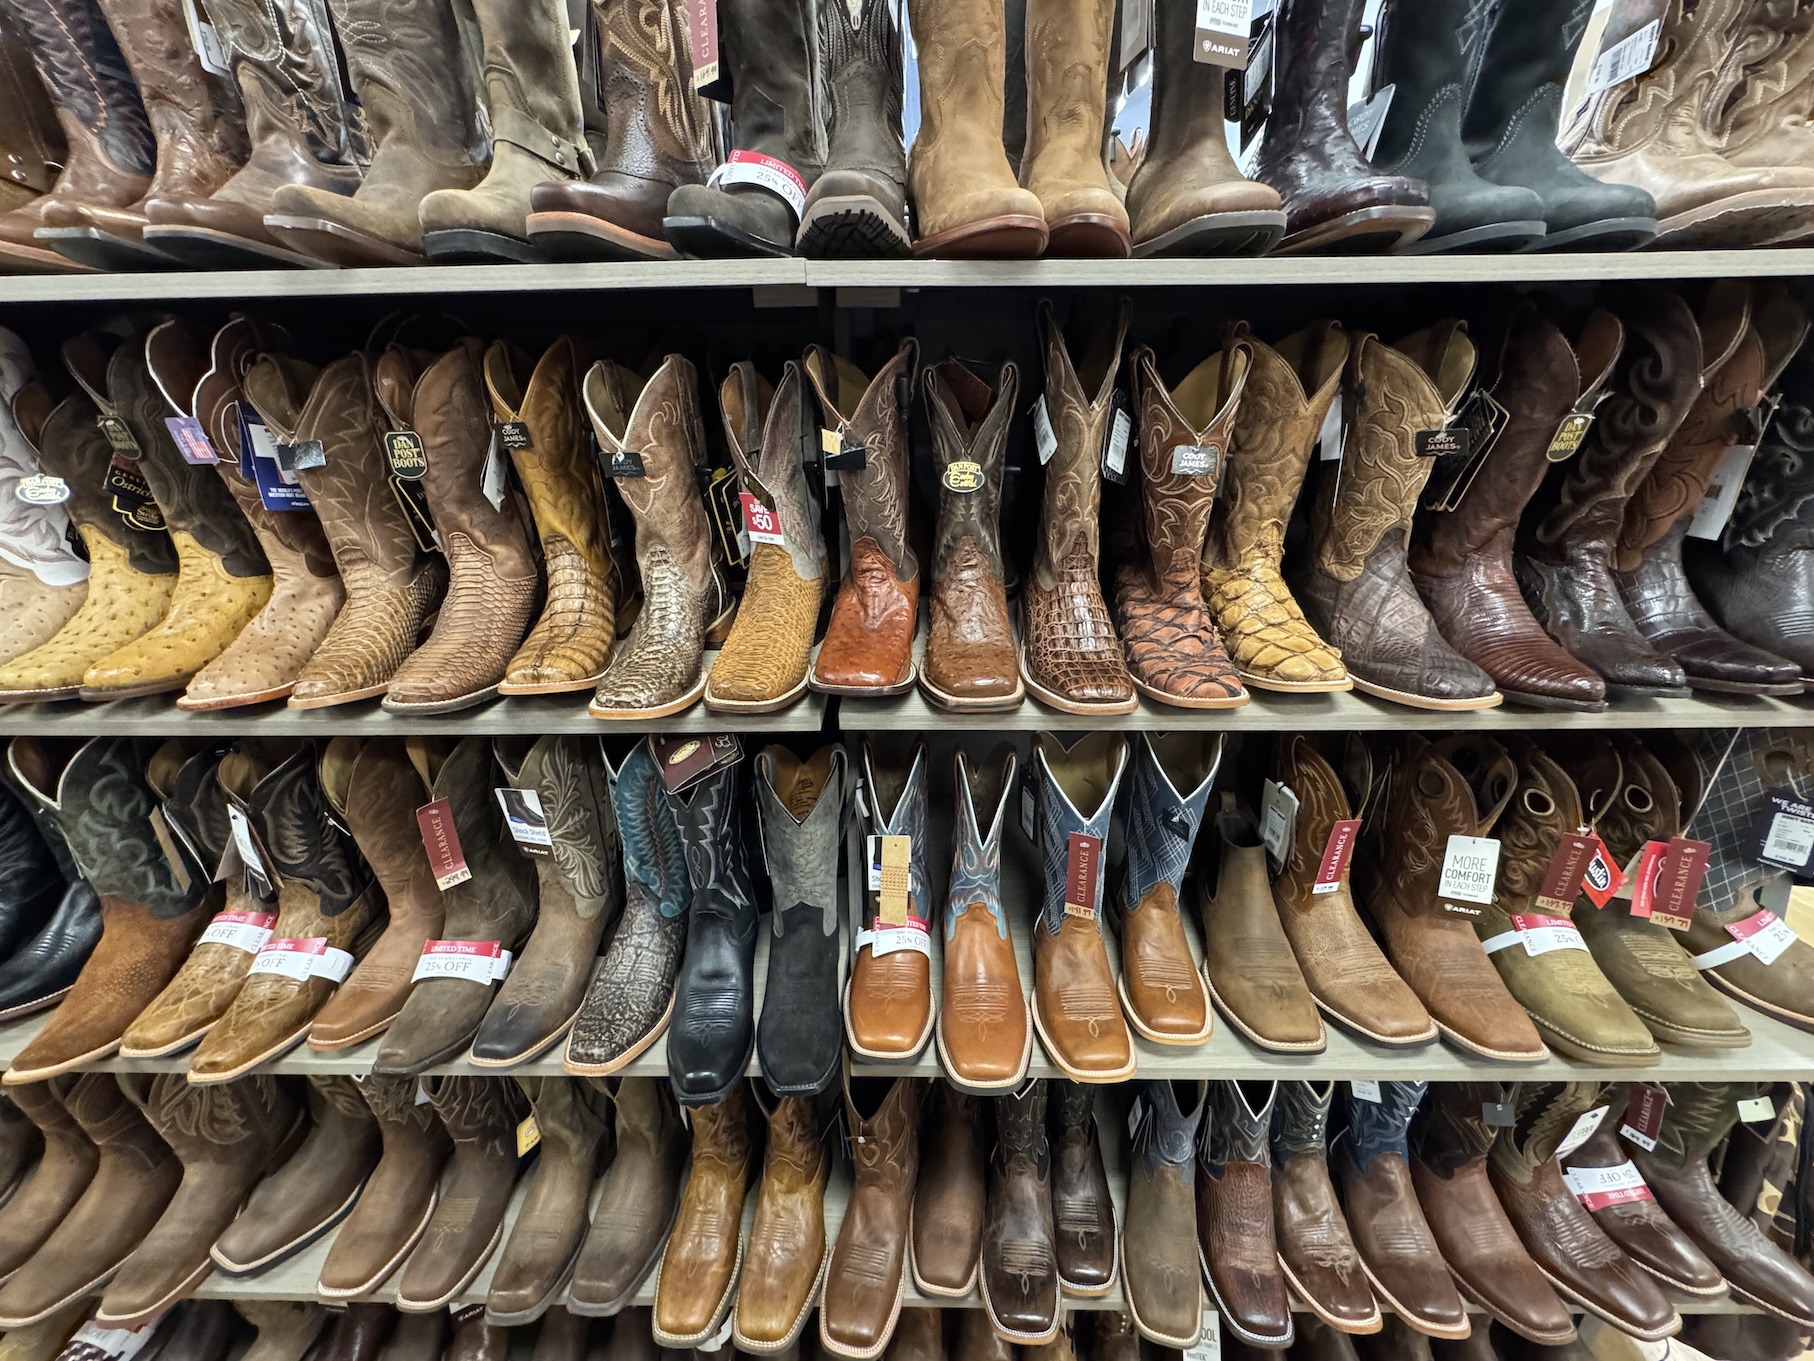
And being met with the largest cowboy boot selection I’ve ever seen:
John was a sport and tried on some boots which went so nicely with his shorts (not! ha!):
No sorry, as fetching as they looked, he did not leave the store with them.
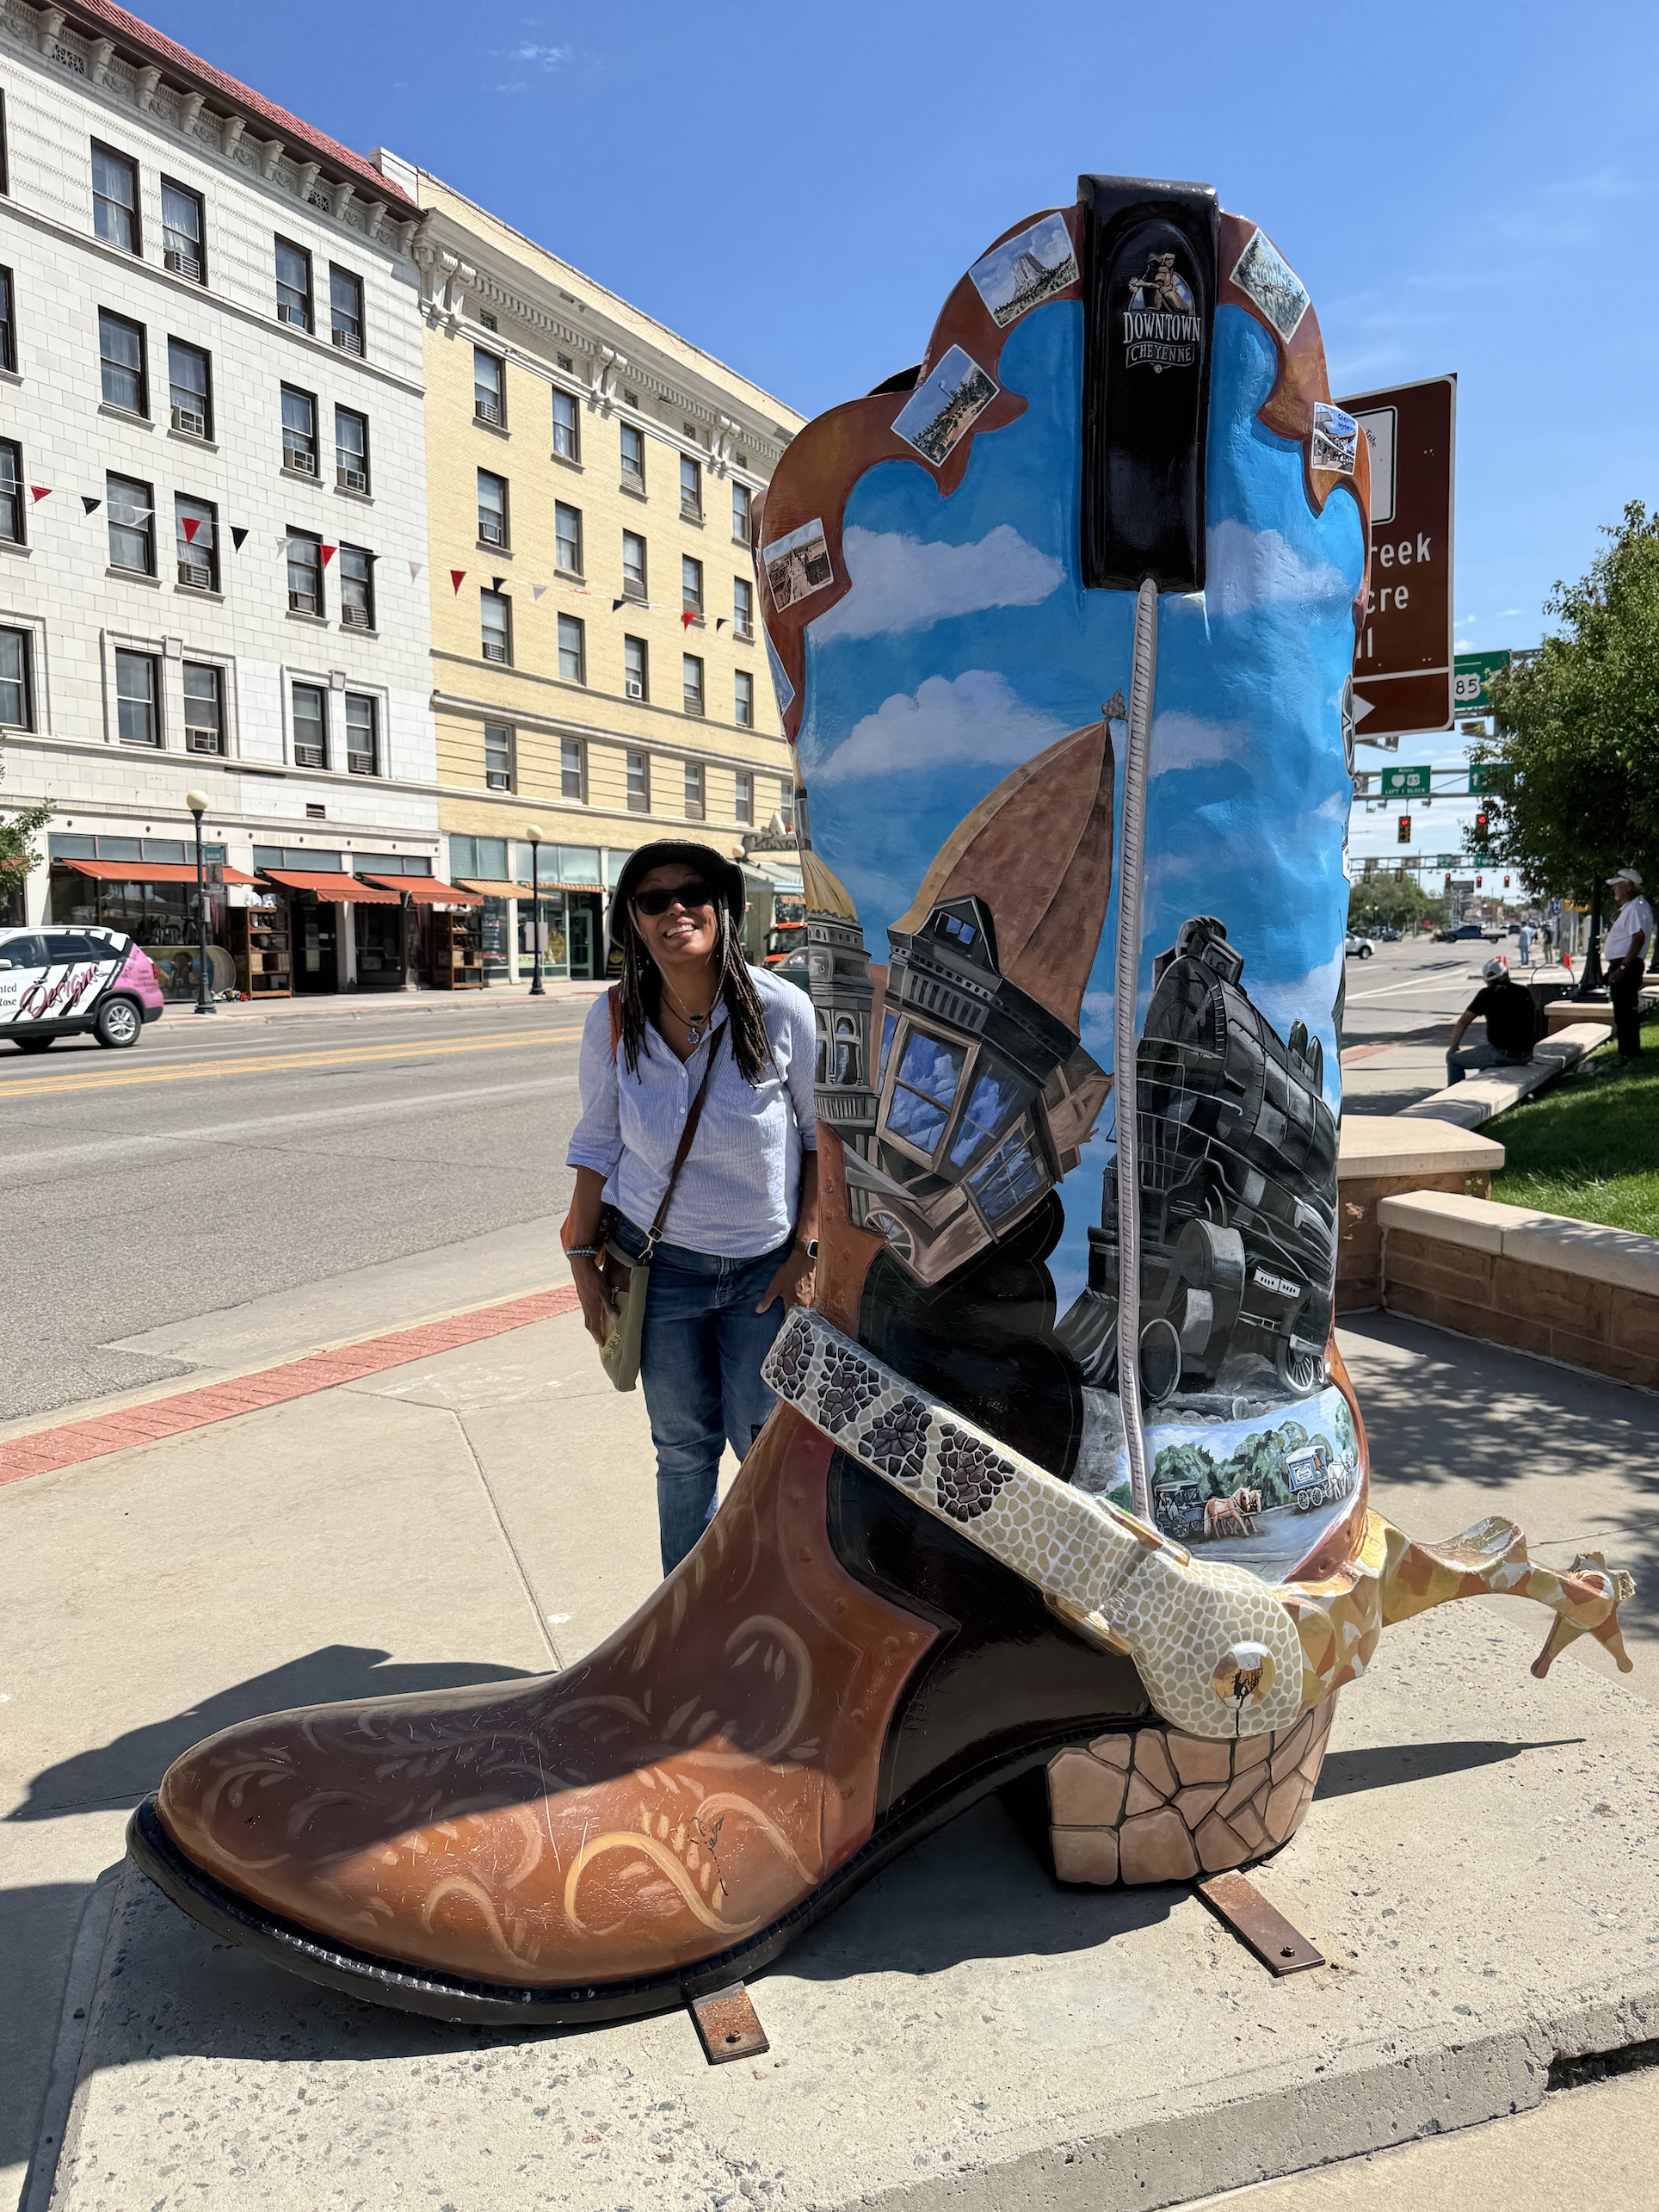
Back outside there was a giant cowboy boot on display painted with western scenes:
To give perspective of how big the boot is here I am standing next to it and I am around 5′ 11″:
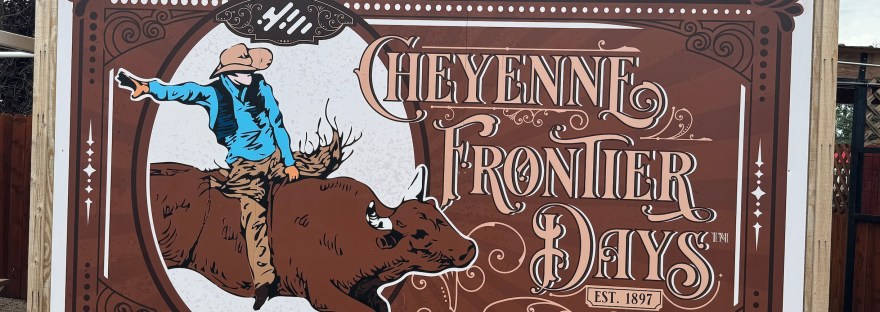
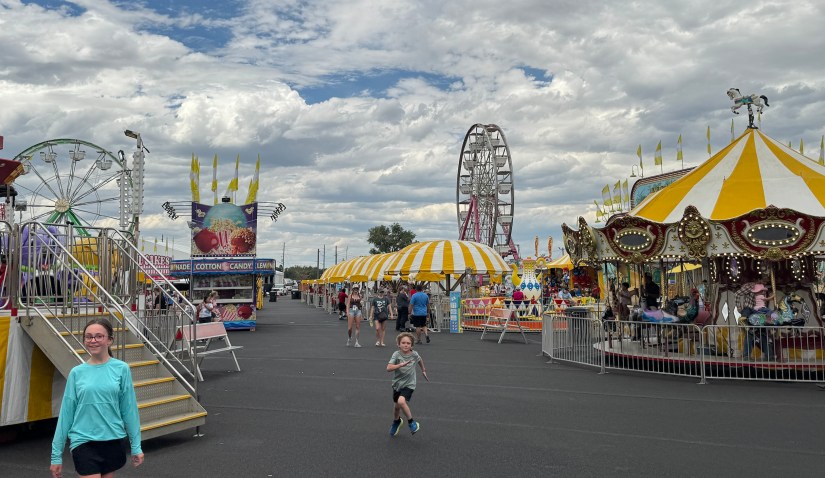
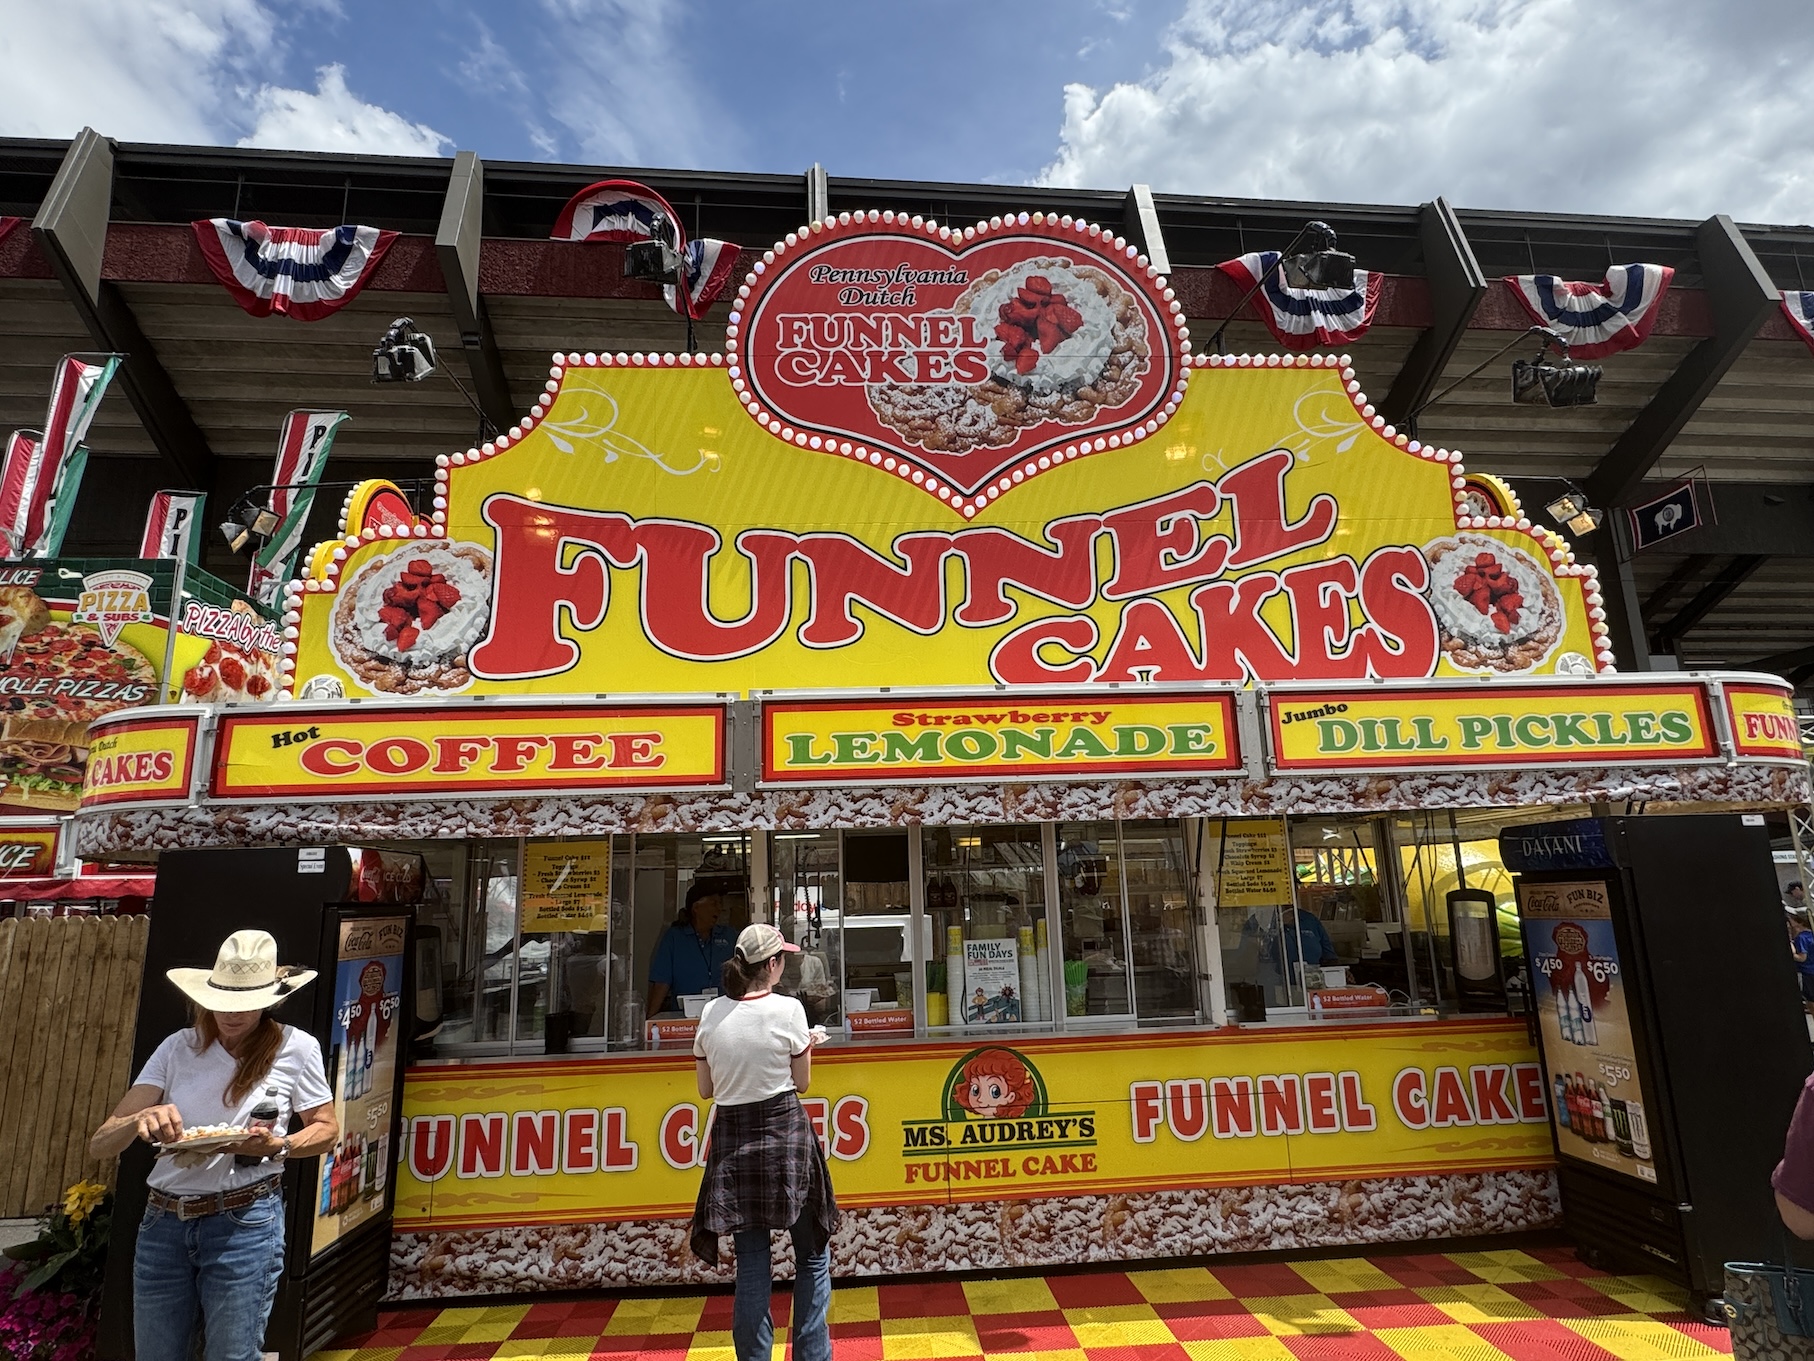
Then we headed to Frontier Days and ate our way through the Fairgrounds, ha!
It all began with a corn dog (I think I literally squealed with delight when I saw the corn dog booth as I hadn’t had one in like 8 years):
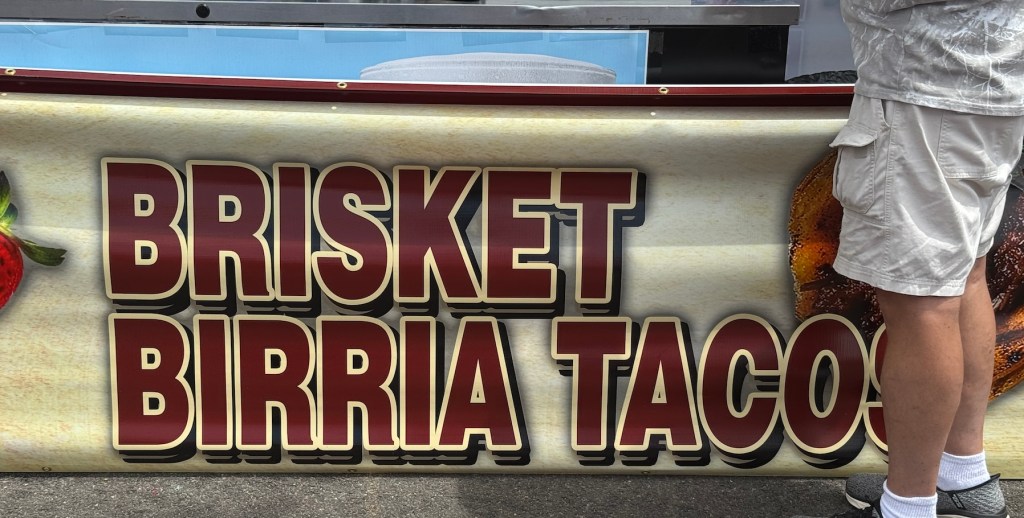
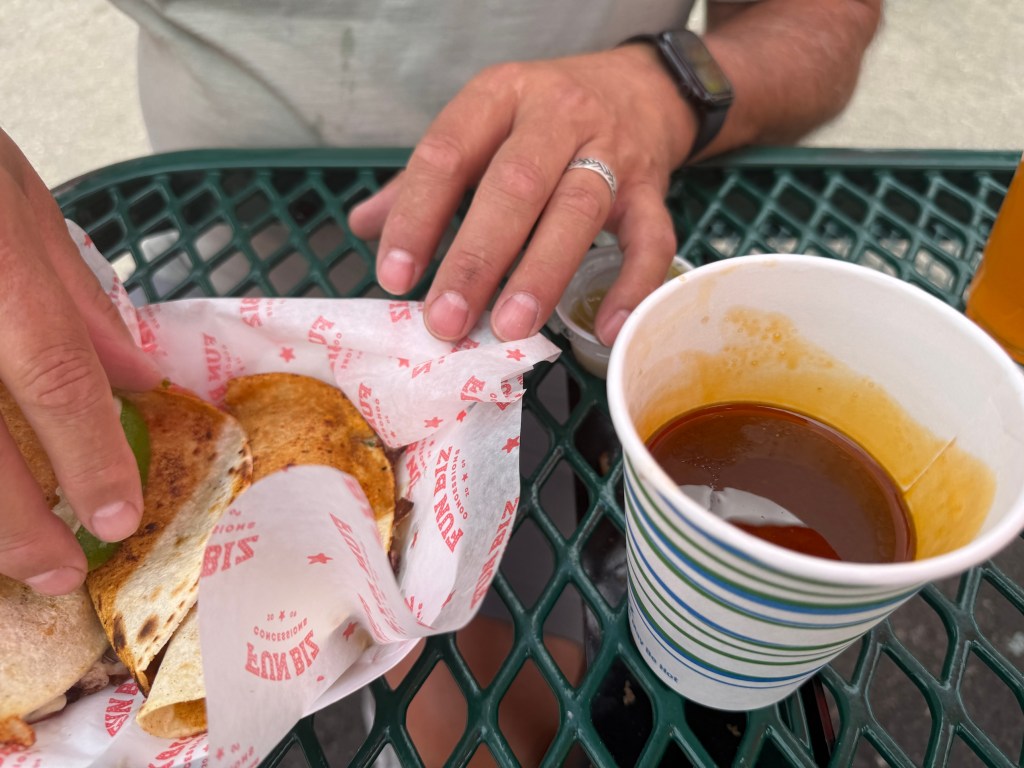
Then we found a booth with VERY amazing brisket birria tacos! They were so good we shared a second serving.
We of course had to get some lemonade to share in a commemorative cup when this booth, shaped like a lemon lured us over:
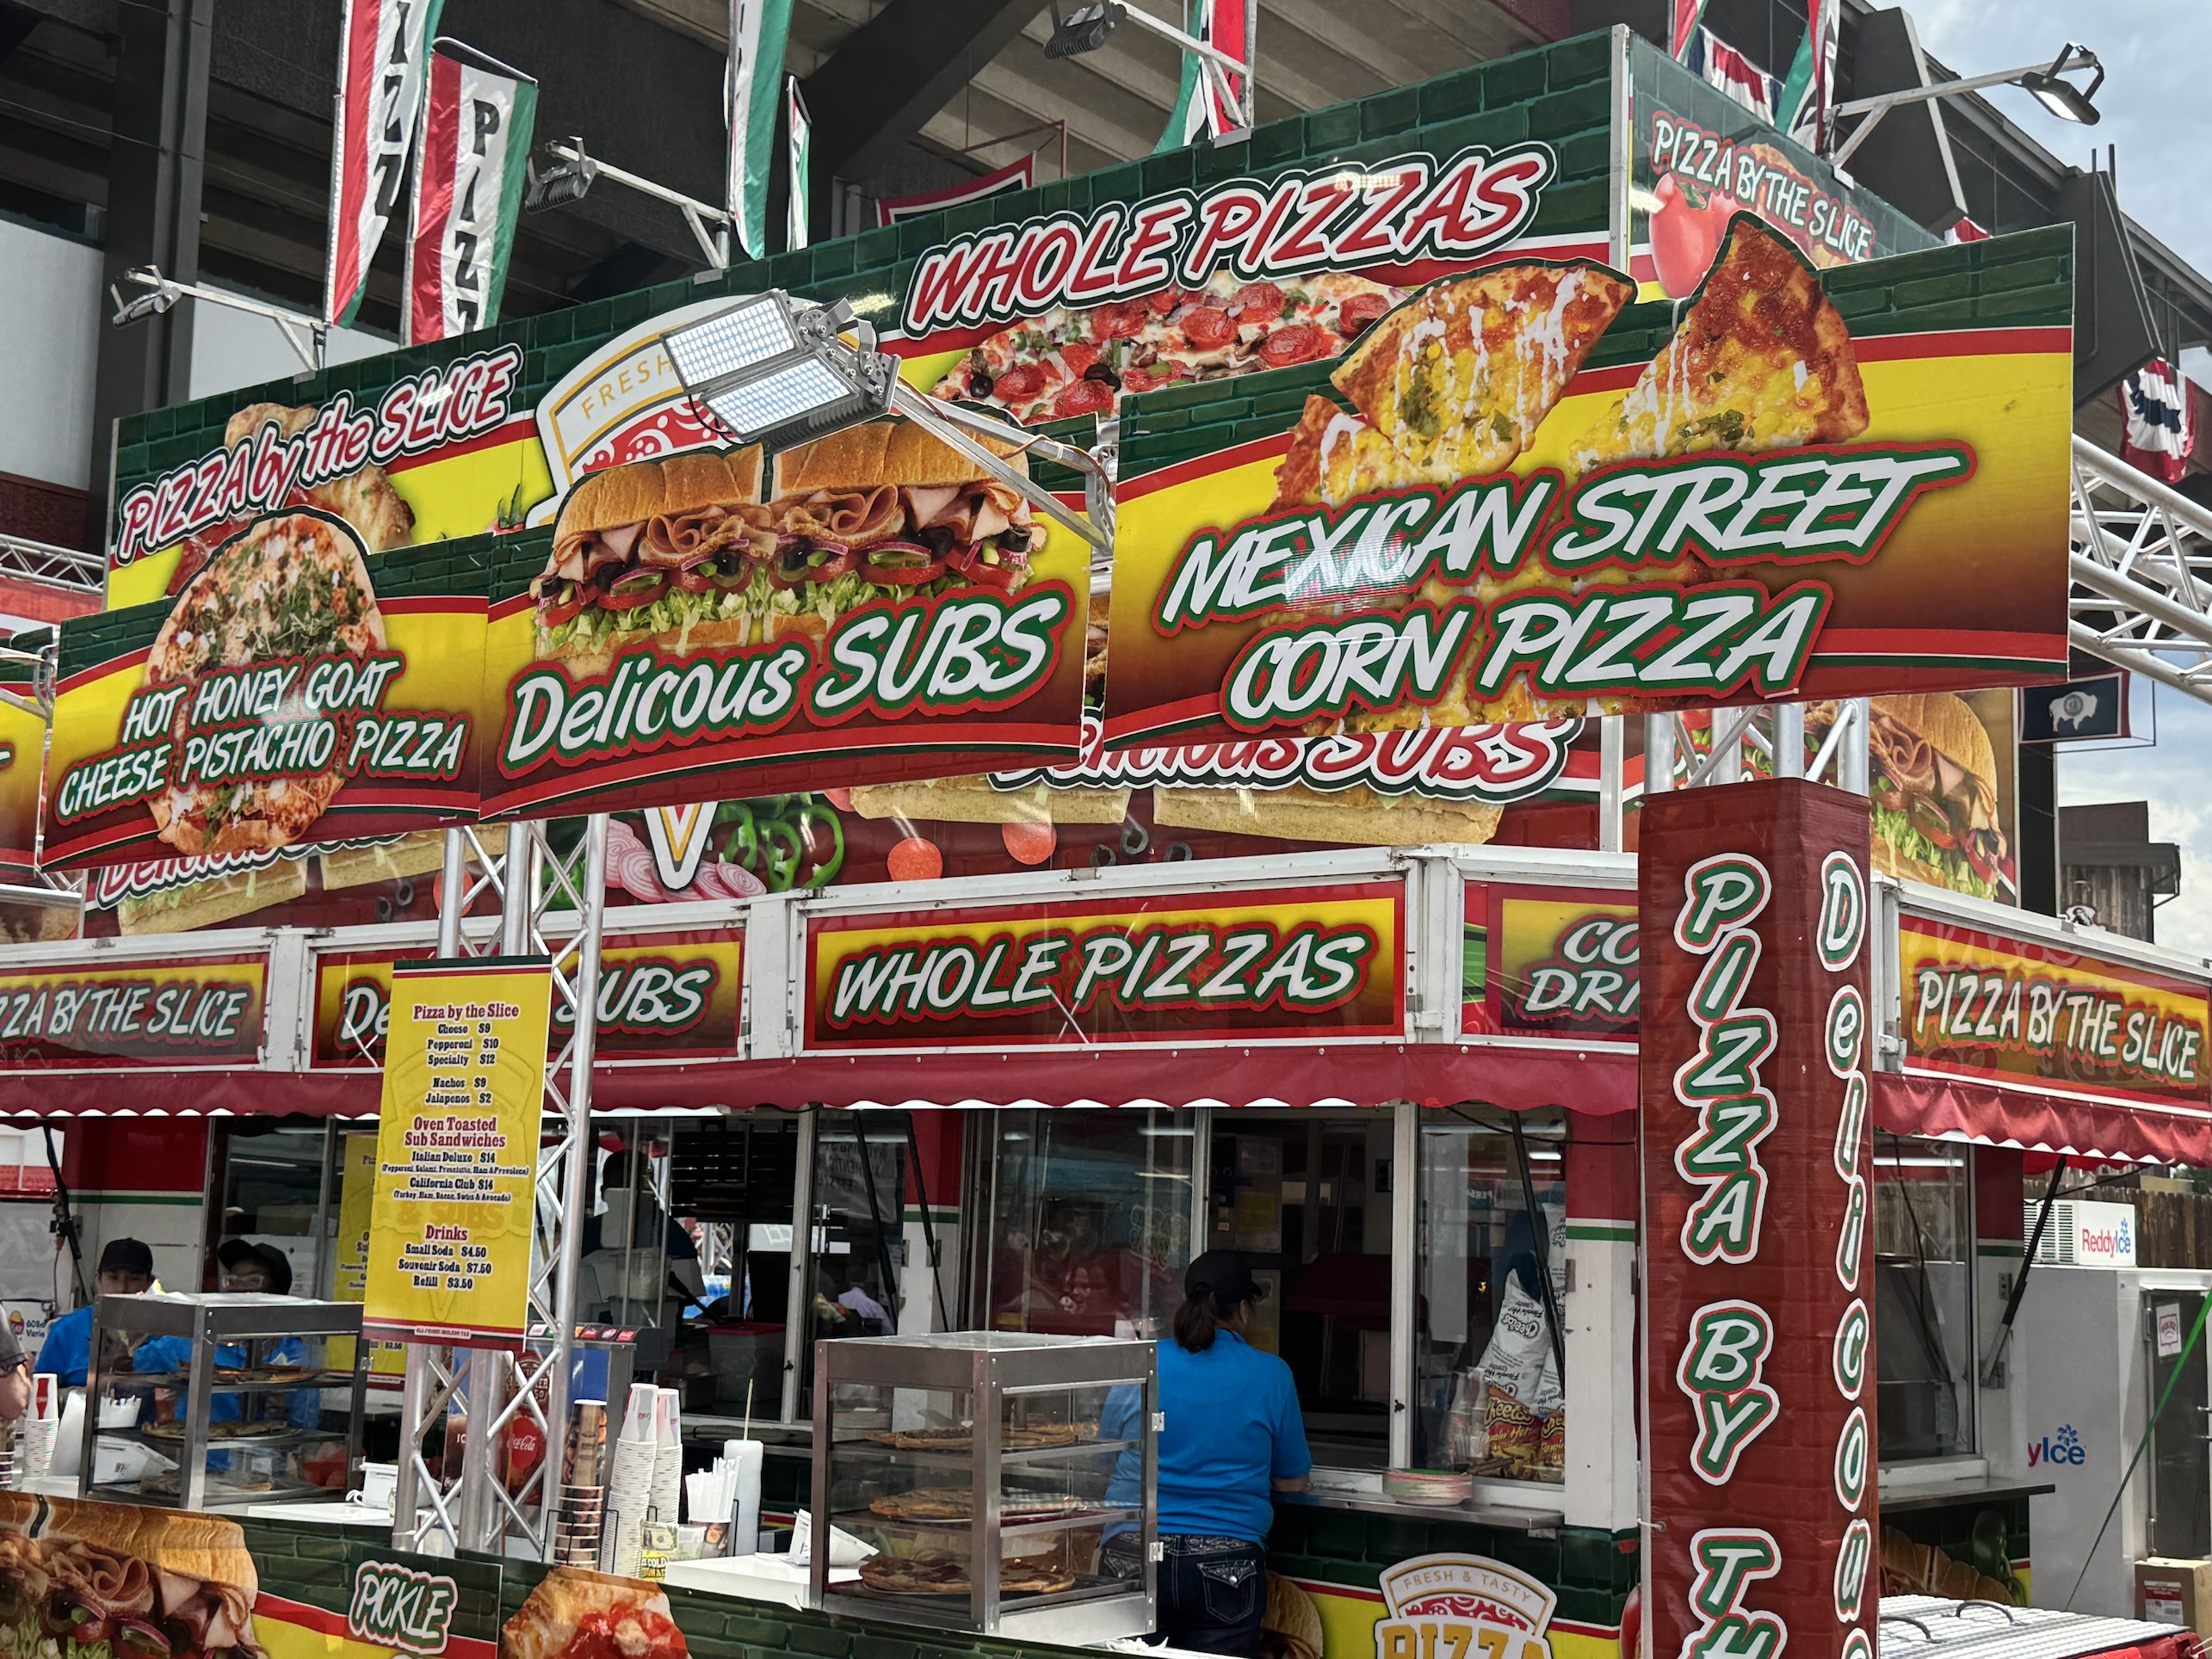
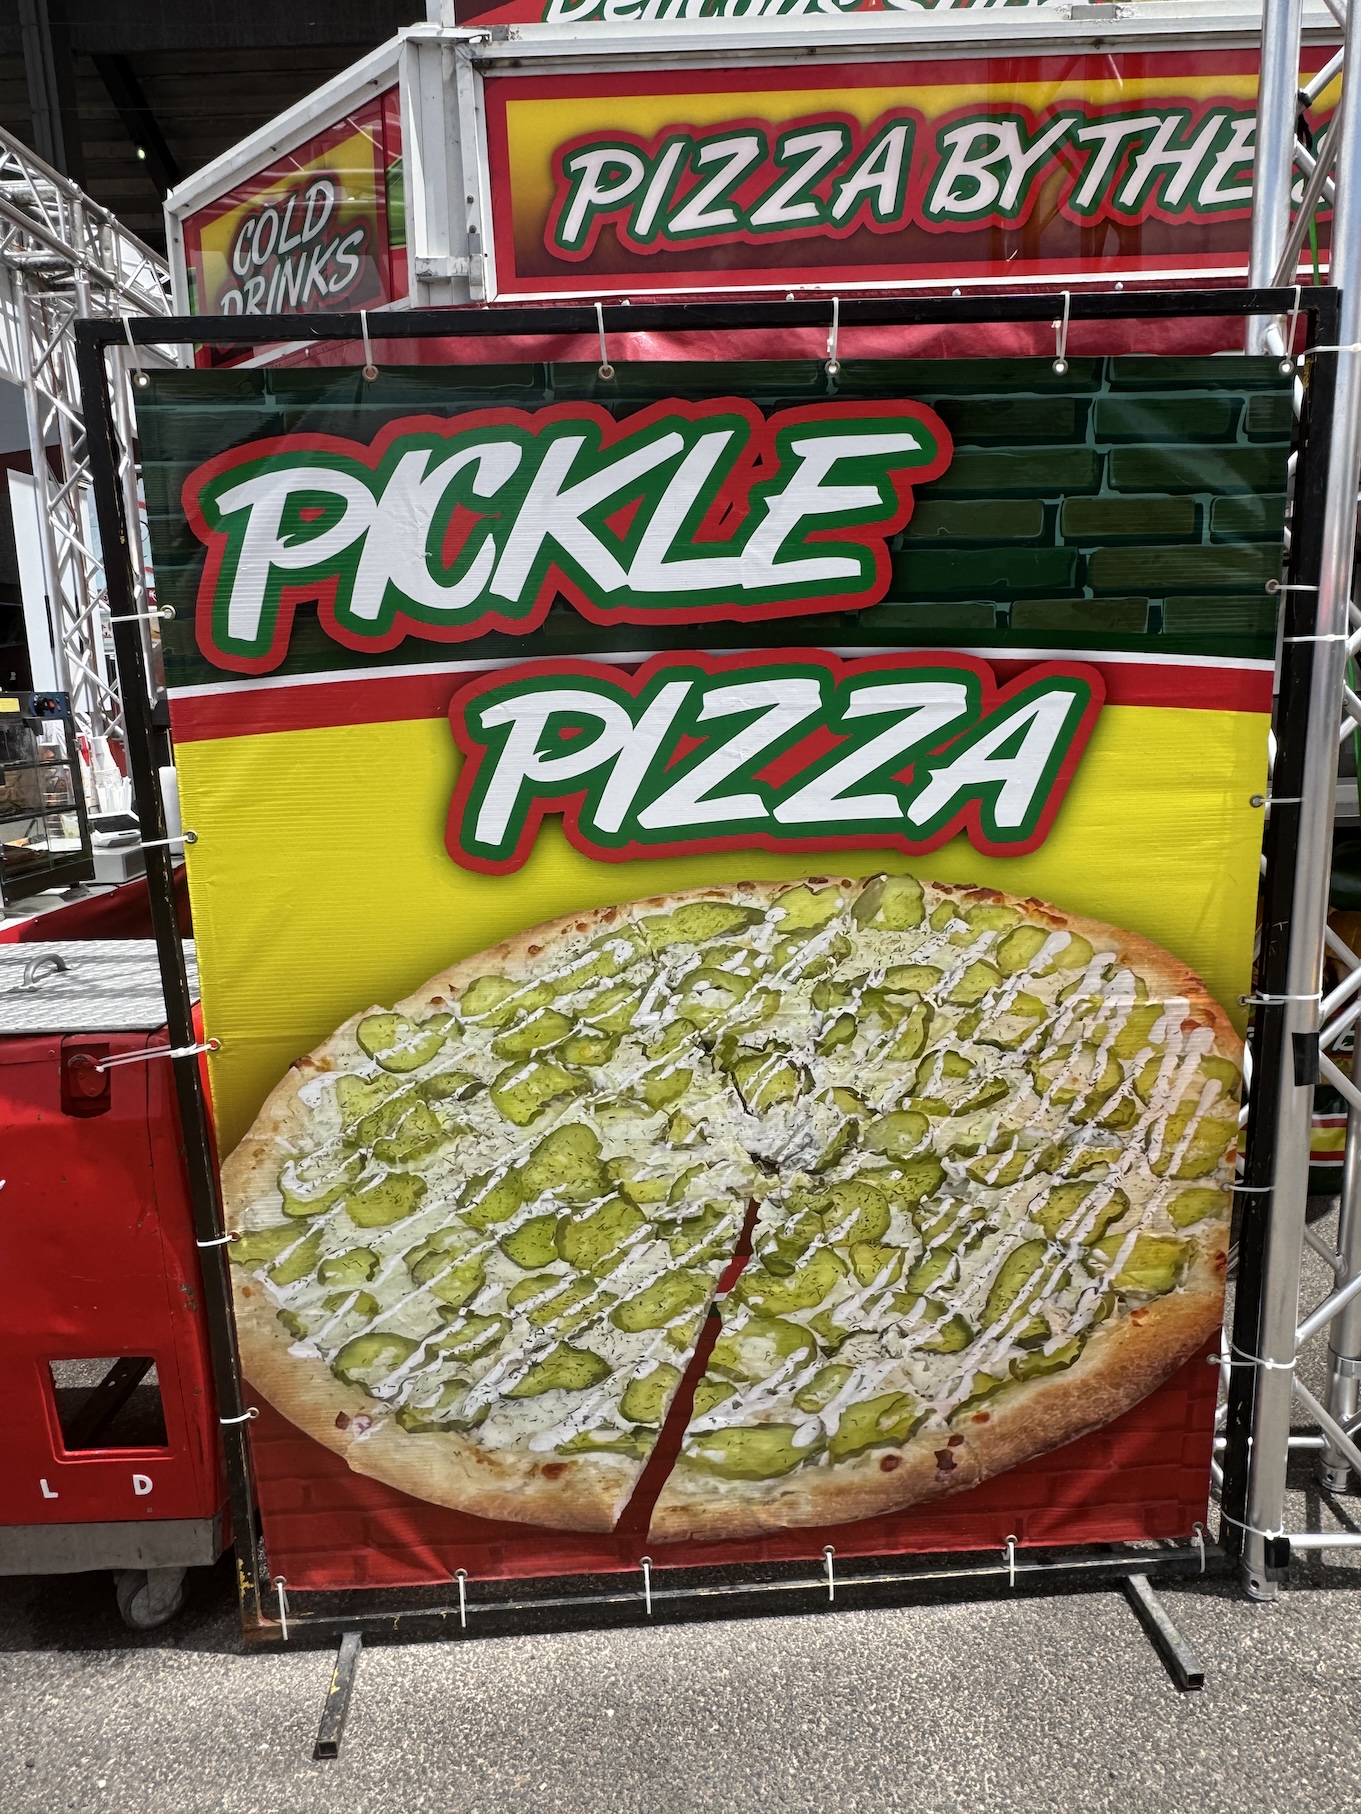
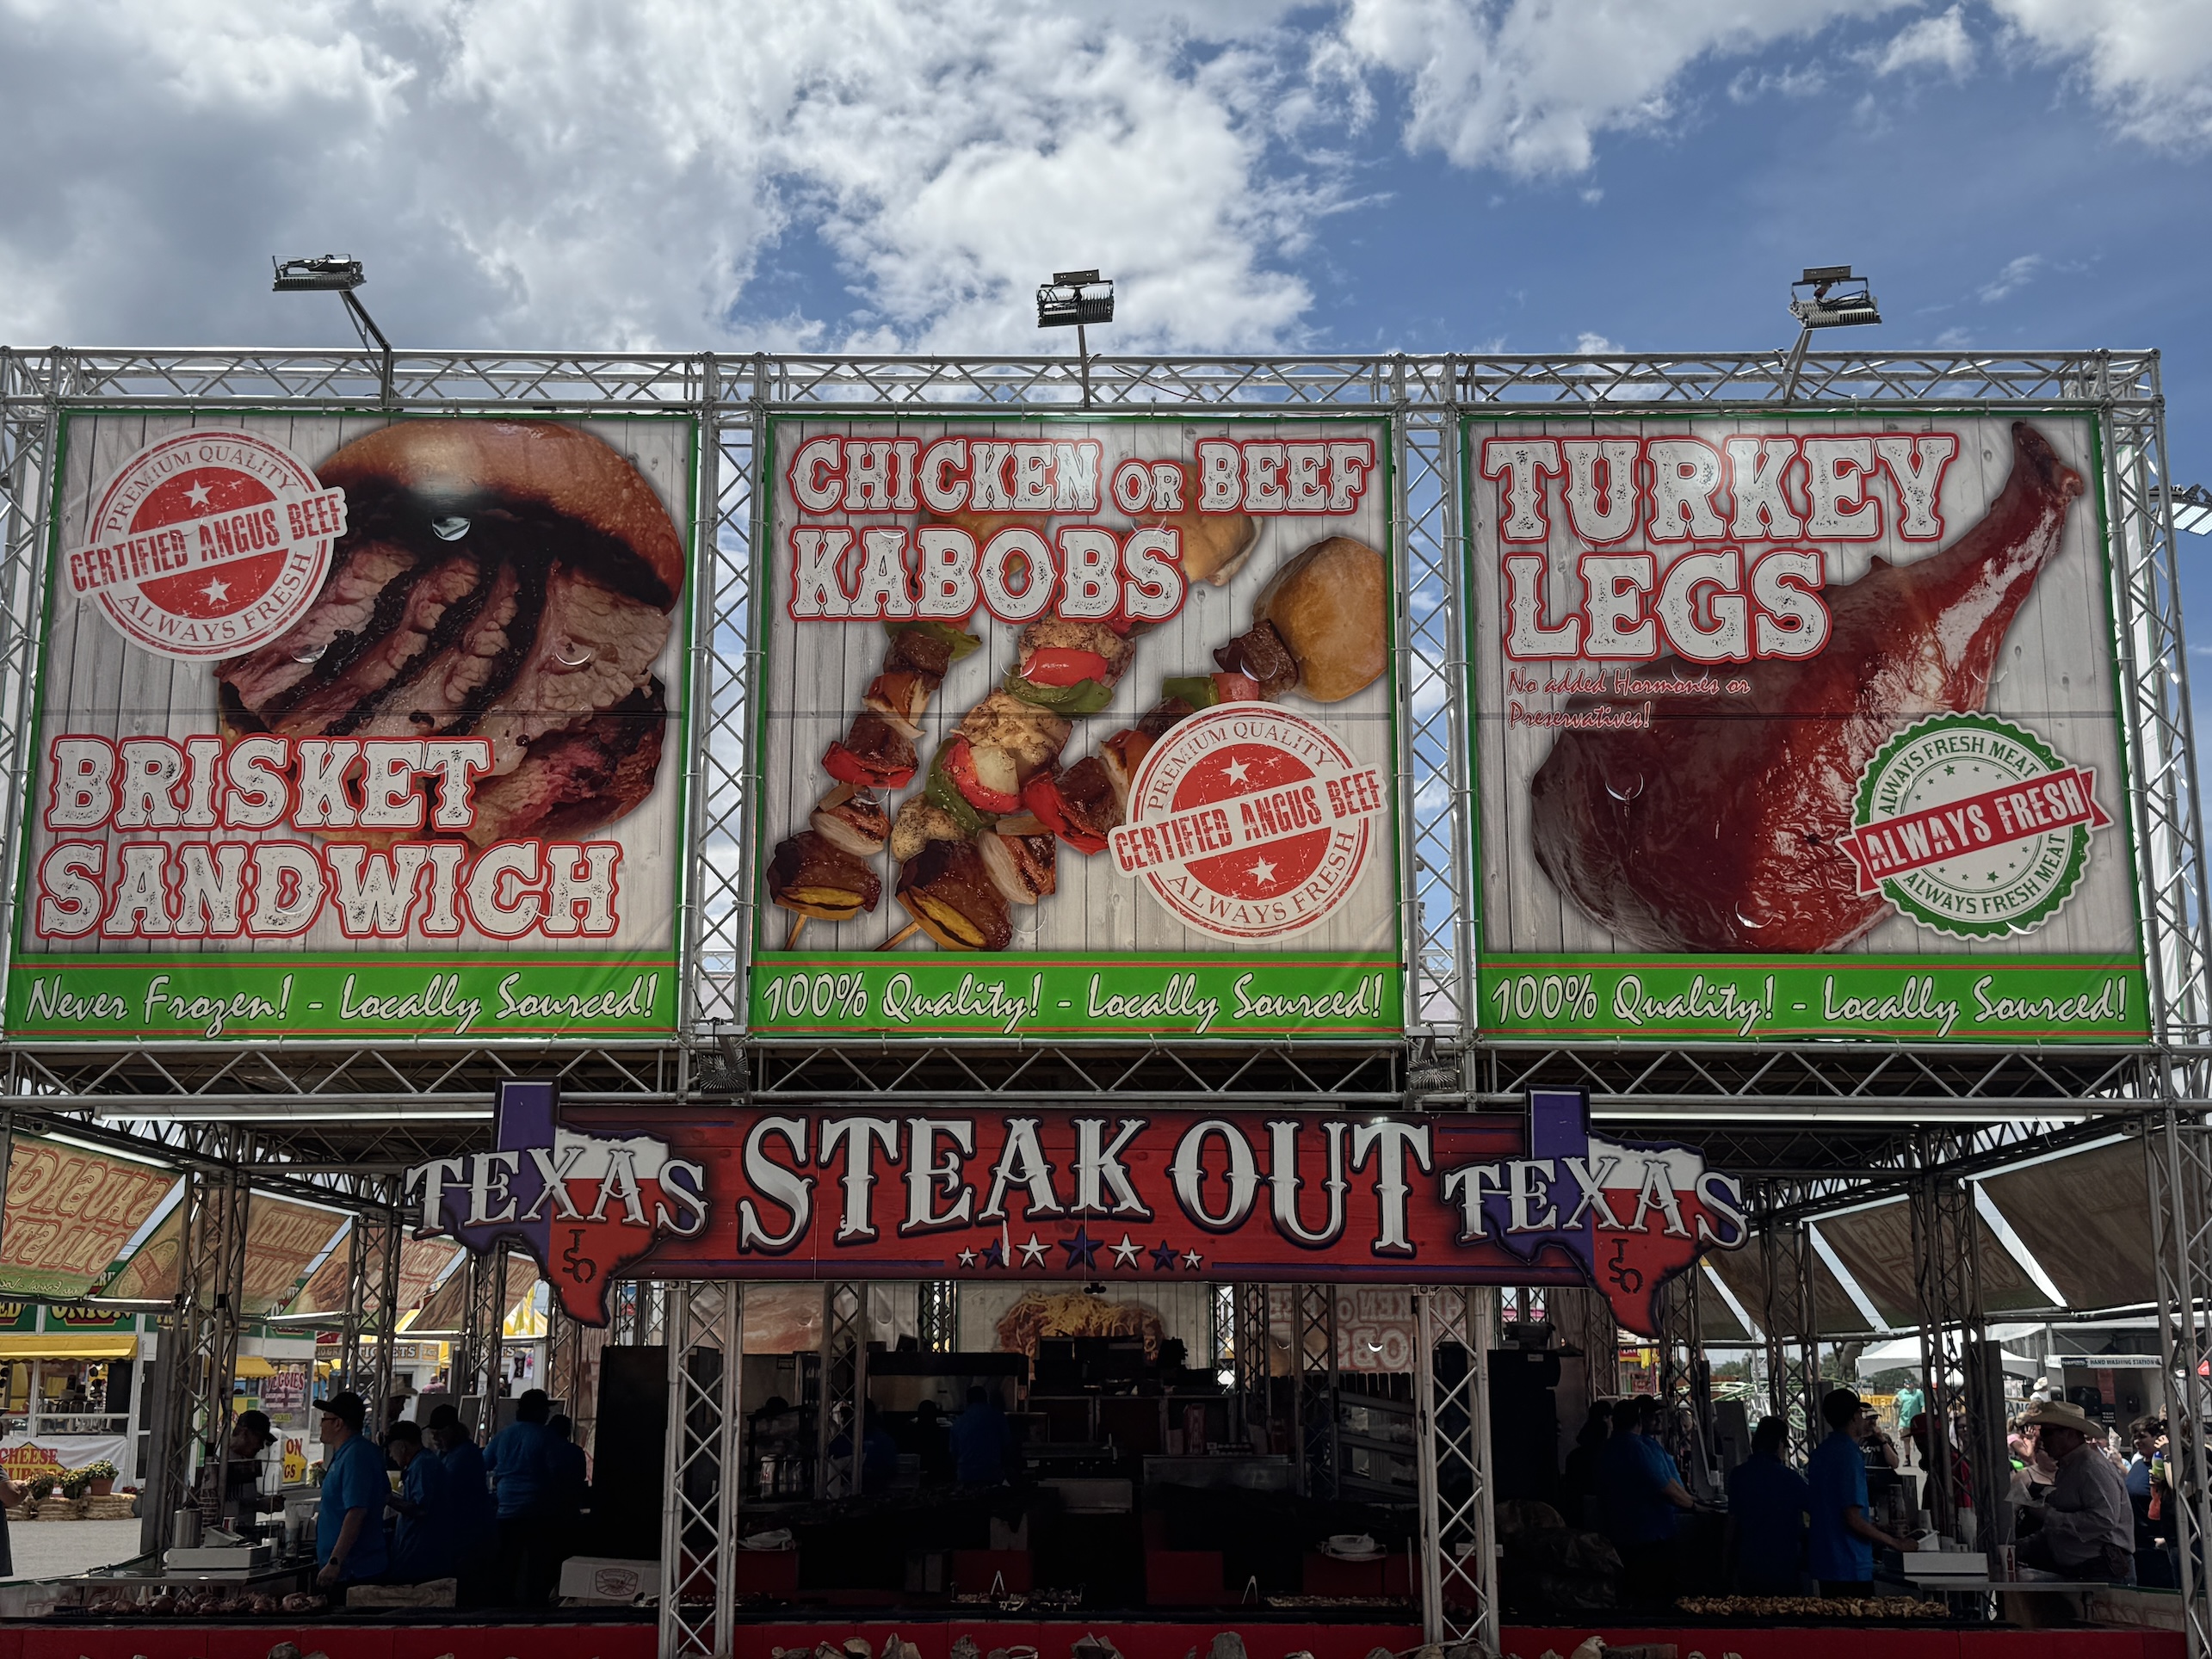
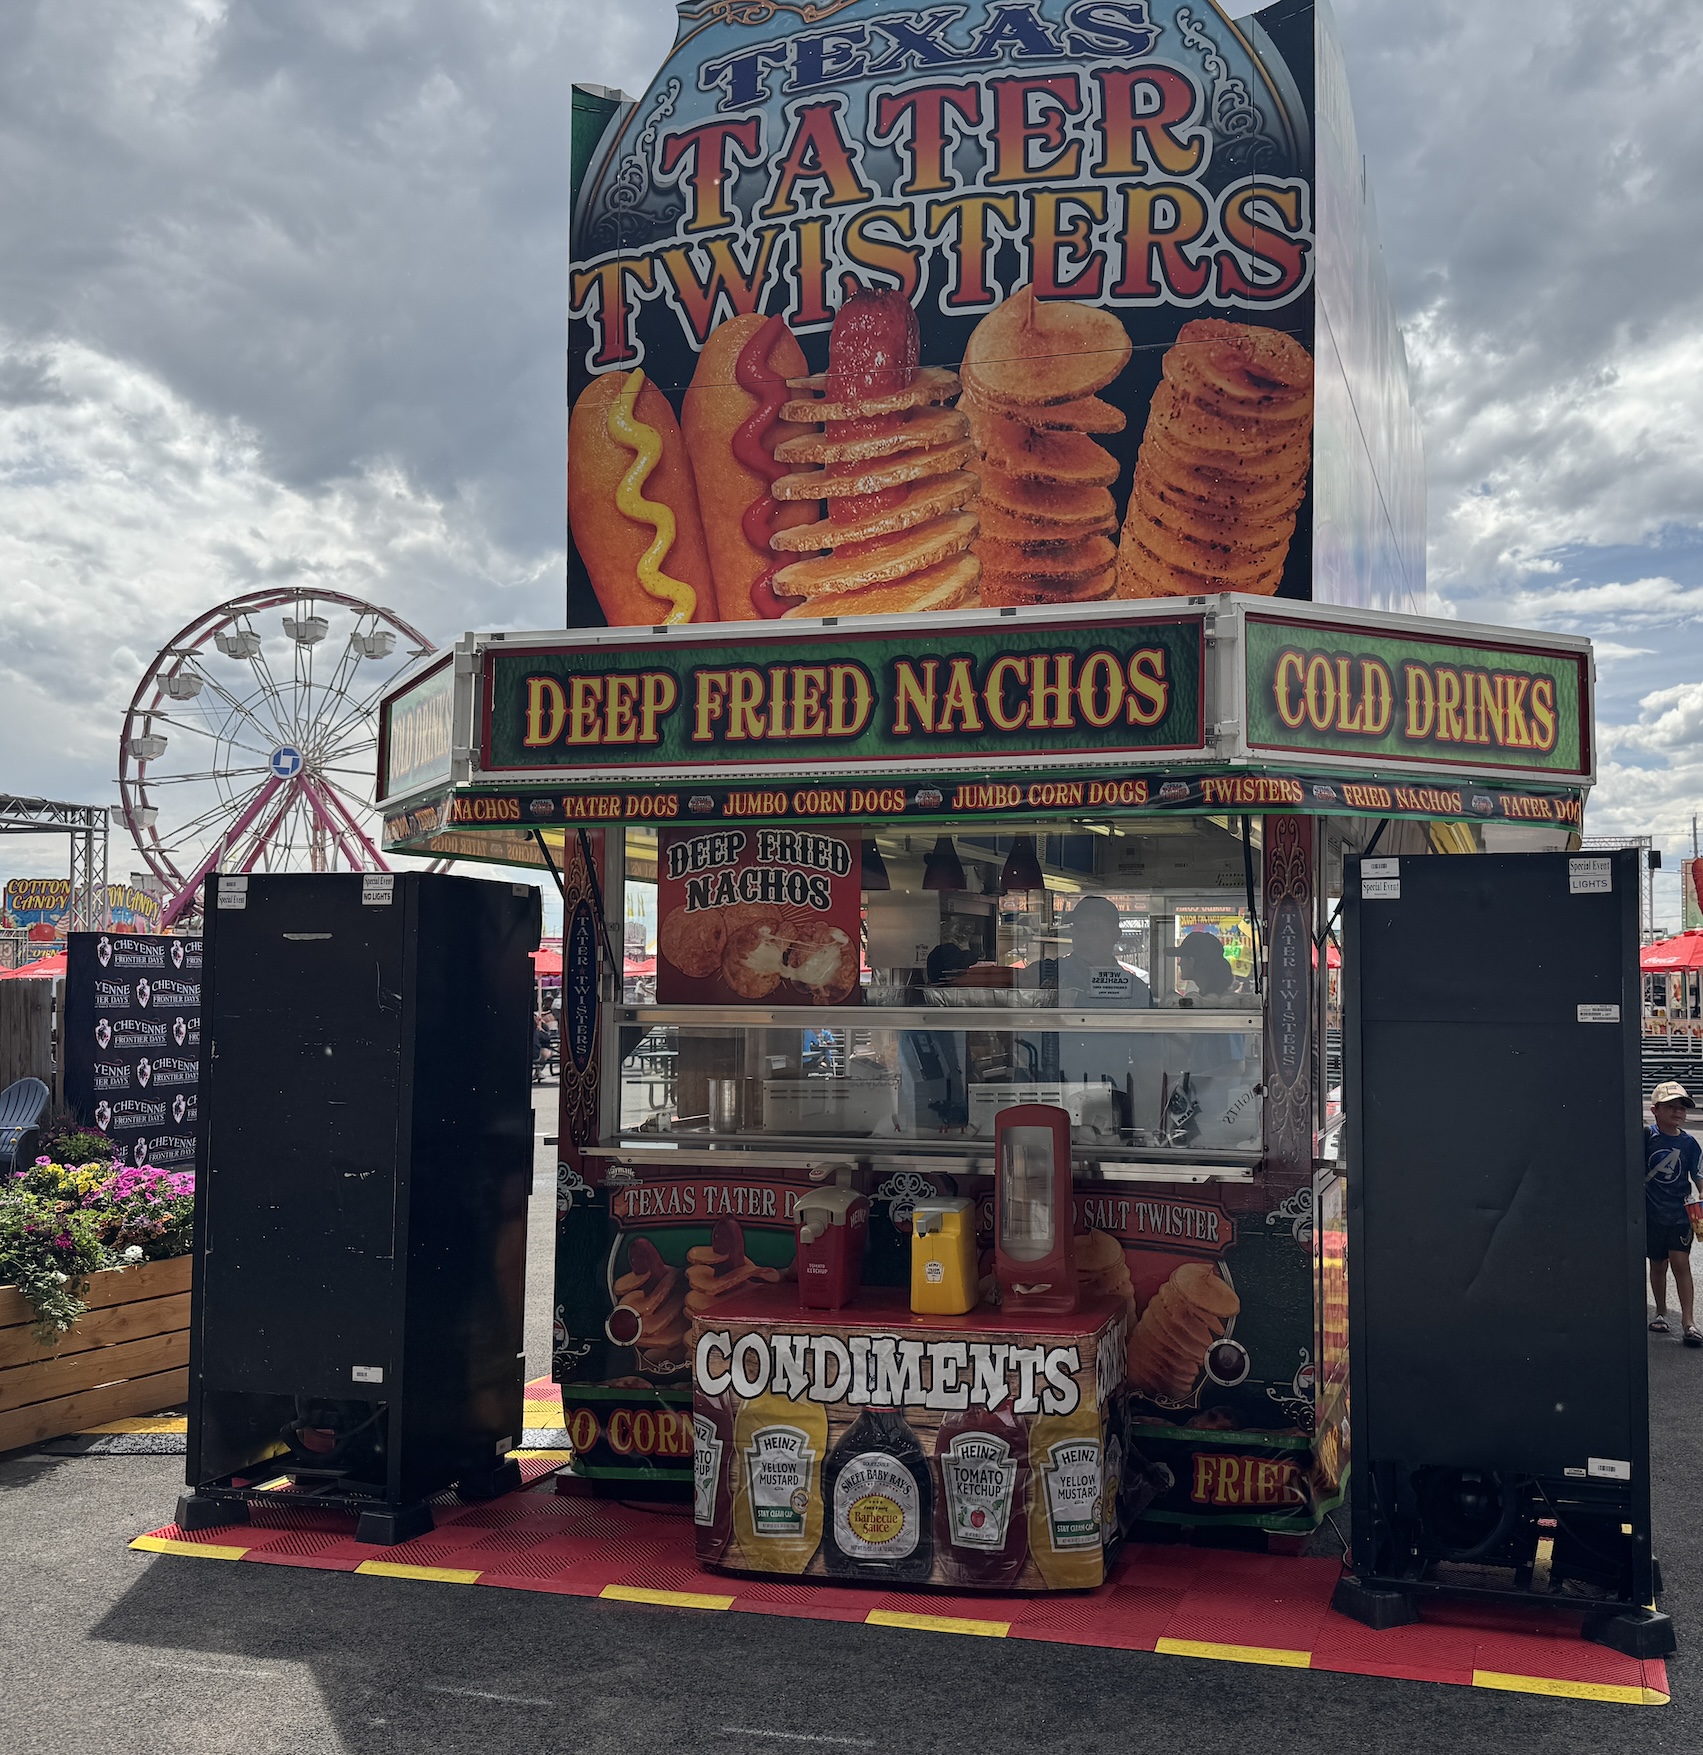
Yes we were on the verge of needing to roll ourselves out of the fairgrounds if we kept going, so we just admired the rest of the food from afar. Here a little gallery of some of the POOR NUTRITIONAL CHOICES we could have kept making 😉 :
Some of the foods sound like serious indigestion but they are probably fun to eat…
Fair Food makes me laugh – there is definitely some sort of competition to serve the craziest food that you’d never eat in your daily life. And of course they had things like deep fried Twinkies and deep fried Oreos. I am curious about the Pickle Pizza – I wish I could have sampled just a little of it to satisfy my curiosity!
After filling our tummies we headed to see the some of the annual Cheyenne Frontier Days Rodeo. I was good for about an hour and that was enough rodeo for me, I am not a big rodeo person. I can’t help myself I always start feeling bad for the animals like the little calves getting roped and tied. I know, I know, I’d never make it on the American Frontier! The bull riding was fun to watch for a while but then I started thinking about the bulls who didn’t want humans on their backs.
When I lived in Houston, Texas in the late 1980s to late 1990s, we used to go to the Houston Livestock and Rodeo once a year. I mainly went to see the livestock and I enjoyed seeing all the 4-H farm kids showing off their animals.
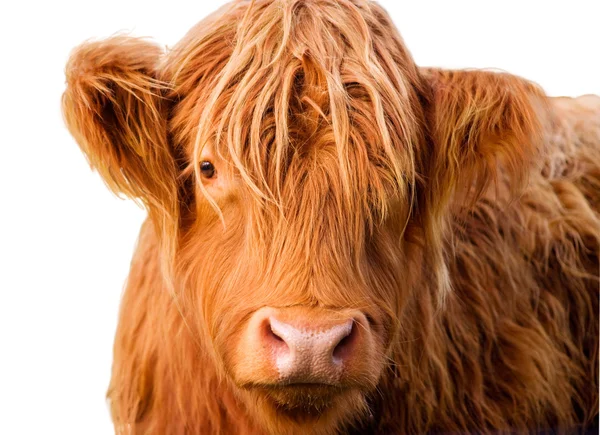
Then one year we went I absolutely fell in love with the cutest cow with fluffy ears. I was obsessed with this cow. I wanted to move to a farm and have a cow like that.
What a vaguely remember the cow looked like (image credit Depositphotos)
My late husband Terry said to me: “Yes we could adopt it and name it ‘Hamburger'”.
Oh no I realized – my sweet fluffy eared new friend was going to become a yummy burger someday! After that I stopped wanting to go to the livestock show – ha!
(I was a Vegetarian for a while when I was in my late teens/early 20s but bacon and the smell of burgers on the grill made lured me back to being an Omnivore…)
Oh so back to the Cheyenne Frontiers Day Rodeo – there was one moment during my brief time at the rodeo that captured by heart. The competition opened with a Native American/Lakota horse blessing by Mo-Brings-Plenty, a member of the Lakota Tribe who was also the Grand Marshall for the 2025 Cheyenne Frontier Days.
I took a little video of the end of the presentation as I was too enthralled at first to think to film it, but here is what I have:
I wish I had captured the whole thing.
Well that continues this series of posts. If you are just joining us, here are the other posts about our travels in Wyoming, South Dakota and Nebraska.
“According to the Intergovernmental Panel on Climate Change (IPCC), the United Nations body for assessing the science related to climate change, global climate is on track to increase by 1.5° C by 2040, and with that, irreparable damage will likely be done to earth’s ecosystems if our course is not changed decisively and with haste. In the IPCC’s Climate Change 2023: Synthesis Report, clear goals and pathways have been defined to reverse our emissions of green house gases – 50% by 2030, and to arrive at net zero emissions by 2050, keeping the global rise in temperature to under 1.5° C in perpetuity. Hence, 2050 marks a very important point in our human history…
Textile work from makers from 45 U.S. states and 9 countries have become important parts of TOWARD 2050, which has culminated in this immersive installation at Desert Botanical Garden in Phoenix, Arizona – February 8th through June 1st of 2025. Makers were called to create environmentally themed, textile panels in the style of “prayer flags”. Our goal was to collect enough double sided flags to define the pathways of this interactive labyrinth experience. That goal was met thanks to the generousity and commitment of all the makers participating in this project.”
Here are some images from the TOWARD 2050 textile flags labyrinth (which took over a half hour to the center and back) I walked during my visit to the Desert Botanical Garden.
I recently found this video on YouTube of the labyrinth I walked back in February 2025:
NEXT STEP: MAKING BLANKETS (QUILTS)
As you can see from the Toward 2025 website screen shot above, after the exhibit (and raising awareness), the next step is to make “blankets” (to me they would be quilts) to donate to communities that will “suffer future climate catastrophe).
From the Toward 2050 website here are the packets that will be sent out to volunteers and what they want the “blankets” to look like:
Images credits: Toward 2050 website
VOLUNTEERING TO MAKE A QUILT/BLANKET TOP
So I signed up and a couple weeks ago (while I was traveling) a package of 30 flags arrived in the mail:
Here are the 30 blocks laid out quickly on my design wall:
And here is a sampling of some of the blocks I was sent to piece together made from participants all over the world:
Volunteers are required to provide the fabric for the lattice and borders for the “blanket top” they are piecing from the Toward 2050 blocks (the “blanket” will then be longarm quilted by other volunteers).
I was planning to search through my fabric stash to find something that would work with all the different colors in the blocks when I received a gifted piece of fabric in the mail from one of my awesome penpals! (You know who you are and you ROCK! Impeccable timing!)
Turns out this fabric would work well with the blocks and I tested it out in the image above.
Talk about a serendipitous surprise!
I will of course share the pieced blanket/quilt top with you all in a future post once I get it put together.
Postscript
If by chance you are interested in participating, they are still looking for volunteers to piece tops using 30 of the textile flags the they will send you.
I sat down this morning to catch up on reading blog posts and to write a blog post and I discovered that Yvette @Priorhouse Blog has posted the interview I did for her blog.
A couple of months ago she invited me to be interviewed for her Summer 2025 series of blogger interviews. I accepted and here is the interview on her blog:
Hopefully clicking the above image where I’ve imbedded link to the interview works to open it.