
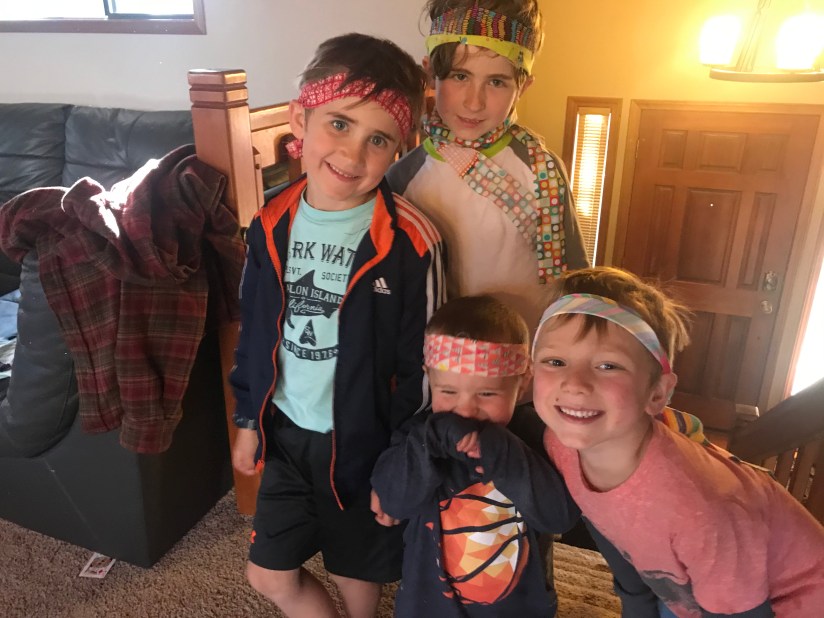
Perhaps your enthusiastic comments encouraged Wendy Hill to immediately put together the third installment of her guest blog post series about the awesome quilt she made during quarantine with the four rambunctious boys next door (aka “The Boys”) ages 2 – 8.
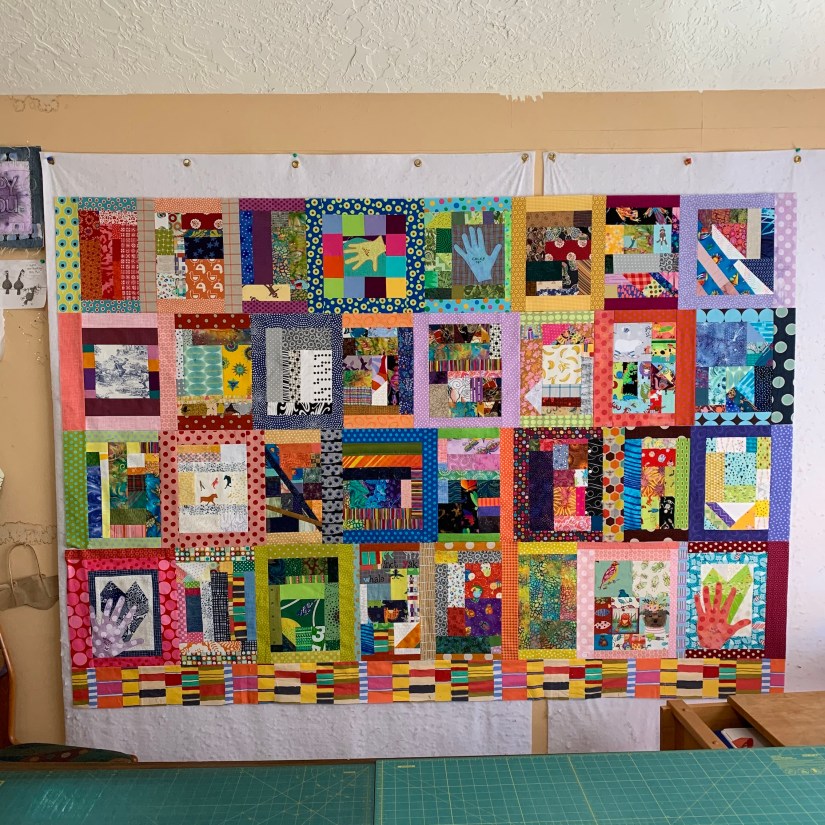
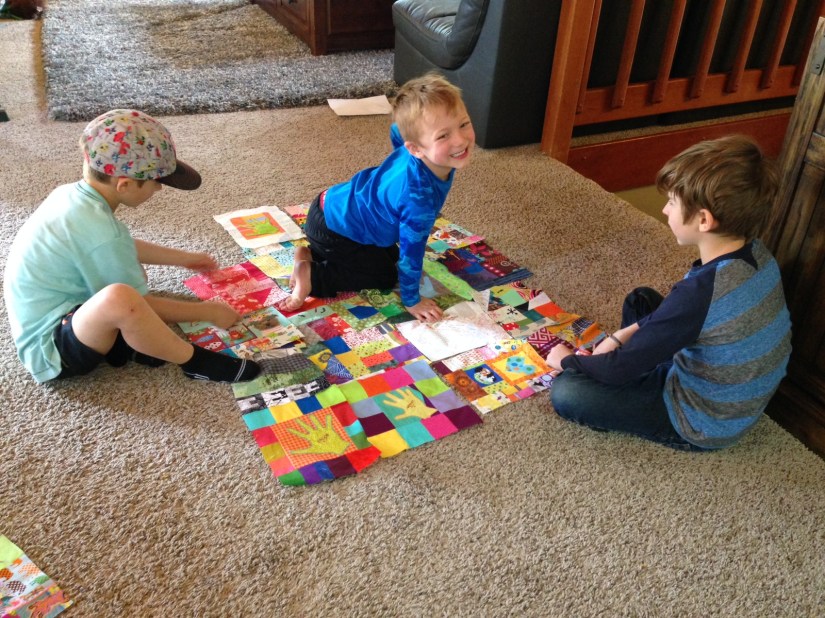
I am so happy to now share her third installment! (And now you get to see the quilt laid out with all the blocks created by “The Boys”.)
If you are just joining us, see these posts for Part I and Part II of the story:
- Quarantine Quilt Project: Life in the Time of Coronavirus, Part I (Guest Blog Post)
- Quarantine Quilt Project: Life in the Time of Coronavirus, Part II (Guest Blog Post)
Quarantine Quilt Project: Life in the Time of Coronavirus
Part III: Magic! Turning 65 Blocks of All Sizes Into a Quilt Top! And Leftovers Into a Quilt Back!
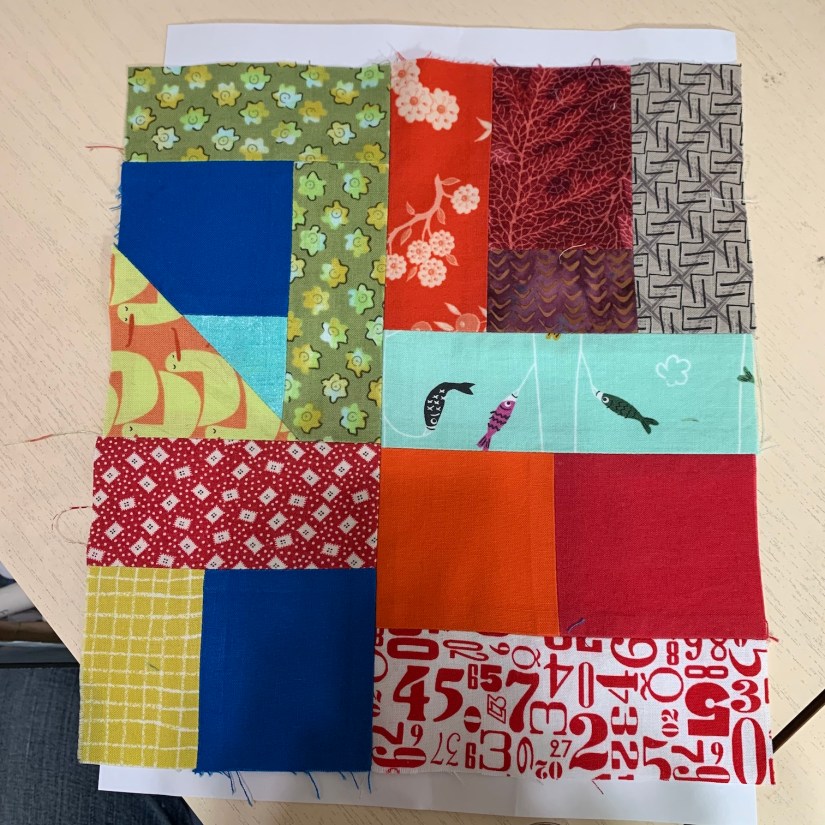
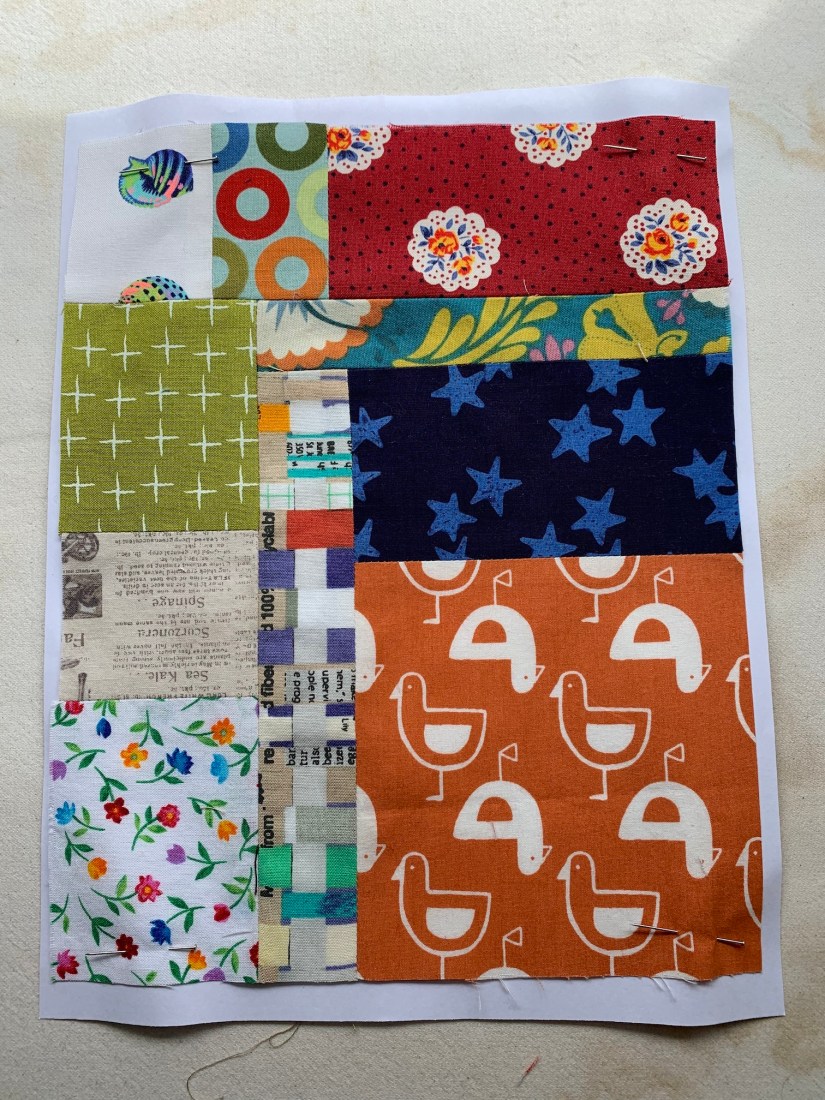
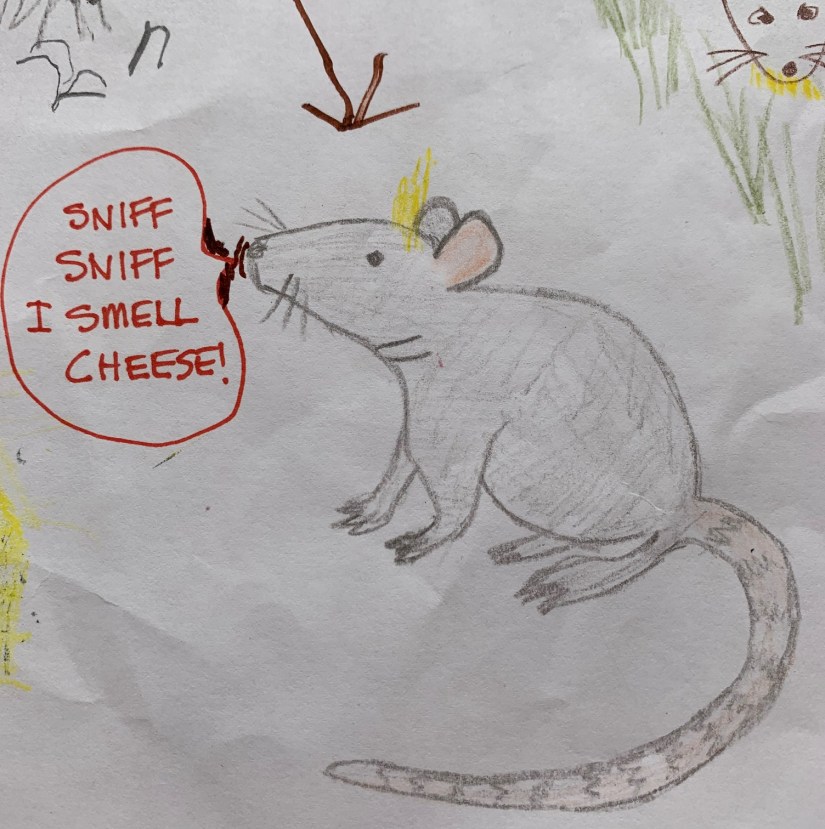
On a lark, my neighbors and I added playing with fabric to make quilt blocks. We had no idea where this project would take us or how our families would connect over time.
Please consider launching your own “quarantine quilt” project with kids or adults who would enjoy such a project. Collaborate through “snail mail” if your people are not in the neighborhood. I believe everyone can capture the free spirit seen in The Boys’ quilt blocks.
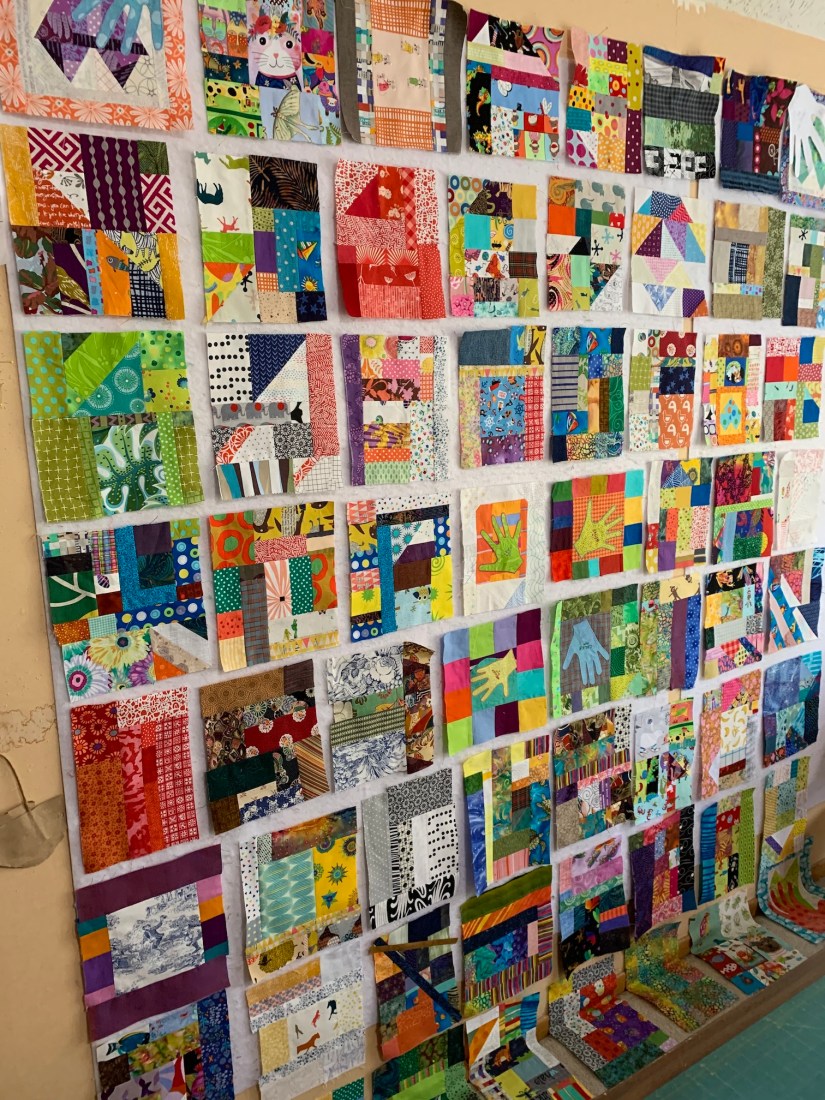
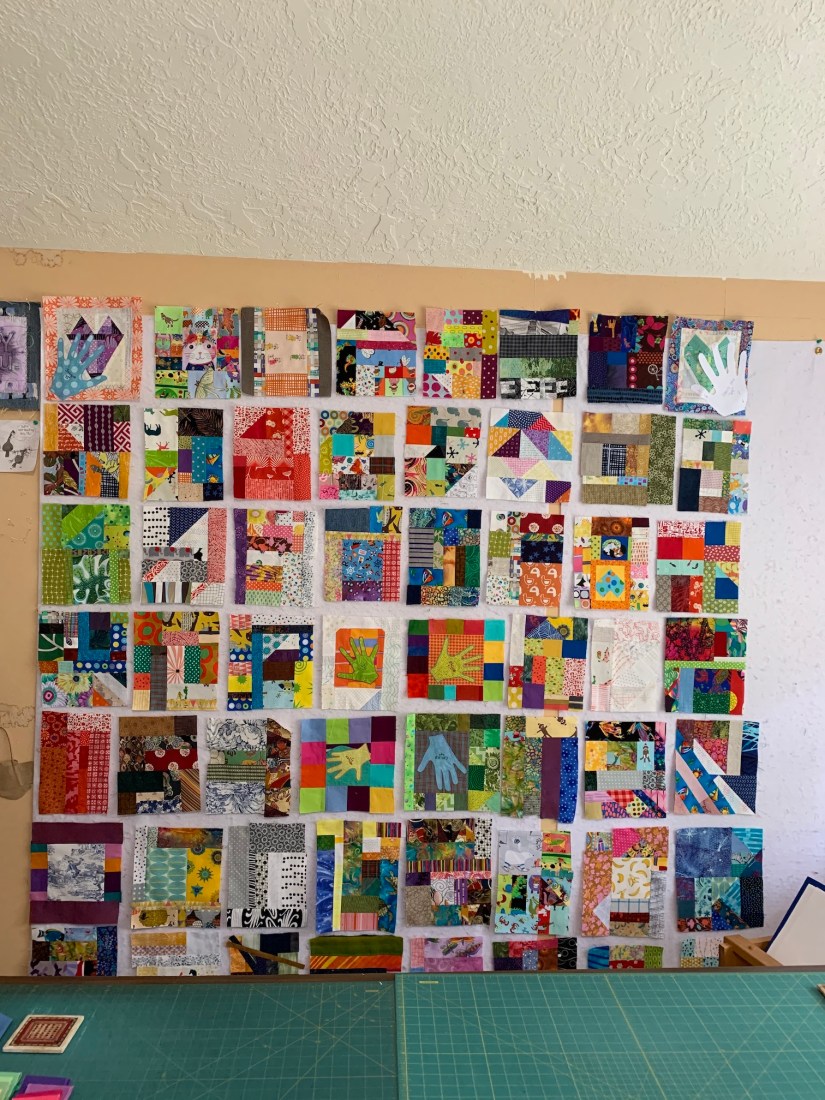
Quilt Top
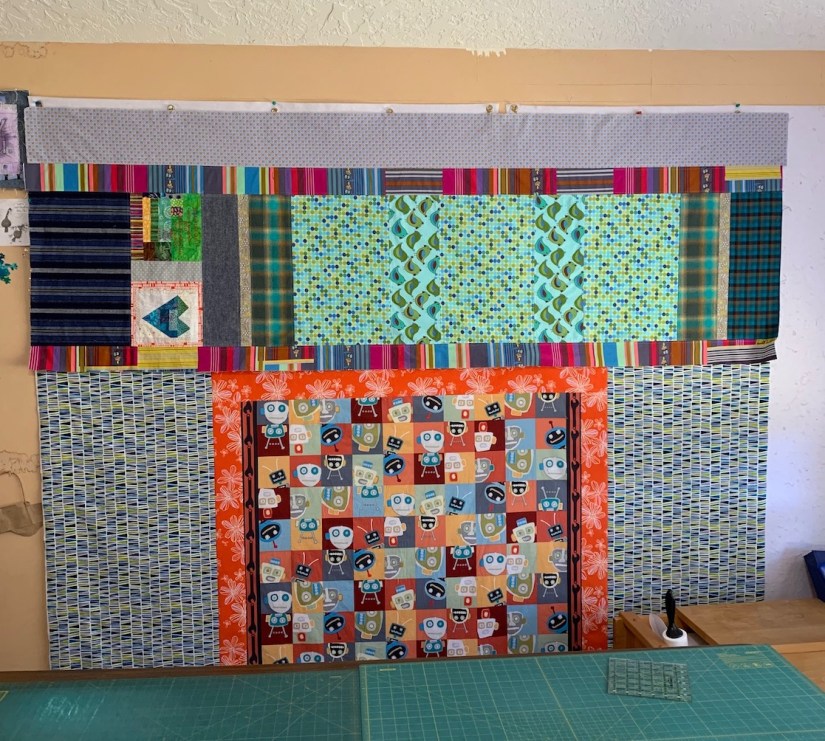
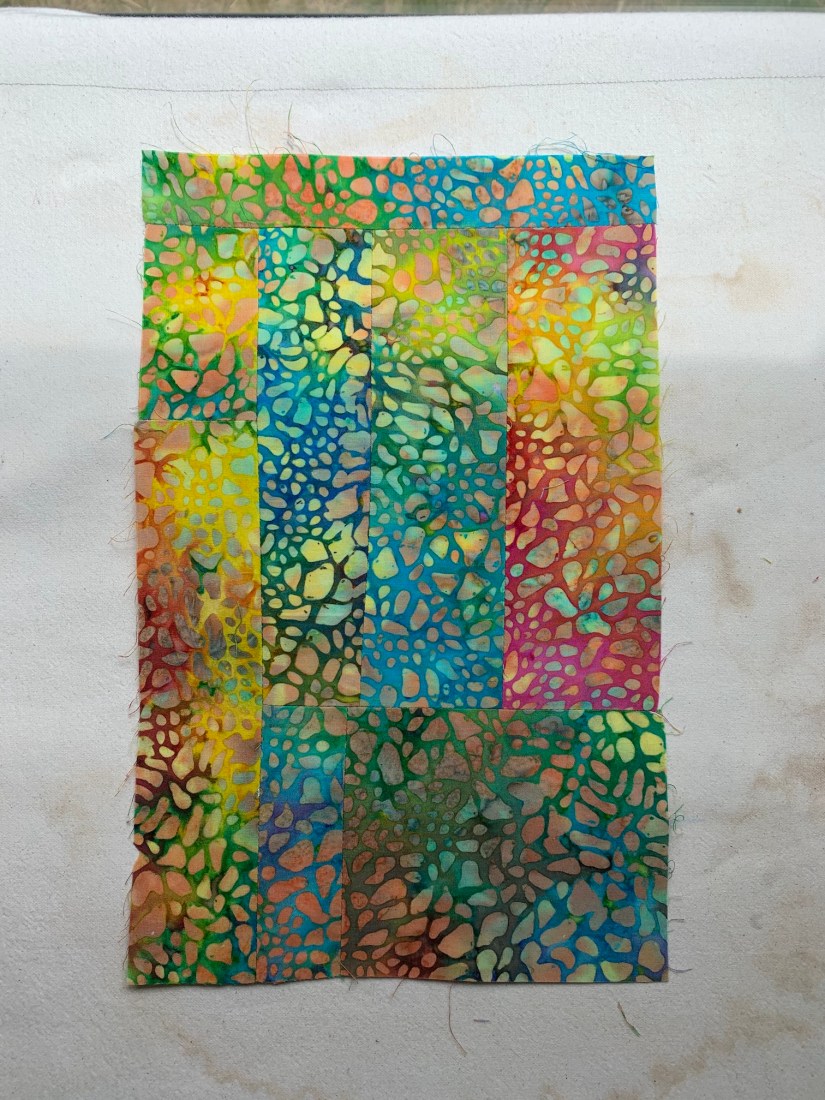
Since I refused to do anything more than trim (or square-up) the precious blocks, I had to find another way to unify 65 blocks of all sizes. I sorted the blocks by height, the first bit of “magic”, to layout 8 rows of 8 blocks, saving the extra block for the quilt back.
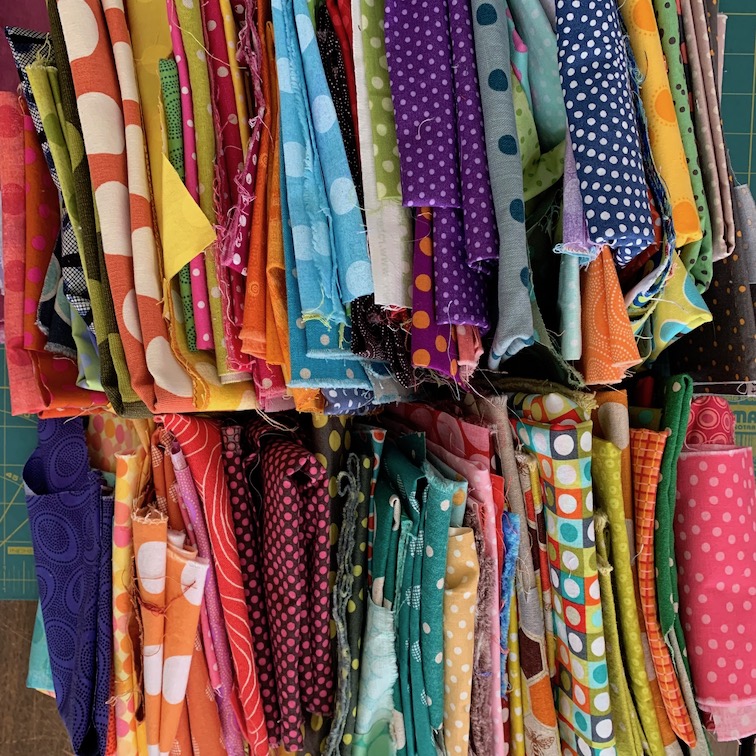
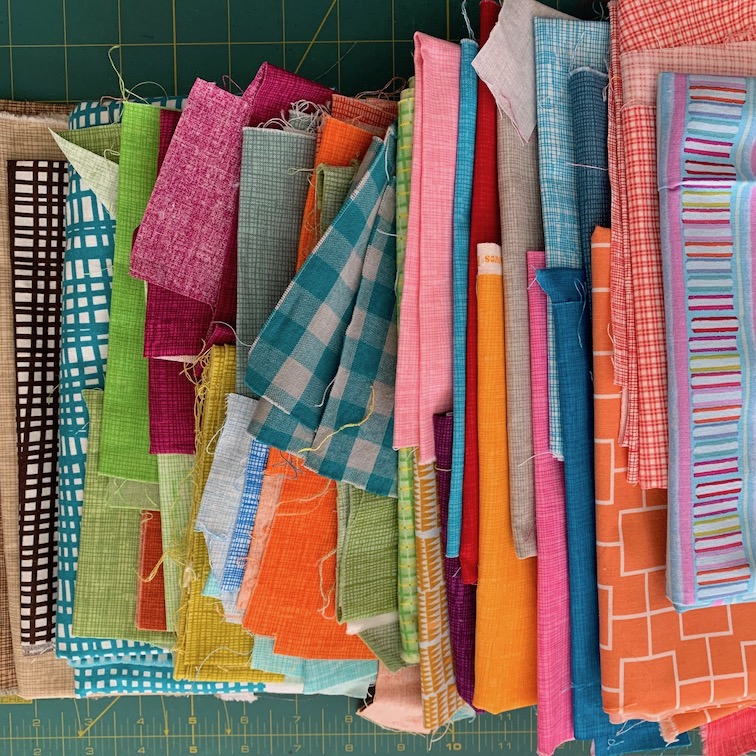
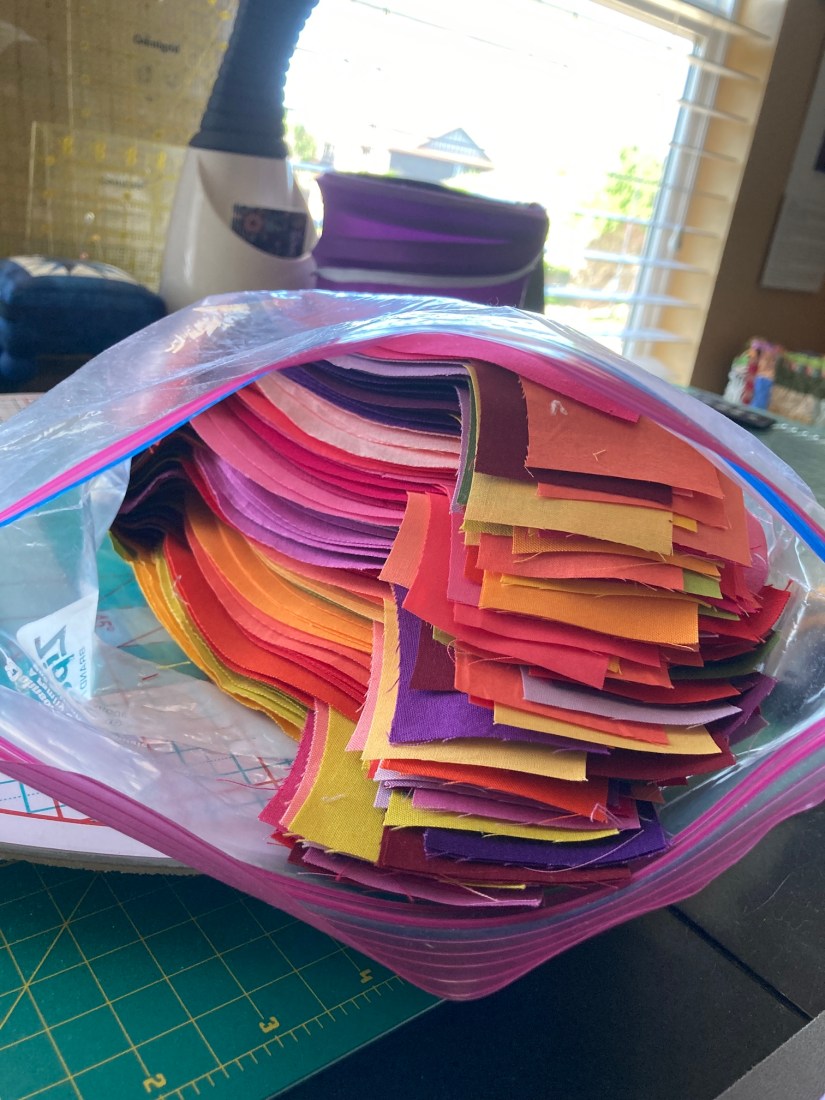
 With the row height consistent, I planned to frame the blocks, adding “filler” fabrics if needed, to adjust the row width. I looked to my assortment of “dots” and “cross hatched” fabrics, many of which had already been cut into.
 I started with the widest row as the standard width, which happened to be Row #4. Next I assembled Row #3, working my way up to Row #1. Of course, the quilt needed a border at the top (and bottom), because the quilt can’t be too big, right?

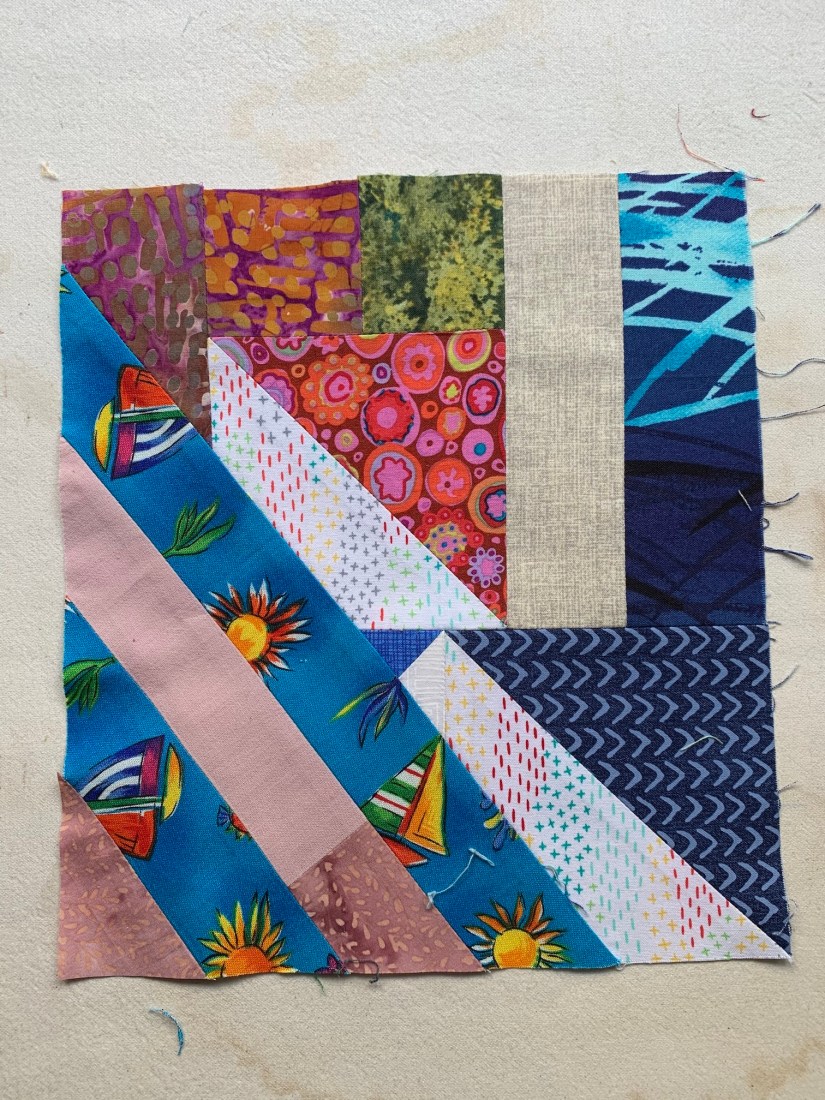
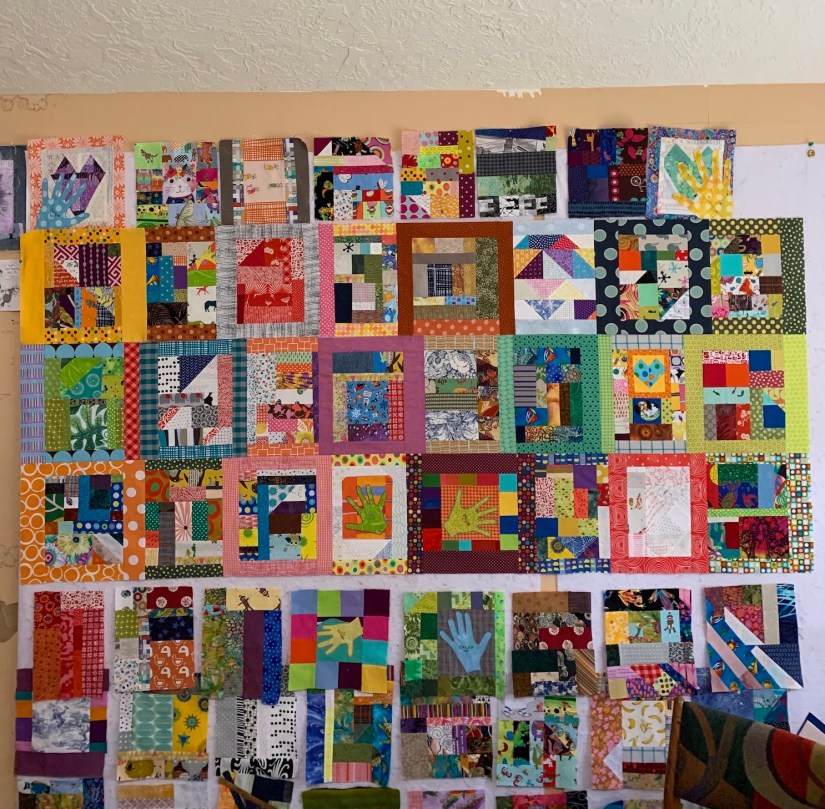 I alternated “A” and “B” blocks in each row as part of my plan to frame the blocks, add fillers, and create a border on the two long sides. A plan helps me keep my sanity but also gives me freedom to go off the path. It’s a paradox!
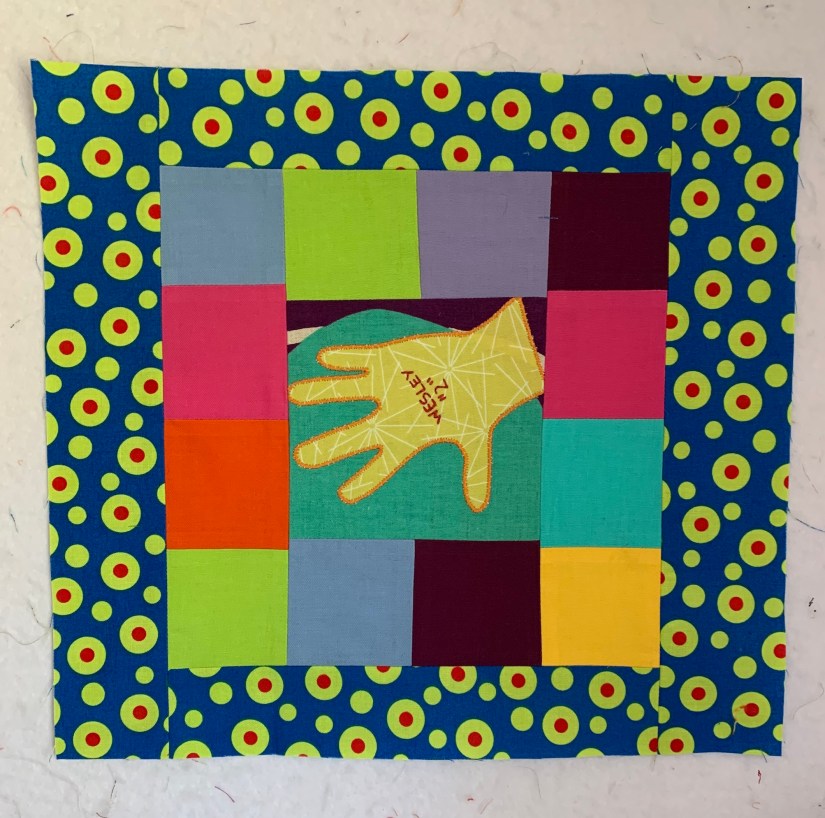
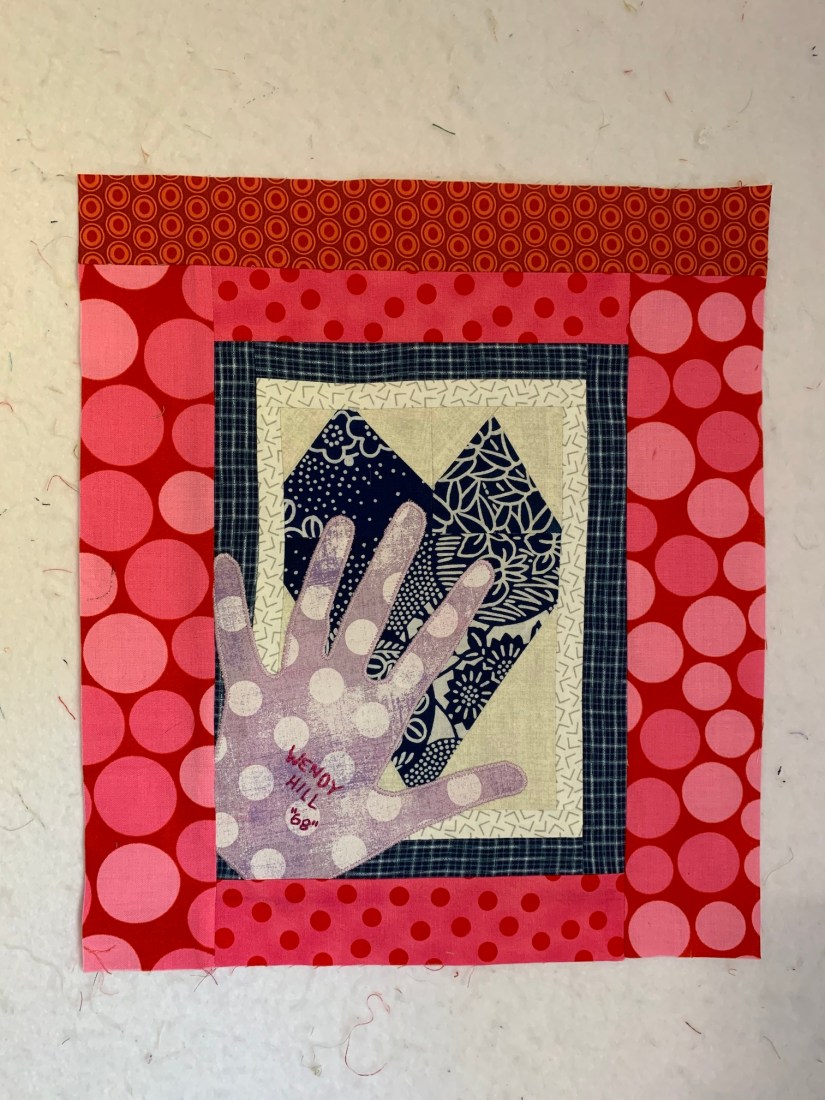
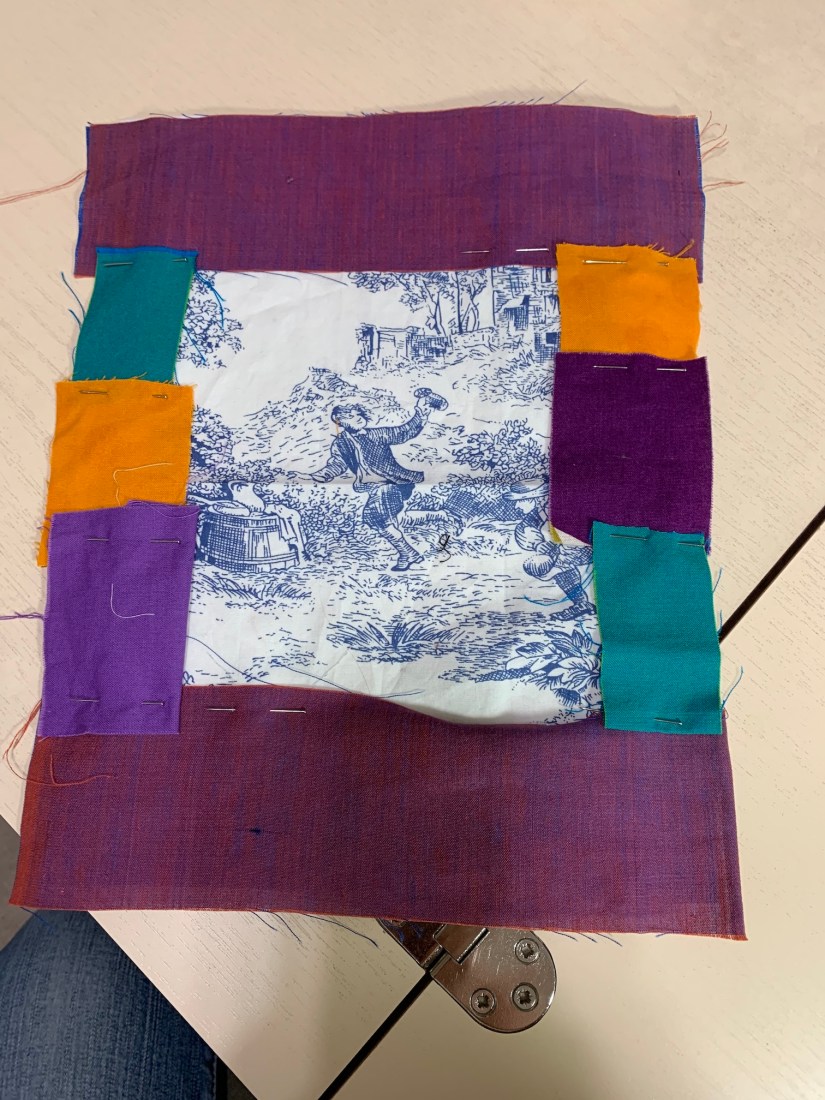
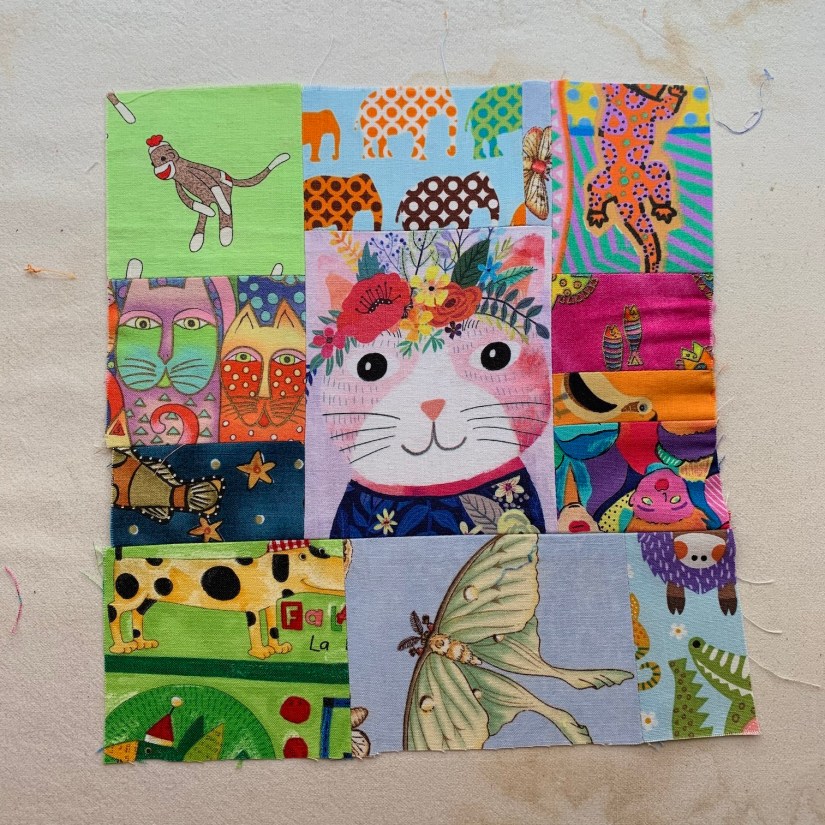
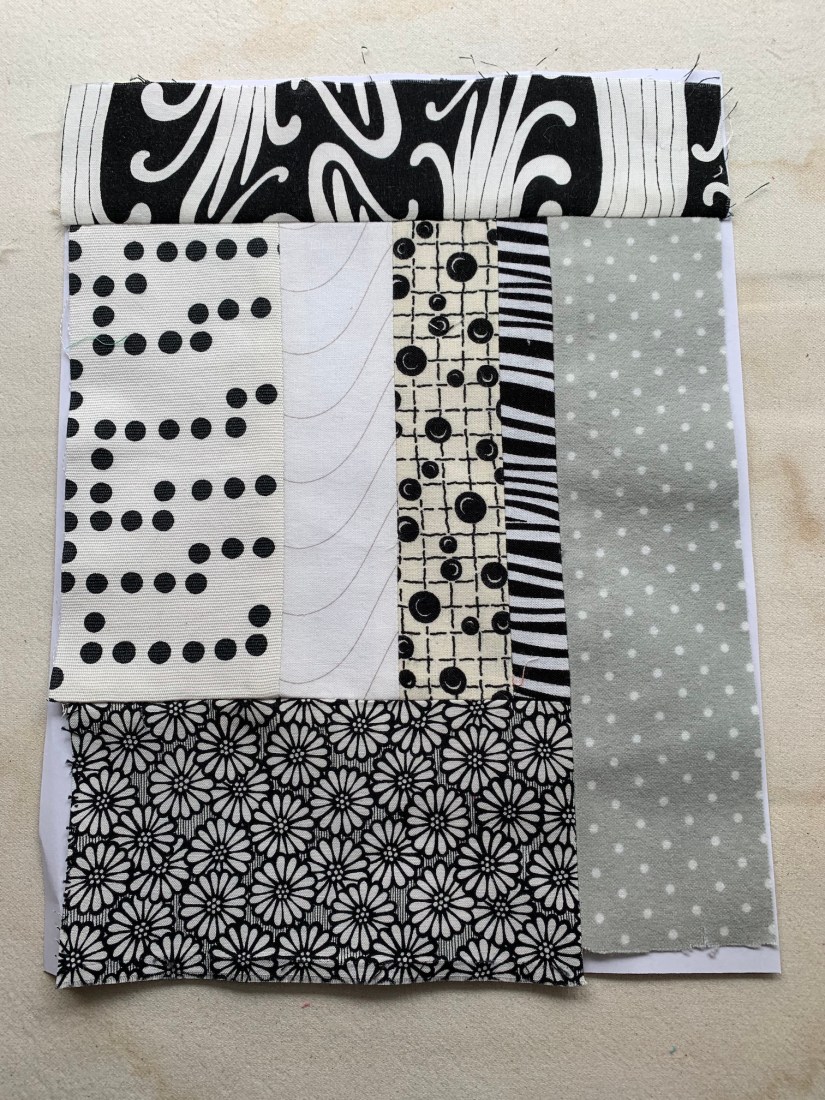
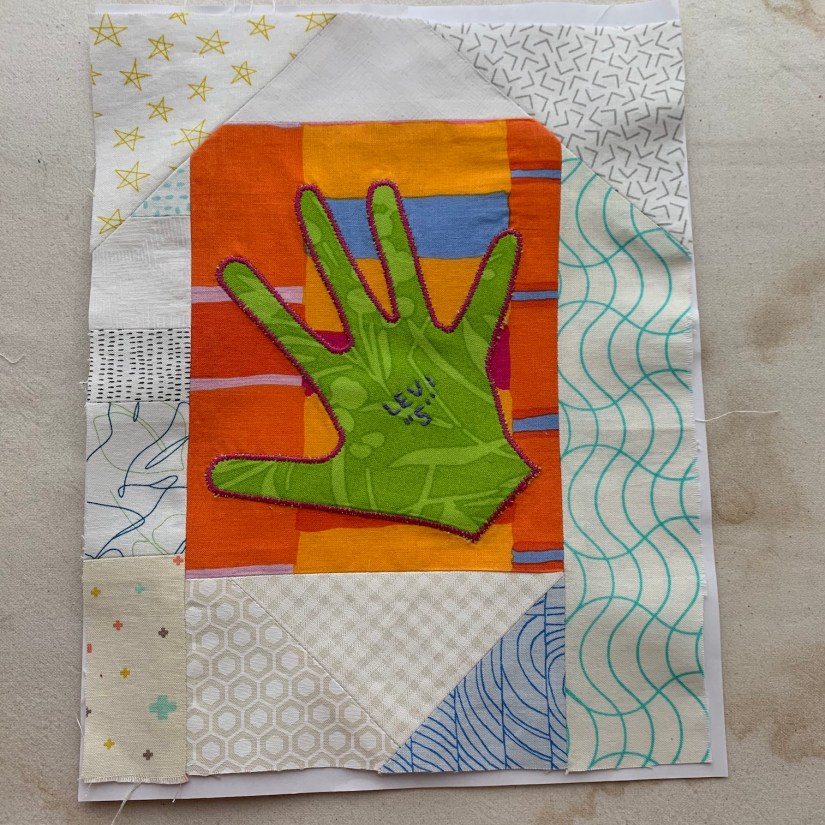
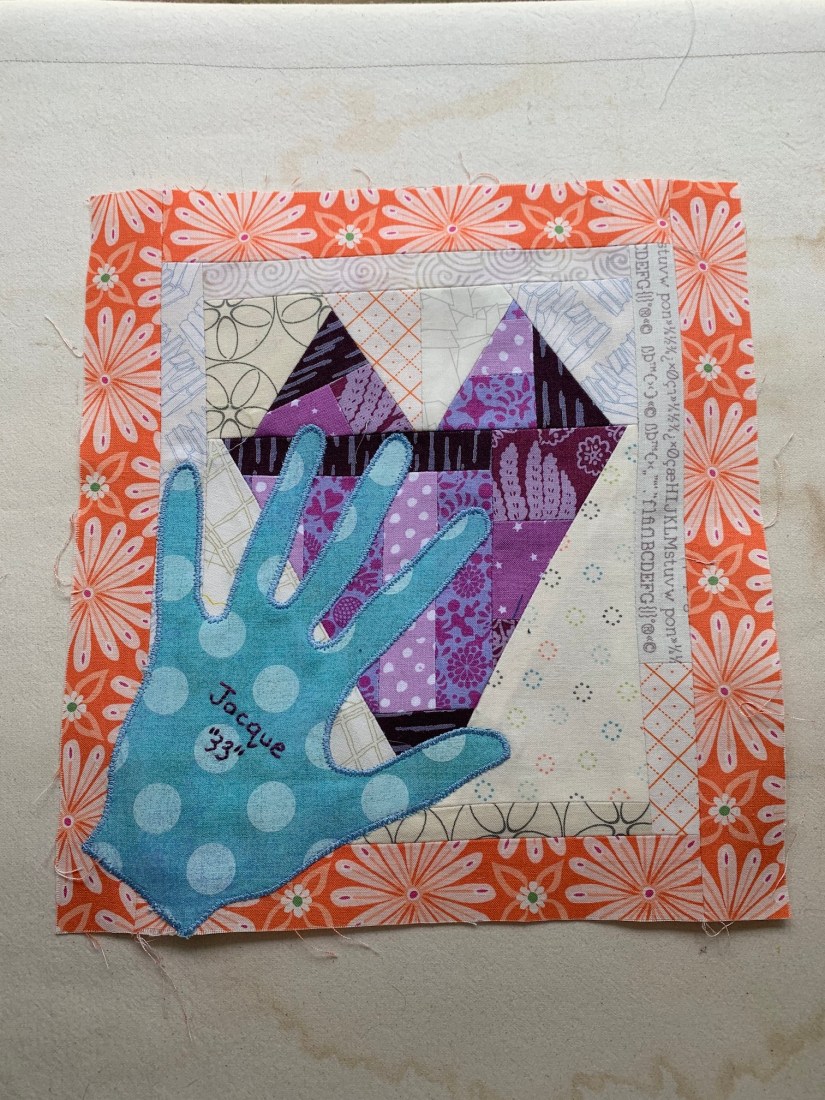
“A” blocks are framed on all four sides. I used the same fabrics or similar color scheme:
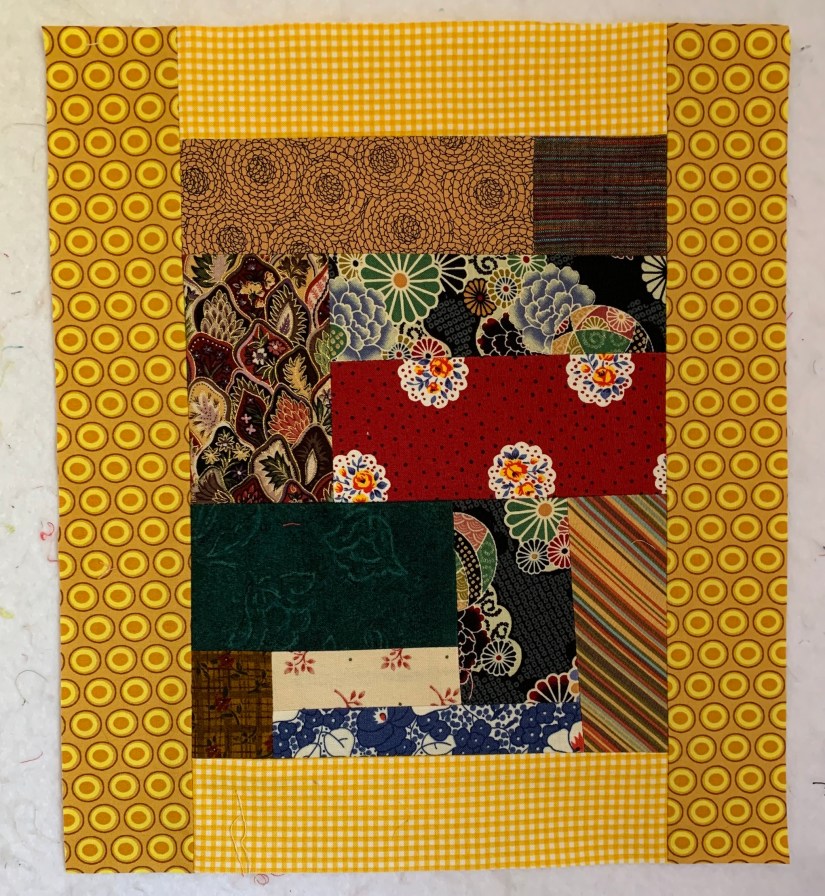
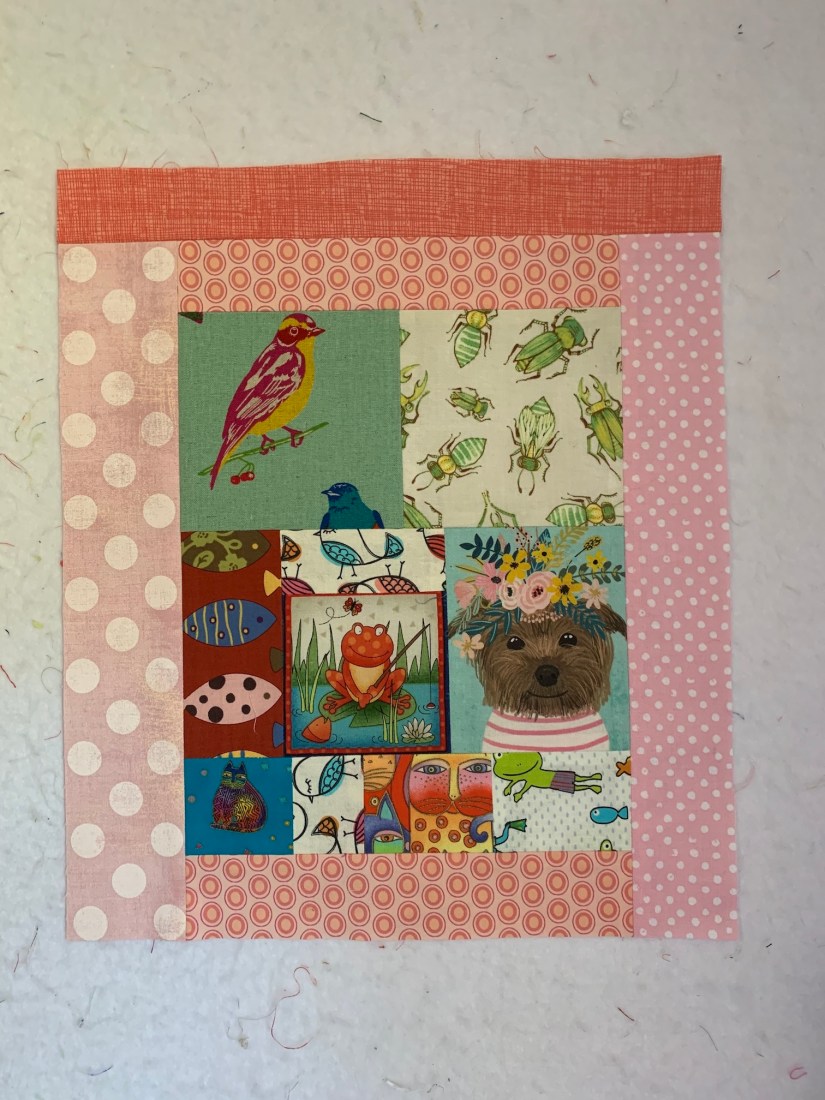
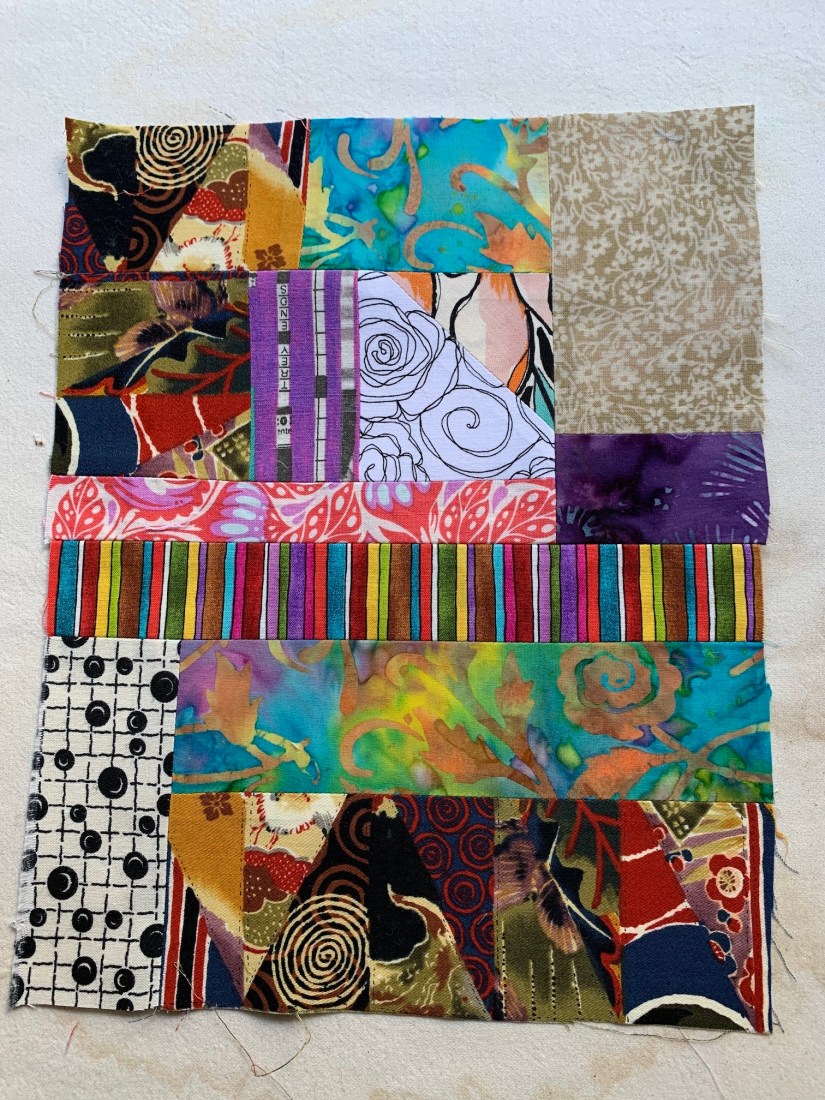
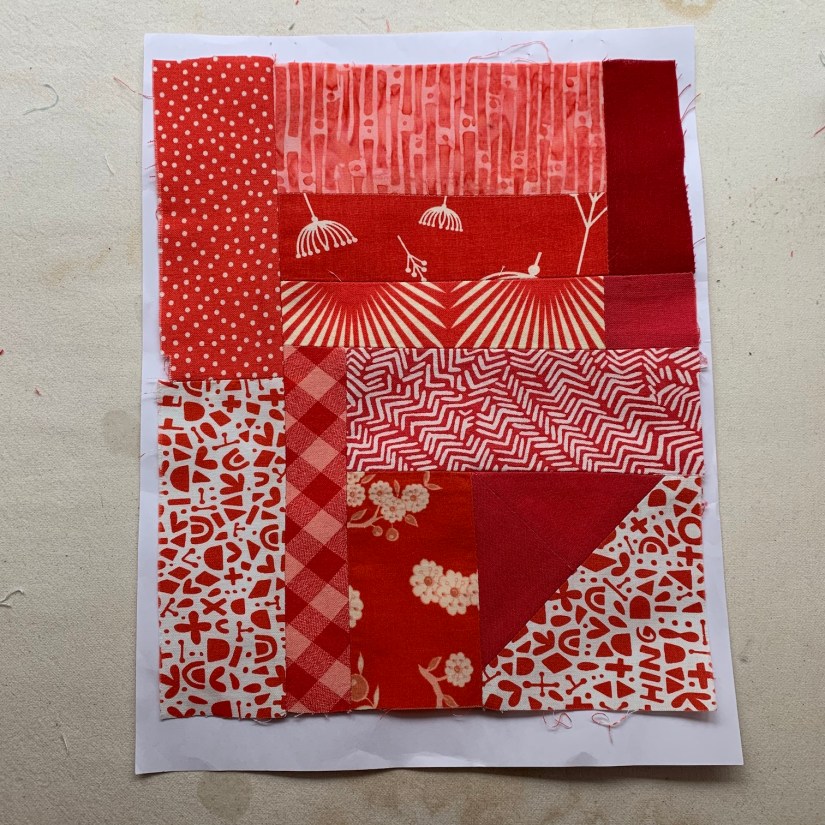
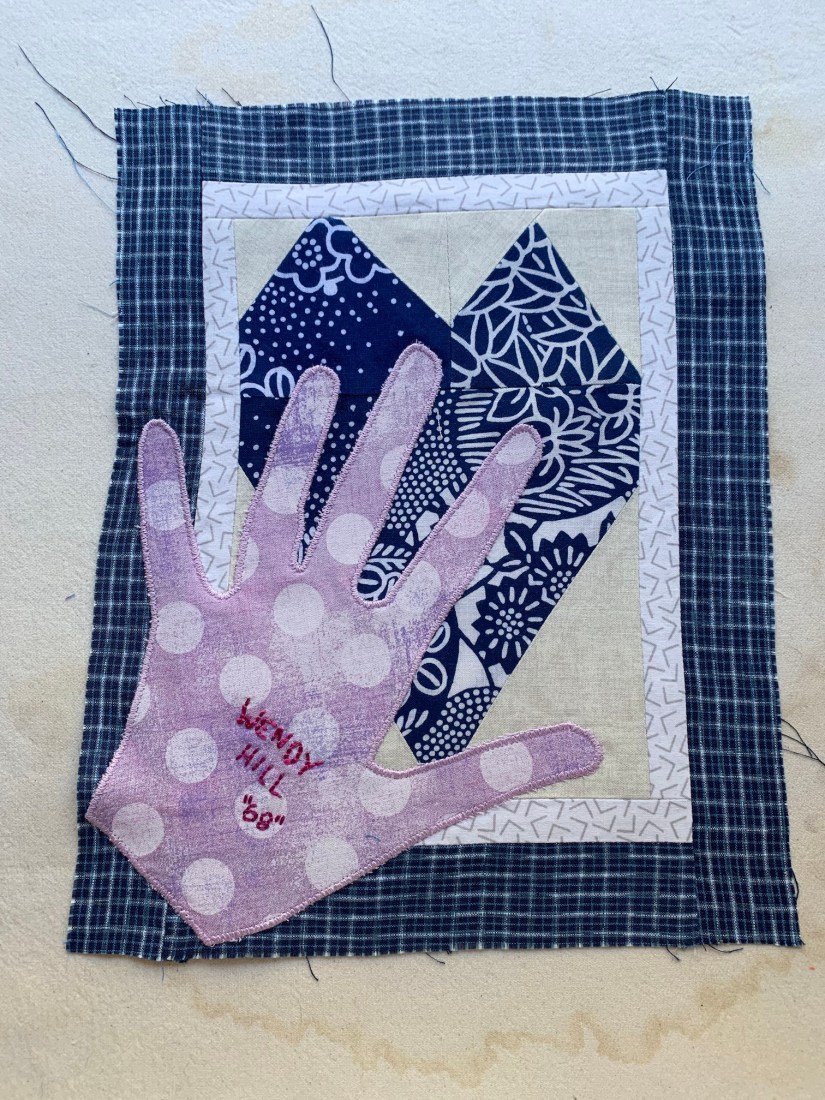
 “B” blocks are only framed top and bottom.

 The border on the long sides is created block-by-block, using a 2 3/4” width of fabric on the outside edges of the first and last blocks in each row. This creates a visual border without using one long strip of fabric. (The width of this border strip could be anything to make the border wider or narrower.)
 For “A” blocks, the outside edge/border strip (one of four strips framing the block) is cut to this specific width.
 For “B” blocks, the outside edge/border strip is also cut to this specific width, making a total of 3 strips framing the block (instead of only top & bottom).
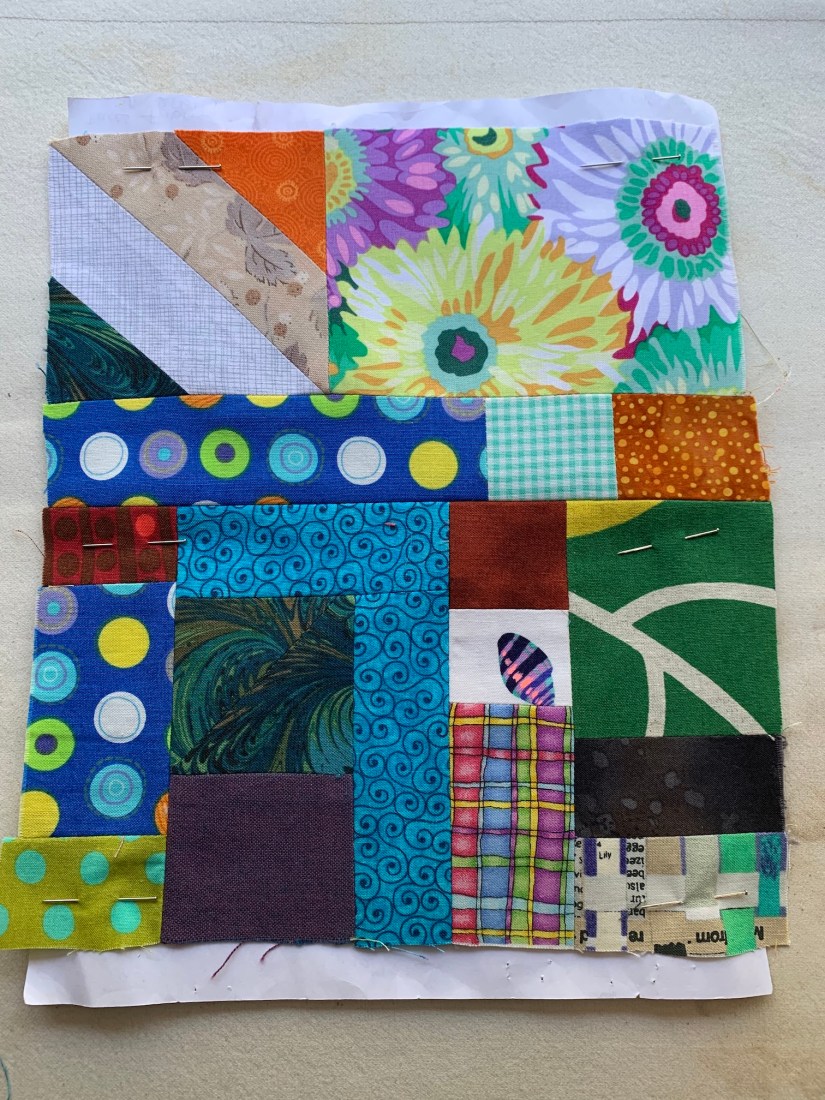
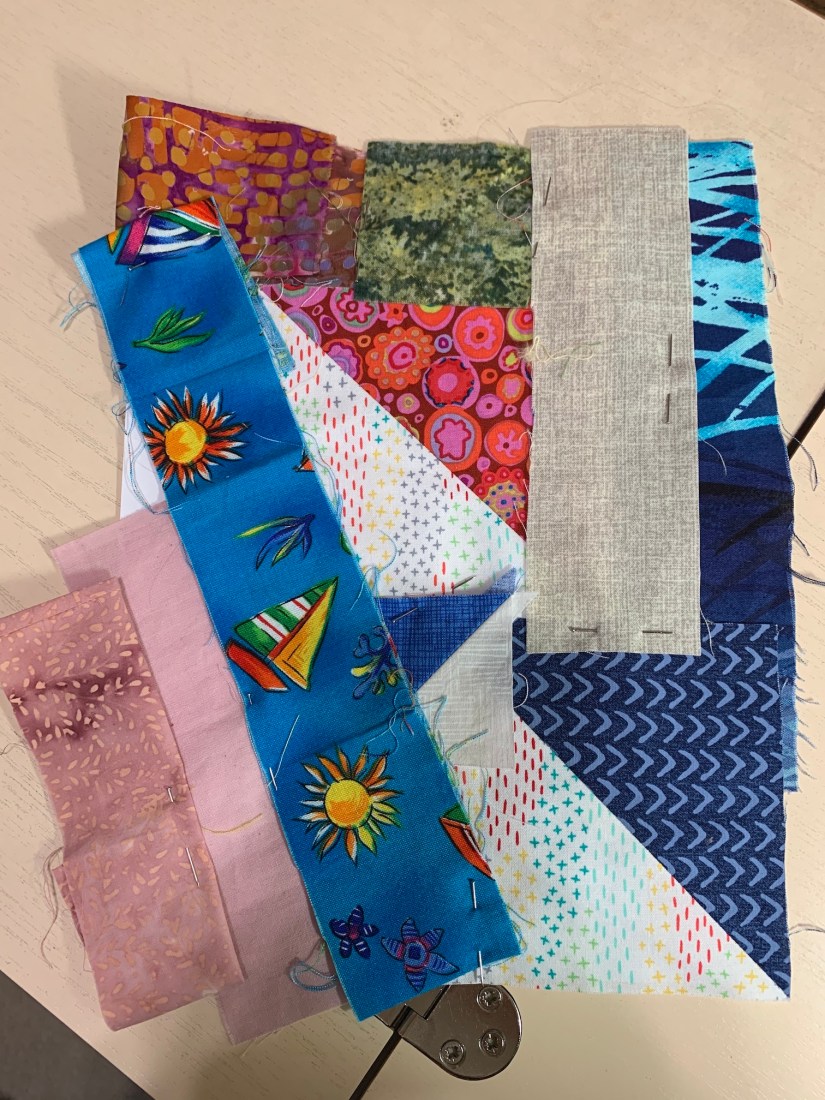
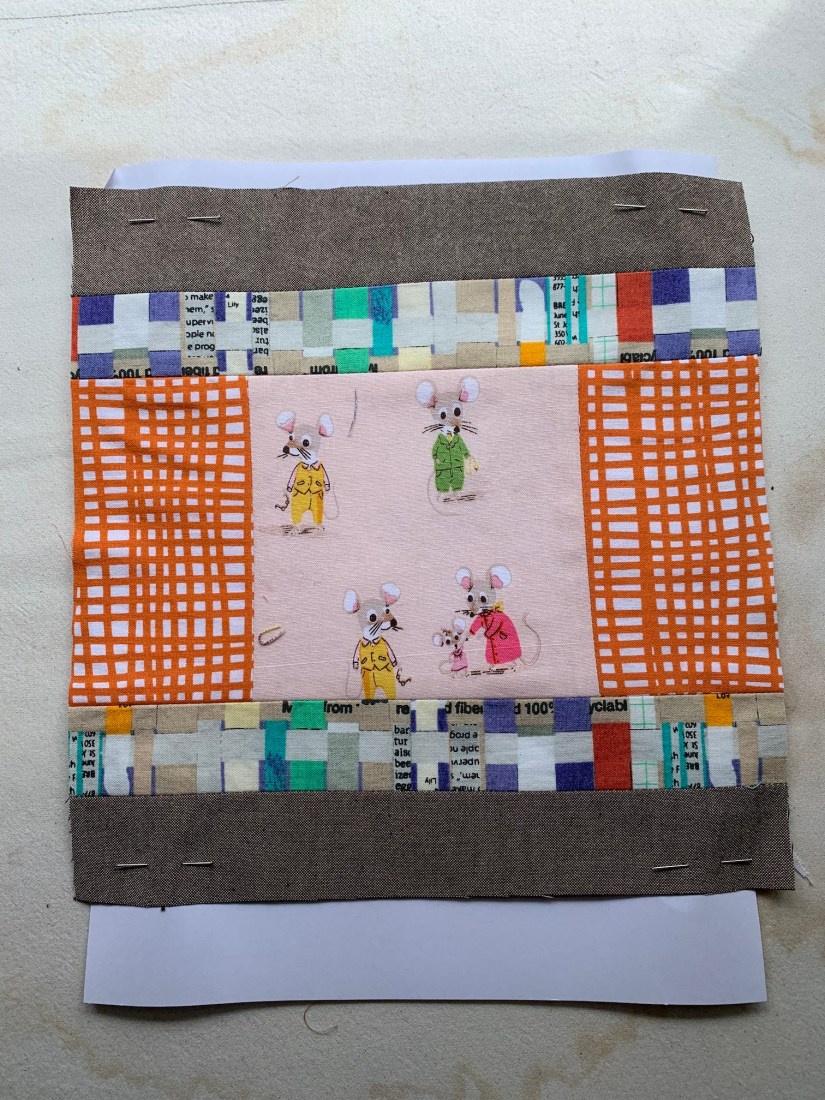
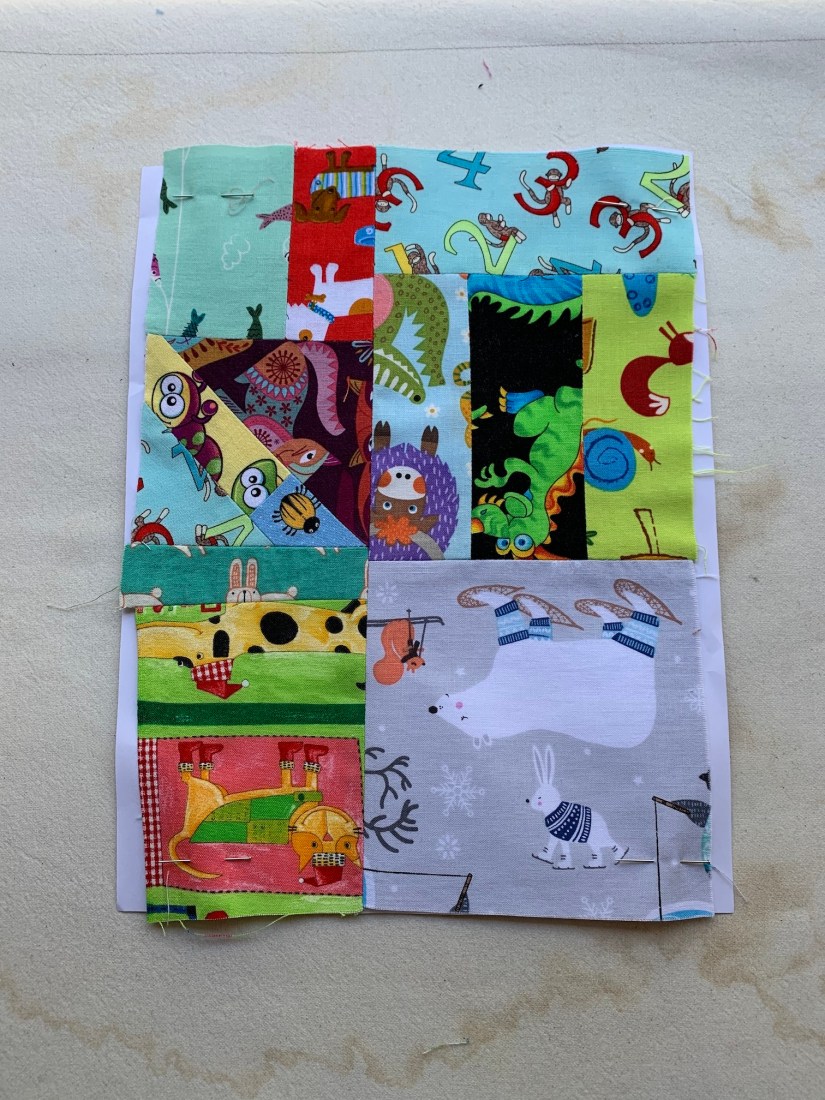
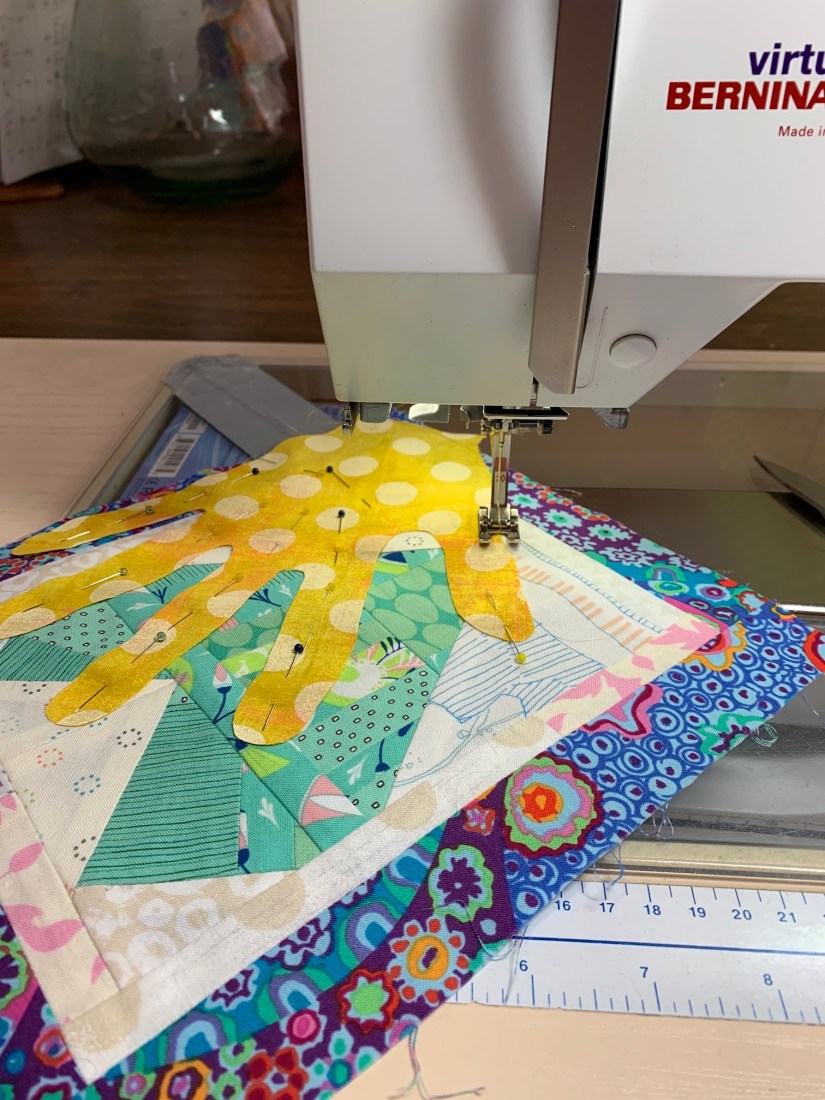
 At this point, you might wonder how the rows come out the same width? This second bit of magic is in way to adjust the row width. Assemble the row in two sections. Layout the two pieces on a design wall or other surface.
If the sections are too wide, overlap the raw edges between the two sections, until the width is correct. Sew the seam, trimming excess fabric to account for the seam allowance.
If the two sections are too short and leave a gap, add a “filler” strip to one of the two sections, and continue as described above.
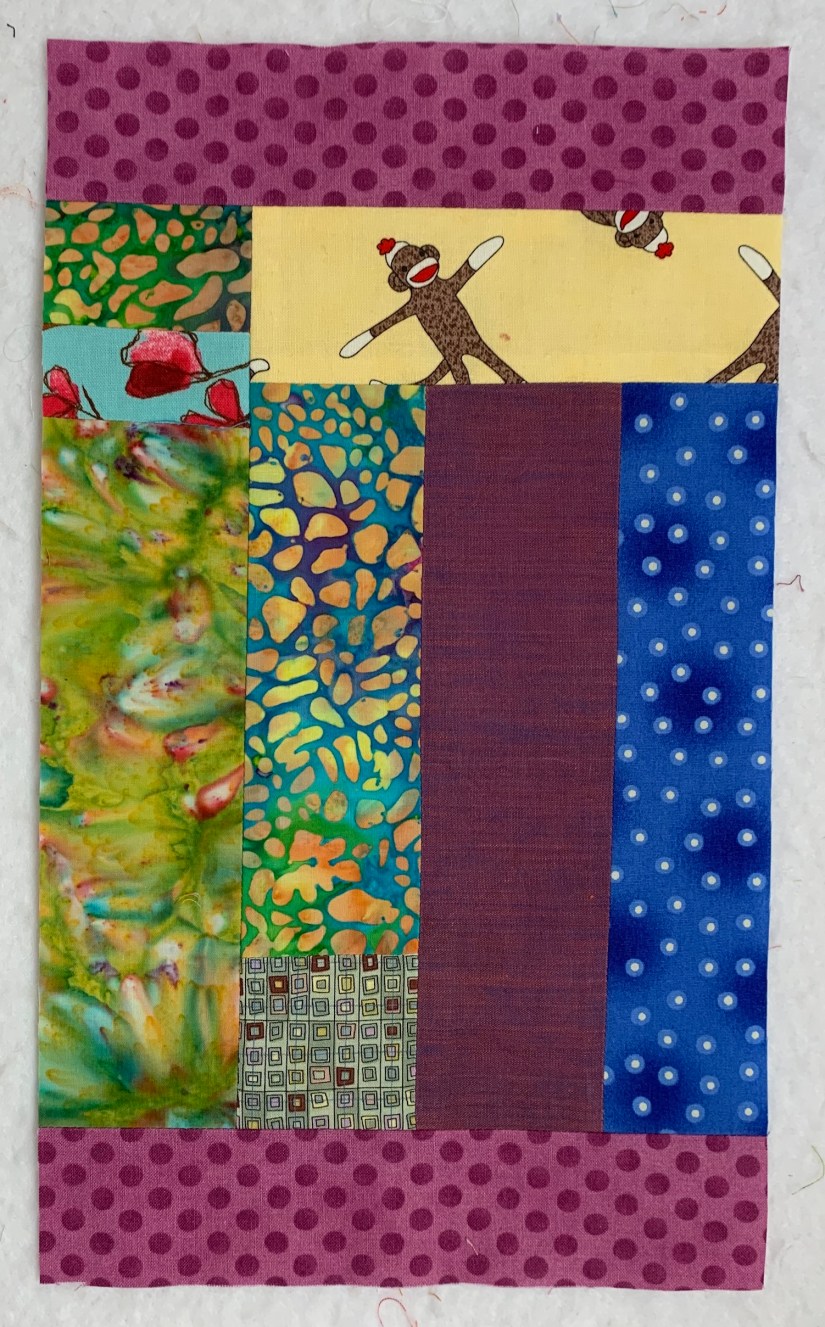
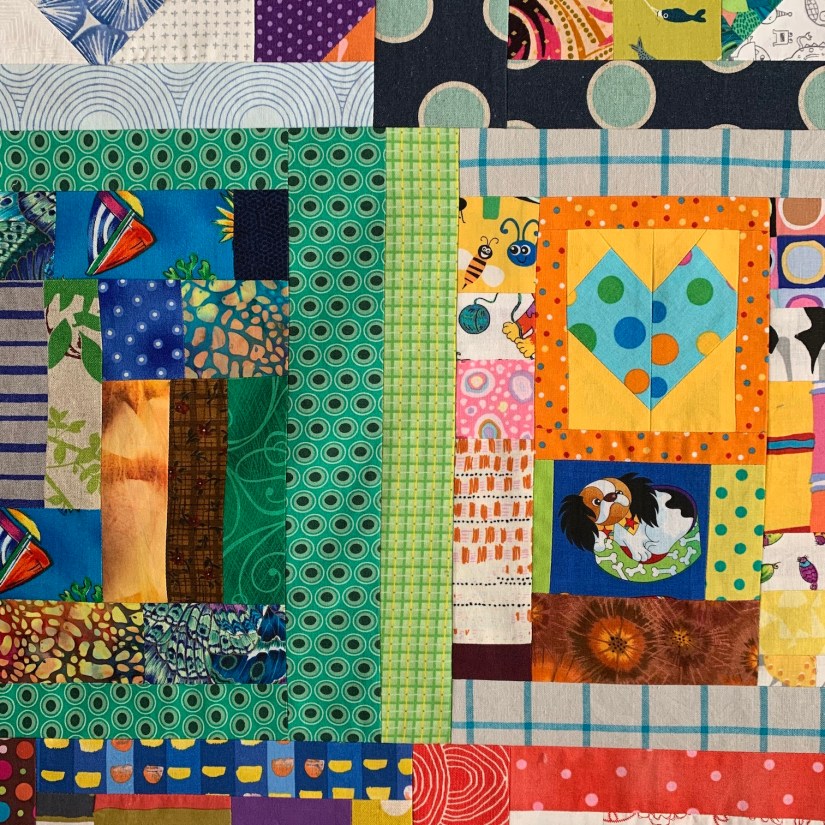
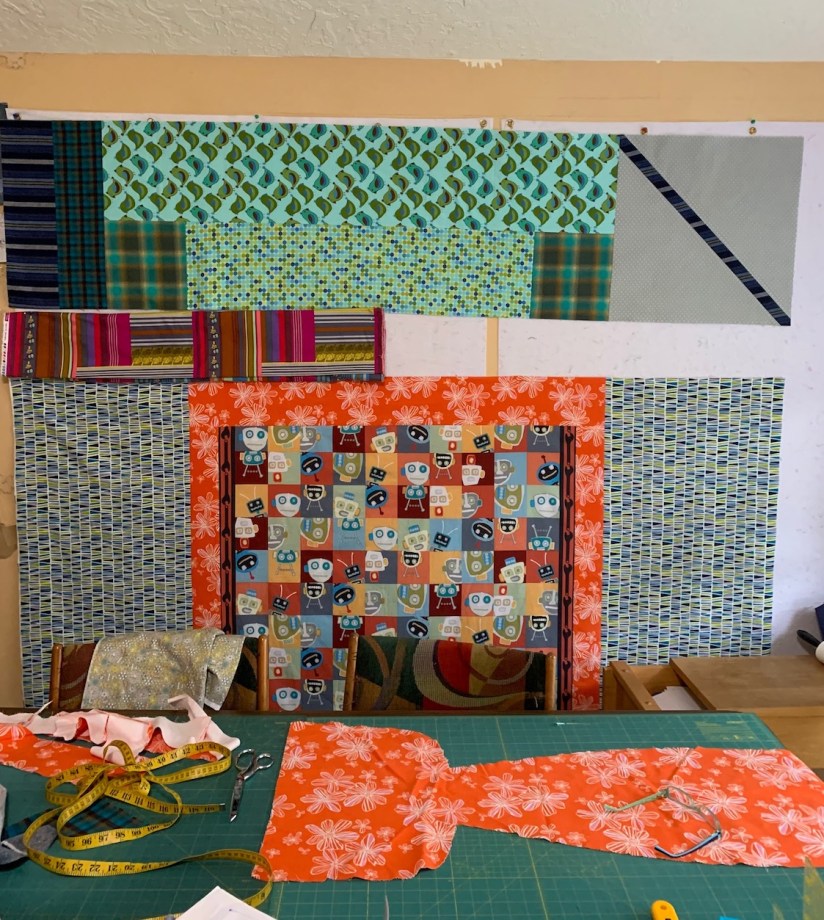
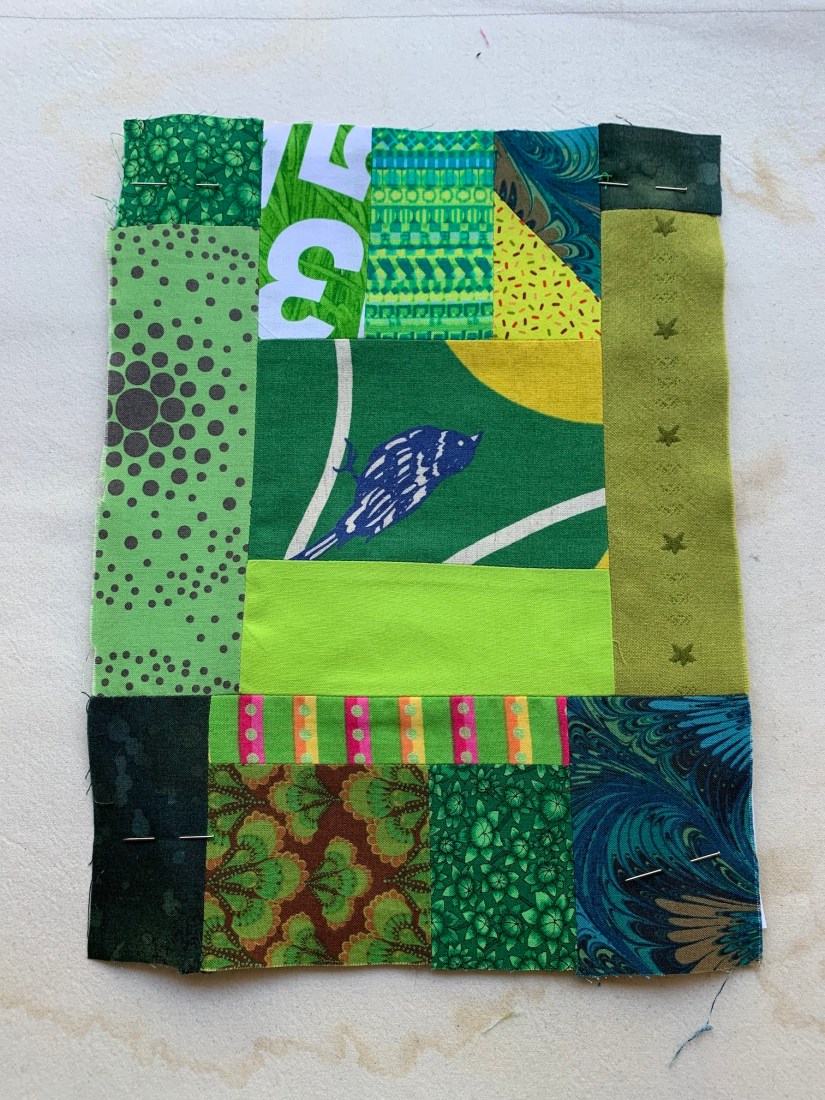
For these two rows, I chose bright filler fabrics: look for the bright green plaid in the first photo, and bright red plaid in the second photo. The “fillers” just add to the fun (chaos)!
 Everyone encounters surprises, obstacles or let’s be honest, mistakes. How a quilter deals with these events are what counts and as quilters know, these are often “opportunities” to do something unexpectedly great.
I accidentally trimmed or “squared-up” two blocks, making them the wrong height. “Fillers” to the rescue once again, as I just added another strip to the top edges.
 When I cut a fabric on the bias, I often reinforce the edge with a narrow strip of fusible interfacing. This way, there are no worries about the edge stretching.

Before assembling Rows 5-8 and the border, I stood back and saw the two orange fabrics screaming at me. I couldn’t shut out the visual noise (ha ha) so I swapped one of the oranges out for another color. Peace was restored.

Quilt Back
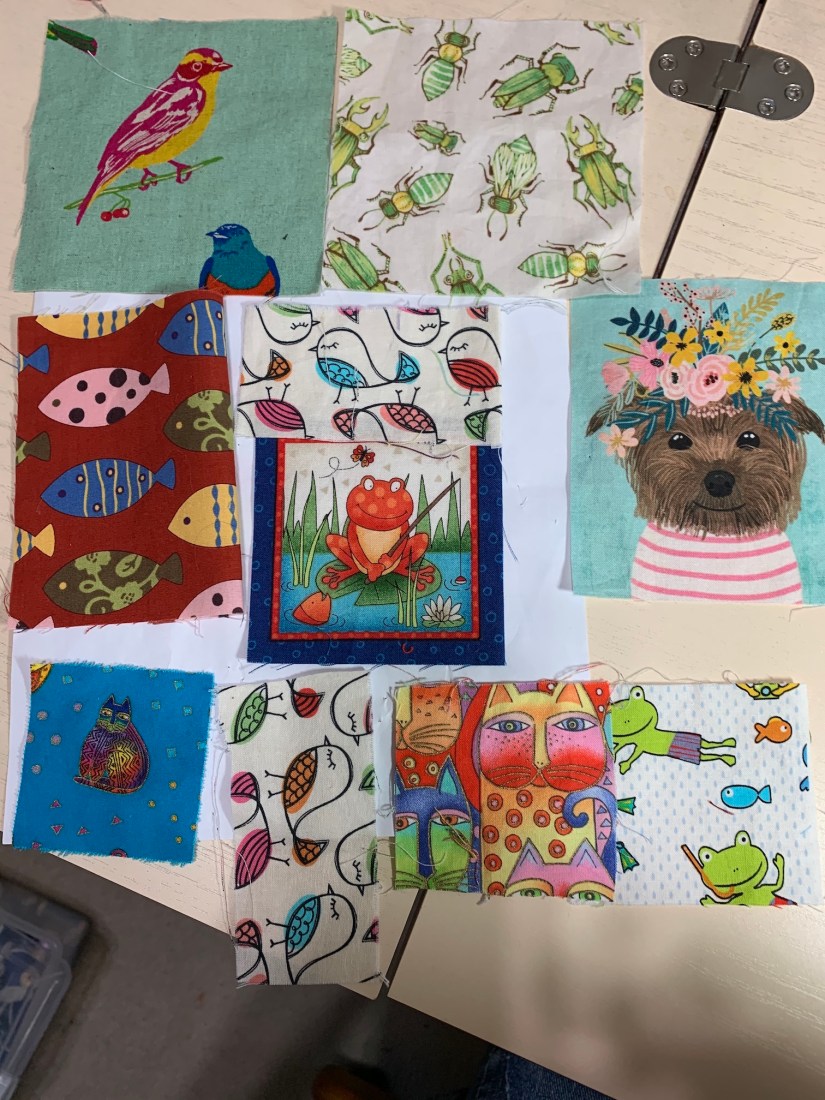
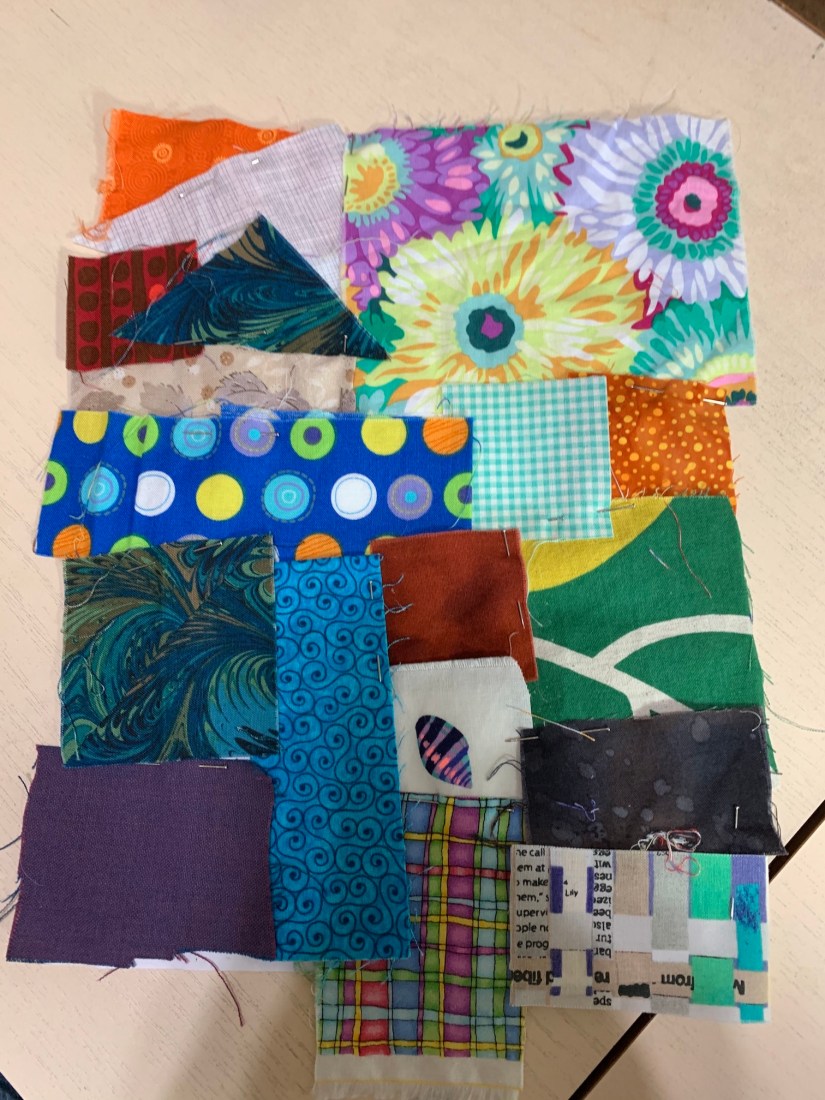
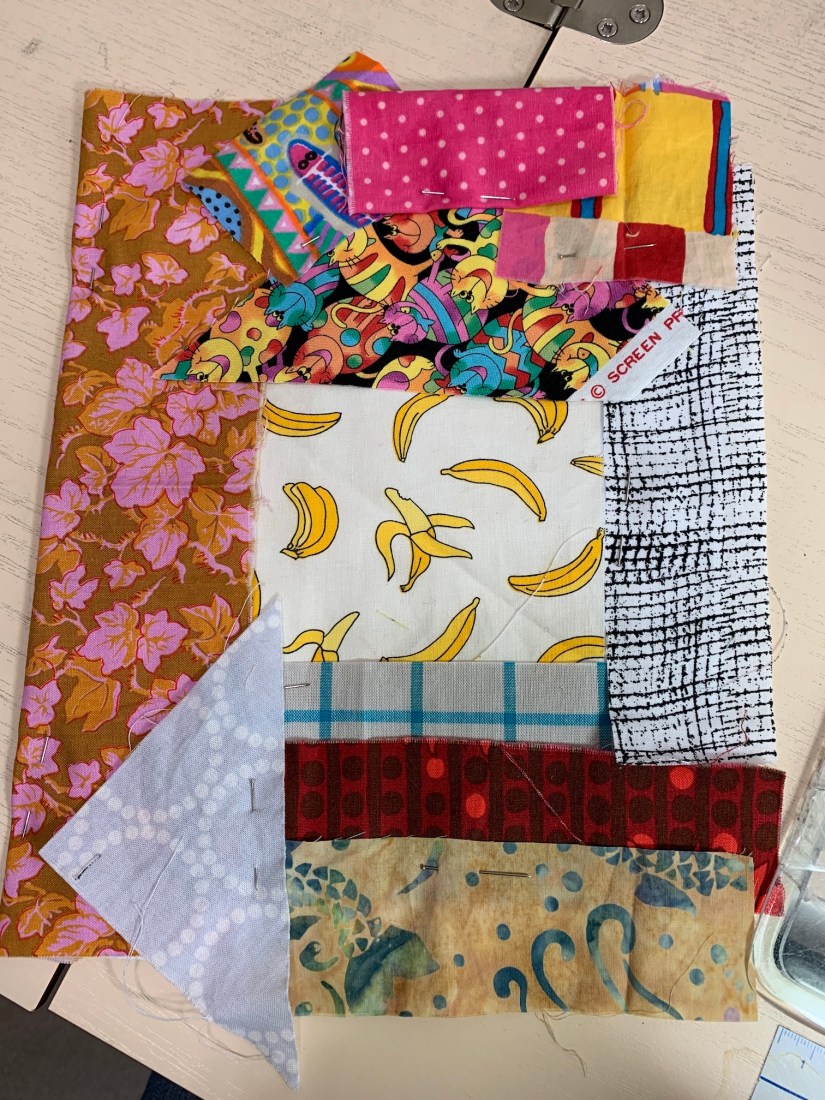
While “The Boys” used my saved scraps to create fun, exciting, weird and wonderful blocks, I did my best to put together a quilt back also using leftovers, larger scraps, and found fabrics in the closet.
As the back evolved, I took a few photos, showing how the fabrics shifted around, got deleted, or sometimes, added back in. Not shown in the photos is a late stage addition; look for it in the finished quilt photos in the final guest post.


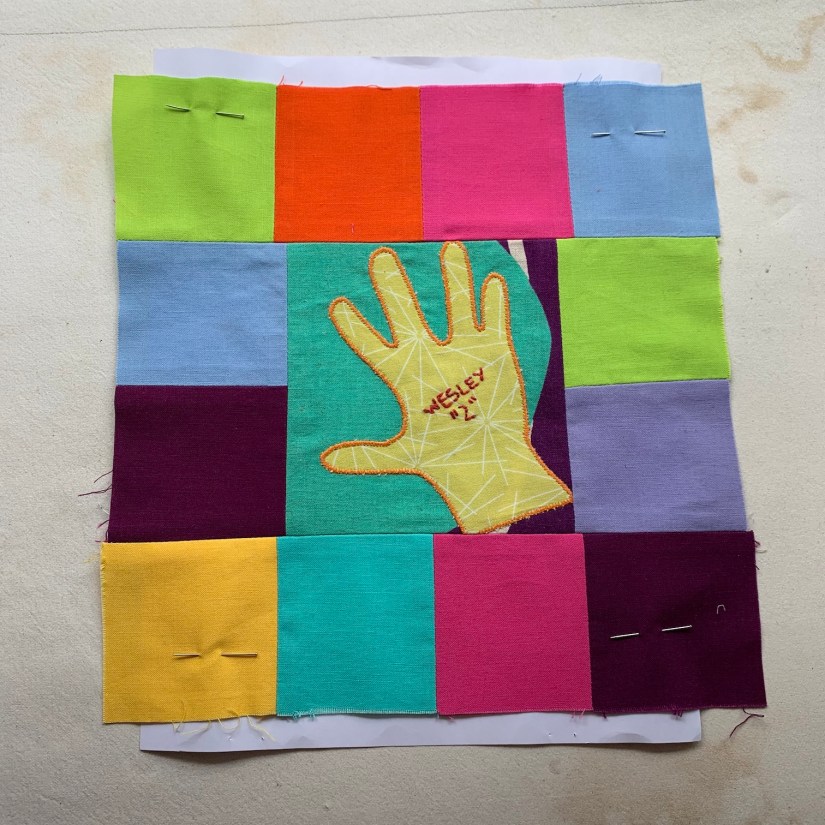
Labels
I used the extra block made by “The Boys”, and another leftover pieced heart block, to create two labels. When I searched the internet for the best fabric pen, my first reference said “don’t use a pen, embroider the label”. I agreed.

 As I came closer to finishing the quilt, I had the growing feeling that this quilt was so much bigger then me or my neighbors or The Boys.
We’ve known in theory that we could have another global pandemic, but the reality is so — well— real. The enormity of the pandemic is hard to grasp, even now.
Yet in the face of adversity, we find many examples of people, all over the world, reaching out to help and support each other. The Quarantine Quilt is one of these examples.
Wendy’s next guest blog post: Quilting and Binding The Gigantic Quilt


 I am going to get to the news related to the title of this post, but first I need to talk about myself a bit, as that is what Beasties do.
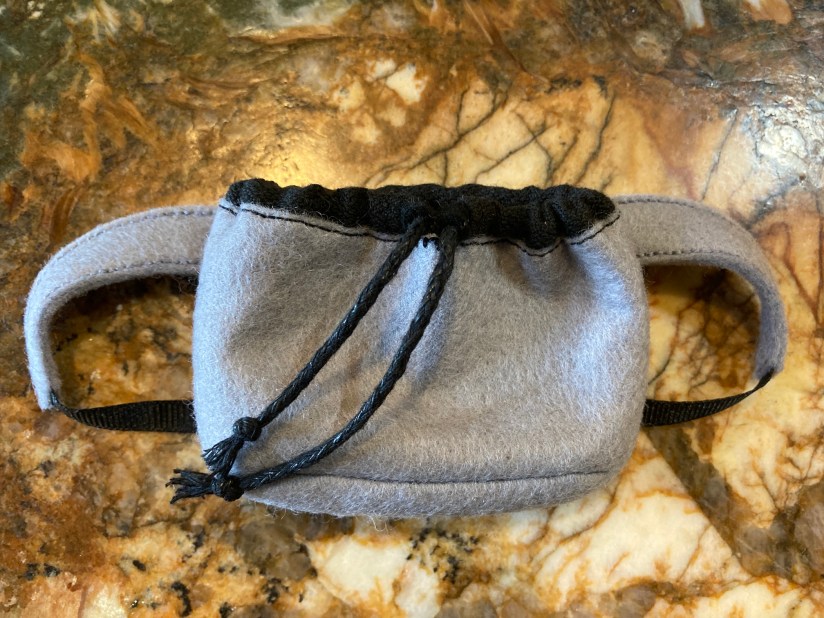

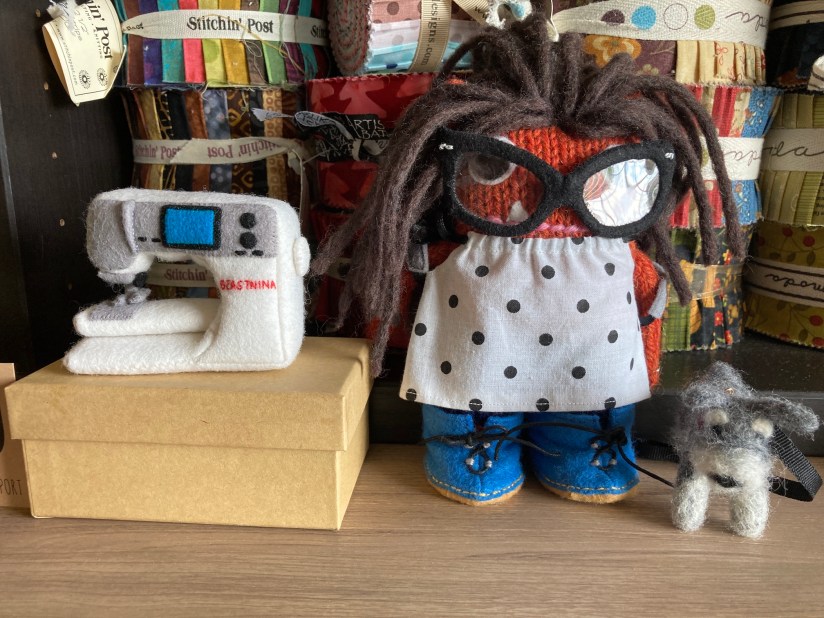 Here I am hanging out in Tierney’s studio with my goodies with my dog Mikelet:
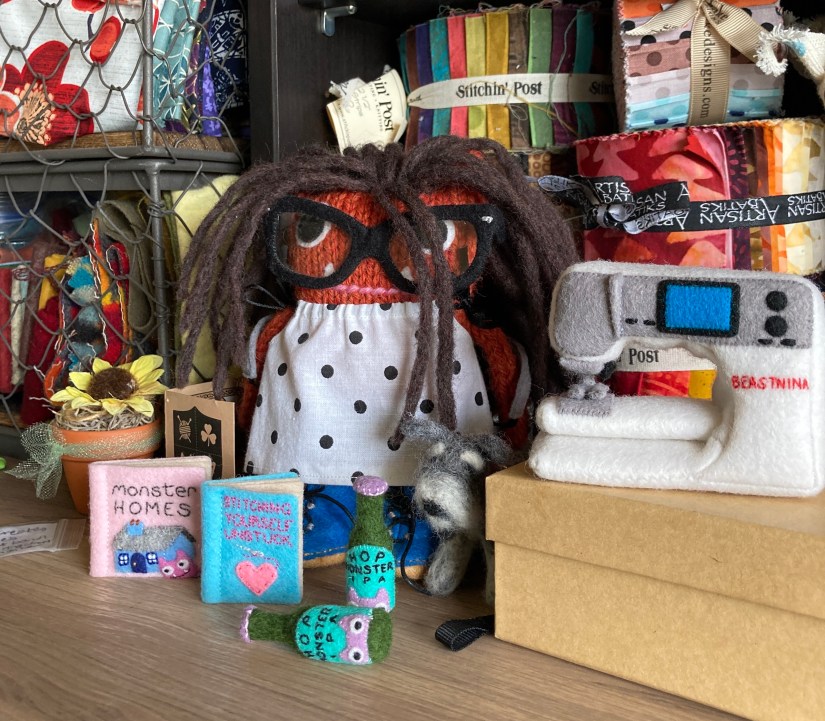 And because I know you can never tire of photos of me (and all my utter adorableness), here is a photo of me sporting my new backpack as I wait to get into Tierney’s car for our latest trip to the public library (one of our favorite places):
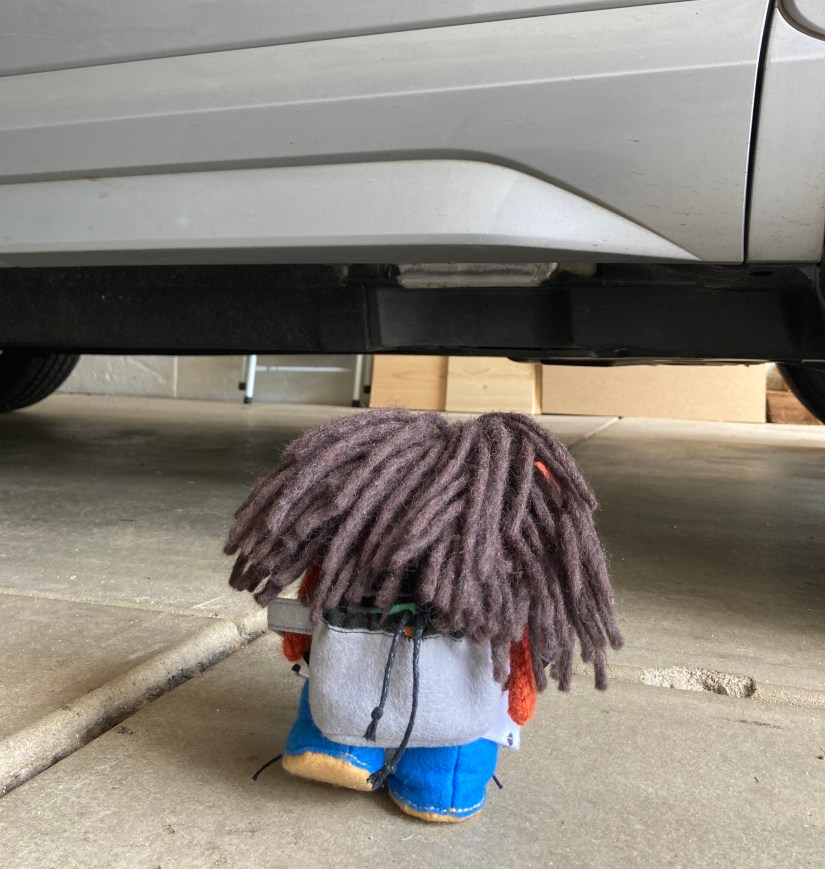 Inside the backpack I keep two important items: 1) my laptop; and 2) my Beastie library card!
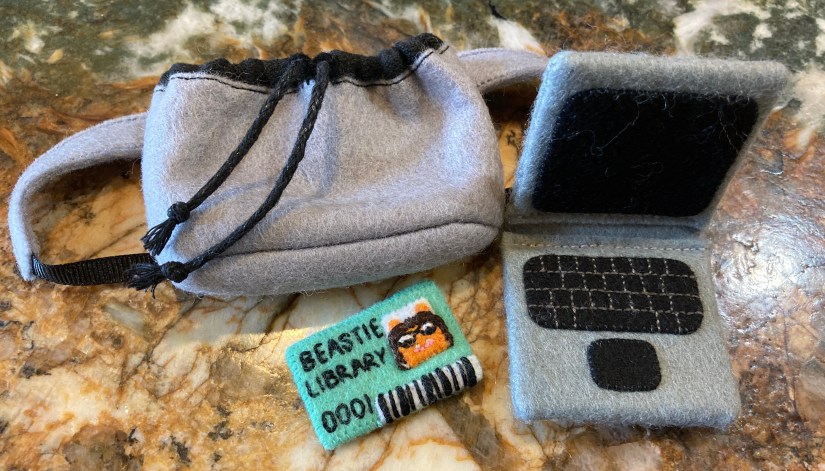 I guess we could take a break talking about me and get to the story that connects to the title of this post: Mail Order Groom
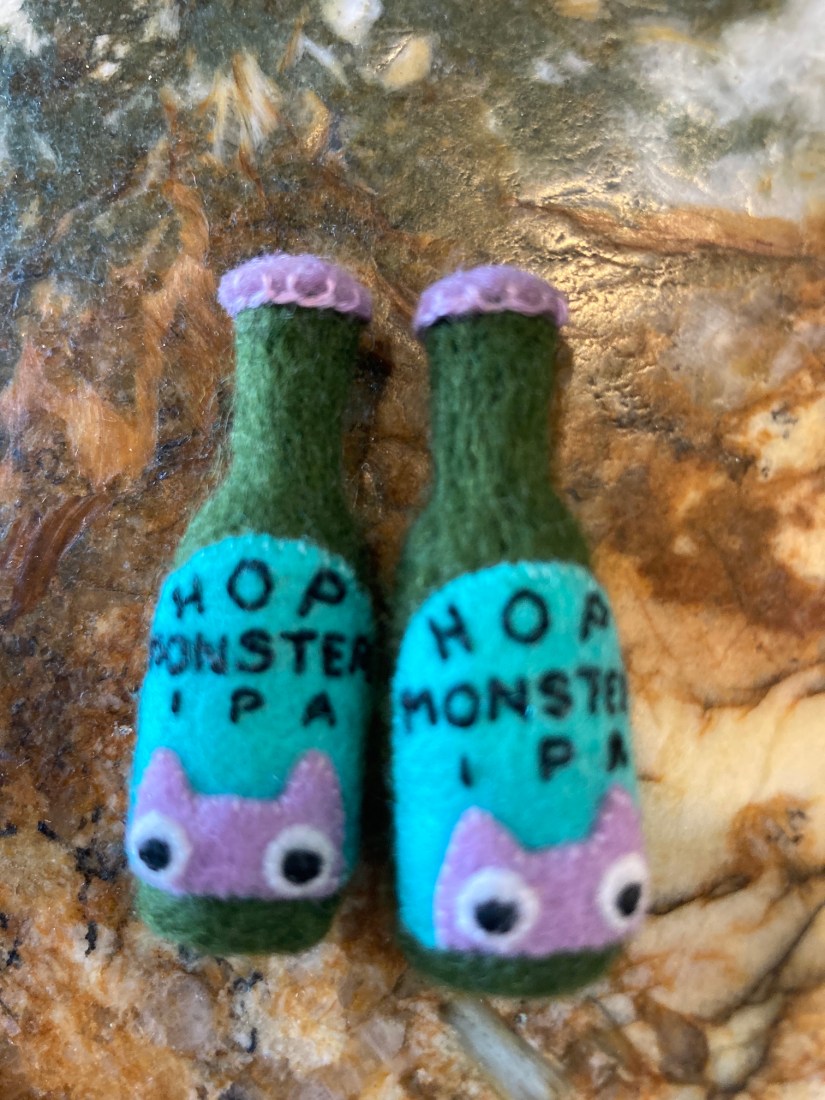
 As I like to have as much the same as Tierney, I asked that John Beastie be a chef like human John (that is why he has on an apron just like the one John wears), and that he enjoys playing poker with his friends as one of his hobbies just like human John. So John Beastie came with a winning poker hand and chips (and his trusty cell phone). Additionally human John enjoys Bourbon and Whiskey tasting and loves to make homemade pasta so included with John Beastie is a bottle of Monsters Mark!
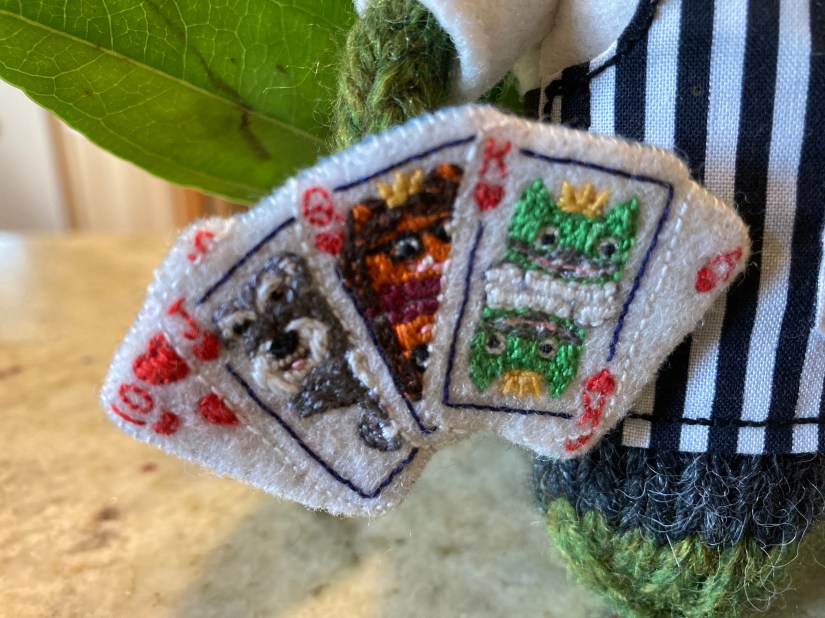
 Tierney does not always take the best photos (and my paws are too small to handle taking photos with her smartphone so I have to leave it up to her) but what you cannot tell in the first photos of John Beastie, is he has a Colorado Avalanche Hockey team Bigfoot logo cap on his head:
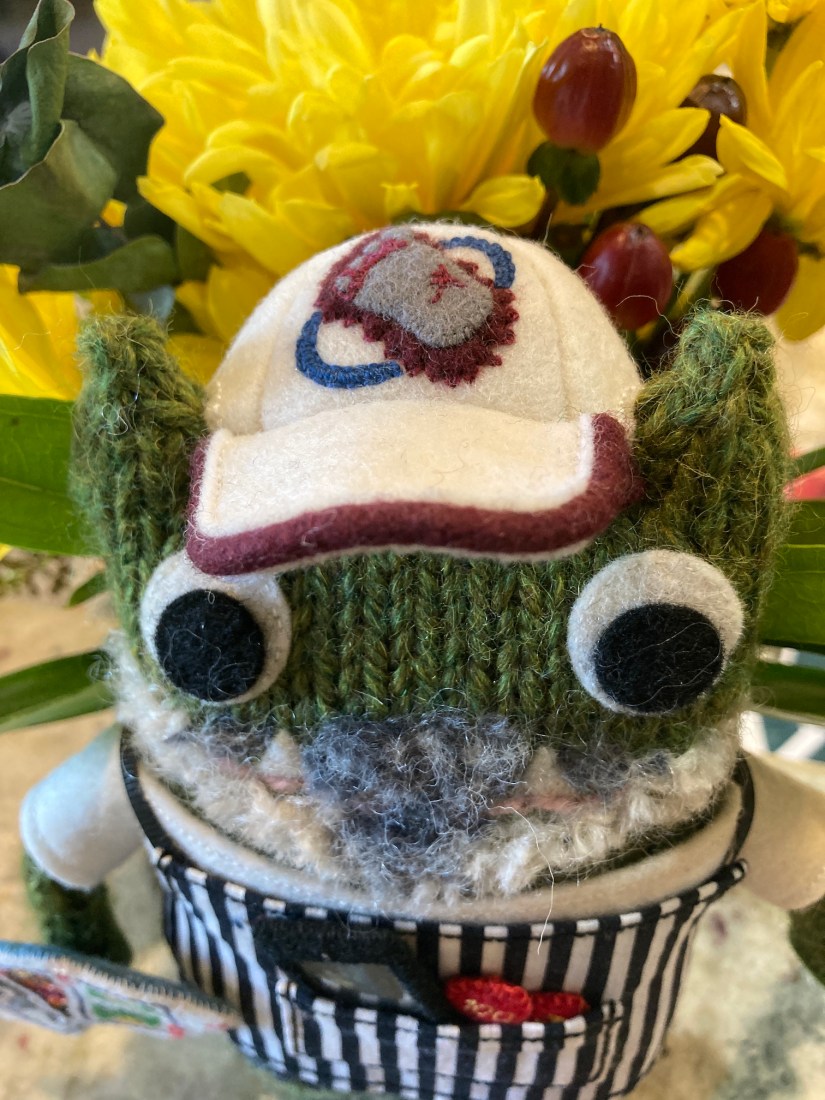 This is human John’s favorite cap (he wears a lot of caps as his hair is missing, not sure where he left it…) and is a classic team logo cap/hat that is no longer sold by Colorado’s hockey team.
 My dog Mikelet (named after Tierney’s Miniature Schnauzer, Mike) took immediately to John Beastie just like real Mike is totally in love with human John.
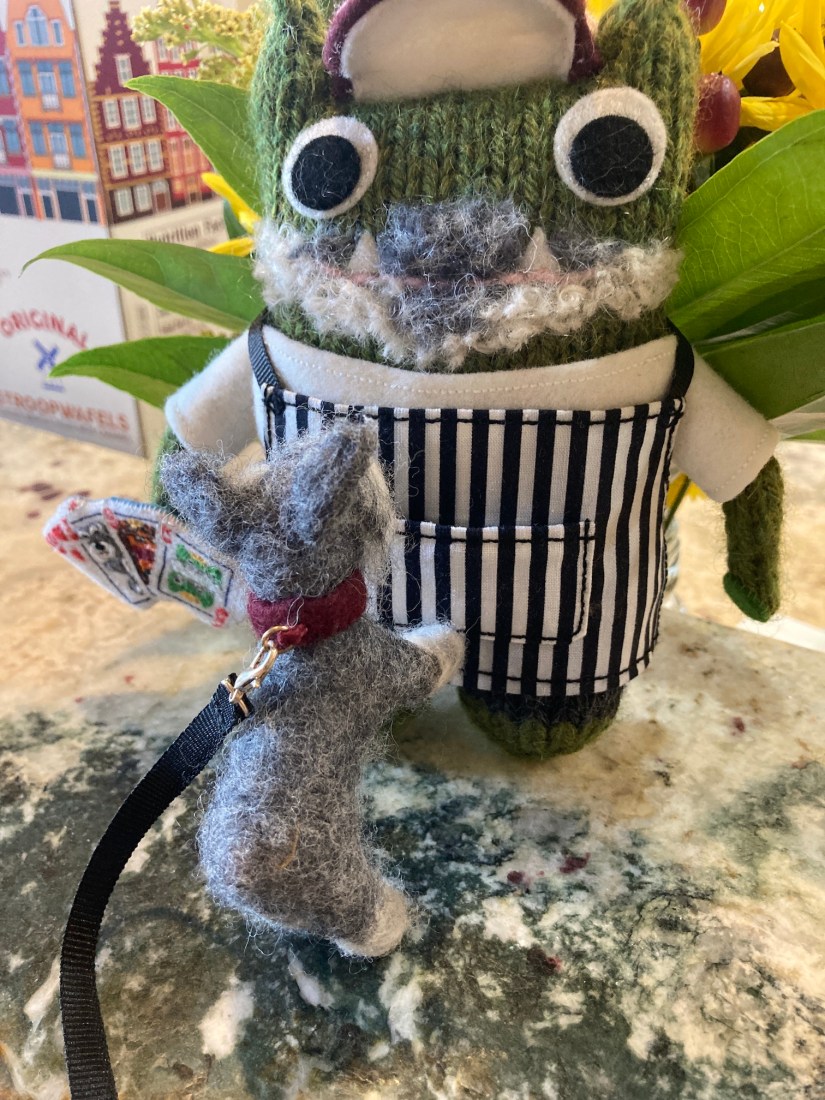 Before I knew it, without asking, John Beastie was taking Mikelet for walks!
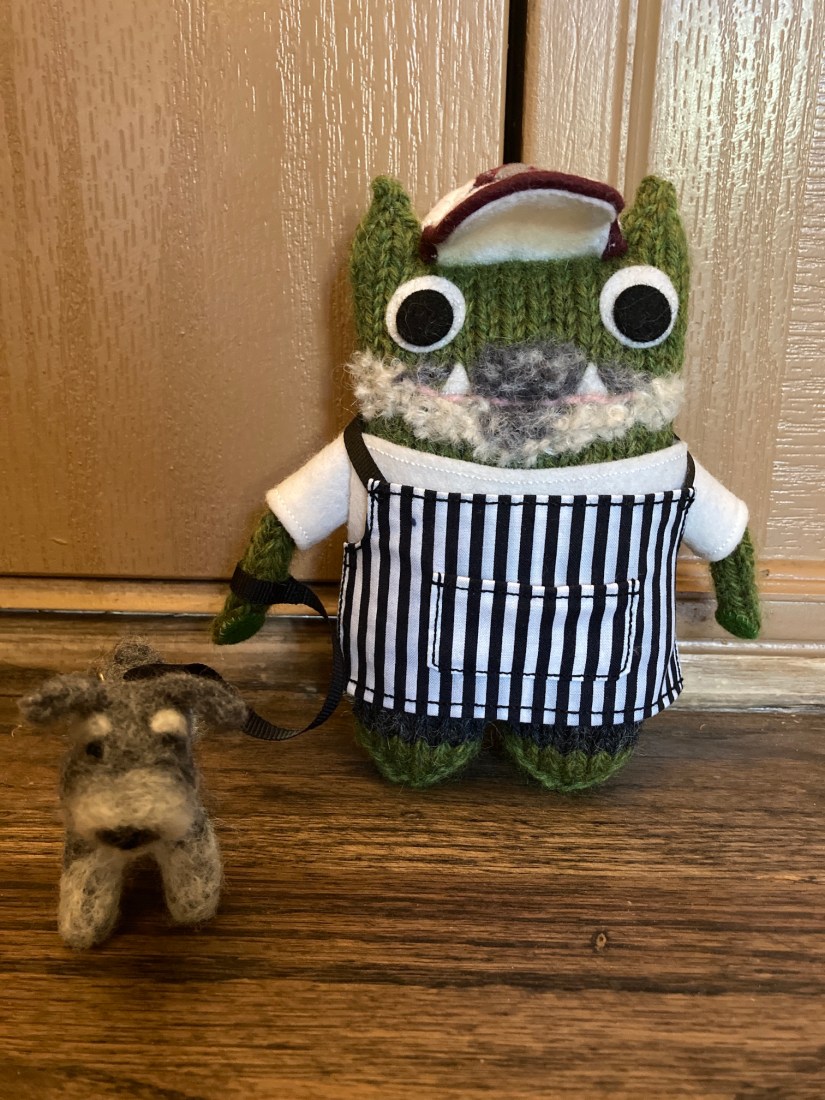
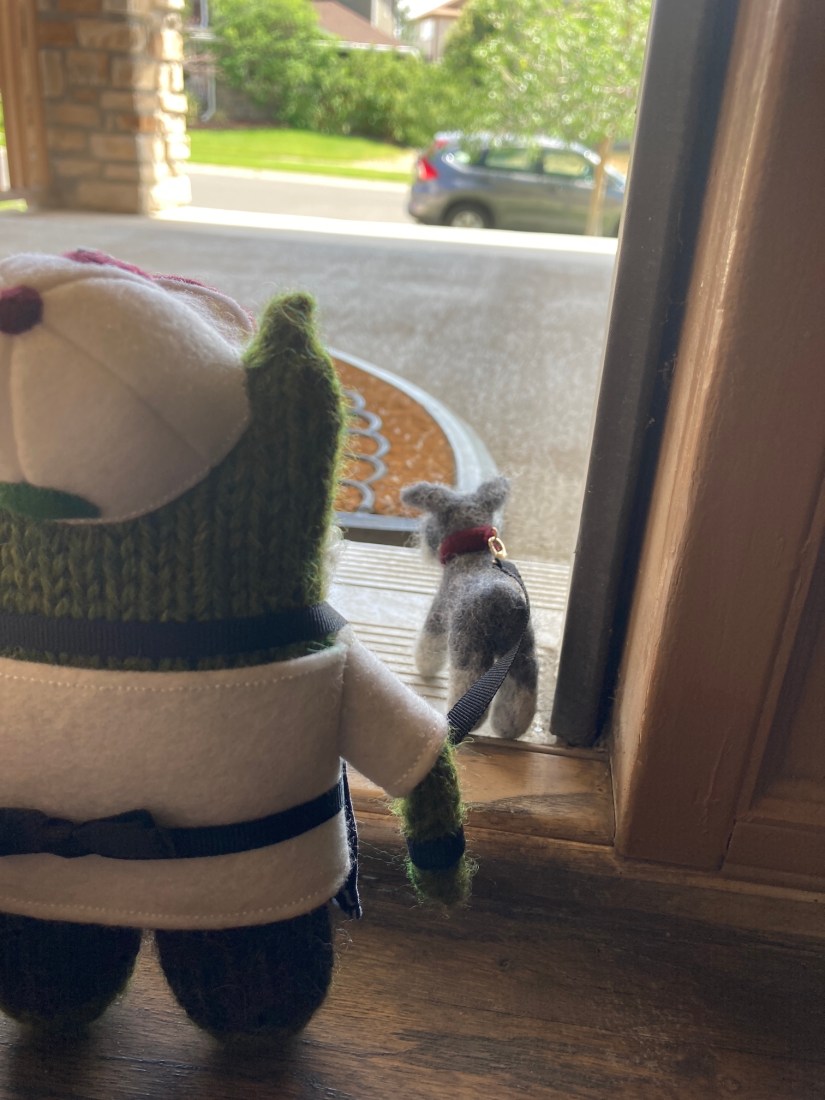 I am not sure why John Beastie is wearing his apron for walking Mikelet but he seems to like to always be ready to start cooking!
 Here we are – a happy family of Beasties!
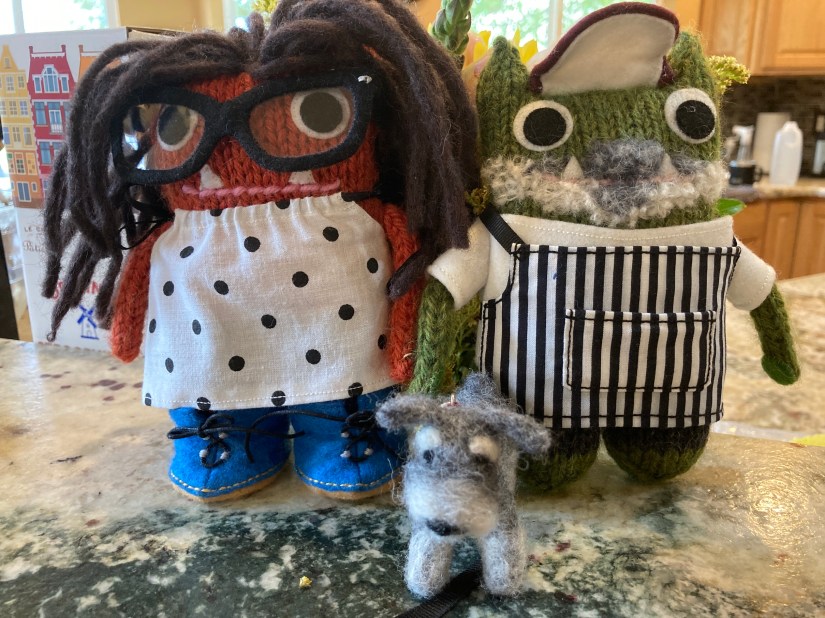 Oh and if you’d like to see actual decent high quality photos of John Beastie, etc., check out our maker’s recent blog posts:
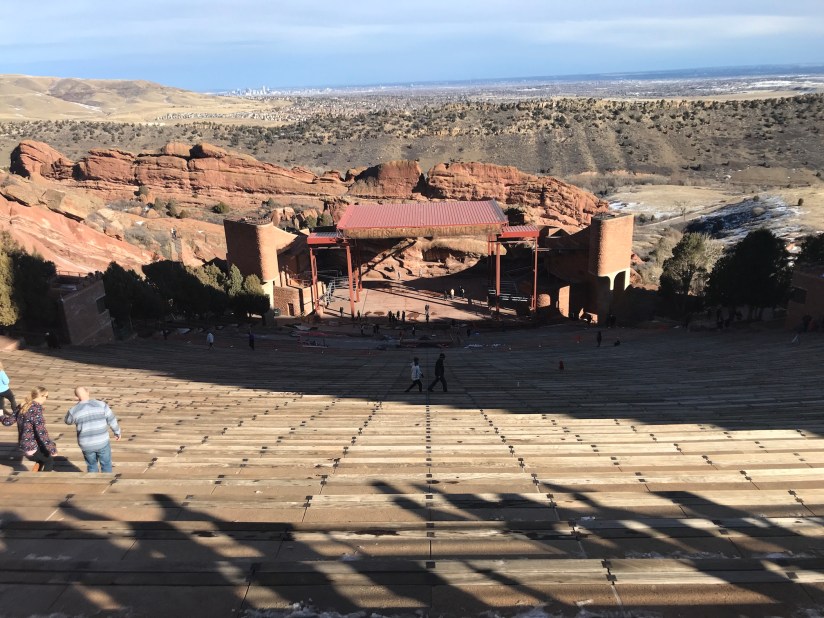


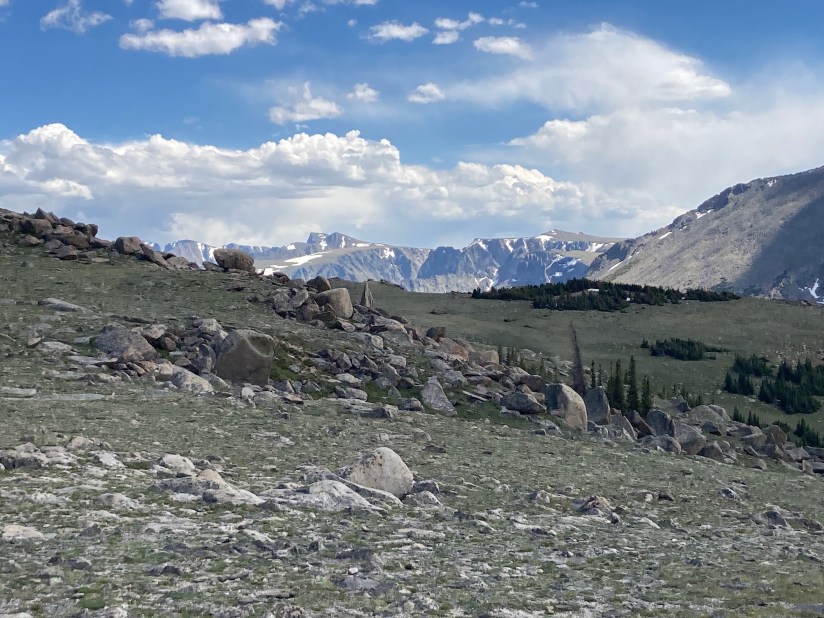
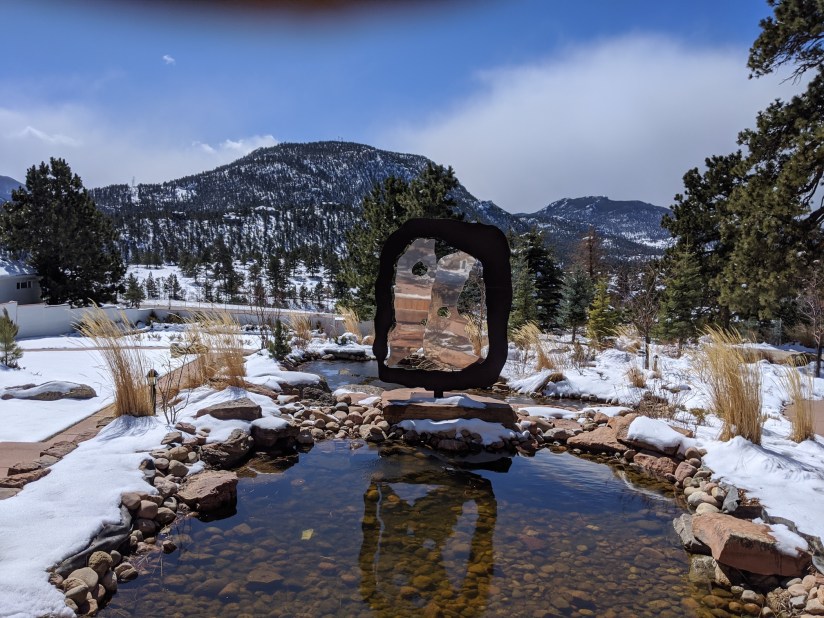
 Near the top of the drive from the car’s altimeter:
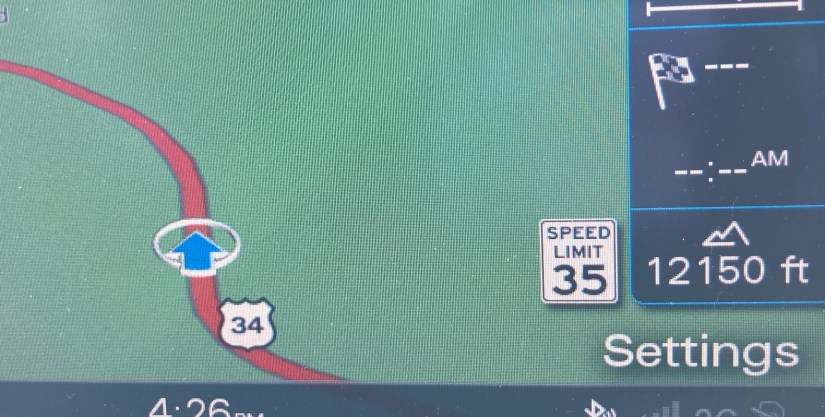 I did get a little lightheaded when we were hiking near other people at 12,000 feet and I was wearing a cloth mask I made. We let the crowds get ahead of us so we could take a break from our masks and just use social distancing (we stayed at least 50 feet behind another hiking group).
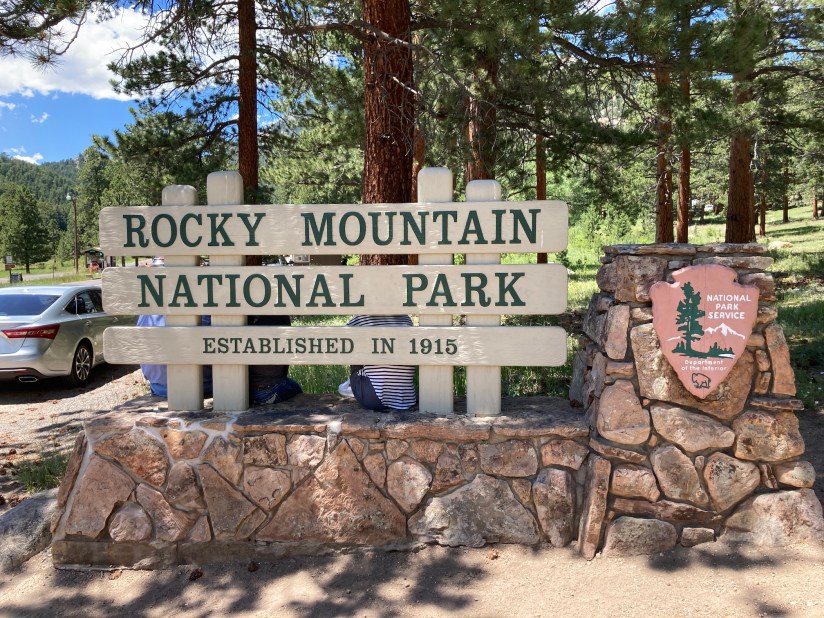


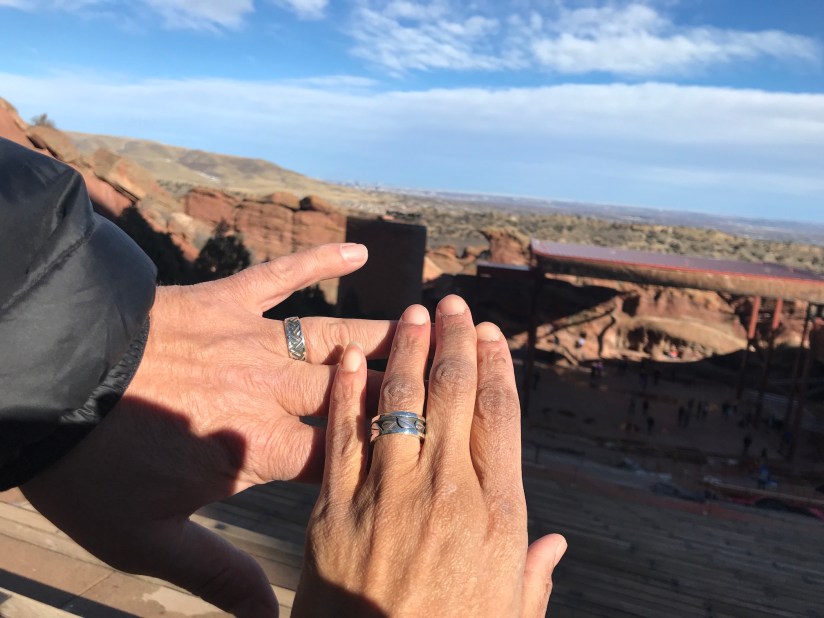
 And of course while taking my standard zillion photographs, once again I attempted to channel my inner

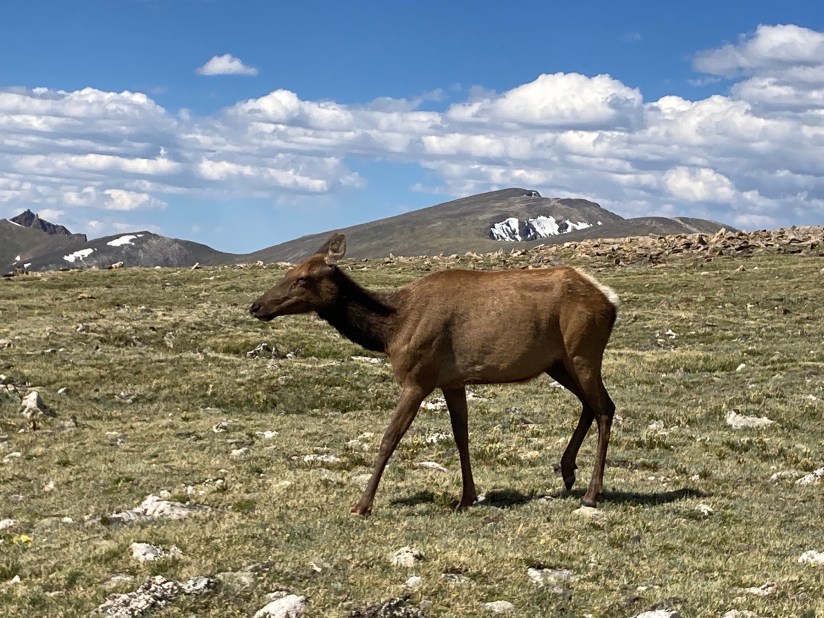
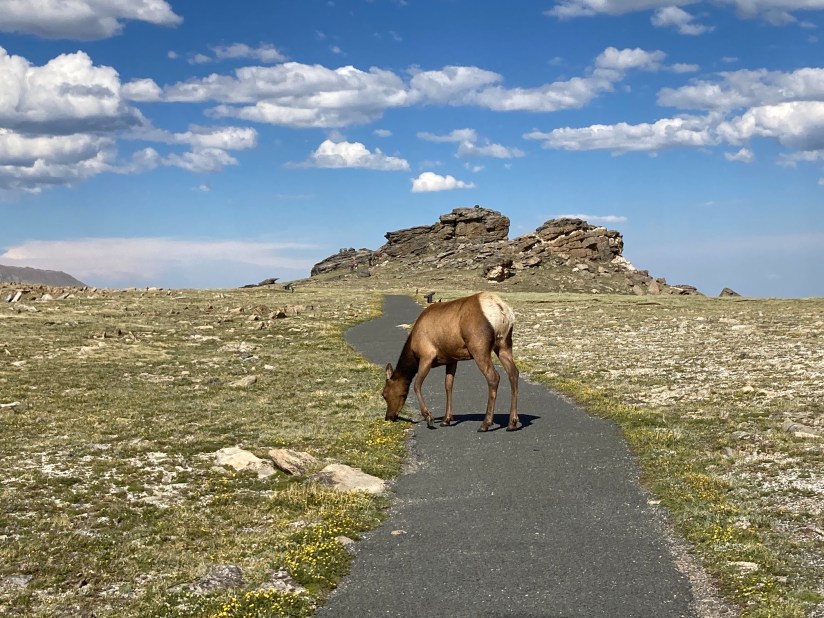
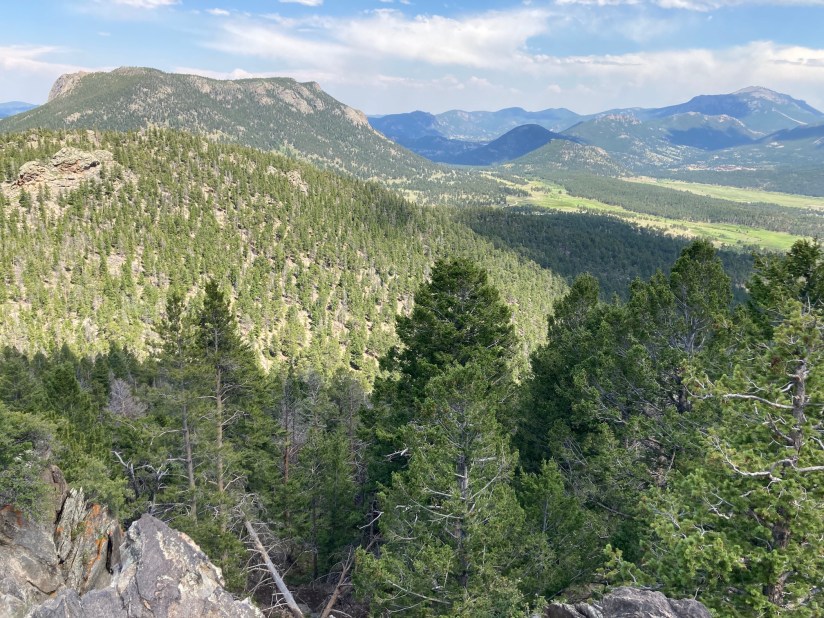
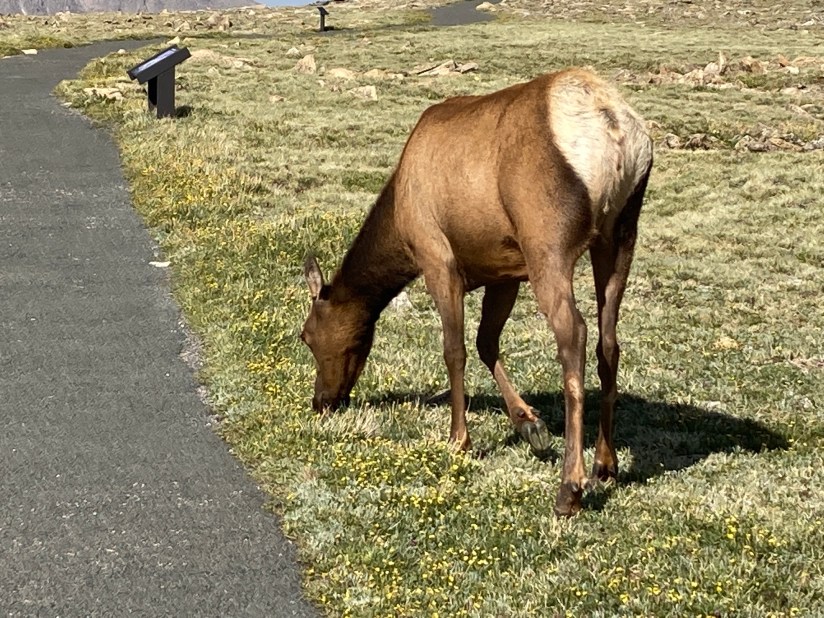 It must have hiked with us for about a mile to a rock formation at the end of the trail. When we stopped, it stopped and waited for us.
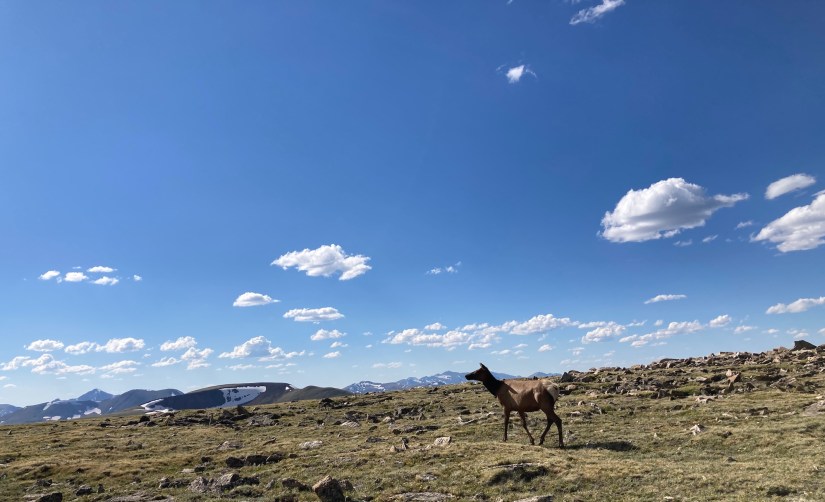 The whole experience with the young elk felt sort of magical and mystical to us. Not to get all “woo-woo” on you but my partner and I both lost our life partners of many years (I am a widow, he is a widower) about 3 months apart. It sort of felt like the spirit of a love one was visiting upon the elk to walk with us.

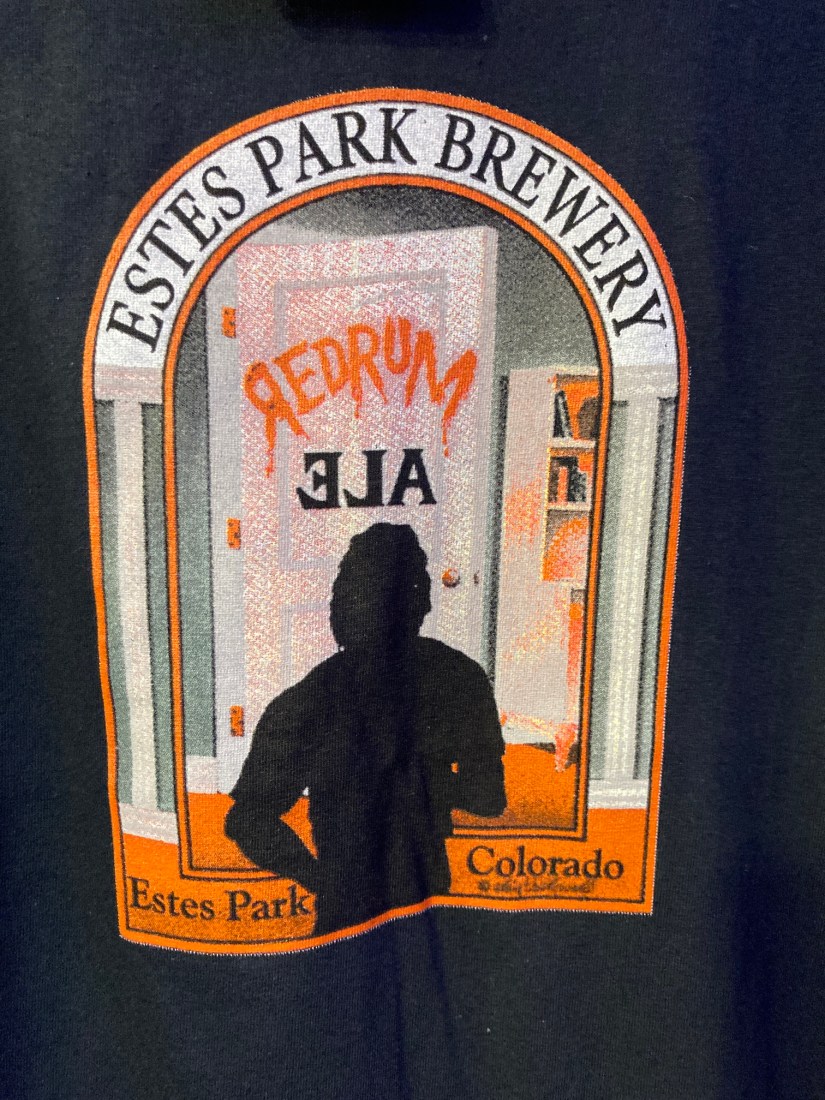 If you’ve ever seen the movie
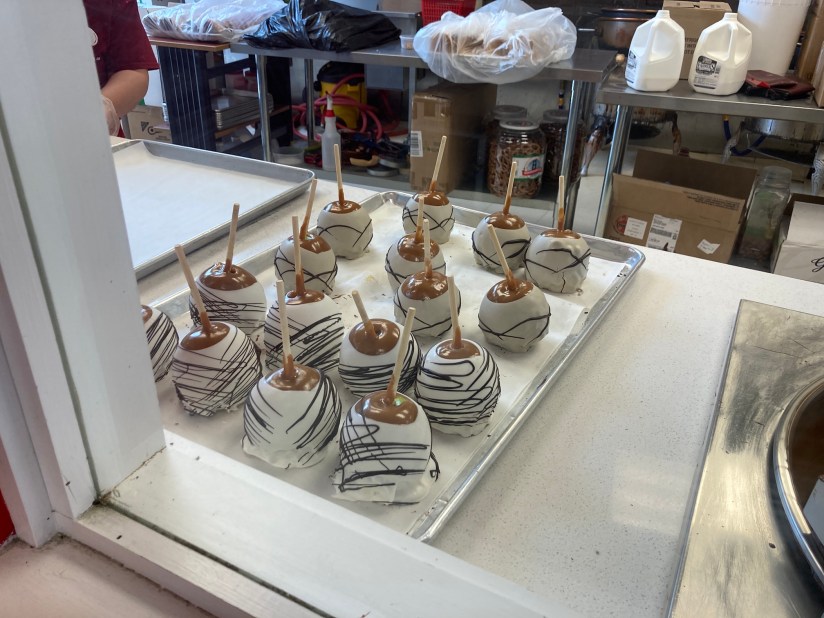
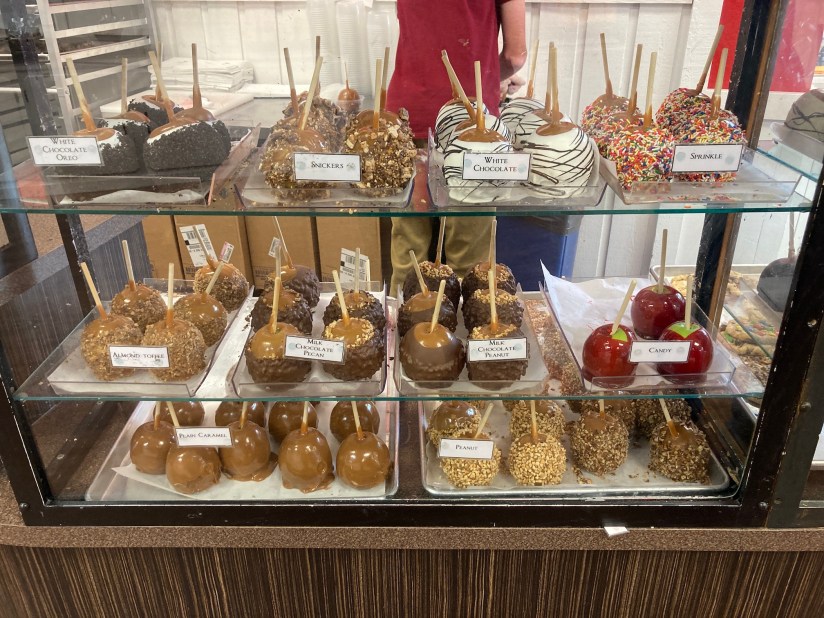 I am proud to say we left with only one caramel apple in hand (and it was incredibly delicious and we wished we’d bought two!)
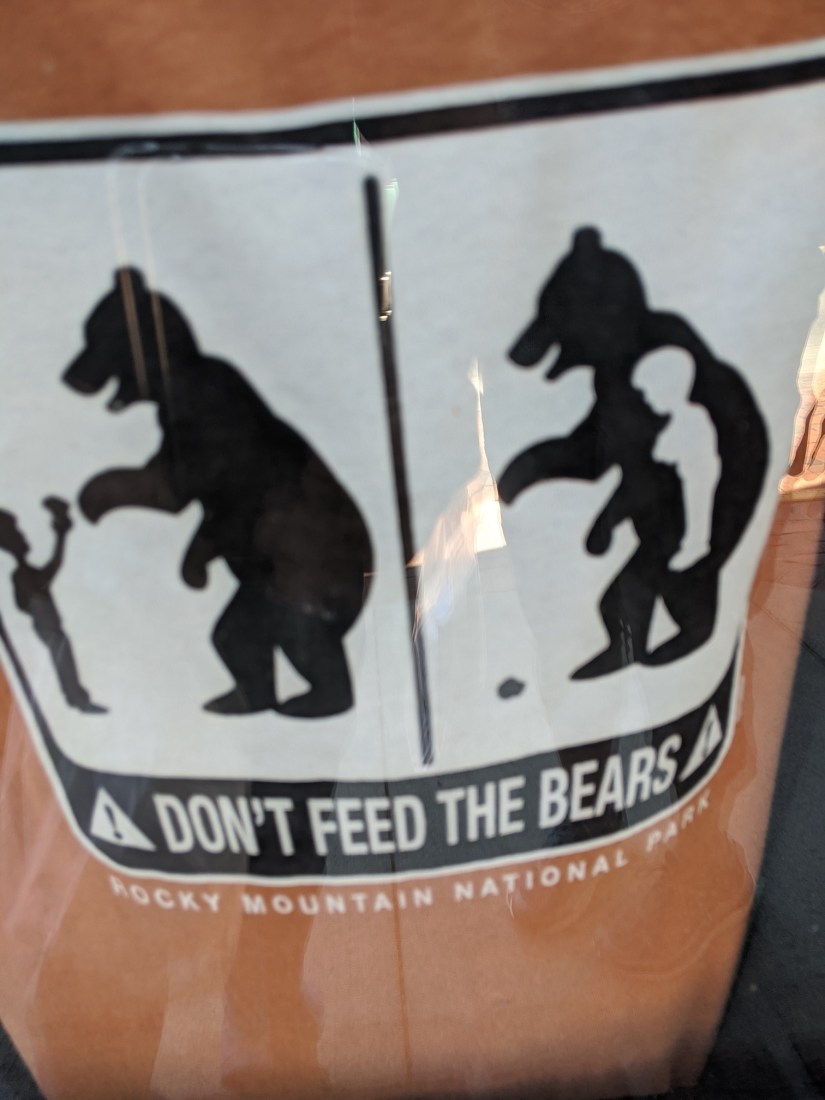 In case the image above is too unclear – first the child is attempting to feed the bear and then the child is inside the bear!
 Thanks for making it through all these photos!

 Oh and in case you are wondering (and you remember the movie), no they do not have a labyrinth like the famous one in the film.


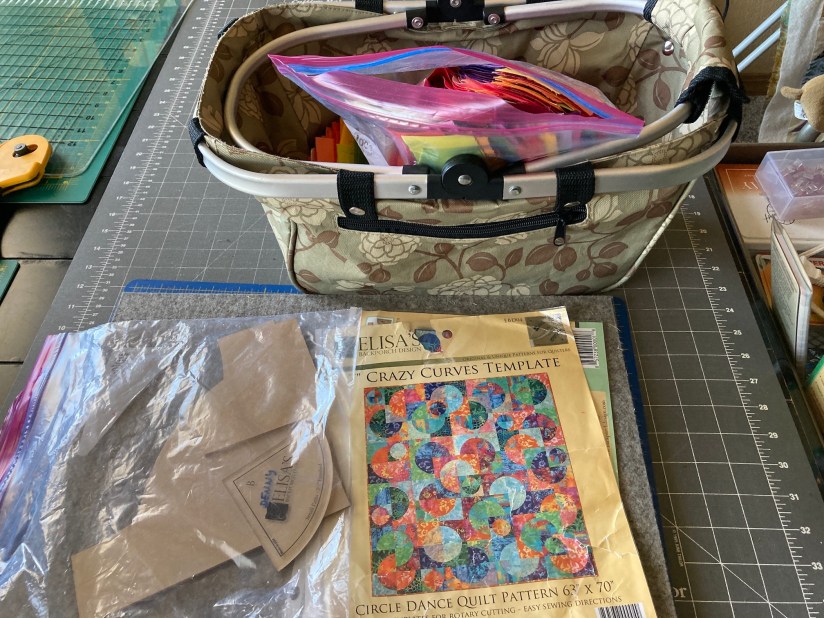
 As you can see above, Dana had already made 20 or so of the 7″ template quarter circle blocks.
 I decided not to make any of the 3.5″ quarter circle blocks but instead to start assembling the 7″ circle blocks Dana already cut and to arrange them like the pattern that came with the 3.5″ template.
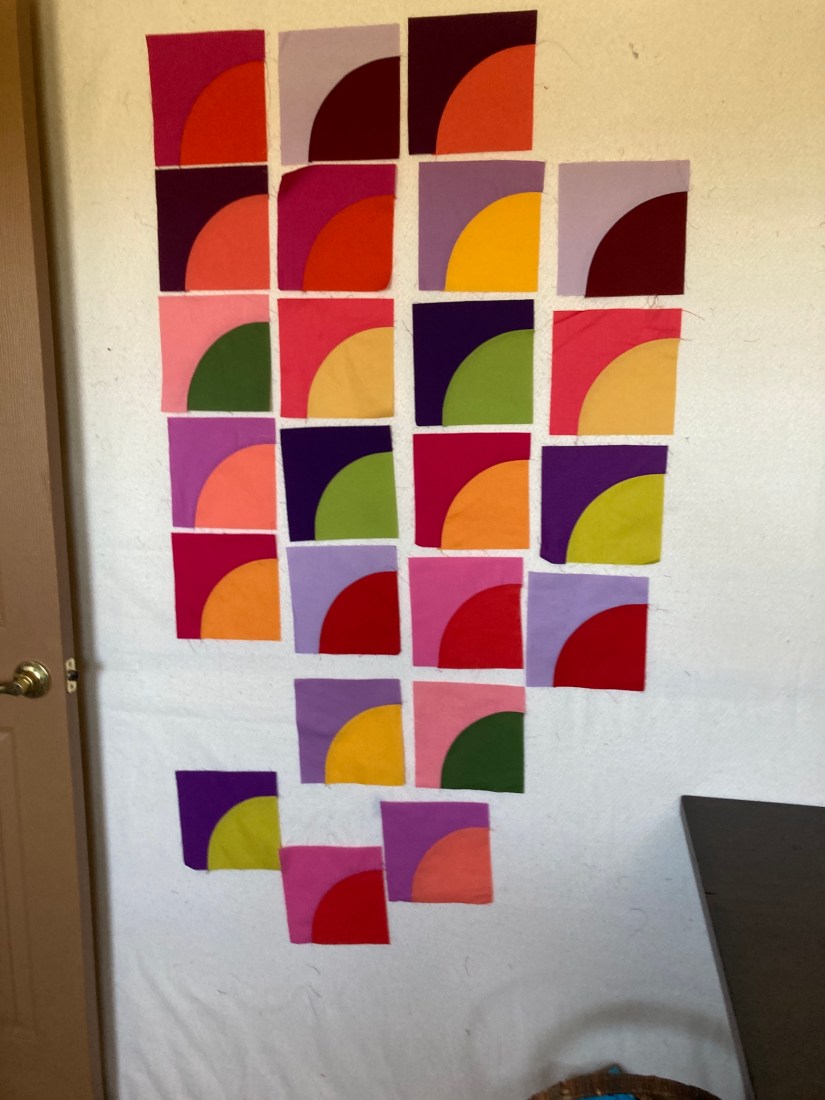
 Here is where I am with the piece to date:
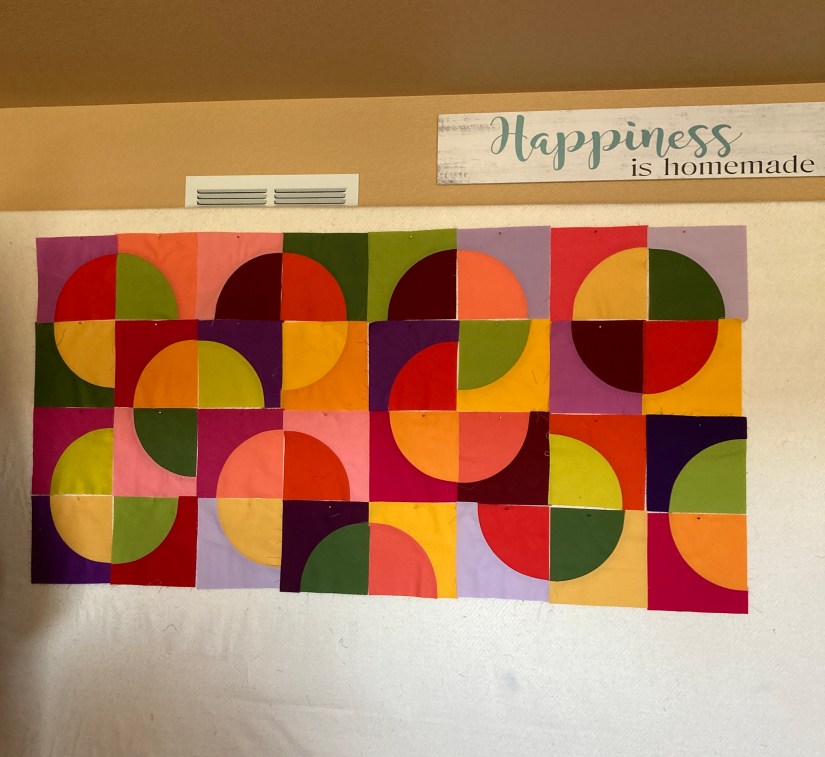 I’ve decided to name the piece “Pride” because it is bold and colorful and not afraid to be what it wants to be!
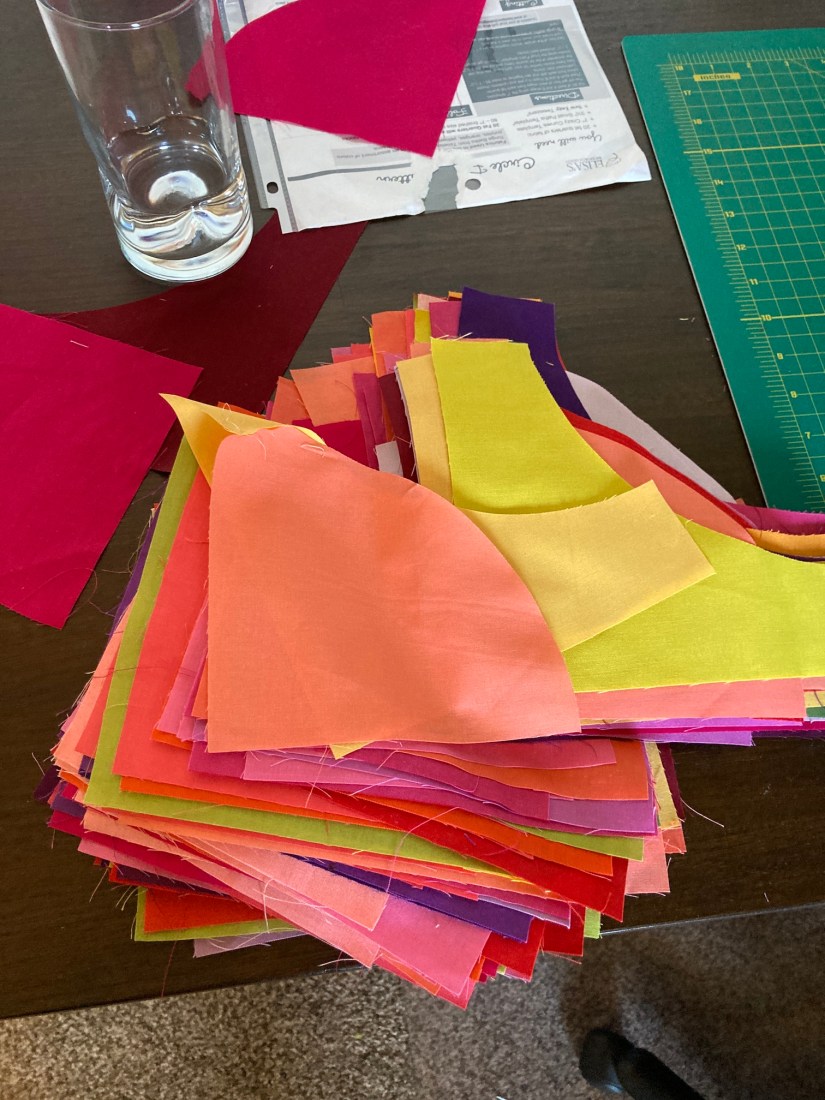 You might not see an update on this quilt for a while because I had to take it off the design wall to work on another piece for a show I’ve been invited to (the curator will still have to make the final decision whether I get into the show after they see my piece) participate. I won’t be sharing images of that piece for the show until it is complete and I find out if I got into the show!
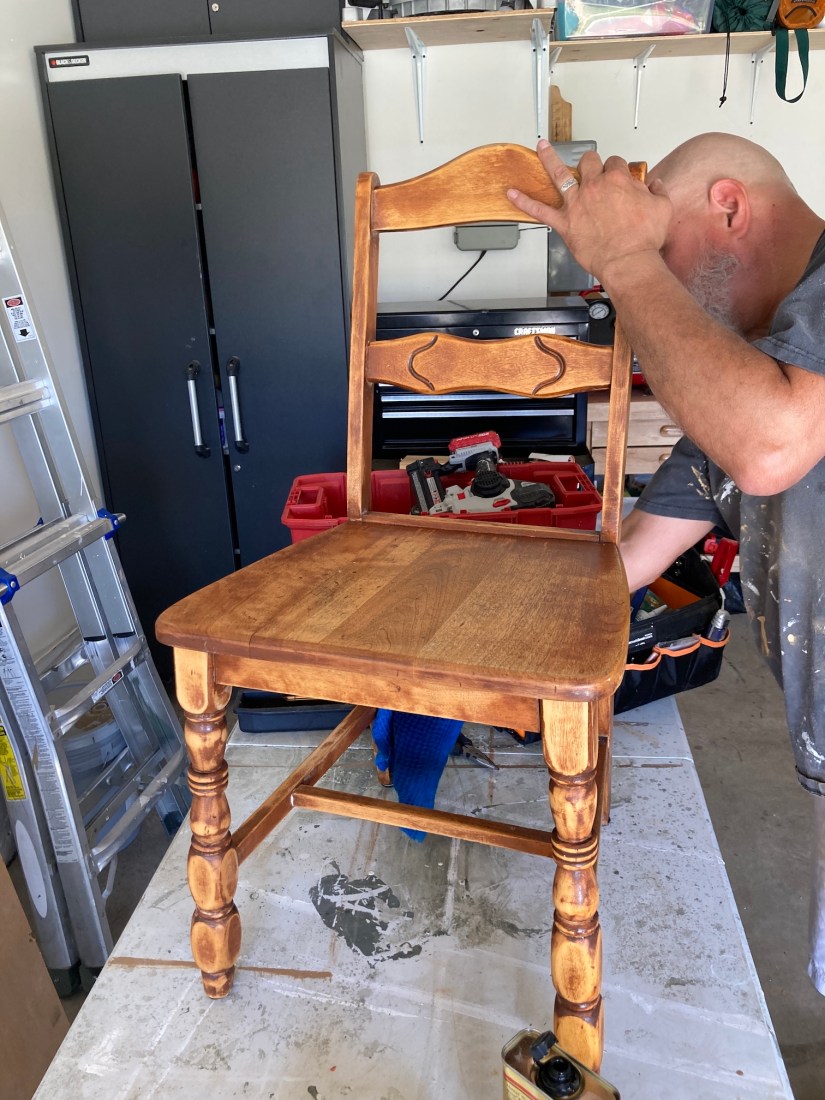
 We made the chair into a bedside table in our upstairs guest room (which is also my home office) by clipping on a lamp. I got this idea from one of the many home decorating books I’ve borrowed recently from the library (see post
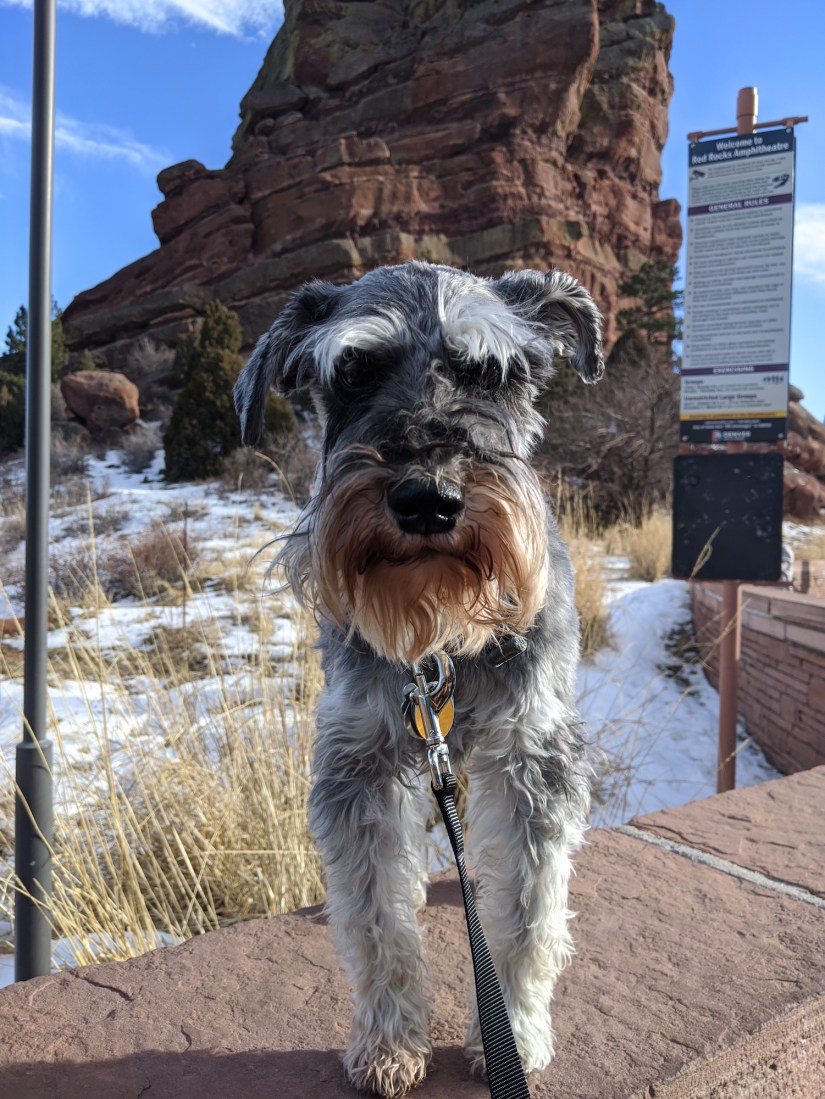
 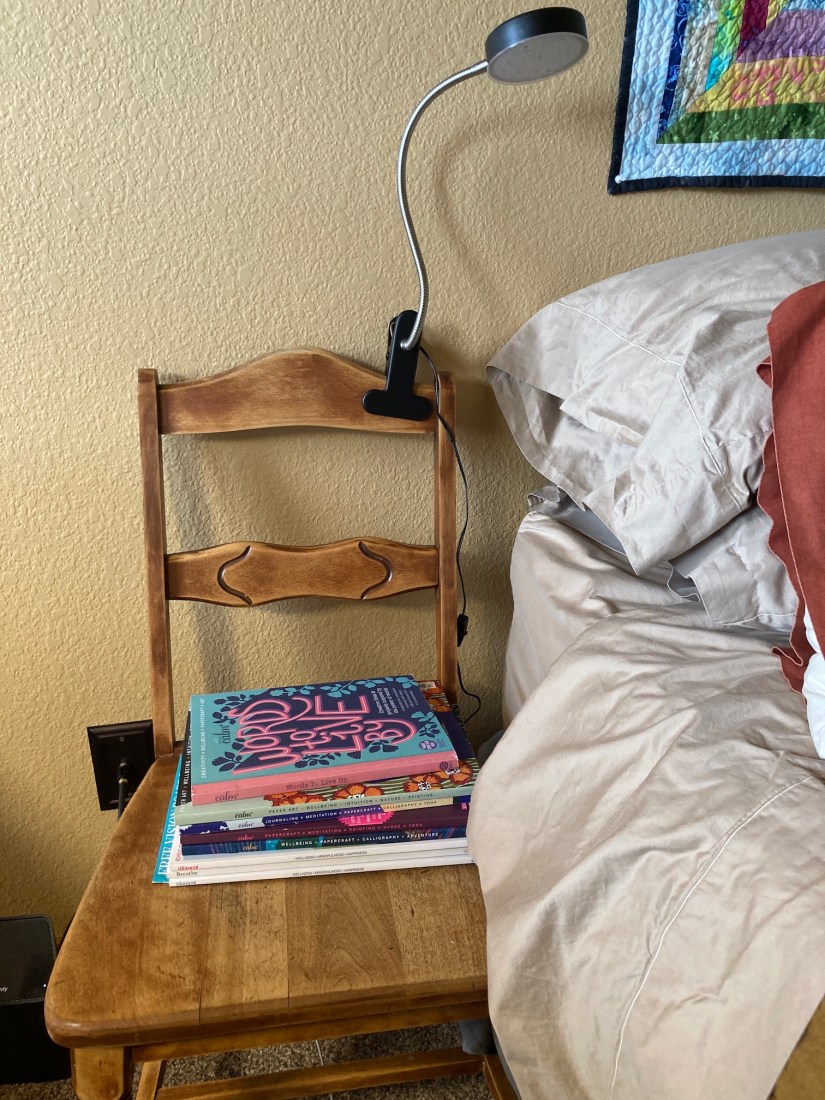 And an update to the recent “library stacks” I’ve borrowed: I am enjoying reading the books sitting on the front porch during our warm weather in the Denver metro area. Here is Mike the Miniature Schnauzer attempting to distract me from my reading:
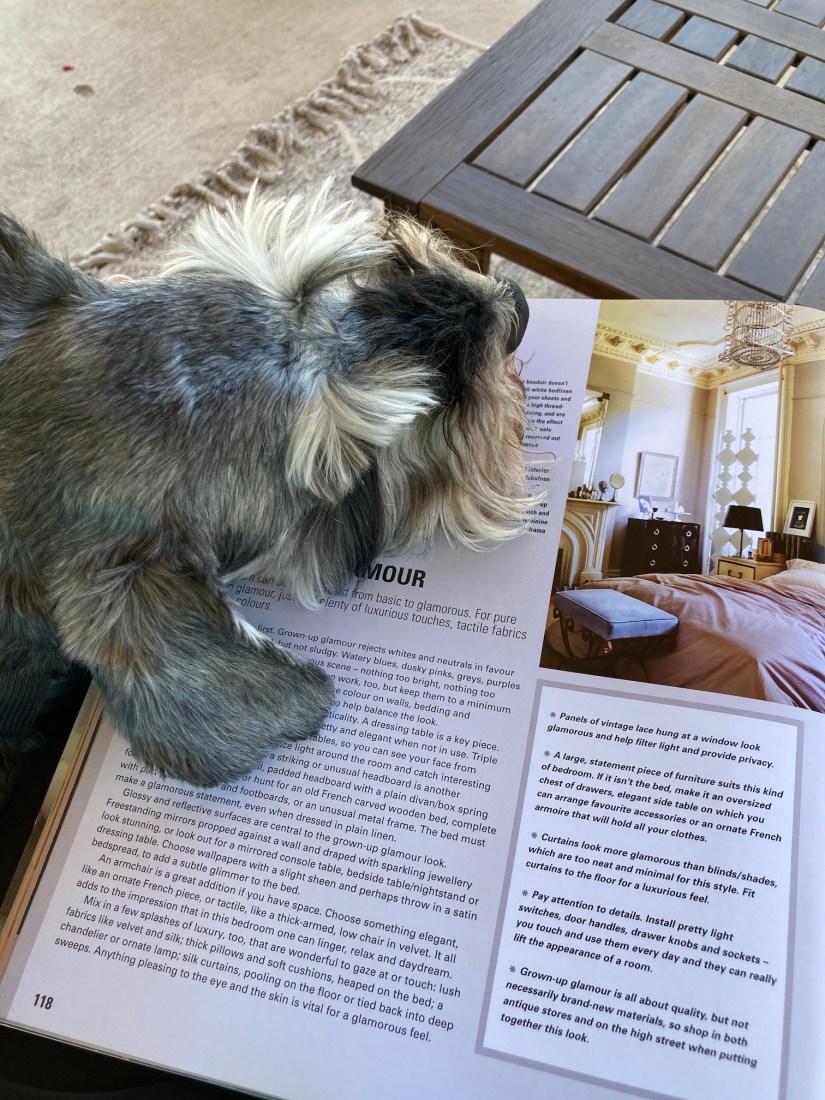

 After chatting with the library front desk staff and introducing them to the tierneycreates Beastie and showing them her library card* (see post
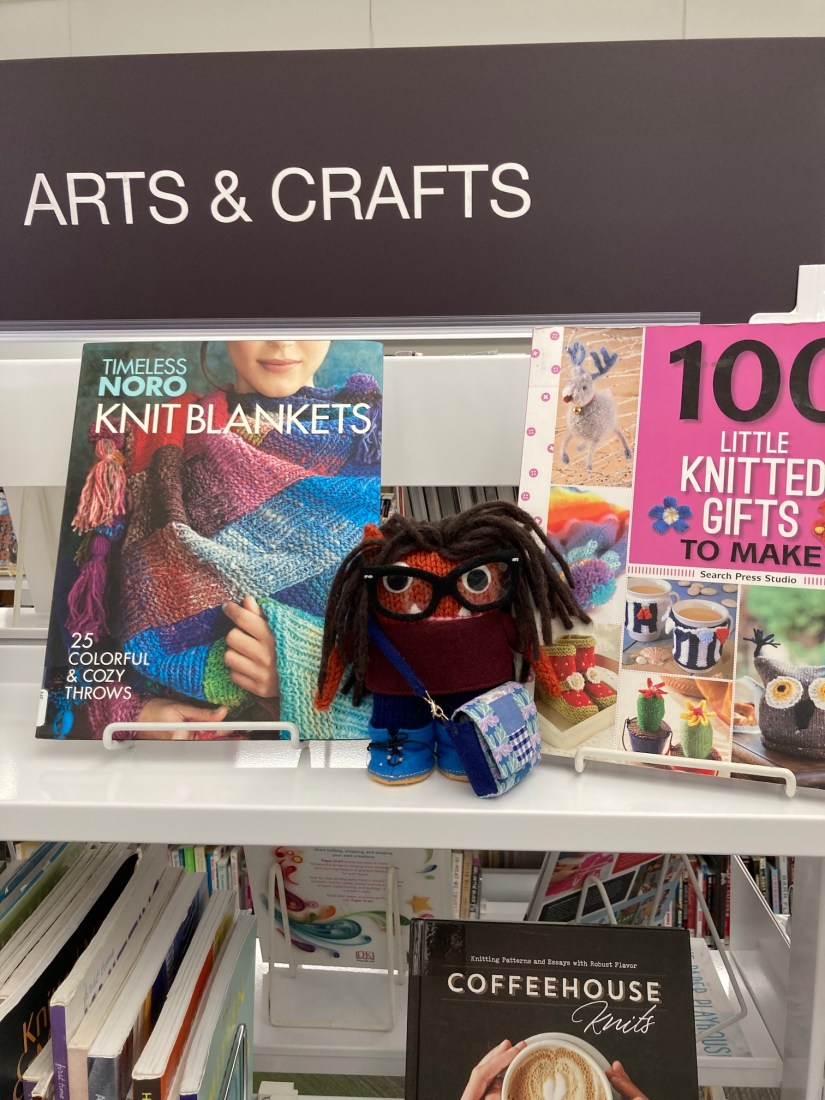
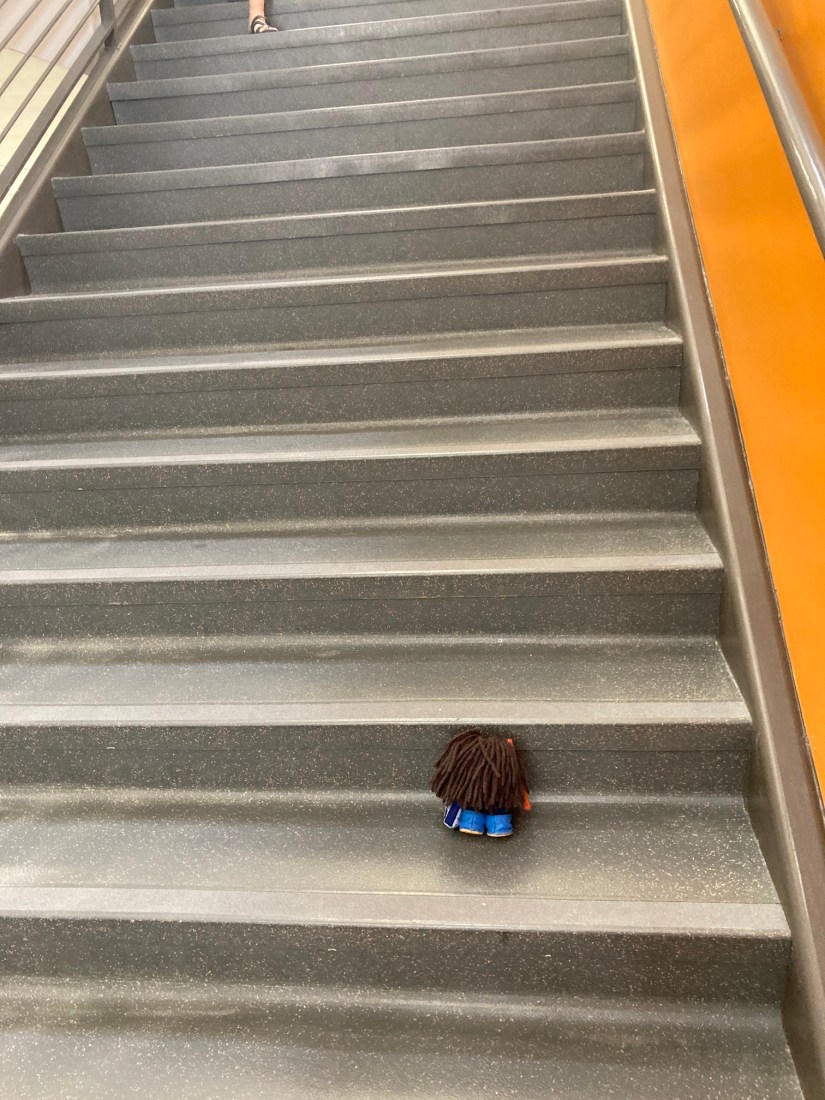 But she was not getting anywhere very fast so she agreed I could just carry her upstairs to the magical 700 section of the library.
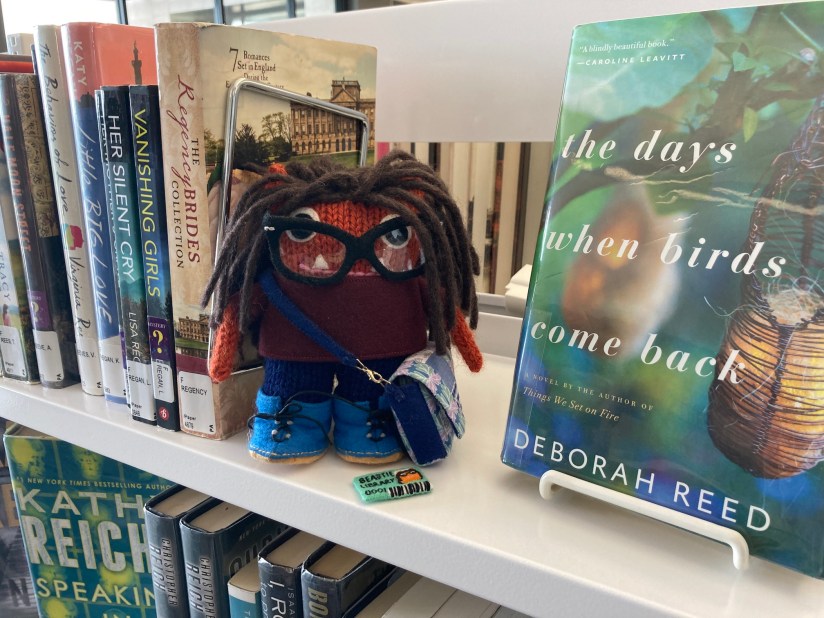

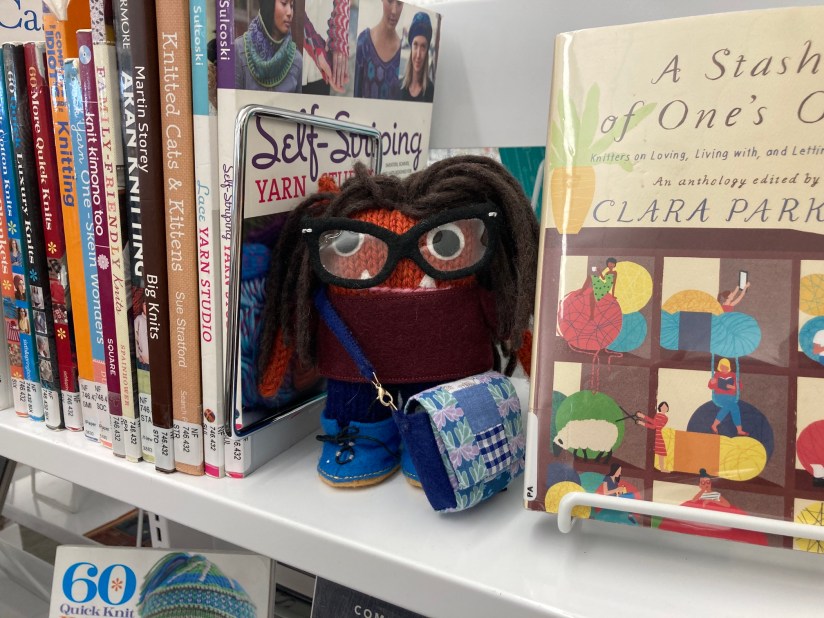
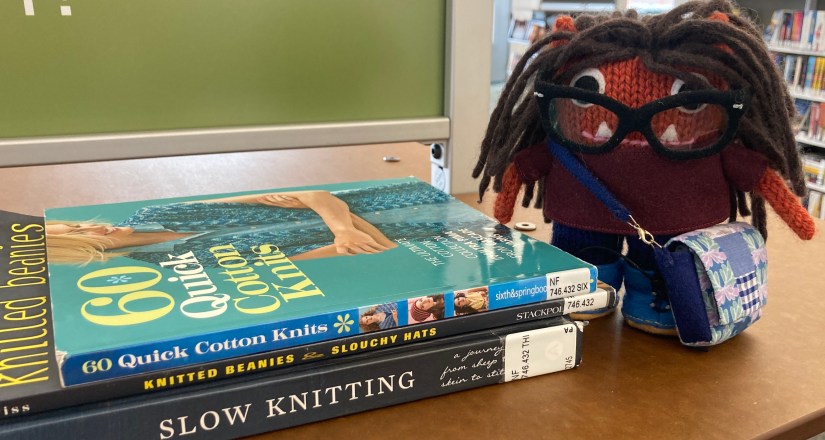
 Beasties are sort of vain and she kept asking me to take her photo among various stacks of craft books. Here is a photo she did not want you to see but I told her I was going to share it anyway so you can see sometimes even Beasties take bad photos:
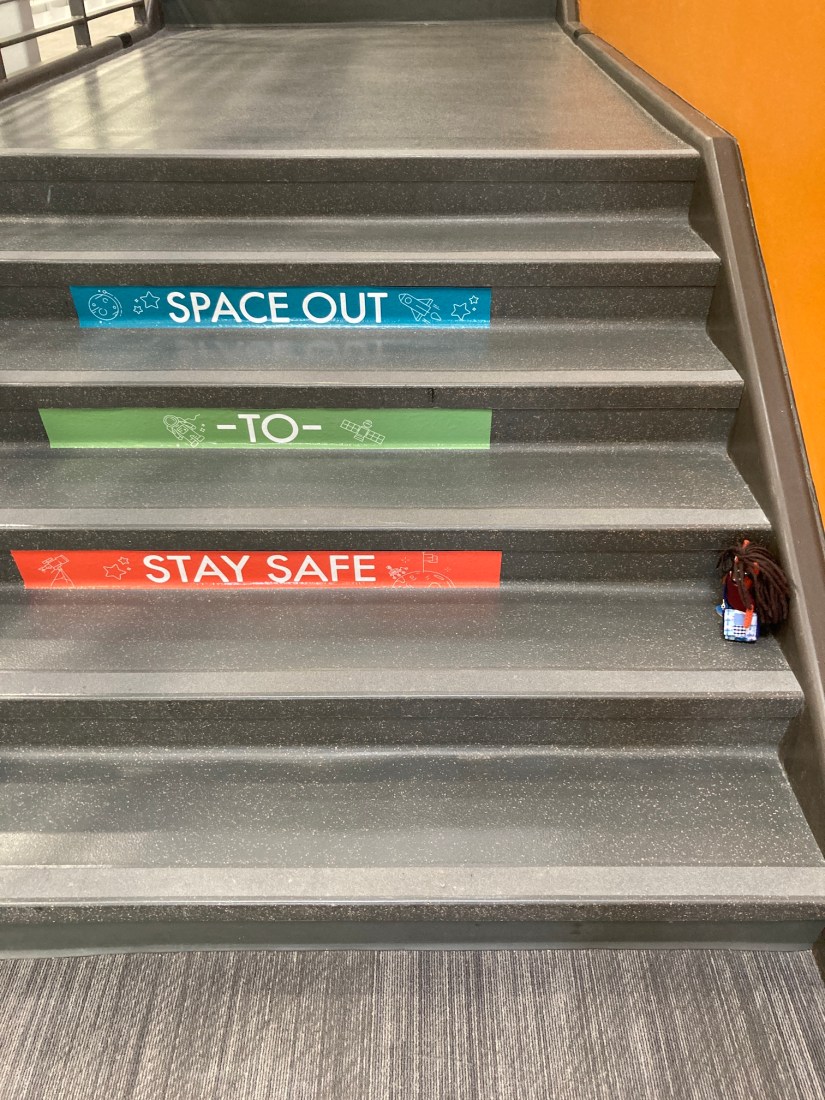
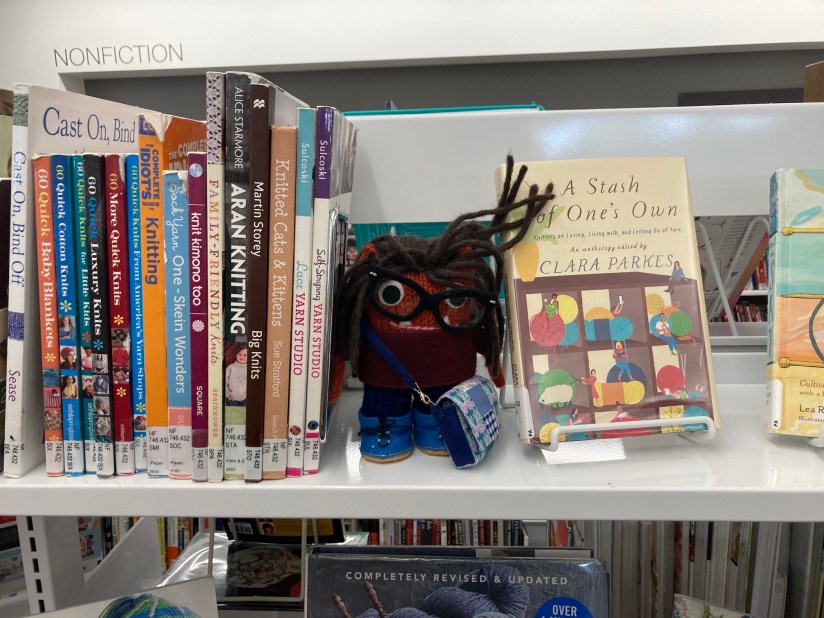 While I was browsing (note – this was the first time I’ve been inside this library as I joined this neighboring library system when they started curbside pick up a couple weeks ago since my local library is still completely closed) in section 700, I noticed this sign:
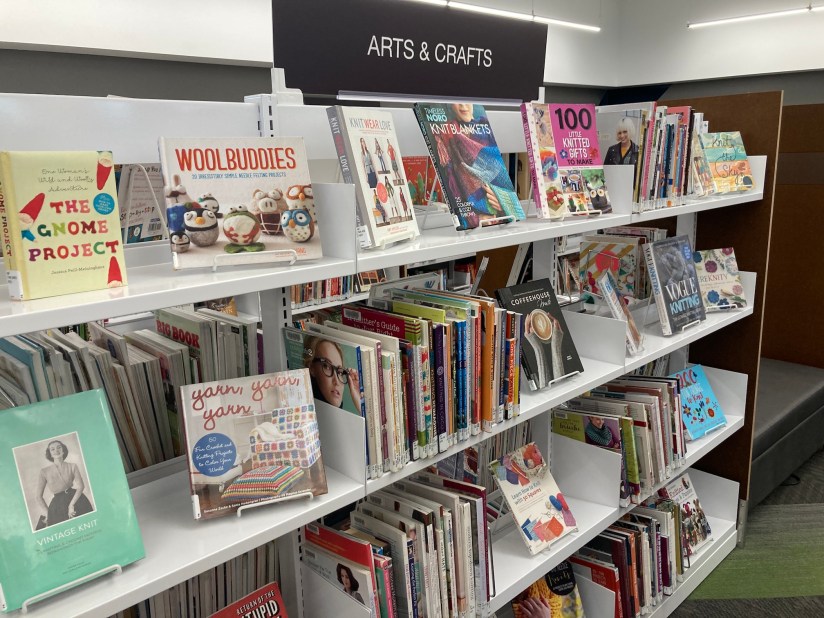
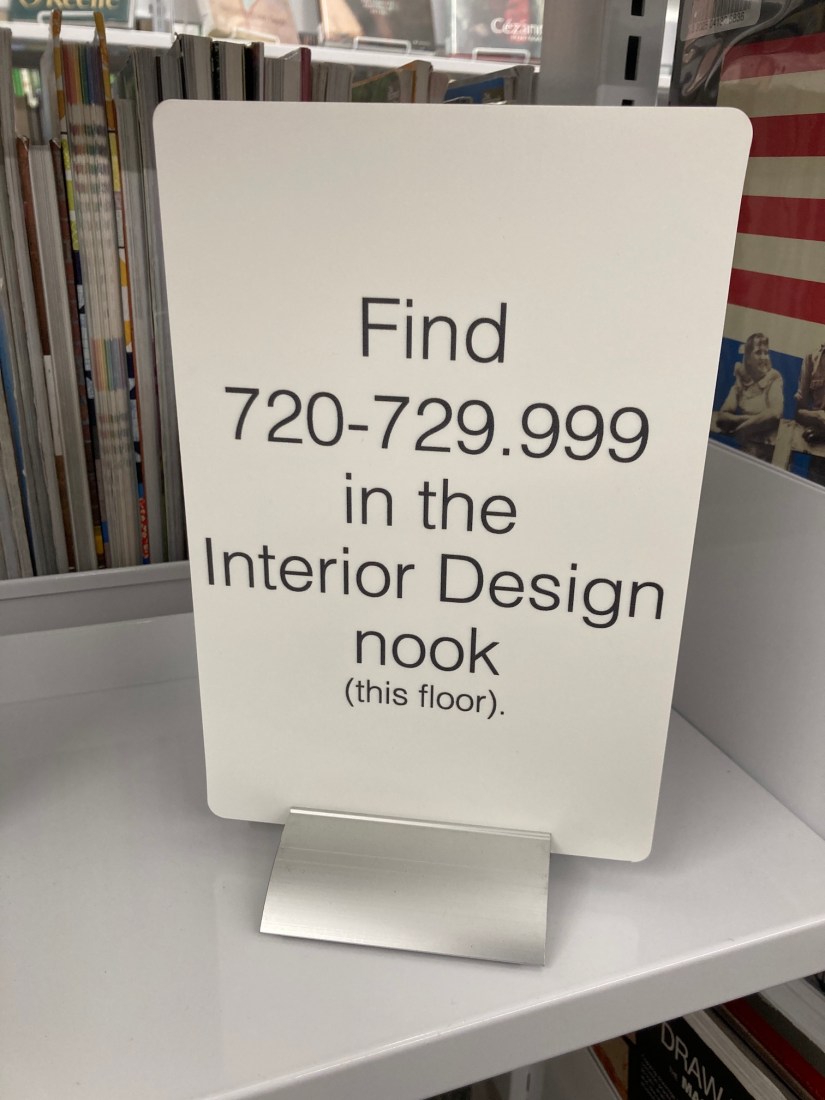 I was like “whaaaaaaaaaaaat?” I love Interior Decorating/Design books and this library has their own “Interior Design Nooks?!??! (insert sounds of more angels singing). So I wandered over there while the tierneycreates Beastie continued to browse through the knitting section.
 The nook is both sides of this freestanding section and a built in bookshelf!
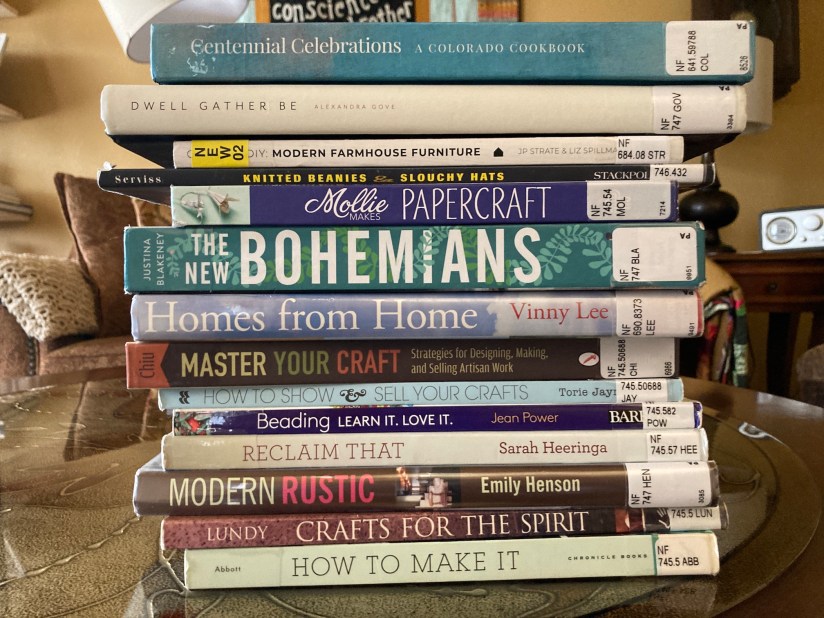 tierneycreates Beastie just mentioned to me that since I was “keeping it real” by showing a photo of her earlier in this post with disheveled hair, I need to show you all what the Library Stack really looks like when I first get it home before I put it in a nice order:
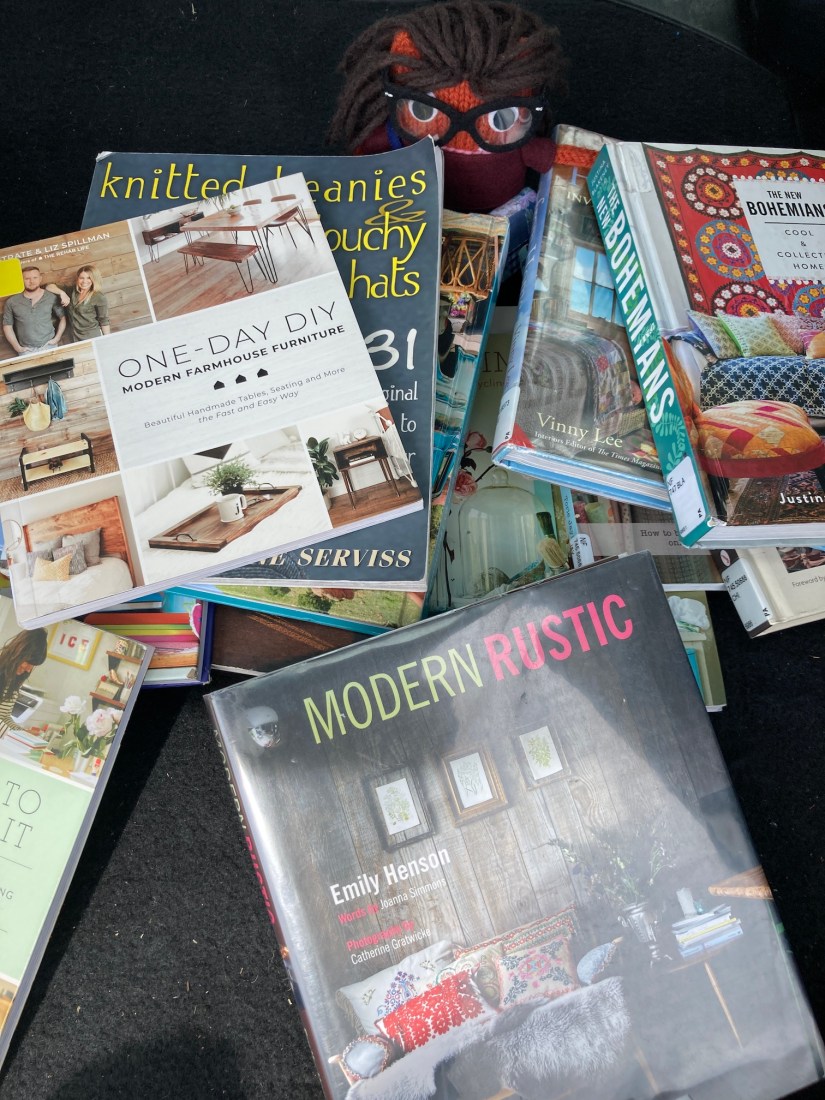 Beasties keep you honest!