Hello, it’s the 15th of the month and I’ve rejoined the monthly ScrapHappy posting group hosted by Kate of Tall Tales From Chiconia.
Here are links to the blogs of the ScrapHappy participants:
Kate, Eva, Sue, Lynda, Birthe, Turid, Tracy, Jan,
Moira, Sandra, Chris, Alys, Claire, Jean, Dawn, Gwen,
Sunny, Kjerstin, Sue L, Vera, Ann, Dawn 2, Carol, Preeti,
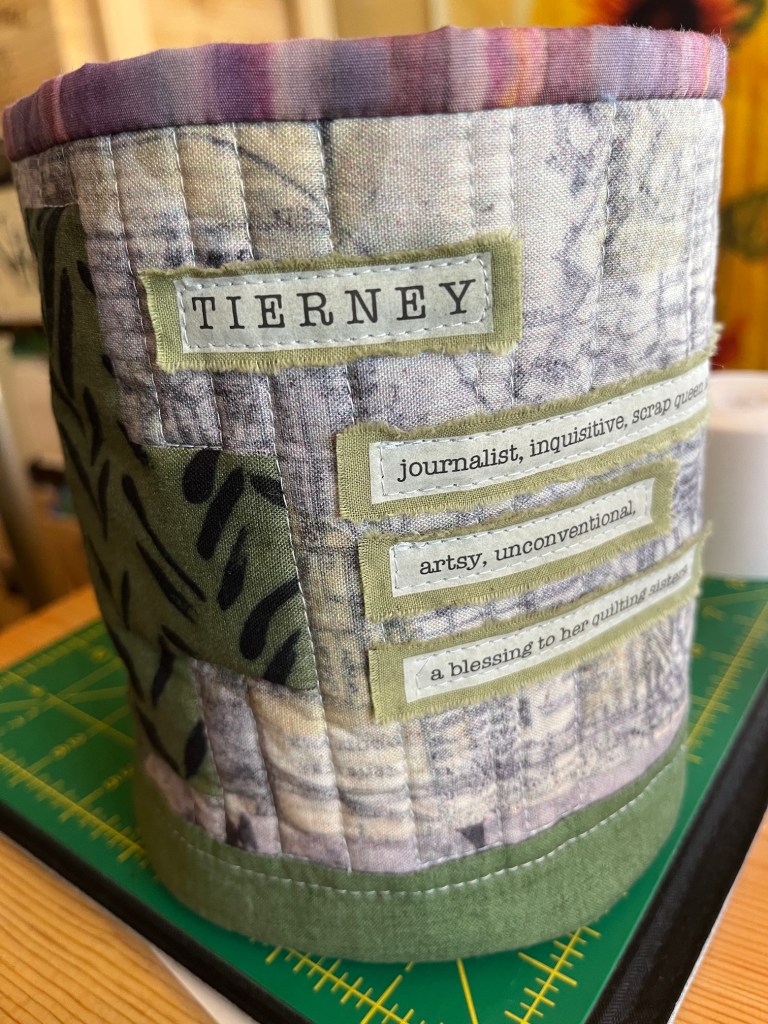
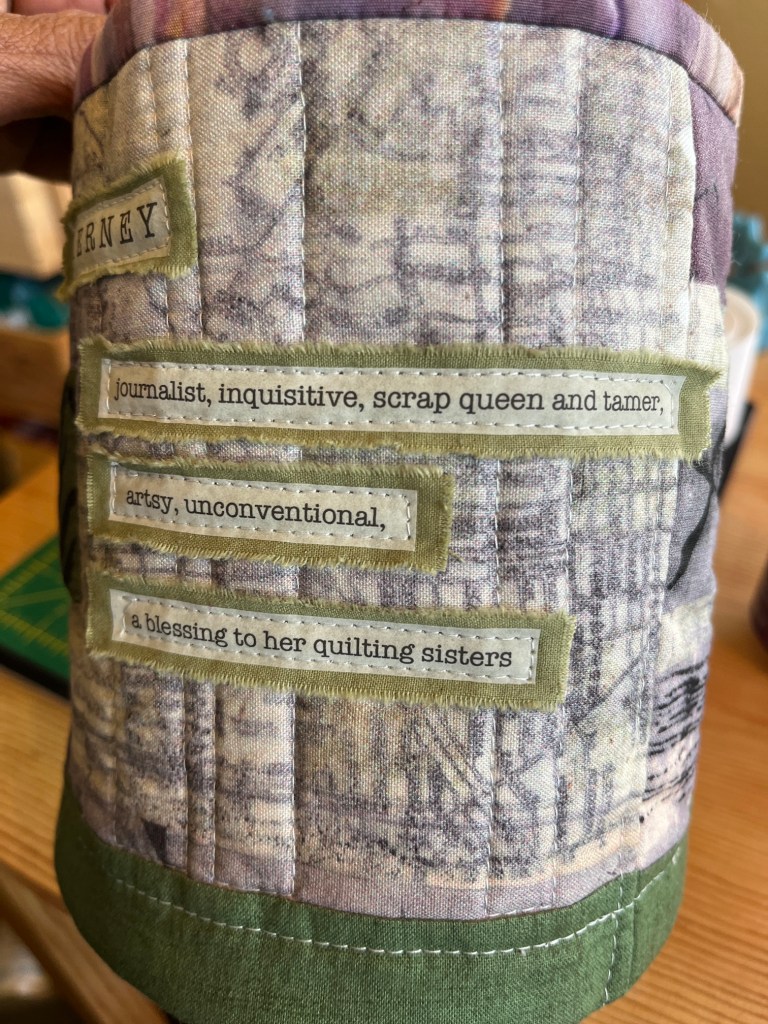
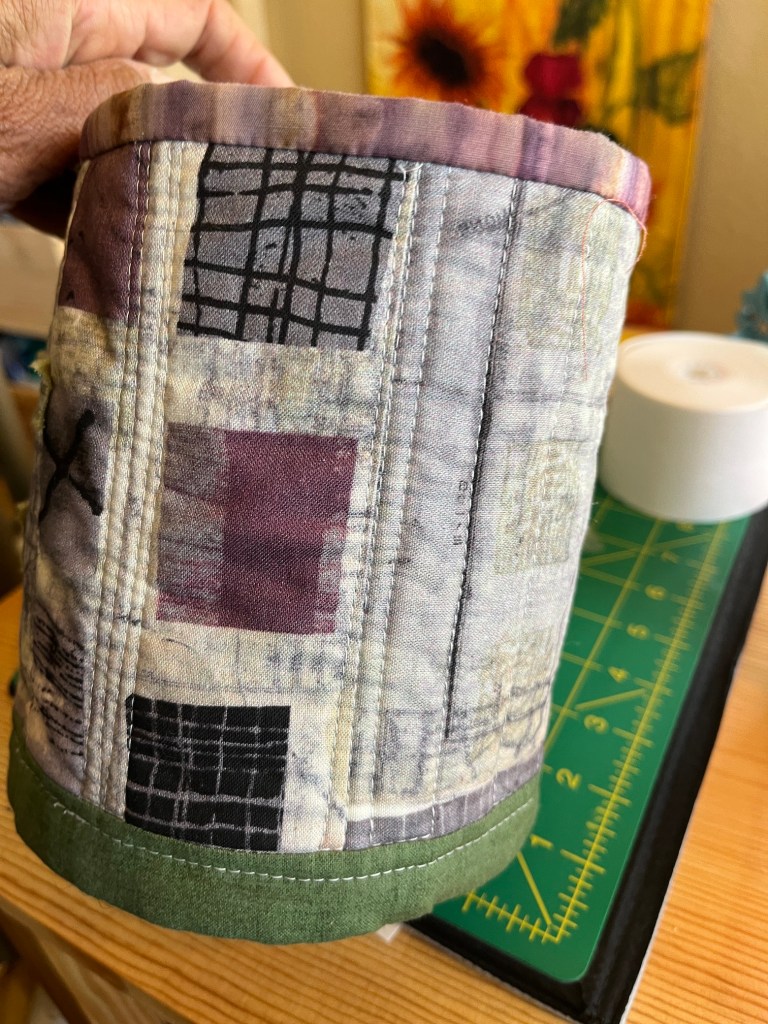
Viv, Karrin, Alissa, Tierney, Hannah and Maggie
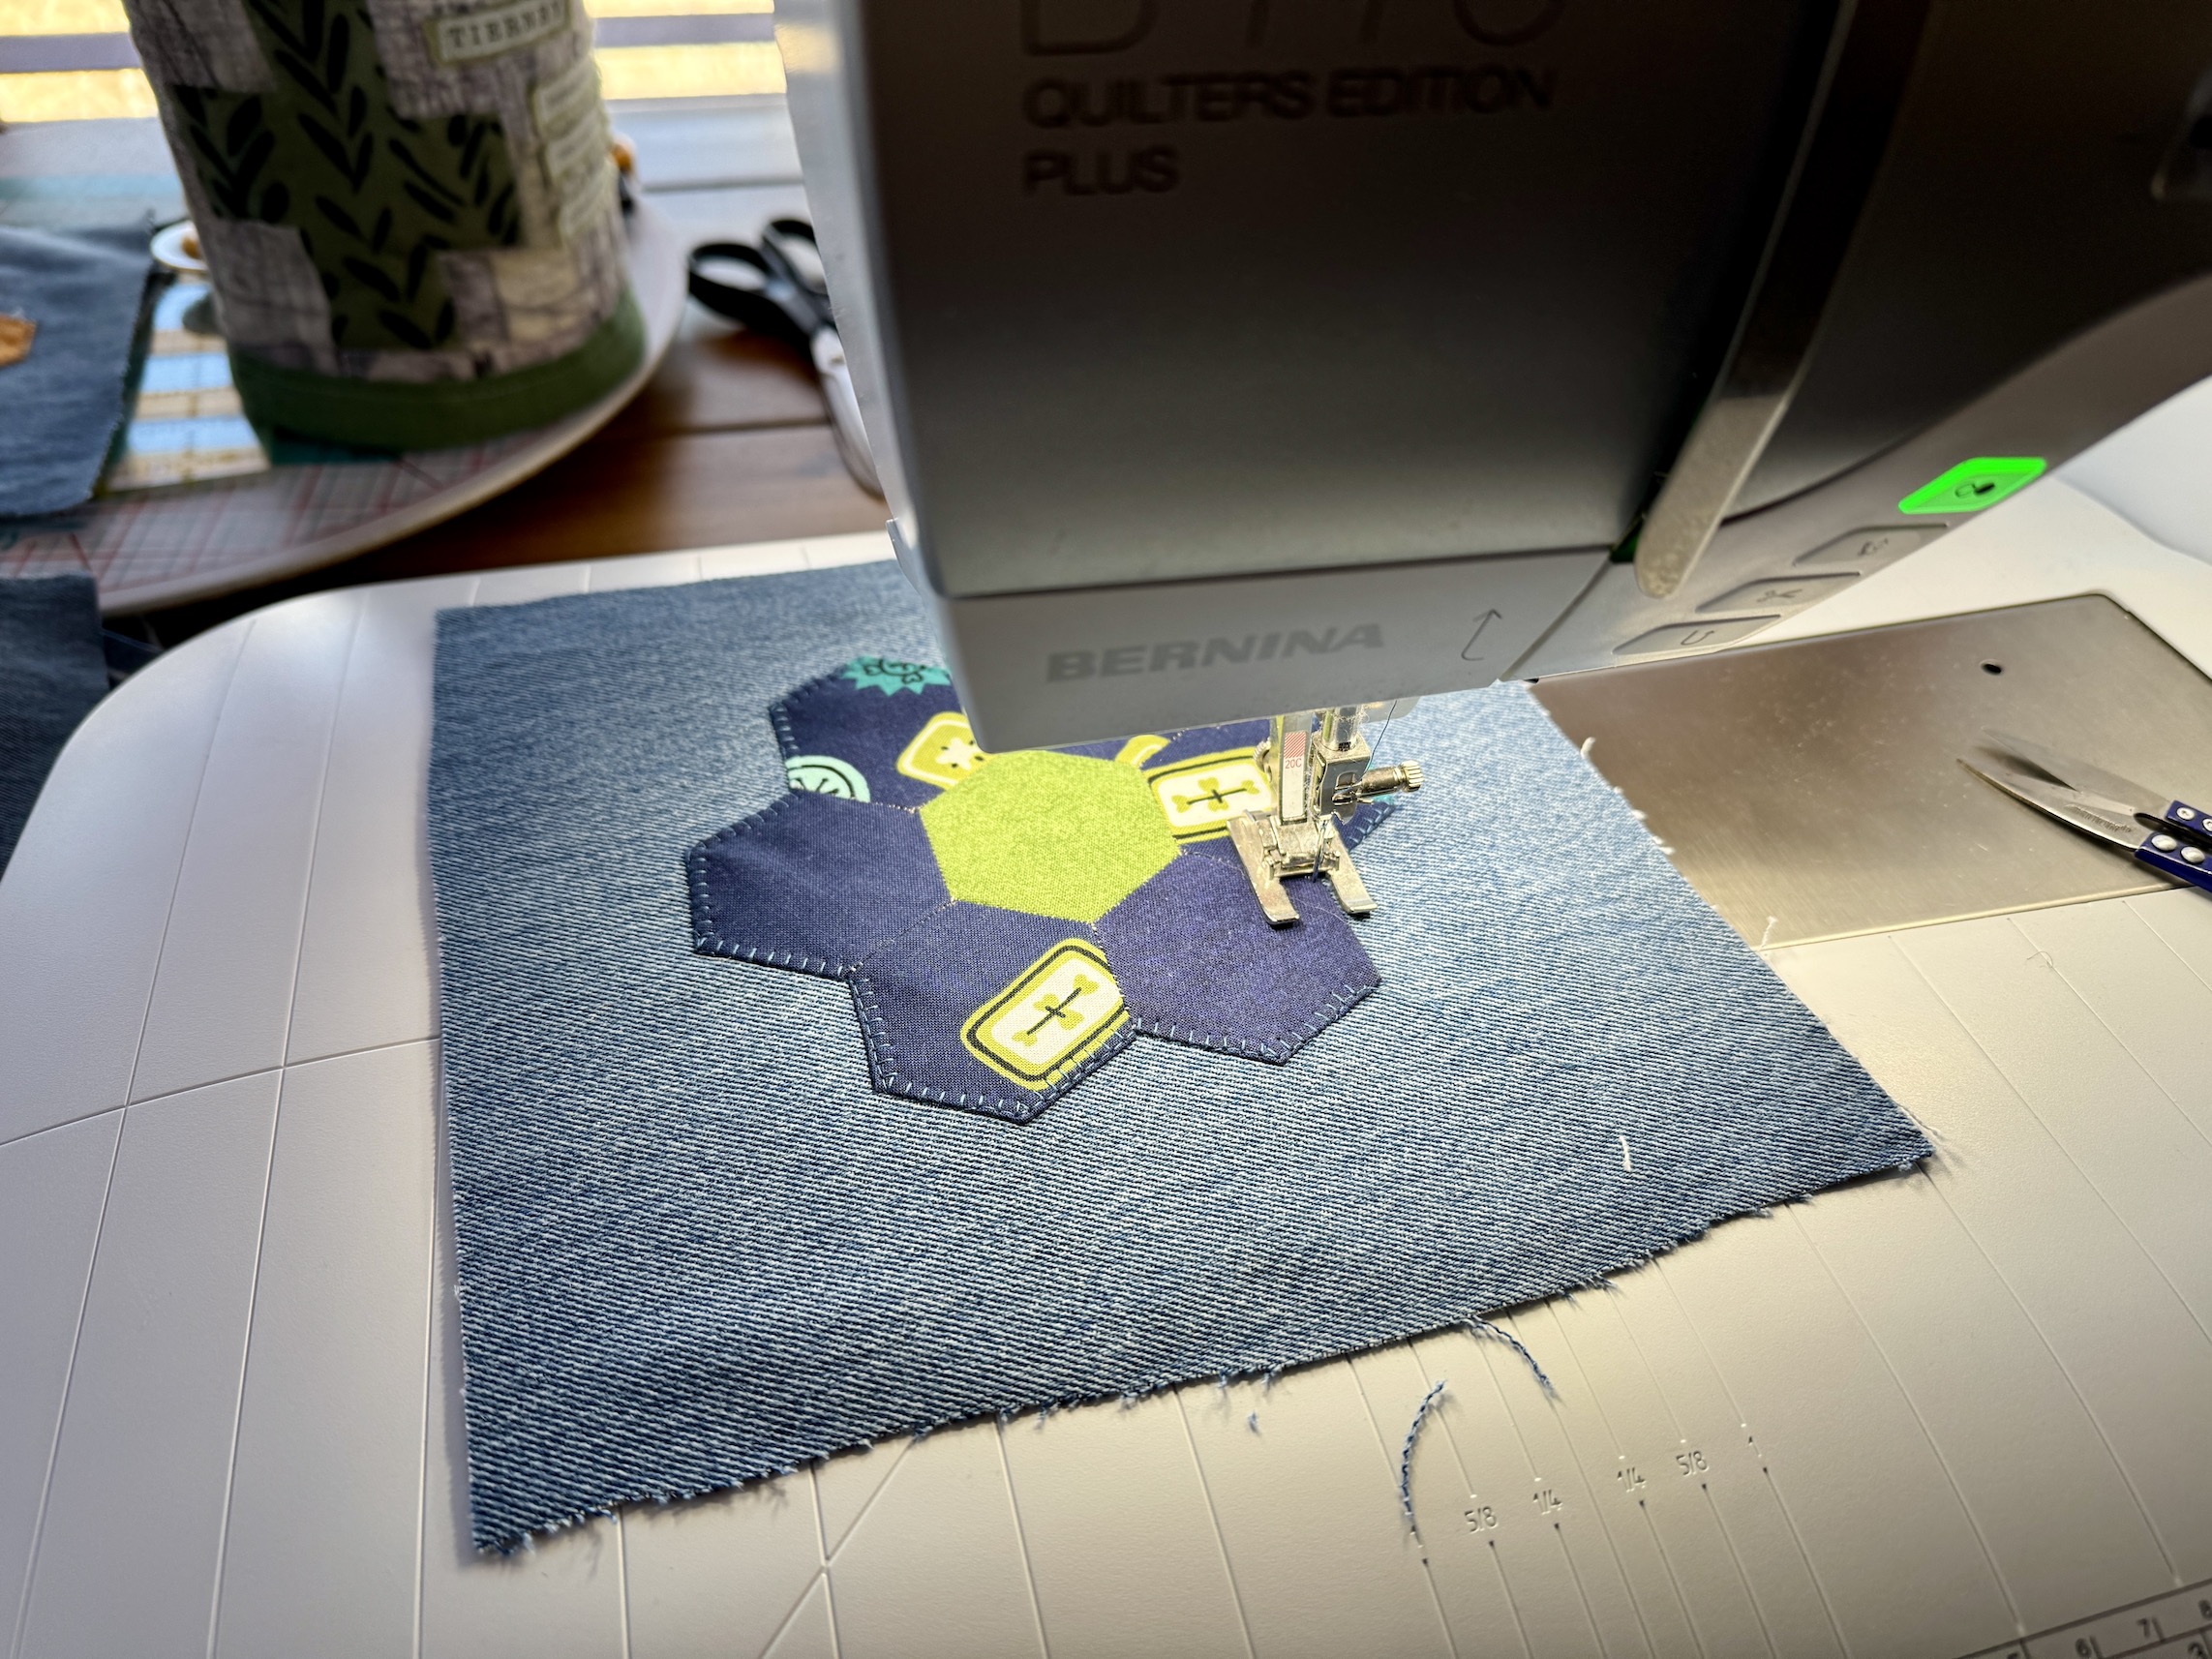
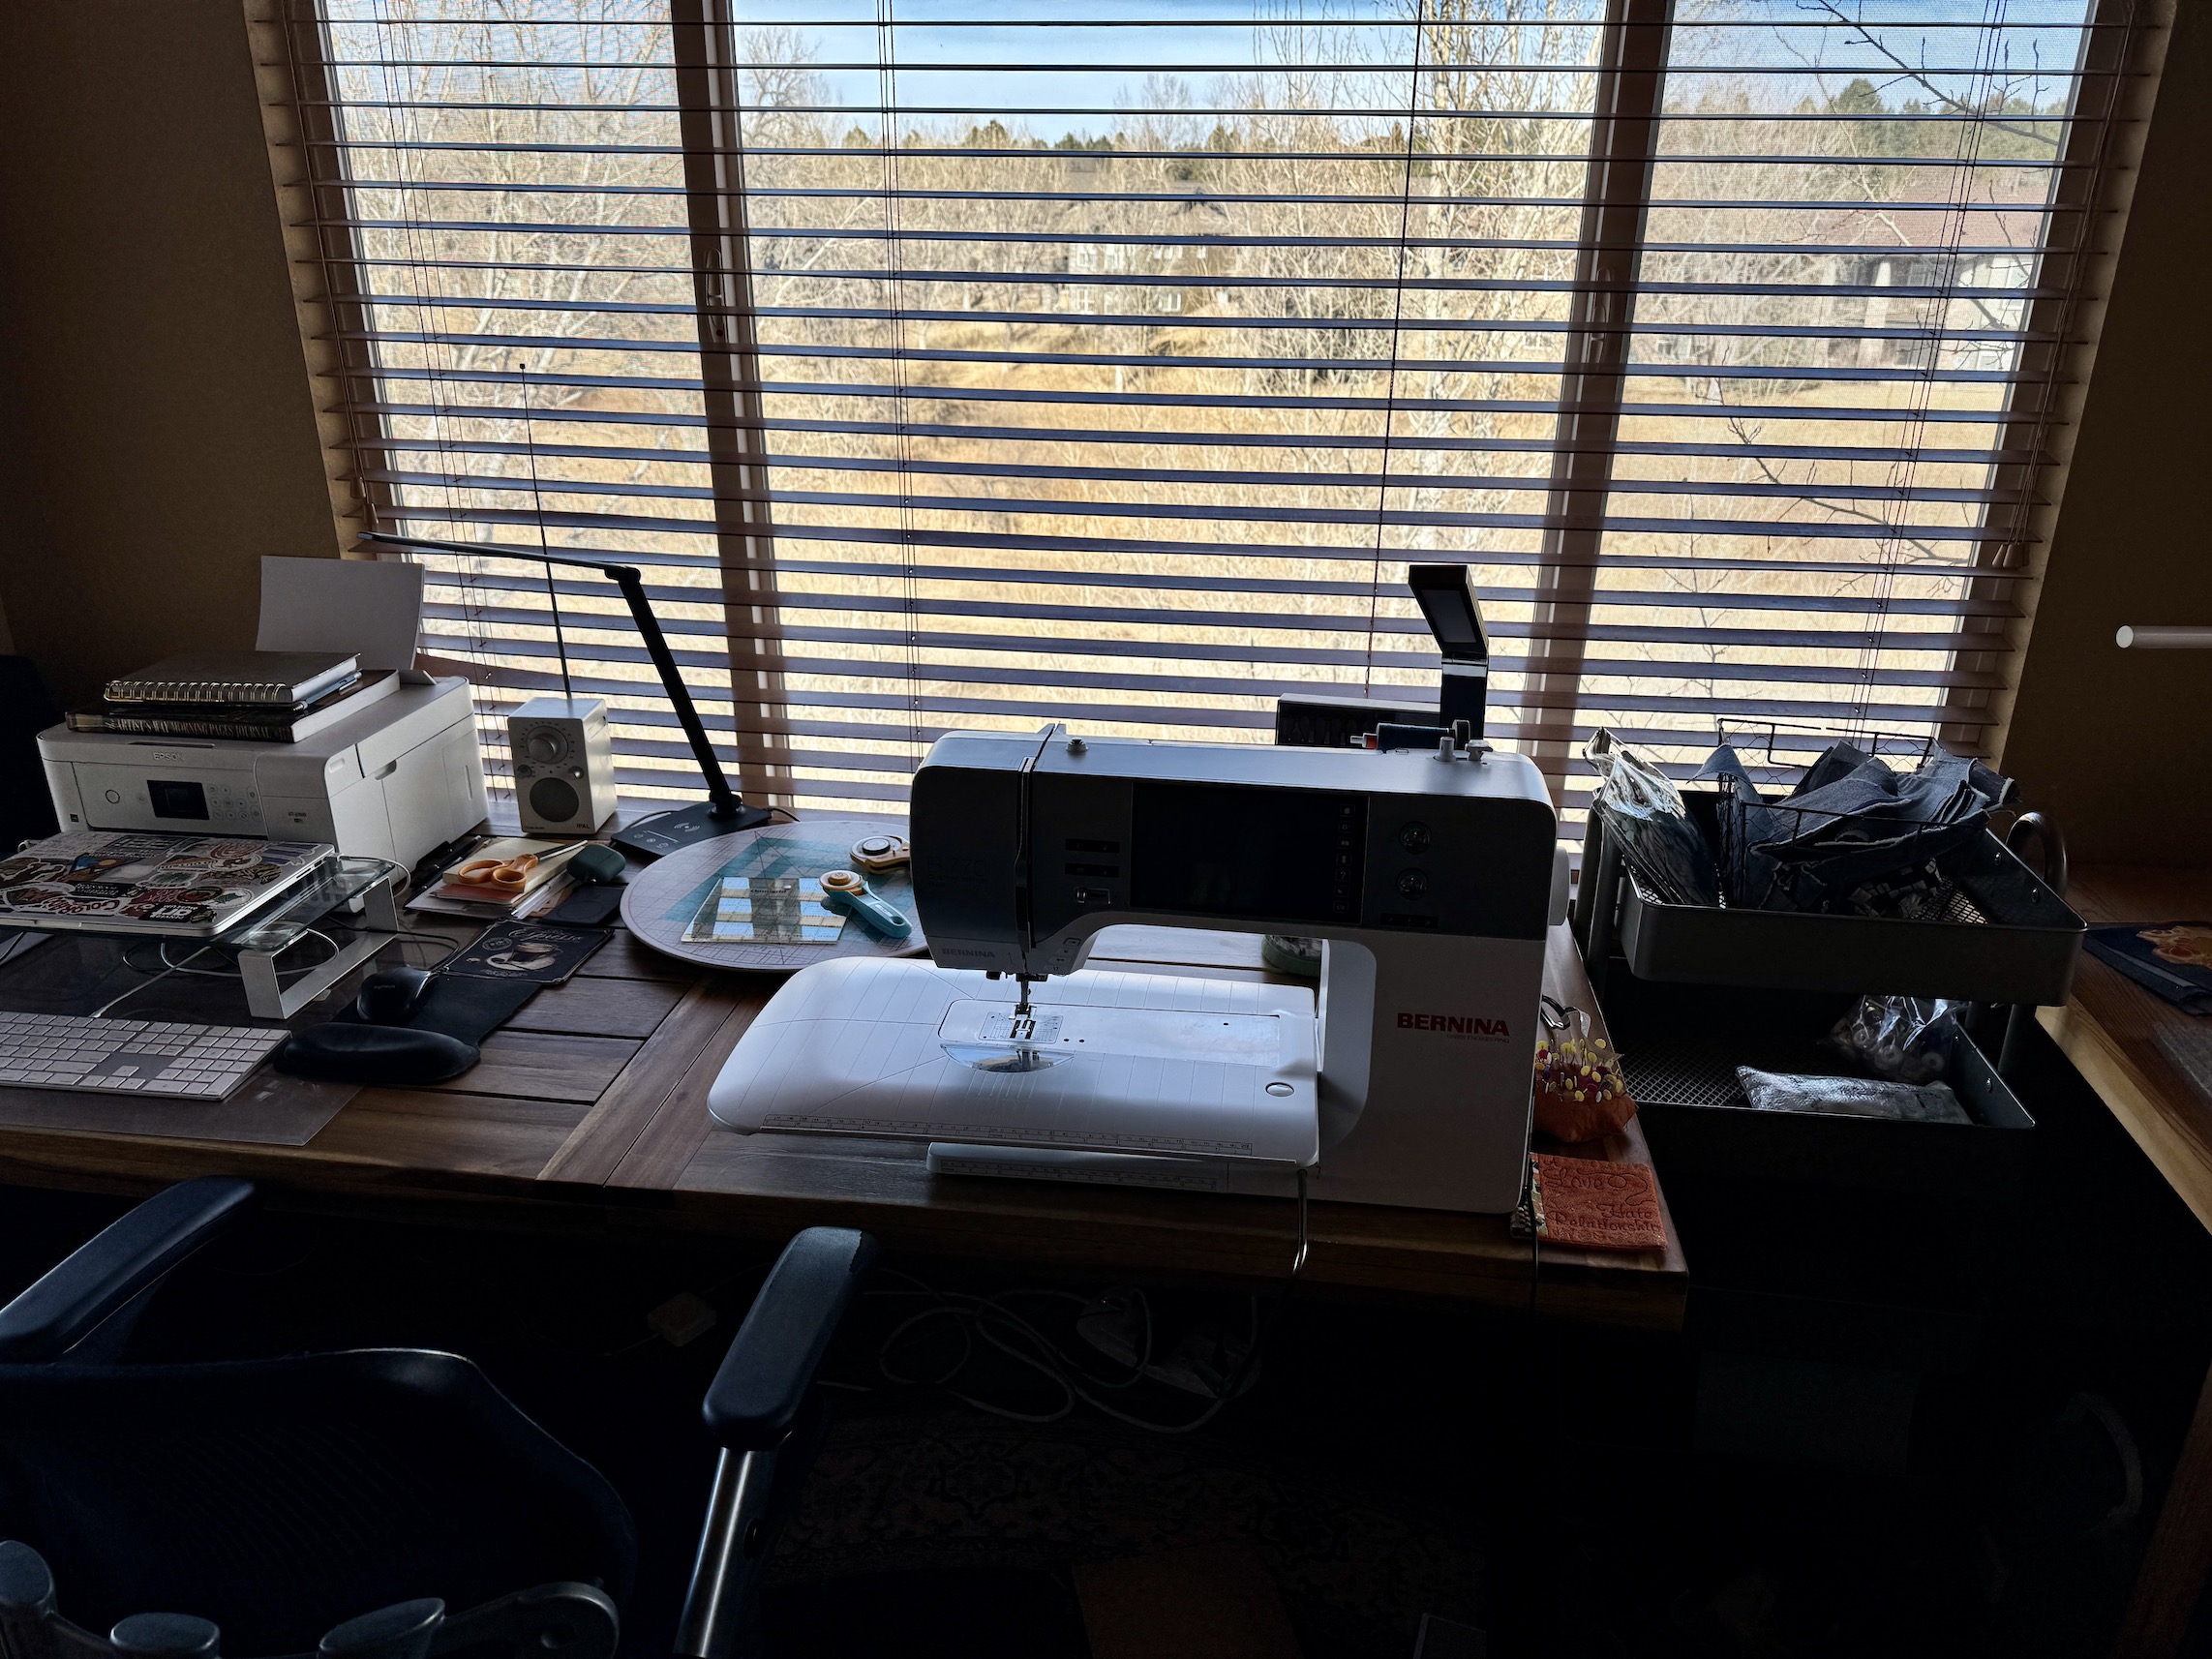
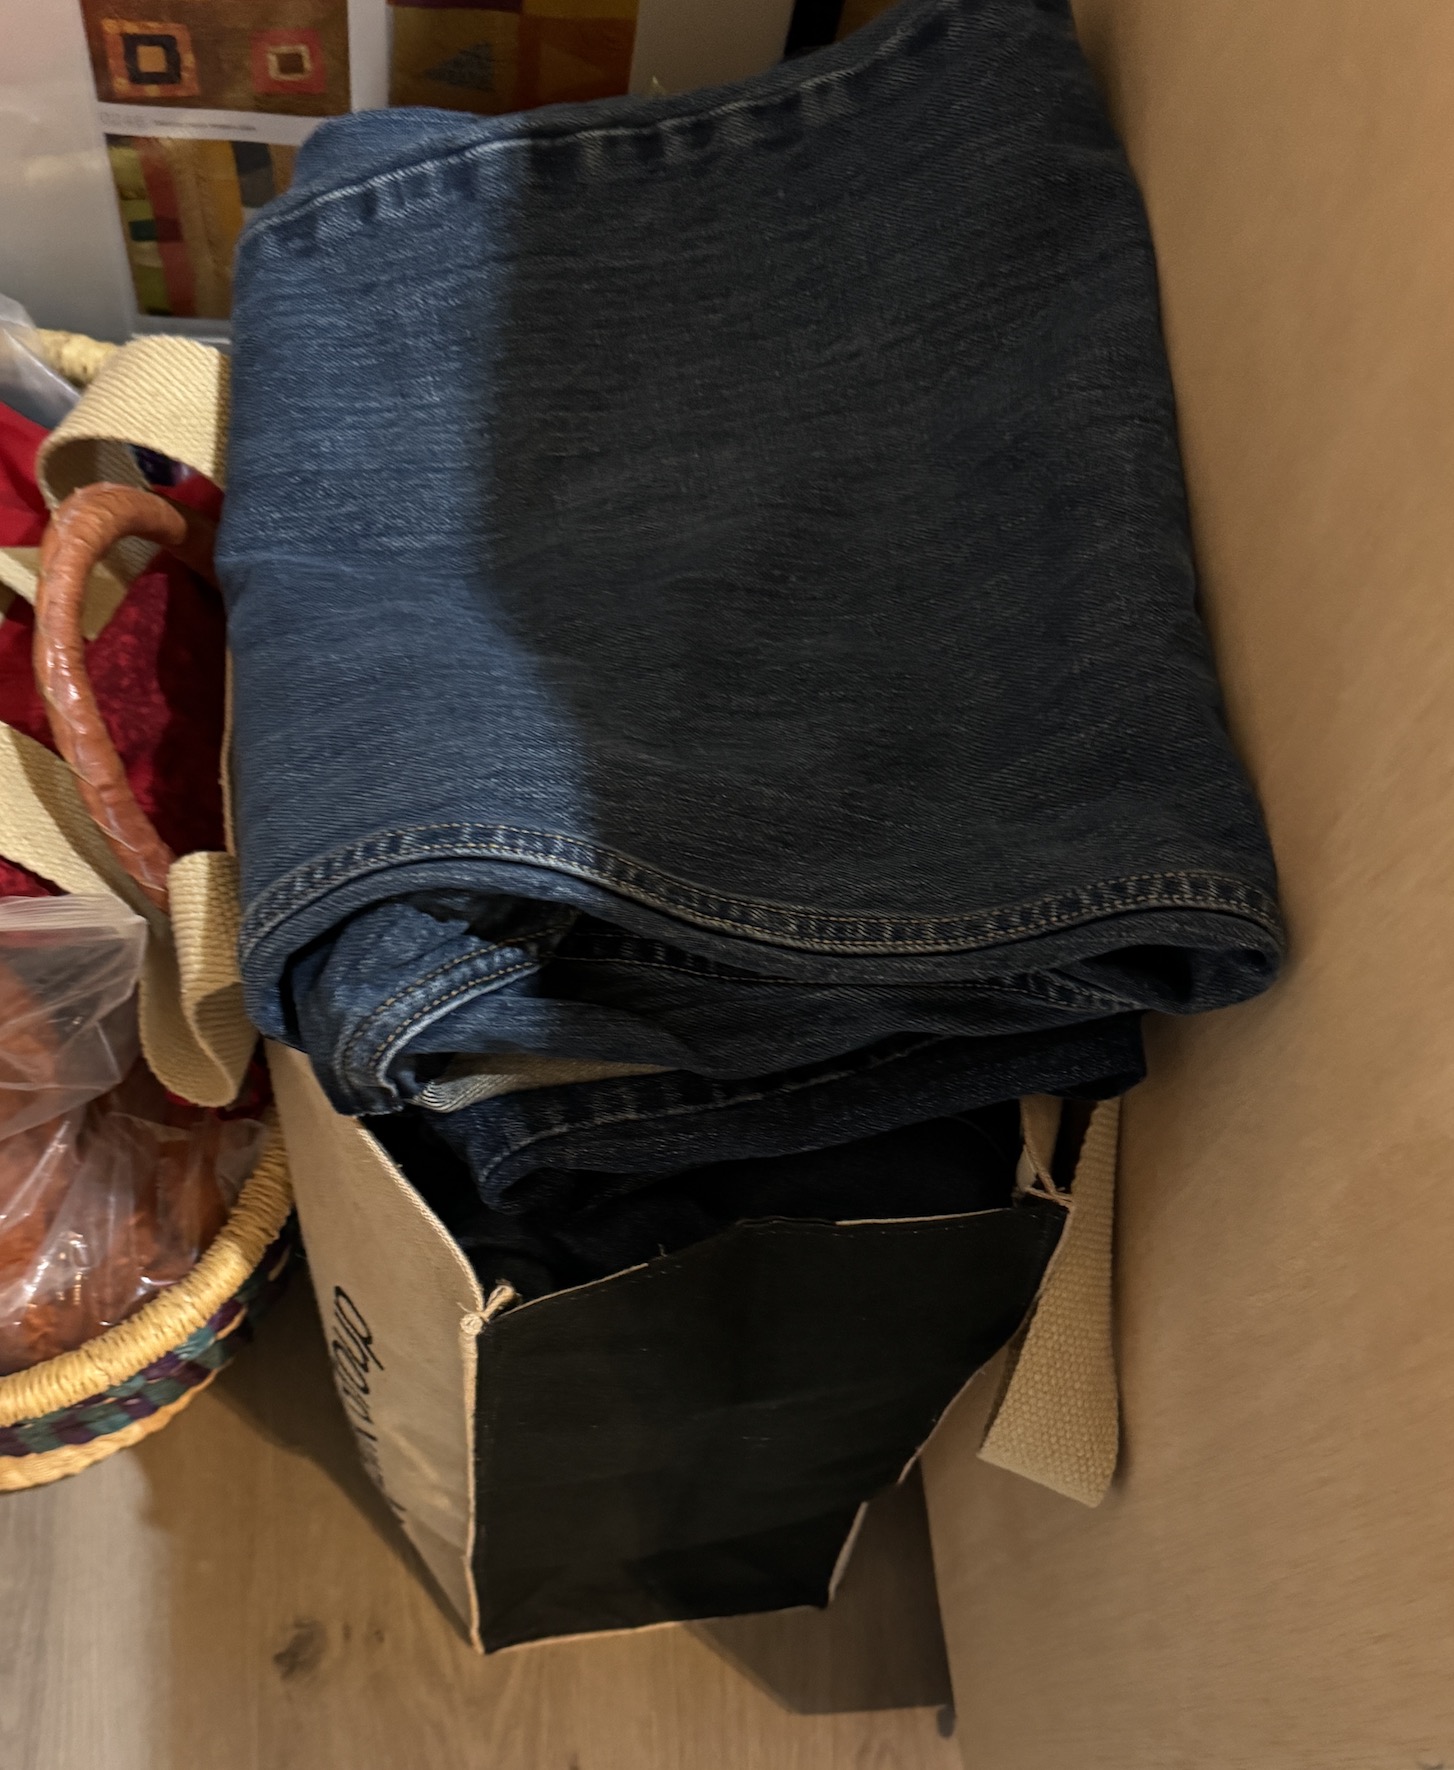
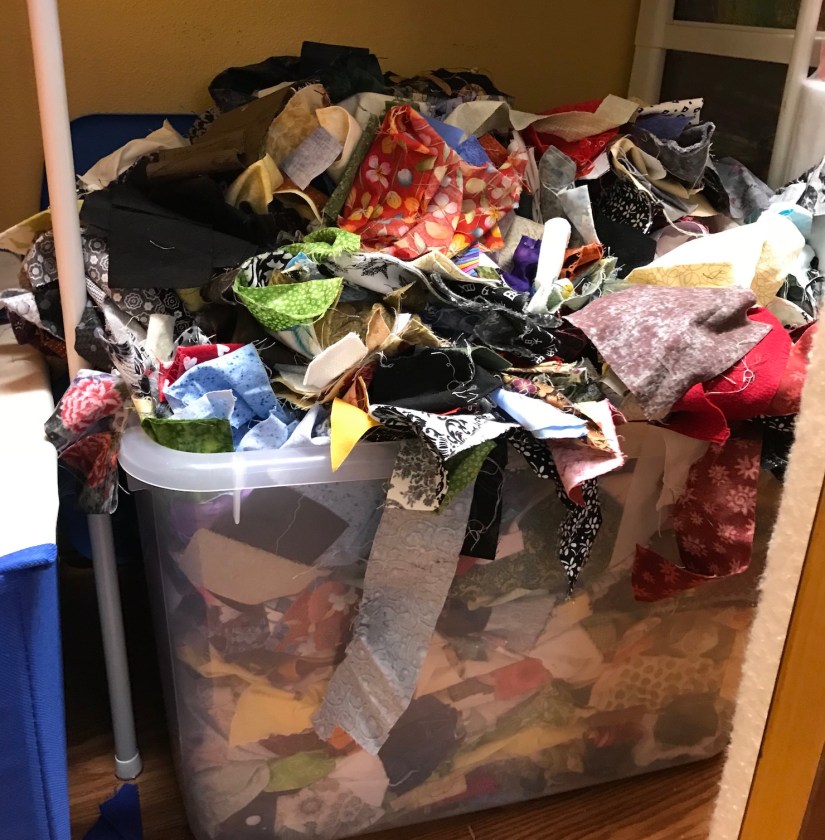
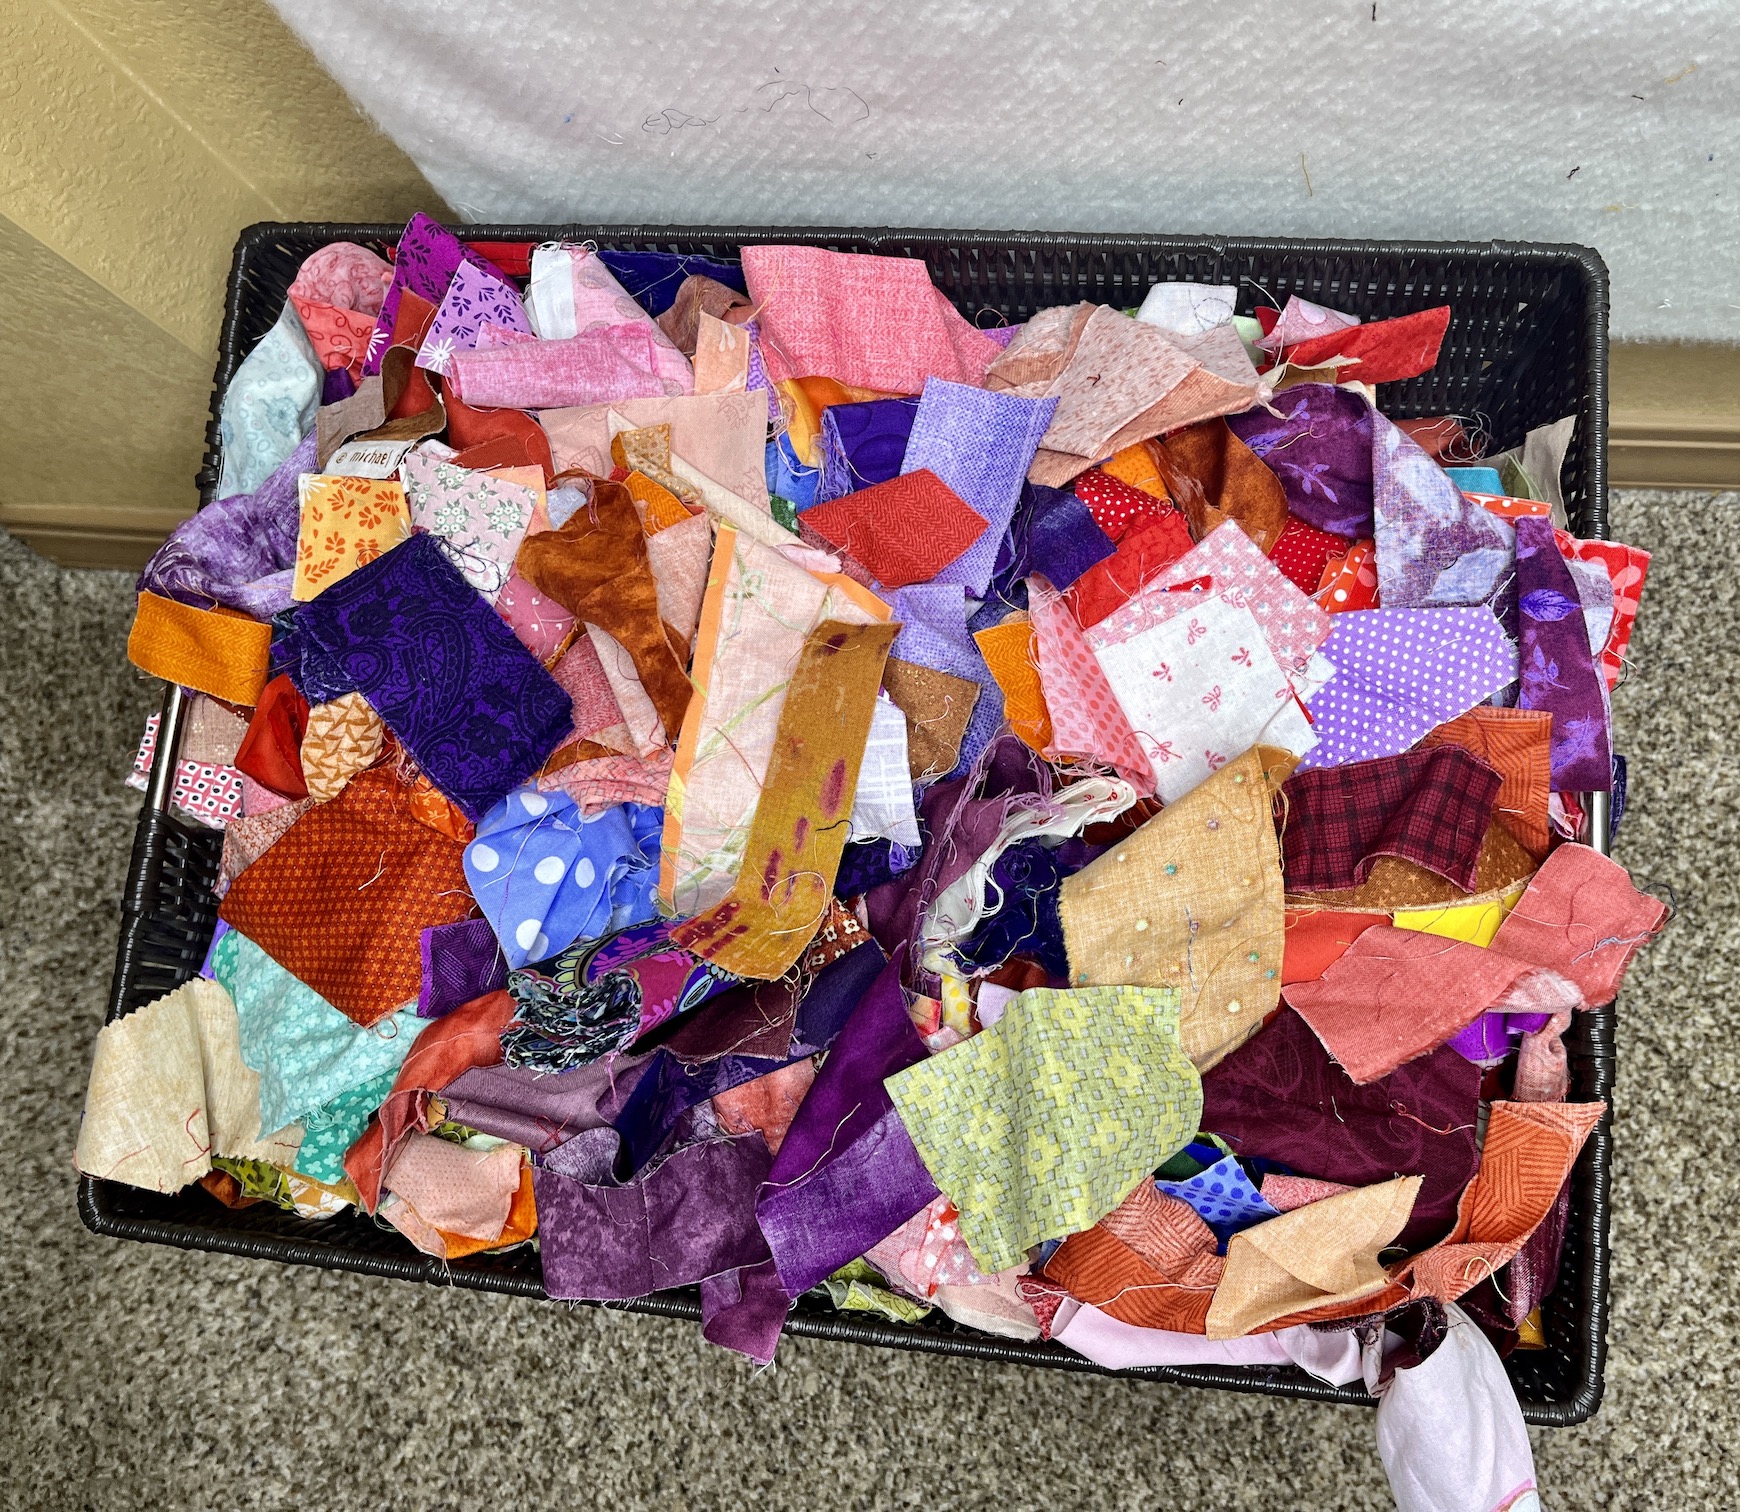
I’ve completely fallen off the blog-o-sphere with the move to our new home. After days of endless packing now there are now days of endless unpacking.
We closed on the house on March 2 and the began moving in over a couple of days via many carloads and then on March 5th we had professional movers move our large furniture items.
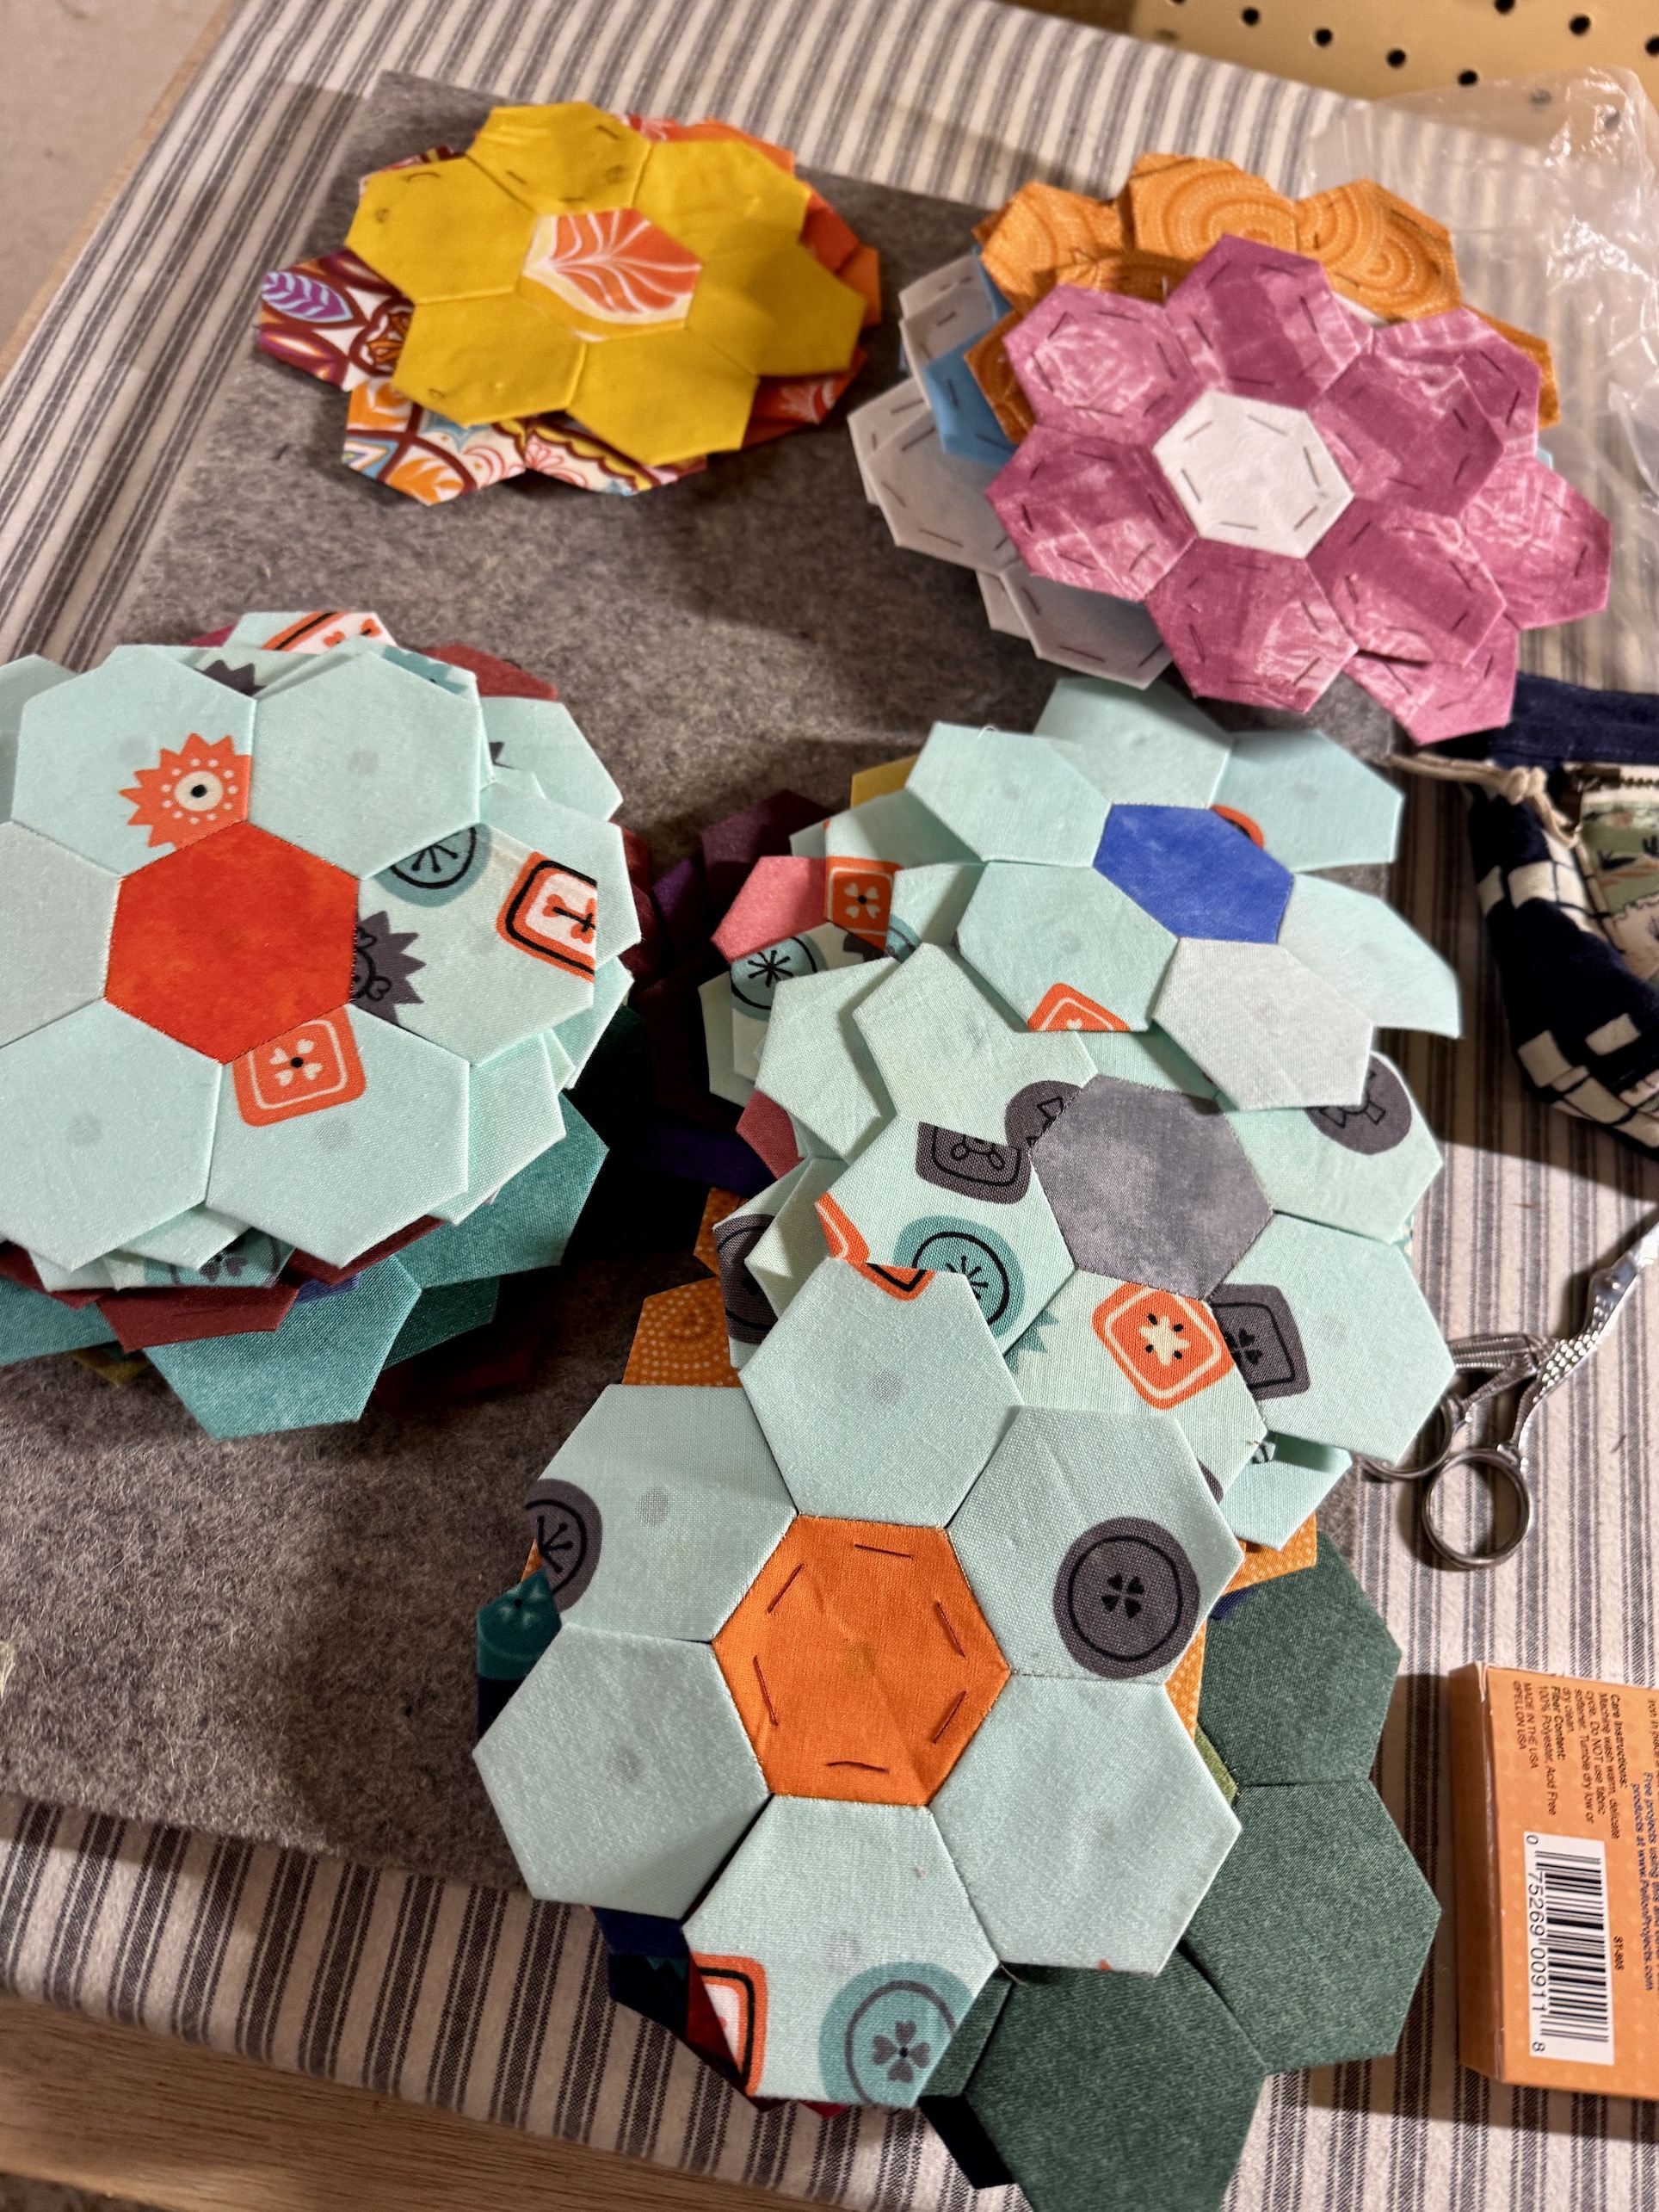
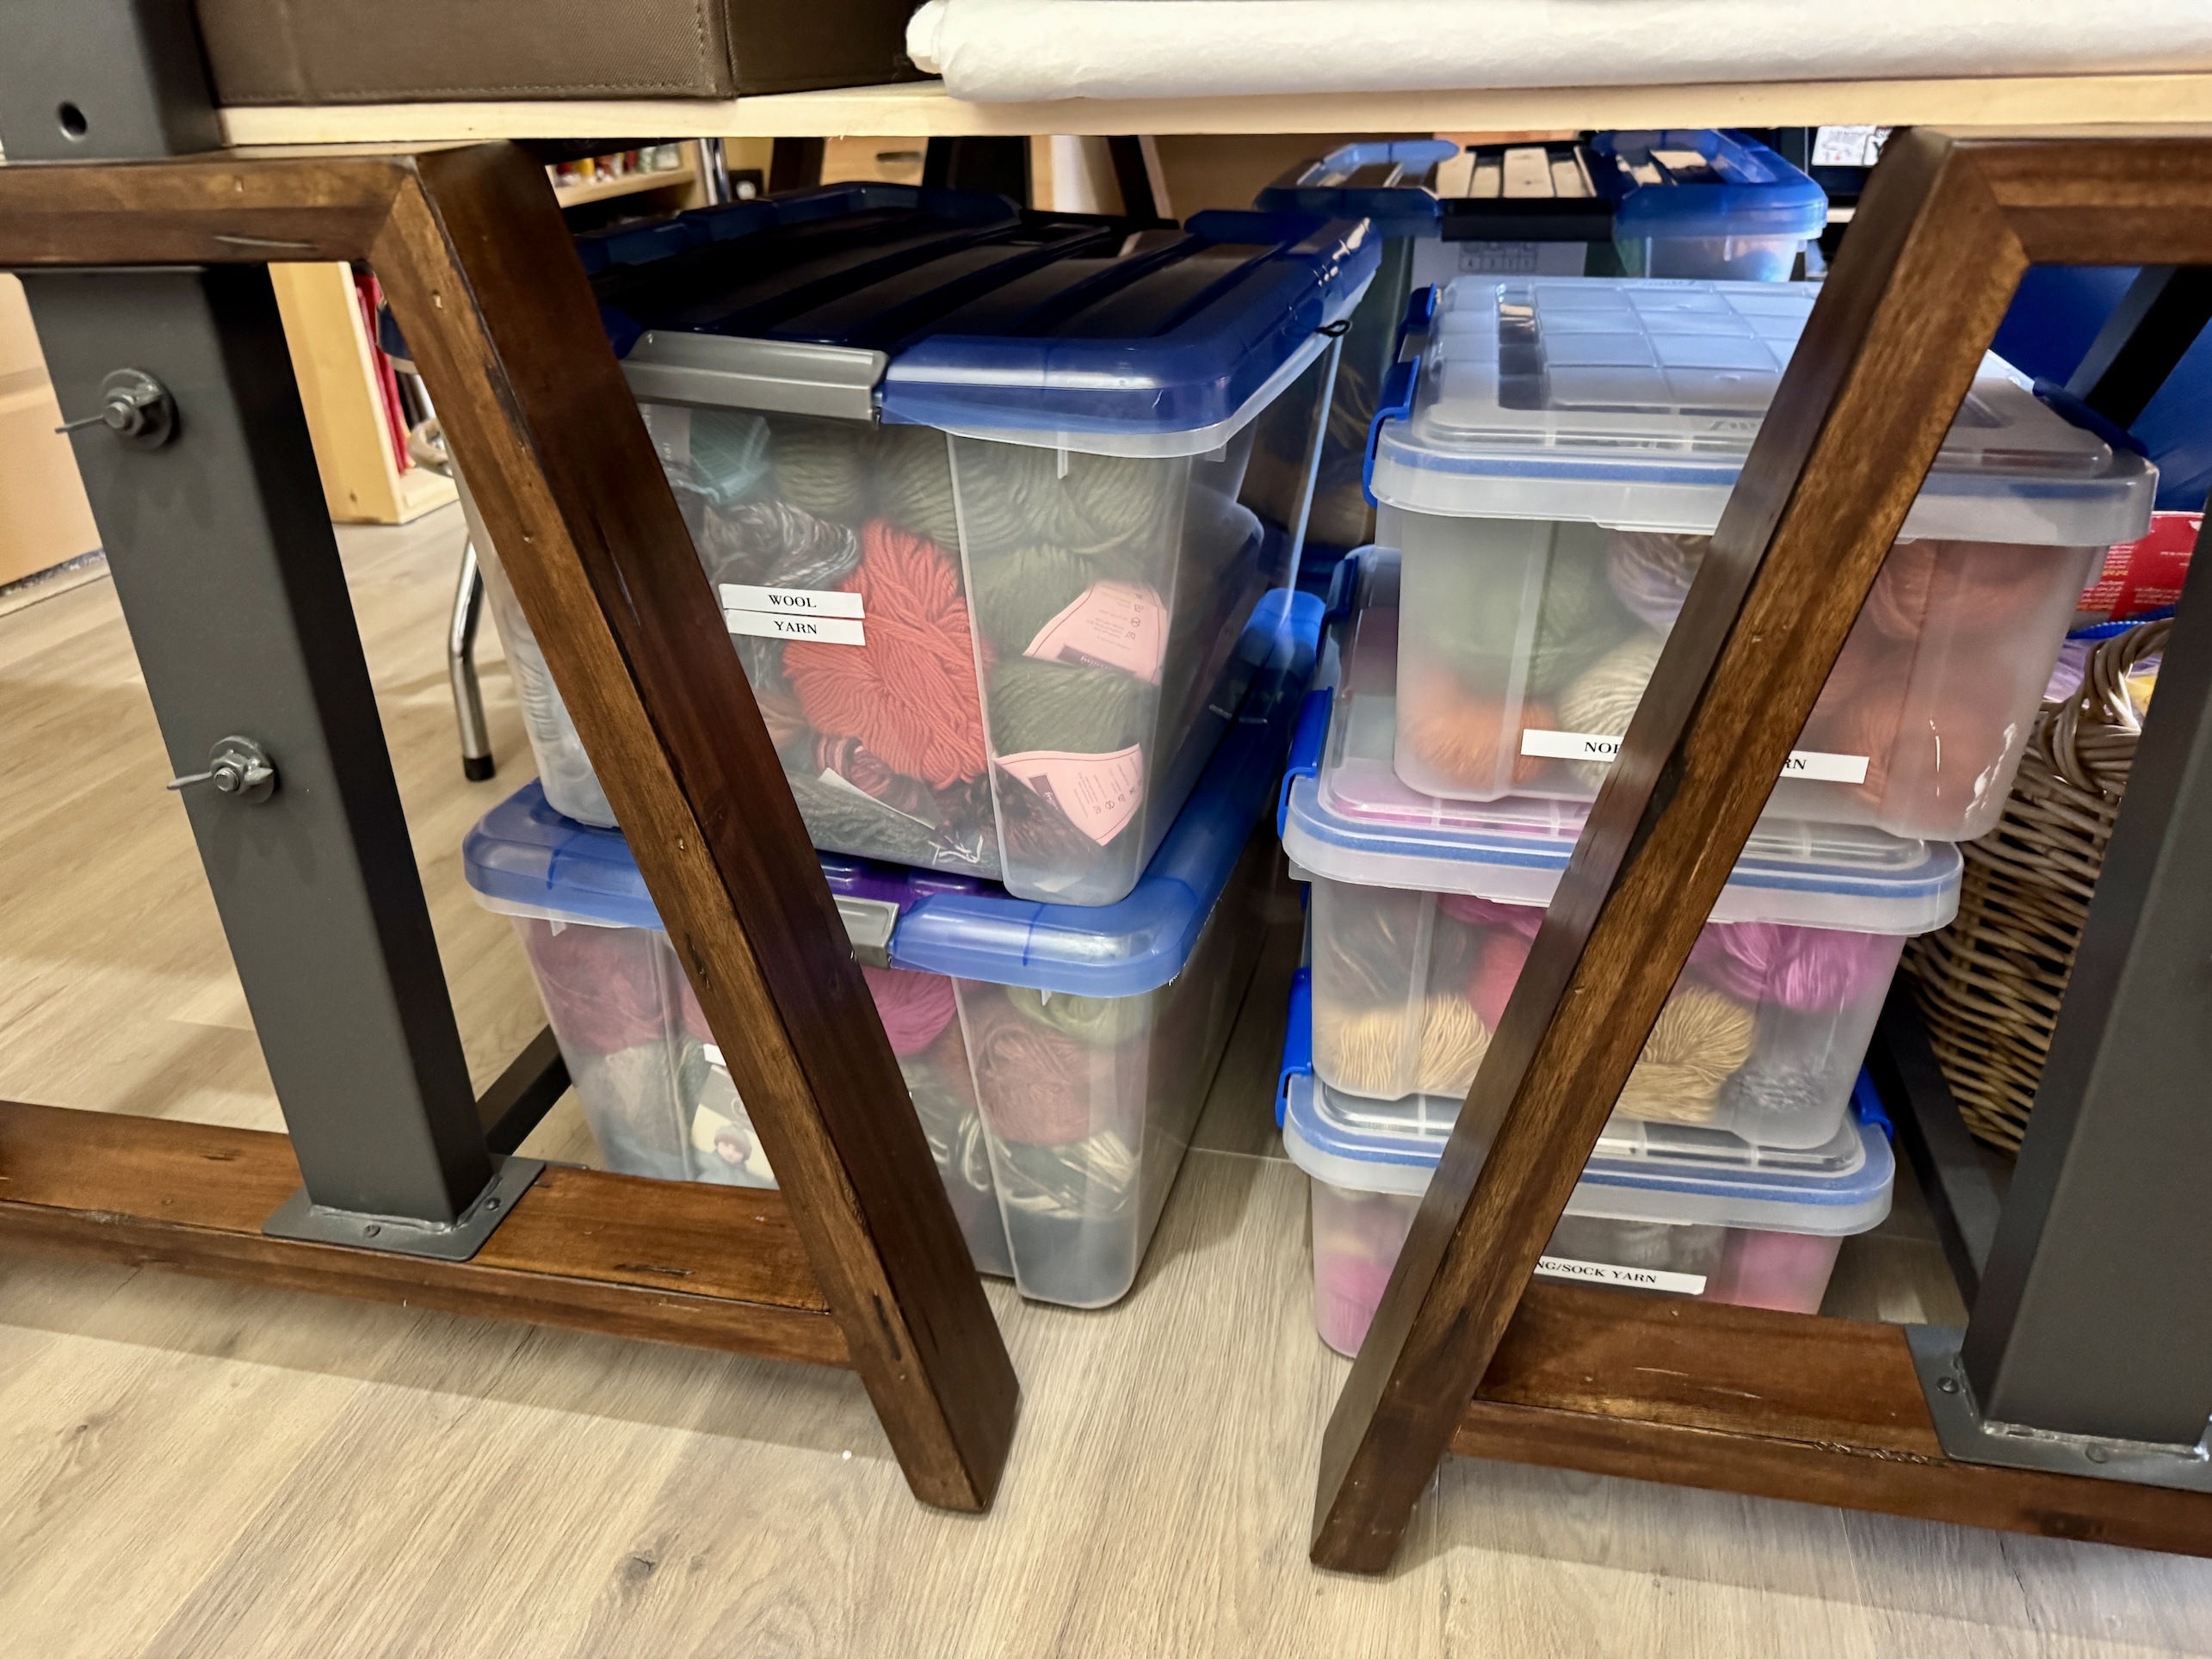
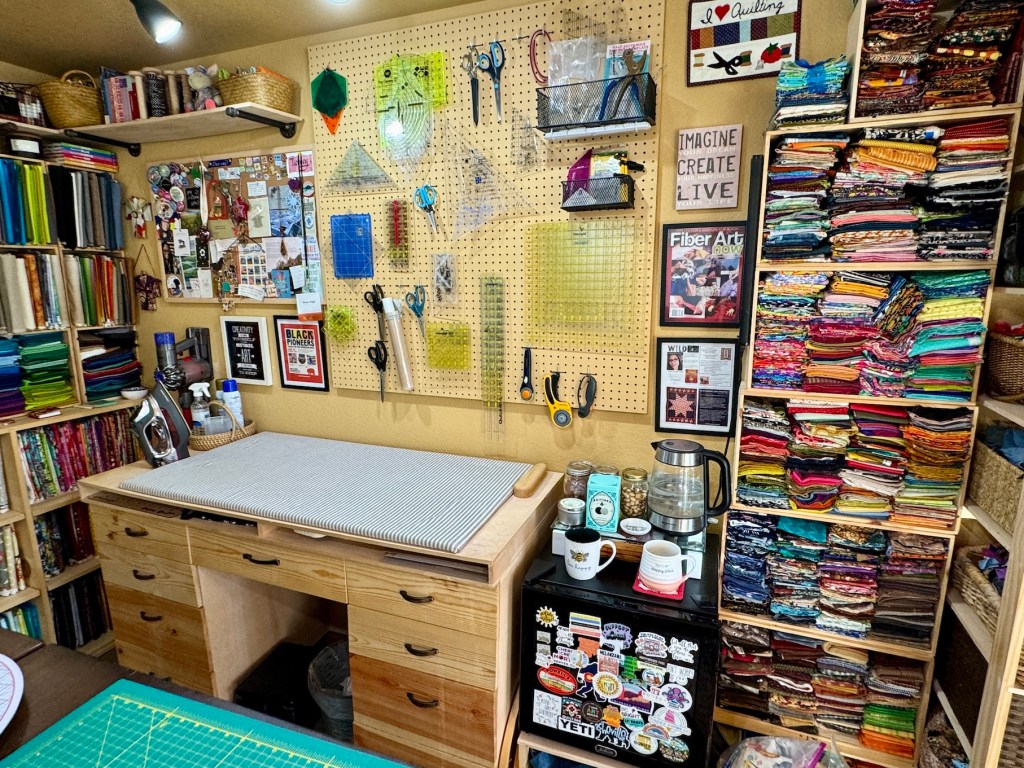
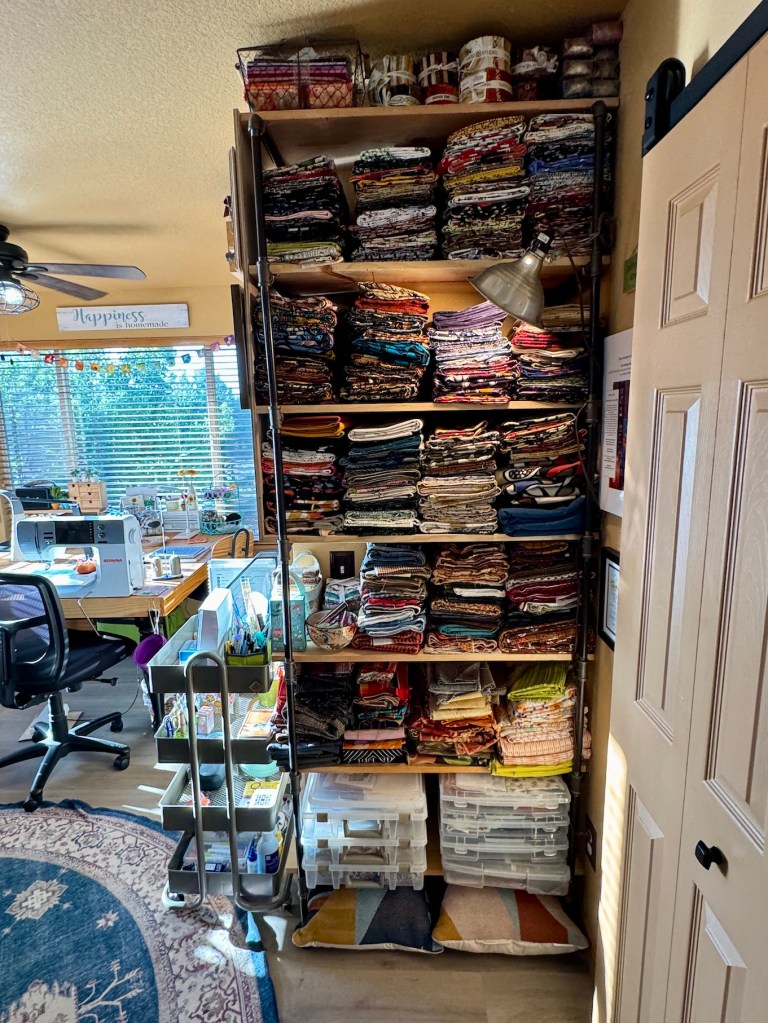
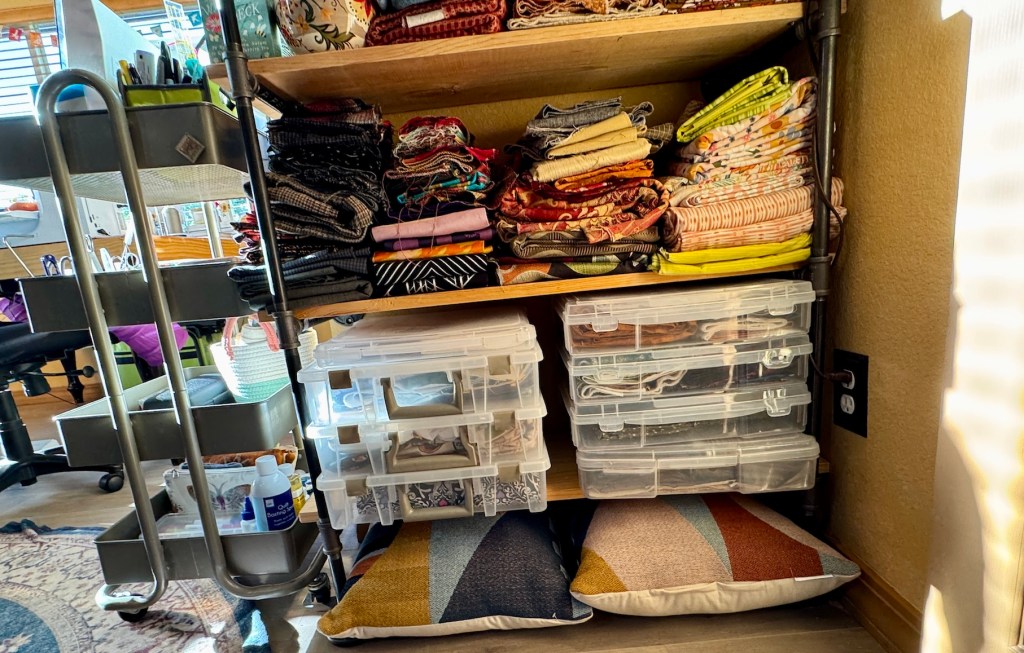
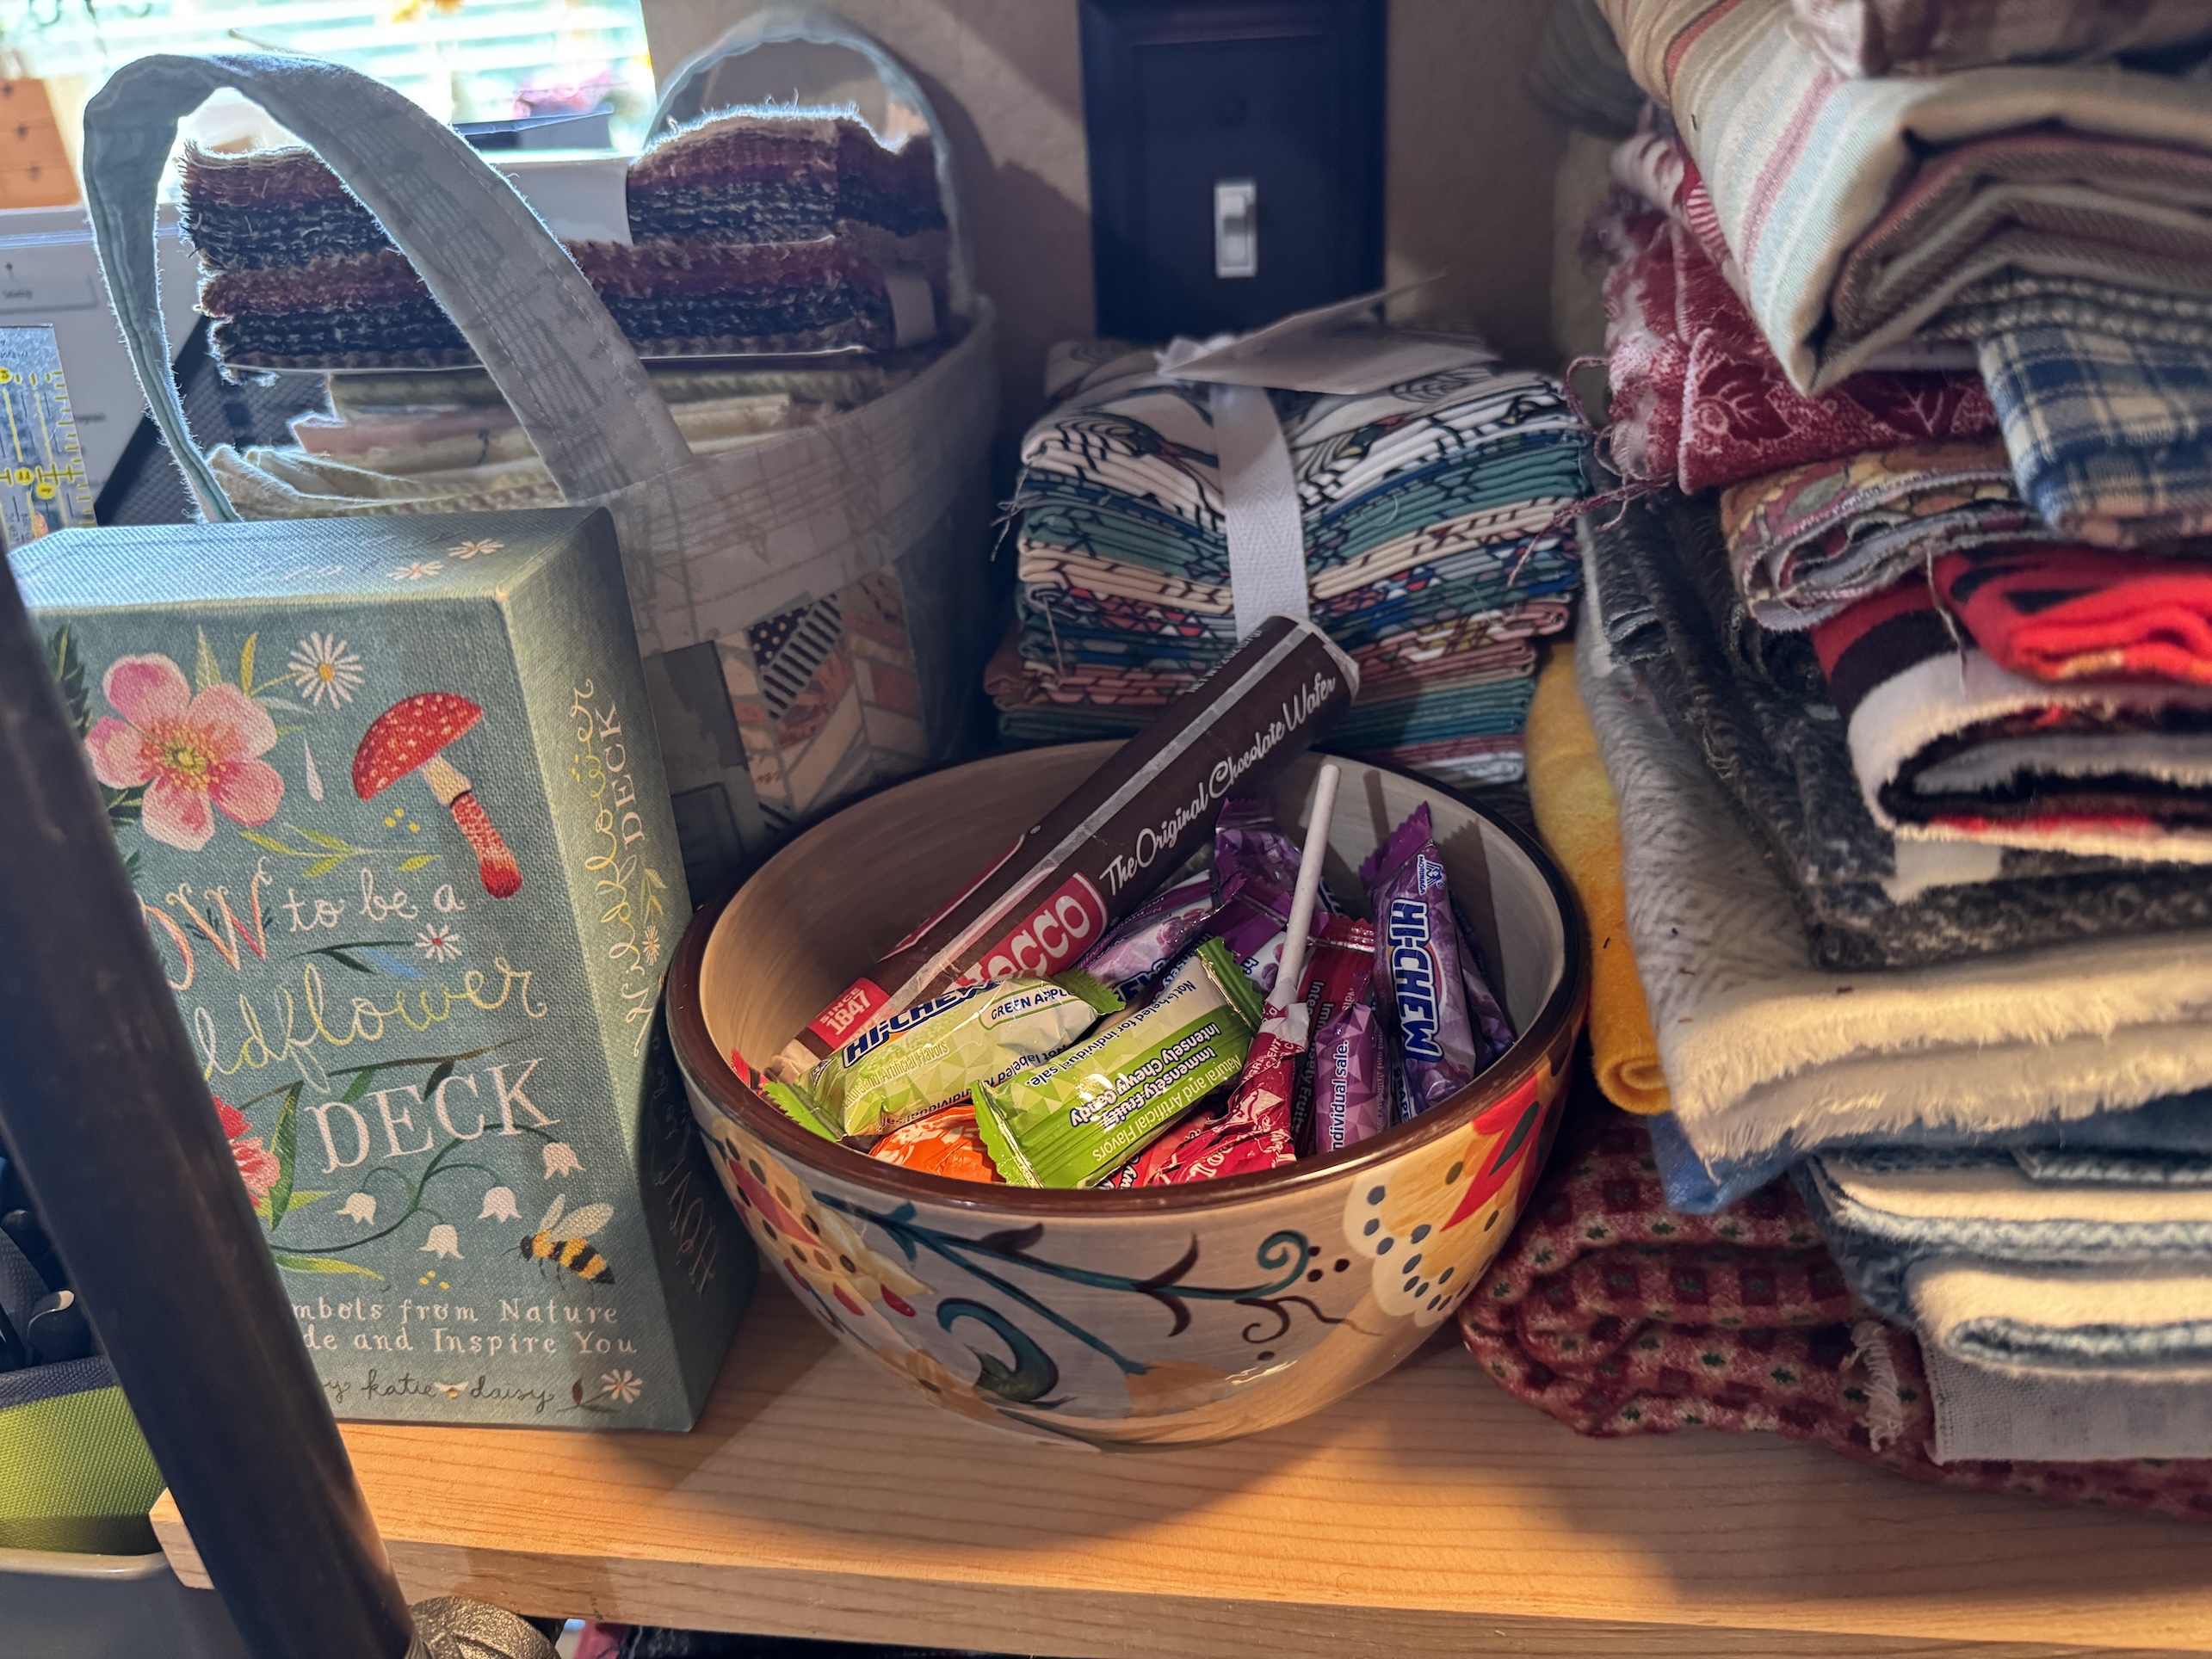
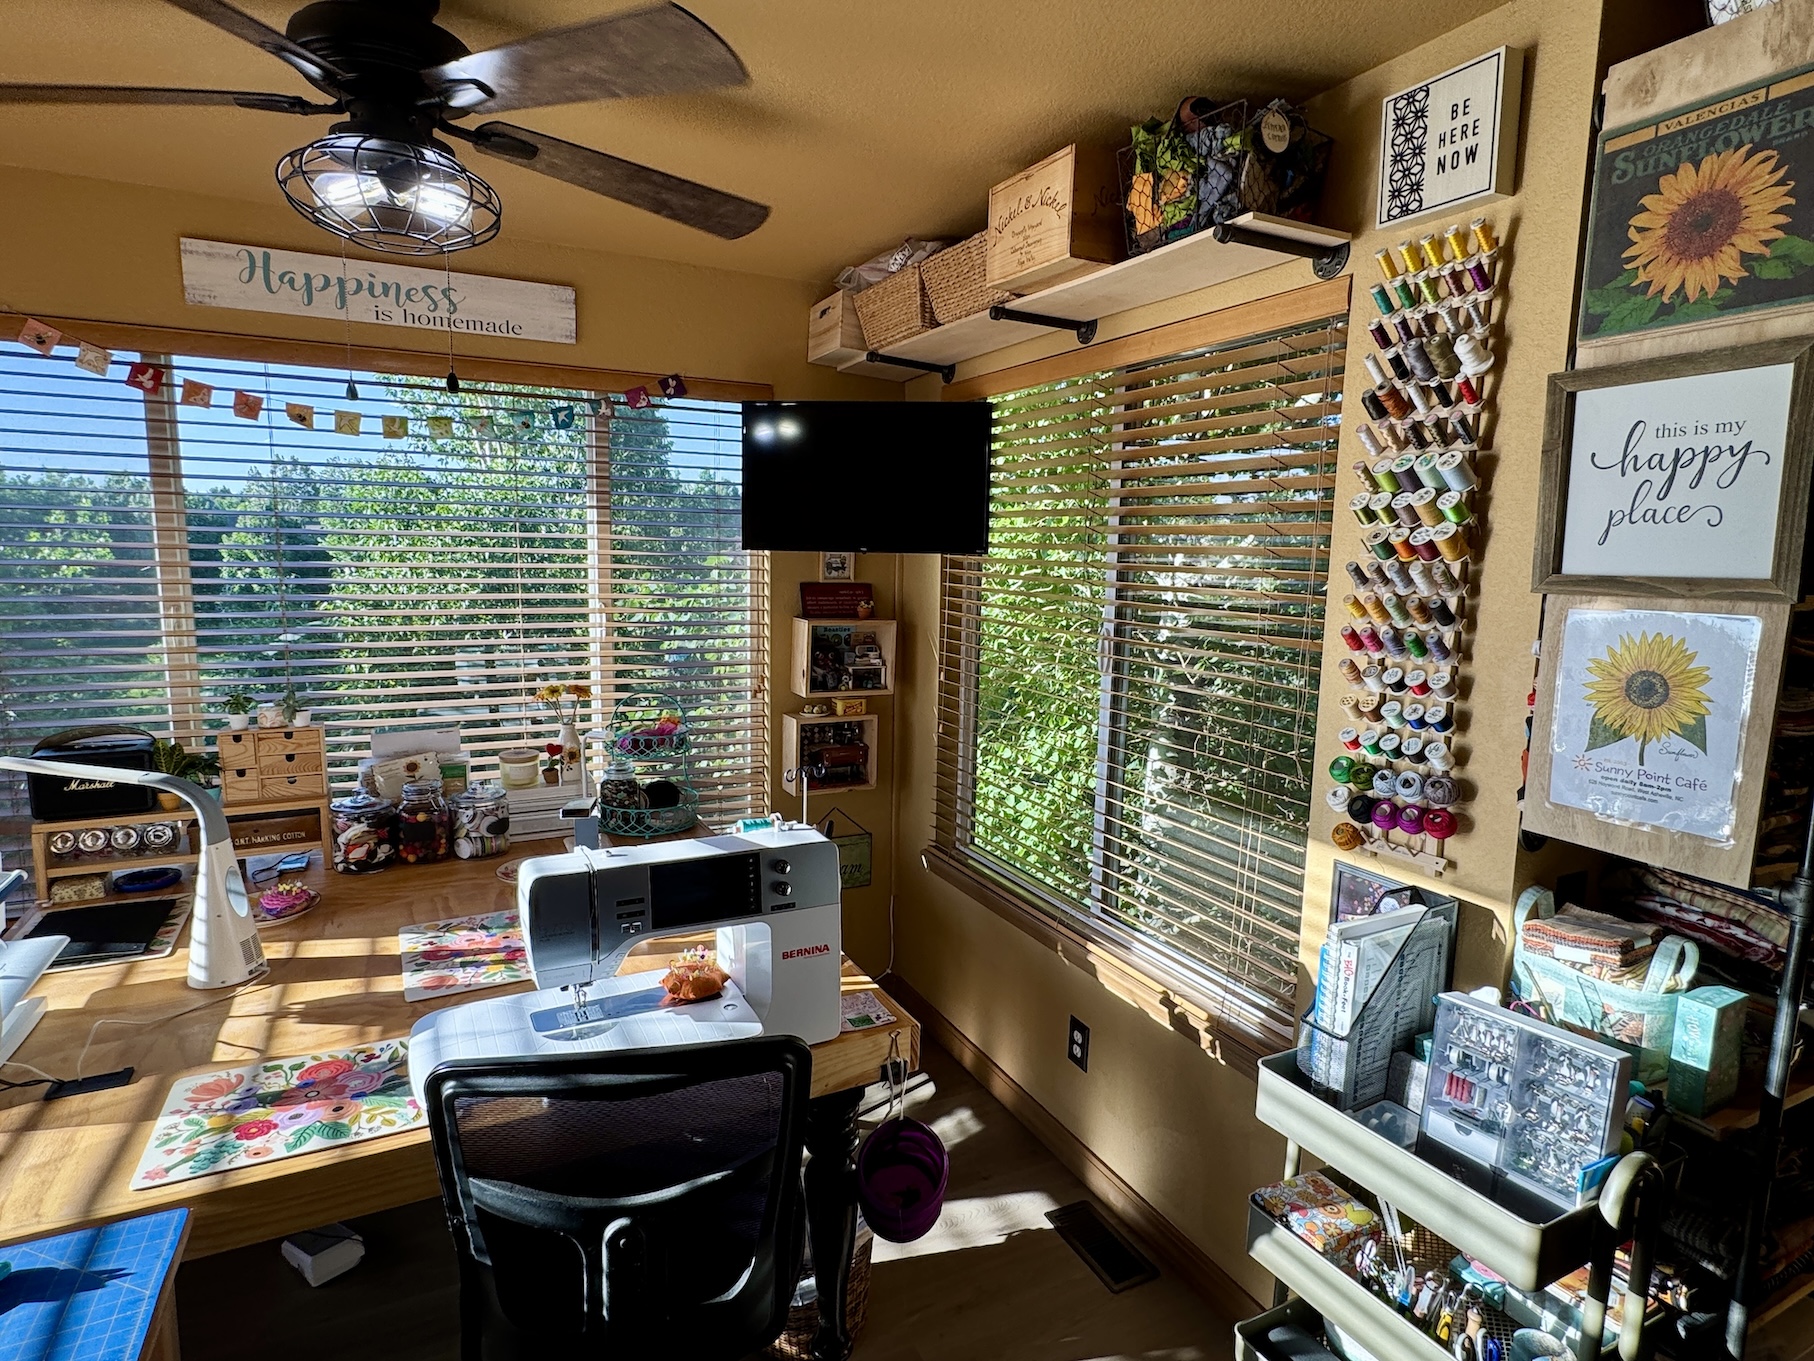
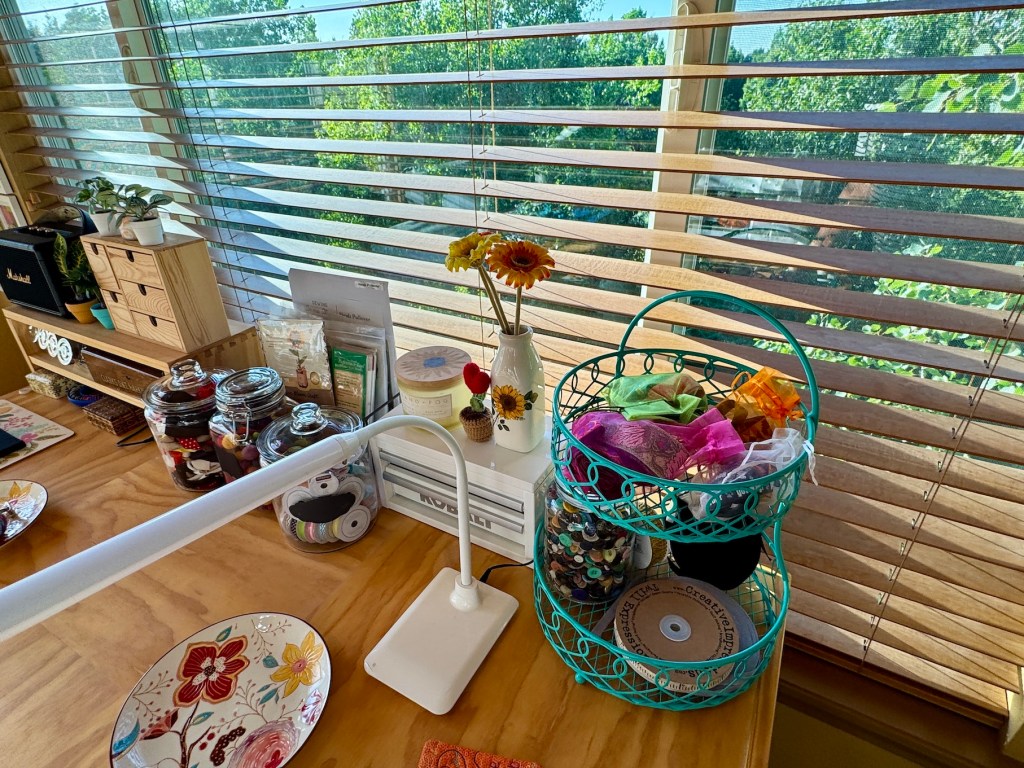
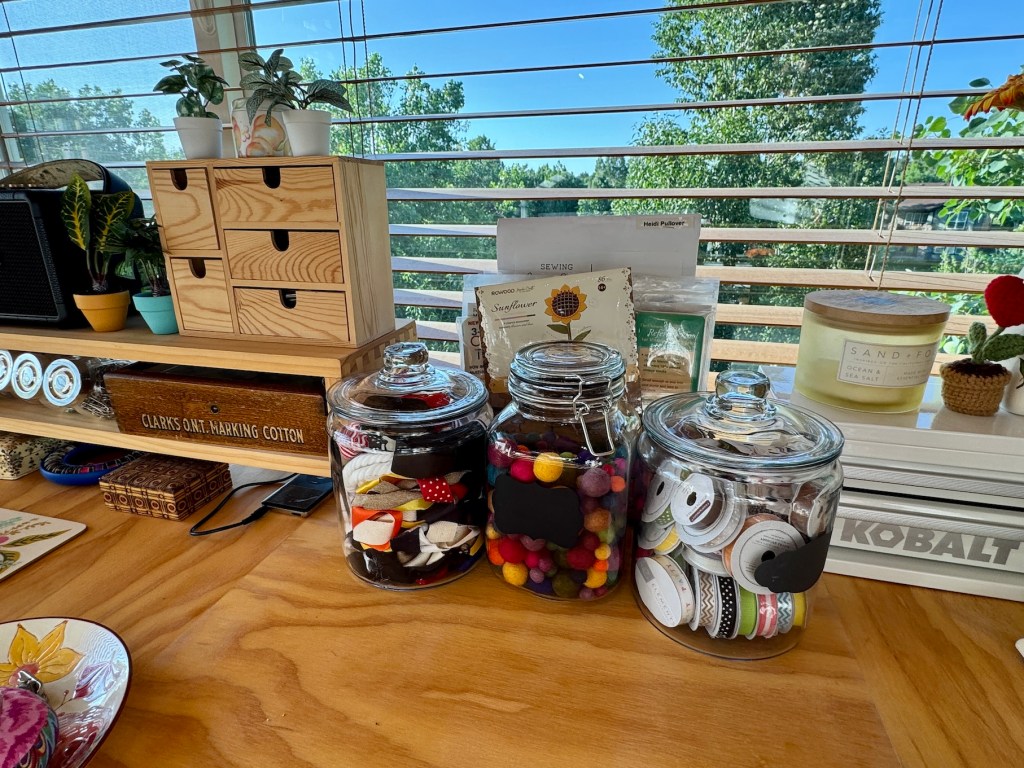
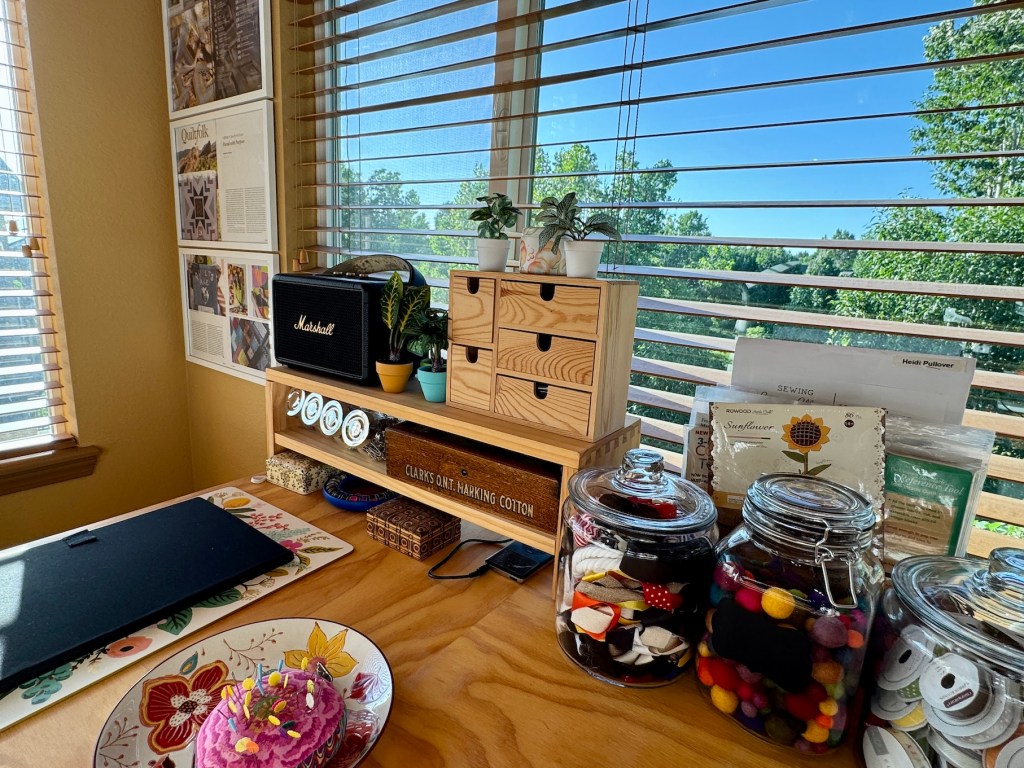
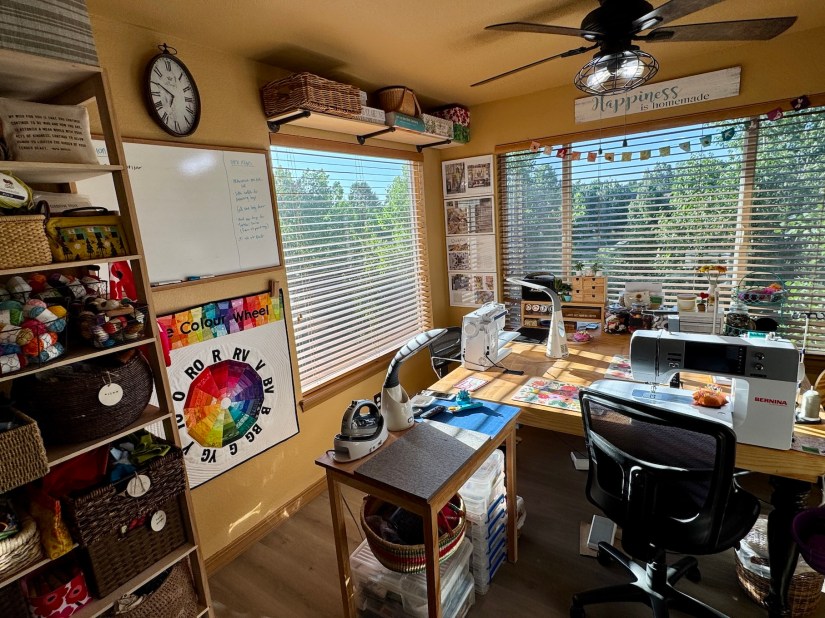
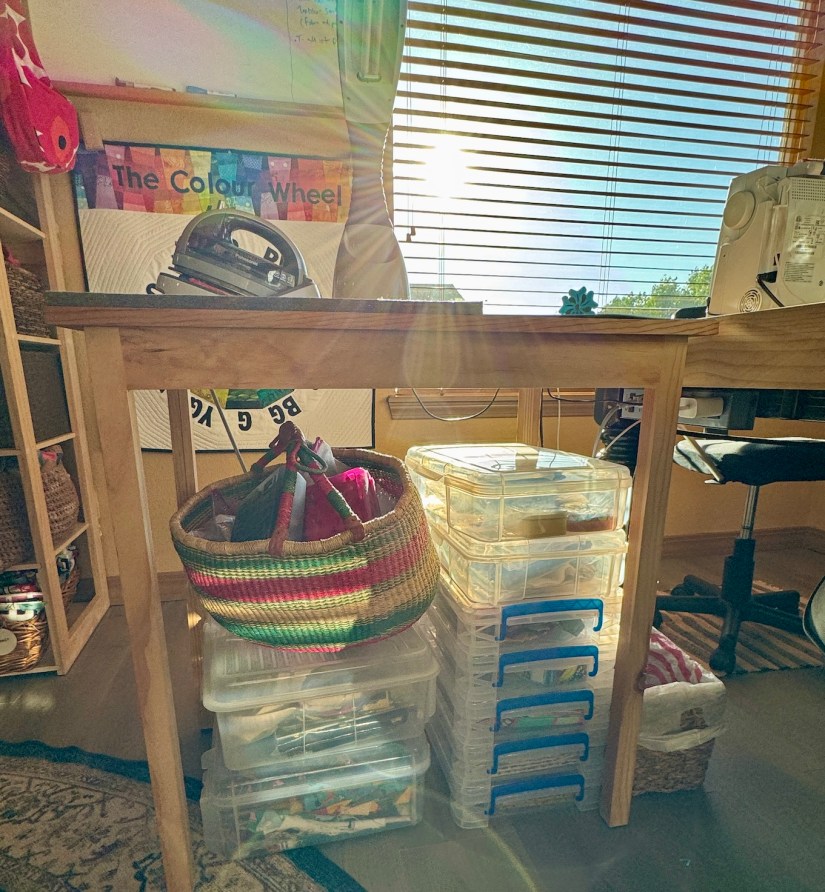
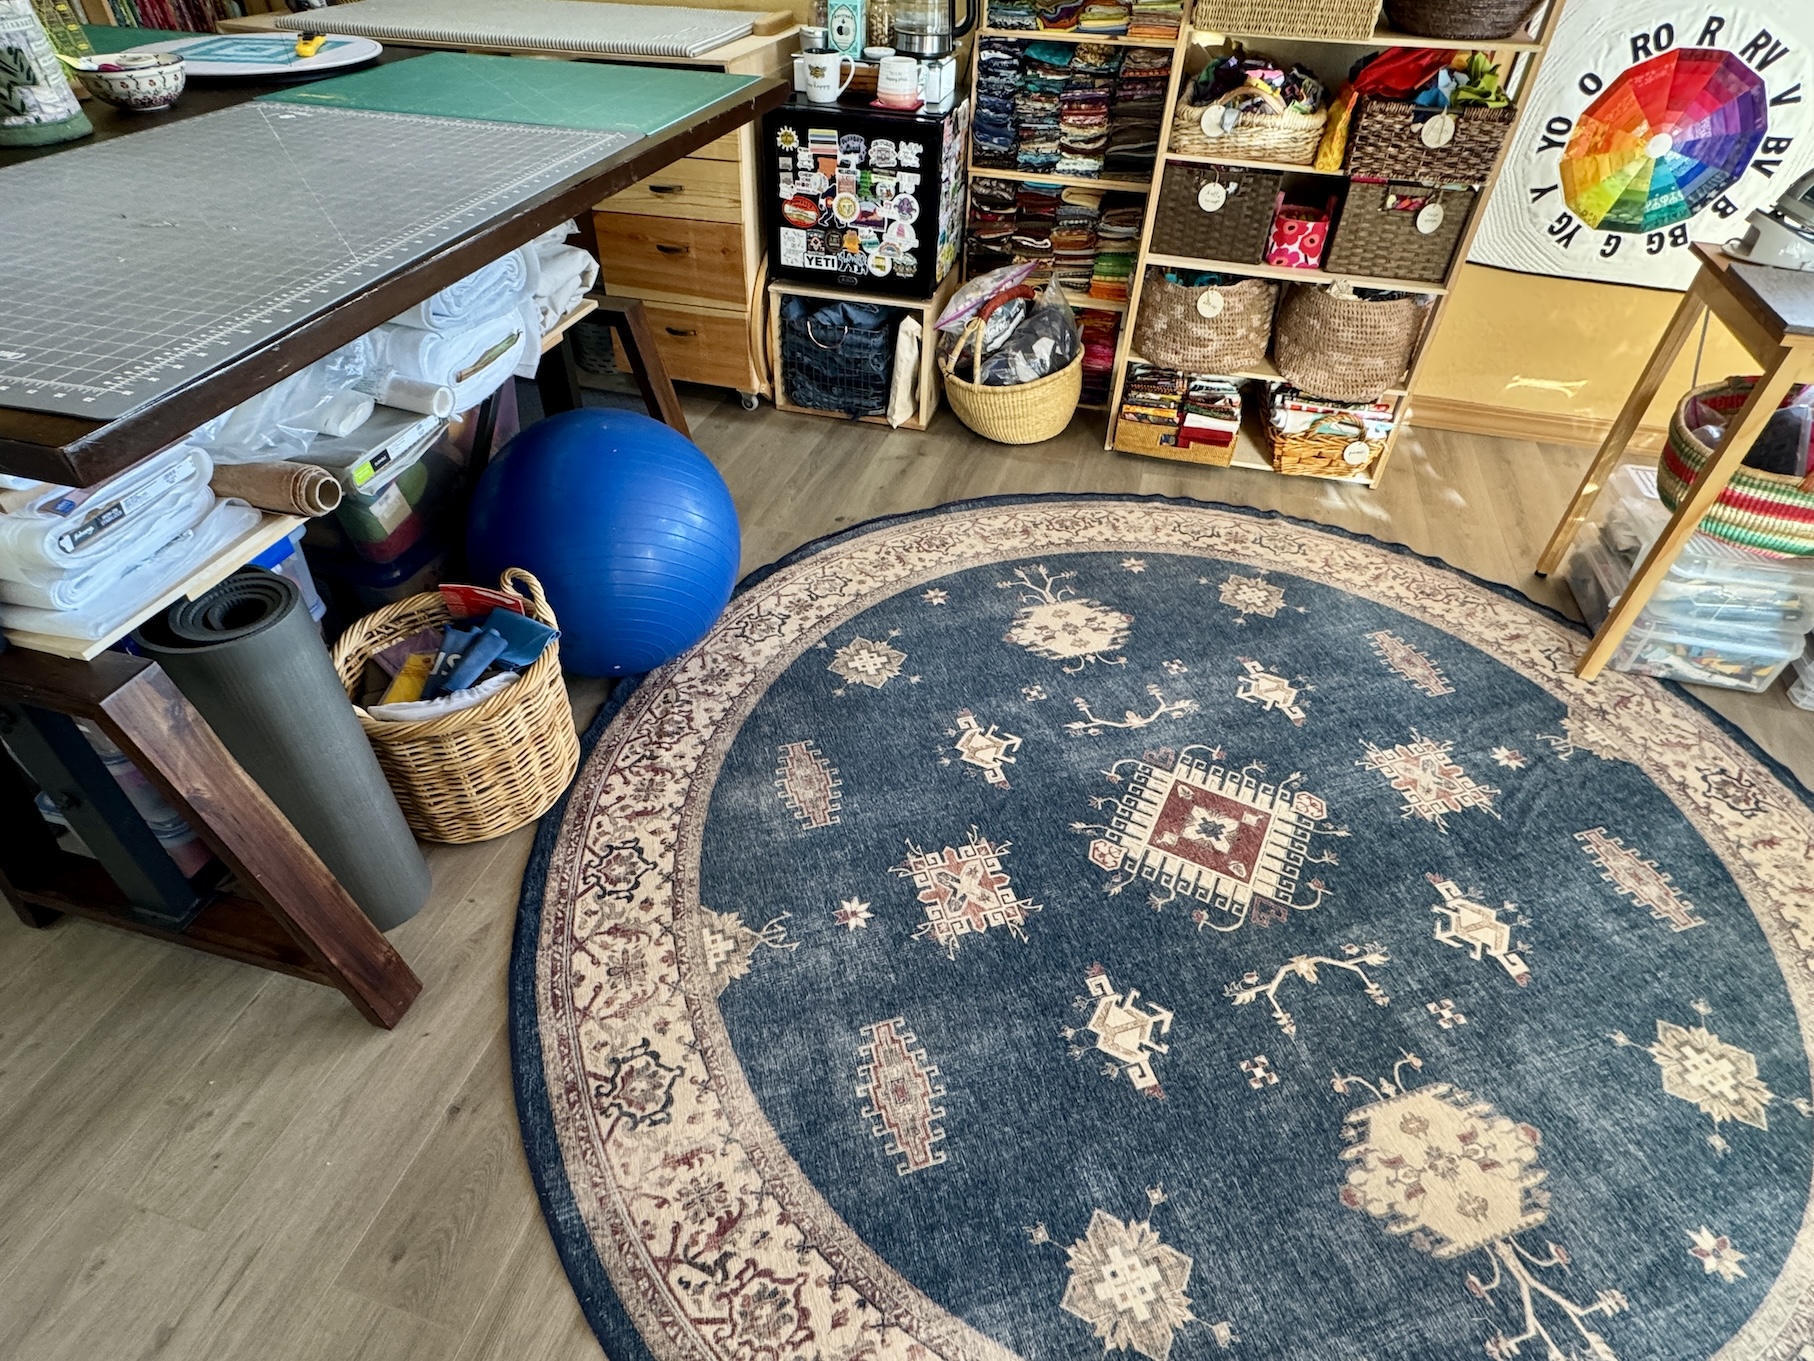
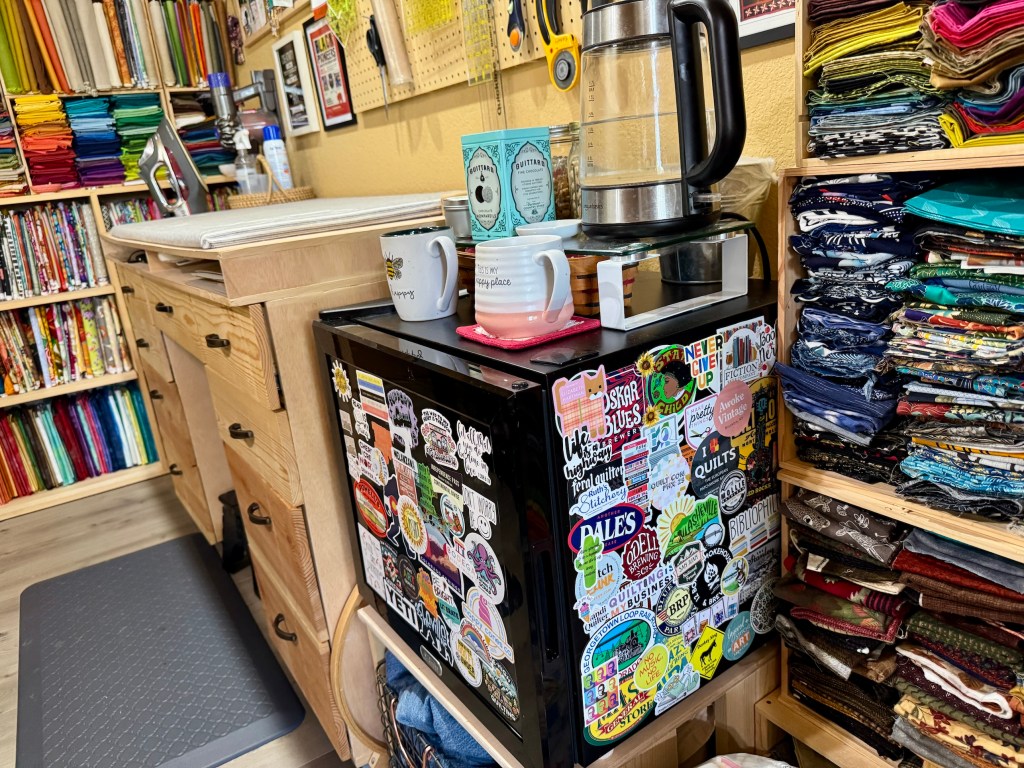
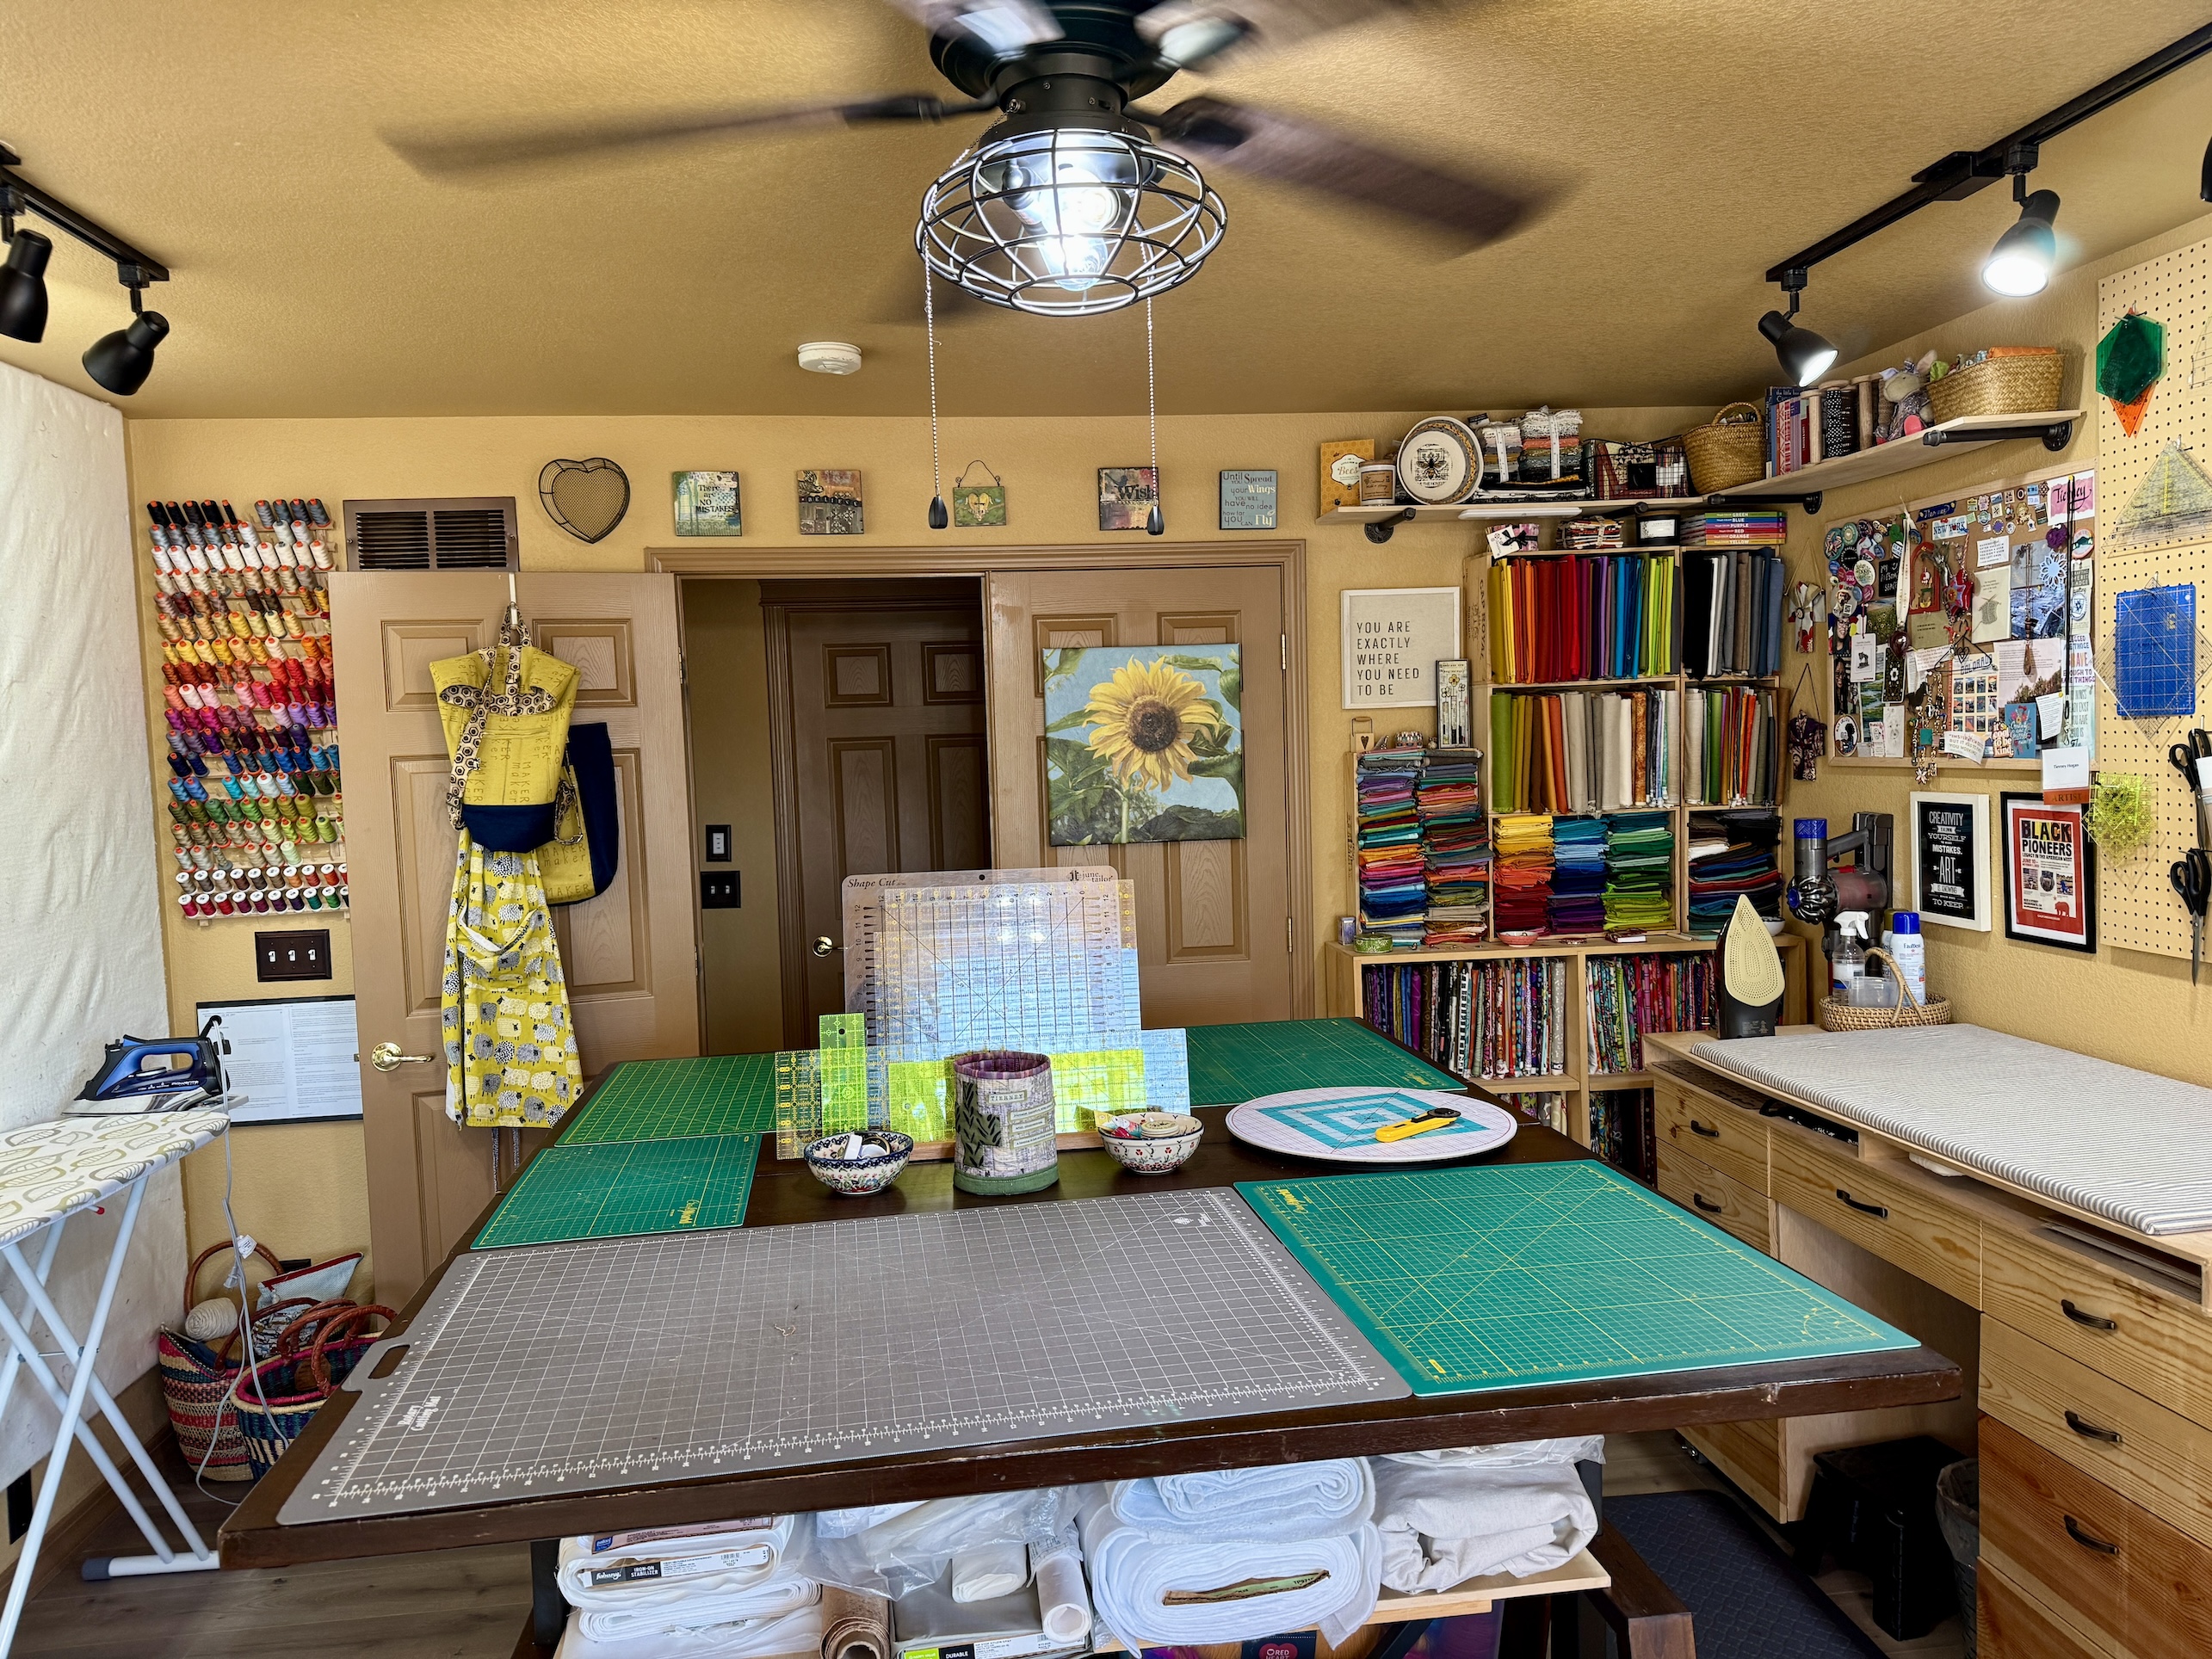
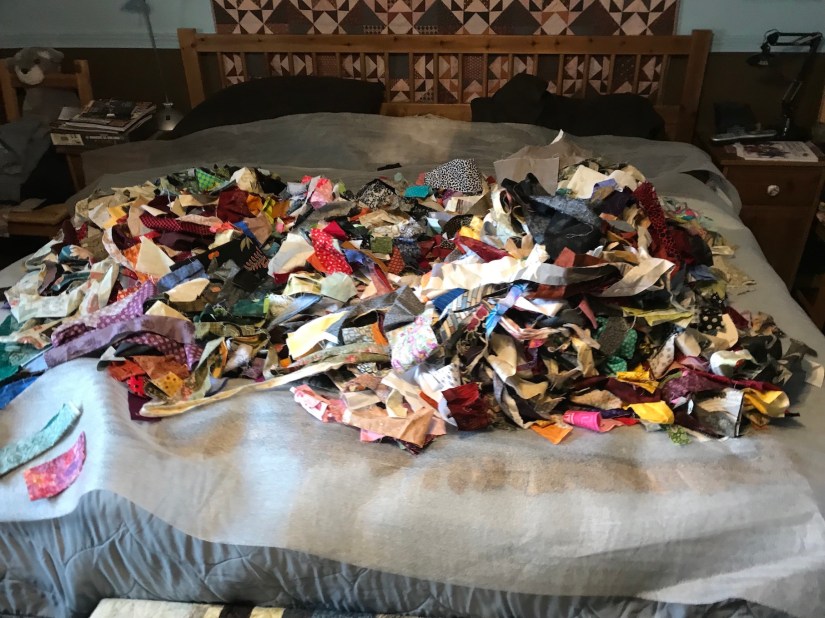
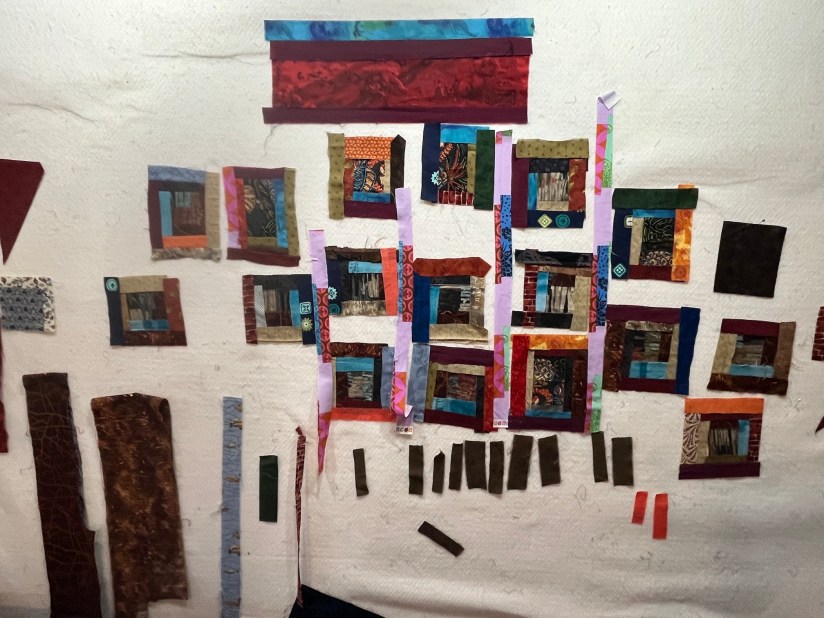
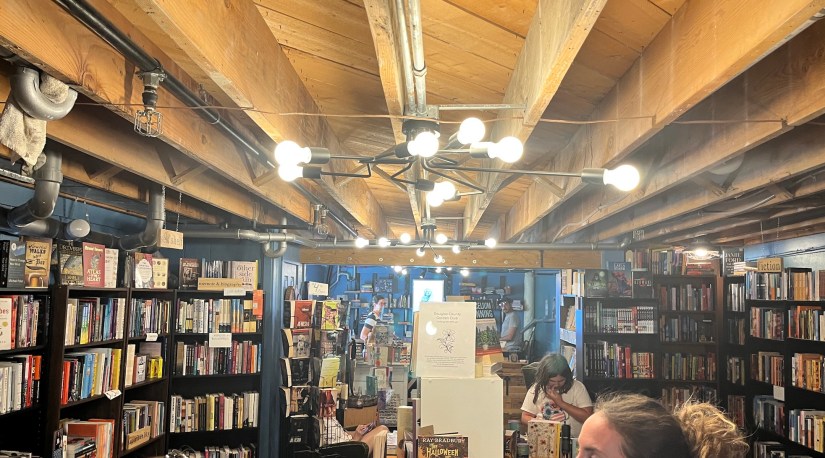
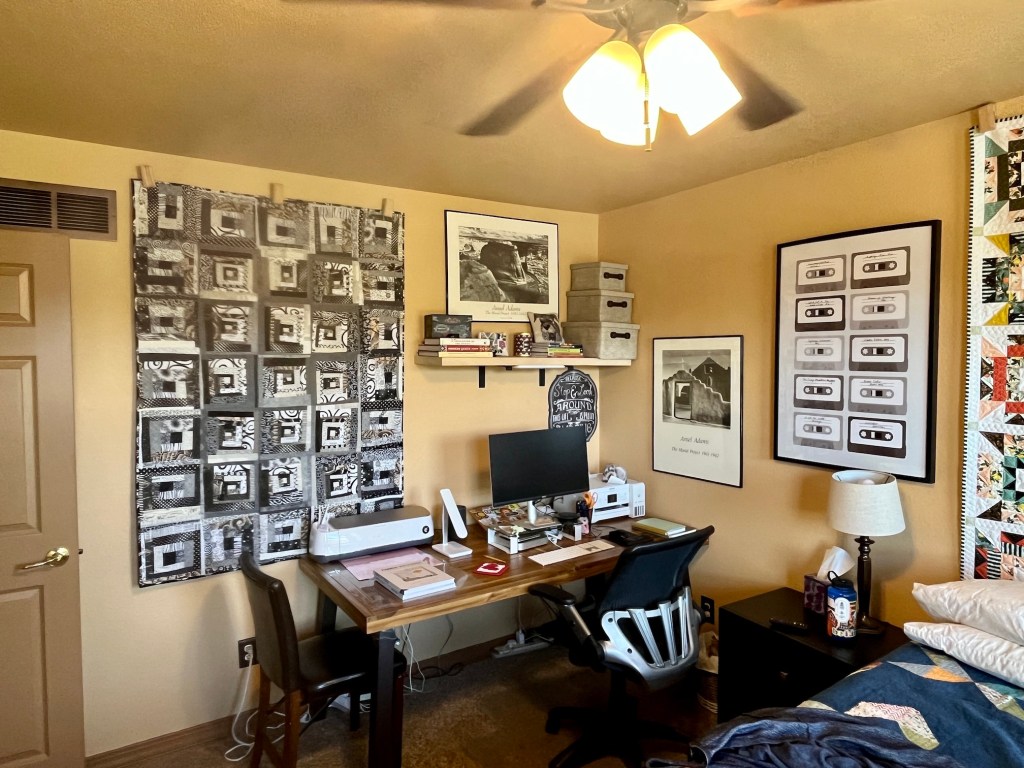
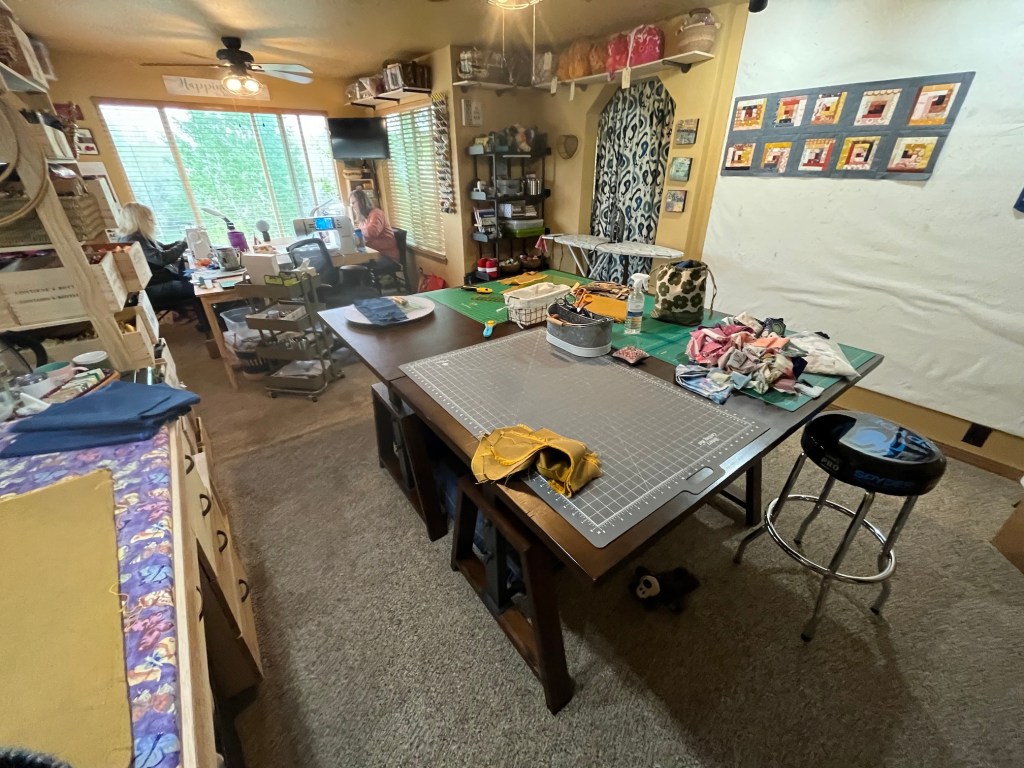
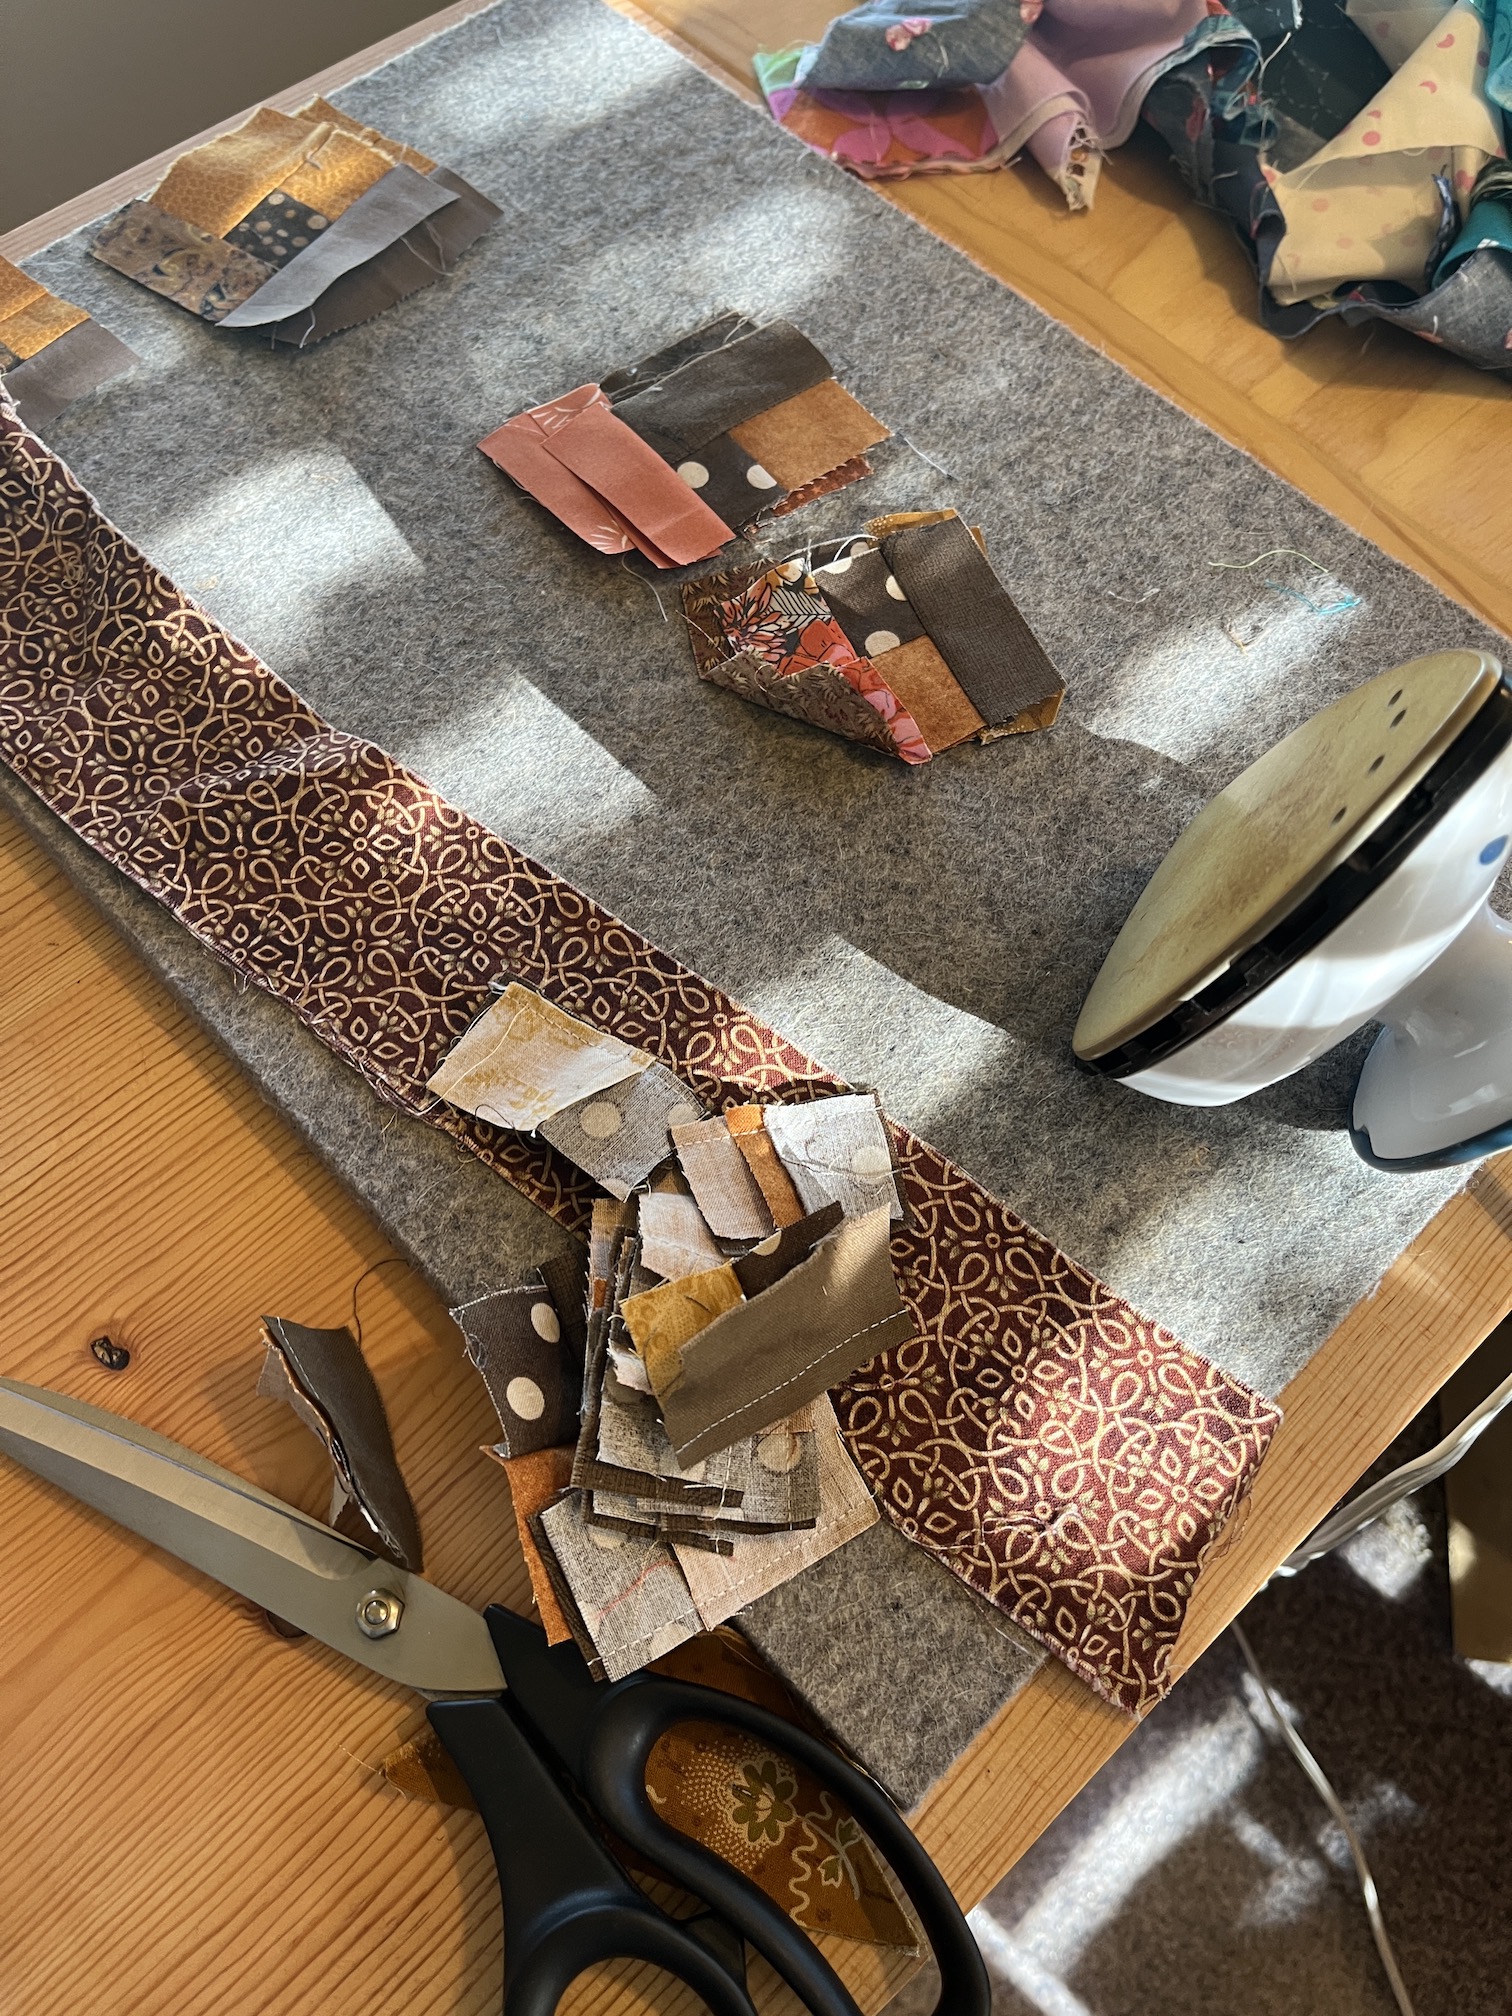
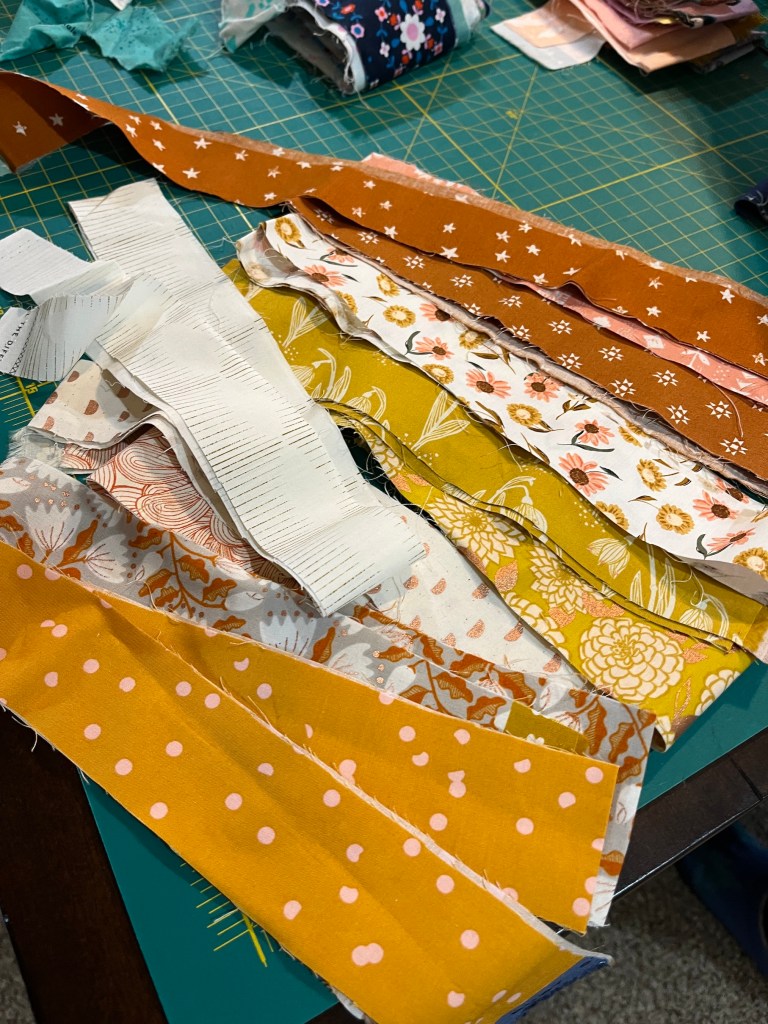
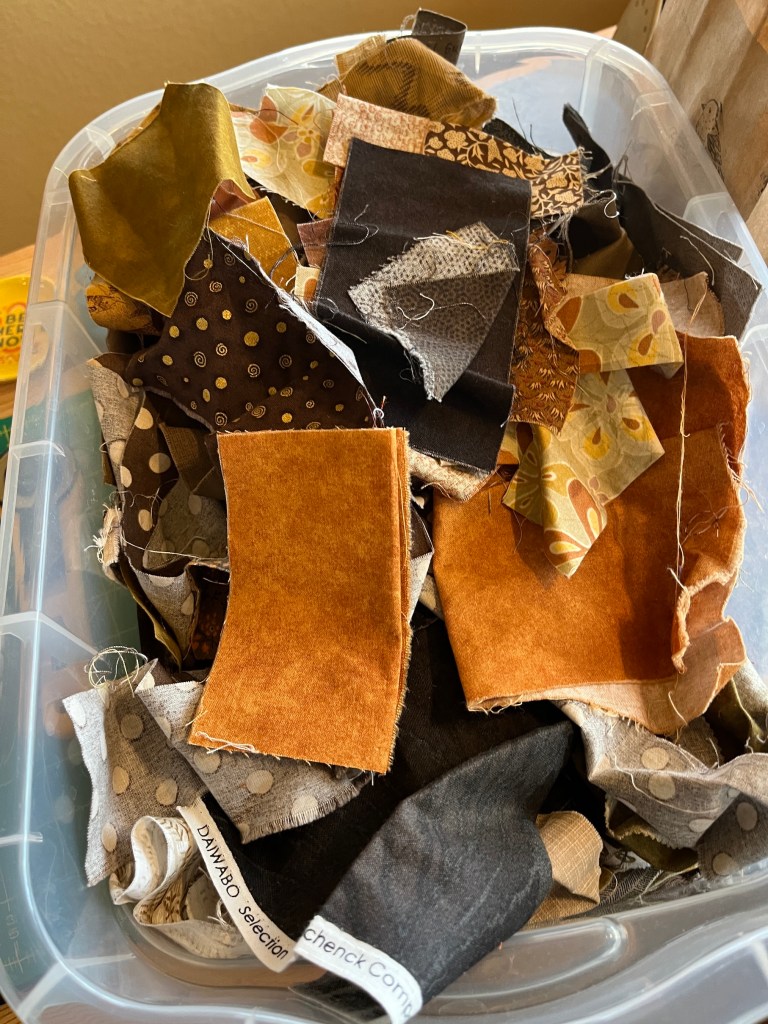
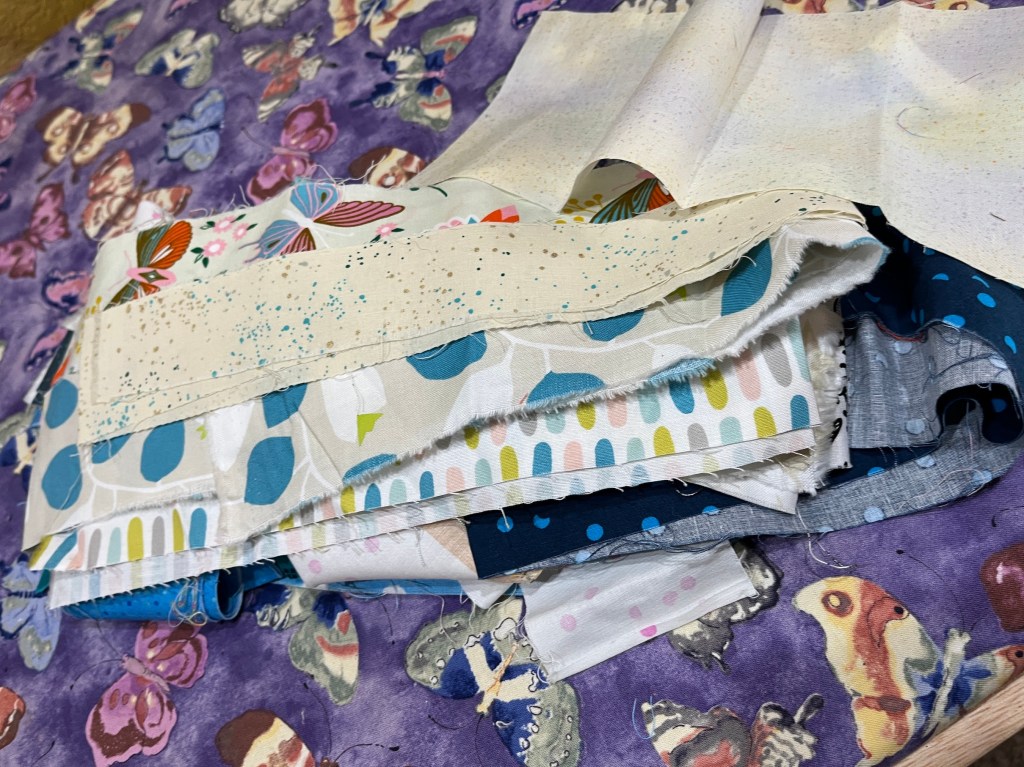
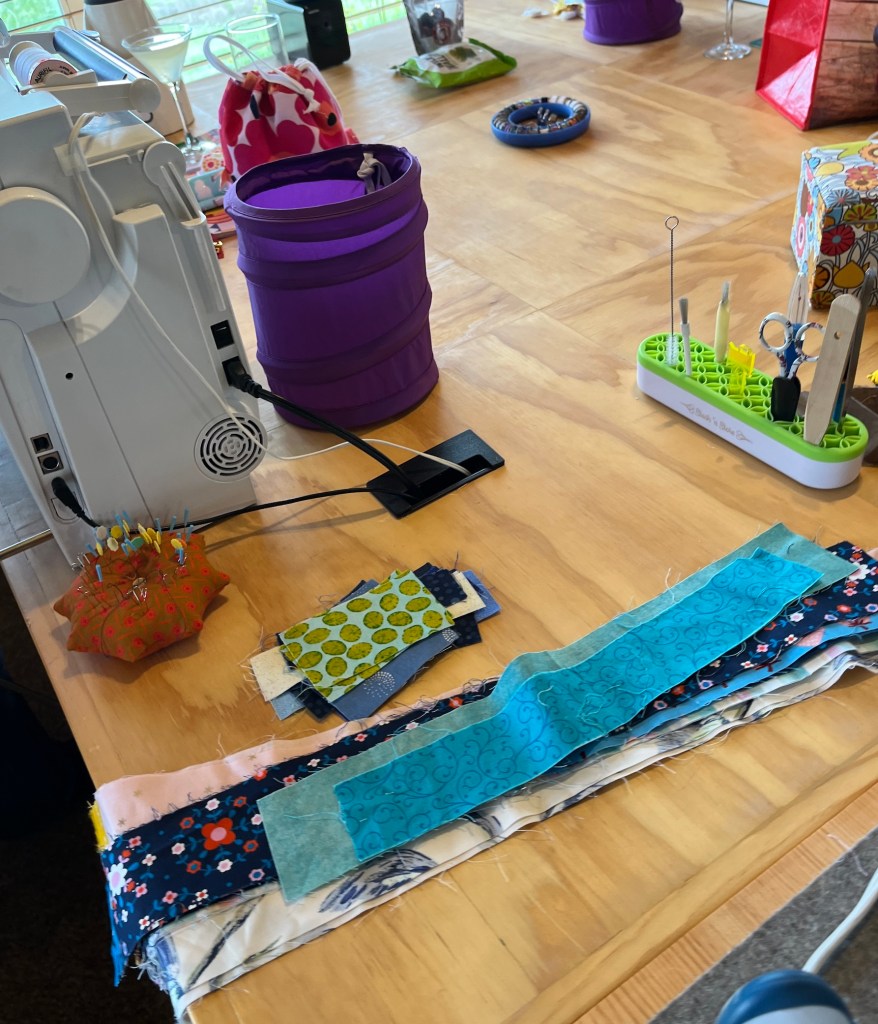
My new studio in the loft of our new home currently looks like this:
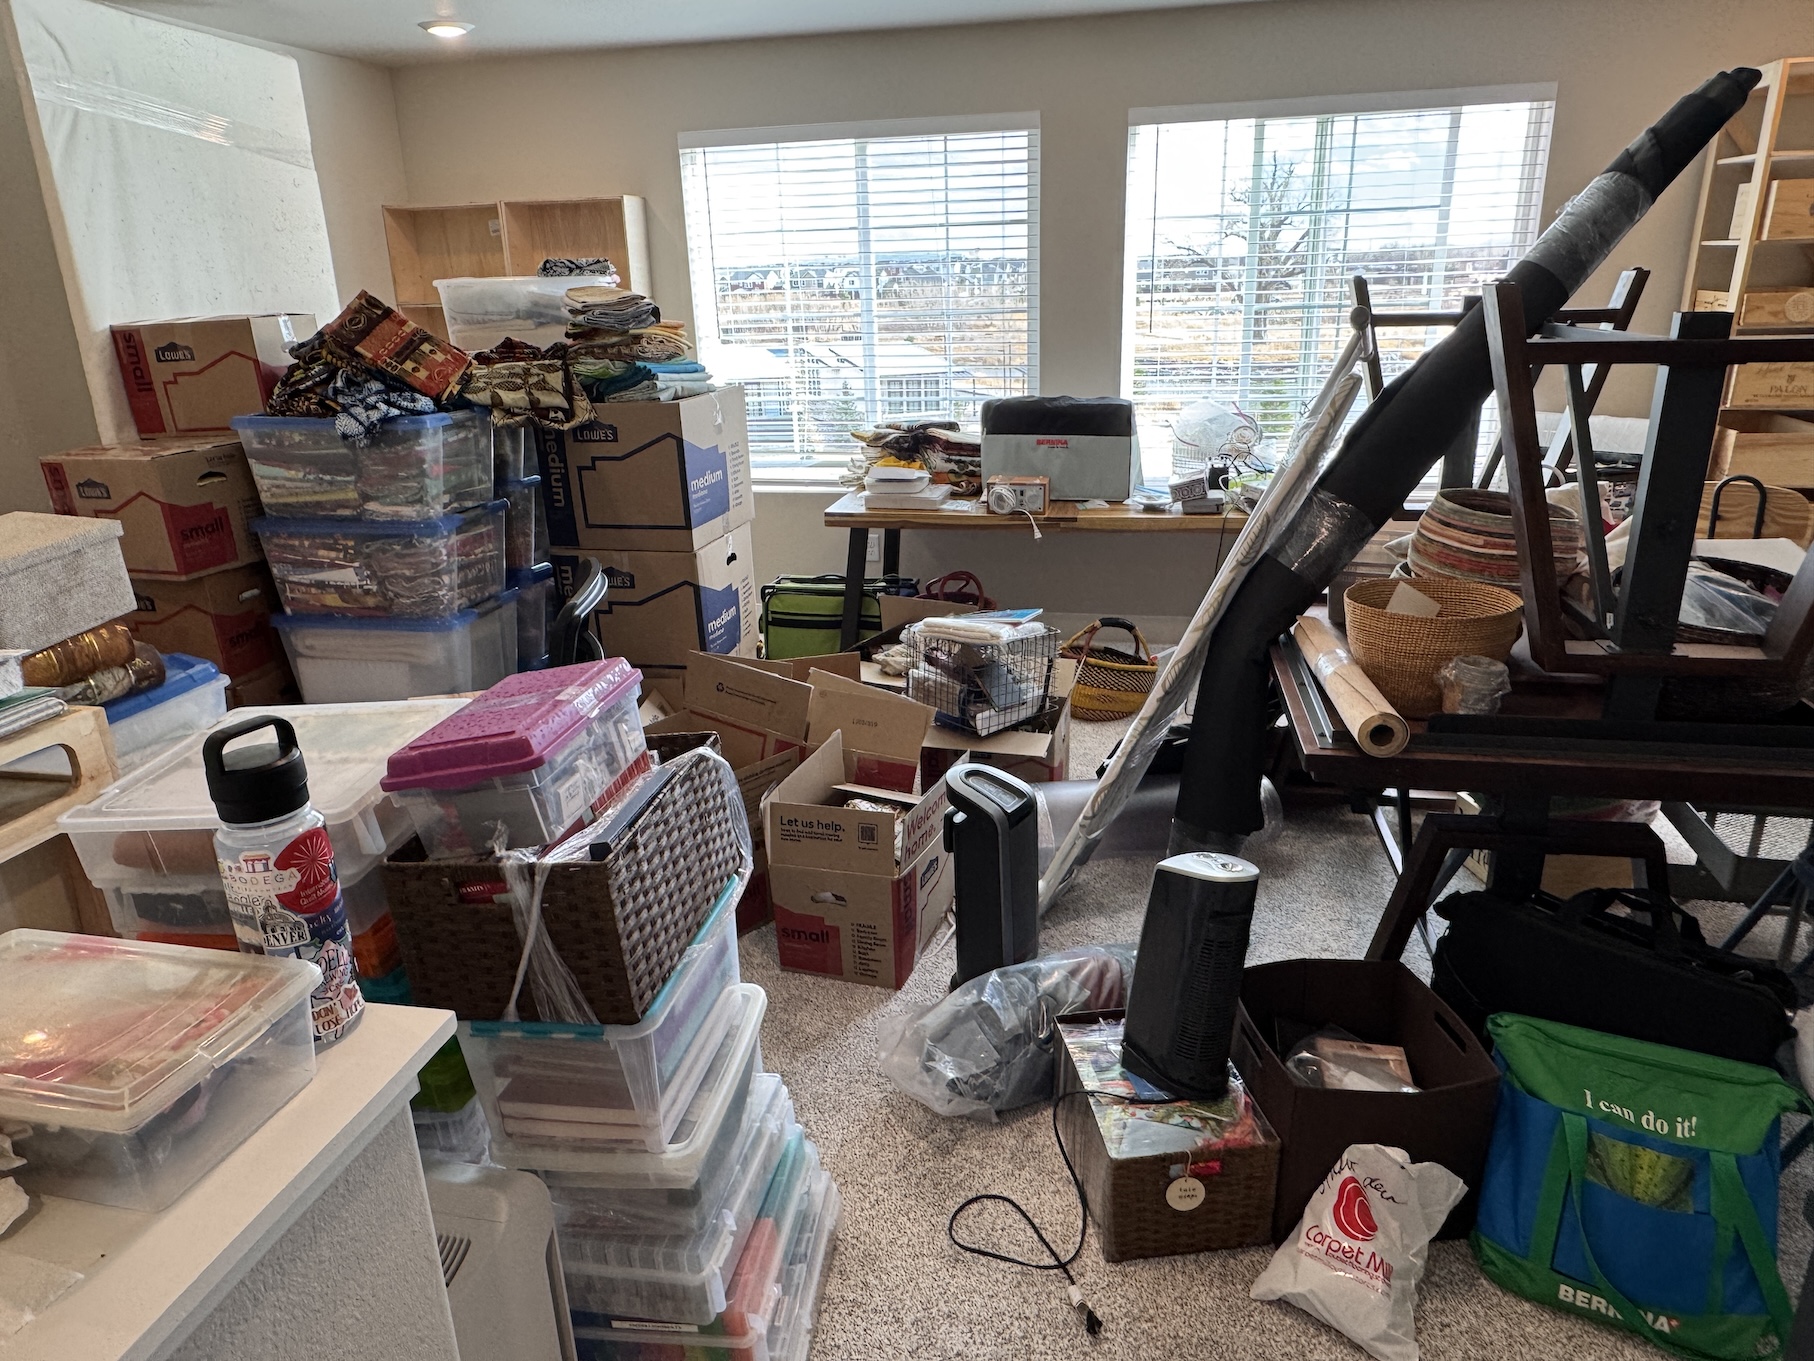
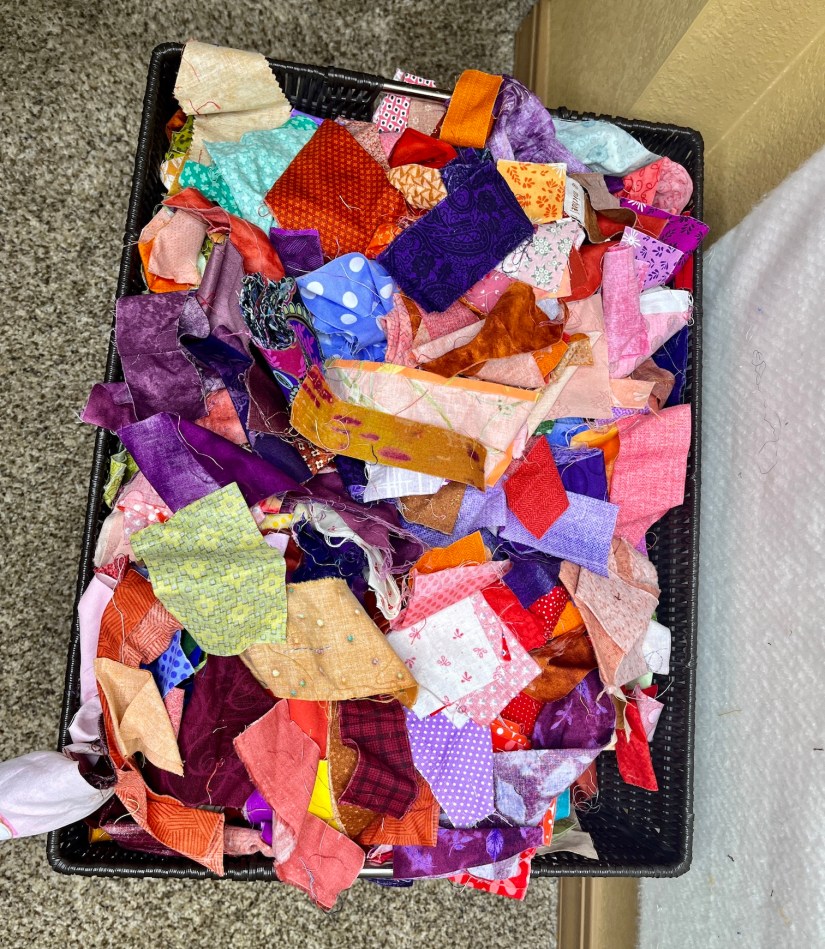
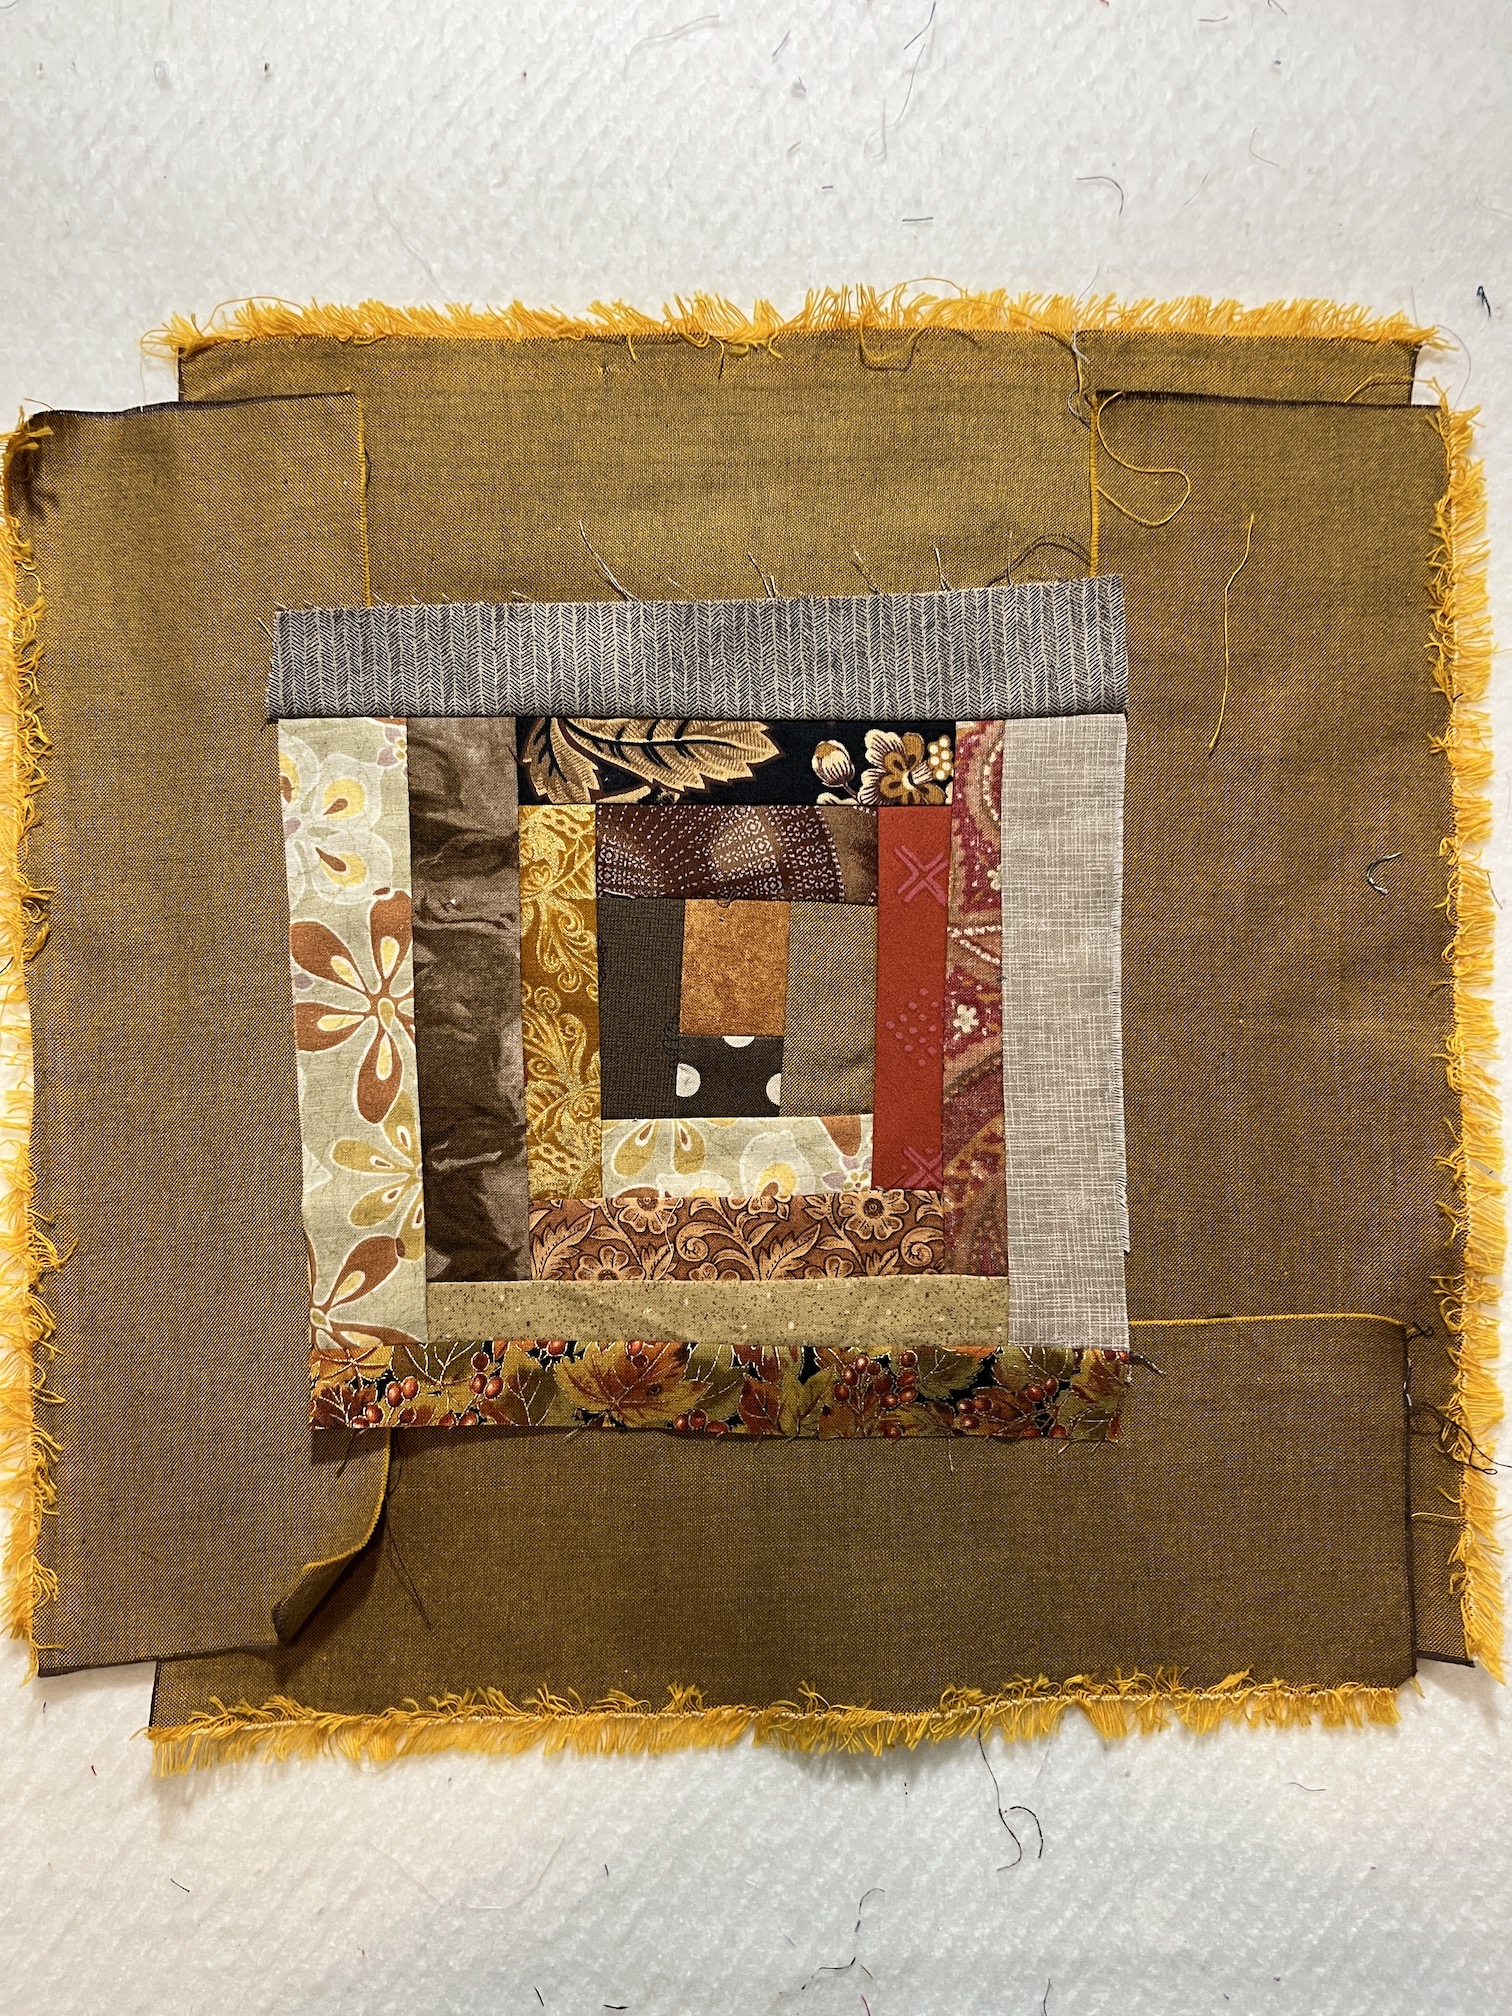
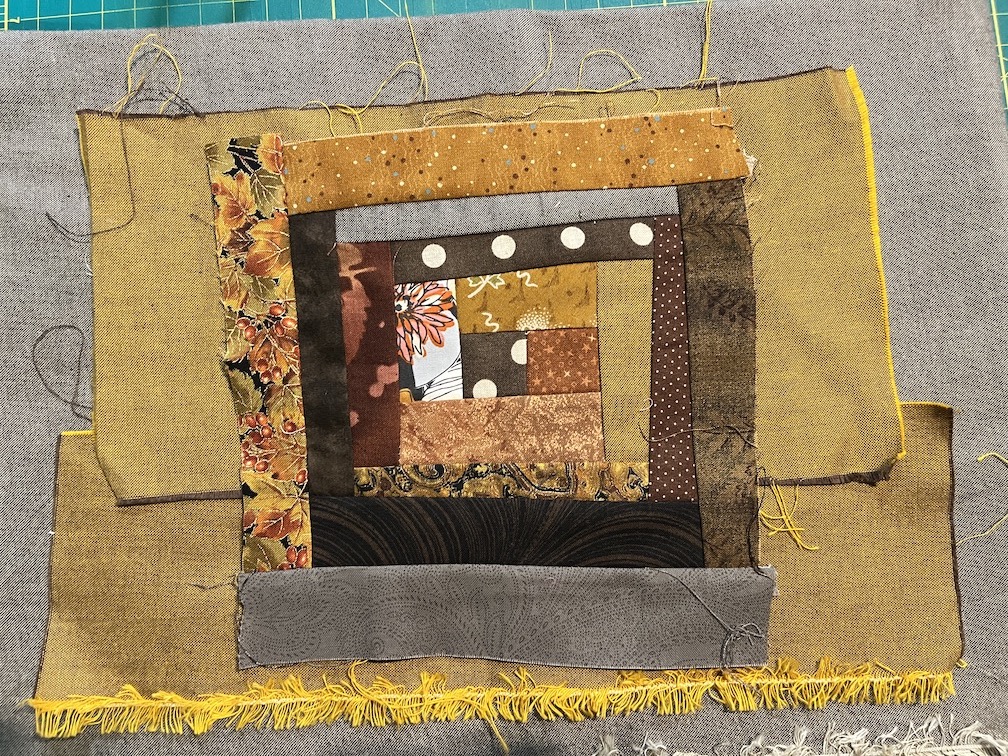
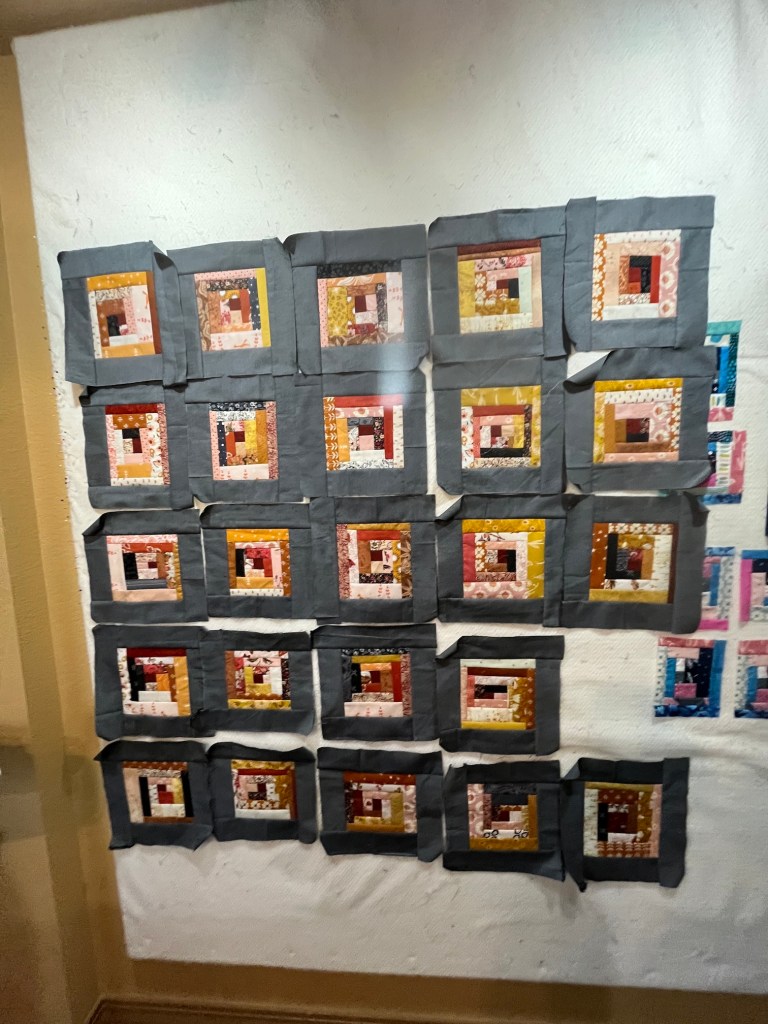
So there are no scrappy creations to report for March’s ScrapHappy post.
However I wanted to participate in this monthly celebration of working with scraps/recycled materials so I will provide a tour of some of the scrappy quilts now on display in my new home.
I don’t do well living in chaos so John and I have diligently worked over the past week to get the main floor of our new home livable and even kind of cozy.
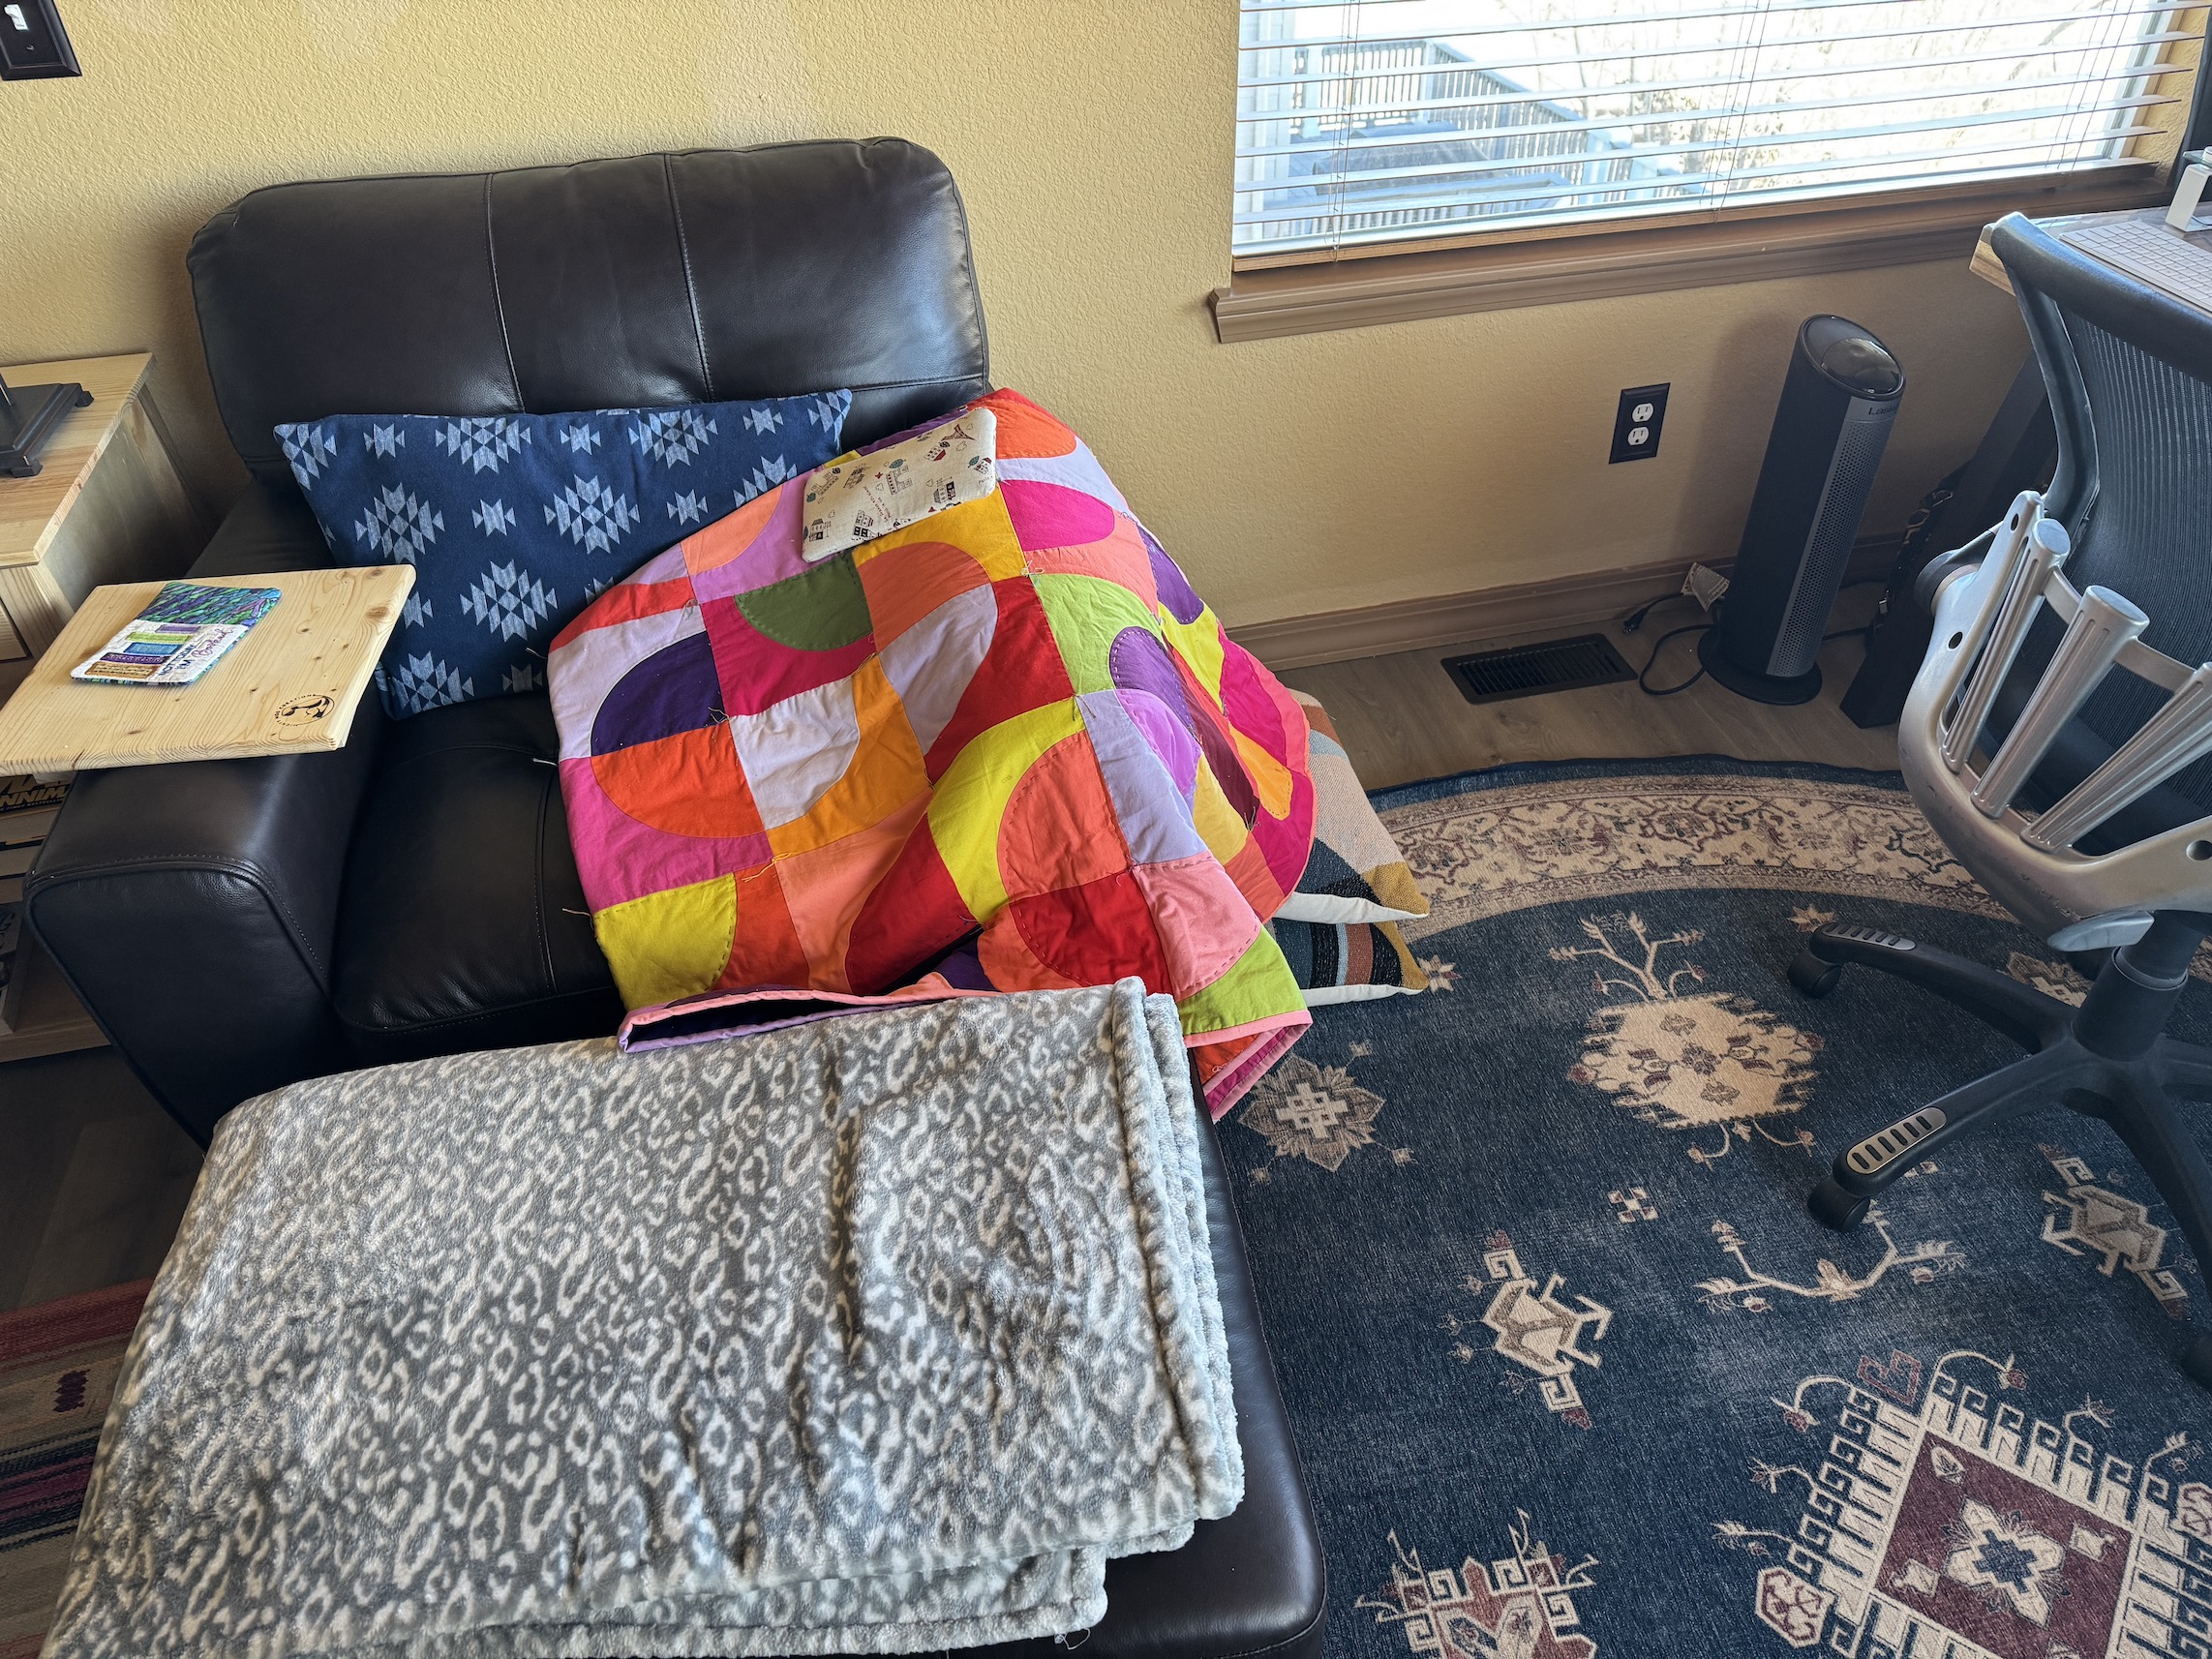
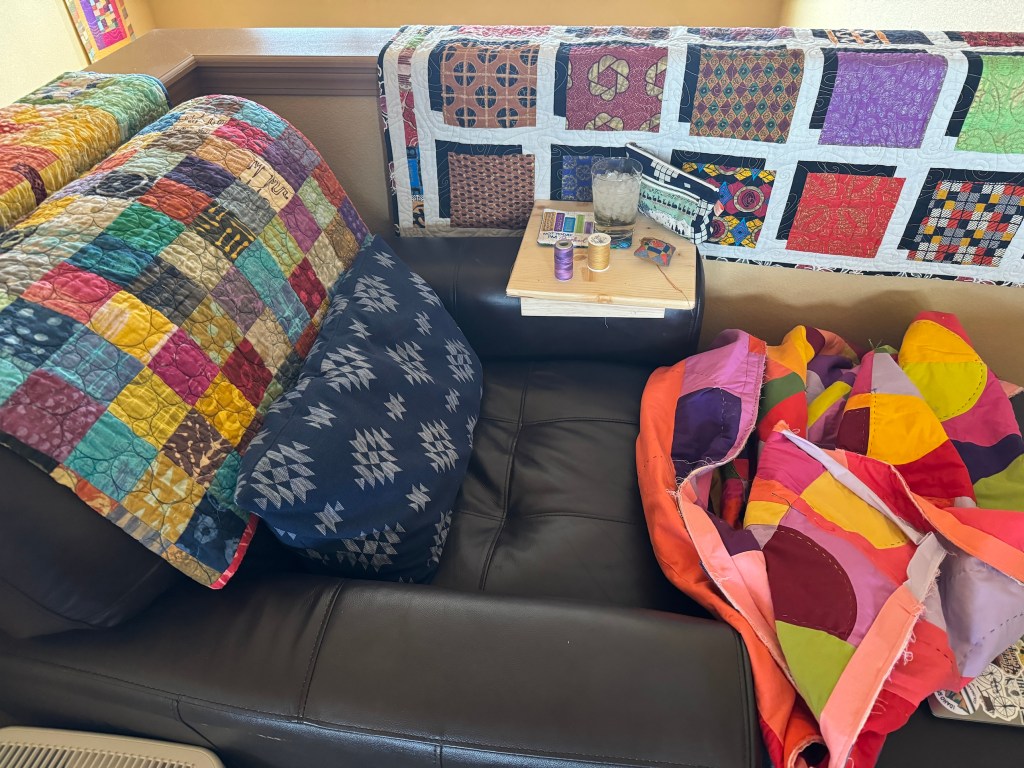
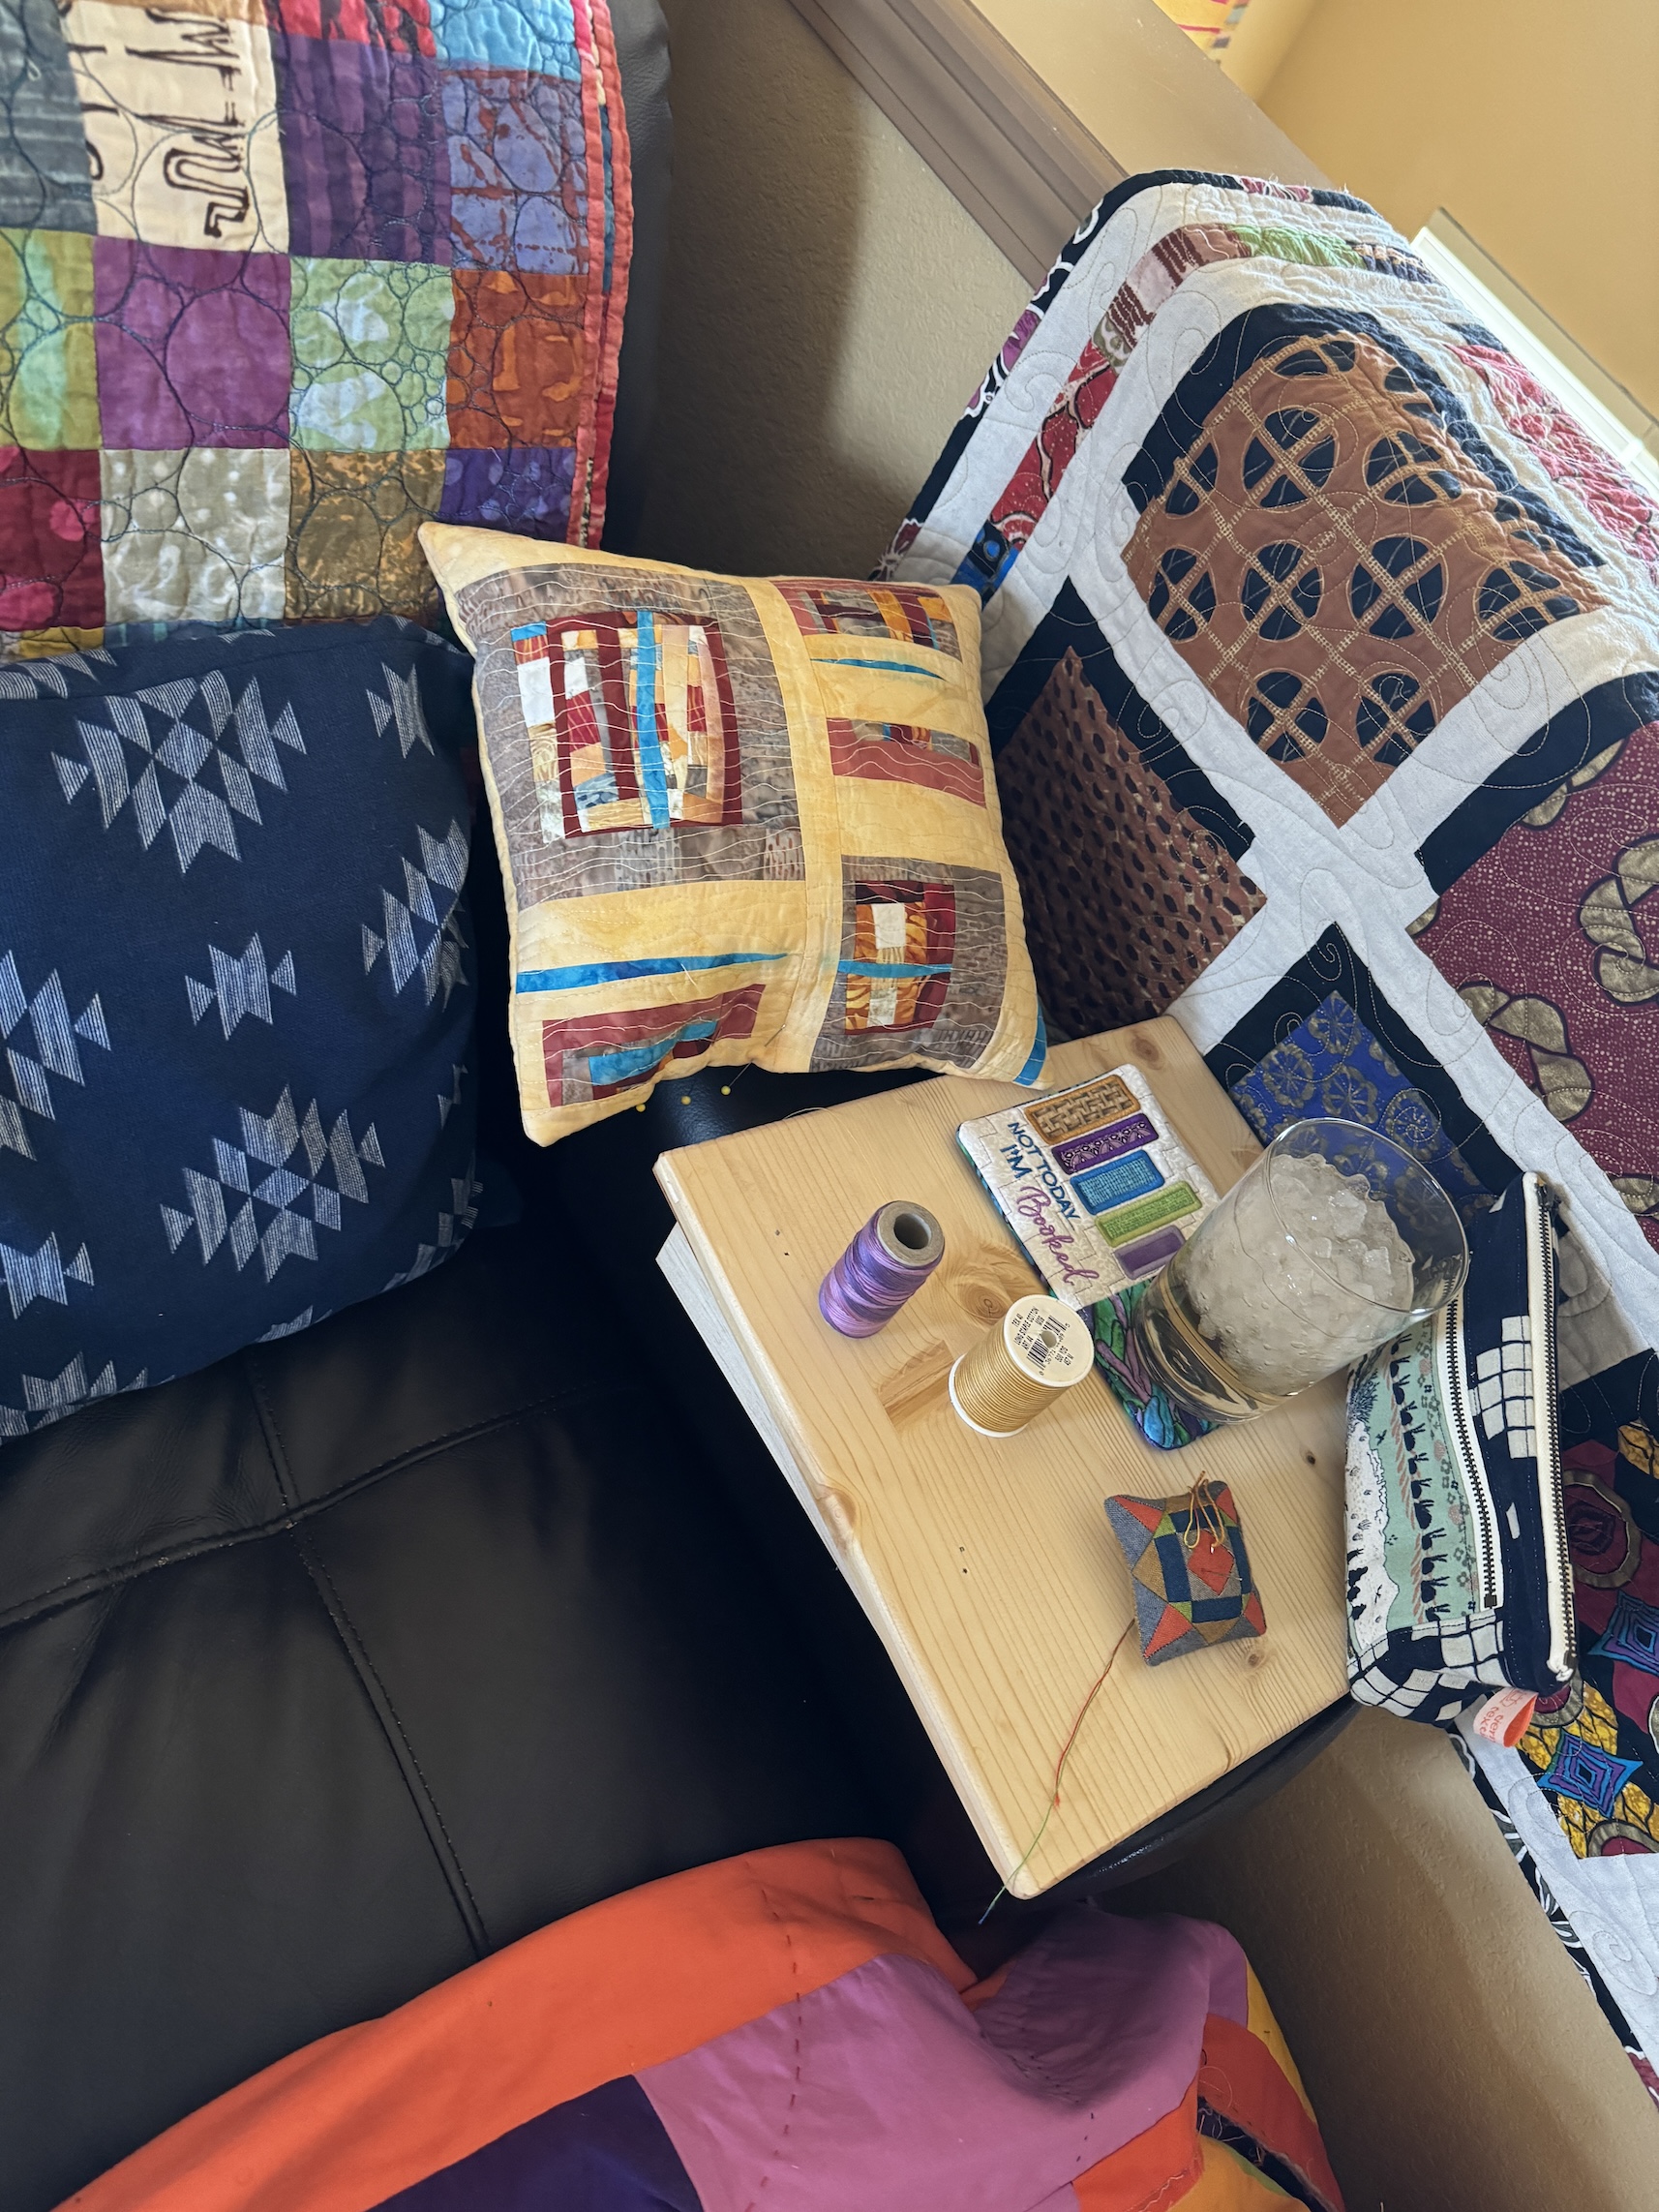
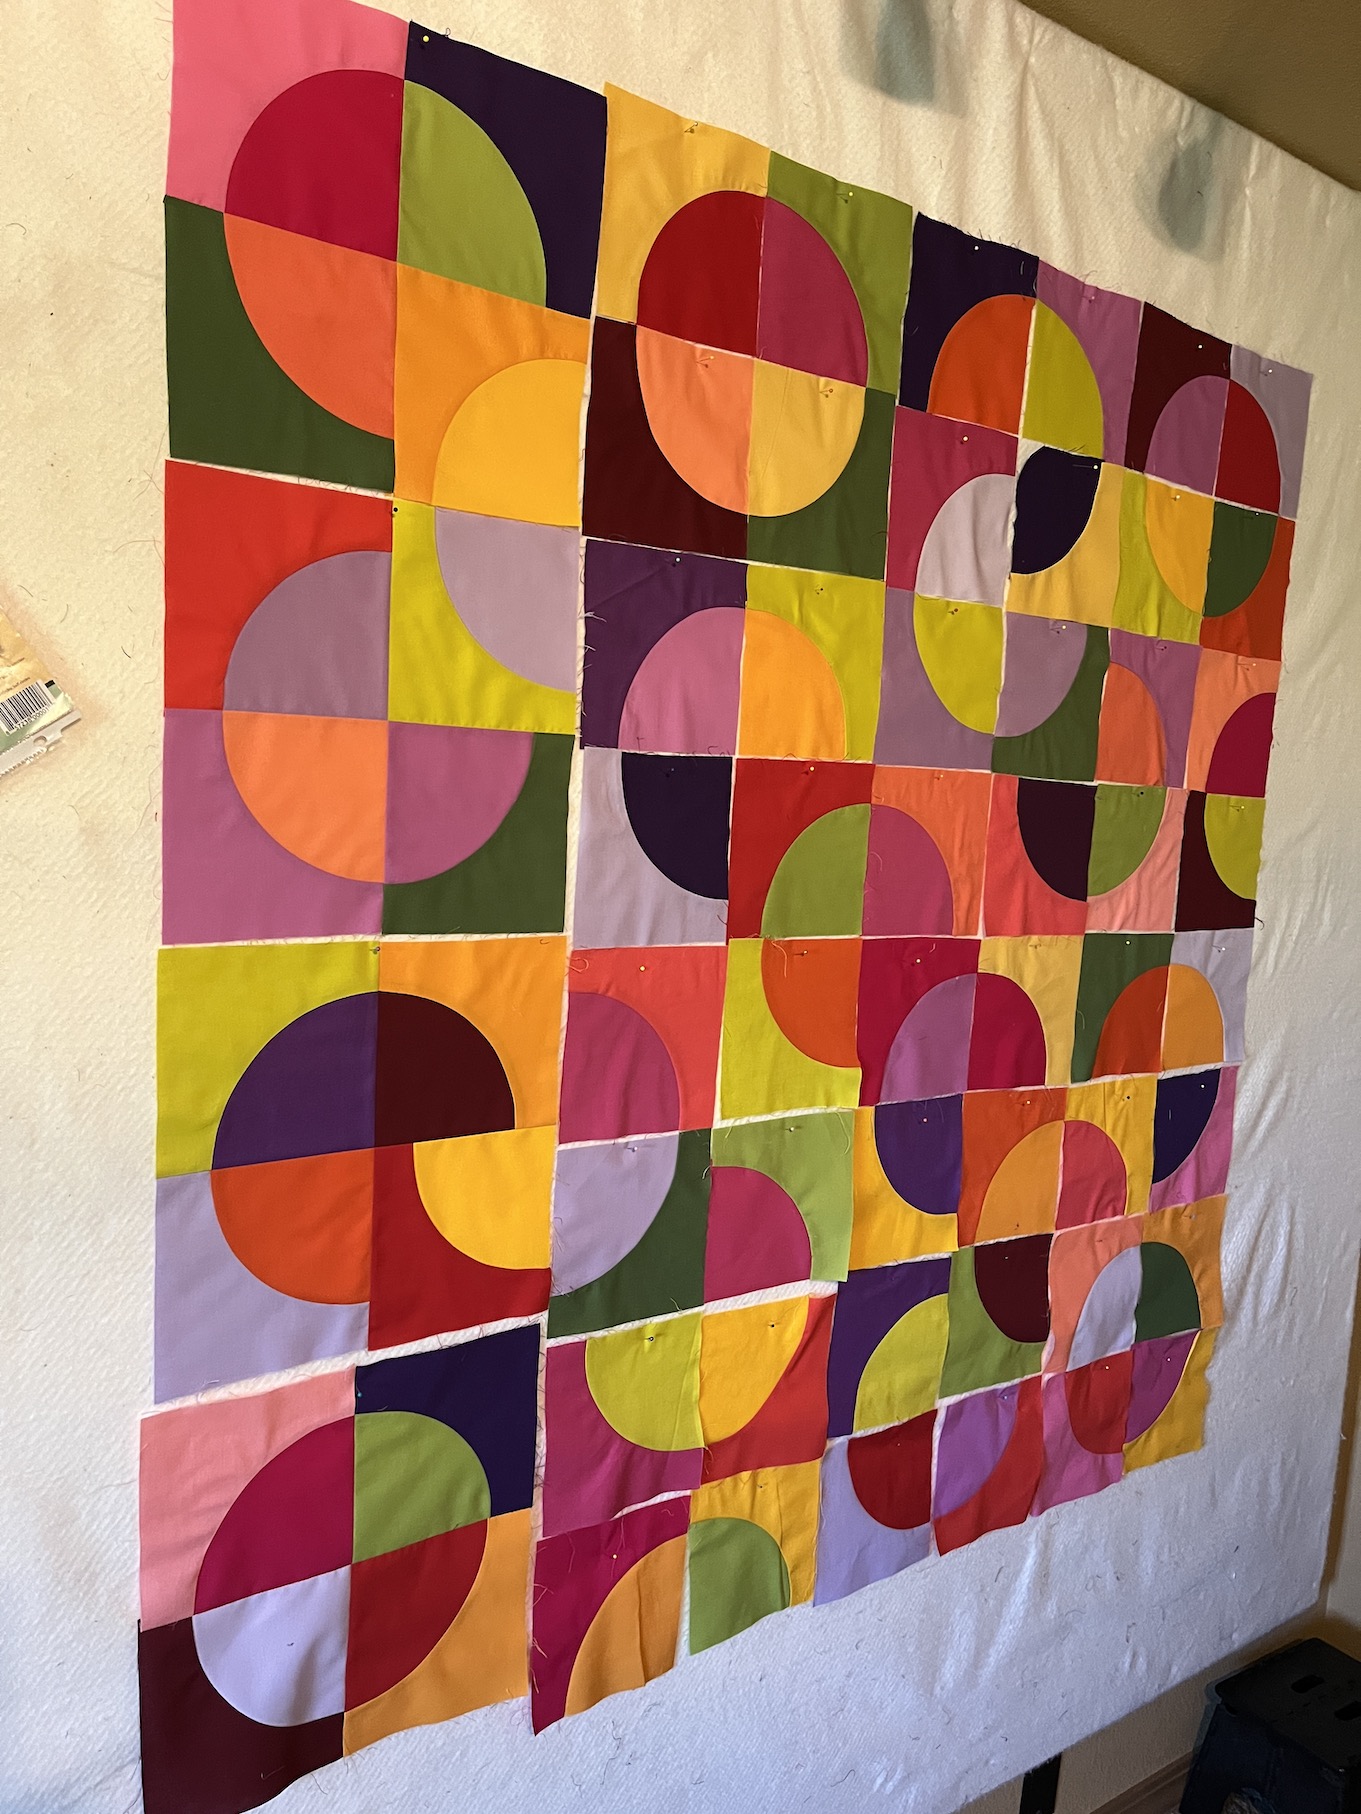
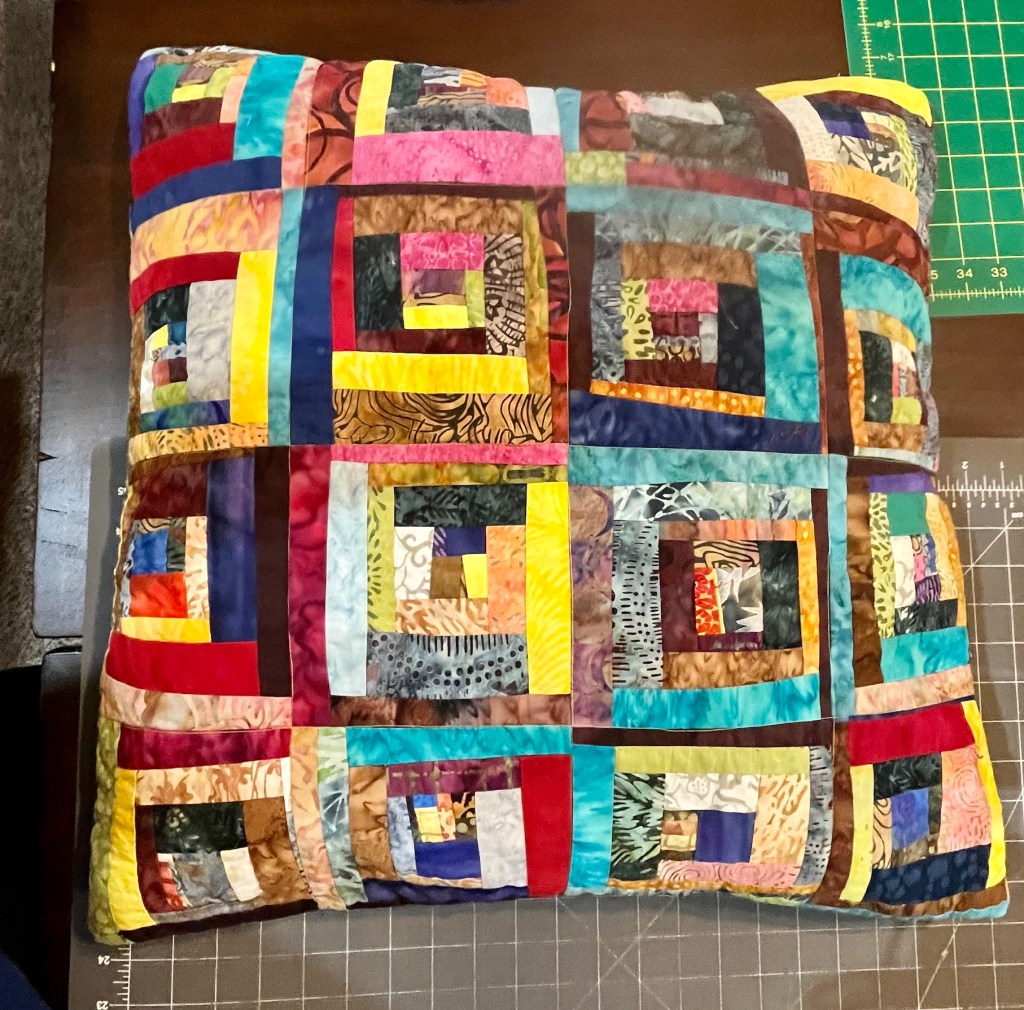
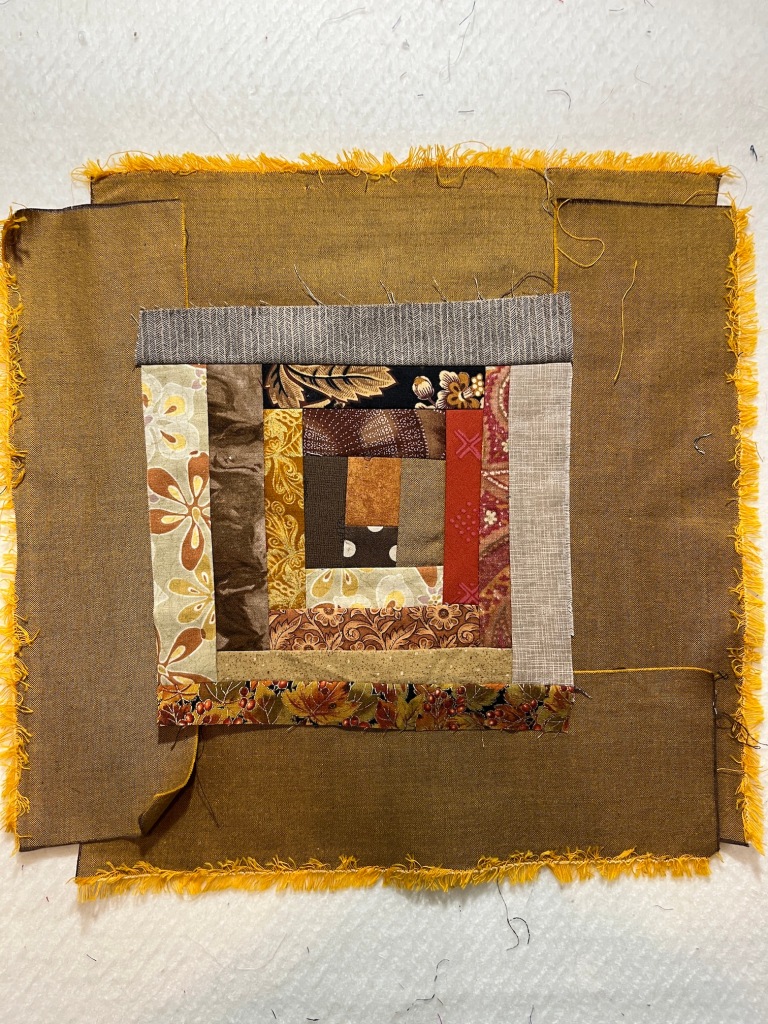
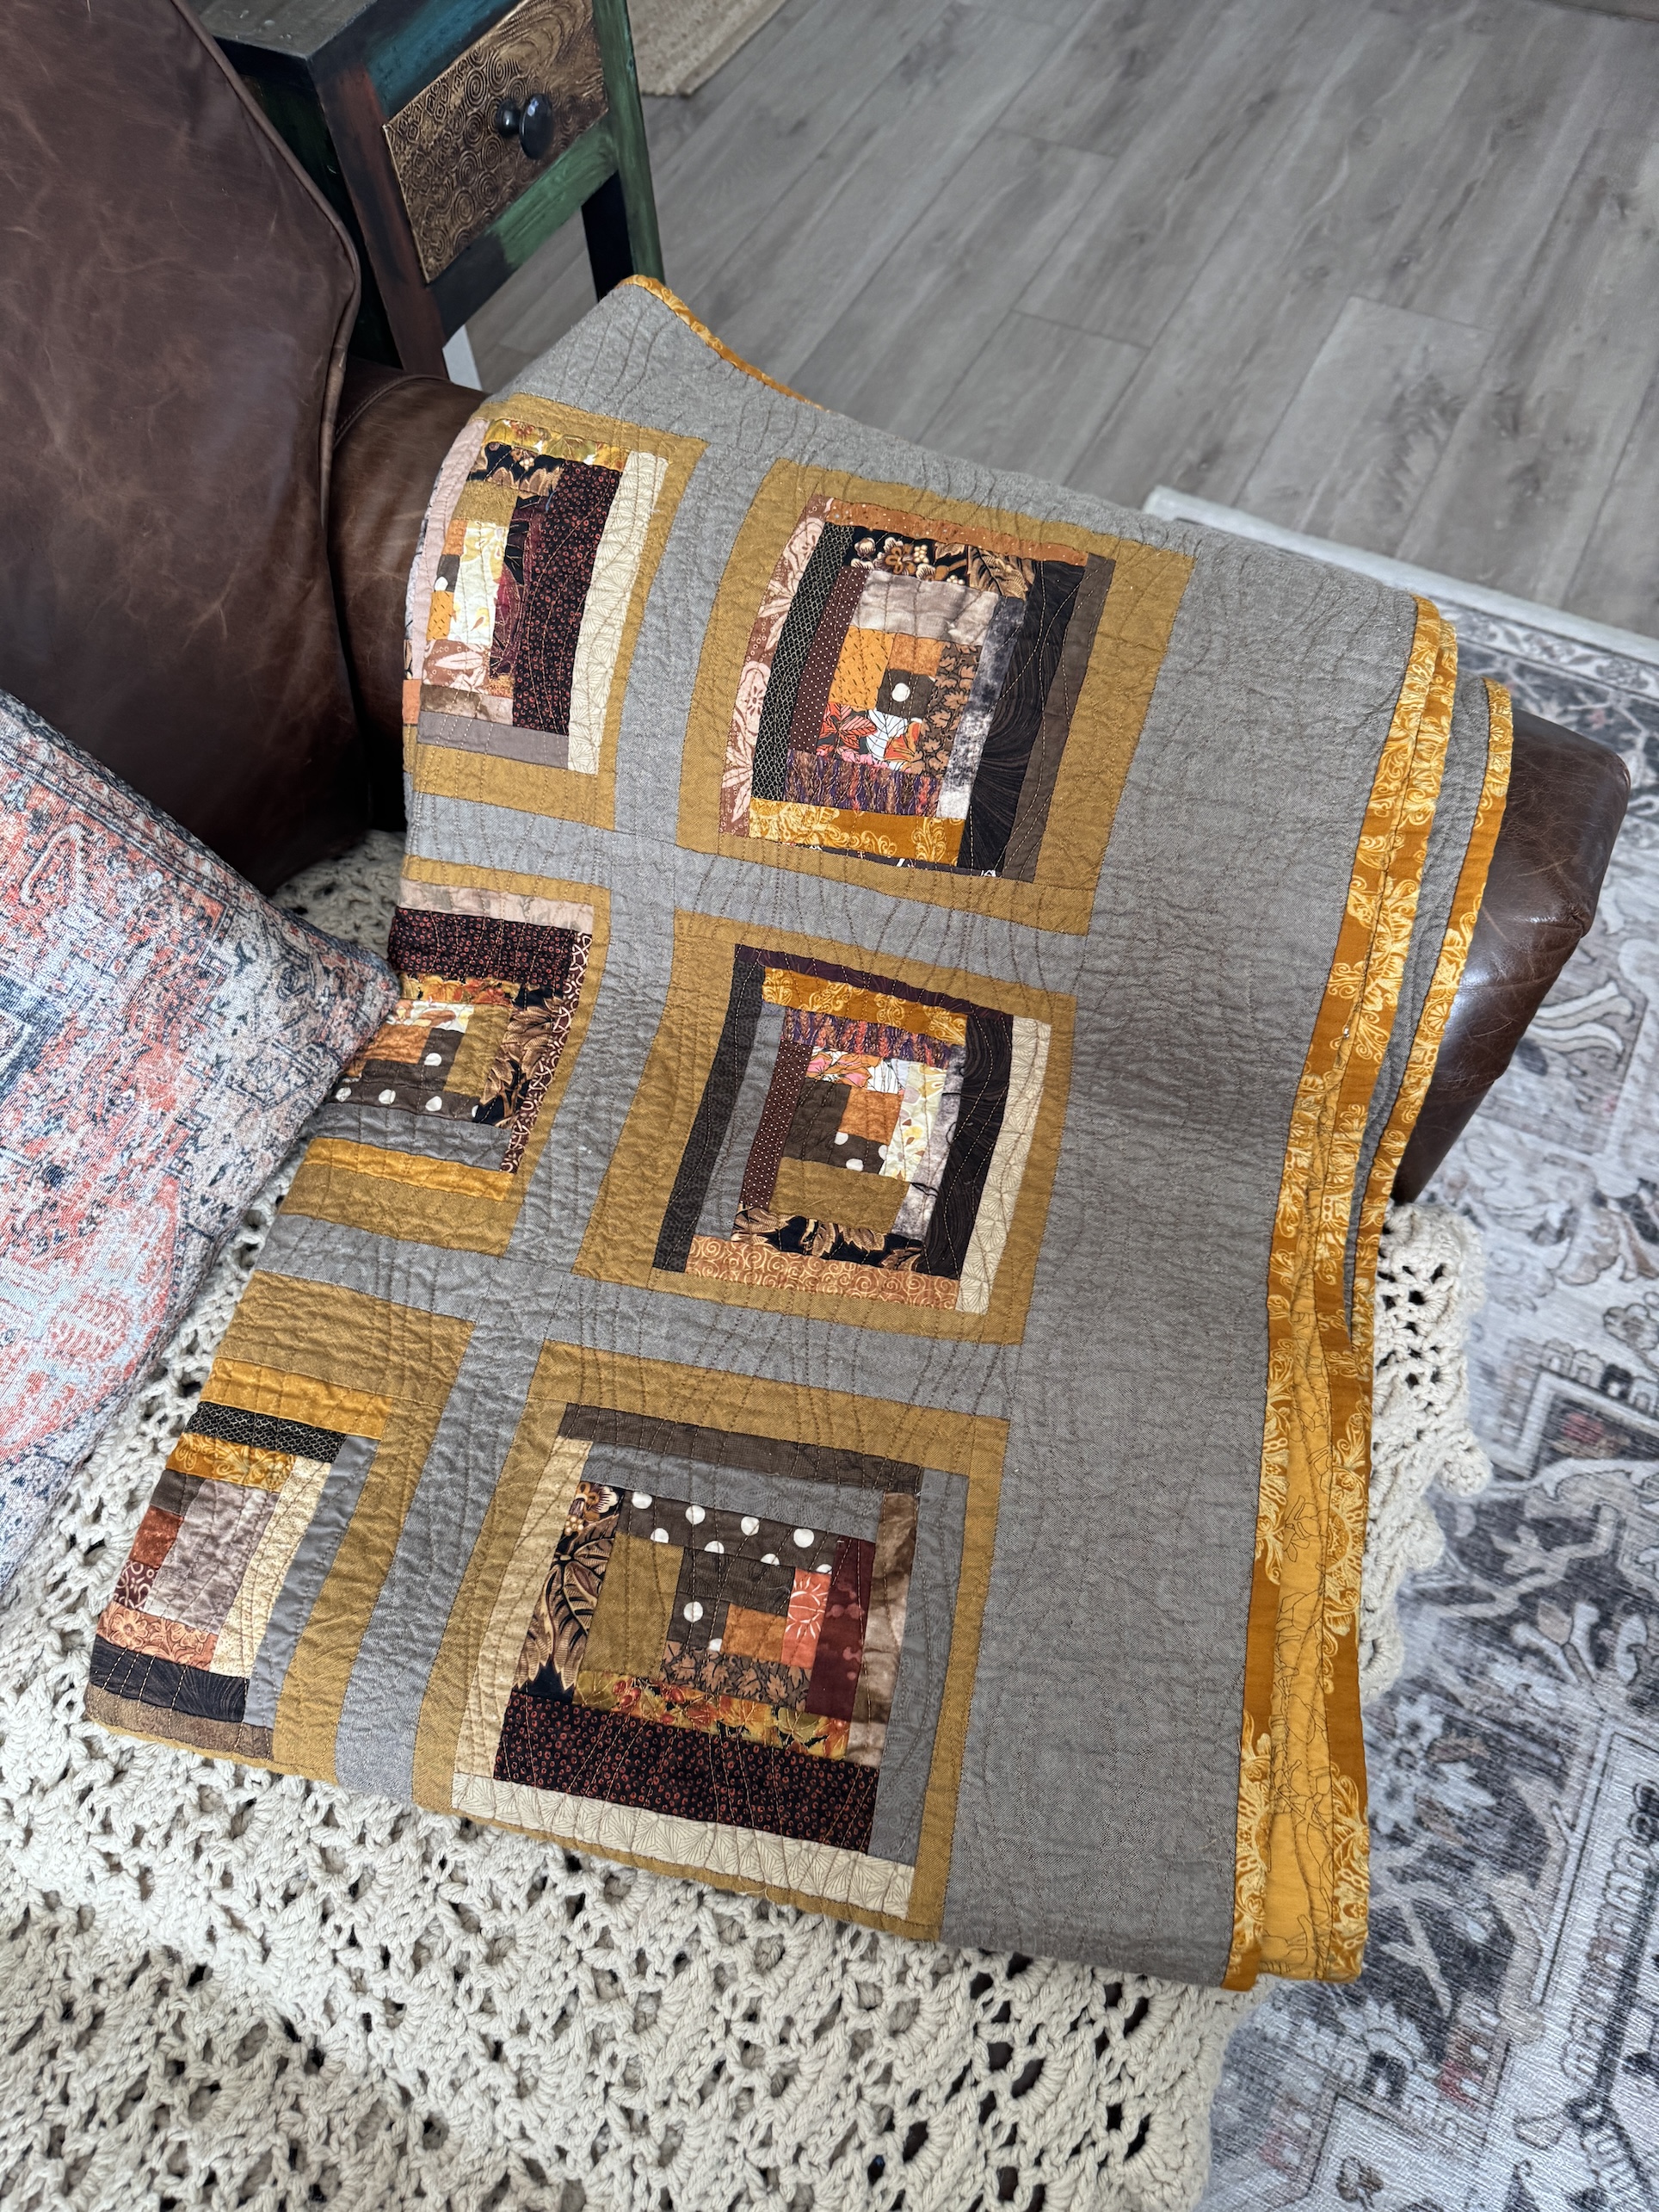
1) Scrappy quilt in my new living room on the sofa:
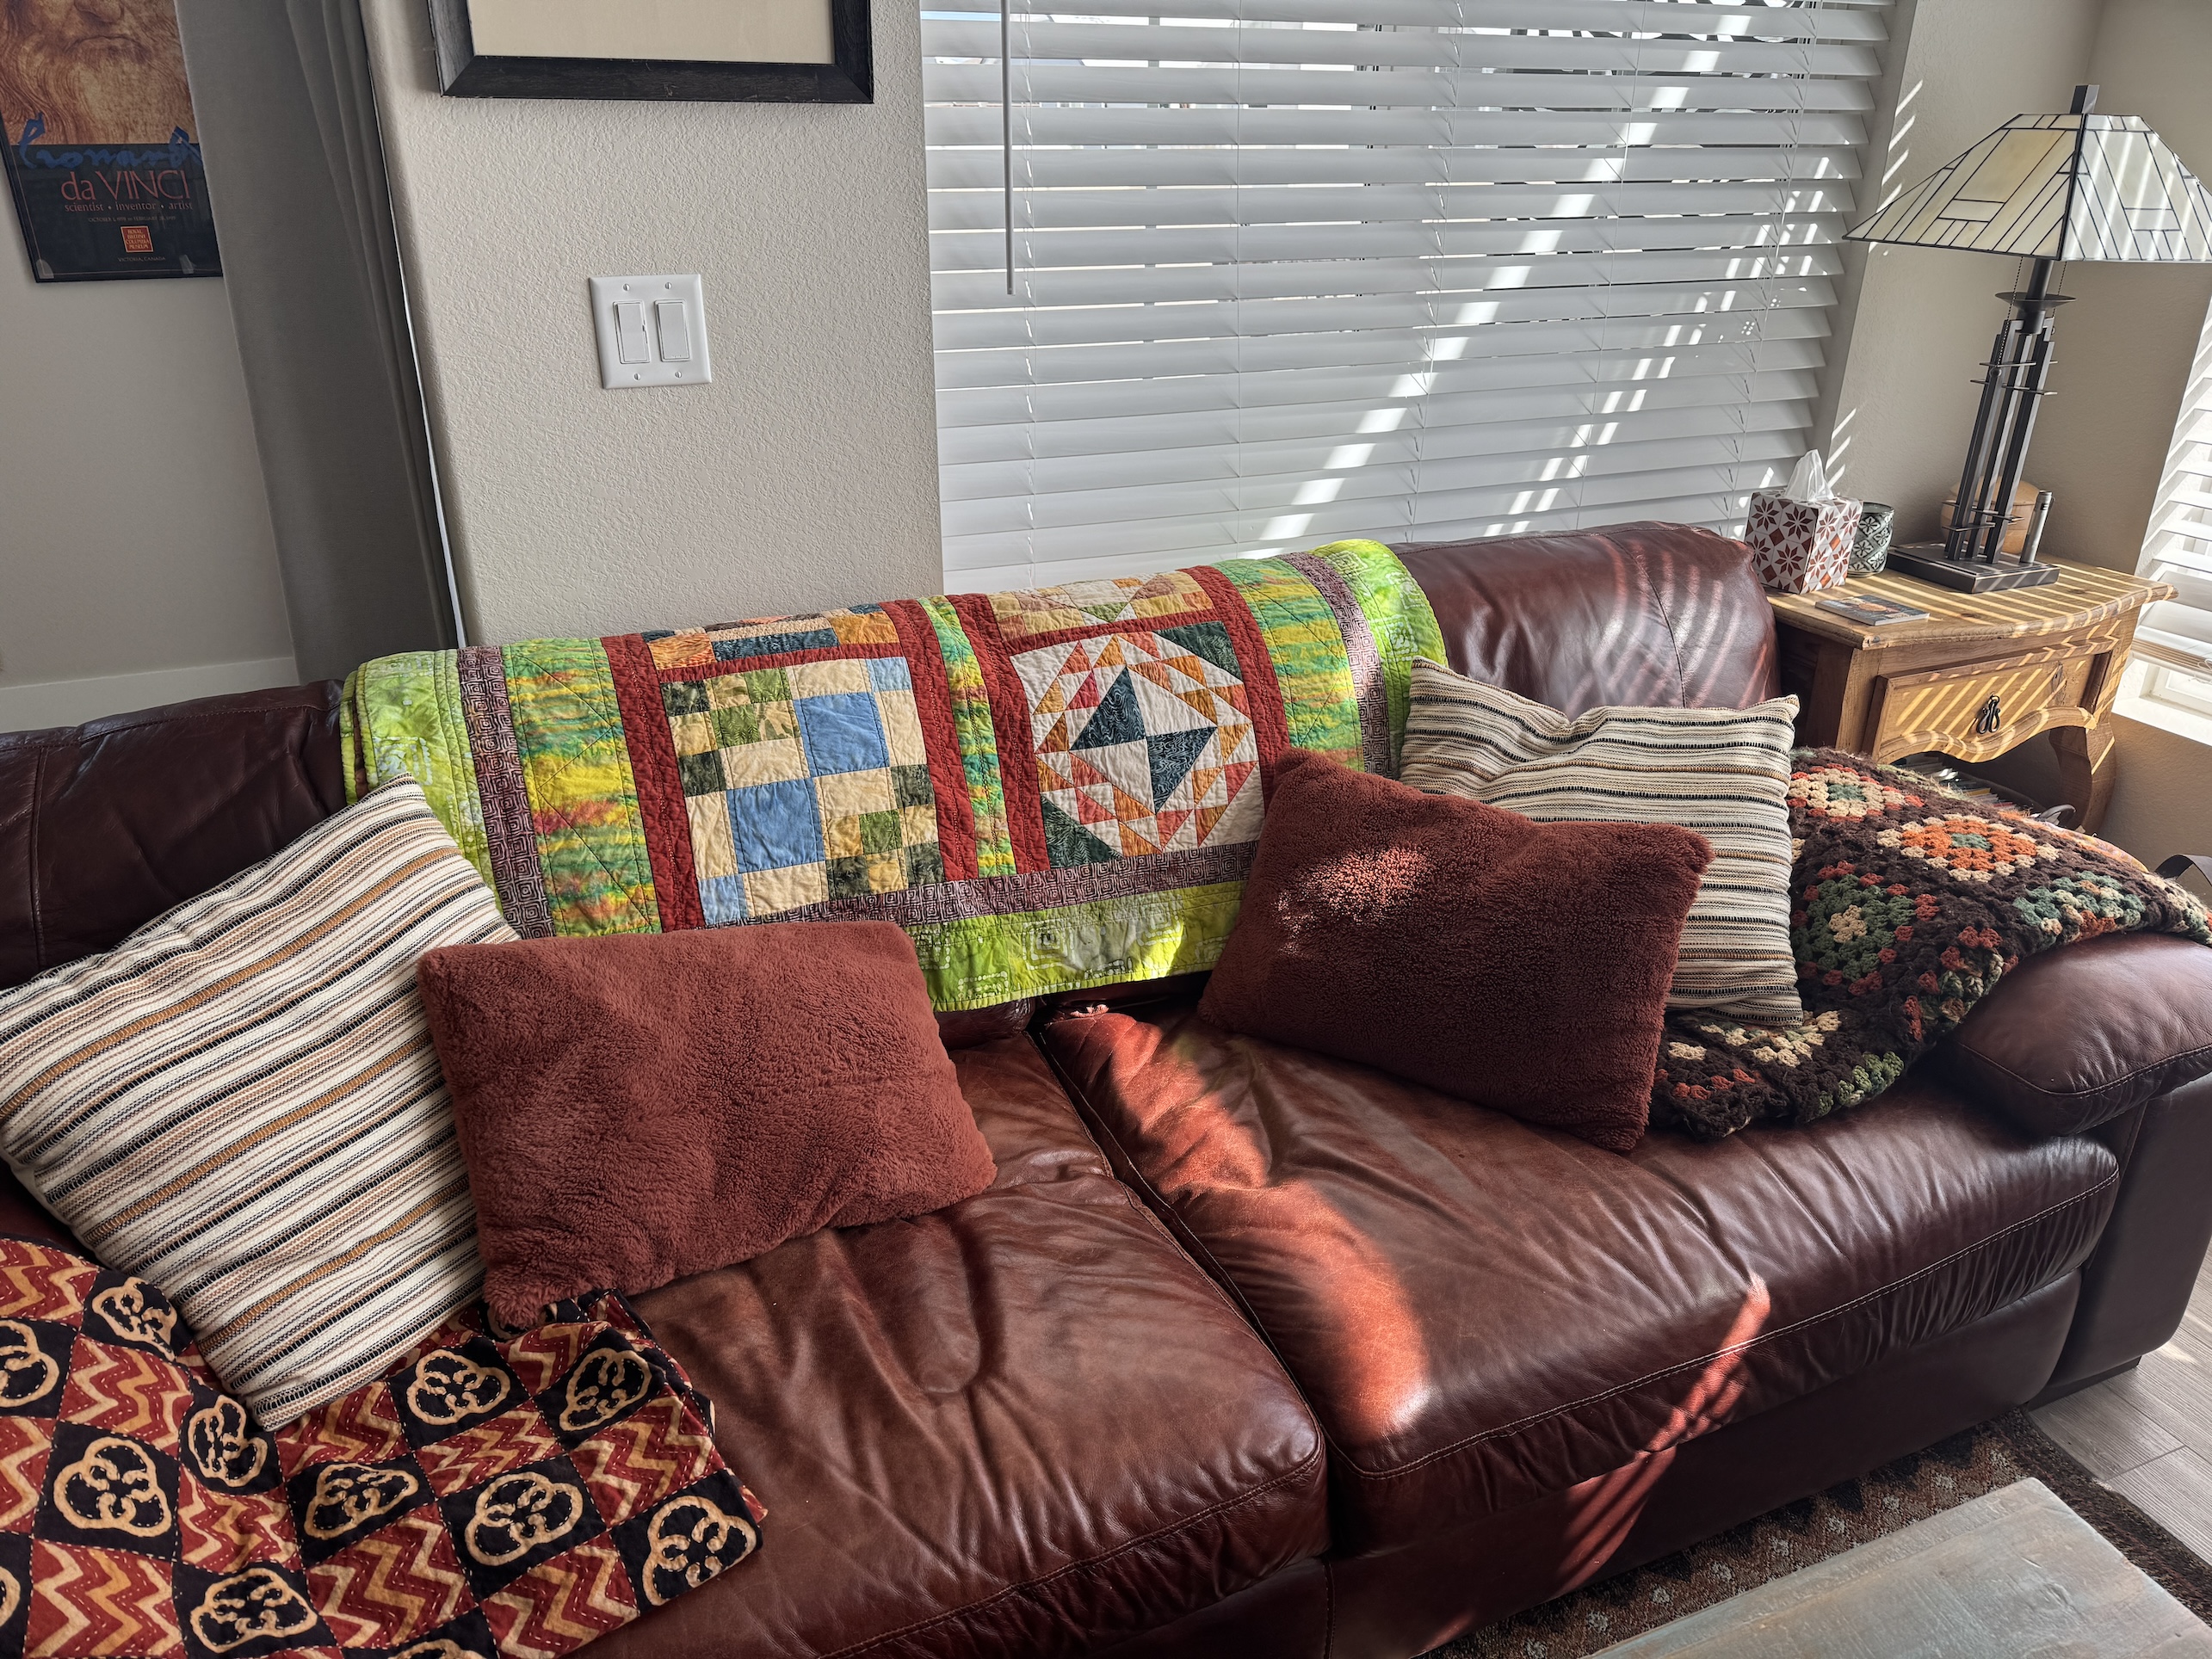
This quilt was made in the 2000s with batik fabric scraps.
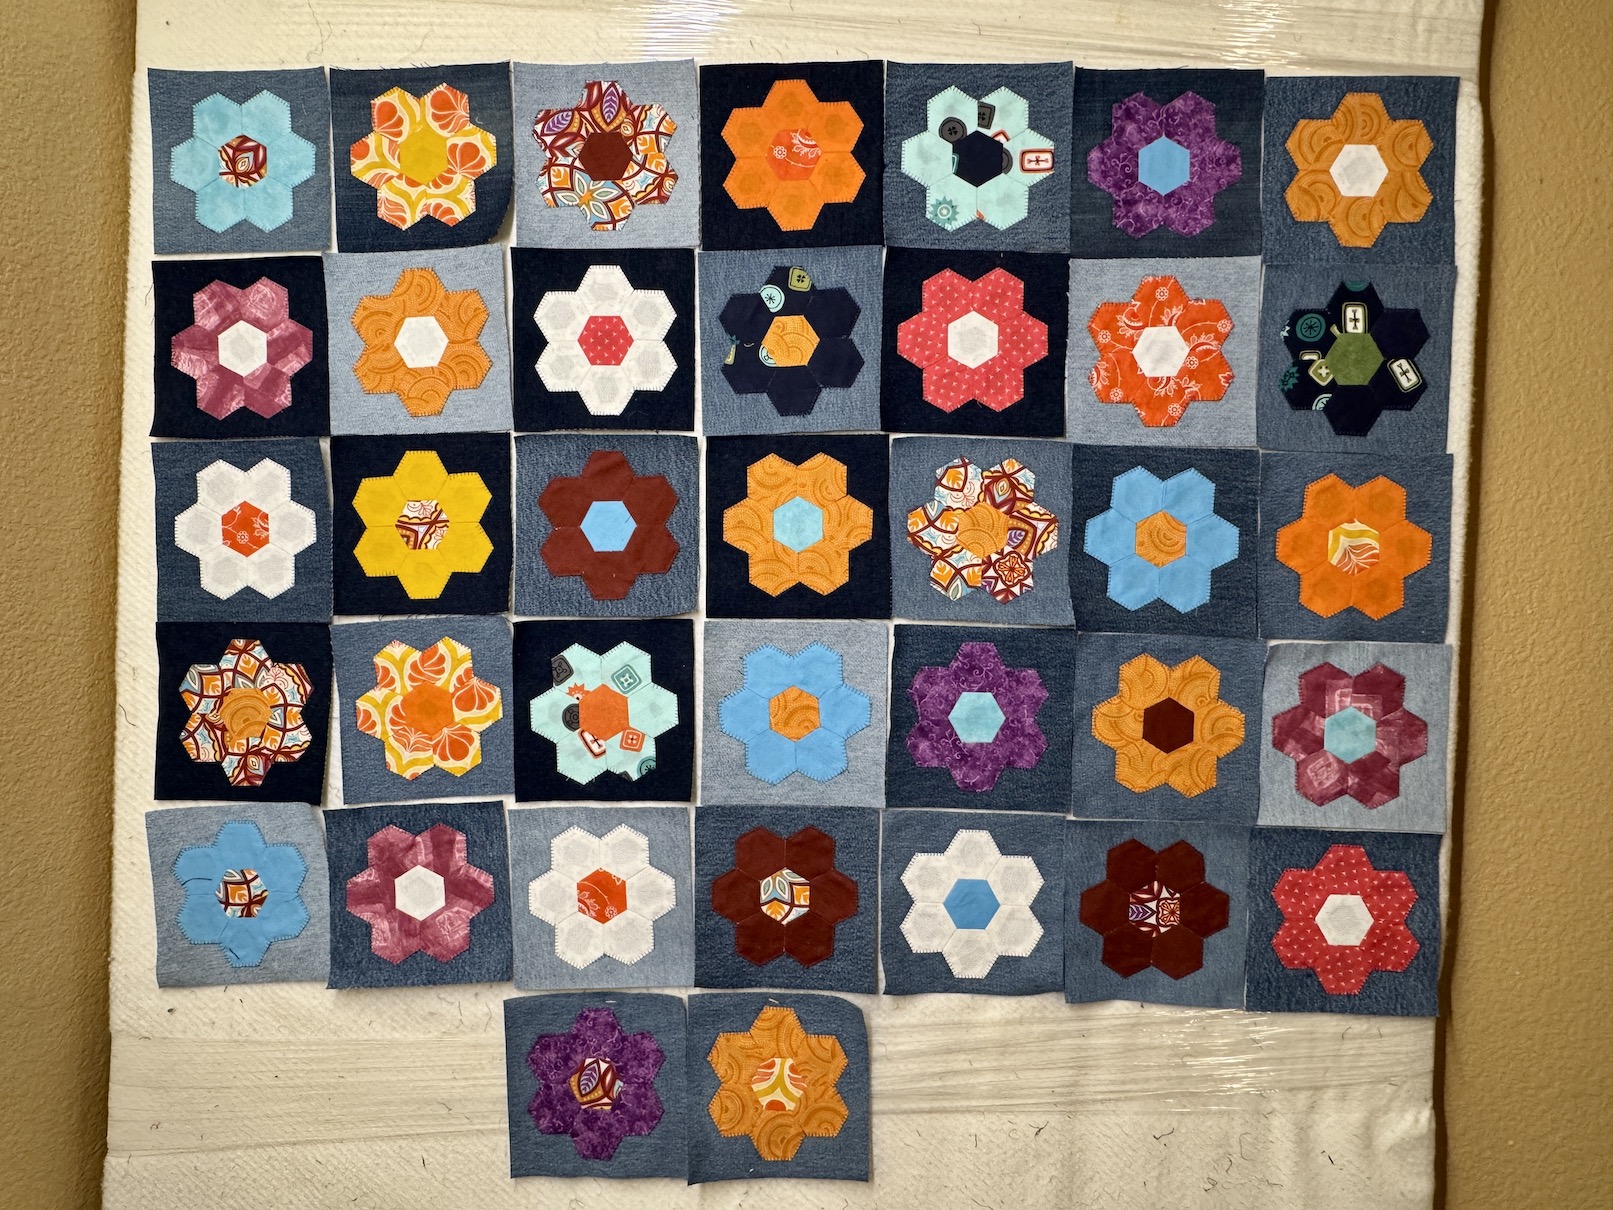
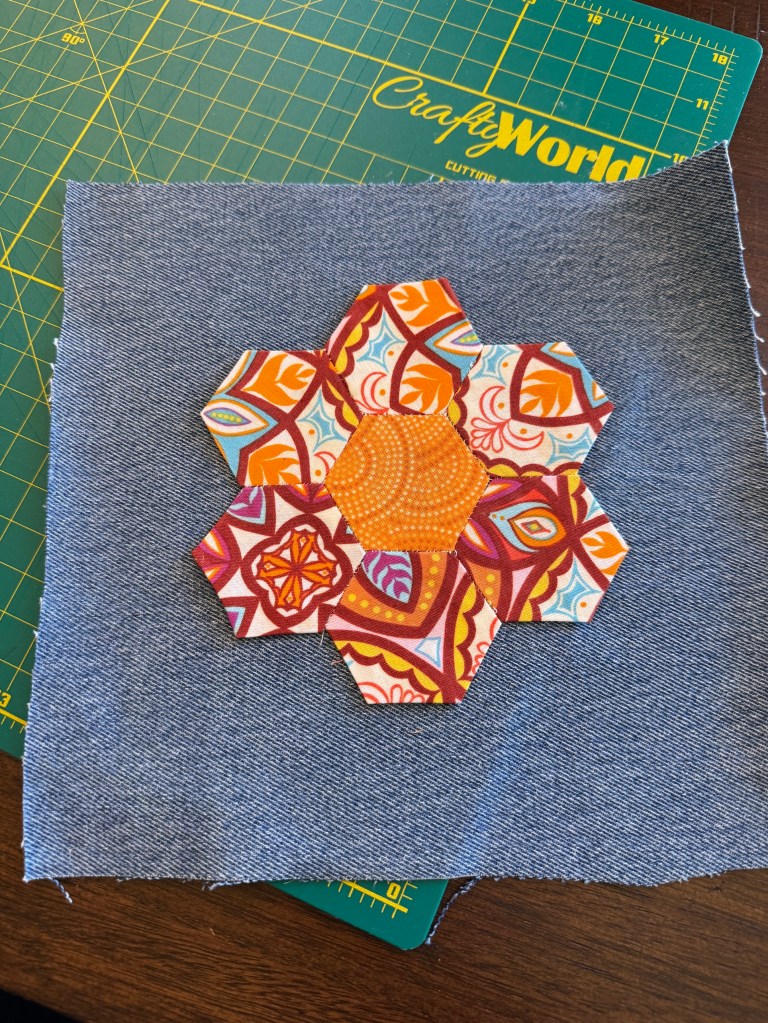
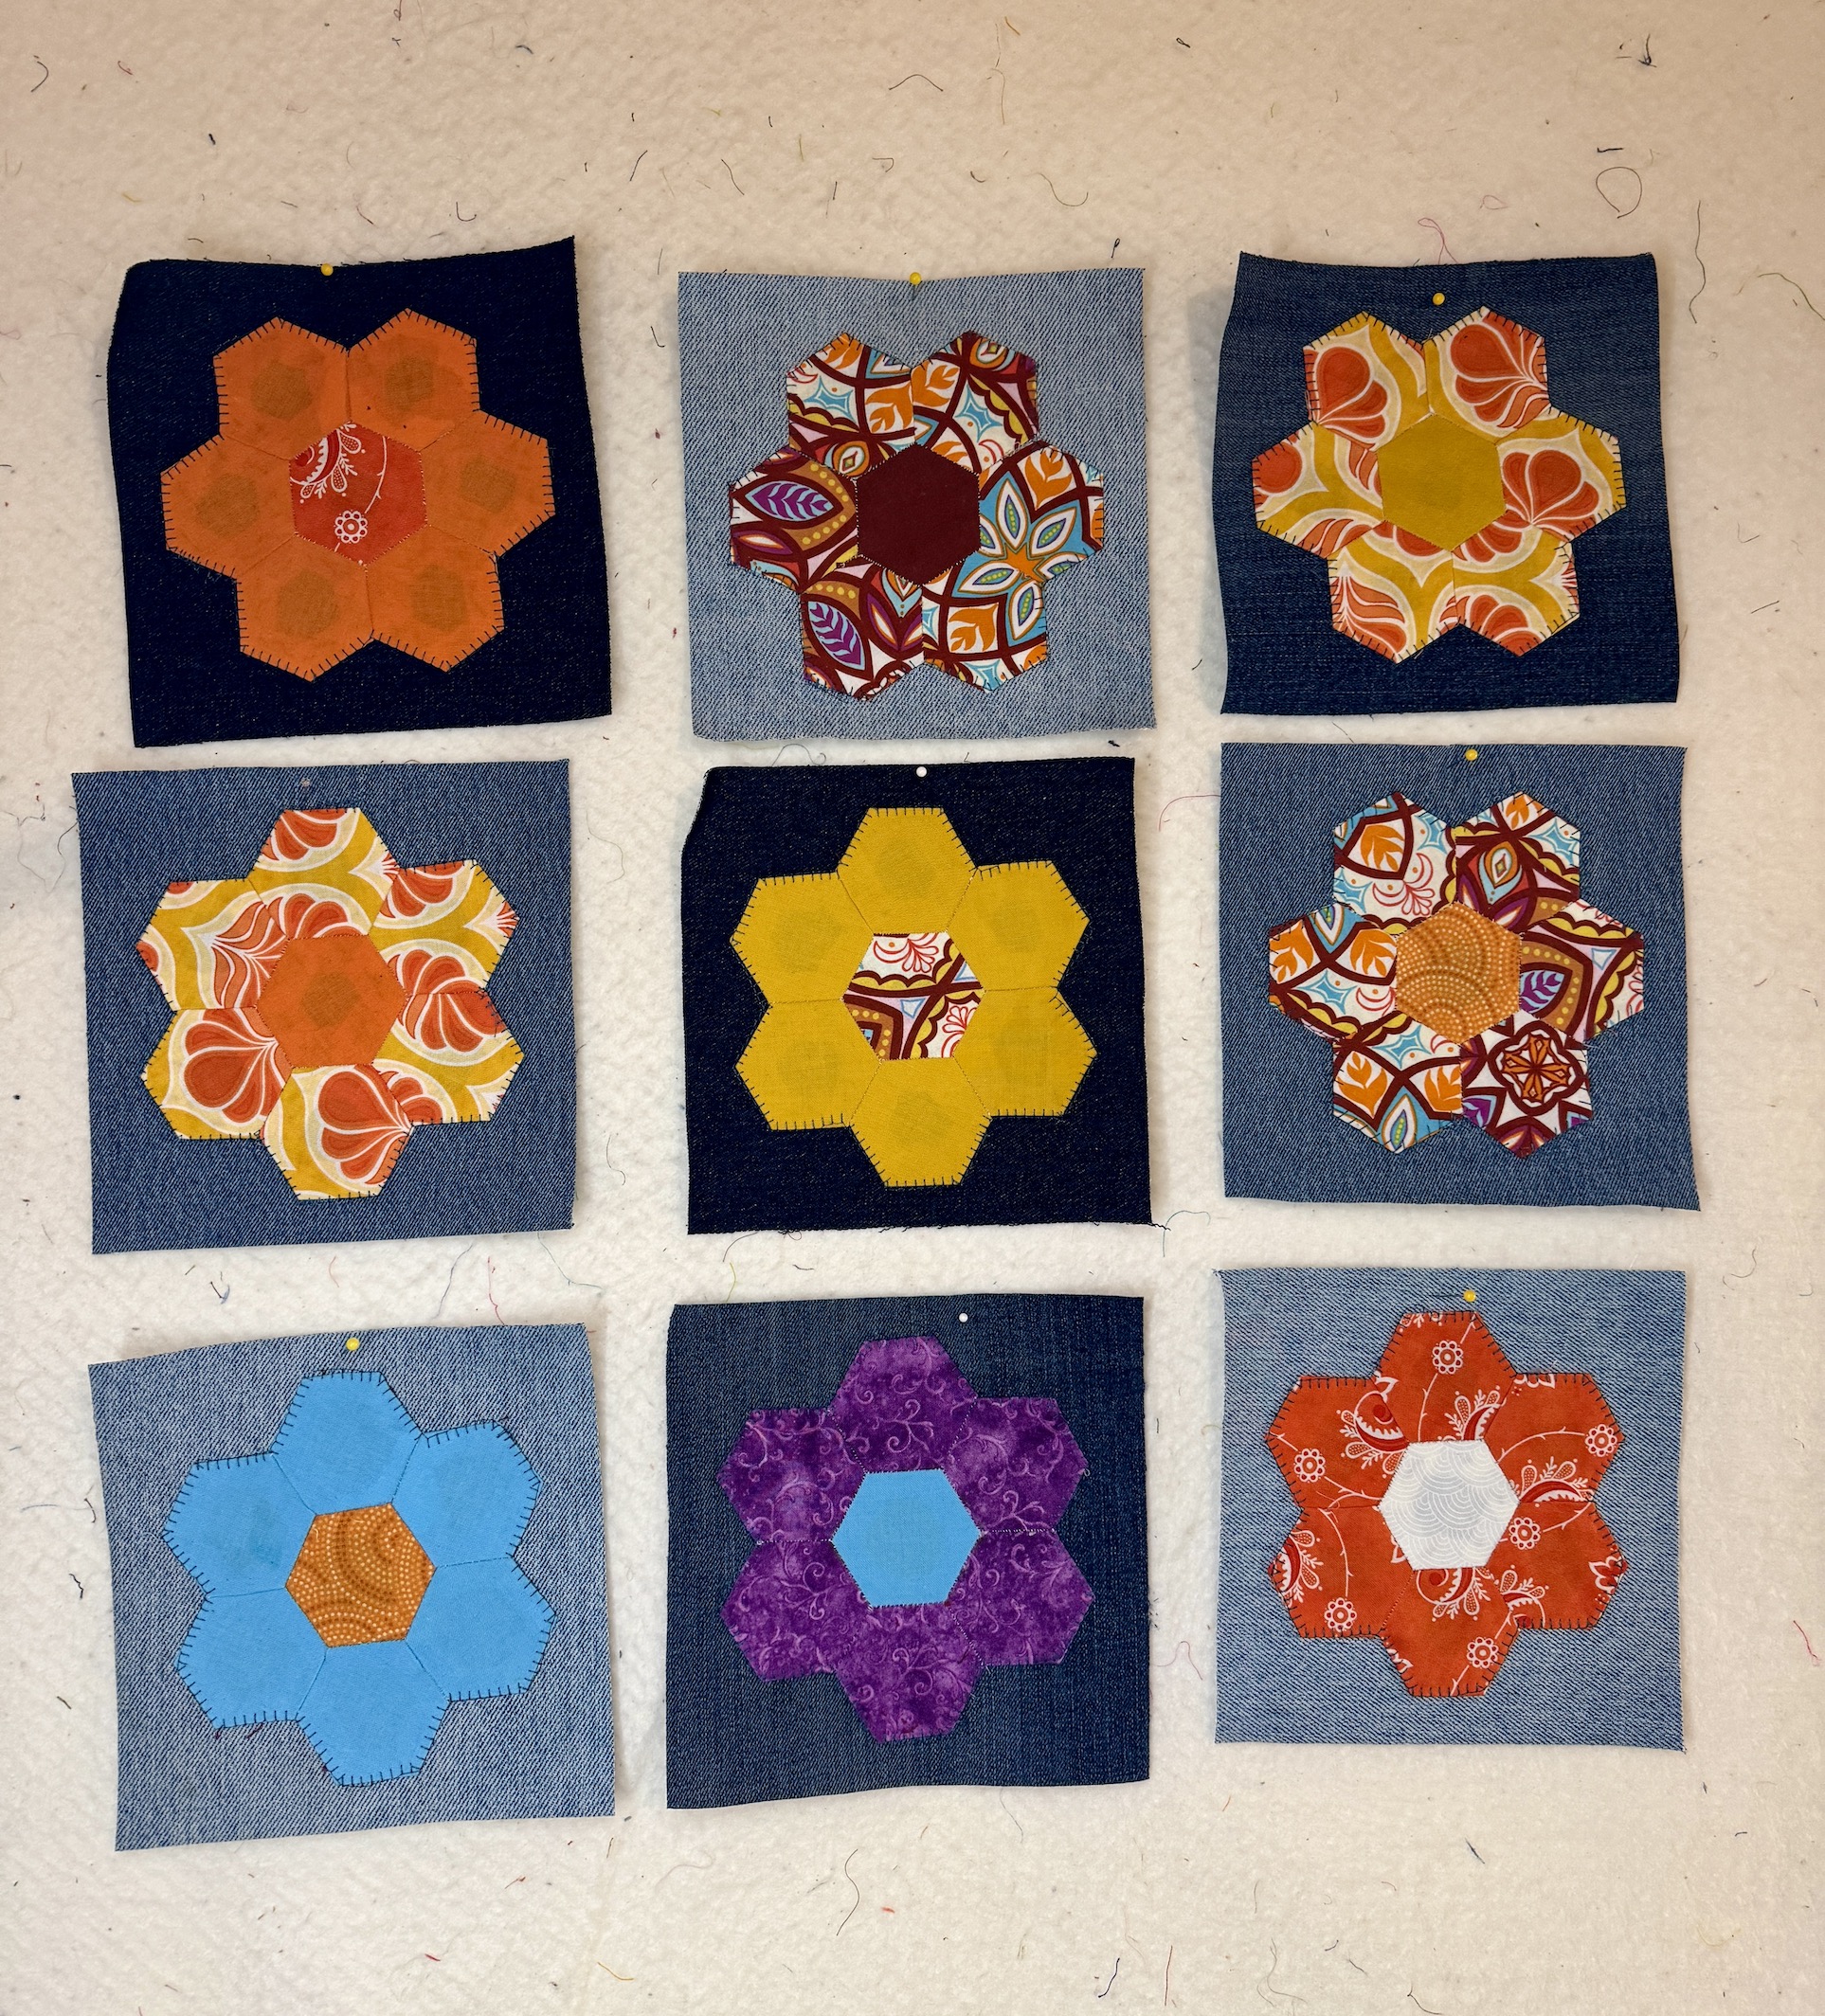
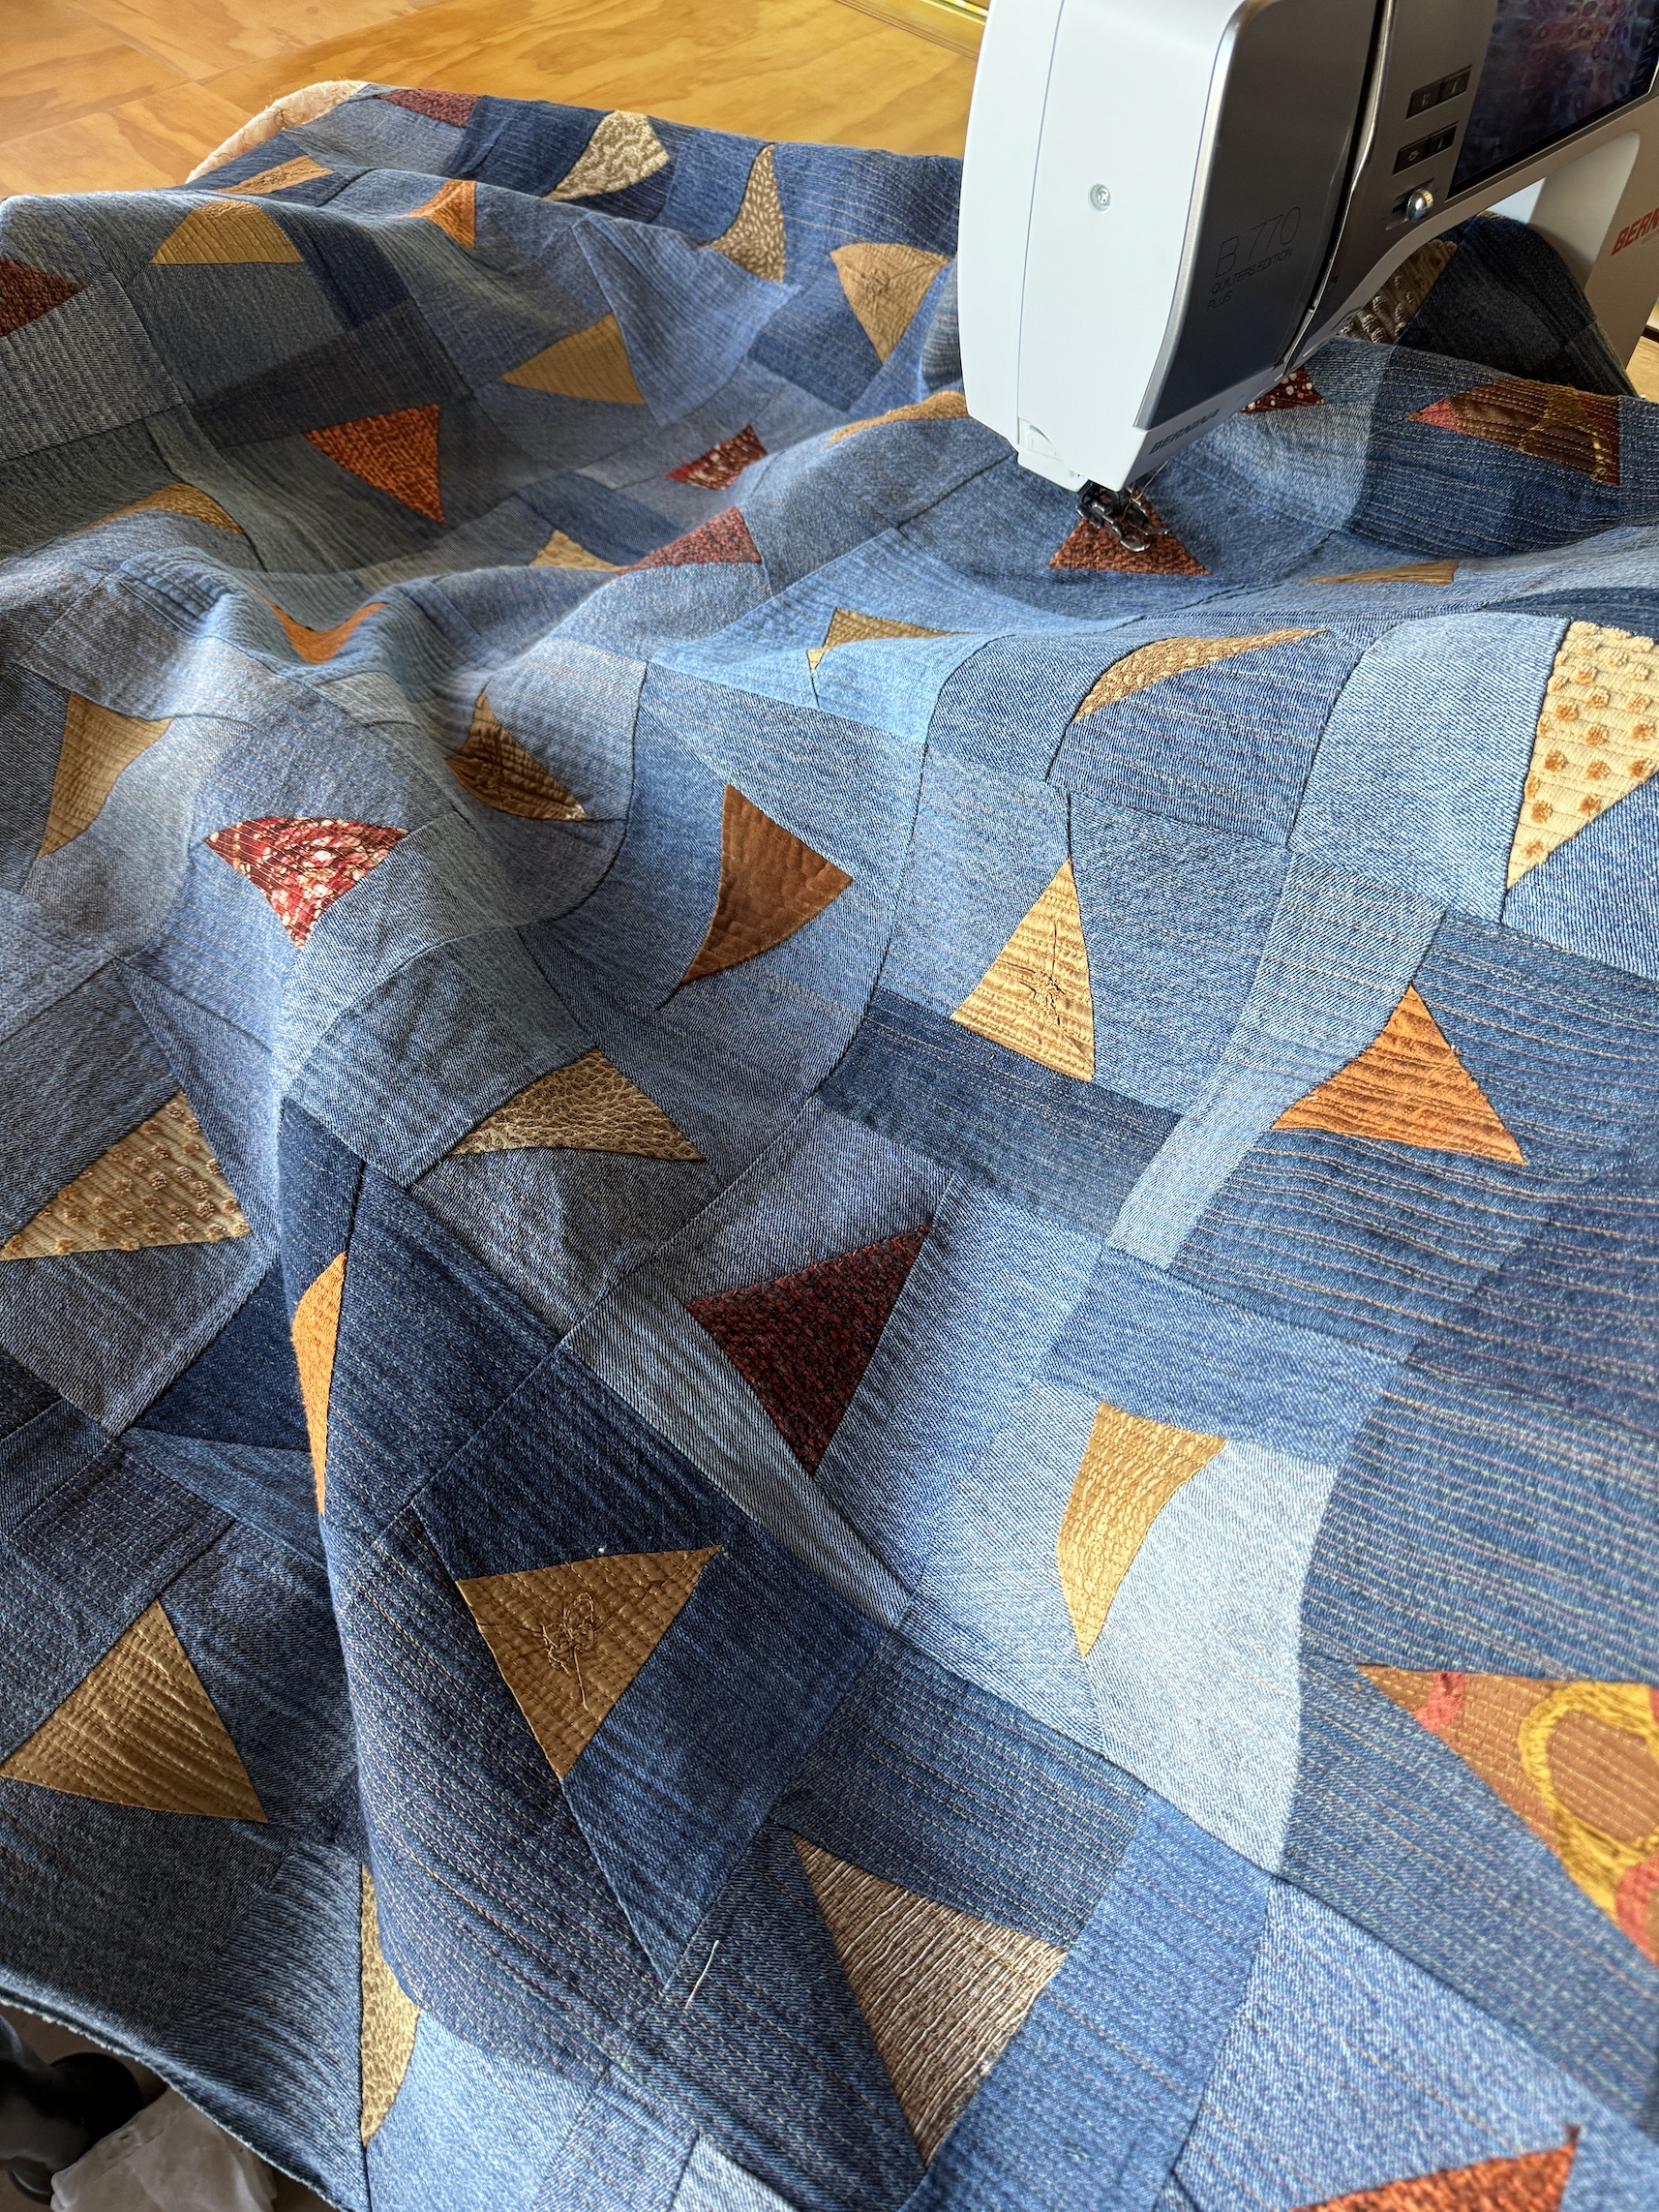
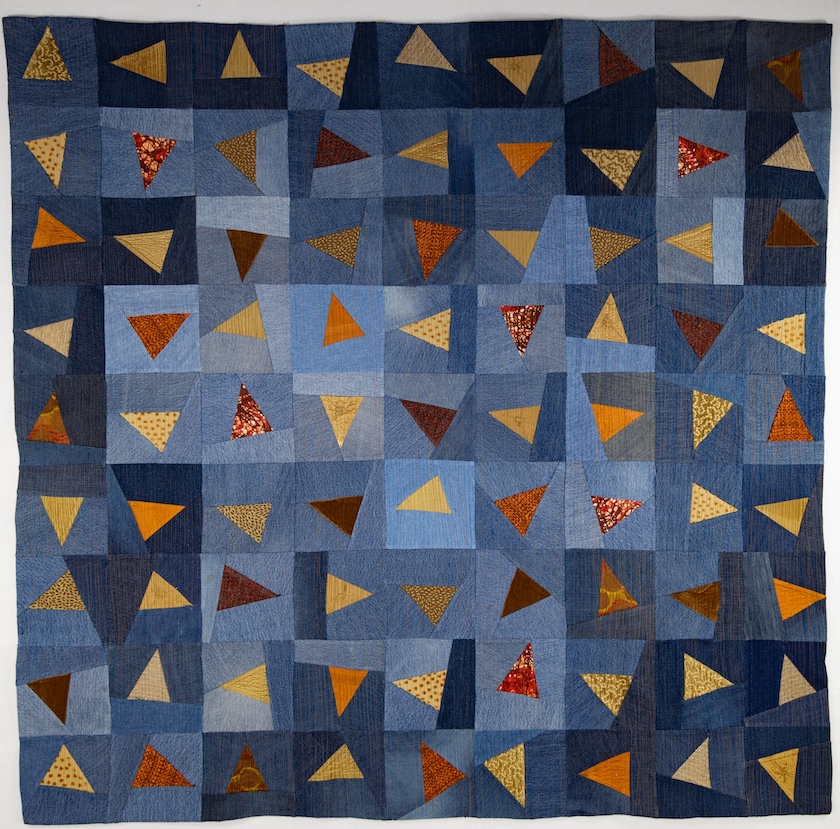
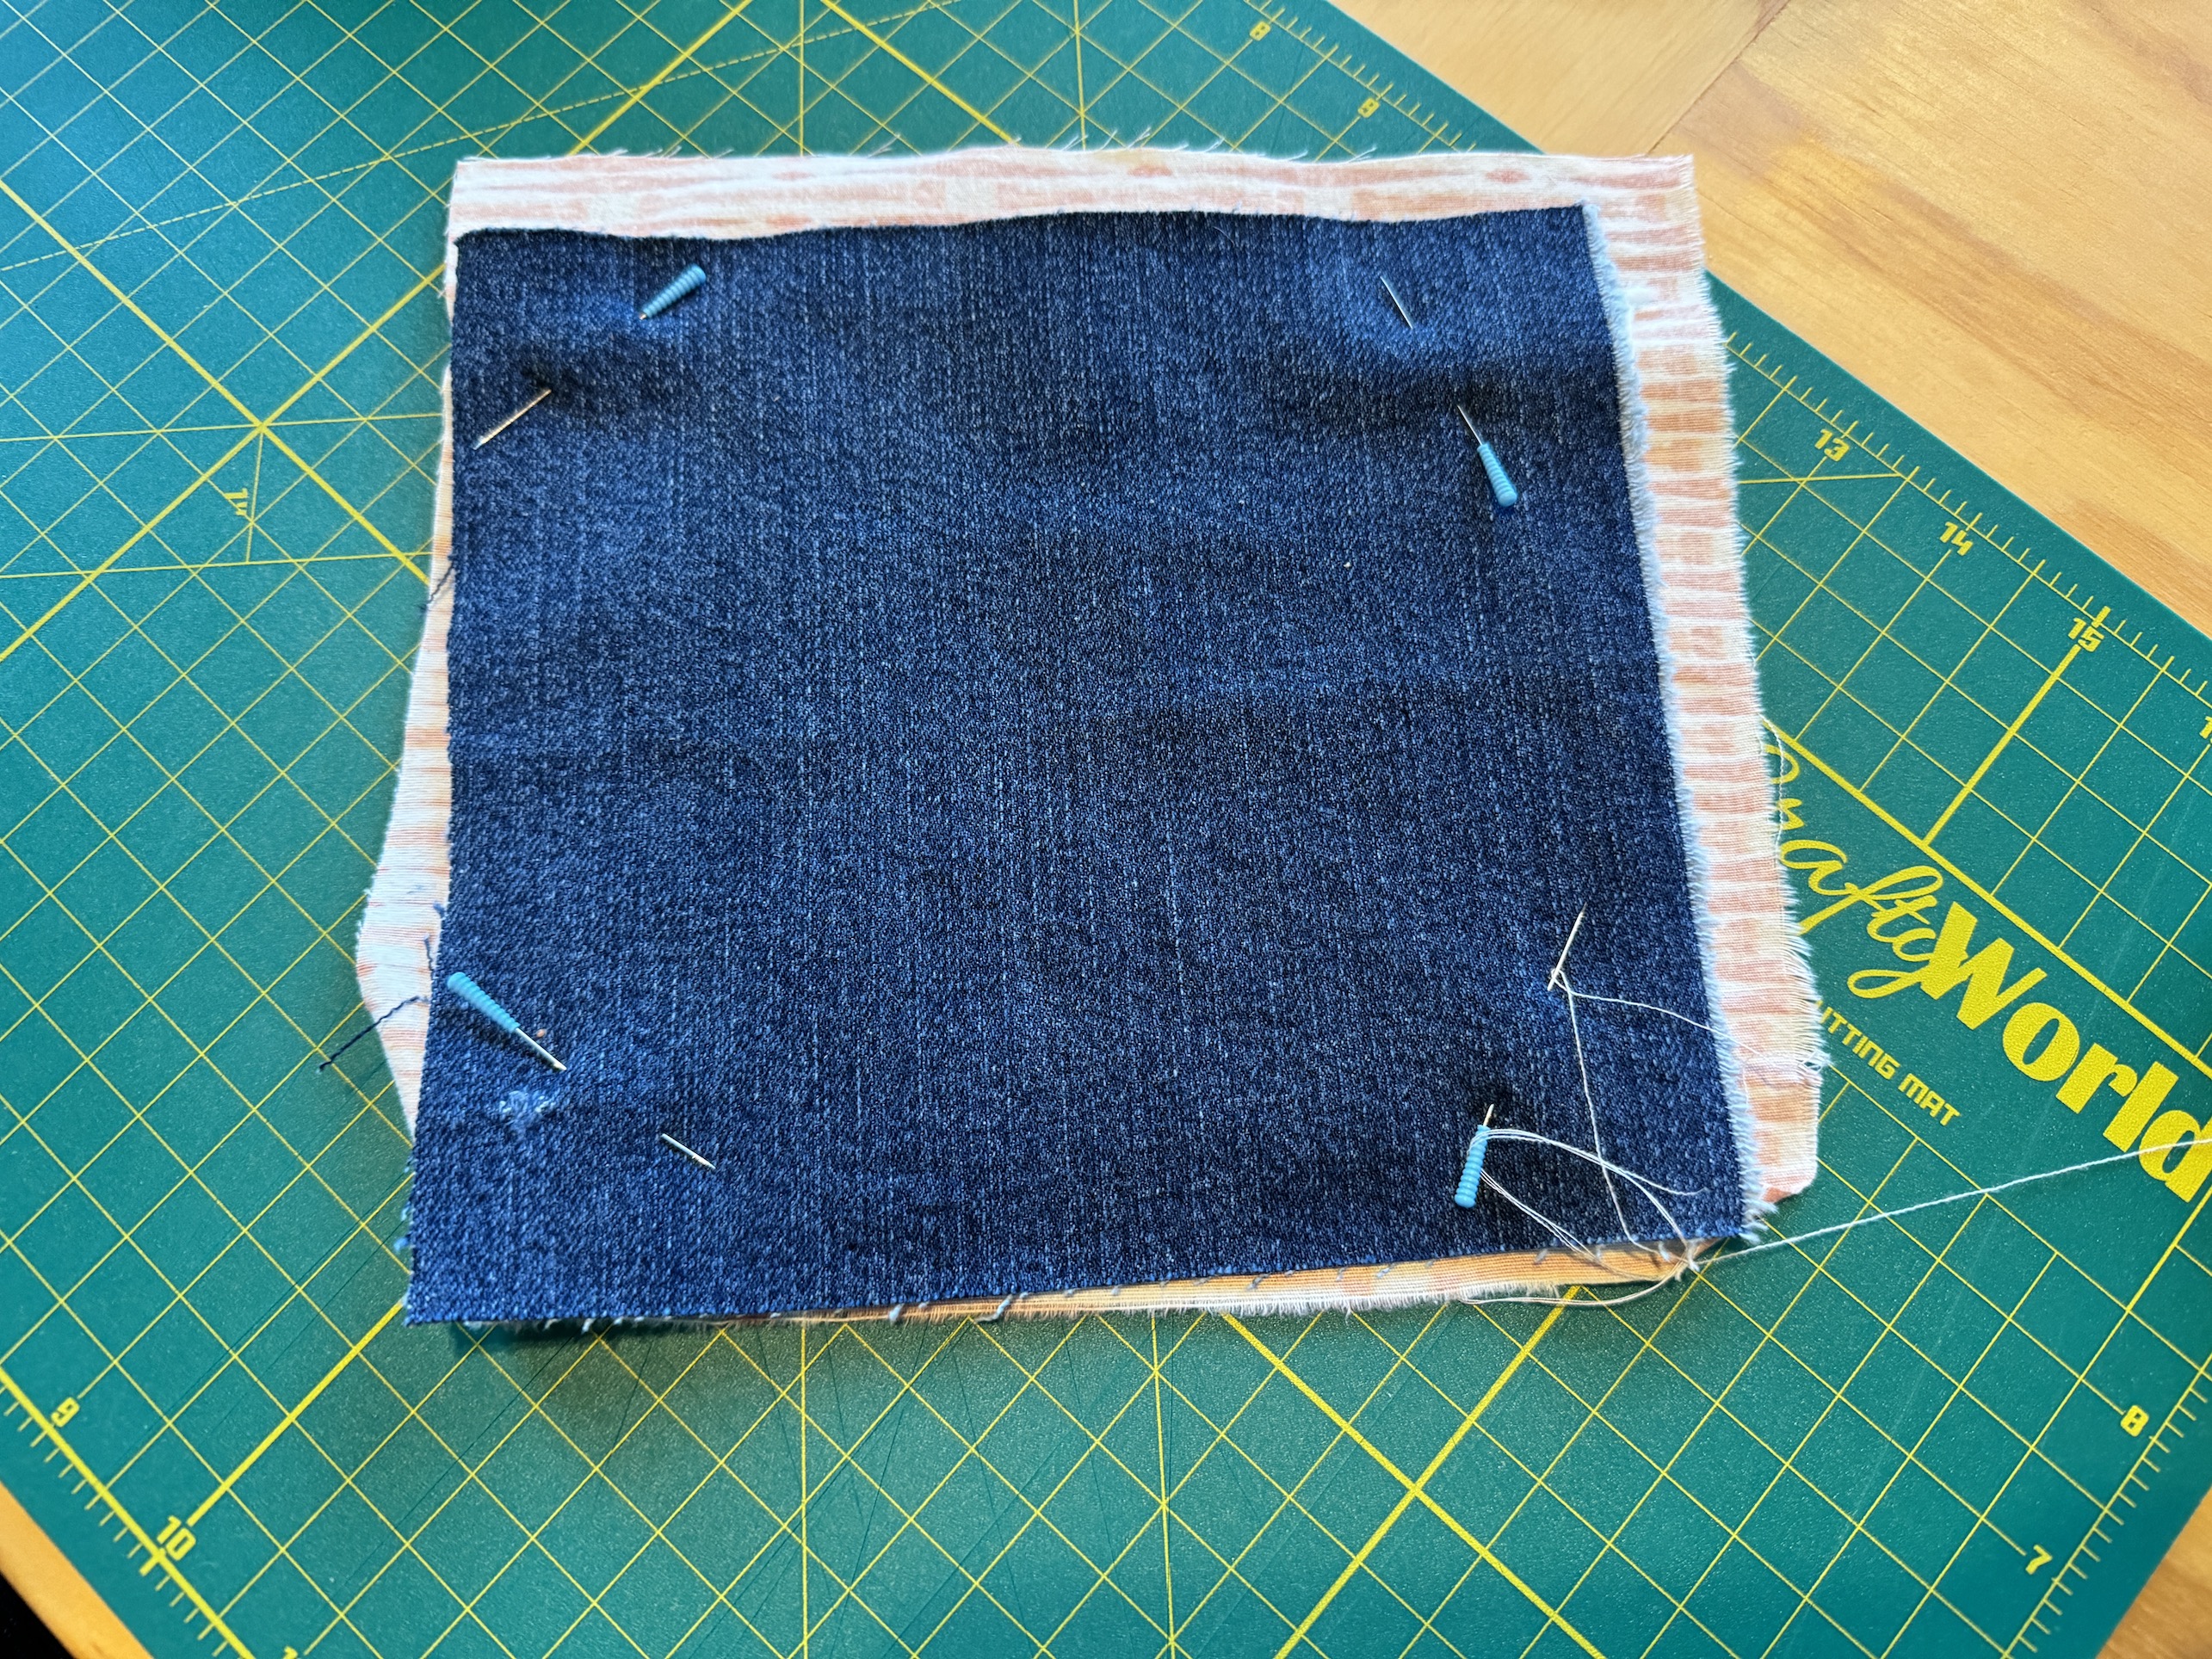
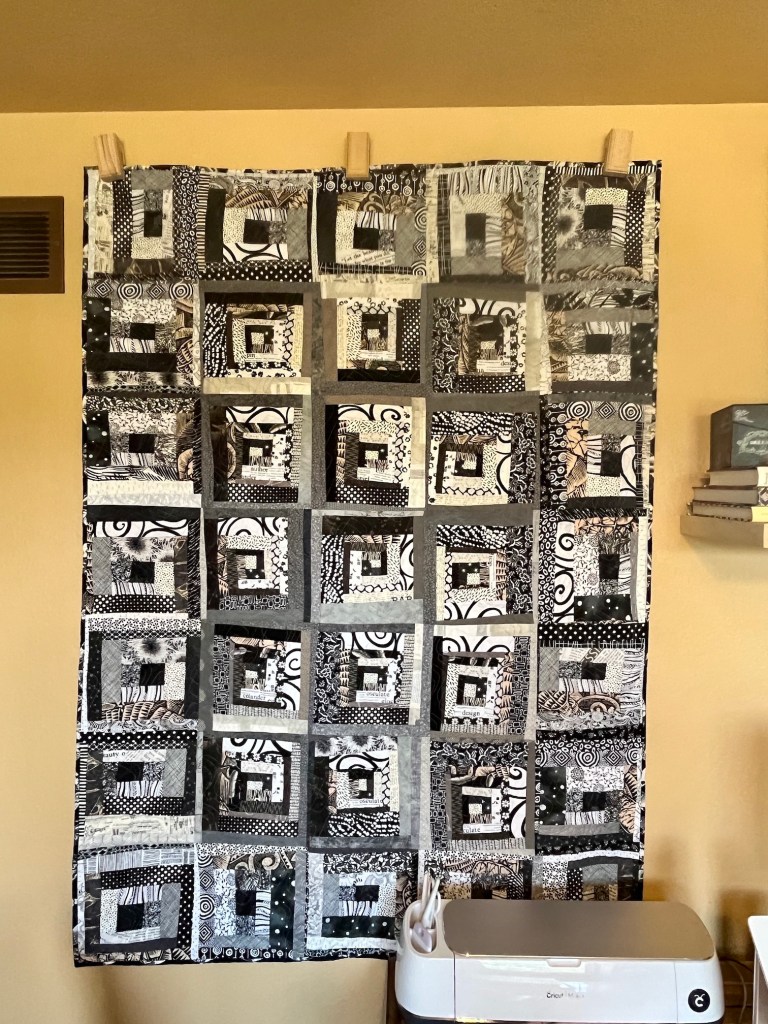
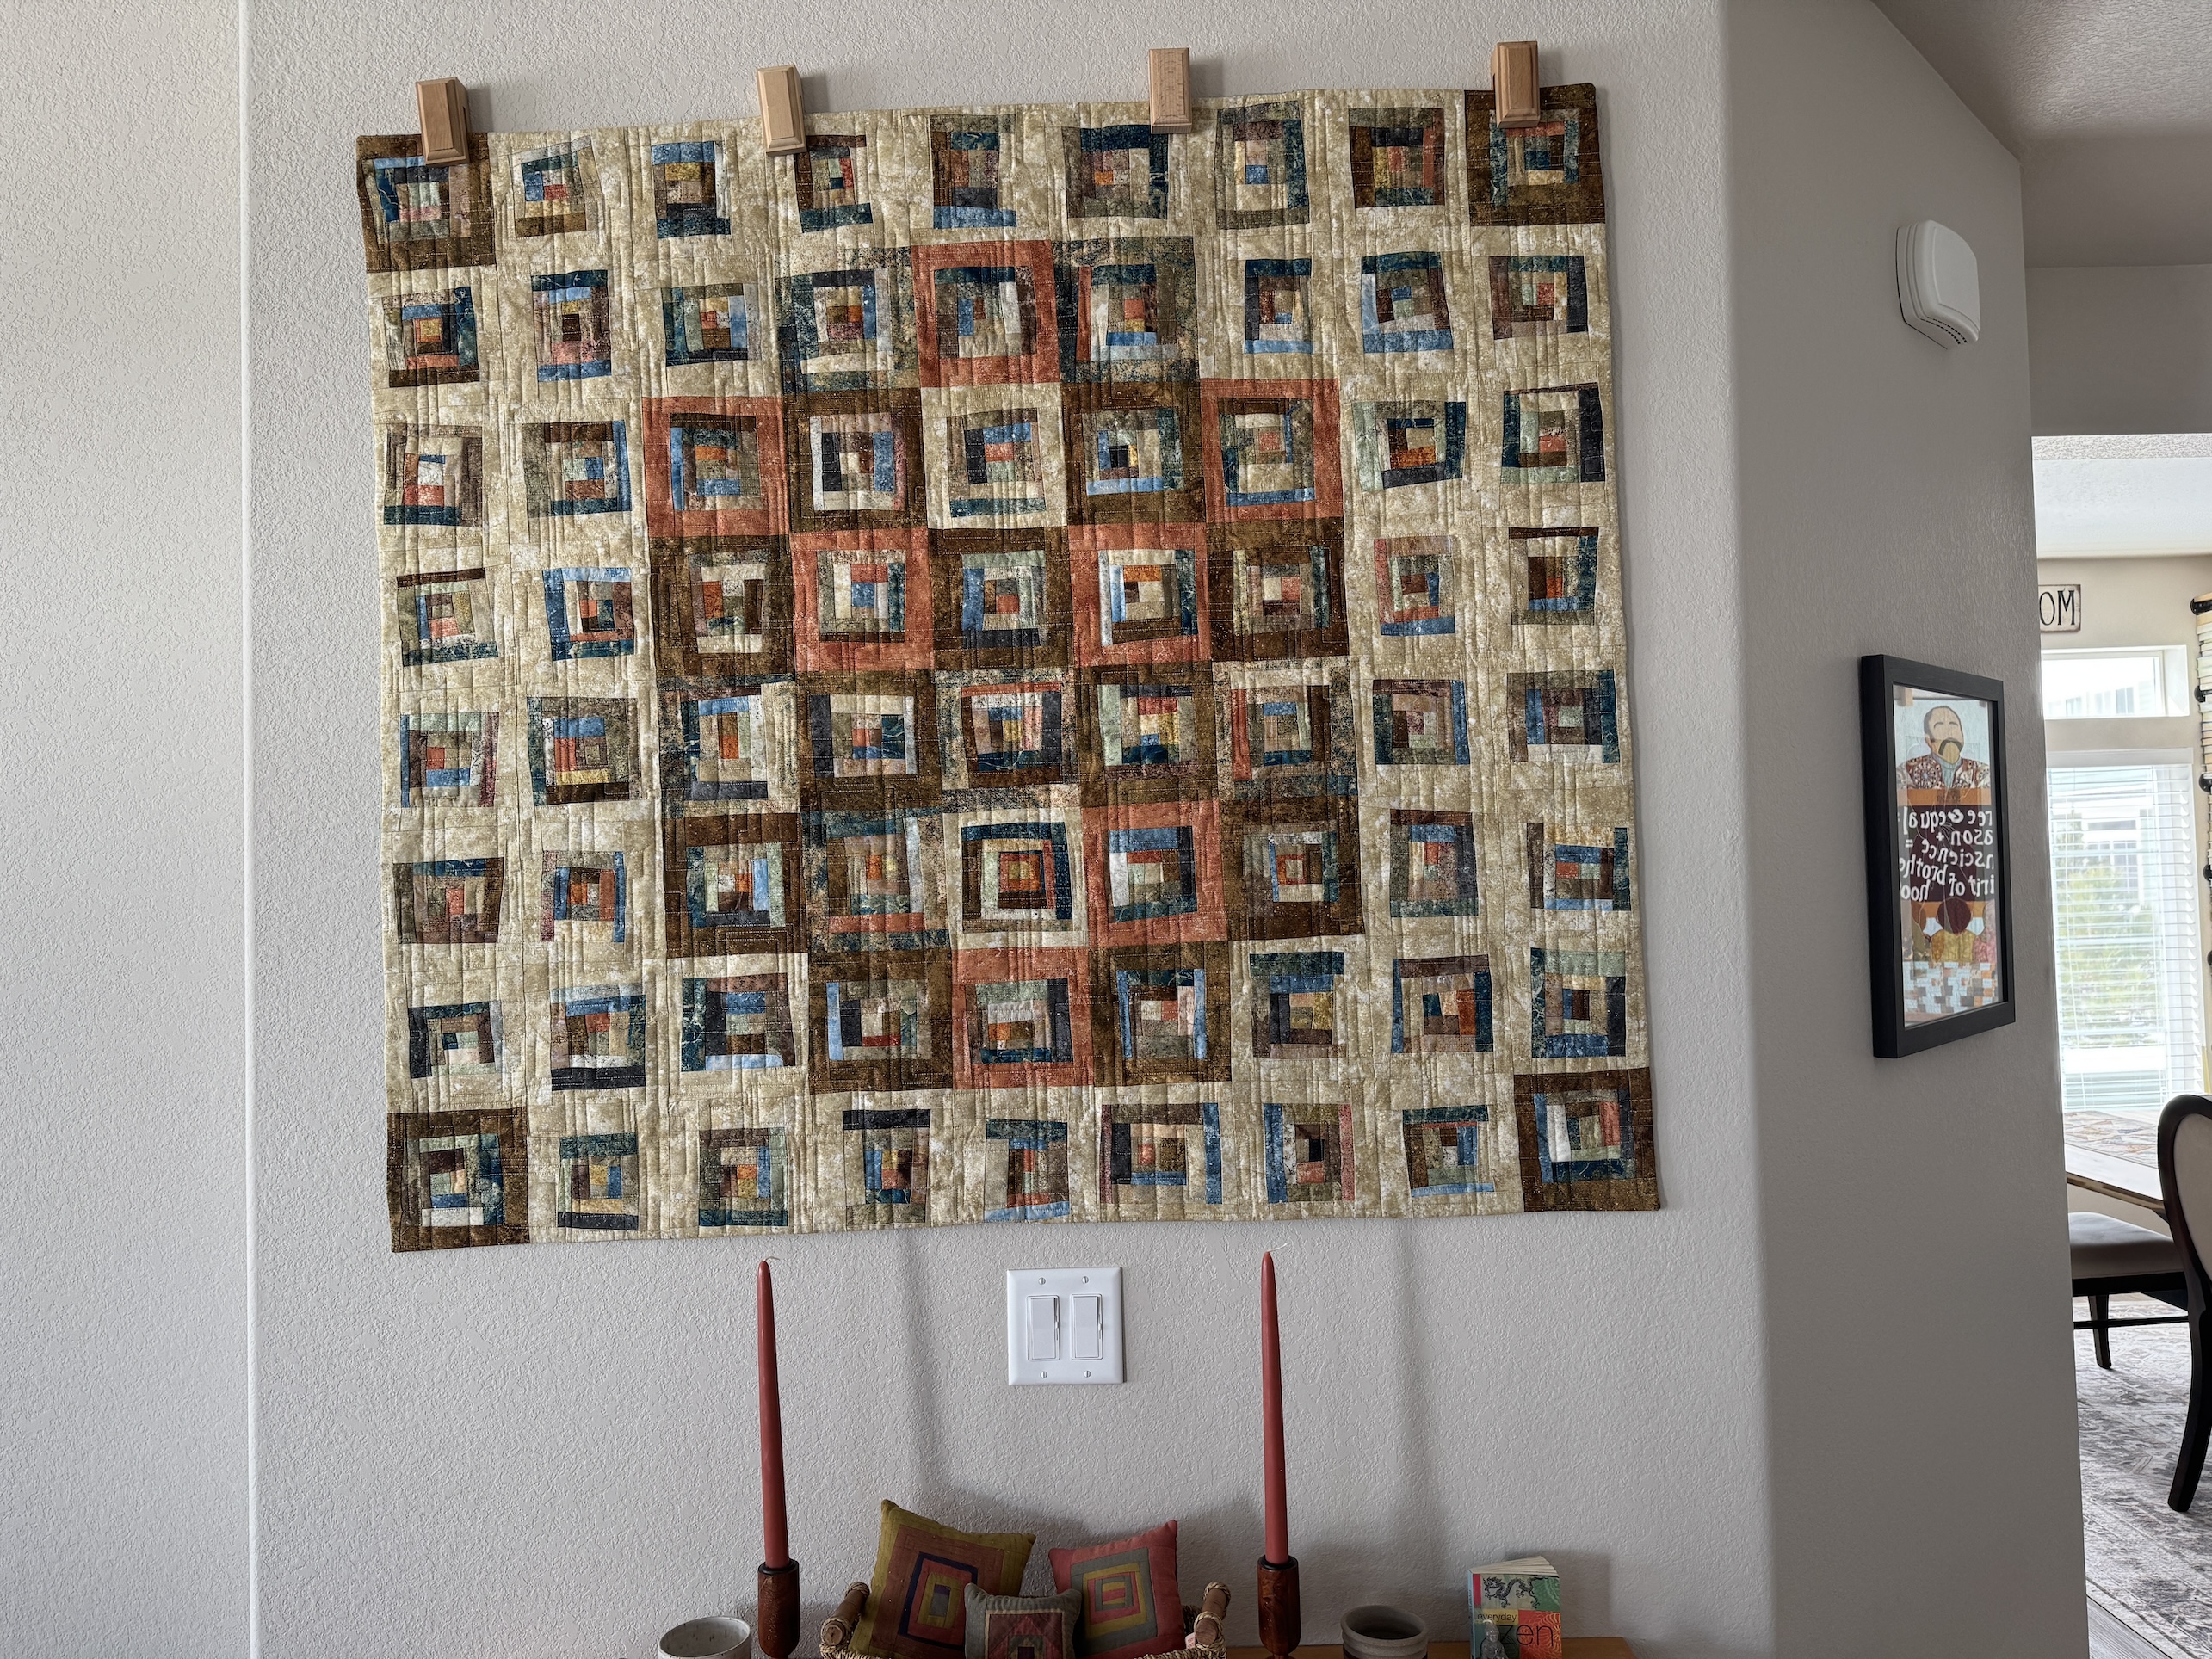
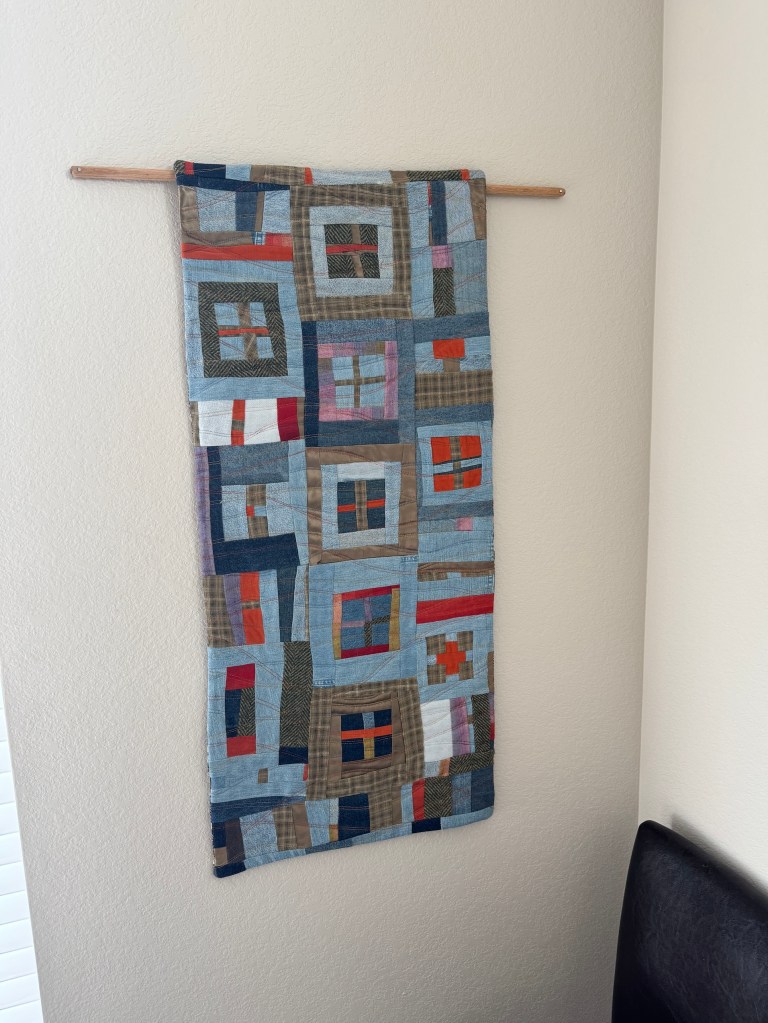
2) Scrappy denim quilt hanging on the wall of the new living room:
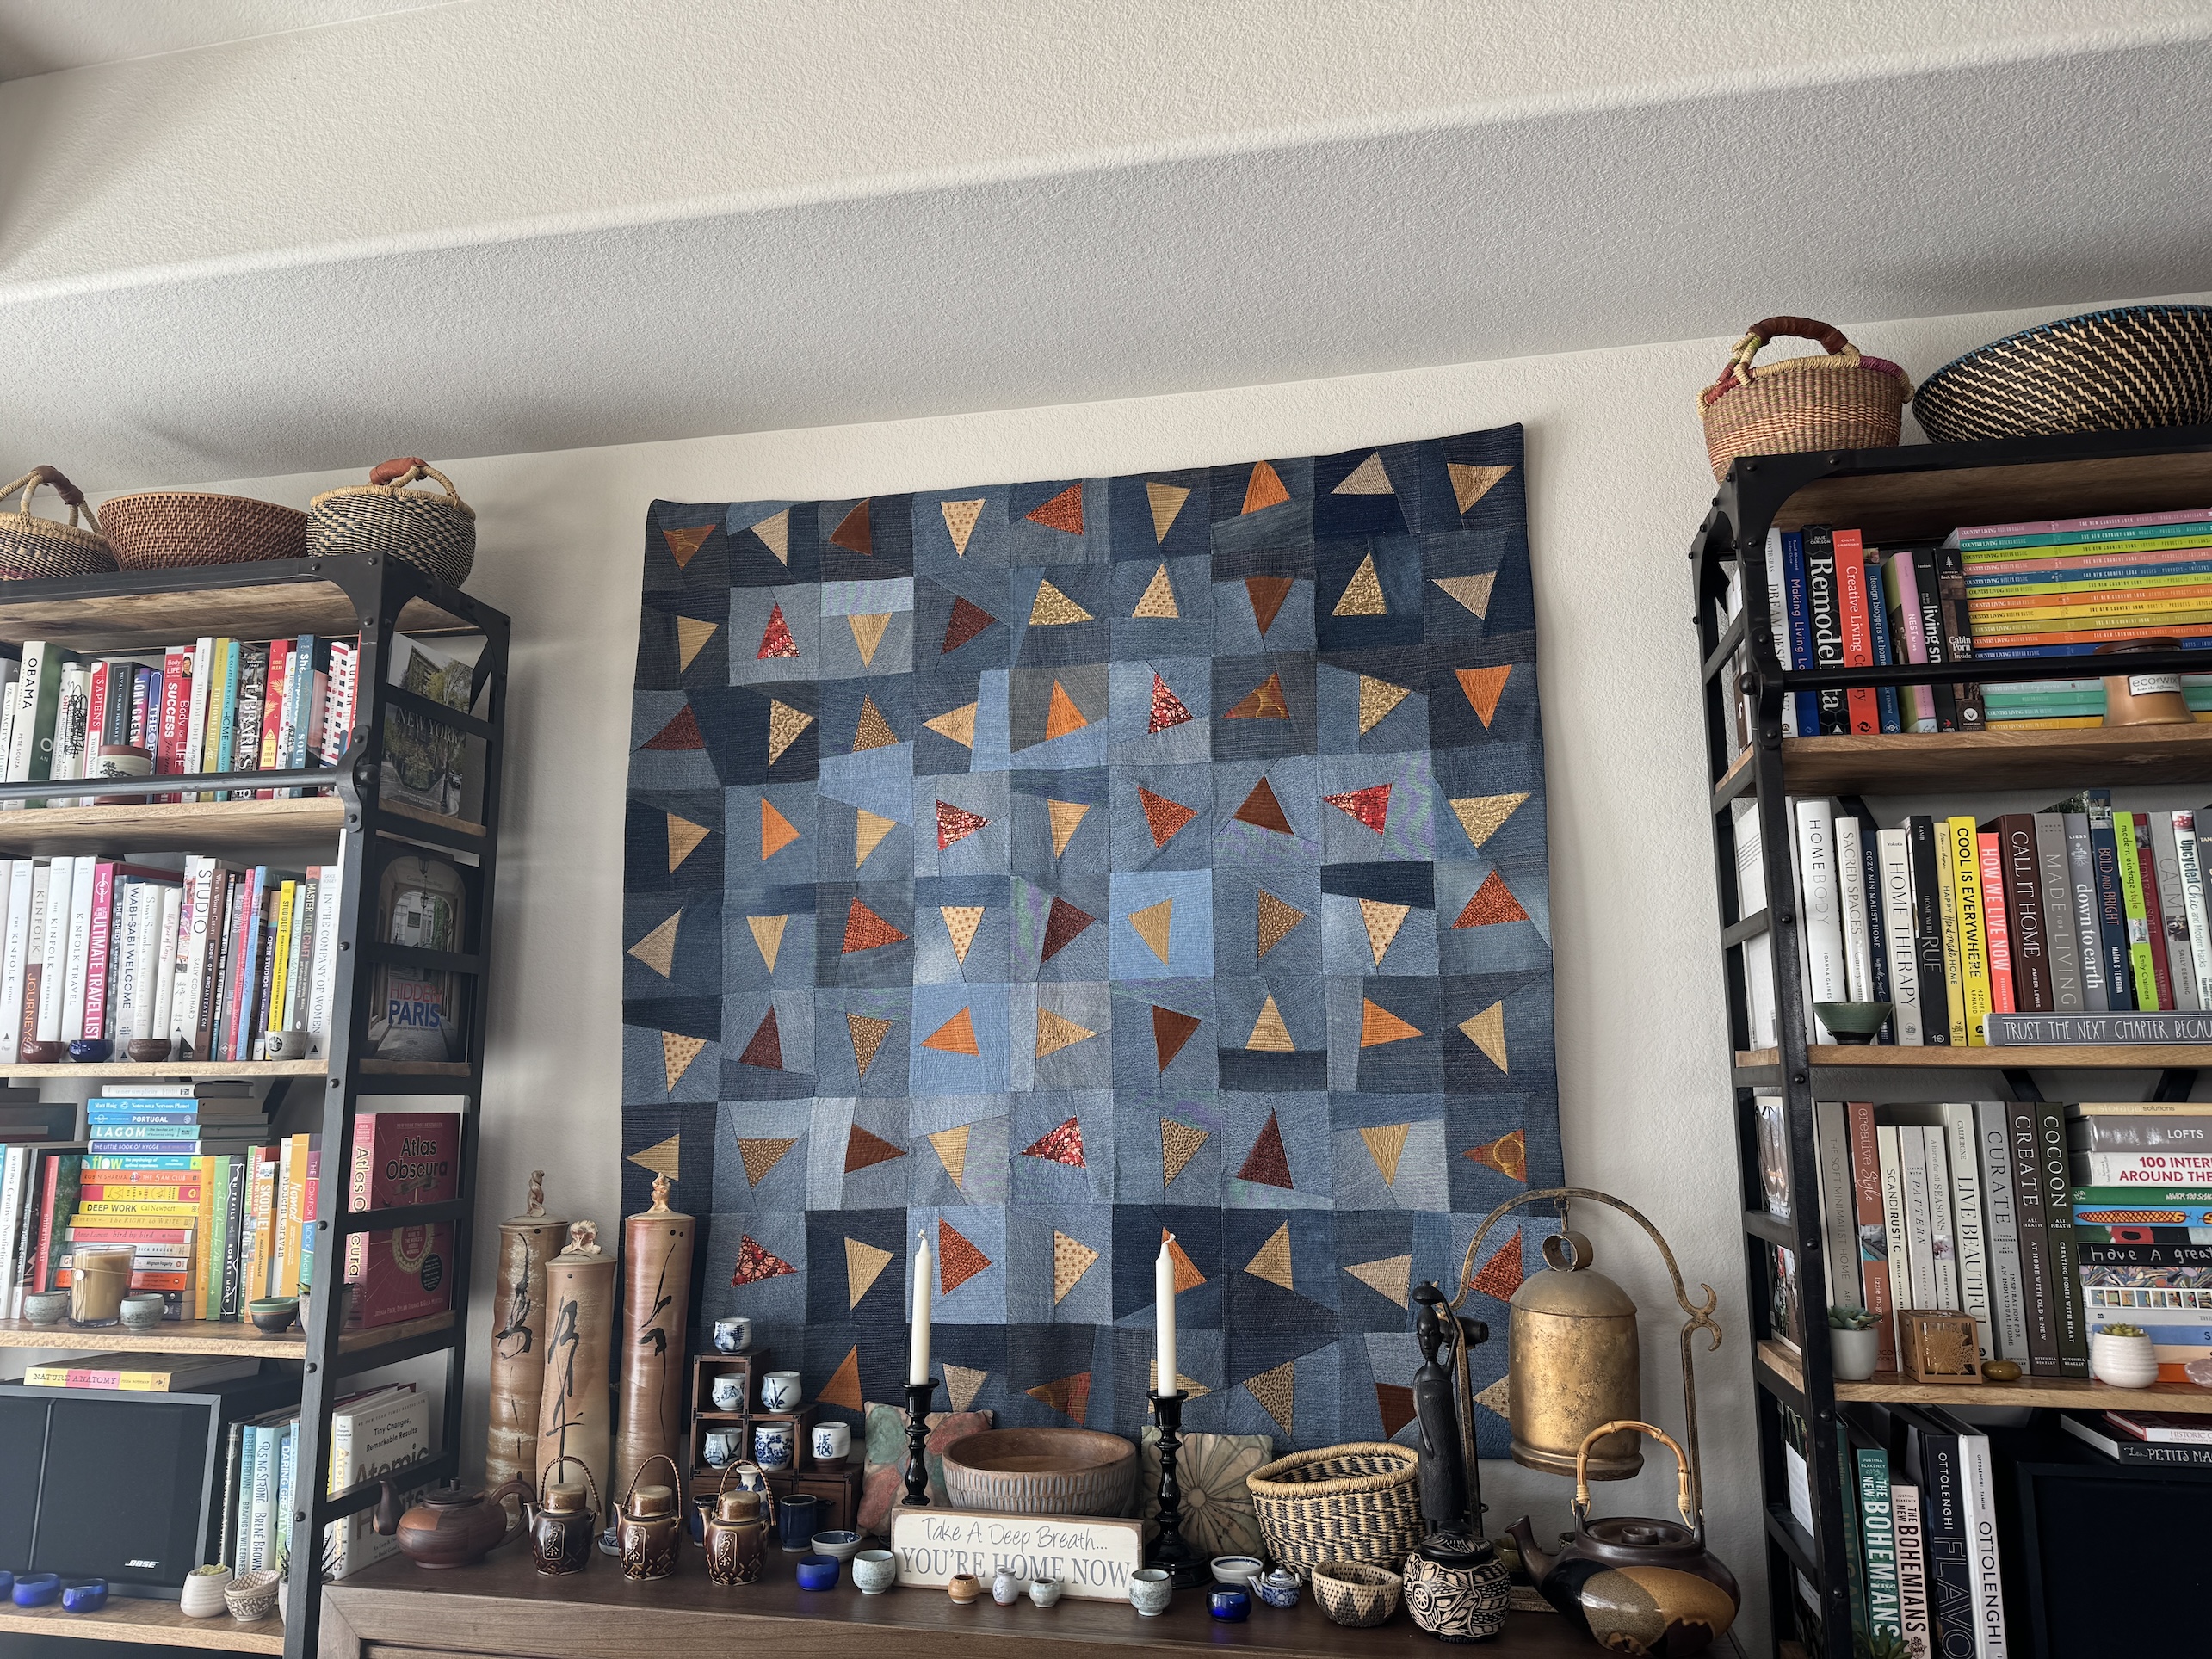
Made from recycled denim and home decor fabric samples.
3) Scrappy mini quilt wall hanging in the new living room:
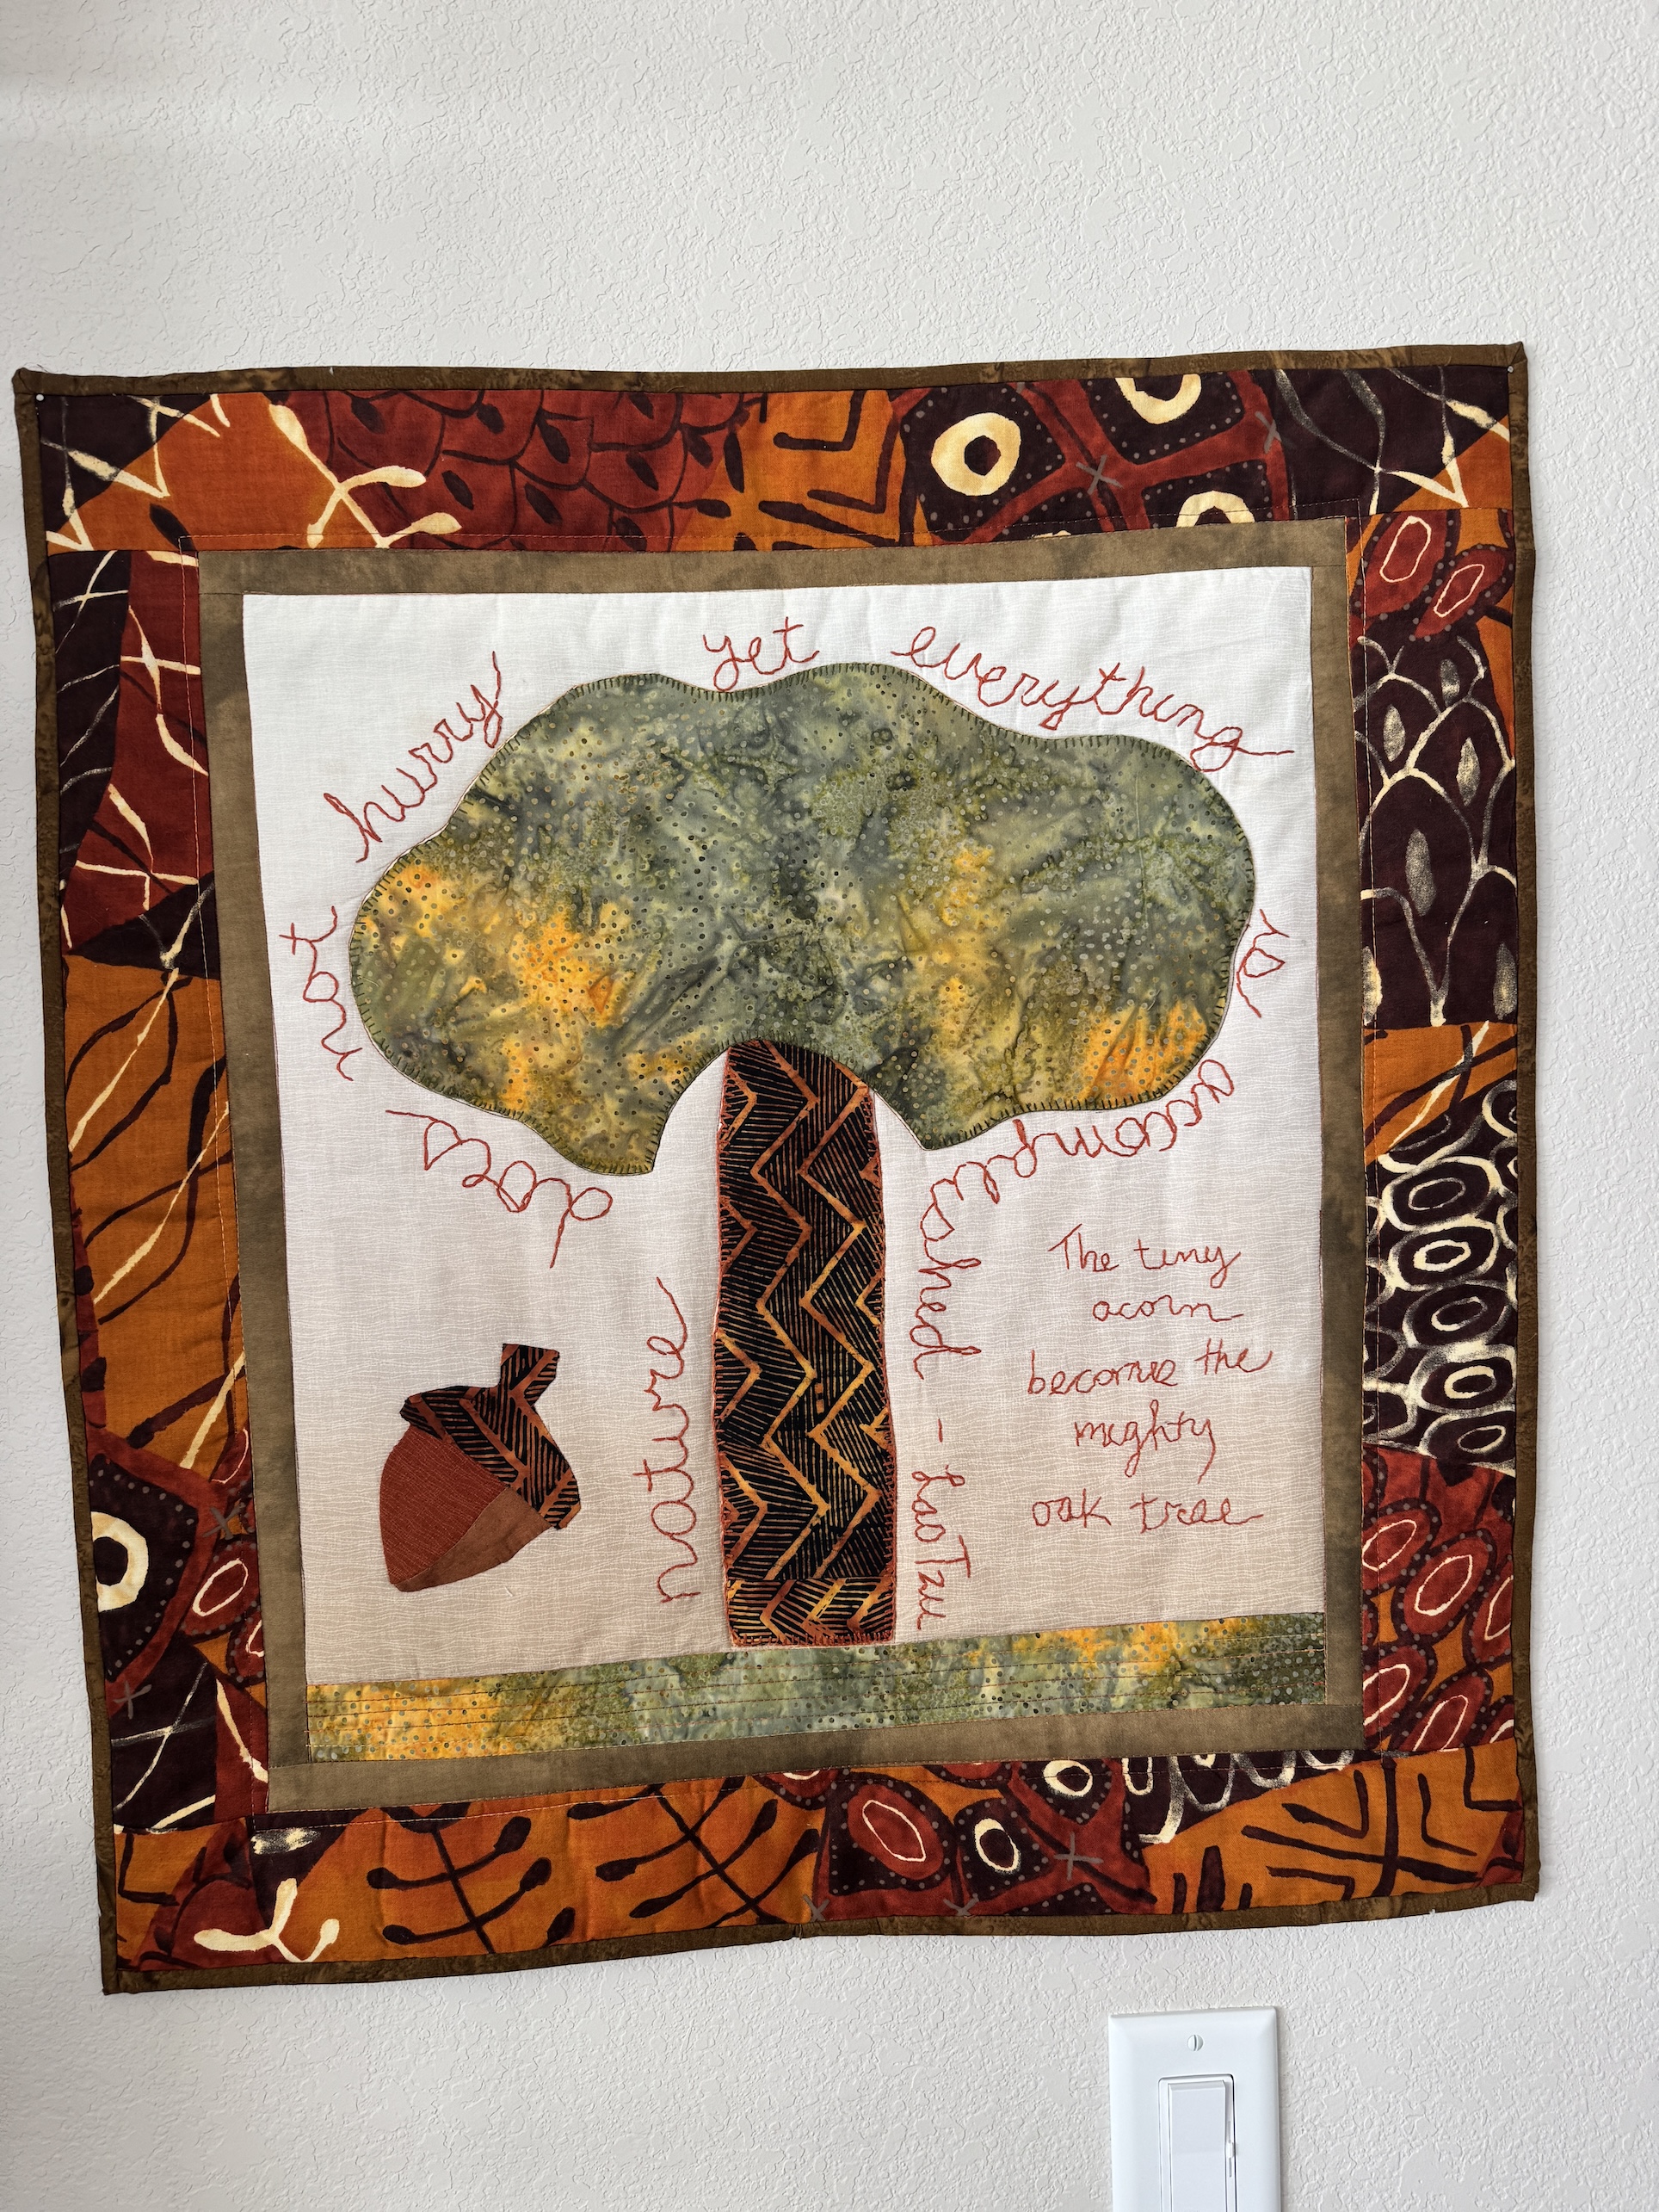
A piece I made in a hand embroidery class at the Stitchin’ Post in Sisters, Oregon when I lived in Central Oregon.
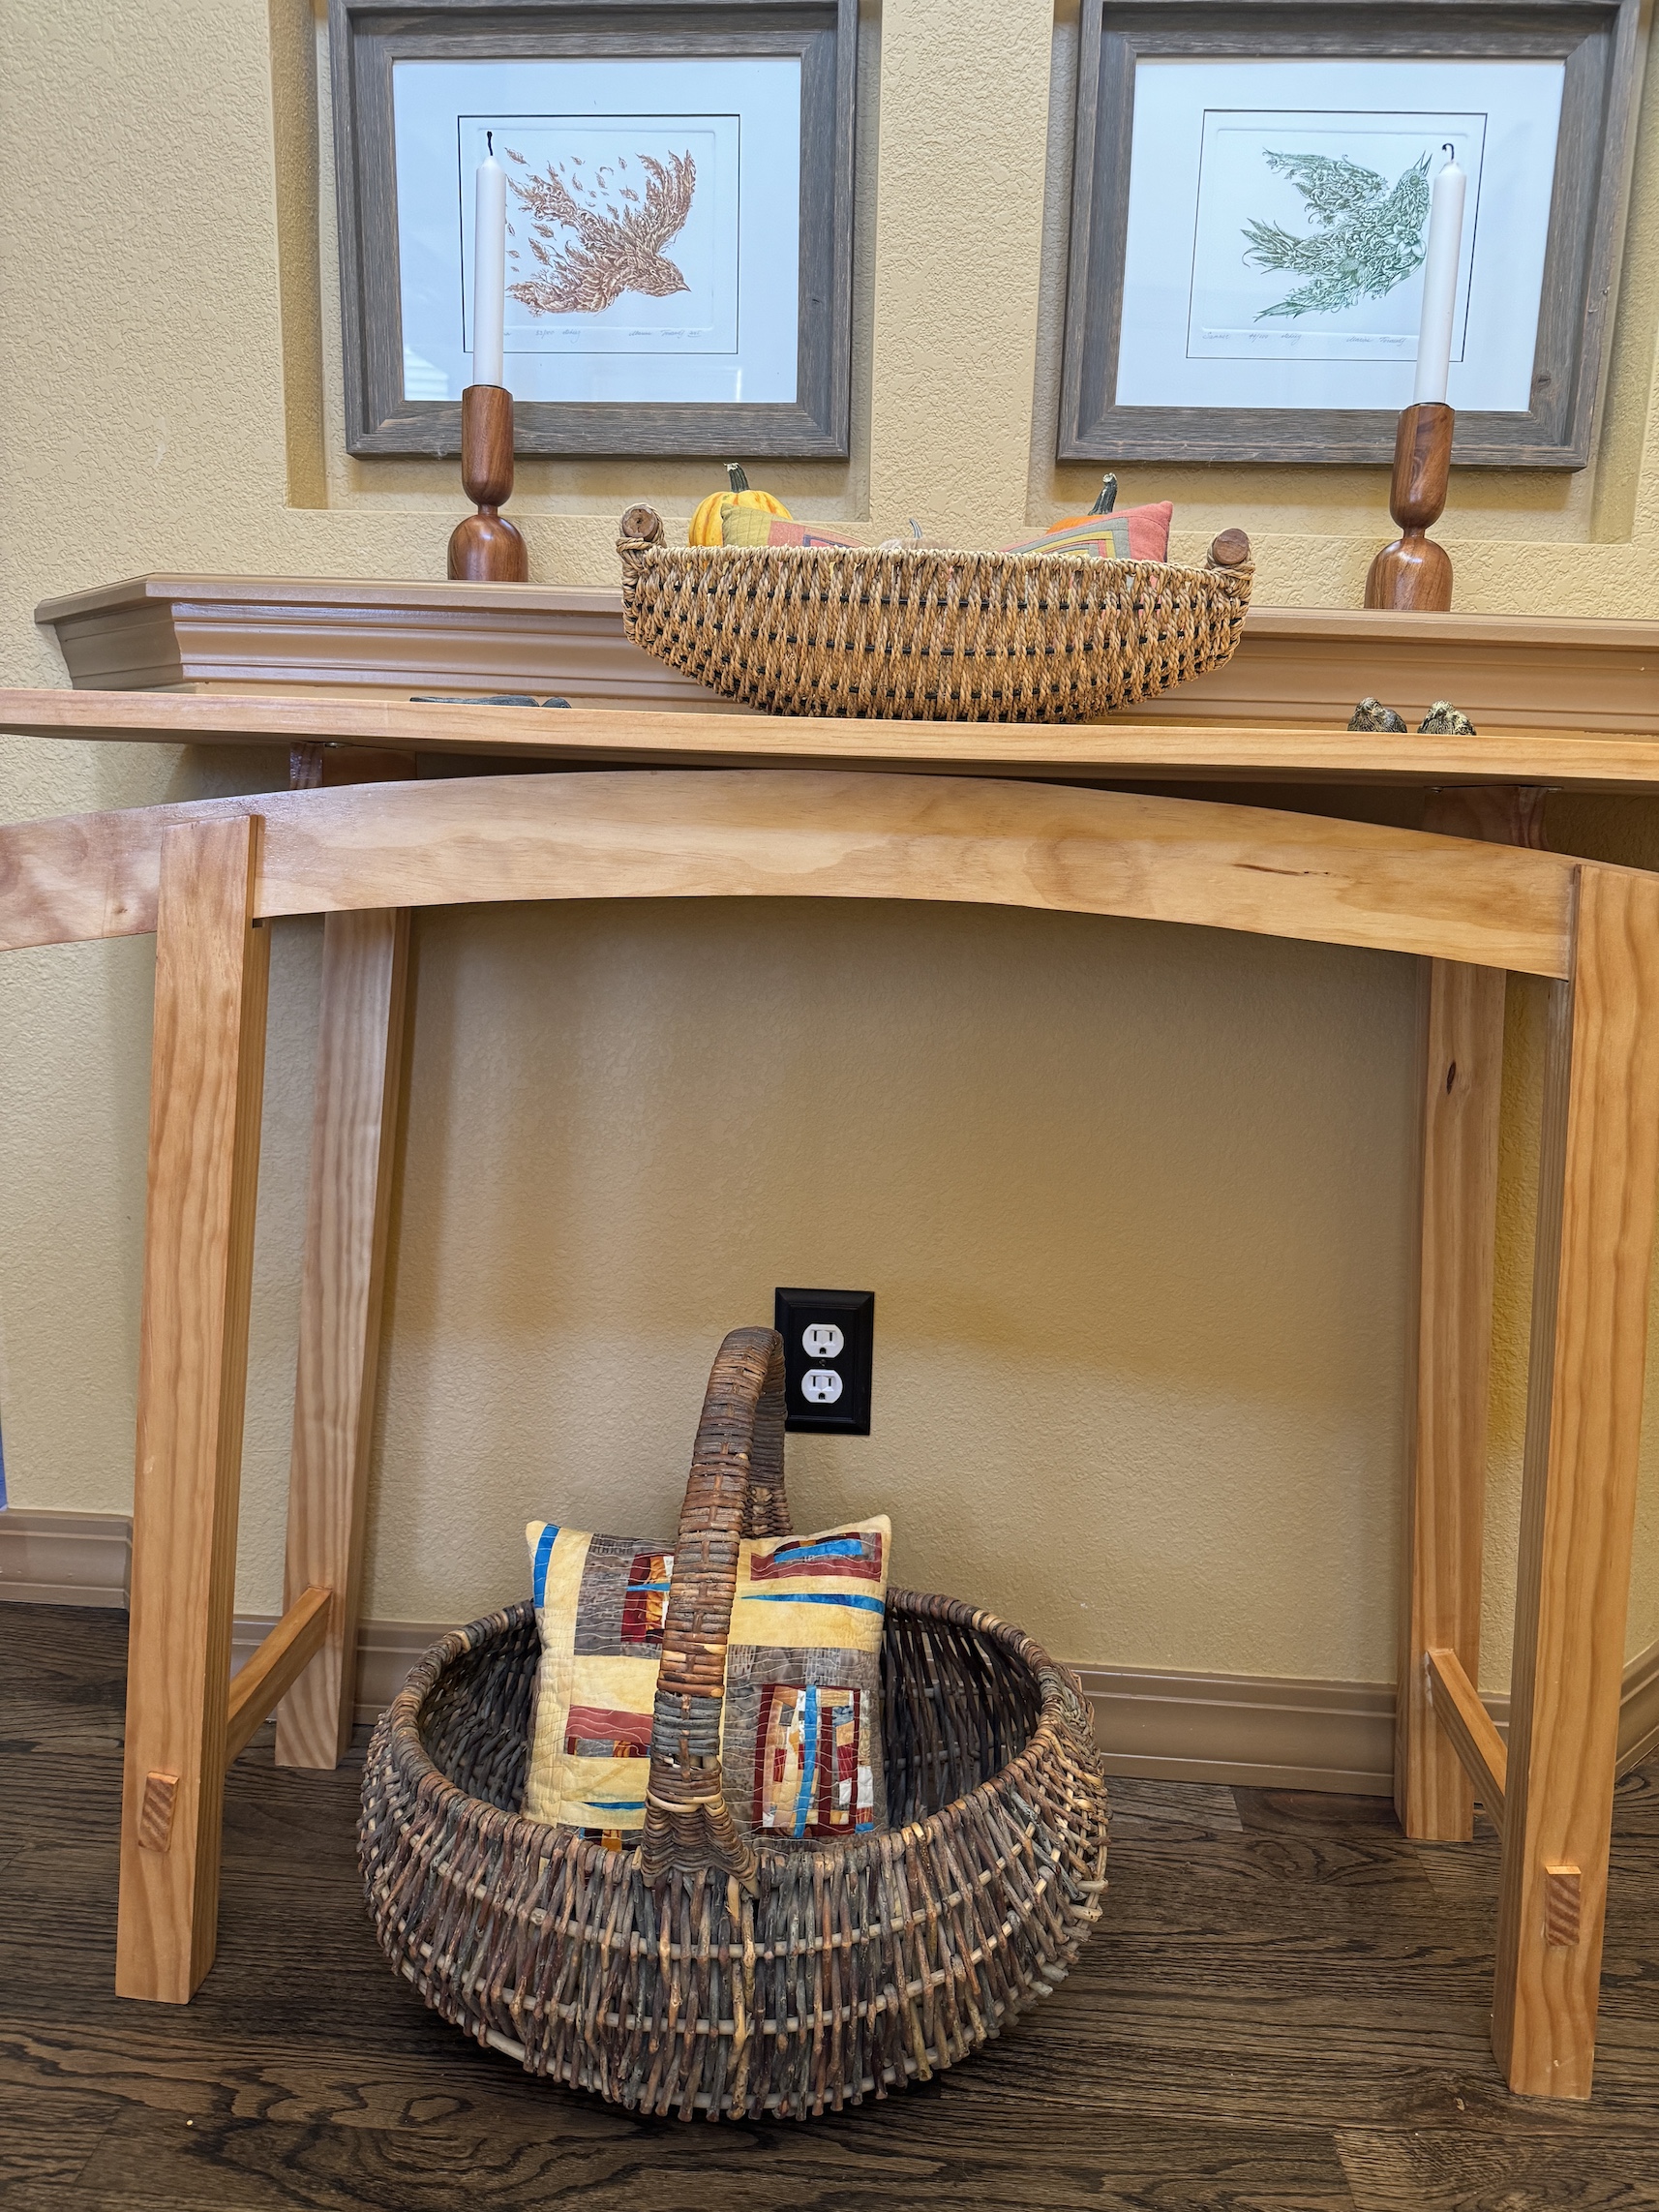
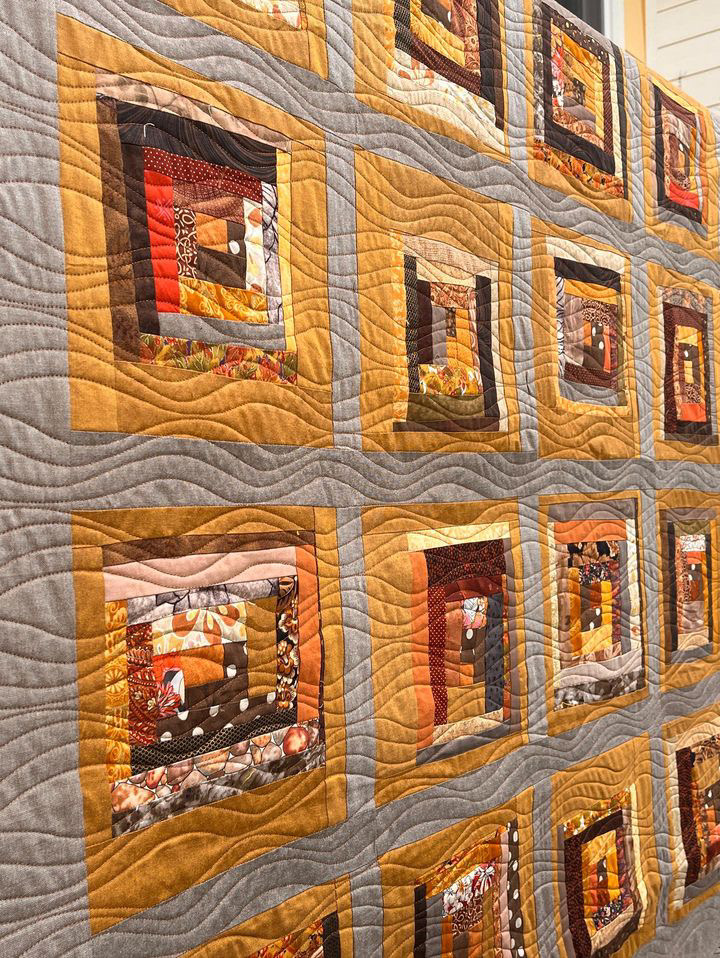
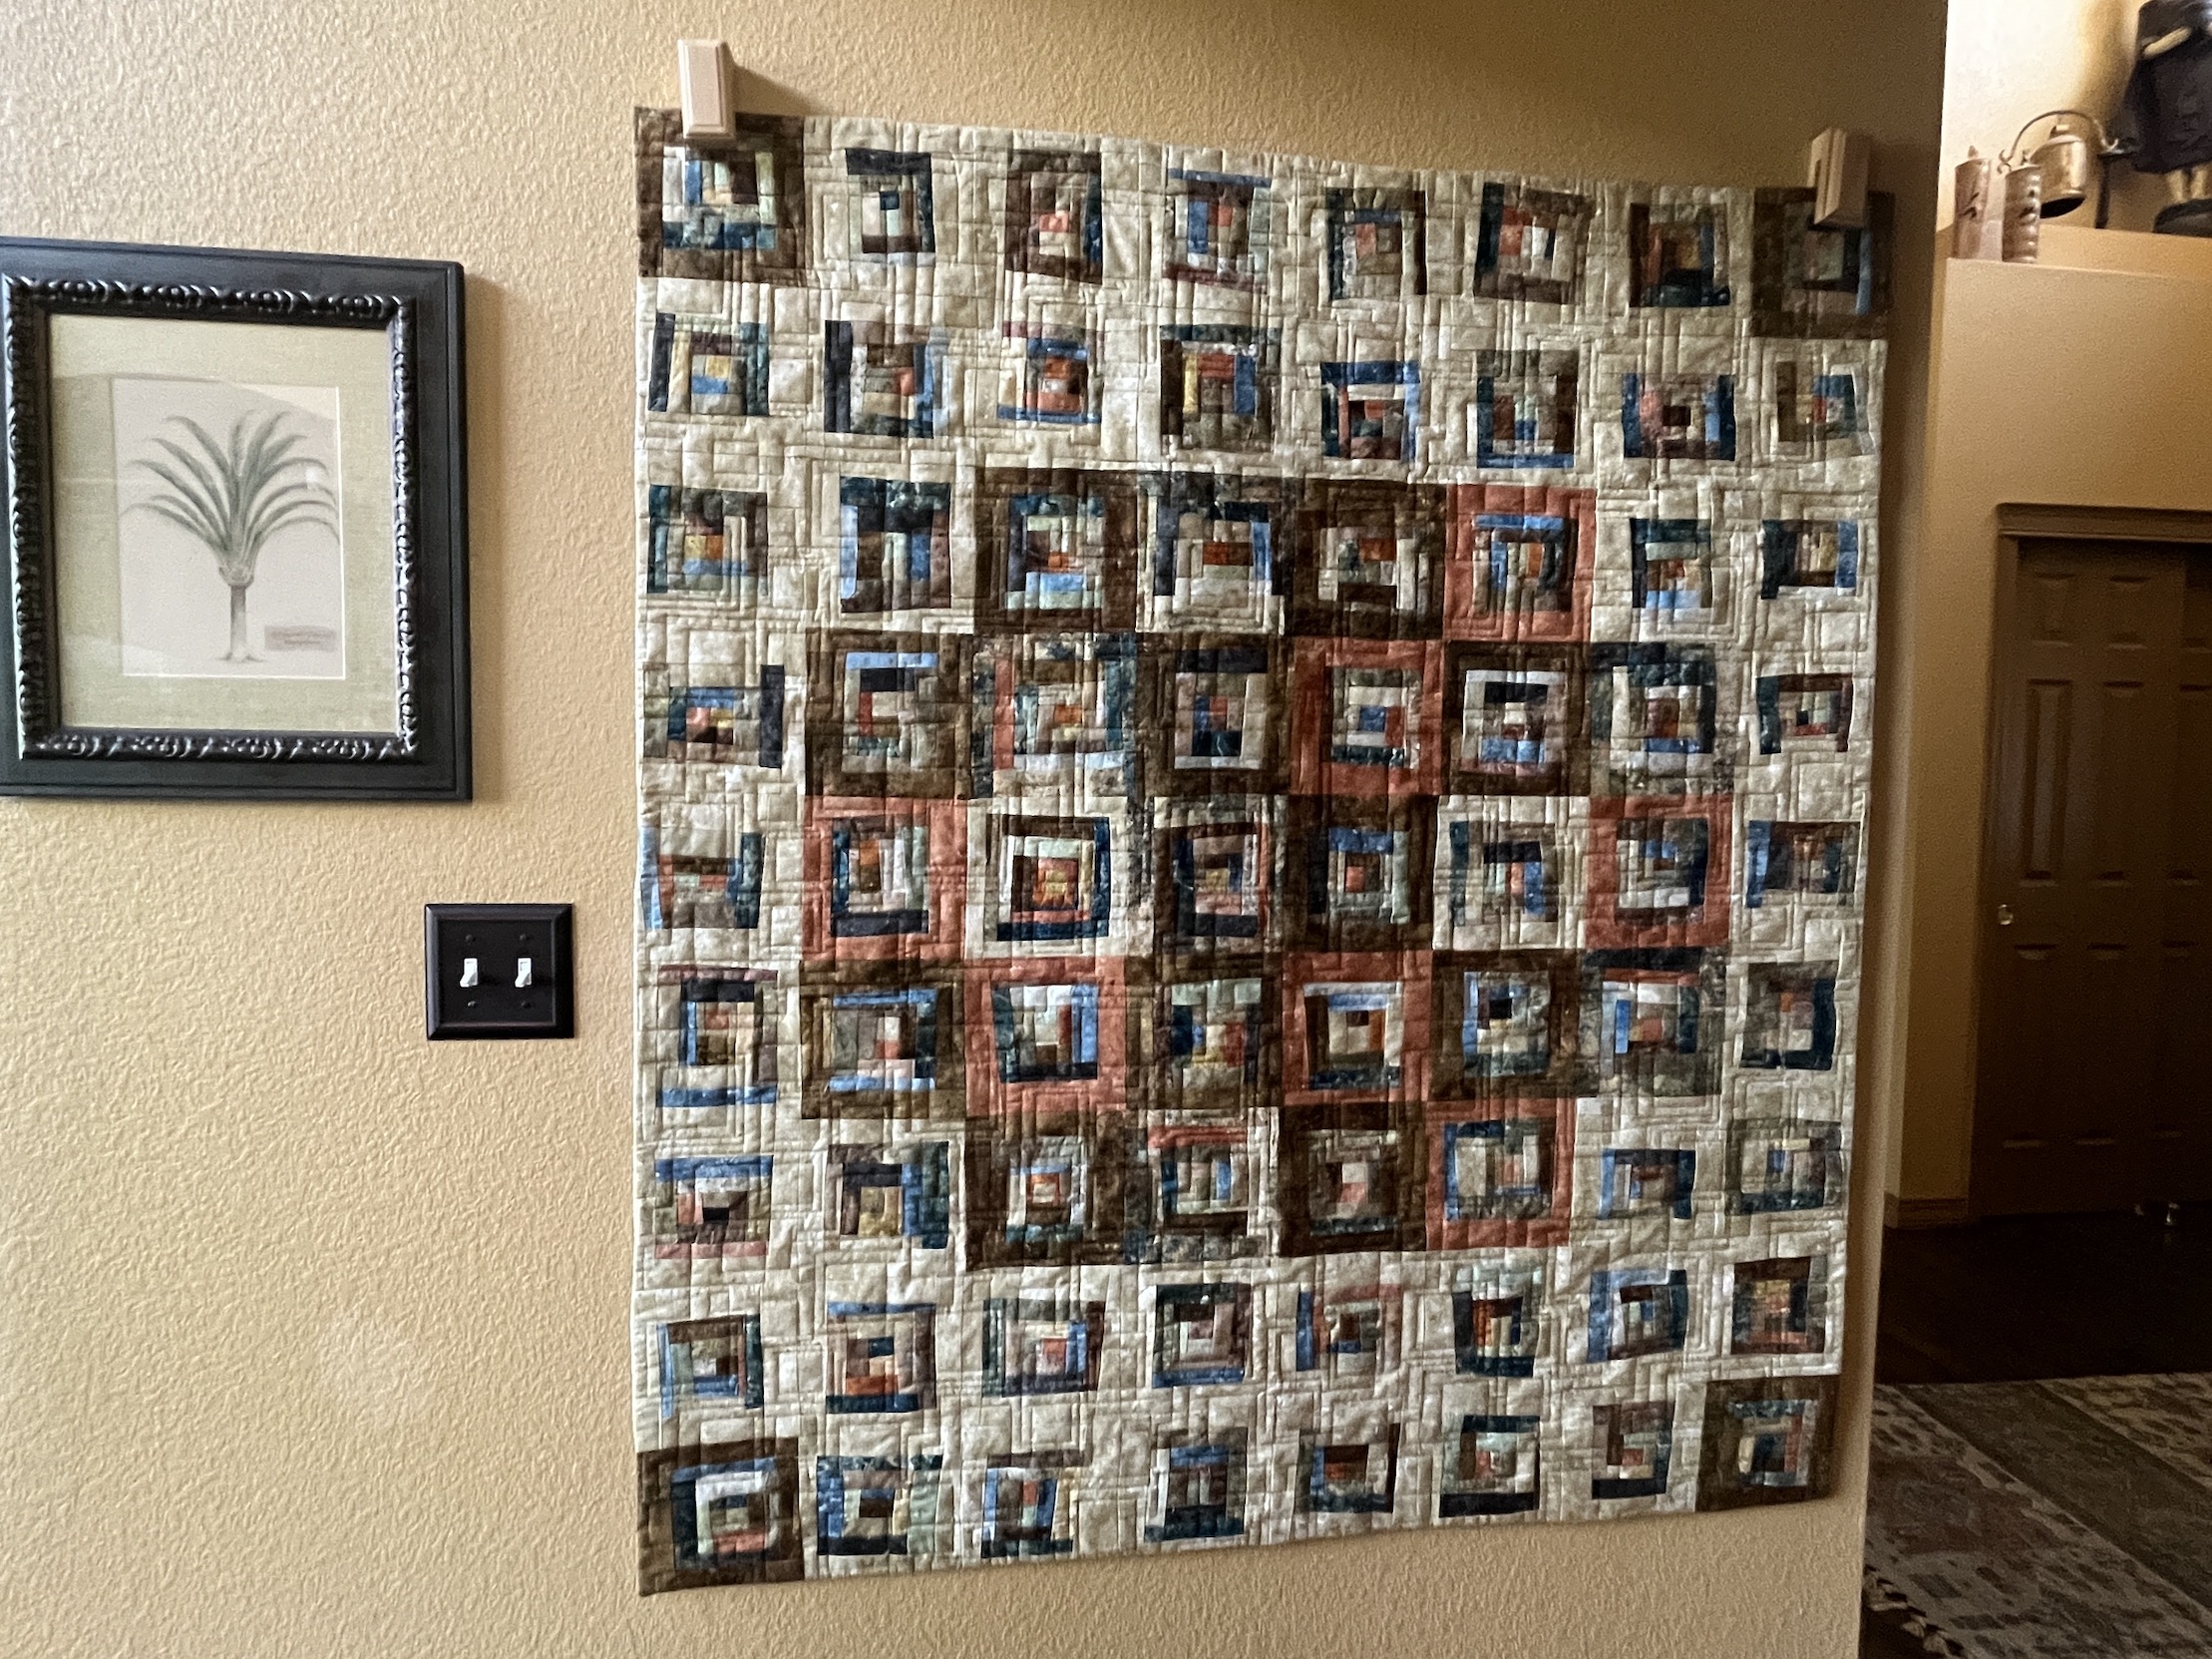
4) Scrappy quilt hanging on the wall in the new kitchen:
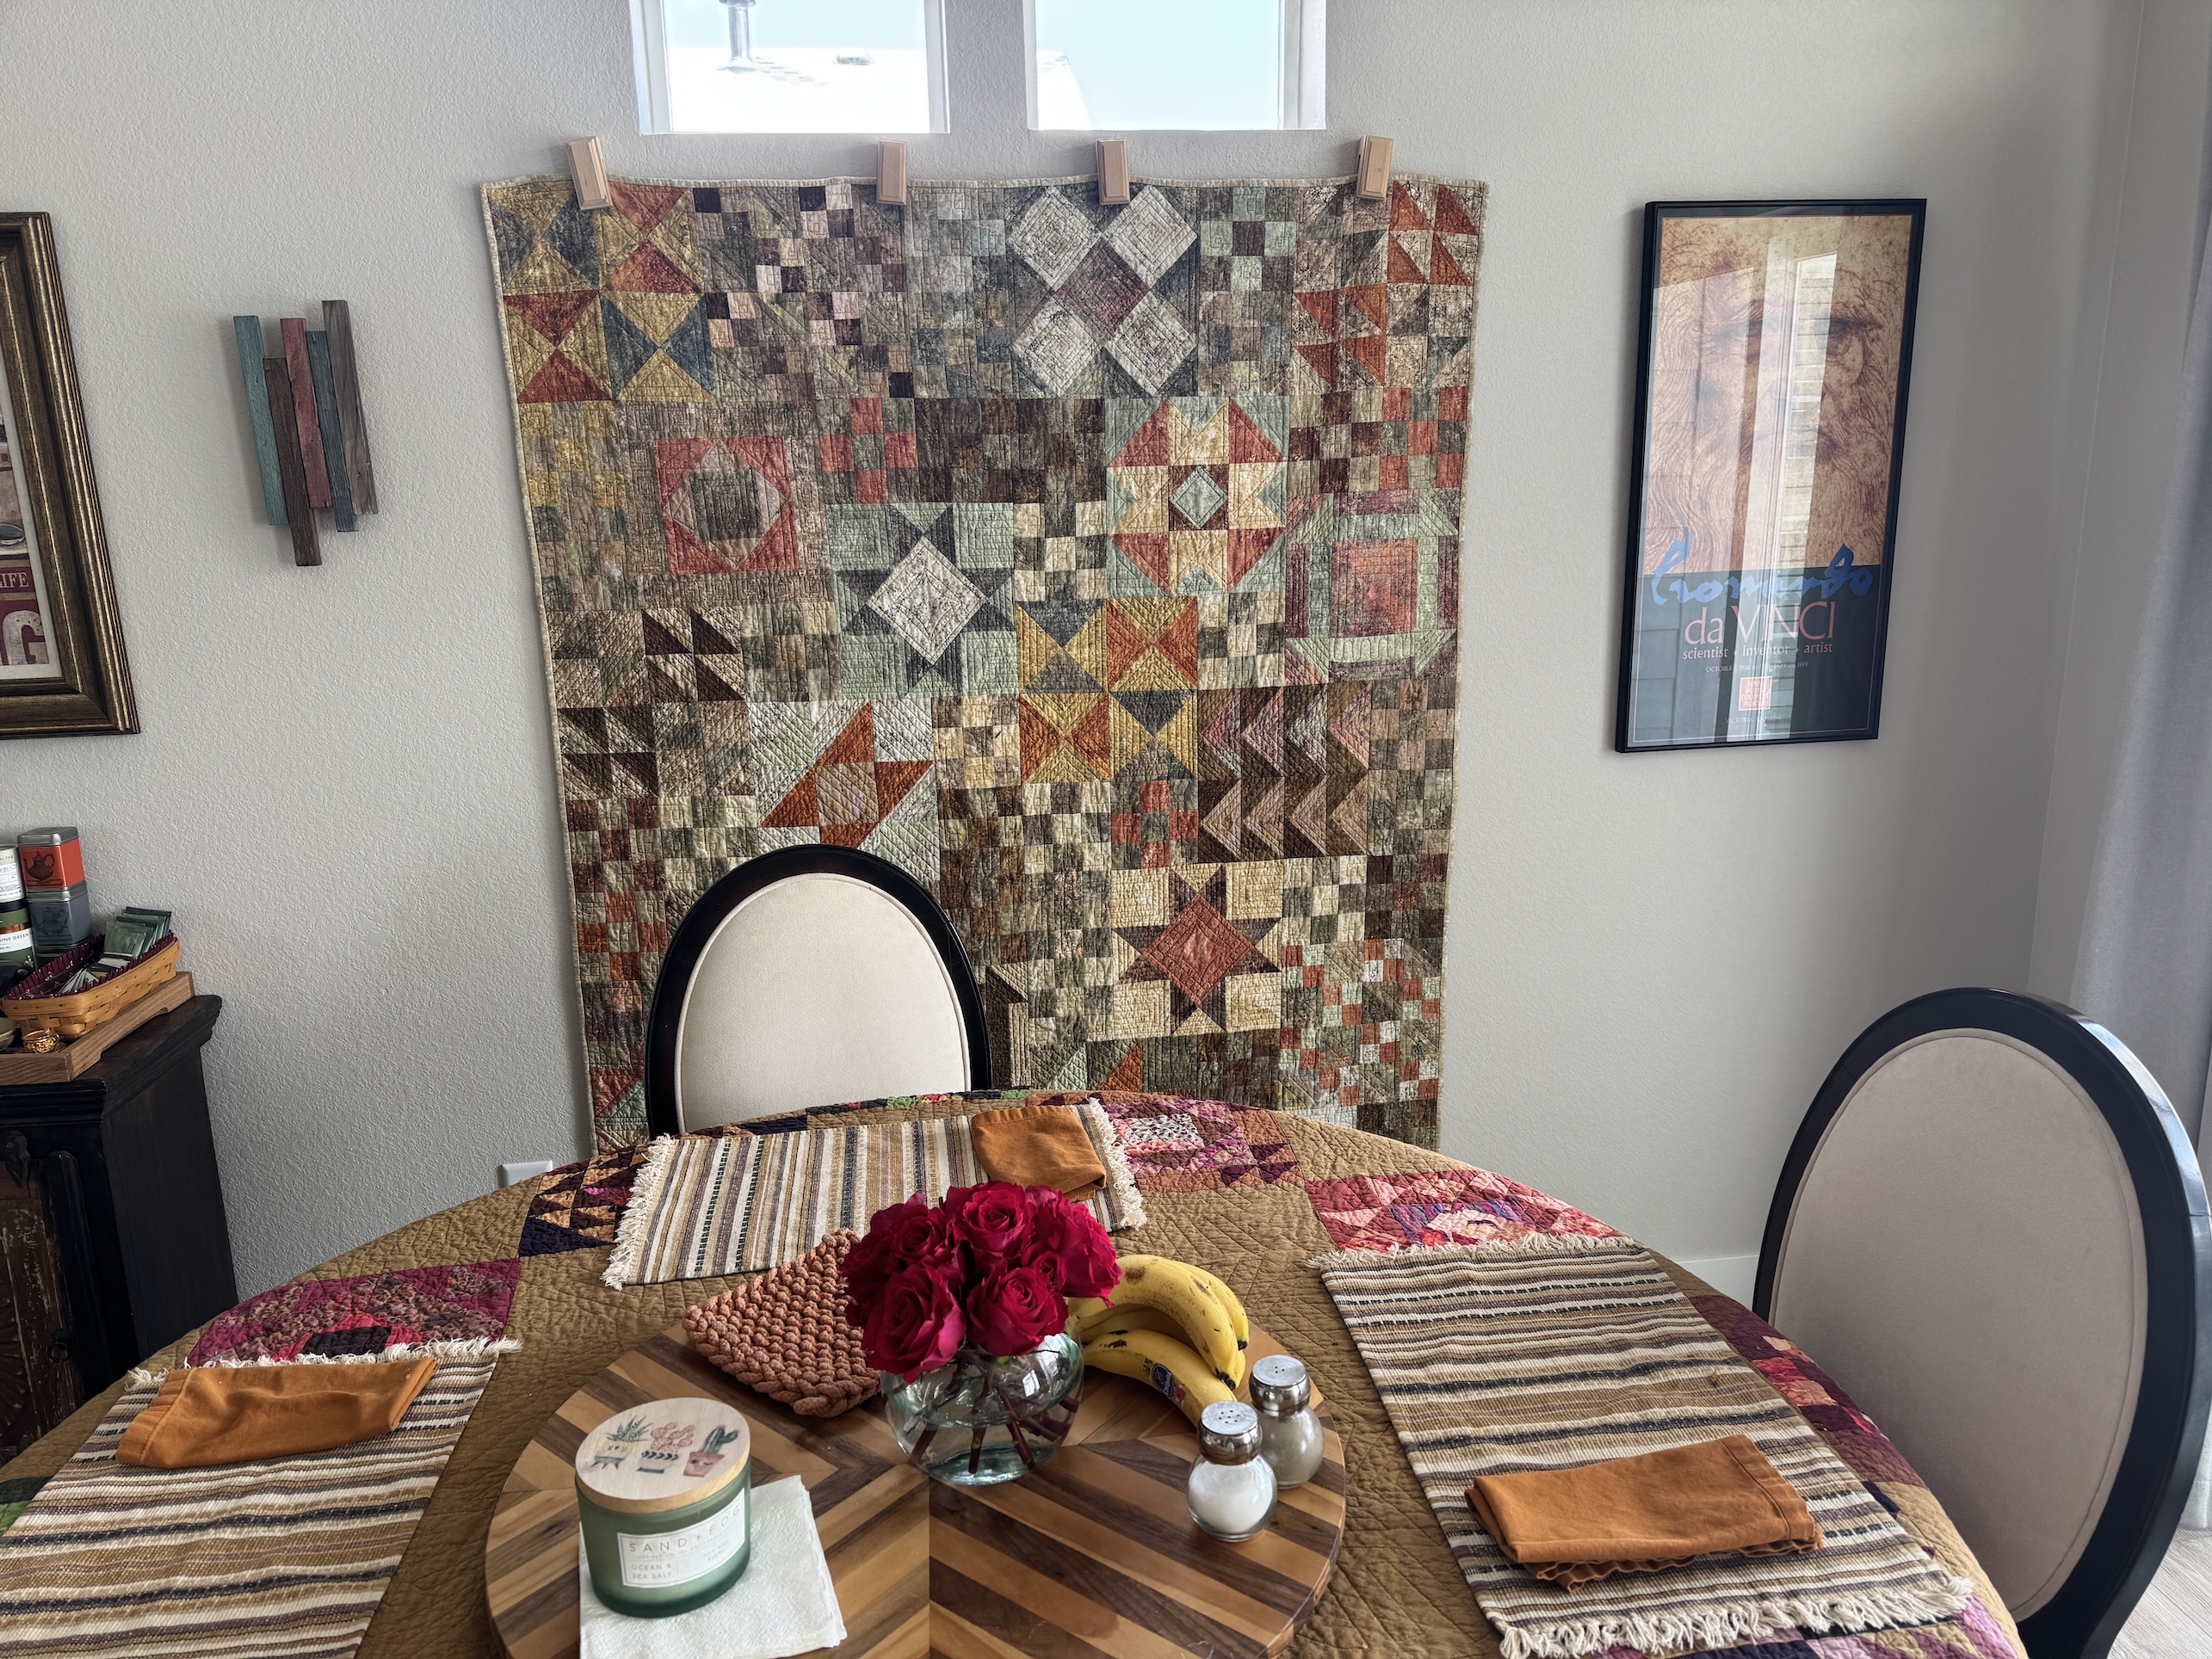
This quilt was made with Northcott Fabric’s Stonehenge line scraps. Year ago I was completely in love with this fabric line and a friend their large collection of Stonehenge scraps. Along with a set of fat quarters from the fabric line I made this quilt.
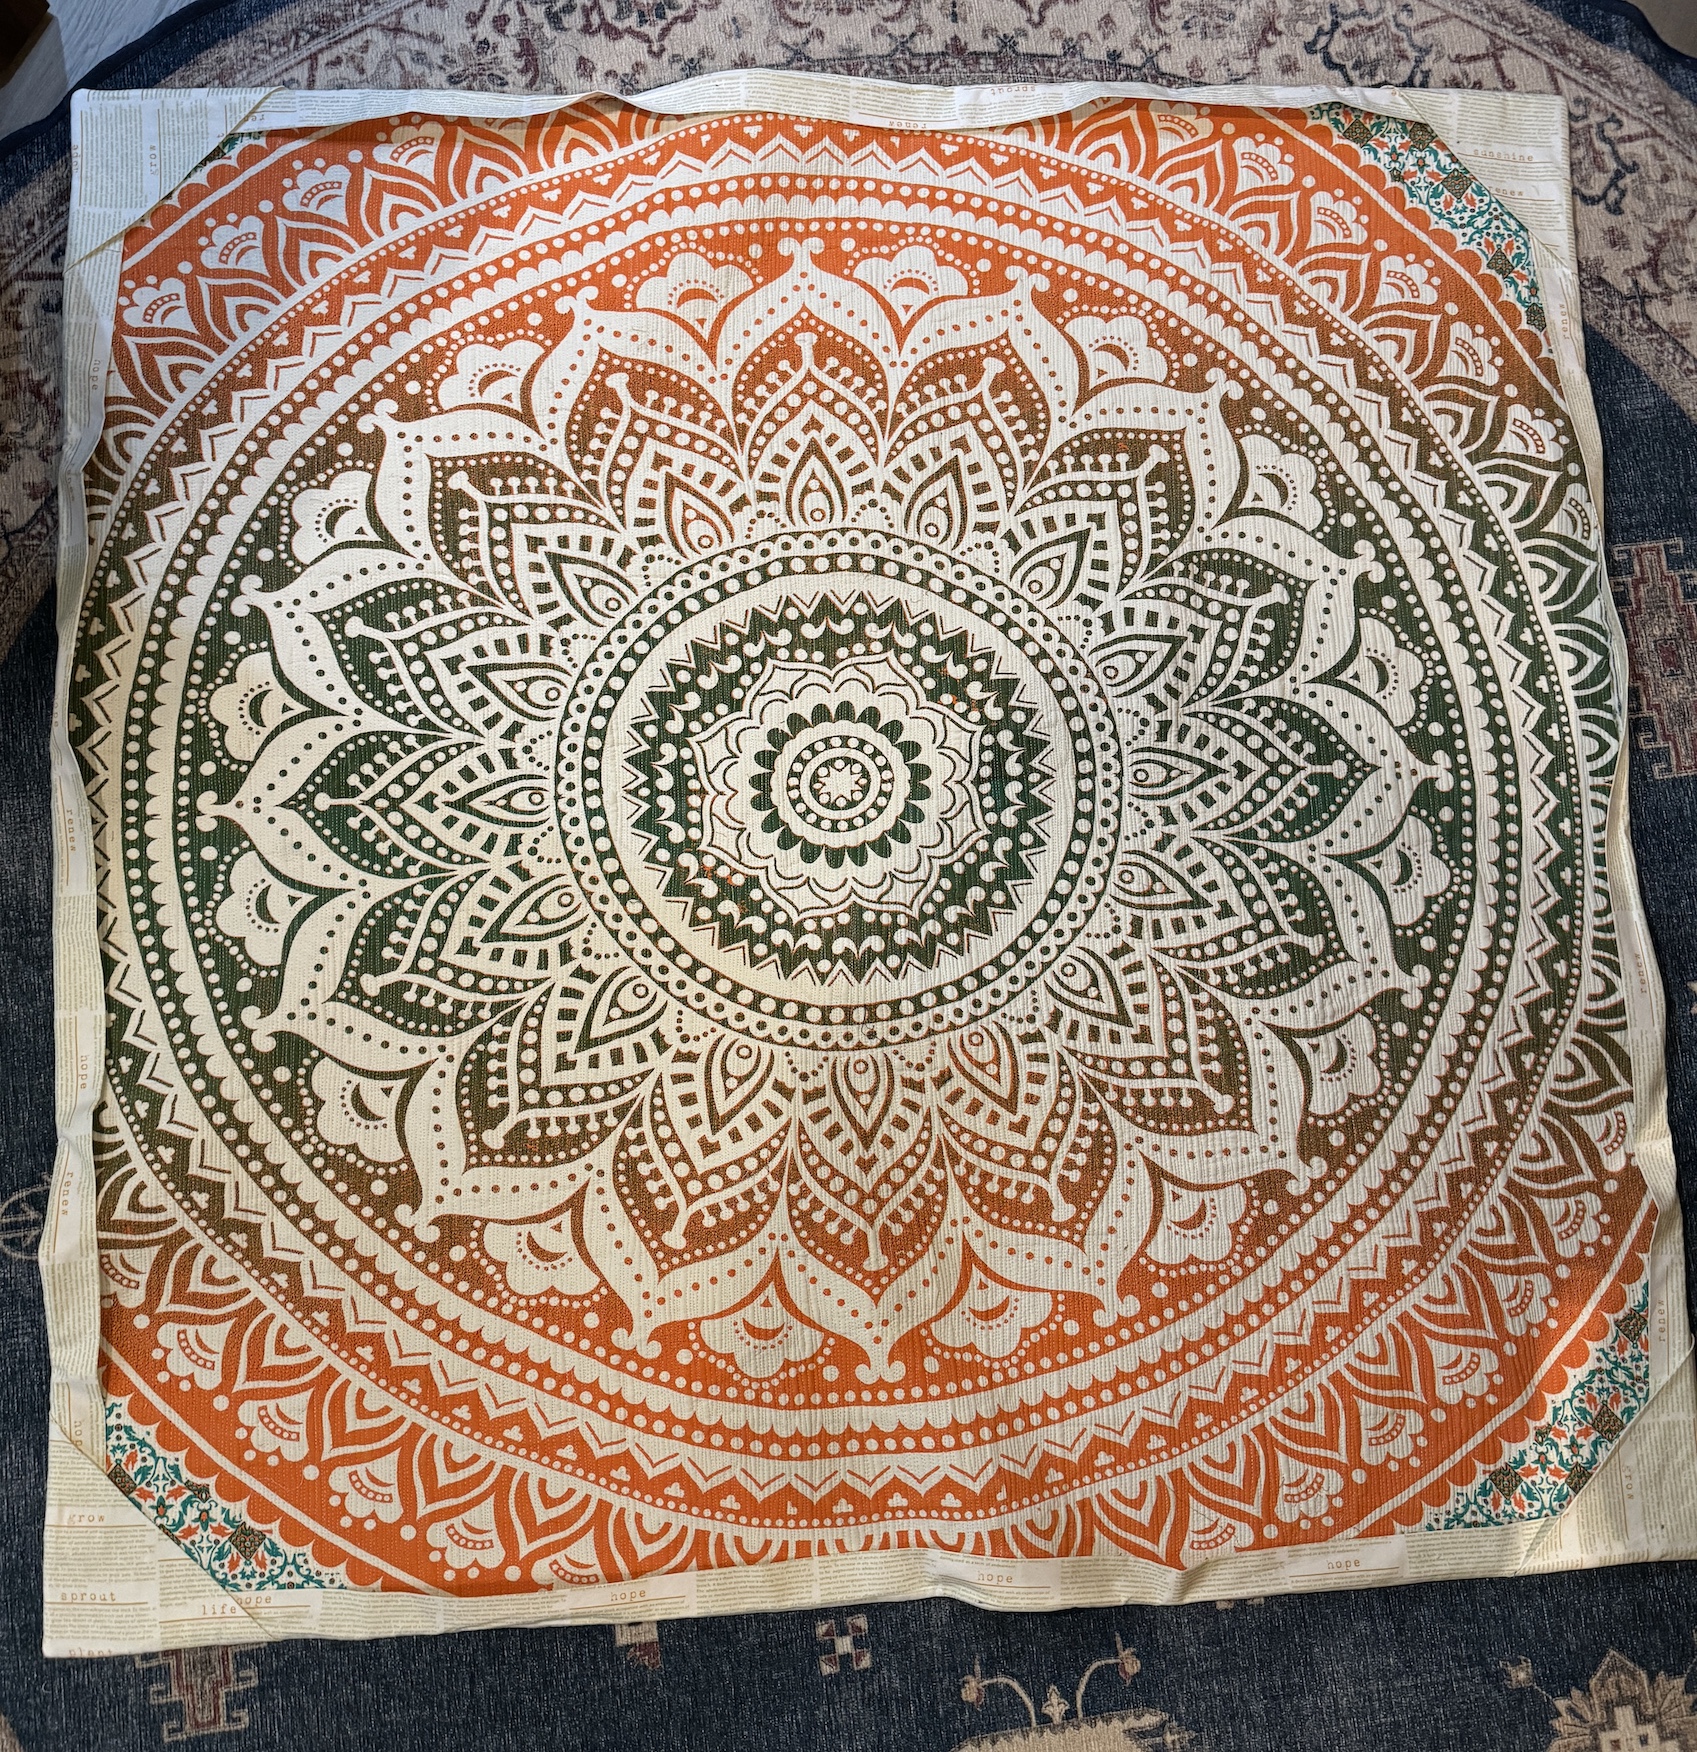
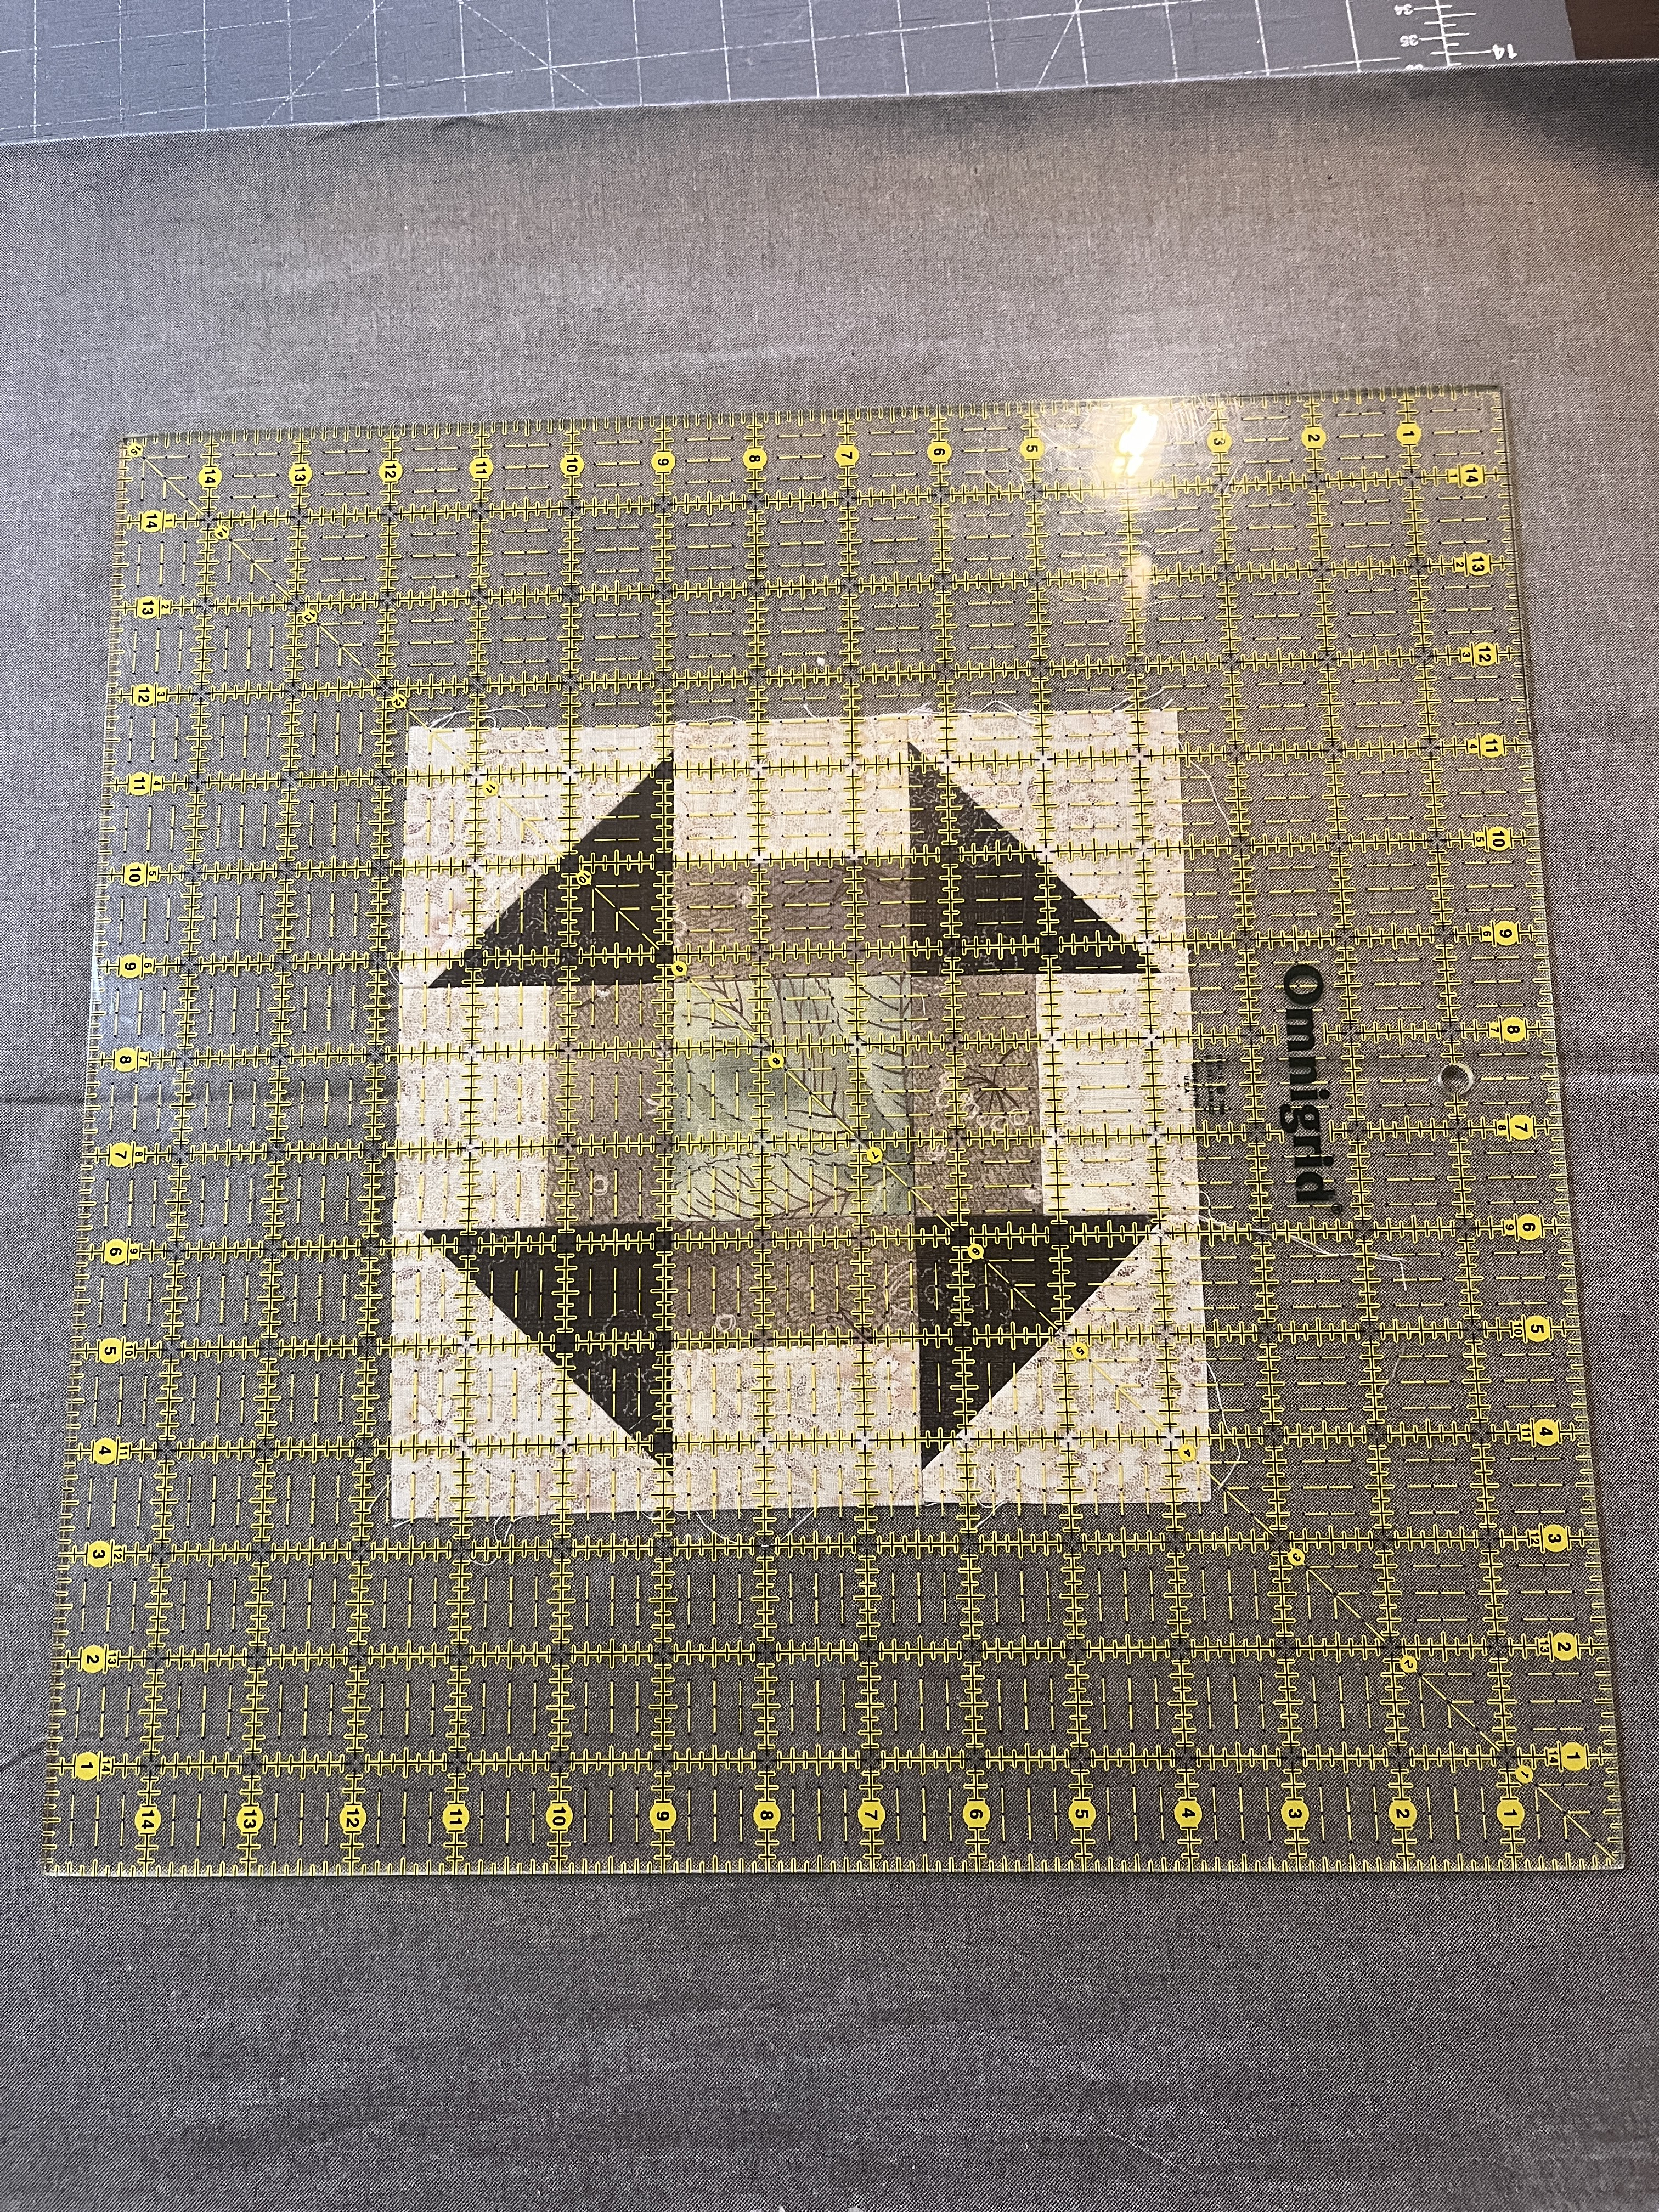
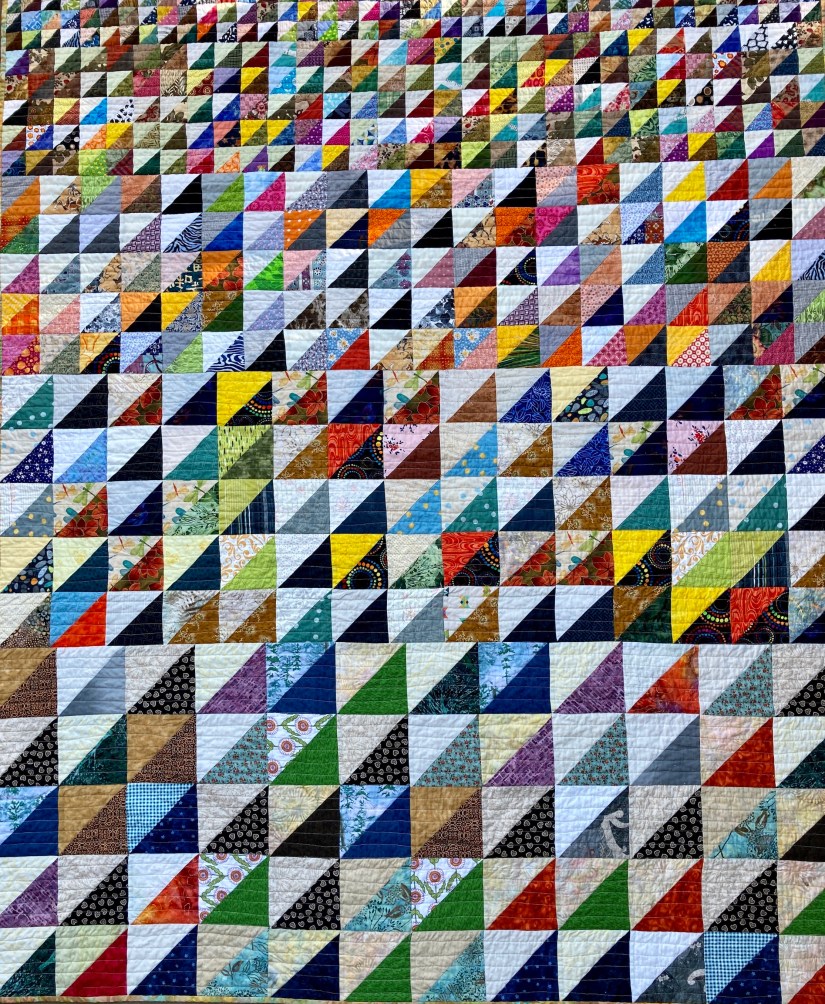
5) Scrappy quilt used as tablecloth in new kitchen:
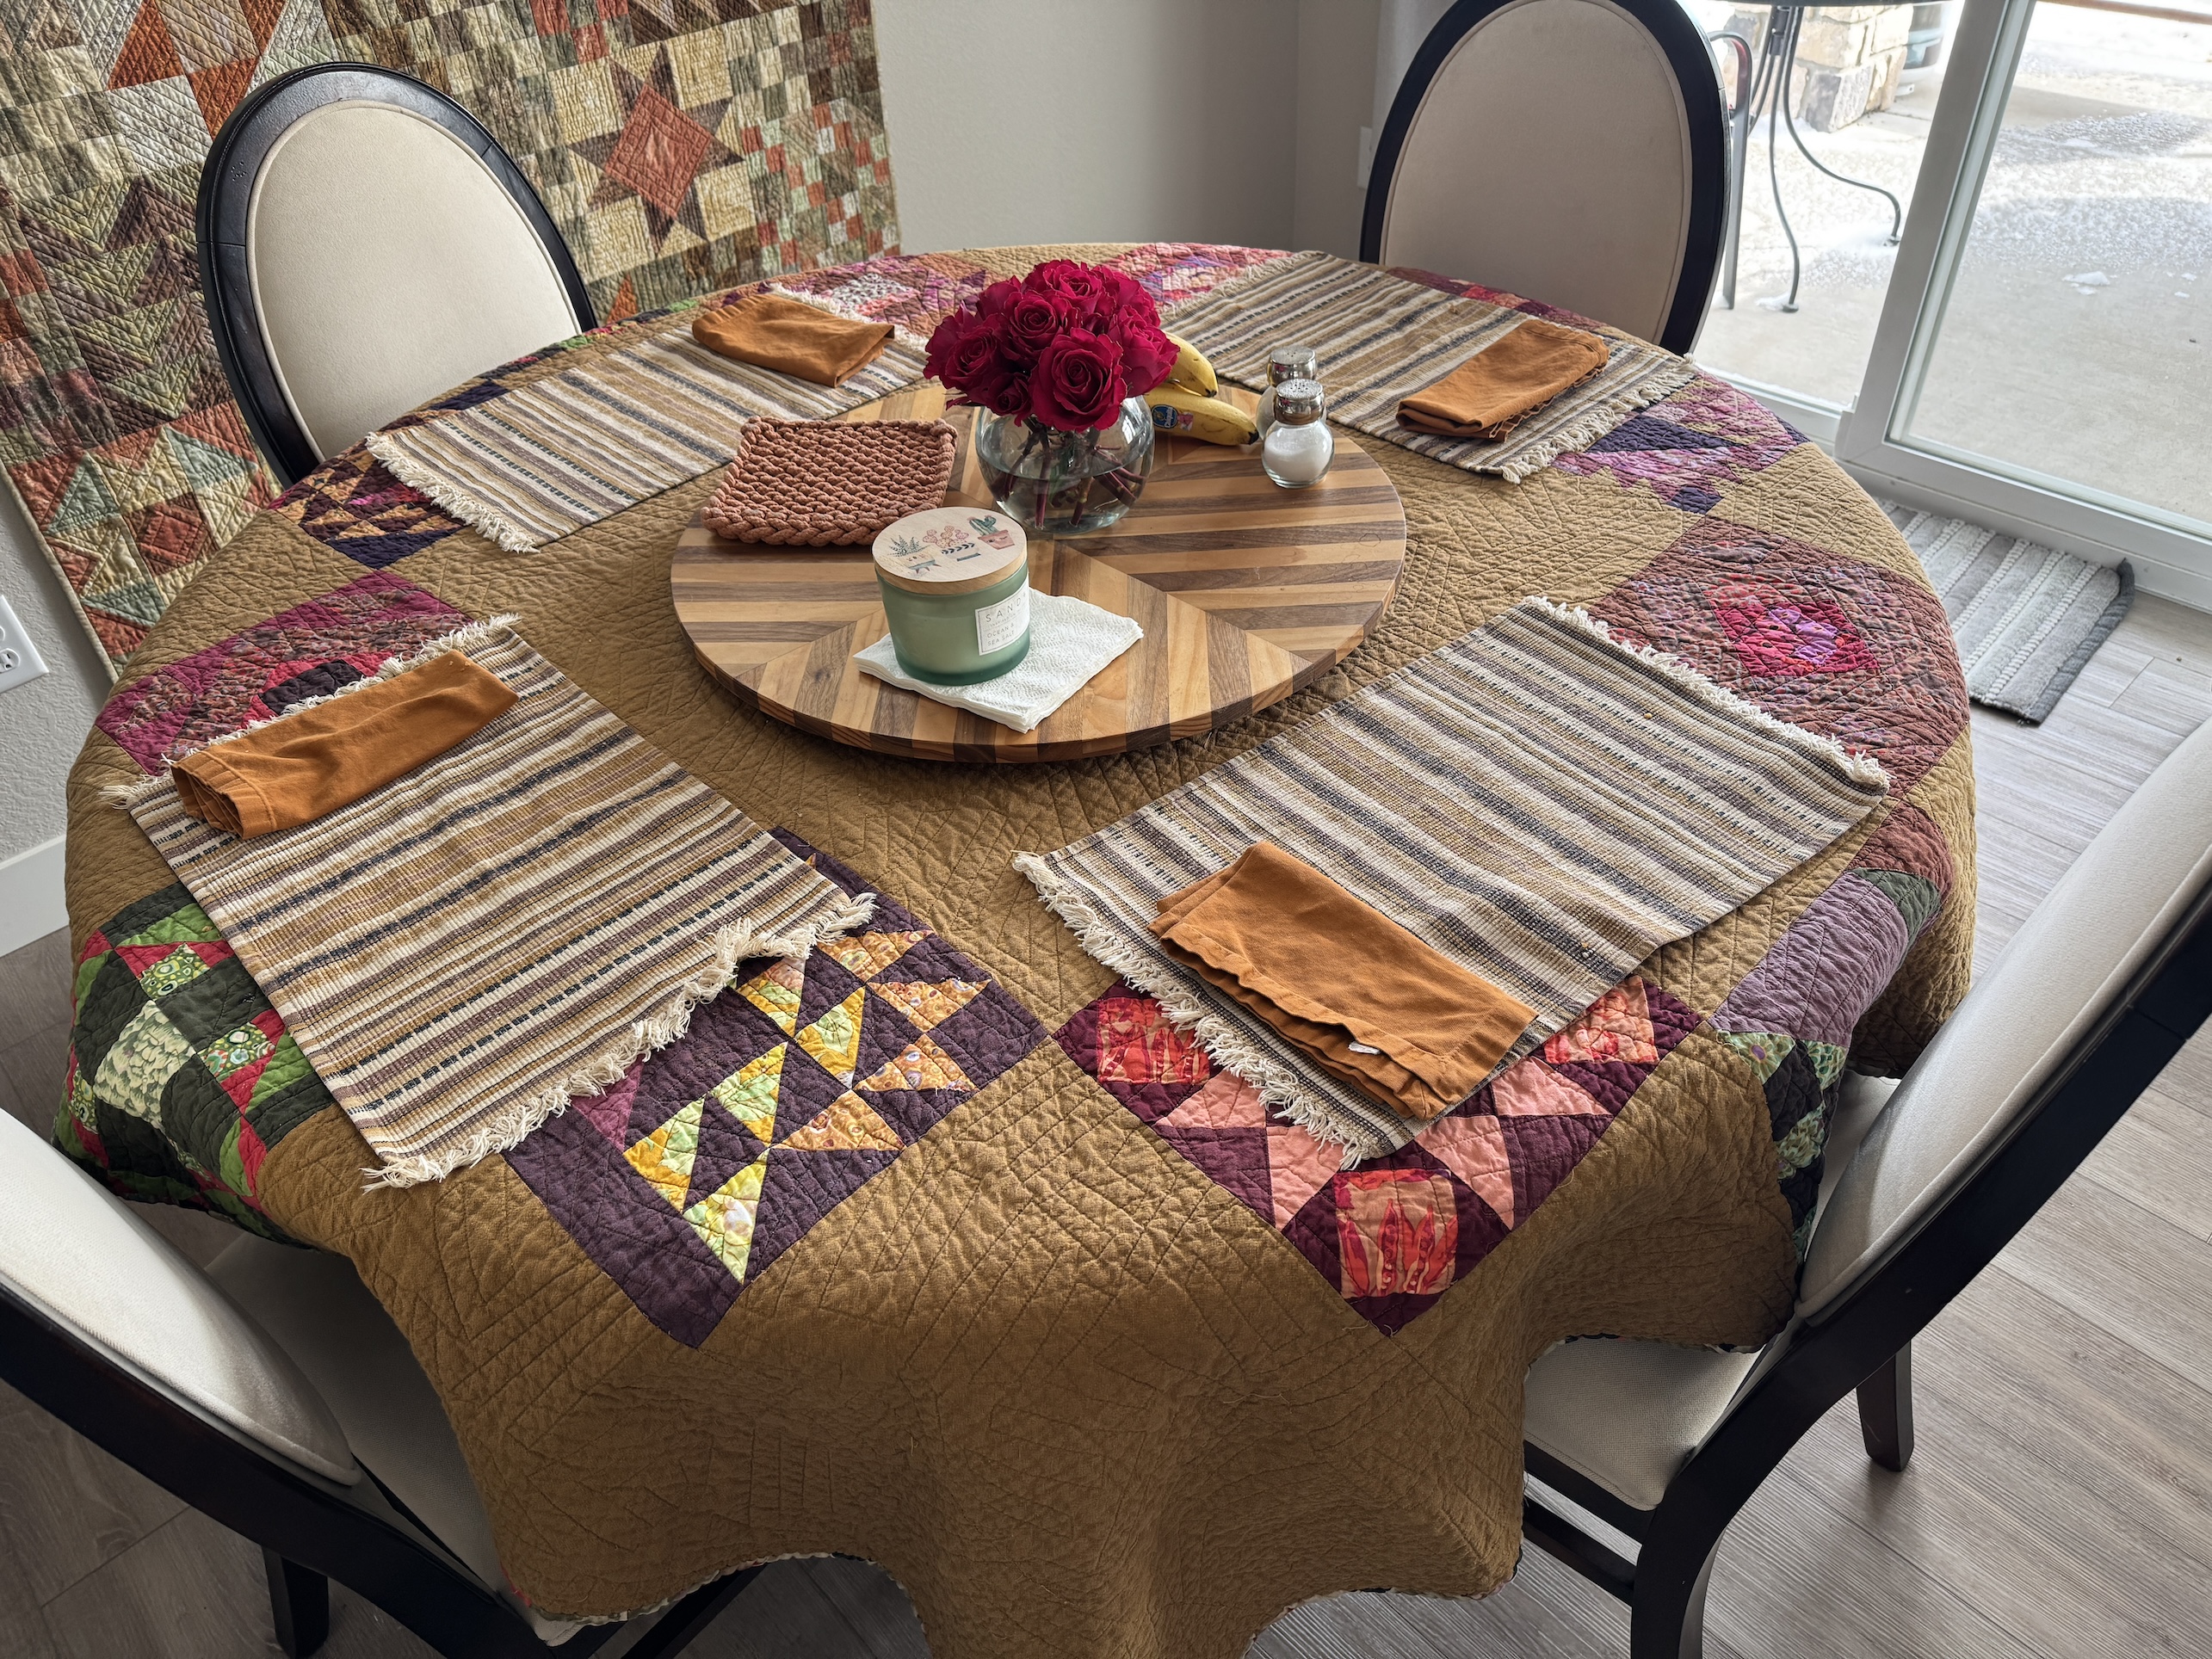
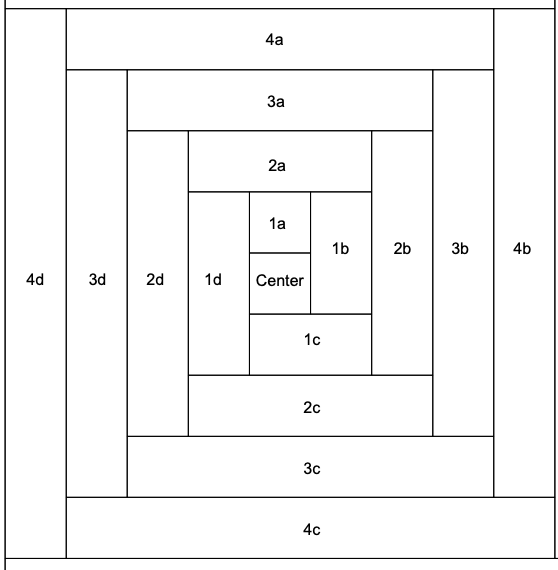
This quilt is composed of scrappy pieced blocks set in Peppered Cotton.
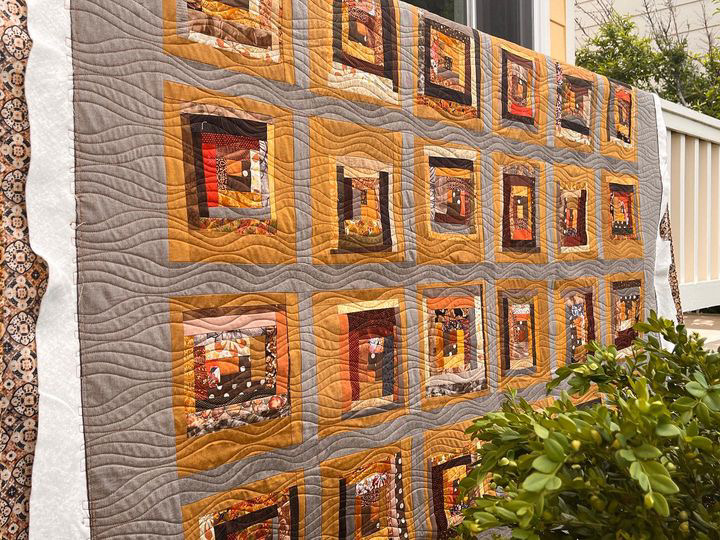
6) Another scrappy quilt made with Northcott’s Stonehenge fabric line scraps, hanging on the wall across from the new kitchen:
I had so many Stonehenge scraps I made another quilt with the stash.
7) My scrappy quilt The Lesson and the Equation I made for the show Visioning Human Rights in the New Millennium: Quilting the World’s Conscience, hanging in my new dining room/library:
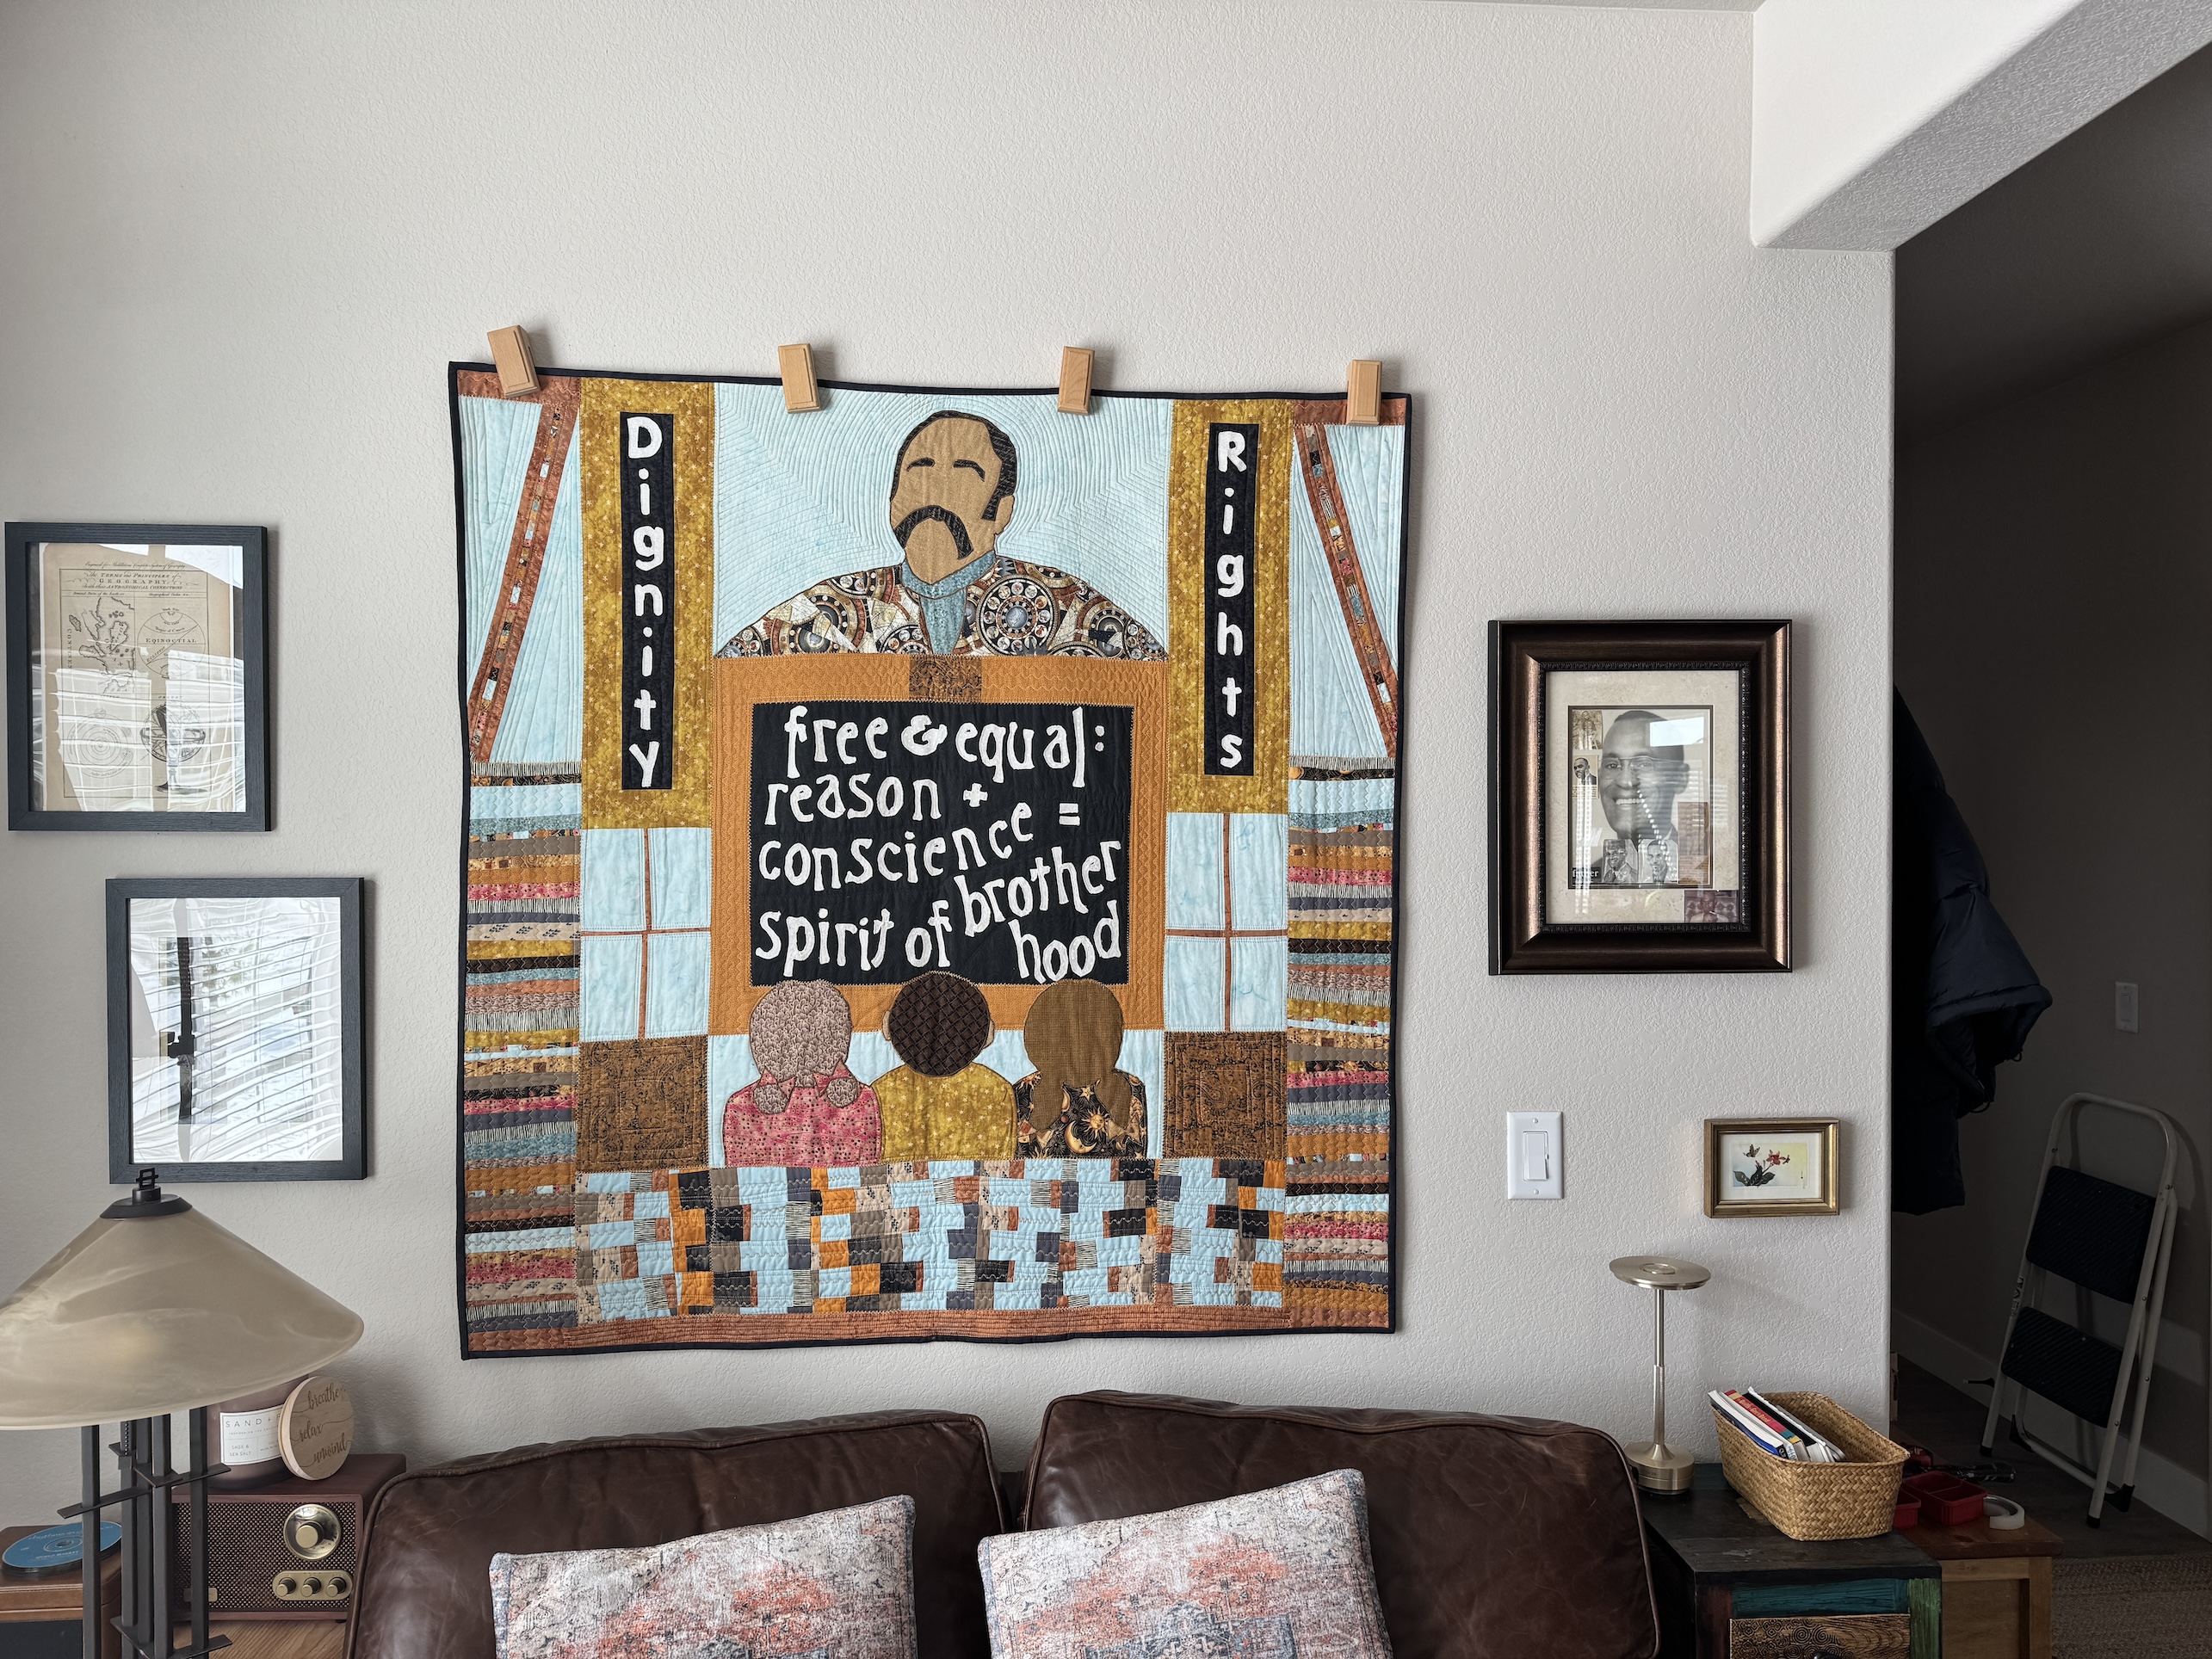
I call this my “Dad Quilt” as the lessons my father taught my sibling and I inspired it.
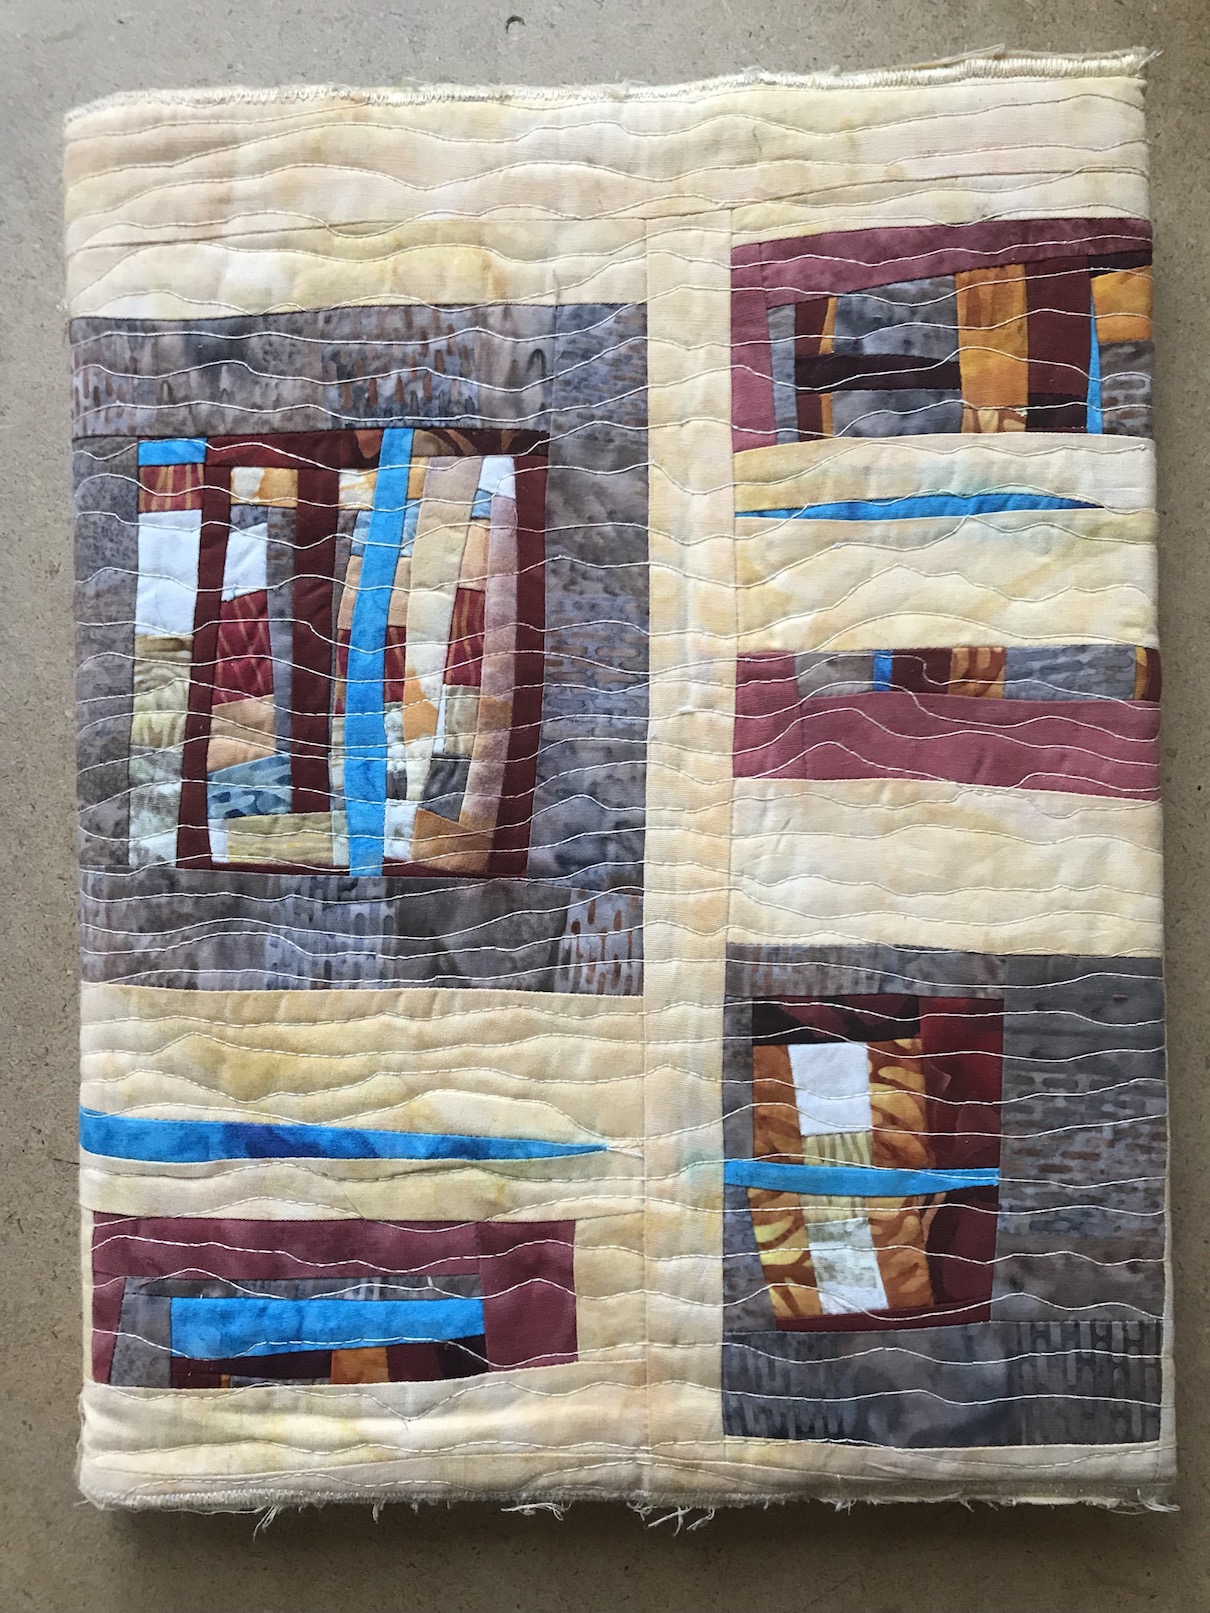
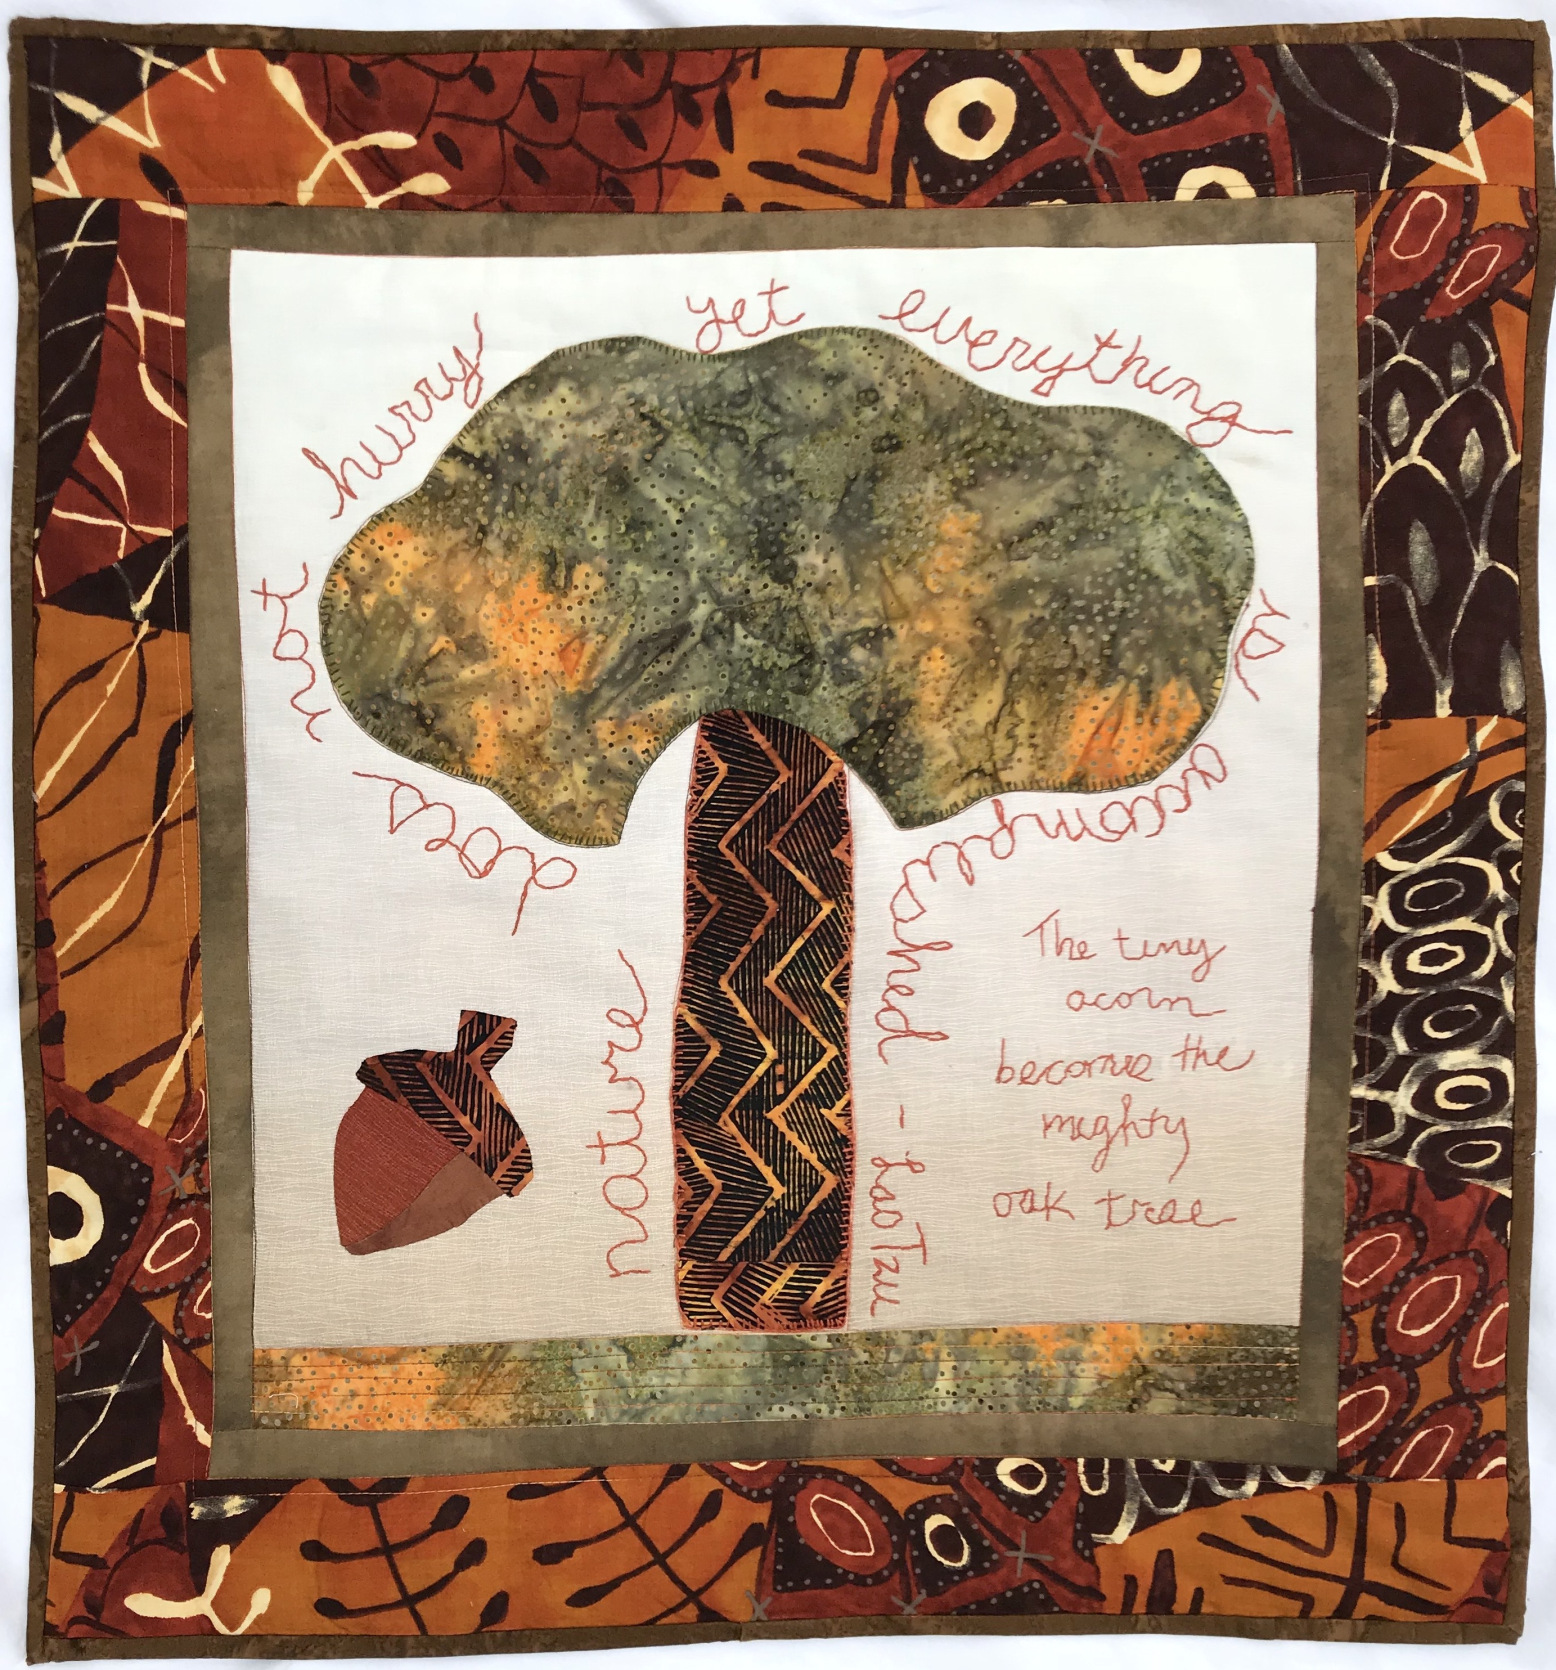
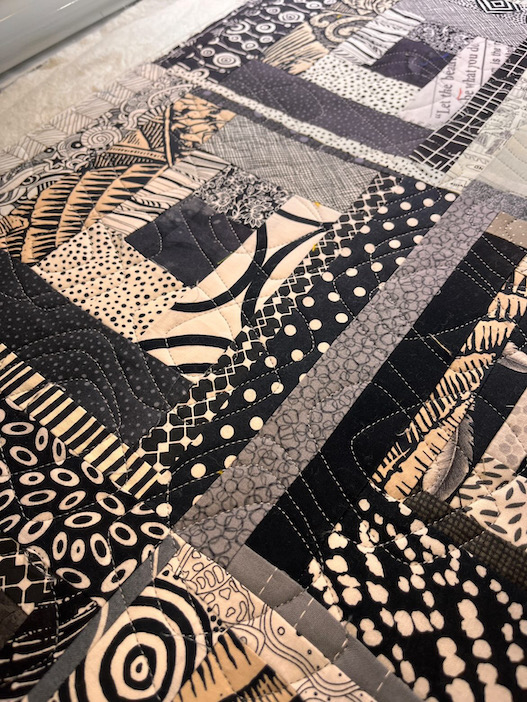
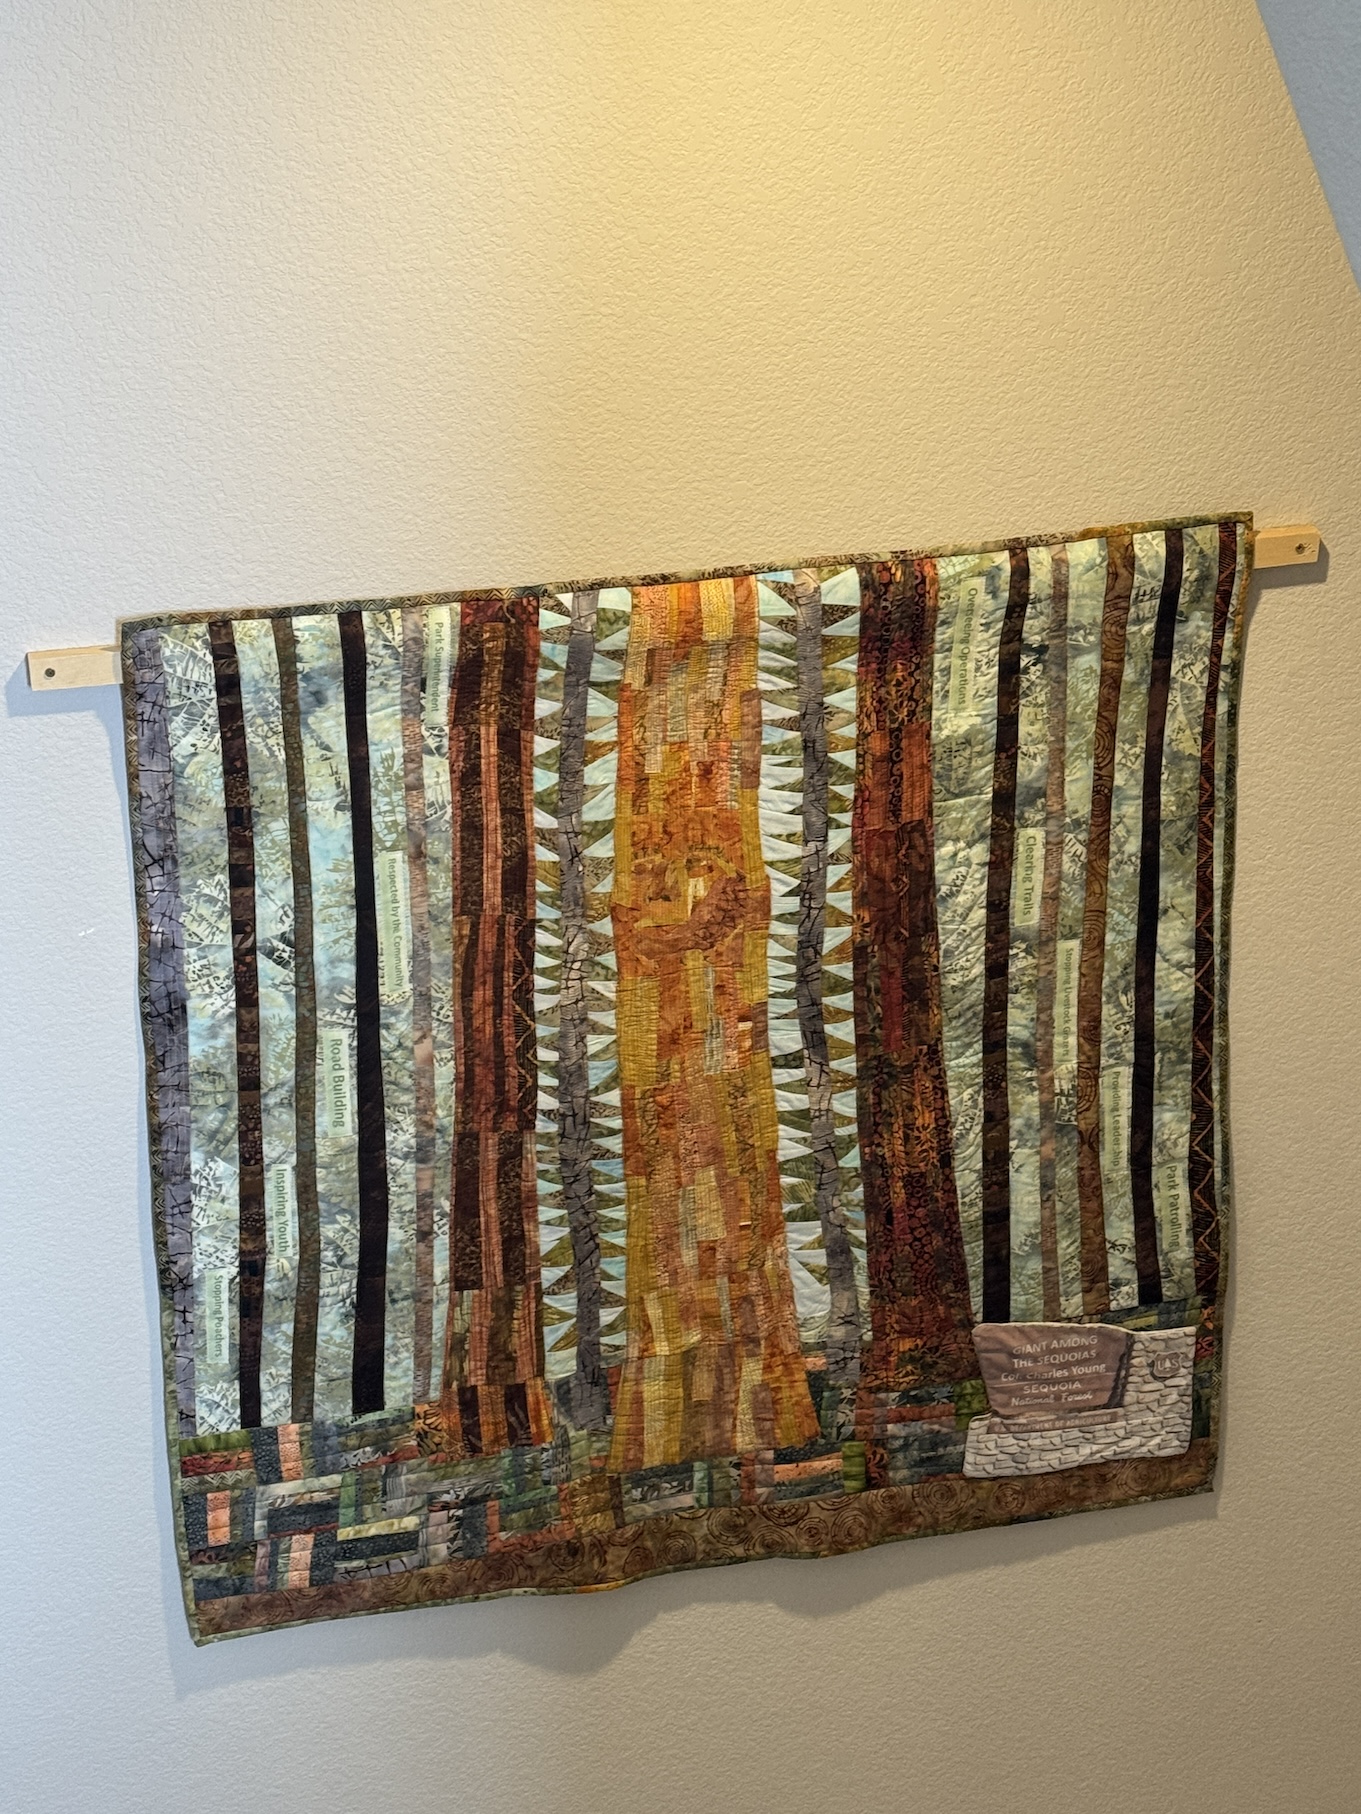
8) My scrappy quilt Trees Outside My Window hanging in the stairway up to the loft:
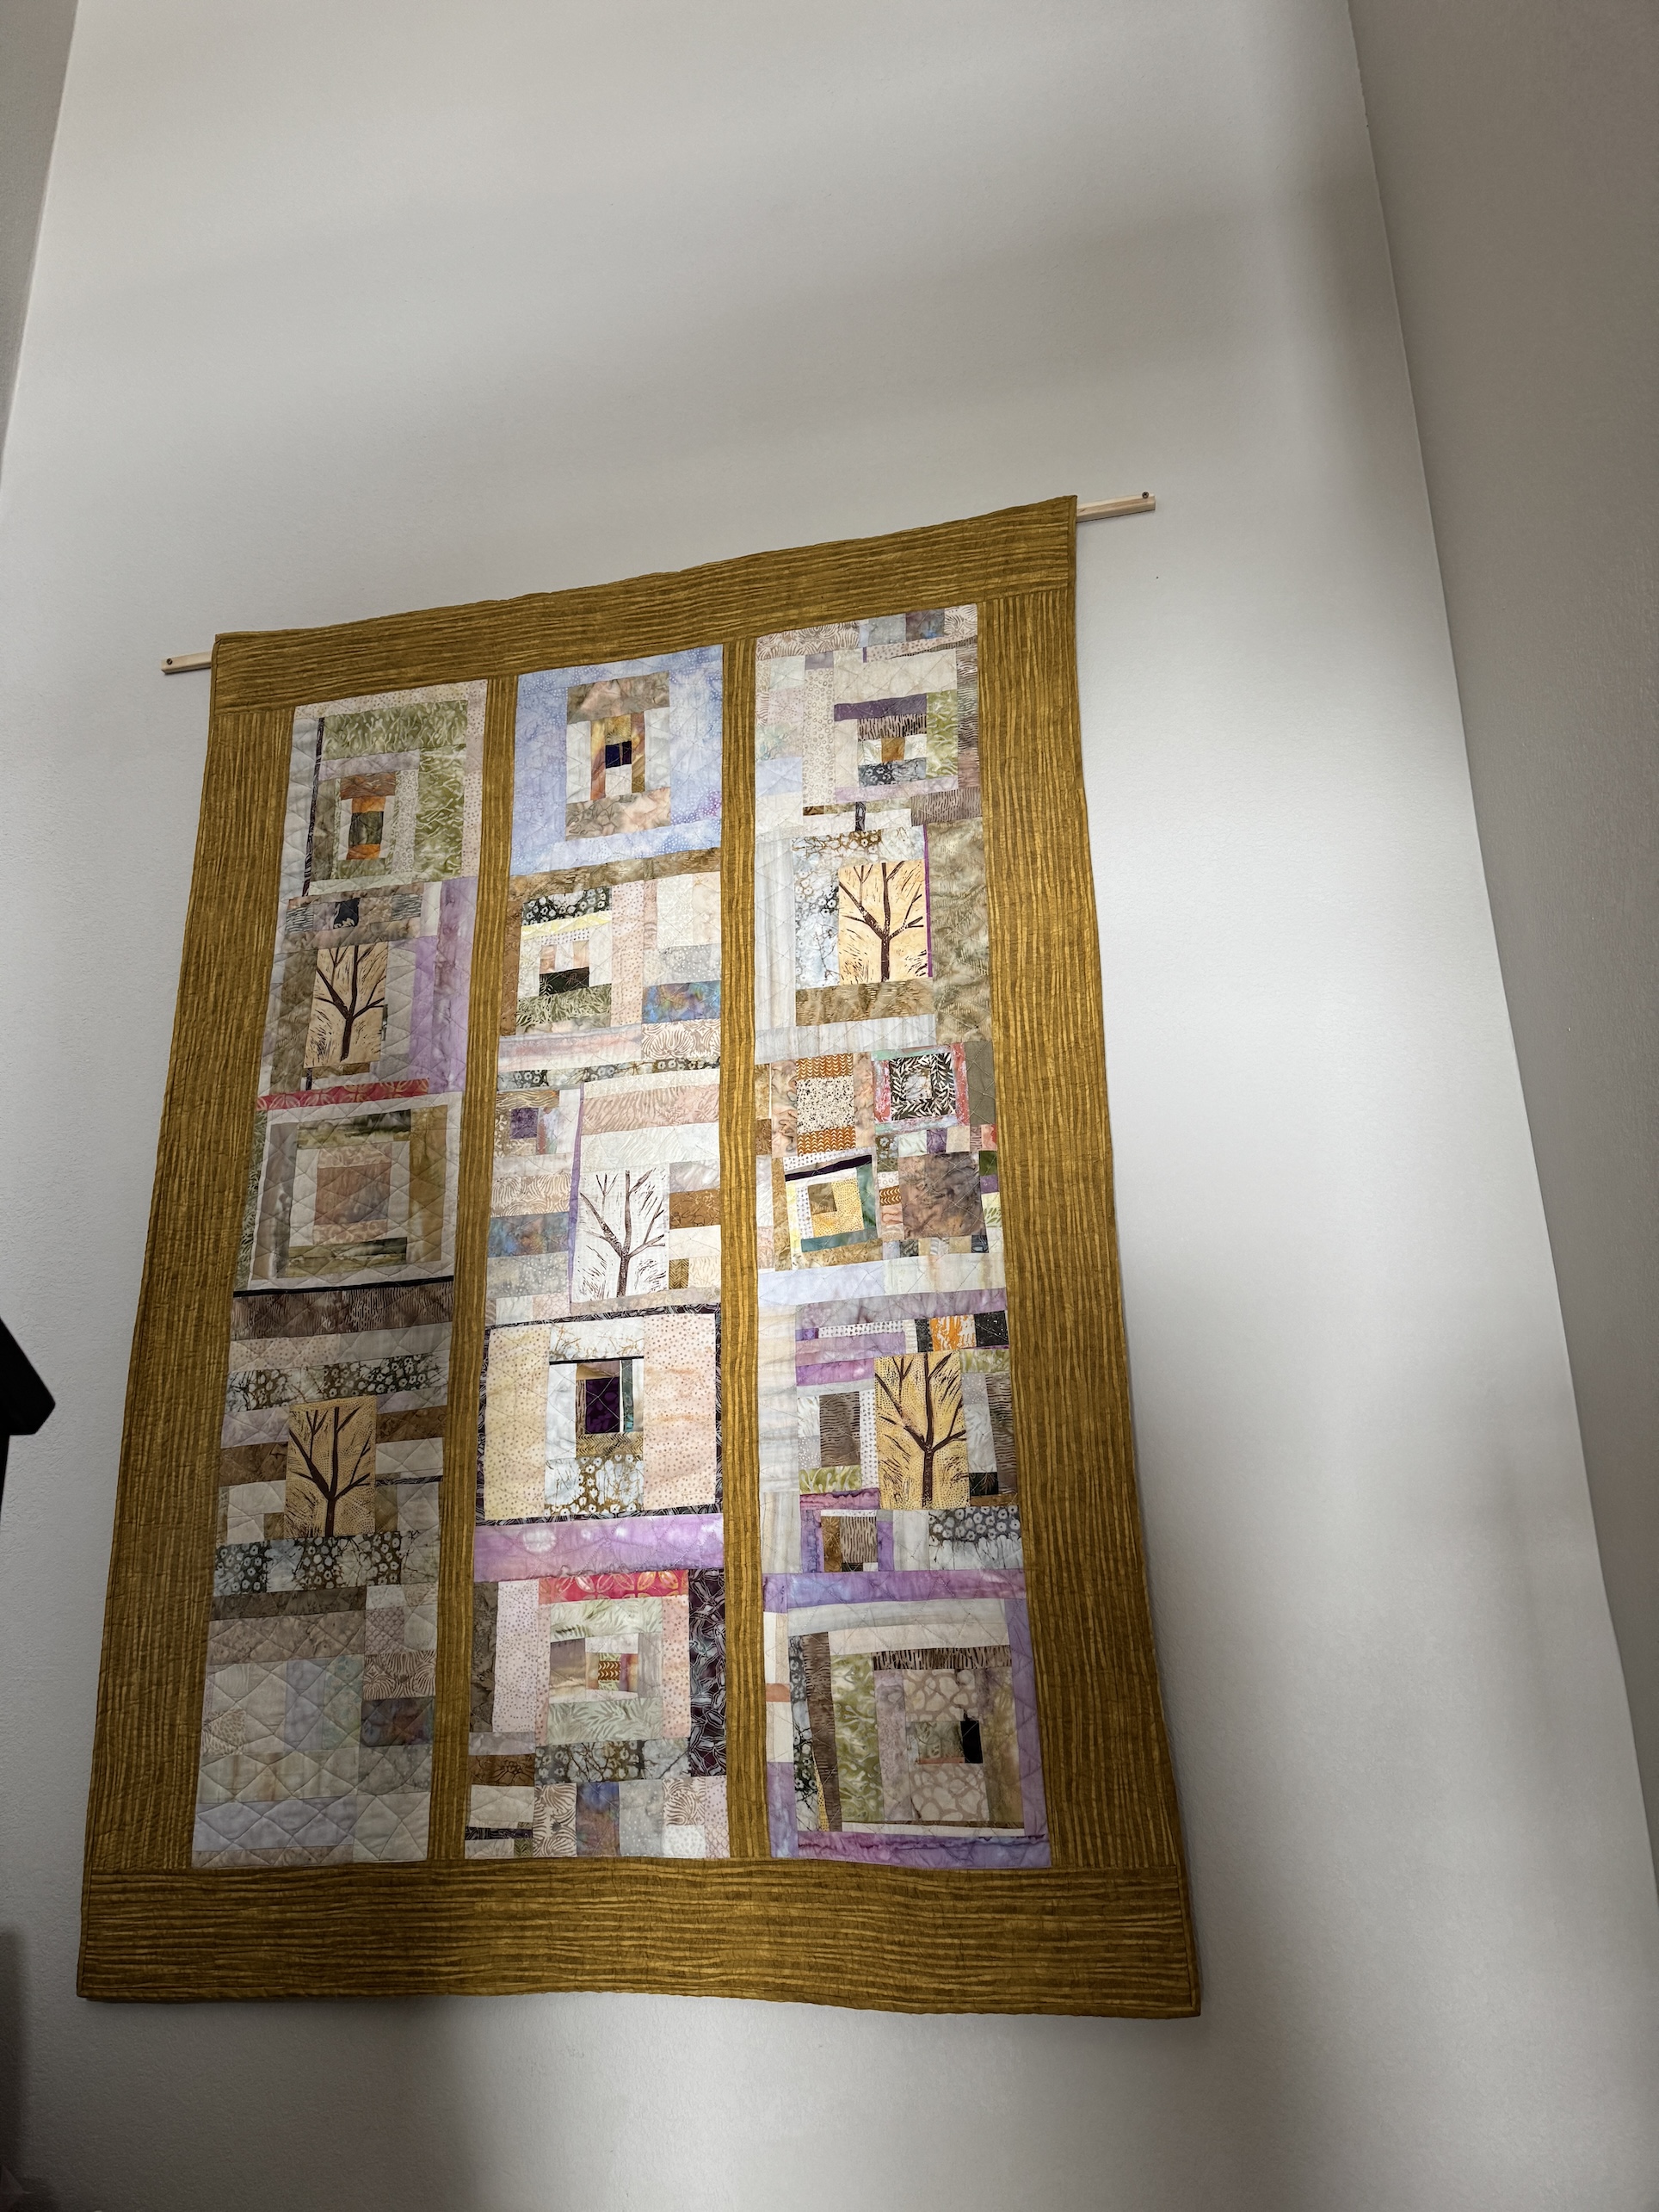
Improvisational pieced fabric scraps along with trees I stamped on fabric were used to create this very scrappy quilt.
9) Scrappy (and not ironed yet) table runner in my new dining room/library:
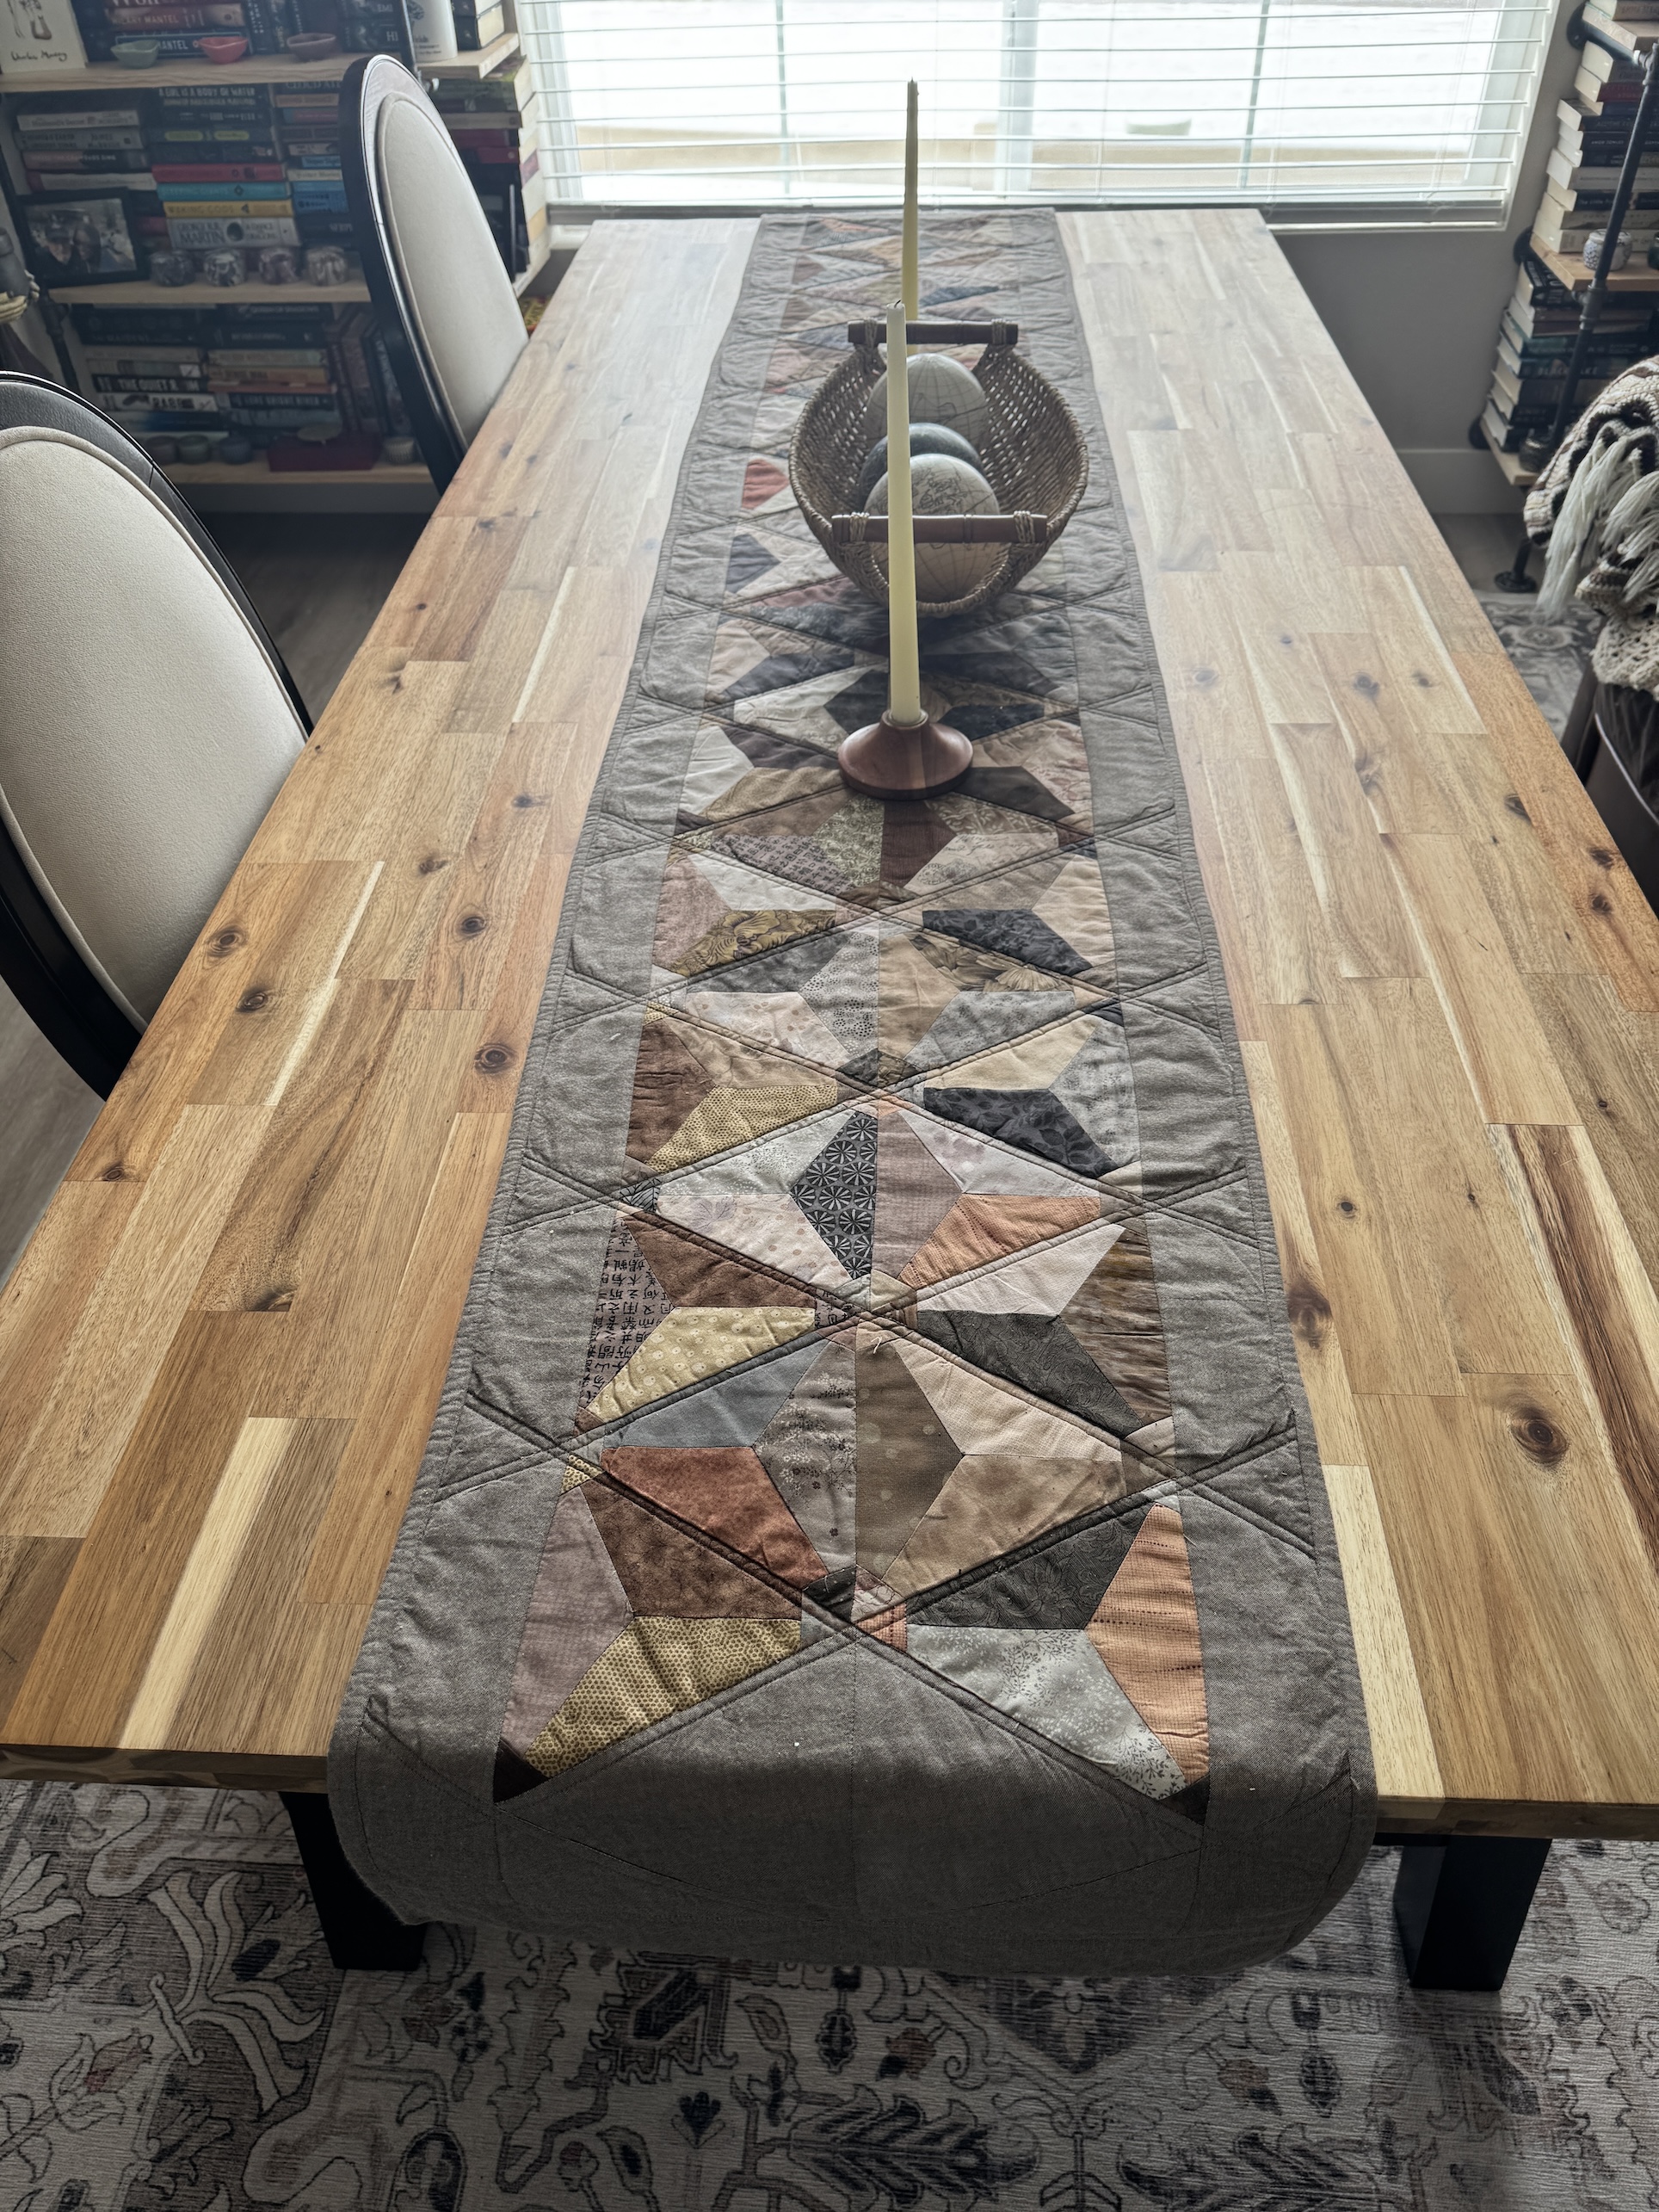
My friend Wendy H. that some of you have met through my blog gave me a collection of leftover pieced blocks and fabric scraps which I turned into the table runner.
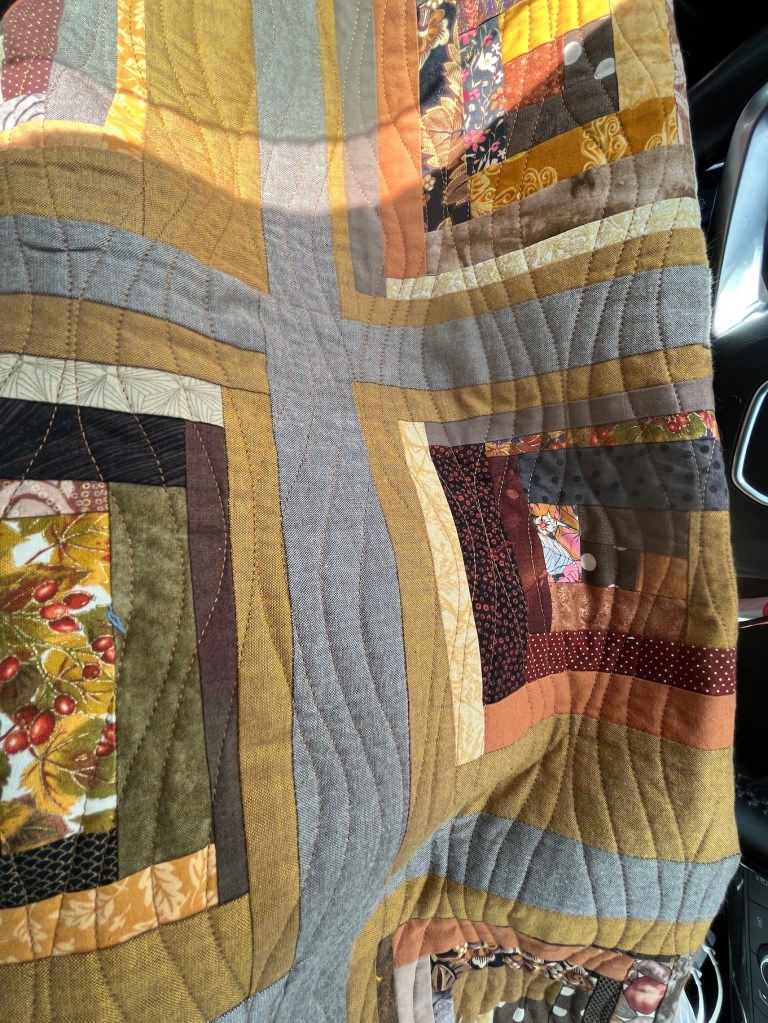
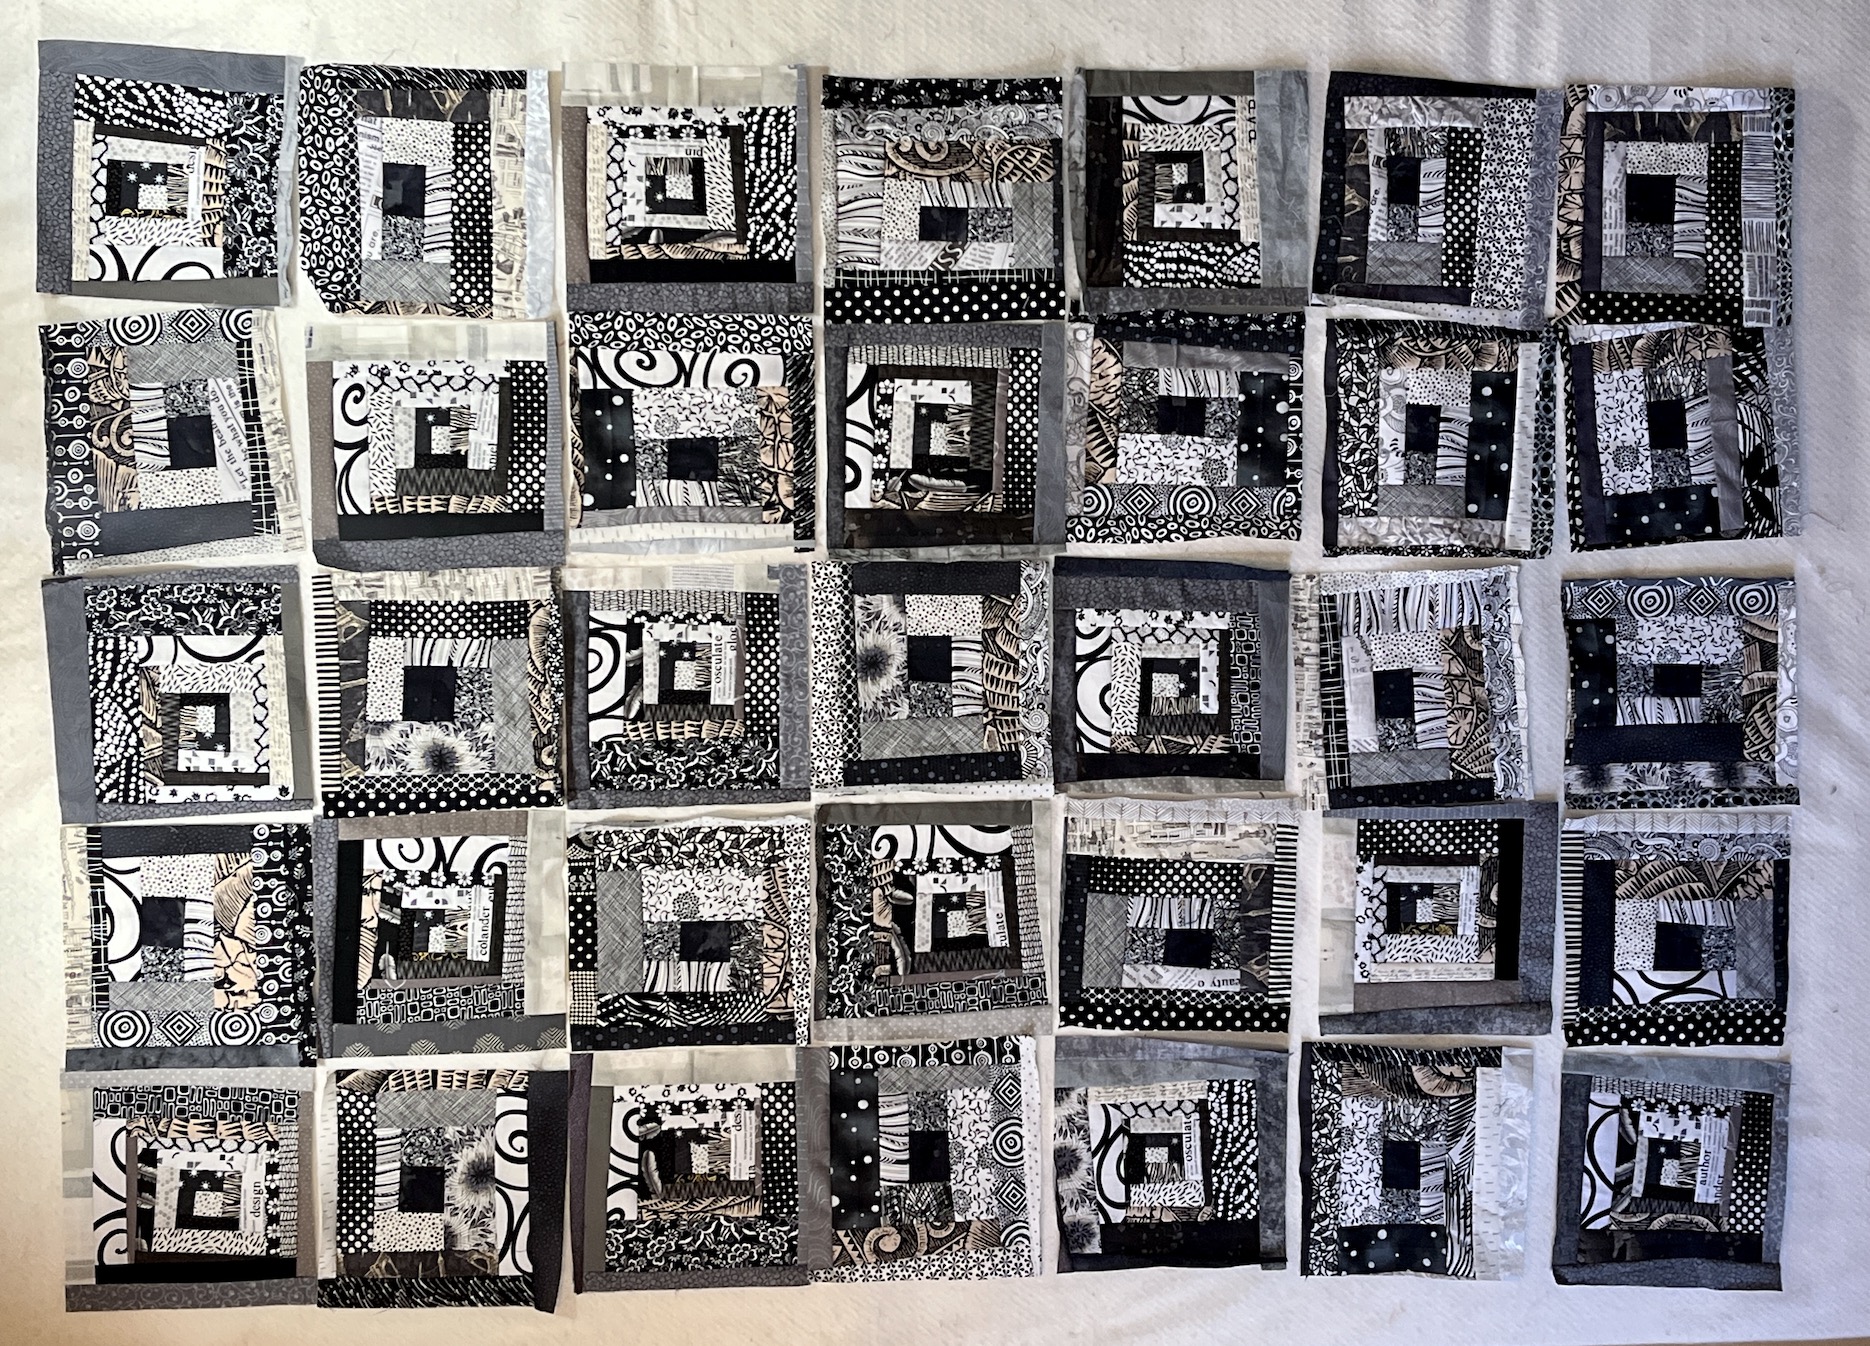
10) Another scrappy quilt made primarily with batik fabric scraps, in the stairwell down to the basement:
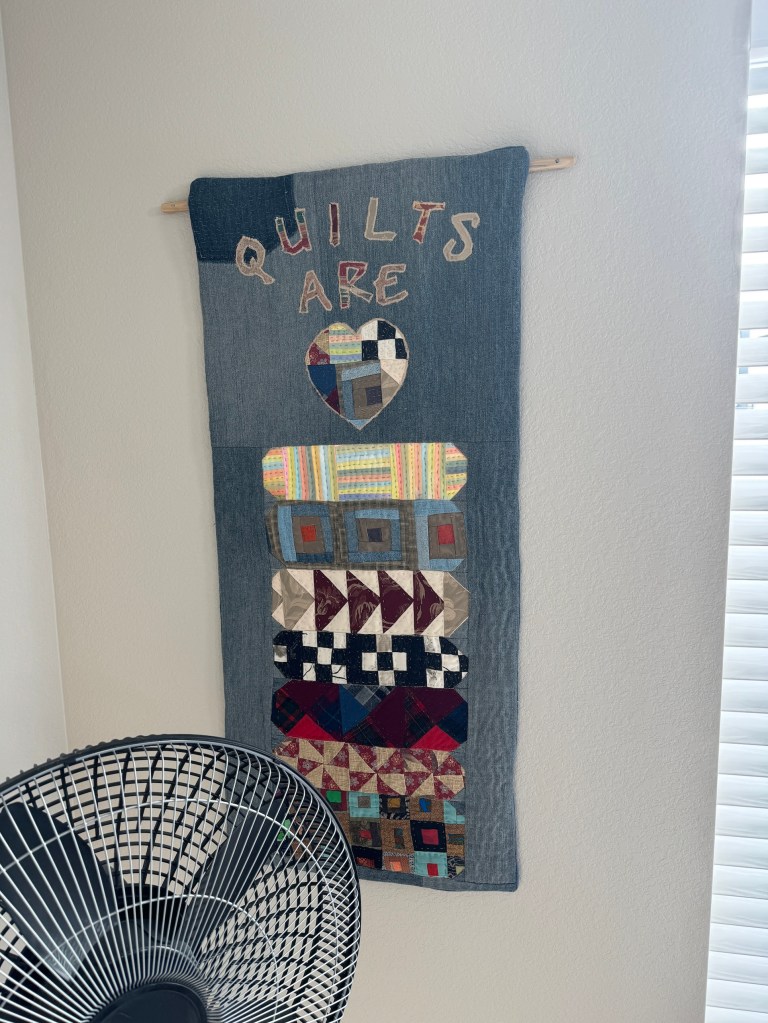
11) A couple scrappy denim, clothing and home decor fabric scraps wall hanging in our new primary bedroom:
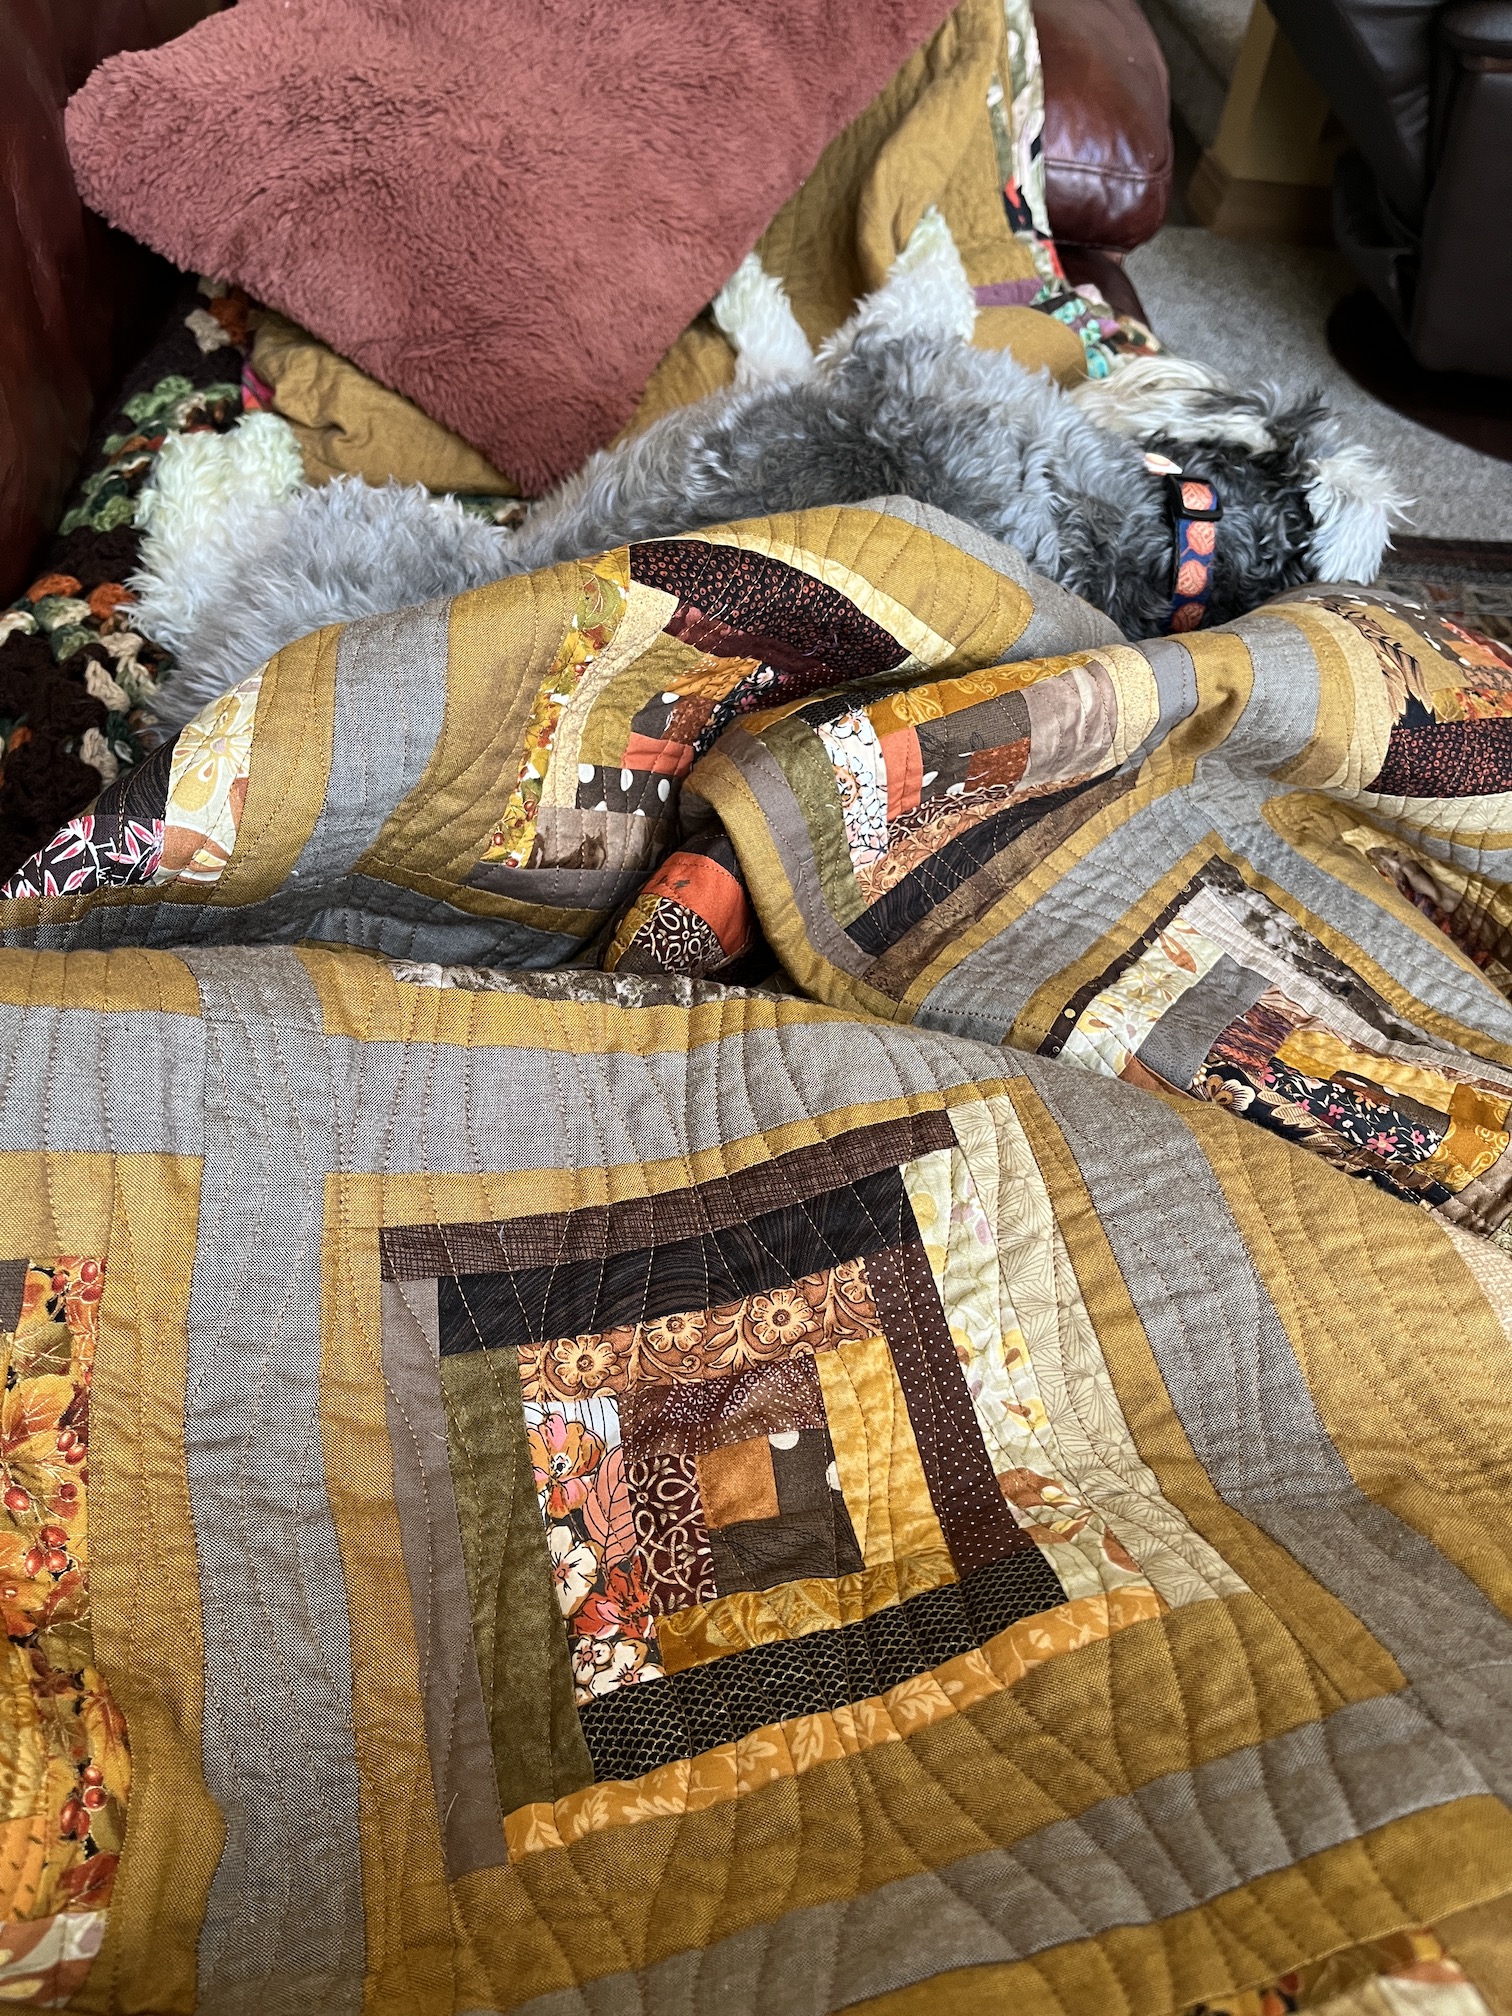
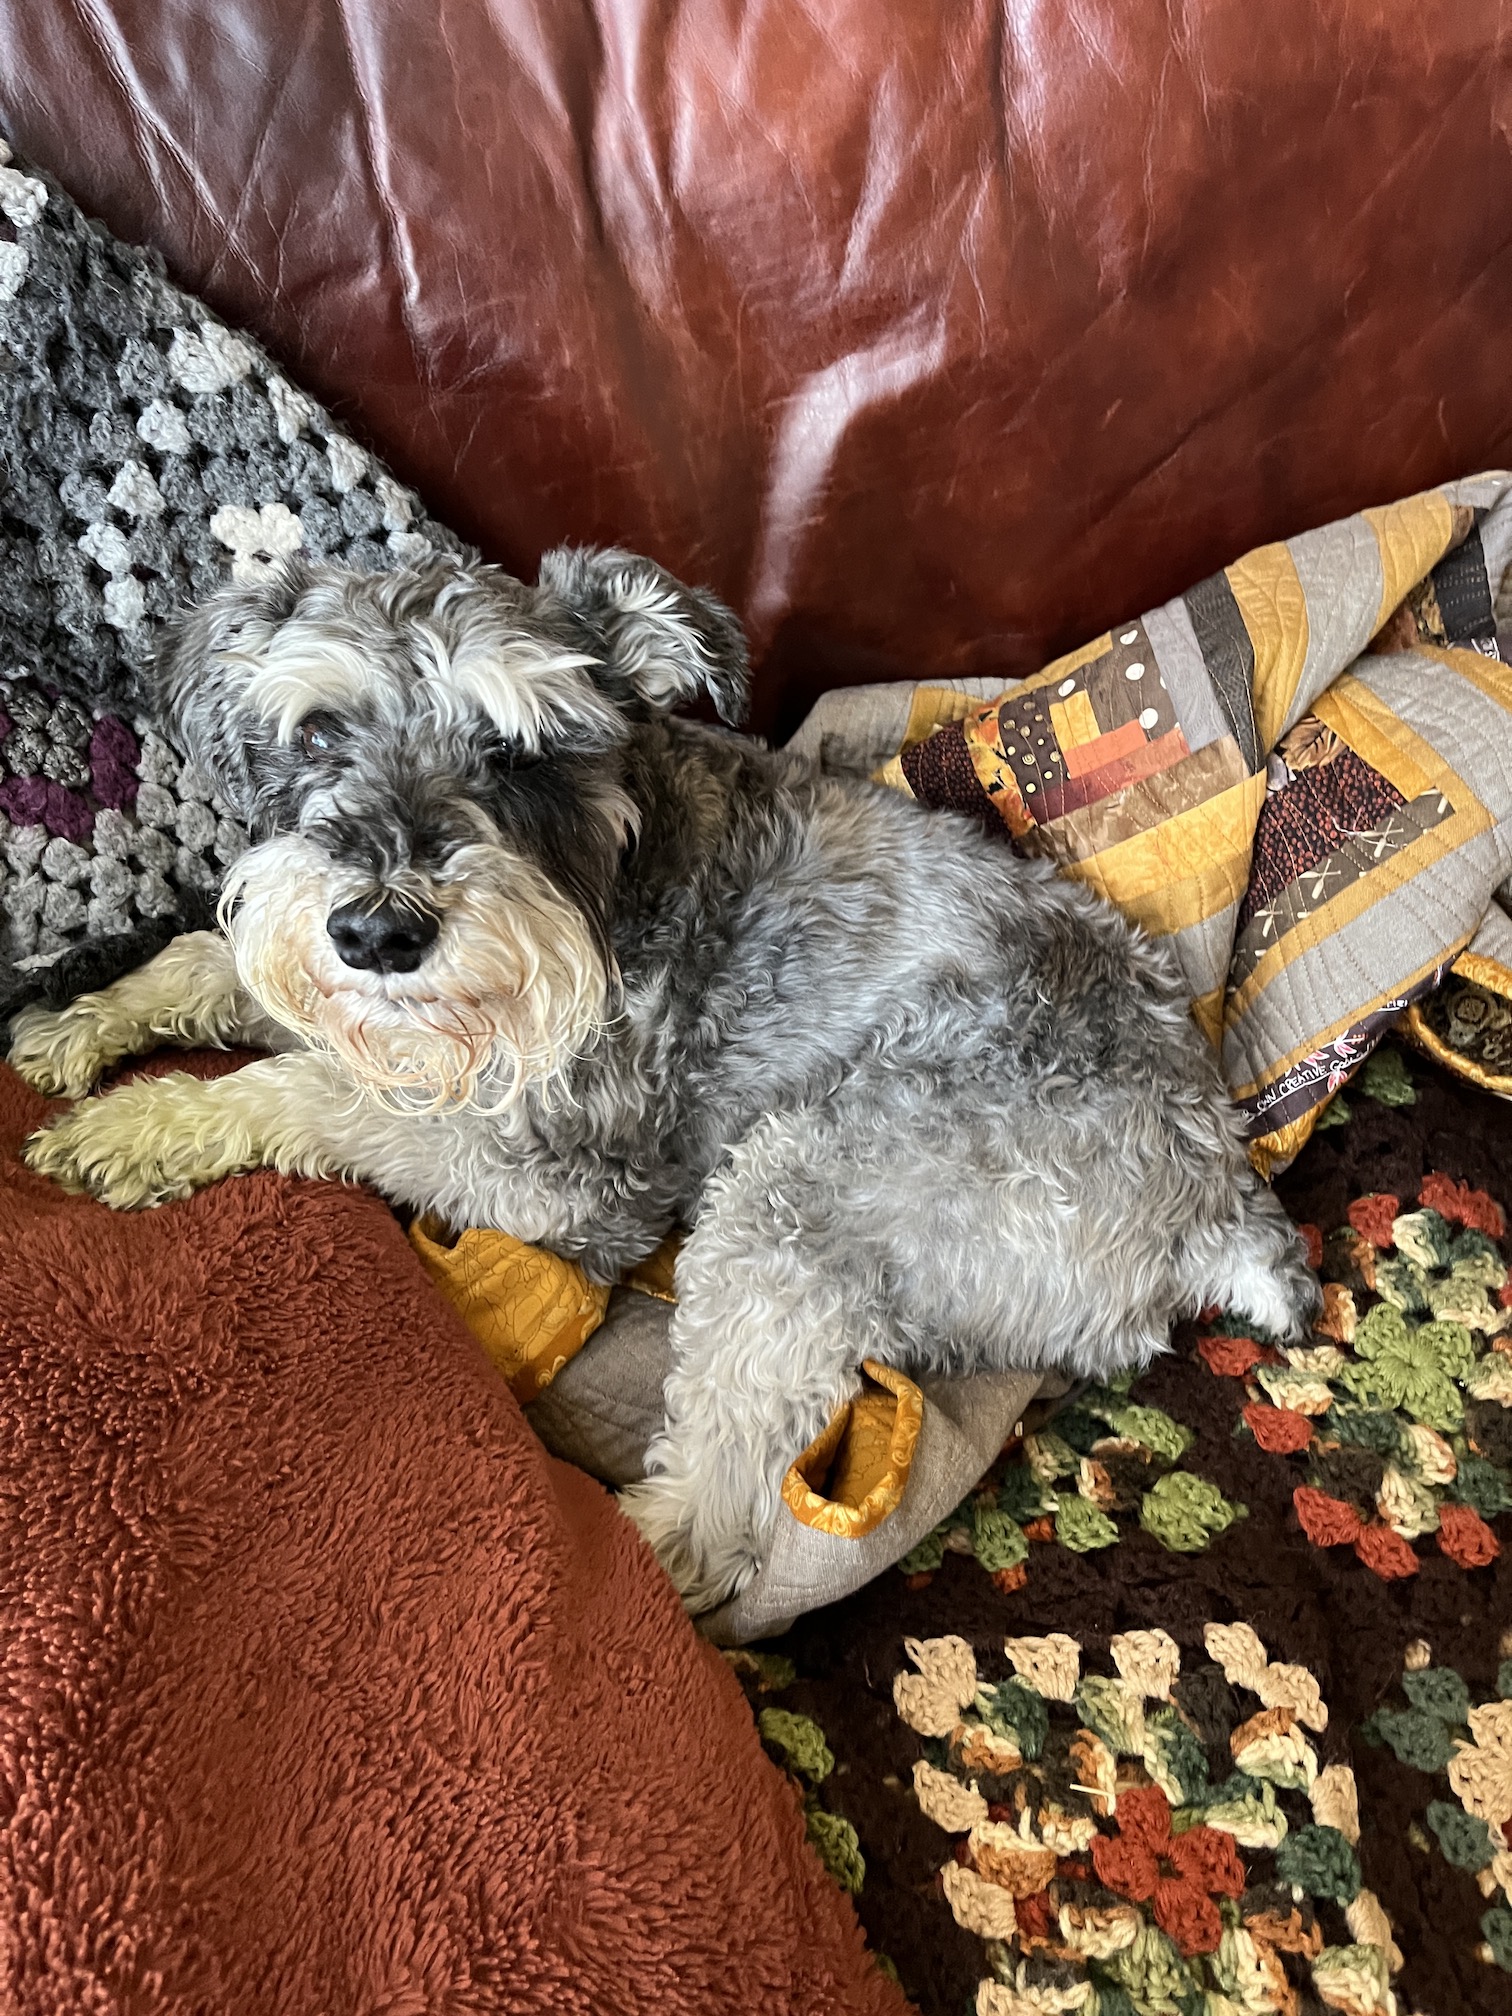
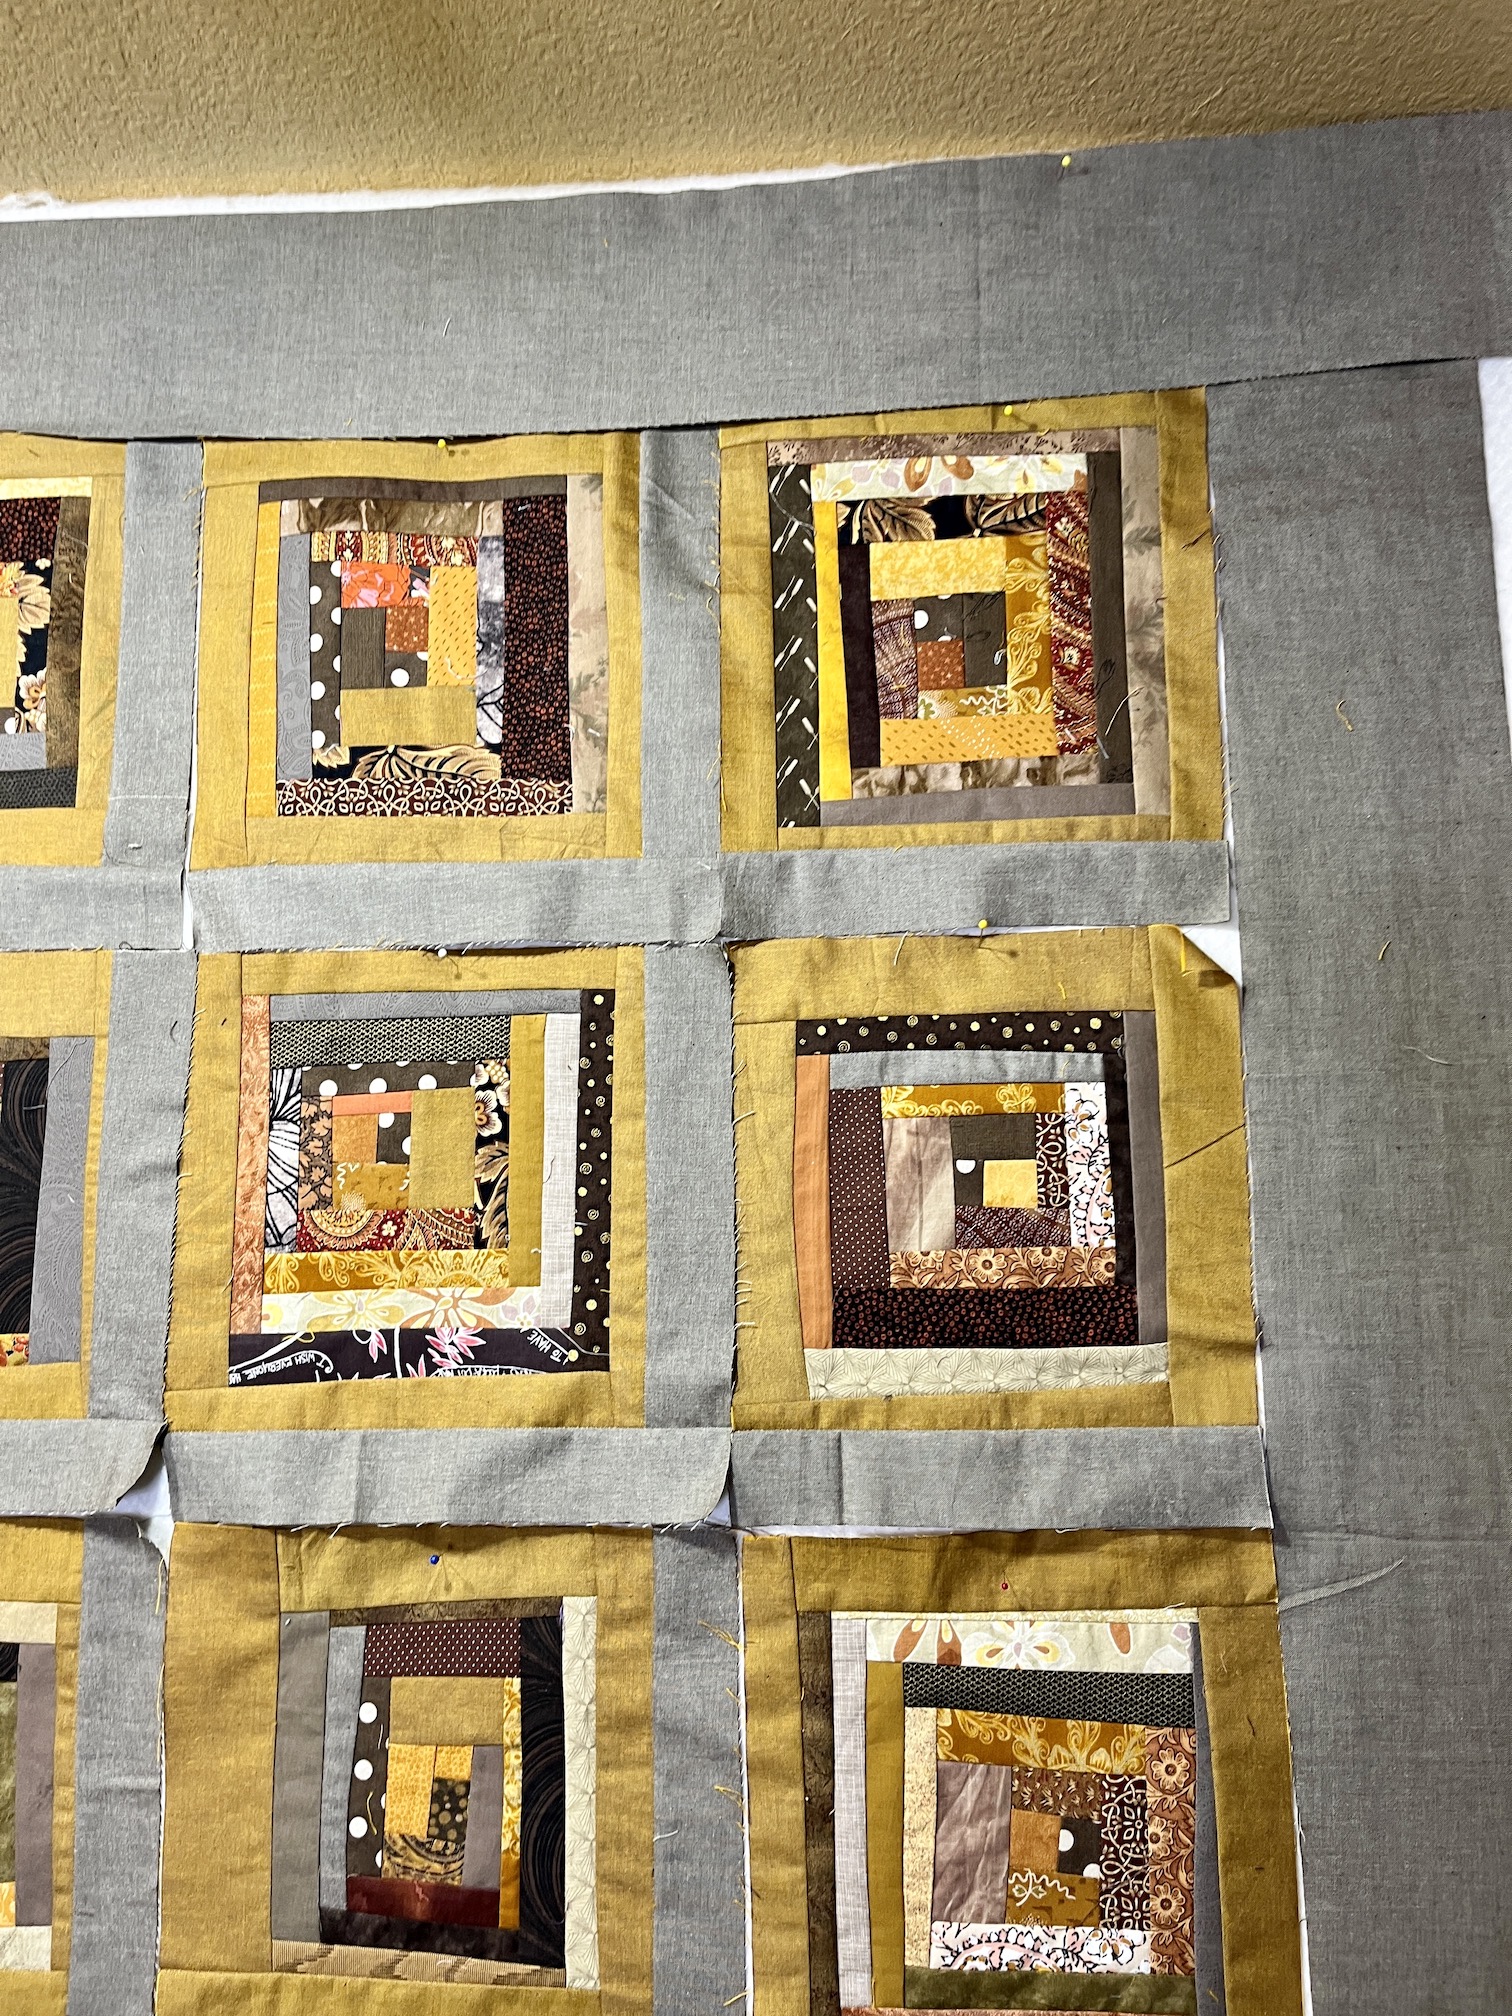
12) Scrappy quilt in the new dining room/library for snuggling under while reading:
There are more scrappy quilts hung about the house but I figured a sampling of 12 was enough for this post.
Apologies that I currently can’t keep up on my blogging buddies posts or read/reply to comments on my posts right now, but I plan to catch up someday.
We have our first out of town visitors to our new home arriving this upcoming week so we are trying to get the basement guest room together. I feel like I have one operational brain cell right now…
Looking forward to settling back into regular life again someday 🙂