One of the things I like about the new community that John and I now live in is that they have a lot of community activities and clubs.
For example John joined the Poker Club and the Sports Fanatics Club, and so far I’ve joined the Quilting Club.
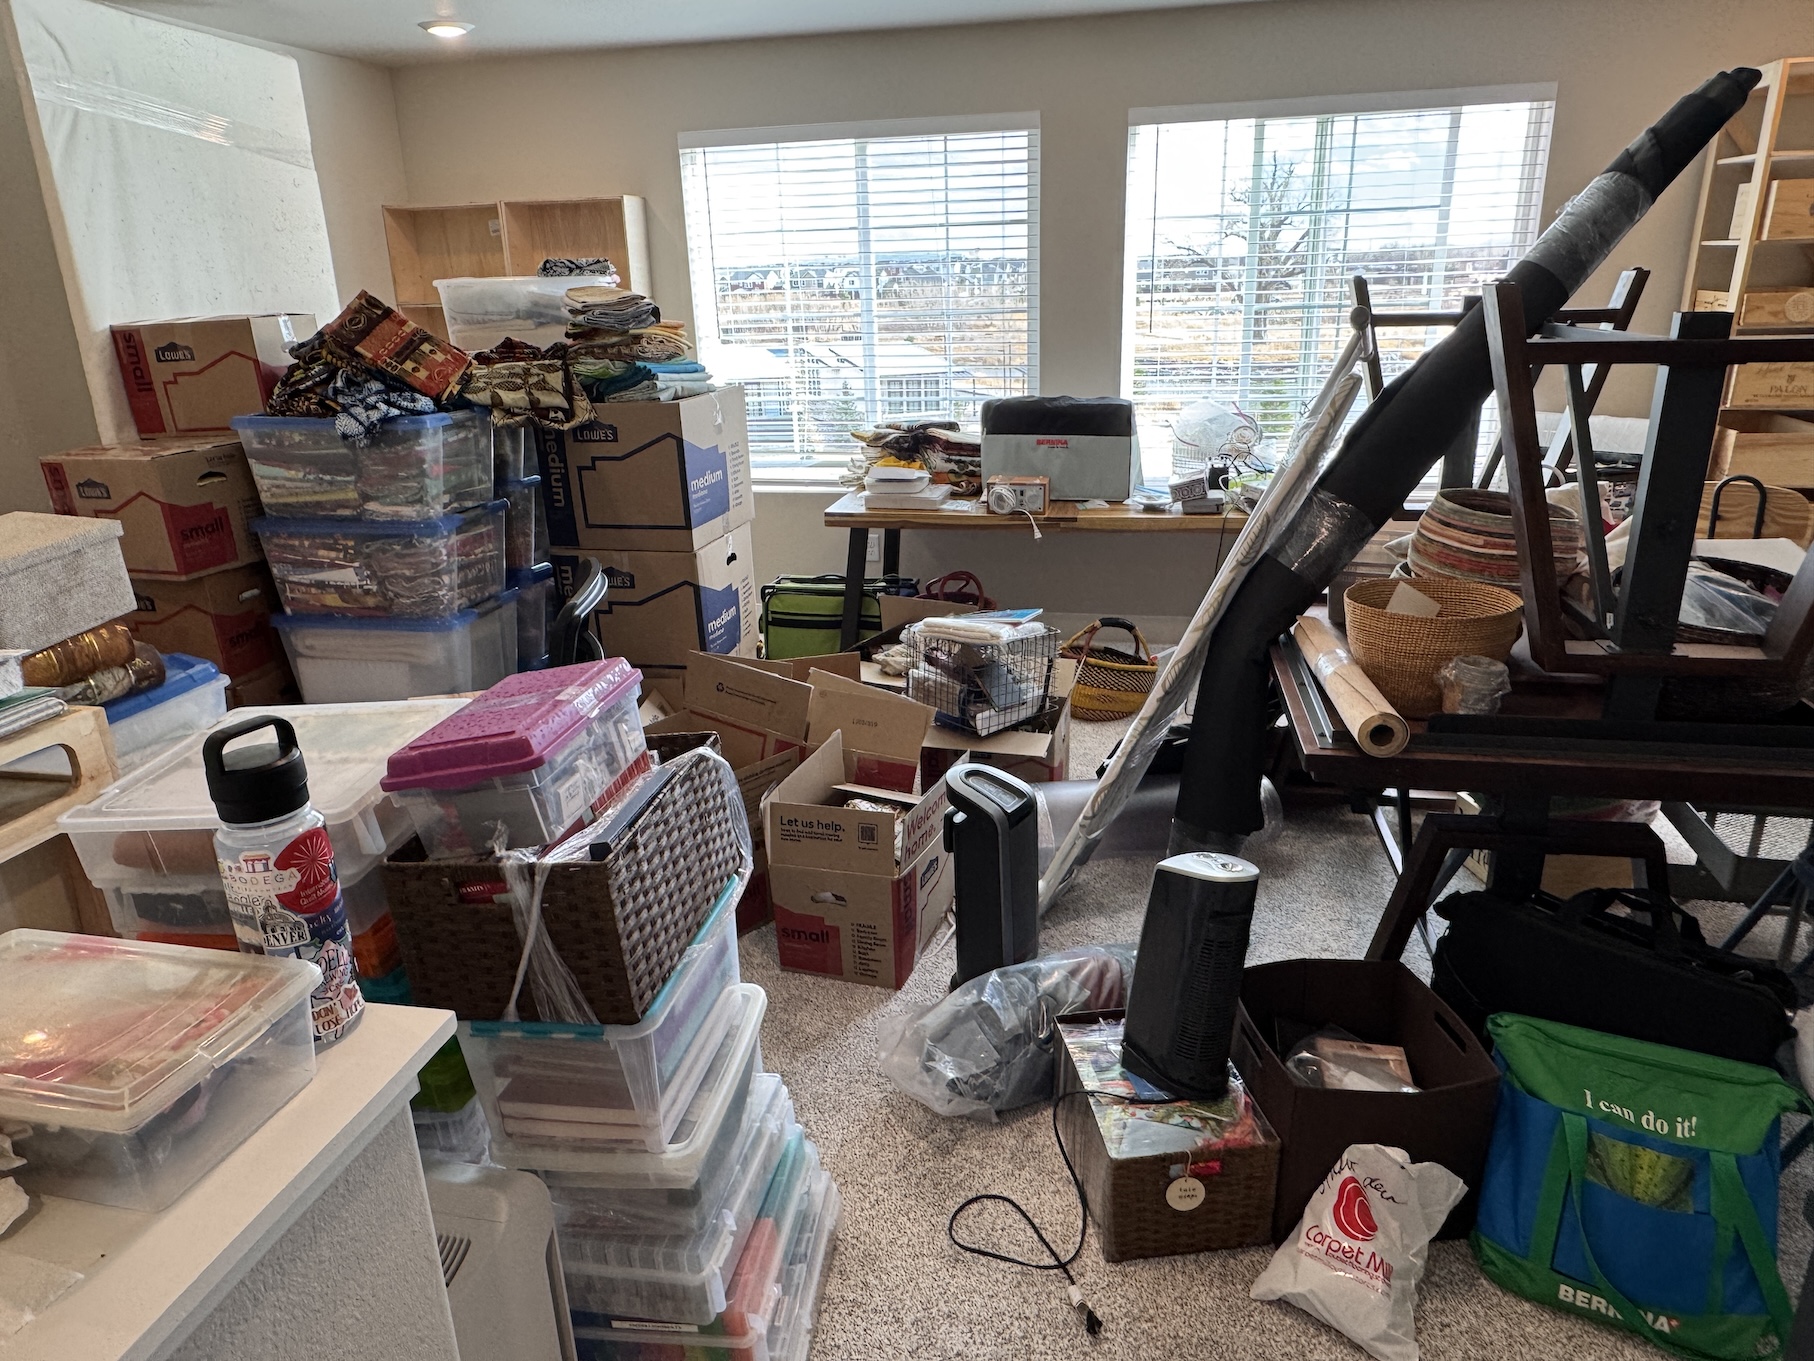
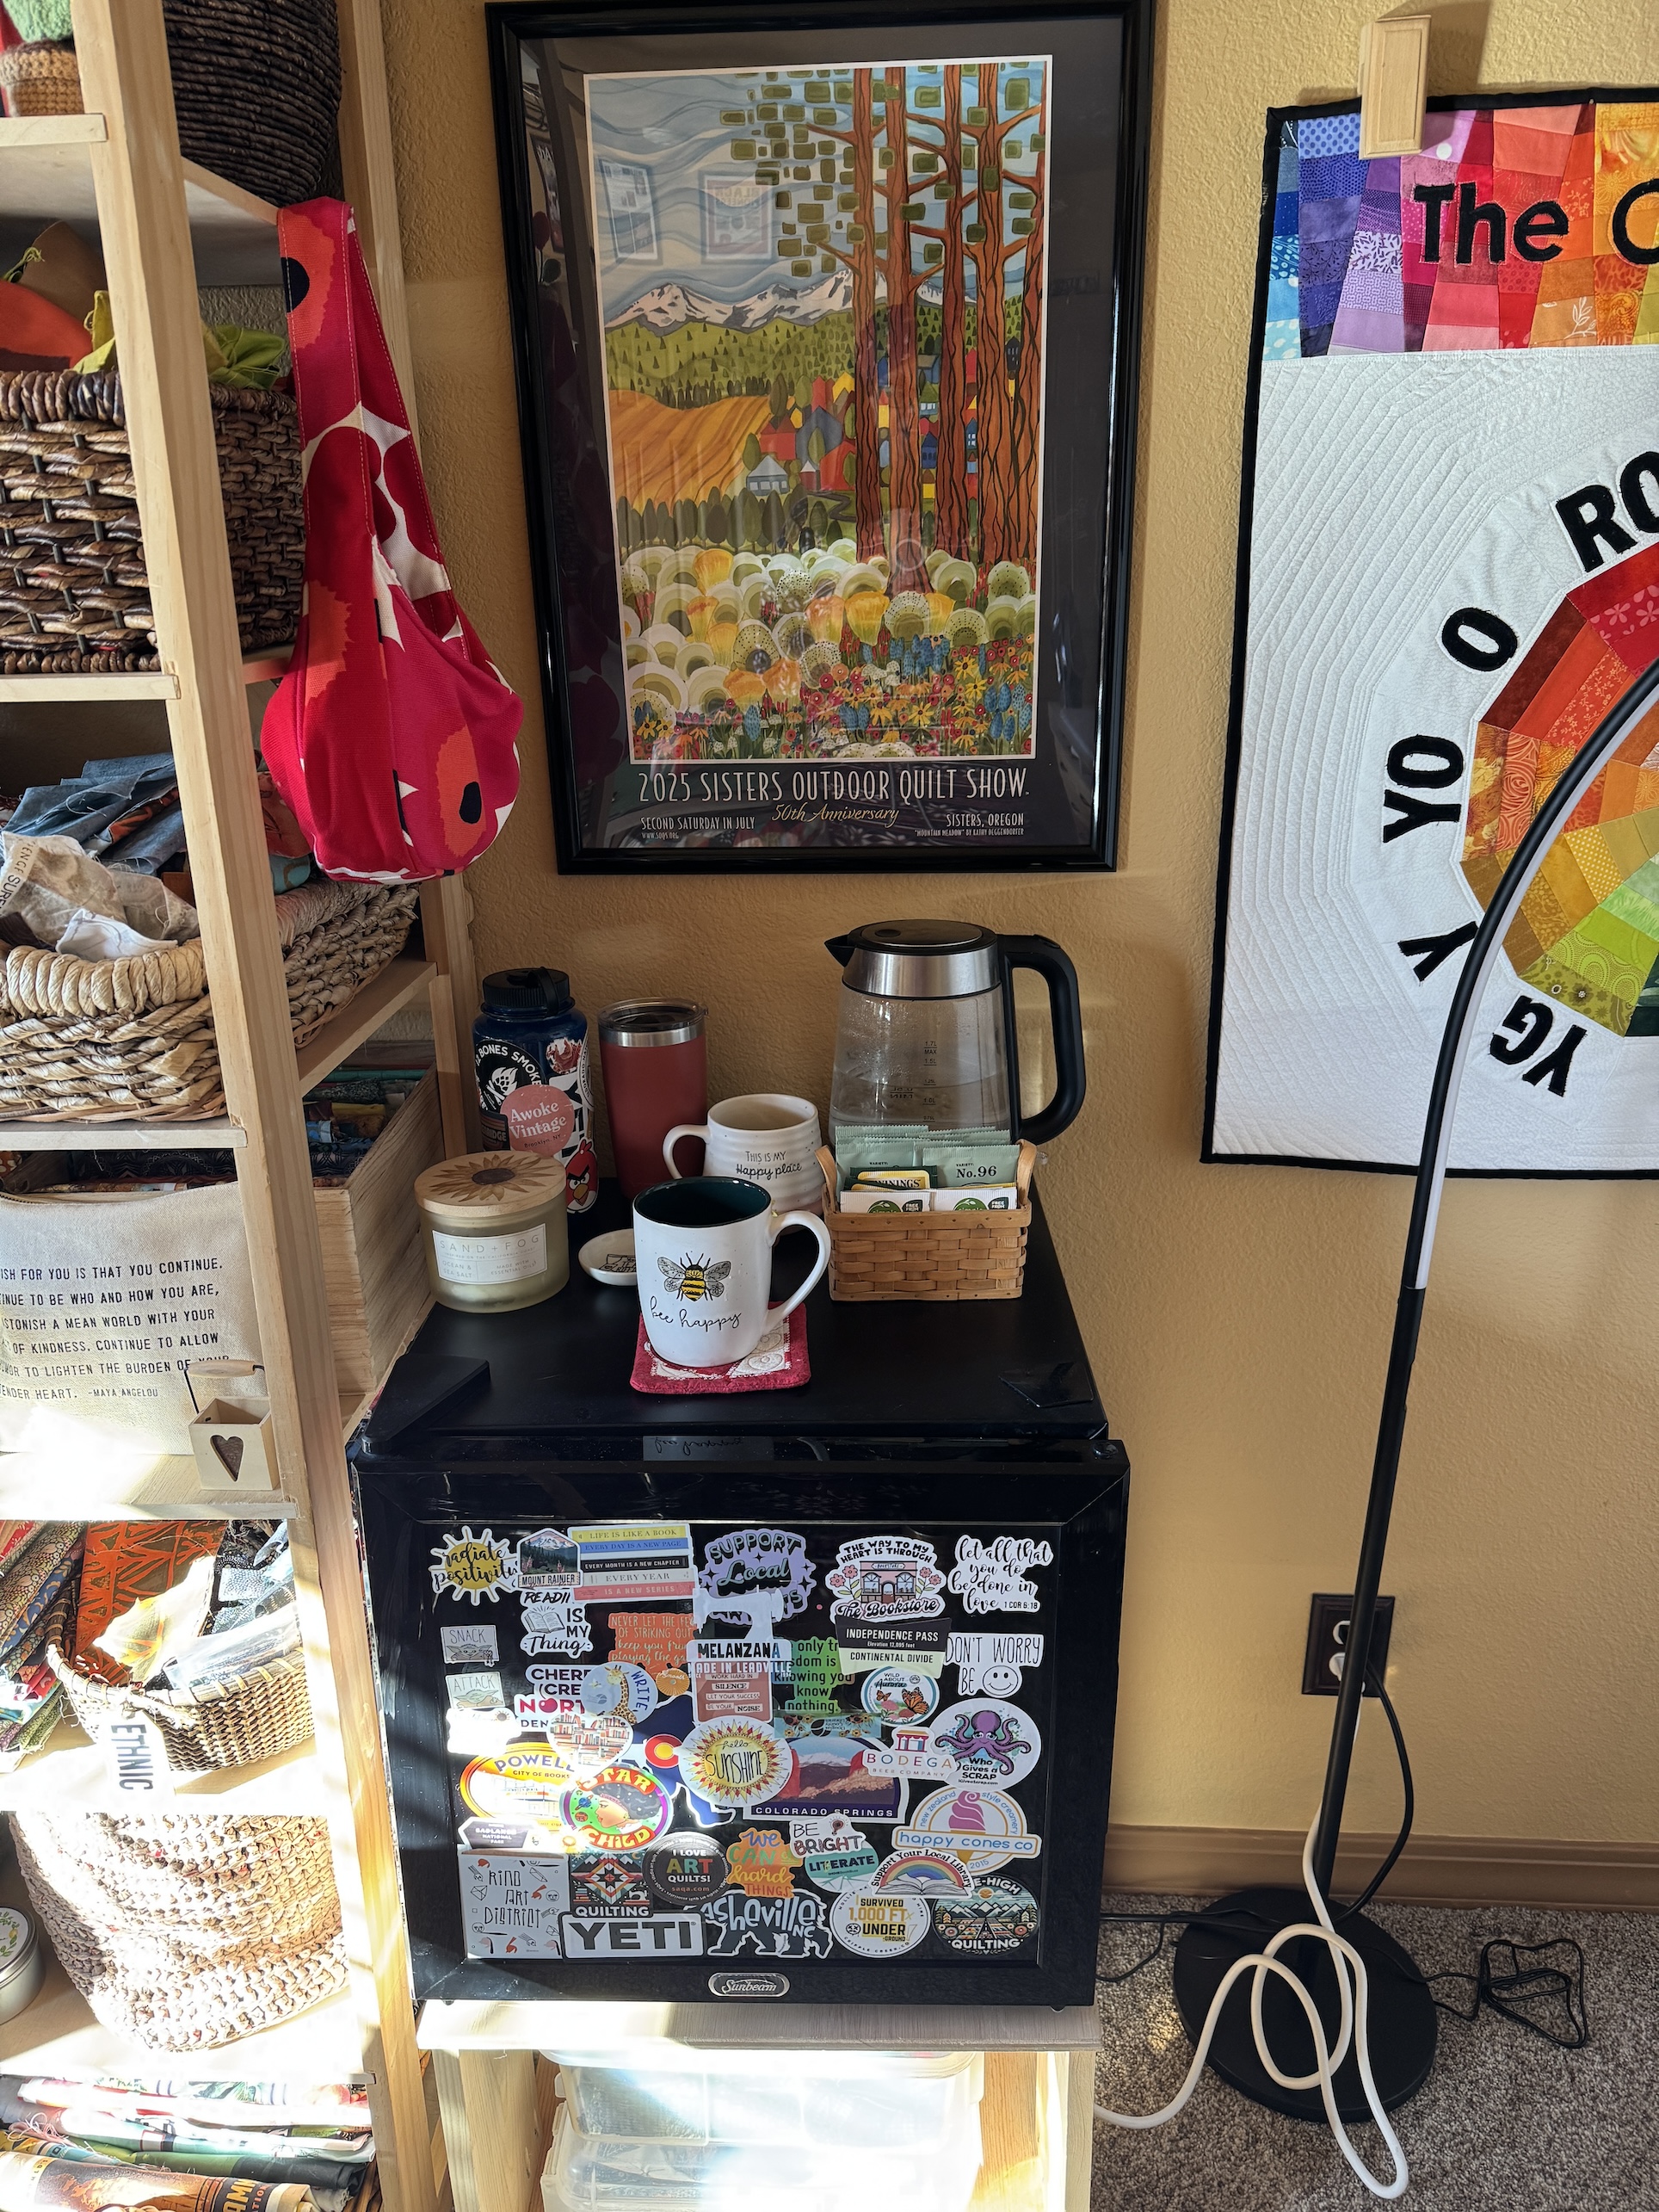
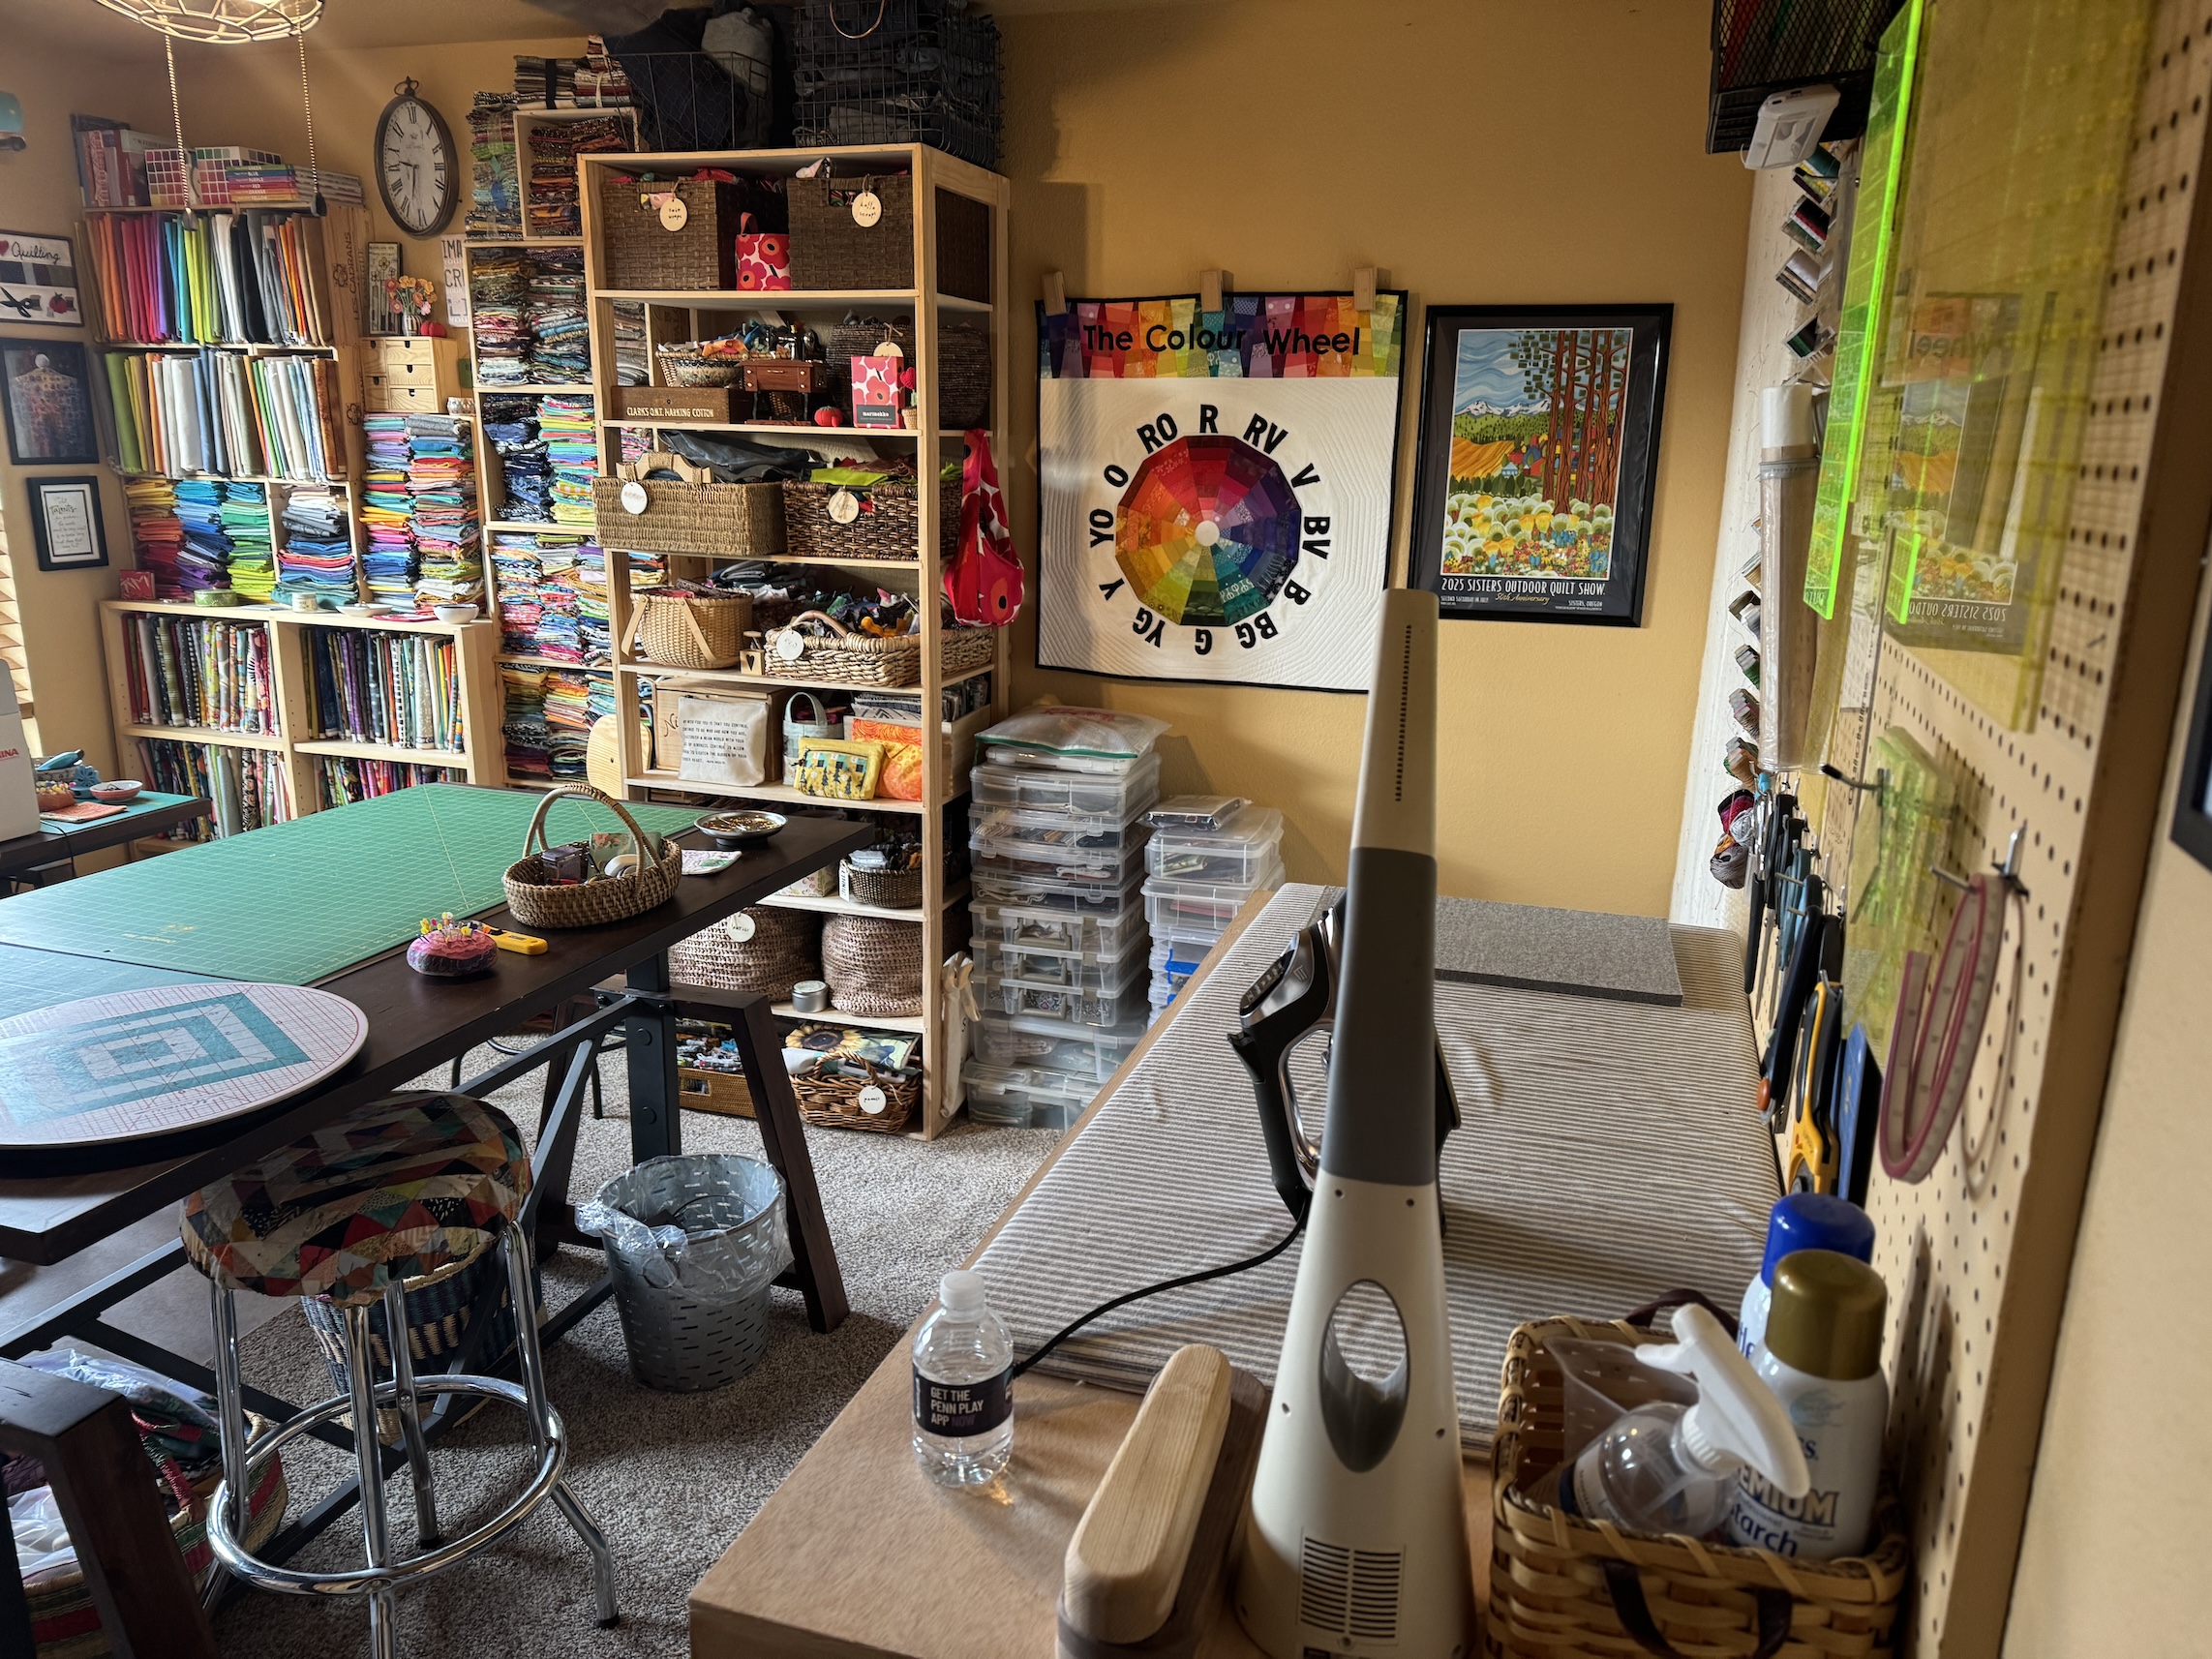
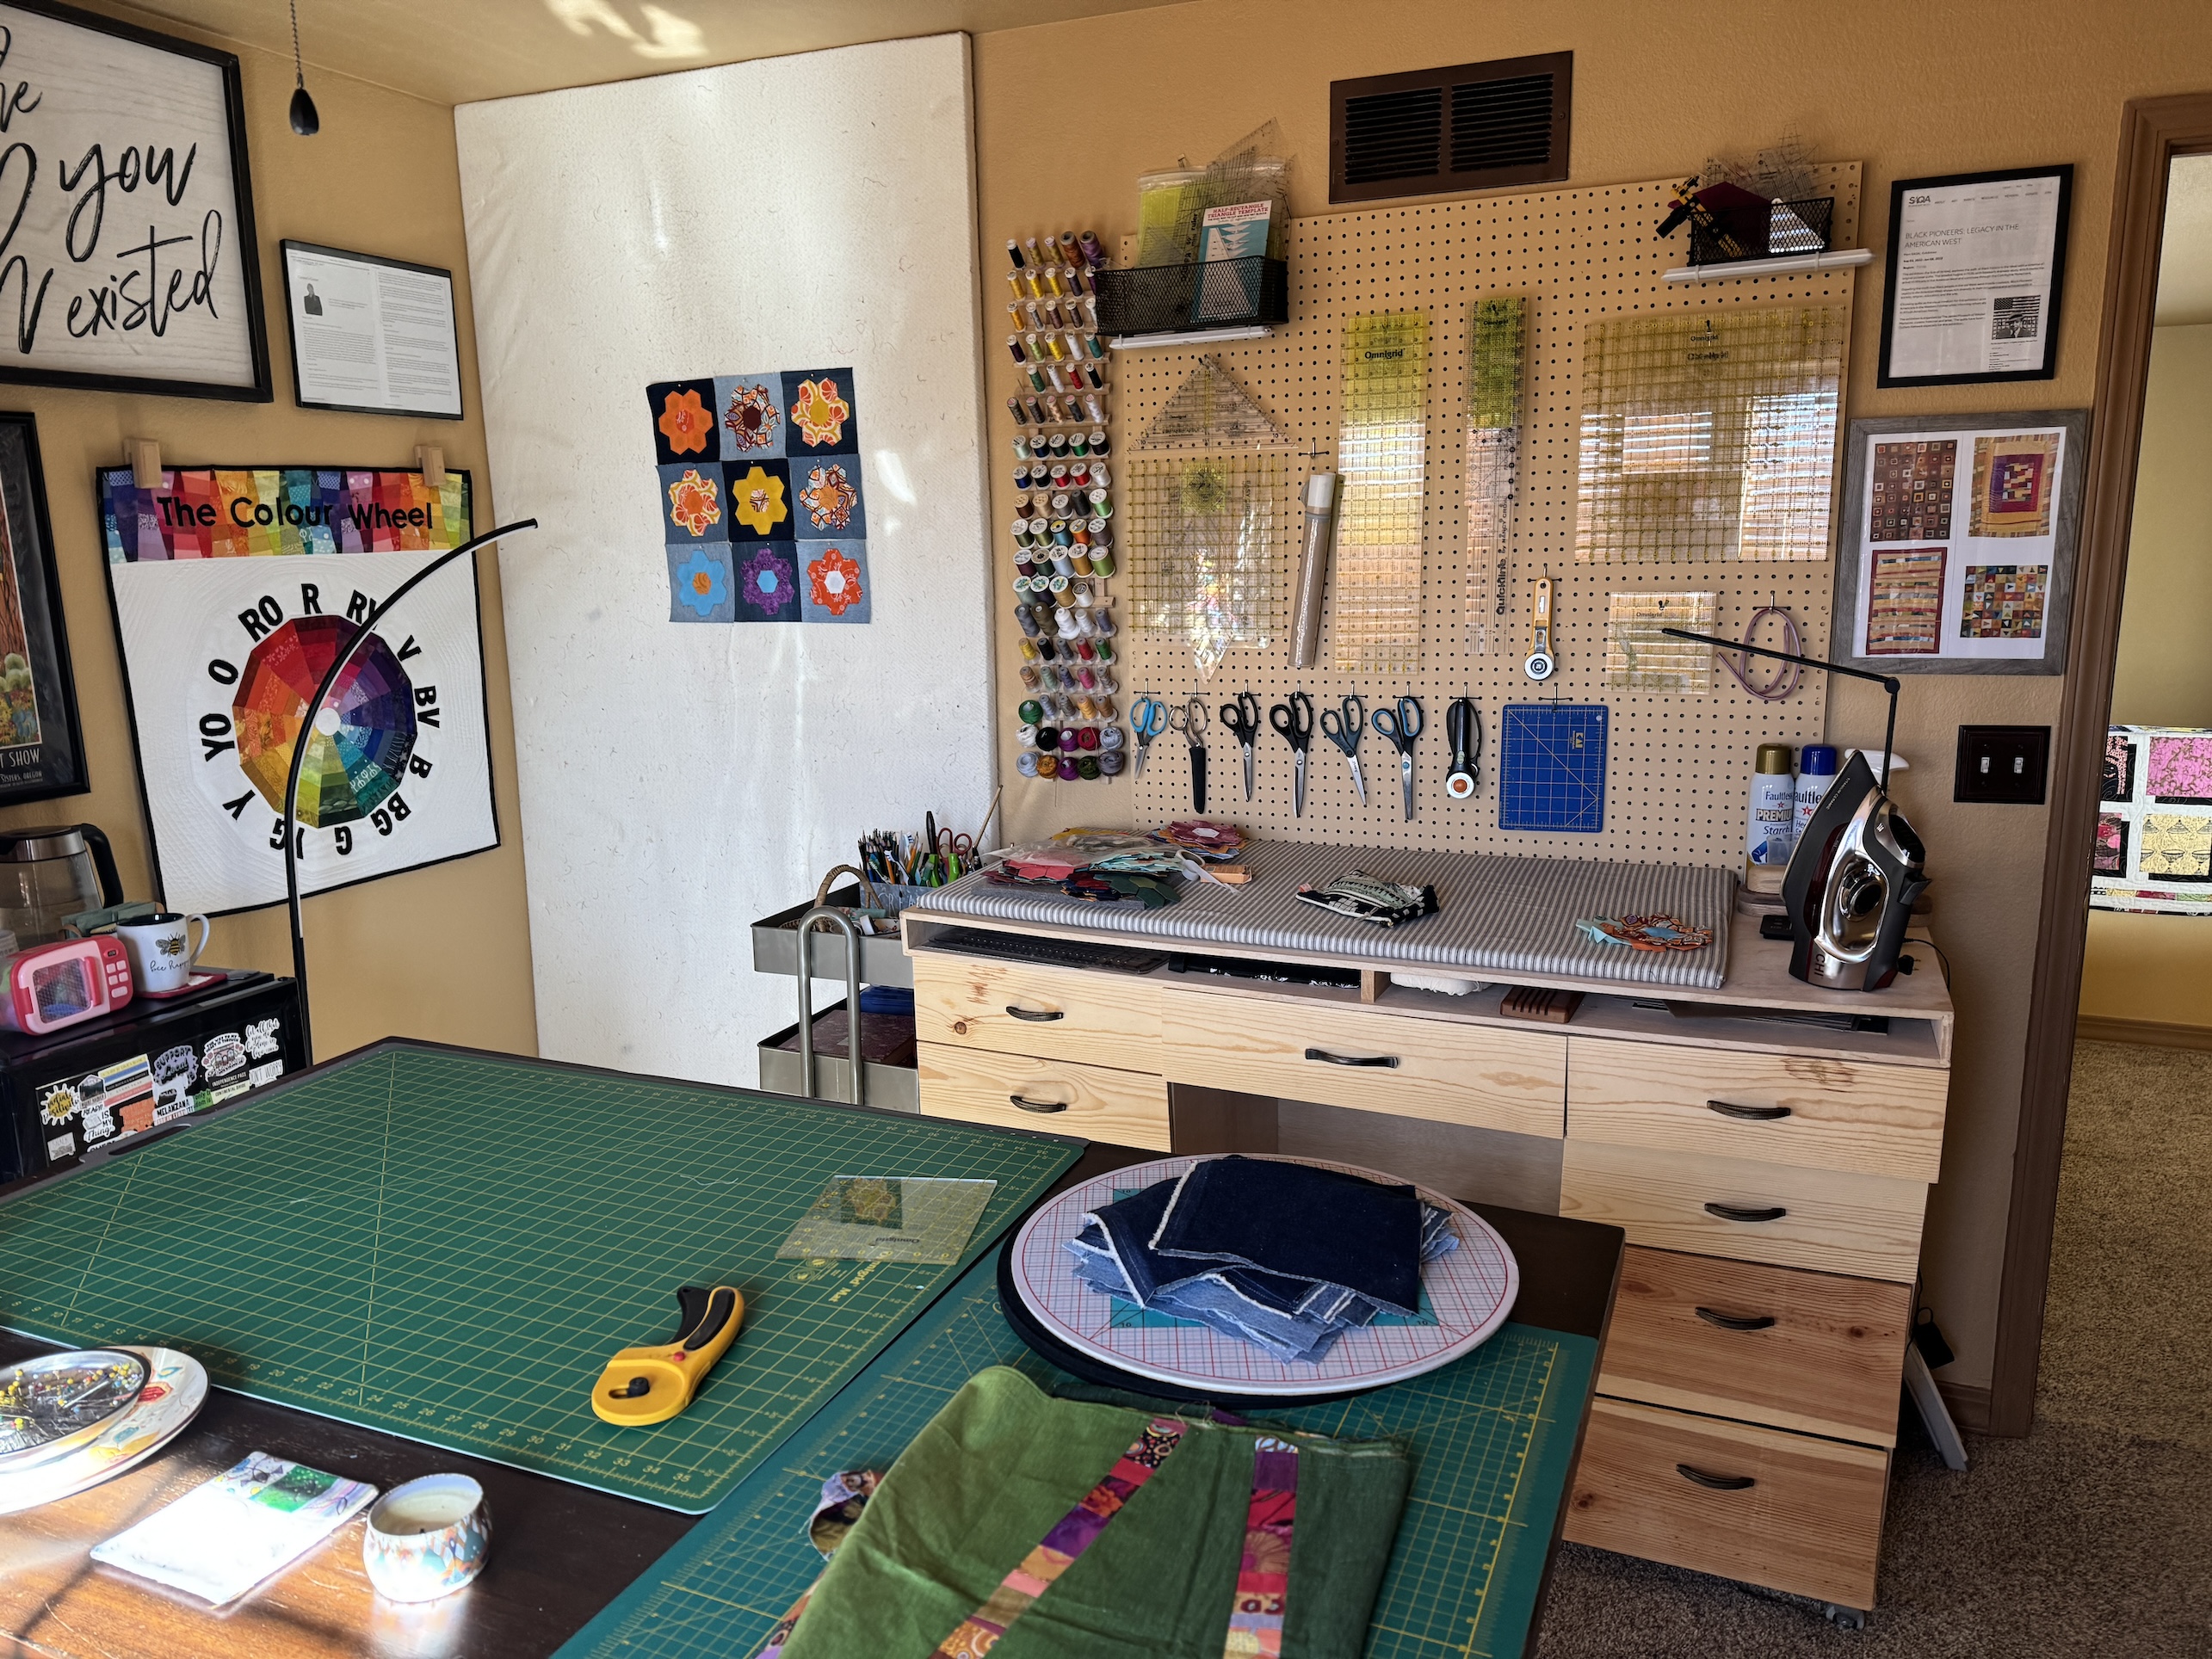
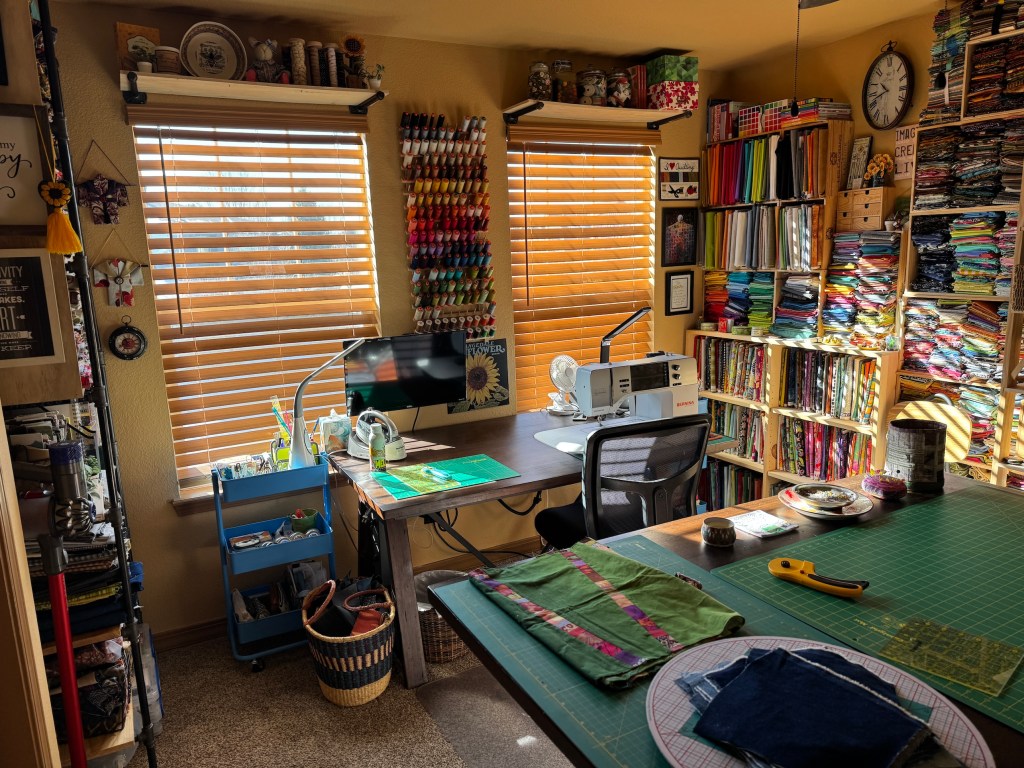
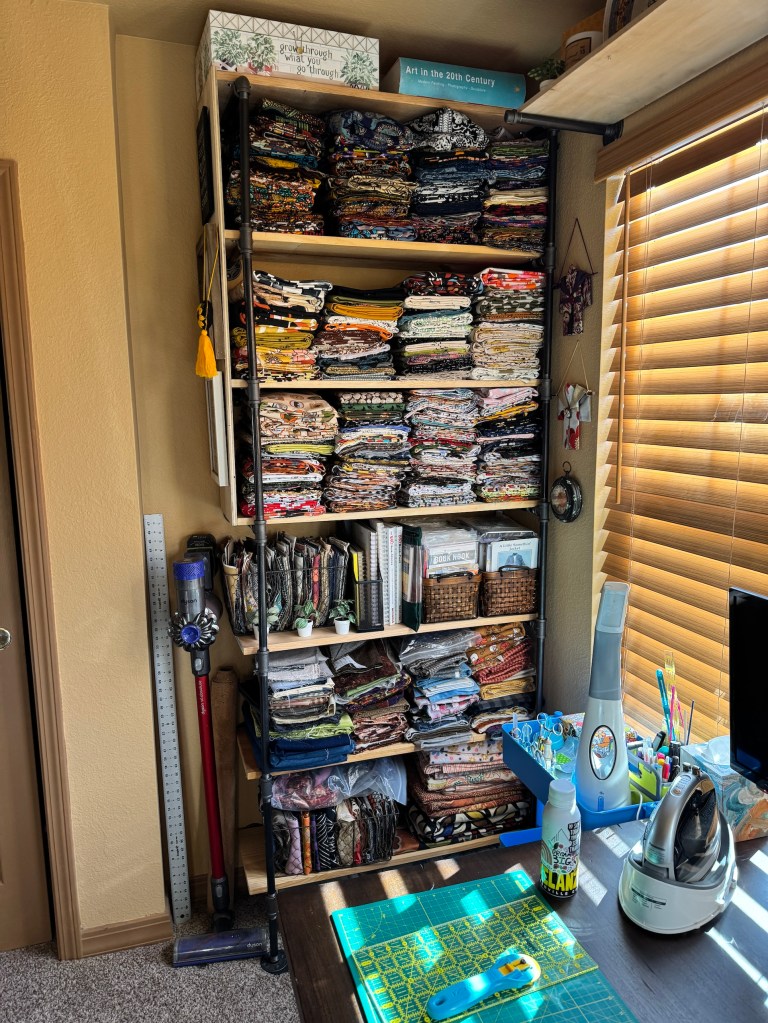
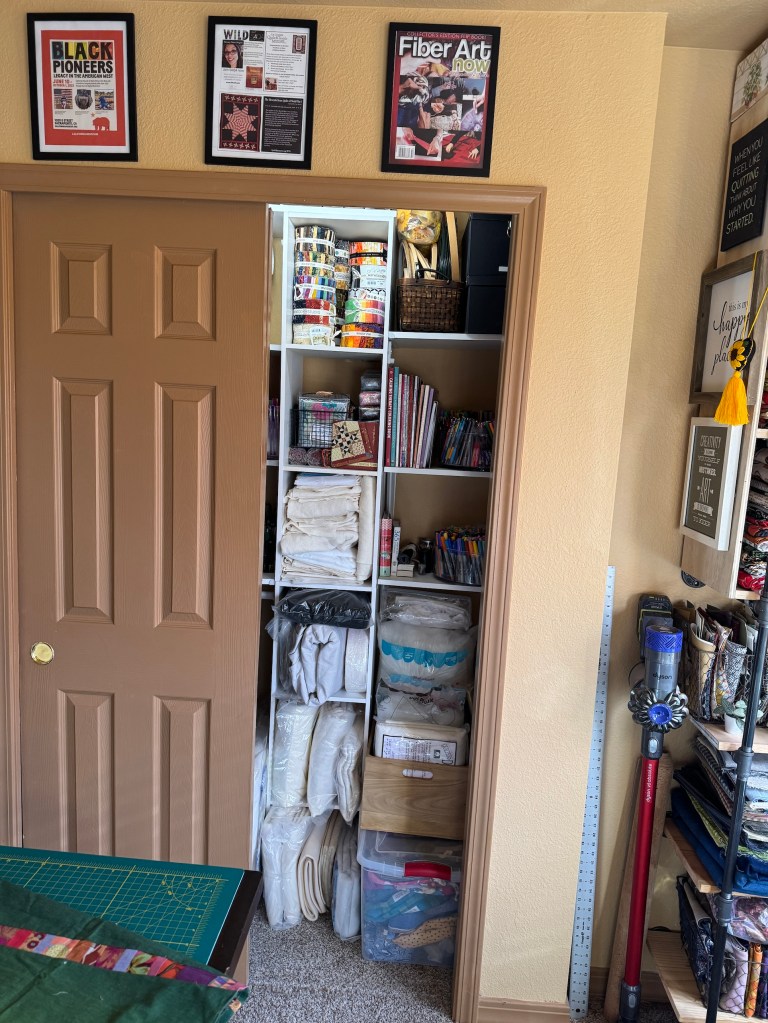
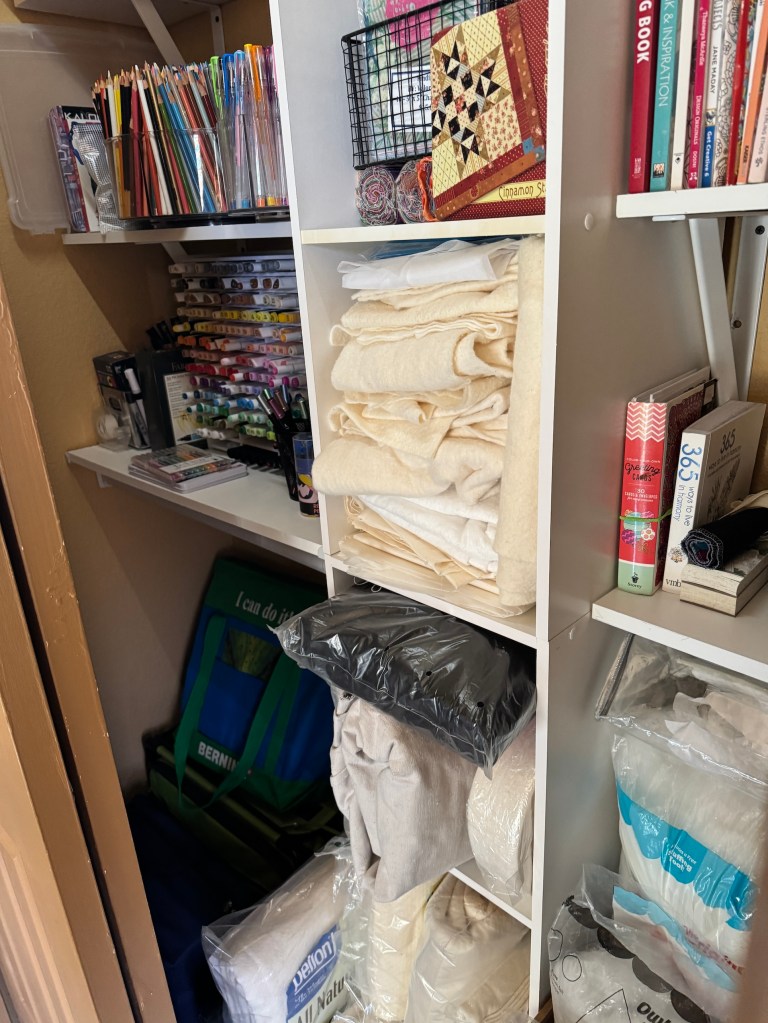
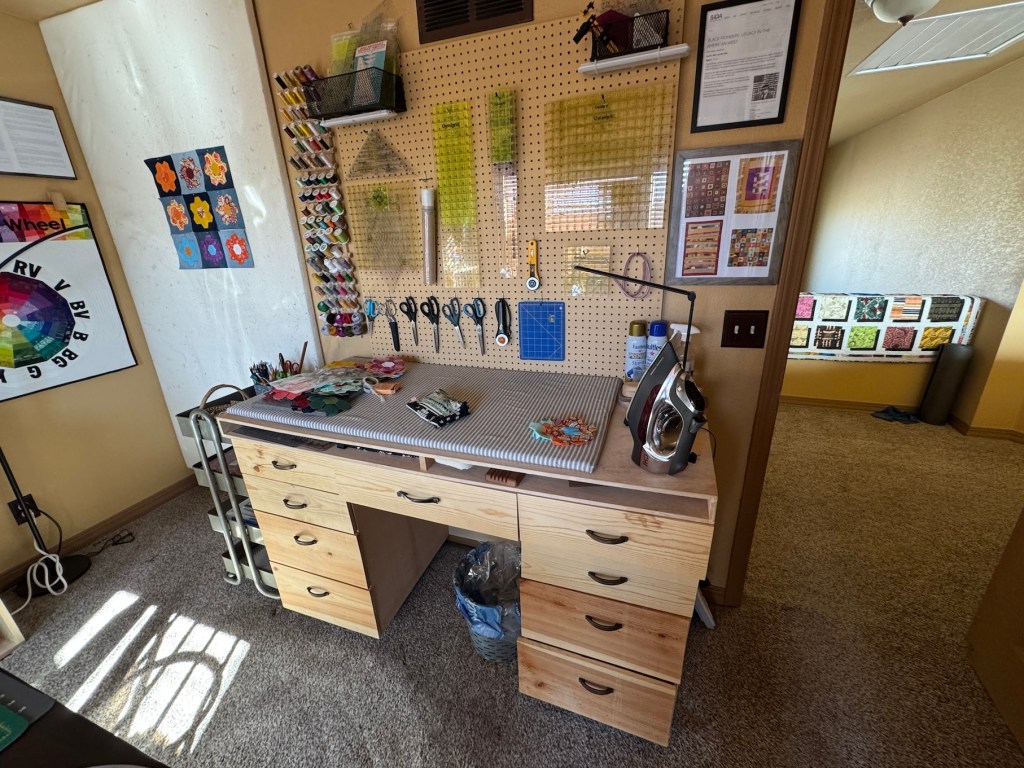
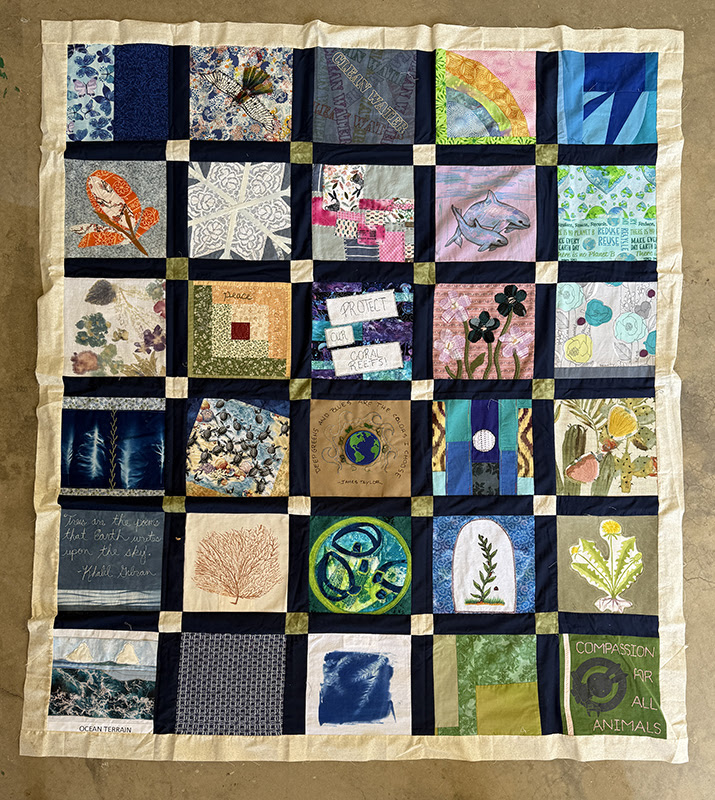
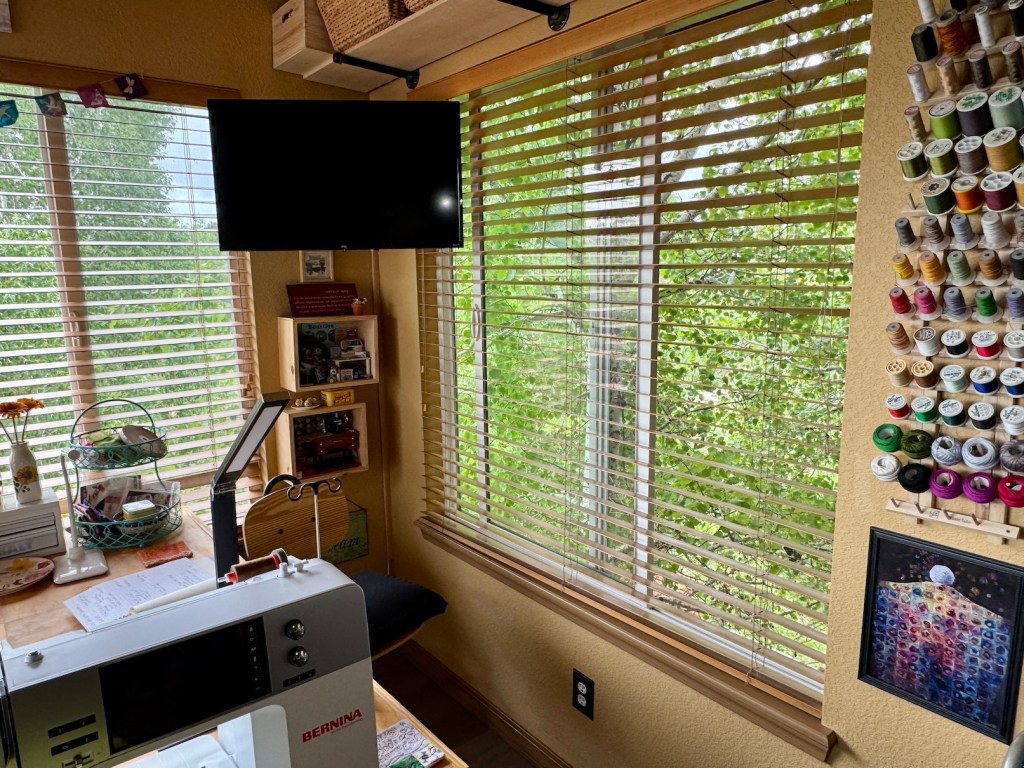
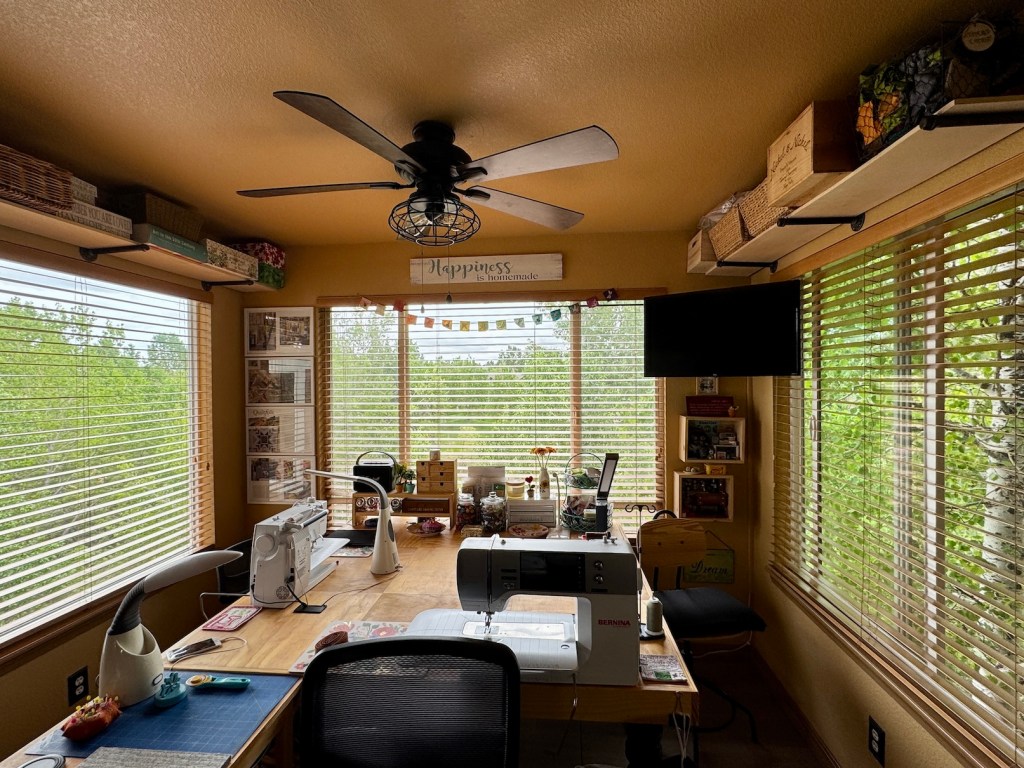
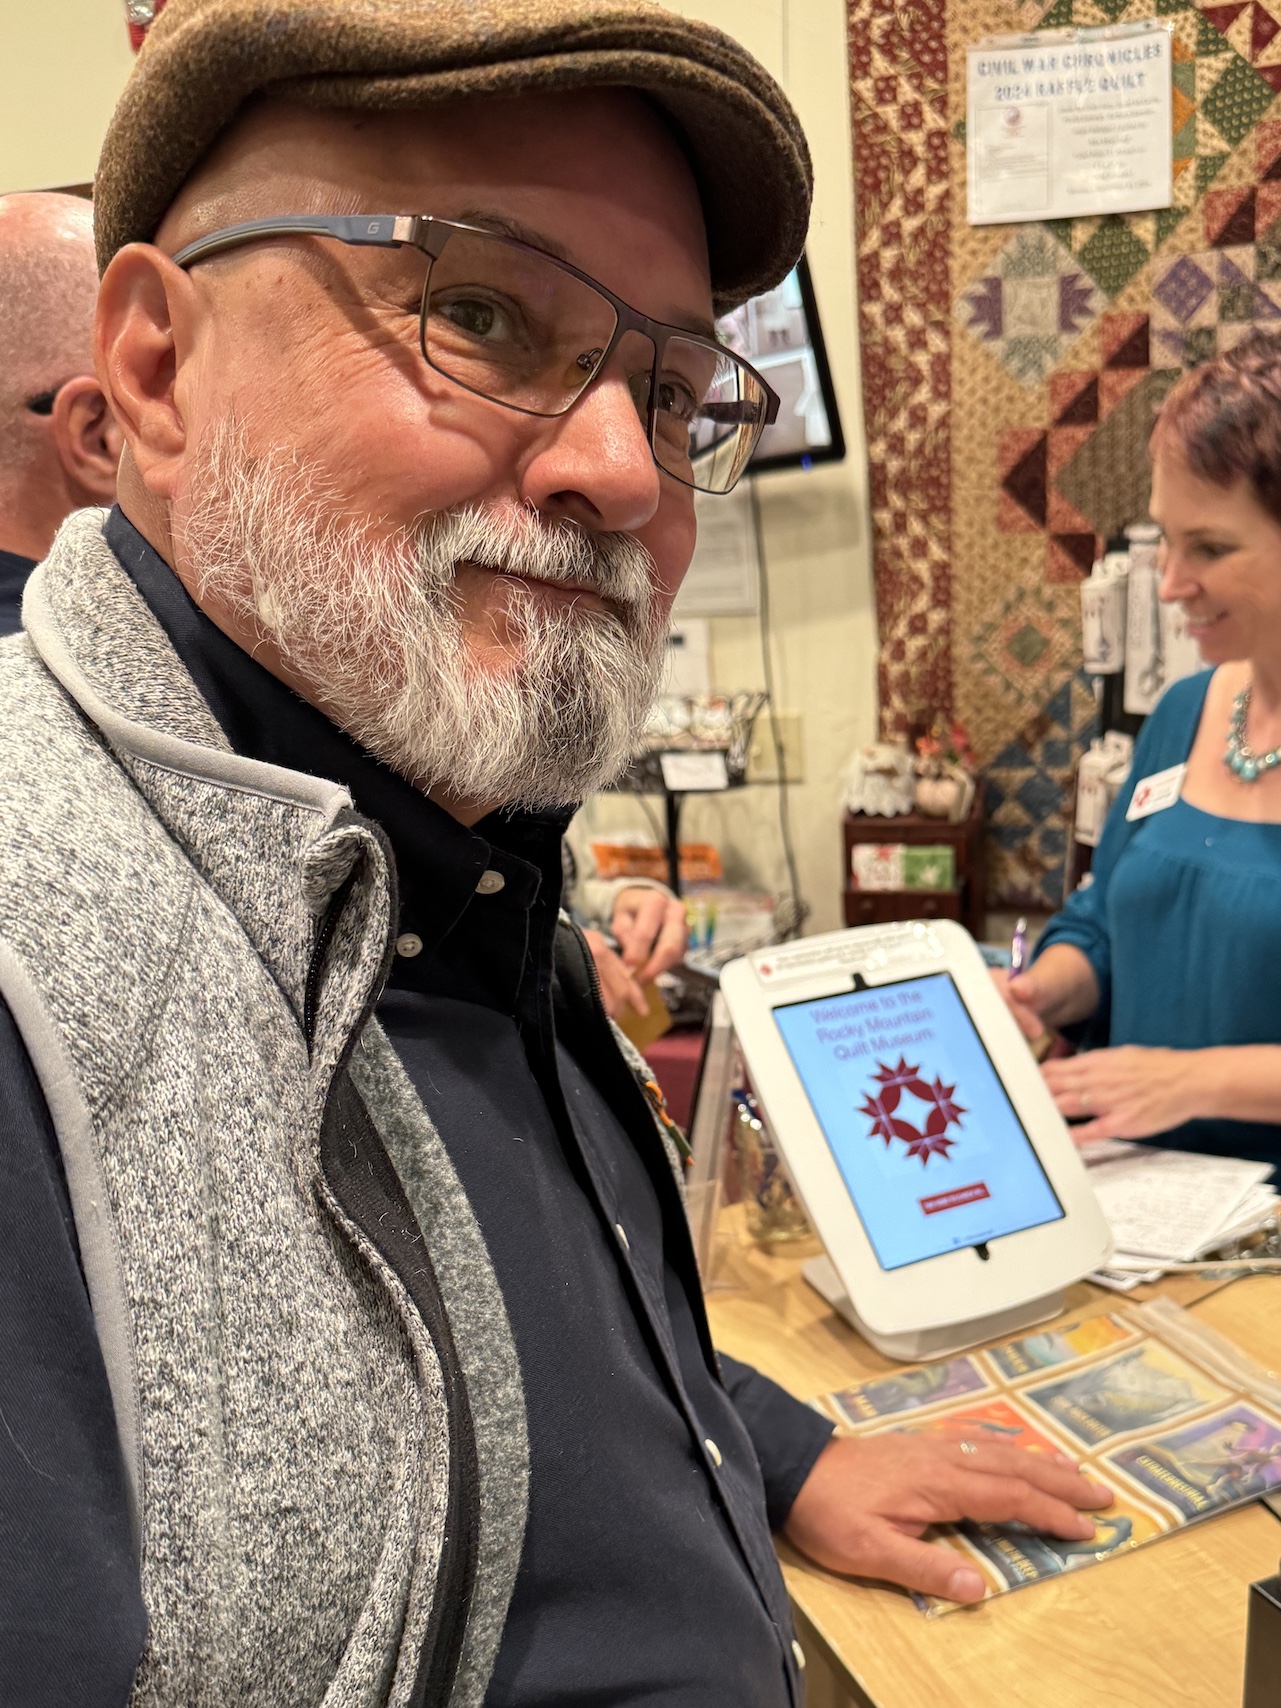
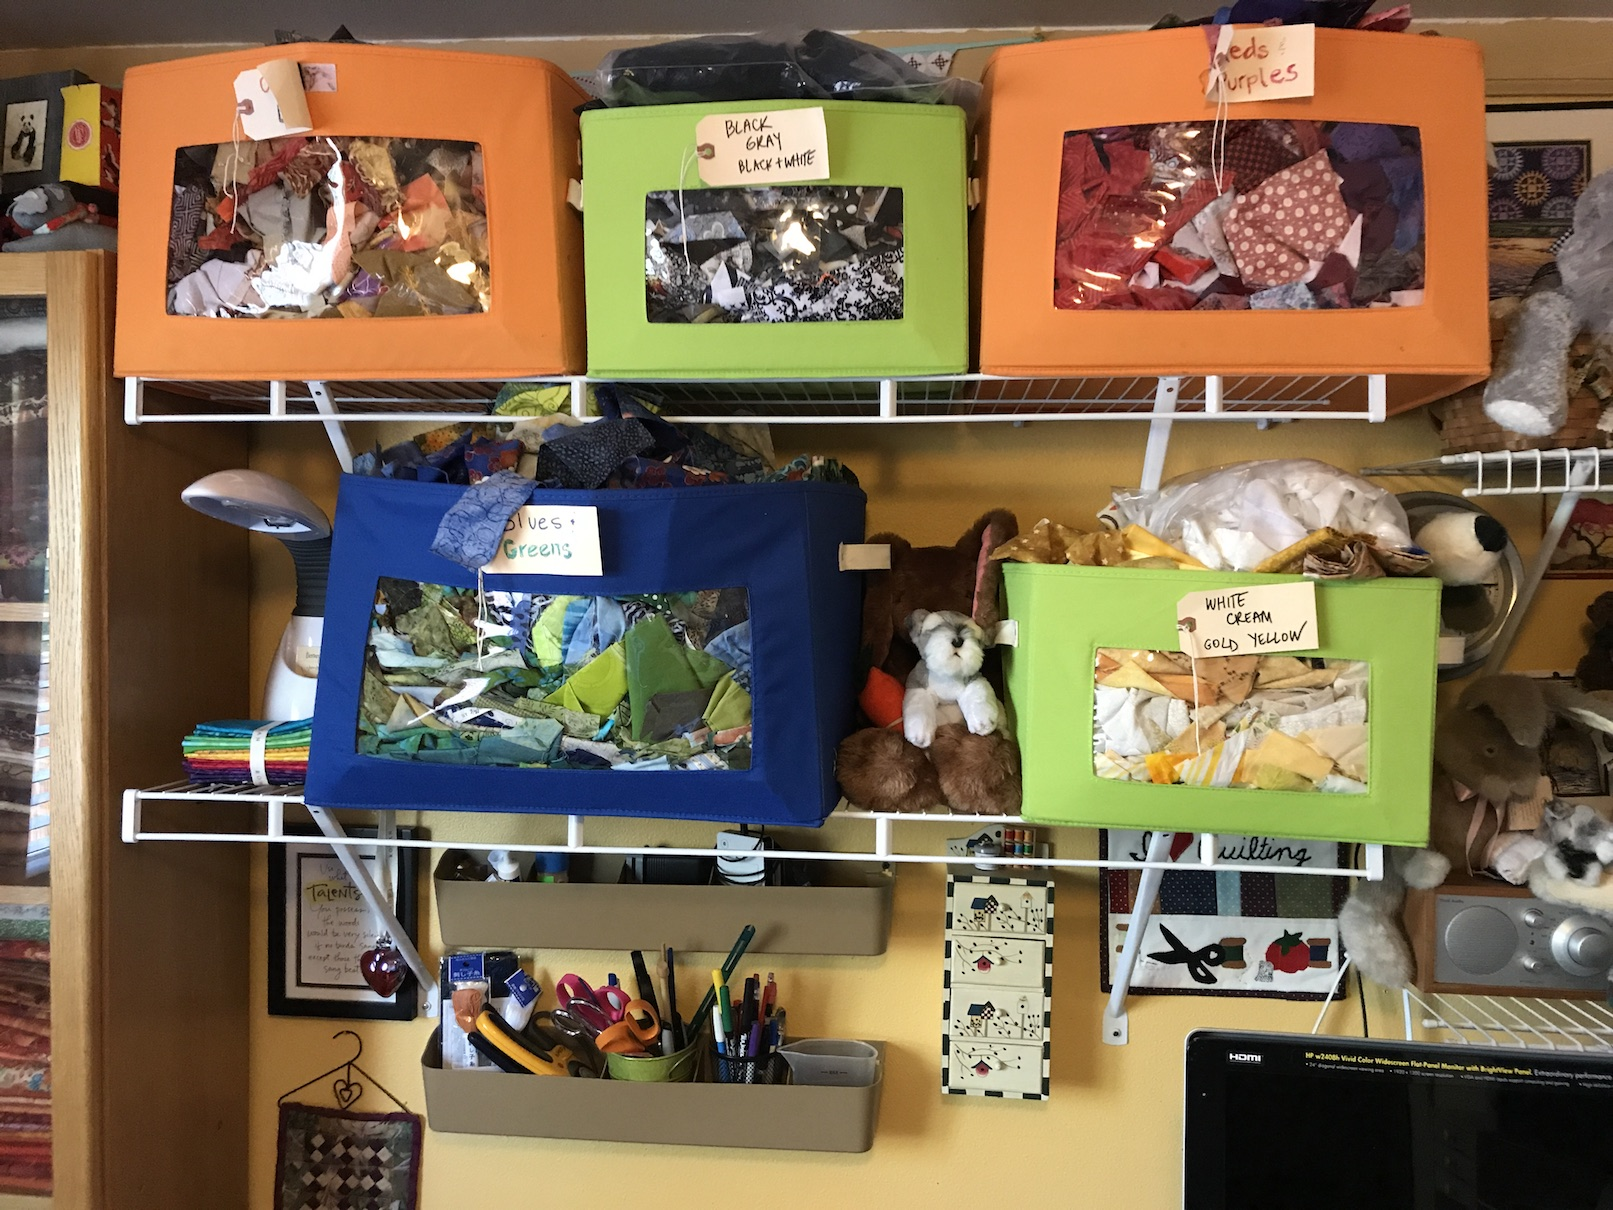
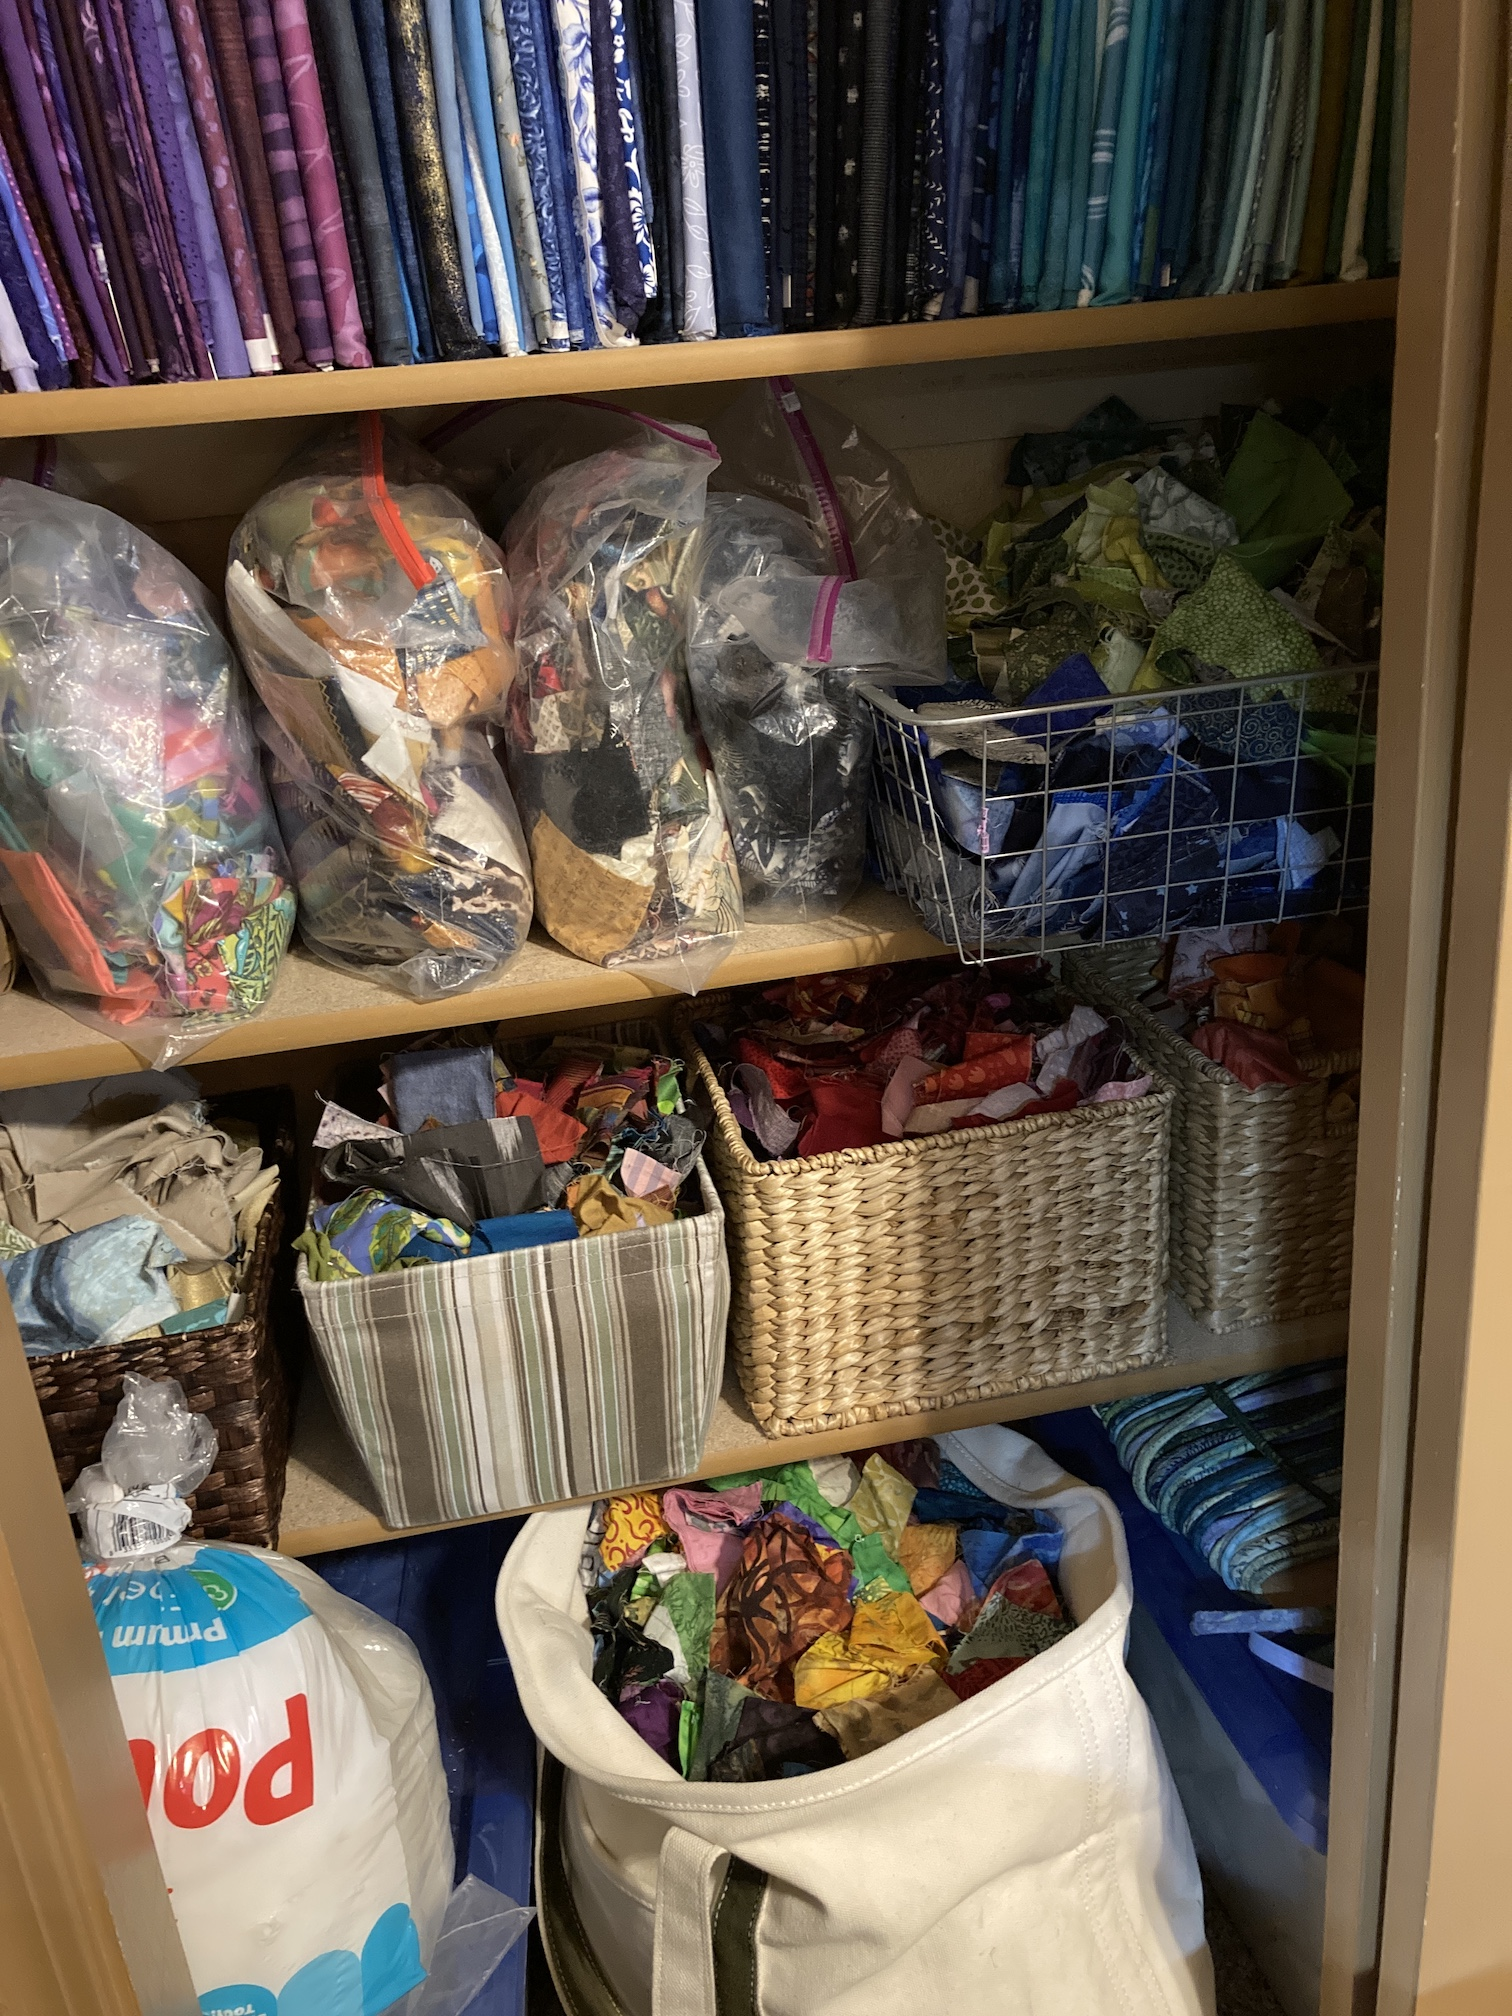
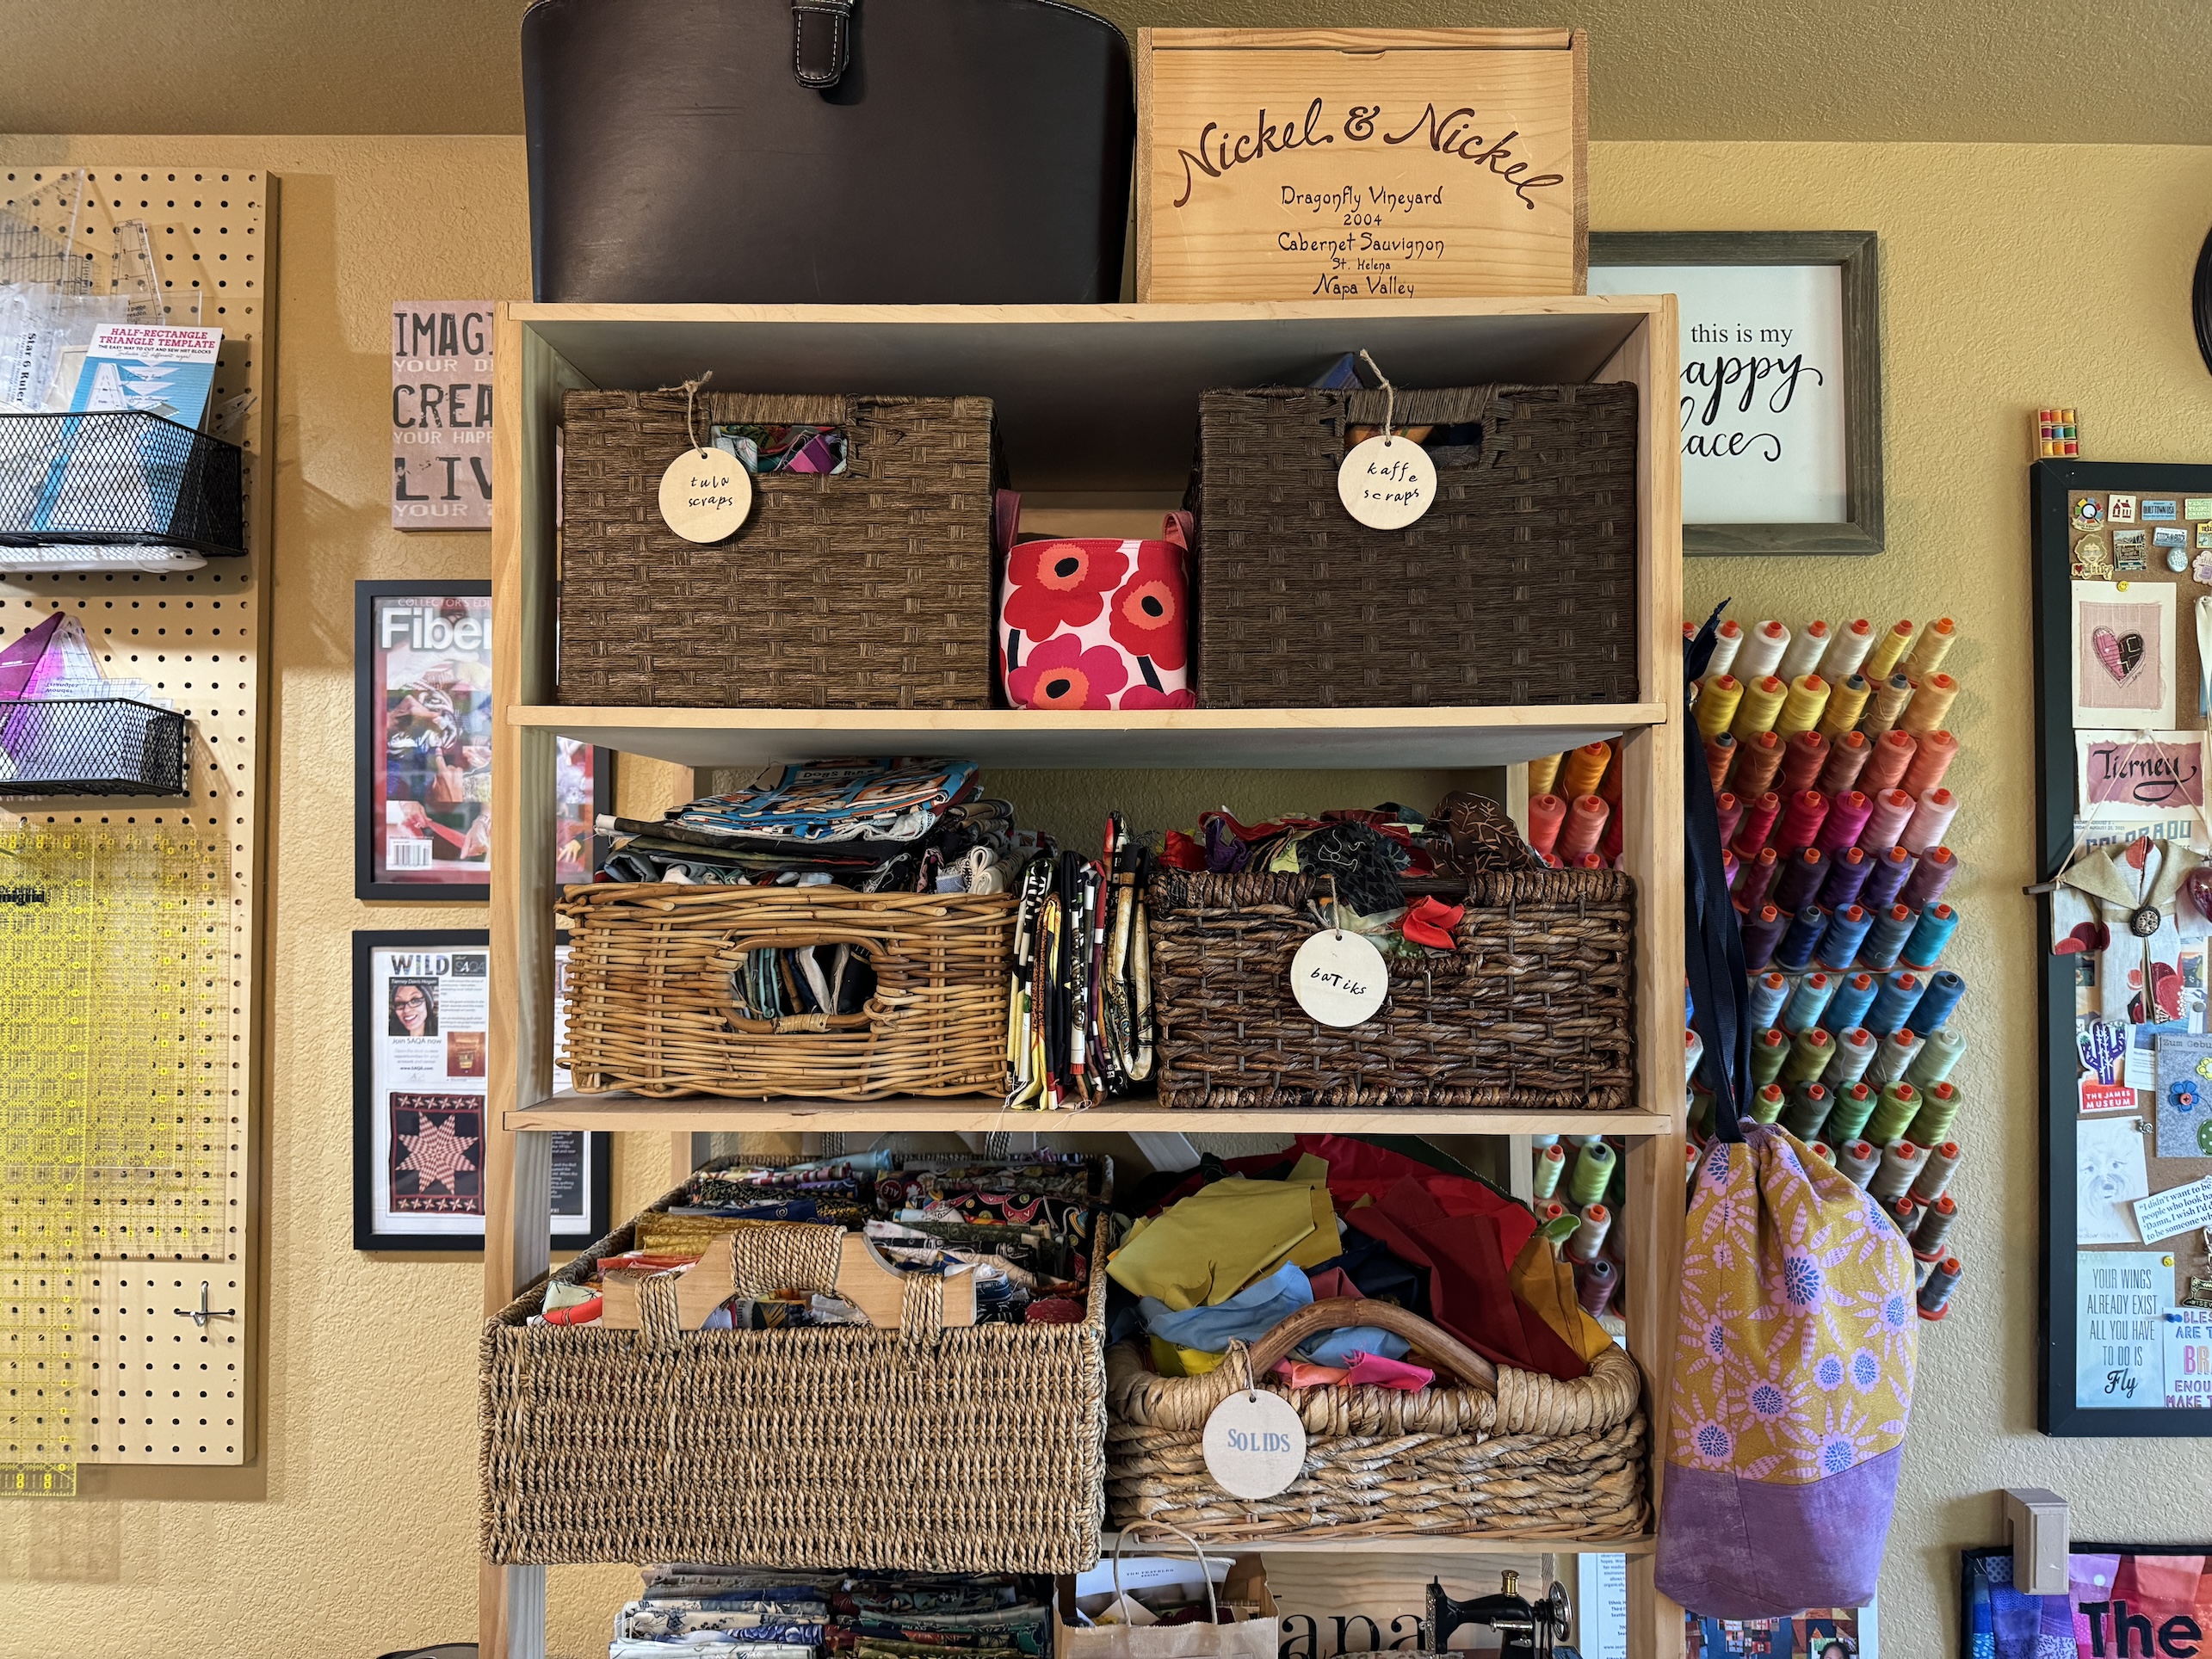
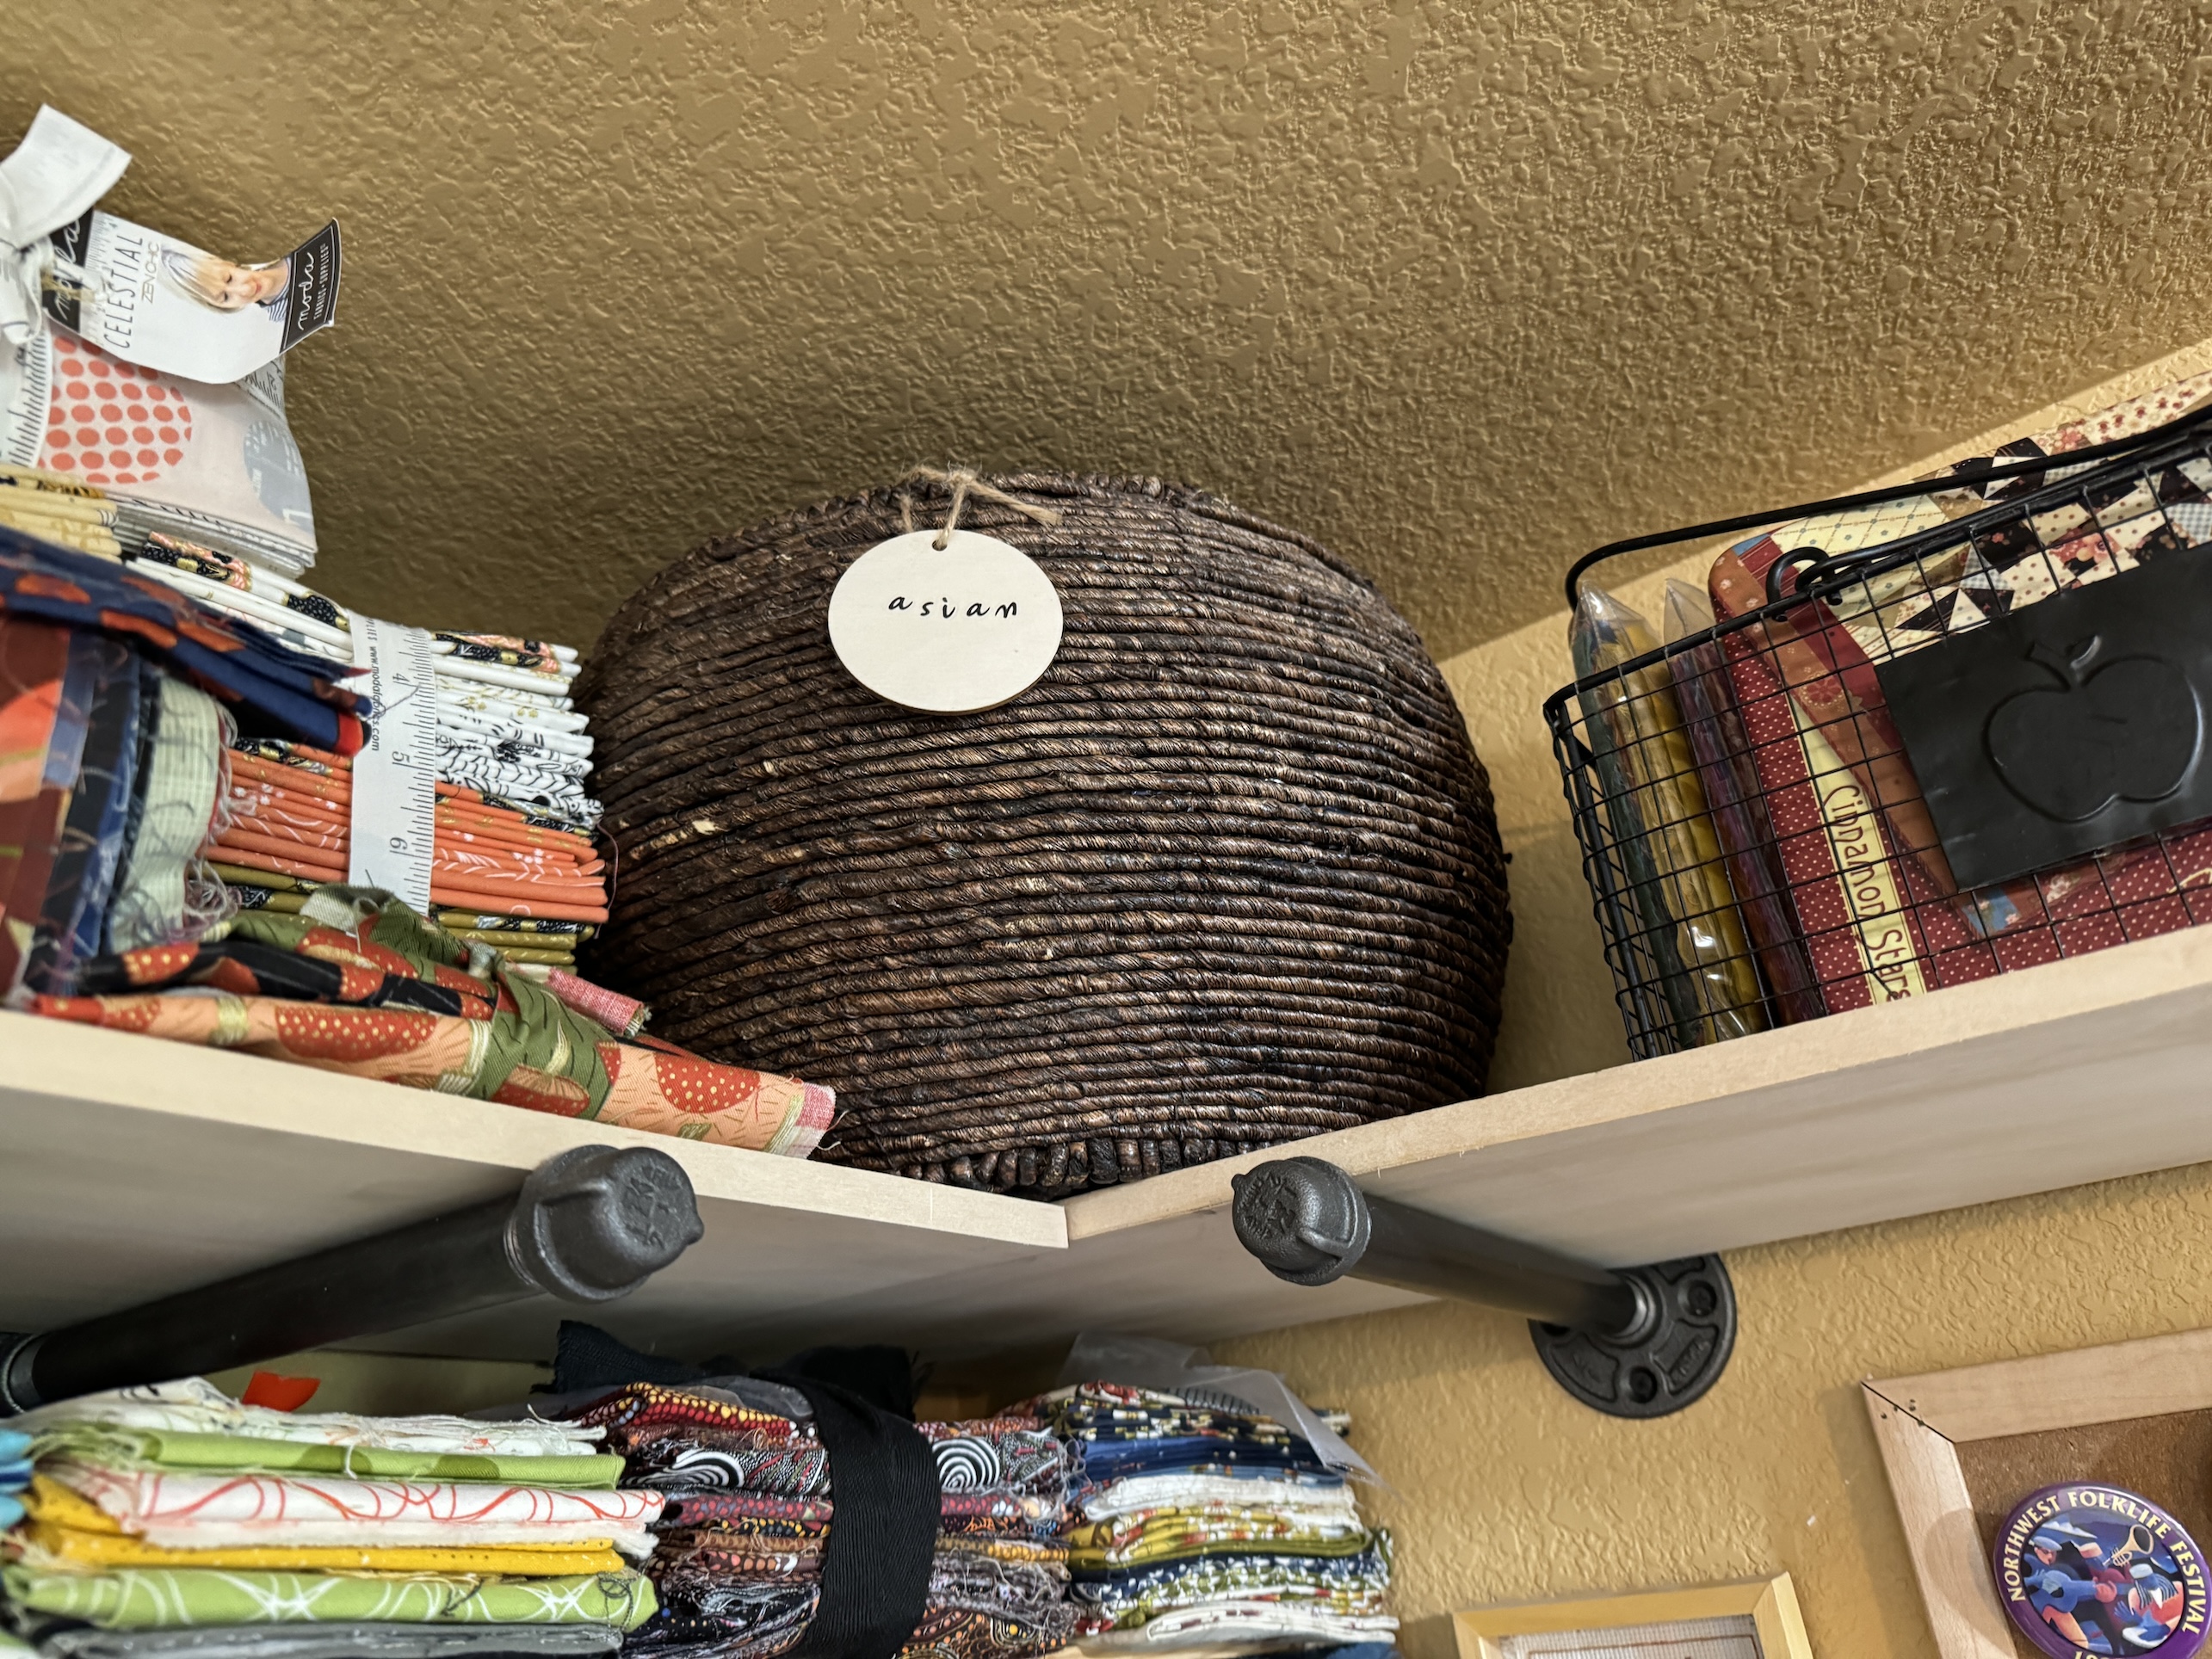
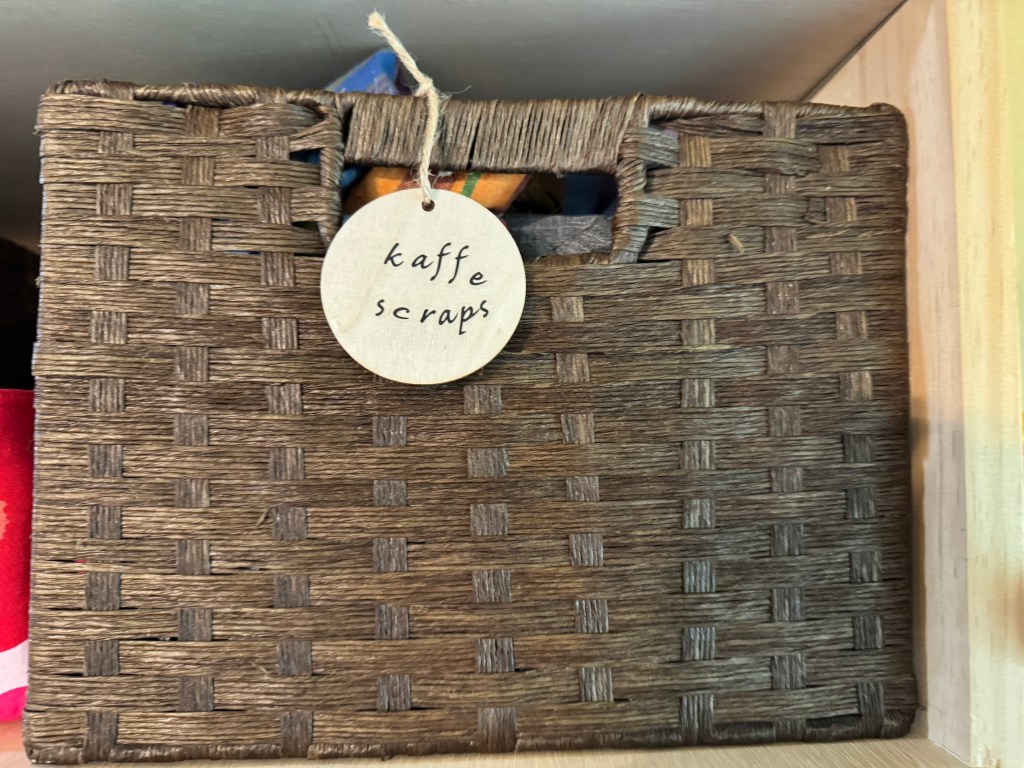
Saturday the Quilting Club met at the home of one of the members who has turned her entire basement into an AMAZING quilt studio (which I will show photos of in part 2 of this series of posts), to work on Project Linus quilts.
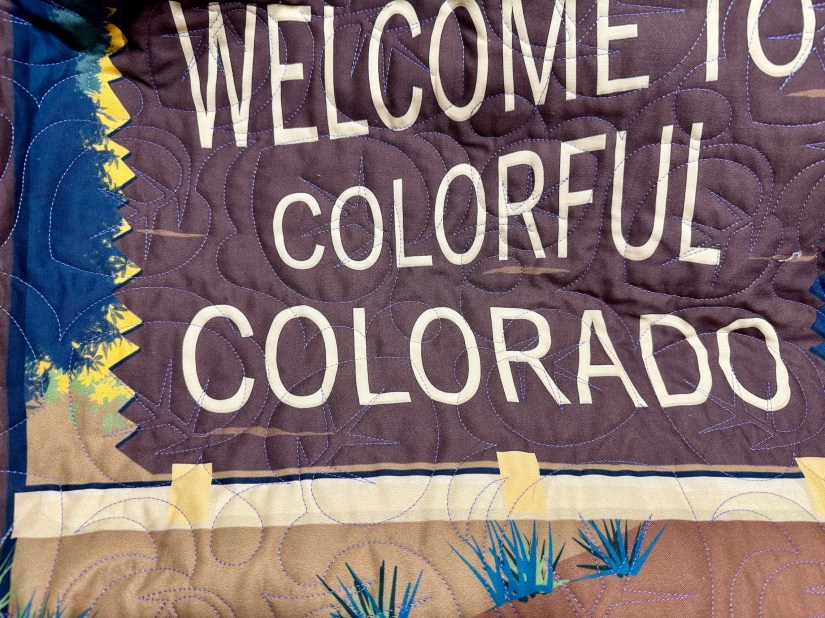
If you aren’t familiar with Project Linus, it is a volunteer organization that “provides handmade blankets to children 0-18 in the United States who are seriously ill, traumatized, or otherwise in need” (projectlinus.org). The “blankets” donated are usually handmade quilts or crocheted/knitted blankets.
My community quilting group has many years of experience making quilts for kids as part of Project Linus and the group thought a day of intense group quilt production would be a great way to whip up some donation quilts.
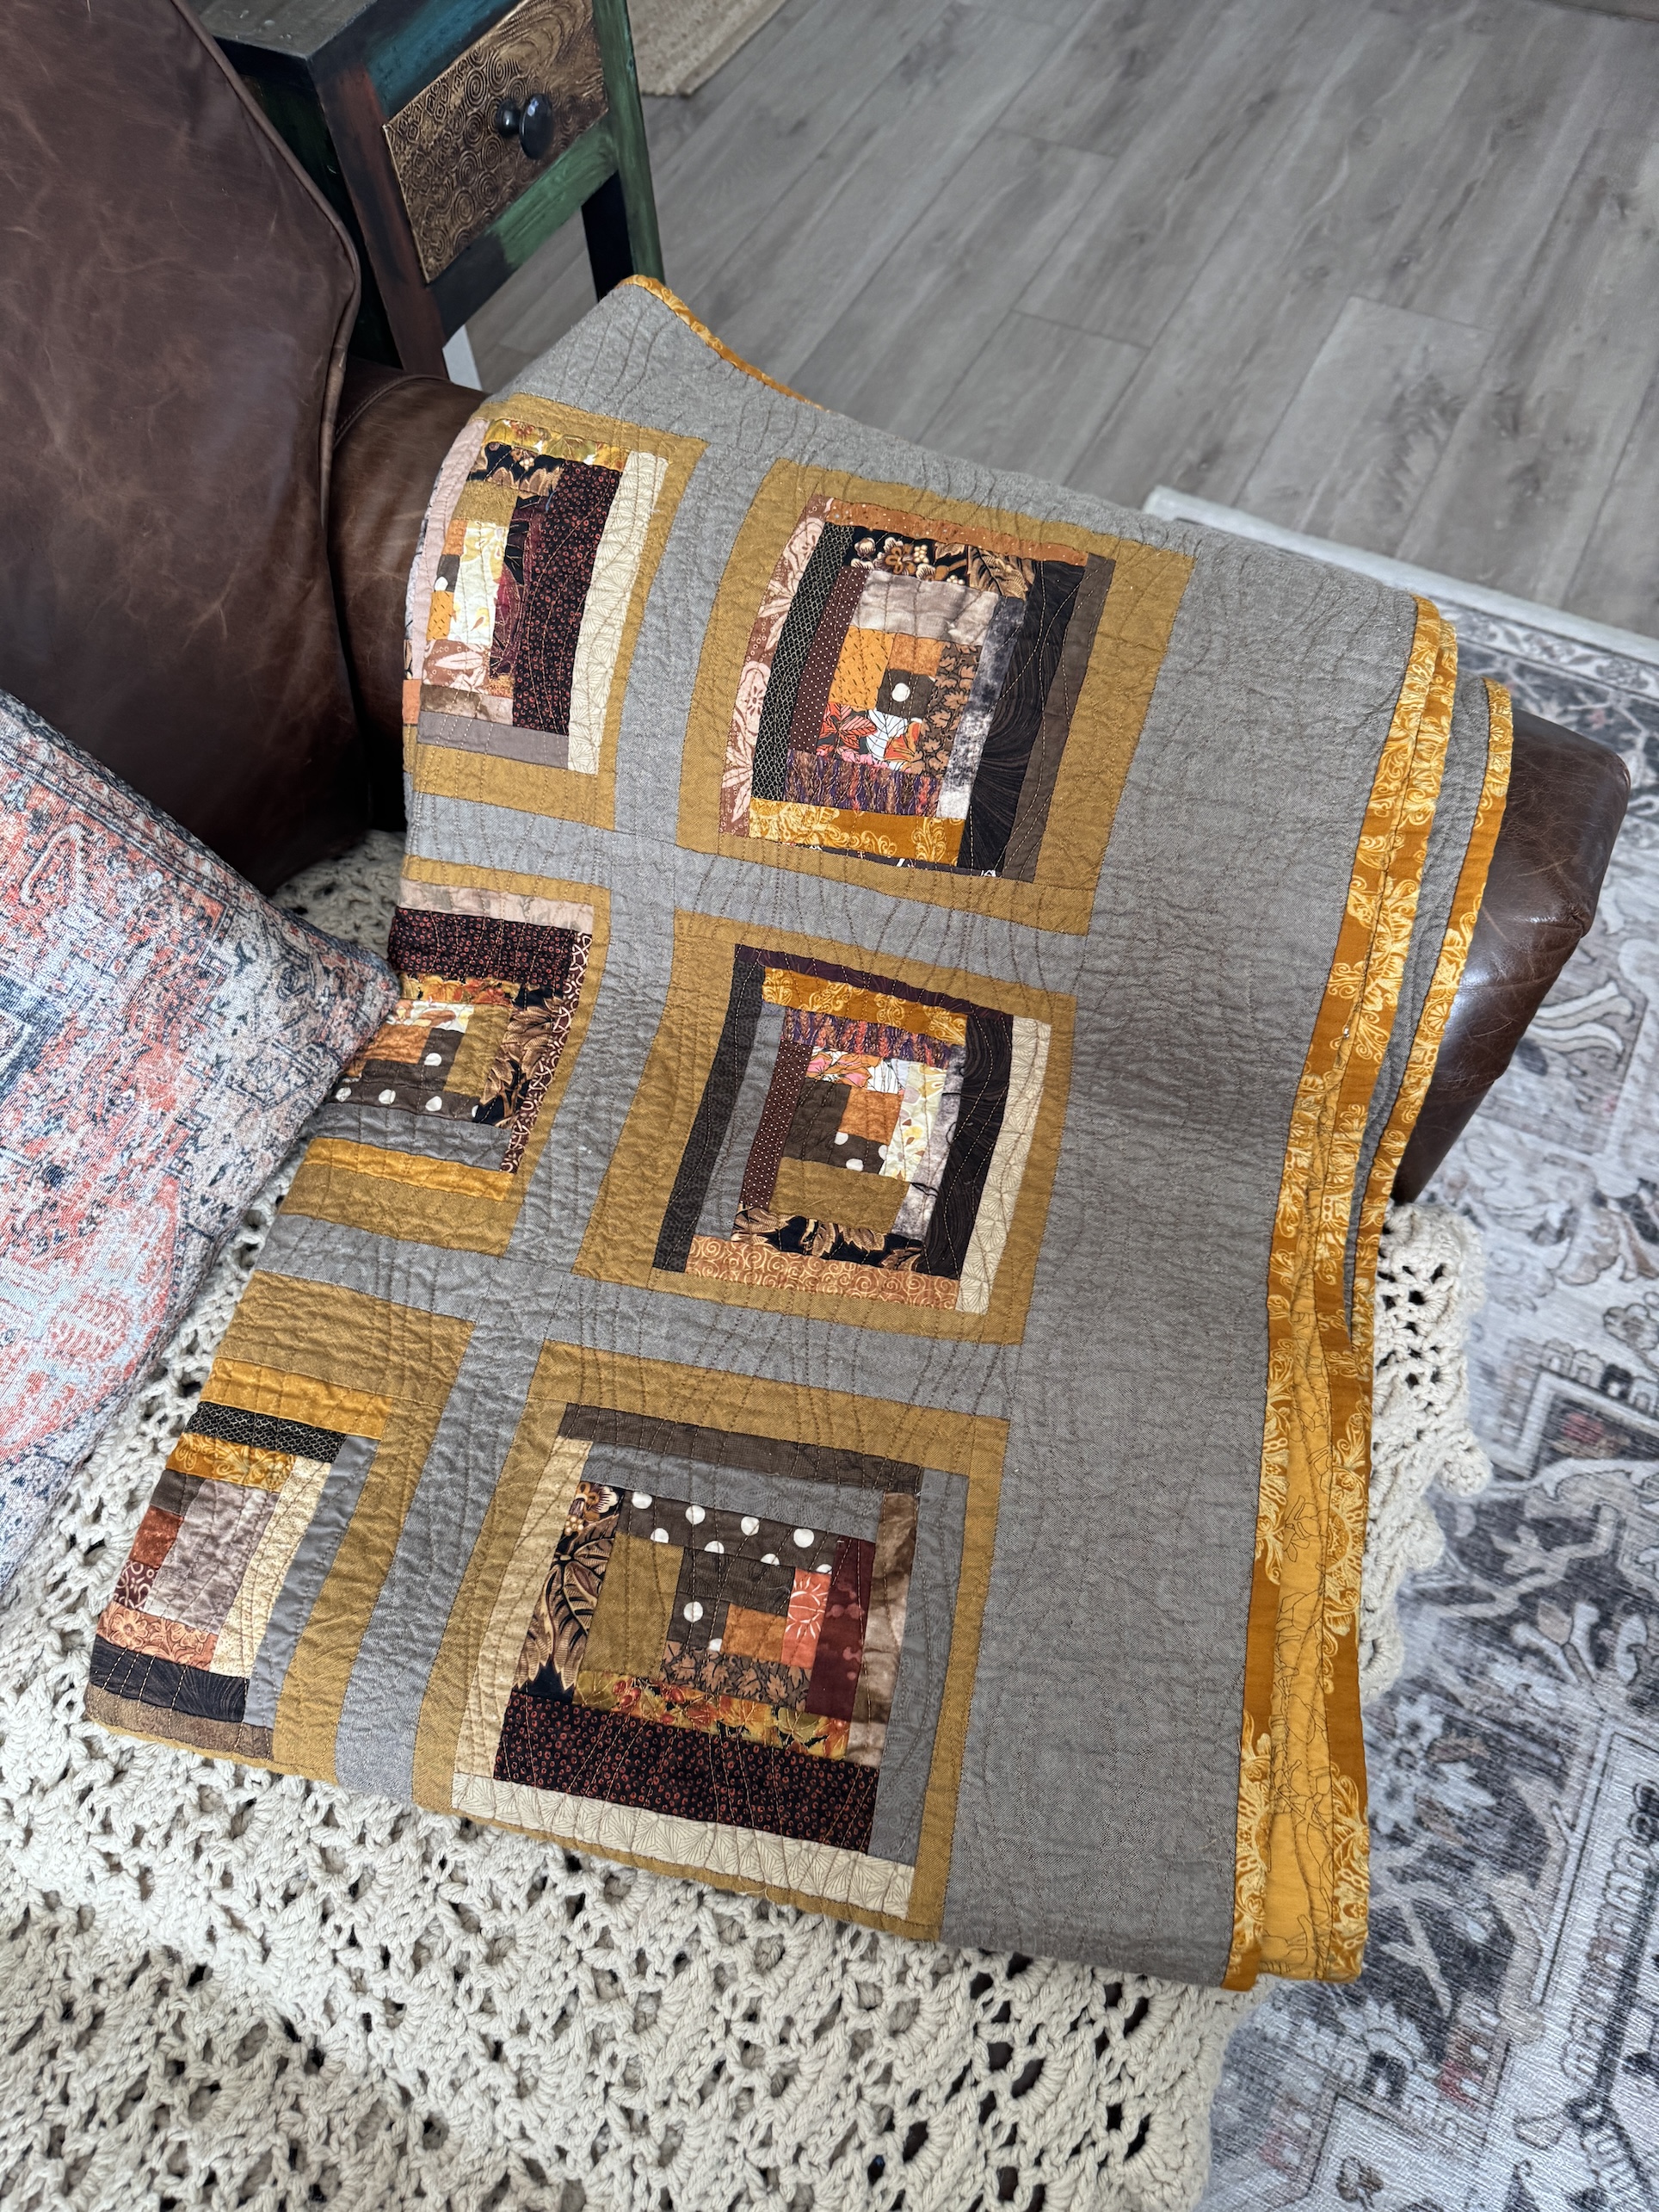
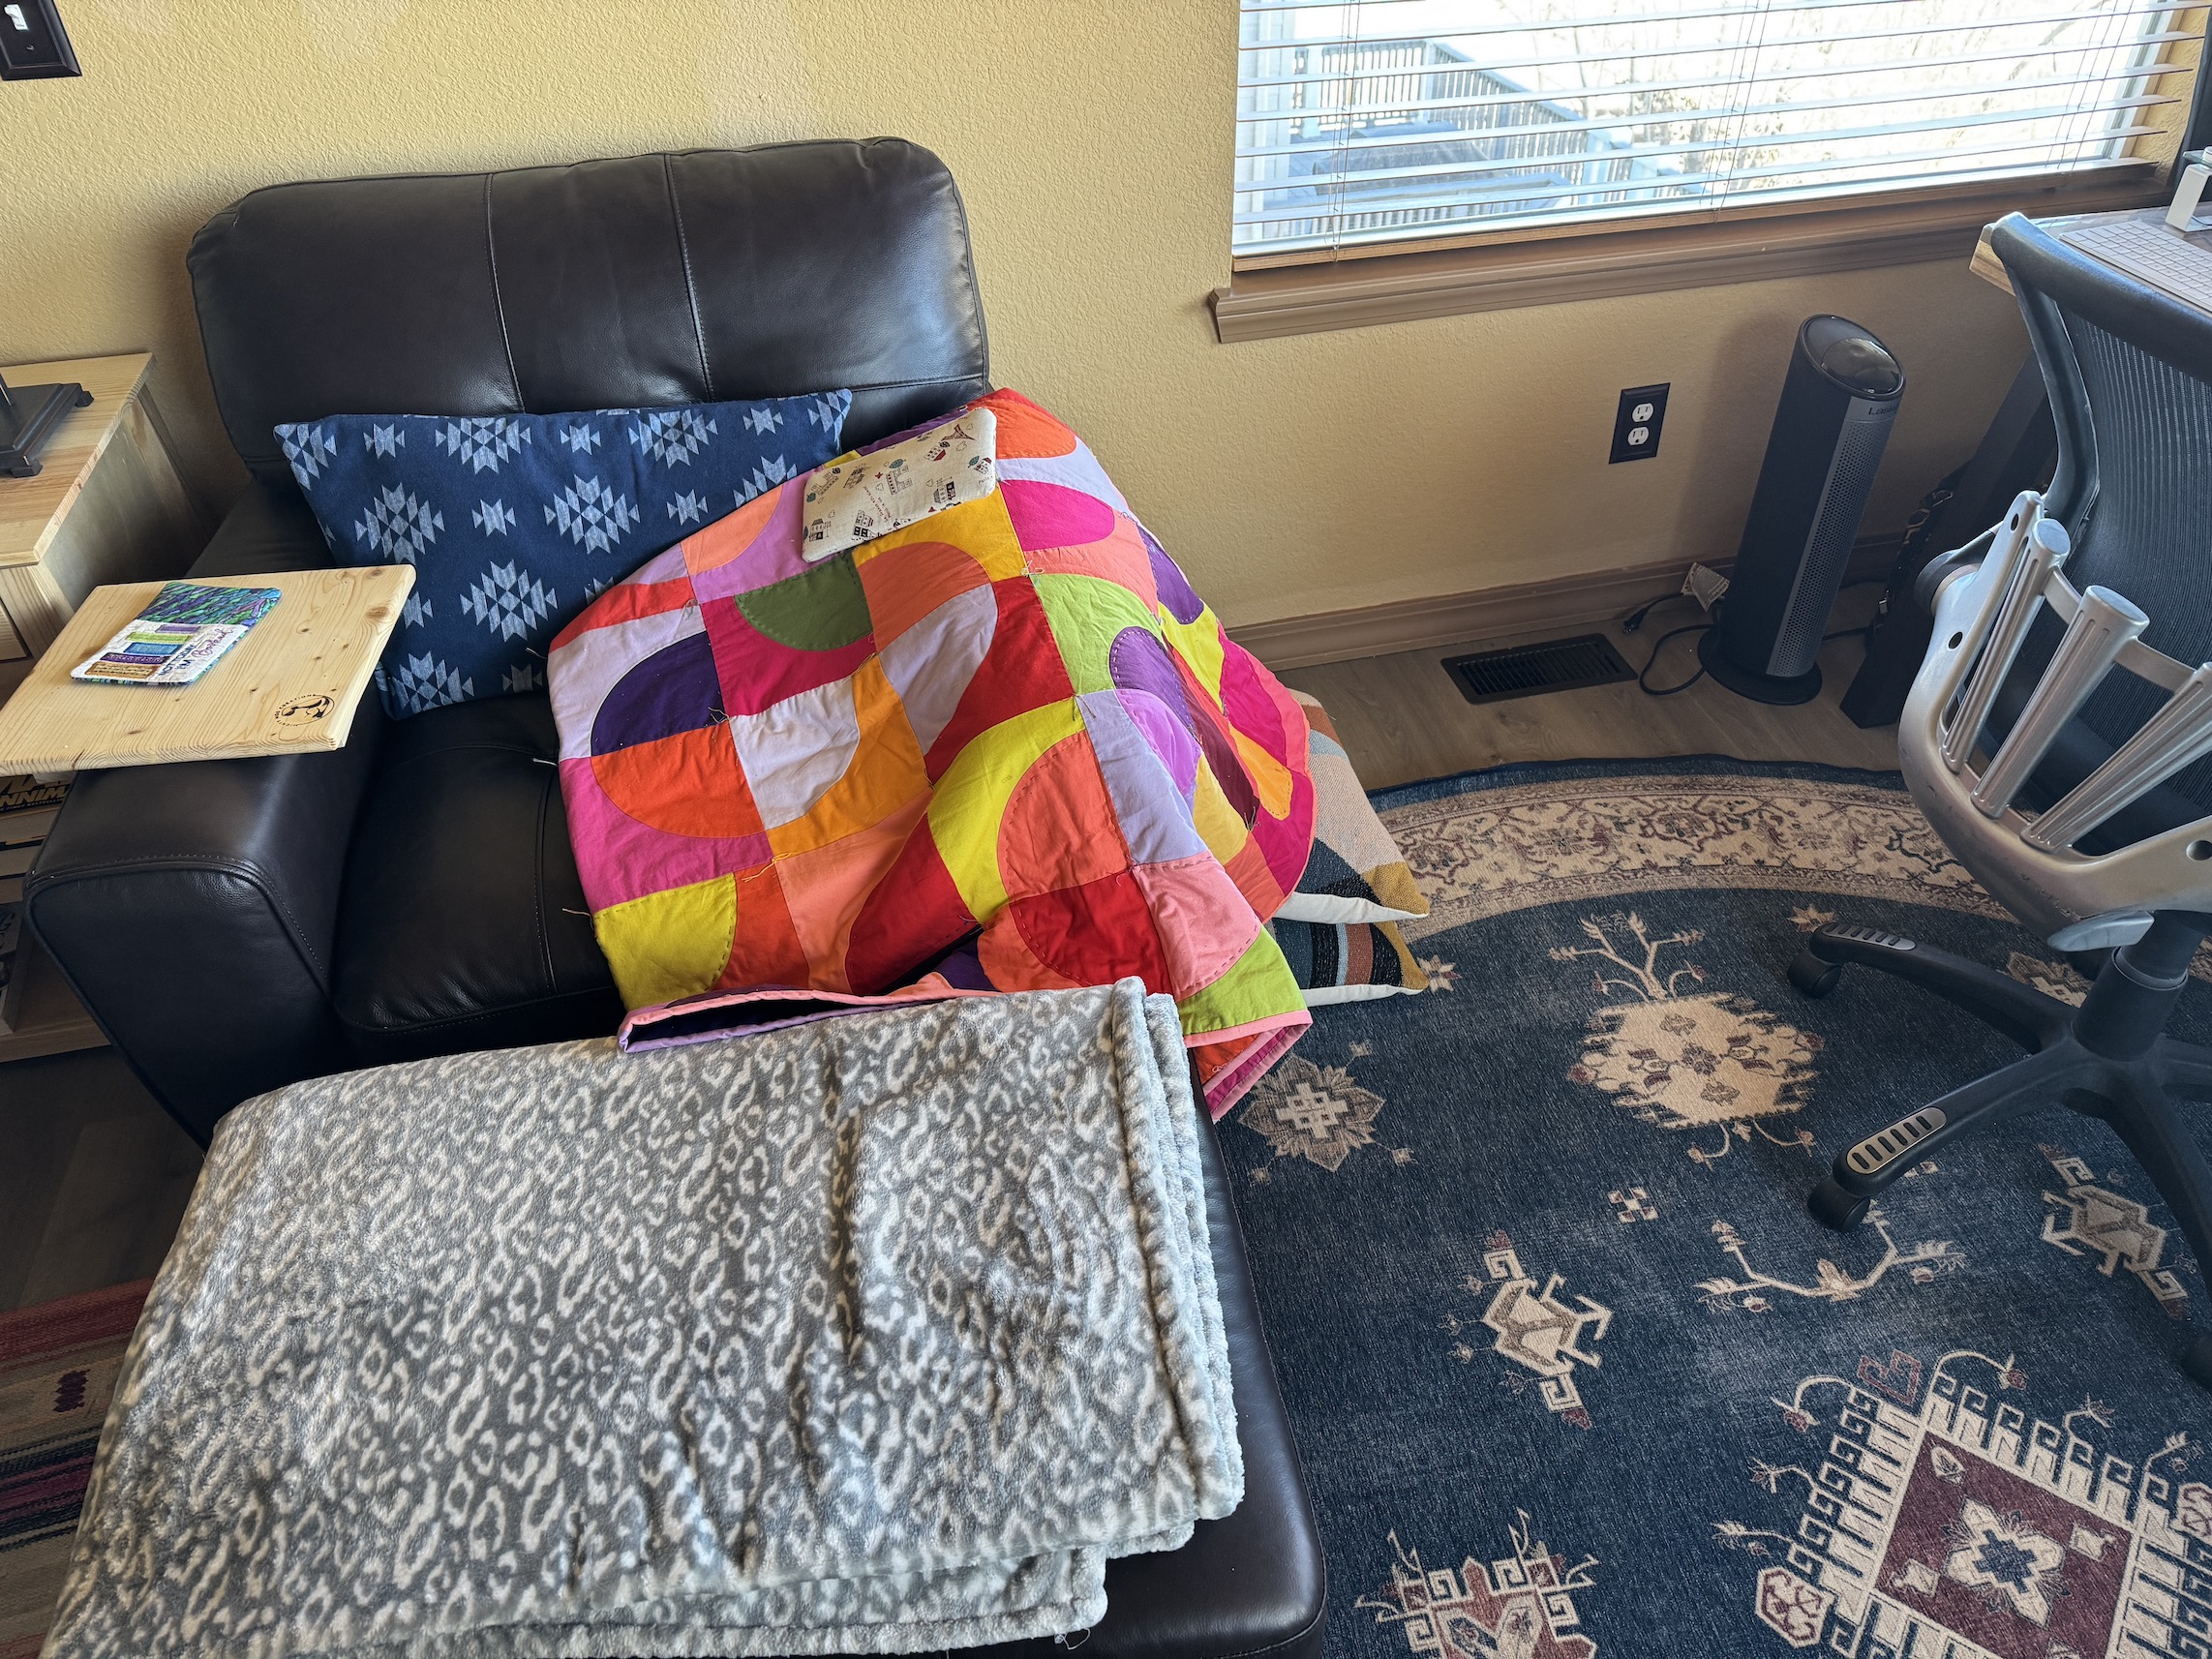
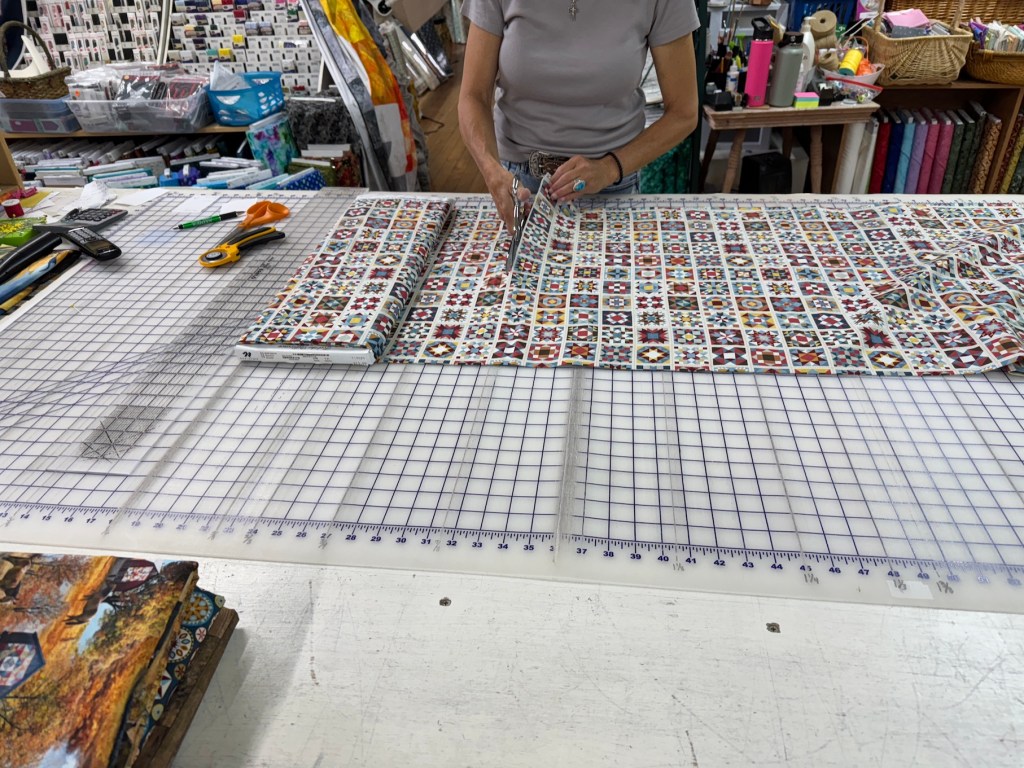
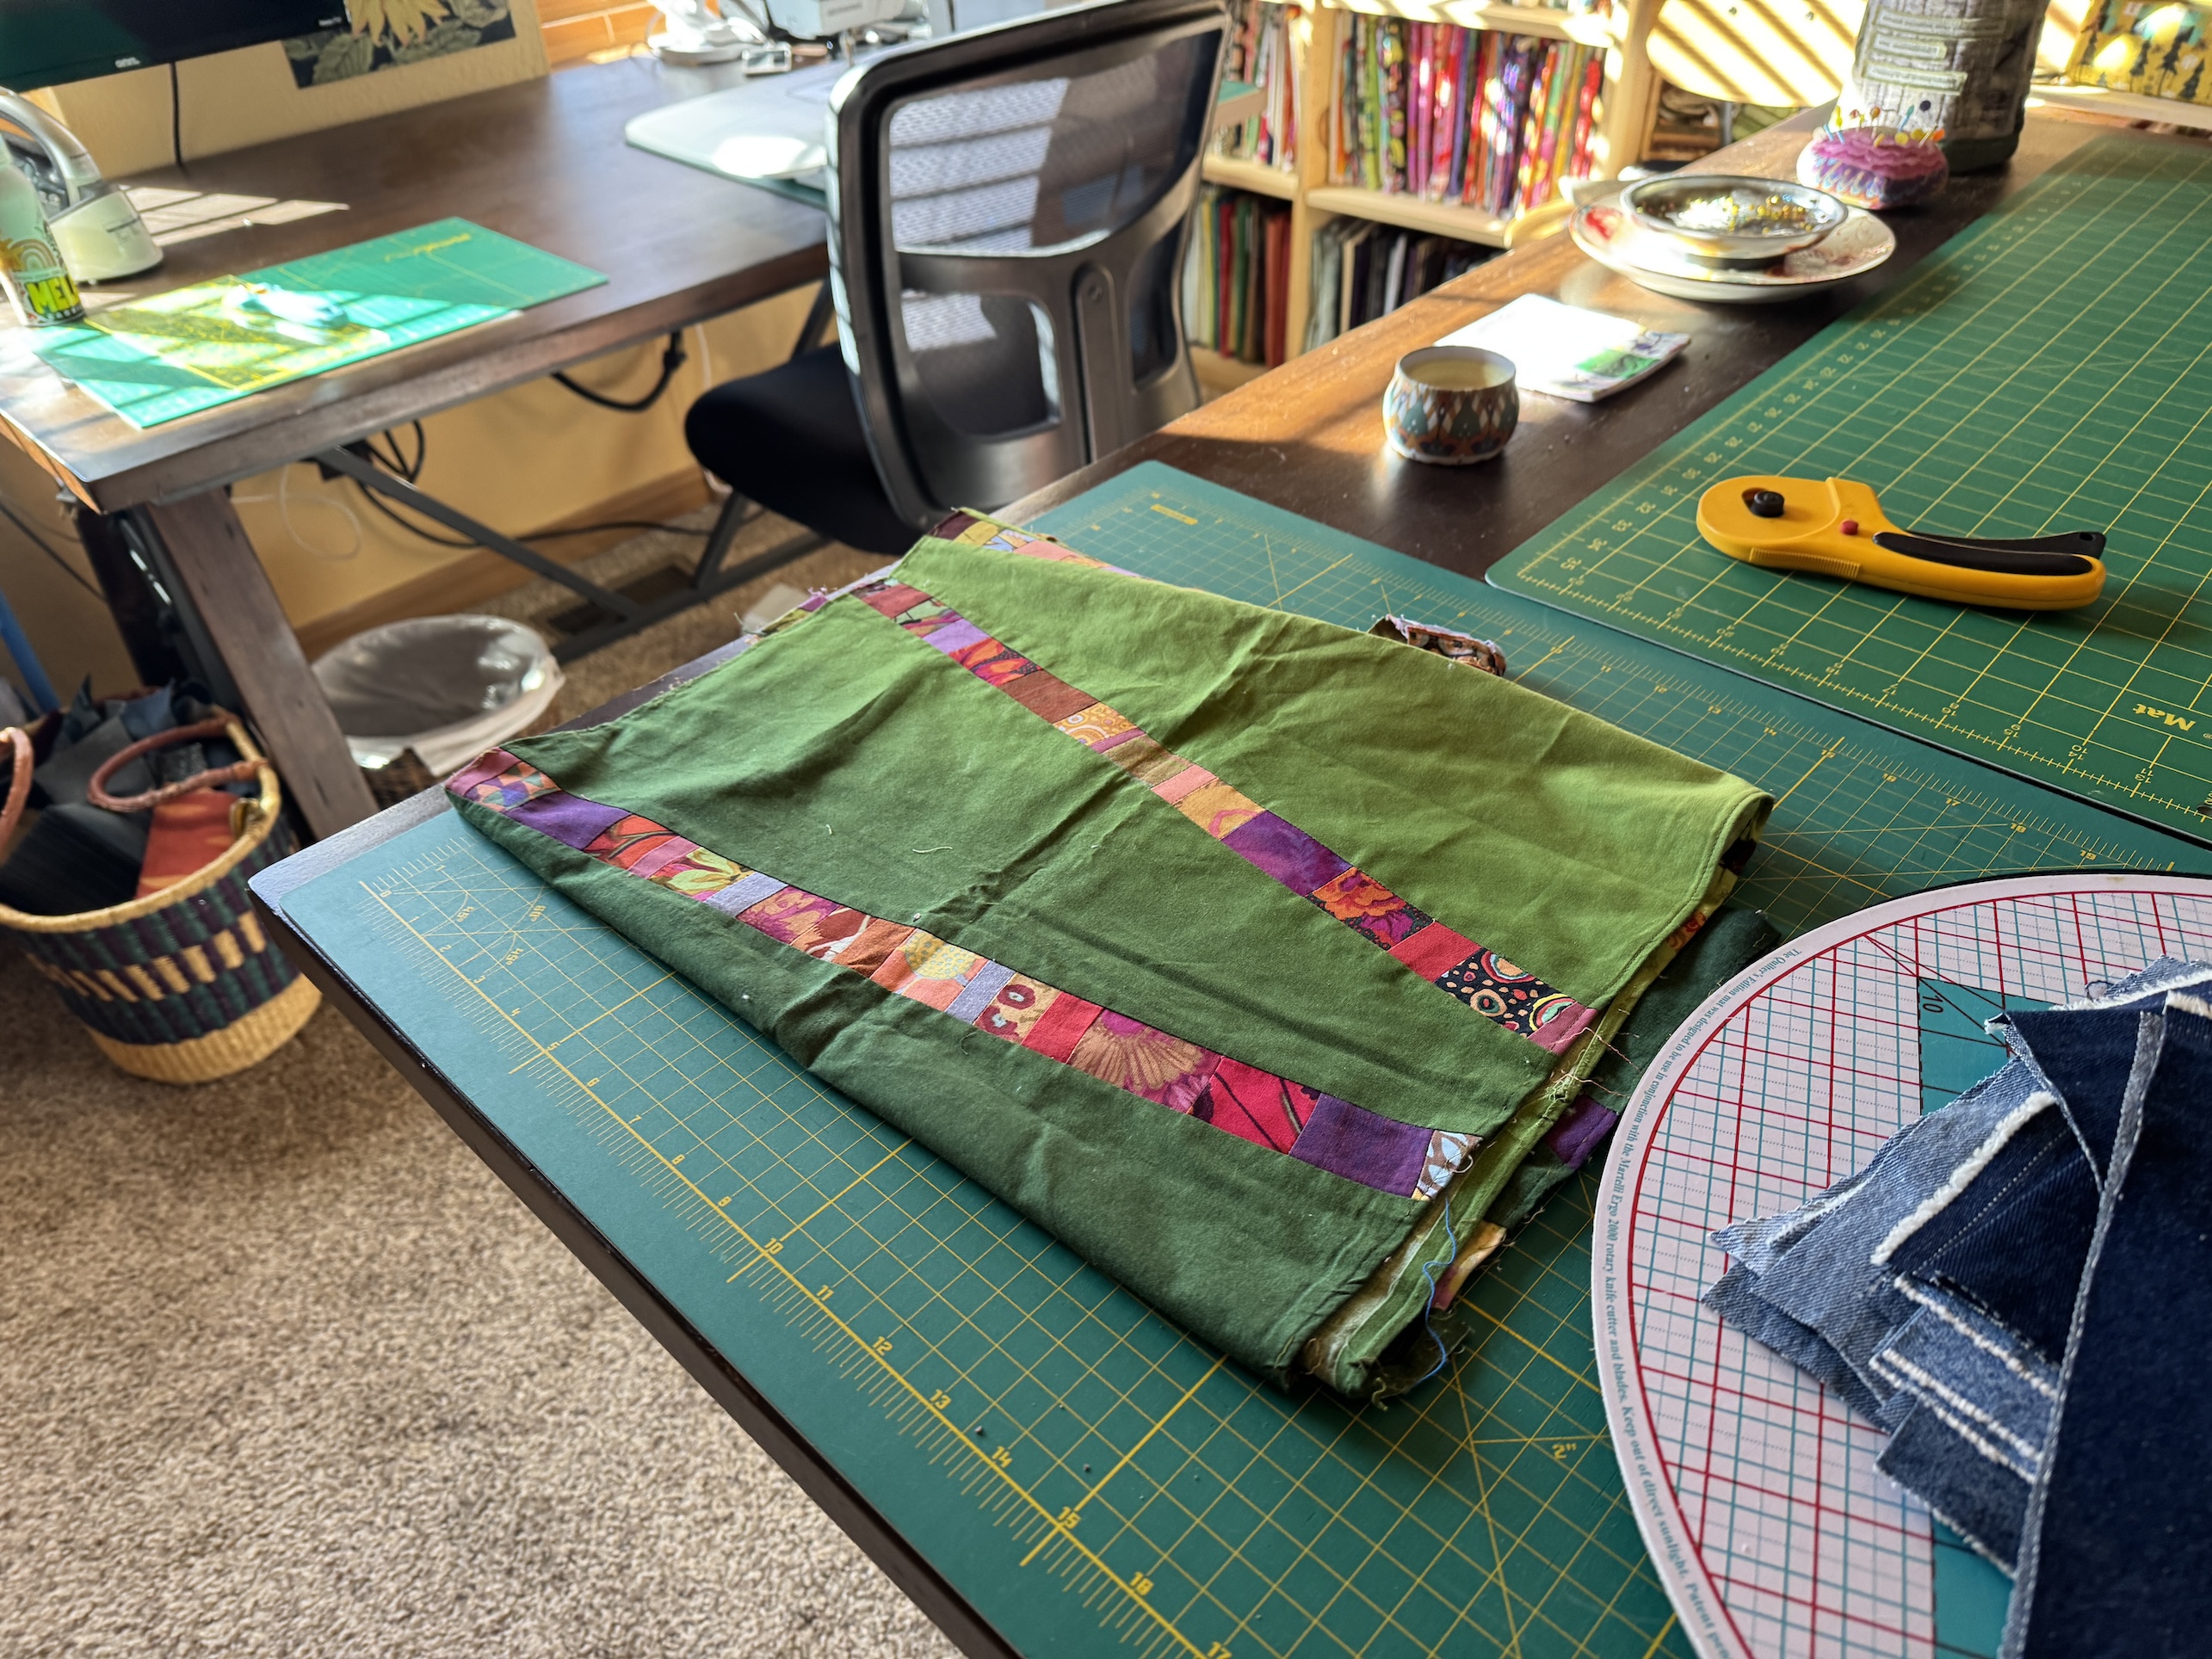
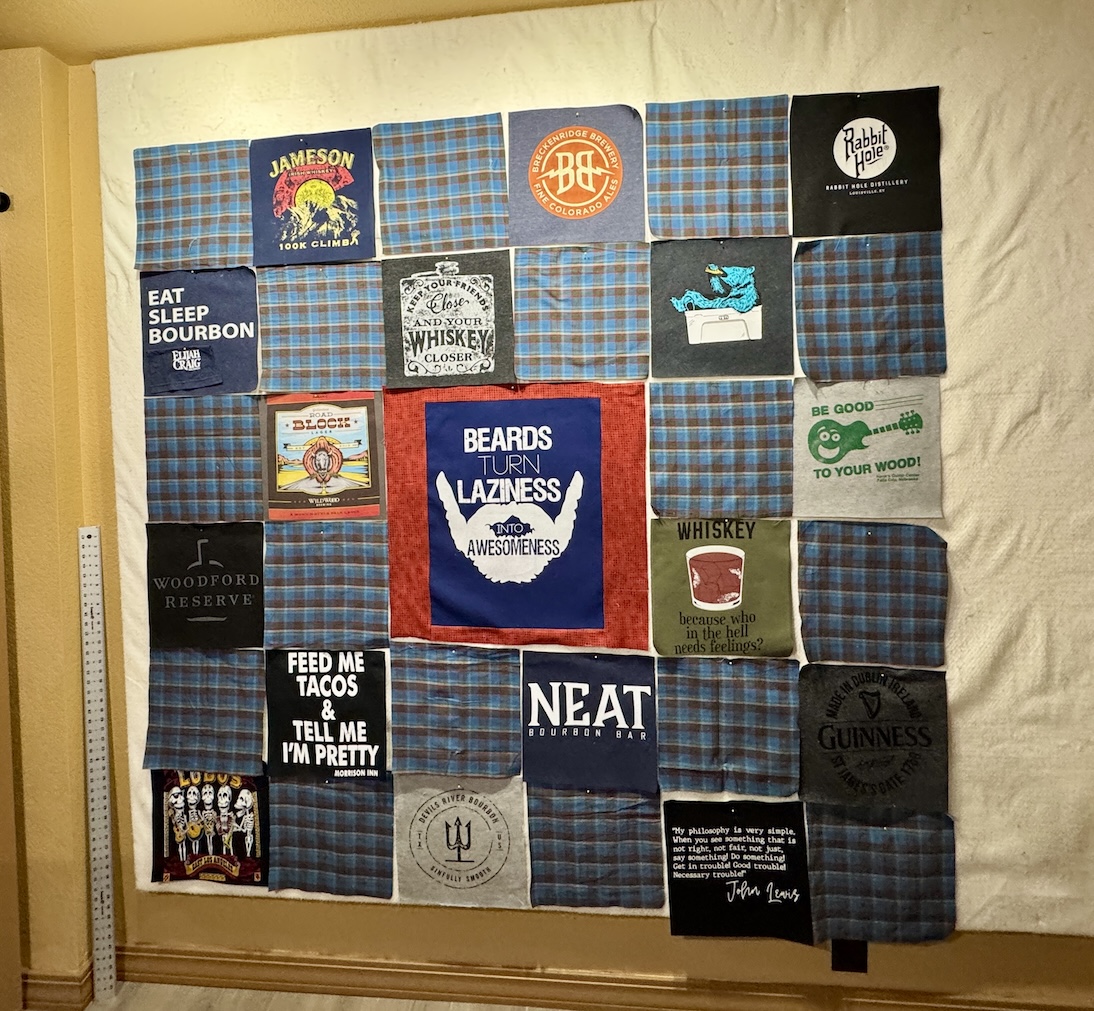
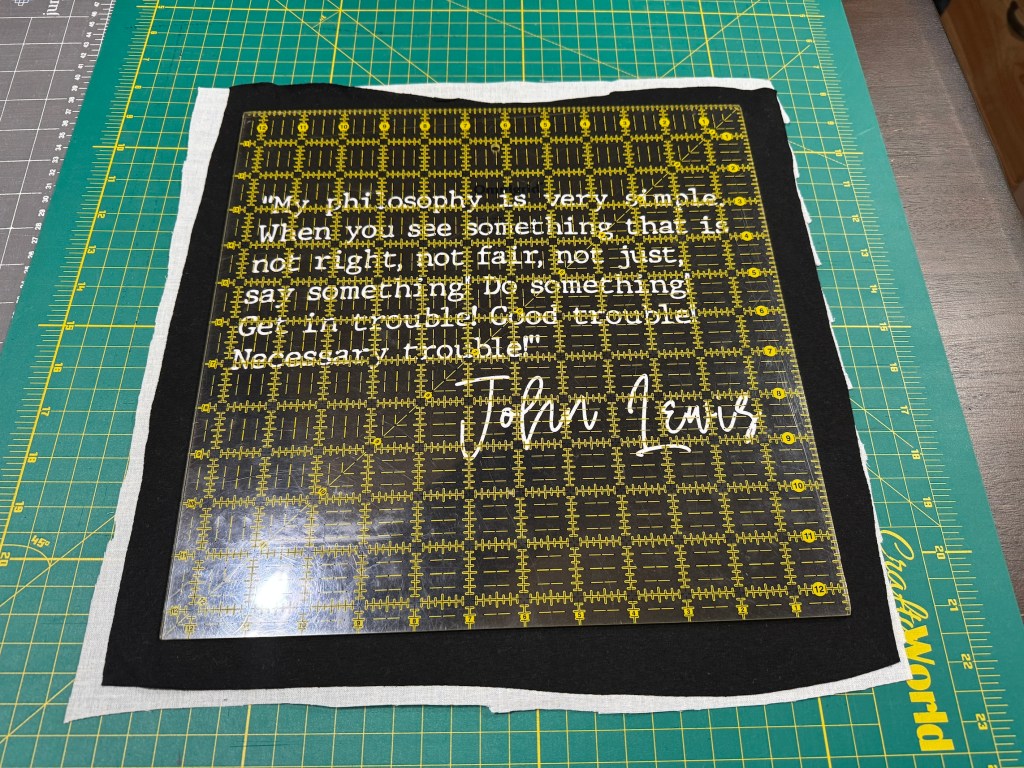
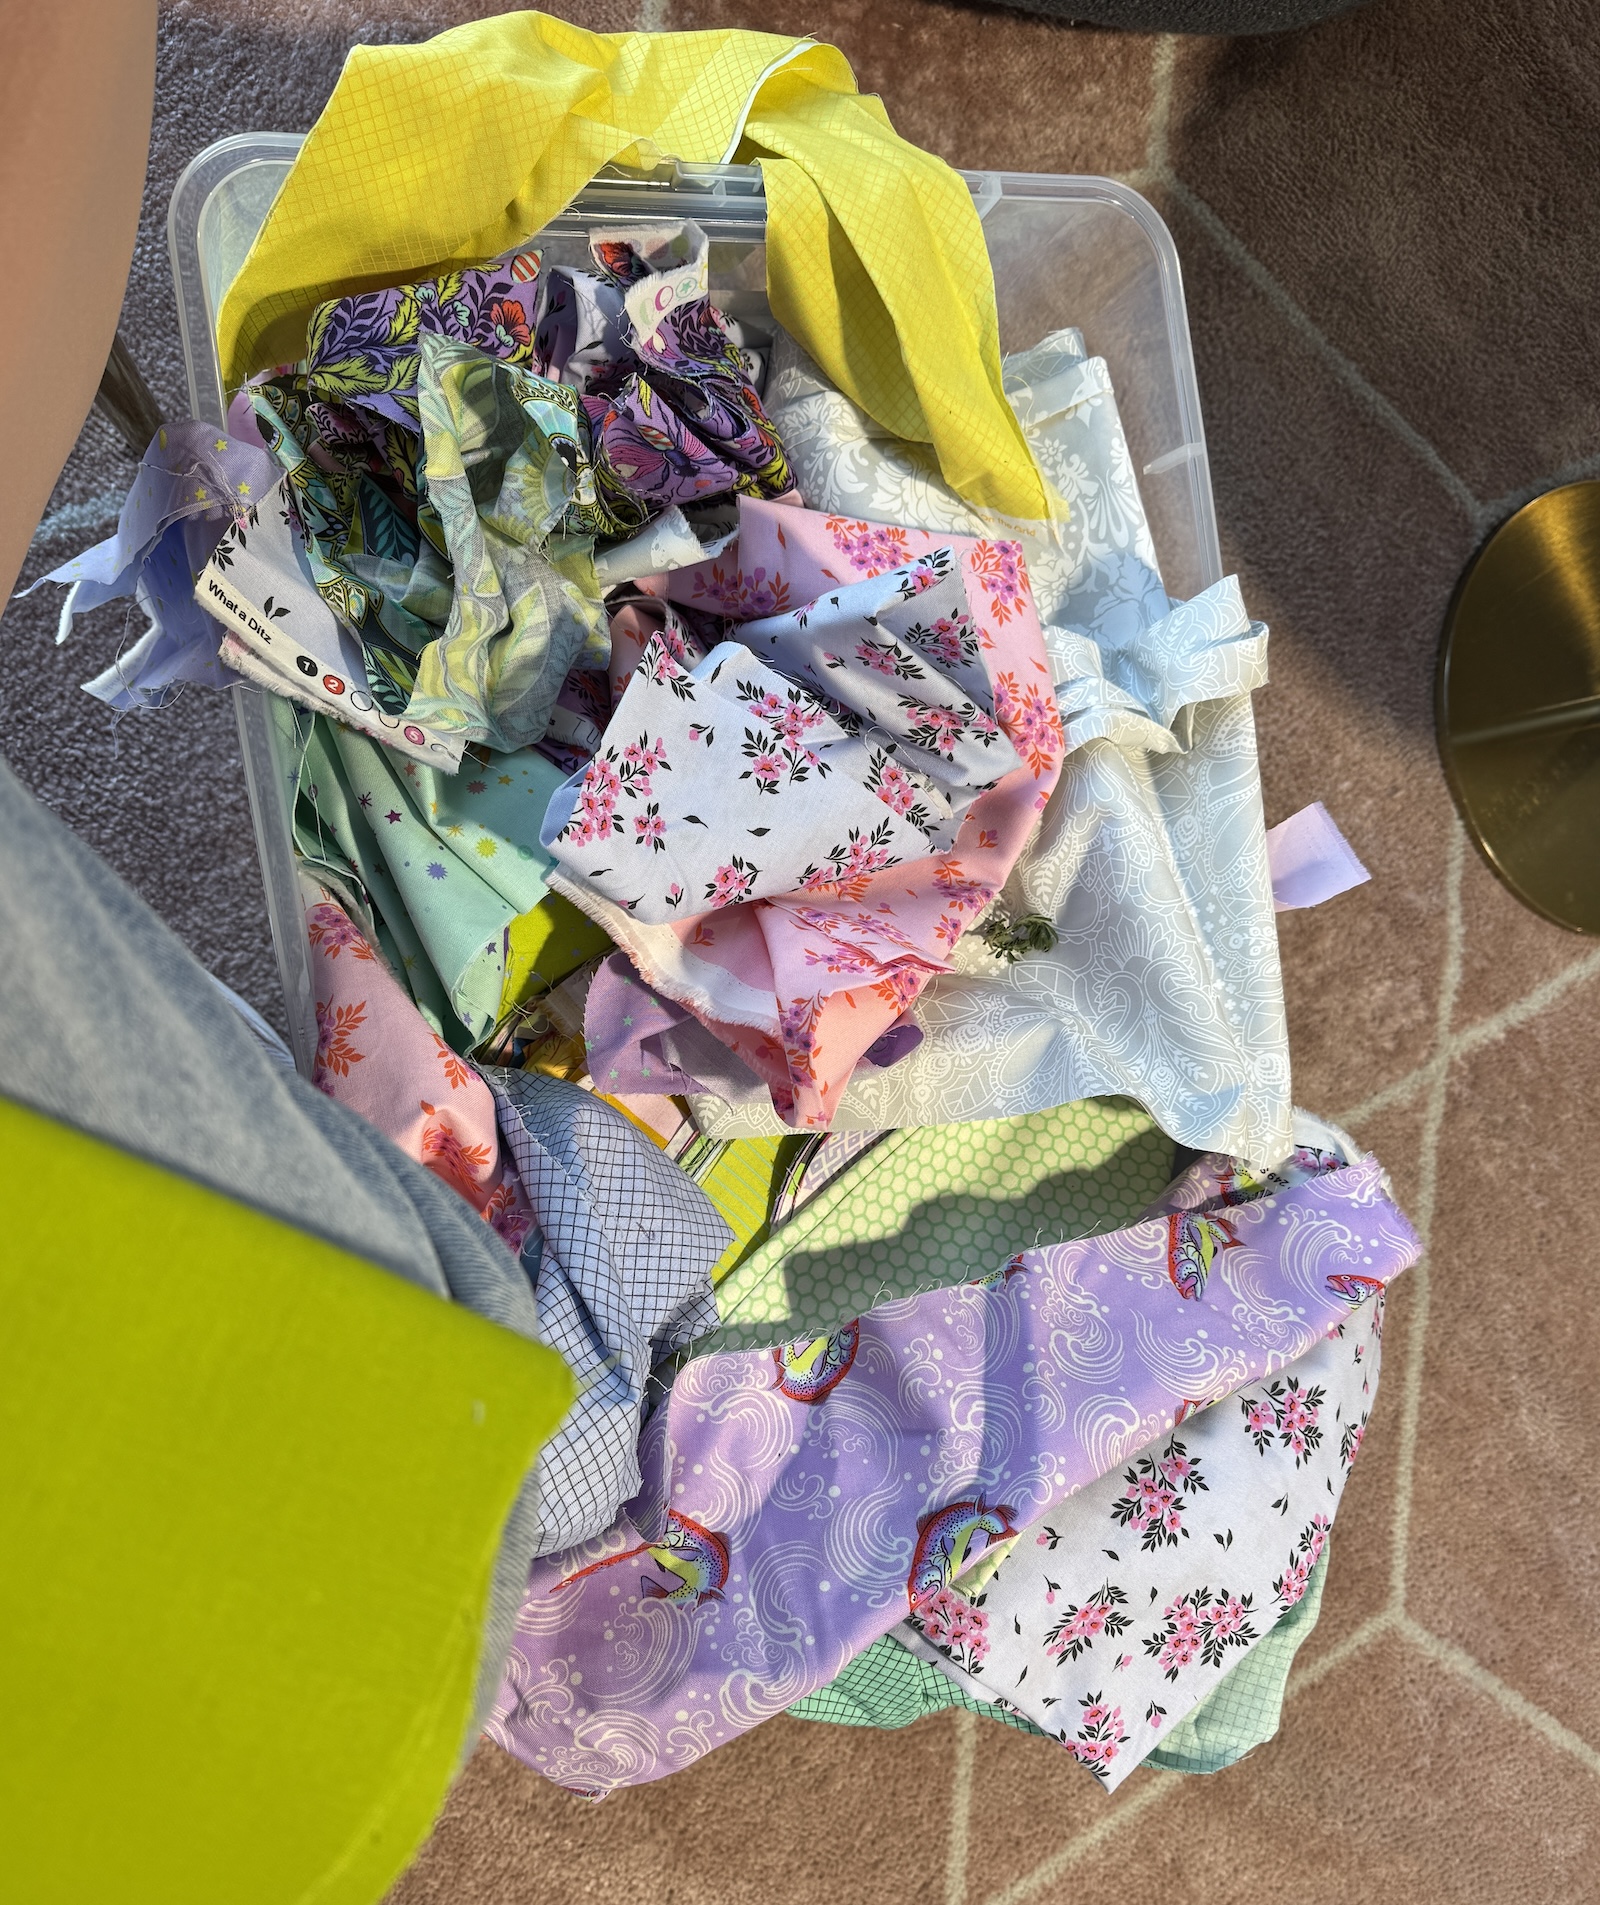
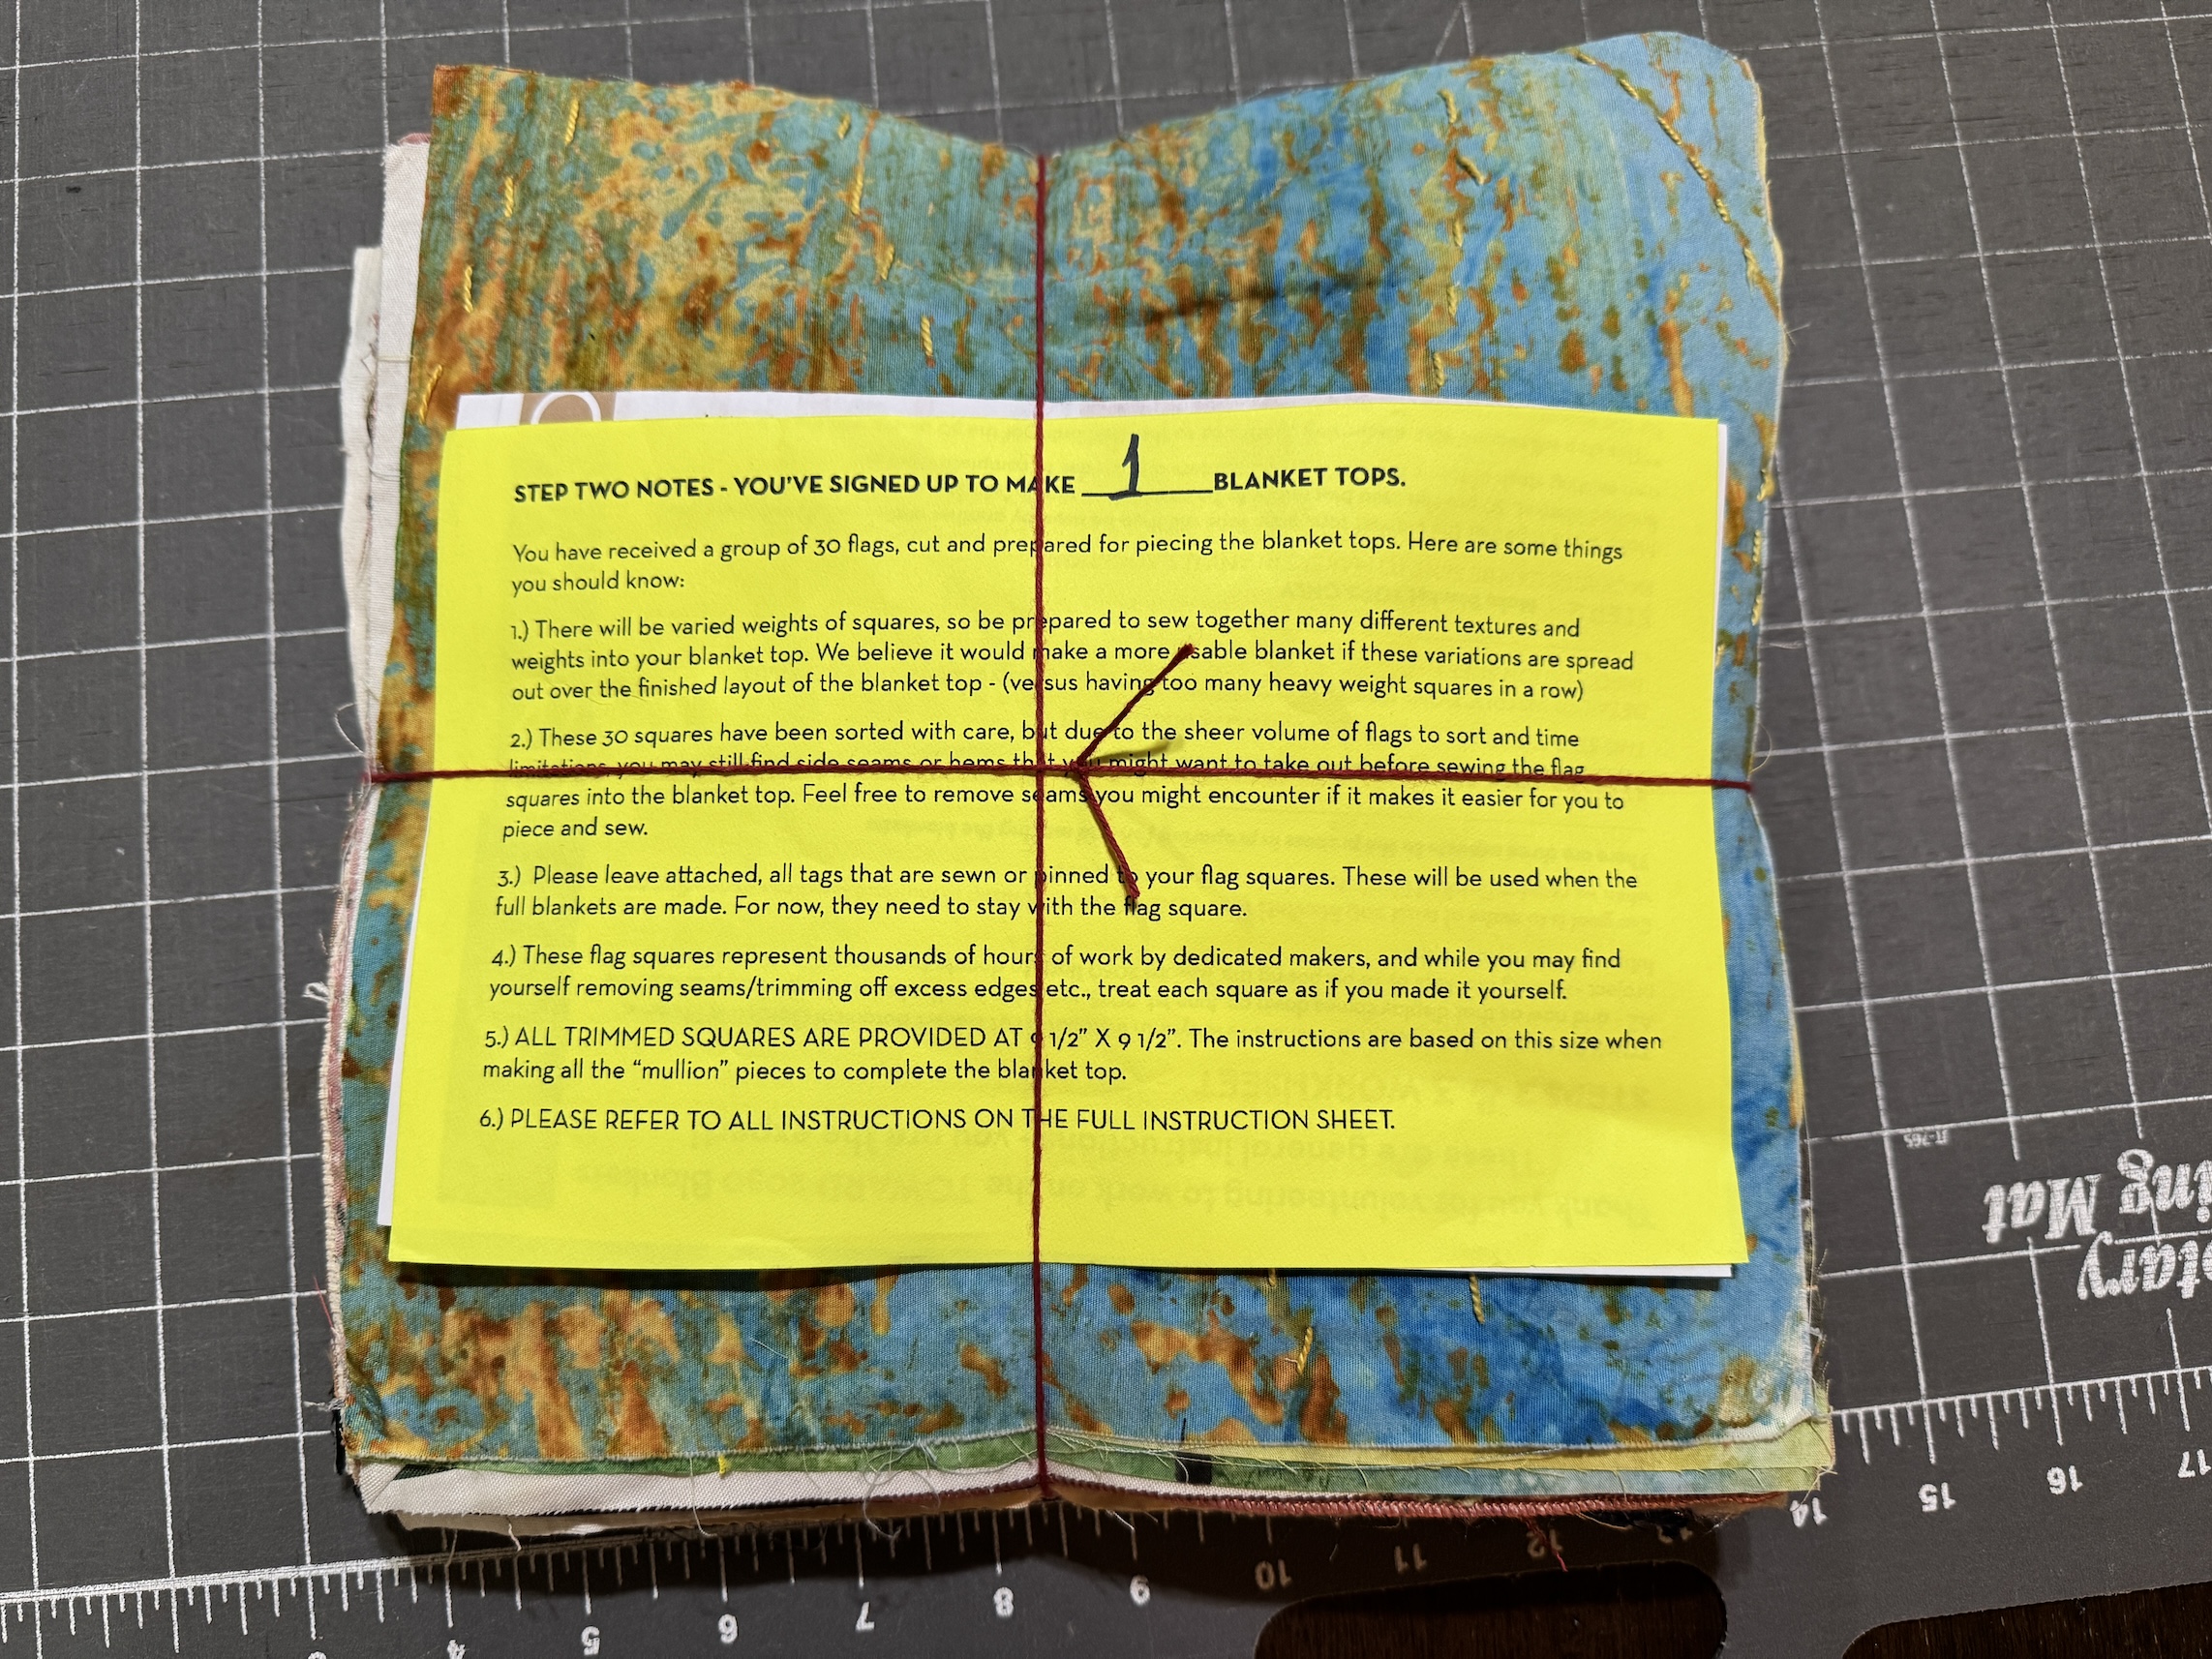
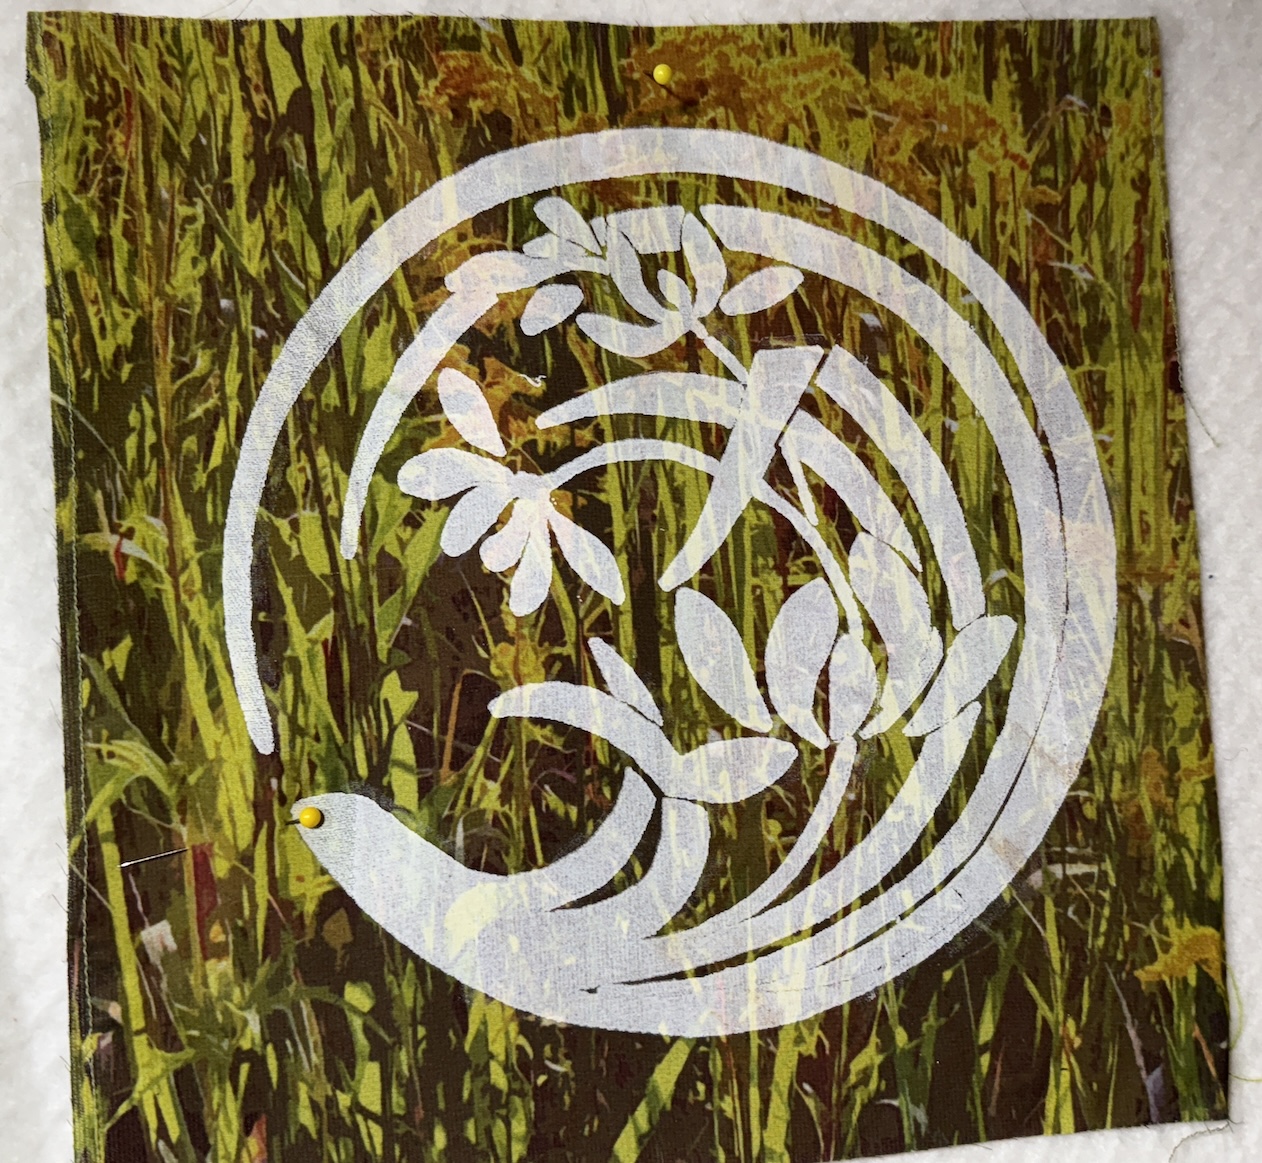
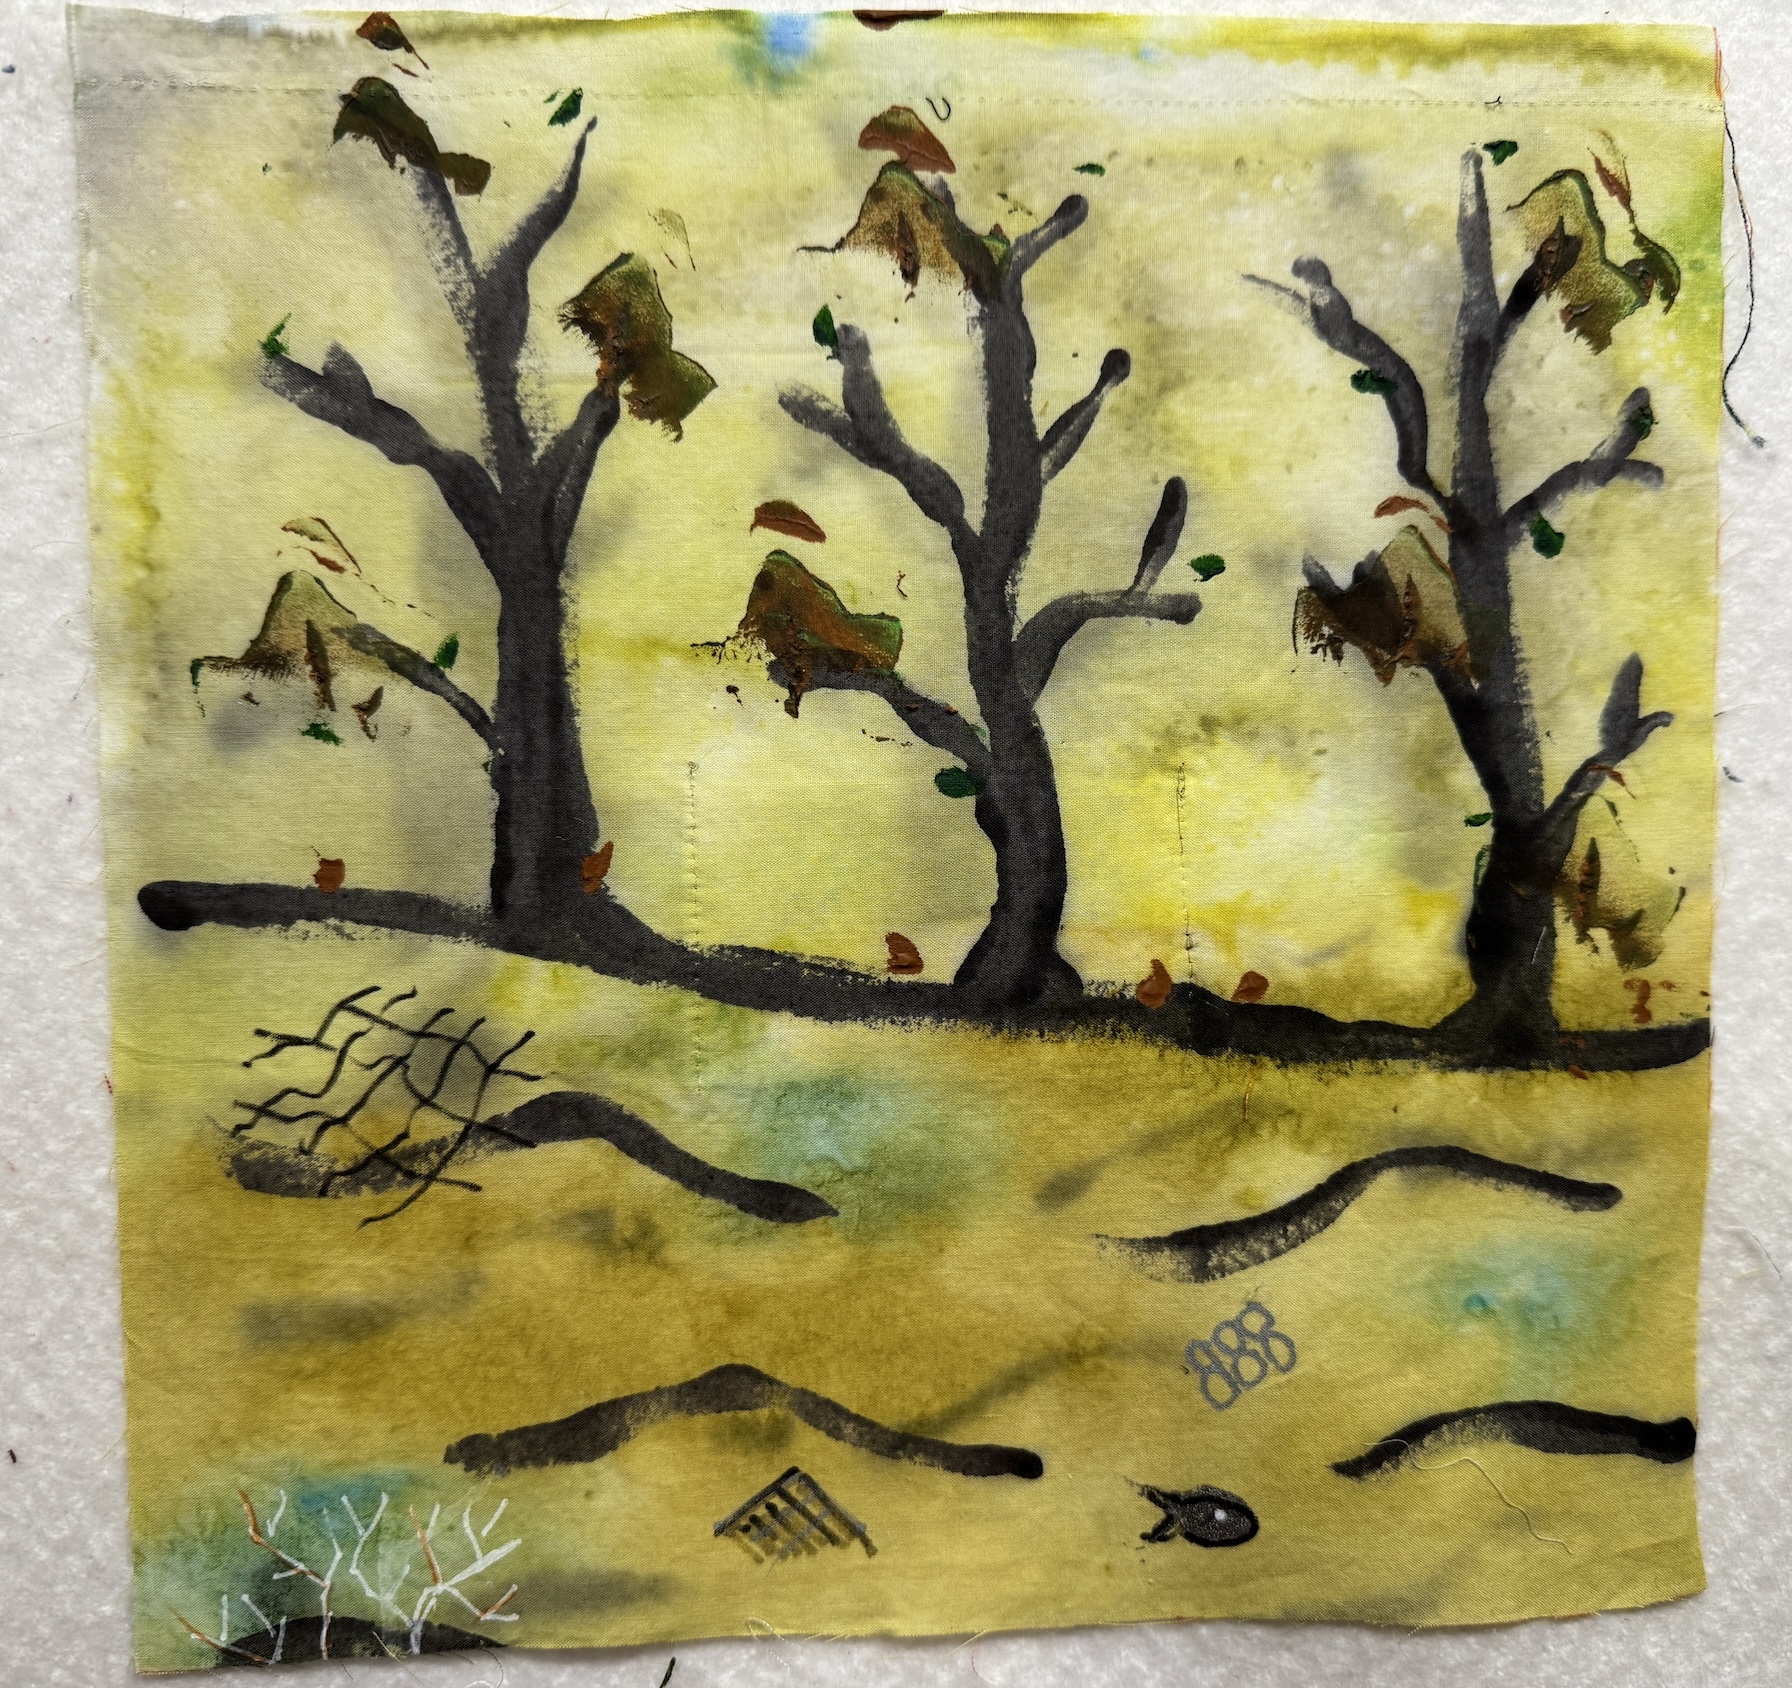
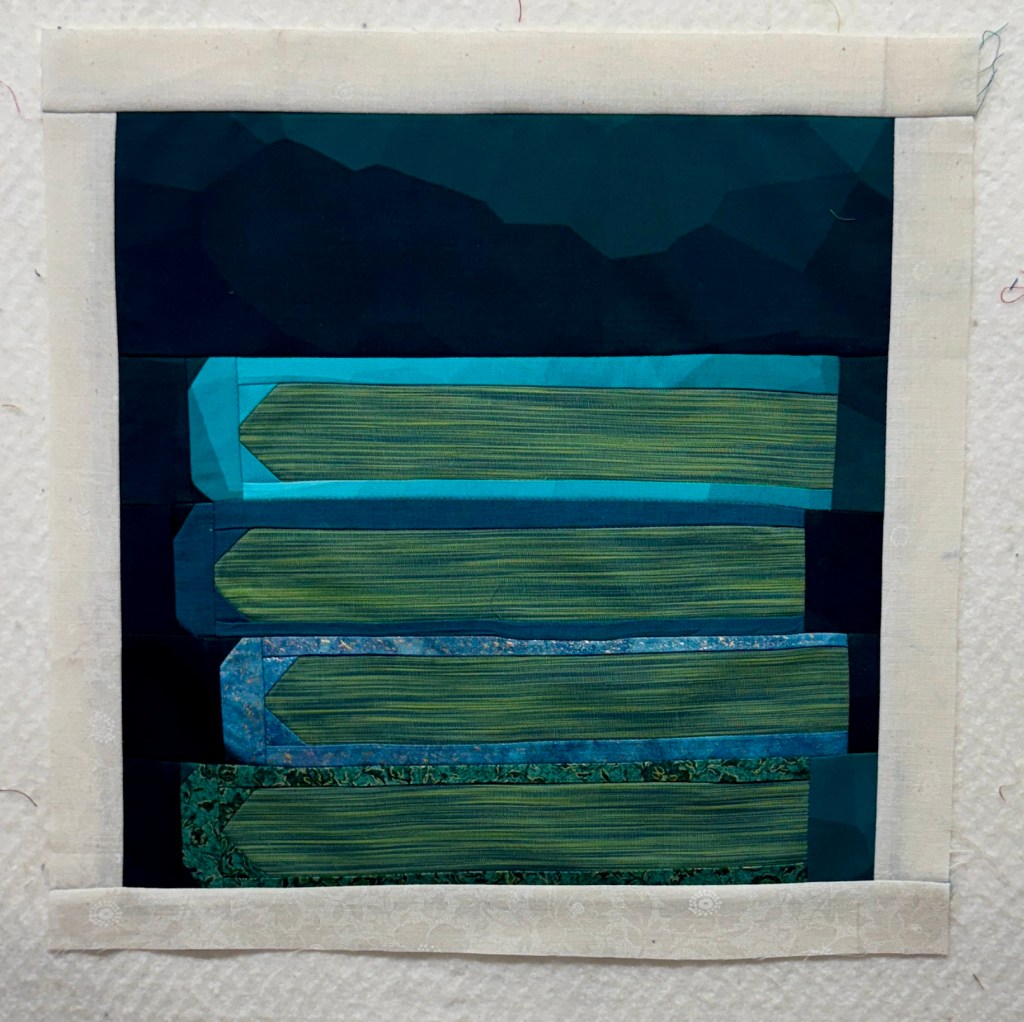
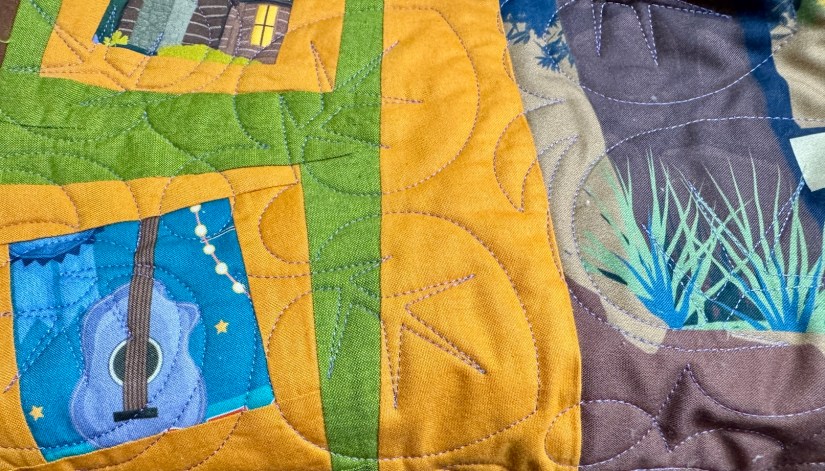
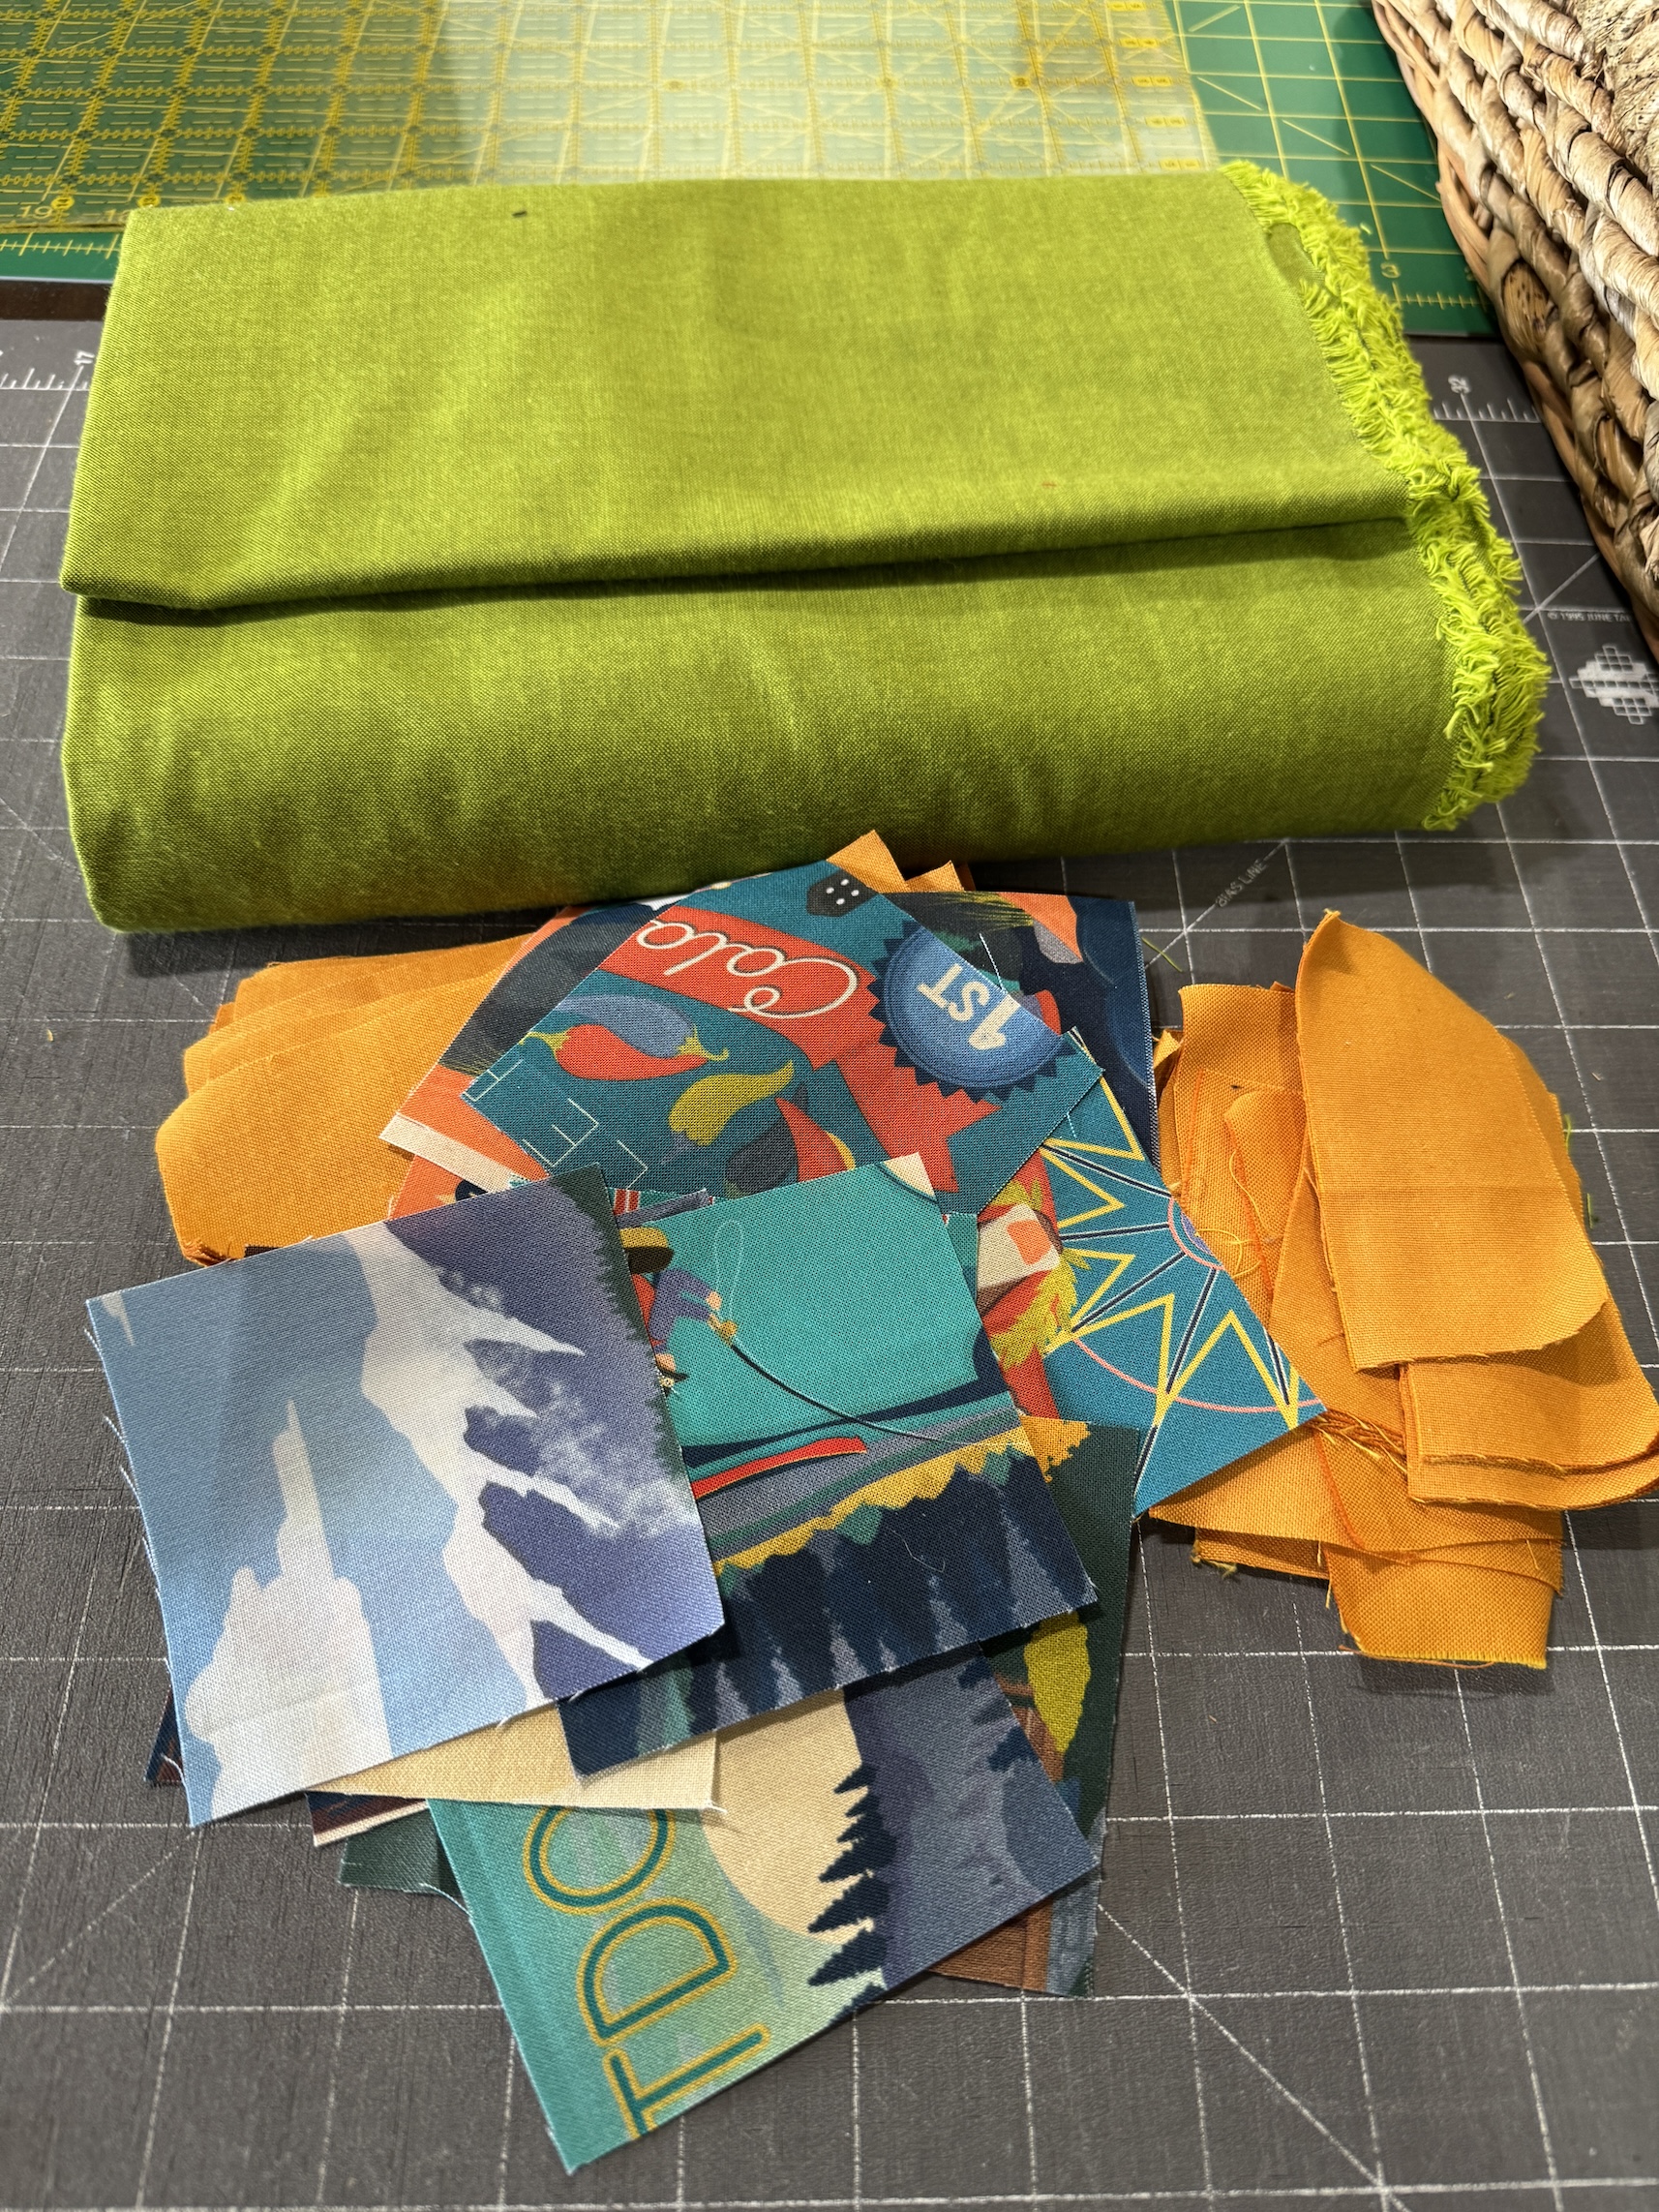
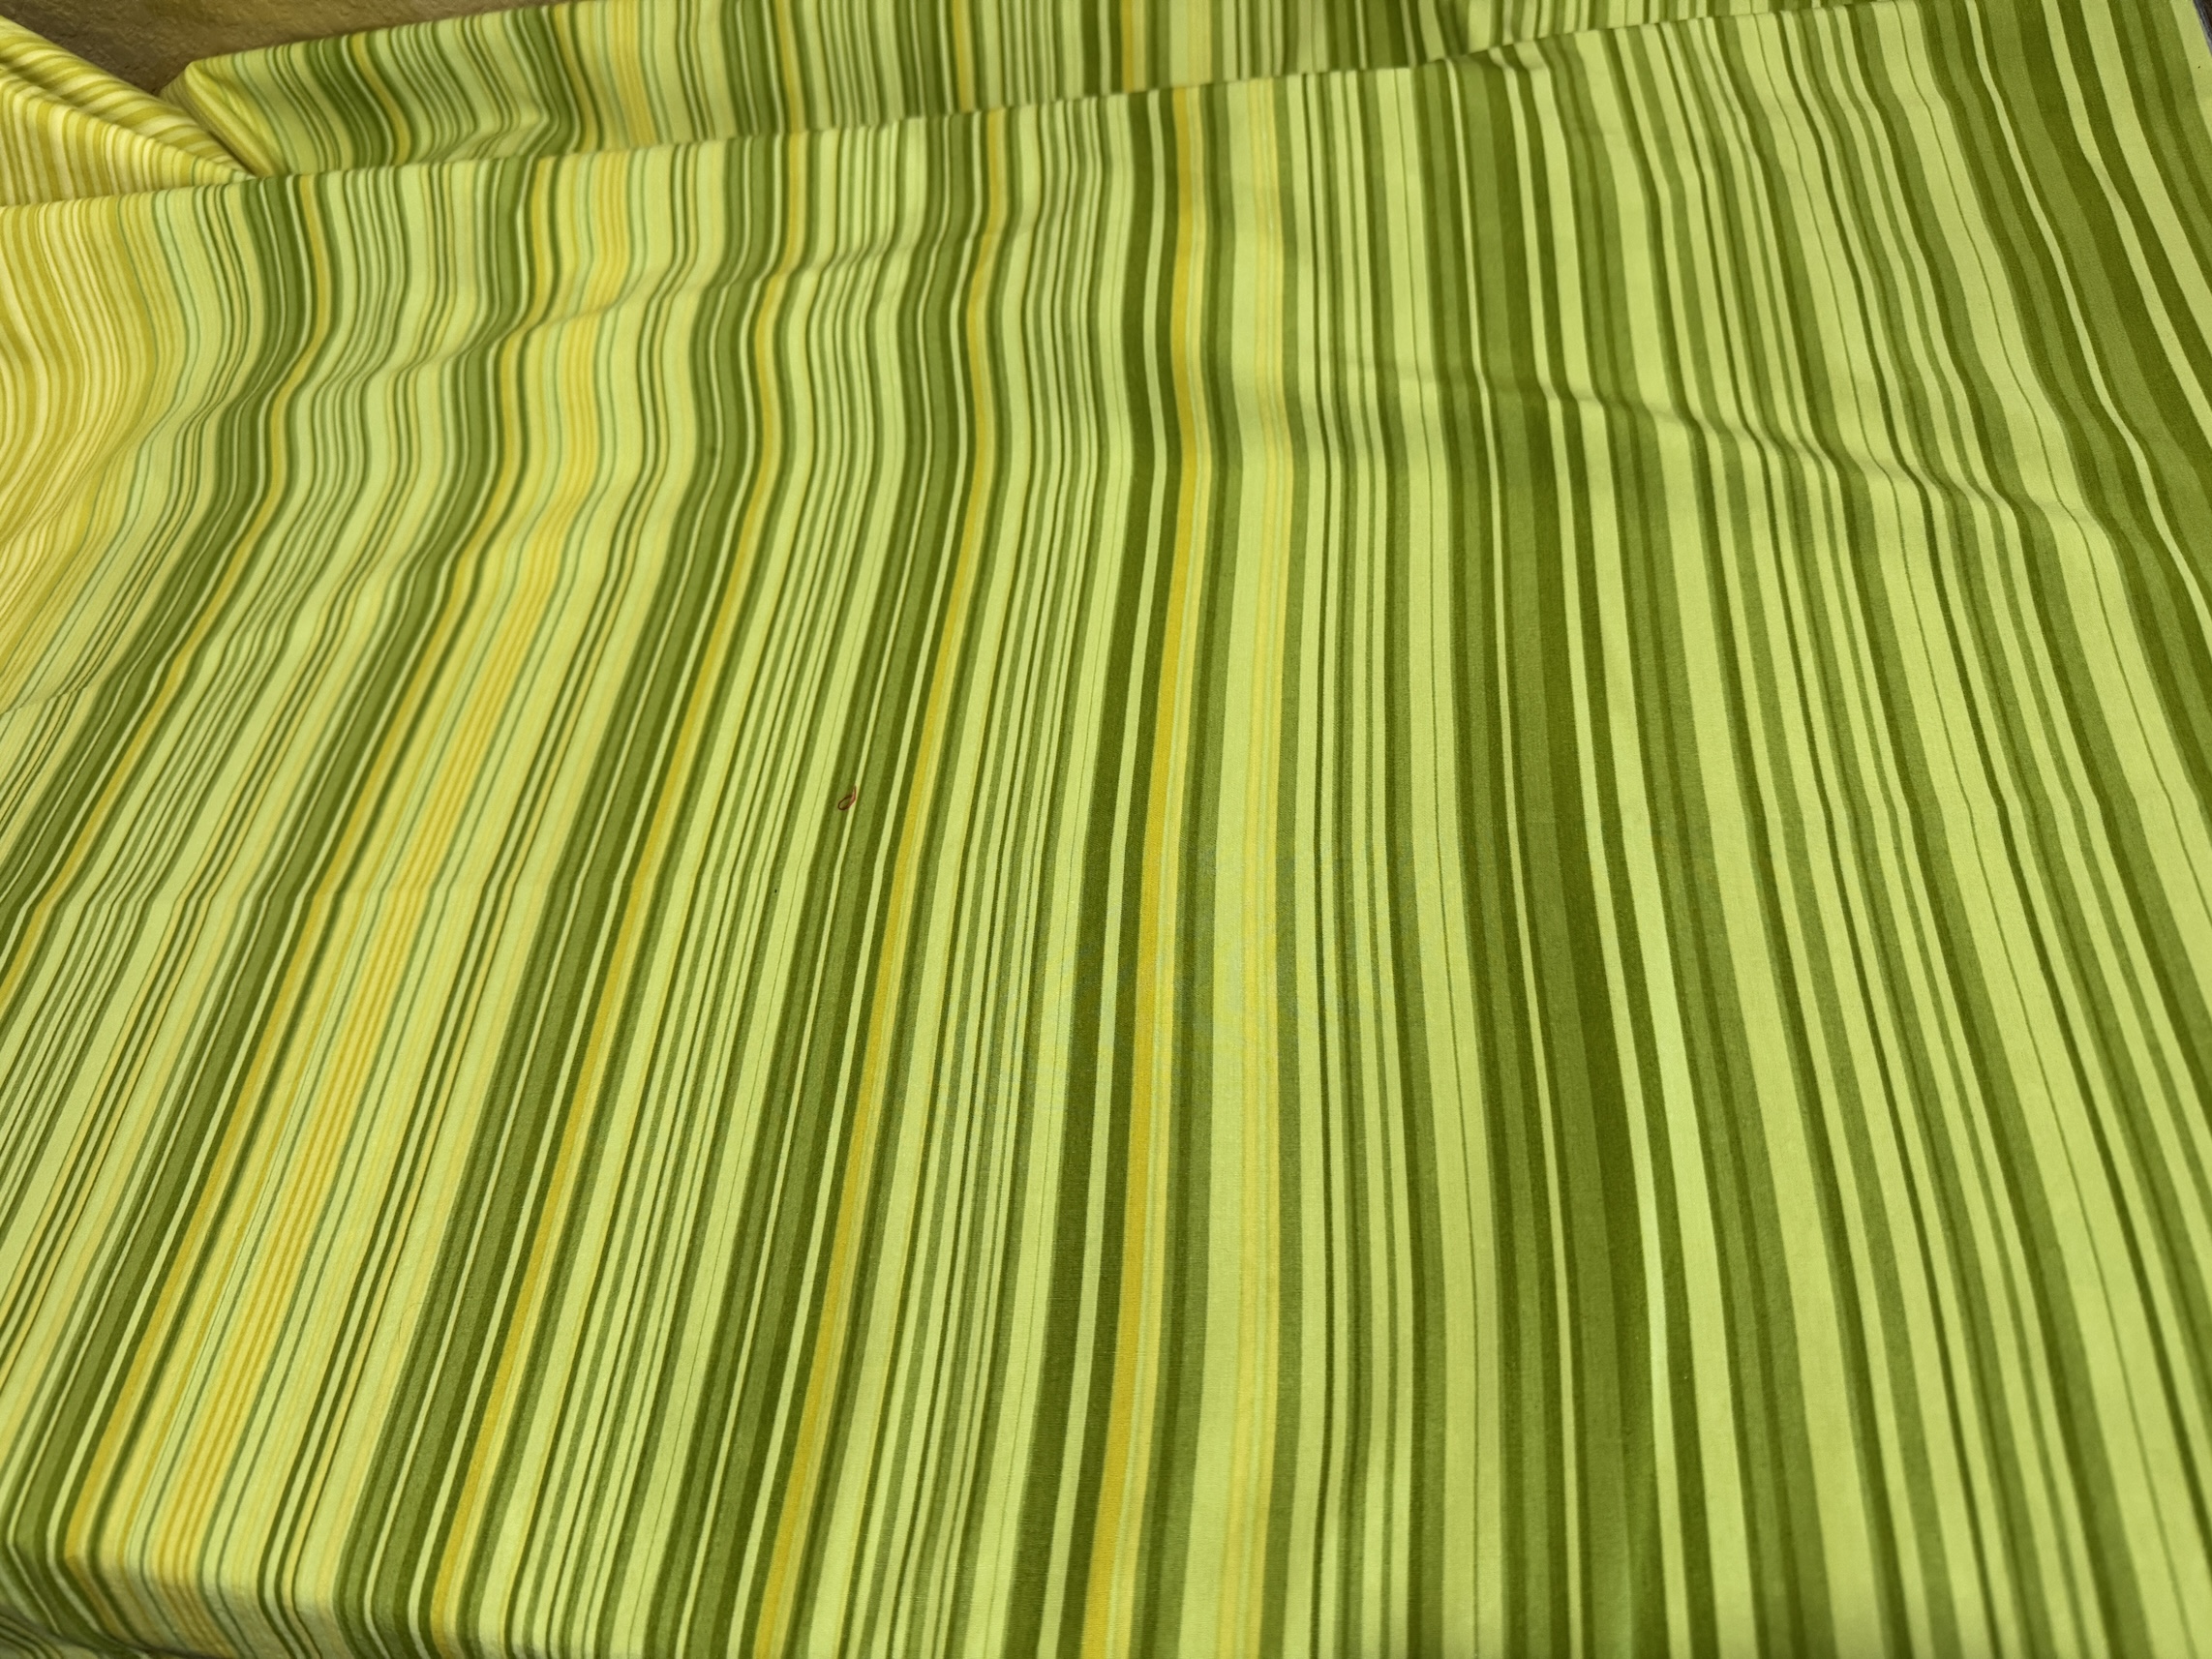
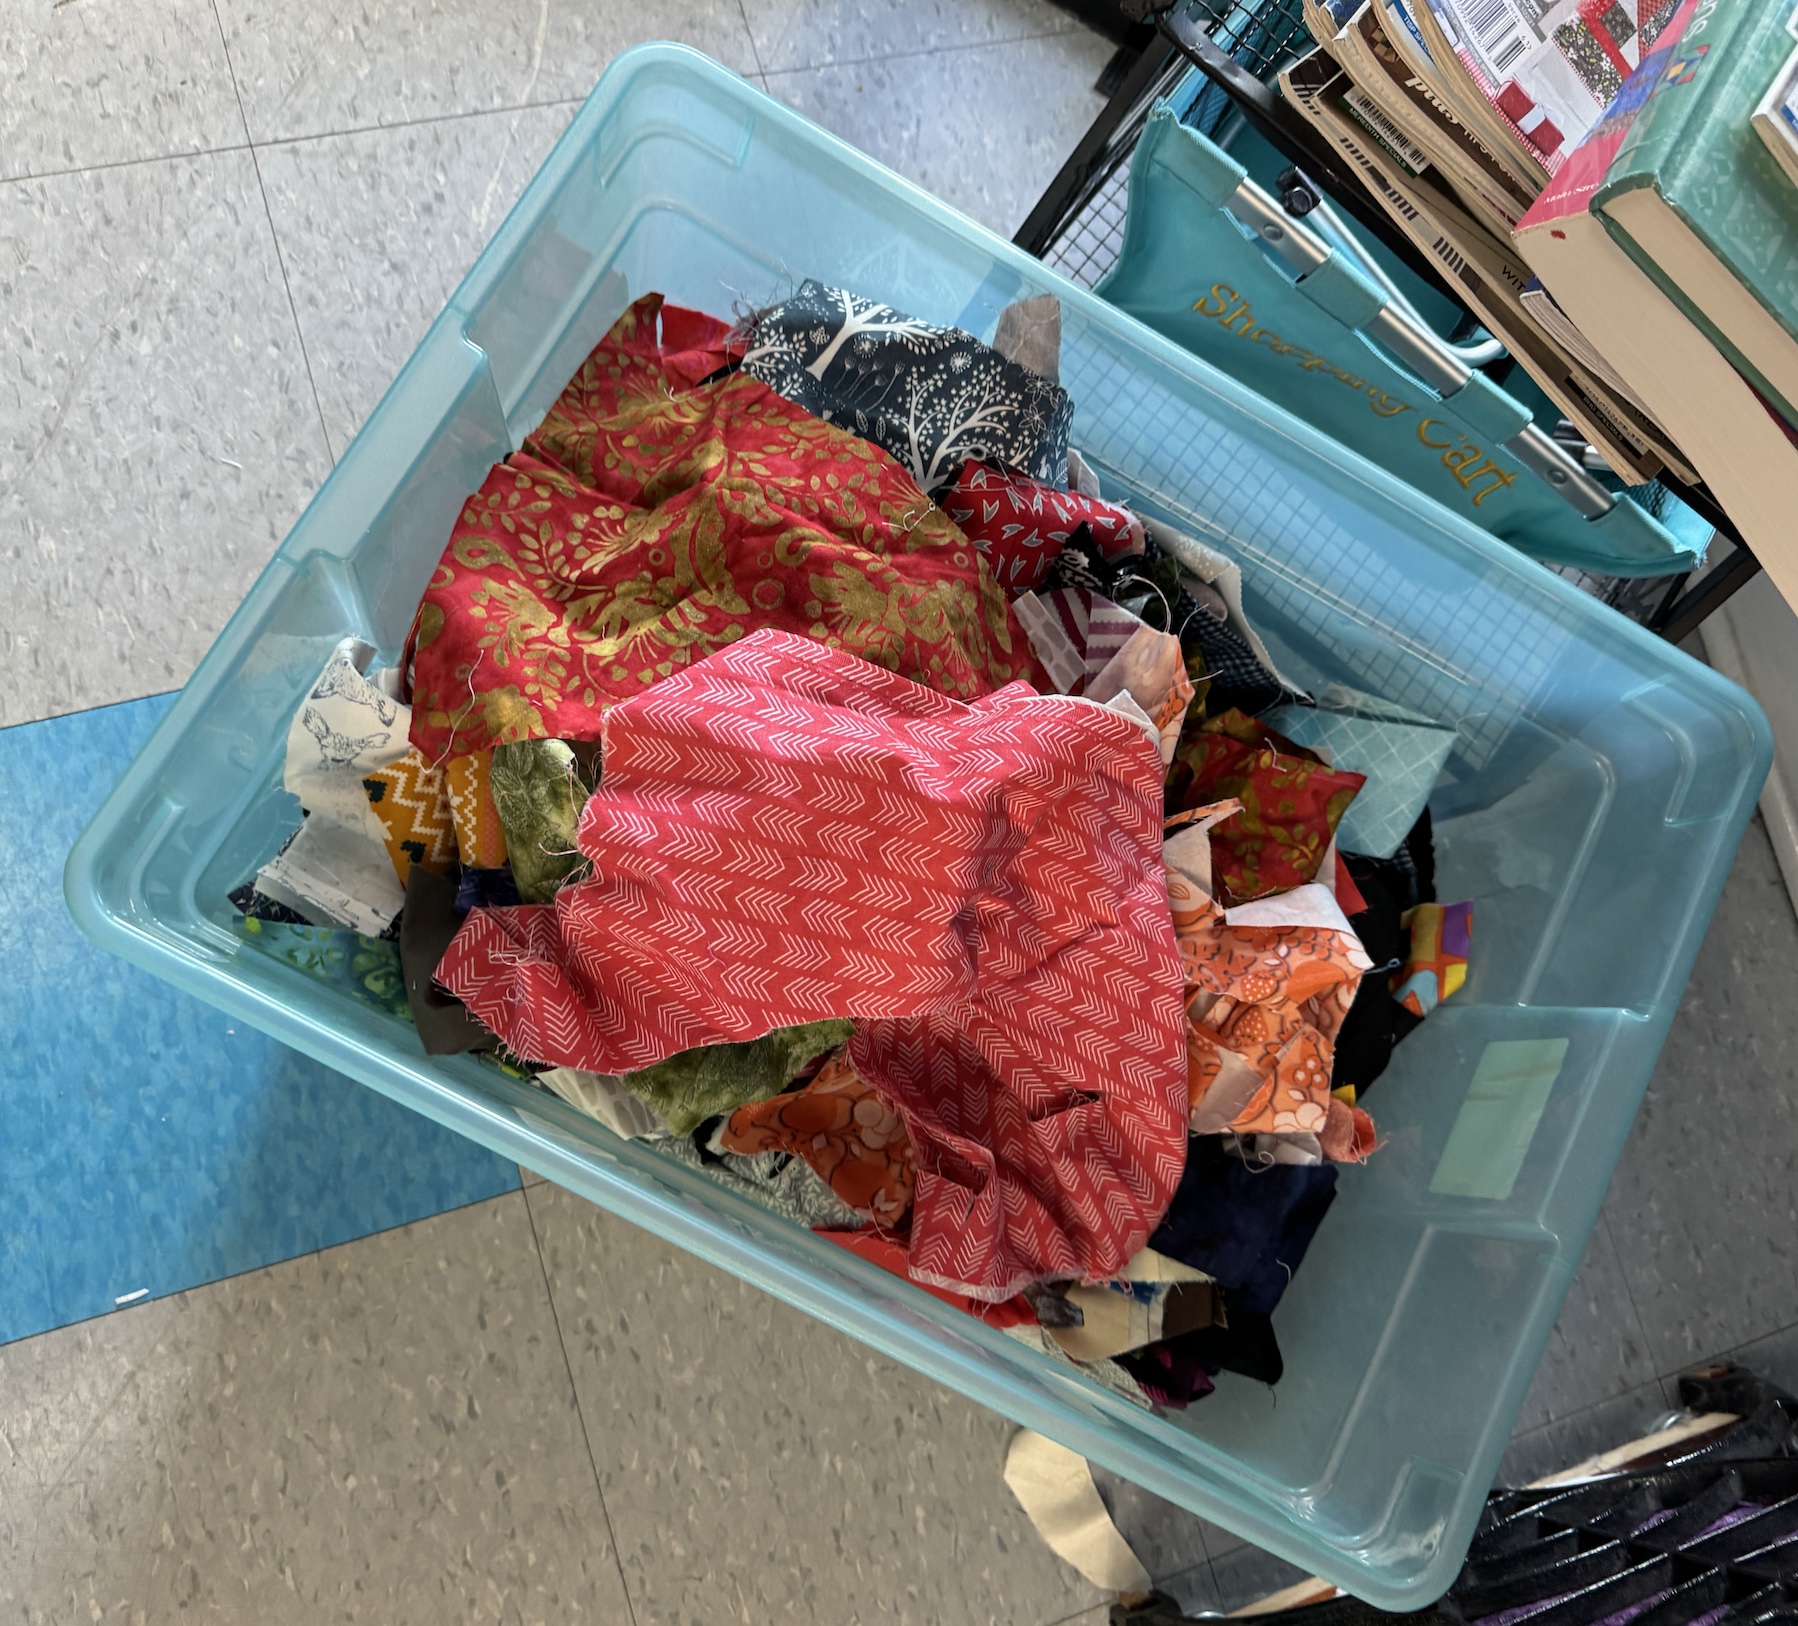
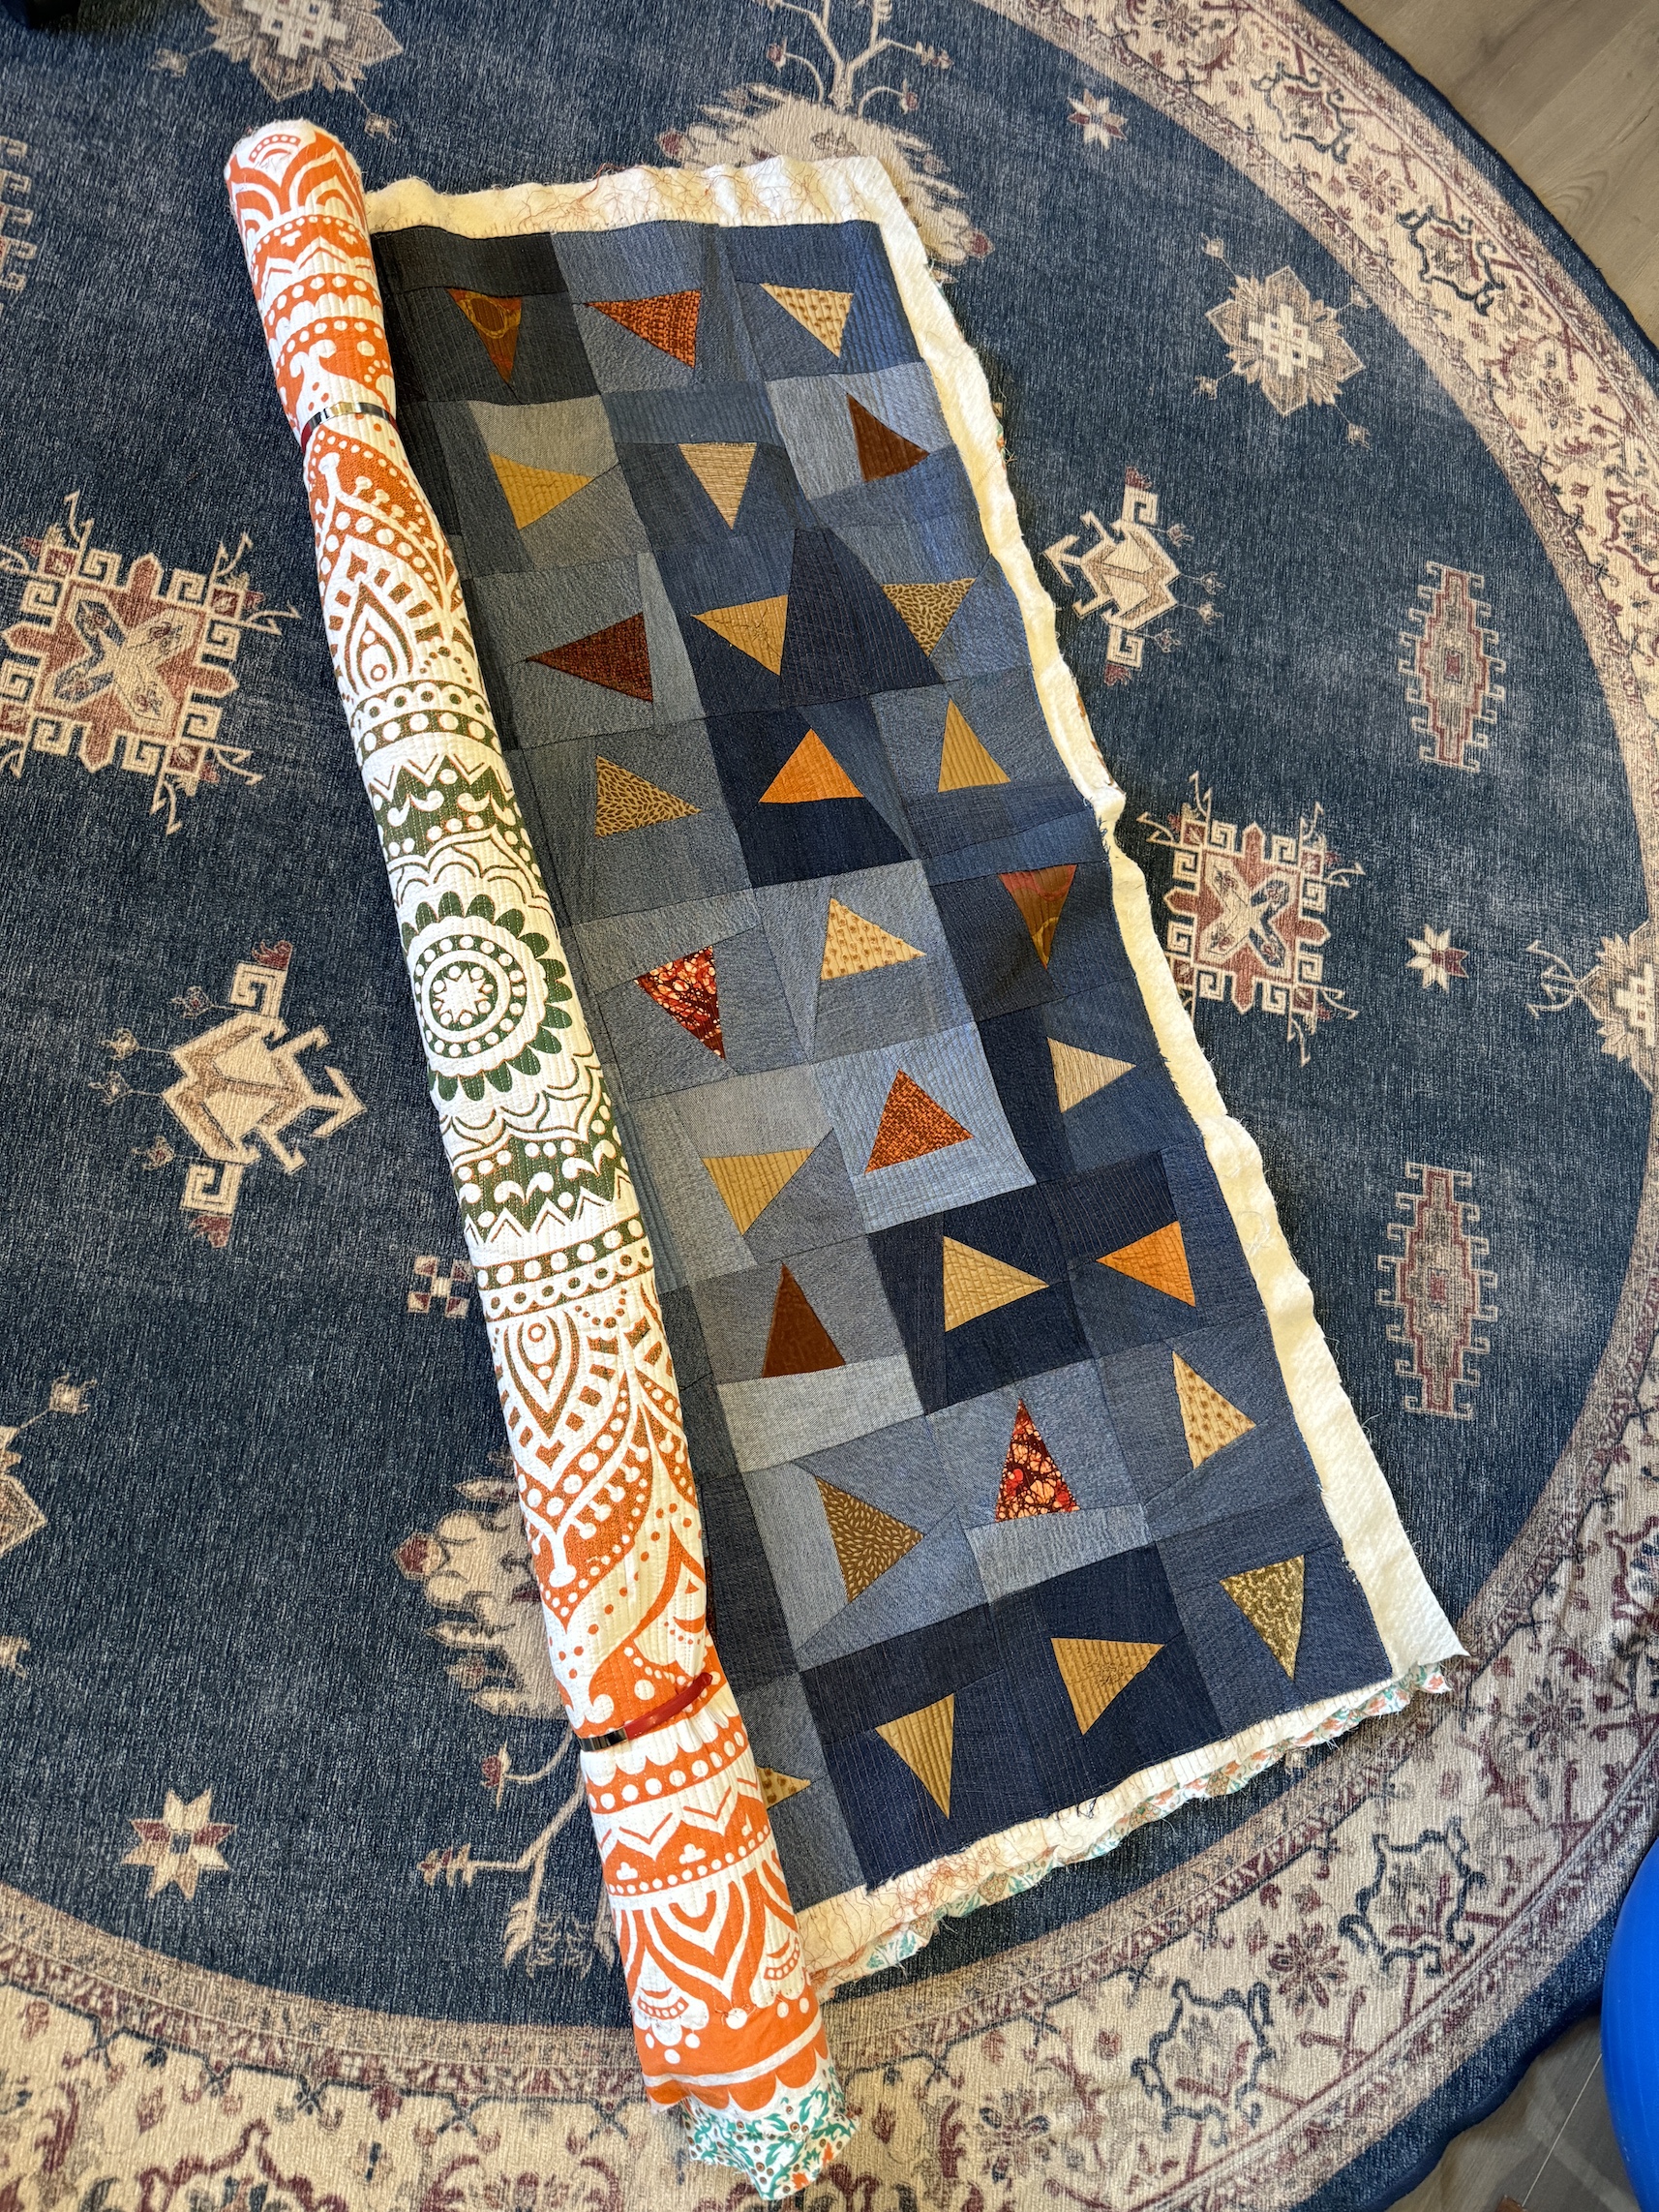
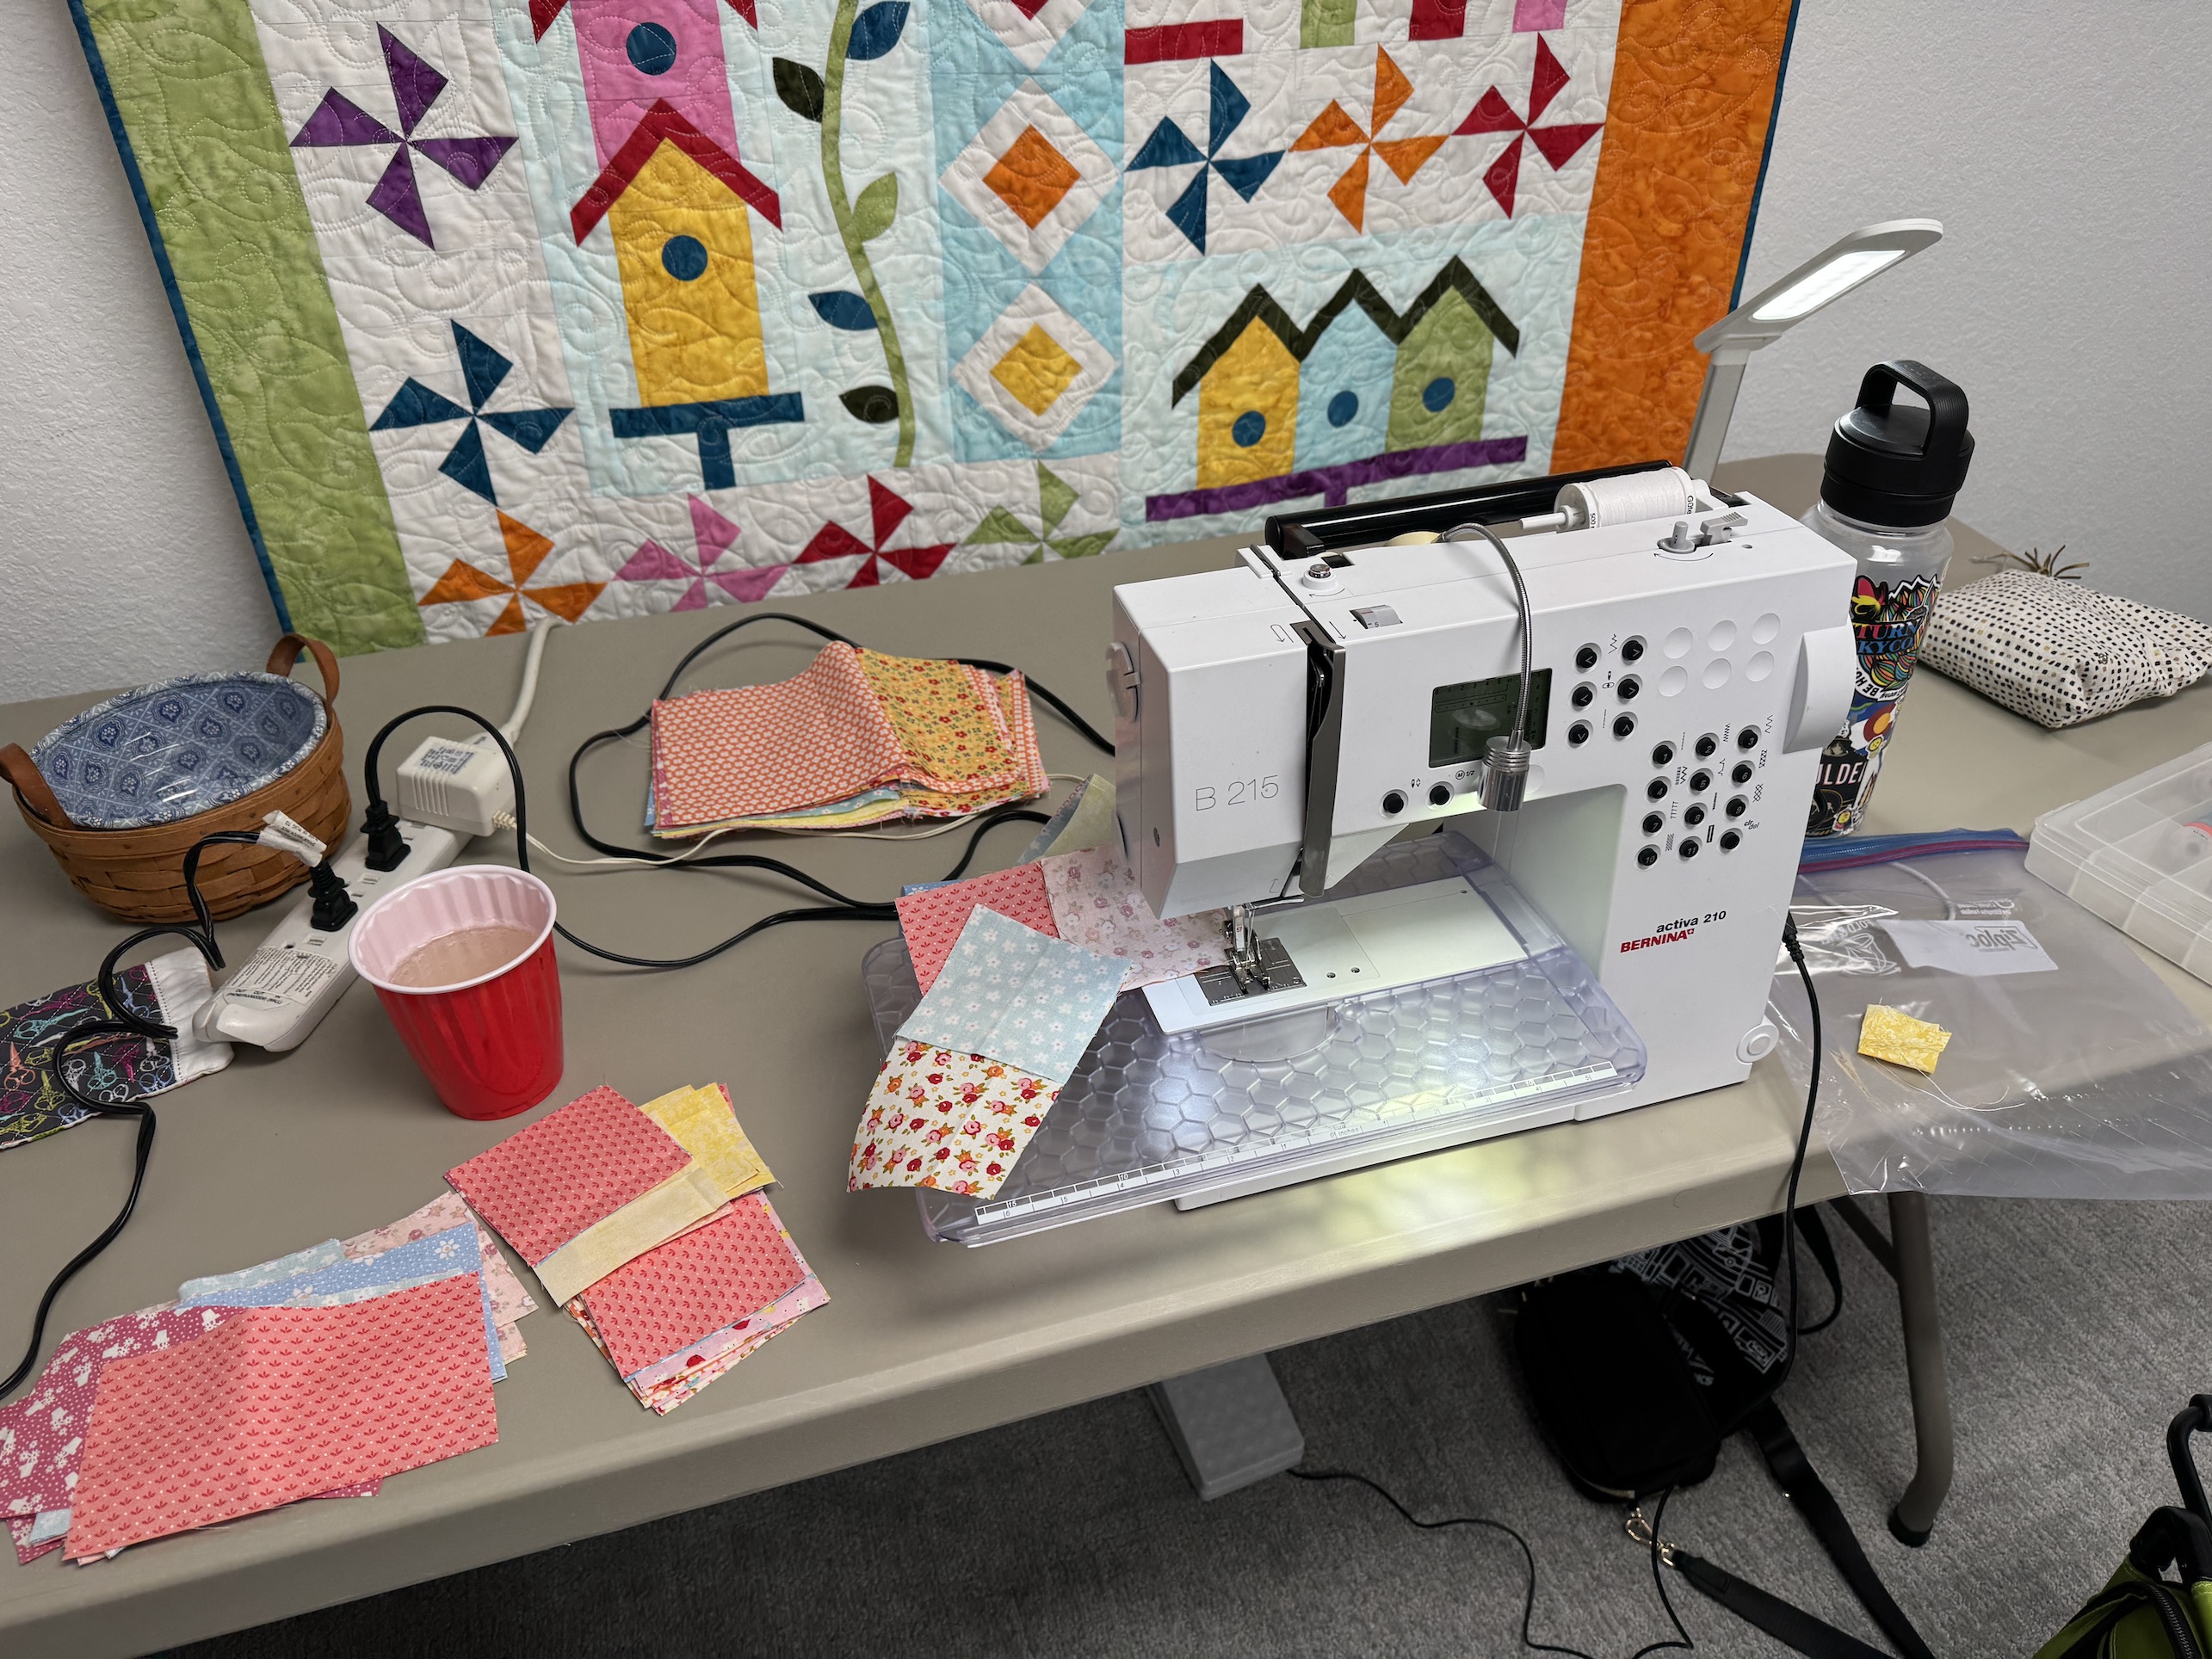
We were assigned either cutting, ironing, or sewing; and the long-arm quilters in the group would do the machine quilting on the quilts. They chose a simple pattern and precut packets of coordinate fabrics for those of us assigned to sewing (I was in that group):
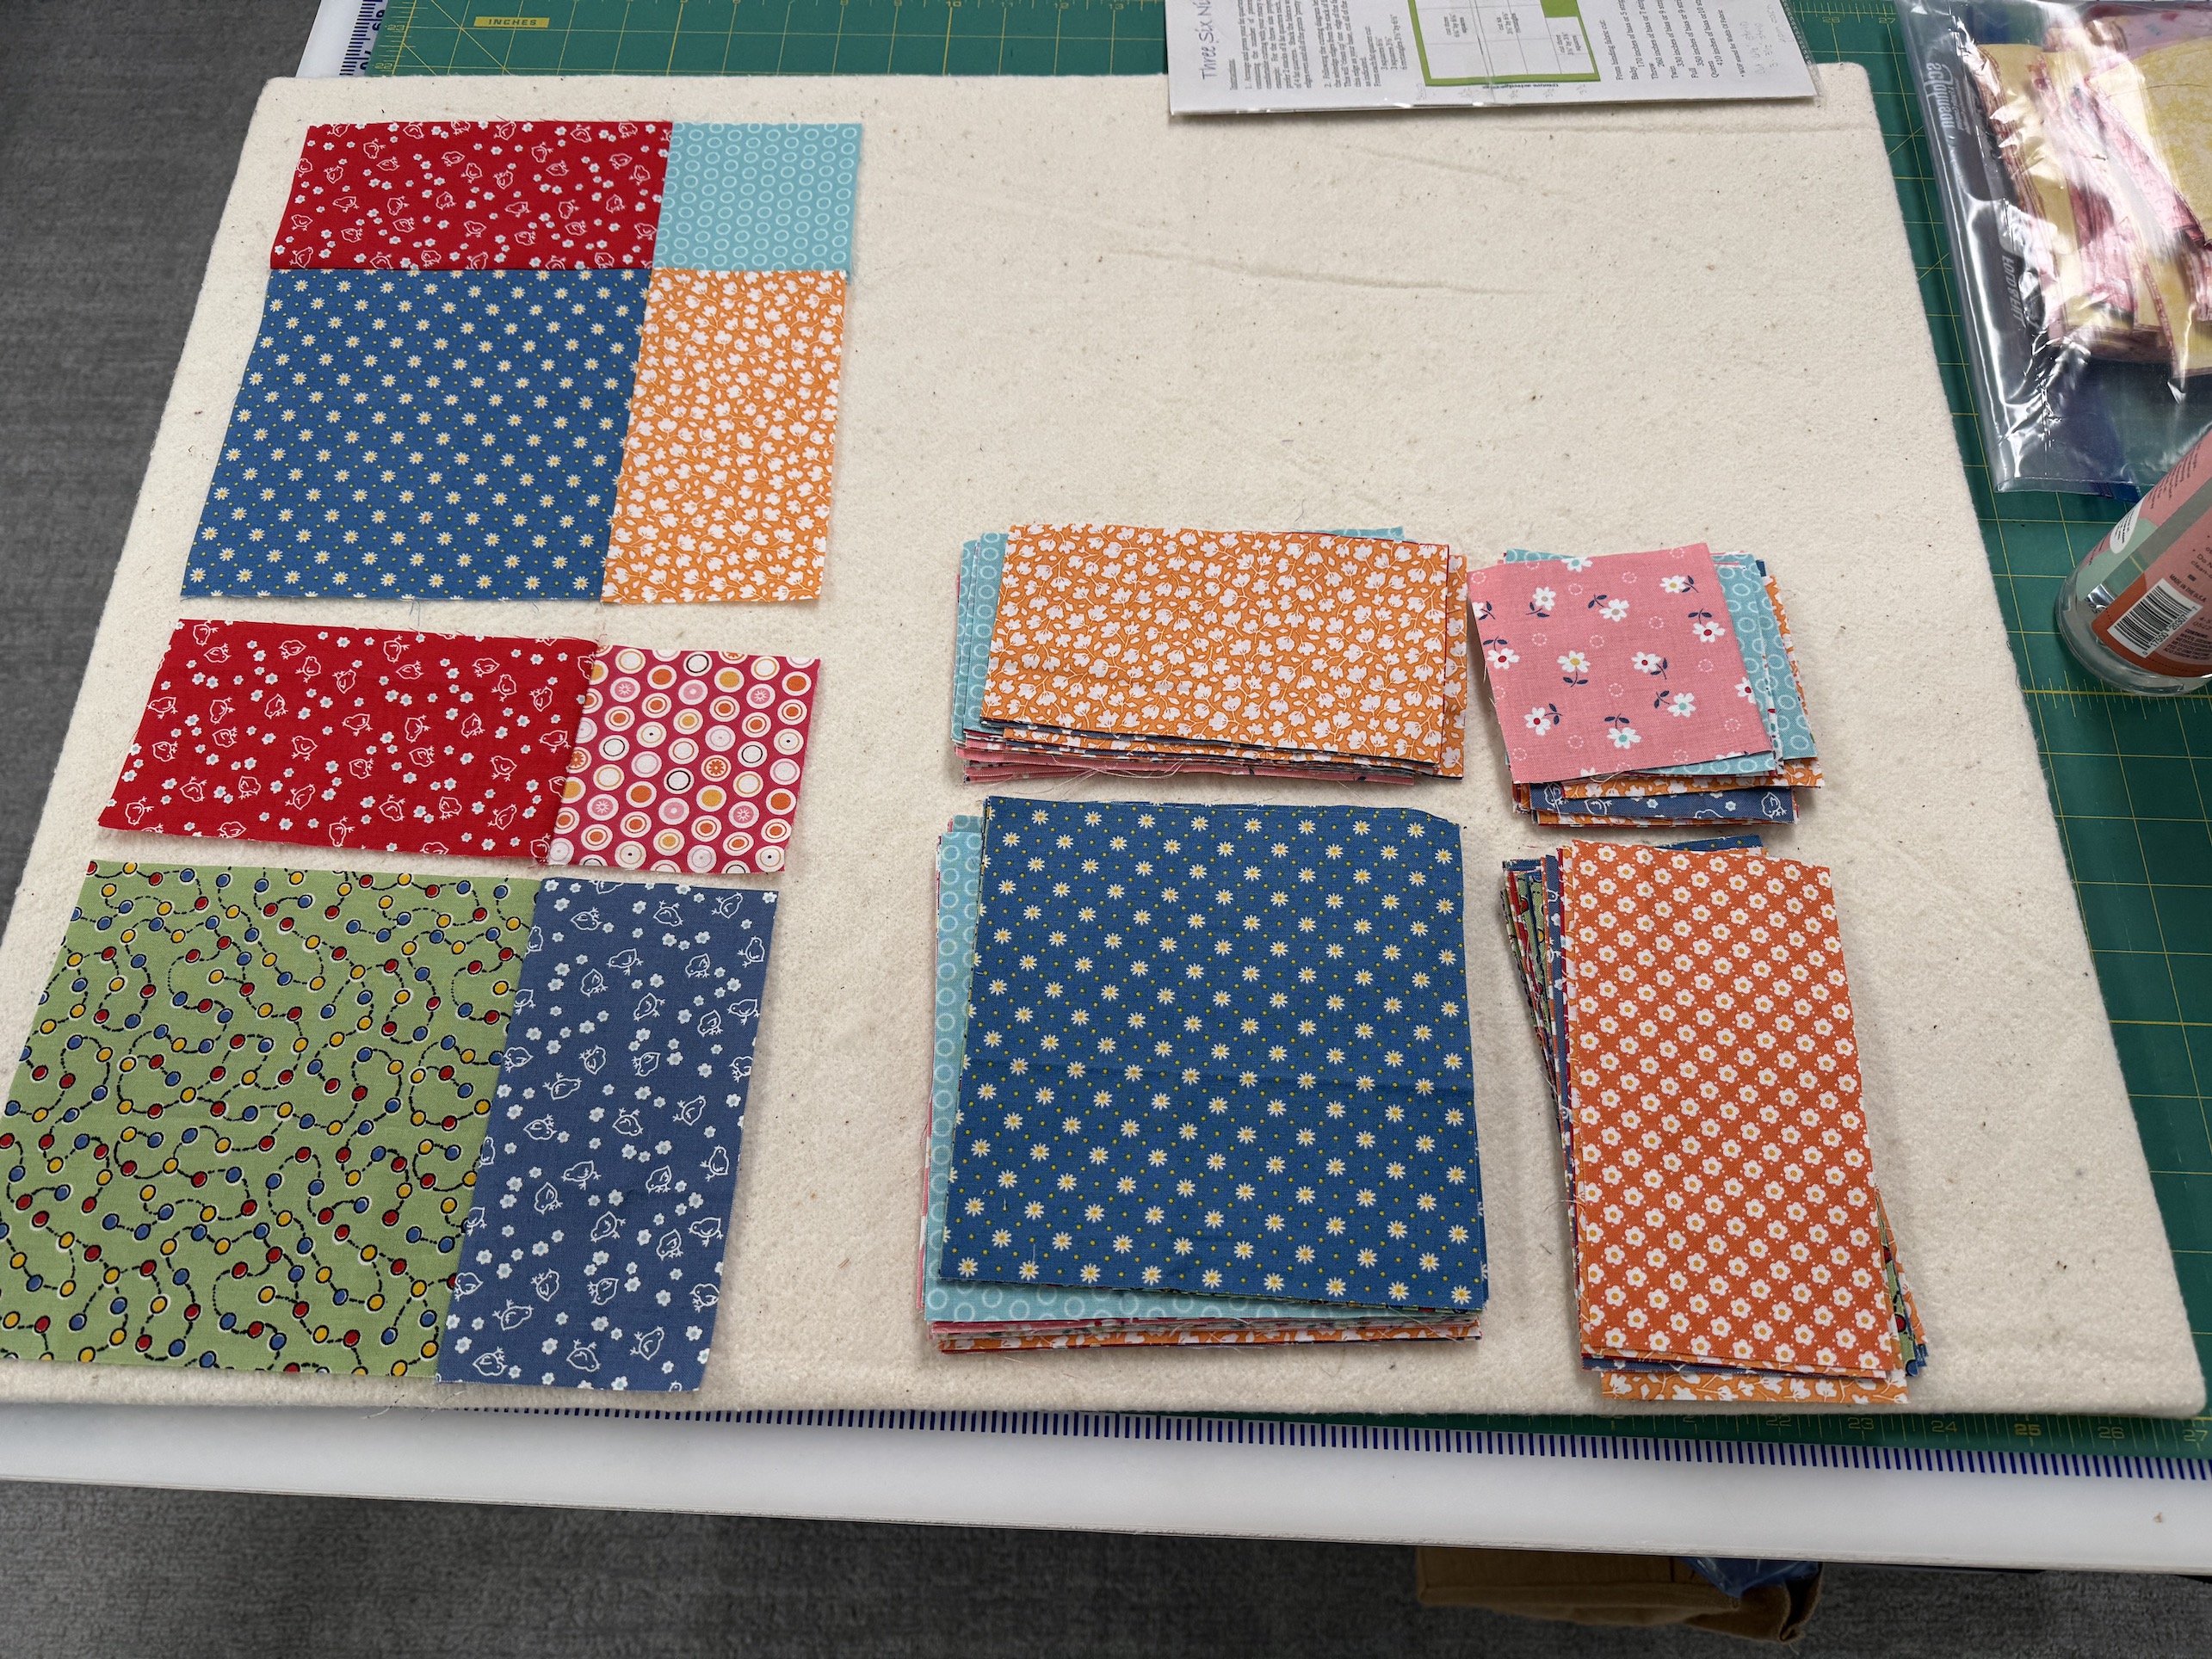
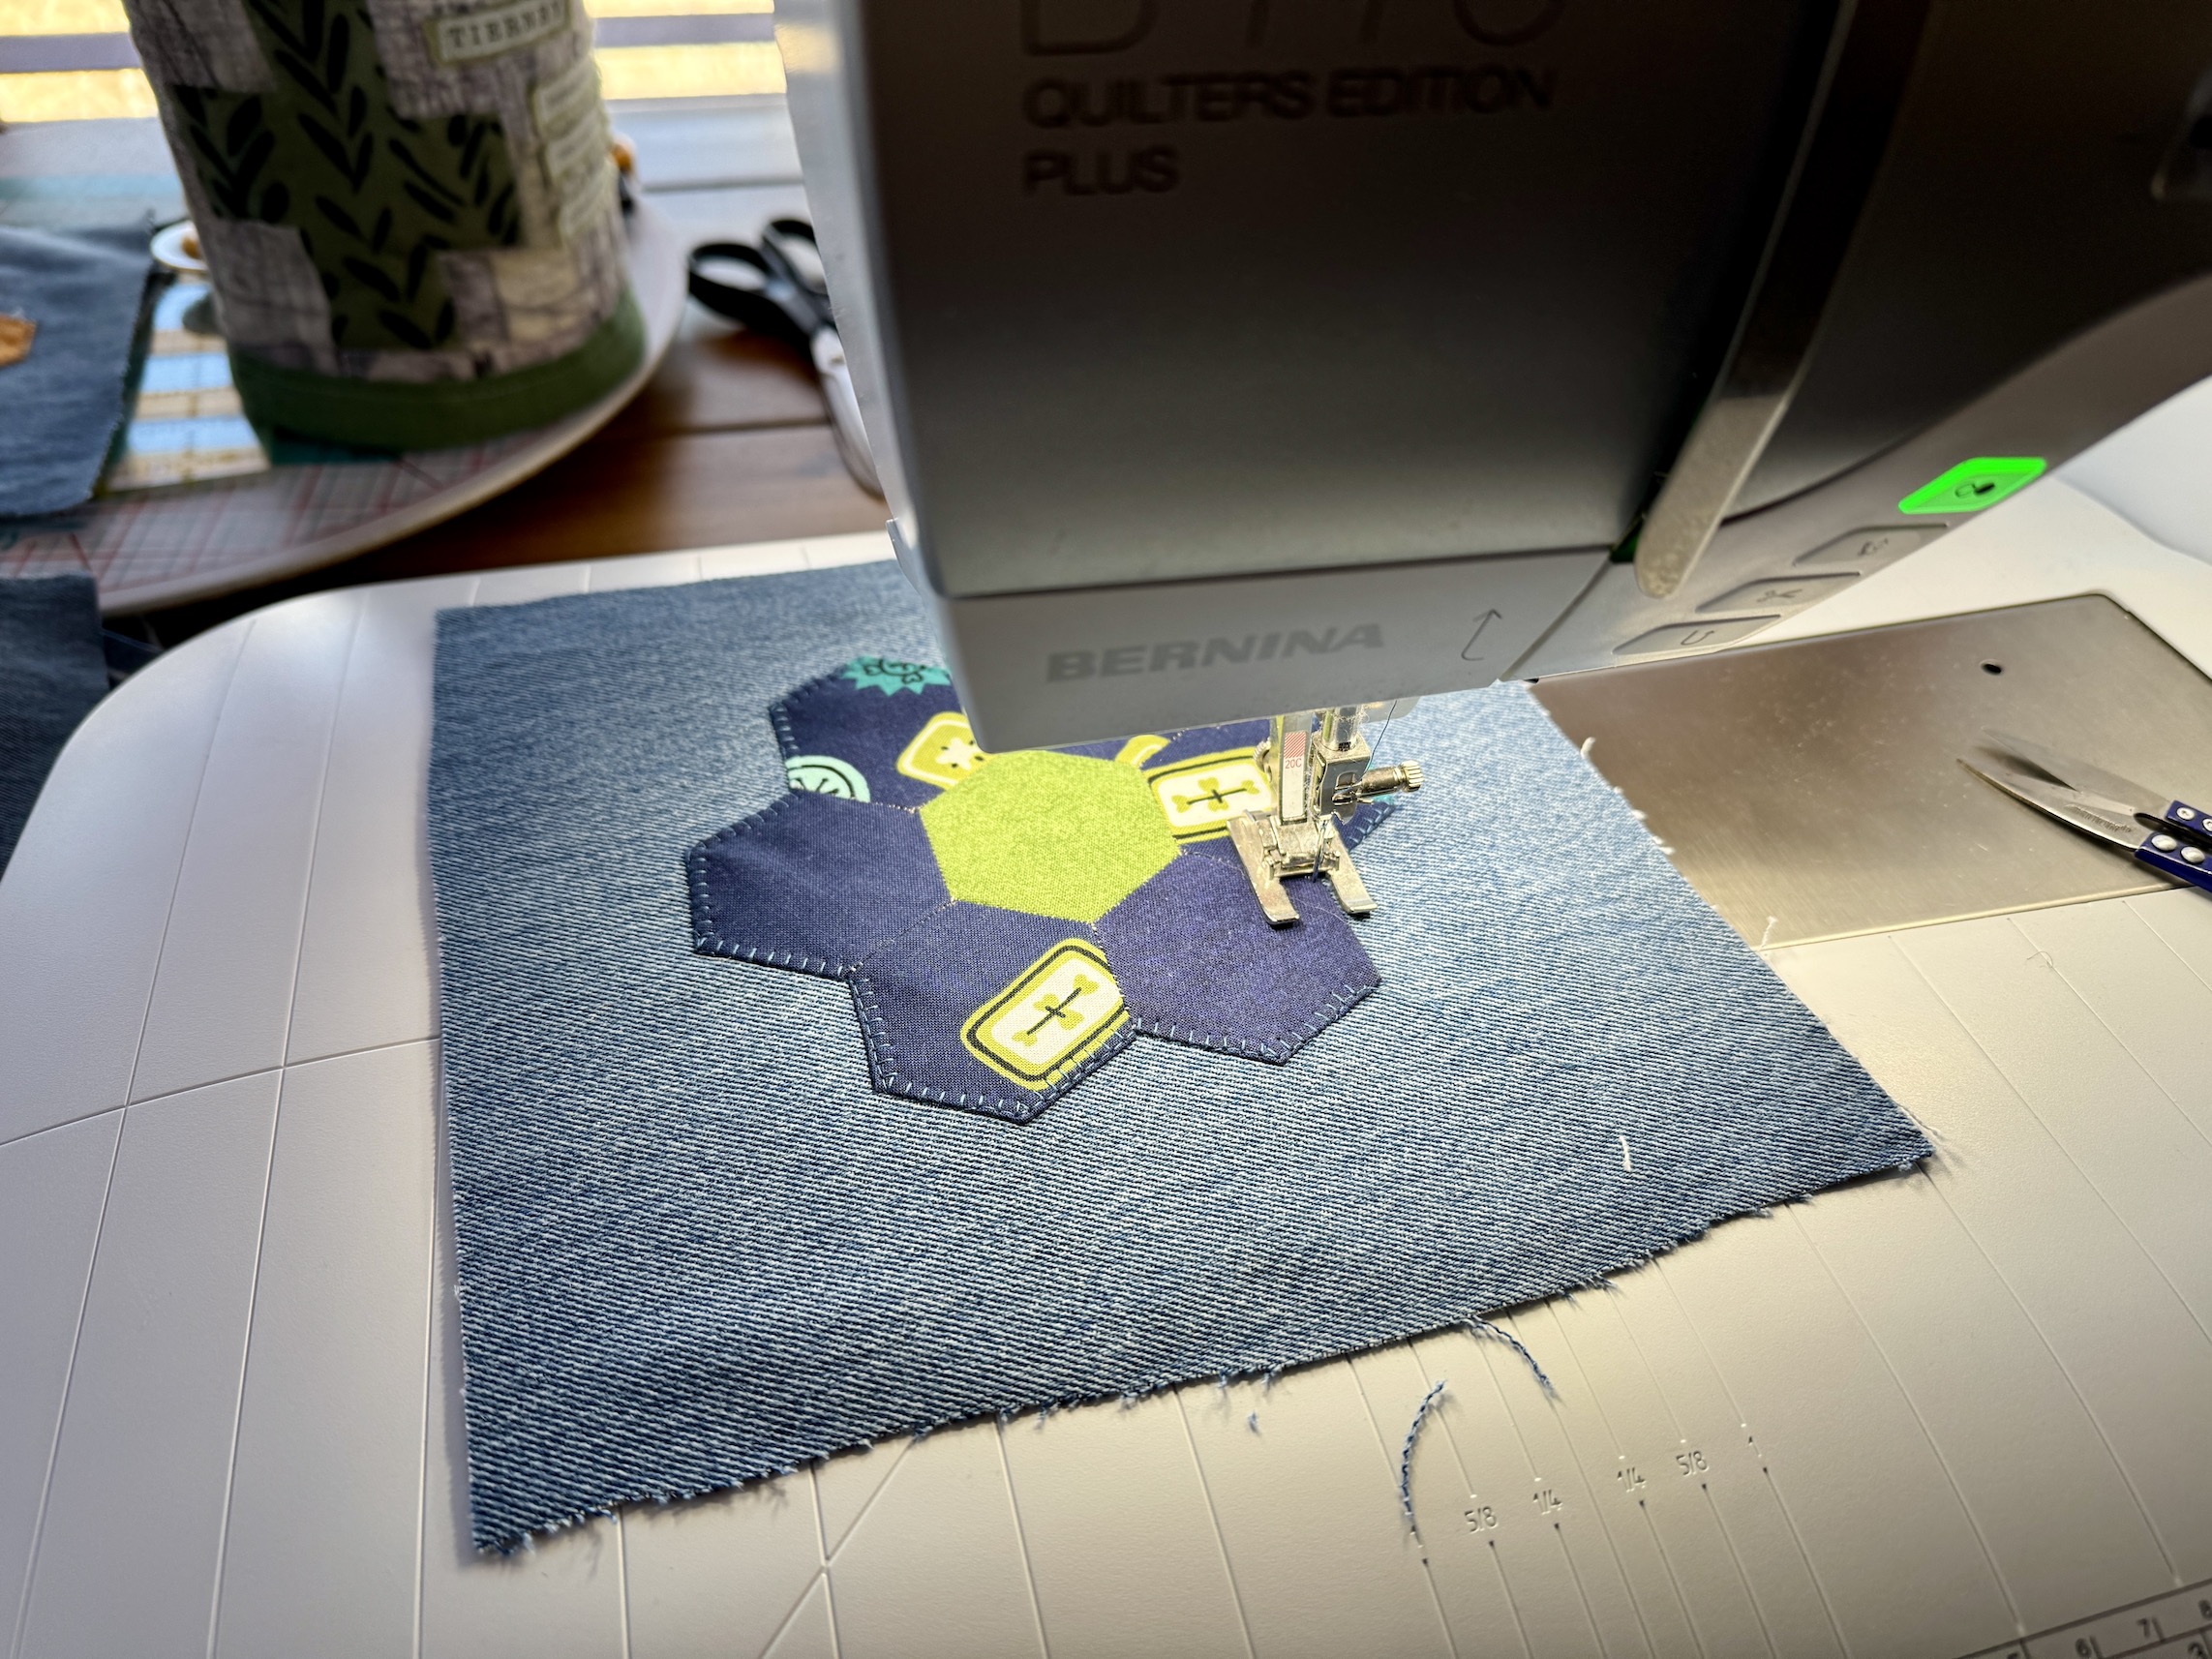
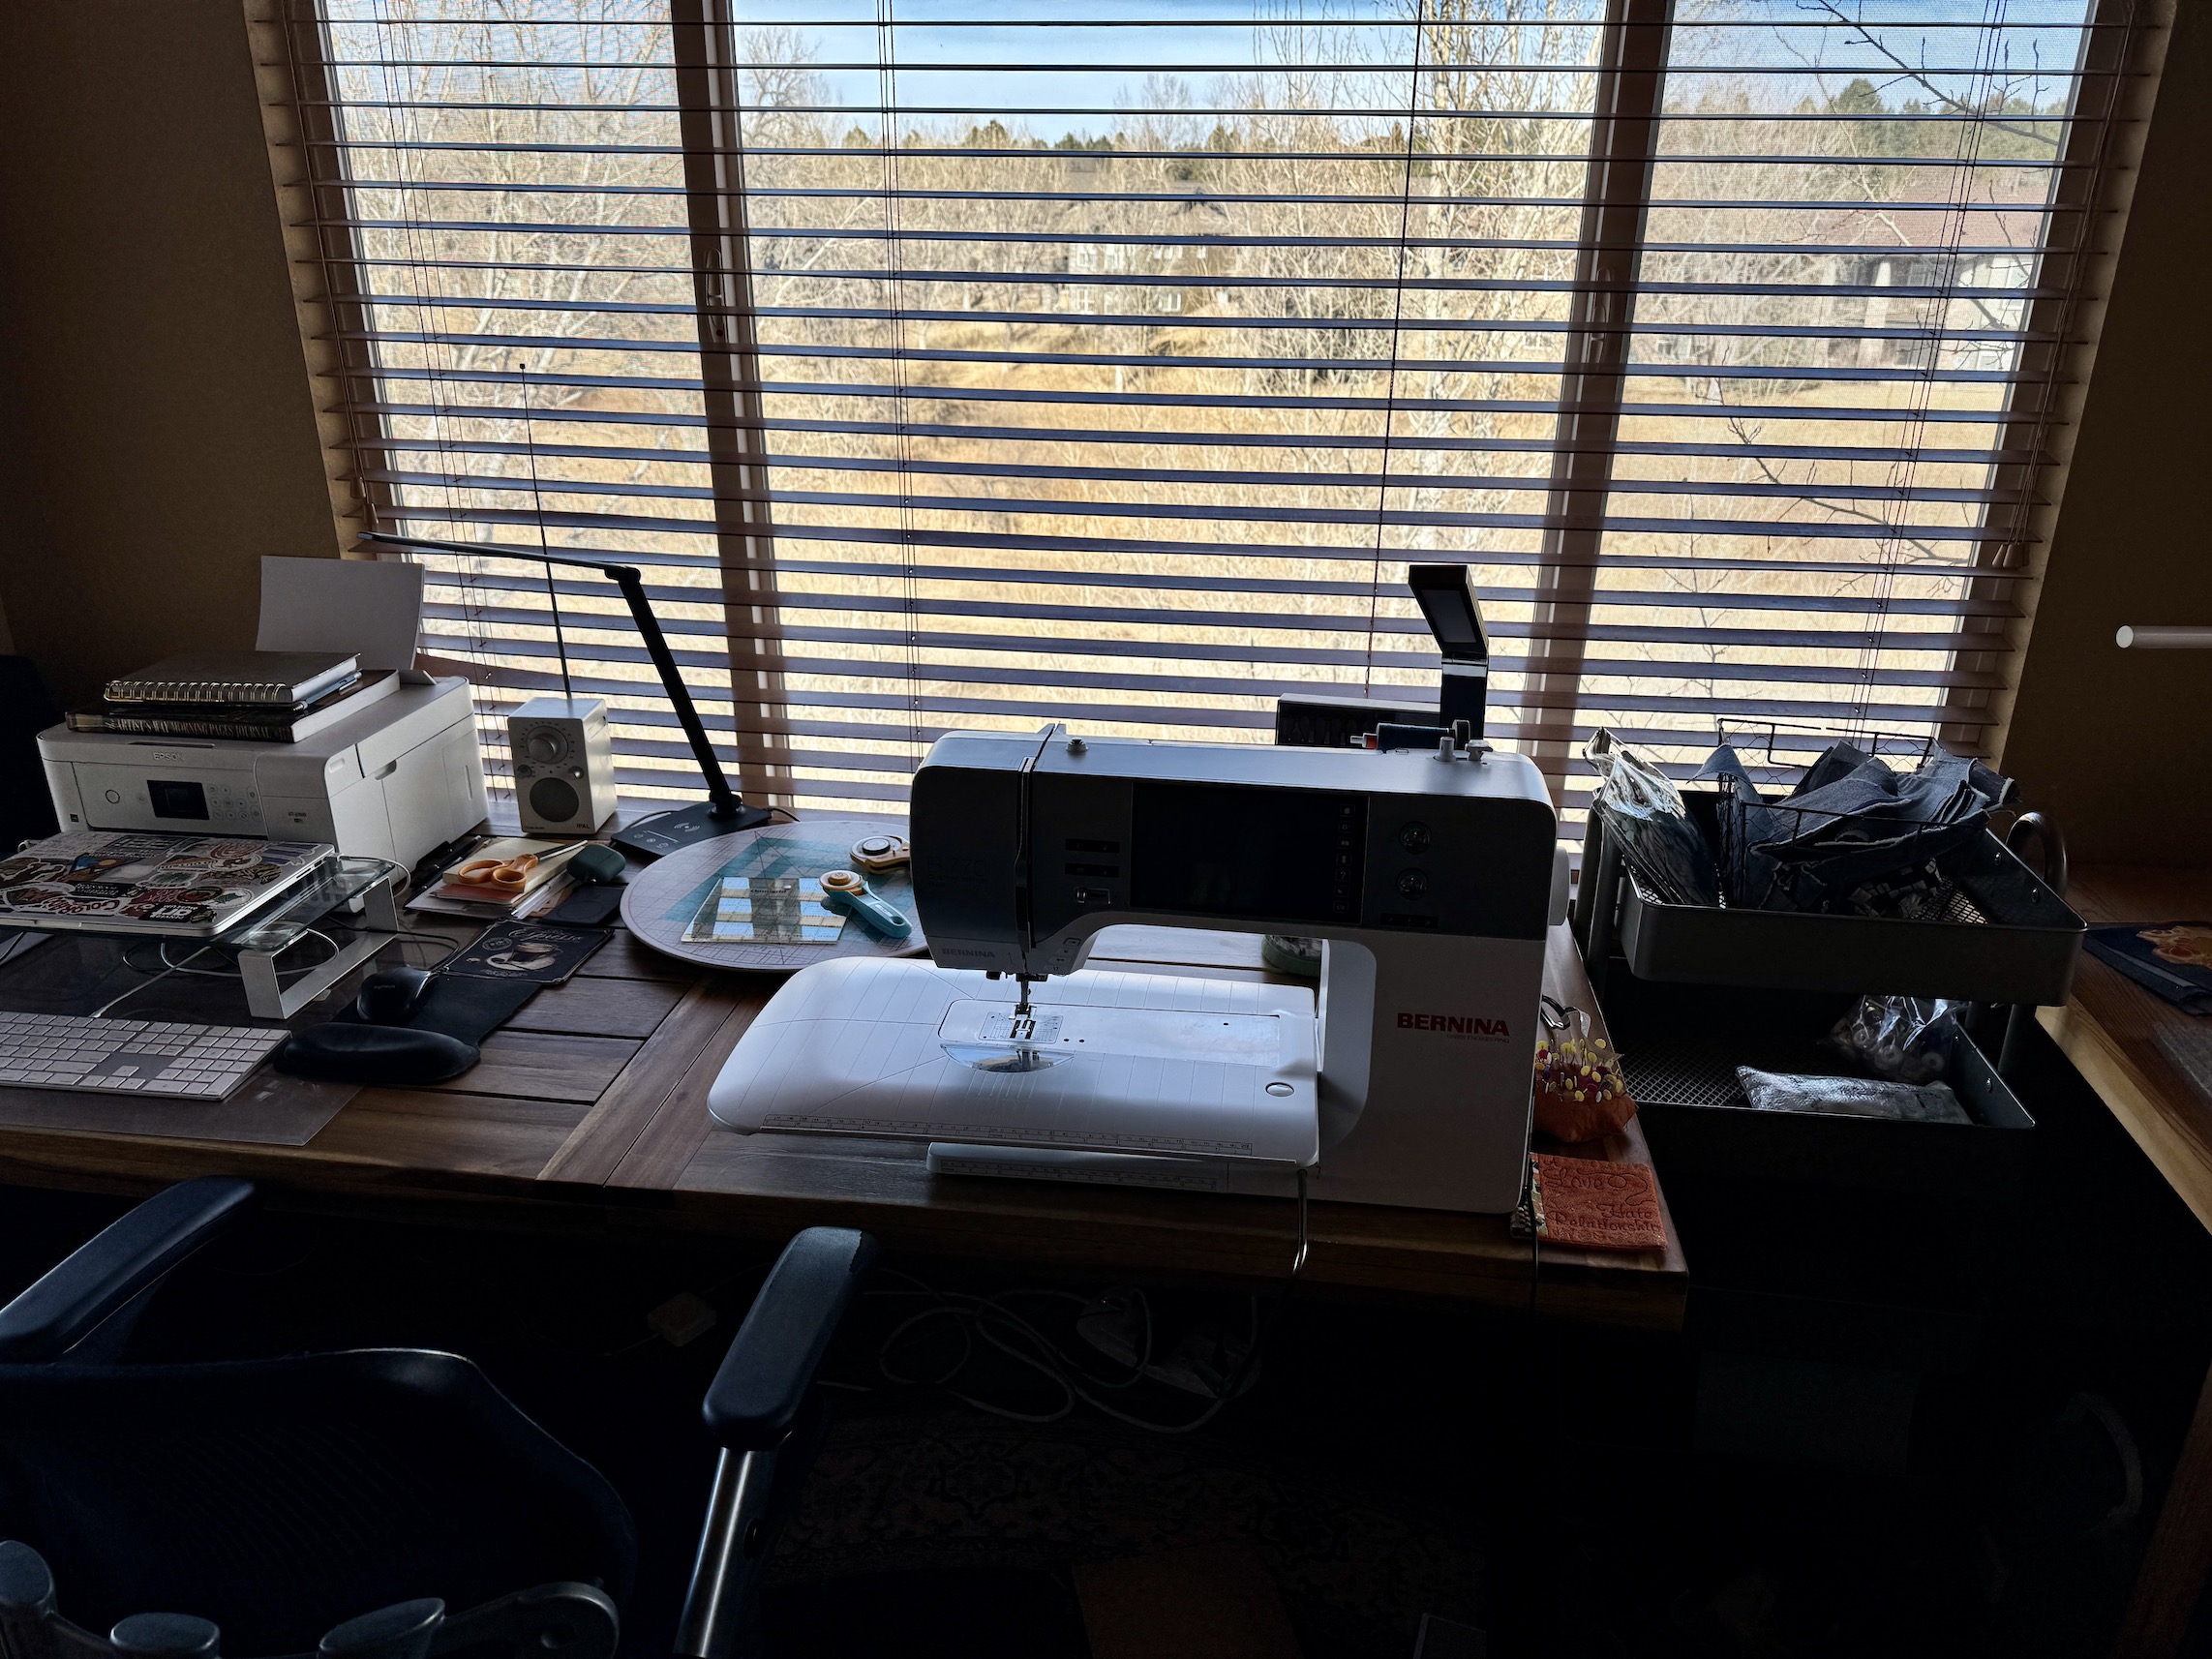
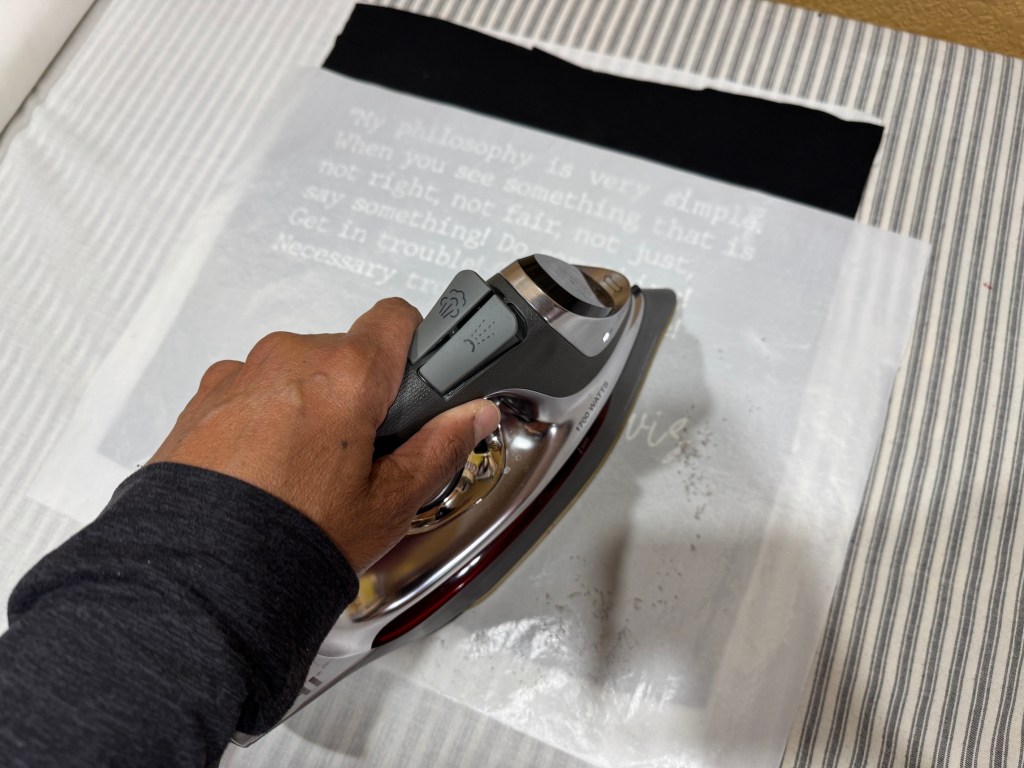
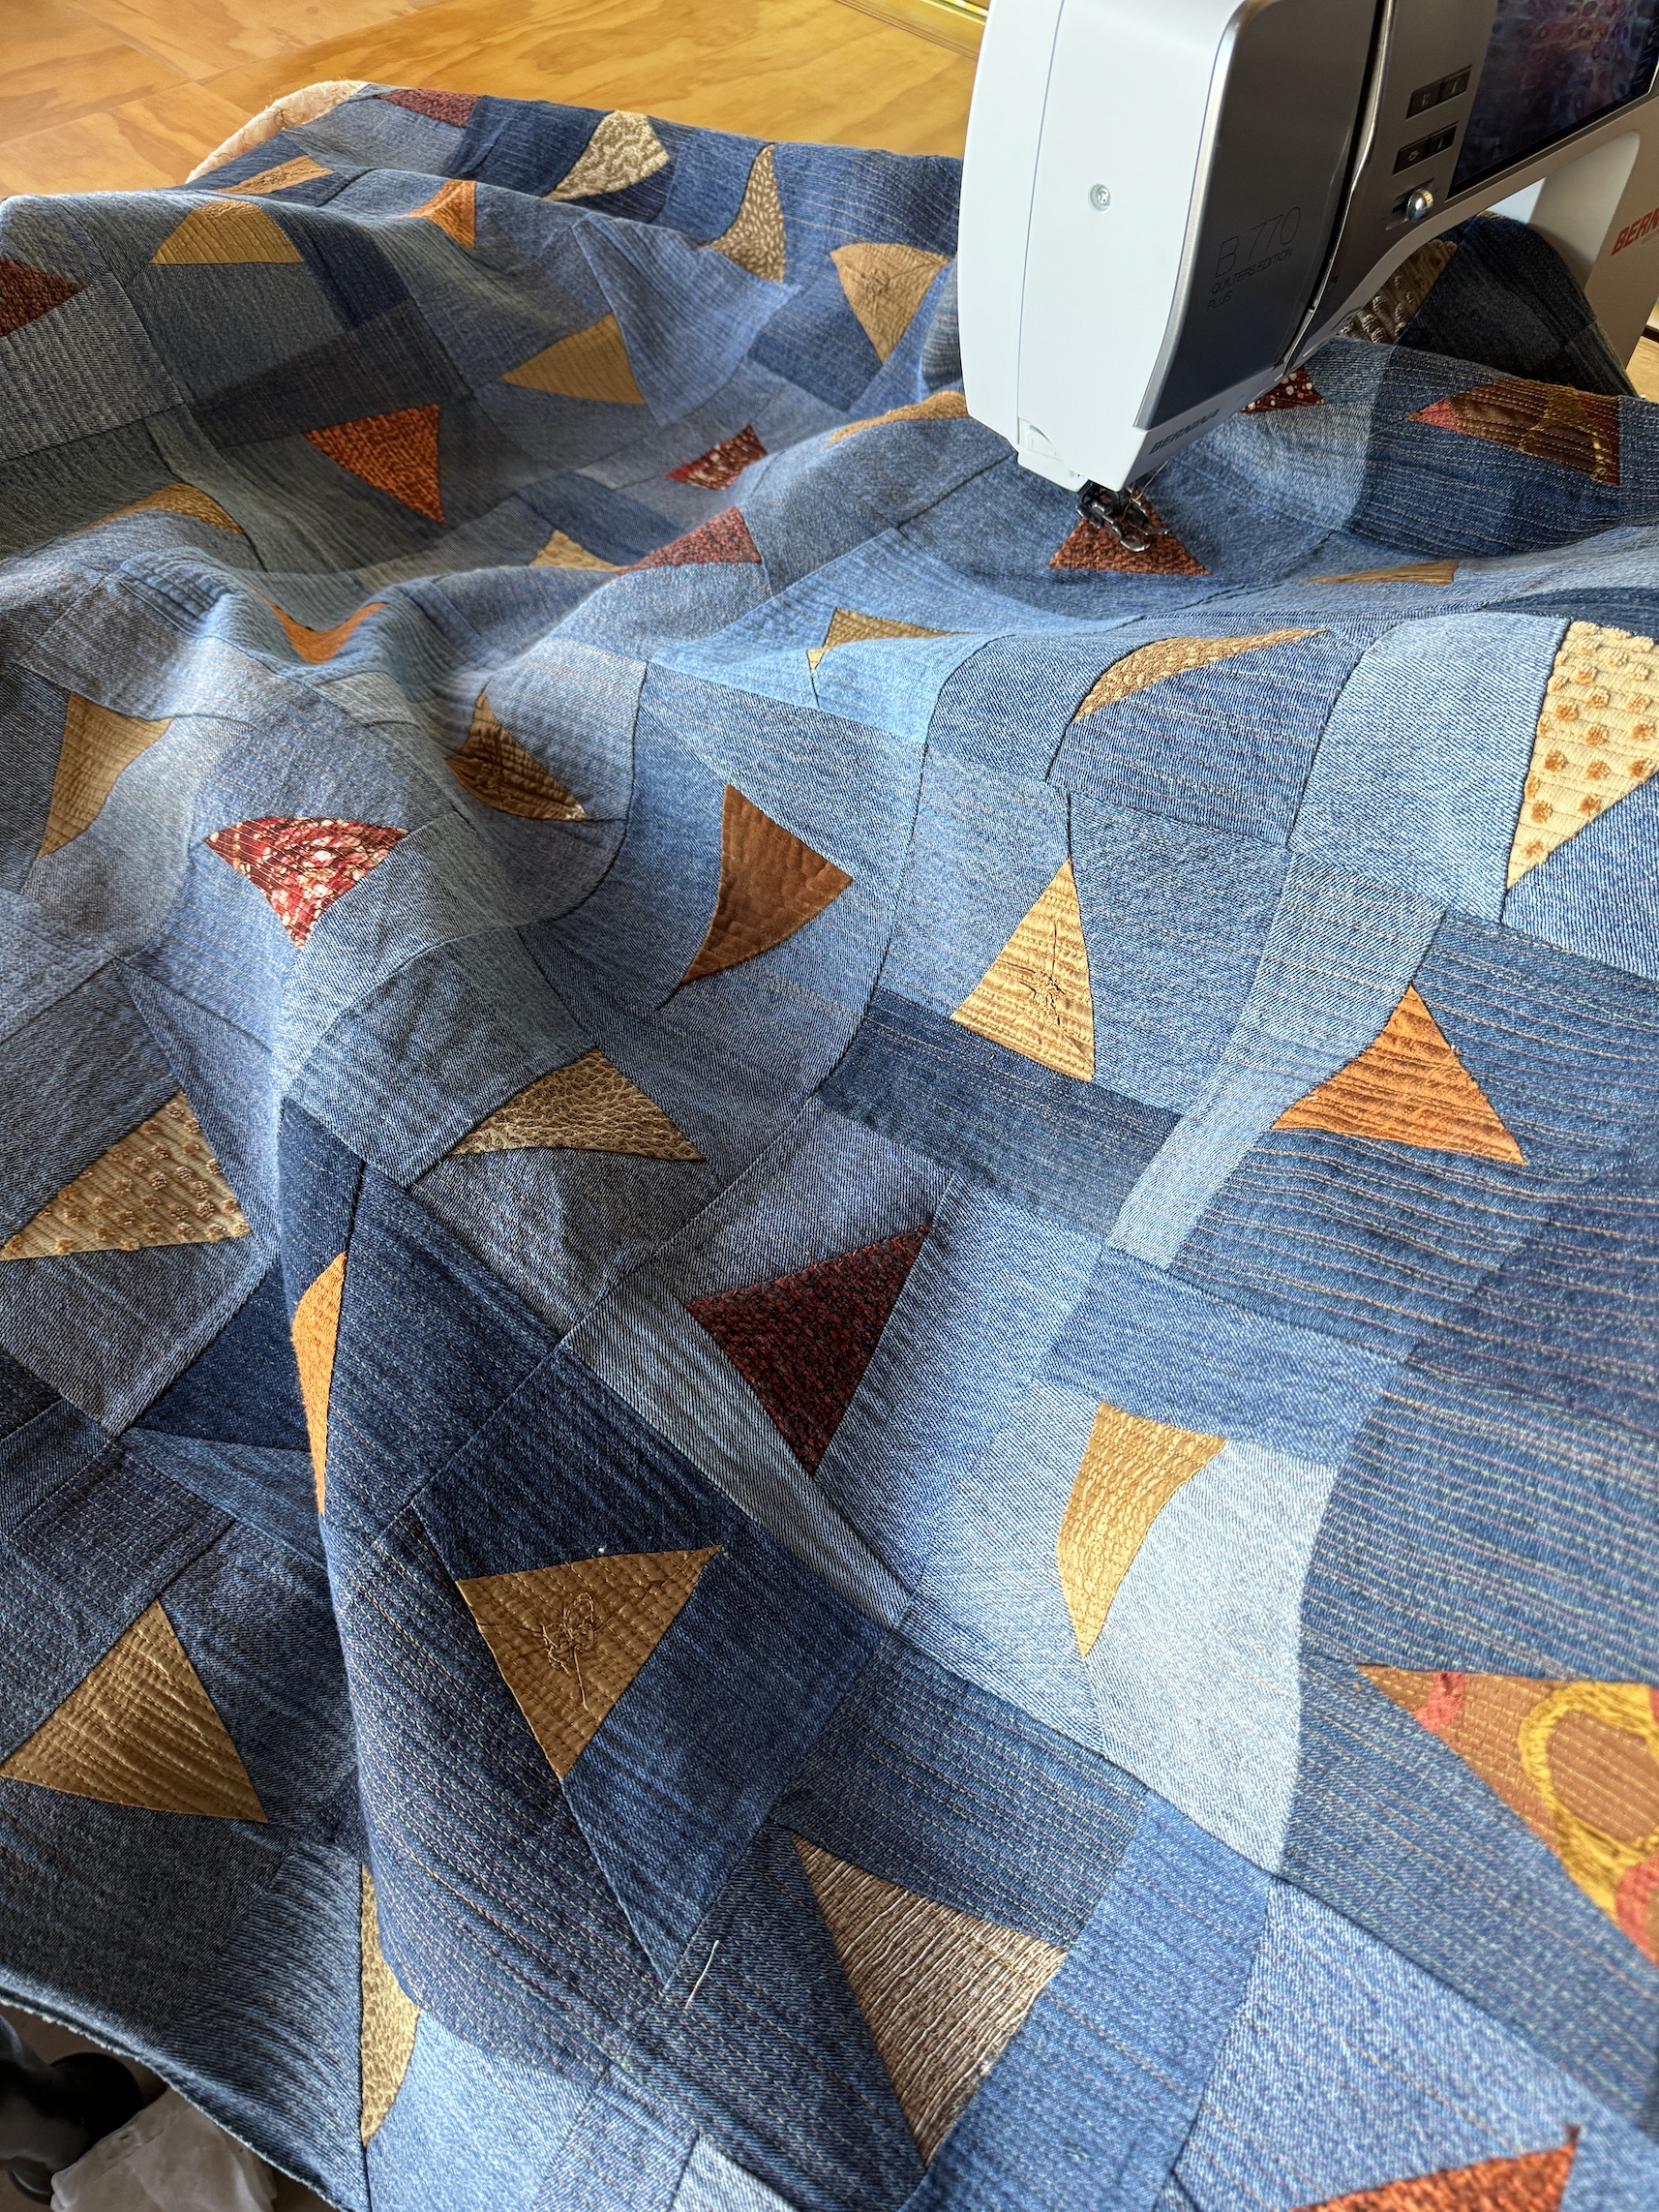
I brought my little travel Bernina and had fun hanging out with the other “sewing assigned” quilters, sewing our pieces together while the “ironing assigned” quilters came and took out chained pieces from our machines to press!
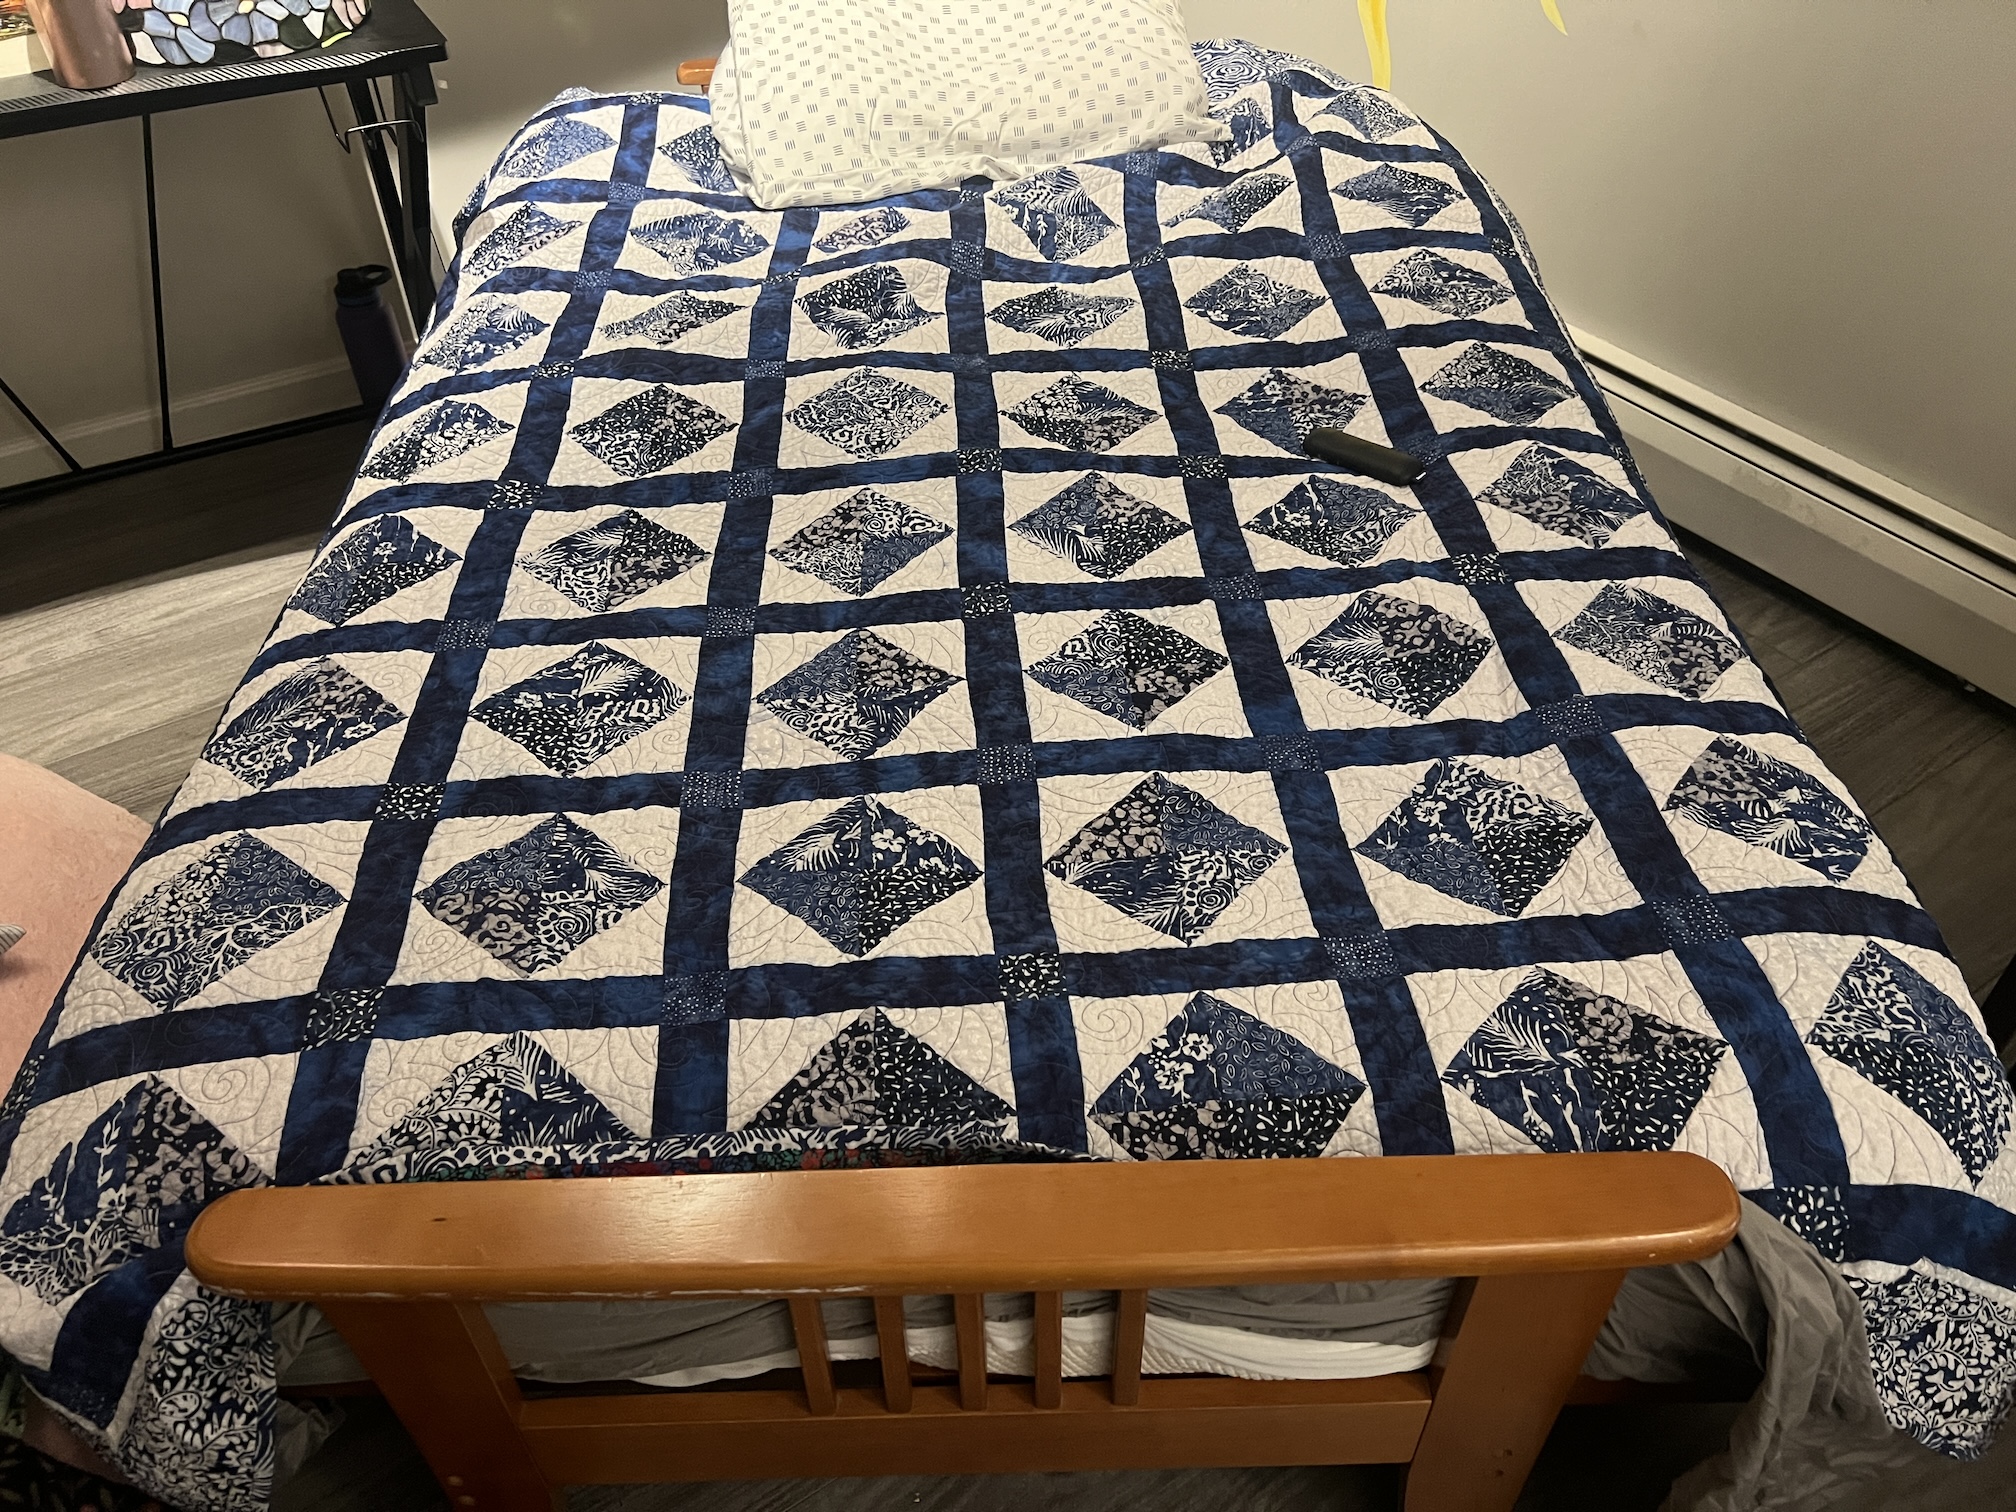
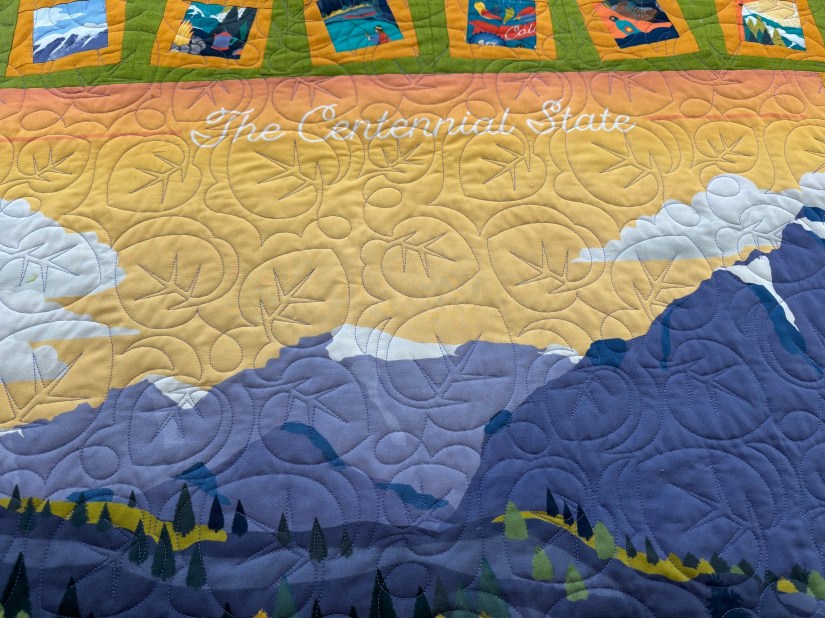
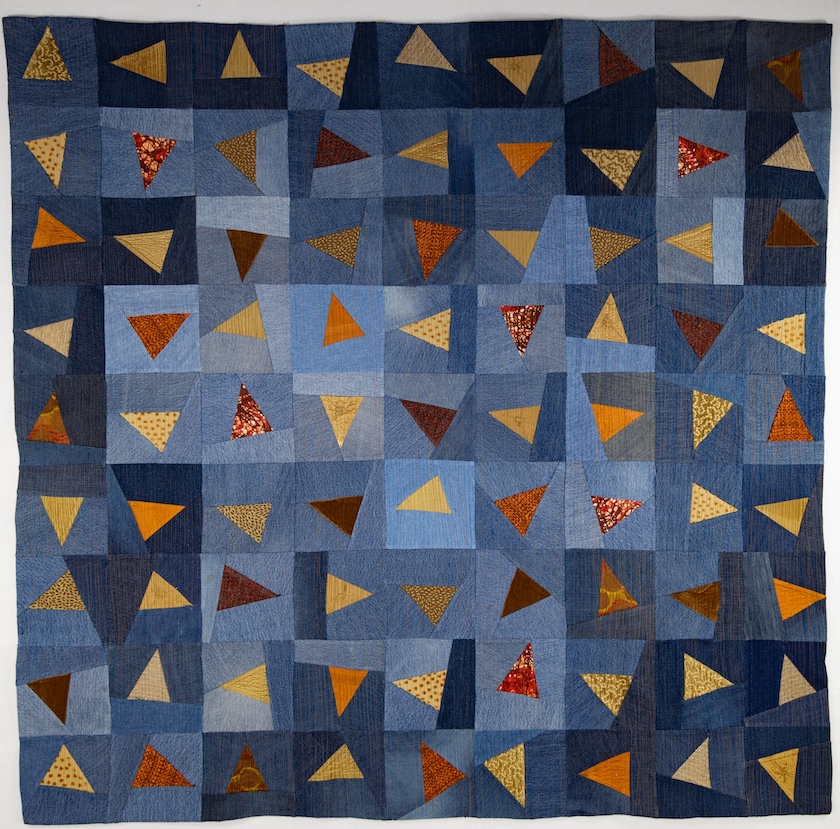
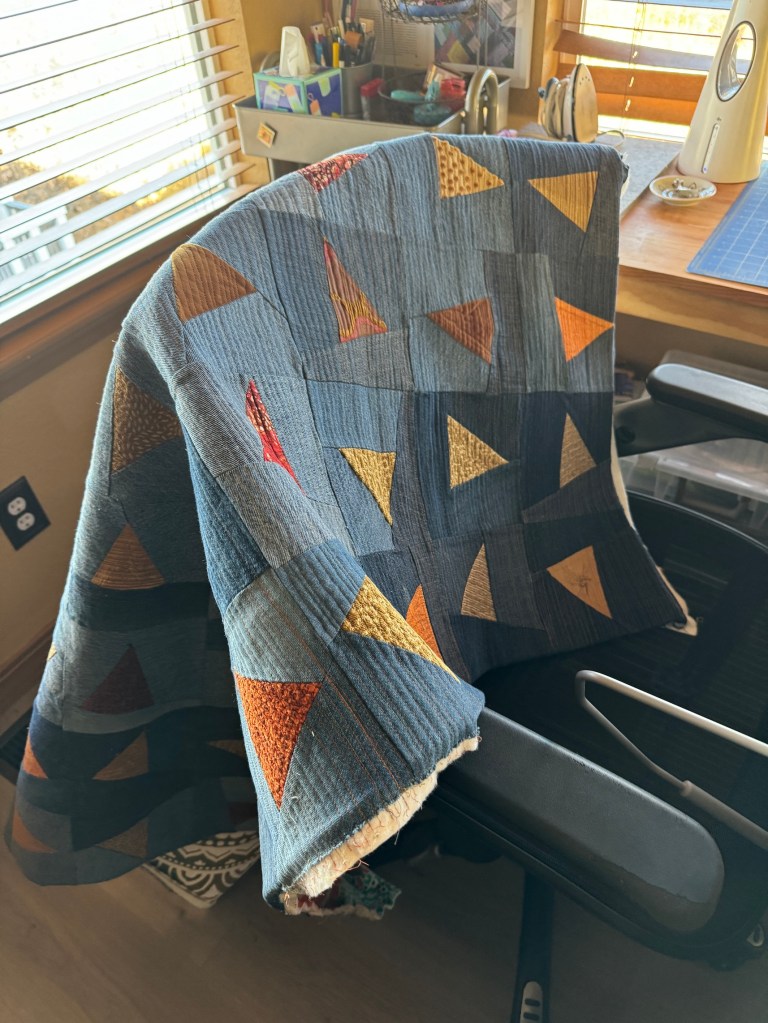
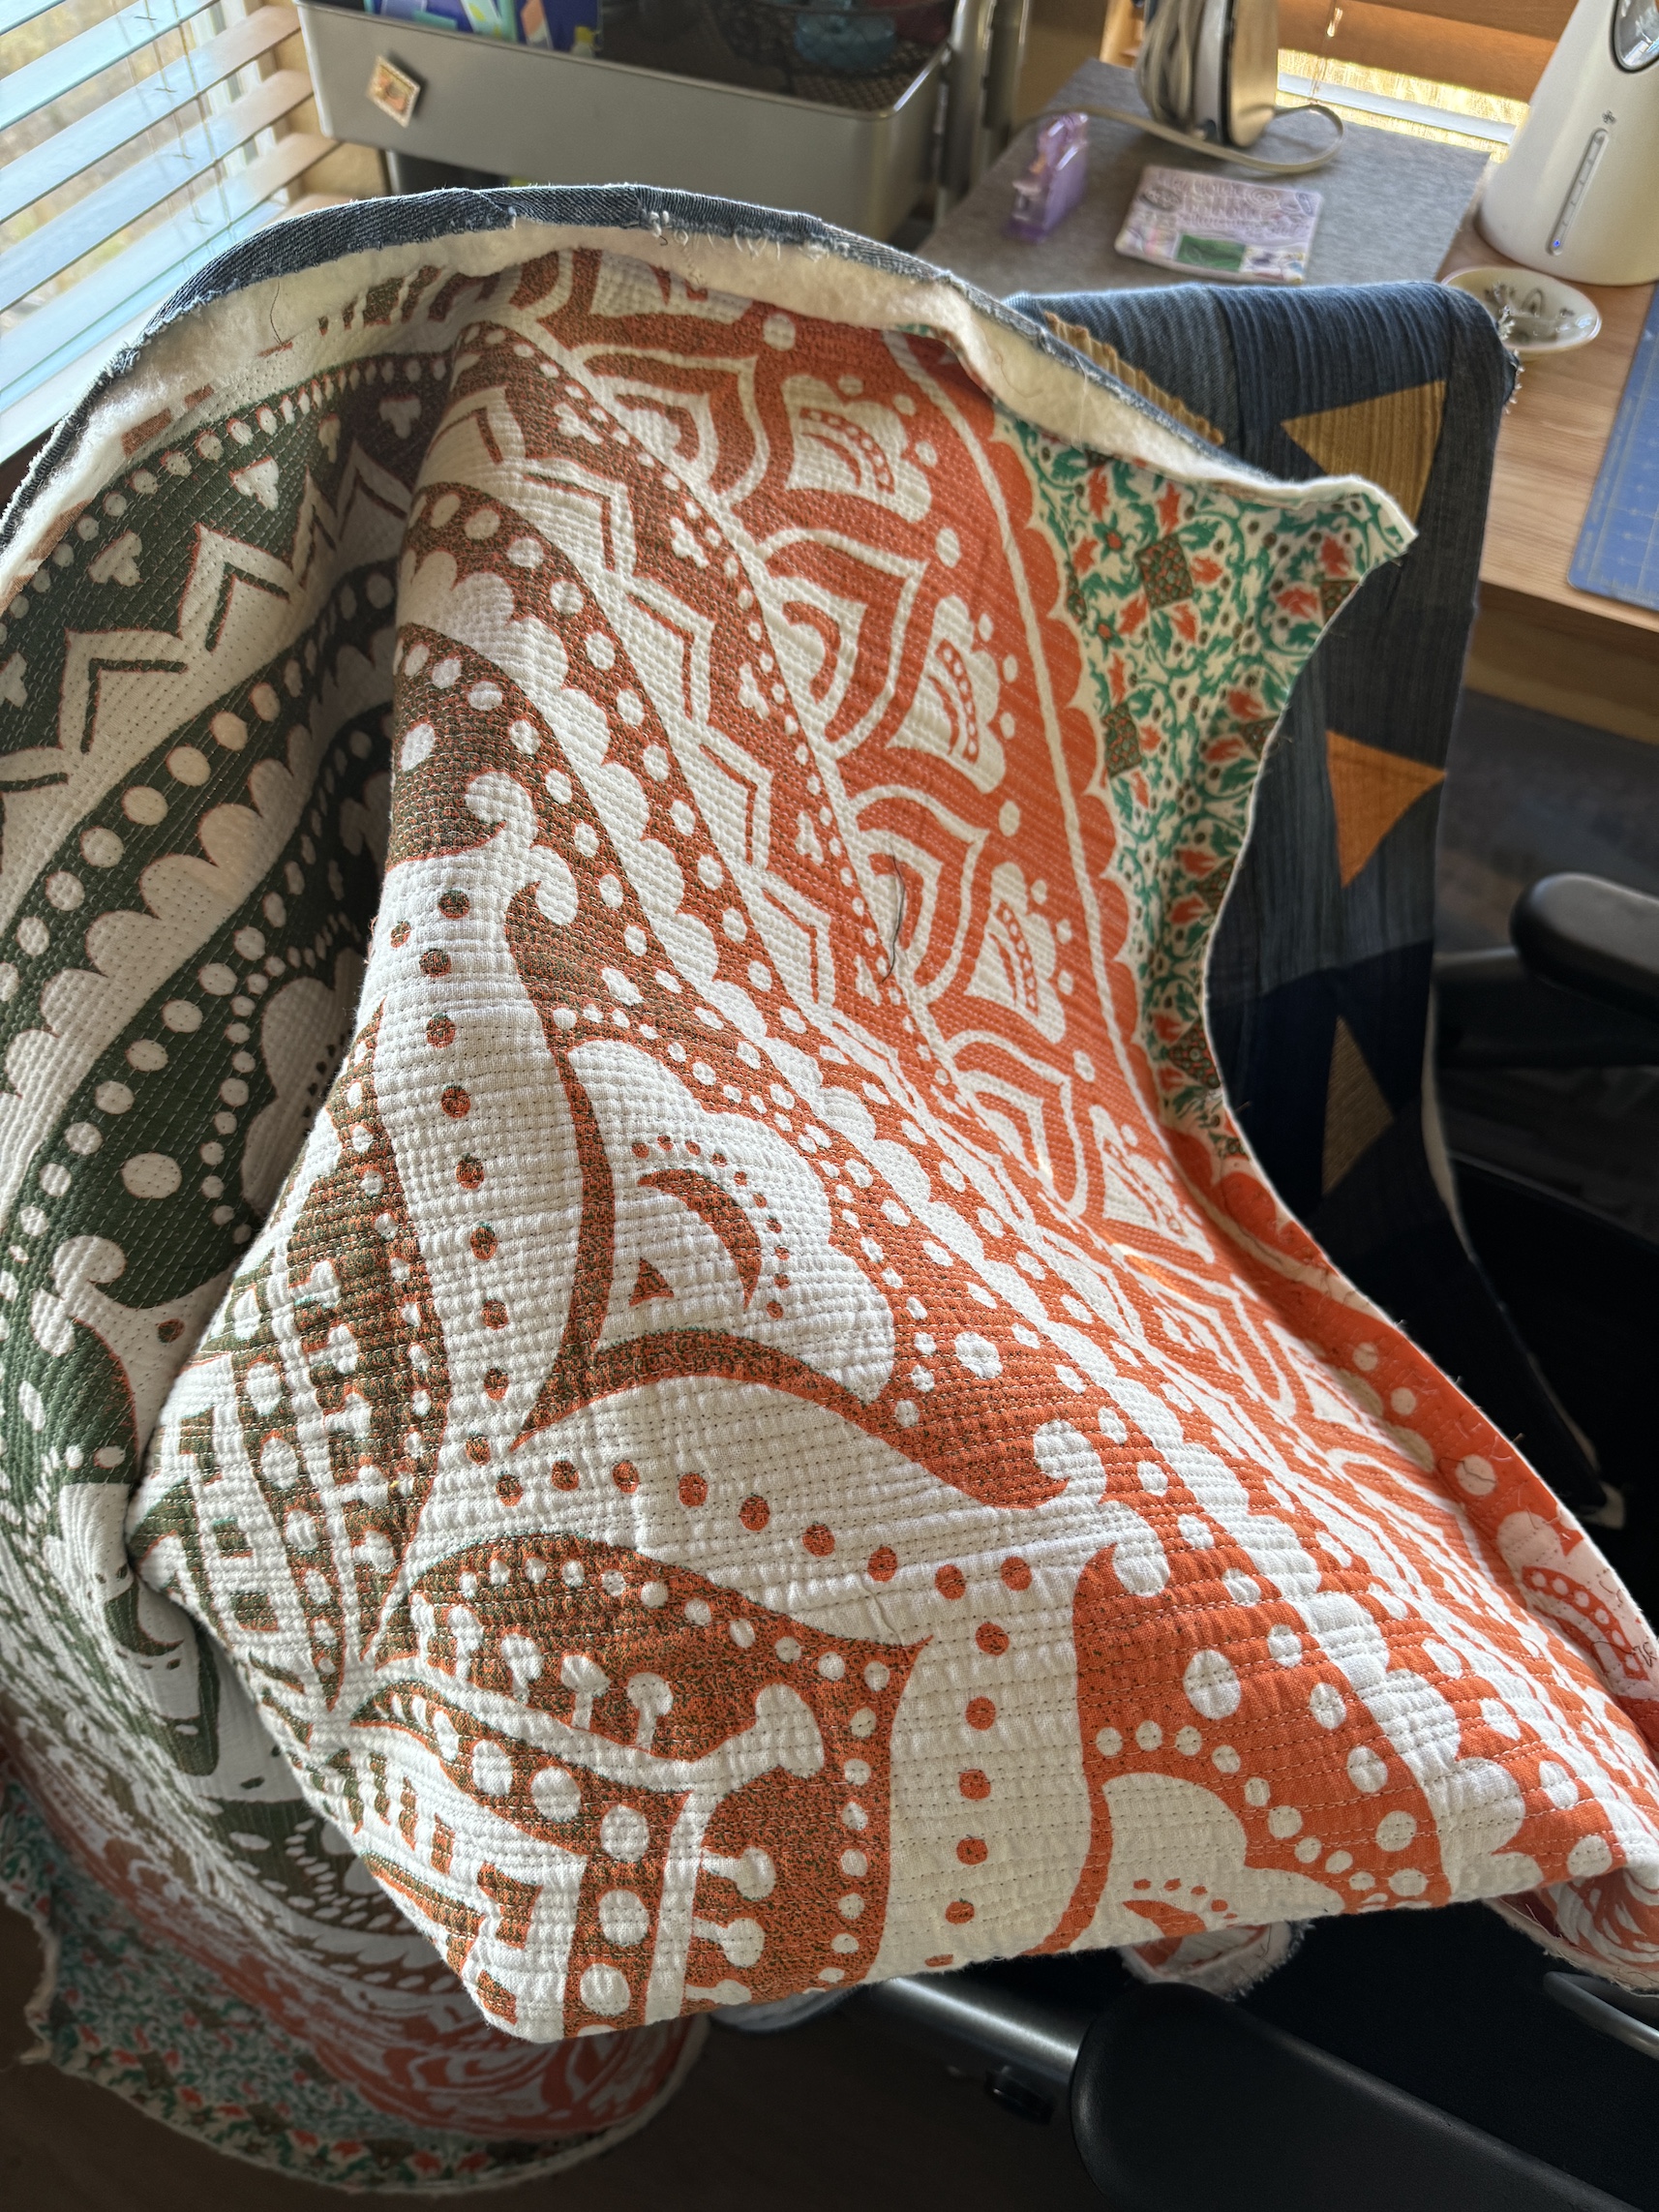
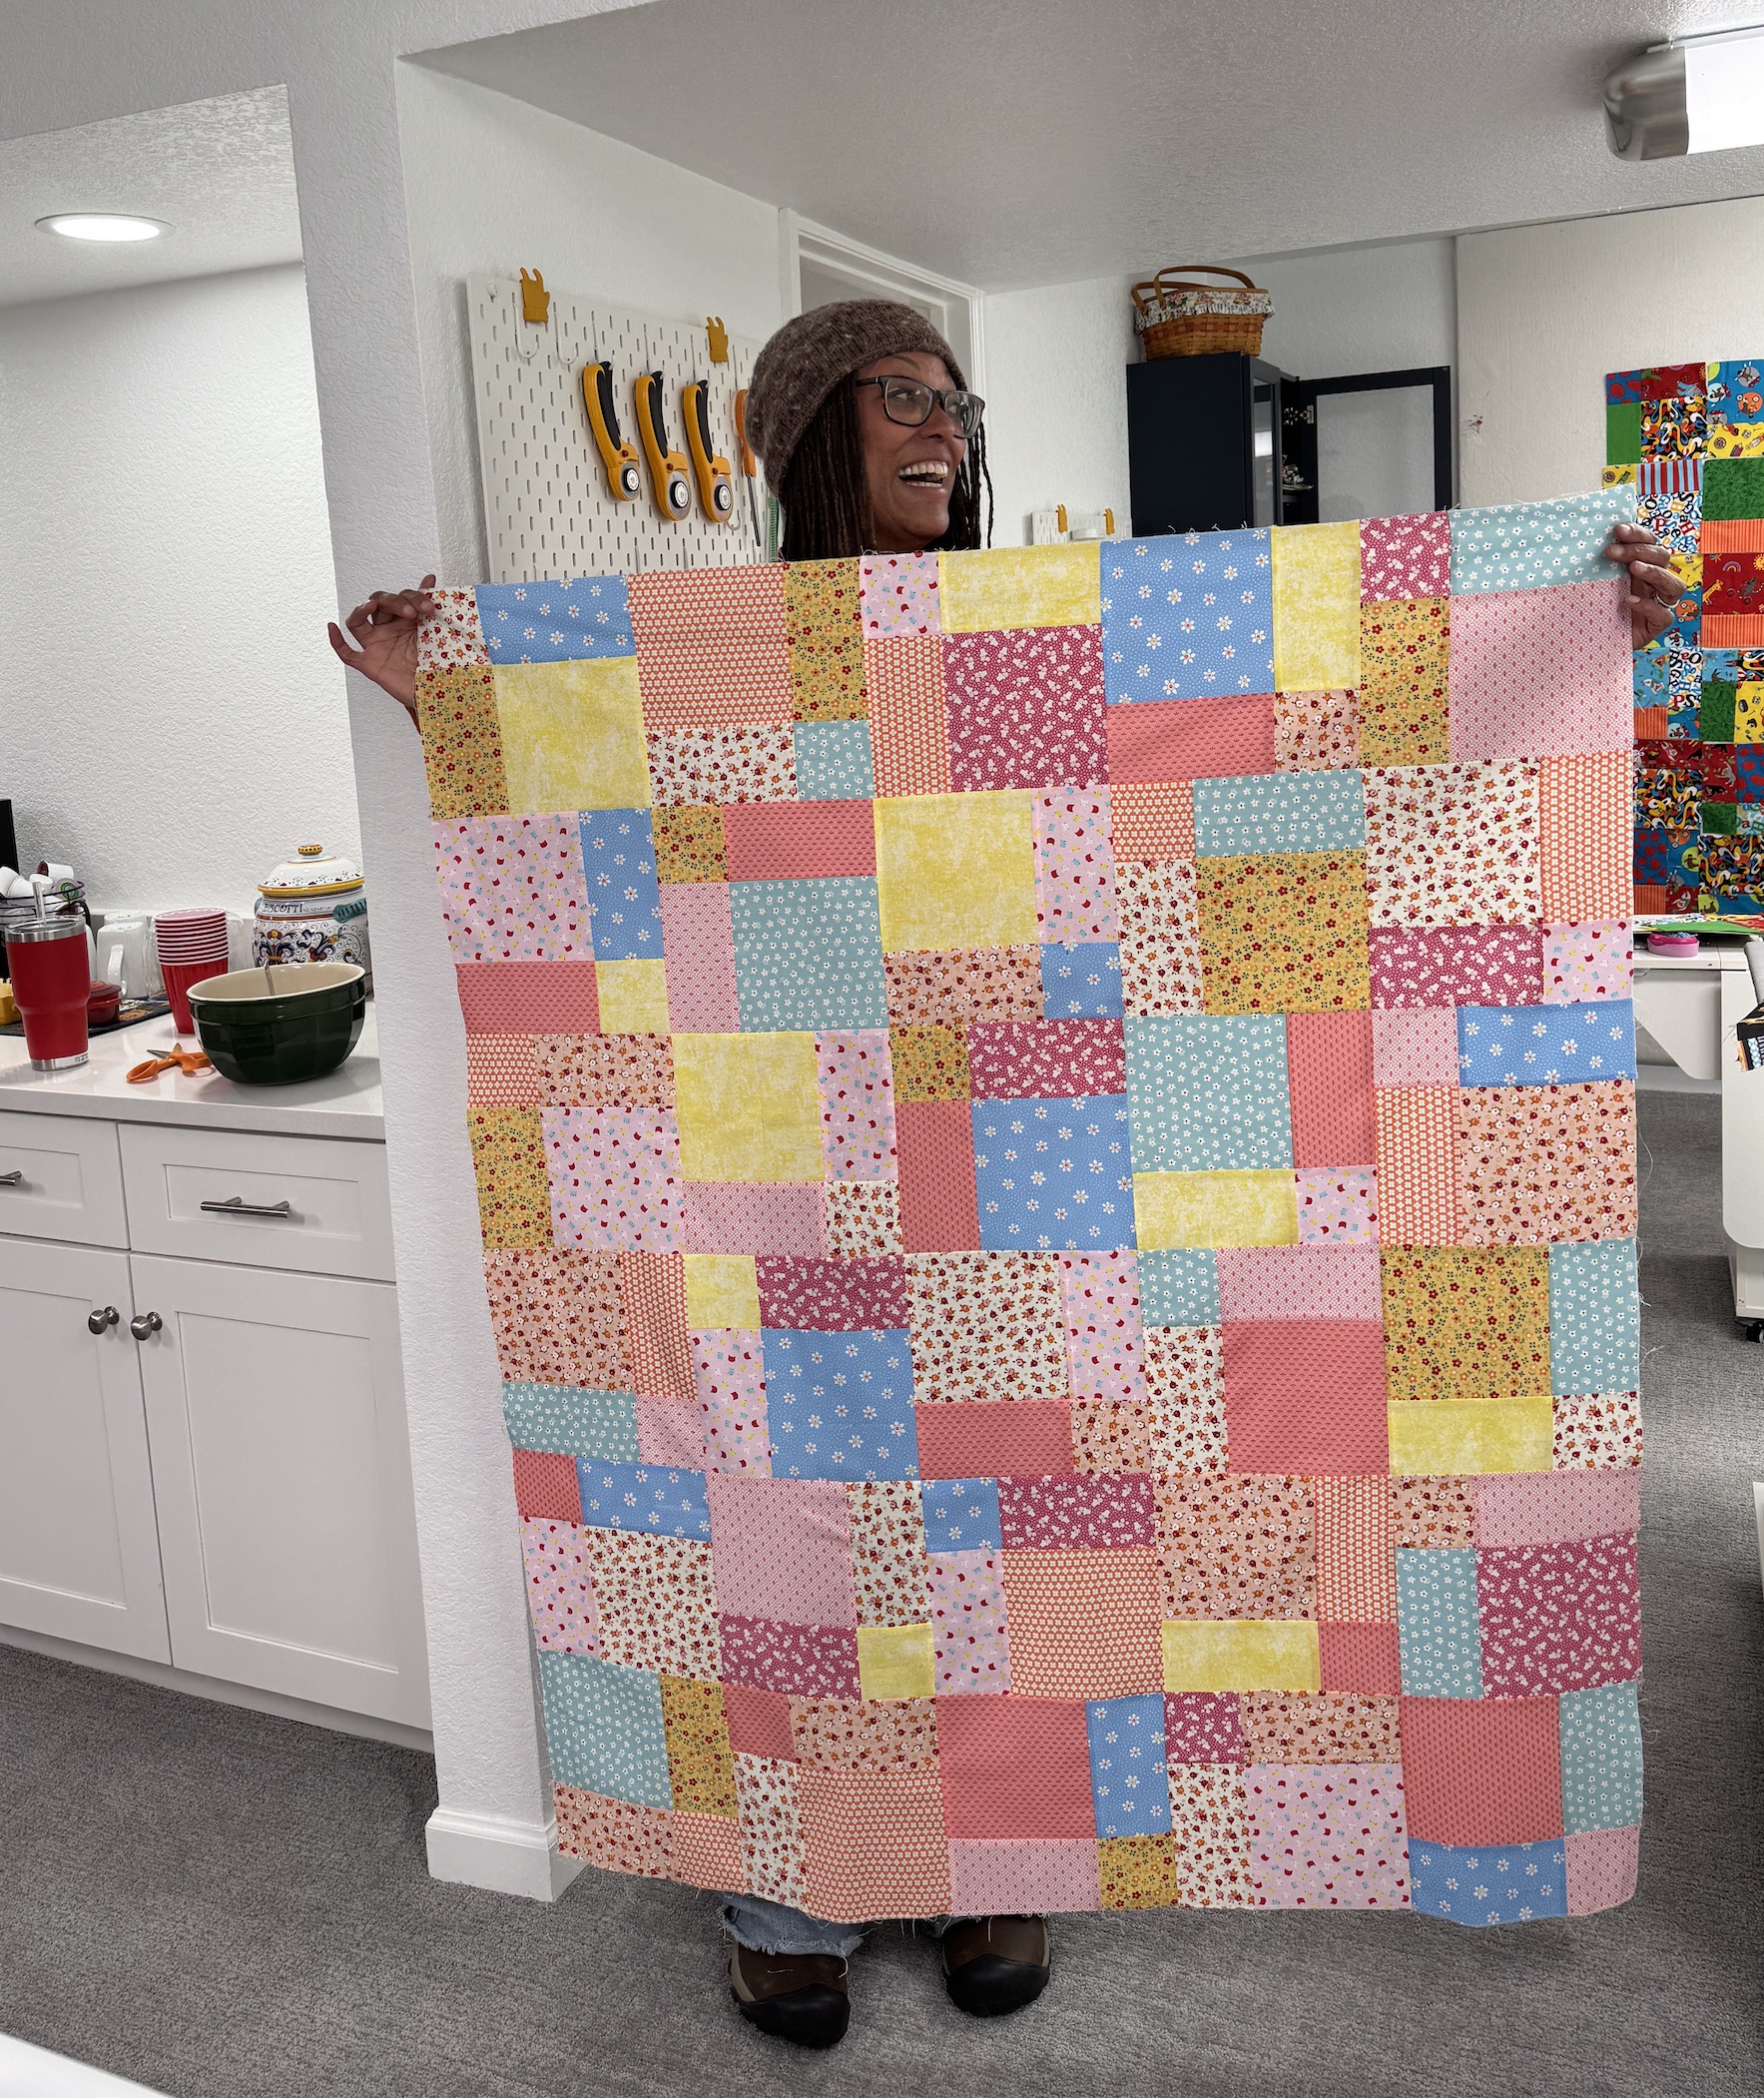
Here I am with my completed quilt top at the end of the mini retreat day:
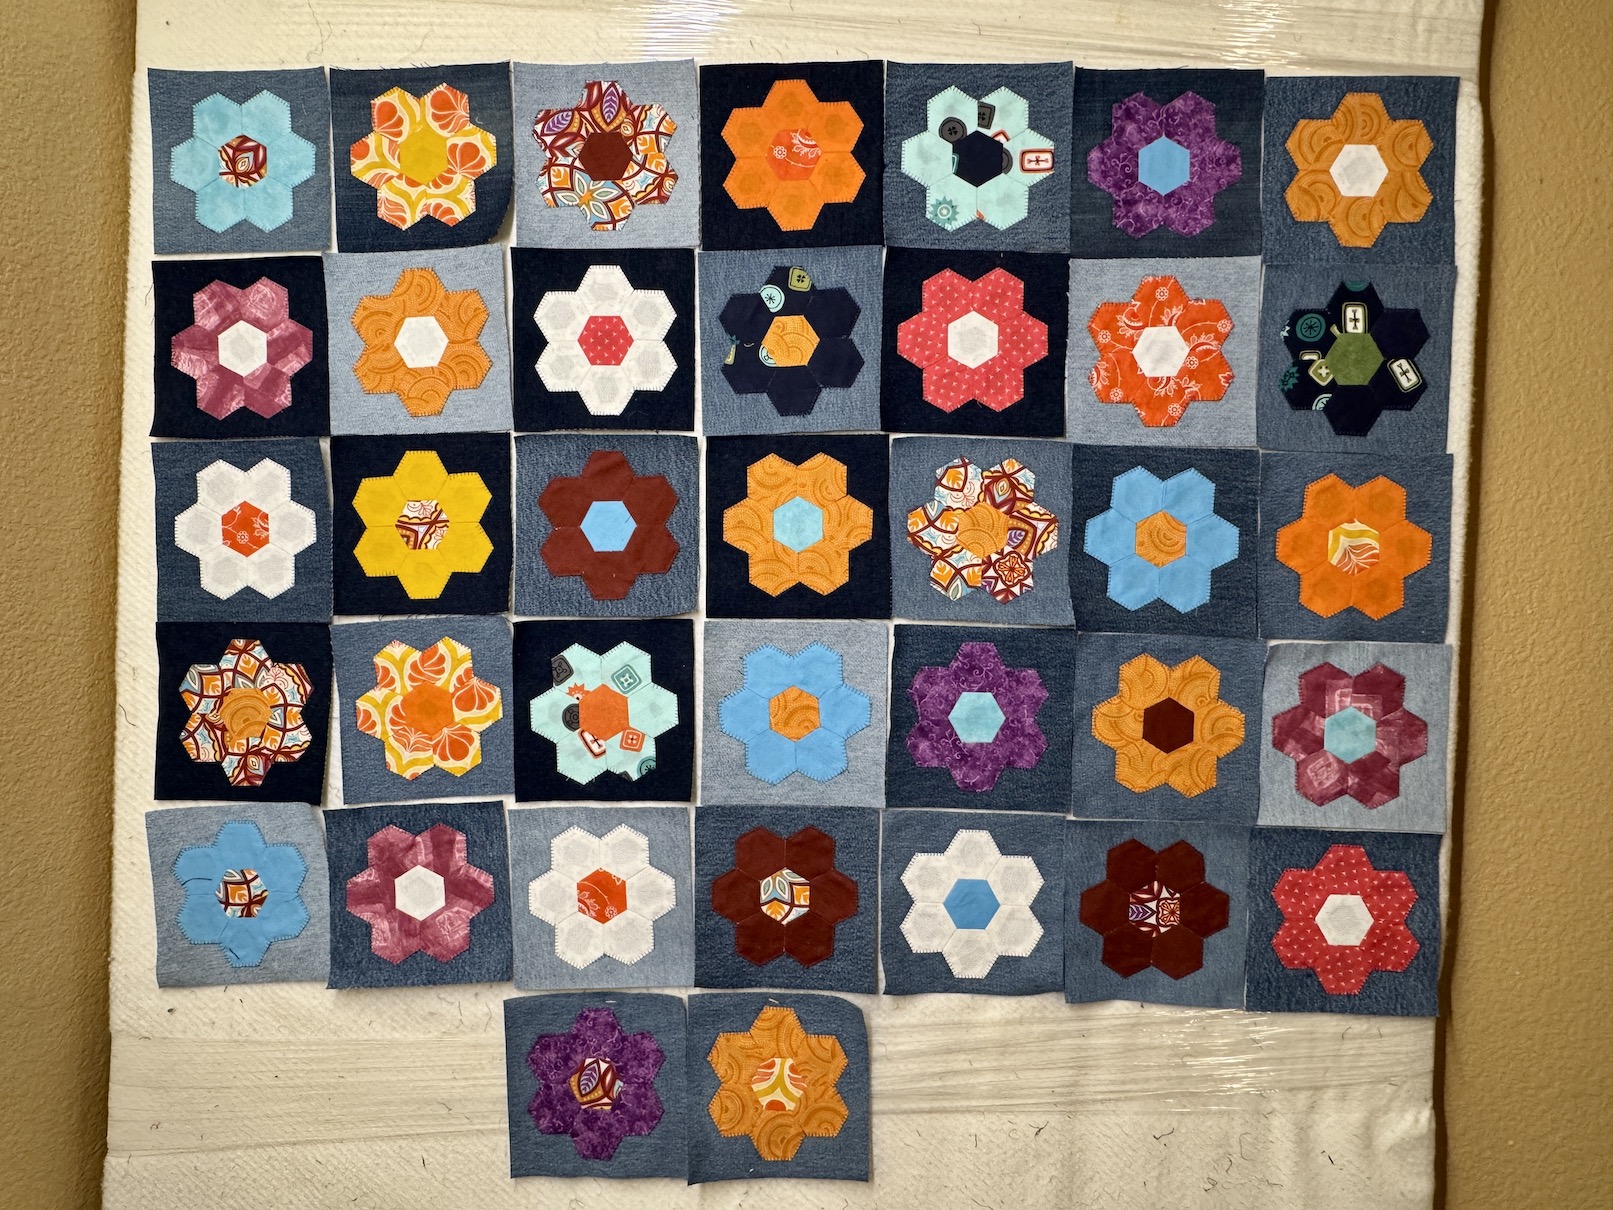
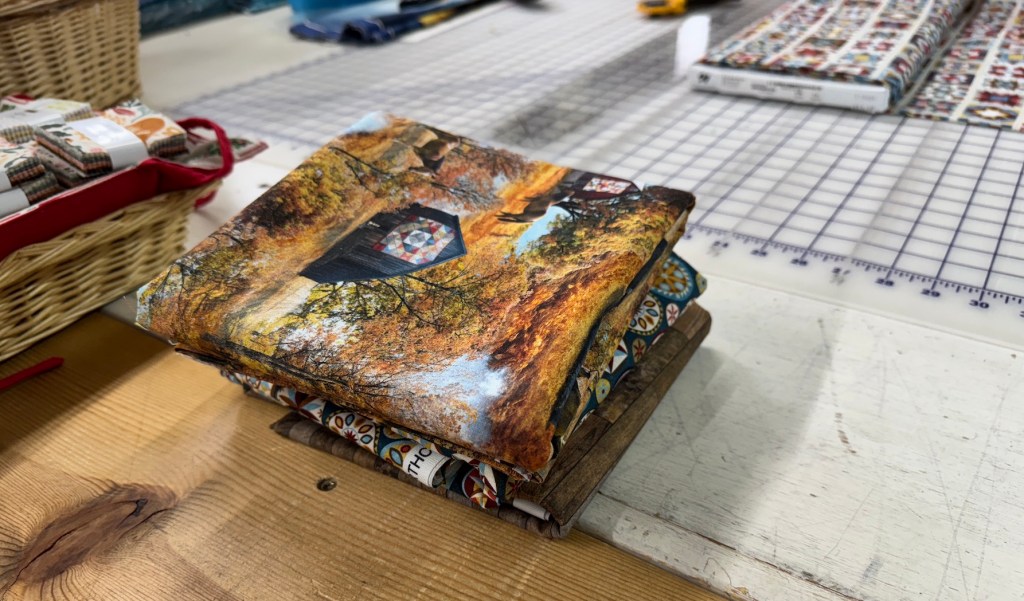
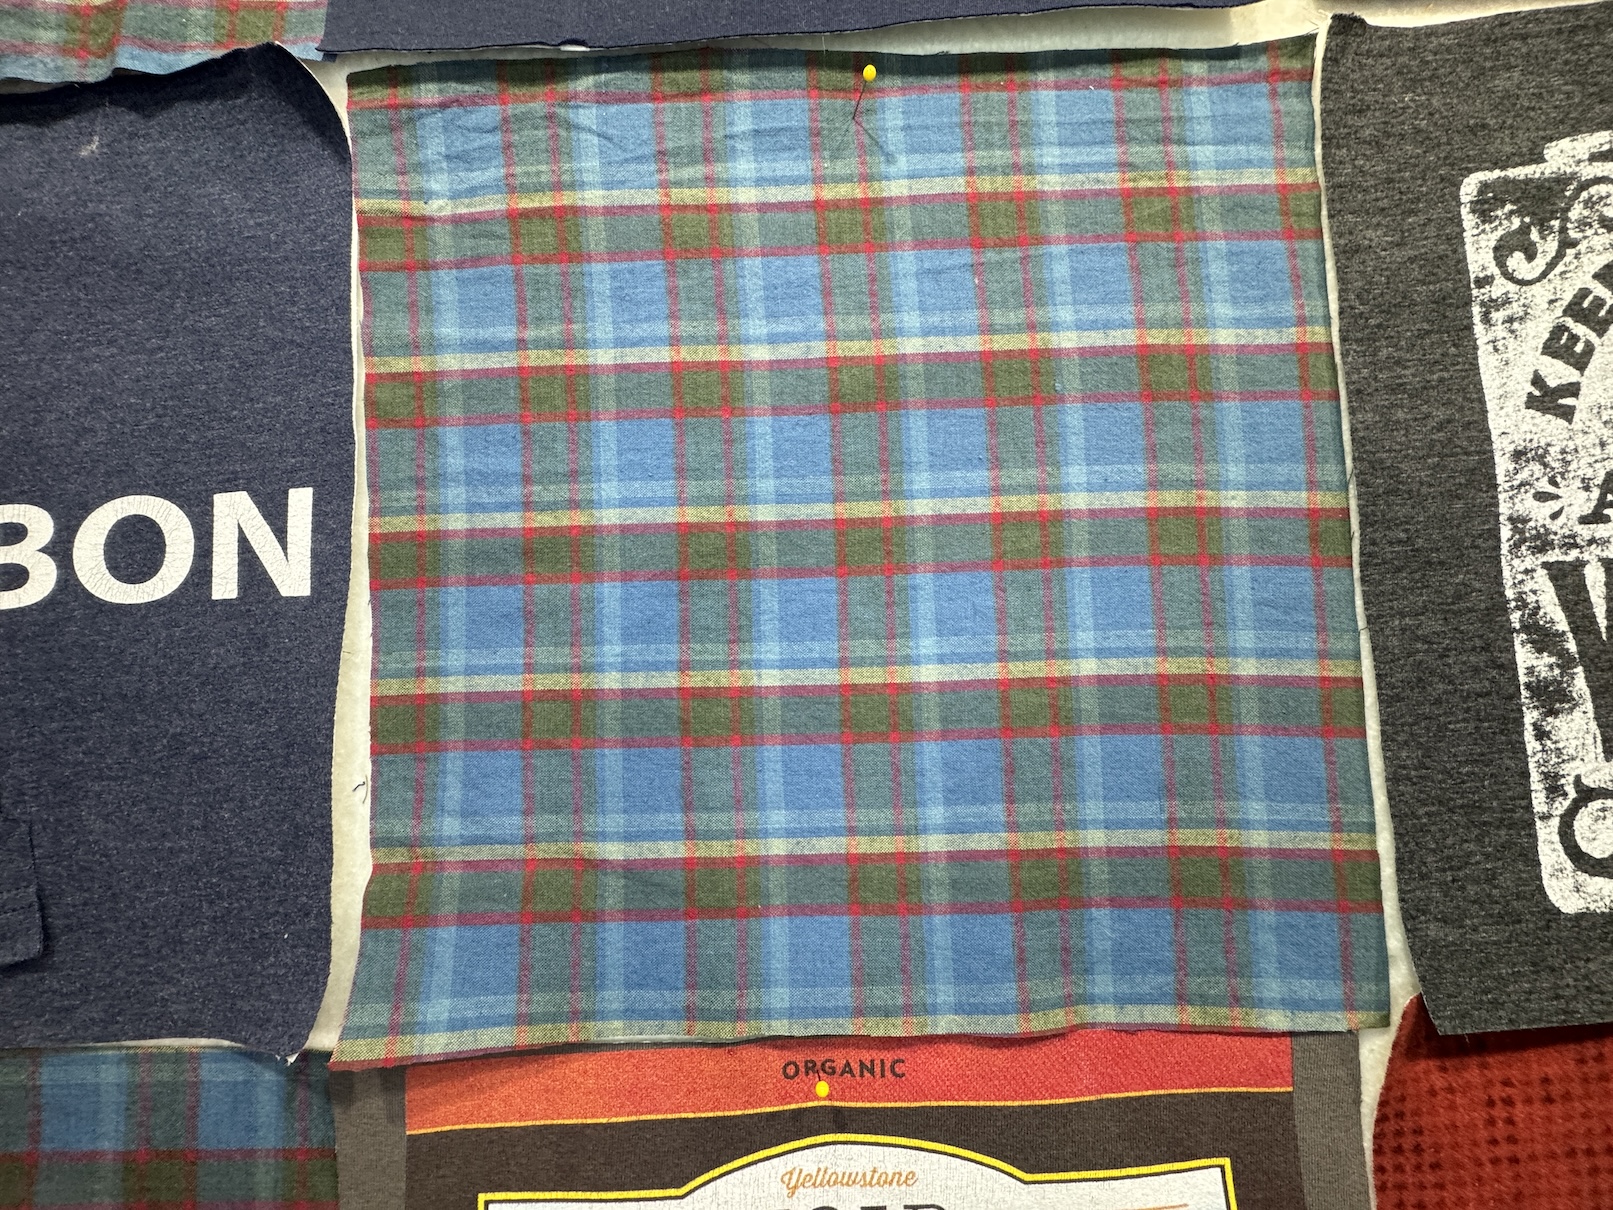
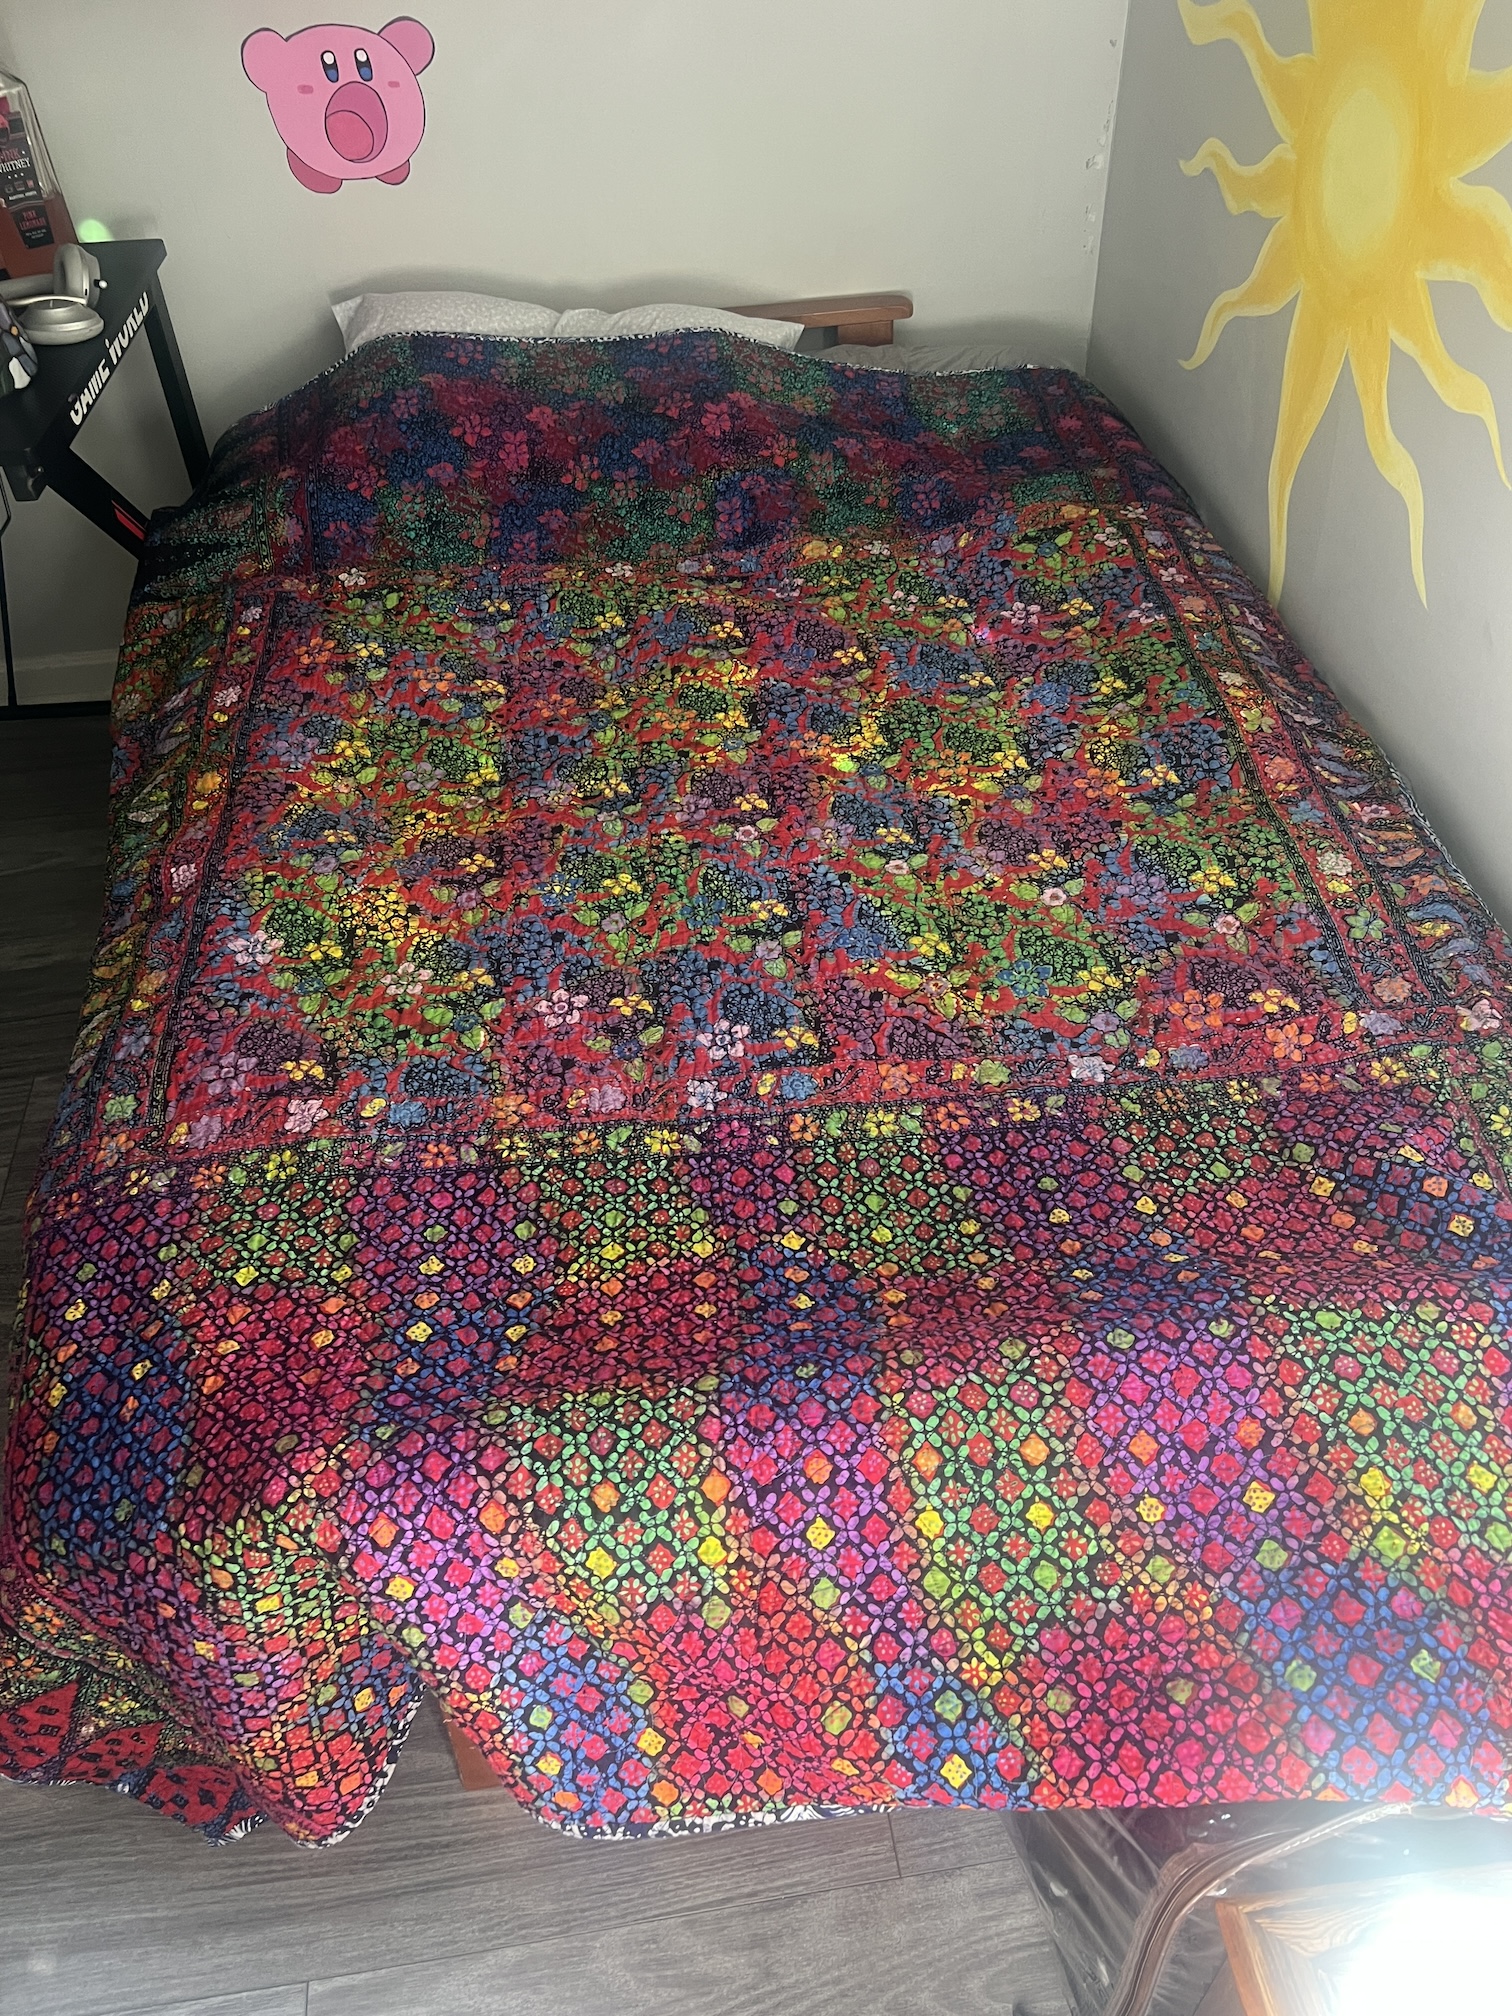
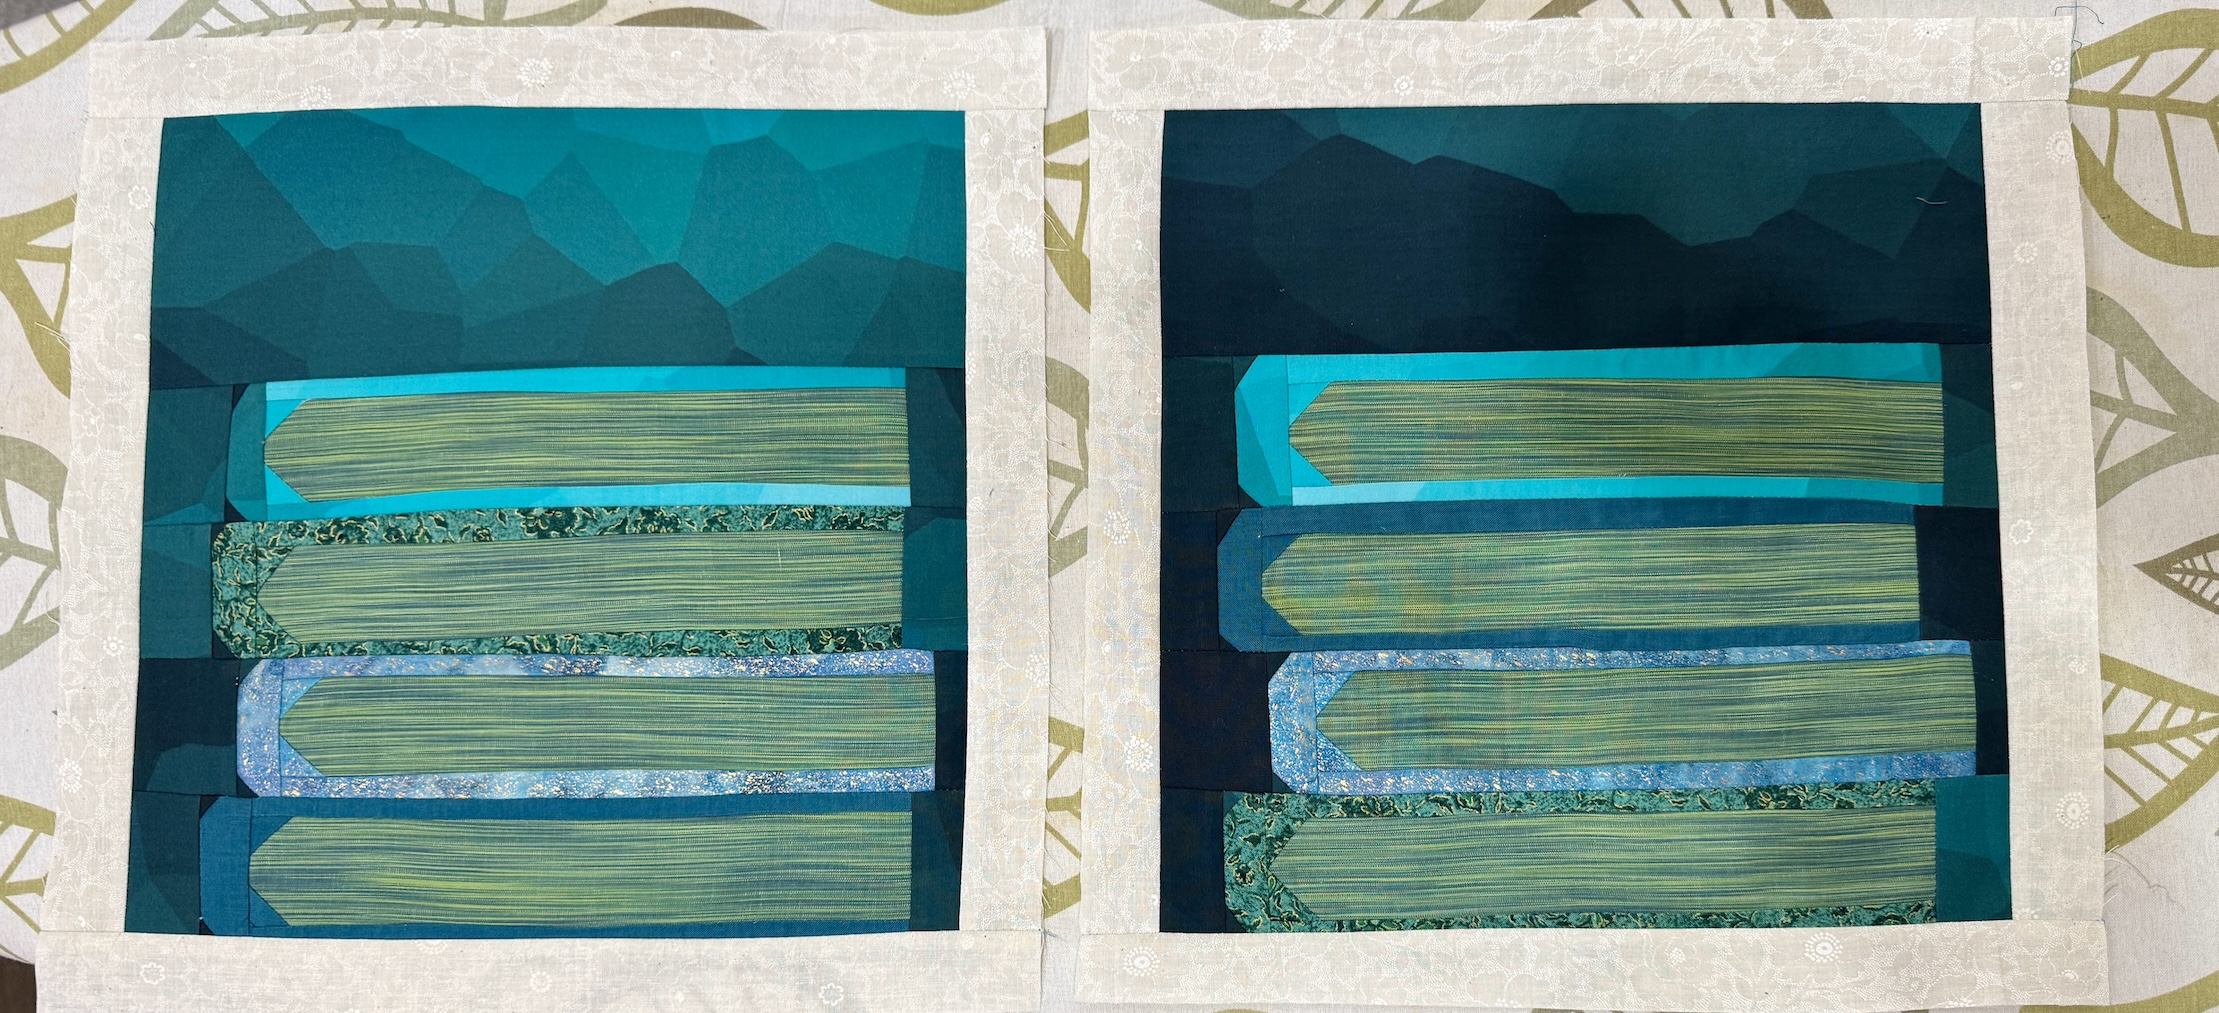
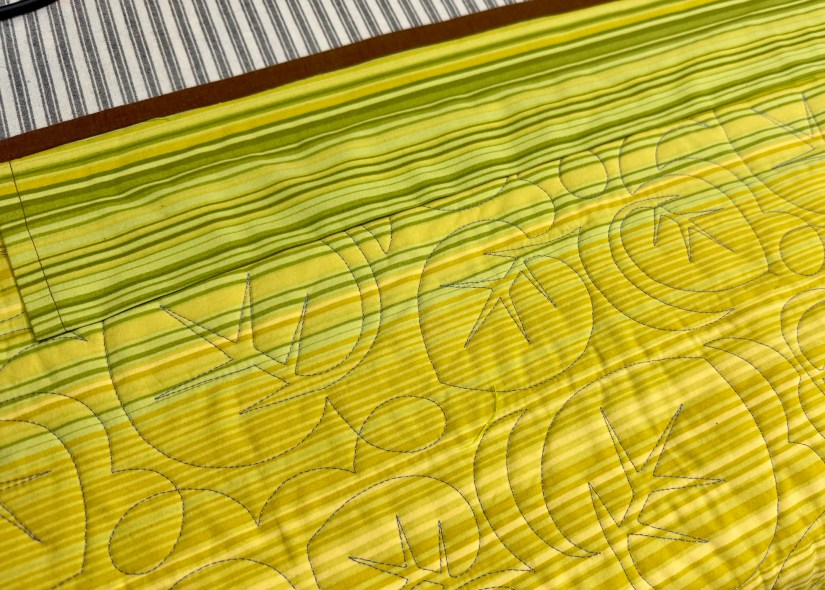
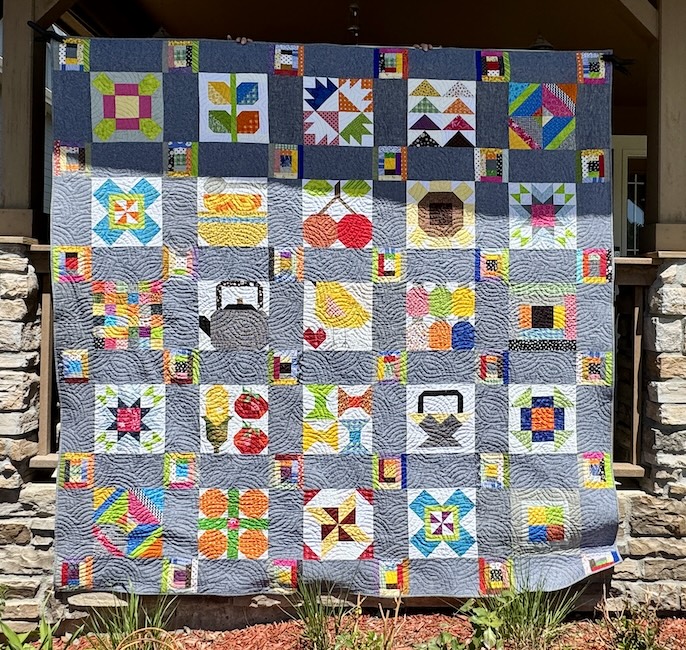
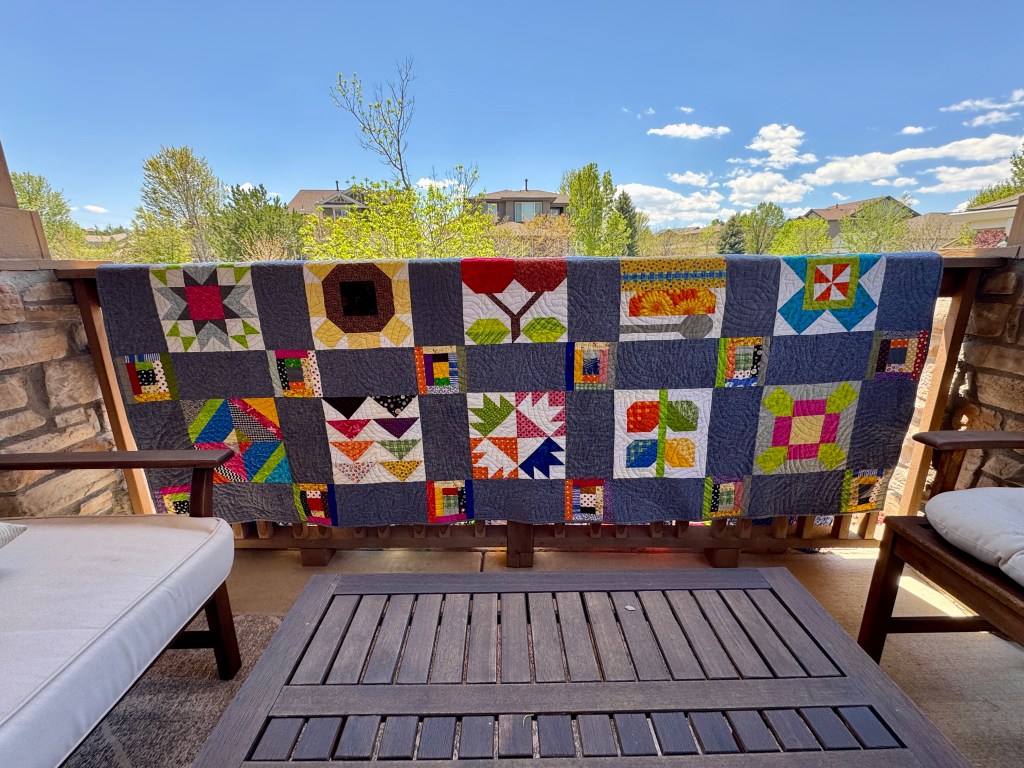
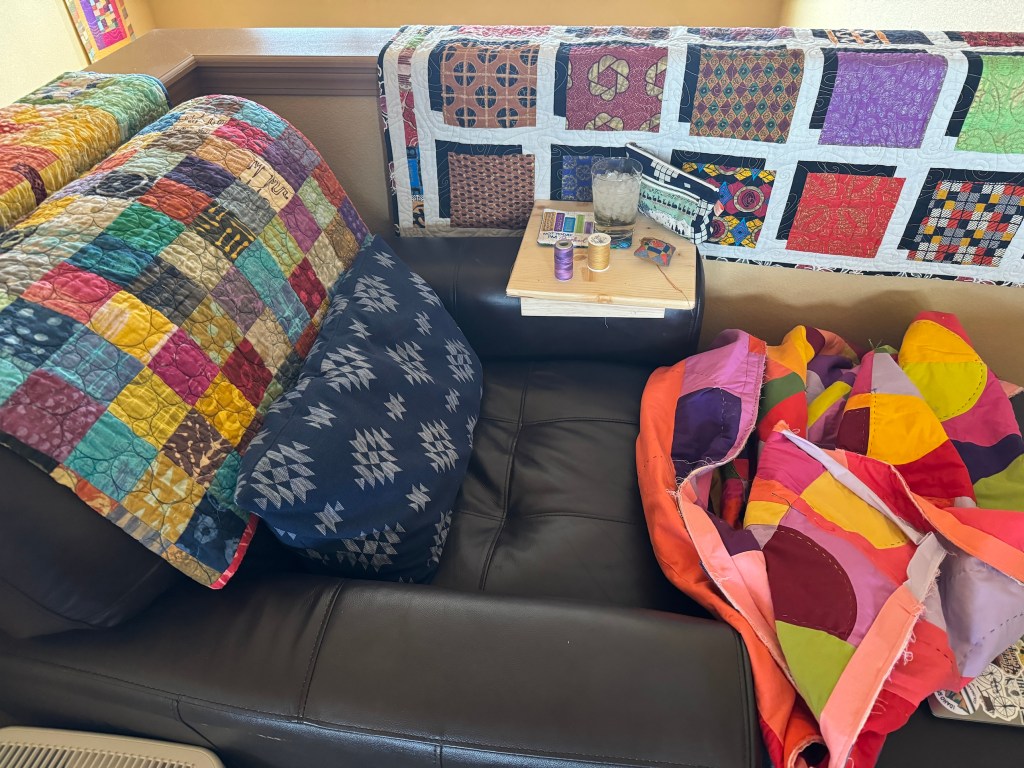
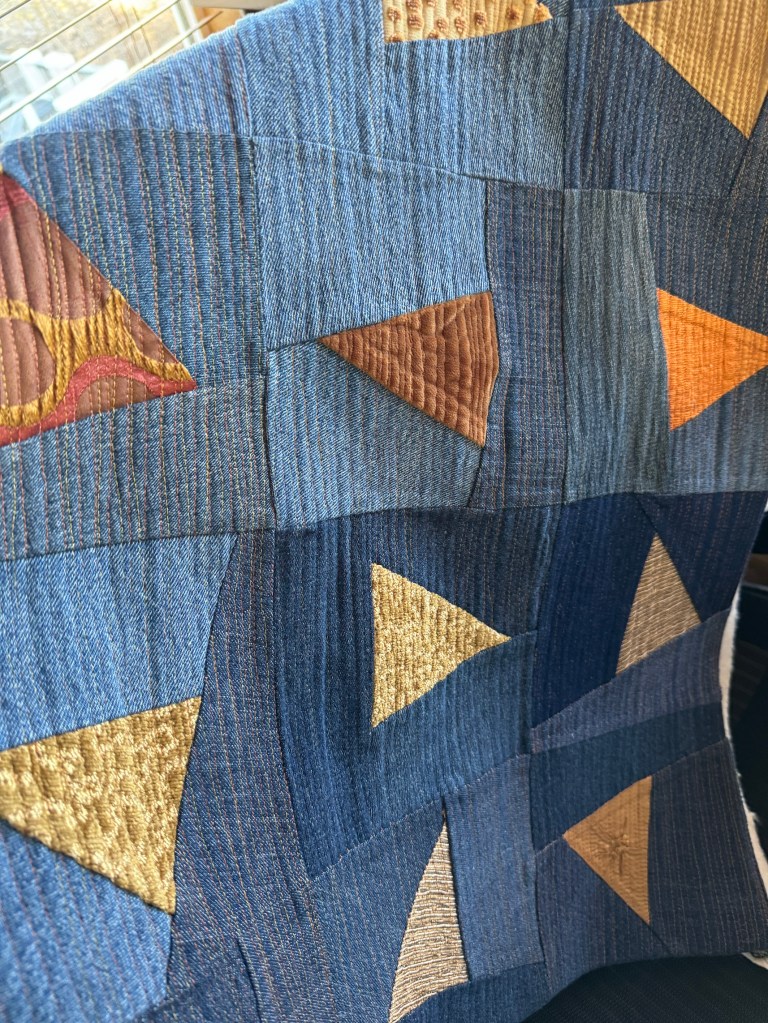
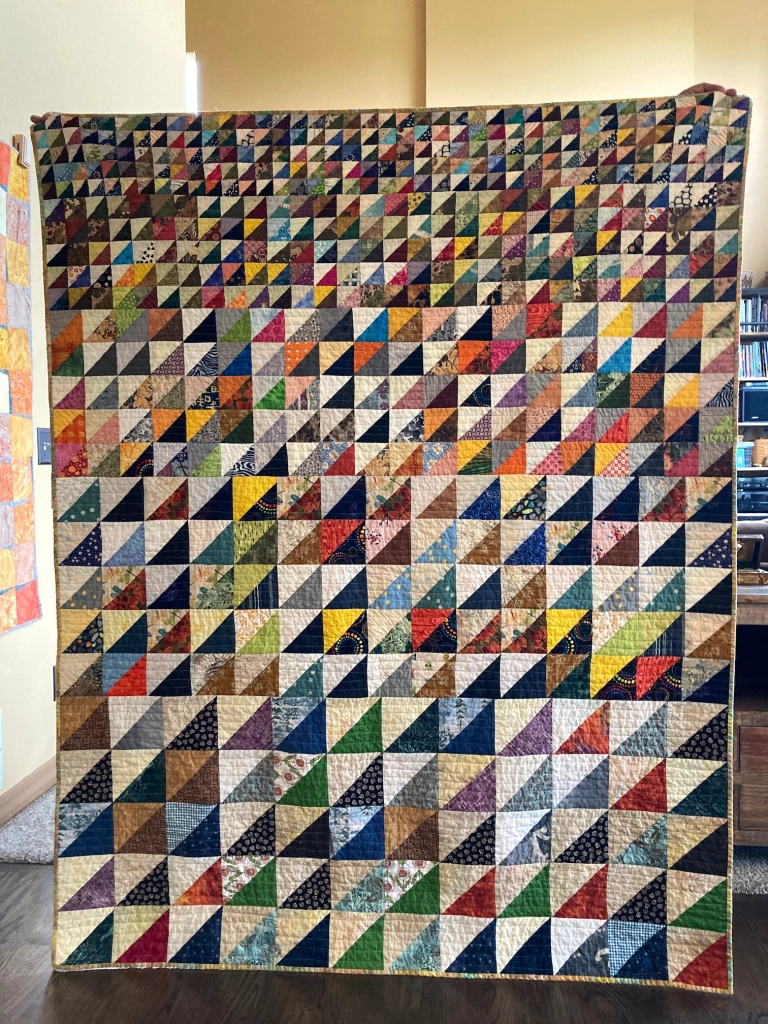
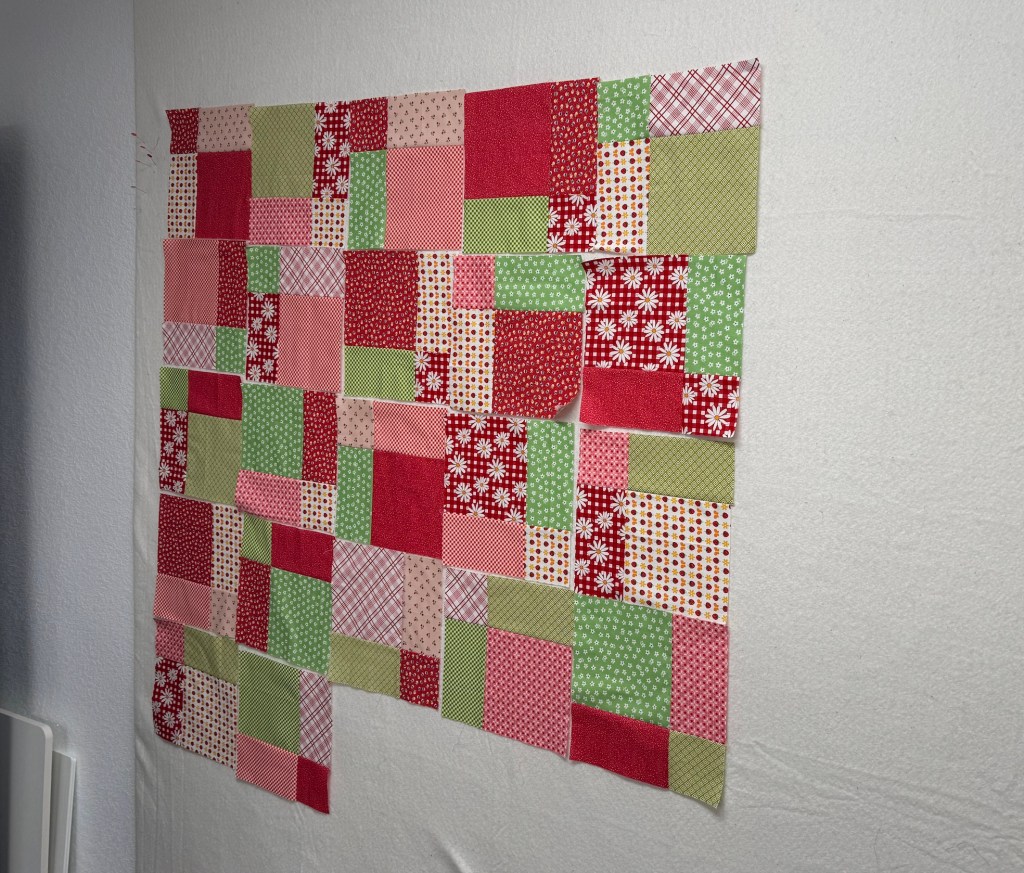
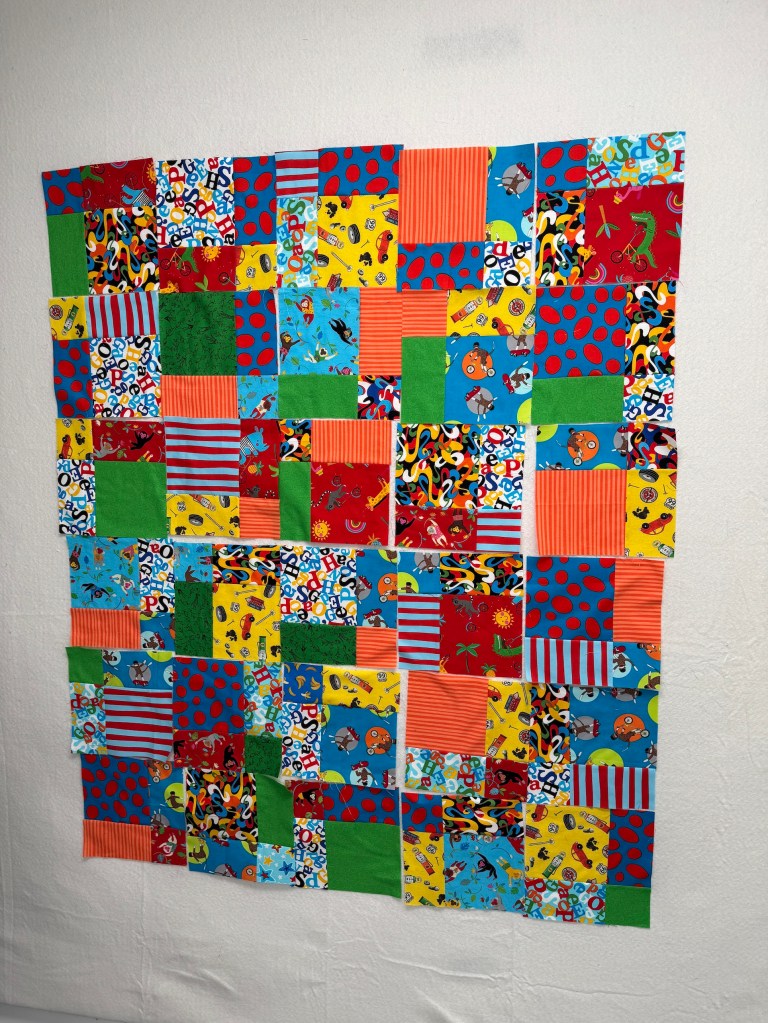
Here are some of the other quilts (same pattern) in progress or completed:
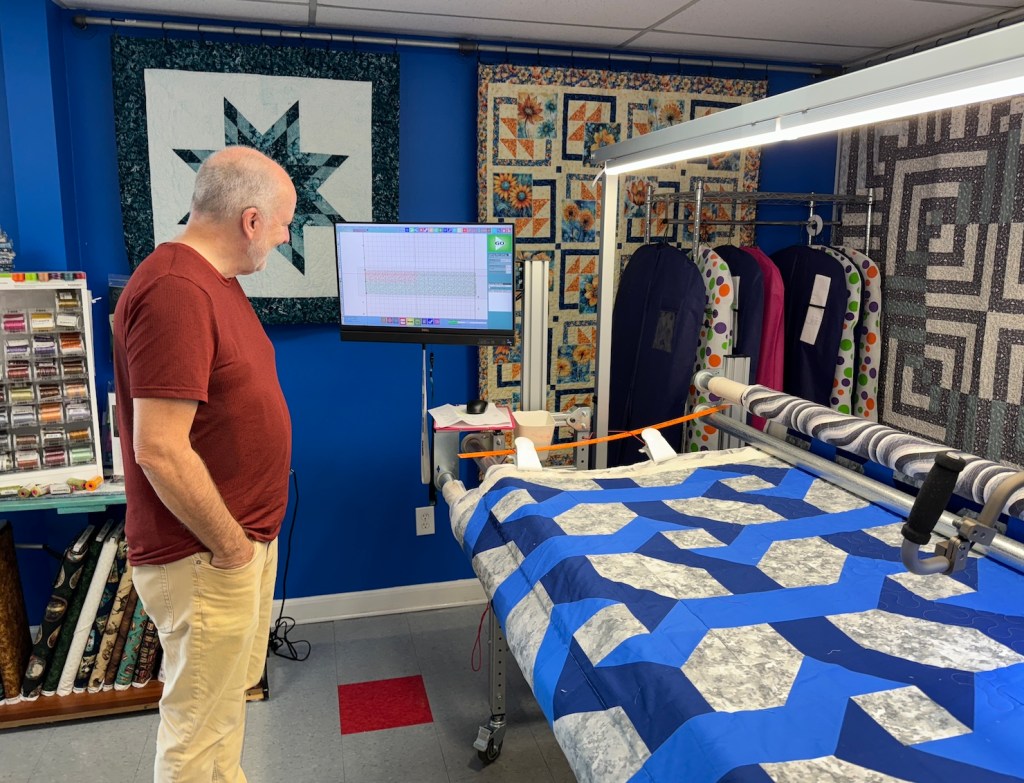
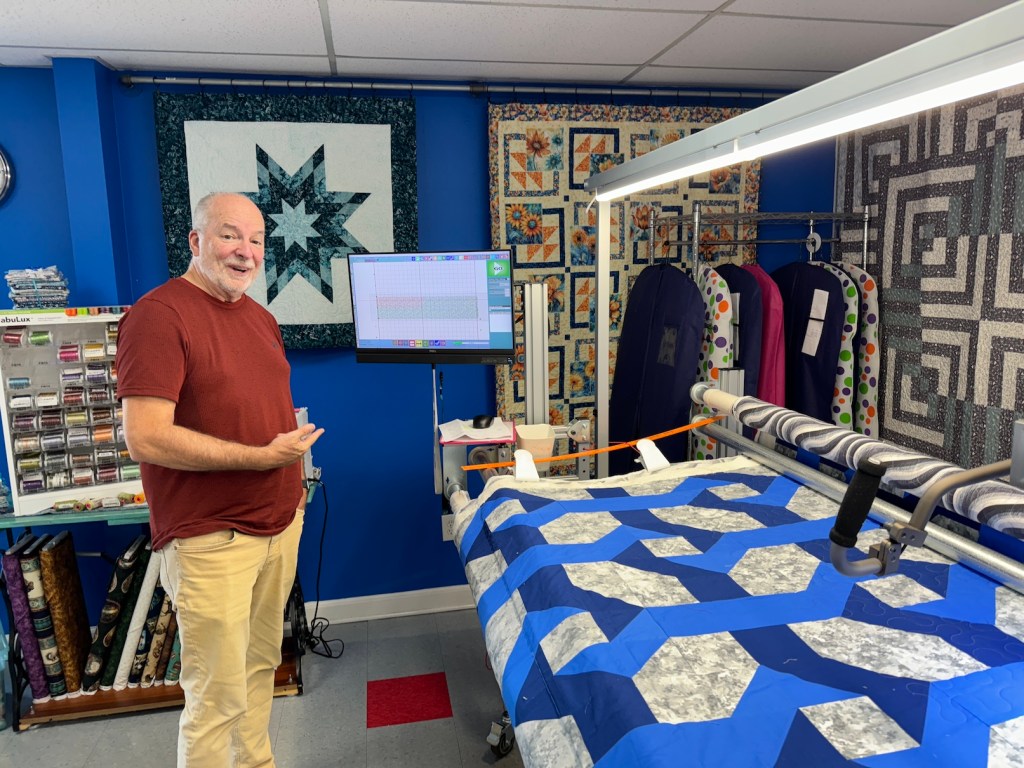
And here is one of the completed quilt tops on the long arm machine getting quilted:

It was a very fun day, though we joked we were in a “quilting sweat shop” – ha! We did take breaks and visited/chatted a lot. We had a wonderful potluck lunch.
We got at least 5 quilt tops completed and a couple more started.
Next post I will show you a tour of the amazing full basement quilt studio of the lovely woman who hosted our mini retreat.