Quarantine Quilts, ScrapHappy

ScrapHappy August 2026 – Making a Family Scrap Happy

It’s the 15th of the month and I am part of the monthly ScrapHappy posting group currently hosted by Kjerstin of Quimper Hitty.

Here are links to the blogs of the ScrapHappy participants:  KateEvaSue, Lynda, Birthe, Turid, Tracy, JanMoira, SandraChrisAlysClaireJeanDawnGwen, Sunny, Kjerstin, Sue LVera, Ann, Dawn 2, Carol, Preeti,VivKarrin,  Alissa, TierneyHannah,
 Maggie and Wizzy

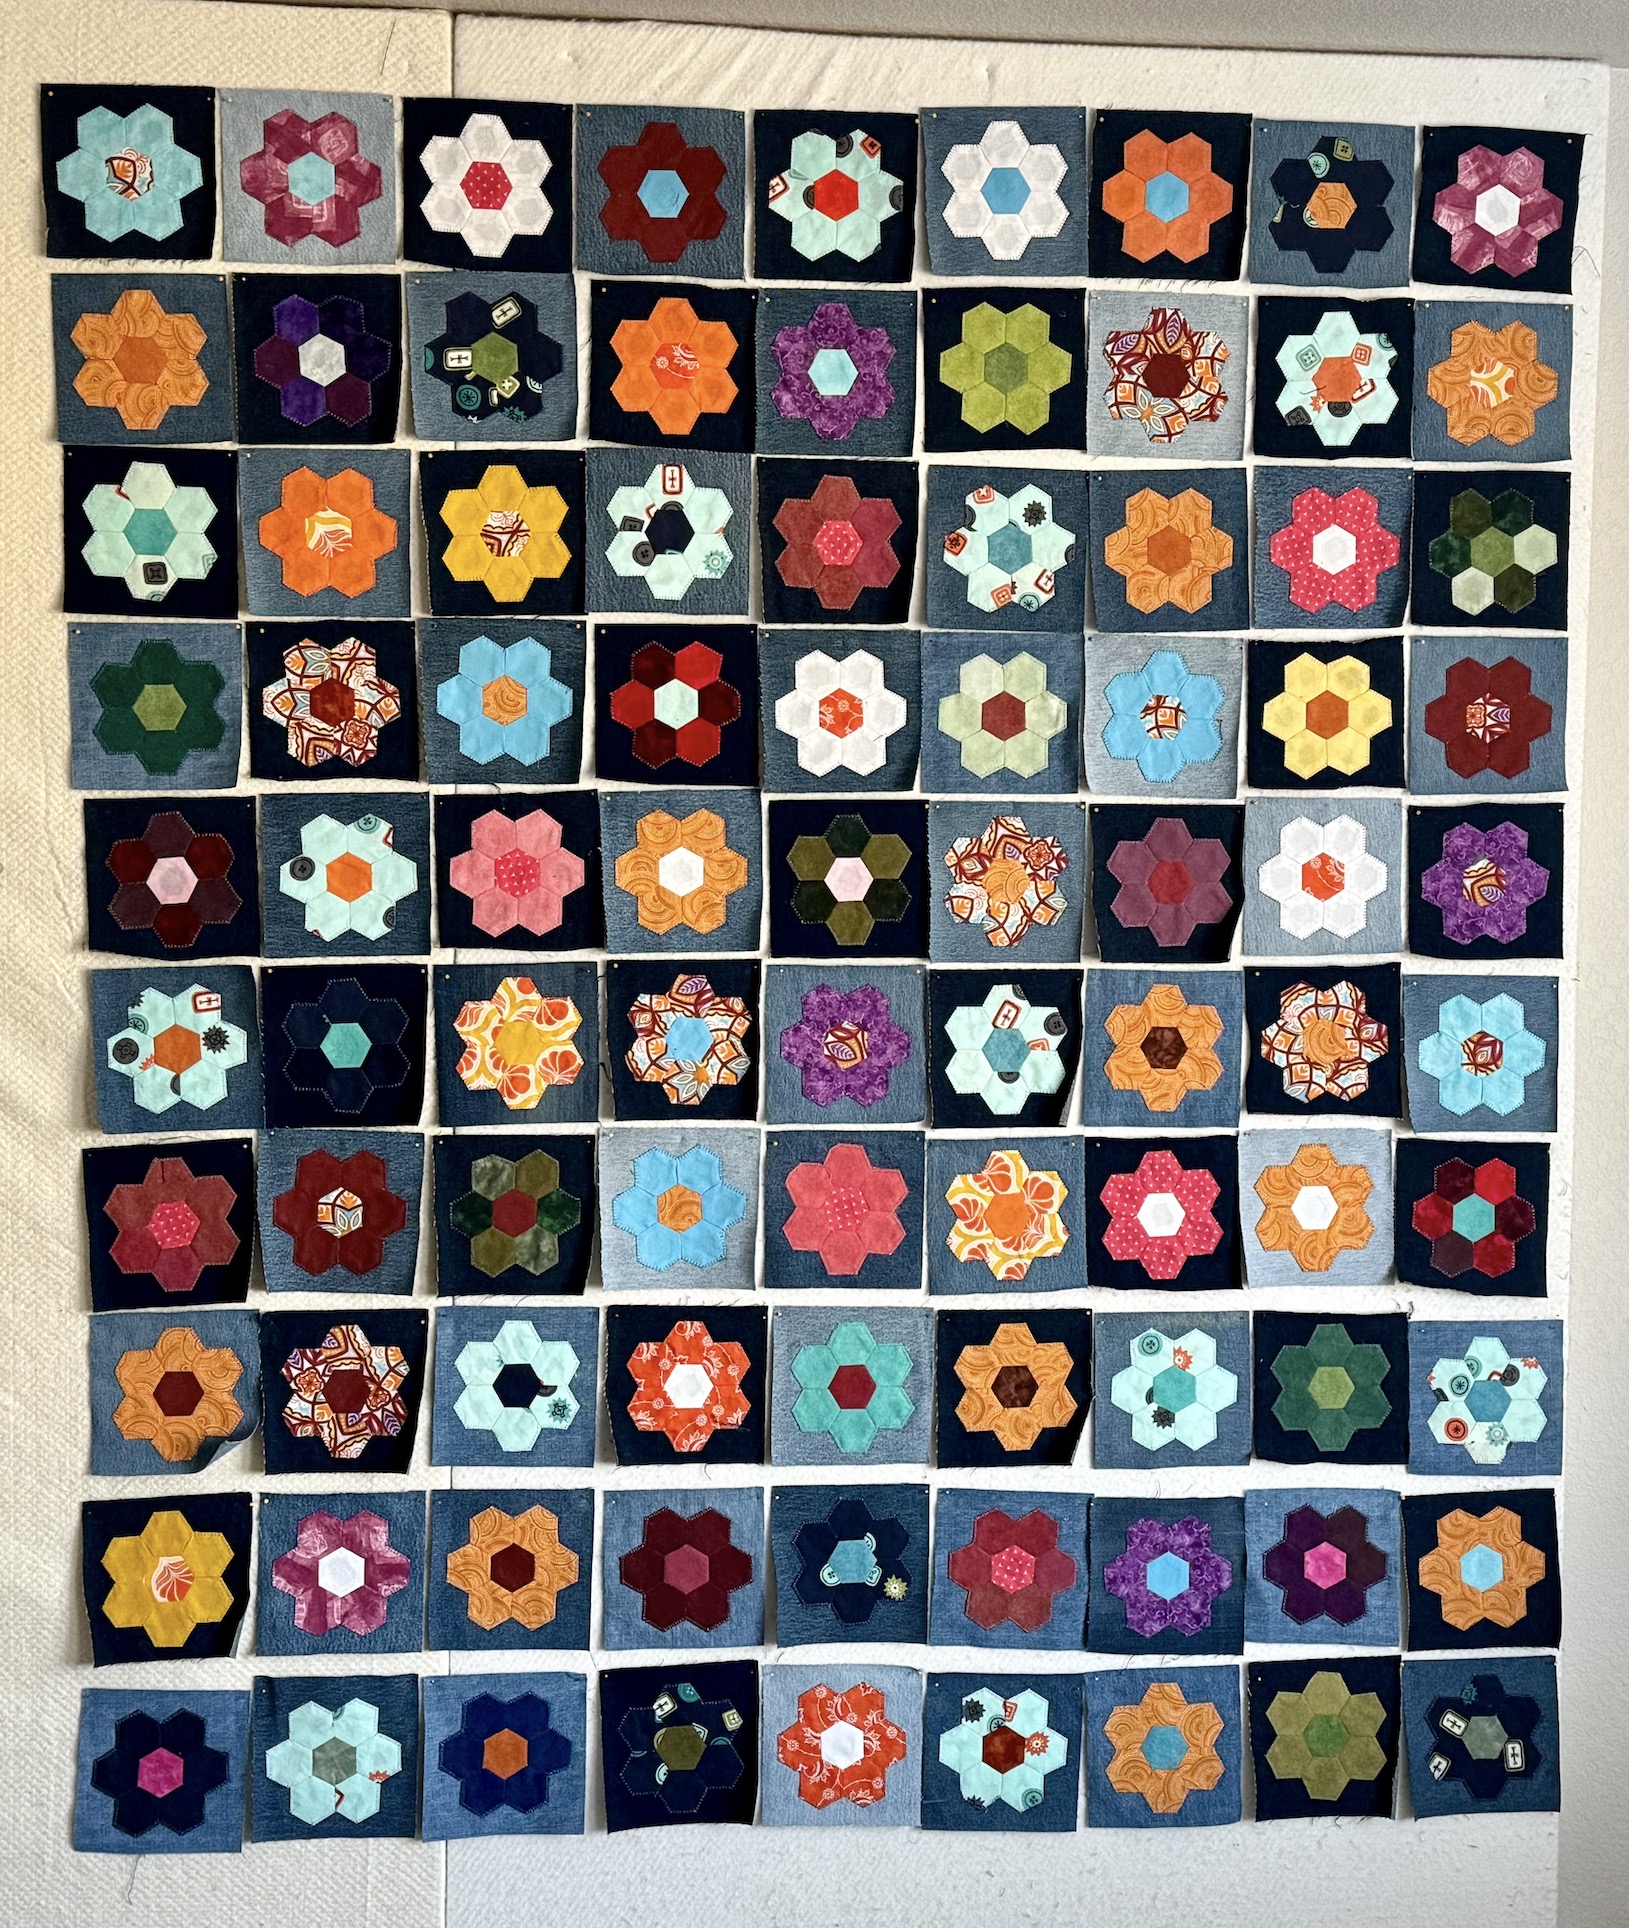
I already posted my update on my very scrappy quilt in progress on my August 10th post Very Good Progress on the EPP Quilt:
So I thought I’d just share something from my blog archives that I came across recently – the story of a very scrappy quilt created by my friend Wendy and a group of 4 boys ages 2 to 8 years during the COVID pandemic. I posted a little bit about this quilt in the Postscript section of my August 12 post Celebrating 25 Years of Quilting but I’ve removed it from the Postscript section to share in this post.

I have several new blog readers since 2020 when The Quarantine Quilt Project story was first shared over 5 guest posts by my art quilter friend Wendy Hill.

I think this story to truly ScrapHappy and worth sharing again. Not only did the quilt that came out of this project result in major family “ScrapHappiness” but the journey to complete this quilt brought a lot of happiness to a family struggling with four rambunctious boys stuck at home full time during the COVID quarantine.

Wendy distracted the four boys by working with them to create a scrap quilt for their parents. (And what an amazing and very personal quilt it turned out to be!)

I thought I would share for this month’s ScrapHappy post some highlights, in Wendy’s own words, about this project. The original 5 guest blog posts by Wendy Hill are linked at the end of this post.

The Quarantine Quilt Project

Below are section of text and images from Wendy Hill’s 5 guest posts about this project (All images and works are property of Wendy Hill, and cannot be used without her permission):

This is the story of two neighbors who banded together when the state government ordered a lock down because of the first Global Pandemic in over 100 years.

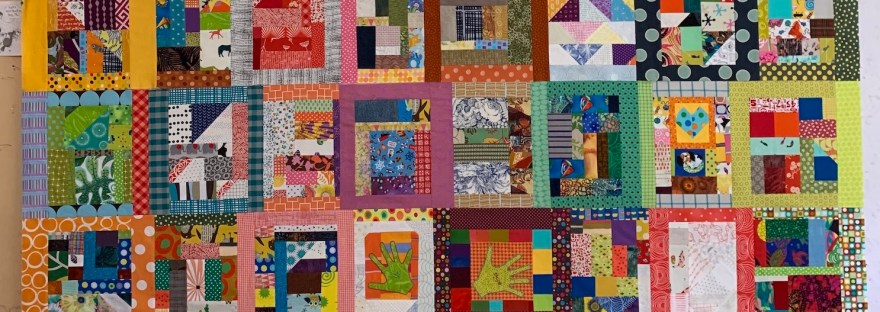
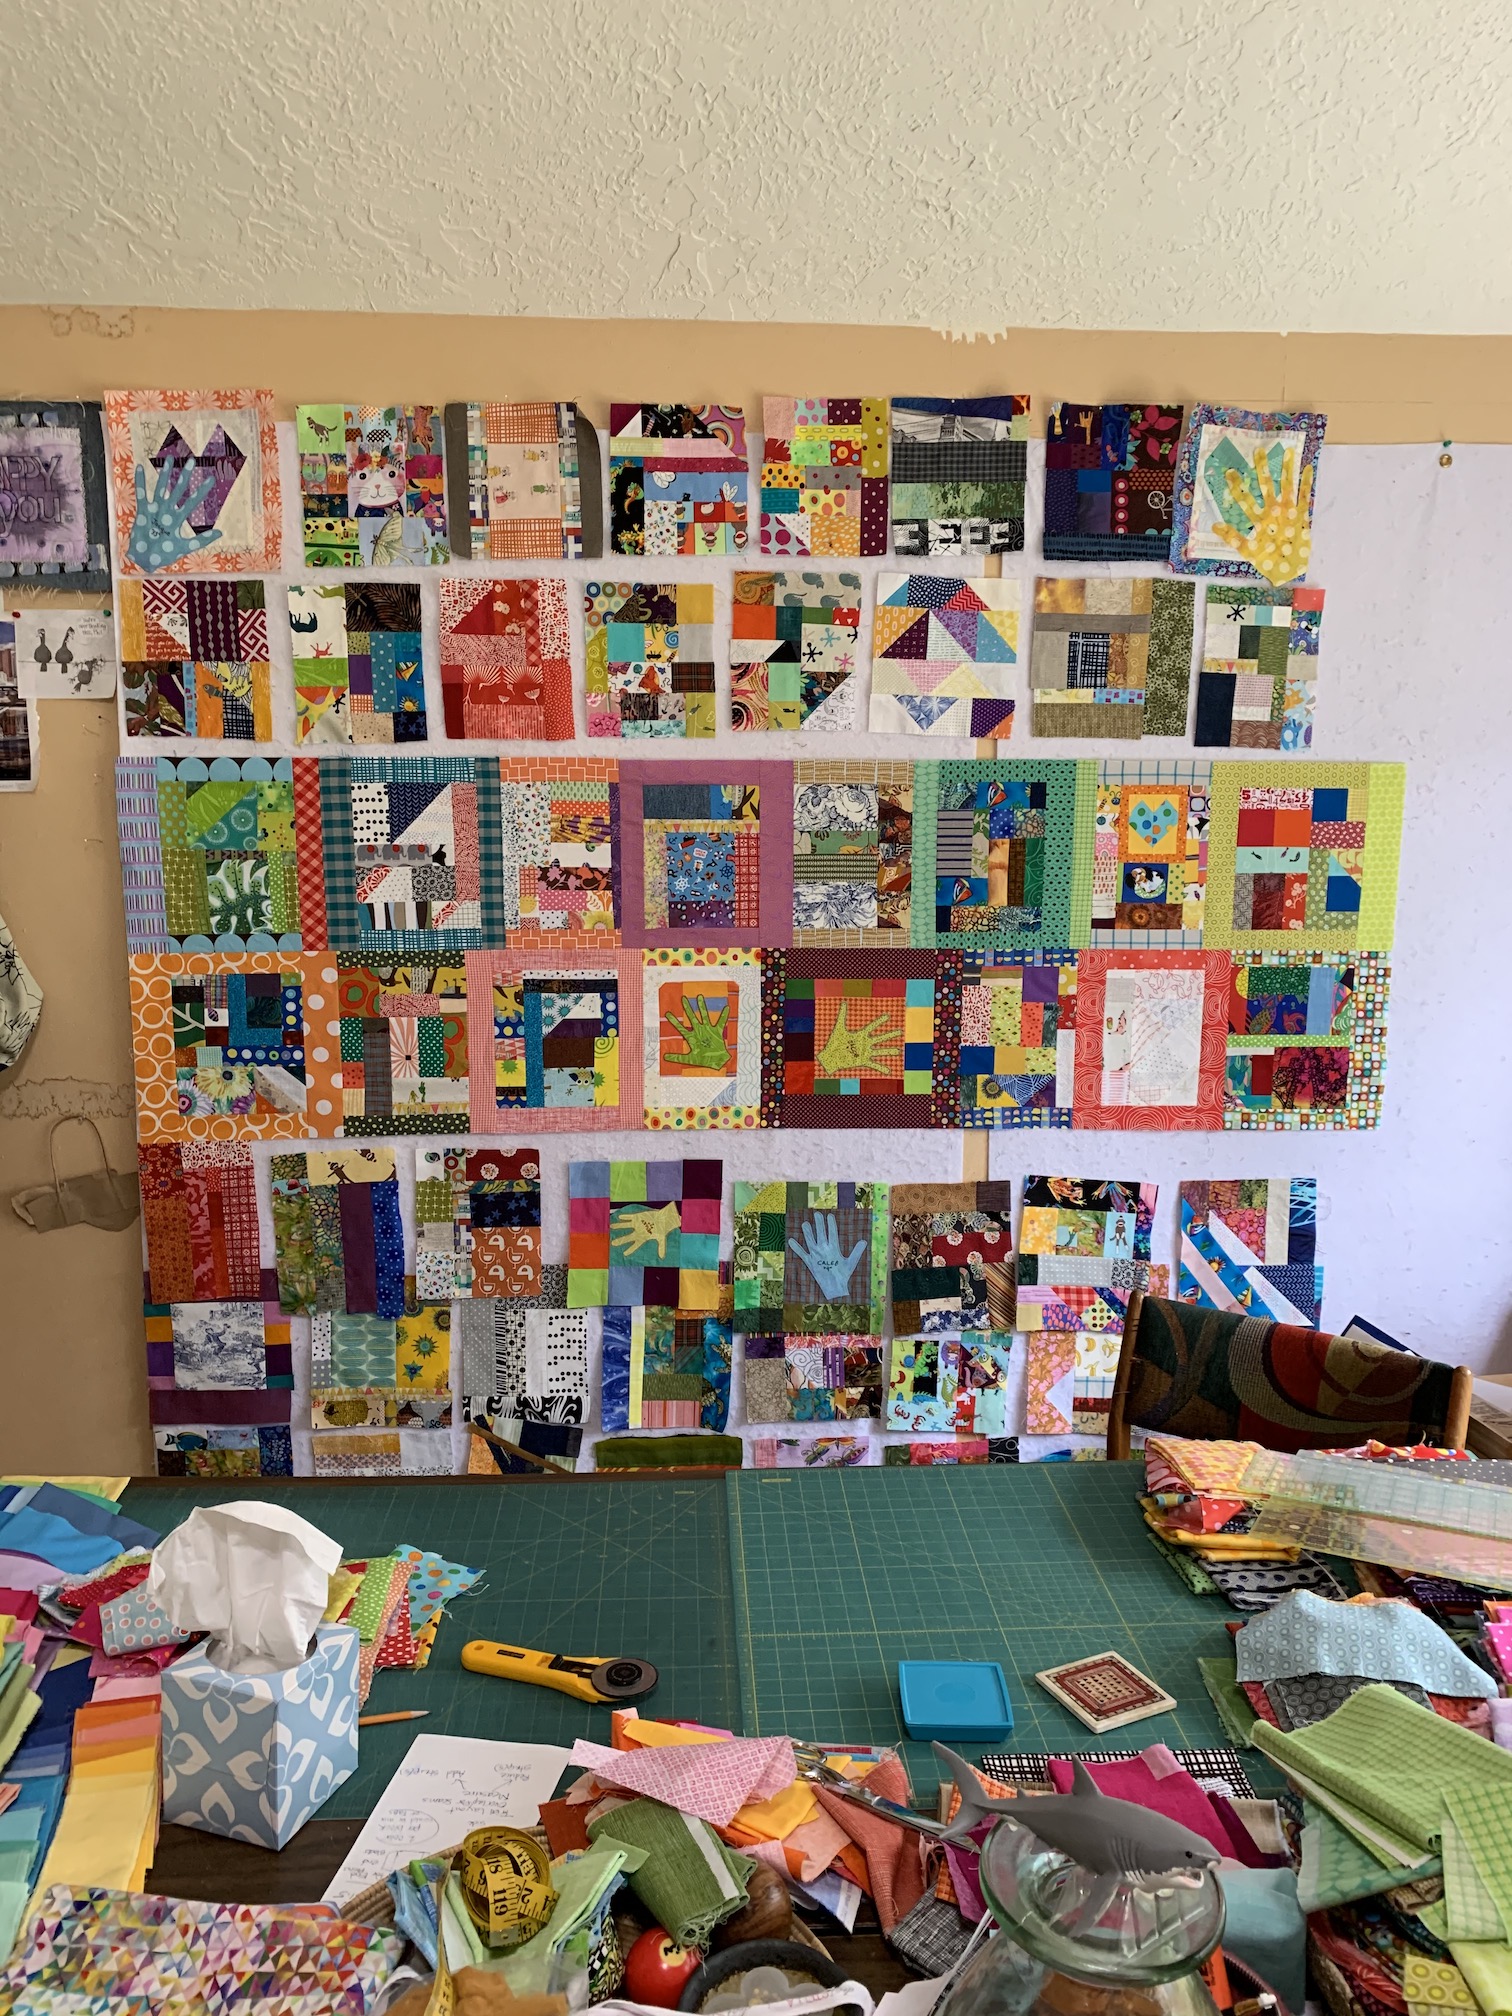
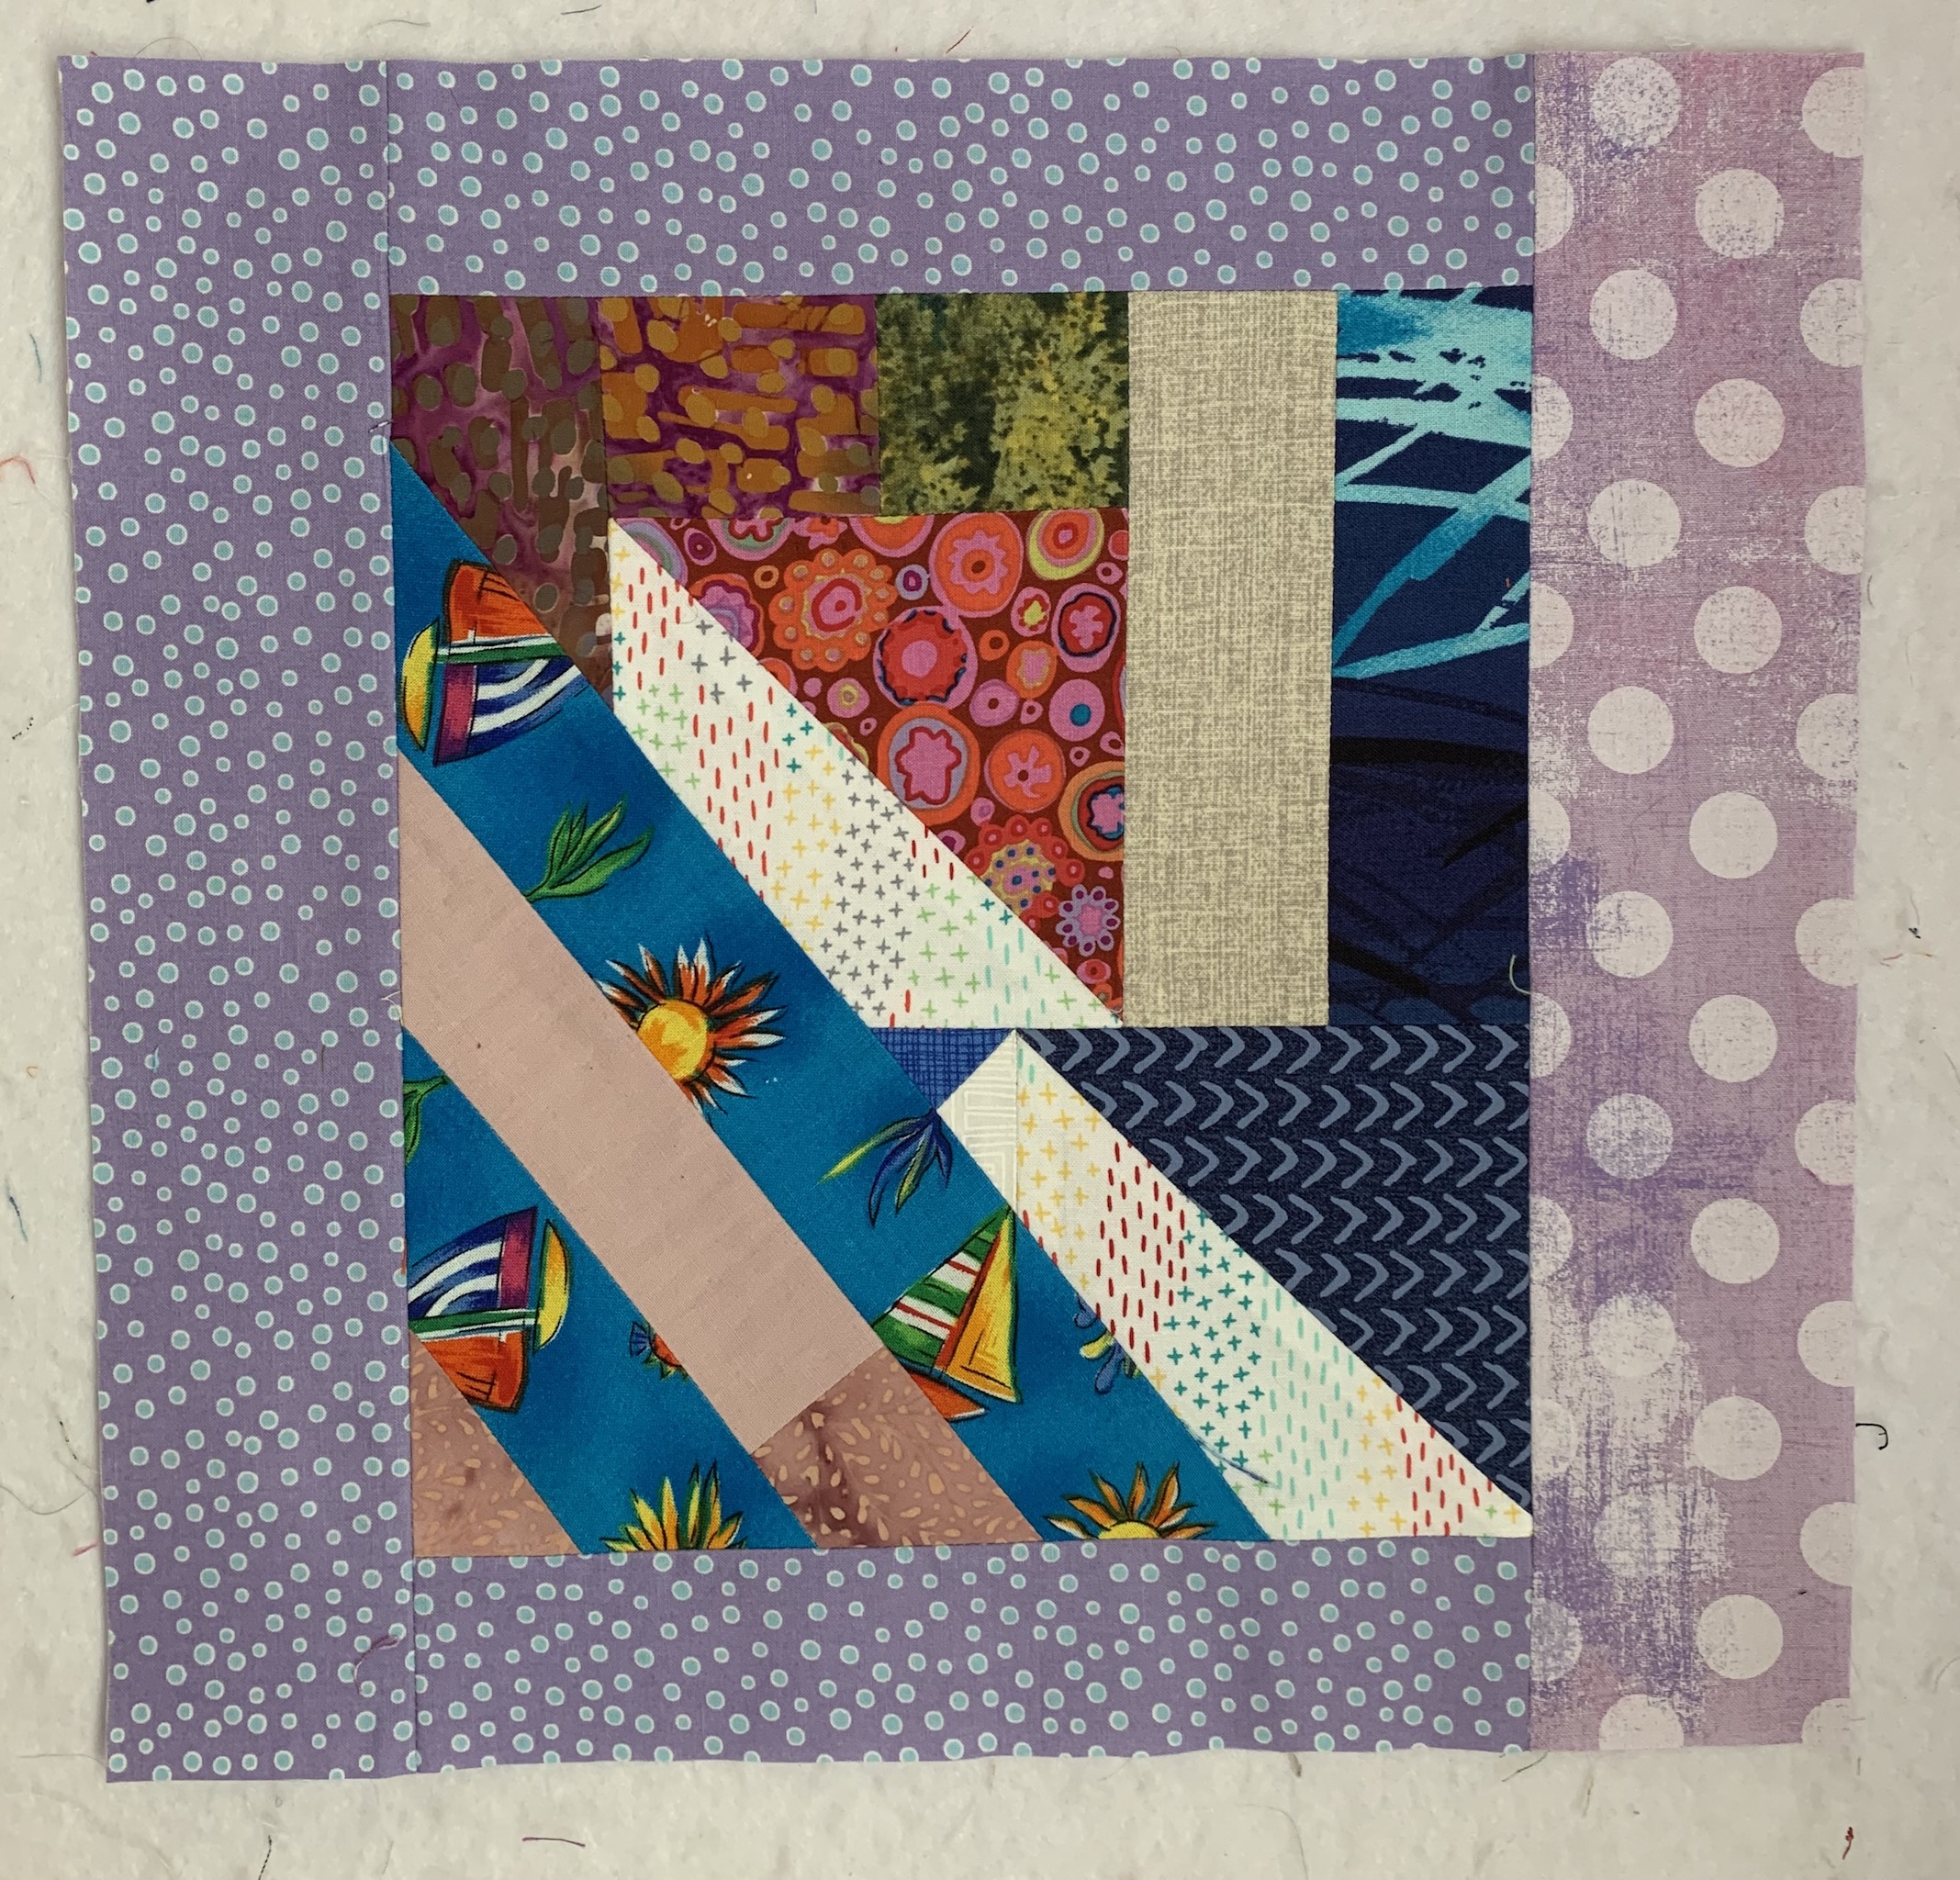
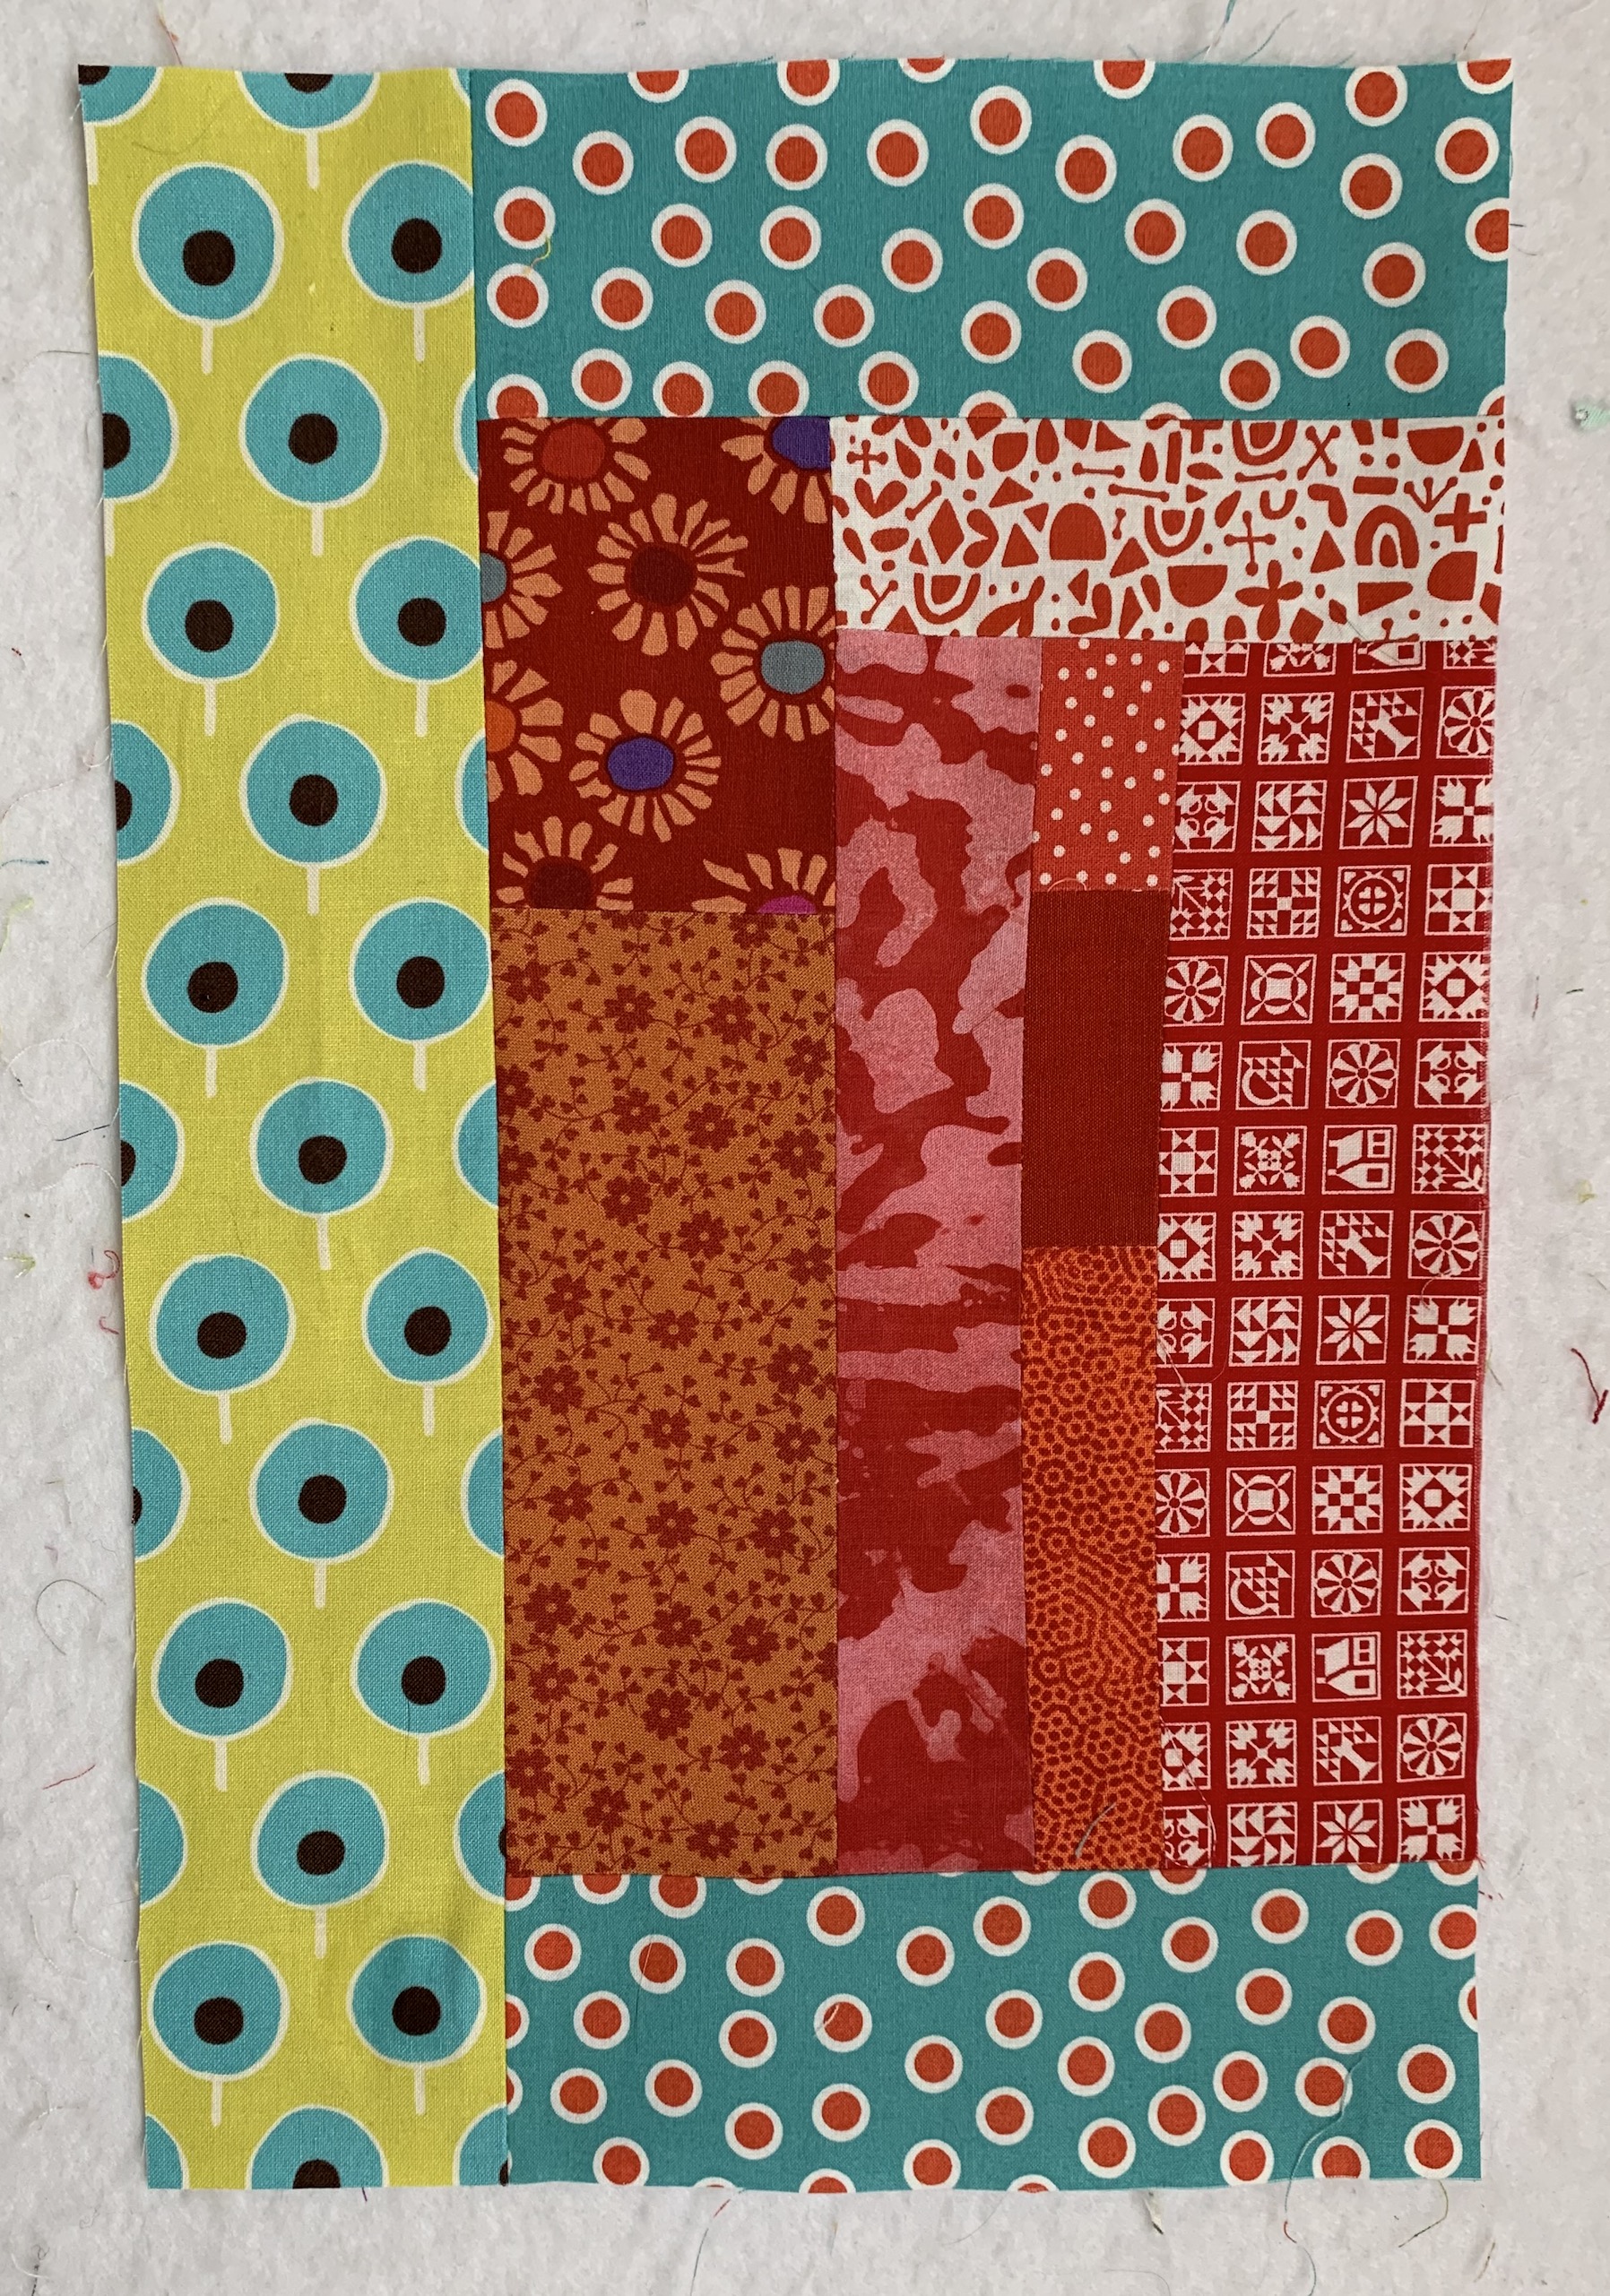
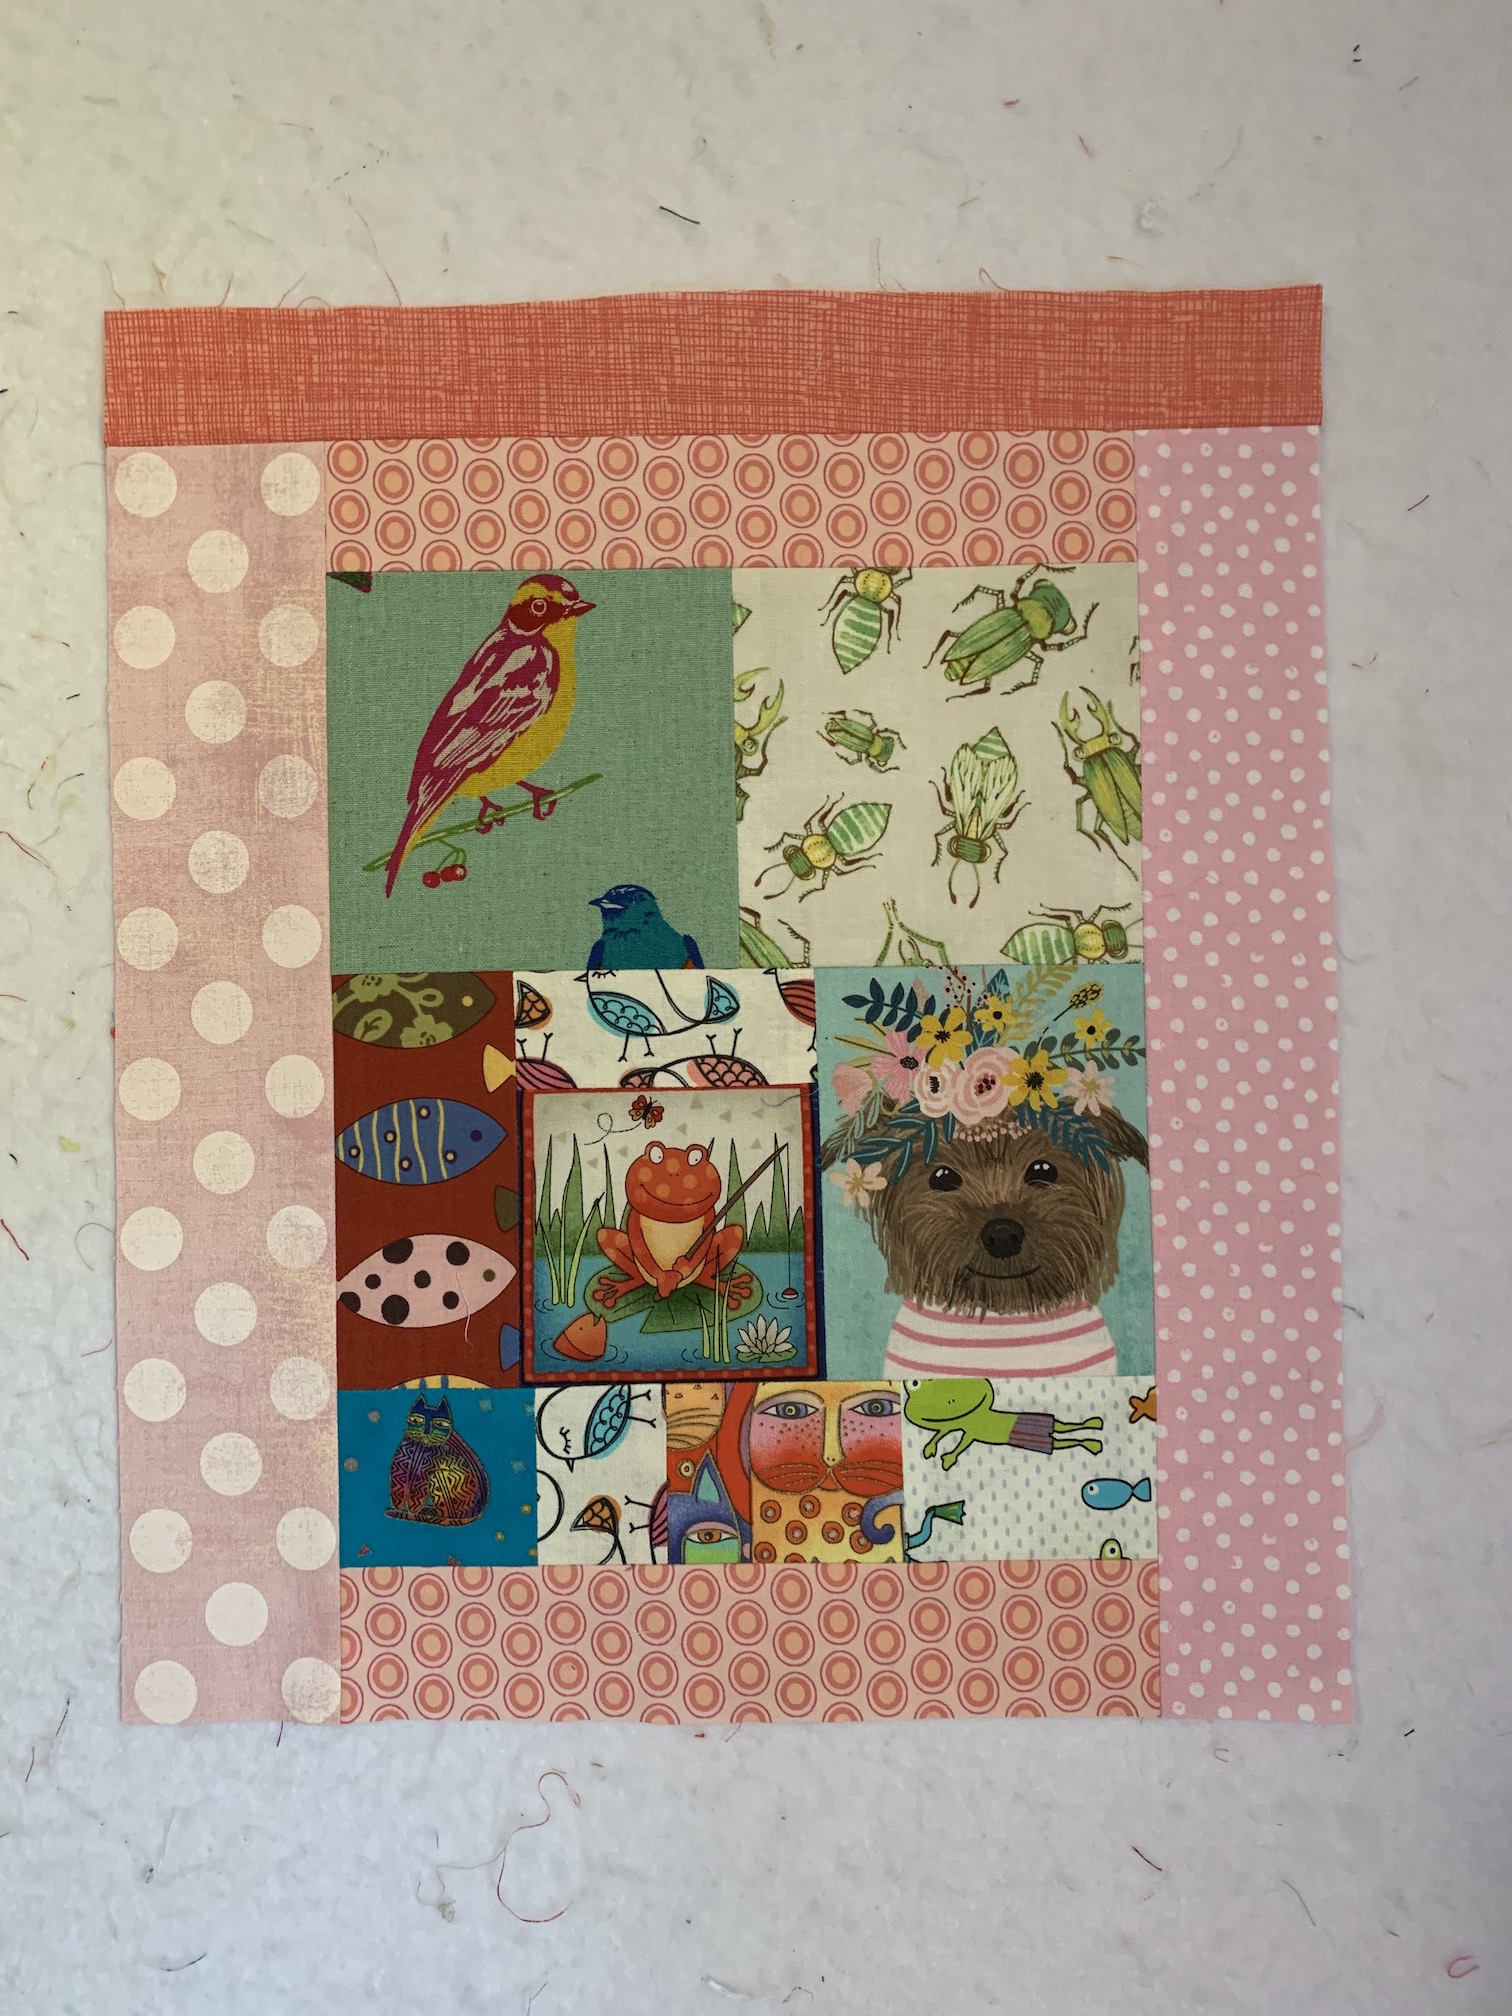
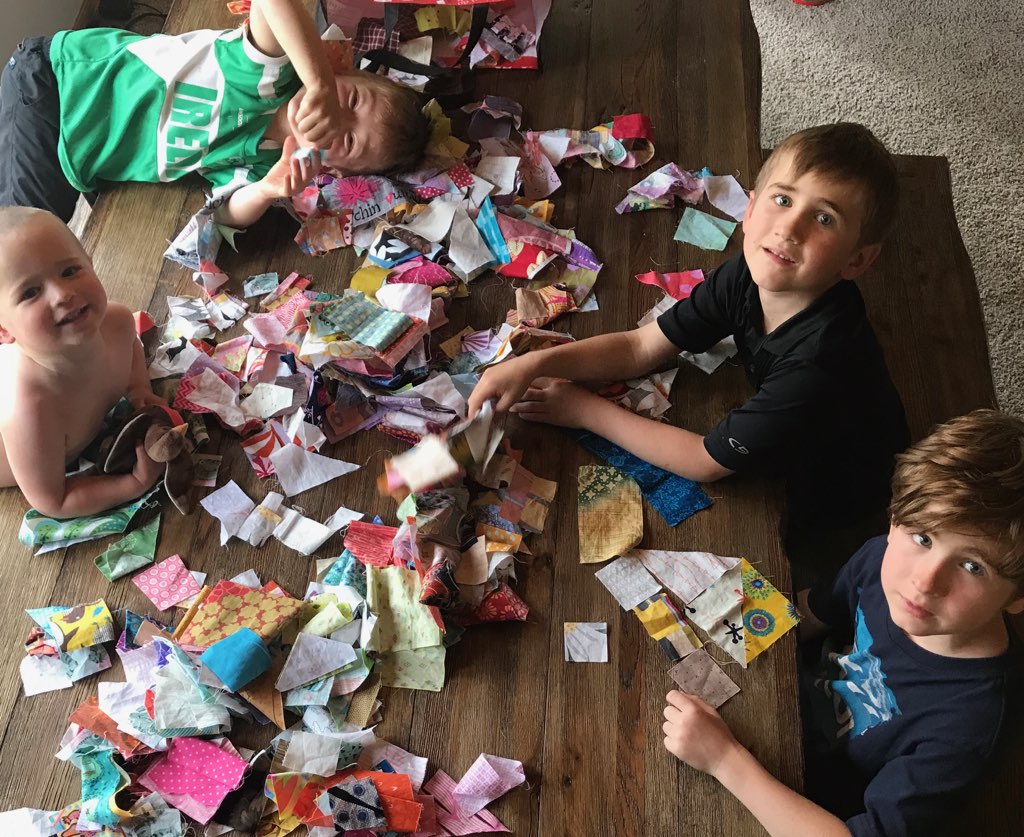
One day, I sent over a note which read “I have a bit of a crazy idea….”. I sent over a Big Bag of Fabric Scraps with instructions to fill up blank 8 1/2” by 11” pages with fabric pieces. Overlaps of fabric were okay but no gaps. I explained I’d sew the fabrics together to make “quilt blocks”.

The Boys had fun playing with color & texture, and they enjoyed seeing their fabric arrangements get transformed into blocks. As the number of blocks grew, they played with layouts on their floor. We agreed to make enough blocks for a quilt.
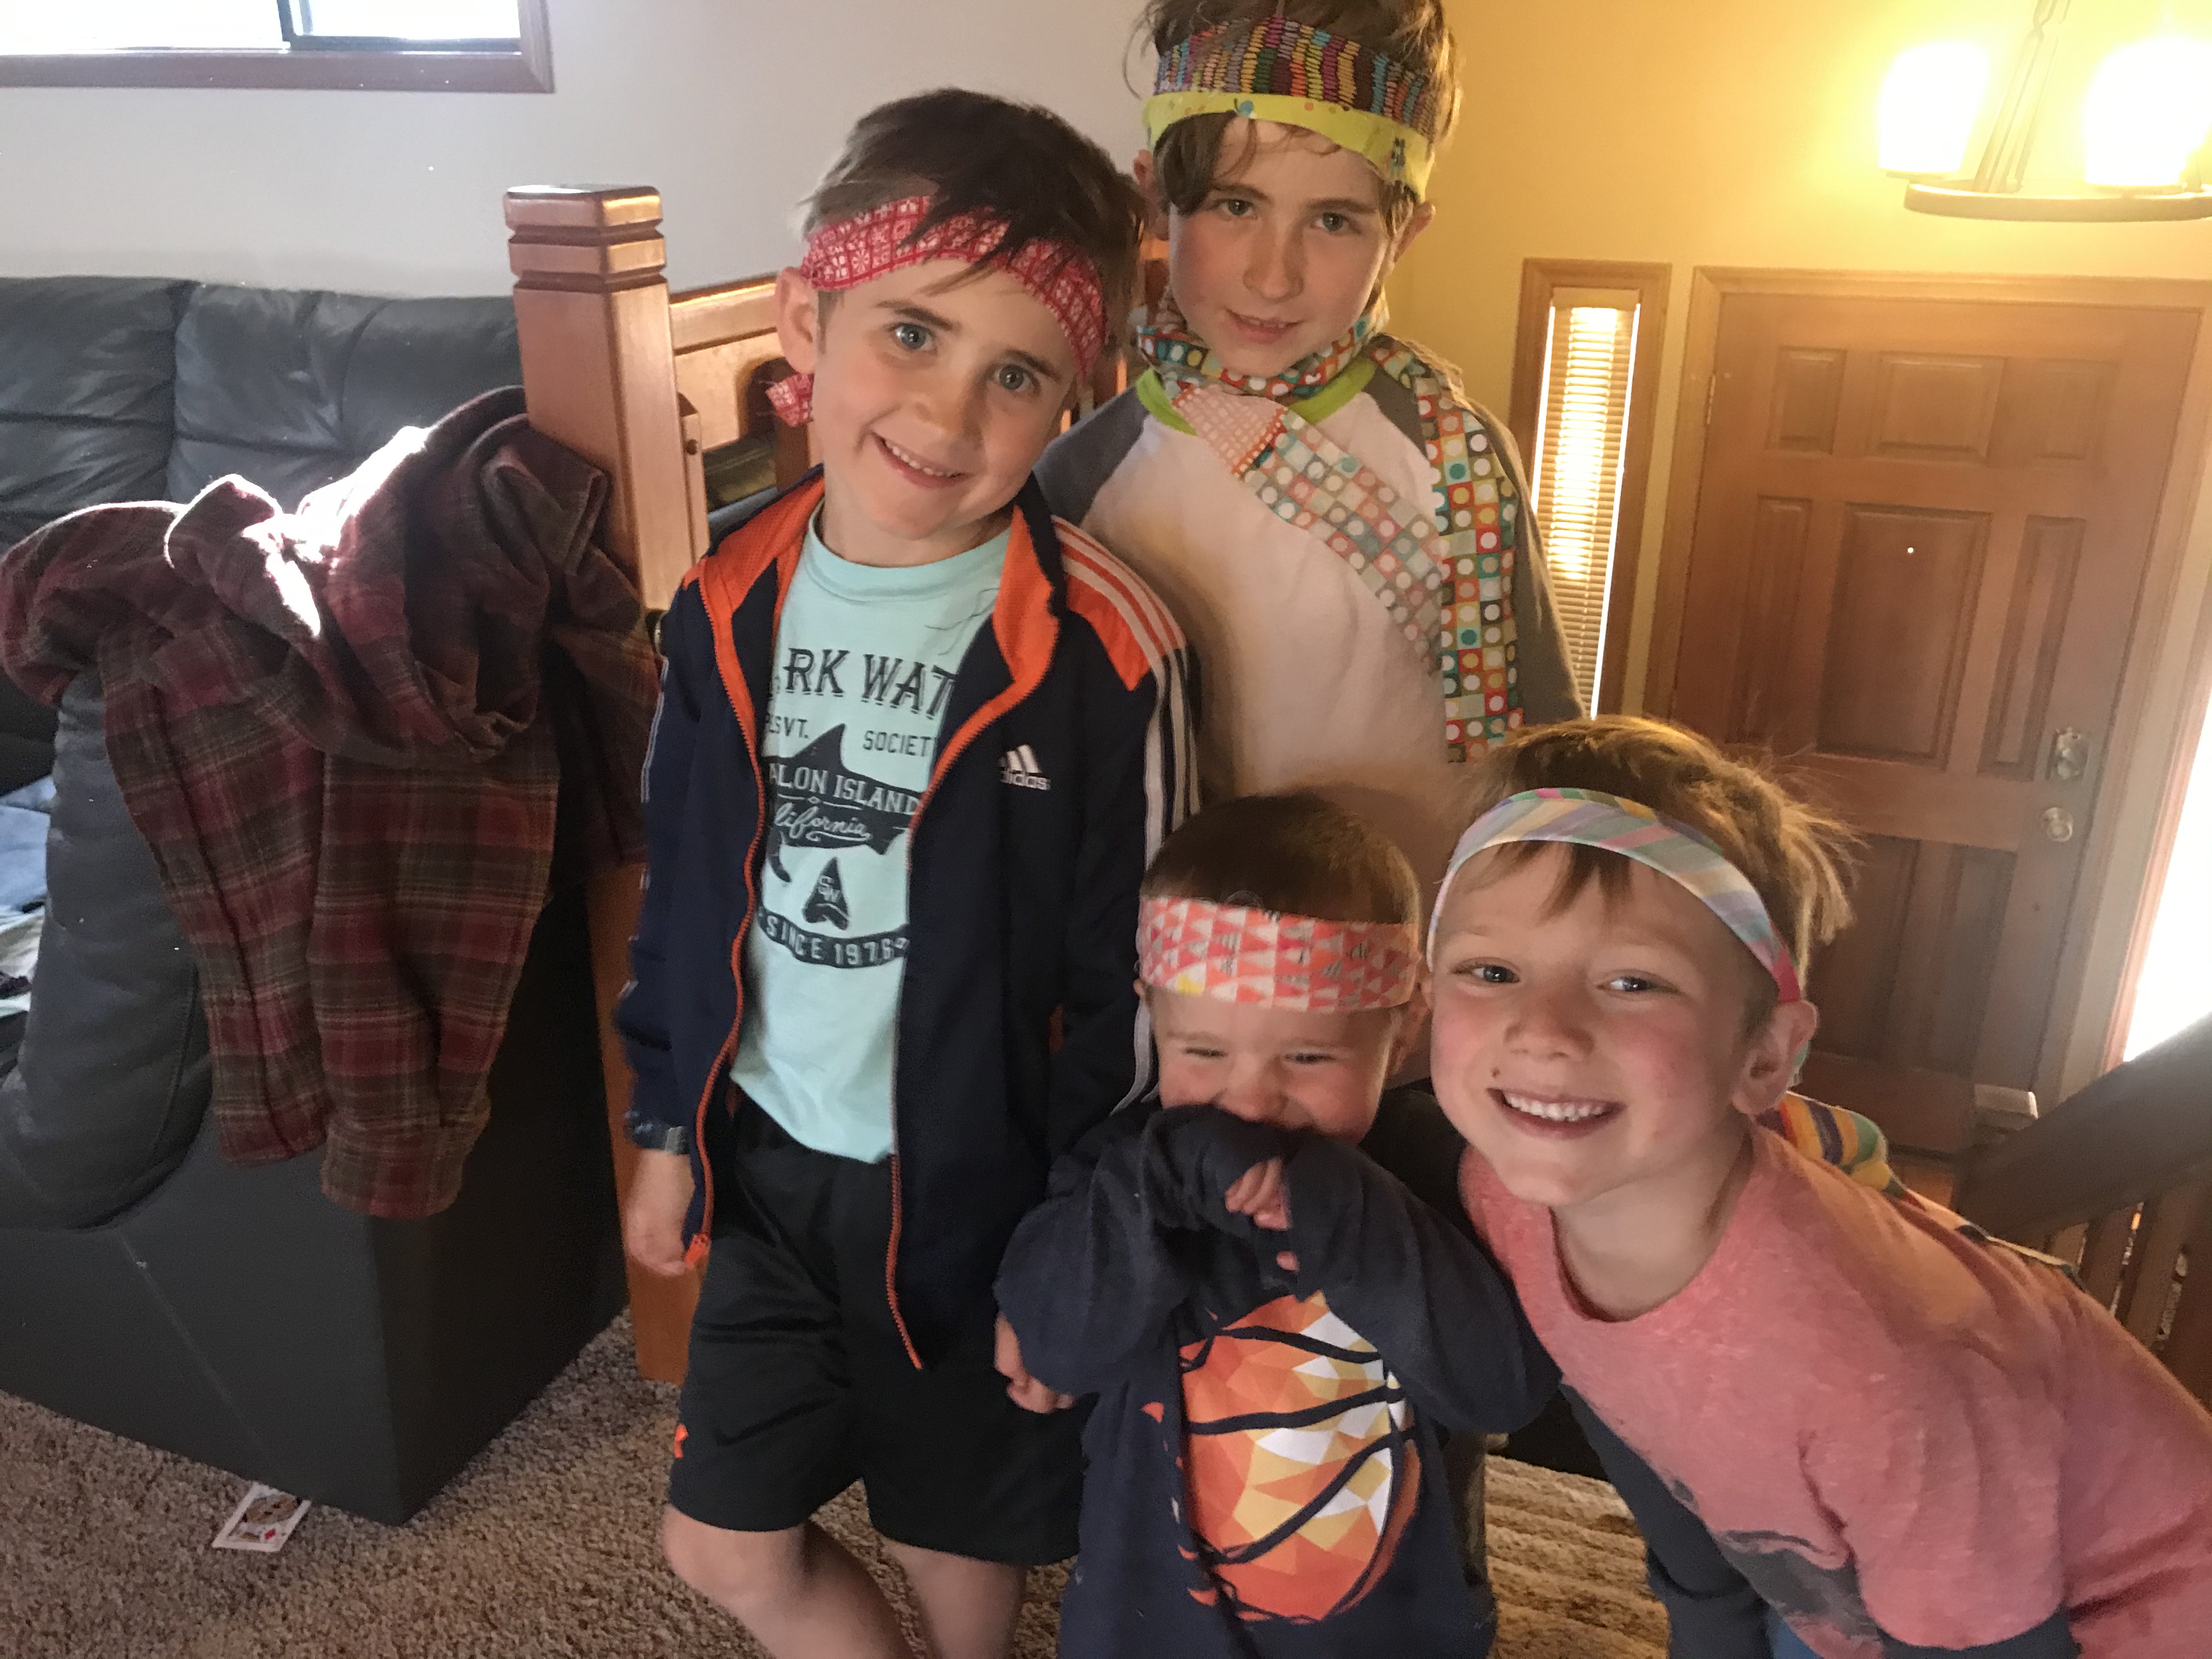
(Wendy had permissions from their parents to share images of the 4 boys on line)

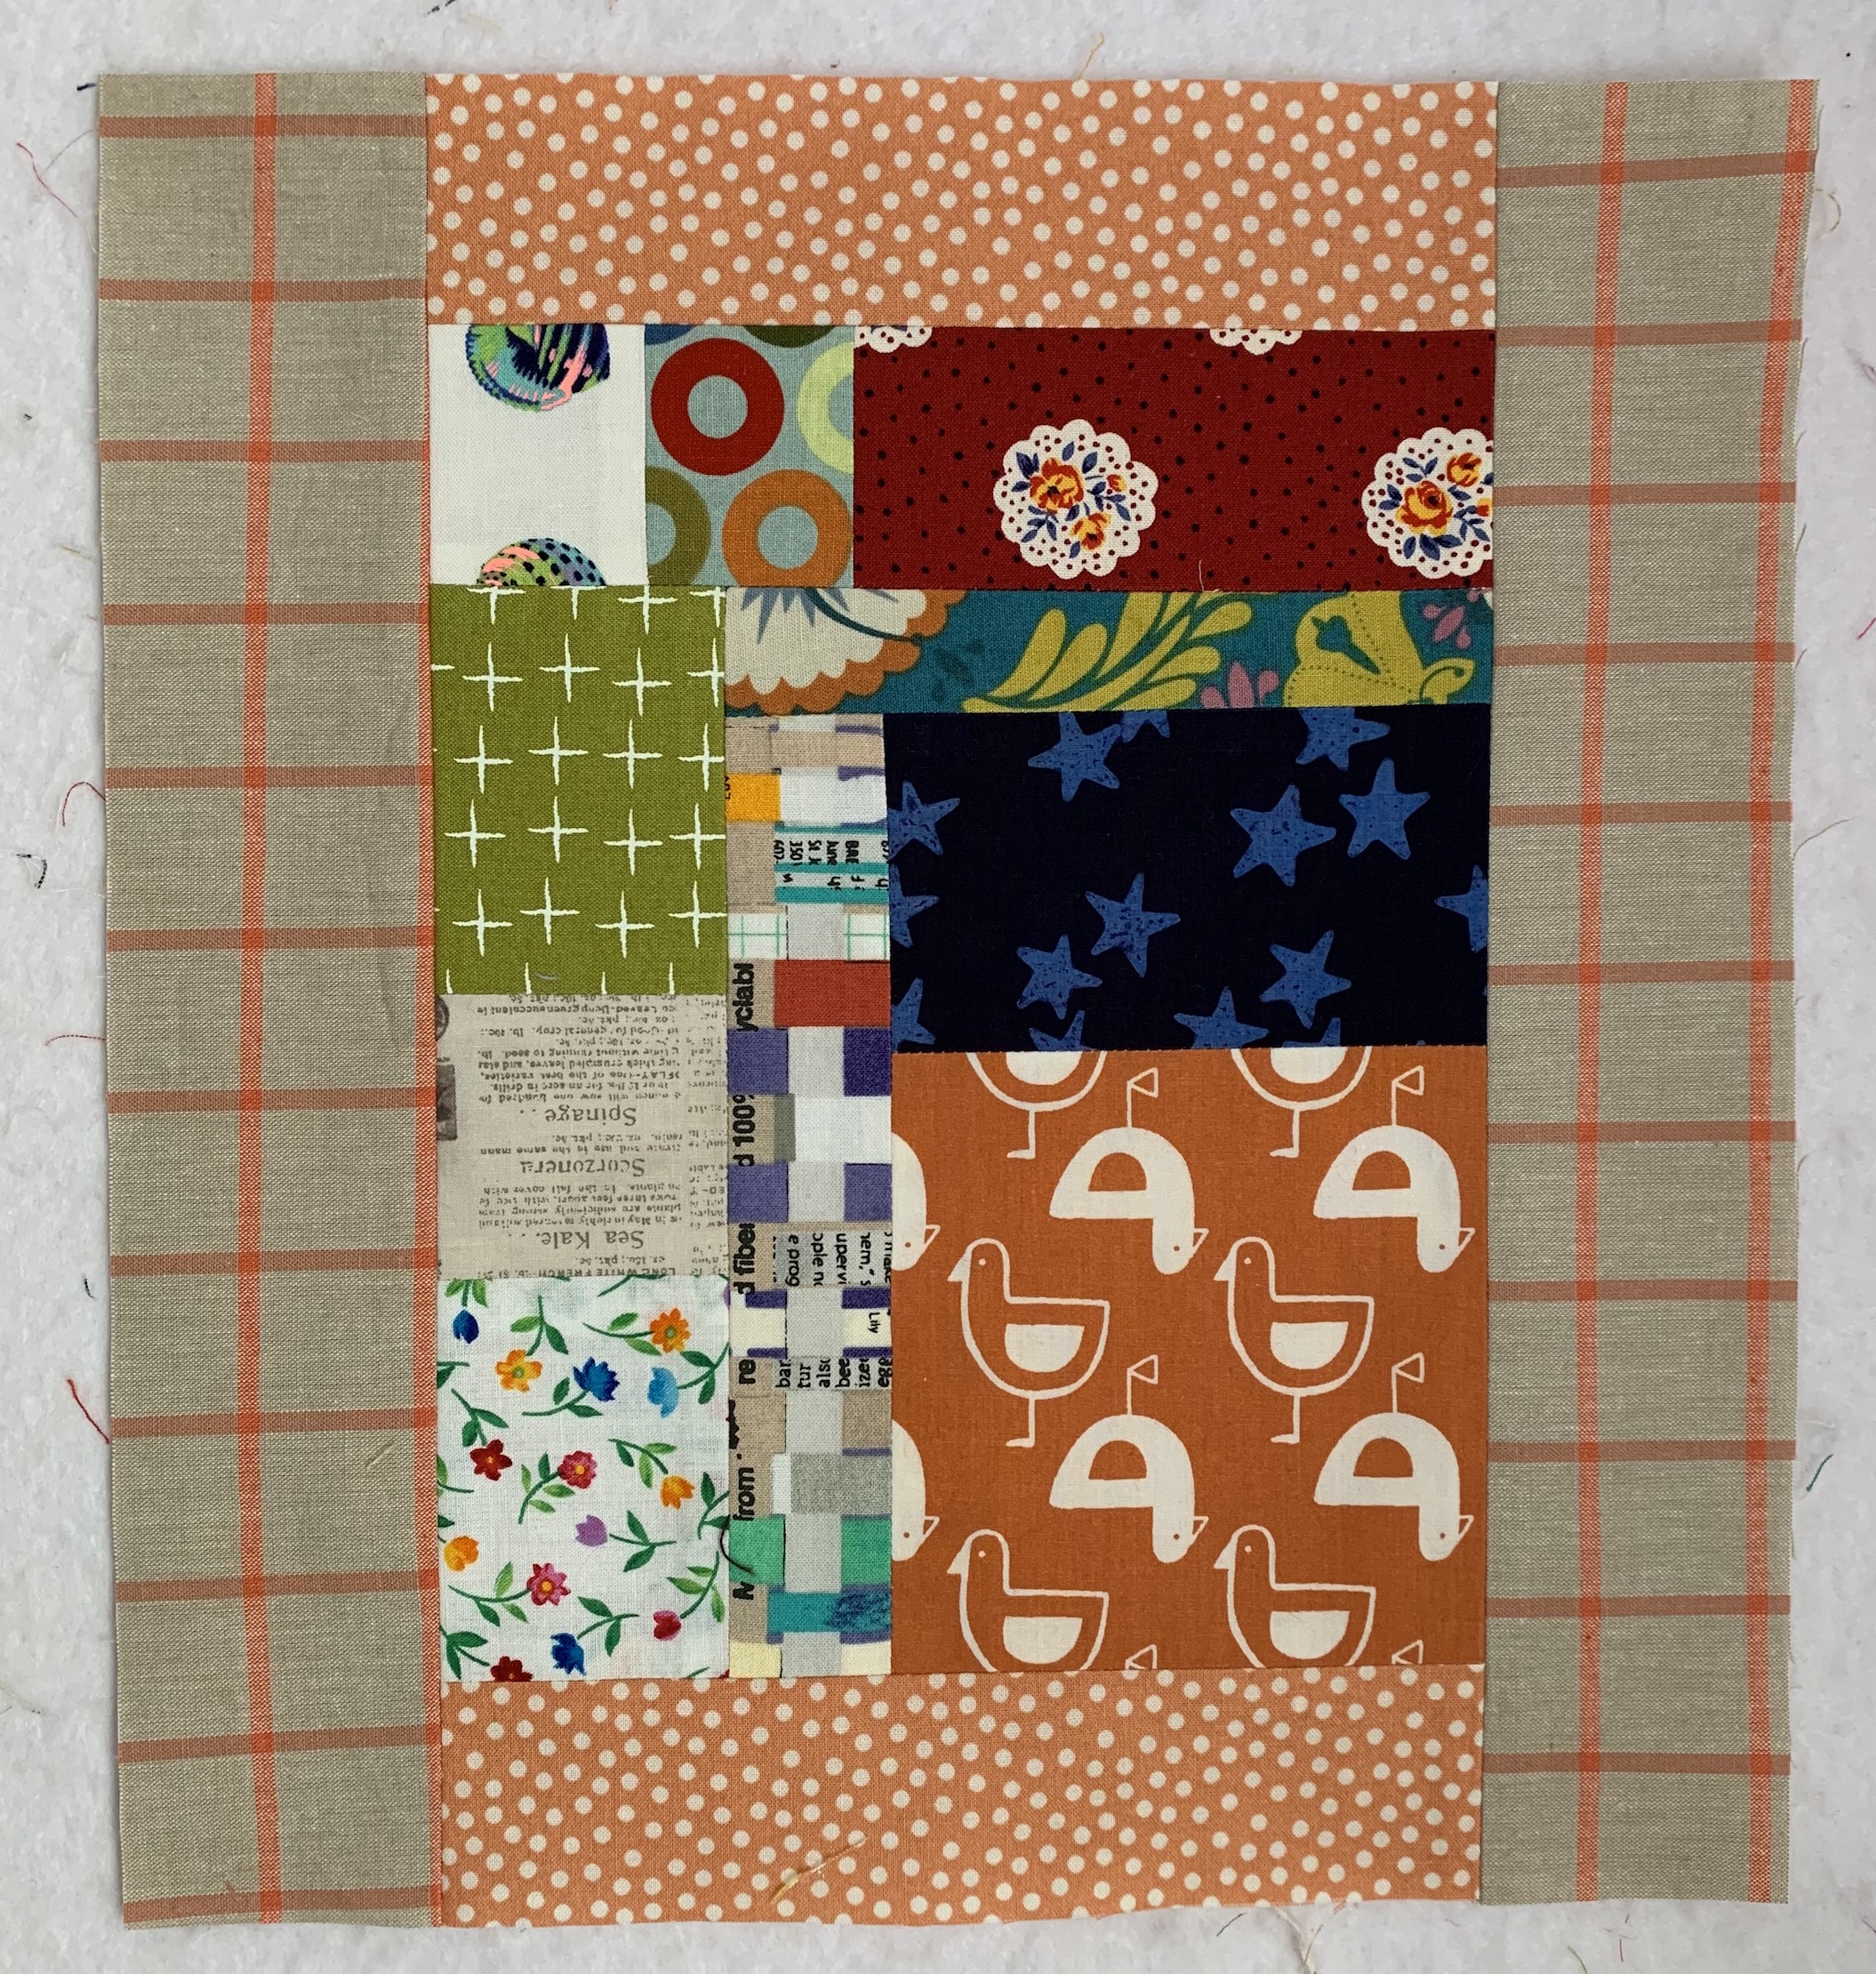
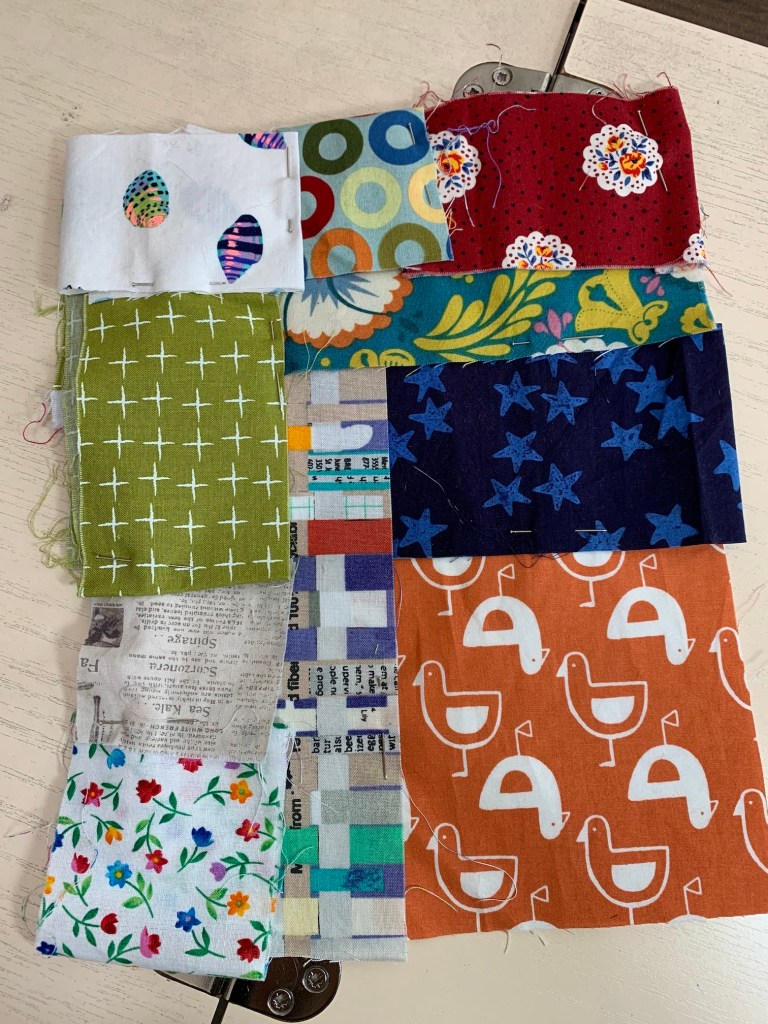
Some arrangements were easy to sew together. I could sew pieces into smaller units, then assemble the units into a block. Other arrangements required me to be inventive. Sometimes the seam allowances created gaps, so I had to add fabrics. I added a solid pink to this block. I looked for fabrics that would “go” with fabrics in the arrangement.
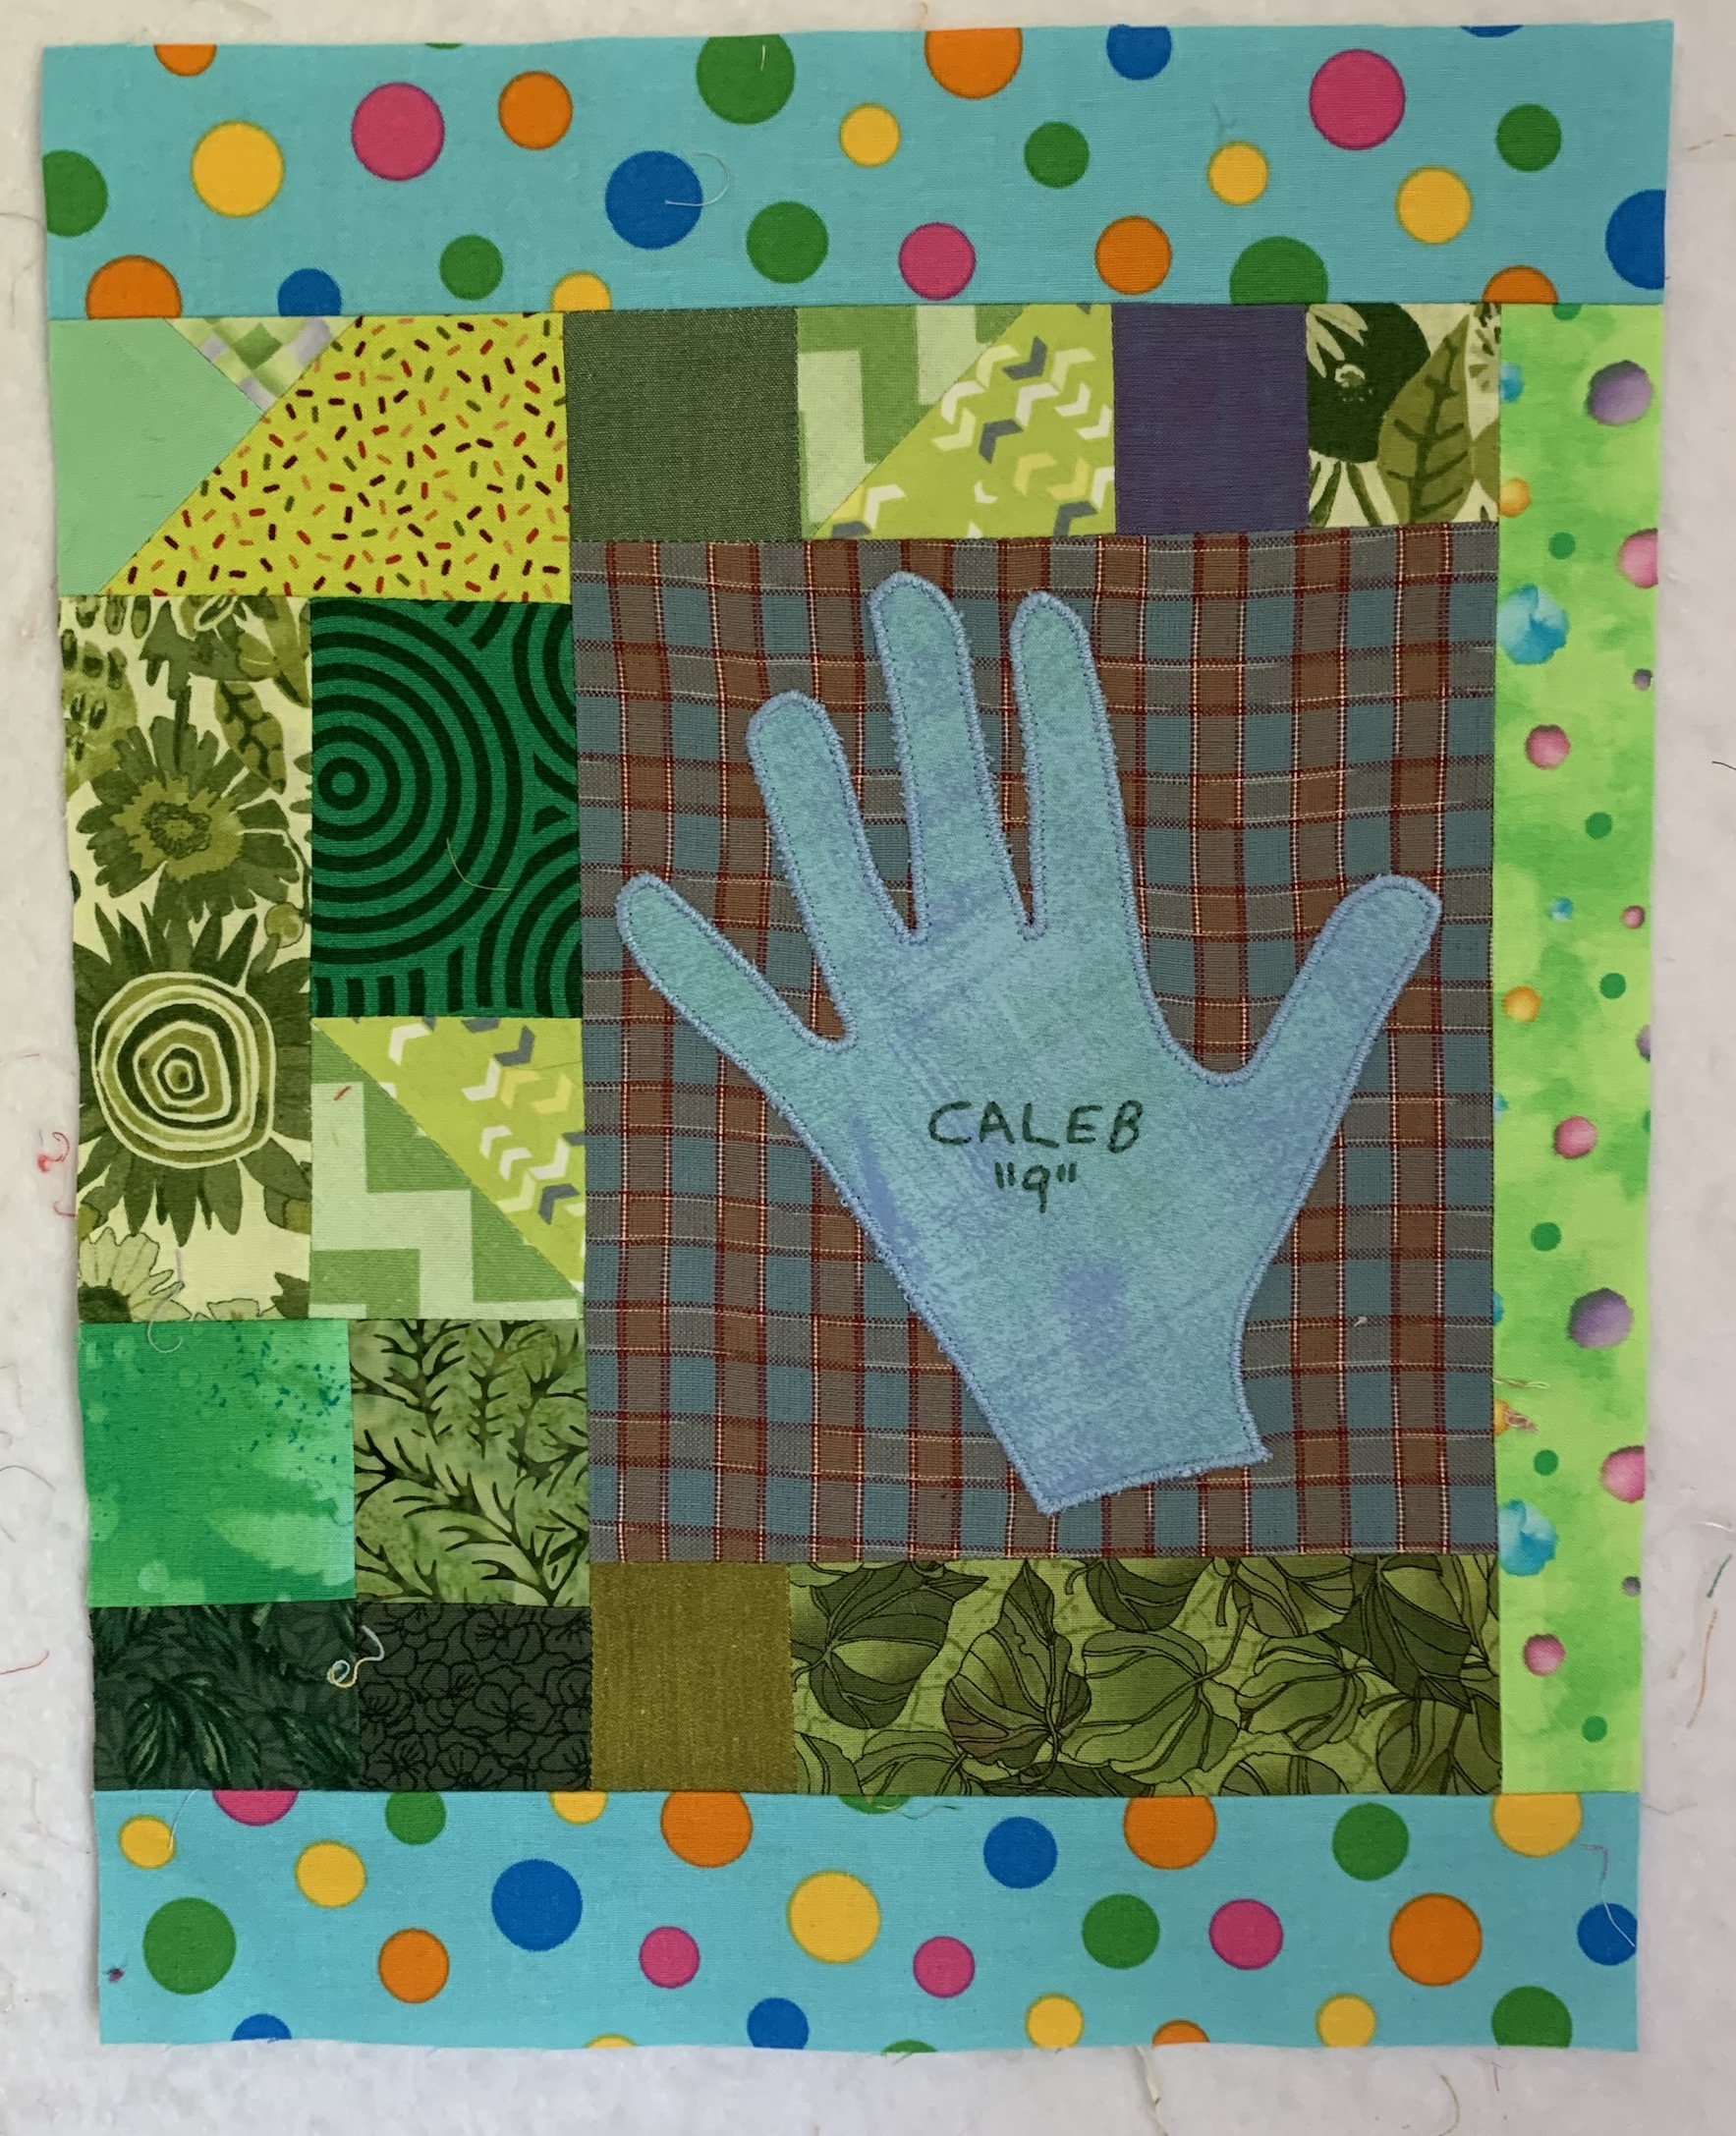
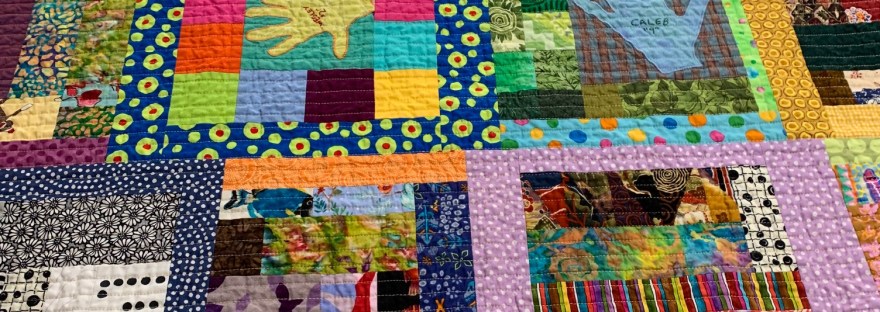
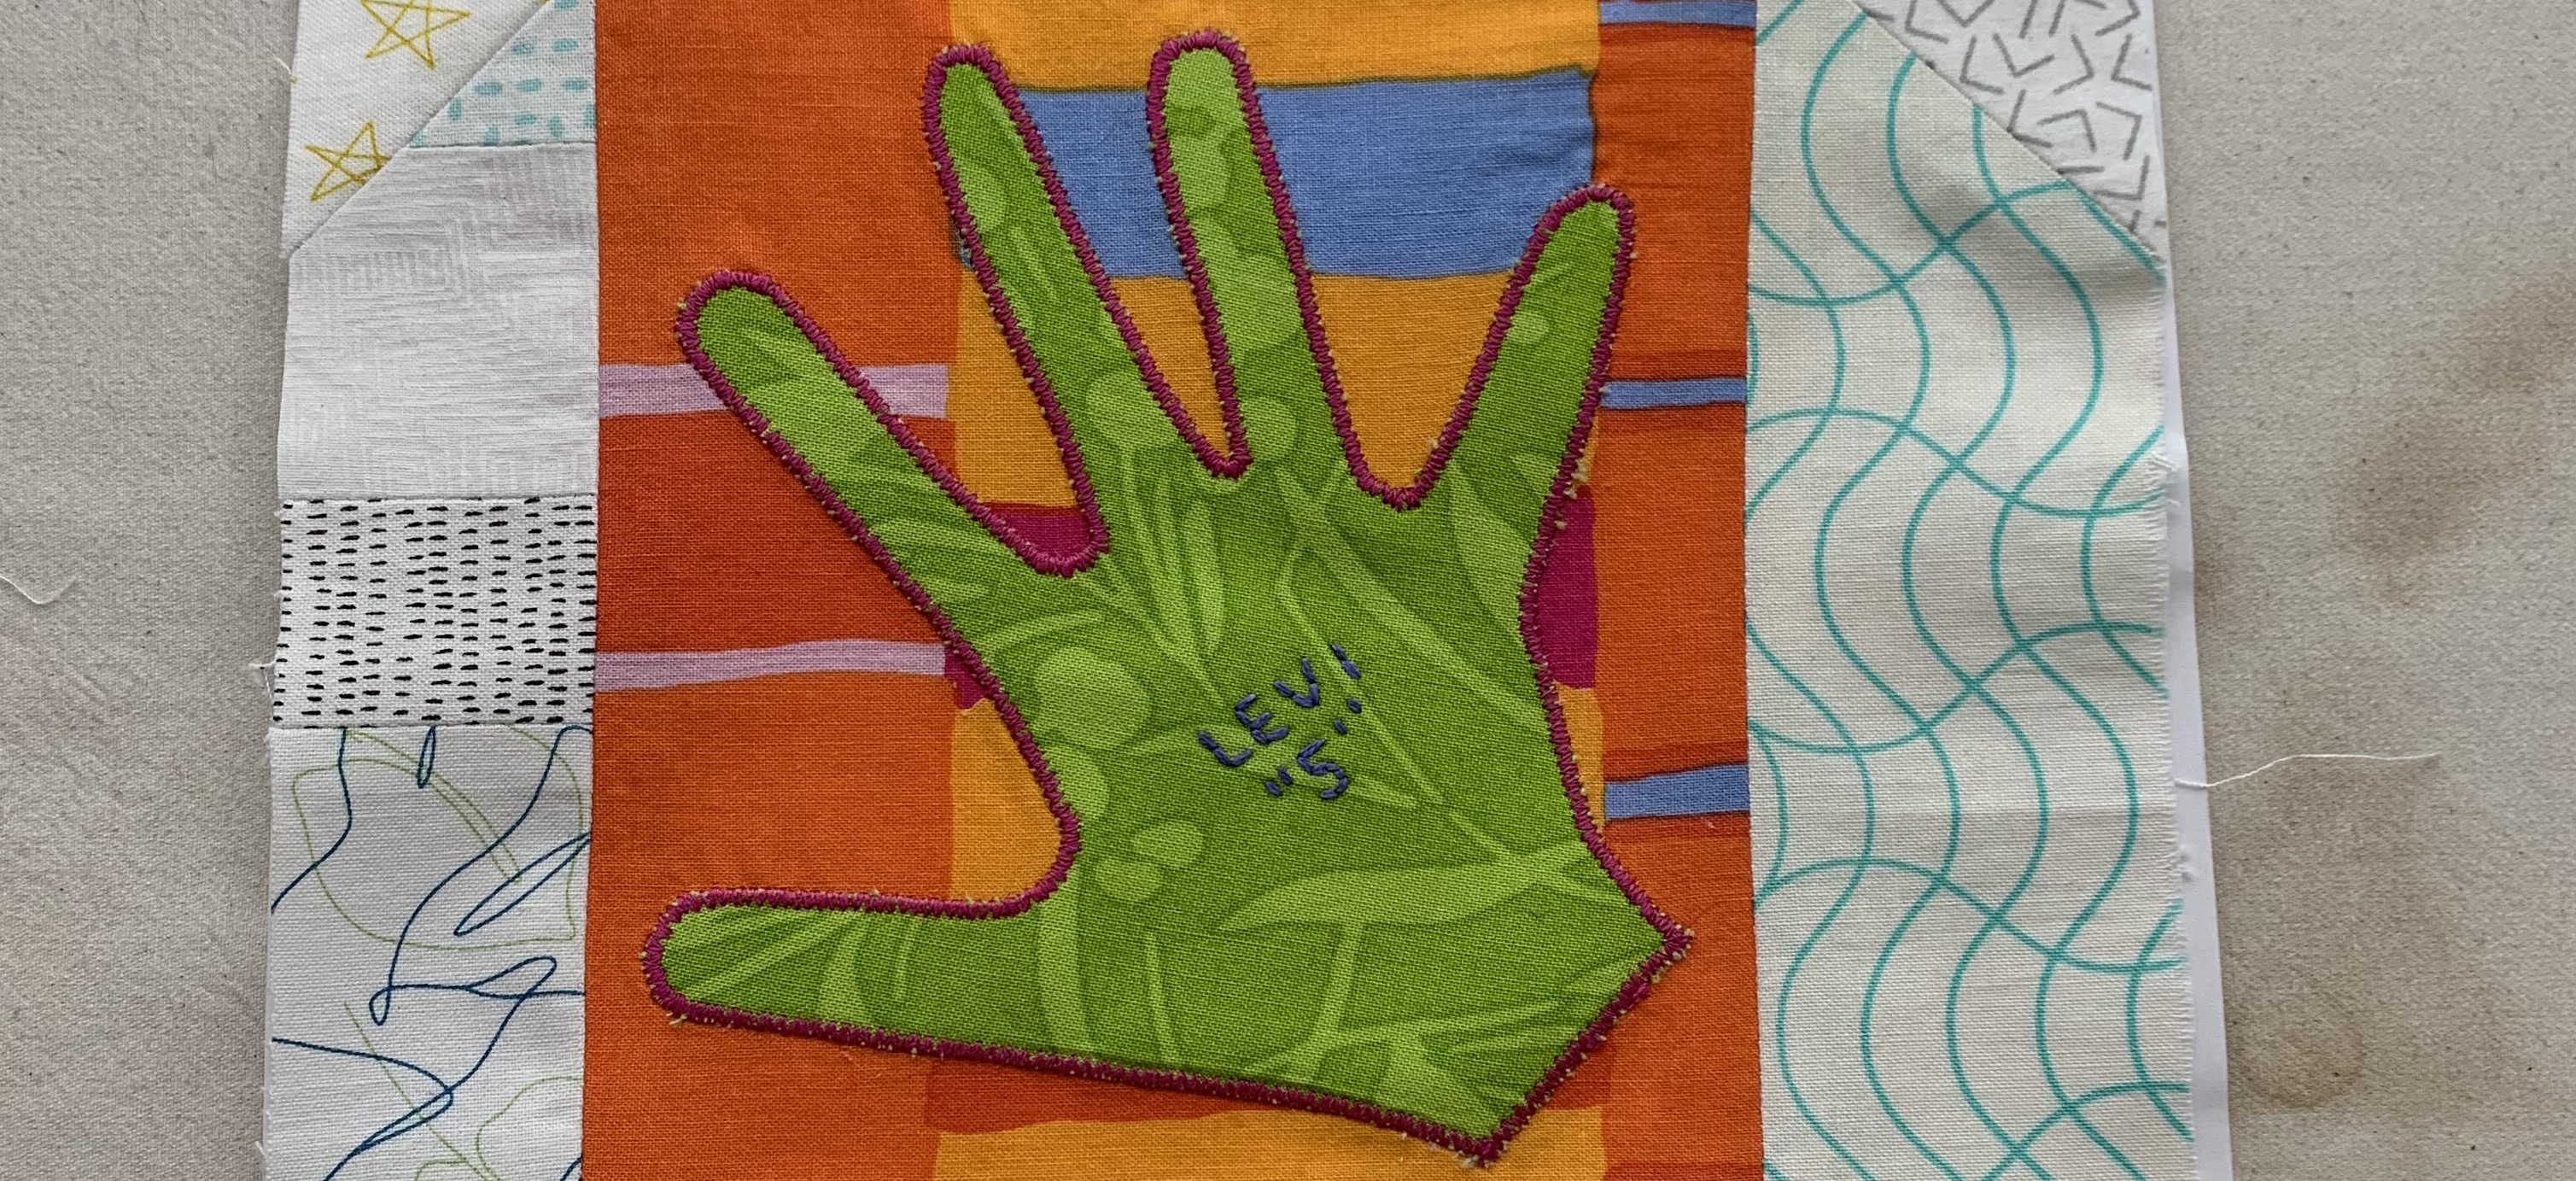
Then this happened: The Hand Blocks! I surprised “The Boys” with machine appliquéd fabric hands (from outlines of their hands taken by their parents). I embroidered their name and age on each hand. 
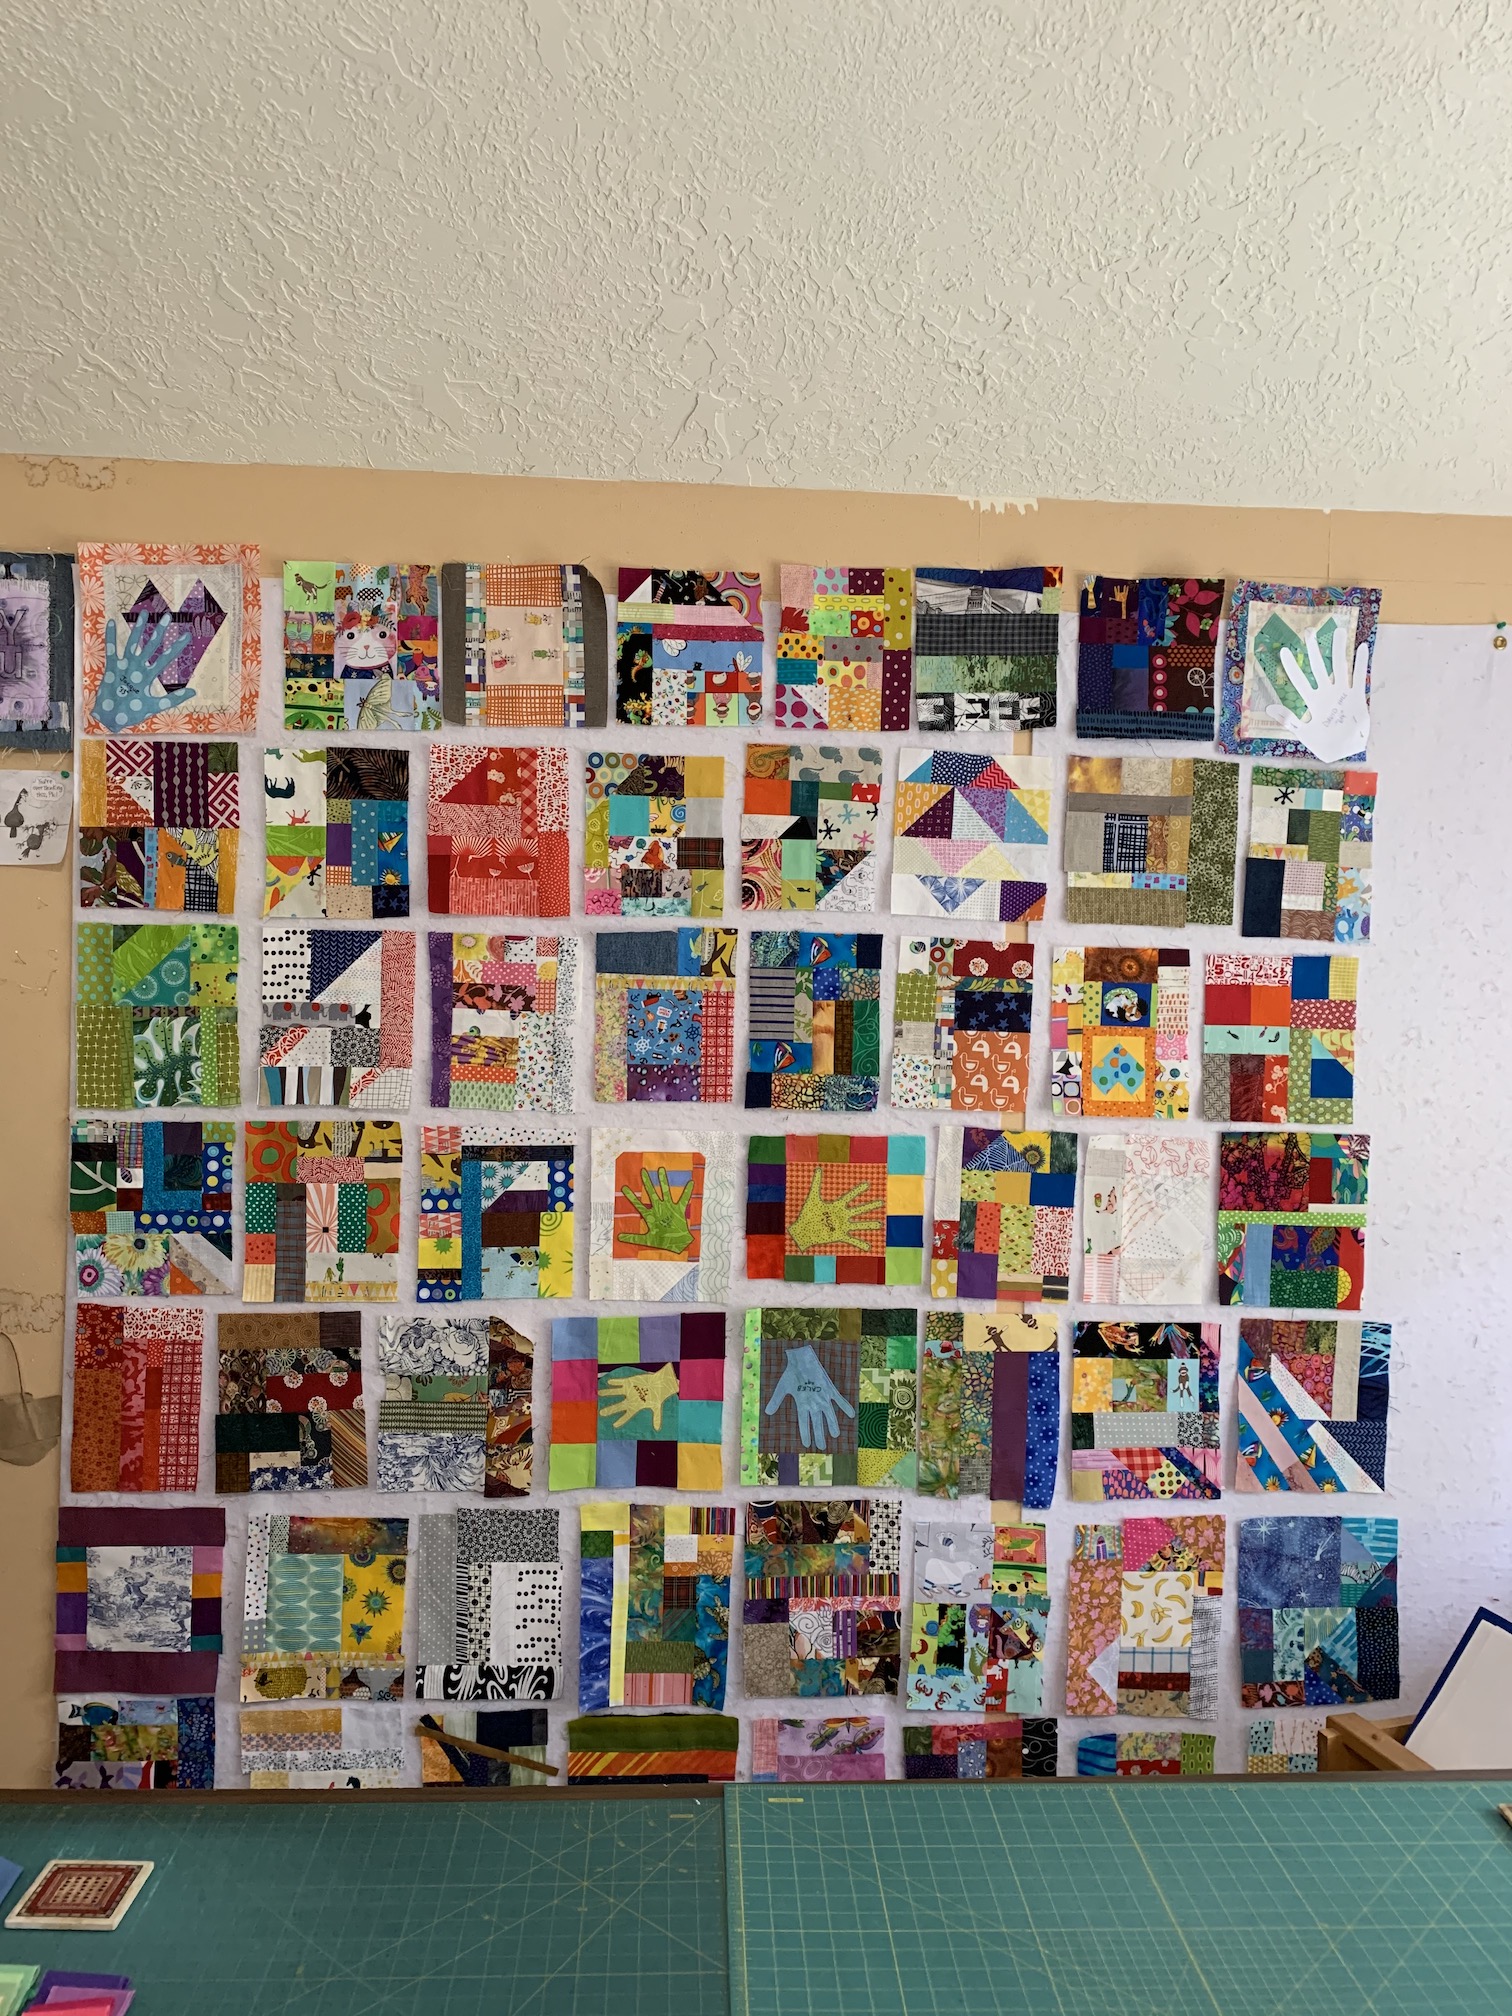
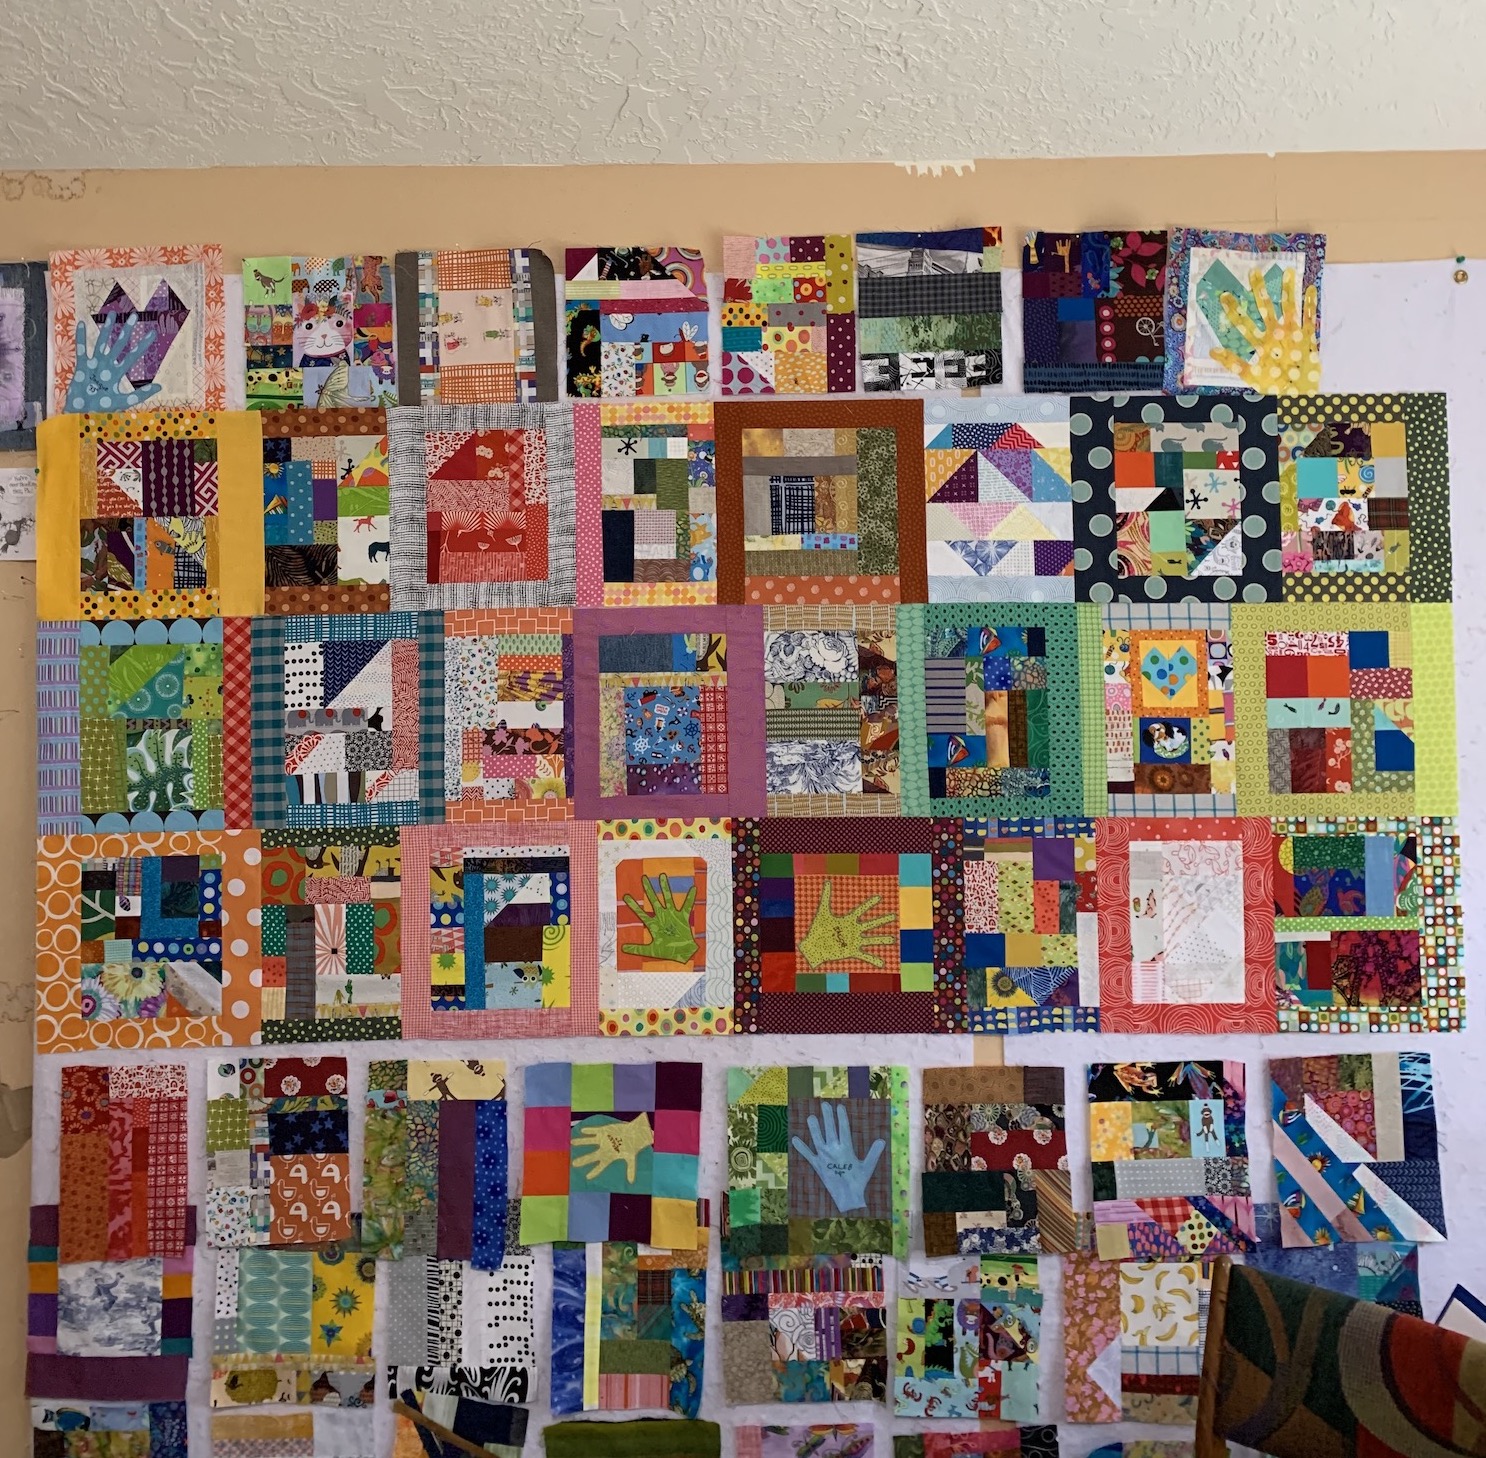
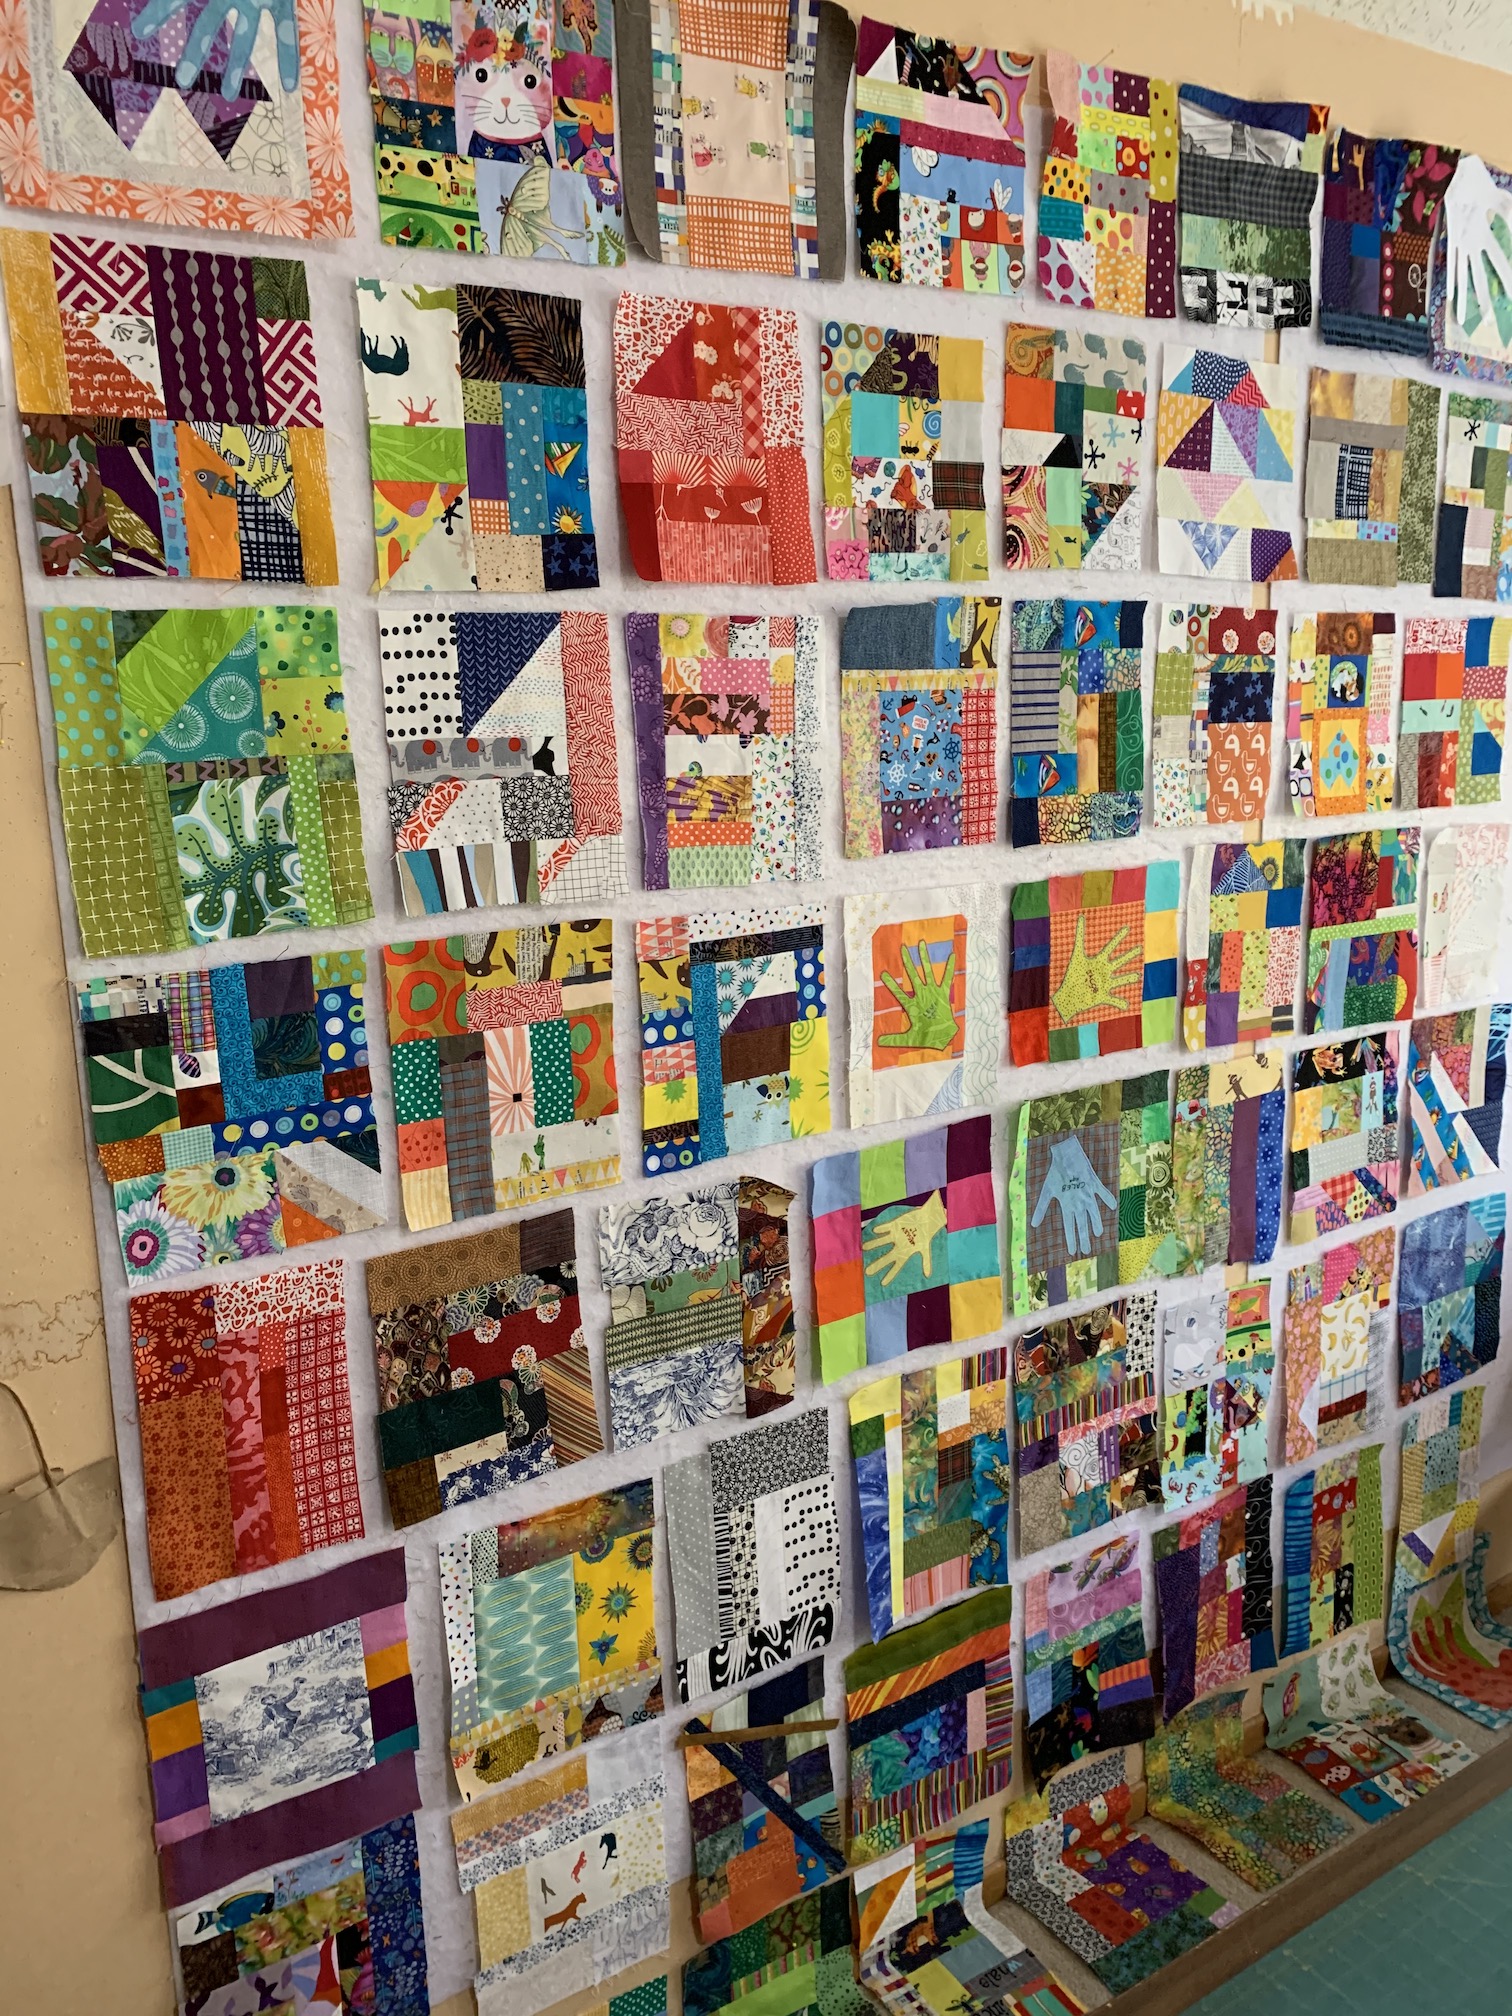
Since I refused to do anything more than trim (or square-up) the precious blocks, I had to find another way to unify 65 blocks of all sizes. I sorted the blocks by height, the first bit of “magic”, to layout 8 rows of 8 blocks, saving the extra block for the quilt back. 
I’m eager to show off the Quarantine Quilt and The Big Giveaway where “The Boys” and their parents see the quilt for the first time.

Here are the full view photographs of the front and the back. (The quilt, with no sleeve, wiggled a bit being clamped to a bar for the photos.)

Finally the day for the Big Giveaway came. David and I spread out several sheets on our back deck. As we watched the kids scramble around the quilt (while staying 10’ apart), some of us burst into tears while the rest became teary. This project was definitely a good thing.

For the compete story about this “scrappylicious” quilt, see the links below to the series of 5 guest blogger posts written by Wendy for my blog about this extremely “ScrapHappy” project!

Quarantine Quilt Project: Life in the Time of Coronavirus, Part I (Guest Blog Post)

Quarantine Quilt Project: Life in the Time of Coronavirus, Part II (Guest Blog Post)

Quarantine Quilt Project: Life in the Time of Coronavirus, Part III (Guest Blog Post)

Quarantine Quilt Project: Life in the Time of Coronavirus, Part IV (Guest Blog Post)

Quarantine Quilt Project: Life in the Time of Coronavirus, Part V (Guest Blog Post)

Wendy eventually condensed her write up into an awesome story that was published in Issue 18 of the magazine Curated Quilts: Collaborate, in 2022.
A Crafter's Life, tierneycreates

Celebrating 25 Years of Quilting

Several years ago (It might even before I moved in Colorado in 2019), my art quilter friend Wendy Hill was working on a retrospective of her quilting journey. She was putting together a binder with photos of the quilts she made and stories.
Wendy suggested that I consider doing that someday and not just have online copies of photos of my quilts stored on my computer or posted to my blog.

I put that thought in the back of my mind and after a while forgot about it for the most part. Then this year I started thinking about how to archive part of my blog to save storage space on my blog since the plan I pay WordPress for is running out of space. Check out the Postscript section of my June 28, 2026 post Getting Down to Business for more discussion and musings on dealing with this issue.

In the Postscript section of my July 7, 2026 21 Ready to Applique! I discuss my recent discovery that  the Denver Public Library lets patrons print out up to 100 photocopies a day for free.

I tested this at first and converted some of my blog posts to pdf files (if you simply pull up a post on your screen, then click on “Print” and change the “Destination” from your printer to “Save as PDF”…this is how it works on my Macbook/MacOS not sure if it is the same on a Windows based device) and printed them out in color at the library. It worked well.

Then I remembered Wendy’s advice all those years ago – to consider making a binder about my quilting journey. I thought about the beginning of my quilting journey and realized I finished my first quilt around 2000 and if I went to 2025 (as I am still in 2026) I could put together a binder about my first 25 years in quilting: 2000 – 2025.

And I did!

It took about a month and combed through a lot of information on my blog. I am very glad I documented a lot of my quilting journey, especially since 2013 when I started my blog, on my blog. I also combed through old photo files and saved documents on my external hard drive that I back up documents on. Then I got to creating web pages into pdfs and selecting what to print out, etc.

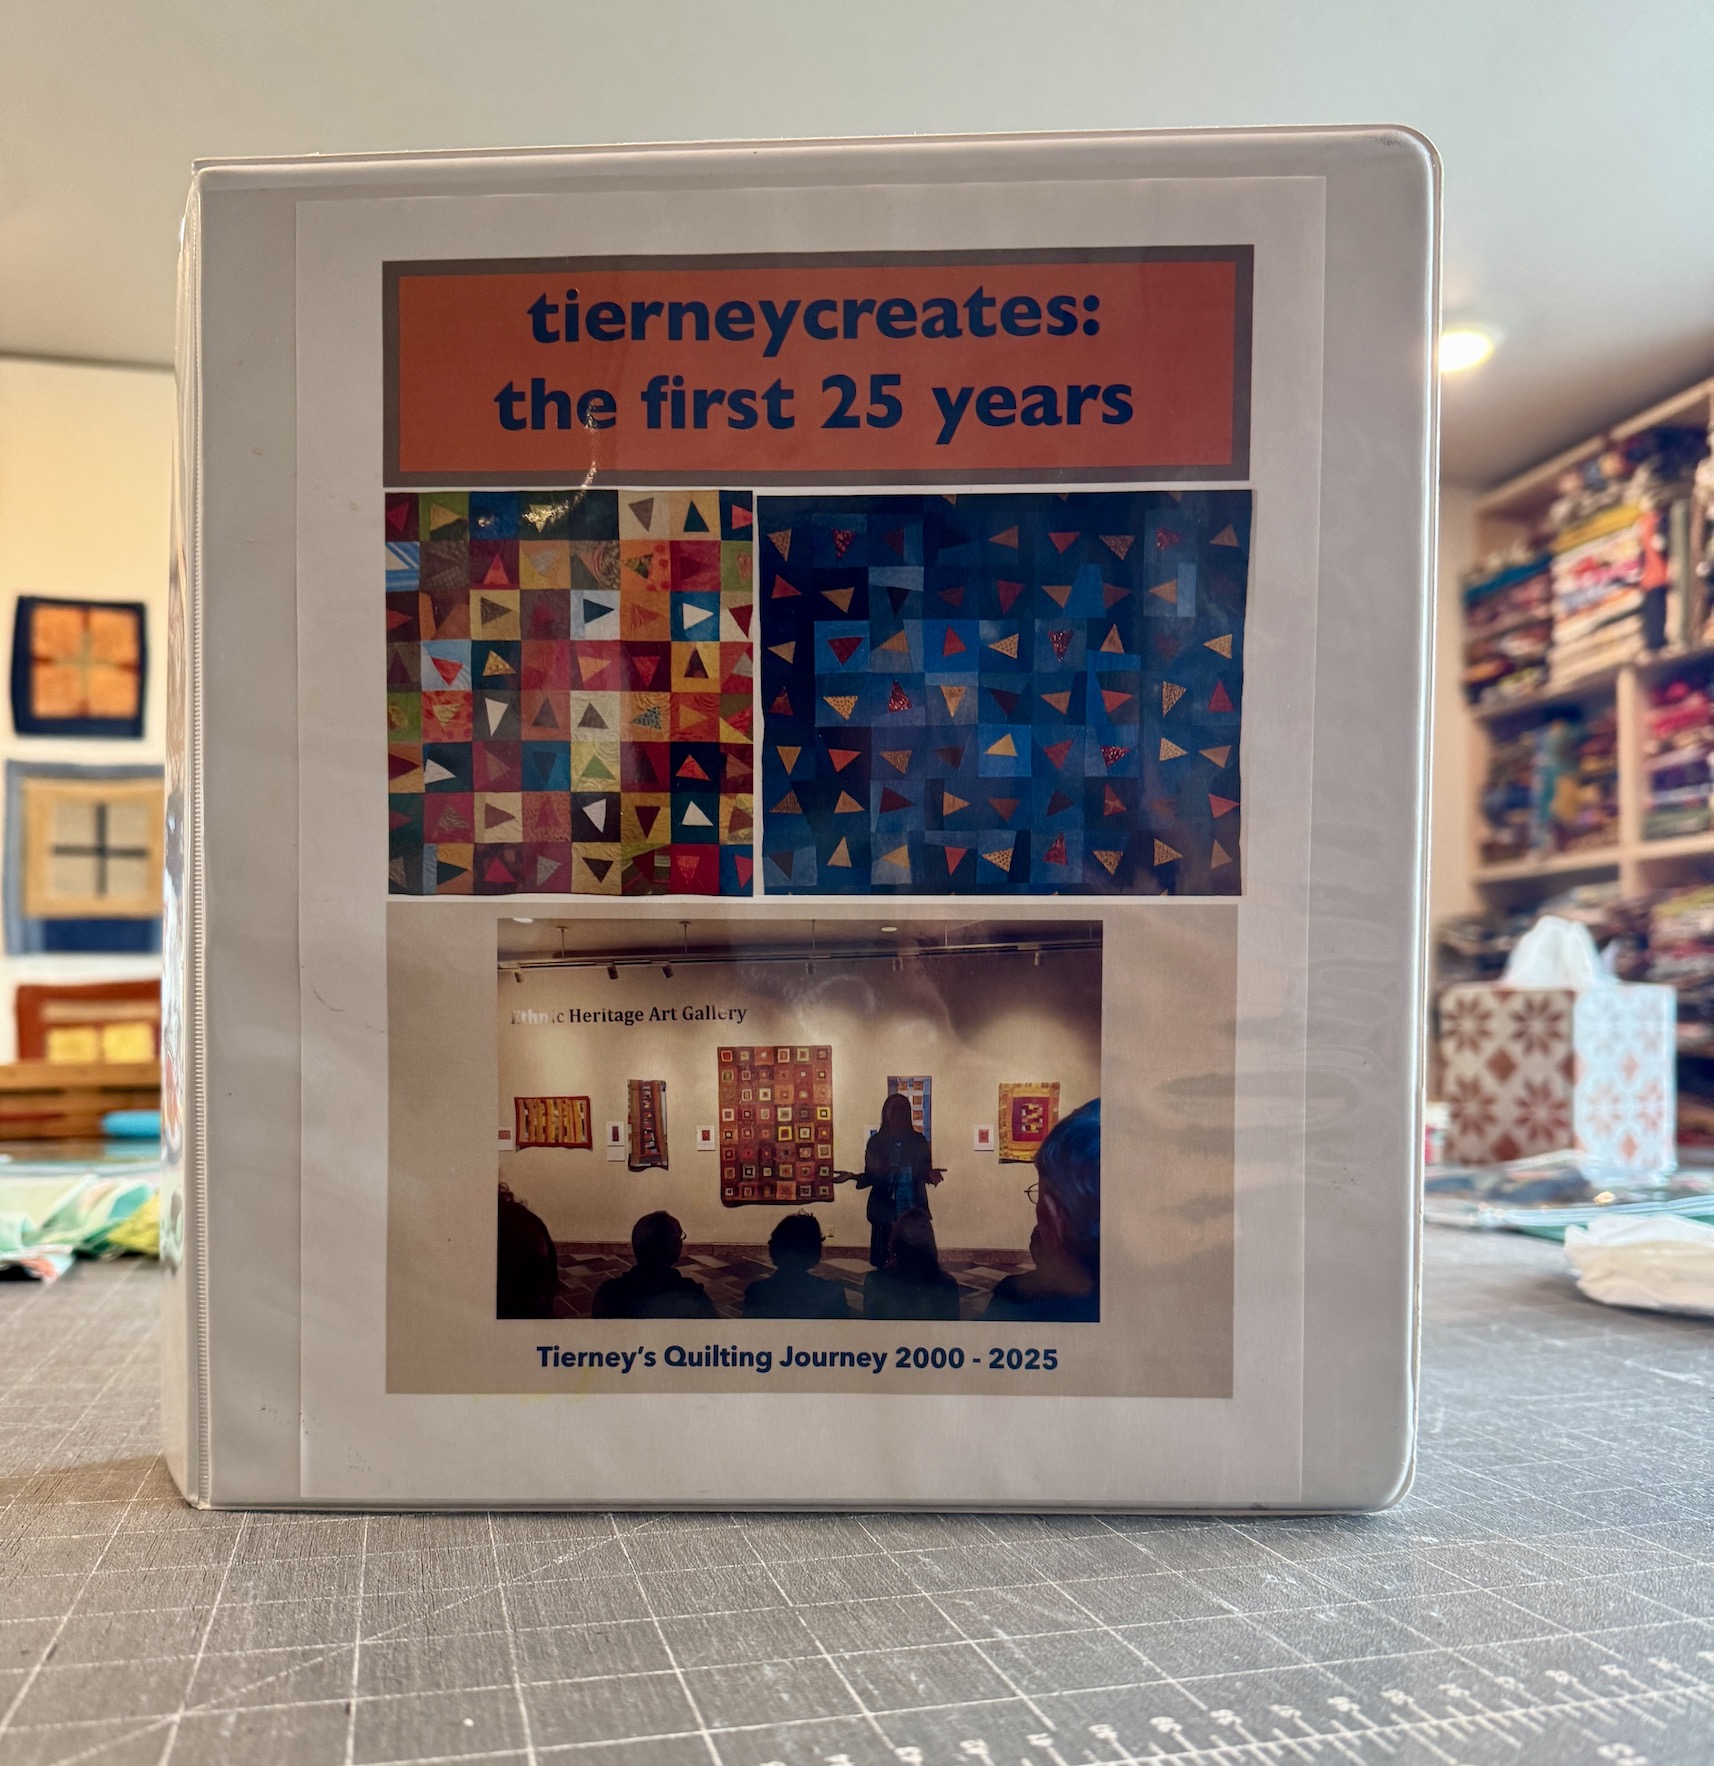
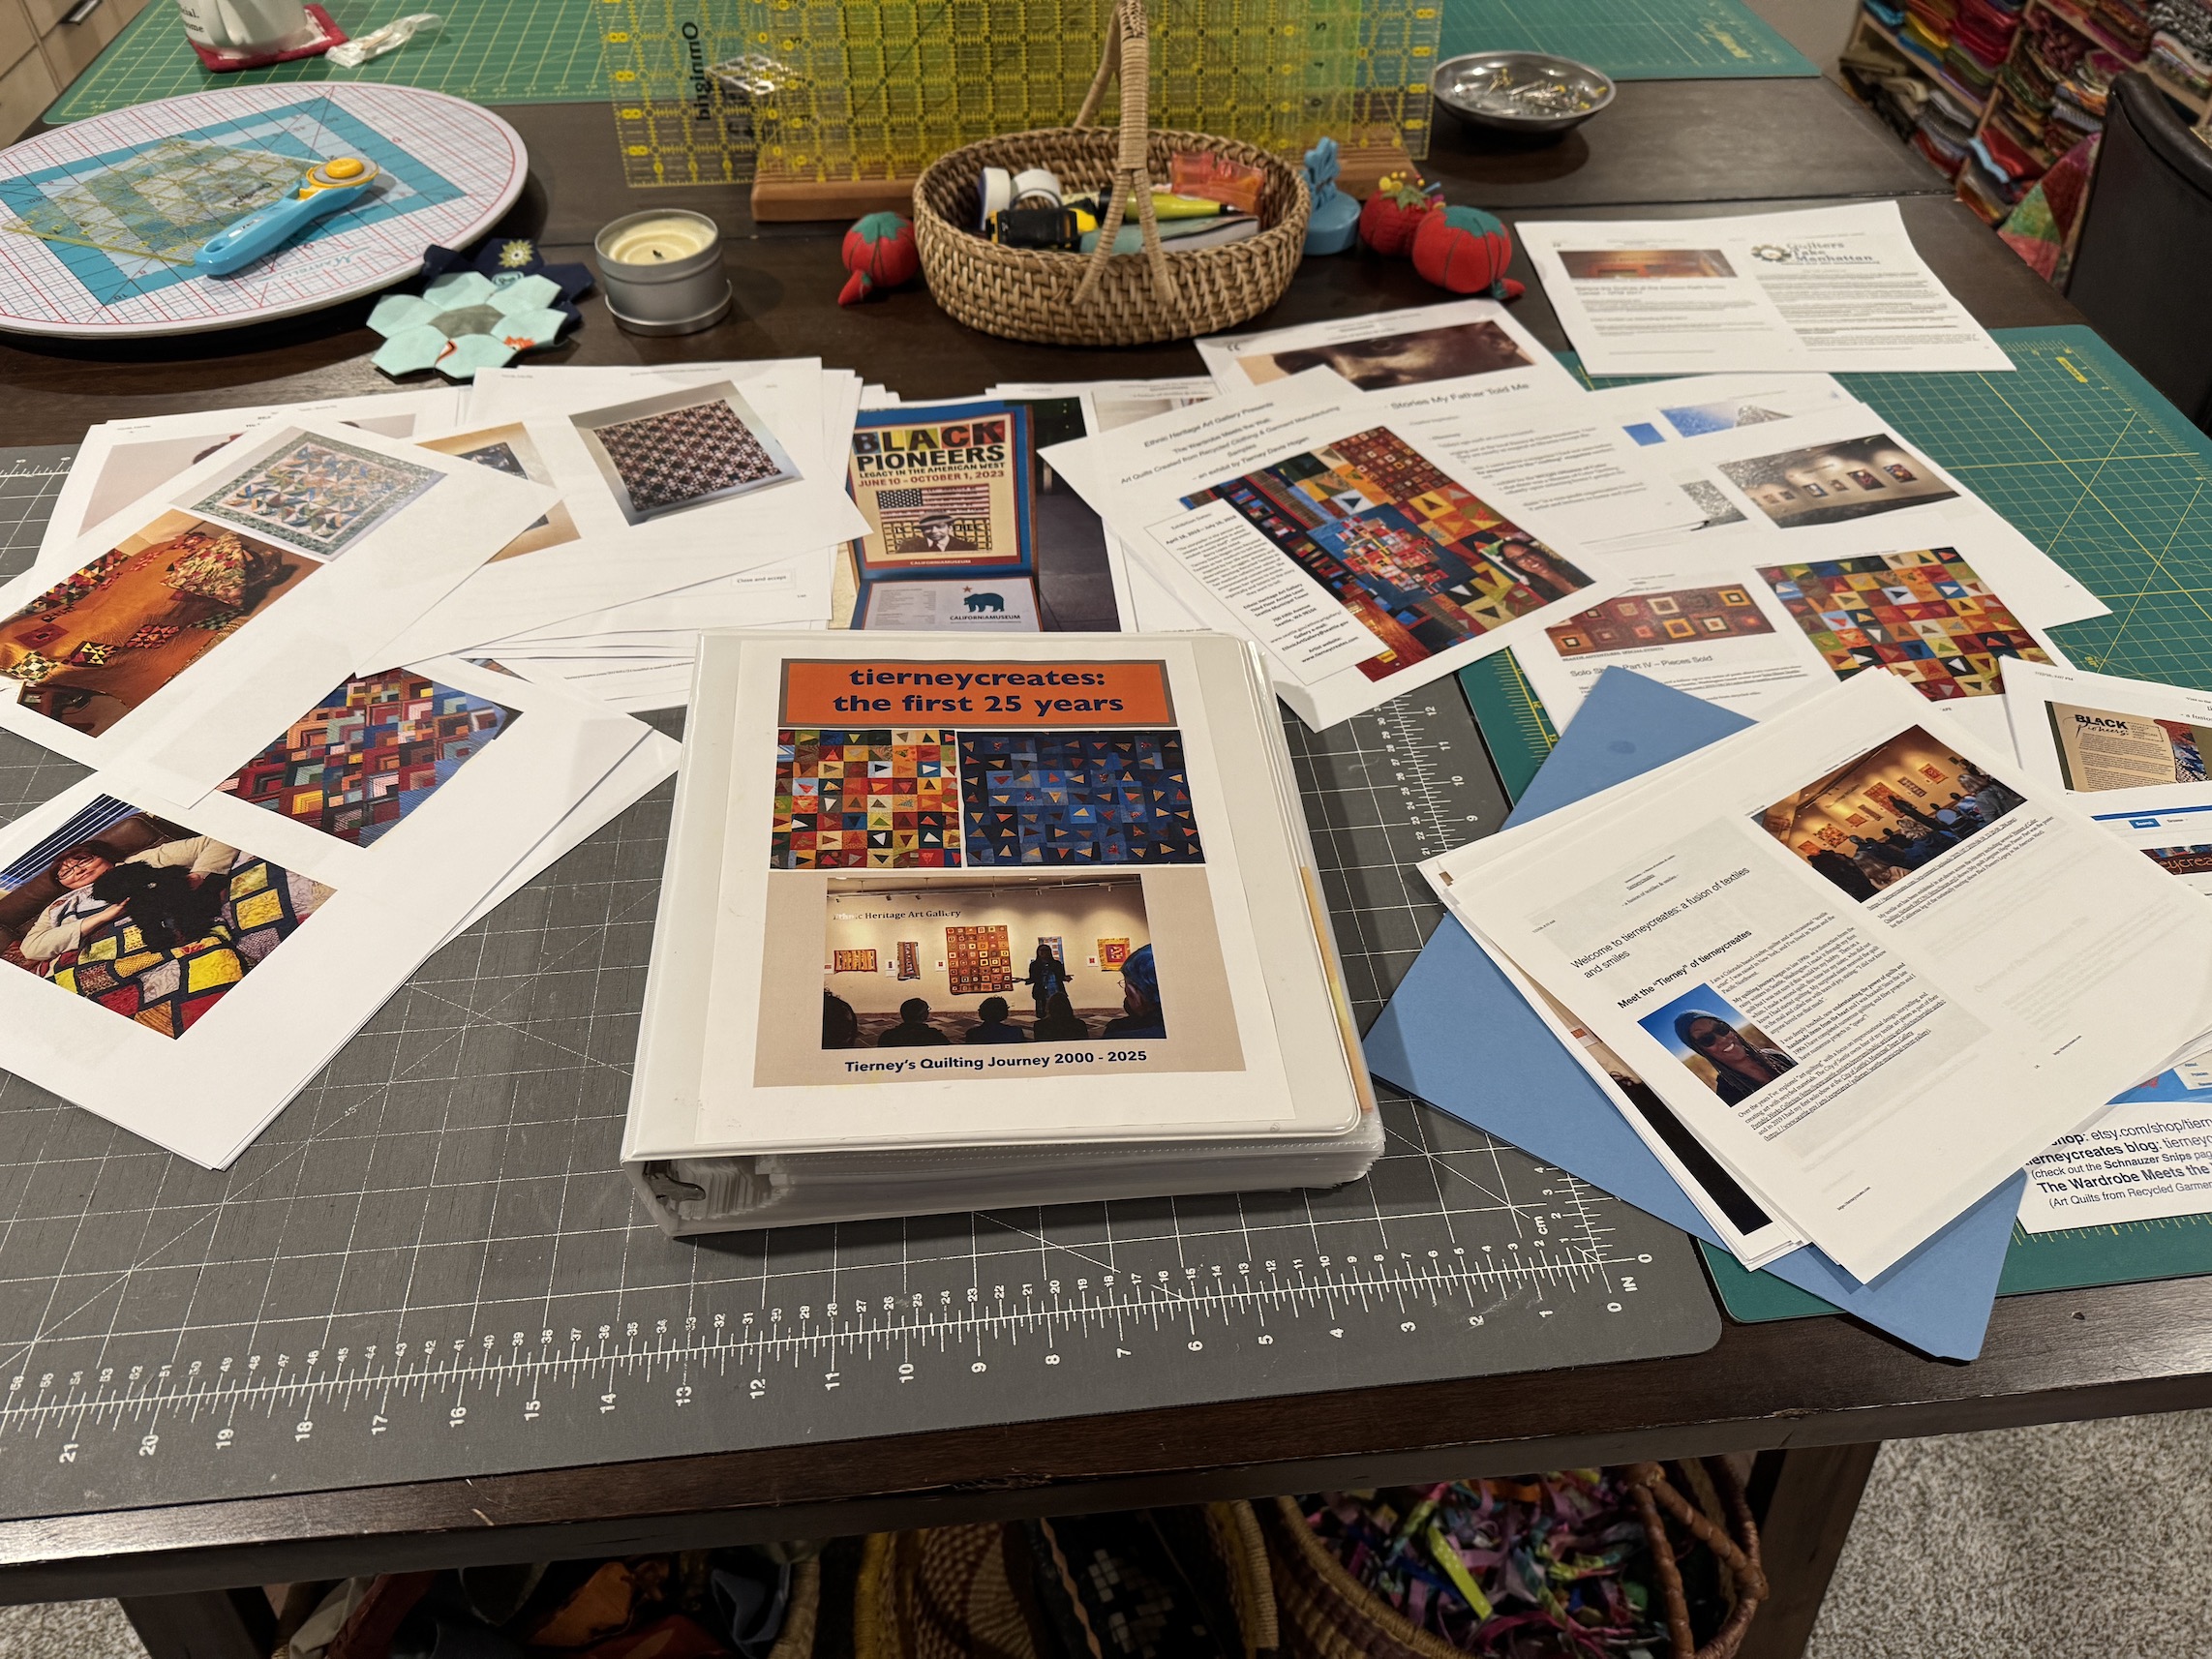
I spent about 5 to 6 trips to the library printing out materials and ended with this binder filled to the brim with printed pages documenting my quilting journey:

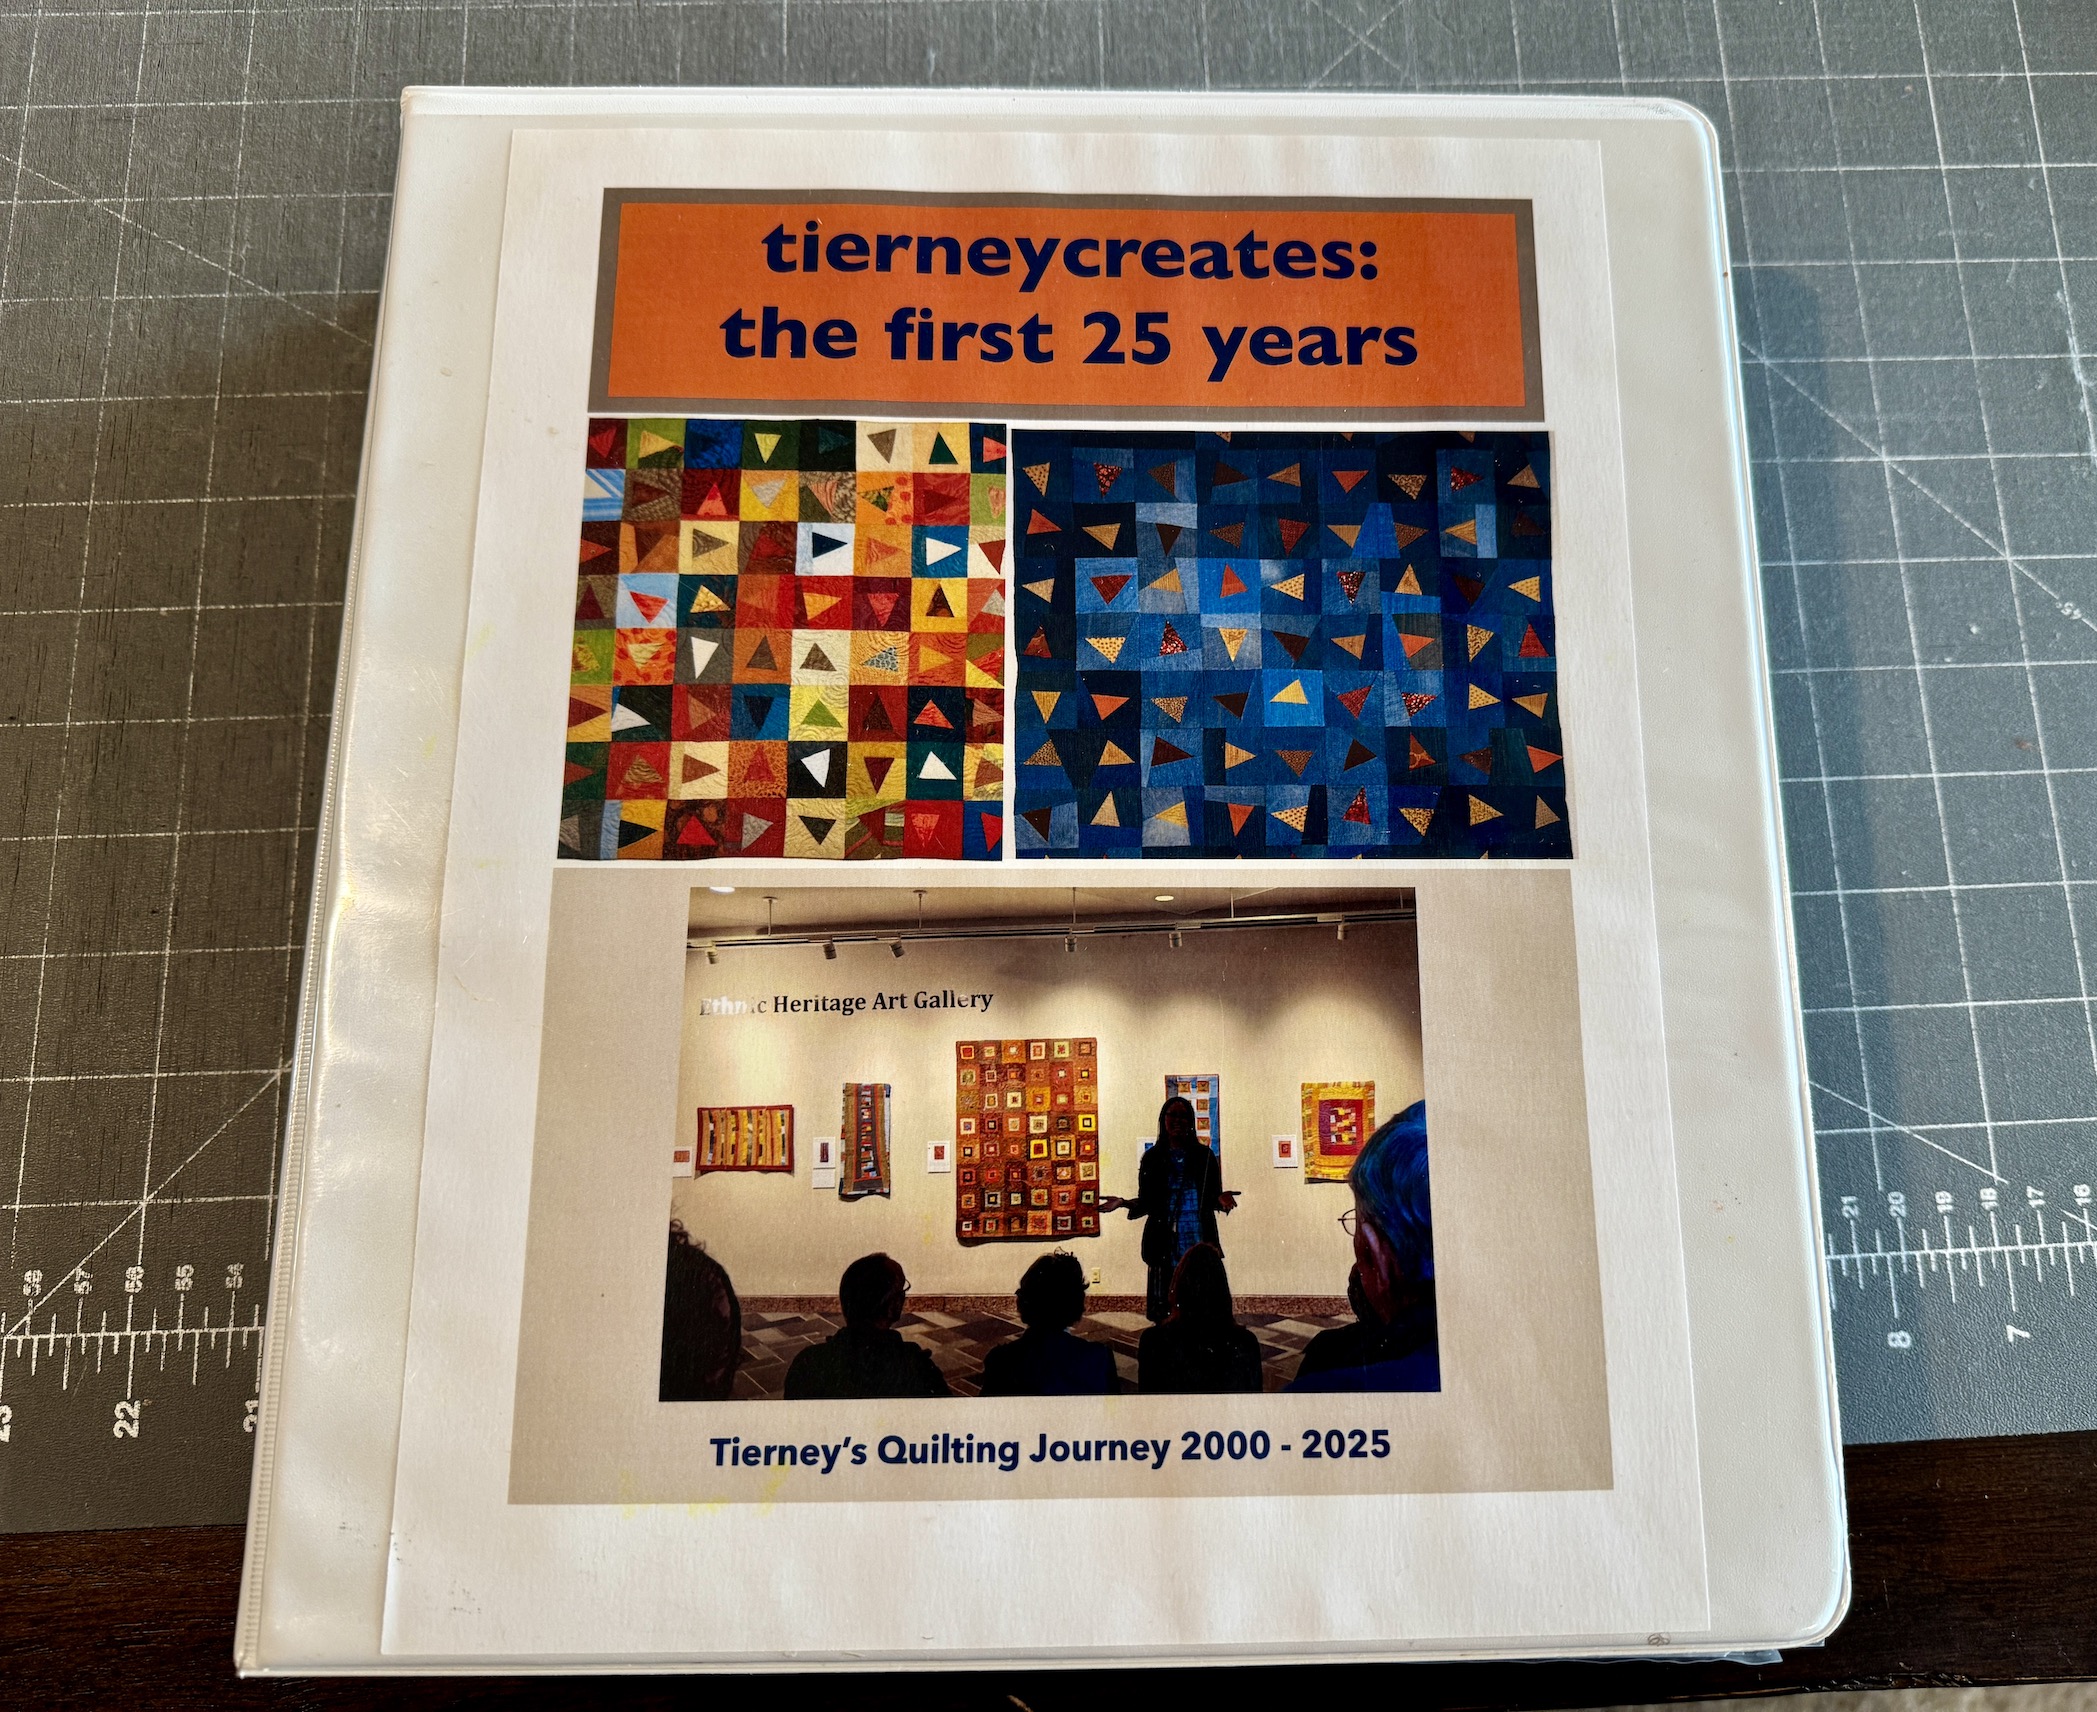
tierneycreates: the first 25 years

Tierney’s quilting journey 2000 – 2025

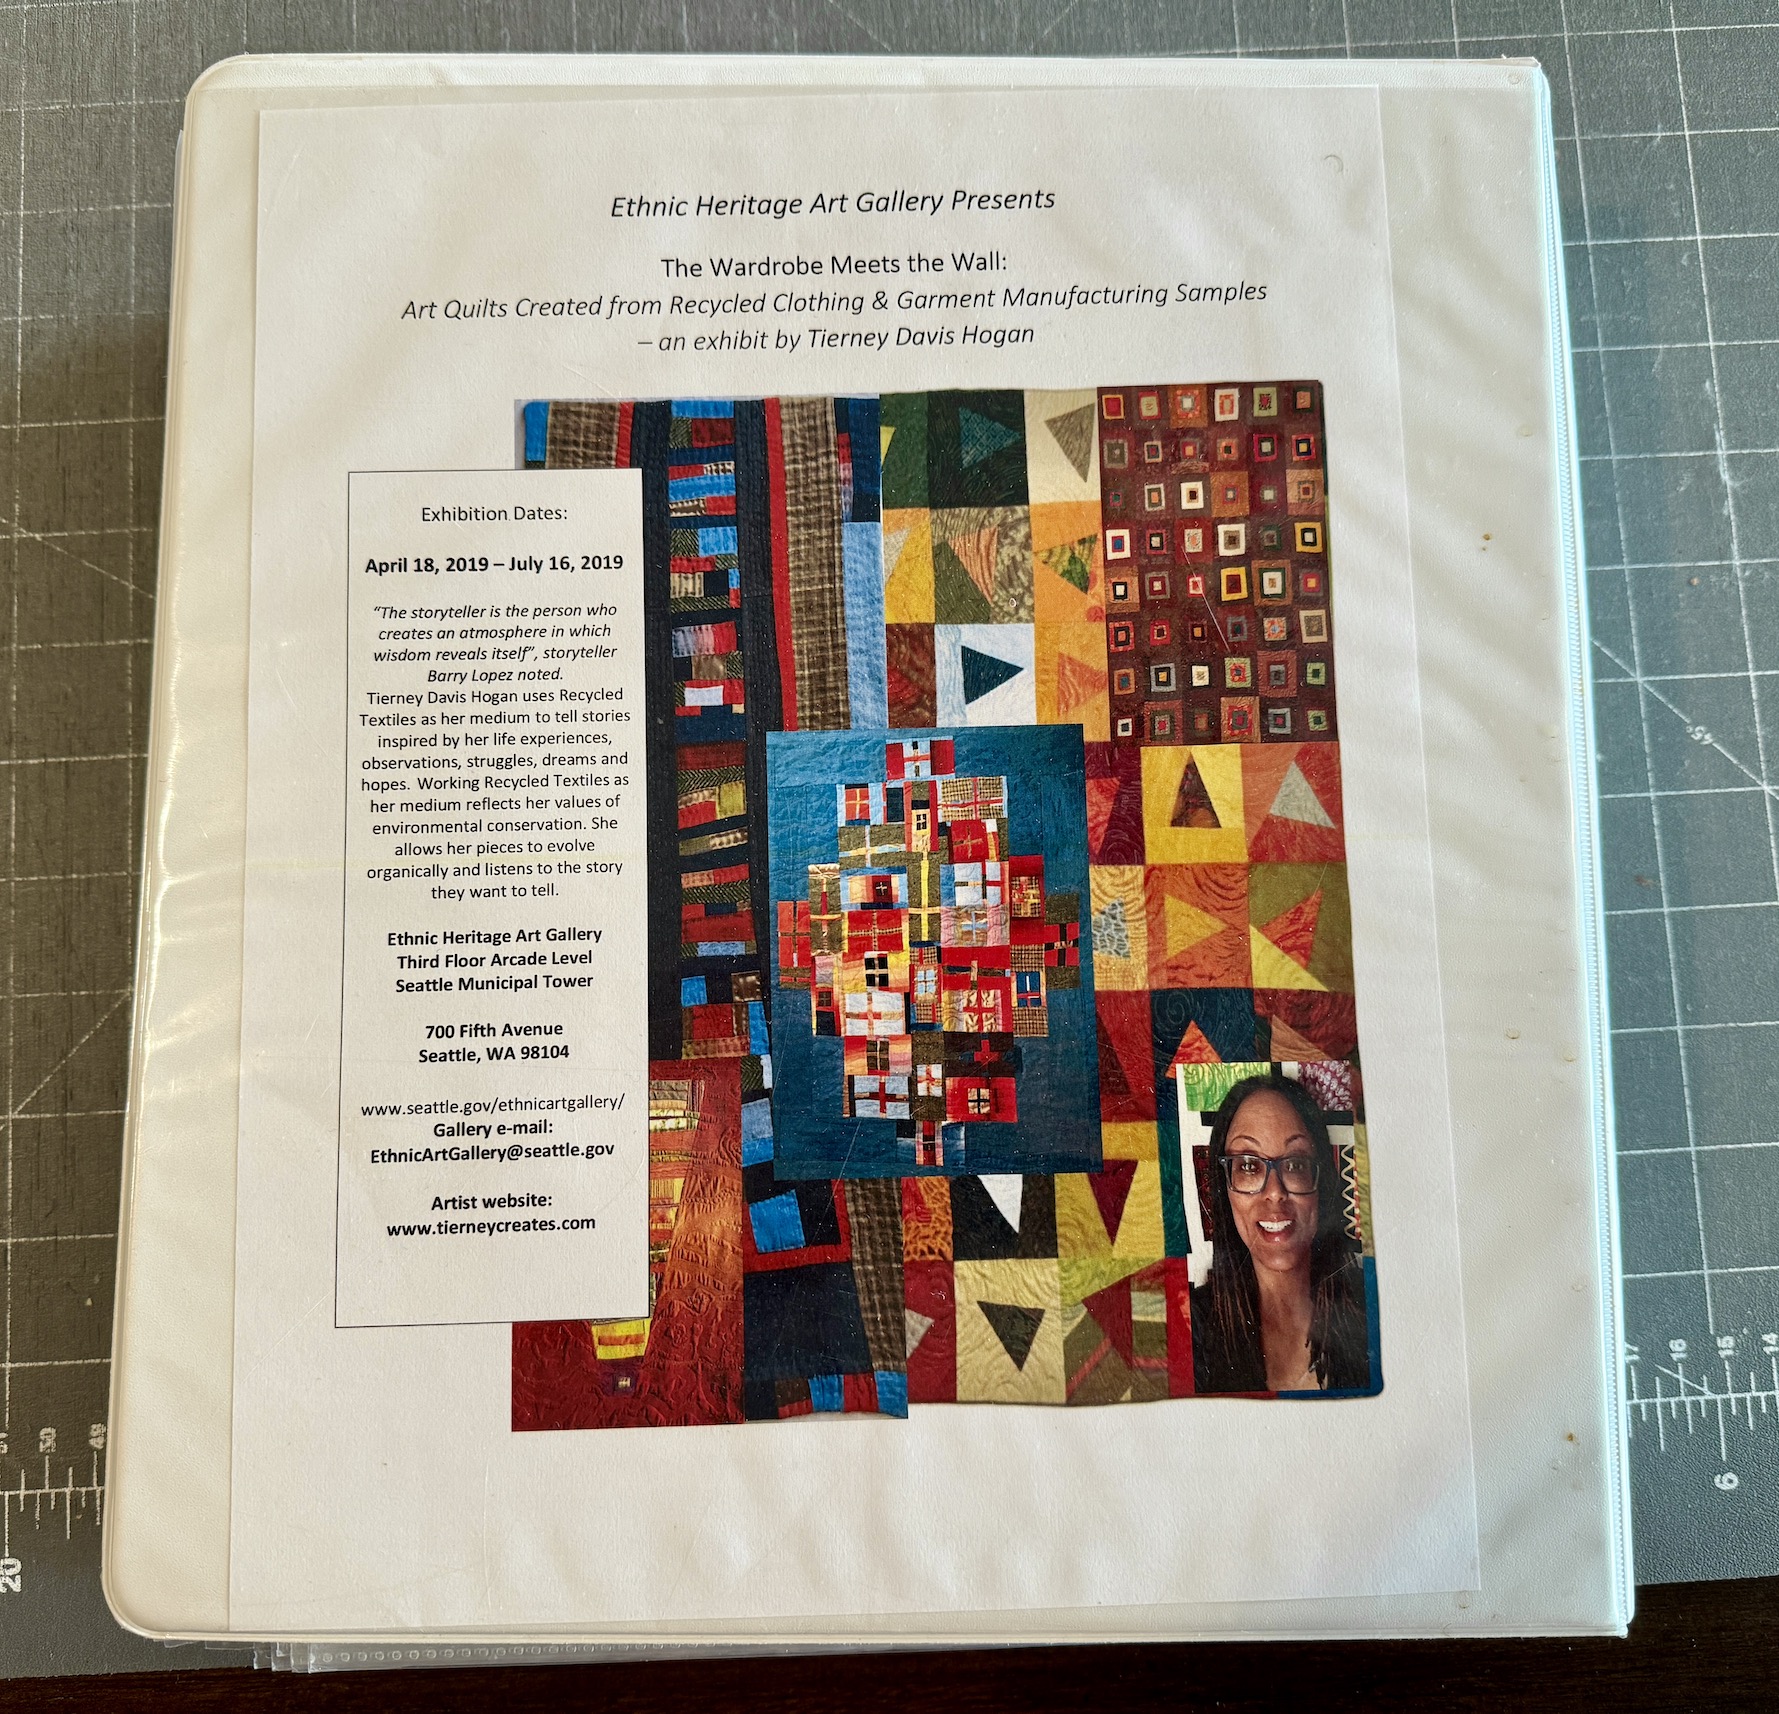
The front of the binder has a photo of me at my first solo show along with images of my first official art quilt “Flying Triangles” and similar quilt “What Direction Do I Go?” made 11+ years later; and the back of the binder is the flyer for that show:

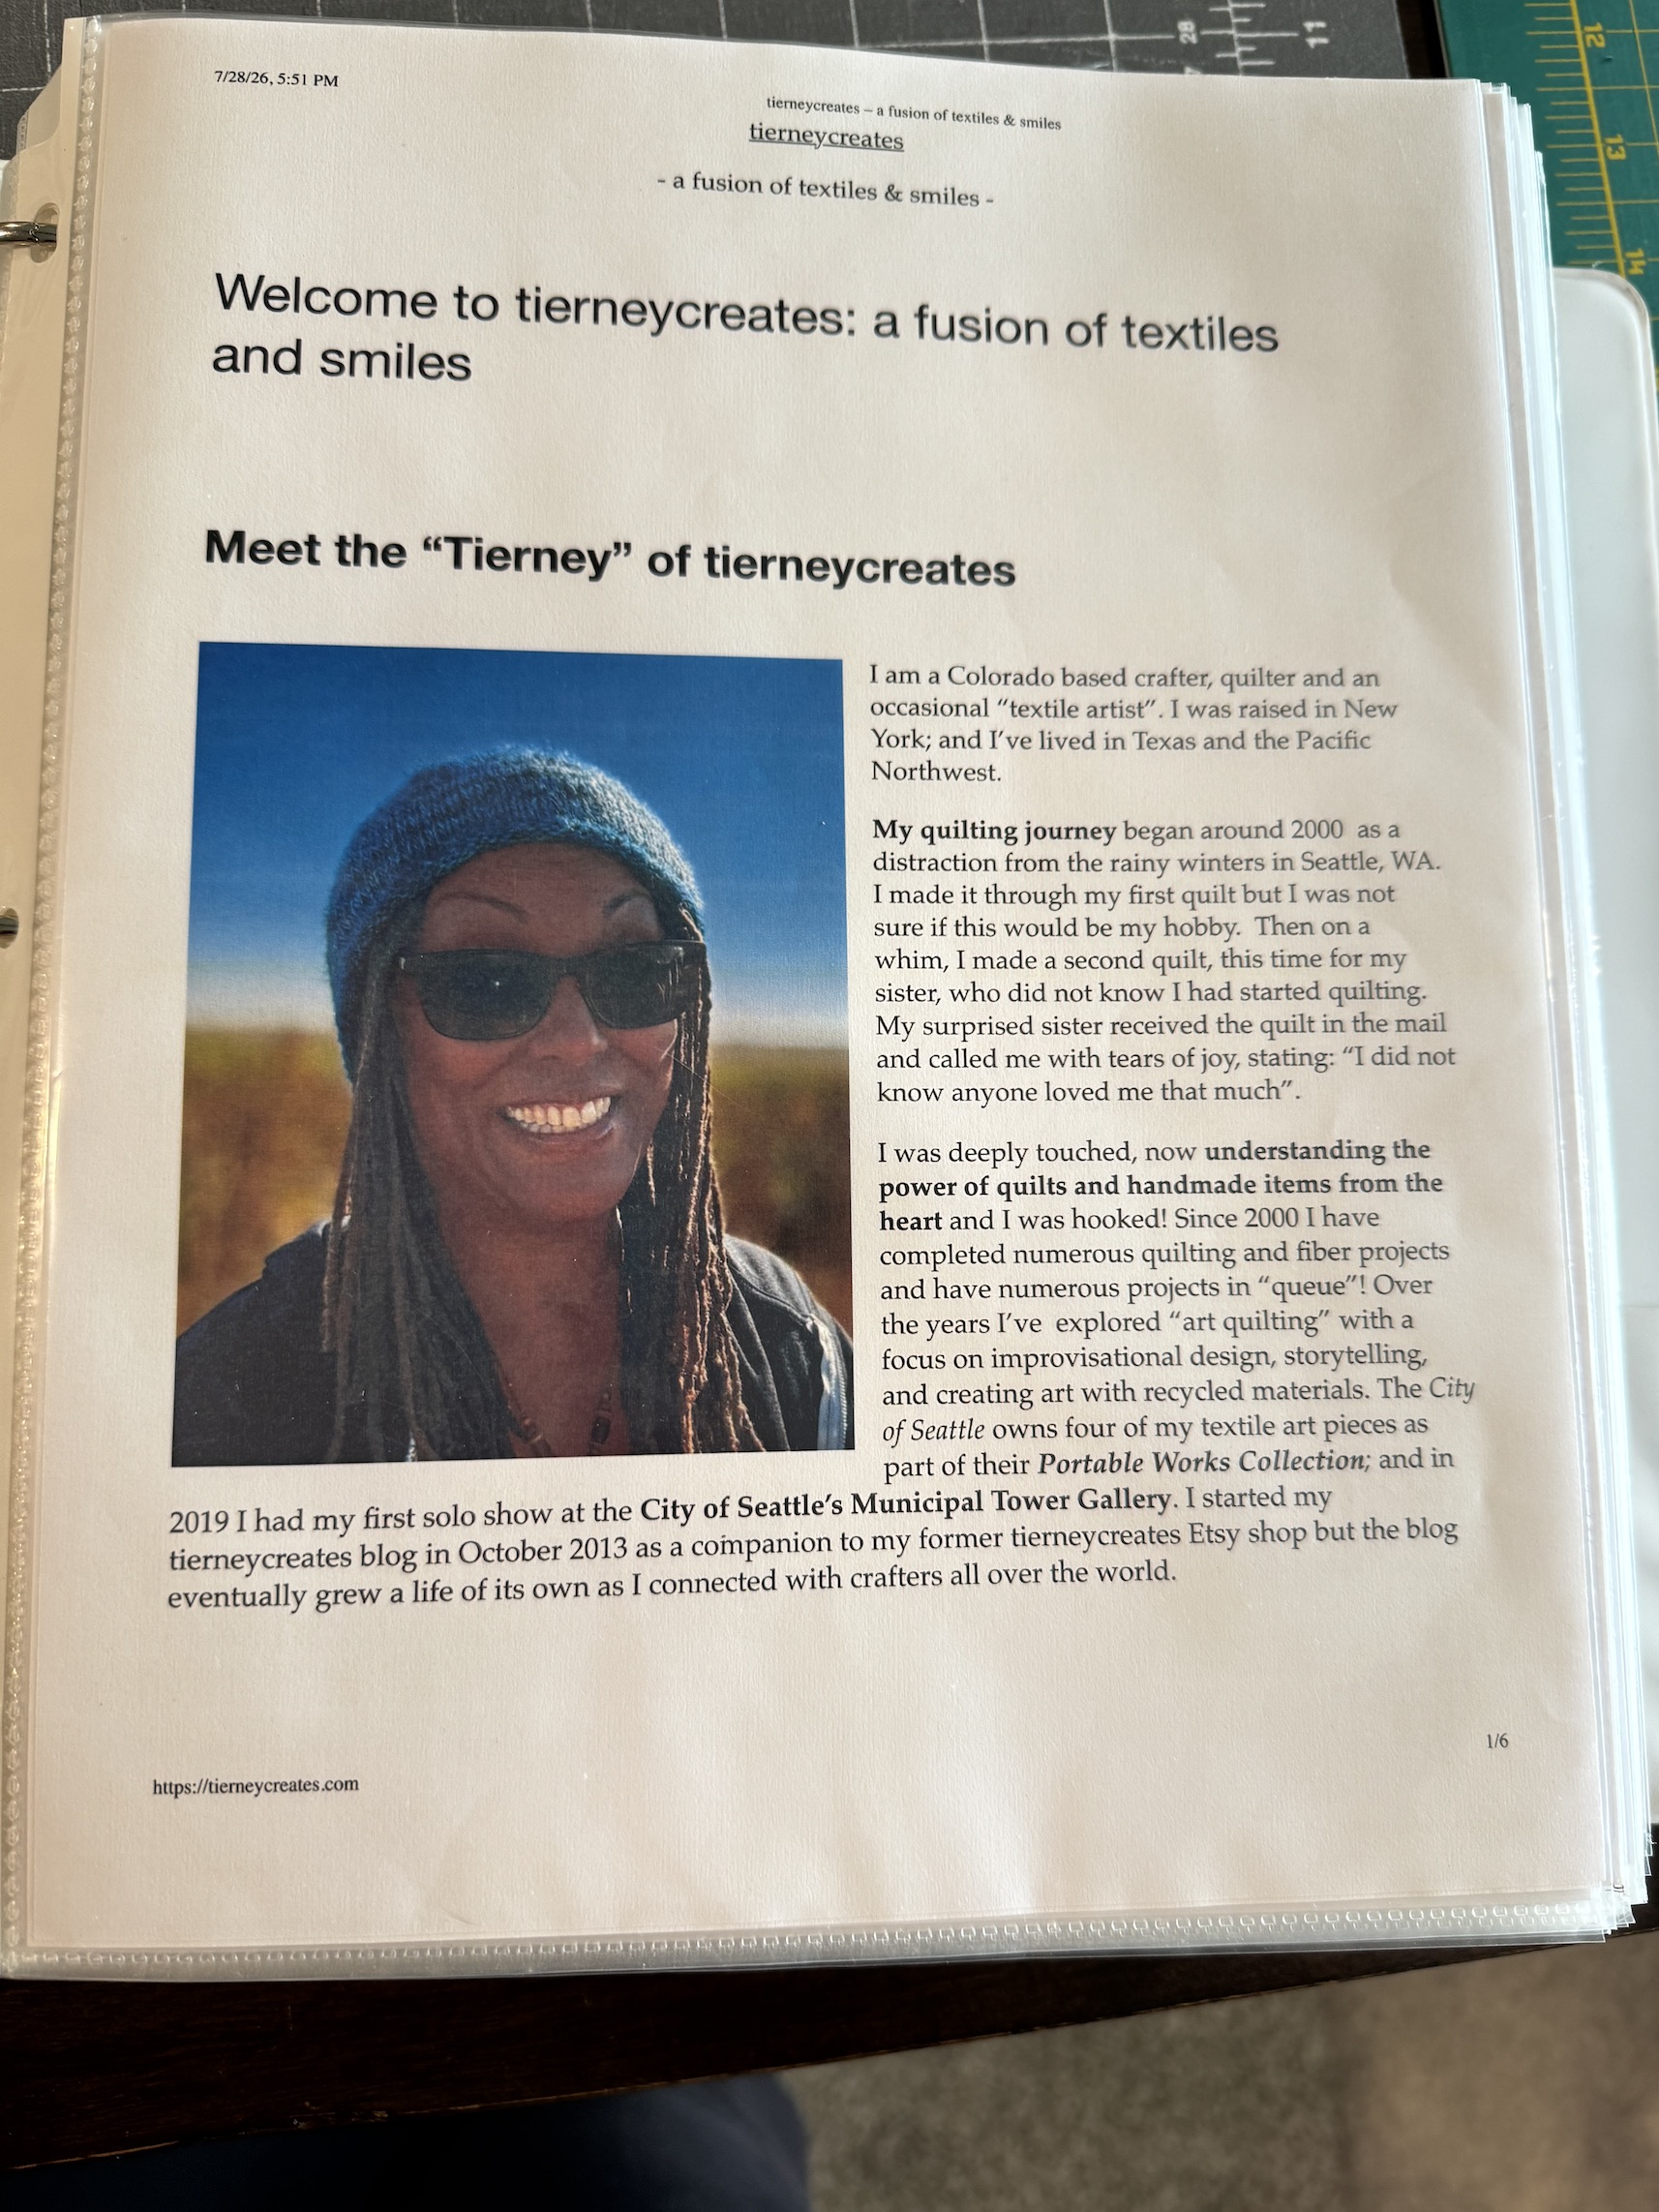
Inside the binder are stories and photos from my 25 year quilting journey, some examples are below:

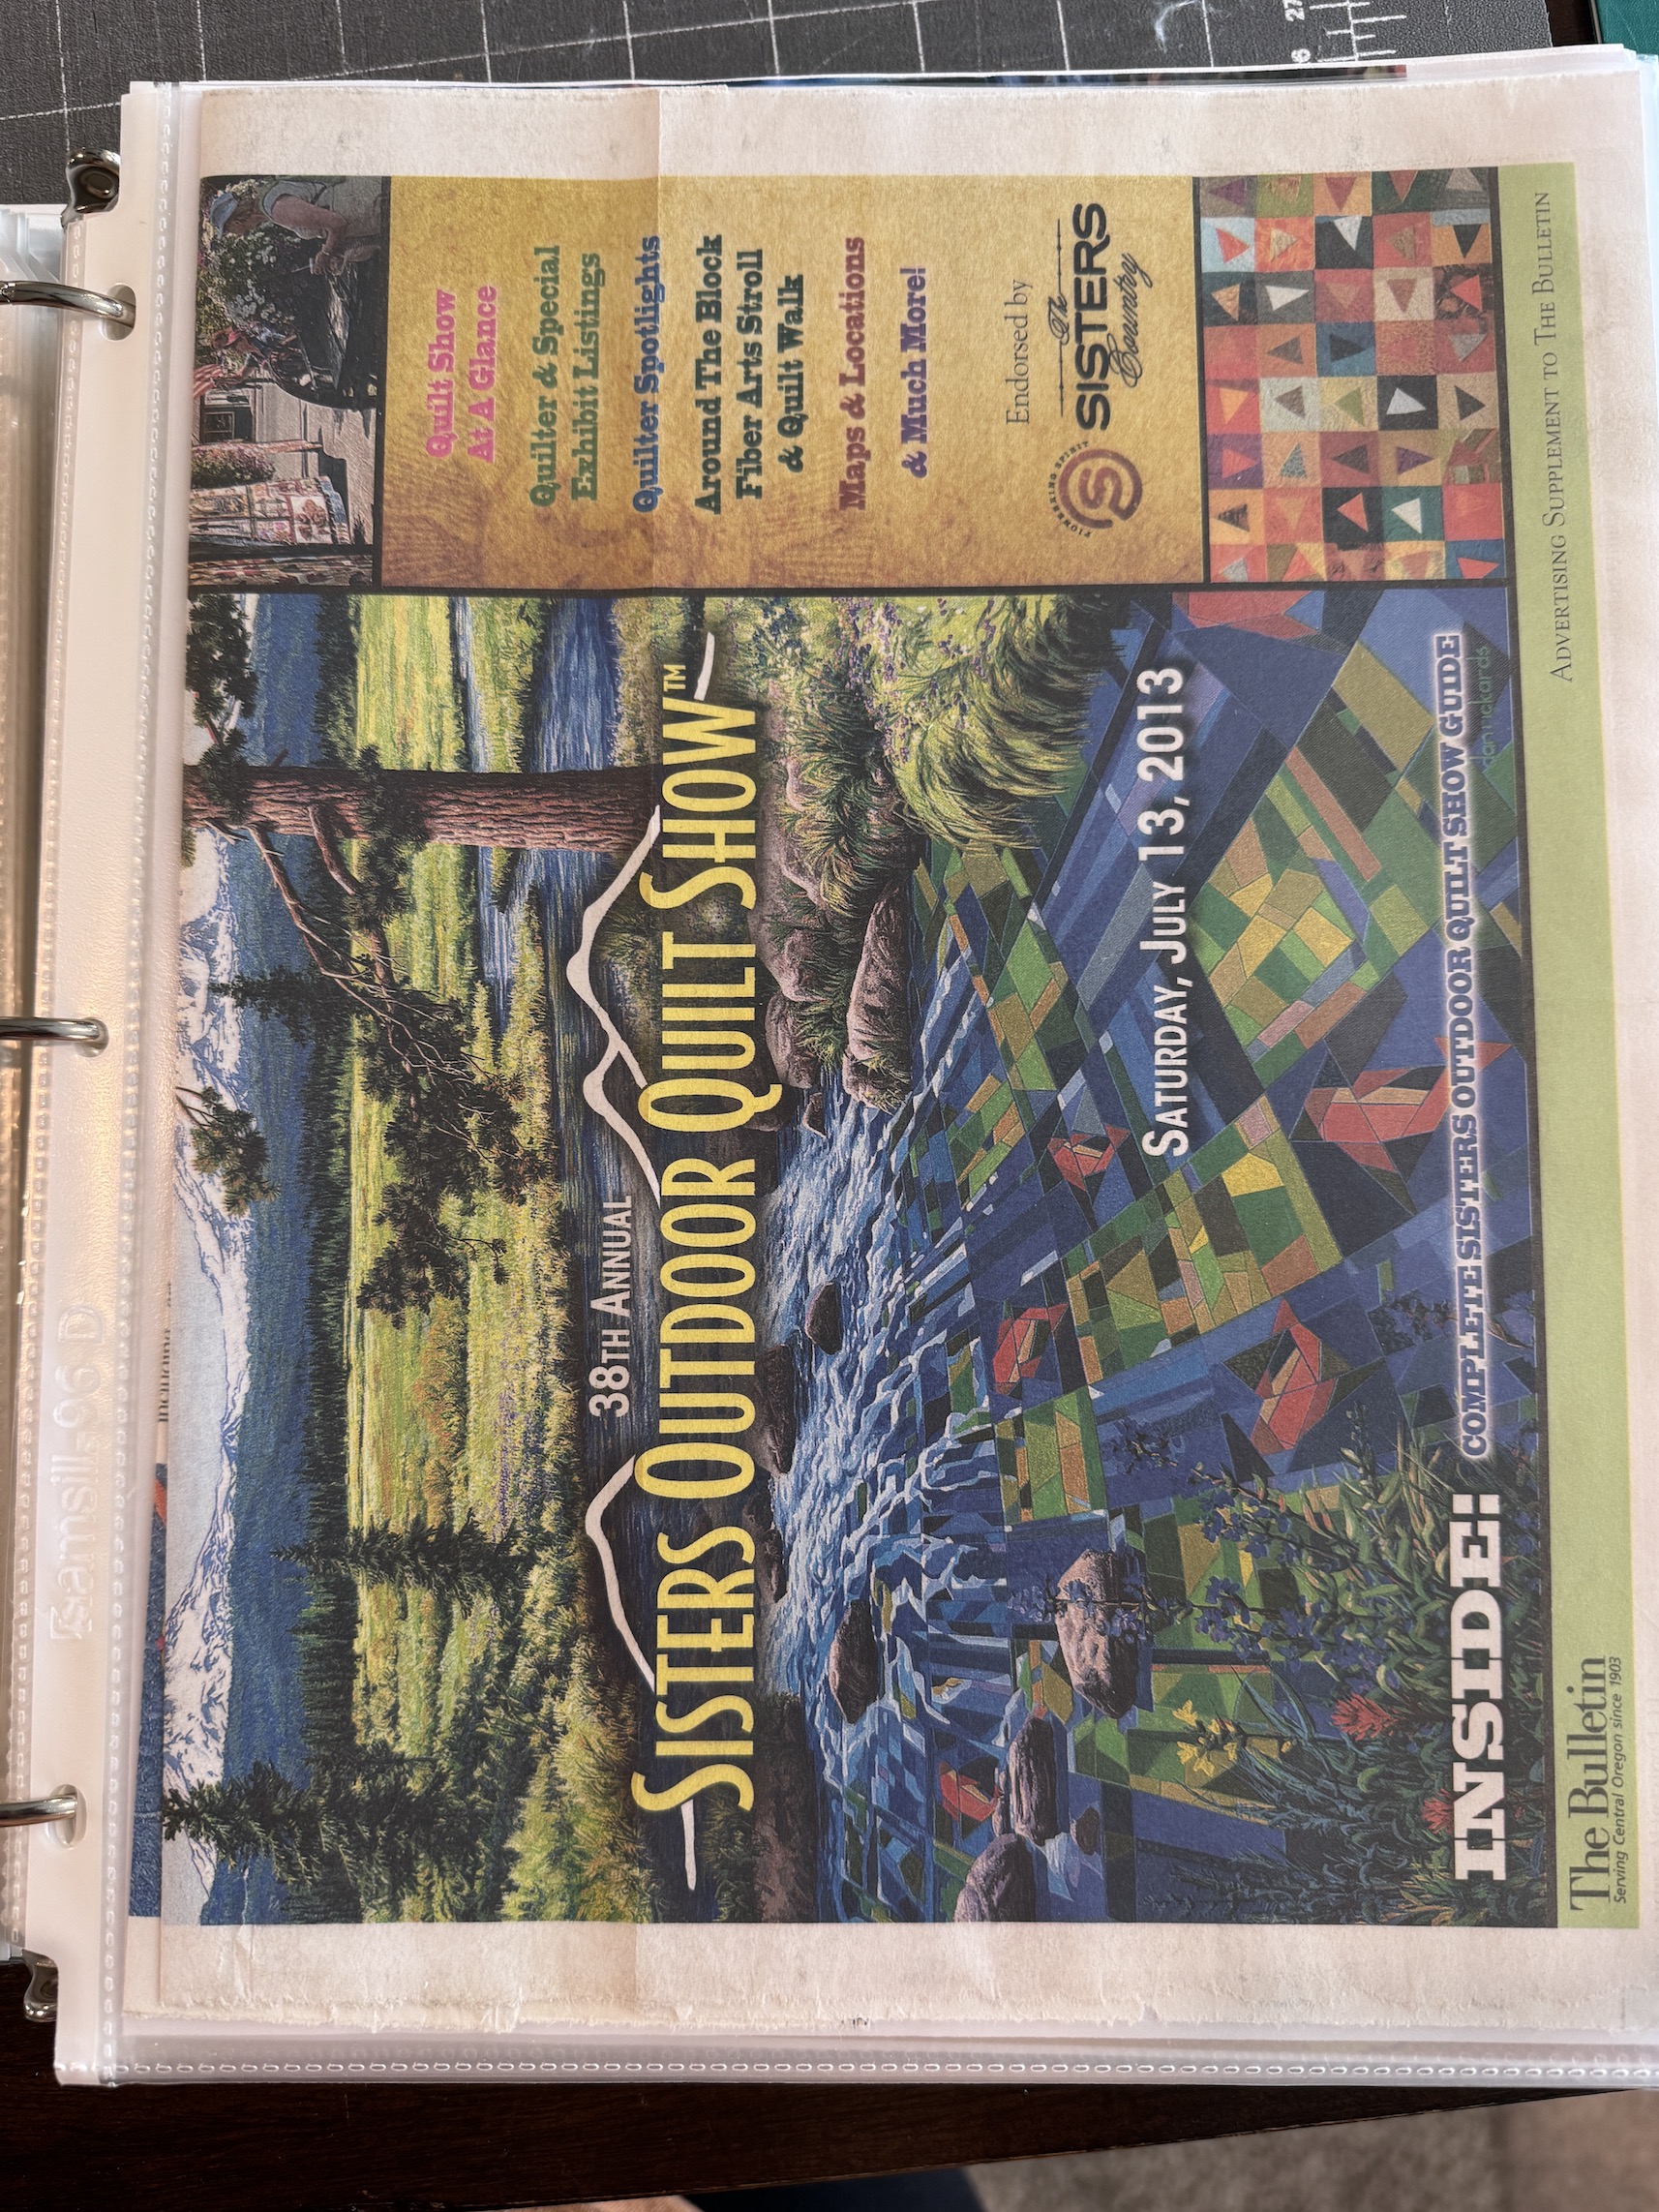
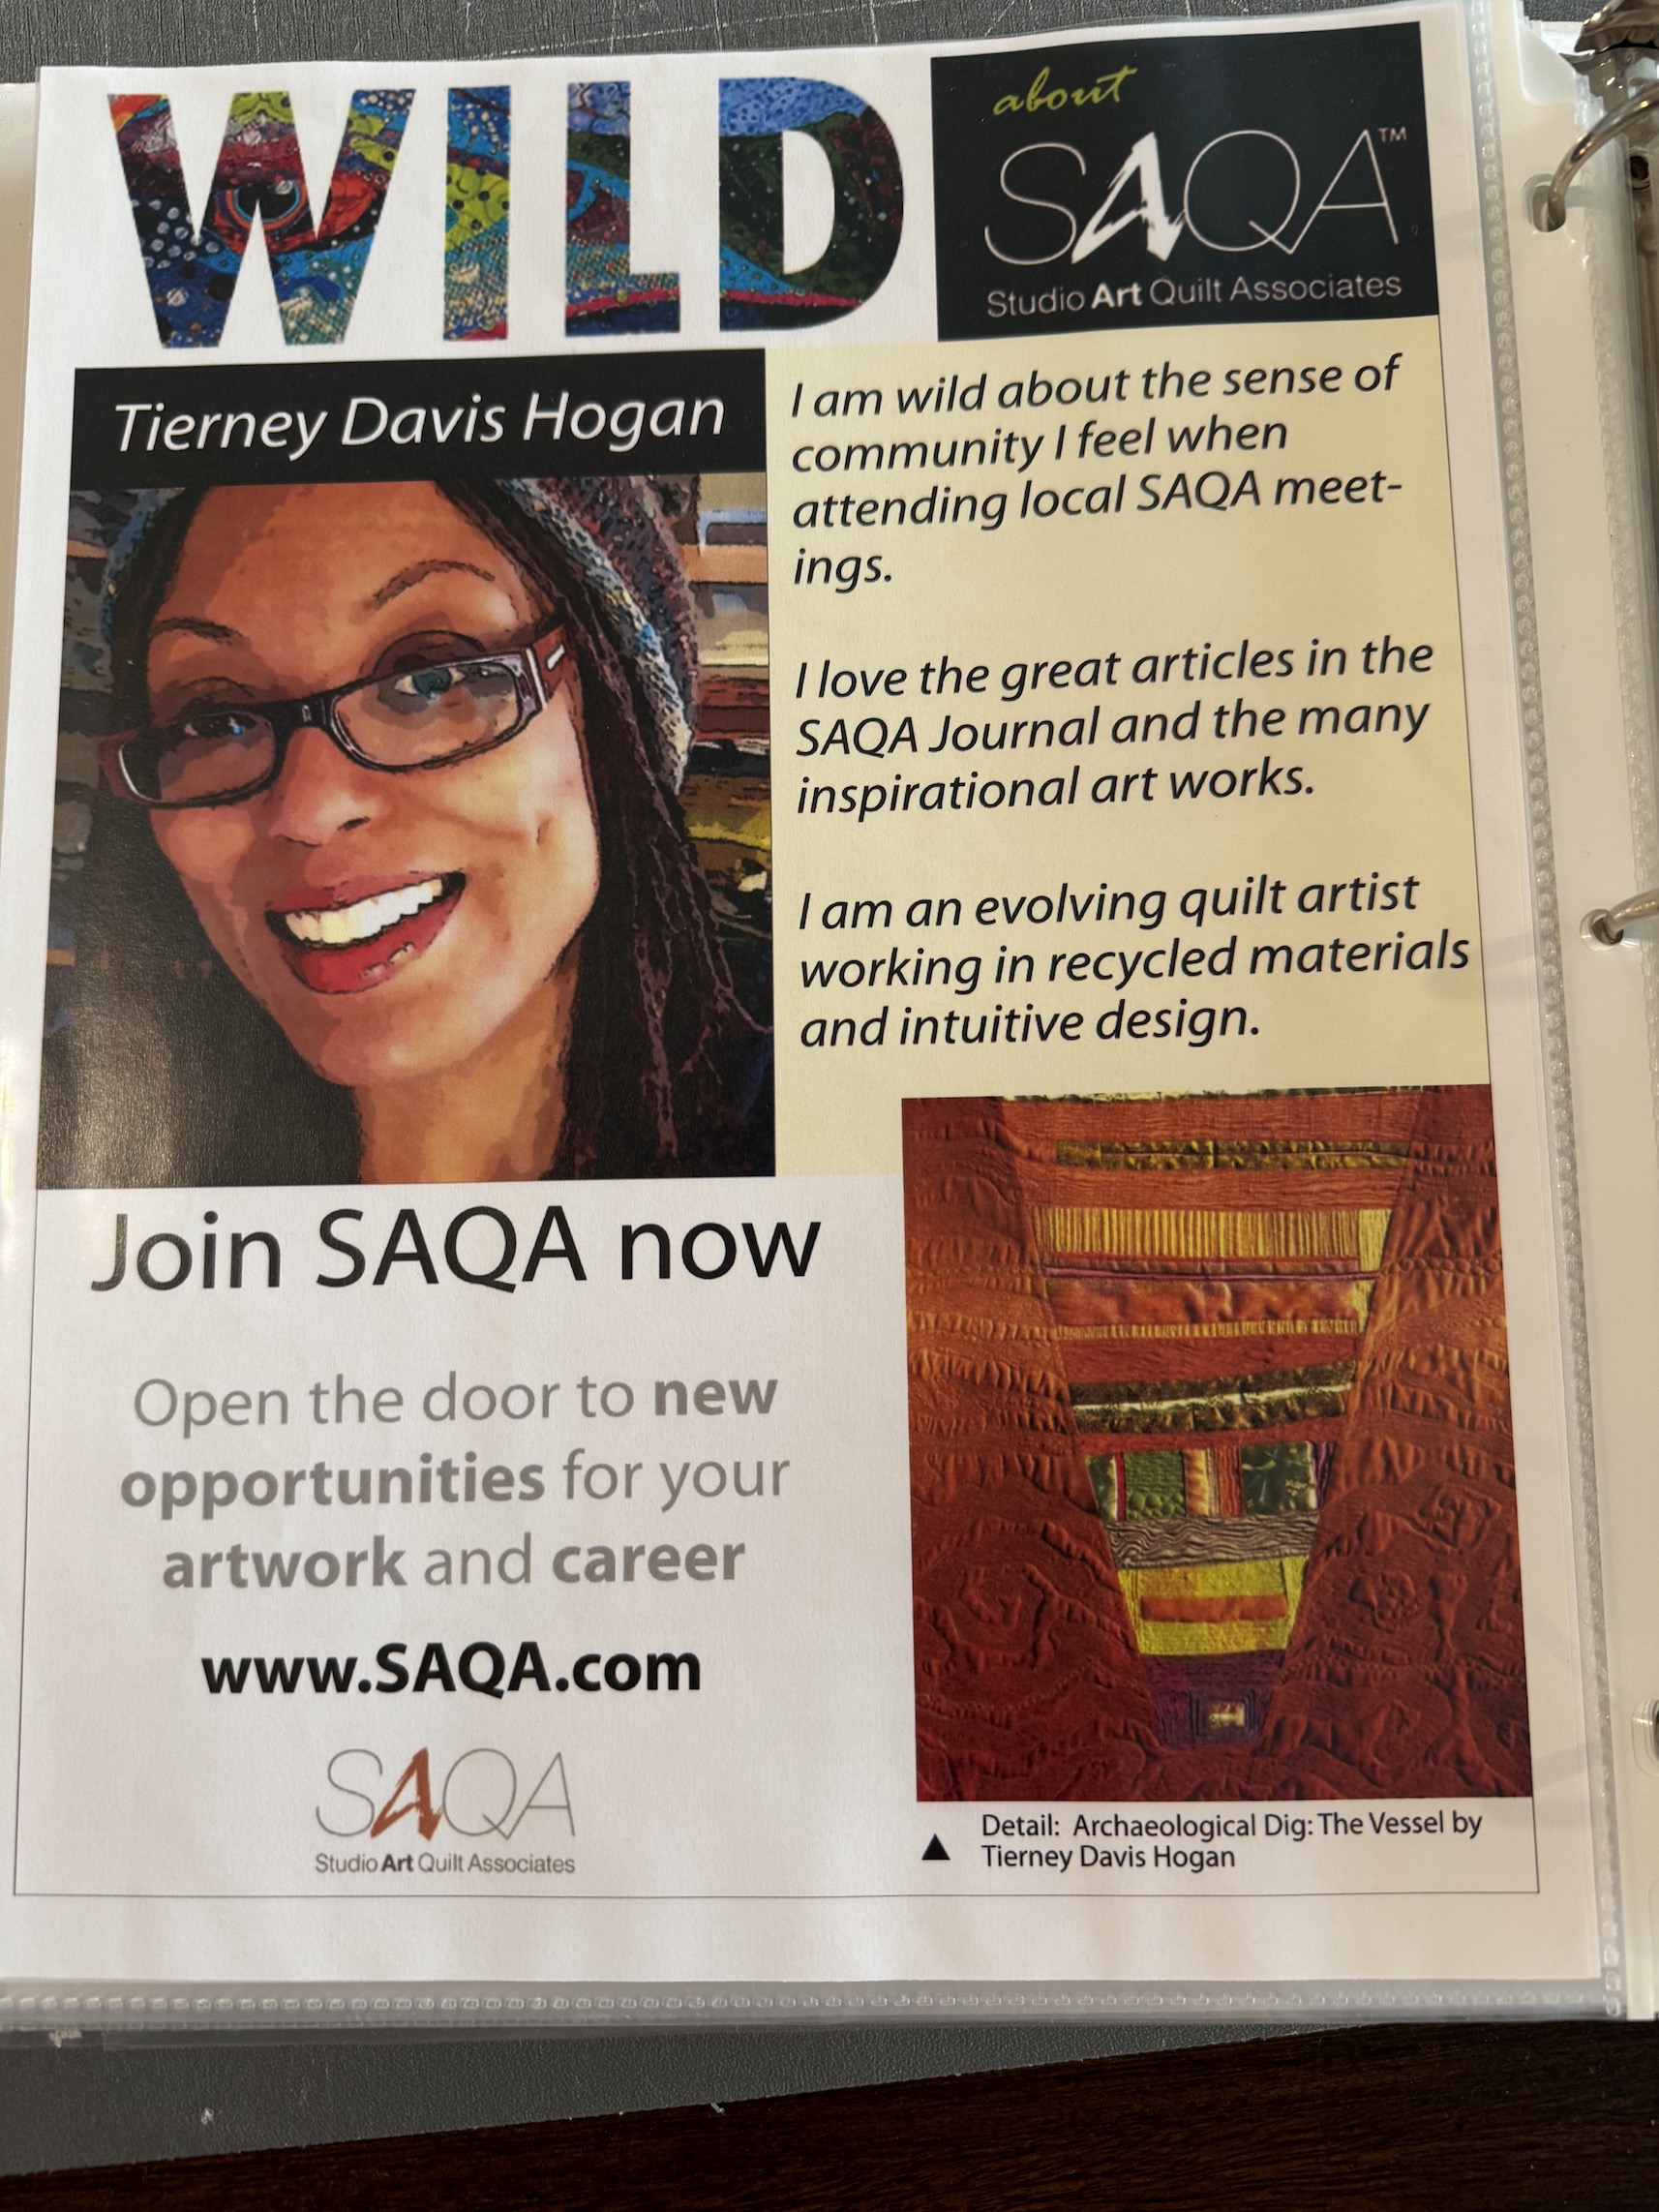
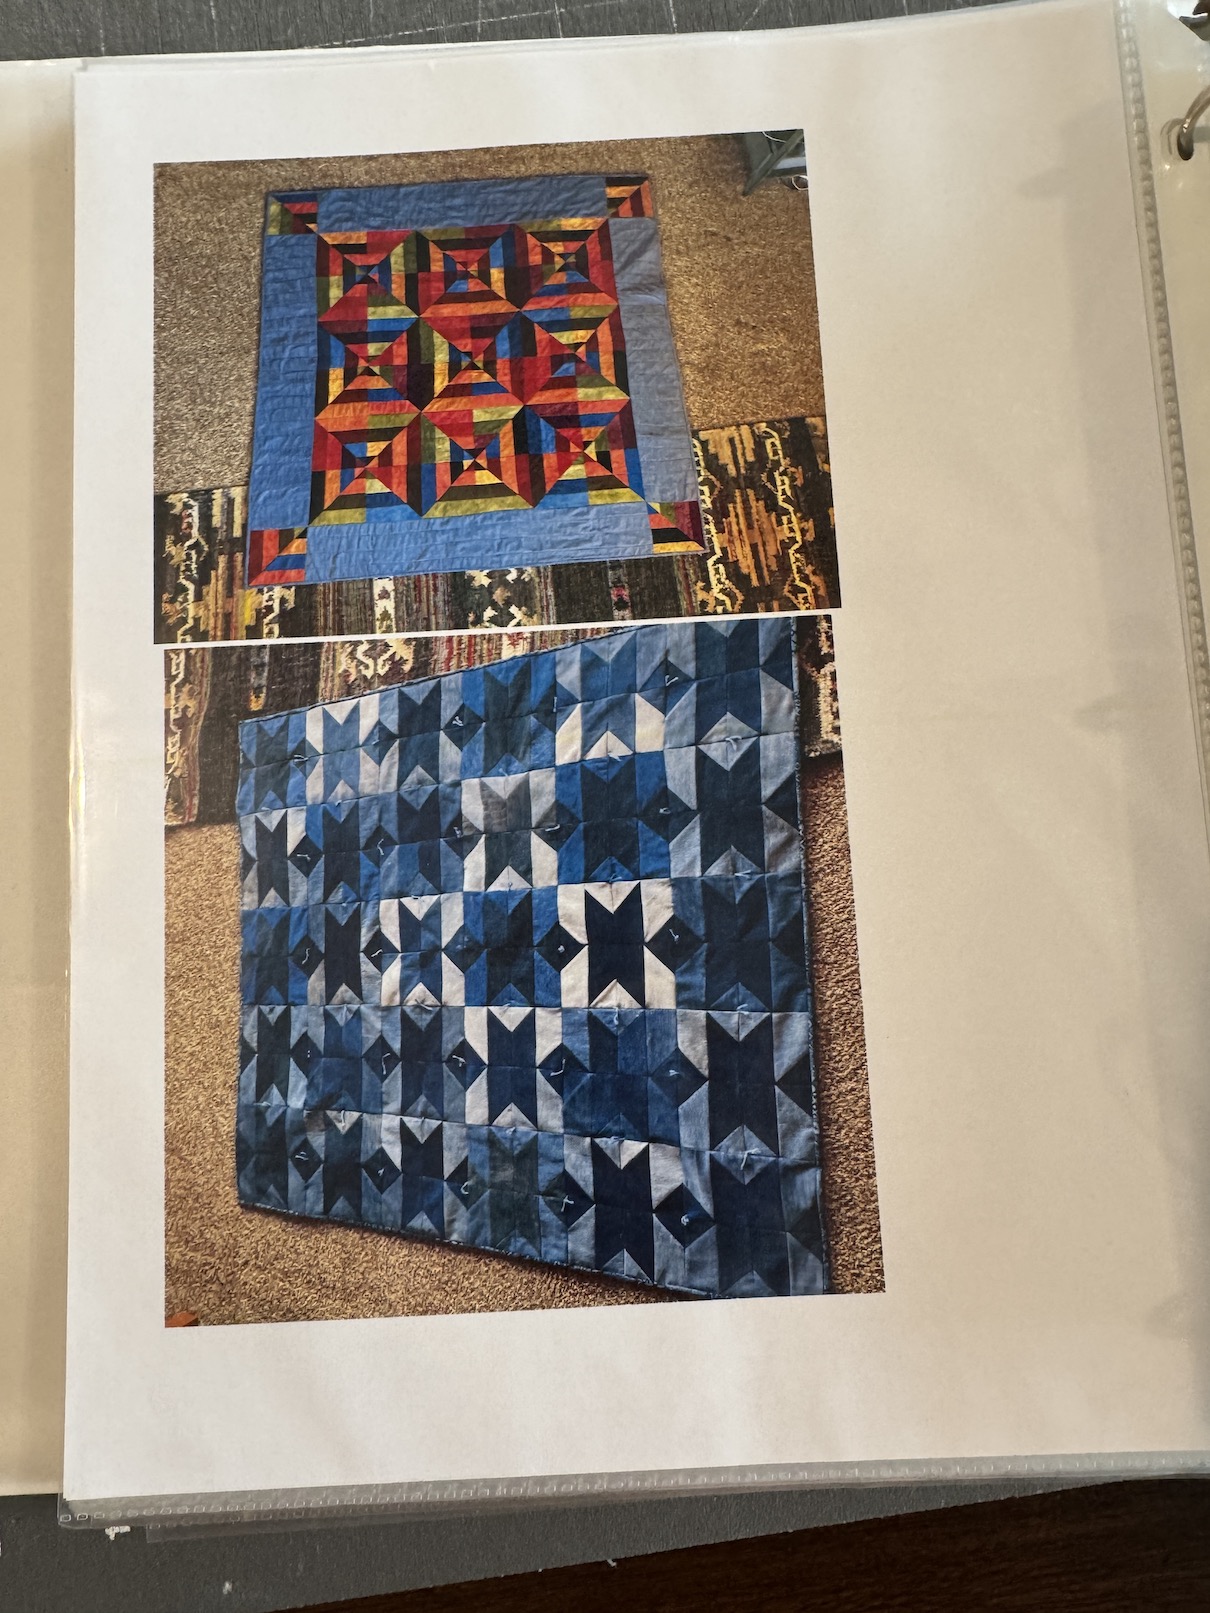
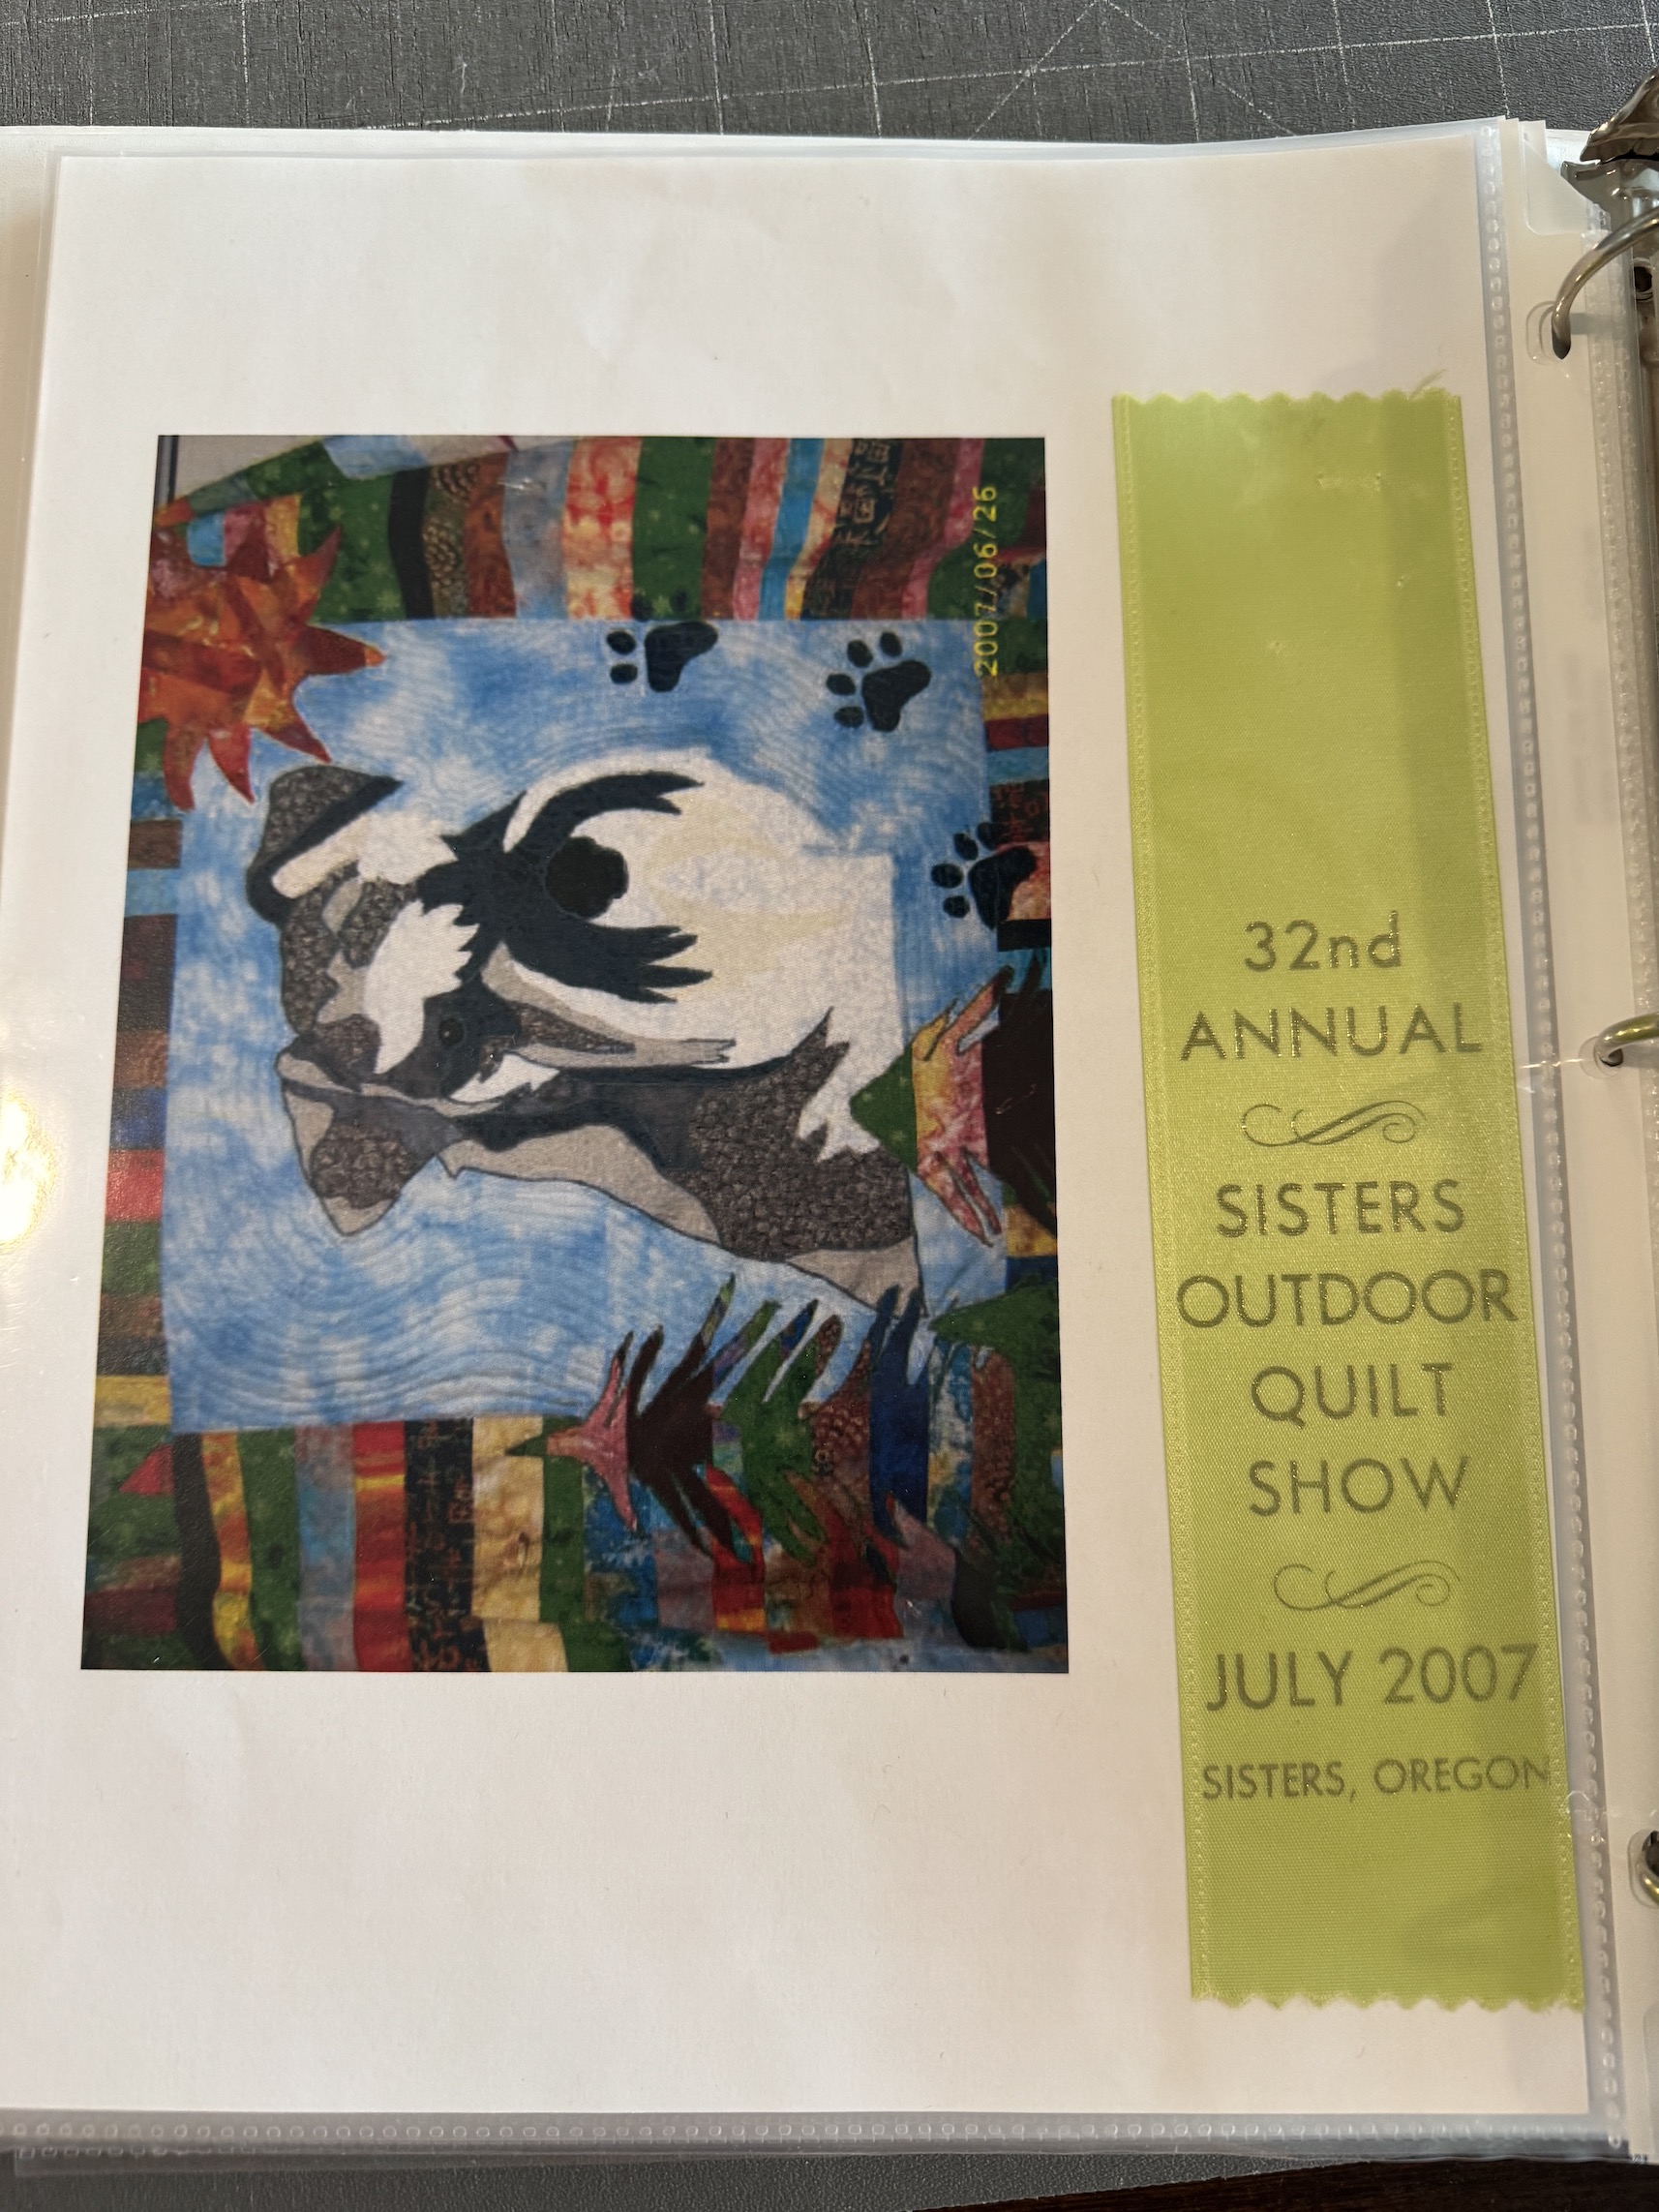
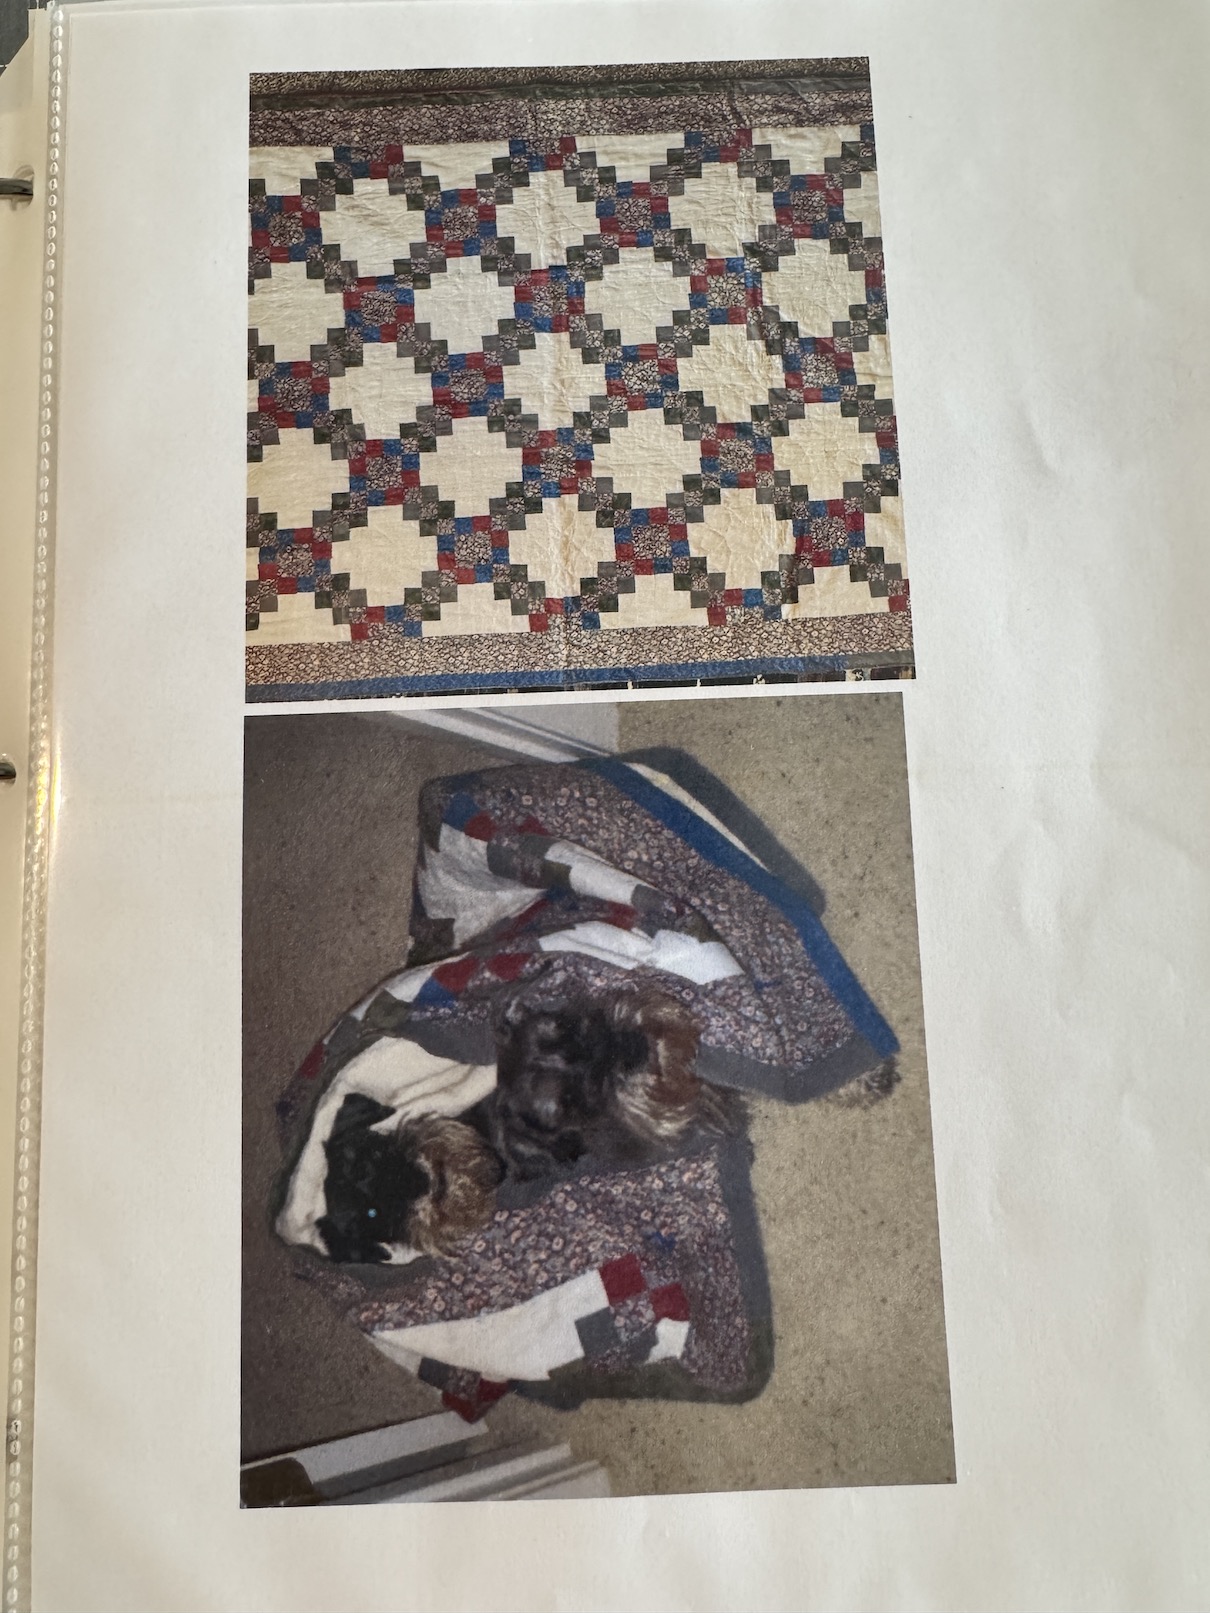
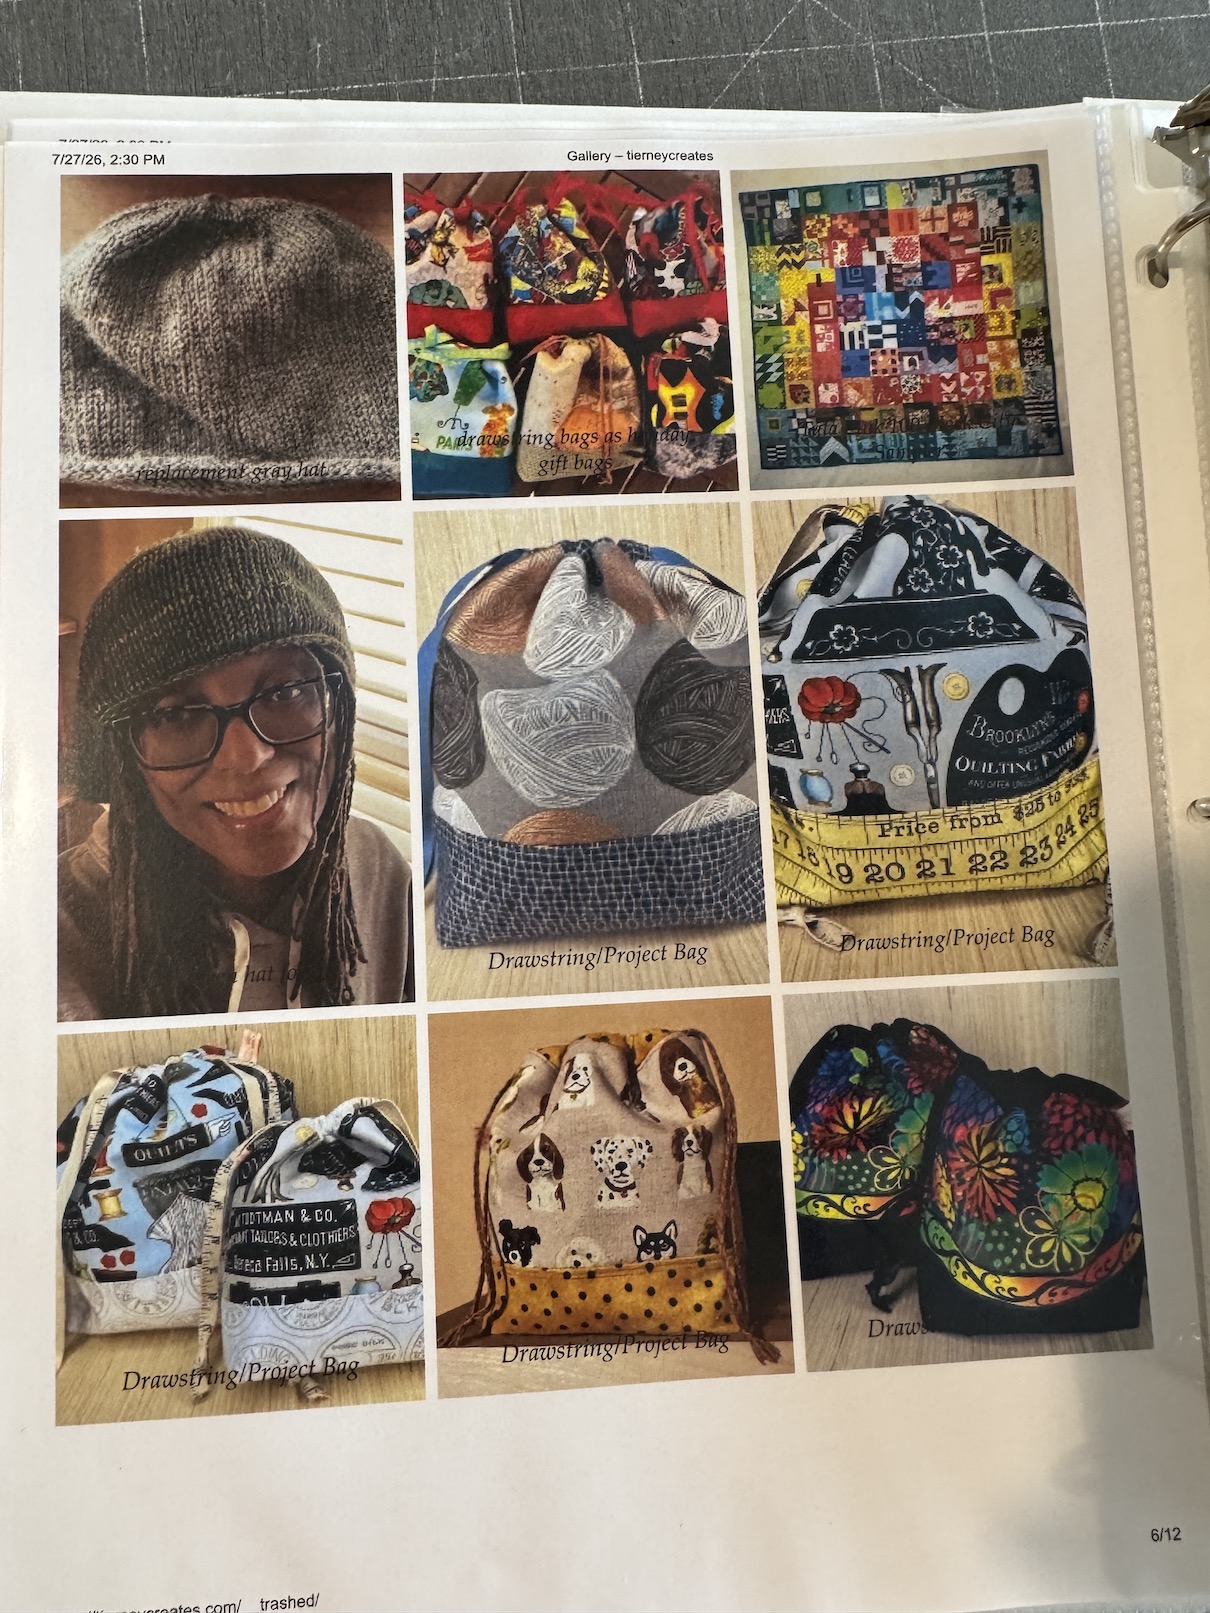
(Image above: The home page to my blog, the first flyer one of my pieces appeared in, the first ad I was featured in, photos of completed quilts, my first quilt to be in a quilt show (Sisters Outdoor Quilt Show 2007), my first quilt and my pair of rescued miniature schnauzers Fritz and Snickers wrapped in that quilt; and galleries of non quilting items I’ve made over the past 25 years)

I am so thankful to have pulled so much information and photos off my blog and printed them out for free (in color!) at the local library.

I’ve maxed out the binder which was a binder I snagged for free, filled with sheet protectors, in the ‘Free” bin at a garage sale. I am thinking about having it bound into a book once I decide I’ve filled it with all that belongs there (perhaps a couple more trips to the library for printing…)

Wendy was right. This was a VERY GOOD and important exercise to do and it was very powerful to look at my body of work and my journey over the past 25 years of quilting. I cannot believe I am in my 26th years of being a quilter and I look forward to working on my 50 year retrospective someday (finger crossed) 🙂

By the way, much thanks to those of you who’ve been following my journey on line over the years and some of you have been with me since 2013 when this blog began!


Postscript

Still Working on Blog Storage Space Issue

I’m still working on the trimming down my blog storage project and I’ve decided to start with revamping my whole Portfolio, News and Events/Publications pages on my blog by combining them in some format and reducing down the images.

I am looking into WordPress page formats that will work and I was recently very inspired by what Mariss did on her Fabrications website/blog in her newly revamped Gallery of Works page.

Guest Blogger, Quarantine Quilts

Quarantine Quilt Project: Life in the Time of Coronavirus, Part III (Guest Blog Post)

Perhaps your enthusiastic comments encouraged Wendy Hill to immediately put together the third installment of her guest blog post series about the awesome quilt she made during quarantine with the four rambunctious boys next door (aka “The Boys”) ages 2 – 8. 

I am so happy to now share her third installment! (And now you get to see the quilt laid out with all the blocks created by “The Boys”.)

If you are just joining us, see these posts for Part I and Part II of the story:


Quarantine Quilt Project: Life in the Time of Coronavirus

Part III: Magic! Turning 65 Blocks of All Sizes Into a Quilt Top! And Leftovers Into a Quilt Back!

On a lark, my neighbors and I added playing with fabric to make quilt blocks. We had no idea where this project would take us or how our families would connect over time. 

Please consider launching your own “quarantine quilt” project with kids or adults who would enjoy such a project. Collaborate through “snail mail” if your people are not in the neighborhood. I believe everyone can capture the free spirit seen in The Boys’ quilt blocks. 

Quilt Top

Since I refused to do anything more than trim (or square-up) the precious blocks, I had to find another way to unify 65 blocks of all sizes. I sorted the blocks by height, the first bit of “magic”, to layout 8 rows of 8 blocks, saving the extra block for the quilt back. 

#1A 8 blocks, 8 rows#1B 8 blocks, 8 rowsWith the row height consistent, I planned to frame the blocks, adding “filler” fabrics if needed, to adjust the row width. I looked to my assortment of “dots” and “cross hatched” fabrics, many of which had already been cut into.

#2A- assorted dots#2B- assorted cross hatchI started with the widest row as the standard width, which happened to be Row #4. Next I assembled Row #3, working my way up to Row #1. Of course, the quilt needed a border at the top (and bottom), because the quilt can’t be too big, right? 

#3A Rows 3&4#3B Rows 2,3,4I alternated “A” and “B” blocks in each row as part of my plan to frame the blocks, add fillers, and create a border on the two long sides. A plan helps me keep my sanity but also gives me freedom to go off the path. It’s a paradox!

“A” blocks are framed on all four sides. I used the same fabrics or similar color scheme: 

#4A- _A_ block#4B- _A_ block#4C- _A_ block“B” blocks are only framed top and bottom. 

#5A- _B_ block#5B- _B_ block#5C- _B_ blockThe border on the long sides is created block-by-block, using a 2 3/4” width of fabric on the outside edges of the first and last blocks in each row. This creates a visual border without using one long strip of fabric. (The width of this border strip could be anything to make the border wider or narrower.) 

#6- built in border on rightFor “A” blocks, the outside edge/border strip (one of four strips framing the block) is cut to this specific width. 

#7, end border strip for _A_ blocksFor “B” blocks, the outside edge/border strip is also cut to this specific width, making a total of 3 strips framing the block (instead of only top & bottom). 

#8, end border strip for B blockAt this point, you might wonder how the rows come out the same width? This second bit of magic is in way to adjust the row width. Assemble the row in two sections. Layout the two pieces on a design wall or other surface. 

If the sections are too wide, overlap the raw edges between the two sections, until the width is correct. Sew the seam, trimming excess fabric to account for the seam allowance. 

If the two sections are too short and leave a gap, add a “filler” strip to one of the two sections, and continue as described above. 

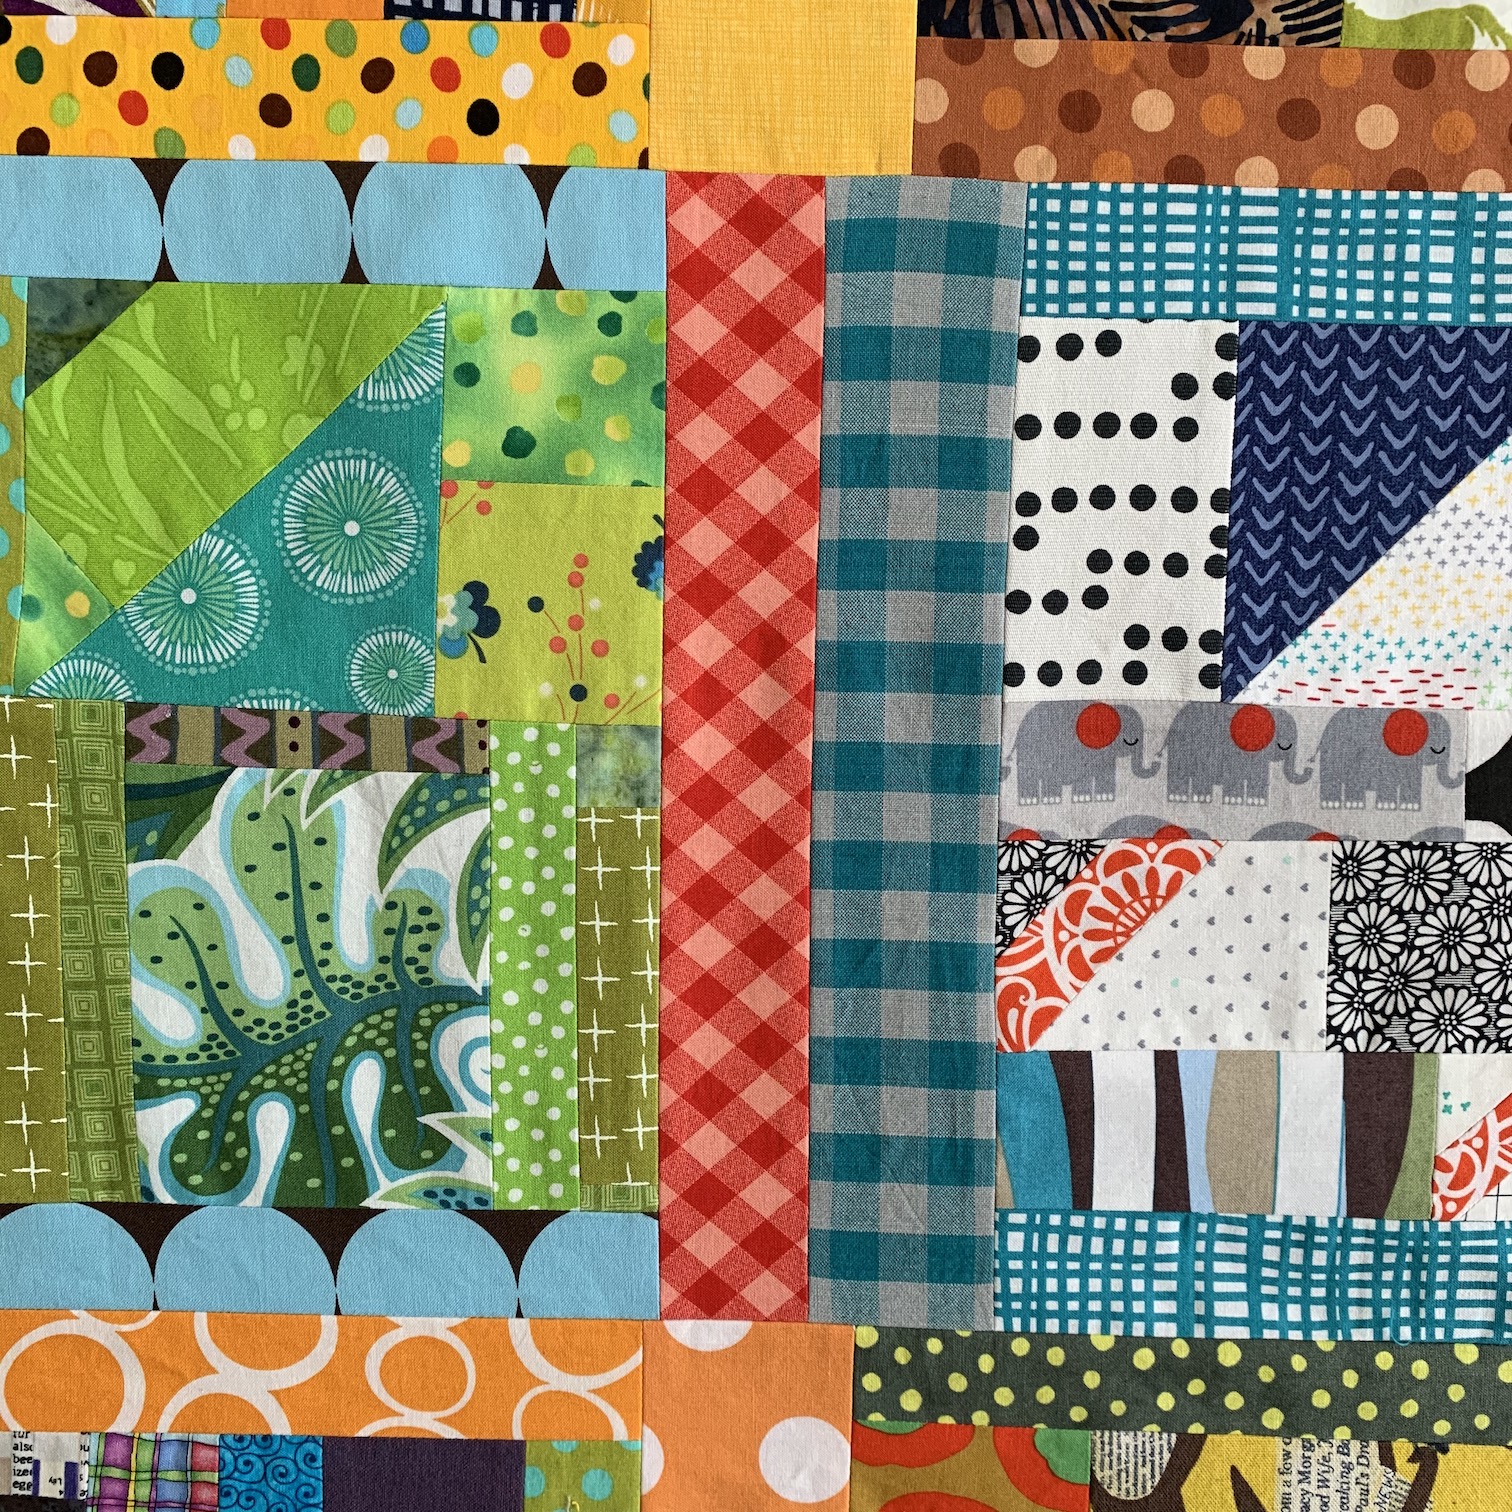
For these two rows, I chose bright filler fabrics: look for the bright green plaid in the first photo, and bright red plaid in the second photo. The “fillers” just add to the fun (chaos)!

#9A- green plaid filler9B- red plaid fillerEveryone encounters surprises, obstacles or let’s be honest, mistakes. How a quilter deals with these events are what counts and as quilters know, these are often “opportunities” to do something unexpectedly great. 

I accidentally trimmed or “squared-up” two blocks, making them the wrong height. “Fillers” to the rescue once again, as I just added another strip to the top edges. 

#10A- extra strip fix#10B- extra strip fixWhen I cut a fabric on the bias, I often reinforce the edge with a narrow strip of fusible interfacing. This way, there are no worries about the edge stretching. 

#11- reinforce bias edge

Before assembling Rows 5-8 and the border, I stood back and saw the two orange fabrics screaming at me. I couldn’t shut out the visual noise (ha ha) so I swapped one of the oranges out for another color. Peace was restored.

#12A, orange screams#12B, replaced orange, peace restored

Quilt Back

While “The Boys” used my saved scraps to create fun, exciting, weird and wonderful blocks, I did my best to put together a quilt back also using leftovers, larger scraps, and found fabrics in the closet. 

As the back evolved, I took a few photos, showing how the fabrics shifted around, got deleted, or sometimes, added back in. Not shown in the photos is a late stage addition; look for it in the finished quilt photos in the final guest post. 

#16- trials#15- trials#14- trials#13- trials

Labels

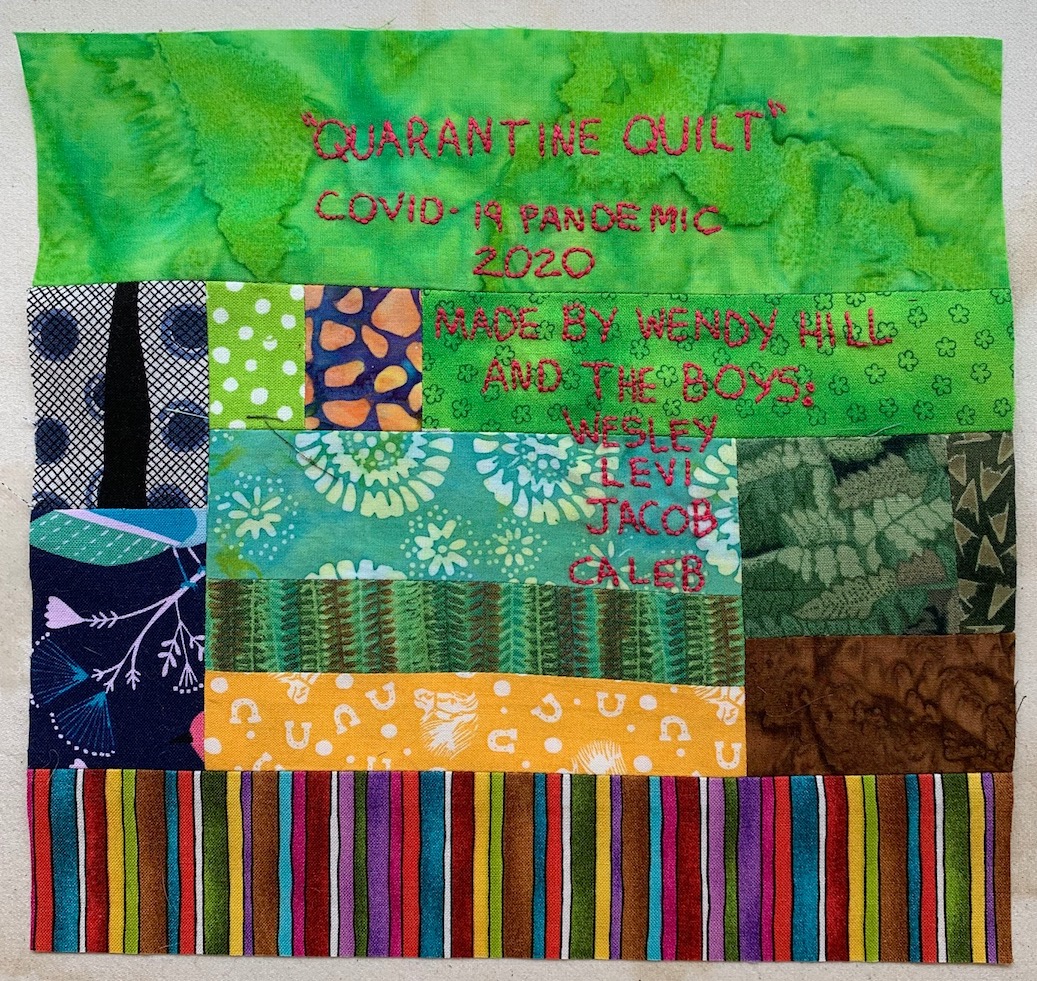
I used the extra block made by “The Boys”, and another leftover pieced heart block, to create two labels. When I searched the internet for the best fabric pen, my first reference said “don’t use a pen, embroider the label”. I agreed. 

#17, made by label#18 HeartAs I came closer to finishing the quilt, I had the growing feeling that this quilt was so much bigger then me or my neighbors or The Boys. 

We’ve known in theory that we could have another global pandemic, but the reality is so — well— real. The enormity of the pandemic is hard to grasp, even now. 

Yet in the face of adversity, we find many examples of people, all over the world, reaching out to help and support each other. The Quarantine Quilt is one of these examples. 

Wendy’s next guest blog post: Quilting and Binding The Gigantic Quilt