Continuing my series of posts about regular get togethers with neighborhood quilters J and D.
Wednesday I met up with J and D (the new quilter who just finished her first project – see my series of posts for the category Learning to Quilt) to see D’s progress on her second quilt (see previous post Quilter’s Playdate: What’s Next)
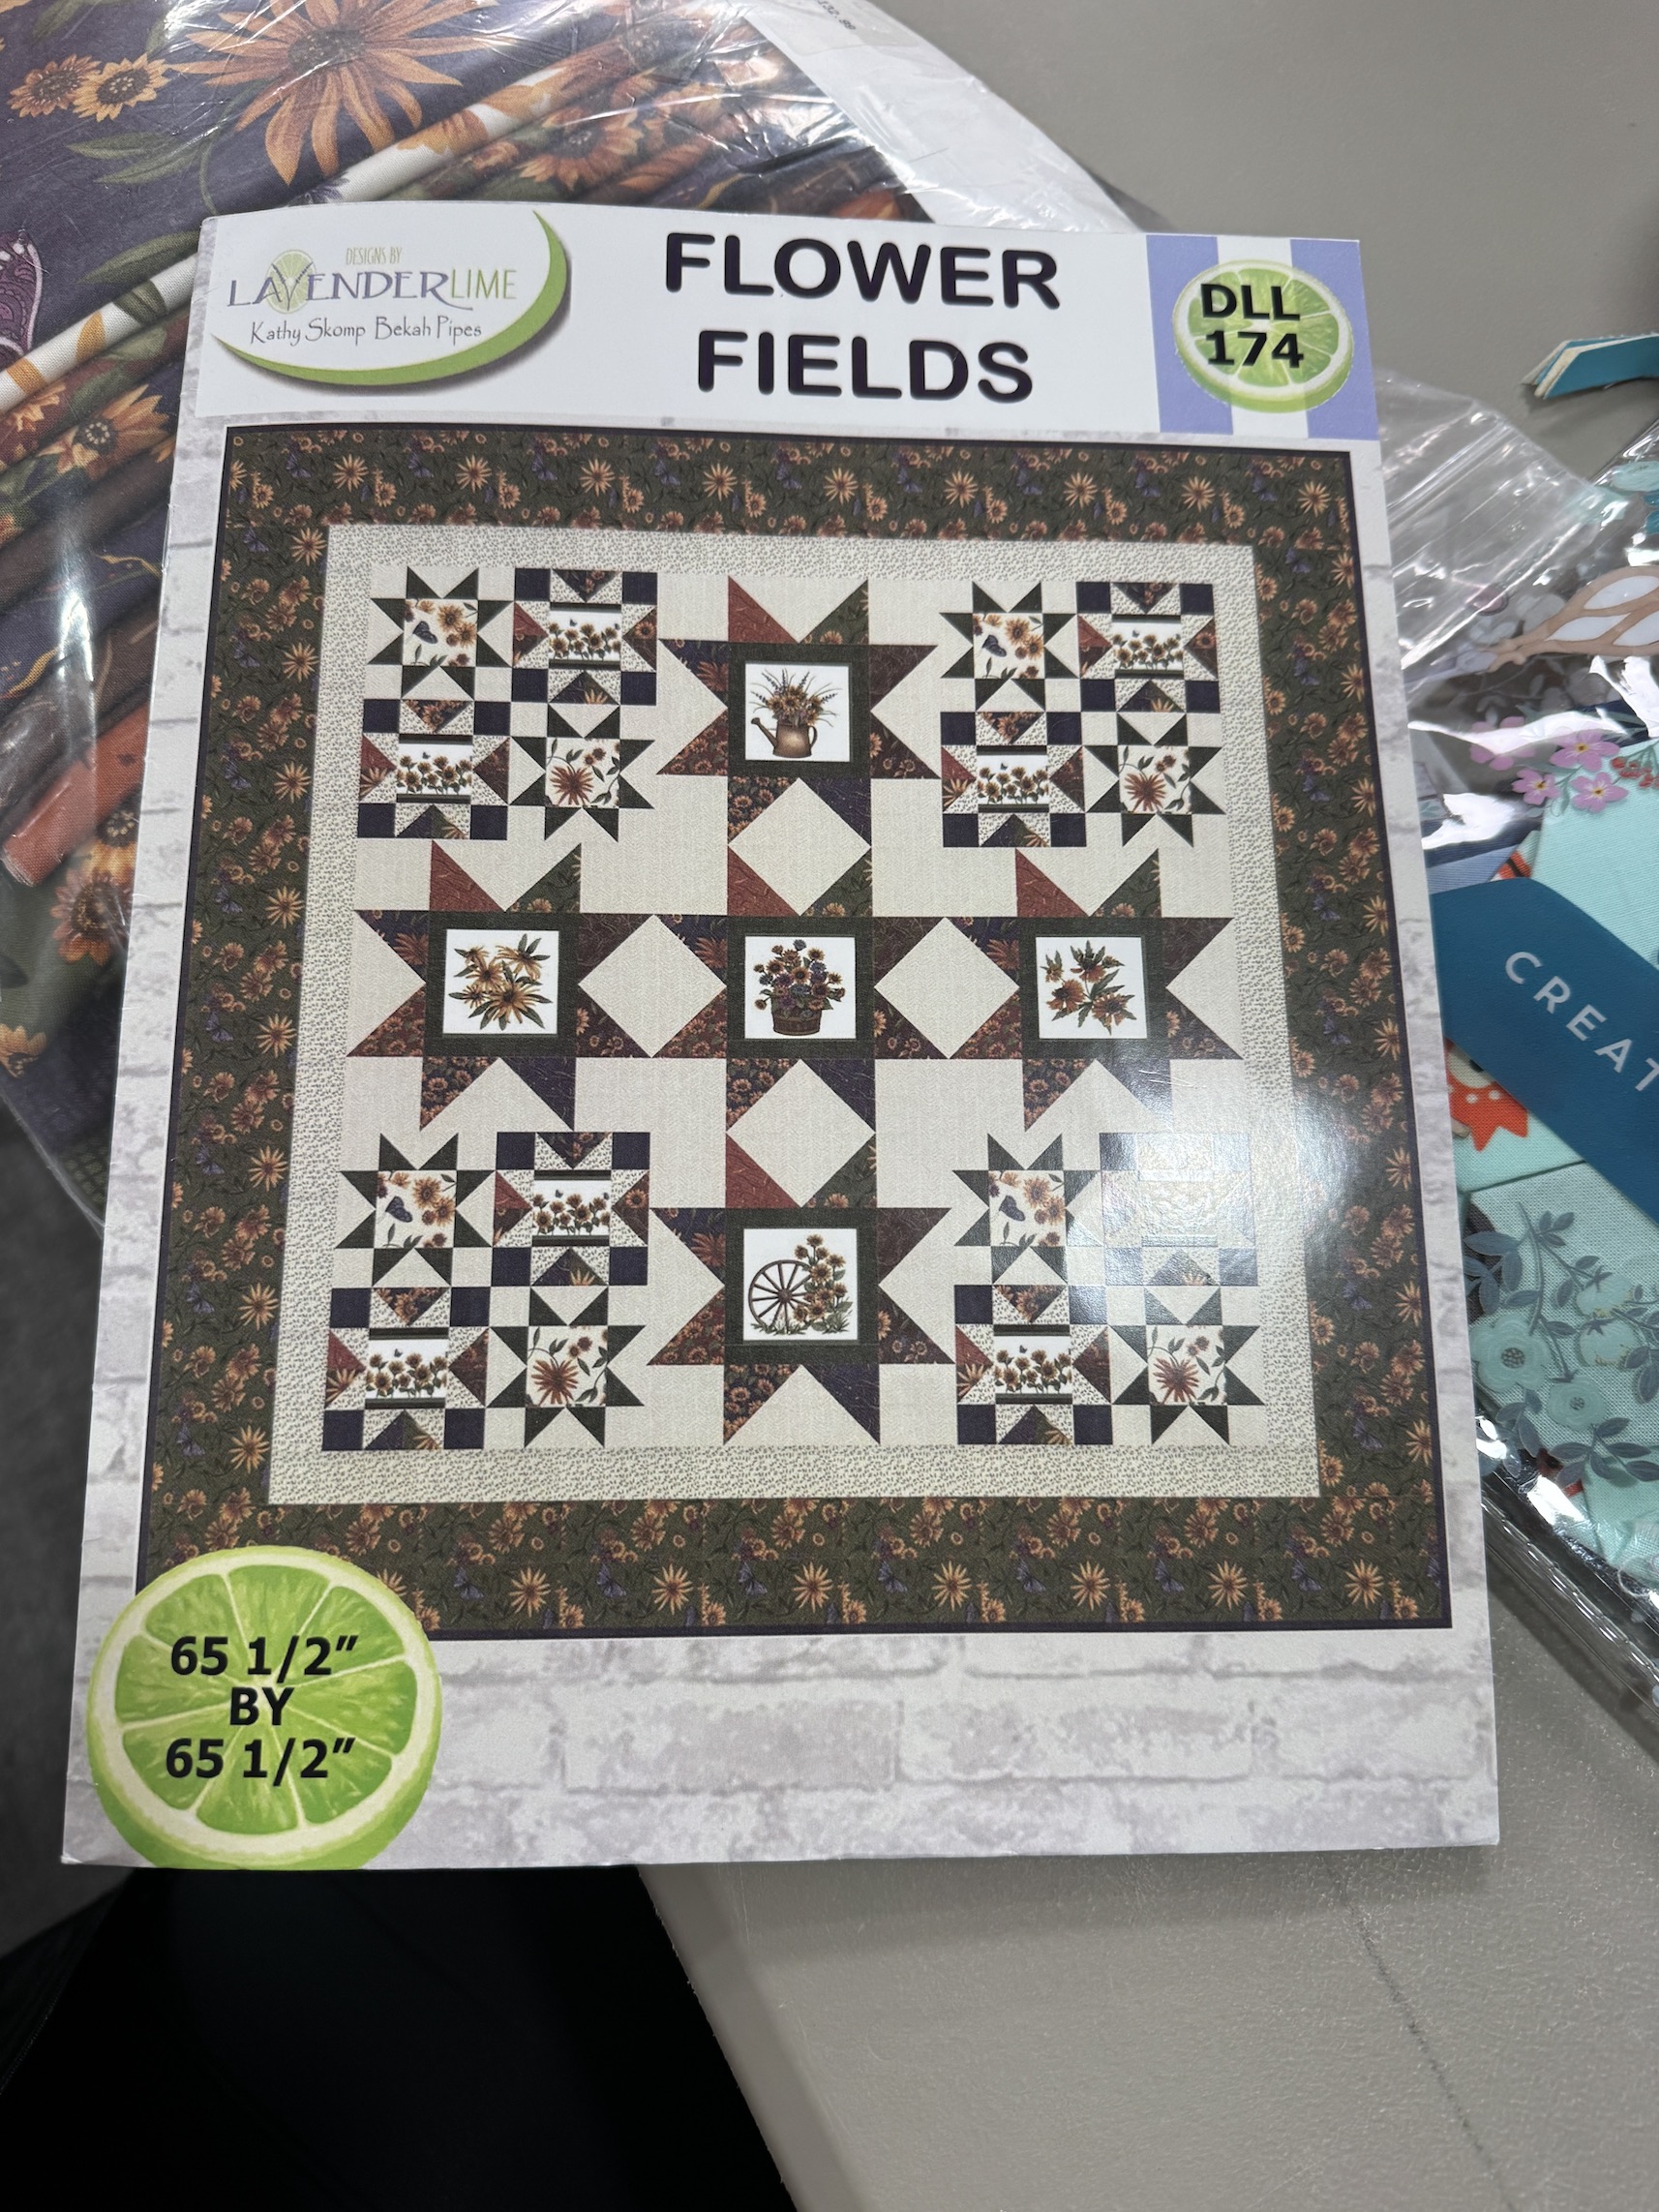
D is working on this kit, which is loaded with stars created with Half Square Triangles (HSTs) and fussy cut flower panel sections:
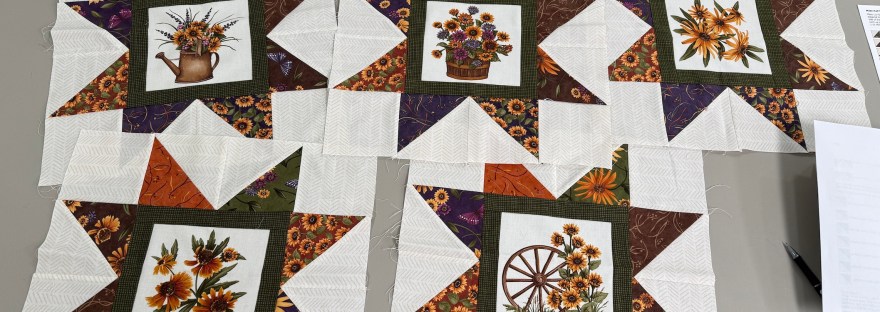
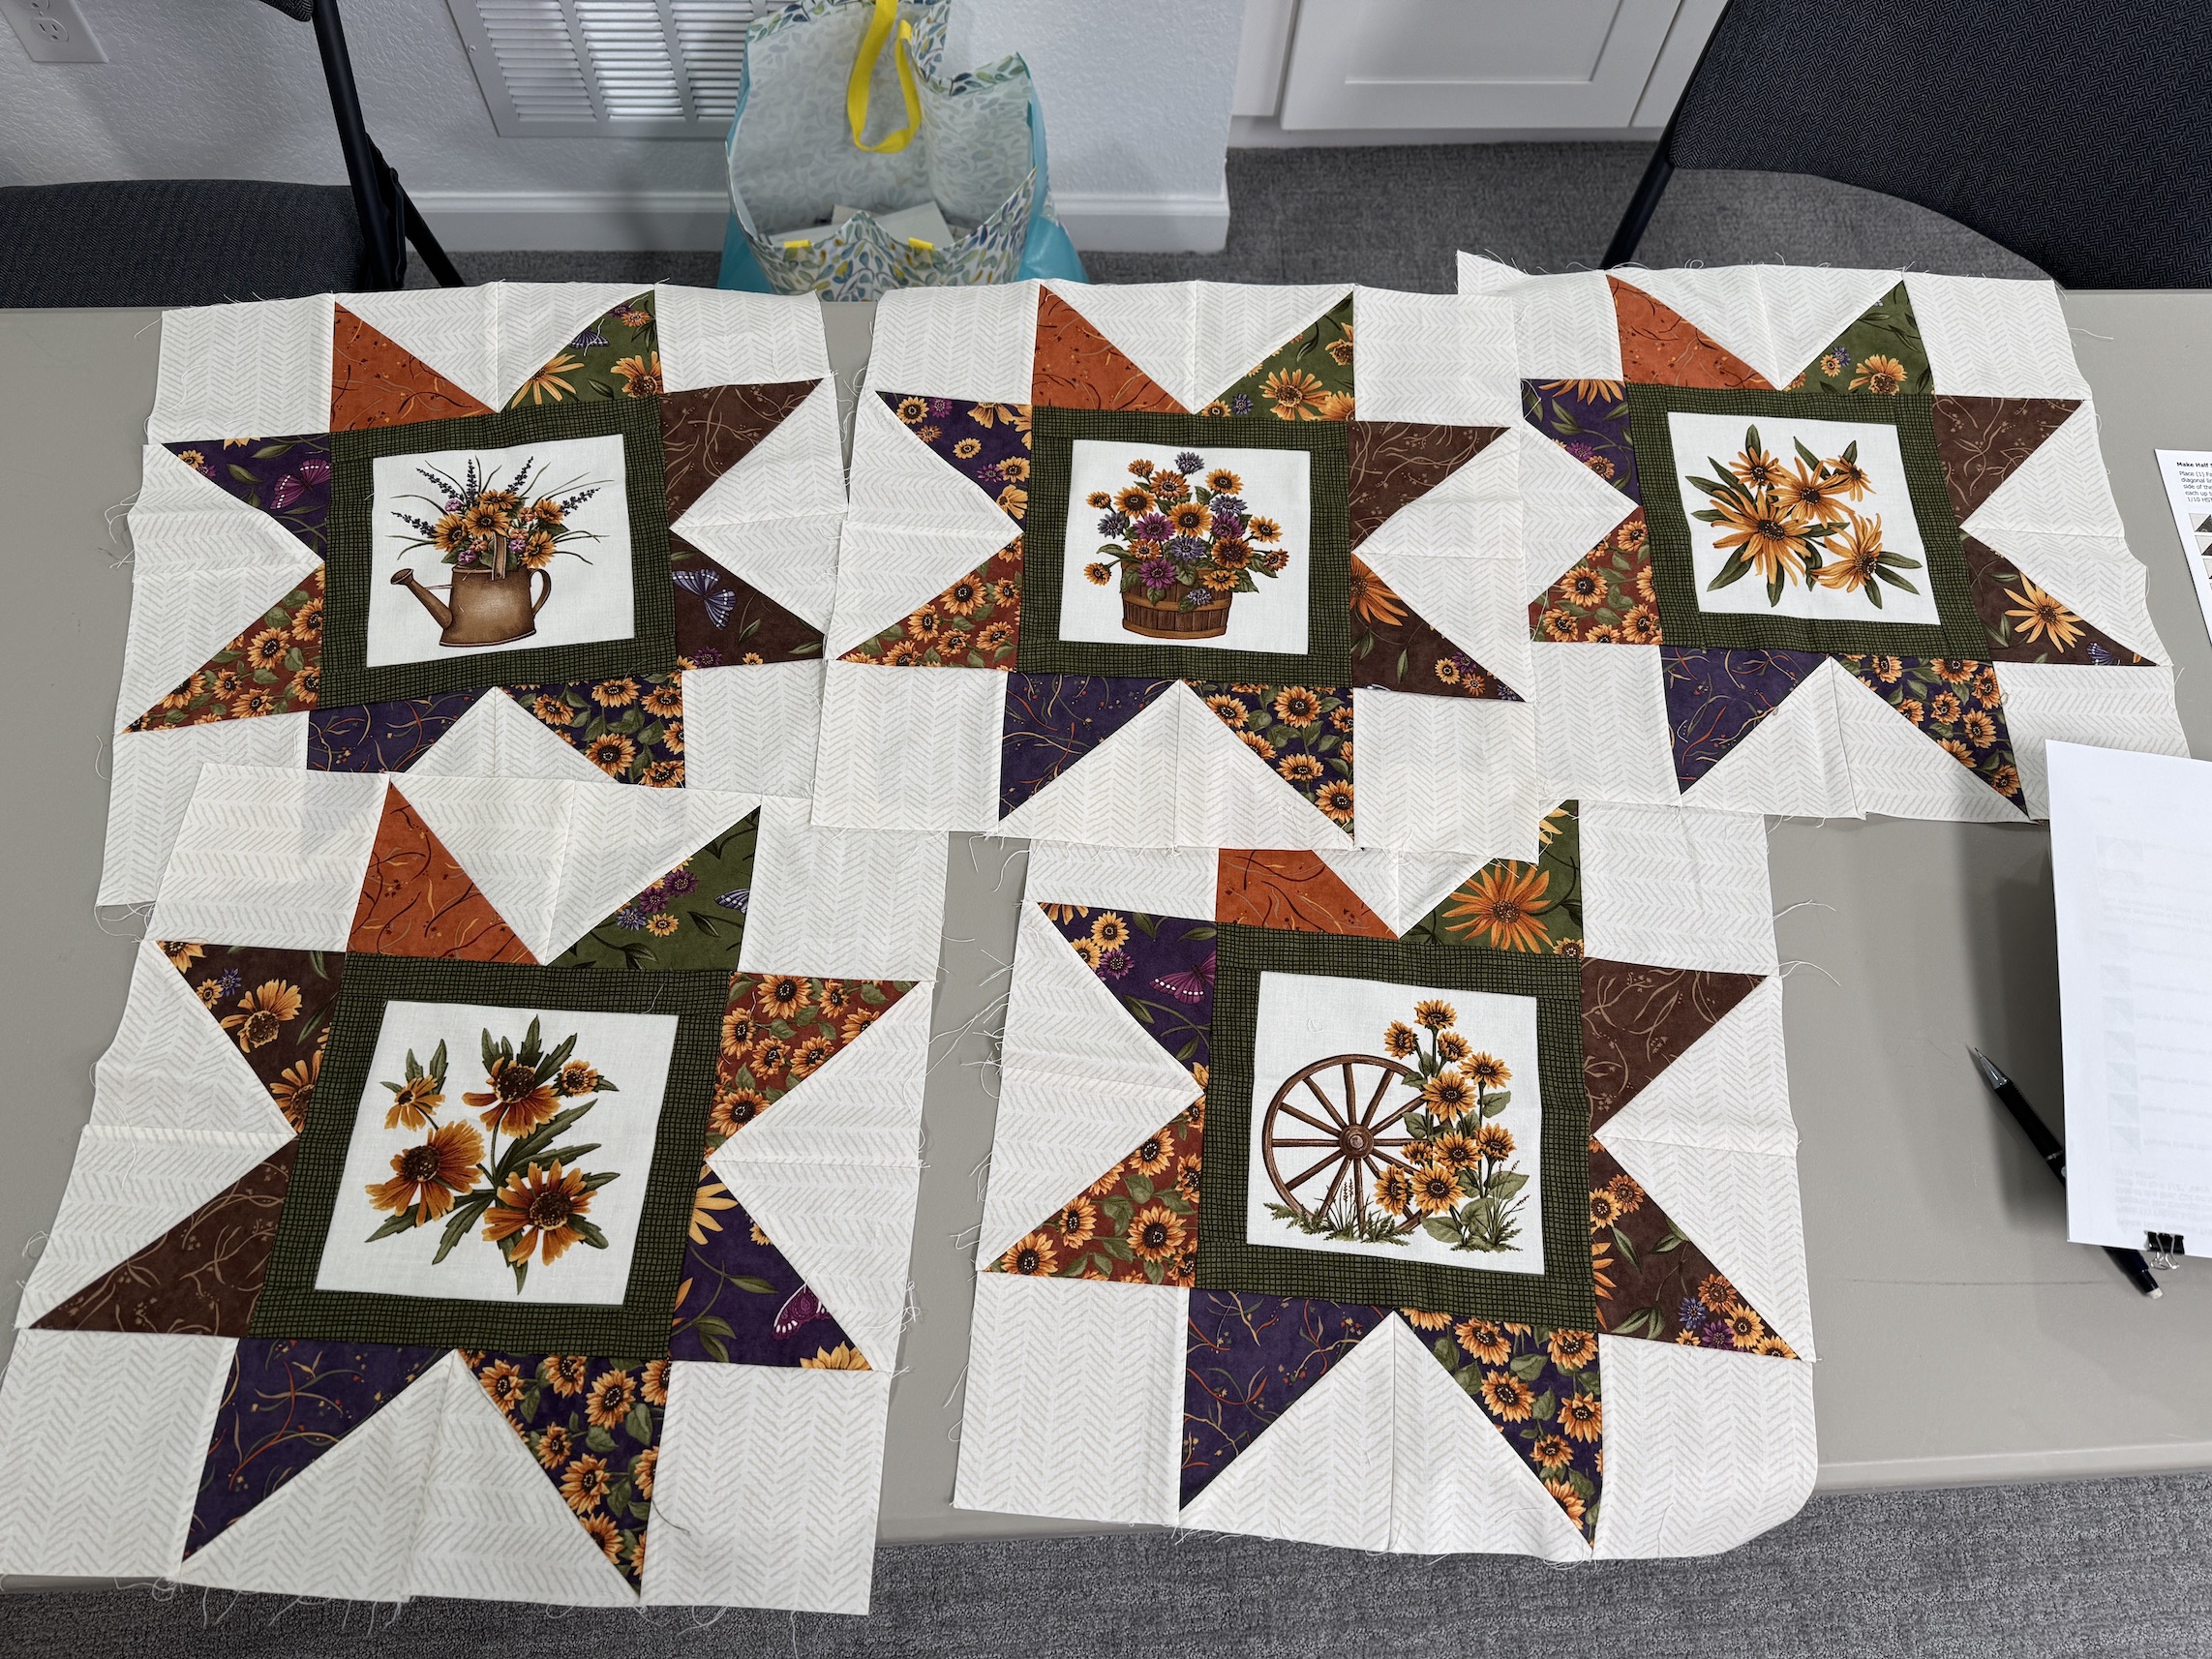
This is D’s first dabble in HSTs and she blew us away from the awesome work she did on the 5 large stars for the quilt:
The points on her stars were quite pointy! (For those of you who are not quilters, it is challenging as a new quilter to get your points on stars “pointy” and sharp as it can be a technical skill you have to develop over time and experience).
I had a flashback to my first star quilt and my points were not very pointy!
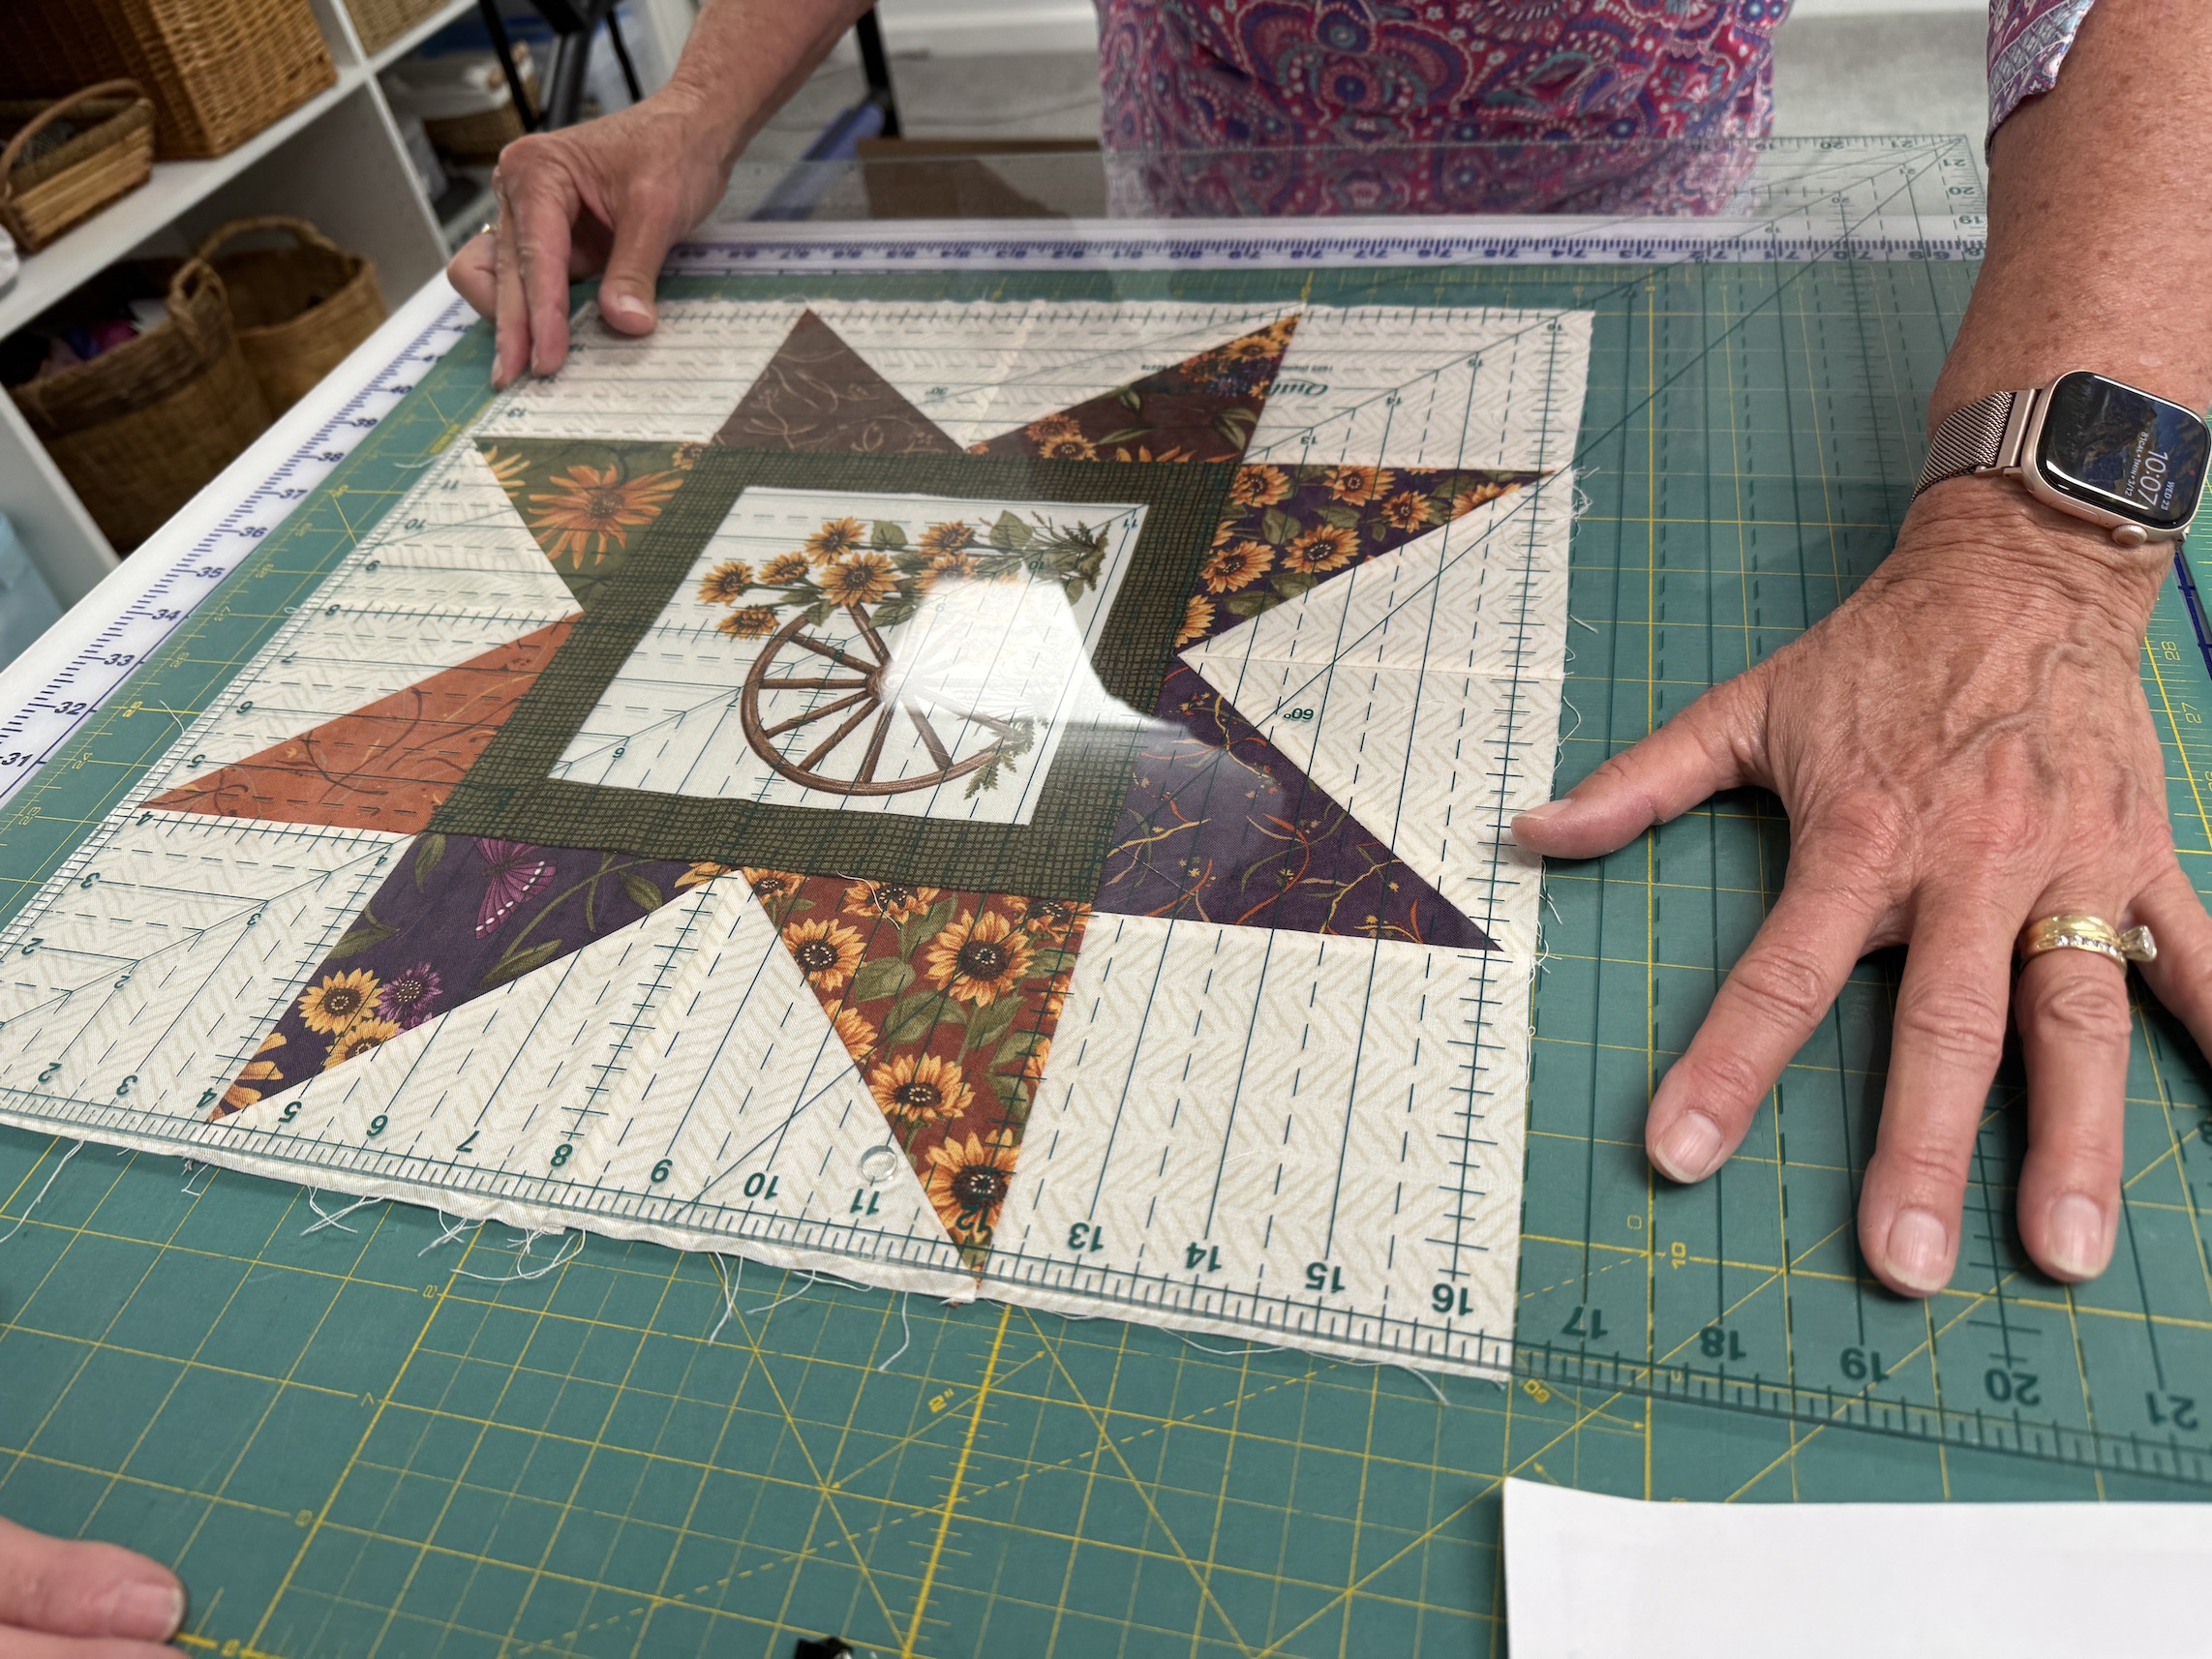
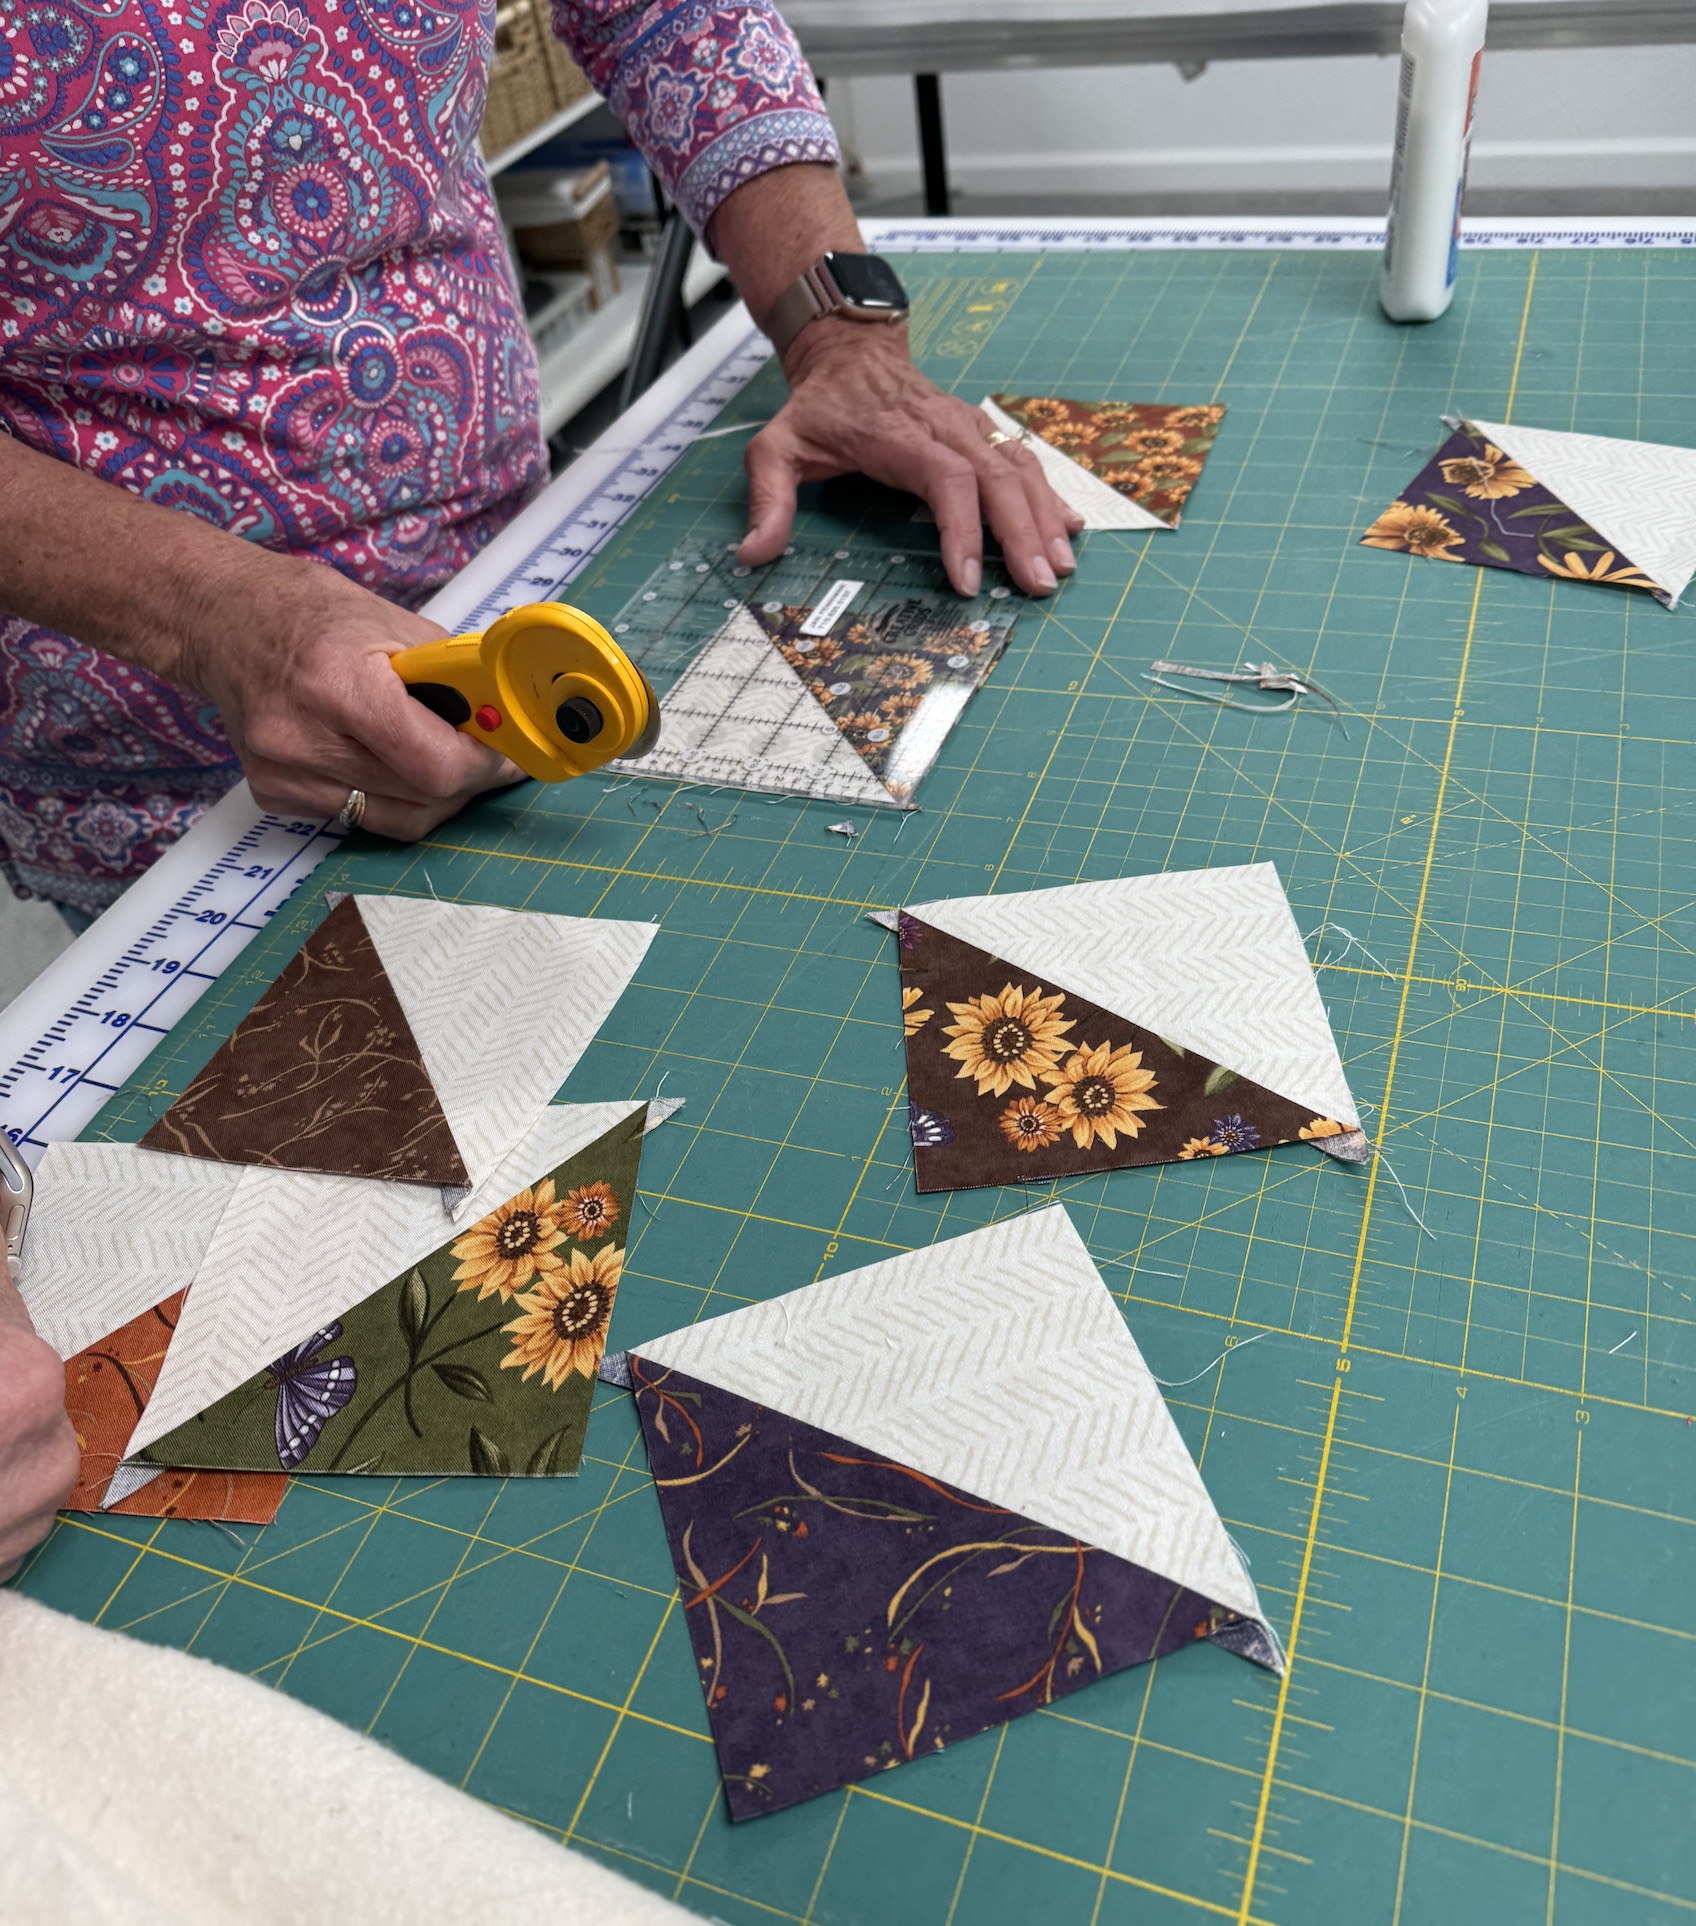
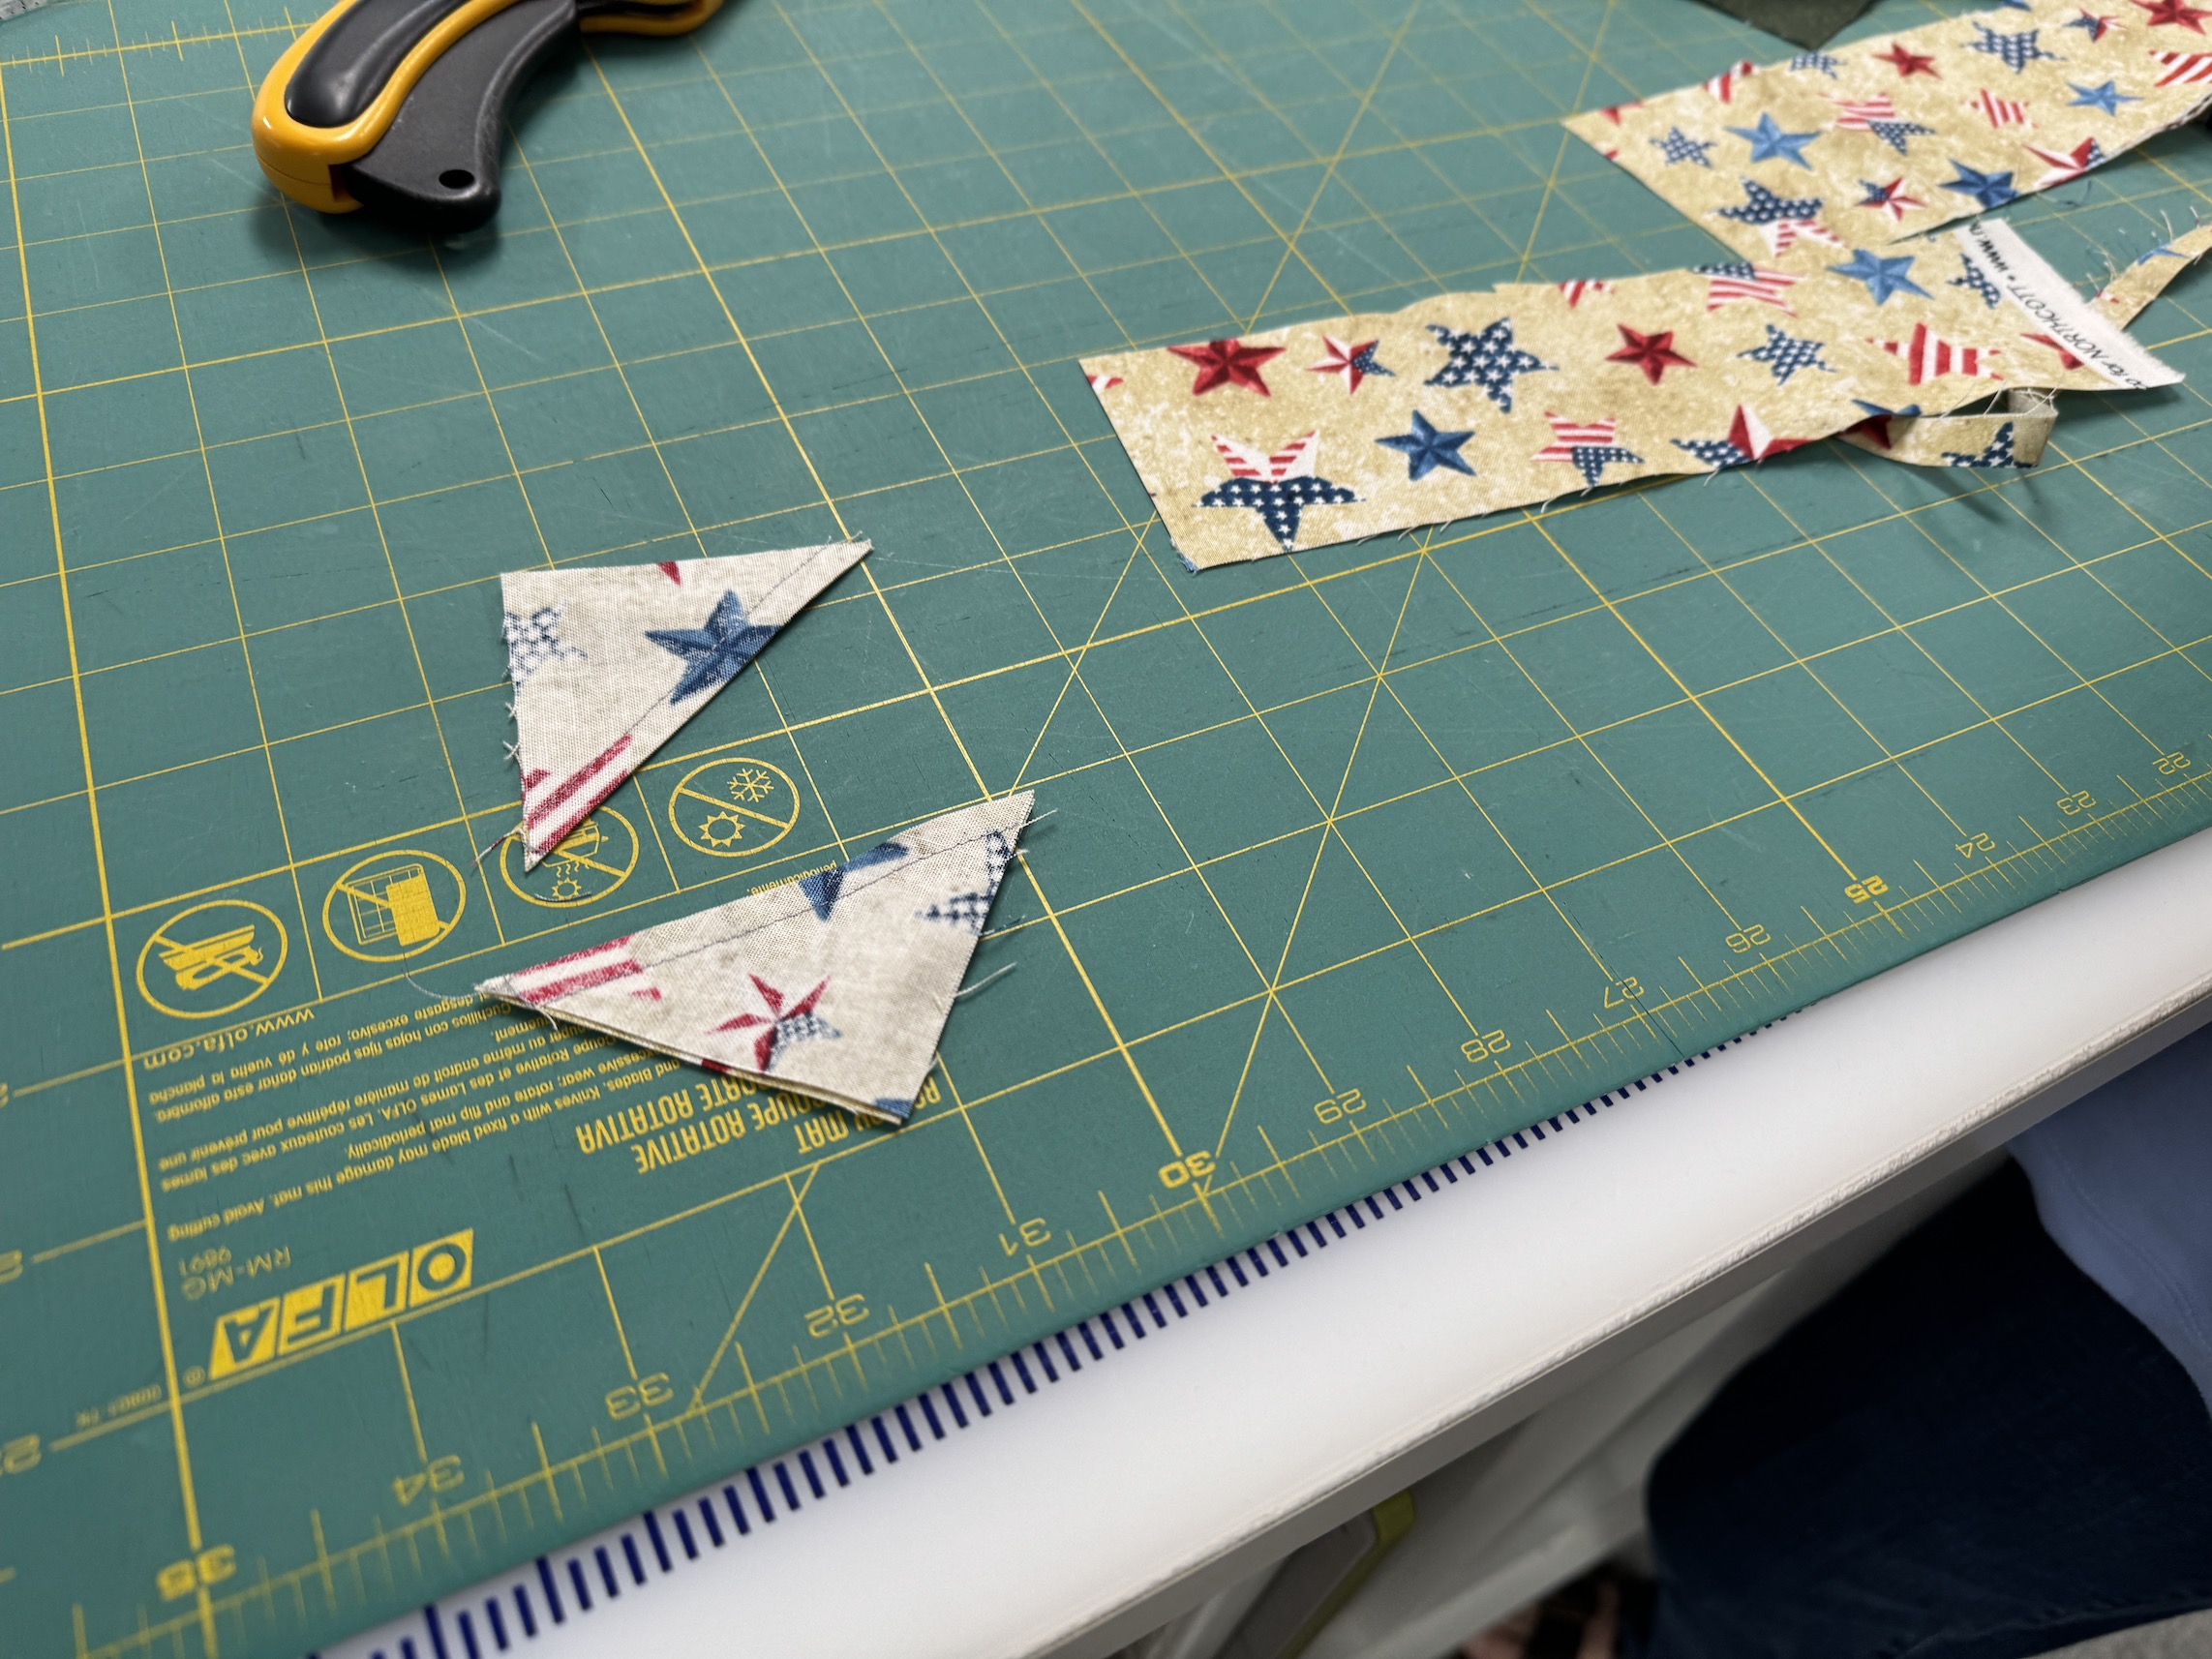
J demonstrated for D how D will eventually need to trim her star blocks to the “finished size” listed on the pattern:
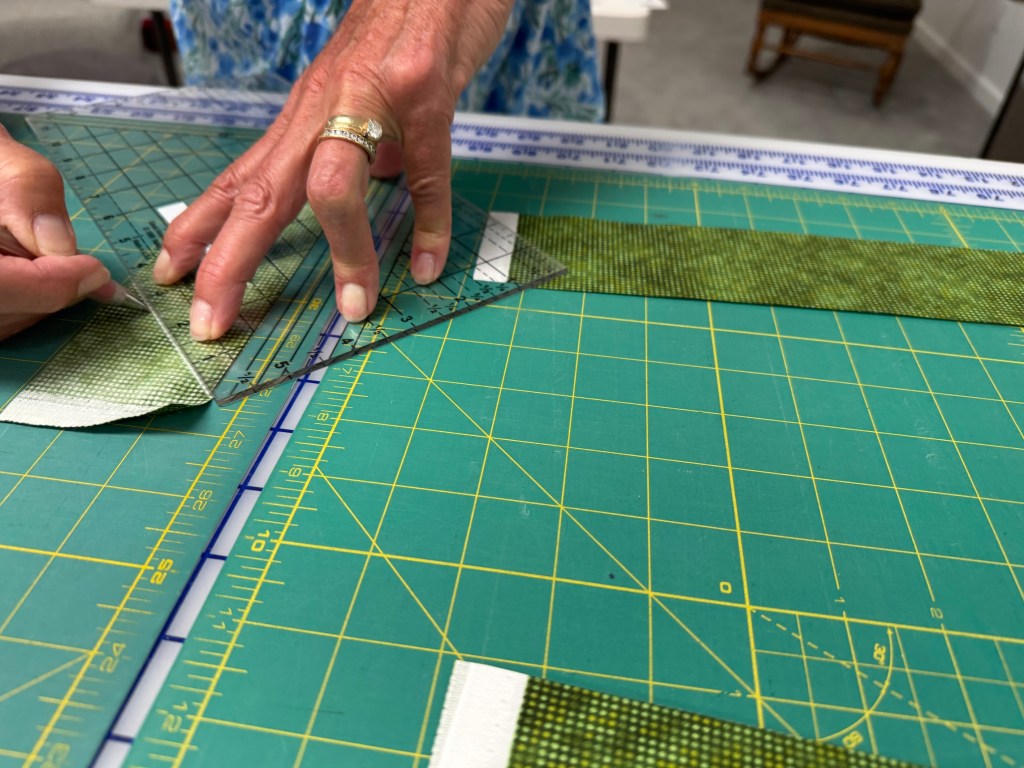
J also reviewed with D how to trim each HSTs as we catch a couple areas of improvement in piecing seams D could make (but only after searching through her seemingly perfect blocks!):
Then we took at look at what J was working on in her studio…
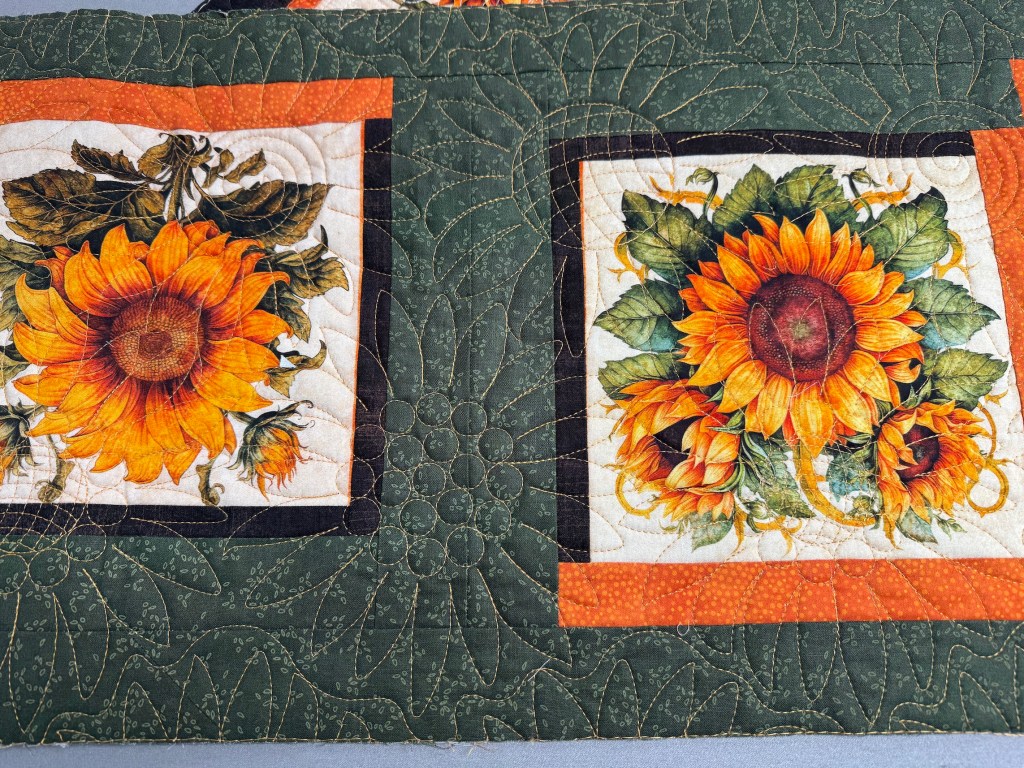
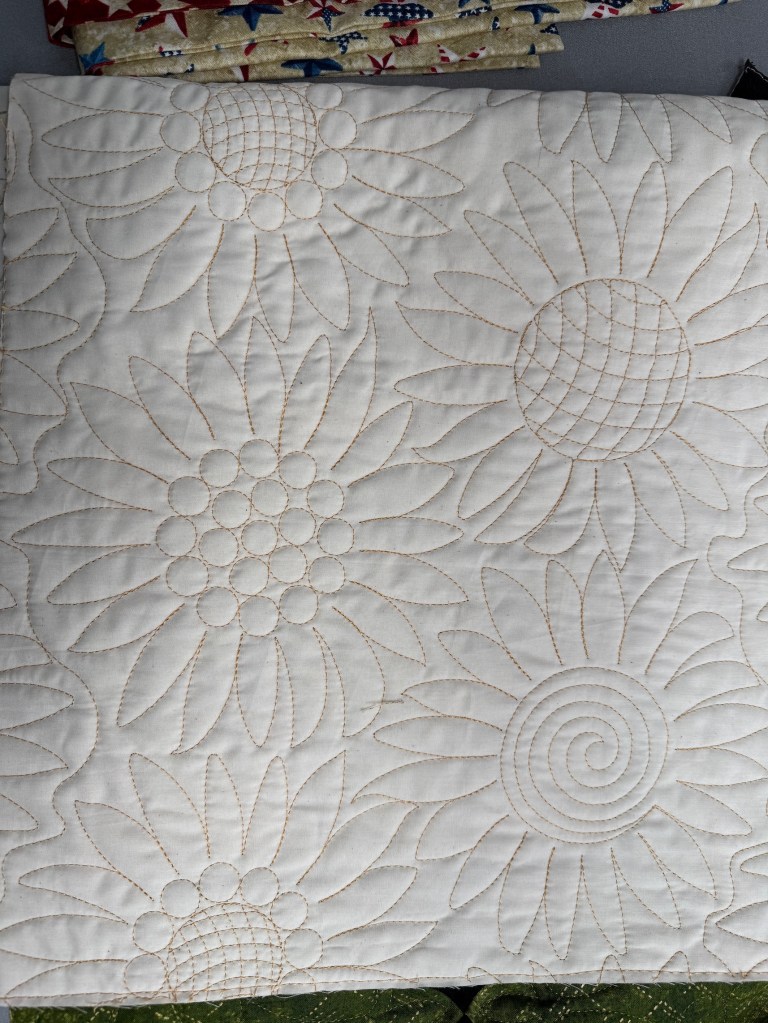
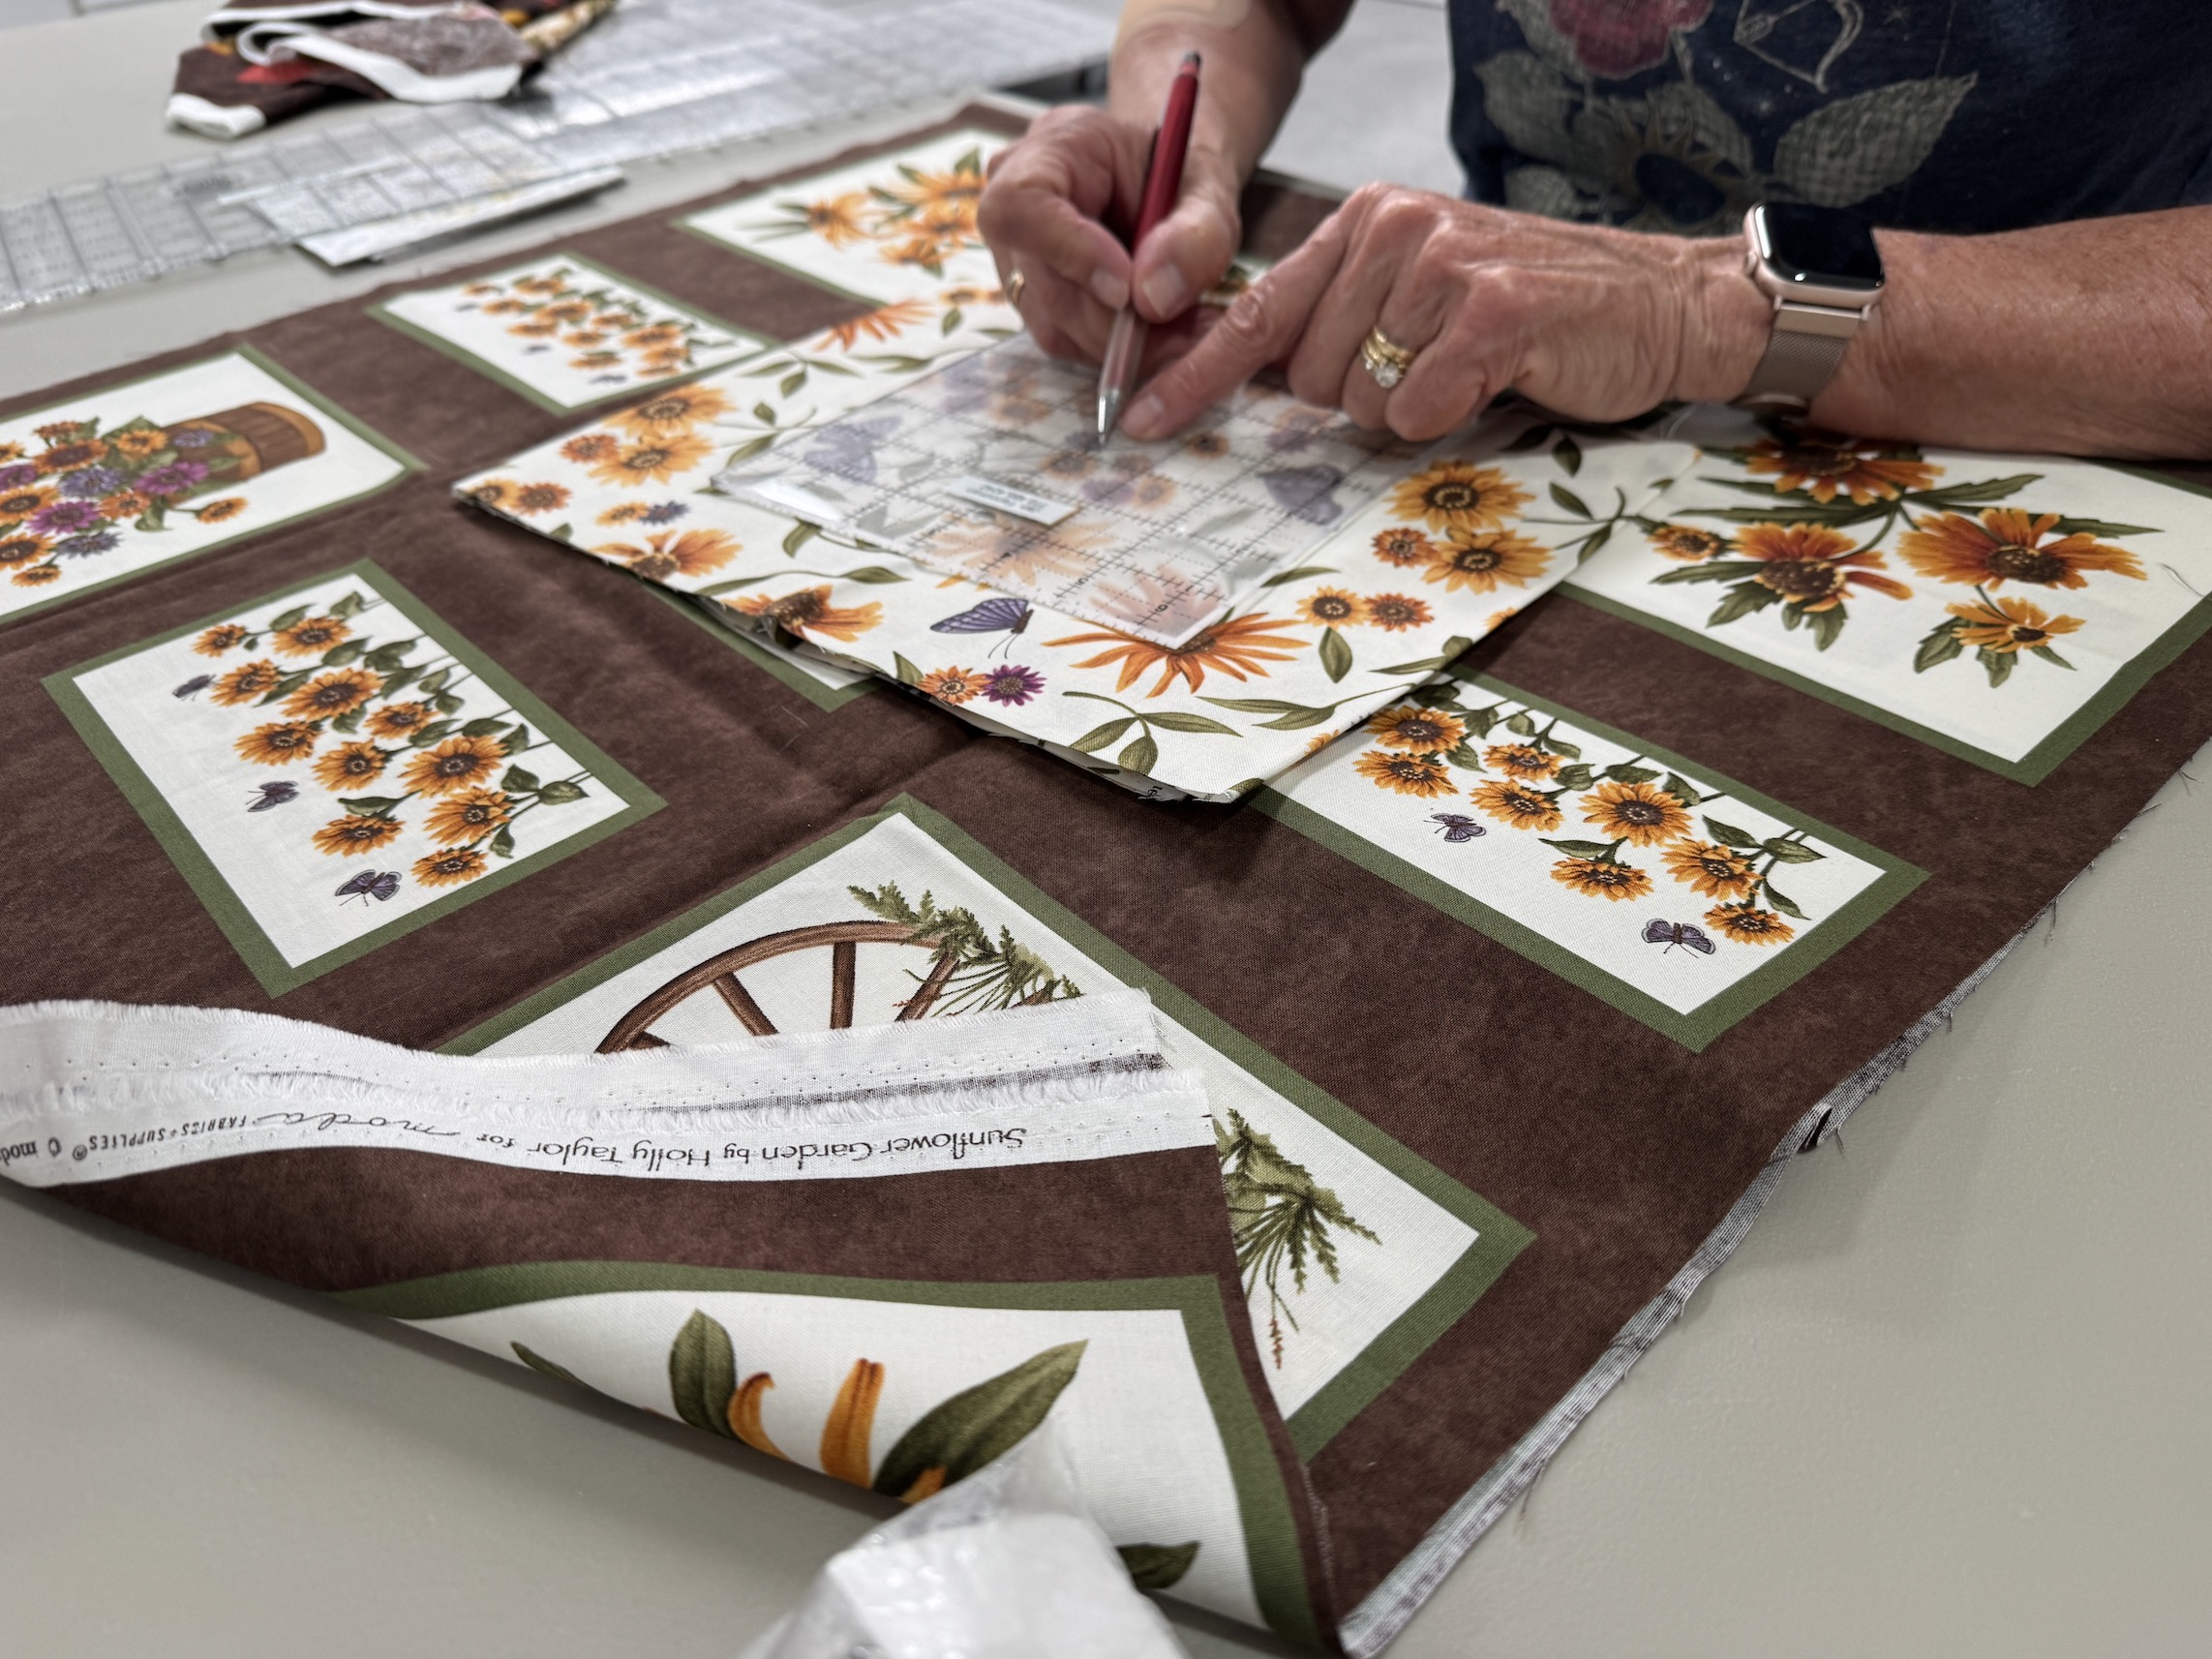
J quilted her sunflower panel based runner with a sunflower pattern:
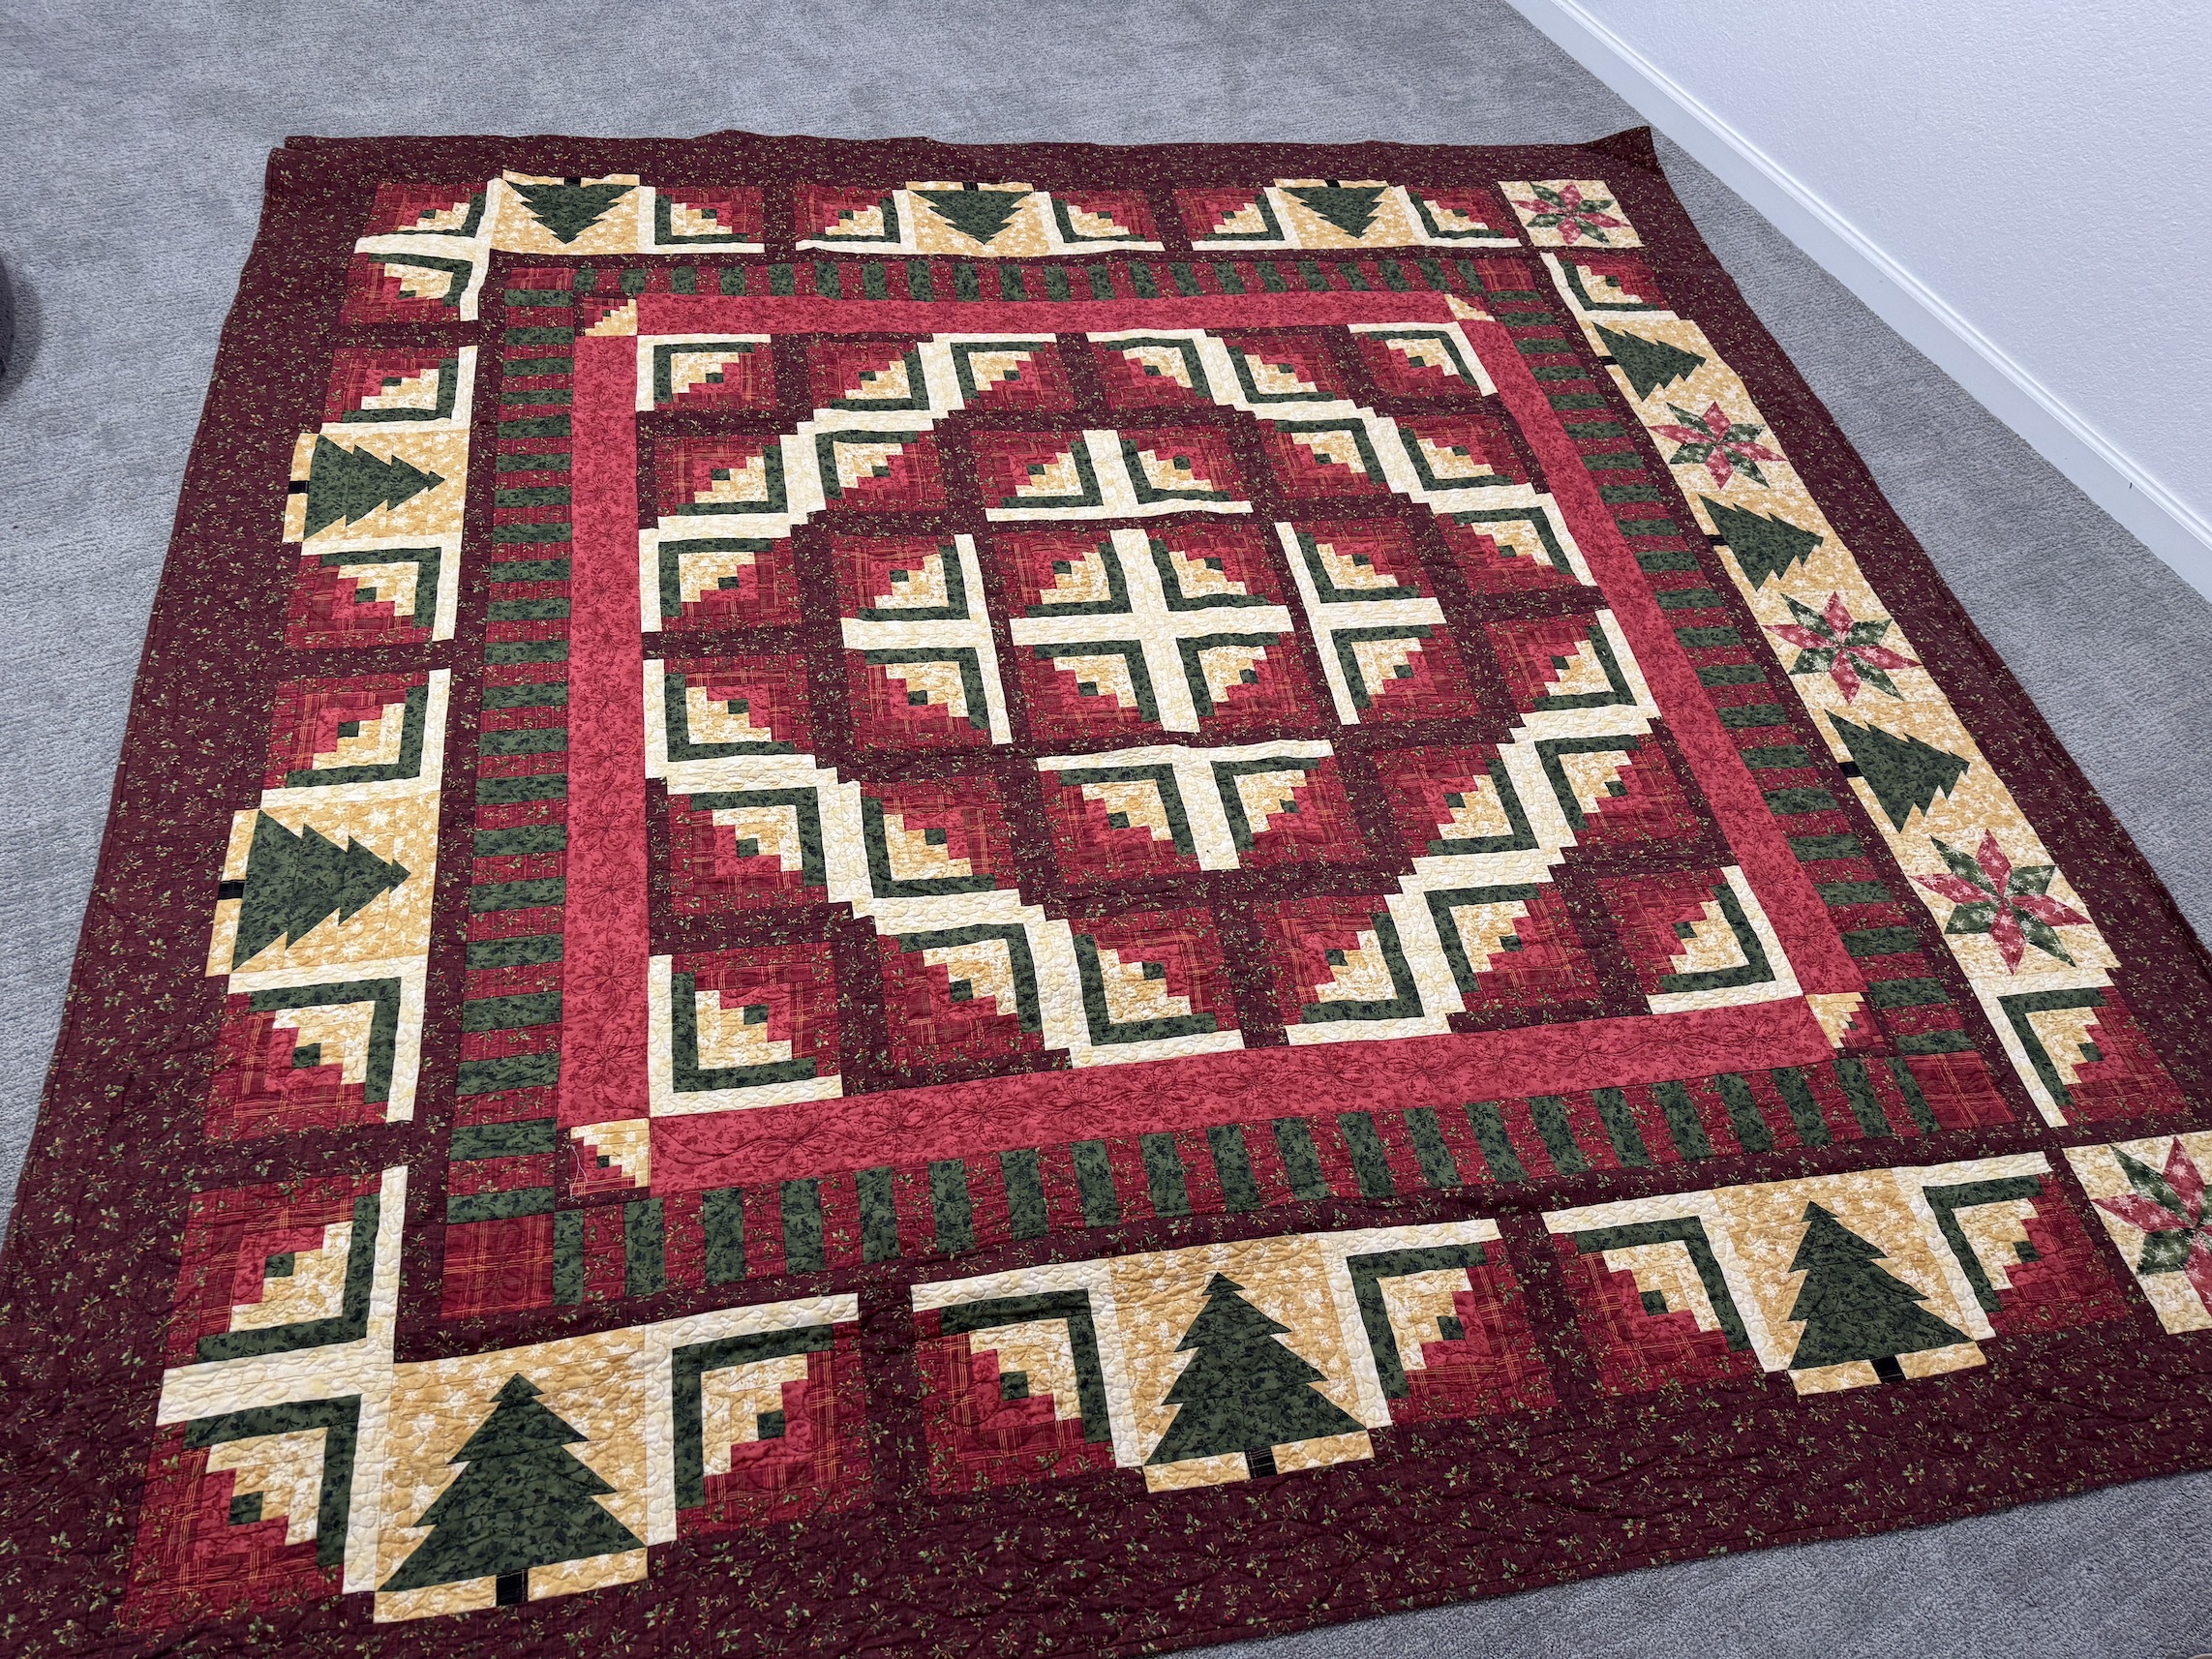
J also pulled out of the closet one of her earliest quilts – a Christmas log cabin and showed – she showed D some of the errors she made as a new quilter (that none of us noticed until she pointed them out):
I worked on my granny square blanket.
I might bring over my travel/for classes little Bernina sewing machine when we meet again next week and actually sew something during our Quilter’s Playdate.
Continuing my series of posts about regular get togethers with neighborhood quilters J and D.
Last Friday I met up with J and D (the new quilter who just finished her first project – see my series of posts for the category Learning to Quilt) to discuss our next projects.
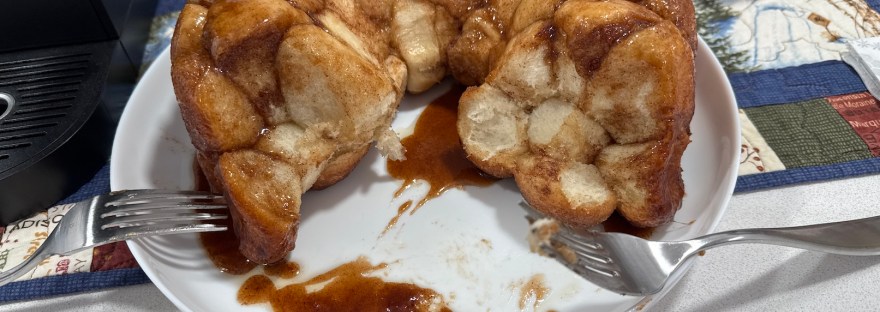
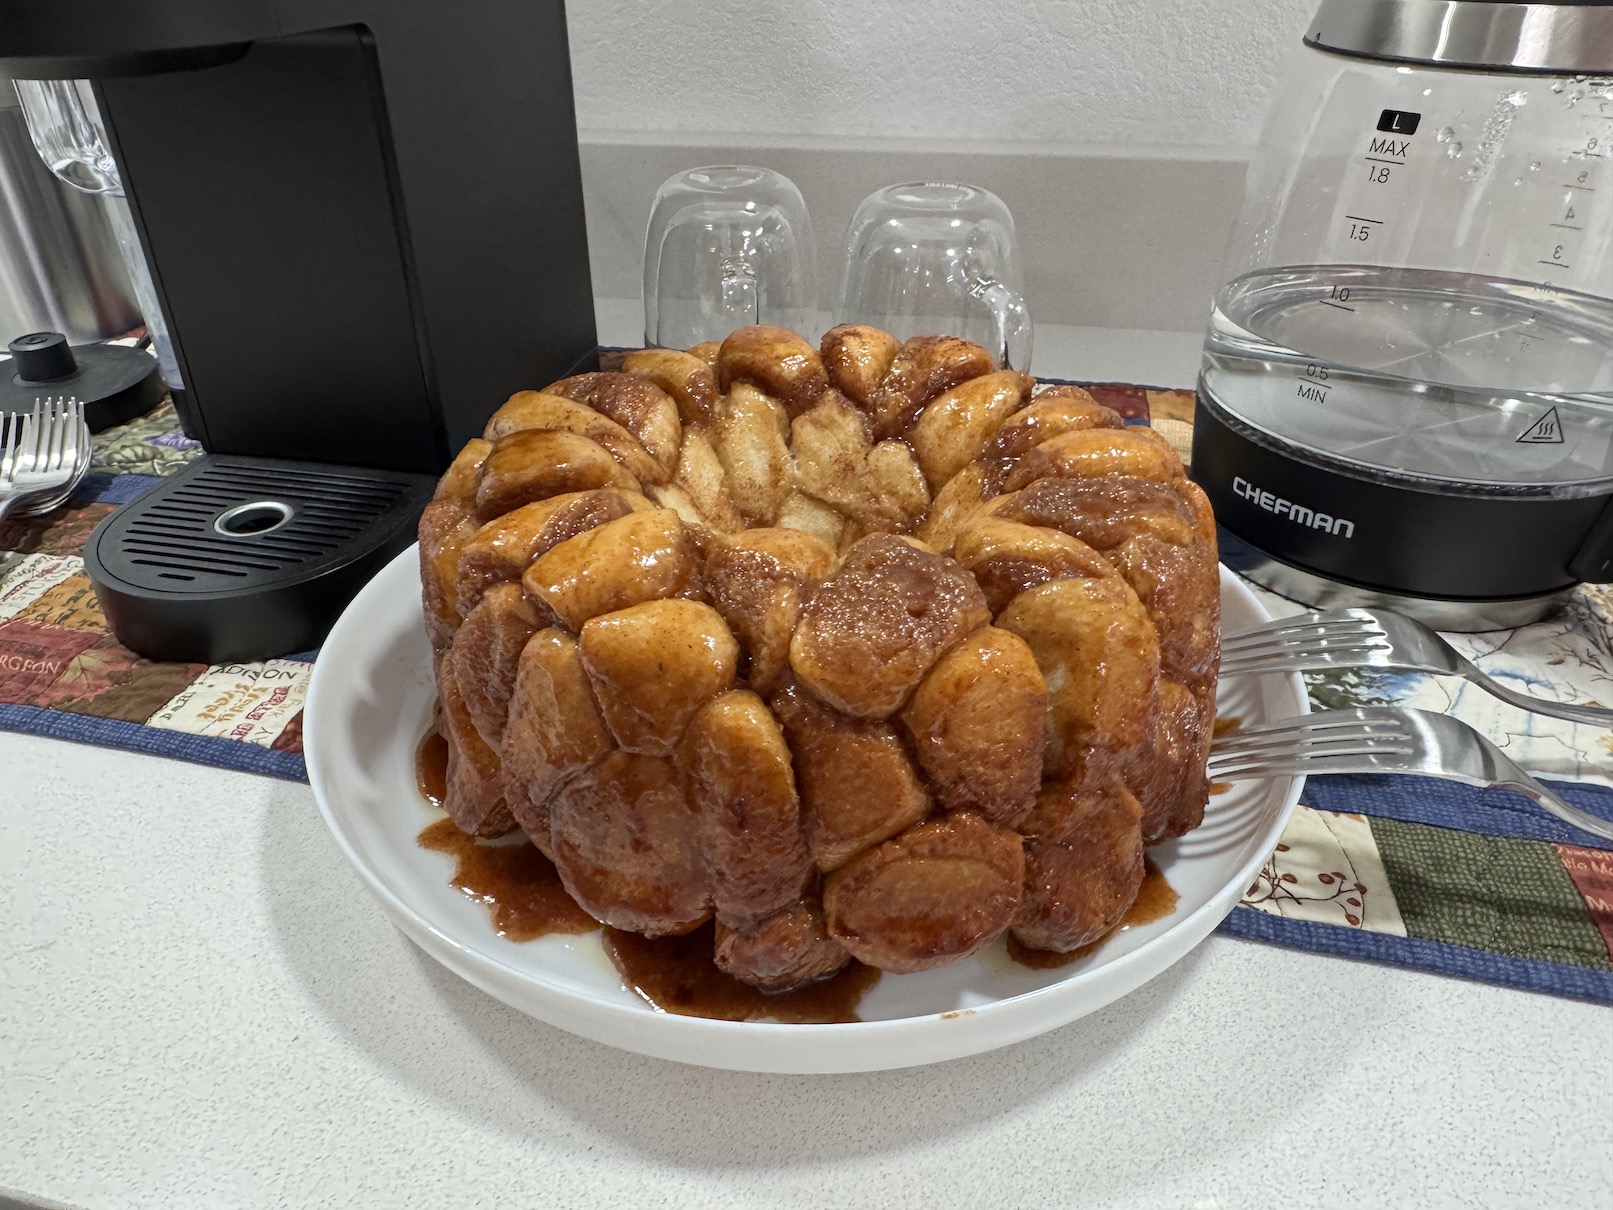
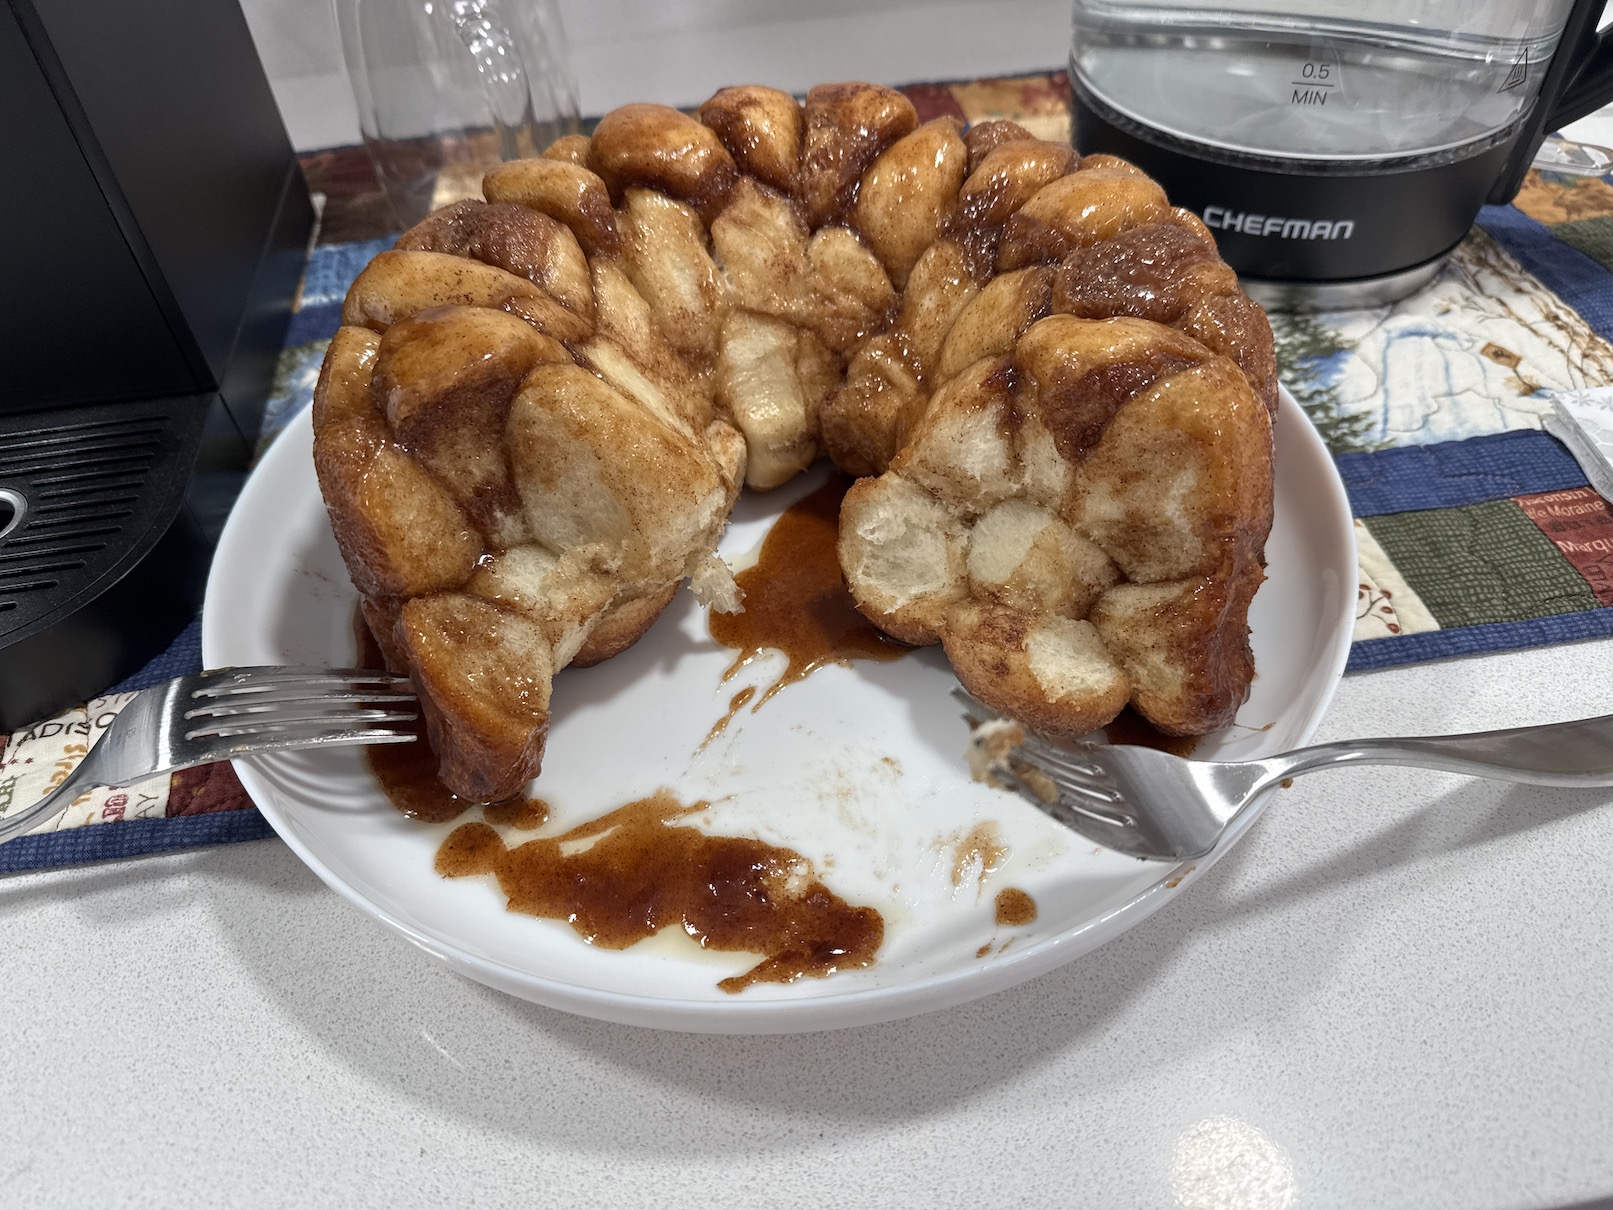
J who is originally from Wisconsin (and every lady I’ve met from Wisconsin appears to know how to bake very well…is it in the water?!?!) made us an amazing pull apart coffee cake/bundt cake thing for us to snack on while we met:
During this get together we primarily focused on the new quilter, D’s next project – a kit she had purchased when we took her on her first quilt shop hop (see post Taking a New Quilter on Her First “Shop Hop” ):
We opened up the kit and reviewed with D all the cutting instructions step by step for both the fabric yardage and the pre-printed panel. We spent a lot of time figuring out how D could most efficiently cut the panel to meet the pattern requirements.
J is a whiz at “quilt math” (she happens to have her degree in Mathematics and is a former Math Teacher!) and she is an expert at efficiently cutting fabric for a pattern.
The pattern has a a lot of half square triangles (HSTs) so J did a refresher for D, who had first learned about HSTs during an Intro to Quilting class she took at a quilt shop, on making and trimming HSTs.
After we (and I use the term “we” loosely as J does most the teaching/coaching) got D all set up with her assignment to complete before we meet again, it was time to look at what J was currently working on in her studio:
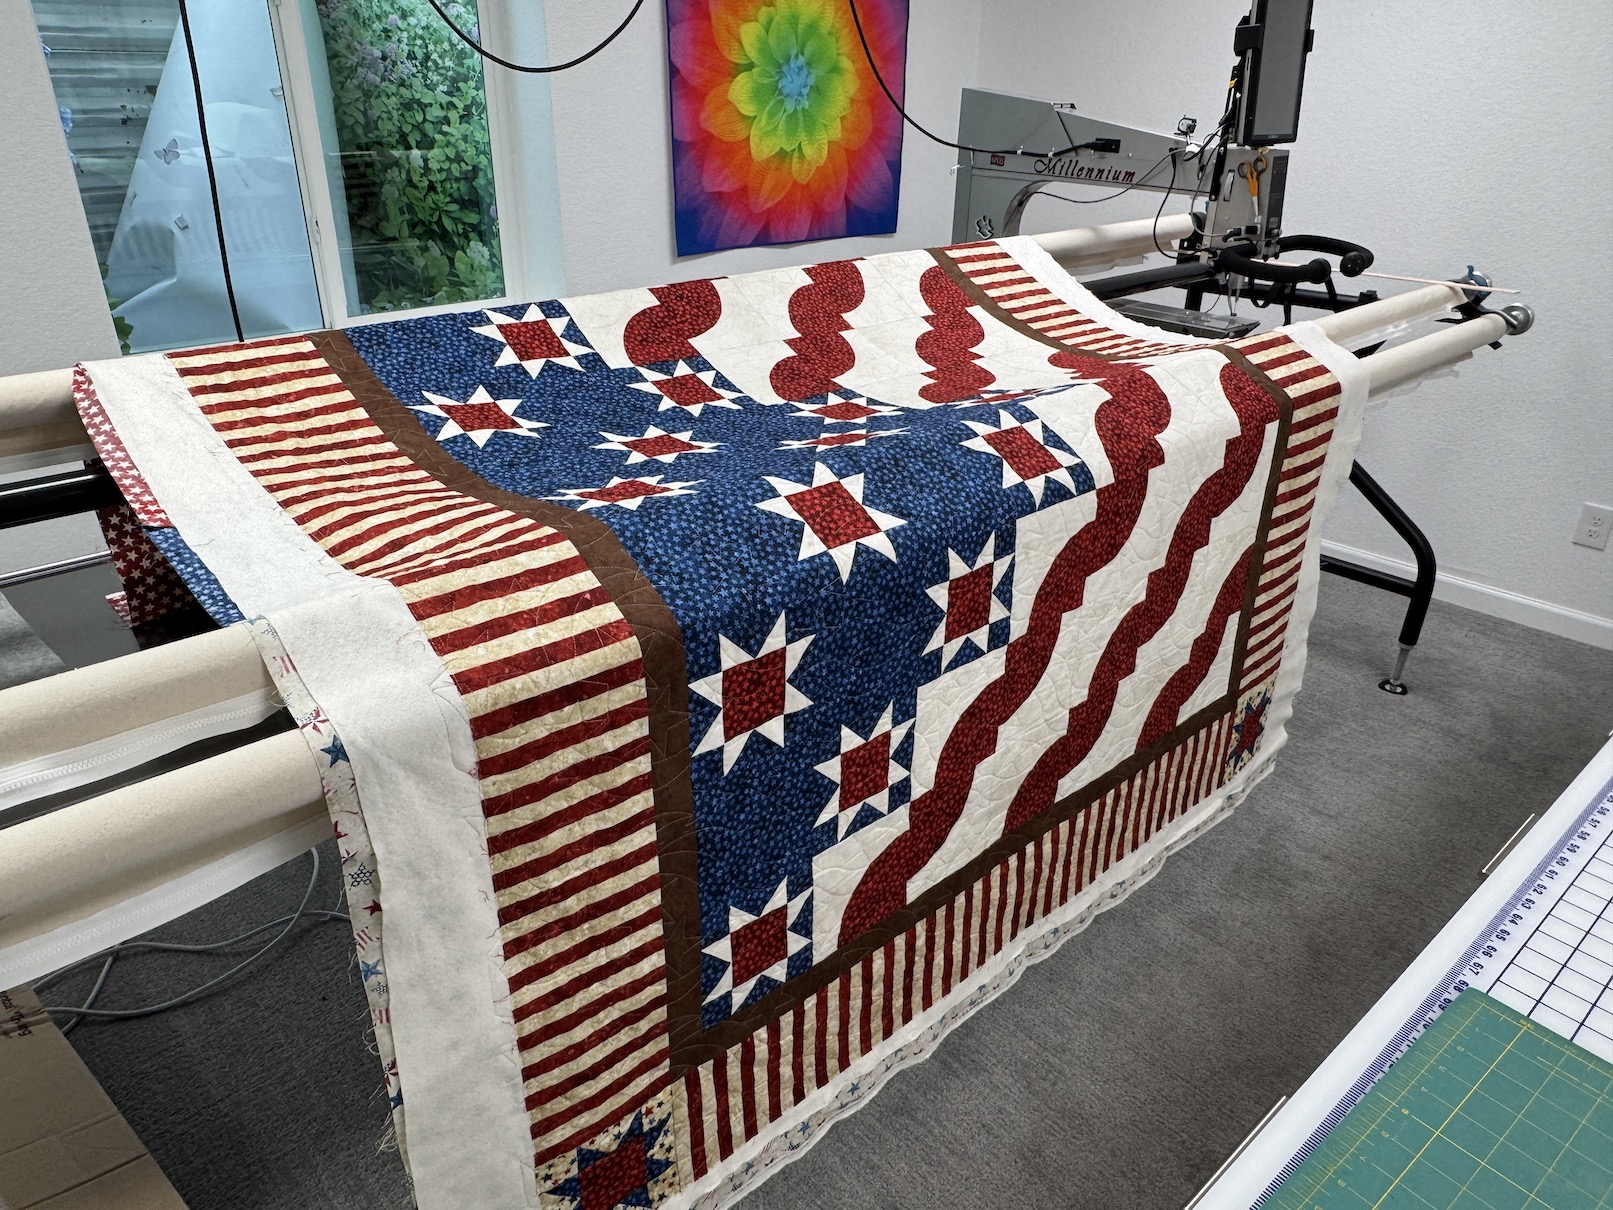
A quilt on her longarm quilting machine for the Quilts of Valor program:
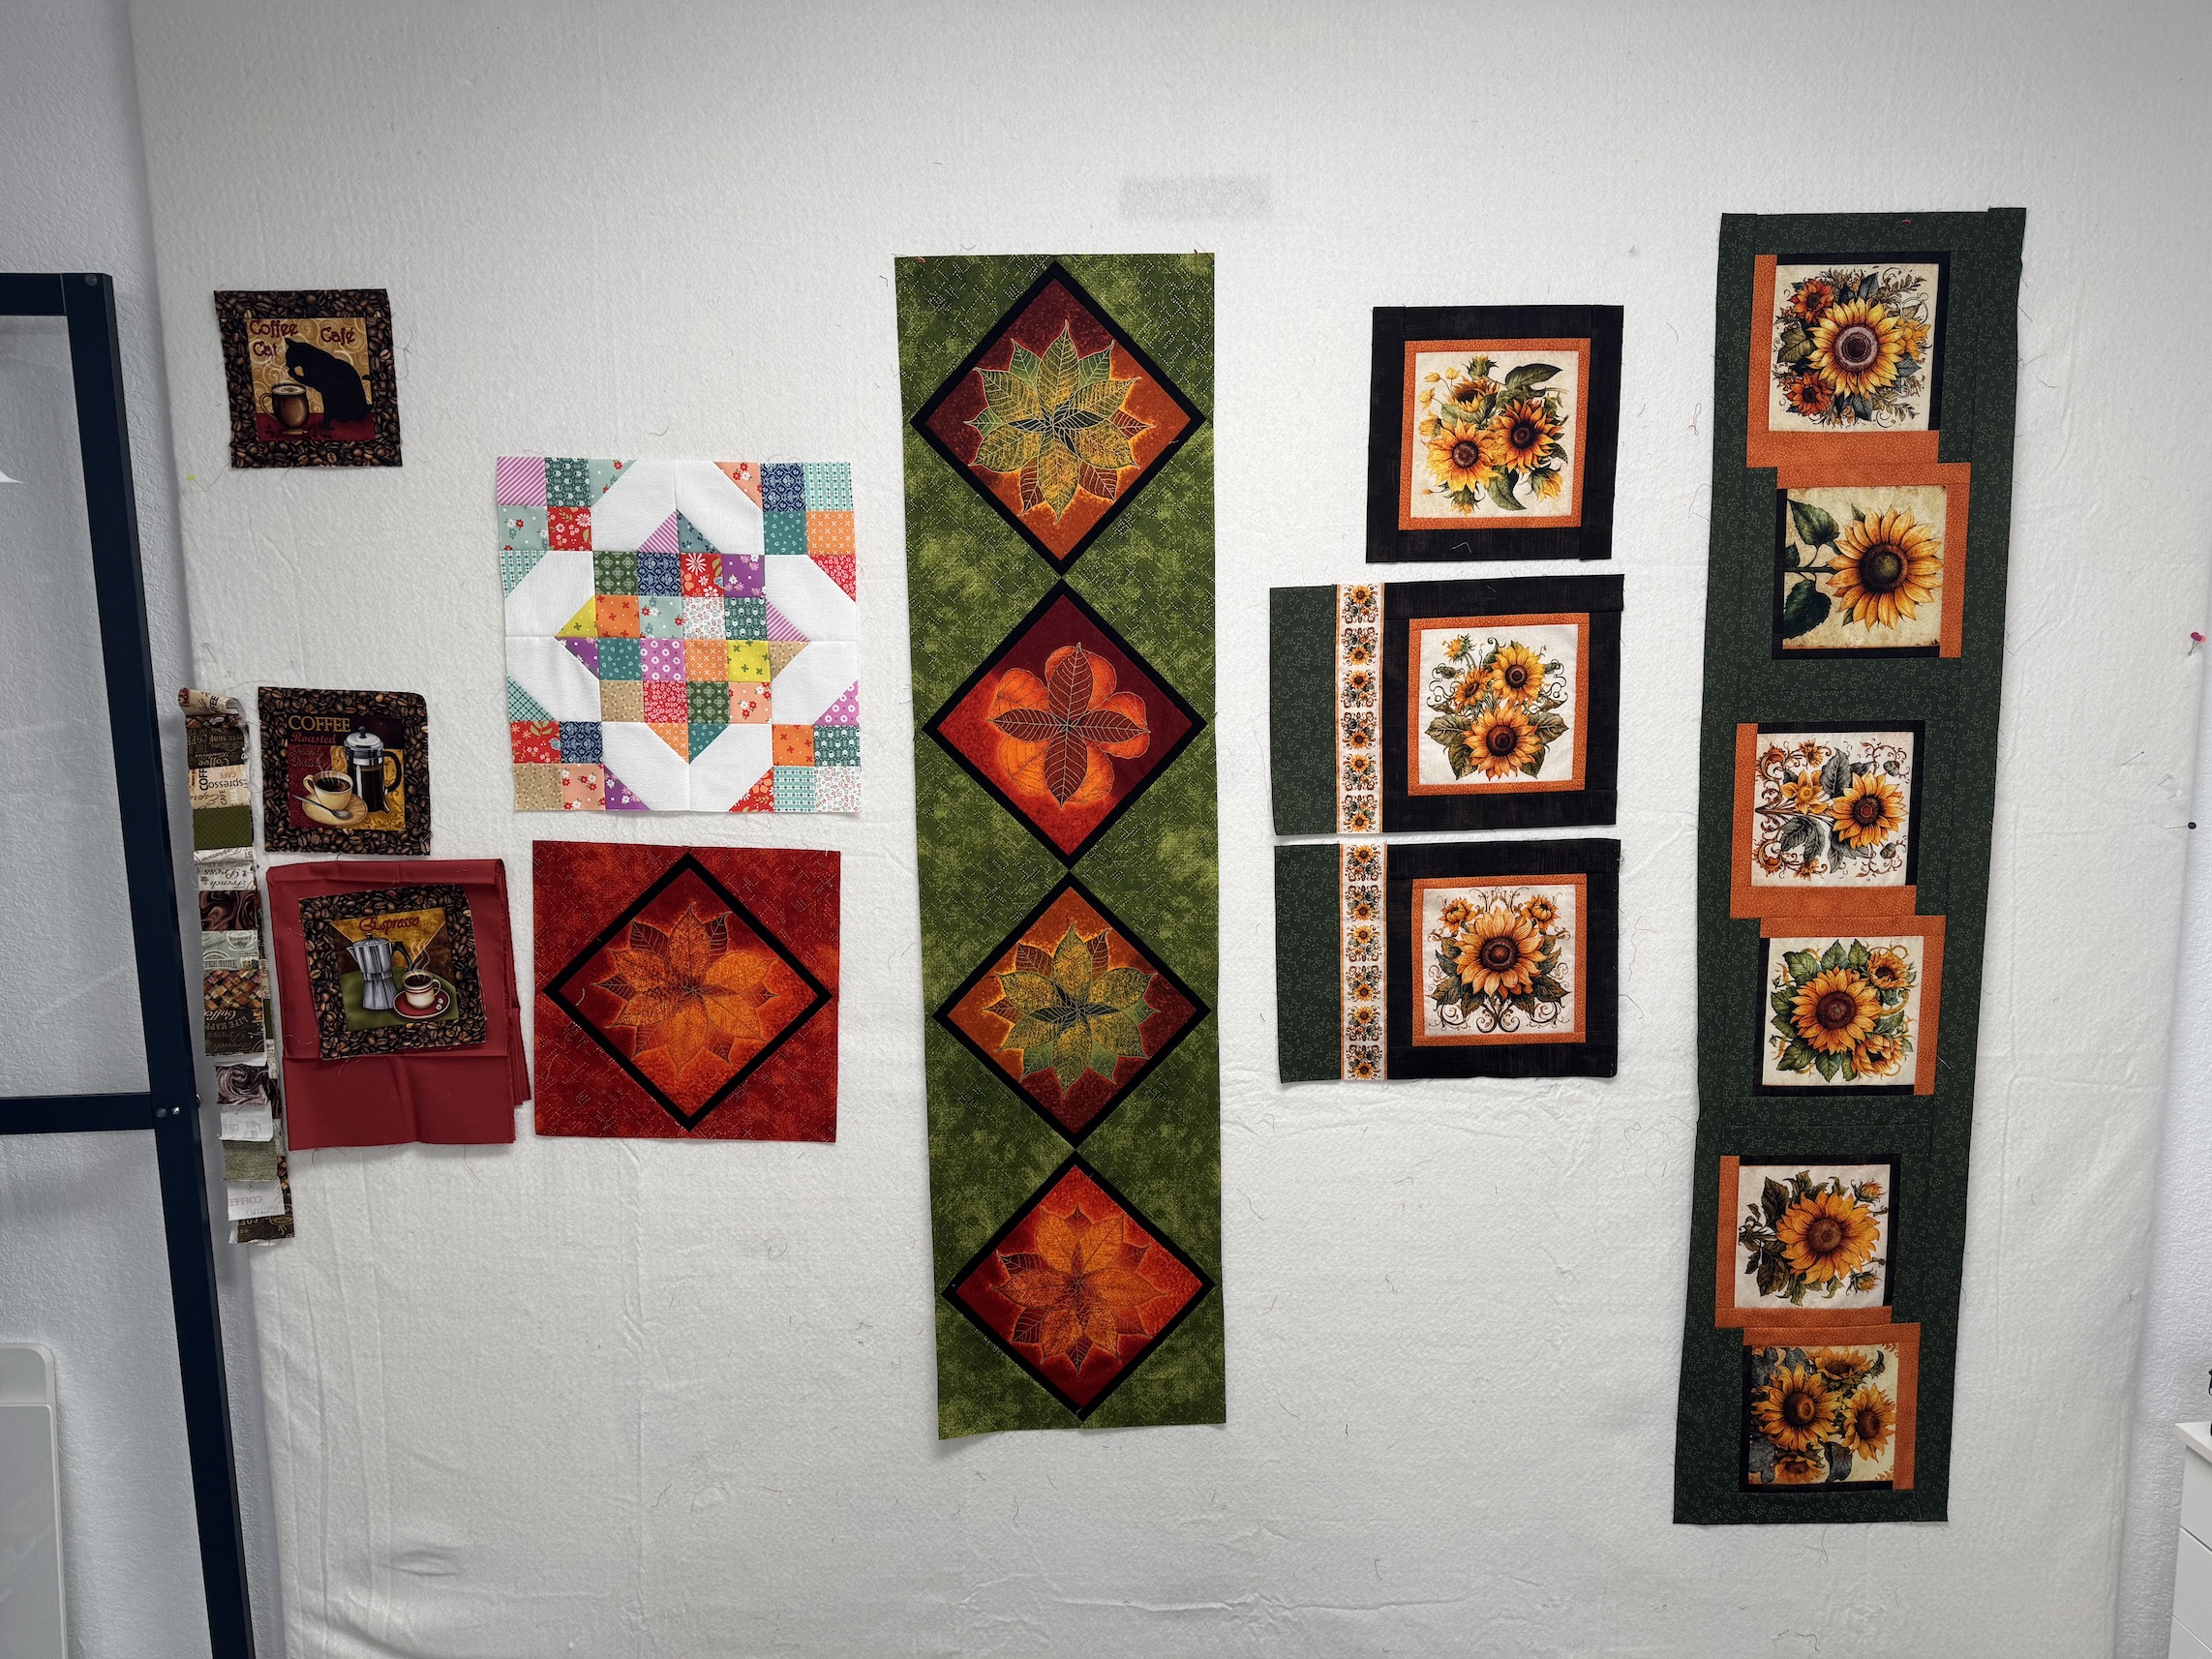
Autumn table runners and placements using several different panels:
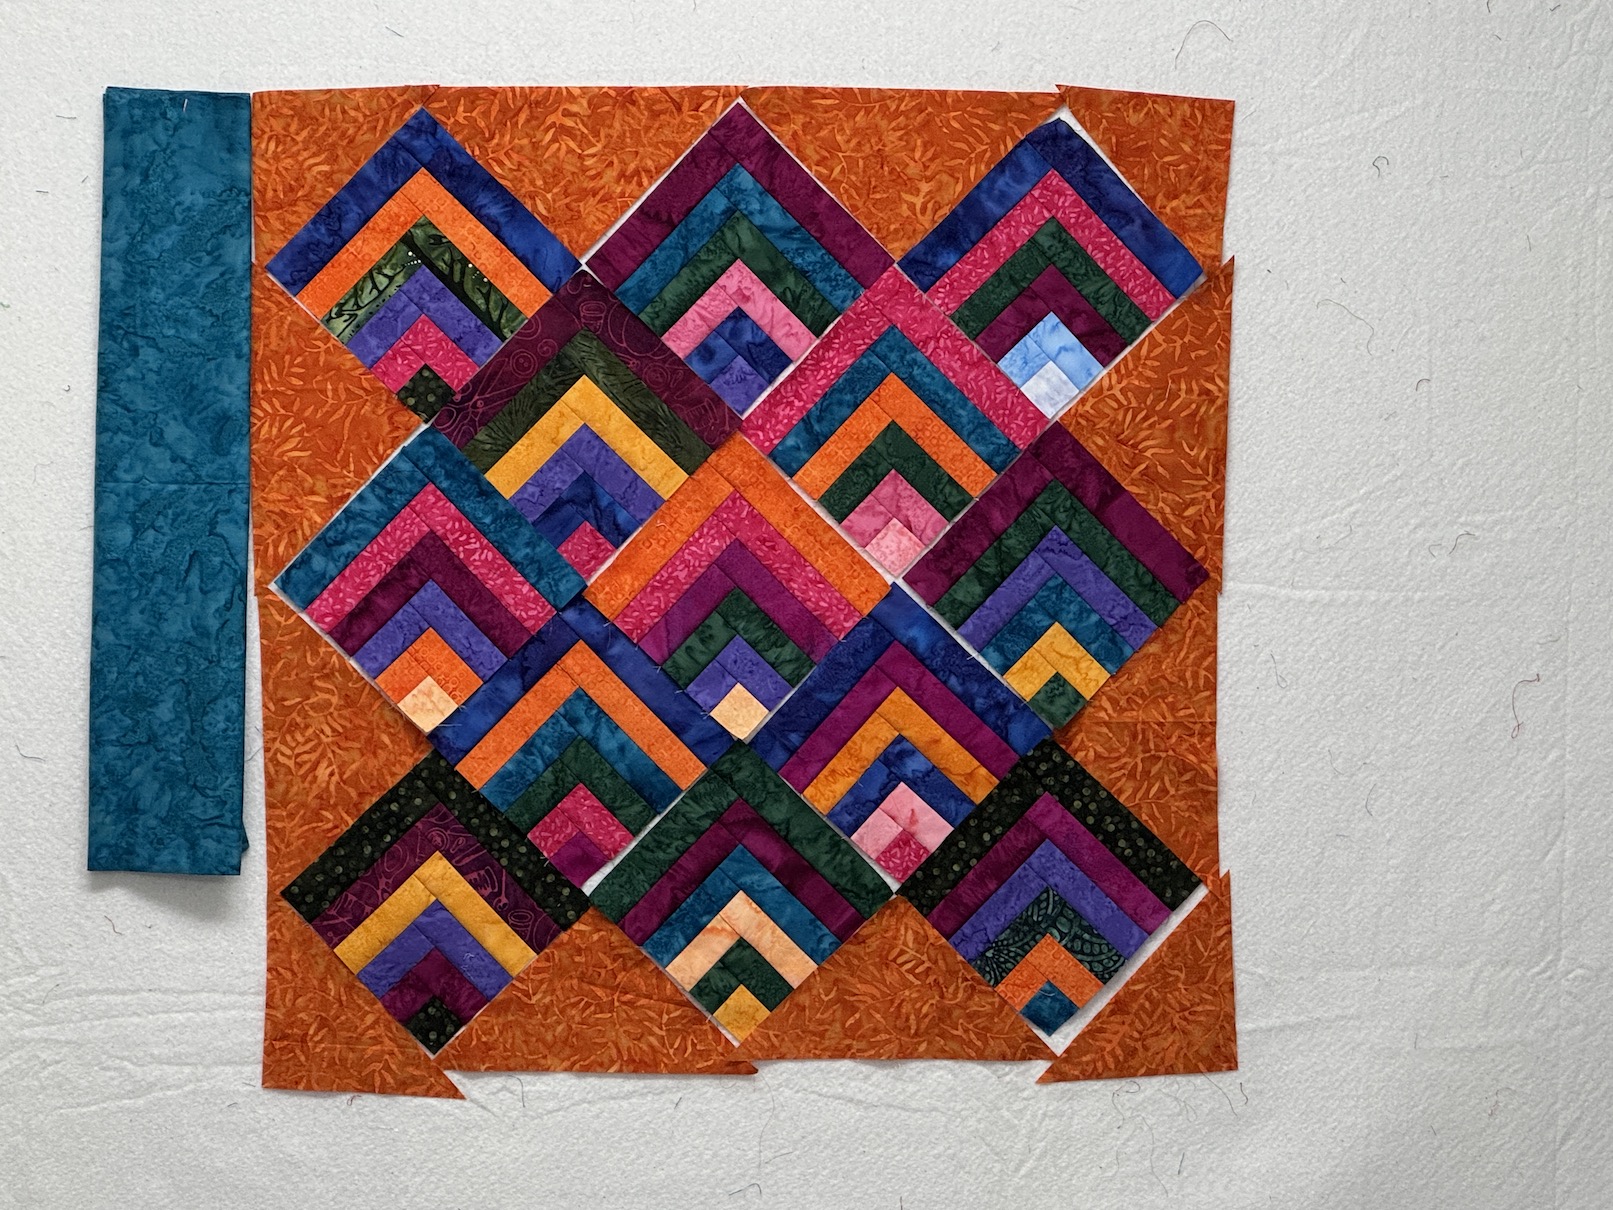
And a wall hanging for her studio about the kitchenette area:
She was using her new basket of Batik fabric scraps we had recently organized together (see post Fabric Organization Emergency!).
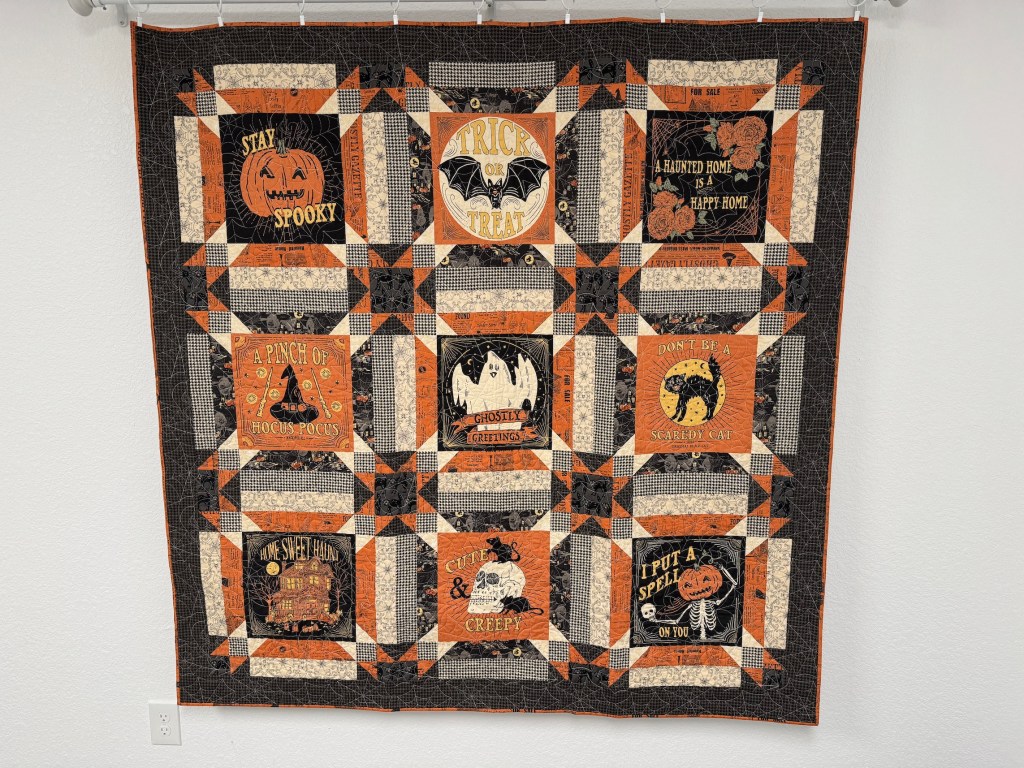
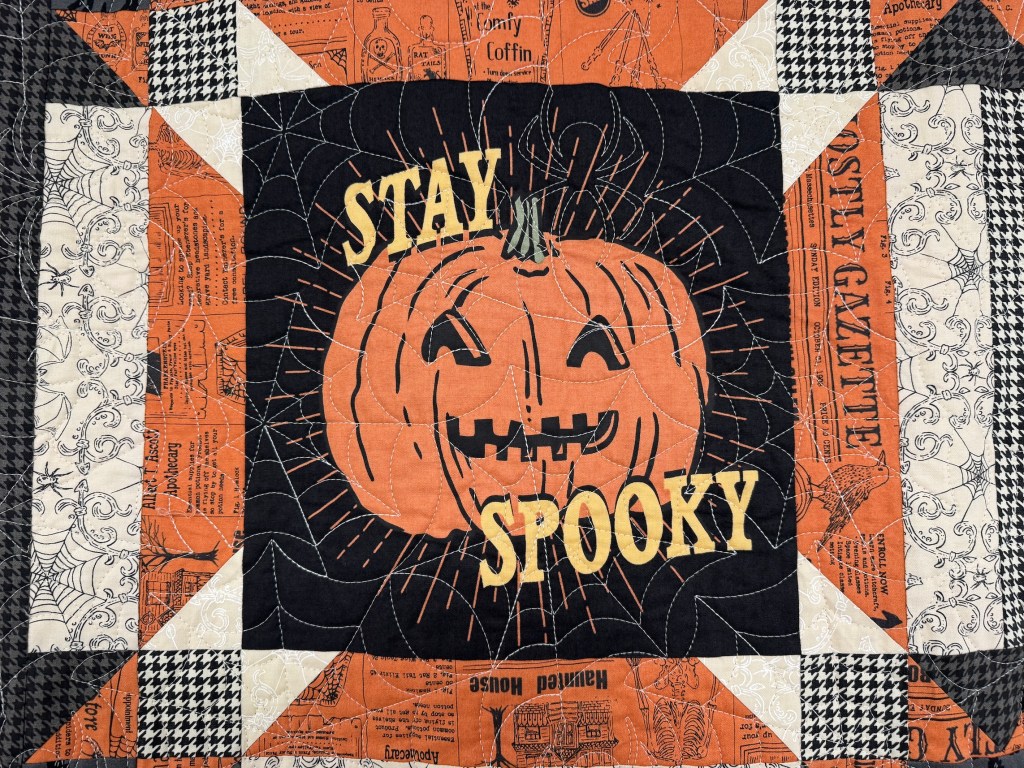
J had also recently put up a very cute Halloween quilt that she made years ago. I love the panel she used ofr the quilt; and the quilting (spider web) she did on the quilt!
By the end of our get together a dent had been made in the pull apart coffee cake (I wonder how that happened? Did elves sneak in and eat a bunch of the pastry?!!?)
I figured some of you would be interested in seeing the completed quilt since you’ve joined me virtually on the journey to see a new quilter make her first quilt from start to finish as shared in these posts:
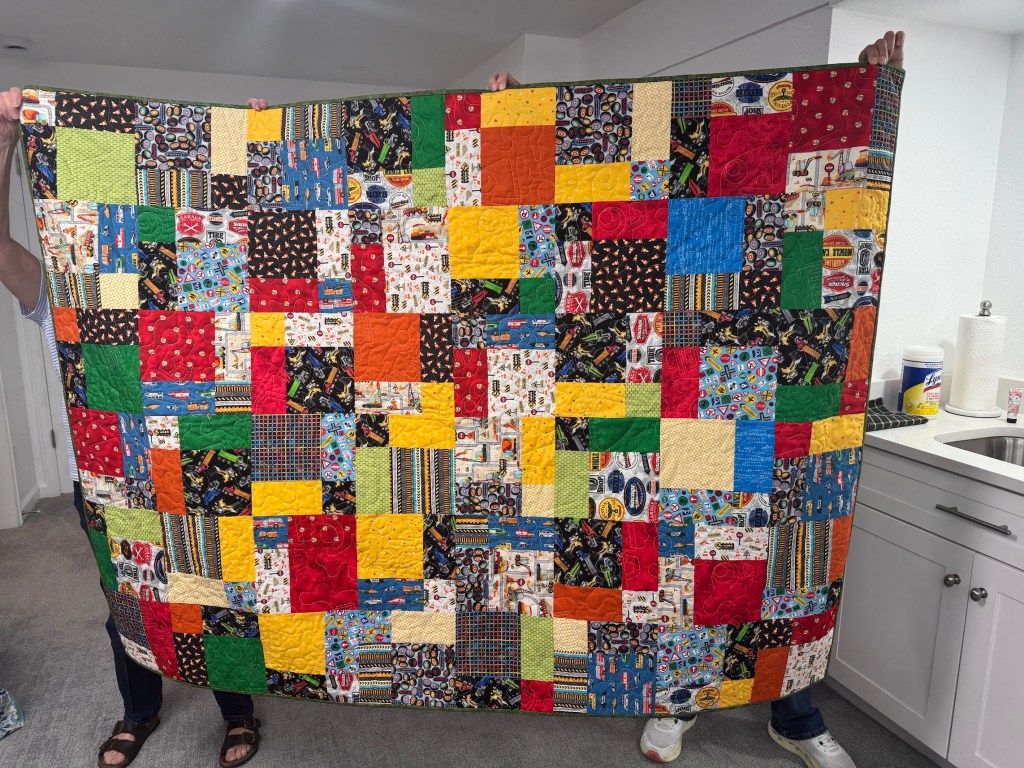
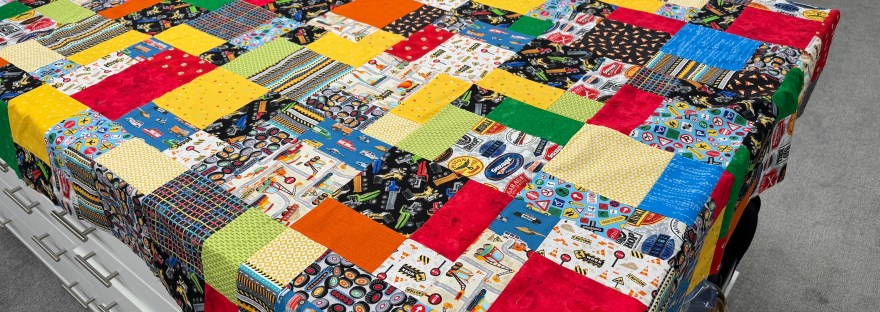
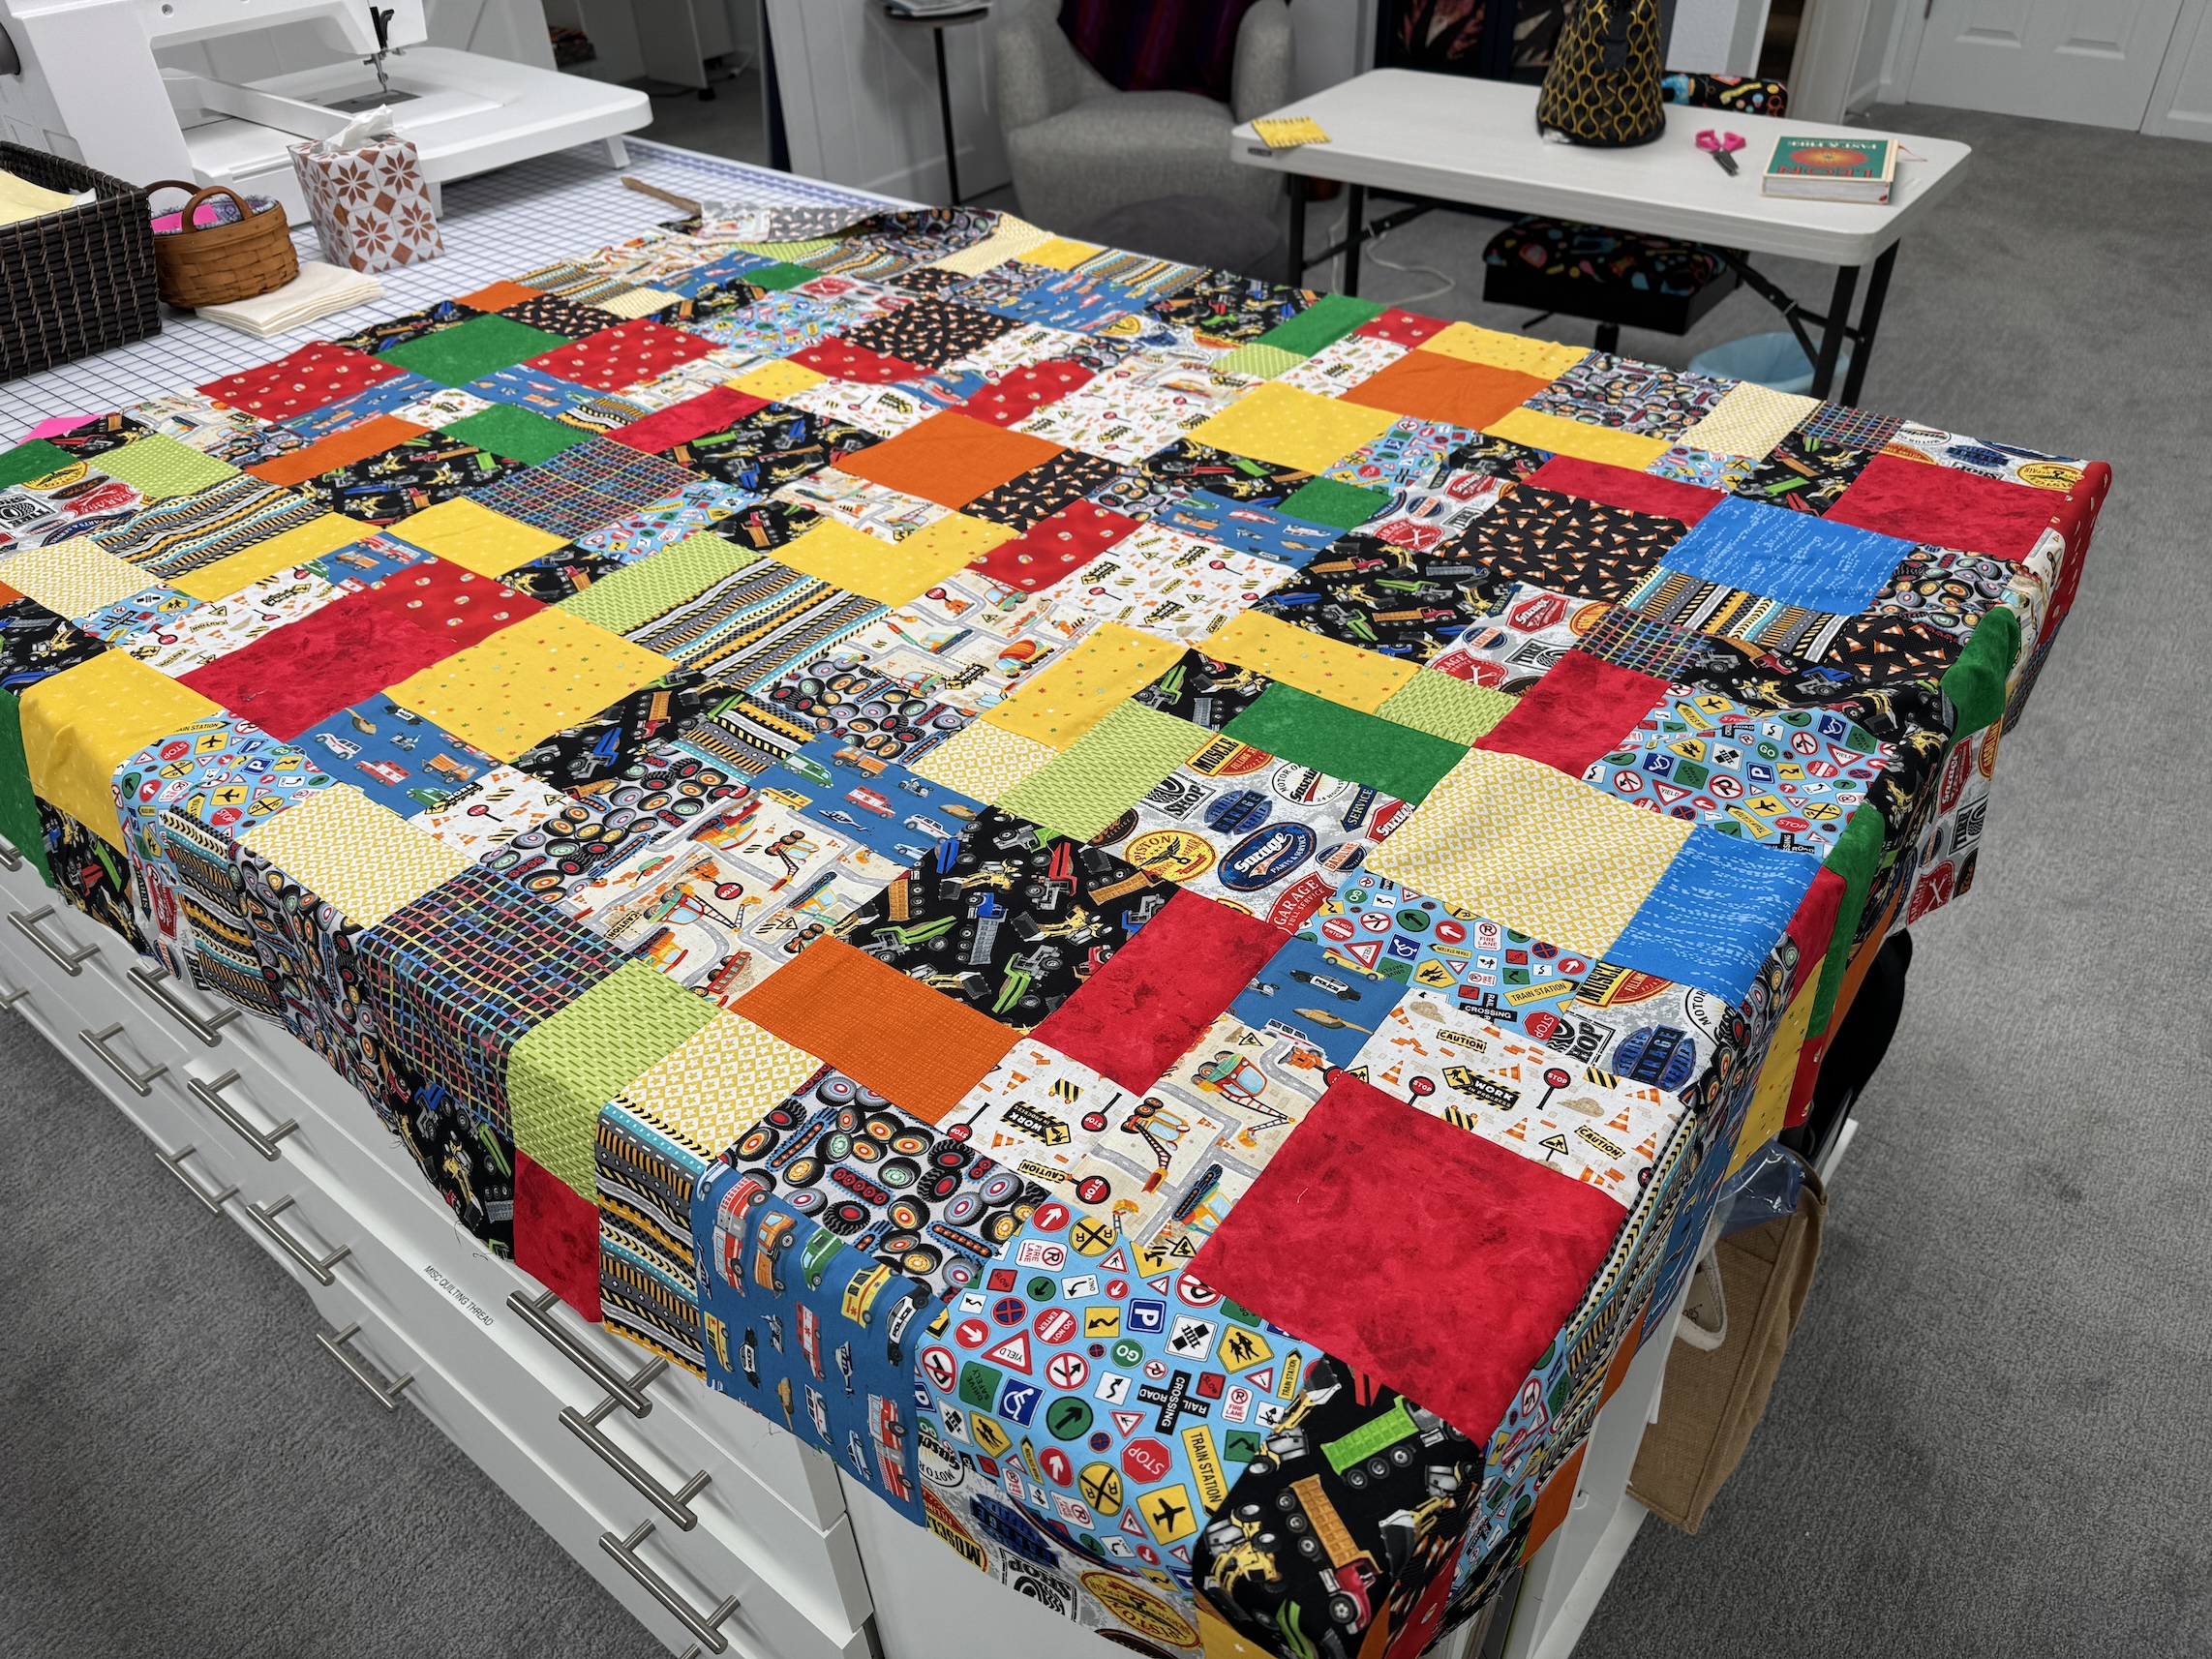
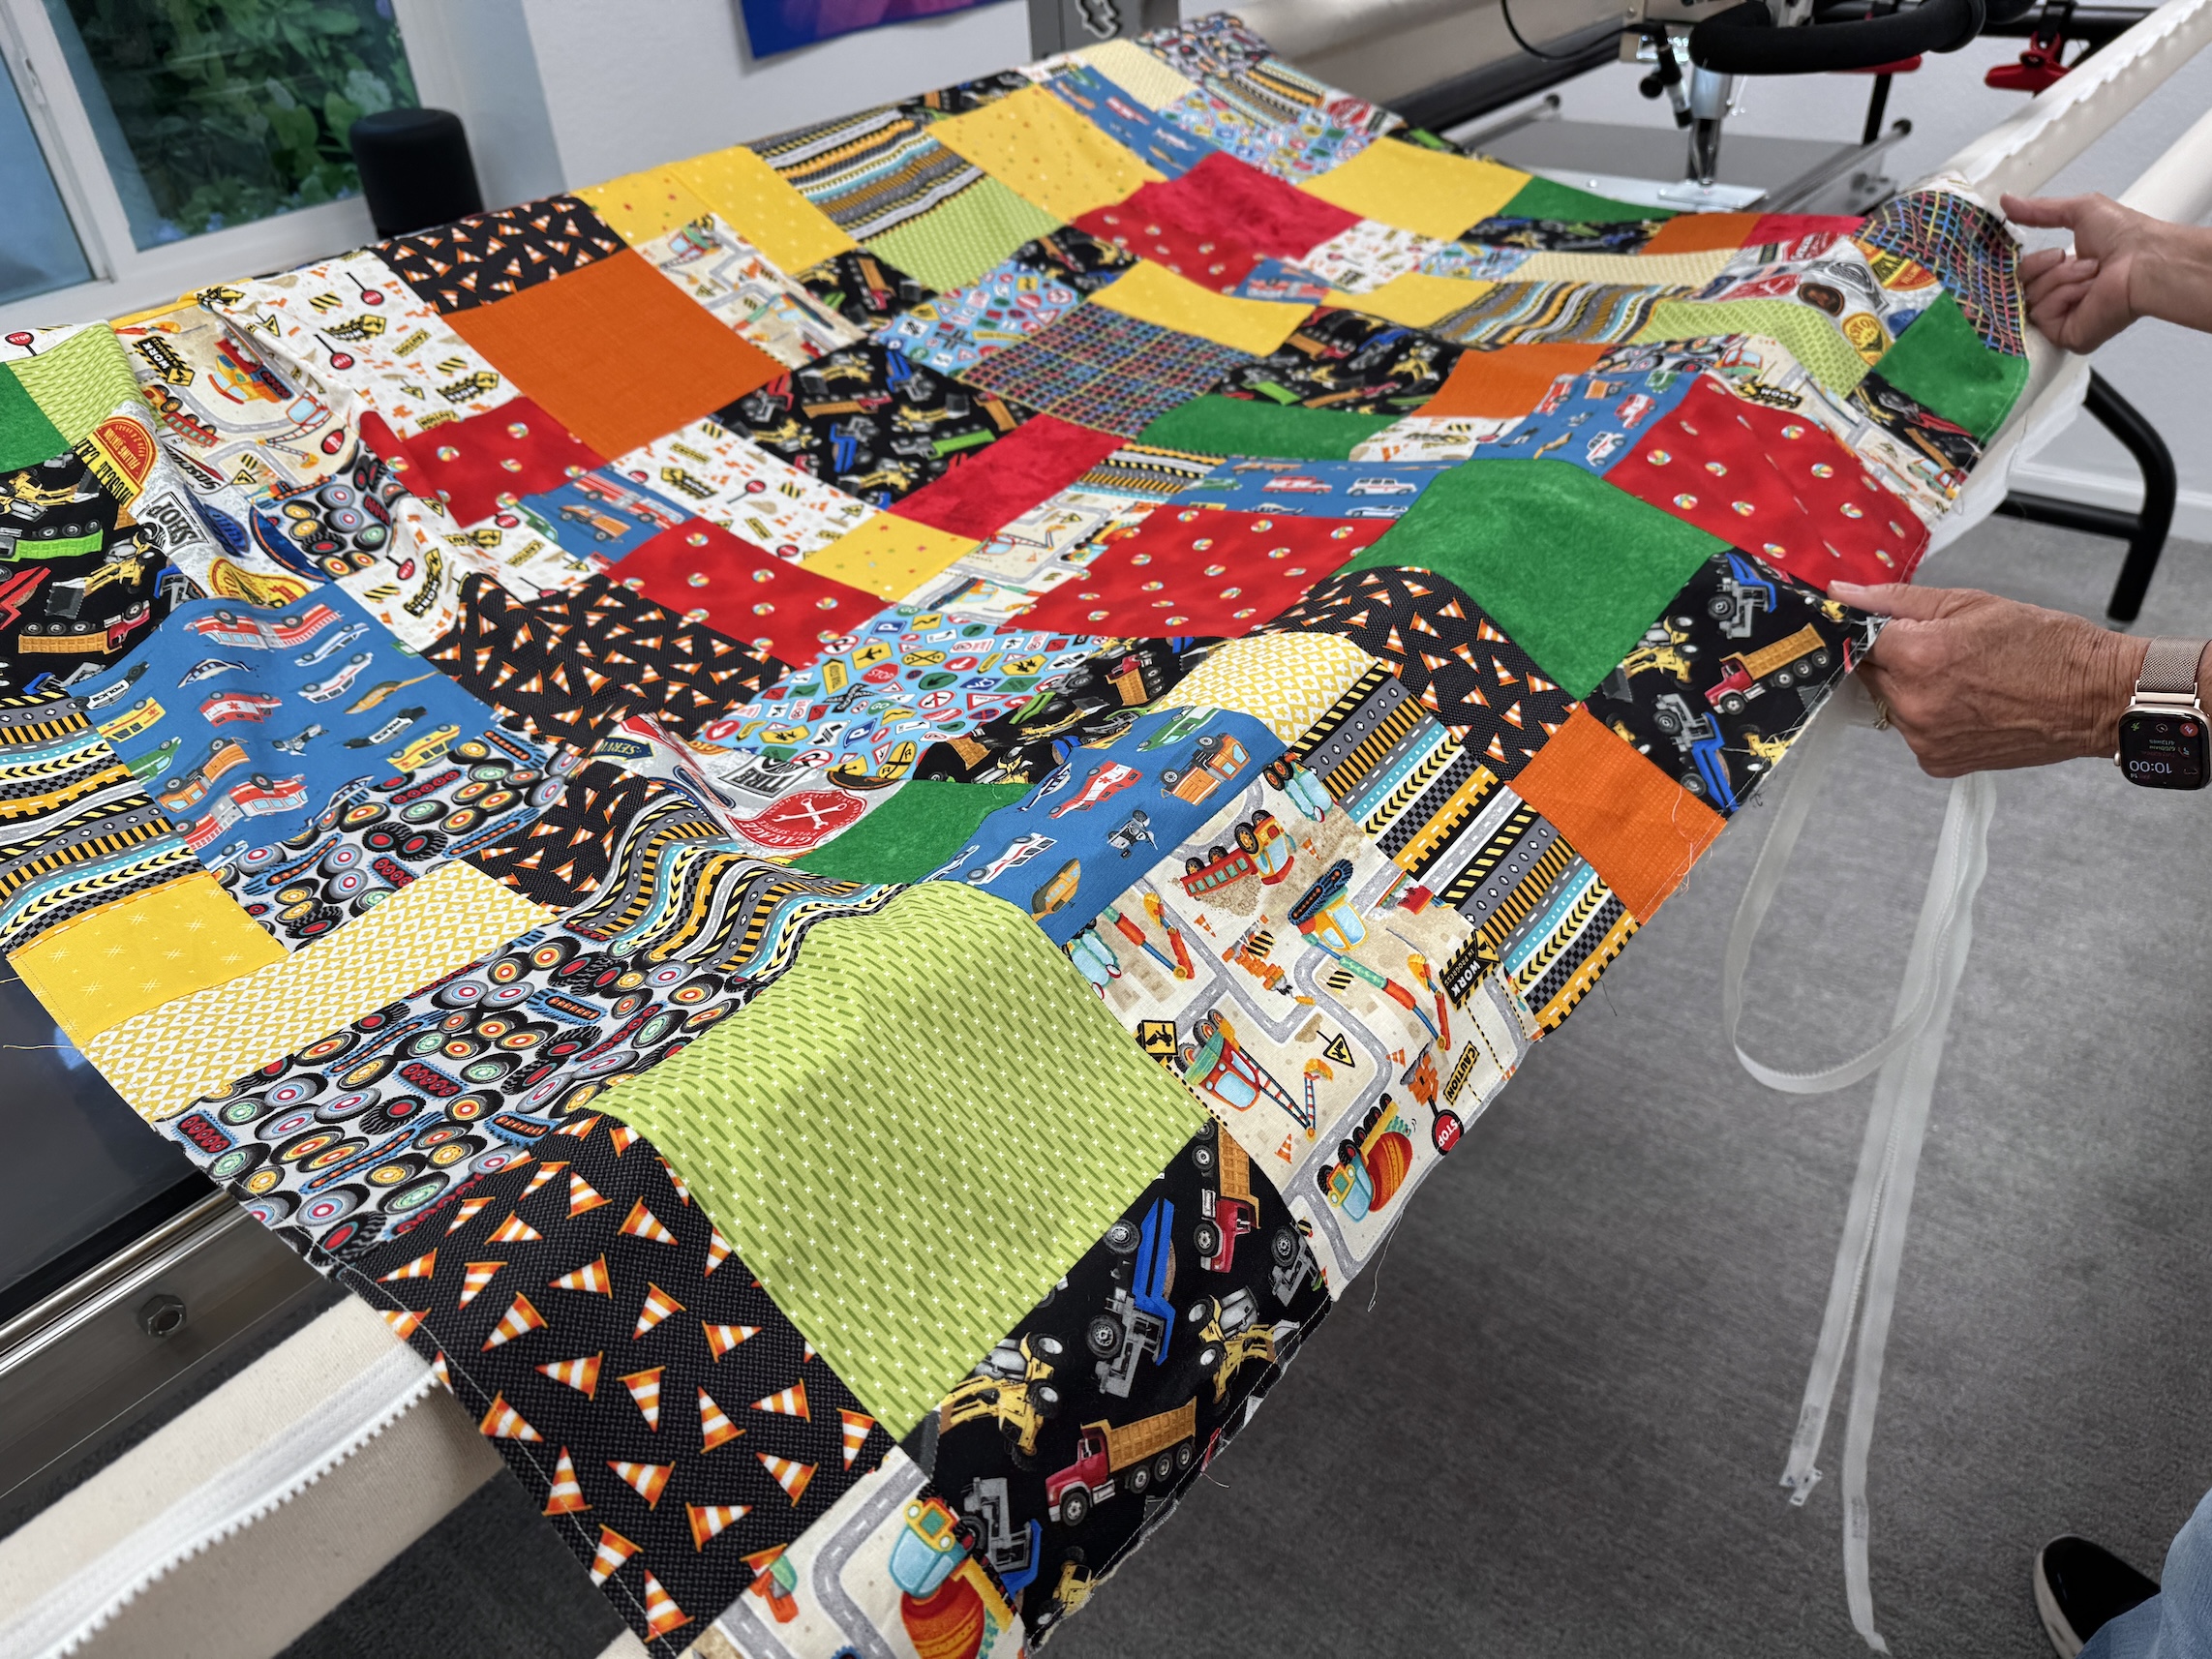
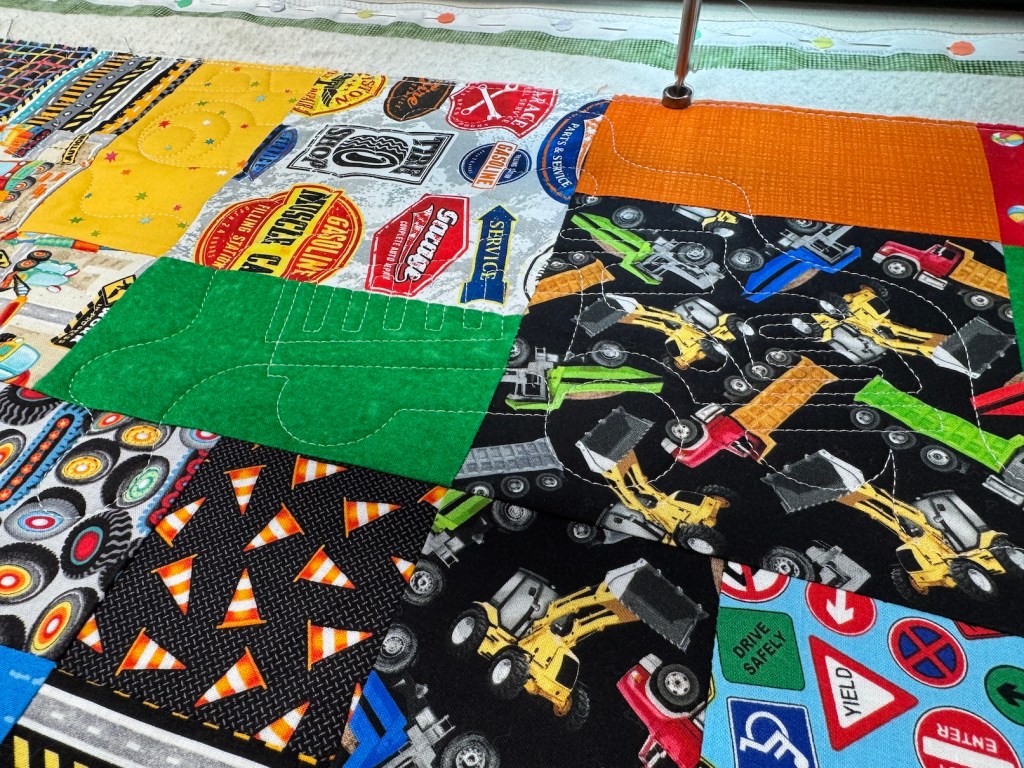
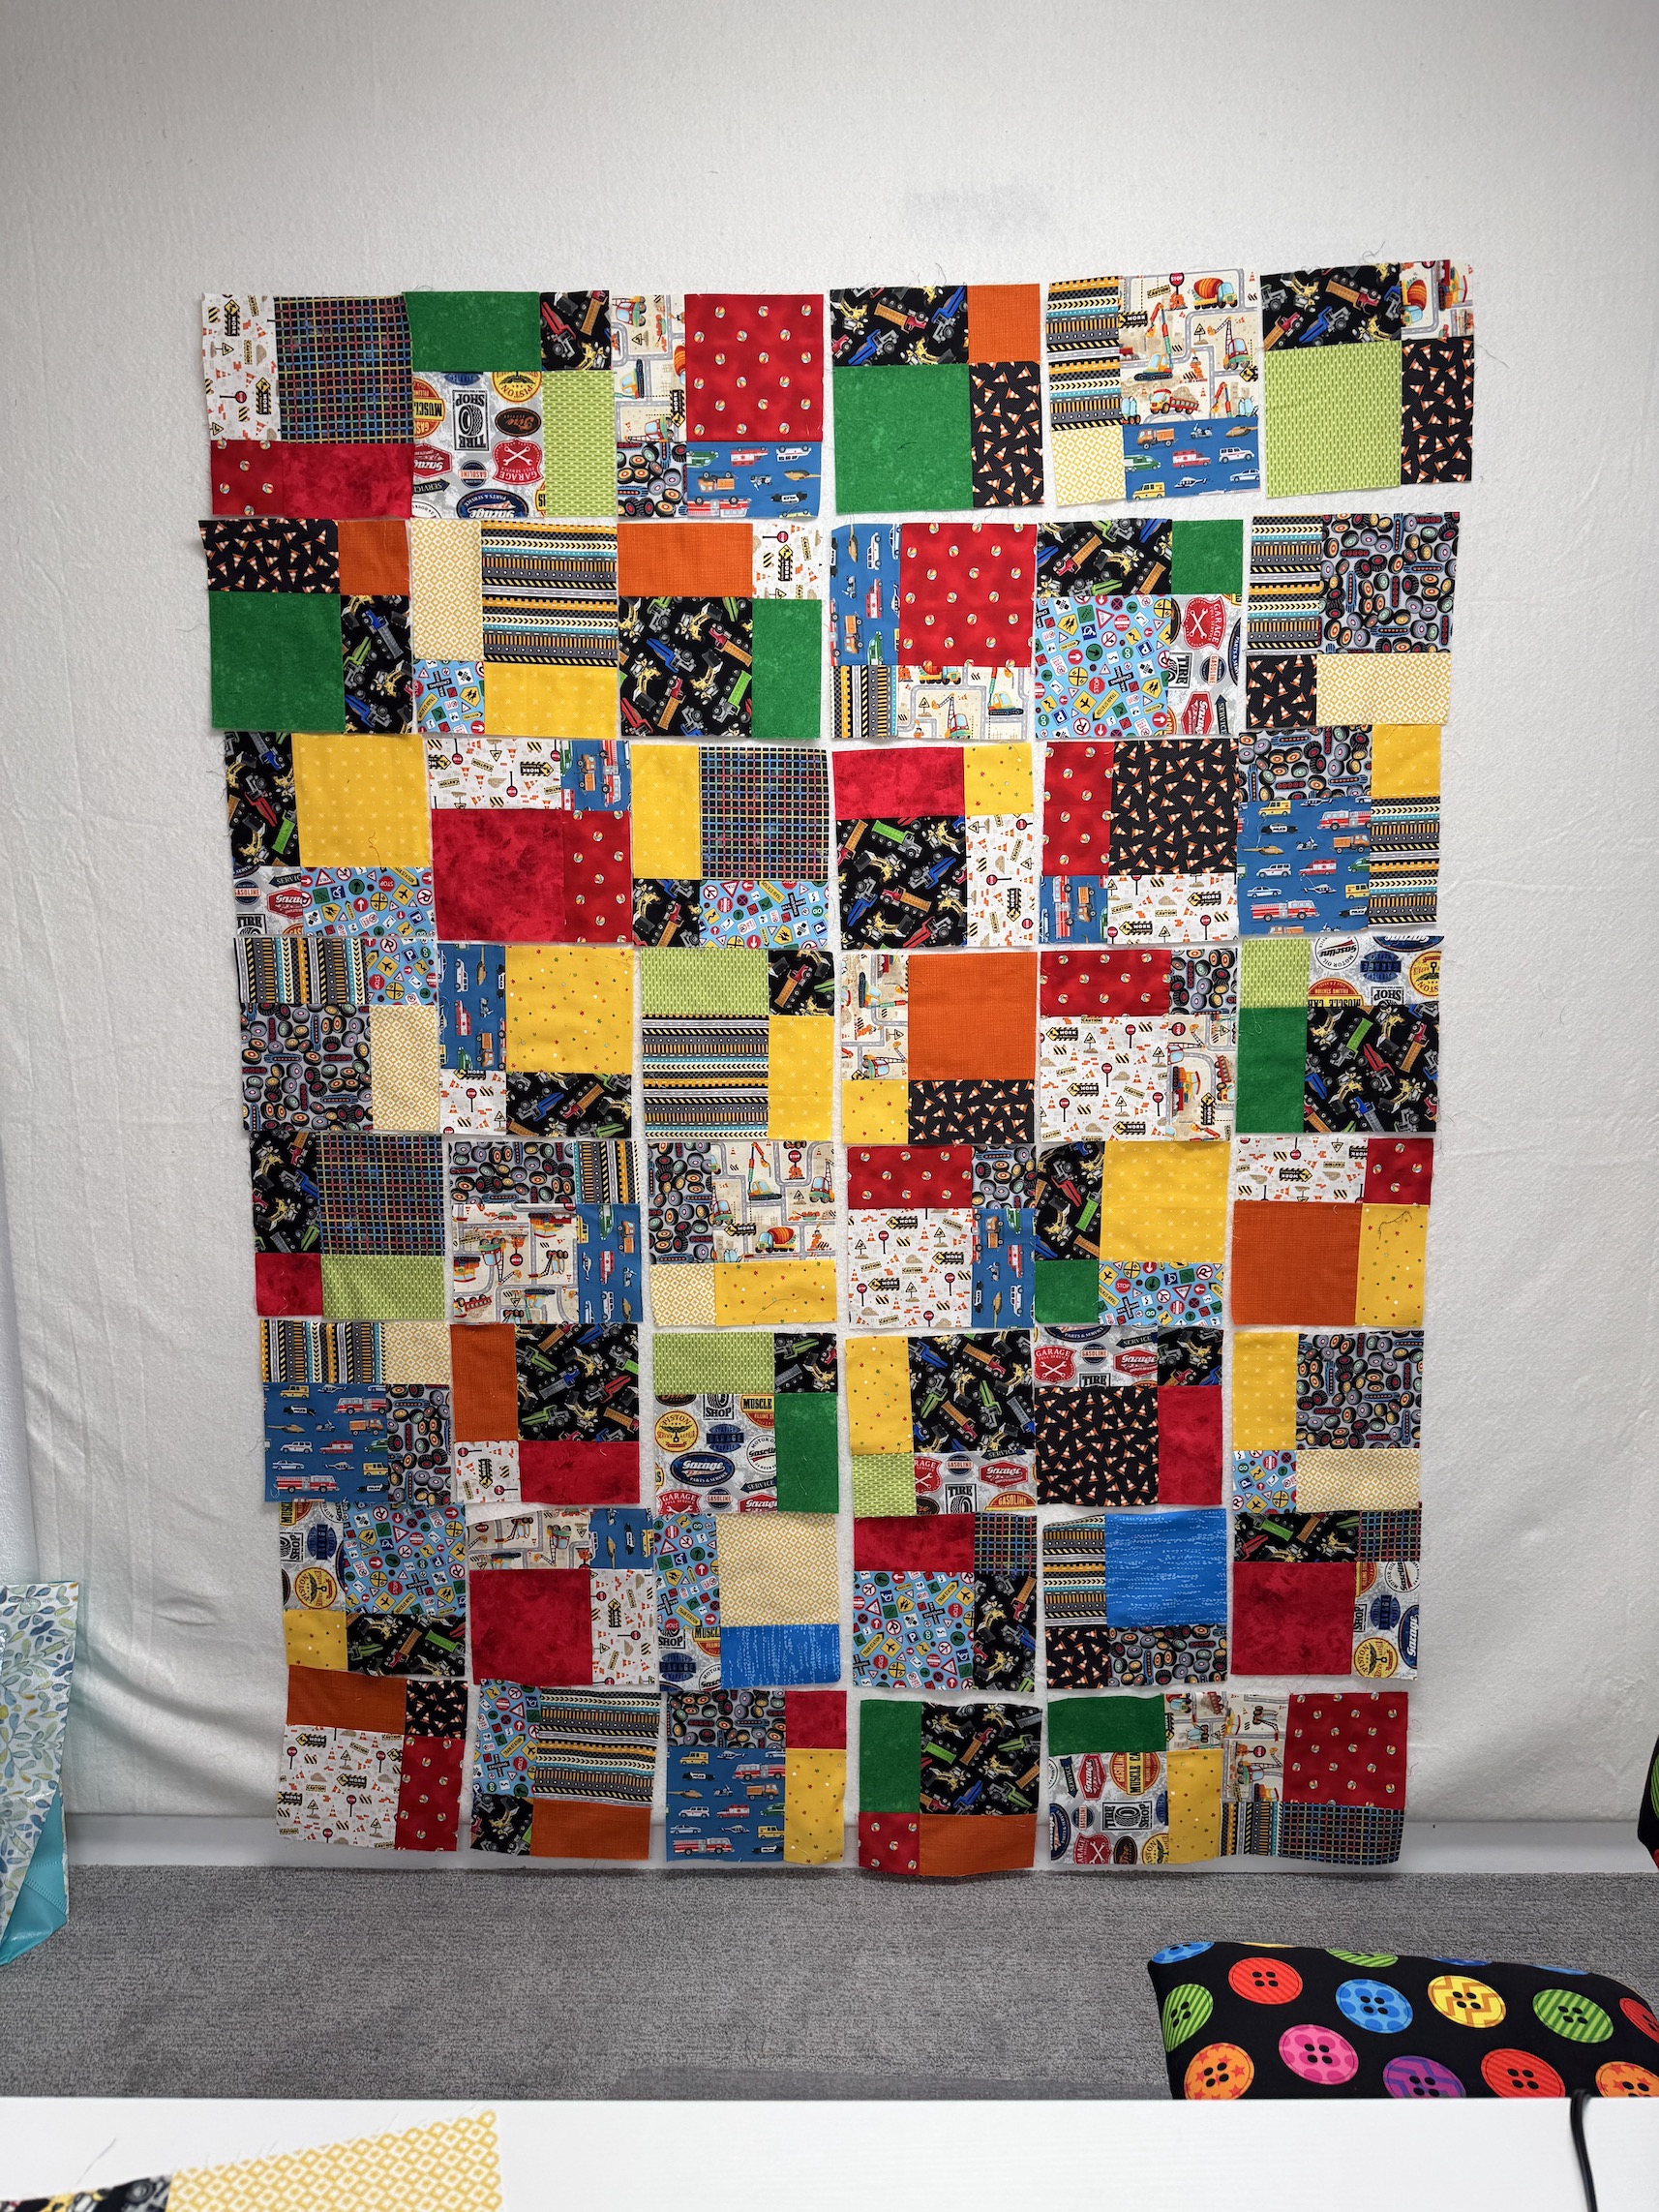
Here is the quilt that D completed while J and I mentored her, for her 1 year old great grandson (previously I stated “grandson” but realized its her “great” grandson – her granddaughter’s son) who loves trucks:
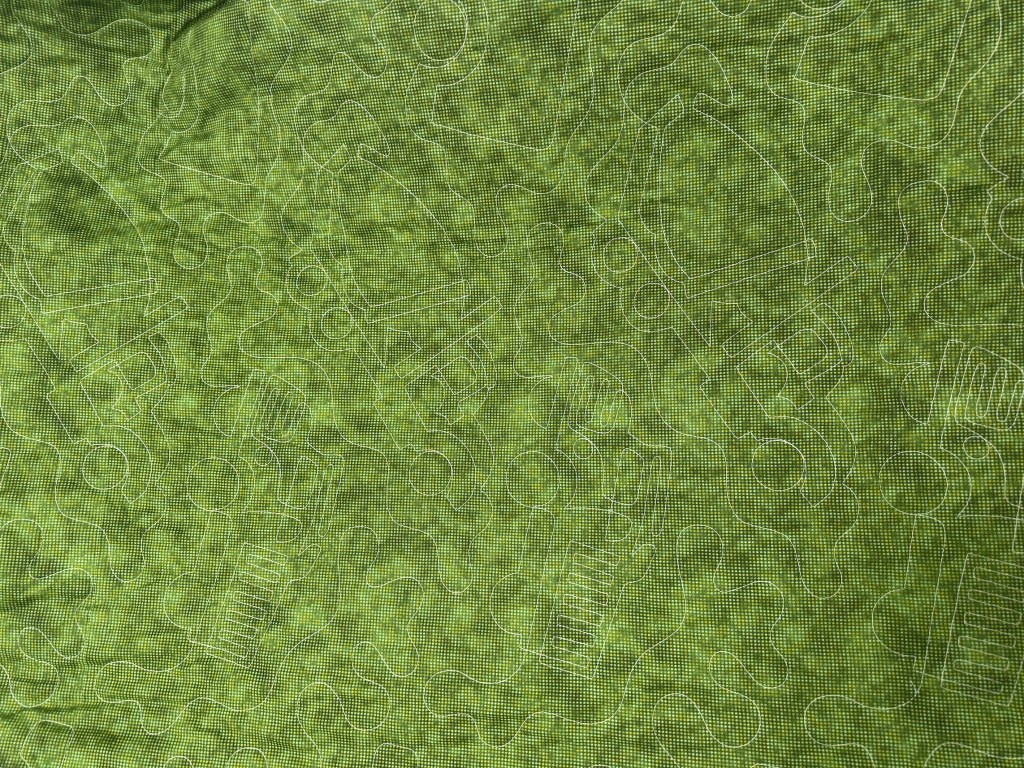
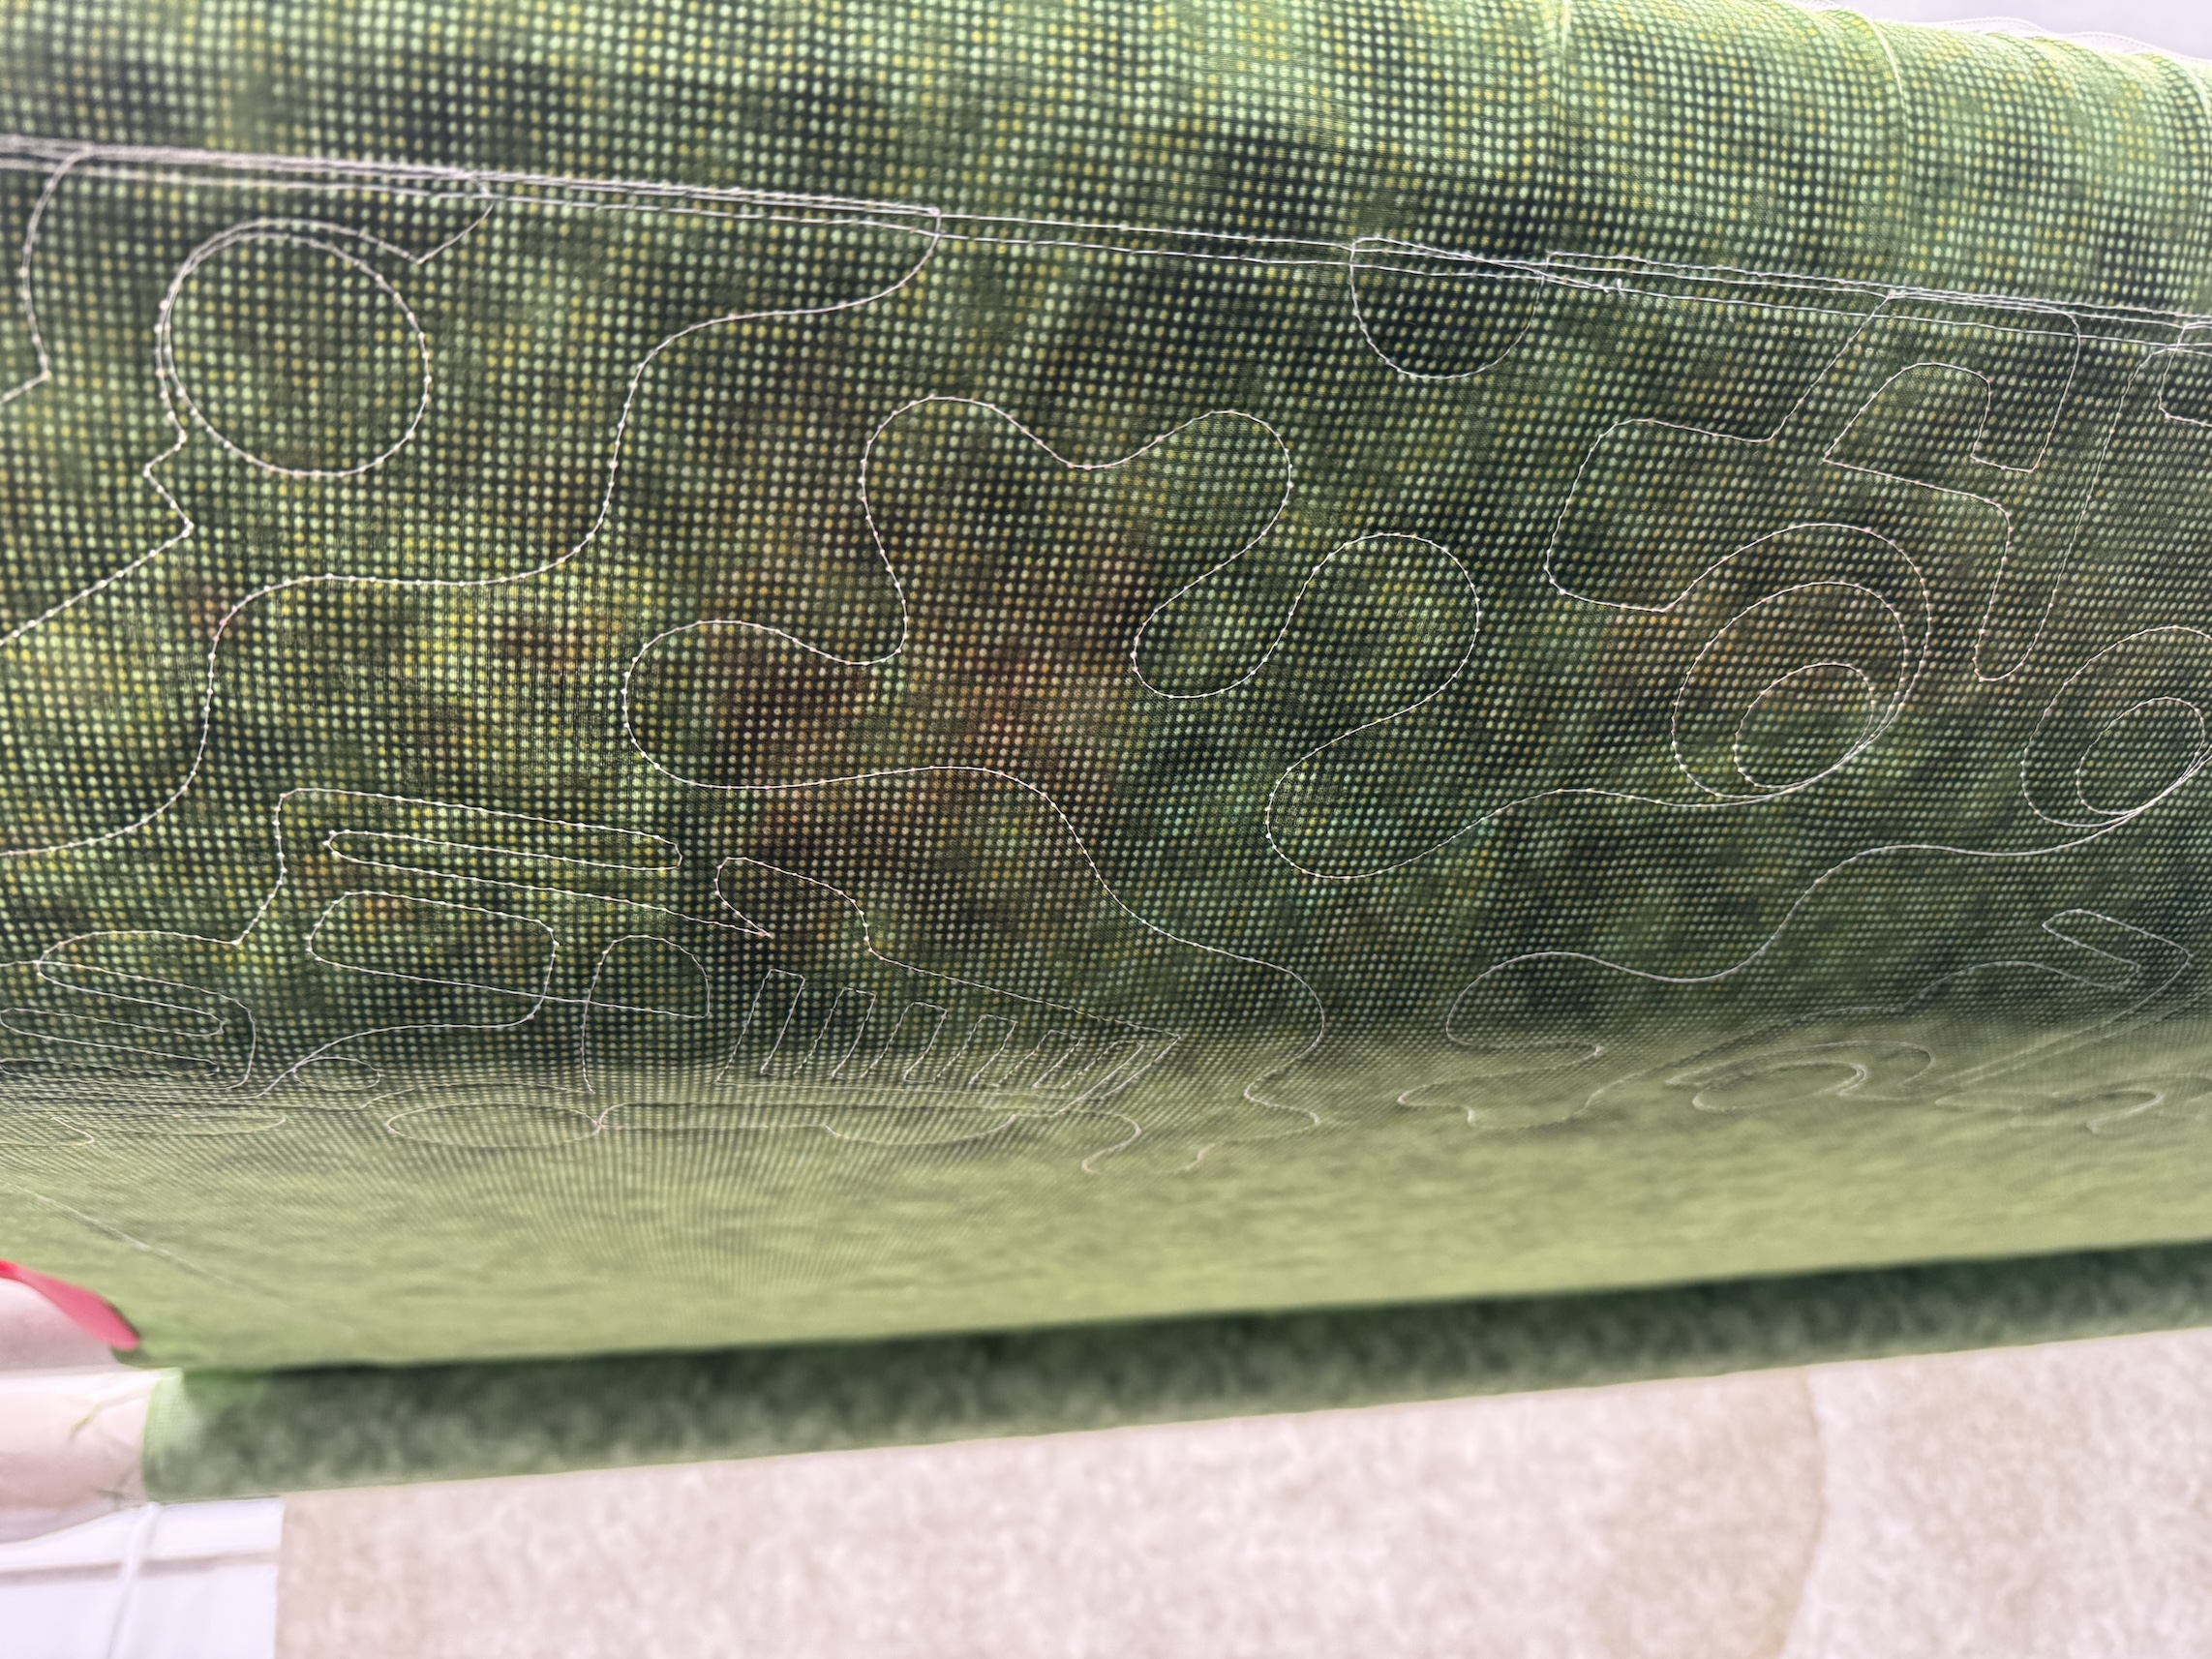
We are so proud of her! Soon she will deliver the quilt to her granddaughter’s family! I included an image of the back of the quilt so you could see the cool truck themed quilting patter J used when she did the longarm quilting.
The three of us meet again this Friday to plan our next projects for our weekly meetings, which might be separate or group.
I was planning on catch you all up on my summer travel but I’ve been in the mood to share some crafting and quilting related posts (oh yeah my blog is called “tierneycreates” so I have to pretend…).
In the middle of August I got together again with my quilting buddies J and D to help D complete her first quilt – a lap-sized truck themed quilt for her 1 year old grandson.
Wow – I’ve been quilting for 25 years and I forgot the learning curve with learning how to make quilts. There are a lot of steps to learn!
If you are just joining us and want to see the other related posts here 4 previous posts in order:
How quilts are quilted via a longarm machine (so help a quilter understand why their are specific requirements to prepare a quilt for longarm quilting).
On her own D finished sewing her blocks together (which she began during our session shared in the post Quilter Playdate: Learning to Piece.
(It was fun to see the fabric that J and I helped her select during our Quilt Shop Hop in June become a quilt!)
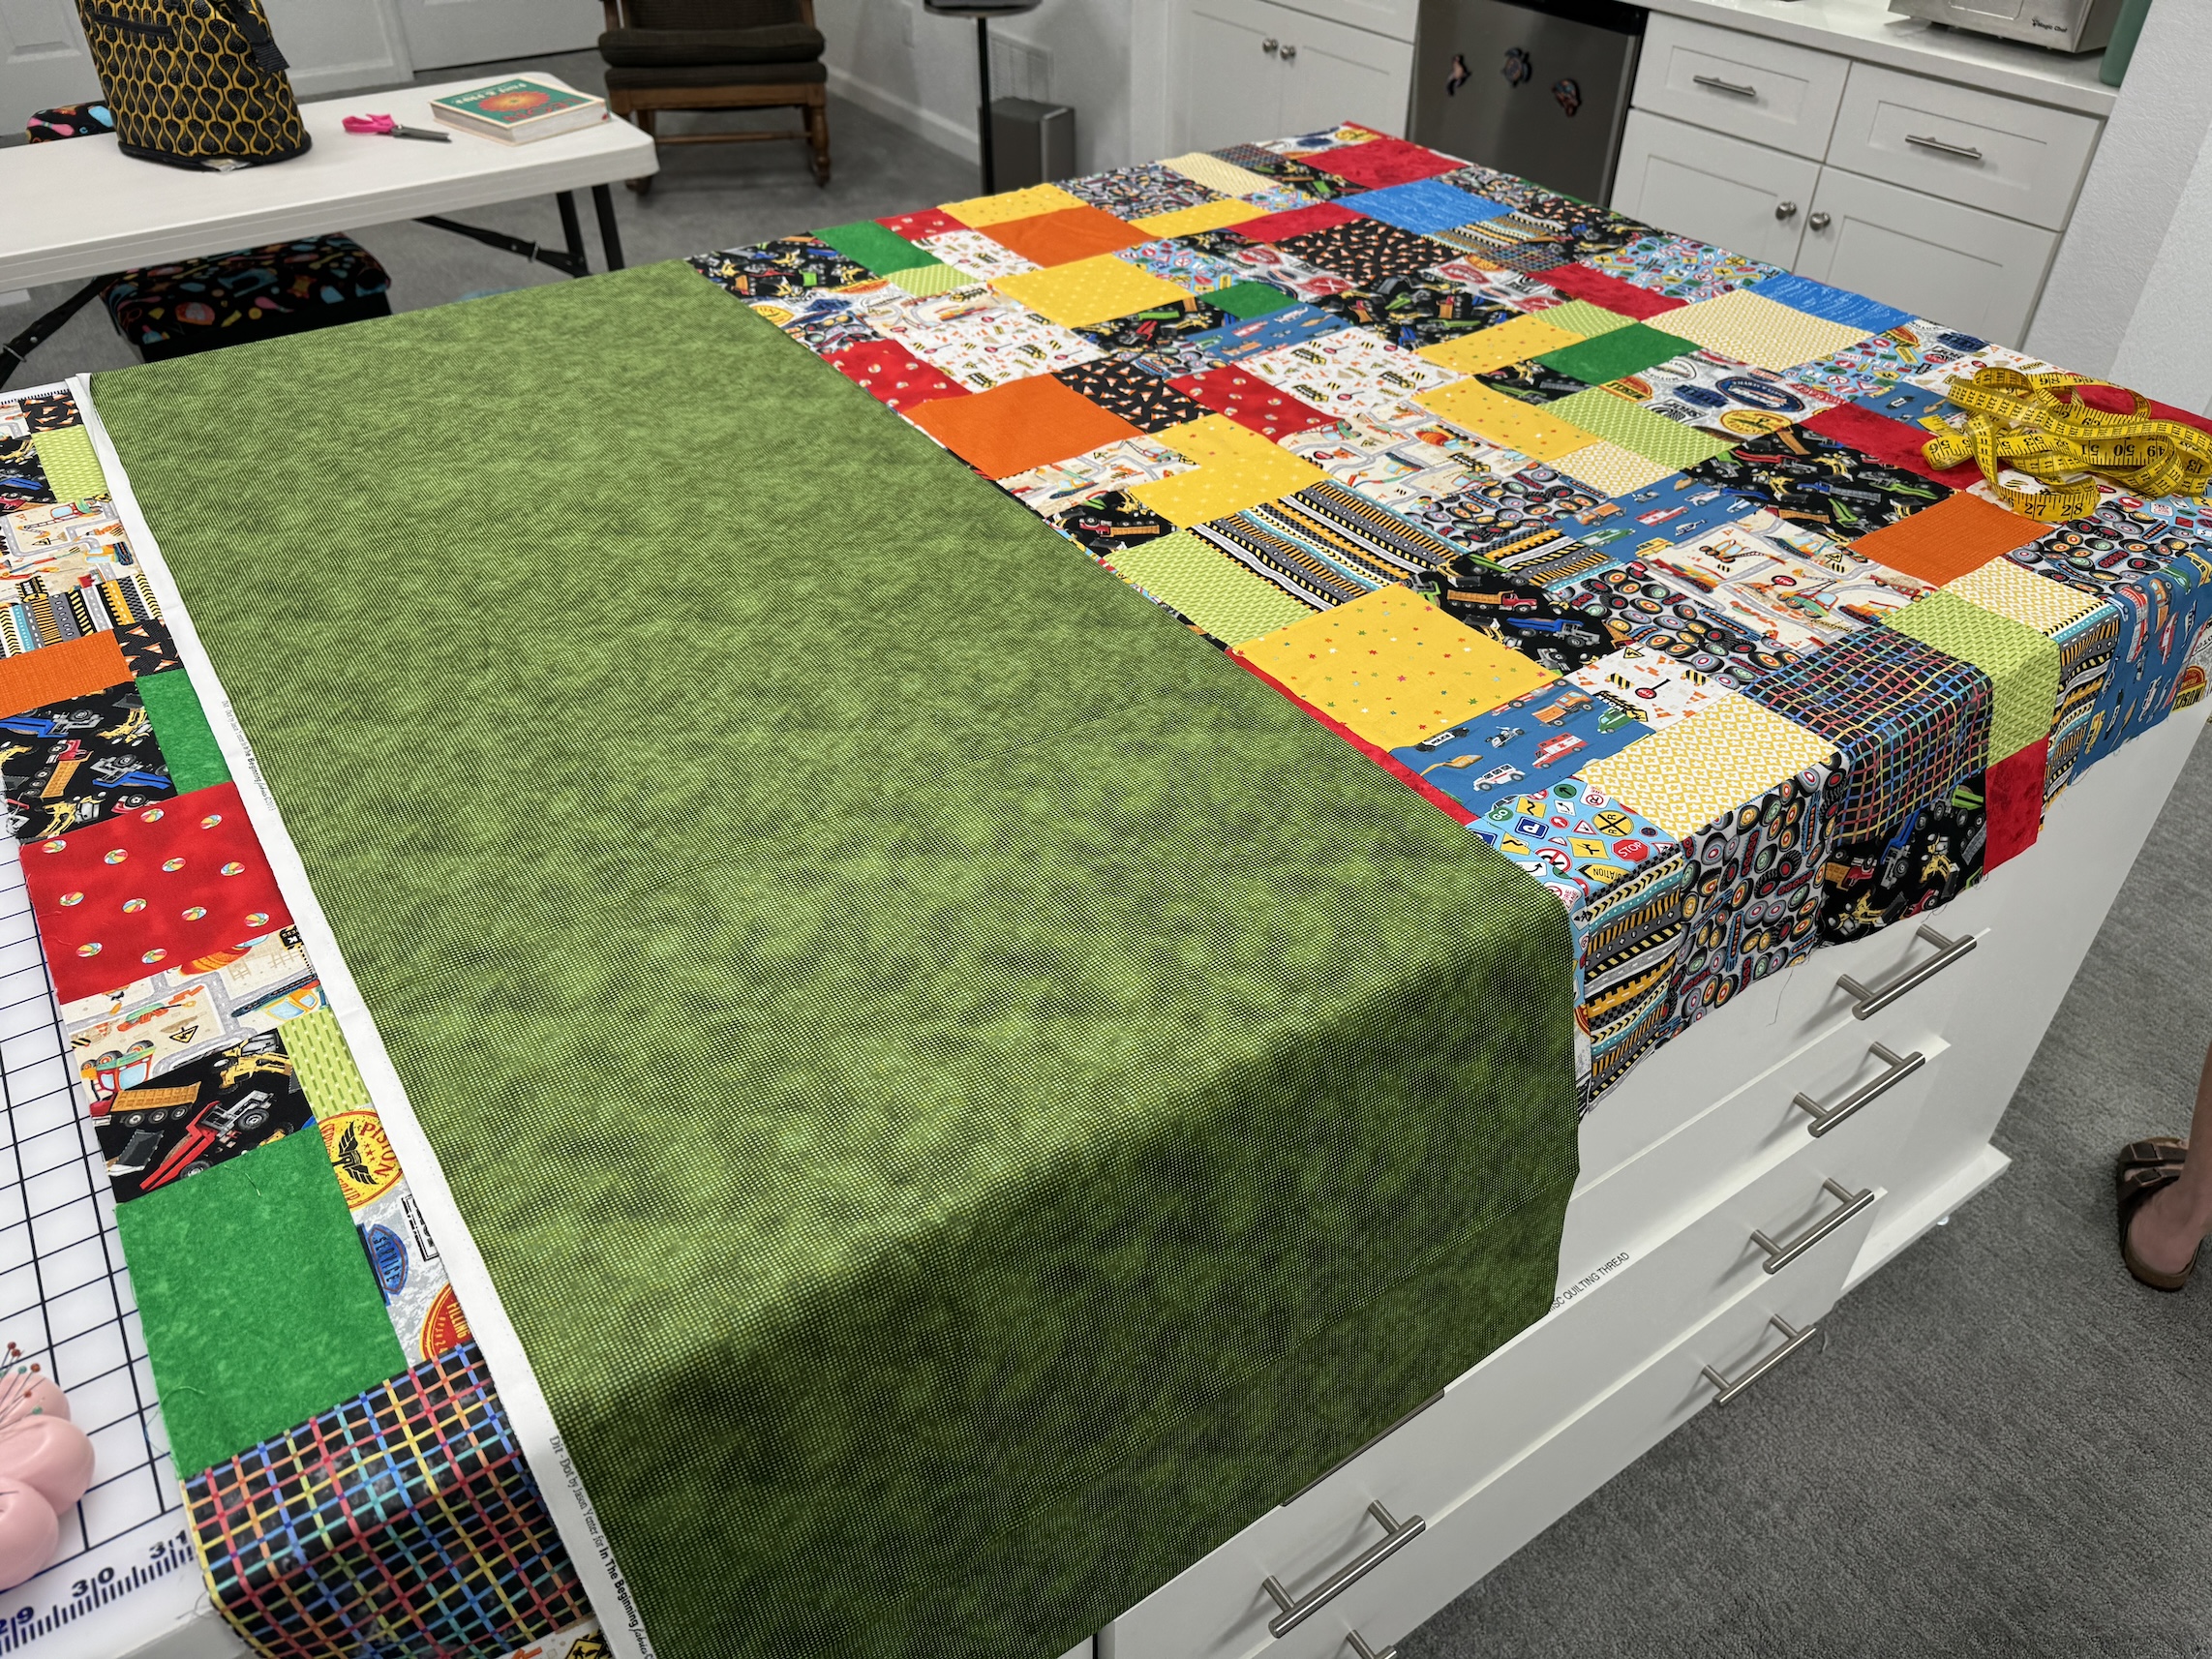
It was time to measure the quilt in order to piece the back to the correct length and width:
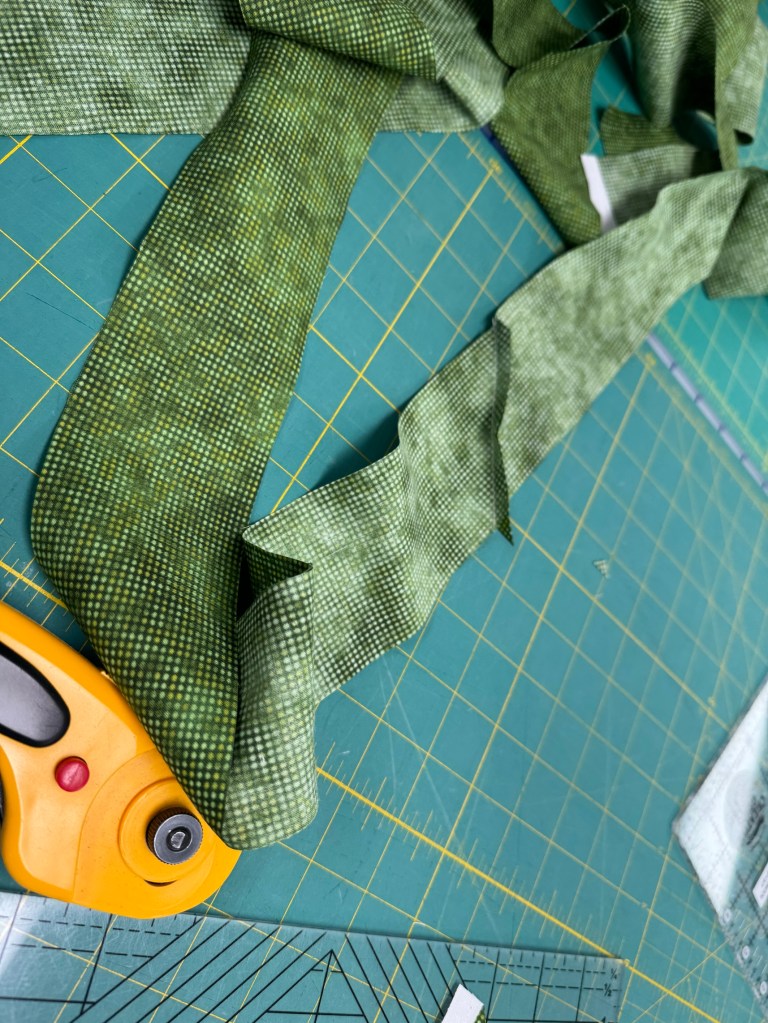
After that was figured out, D pieced the yardage for the backing together, reserving some of the backing yardage for the binding. J then taught her how to cut strips for and then piece together the binding strips:
Sometimes I wonder how on earth did I originally learn what I can now do in my sleep after 25 years of making quilt bindings?
J had her do a 1/8″ stitch around the edge of the entire quilt to protect from block edges separating during longarming:
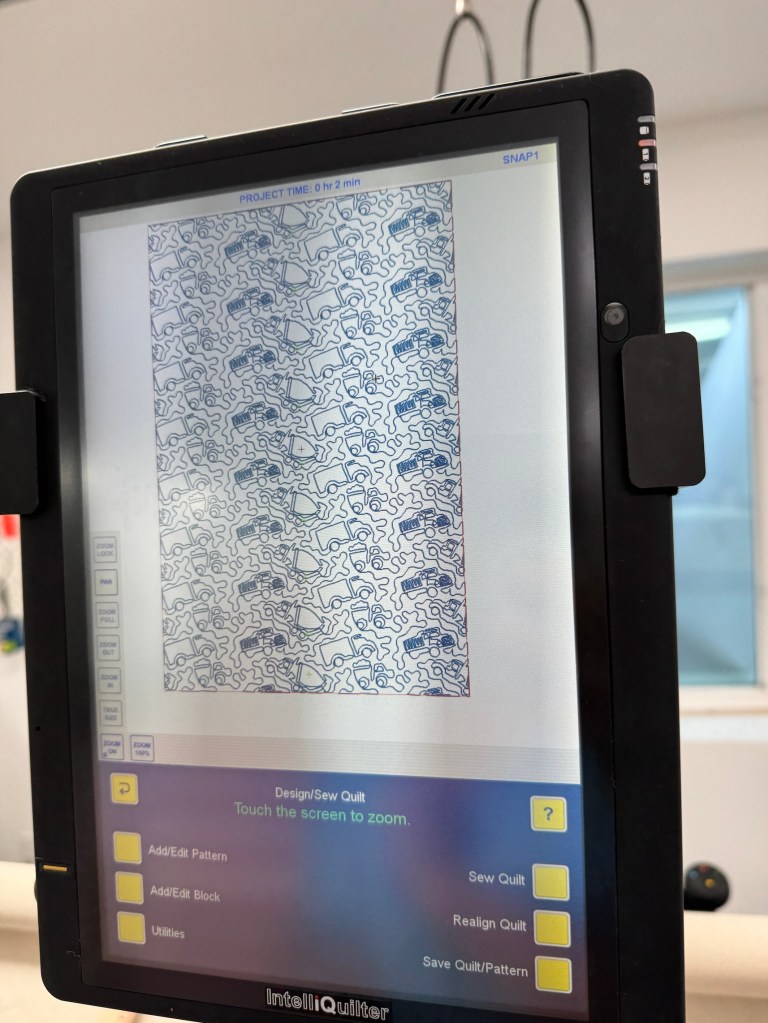
Then J, who is a professional longarmer, treated us to a “behind the scenes” of how a longarm machine is loaded, programmed (for pre-program stitch patterns), and monitored. Wow it’s a lot of work!
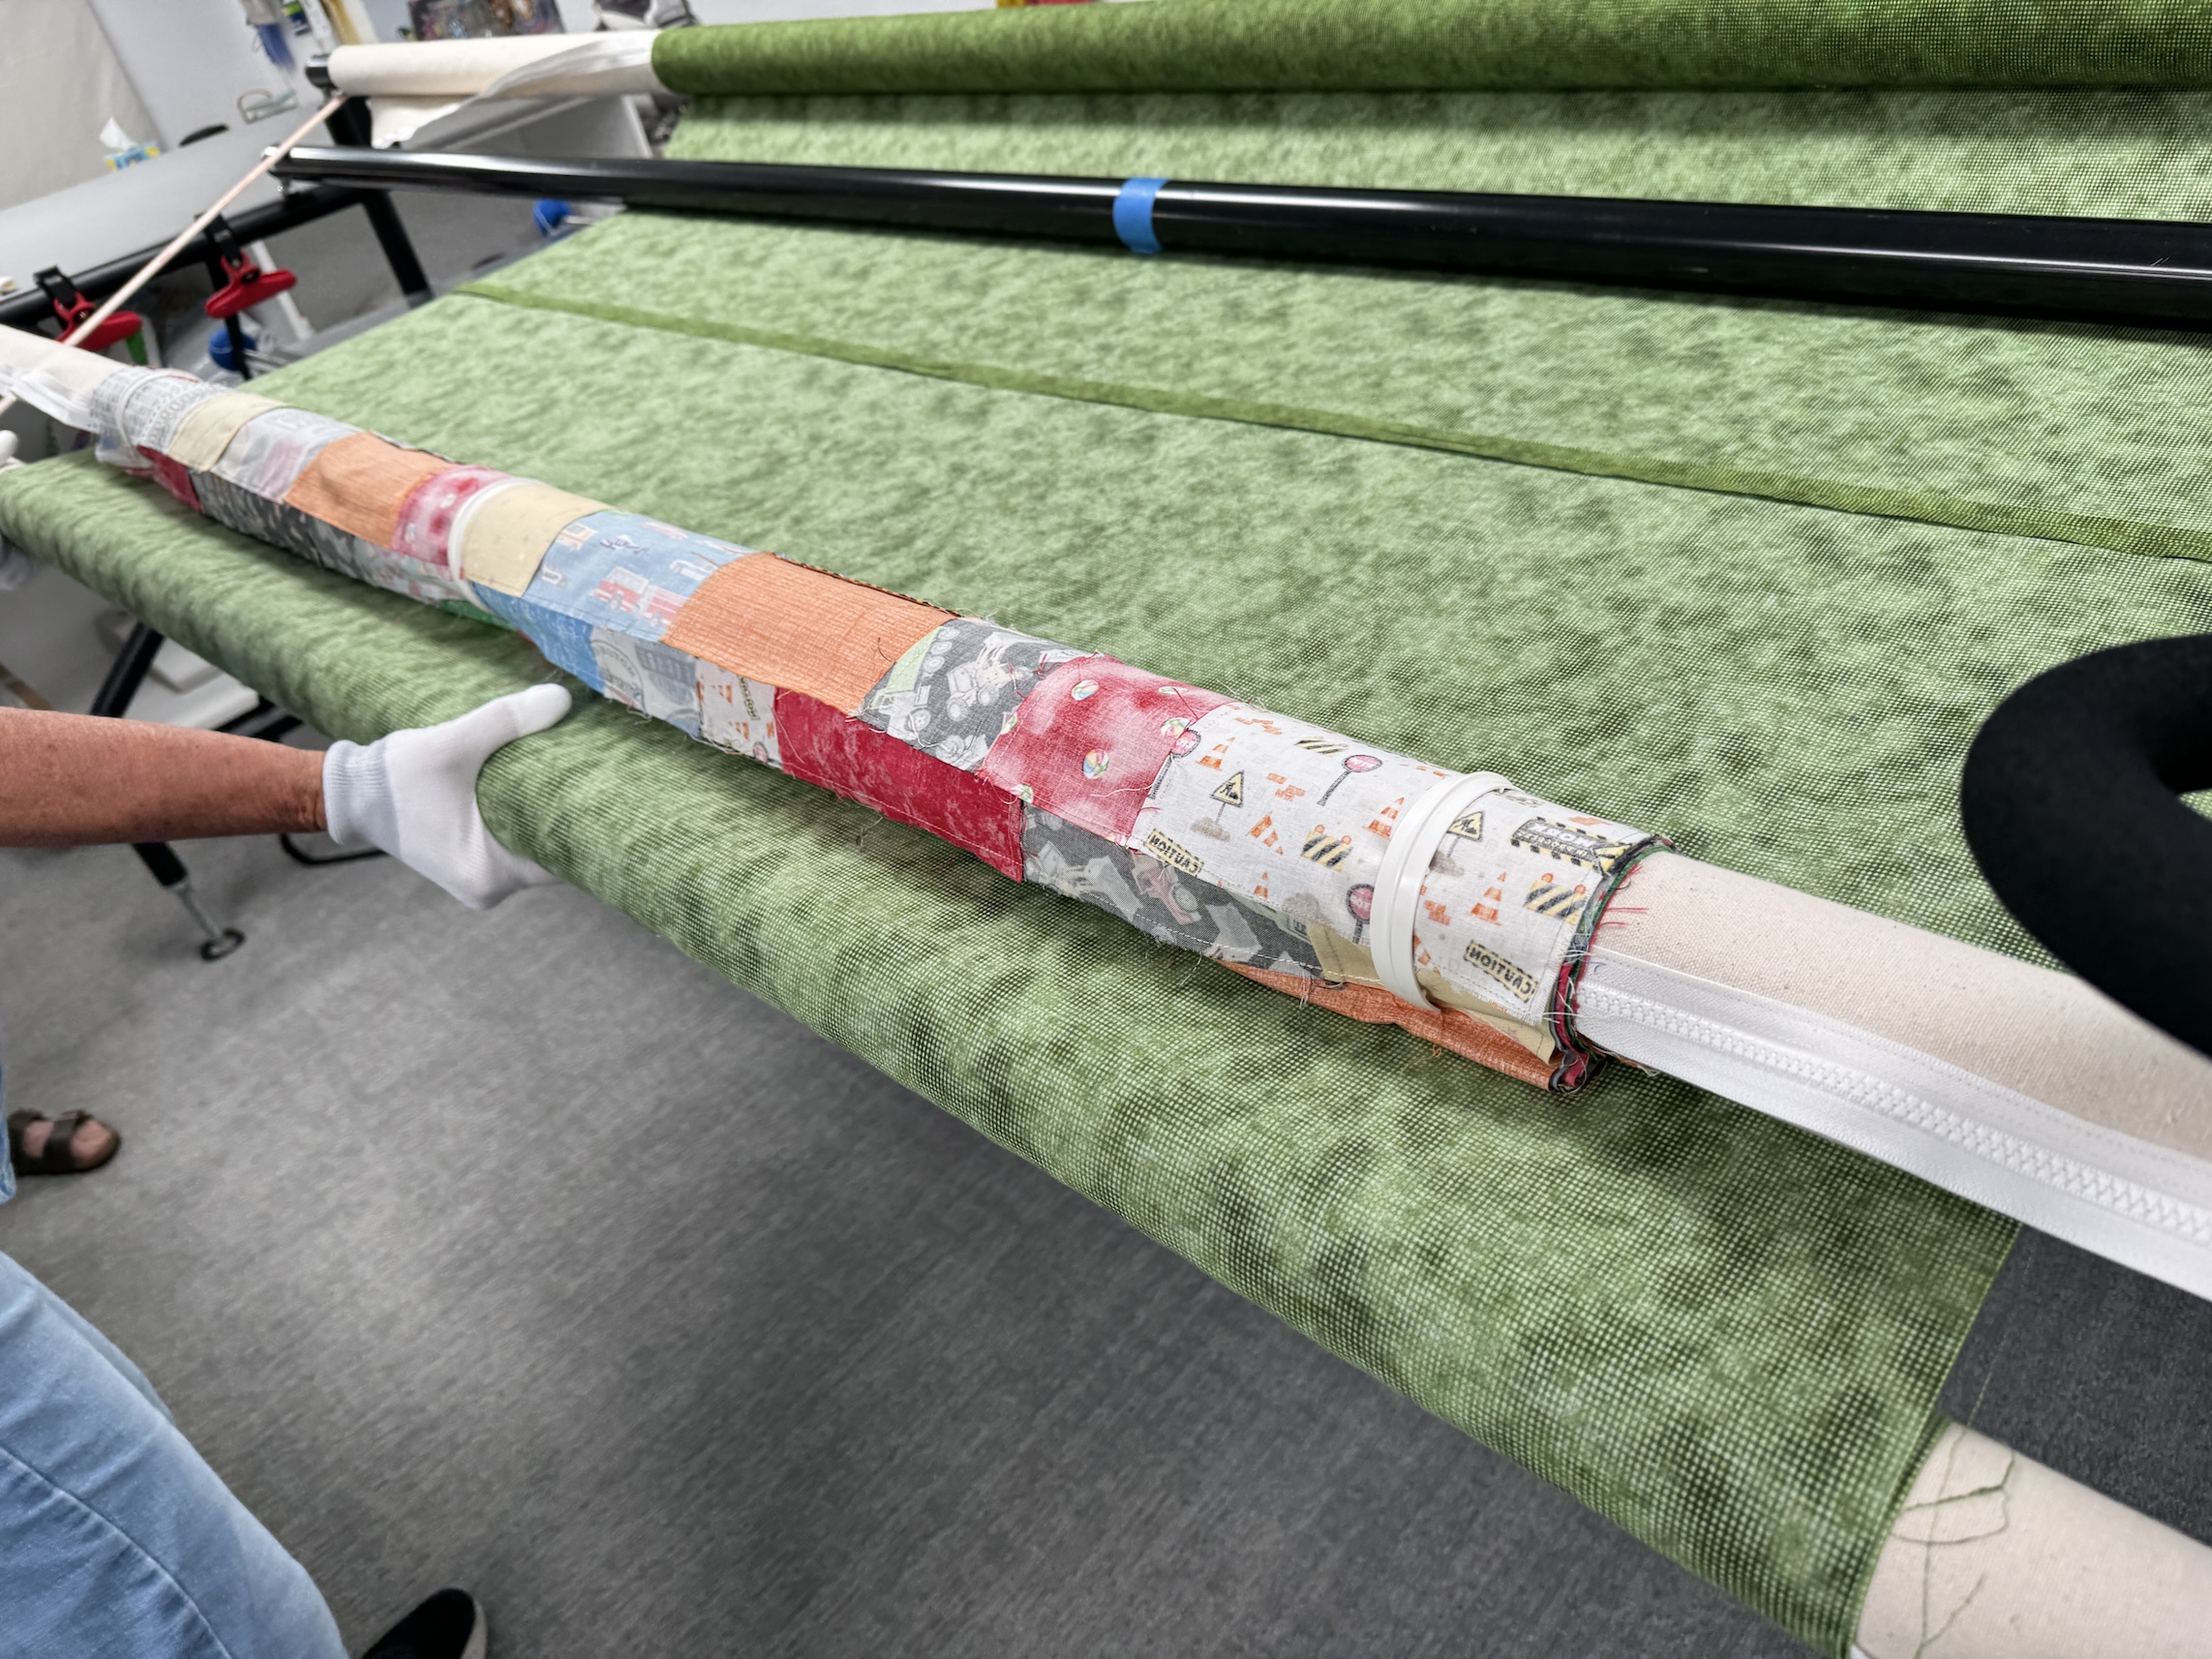
It is pretty physical – we saw J climb under her machine and check adjustments, etc. but first we were fascinated with how the quilt top is zippered onto the machine:
And all the physical work of aligning the quilt top and quilt backing; and adjusting:
J and D had selected a truck quilting pattern for the truck themed quilt! It was fascinating to see how the computerized longarm machine “read” the pattern and progressed with stitching it onto the quilt!
We peeked under the machine frame to see the underside of the stitching on the quilt back – the pattern really shows on the solid color of the backing:
(Watching the entire setting up a quilt to be longarm machine quilted really help me understand why longarm quilters request that your backing is at least 4 inches (some request more) beyond the size of your quilt top.)
At our next together I will see the completed quilt – and see the conclusion to the journey that J (who did most the teaching) and I went on with D! Then the 3 of us will decide what project is next and we might work on the same quilt (or maybe a bag) together during our future Quilter Playdates 🙂
At the end of July we met in J’s studio (she is my neighbor and I can walk over to her house – I now live in a community of quilters!) to continue to help D, a new quilter, make her first quilt.
This session was laying out the quilt on the design wall! D had pieced all her blocks and it was time to find a layout. I won’t clog up this post with photos of all the different versions we worked through but here is the final version (to my knowledge unless she went home and changed it):
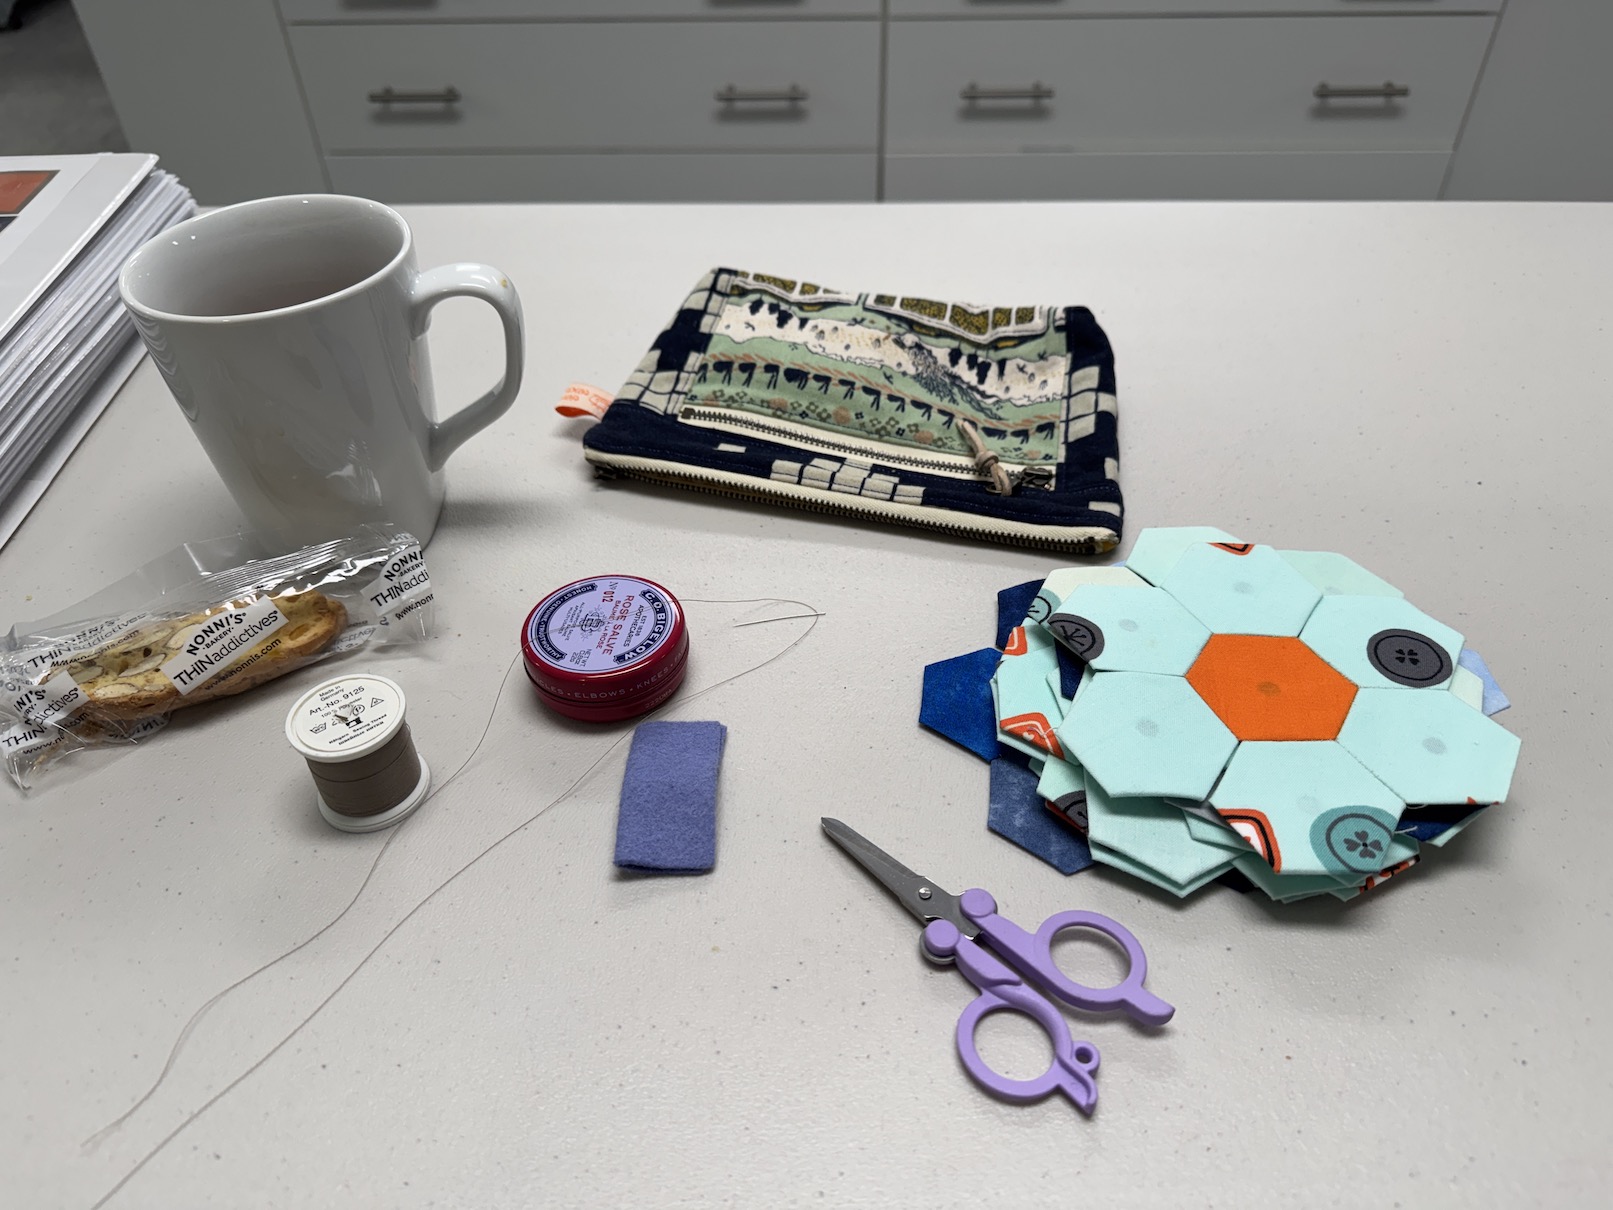
I worked on my EPP project (hand sewing the rest of the rosette hexagon sides together) during our get together:
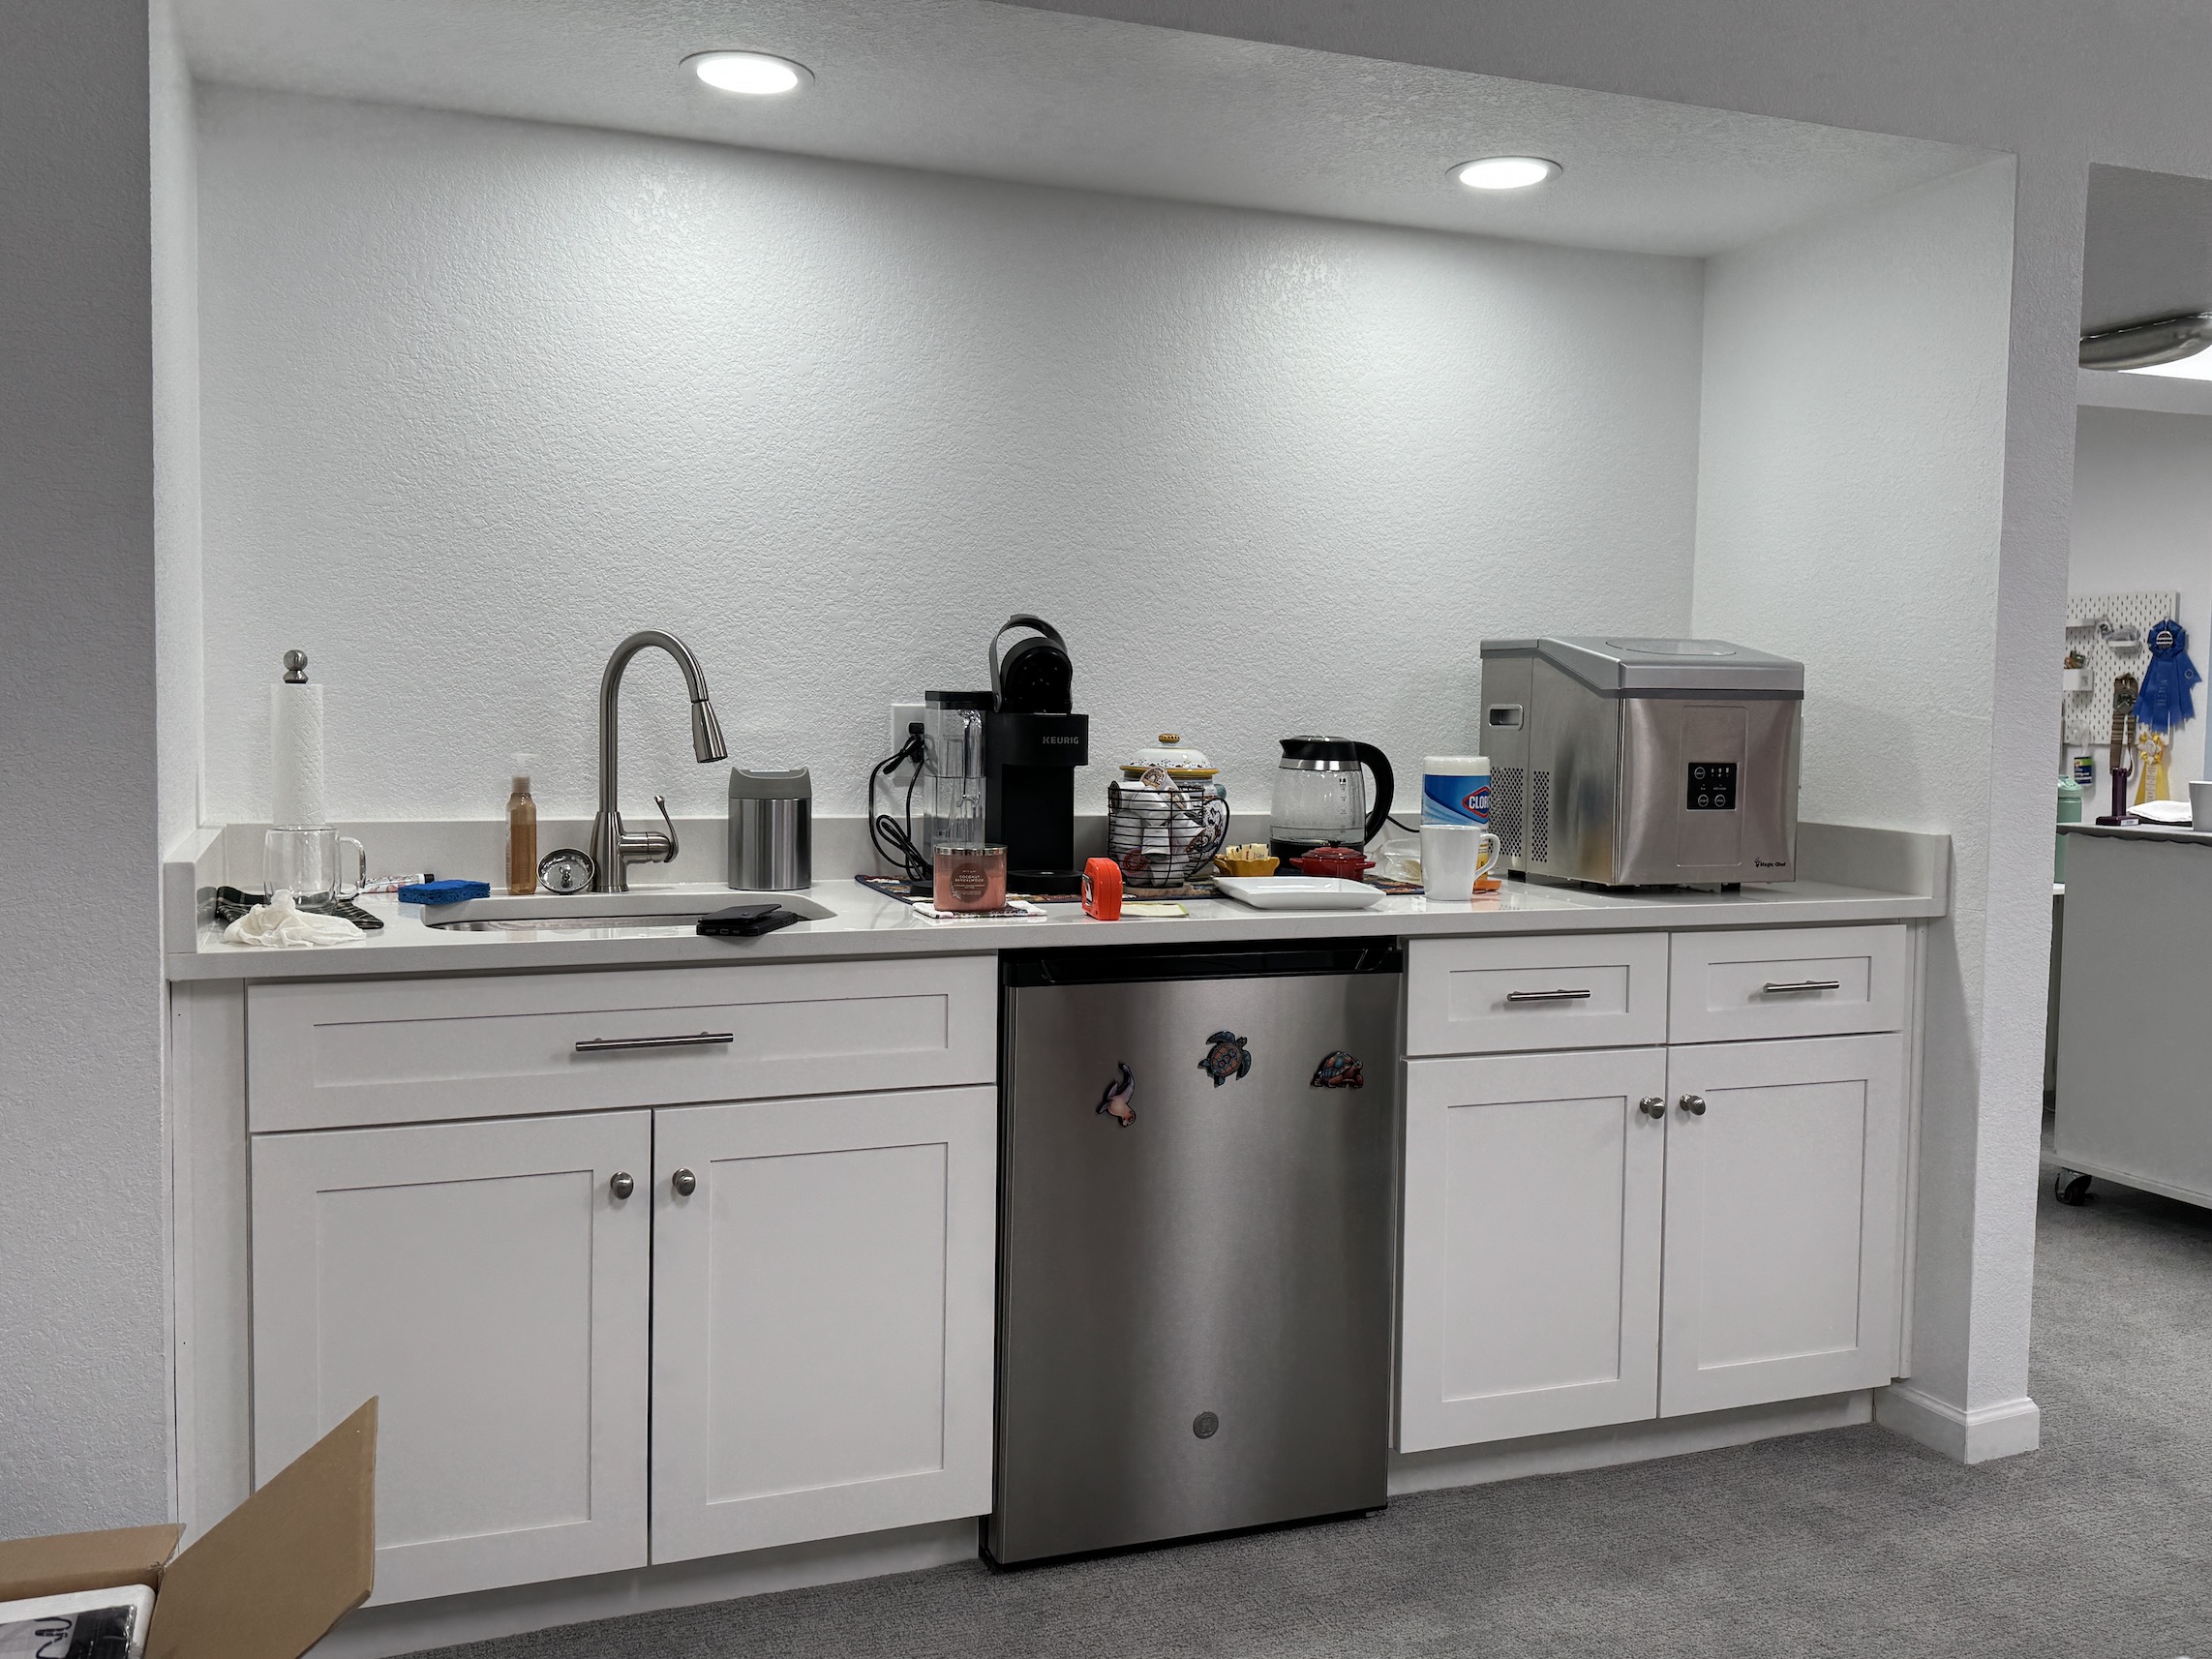
D was so sweet and had gifted J a brand new ice maker that she bought a couple years ago and never used. J had been wanting an ice maker for her little kitchenette in her studio (for a tour of J’s studio where we are meeting see my post Project Linus Mini Retreat, Part II):
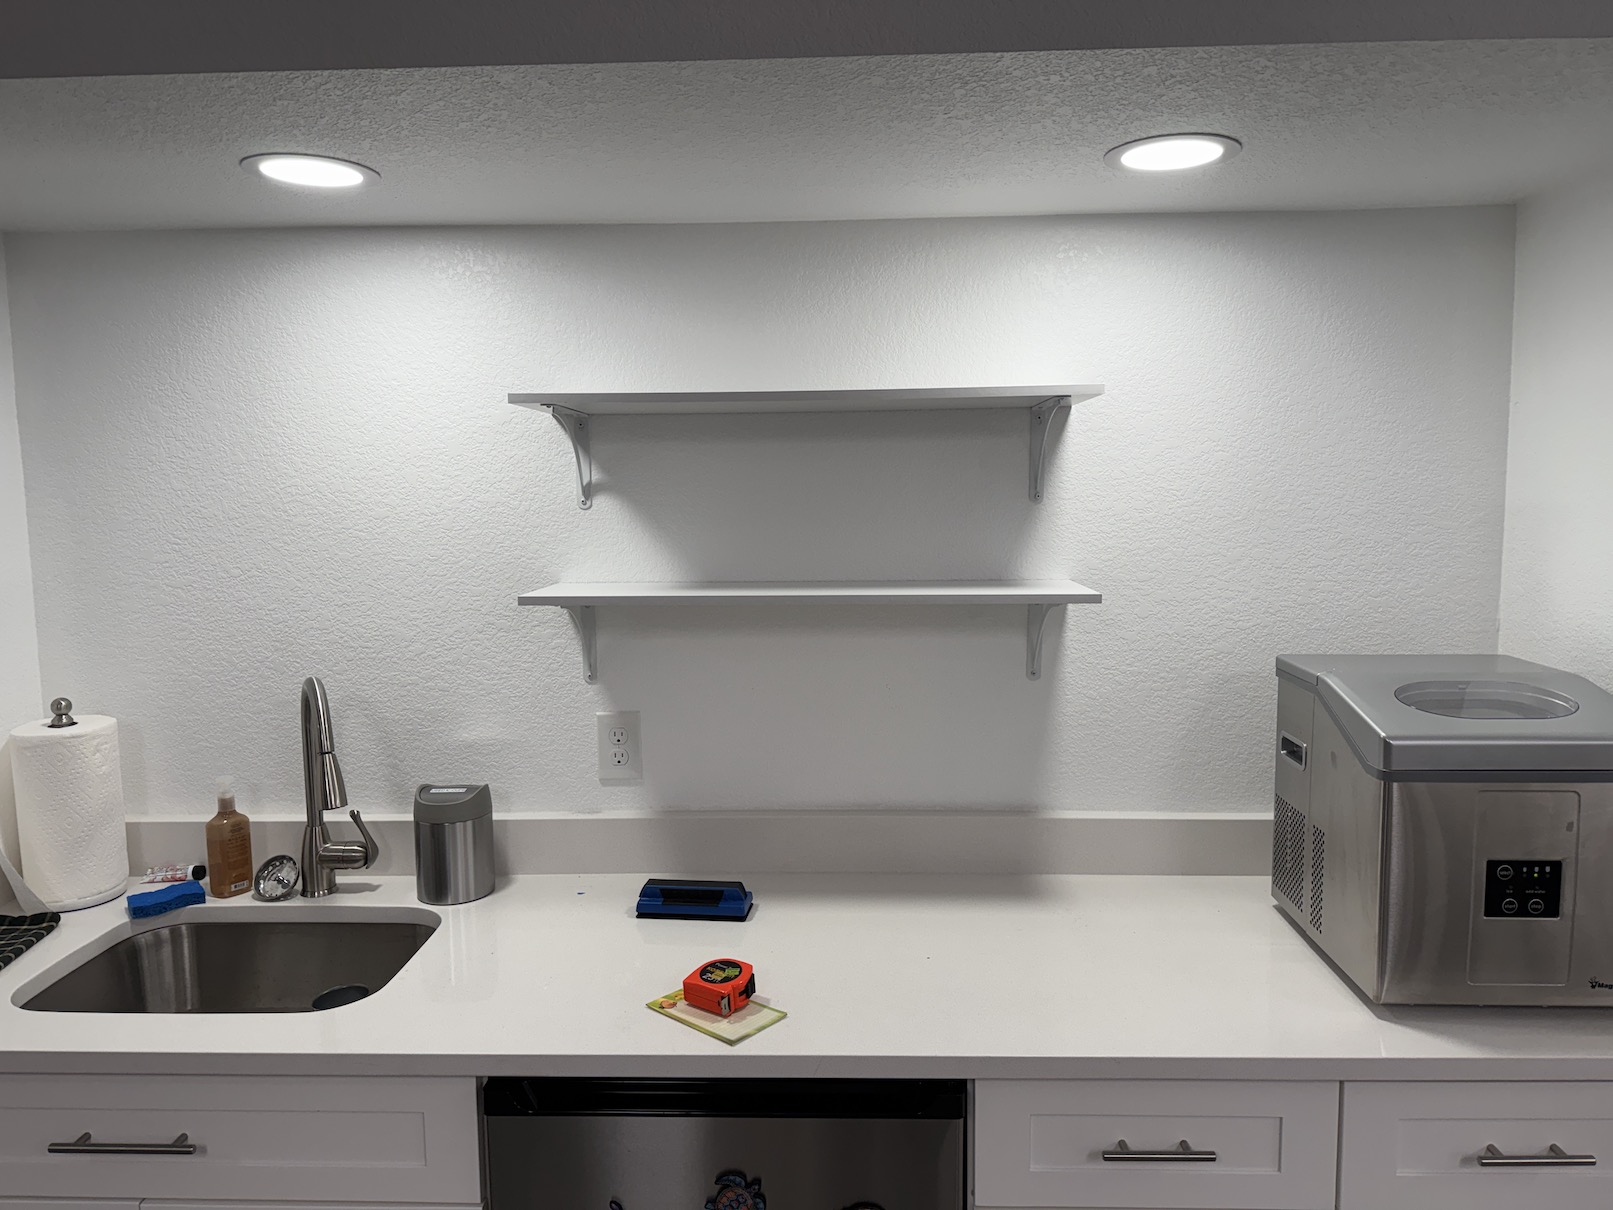
J mentioned she wanted to add some shelves to this area so she could get tea and coffee supplies off the counter, etc. So I decided to call my husband John and see if he would pop over and install some shelves!
And he did!
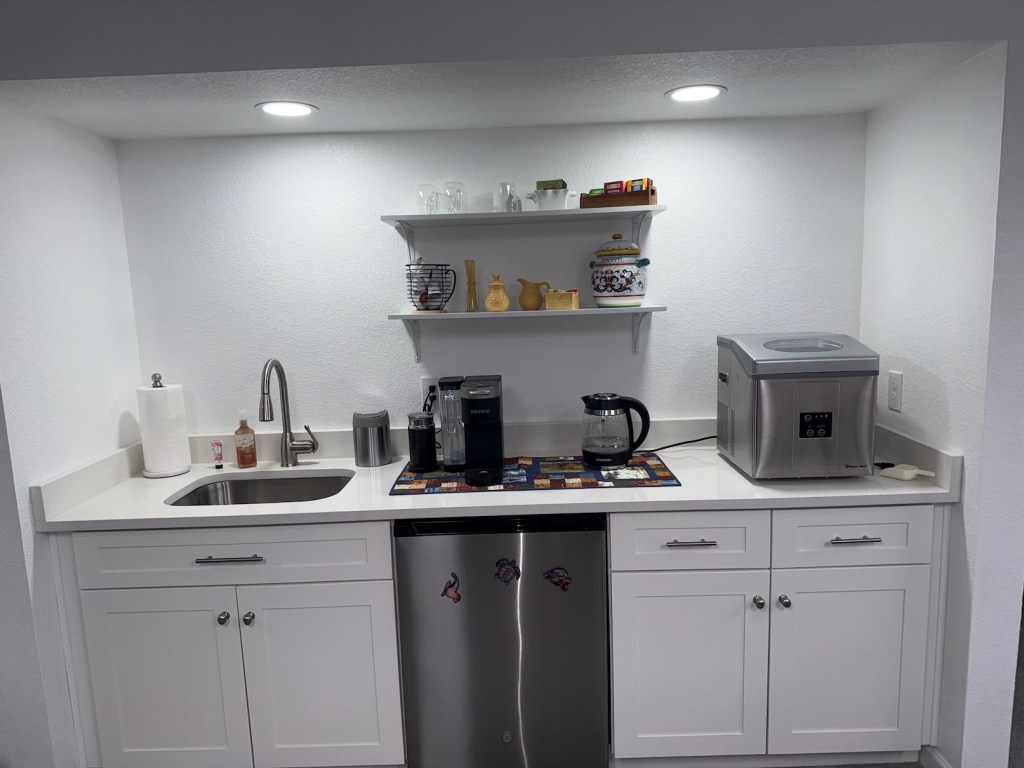
J later sent me photos of how the area looked after she organized her coffee/tea service:
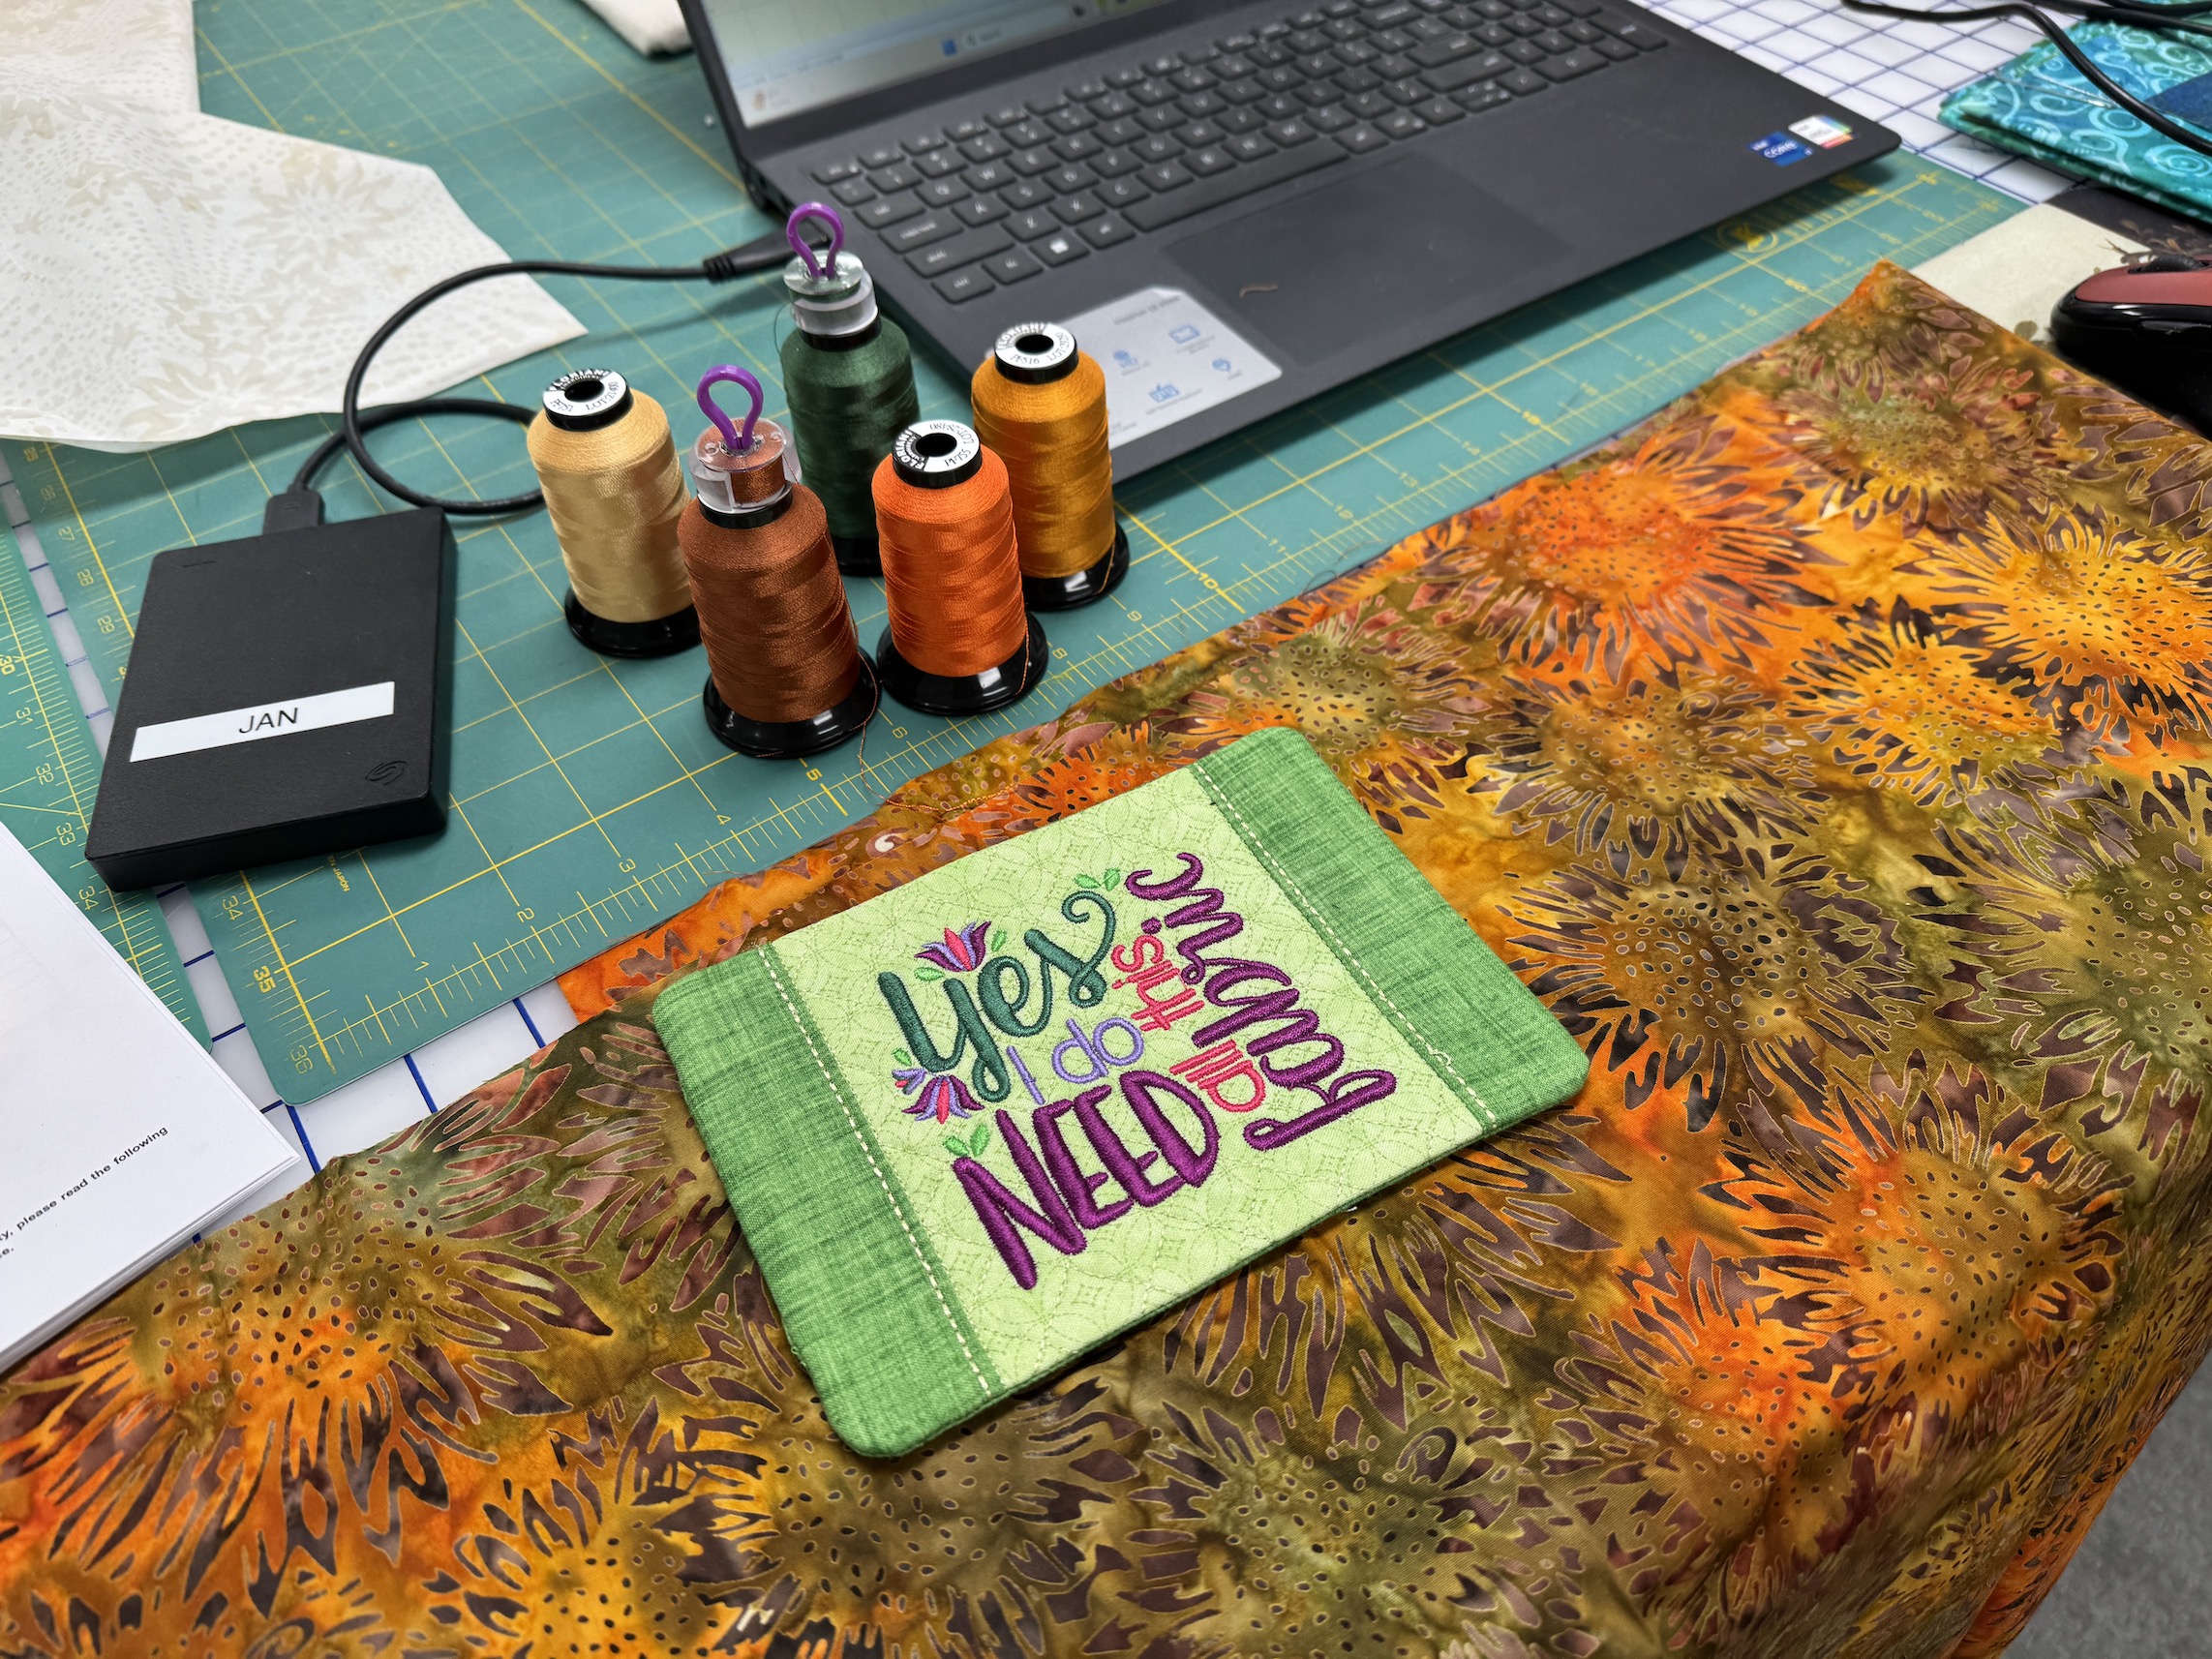
I am in love with embroidered coasters with cute sayings, my wonderful friend K has gifted me several over the years; and J as a gift for getting John to come over and put up shelves in her studio made me one in a saying I selected.
I choose this one that she already had in her studio:
It was fun select the fabrics and threads and then watch her amazing embroidery machine create it!
I think we are getting together again this Friday so I will get to see D’s first quilt all sewn together!
I am back dating this post as I’ve been distracted with life and did not post as much as I would have liked to in July. So perhaps you will see more posts for me in August…perhaps 😉
Starting in June, my friend J and I have been helping a new quilter D learn to make her first quilt (for her baby grandson). J, who I think has been quilting since birth, ha, is taking the lead on teaching and I am tagging along and offering occasionally useful advice from my 25 years of quilting experience.
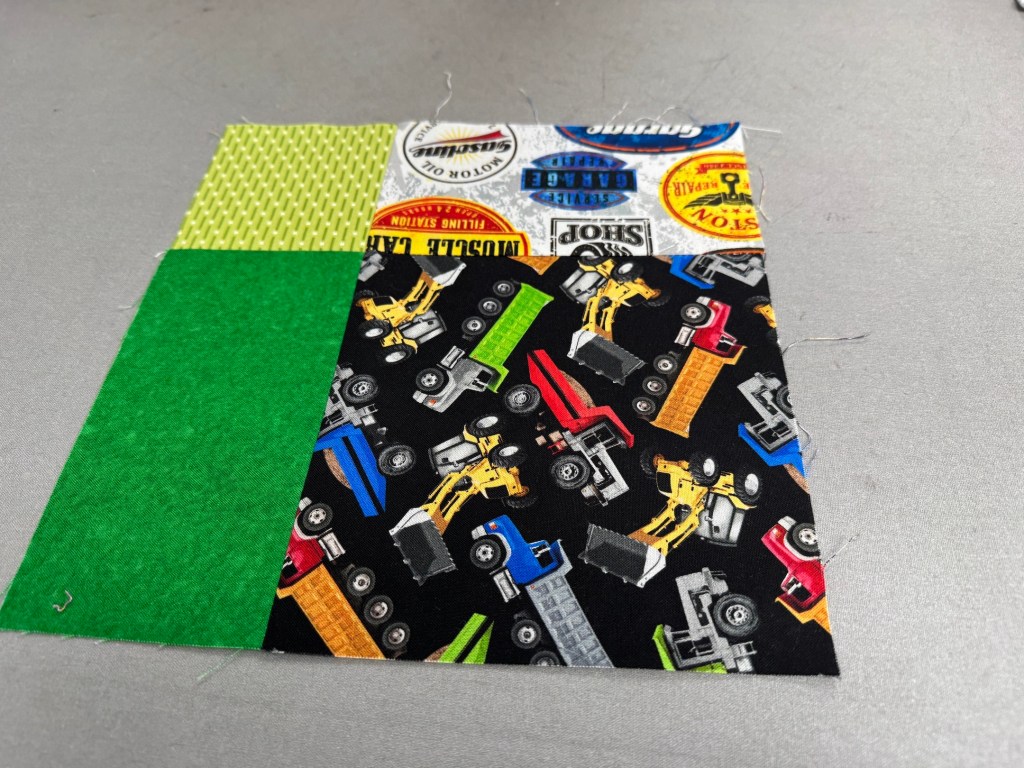
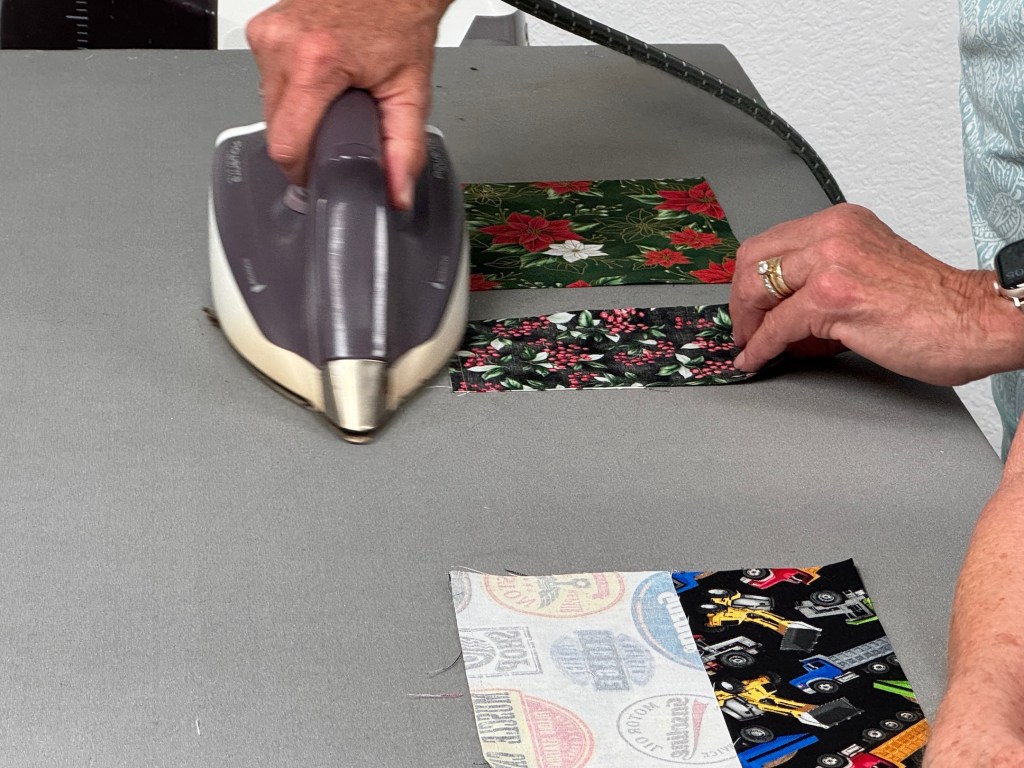
It all began with taking D on her first quilt shop hop (see post Taking a New Quilter on Her First “Shop Hop”) where she learned to select fabrics for a quilt and get yardage cut; then she learned how to rotary cut; and a couple weeks ago she learned how to piece, press/iron, and even chain piece her blocks together.
Here are some photos from that session:
Here is J demonstrating chain piecing (she is working on the same quilt in Christmas fabrics to create examples for D as she progresses):
I love chain piecing and I always laugh when my chain of pieced blocks gets eventually wrapped around my leg/ankle – ha!
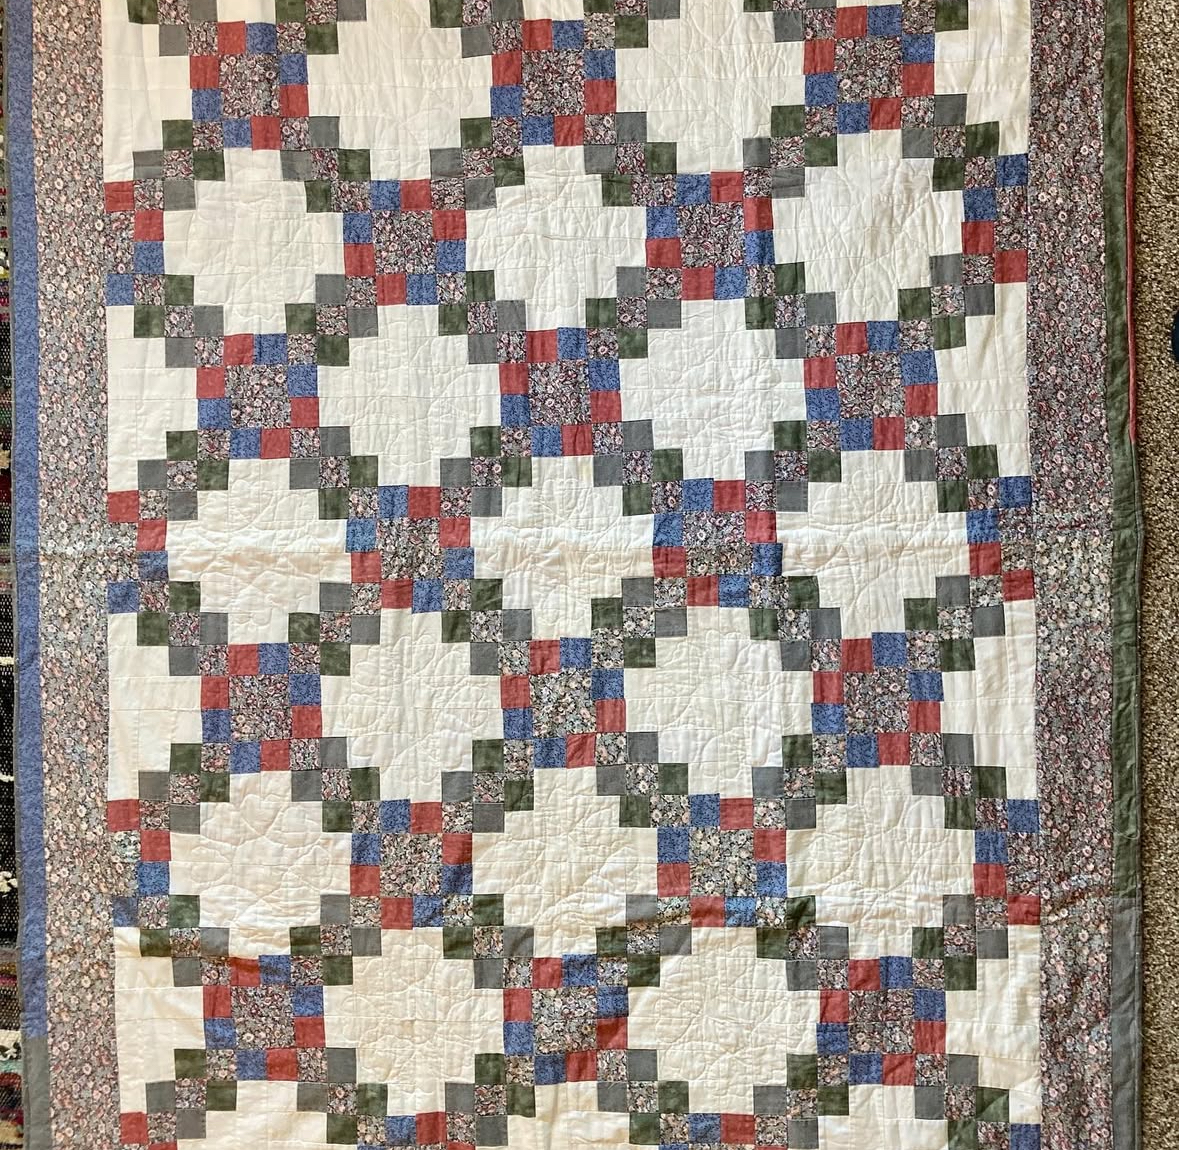
It is really cool to be part of seeing a new quilter make her first quilt. I remember when I made my first quilt 25 years ago (I used to think I made it in 1999 but I figured out it was 2000). My first quilt was a traditional “Irish Chain’ pattern, here is a photo I found recently as I was cleaning up old photos:
Weird thing – I no longer have this quilt and I am not sure what I did with it! But I remember taking a nap under it after finishing it and being so pleased!
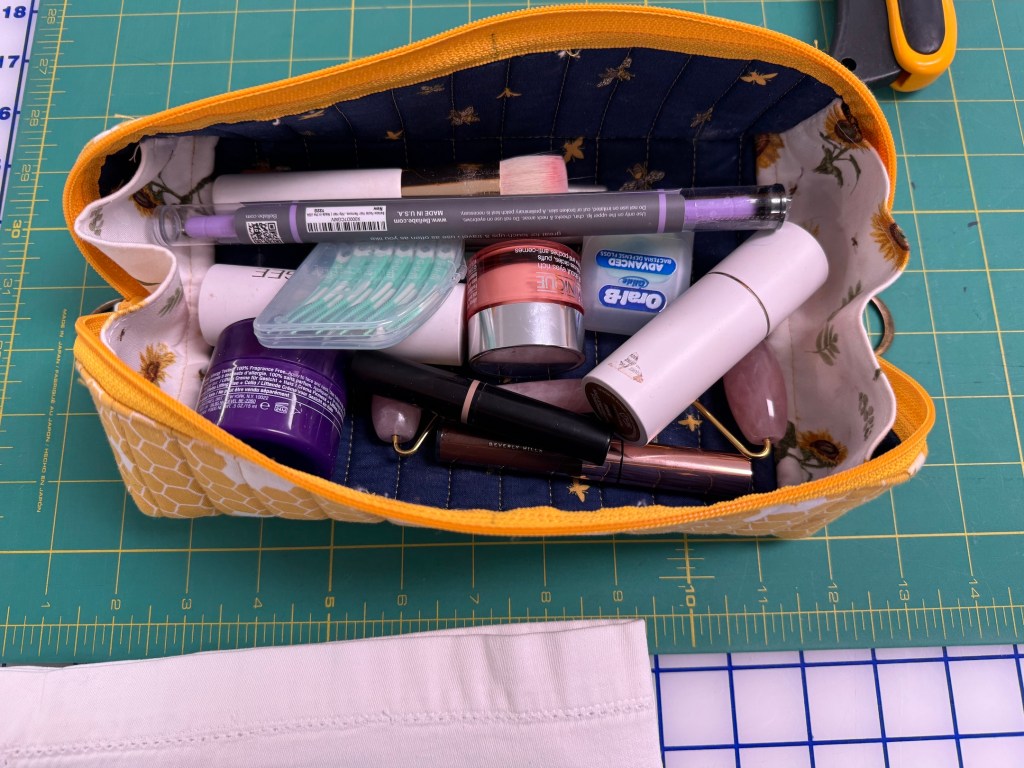
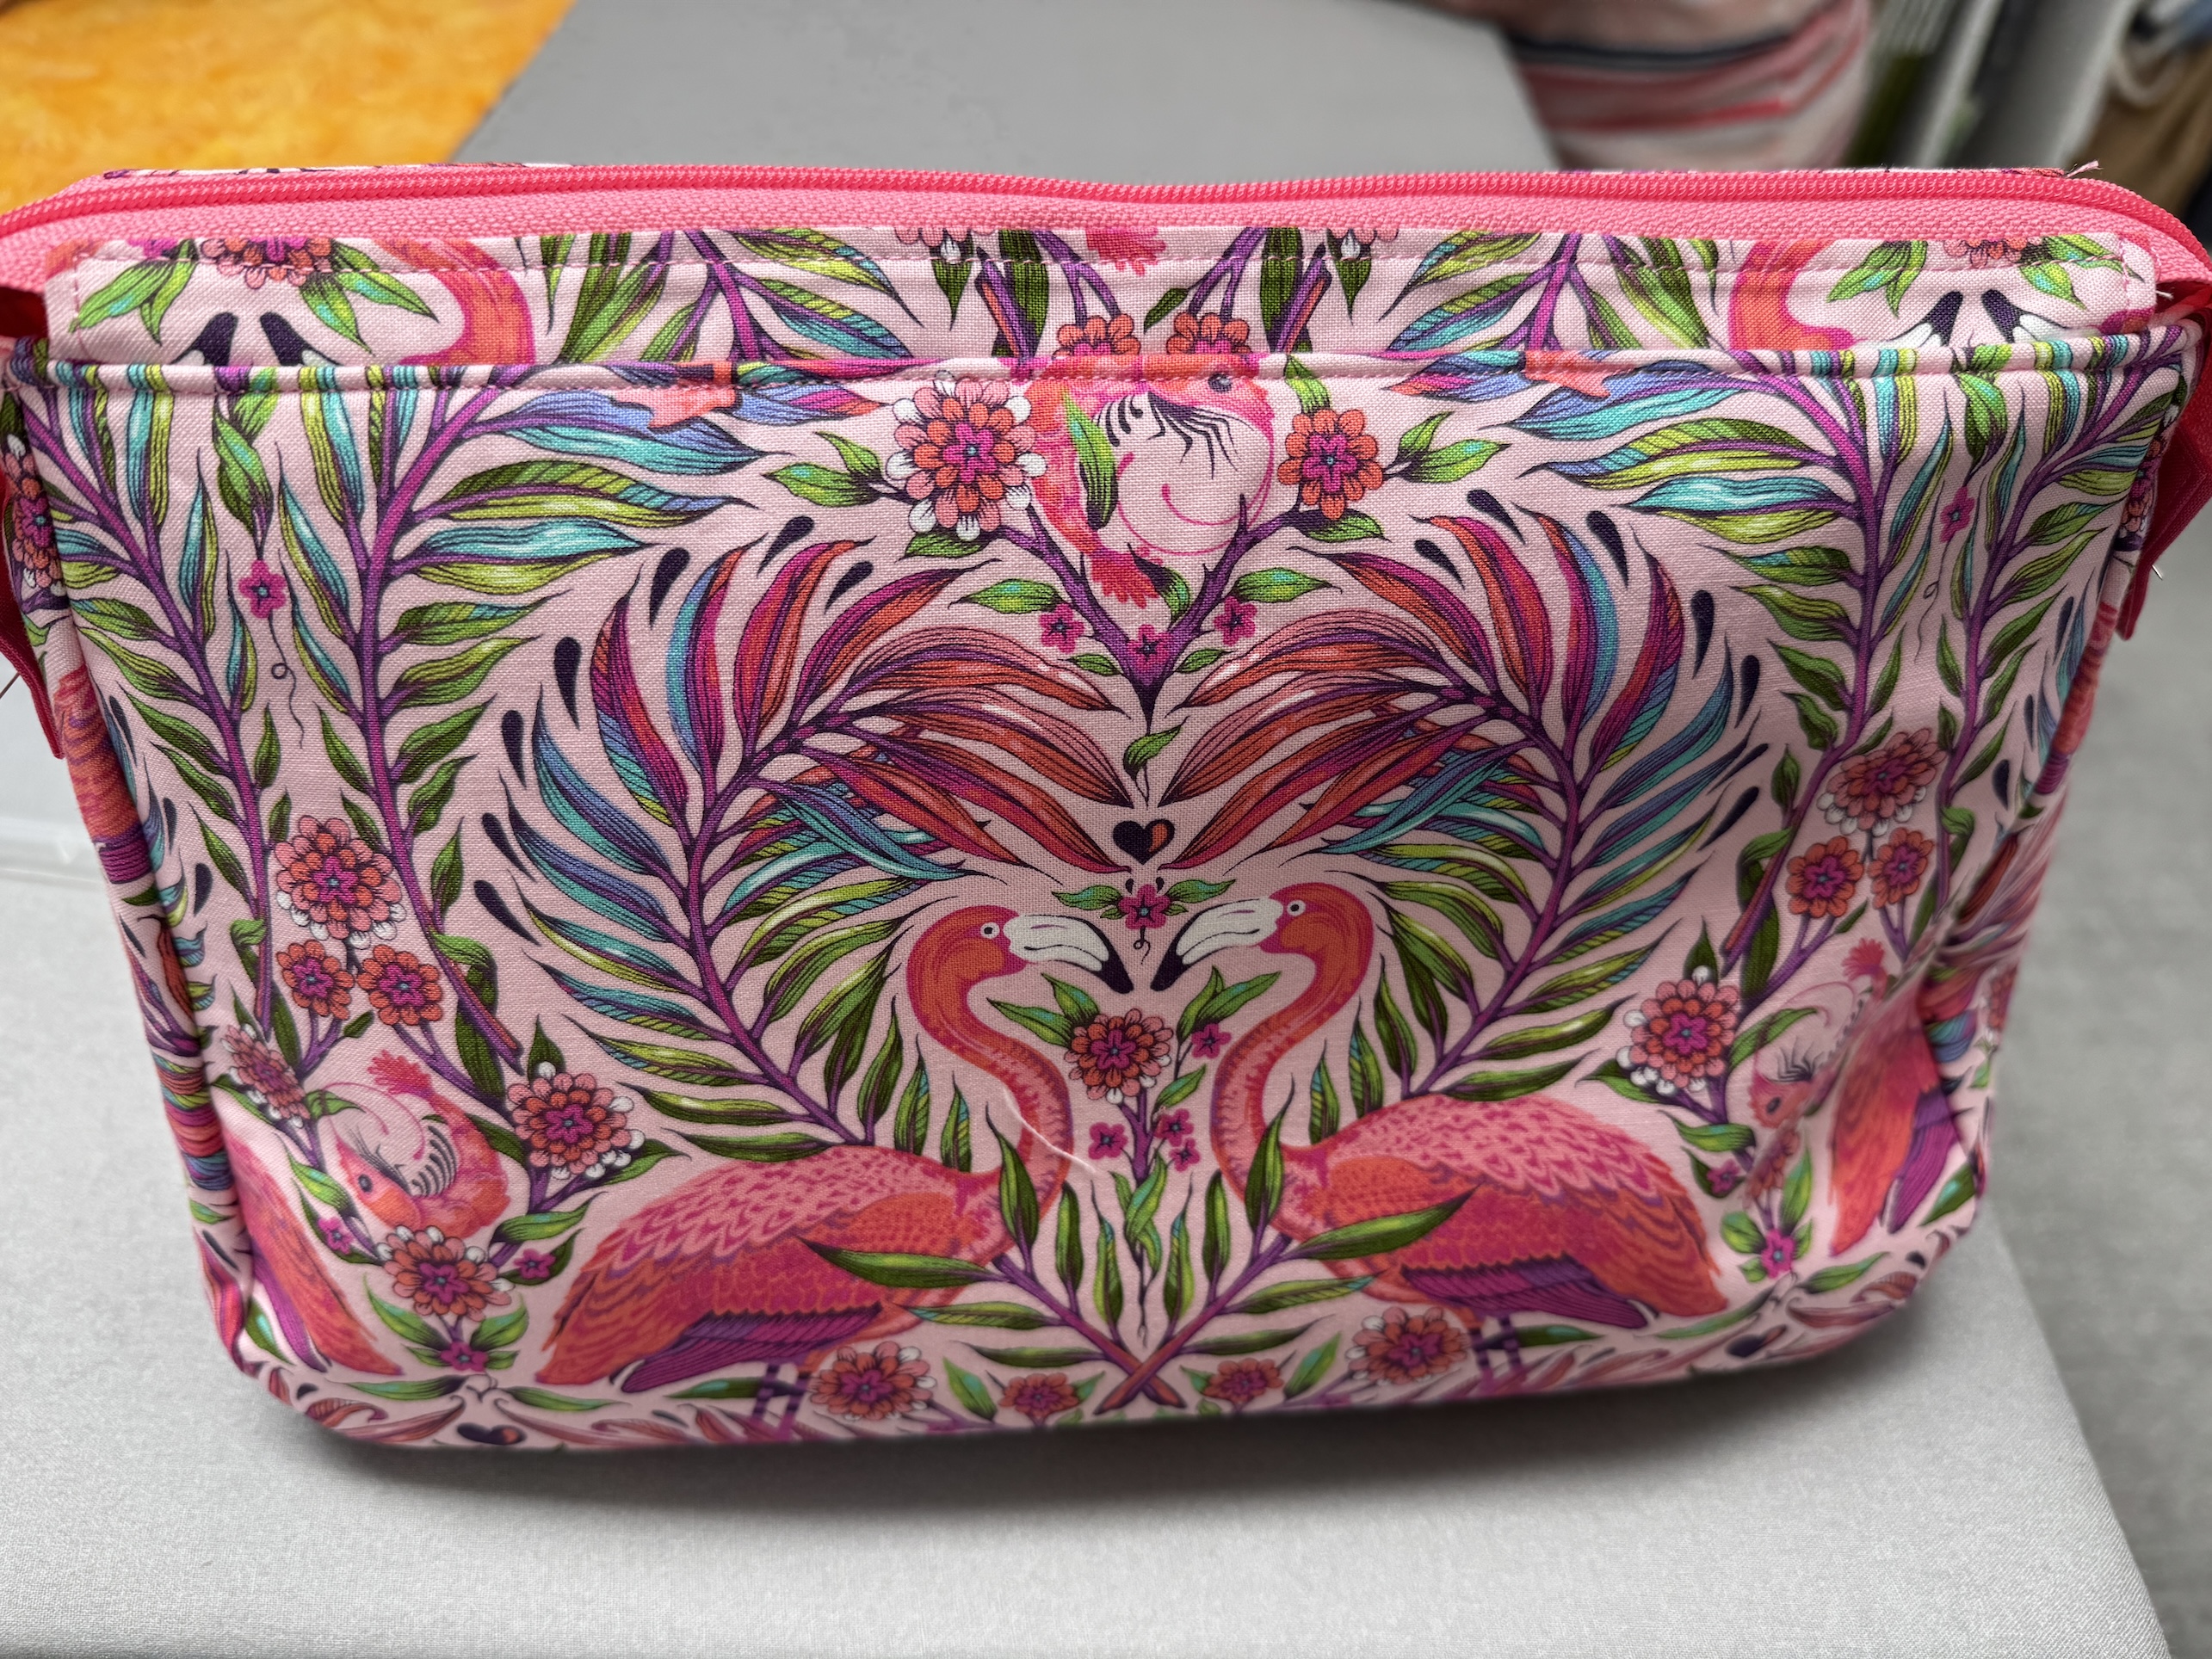
J showed us this cool little bag that she made for her daughter and granddaughter using a By Annie Pattern and we might get together with D the new quilter and do some bag making after she finishes her first quilt.
D is an experienced seamstress so she is very comfortable with a sewing machine. That has greatly helped her while working on her first quilt.
As I mentioned in the post Taking a New Quilter on Her First “Shop Hop” my friend J who I met in my new neighborhood at the community quilt group, is helping a new quilter D make her first quilt and I am tagging along (and occasionally being helpful as an experienced quilter).
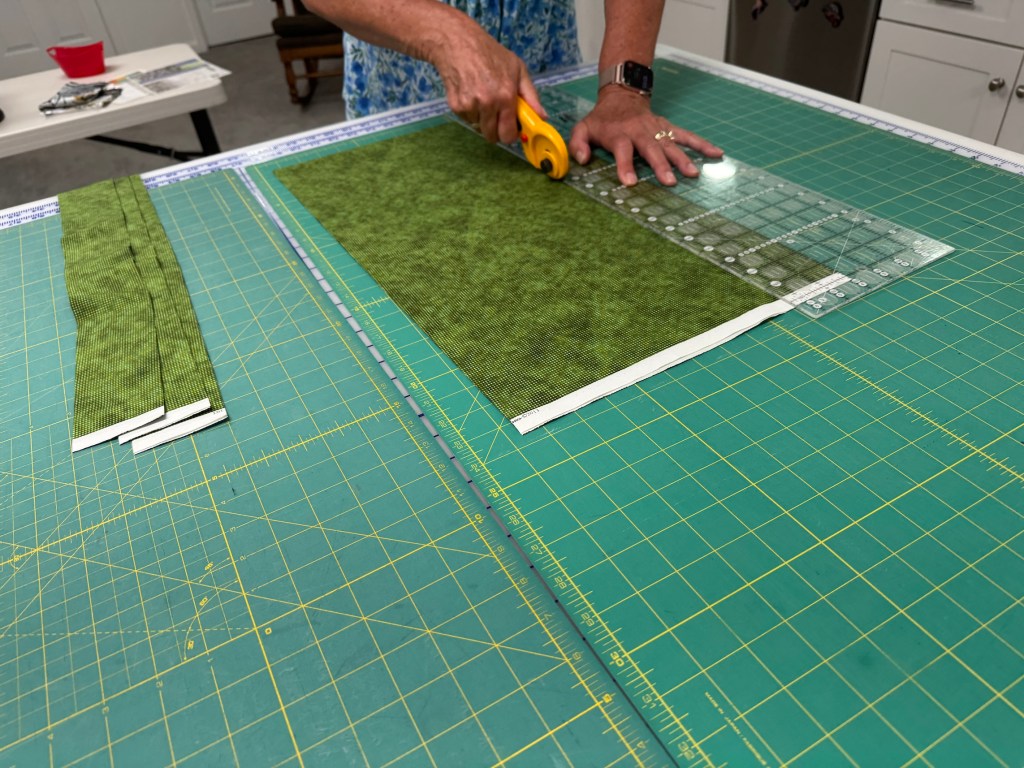
Today we met up for a “quilters playdate” at J’s studio (which I featured in the post Project Linus Mini Retreat, Part II) and J taught D how to use a rotary cutter to cut her fabric into the sizes required for the pattern.
D made great progress on cutting her fabrics out with a rotary cutter for the first time:
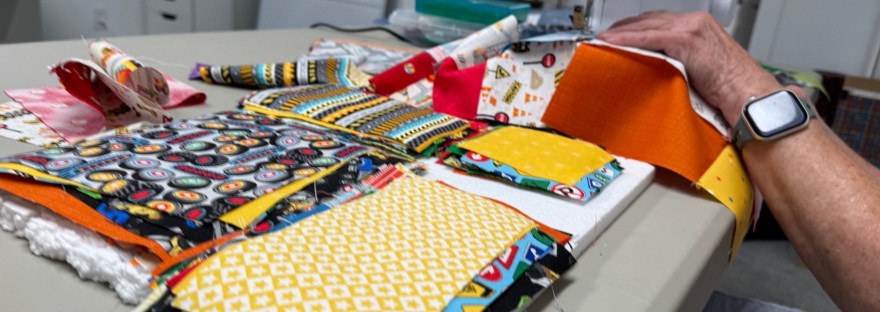
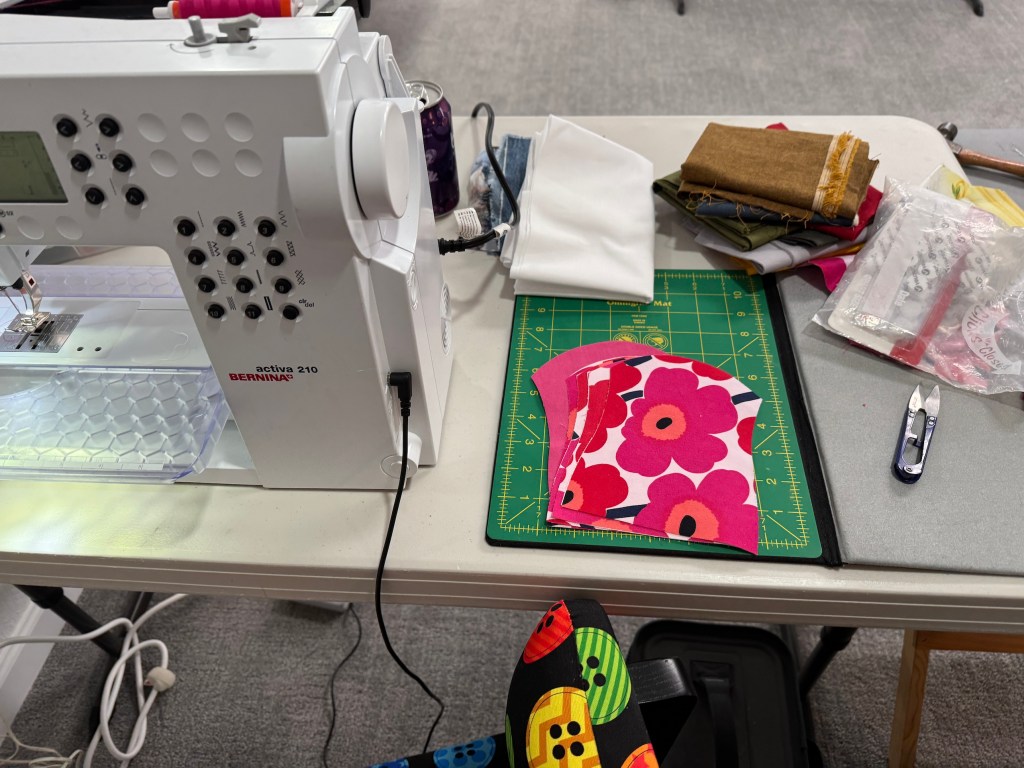
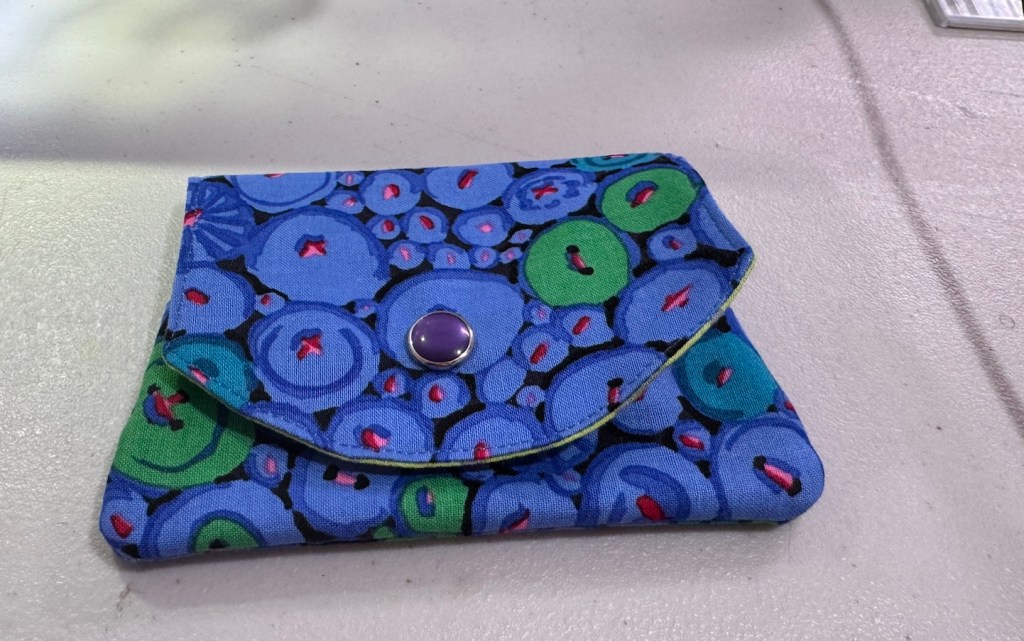
While I worked on making some little wallets as something easy to work on while I visited with the group:
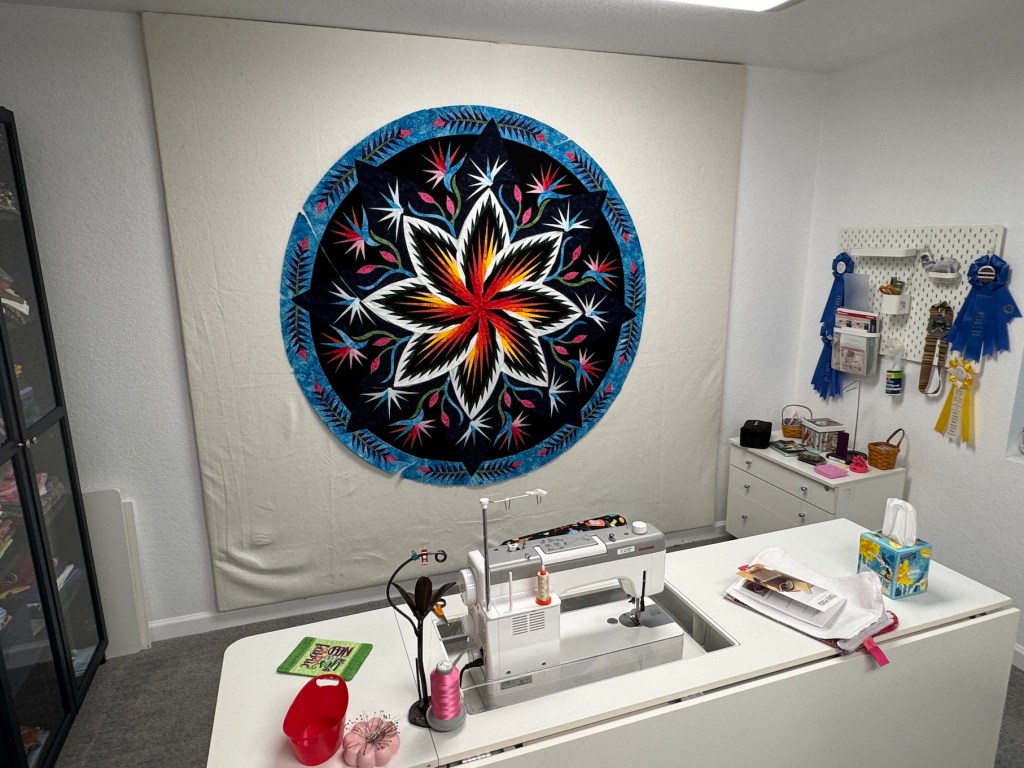
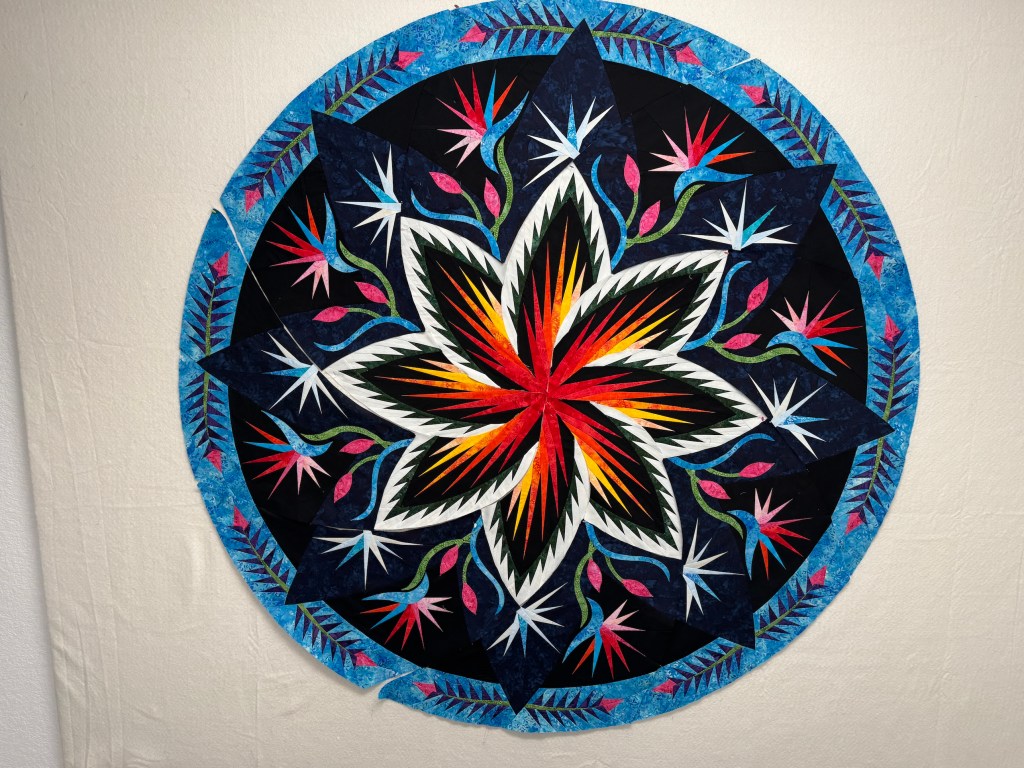
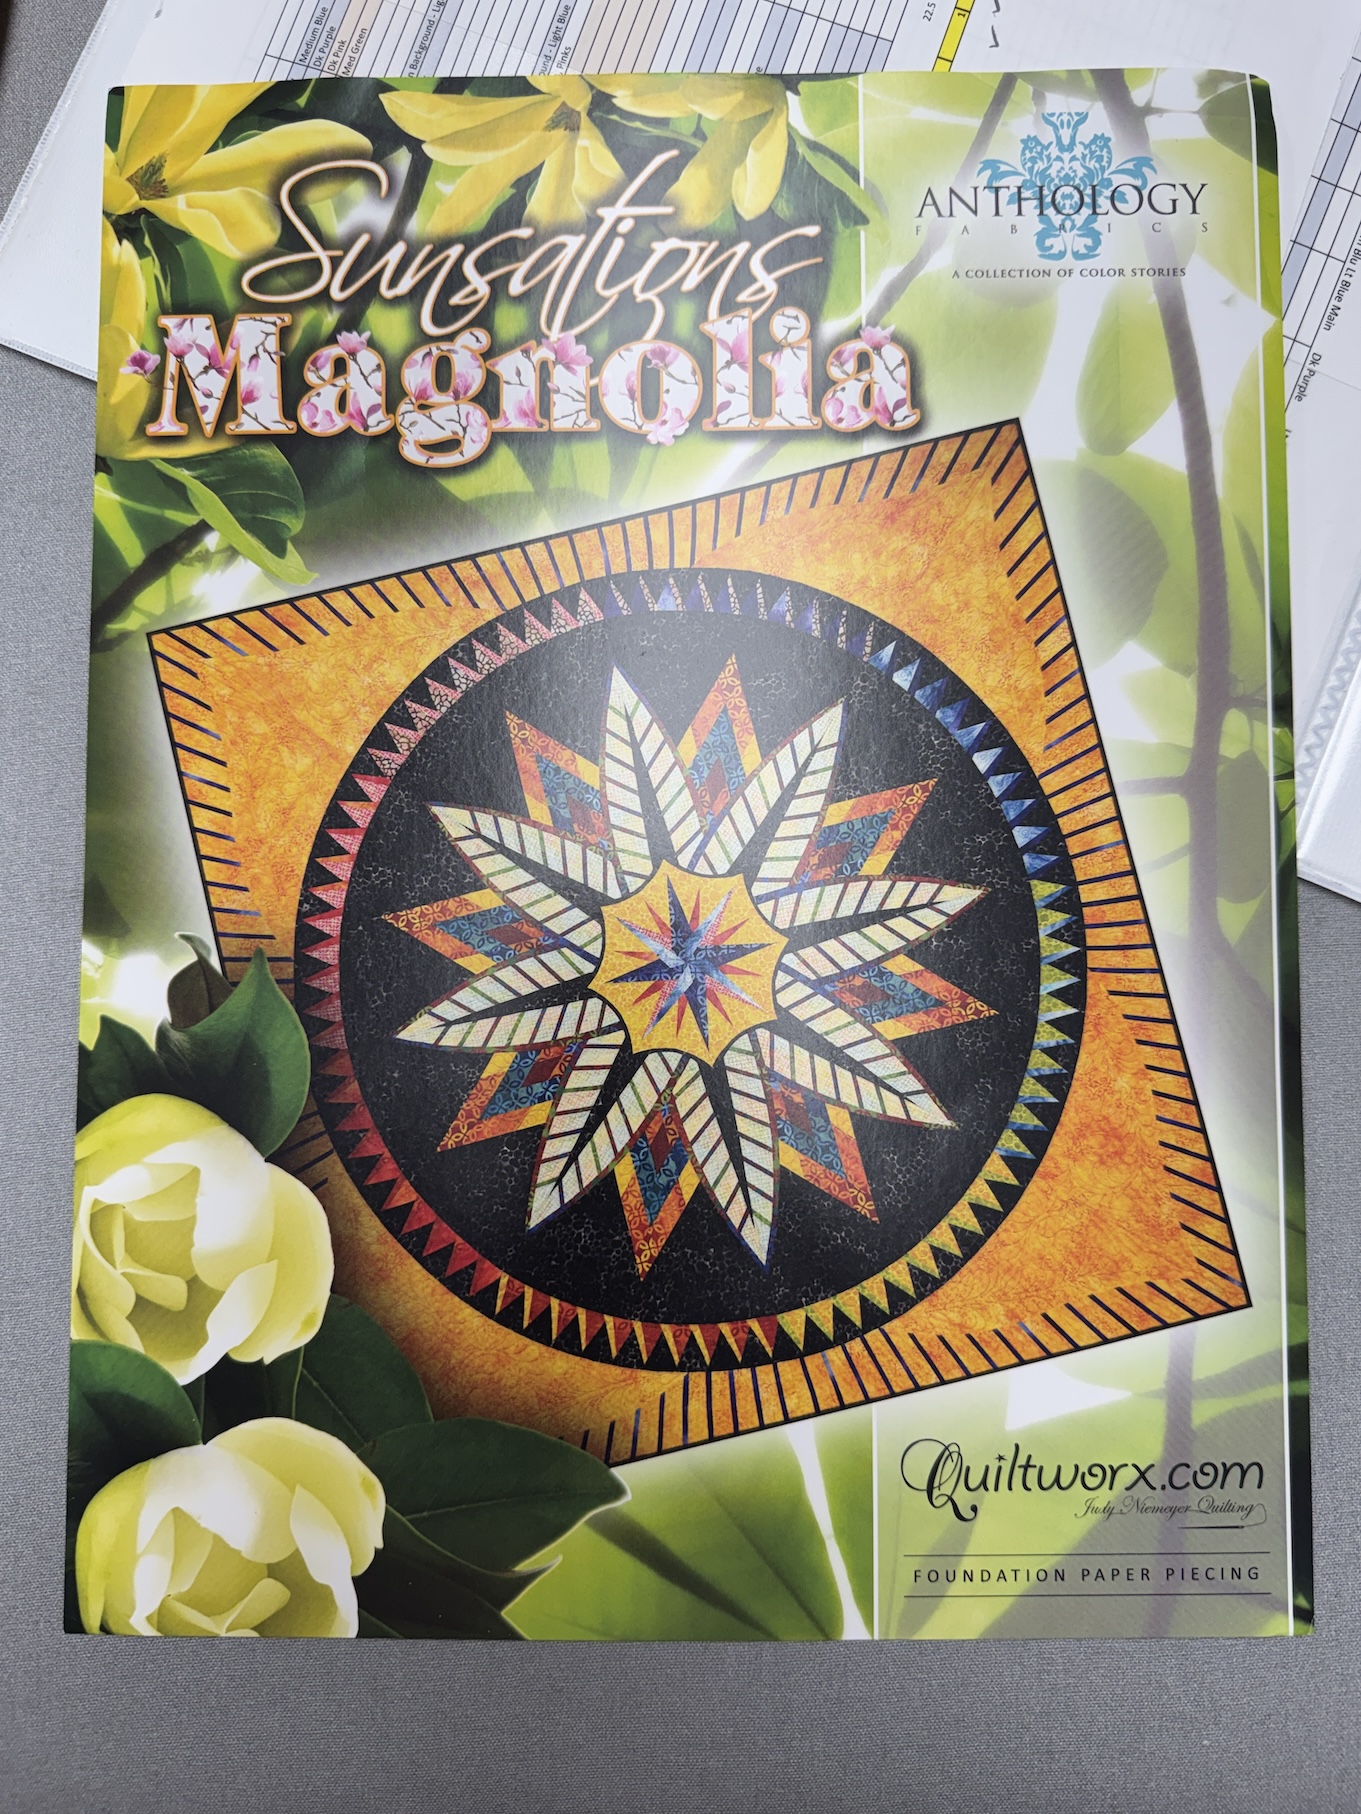
She also showed us on her design wall is amazing and complex Judy Niemeyer pattern she was working on (pattern piecing and applique!):
I am intimidated!
J is a Judy Niemeyer pattern expert, has taking many classes from her; and made many of her complex paper piecing quilts. J was even selected to longarm machine quilt one of the cover quilts for one of Judy Niemeyer’s pattern booklets!
She thinks I should make one someday…
I’m just trying to get through my English Paper Piecing quilt from heck!
But I do have the pattern for the Plover Pouch and will make that one someday 🙂
The three of us are meeting again next Friday to teach D how to sew a quarter inch seam to piece her quilt together. J will be doing most the teaching and I will provide moral support!
I’m not sure if our day qualified as a “Quilt Shop Hop” since we only visited two quilt shops (the day got away from us) but on Friday I headed with two other quilters to Loveland and Longmont, Coloradofor a day of quilt shop hopping, tasty treats/food, and a yarn shop.
My new community has a quilting group that meets monthly and I have new quilting friends in my life now! One of our members D is a brand new quilter (though she is a very experienced seamstress) and my buddy J and I decided we should take her on her first quilt shop hop to help her select fabric for her first quilt that she is making for her newborn grandson.
Now if you are a quilter, you know experienced quilters LOVE to get in other quilters “business” (ha!) and help them choose fabric for a quilt (just visit any quilt shop and you will see this is action).
So J (who has been quilting since birth I think) and I (since 1999) couldn’t wait for this road trip. Luckily D was of good humor and appreciated (being bossed around) the help to select fabrics!
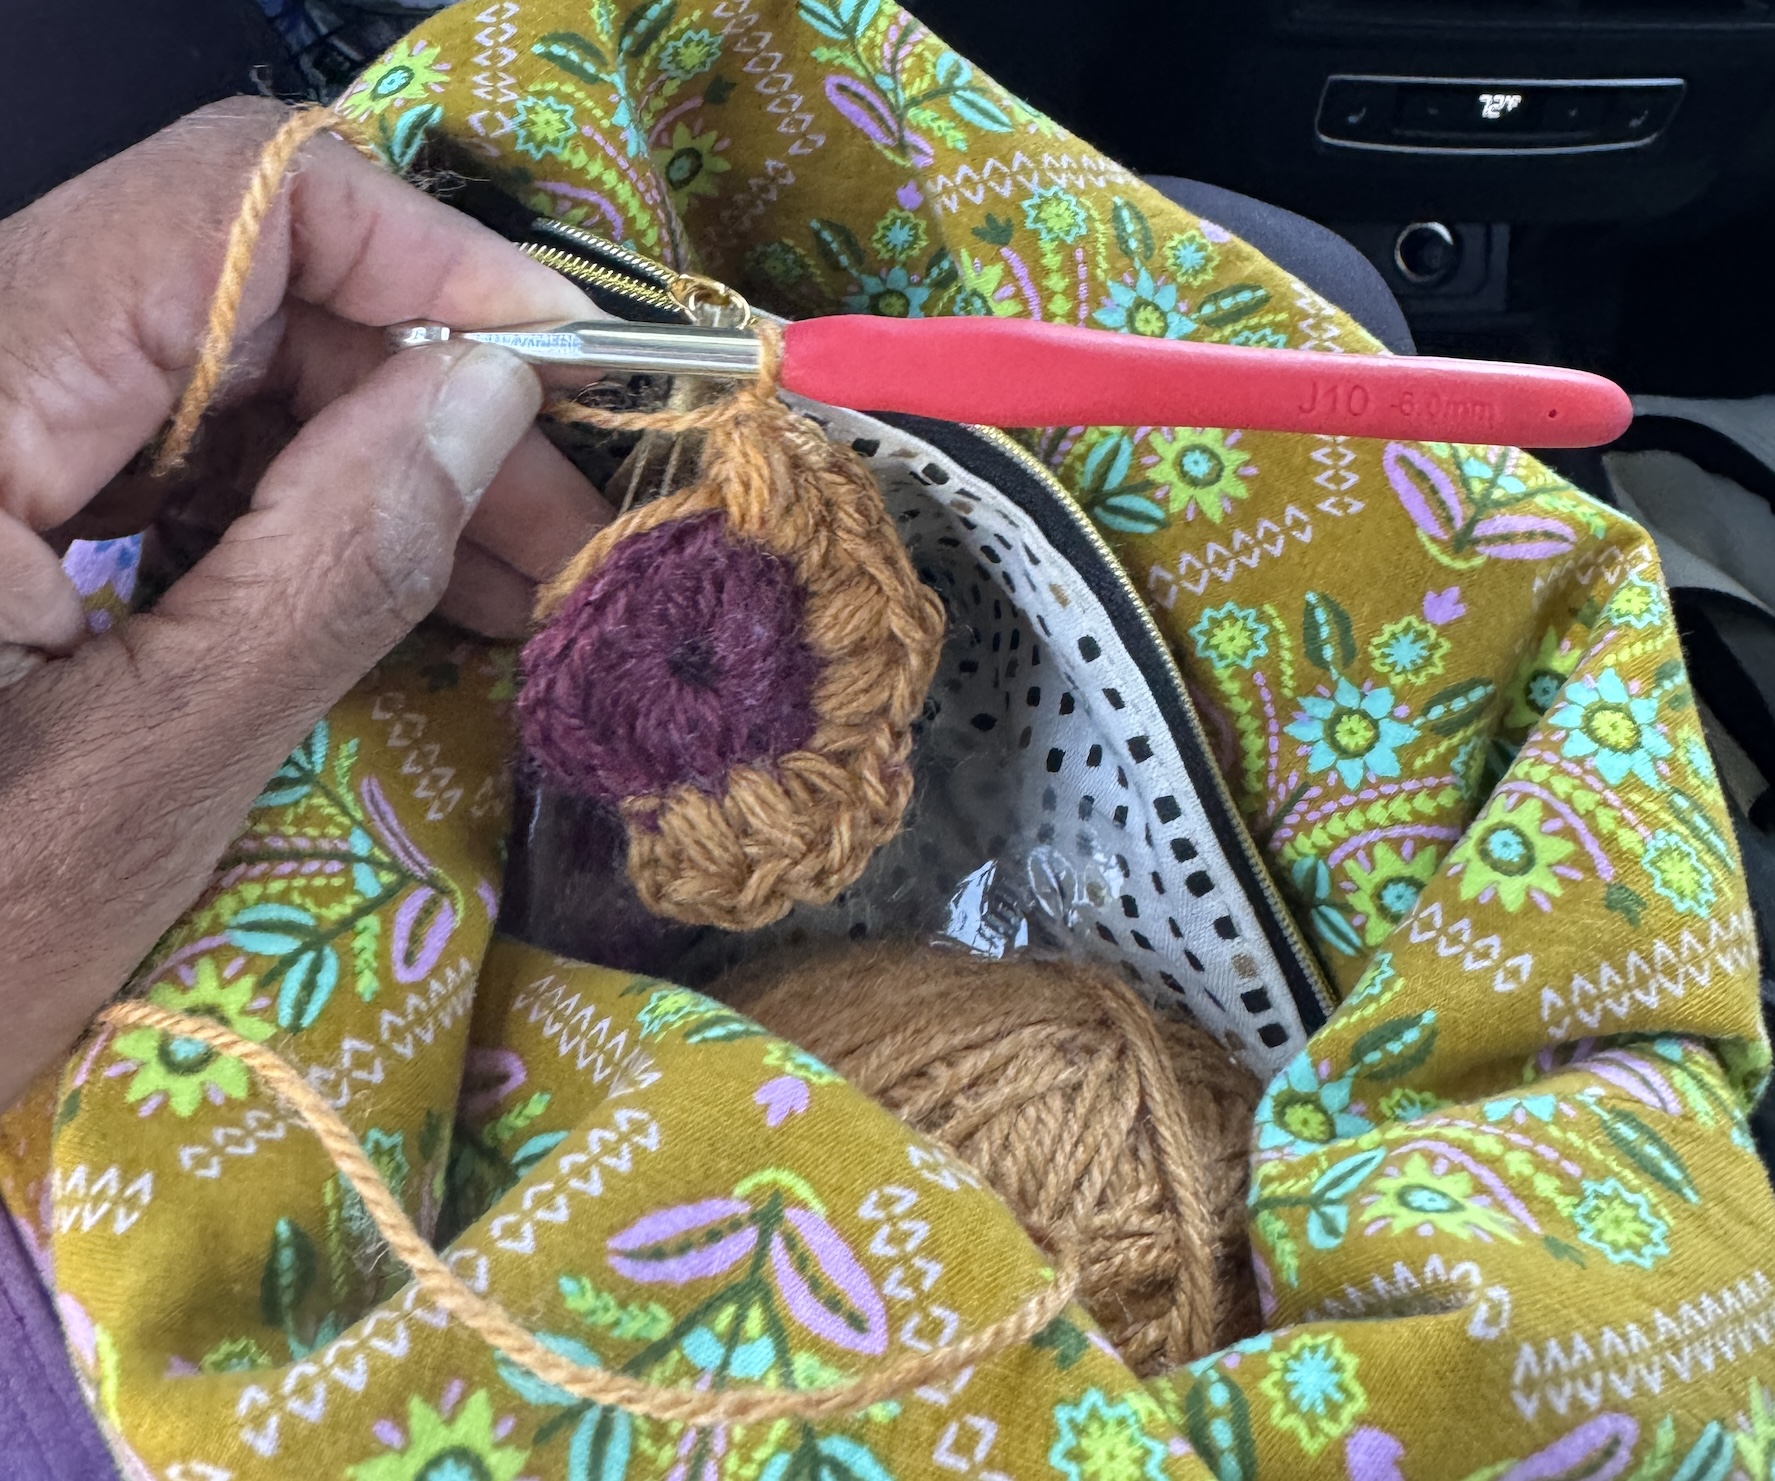
J drove and I sat in back and worked on my latest granny square blanket:
(Previous post – Starting a New Granny Square Blanket – I’ll do an update on that post from April 2026 once I get a little further along on it.)
Quilter’s Dream
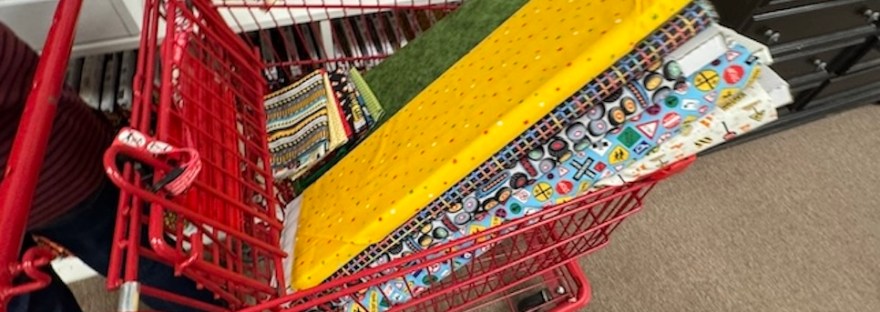
Our first stop was Quilter’s Dream in Loveland, CO (they don’t have a website but I linked their Facebook page) where we got to work helping her pull fat quarters and yardage for a beginner quilt pattern that D was making:
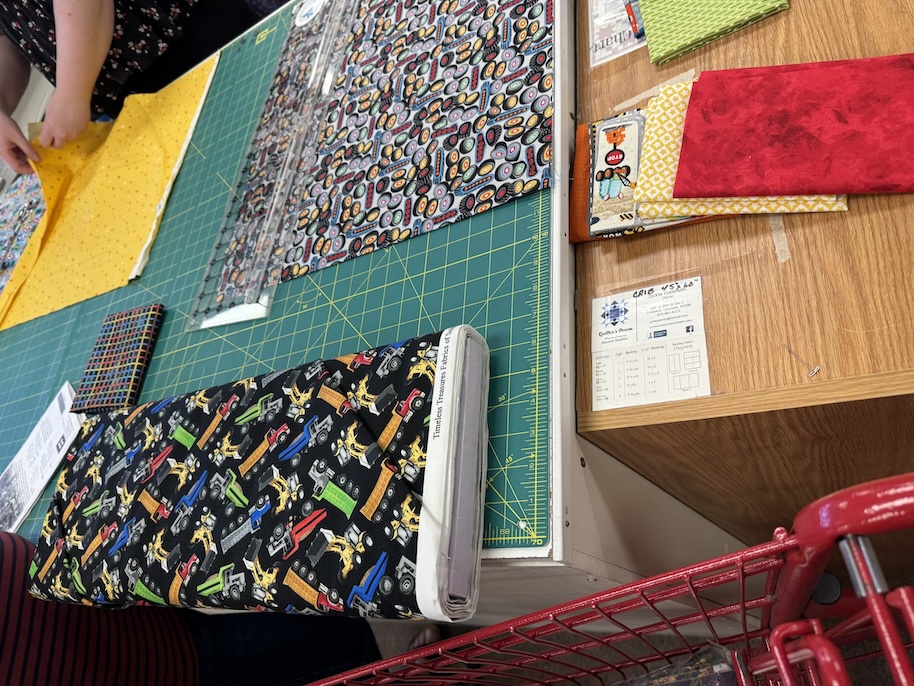
And we figuratively “held her hand” while she got her yardage for a quilt pattern cut from bolts for the first time:
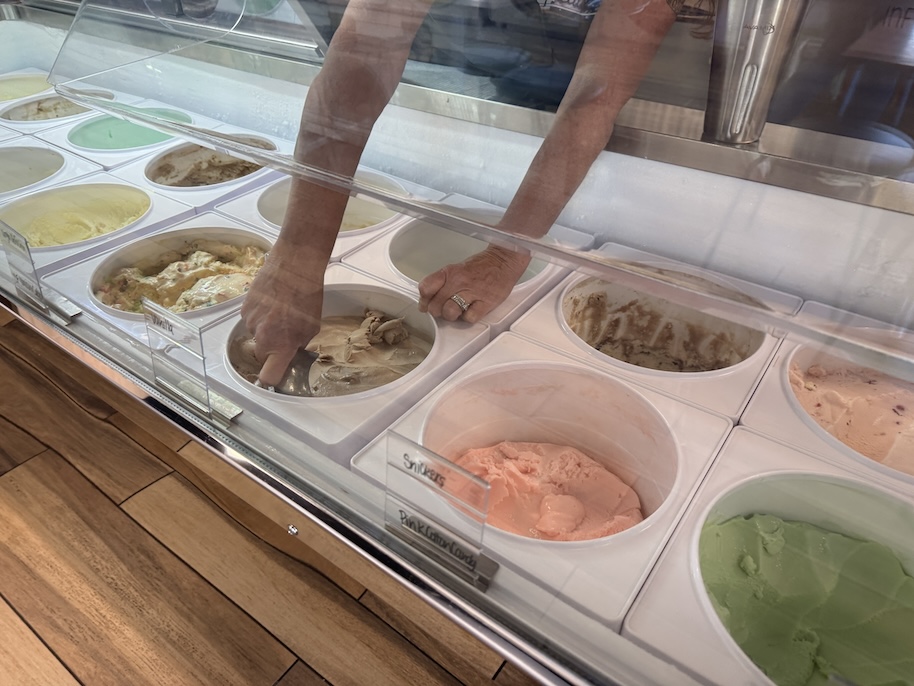
After all that fabric selection assistance and additional time wandering around this wonderful quilt shop looking for ourselves (it’s not like J and I weren’t going to shop too!), we were ready for a treat and headed to the ice cream shop next door to that quilt shop! (hmm…wonder if they get a lot of business from quilters, ha!)
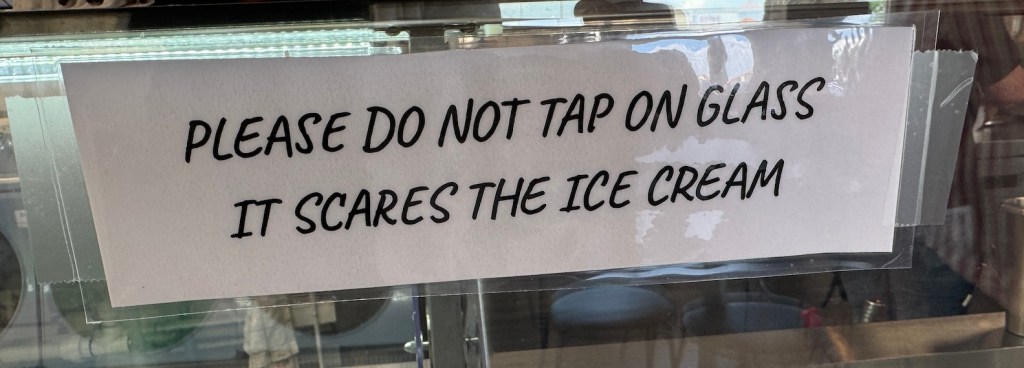
Yes we were well behaved and did not tap on the glass…but we did longingly gaze at all the delicious sounding flavor options! (This shop also has a “liquor infused” ice cream selection but we thought that a bad idea at 11 am and fabric shopping!)
A couple ice cream cones later (only one person, ha) and we were ready to head to the next shop.
Maggie’s Sewing & Fabric
The second shop we visited (and fell into a hole in the space-time continuum because I think we spent a month there, ha!) was Maggie’s Sewing & Fabric in Longmont, CO.
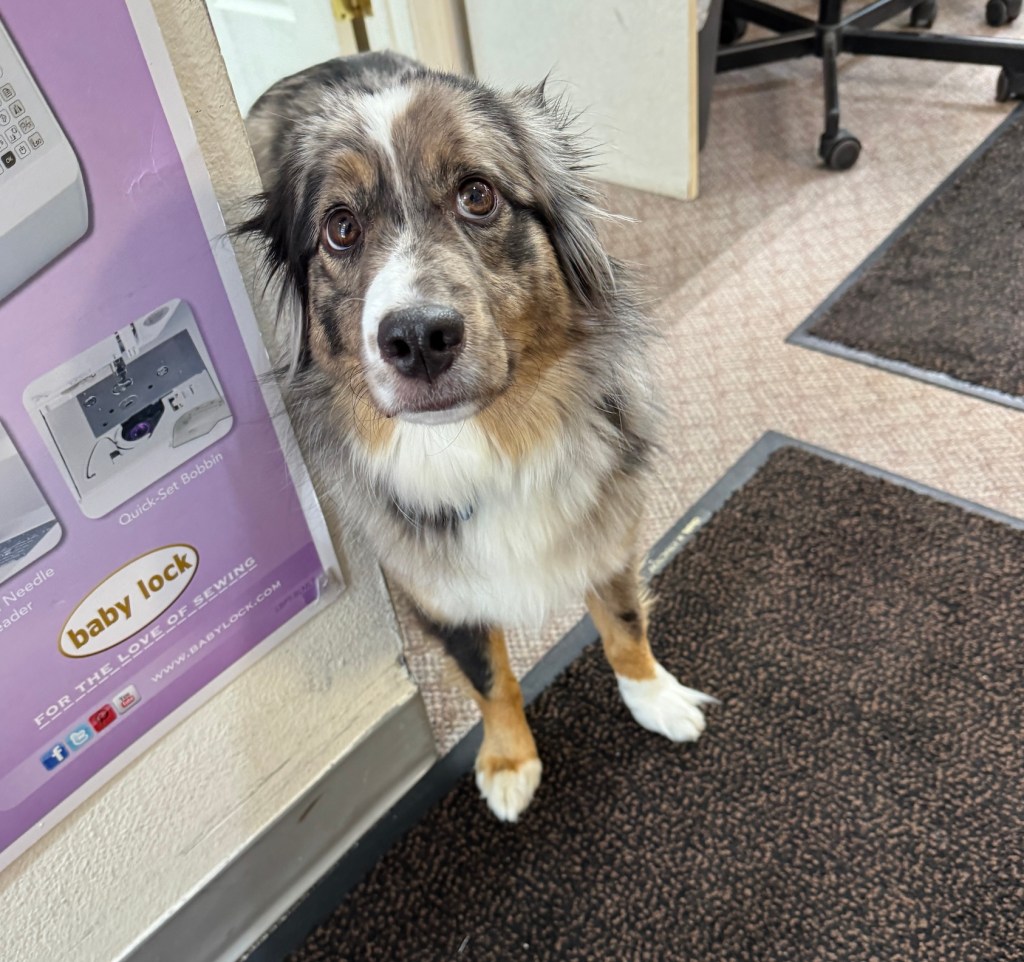
We were greeted by an adorable pup as we walked in, which is also a good sign for me when I enter any shop!
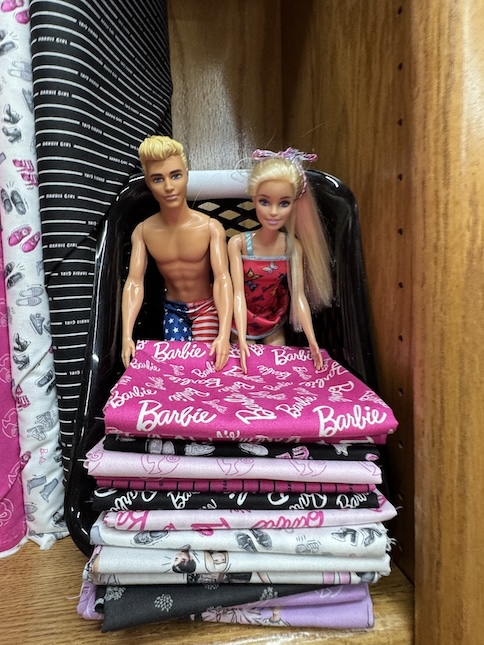
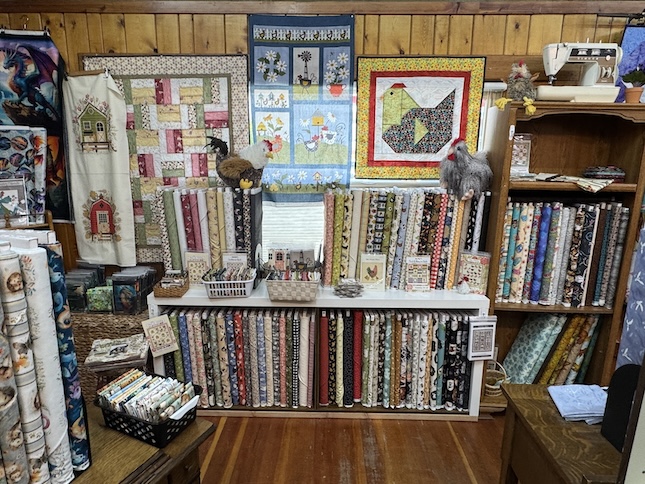
They had quite the sense of humor in this log cabin themed quilt shop with fun displays like this Barbie fabric one:
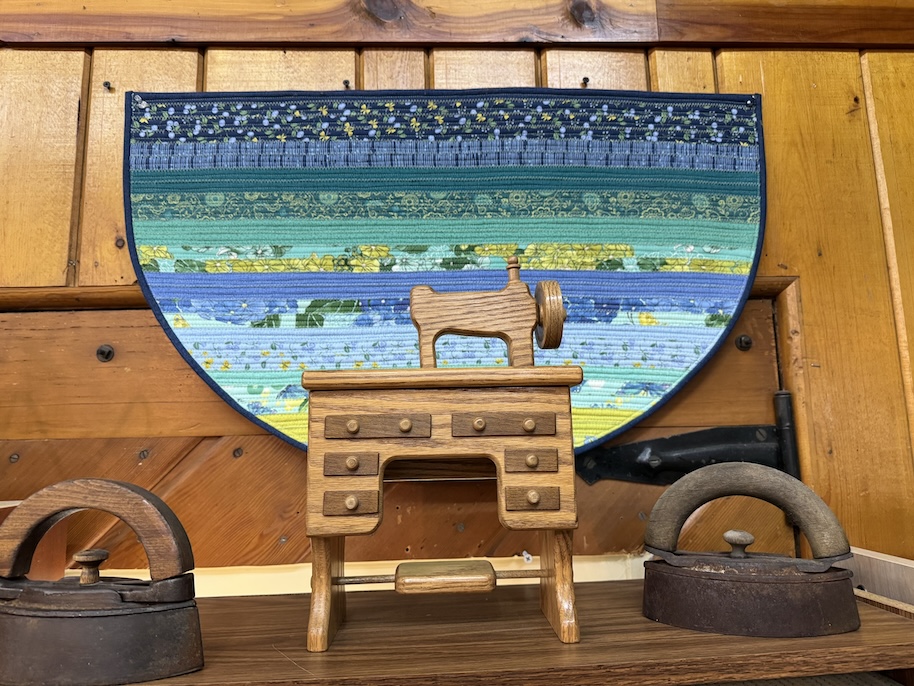
A couple photos around this shop, which I really liked and didn’t want to leave:
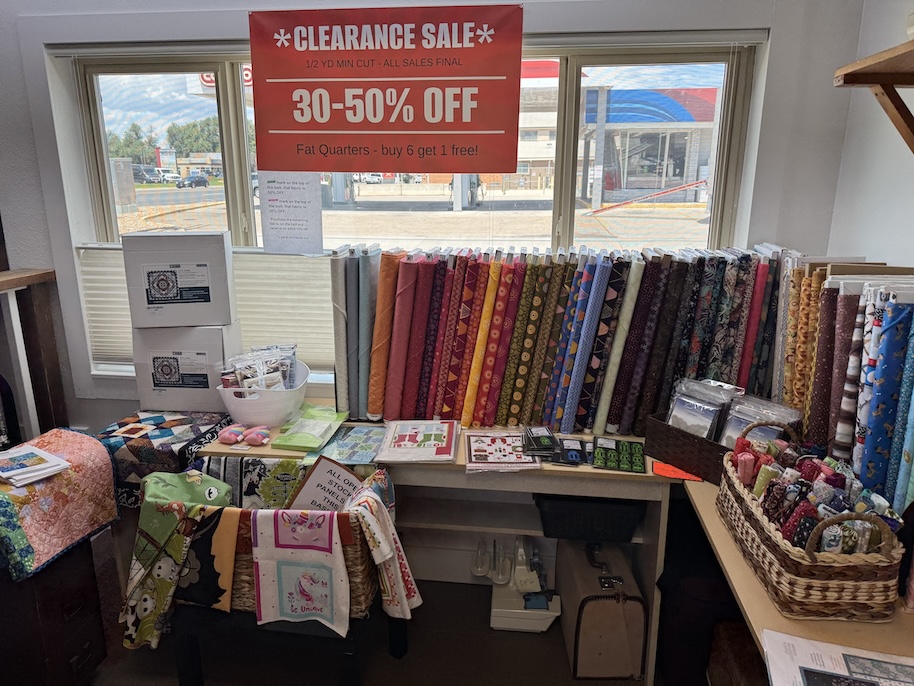
Yes I spent some time visiting the Clearance section where they had some amazing modern fabrics for 30 – 50% off, as well as kits, panels and pattern. I ended up bring the kit (for 50% off) of this quilt home with me (hey, it begged me to take it home, not my fault!):
The shop dog saw us off after our long visit (which did involve some dog petting of course):
Yes we had ice cream (hours ago!) but we were now hungry for actual food and had a wonderful lunch at Teocalli Cocina in Downtown Longmont.
I had the most amazing salad with a spicy oil infused egg and lots of avocado (I love, love, love avocado).
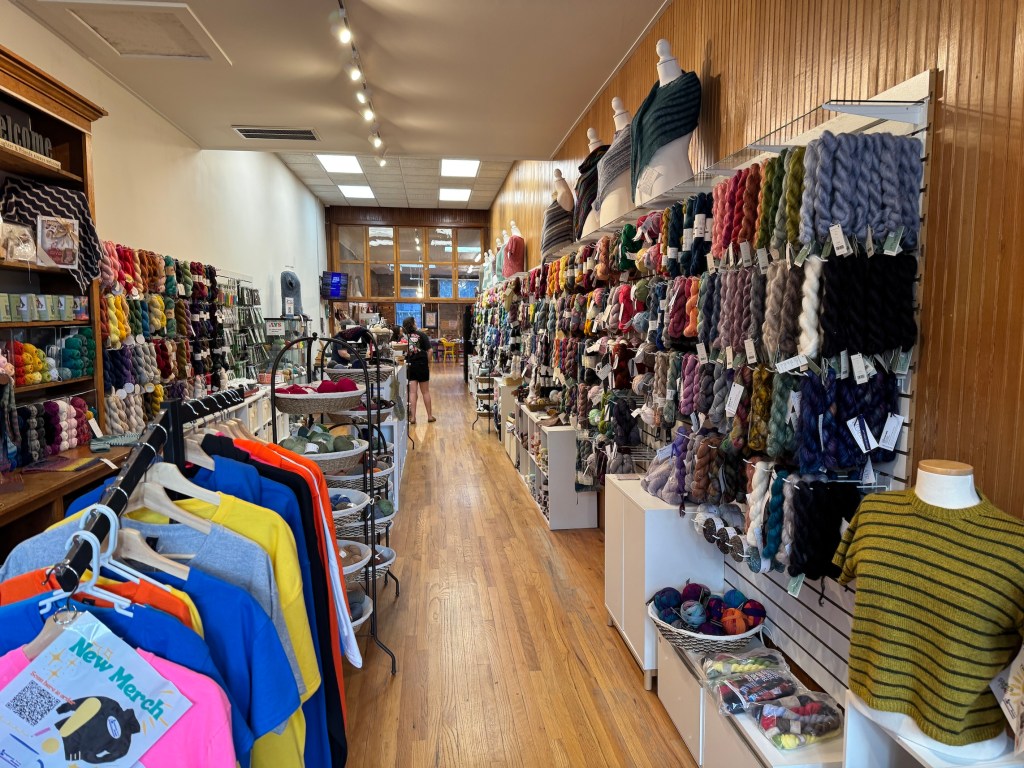
As we came out of the restaurant we noticed that practically next door in Downtown Longmont was a yarn shop!
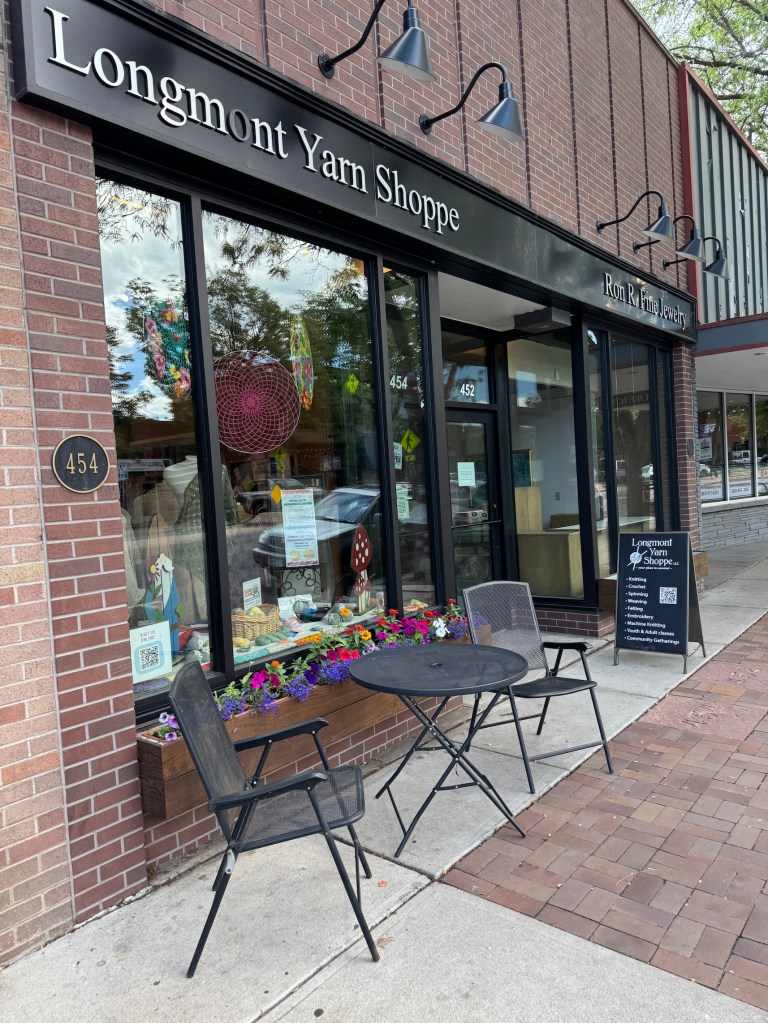
Longmont Yarn Shoppe
We couldn’t stop ourselves from wandering in since we all either knitted and/or crocheted.
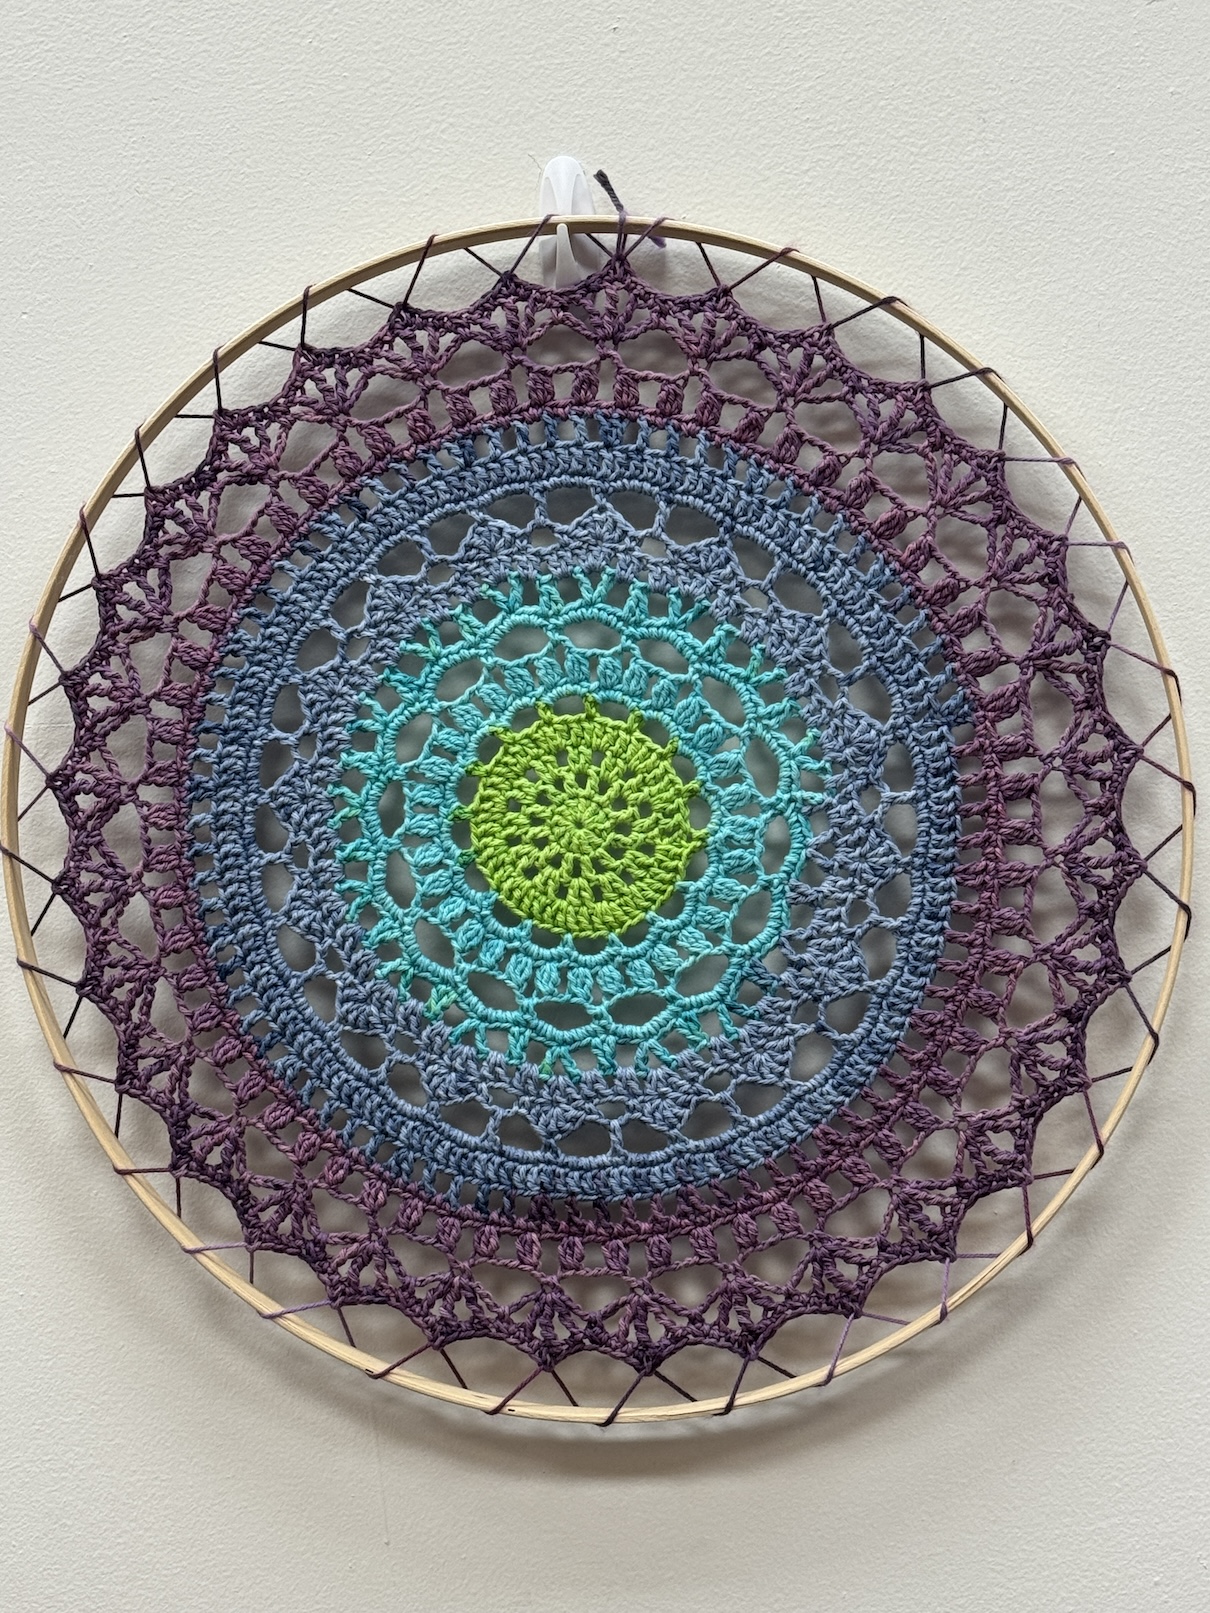
While checking out (I bought a deck of granny square pattern cards) they had this awesome crocheted mandala on display behind the register, which reminded me I want to make one someday.
Believe it or not, we began our day with J picking us up around 9:00 am and it was now 3:00 pm! So it was time to head home and to wander how we didn’t have enough time to have fit in a 3rd quilt shop (unfortunately the one we wanted to go to next closed at 3:00 pm we discovered too late!).
Very fun day and it’s been a long time since I’ve had the pleasure of quilt shop hopping with other quilters and bossing around new quilters on their fabric selections – ha!
(I posted that meme above with humor as J and I were very respectful of D’s choices on fabrics and just acted just as facilitators…okay rather passionate and insistent at times facilitators..ha!)