Continuing my series of posts about regular get togethers with neighborhood quilters J and D.
Wednesday I met up with J and D (the new quilter who just finished her first project – see my series of posts for the category Learning to Quilt) to see D’s progress on her second quilt (see previous post Quilter’s Playdate: What’s Next)
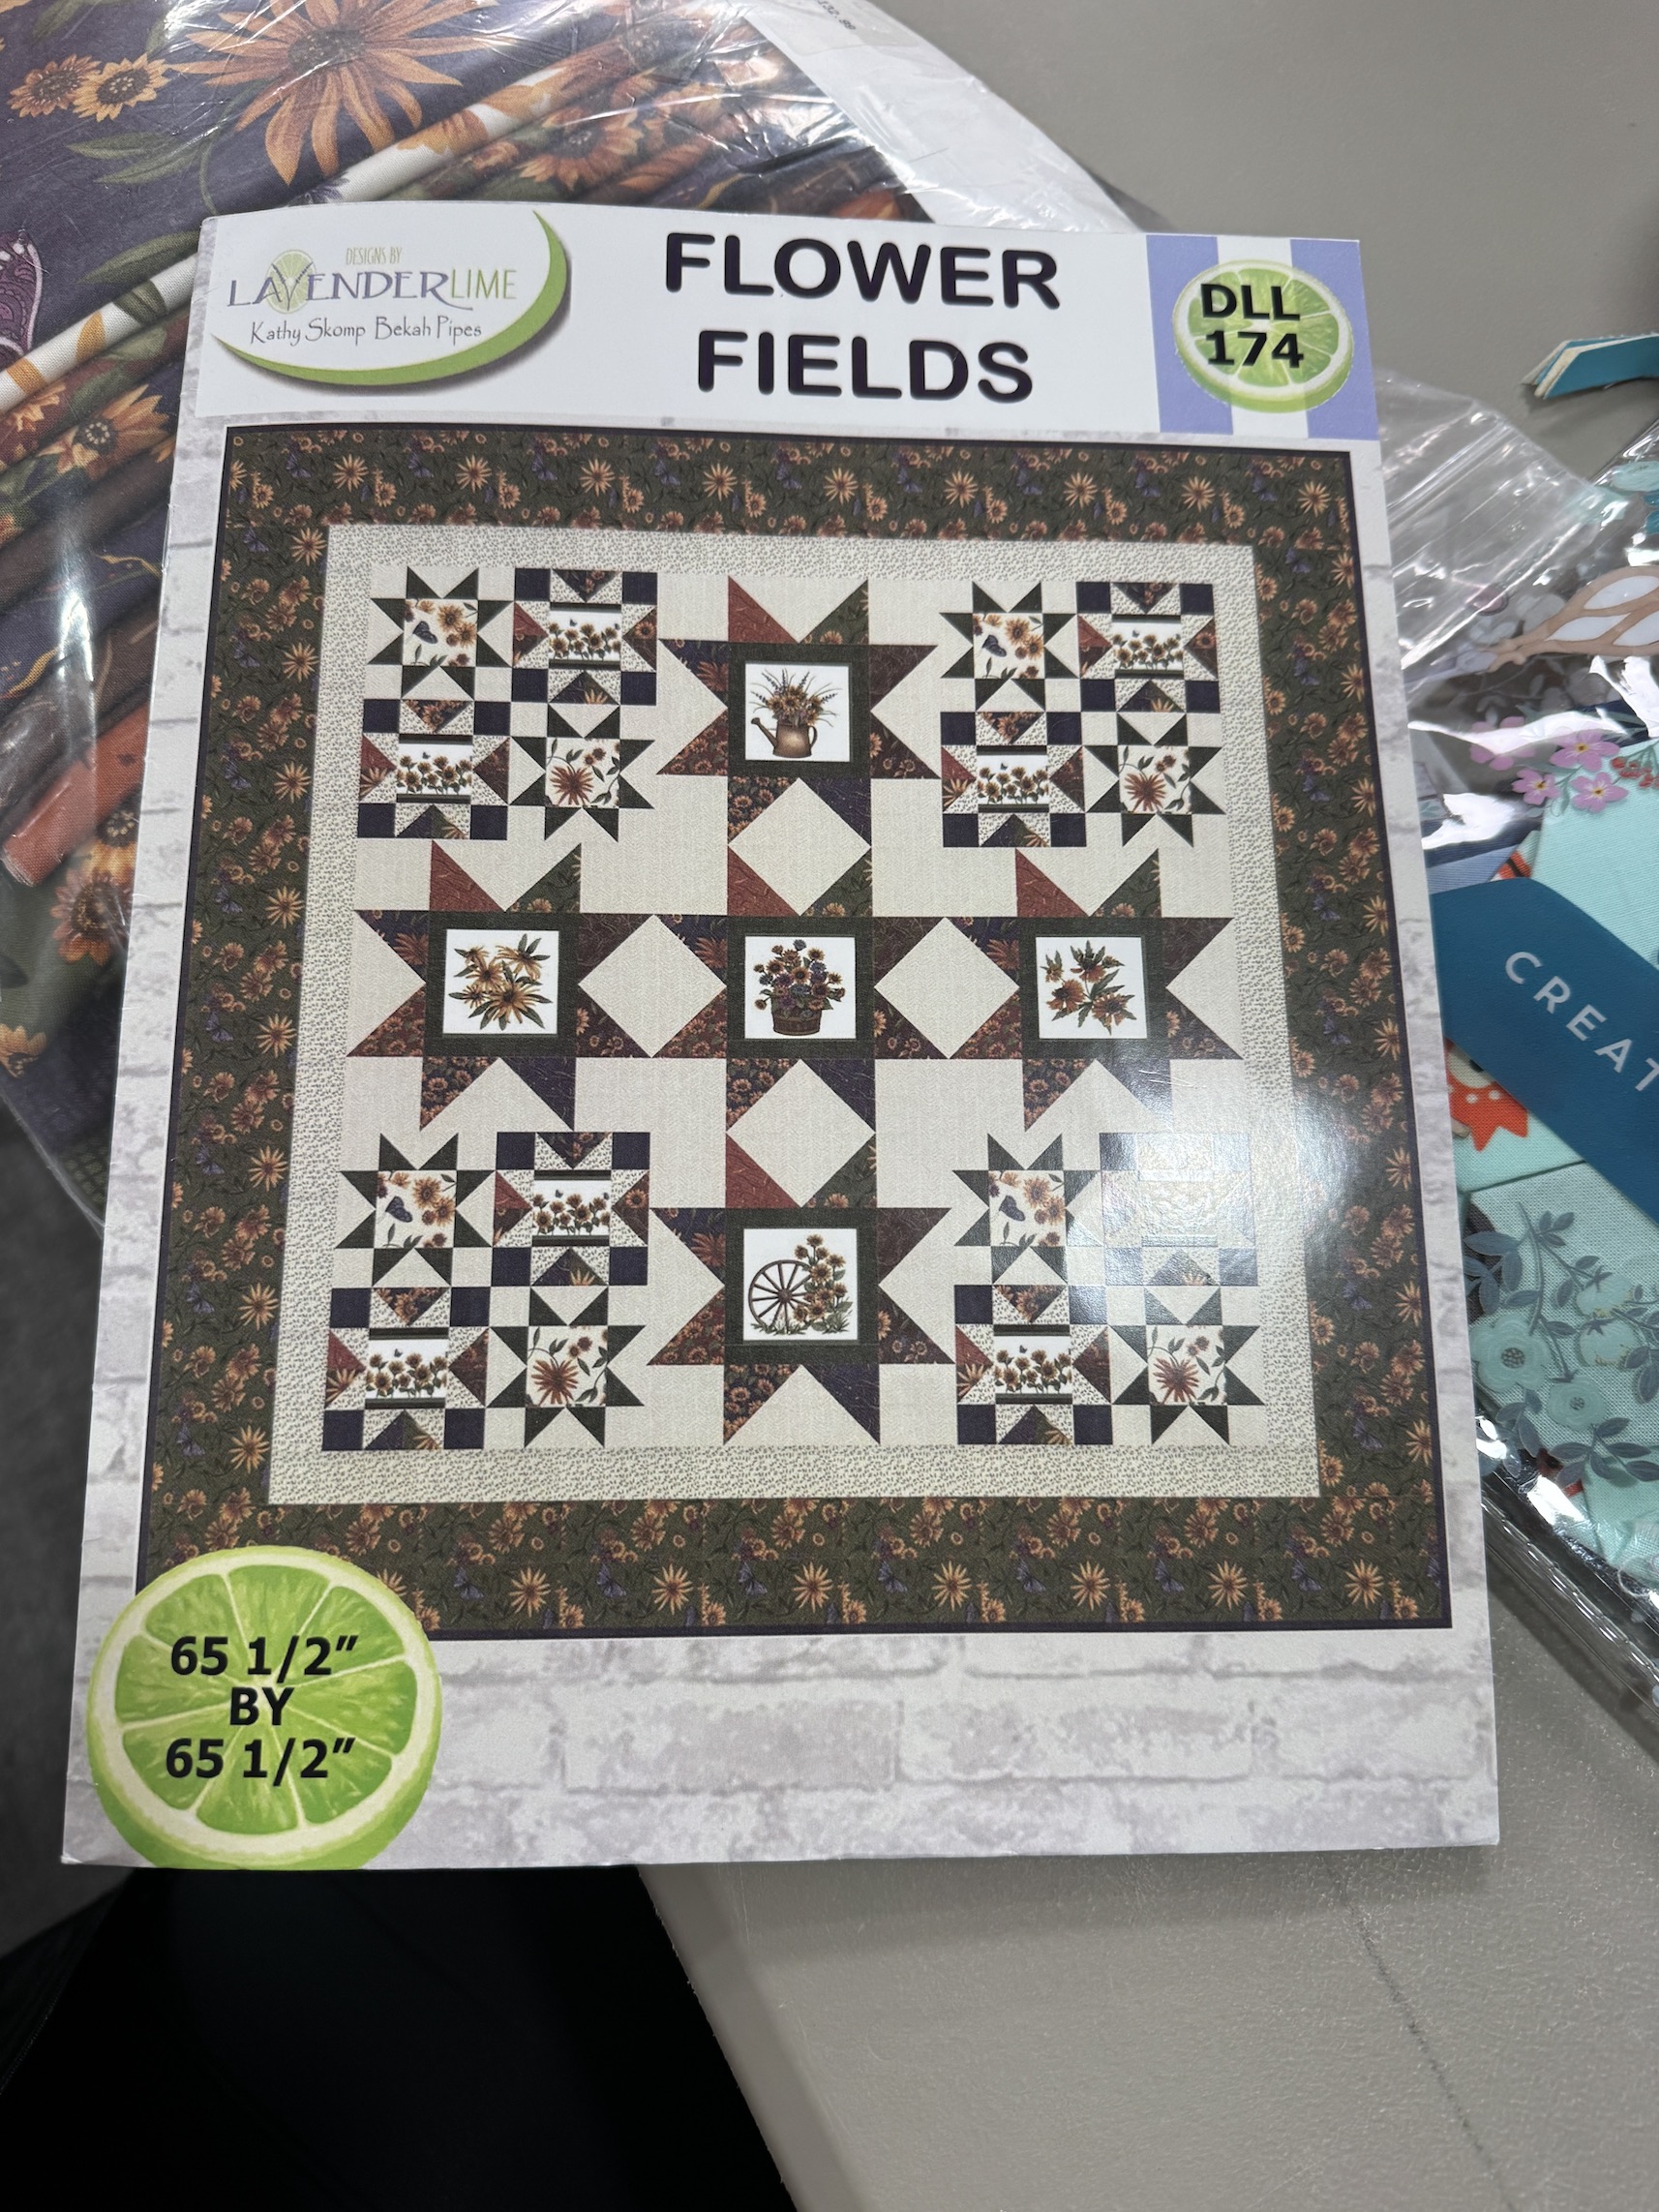
D is working on this kit, which is loaded with stars created with Half Square Triangles (HSTs) and fussy cut flower panel sections:
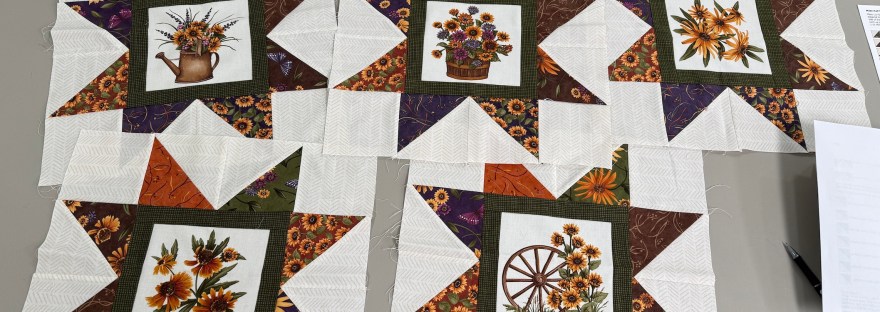
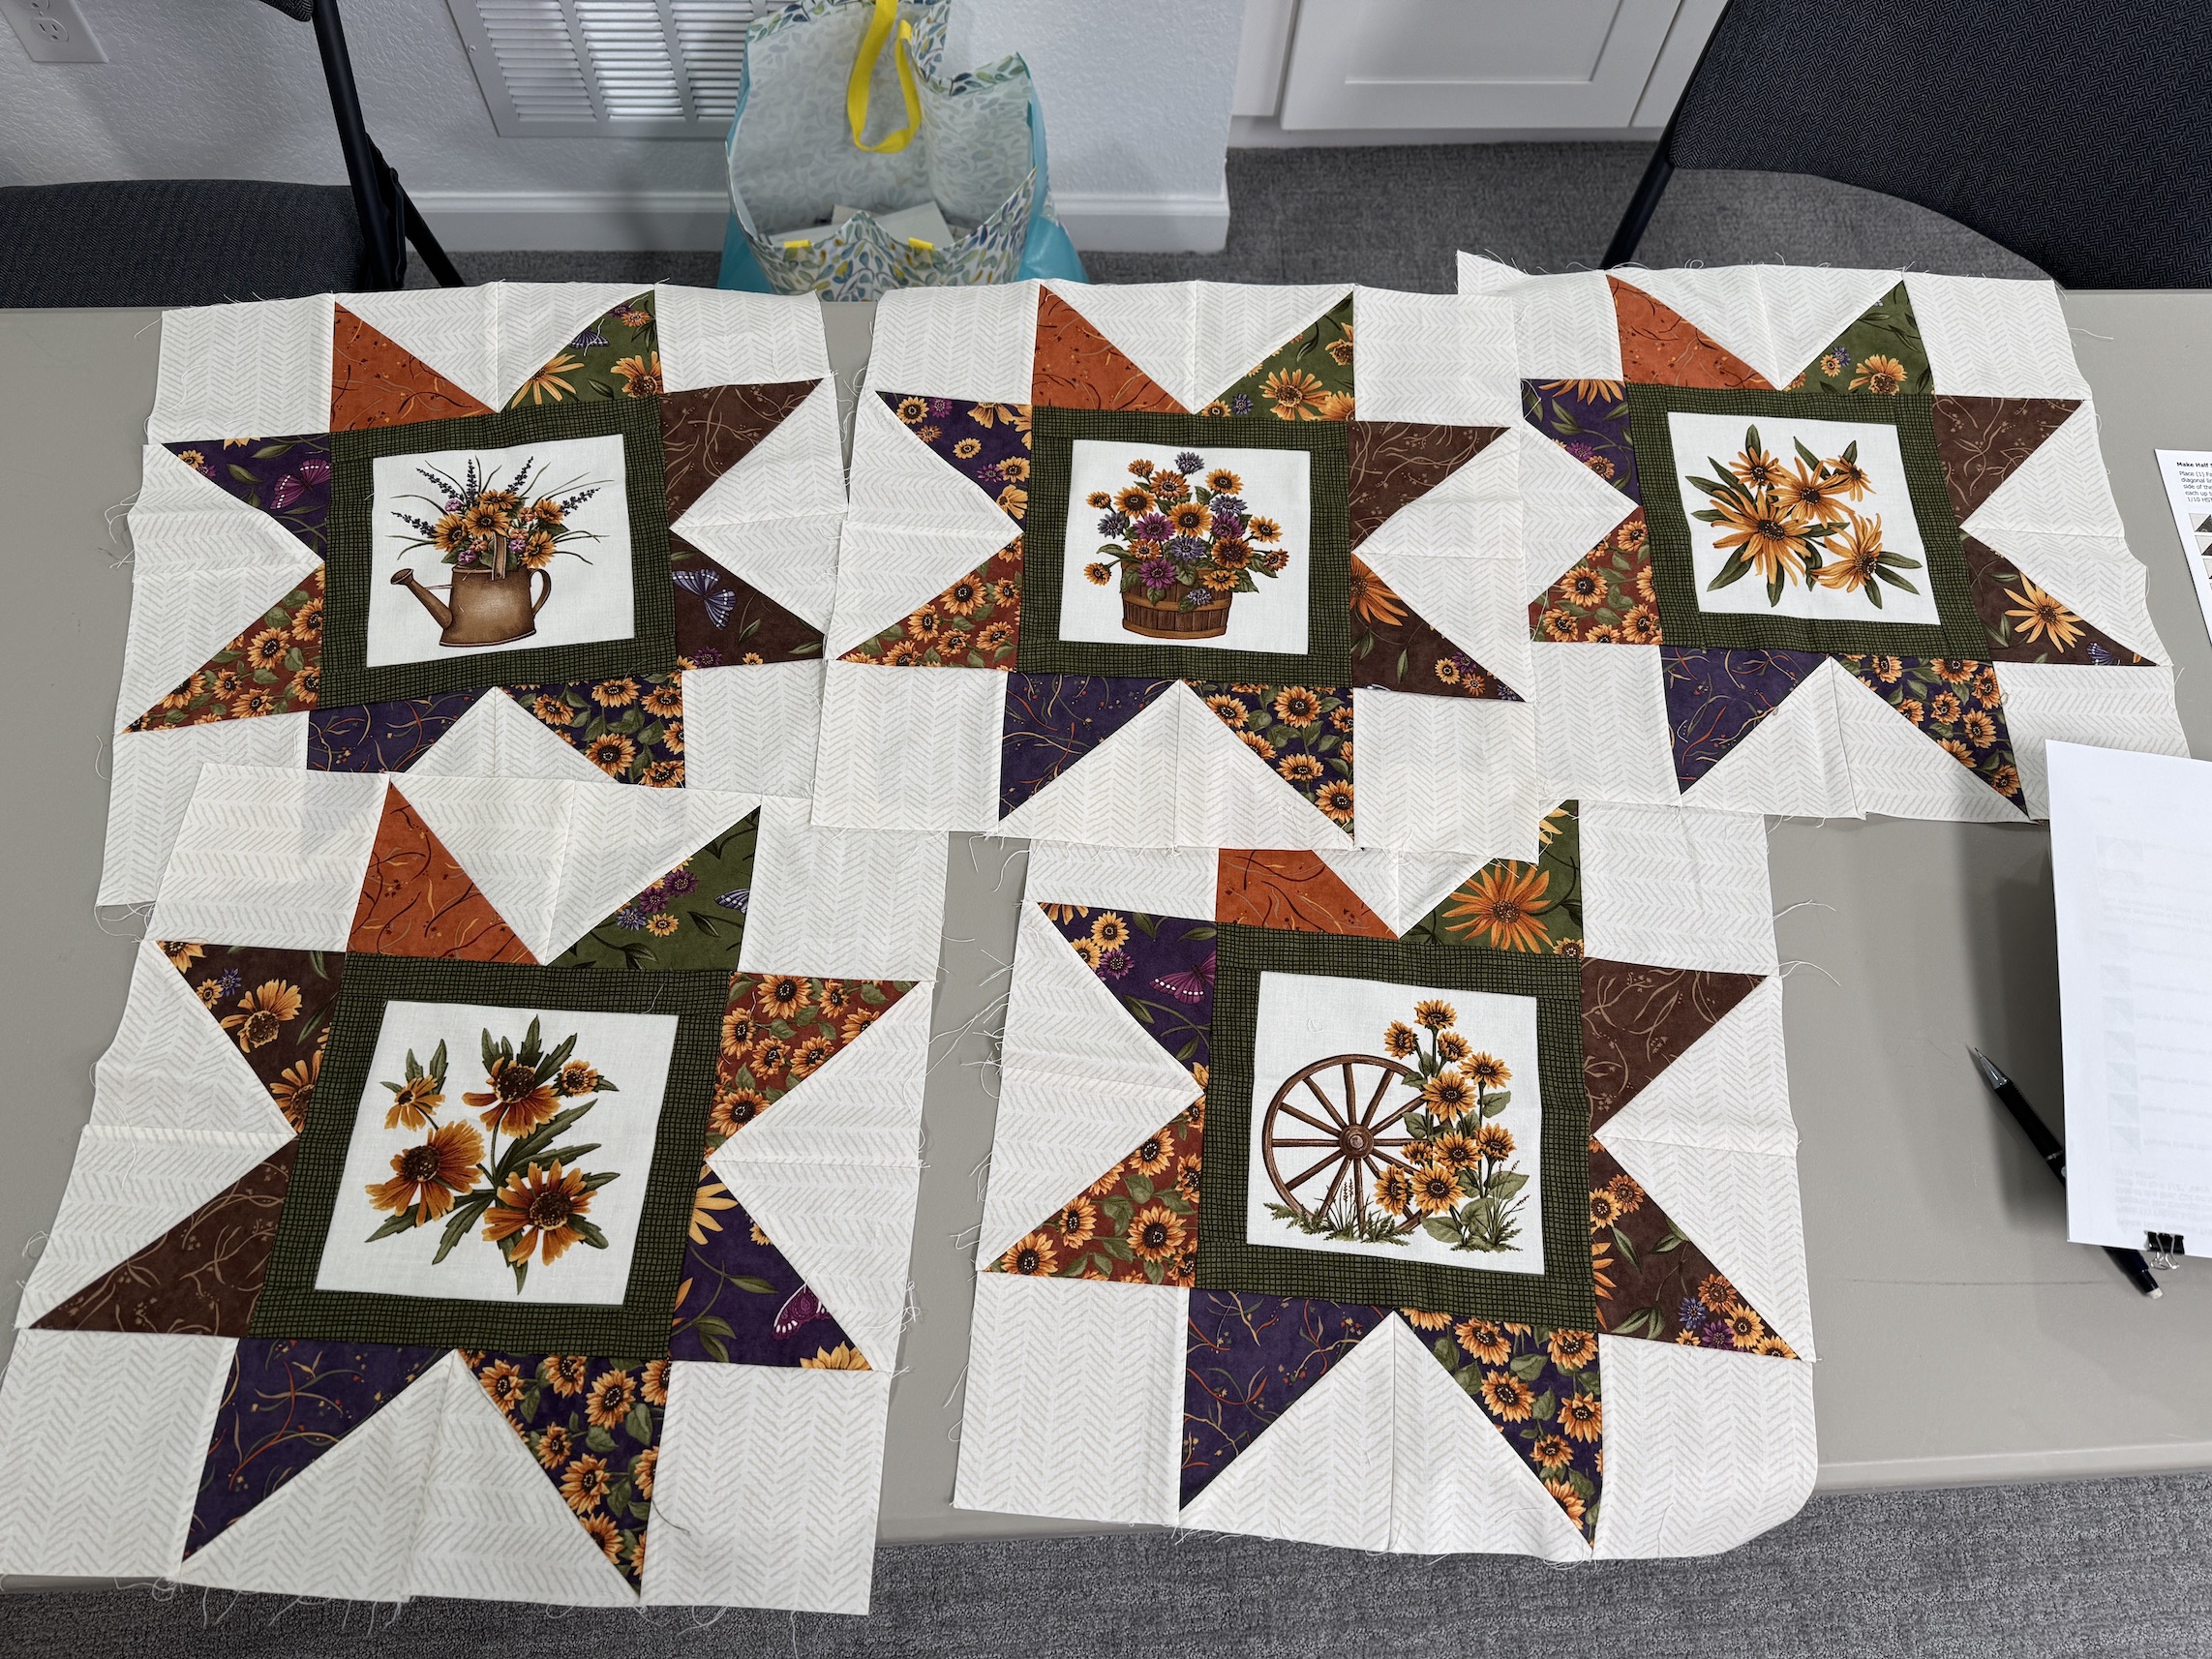
This is D’s first dabble in HSTs and she blew us away from the awesome work she did on the 5 large stars for the quilt:
The points on her stars were quite pointy! (For those of you who are not quilters, it is challenging as a new quilter to get your points on stars “pointy” and sharp as it can be a technical skill you have to develop over time and experience).
I had a flashback to my first star quilt and my points were not very pointy!
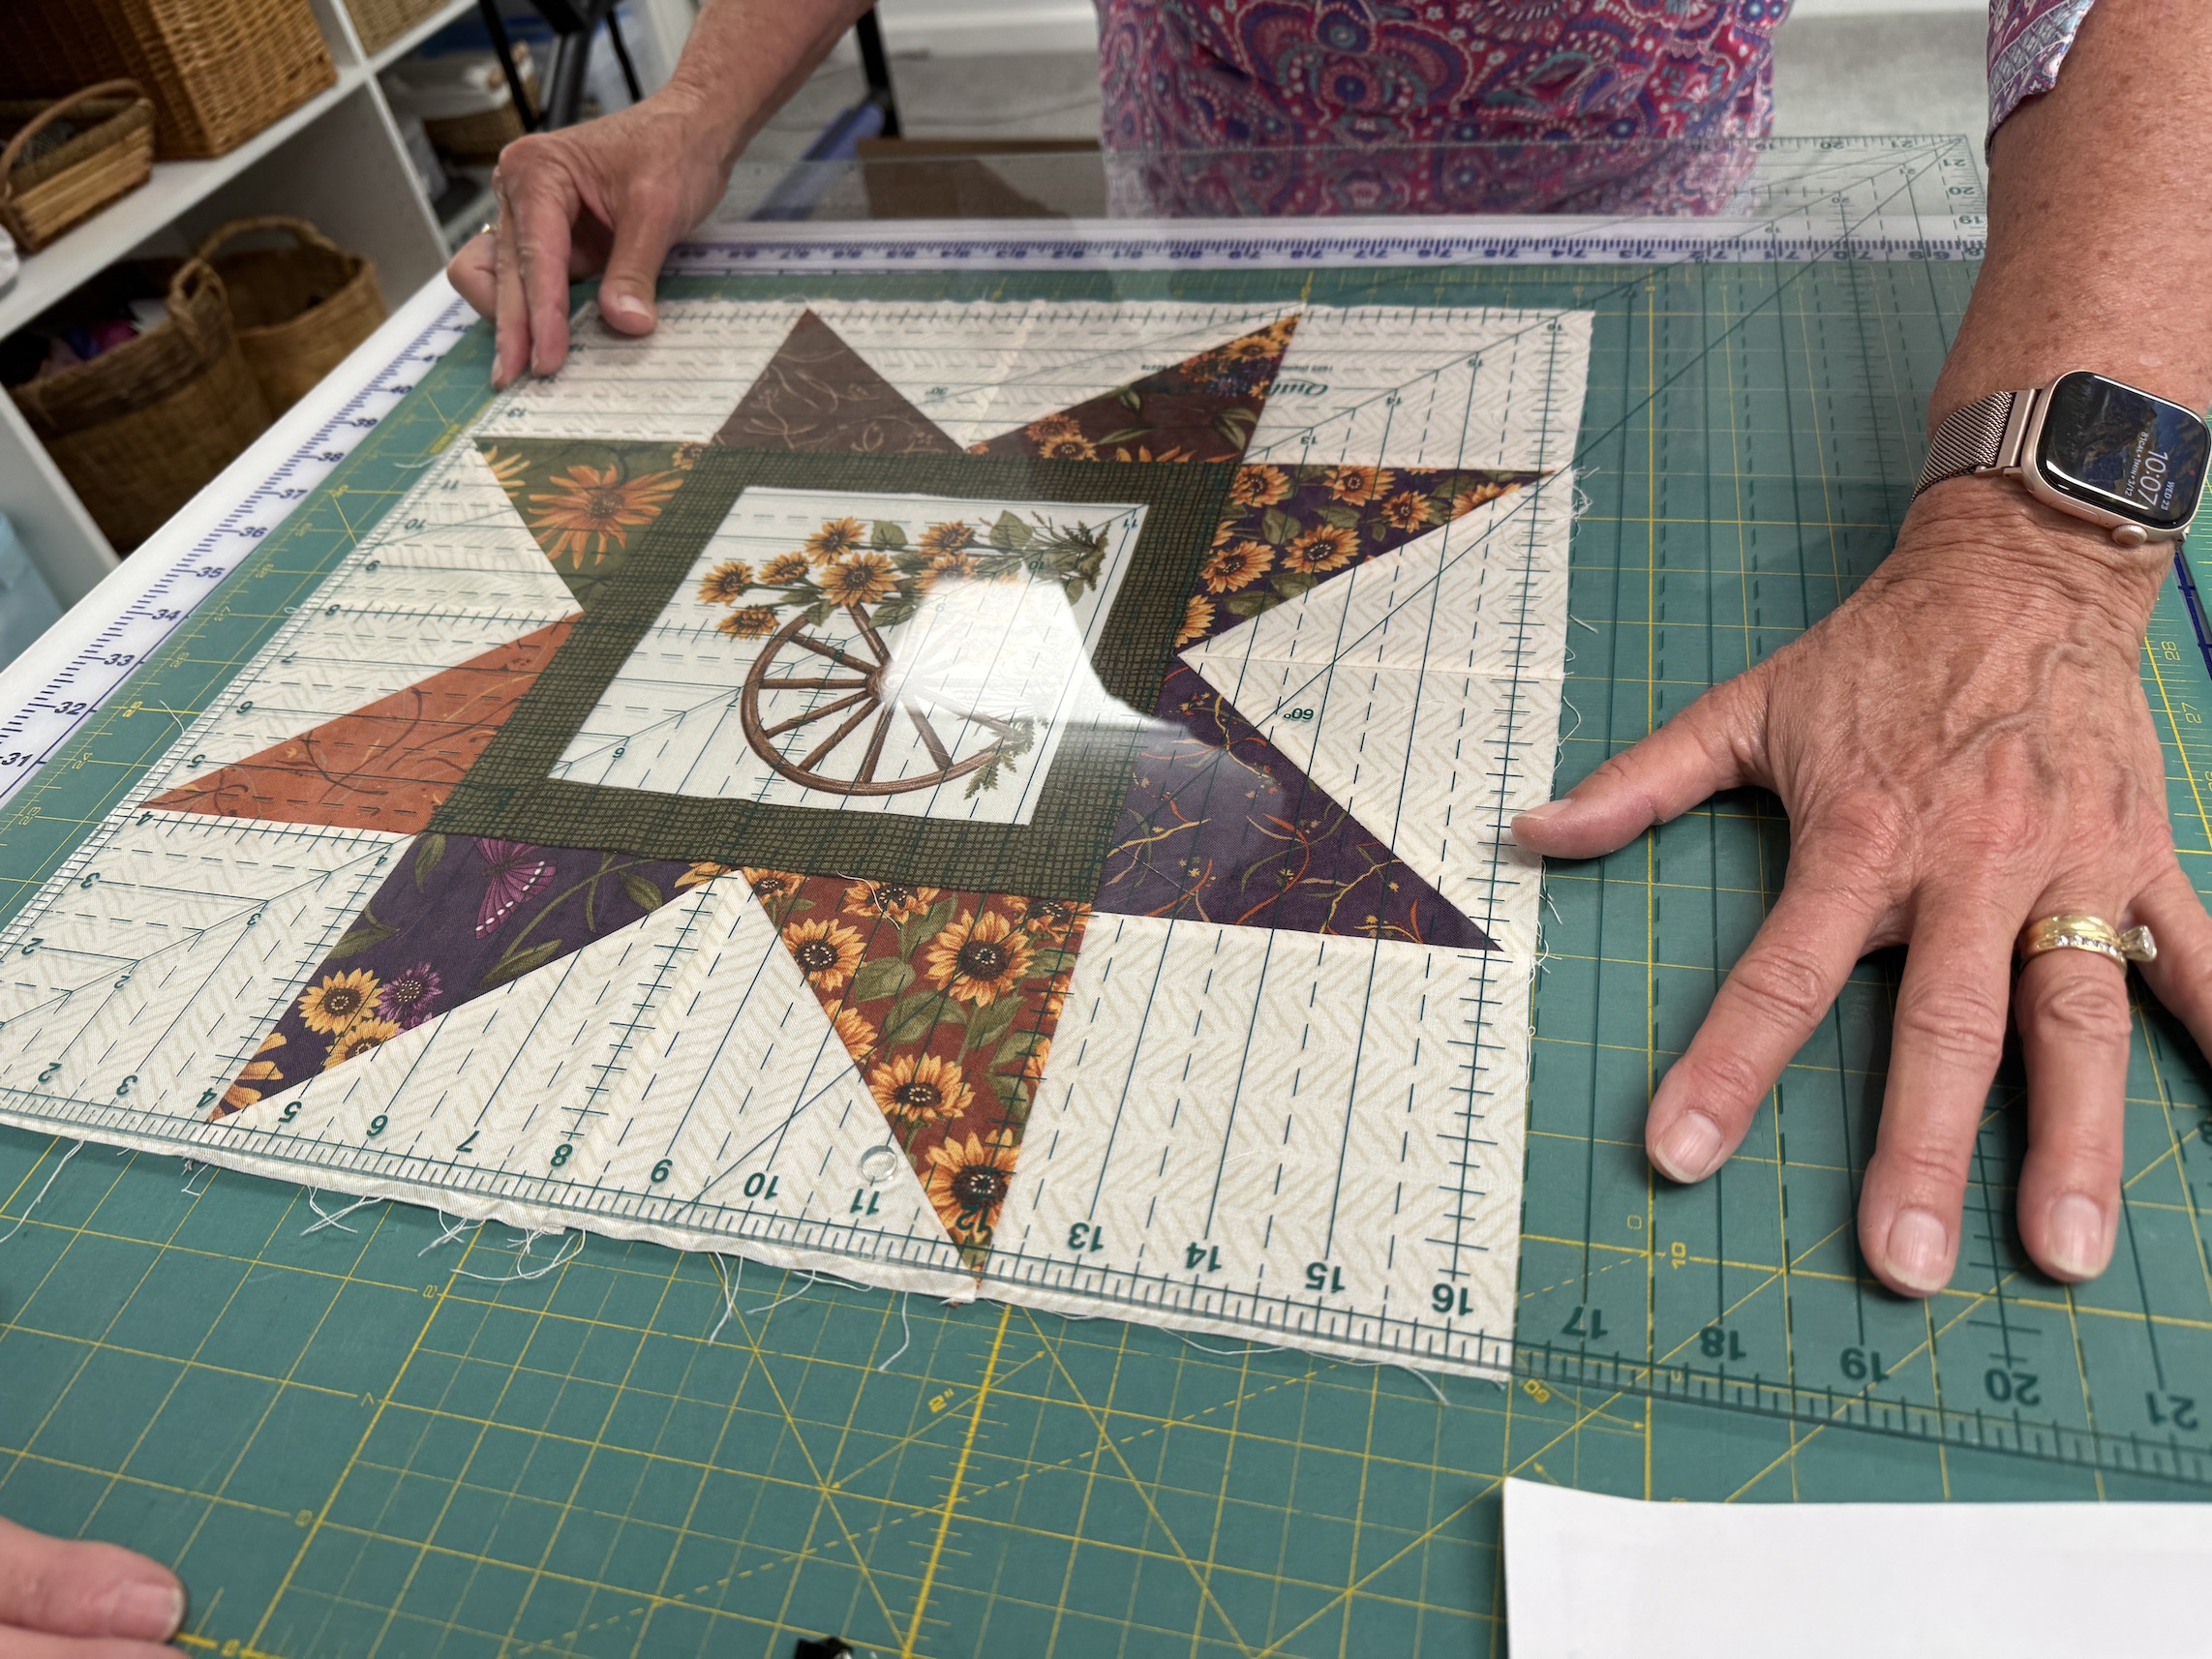
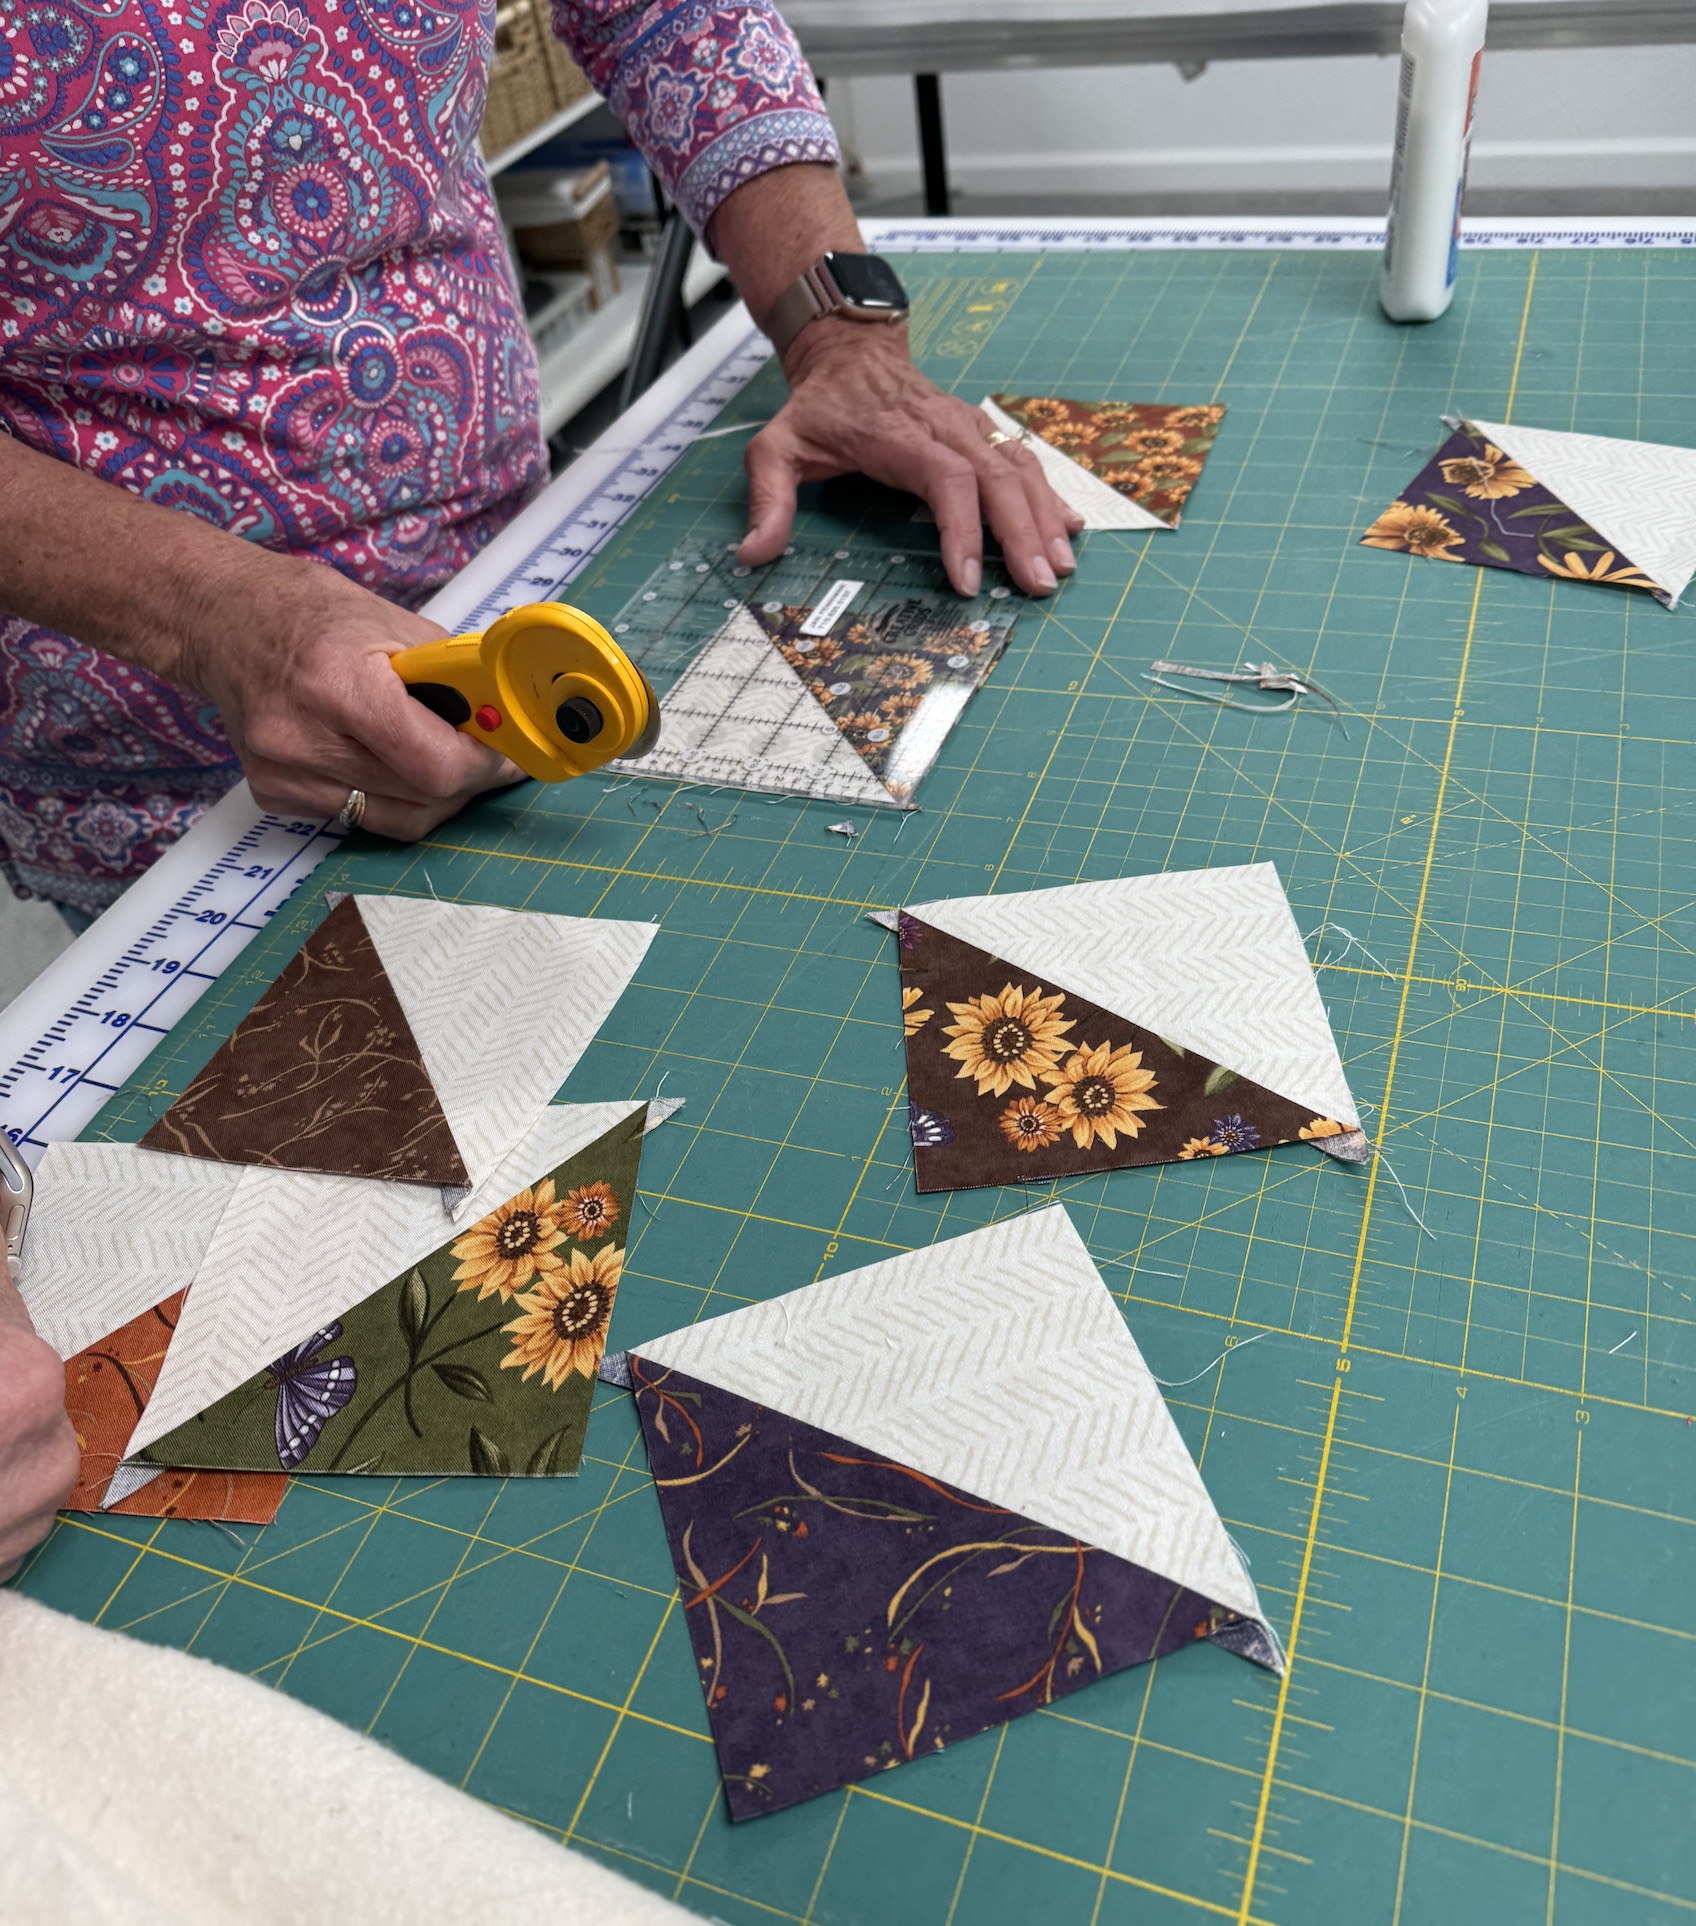
J demonstrated for D how D will eventually need to trim her star blocks to the “finished size” listed on the pattern:
J also reviewed with D how to trim each HSTs as we catch a couple areas of improvement in piecing seams D could make (but only after searching through her seemingly perfect blocks!):
Then we took at look at what J was working on in her studio…
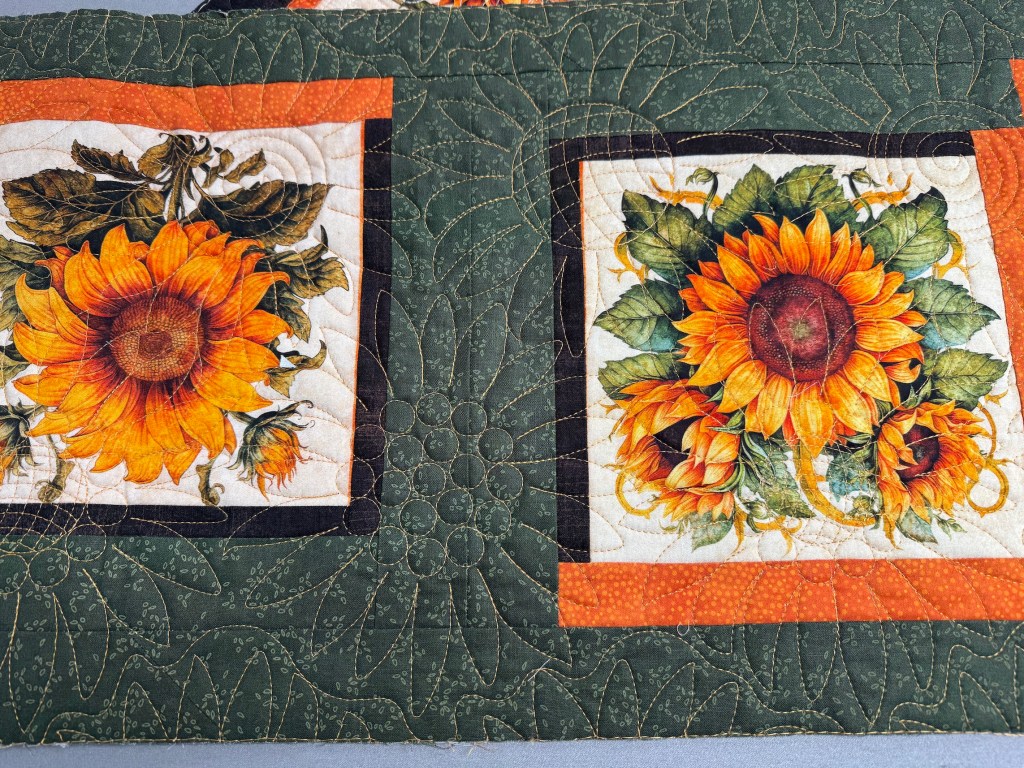
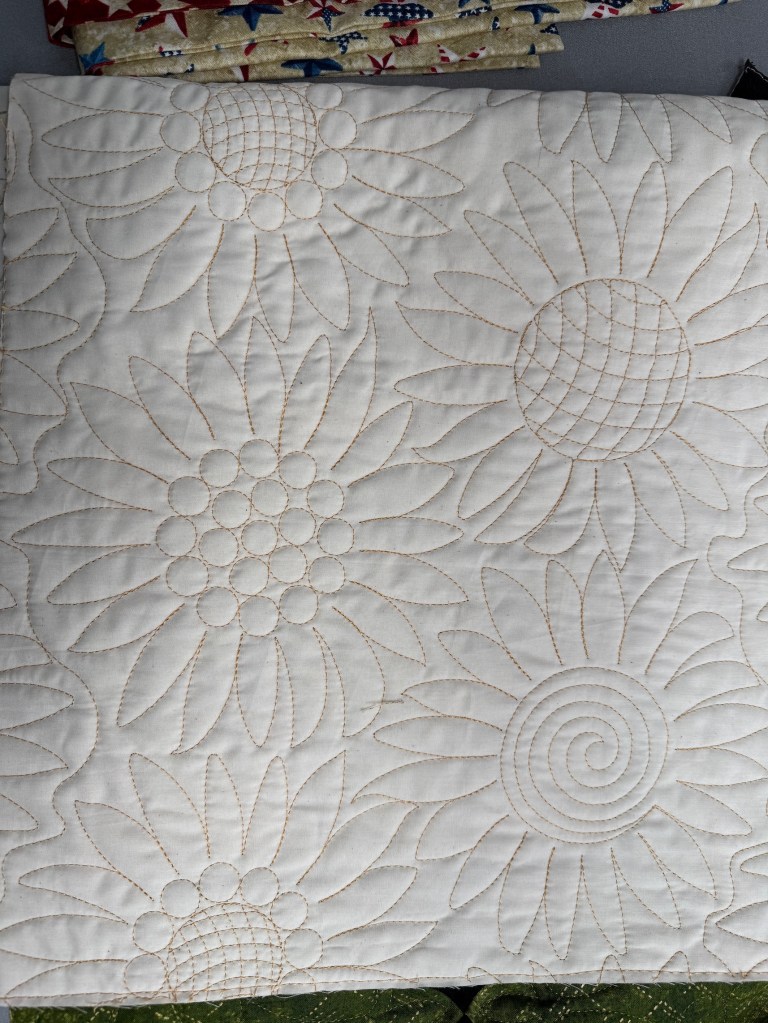
J quilted her sunflower panel based runner with a sunflower pattern:
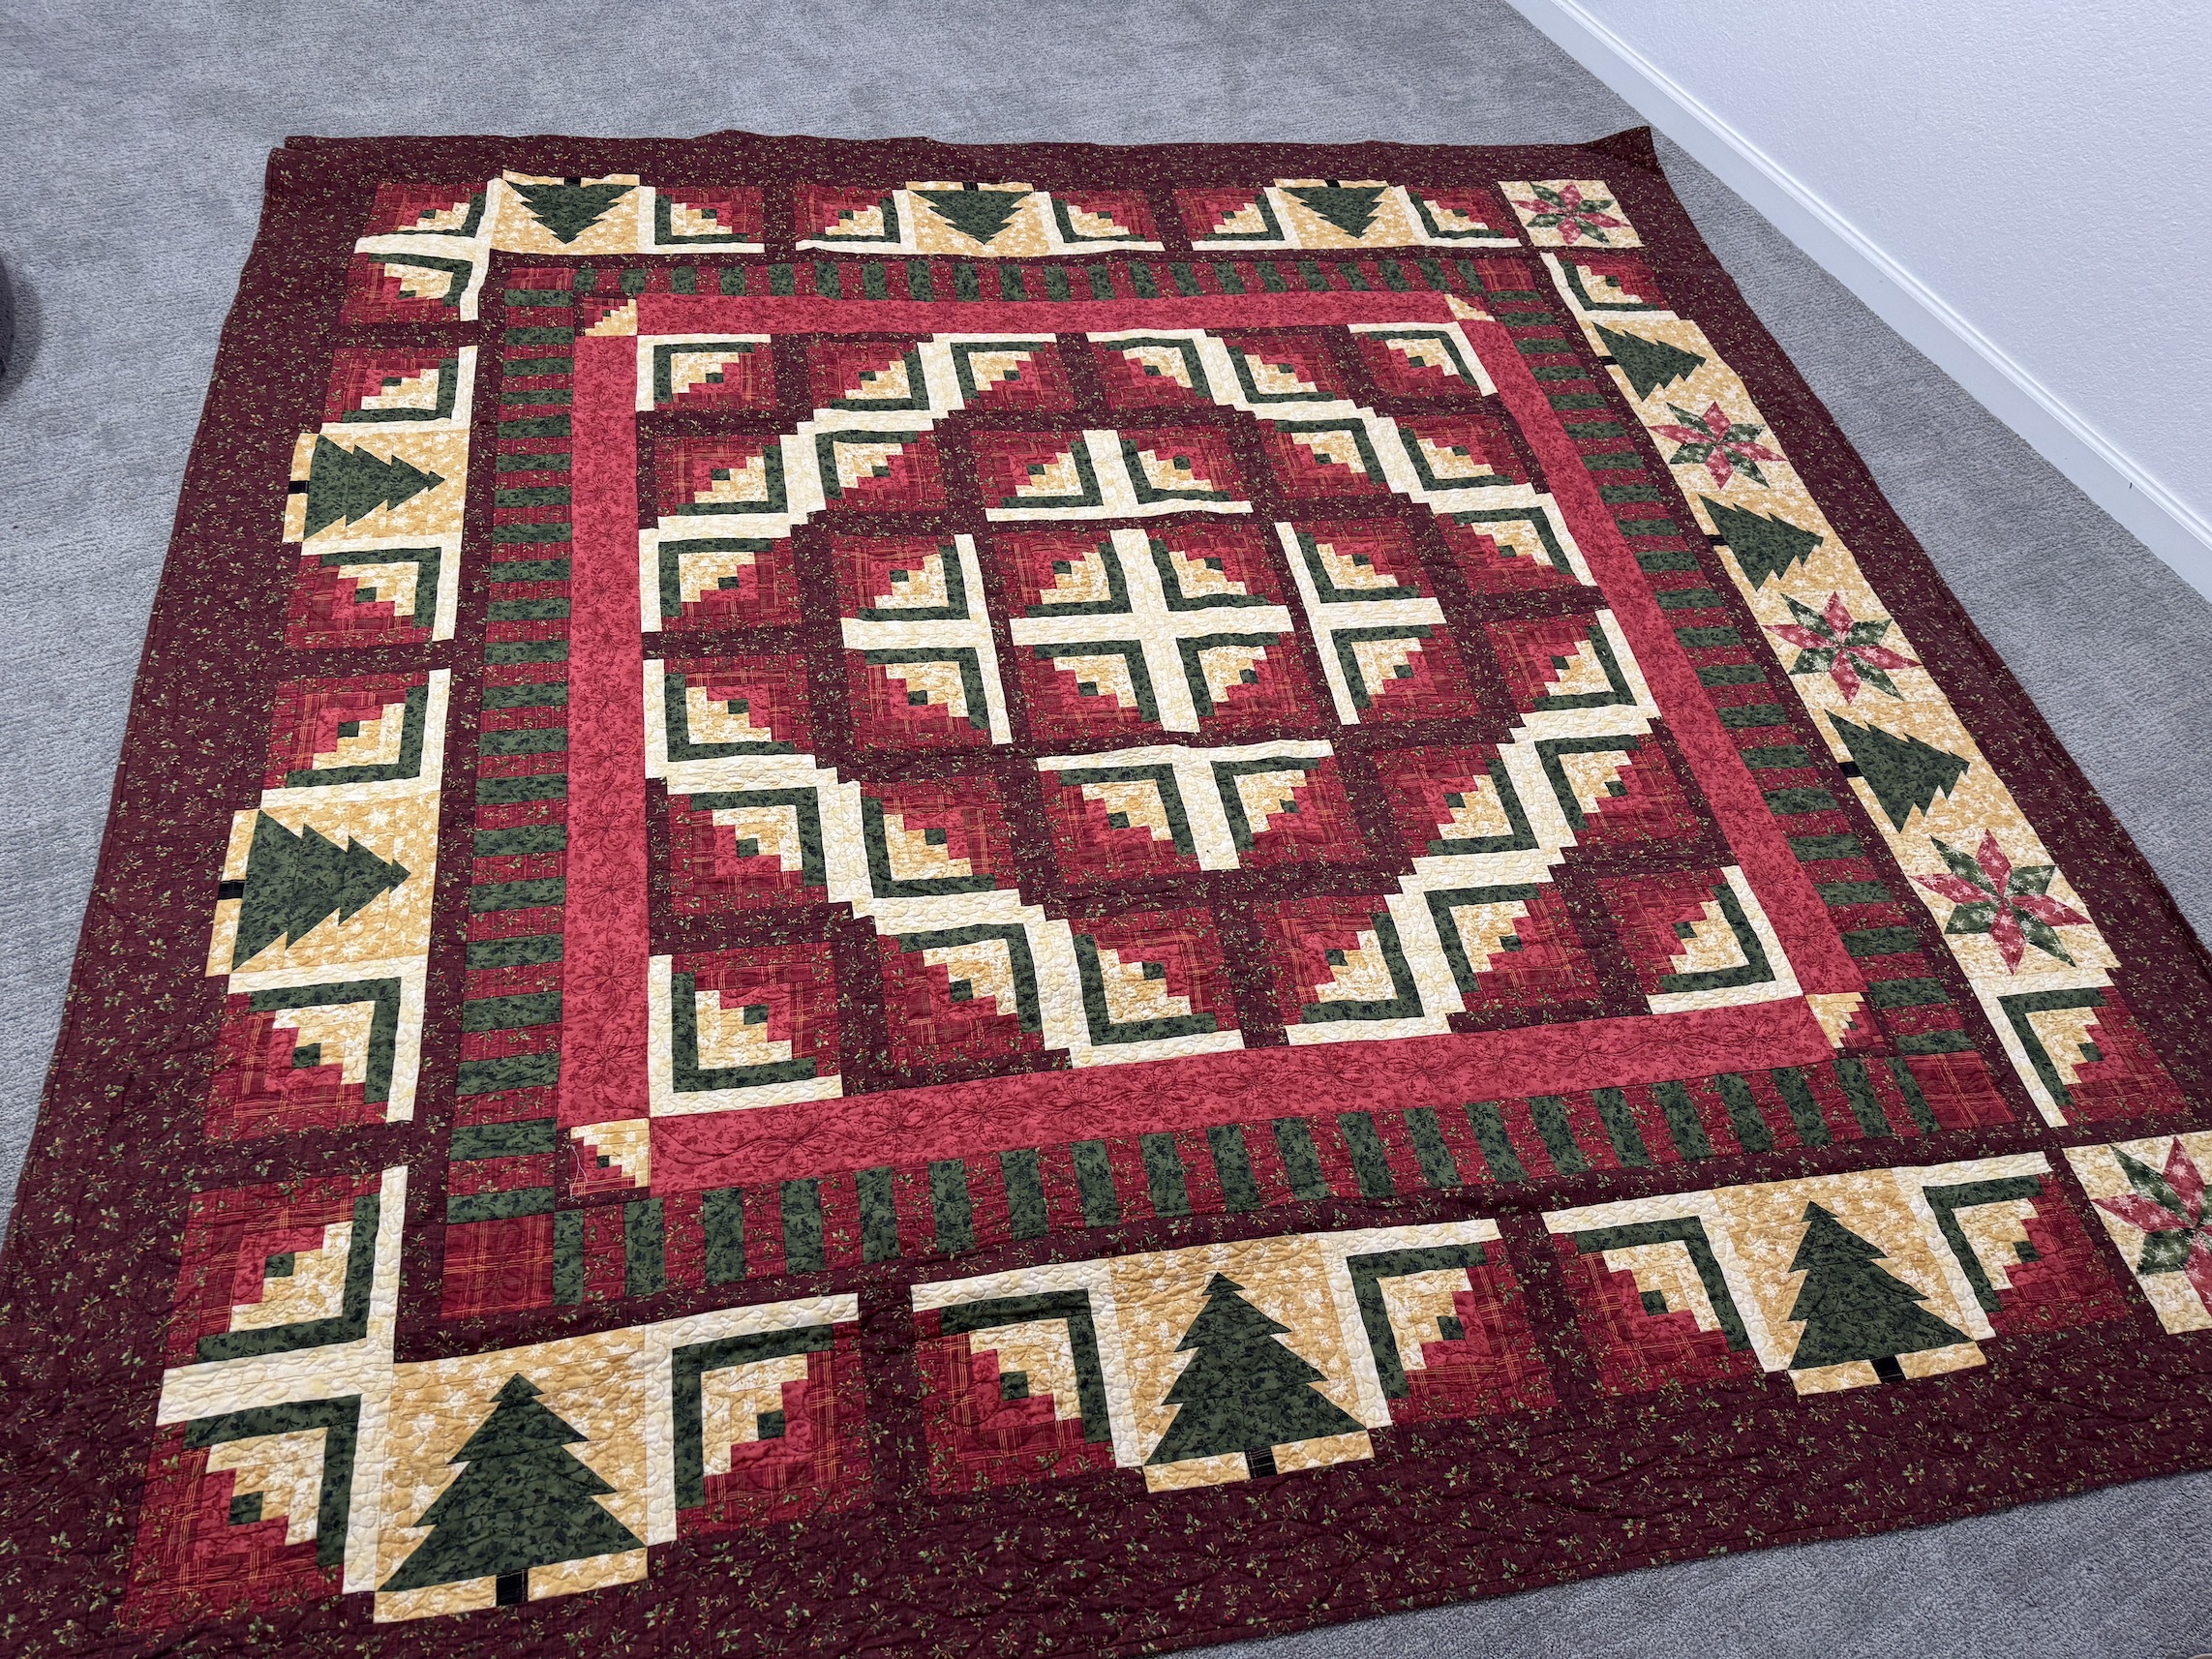
J also pulled out of the closet one of her earliest quilts – a Christmas log cabin and showed – she showed D some of the errors she made as a new quilter (that none of us noticed until she pointed them out):
I worked on my granny square blanket.
I might bring over my travel/for classes little Bernina sewing machine when we meet again next week and actually sew something during our Quilter’s Playdate.
I thought I would start with my fabric scrap collection for my first non-mask project in my “new” studio.
I have long history of fabric scrap addiction (yes I am that person at a quilt retreat who stops people from throwing out their larger scraps in the trash and offers to “adopt” them) and so I have quite the collection of fabric scraps.
I keep them organized in bins at the bottom of the IKEA bookcases in my studio:
These bins contains scraps organized by color.
I also have them organized by themed collections of scraps in bags stored under my cutting table:
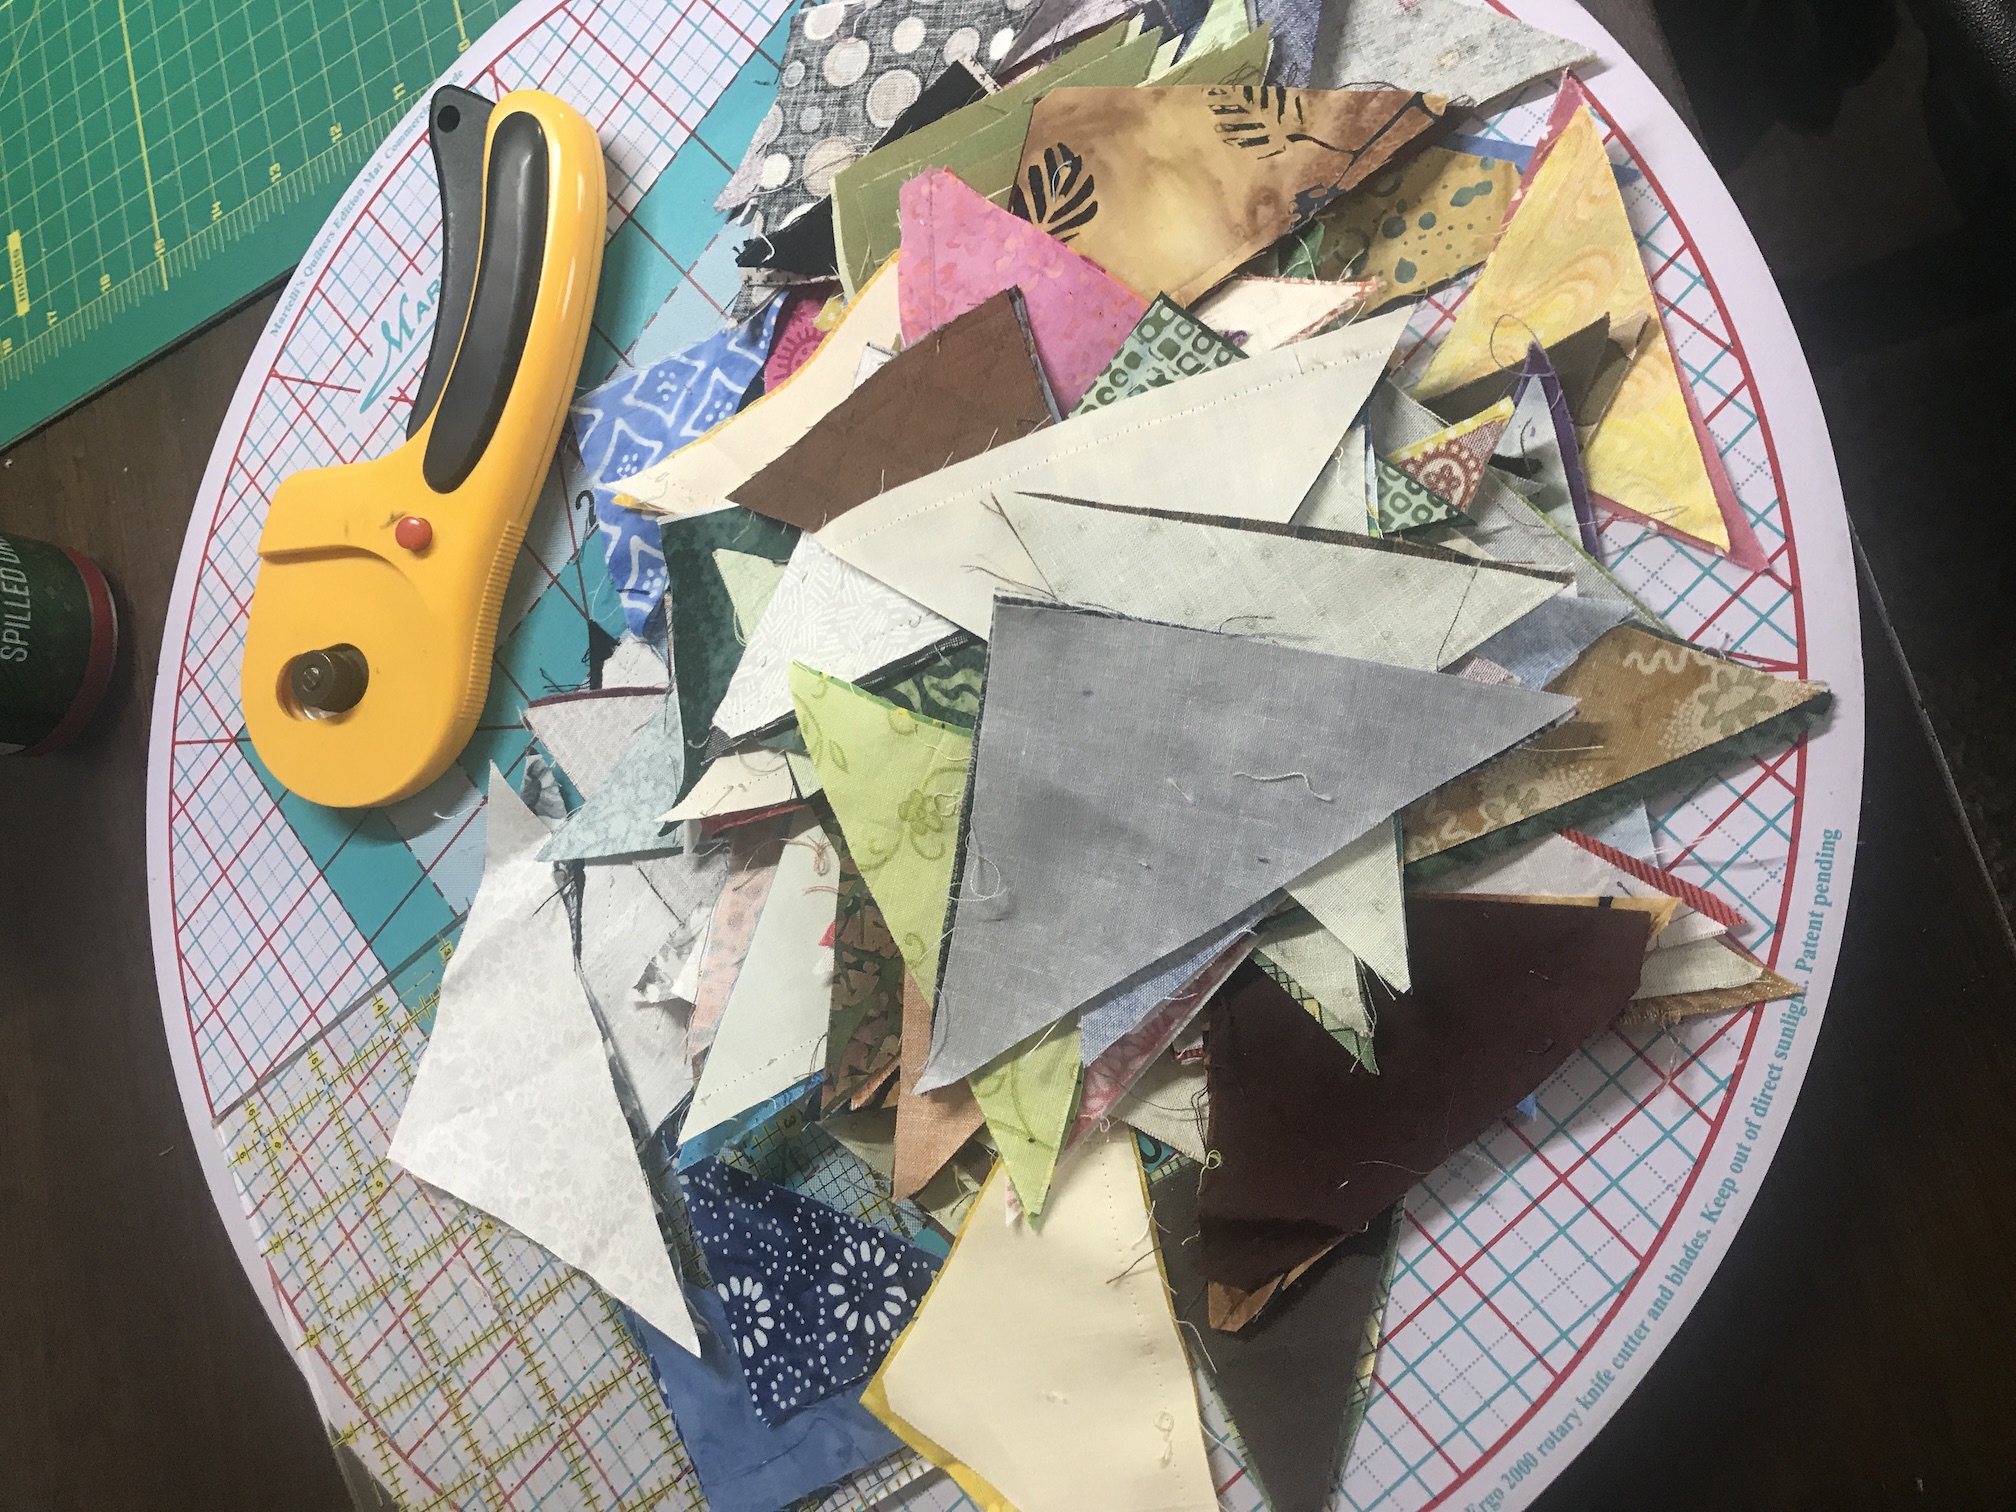
One of these collections, is a collection of scrap triangles, most given to me by other quilters when they trimmed these triangle when piecing blocks for their quilts. The triangles are in various sizes.
By sewing two scrap triangles together, I can created a scrappy “half square triangle” (HST) which provides many design opportunities. This is what I did with a bunch of scrappy fabric squares which I turned into HSTs back in Spring 2018 (see post Pillow Popping with the Untethered Soul), and created a pillow top:
I do have a basket of fabric scrap squares that I could have used to make HSTs for the project I am about to tell you about:
But I’ve decided I want to start using (and cleaning out) my ridiculous collection of themed bags of scraps (mainly given to me by other quilters) and my scrap triangle collection had gotten out of control.
So I dumped the entire collection of fabric scrap triangles onto my cutting table:
And pulled out this awesome book by Amanda Jean Nyberg, No Scrap Left Behind, for ideas.
I found a pattern in the book called All Sizes which uses several different sizes of HSTs to create a scrap quilt with smaller HSTs progressing to larger HSTs.
I did not want to violate copyright laws by photographing the quilt pattern inside the book but I did find an image of the quilt on Pinterest:
Image credit: Pinterest
The pattern instructs you to create HSTs the standard way from two contrasting squares (if you’ve never made HSTs or are not quilter, here is a link by Blossom Heart Quilts explaining how HSTs are commonly made – HST Tutorial). However I decided to manually make HSTs by sewing two scrappy triangles together.
So to make this happen I had to sort my giant pile of scrap triangles into light and dark in order to manual create the HSTs (to get a nice contrast with a HST you use a light fabric and a darker fabric). The process was tedious but fun (I listened to great music while sorting, sewing, pressing/ironing. and trimming).
Eventually my “hot mess” of scrap triangles, turned into this on my design wall:
No it doesn’t look anything like the pattern of the Pinterest finished quilt image I shared above but it is in progress. Initially I placed the HSTs in size order on the design wall but my organization fell apart after a while of trying to just randomly get all the HSTs I’ve made onto the design wall (to get a sense of how many I’ve made so far).
Also, you might have noticed that the Pinterest finished quilt image has white as the light on the HSTs. I’ve was very loose in my interpretation of “light” to contrast with my darker triangles. I did not have many white/cream or other light colored scrap triangles. So I had to use medium fabrics often as “lights” and you will see some bold fabrics in the mix (like deep/strong yellows, etc.) as “lights”.
But hey – it’s going to be a very scrappy quilt!
When the quilt top is complete, I am going to toss any remaining scrappy triangles. They were originally headed to the trash bin before I rescued them. It is okay if some now make it to the trash.
I think there will be very few scrap triangles remaining when I am done; and I think this is a one time scrap quilt experiment with scrap triangles. (Next time I make HSTs it will be using contrasting squares)
And I plan to say “no thank you” when other quilters offer me their scrap triangles in the future!
Postscript
I am still hand quilting Seattle Scrappy (see post Seattle Scrappy (What’s on the Design Wall)) in case you wondered what became of that piece. I keep it on the stairs railing next to the recliner I sit in when watching television in the living room, so it is always handy to work on:


 These bins contains scraps organized by color.
 One of these collections, is a collection of scrap triangles, most given to me by other quilters when they trimmed these triangle when piecing blocks for their quilts. The triangles are in various sizes.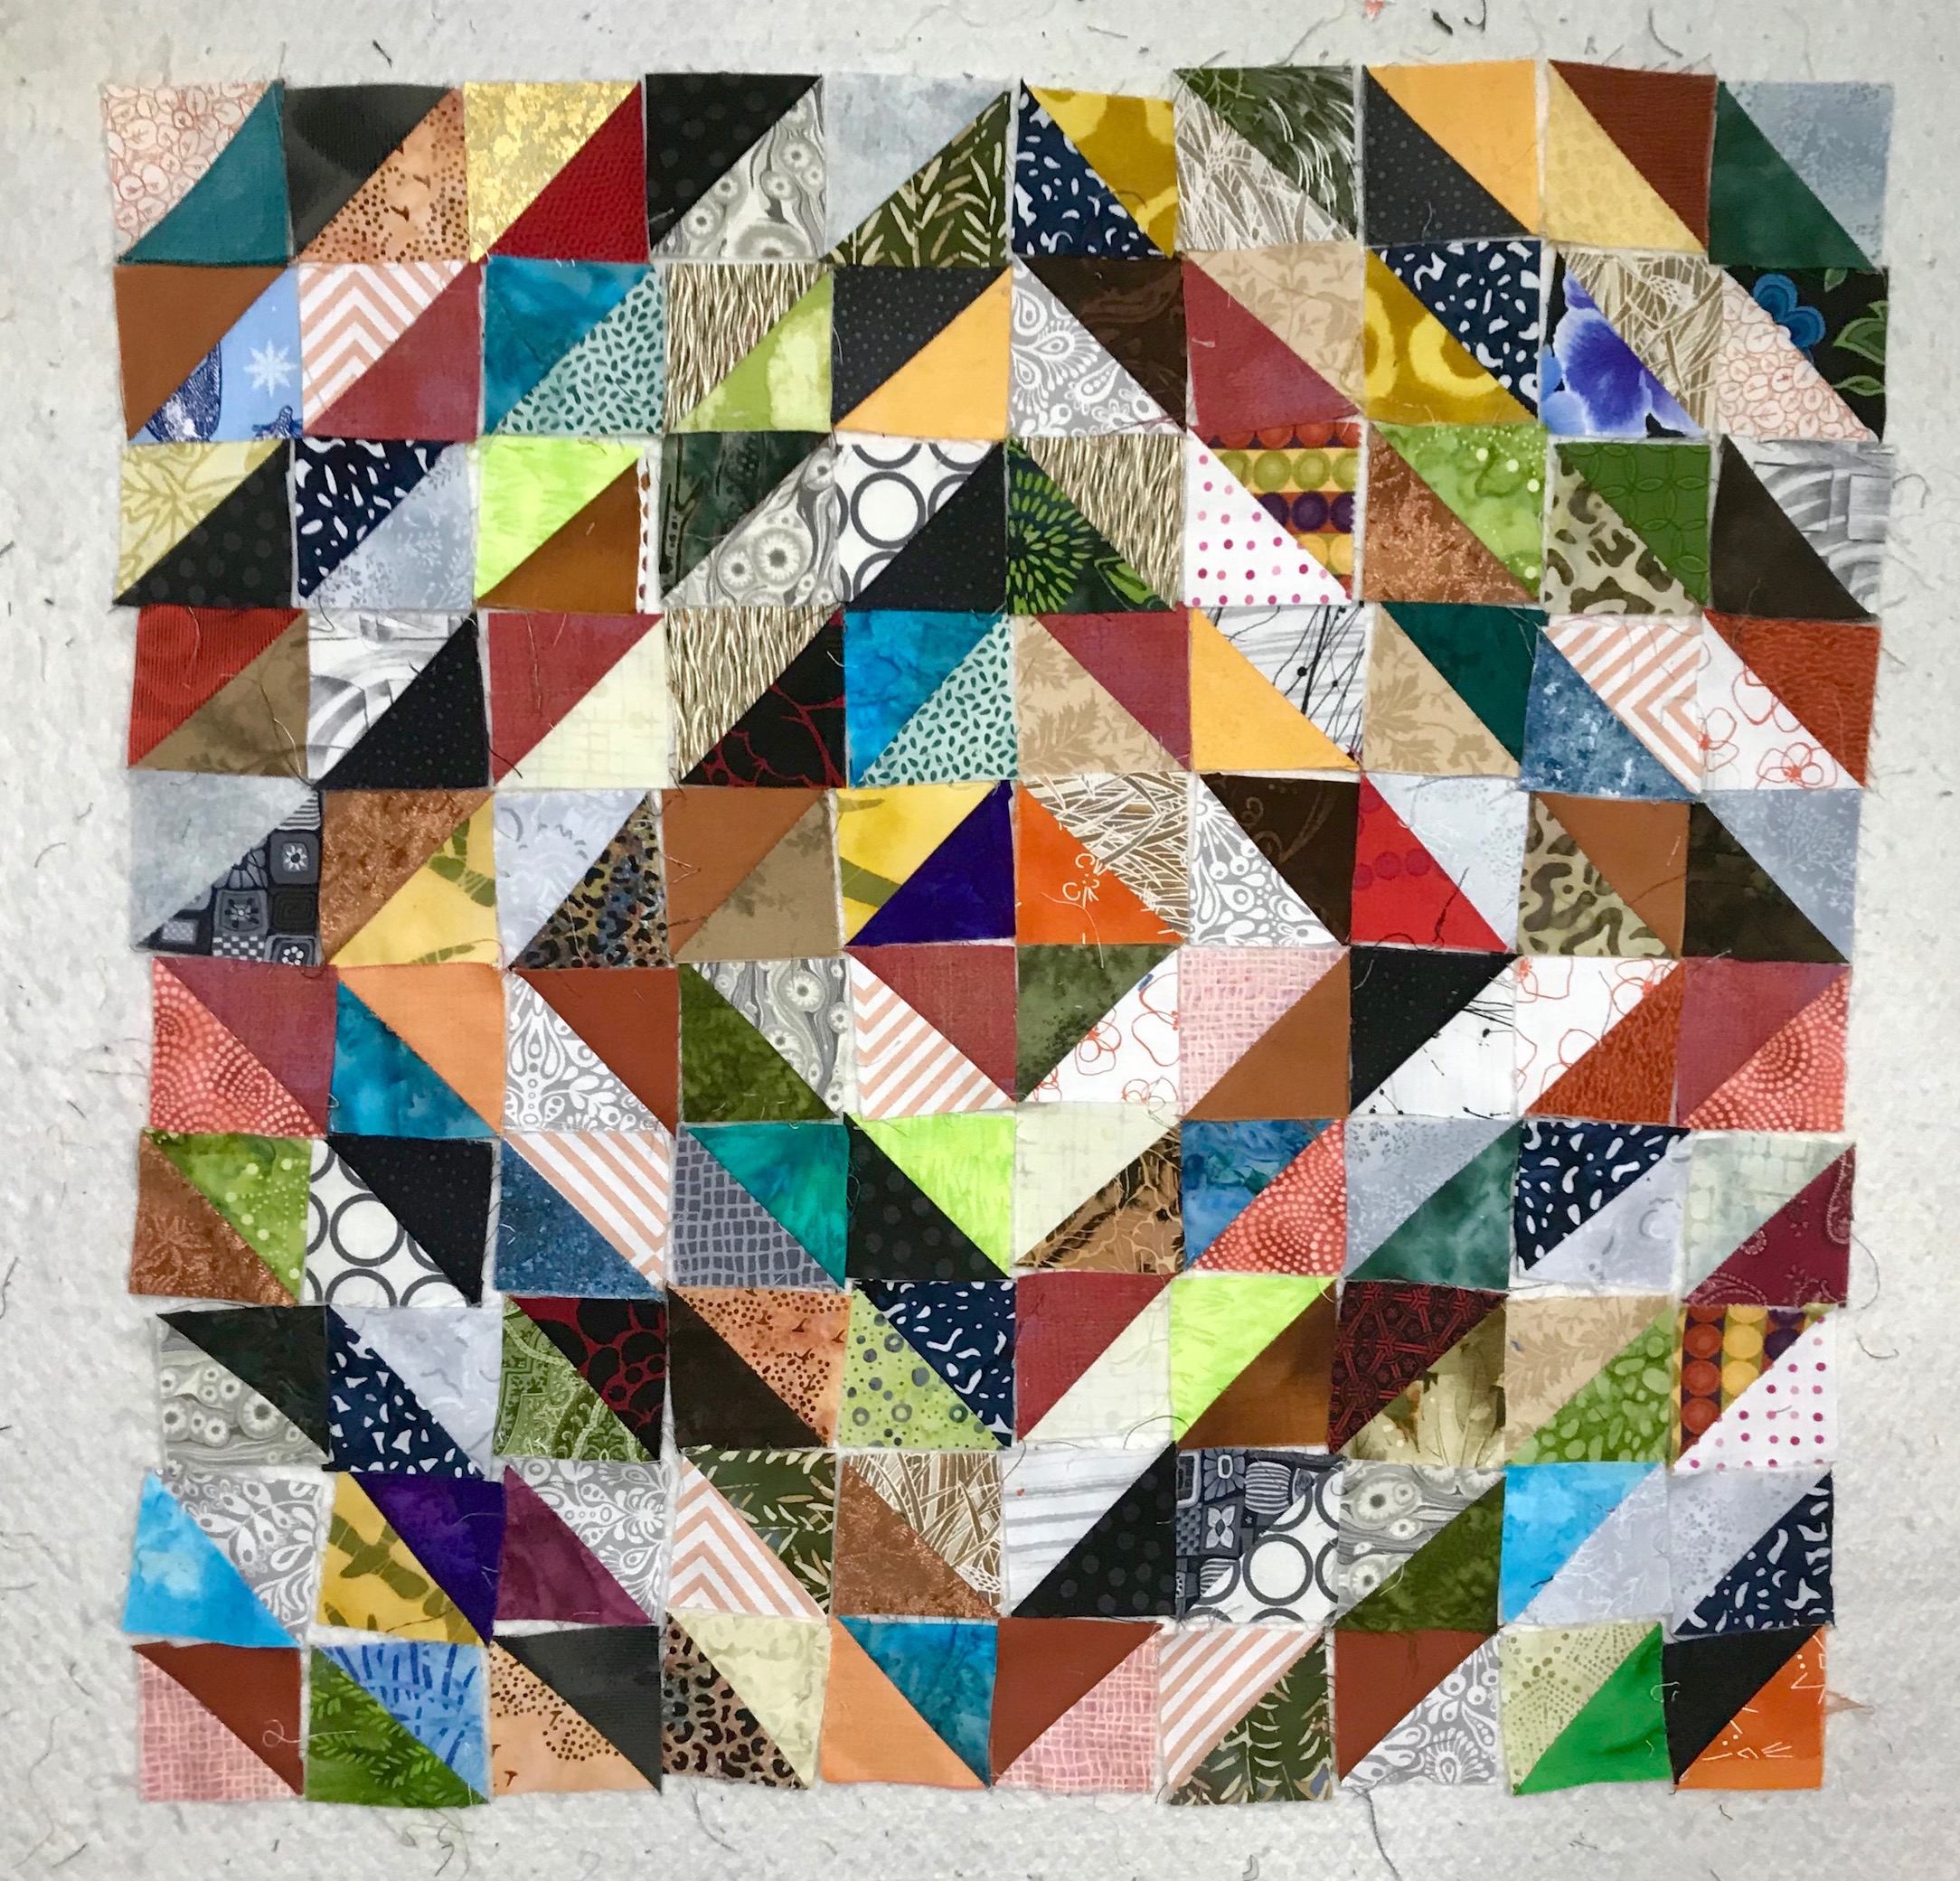
 But I’ve decided I want to start using (and cleaning out) my ridiculous collection of themed bags of scraps (mainly given to me by other quilters) and my scrap triangle collection had gotten out of control.
 And pulled out this awesome book by Amanda Jean Nyberg, No Scrap Left Behind, for ideas.


 Eventually my “hot mess” of scrap triangles, turned into this on my design wall:
 But hey – it’s going to be a very scrappy quilt!
 Someday it will be done…
