It’s the 15th of the month and time for my monthly “ScrapHappy” post as part of the ScrapHappy group I belong. At the end of this post I have a link to the other blogs participating in this monthly event in case you’d like to check out their ScrapHappy posts.
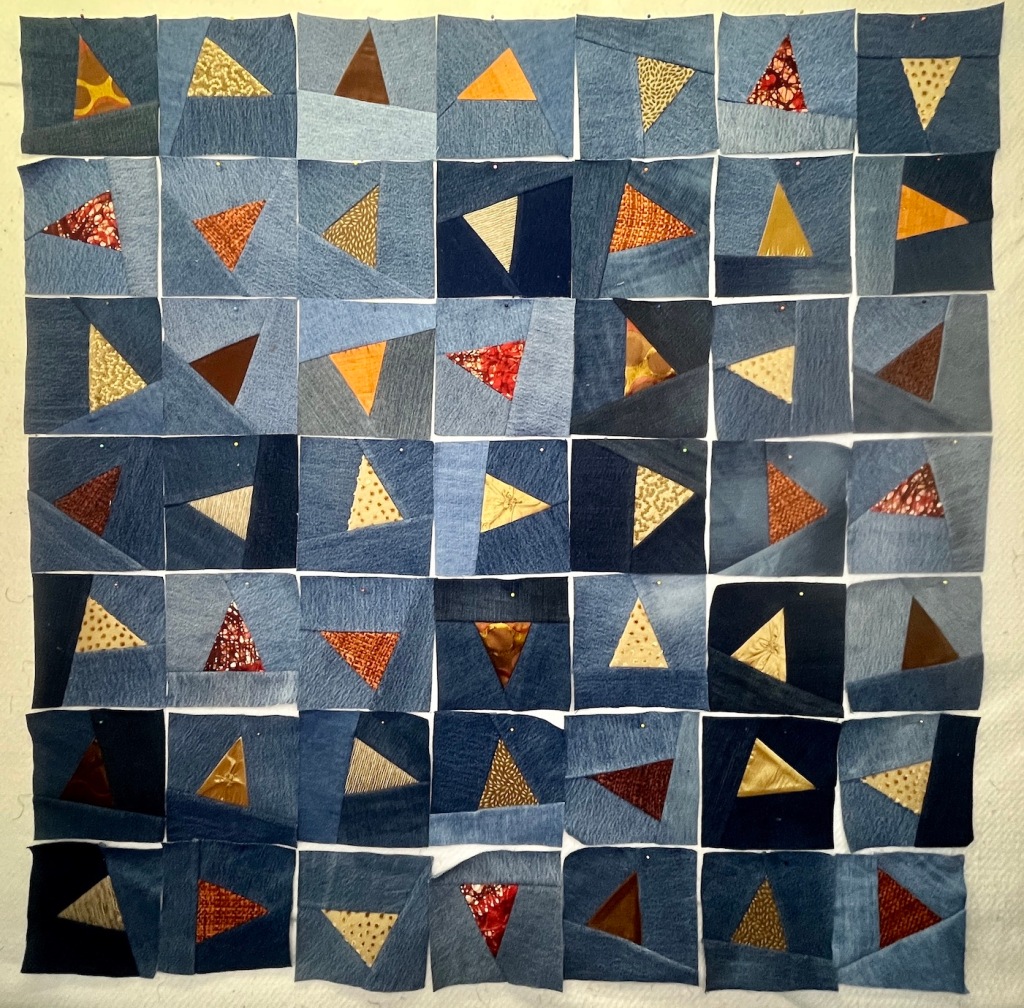
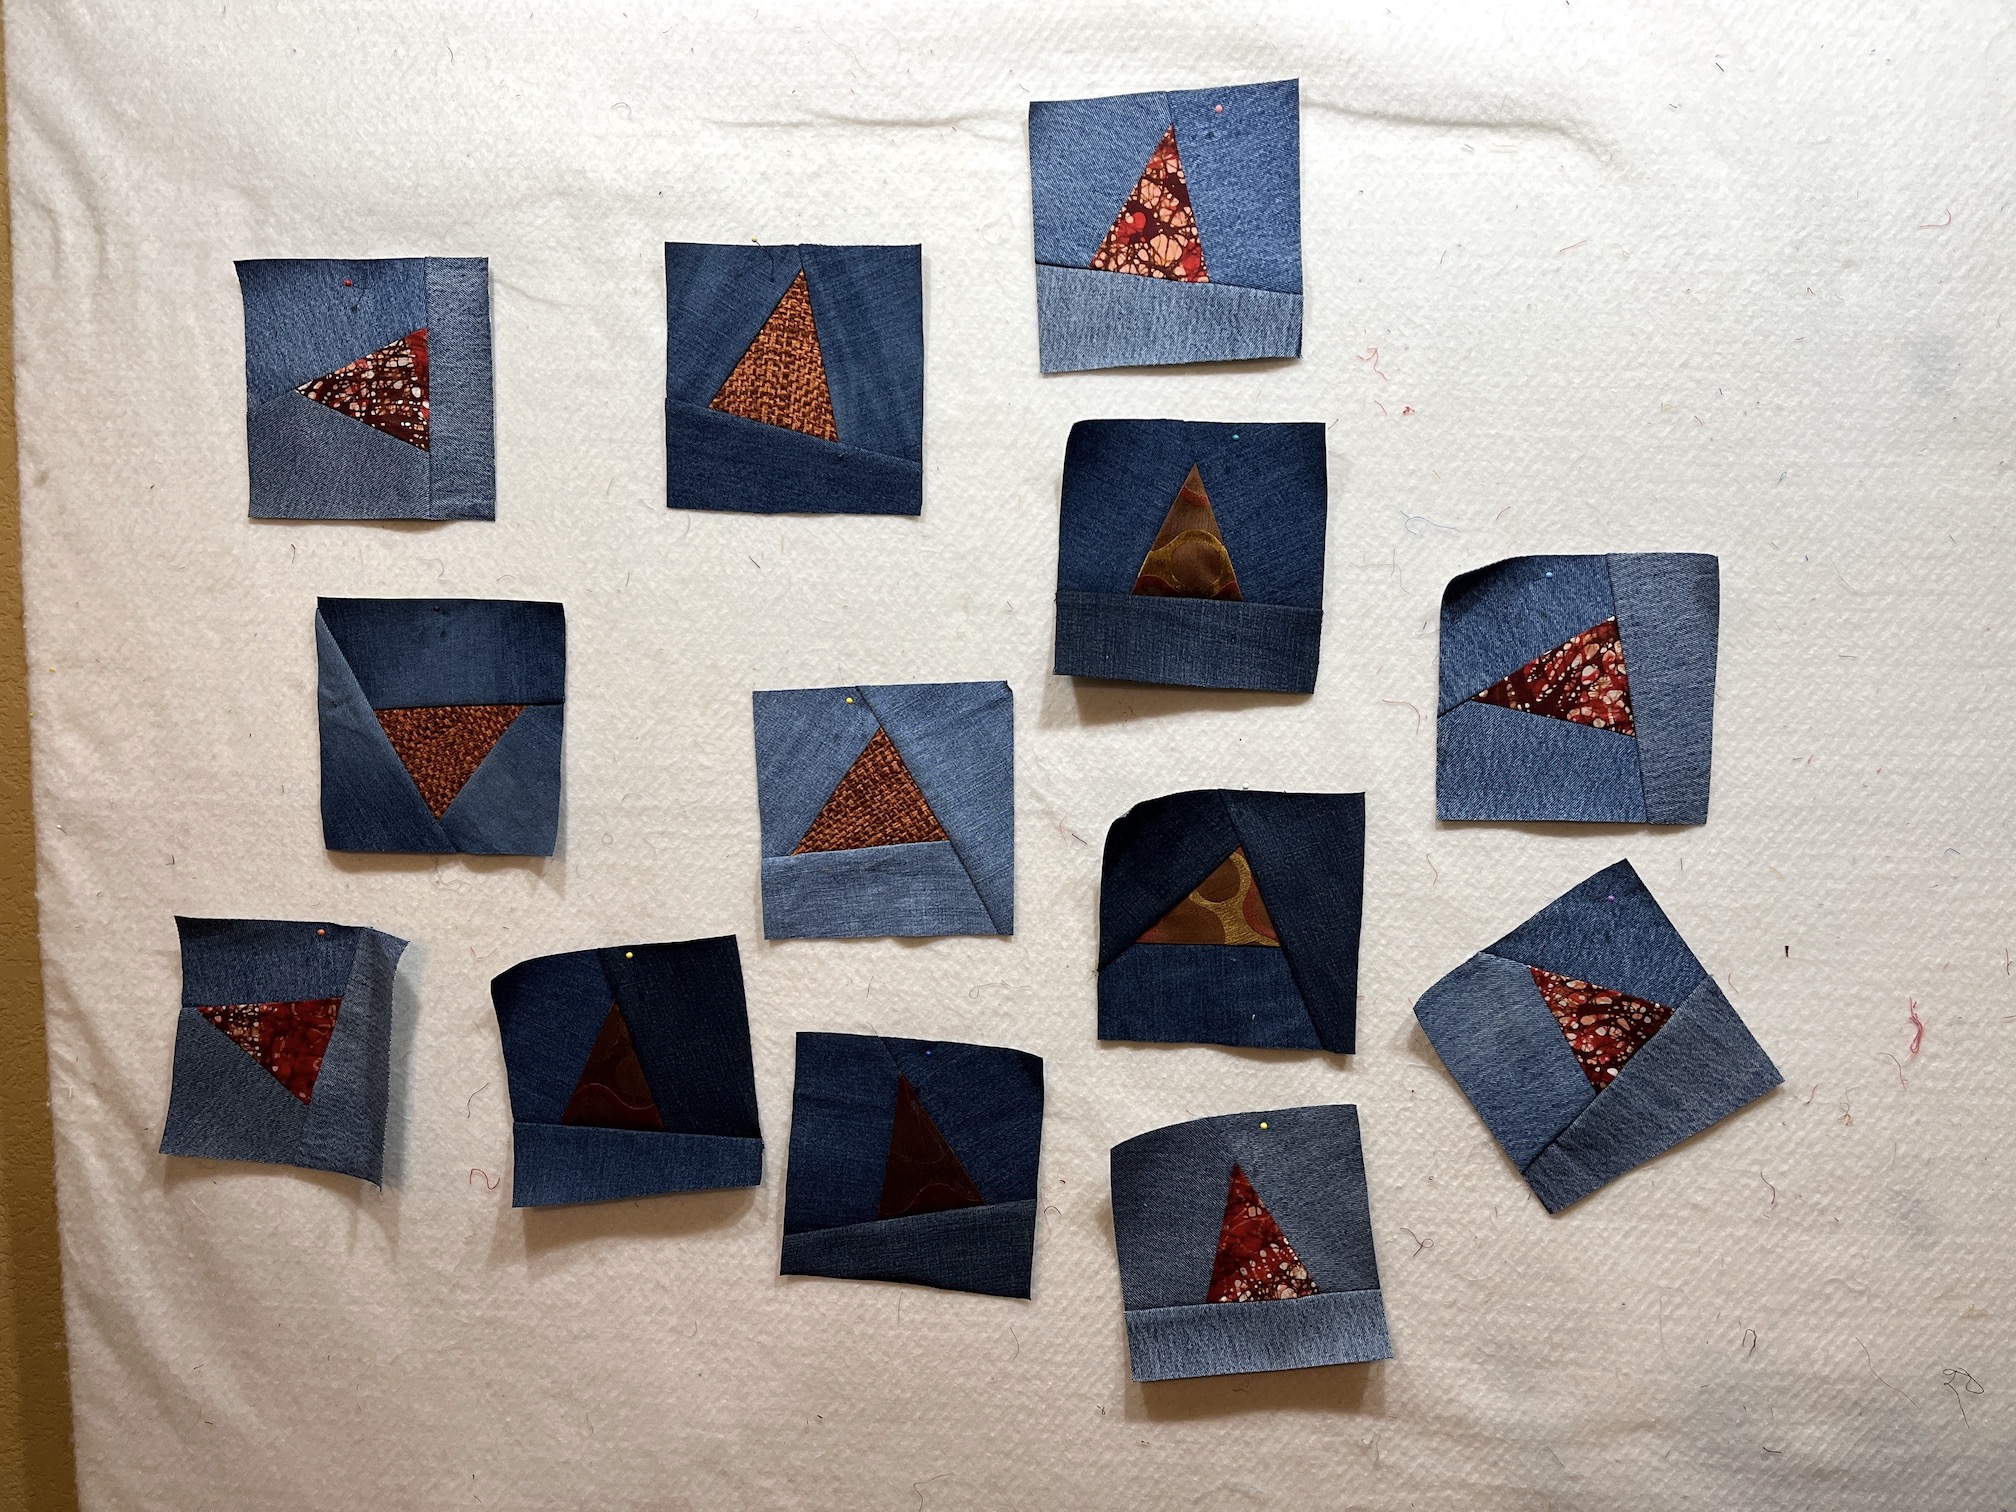
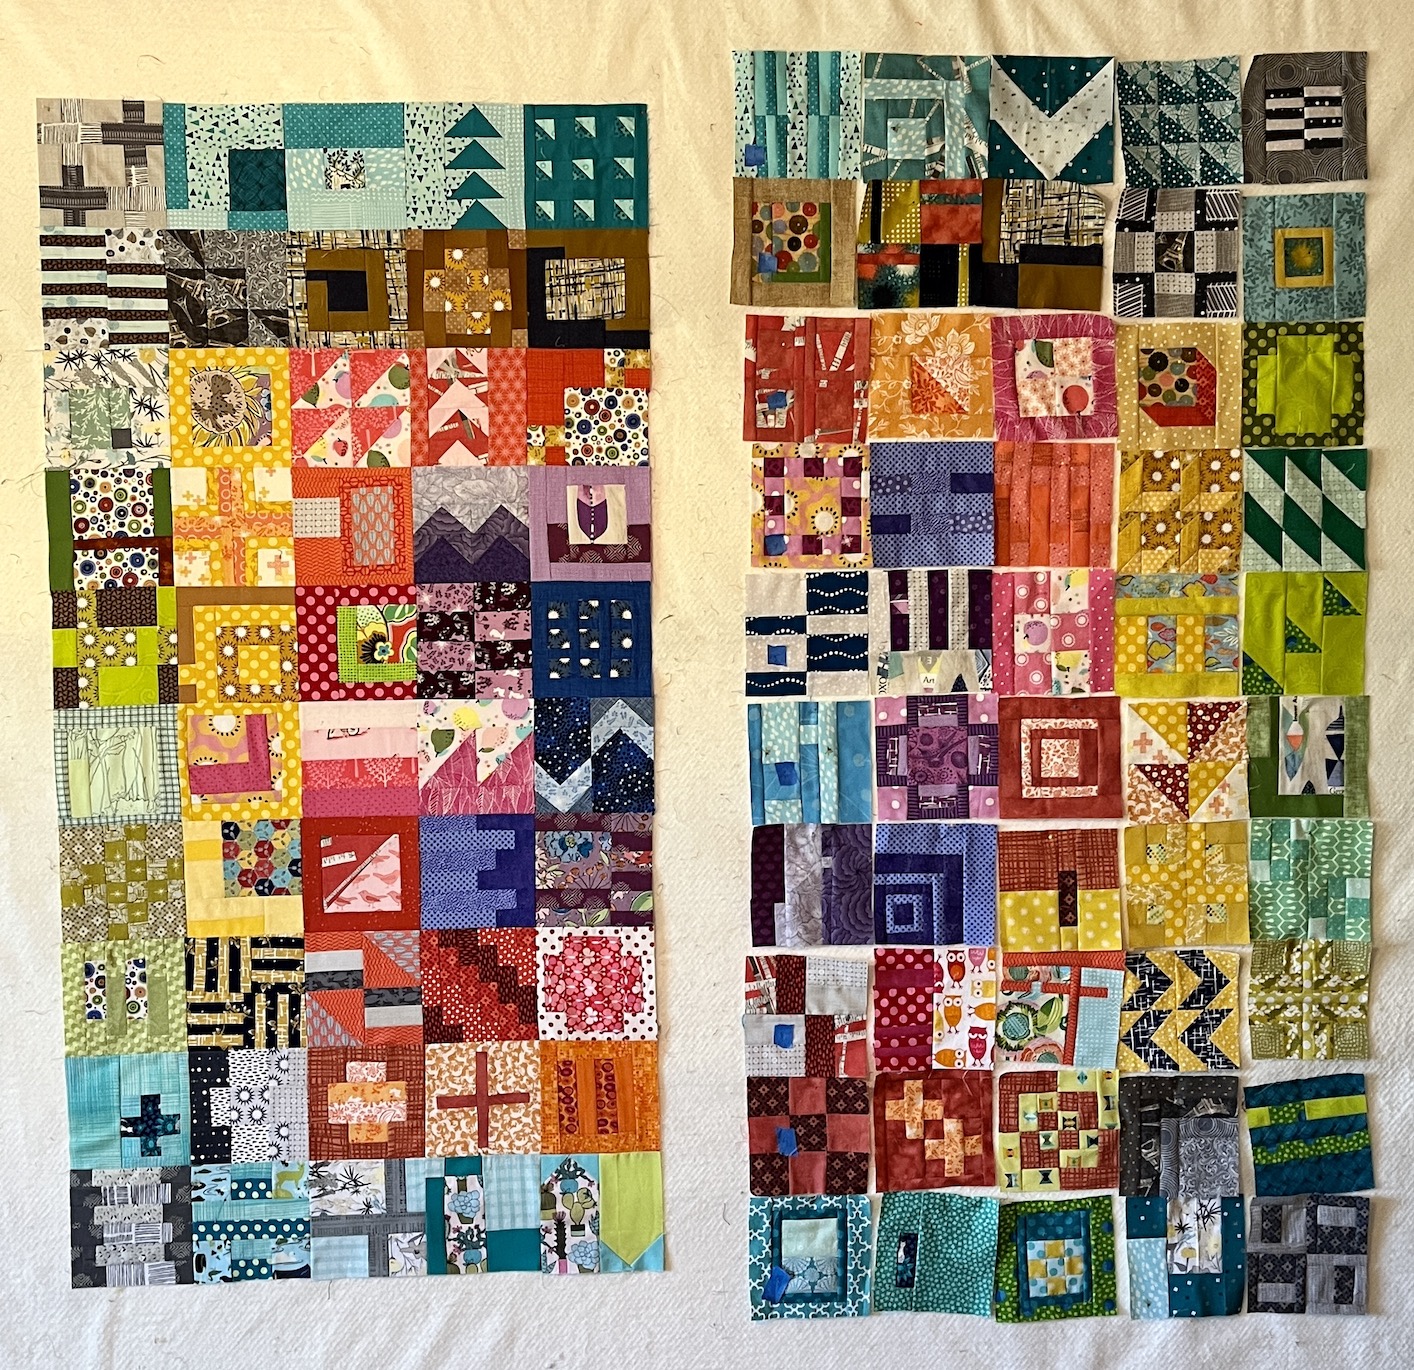
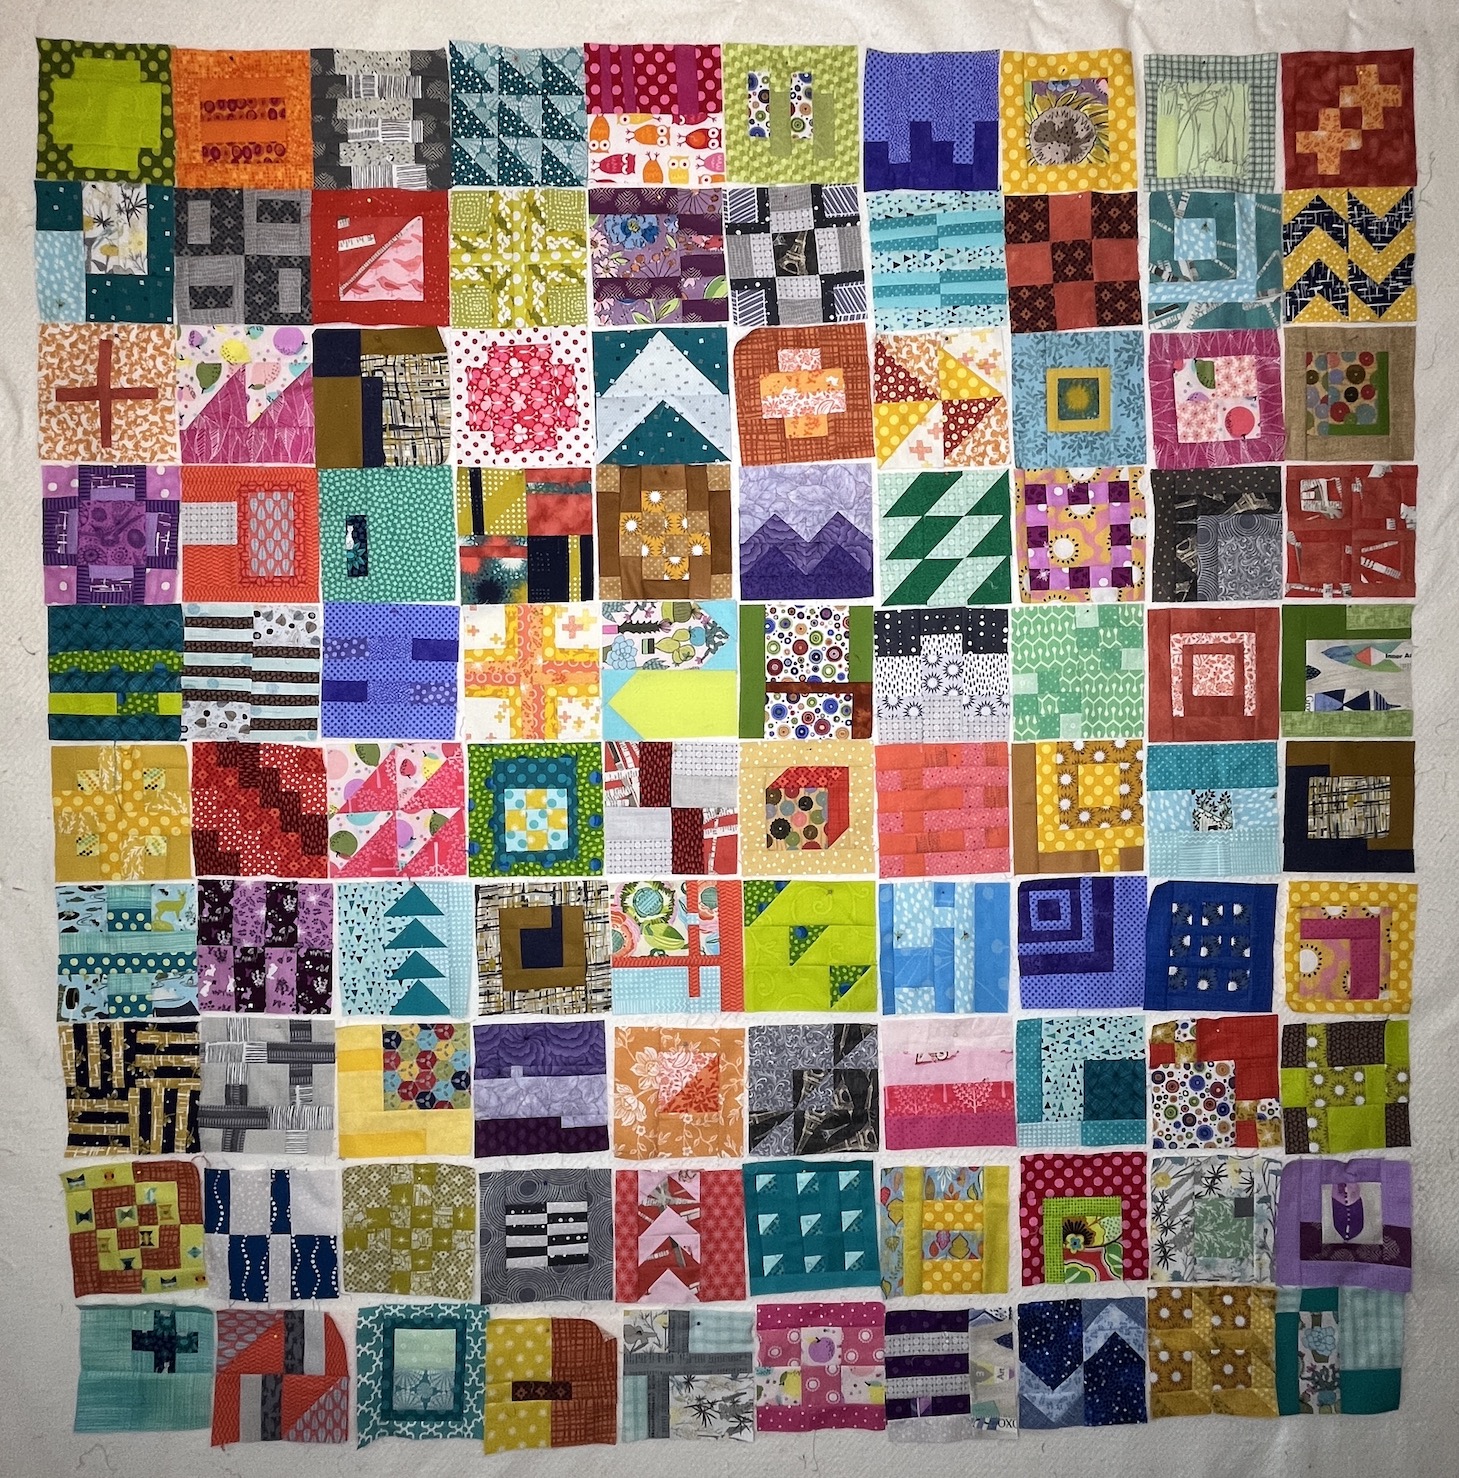
I’ve completed 51 blocks piecing recycled denim/jeans and home decor fabric scraps; and I put 49 of them in a 7 by 7 square so you could see a sample of a layout:
Yes I couldn’t decide which photo to use so I included all three!
I want the piece to be sort of large, and definitely square and I’ve decided to make a total of 81 blocks for a 9 by 9 square piece. I might hand quilt it, I haven’t decided but I am going to try some sample designs with scrap denim to see how the stitching would look.
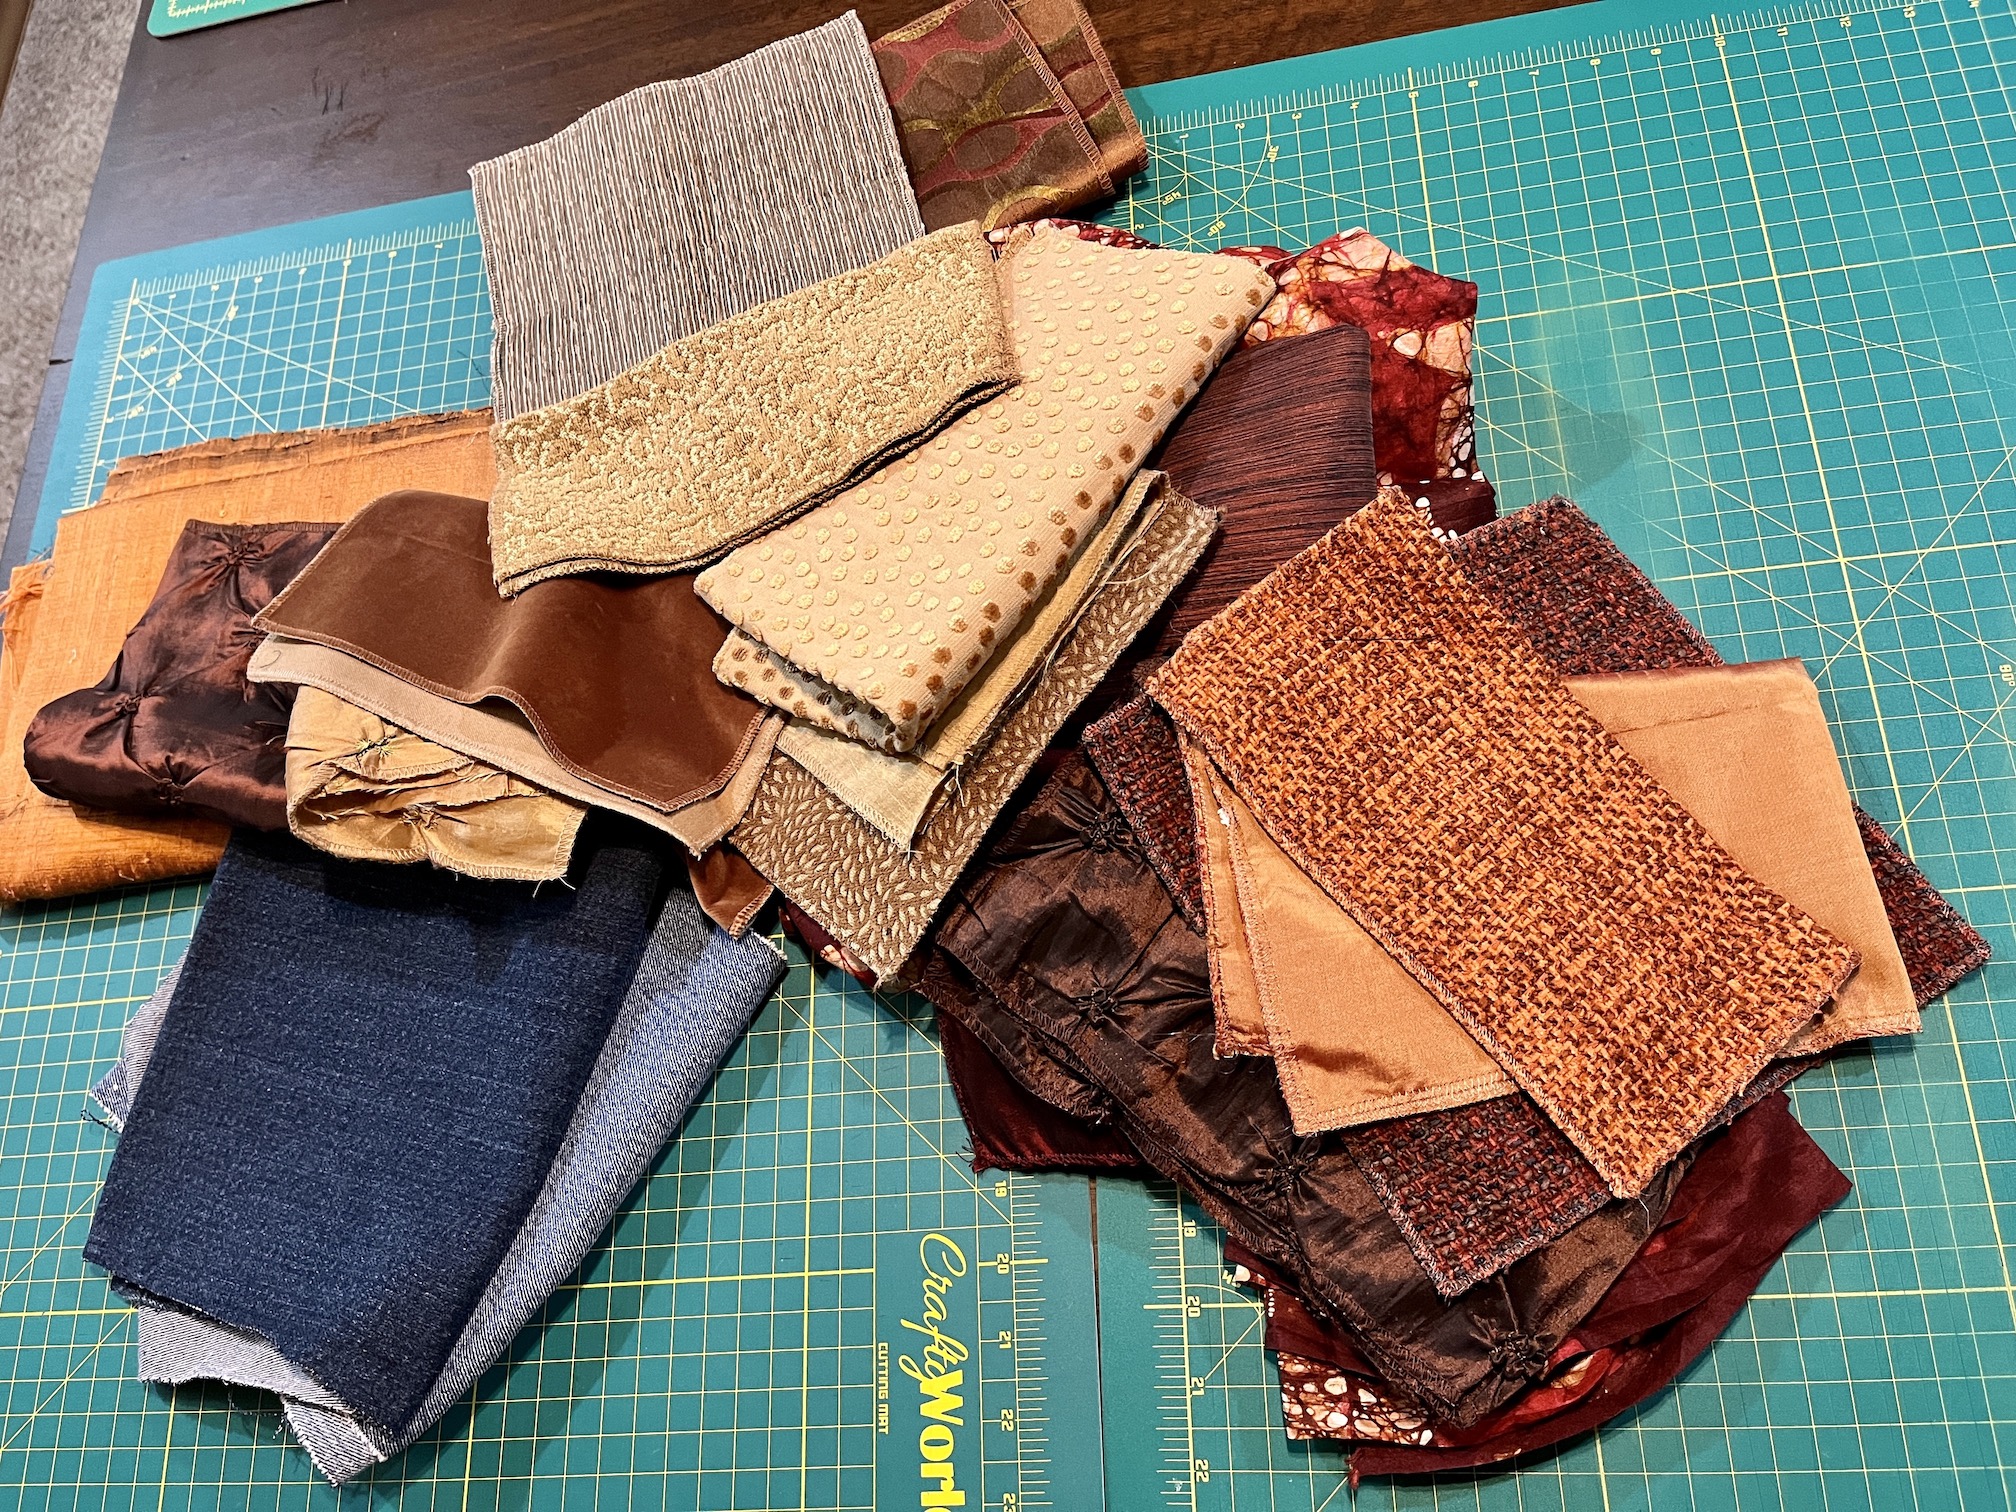
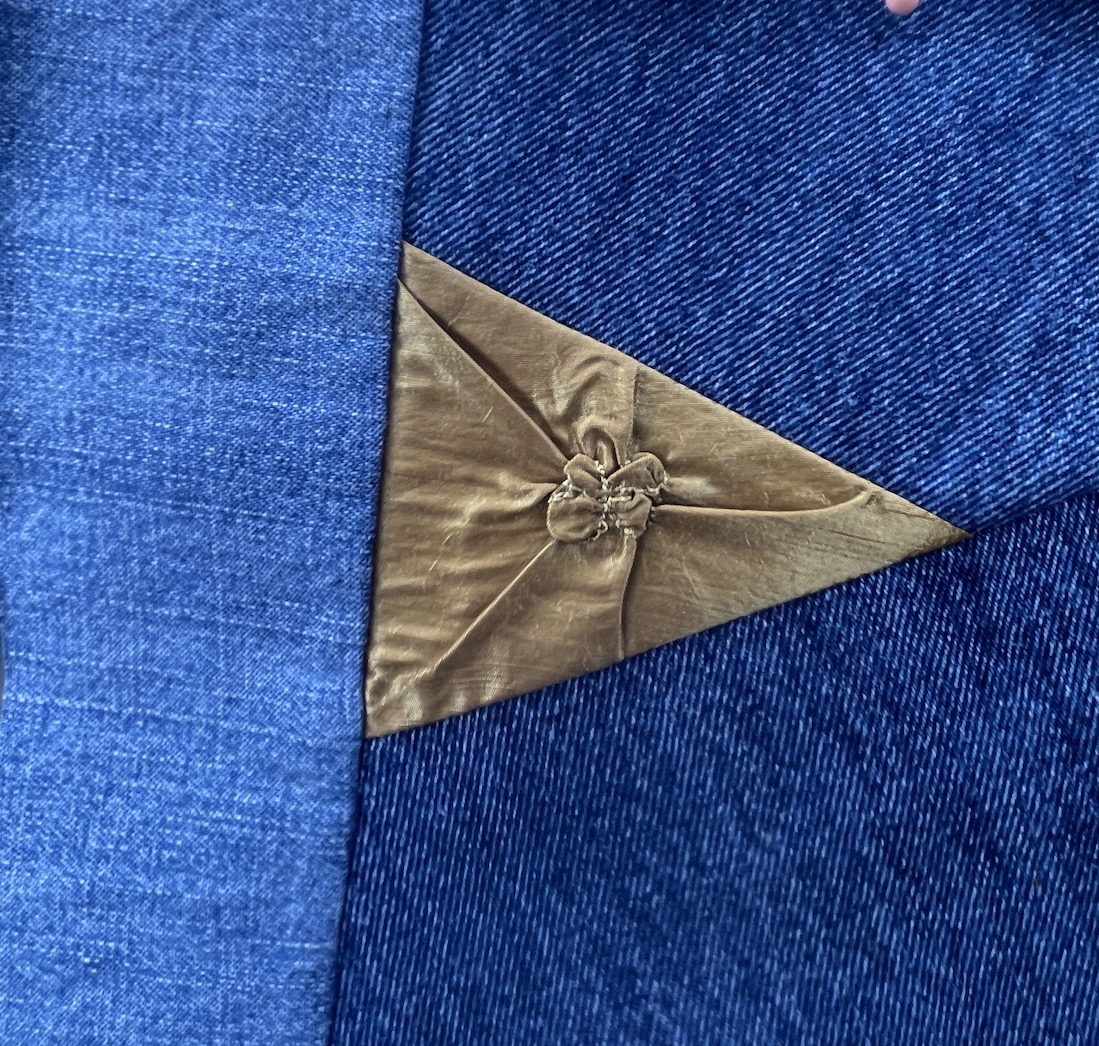
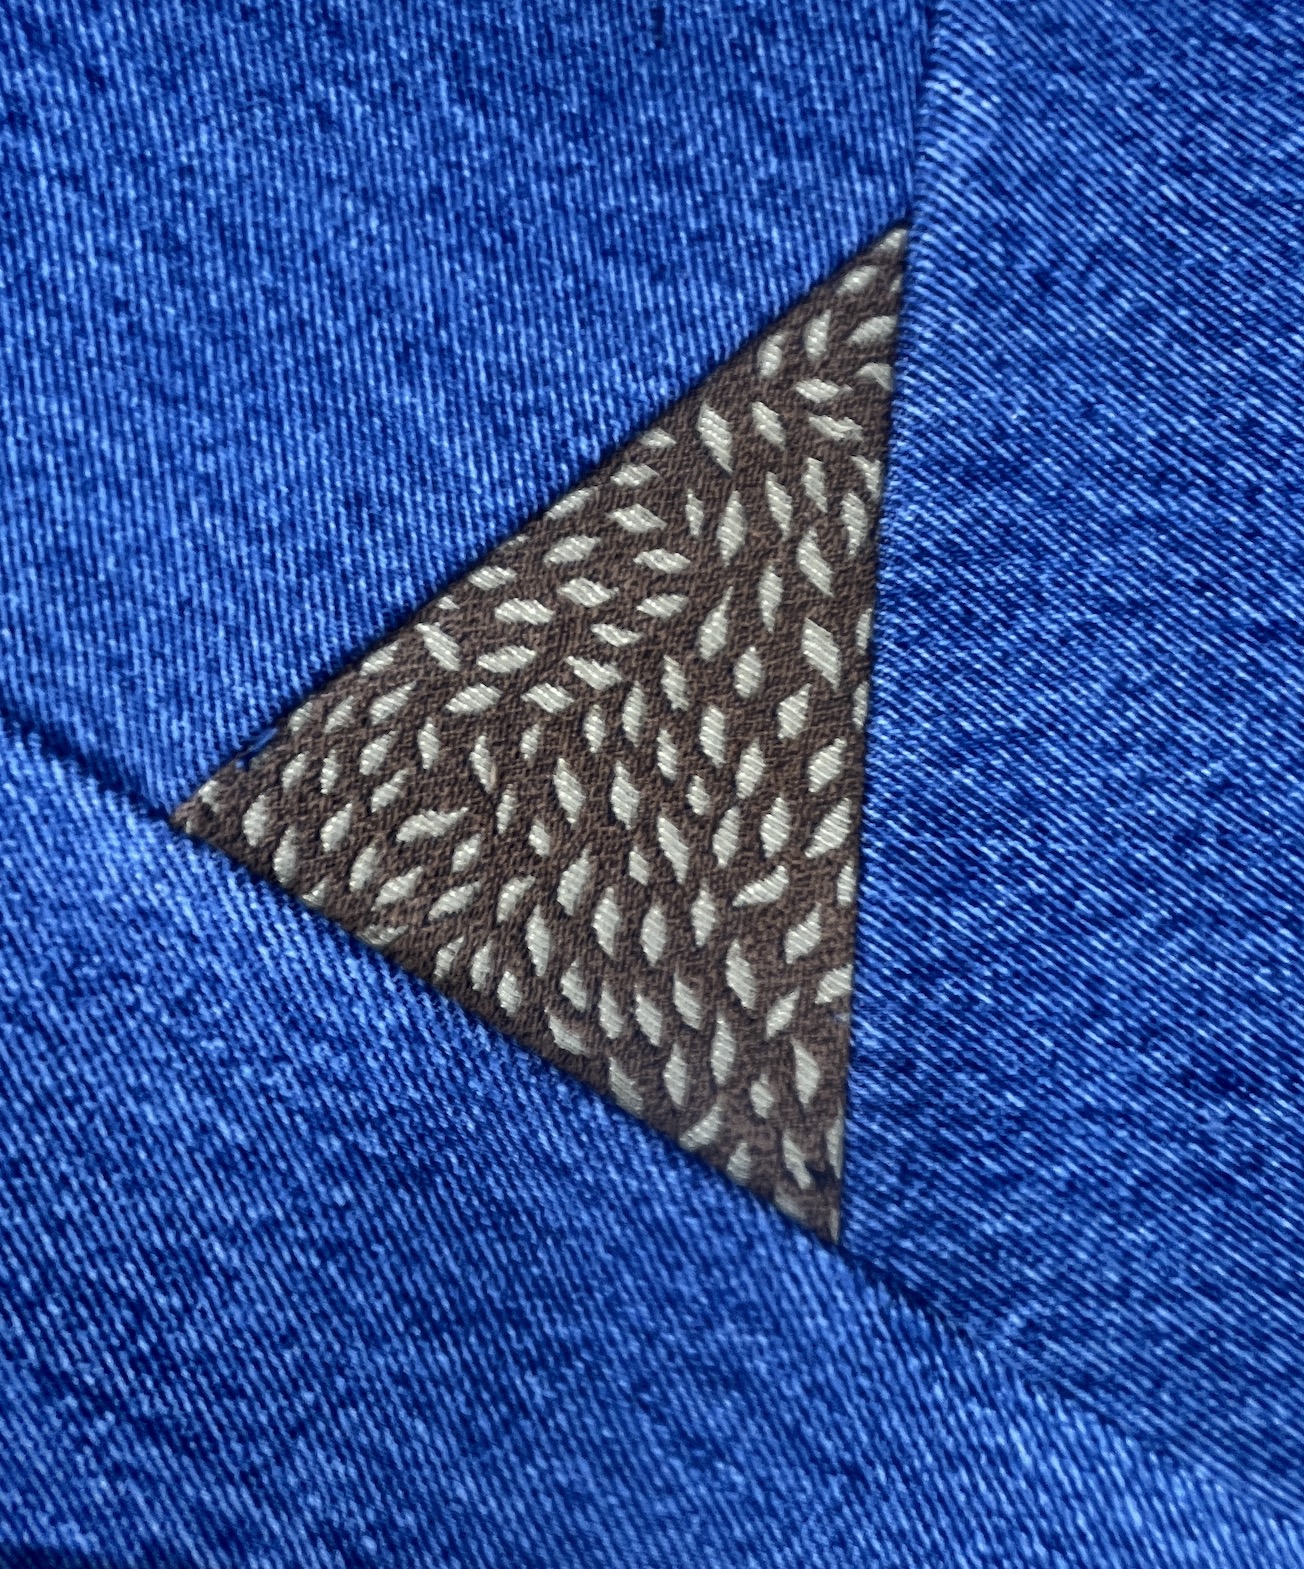
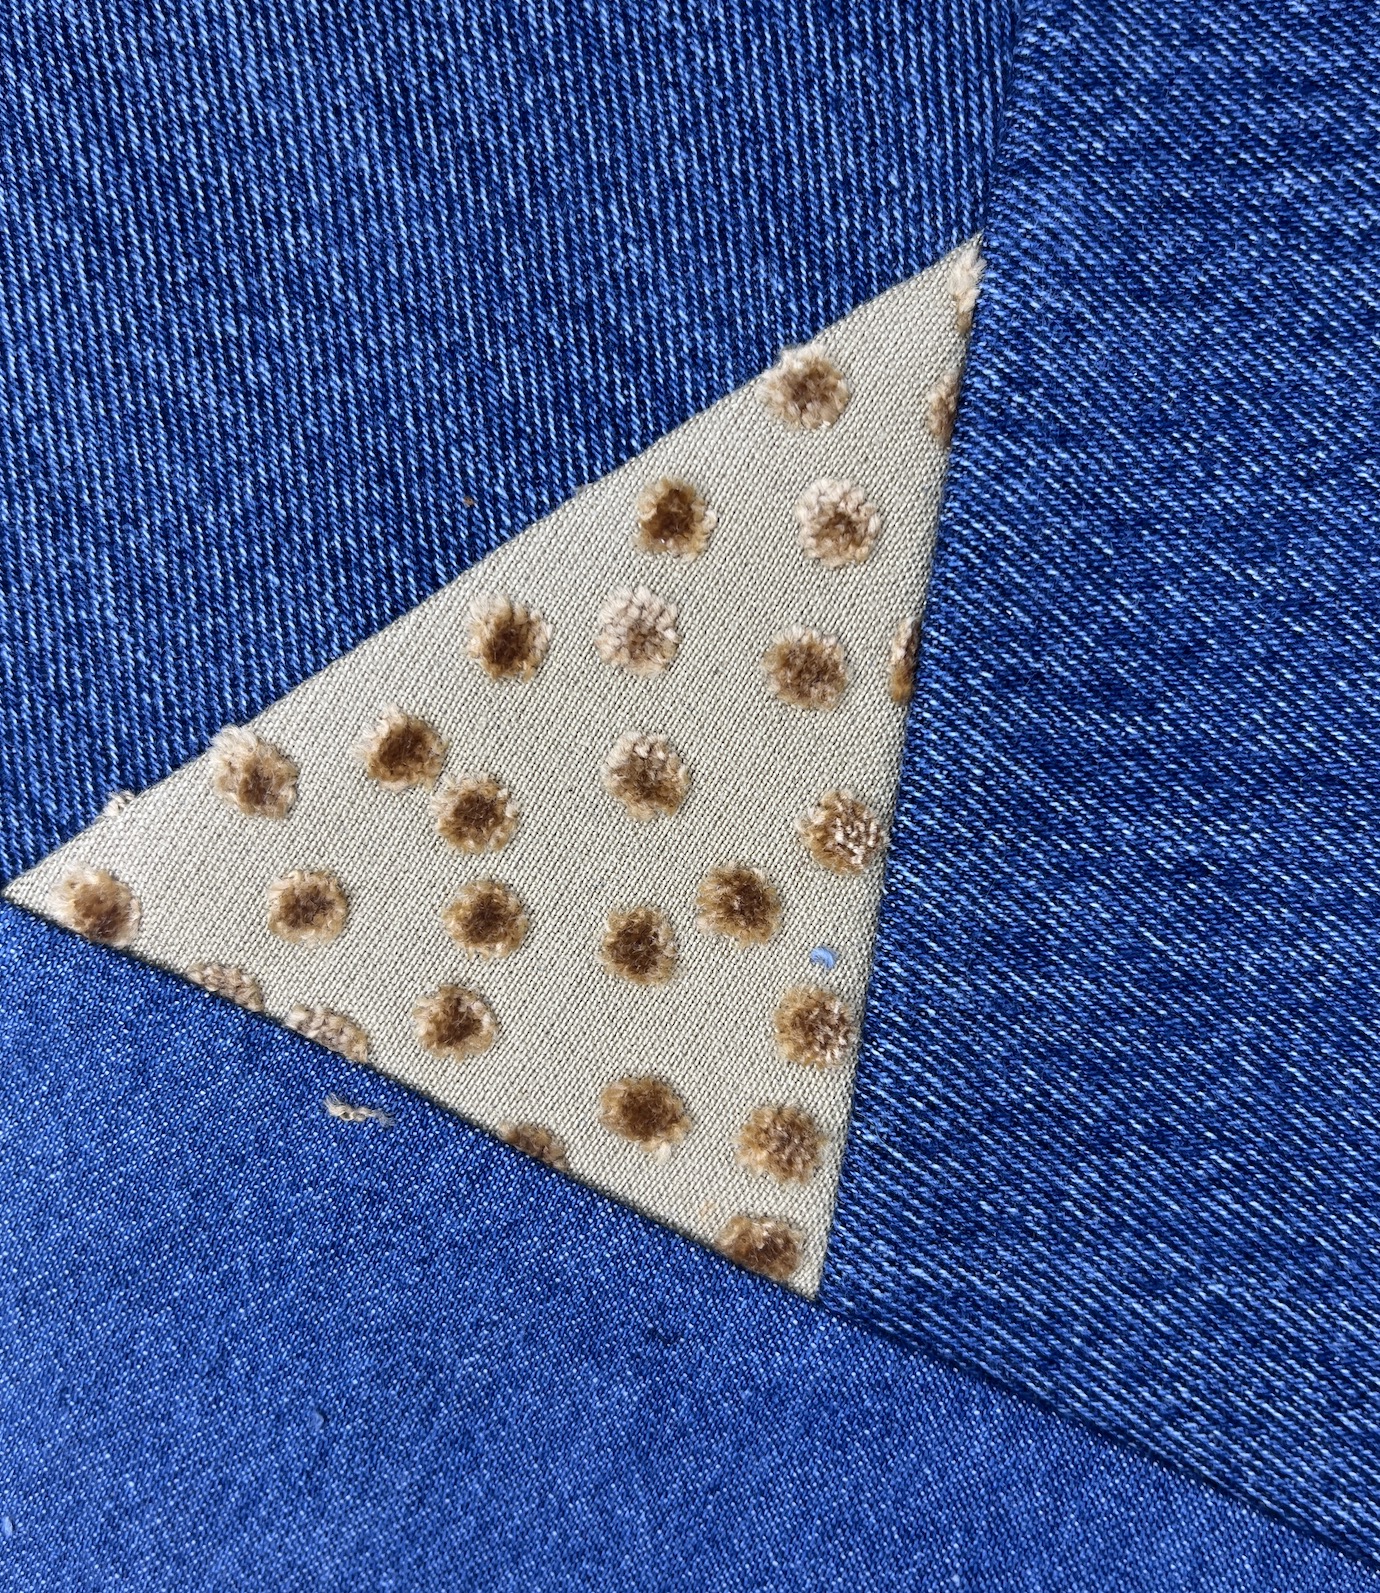
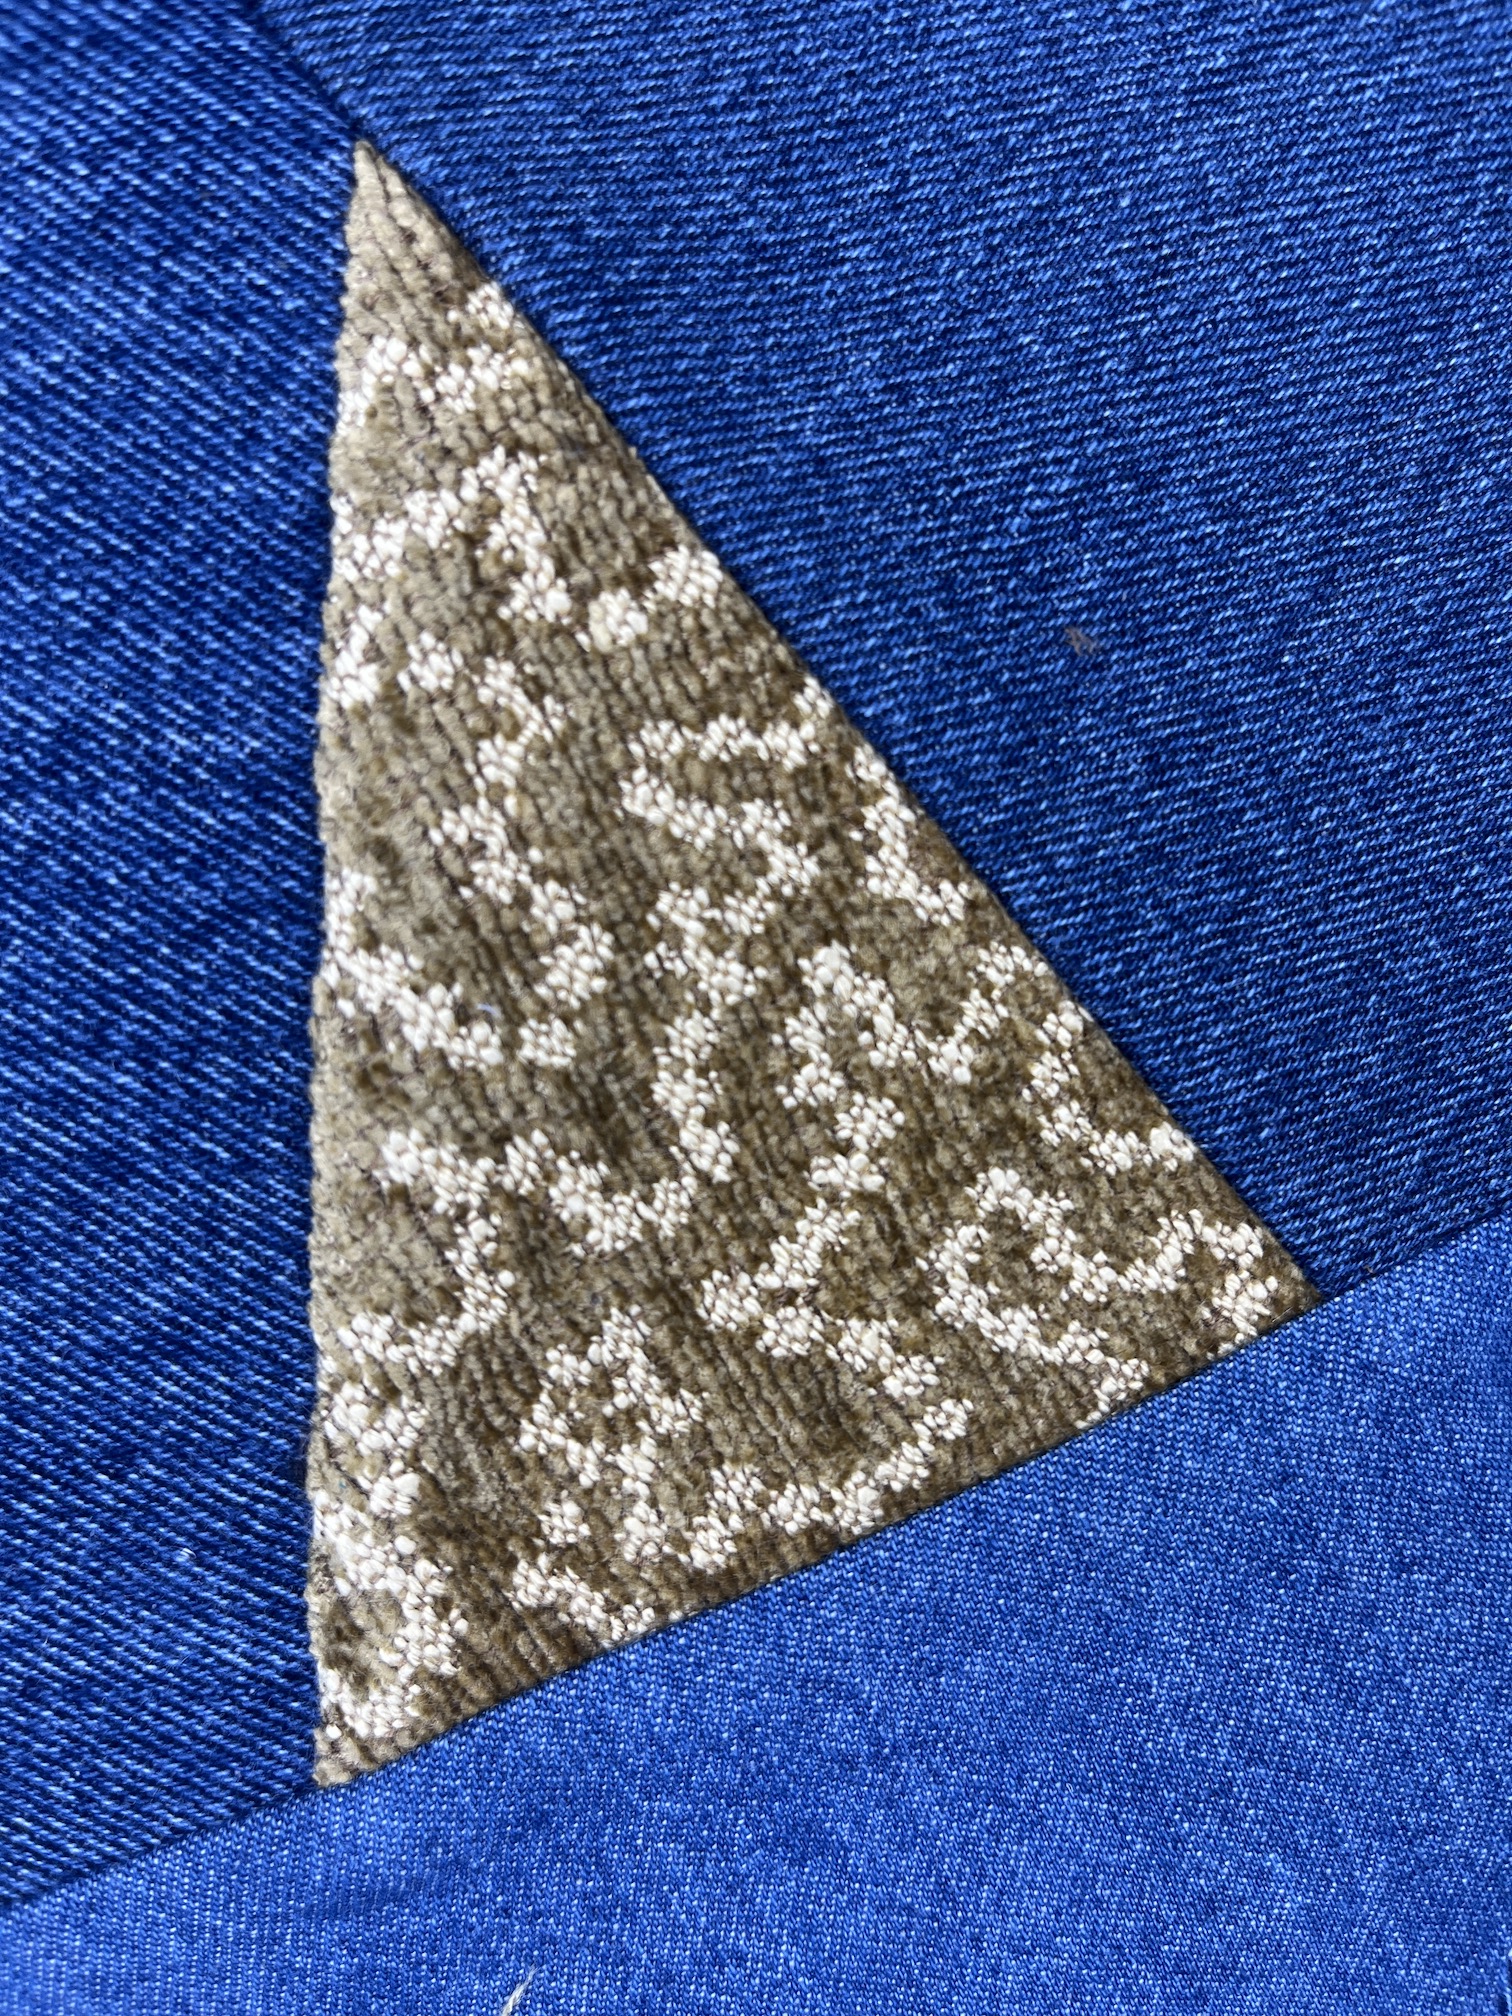
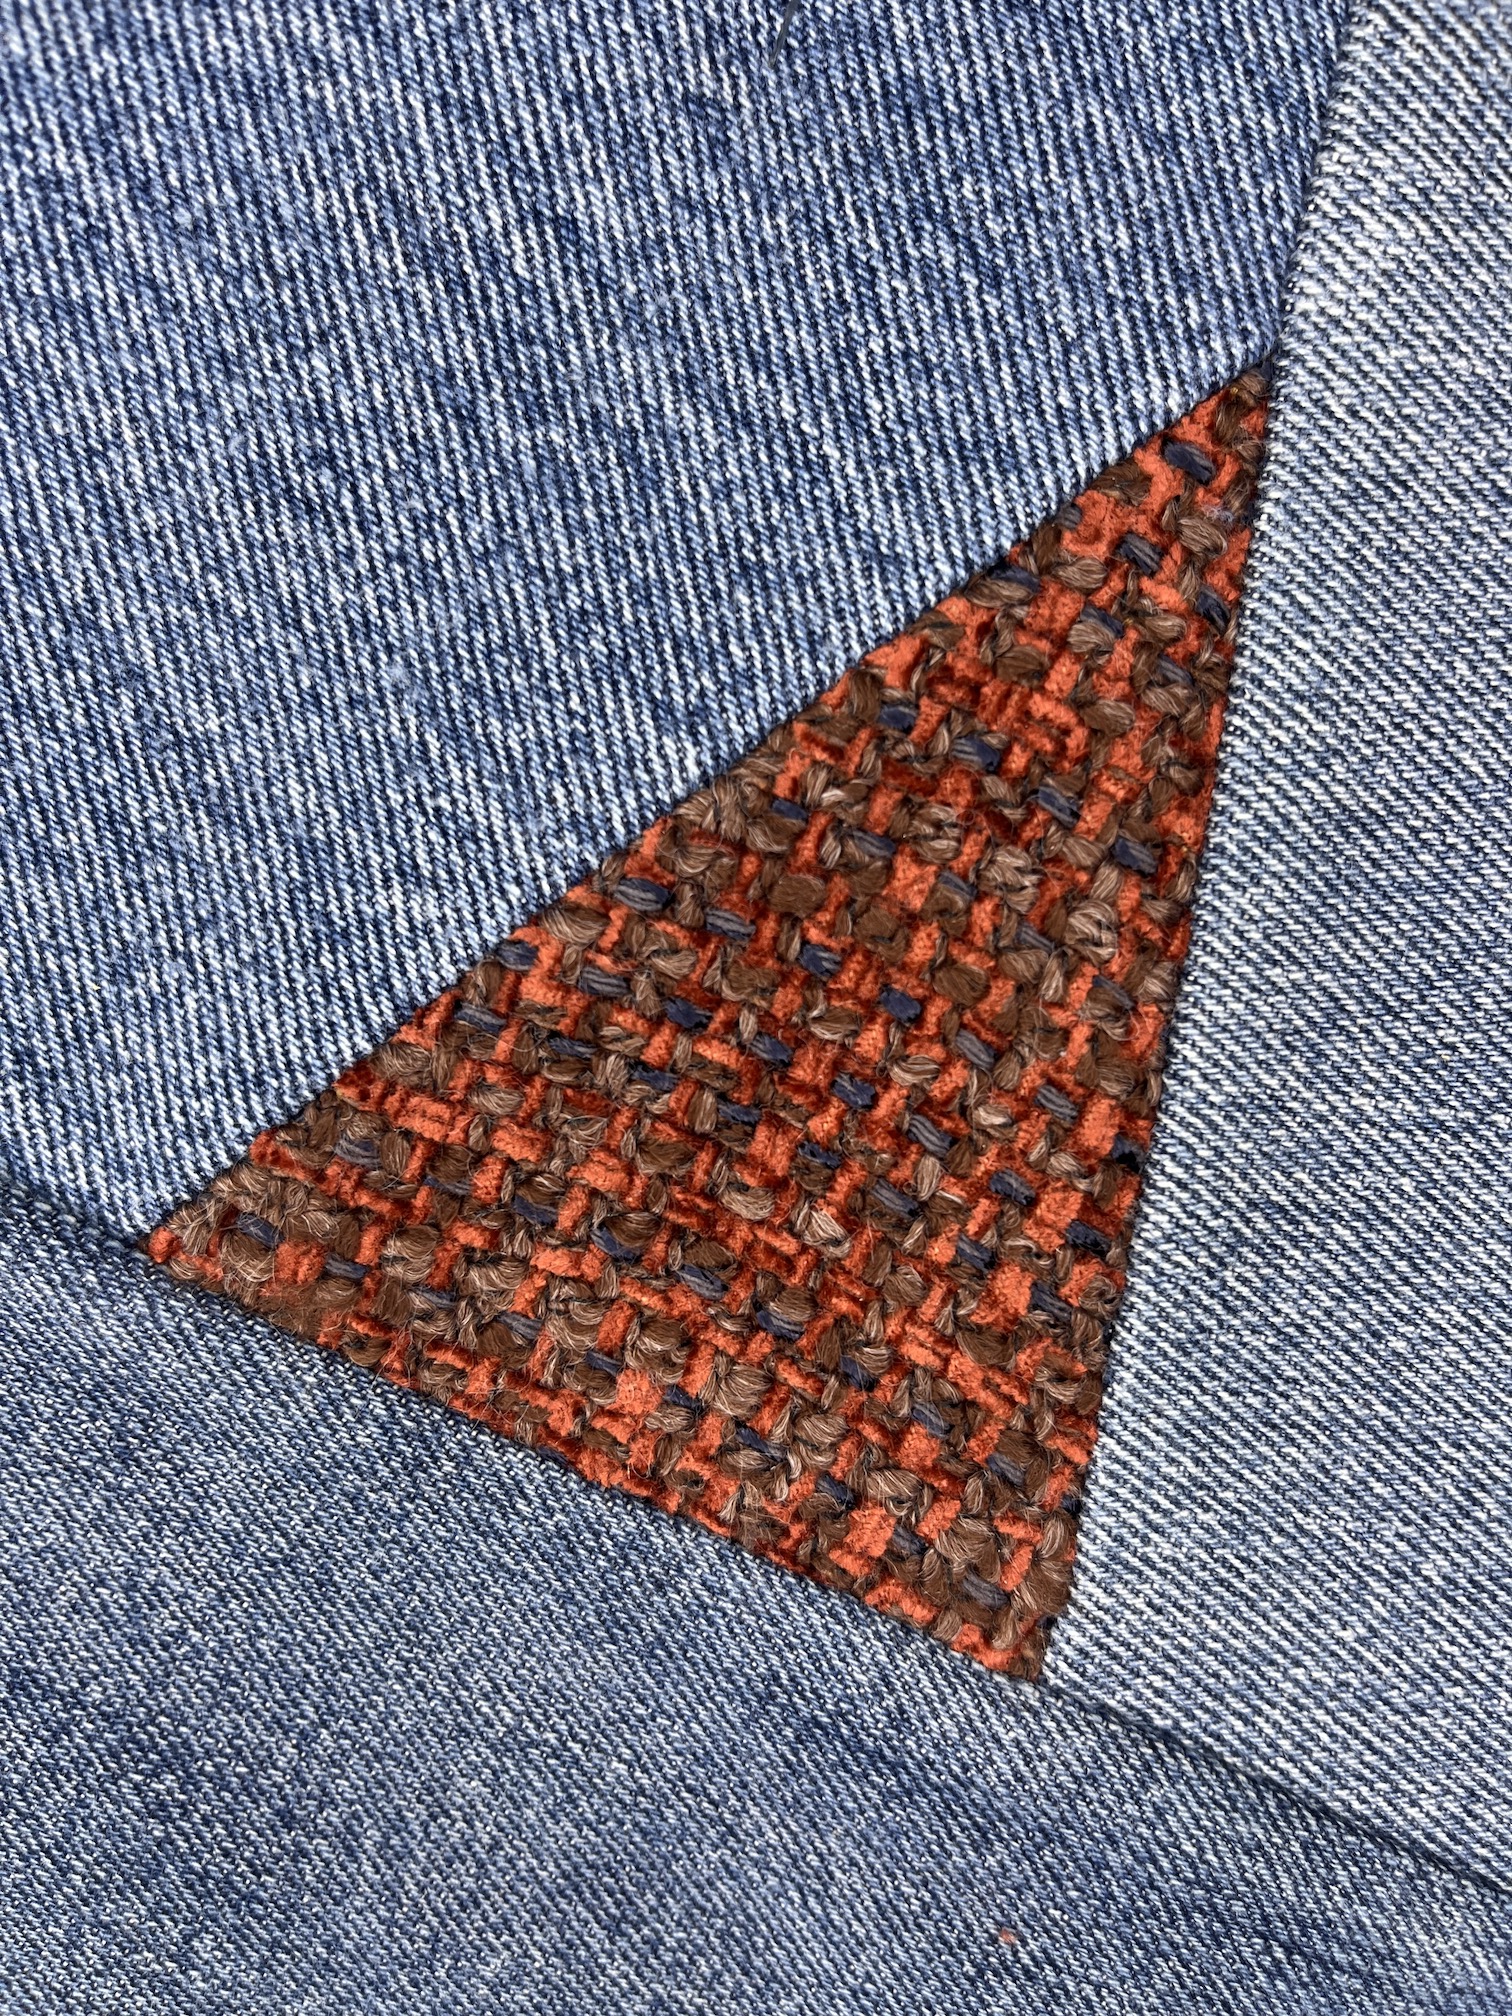
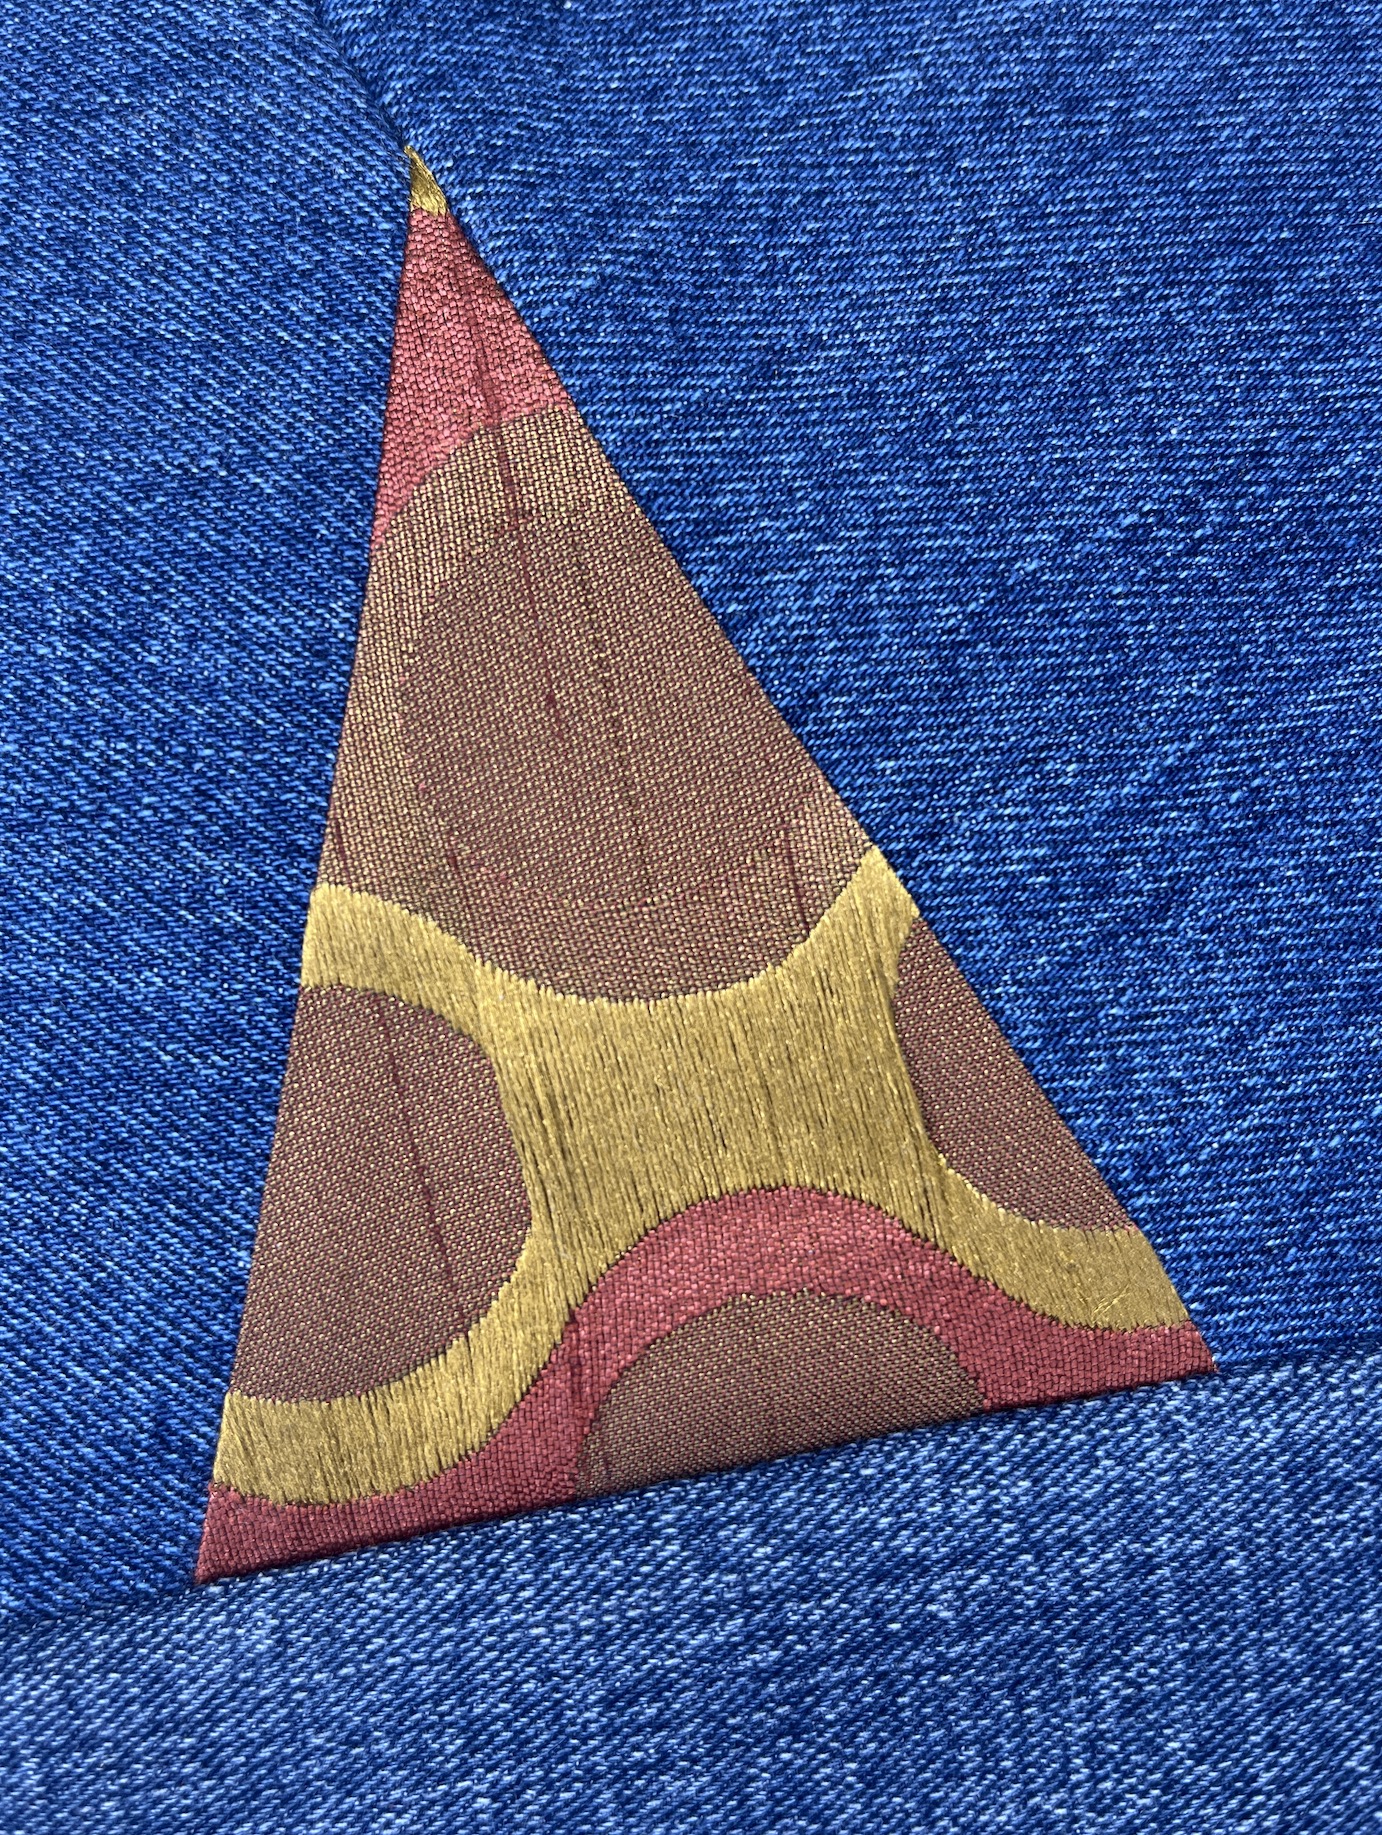
There is going to be lot texture in this quilt, primarily from the recycled home decorating fabric samples I used:
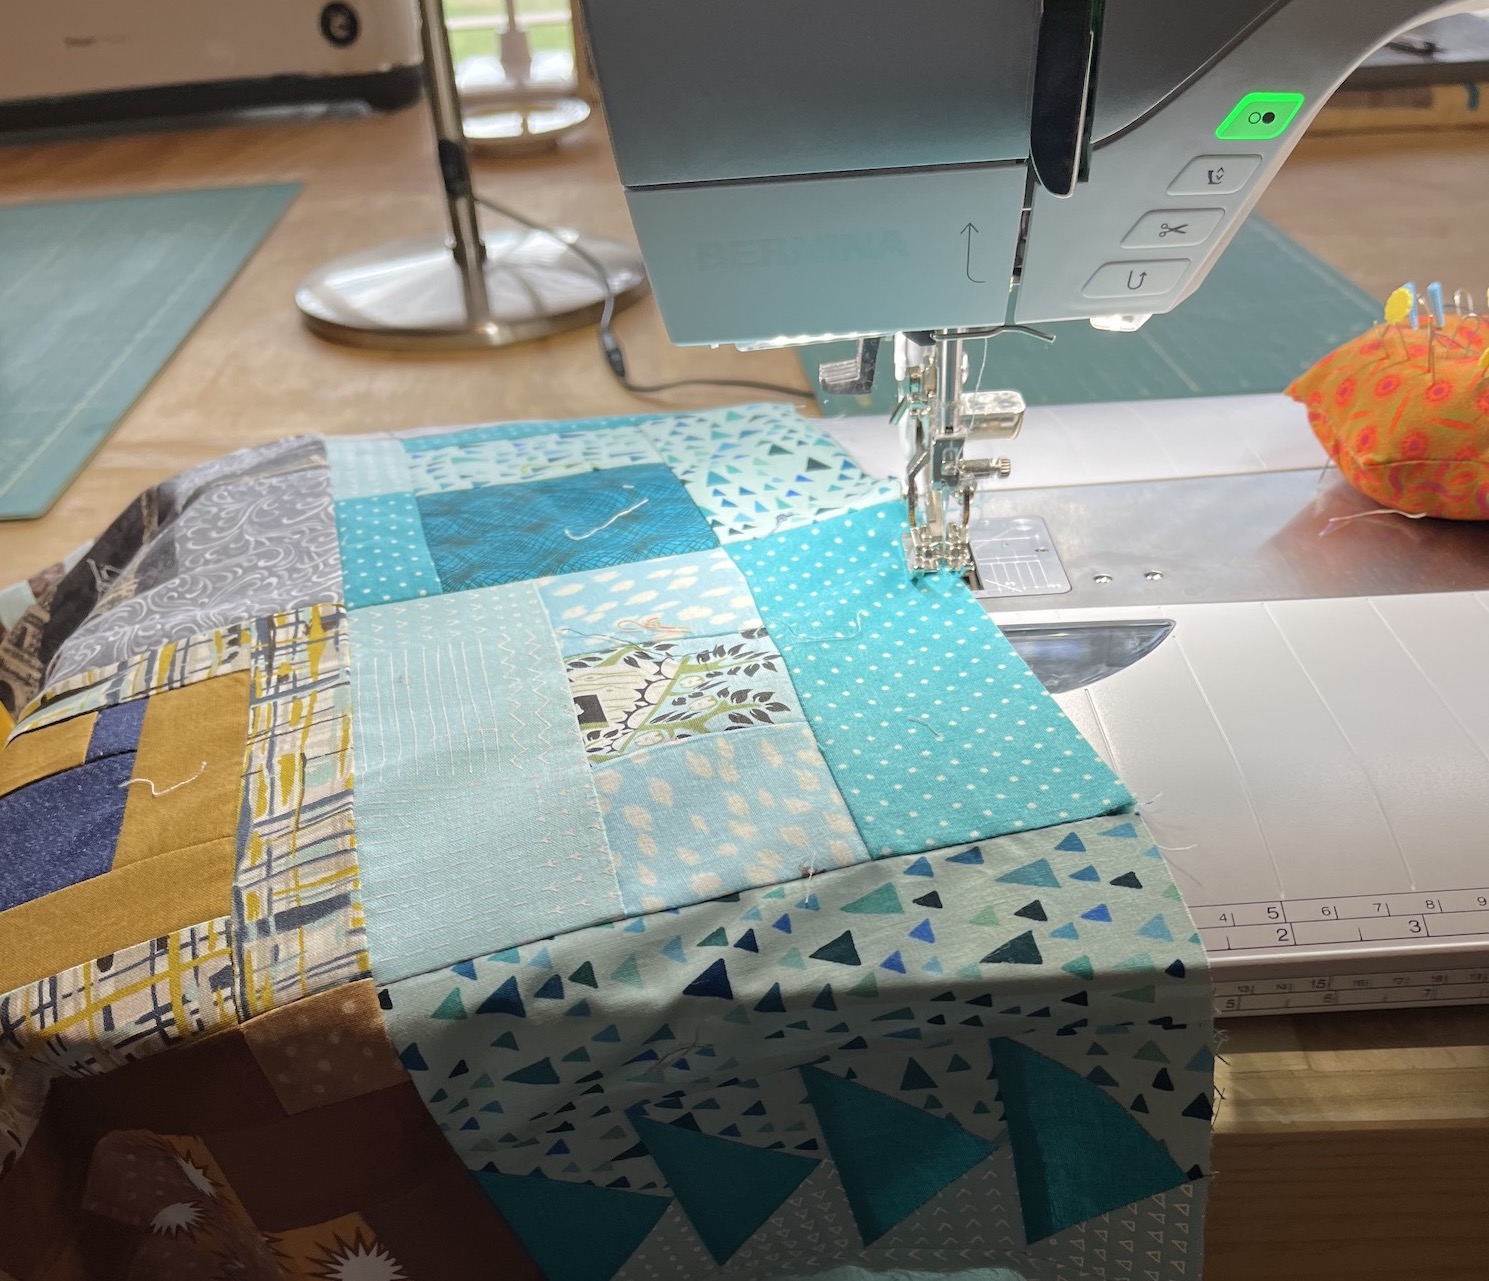
Here is a collection of close up blocks to show you the textures:
There are more fabrics I haven’t cut yet that I will be adding/using for the additional 30 blocks I need to make.
The layout you see on my design wall is not the final layout, just a sample layout. When I finish all the blocks and go to layout the quilt, I realized I need to pay attention to secondary patterns that I might want in the piece.
For example I noticed this secondary pattern, from how the blocks lay together, in one of the sections on the design wall and I like it:
I want to make sure the final layout has a lot of “movement” in it.
My tentative name for this piece is What Direction Do I Go?
It is a deeply personal piece, inspired by my first recycled fabric random triangle piece Flying Triangles (2012); but about my struggles for the past 5 years since becoming a widow, selling my beloved house, moving to Colorado (leaving all I knew there), starting the 2nd relationship in my life, quitting my job, trying to focus on textile art, etc. (Yes I like to lump a lot of life changes and drama into one time period, ha!).
It should prove to be an interesting Artist Statement on the piece when I am ready to write it (not until the piece is done of course).
And you thought it was just some recycled denim and home decor fabric sewn together (wink).
As promised, here are the bloggers that participate in the ScrapHappy monthly posting event, check out their blogs linked below for their ScrapHappy posts:
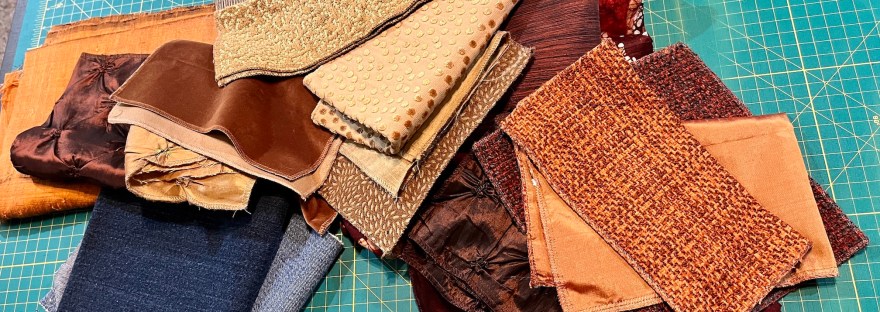
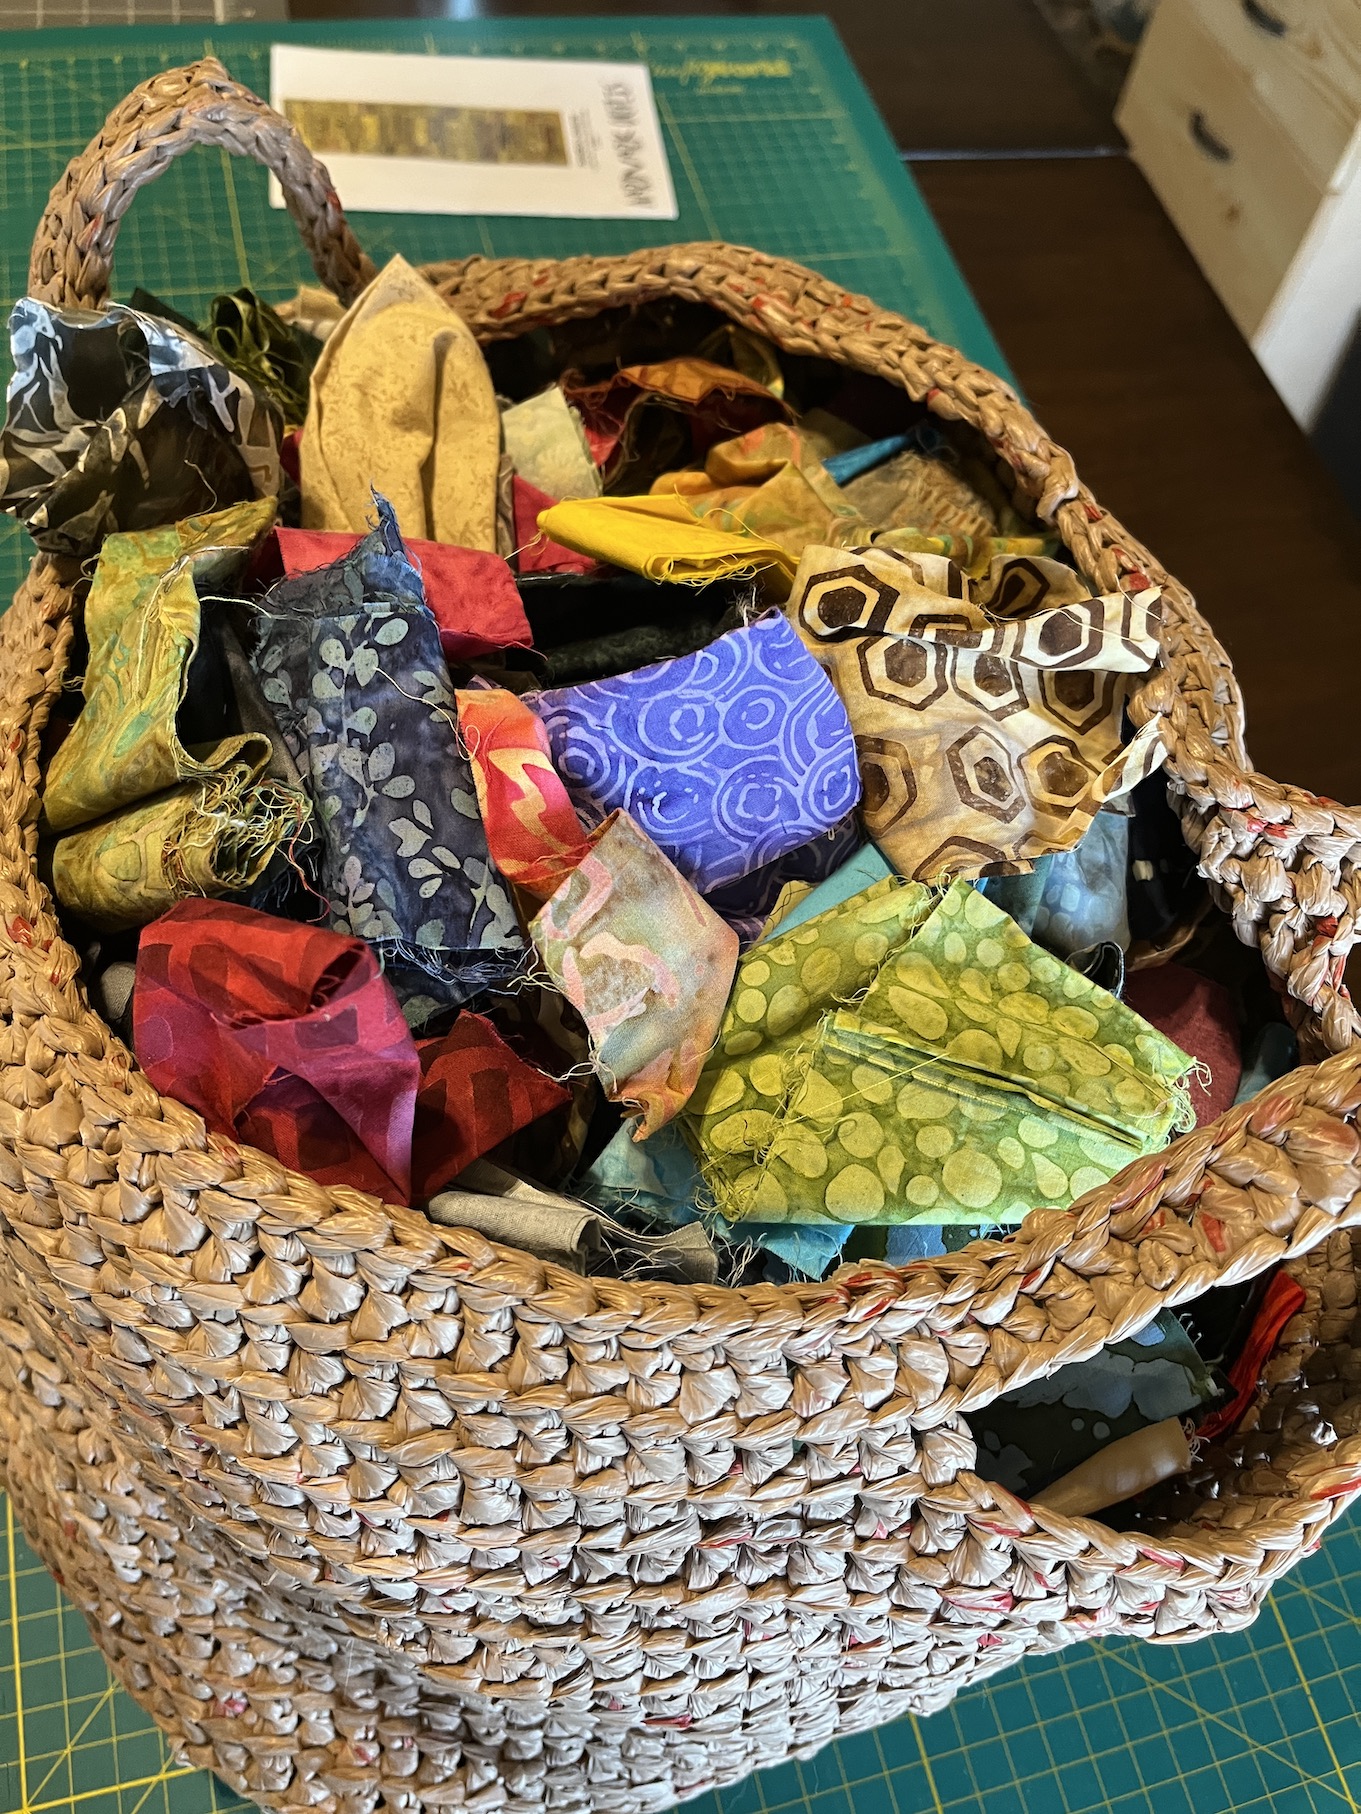
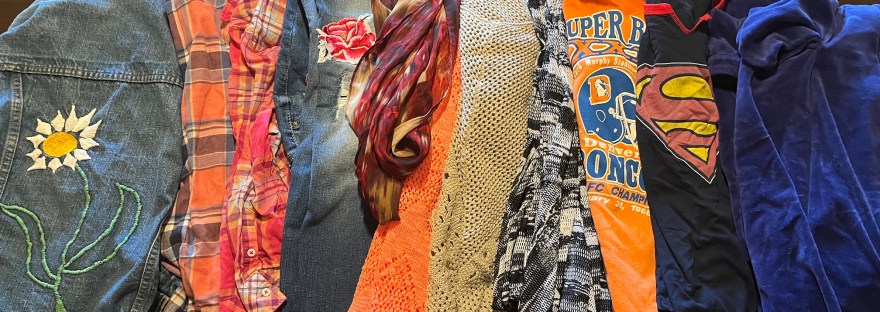
I’ve been itching to work with recycled textiles again and the other day I put together a collection of pieces to work with from my recycled textiles stash (recycled clothing, jeans, home decor fabrics):
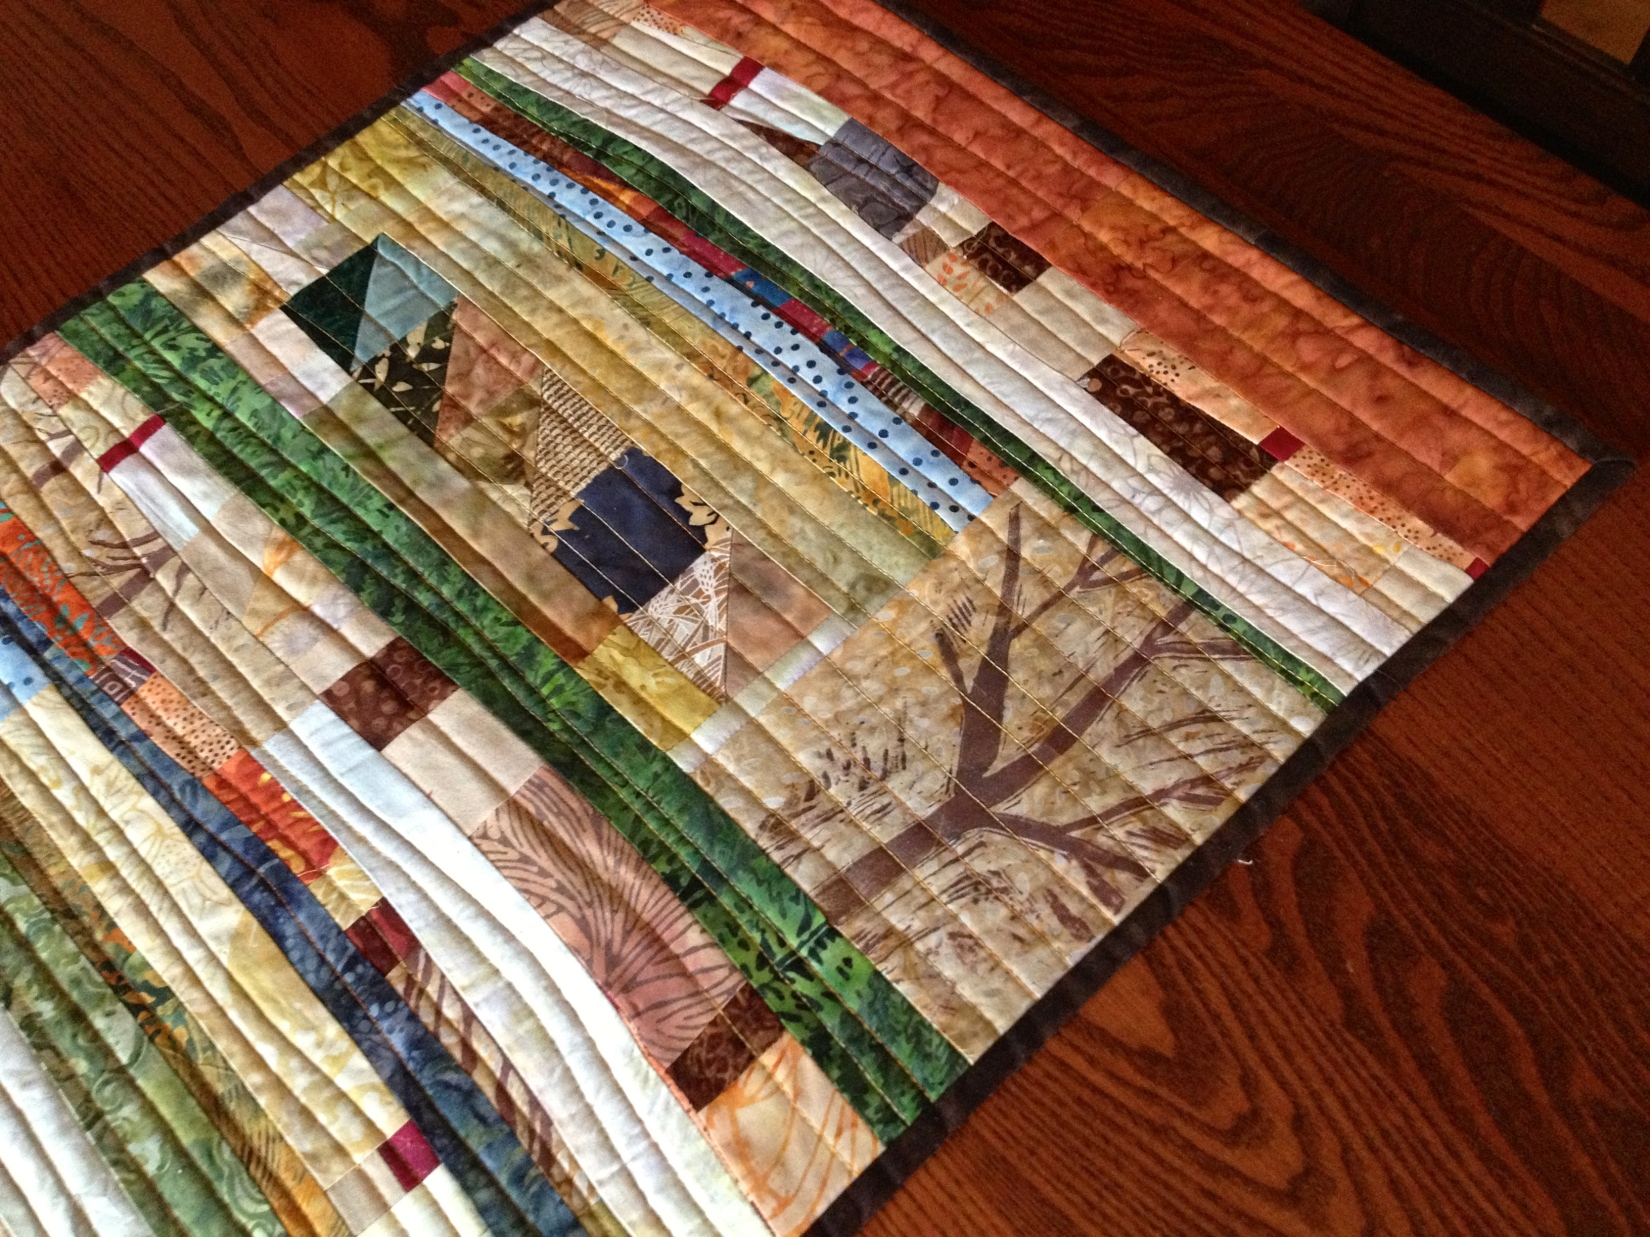
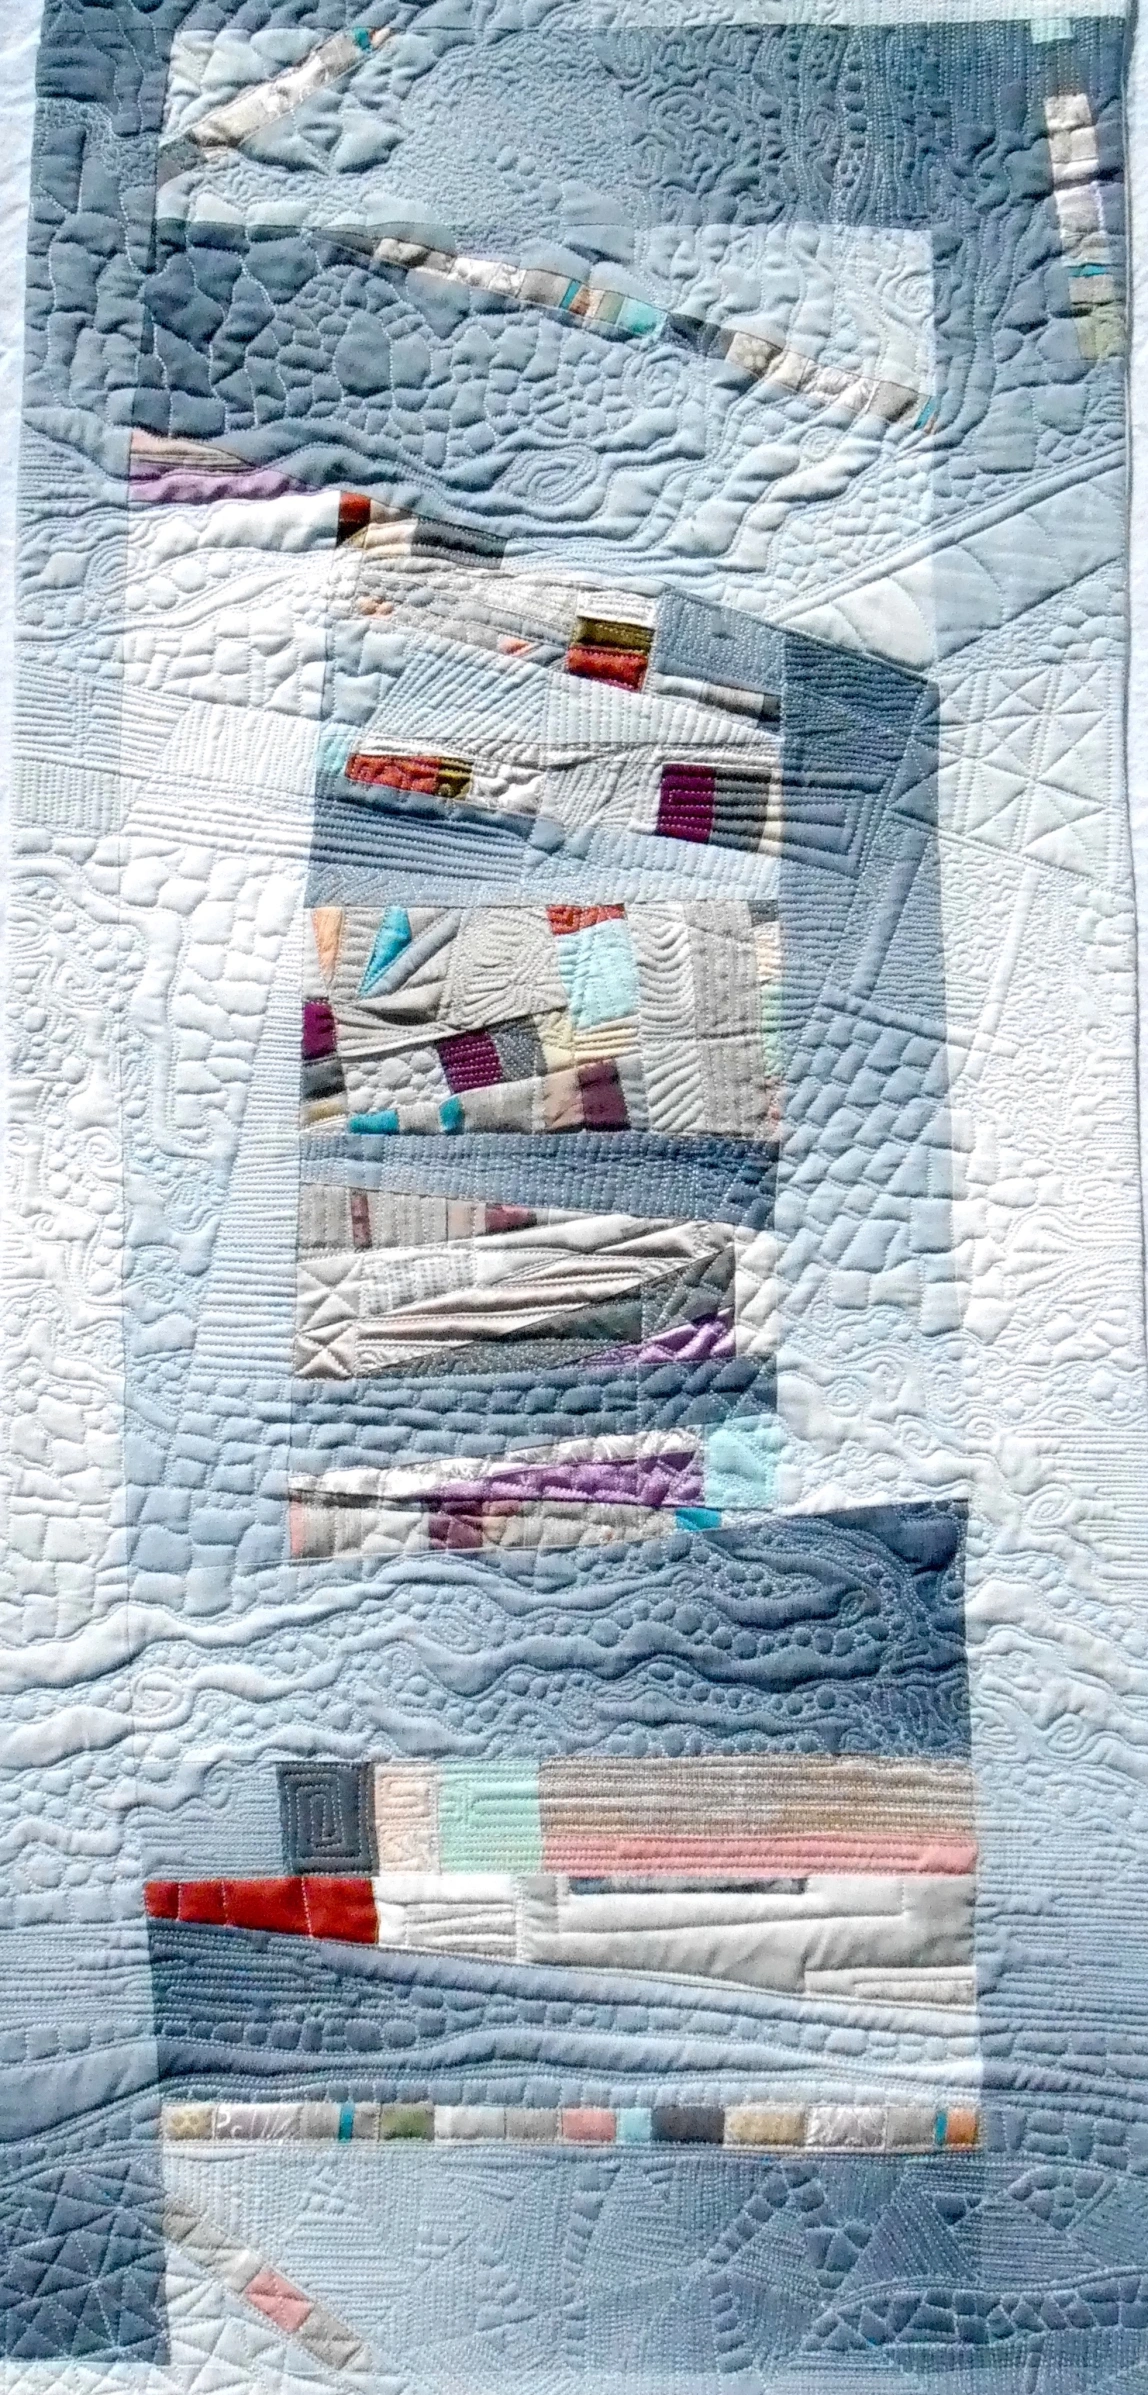
I wanted to make a piece that is primarily recycled denim but also includes home decor fabrics in warm colors with lots of textures. I decided to revisit a piece I made in my early days of improvisational/art quilting (circa 2012/2013) where I was working with recycled silk and linen couture fabric samples – Flying Triangles:
Here is my design wall with the piecing I’ve been playing with this evening. Note it is late at night and I did not bring out the “ring light” I use for photographing pieces so the image is dark:
I am going to keep playing, I started out setting recycled fabrics in oranges in denim; and next I will use some browns and golds, and I’ll see what else feels right.
I’ll share more images in the future as the piece progresses and I’ll even take the photos with better lighting!
Upcycling: The act of taking something no longer in use and giving it a second life and new function. In doing so, the finished product often becomes more practical, valuable and beautiful than what it previously was.
It’s the 15th of the month and time for my monthly “ScrapHappy” post as part of the ScrapHappy group I belong. At the end of this post I have a link to the other blogs participating in this monthly event in case you’d like to check out their ScrapHappy posts.
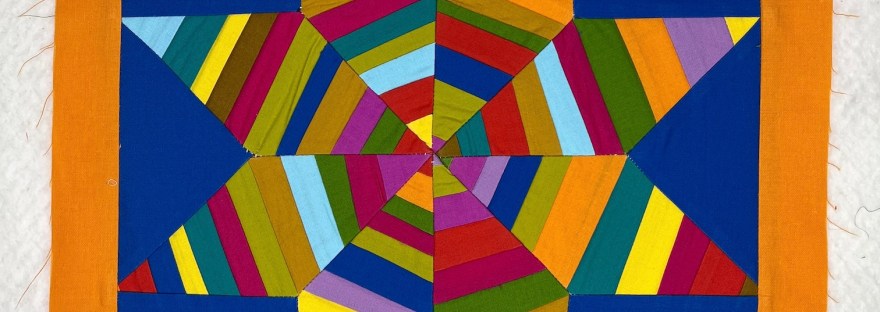
For September’s ScrapHappy post I am going to reveal my completed quilt top for the wall hanging Strings Attached, which I previously posted about in late August – Made Some Progress on “Strings Attached” .
Last week on Instagram (@tierneycreates) I shared the nearly completed quilt top (one more border to go):
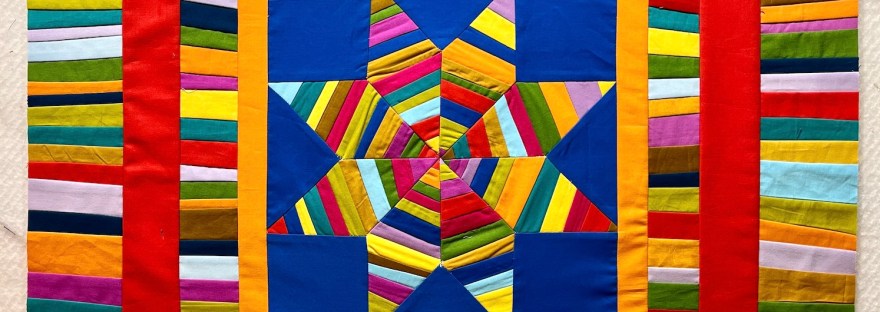
And here is the fully completed quilt top!
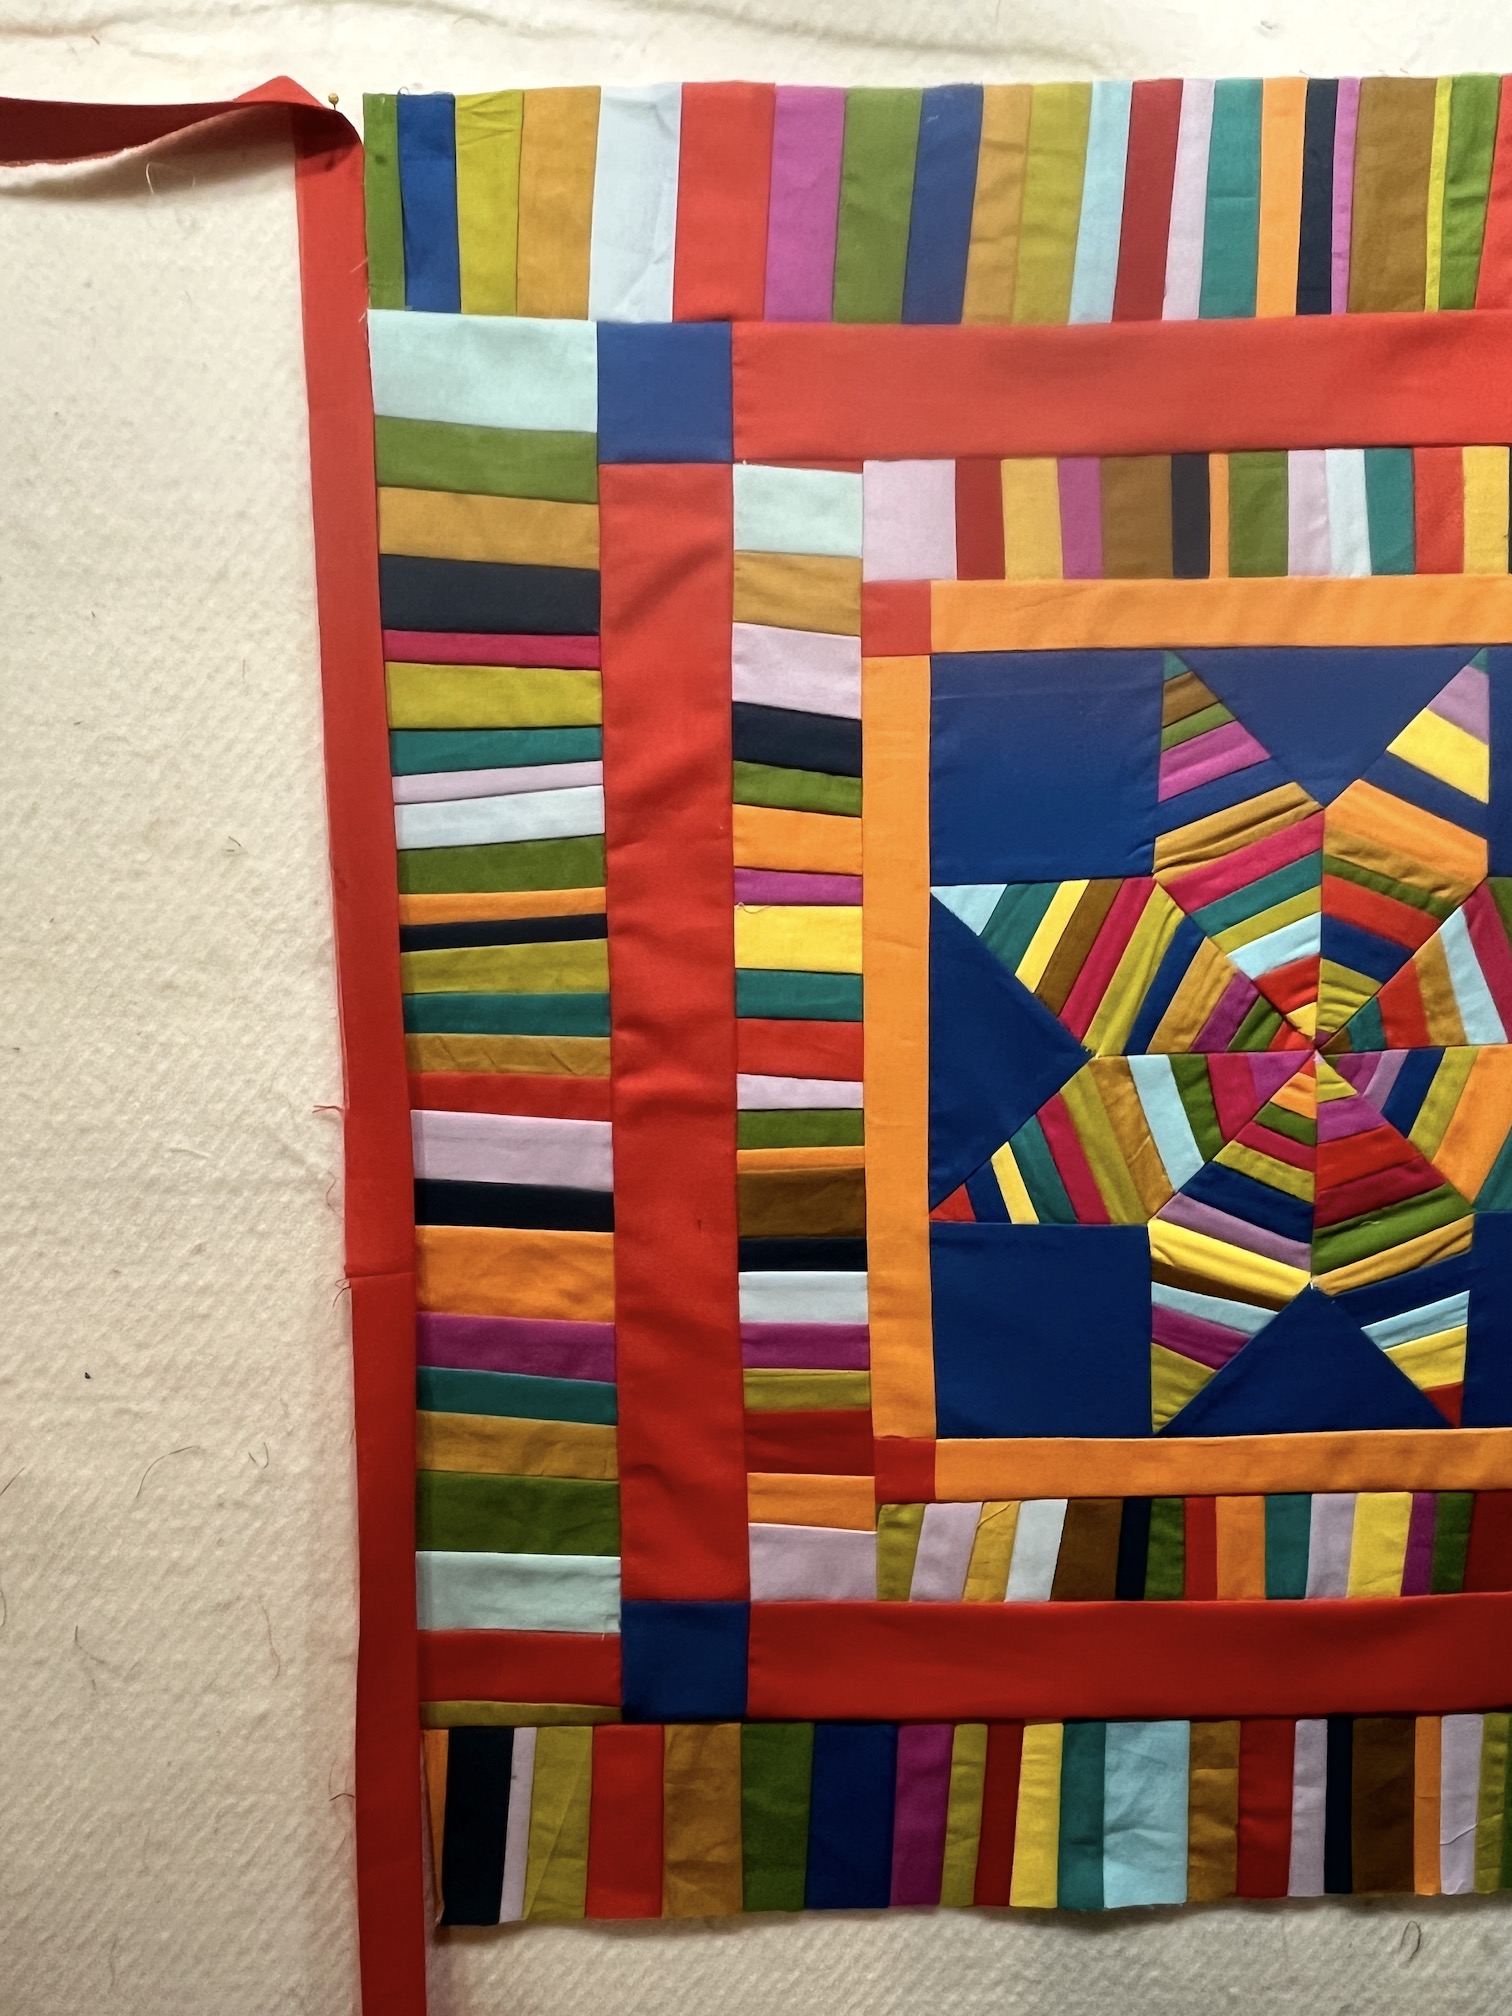
It will have a thin red binding after I quilt it – here is the binding next to the quilt top:
It took a while to string piece on muslin the 4 last border strips – a lot of fabric scraps were used!
Here are the completed strips – front and back images (so you can see how they were sewn onto muslin):
I noticed when I was moving the quilt top around to position it for piecing on the borders, it looked cool when in was backlit with sunlight. The sunlight was fading when I took the photos below but it sort of gives you the feeling of what I was seeing:
I am going to quilt it on my machine in similar way to how the sample quilt from the pattern is quilted (eventually…for now need to set it aside and move onto other things…):
As promised, here are the bloggers that participate in the ScrapHappy monthly posting event, check out their blogs linked below for their ScrapHappy posts:
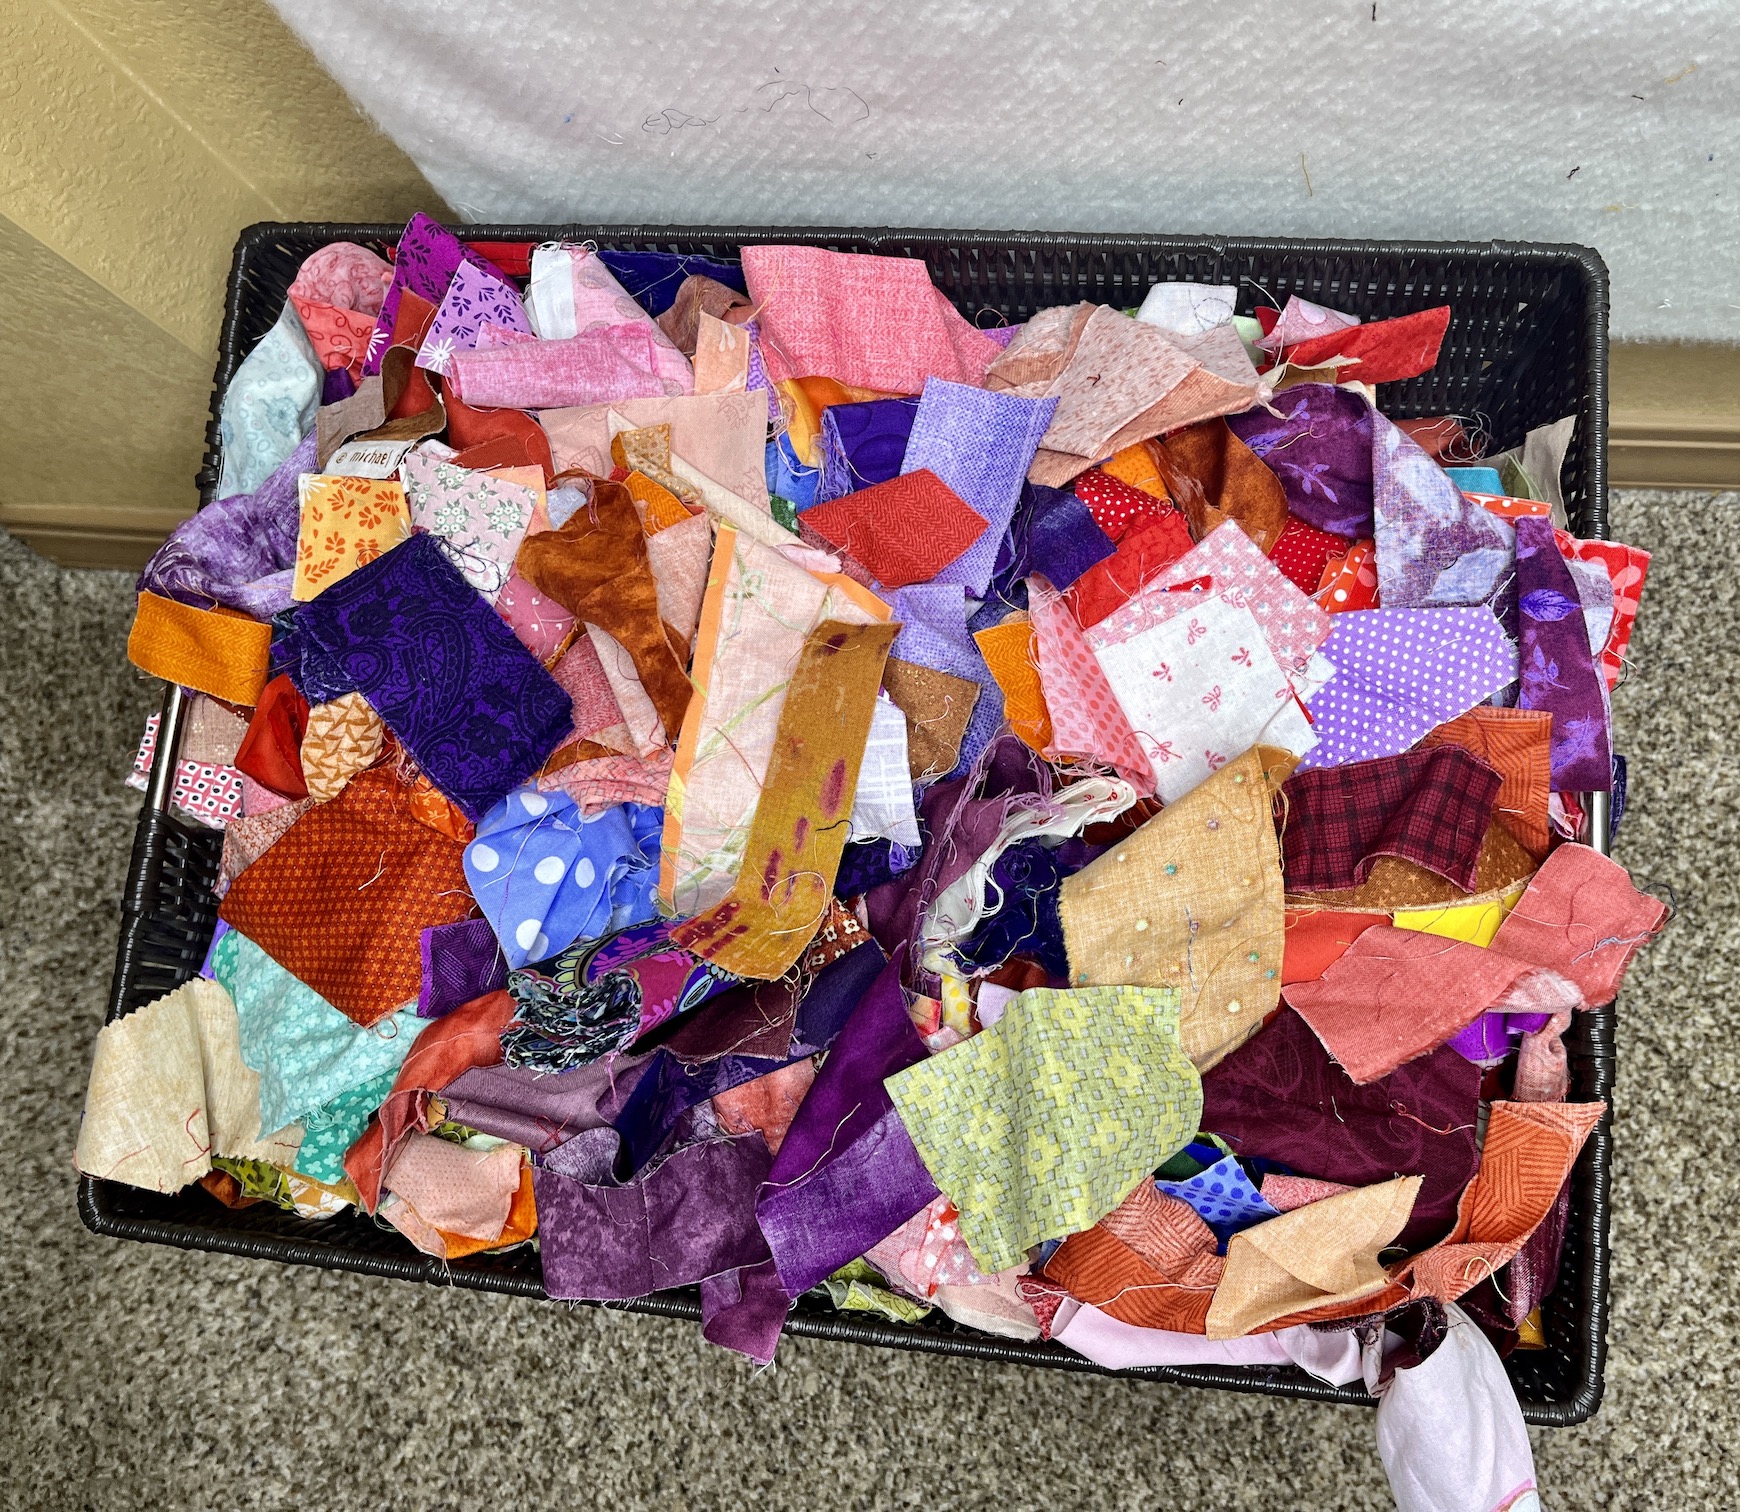
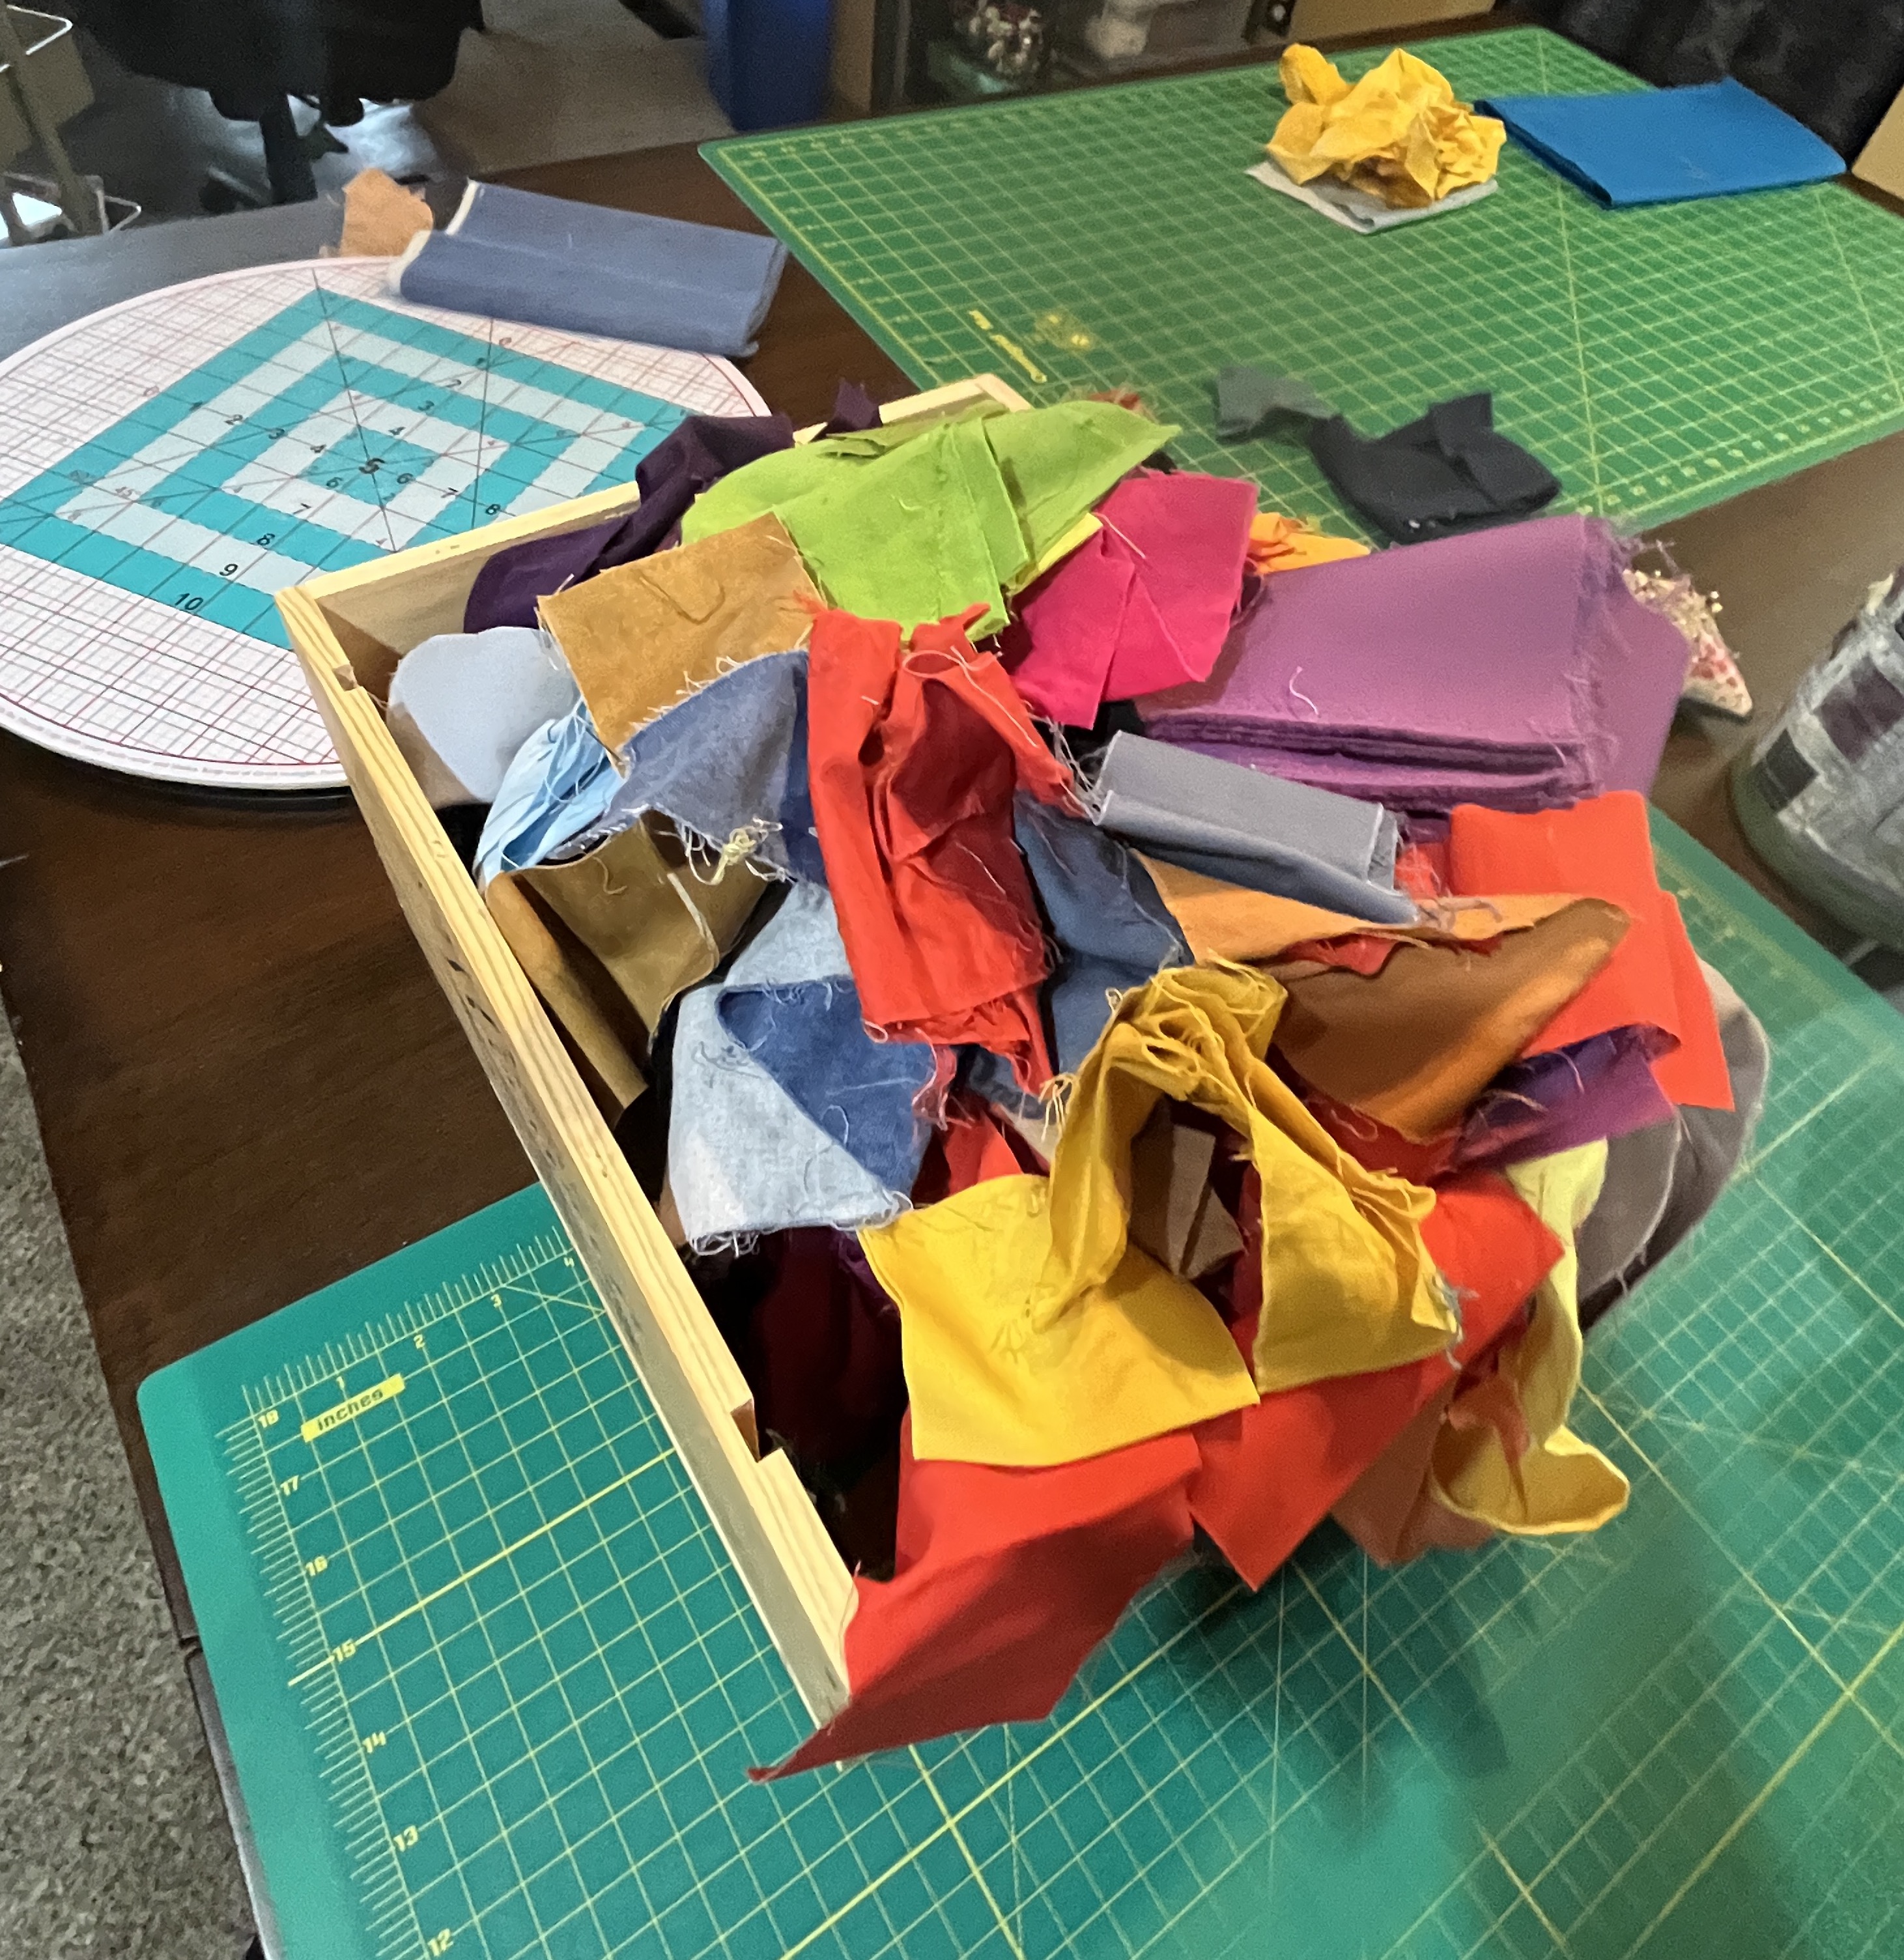
I’ve been busy preparing to restock by Textiles & Smiles Etsy shop and getting ready for another scrappy fabric quilting retreat at my house, I am having with a different set of friends. Below is the basket of scraps they can work from:
In between that, some road trip adventure with John, and the completion of a home renovation project (well John did most the work), I’ve managed to make a little progress on the scrappy solid color medallion wallhanging I’ve been working on – Strings Attached.
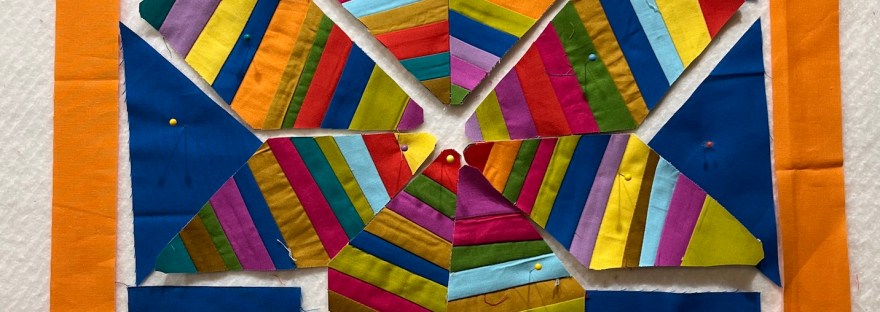
Since my previous post What’s on the Design Wall: Strings Attached, I’ve sewn all the section of the center medallion string pieced star together and done the first border:
There were so many Y-seams! It seamed like every seam (smile) was Y-seam – yikes! I got a little more proficient on Y-seams after doing so many in a row but I don’t have any great insight, tips or wisdom to impart, sorry.
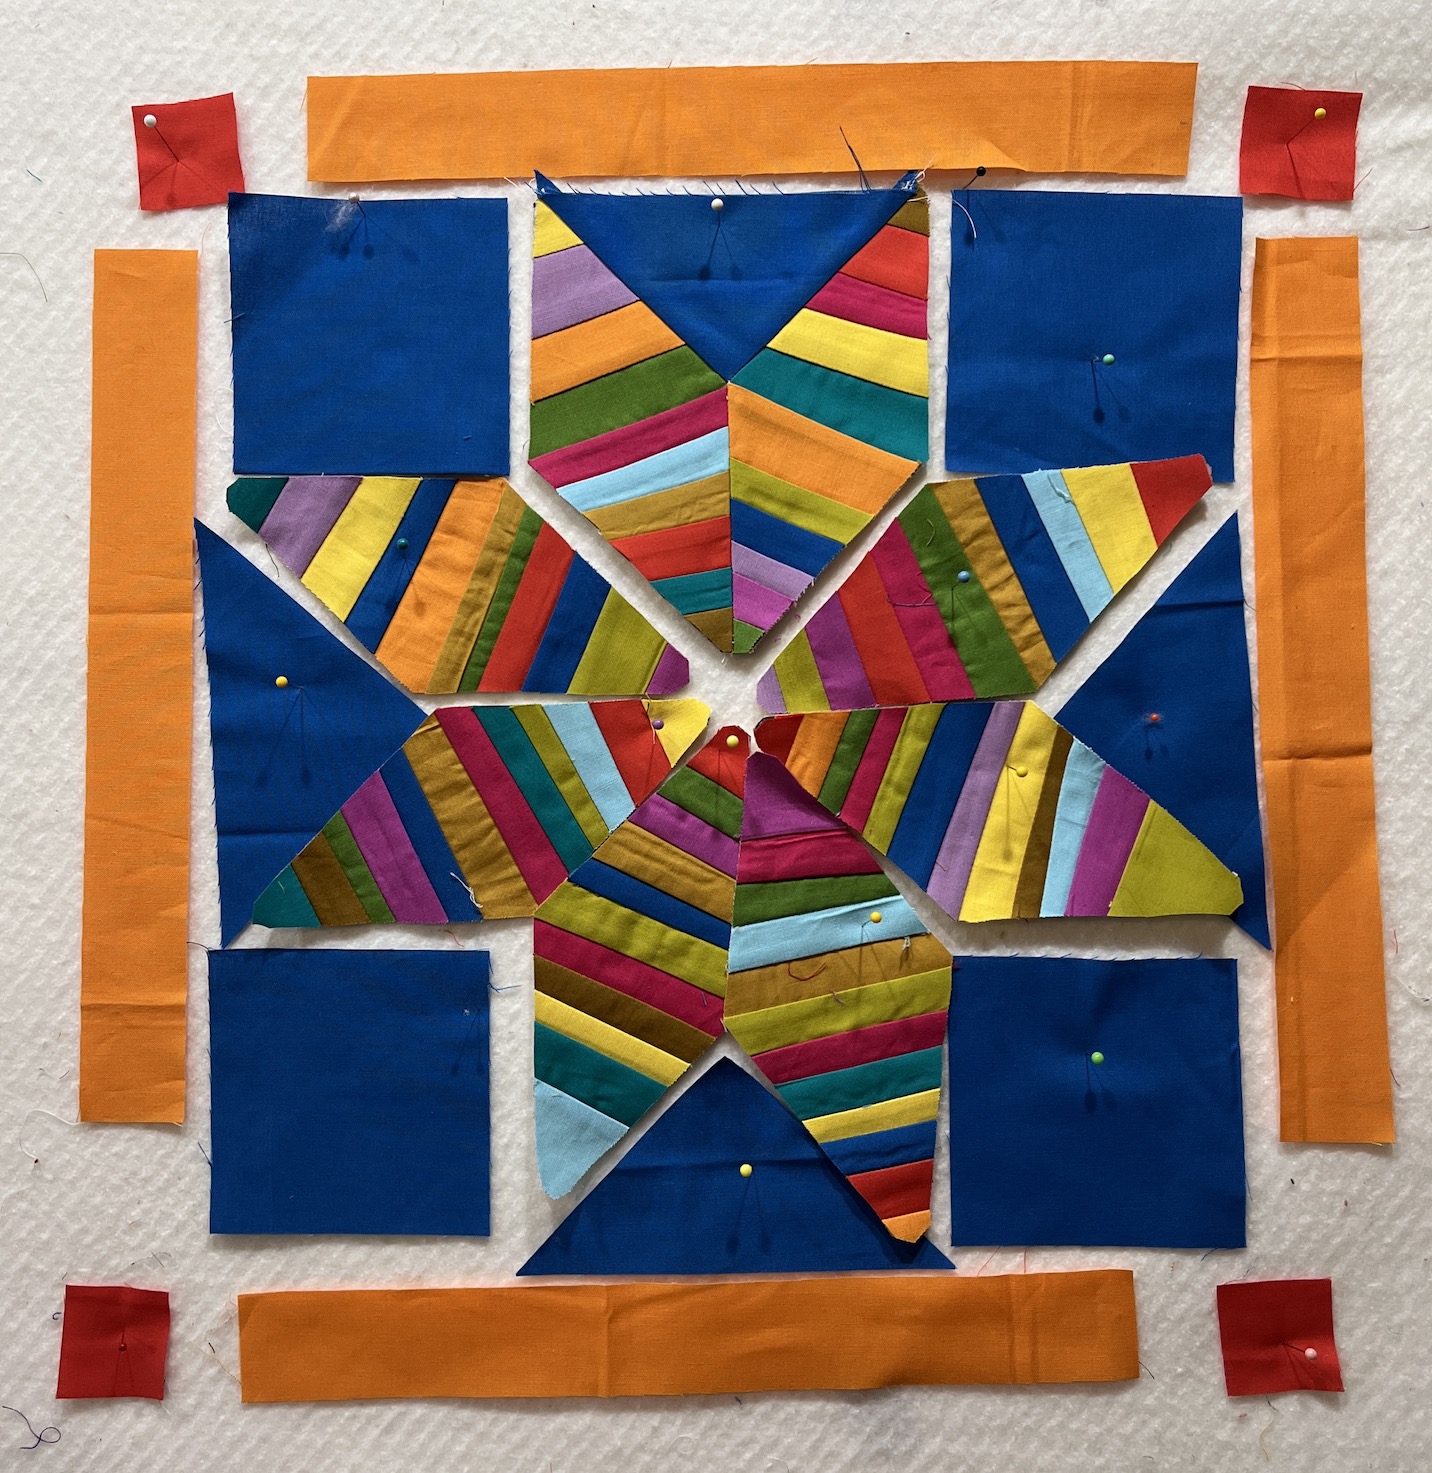
Here is a reminder of what the completed quilt will sort of look like:
A quick update to the post What’s on the Design Wall & “Agriculture Report” on the string pieced wallhanging I am making called “Strings Attached” from August 2021 issue of AmericanQuilter Magazine, pattern by Lori DeJarnatt.
I finished string piecing the 8 sections of the center star:
And then tried my hand a the first “Y-seam” (when 3 or more seams come together and they DON’T make a right angle per the geekybobbin.com) to join the first two star sections:
You can see in the photo above I got so excited joining one section that I started laying out the first border (instead of just piecing the whole center star first).
In the comments in the first post on this quilt, one of my blogging buddies asked me to share any tips I had on doing “Y-seams”. My first tip would be: “No, avoid them” but since I really wanted to make this piece I could not get around it.
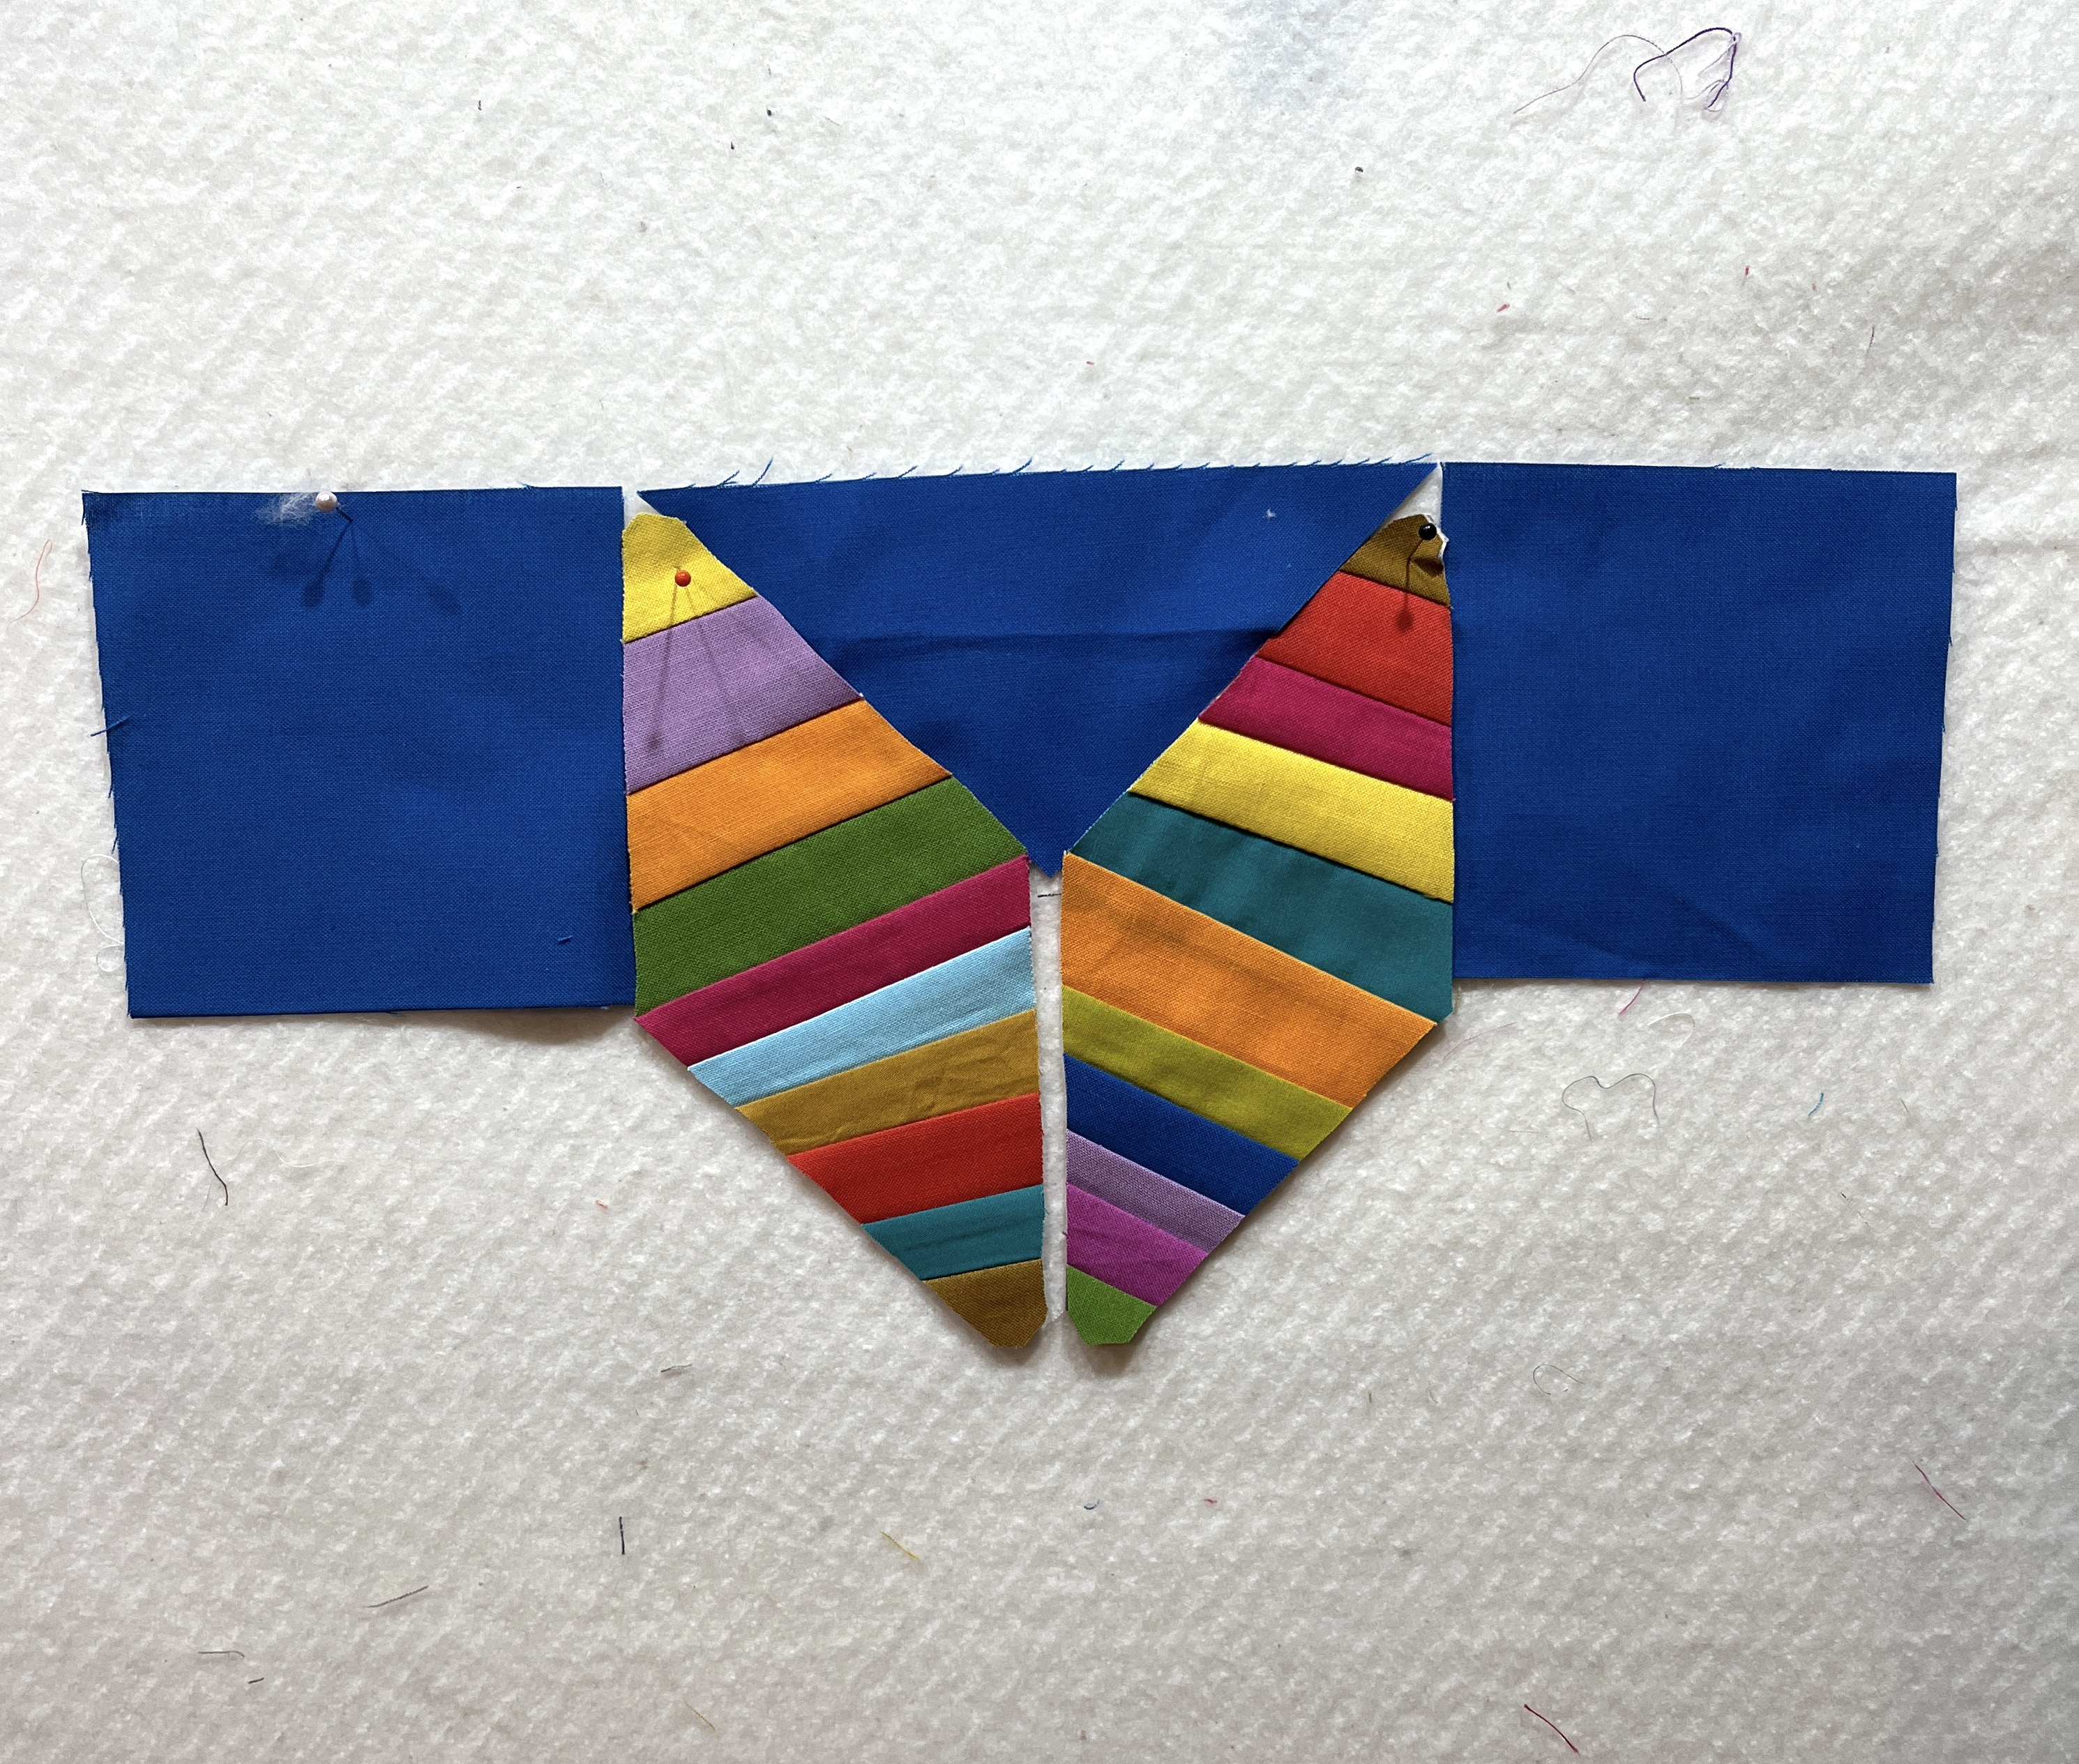
Luckily the pattern designer had dots on her template for the center star sections that were a 1/4 inch away from the edge of the points; and she instructed the reader to make the same dots 1/4 inch from the points of the four squares and four inset triangles (the blue fabric) and match them with the dots on the star sections.
Sounds scary (and it looked scary) but it worked. I just got to do this 3 more times and then I can assemble the center star. I wonder if I can then get some sort of Certificate of Completion (I would frame it!) for those Y-seams – ha!
I was going to blog more about my recent Oregon Coast trip but there are so many photos to sort through so I thought I’d just post about a new wall hanging I am working on and my “Agriculture Report”. (What is an “Agriculture Report”? Well One of my blogging buddies @quiteayarnblog has an ongoing series of posts called “Agriculture Report” whose title always cracks me up because it is an update of what is going on in her garden.So I had to adopt that term for my garden report)
WHAT’S ON THE DESIGN WALL
I have so many projects in queue – unfinished projects and new project with imaginary and actual deadlines – but I was having a “squirrel” moment and cleaning out old quilting magazines and came across this pattern, String Attached, in an old issue of AmericanQuilter Magazine – and had to make it!
I am not sure why I fell in love with it but I did. I’ve done very little “string piecing” in the past but I thought it would be a great way to work down my collection of solid color fabric scraps:
I dumped them out and selected fabric scraps for the little quilt. I decided to stay away from dark or medium purple but to have red-violet and pink instead. I also tried to select fabrics similar to the sample one in the pattern.
The pattern calls string piecing on foundation paper but I decided to use muslin instead.
And here is the beginning of the center star on my design wall:
I am hopeful so far but I have some Y-seam type piecing to do when I get all 8 points to the center star done – yikes!
AGRICULTURE REPORT
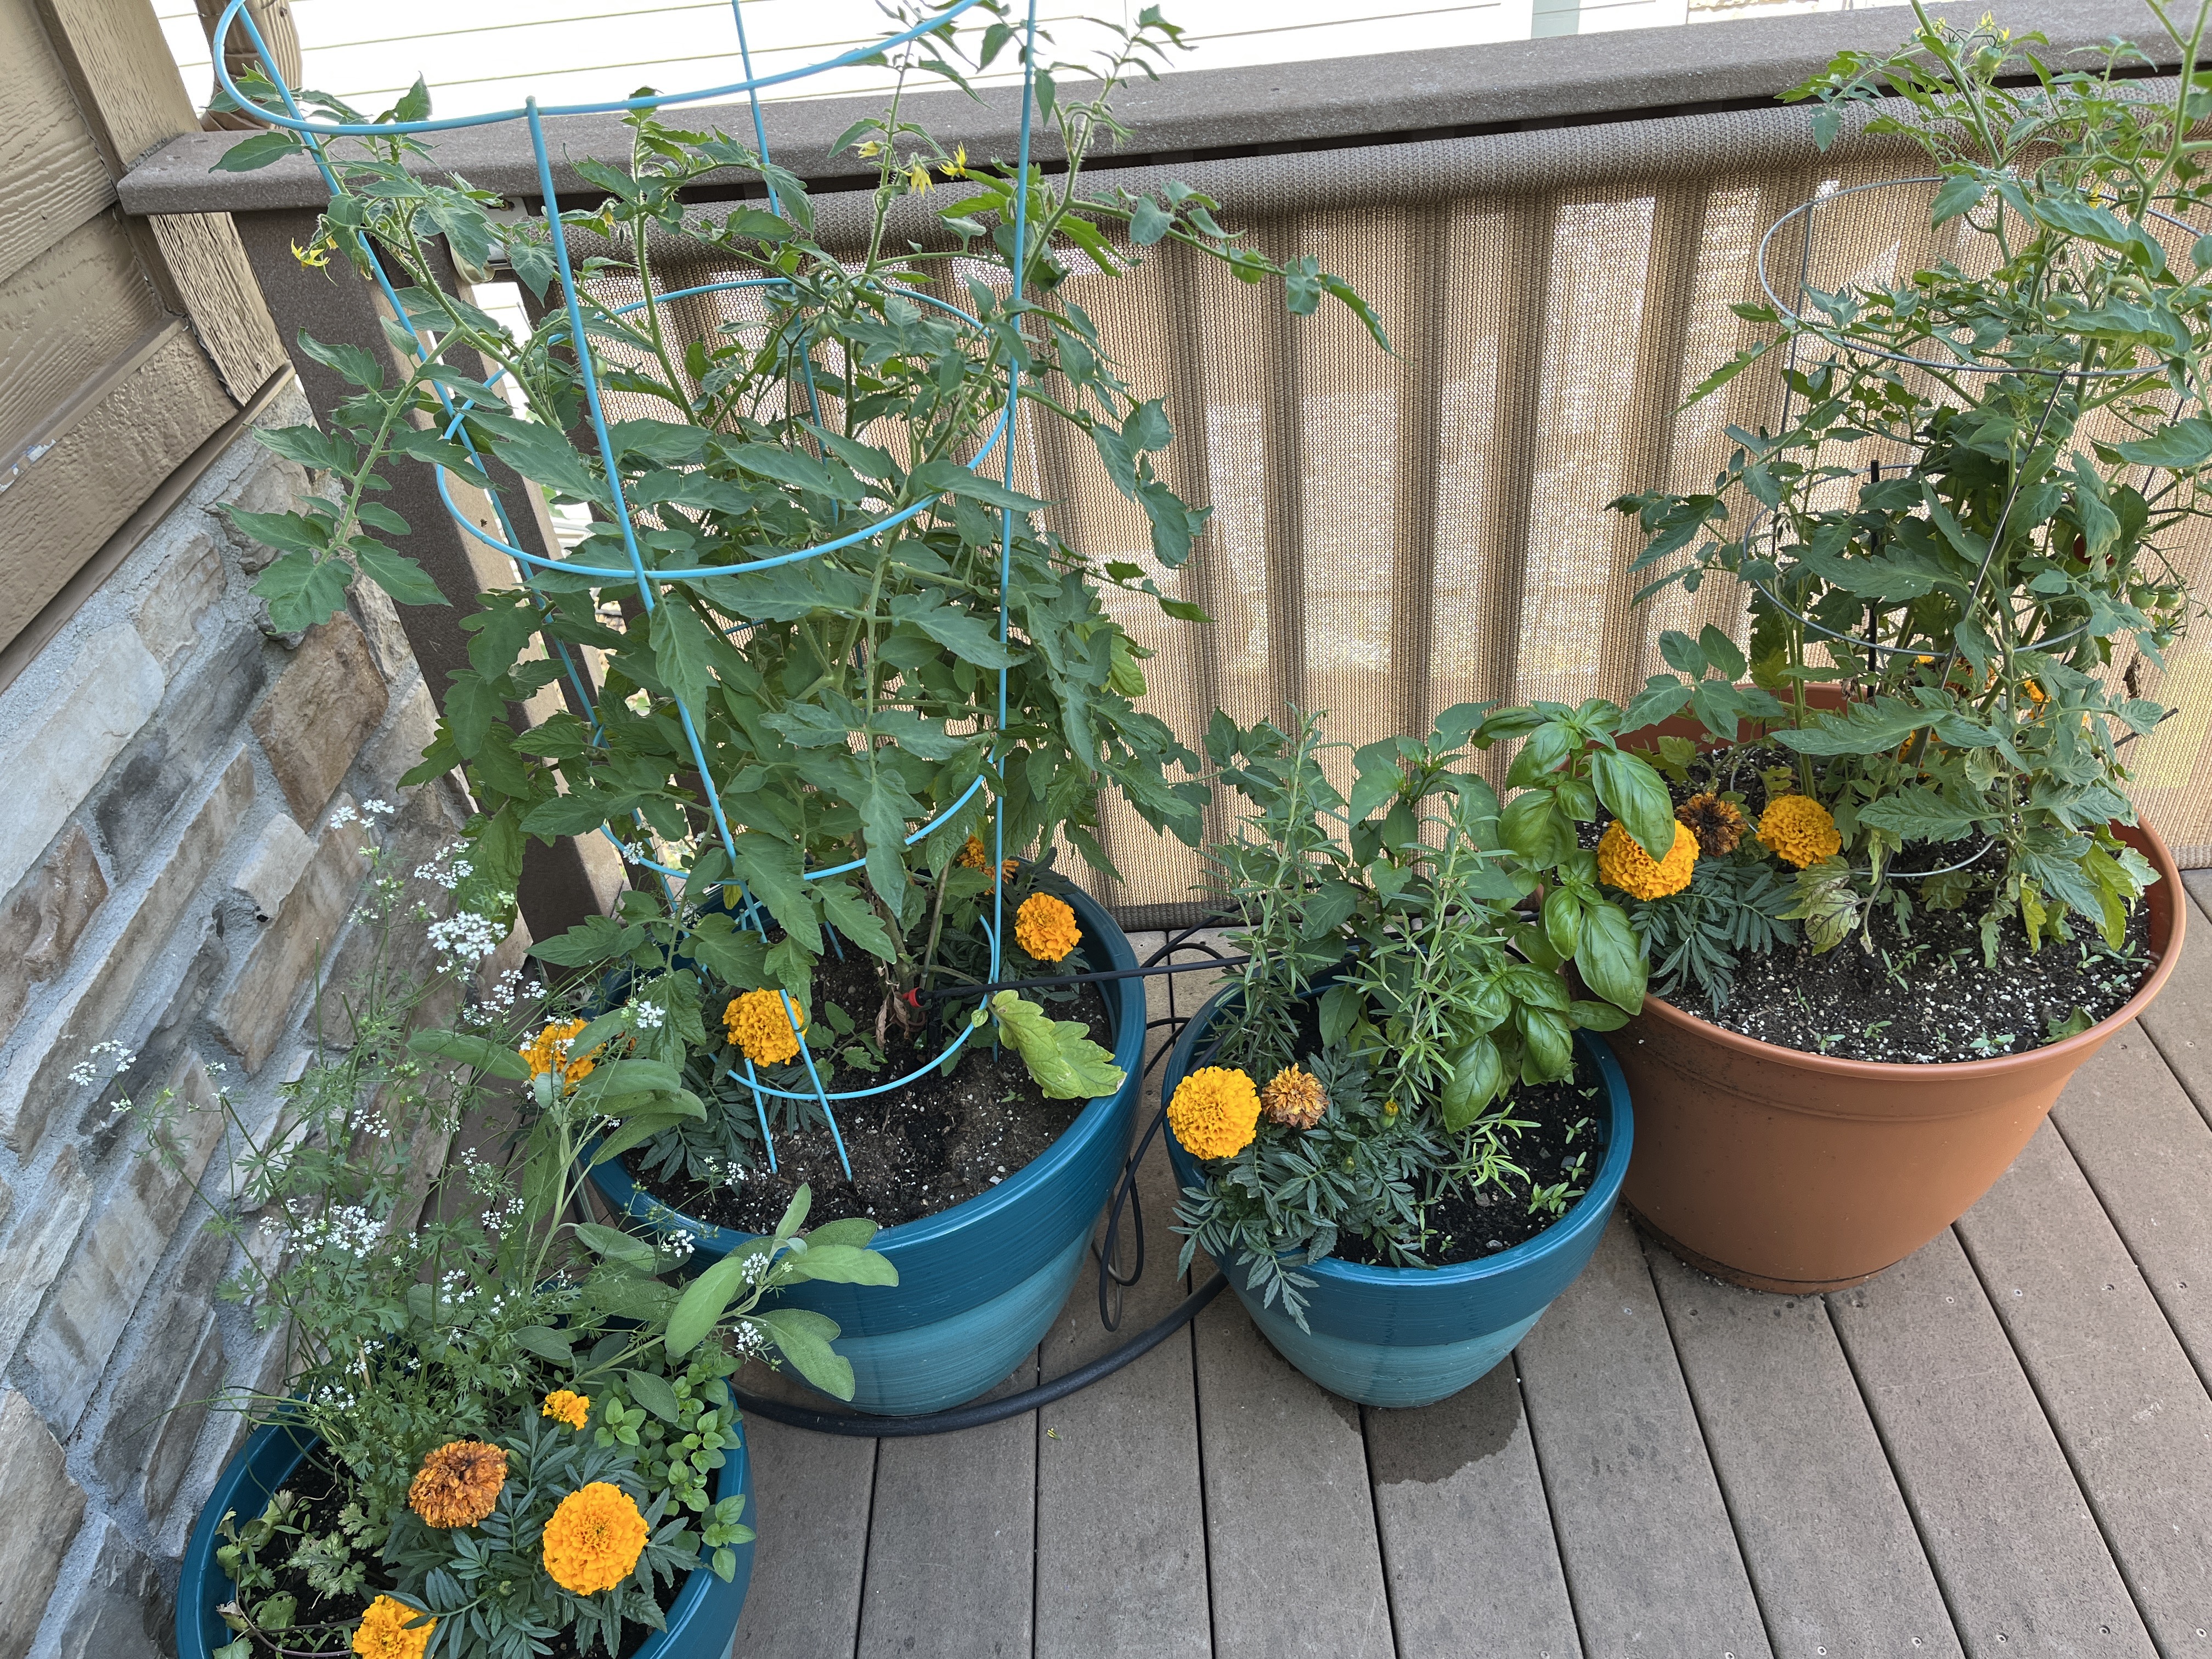
My little upstairs patio garden is doing well this year, probably due to the ridiculous amount of rain we’ve been getting in the Denver Metro area. John and I joke we are now living in “Den-attle” or “Sea-enver” (Denver + Seattle).
I have tomatoes, peppers, and various herbs growing along with some Marigolds for pest control.
I was excited the other day to harvest my first tomatoes of the season!
Yes there were three cherry (small) tomatoes, but it was still exciting (smile).
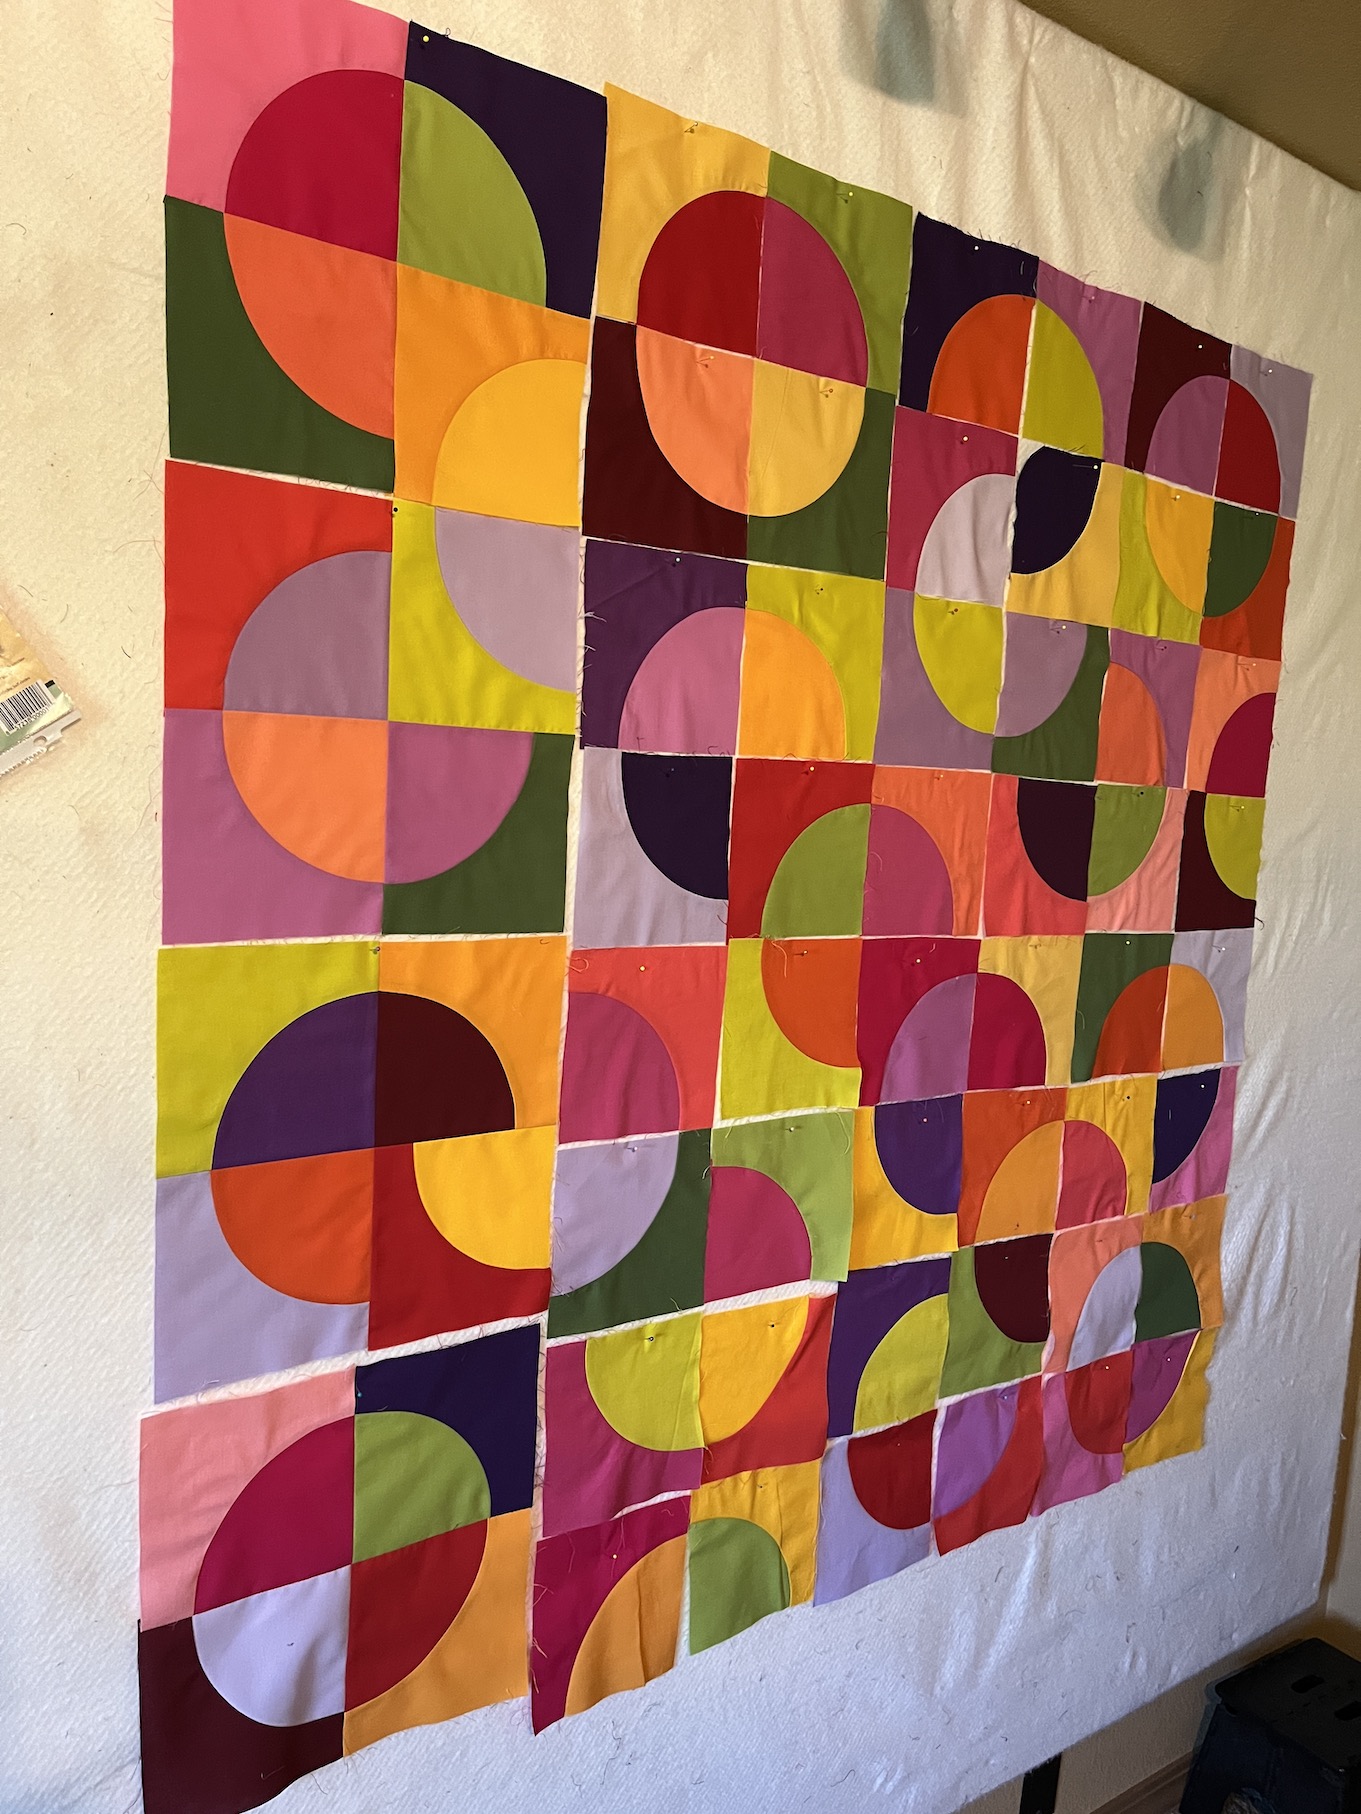
For the Quiltfolk Magazine photoshoot (see posts Quiltfolk Magazine Photoshoot, Part I andQuiltfolk Magazine Photoshoot, Part II ), I wanted to have a quilt in progress up on the wall. The magazine editor had suggested it a day prior to the photoshoot and the quilt I had in my “UFO Stash” that came to mind were blocks of brightly colored “Crazy Curve Circles” that my friend D had given me a couple years ago (see June 2020 post Tweaks to the Tierneycreates Studio).
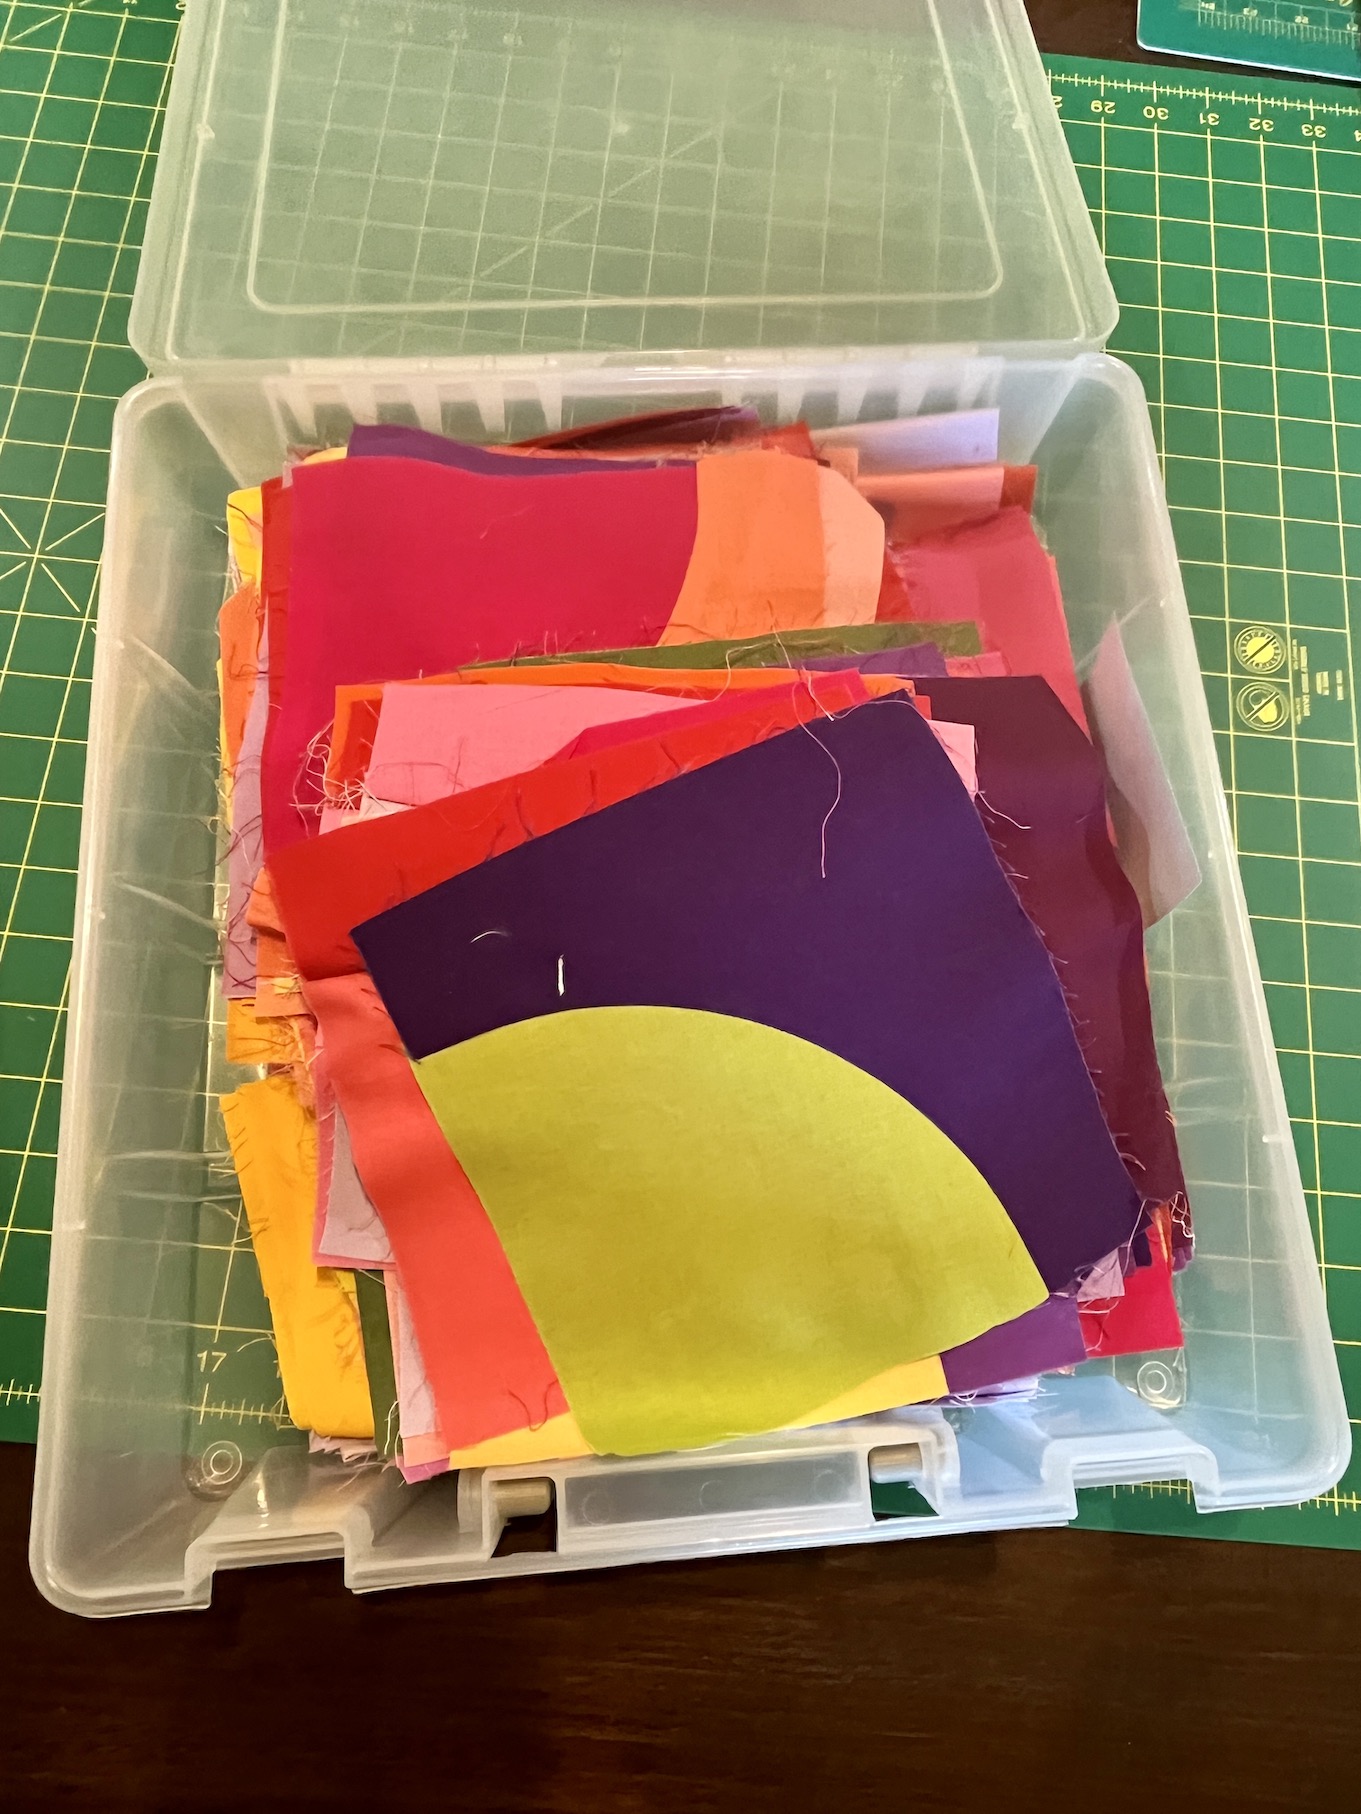
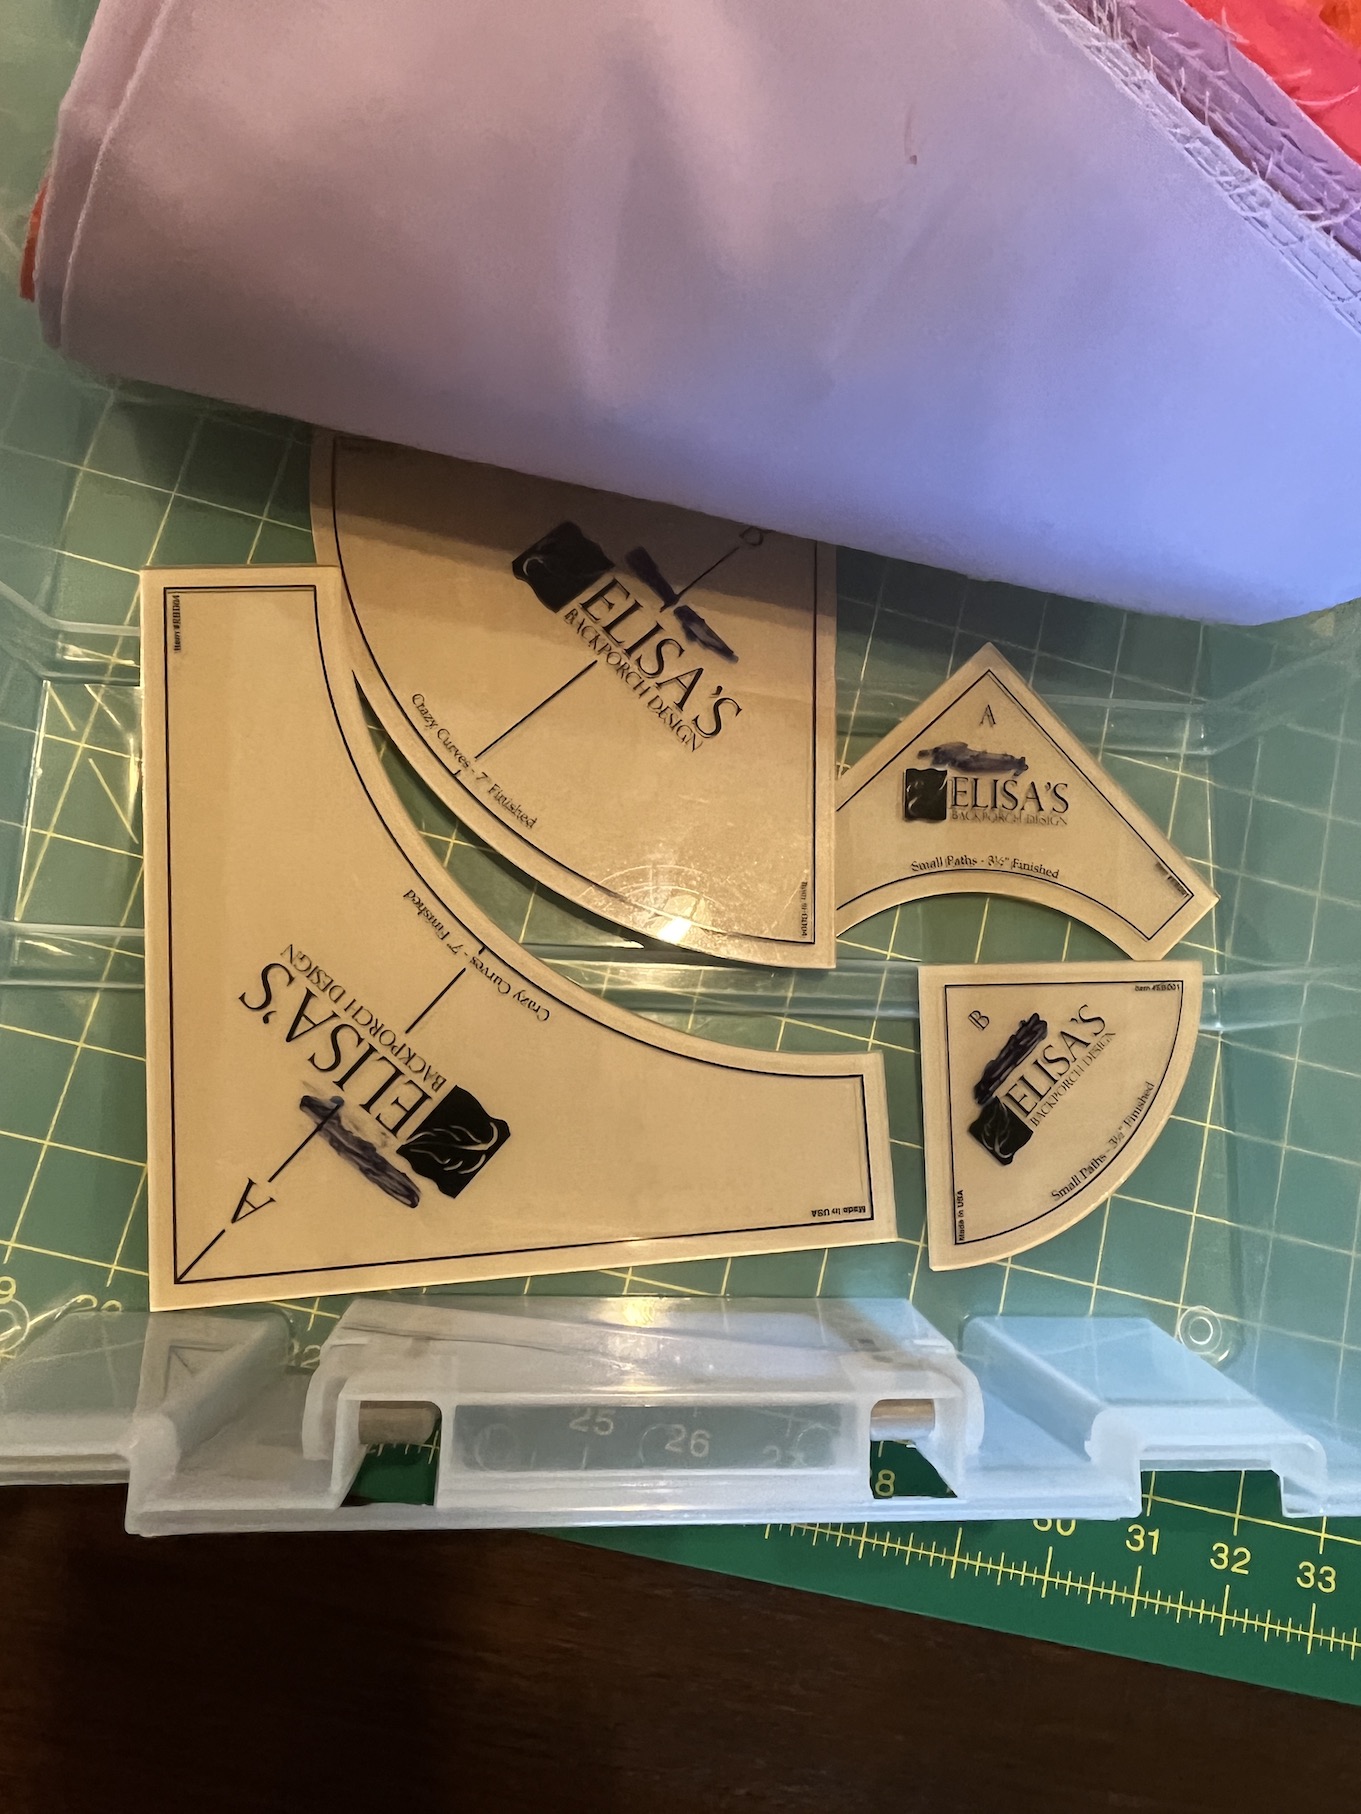
D already pieced a lot of the blocks; and I ended up piecing the rest of the sections together that she cut from the templates but had not pieced. She also gave me fabric and I made some additional blocks using the templates she also gave me.
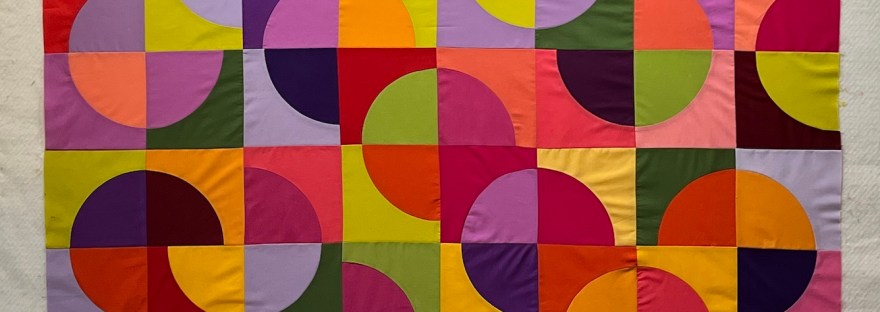
Here is what the quilt currently looks like on my design wall – I’ve made a small version of the quilt pattern designed by Elisa’s Back Porch Designs:
There was a lot of piecing to get the whole quilt together – first the individual sections into a four patch, resulting in 16 blocks; and then sewing the 16 blocks together. I thought about making a larger quilt (I am so many blocks left over) but I just wanted to get this one done and move on to my other projects.
I’ve decided to hand quilt it as a late Autumn/early Winter project, and use this dusty collection of hand quilting threads I bought at a sewing expo show in Seattle, WA early in my quilting days (2000?):
So I am taking this quilt off the design wall and putting it away until the cooler weather when I’d want to have a quilt sitting on my lap while I hand quilt it.
So what to do with all the leftover blocks?
I’ve decided to make the large version of the quilt Circle Dance which includes both the larger “Crazy Curves” blocks (the one I made) and the smaller ones:
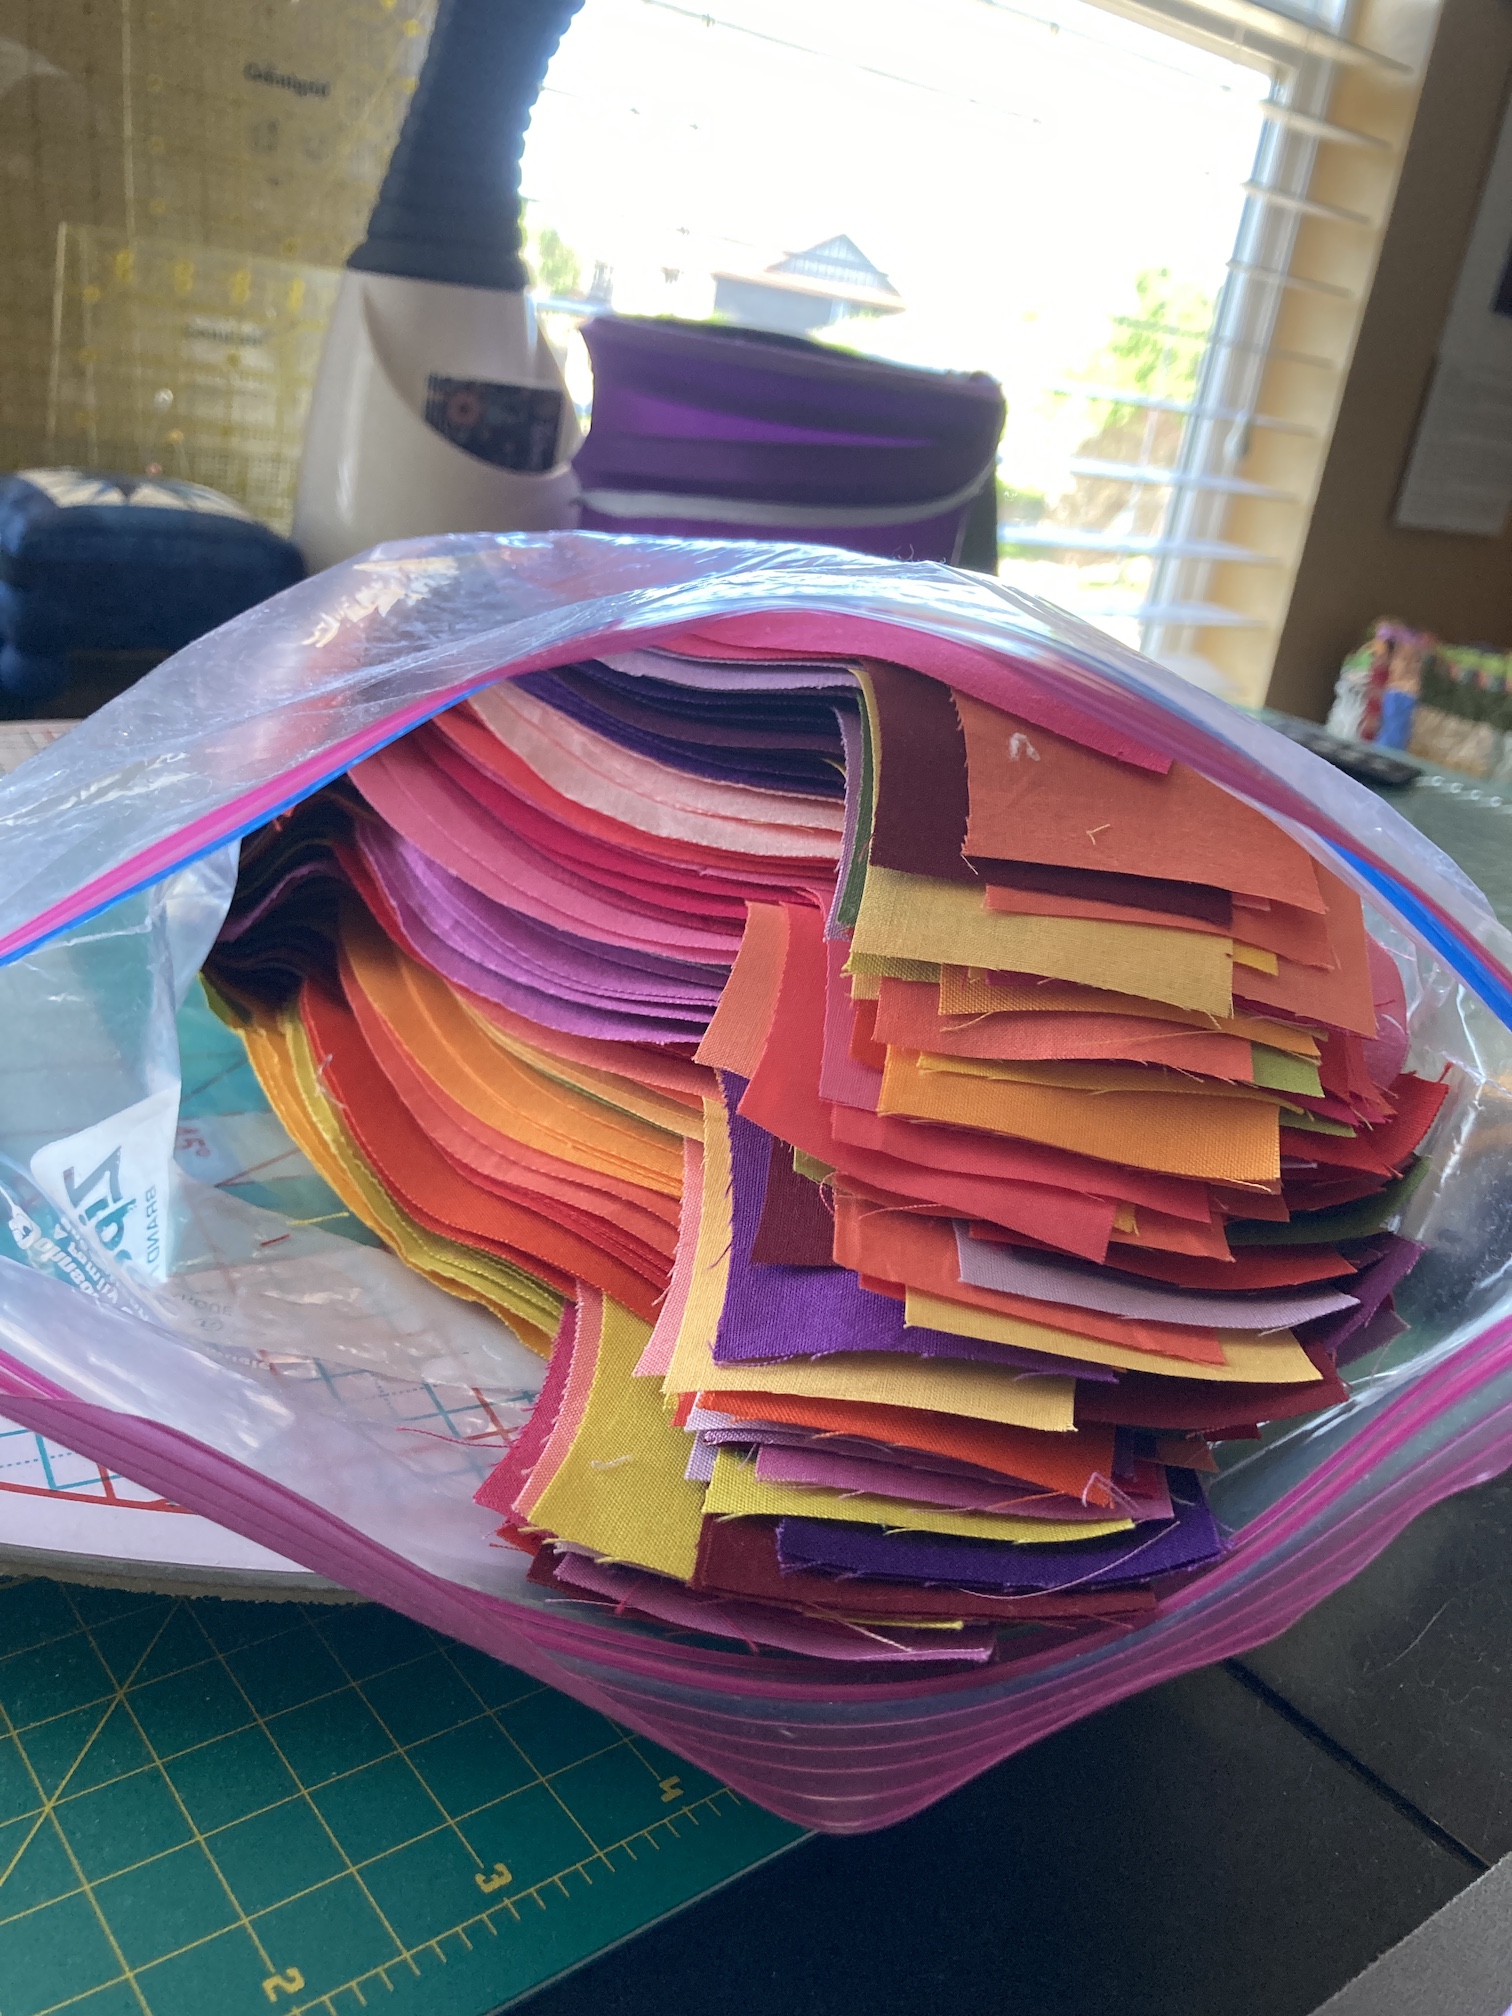
The pattern says “63 inches by 70 inches” but I think I can make it even larger with all the blocks I have left over. I will need to make the small “Crazy Curves” from the small template from the extra fabric D gave me.
I might start that in 2024 or 2025, who knows. I have so many projects in queue!
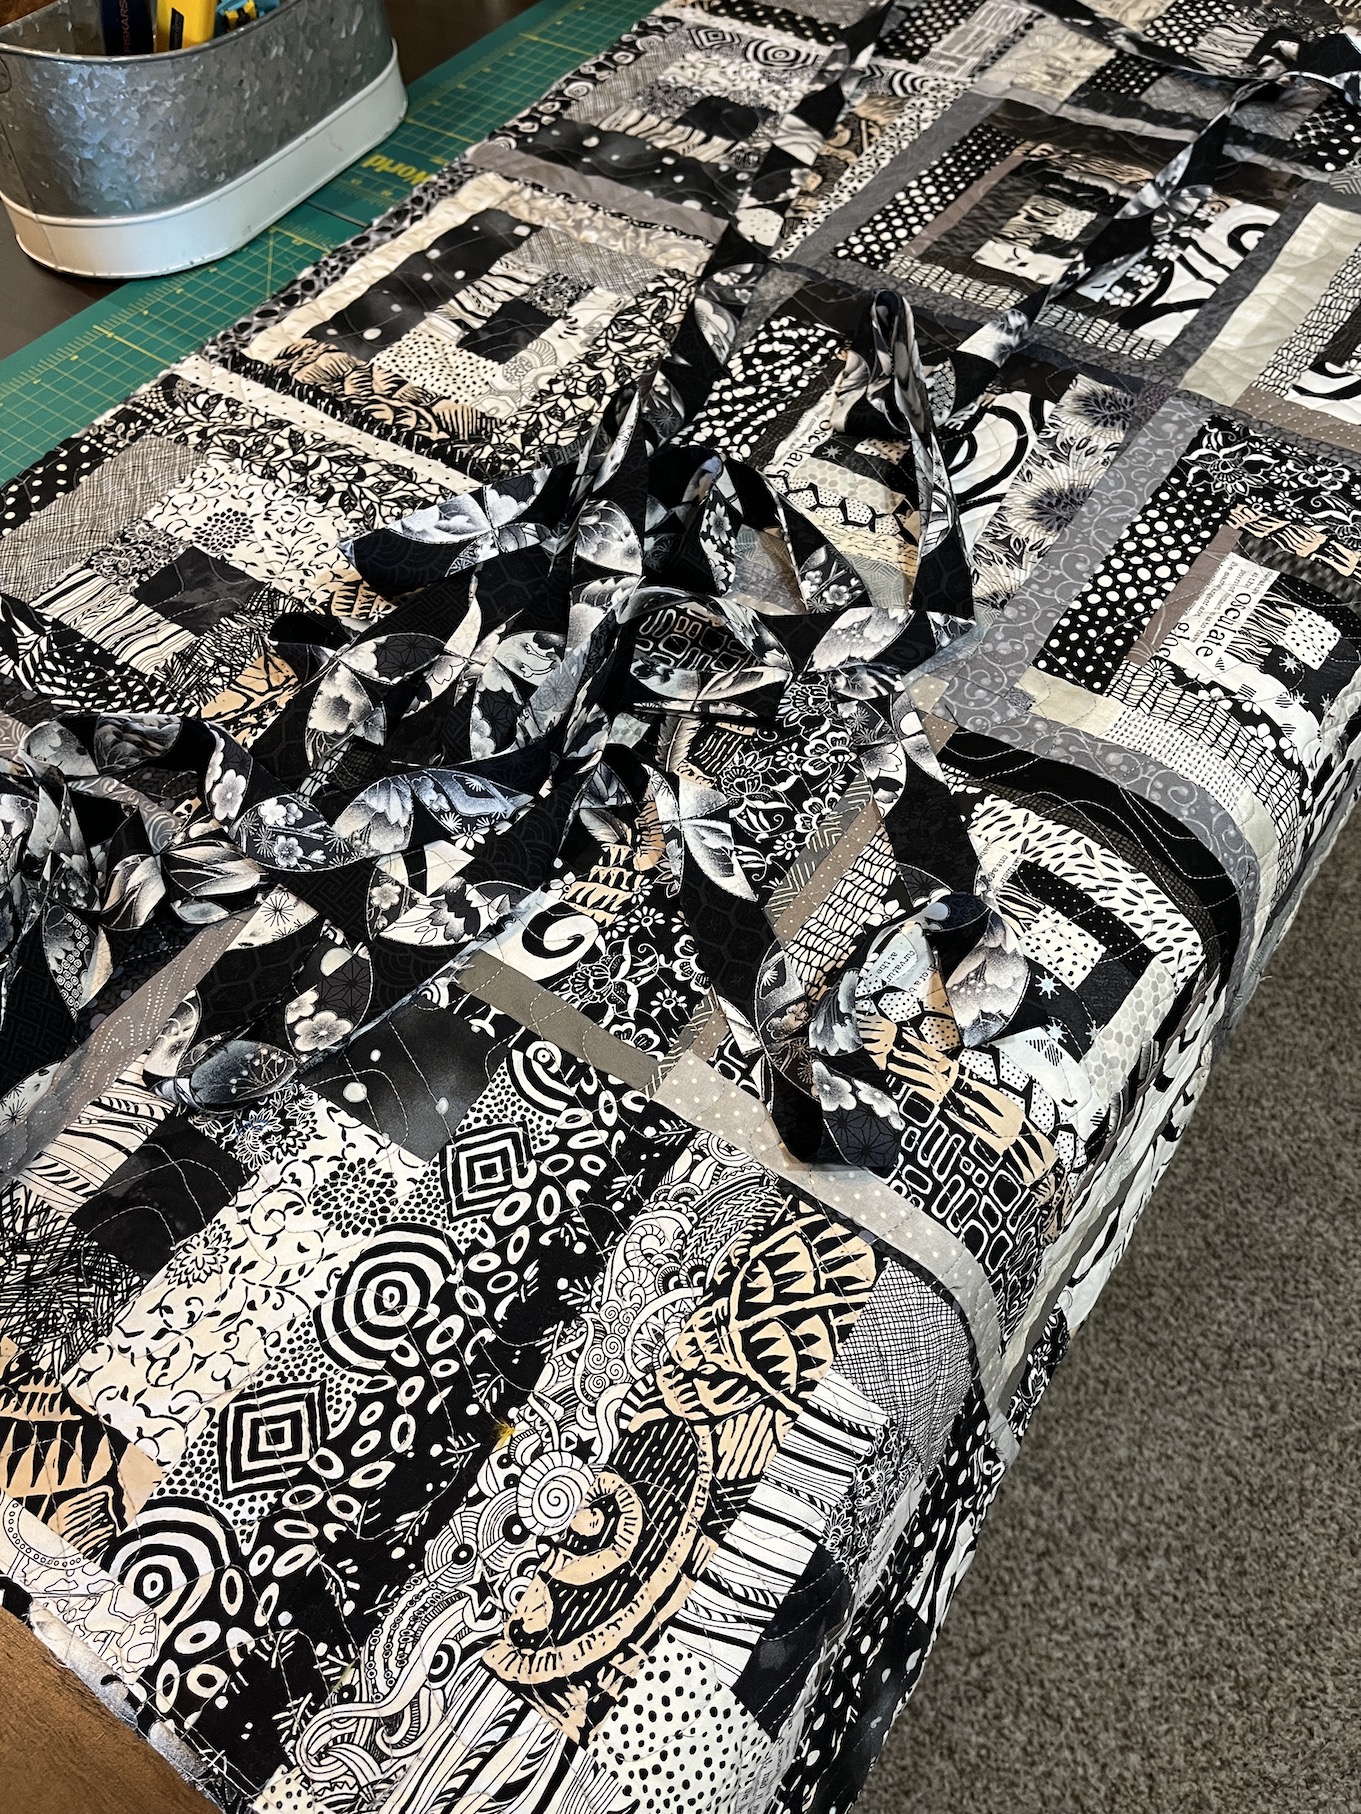
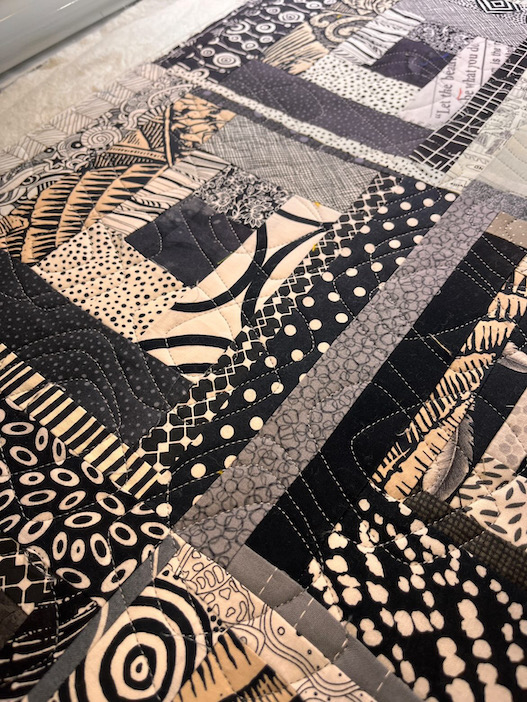
Next up on my project list is sewing on and then sewing down the binding for my black, white and gray scrappy freeform log cabin quilt – Oh Scrap – It’s Not Just Black and White (see post ScrapHappy June 2023: “Oh Scrap – It’s Not Just Black and White!” if you’d like background on this quilt), which is back from the longarm machine quilter:
And to close out this post, here is my Human Manager, Mike (see previous post) who is irritated I was taking a photo of the quilt on my design wall and not playing with him and his bear.
I had a couple brief updates and I thought I would spread them out into a bunch of brief blog posts but I am lumping them all together.
GO BOLDLY
An update on the quilt (which might end up more wallhanging size) that I mentioned in the post What I’ve Been Up To and What’s on the Design Wall, which I named “Go Boldly“: I am now sewing the blocks together. There are 64 blocks and each need to be sewing into blocks of 4 to make them into 16 blocks to then sew together.
I am currently debating whether to make the quilt larger (I have enough leftover blocks to make 1 – 2 additional quilts or wallhangings) or leave as it is. I think I am going to just sew the 16 blocks (4 mini sections to make a block) together and then decide.
The longarm machine quilter (Sew Colorado Quilting) has finished quilting it and sent me some photos, here is one of them.
I actually picked up the quilt today from her and will do a post on it with more photos once I get the extra backing and binding trimmed (I like to do my own trimming) and decide on a binding. I am thinking about doing a “facing” on it (like you would do with an art quilt) as I plan to hang it on the wall.
COLOUR WHEEL
A quick follow up on this post The Colour Wheel Quilt is Done, about the color wheel quilt I made to use as a teaching aid when I give a workshop next year (September 2024).
By the way I will share more information about that workshop including the venue once that venue gets ready to publish its online catalogue listing the workshop. If that doesn’t happen before October 2023, then I’ll go ahead and share as I’ve shared it with the Quiltfolk article writer for Issue 28 that comes out in October so it will be publicly revealed then anyway!
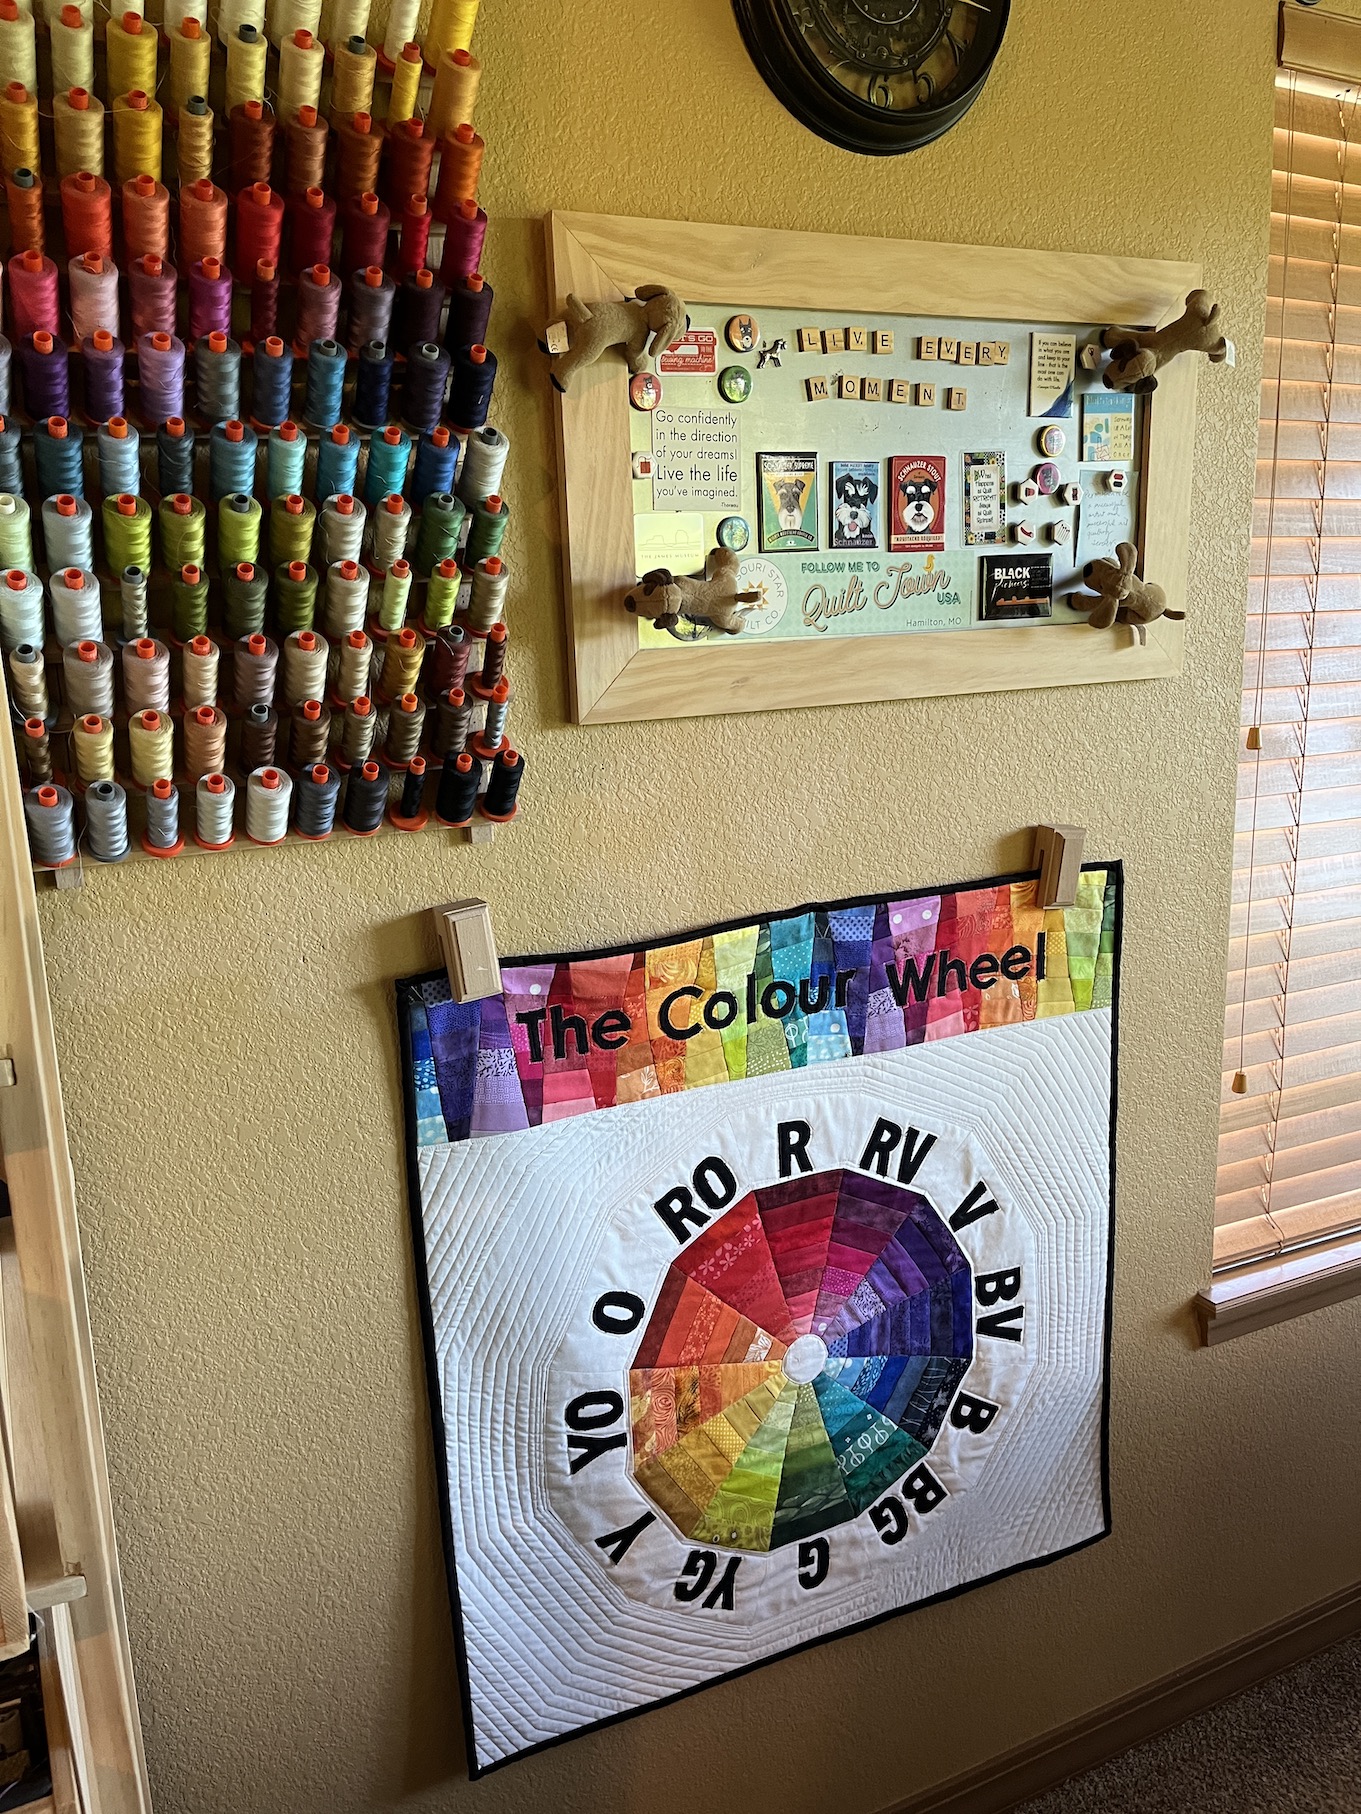
I had put the quilt away until next year for the workshop but then I decided to find a place for it in my studio so I could enjoy it before then – here it is now on a wall in my studio that I rearranged to make room for it:
VARIOUS RANDOM INFORMATION
John who loves to cook, tried making Ramen for the first time the other night and it came out pretty good!
My yellow rose bush in my front garden is finally taking off and here is one of its lovely roses:
And finally, here is Mike and his “cousin” Goose both trying to via for John’s laps (Goose won) when John was visiting his Dad the other day.
Hmm, I just realized that technically Goose is Mike’s “uncle” not his cousin – ha!
I’ve been behind in writing blog posts and reading blog post. I’ve been prepping for my first magazine photoshoot! For now I’ll need to keep you guessing but soon I will reveal what publication and what issue.
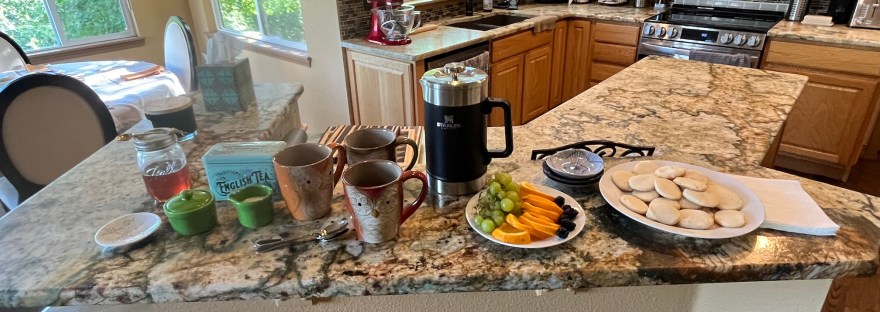
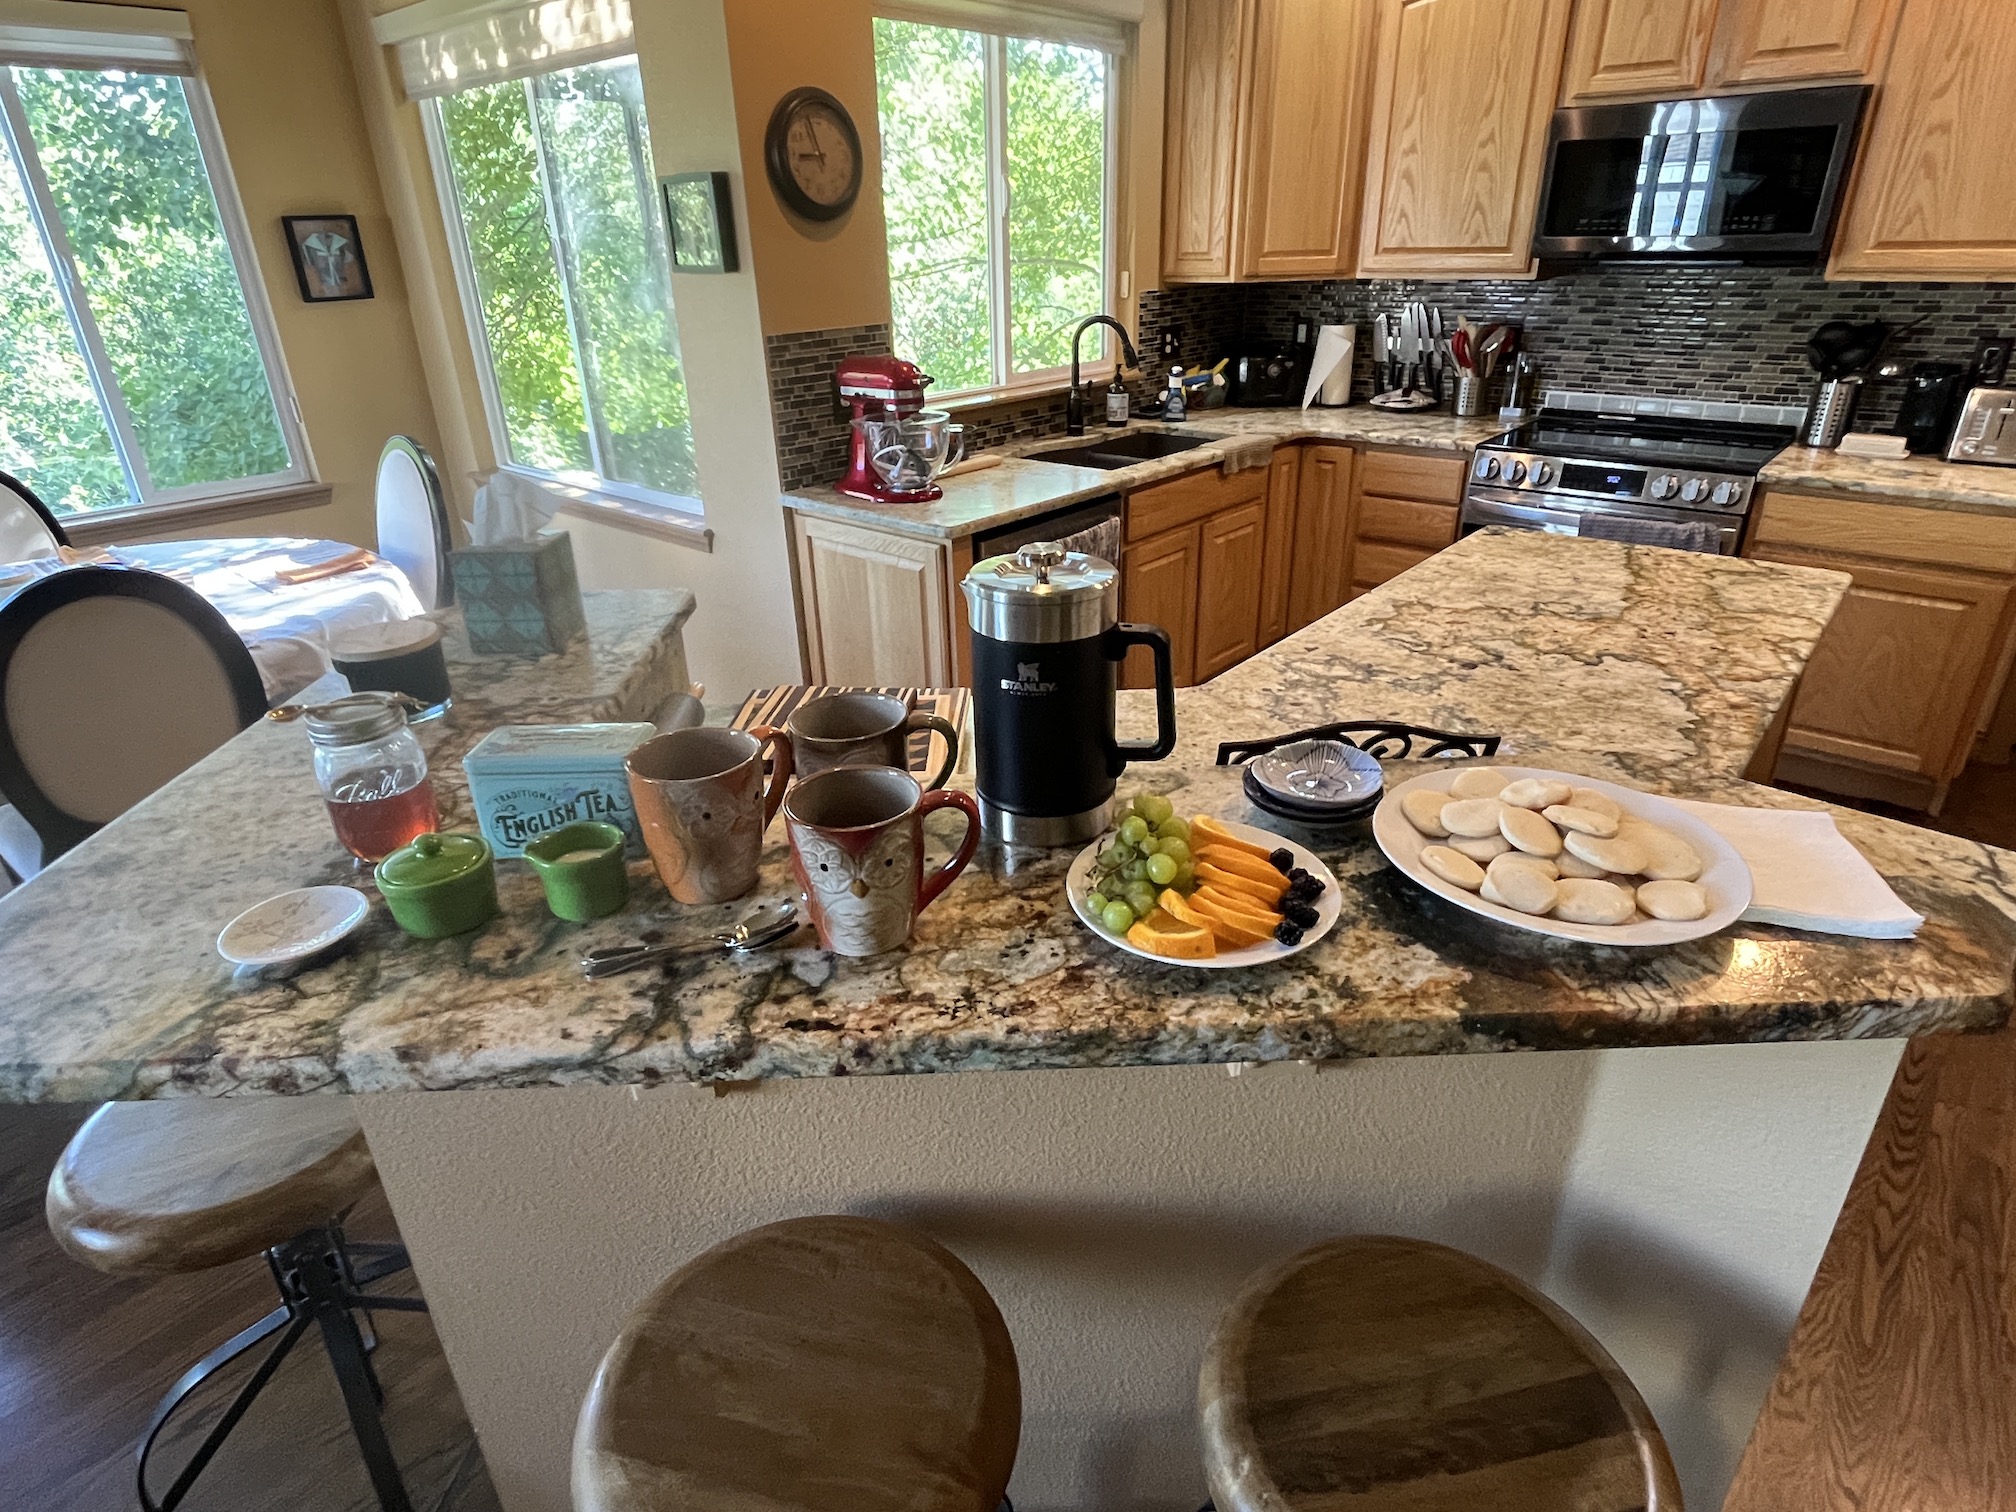
I had a Zoom interview last Friday with the article writer and yesterday (Thursday) I had a photo shoot with the photographer and stylist. I made them some homemade shortbread cookies, fruit, coffee and tea for their morning photo session with me:
The photographer and the stylist were so awesome and it was a fun (and a little tiring) morning posing for photos and helping them style what they wanted to at my home. Photos were taken inside and outside my house and lots of quilt photos. I have some “behind the scenes” of the photoshoot to share once I can reveal the publication. If you follow me on Instagram (@tierneycreates) you’ll probably find out first as I am just waiting for the stylist to post their behind the scenes photos to Instagram.
The “What’s On The Design Wall” part of this post is related to the photoshoot.
But the set of circle blocks that my friend D sent me a couple years ago (see post What’s on the Design Wall: Pride) for a colorful quilt she began in a class but decided not to finish, came to the rescue!
I started making the existing blocks into a quilt in summer 2020; and making additional blocks from the pattern and templates she gave me. I was going to name the quilt “Pride“, but I got distracted by other projects, took the quilt off the design wall and put it away.
Now it is back up on the design wall, just in time for Thursday’s photoshoot:
Yes it’s a little wrinkly but I was short on time before the photoshoot to re-iron the blocks before putting them up.
As part of the photoshoot I even sewed two blocks together, so I guess I better now work on sewing the whole thing together!
I changed the name of the quilt to “Go Boldly“. It is going to be wallhanging size and I do have enough leftover blocks to make a second wall hanging or even a quilt if I use up the extra fabric D also gave me to make more blocks (I have very generous quilting friends!)
Oh a quick update on Scrappy Autumnal Splendor – the binding is on and it is sitting in its new home in my home library. I was happy to get it back from the long arm machine quilter and get it bound (or “binded”? SpellCheck tells me that is not a word, ha!) before the photoshoot.
And I will close out this post with a couple photos of John (napping) and Mike enjoying the new hammock (actually intended for camping, it is a portable and fits in a small bag) we picked up on clearance at a sporting store. We got a break from all the rain we’ve been having in the Denver Metro area and they got to enjoy some hammock time!
It’s the 15th of the month and time for my monthly “ScrapHappy” post as part of the ScrapHappy group I belong. At the end of this post I have a link to the other blogs participating in this monthly event in case you’d like to check out their ScrapHappy posts.
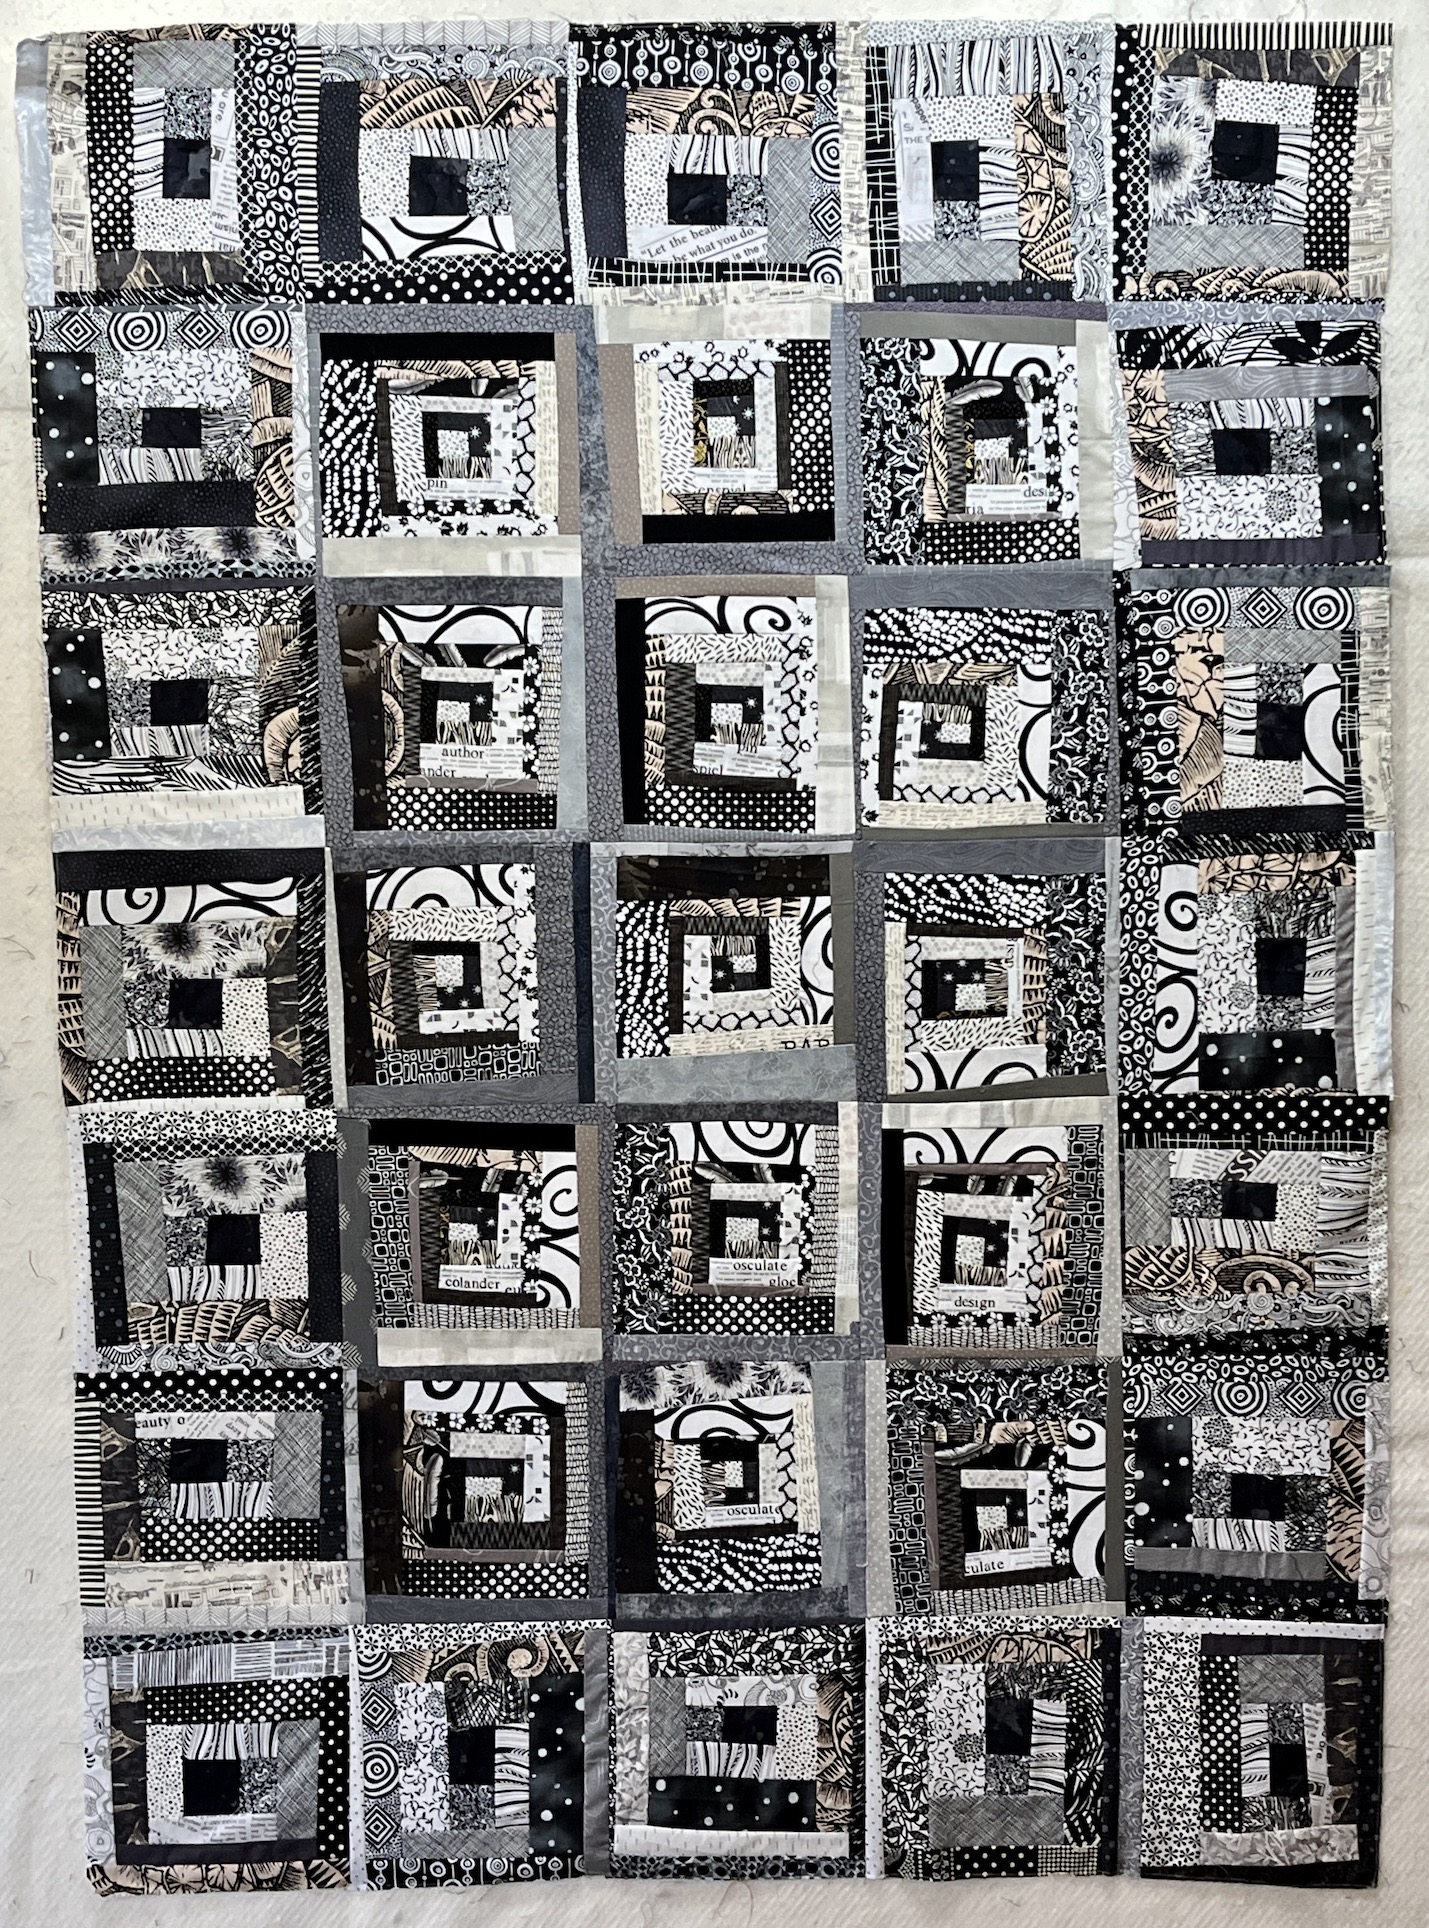
Look what is now on my design wall: a sewn together freeform log cabin quilt using my black and white (and some gray) fabric scraps that I introduced in this post – What’s on the Design Wall: Scrappy Log Cabin. As far as the name of the quilt: Oh Scrap – It’s Not Just Black and White! I’ll explain that later in this post.
So I went from this (a crazy box of black, white and gray scraps):
It was so much fun to piece this quilt and to select interesting (all over the place) scraps for the blocks. As you can see in the images above, it is just a mishmash of scraps! I had a bunch of black and white fabrics scraps with writing as part of the fabric design so I thought it would be fun to work them in.
As far as the name of the quilt (I love naming quilts): Originally the quilt was going to be created only using black and white scraps. Then I decided to work in some gray. Then on a whim I decided to use some scraps that had a khaki brown color in addition to black. I liked the effect of a little bit of light brown in the piece. A pure B&W log cabin style quilt was not aesthetically pleasing to me. The name “Oh Scrap – It’s Not Just Black and White” is a play on the saying (which there are many versions):
Life isn’t always black and white (there is some gray…)
And found these three fabrics to use as the pieced backing:
I will reveal the pieced backing when the quilt is quilted. I’ve decided to have a longarm quilter machine quilt this quilt also.
So after making two freeform log cabin quilts in a row I think I will try a different pattern when I am ready to make my next scrap quilt.
By the way here is an update on ScrappyAutumnal Splendor, the other freeform scrappy log cabin quilt: The longarm quilter is done with it and I get to pick up the quilt later this week! The longarm quilt sent me some photos and I am so excited!
As promised, here are the bloggers that participate in the ScrapHappy monthly posting event, check out their blogs linked below for their ScrapHappy posts:
Ok one more post about this quilt before it heads today to the long-arm quilter (I decided to “quilt by check” instead of do it myself!). I decided to name the free-form scrappy log cabin quilt I started during the Scrap Happy Retreat I had in June – “Scrappy Autumnal Splendor” as it reeks of Autumn in it’s color palette!
Here is what it looks like all pieced together:
The border (and lattice) is taupe Peppered Cotton which is a version of a “shot cotton” and there was potential for fraying so I stitched around the entire quilt top 1/8th inch.
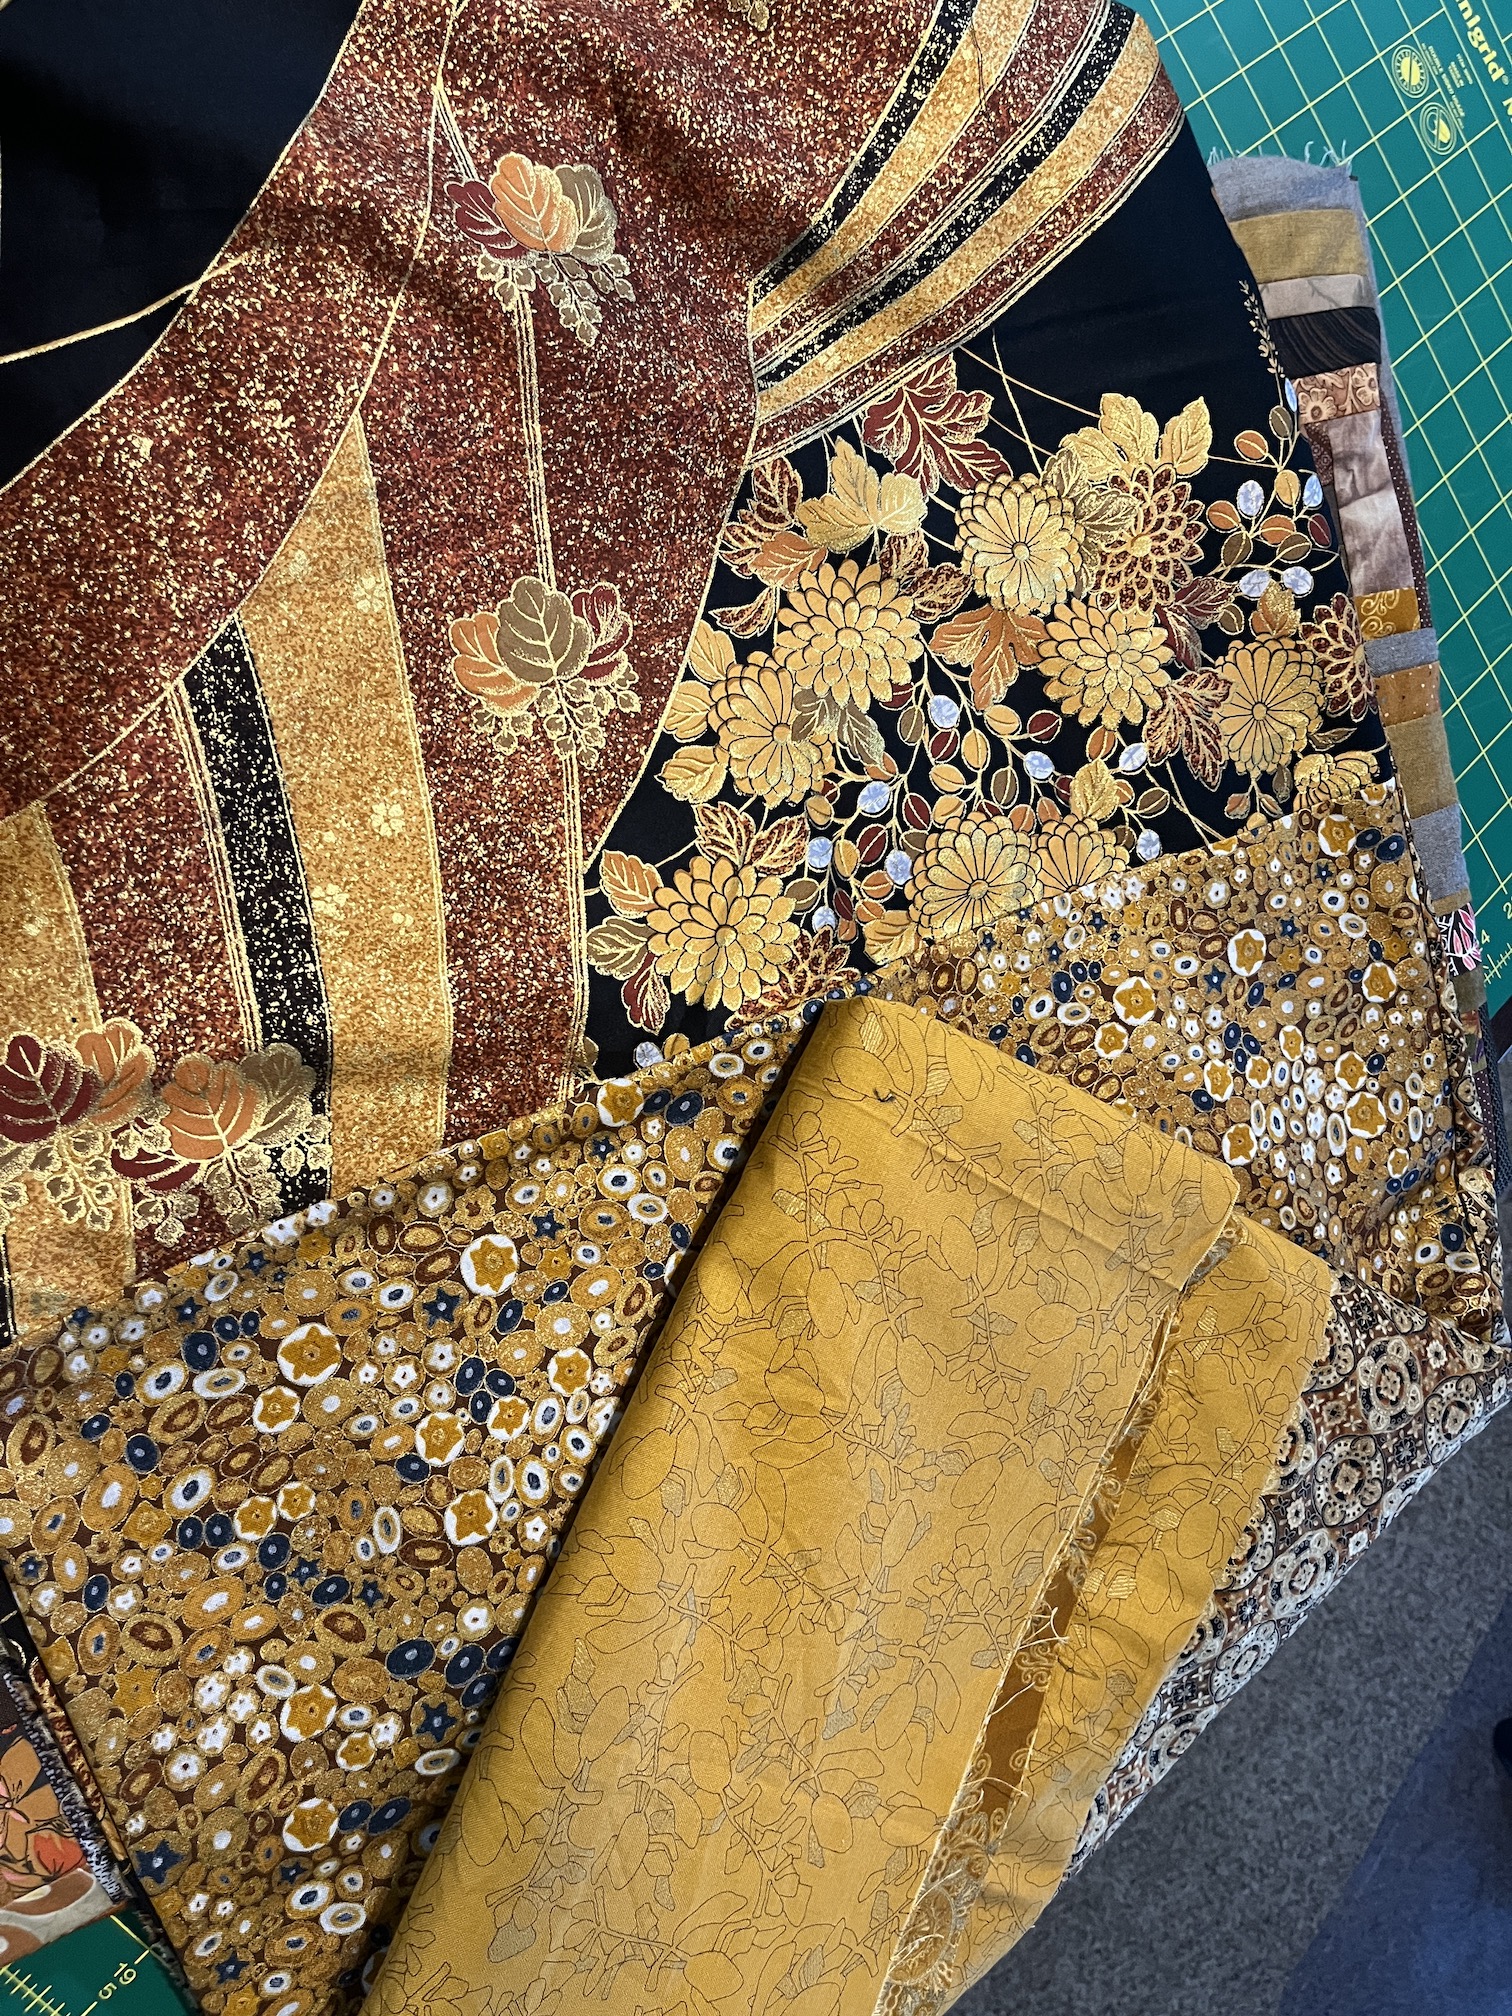
After finishing the quilt top it was time to head to my yardage stash and see what kind of backing I could piece together (I was tempted to buy yardage of a single fabric for the back but darn it I am going to use up my stash, ha!):
And here are a couple of the fabrics I found:
Here’s a little peek of the crazy pieced backing I made with bold Autumnal colored fabrics with metallic highlights!
You’ll have to wait until I get it back from the long-arm quilter to see how the back came out (anticipation…smile).
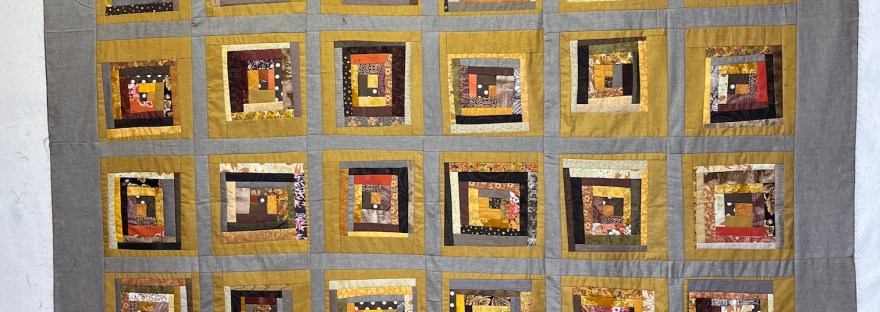
Yesterday I made some major progress on the freeform scrap fabric log cabin quilt I am making in browns and golds.
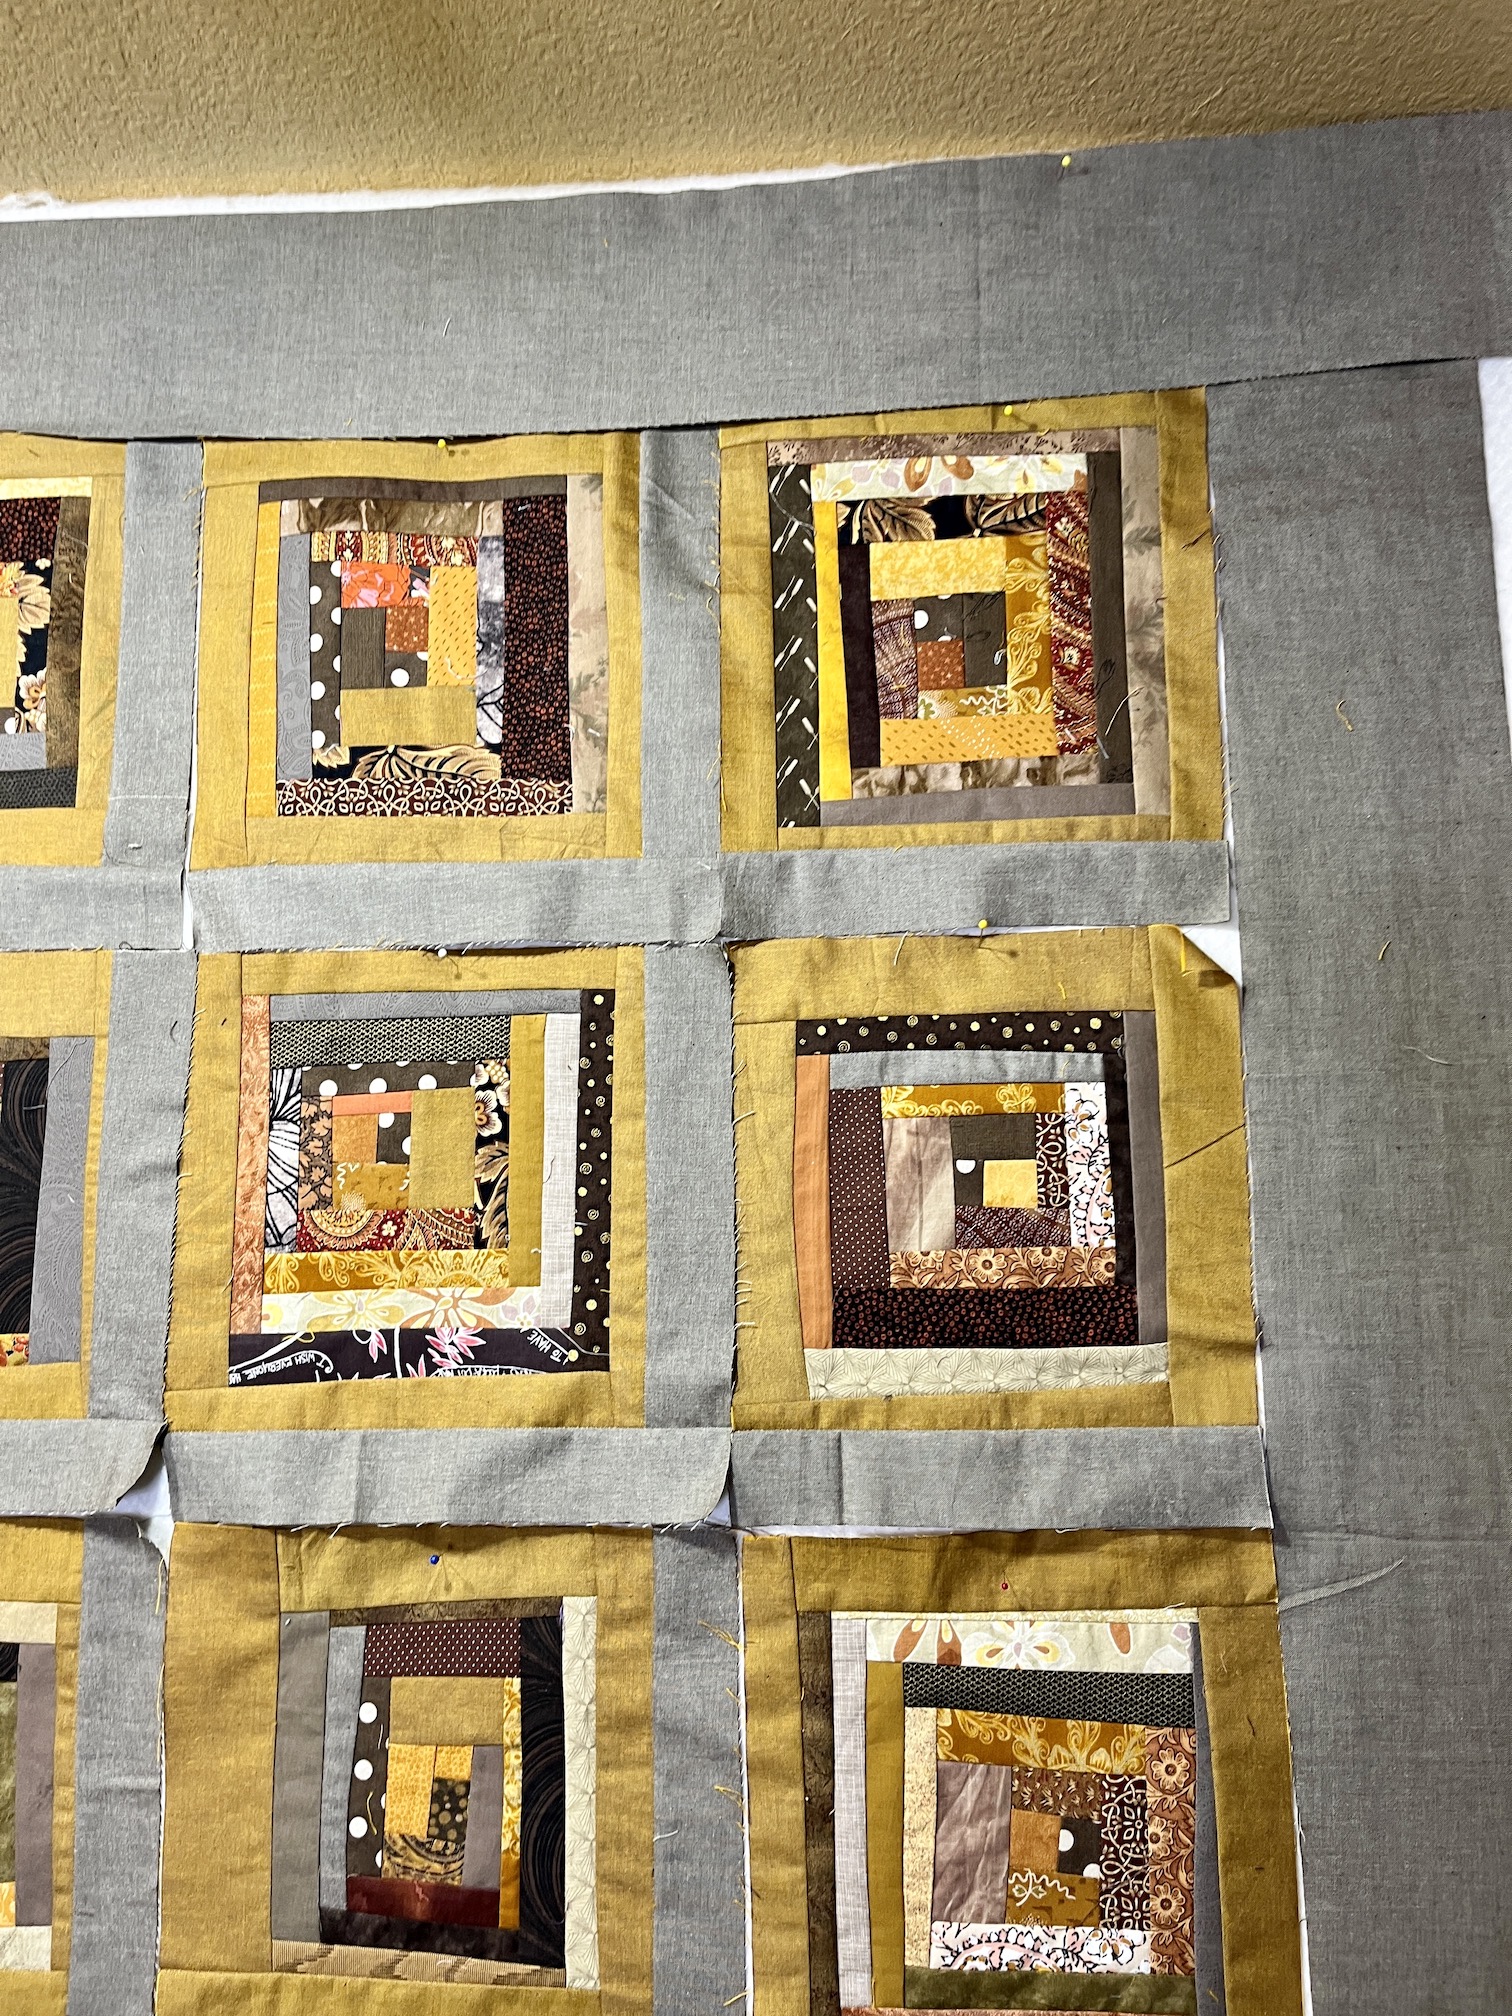
I got the blocks framed with the taupe fabric – I used 2 inch strips to frame each block. I also cut a couple 5 inch border strips to mock up the border.
Here are a couple photos (I could’t decide which one I liked better):
And here is a close up showing how the blocks will float with a 5 inch border all the way around of the taupe:
As I mentioned in that post, when making freeform (I think this is what I am going to call them from now on) log cabin blocks, you might want to mock up (or actually sew) one completed block to verify that you like where you are going with you design.
I did this with one of the 42 (well actually 43 – I made a spare one) freeform log cabin blocks I made from my pile of brown, gold and orange scraps:
I decided that I needed something to break up the gold, I did not want to place all the gold framed squares side by side, so I decided to try floating the blocks in a taupe Peppered Cotton.
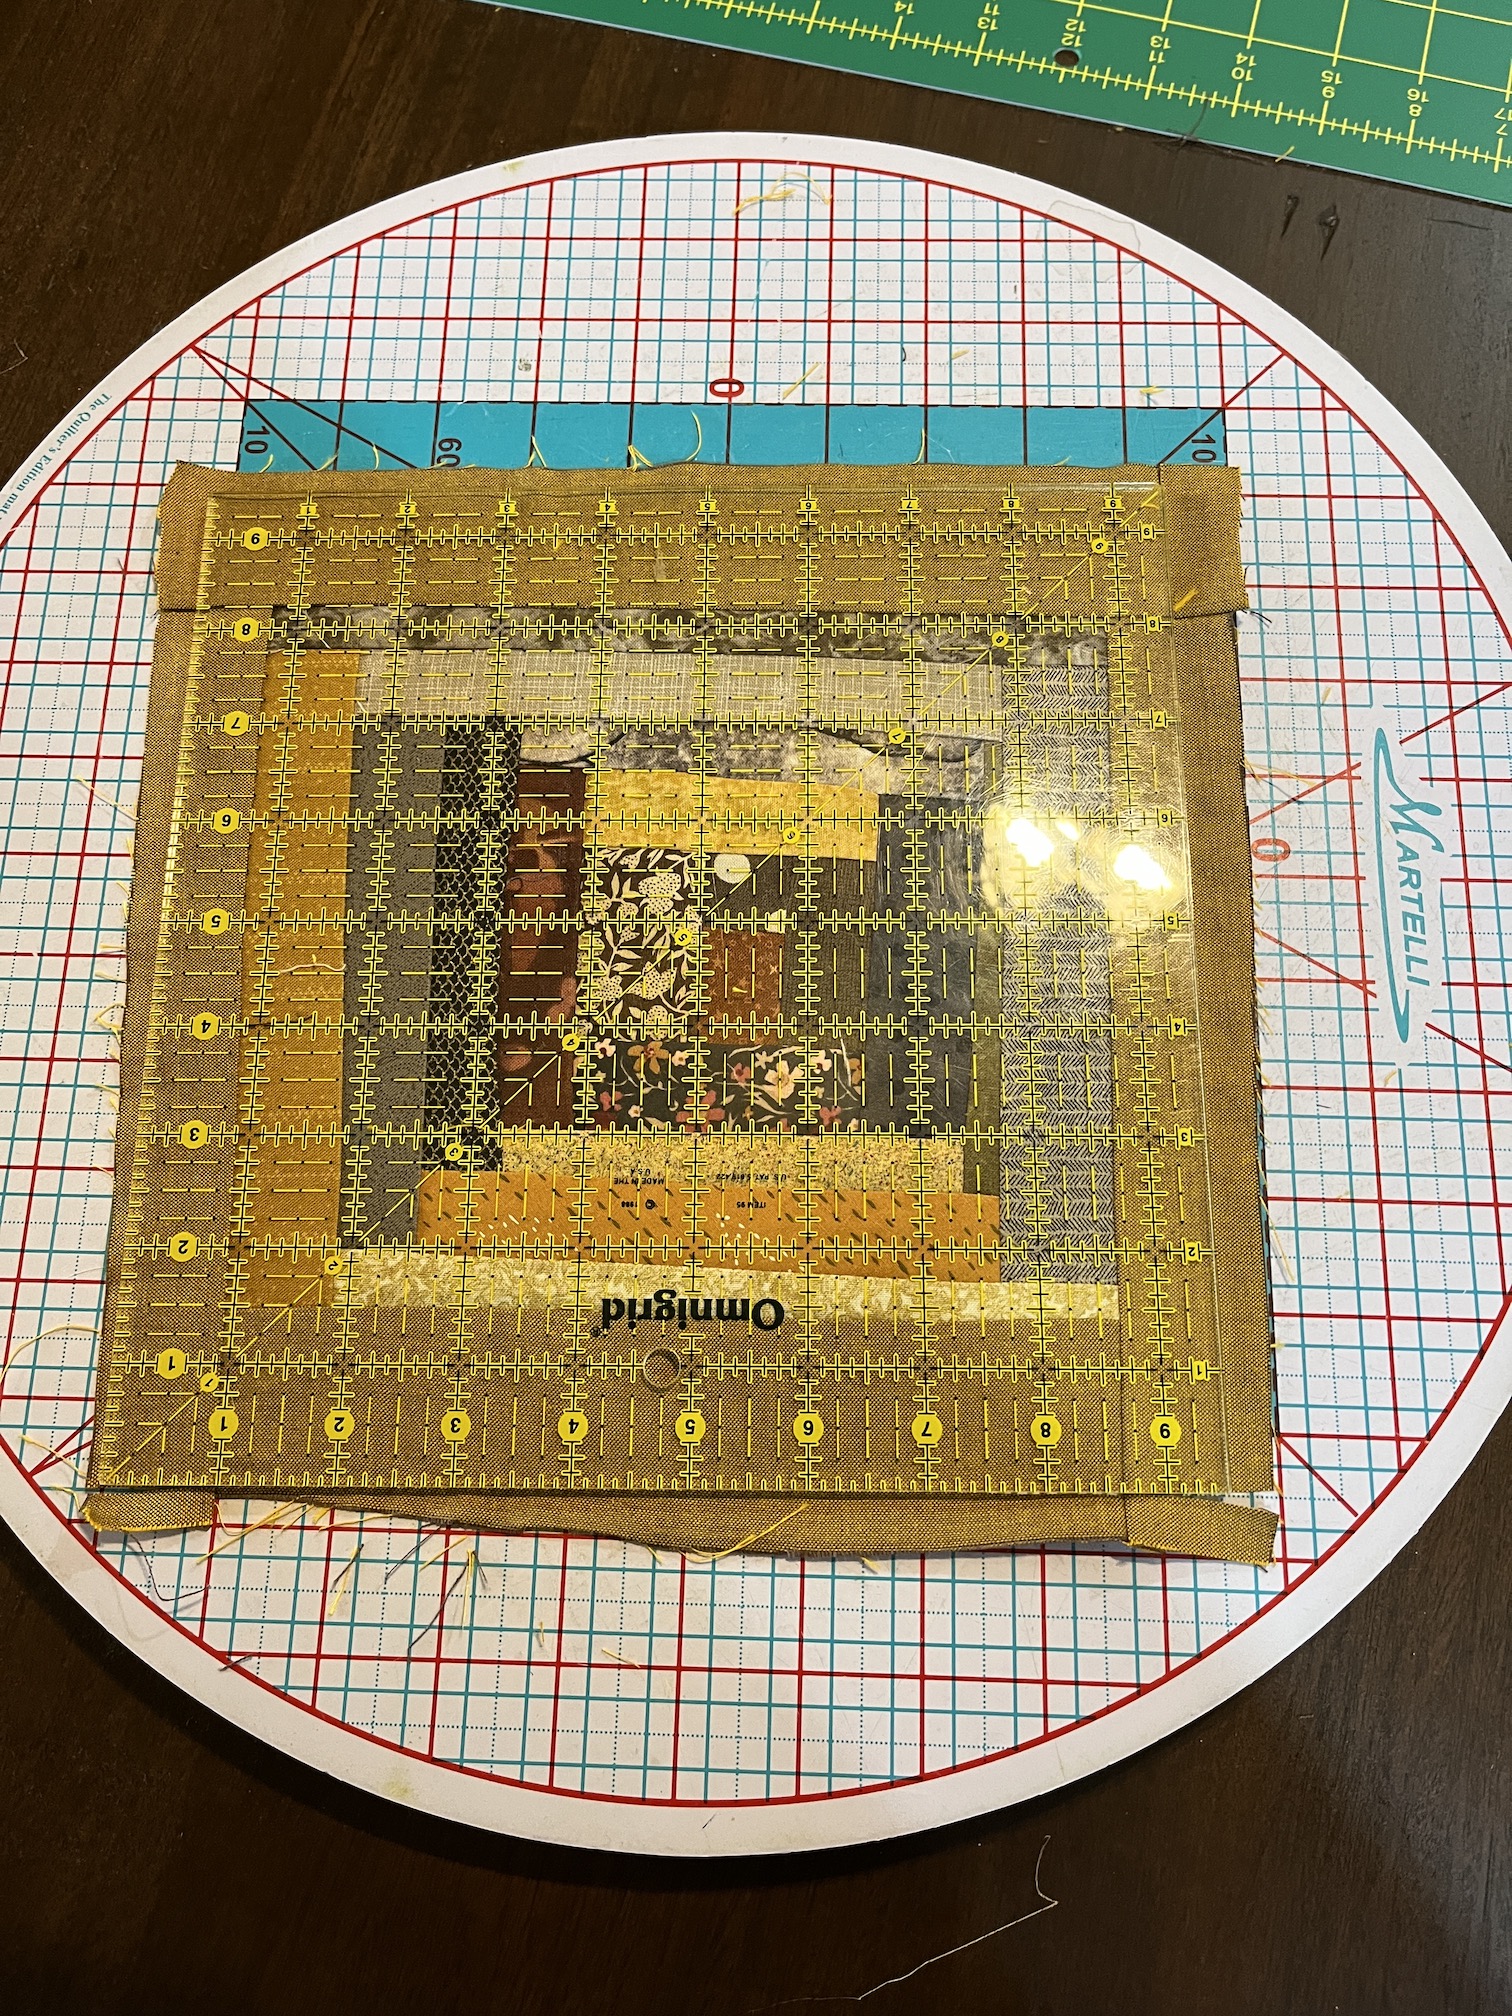
I’d originally trimmed the freeform log cabin block trimmed in gold Peppered Cotton and trimmed the block to 9.5 x 9.5 inches with my 9.5 x 9.5 inch square ruler. Then I tried framing it in the taupe and trimming it to 12.5 x 12.5 inches using my ruler of that size (the next size up ruler I own after 9.5 x 9.5 inch).
(By the way, I highly recommend some type of rotating cutting surface if you are trimming your freeform log cabin blocks to a uniform size with a square ruler – I have the Martelli Round Cutting Mat).
I realized a problem after I made the demo block: I have 42 blocks and my plan was to make a quilt for my home library for snuggling under while reading that is 6 blocks by 7 blocks.
At 12.5 x 12.5 inches each (12 x 12 inches finished) it would become a bed size quilt…oh no – let me try some fake math – the quilt would end up around 72 inches by 84 inches…actually larger if I added a little border around the quilt to make the blocks “float”.
I did revisit just sewing the gold framed blocks together and it does not make a large enough snuggle quilt. You might be thinking: what about just adding more of the gold fabric on the edges of the quilt as a border to “float” the blocks? Well I’ve run out of the gold fabric! I have less than a 1/4 yard left.
I was pondering my quandary when John asked about latticing instead of floating each block in the taupe – to use the taupe as a “lattice” instead. So I tried it out:
I like it! The taupe quiets the gold and it will all go nicely with the colors in my home library.
(The quilt currently on the loveseat and two little matching pillows, from orphan blocks, I plan to sell on my Etsy shop someday as they are not really my style and I want someone else to enjoy them.)
So that is where I am at in my design process.
Here are the 42 completed 9.5 x 9.5 inch blocks awaiting their lattice:
I am getting ready for a “Scrap Happy Quilt Retreat“, which I share more about in tomorrow’s “ScrapHappy May” post, by starting a scrappy log cabin using my ridiculous collection of fabric scraps.
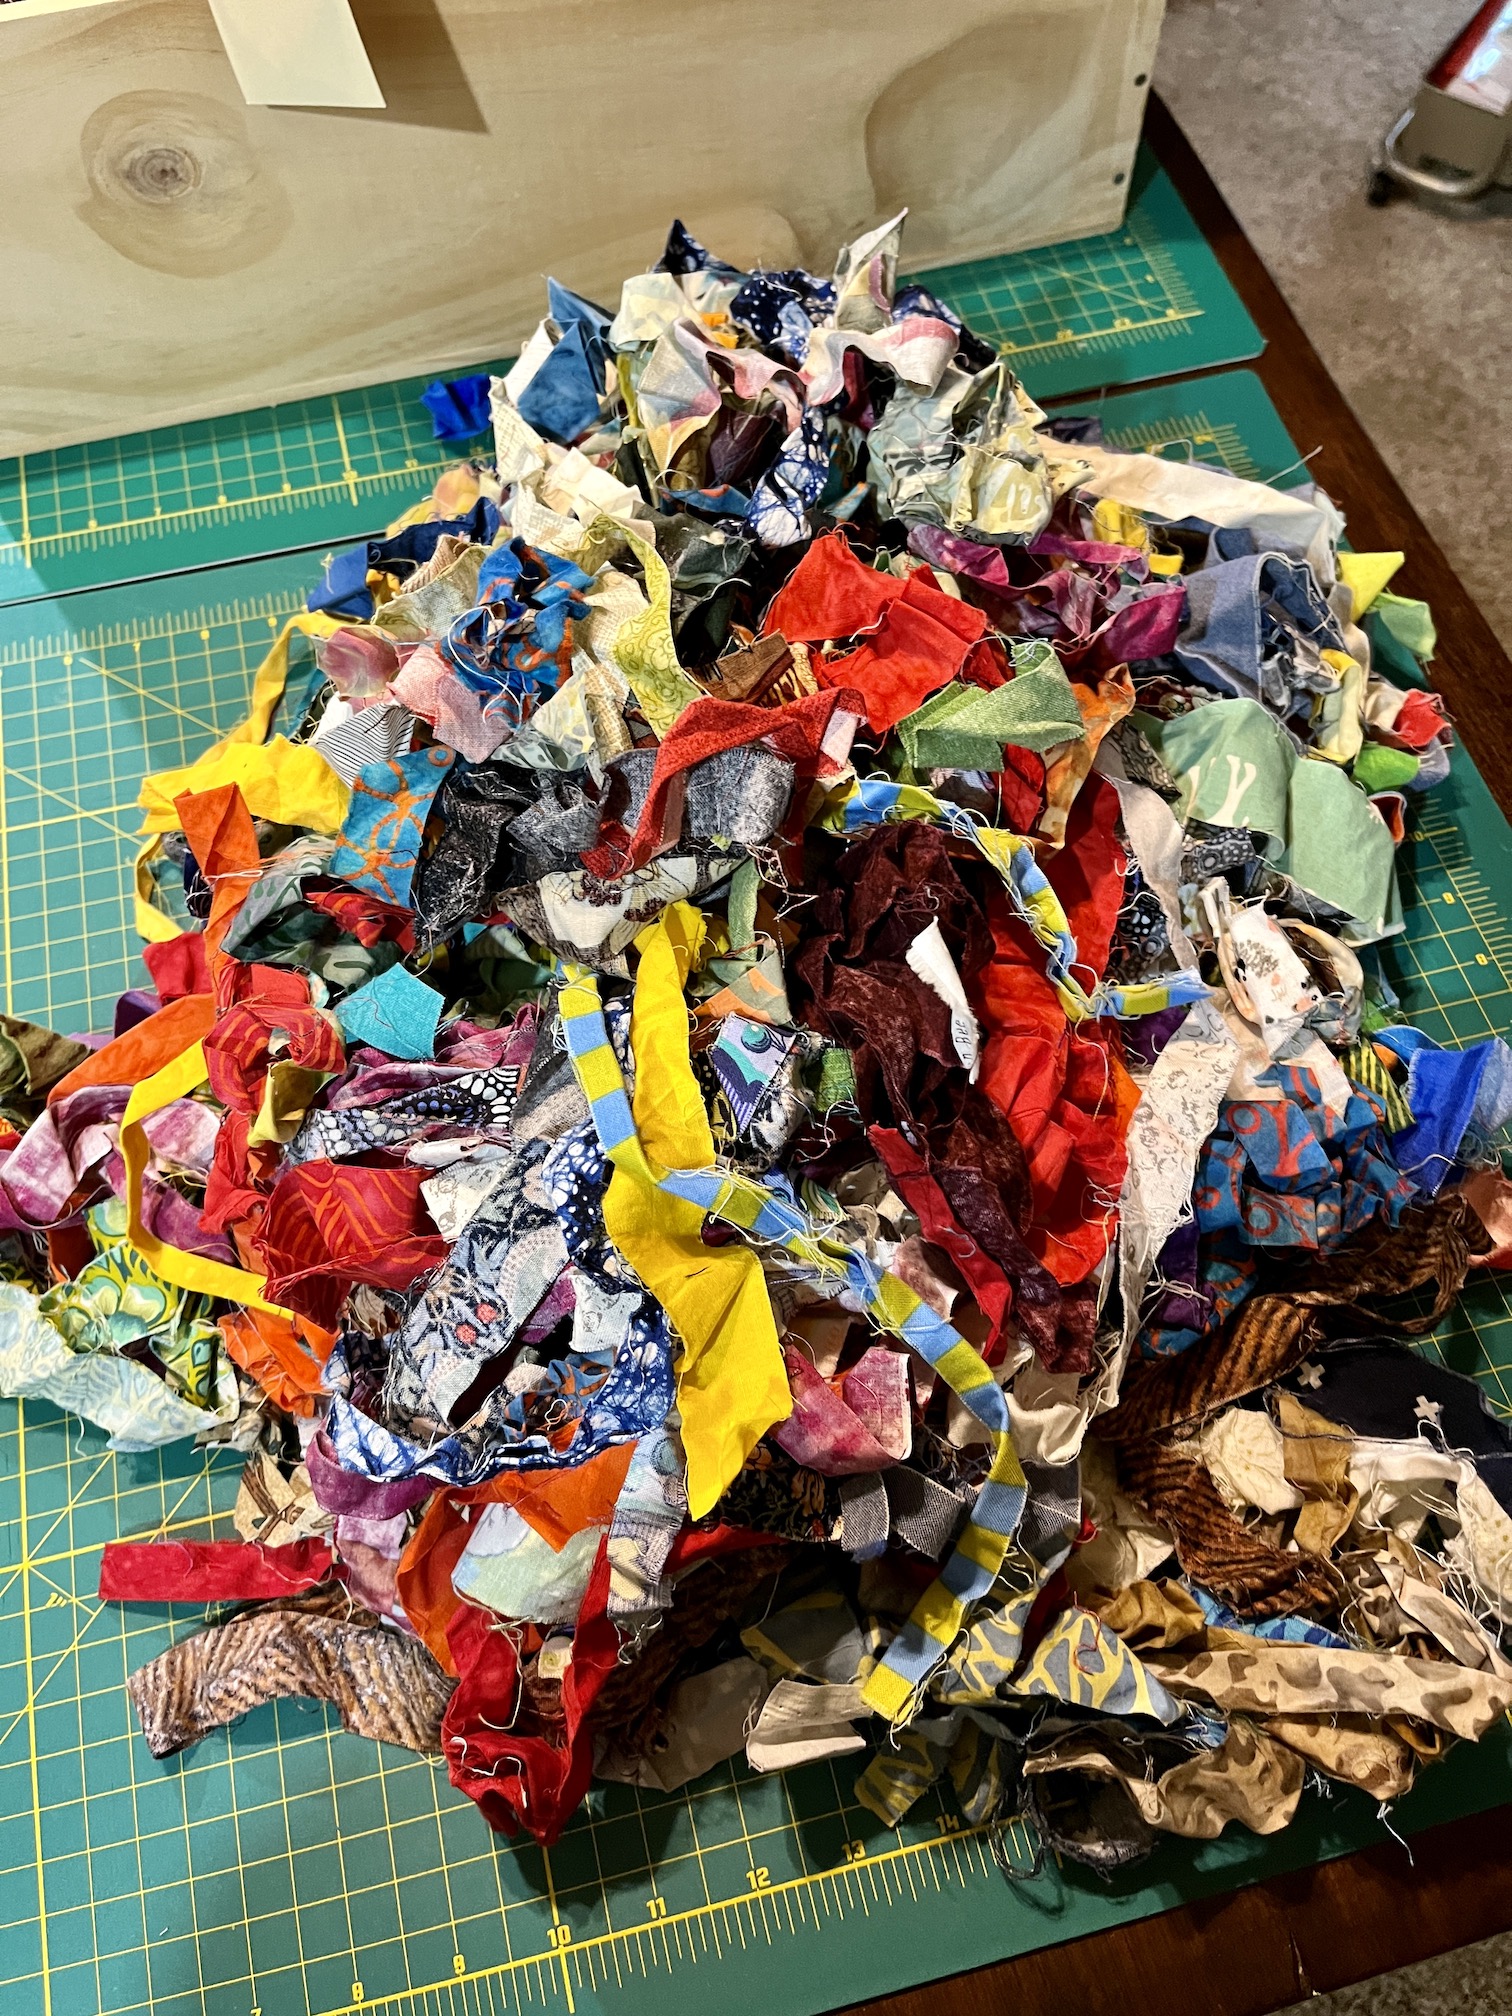
I decided to limit myself to black, white, and gray fabric scraps. First I dug into the bag I have of “fabric strings” which are thinner fabric scraps that I’ve been saving (yes for year, ha!) to make a “String Quilt” someday.
I dug through this scary mess to find the black, white and gray strings and then ironed them (as they were wrinkled/crumped beyond easy use…):
I thought I might have enough to get started but I ended up having to dig into my wine crate box of black, white and gray scraps:
I ended up piecing 35 blocks, which I trimmed to 9.5 inches x 9.5 inches each using my 9.5″ by 9.5″ square ruler:
I started this quilt as an example as the Scrap Happy Quilt Retreat will be at my house starting Monday and I am going to teach my friends how to do improvisational scrappy log cabin blocks (also know as “Log Jamming”) and we are going to use my scraps! (A great way to use up your scraps – dump them onto your quilting friends under the guise of showing them “scrappy quilt making options”…evil laugh!)
More on that tomorrow on the 15th which is ScrapHappy May posting day!
Oh by the way, when I got done piecing 35 – 9.5″ x 9.5″ blocks I did actually (sort of) make a dent in my black, white and gray scrap fabric collection. Here’s what the wine crate looks like now:
(If you can’t tell the difference from the previous photo, just know before it was overflowing and now everything fit nicely in the wine crate with no overflow…)
The Colour Wheel Quilt is finally done. I just finished quilting and putting on the binding today.
It’s come a long way from this:
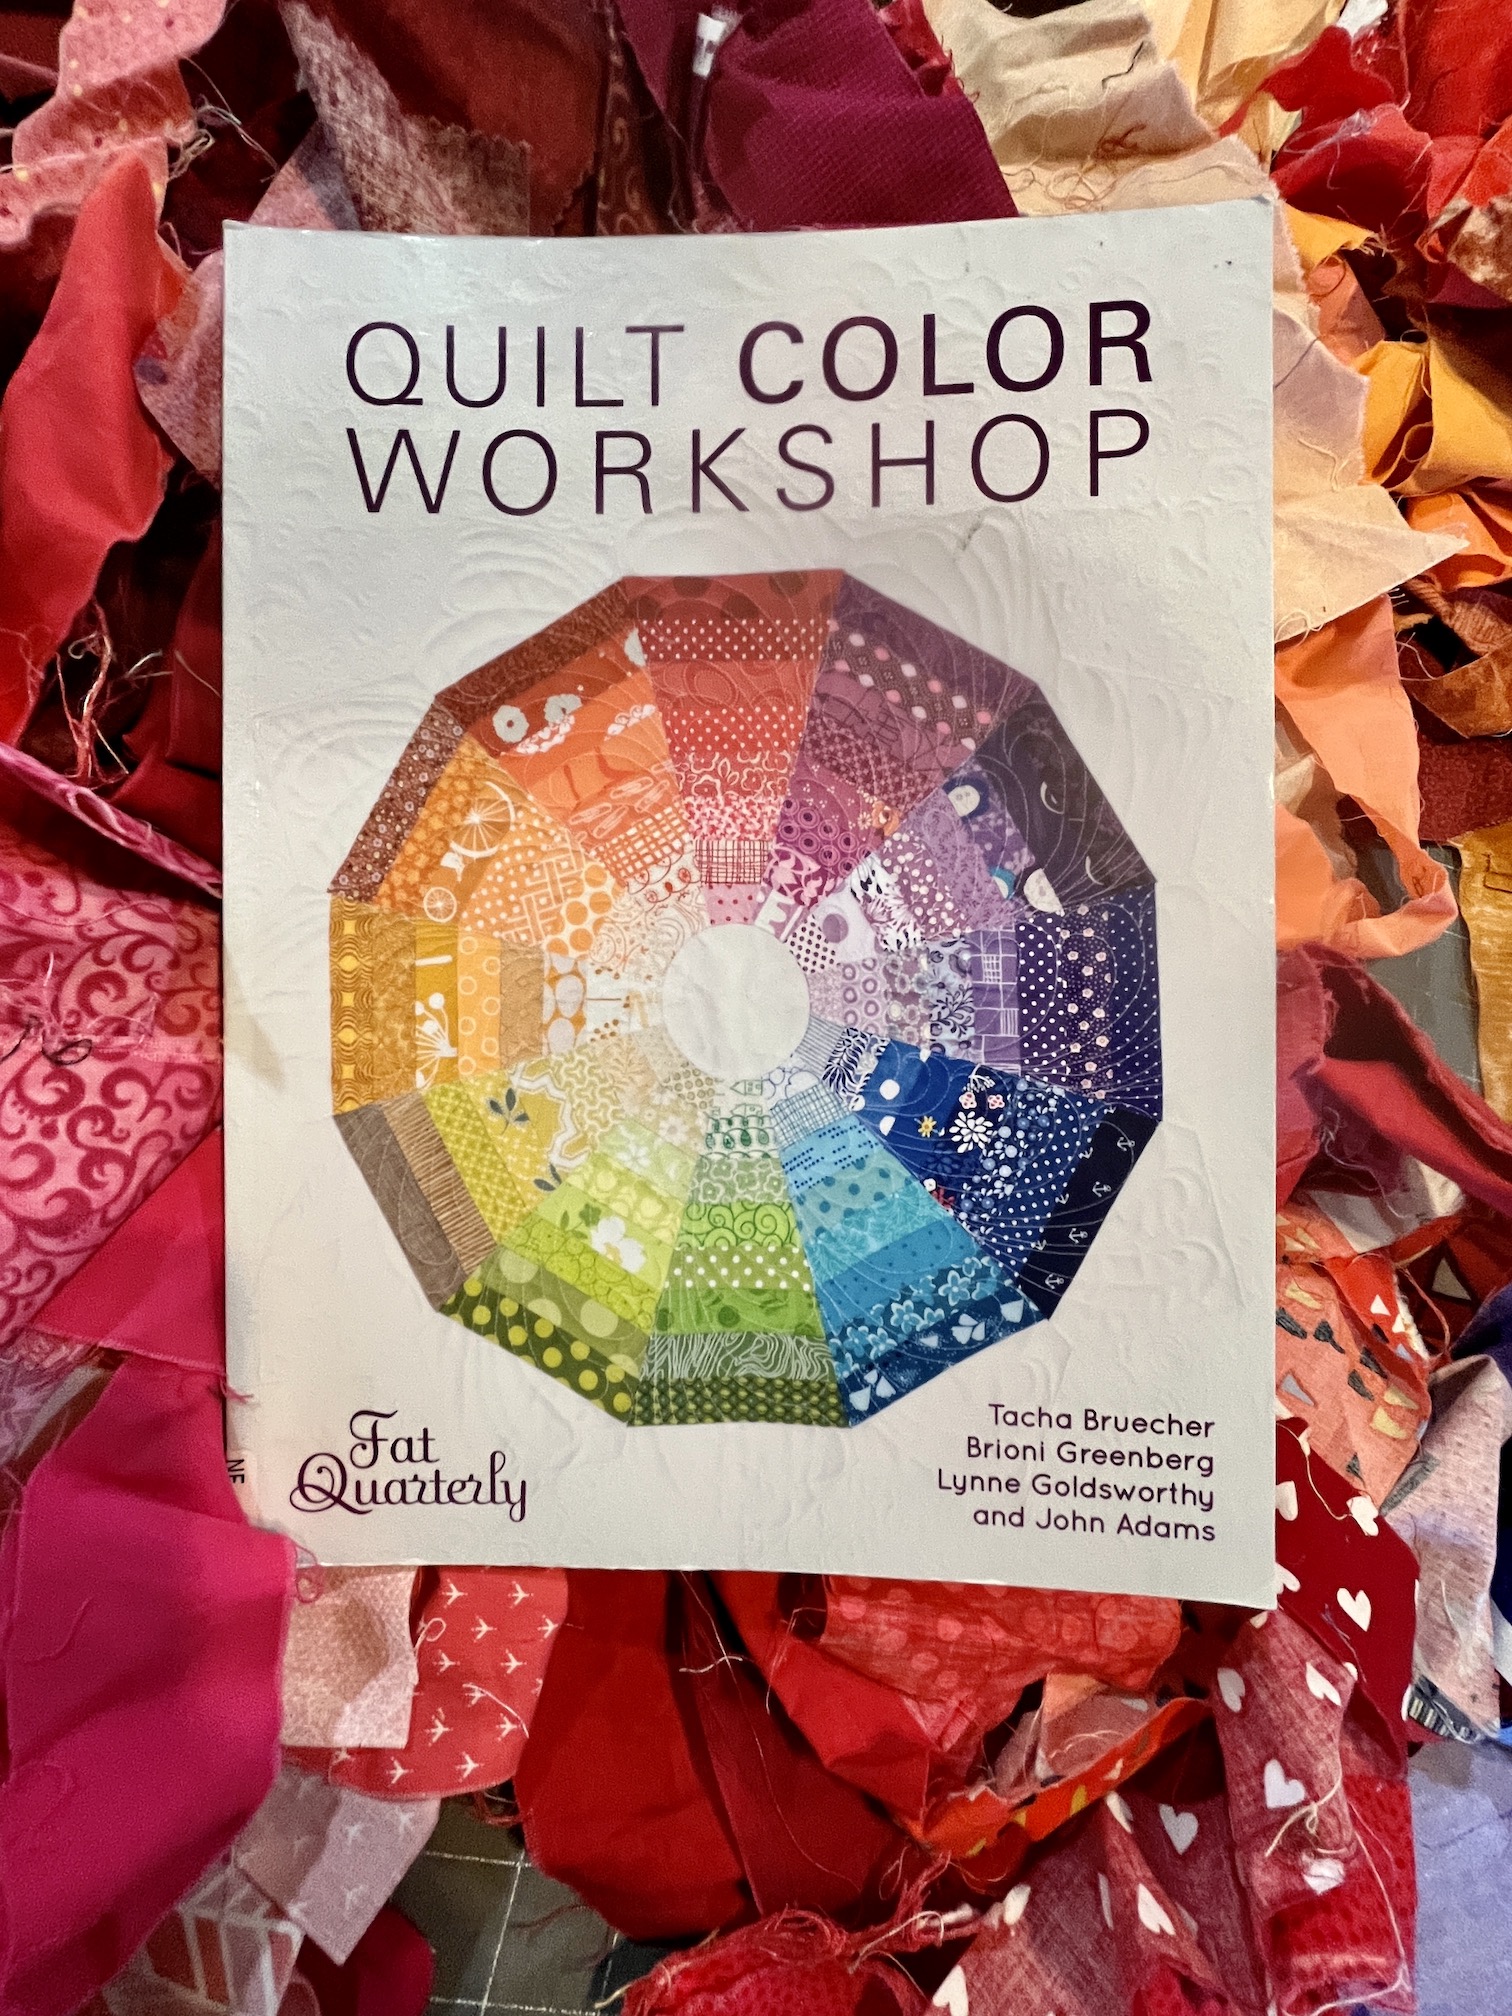
Here is what the sample from the book Quilt Color Workshop by T. Bruecher, B. Greenberg, L. Goldsworthy, and J. Adams (2014) looks like:
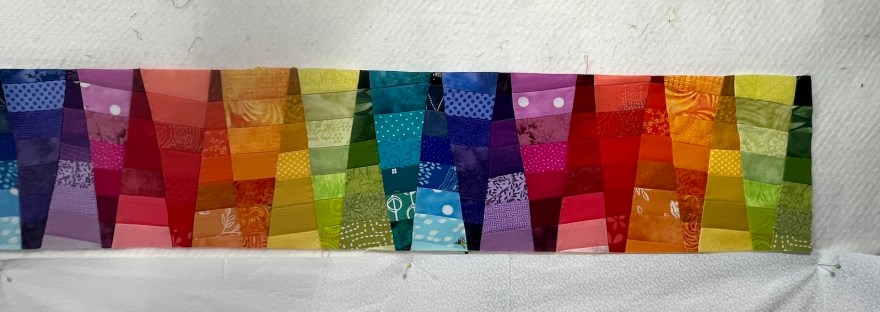
I made some changes to the original pattern and added a header created from the trimmings from the 30 degree wedges of each colorway I cut to create the wheel.
My plan is to use this quilt as a teaching aid when I cover color theory in the workshop I’ll be providing next year (which has now become two workshops at two different venues…more info to come someday…).
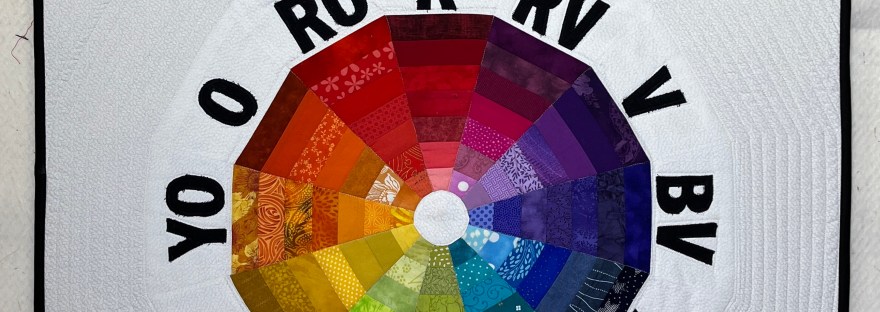
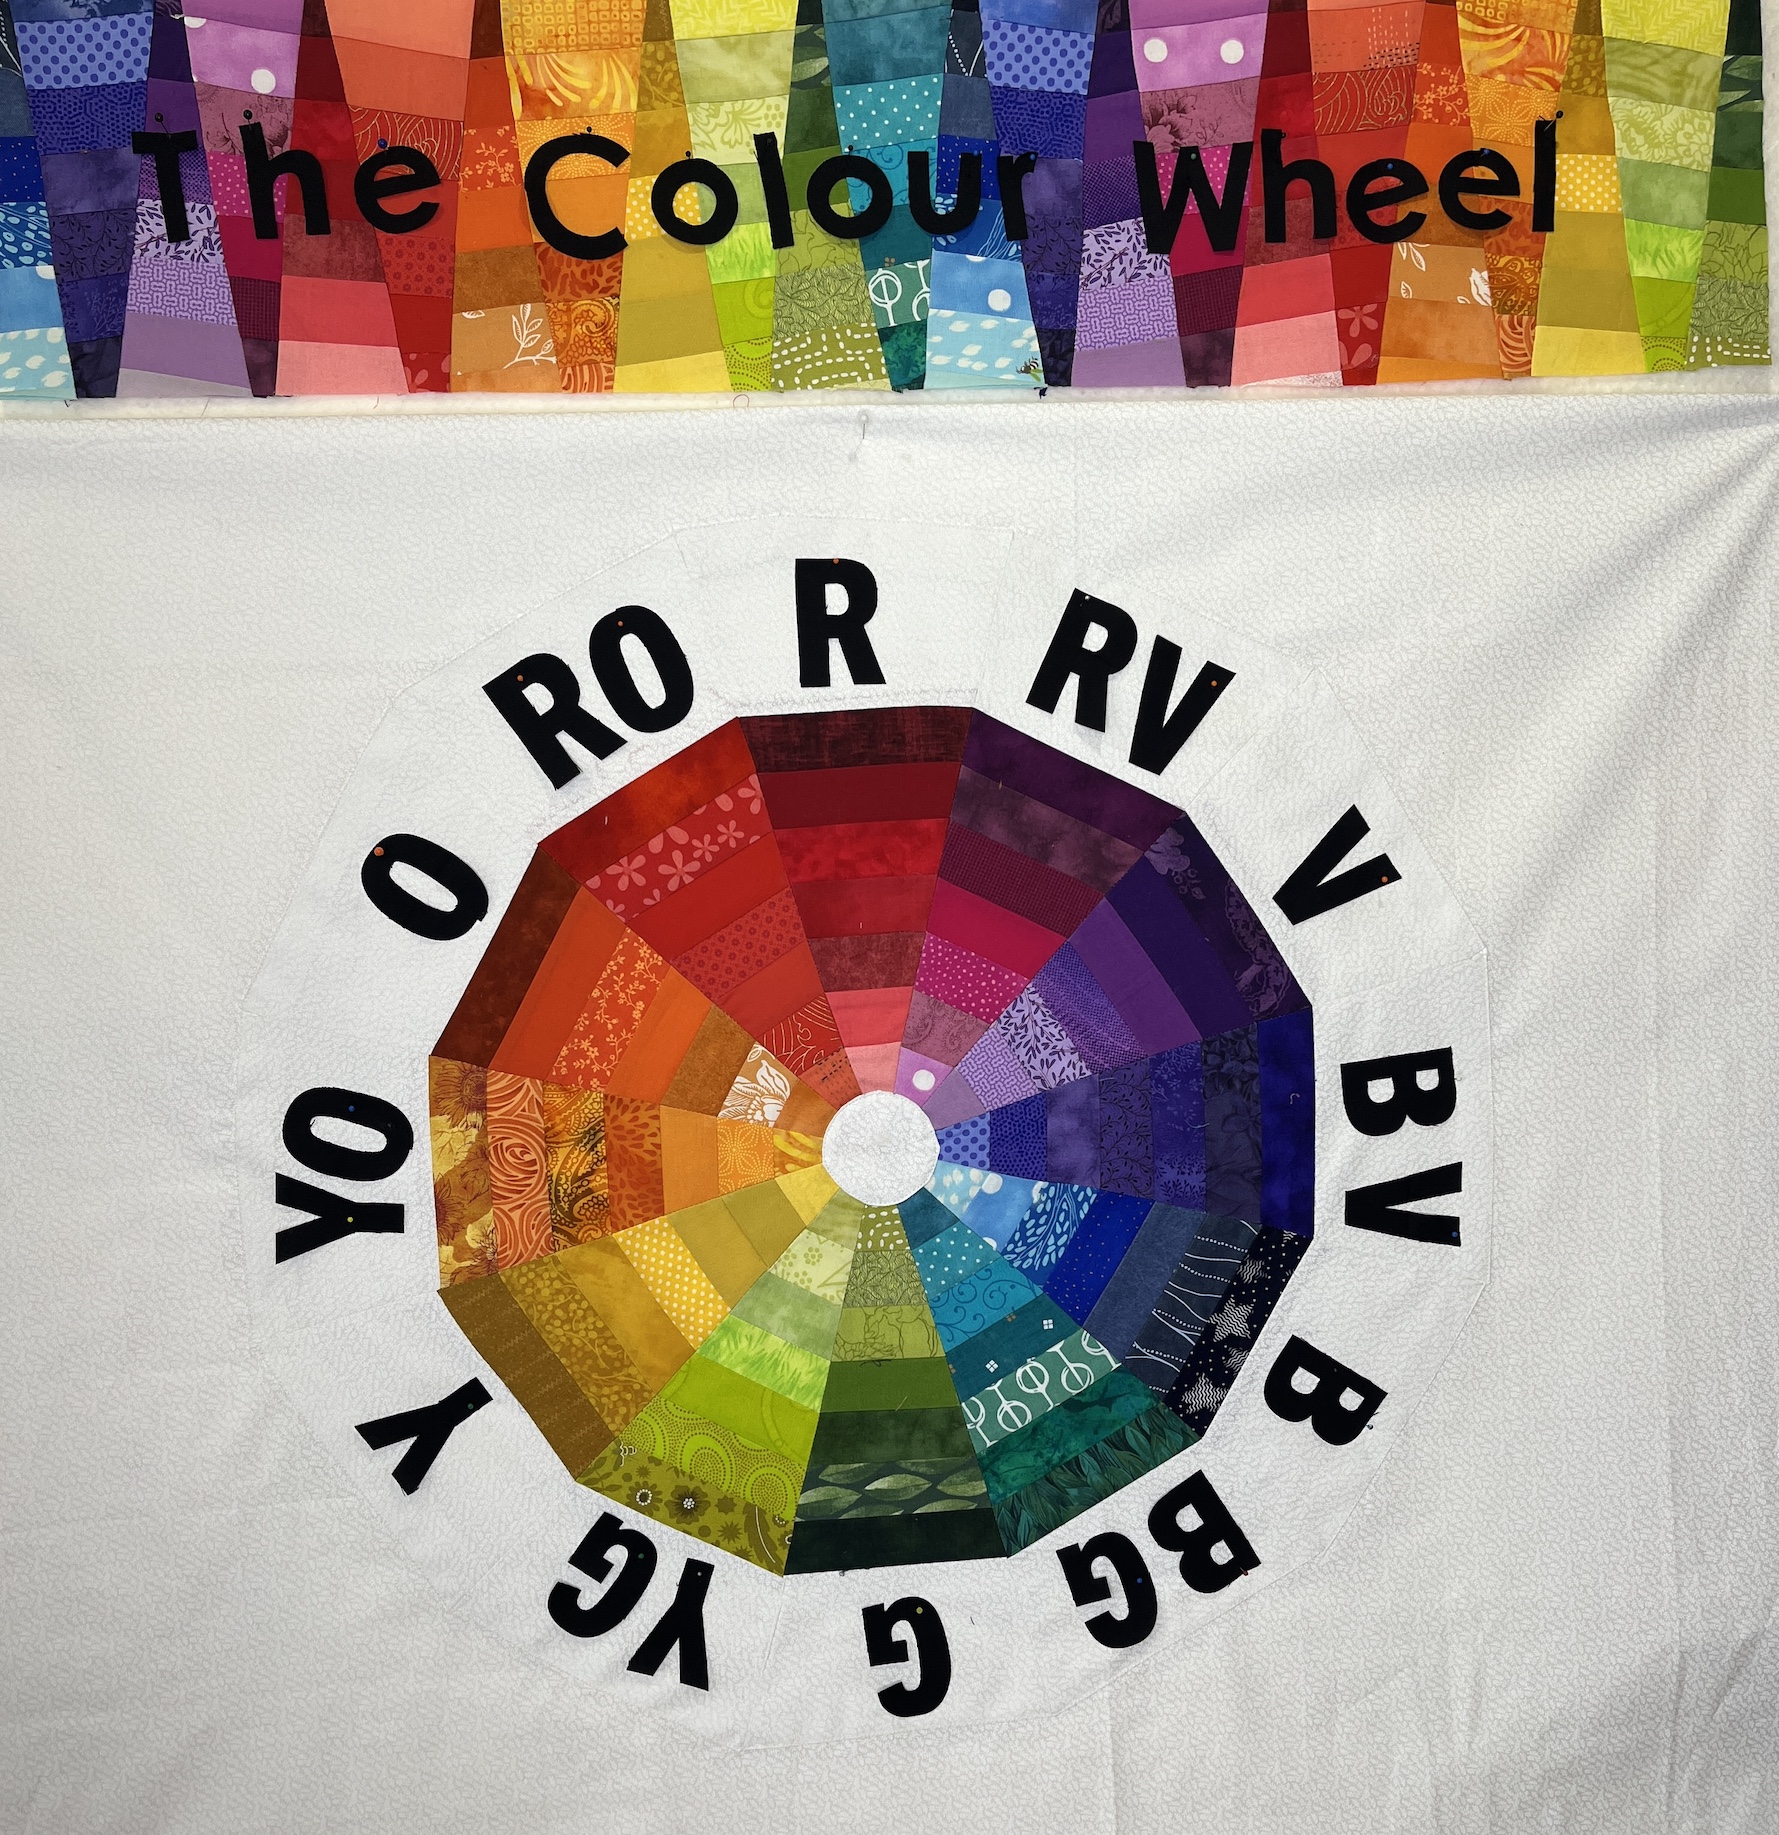
If you need a legend for the labeled colorways, here you go:
Primary Colors
Red (R)
Yellow (Y)
Blue (B)
Secondary Colors
Orange (O)
Green (G)
Violet/Purple (V)
Tertiary Colors
Red-Orange (RO)
Yellow-Orange (YO)
Yellow-Green (YG)
Blue-Green (BG)
Blue-Violet (BV)
Red-Violet (RV)
As you can see from the list above, “Secondary Colors” are formed by combining “Primary Colors”; and “Tertiary Colors” are formed by combining a “Primary Color” with a “Secondary Color”.
Here is an update on the Colour Wheel quilt/wall hanging that I am making as a teaching tool on color theory when I teach an art quilting course in 2024 (see post A Year of Finishes: The Pivot) using fabric scraps.
The pattern I used is from the book Quilt Color Workshop by T. Bruecher, B. Greenberg, L. Goldsworthy, and J. Adams (2014) and the quilt is supposed to look the quilt on the book’s cover:
But I decided to modify the quilt a bit as I will show you below.
In my previous post on this quilt Colour Wheel” Quilt in Progress, I had a collection of 24 trimmings from making the “spokes” of the 12 sectioned color wheel and I was deciding what to do with them.
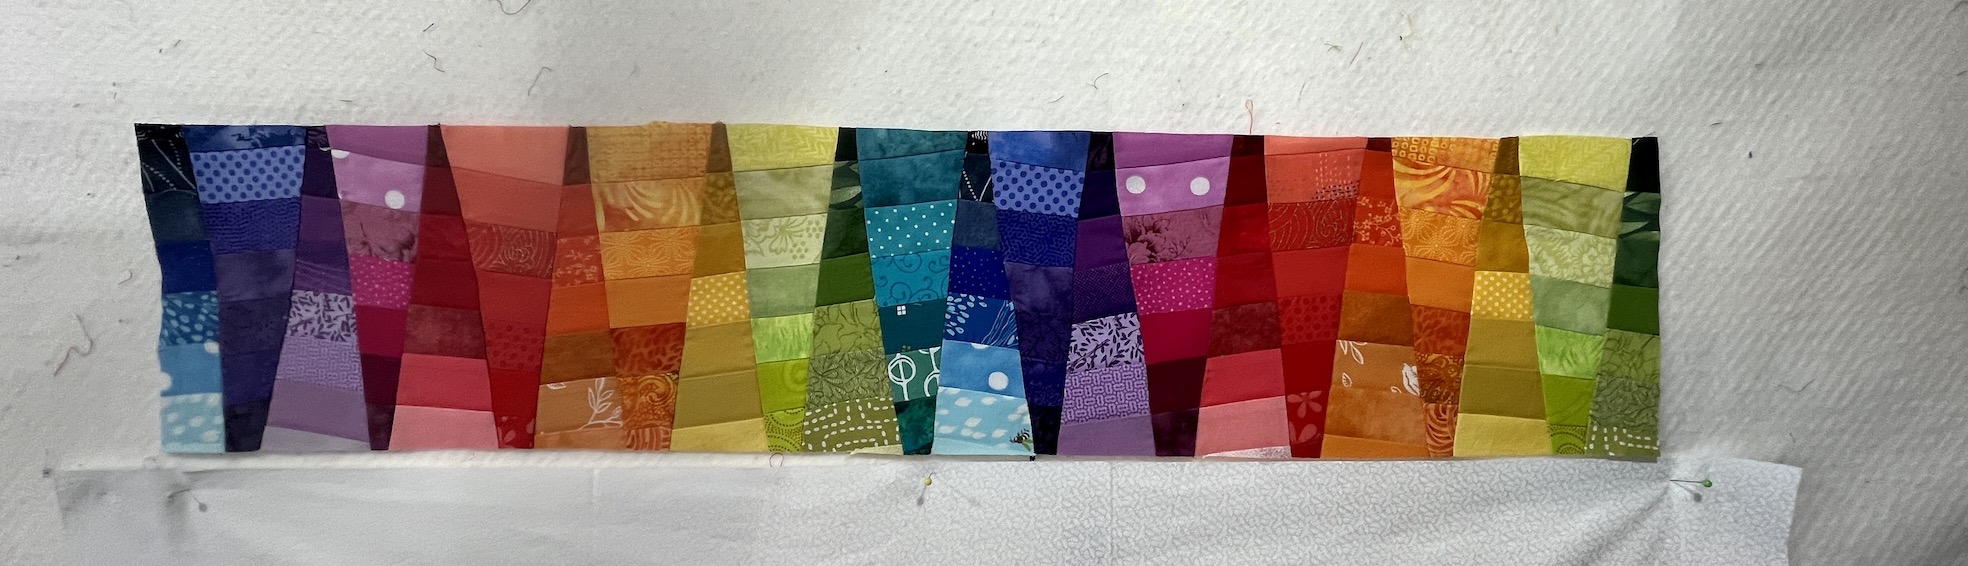
Well I decided to piece 23 of them together (1 trimming was sacrificed while I was experimenting with options) to make a banner for the top of the quilt.
Banner? What do you mean by “banner” Tierney?!?!?
Well I decided if the quilt was going to be a teaching tool I was going to add some additional details to the quilt as you will see below.
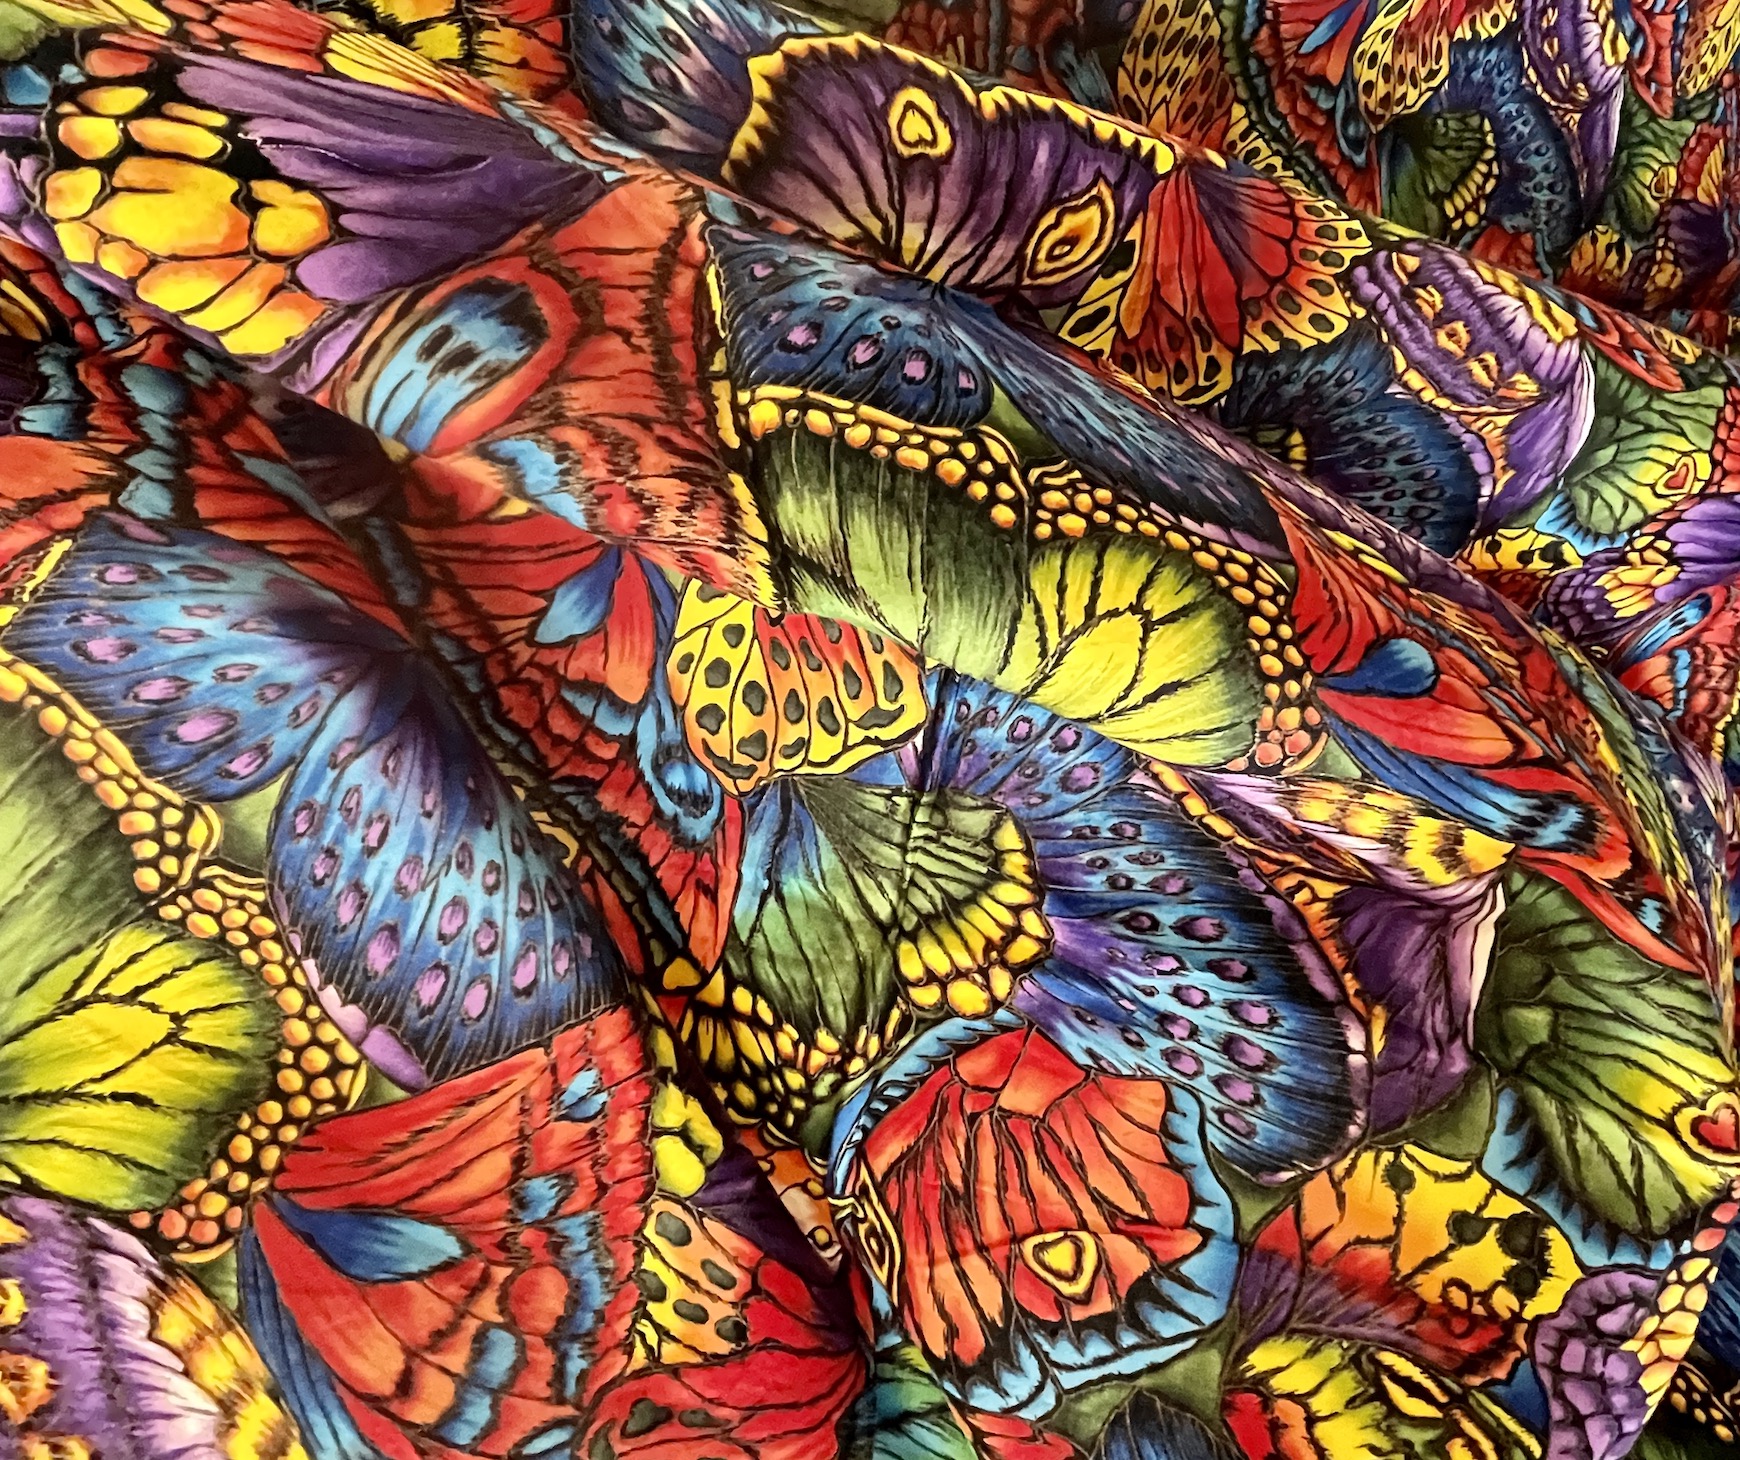
Before I get to that, let me show you the backing fabric I found in my stash for the quilt – a colorful butterfly fabric that had most of the colors from my the color wheel.
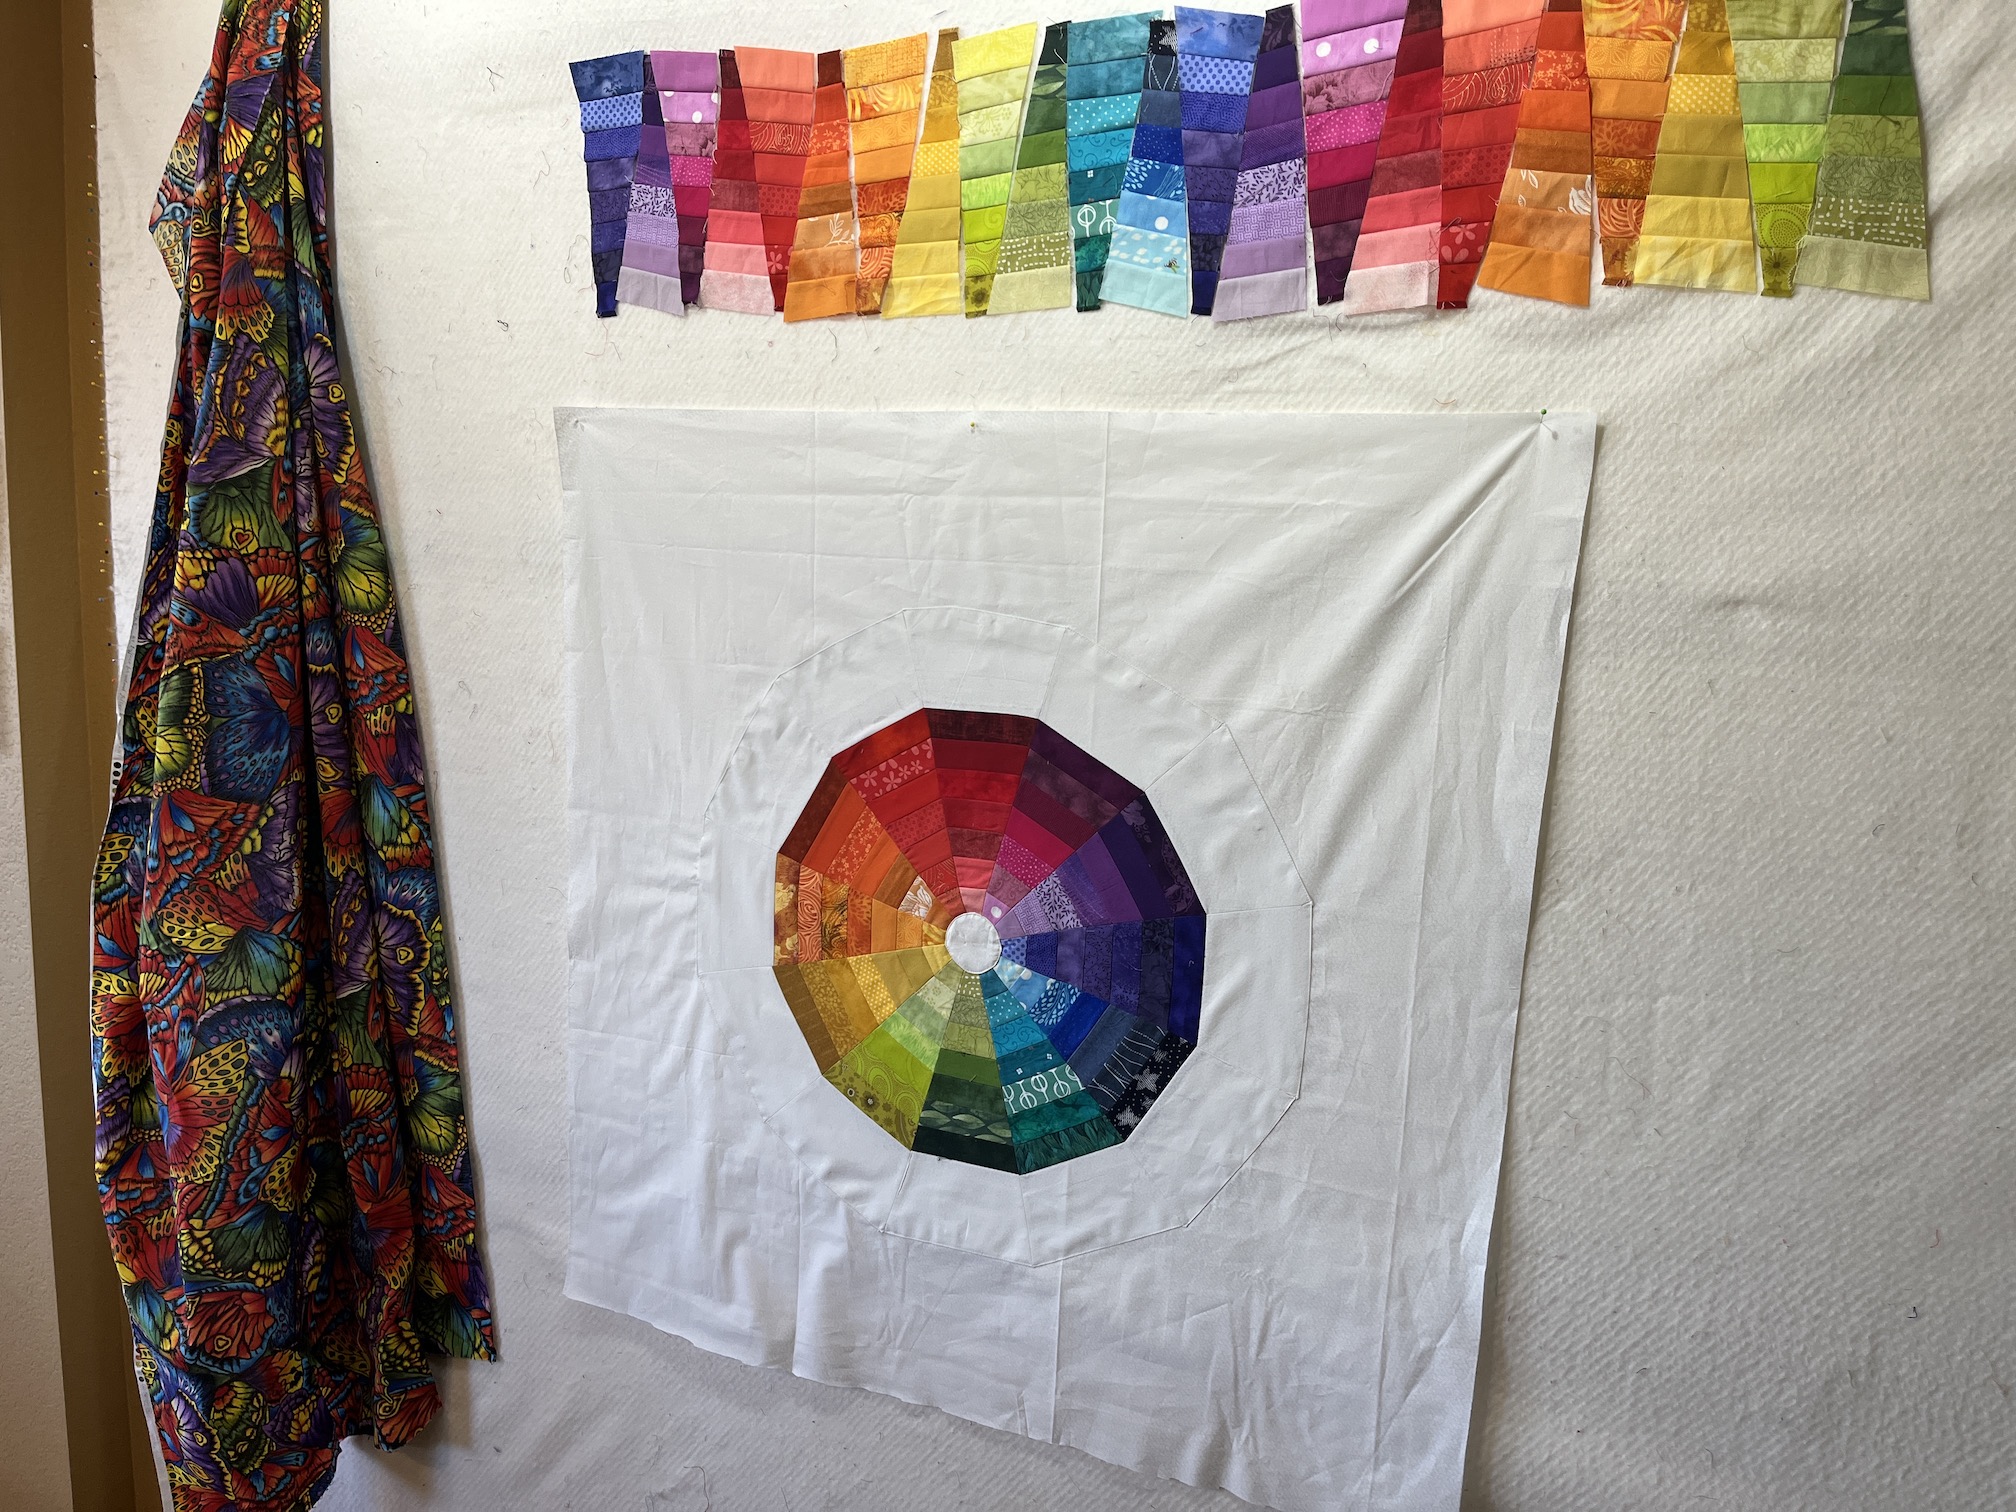
Here is the banner pieced from the trimming scraps, the backing, and the pieced main part of the quilt up on my design wall.
Looking at it on the design wall, I decided it was all feeling a little boring and it needed something. Then I remembered it is was to be a teaching tool so why not fully commit to it being a teaching tool and add letters and words to it?
So I did, and here is what the quilt currently looks like on the design wall.
I added “The Colour Wheel” to the banner made by the trimming scraps; and labeled each of the colorways.
The letters are just tentatively laid out, when I remove the quilt from the design wall I will measure out the proper spacing of the letters and words.
Thought I would share a quick update on the Colour Wheel quilt/wall hanging I am working on using a pattern from the book Quilt Color Workshop by T. Bruecher, B. Greenberg, L. Goldsworthy, and J. Adams (2014).
I labeled the image with the colorway name, I don’t have my actual design wall labeled.
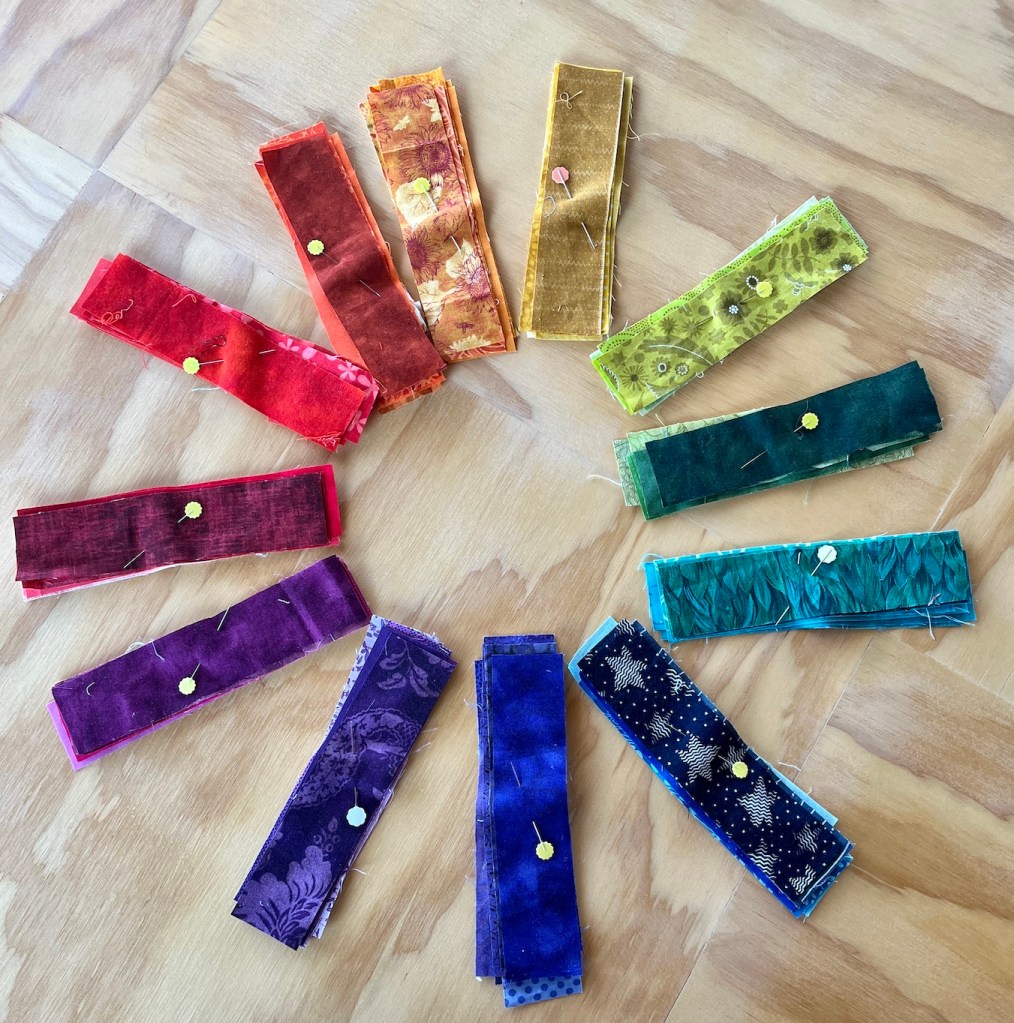
Over the past couple of days I’ve ironed and trimmed the scraps to the size required by the pattern:
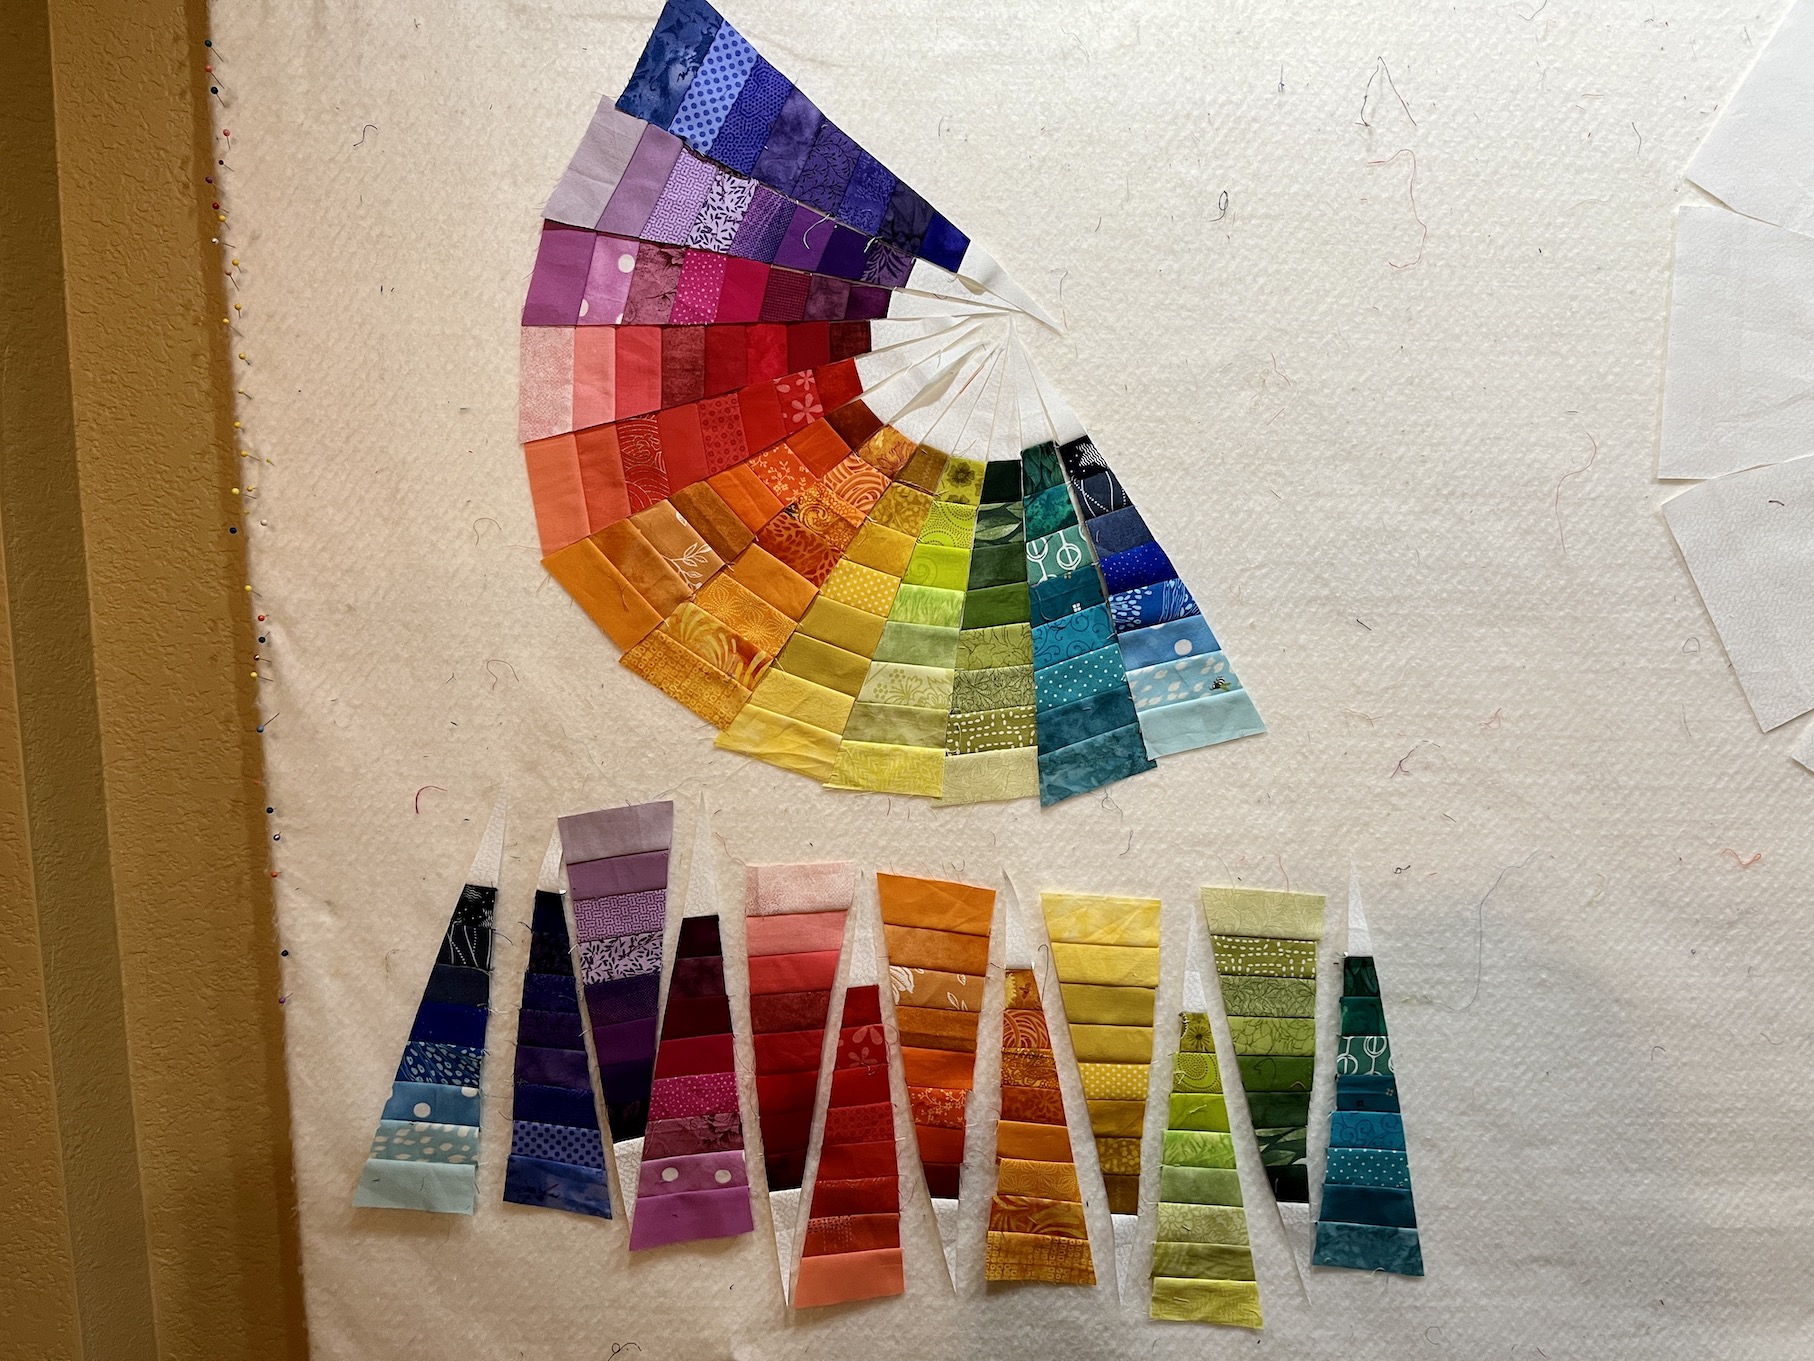
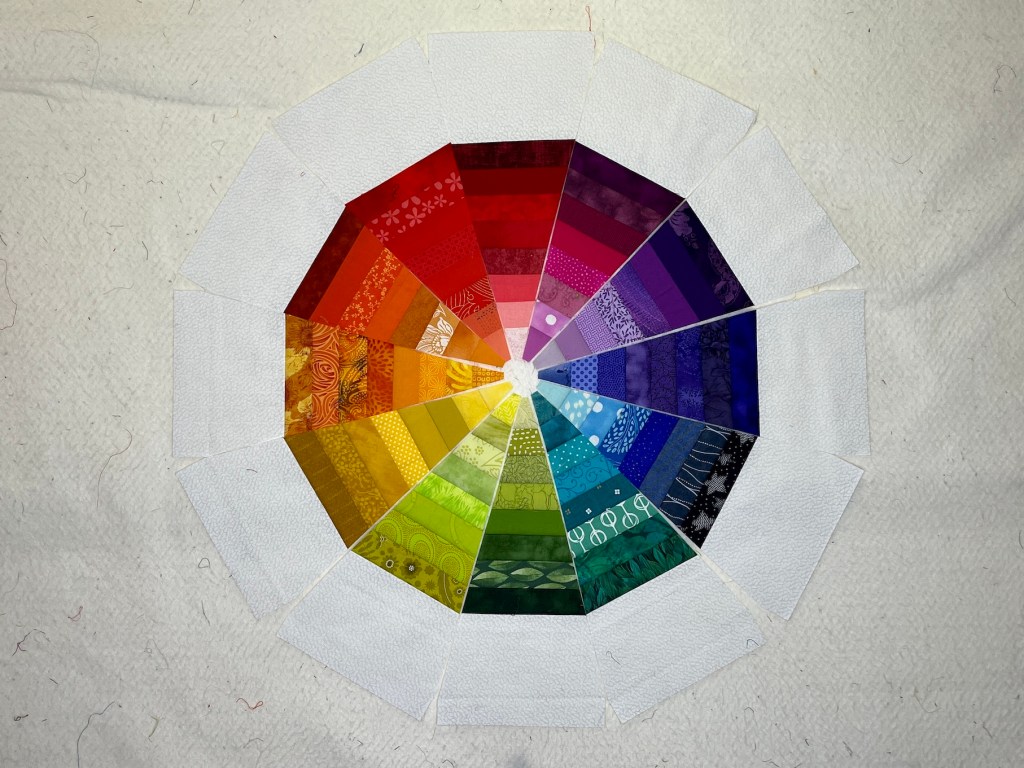
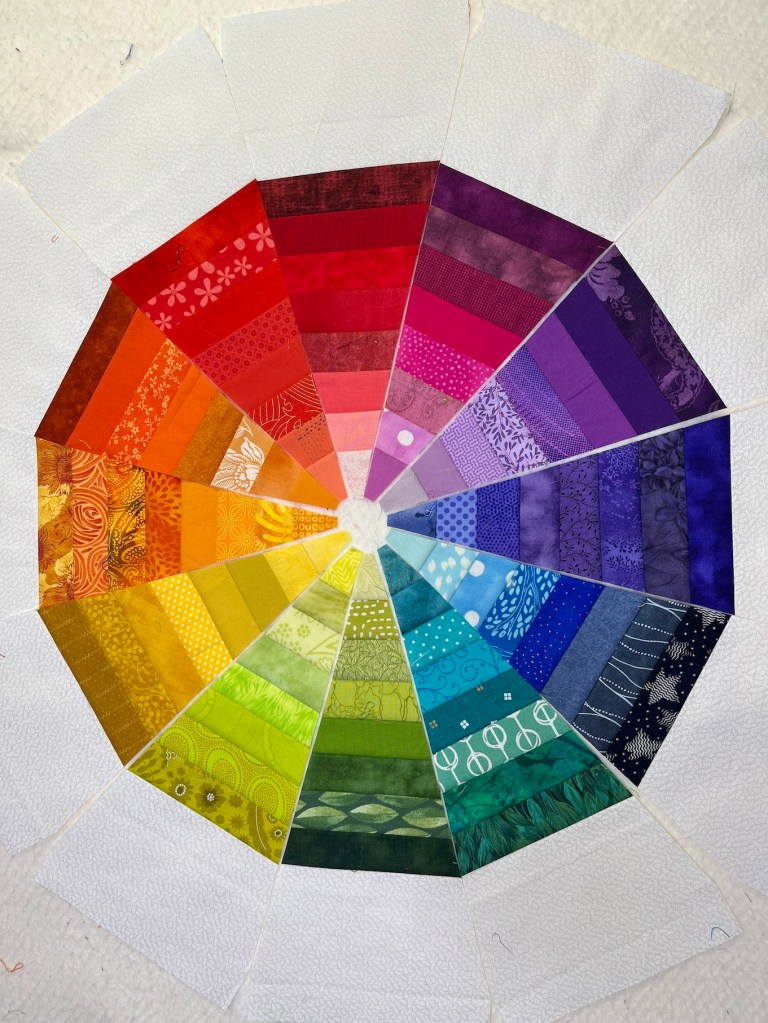
Then I made the strata for each colorway, cut into a wedge with a 30 degree ruler and put them backup on the design wall in order:
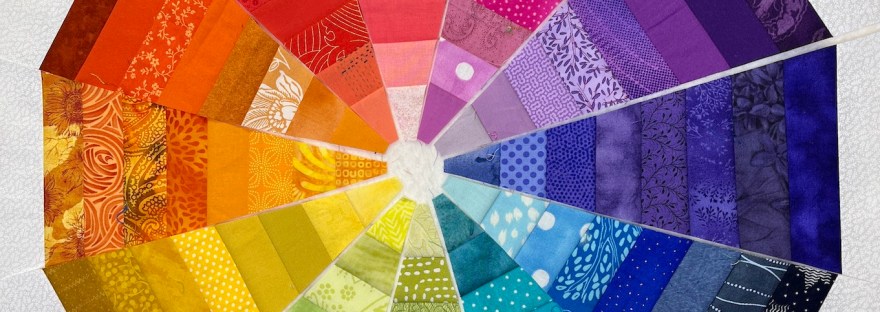
It is really cool in person, I am surprised how nice the color wheel layout looks!
Now to sew it all together, add a white center, and appliqué it to a background square.
I have two sets of trimmings (from each side of each strata to create the wedges) of each colorway and I am working out an idea of what to do with them.
Most likely I will use them for some type of inner border for the quilt. I laid them out on the design wall to hang out until I decide what to do with them.
I did not realize the scope of the project when I decided to do it…
This is a follow up to the post Color Sorting, in which I share my plans to make a Color Wheel out of fabric scraps like in the book Quilt Color Workshop by T. Bruecher, B. Greenberg, L. Goldsworthy, and J. Adams (2014), that I borrowed from the library.
I didn’t realize how ambitious this project would be when I decided to create the Color Wheel to use as a teaching resource when I teach an art quilting workshop in September 2024.
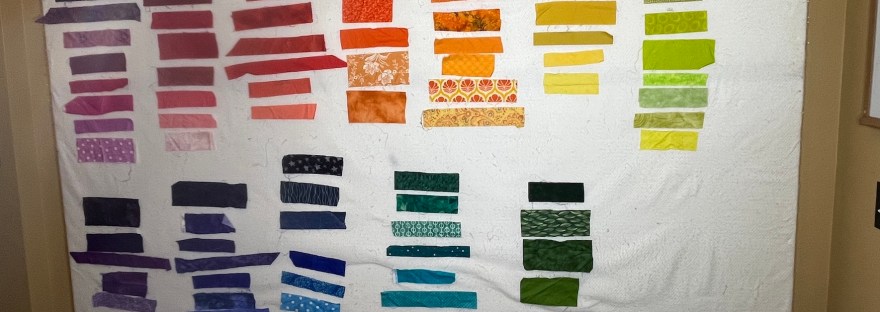
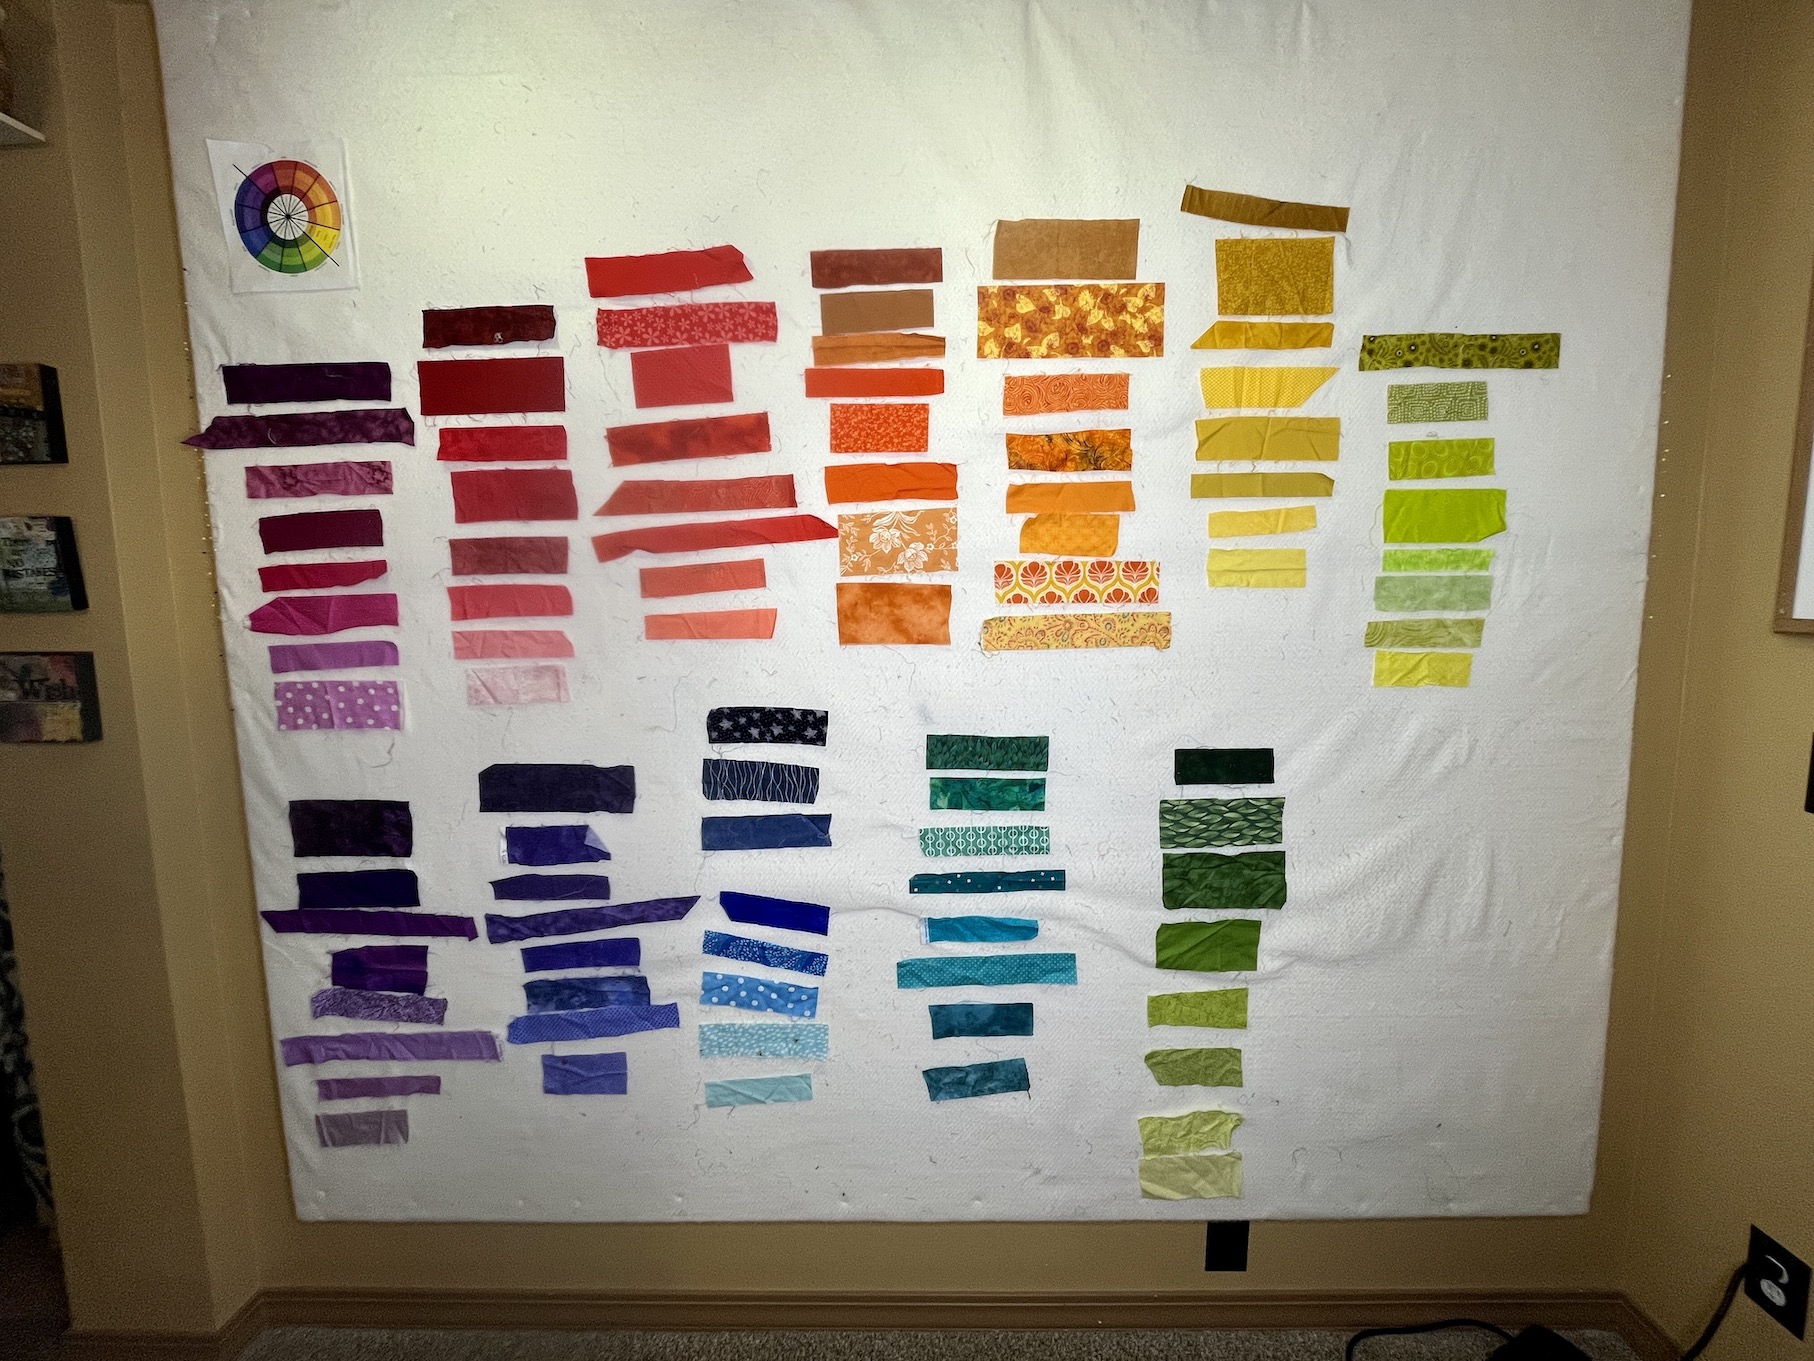
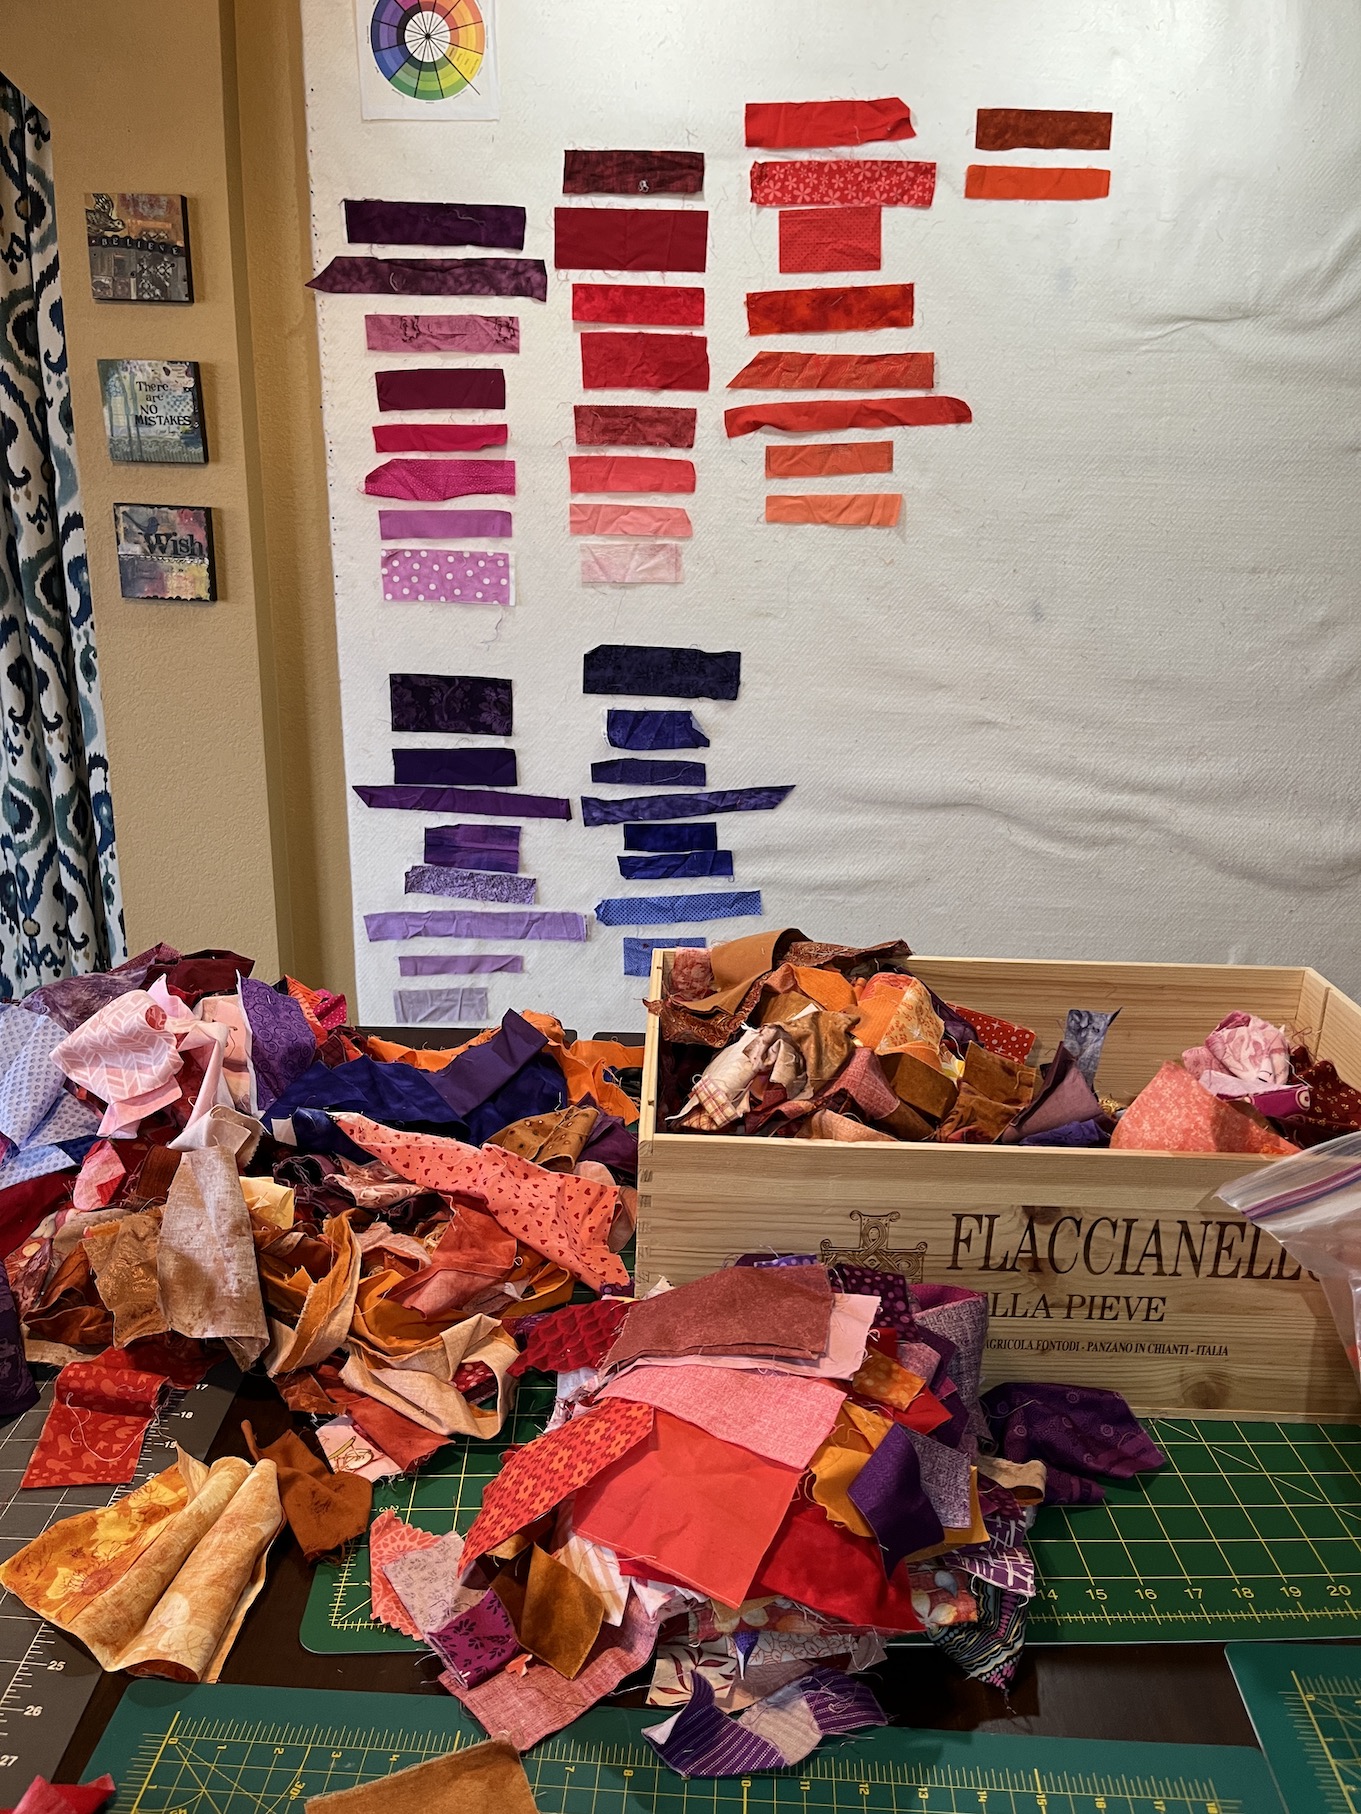
I’ve finally completed sorting 8 different scraps for each of 12 colorways to create the quilt, and it is all up on my design wall:
It took a long time to get to this point and it involved a lot of fabric scrap archeological digging through my fabric scrap collection!
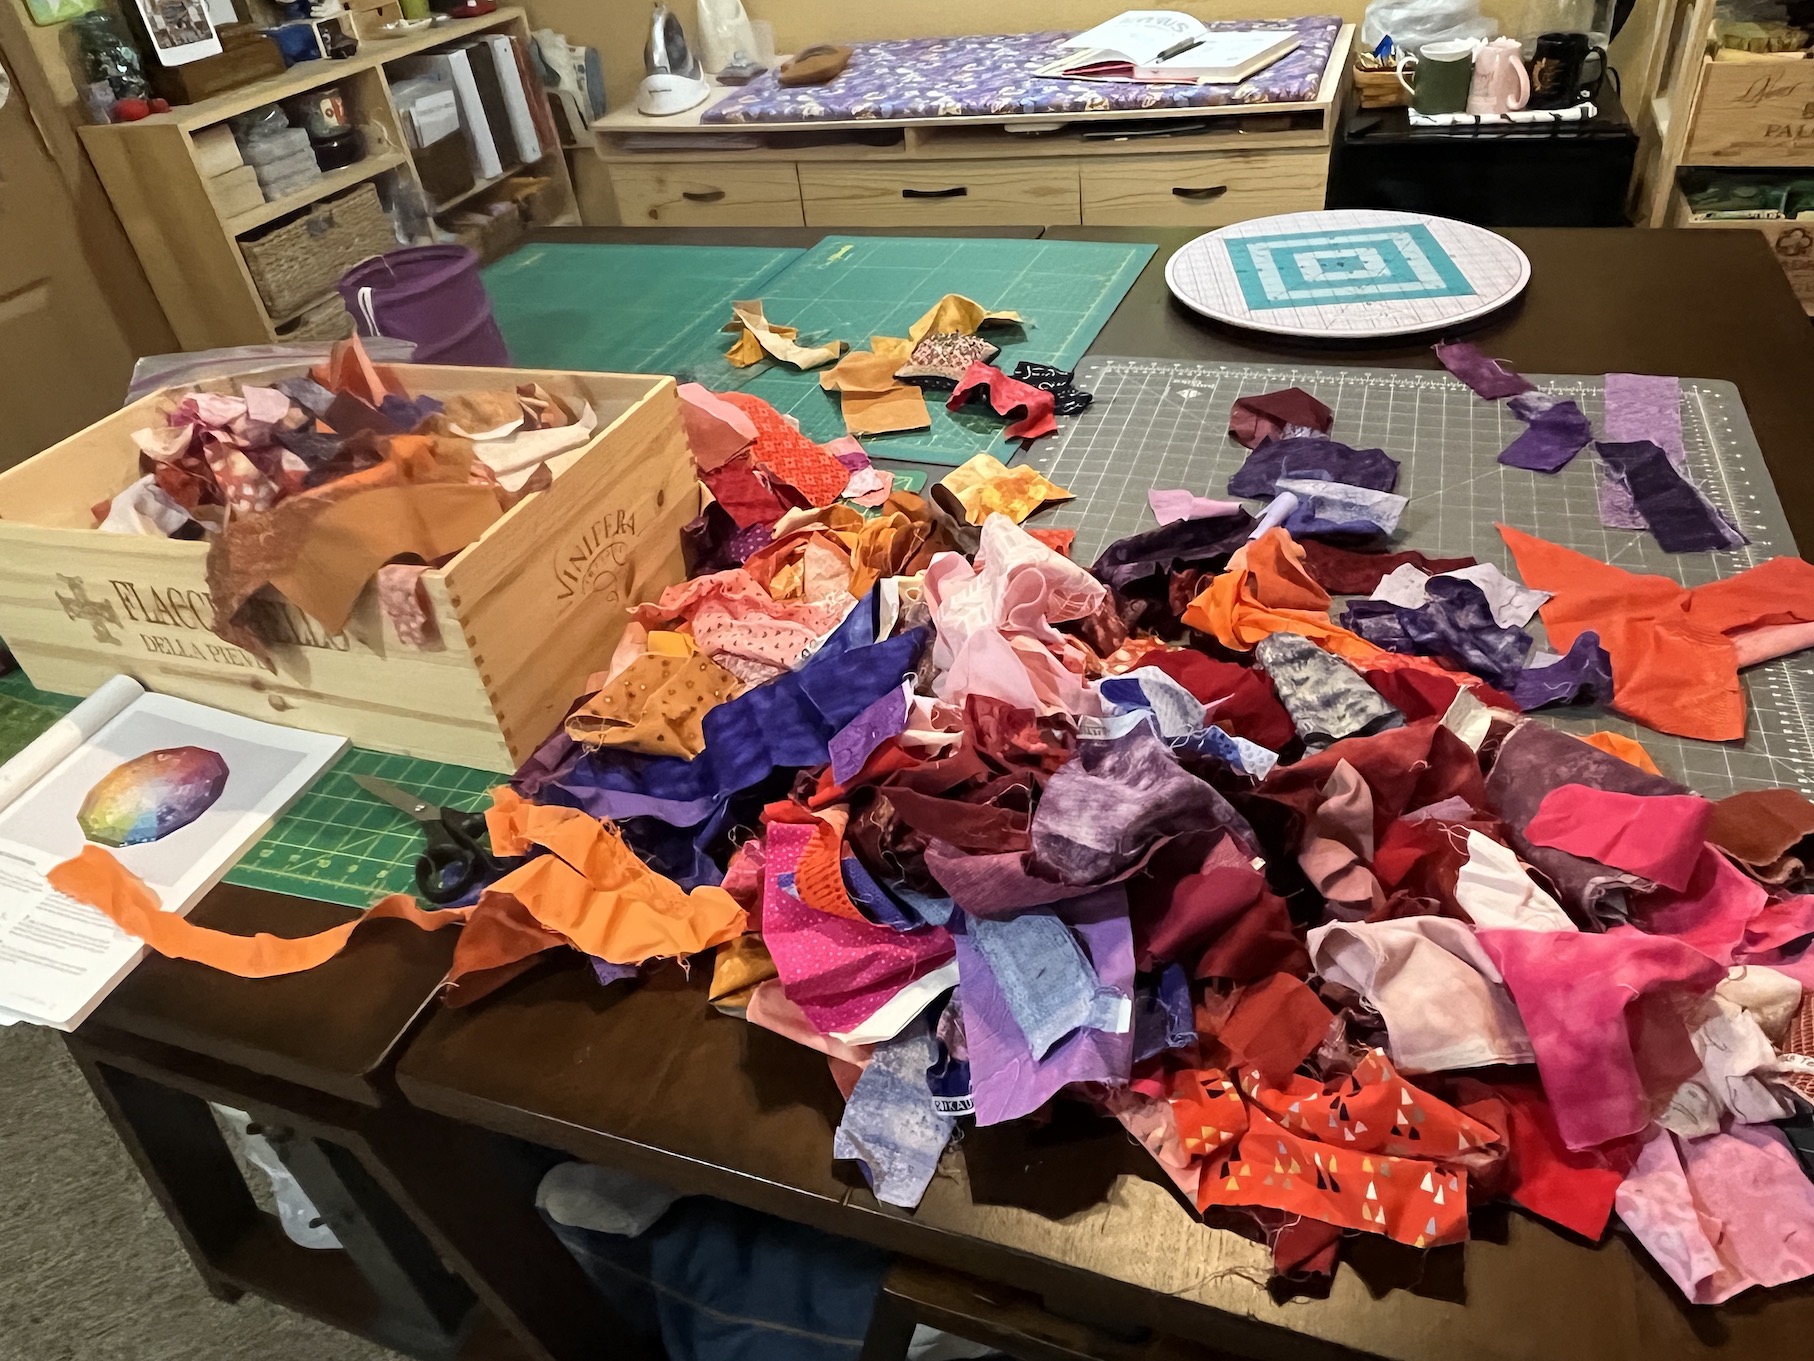
I started with reds, purples and oranges using this box of scraps:
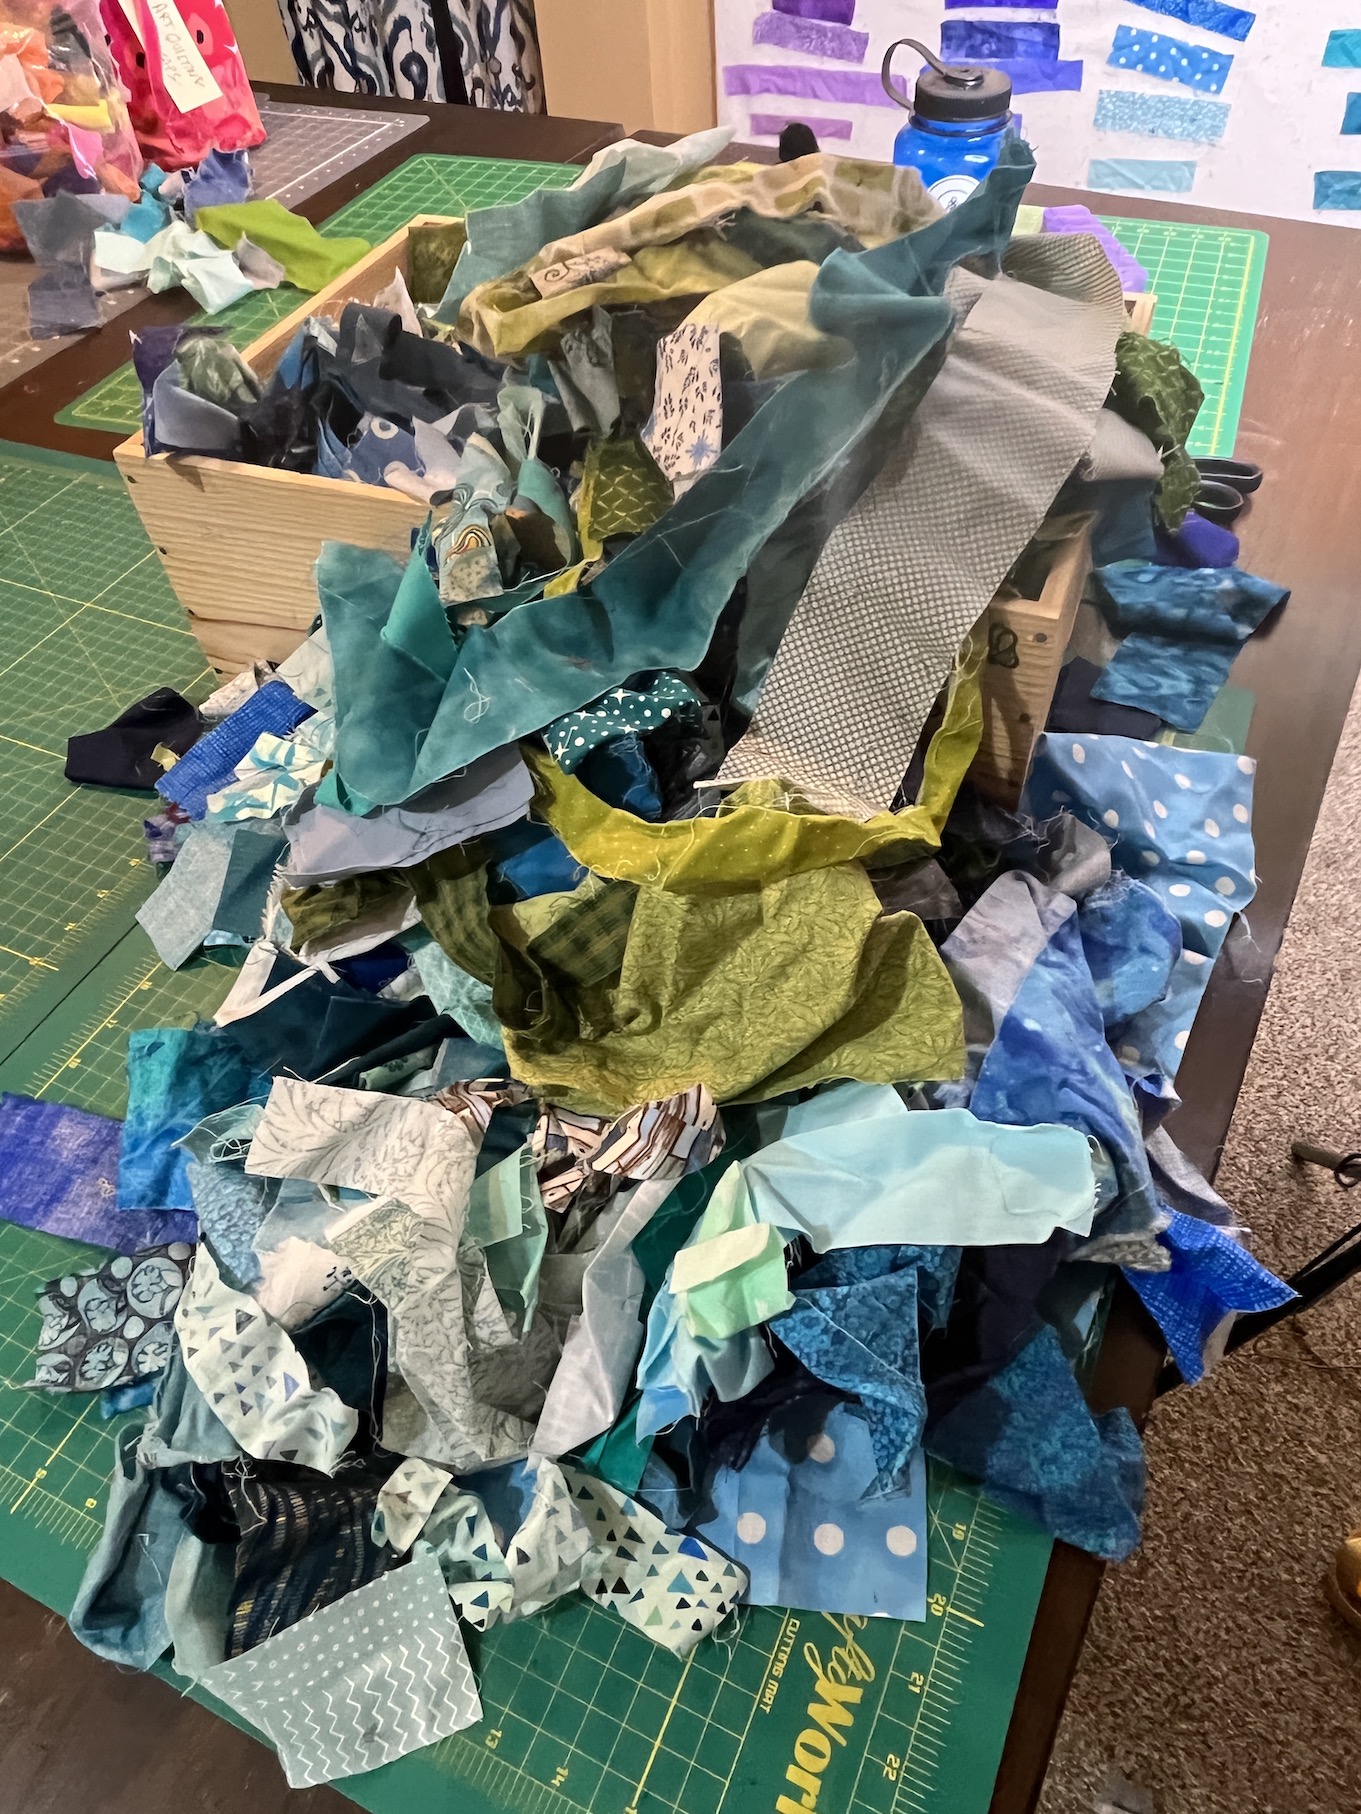
By the time I got to greens and blues, which I saved until the end, I was coughing from fabric scrap dust!
I feel like I really know the color wheel now after a couple days of working on this project. I feel like I’ve lived and breathed (literally) the color wheel in fabric!
If you are curious how the colors breakdown, or want a refresher, here you go:
PRIMARY COLORS
Red (R)
Yellow (Y)
Blue (B)
SECONDARY COLORS
Orange (O)
Green (G)
Violet/Purple (V)
TERTIARY COLORS
Red-Orange (RO)
Yellow-Orange (YO)
Yellow-Green (YG)
Blue-Green (BG)
Blue-Violet (BV)
Red-Violet (RV)
I’ve labeled them on my Design Wall image below:
Red-Orange, Yellow-Orange and Blue-Violet took me a long time to figure out. I thought I knew color but I did not know/understand Tertiary Colors as much as I thought I did.
It was a good, even if painful at times, exercise to complete.
Now I need to iron all those scraps, cut them to the size in the pattern, sew each set of the 12 sets of 8 strips together and use a 30 degree ruler to cut them into wedges.
The order you see the individual strips arranged in might change as I refine the order of the fabric strips for each of the 12 colorways.
I am hoping to eventually get the fabric scrap lint out of my lungs…
I am a nervous front seat passenger in a car. My best bet is to do something to distract me while I am a front seat passenger (especially when my partner John is driving, ha!)
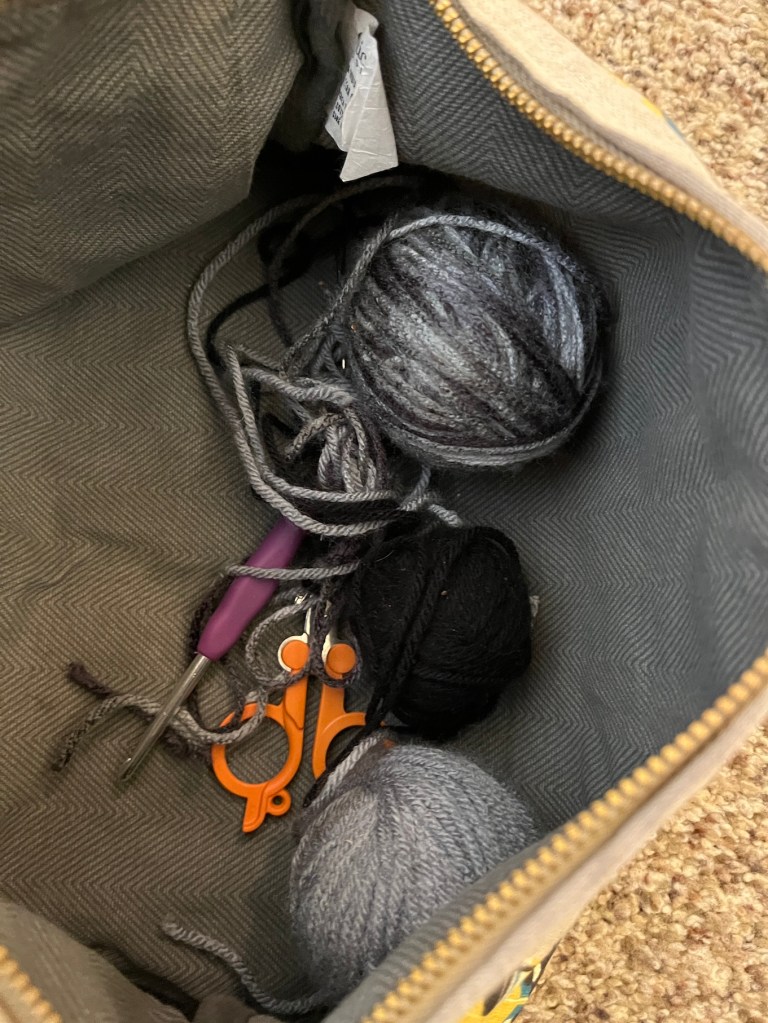
So I started carrying around either a little knitting to work on in the car or a crochet project (usually granny squares) in this bag:
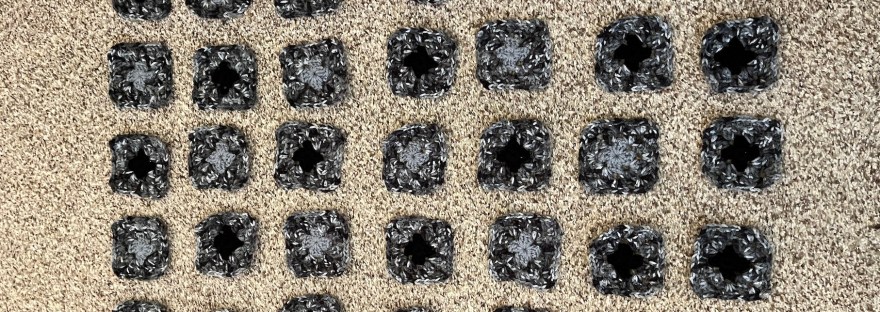
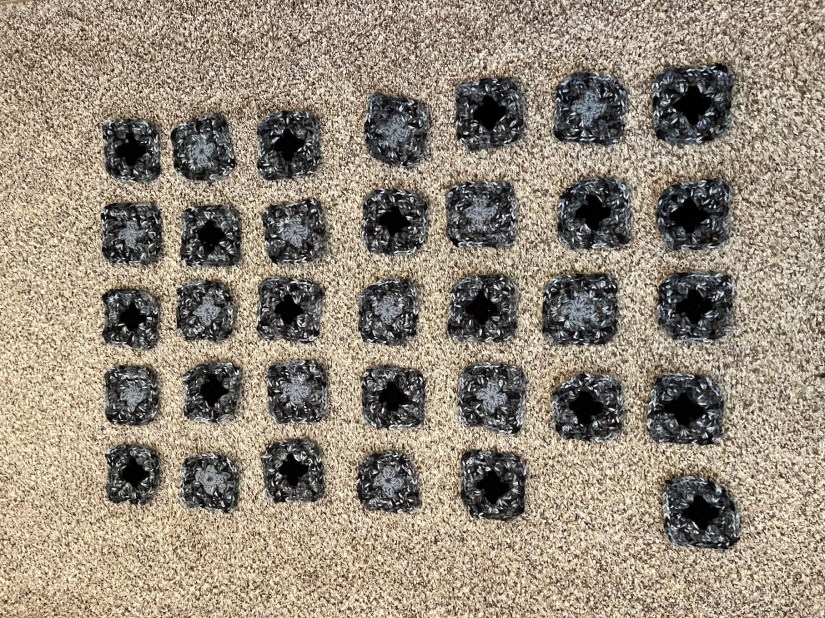
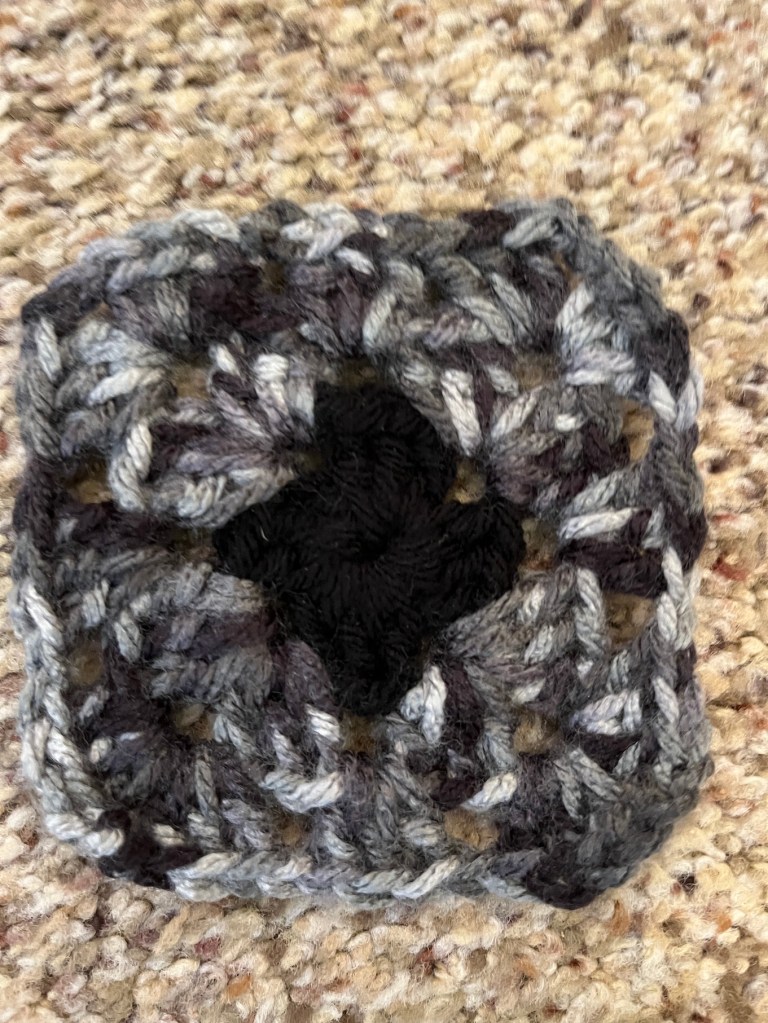
Last year, after I finished making the granny squares for the granny square blanket I share my finish of this in this – First Finish of 2023 – Granny Square Crochet Blanket Done, I began a new set of granny squares for a future blanket to have something to work on in the car. Here is what I have completed so far, laid out on the “design carpet”:
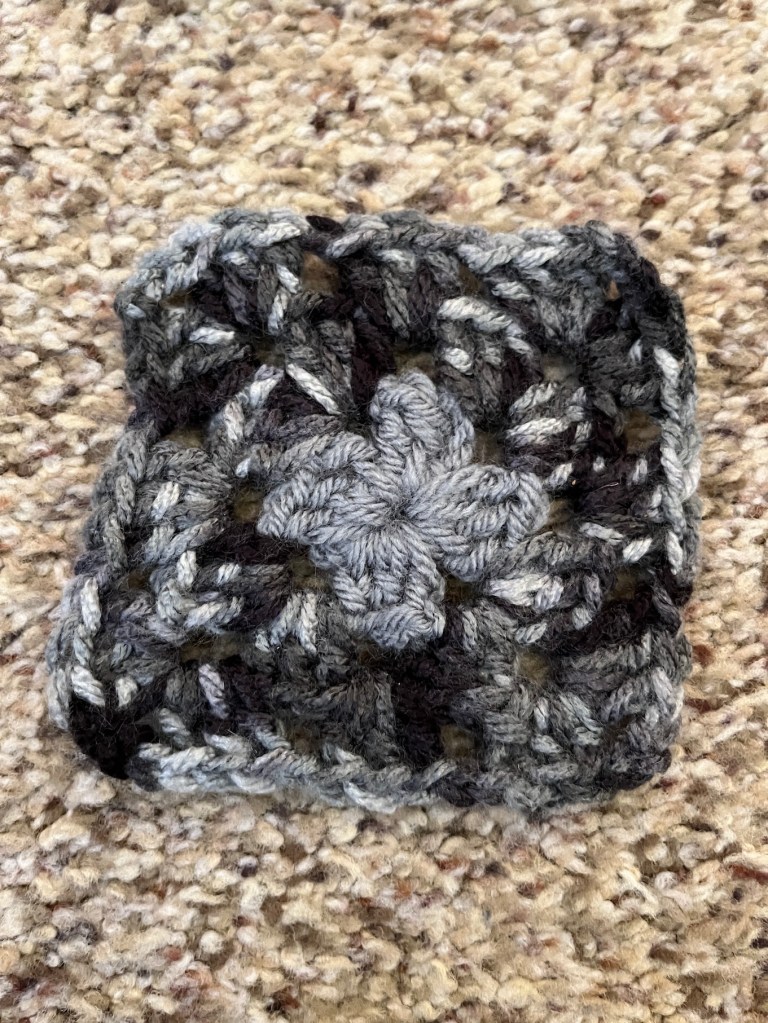
I am using black and gray acrylic yarn I got from the thrift store, including a variegated yarn of grays and black. So far I have 34 done and I think I will eventually make 100 granny squares to someday join into a blanket.
I am working very casually on this project (only when a passenger in the car with John and only if I am not working on knitting a hat) so who knows when it will be done!
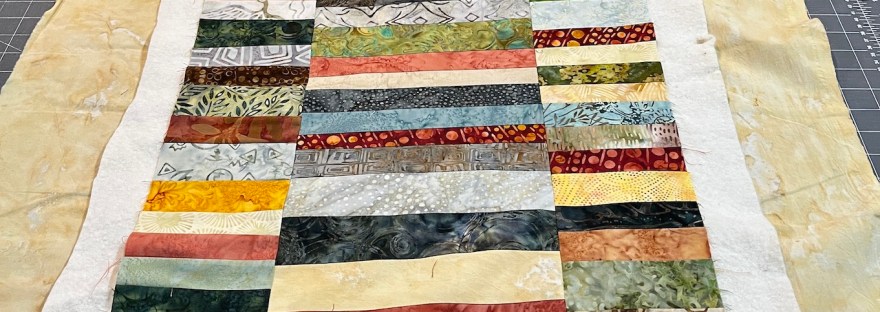
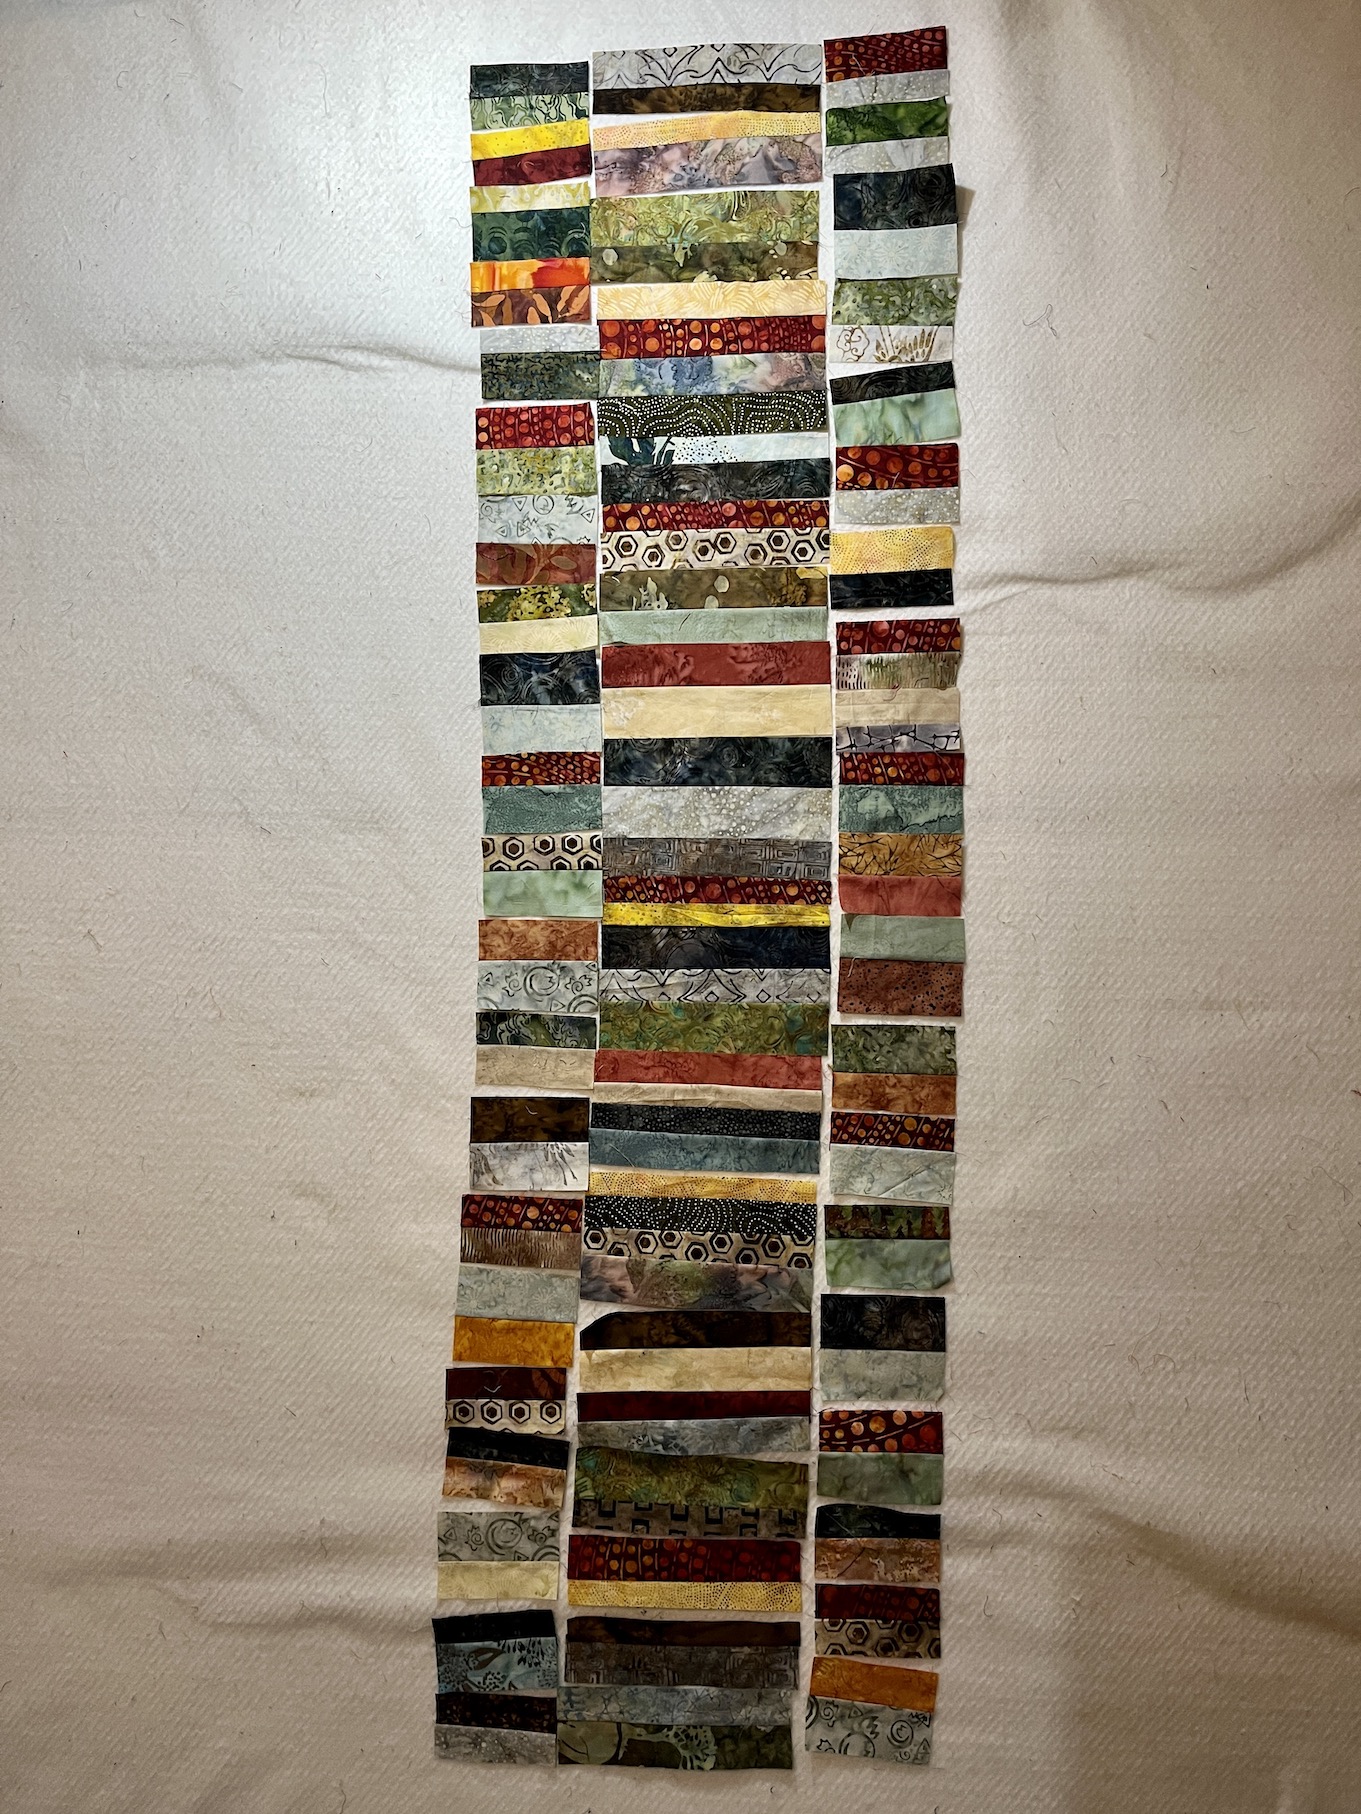
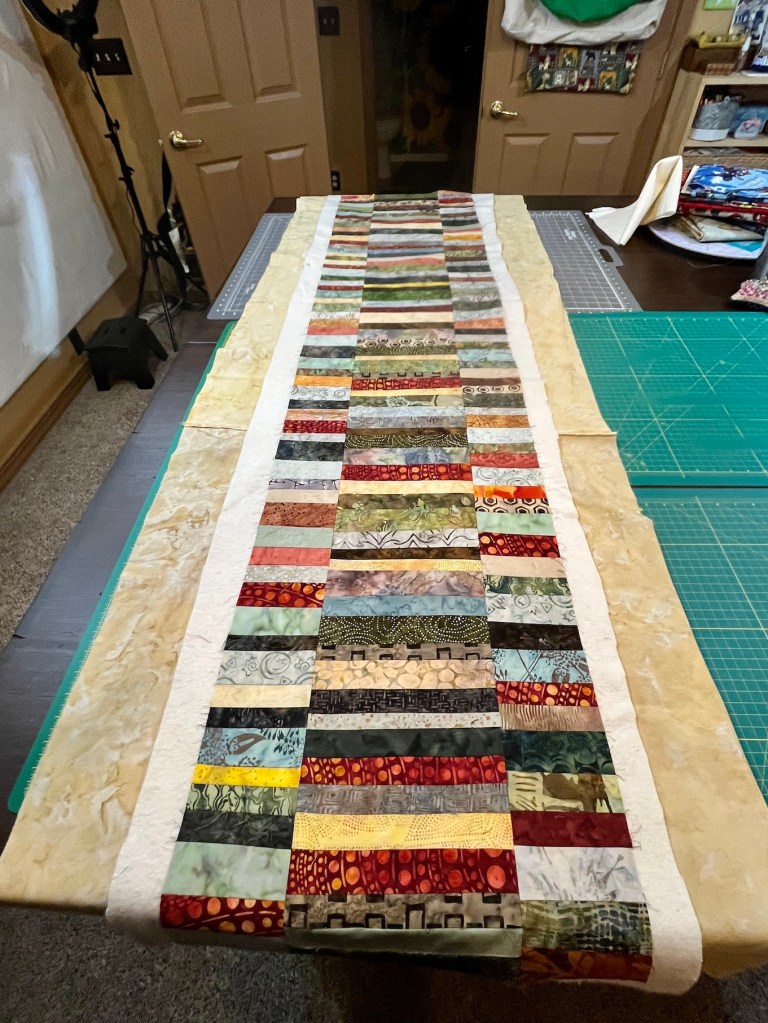
I’ve made quite a bit of progress on the table runner I was making from my collection of batik fabric scraps using the pattern Bamboo Shade by Aardvark Quilts:
Here it is up on the design wall as I tested the layout and built it to the desired length:
And here are a couple photos of the pieced table runner which is nearly 72 inches long and used quite a bit of my batik fabric scraps (yay!):
It is nearly ready for me to machine quilt. I’ve already made the “quilt sandwich” of batting and a dark cream color batik backing. I just need to pin it down for quilting.
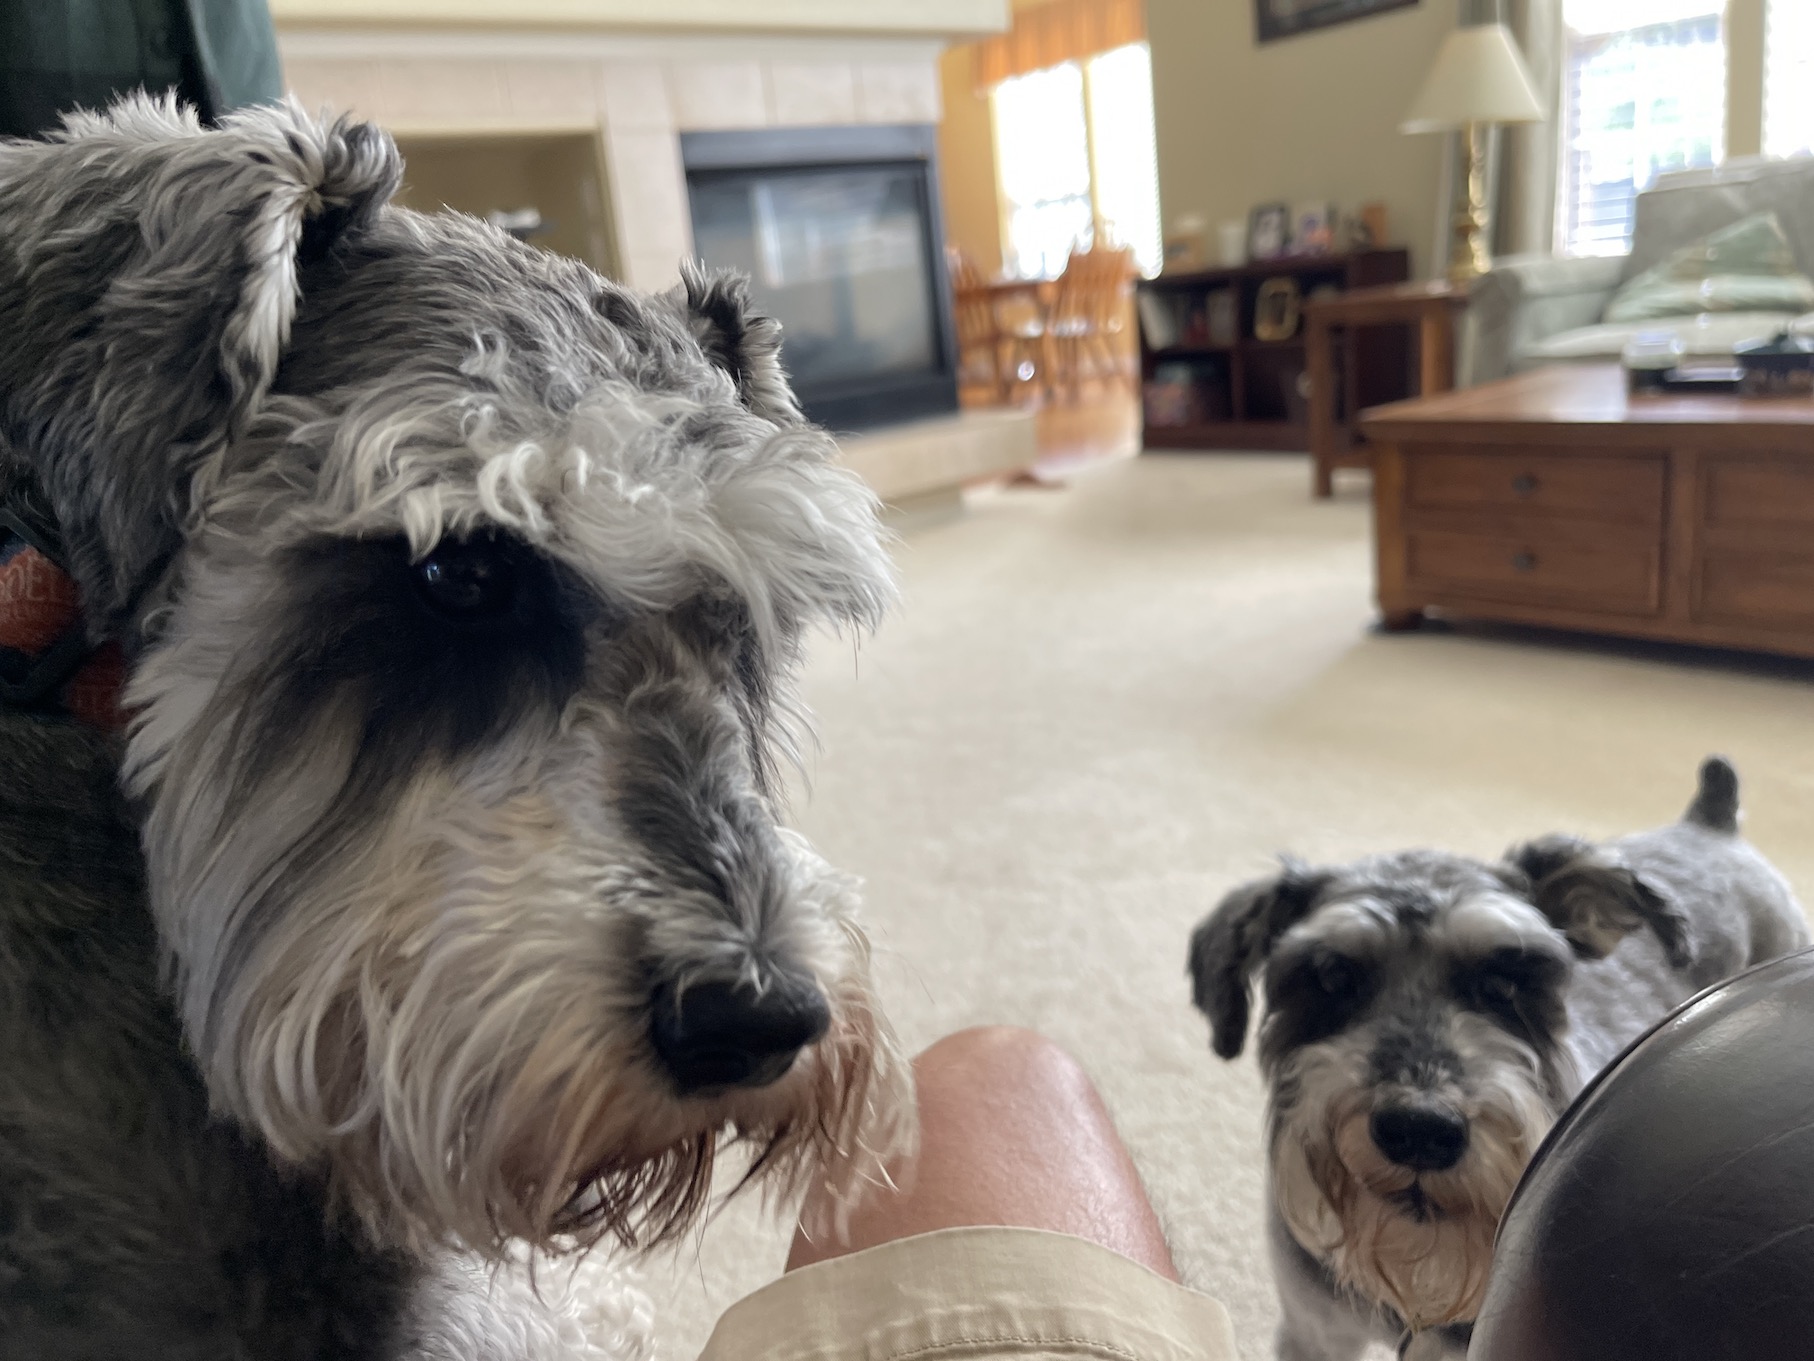
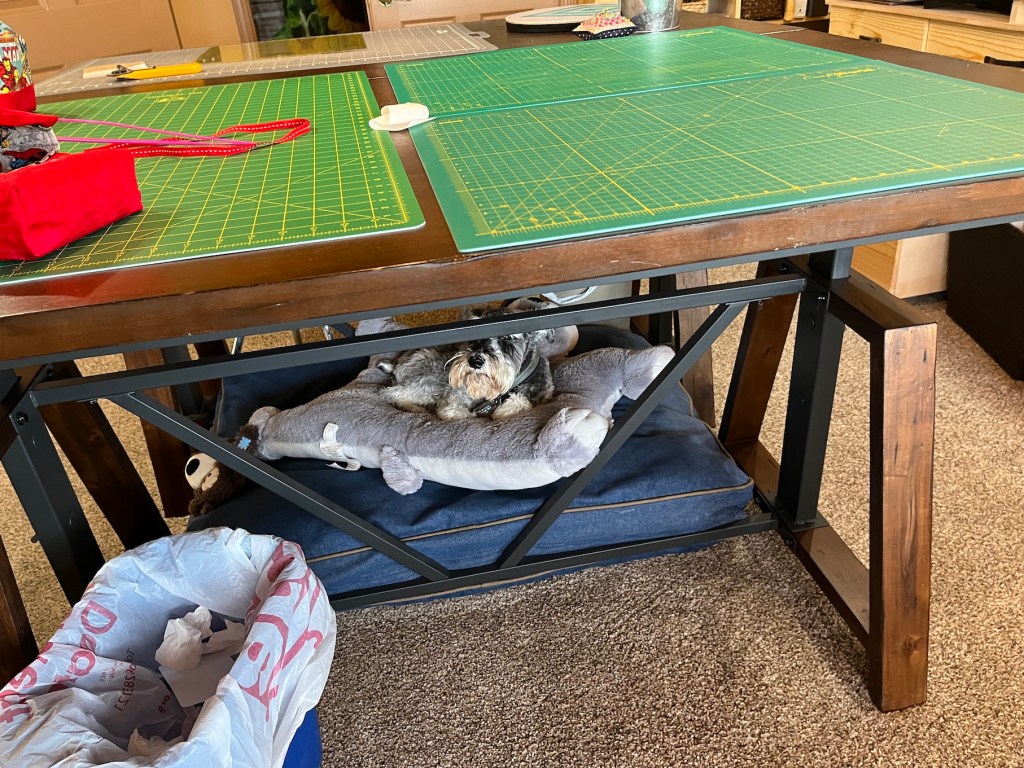
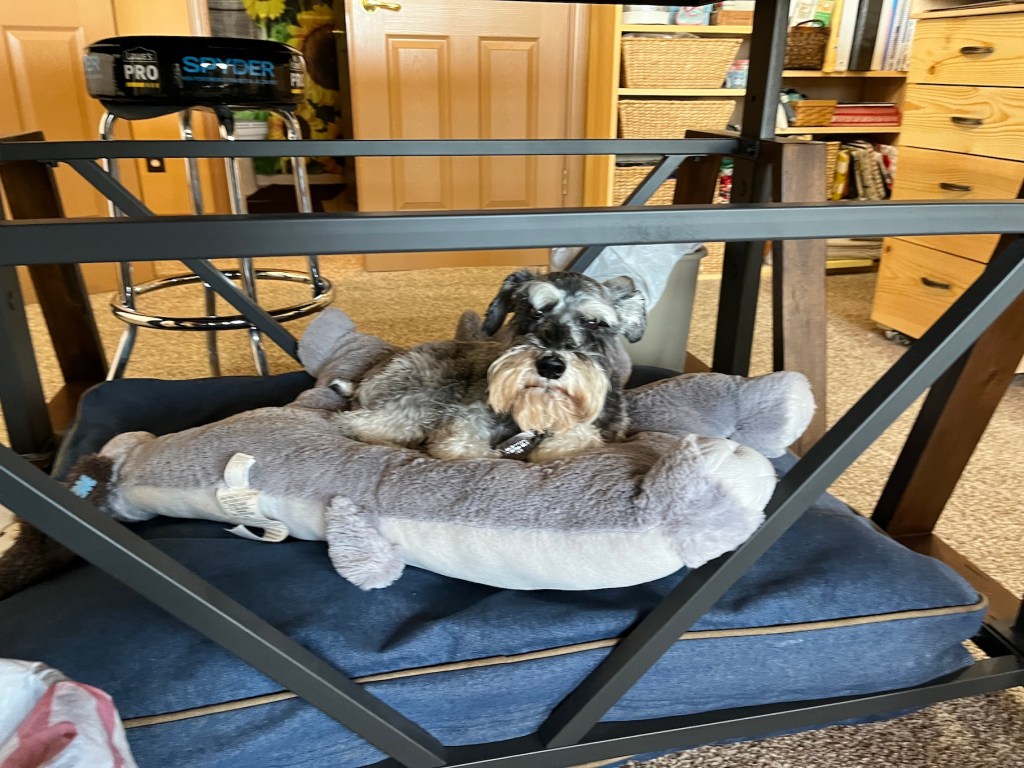
Oh and here are some photos of Mike the Miniature Schnauzer hanging out under my studio table (providing crafter emotional support, ha) while I put the table runner quilt sandwich together:
This post is not about starting a specific art quilt* (though I will share an art quilt I am in the progress of making), it about a little of the process I use to design a new art quilt.
*When I use the term “art quilt” I mean a quilt using an original design that you design/create; not based on an existing pattern (though a pattern could inspire it); and either improvisational or based on a specific idea/concept/photo that inspired the quilt.
What do you find successful when you are creating a design?
What is one thing you do that helps you focus and get rid of all the noise and clutter that come with color, design, prints, etc.?
There are so many complicated variables (in making an art quilt), how do you start?
I let her know I would answer her questions in a blog post in case anyone else finds my musing interesting and possible useful. (And at the end of this blog post I am going to invite you all to weigh in with your answers, so start thinking about them now as you read mine!)
What do you find successful when you are creating a design?
THE MEMORY QUILT
What I find successful in creating a design is to sit down and write out my general concept and what I want to accomplish with this quilt. For example on the memory quilt I made my friend I wanted to 1) make a quilt from as many of her mother’s favorite clothes that I could; 2) make something that feels like it is a hug from her late mother; 3) try and use some of the more challenging fabrics in the design.
In writing out my general concept, I consulted some traditional quilting books for ideas. I did not want to make it “improvisational” with a lot of little pieces placed randomly (or in a format such as a free form log cabin). I wanted it to have some defined structure.
During my research (looking through my collection of quilting books) I found a pattern that had hearts appliquéd over plaid (via four patches) squares. I thought – “yes that is it!” – the hearts could represent love from her late mother; and the plaid design (four patches) was doable with the challenging fabrics I needed to work with (like velour, a polyester scarf, etc.).
MY CURRENT ART QUILT IN PROGRESS
Recently I’ve started a new art quilt for a special show I am hoping to get into. It would be my first international show. I’ve been invited to submit a quilt for it but it has to be acceptable for the exhibit in order to make it into it. That’s all the details I’ll provide on the reason for the quilt for now, but more to come in the future.
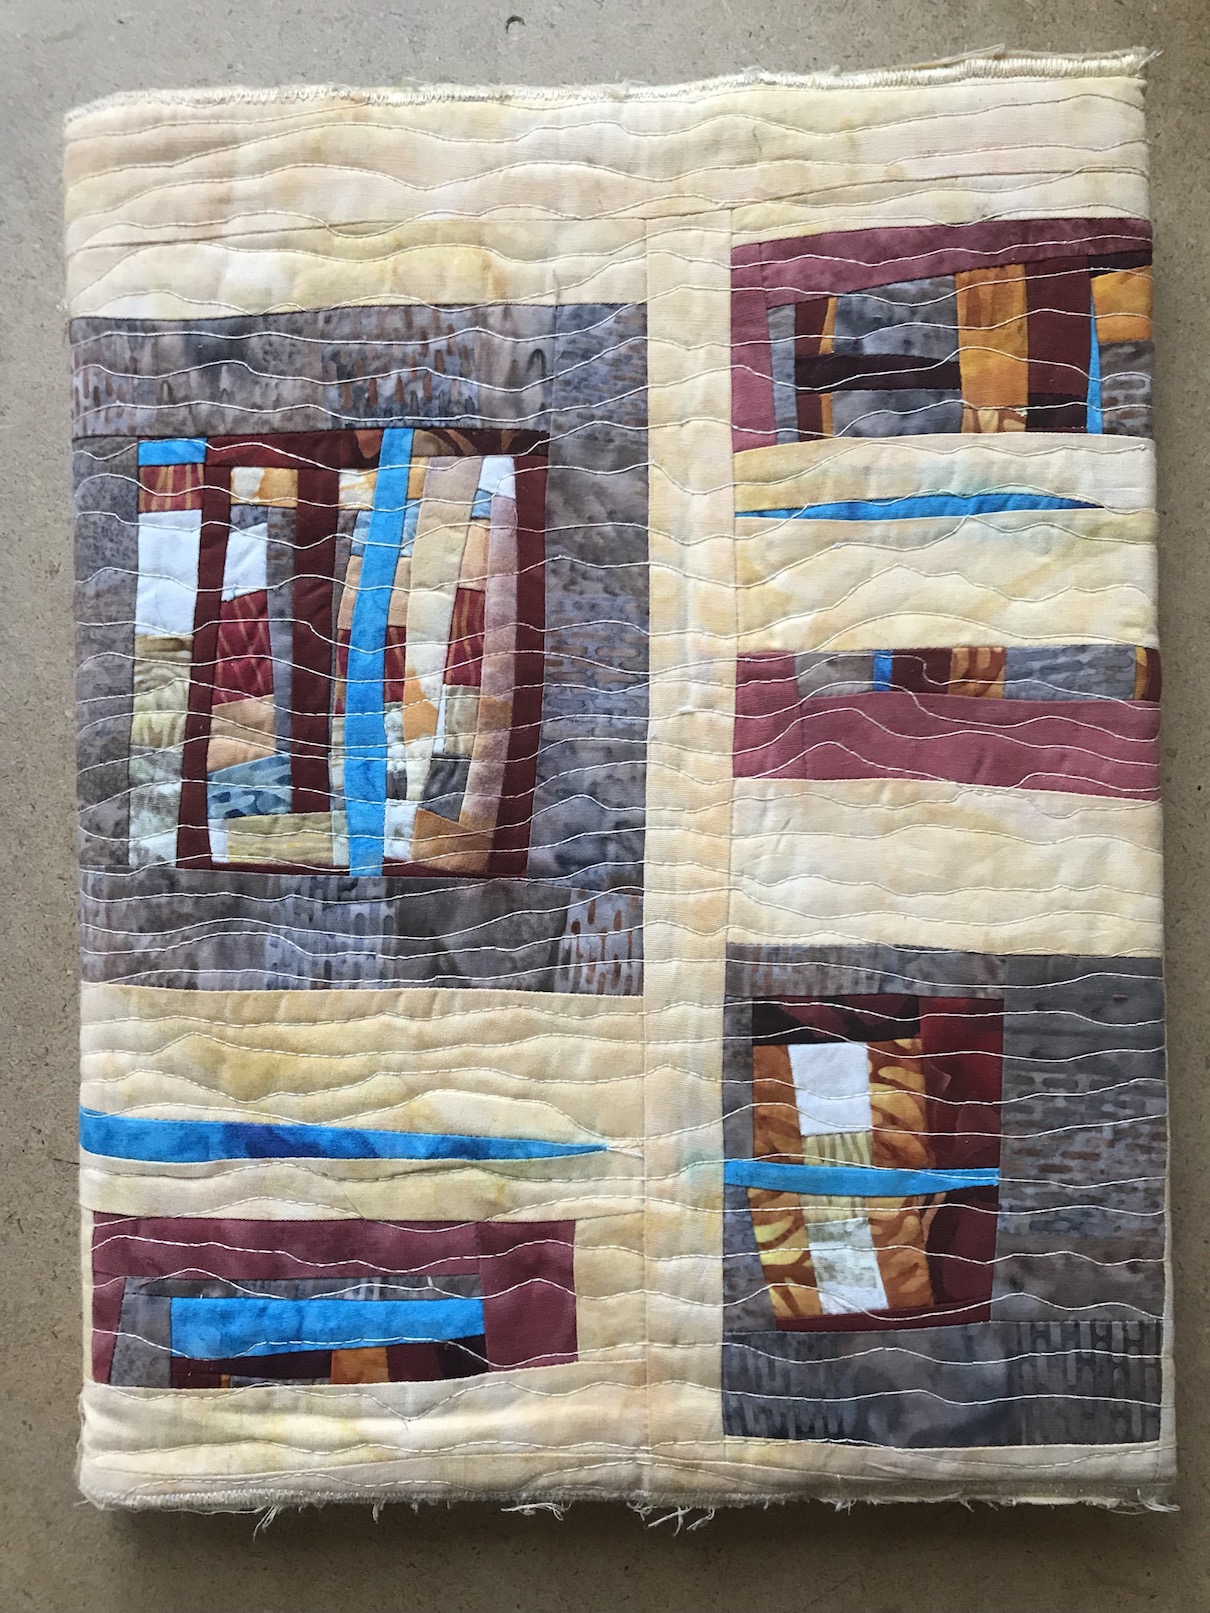
My art journal where I sketch out ideas, I made a cover for it to make it special
Ideas about the quilt are not just focused on how the finished quilt might look. They are also about what I’d like a viewer of the quilt to see, experience, think about, etc. What feelings and thoughts so I want to evoke when someone looks at the quilt? What do I want the quilt to say (or try to say). What is the theme of the art quilt, what is it about. I might also start to write a draft Artist Statement for the quilt to really get me thinking what I want the quilt to “say”. See my little “side bar” below for more discussion on this concept.
*** SIDE BAR ***
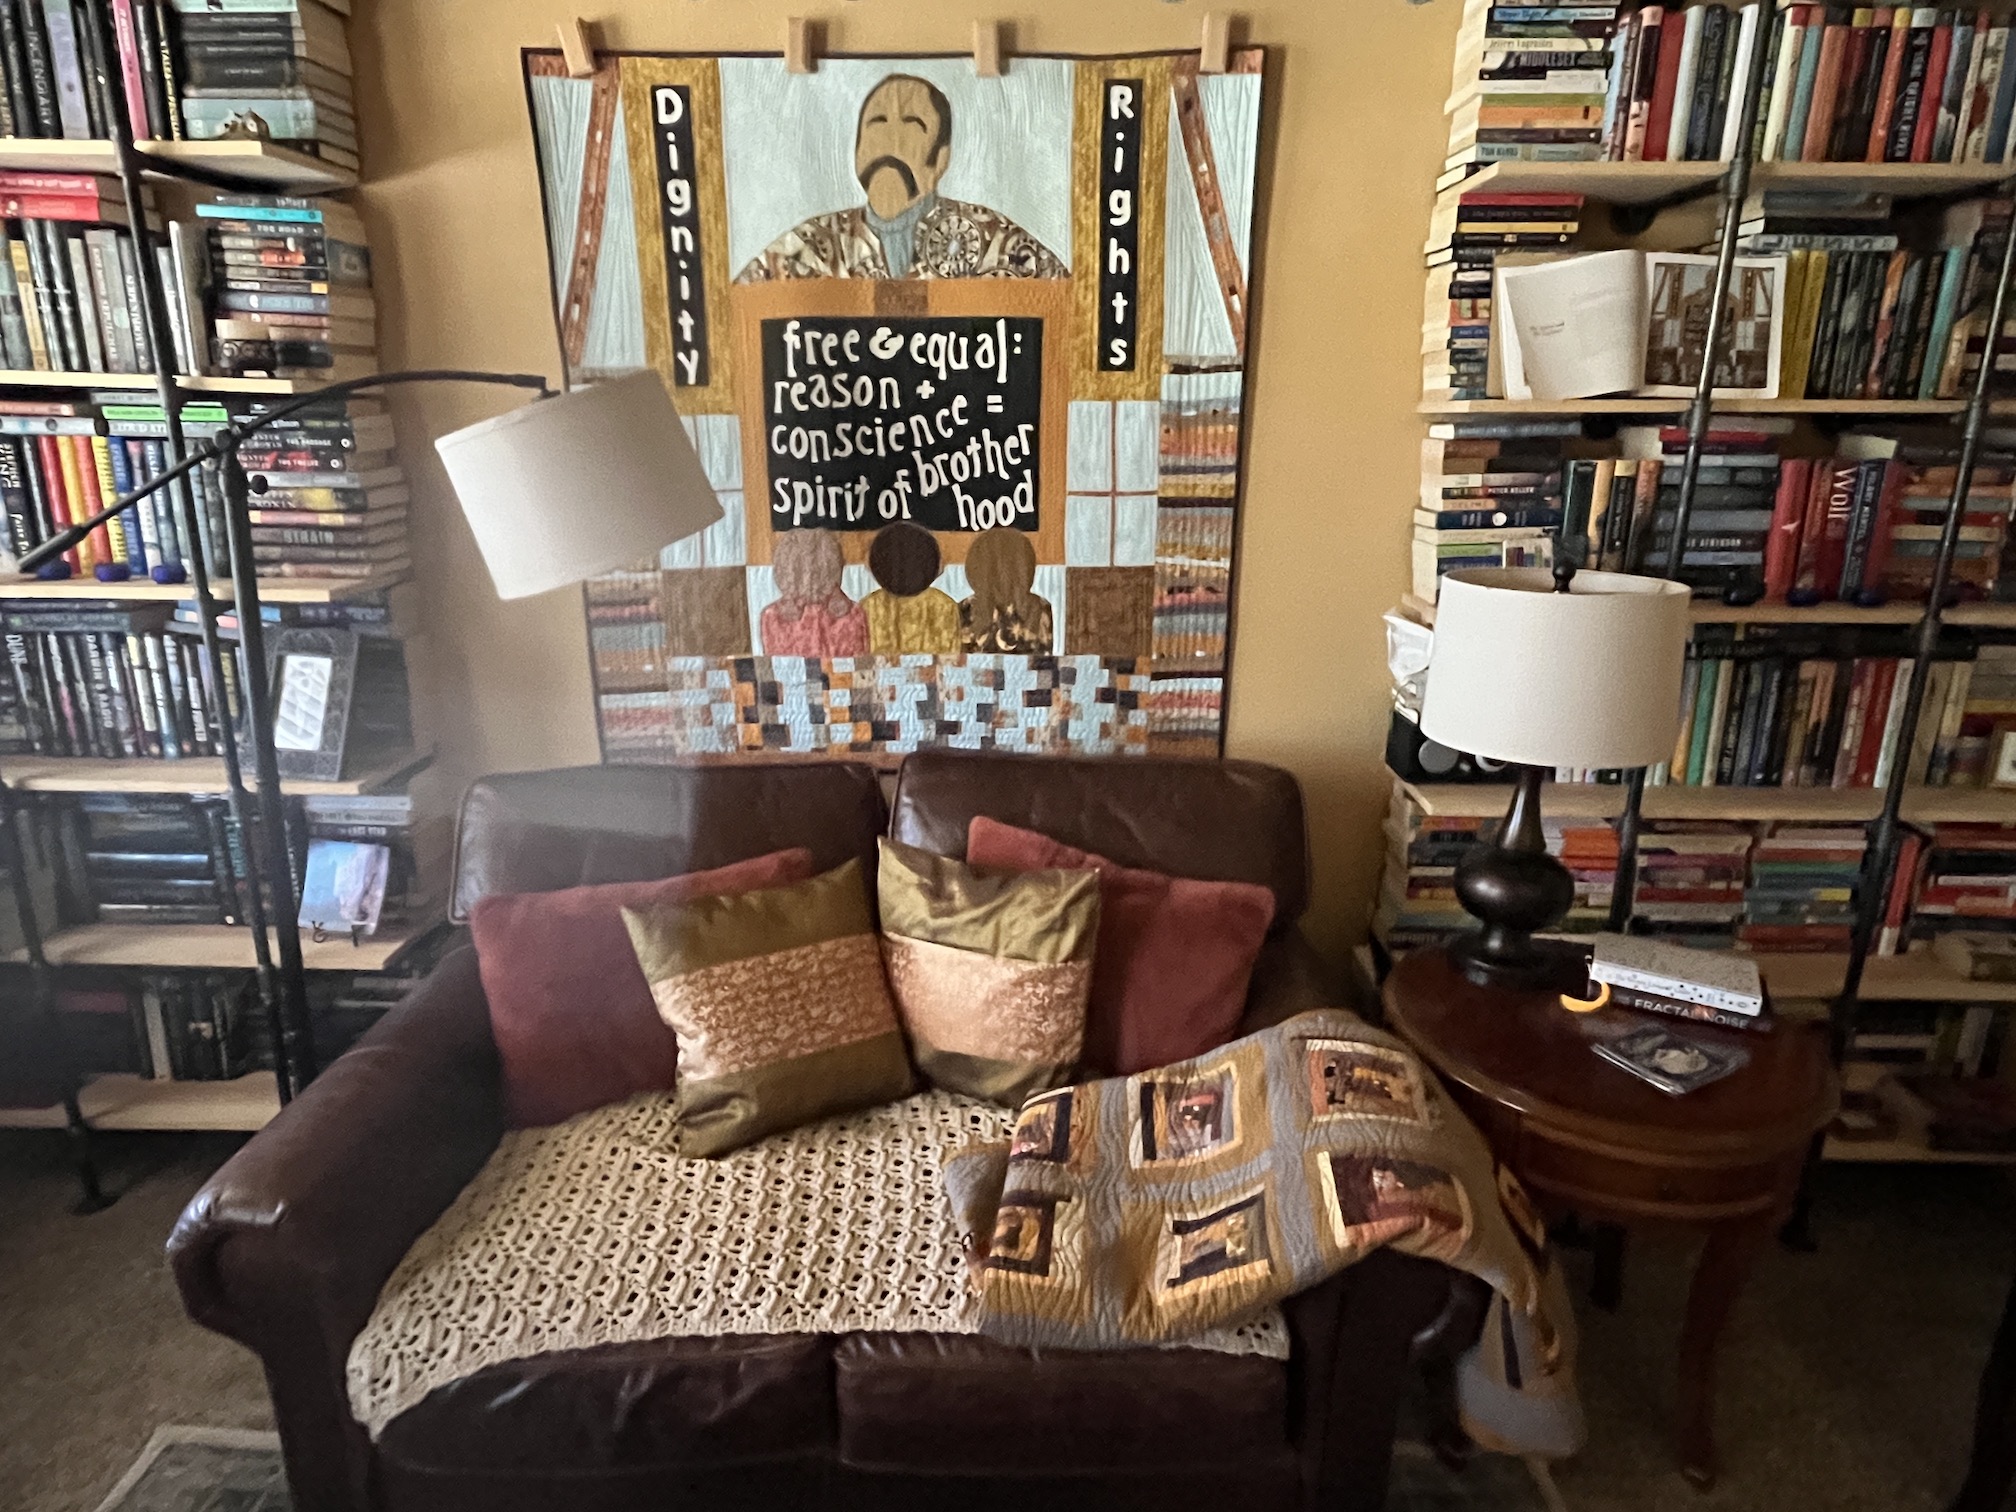
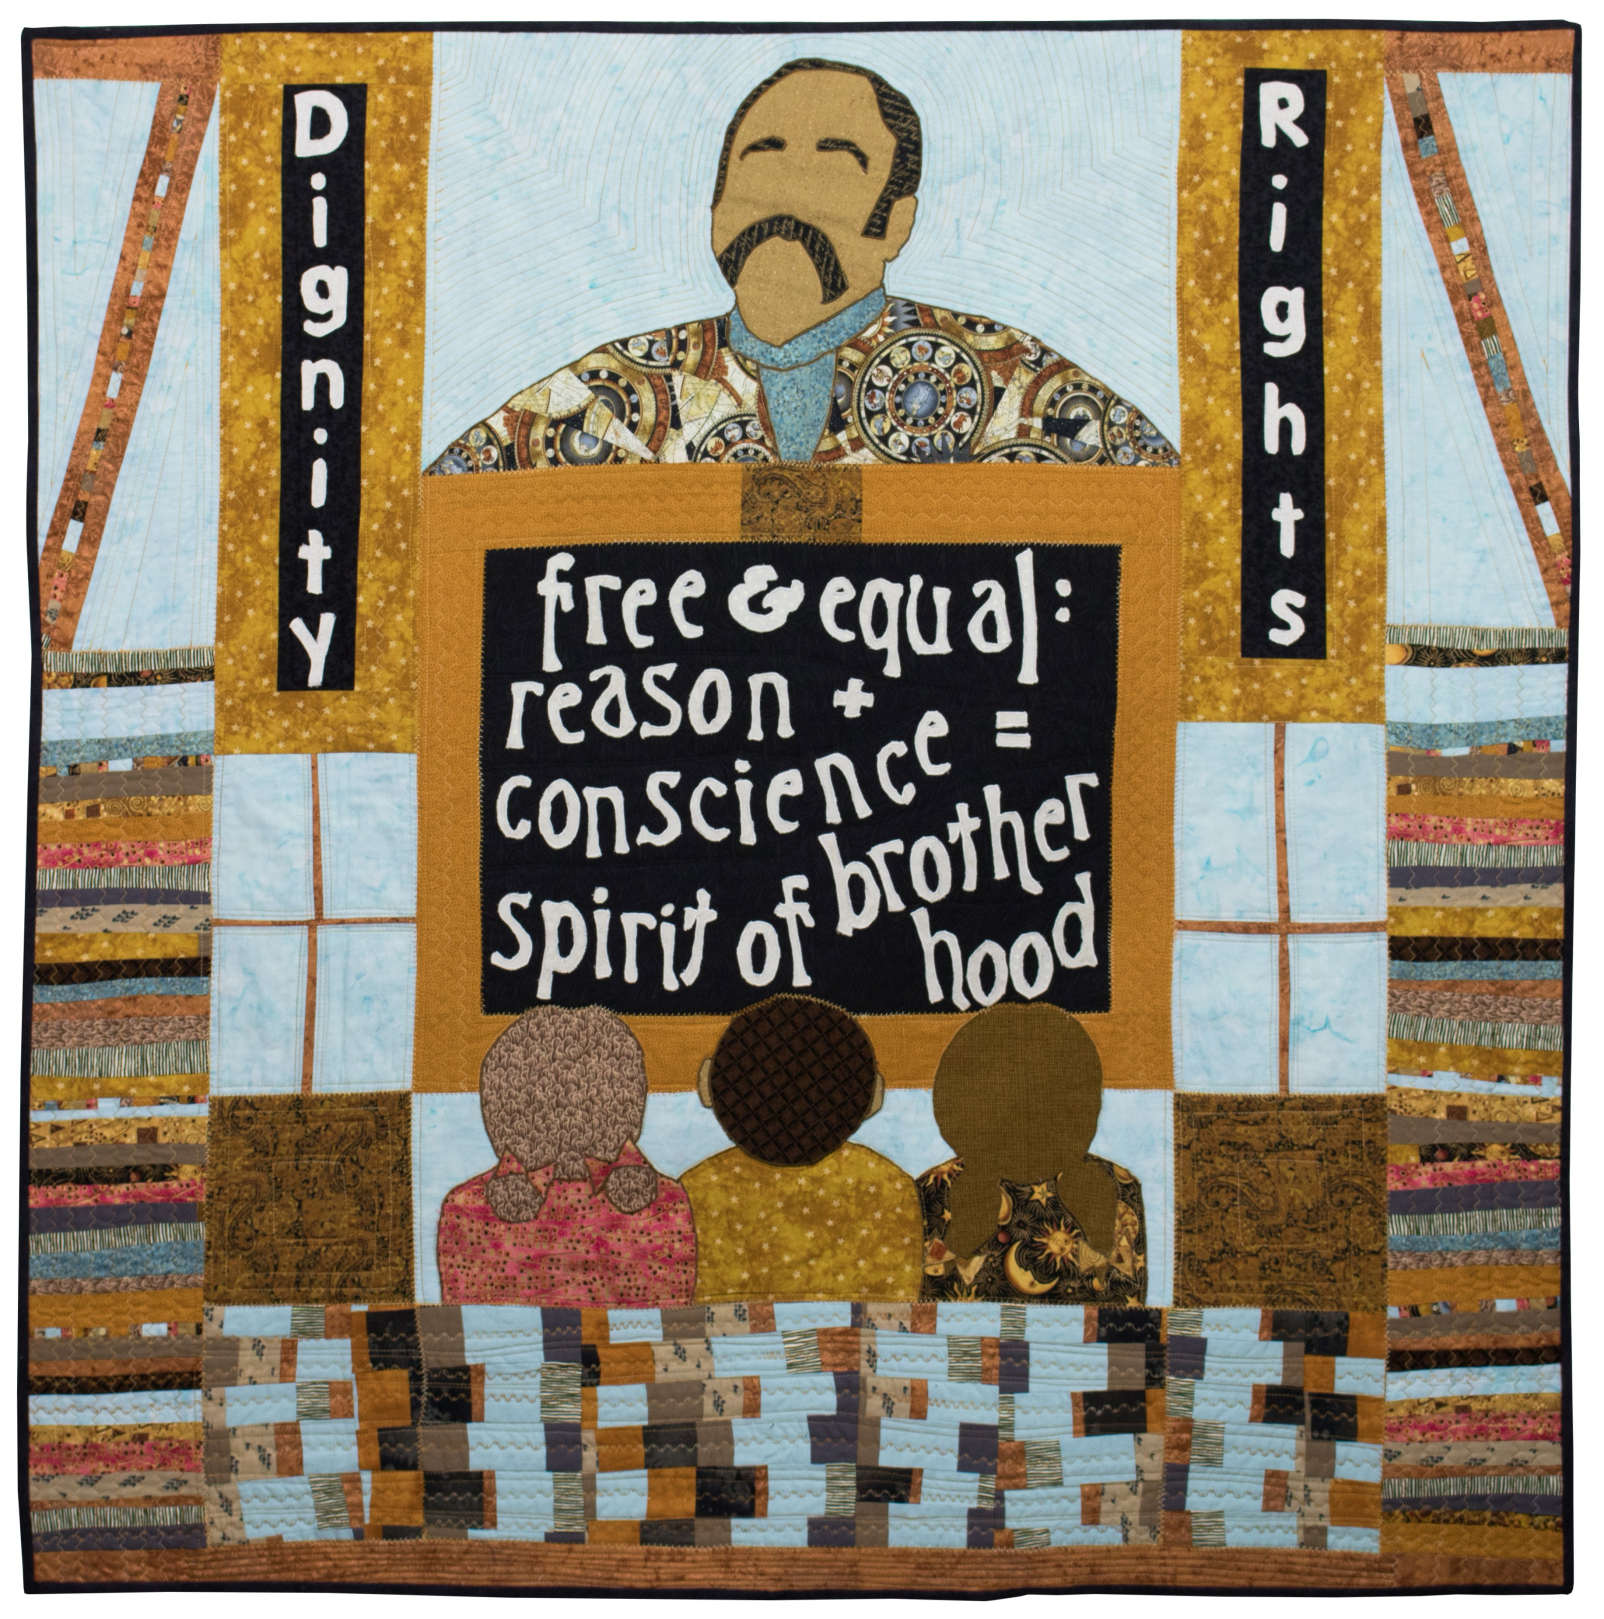
For example, all of quilts I’ve made for the Women of Color Quilting Network (WCQN) shows that I’ve been in had specific themes so I had a starting point. I knew what the quilt needed to in general “be about”and from there I had to narrow it down to what I wanted to share about that topic. Example below with the quilt I did for the WCQN show “Visioning Human Rights in the New Millennium: Quilting the World’s Conscience“ which was inspired by the U.N. Universal Declaration of Human Rights. I was assigned (actually I got to select which Article from the Declaration I wanted to use) Article I: All human beings are born free and equal in dignity and rights. They are endowed with reason and conscience and should act towards one another in a spirit of brotherhood.”
So that was my starting point. I knew what I needed to portray in the quilt, I just had to figure out how to get there.
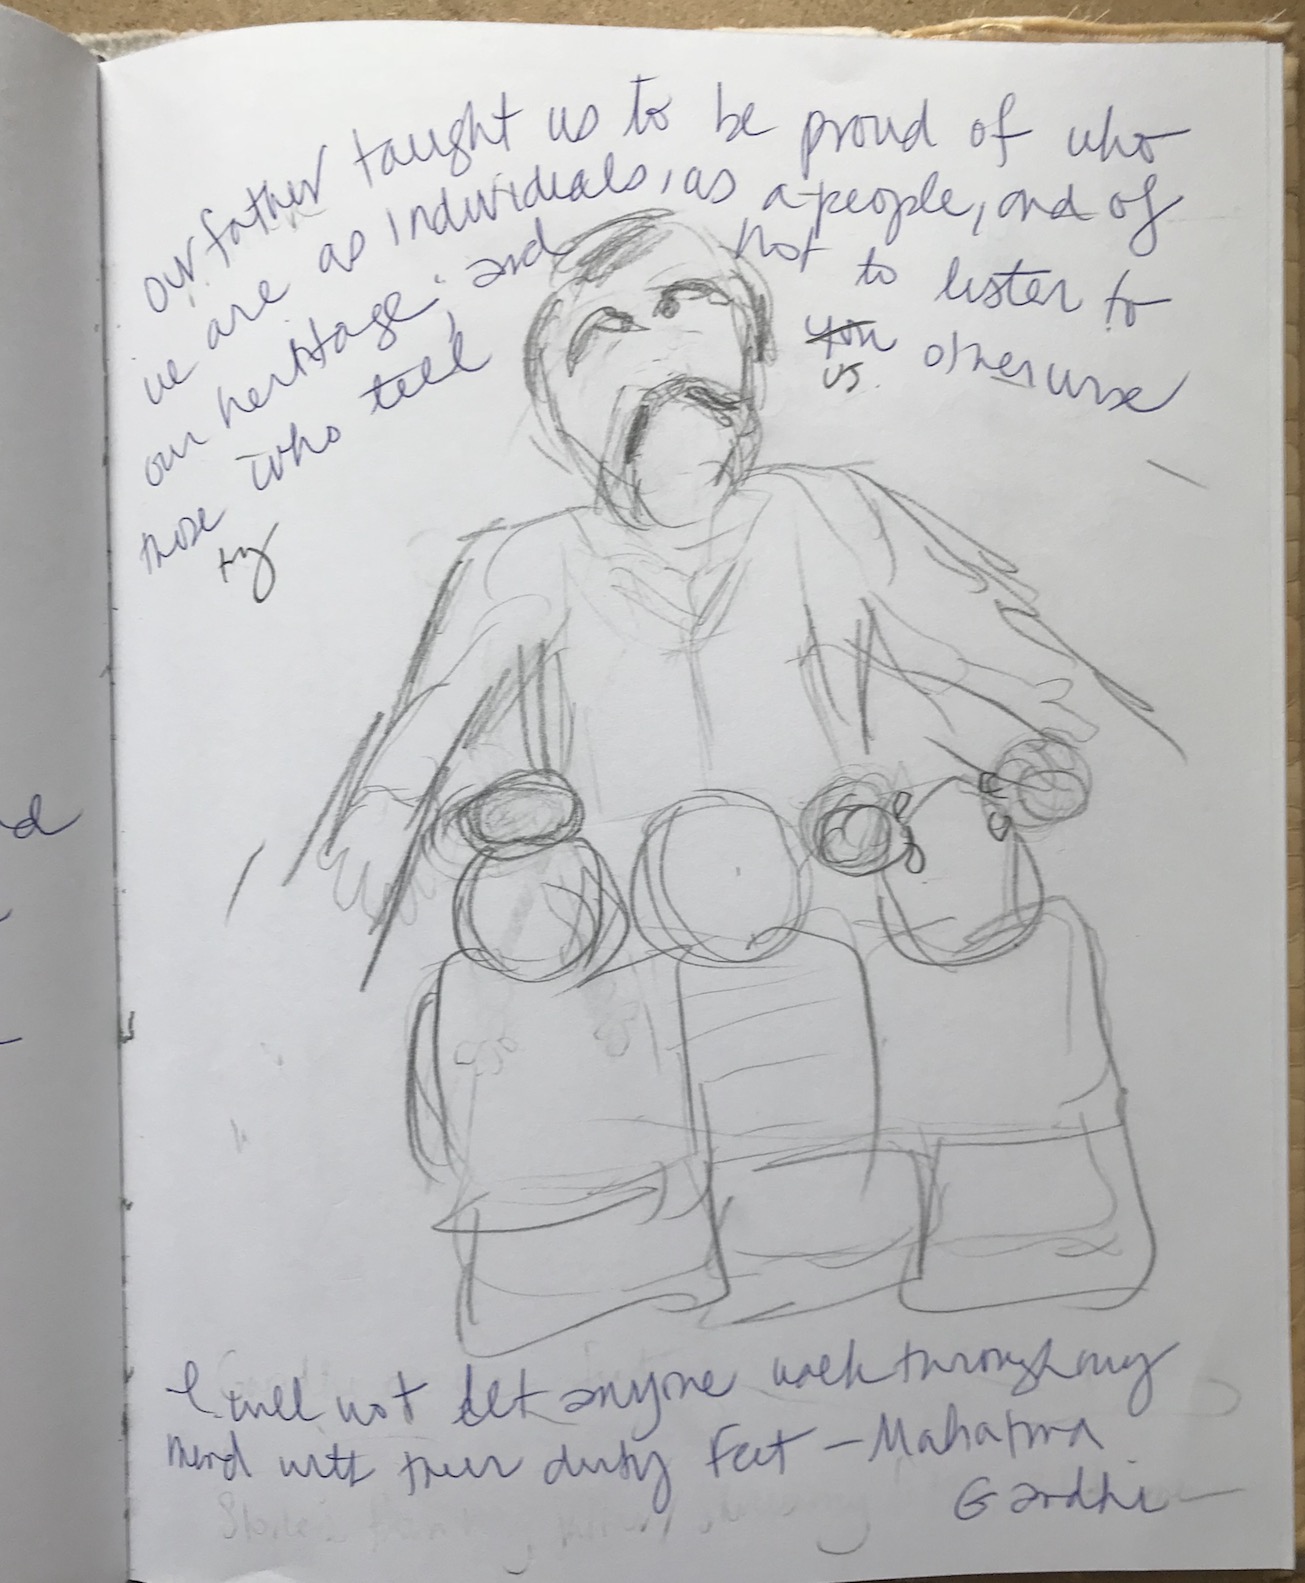
Here is an early sketch from my journal as I was working on the quilt:
And here is the completed quilt:
I am not sure how to put in to words how I got from the sketch to the completed quilt but it was through trial and error, and lots of experimentation. But I knew I wanted it to be a classroom with a person who looked like my father in the 1970s teaching because he was the one who taught my two siblings and myself the values in Article I. Also I come from a long line of teachers and I wanted to honor education/teaching.
If you know what you want to accomplish with the art quilt, then it helps you have a clearer vision.
Okay that the end of the side bar, so back to the current art quilt in progress….
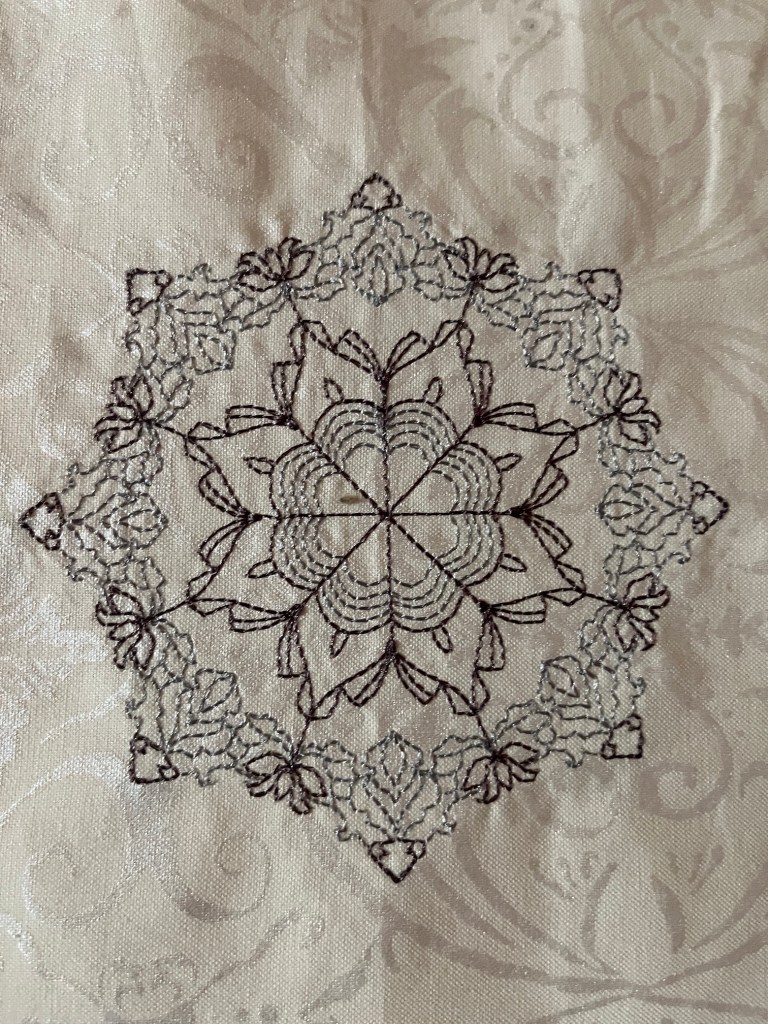
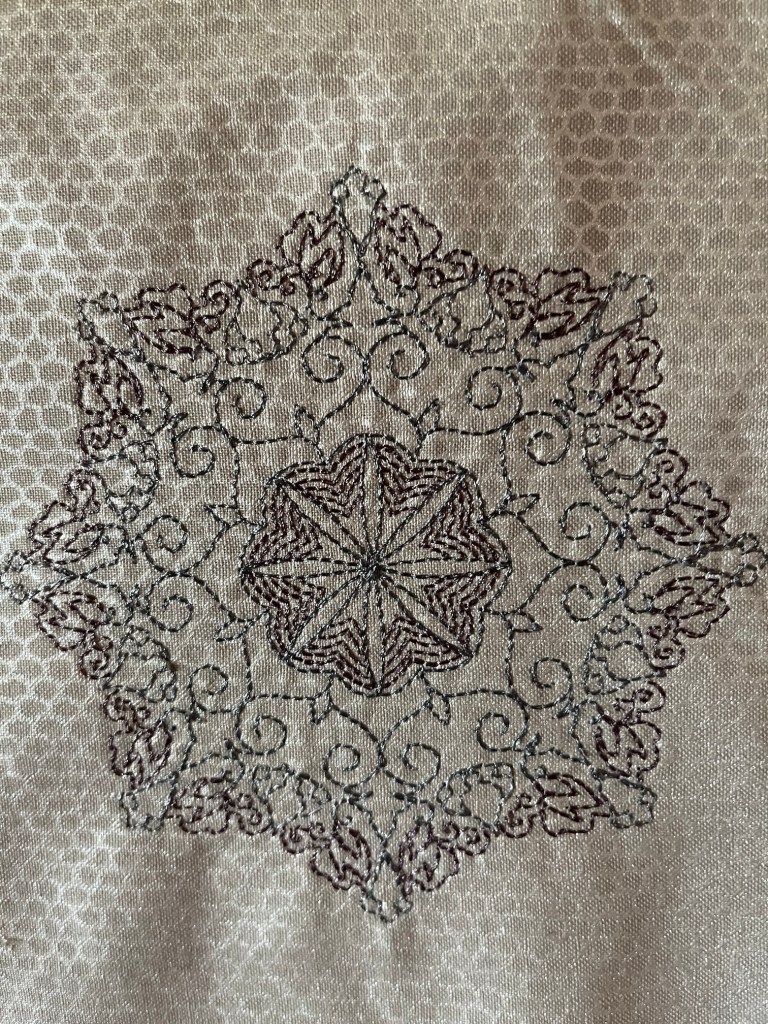
This time the quilt was inspired by a collection of machine embroidered blocks a friend gave me years ago along with coordinating 10 inch x 10 inch sections of coordinating fabric; as well as a group of fabric printed “trees” I designed and printed years ago in a fabric ink printing class.
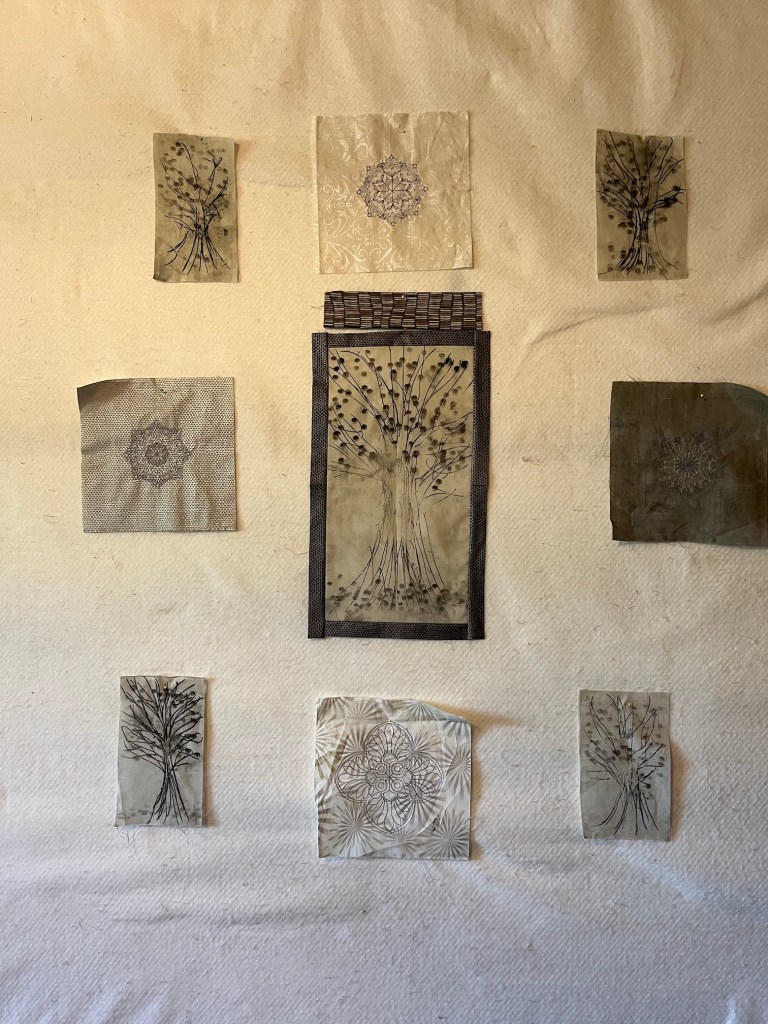
What I want to accomplish with this quilt I am still working out. I am thinking through whether I want it to be a deeply personal piece about grief based on the somber colors of the quilt and the tree images, or it if I want it to be more uplifting (or some blend of both).
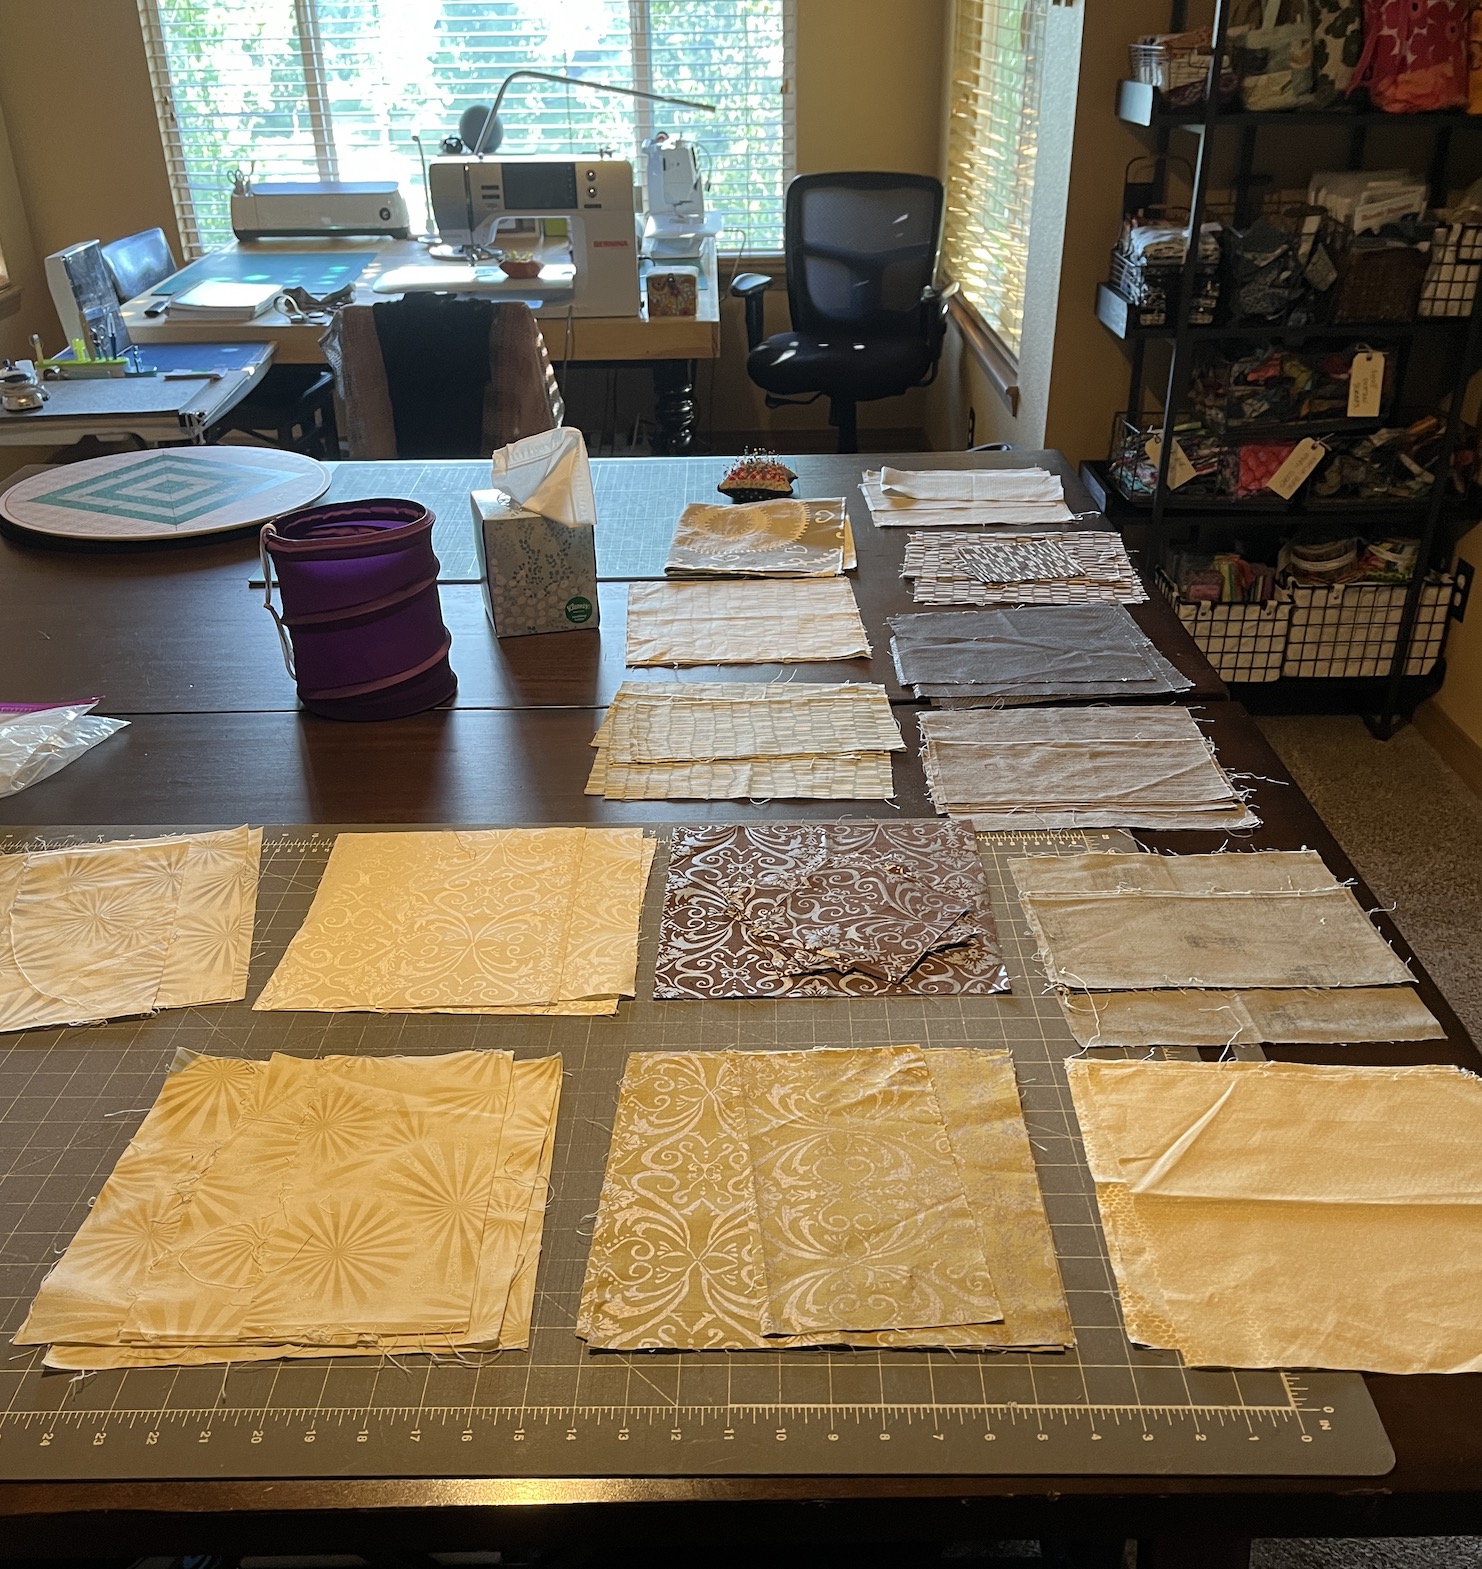
After I came up with my initial concept/idea/layout, I laid out all the fabrics I’d selected for the piece on my cutting table in my studio:
All the fabrics I am considering laid out on the table
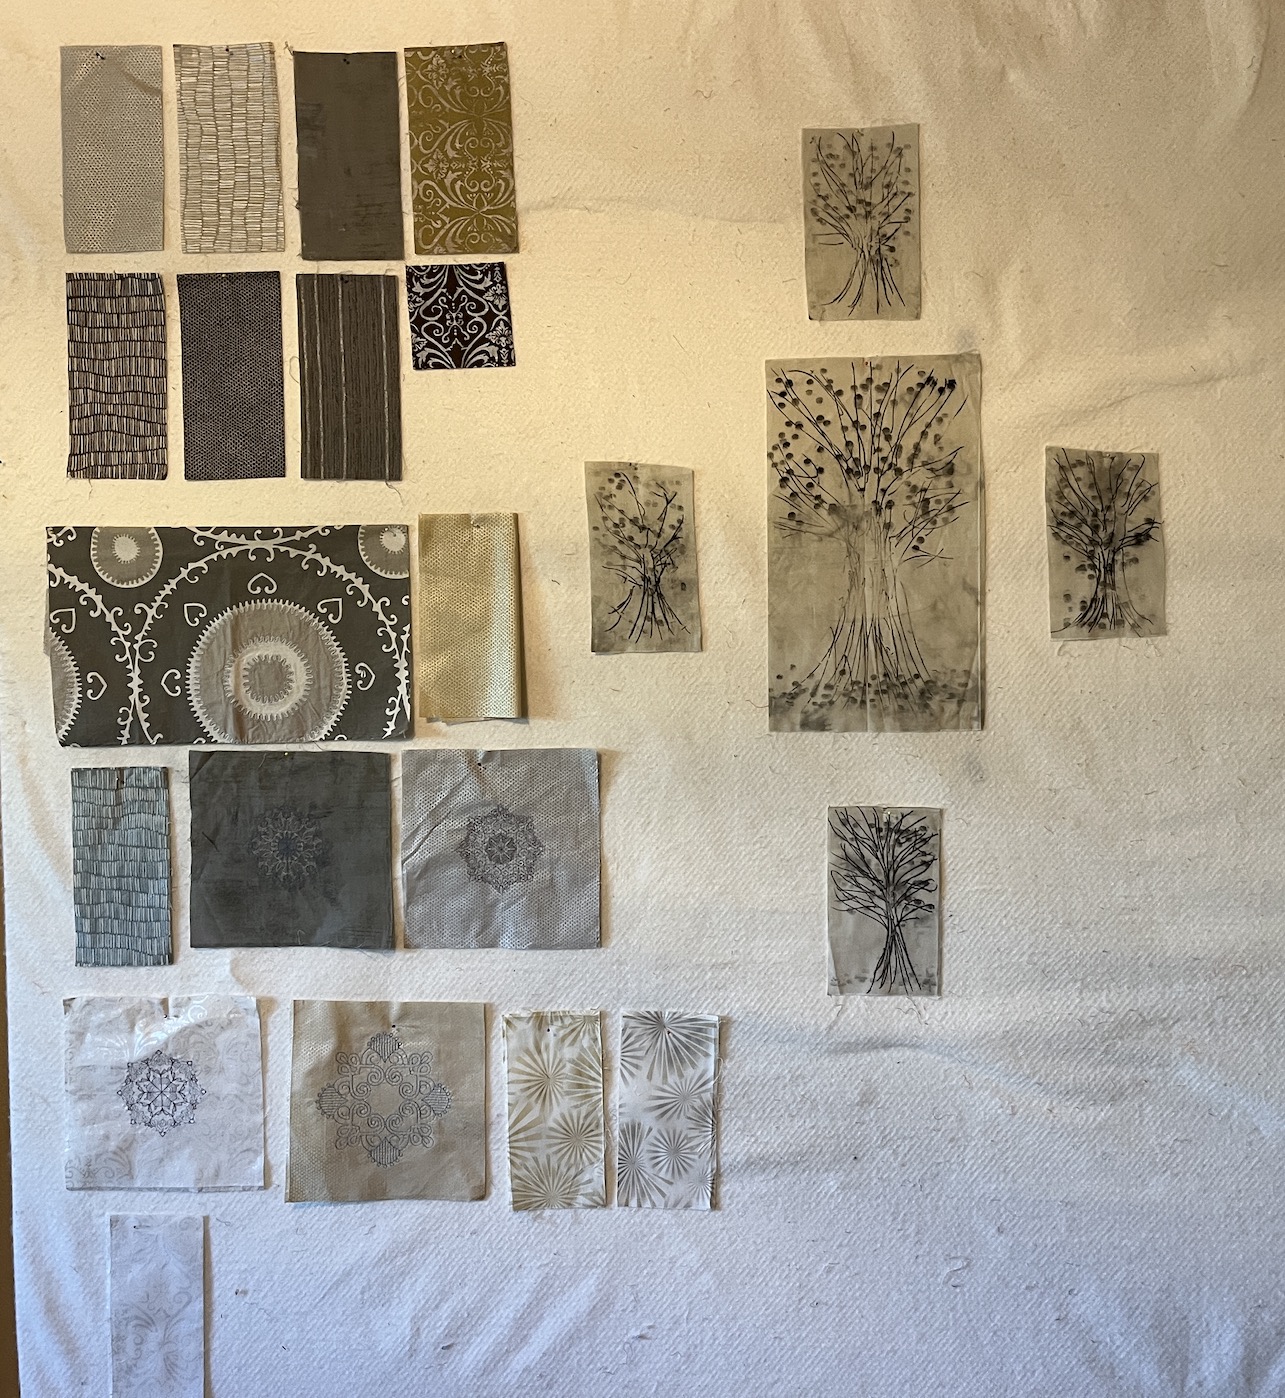
Then I put up a sample of each fabric and the special blocks (the embroidered blocks and the printed trees) up on my studio’s design wall:
One of each laid out on the design wall
Having the fabrics up on the wall helped me think about addition and subtraction (what I need to add to the design as far as fabrics, and what I need to take away) and I decided not to use the gold tinged fabrics in my design. I decided to just stick with muted grays, browns and taupes.
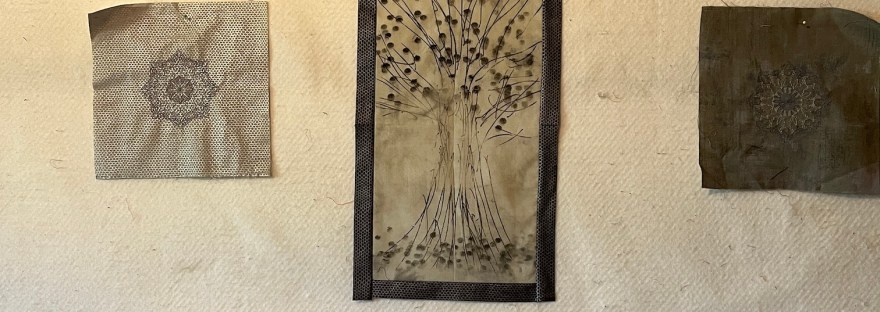
Here is a close up of some of the embroidered blocks I am using in the piece, one of the printed trees, and an example of the cool fabric my friend gave me:
If these fabrics looks familiar (and you’ve been following my blog a long time) I first shared them back in 2018 in a post called What’s Simmering on the Design Wall. But I abandoned the project as something else caught my attention (I guess I let it “simmer” too long and the inspiration evaporated away!).
Here I am with the quilt design right now – I am thinking of a medallion quilt layout…
Okay time to move on to the next question…
What is one thing you do that helps you focus and get rid of all the noise and clutter that come with color, design, prints, etc.?
Writing down my ideas on in my art journal, that is the number one thing that helps me focus. If my ideas change as I play with the fabrics on the design wall or the table I have them laid out upon, then I write down my new ideas.
As far as eliminating “the noise and clutter”, for me that is reduced by having a clear concept of what I want to accomplish (see “SIDE BAR” above).
I usually select a color palette early on in designing a piece. I’ve noticed that I am attracted towards “Southwest” and “Desert” type colors – rusts, beiges, greens, sky blues, etc. and I have repeated that palette in several art quilts. I read somewhere that if artists select a palette that they usually work from it can become a signature of their work.
Here is an example of an early art quilt I did called Central Oregon is Central to Me which uses that palette:
And then you can see I repeated this palette years later in a quilt I made for the WCQN show Yours for Race and Country: Reflections on the Life of Colonel Charles Young”. The name of this piece is Giant Among the Sequoias.
Color is very powerful and I’ve read a couple books about select coloring in the design of quilts. Two that I highly recommend were written by one of my teachers when I lived in Central Oregon – Jean Wells Keenan: Intuitive Color and Design and Journey to Inspired Art Quilting.
It was actually in her Journey to Inspired Art Quilting Workshop series that I took at the Stitchin’ Post in Sister, Oregon that I began the quilt Color Story V: Abandoned Water Structure, which was the first of my art quilts purchased by the City of Seattle for their Portable Works Collection (the City of Seattle now owns 4 of my art quilts made from recycled silks which they rotate through their municipal offices).
I might be rambling at this point, but I want to take a moment to share two additional major things that have helped me “get rid of all the noise”: 1) reading books about art quilting; and 2) taking classes with experienced art quilters (ongoing workshops are especially helpful – a series of classes with the same instructor helps you build upon concepts learned). You can also find a mentor and that can come from joining either a local or national art quilting group.
You cannot become an art quilter on your own (well maybe you can but I couldn’t) – you need mentors and teachers and it is very helpful to learn some formal art quilting concepts and techniques so you have them in your “tool bag”.
I know I need to take some more in person classes in the future. For now I just read art quilting journals, watch YouTube videos, and read books. So many awesome books have been written by some very talented art quilters!
Now on to the last question.
There are so many complicated variables (in making an art quilt), how do you start?
See above (smile).
So those were my answers to the three questions:
What do you find successful when you are creating a design?
What is one thing you do that helps you focus and get rid of all the noise and clutter that come with color, design, prints, etc.?
There are so many complicated variables (in making an art quilt), how do you start?
I INVITE YOU TO SHARE YOUR ANSWERS AND FEEL FREE TO RAMBLE AS I DID 😉
I keep getting away from blogging as I seem to be having a very busy summer. We just returned from Chicago where we met up with my brother and his family for the weekend. Tomorrow my sister arrives and we go on a road trip to celebrate her birthday for a couple days and I show her a little of Colorado. Then the following week I head to a quilt retreat on the Washington coast.
I did in between traveling, get the quilt top done on the quilt I discussed in the post The Challenge… , of my friend’s late mother’s favorite clothes that she asked if I could turn into a quilt. As I shared in that post, here is what I started with:
The challenge laid out
The sweatshirt, T-shirt, jean jacket, jeans and shirts did not scare me. The sweaters, scarf and the velour robe did!
I bought woven interfacing (like 12 yards of it) and fused it to all the deconstructed clothing (my first step was to deconstruct the clothing).
Deconstructing the clothing
I was able to pull out the logos on the t-shirt and sweatshirts; and embroidery on the jean jacket. After fusing all the non denim fabrics to the woven interfacing, I was able to cut them into 5.5 inch x 5.5 inch blocks and create 10.5 inch by 10.5 inch 4-patch blocks.
What to do with these sweaters?
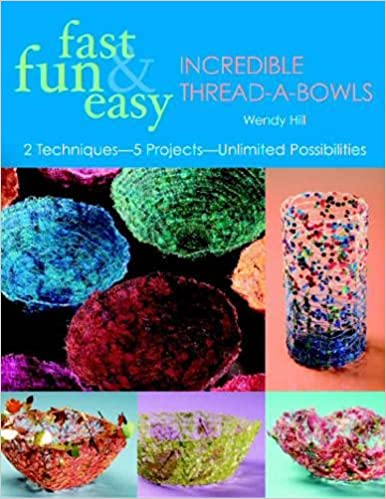
I did consult with my friend Wendy who suggested Solvy, a water soluble stabilizer. Wendy has a lot of experience with Solvy. Wendy did a little workshop for me at her house years ago and I made a little thread bowl with thread scraps like in her book Fast, Fun & Easy Incredible Thread-A-Bowls: 2 Techniques-5 Projects-Unlimited Possibilities. I still had a sample of it that she gave me.
image credit – amazon.com
Solvy is a little on the messy side and I decided to just try using the woven interfacing on a section of one of the sweaters as a test. It worked, not perfectly, but good enough. I was able to cut some hearts out of one of the sweaters, and then fuse the heart to a 10.5 inch by 10.5 inch block and satin stitch it down:
Ta da – was able to use one of the sweaters
I did not use the other two sweaters, I am returning them to my friend.
So here is the completed quilt top which I will machine quilt myself to batting and backing fabric; and then figure out what to use for binding.
up on the design wall
It’s not my greatest work as the fabrics were very challenging to work with and I cannot believe I added a thin polyester scarf to a quilt, but I did it! Don’t even get me started on the velour robe – the deconstructed fabric shed everywhere and was a disaster when I tried to press the blocks with it in it. But I made it work also…
It does look better in person, you’ll just have to trust me (smile).
When I get it quilted and the binding sewn down, I will give you all the final photo as well as what ended up being the measurements on the quilt.
My friend lost her Mom, who she was very close to, and she is having a difficult time with grief.
She’s kept some of her Mom’s favorite clothes and she asked if I would make a quilt out of them.
I agreed to making the quilt, without knowing what the clothes looked like as she planned to snuggle under the quilt and feel comforted by her Mom’s beloved clothing.
When she dropped off the clothing, I realized I had a challenge ahead:
I’ve made art quilts from recycled clothing; and when my Father passed, I made my brother and sister each a quilt from the T-shirts he used to wear, so I was comfortable with the idea of deconstructing clothing and turning them into fabric for a quilt.
However, I’ve never worked with knitted fabrics such as these in a quilt:
I think I can work the first two sweaters on the left into the design, but I might have to return the black and white sweater to my friend to just keep. I bought some special interfacing (and softer one, not the Pellon SF 101 I usually use that I think would be too stiff). I am sitting outside (lovely day) writing this blog post and sorry I do not feel like running upstairs and seeing exactly what interfacing it is – ha!
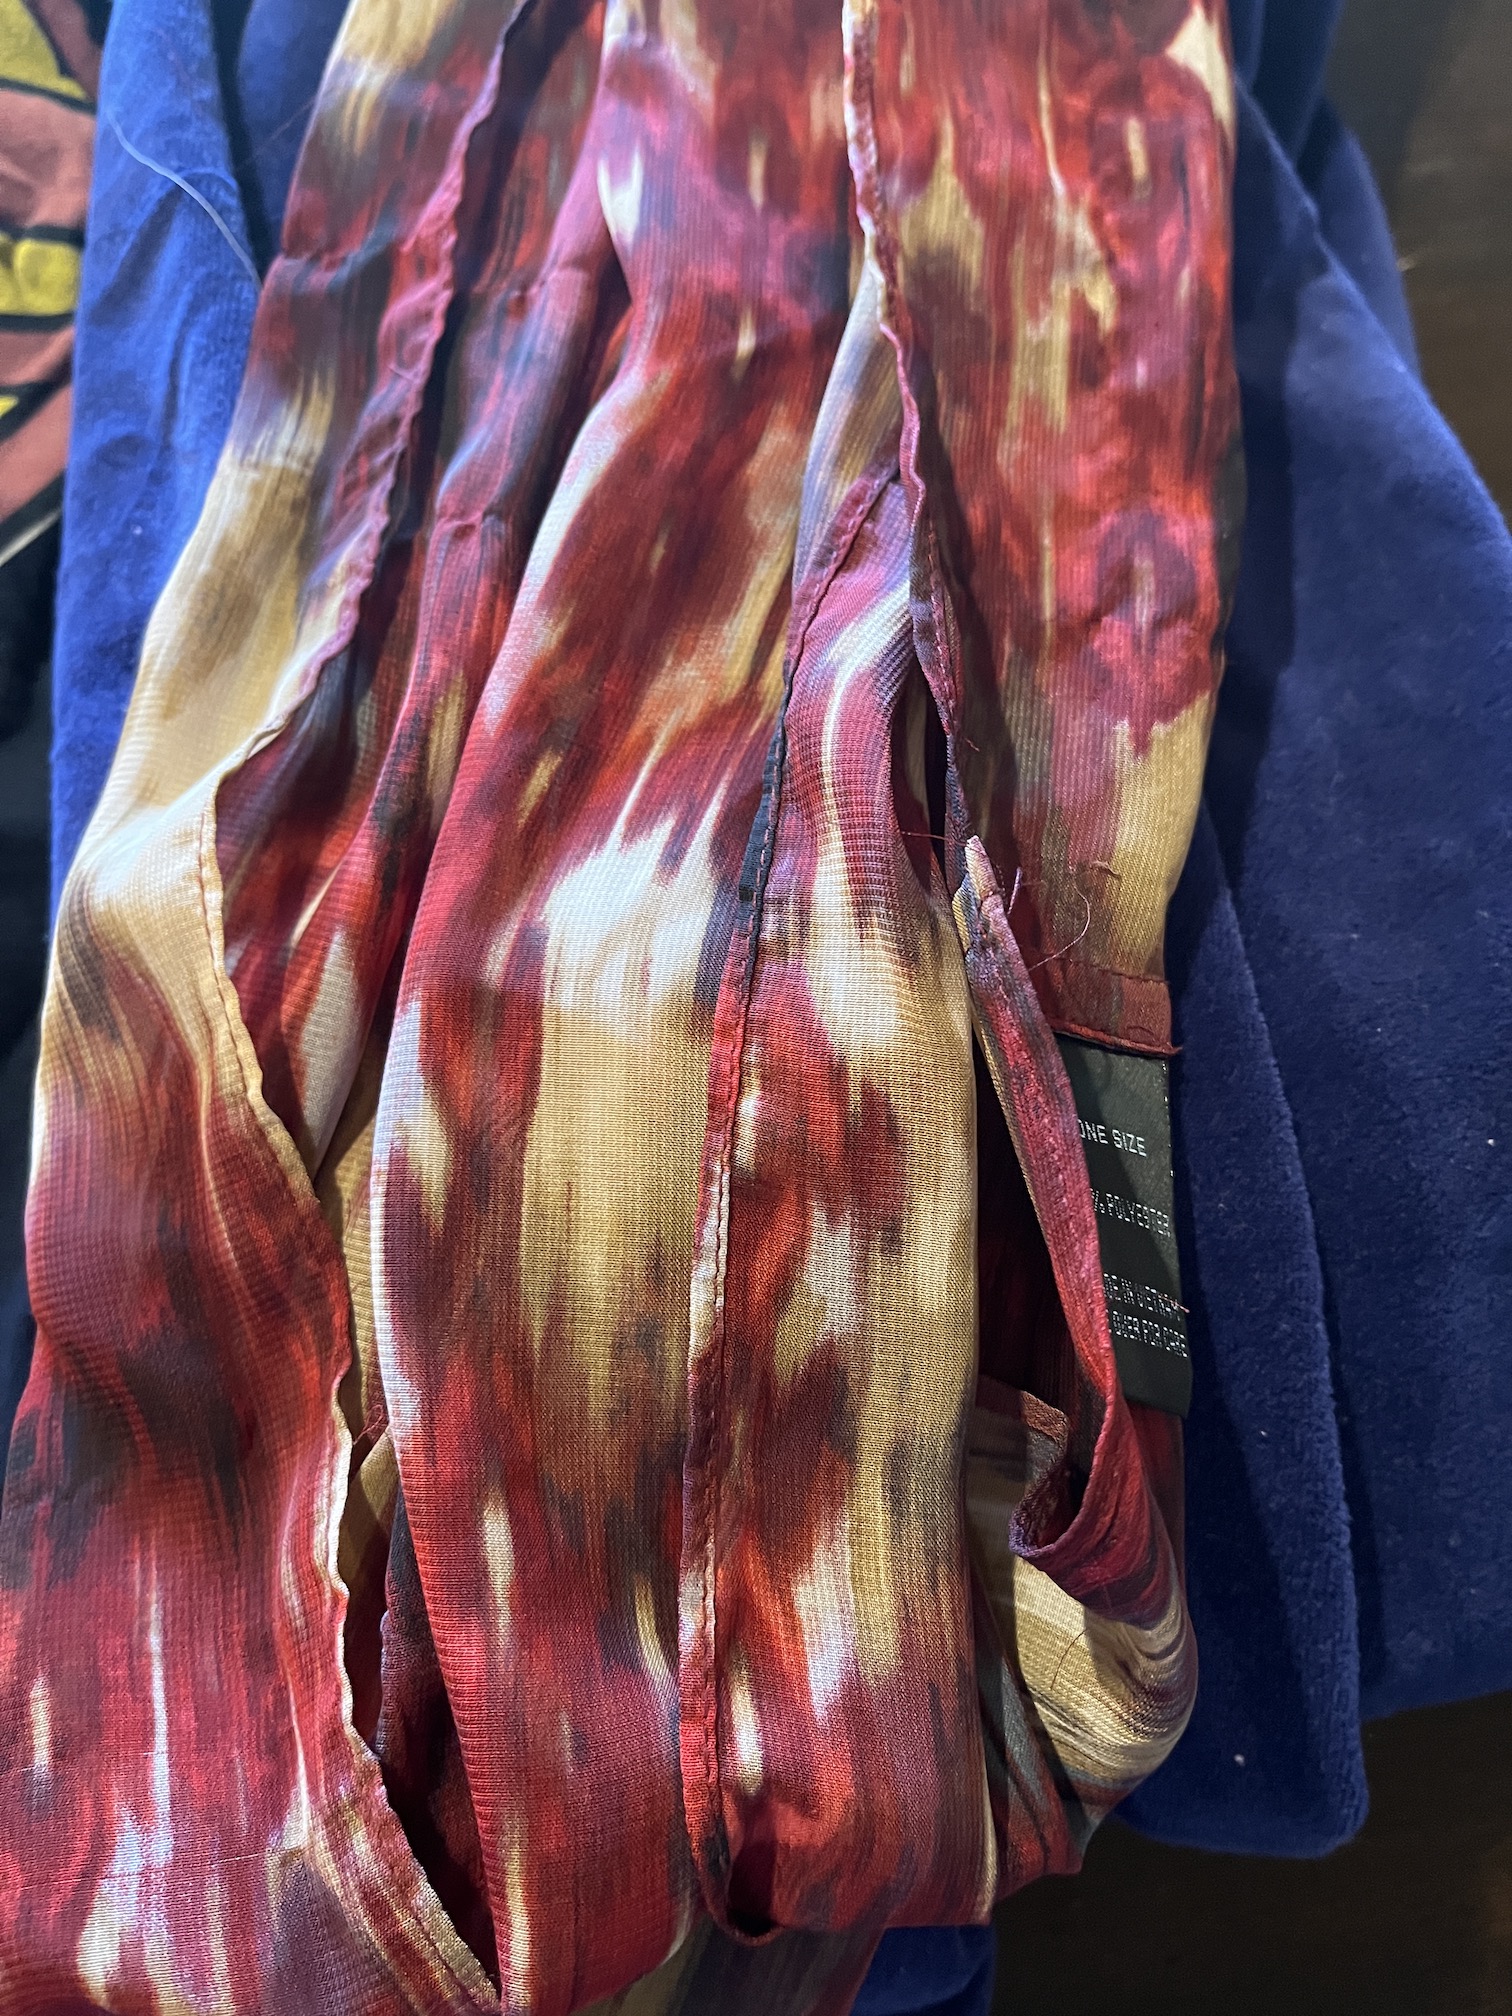
I also have this challenge – a scarf, but I think I can just use interfacing for it also and work it into the design:
I have found a pattern that I want to use (I think) that I will share in a future post. Right now I have deconstructed the clothing and sorted them.
I am looking forward to working her Mom’s favorite T-shirt and sweatshirts into the design, as well as her beloved velour robe:
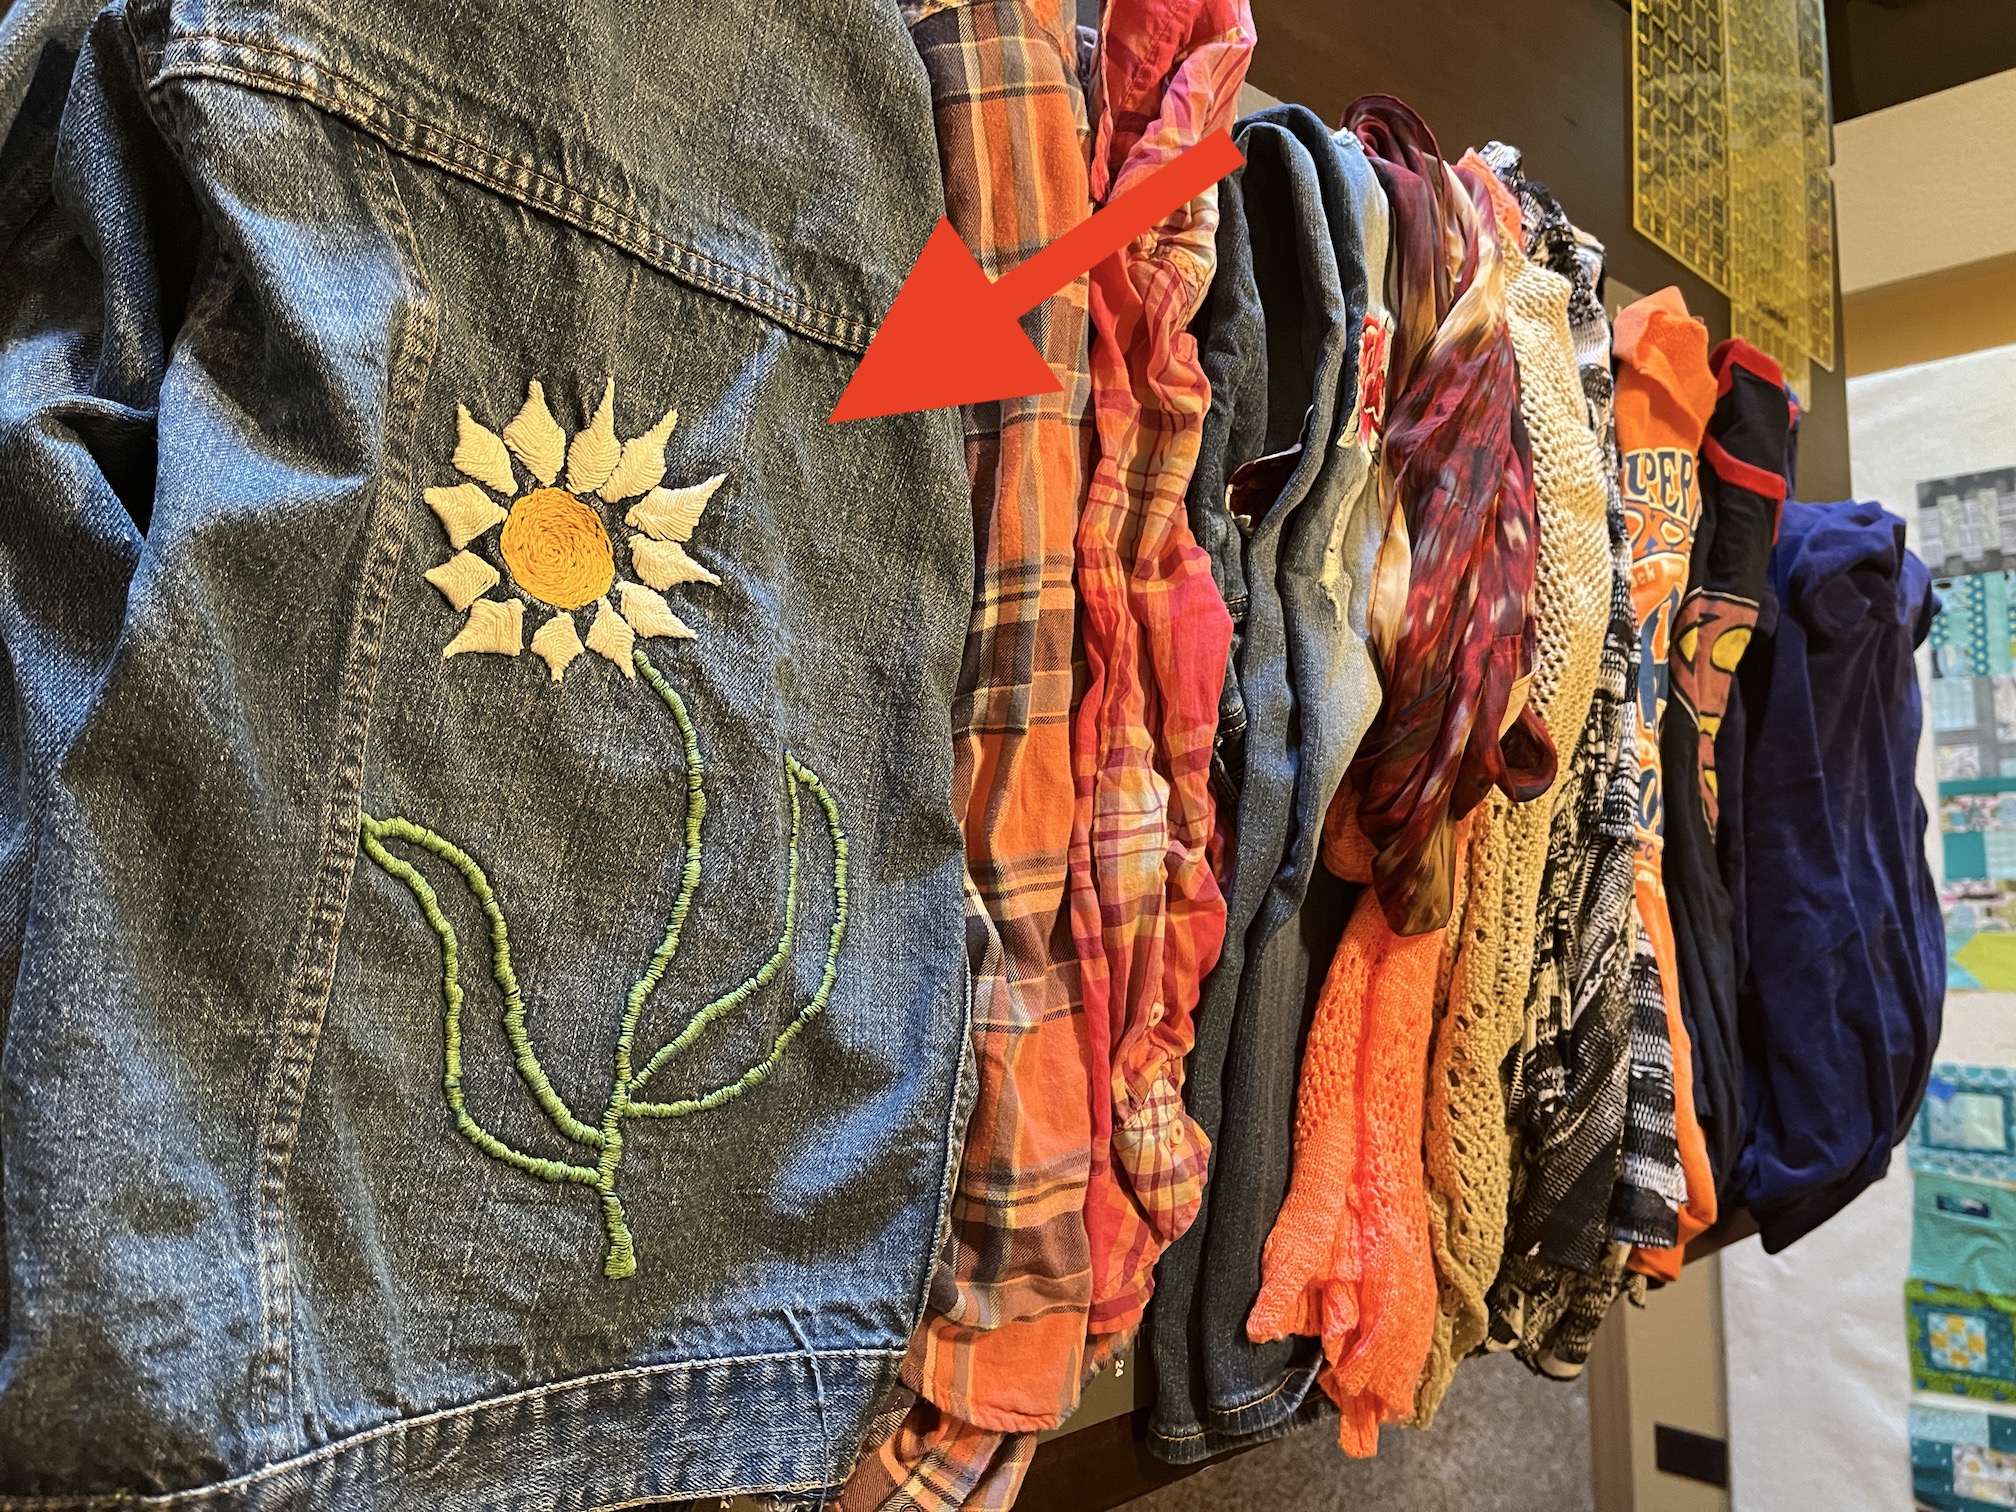
And the embroidery from her Mom’s favorite jean jacket should be fun to incorporate also:
I’ve deconstructed the jean jacket, saving the embroidered flower separately and saving any salvageable denim as fabric for the quilt.
I’ll update you as I make progress on this challenge!
I welcome ANY THOUGHTS on how to best interface the sweaters to incorporate them into a quilt.
Whew, I fell seriously behind in blogging again. Let’s just say I’ve been distracted by curious things going on in the country I live in (and somedays I am thinking of moving to a different country, I might be over the United States…).
I know you might be tired of reading about this quilt, but I have this one more post on it before I send it off to the longarm quilter for professional quilting.
This is a follow up to the post – And then there were 100 (yay)!– I’ve sewing together all 100 blocks for the Tula Pink’s City Sampler 100 Modern Quilt Blocks quilt:
I had looked at those blocks on my design wall so much my eyes were crossing, so I asked my partner John to come out with an initial design/layout. He likes symmetry and order and he created an initial layout and then I refined it a little.
He did it in “color rings”, where the outer ring (well square ring, ha!) is teals/blue-greens and greens with gray blocks as corner anchors. Then the next set of rings are yellows, browns and reds. The inner ring is purple with then blues in the center.
I know to some it looks like a “hot mess” but I love it!
Sewing together 100 blocks can be daunting so I sewed it together by breaking it into 4 – 25 block sections. I sewed 5 rows of 5 blocks together to make each section twice and sewed those two sections together. I repeated the process for the other side and then sewed the two halves together.
As there is so much piecing of small pieces to make each block, I stitched the entire edge of the quilt with a 1/8 inch seam to prevent unraveling during travel:
In case you are curious – the actual measurement of the quilt top came out to be 60.5 inches x 60.5 inches.
Currently I am piecing together the backing with a collection of teal/blue-green yardages I have:
And then off to the longarm quilter. You won’t see another post about this quilt (whew) until it returns to me quilted and I have put the binding on. Then I will show you the finished quilt!
We are continuing to experiment with meal prep and making meals out of the cookbook Damn Delicious Meal Prep by Chungah Rhee.
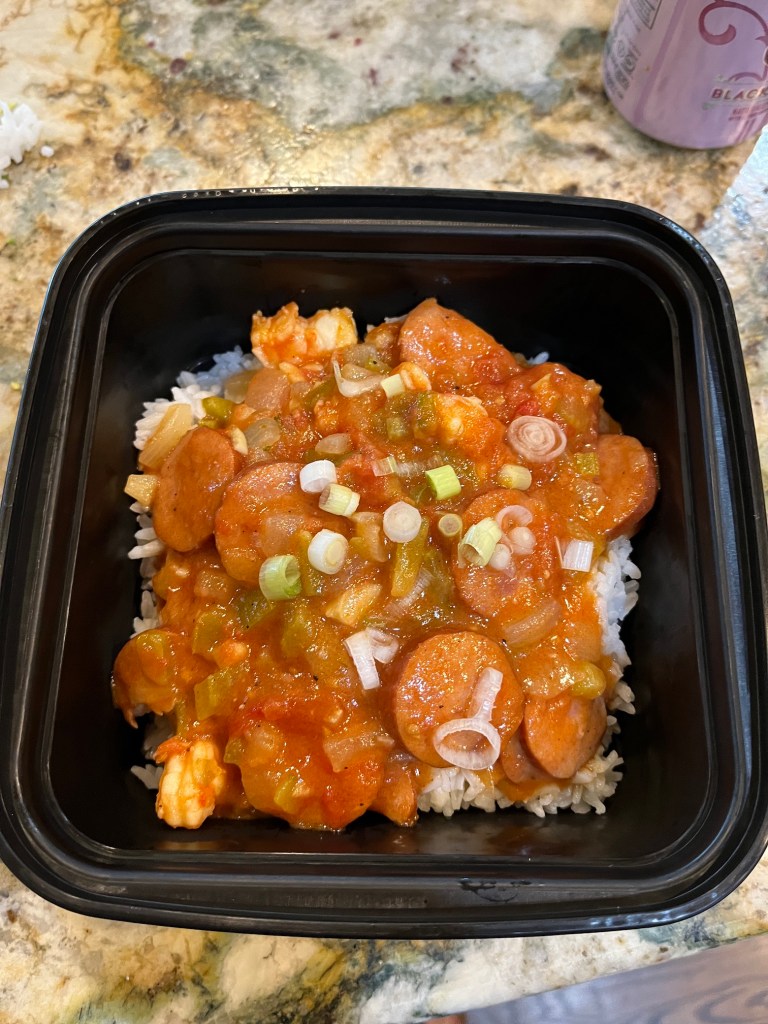
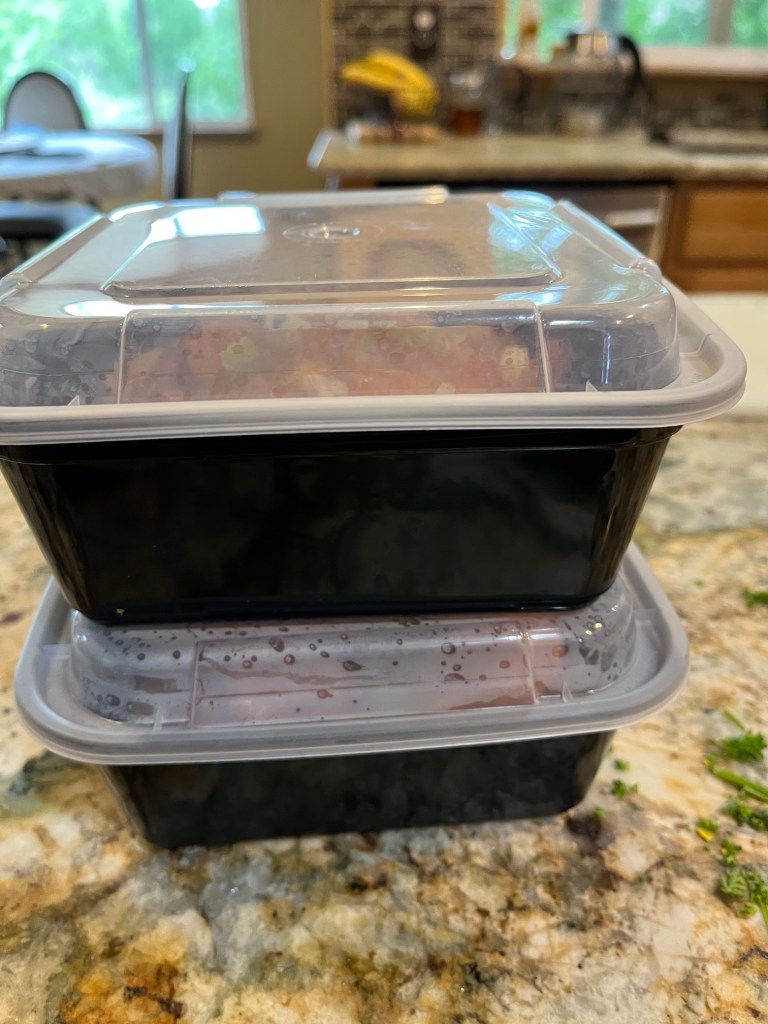
Recently I made Skinny Gumbo (a lower fat version of Louisiana Creole gumbo) and I was able to have enough for dinner that night and 3 additional servings. John’s father is in his 80s and lives alone since his wife passed in late December 2021, so we bring him meals (he lives less than a mile away) and this new meal prep process is great to make up meals for him also!
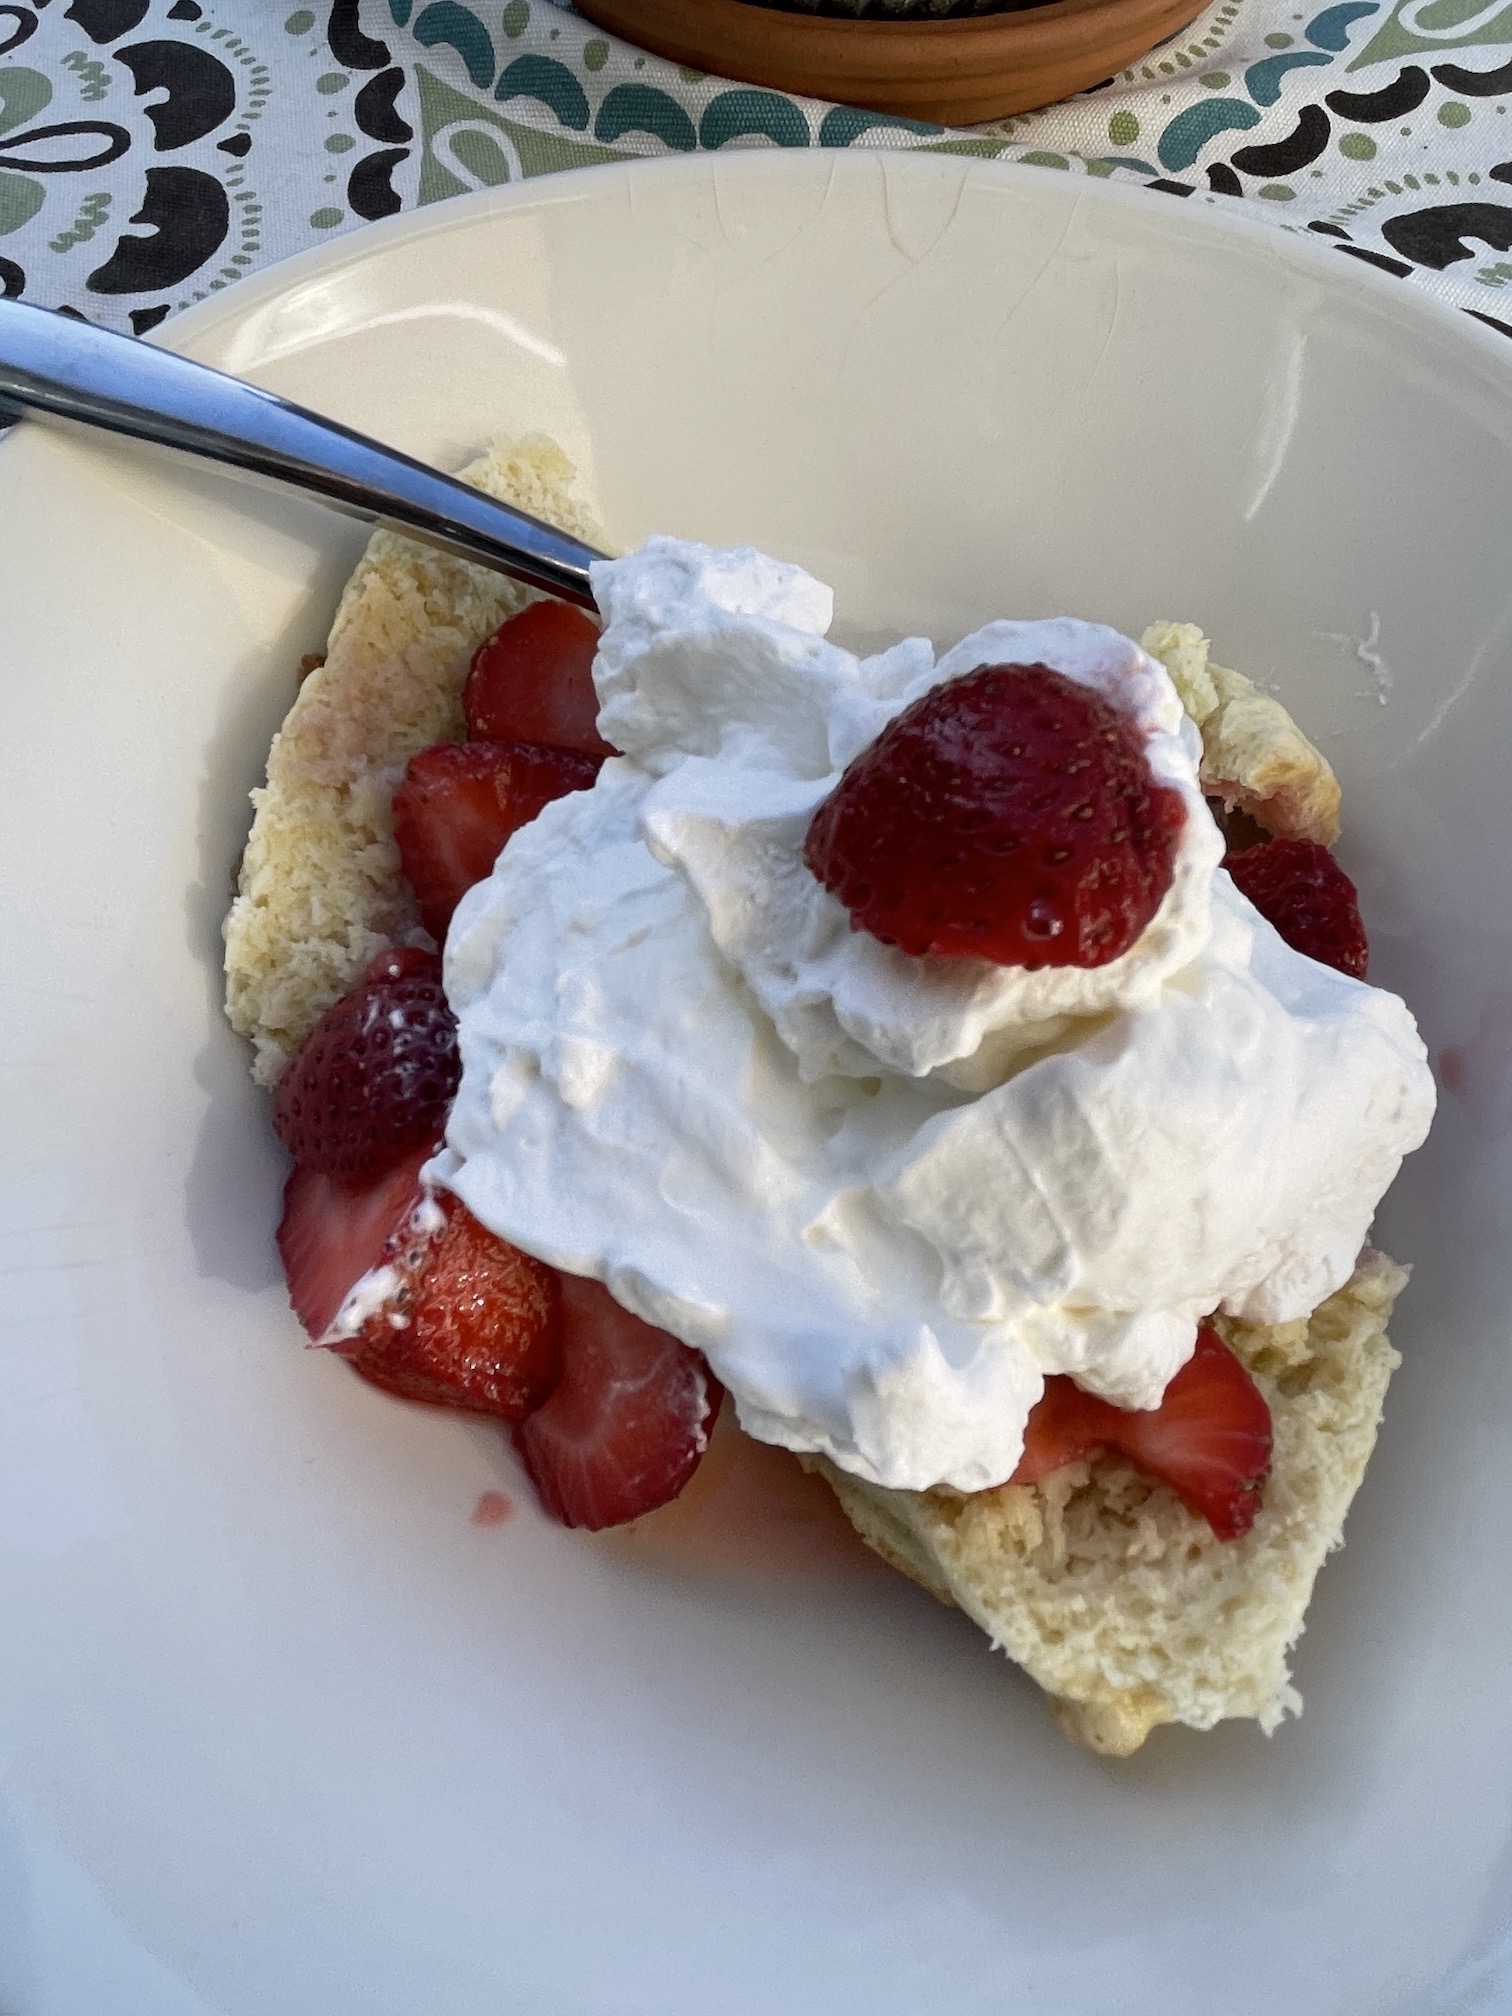
Also, strawberries were on sale, and I made homemade vanilla sugar scones and we had strawberry shortcake with fresh whipped cream for dessert!
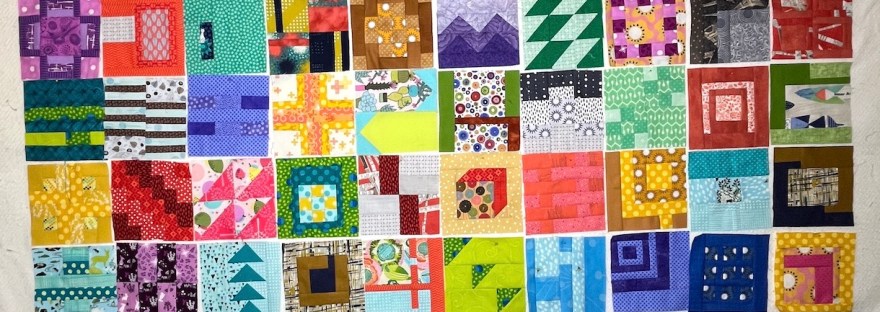
I’ve decided to sew the blocks together without any lattice or other design to separate the blocks; and to not add a border. As a result this will only be a lap size quilt (100 – 6.5 inch x 6.5 inch blocks, minus 1/4 inch seams to join the blocks…no sorry I do not want to do that math* but will let you know the final measurements when I sew the blocks together!).
Next time I post about this quilt, I will share the quilt blocks sewn together in their final layout – I still need to decide how I want to organize the 100 blocks…
Oh if you are just joining us and want to see the evolution of this quilt, I put all the posts on this quilt under a new category I created for my blog:Sampler Quilts. I am hoping to do more sampler quilts in the future to go under this category. Note if you click on the link for Sampler Quilts you will see this current post again also.
*Okay I did sort of do the math and I am guessing around 60 inches x 60 inches will be the final quilt size. But let me know if you disagree (I took 10 x 6.5 inches = 65 inches, minus 20 x .25 seam allowances which = 5 inches – for 65 inches – 5 inches = 60 inches…)