
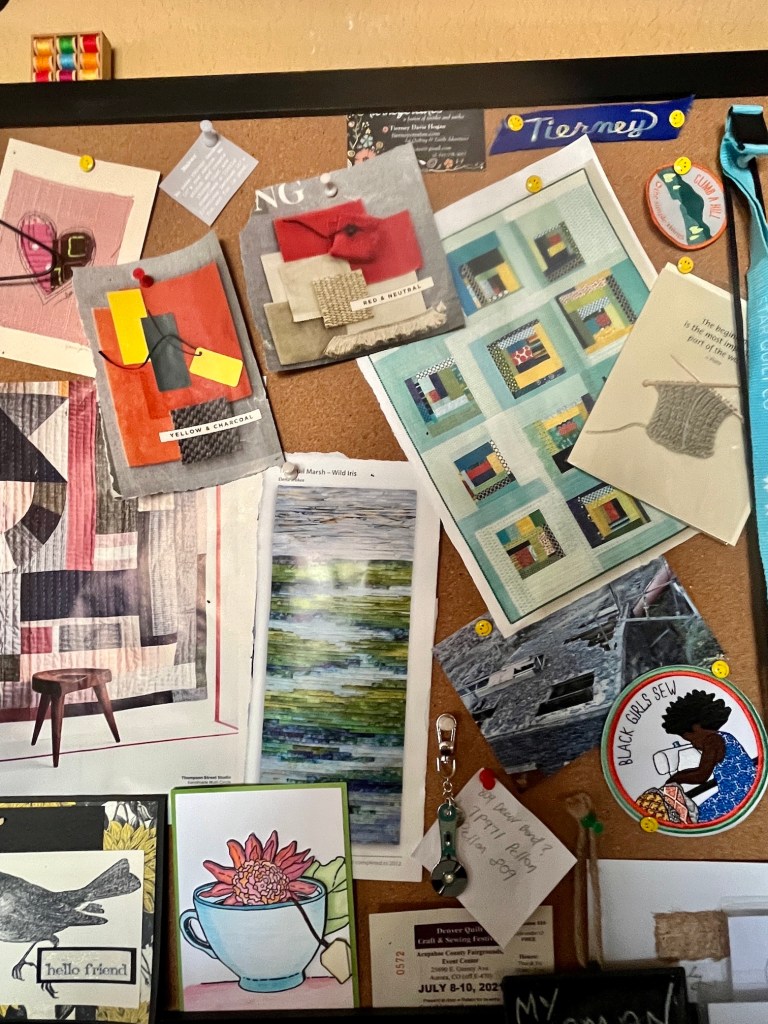
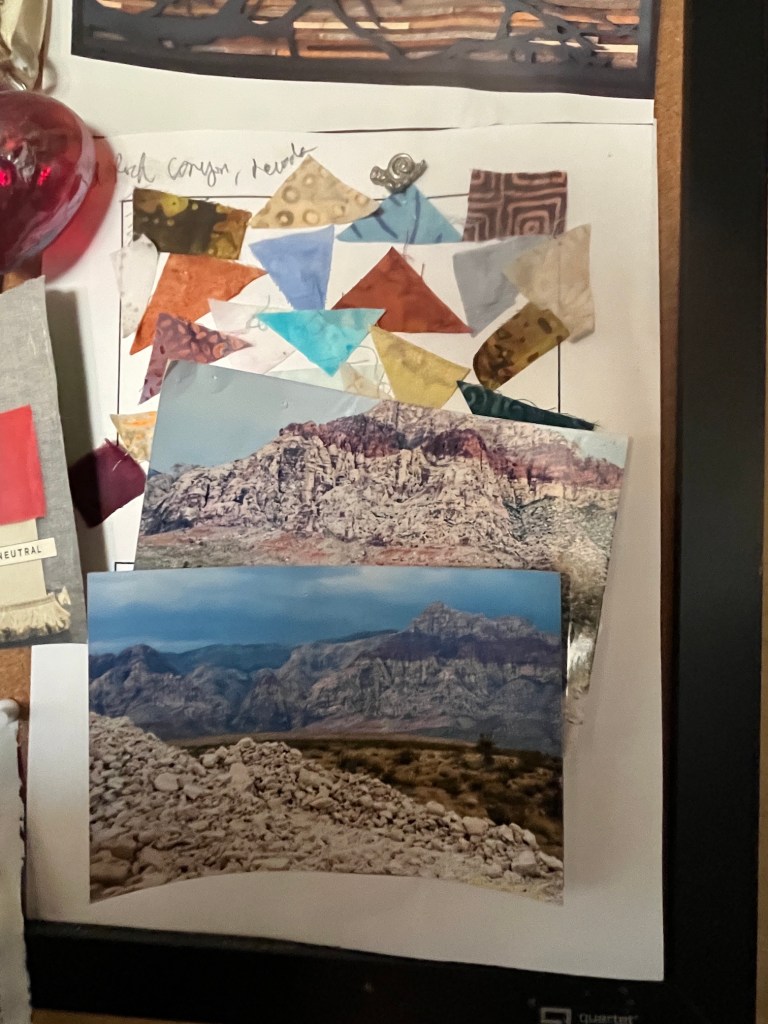
I use color in art quilts intuitively: selecting “what feels right” for a piece. I am inspired by combinations found in nature, color combinations that I see in publications, and colors that I enjoy seeing together.
Below are a couple photos from my inspiration board in my studio:
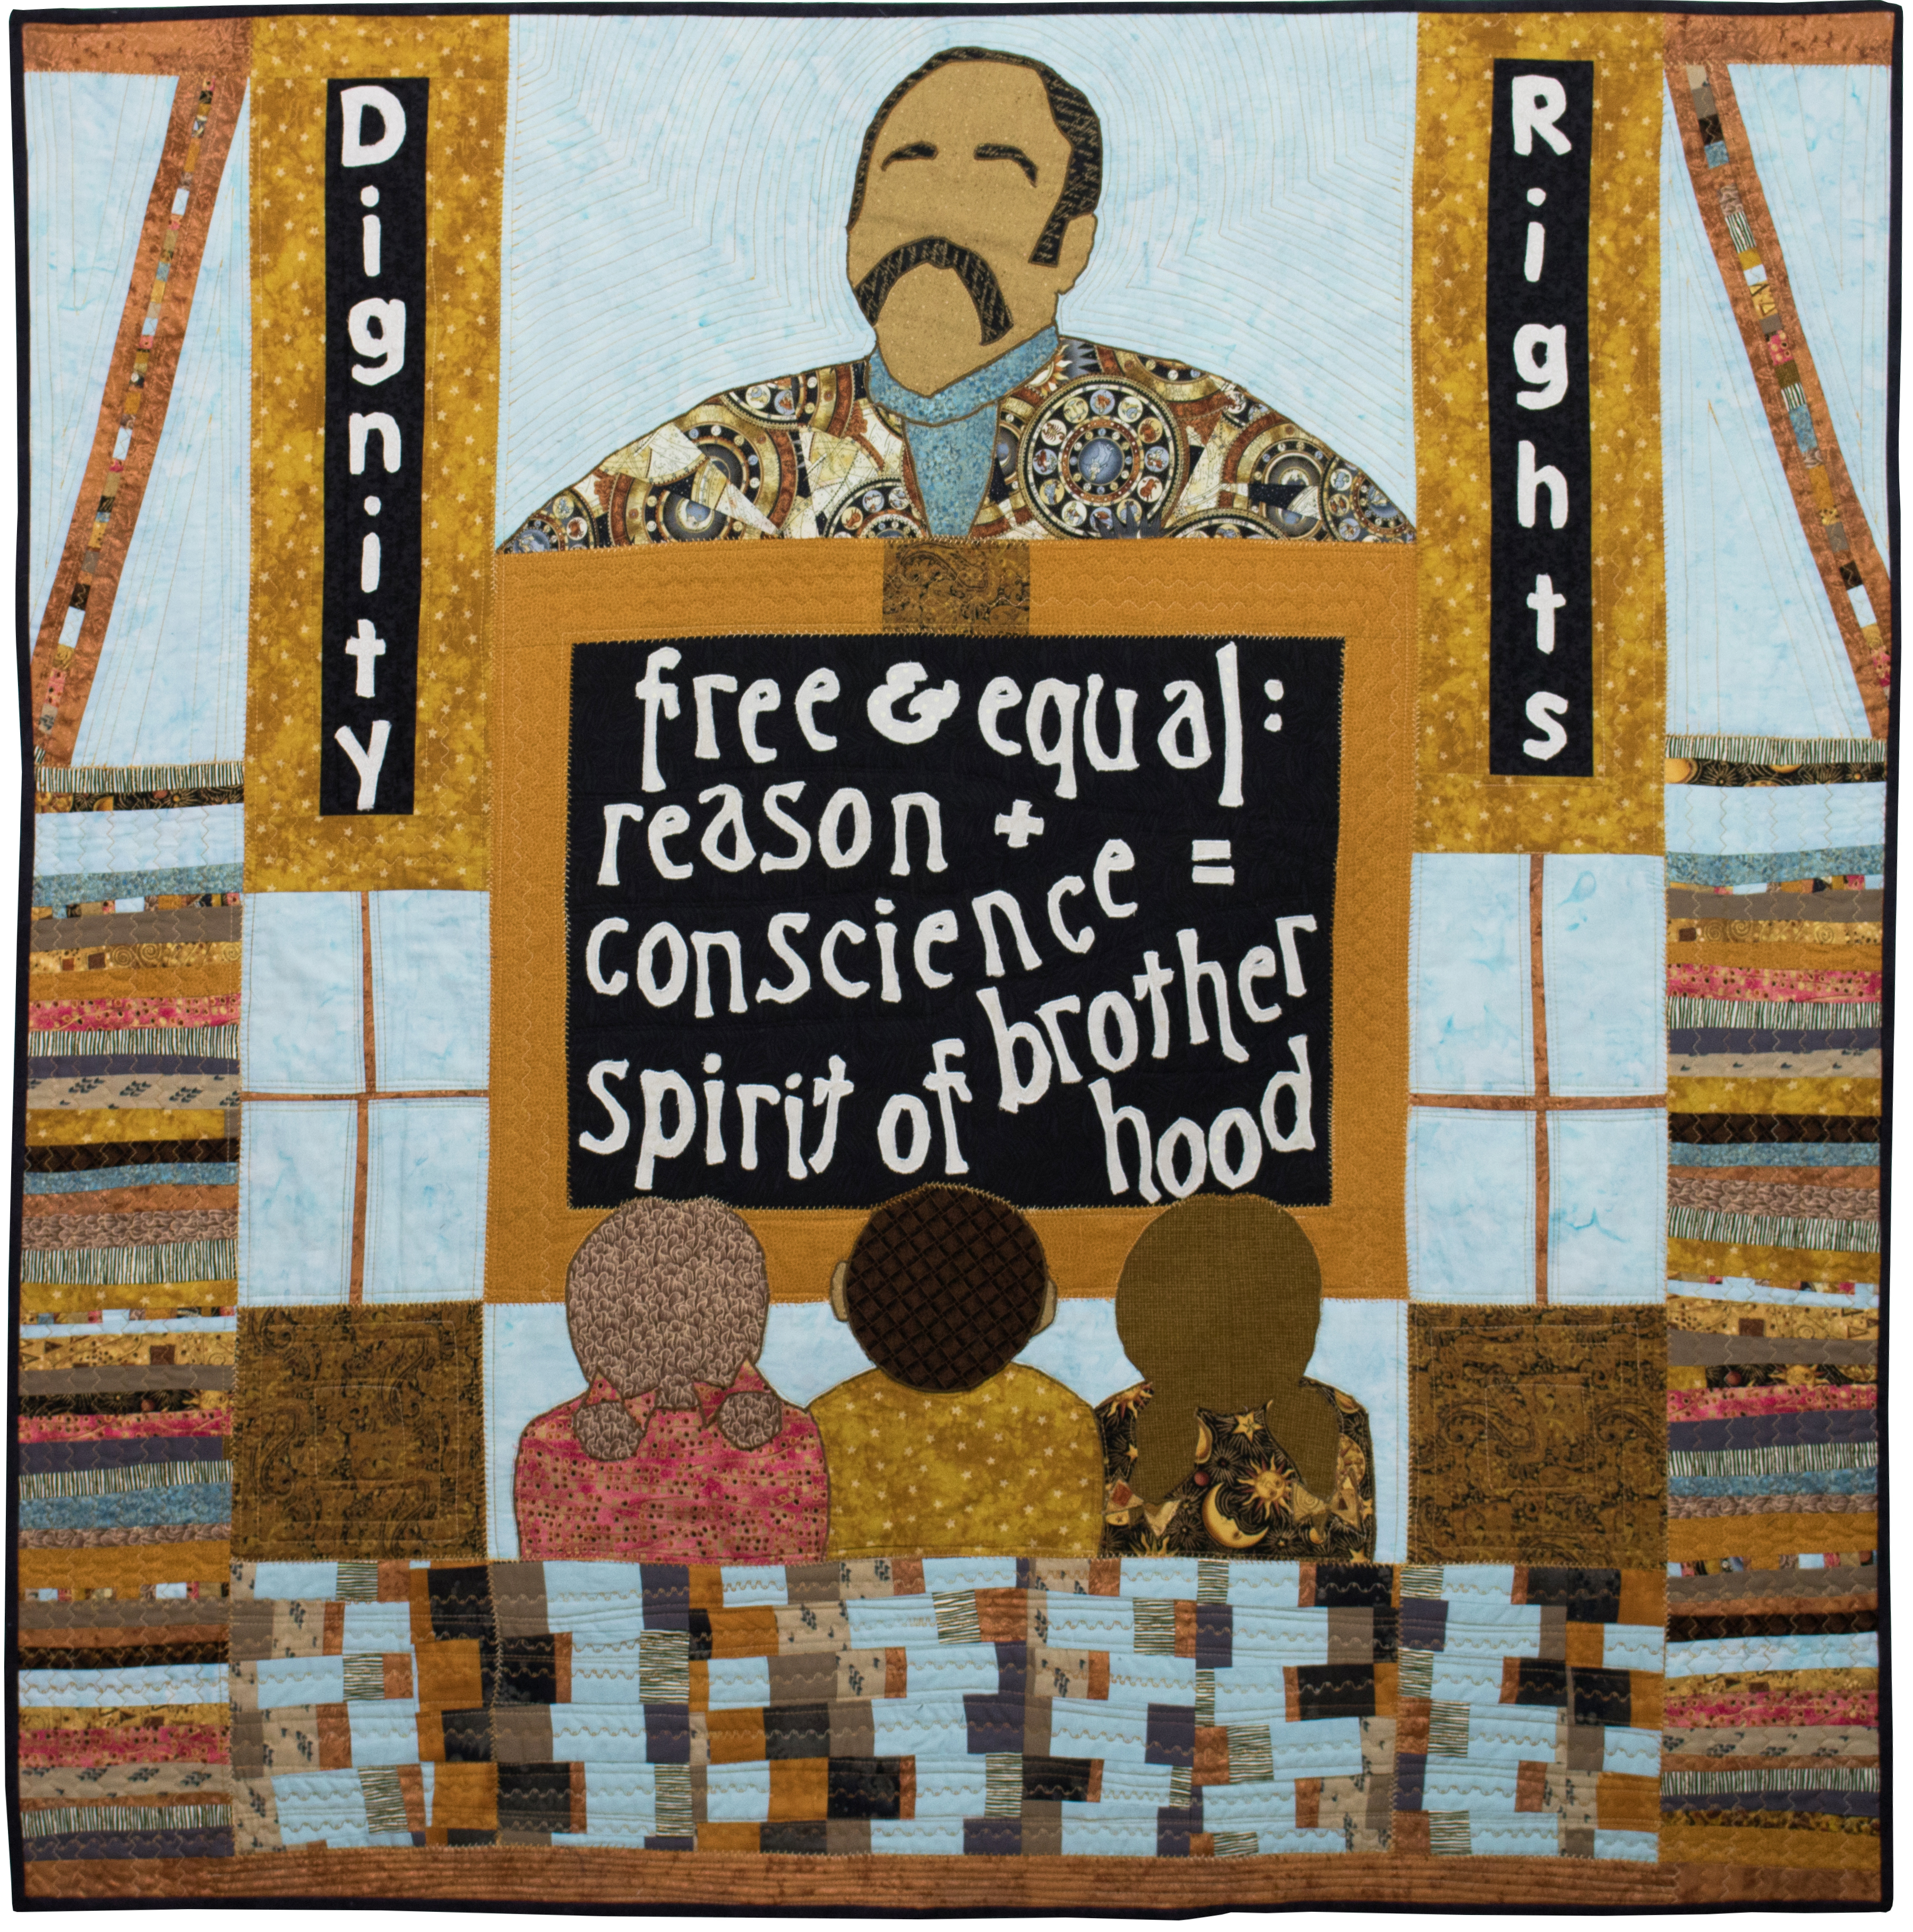
I also have a palette that I love to use, an example is in my quilt below The Lesson & The Equation:
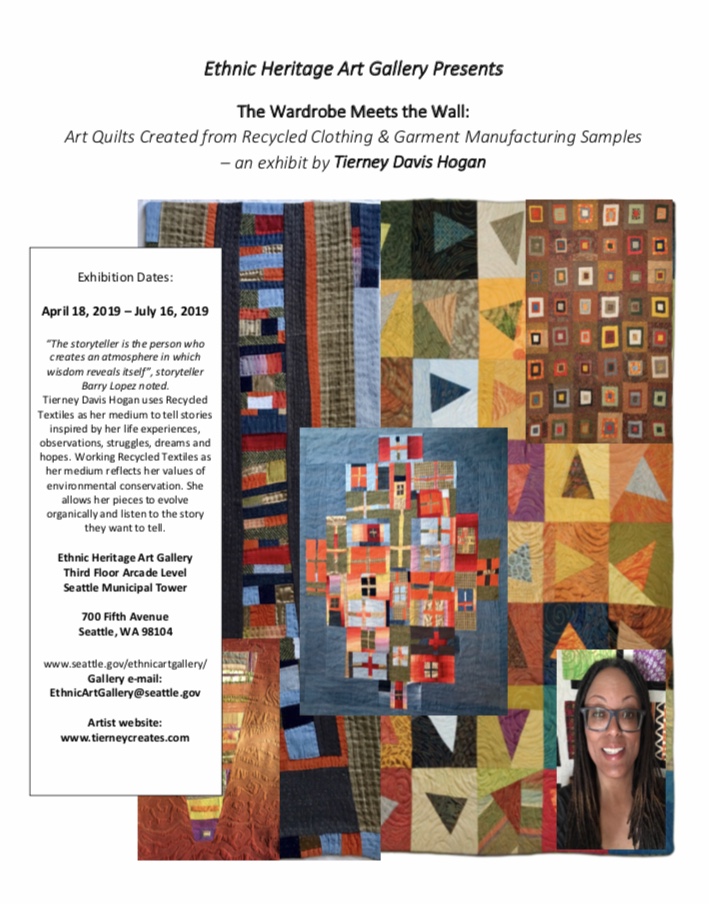
You can also see my palette repeated in this poster from first solo show in April 2019:
(It’s funny but it took a while for me to realize that I actually have a palette that I repeat!)
That being said, I have studied “color theory” in both formal art quilting classes as well as by reading many books. For example I love Joen Wolfrom’s book Color Play: Easy Steps to Imaginative Color in Quilts (2000), the first book I ever read on color theory.
In order to challenge and “break the rules” when creating innovative art quilts, first you have to understand the rules! Although it might be disinteresting to some of the students in my workshop, it is a foundation of artistic creation and one I should cover during my workshop.
I realized that if I am going to teach an art quilting class next year (see post A Year of Finishes: The Pivot) I need to brush up on color theory. I thought the best way to do this was to create a project I found in the book Quilt Color Workshop by T. Bruecher, B. Greenberg, L. Goldsworthy, and J. Adams (2014), that I borrowed from the library.
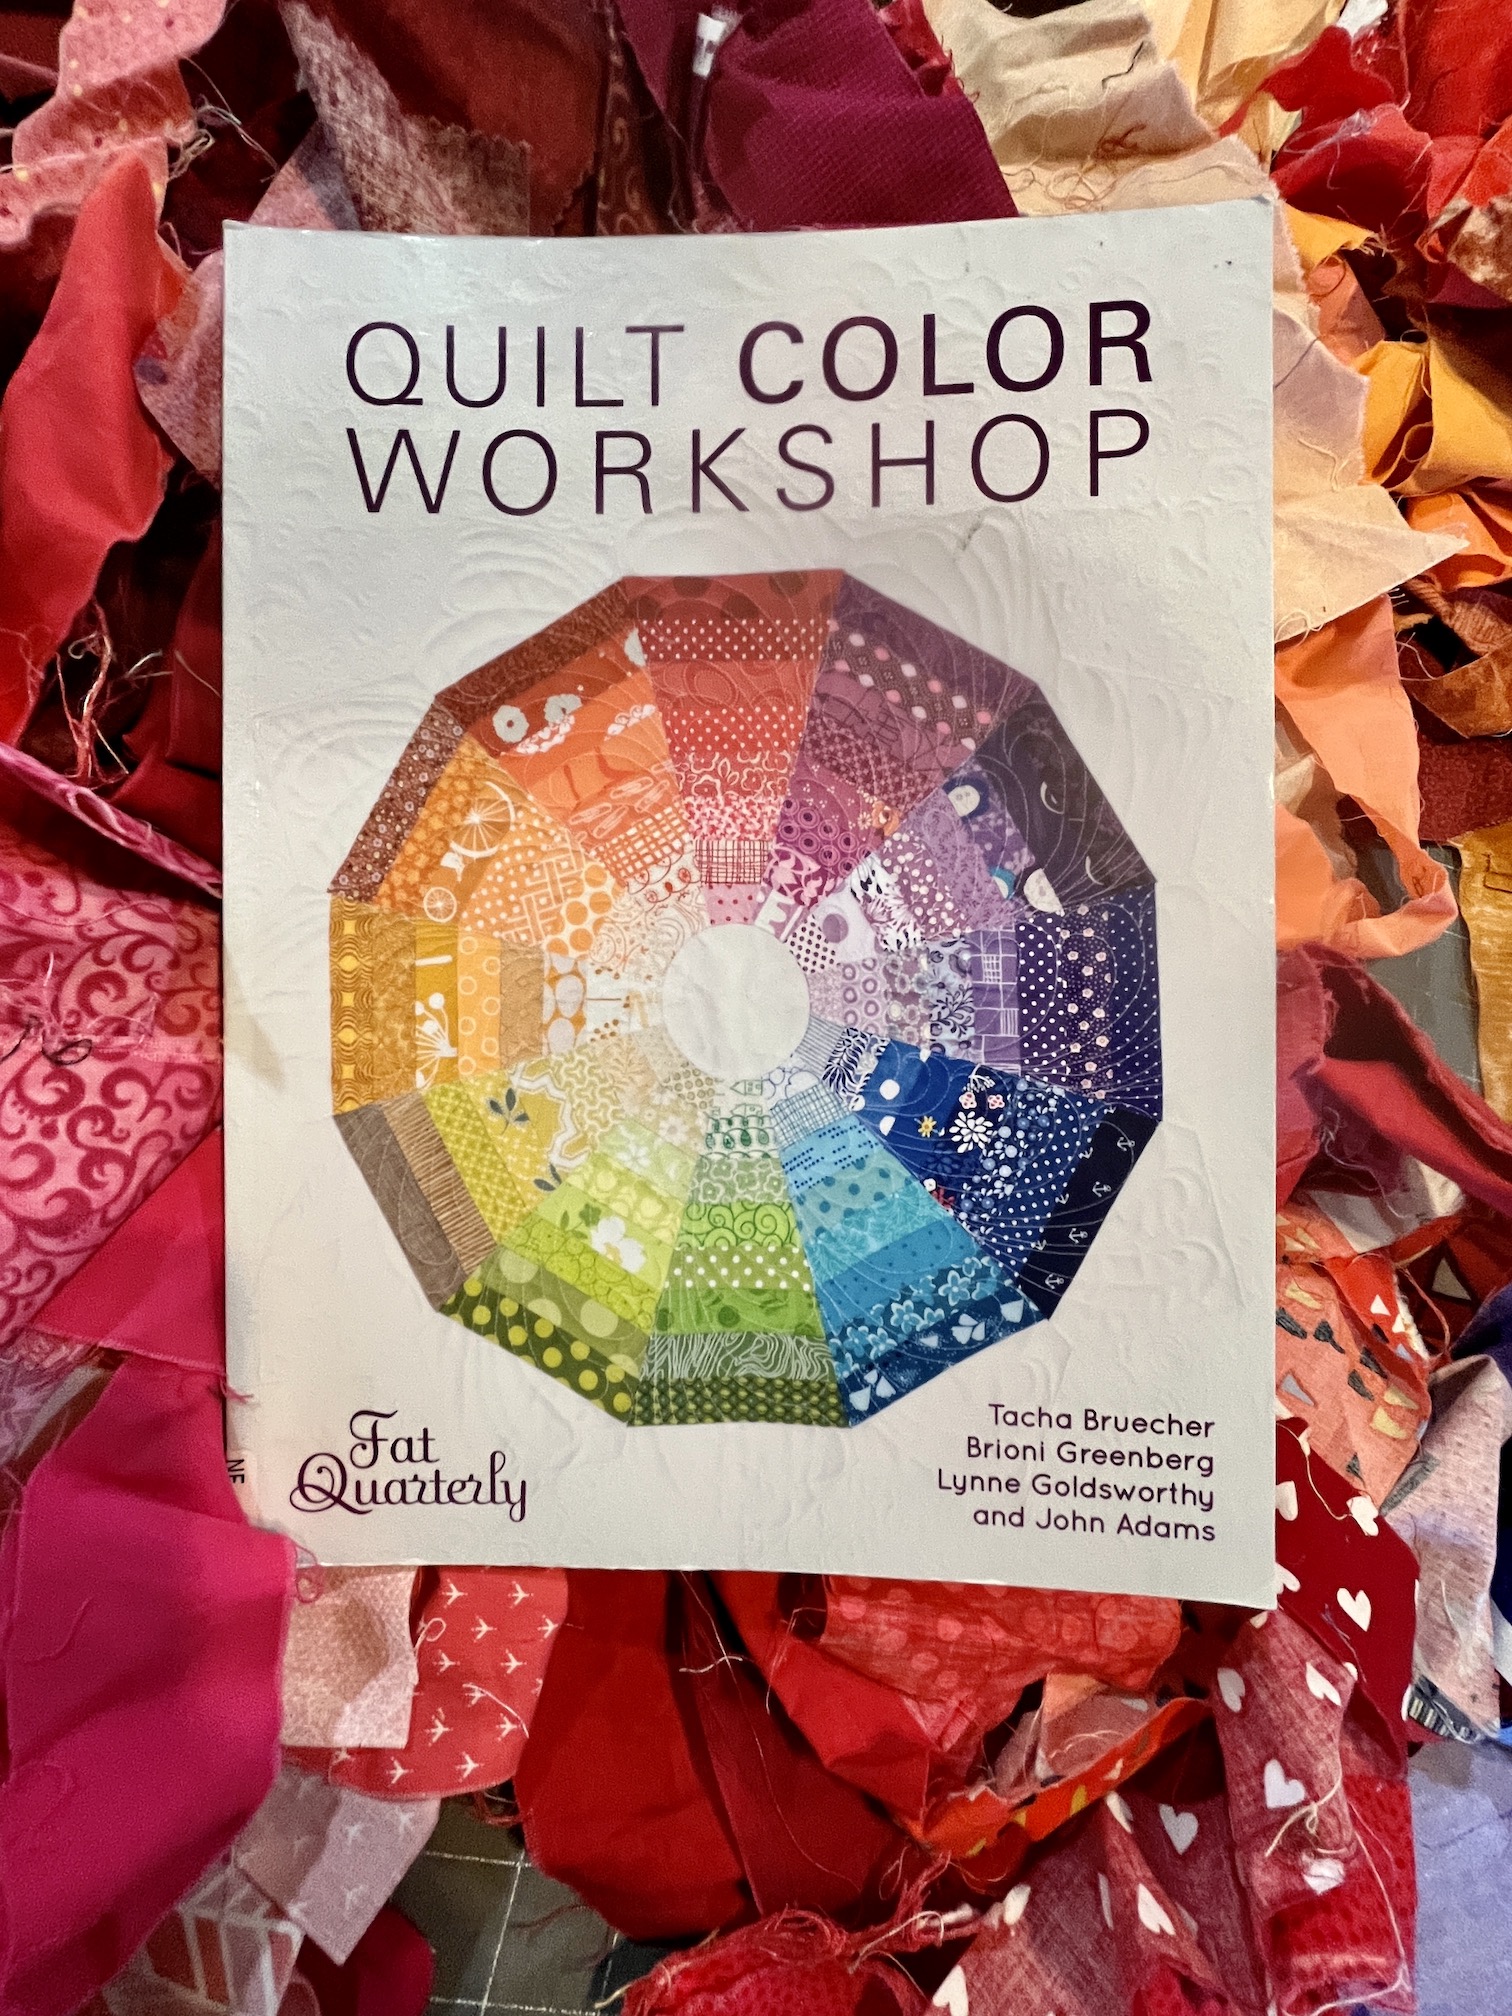
I am making the Colour Wheel Quilt on the front cover, which will serve as a class visual for my workshop as well as refresh my understanding of Primary, Secondary, and Tertiary Colors; and Pure Color, Tints, Tones, and Shades.
I have a lot of sorting to do to find the strips from my large collection of fabric scraps for the piece.
Currently I am sorting through my box of Reds, Purples, and Oranges to begin the project (I’ve organized many of my fabric scraps into wine crates that liquor stores have my kind enough to gift me or sell to me cheaply).
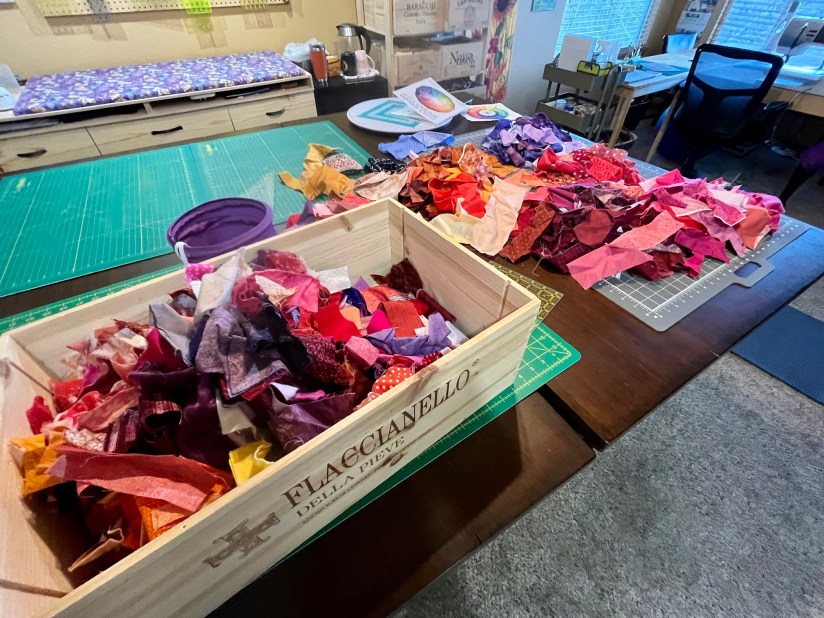
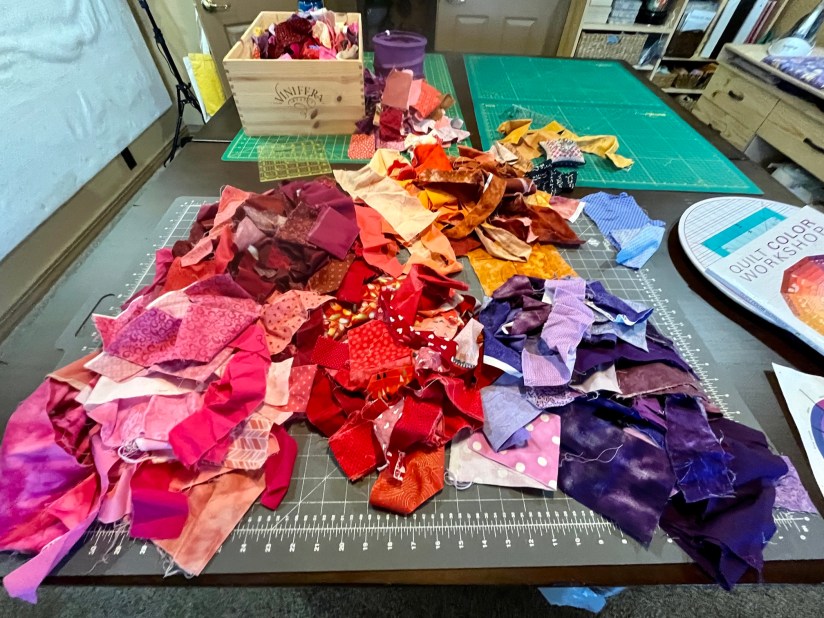
At first it was tedious, but then it became fun. It is a productive way to revisit my fabric scraps.
I am having fun mapping out the 6-day workshop I will give next year. I am planning to ship to the venue a large amount of my fabric scrap collection for the students to use if they like during the workshop. I am ready to move on from my crazy fabric scrap collection* and start digging into my crazy fat quarter collection (and create more scraps – ha!)
*75% of my fabric scrap collection is from fabric scraps others have given to me. So it is from others’ fabric choices. I am ready to primarily work from my fabric choices in the future…

For a delightful romp through the history of color, I recommend The Secret Life of Color by Kassia St. Clair. https://a.co/d/61DBBm4 Excellent read!
LikeLiked by 1 person
Thank you and I do have that book! I read the first chapter like a year ago and then got distracted. I am so going to return to it 🙂
LikeLiked by 1 person
Tierney, you have the heart of a teacher! The students that attend your workshop are going to glean so much not only from what you decide to present but also from your enthusiasm & knowledge store.
LikeLiked by 1 person
Thanks Beth I really appreciate your comment. It made me smile virtual hugs.😀
LikeLike
That’s a great idea to make a quilt color wheel. I know it will help a lot of students. I also like your idea to let students use your scrap collection. I think quilting results, like collage, benefit from the makers feeling they are coming from a place of abundance, that the materials don’t limit but instead open up the possibilities. Your plan will make a difference for the students, I think.
LikeLiked by 1 person
Thanks so much Claudia! It’s refreshing in my mind my previous learning that I needed refreshed! 😀
LikeLike
I know, I have experience that myself, when you teach, you also re-teach yourself, I think.
LikeLiked by 1 person
Yes!
LikeLiked by 1 person
Hey, I recognize one of those quilts! 🙂 It was fun to read about some of your artistry in action. Thanks for sharing…. You are inspiring! Have fun!
LikeLiked by 1 person
Hello there so wonderful to hear from you! Thanks I really appreciate that 😀😀😀
LikeLike
I watched a colour class from Wolfrom on Craftsy years ago and it still influences my colour choices. It made me much more aware of how colours play together and why some choices just don’t work. That fabric colourwheel project looks like a lot of fun!
LikeLiked by 1 person
I watched the same class! It was actually the first class I bought from Craftsy in the old days of Craftsy! I sort of wanted to do that exercise with the acrylic paint, but it was quite an investment of time and materials!
LikeLike
I also skipped the painting part! Not enough patience…. for painting anyway. I did play around with different colour schemes in fabric though.
LikeLiked by 1 person
Very nice. I know your students will learn a lot from you.
LikeLiked by 1 person
Thanks a lot, Dave I really appreciate that!
LikeLiked by 1 person
as an artist (and former art teacher) I can relate to so many things in your post – like takign a while to find your patterns – and going with the gut to create based on what “what feels right” – and then also before one deviates they do need to be taught certain things.
oh and I have had mixed bins of leftover supplies and have had times of “releasing them” for art students to use – to then start the process of collecting leftovers (my scraps) all over again.
🙂
—
best wishes with the workshop that you teach
LikeLiked by 1 person
Thanks so much I so appreciate your thoughtful comments 🙂
I bet your leftover supplies were appreciated by your students! I remember when I was first starting out with art quilting and needed some more diverse fabrics and my teacher shared her amazing fabric scraps!
LikeLiked by 1 person
Your teacher sound awesome no she would smile to think of you mentioning her!
And one example of my supplies being out to good use – I worked at a private Christian school for a few years and one years – eneyered my entire school on the Mariner’s museum art show
And a few students somehow ended up coming after school here and there and that was when extra supplies (scraps) were offered!
And guess what?
Two students placed in the art show / and both used the supplies a Chloe used scraps (of strings, netting, thick paint, filter, and jewels and made a mixed media piece with the battle theme
– and Jonathan Bottoms – my 6th grade student / won first place and guess what he used? Leftover foil ! He made a relief and added some red wire and blue paint in certain areas – and not to ramble on / but I think one of the reasons he won was because his piece was so unique compared to the other 150 entries / it stood out and was refreshing (but if there were a dozen foil art reliefs it might not have won!
Anyhow / he also got a letter from a senator because Jonathan as from a small town called Mechanicsvile VA
LikeLiked by 1 person
Leftover foil! That is so cool! Very unique and sounds like the win was well deserved by your student!
You are a teacher – so you are a higher lifeform – I come from a family of teachers 🙂
Thanks for all you did for those students!
LikeLike
Hi – well the foil was the thick copper kind of material that is very thick and works well for reliefs – and yes, I have taught on and off since the 1990s – but Higher Ed has been my main area (I also do research each year) but when I had the chance to teach art – it was a heart’s desire and I very fulfilling (also exhausting because I tended to do too much – lol) – but that season ended and new things were in store
LikeLike
What a fantastic project.
LikeLiked by 1 person
Thank you 🙂
LikeLike
Ha! Good luck giving away your scraps–I’ve tried that when I teach, too ; )
LikeLiked by 1 person
I hope the victims…I mean students take them… 😉
LikeLiked by 1 person
So now you’ve found your “title” – and now you need to make that colour wheel – so you understand the exact process you will need for your “students”.
Our own doing is a lot different to some other artists who may of course never have “done it your way”
As for scraps, all mine of late come from cutting up my shapes – sometimes from large pieces of paper through to actual “this is the right size for xyz object”.. Last week I tore up the tent shapes from a kind of kraft paper with black writing on, then it didn’t fit with the under paper – I’ve now bagged for the future… – another bag of scraps!
LikeLiked by 1 person
Well I plan to encourage everyone to do the way that works for them but give them some ideas and tool 🙂
I love what you did with paper scraps in your recent piece!
LikeLiked by 1 person
What a great project! And it will be a great help to your students to see the concepts in action 🙂
LikeLiked by 1 person
Thanks so much!
LikeLiked by 1 person