Guest Blogger, Studio

Guest Blog Post: Let There Be Light!

Hey this is Mike the Miniature Schnauzer guest blog posting.

Recently I had to help my humans add additional lighting to Tierney’s studio (the former main bedroom, see post A “New” Studio). Since it was a former bedroom, it was not set up for studio lighting, so the humans thought adding a two sets of track lights – one over Tierney’s ironing station; and one next to her design wall would help.

The above photo is the studio during the day and if you look for the faintly drawn green arrows on the ceiling you can see where the track lighting was planned.

So first of course I had to go to the home improvement store and supervise the humans while they picked out tracking lighting and supplies for installation:

What would the humans do without me?!?!

John installed the track lighting. He had to get into the attic (via the main bedroom closet) and drill the hole for the lighting box as well as set up the wiring.

The attic has layers of insulation so John got very creative on how to try and decrease the amount of attic insulation coming onto the floor of Tierney’s studio by attaching an aluminum pan to the “hole saw” attachment he had or his drill:

After a couple hours of drilling, wiring and lighting installation, Tierney’s studio was suddenly filled with light!

I was of course exhausted after all that human supervision and it was time for a nap:

From the Woodshop, Studio

In the Studio

It seems like it’s been a bit of a while since I posted.

To get myself through December (see Postscript section of the post Pillow for a Kitty) I’ve been spending a lot of time in my sewing studio working on various projects. I will share these projects over the next several posts.

Some of the projects have to do with preparing to re-open my tierneycreates Etsy shop after taking a hiatus for 4 (?) years (it appears I last sold something in my shop in 2016).

I’ll talk more about my decision to re-open my shop and the offerings I am working in some future post, but my studio currently shows evidence of my progress to eventually stock my shop.

2020-12-16_15-41-17_582

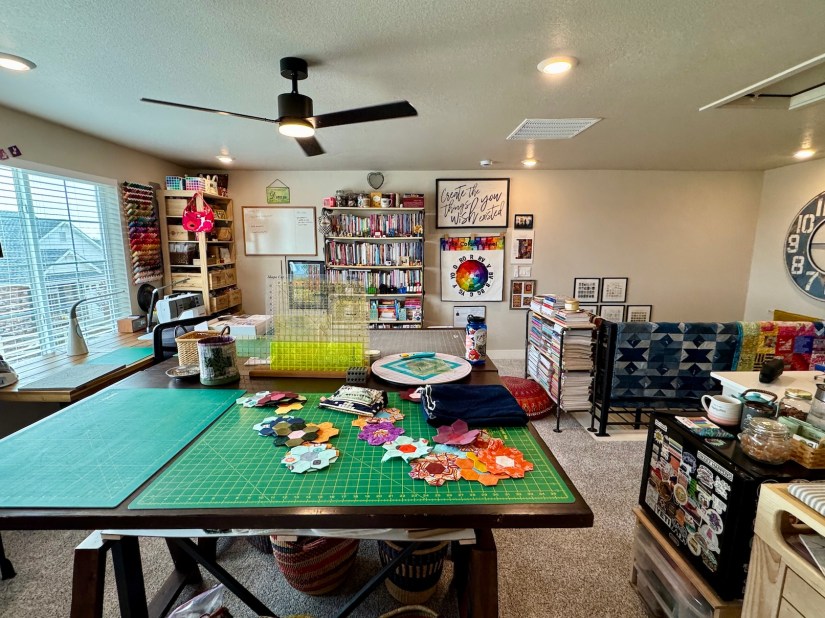
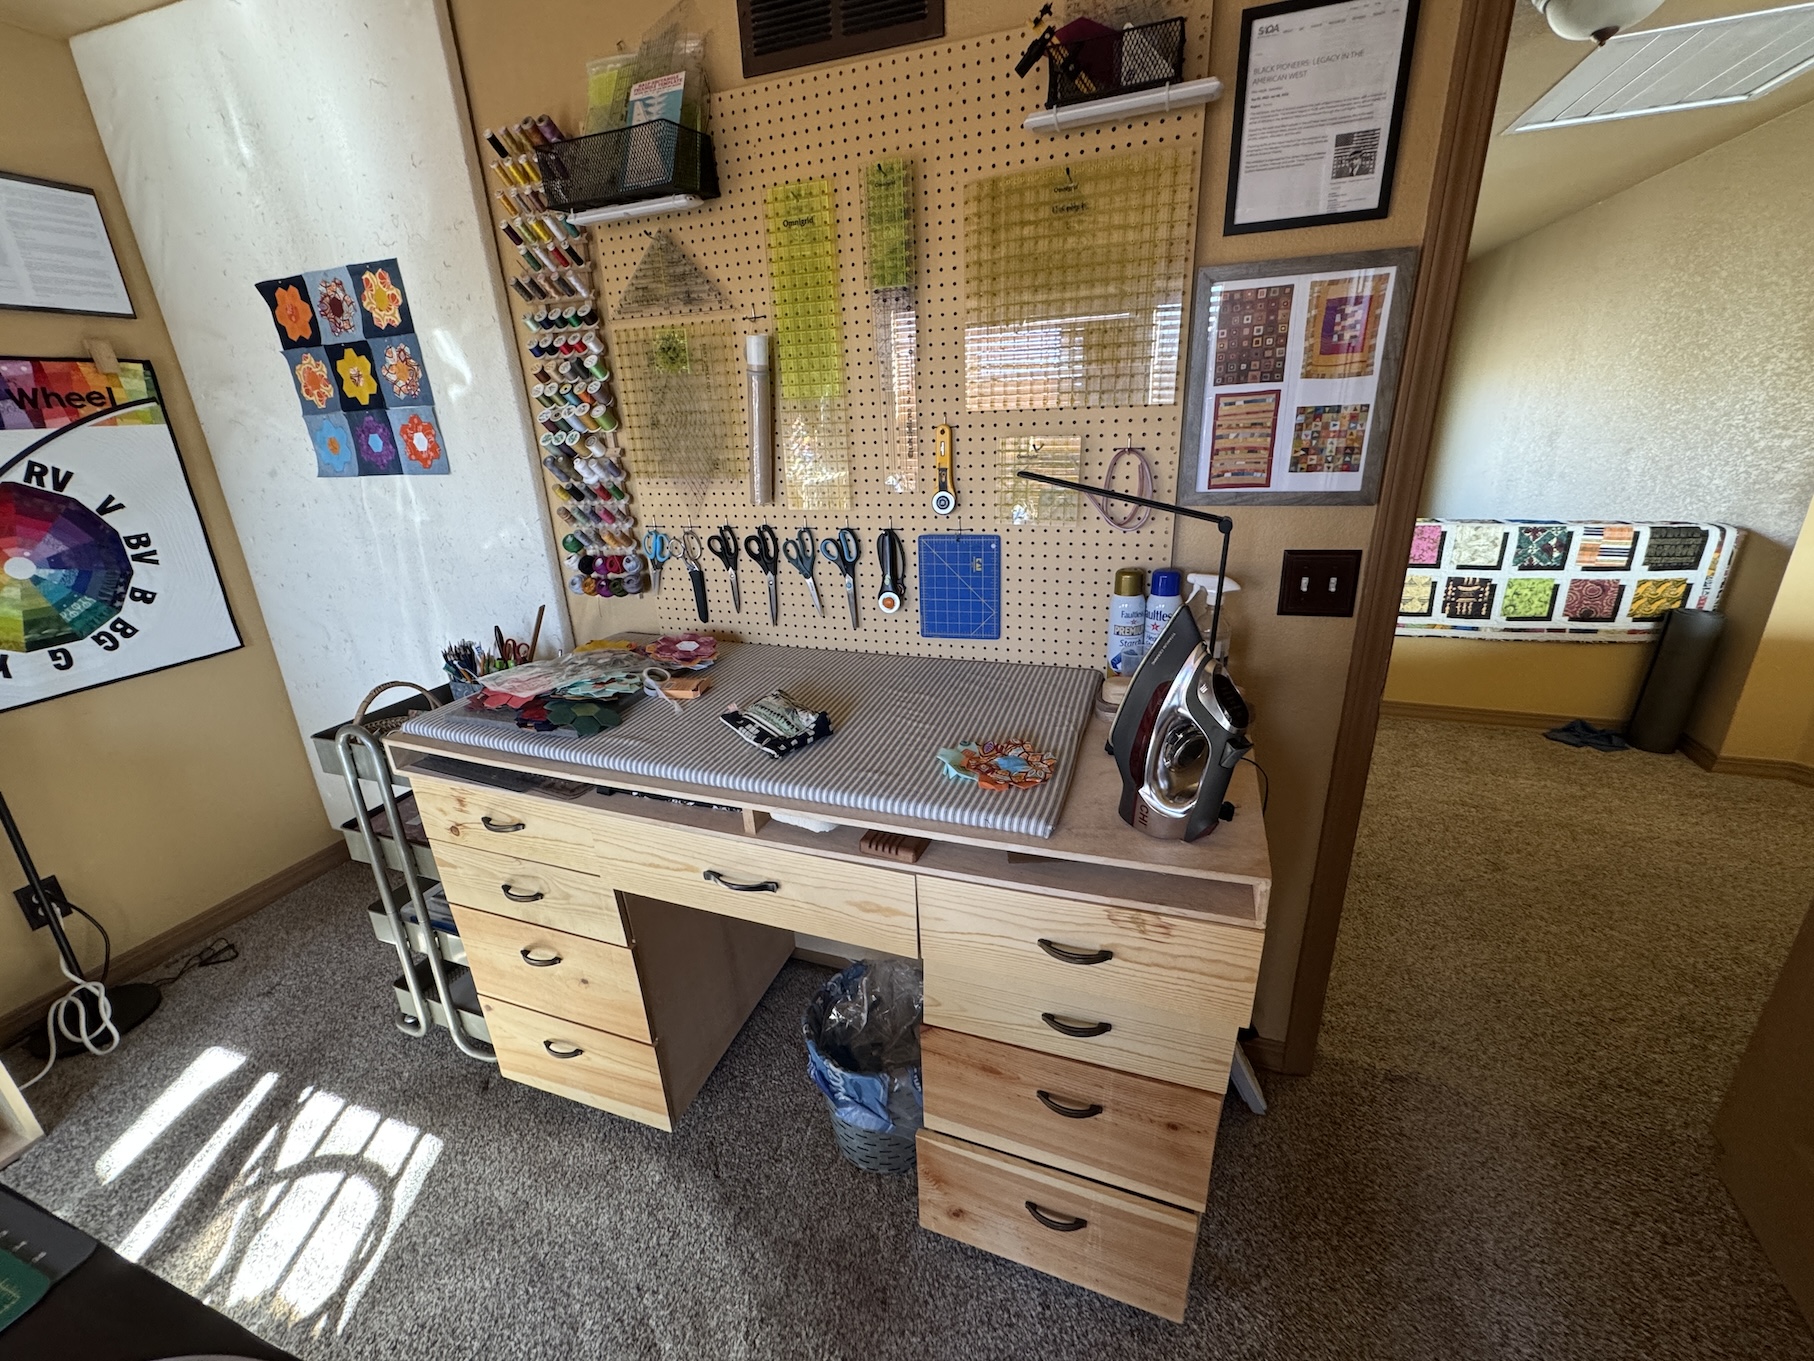
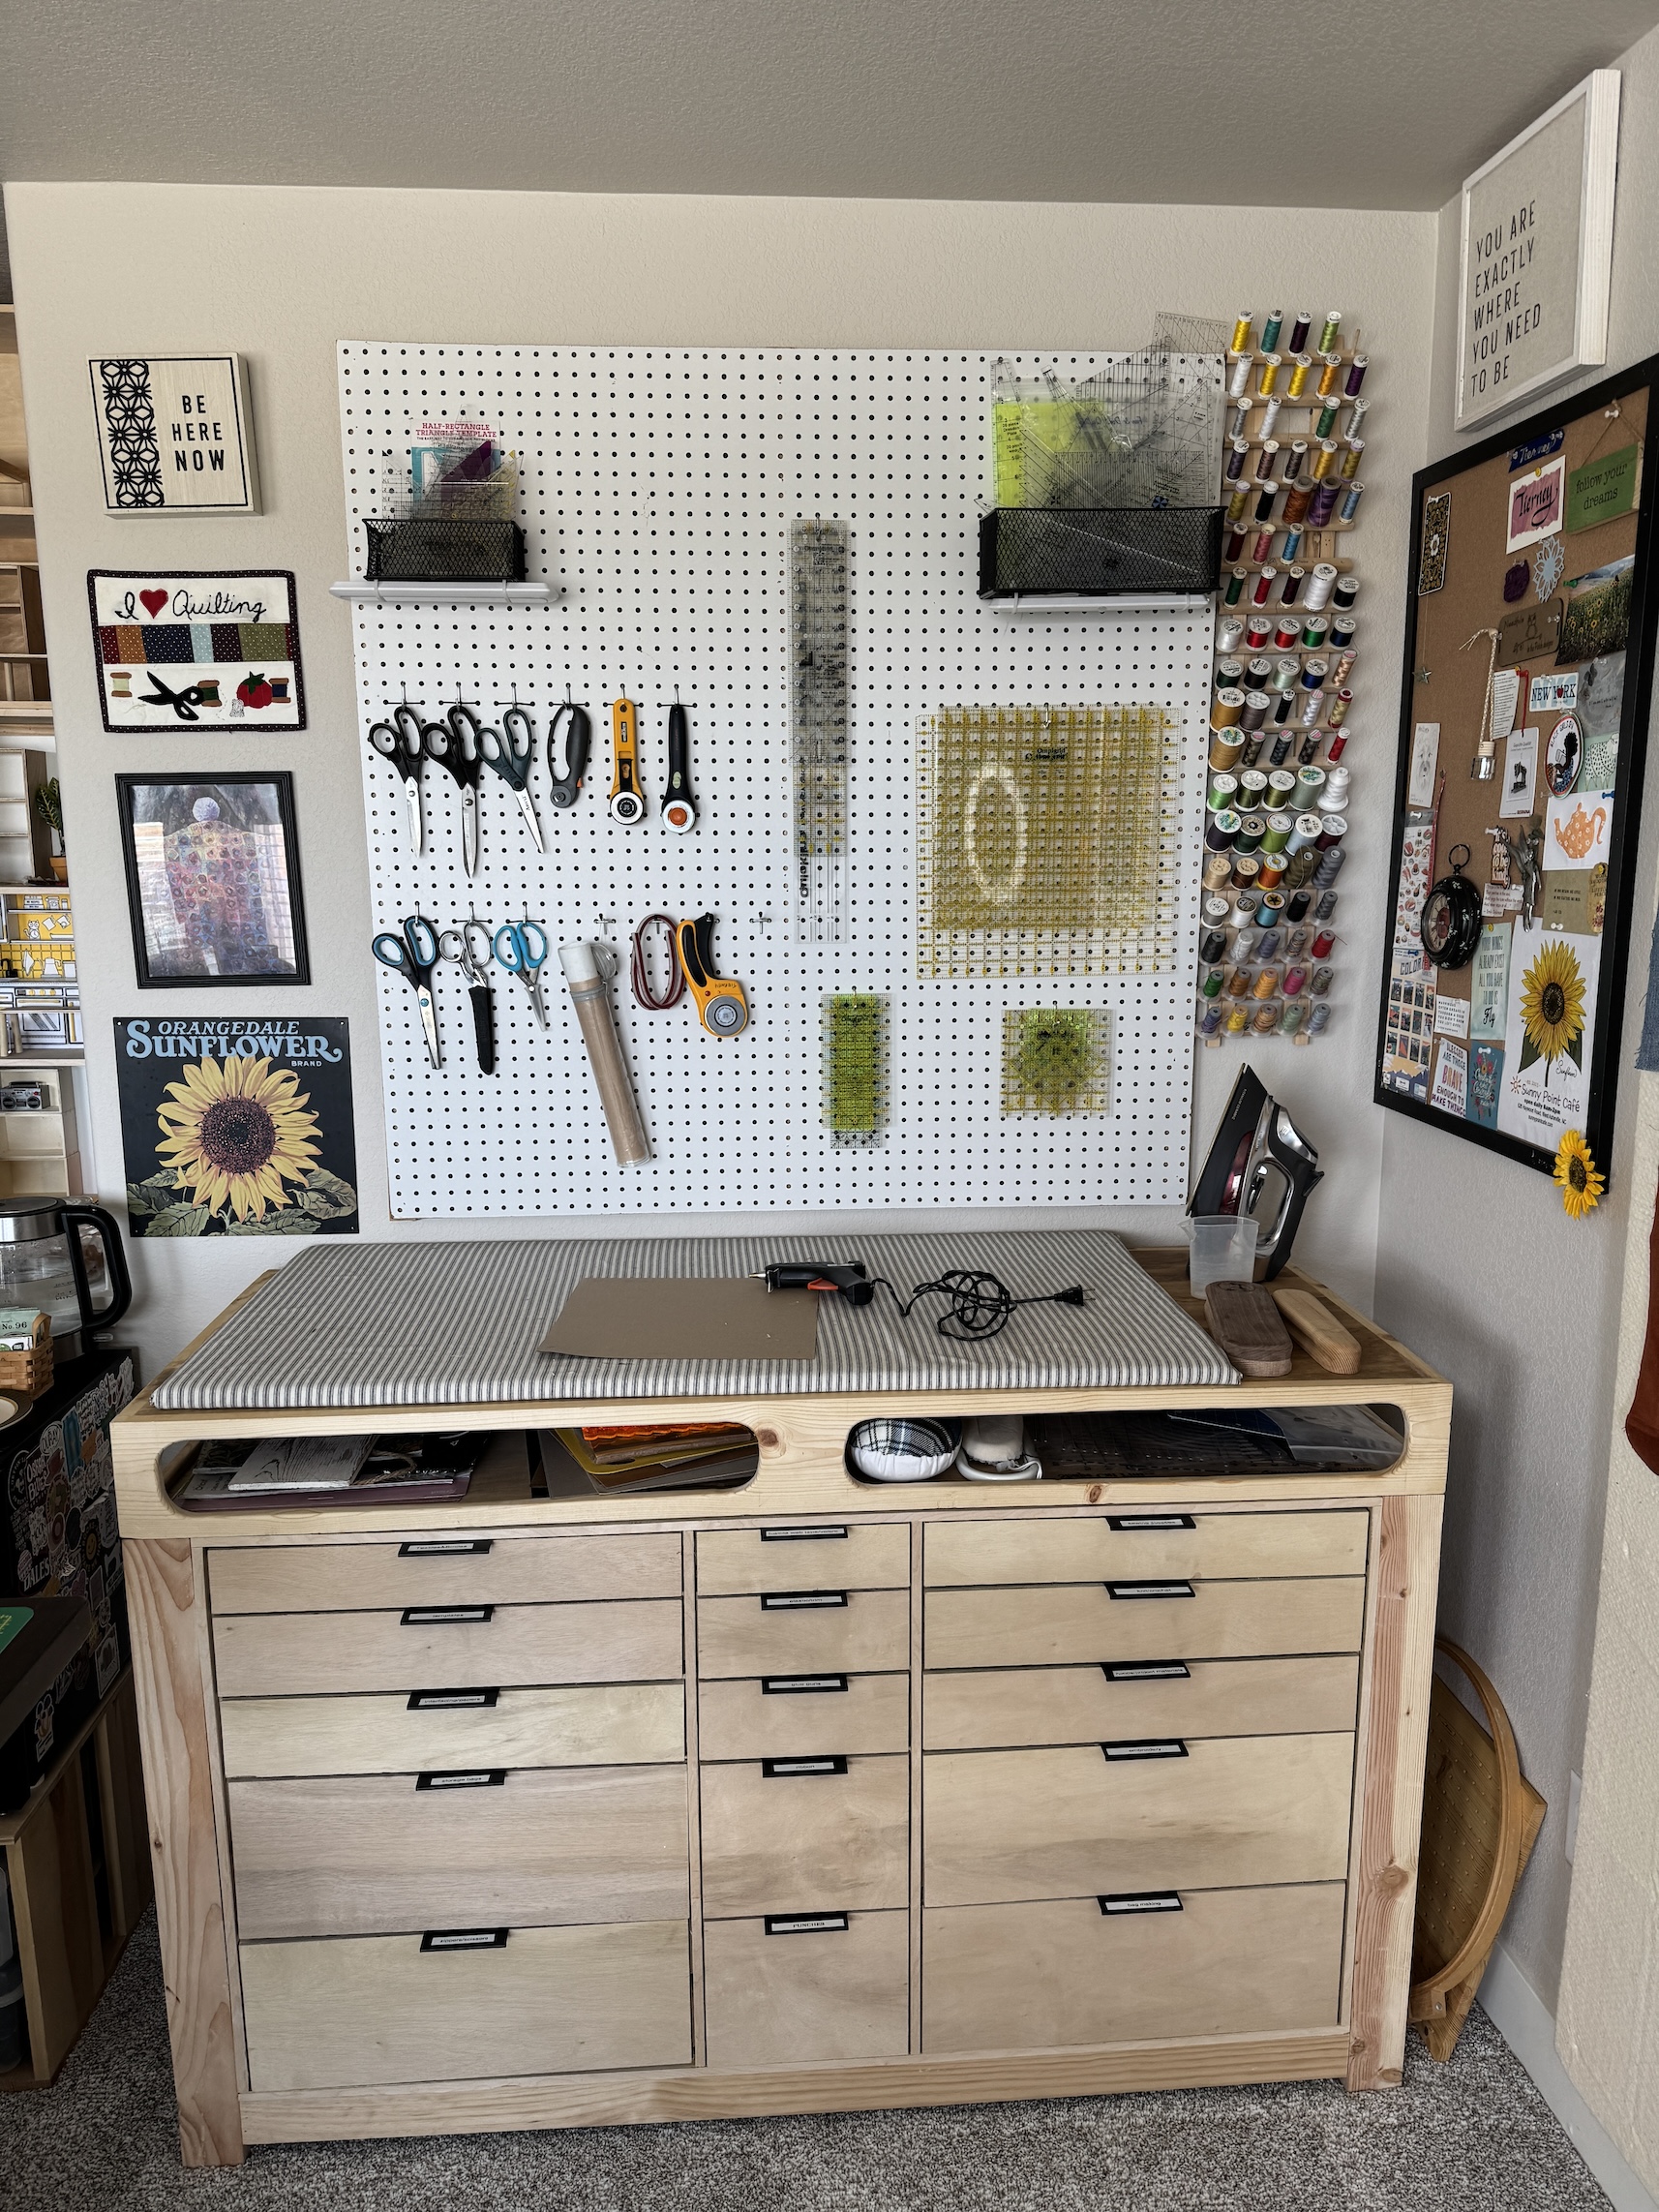
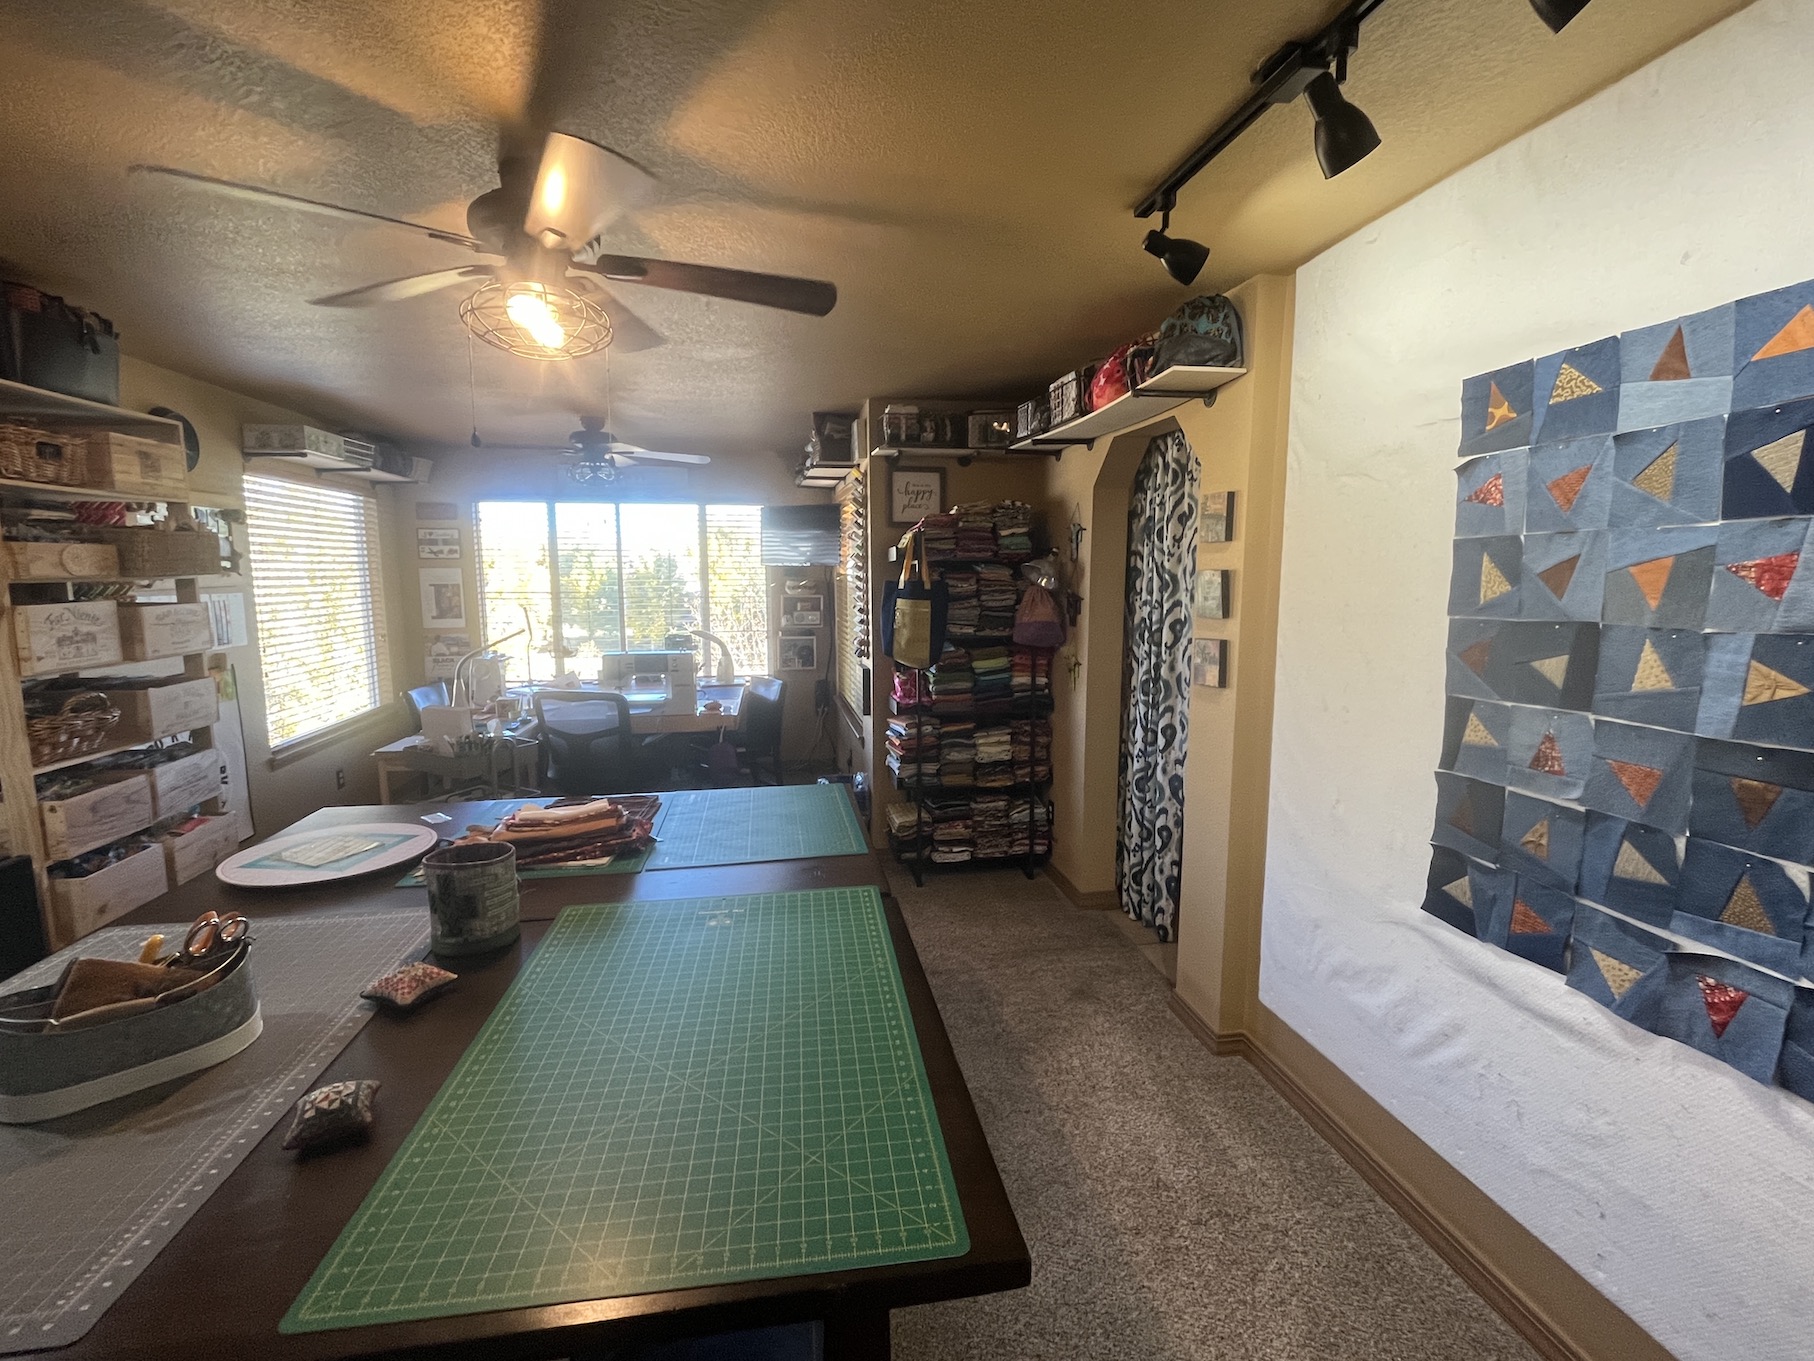
My sewing studio has really been an oasis and making things has made me feel centered and peaceful. My partner John has been supporting my studio time and progressing with his new hobby woodworking by sprucing up my studio with some new handmade furniture.
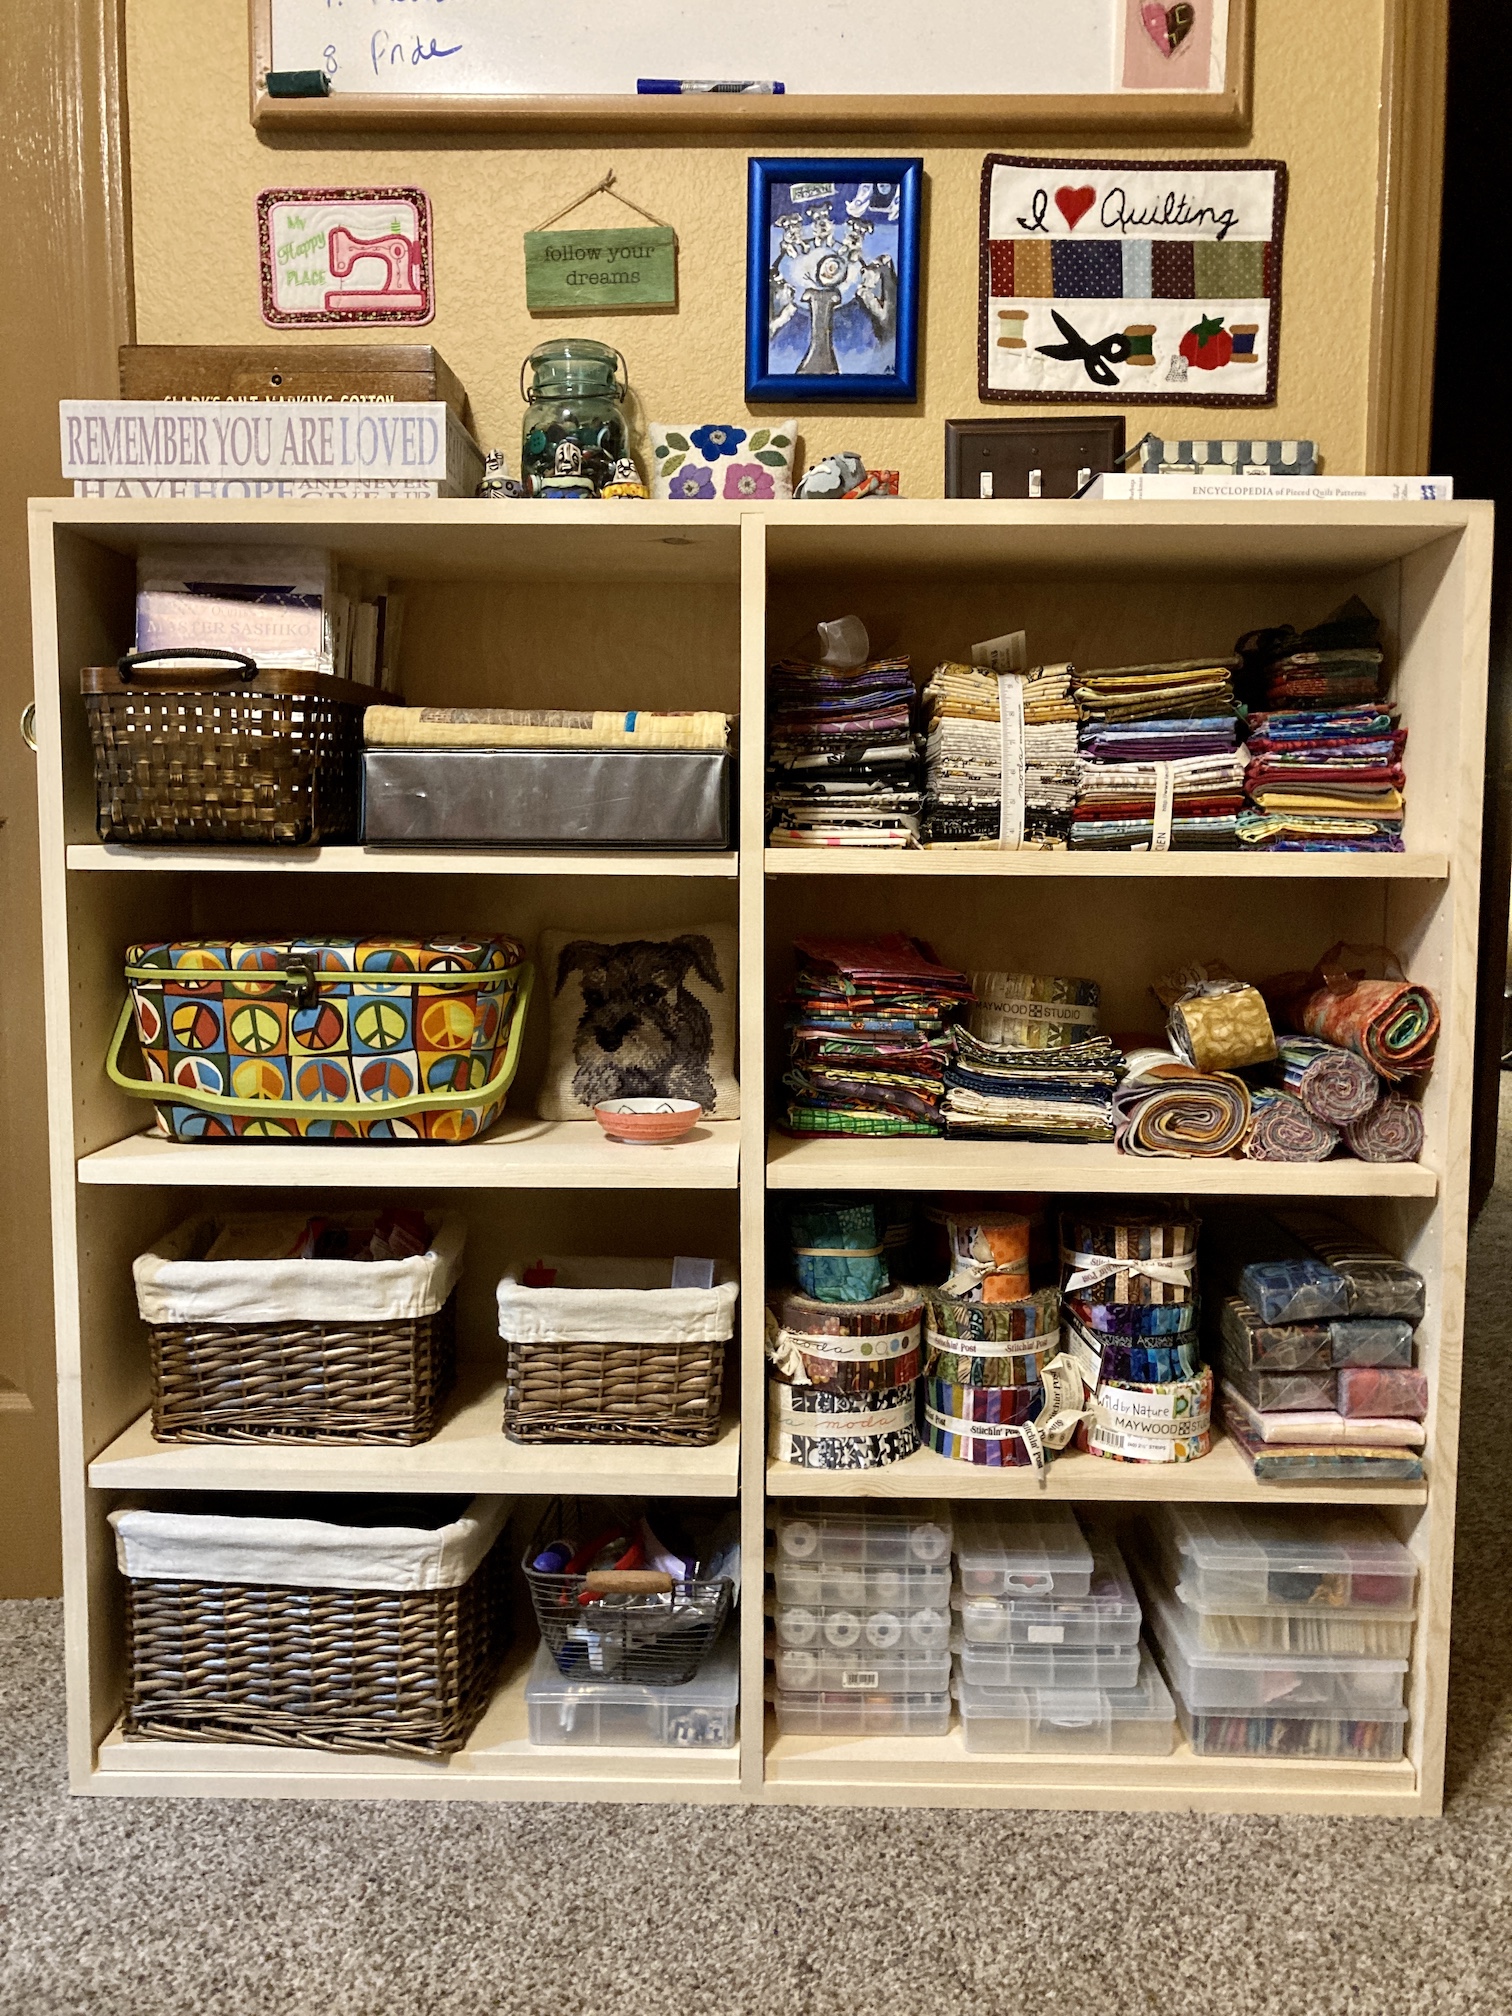
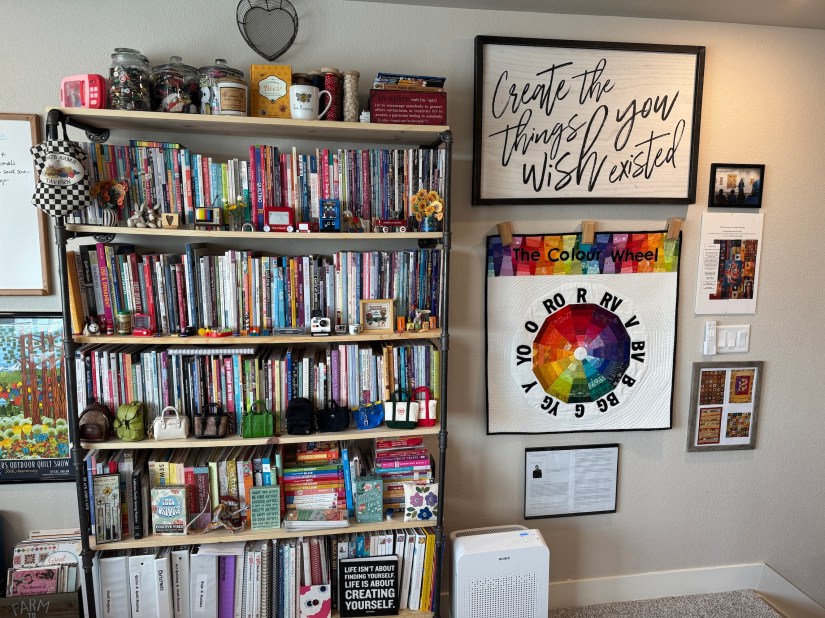
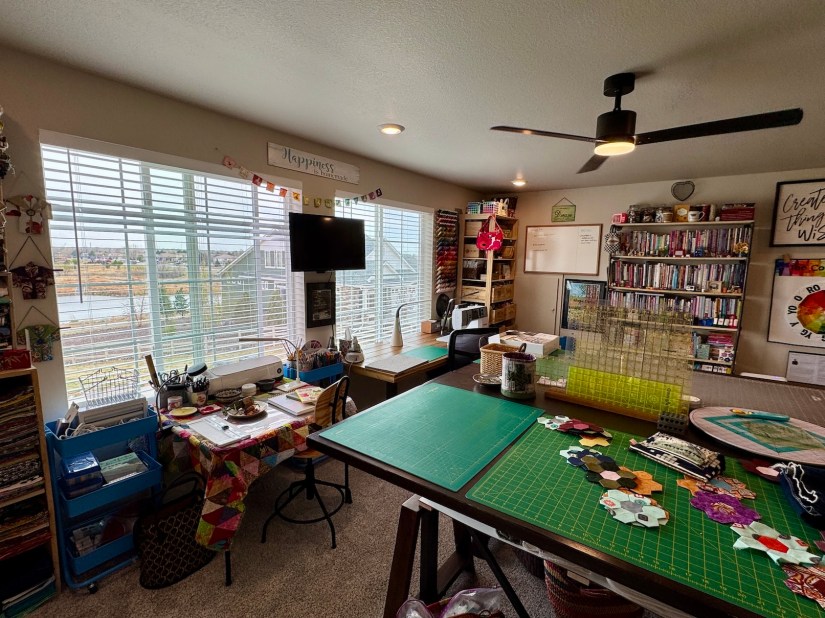
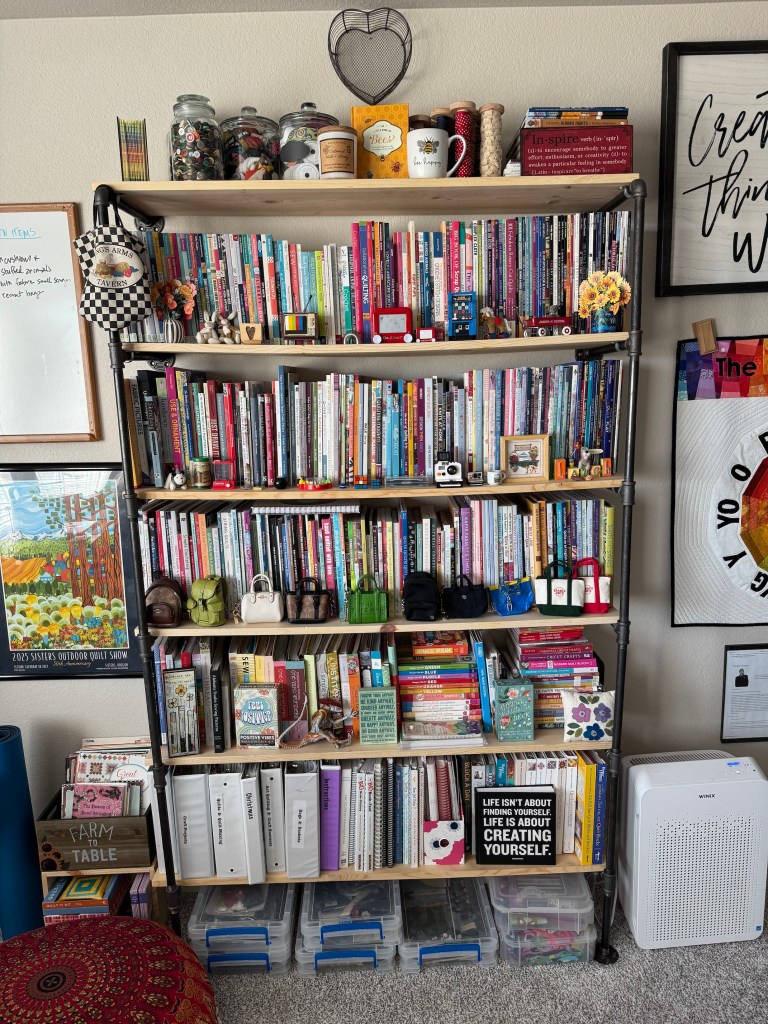
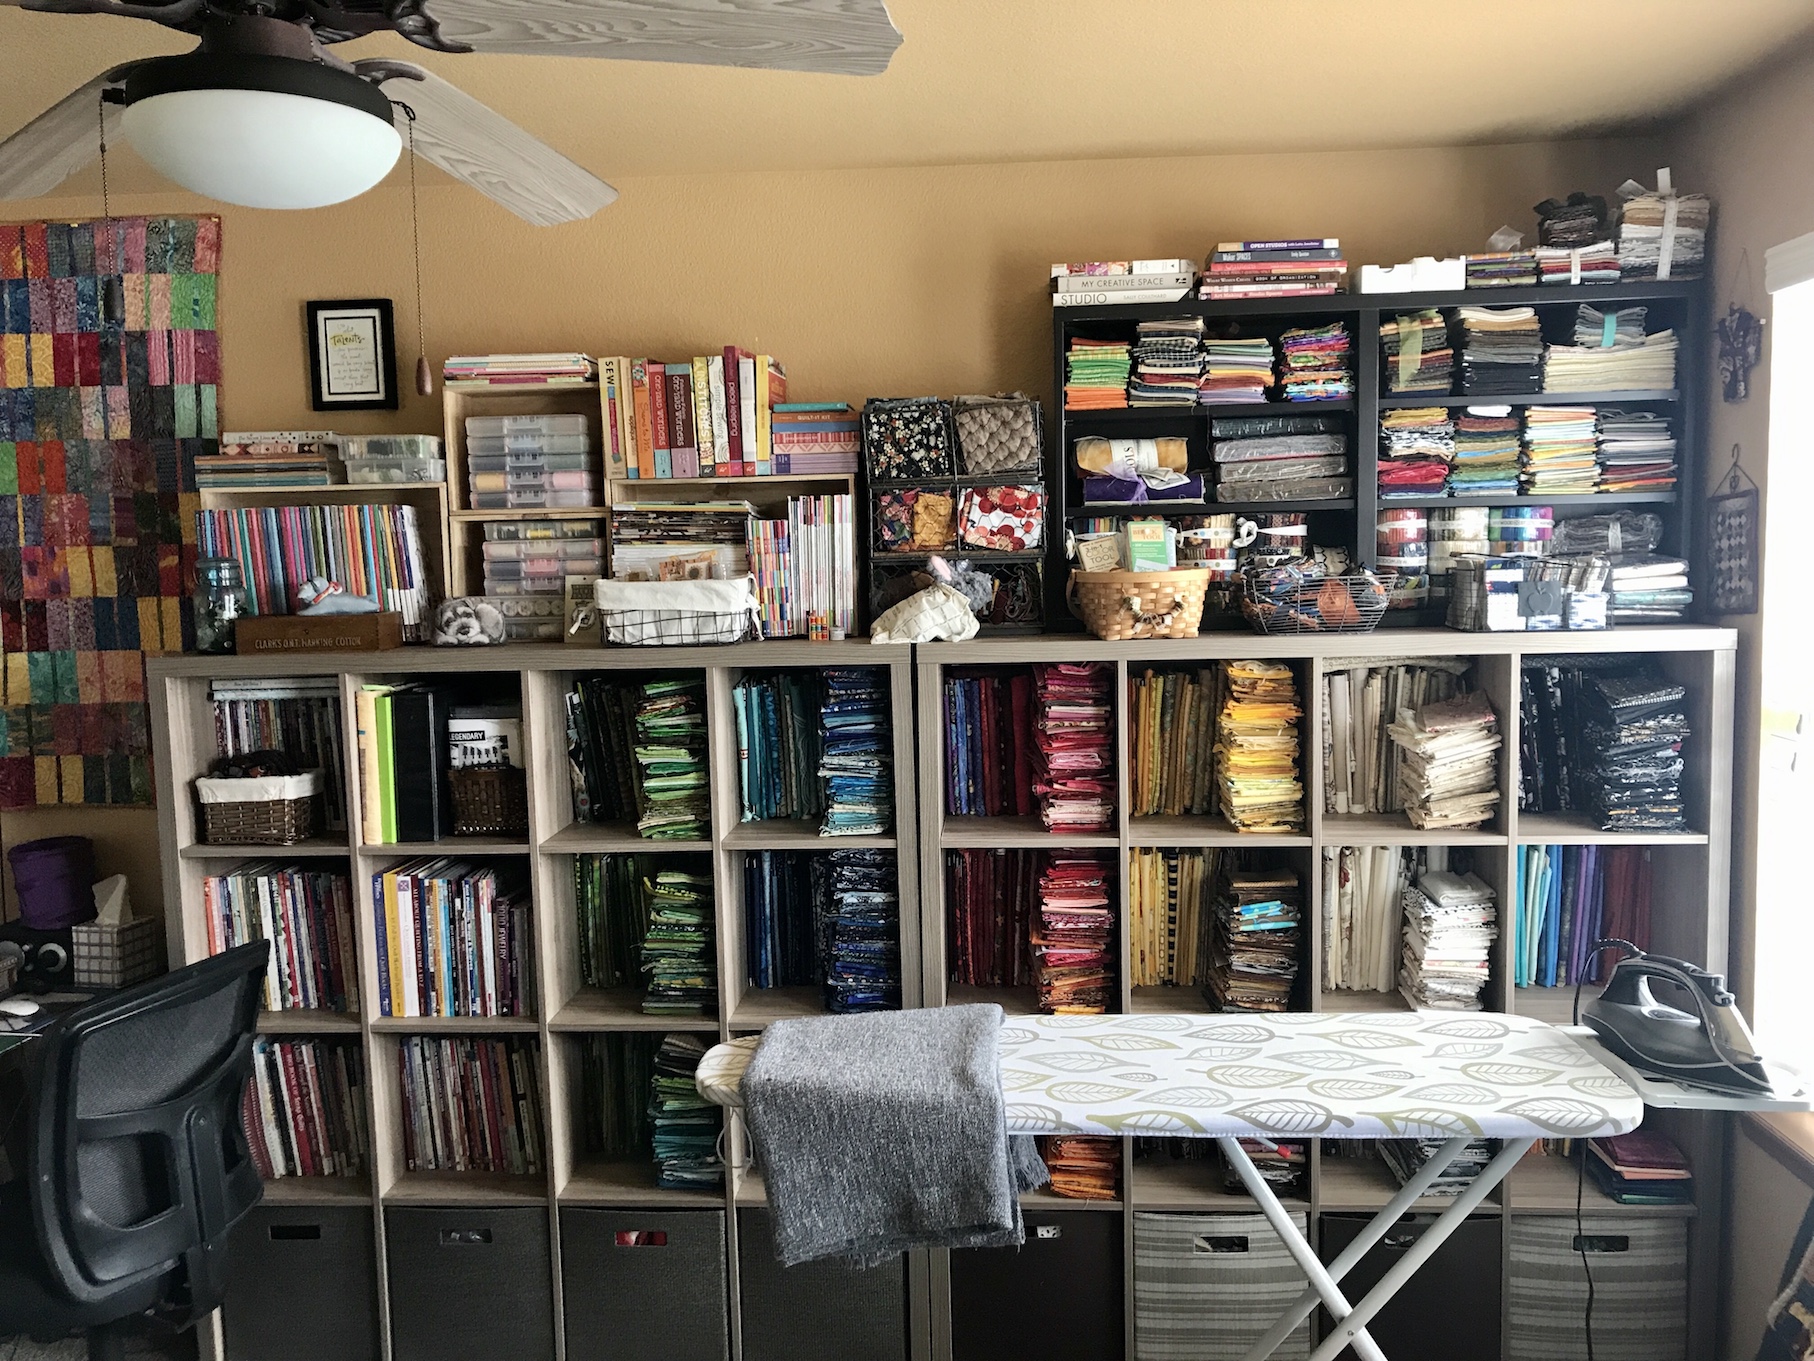
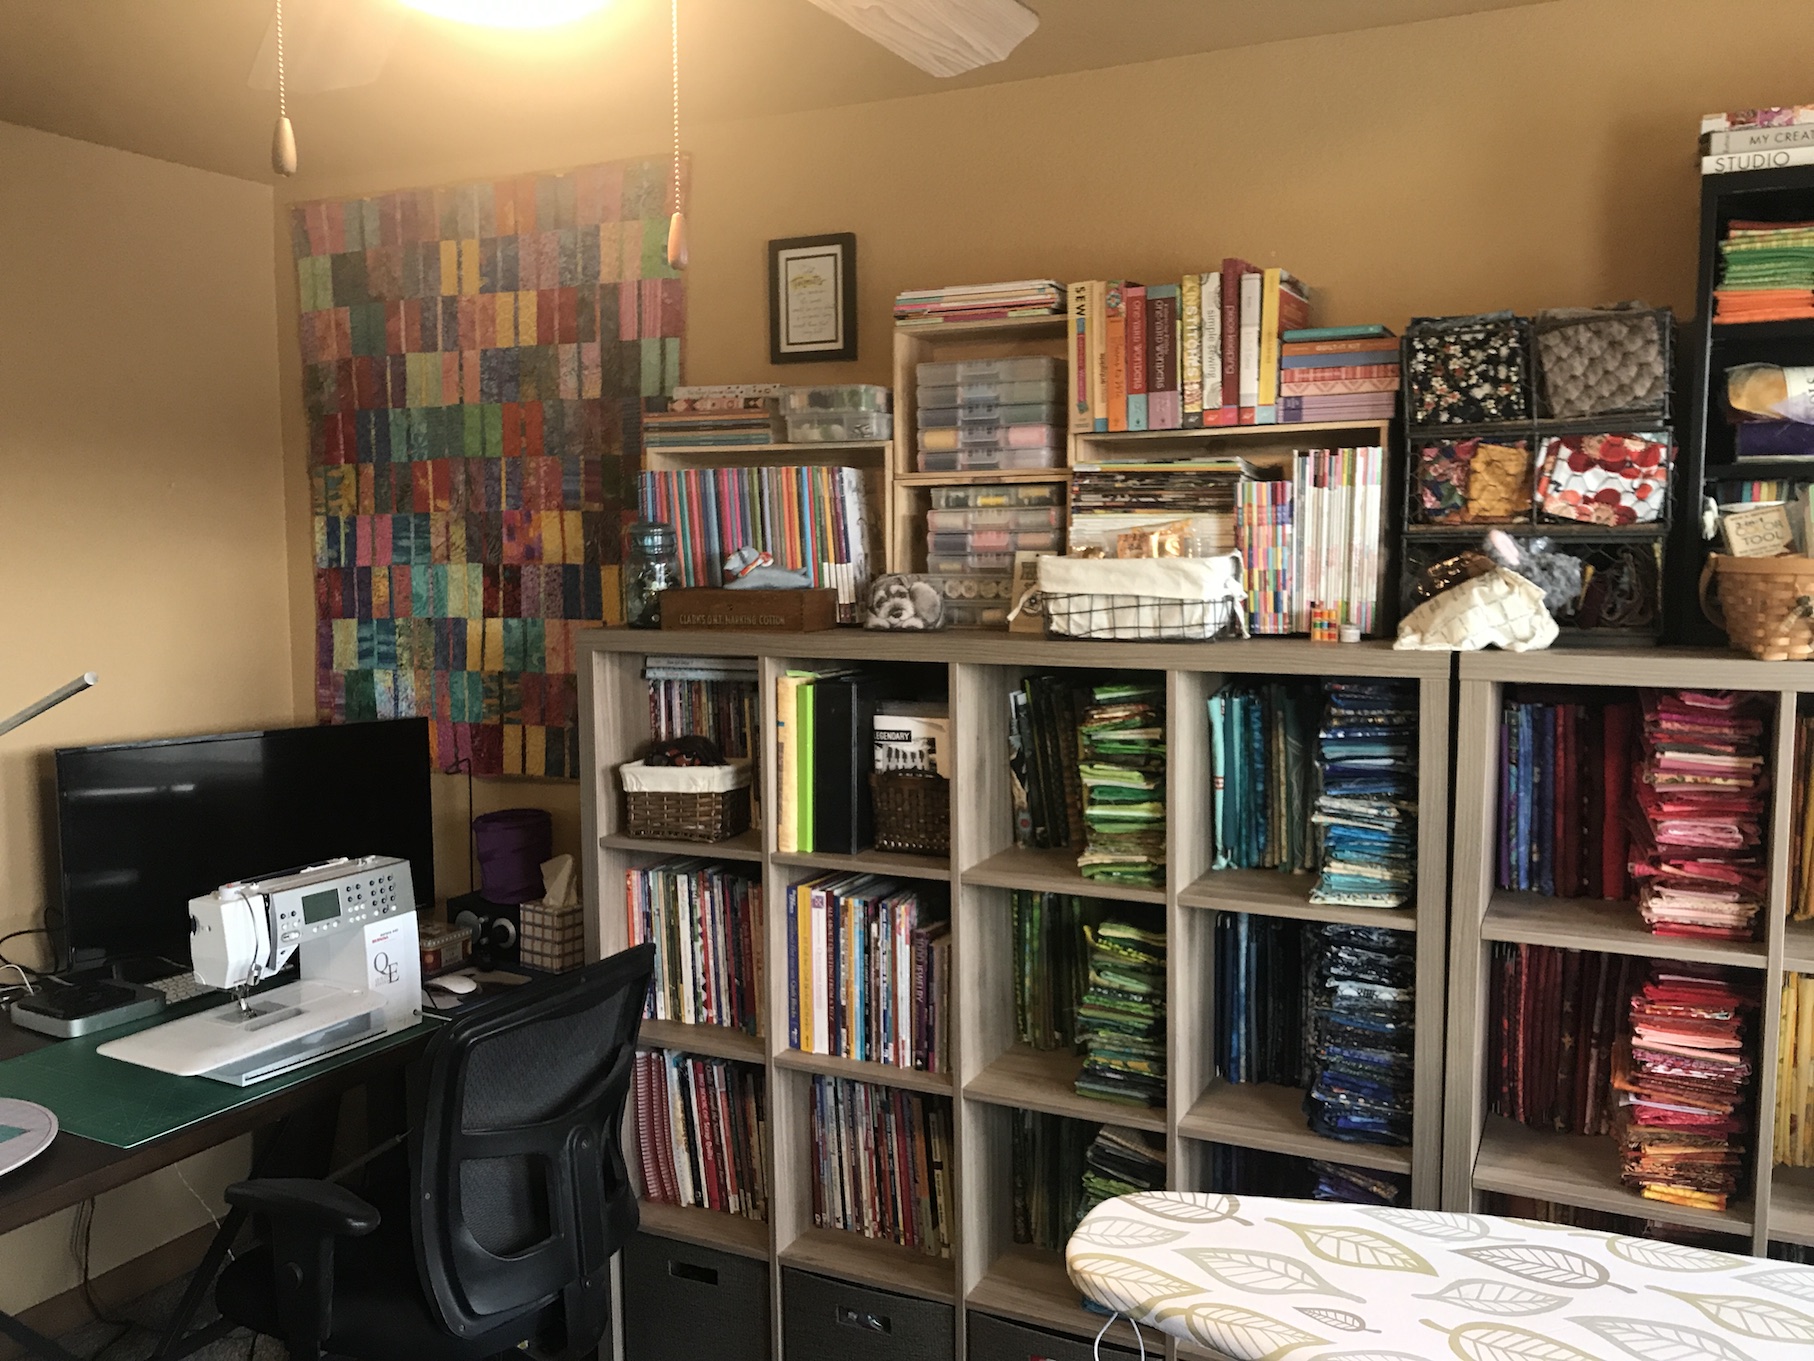
New Bookcase

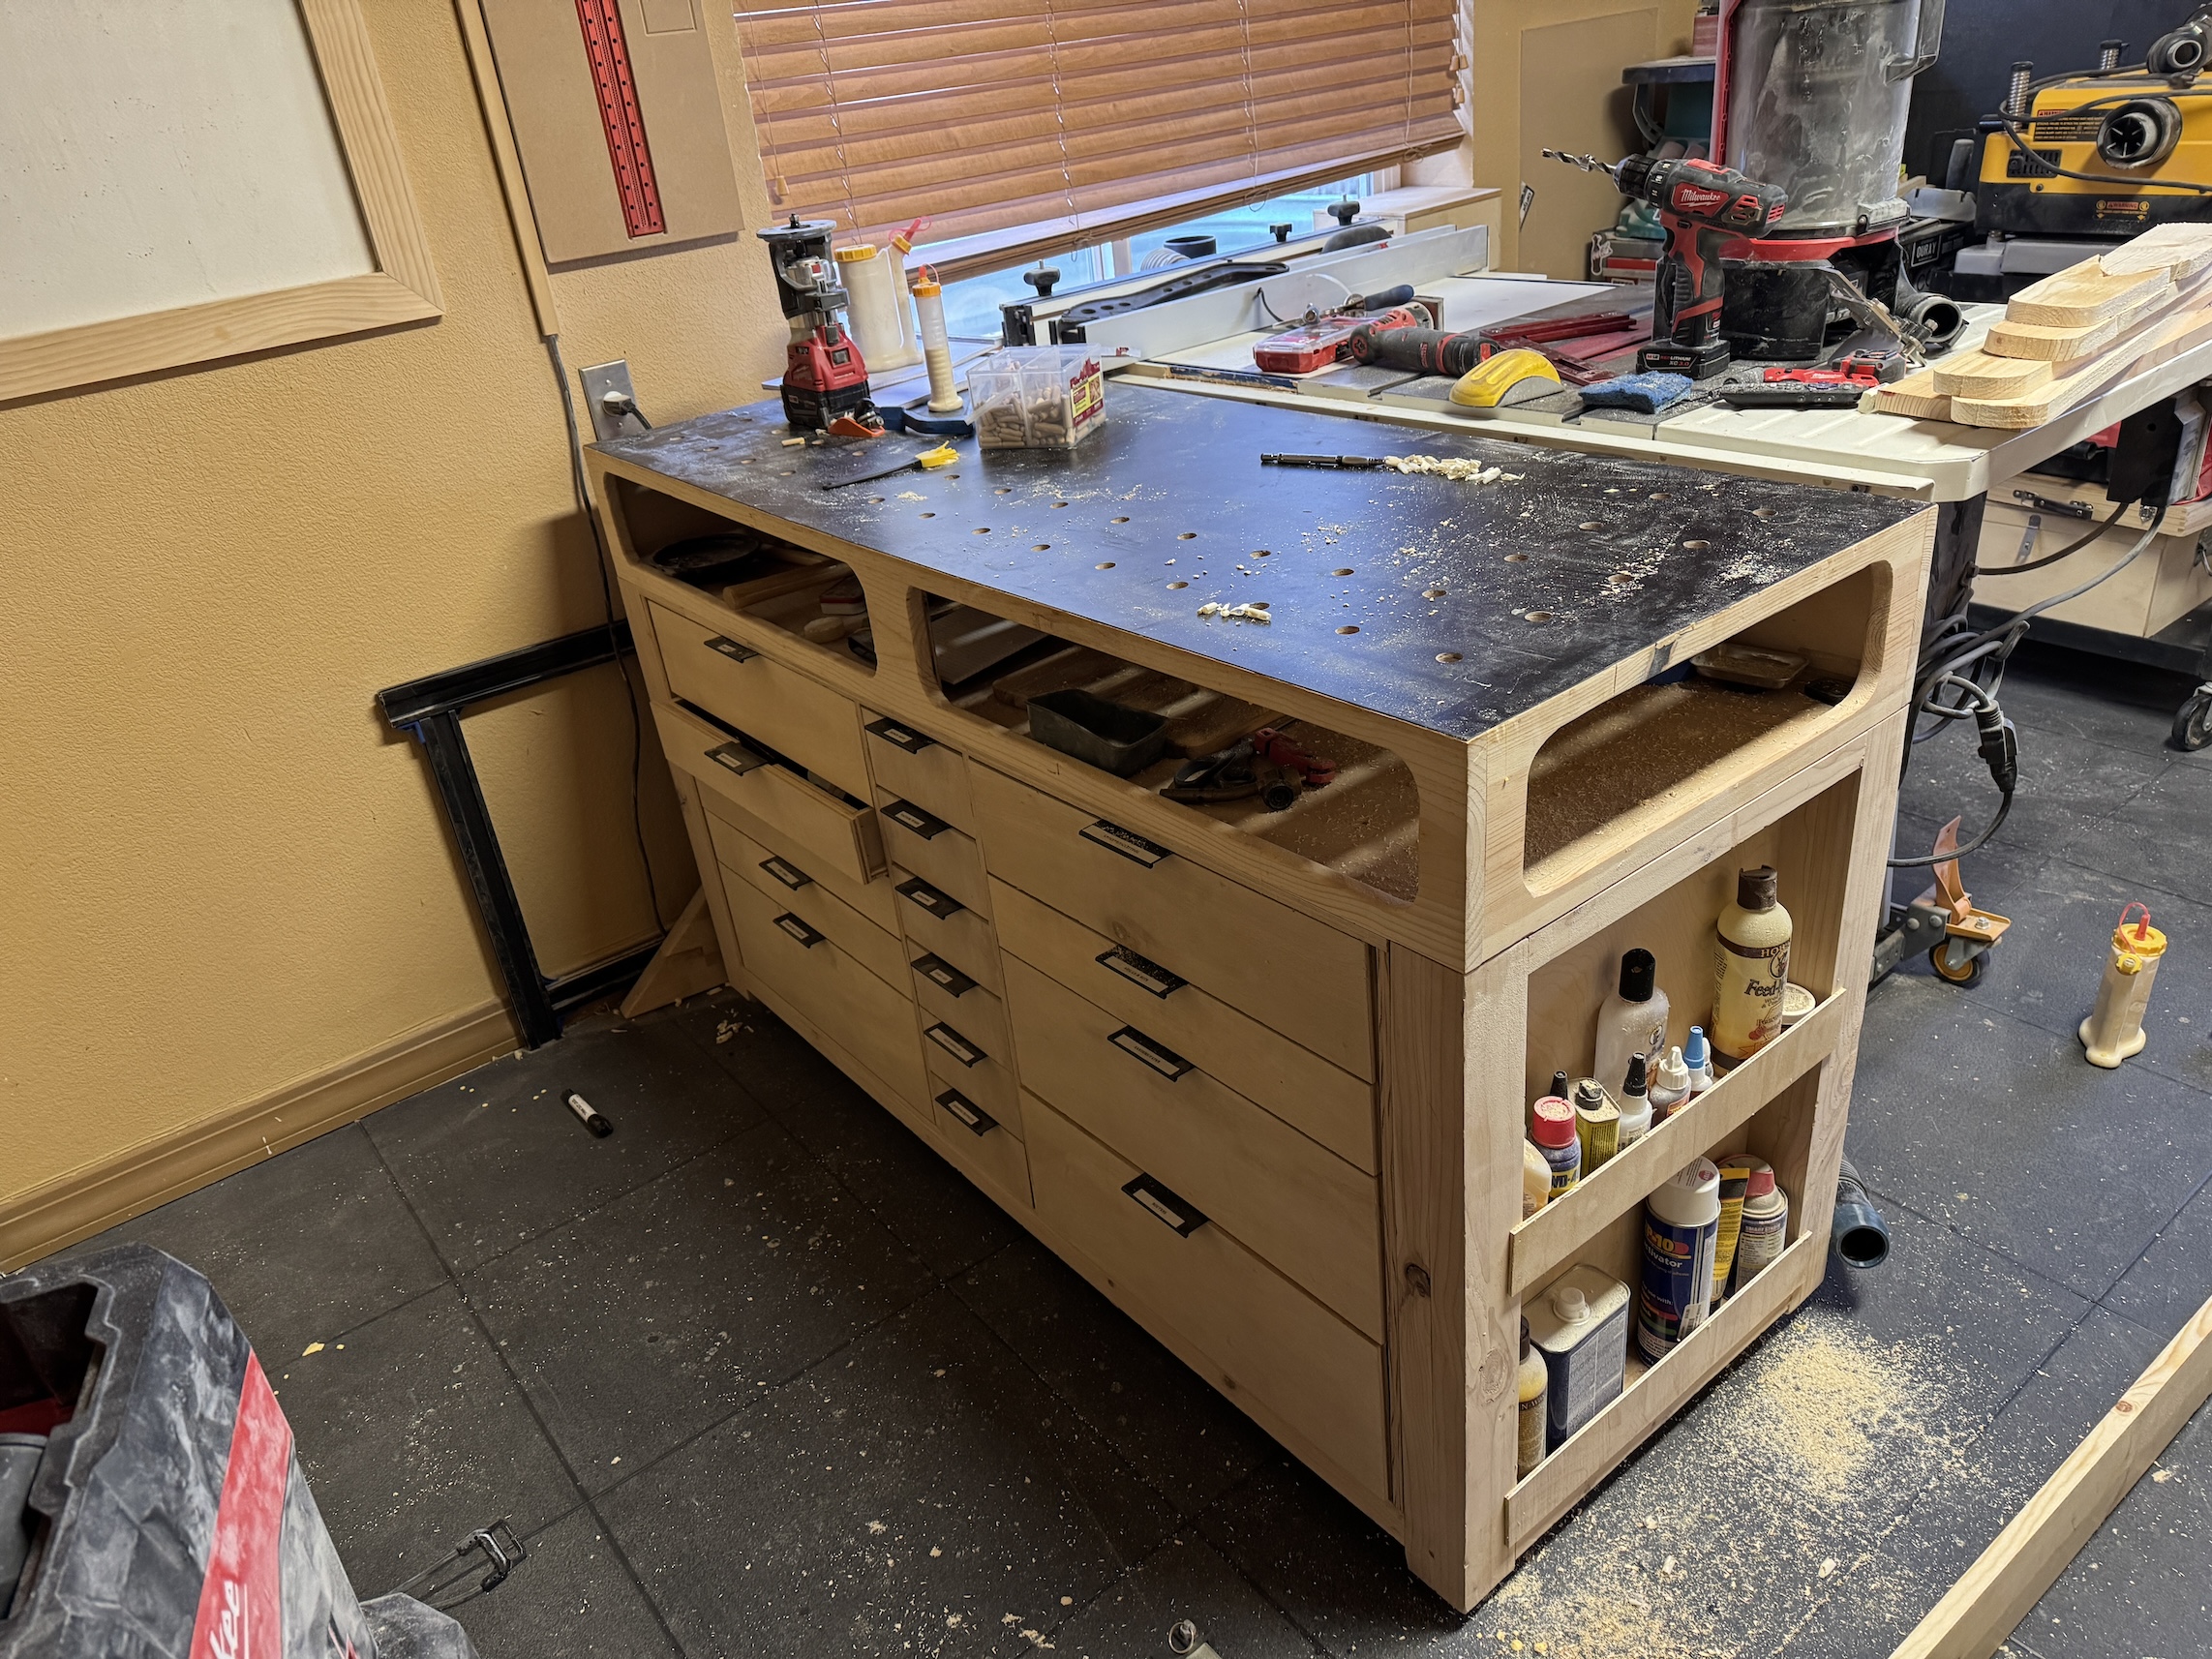
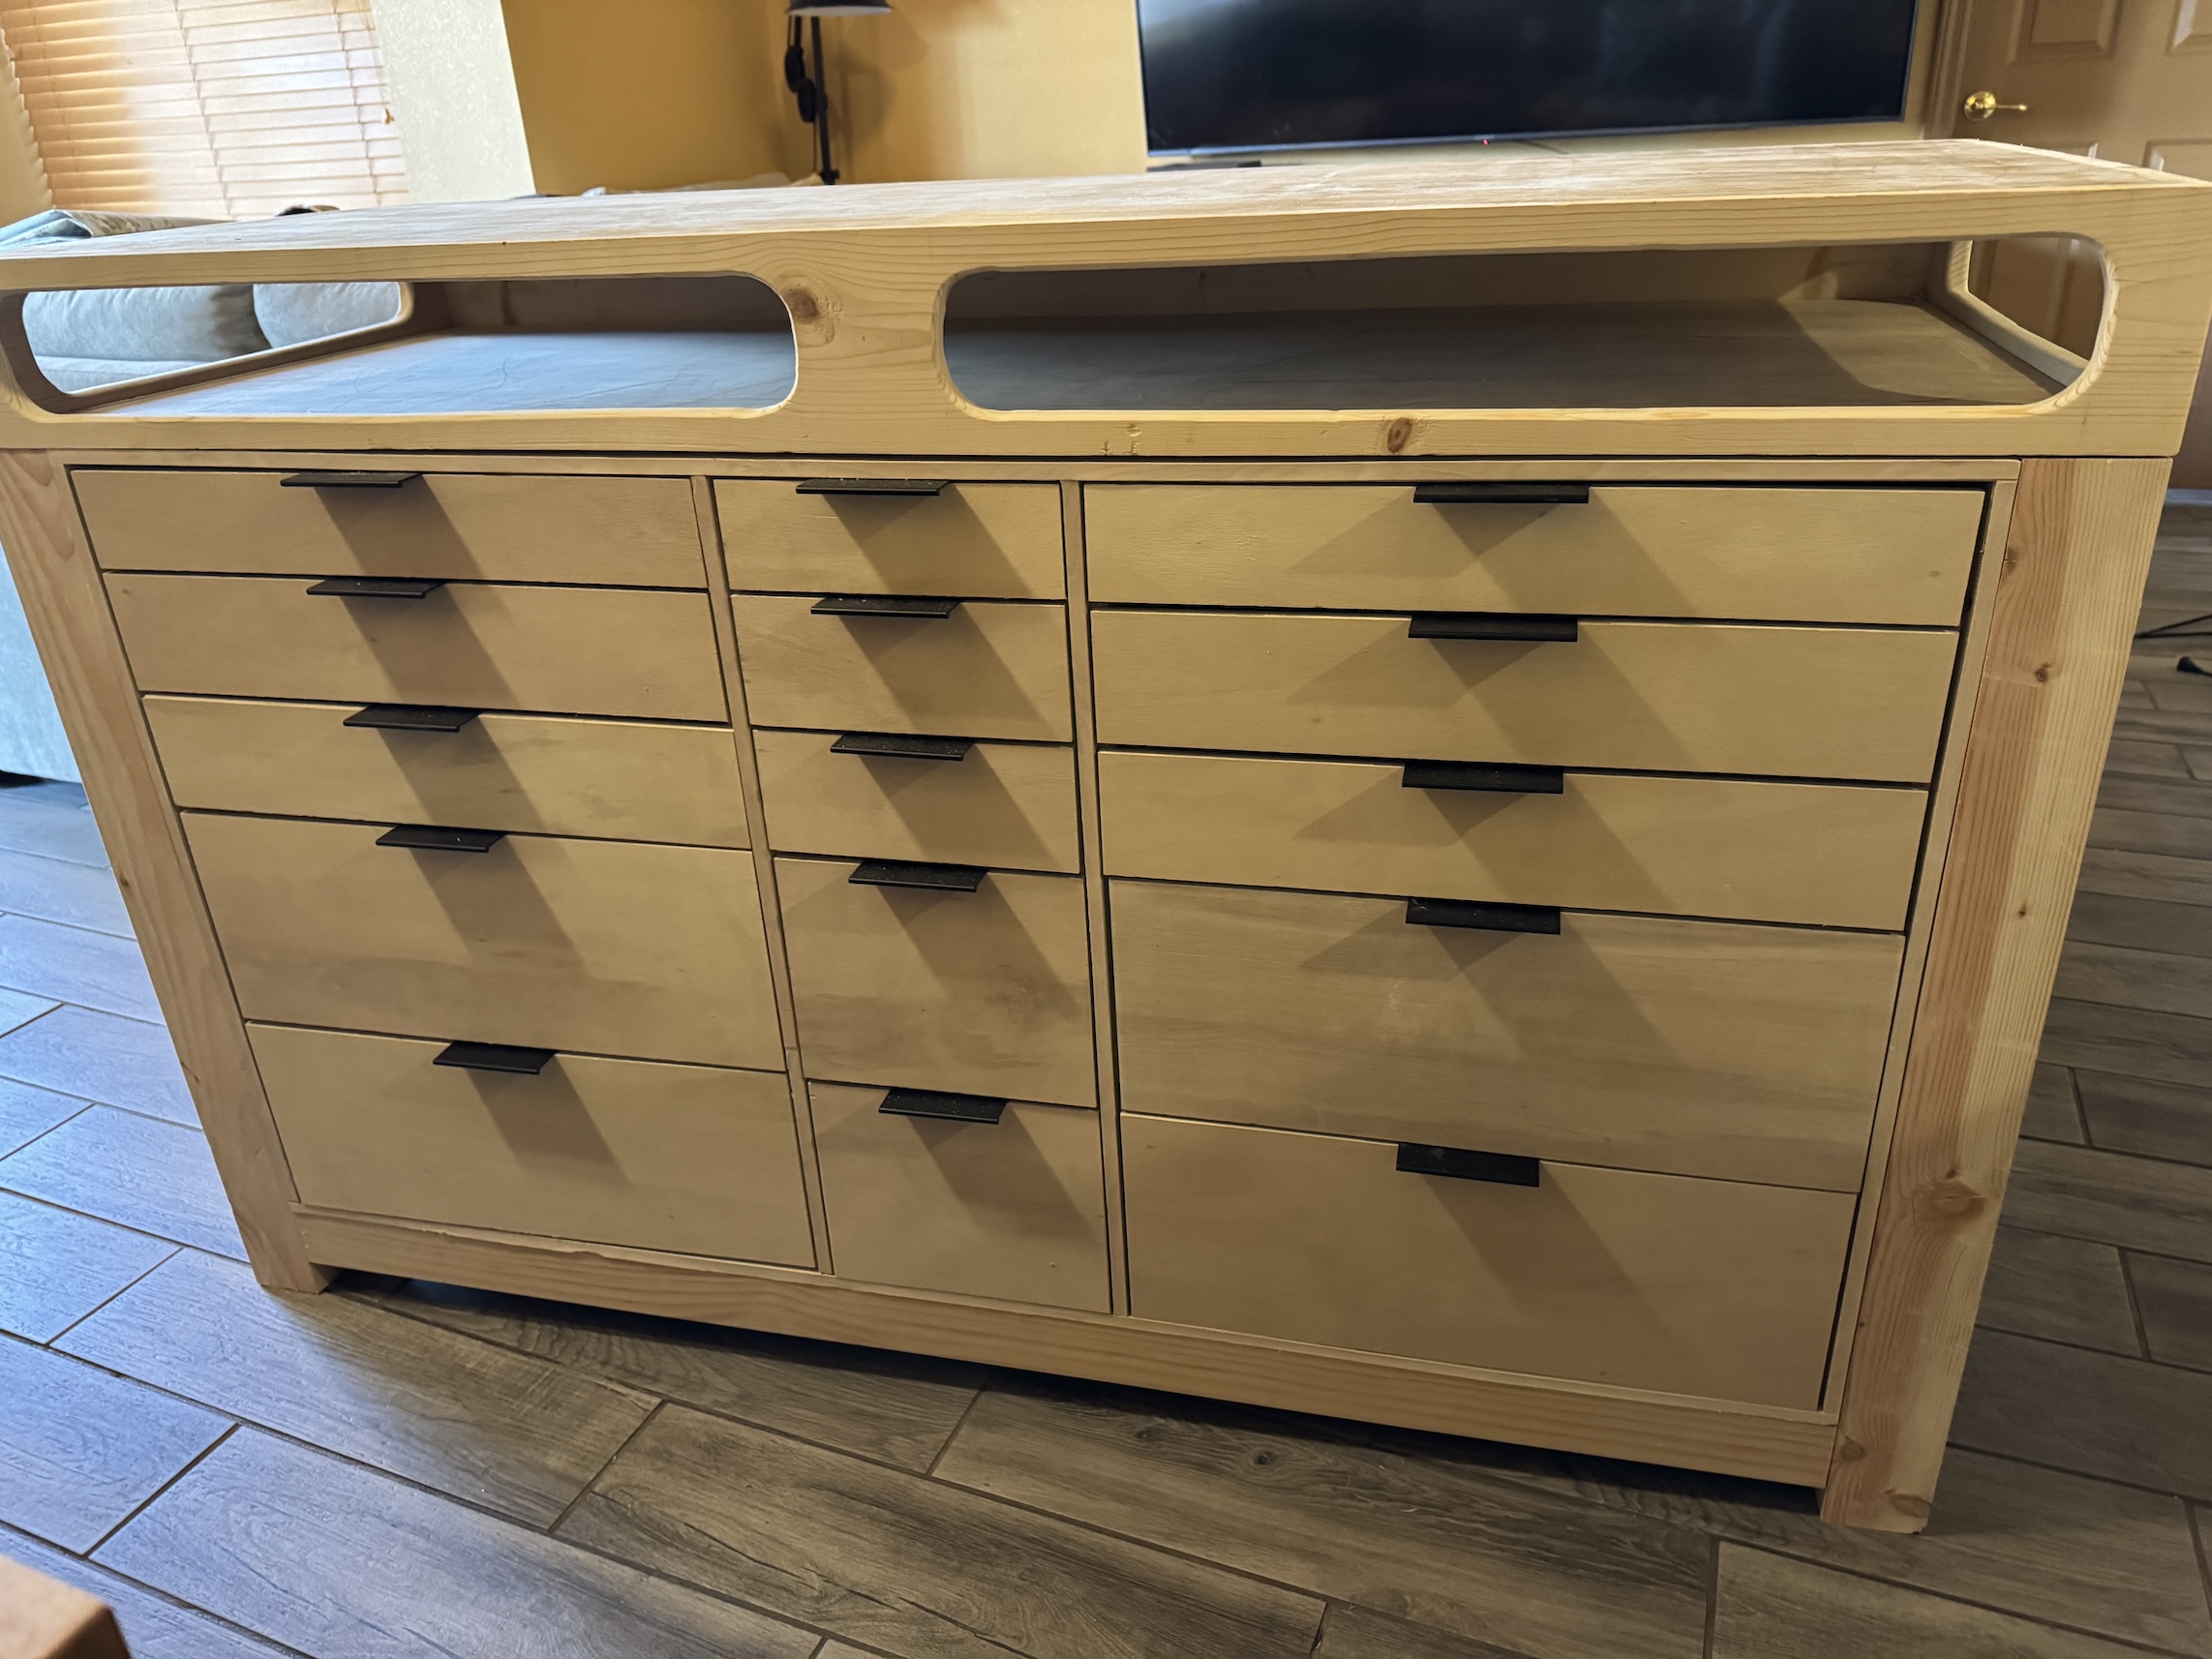
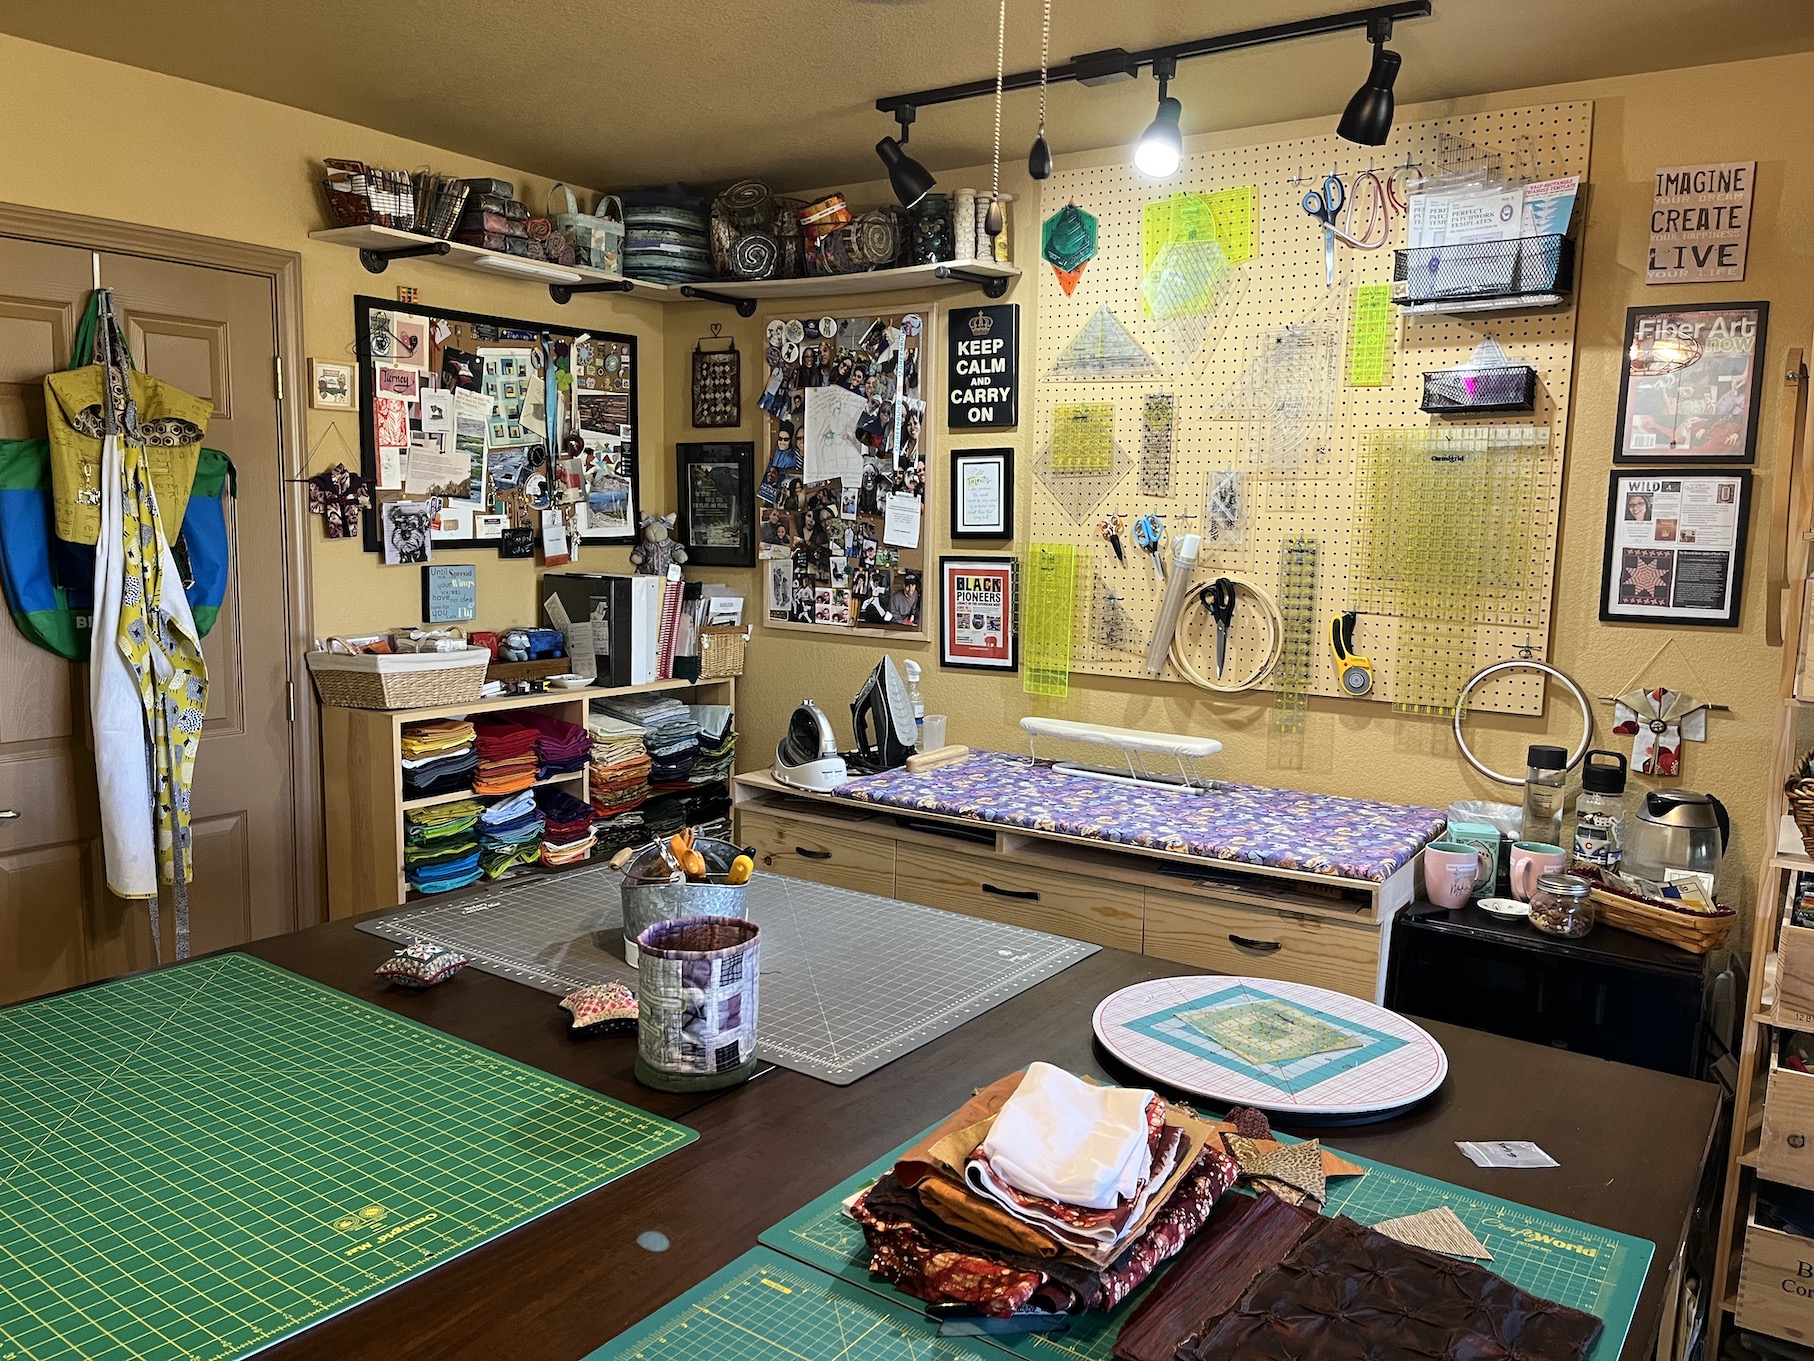
He made a bookcase for my studio (his first bookcase). The first image is of the bookcase being built in his studio in the basement:
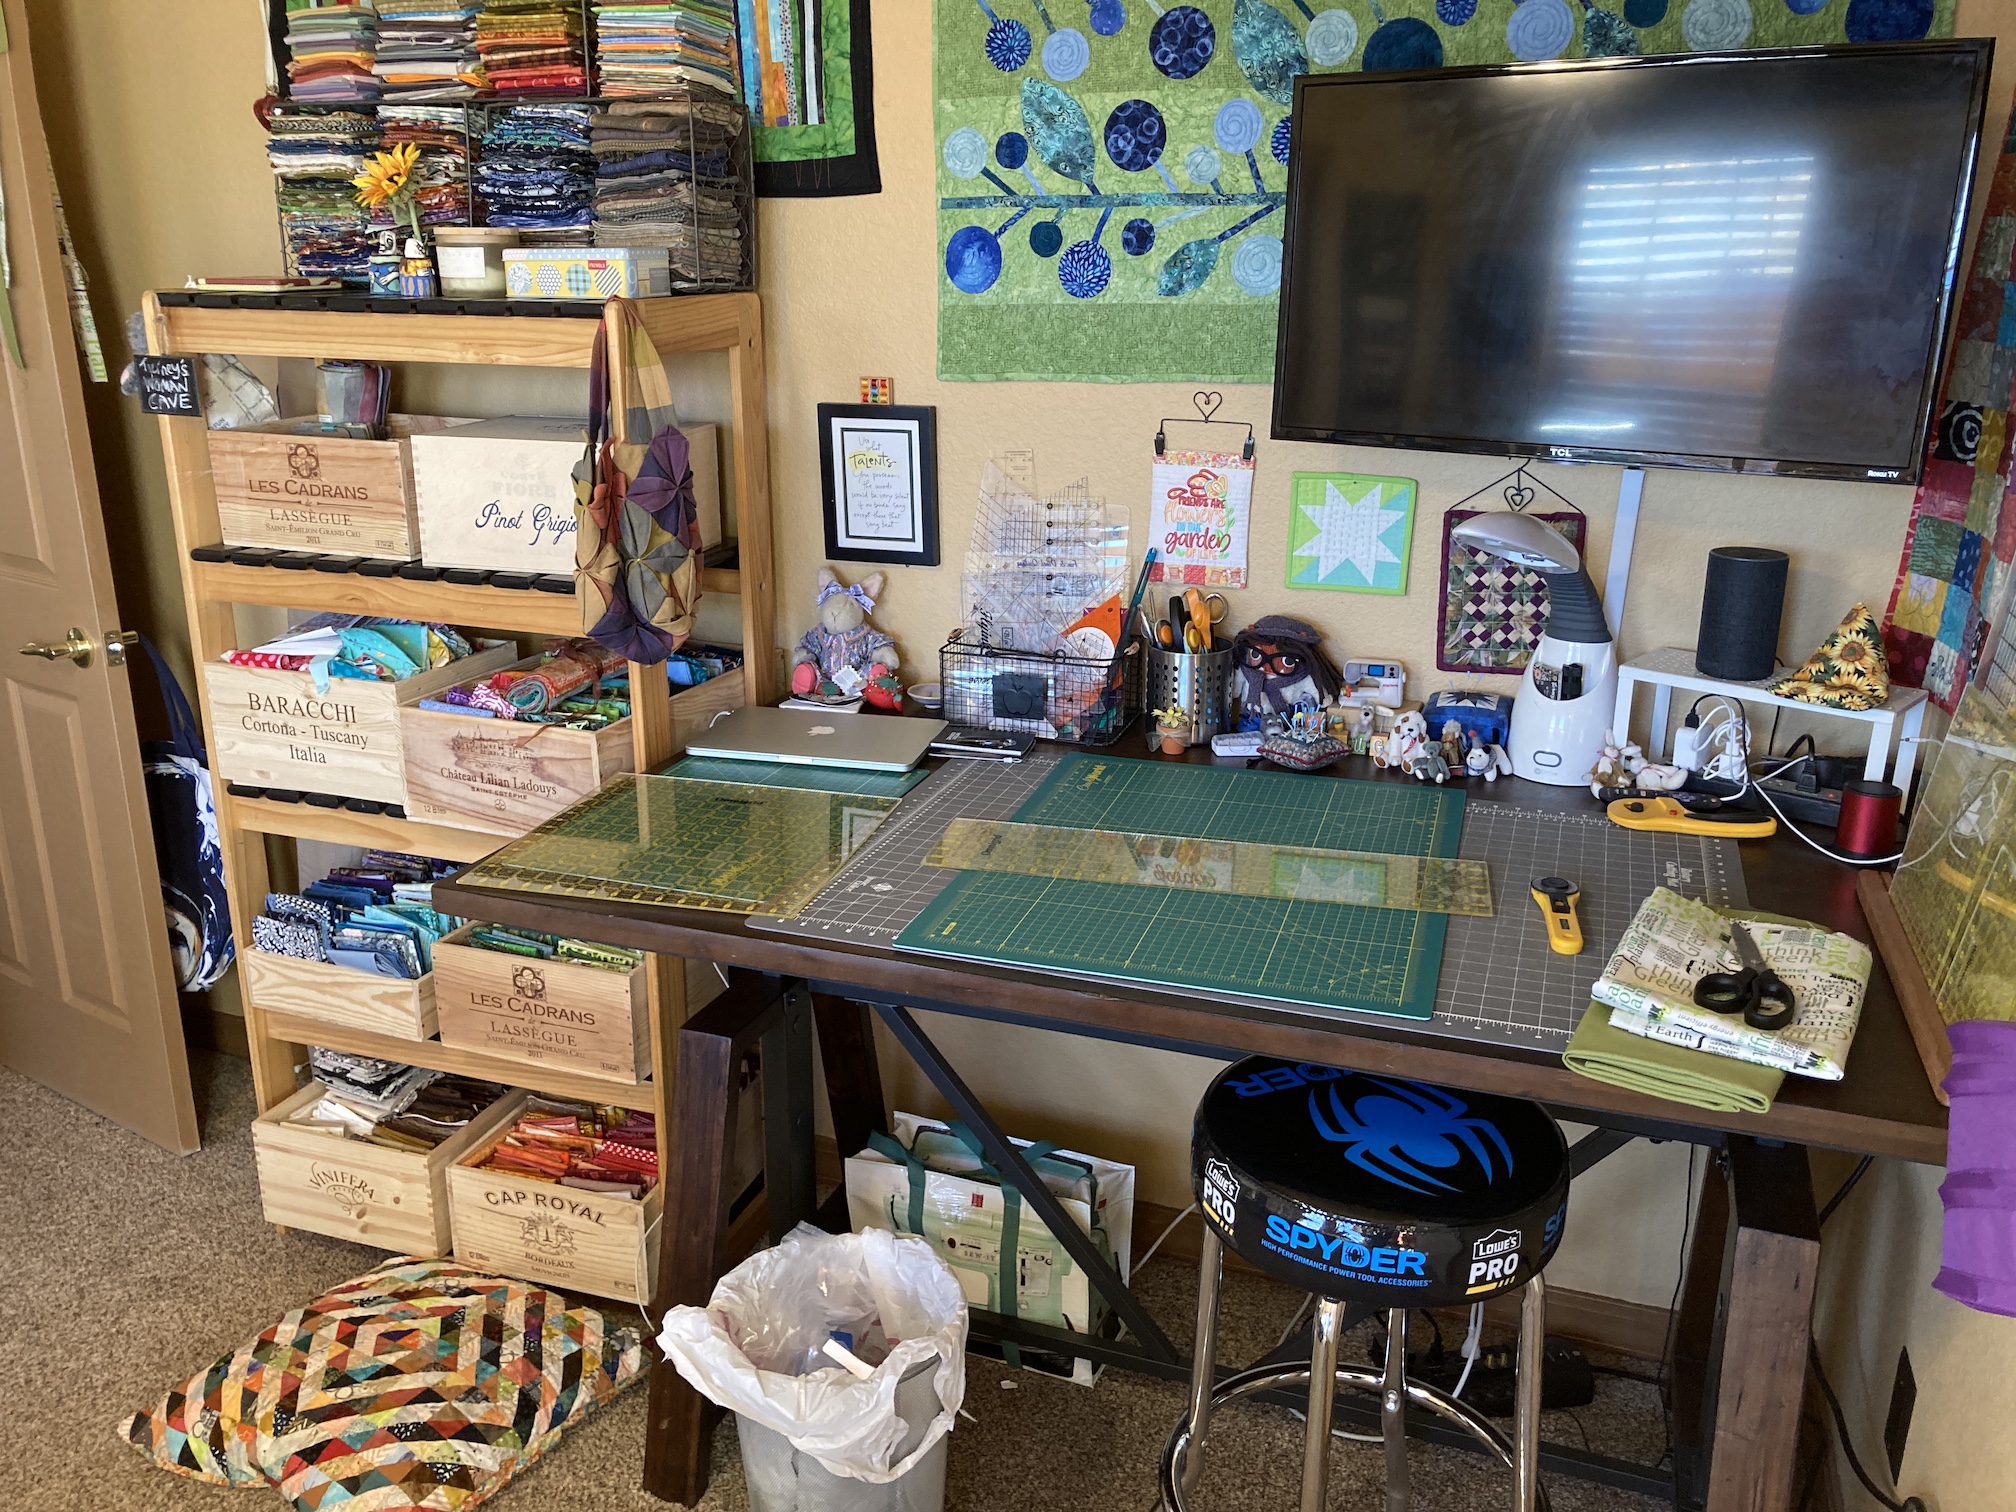
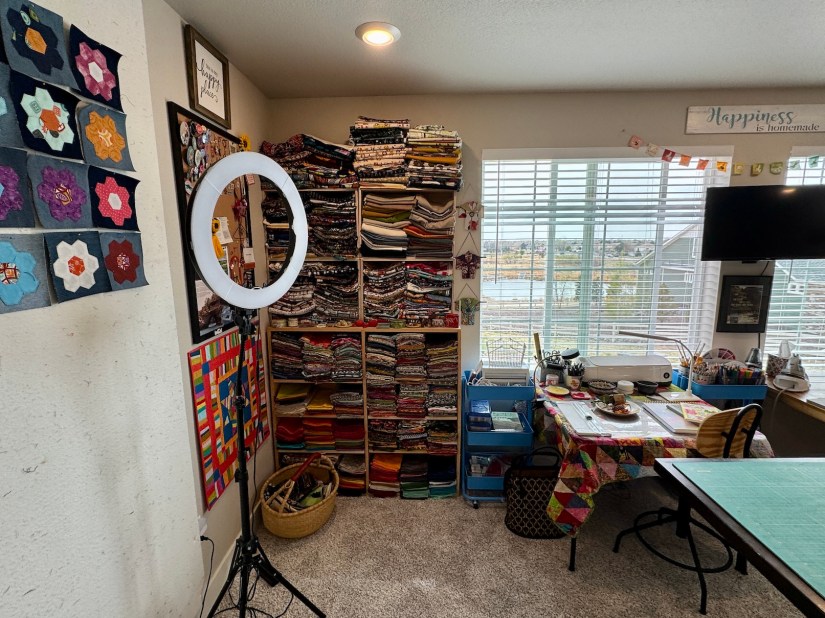
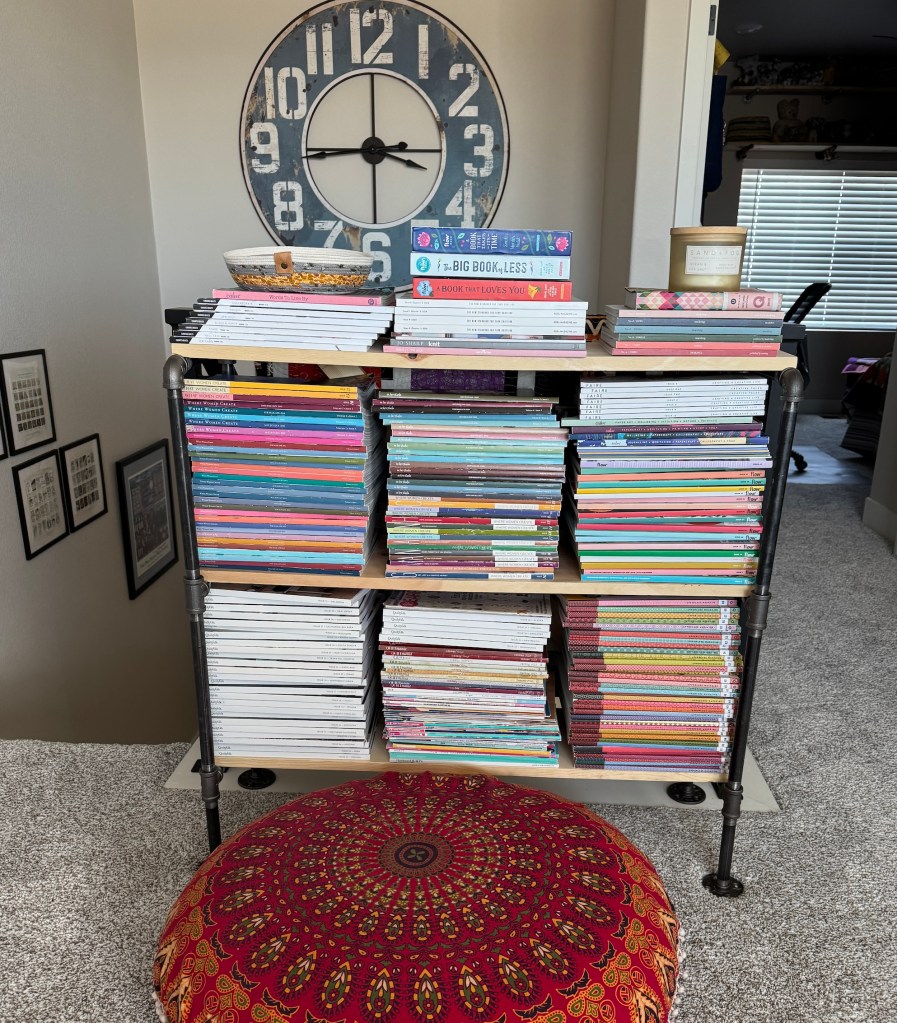
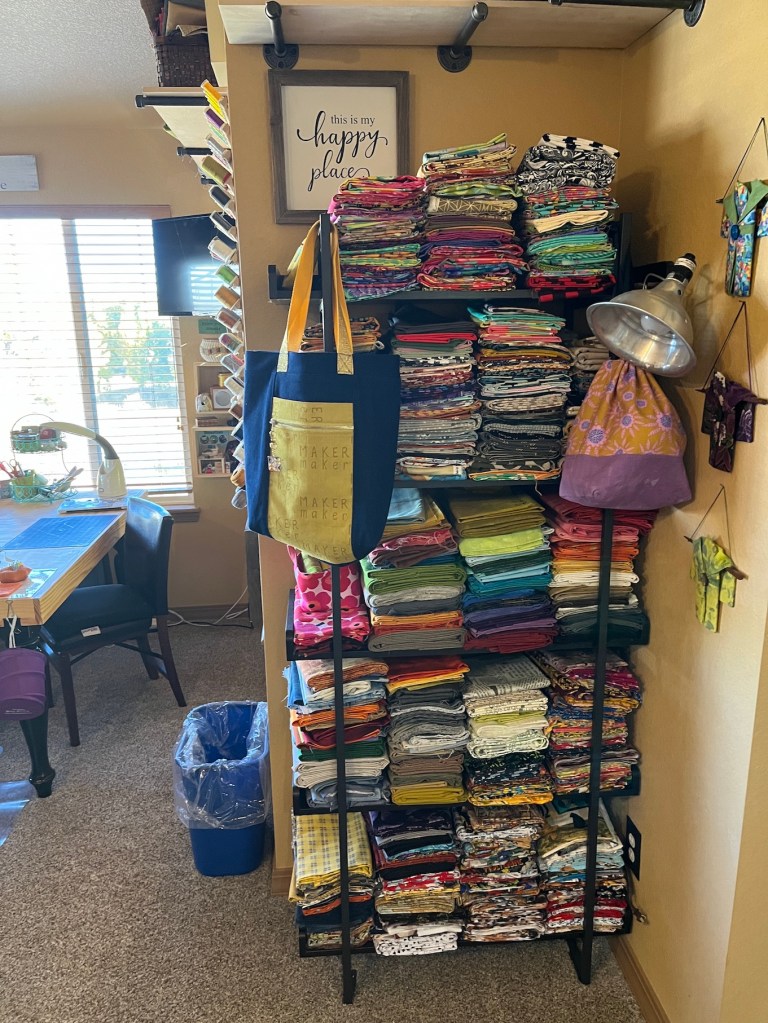
2020-12-06_18-21-25_1082020-12-08_18-23-31_2062020-12-16_15-40-55_554

New Floating Shelf

He also built a floating shelf across the wall of windows in my studio to add extra storage:

2020-12-11_15-35-05_5852020-12-11_15-55-09_3612020-12-16_15-40-36_146

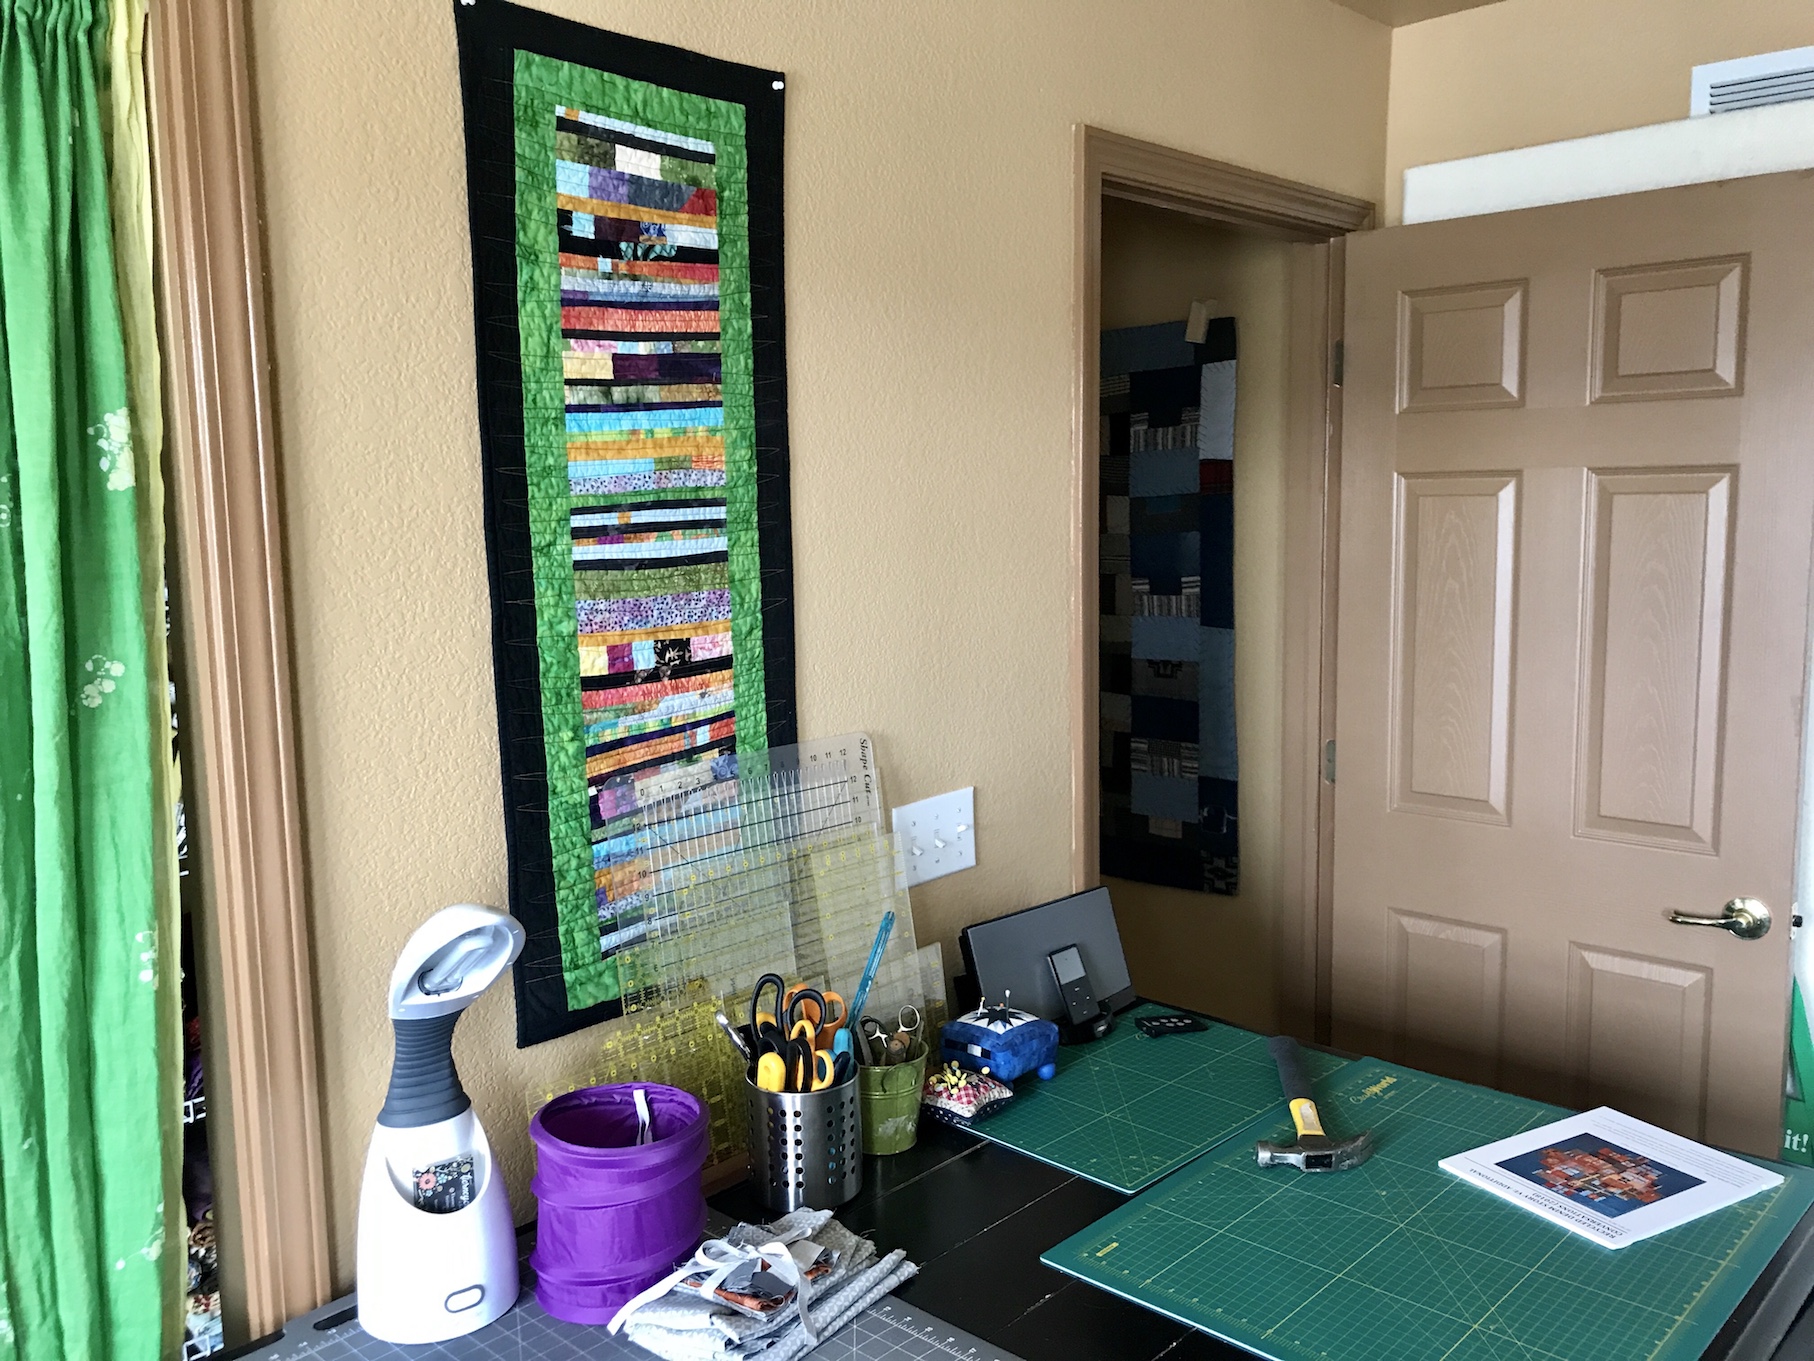
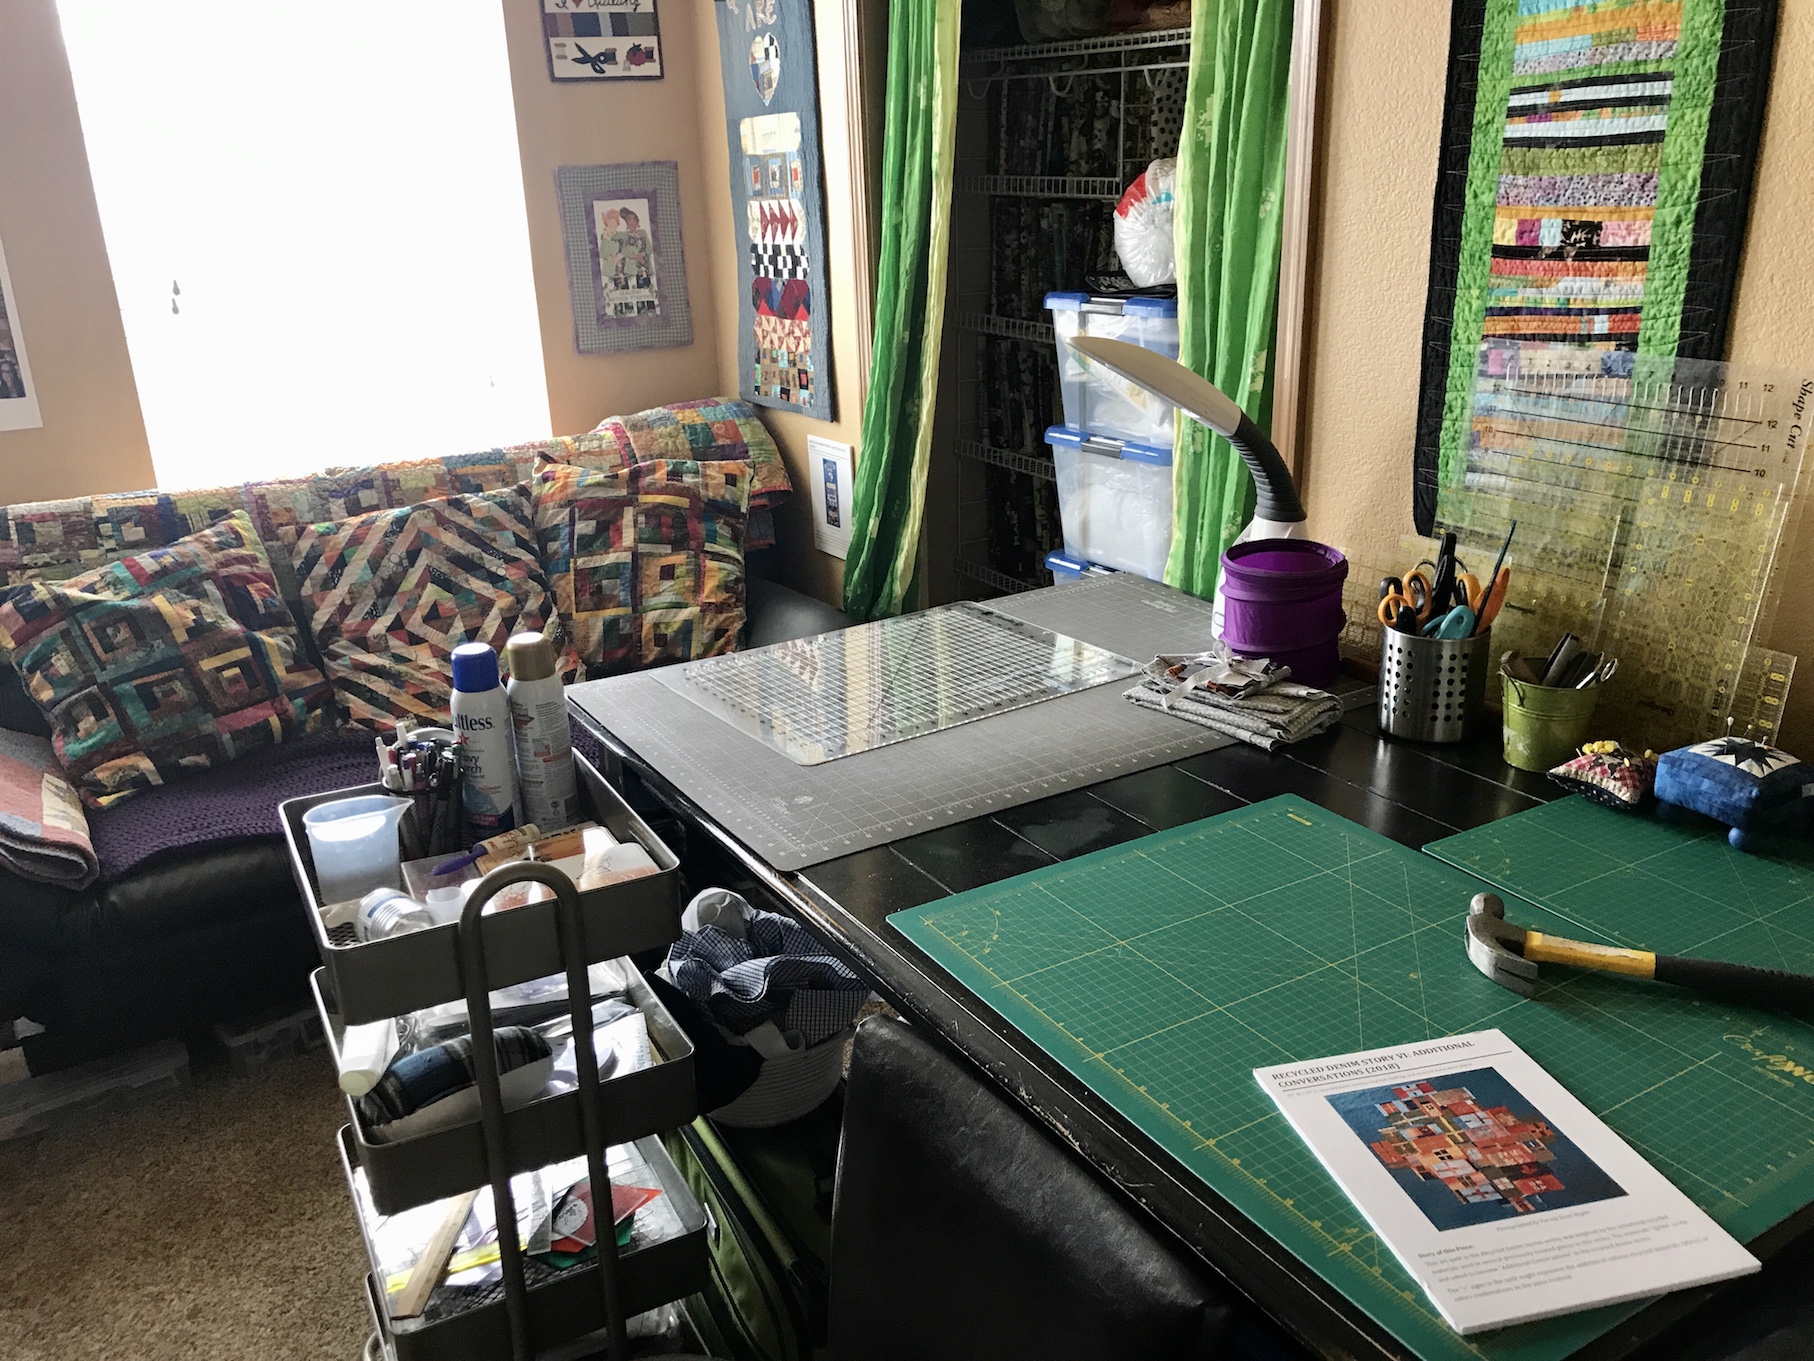
(By the way, my studio is a mess because I’ve been busy making things and not always tidying up between projects…)

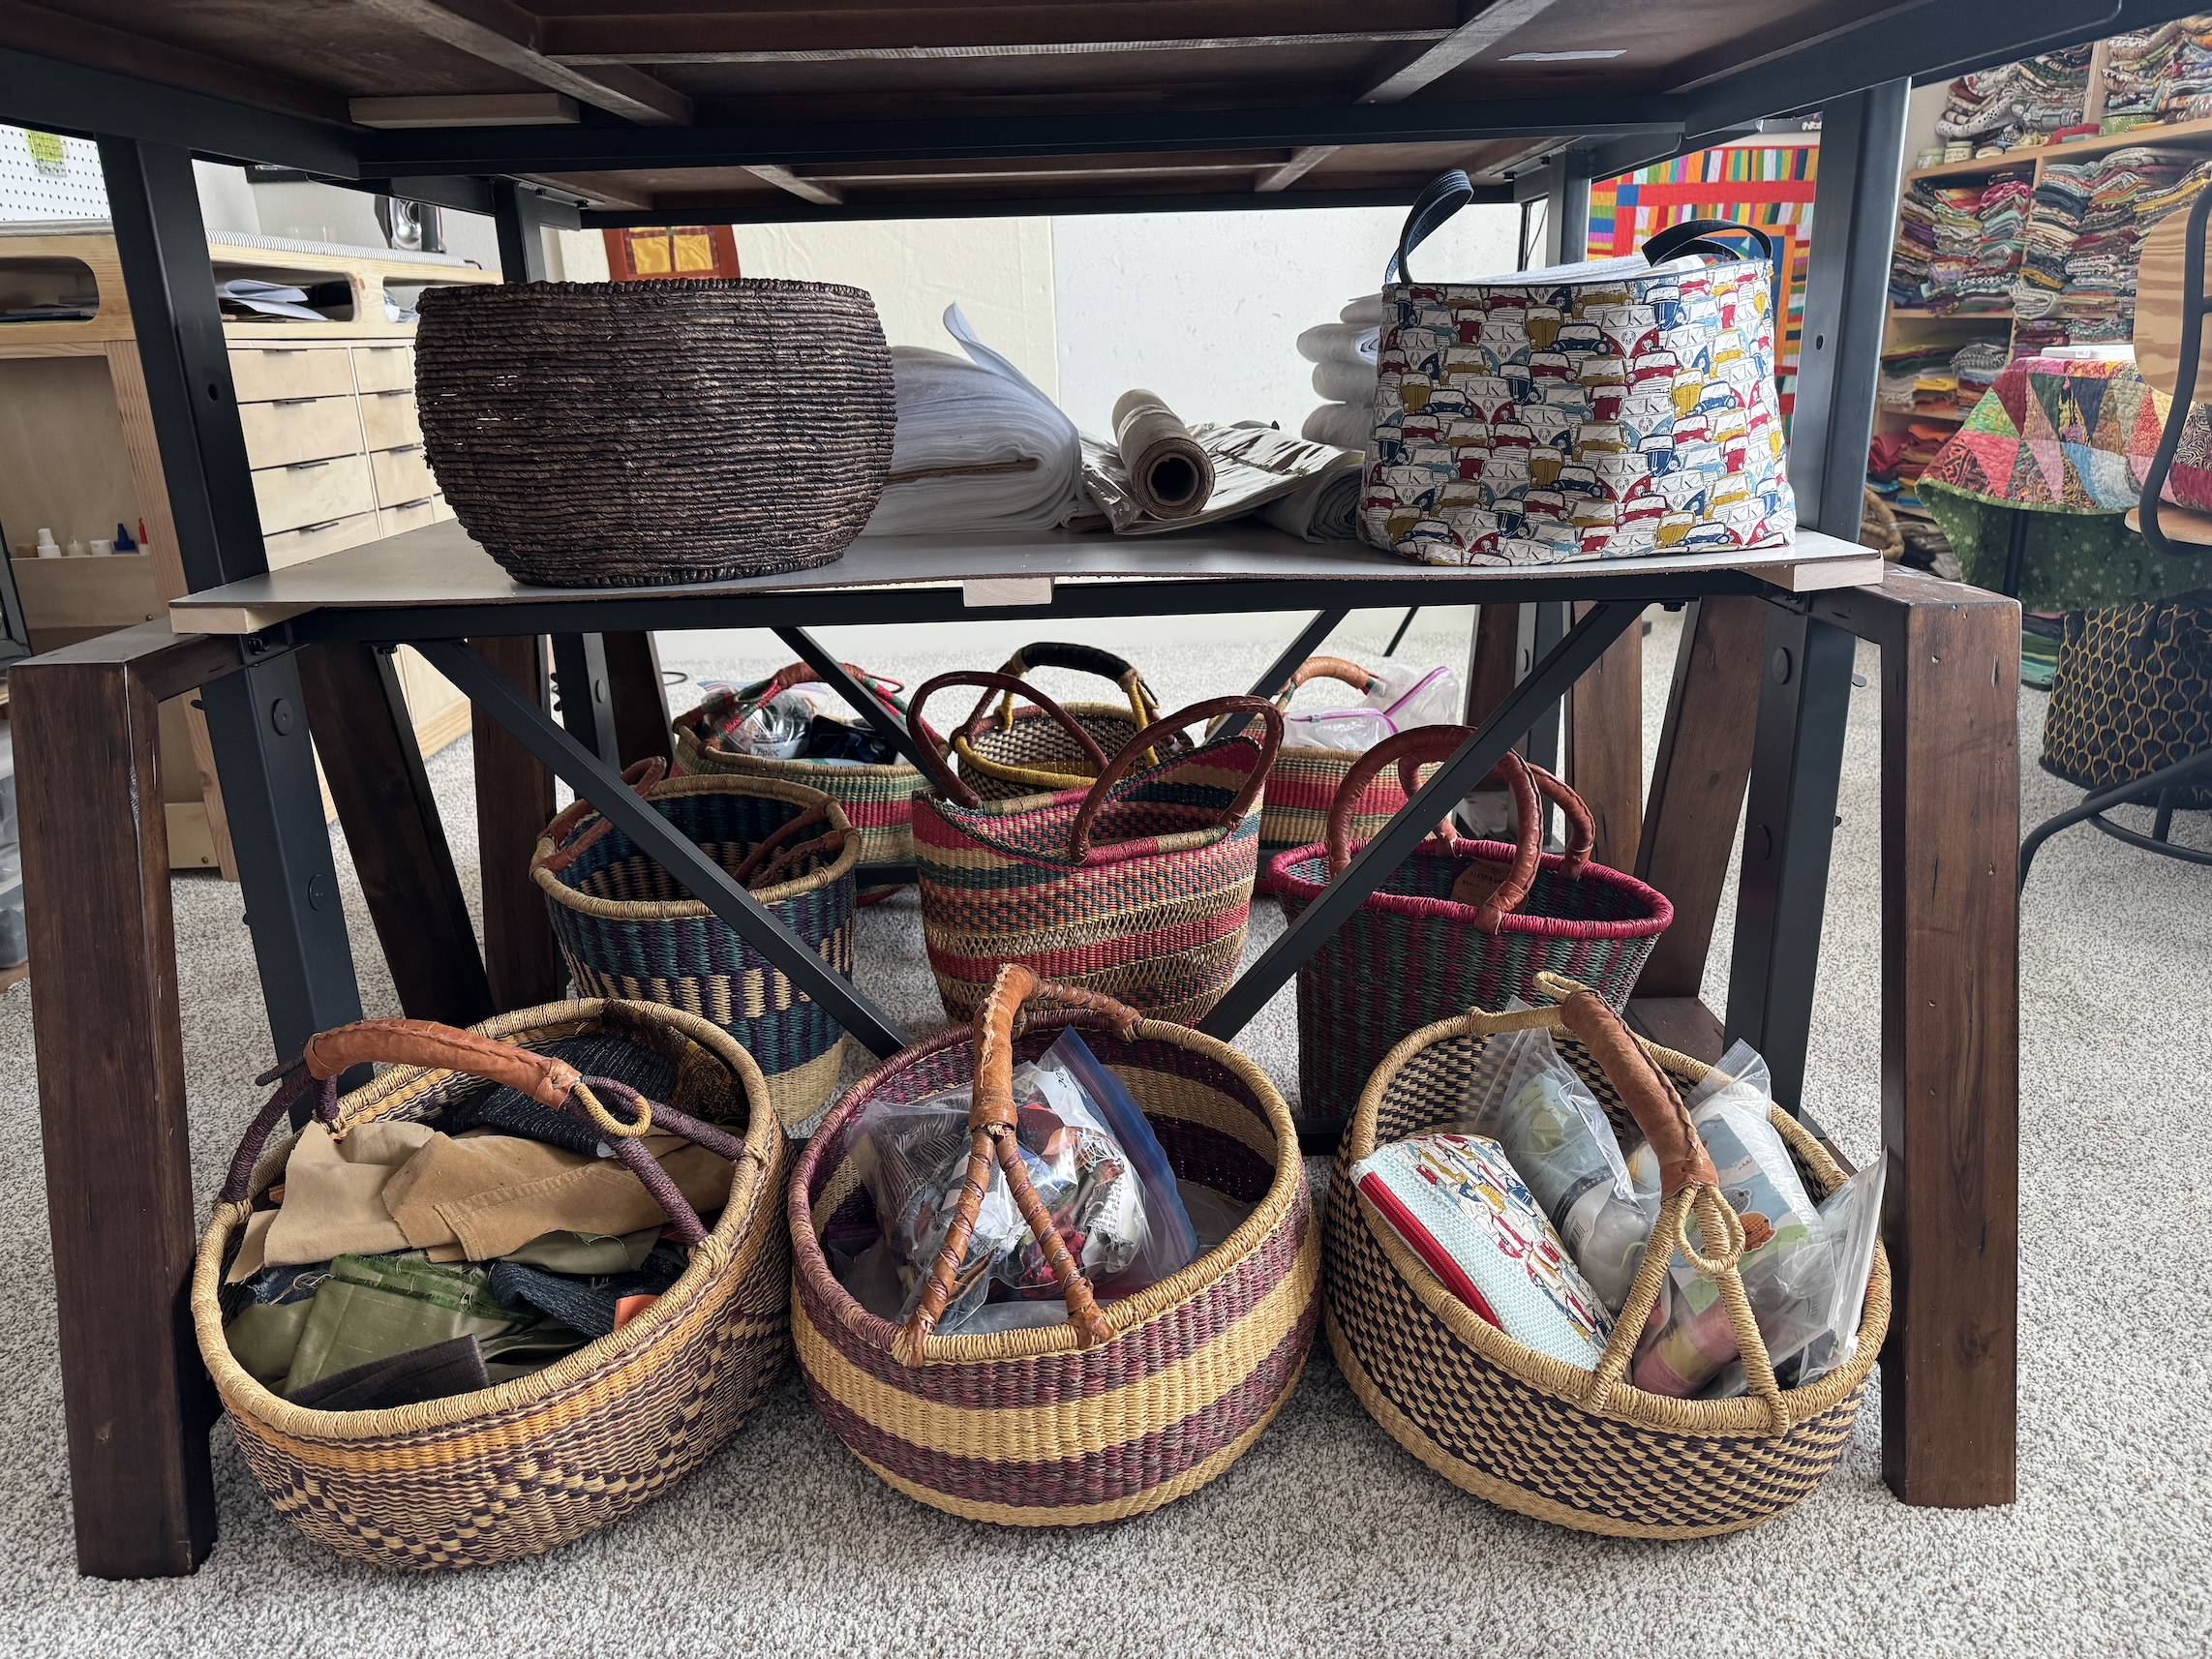
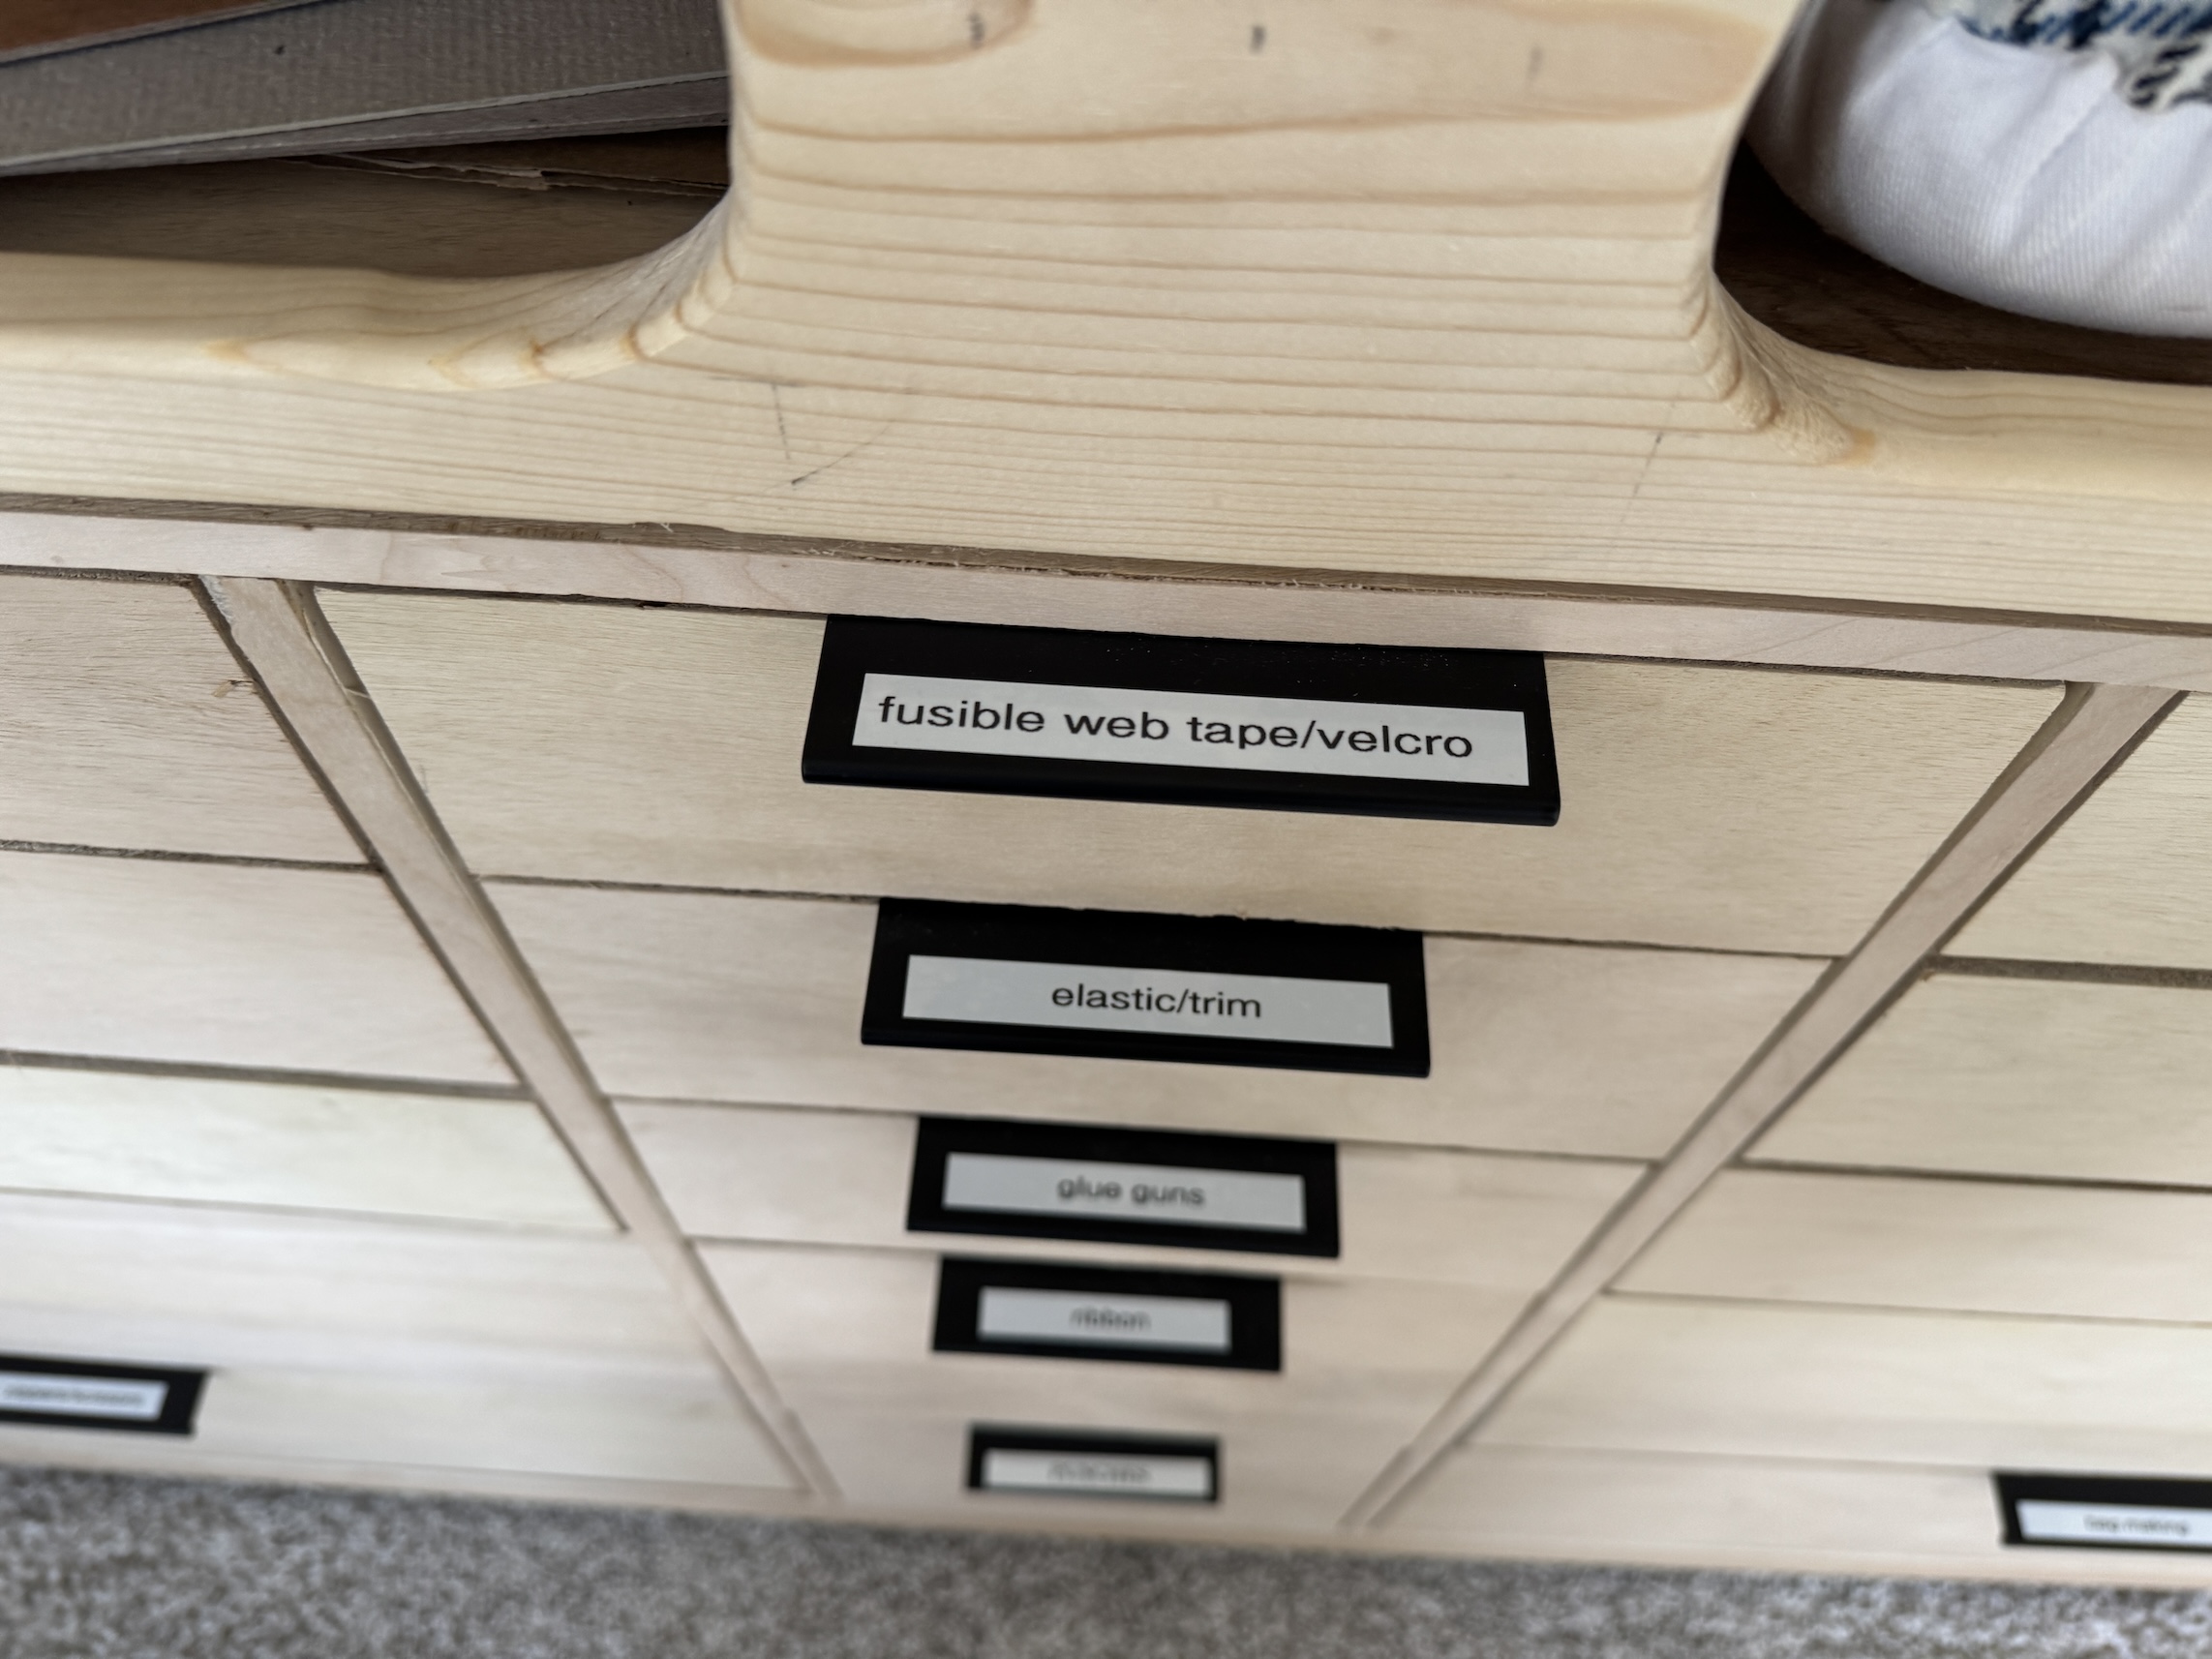
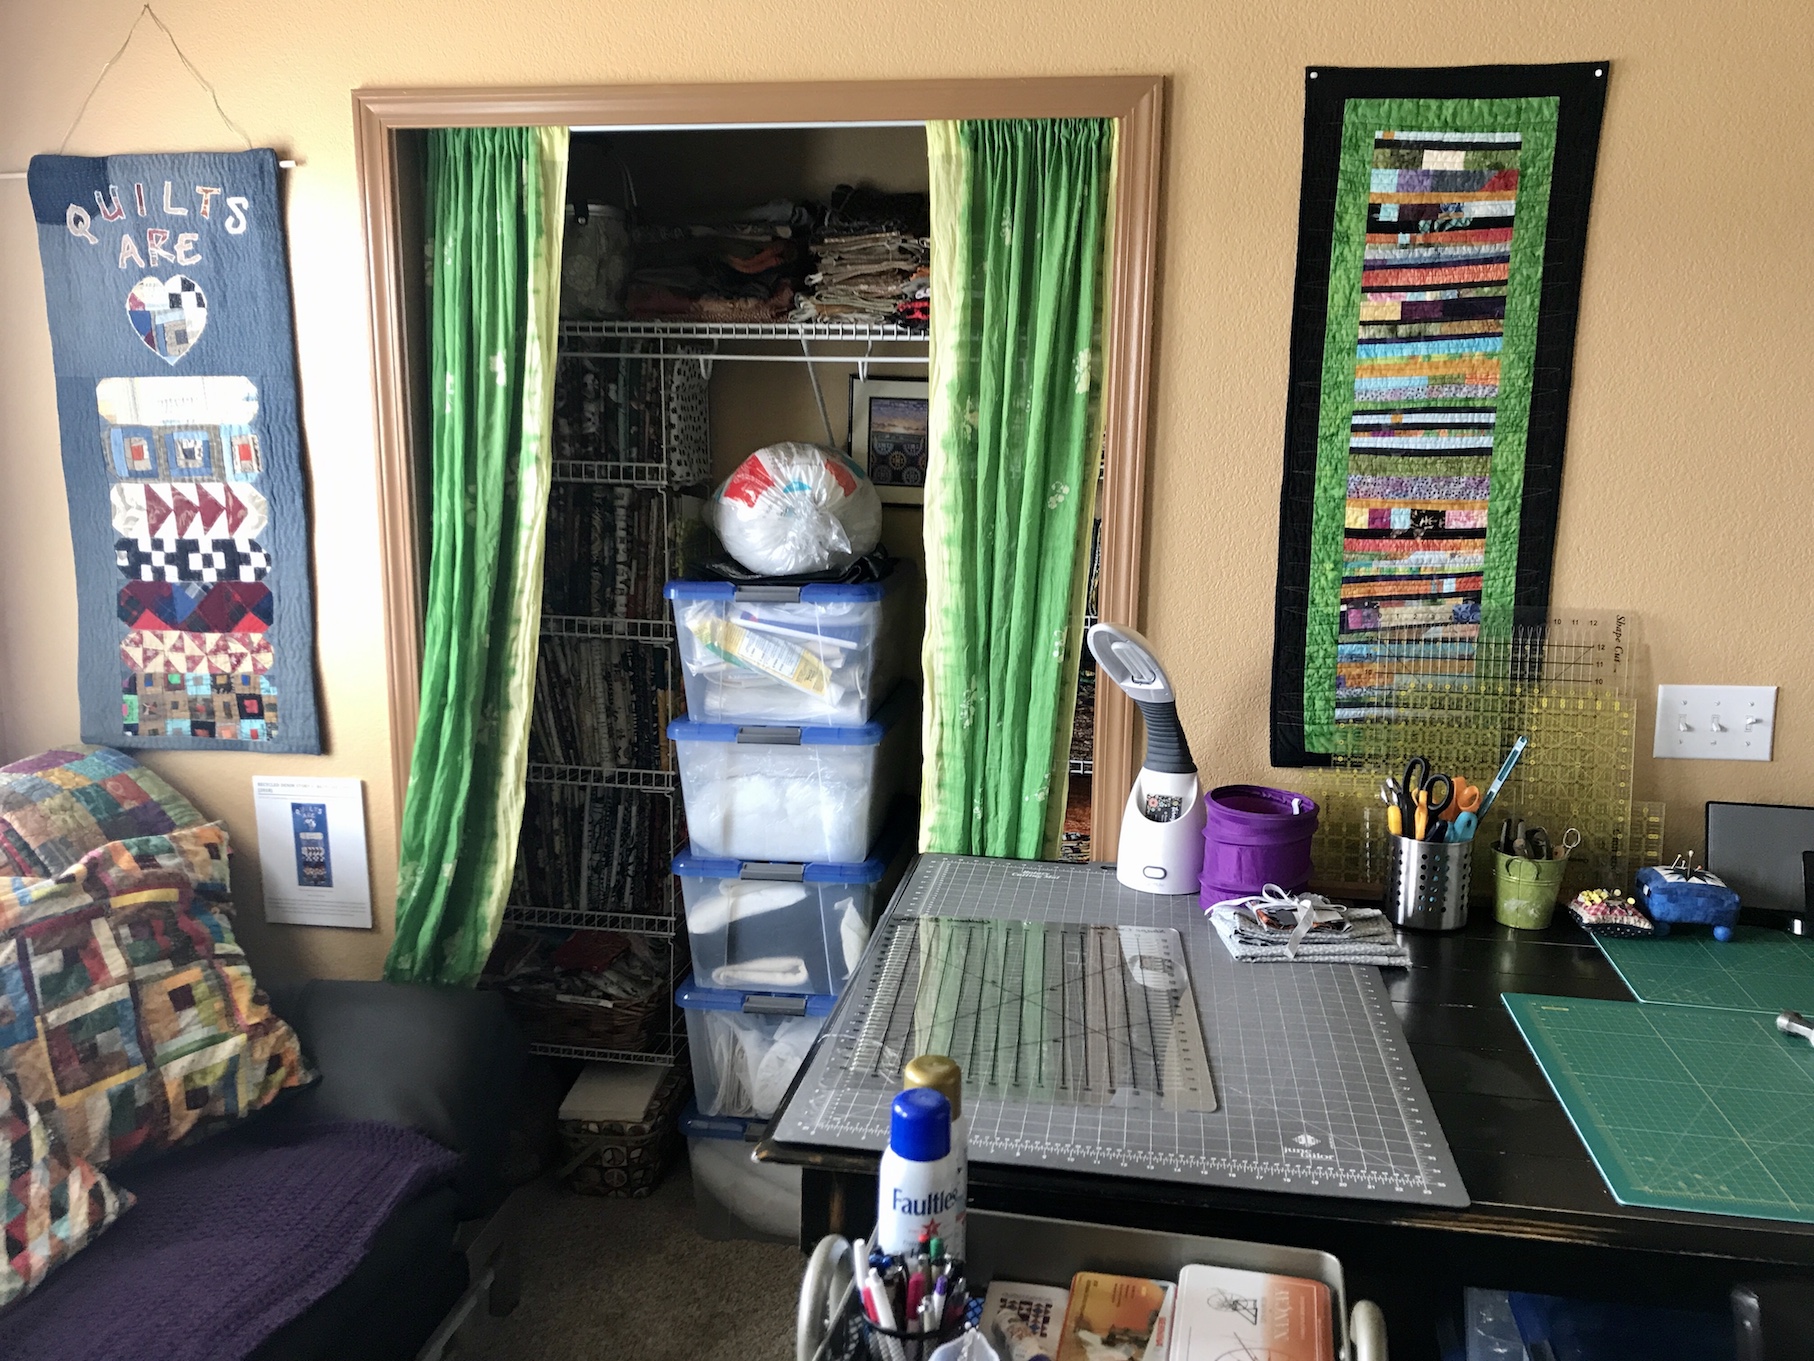
In addition to making many things over the past several weeks, I’ve also added in some additional organizational touches to include re-organized my fabric scraps into baskets in my sewing studio’s closet and getting additional wine crates to organize fat quarters.

Re-organizing Fabric Scraps

Here is what I did with the fabric scraps:

2020-12-16_15-41-03_6542020-12-16_20-50-27_603

It looks messy but it is a much better way for me to access my fabric scraps which are organized by color groups:

  • Black, white and gray
  • Cream and yellow
  • Orange and brown
  • Red and purple
  • Green, blue, and all the blue-greens

I have batik scraps in their own separate bucket and I have speciality fabric scraps in their own basket.

The plastic bags are scraps for special projects.

While organizing my scraps I purged a lot of small pieces. I decided to finally let go of the small/tiny pieces as well as any scraps that “did not bring me joy”.

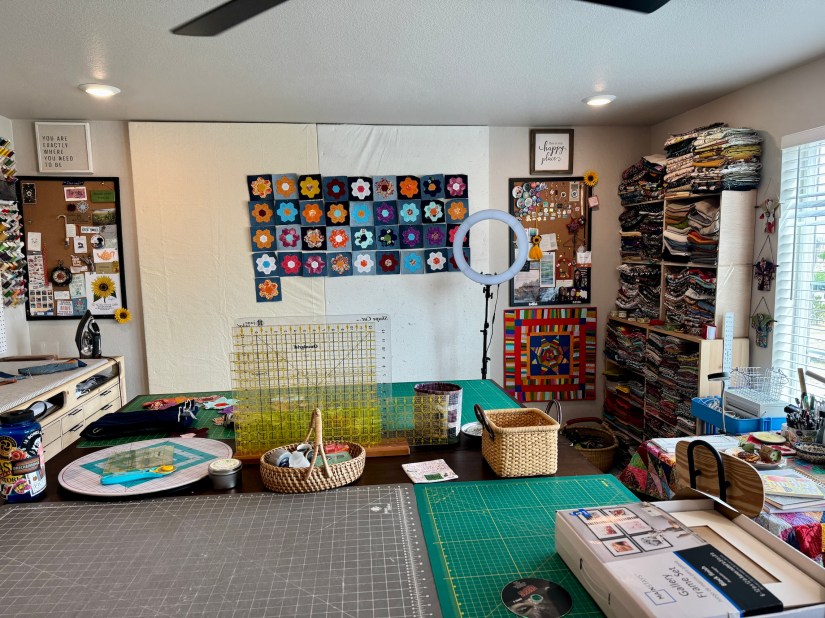
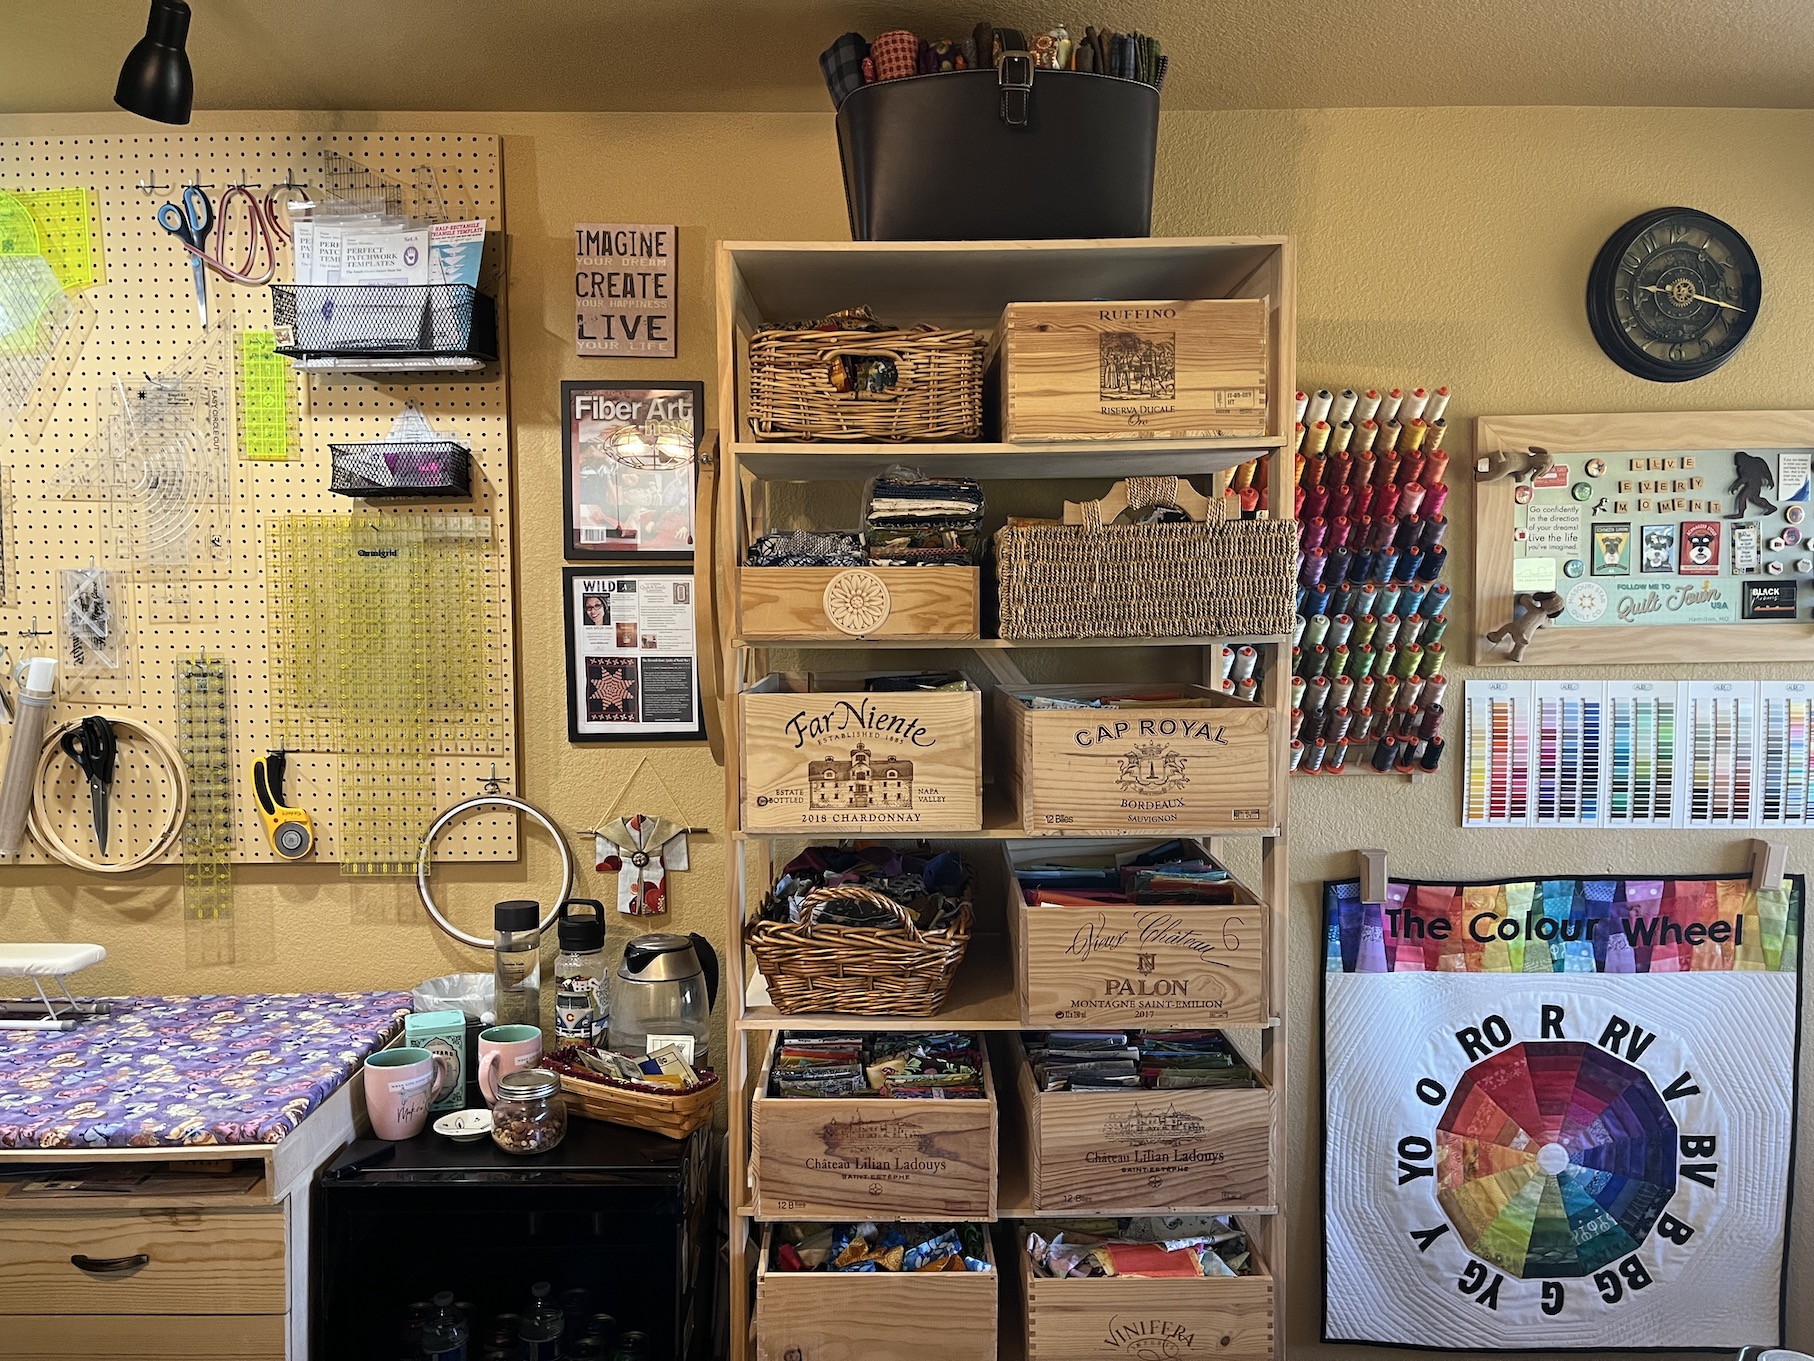
Fat Quarter Wrangling

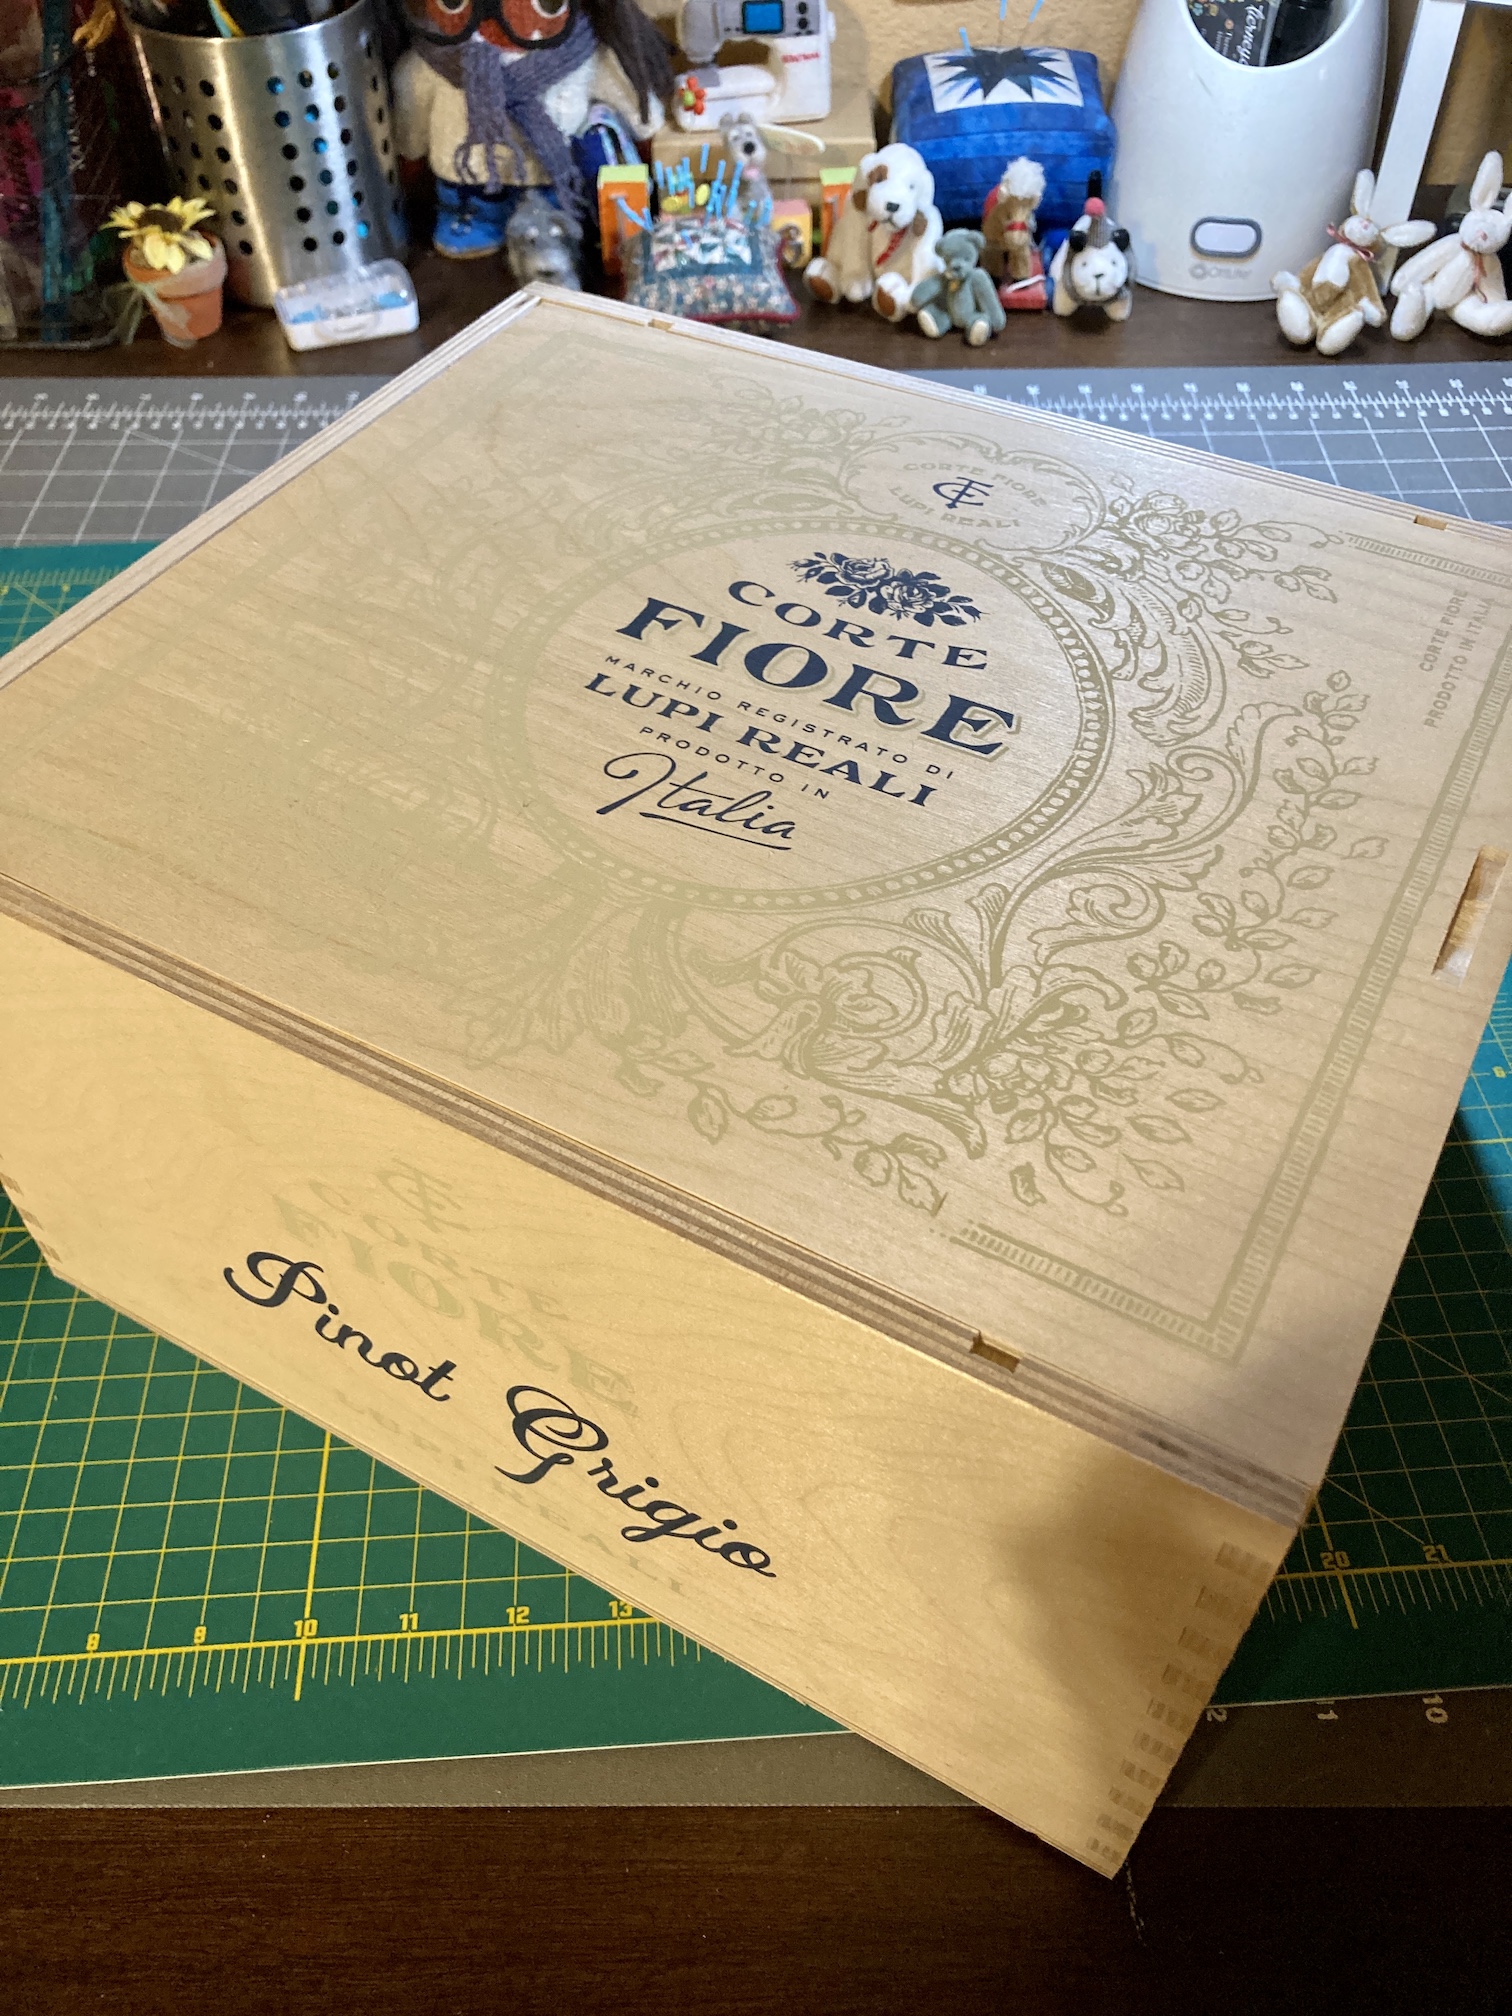
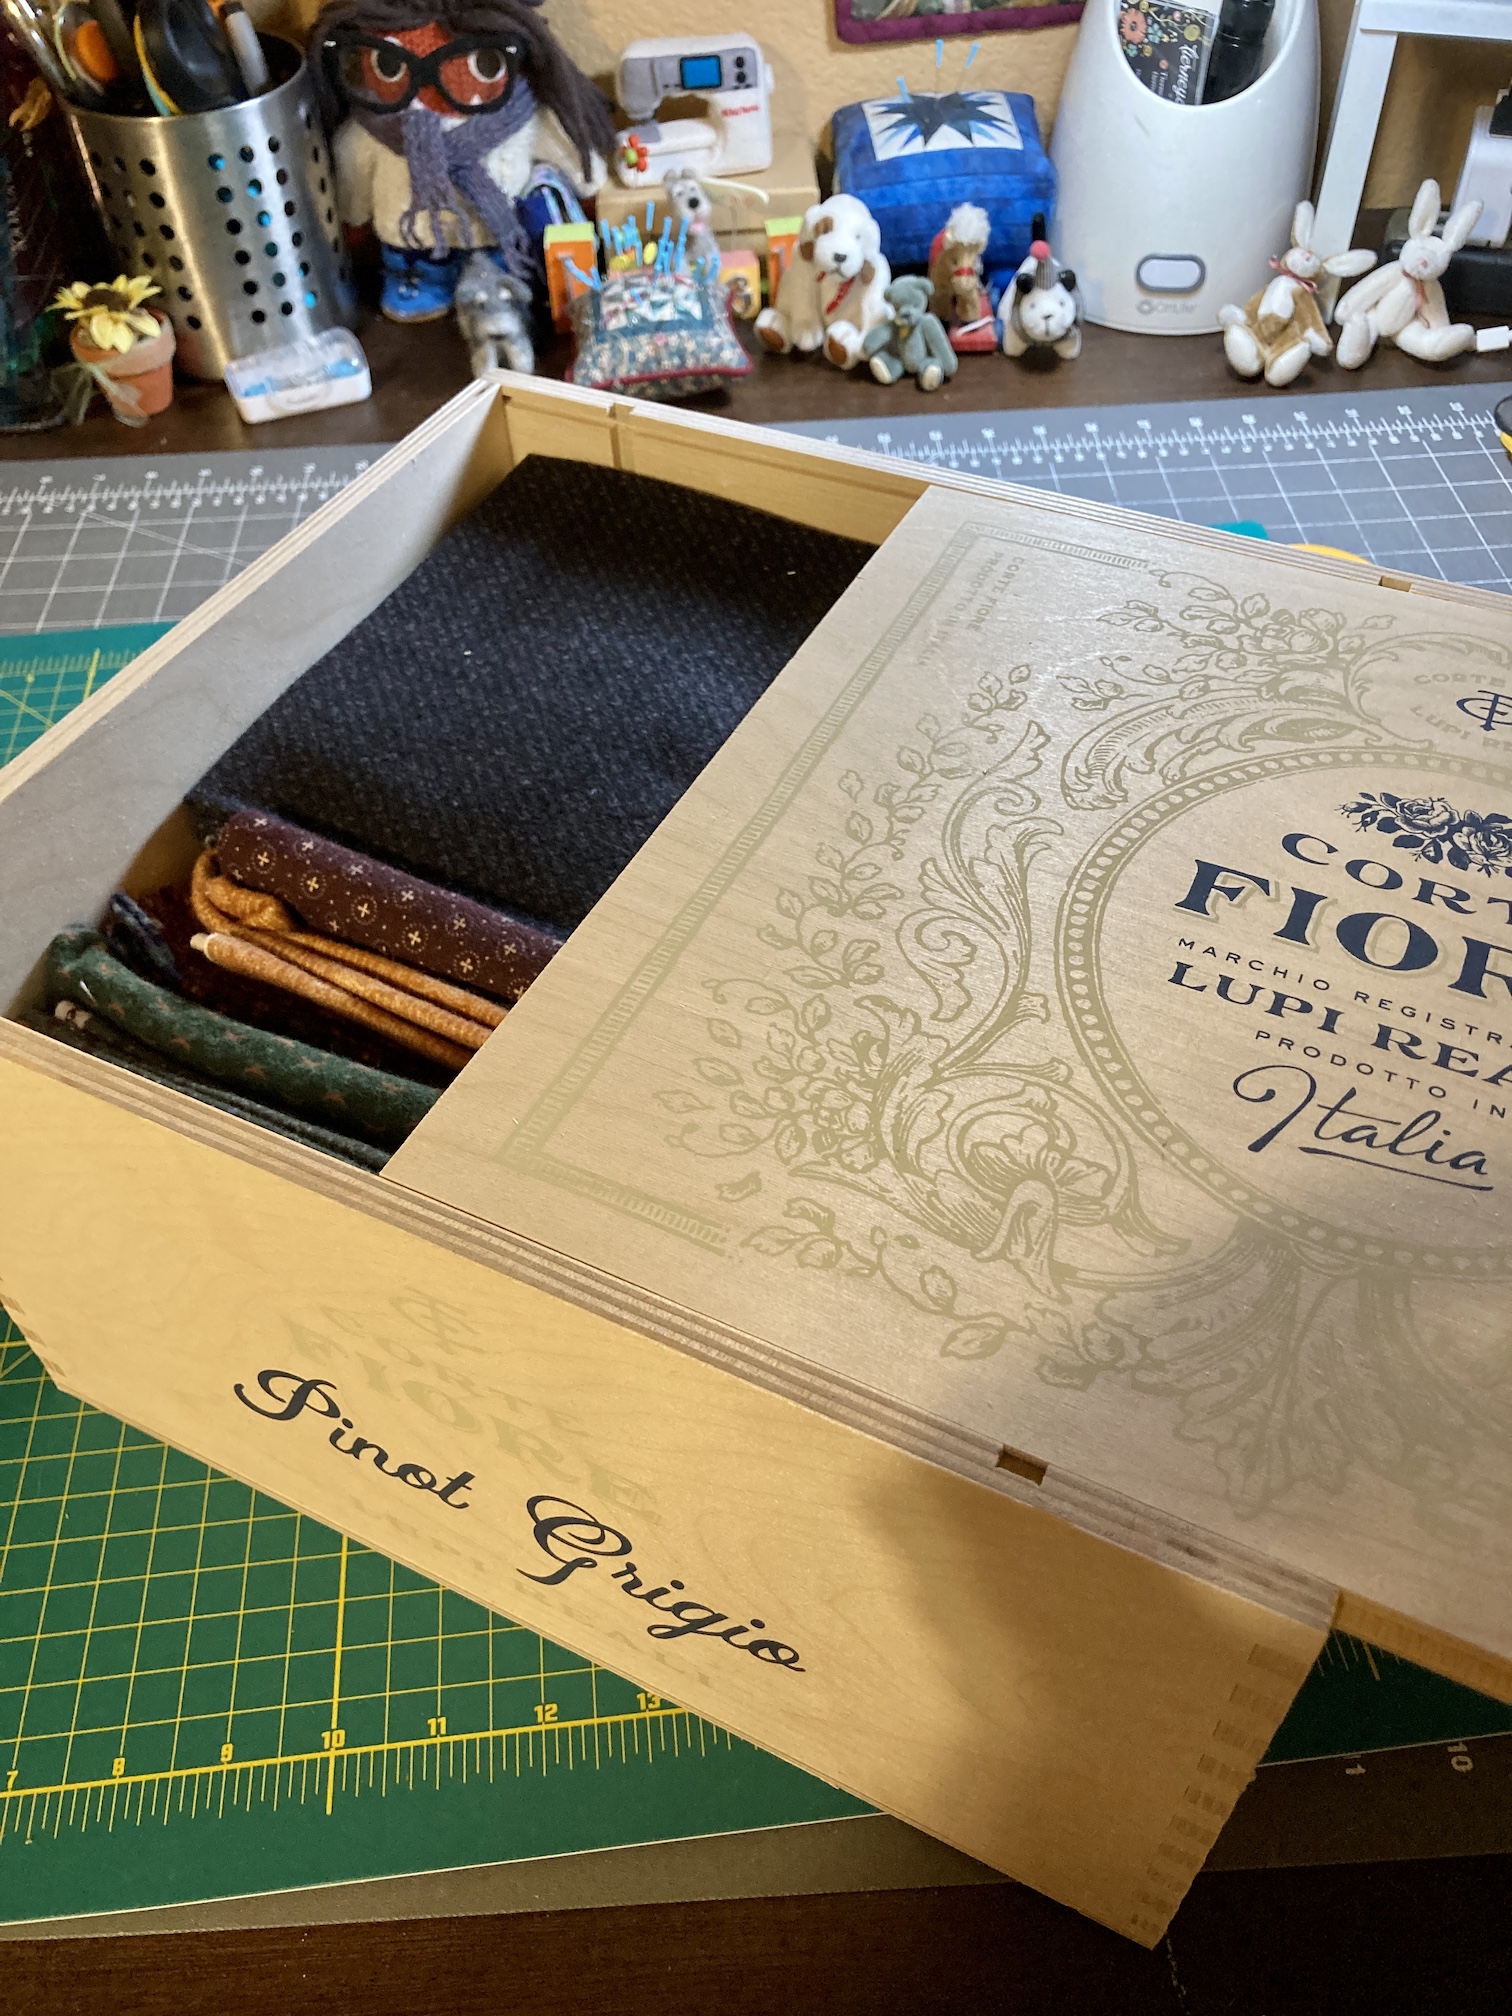
I’ve collected a lot of fat quarters over the years and it feels like I am always searching for the best way to store them. A couple months ago I came up with the idea to organize them in wine crates that I got from local liquor stores. Some stores will give you 1 or 2 for free while others charge $5 a wine crate.

Using an old bookshelf (that I’ve had for like 20 years), I organized the fat quarters by color groups into crates, which I keep next to my cutting table:

2020-12-17_18-50-20_2712020-12-16_15-40-48_945

A week ago I added one more crate – the prettiest crate I’ve picked up to date and it was given to me for free by a local liquor store. It even came with a lid:

2020-12-12_17-19-27_5082020-12-12_17-20-33_0692020-12-12_17-19-42_194

I keep my beloved collection of Asian and Japanese woven fat quarters as well as a couple other special fat quarter fabric sets (like my Marcia Derse fat quarter collection, see post Fabric Fangirl Frenzy for the story of when I met Marcia and went a little “fabric designer fan girl” on her… ) on the top of the bookshelf with the wine crates:

2020-12-19_21-46-03_333

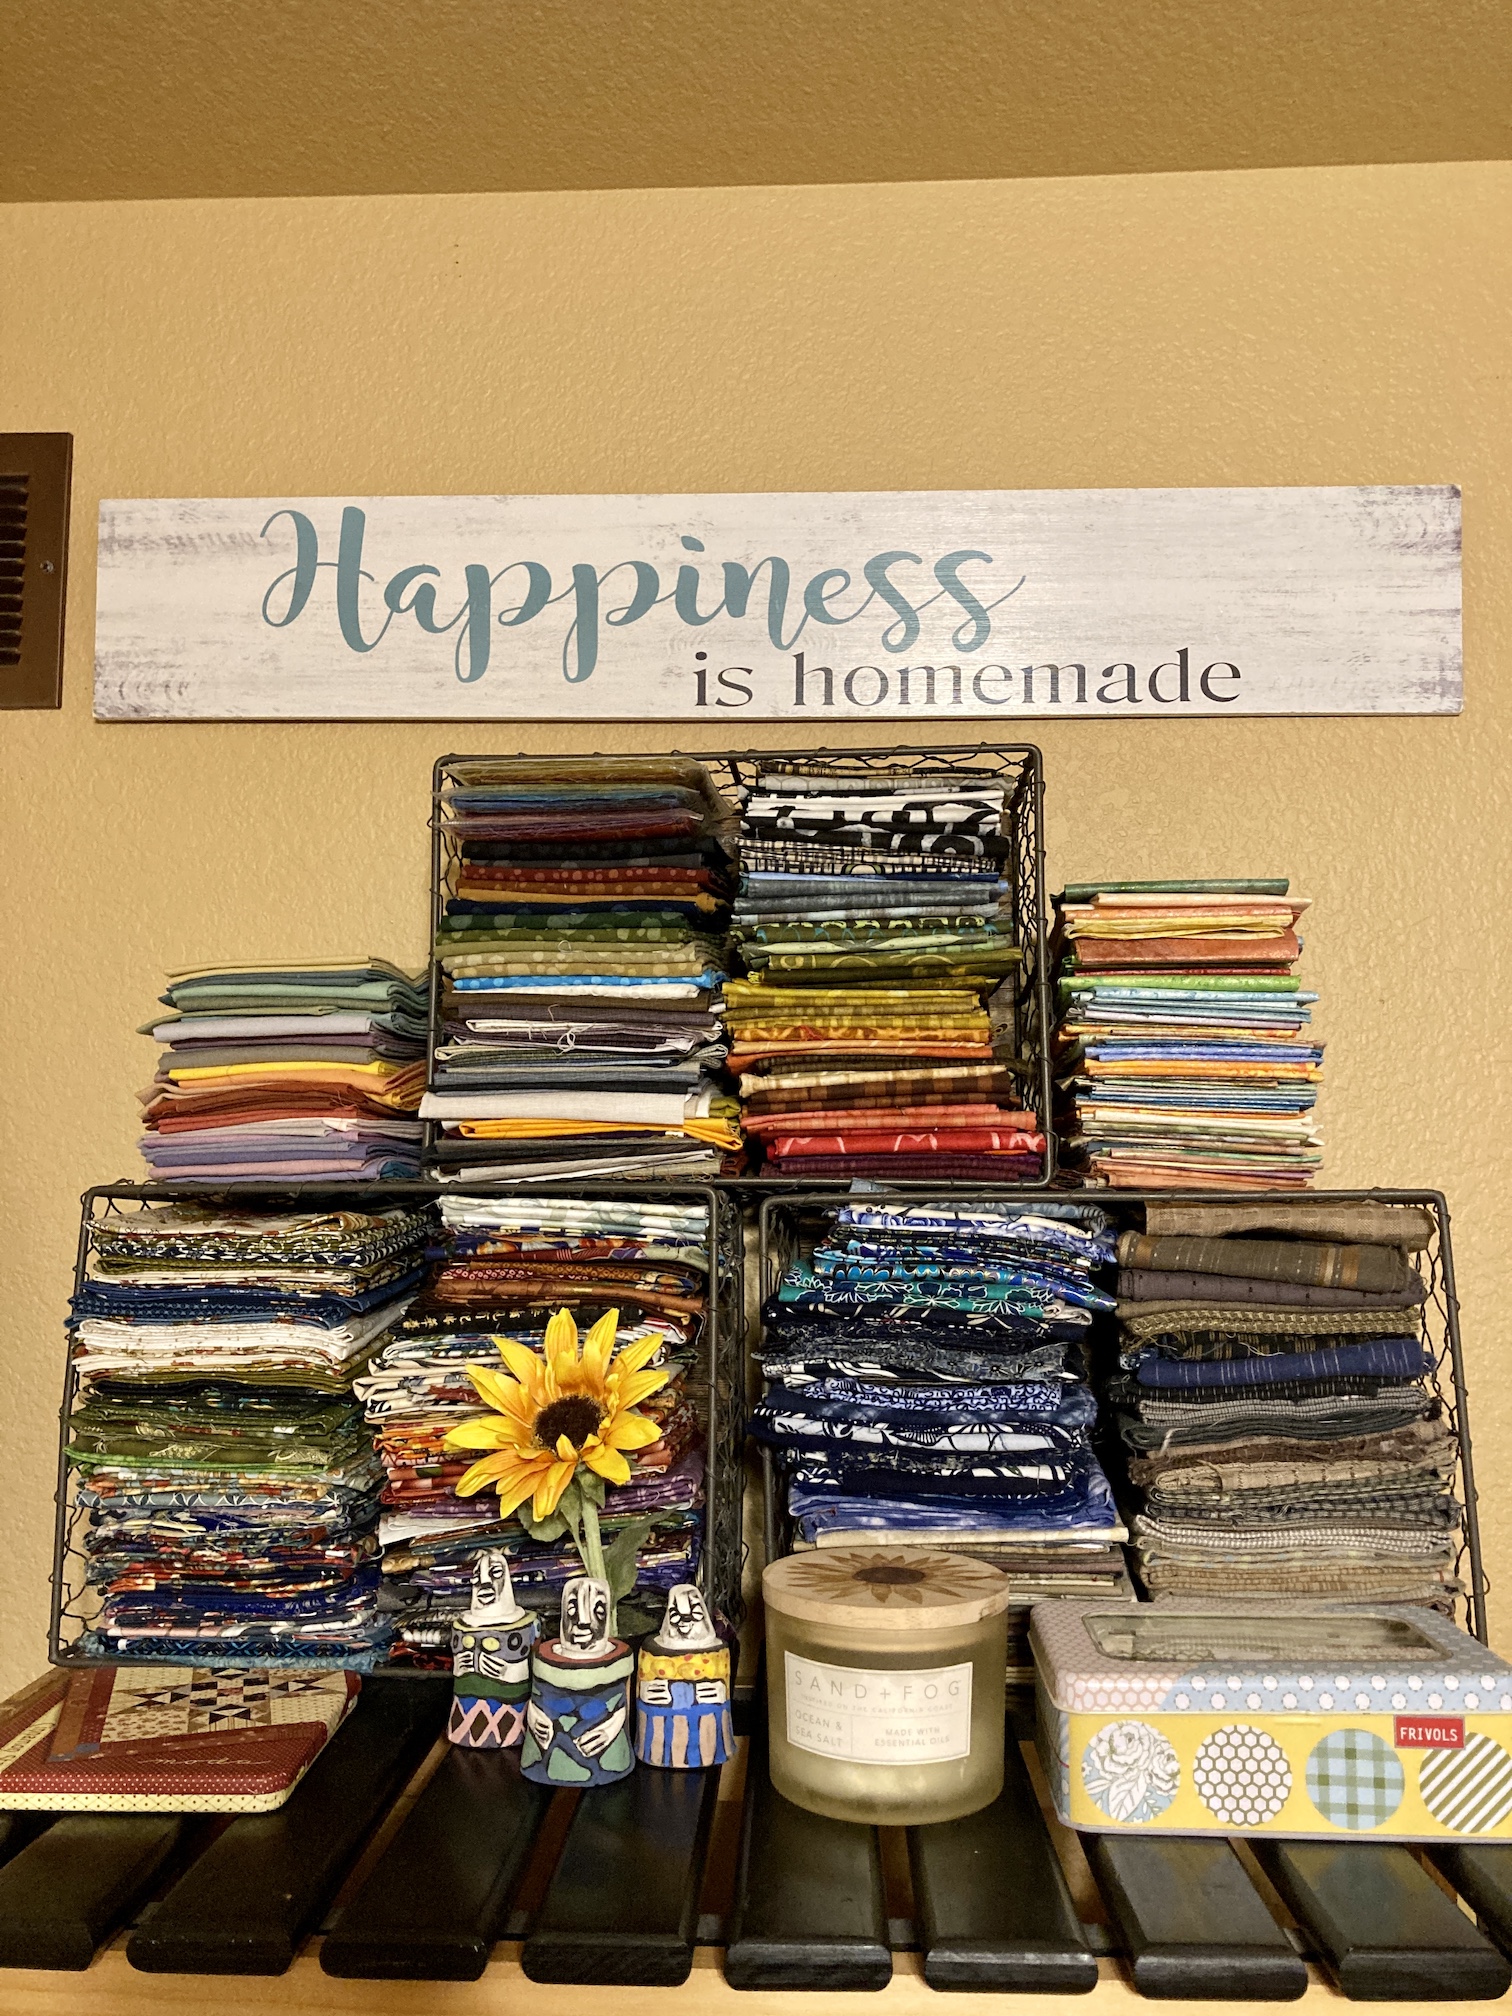
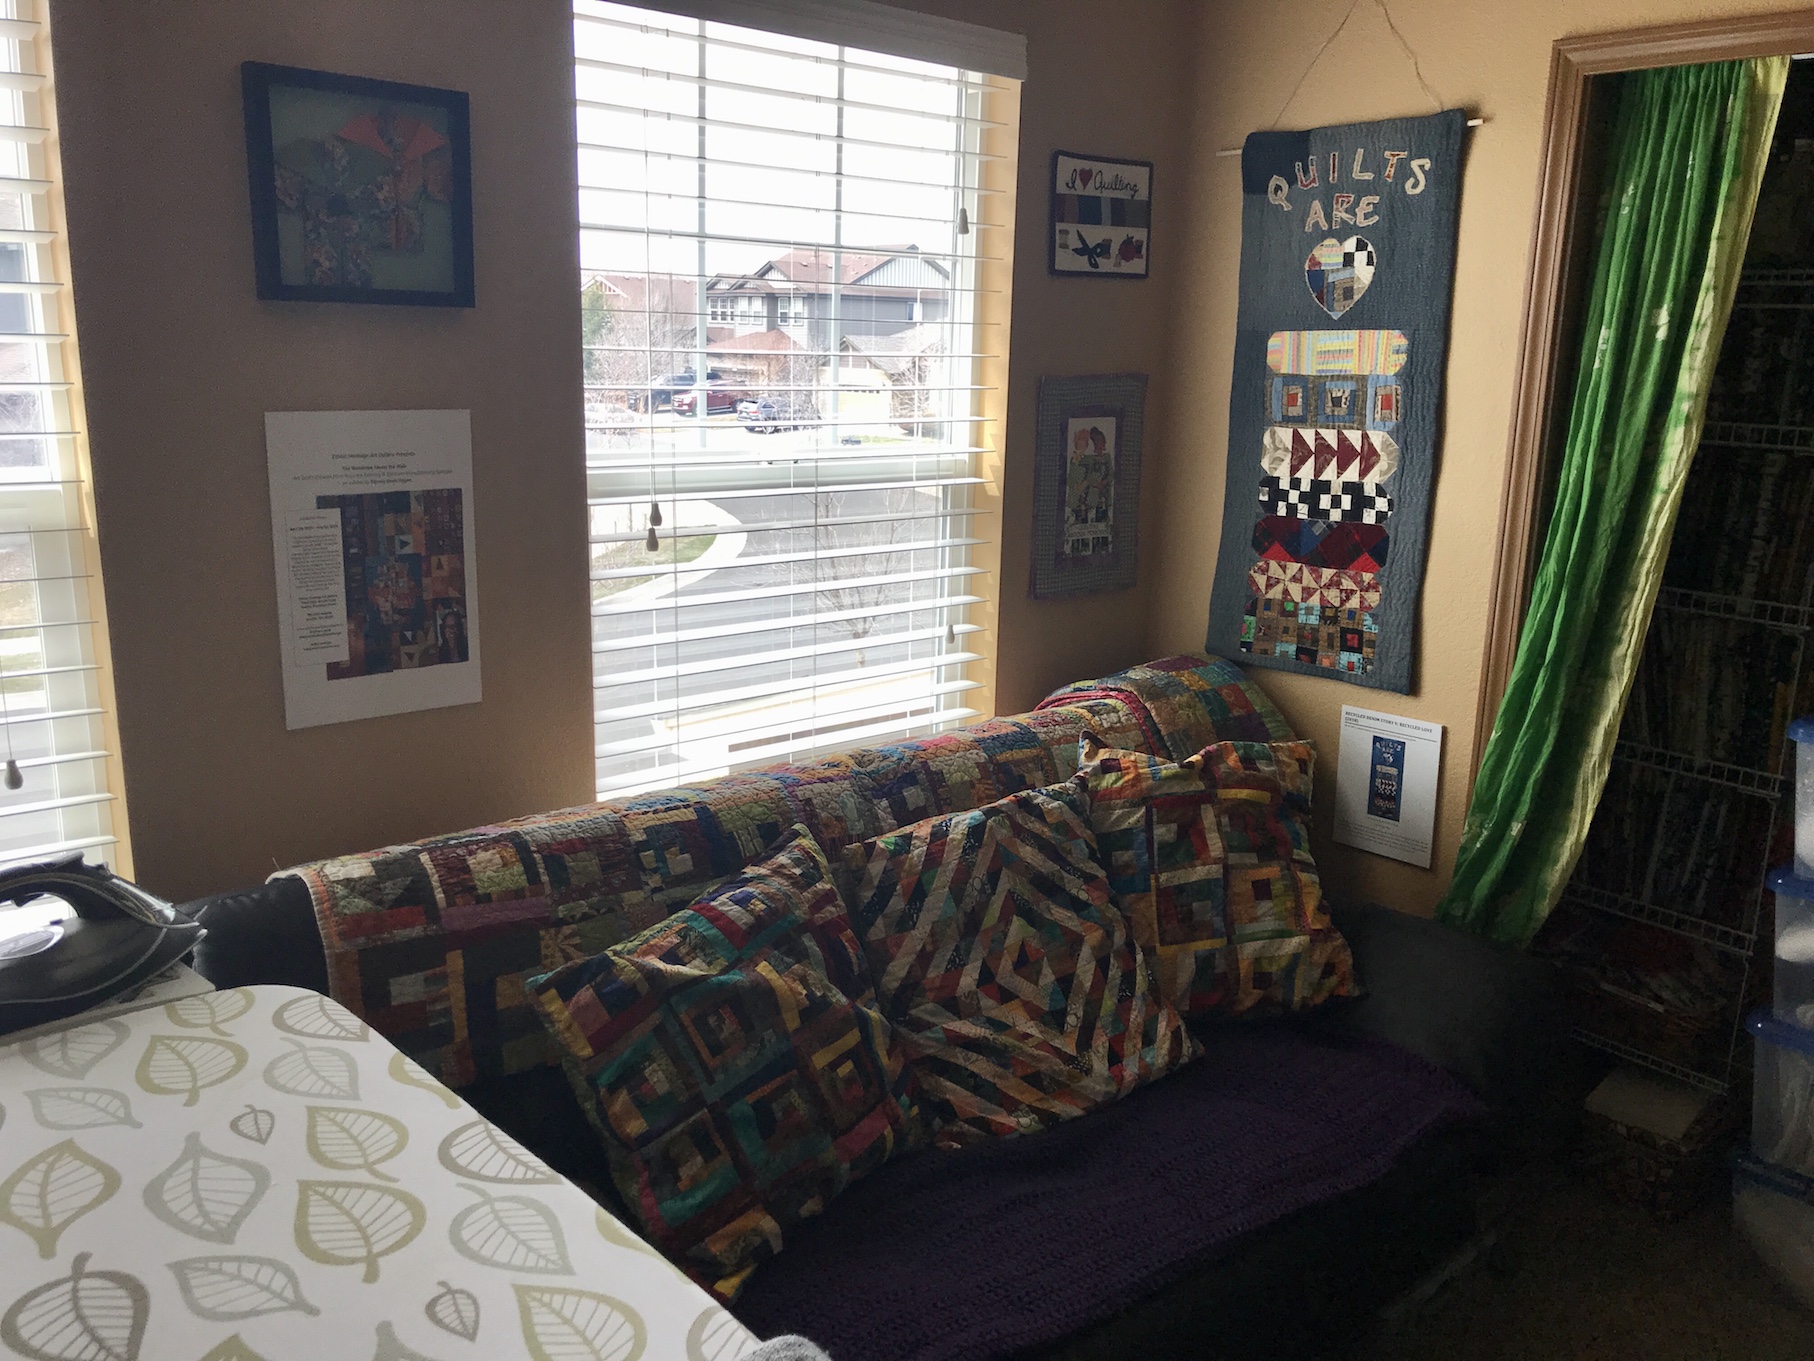
I love the sign I found at a thrift shop: “Happiness is homemade”. It feels like a lot of my recent happiness (or at least breaks from grief) is tied to working on handmade items!

As I mentioned earlier in the post, my next group of posts will be what I’ve been working on in my studio over the past couple of weeks.


Postscript

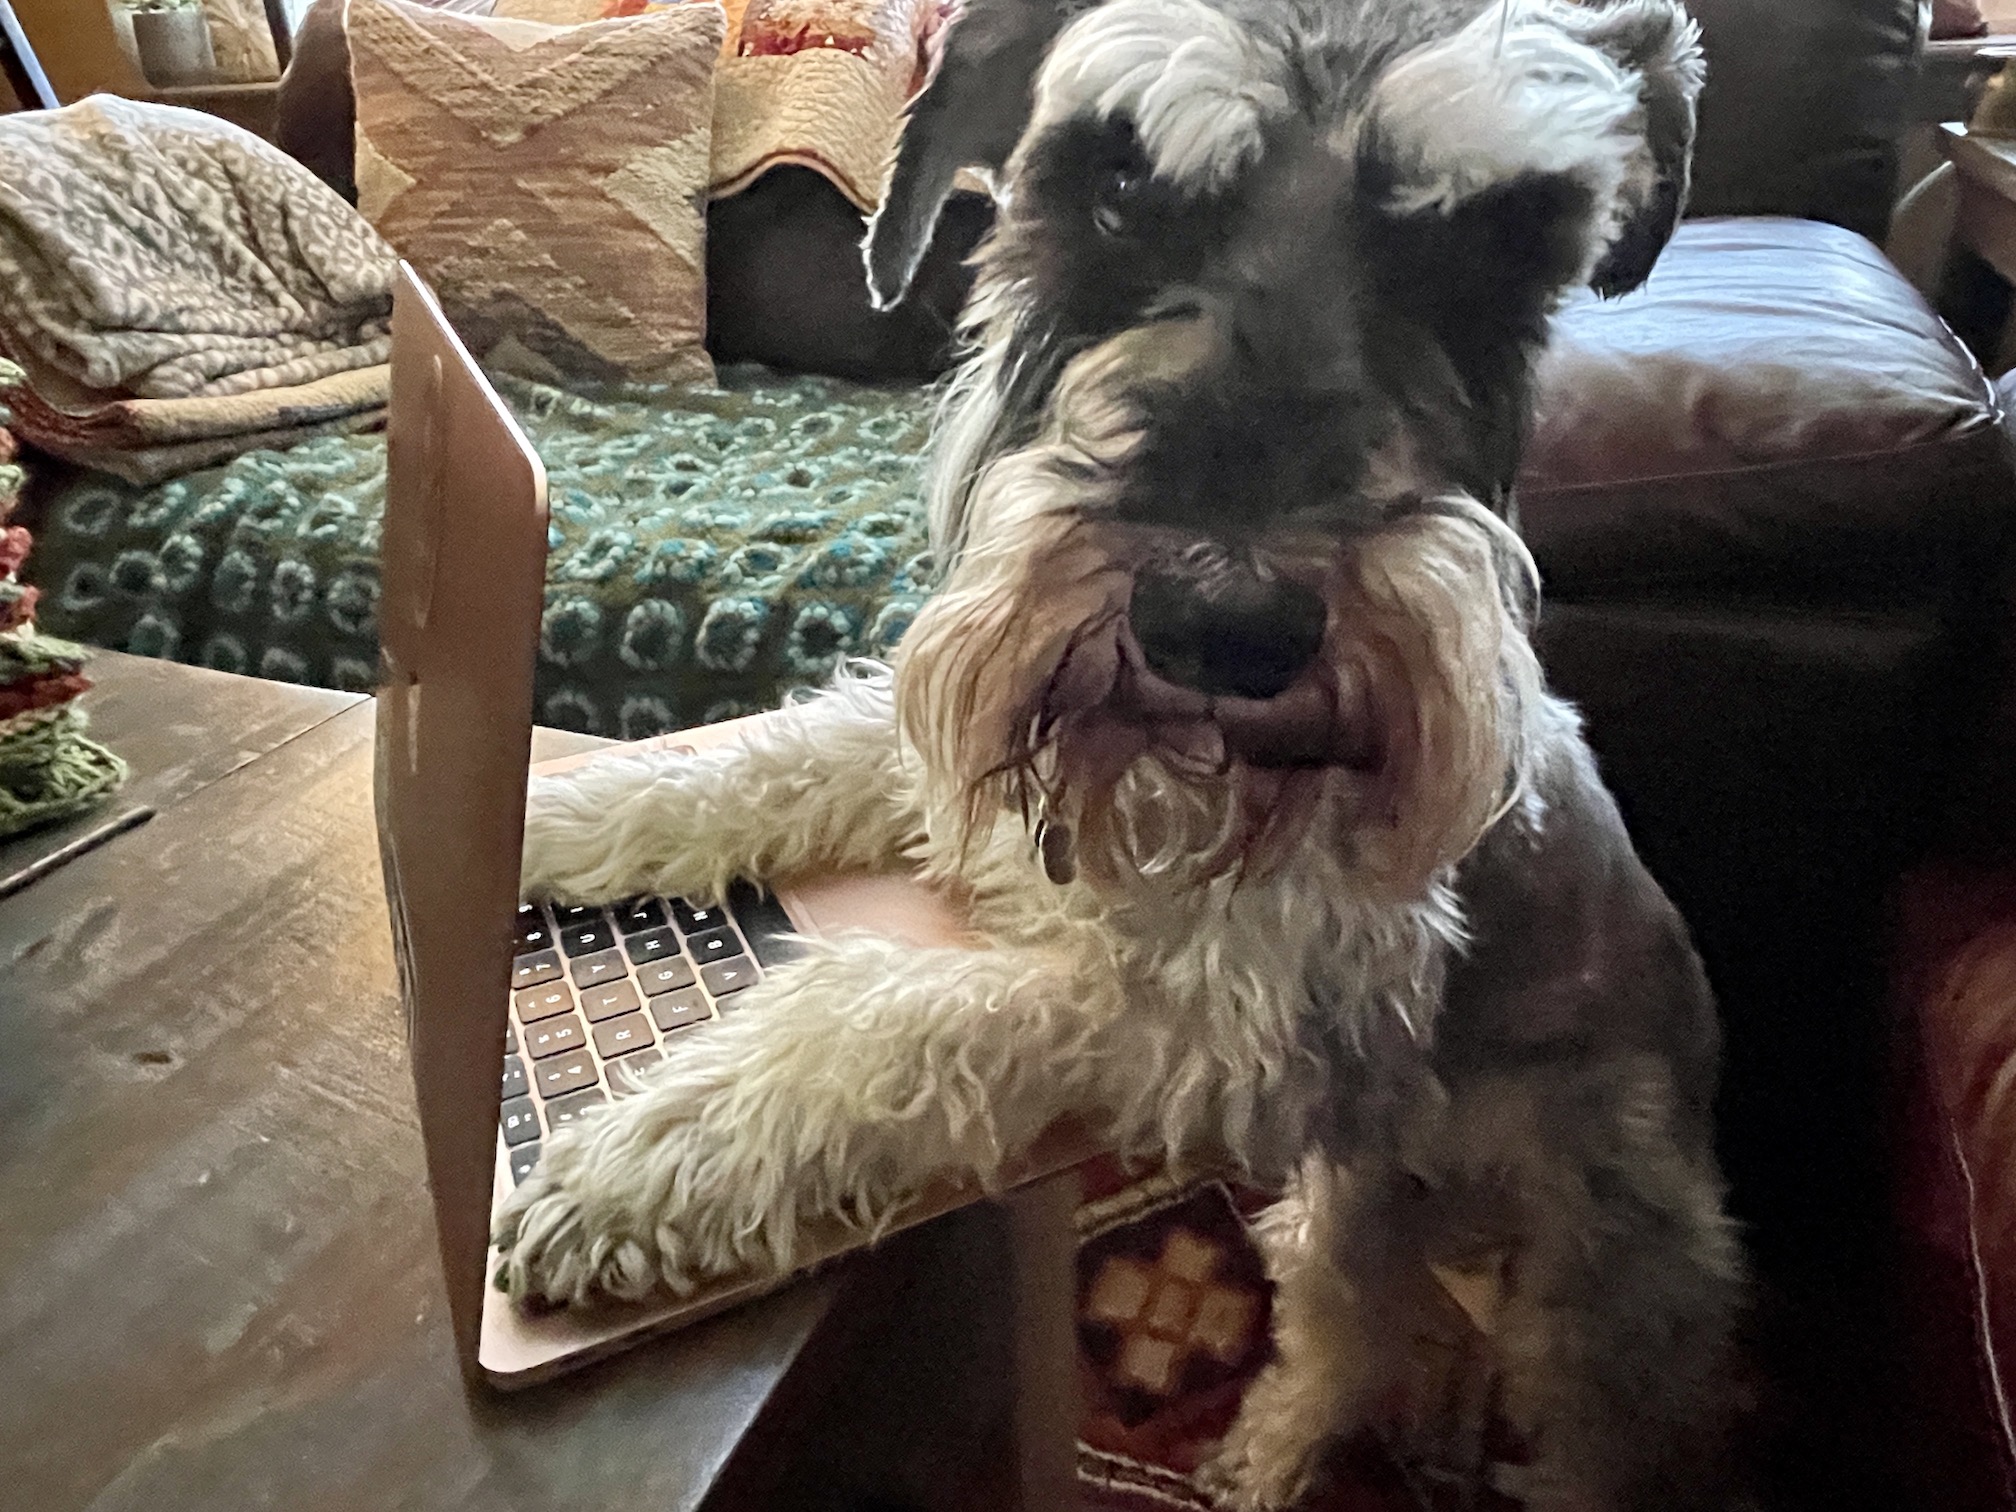
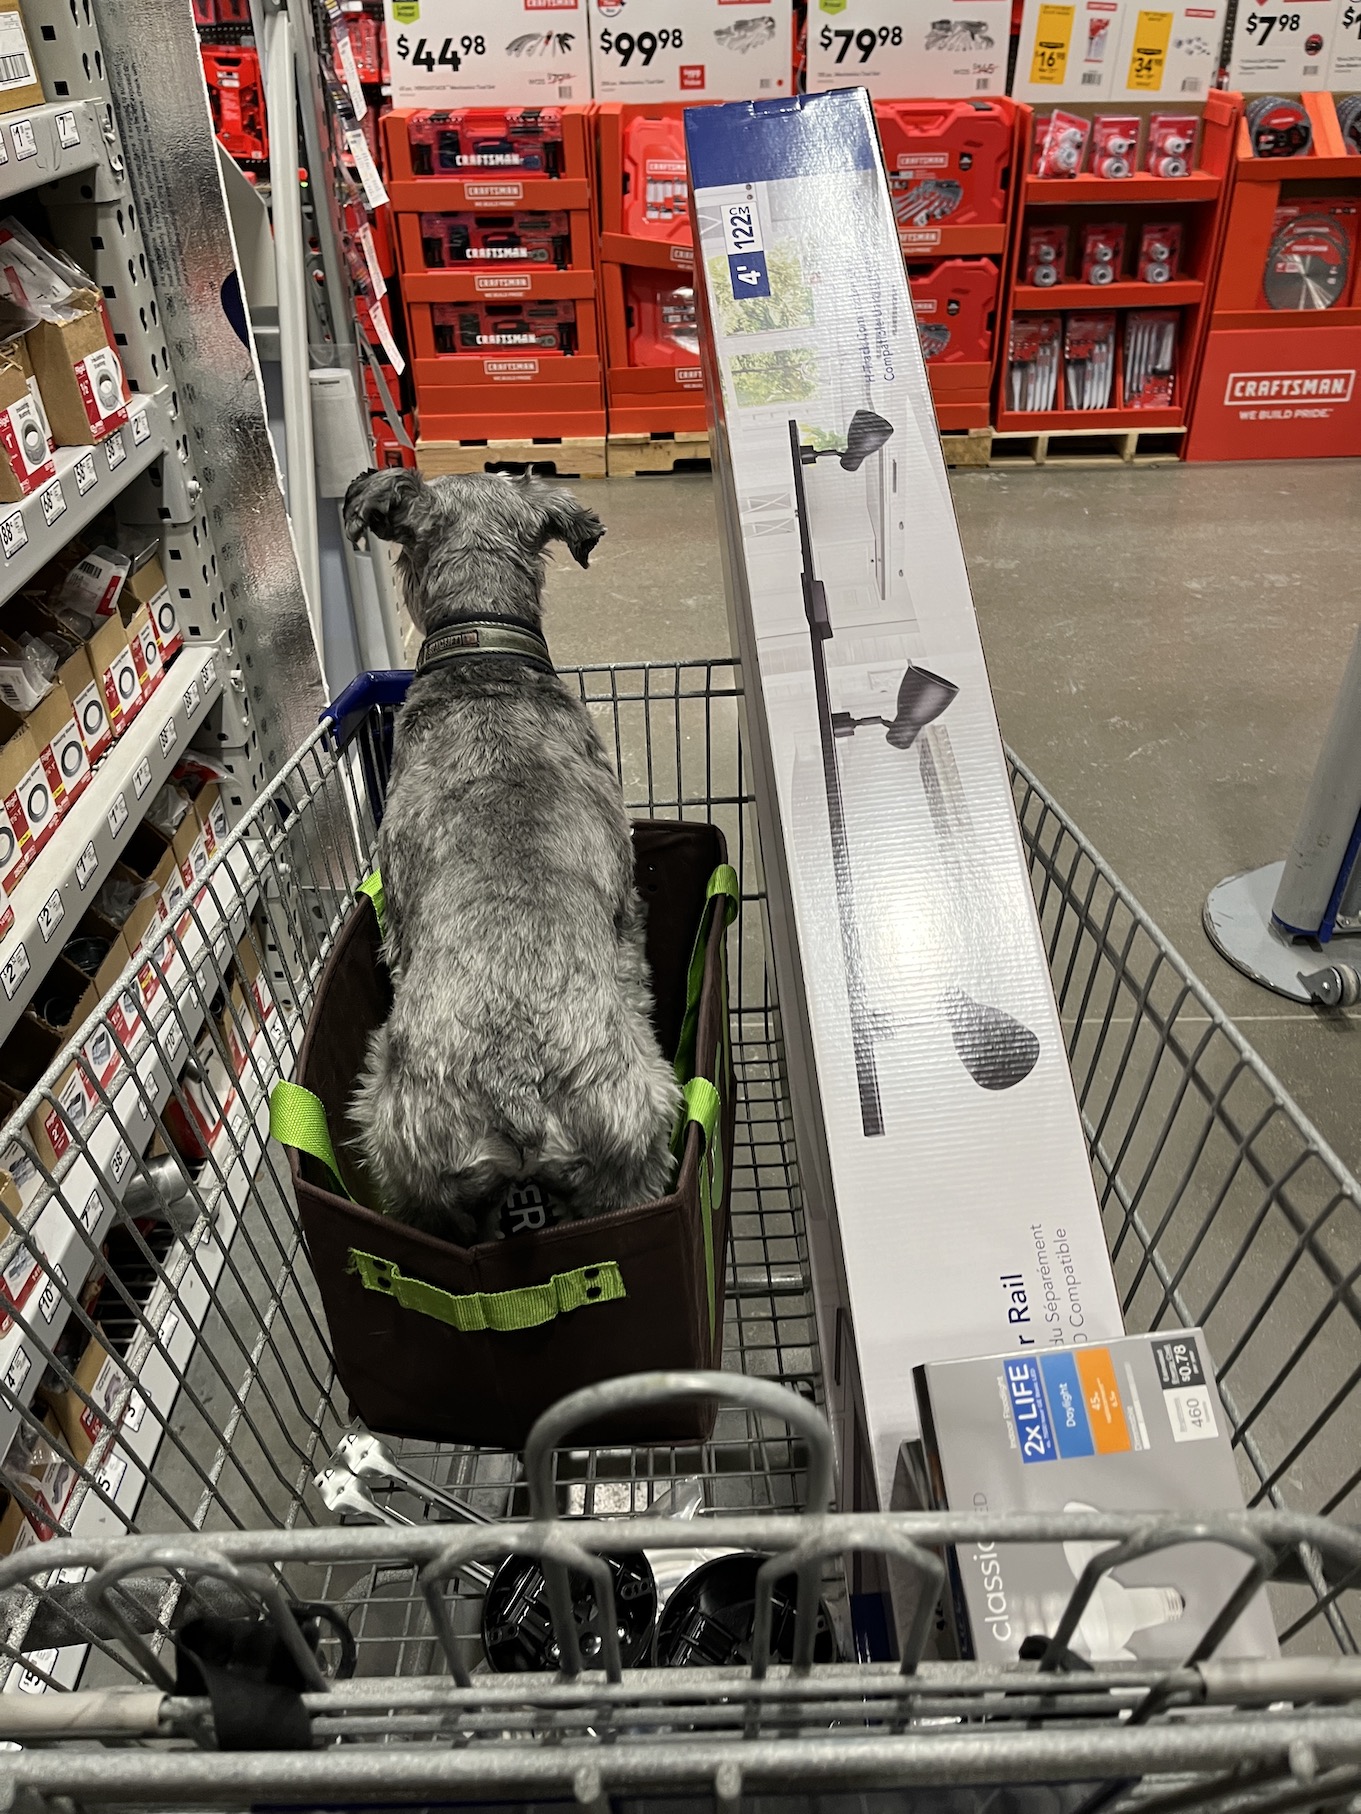
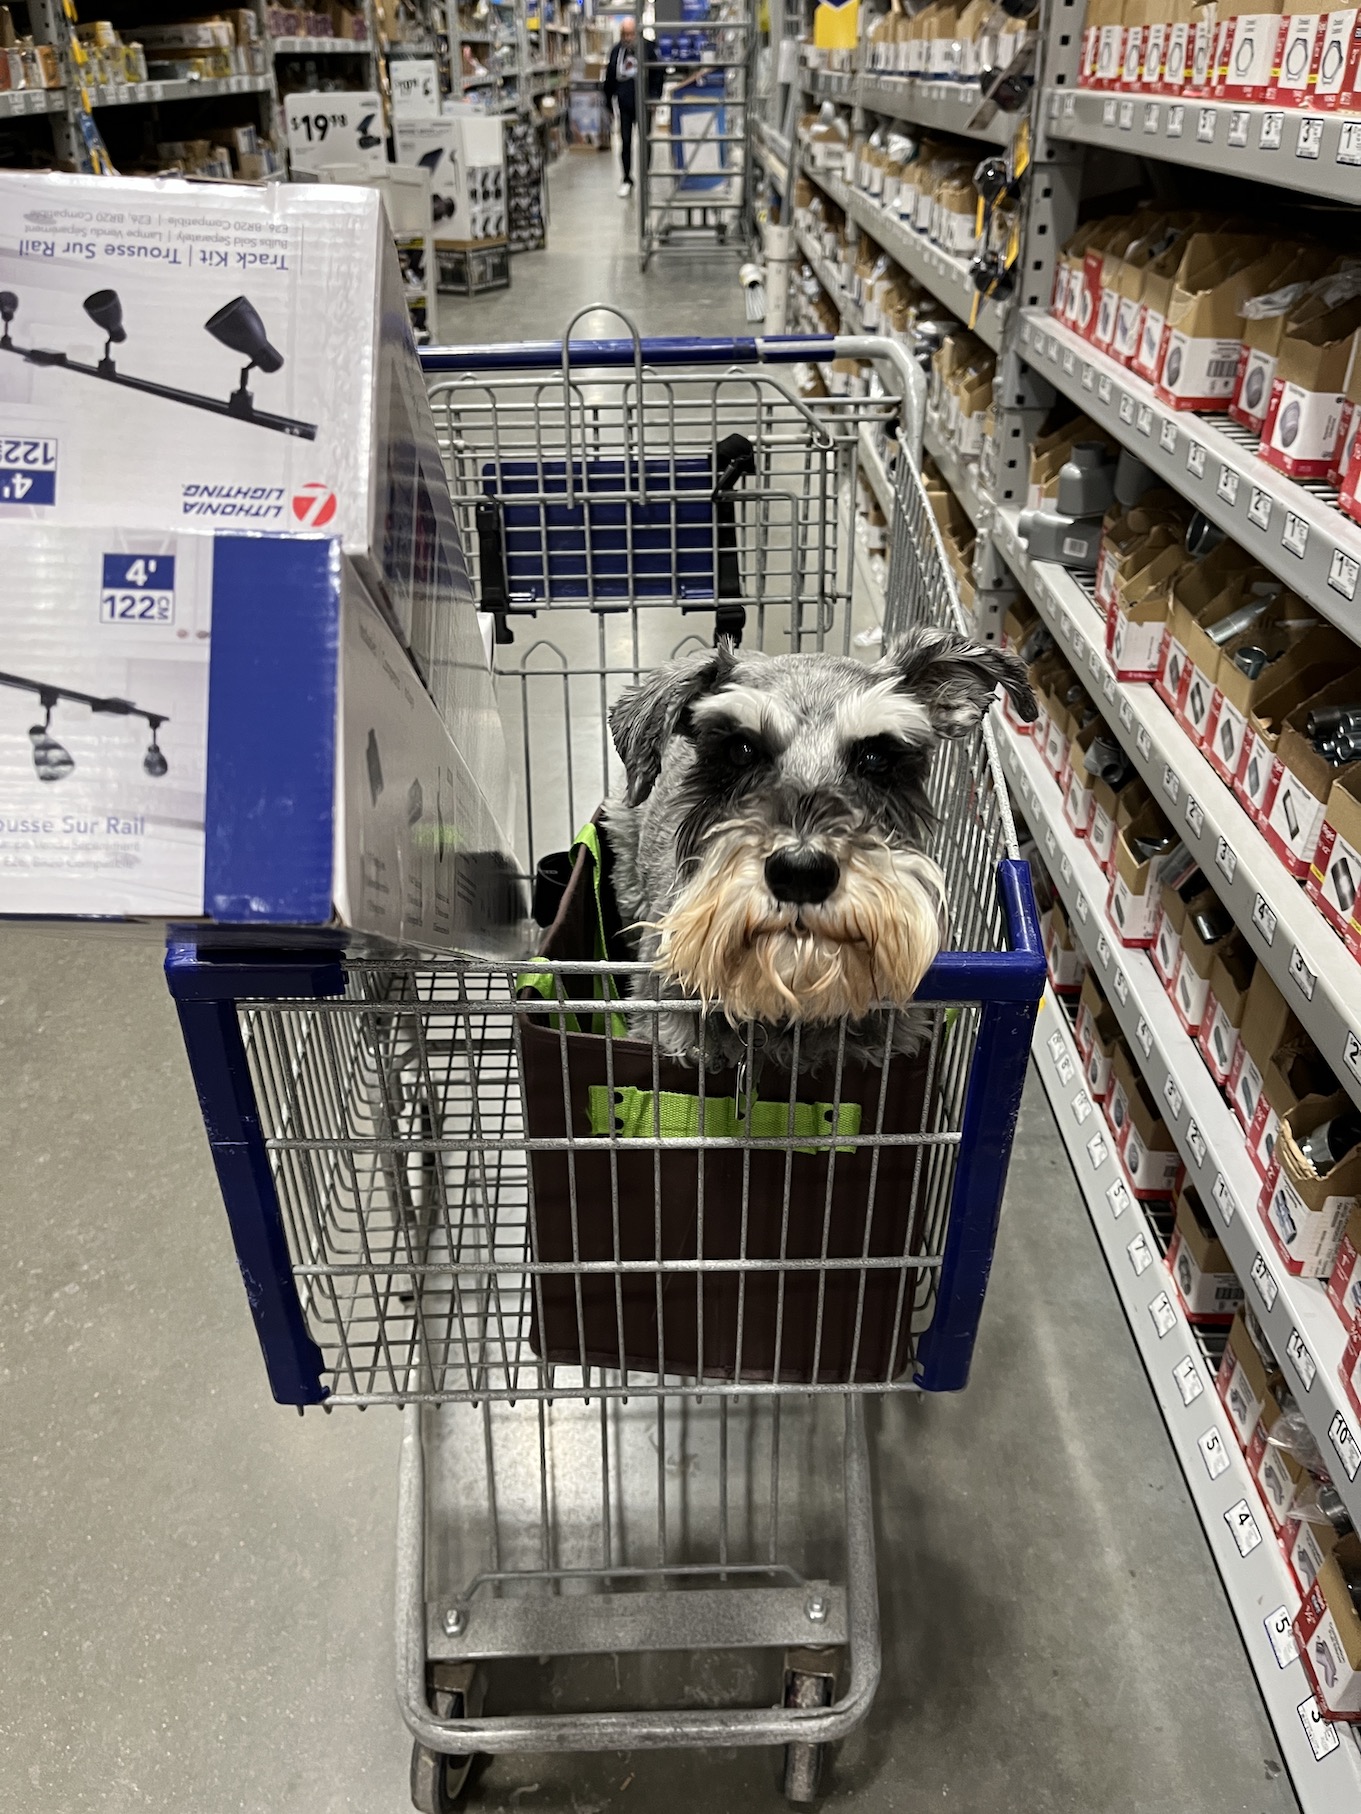
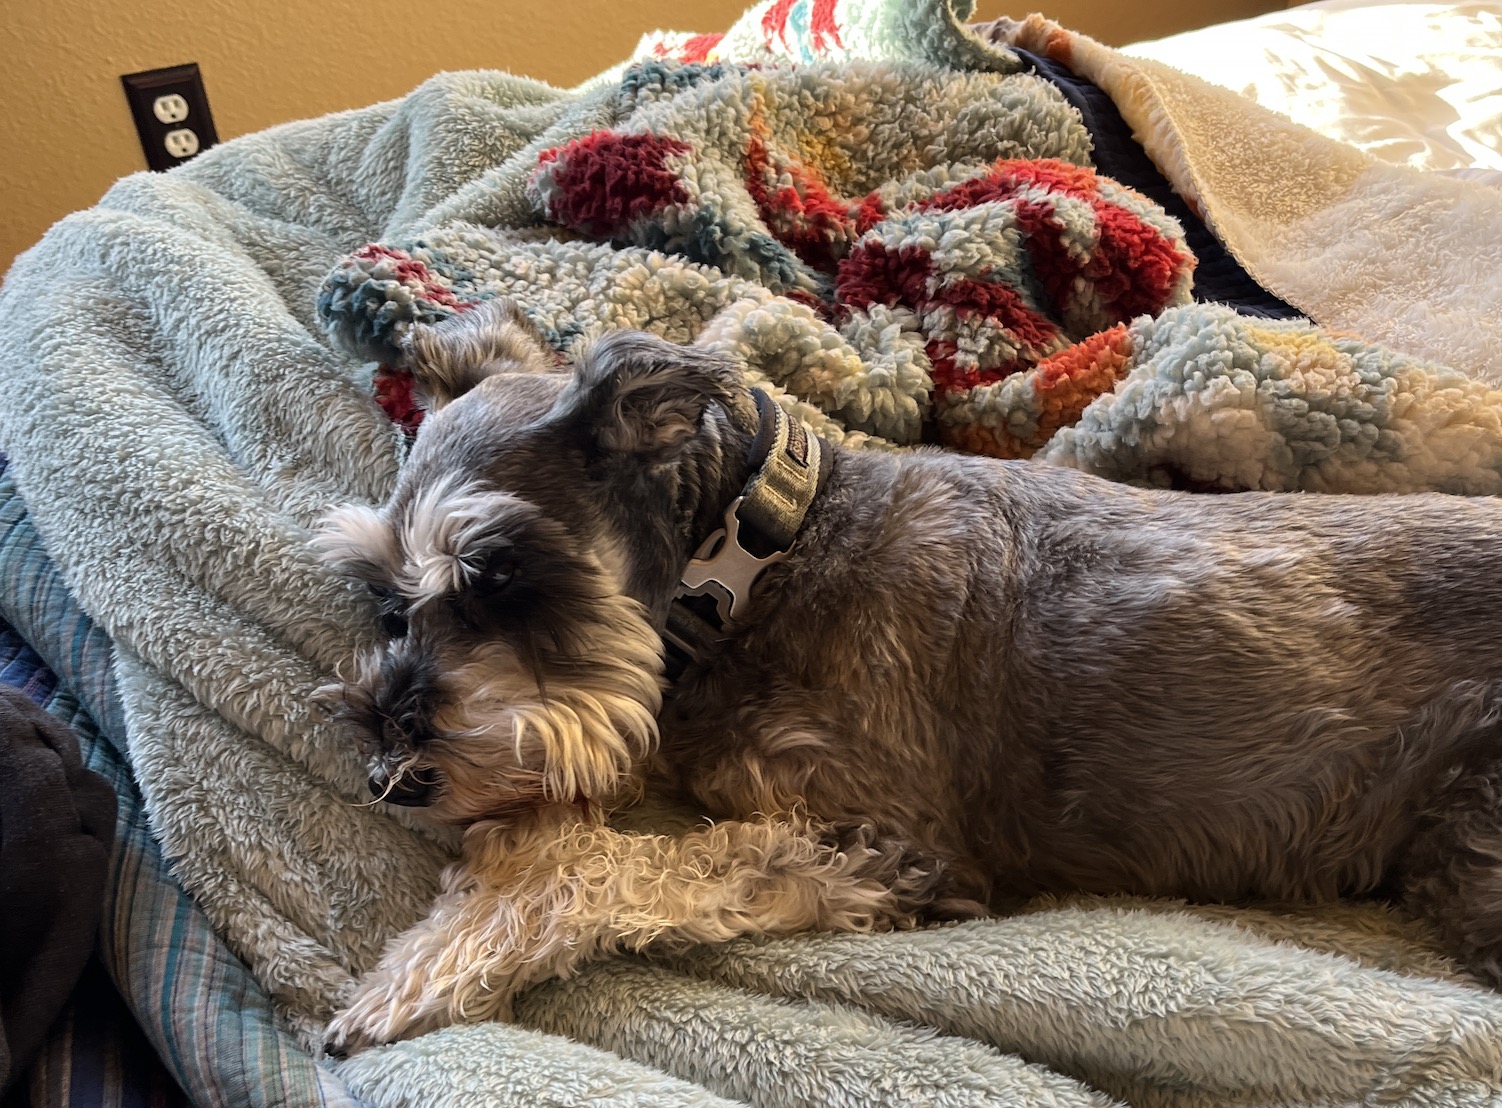
In case you are wandering what Mike the Miniature Schnauzer has been up to – he is back riding the aisles of home improvement stories and his continues to provide emotional support to his male human working on woodworking projects!

2020-12-07_17-21-59_8202020-12-19_12-00-12_8872020-12-19_12-01-07_672

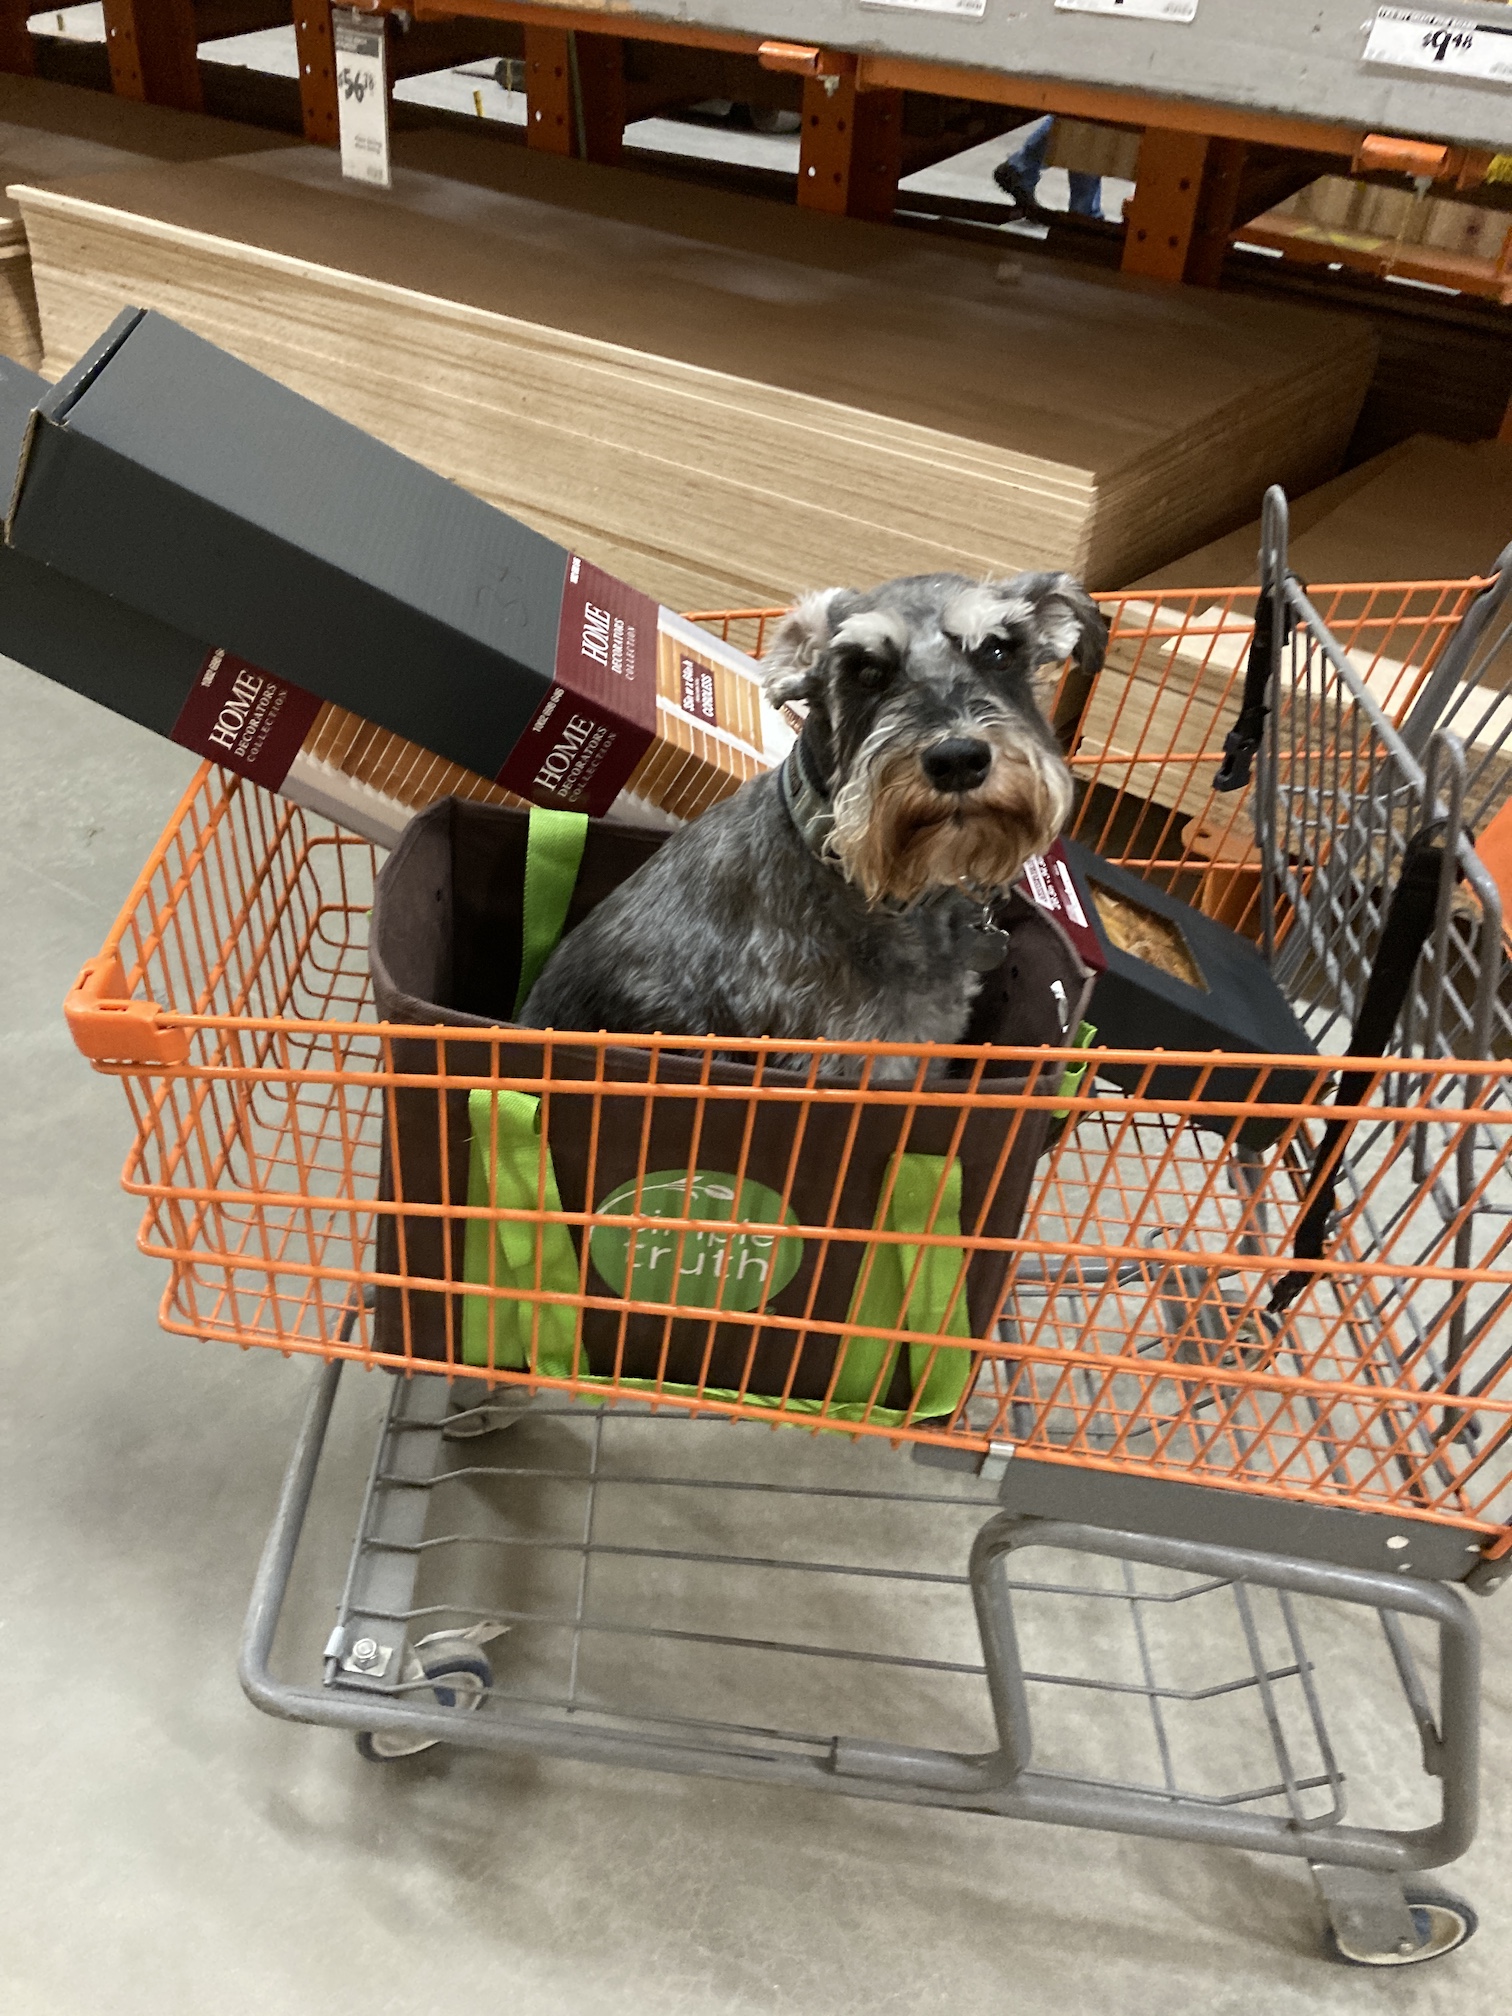
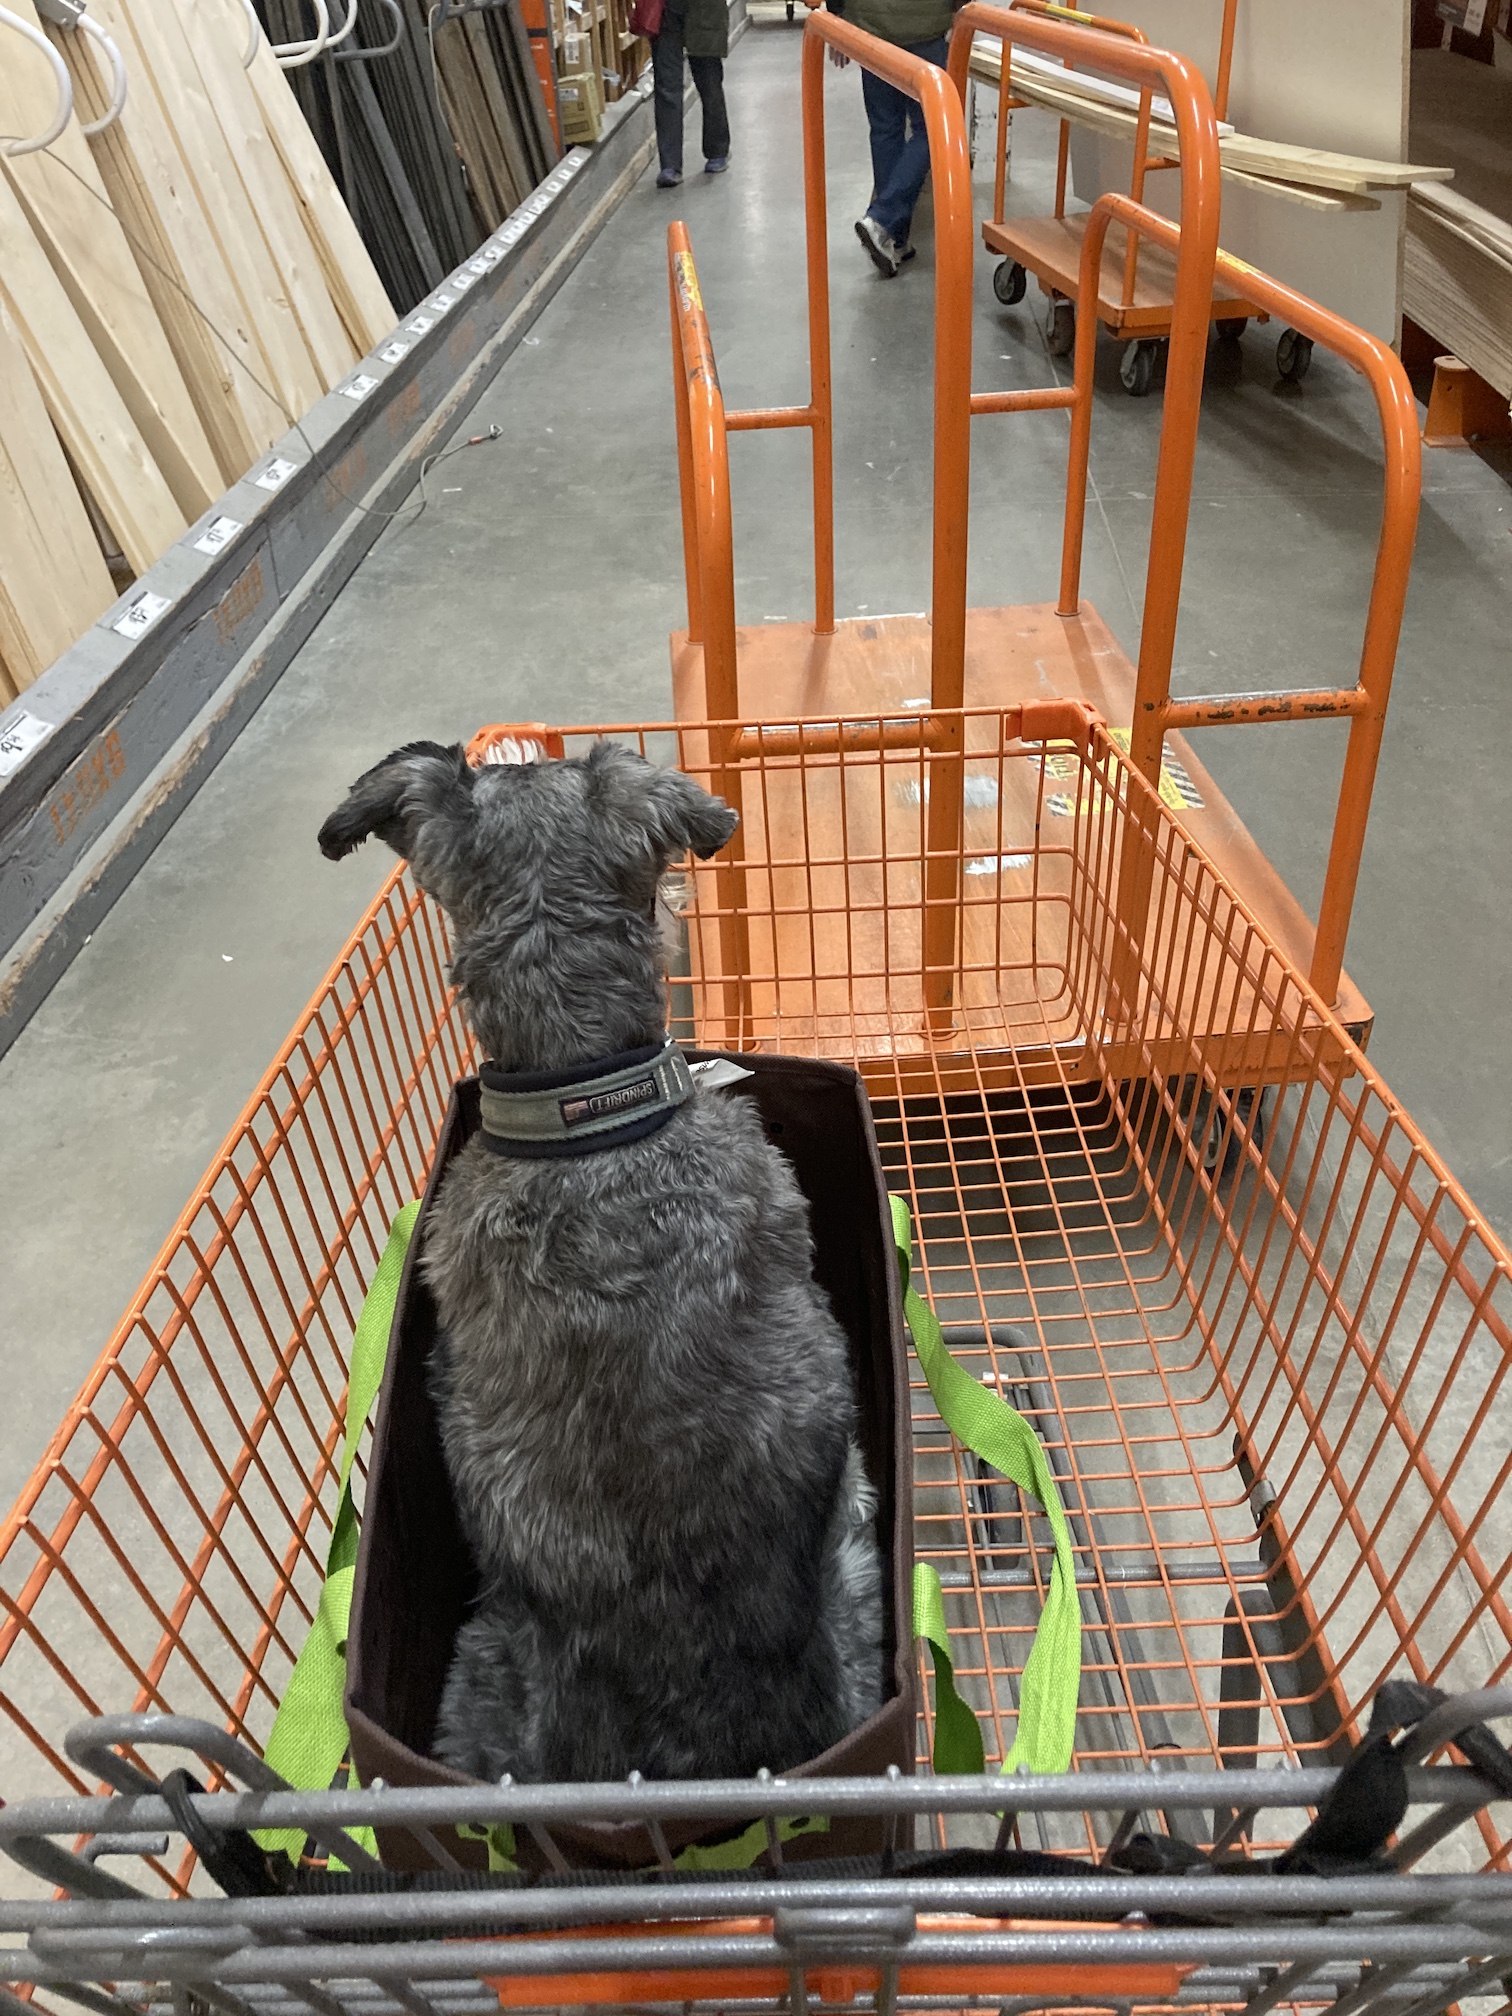
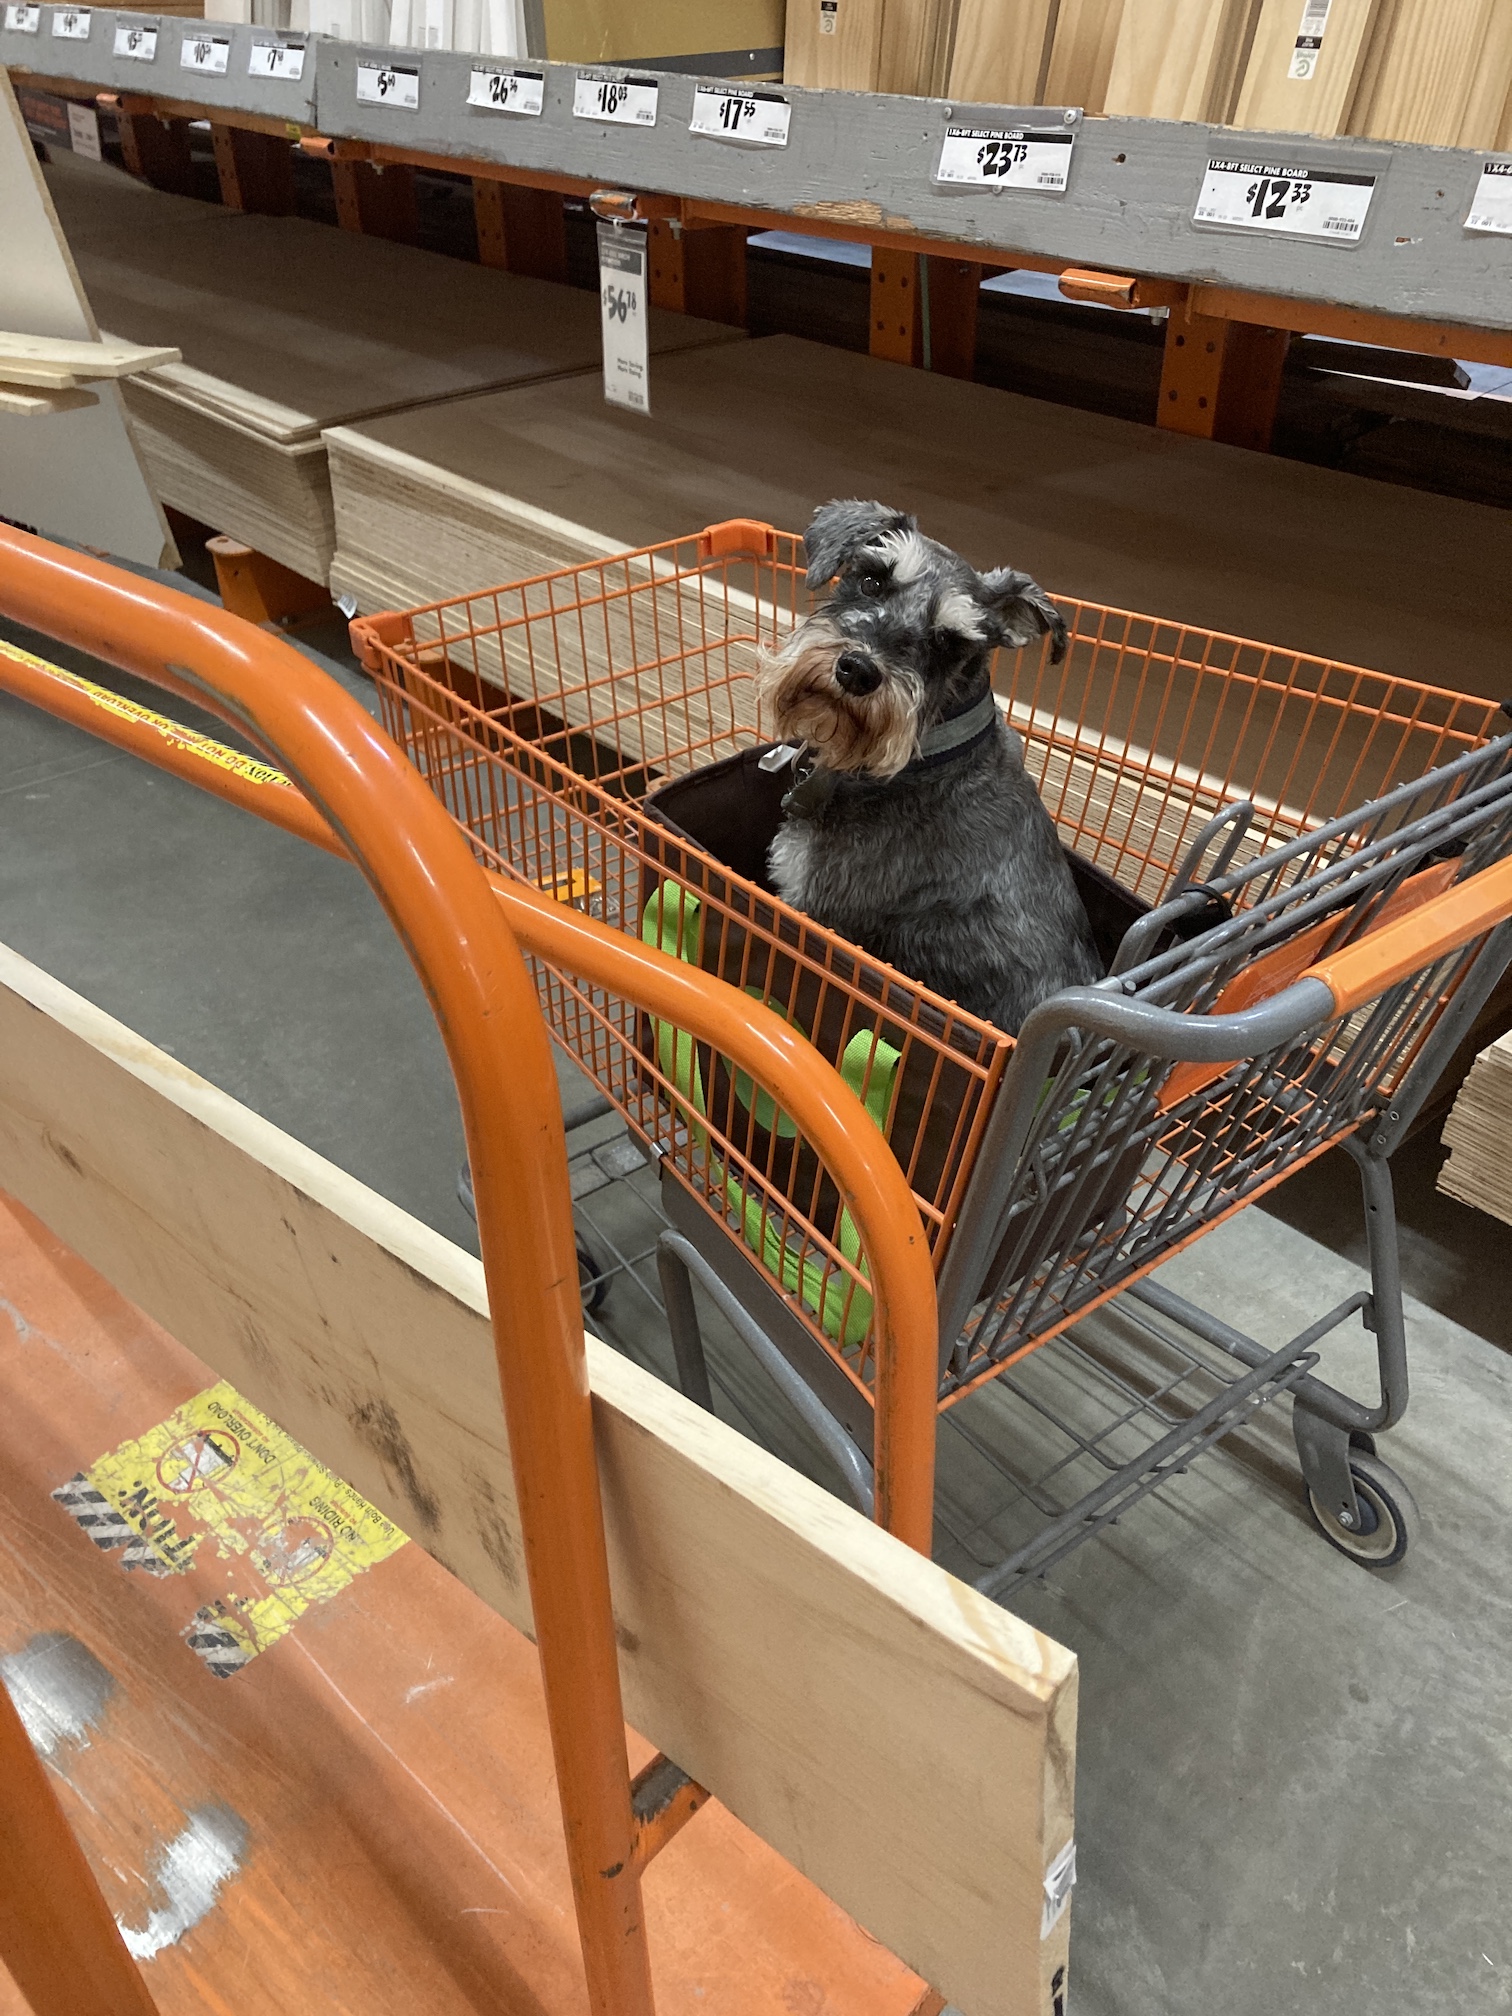
He actually loves going to home improvement stores and does not like John to leave the house without him!

Beastie Adventures, From the Woodshop, Guest Blogger, Studio

Guest Blogger: tierneycreates’ “New” Studio Tour

As Tierney promised in her previous post Perspective, I am going to be your guest blogger for this post and give you a tour of my “new” home, which is also Tierney’s “new” studio.

2020-04-01_10-56-08_365
Mikelet and I in our cozy basket where we hang out in the “new” studio

But first, in case you are new to this blog, my name is tierneycreates Beastie and I am a Monster, but the good kind of Monster. You can read my story at I’m A Monster!!!. You can also check out the other posts I’ve had to guest blog on (i.e. when Tierney fell off the blogging-wagon) in the series of posts: Beastie Adventures.

Here is what my dog Mikelet and I look like outside our basket (before we were homebound…):

2018-09-14_14-22-38_328We were created by the very, very, very talented Helen of Crawcrafts Beasties in Dublin, Ireland.

Here I am working from my makeshift desk to bring you this guest blog post:

2018-11-18_05-59-08_264
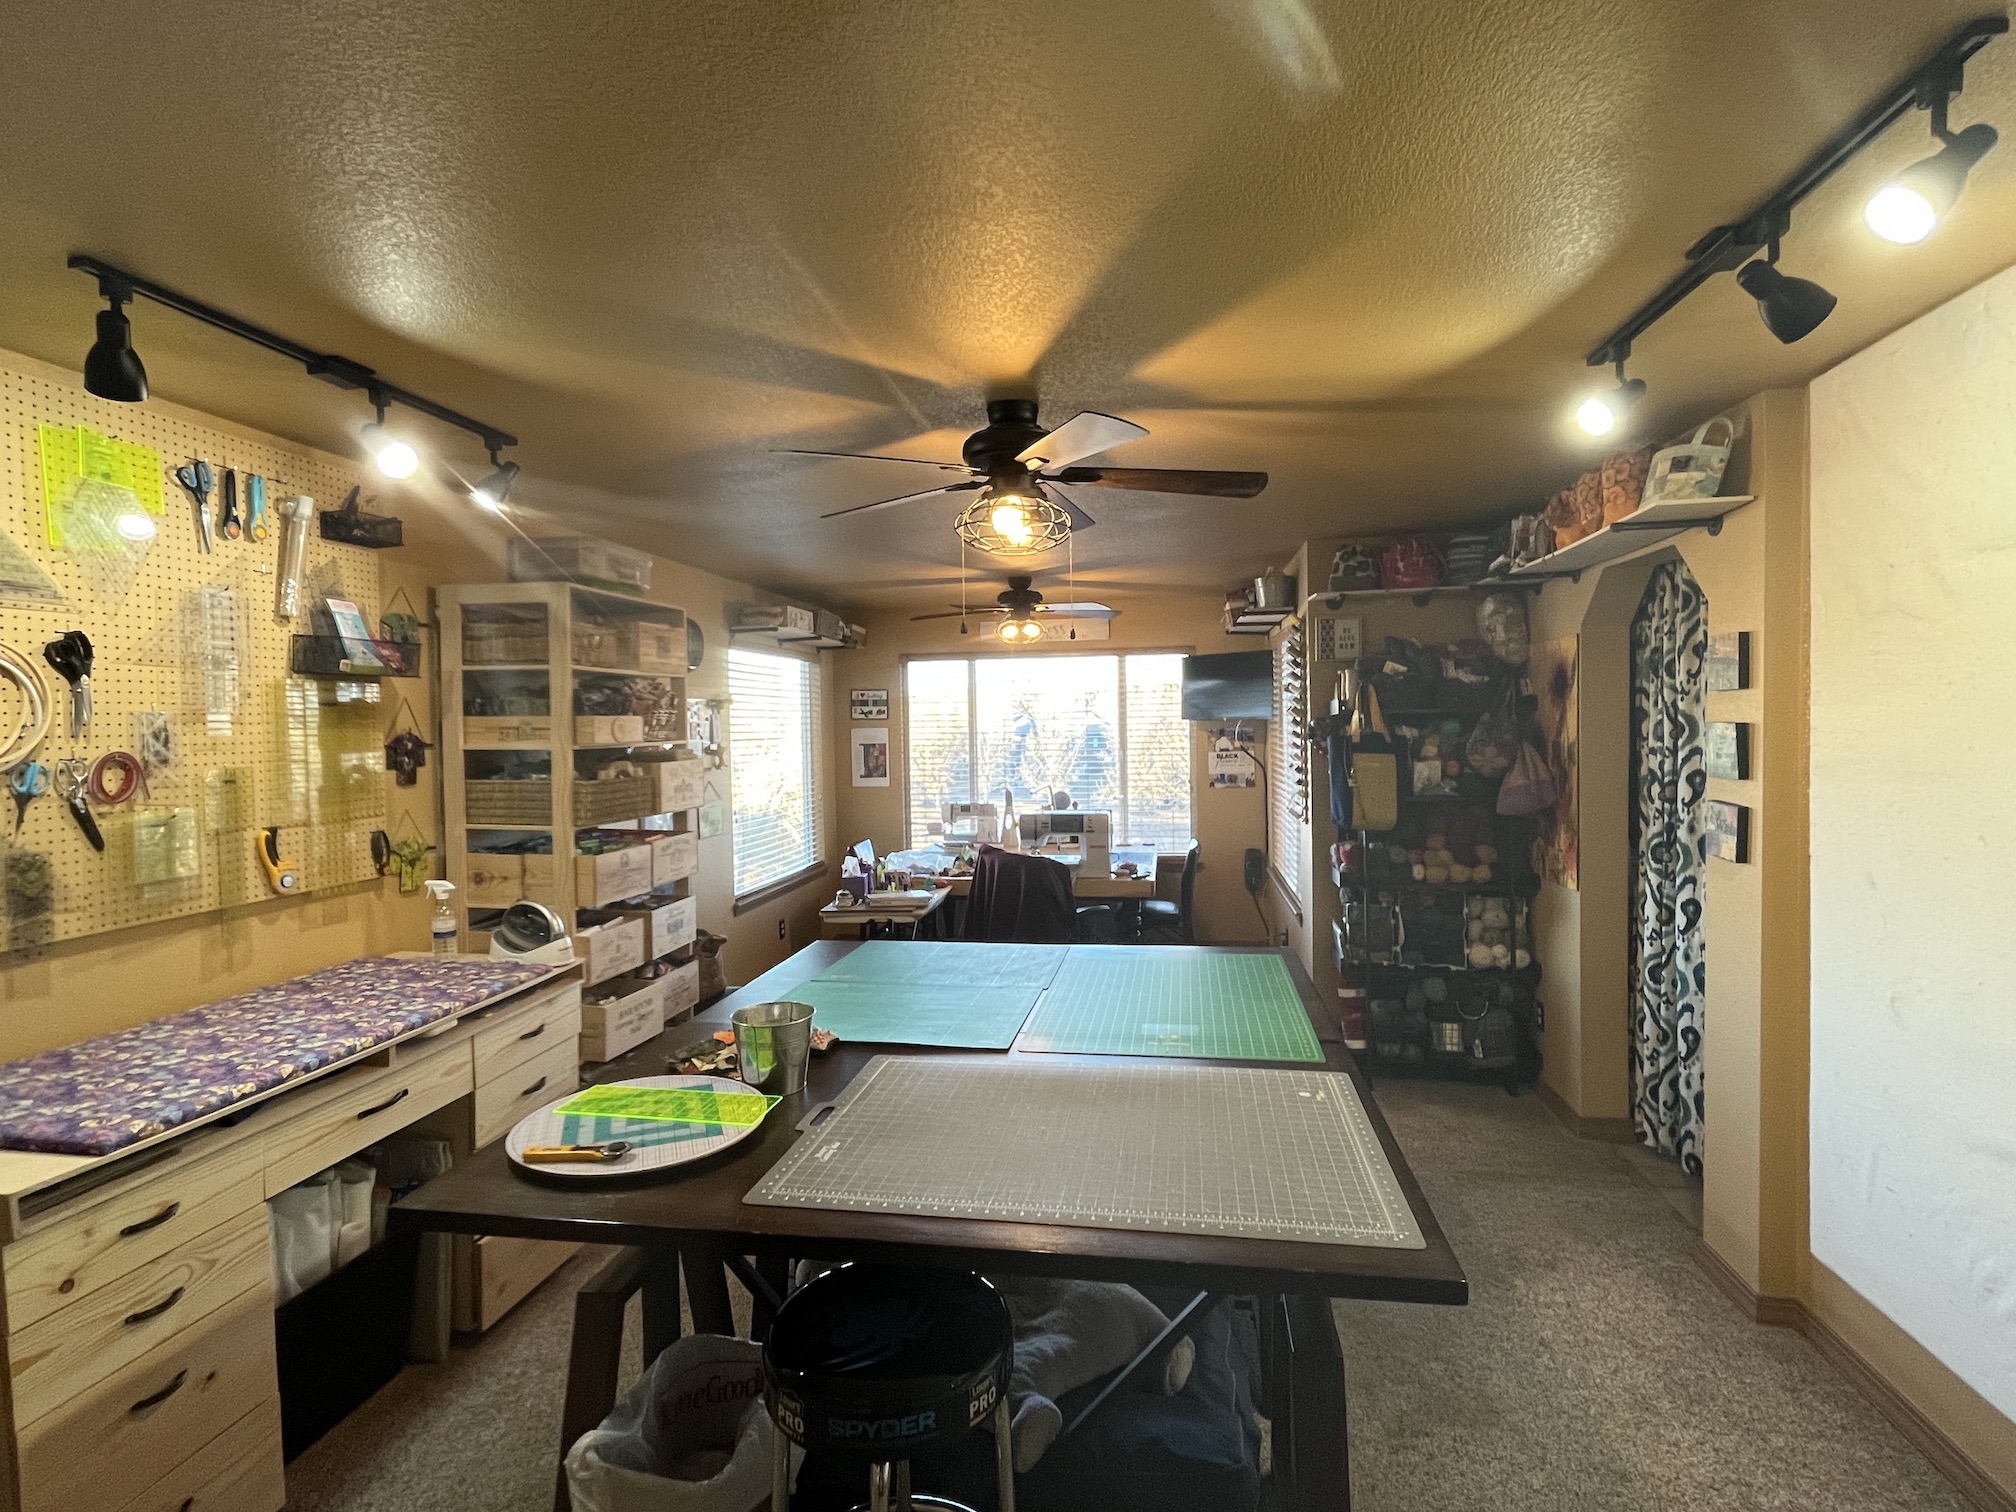
Well enough about me (even though I am very interesting) and let’s get to the tour of Tierney’s “new” studio.

Oh – first I should address why I keep putting the word “new” in quotes. It’s because, as she shared in her previous post, she did not move into the new house she and John were going to buy. Instead they decided to stay at their current house which was pretty much completely packed up except for basic items to stage the house for sale and to live day to day. Her studio had been painted and converted into a bedroom:

7459 S Biloxi Ct Aurora CO-large-025-035-Bedroom-1500x999-72dpiSo when they decided not to buy the new house/not to move, Tierney had to unpack her studio and in unpacking her studio, she decided to reimagine the layout.

So she has sort of created a “new” studio!


tierneycreates Studio Tour

Tierney decided to first bring in the IKEA bookcases she had previously in her home office (she has been a full-time telecommuter for the past 14 years, before I was even a ball of yarn…). From there she figured out with her partner John on the best way to layout the room.

2020-03-26_09-38-25_797
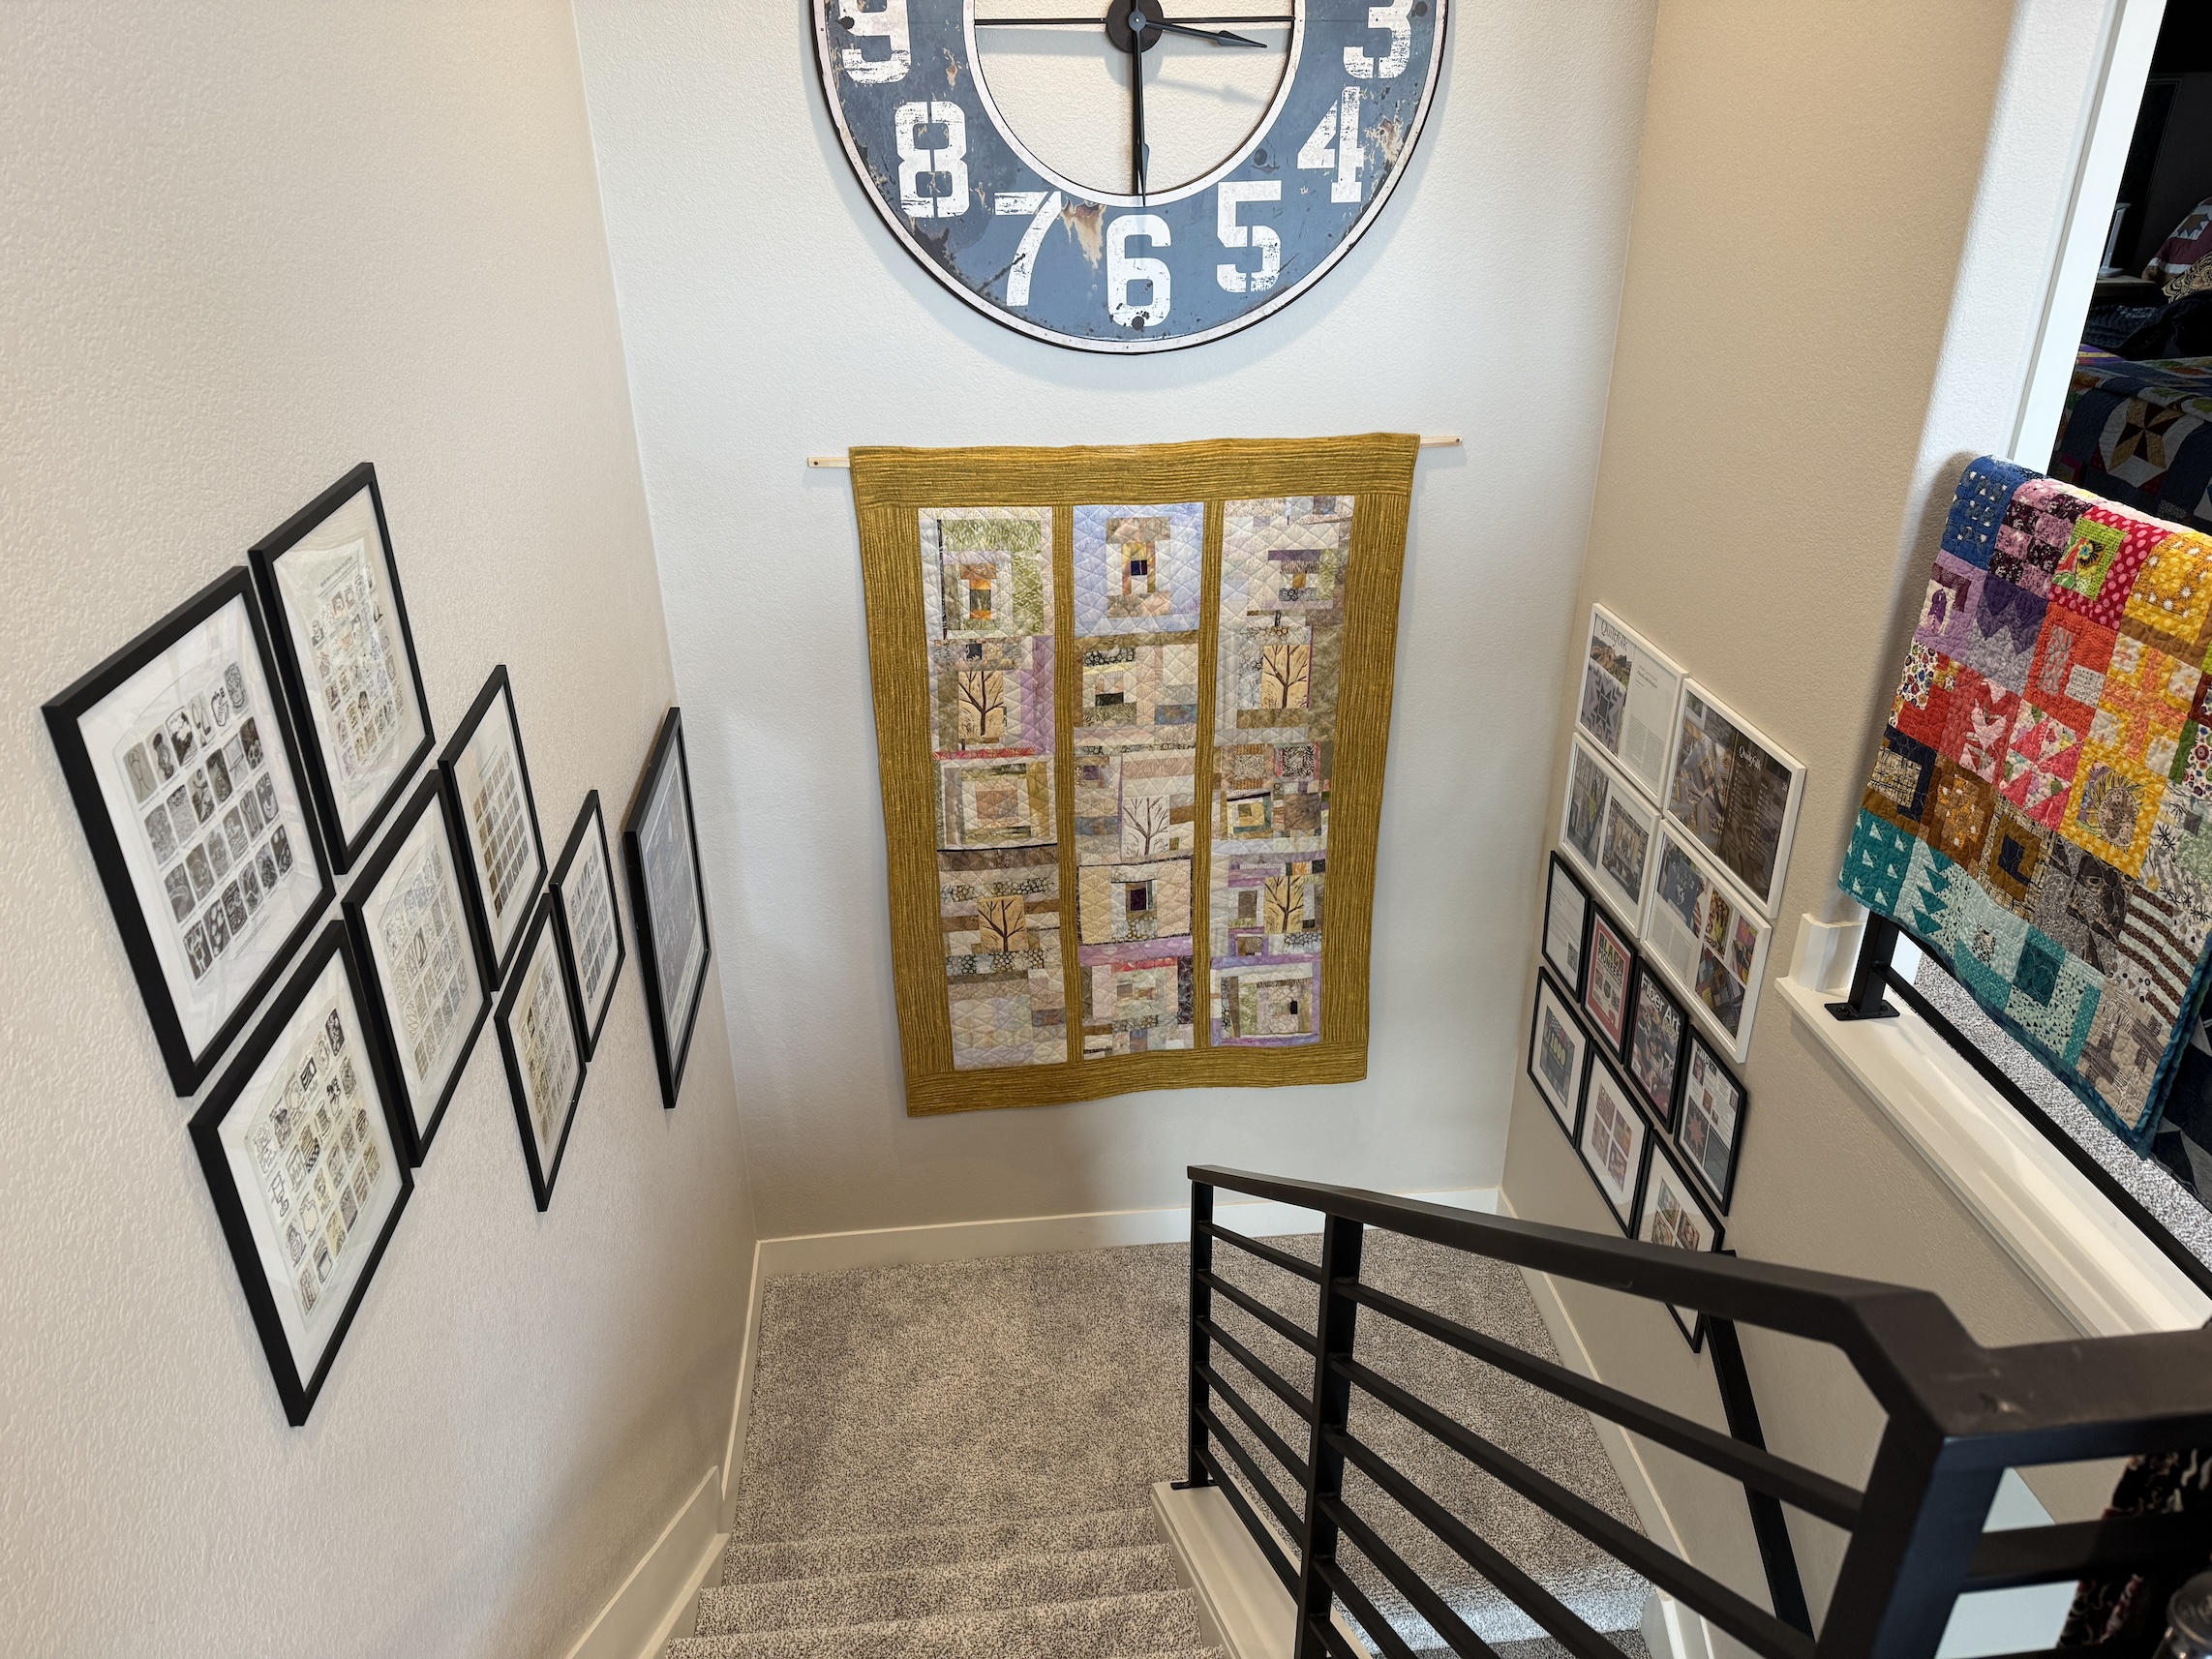
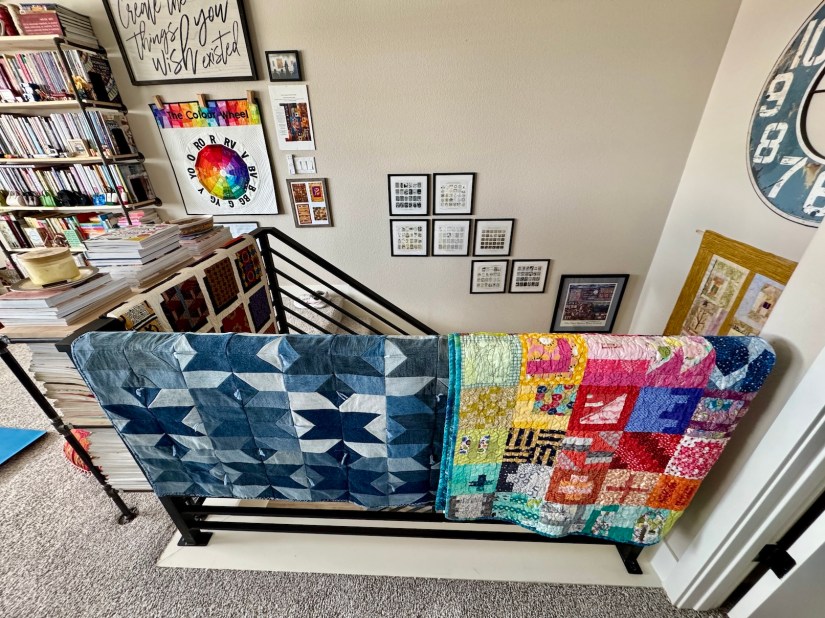
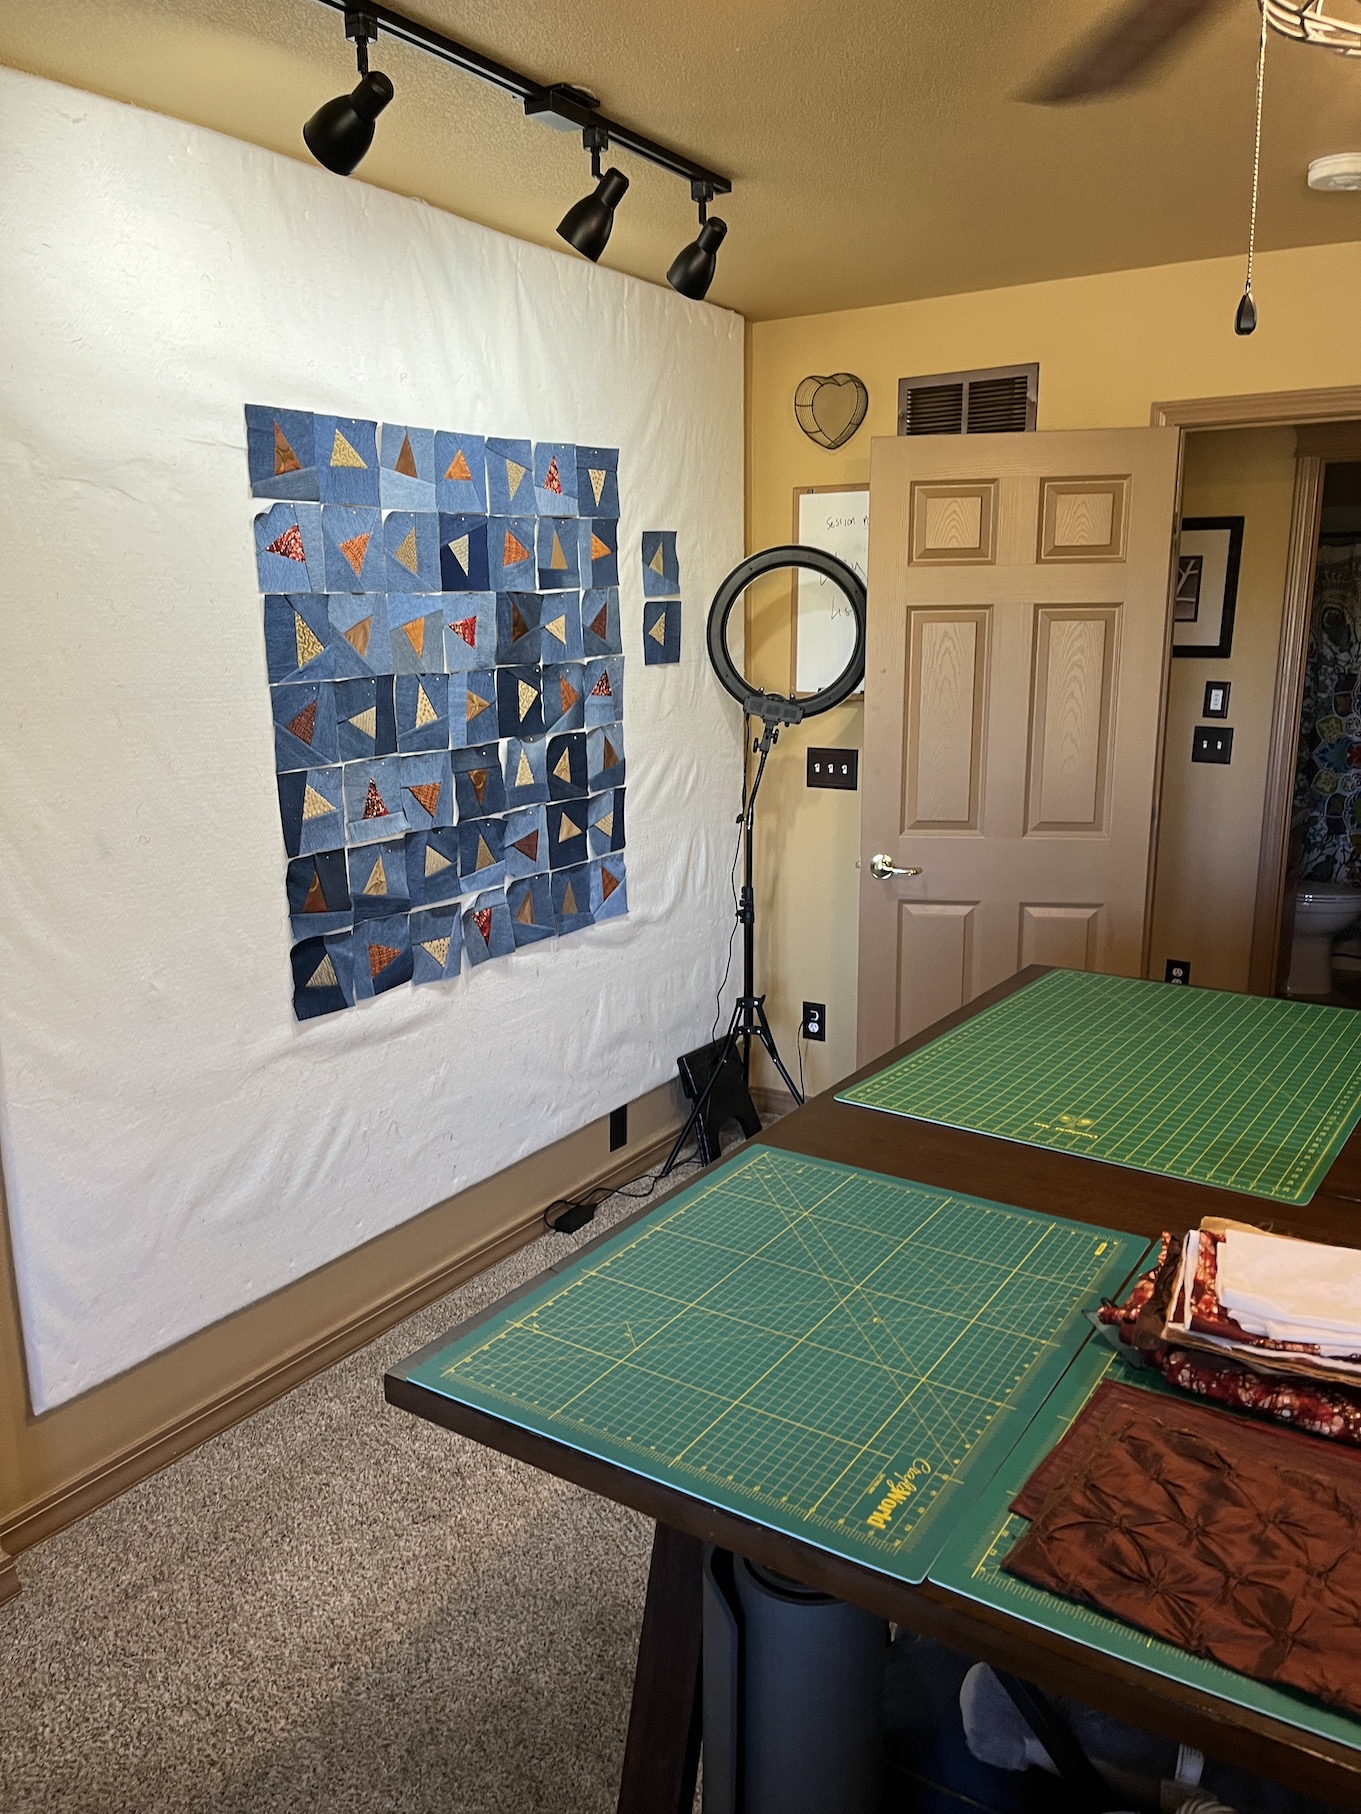
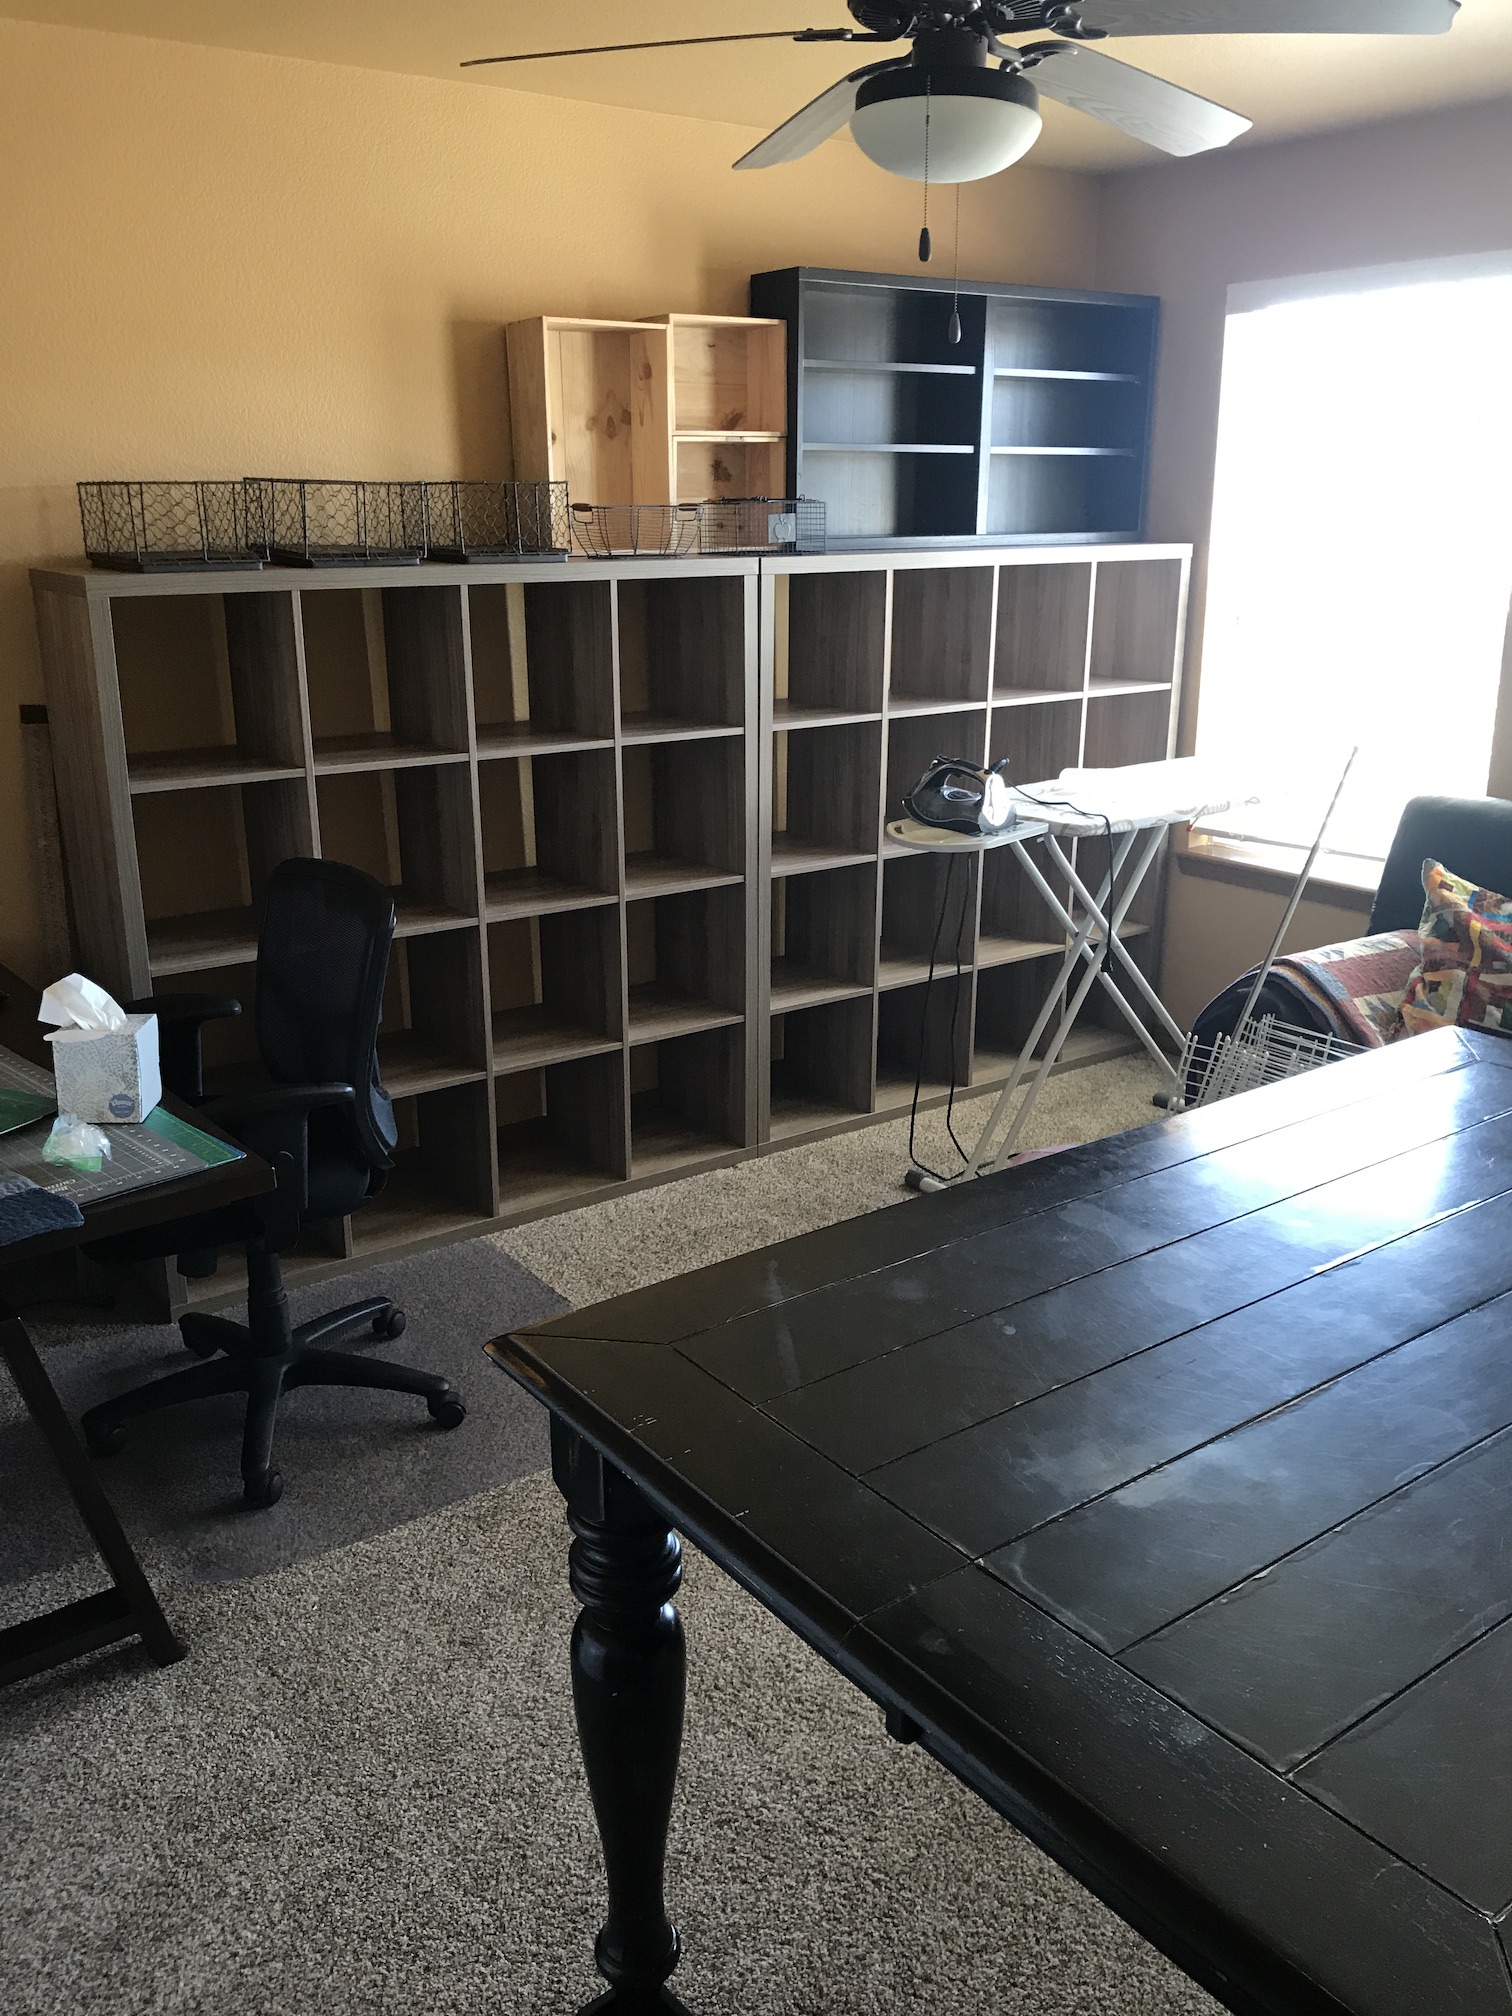
Over the next several days she unpacked her boxes (which seemed like they would never end), hung up some art and quilts on the studio wall and found a place for the large design wall her partner John built her.

Here are photos of the completed studio from various angles:

2020-03-30_10-16-31_6072020-04-01_10-55-14_9192020-04-01_10-55-17_6212020-04-01_10-55-23_8762020-04-01_10-55-33_8012020-04-01_10-55-43_9772020-04-01_17-39-50_2062020-04-01_17-40-10_0222020-04-01_17-57-18_230
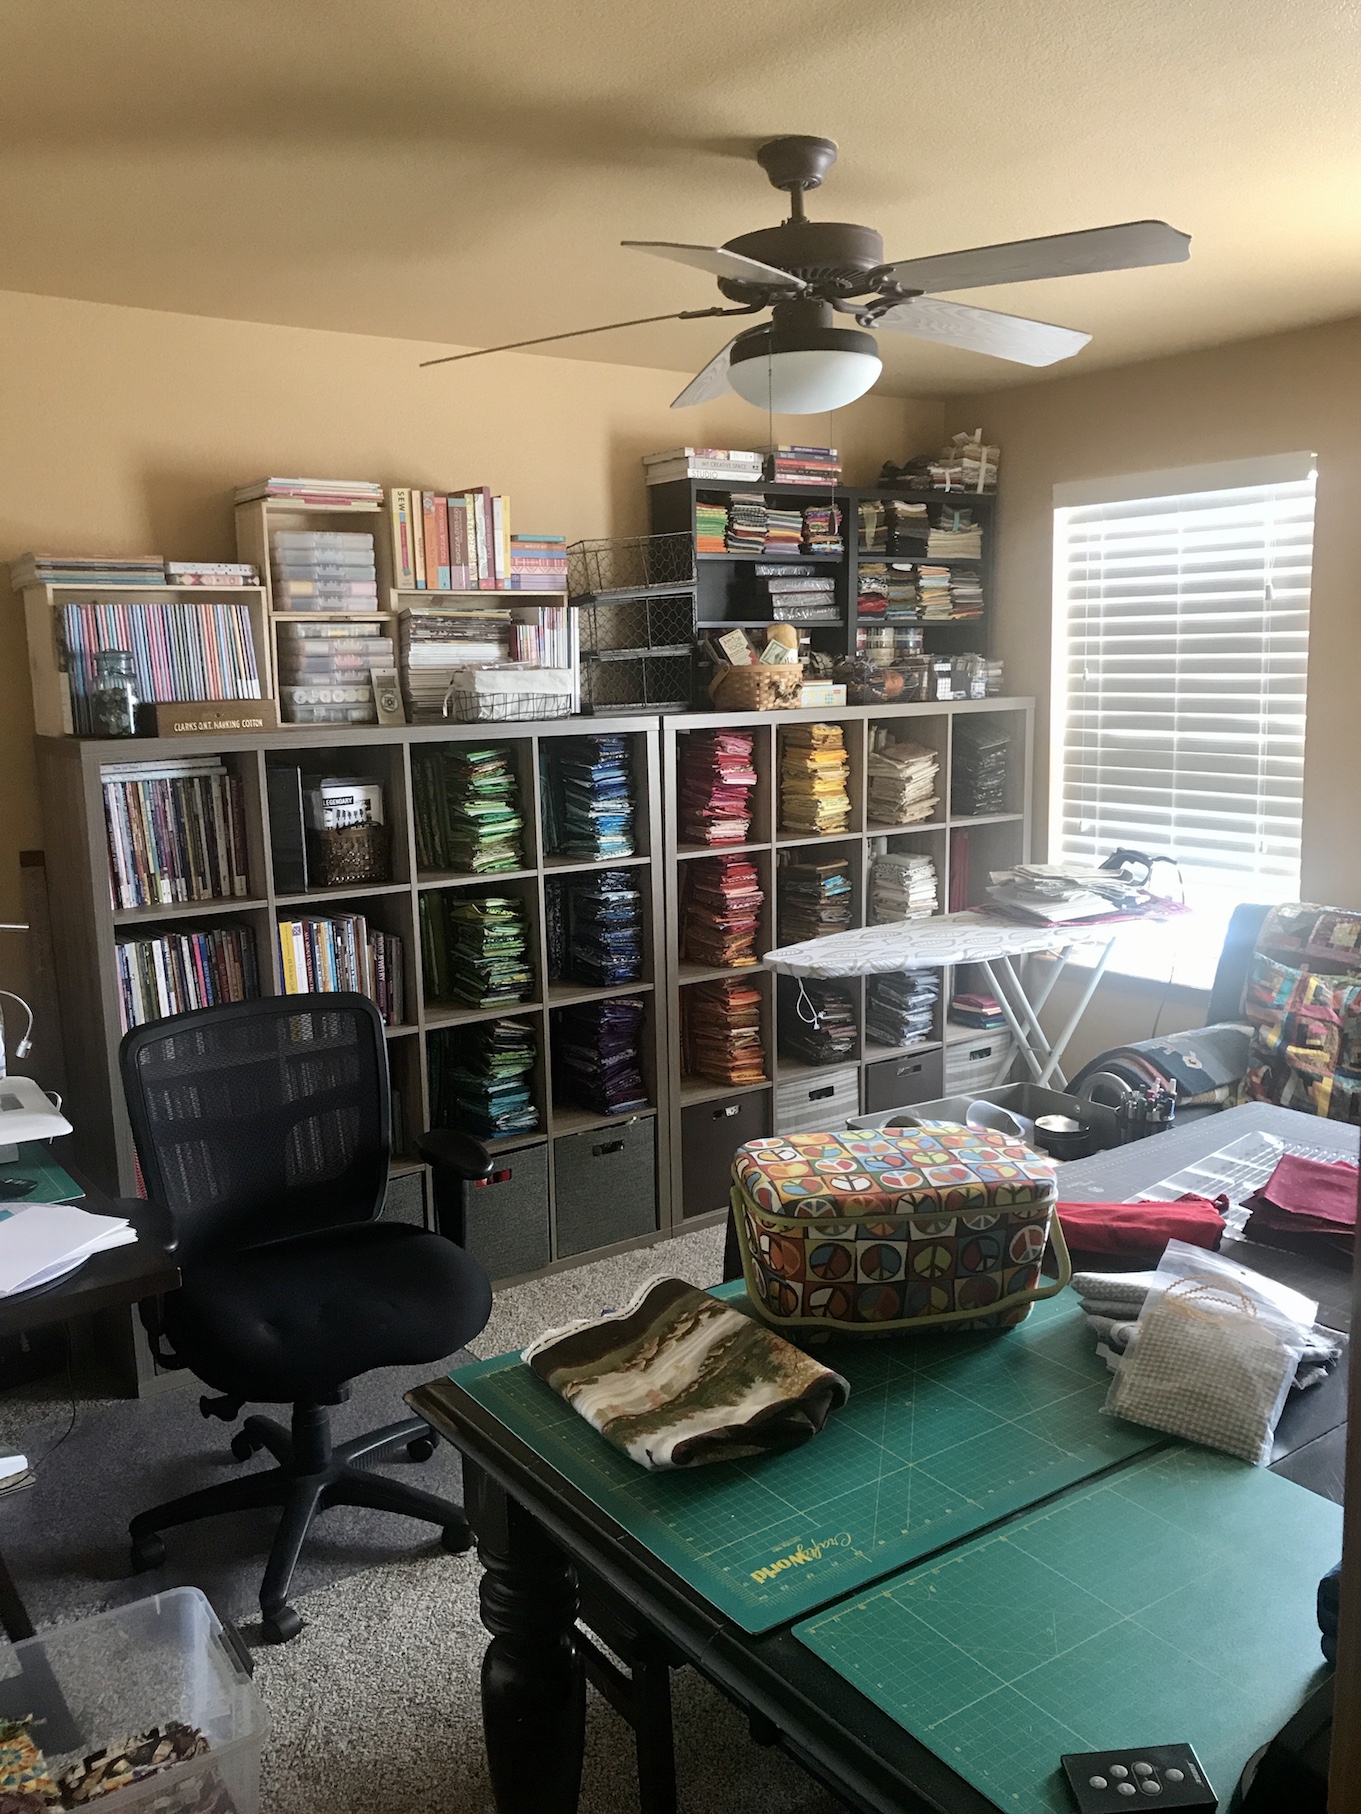
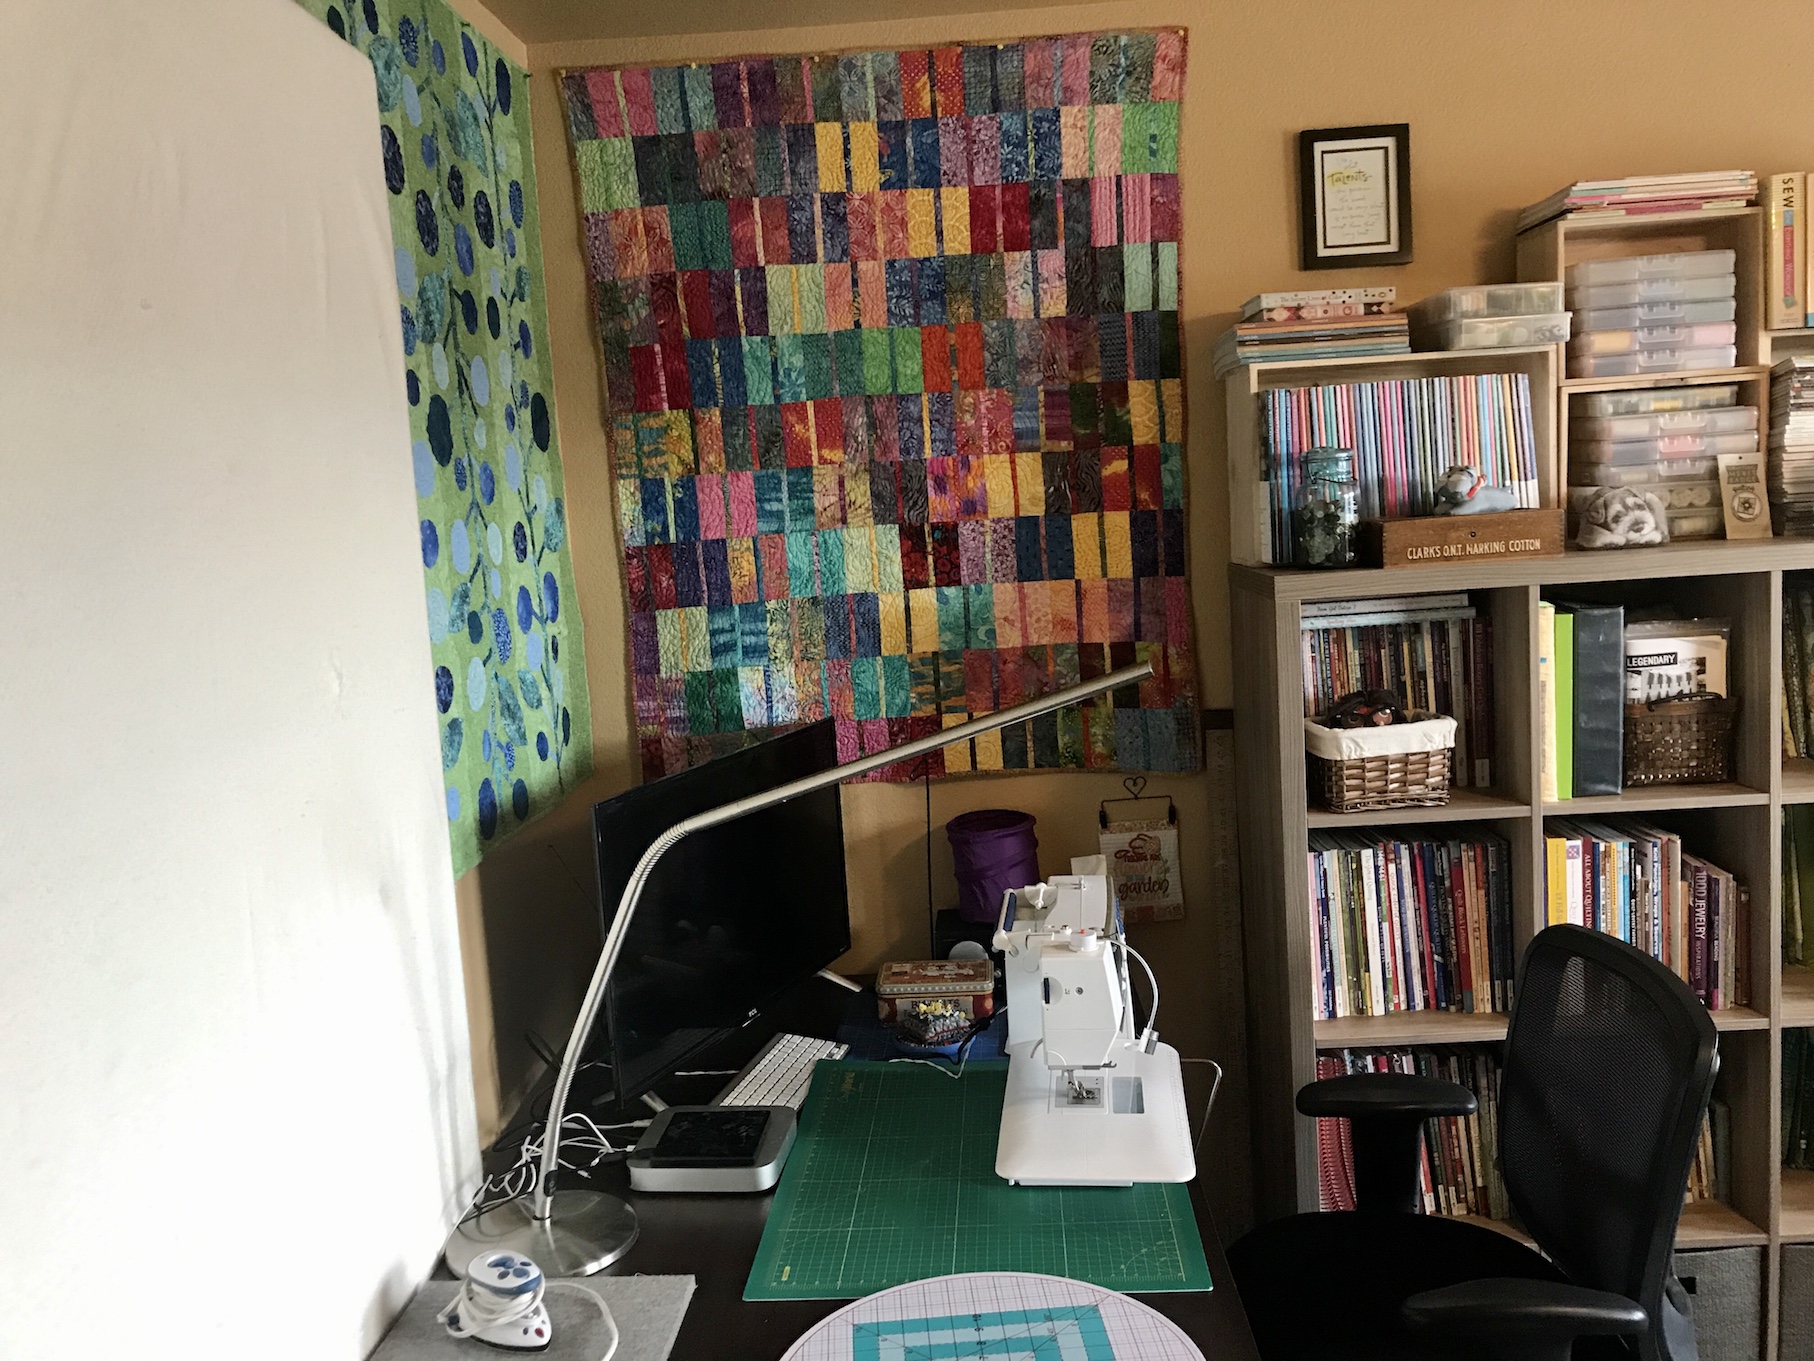
So Tierney is ready to create (she can be tierneycreates again) in her new studio! She is so happy to have her sewing machine unpacked!

She did start making some masks with a filter pocket opening out of recycled oxford shirts yesterday (easy pattern is at www.madeeveryday.com/fabric-face-mask-free-pattern/) .

IMG_20200403_182601_01But she is hoping to start sewing a bit more fun things in the near future than masks…

Oh and I forgot to mention, Tierney did make sure that Mikelet and I have a very prominent and cozy spot in her “new” studio:

2020-04-01_10-55-58_623
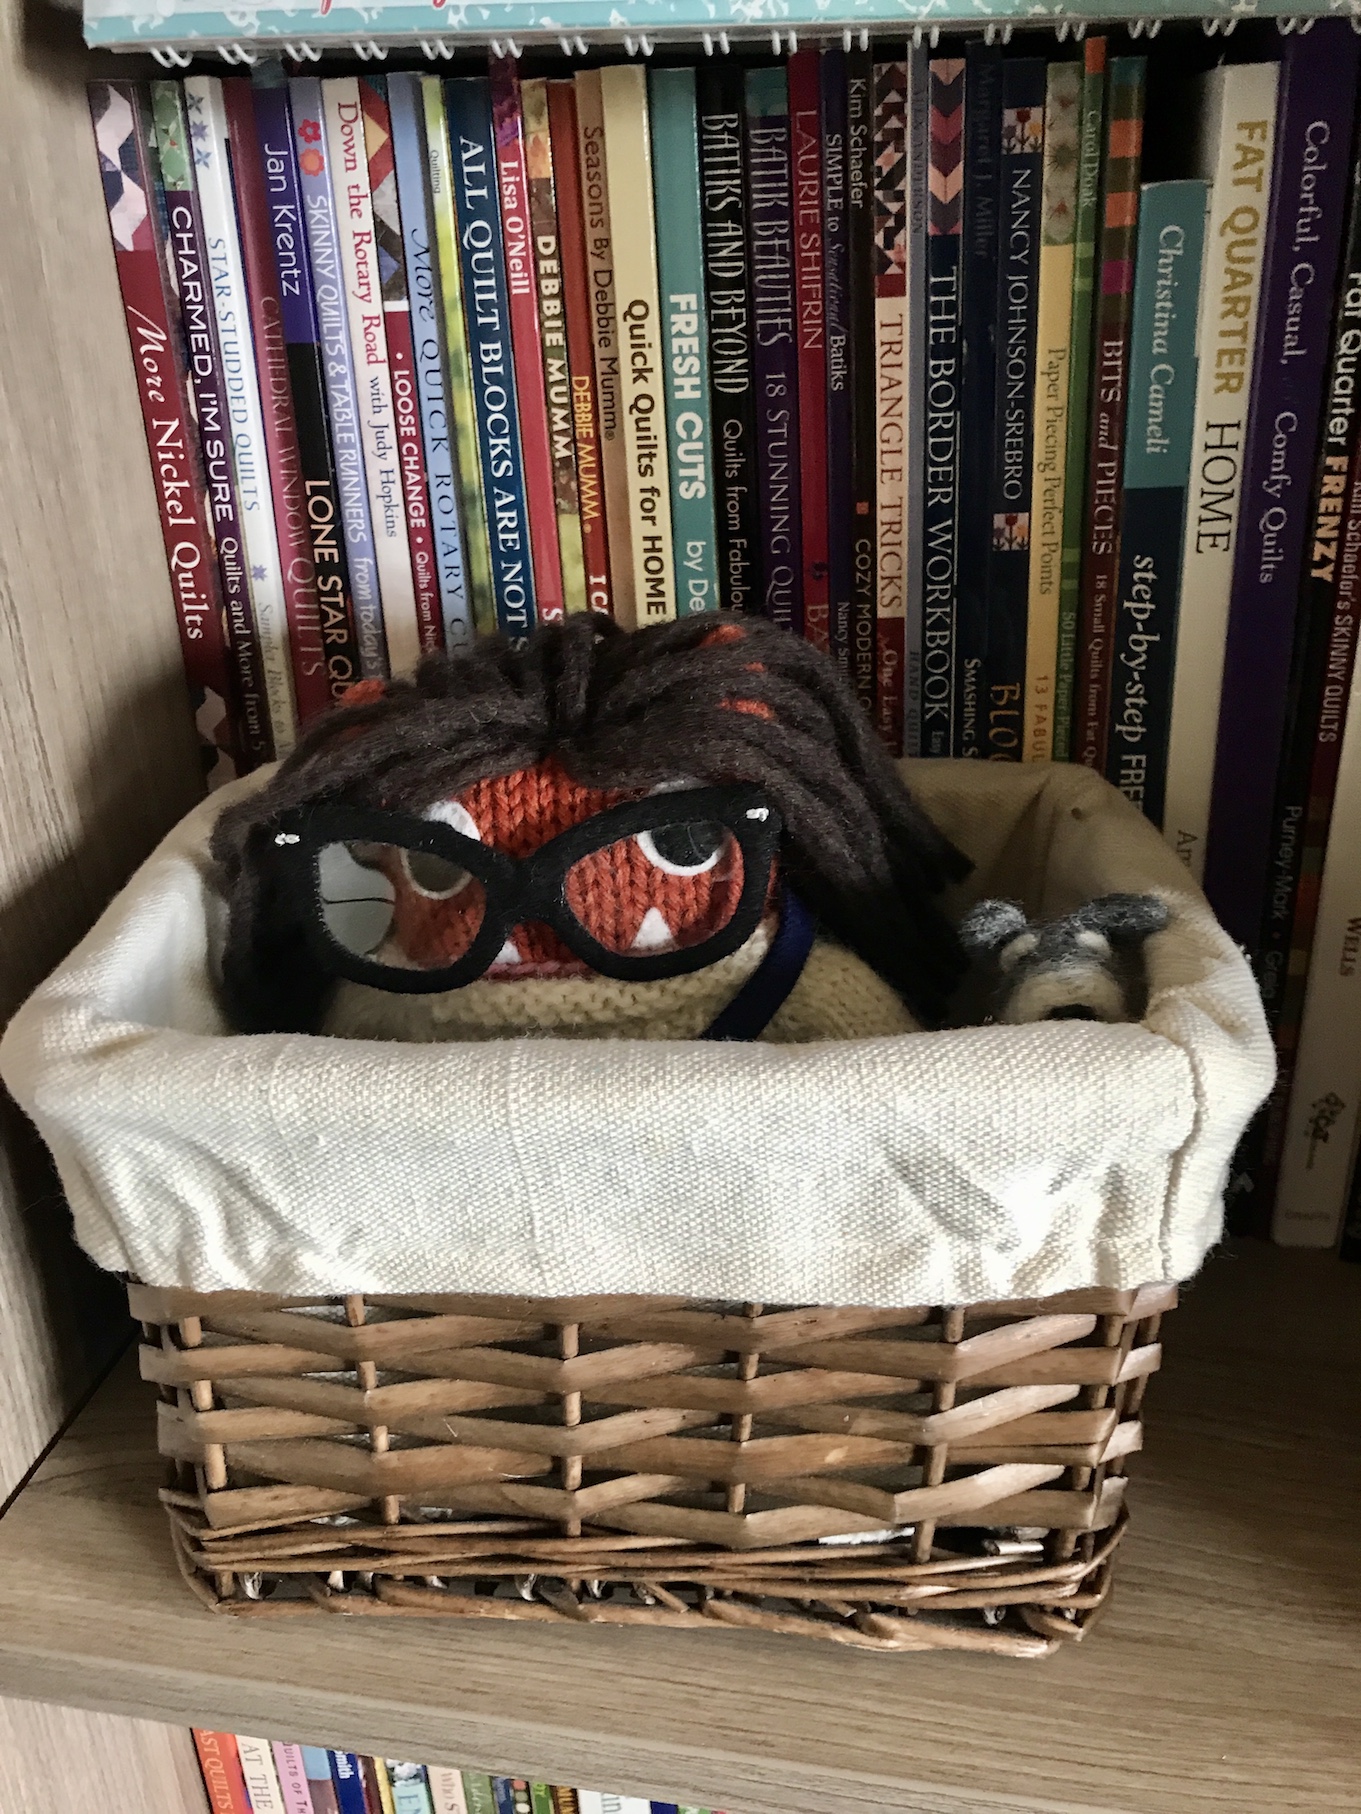
Which of course should have been her first priority from the beginning of setting up her studio!

My Minimalism Journey, Studio, tierneycreates

Tiny Studio Tips

I love seeing where people to create and in case you would like to see where I create, I have added a page to my blog tierneycreates Studio Tour where I will post photos of the latest version of my tiny little tierneycreates studio. More on this later in this post.

As part of my ongoing journey to curate my life (see post category: My Minimalism Journey ), I am working on letting go of more of my crafting related magazines.

Studios Magazine

I have a stash of Cloth Paper Scissors STUDIOS magazine from 2008 – 2014 (magazine is no longer in publication). This publication featured “artist studio porn”: essays and articles about professional and hobby artists’ studios, tips on designing and organizing your studio, and endless photos of studio layouts. The tagline for the magazine was “inspiration & ideas for your art and craft space”.

There are so many online resources (aka Pinterest) on studio organization ideas, I do not need these magazines. I can let them go, donate them to my beloved local Humane Society Thrift Shop and let them go to someone else to enjoy.

But, I wanted to read through each one, one more time, before donating them.

2017-07-16_08-41-40_029
Working though re-reading the pile with my tea each morning

When I got to the Winter 2010 issue of Cloth Paper Scissors STUDIOS magazine I noticed it featured a collection of tips by various crafters/artists on small space tips.

Recently I re-organized by studio to try and make the best of the small space. I thought I would share some of my favorite tips from this issue from the various studio tours in case my readers find them useful.

Small Studio Tips

In Her Shoes by Catherine Thursby

  1. Get a space of your own, even if it has to be small
  2. Make it personal to encourage your creativity
  3. Have a place “off-site” to keep bulky or seldom used materials

Snowman Season by Sue Pelletier

  1. In a narrow space, set up tables end to end so you can have several projects going at once
  2. A dartboard makes a graphic yet compact inspiration board
  3. Remember that if you want studio space badly enough, you will find a way

The Glitter Fairy by Laurie Davis

  1. Use shelves with cubbies to hold and display rubber stamps
  2. Use under-the-counter space as much as possible
  3. Use stackable containers to hold small items

In a Nutshell – A small space dedicated to creativity by Janice Avellana

  1. Keep supplies out in the open so the work is ready when you are
  2. Disguise a small, open studio behind a tall bookcase
  3. For flexible organization, use painted pegboard

Room of Requirement by Liza Julien

  1. Maximize small space by going vertical with ladder-style shelving
  2. Store papers suspended from pant hangers on a wooden dowel
  3. Install hooks on table legs, the sides of shelving – anywhere that’s handy and out of the way

Studio in the Sky by Victoria Grobels

  1. Store supplies in baskets hung from the ceiling
  2. Make your worktable an inspiration board, too, by slipping photos under a clear, plastic mat
  3. Make a small space seem bigger by positioning it near a beautiful view

The Love Shack by Roberta Philbrick

  1. Use “regular” furniture to hold art supplies
  2. Color-coordinated caddies keep small items organized, portable, and attractive
  3. A glass-topped table cleans up easily and looks polished in a small living/creating space

Strategic Design by Michelle Spaw

  1. For an eclectic approach to organizing, try using non-conventional items such as stackable trays, bento boxes, and takeout-style containers
  2. Removing the doors to your closet is as strong incentive to keep it tidy. Because the contents are always visible, you will be motivated to maintain order and curb the clutter
  3. When purchasing storage boxes, think of color and pattern as a way to identify what you’re storing

Beaddazzled by Linda Dolack

  1. Glue a sample of what’s in a drawer to the front so you can find and retrieve the object quickly
  2. Use simple skirting to hide clutter stored below counters
  3. Install shelving above windows to hold books and display art work out of the way

Where Whimsy Reigns by Elizabeth Holcombe Fedorko

  1. Use collectibles as storage containers that can be displayed
  2. Attach a folding table to the wall: pull it up to work, down to put it out of the way
  3. No matter how small your space, make room for pets!

As you will see on my page tierneycreates Studio Tour I followed Ms. Fedorko’s tip #3 and made room for pets (well actually my manager Sassy the Highly Opinionated Miniature Schnauzer):

2017-07-16_08-39-33_340
Sassy hanging out in “cave”

If you have a small studio like I do (or a dream larger studio) I hope you find some of these tips useful!


Studio

“When Studios Attack”

Do you remember the cheesy TV specials on the Fox Network in the 1990s (and maybe early 2000s) with titles like “When Animals Attack”, “When Good Pets go Bad”, and other ridiculous titles?

I am not sure if the Fox Network will ever revive these TV specials, but I do have an idea to pitch to them for a future special: “When Good Studios Go Bad”

When You Do Not Want to Enter the Room

Early this year I posted photos of where I do my “tierney-creating”, in the posts  Inside the Studio and Inside the Closet (these titles sound like TV Specials themselves, but I think there would need to be a bit more spicy drama in these stories for a TV Network to want to air them.)

My studio space is approximately 10 feet by 12 feet and I try to keep it tightly organized at all times, as I have a small space to work in.

Yesterday after a crazy day of my healthcare-industry-pay-the-bills-job, I went to our monthly Central Oregon Studio Art Quilt Associates (SAQA) meeting and then to dinner with friends. I also picked up two completed quilts from my long-arm quilter. Prior to leaving for the SAQA meeting, I was frantically busily sewing last minutes labels on the quilts for a collaborative show which openings Friday 3/25/16 (they had to be delivered to the gallery ASAP).

When I got home it was late, and I was very tired mentally and physically.  I placed the quilts from the long-arm quilter in my studio; visited for awhile with Terry the Quilting Husband, Sassy the Highly Opinionated Miniature Schnauzer, and Mike (also a miniature schnauzer but not as highly opinionated); and then headed to bed.

I had decided to take Friday off from work (today) and to take a class at a local quilt shop. However, I was too tired last night to do the required pre-class cutting before bed and figured I would deal with it in the morning… (are those not the famous last words of a procrastinator?!?!)

I overslept this morning, got up in a panic, stumbled into my studio to deal with all the pre-cutting before my 10:00 am class, and found this scene:

IMG_1559.jpg
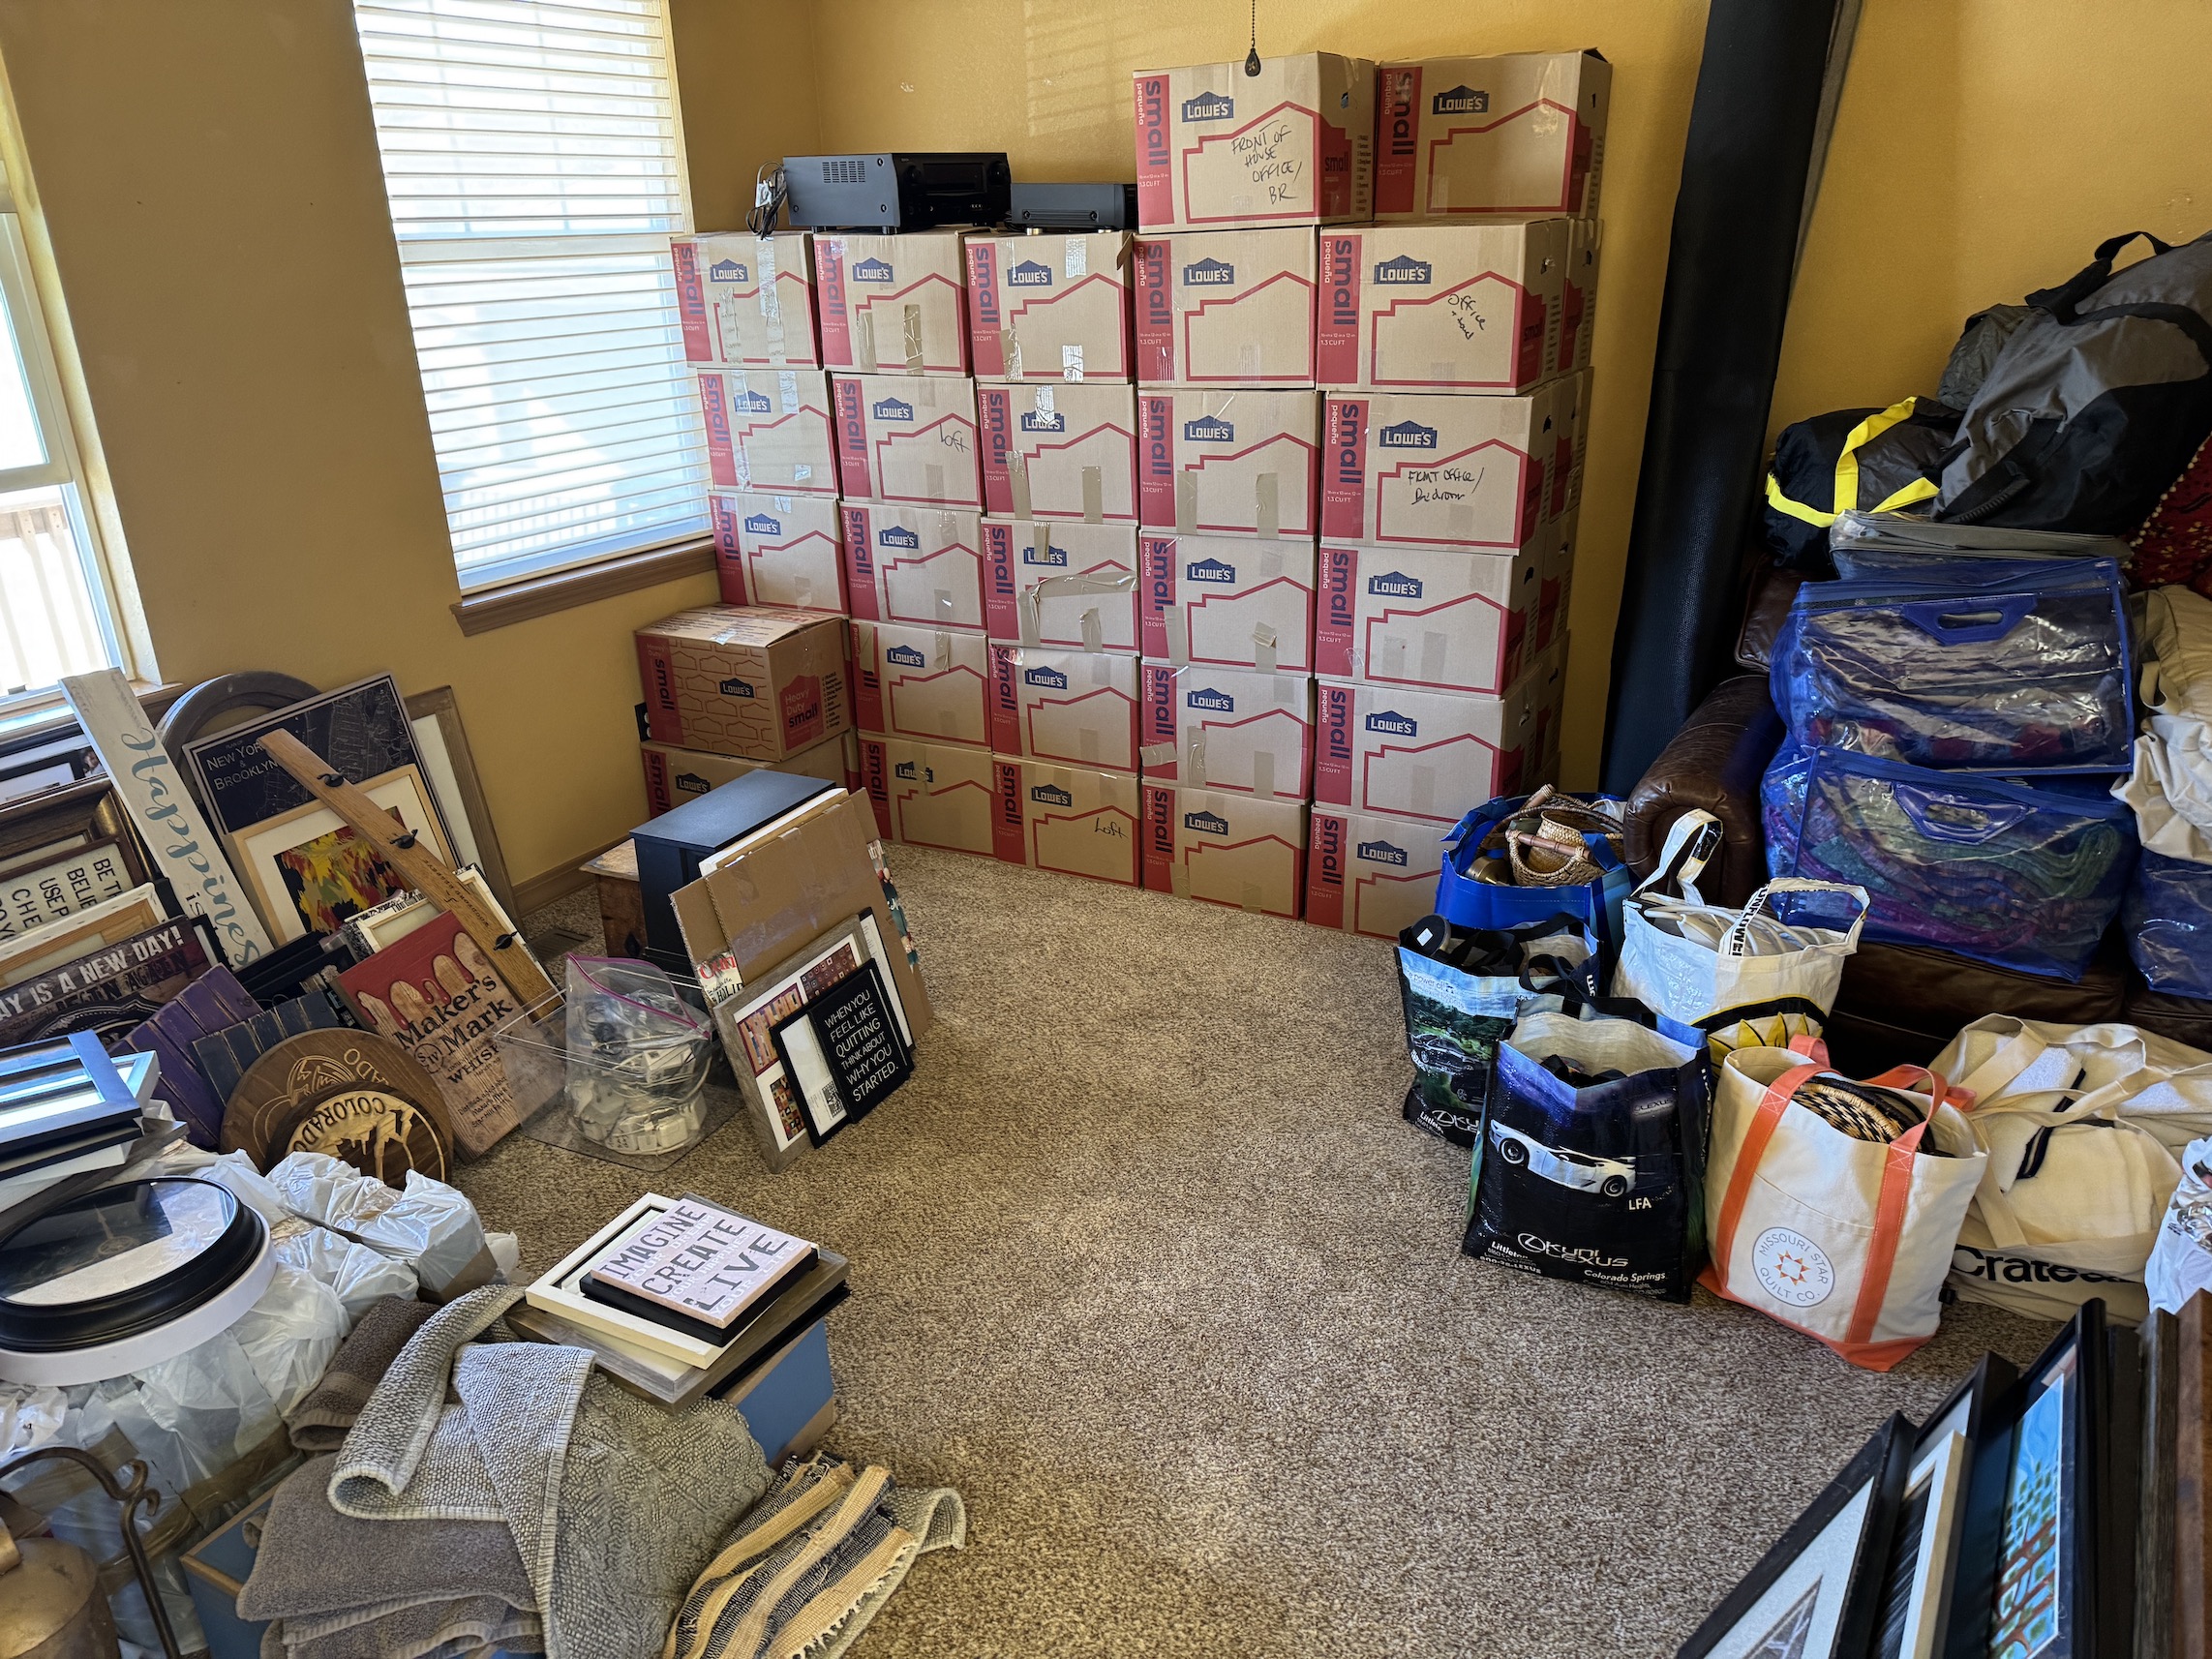
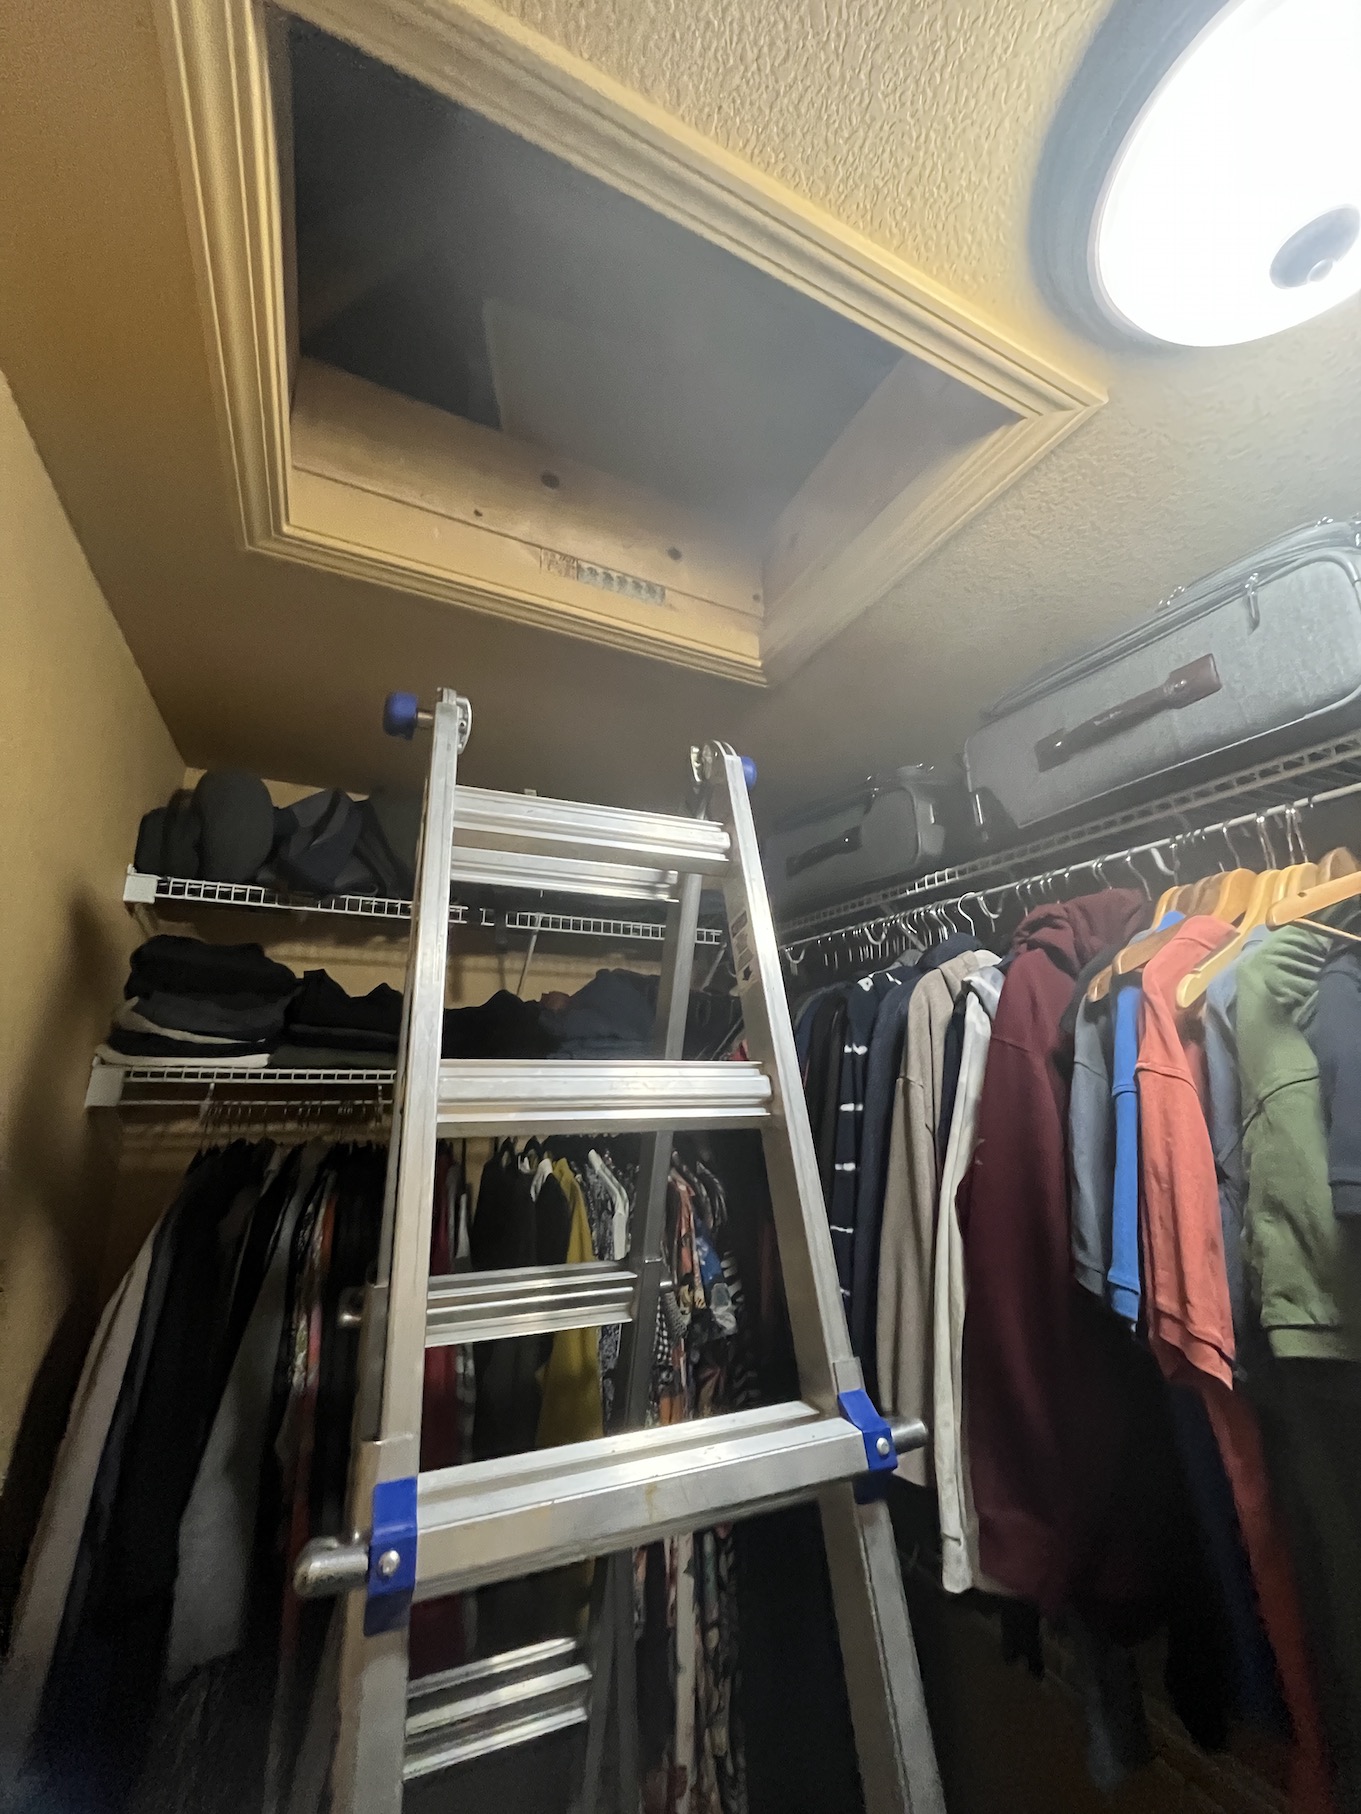
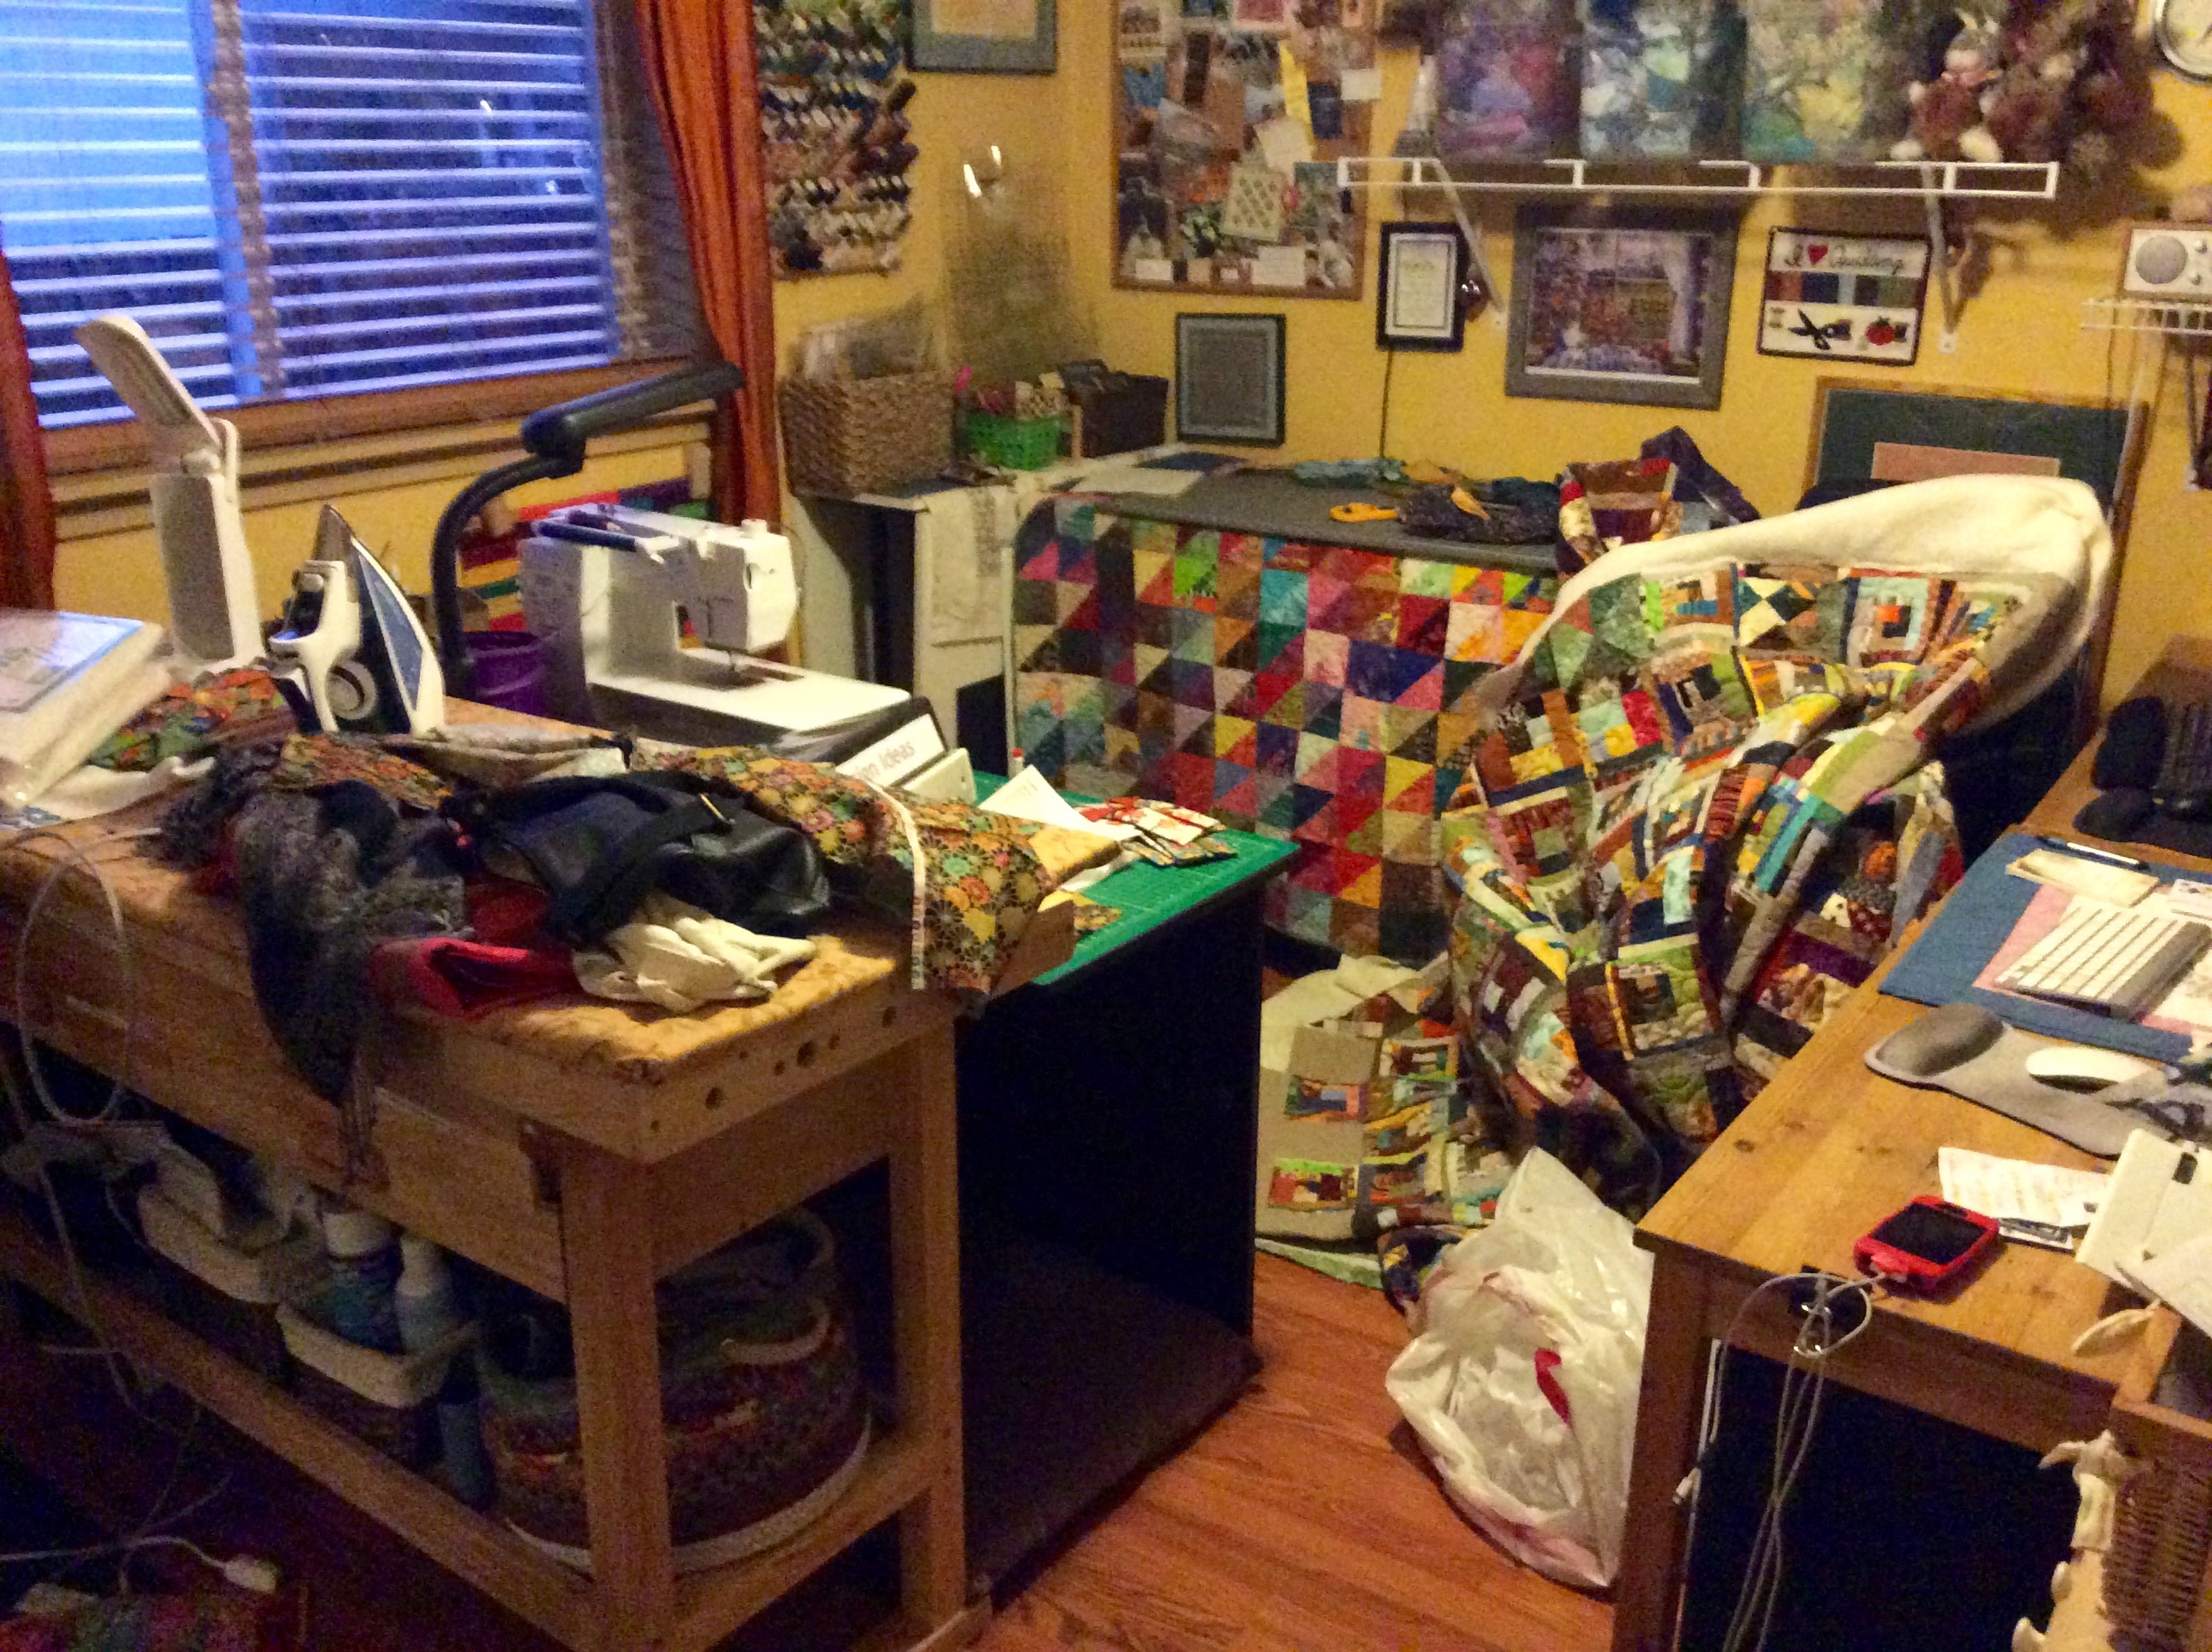
Now to many people, this does not look too bad. To me – this was like a terrifying Fox Network TV Special about something attacking something it should not, or some thing going very very very bad. I seriously did not want to walk into the room. 

I could not even locate the instructions for the class of what I needed to pre-cut. I had actually sort through most of the stuff lying on top of other stuff to find what I needed. The photo does not look as bad as it looked in person.

We all have different ways we deal with clutter, and many are comfortable with clutter. Clutter freaks me out. It shuts down my creative process and makes me not even want to enter a room.

I made it on time to the class today and had most of my fabric pre-cut. When I returned home, I cleaned up the studio and promised myself to not let my studio become a Fox TV Network Special again!

Studio

Inside the Closet

This is technically Part II of yesterday’s post “Inside the Studio“. A friend suggested I share what is inside the closet in my studio.

Here are photos of the left and right side of the closet, which has  sliding doors so I cannot fully open the closet to expose both sides at once.

The Left Side

IMG_1304.jpg

The Right Side

IMG_1302.jpg

I like to think I am organized. I know I am more organized than I used to be and I can find things fairly quickly. I bought a label maker a couple of years ago and have fully embraced its use!

Postscript

A friend shared a wonderful quote with me today that I have been mulling it over the entire day:

c044221d95af964b2456275bd350fac2.jpg
Photo credit: letslassothemoon.com