This post is a continuation of yesterday’s post: Quilt Studio Archeology and Purging, Part II.
How well do we know each other? Are we at the point that I can bare my soul and share with you my deepest secrets? Can we talk about “Fat Quarter Pathology” (and can you try not to judge…okay you can judge a little..I deserve it…)
But before I bare my fat quarter hoarding soul here’s a couple definitions so we are all on the same page:
Fat Quarter – a quarter yard of fabric cut into a rectangle that measures 18″ x 21″, commonly packaged with other fat quarters into a themed fat quarter pack.
Pathology – any deviation from a healthy, normal, or efficient condition (Dictionary.com)
Are you ready? Alright here is my darkest fabric hoarding secret…
Fat Quarter Pathology
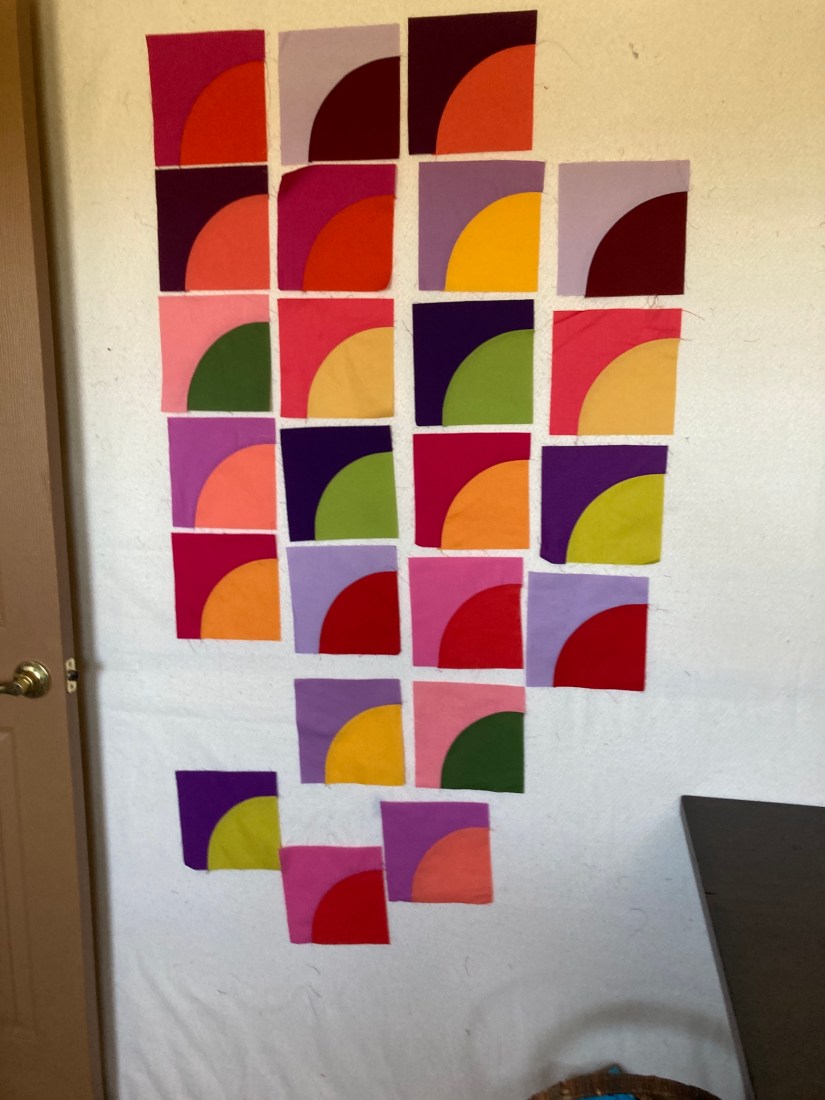
When I started quilting around 1999/2000 and discovered the magic of fabric shopping, I also discovered my love of little “fabric samples”. I was not into collecting scraps yet (or making many scraps as I only had a quilt or two under my belt). I was intimidated to buy a bunch of yardage when I saw a fabric collection I liked, but I did like buying a fat quarter bundle of the fabric collection that gave me a sample of many of the different fabrics in a collection.
This attraction to fat quarter bundles (usually or 6 – 8 fabrics) morphed into an attraction of fat quarters in general, including individually fat quarters. Quilt shops would display baskets of individual fat quarters and sell them in “baker’s dozens” so if you bought 12 you got 1 free.
Perhaps I only need a couple fat quarters (or likely none) but how could I turn down getting ONE free. So I would buy 12 to get the 13th free (makes sense, huh?)
Fat quarter bundles for a future project, individual fat quarters, fat quarters given to me as gifts, fat quarters won at Quilter’s Bingo, fat quarter found at thrift shops, and more, and more and more fat quarters…
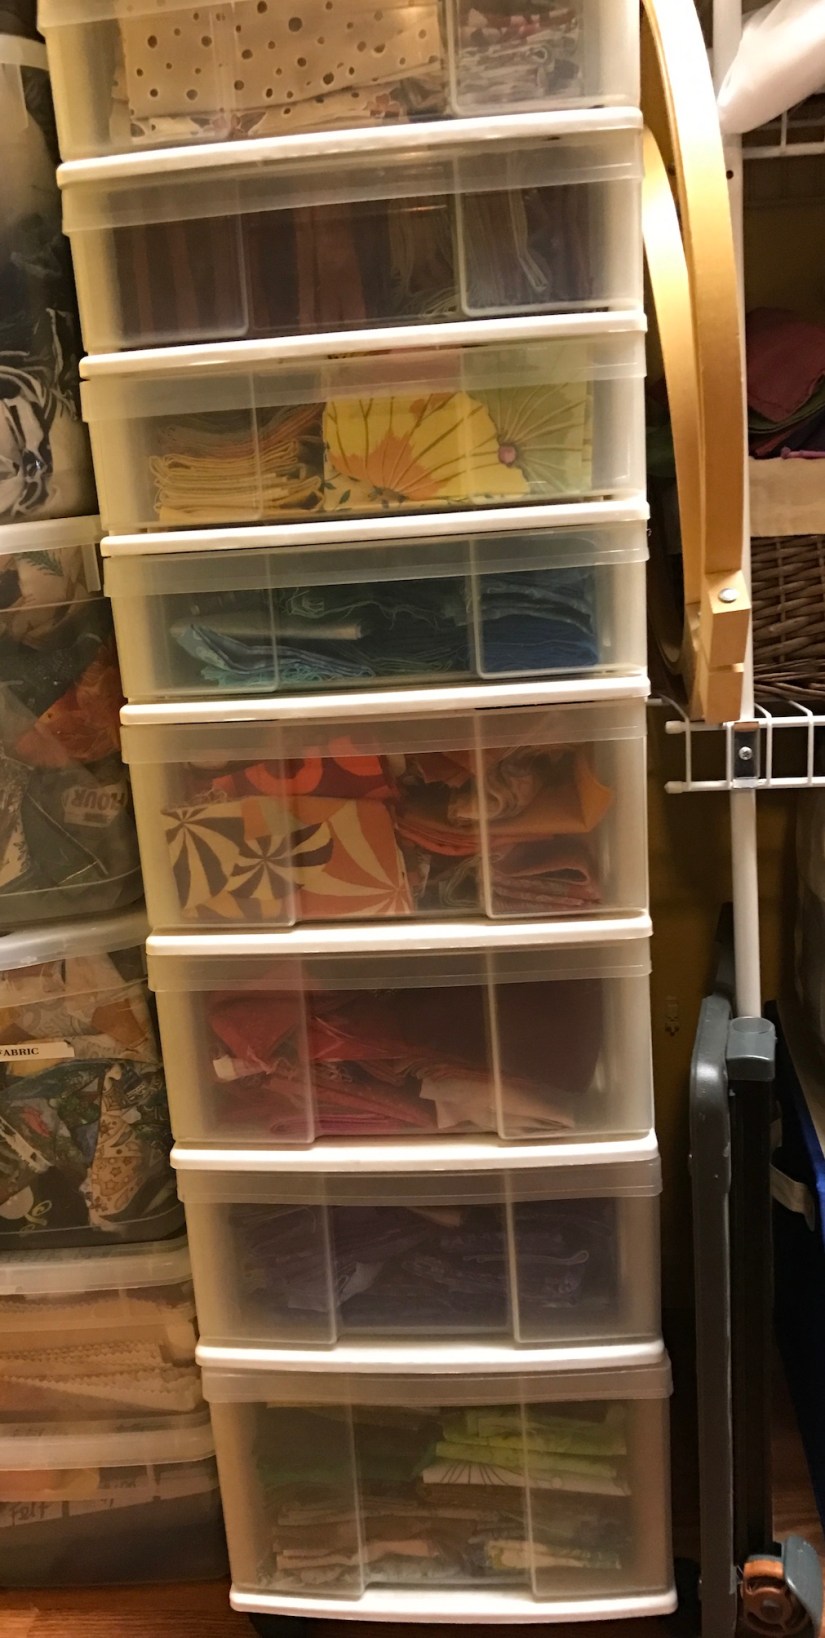
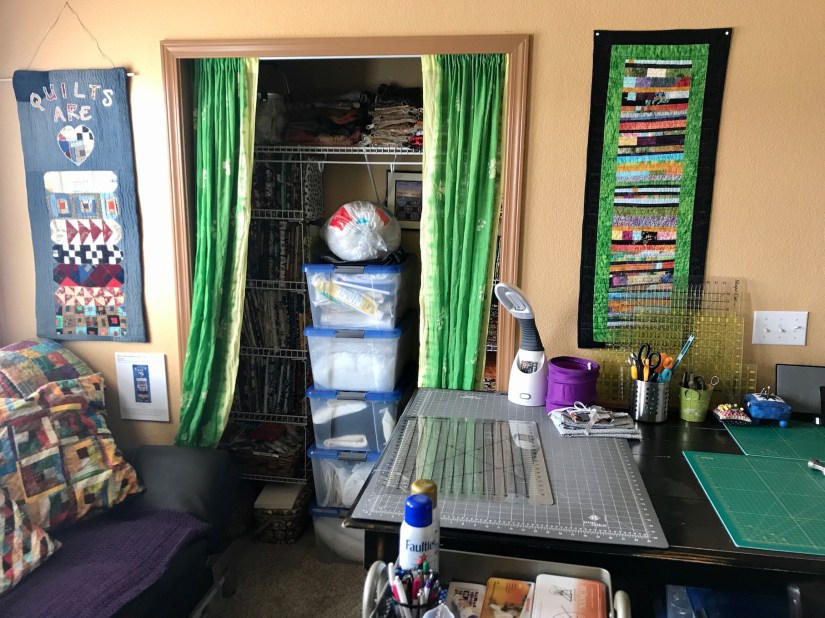
I kept them organized, I kept them…IN THE CLOSET:

I knew as part of the Quilt Studio “Archaeological Dig” I needed to go beyond just looking through them in their containers, I needed to go through them, find the treasures I wanted to keep and let go of what I would never use. I always try to keep lessons from Marie Kondo’s book – The Life-Changing Magic of Tidying Up: The Japanese Art of Decluttering and Organizing in mind.
Marie Kondo says you have to actually look at and hold every single item you own in your hands and decide if it is brings you joy. Every single item.
I knew I needed to go through every fat quarter. Then I needed to create a better system to store them which encouraged me to use them, not just try to create the world’s first Fat Quarter Museum.
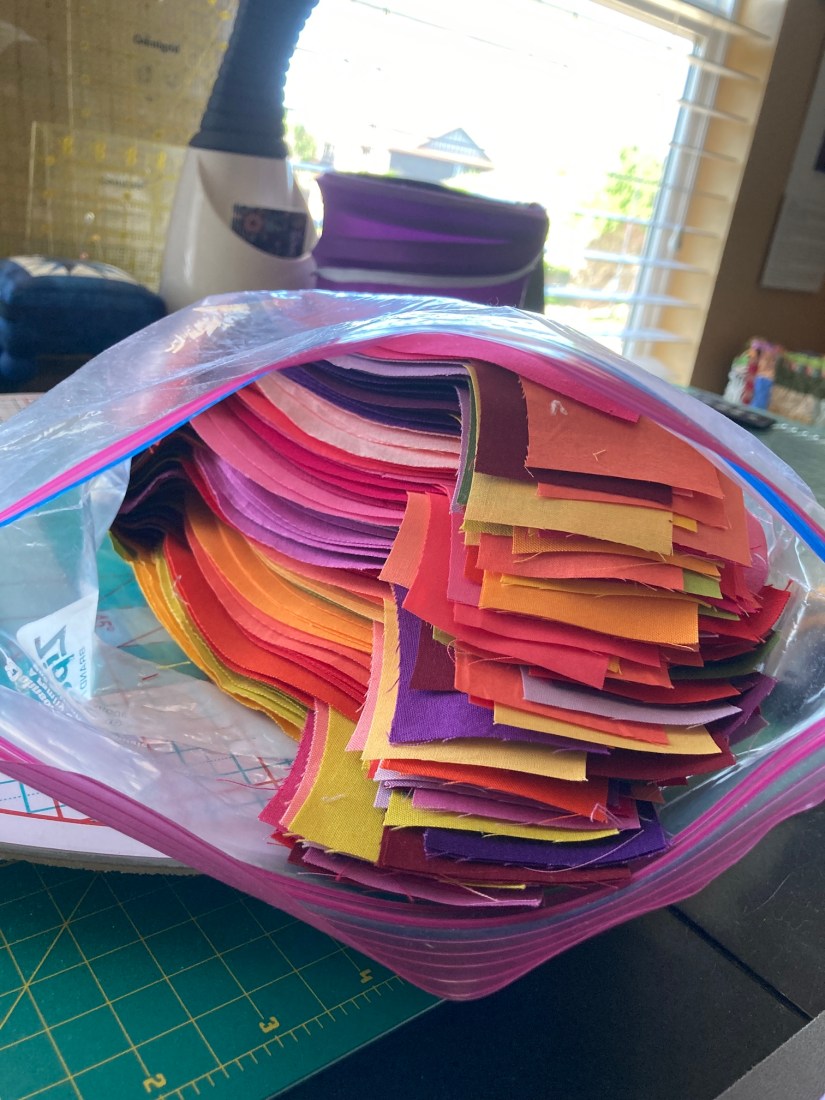
The big step first – go through every fat quarter – here is my secret revealed – it was all laid out in the huge pile on my floor:
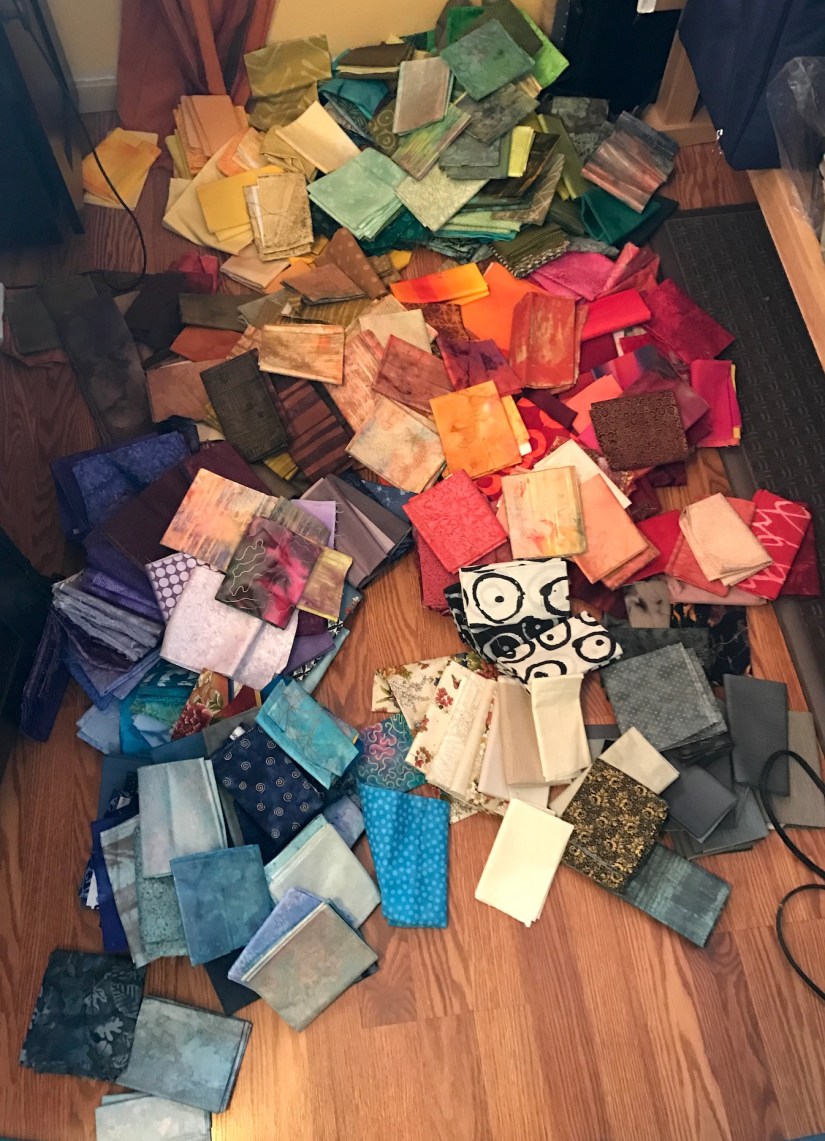
I am a fat quarter hoarder!
There it is, now you know. Watch for my story on a future episode of the American TV show Hoarders (there was a UK version of this show but I forgot the name of it). I will be the one sleeping in a mattress in the corner surrounded by piles and piles of fat quarters. The Health Department will send a public health worker for an intervention…
But seriously, I was shocked at the sheer volume of the amount of fat quarters I had in my collection. I just kept accumulating them. I had purged a little in the past but obviously not enough to make a dent.
The Intervention
Similar to what you might see on a reality show about hoarding, I had to get honest with myself, deal with this pile and then find a meaningful way to organize what I kept.
Previously I organized my scraps by color (see post When all else fails, reorganize your fabric scraps) and I tend to think in colors rather than in fabric lines or fabric collections when I am working on a textile project, so I decided to organize the fat quarters I was keeping into the following groups:
- Black, white, black & white patterns, and gray
- Creams and fabrics where cream to light beige is the predominant color
- Browns
- Yellows
- Oranges
- Reds
- Purples
- Greens
- Blues
- Teals & Turquoises (I struggle with sorting these into blues or greens so I decided to just let them be their own group)
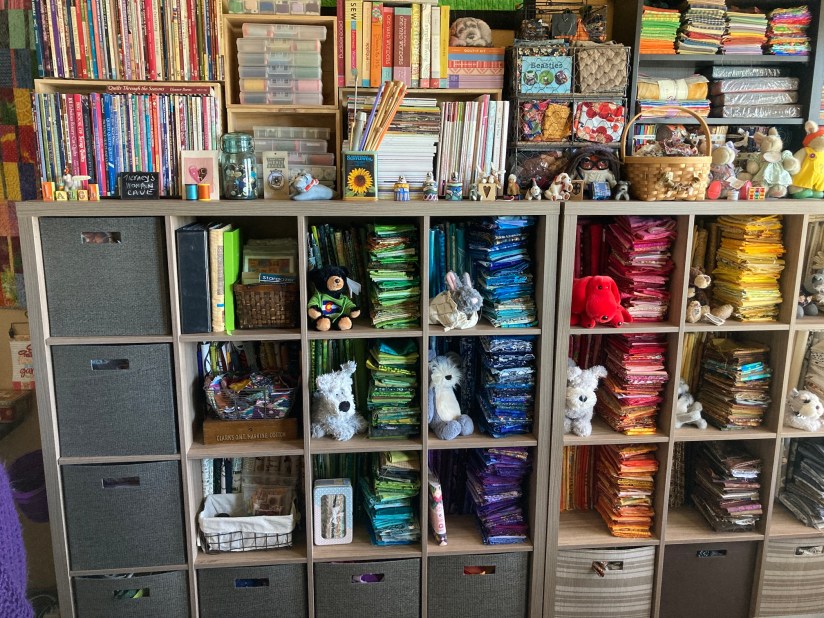
Interesting, the colors I had the most of in fat quarters, also reflected the colors I had the most of in my fabric yardage:
- Green
- Blue
- Red & Orange (tied)
I cleared out another standing storage drawer set and arranged the fat quarters in drawer set so I could easily access them. I also had to use the bottom drawer of another drawer set for the Blues.

Black, black and white, gray

Creams and beiges

Yellows

Browns

Oranges

Greens

Teal and Turquoise

Blues

Reds

Purples
When I dumped out the fat quarters from their previous containers, I pre-sorted them by color into piles on the floor (see photo above). When I put them away by color, I looked at EACH fat quarter and made a decision whether to keep or donate.
Here was my criteria:
- Do I love this fabric and do I find it visually pleasing?
- Is it high quality quilting cotton (when I first started quilting, I would only buy inexpensive fabric at chain craft stores)?
- Would I use it in a future project and is it still my style (our tastes change over the years)?
Using this criteria I was able to pull out many fat quarters for donation:
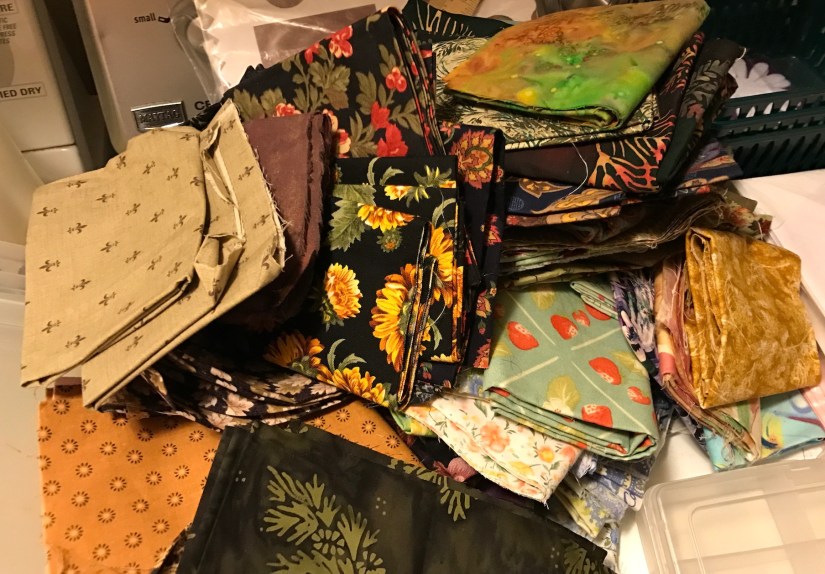
At one point I likely loved all the fat quarters shown in the donation pile above but not any longer – there is no joy for me in that pile!
Epilogue
Now that this project is over, I know I do not need to add any more fat quarters to my life (as I appear to have enough for several lifetimes!)
If you have followed my blog for a while you likely know a little about my minimalism journey and my quest to curate my life with only those items that bring me joy. I have removed and donated so much from my life such as household items, trinkets and kitsch and clothing (I probably own only 25% of the clothes I used to own).
The challenge with my craft supplies is that they BRING ME JOY and I think this is why I have saved this deeper dive into my crafting related supplies for last.
Another bit of Marie Kondo always in the back of my mind:
The space in which we live should be for the person we are becoming now, not for the person we were in the past.
So fat quarters I no longer love – be gone! I am not going to worry about the money lost for bringing you into my life. I hope via my local thrift shop you will find your way into some other crafter’s life who will appreciate you (or perhaps hoard you in their collection, oh no….).
Thanks for letting me share with you my true confessions and my ongoing journey to curate my life to only the things that are useful and bring me joy.

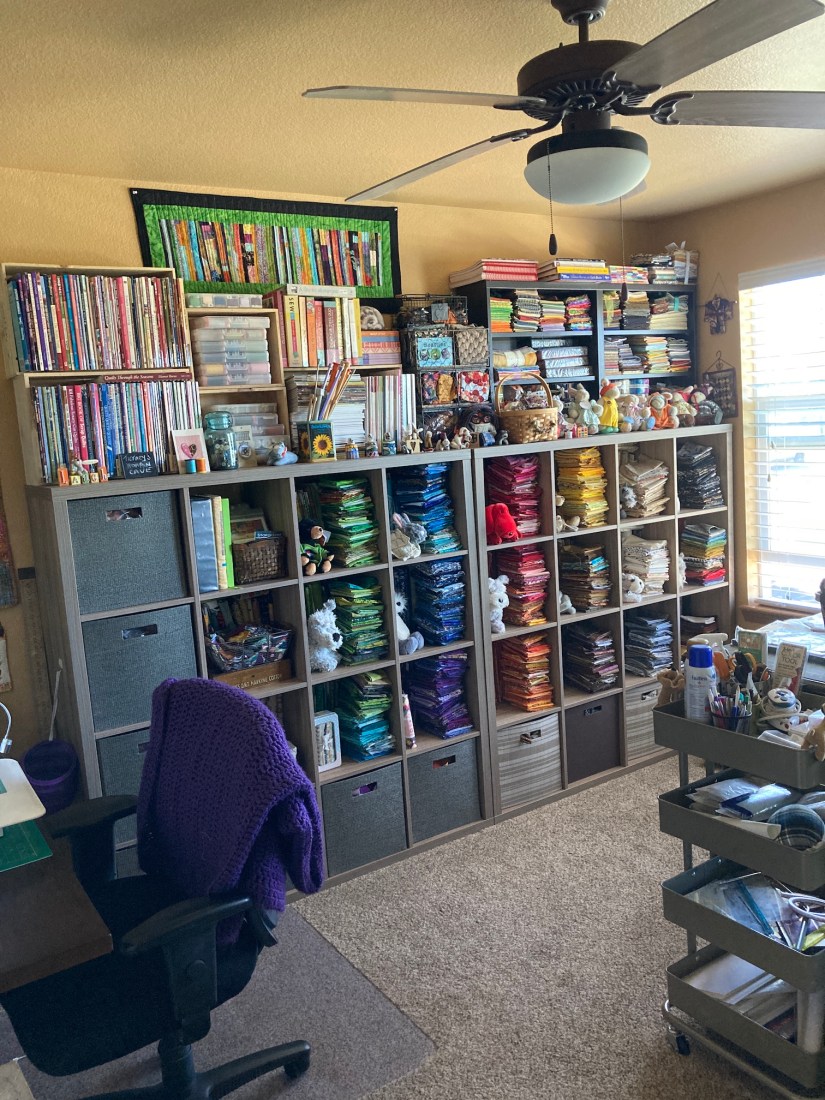
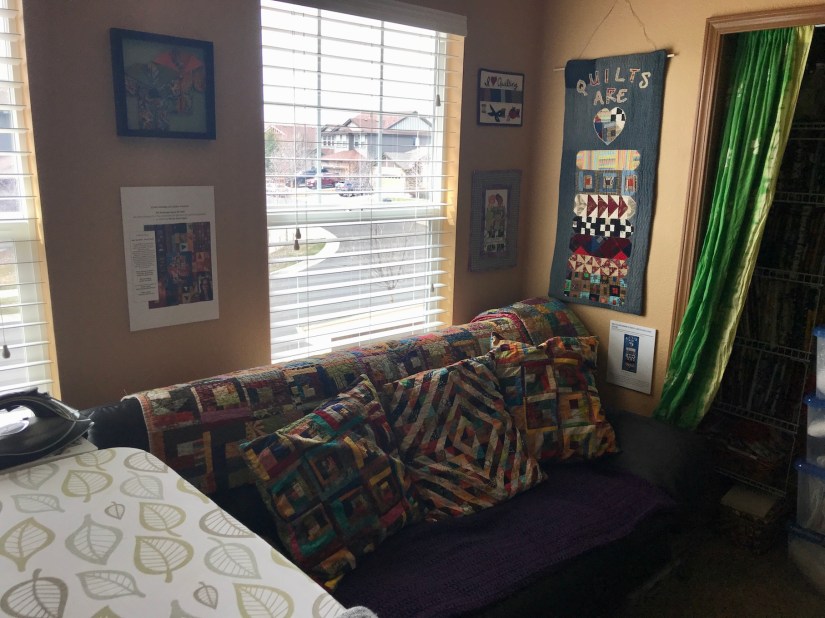
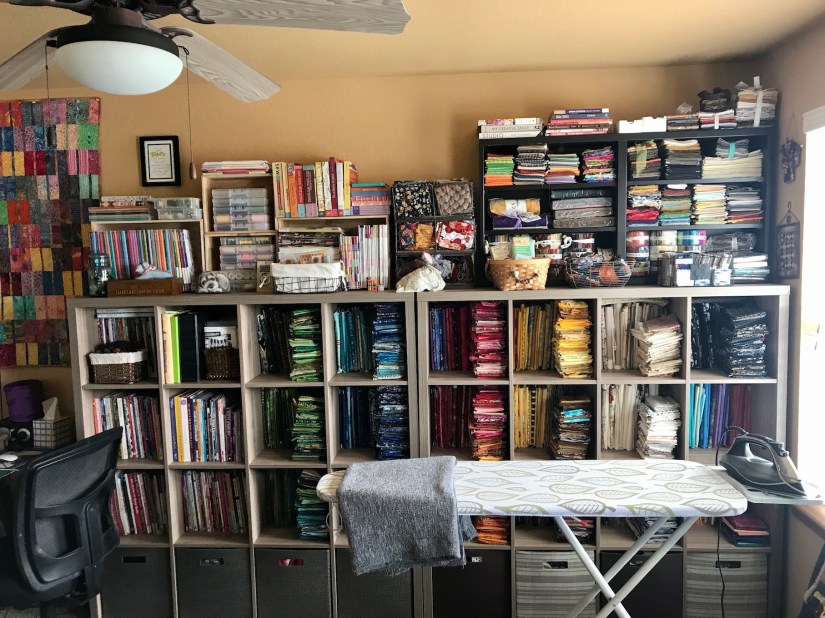
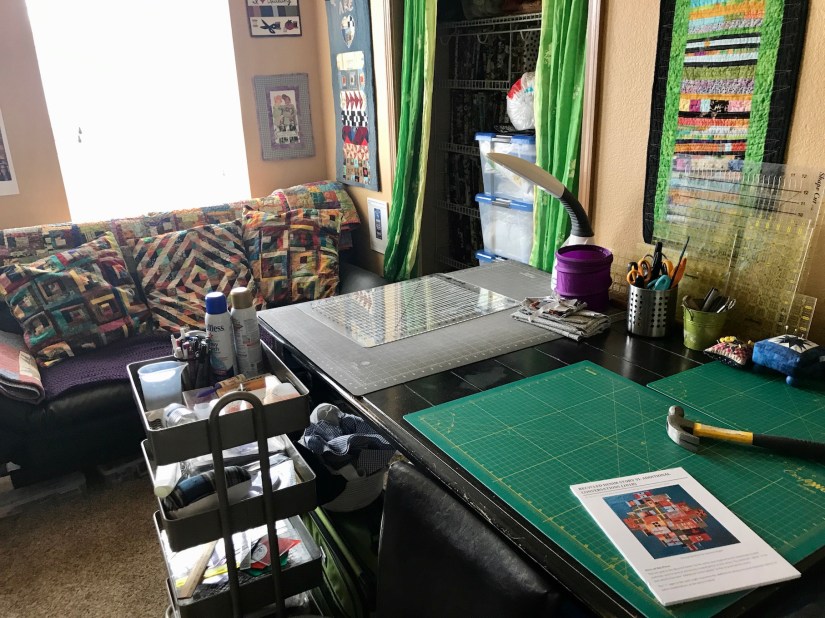 After (gave the Eurolounger next to the window to the pre-teen next door for her room remodel):
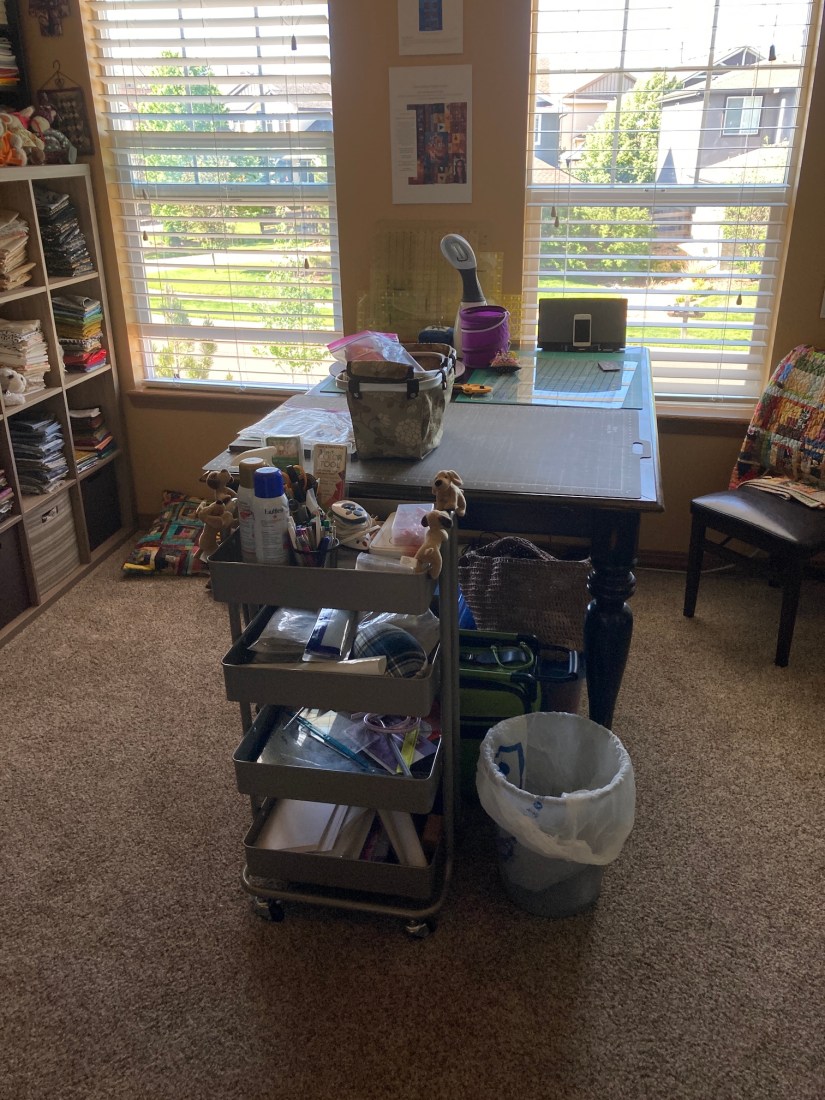 I had a feeling when I first re-did my studio after moving back into it after we decided in the early COVID days not to sell the house and to stay put (see post Perspective), that I would make tweaks to the layout as I used the studio and got a sense of what worked and what could be better.
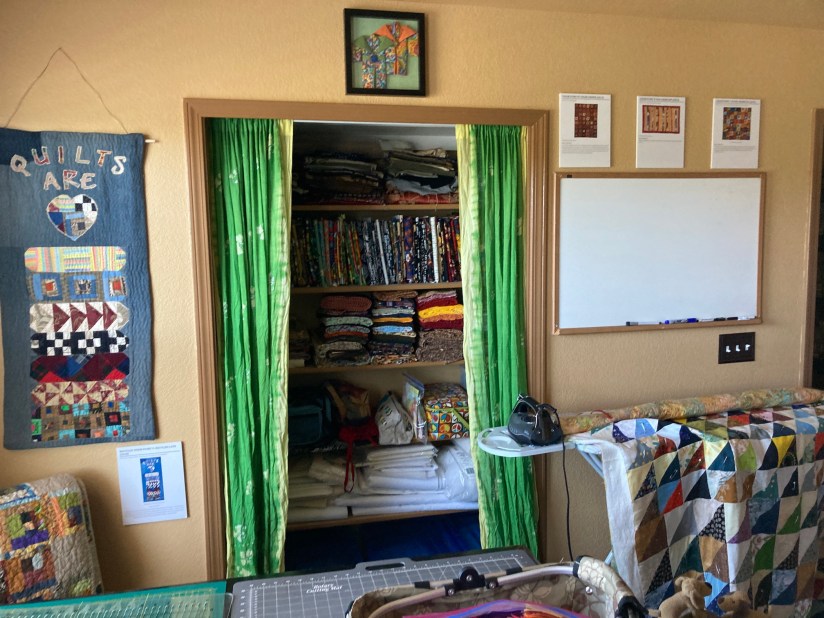
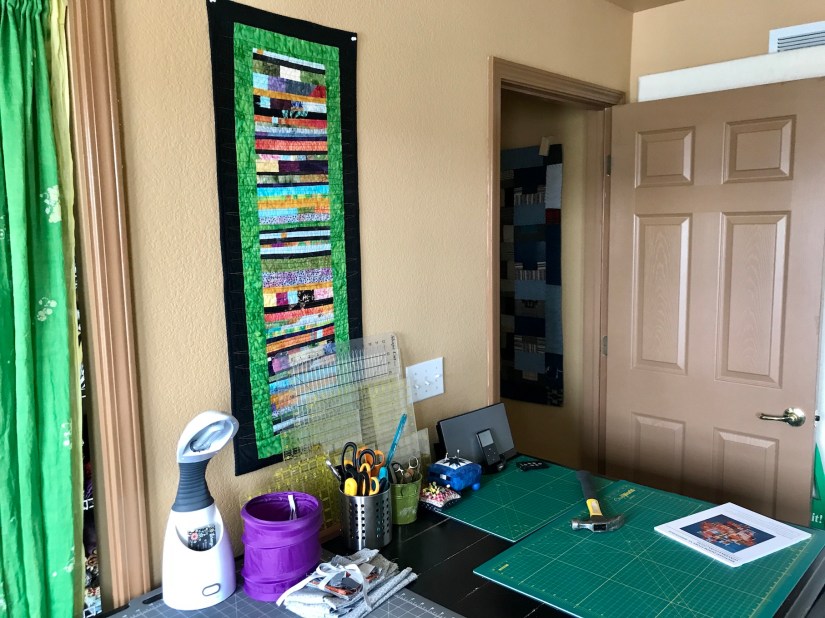
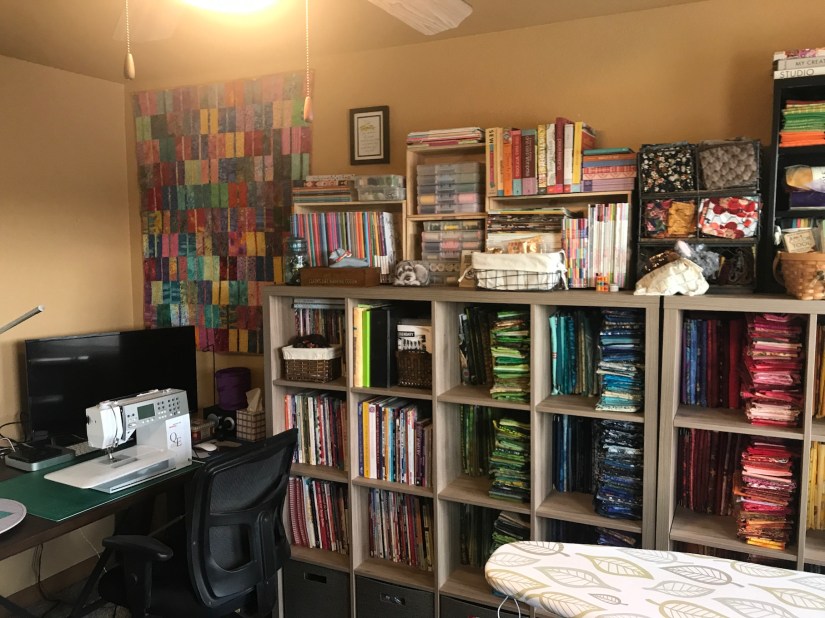
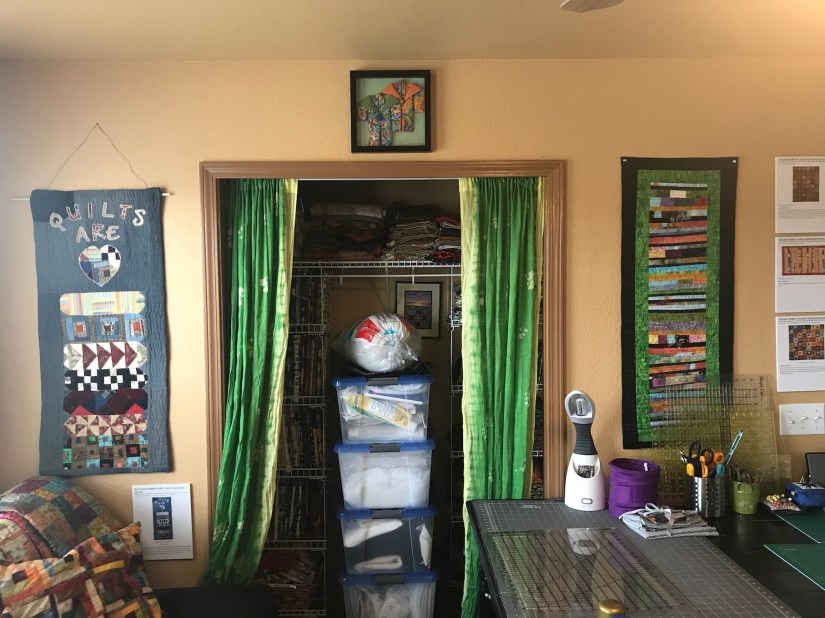 After:
 I love my new closet and had so much fun organizing it!
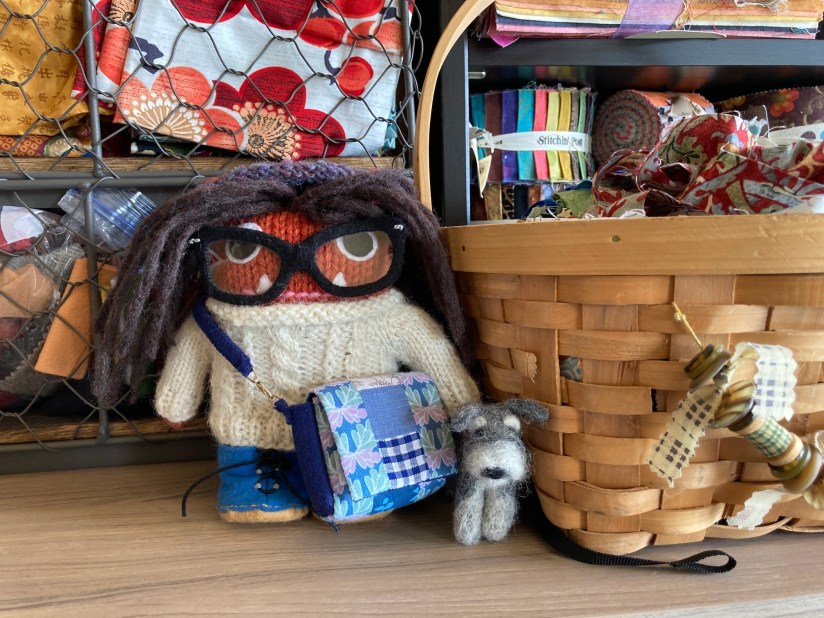

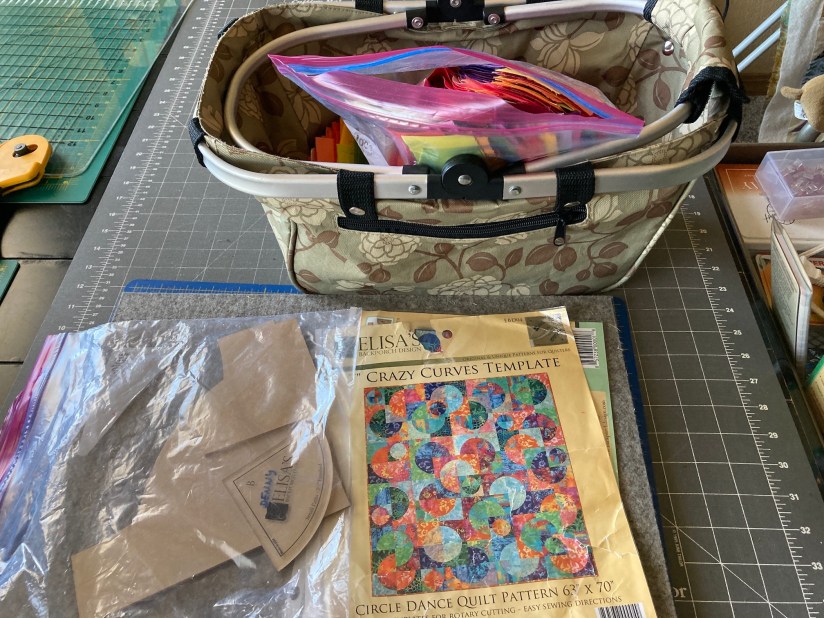
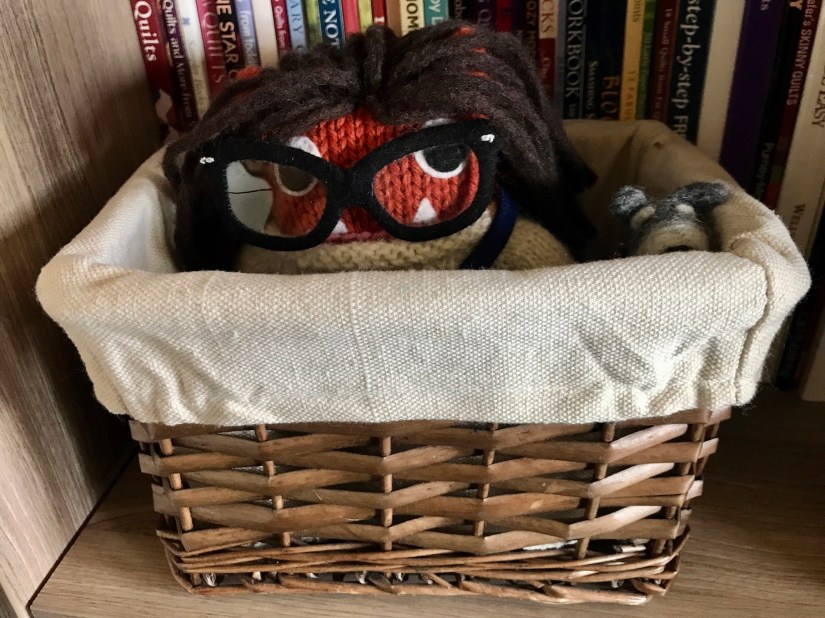
 I originally put the box in my cubby bookcase without even checking the contents, but took a closer look the other day.
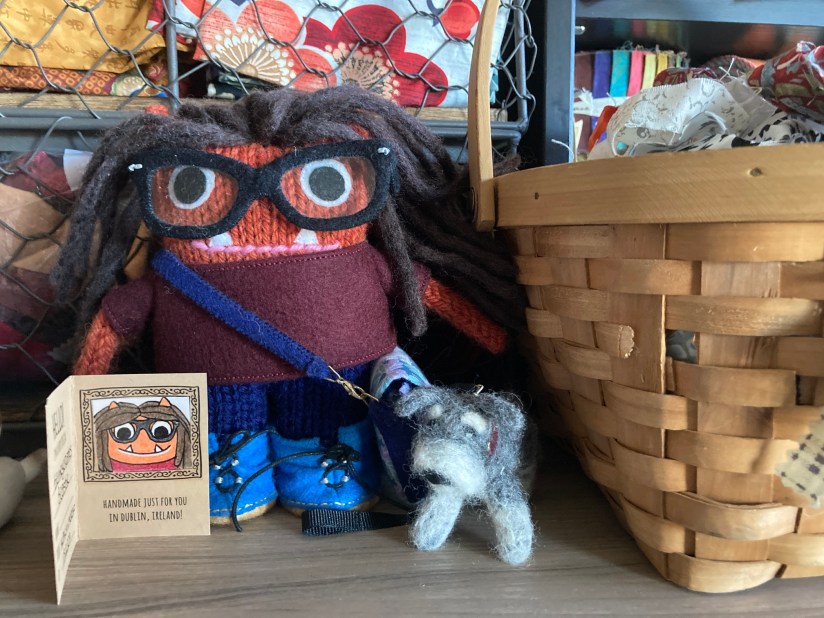

 We were created by the very, very, very talented Helen of
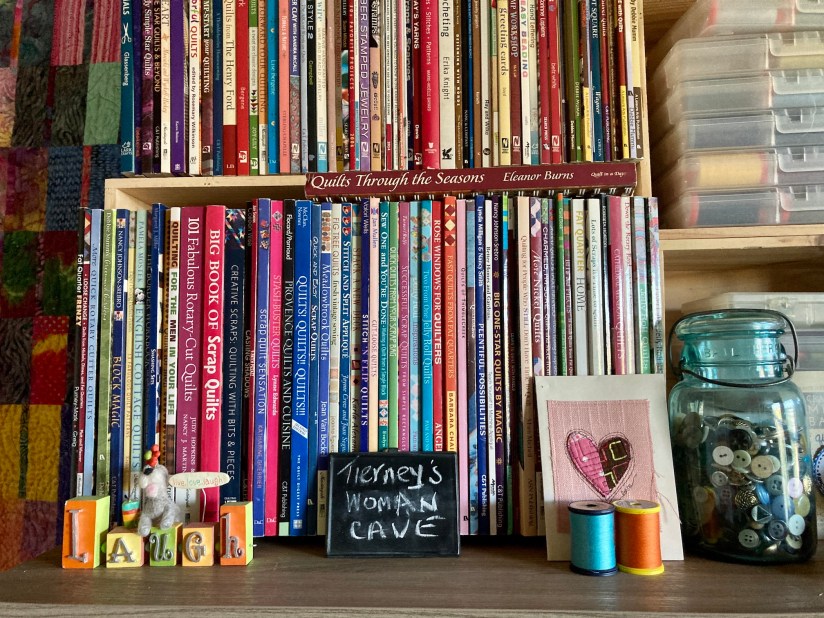
  Well enough about me (even though I am very interesting) and let’s get to the tour of Tierney’s “new” studio.
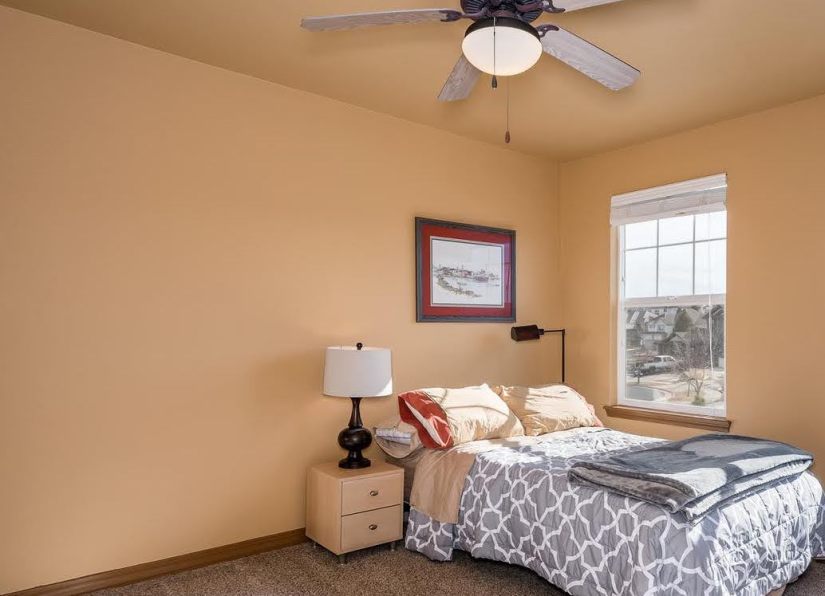 So when they decided not to buy the new house/not to move, Tierney had to unpack her studio and in unpacking her studio, she decided to reimagine the layout.
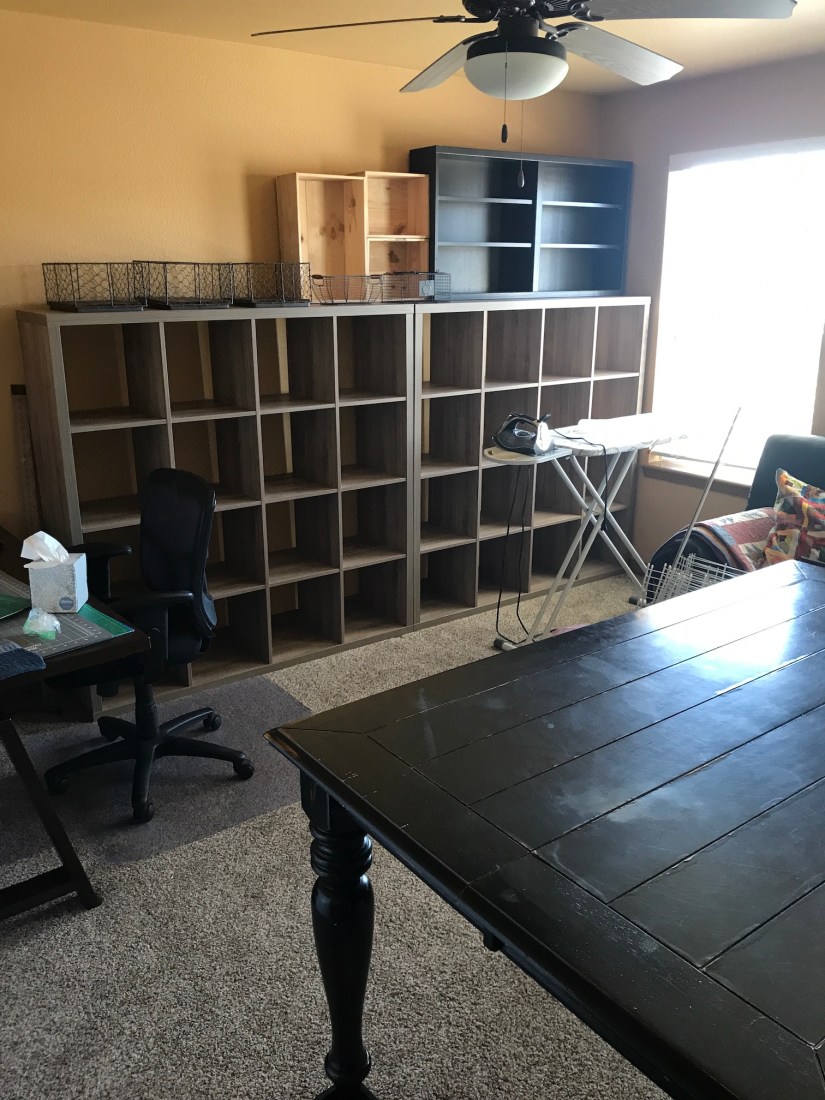 Over the next several days she unpacked her boxes (which seemed like they would never end), hung up some art and quilts on the studio wall and found a place for the large design wall her partner John built her.
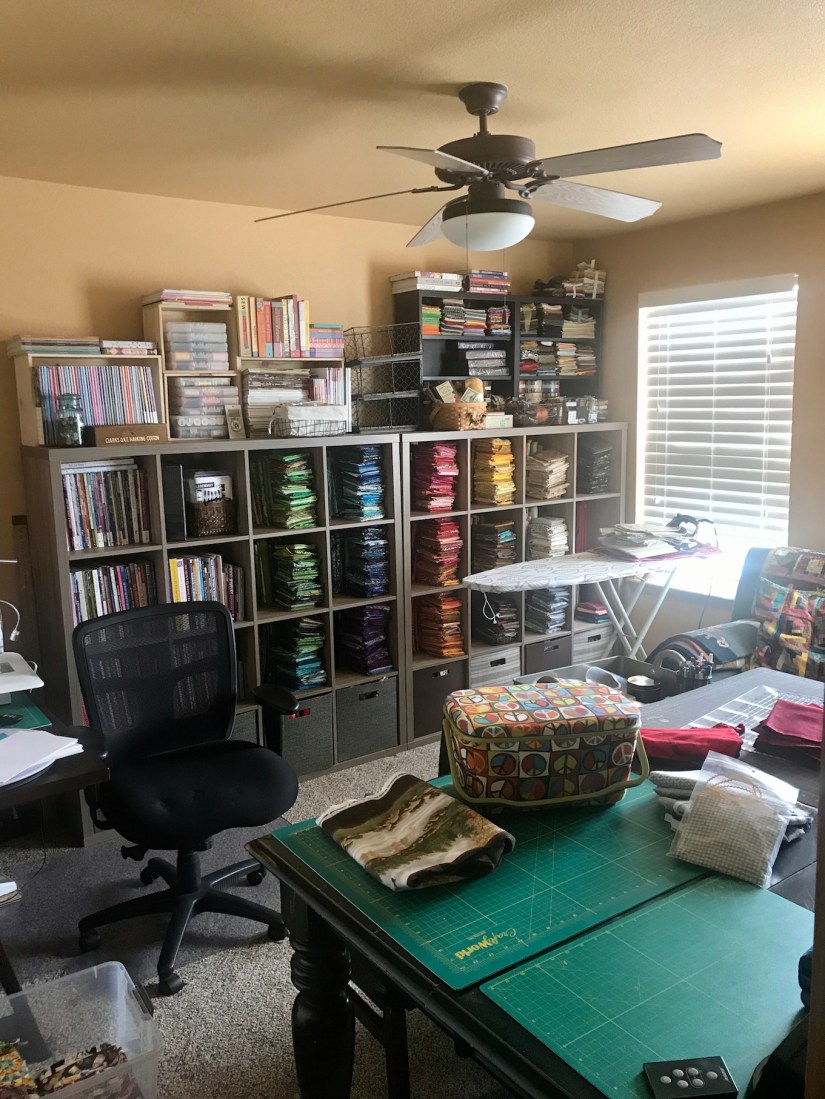
 So Tierney is ready to create (she can be tierneycreates again) in her new studio! She is so happy to have her sewing machine unpacked!
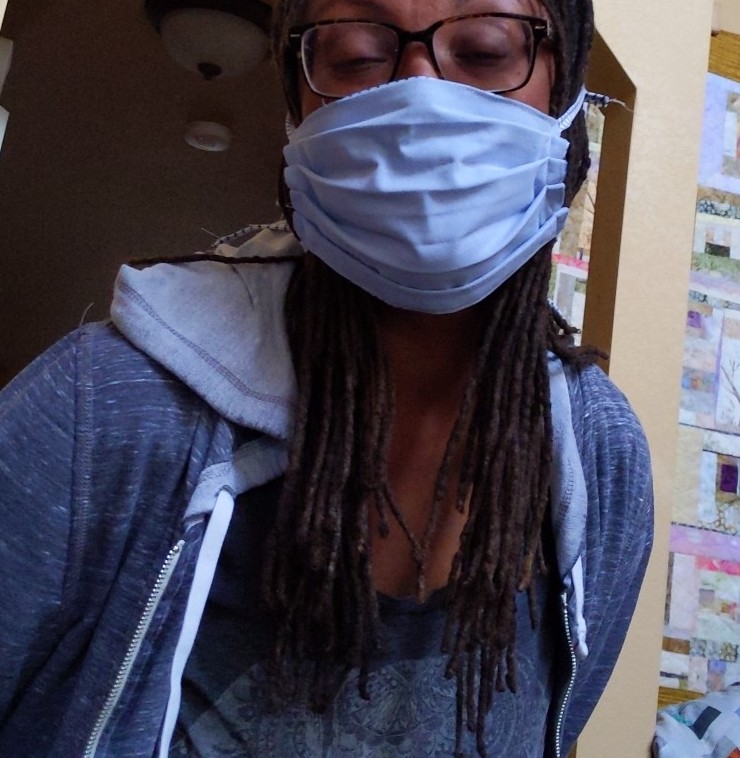 But she is hoping to start sewing a bit more fun things in the near future than masks…
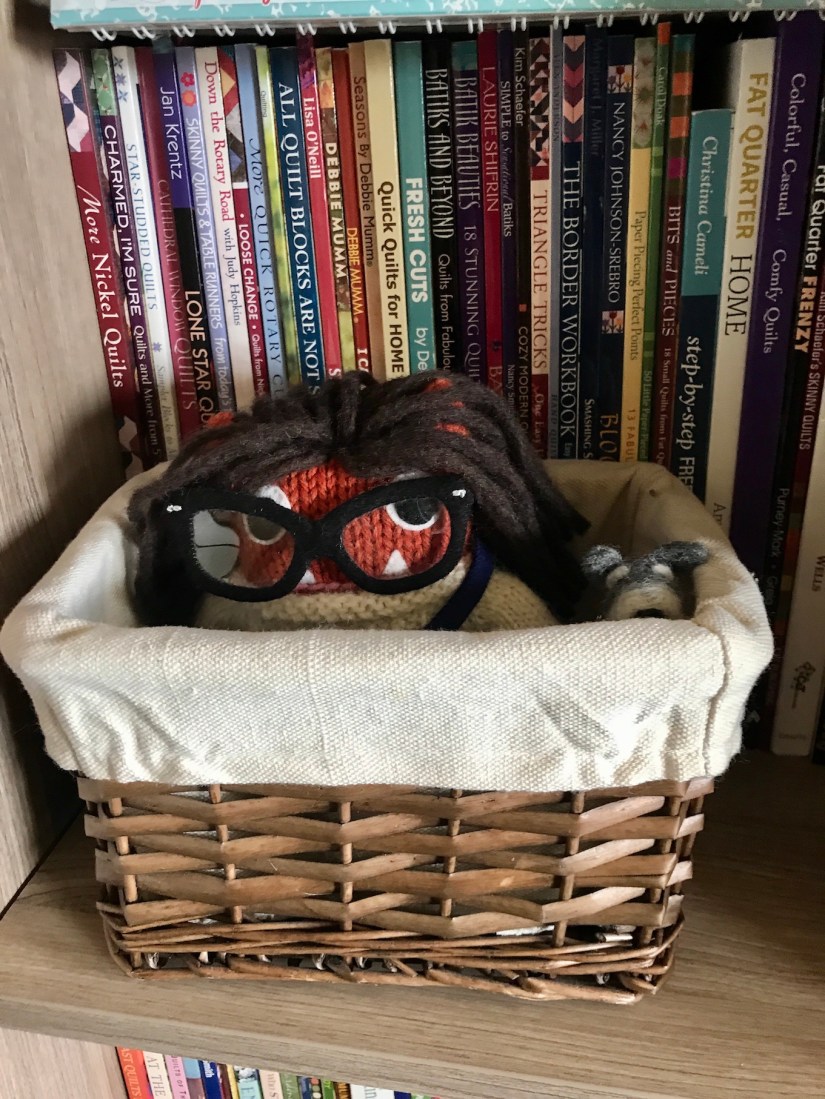 Which of course should have been her first priority from the beginning of setting up her studio!


 Now to many people, this does not look too bad. To me – this was like a terrifying Fox Network TV Special about something attacking something it should not, or some thing going very very very bad. I seriously did not want to walk into the room.