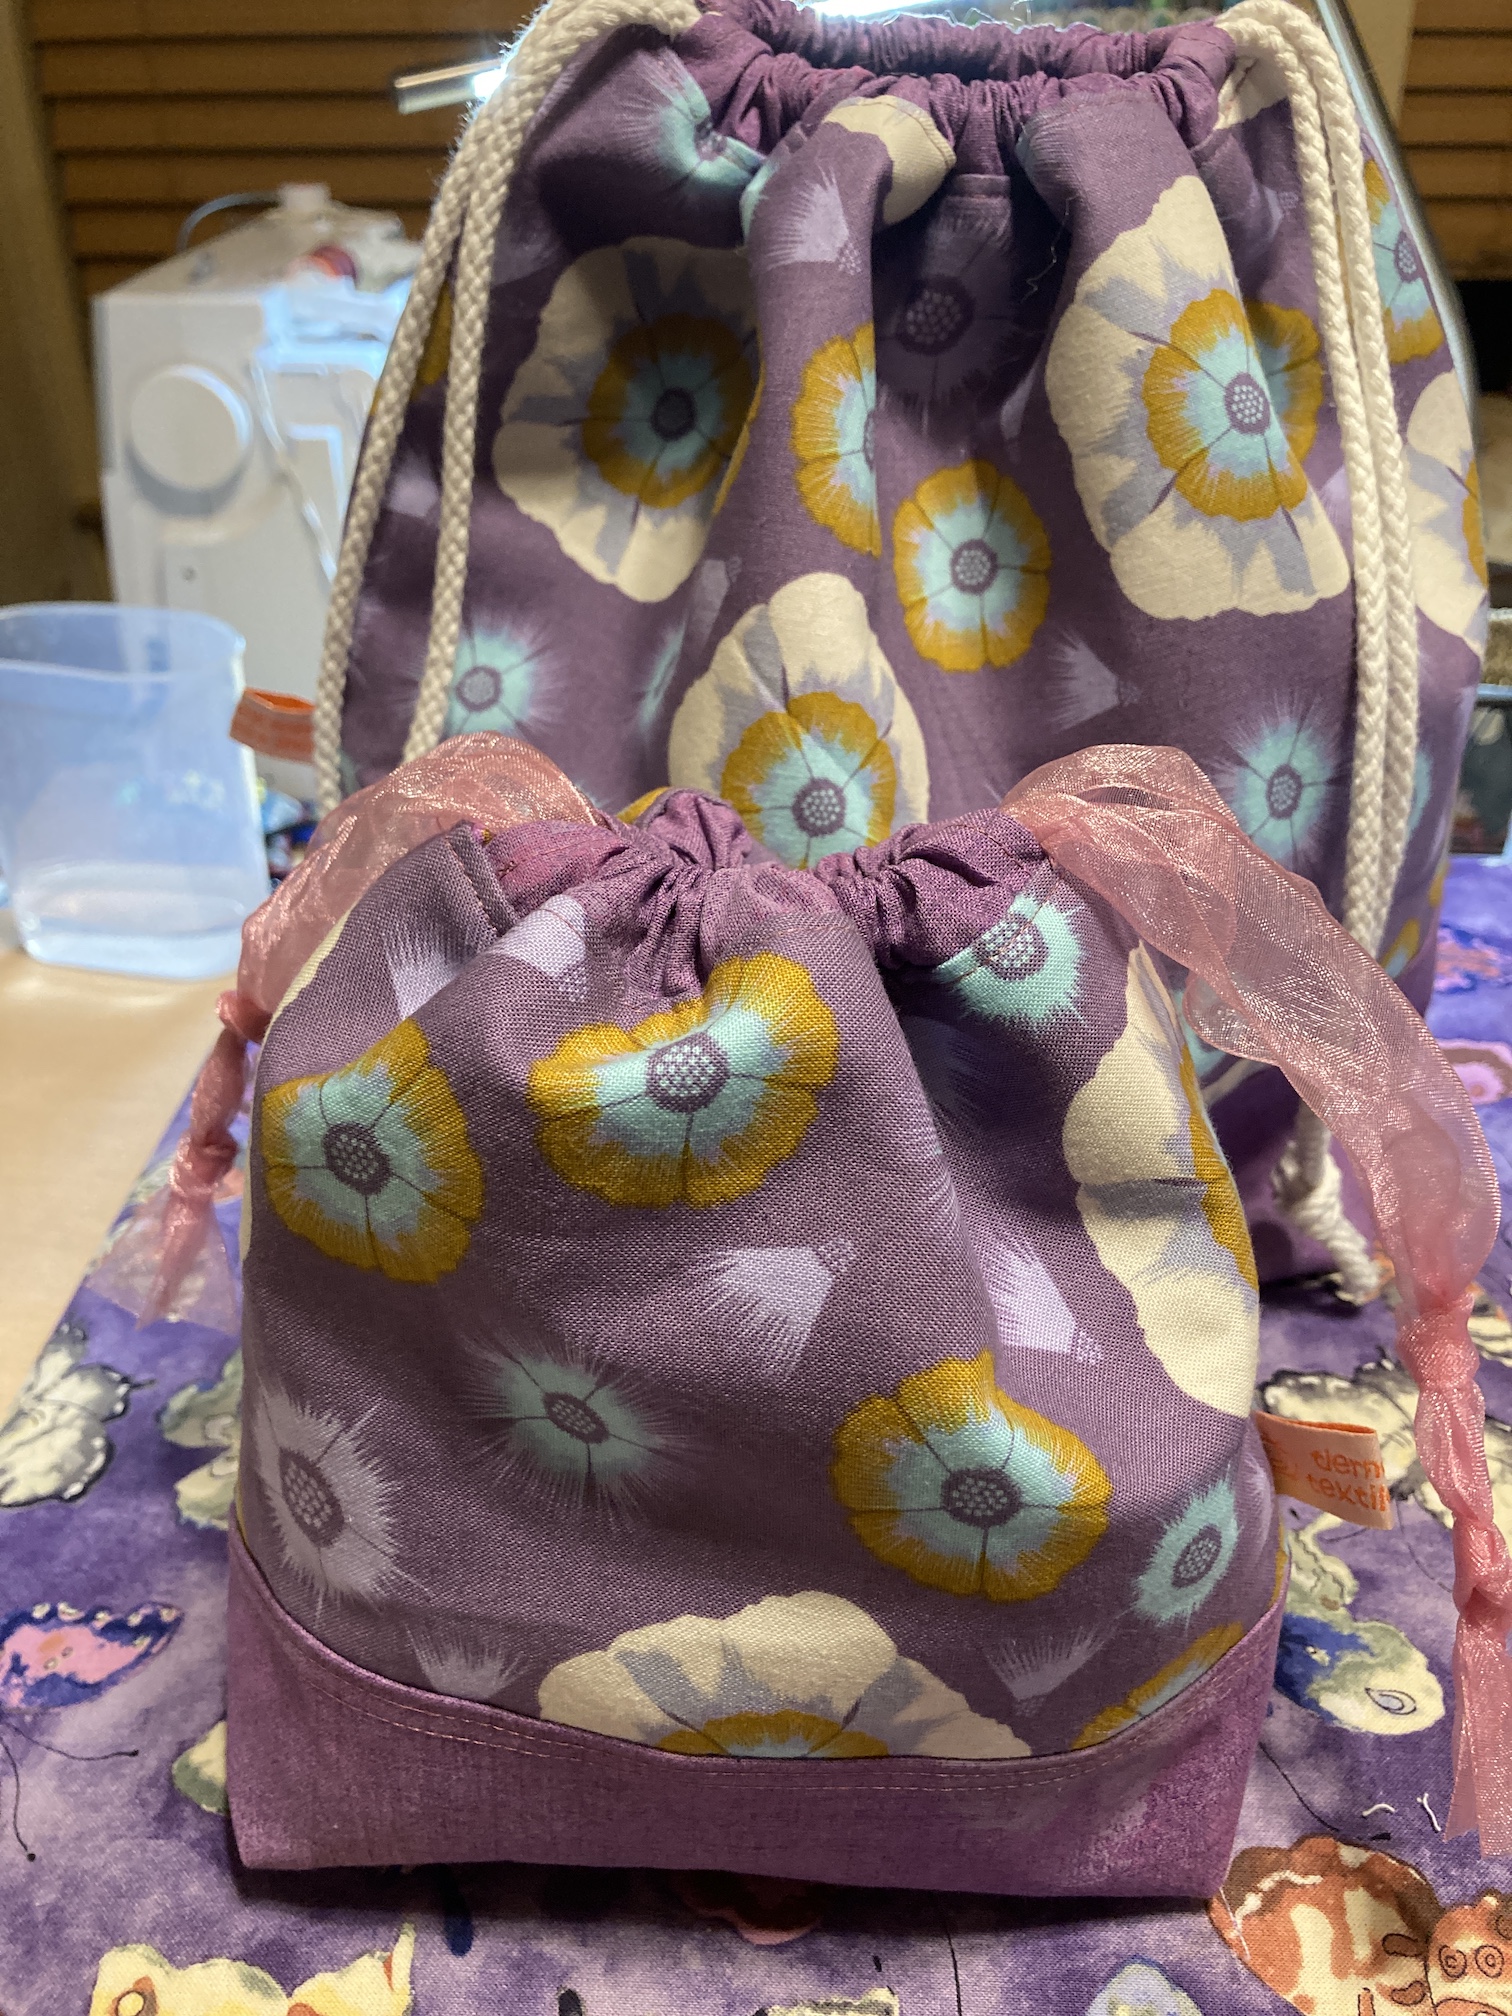
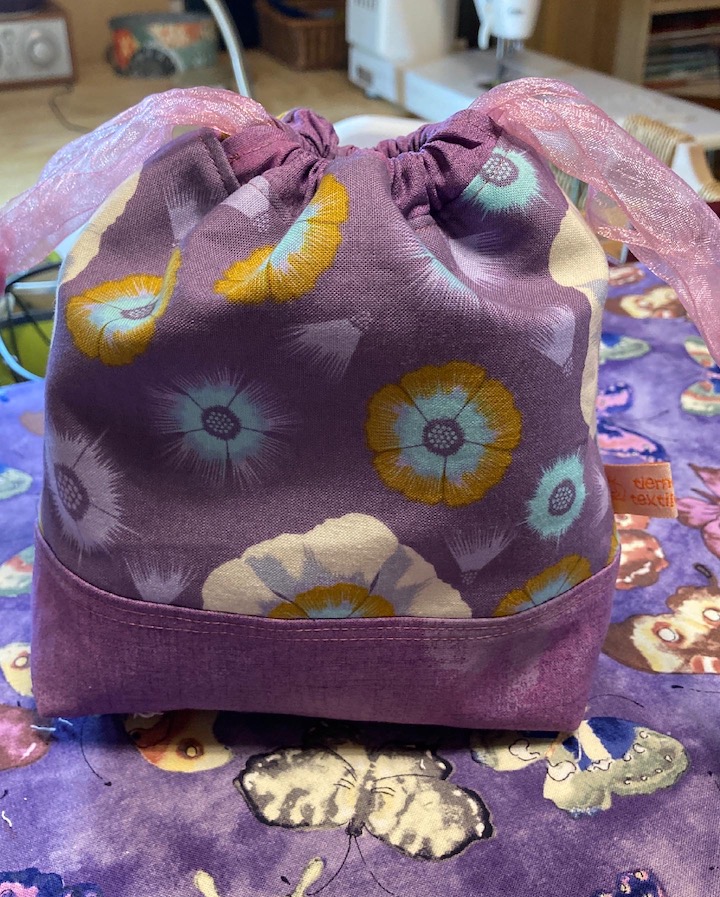
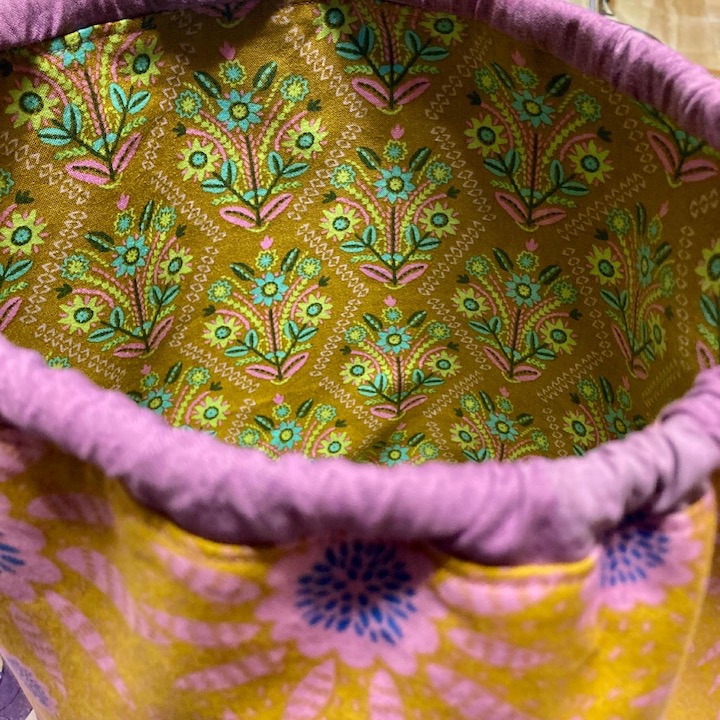
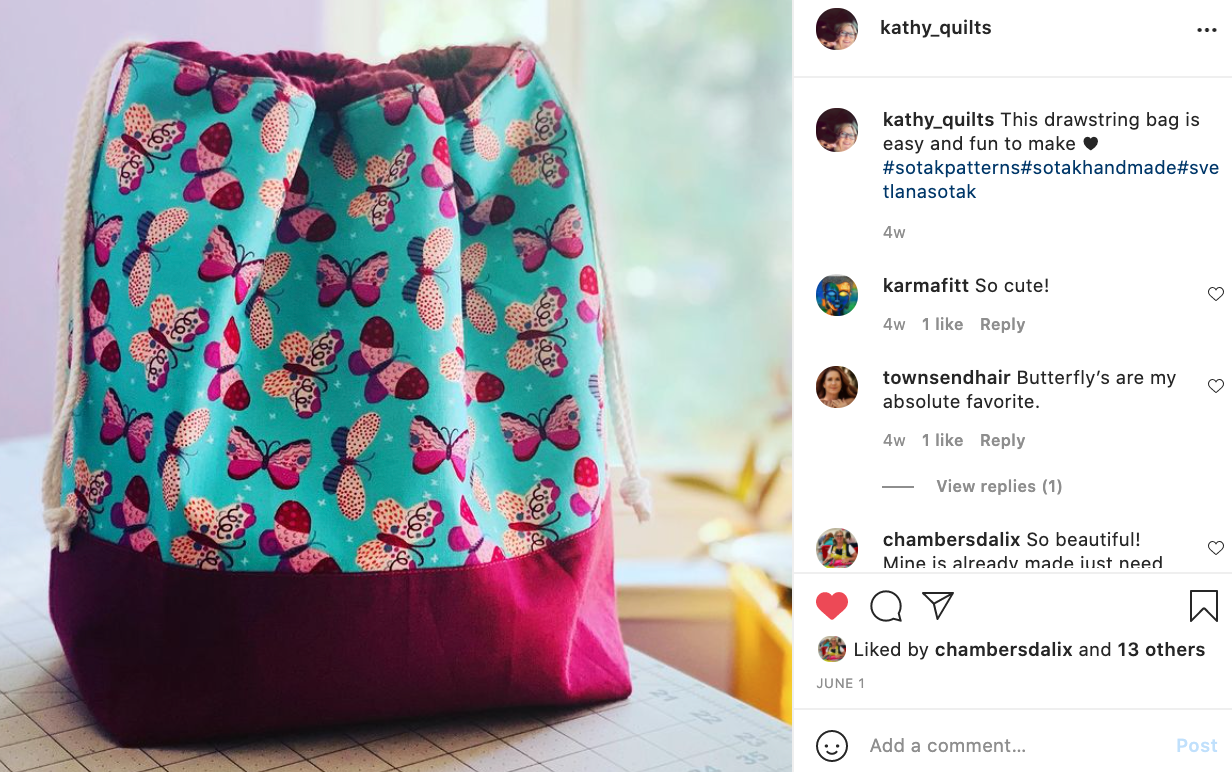
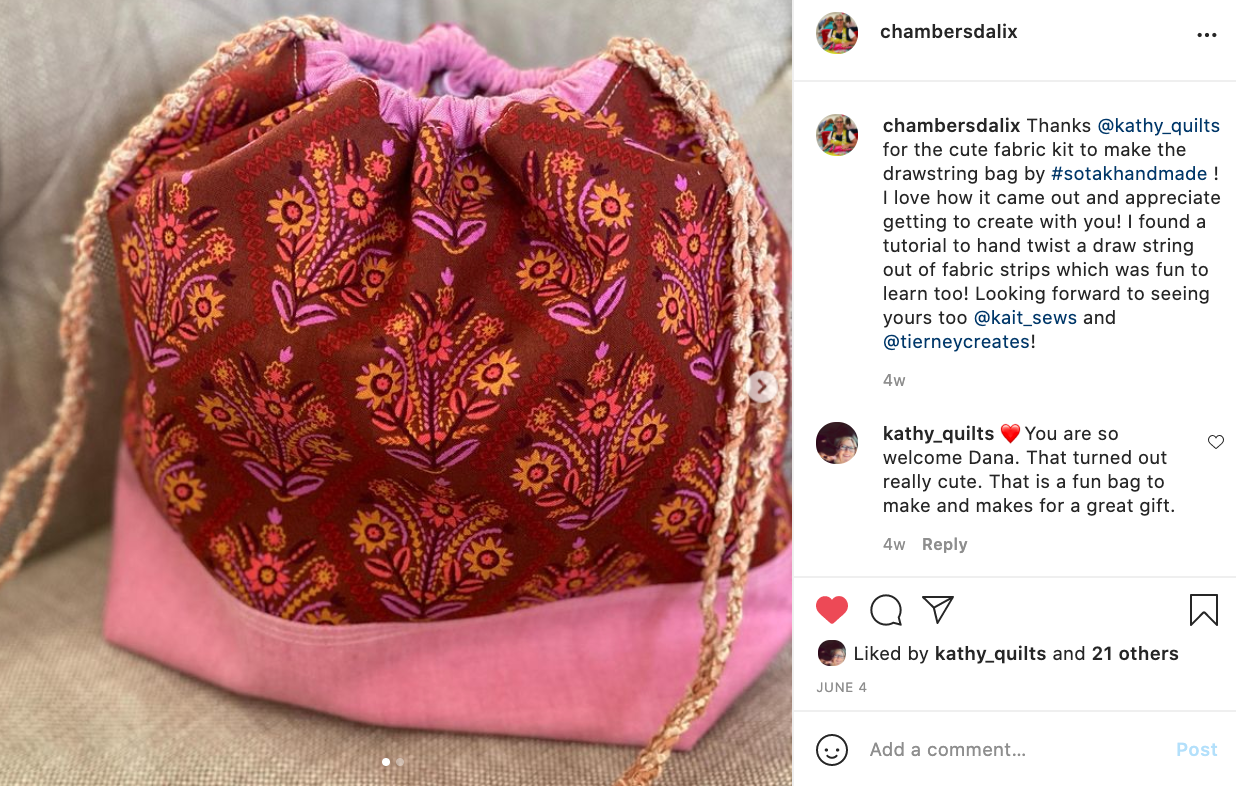
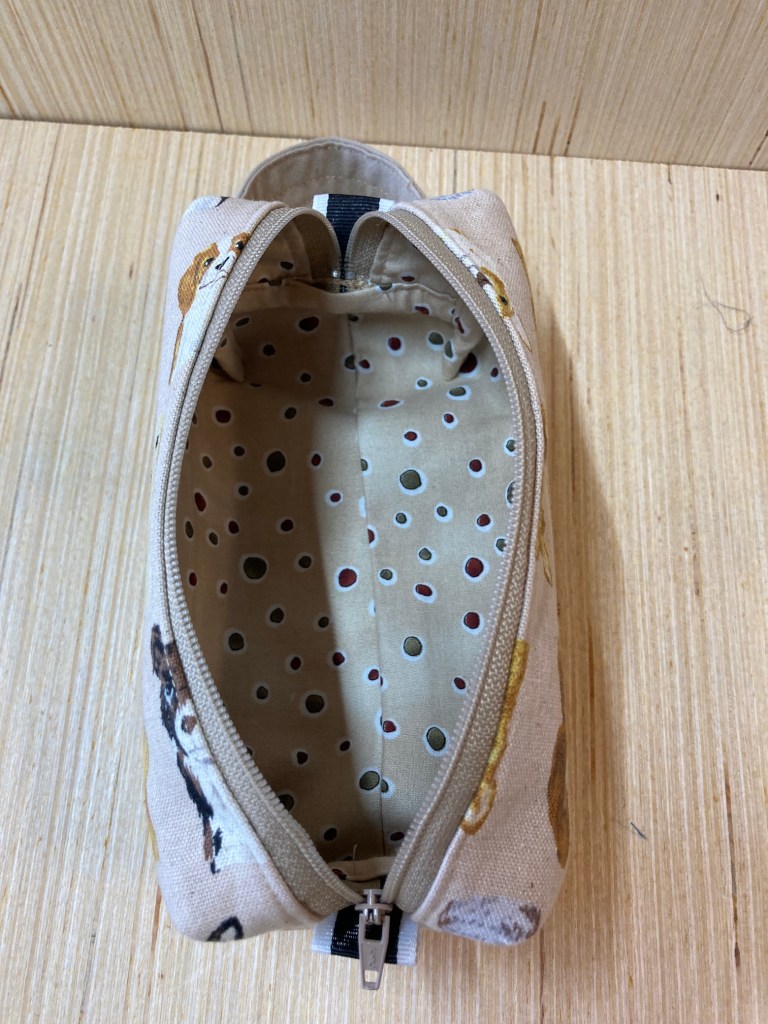
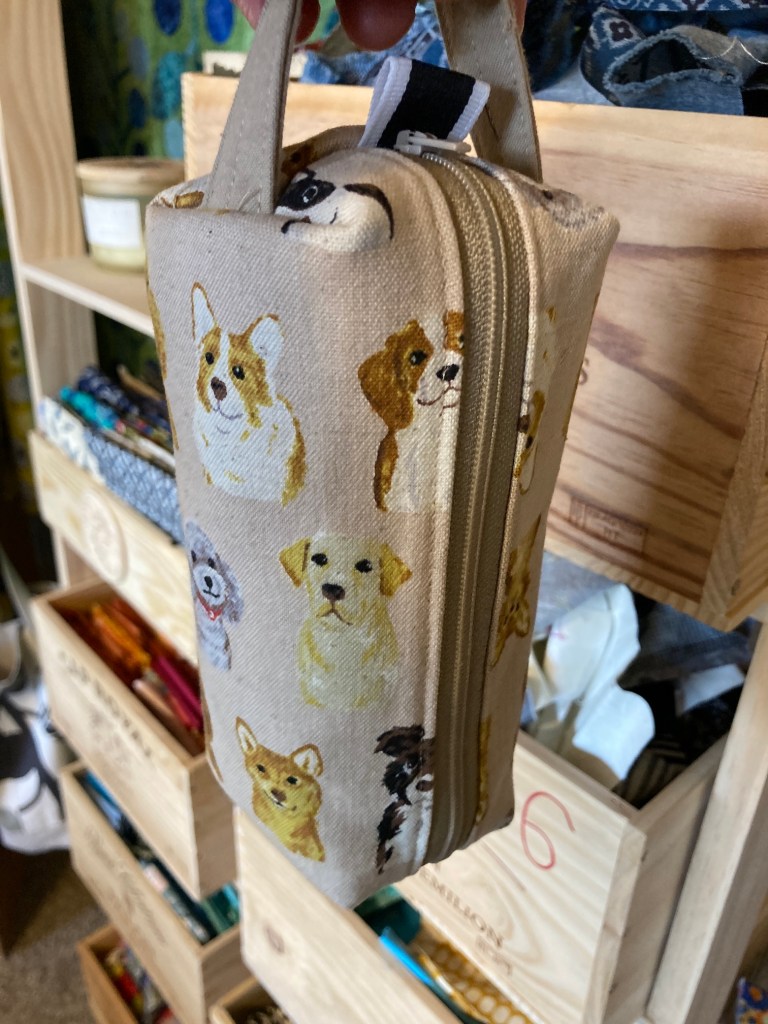
One of my favorite bag designers is the Netherlands based designer Svetlana Sotak of Sotak Handmade. The drawstring bags I’ve made (feels like I’ve made hundreds of them) is based on her pattern. I like that she supports small businesses by licensing them to sell items make from her patterns by purchasing the pattern.
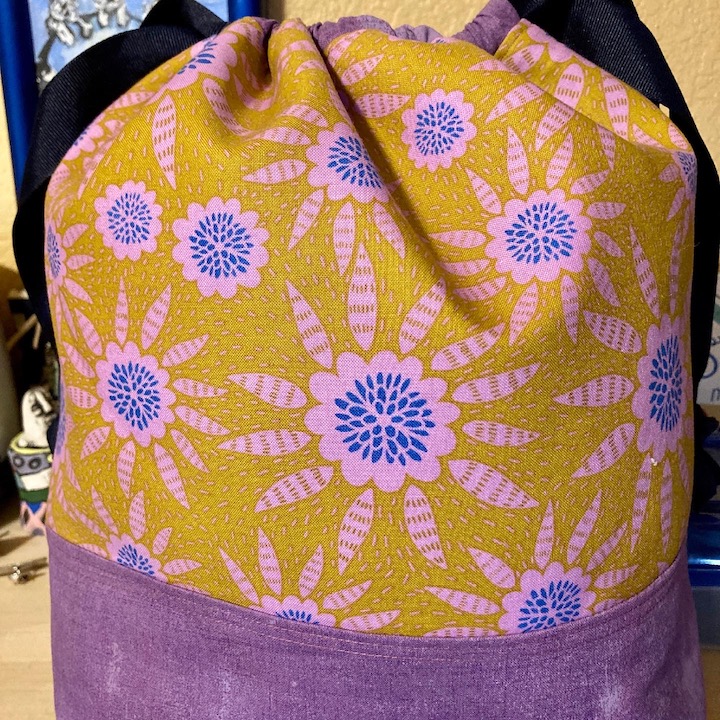
It was time for me to try out a new pattern so I made a friend who loves to knit a project bag from the Sotak Handmade pattern – Denver Tote with knitting/yarn themed fabric by Ruby Star Society fabrics.


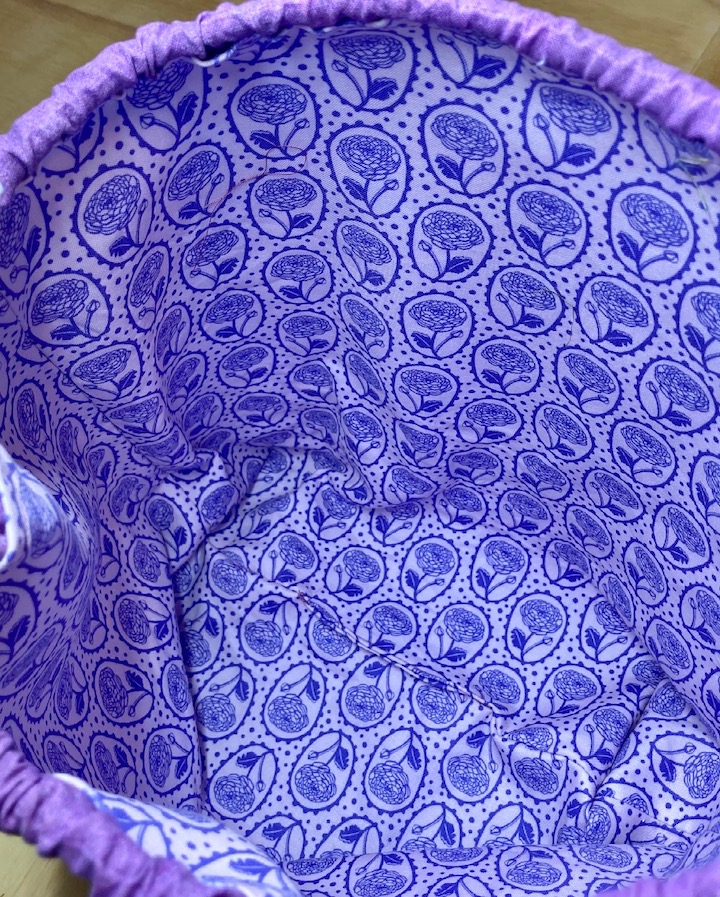
I was proud of myself because I installed a magnetic snap for the first time on the liner and reinforced it with heavy weight interfacing so the snap did not pull on the liner (which has medium weight interfacing attached).


Next time I make it I might make coordinating handmade handles. I was trying to coordinate the handles with the drawstring that is part of the bag too.
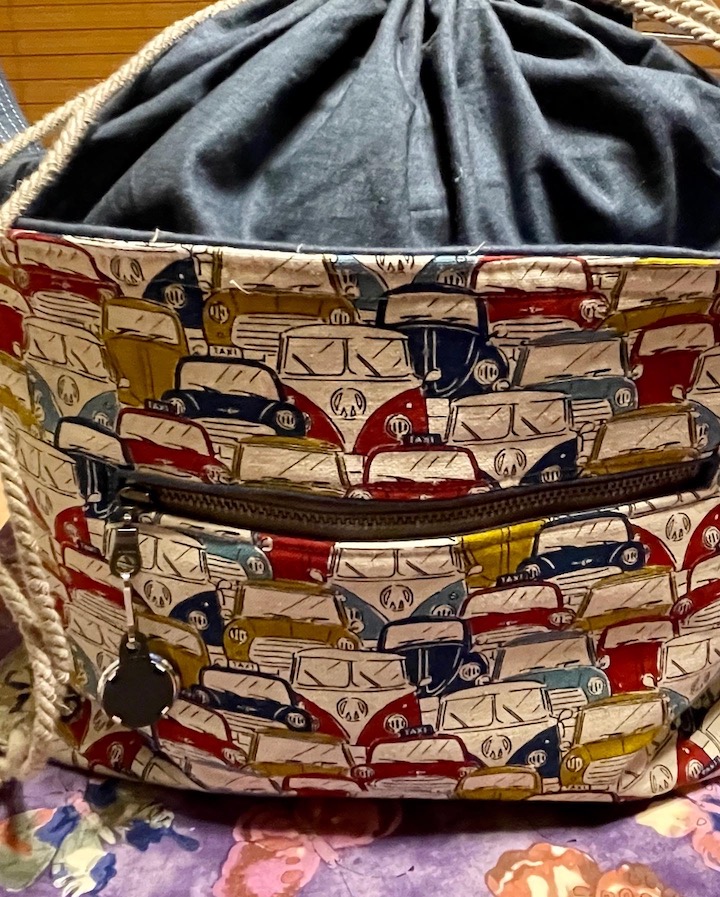
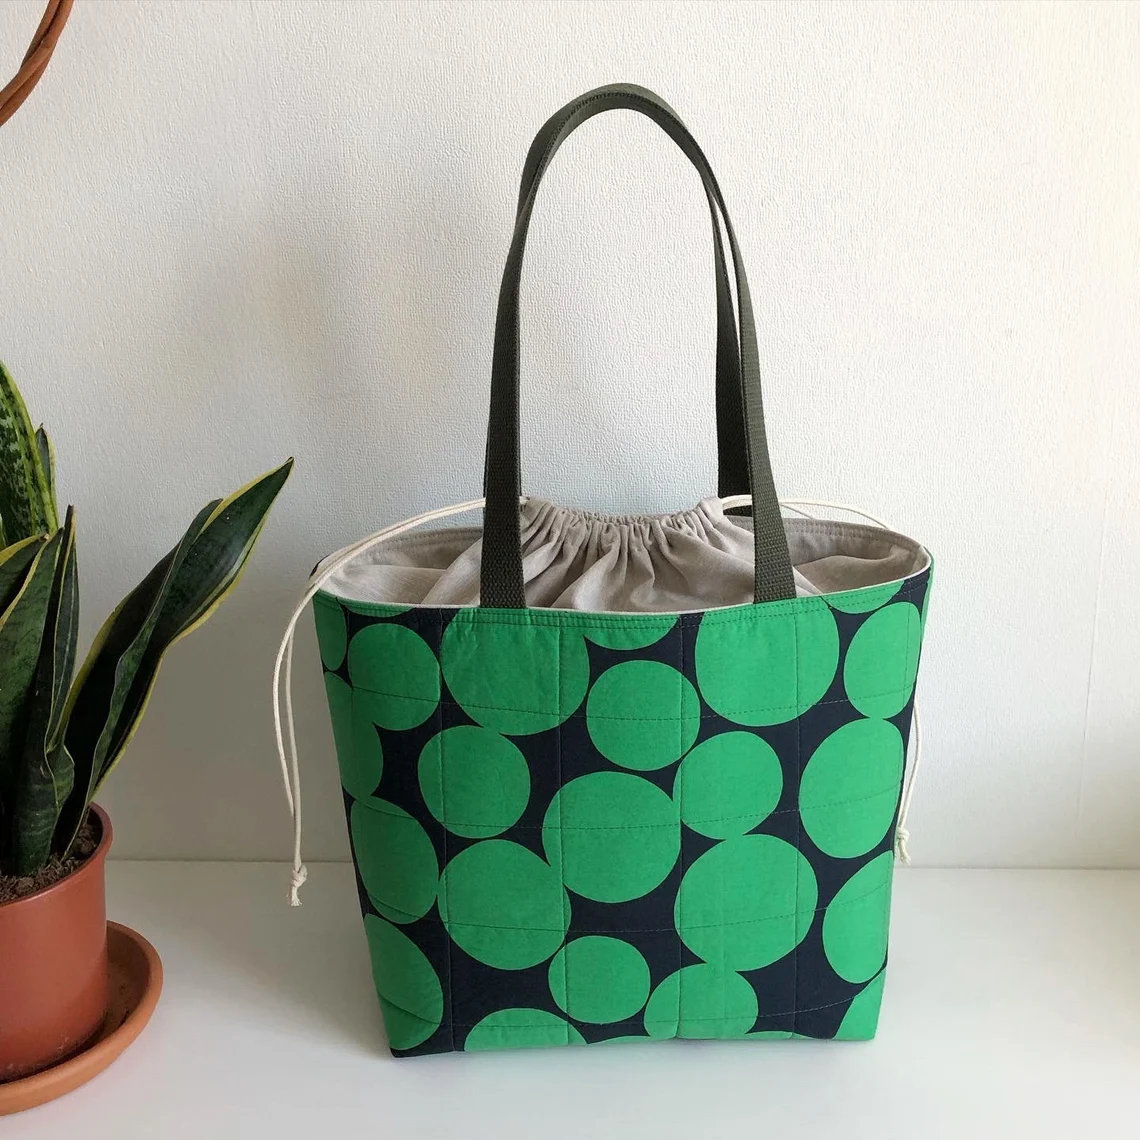
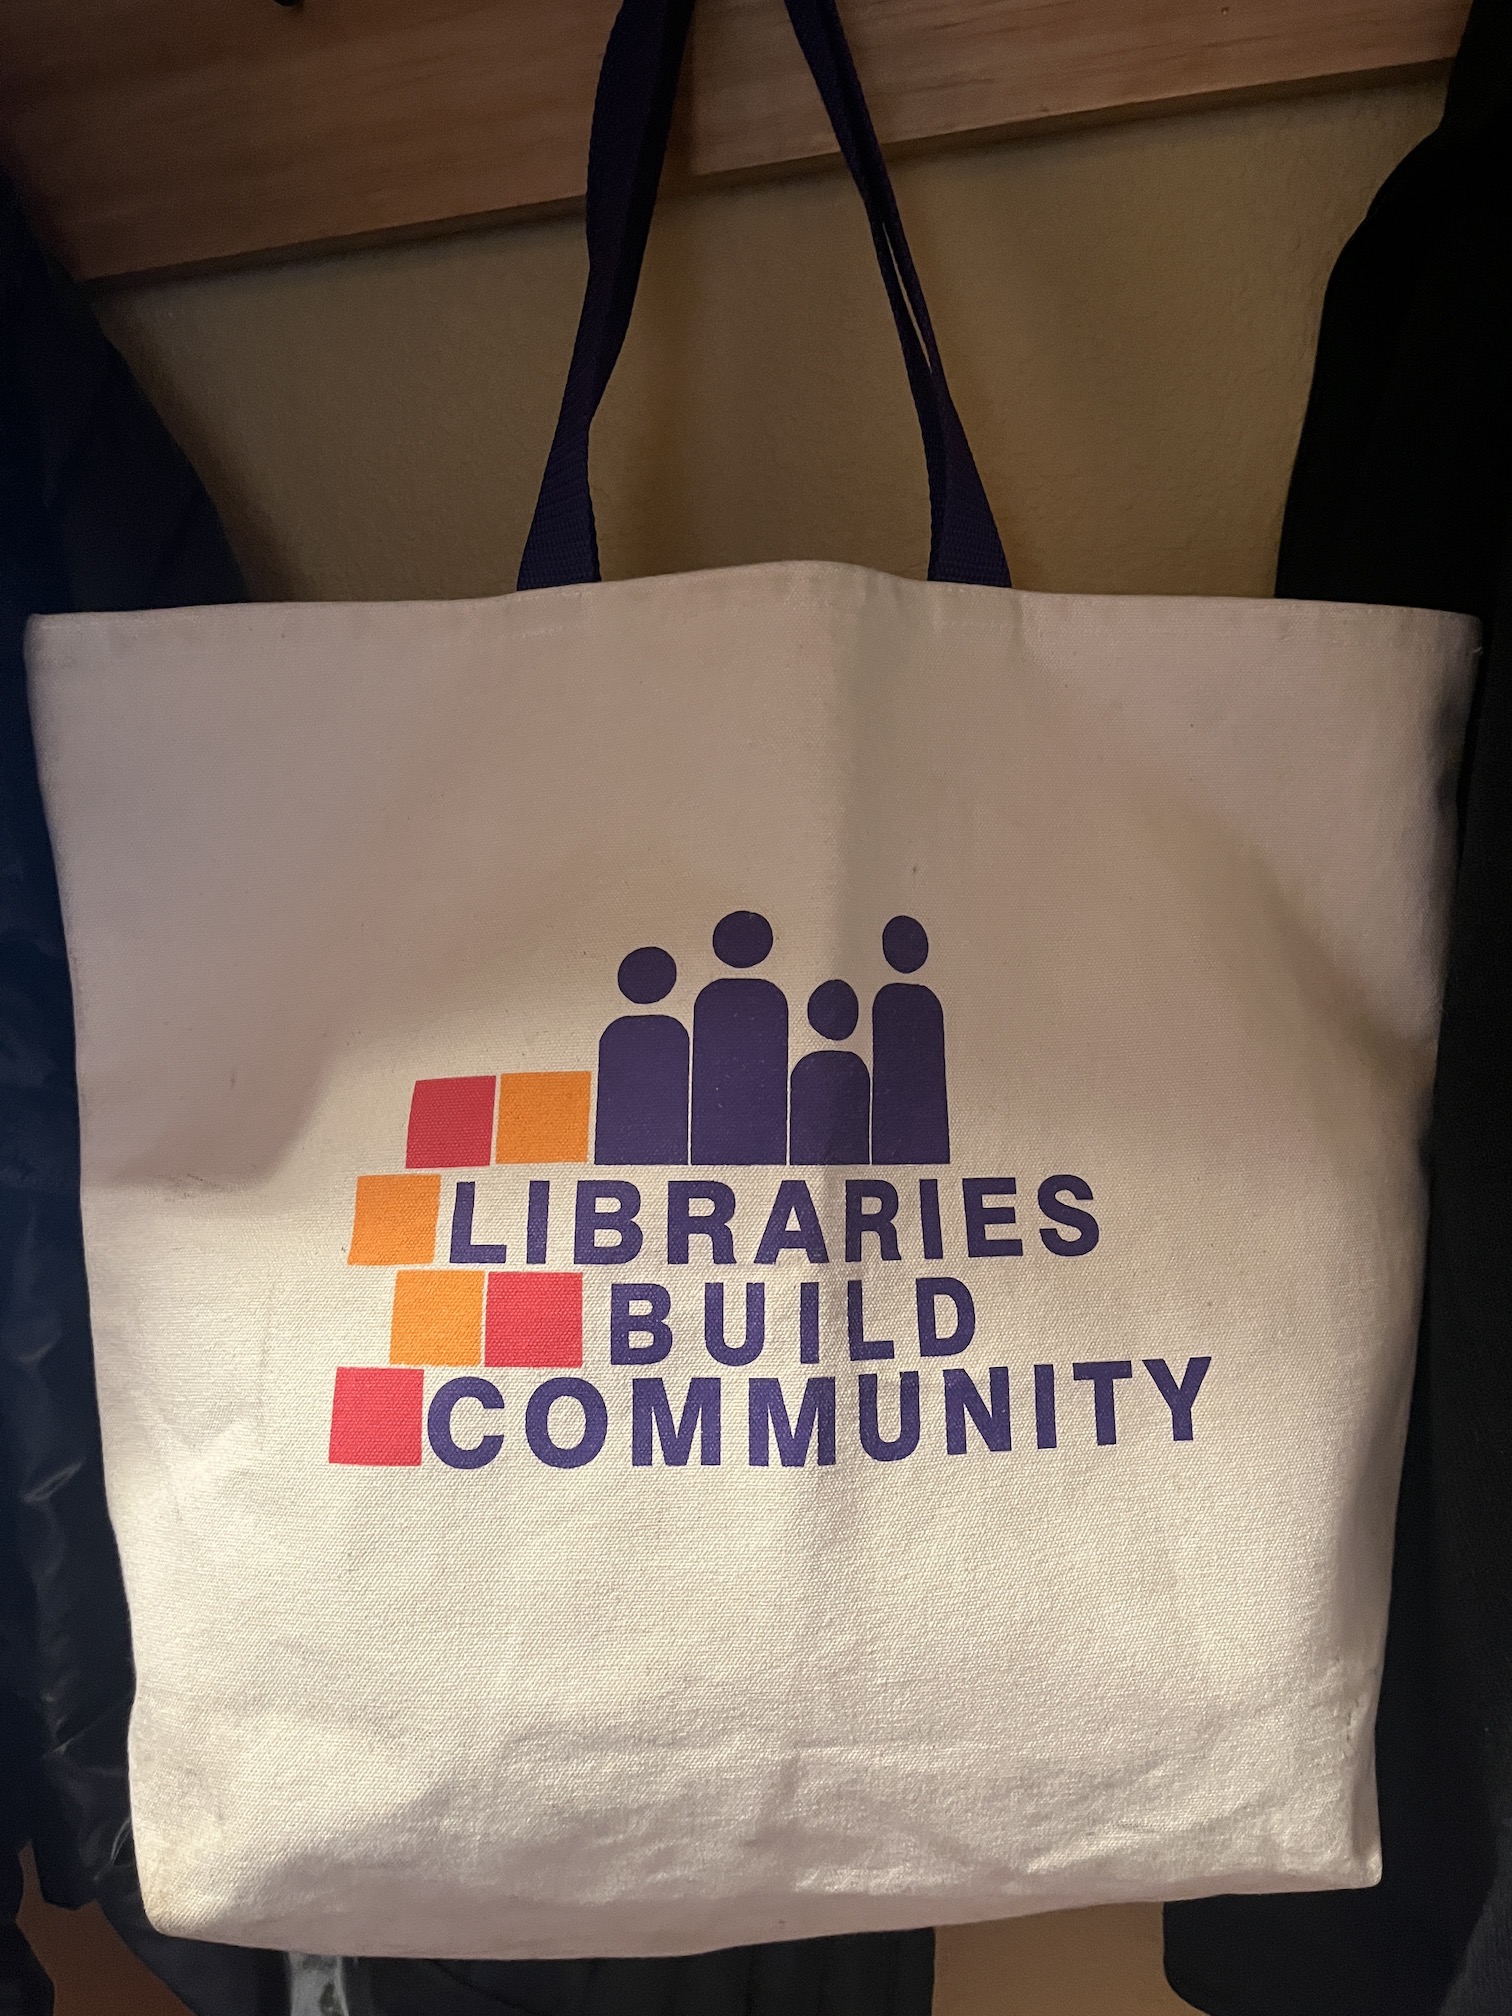
Oh and speaking bags, I don’t think I’ve shared this lovely tote bag I found while thrifting that I love to take everywhere, especially to the public library to pick up my holds!
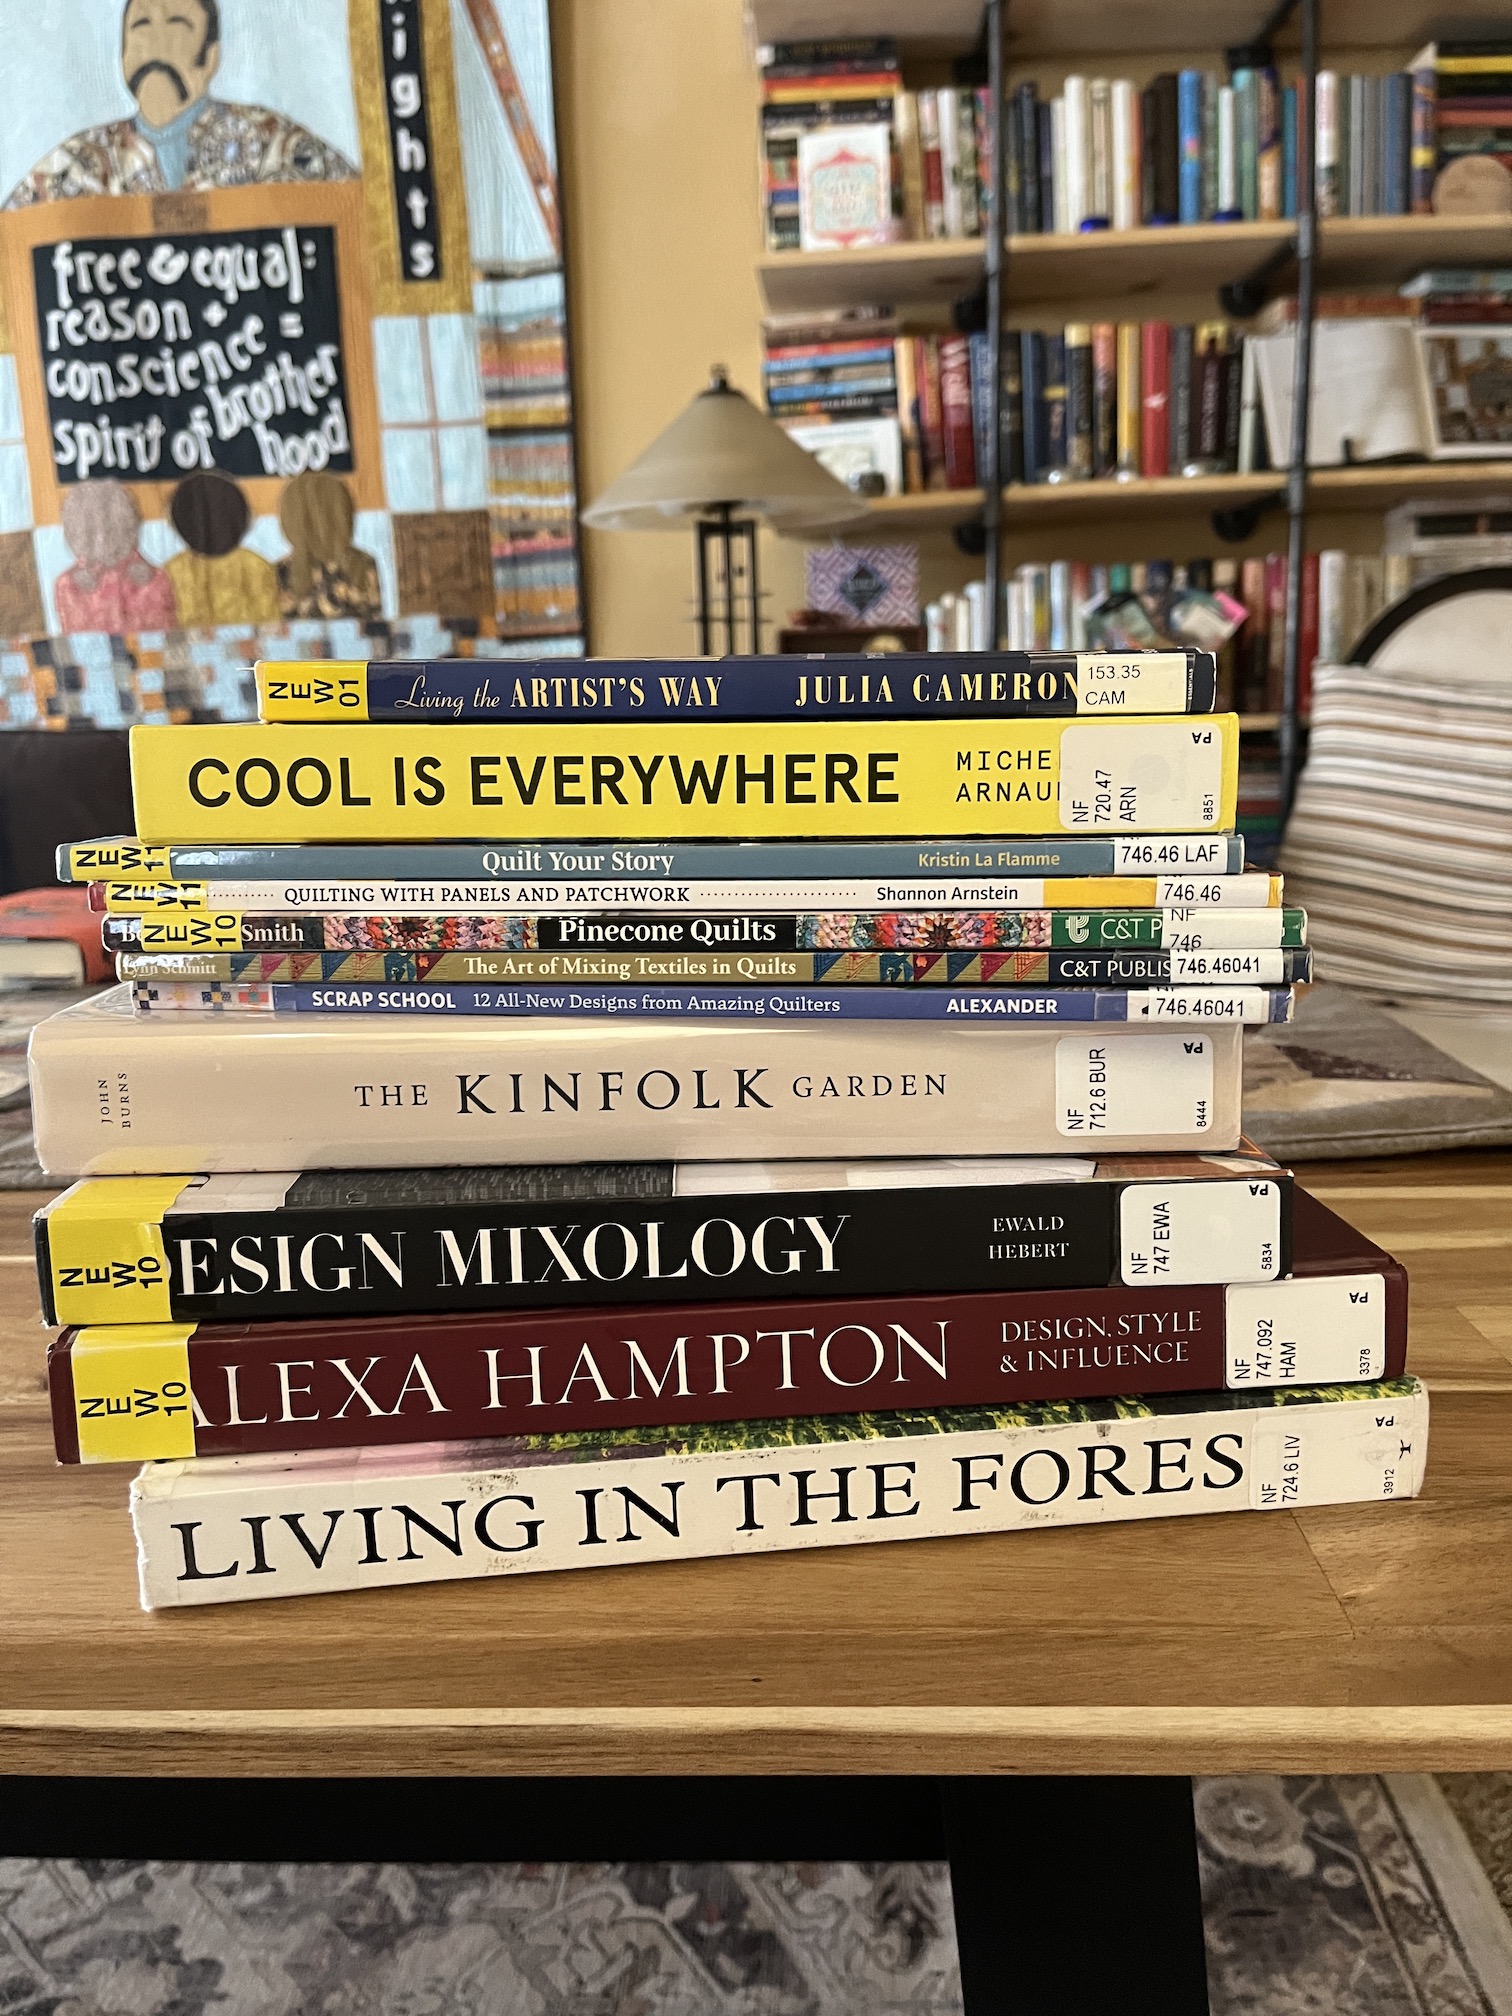
Here is my latest library stack I brought home with the tote and so far I’ve really enjoyed the book Cool is Everywhere.