I was planning on catch you all up on my summer travel but I’ve been in the mood to share some crafting and quilting related posts (oh yeah my blog is called “tierneycreates” so I have to pretend…).
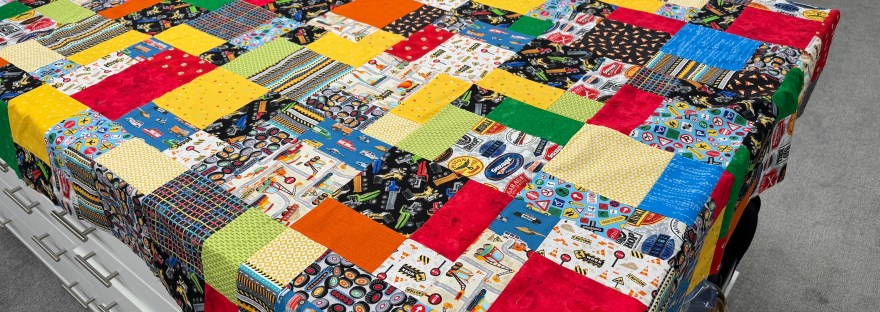
In the middle of August I got together again with my quilting buddies J and D to help D complete her first quilt – a lap-sized truck themed quilt for her 1 year old grandson.
Wow – I’ve been quilting for 25 years and I forgot the learning curve with learning how to make quilts. There are a lot of steps to learn!
If you are just joining us and want to see the other related posts here 4 previous posts in order:
Taking a New Quilter on Her First “Shop Hop”
Quilter Playdate and Learning to Rotary Cut
Quilter Playdate: Learning to Piece
Quilter Playdate: Laying Out the Quilt and New Shelves
When we met for the 5th time in the middle of August we covered some major activities:
- Measuring for and putting together the quilt backing
- Measuring for and cutting the quilt’s binding
- Creating the quilt binding
- Preparing the quilt top for longarm quilting
- How quilts are quilted via a longarm machine (so help a quilter understand why their are specific requirements to prepare a quilt for longarm quilting).
On her own D finished sewing her blocks together (which she began during our session shared in the post Quilter Playdate: Learning to Piece.
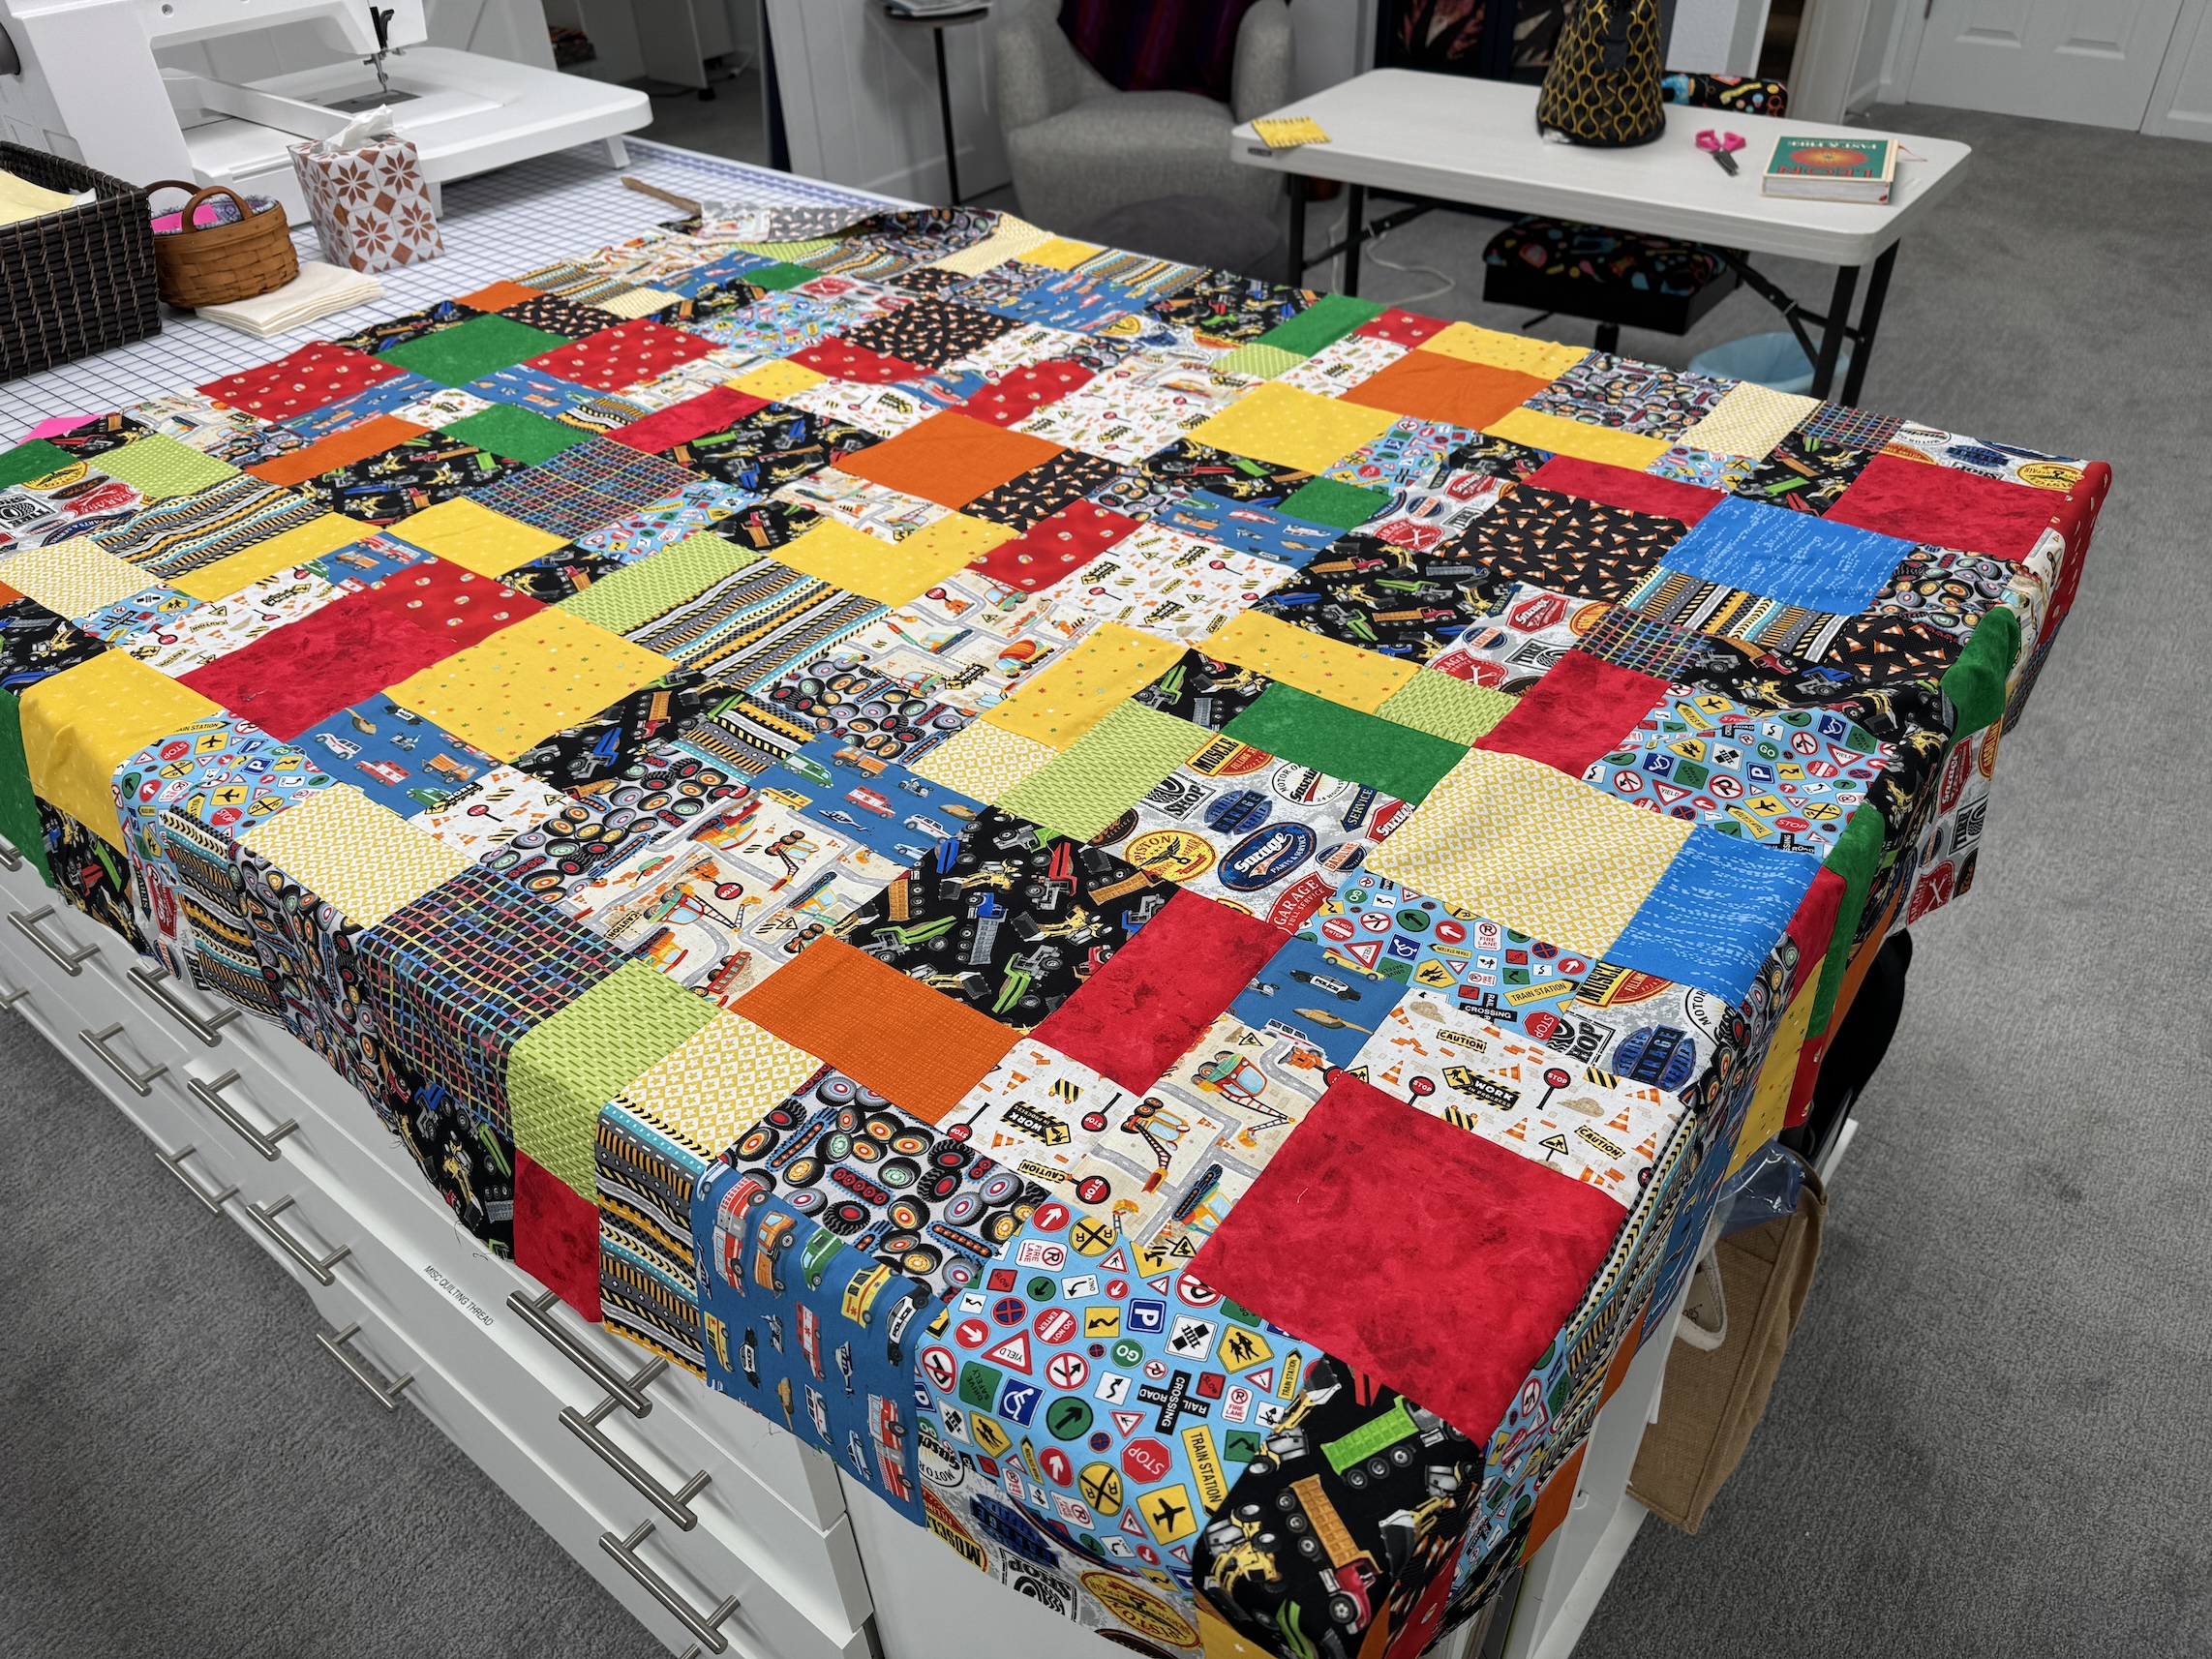
(It was fun to see the fabric that J and I helped her select during our Quilt Shop Hop in June become a quilt!)
It was time to measure the quilt in order to piece the back to the correct length and width:
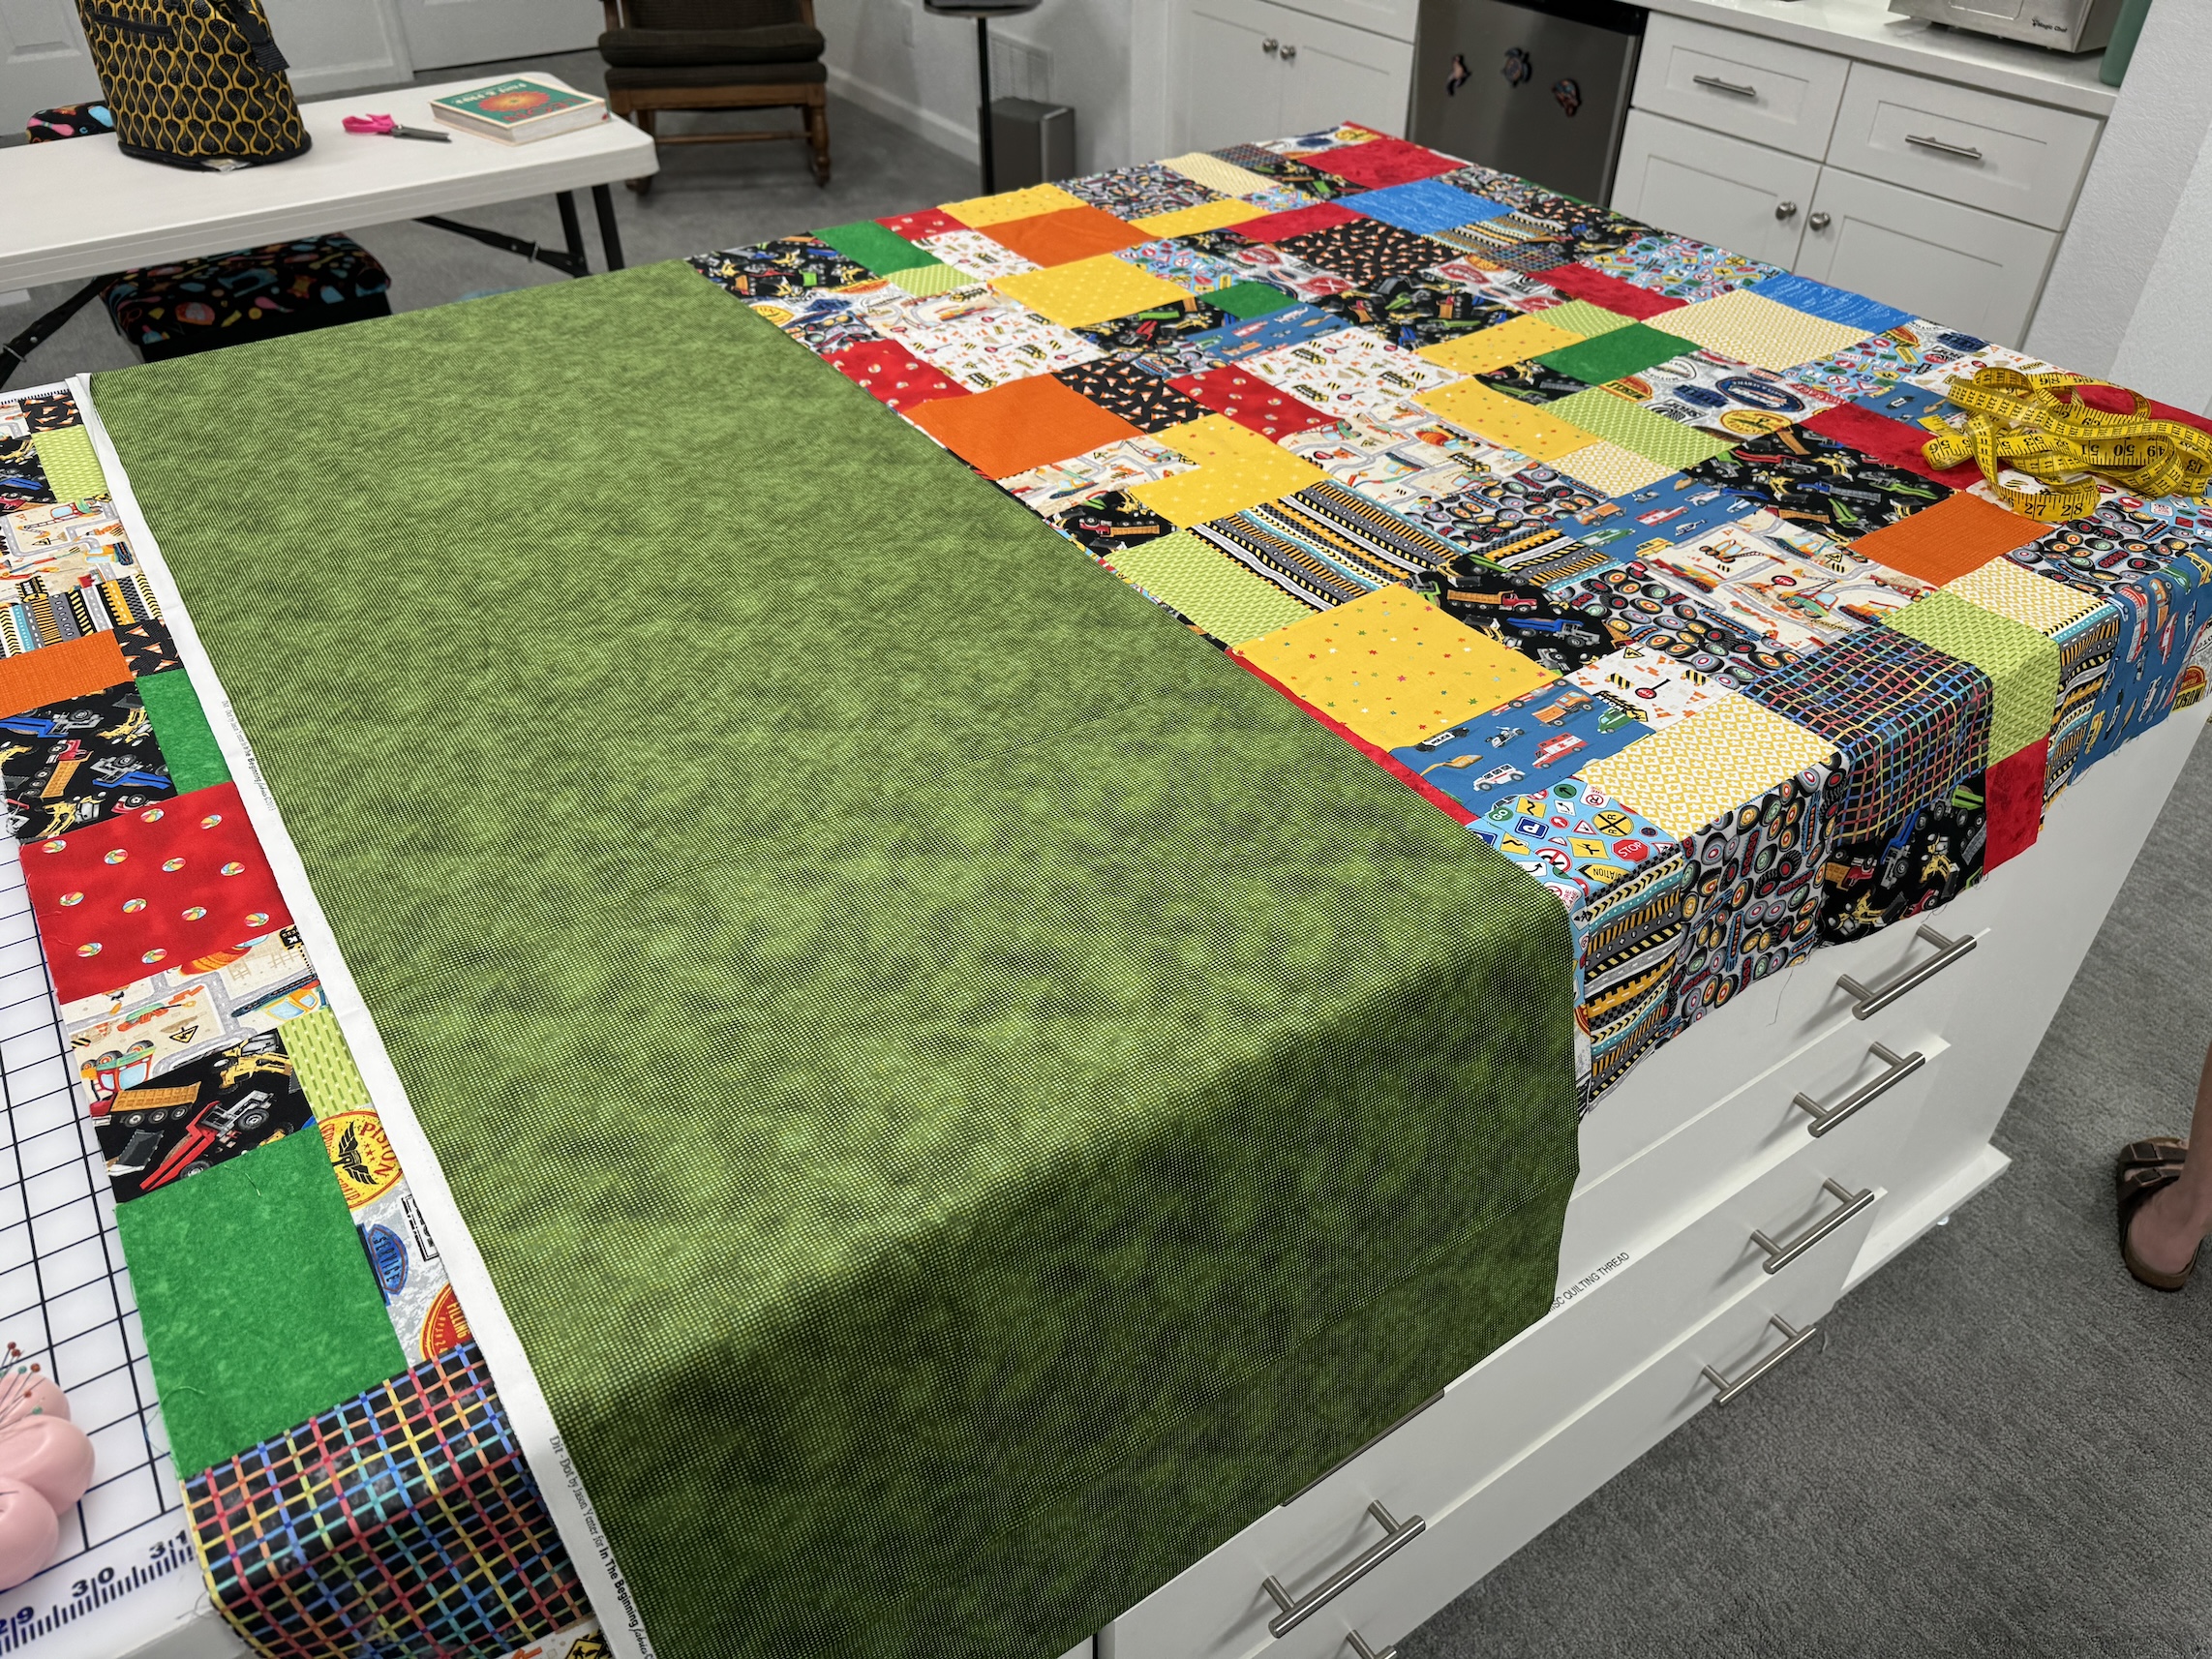
After that was figured out, D pieced the yardage for the backing together, reserving some of the backing yardage for the binding. J then taught her how to cut strips for and then piece together the binding strips:
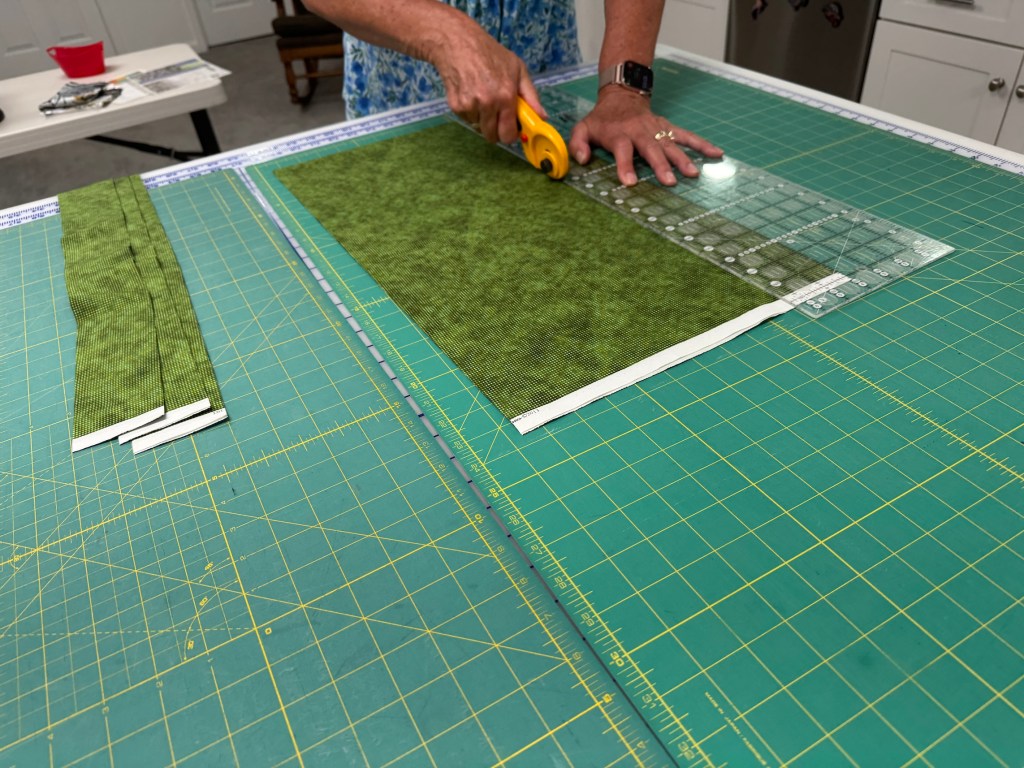
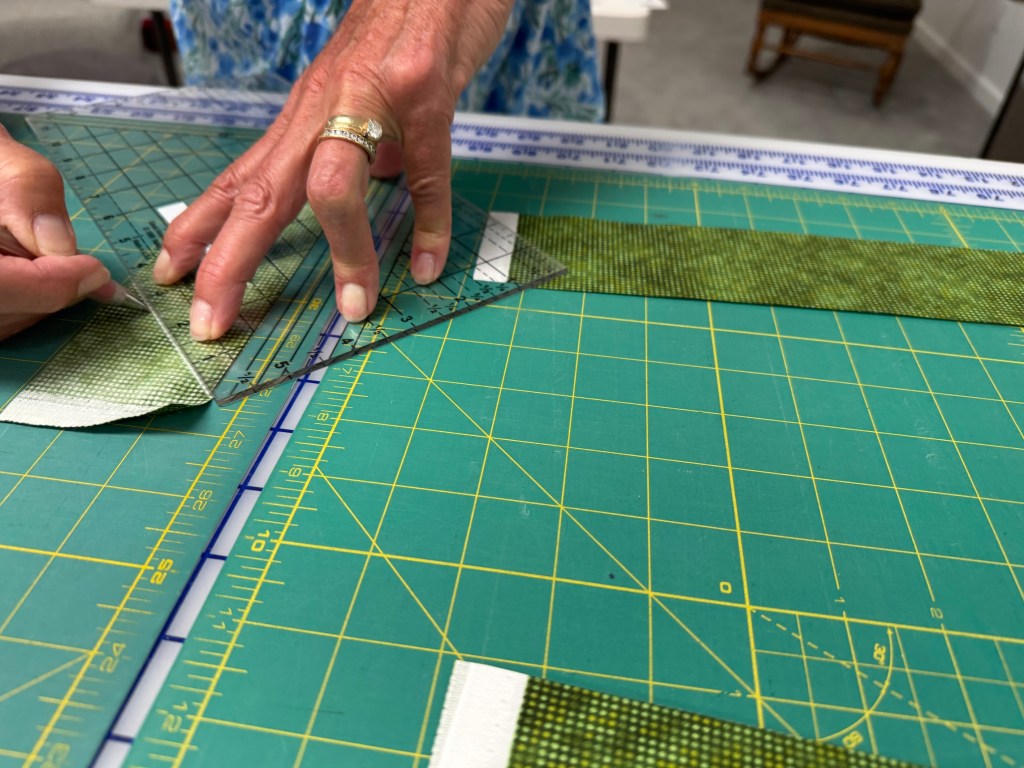
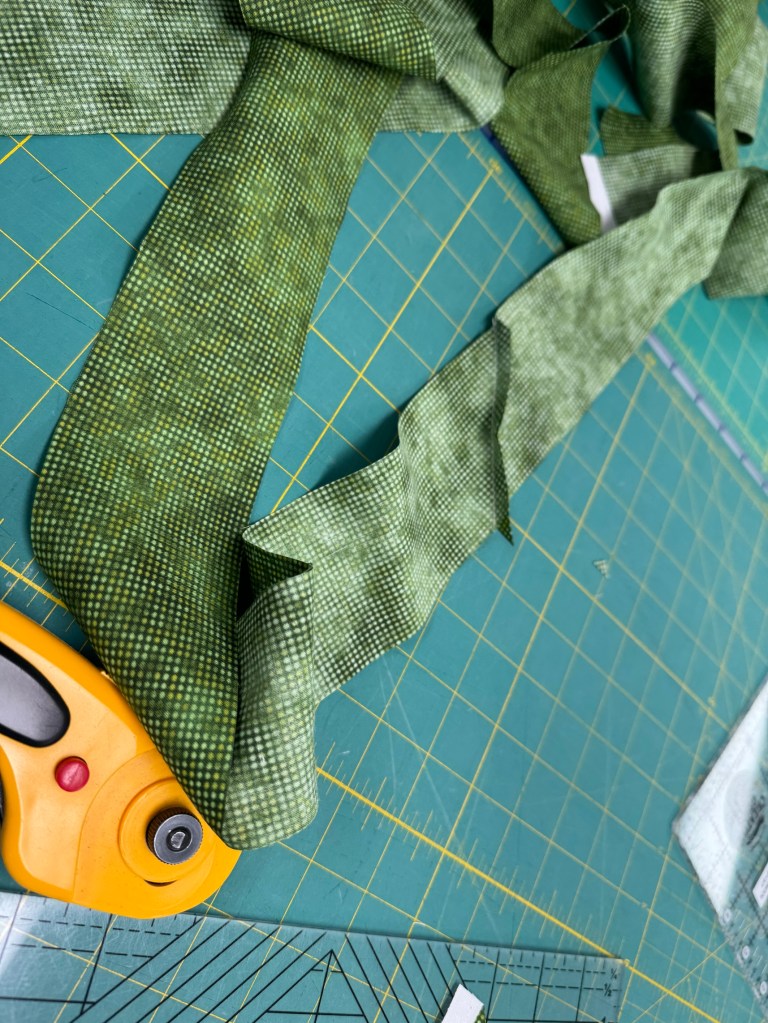
Sometimes I wonder how on earth did I originally learn what I can now do in my sleep after 25 years of making quilt bindings?
J had her do a 1/8″ stitch around the edge of the entire quilt to protect from block edges separating during longarming:
Then J, who is a professional longarmer, treated us to a “behind the scenes” of how a longarm machine is loaded, programmed (for pre-program stitch patterns), and monitored. Wow it’s a lot of work!
It is pretty physical – we saw J climb under her machine and check adjustments, etc. but first we were fascinated with how the quilt top is zippered onto the machine:
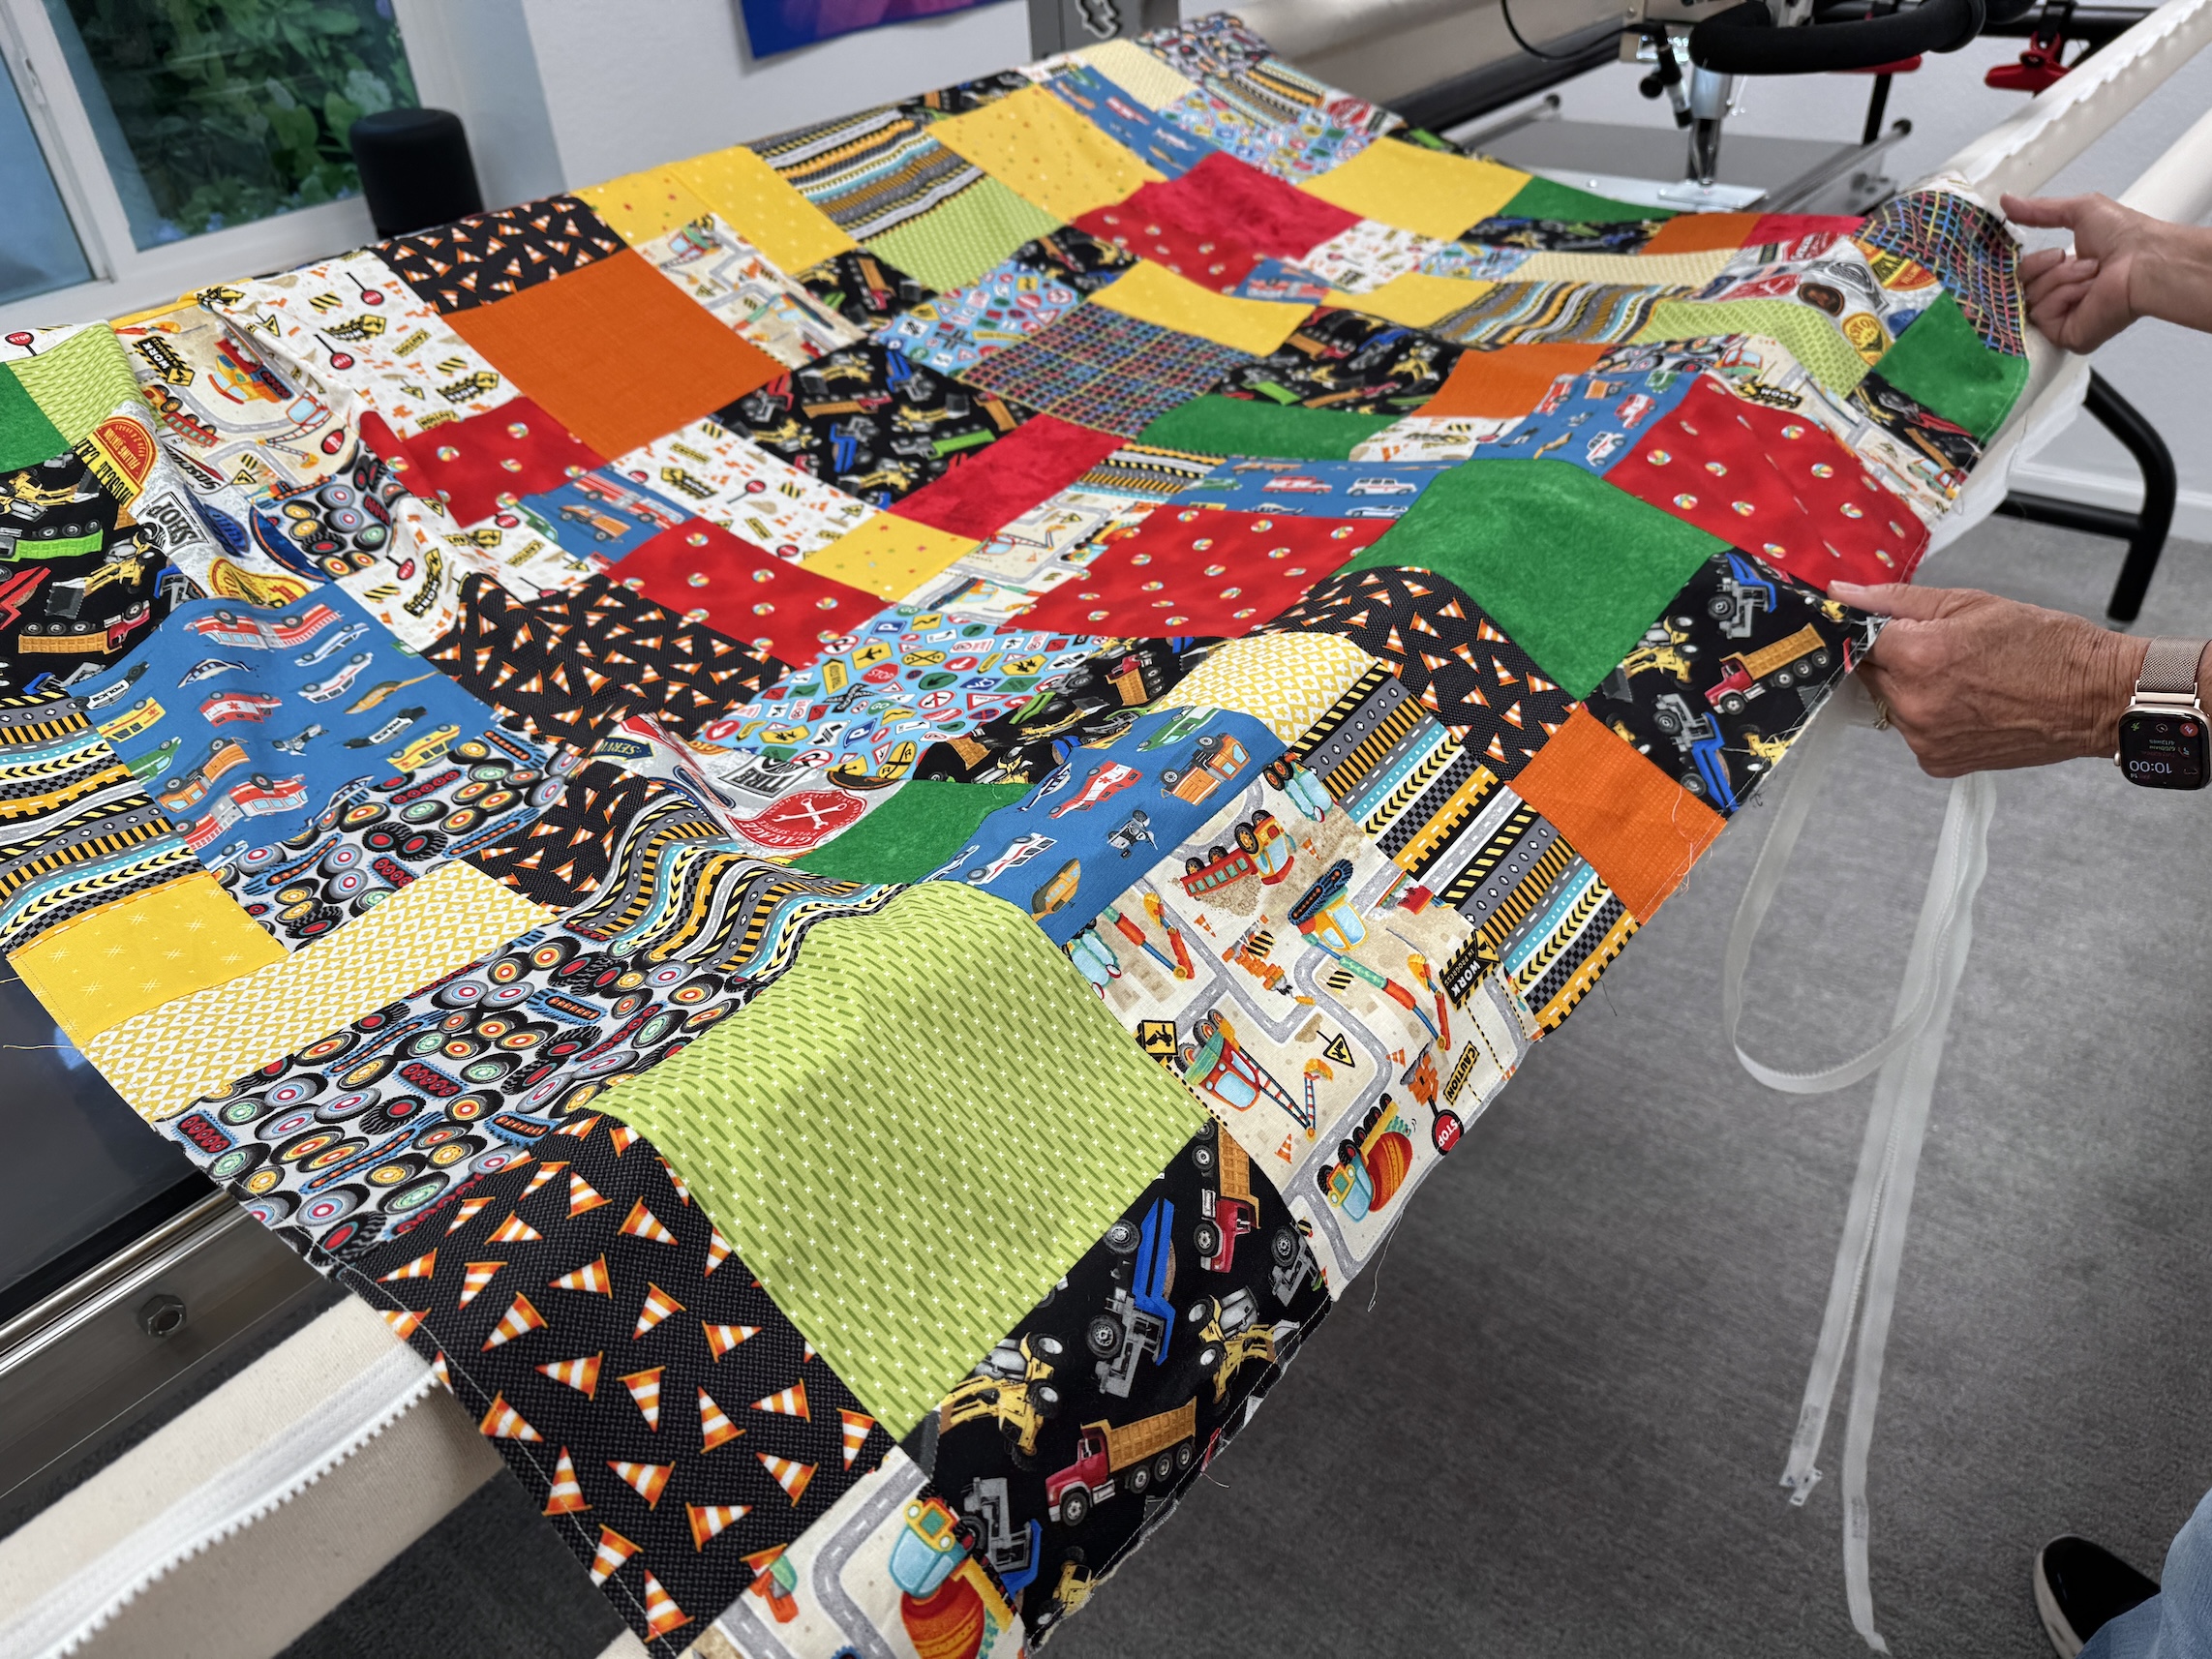
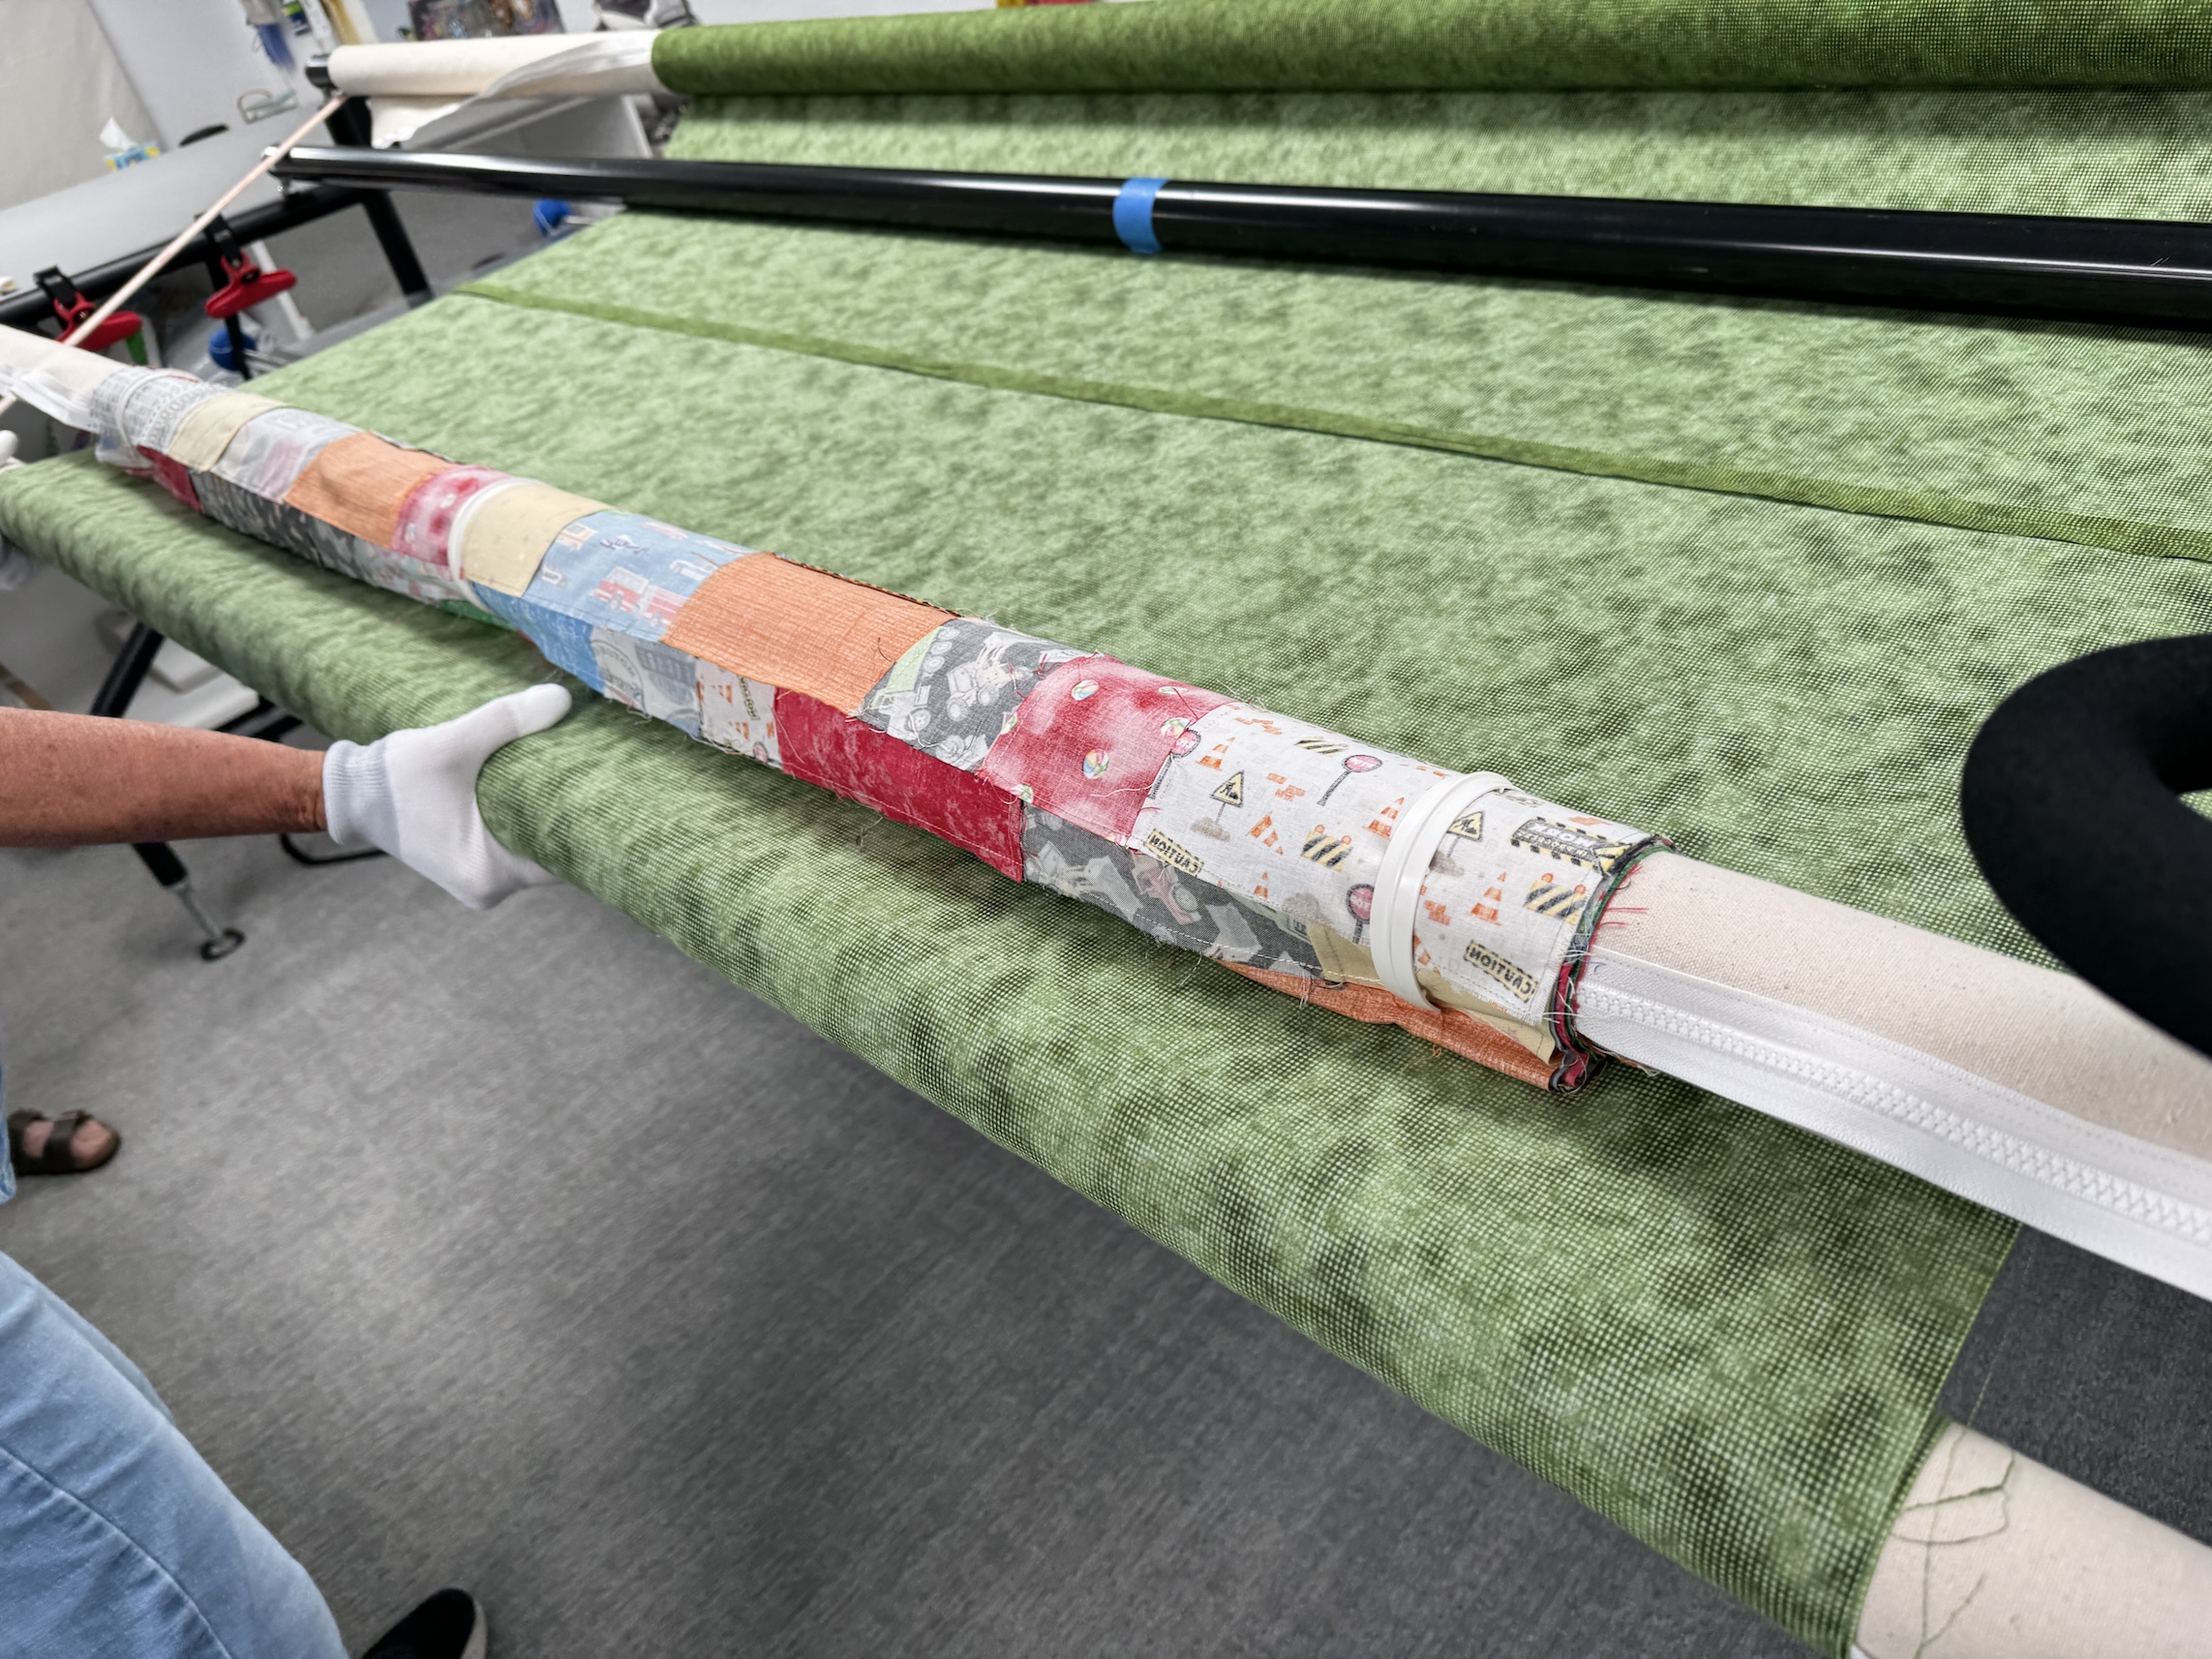
And all the physical work of aligning the quilt top and quilt backing; and adjusting:
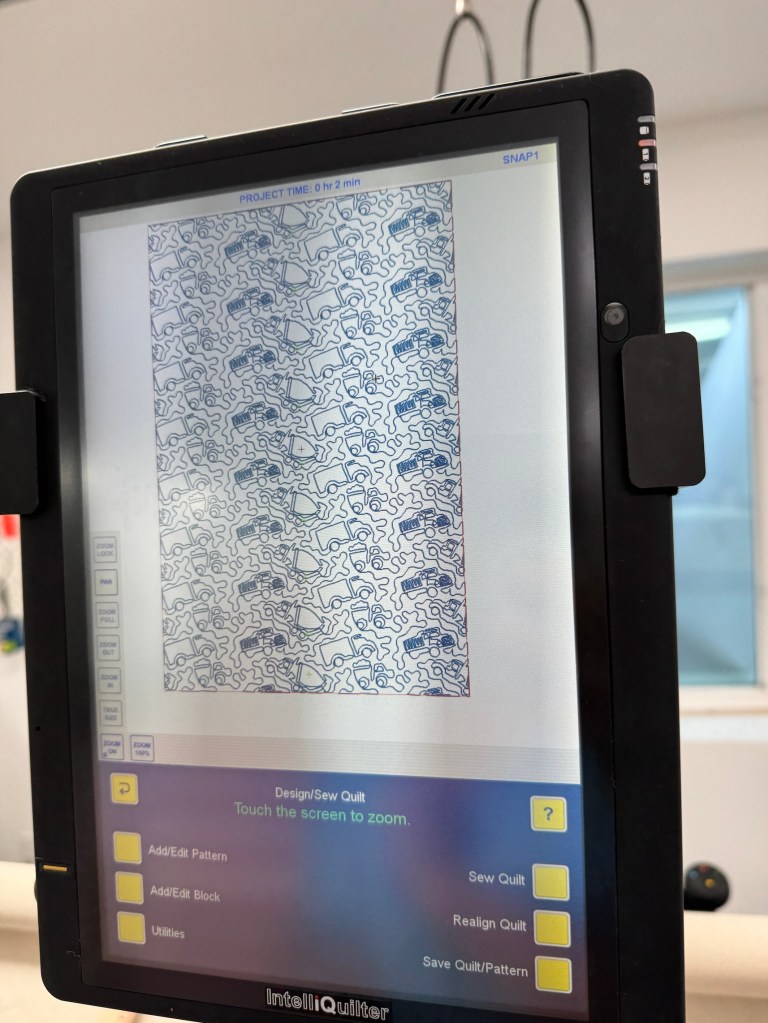
J and D had selected a truck quilting pattern for the truck themed quilt! It was fascinating to see how the computerized longarm machine “read” the pattern and progressed with stitching it onto the quilt!
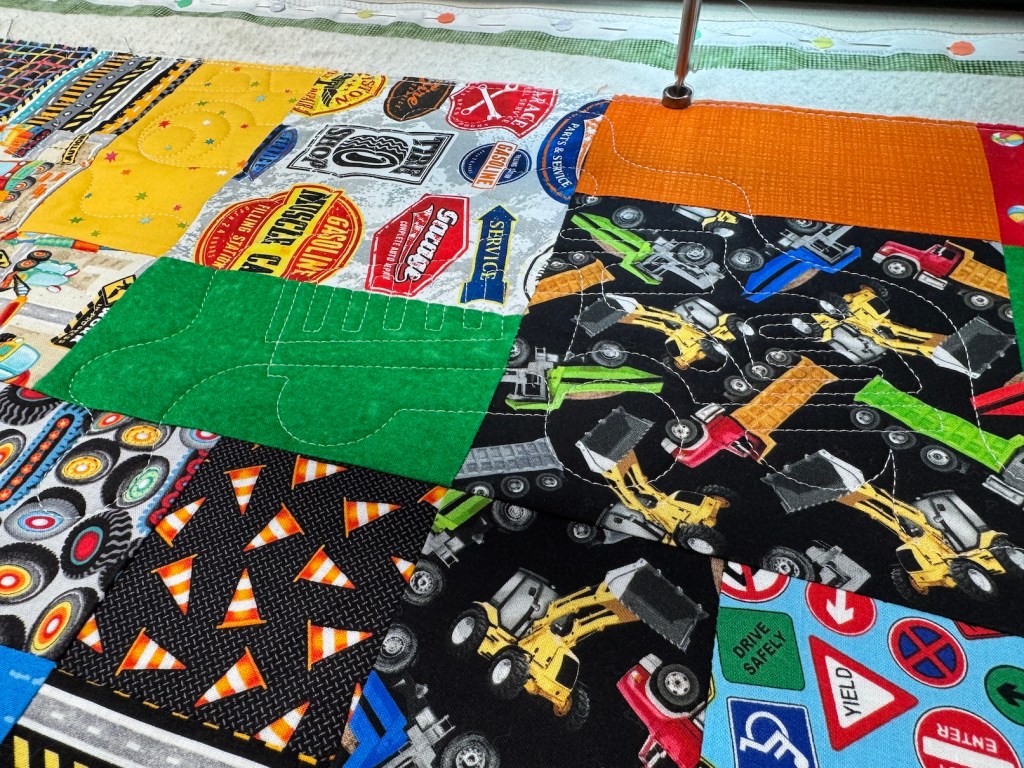
We peeked under the machine frame to see the underside of the stitching on the quilt back – the pattern really shows on the solid color of the backing:
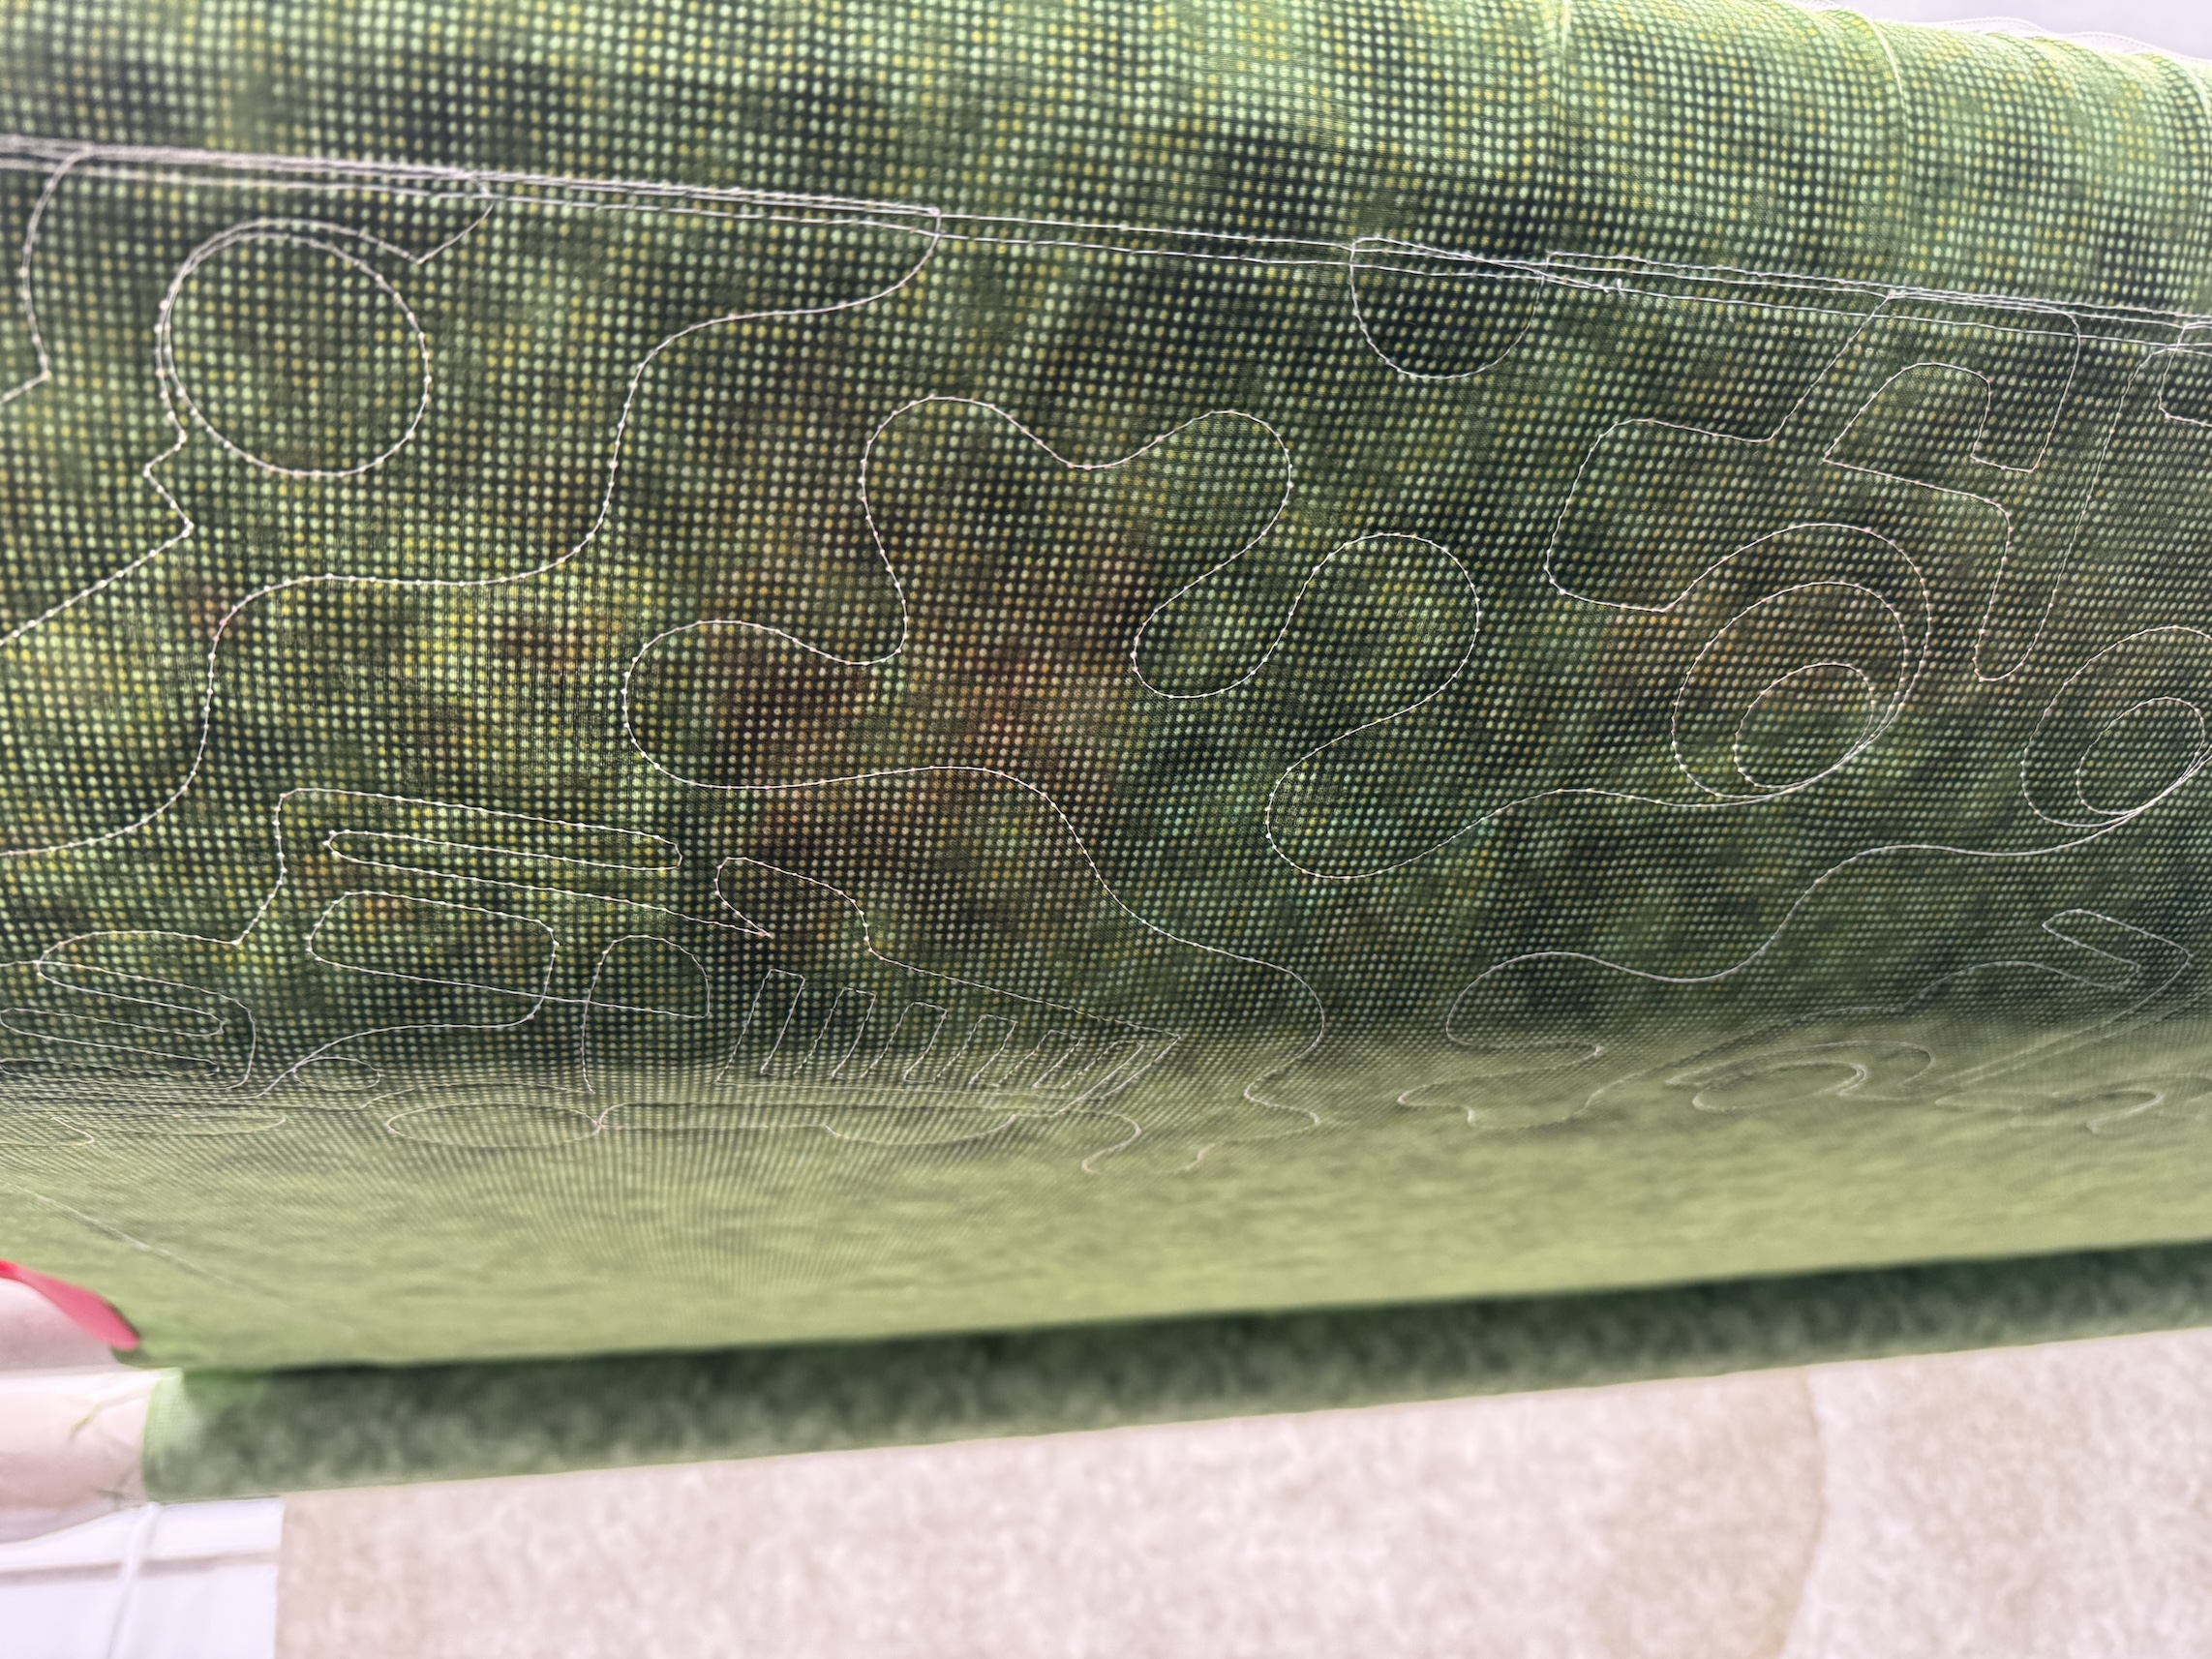
(Watching the entire setting up a quilt to be longarm machine quilted really help me understand why longarm quilters request that your backing is at least 4 inches (some request more) beyond the size of your quilt top.)
At our next together I will see the completed quilt – and see the conclusion to the journey that J (who did most the teaching) and I went on with D! Then the 3 of us will decide what project is next and we might work on the same quilt (or maybe a bag) together during our future Quilter Playdates 🙂


That is so interesting, I have sent human-sized quilt tops to the lovely lady who assembles and quilts them for me, but I never really understood the “why’s” of the requirements. Thanks!
LikeLiked by 1 person
It was shocking how much work goes into setting up a quilt for professional machine, Quilting. I was shocked! Thanks for stopping by😀
LikeLike
As a long arm quilter, I thank you for posting this. It is physically challenging at times to get a quilt on the frame. With the larger king size ones, I break it into two sessions. The extra fabric on the edges can later be used as binding, after the quilt is squared up, so it’s not wasted.
LikeLiked by 1 person
I took so much many more pictures. There is so much more to the process as you know, but I’m trying to be careful of my media allotment with WordPress!
I did have an appreciation of long arm Quilting already, but now I have an extreme appreciation after seeing all the physical work to get a quilt loaded and lined up!! As you know the long armer really respects the work that goes into the quilt and has to treat it kind and gentle while wrangling in into place and getting it all meticulously lined up! And then it’s not like a computerized program you can just set it to go and leave the quilt to be! I sort of feel like everyone who sends a quilt out to be professionally machine quilted needs to see what actually goes into making it happen! You’ll never debate the money you pay the longarmer again🤣🤣🤣
LikeLike
That quilt is so fun! My first reaction was “Legos”. I think because of the bright primary colors. Does anyone else see that? 🙂
LikeLiked by 1 person
I can totally see the Legos! Oh yes, the course is very fun. Thanks for stopping by.😀
LikeLike
I’ve seen long arm machines in action at quilt shows but never the process of loading them. It seems like a lot of work.
LikeLiked by 1 person
It’s a tremendous amount of work! I was shocked! Thanks for stopping by 😀
LikeLike
Yes, there ARE a lot of steps to making a quilt! And isn’t it funny how we kind of forget the learning curve! This quilt turned out quite well!
LikeLiked by 1 person
Thank you on D’s behalf, we’re pretty proud of her😀. Sometimes you have to go back to the beginning and then you appreciate how far you’ve come. That’s what happened for me during this process.😀
LikeLike
As a total non-quilter (i don’t really sew anything) this was really interesting. Thank you
LikeLiked by 1 person
Thanks so much for stopping by and reading all that as a non quilter 🙂
LikeLiked by 1 person