A couple weeks ago I decided to organize my paper-crafting supply stash. Before I started quilting, I started card making with a group at my job in the breakroom at lunch time (I guess paper-crafting is a “gateway drug” to quilting, ha!).
In my stash I had a stack of calendar pages I picked up somewhere (thrift store) from 2016/2017 of Colorado nature scenes. For a moment I thought about just recycling them, but then I thought: I could make a set of cards for visitors that they can use as sort of postcards to send Colorado greetings to their friends and family back home. (I might even provide them with a PEN to write with and STAMPS for mailing, ha!)
I’m still working on the cards, but here is a close up of the ones I’ve completed so far:
Since I had to trim off the section of the calendar page that provided the details of the photo, I hand wrote the details on the bottom.
The only problem is I do not have the original calendar book and so I do not have the name of the awesome photographer who took these photos to credit. I did indicate on the back of each card that these are recycled cards so no one will think I took these wonderful photos.
So the plan is to keep a stack of these cards on the writing desk I moved from the library (when we got the dining room table to put in the library, see post A Table Runner for the New Table) to the guest room. I am glad we were able to fit the little table in the guest room as I know when I am visiting someone I appreciate a little desk in the room.
(Oh and if you are wondering what the is document with the quote “Be yourself…” behind the cards in the images – I am working on creating my first journal – it is going to be on my first 5 years in Colorado. I was inspired by my friend J who is a prolific journal and amazing artist!)
Every Winter I say to myself: “I should share this story on my blog”, but then Winter passes and I forget. Well it just turned Spring and there is still a little bit of snow on the ground in Colorado so I am giving myself permission to go ahead and share it now instead of waiting until next Winter (smile)…
If you are new to this blog let me give you a little bit of background to the story I am about the share. I am a widow and my husband John is a widower. We were each together with our late partners, who both passed in 2018, for over 30 years (I was with my late husband Terry since I was 20 years old). John and I met in 2019 when I left Bend, Oregon and moved to Denver, Colorado to try and start a new life after my devastating loss.
John and I have each lived quite a bit of life before we met each other and one of the fun parts of getting to know each other has been sharing our life stories. In this post I am sharing one of my favorite stories John has shared.
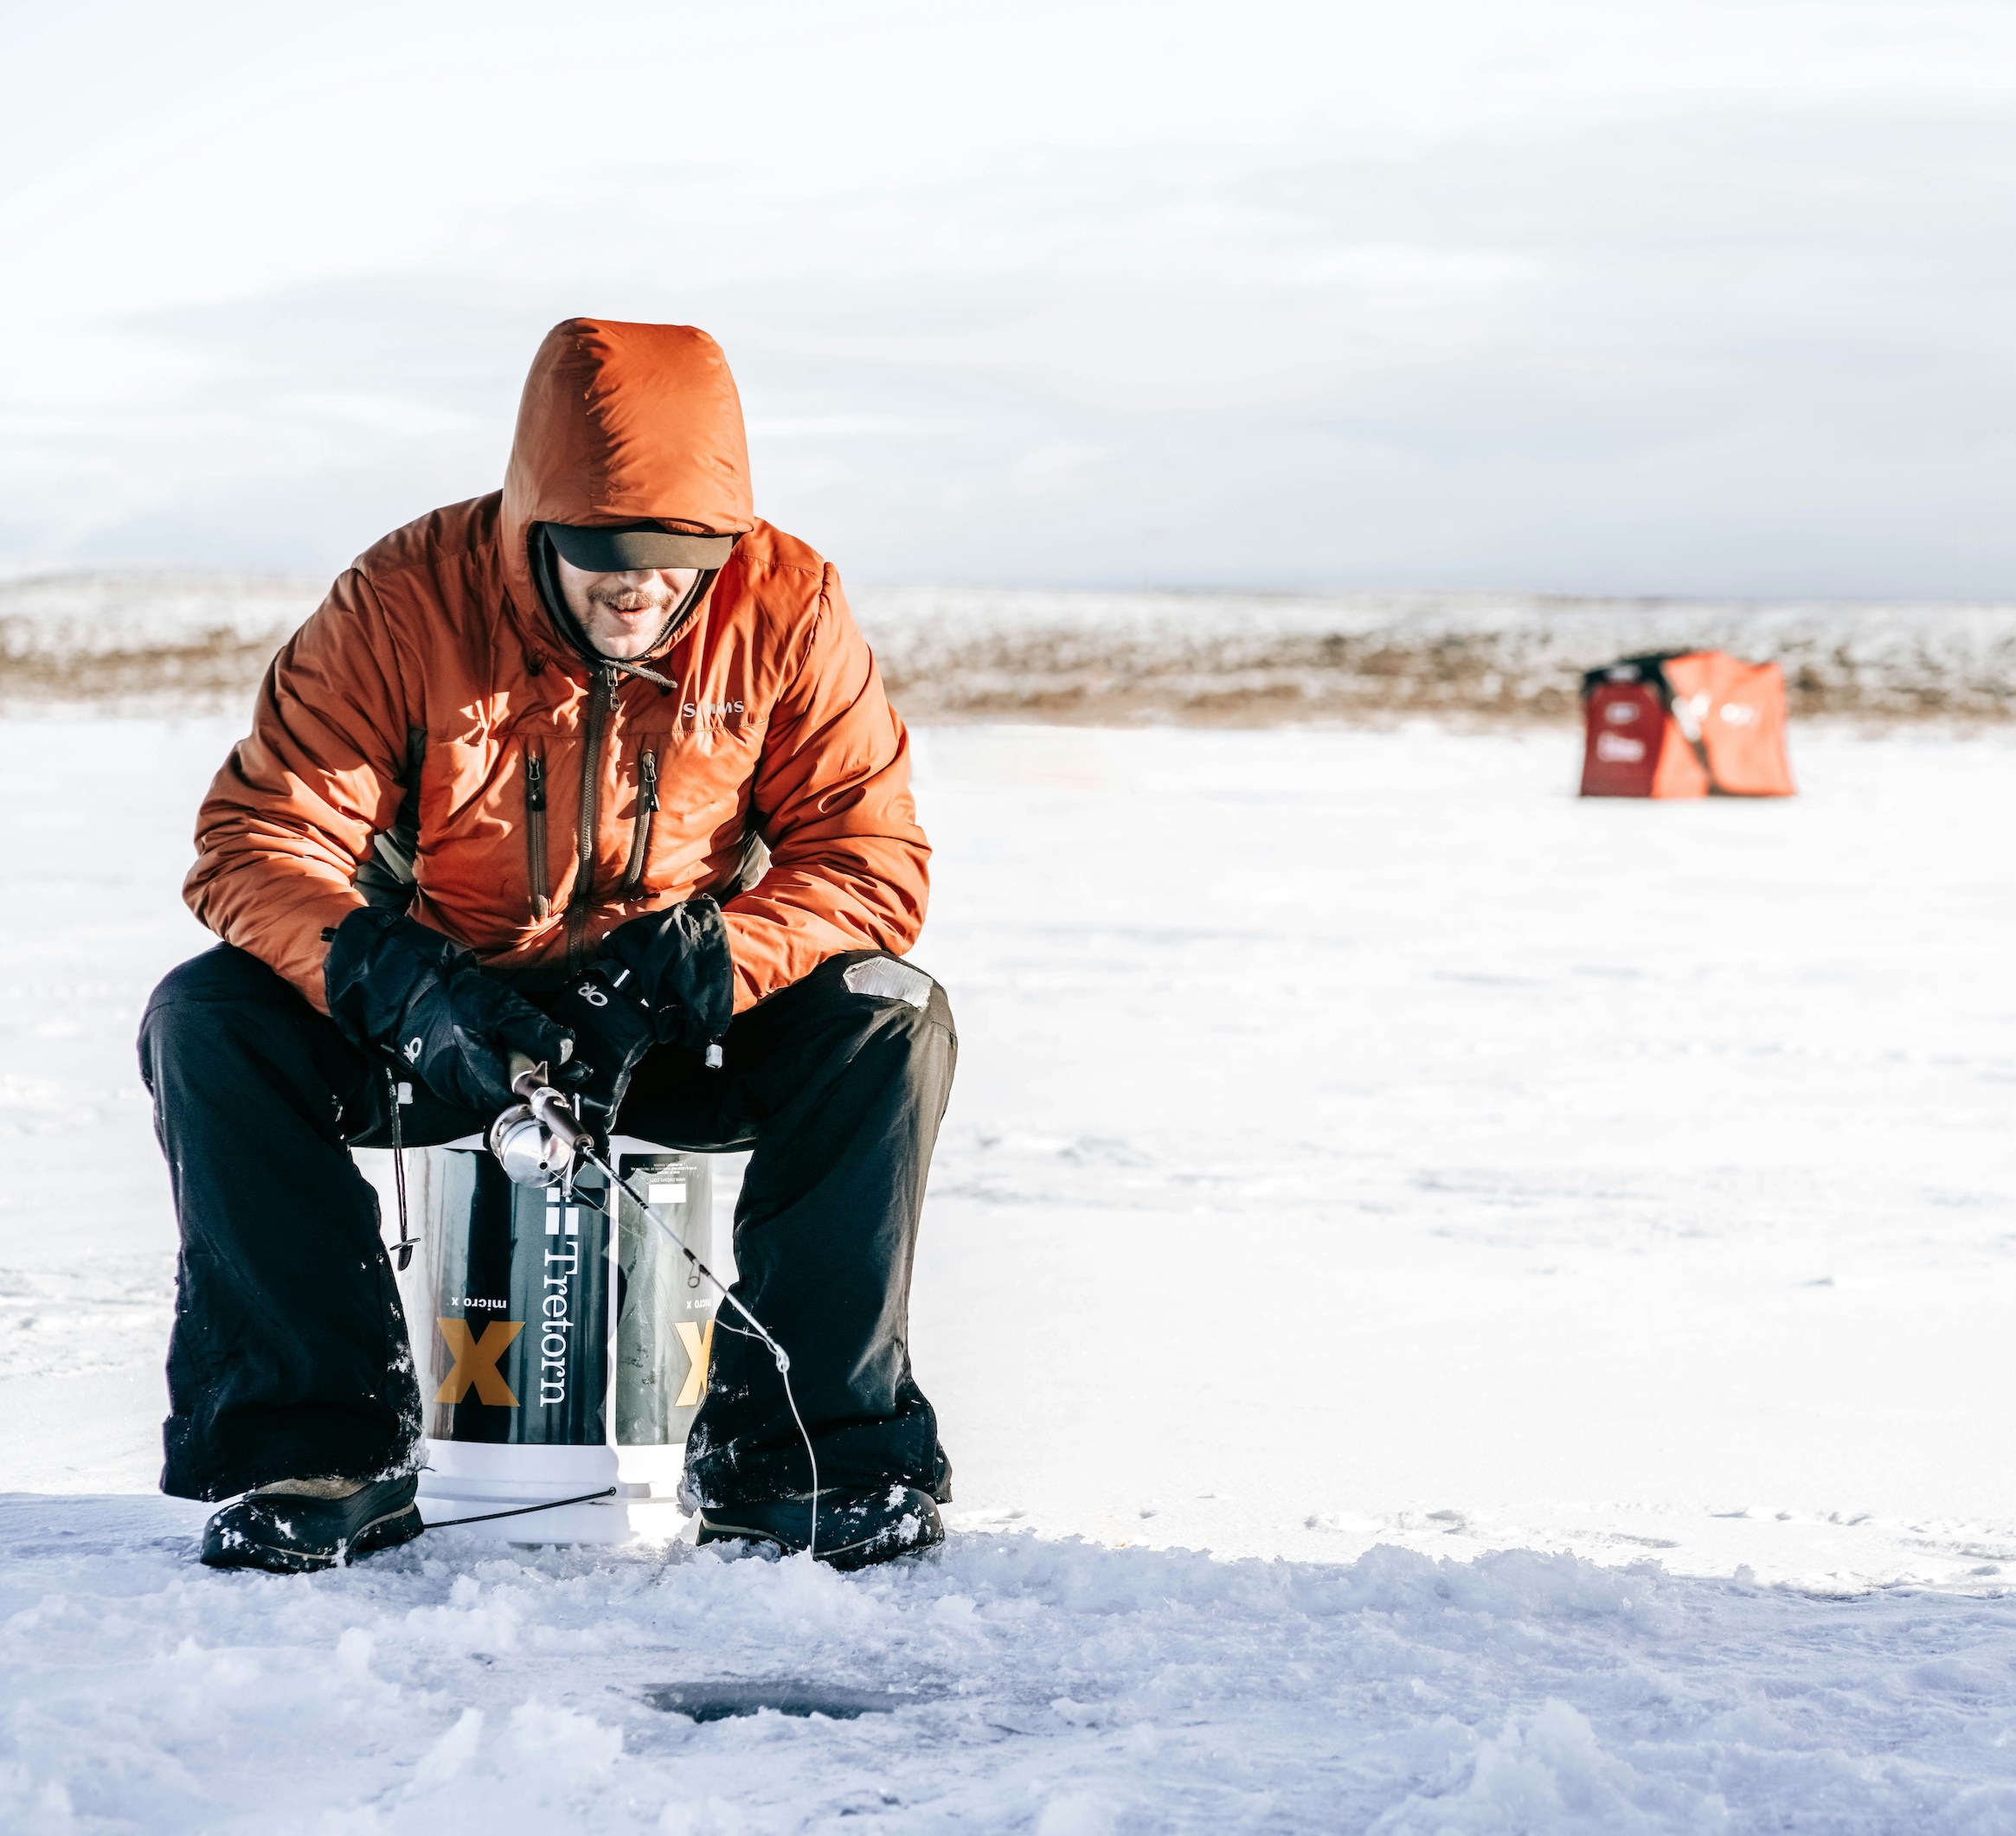
Misadventures in Ice Fishing
Years ago John and his brother-in-law went ice fishingin Deckers, Colorado. (If you’ve never heard of “ice fishing”, I put a hyperlink above for more information).
It was a 10 degree F day (-12 C) and when they were done fishing, they went walking across the frozen river to get back to his brother-in-law’s truck which was a mile away. While traversing the frozen river, the ICE BROKE near the shore, and they fell into the icy river. They pulled themselves out of icy river and shivering they agreed that no matter what they would keep walking and not stop until they got the the truck (if they stopped they could become hypothermic and run into life threatening issues).
They had to walk close to a mile to the truck feeling like they were freezing to death. When they got to the truck they started the truck, stripped down to their underwear to get the freezing cold clothes off their skin, and threw their wet clothes into the back of truck.
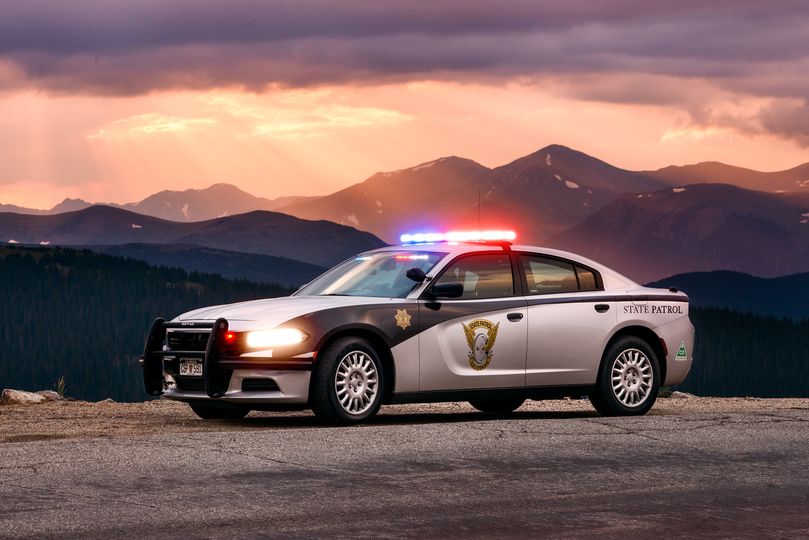
Driving back to John’s brother-in-law’s house and running the heat in the truck at full blast, suddenly they saw law enforcement lights behind them, it was a Colorado State Trooper following them and signaling for them to pull over.
Image credit: Colorado State Patrol
So there they were in only their underwear, two middle aged men on 10 degree F day (-12 C) driving around in a pickup truck, and a Colorado State Trooper is pulling them over! There was nothing to do but pull over to the side of the road and face the State Trooper!
When the State Trooper walked up to the passenger side of the truck and saw the two men in just their underwear he did a double take. John and his brother-in-law immediately said to the State Trooper: “This isn’t what it looks like, he is my brother-in-law”. Then they went on to explain what had happened after they went ice fishing, the breaking of the ice and fall into the river, and why they were only in their underwear.
The State Trooper (who was probably trying his best to keep a serious face) said: “The reason why I pulled you over is there were clothes flying out of the back of your pickup truck onto the highway”. The State Trooper didn’t give them a ticket and let them just continue on their way home to get warm (and get some clothes on).
If only they had thought to put the wet clothes in a more secure place they wouldn’t have given the State Trooper a story he probably still tells to this day!
Postscript
To my dog Mike, my late husband Terry was his whole world.
One of the very sad things that happened when my husband Terry died was that he passed suddenly at home while alone with our dog Mike the Miniature Schnauzer. Mike had to be with Terry’s body for a couple hours before I came home to discover him.
I thought Mike would be traumatized for the rest of his brief dog life and I tried to give him all the love I could after Terry died while dealing with my terrible grief and my trauma of finding the love of my life dead on the floor in front of the Christmas tree.
I remember taking Mike on walks after Terry died and every time Mike would see a man in the distance walking towards us, he would wag his tail and think it might be Terry joining us. It was unbelievably heart-breaking.
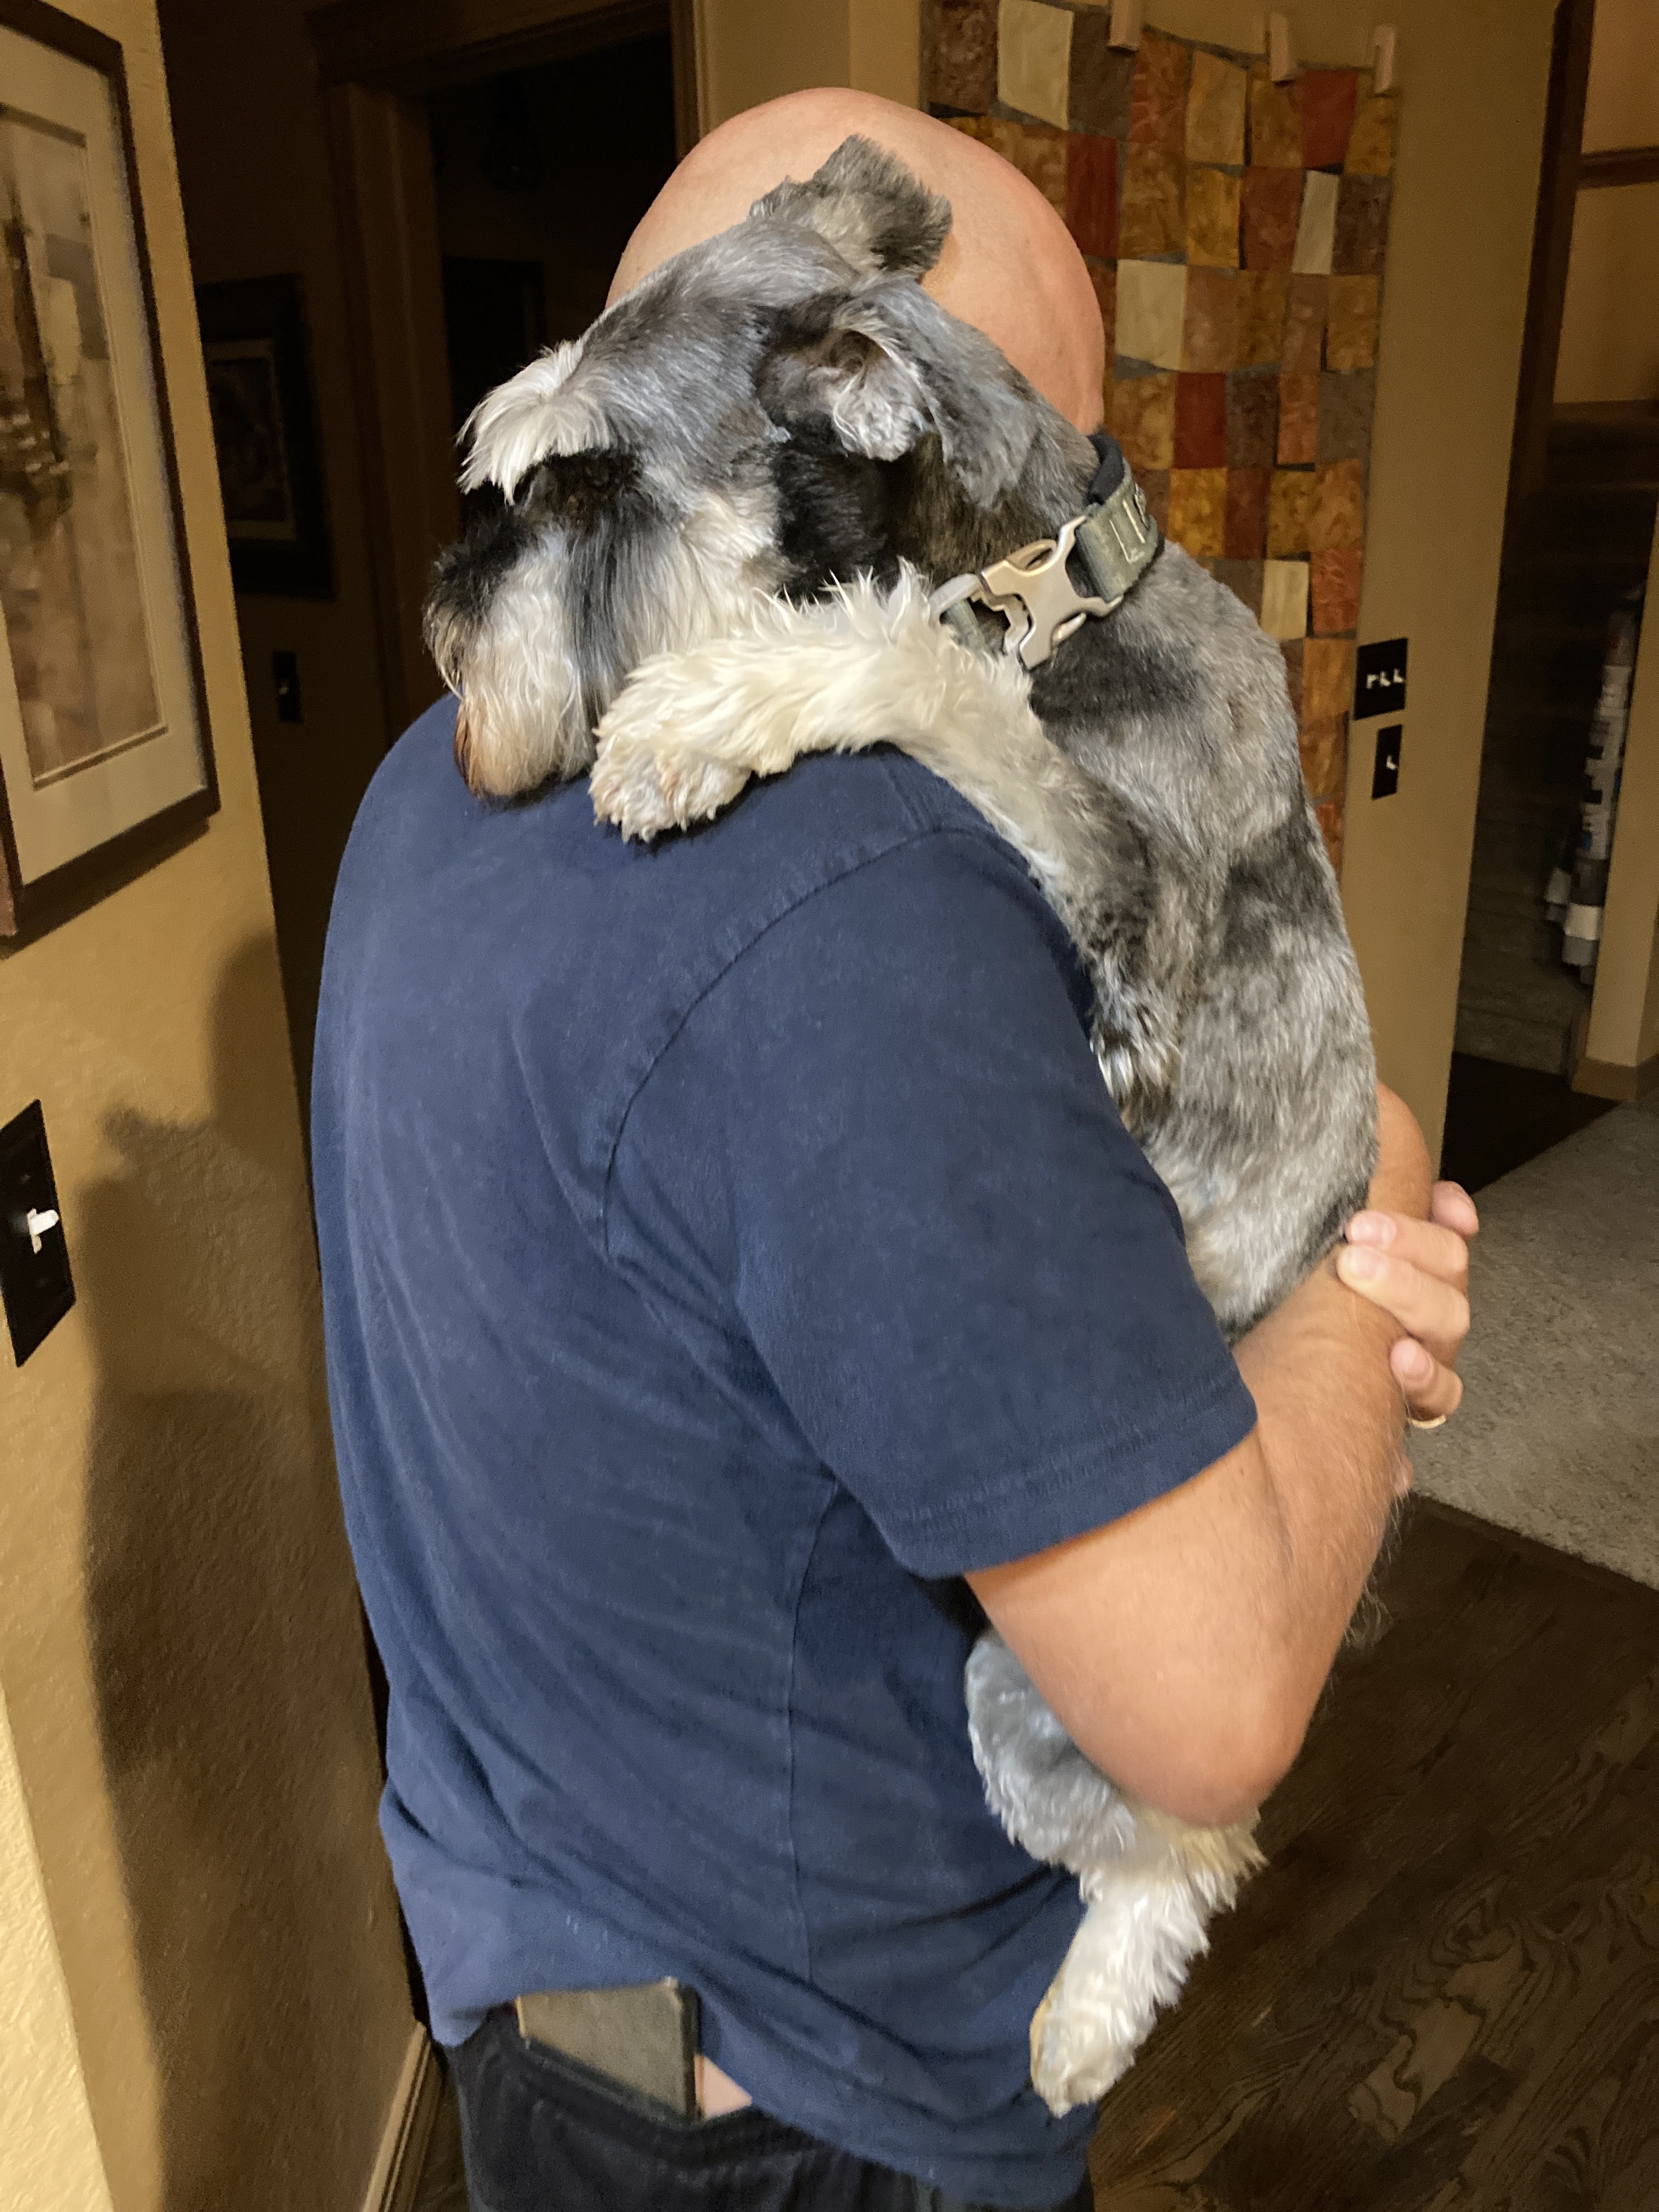
Then I met John after moving to Colorado and Mike (who is a “guy’s dog”) completely fell in love with John and I think John healed Mike’s heart.
Here is a photo that always makes me smile – Mike all snuggled to the new love of his life – John:
Here is a follow up to the post The Expansion of “Go Boldly” , and an update on my progress on this quilt which I expanded from it’s original size of 56 inches by 56 inches(142 x 142 cm) to 82.5 by 82.5 inches (2.1 x 2.1 meters) by adding additional blocks:
I figured since this was the quilt in the background of my photoshoot for the October 2023 Issue 28: Colorado of Quiltfolk Magazine I should go ahead and finish it.
image credit: Quiltfolk Magazine
(A little background on this quilt: my friend D started this quilt four years ago and didn’t want to finish it so she offered me the initial pieced blocks, the templates, and the fabric she bought for the project. I’ve pieced about 50% of the blocks for the quilt and the rest were pieced by D.)
So I got all the blocks sewn together and discovered it was nearly Queen bed size when I laid it out on the guest bed:
I had a bit of remaining fabric and some blocks leftover, but I didn’t want to expand the quilt further.
I decided I didn’t need it to be a real Queen sized quilt as I didn’t plan to use it as a bed quilt as the colors do not go with my decor.
I did however want it to be a colorful large lap quilt to have at say the foot of a bed. So I pieced the remaining blocks into circles as the center part of the back of the quilt:
From there I used remaining fabric to build out the quilt back to be a little bit larger than the quilt top:
Yes it is a messy wrinkly mess as I didn’t iron it before I took the photo. This is the back in progress, I added one more row of fabric to each side to make it bigger than the quilt top.
It will basically be a reversible quilt with the pieced back.
I’ve decided to tie the quilt instead of sending it out for professional long arm quilting. I have some cool heavy weight colorful threads I plan to use to tie it. They are close to thickness of embroidery floss.
It’s been a while since I’ve shared what my husband John has been working on in his woodshop in our basement.
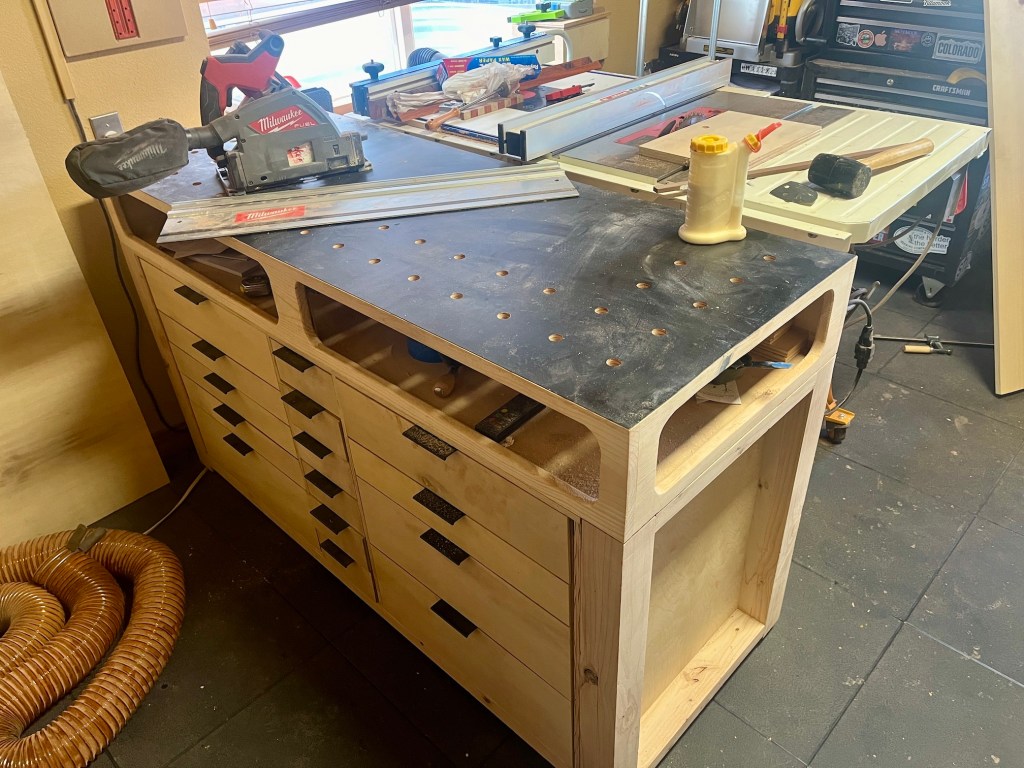
Recently he finished an Outfeed Table to butt up against his Table Saw. According to Fine Woodworking: “A good outfeed table is essential for safe woodworking, because it allows you to control the workpiece as it moves past the blade and off the back of the table saw. Without it, you’ll have to push down hard on the back of long boards, which makes it difficult to guide them safely past the blade.”
That sounds like a good idea! I want John to keep all this fingers so anything that makes woodworking safer I support 🙂
So John watched a bunch of YouTube videos and then set about designing an Outfeed Table that worked for him and his small woodshop.
He laminated the top of the Outfeed Table to make it easier for the wood to glide on it. It was his first time laminating and it seemed a little scary but we watched YouTube videos together (I provided moral support) and it was easier than he thought it would be!
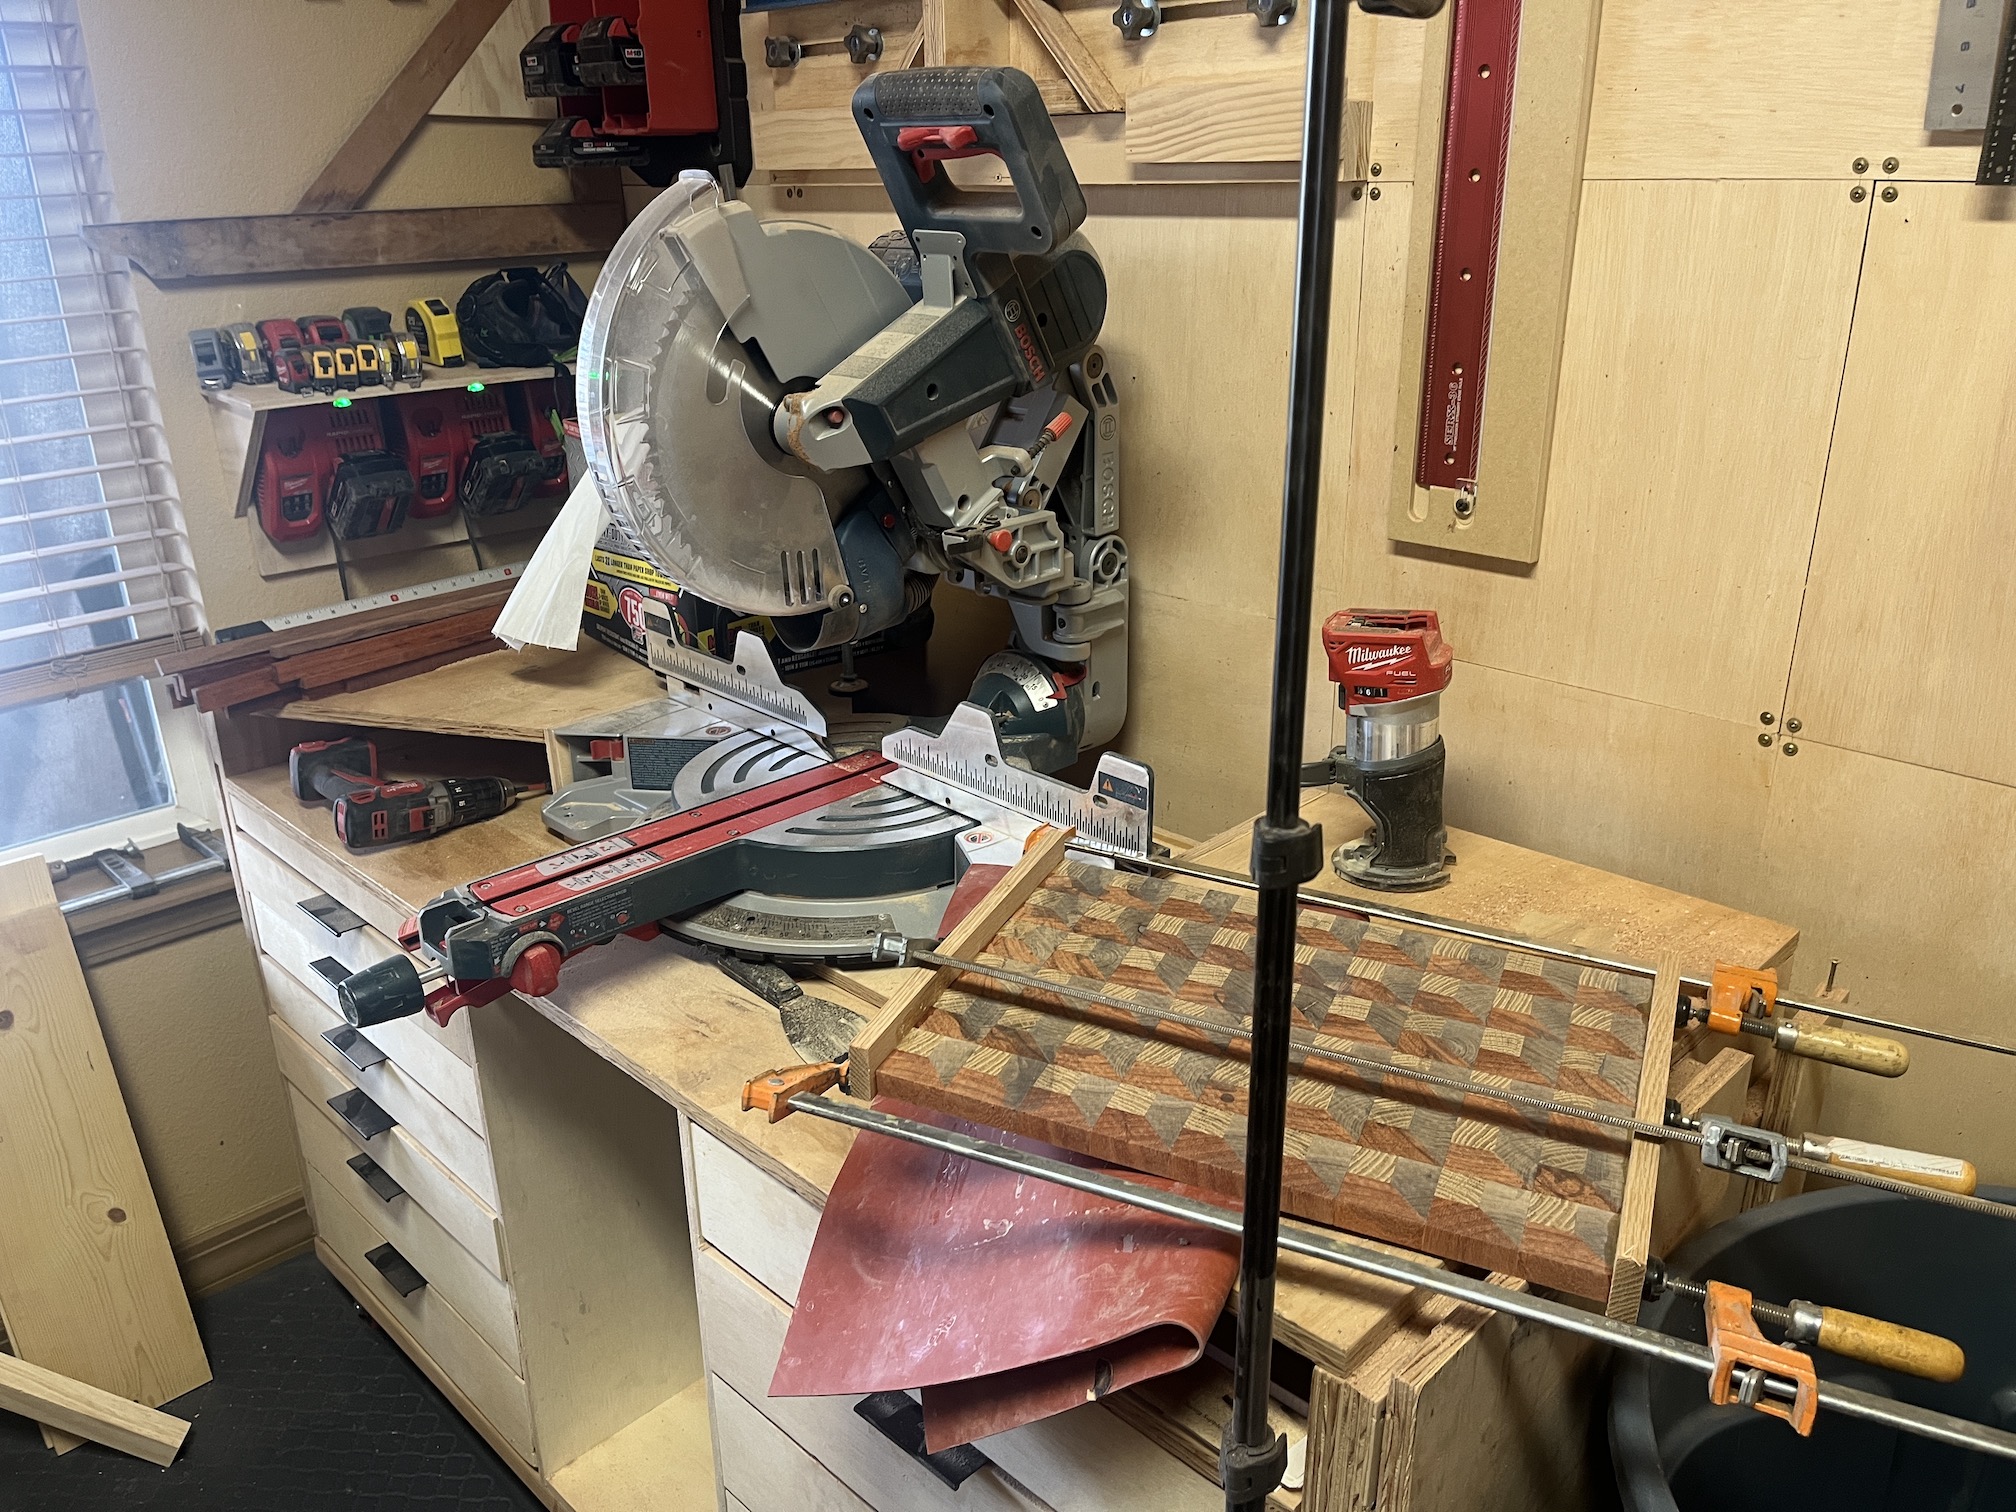
The final stage was to add “bench dog holes” that allow you to clamp pieces on the Outfeed Table while woodworking. He used a special template to do this and he was pleased with the results:
It looks a little messy because this is the woodshop in use – I forgot to take photos when he first made the holes.
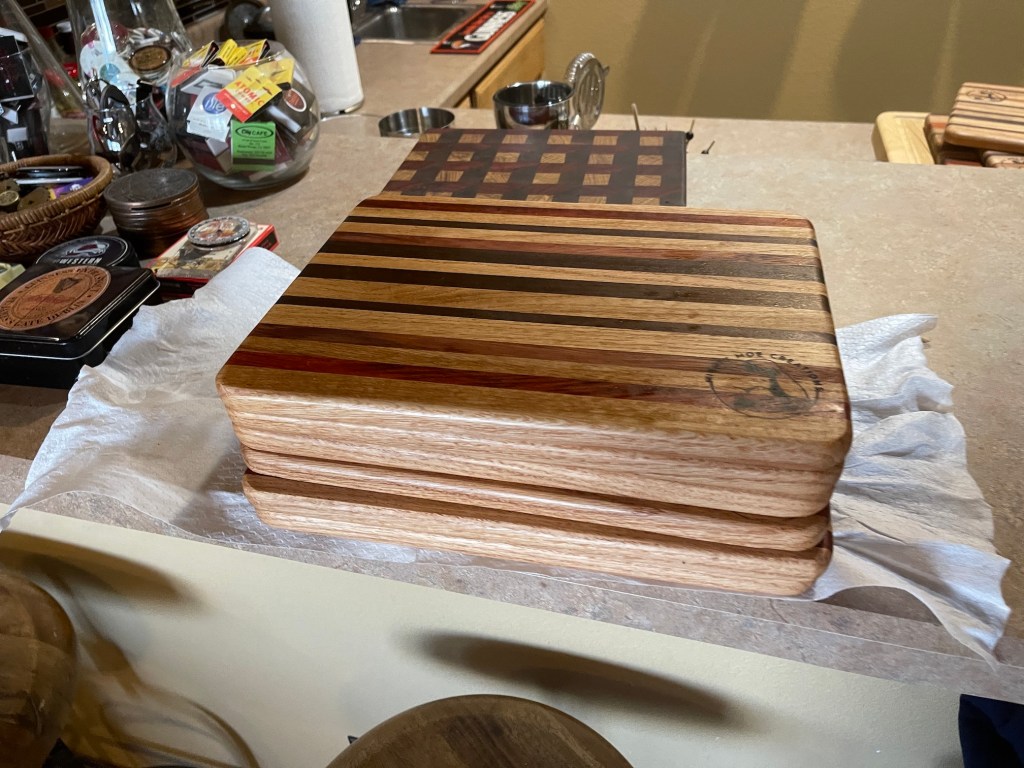
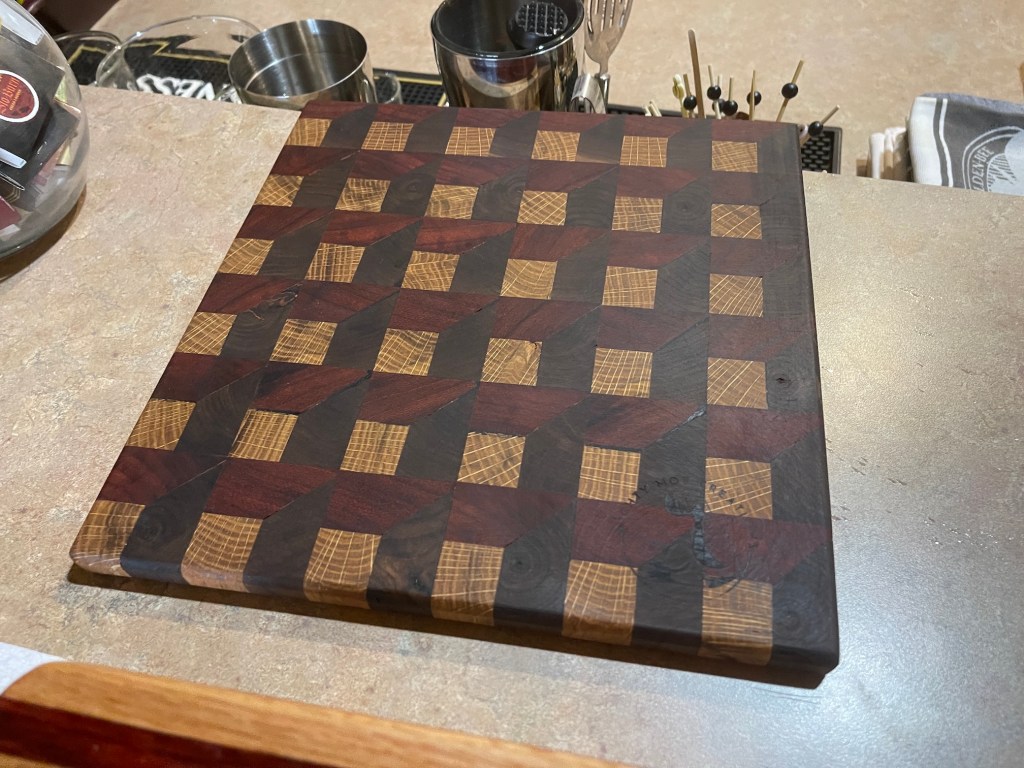
Speaking of the “woodshop in use”, John has been teaching his eldest son to woodwork starting with making cutting boards. They get together once to twice a week afterwork and on Sunday afternoons. They’ve made a lot of cutting boards so far including a 3D cutting board.
It’s been a great father-son bonding time!
They’ve also been working on a serving tray to replace an old store bought serving tray that is on its last leg.
They have another side to add and then handles.
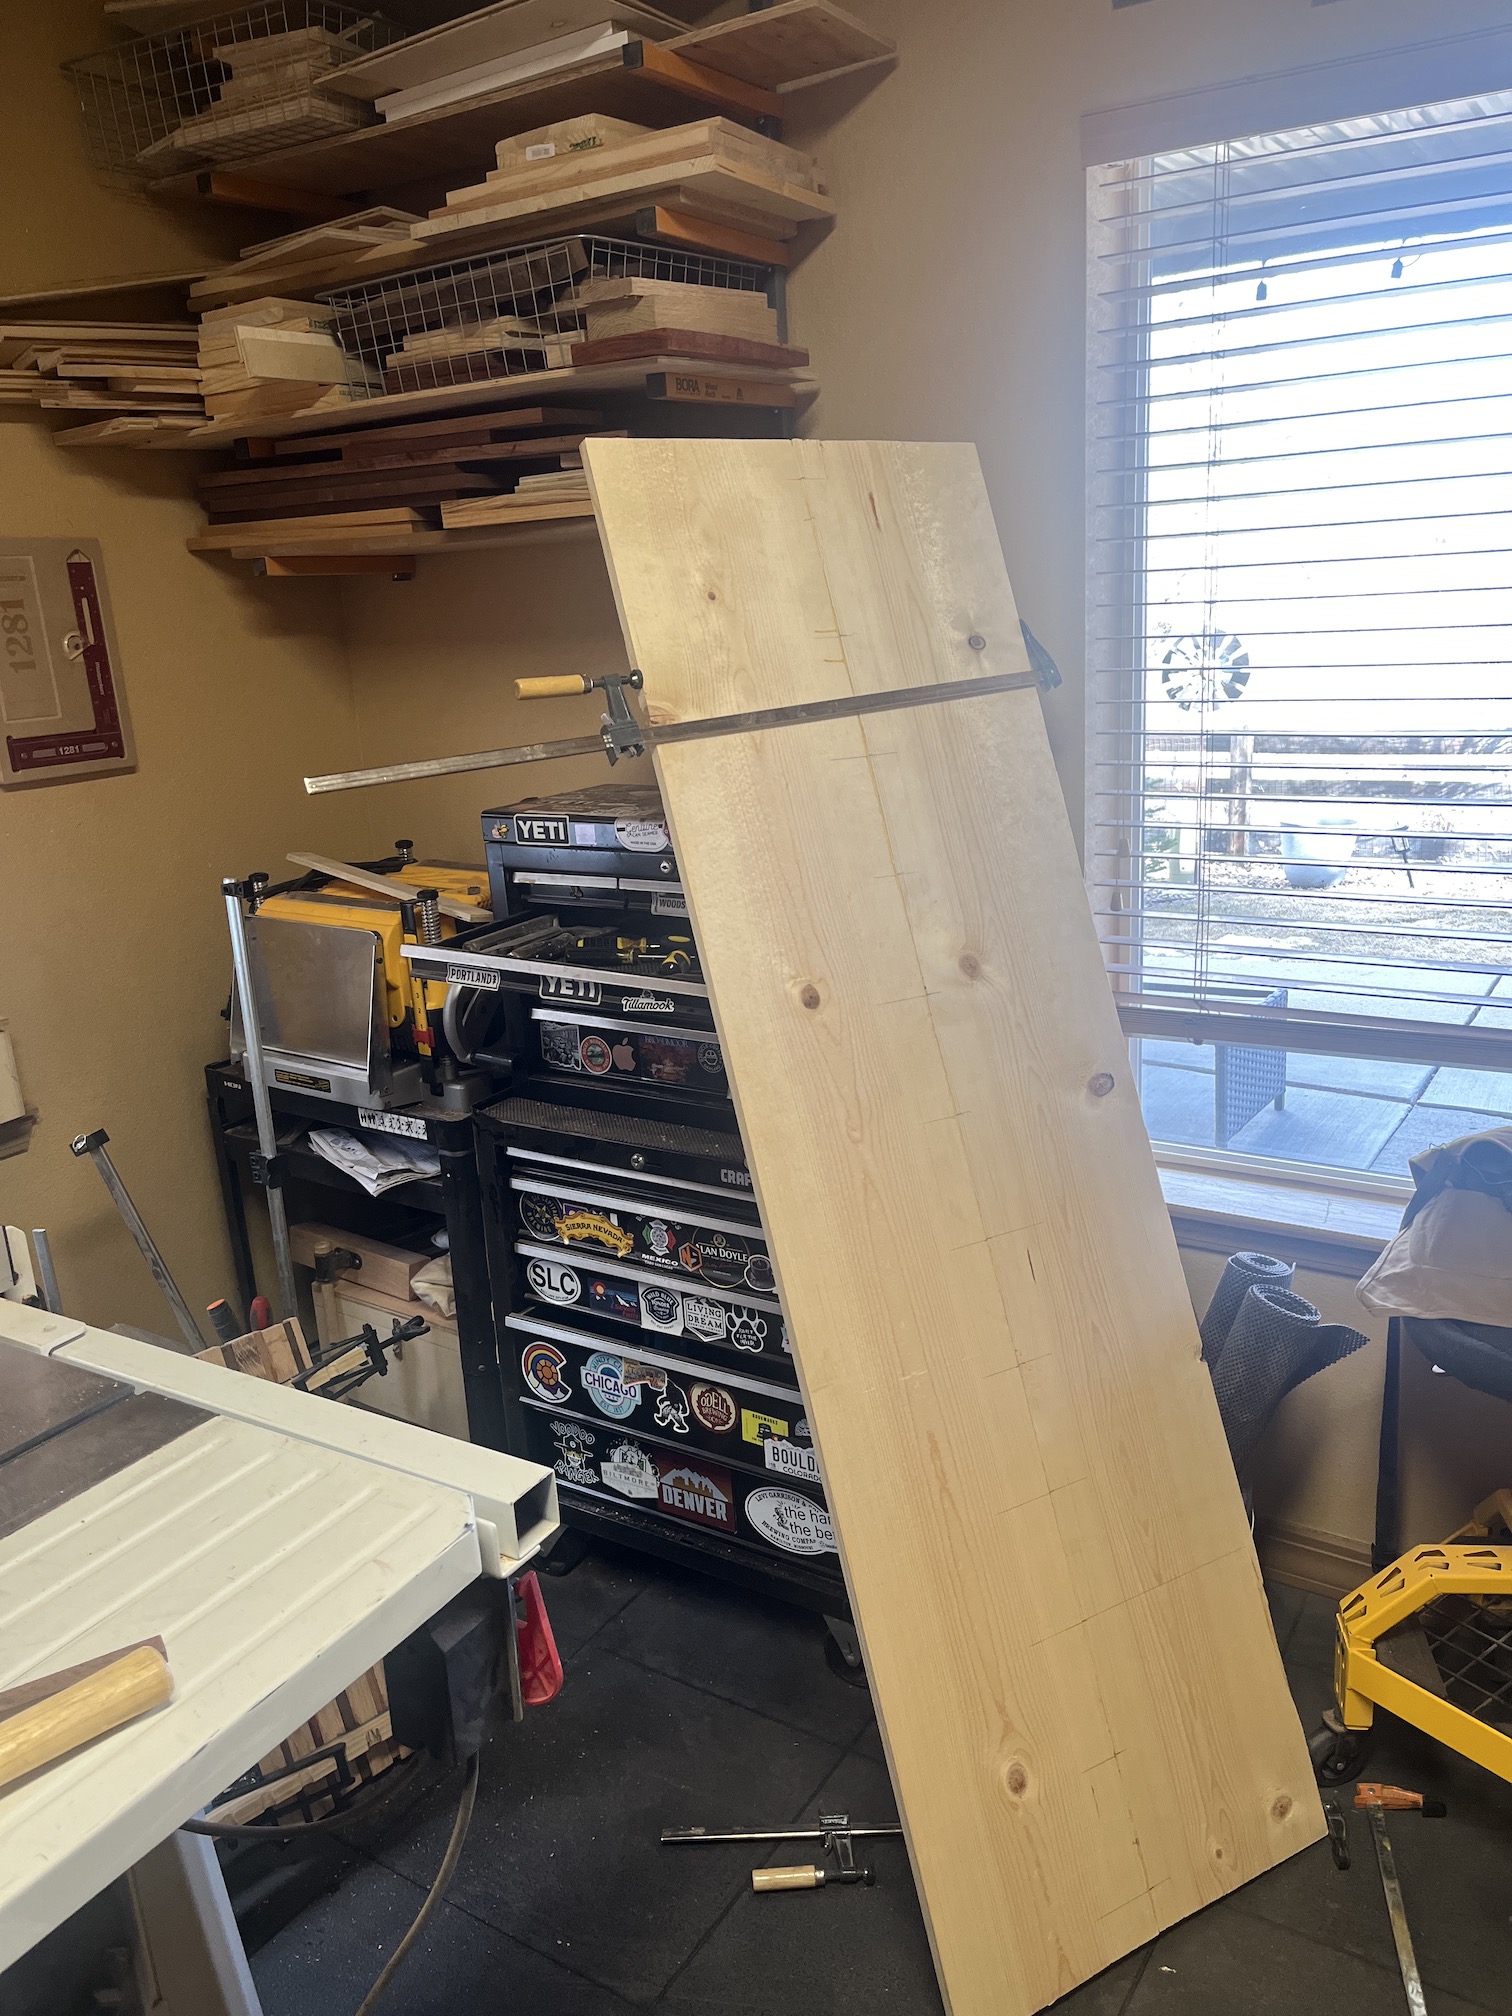
And they’ve started their first big project together: a new entertainment console for the basement movie area. So far they’ve made the top of the piece.
It’s going to have a Scandinavian furniture flare, like our bedroom dresser that John made a couple years ago:
(By the way, someday John will be selling his cutting boards online through his shop Mighty Moe Creations, we just have to figure out what platform that will be besides Etsy.)
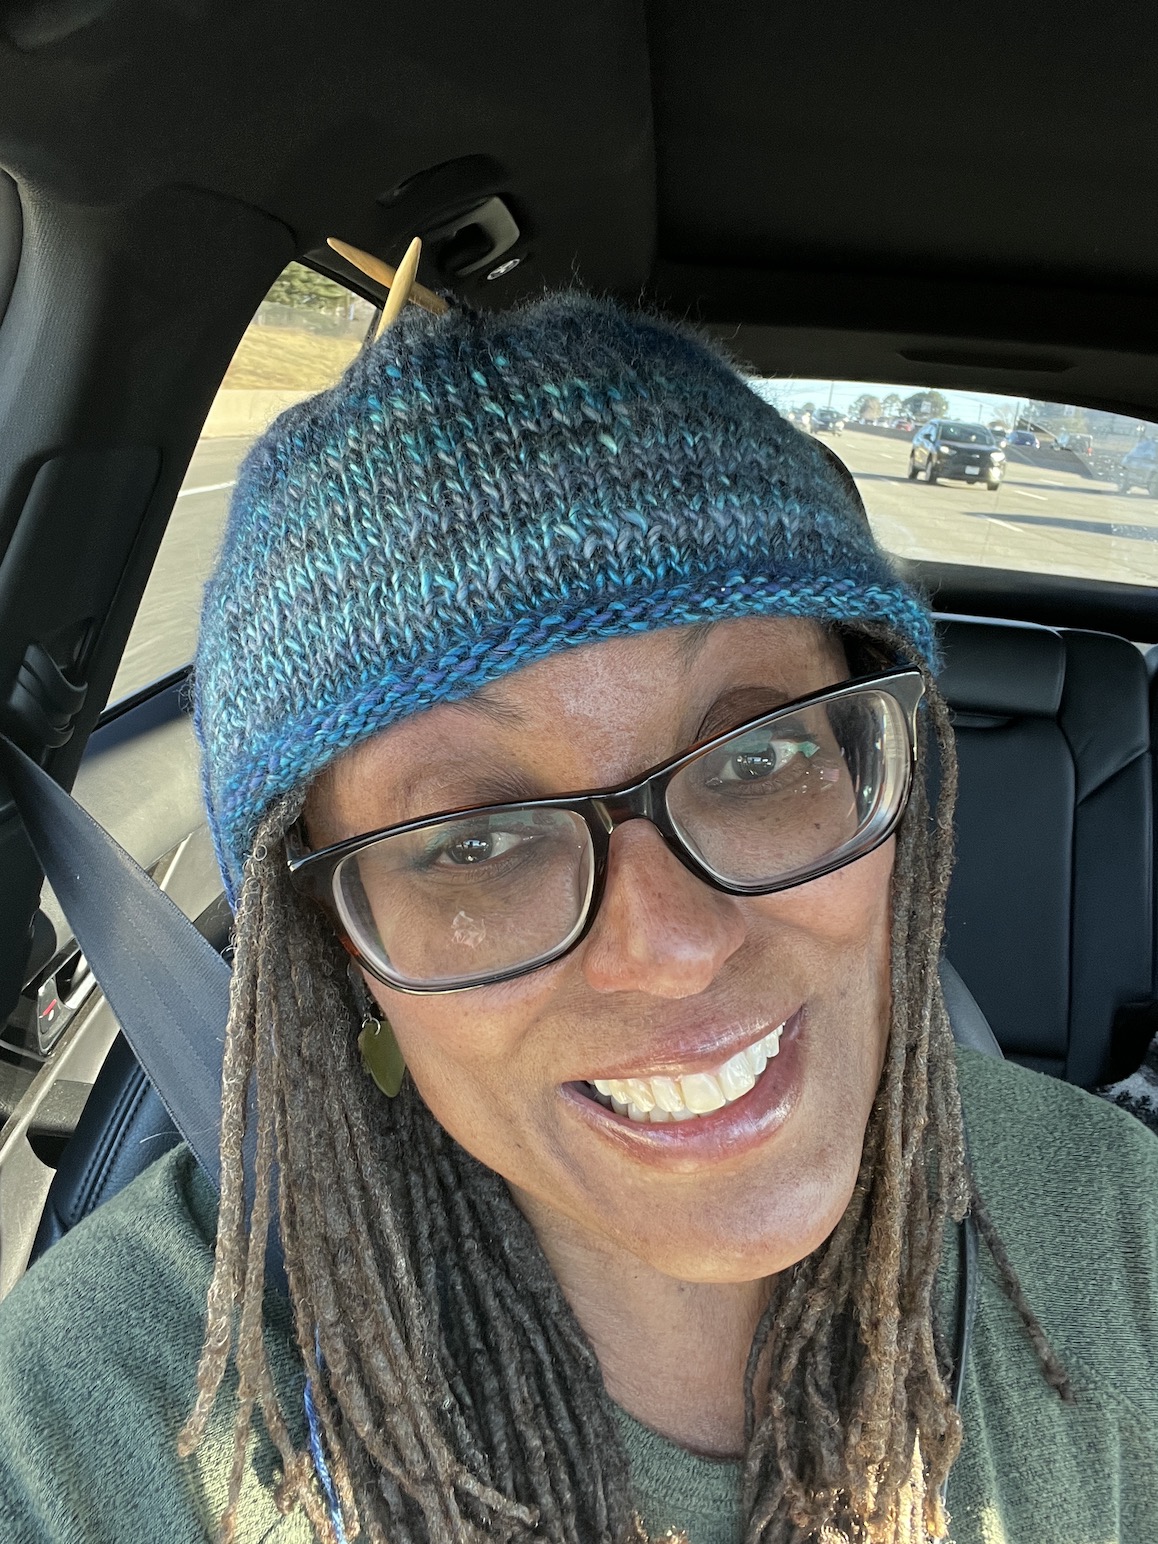
I finished the hat made with two leftover balls of yarn (both I think someone gave me as I do not remember using the yarn before) – a ball of blue variegated yarn, and a ball of denim blue yarn.
Here is when I got it to the double pointed needle stage (my favorite as it means it is nearly done!) while riding in the car:
And here is the photo I take as a tradition when I have the hat nearly done with the double pointed needles sticking out of my head:
And here is the completed hat:
I actually finished the hat while we were at dinner the other night with John’s former work colleagues. So I will close this post with gratuitous photos of the Burrata Salad and Meatball Pizza we had while out to dinner 🙂
People at dinner laughed when I threw the completed hat on my head at the end of the get together that I’d been working on all evening.
On to a new hat (one can never have enough hand knitted hats) to work on while passenger-ing in the car!
This is an update on the recycled denim and home decor fabric quilt I am hand quilting – What Direction Do I Go, that I previously updated you on in the post What’s Going on in the Studio.
I had this home decor/upholstery weight fabric as a backing:
OUCH! That did not work well for hand quilting! It was difficult to get the needle through the denim quilt top, the batting and the backing!
So then I tried taking off the backing, to put on later when I was done quilting using some type of envelope backing method, and just hand quilting with the quilt top and the batting.
BAD IDEA! My lap ended up covered with lint from the backing – ick! My sweatpants were a FUZZY MESS!
So I found a new backing for the quilt, this time a thrifted recycled cotton table cloth – very easy to sew through.
So now back to working on hand quilting it (after I trim down the backing a little and re-press/iron the quilt top again).
Per the advice one of my blogging buddies gave me, I only work on quilting it until my fingers get tired. I wasn’t going to use a hoop, but I think I might try out a large-ish old hoop I have and see how it is to hand quilt it using that (if I can close the hoop with the thickness of the denim!)
One of my favorite bag designers is the Netherlands based designer Svetlana Sotak of Sotak Handmade. The drawstring bags I’ve made (feels like I’ve made hundreds of them) is based on her pattern. I like that she supports small businesses by licensing them to sell items make from her patterns by purchasing the pattern.
It was time for me to try out a new pattern so I made a friend who loves to knit a project bag from the Sotak Handmade pattern – Denver Tote with knitting/yarn themed fabric by Ruby Star Society fabrics.
I was proud of myself because I installed a magnetic snap for the first time on the liner and reinforced it with heavy weight interfacing so the snap did not pull on the liner (which has medium weight interfacing attached).
Next time I make it I might make coordinating handmade handles. I was trying to coordinate the handles with the drawstring that is part of the bag too.
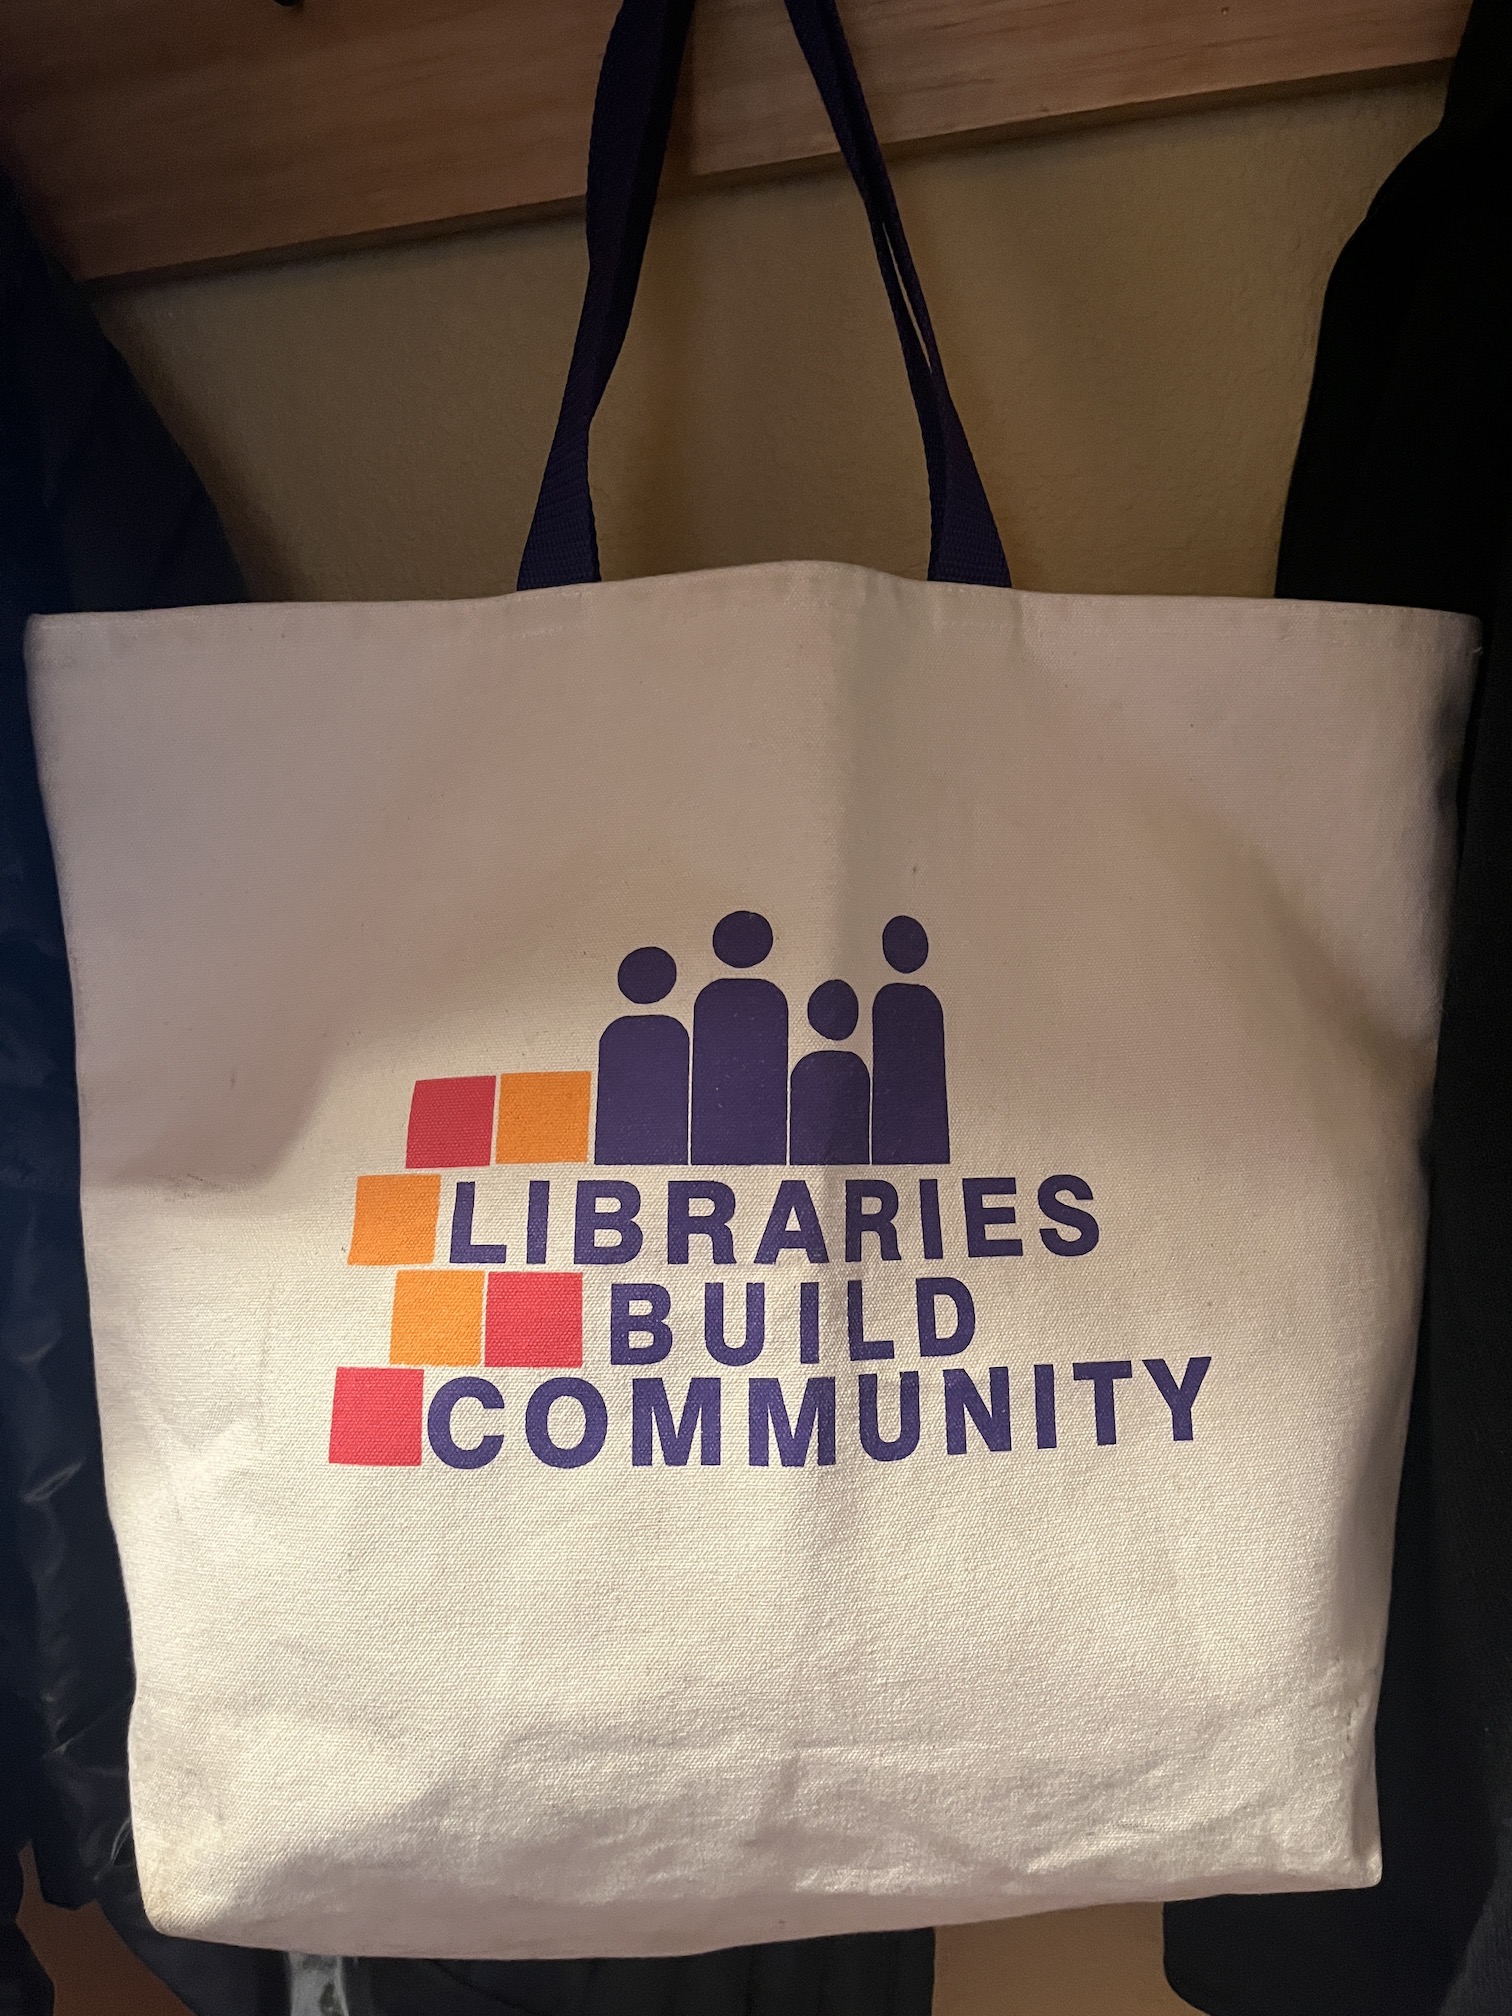
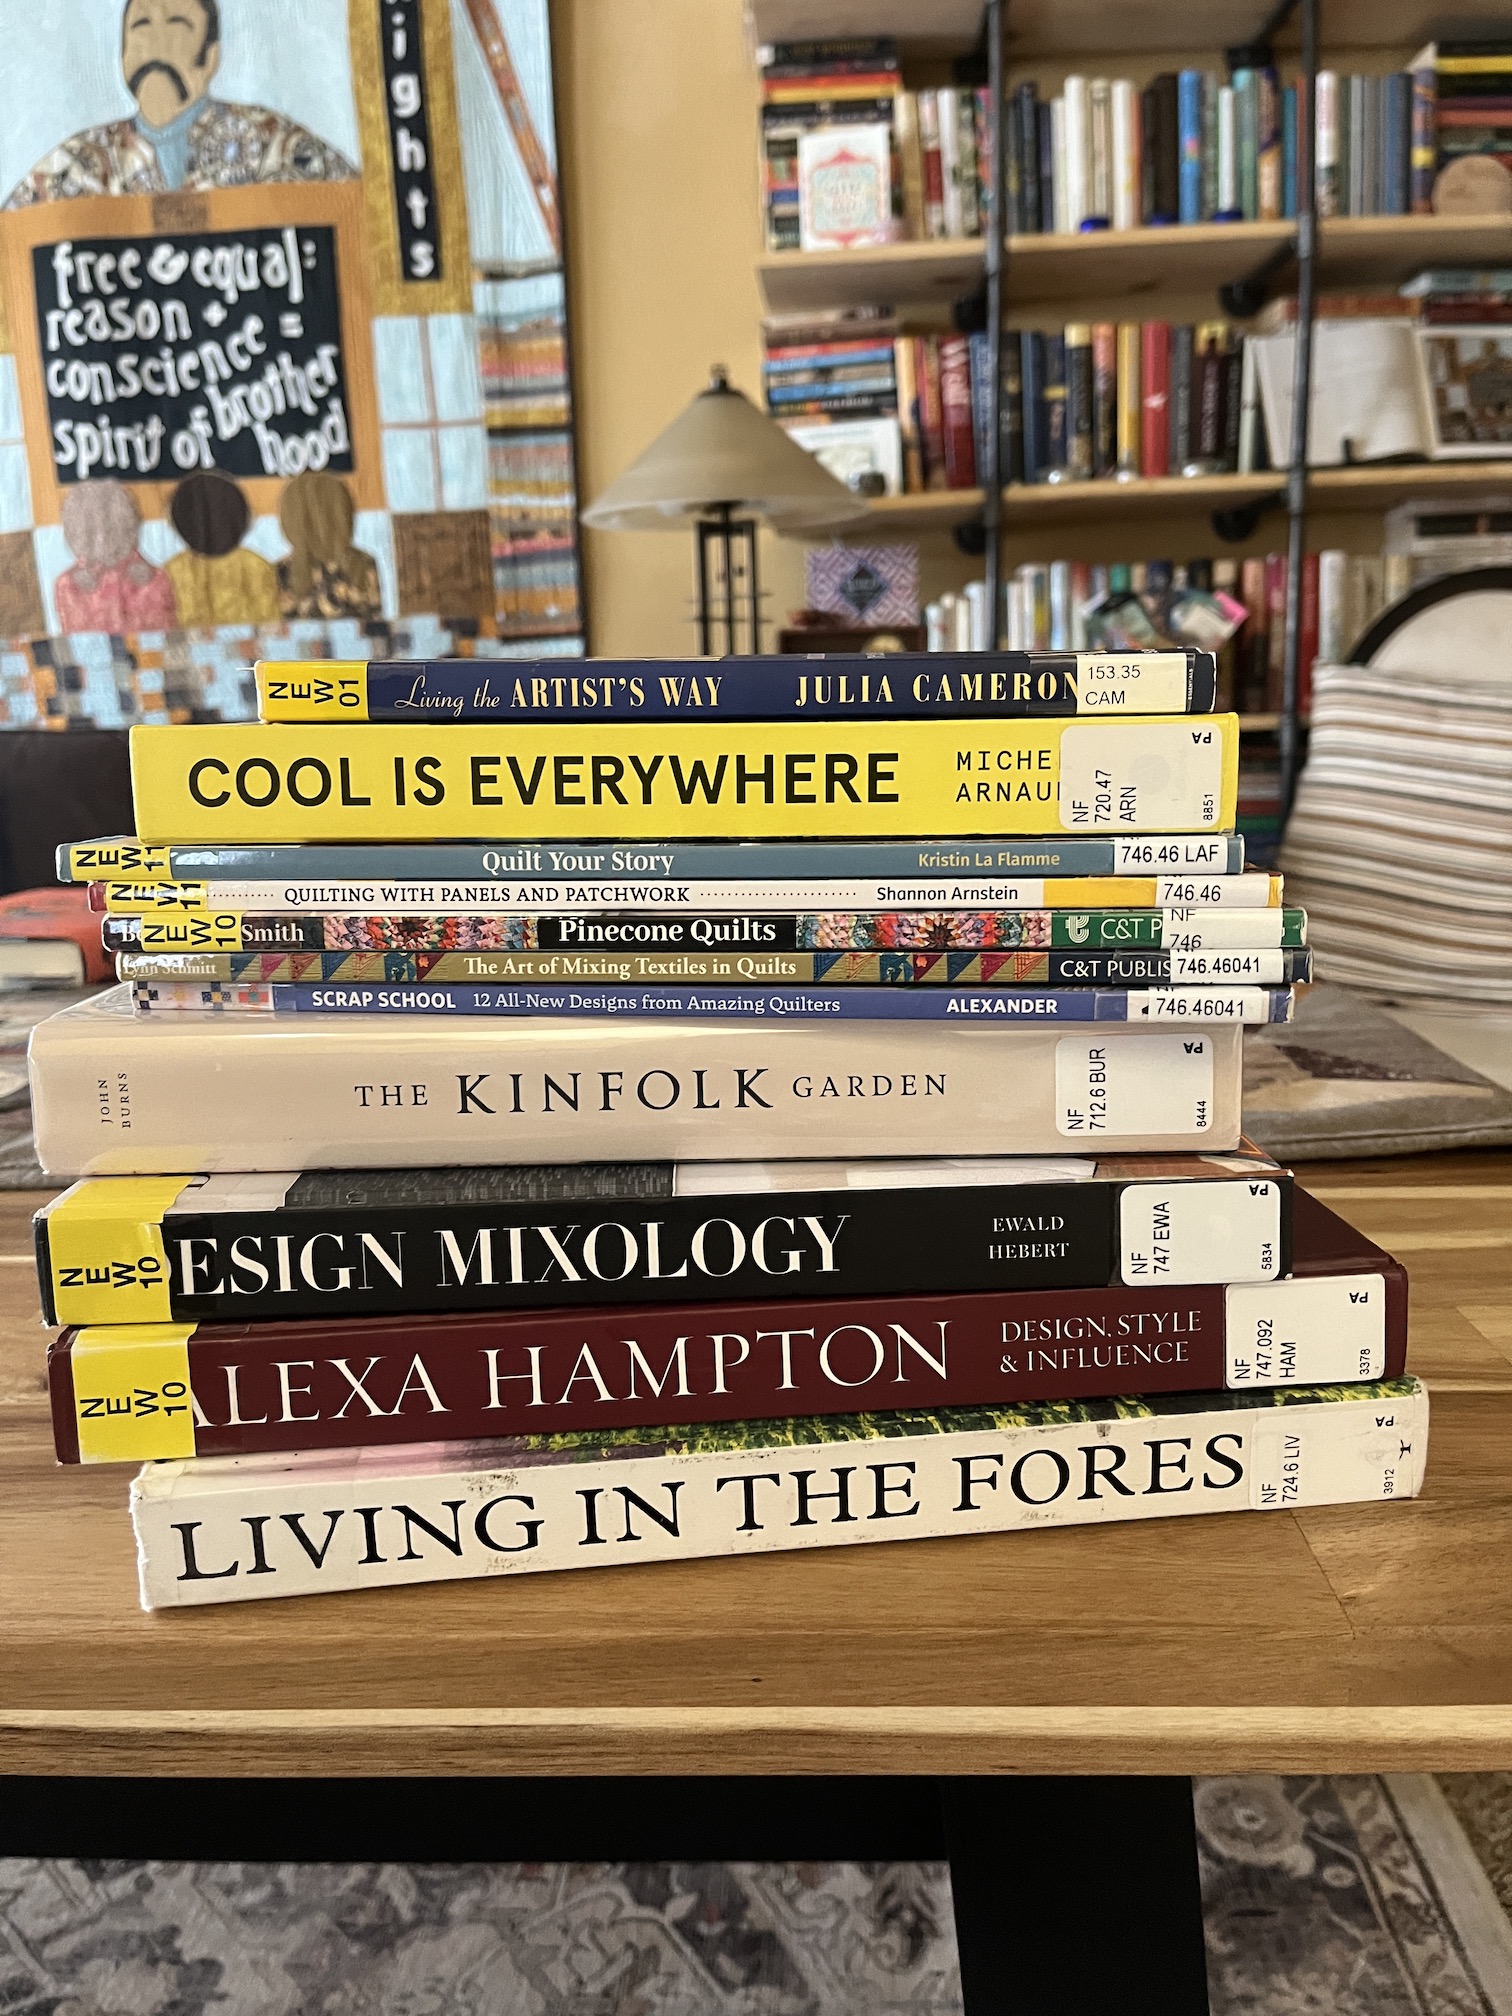
Oh and speaking bags, I don’t think I’ve shared this lovely tote bag I found while thrifting that I love to take everywhere, especially to the public library to pick up my holds!
Here is my latest library stack I brought home with the tote and so far I’ve really enjoyed the bookCool is Everywhere.