
“The Quilt is in the Mail”
A package arrived in the mail yesterday. A very exciting package. A quilted quilt!
I could not wait to open the package and see Cindy Anderson’s, of A Quilter’s Corner with Cindy Anderson (inastitchquilting.com), long-arm quilting magic!


Before we get to the reveal (don’t scroll down and peek yet!) here is a little background on this quilt.
I found the pattern for this quilt, Happy Ending, in a book I borrowed from my public library – Perfect Quilts for Precut Fabrics by That Patchwork Place. The pattern was designed by Lesley Chaisson. I used a couple packages of pre-cut 5 inch squares (charm packs) and deep blue (Ink) Peppered Cotton, shot cotton to make the quilt.
If interested, you can read these previous posts about the evolution of this quilt: Diving into a quilt (and other stuff) and What’s on the Design Wall and What’s on the Design Wall.
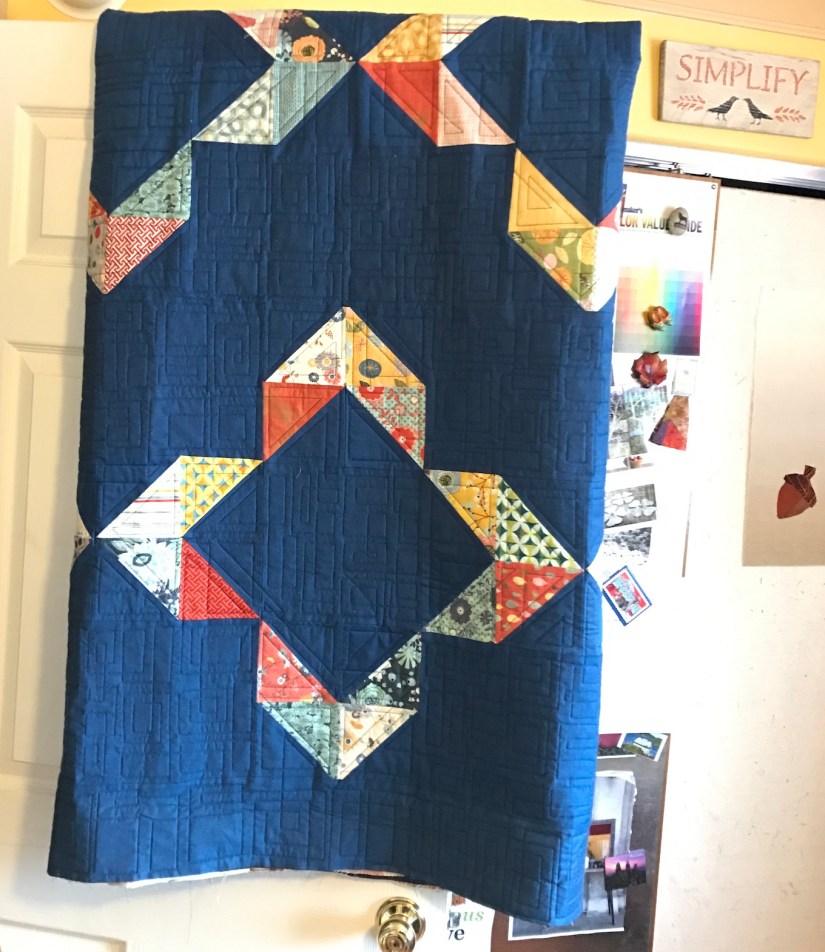
After removing the quilt from the box, Terry the Quilting Husband (TTQH) and I opened it up and laid it out on our bed to get the full effect of the completed:

My quilt top traveled from Oregon to Wisconsin and returned from Wisconsin as a quilted quilt!
I wish it was completely done and ready for use, but first I have to make and then sew the binding to the edge of the quilt to finish it.
Originally my plan was to use the deep blue shot cotton (main fabric of the quilt) for the binding. TTQH suggested a contrasting color for the binding instead of the dark blue, like an orange or a red fabric.
I like that idea! I found in my stash a reddish-orange Moda fabric that coordinates with the Moda fabric charm squares. I will post more photos when I get the binding put on the Happy Ending quilt. Photos do not do it justice, the geometric designs of Cindy’s long-arm quilting are lovely on my quilt!
How Do You Trim?
I have a question for the quilters reading: How do you trim the excess batting and fabric off the edges of a quilt that has been long-arm quilted (or domestic machine quilted by you)?
When I began having quilts professionally long-arm quilted, I would use scissors to trim down the quilt. Eventually I moved to using a rotary cutter and a ruler to get a sharp straight edge. This takes a bit of time to complete trimming on a large quilt and I long for the day when I would just use scissors.
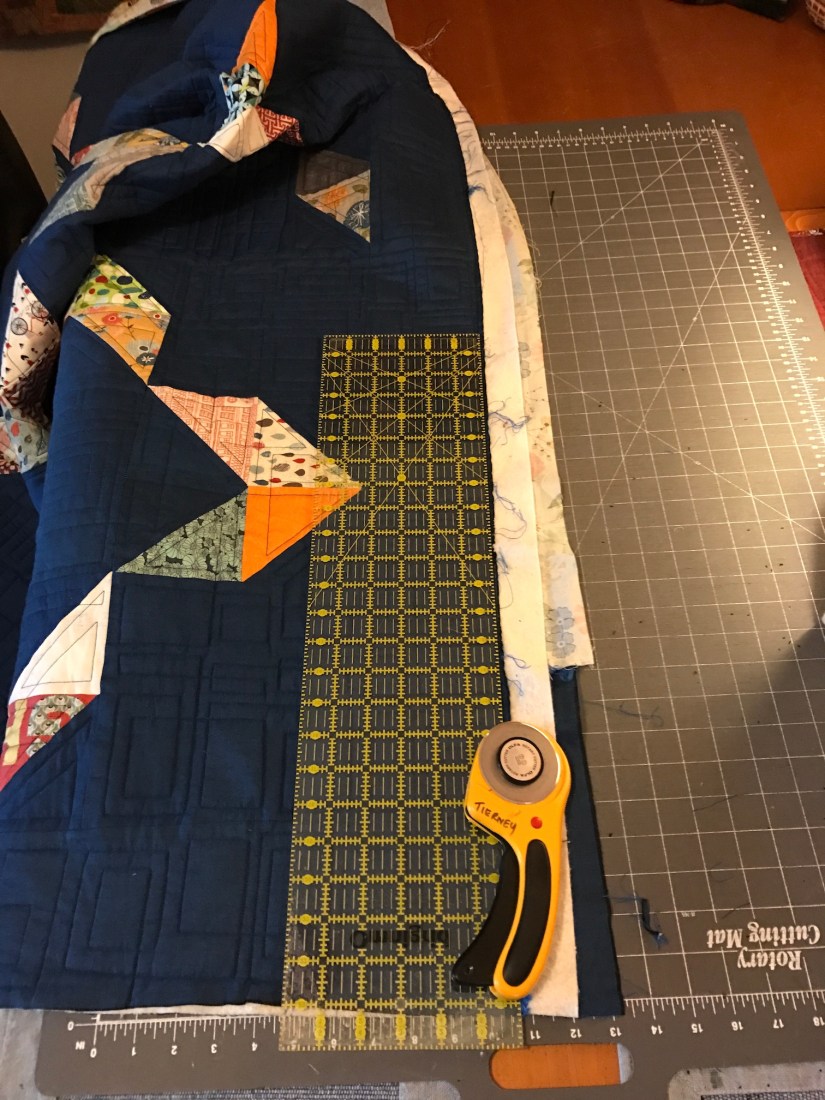
Rotary cutter and ruler or scissors? How do you trim?
Bonus Content
Inside the box with my quilt from Cindy were a couple extra items that made me smile:
A handmade card (not by Cindy but by another artist) from recycled fabric scraps: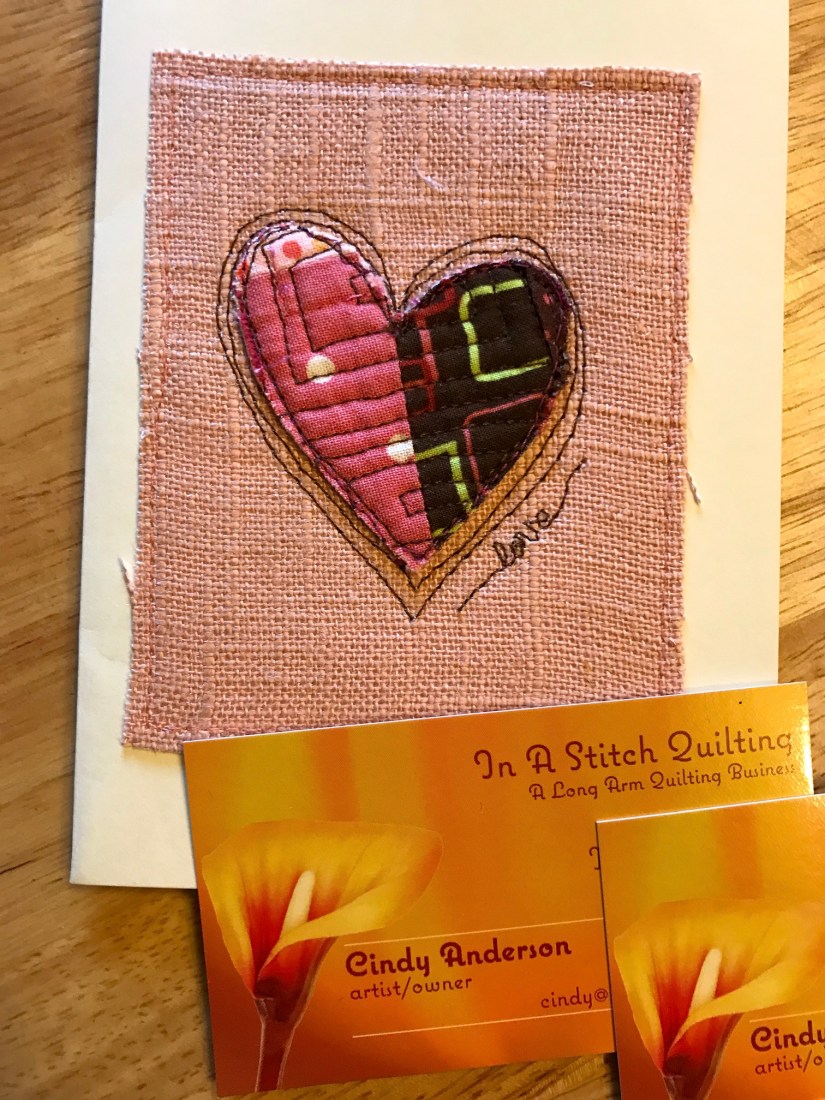
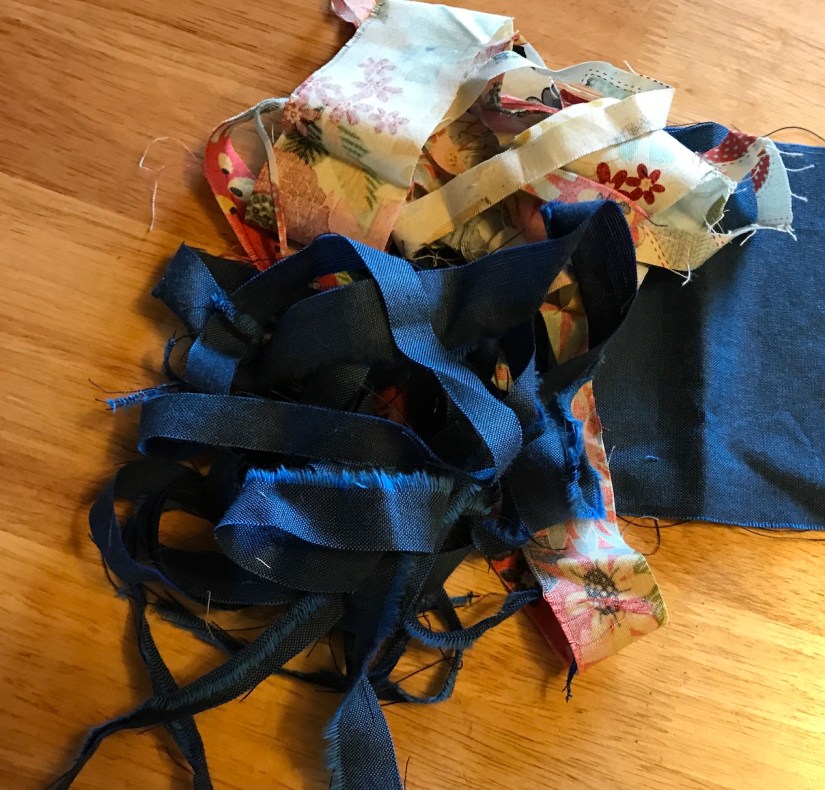
Scraps left over from the quilt including some fairly thin scraps that I think Cindy was challenging to make something with! (ok true confession – my quilt back was little bit short on one side and Cindy had to do some “remodeling” on my quilt back to make it work):
And finally – a challenge piece – an embroidered napkin:
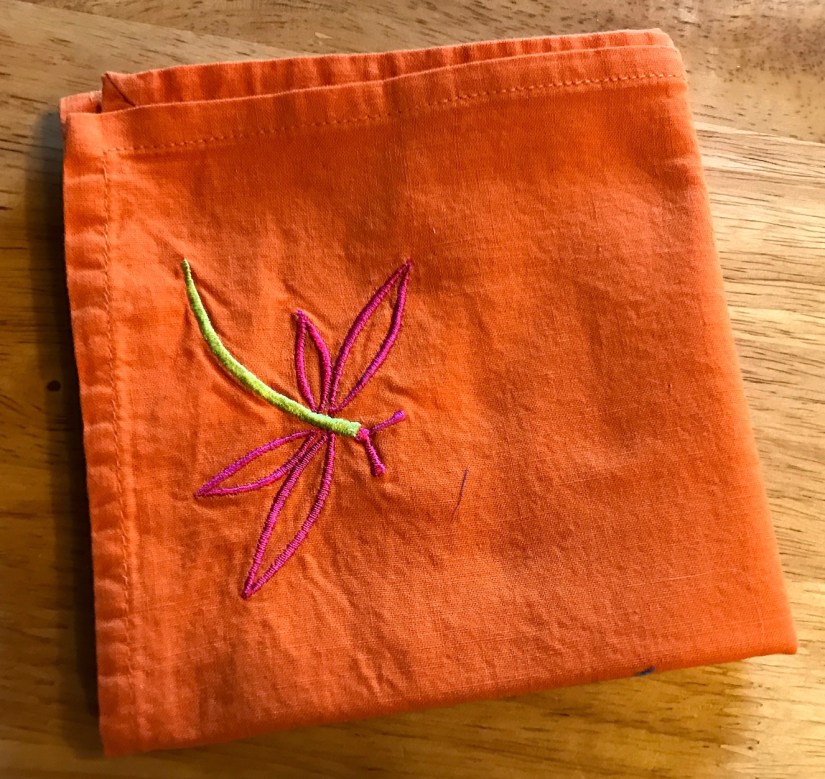
When I saw the napkin, I misunderstood why Cindy sent it. I thought she sent it in support of my post The Napkin Story. However, after chatting with Cindy I discovered she sent it to me as a recycled fabric quilt challenge! She wants to see what I can do with it! (I took it out of my cloth napkin drawer and put it in my studio).
Postscript
I love listening to audiobooks and most of the audiobooks I listen to are borrowed from my public library’s digital download system. You reserve audiobooks just like you would hard copy books (the library is given a limited number of licenses of copies of a digital book they can loan out at one time) and the library e-mails you when the audiobook is available for download. On popular audiobooks, you can wait anywhere from a week to a couple months to get that e-mail.
So I went crazy reserving a bunch of audiobooks a couple of weeks ago when I suddenly ran out of audiobooks to listen – PANIC! Then, yesterday in addition to getting the quilt in the mail, I got an e-mail from my library notifying me that FIVE of the audiobooks I had on hold were available for download:
- Norse Mythology – Neil Gaiman
- For Women Only: What You Need to Know About the Inner Lives of Men
– Shaunti Feldhahn - We: A Manifesto for Women Everywhere – Gillian Anderson & Jennifer Nadel (yup, Gillian Anderson of The X-Files fame)
- Good Omens – Neil Gaiman & Terry Pratchett
- Smoke and Mirrors: Short Fictions and Illusions – Neil Gaiman
The loan period is 21 days, so I need to listen to all books in 21 days or have to go back into the reserve book queue – yikes!
I went ahead and started listening to For Women Only: What You Need to Know About the Inner Lives of Men as I was in the mood to begin with my nonfiction options. Also I previously read Good Omens and several of the short stories in the anthology Smoke and Mirrors are in the Neil Gaiman book I read last year, Trigger Warning.
The audiobook is very interesting so far! I might share some insights from this book in a future post.
(Shaunti Feldhahn did also write with her husband Jeff Feldhahn the companion book – For Men Only, Revised and Updated Edition: A Straightforward Guide to the Inner Lives of Women. According to Ms. Feldhahn these books are used as reading requirements in some church-based premarital counseling programs.)
