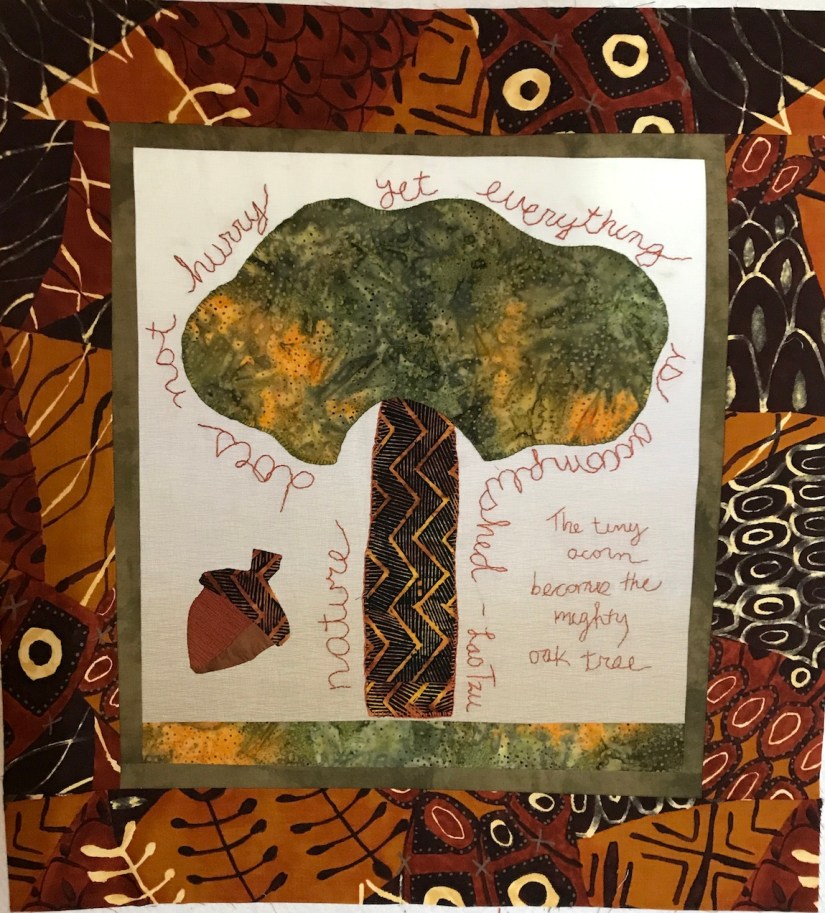
Yesterday I completed the quilt top for a wallhanging based on the following quote:
“Nature does not hurry, yet everything is accomplished.” ~Lao Tzu
And like Nature, I did not hurry on completing this piece! It was started in May 2016 during a class at the Stitchin’ Post in Sisters, Oregon with the lovely Janet Shorten (see post Adventures in Appliqué ). I picked the piece back up again in June 2017 (see post Quilt Retreat Inspiration and Projects). I wrangled tangled floss and learned to backstitch (see post The Backstitch and the End of Tangled Floss) and finally completed the quilt top yesterday…July 2017!
At first I was only going to stitch the Lao Tzu quote going around the tree. However the right side did not seem balanced, with the left side having the acorn. Also I thought at first glance it might not be apparent what the odd thing on the left was (my loose interpretation of an acorn), so I decided to risk becoming “Captain Obvious” and stated that “The tiny acorn becomes the mighty oak tree”.
I am not going to win any “stitching words on quilts” awards, but I really enjoyed slow stitching the backstitching of the words on the piece and learned a lot as I progressed. I wimped out at the end and did not do the letter “i”s french knot top dots (or whatever the official word is for the dot/period on the top of the letter “i”), but maybe next time.
You may be curious about my fabric choices but let’s just say the whole piece is “multicultural”:
The saying/quote is from an ancient Chinese philosopher.
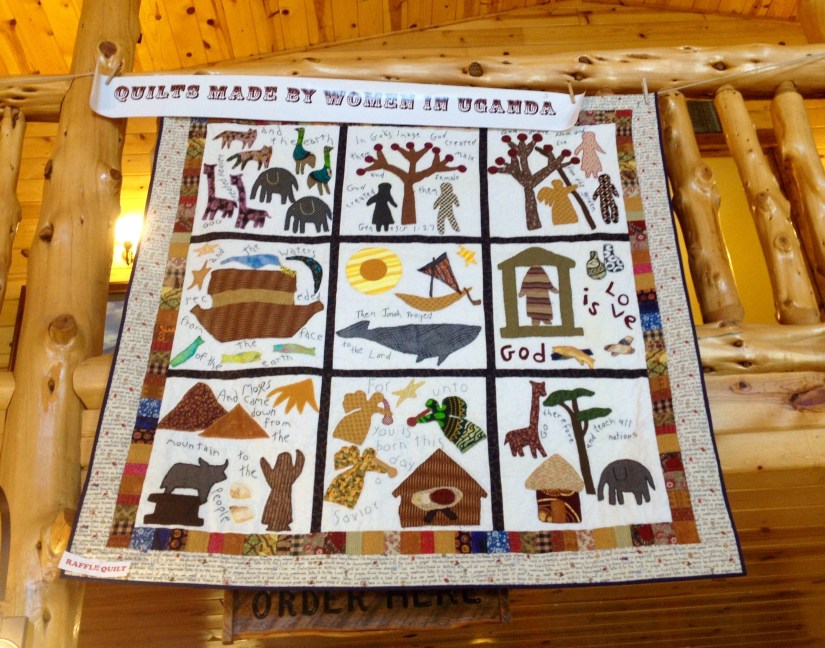
The piece was inspired by an African Bible Verses quilt and the original fabric for the acorn and the tree were from the teacher’s stash of African themed fabrics.
The border fabric is an Aboriginal style print.
Here is the fabric I have planned for the binding – it reminded me of a tree branch:
I plan to do a combination of machine and hand quilting on the piece, so by 2018 I should have it done (smile).
But then I am only following Nature’s example…and eventually the piece will be accomplished!
Postscript
My blogging buddy Melanie at Catbird Studios, asked her readers in a recent post how they choose their next quilting project to work on. I responded that for me it is random, which is usually true, however I realize that lately I appear to be focused on working on unfinished projects (which is a very good thing) instead of starting something new when it catches my attention.
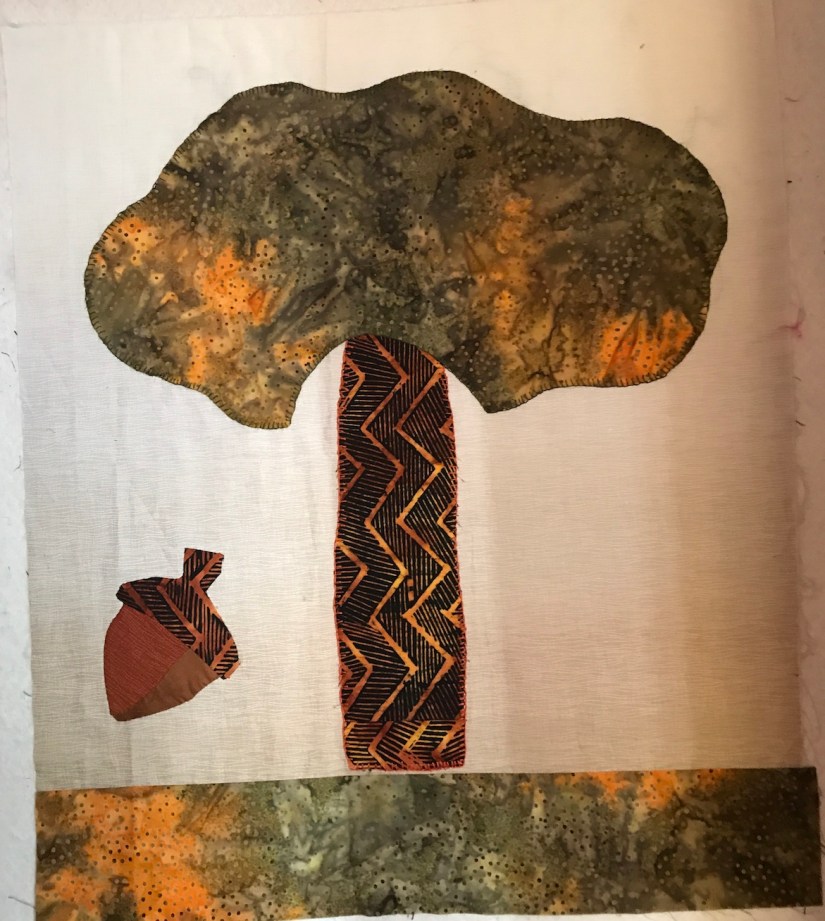
Continuing my theme of cleaning out the old UFOs (unfinished projects) from yesterday’s post, this weekend I also worked on an appliqué project that I began in a wonderful class a over year ago (Adventures in Appliqué).
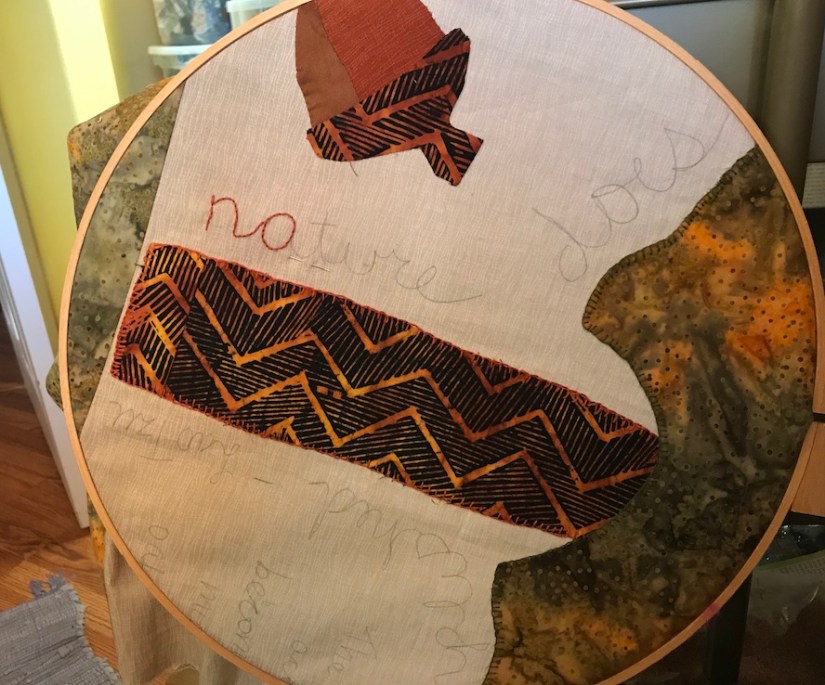
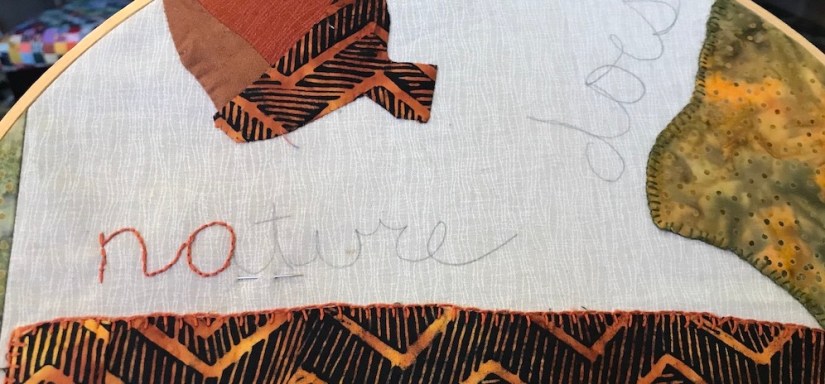
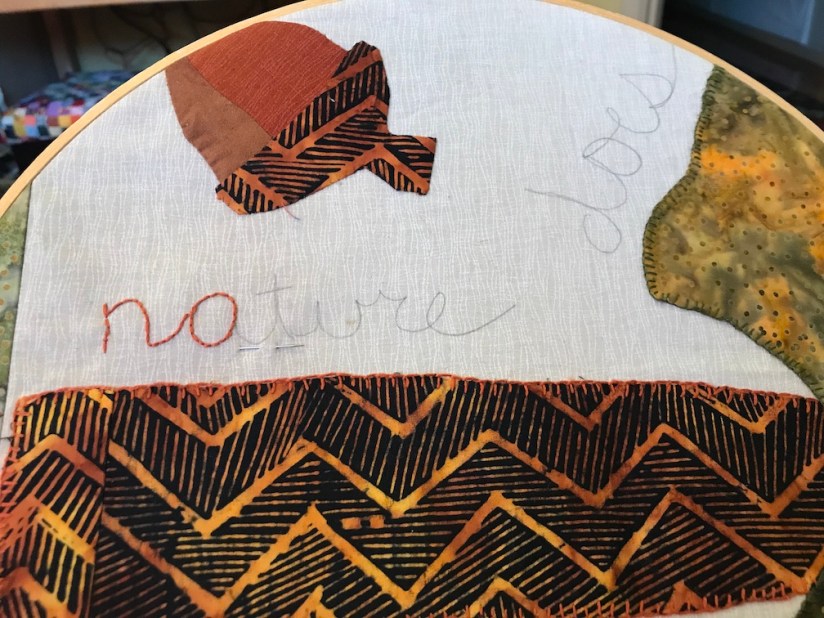
To finish this wallhanging size quilt top, I needed to embroider the words that go with the image using a “backstitch”:
“Nature does not hurry, yet everything is accomplished” – Lao Tzu
Hopefully it is obvious (fingers crossed) that my wallhanging contains an acorn which eventually becomes a large oak tree in time.
The concept of the wallhanging is based on the African Themed Bible Verses appliqué quilt that students had the option of making in the class.
Bible Verses Quilt by Ugandan Women, Sisters of the Heart Foundation, Sisters Coffee House during the 2016 Sisters Outdoor Quilt Show
I being the rebel, decided to use the words of an ancient Chinese philosopher as inspiration for my piece (also a rebel, I decided to make a smaller wallhanging with one block instead of a quilt with multiple blocks).
Although I have allegedly been quilting for 17+ years, sometimes I feel like a brand new quilter when I discover something else I do not know how to do: in order to stitch on the words, I needed to learn how to do the backstitch.
The wonderful instructor, Janet Storten (who is the Director of Sisters of the Heart Foundation) kindly offered to give me a refresher on the backstitch as she did cover it in her class (and I swear I did pay attention in class). I was tempted but I thought I would take a chance and try to learn the backstitch from YouTube.
YouTube is filled with awesome instructional crafting videos (and I have lost hours of time watching one right after the other). I discovered one by the talented crafter Lauren Fairweather:
As Janet had instructed in her appliqué class, I first lightly drew words in pencil on my fabric (see I did remember something). Following the video above, I slowly did my first backstitch letters!
This is another hand sewing meditative experience (slowing down and focusing appears good for the soul!)
In time I know I will get better, but here are photos of my progress so far (I had to put my work in a hoop to stabilize it until I get more experienced):
So Tierney, you stitch on TWO letters and then post photos? Why yes, I am very proud of those two letters – ha! Of course when the whole top is finished I will post an updated photo.
A Tale of Tangled Threads
Actually a tale of tangled embroidery floss, but the words “embroidery floss” did not not provide the alliteration that “threads” did in the header to this section!
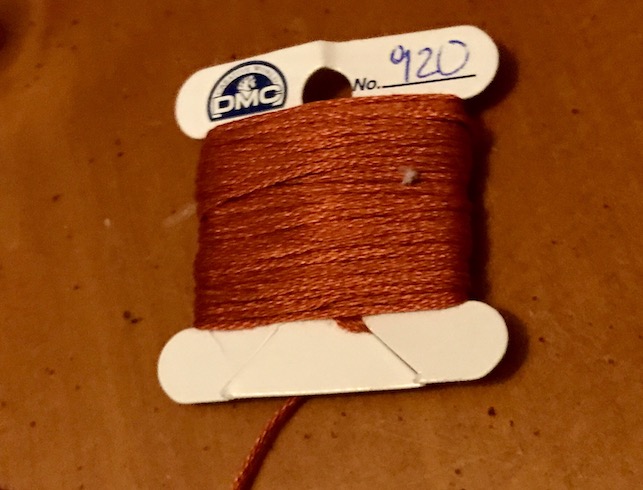
Last May when I took Janet’s class on Appliqué I discovered embroidery floss cards (Tierney – have you been quilting under a rock all these years, why do you not know about basic crafting items?!?!) Janet was kind enough to share some of her huge collection of embroidery floss cards with her students. She gave me this one that coordinated with my piece:
I did not know such magical cards existed! I thought that she had discovered a mysterious and secret fountain of embroidery floss!
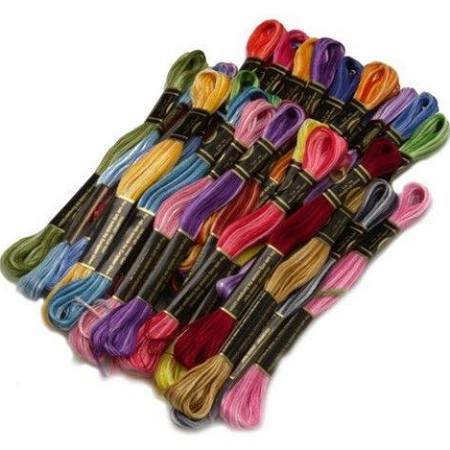
You see I have always purchased embroidery floss this way:
Photo credit: Jo-Ann Fabrics and Crafts
And turned these nice little packages of embroidery floss into TANGLED MESSES.
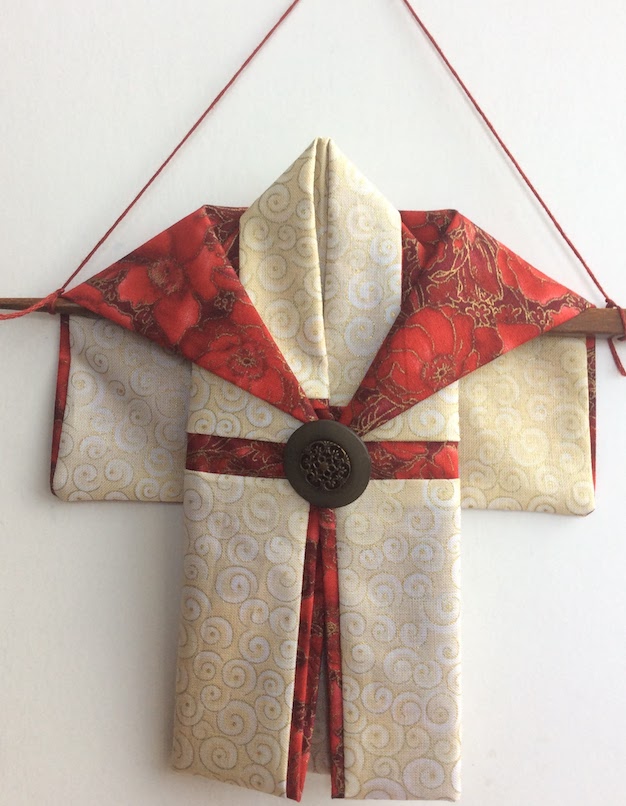
Prior to learning to stitch with them, I used embroidery floss in various colors as the “string” to hold the chopstick on the miniature kimonos I make so they can become a wallhanging.
Miniature Kimono by tierneycreates with red embroidery floss
Other crafters will likely cringe at this but I would just cut in the middle of a new package of embroidery floss in order to access a length of it for hanging the kimono. Then I would put the rest of the floss away in a small bag and it would turn into a tangled mess.
I would untangle the mess to try and cut more floss out for another kimono as needed.
Are you cringing, I mean really cringing? Do you want my “Crafter Card” revoked at this point?
Not able to find embroidery floss on these mysterious spool like cards, I just kept doing what I was doing until I discovered a large package of embroidery cards with floss and some EMPTY CARDS for $1.50 a couple of weeks ago at a thrift shop.
(Lightbulb)
So…you buy the cards and then you wind your embroidery floss onto the cards!
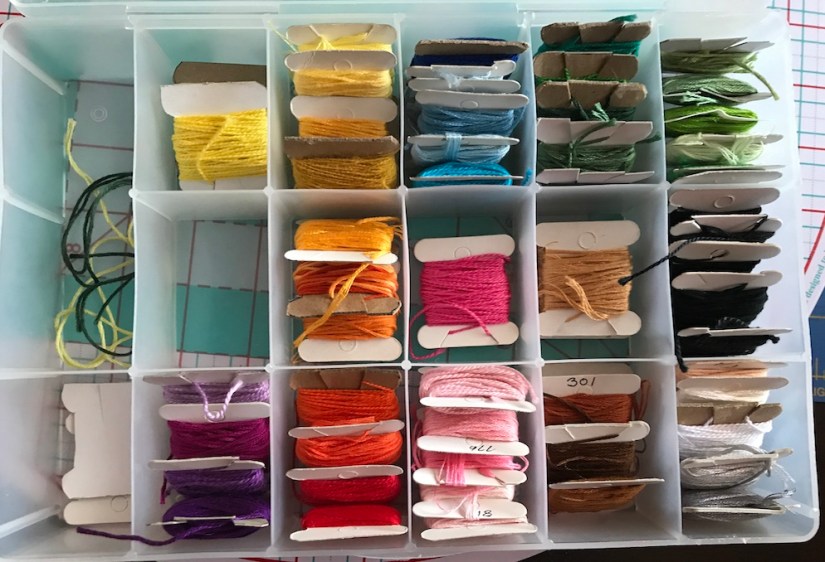
This weekend I sorted my thrift shop find into an old small plastic container with dividers and wound all my floss packages onto their own spool cards!
I went from this (note the tangled floss in small packages):
To this:
When I ran out of the cards I got from the thrift store bag, I used one of them as a template and created my own with some recycled cardboard.
Just think how much more basic quilting/crafting stuff I will learn in my next 17 years of quilting!