A Crafter's Life

The Last Baskets

I mentioned in my previous post What’s On the Design Wall: Sasquatch Quilt Top Completed, that I needed to work on something “emotional”. I’ve completed my “emotional” project and here is a post about it.

My late husband Terry (aka “Terry the Quilting Husband) was a quilter and a crafter. He also helped me on numerous projects such as making binding for my quilts, cutting fabrics, making hexagon templates for my English Paper Piecing projects; and being an all around “sous chef” for my quilting/crafting endeavors.

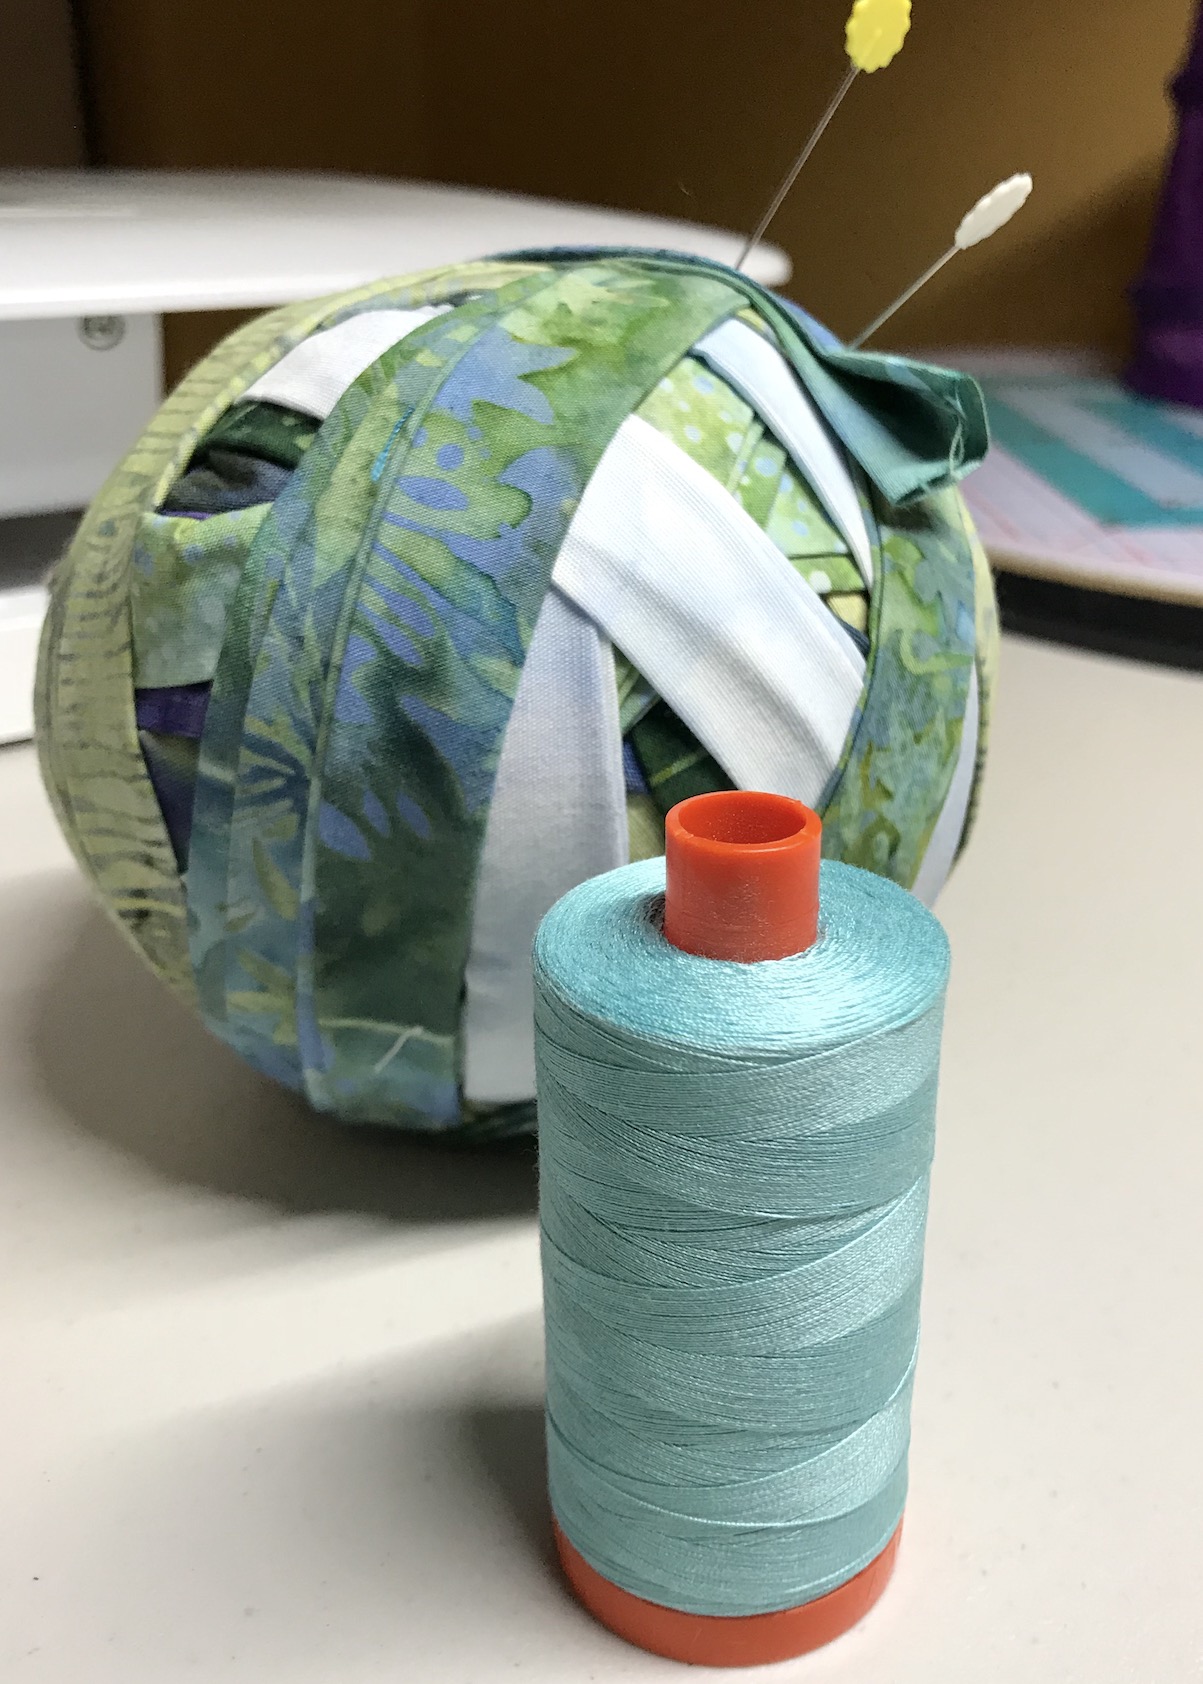
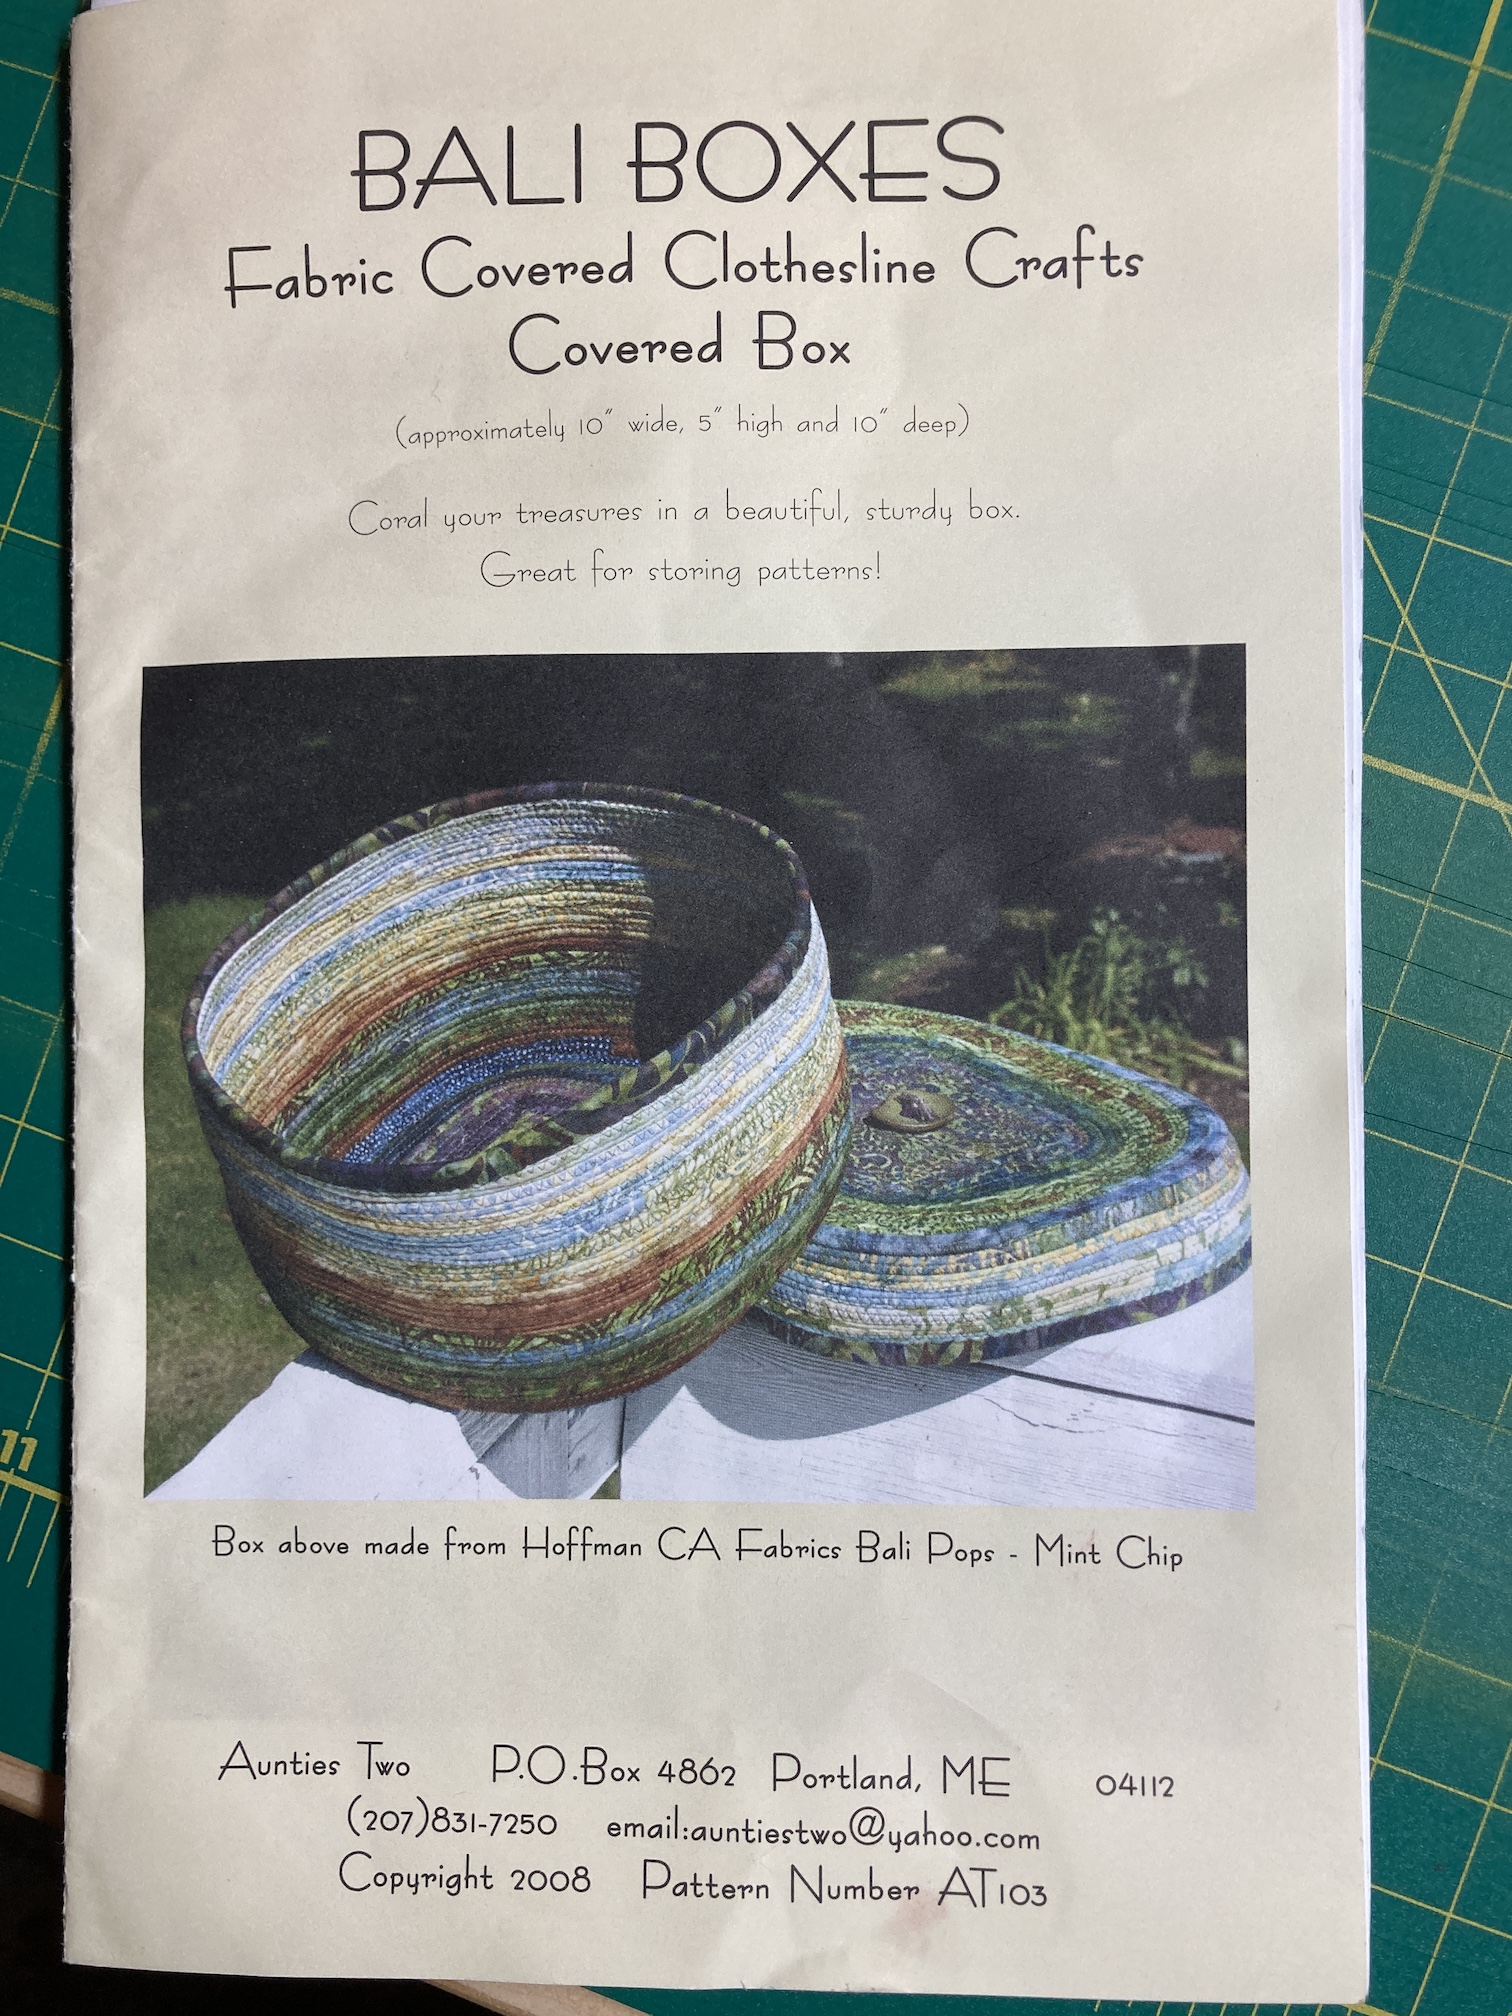
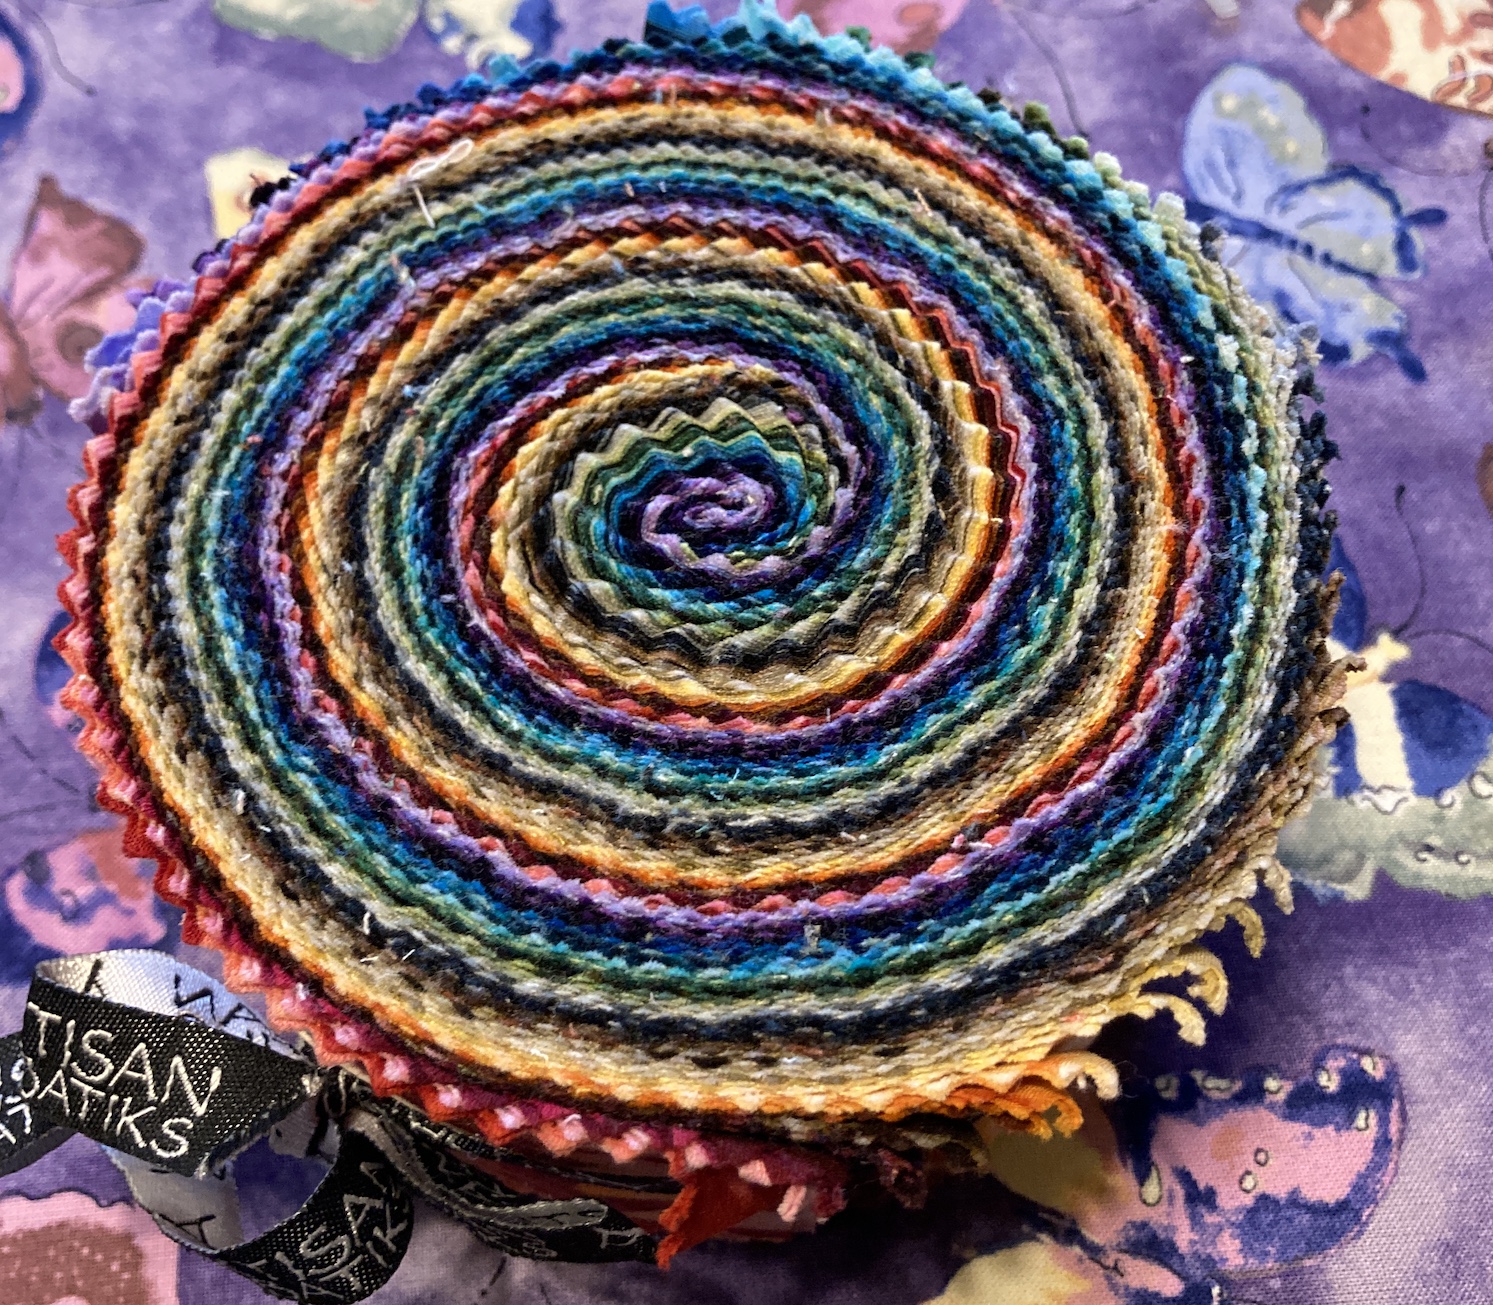
One of the projects he worked on prior to his passing in December 2018 was covering clothesline with batik jelly roll strips (40 – 2.5″ x 42″ strips) to make Bali Boxes (actually “bowls” as I do not make the boxes) from the pattern by Aunties Two:

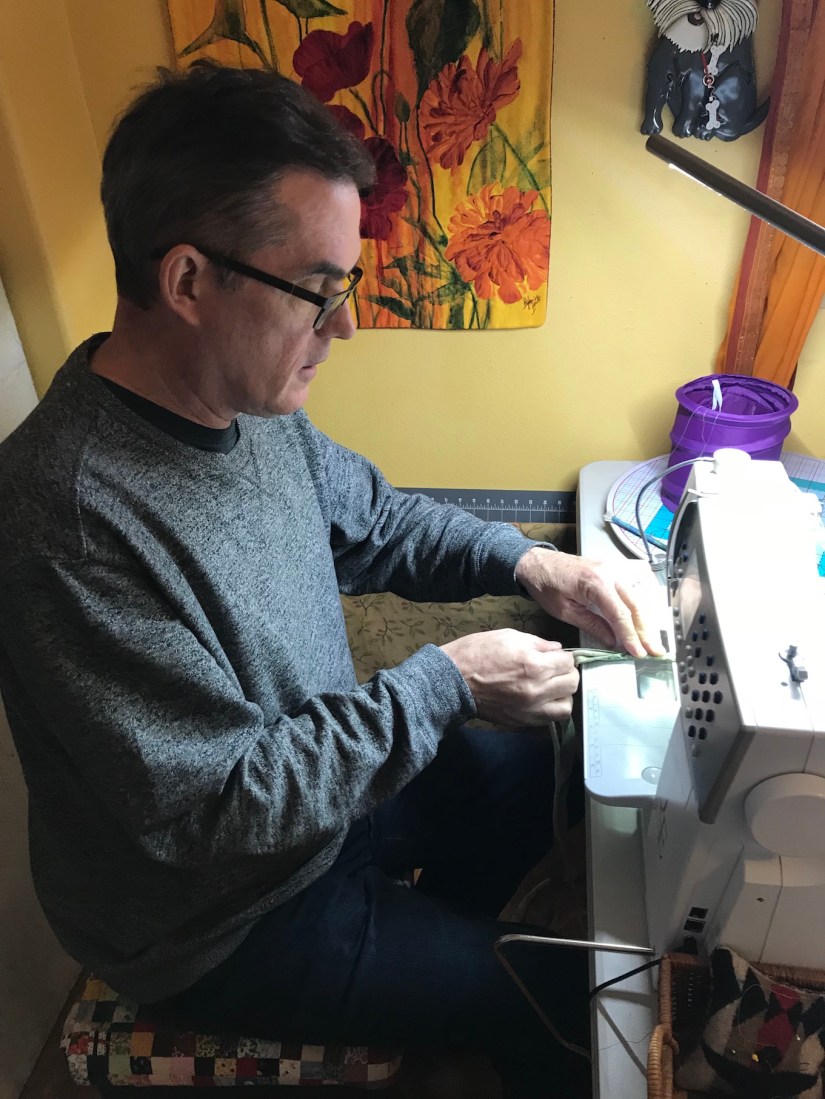
Here he is sewing the continuous strip (entire jelly roll sewn end to end) of batik strips on to the clothing line (see old posts “Throwing Pottery” on the Sewing Machine, Prepping to Make Fabric Bowls , and Prepping to Make Fabric Bowls, Continued for more on the process):

2018-01-17_14-21-59_306.jpeg

As a result of his efforts I had a roll of batik covered clothing line rope, but we got busy on other projects and I put it away:

Over the past nearly 2.5 years since his passing, I’ve slowly worked on completing projects he began and did not finish; or projects he helped me with and we did not finish. An example of one of these projects was a quilt for his eldest brother Andy (he came from a family with 7 kids and I sent one of his completed quilts to most of his siblings when Terry passed, except I did not have a completed quilt for Andy) that I discussed in the post – The Last Quilt.

(Trying to write this post without breaking into tears, but I want to share this experience with you as perhaps there is someone out there that wants to find the strength to complete projects started by a loved one who passed…)

So continuing my journey to complete anything he started before he passed, I realized it was time to make something with the clothesline he covered in batik strips. I decided to make two baskets: one for his sisters Diane and Susan, and one for me.

Here are images from my recent creation of these baskets – I like to call the process “throwing pottery on the sewing machine”:

Here is the basket for Terry’s sisters fresh off the sewing machine and then an image of the binding for the top being put on:

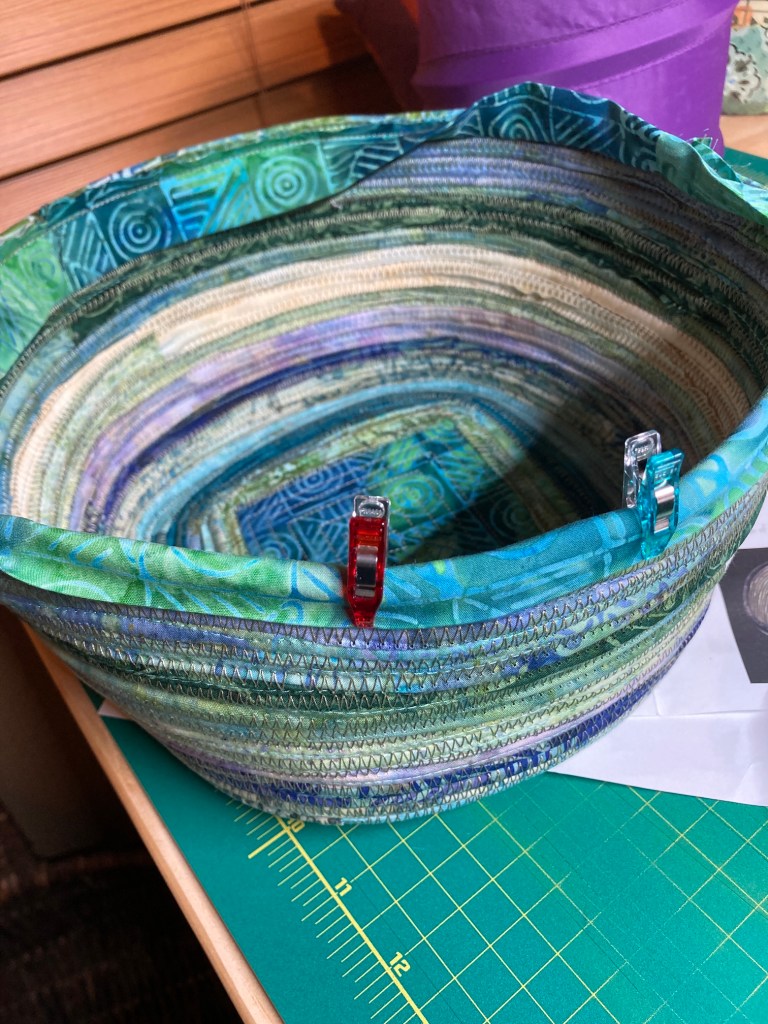
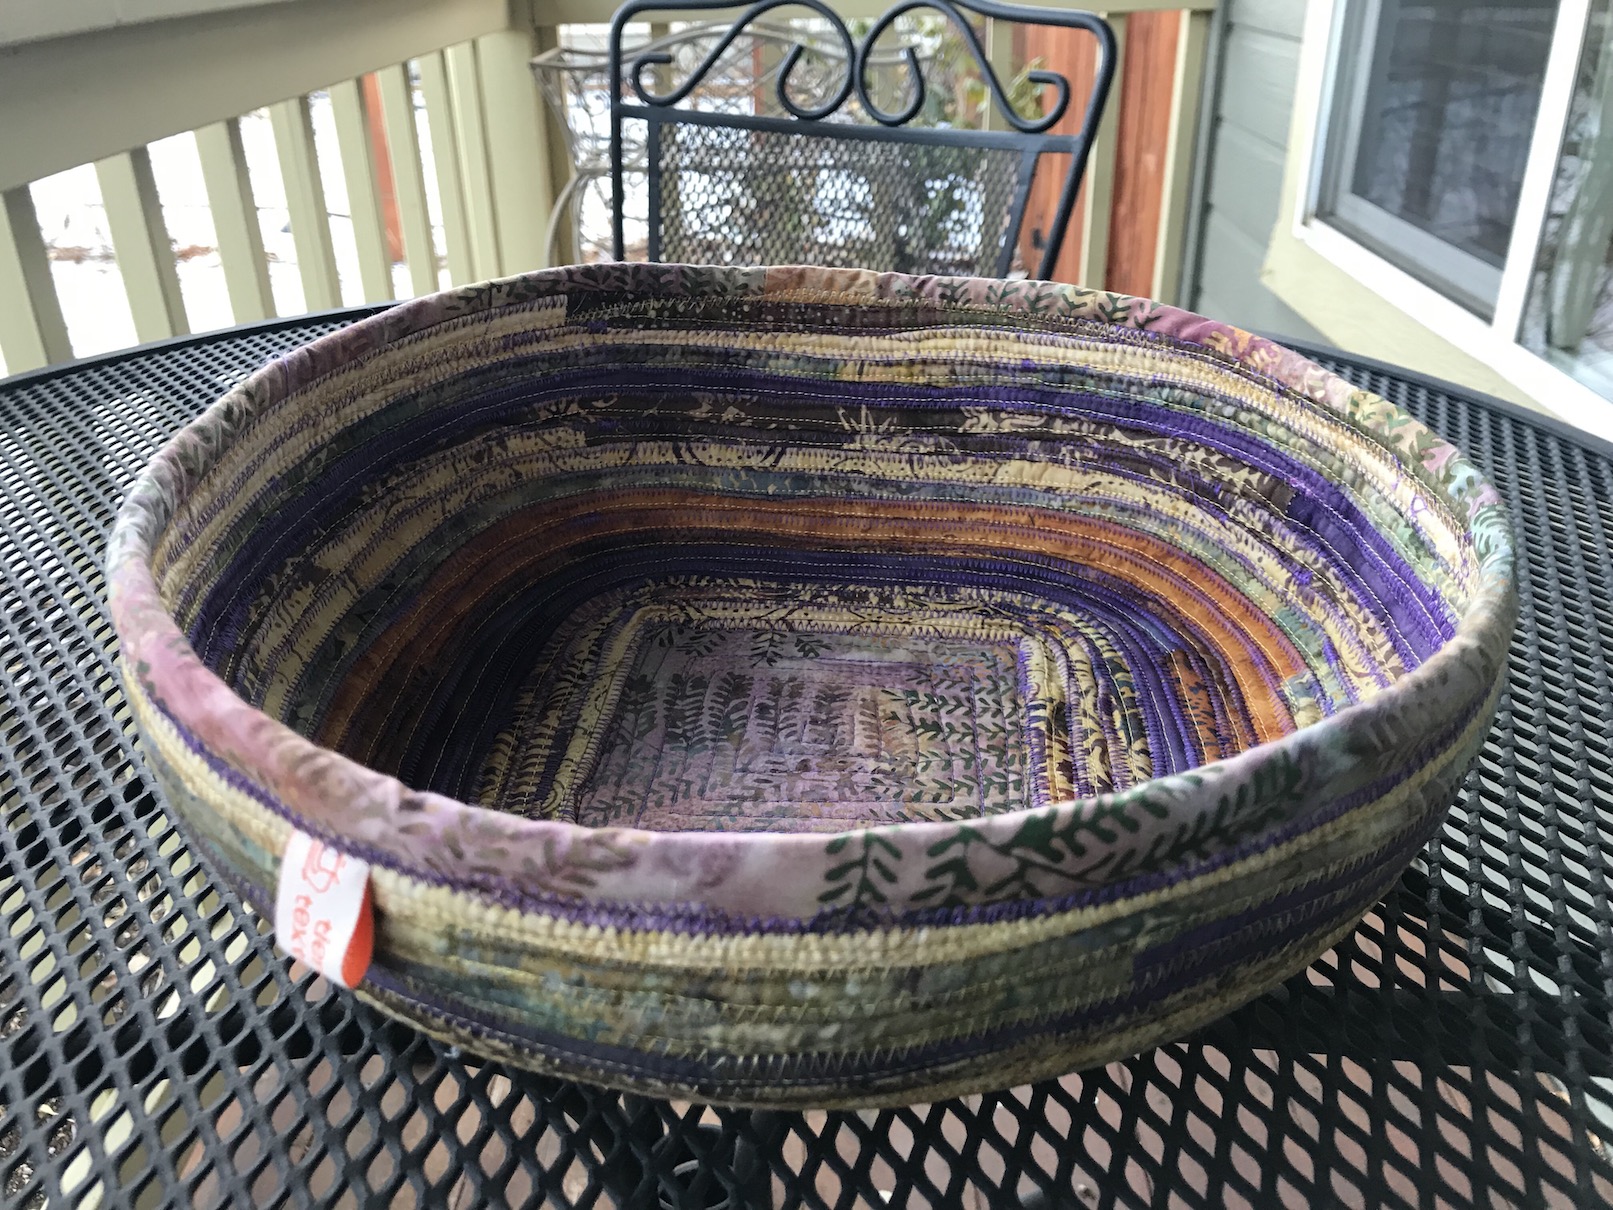
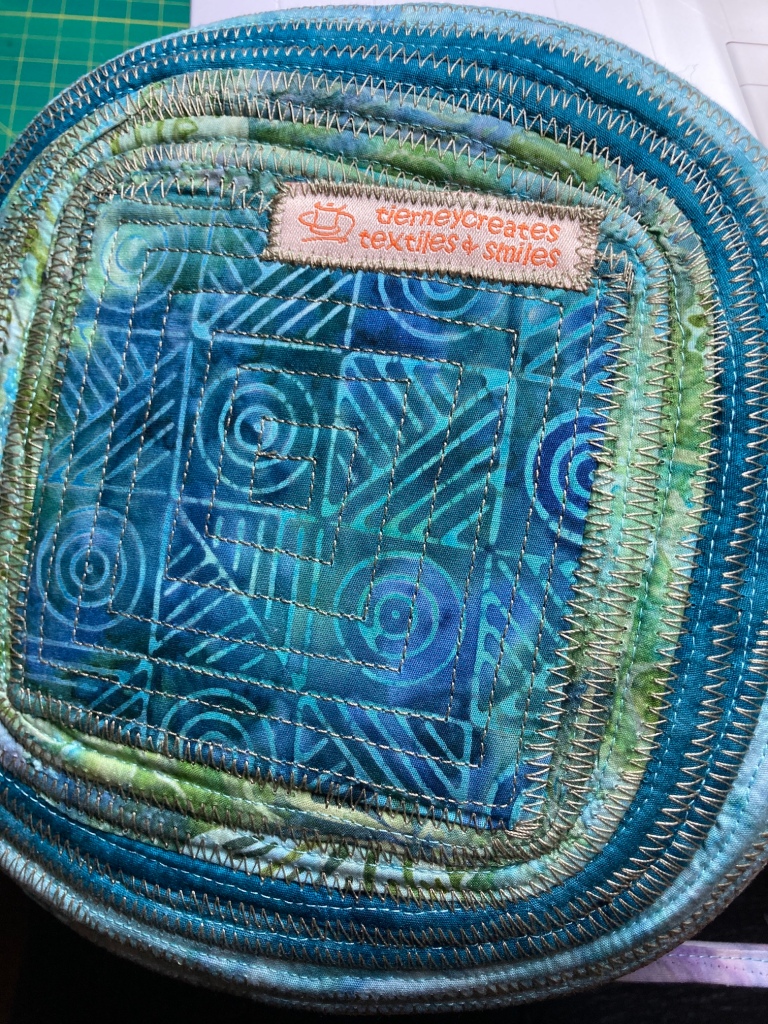
Here is the completed basket and the view of the bottom of the basket:

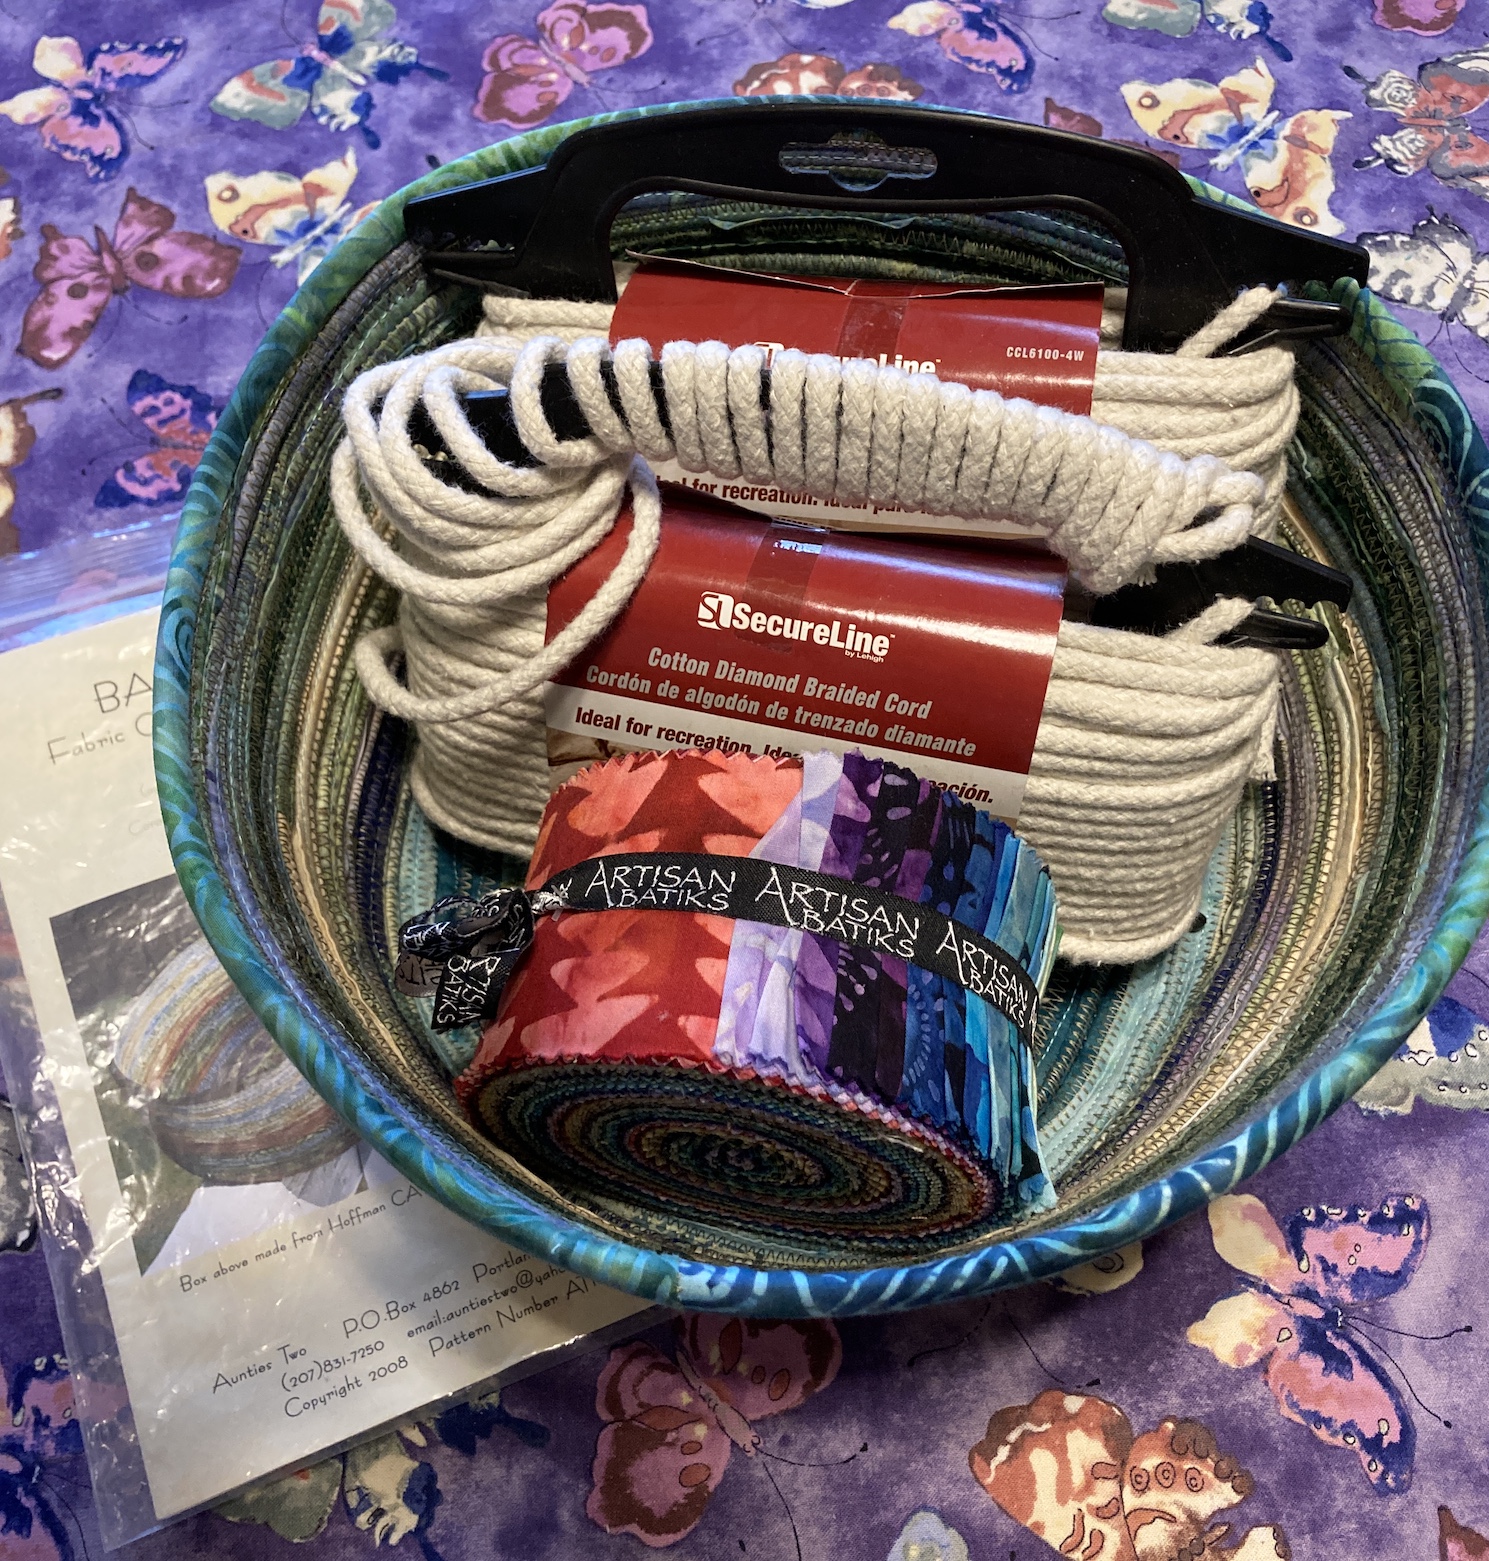
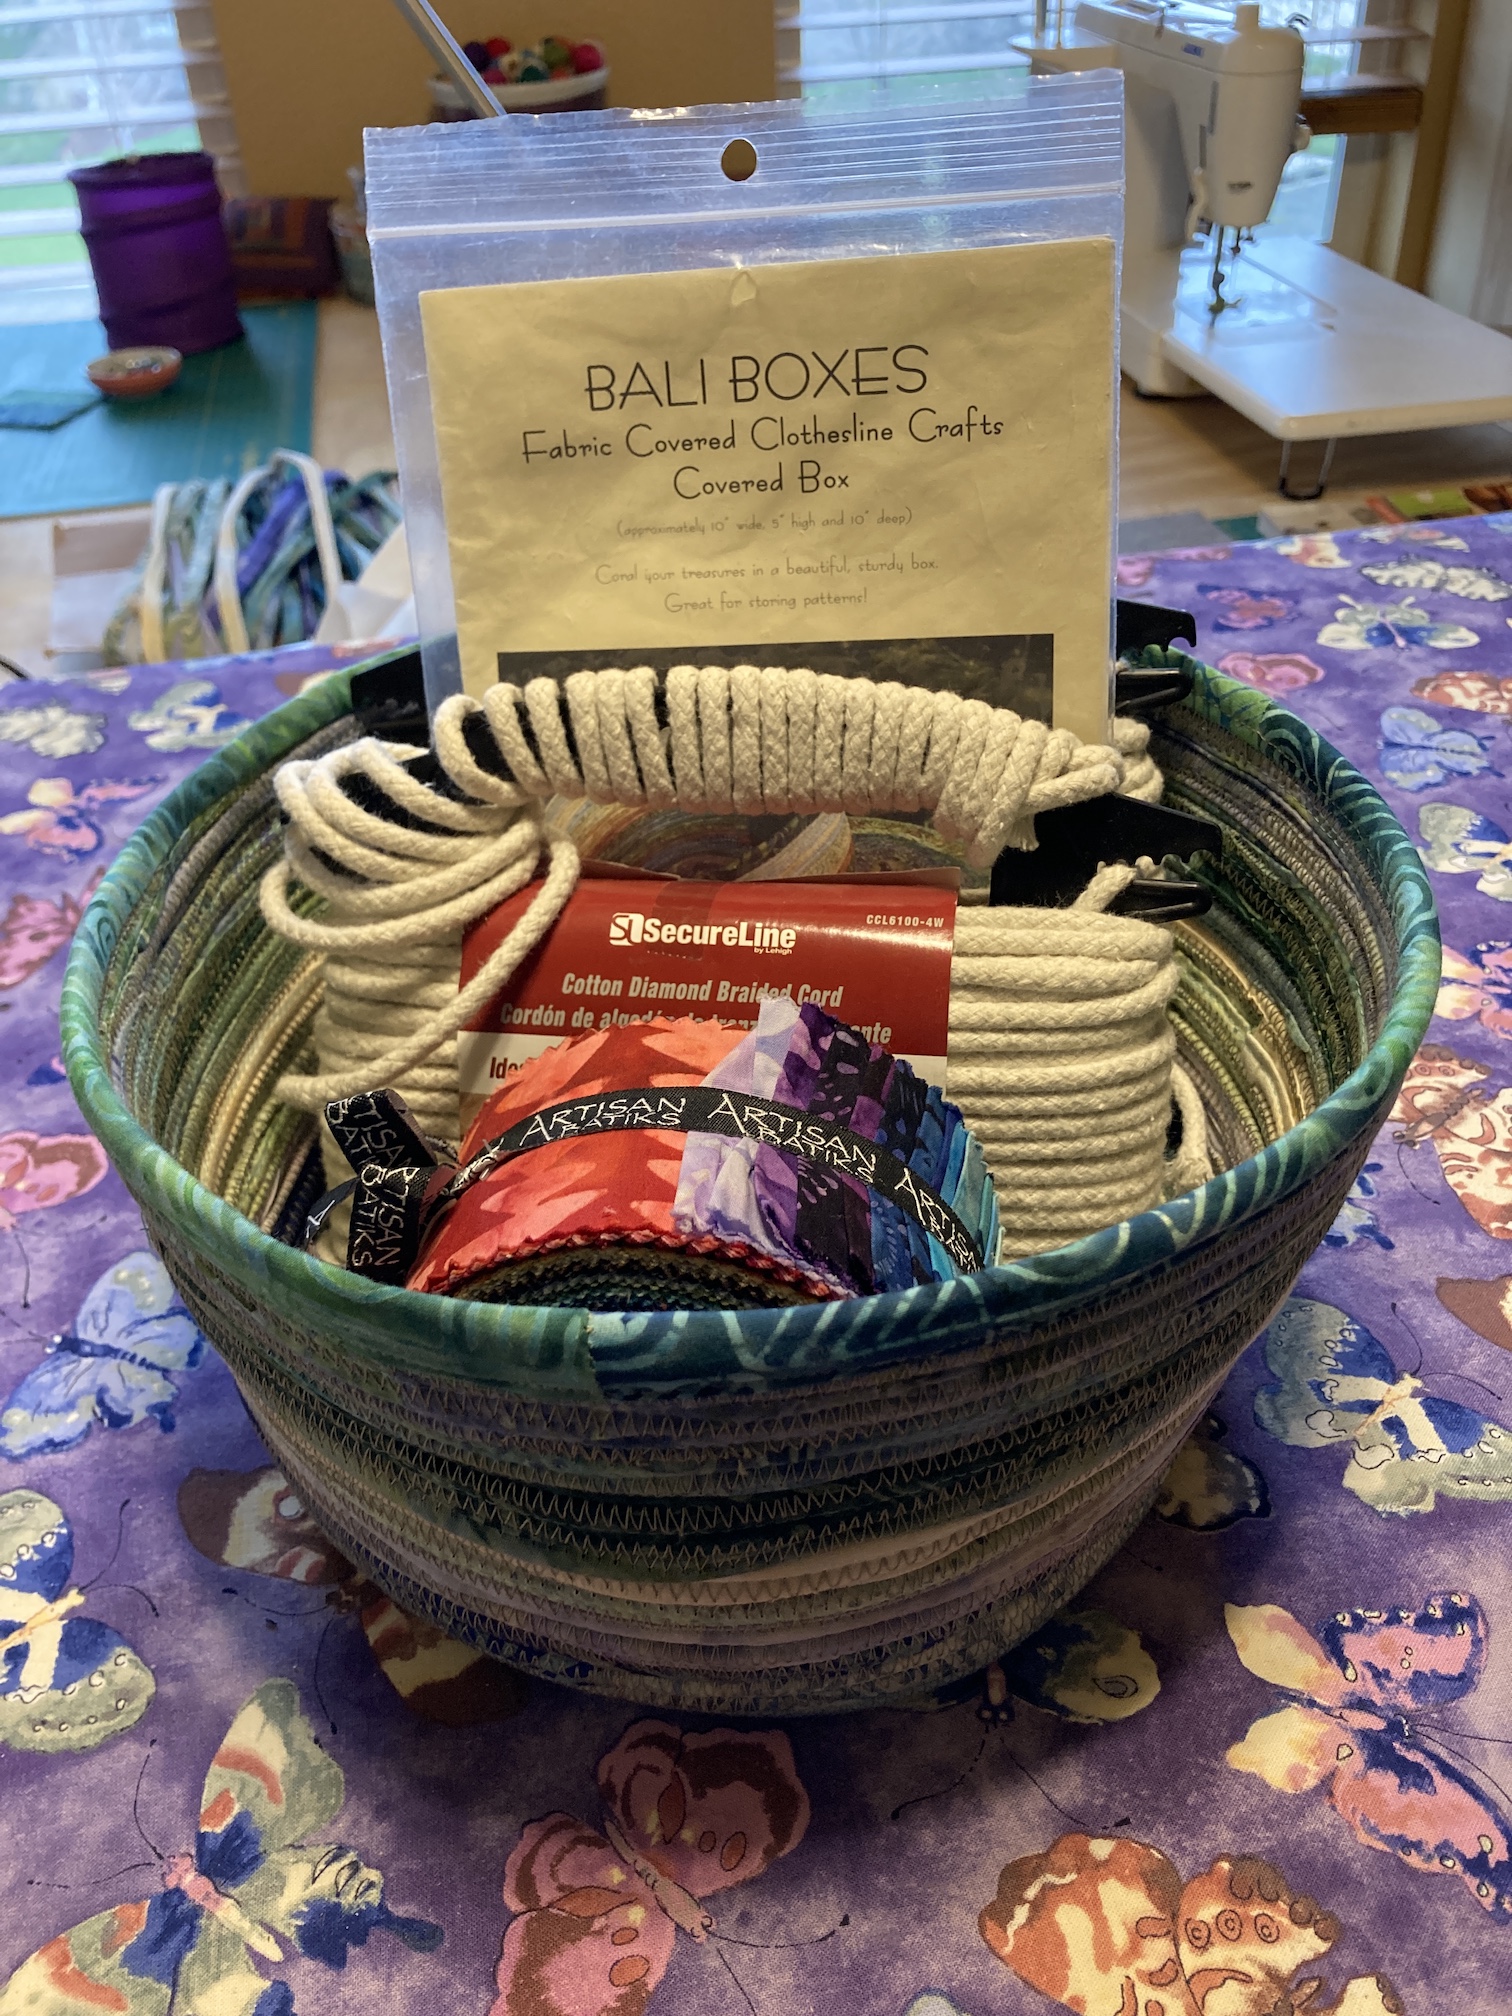
You might wonder what is peeking out of the top of the completed basket. Well I decided that my era of making baskets was done for now and I put together a kit for Terry’s sisters to make their own baskets to include: 1) a batik jelly roll; 2) the pattern; and 3) several packages of clothesline rope:

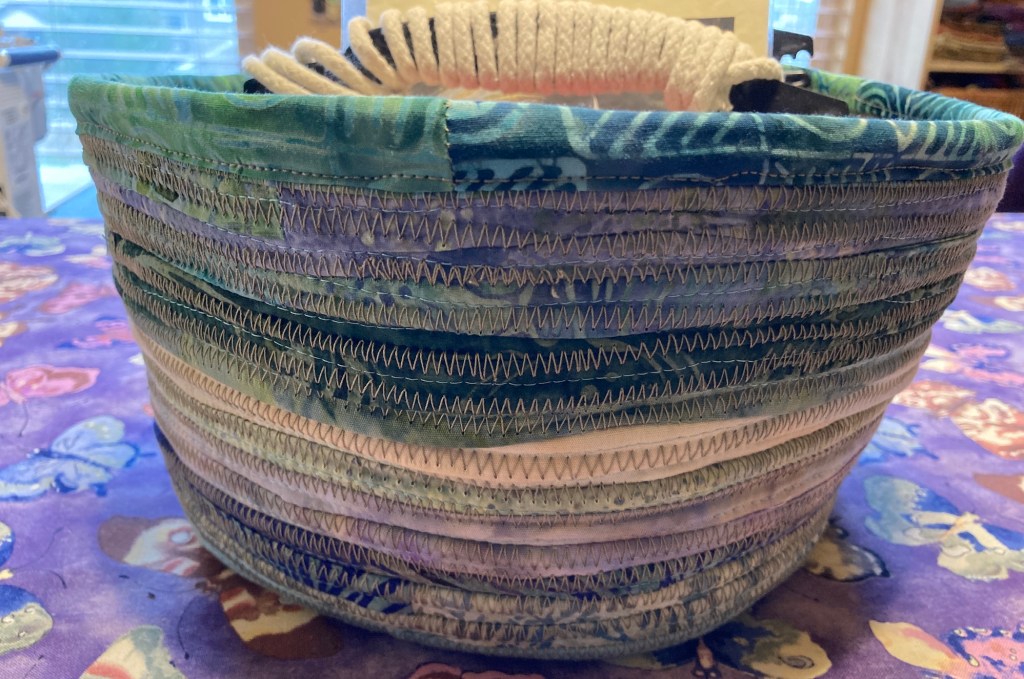
Here is the second basket which I made for myself with the remaining batik strip covered clothesline. It came out bigger than I anticipated and I am using it to store batik scraps:

Last week I shipped the basket to Terry’s sisters in New York and they have received the package.

Along with the basket and basket making kit I included a printed photo of Terry working on covering the clothesline for the basket.


As I did in the quilt I sent to Terry’s brother Andy (The Last Quilt) I said that the gift was from Terry and me – from this life and the next

Studio

Prepping to Make Fabric Bowls

This is a follow up to my 12/30/17 post “Throwing Pottery” on the Sewing Machine in which I shared images from making this fabric bowl from batik strips sewn onto clothesline:

2017-12-25_14-40-29_699

In the post I mentioned that I do not make a lot of these baskets because the preparation to make these baskets is so time consuming.

Recently I was cleaning out old projects and found the start of a prep for another set of fabric bowls. I thought: “what the heck, let’s finish up the prep and maybe make some more bowls”.  This time I enlisted the help of Terry the Quilting Husband (TTQH) to help me with the prep.

Below I will share a summarized overview of the cumbersome prep and where I currently am on my journey to make more fabric baskets.

It Starts with Strips

The pattern I originally used, Bali Boxes pattern by Aunties Two, appears to have been designed/inspired by the famous (and addicting) Hoffman Bali Pops. I know not everyone reading this blog is a quilter, so let me share an image of the packages of 42 pre-cut 2.5″ color coordinated/themed batik fabric strips:

s-l1000
image from eBay, photographer unknown

Did any of you who are quilters, get addicted to collecting sets of Bali Pops when they came out in the 2000s? Hoffman still makes them but for me the novelty wore off (as did the novelty of buying “jelly rolls” which are another configuration of 42 2.5″ coordinating fabric strips).

I still have 3 – 4 Bali Pops leftover from my Bali Pop days; and all the fabric baskets and bowls I have made are from Hoffman Bali Pop sets. One set actually makes a couple baskets – 2 or more depending on how deep you make each basket. I am thinking I could get 3 bowls out of a Bali Pop.

I do not know the name of the Bali Pop I am currently using (they all have cute names for their color combinations like “Green Tea” and “Citrus Grove”) but I think it had to something to do with the ocean as you can see the colors are blues and greens.

The Tedious Steps Begin

This post is not intended to discourage you from making a covered clothesline fabric bowl or basket, but I want to show that a bit of patience with tedious tasks is required to make these items via the Bali Boxes pattern method.

First you have to sew forty-two (42), 2.5″ strips which each measure 44″ long, end to end. Do the math – that is one mega long strip you are creating. Not accounting for all the 1/4″ seams you are creating sewing end to end, 42″ x 44″ = 1848 inches, or 154 feet (46.94 meters).

After that is done, you have to fold each strip in half and then fold into itself again, to create a pocket/tunnel to nestle the clothesline.

Now for the steps above, this time I enlisted (or would this be considered “abused”) TTQH. He amazingly created this ball of batik strips after much work:

2018-01-11_08-06-38_795.jpeg

It is a large ball and tightly wound/packed. I am amazed at his patience to do this for me, especially to double fold like 140+ feet of sewn strips (I used some quick and suspicious math to subtract 42 quarter inch seams).

Creating the Coil

I am on the last part of the prep to make fabric bowls/baskets – and it is equally as tedious. I have to stitch cotton clothesline into the center of the 140+ feet of sewn strips to create the coil.

But first I had to decide what coordinating thread to use, so I put together some options:

2018-01-15_17-50-37_133.jpeg

I let TTQH select the thread (he likes to make design choices like that) since he did all that work to create the “Ball-o-Batiks” for me. Here is the thread he selected from the options above:

2018-01-15_17-54-34_142.jpeg

After winding coordinating bobbins (making a basket or bowl on the sewing machine used a lot of bobbin thread) I was ready to start making the coil on my sewing machine:

2018-01-16_17-54-36_2632018-01-16_17-54-10_9262018-01-16_18-01-25_637

I set the ball of clothesline and the “Ball-o-Batiks” on the floor side to side as I work them together through the sewing machine:

2018-01-16_17-54-29_066.jpeg

Here is what I have finished so far, not very much but I plan to work on it at a leisurely pace:

2018-01-16_18-03-09_983
2 feet down, 138 feet more to go…

I will share a photo of my progress in a future post.


Postscript

In yesterday’s post, Oh Scrap!, I mentioned that I had moved the fabric scraps from their organization in color themed boxes to a large bag. Well after completing this process I also ended up re-arranging my tiny sewing room again and thought I would share a photo:

2018-01-14_08-09-04_965.jpeg

I’ve added this photo as an update to my page tierneycreates Studio Tour, where you can see a tour of my entire studio.

Although I could use the space for something else, I always try to find a way to keep my old futon chair (it coverts to a bed for a very small person) in my studio to always have a cozy place to sit and think (about my next studio reorganization project, ha!)