Last post I shared this photo of semi-simultaneous unfinished crafting project work:
I recently finished #2 (see post I hurried); and this weekend I finished up #1 – little pillows made from scrap shot cottons, previously discussed in these posts:
Finishing out the Challenge Bag of shot cottons
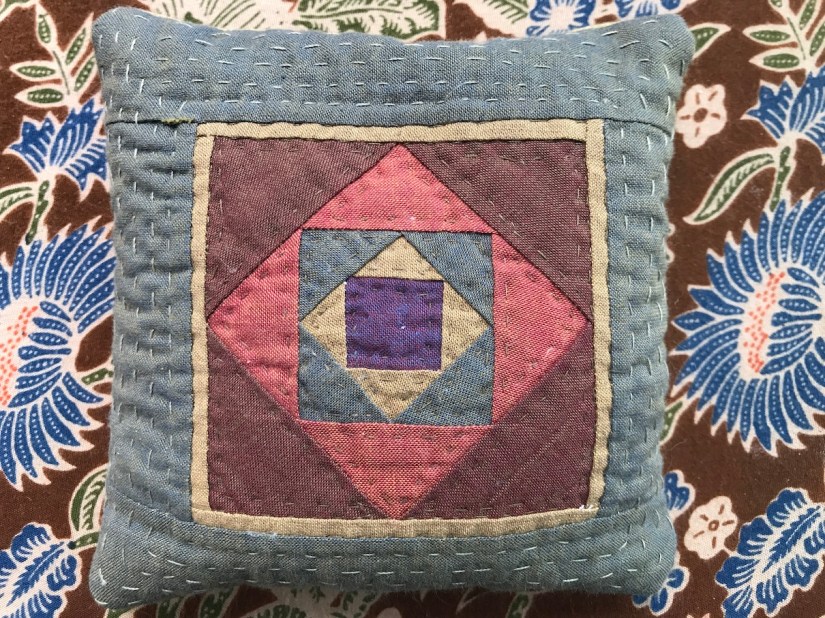
Originally I had planned to hand quilt all the little pillows tops:


In reality, I only ended up hand quilting the paper pieced one (I finished this up a couple weeks ago while watching TV in the evening):
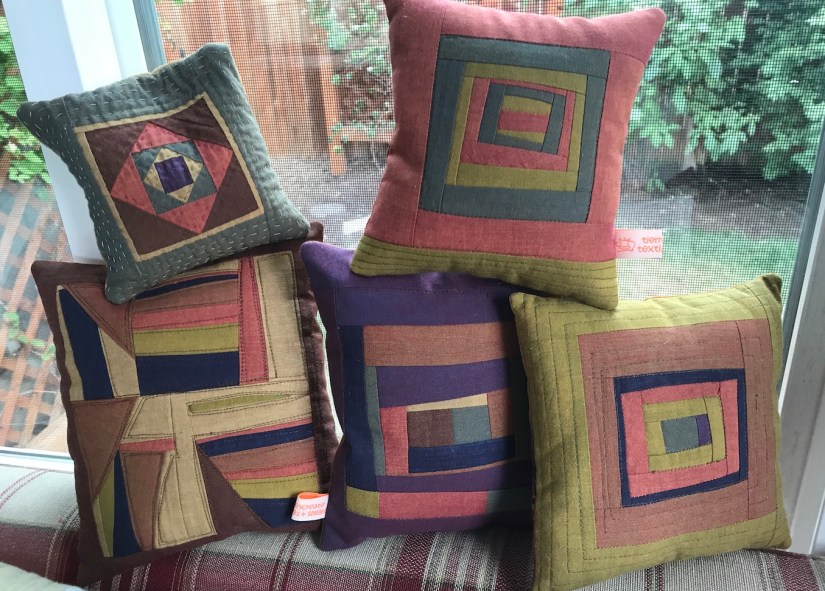
The rest of the little pillows I machine quilted this weekend:

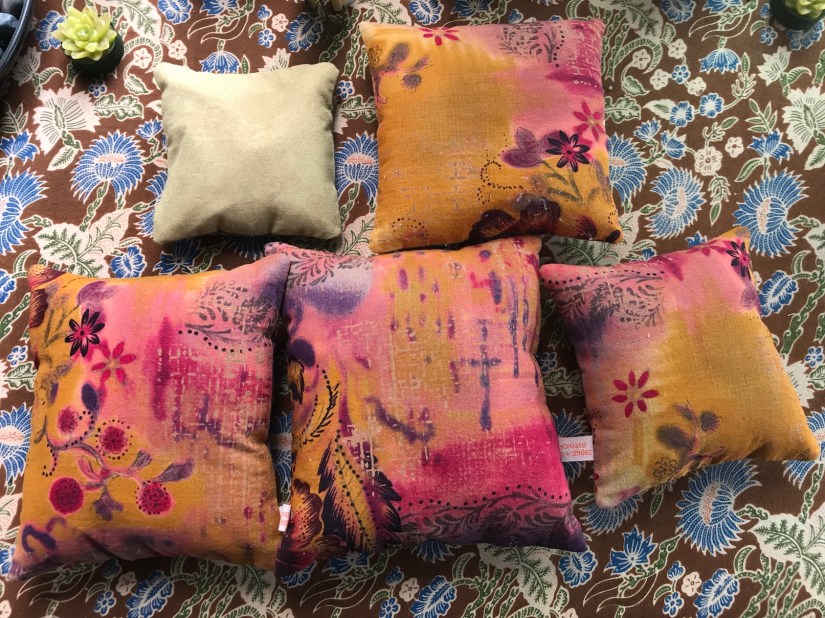
When I remembered, I added in a tierneycreates label which I shared in post Embracing Orange. My tierneycreates Etsy shop is closed but I still have all these labels I might as well use them!
Except for the paper pieced pillow which has a solid light tan back, here is the fabric I used on the back of the pillows:
This petite pillow for some reason is my favorite – I stuck it in my bookcase:
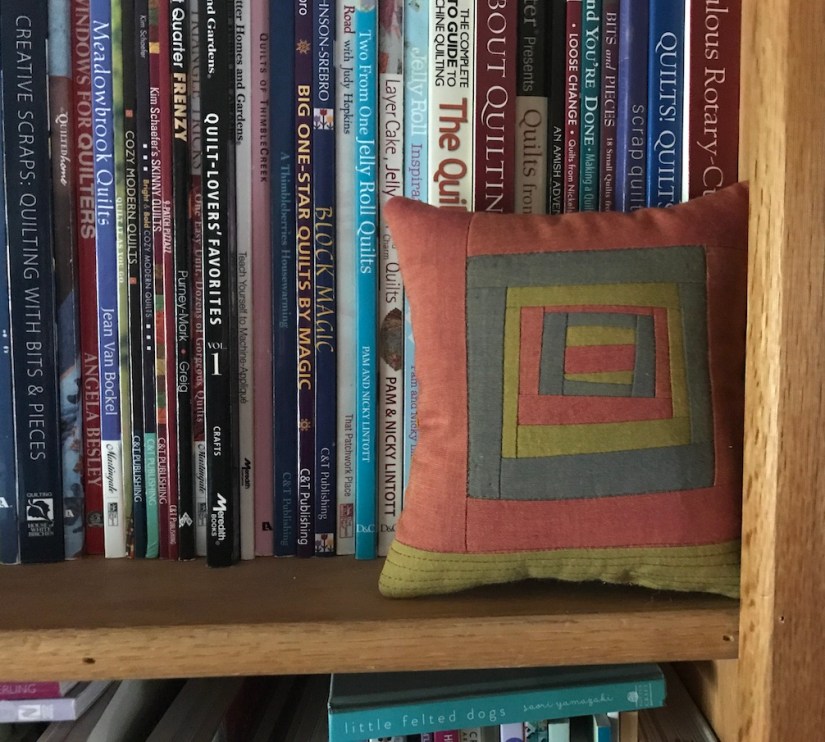
Petite Pillow Power!
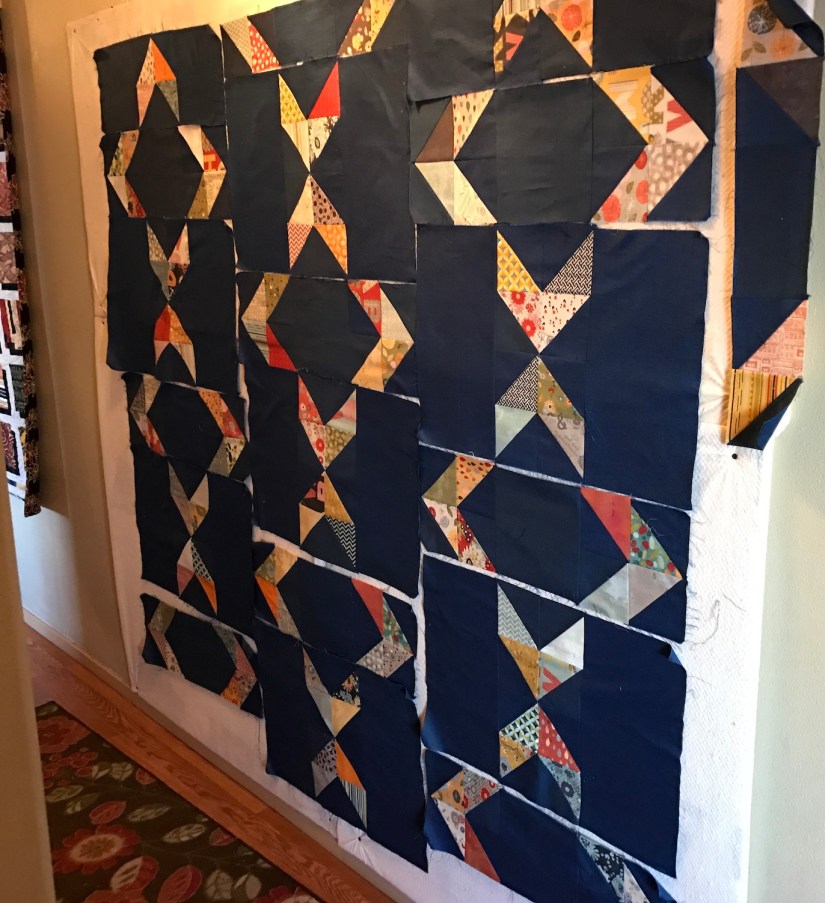
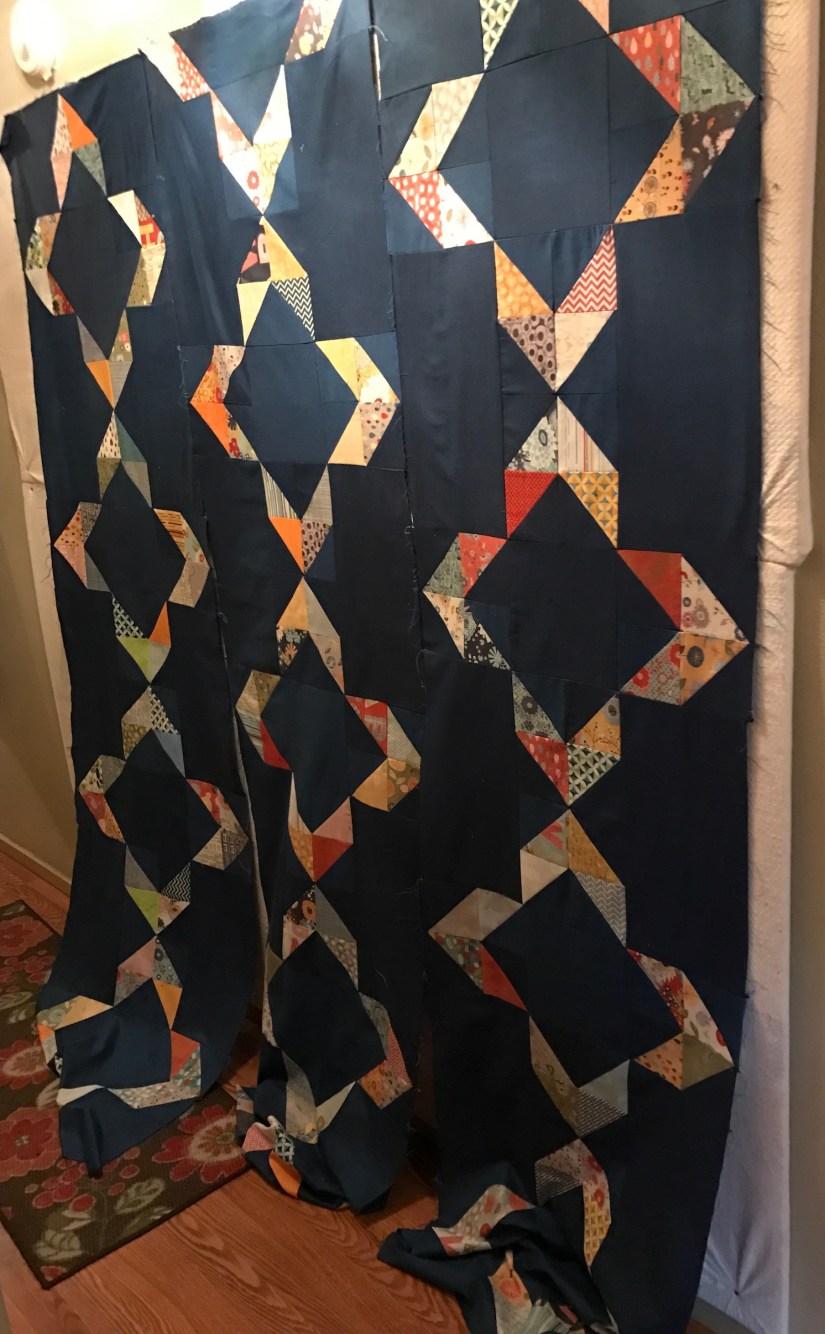
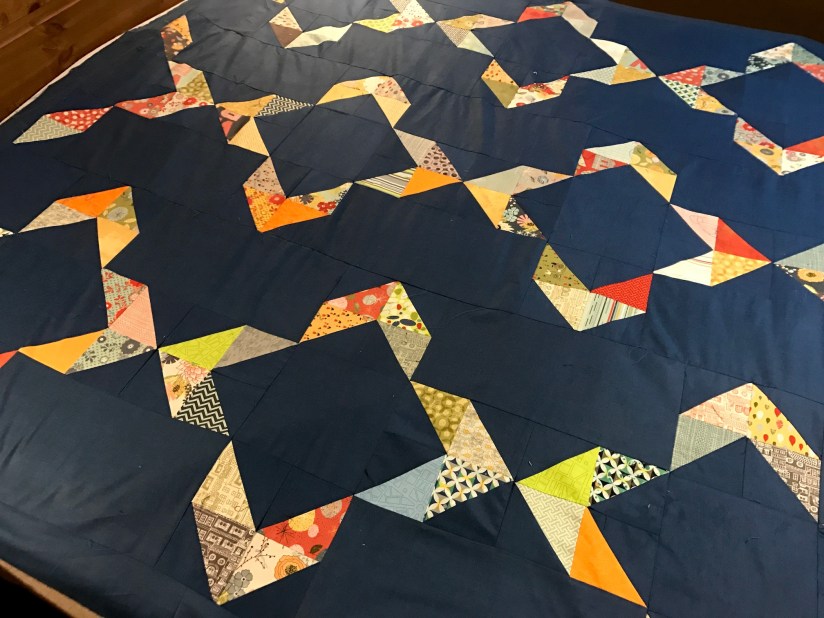
What’s next? Well I am going to start on #4 (Revisiting Traditional Piecing: The Blocks Part III) – I finally…9 months later…figured out the layout/setting for the blocks!
Postscript
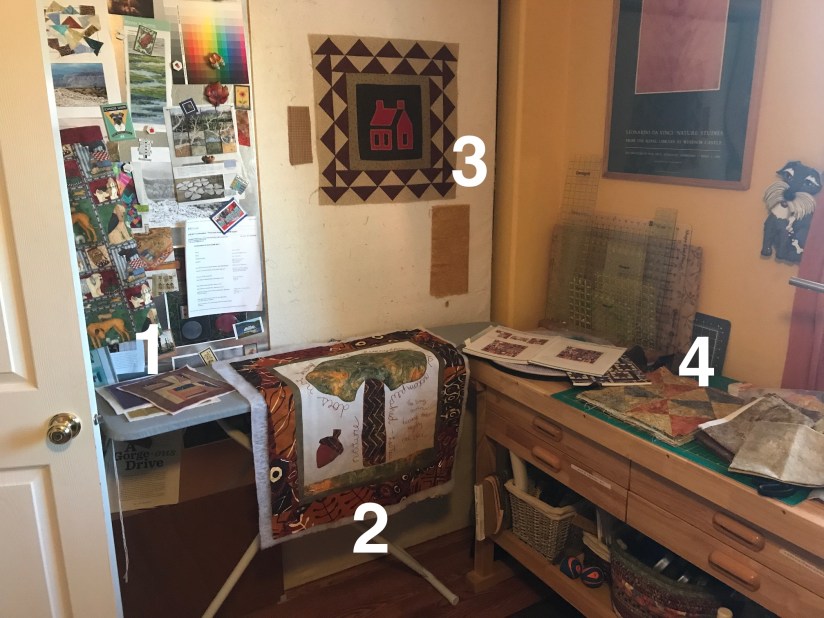
Thank you so much for all the suggestions on my post The Photoshoot Shed: Please Give Me Your Ideas– so many of you came through with some fantastic ideas!
It has been very warm in Central Oregon, and once it drops below skin-searing temperatures, I am going to fiddle around the back of the shed and decide which idea to implement.
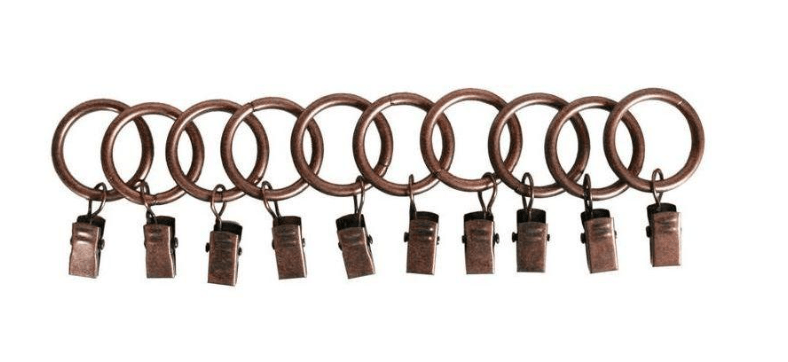
I have a bunch of these from a failed small curtain hanging experiment and I am thinking of using these with some type of rod or heavy tension wire:
Additionally, I appreciate the great photo tips provided in the comments!