It’s cold out and Colorado Winter is upon us (even though it’s not officially Winter yet), so it was time for a fun crafting get together distraction!
Tuesday I hosted a card making party for three of my friends in studio. In this post I’ll share the set up and crafting in progress; in the next post I’ll share the cards we made!
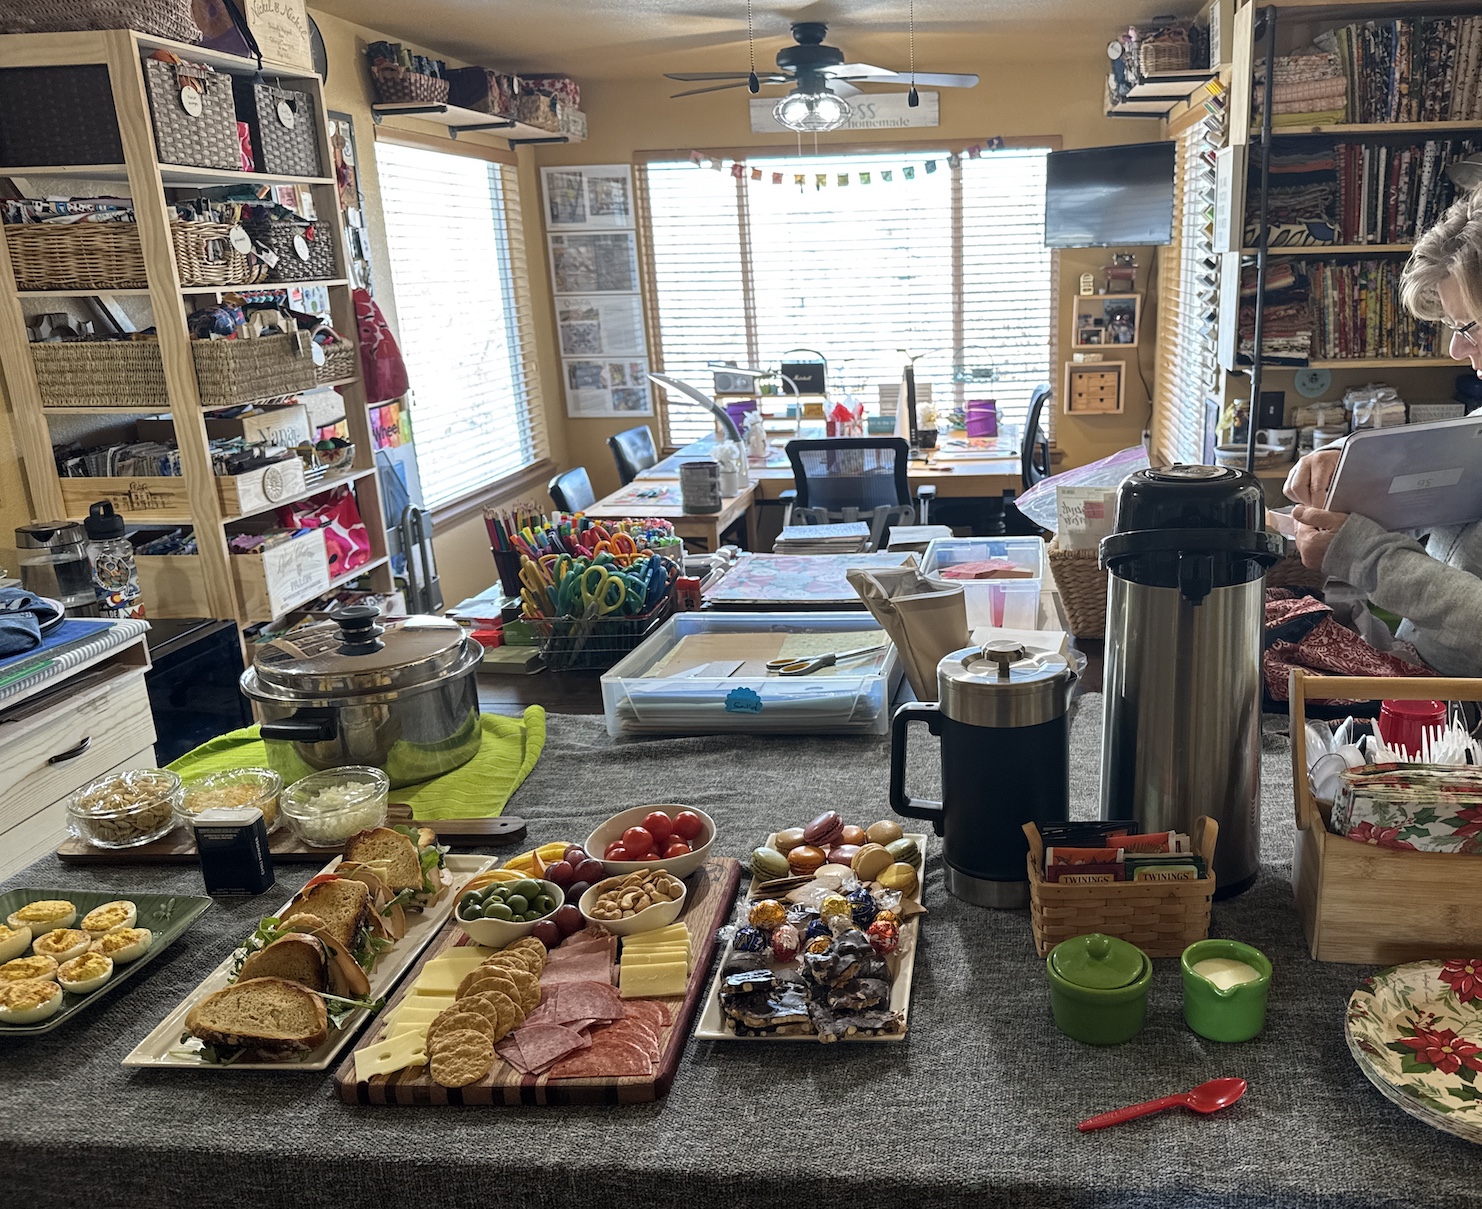
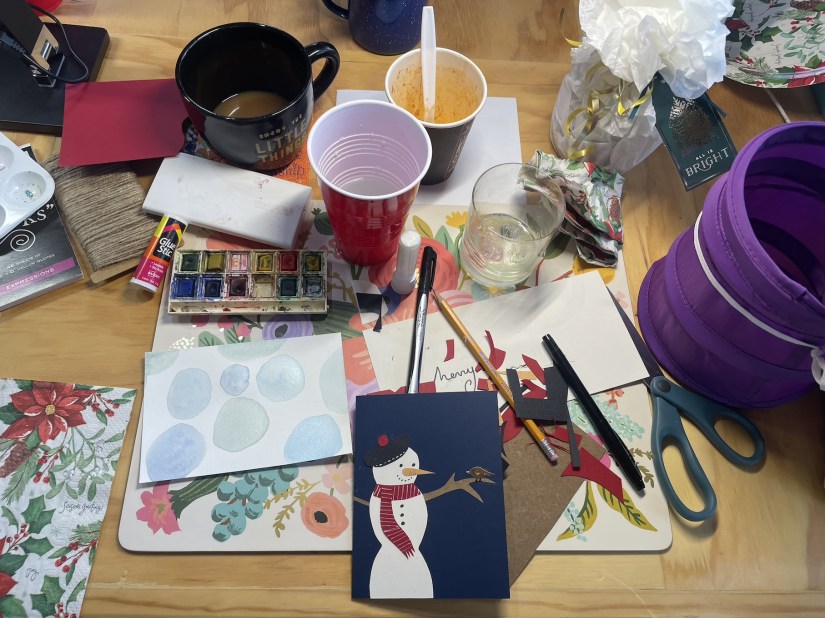
I converted my studio table (putting away the cutting mats, rotary cutters, pins, etc.) into a card making supply station and the lunch buffet station:
We were not short of food options! One of my friends brought her homemade chili and I had made broccoli cheese soup! We didn’t coordinate the menu, people just brought what they wanted – and both of us were thinking we needed a hot liquid dish to warm us up!
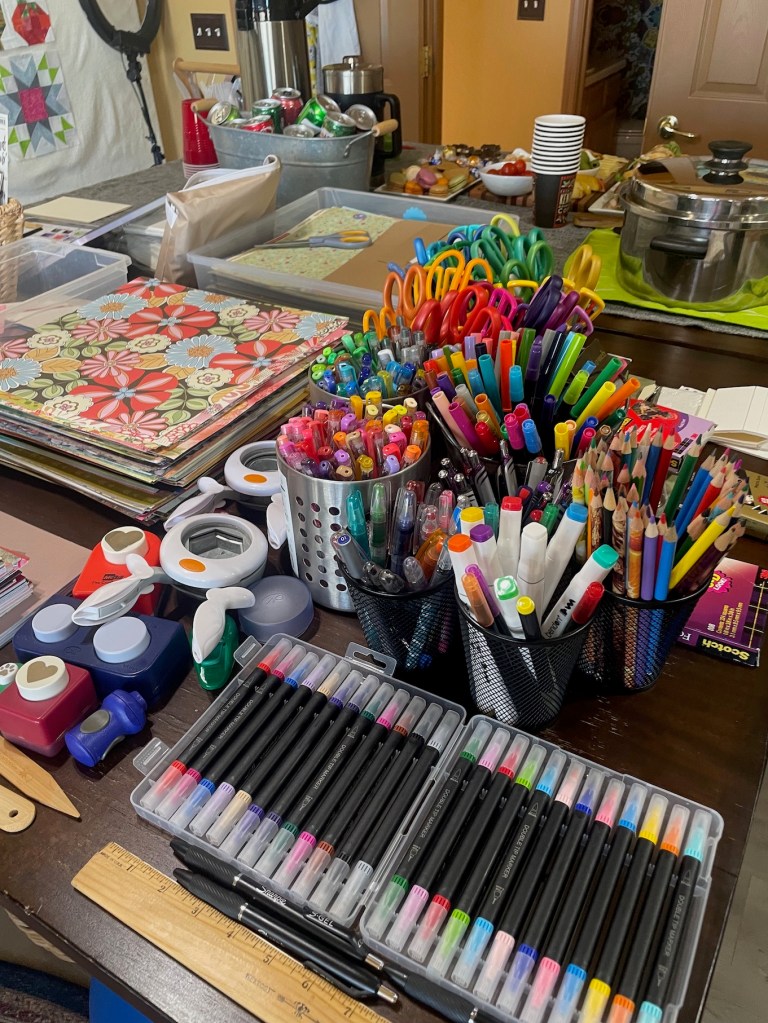
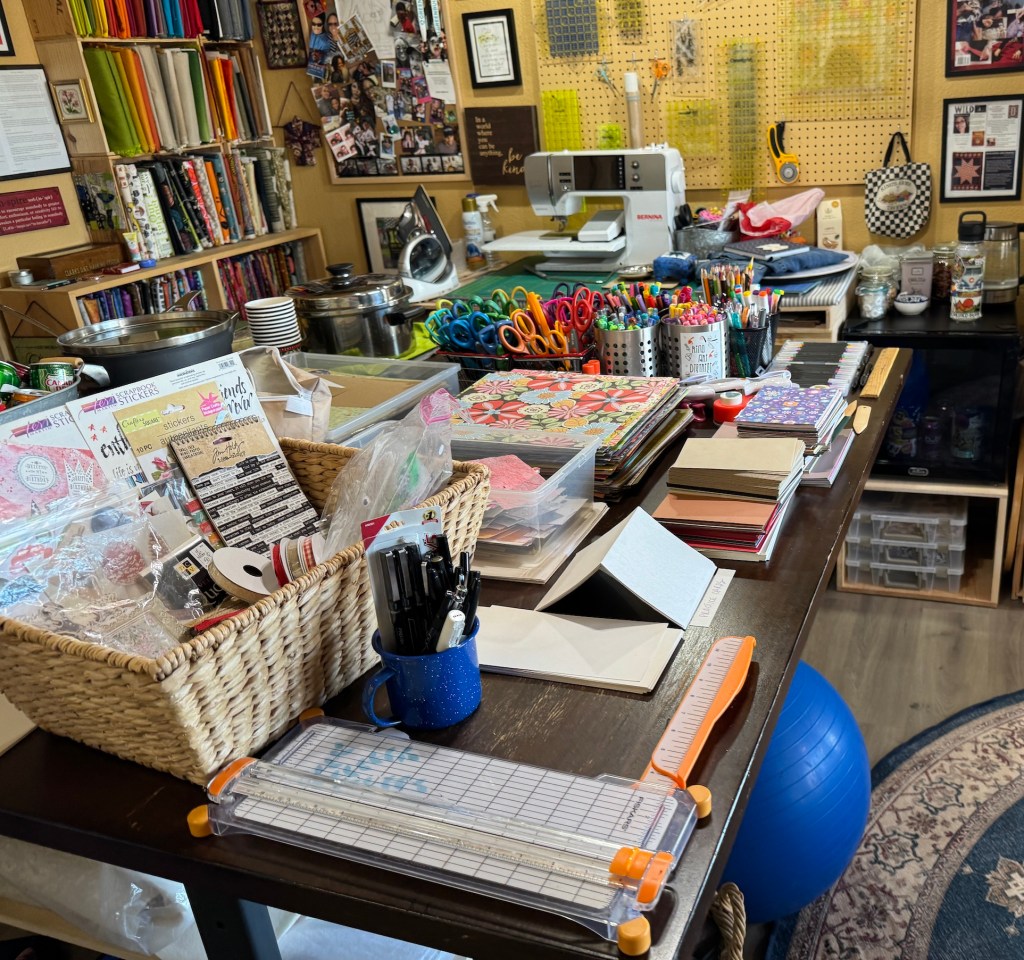
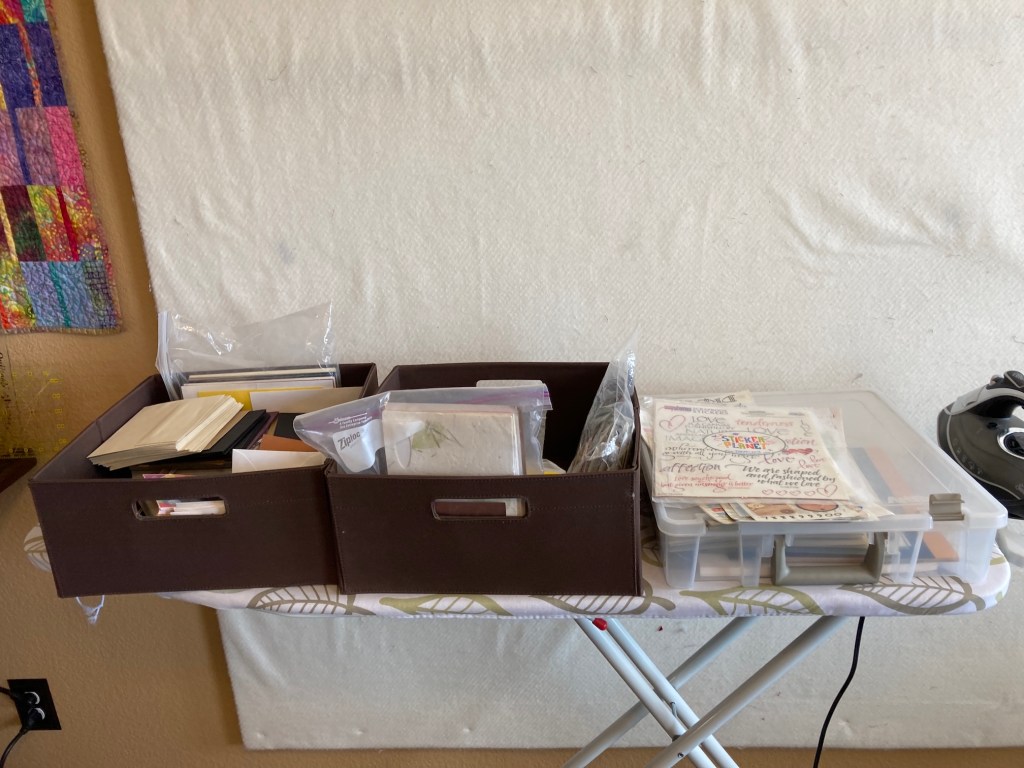
My studio table went from this before the party:
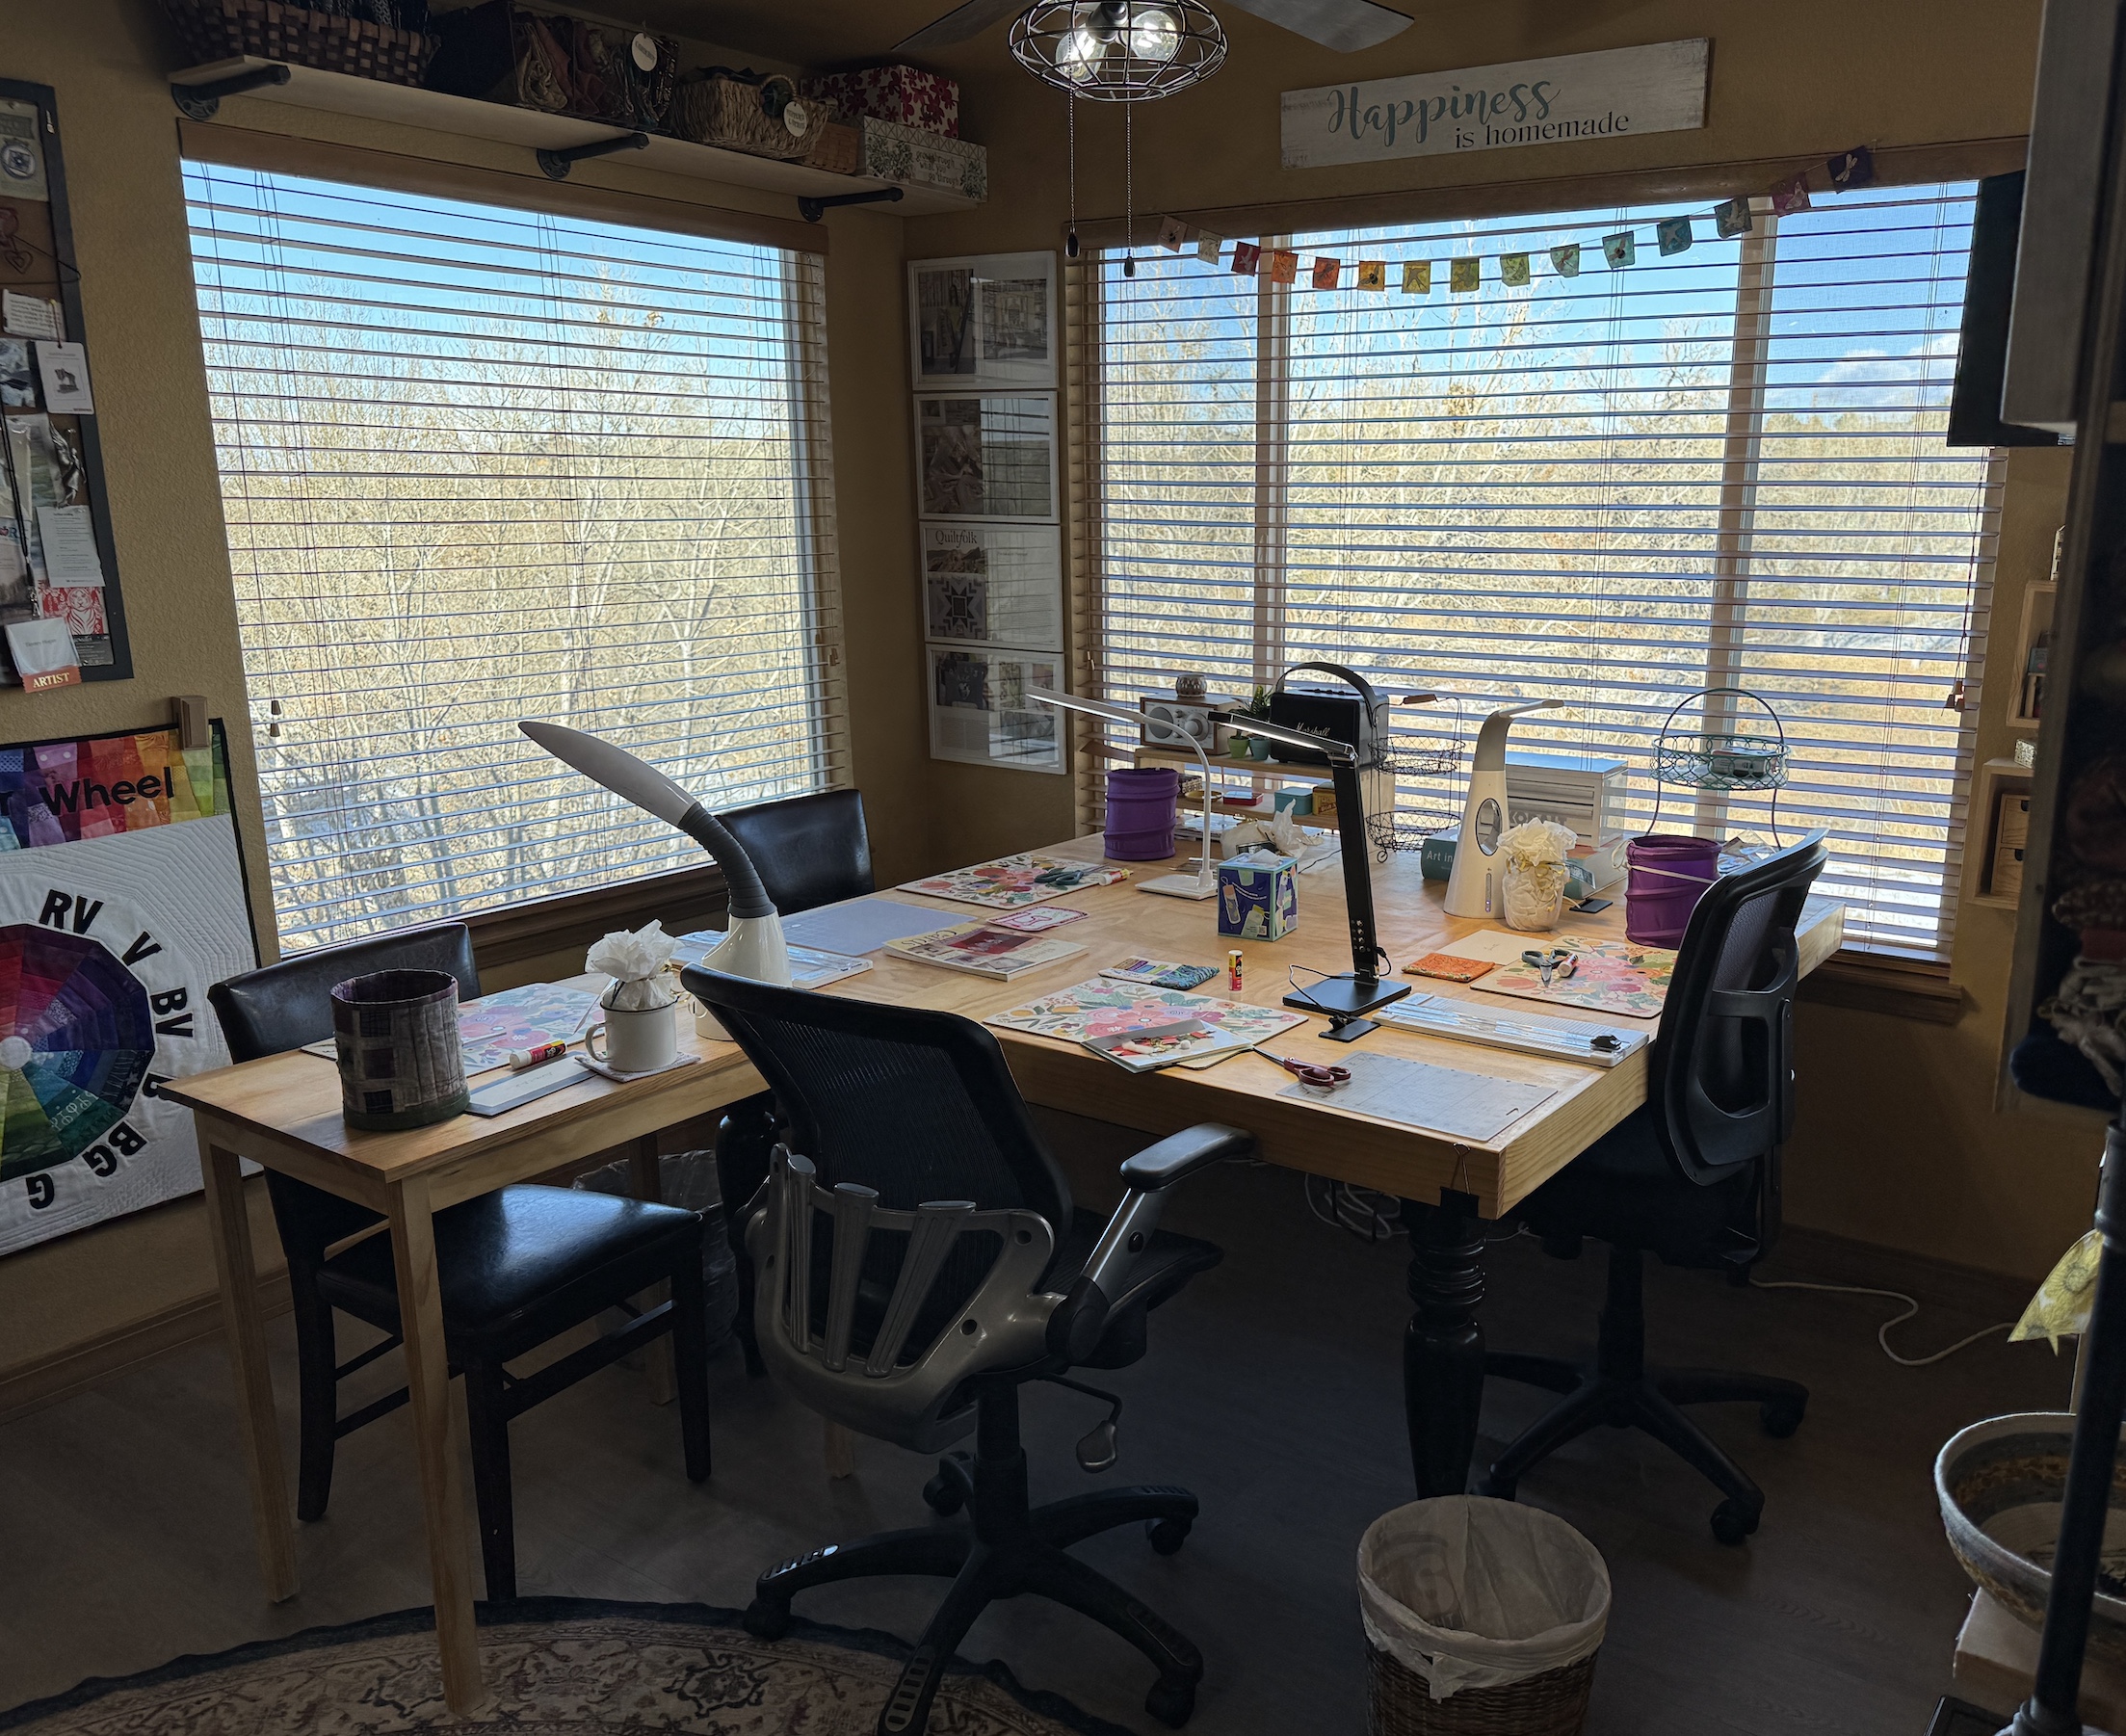
To this (in order to accommodate 4 crafters!):
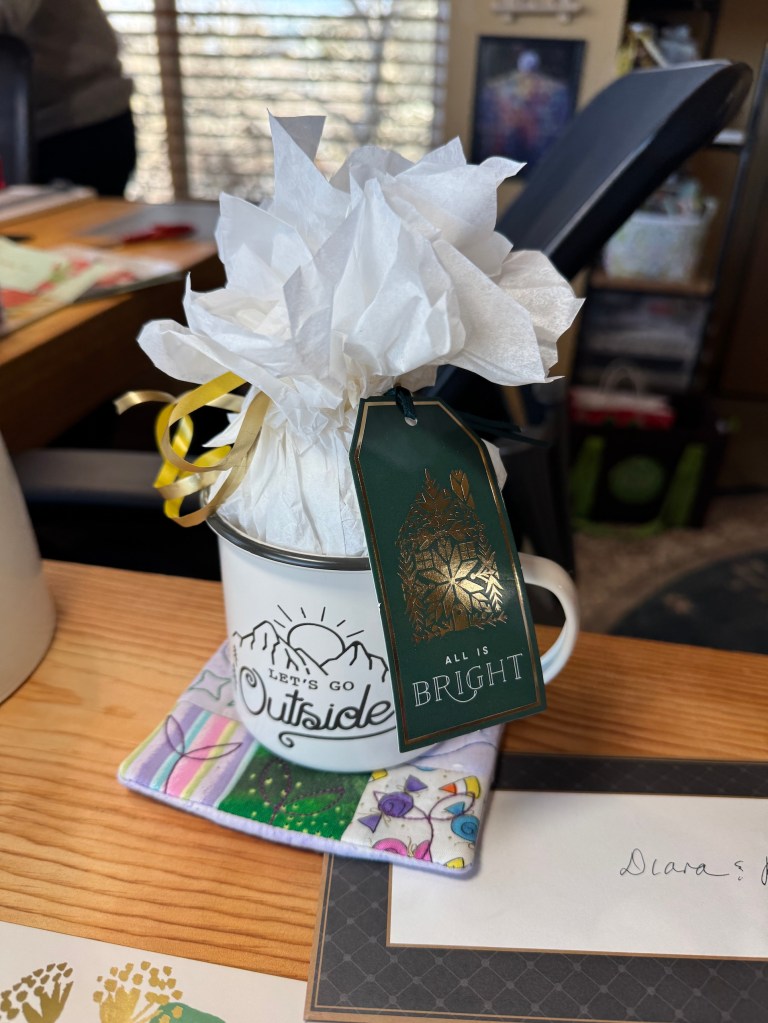
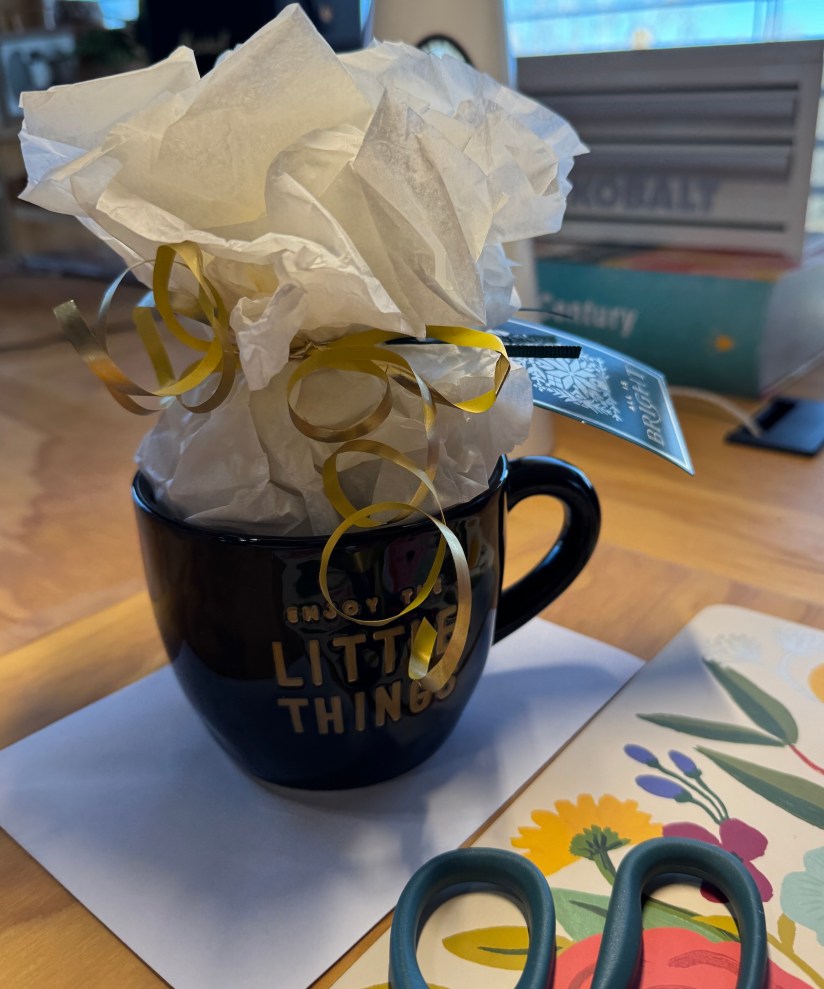
I set up a “crafting placemat” (some pretty hard-sided Rifle Paper Co. placemats I found thrifting) at each crafter’s station, along with their own light and some basic supplies (scissors, glue stick, etc.). I also included a little holiday gift for them – a mug for their coffee//tea filled with goodies.
After diving into the lunch buffet, everyone got to work making lots of cards!
Sometimes even taking to the floor for special card making techniques (small hole punching using my eyelet kit).
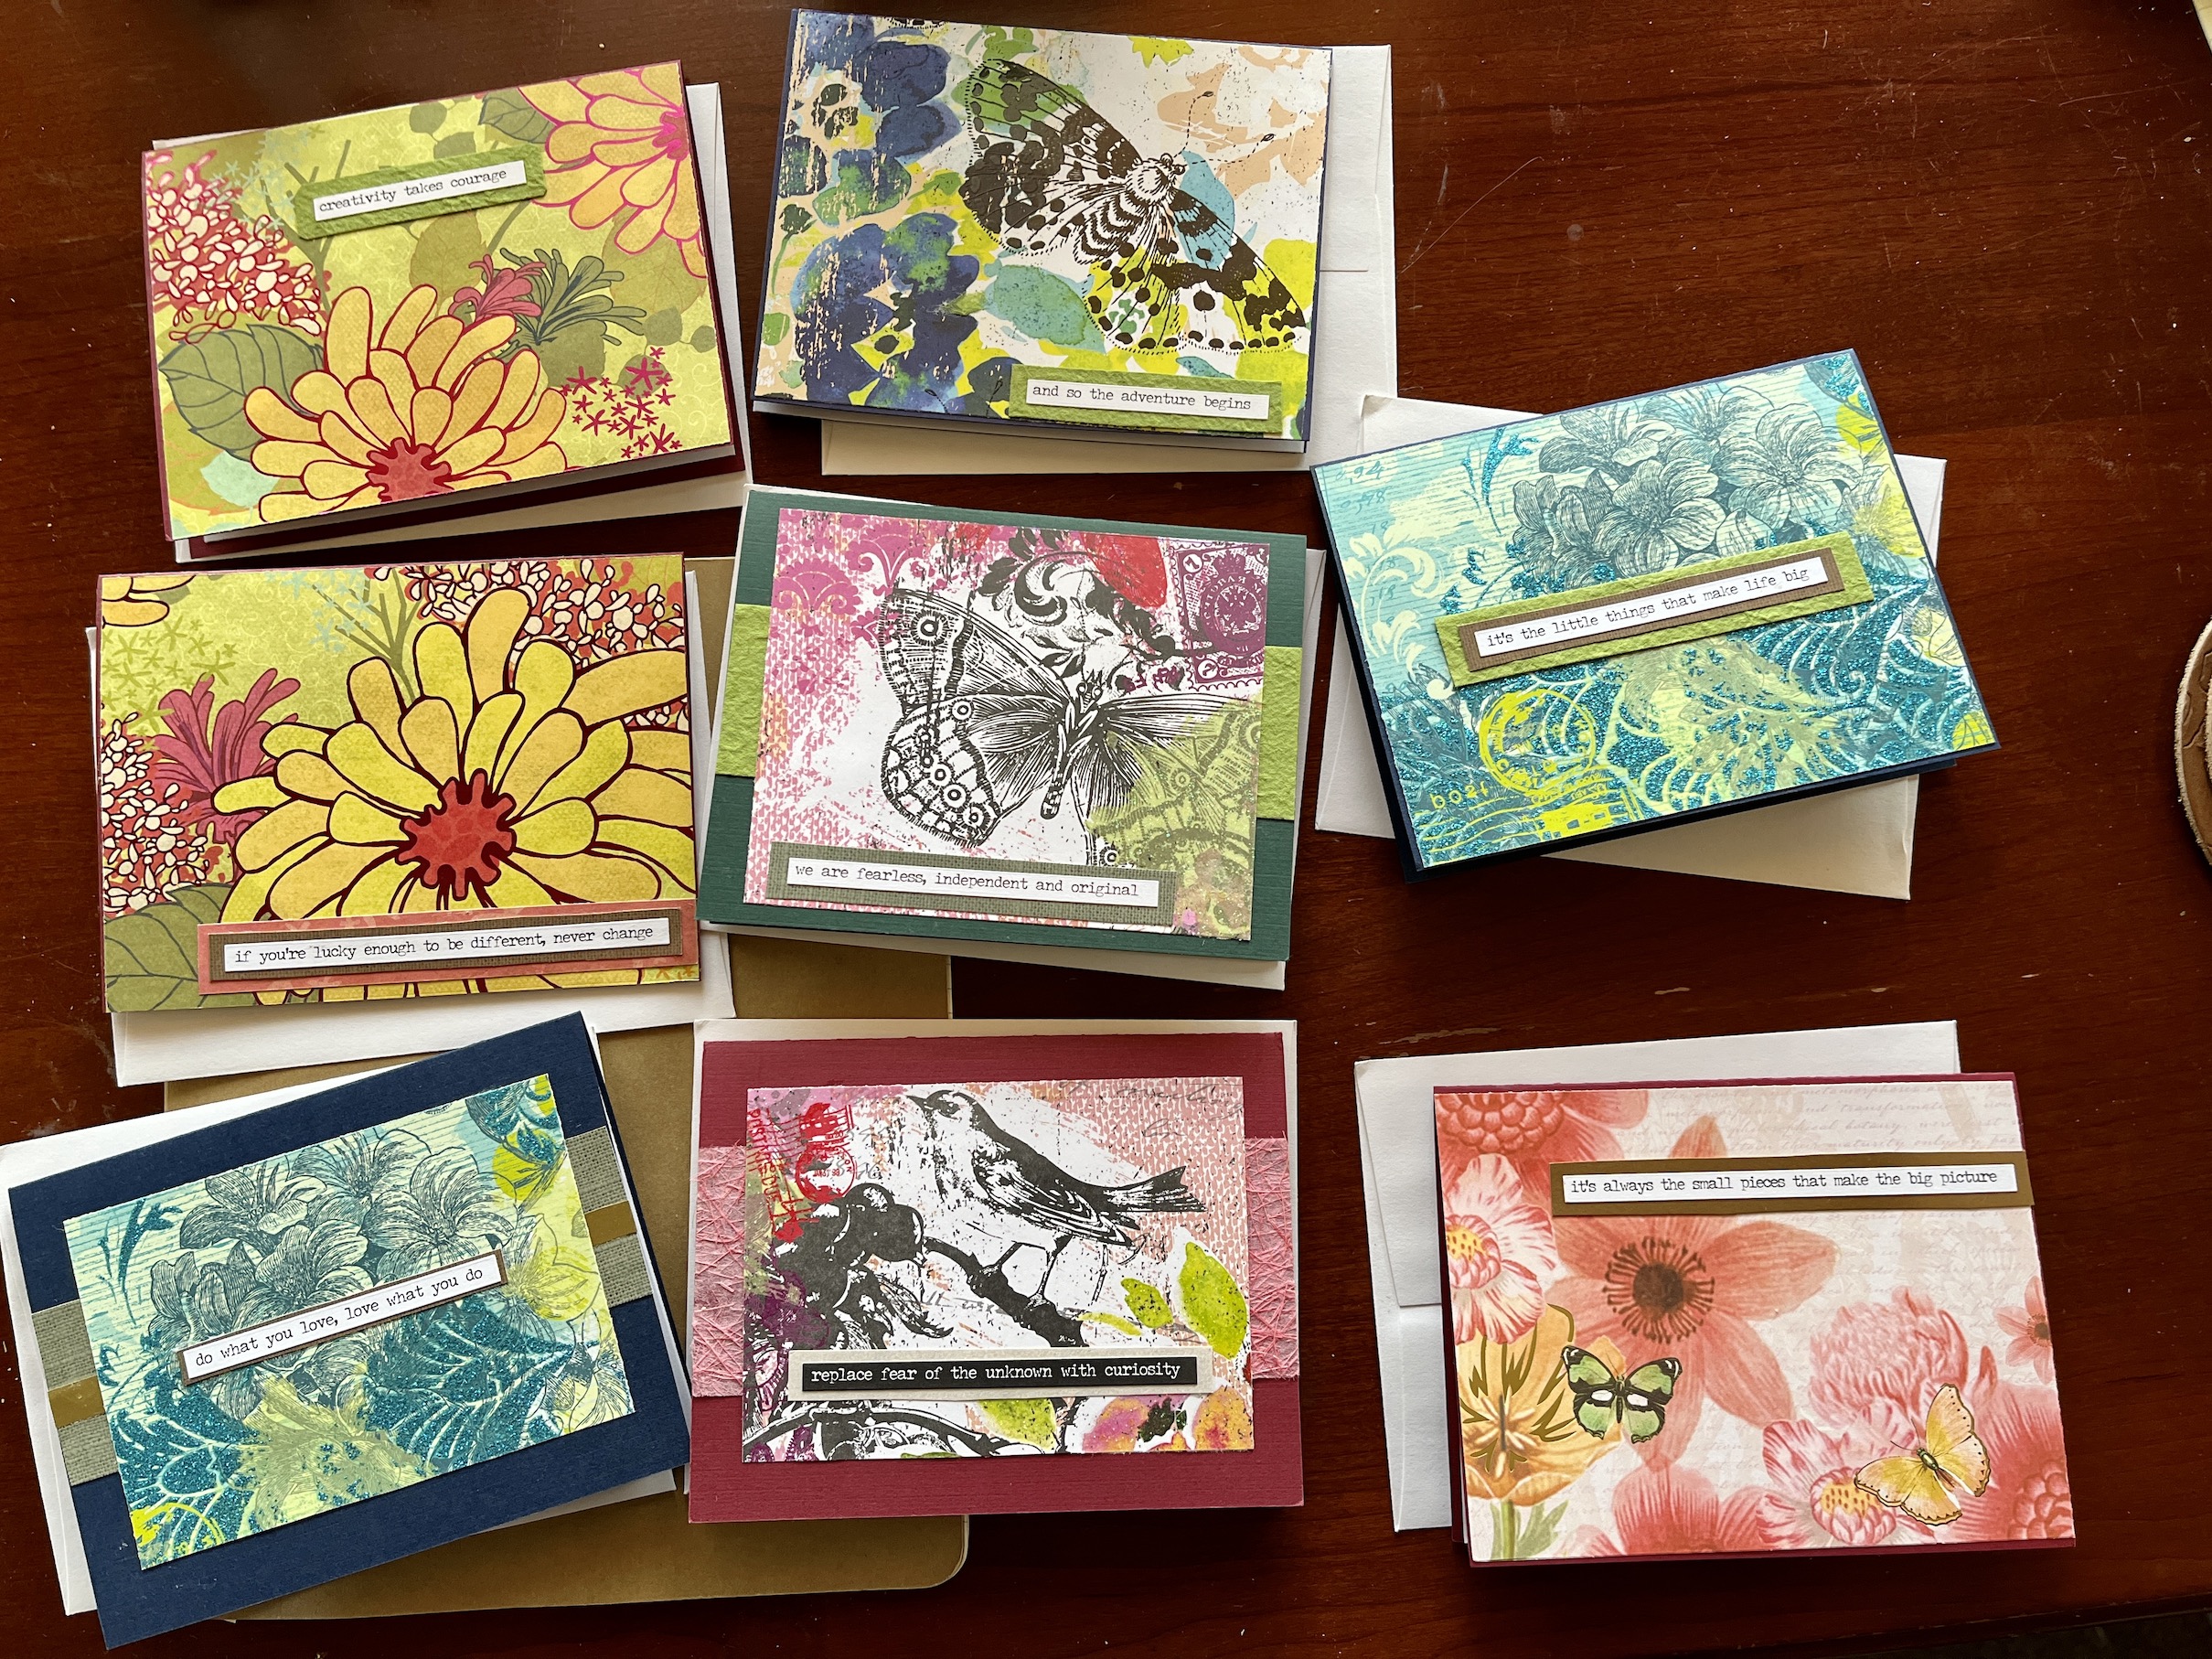
Well they were not so quick, actually it took me a couple hours to make 8 handmade cards.
My partner John has a new position at the company he works for and a new team that now reports to him. He thought it would be good to send them each a handwritten note and include a little coffee gift card or something. I offered to make them handmade cards.
I do love card making even if I am quite amateur at it. Here are a couple older posts on my card making activities:
Since I needed to make 8 cards and wanted to get back to my 100 Block Sampler I am working on as not to lose momentum (see post “Sewing-Block” Resolved by Sewing a Block!), I thought a quick way to make cards would be using old scrapbook papers.
I was really into scrapbooking for a brief period of time around 7 – 9 years ago. I decided – “No More Loose Photos” – and went through all my boxes of photos and basically scrapbooked my life up to around the early to mid 2010s. If the photo did not work in a scrapbook, then it was destroyed/thrown out. I really appreciated the completed scrapbooks after my husband Terry died in 2018, as when I was ready, it was a nice way to look through memories. Not sure if I could have dealt with all those loose photos in a box after his passing.
So I have a bunch of leftover 12 inch x 12 inch pretty paper collections from my scrapbooking period, even though I donated to the charity thrift shop any empty scrapbook albums as I am completely done with scrapbooking (and who has printed loose photos anymore?).
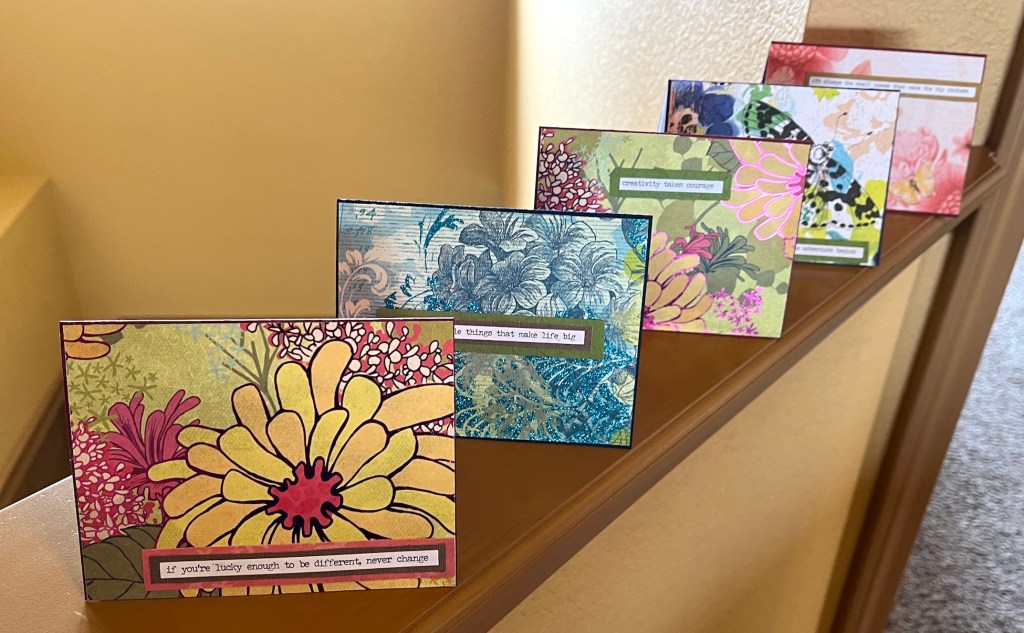
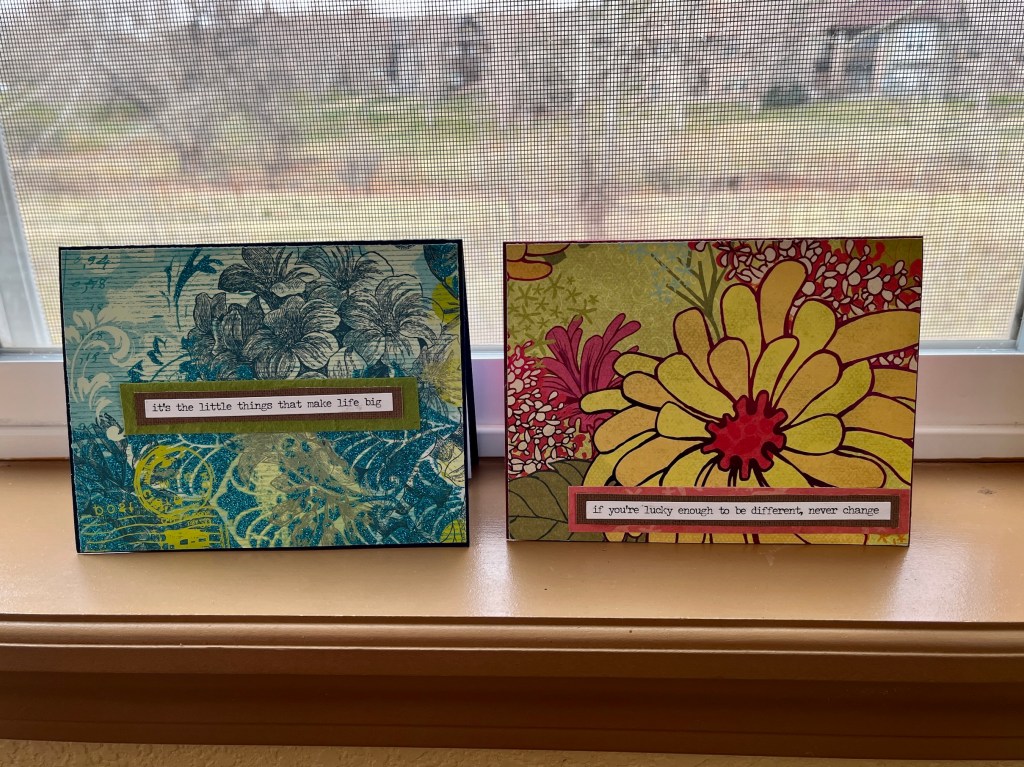
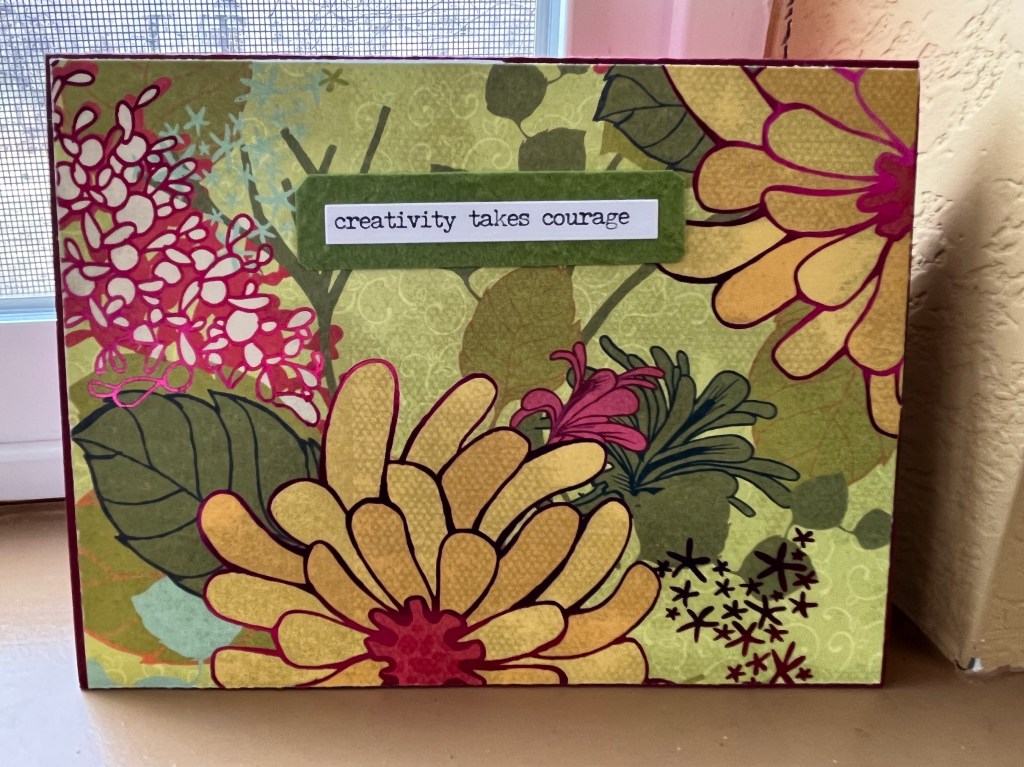
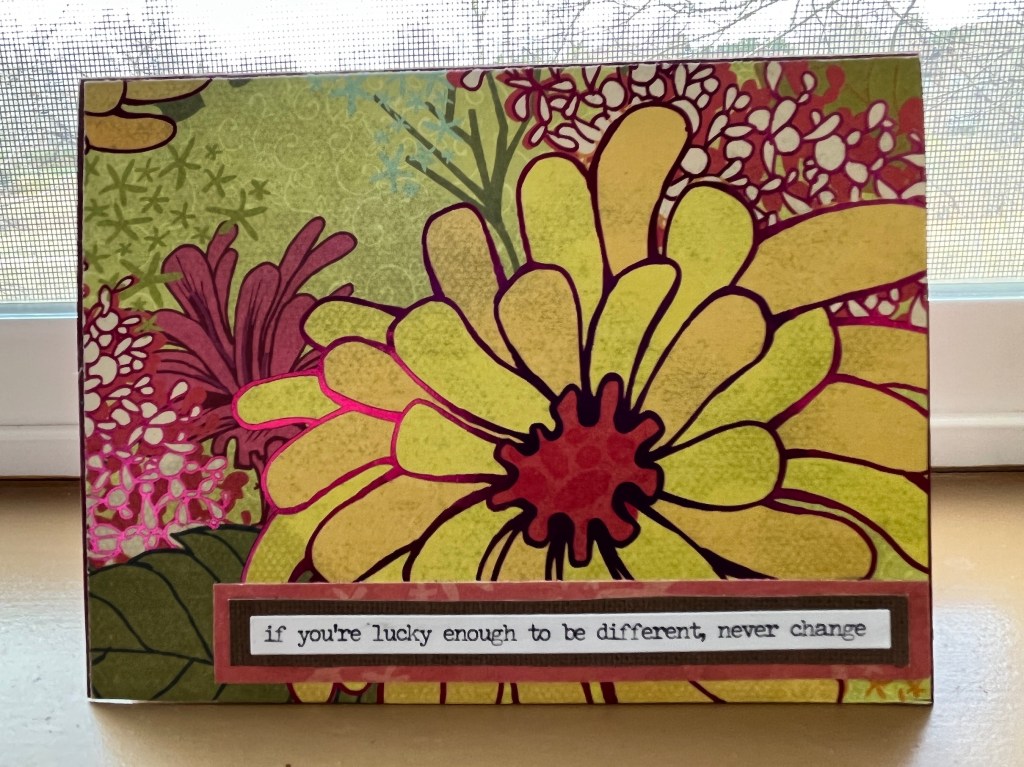
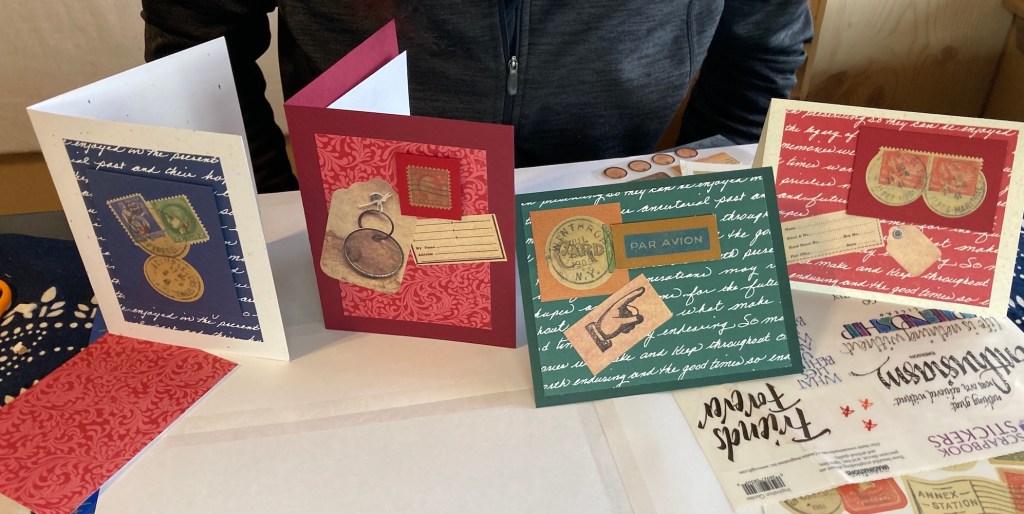
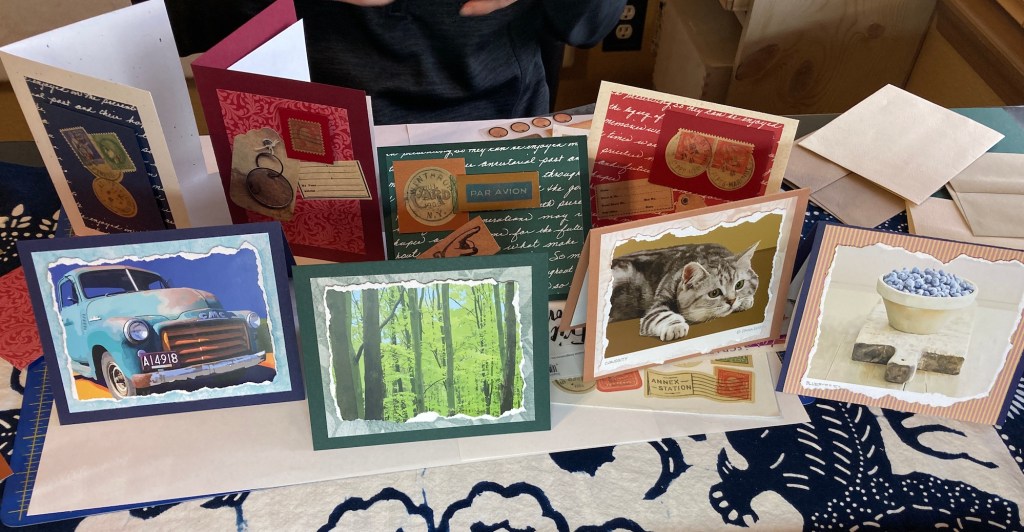
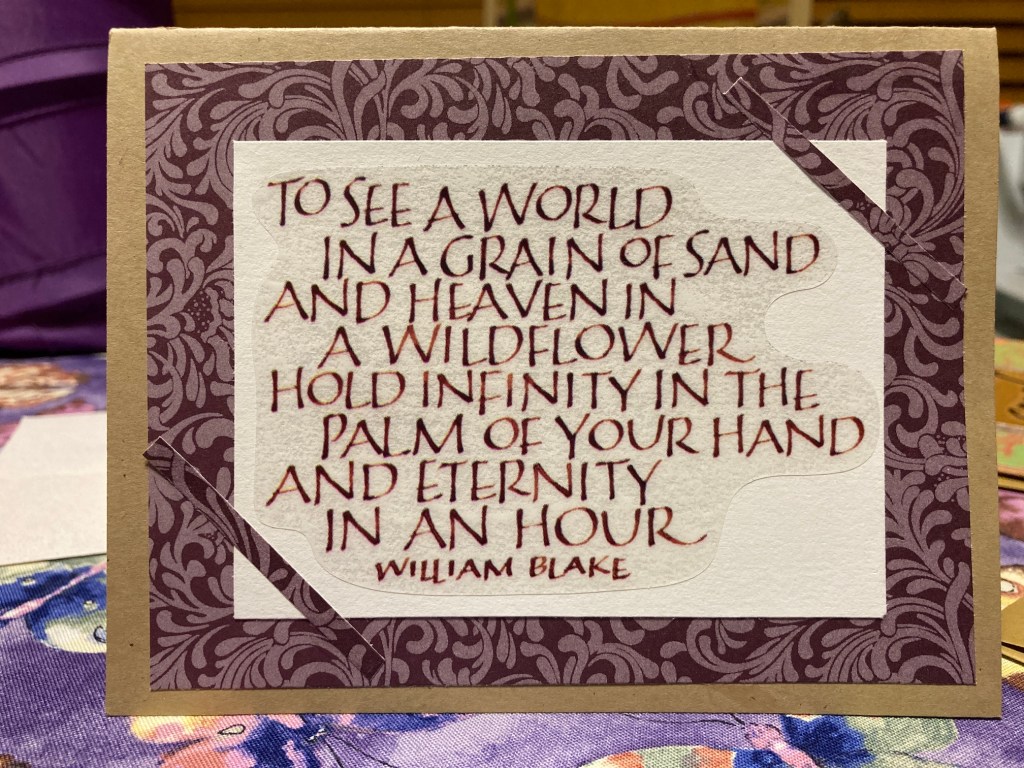
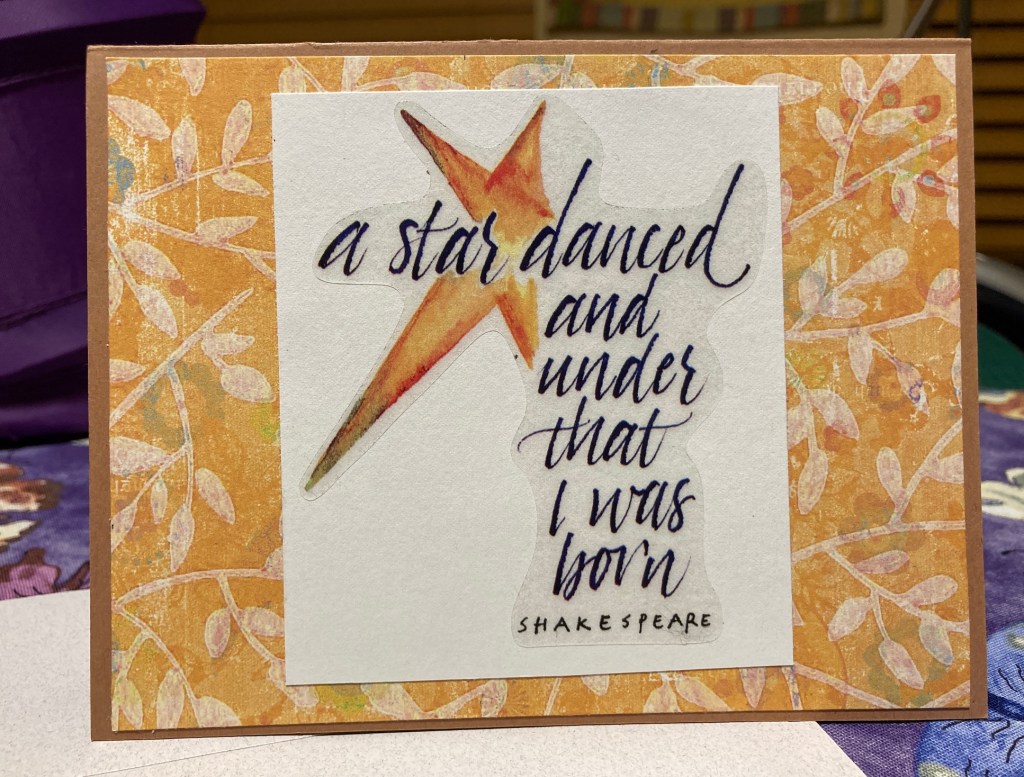
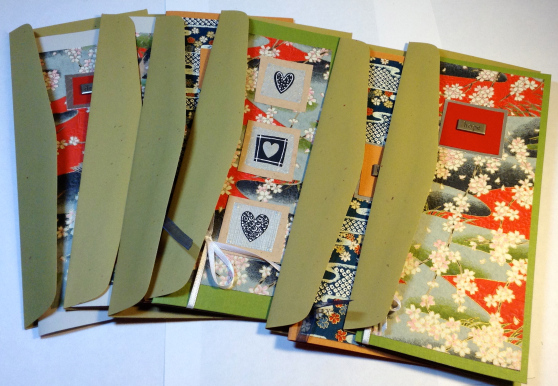
Here are the 8 cards I made with those papers:
And here is a gallery of some of the other photos I took of the cards:
I had some precut card stock which came in handy and saved time. I also used a sticker book with inspirational sayings which I put on the front of each card.
The cardstock was dark colors and John needed to write a readable note in each one to his team members, so I glued a folded white piece of paper inside each card to make it easier to write a note. The image below is an example from the previous set of cards I made in February 2021:
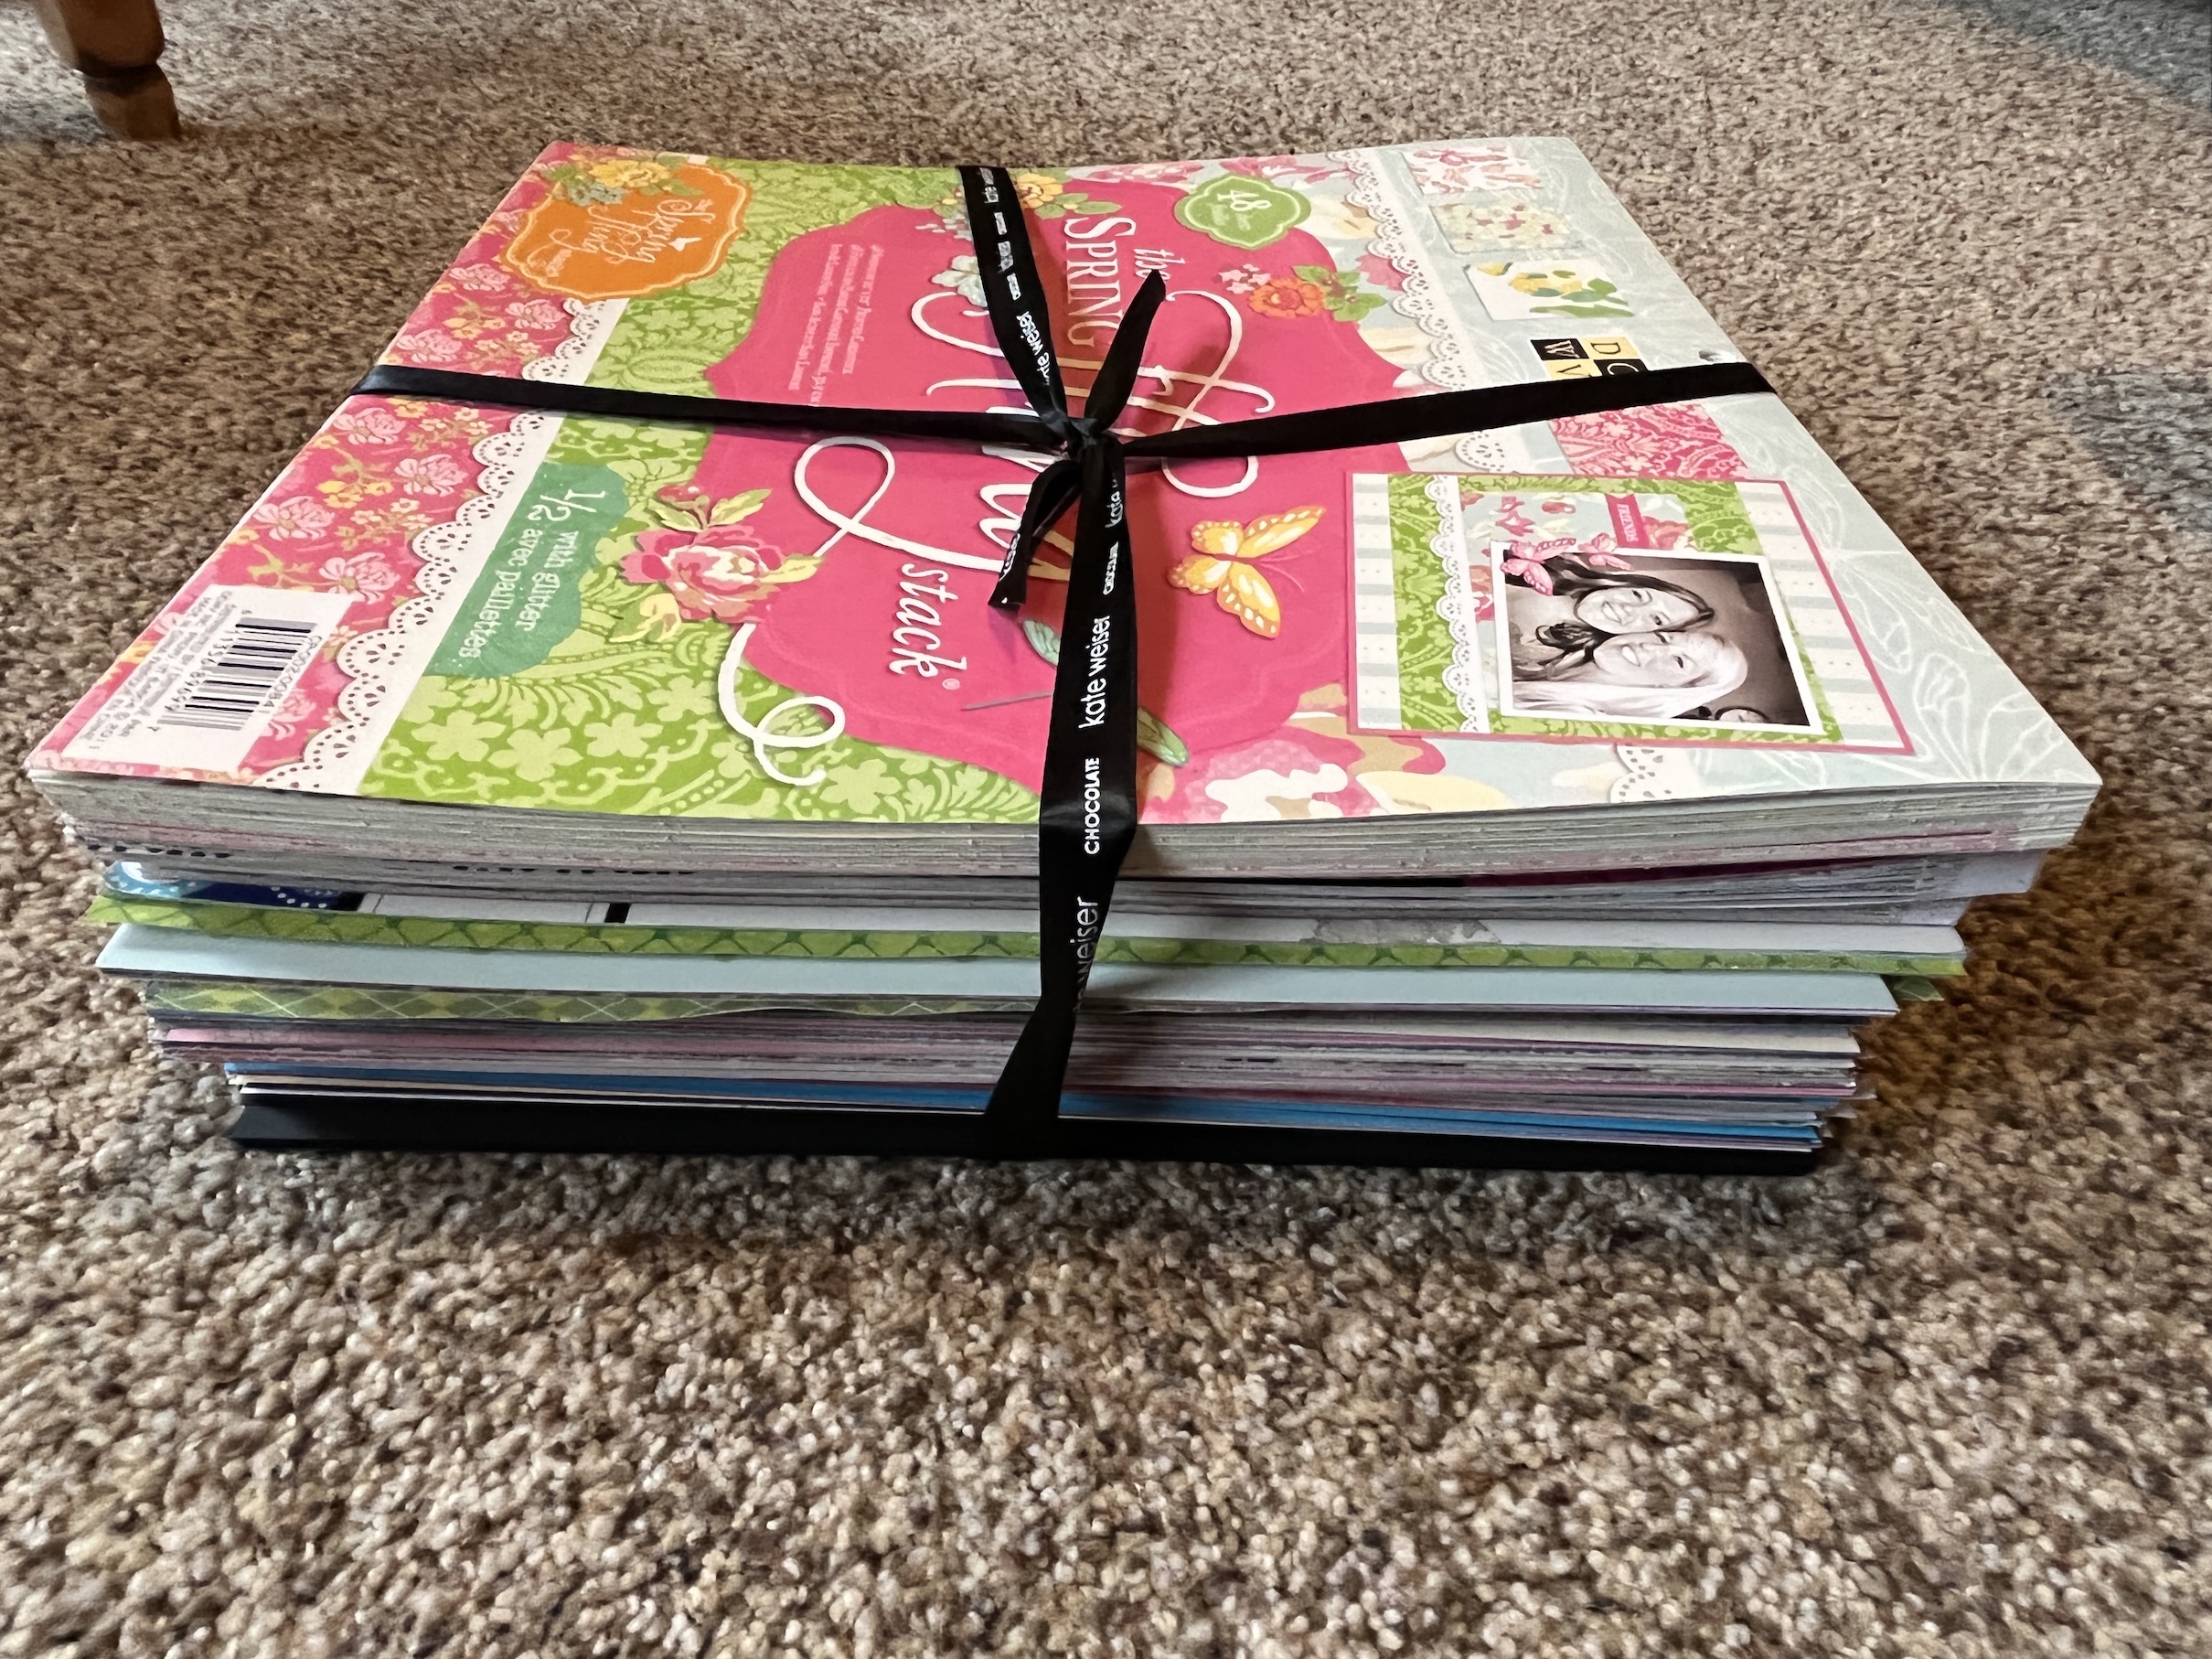
After making the cards, I decided it was time to deal with my ridiculous pile of scrapbook papers. Since I no longer scrapbook, I only need to keep the papers which would be useful in card making.
Here is the huge pile of scrapbook papers I weeded out – I am off this afternoon to donate them to the charity thrift shop and let someone else enjoy them!
I mentioned in yesterday’s post (What I Did During My Blogging Vacation) that a friend and I together last Friday to discuss the book City of Brass by S.A. Chakraborty and to make greeting cards like we did a couple of months ago (see post Card Making Playdate).
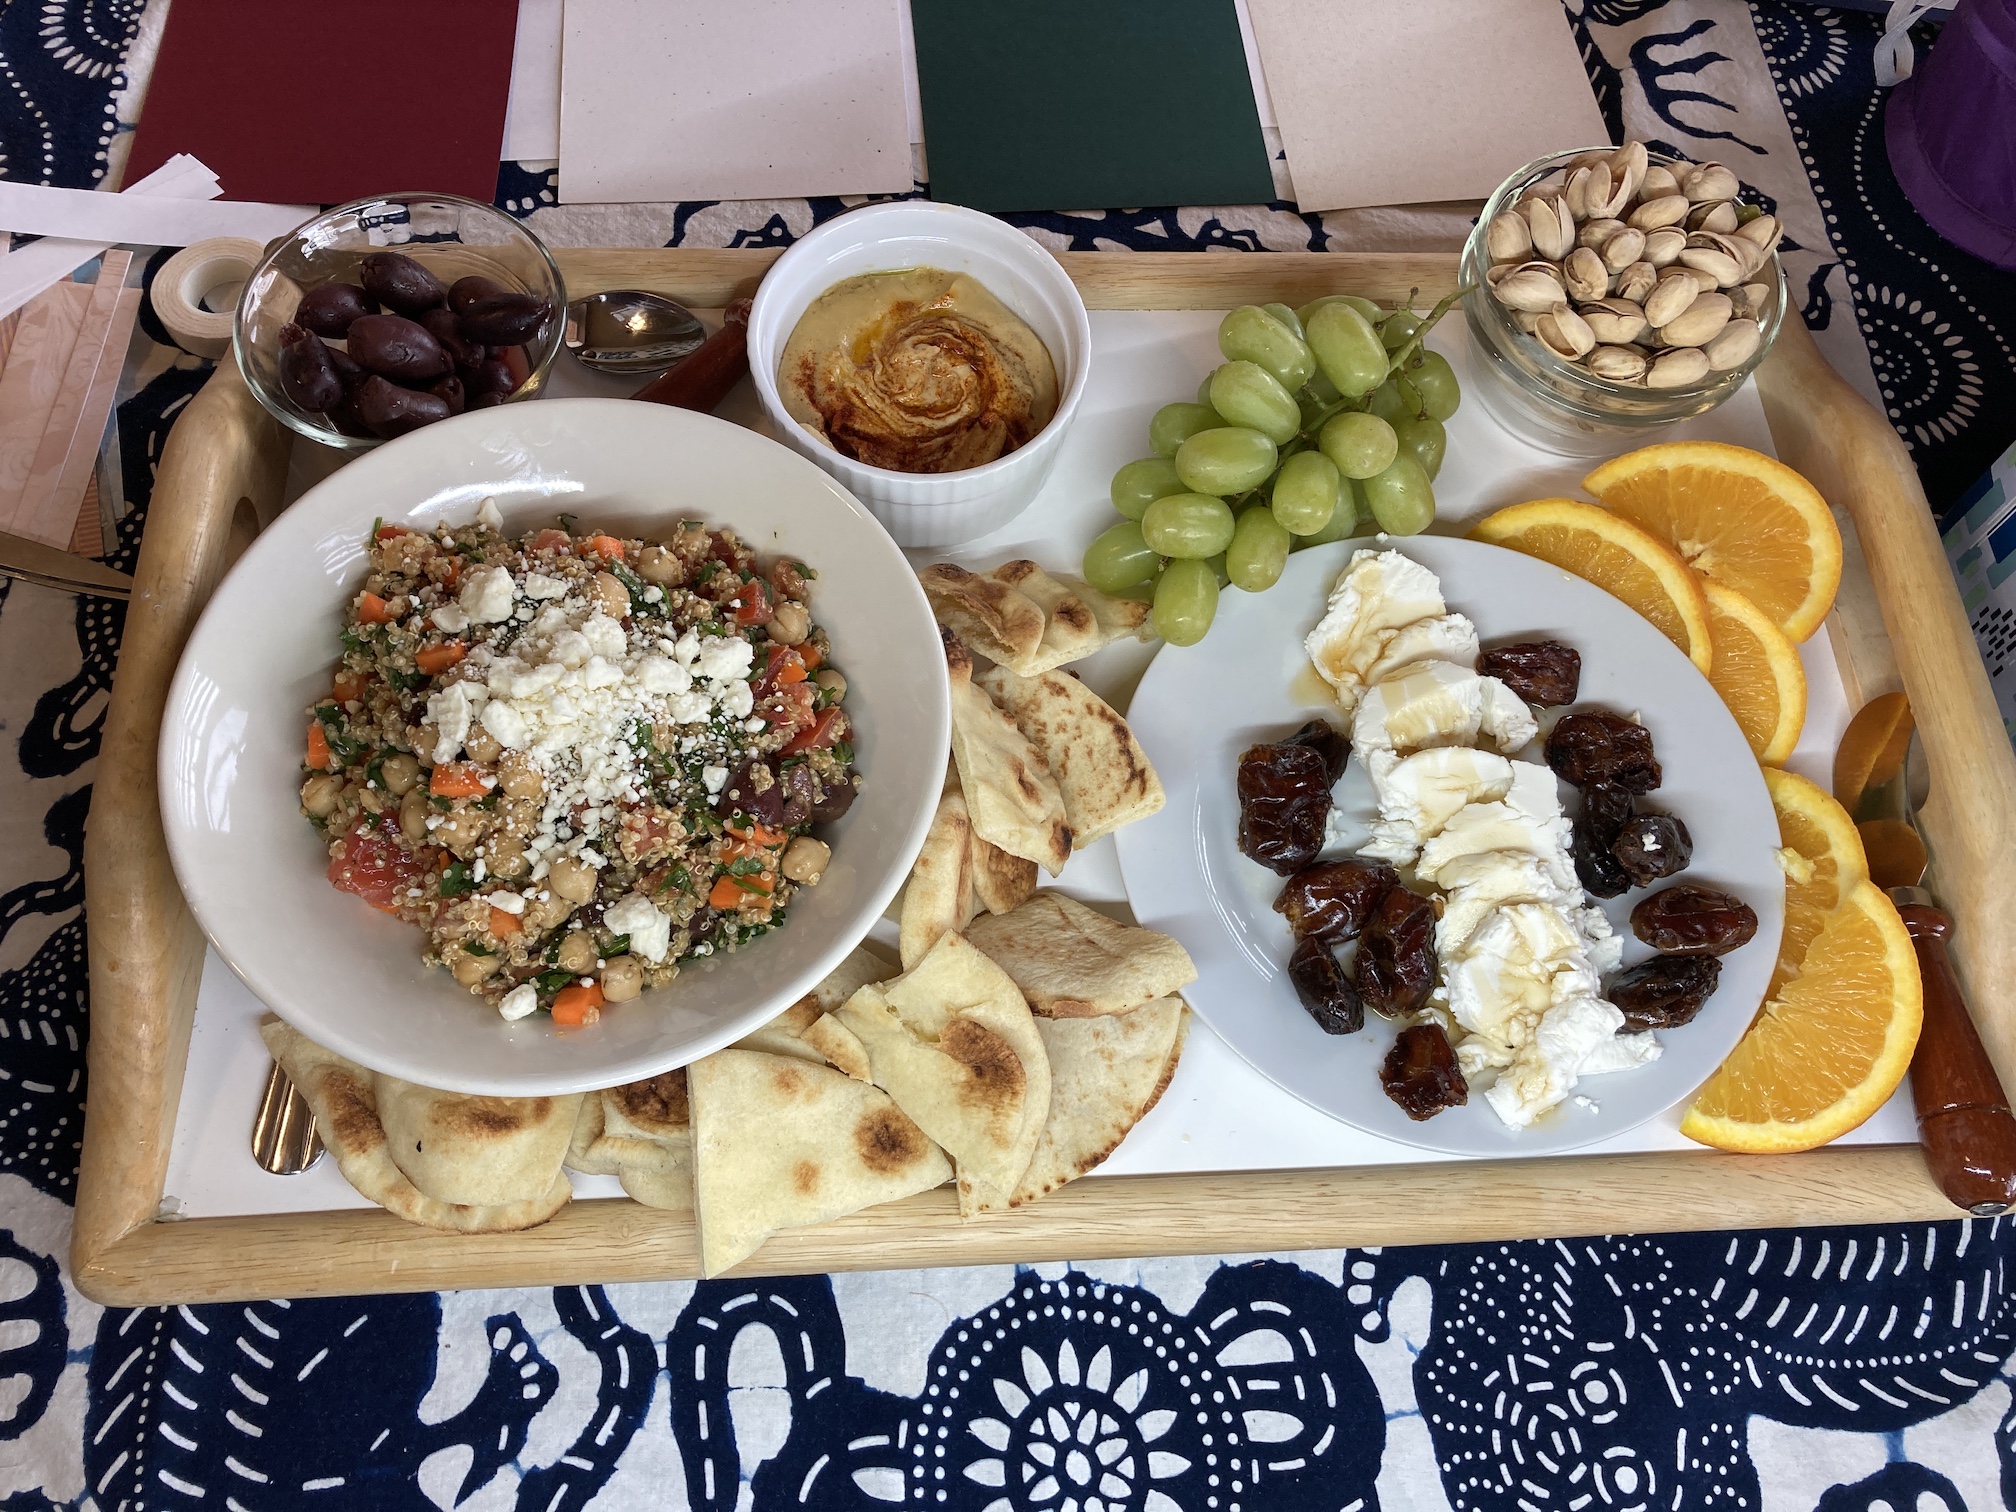
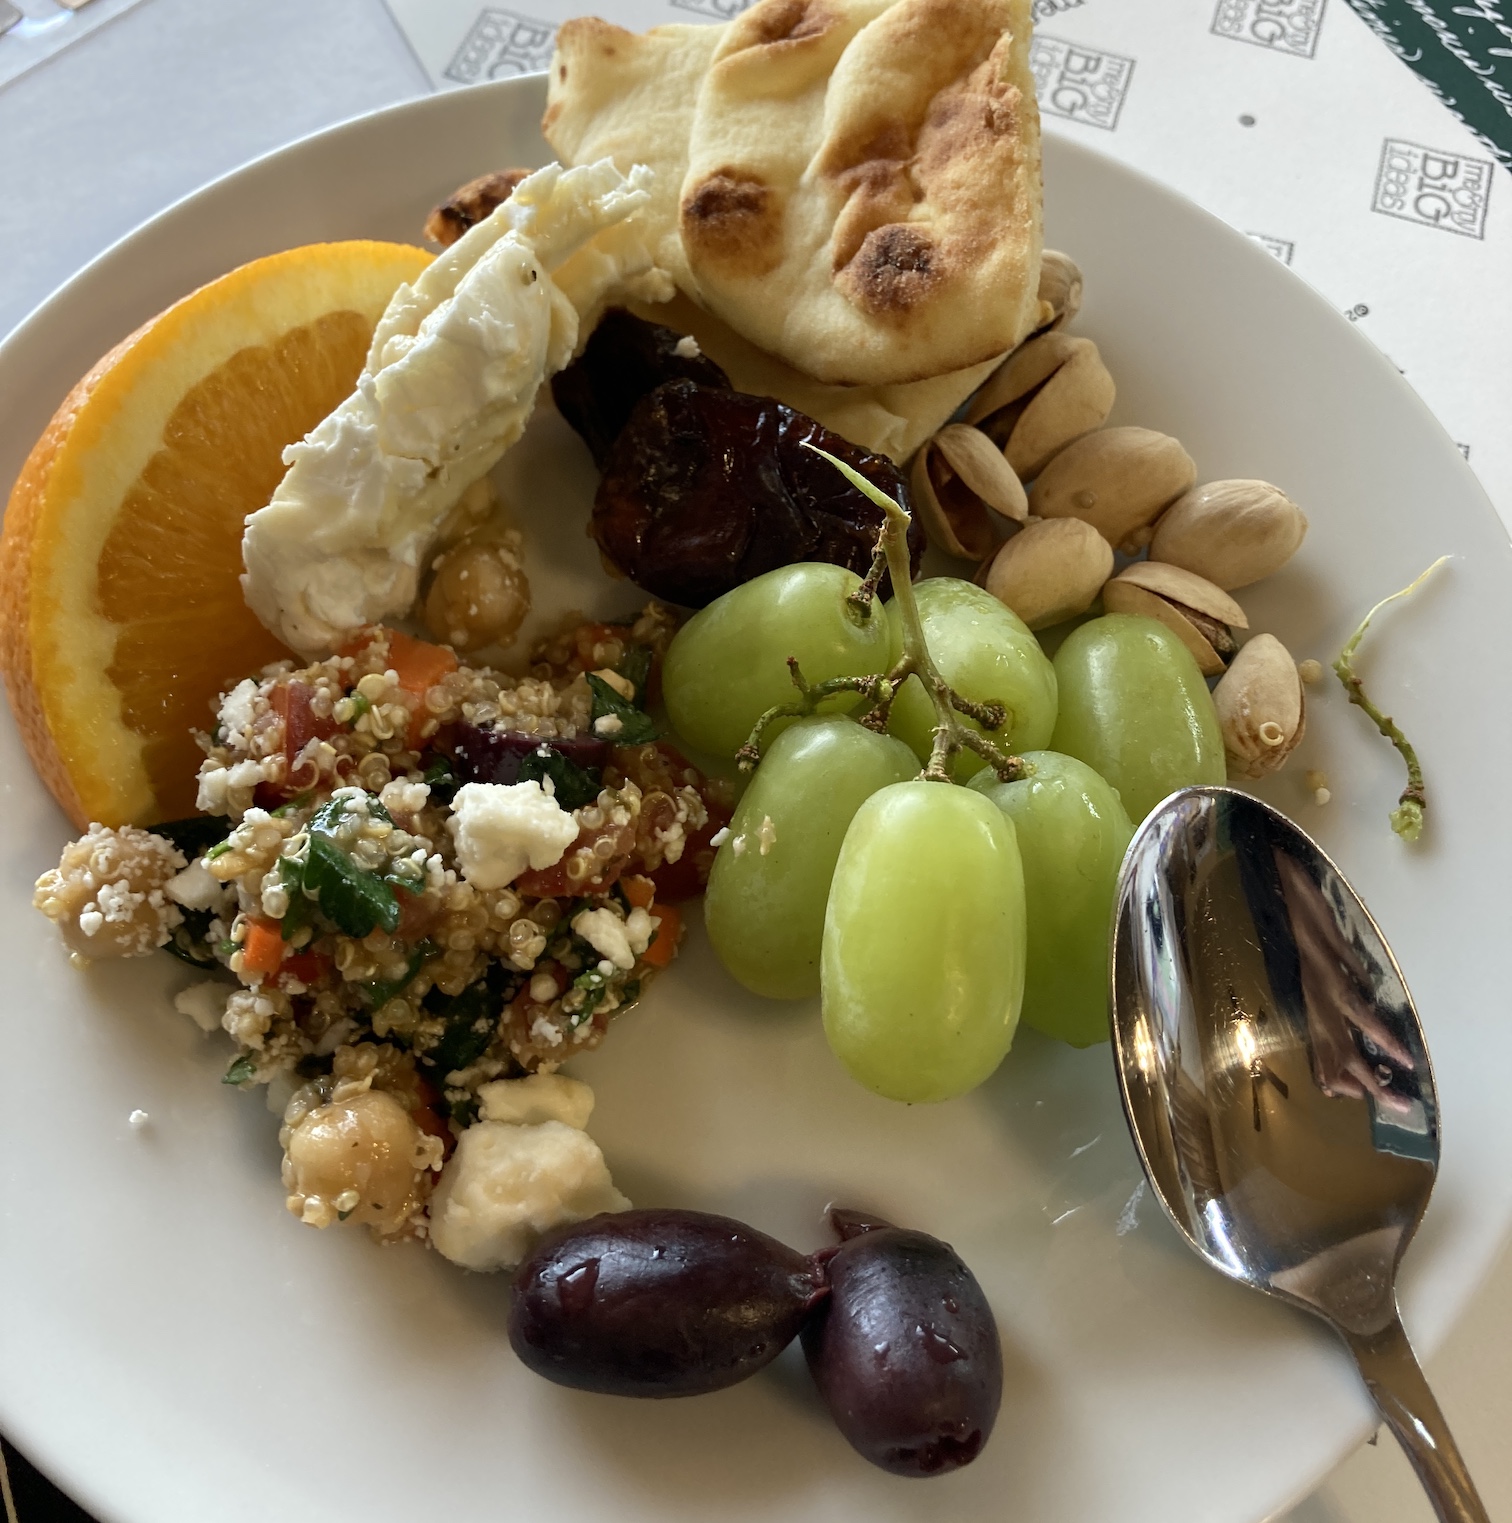
Since the City of Brass takes place in the 18th century Middle East, I made a Middle Eastern themed lunch for us of tabouli, hummus, fruits, pistachios, dates and goat cheese drizzled with honey, and pita bread:
It was a nice lunch break during a day of paper-crafting together.
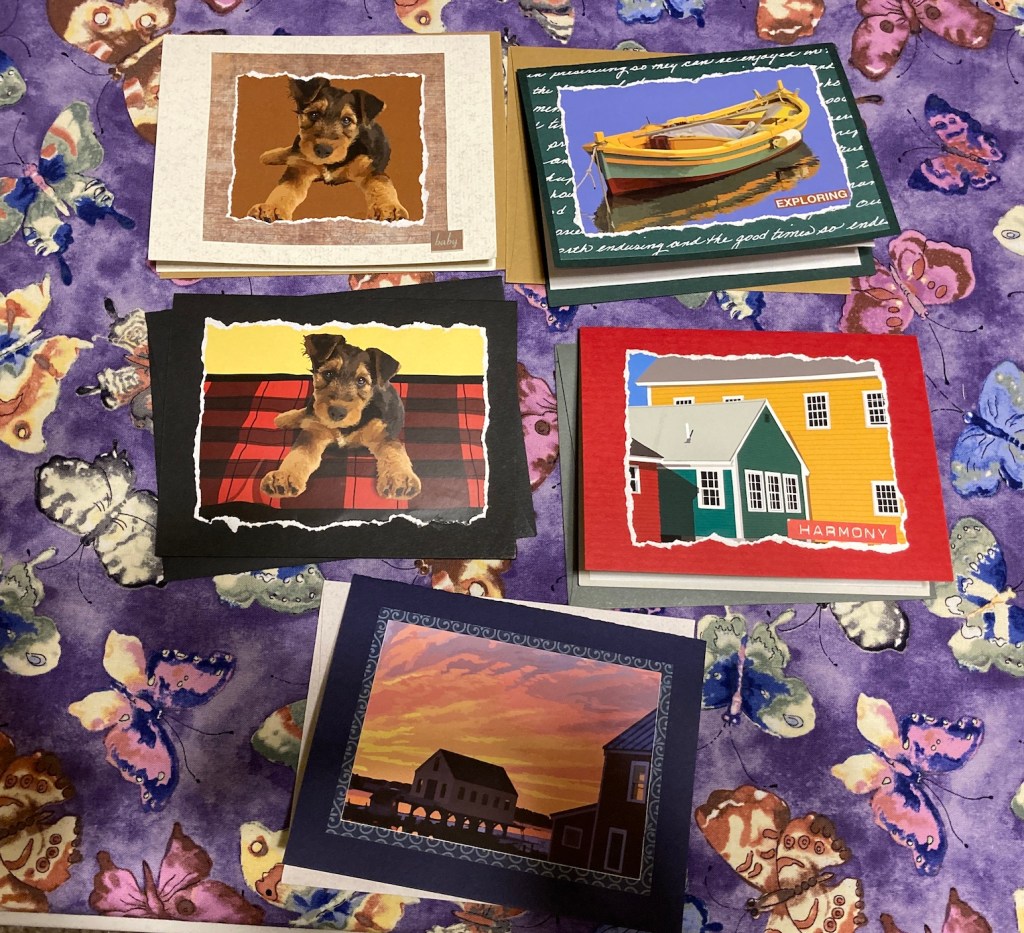
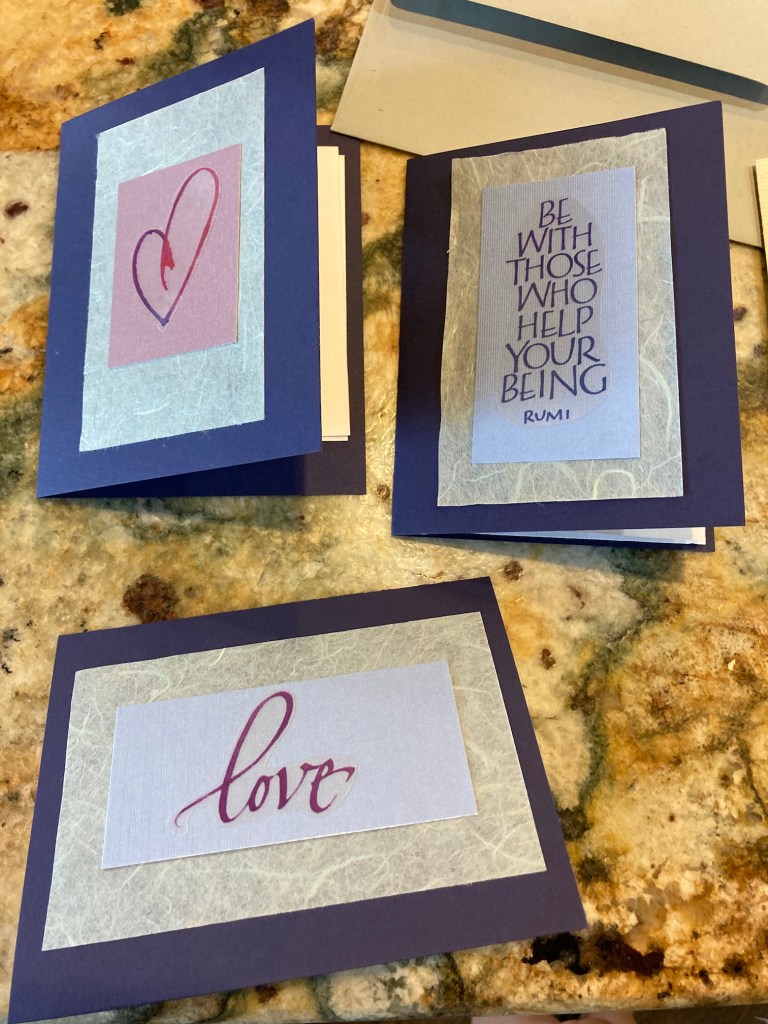
We made around 10 cards each. Here are some of the cards my friend made:
Here are the cards I made:
Many of the card stock was in darker colors which would be challenging to write in with regular pens so we added glued at the edge white copy paper into the middle of each card for ease of correspondence:
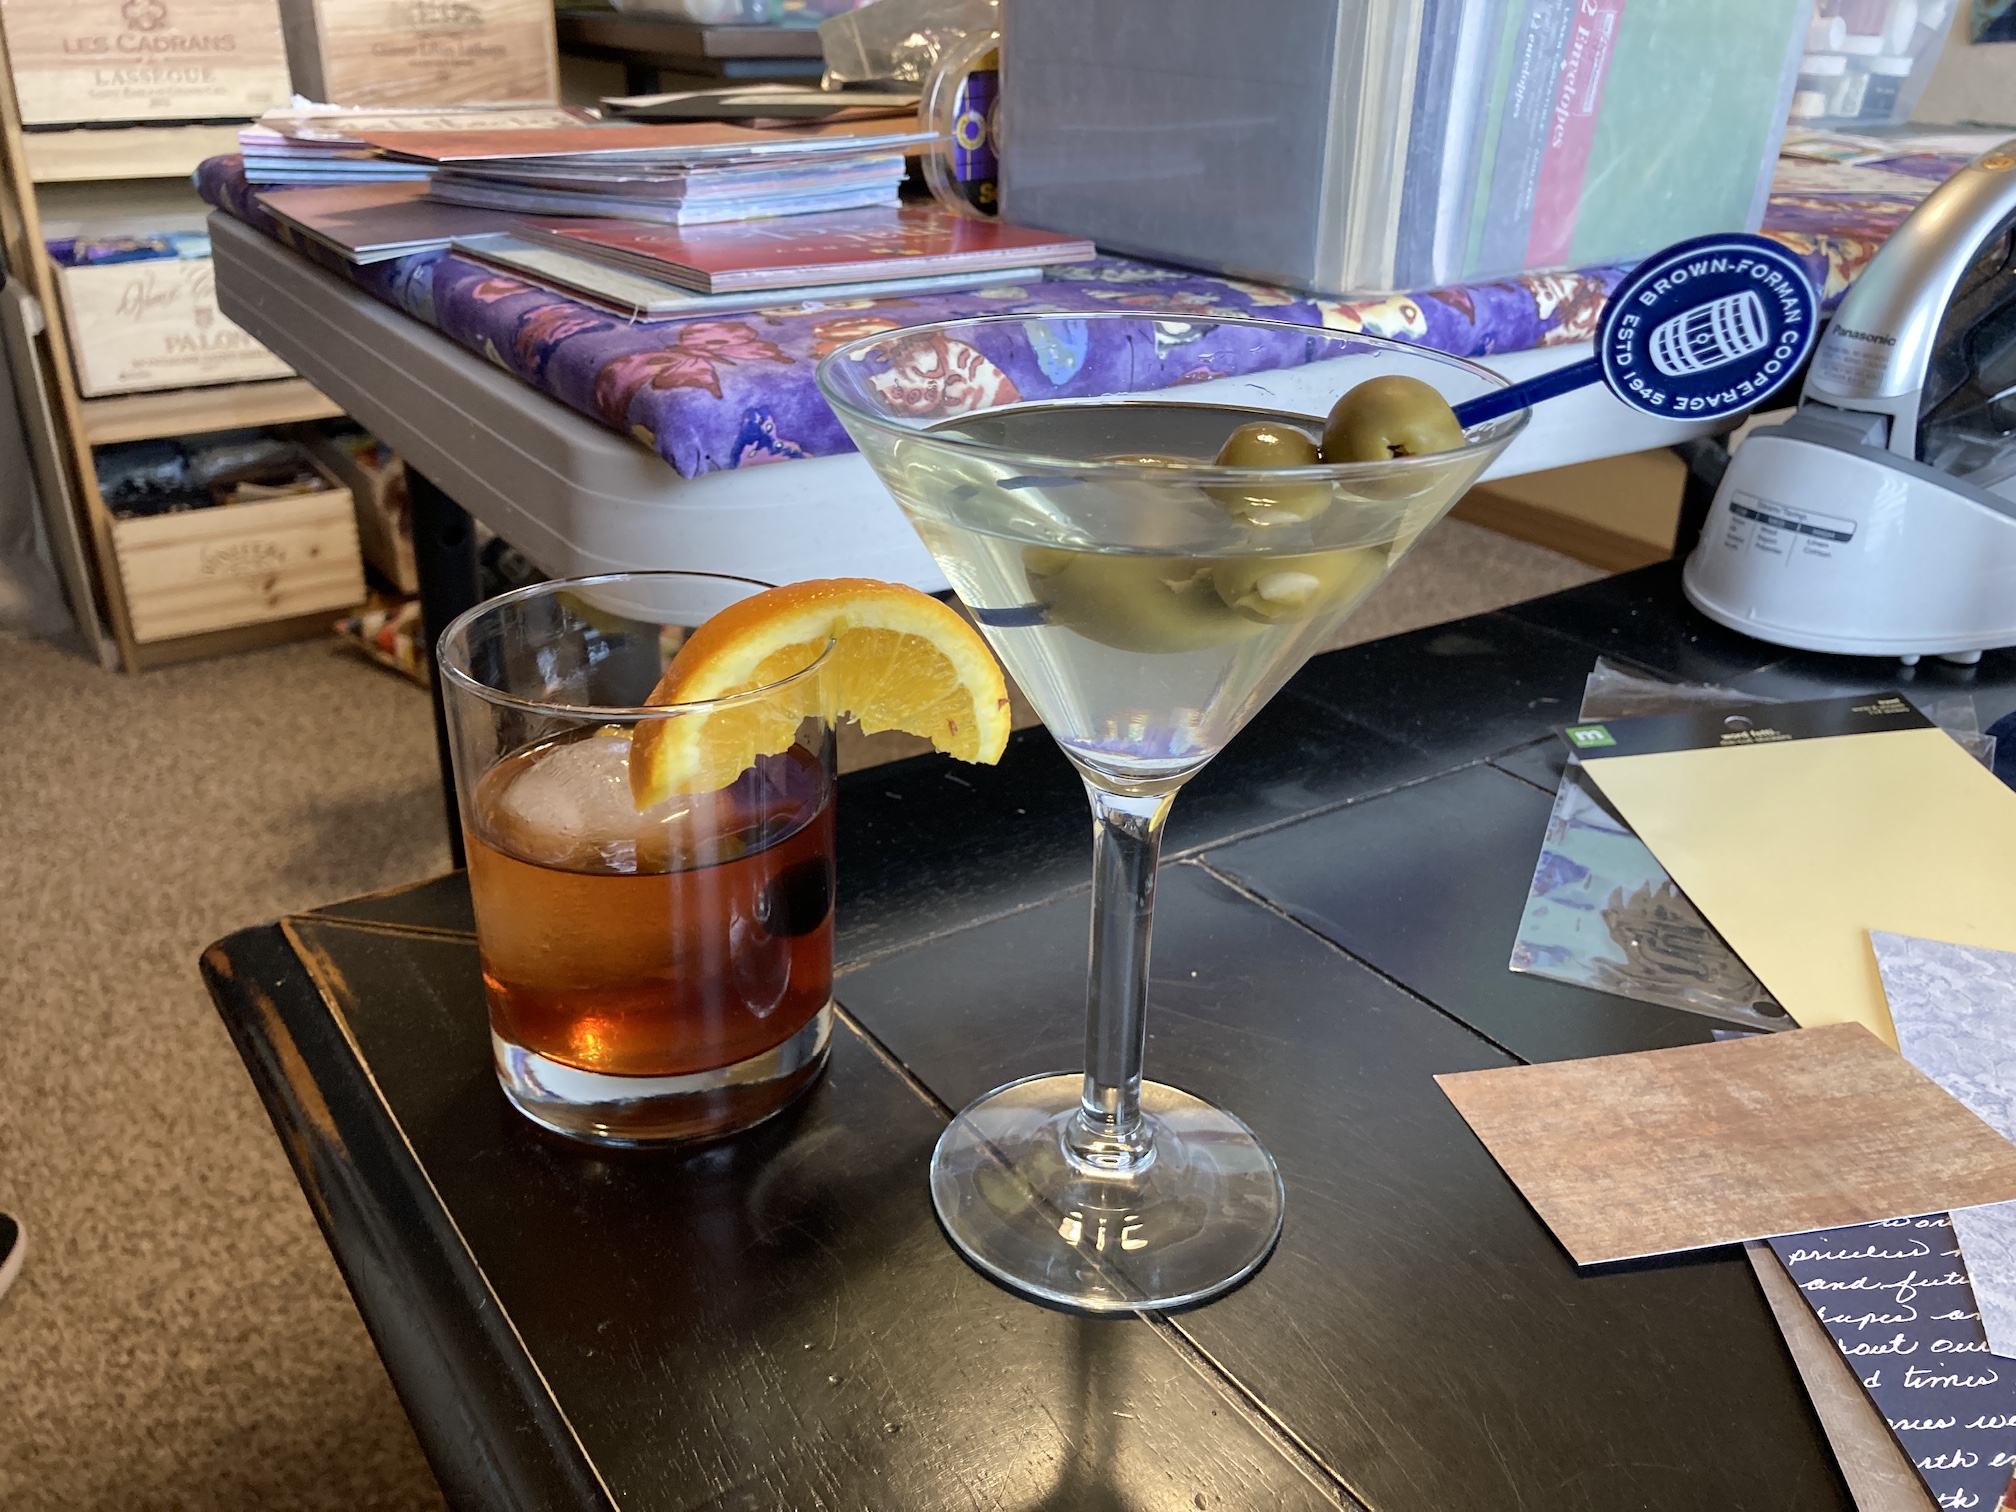
At the end of our card making day we headed out to meet up with her husband for dinner at a favorite Italian restaurant but not before my partner John made us some pre-dinner cocktails to celebrate all our productive day of card making!
And by the way, we only had one cocktail each in case you were curious – I photographed our individual cocktails together – ha!
Postscript
I’ve been catching up slowly on some of the blogs I follow and I was reminded how awesome the blog is of one of my blogging buddy Georgiana – Readers’ High Tea. She does a wonderful job of sharing her reviews of books, primarily contemporary fiction, and I now have a long list of what I want to read!
If you are looking for ideas of what to read next, check out her blog.
I am off work on Fridays and last Friday I had a former work colleague over for a card making playdate!
This colleague got me into card making back in the late 1990s when we worked together at a company in Seattle, Washington (in the Queen Anne area if you are familiar with Seattle). Along with another colleague our we would make cards in the conference room during our lunch break.
I’ve not make cards for a couple years, not since I made them for my tierneycreates Etsy shop (which I still daydream about reopening someday). Here are the sets of cards I sold on my Etsy shop years ago:
I lined the inside of the cards with a white folded sheet of paper to make it easier to write inside the card (instead of trying to write a greeting on deep colored card stock.
I converted my studio/sewing room into a “paper crafting emporium” for the day, putting away my sewing machine and current project in progress (which I will share in a future post) and dusted off my old paper crafting supplies and set them up around the room.
Here is my studio table all set for card making (with snacks of course!):
And the paper crafting supplies spread around the room:
Here is our work in progress and the cards we made:
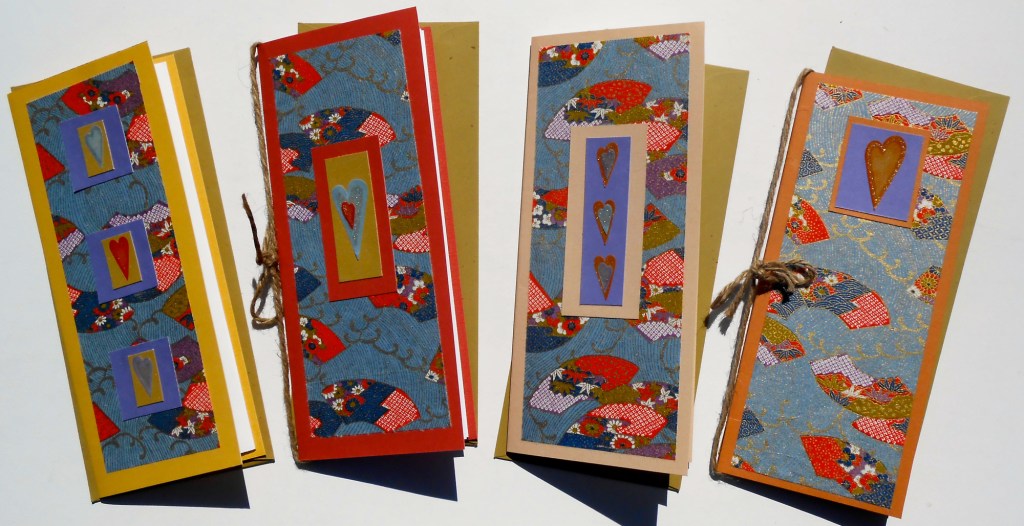
I tried to recreate the style of the cards I made previously for my Etsy shop that I featured earlier in the post but I was struggling with my paper cutter (old dull blade, etc.) in order to make larger cards from card stock, so I settled on using pre-made and folded smaller card stock I found in my paper crafting stash (likely 15+ year old!).
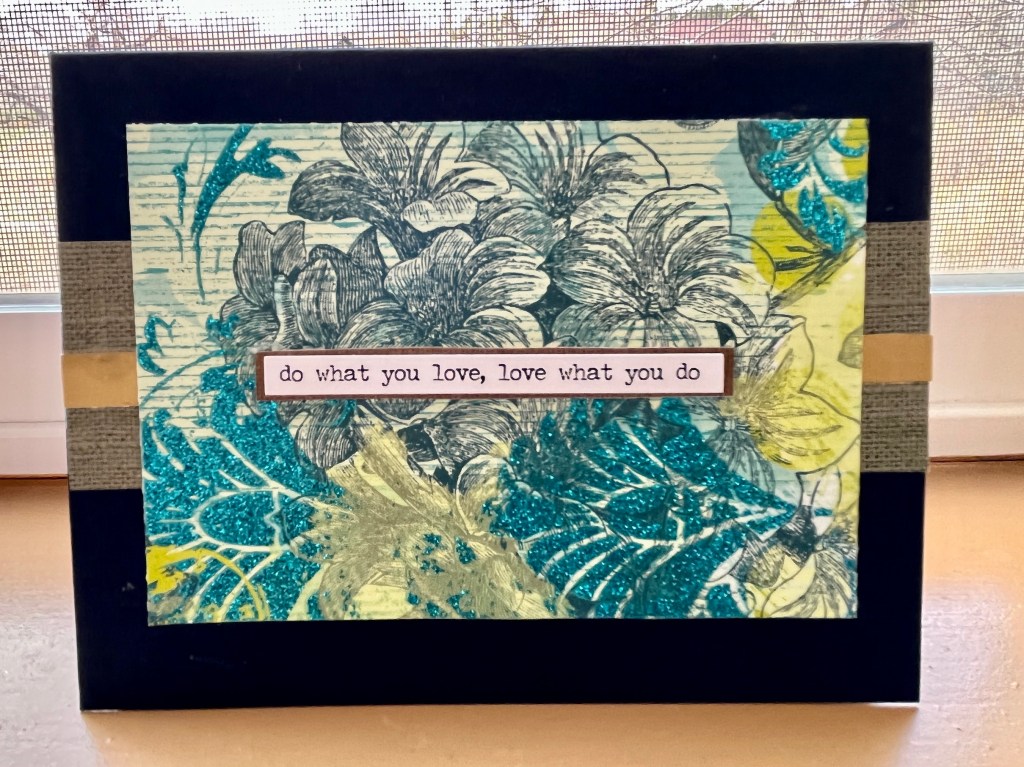
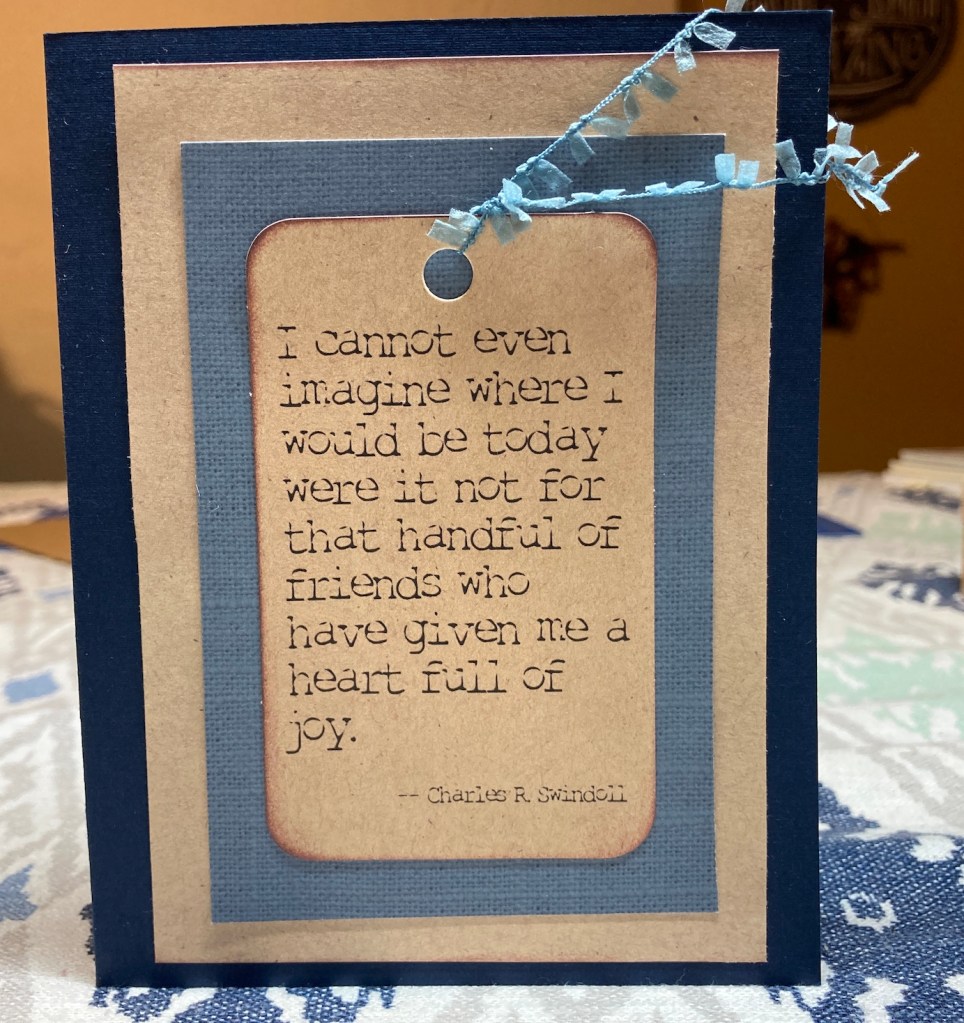
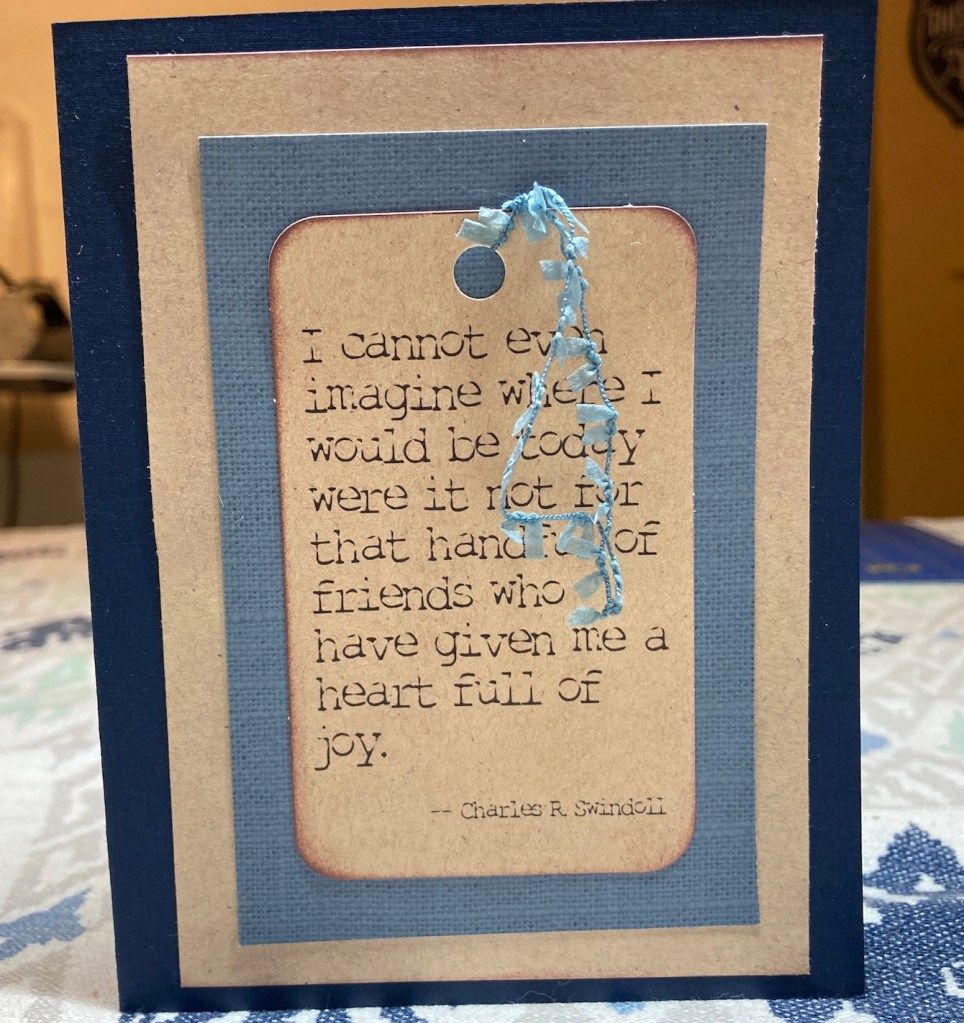
I also made these cards (some of the cards have 2 images – one with the ribbon in place and one with it moved so you can read the text):
Most of cards we added an inner liner of folded white paper glued into the crease to make it easy to write a note inside the card.
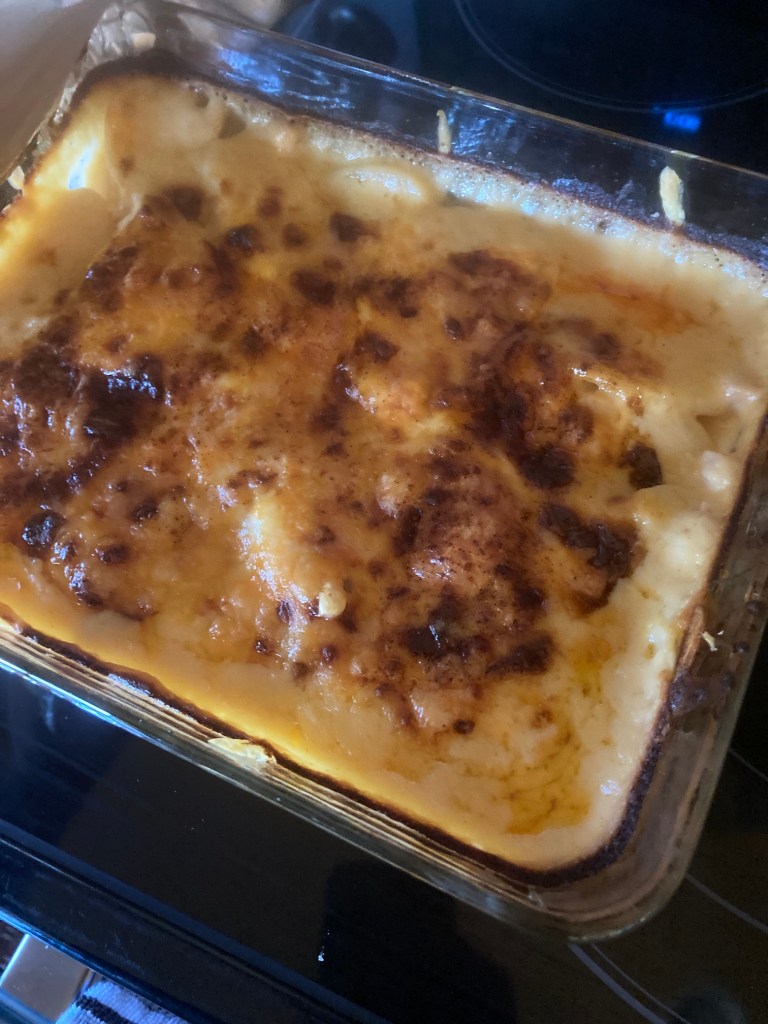
We had a wonderful lunch prepared by my partner John (who full time telecommutes during the pandemic) of scalloped potatoes, honey ham, and sautéed broccoli.
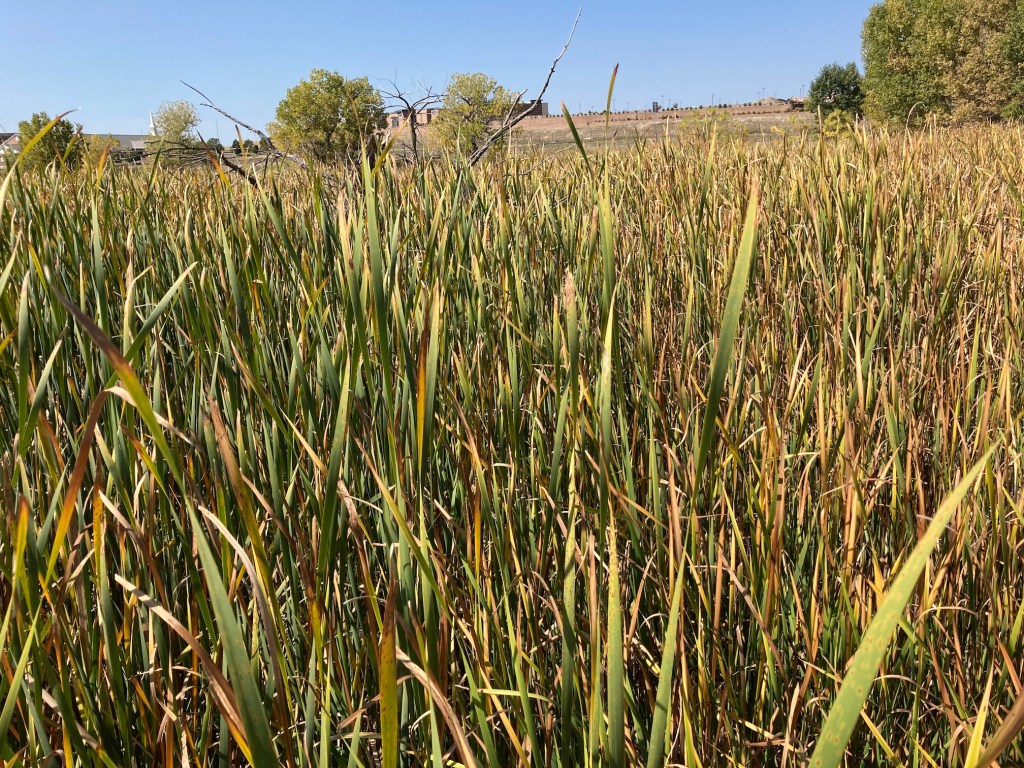
We also went on a walk around the green space/park behind my house.
It was a lovely way to spend a Friday and we plan to paper craft again in the near future.
Postscript
Speaking of crafting, my partner John, who has since the pandemic started and we became homebound, has been studying woodworking and continuing working on projects. I shared the tables he made in the Postscript section of the post – Making My Own Granny Square Afghan.
Well recently he completely a bench/table with drawers for his Miter Saw which in my opinion is pretty impressive for a new woodworker! He bought plans online for the bench/table and improved upon those plans to better reinforce the table.
He’s been having a lot of fun in his studio since we converted part of the daylight basement to his woodworking shop!
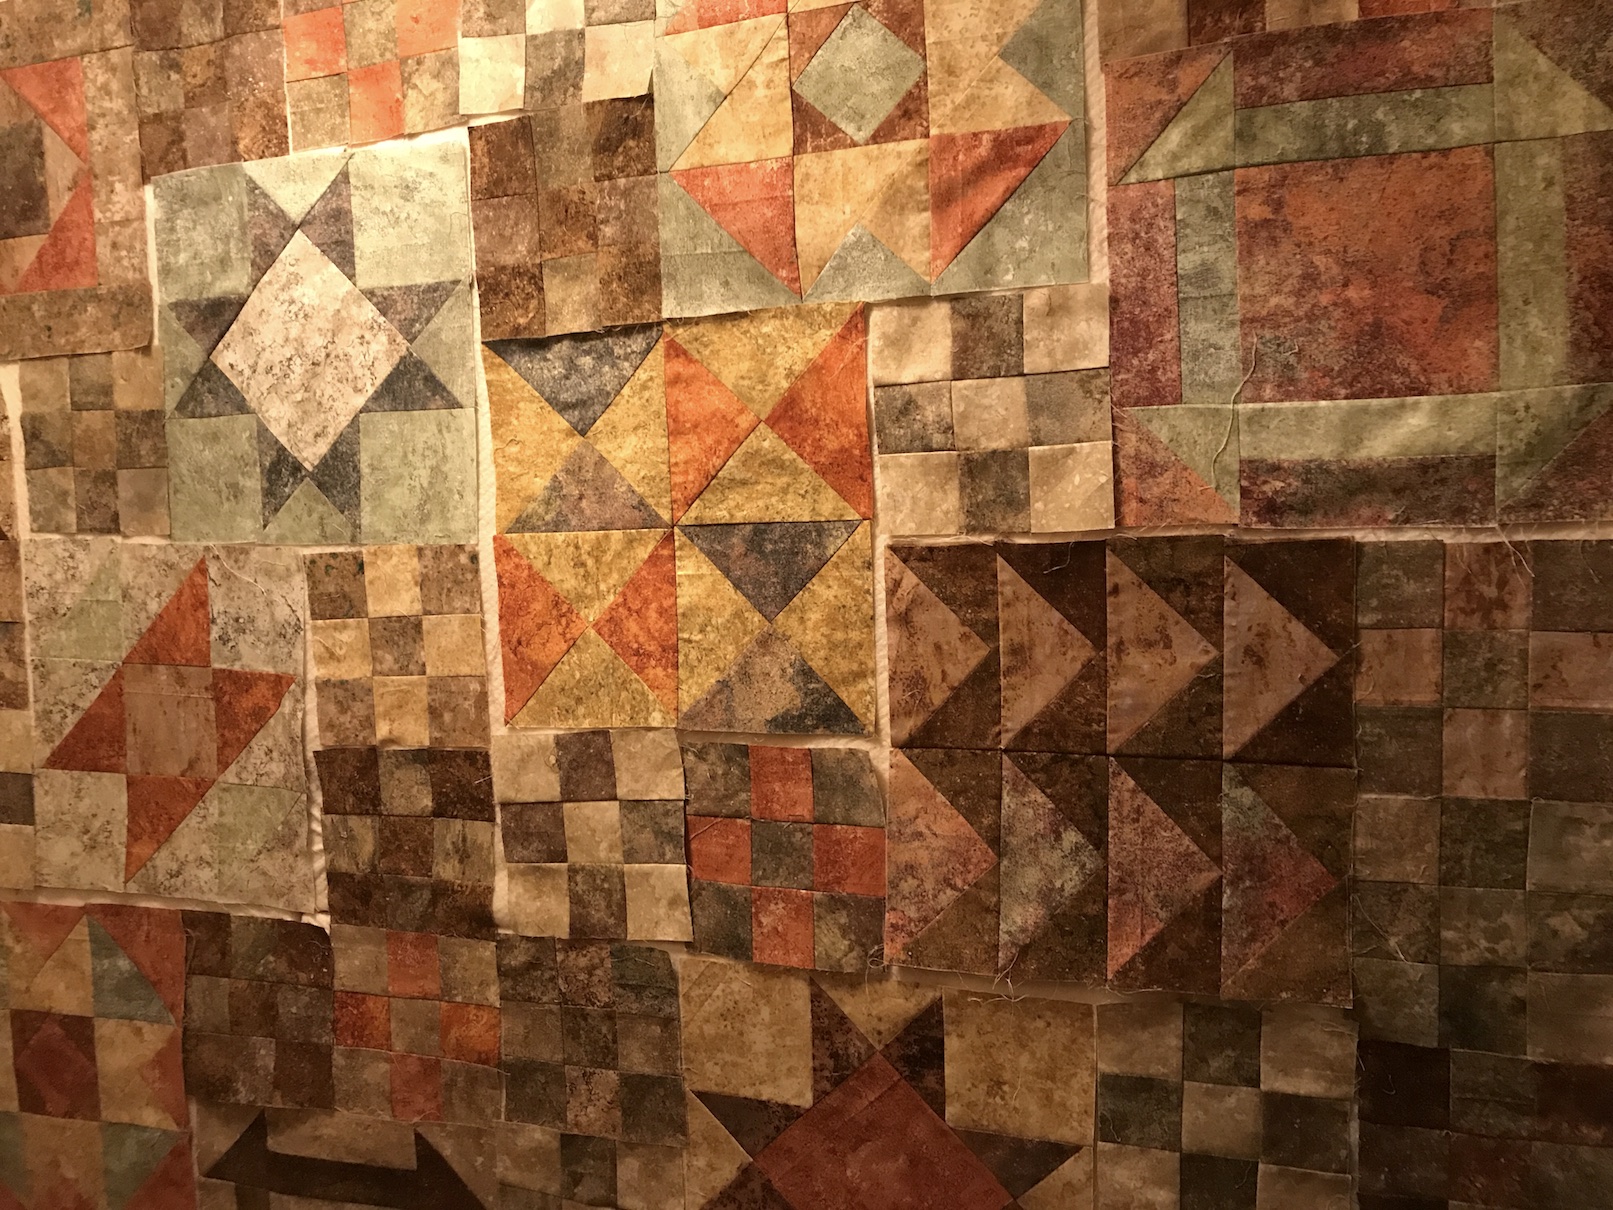
Yesterday I worked to turn the “hot mess” and former unfinished object (UFO) into something resembling a quilt top. I’ve named the quilt “Cozy Cobblestones” as the fabric is the Northcott Stonehenge Cobblestones line.
I promised better photos, however I was unable to keep my promise. Still struggling with the narrowness of my hallway, I had to take entire layout photos at an angle. Alas, this is one of the “cons” of having a design wall in a narrow hallway!
From the right side
From the left side
Here is one “head on” photo taken by smooshing myself against the opposite wall:
“Smooshed” against the wall!
You are probably wincing at the lighting on the photos. Once I sew the blocks together, I am going to take the quilt outside for a proper photo!
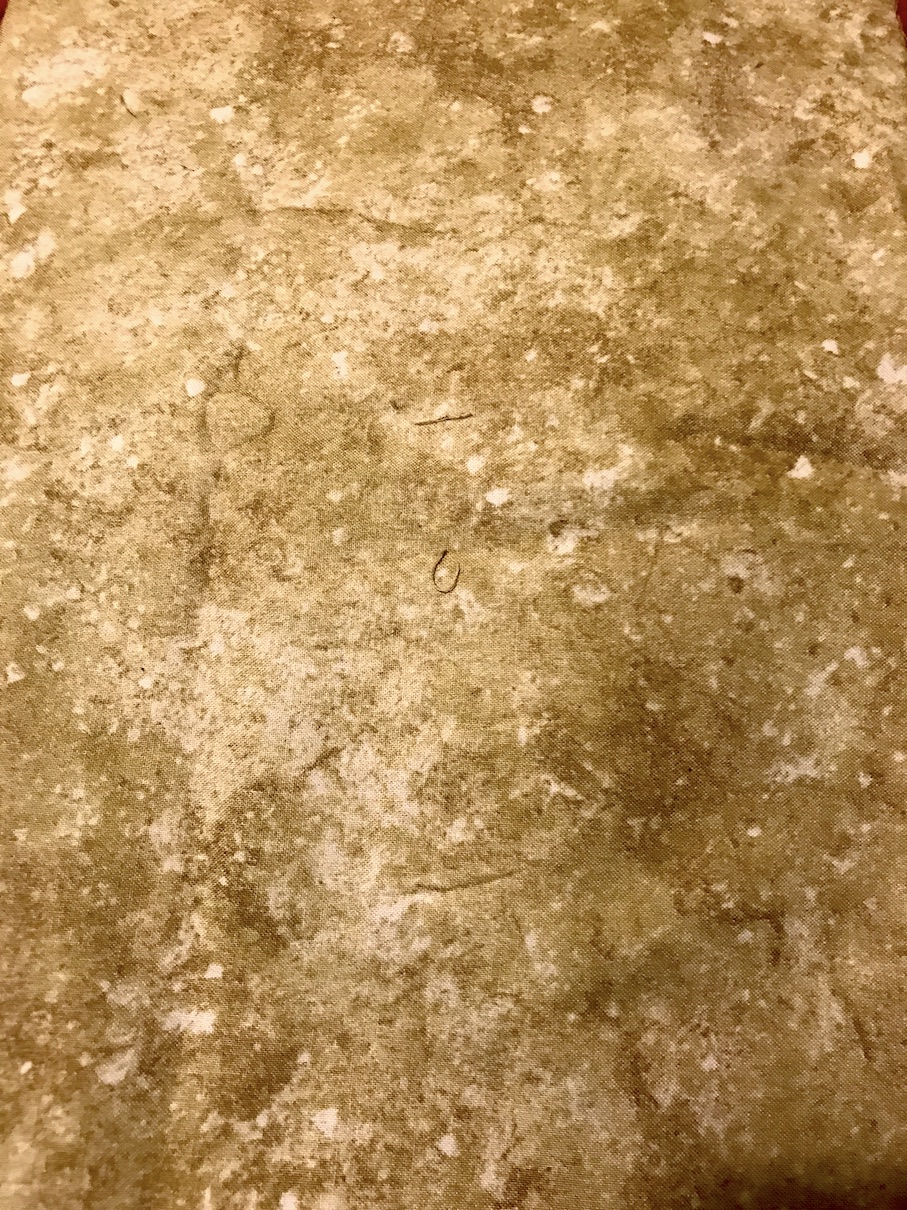
I am likely going to “float” the quilt top in additional Stonehenge fabric (I think I have enough yardage to put a “float” border around it). Here is the fabric I might use (it is my only choice unless I go out and try to find some more):
Next to a section of the blocks layout:
Try and use your imagination of how cool this will look…
I might use the same fabric for the binding too as I am trying to use what I have in my stash. A contrasting binding might be nice but I would have to purchase it new (and I am taking a hiatus from buying fabric right now).
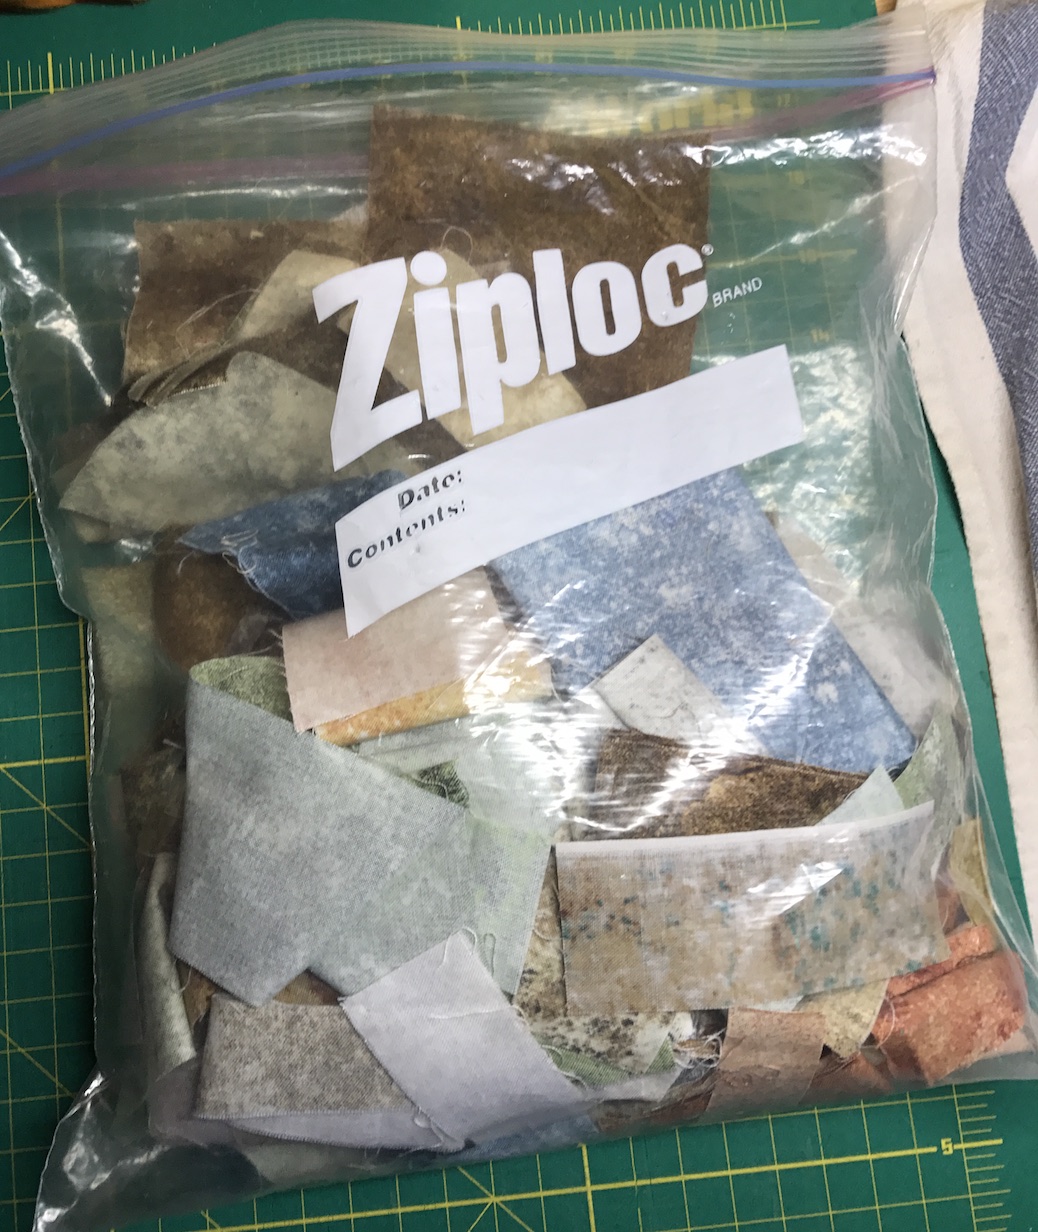
Speaking of my “stash”, I put the scraps and the two remaining fat quarters that I did not use up, in a future “Challenge Bag” (see post Basketof Challenges):
I’m gonna be a future “Challenge Bag” – yay!
Inside the scrap bag you will see the blue scraps that I loved (from another Stonehenge line that a quilting friend donated) but could not work into the piece. We’ll see what I make in the future with this small bag of scraps.
The remaining scraps are fairly small as I worked hard to harvest any piece I could turn into a 2.5″ x 2.5″ block:
Little squares, cutting so many little squares! (42 x 9 = 378)
Quilters reading this may wince, but I did not have enough length of any of the scraps from piecing the original 12″ blocks to make the 6′ nine-patch blocks using the quick “strip-piecing” method. Instead I had to cut out individual 2.5″ x 2.5″ pieces and sew them together to make 42 6-inch nine-patch blocks! I did “chain-piece” the heck out the pieces after a while became a nine-patch block factory!
It was definitely an old school traditional piecing!
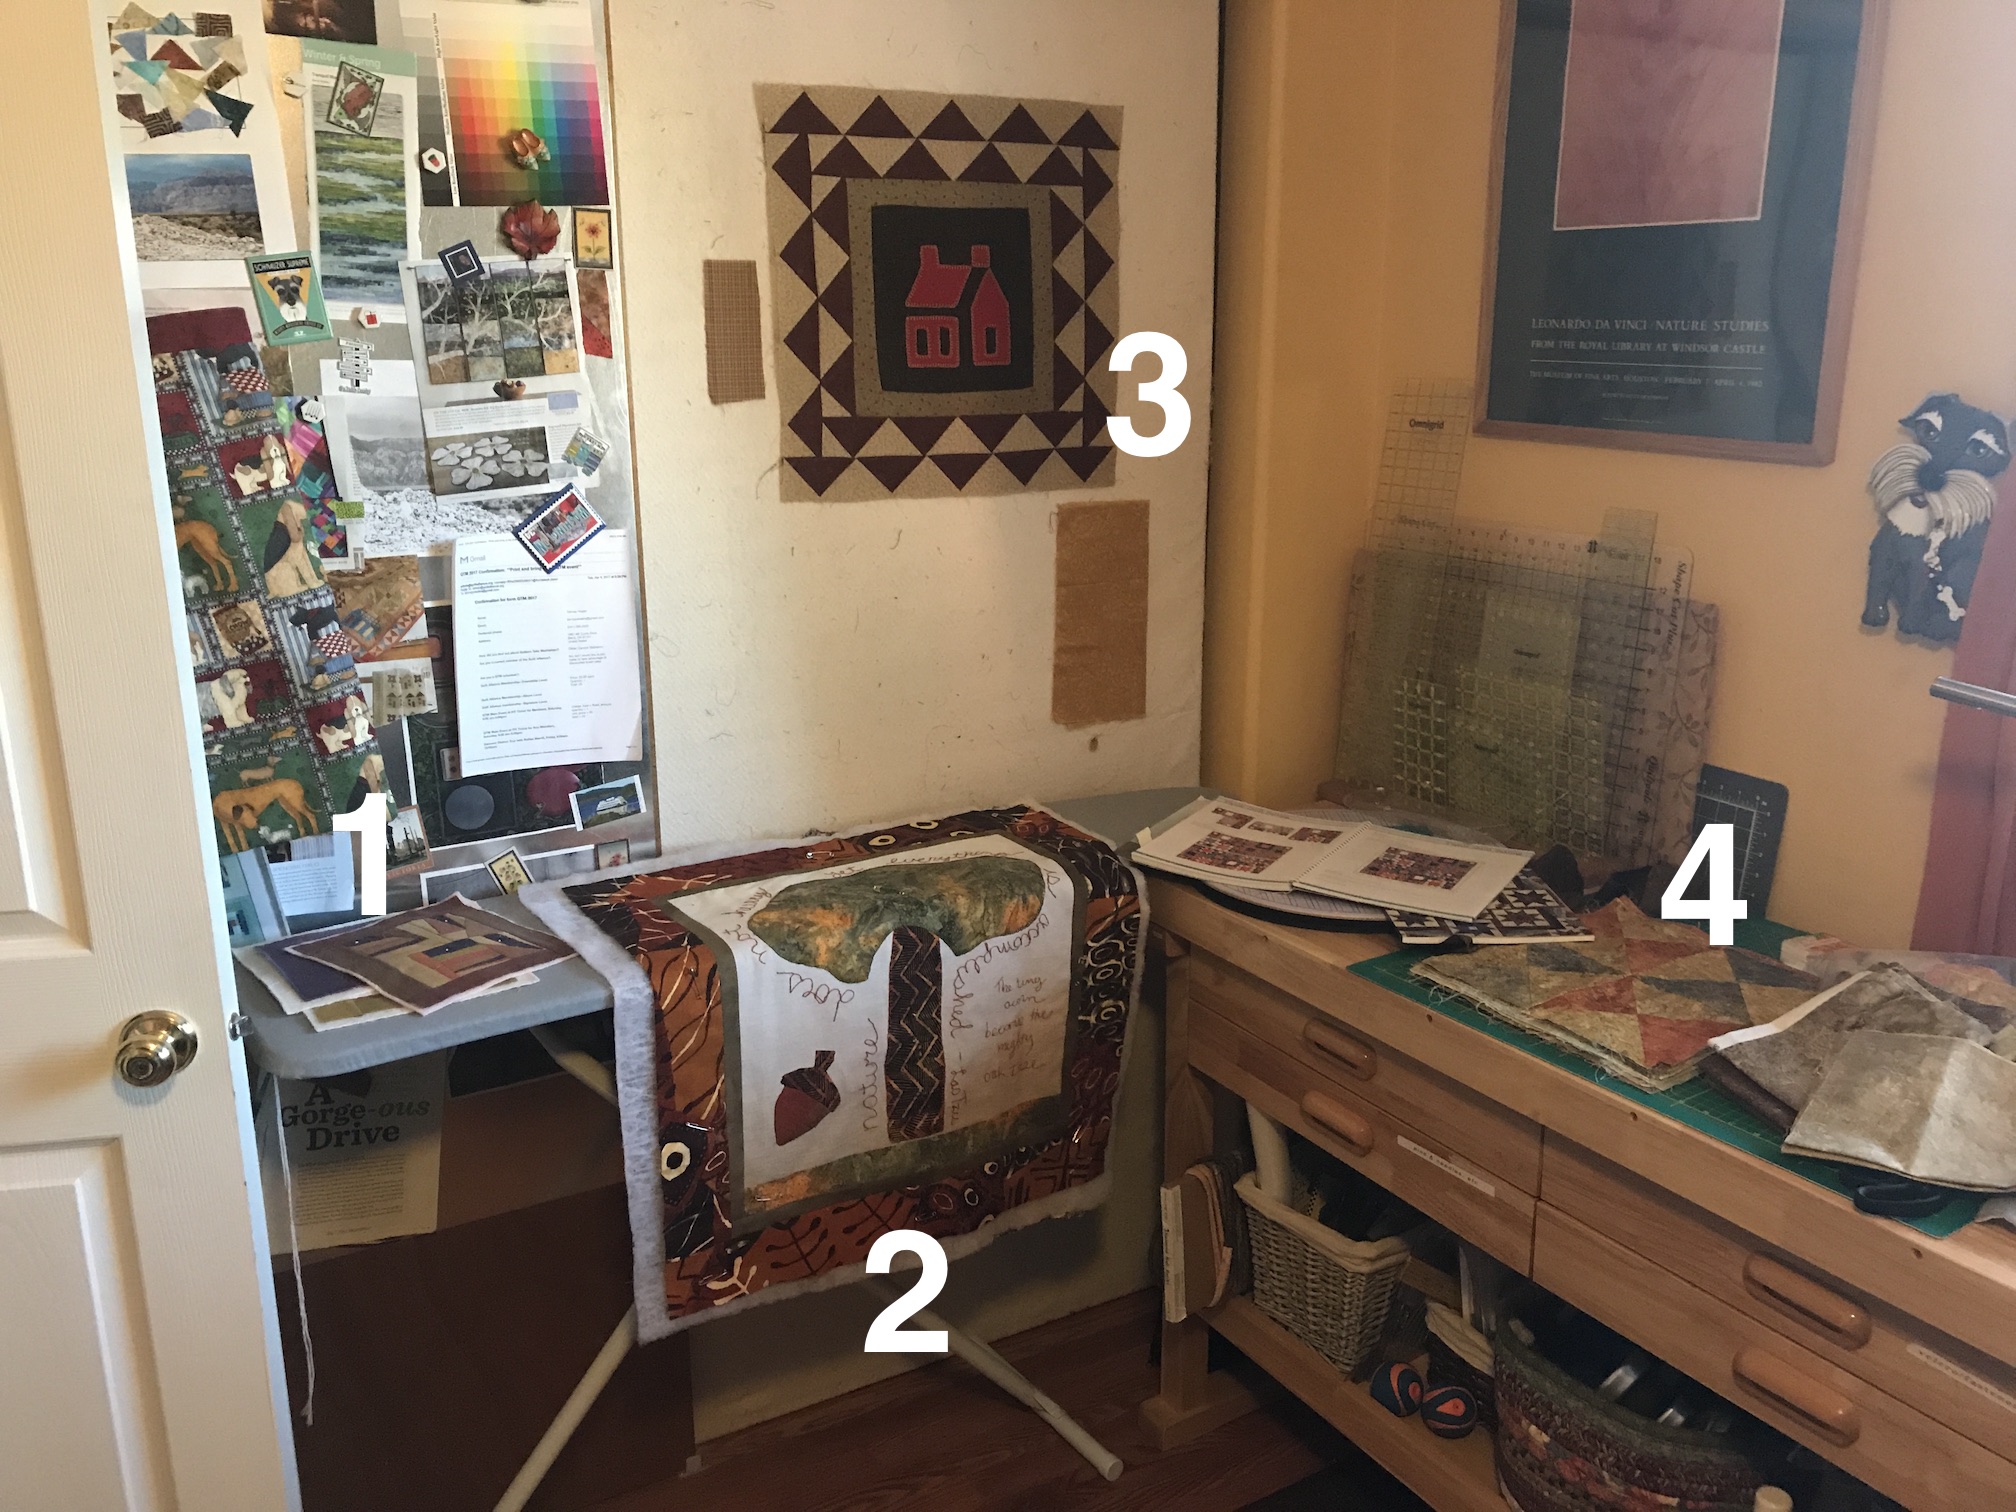
I am feeling pleased with my progress on the “UFOs” in this photo, this quilt top is the #4 in the photo below:
Once I get it all sewn together, I guess I need to work on the only remaining “UFO” – #3 (Medallion quilt) – but I am not feeling inspiration on that one yet!
Postscript
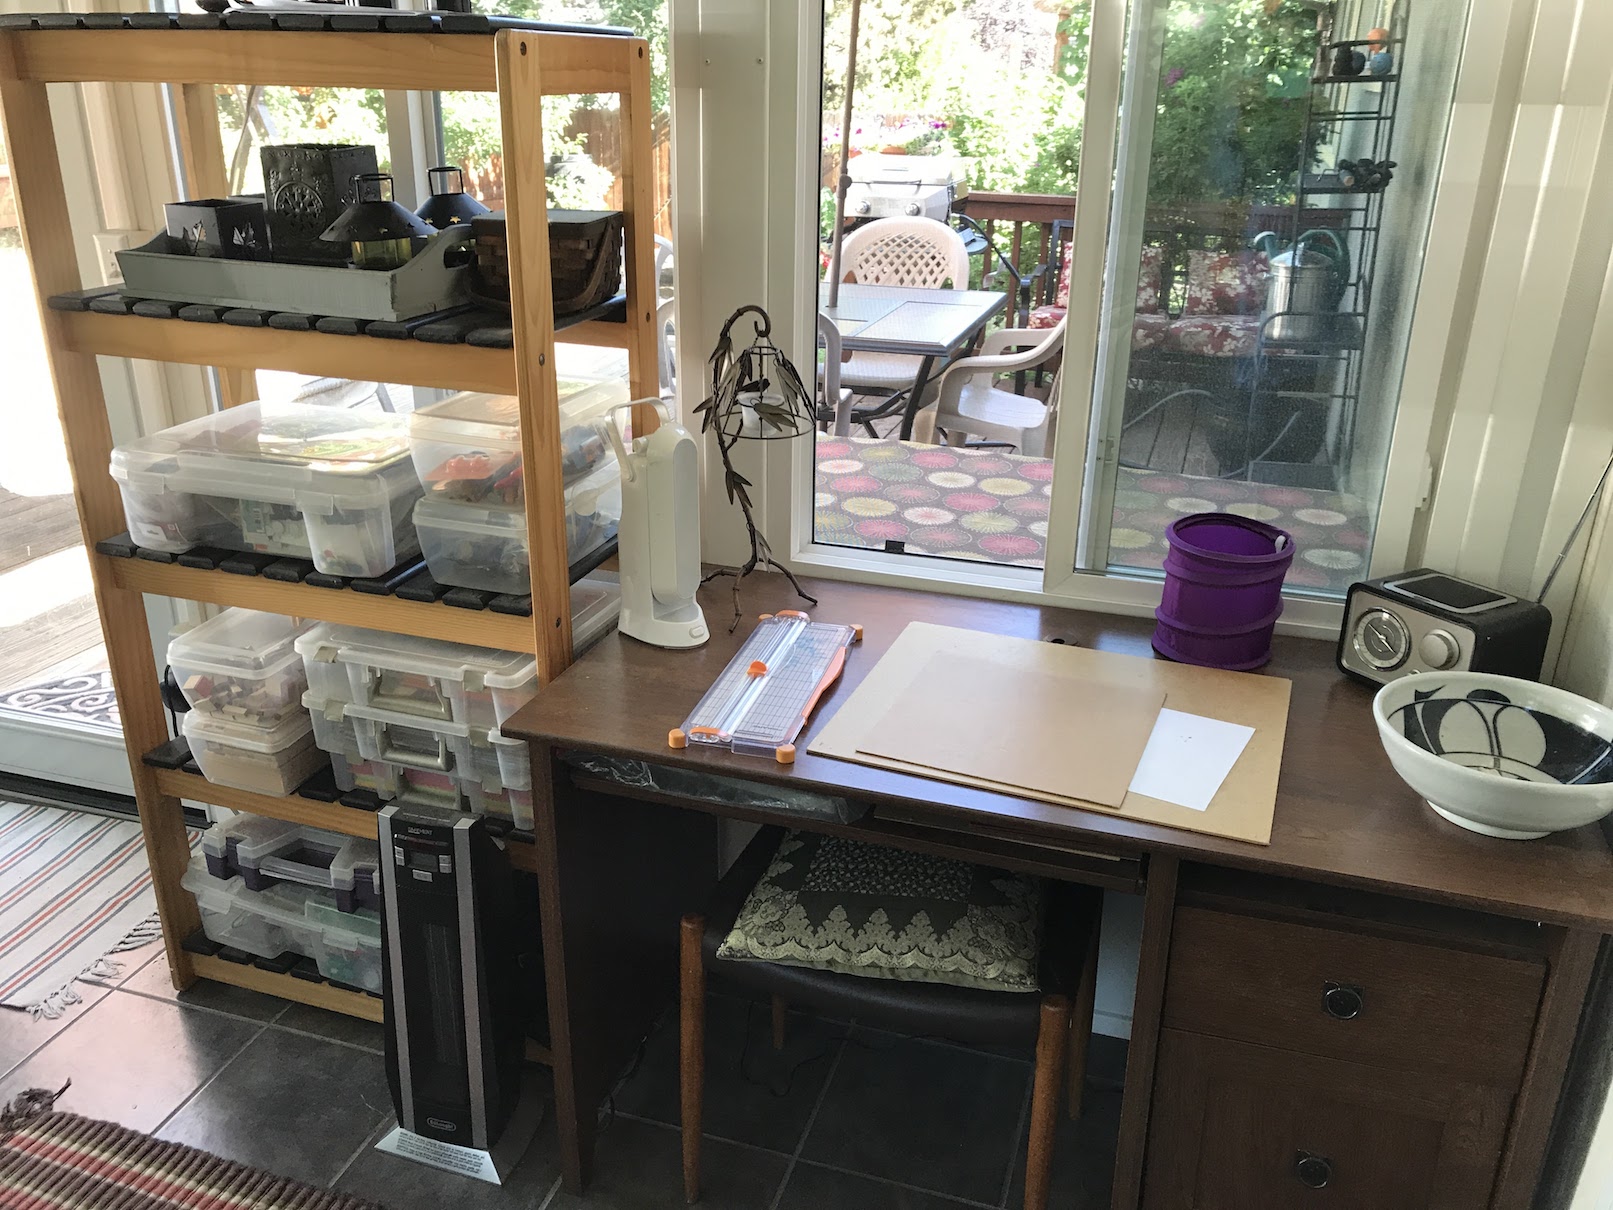
In addition to a push to complete my unfinished projects, I’ve recently experimented with a couple paper-crafting/card making projects in the paper-crafting/beading area I set up in my sunroom:
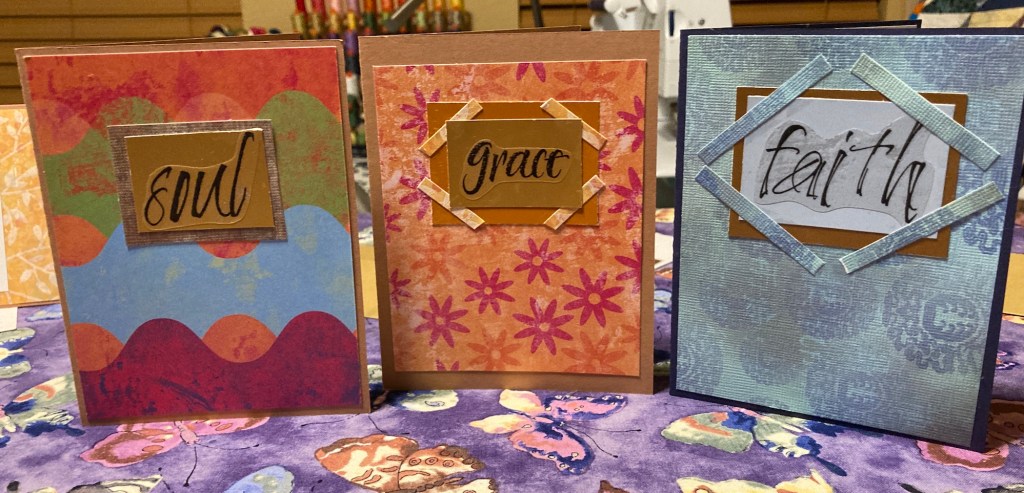
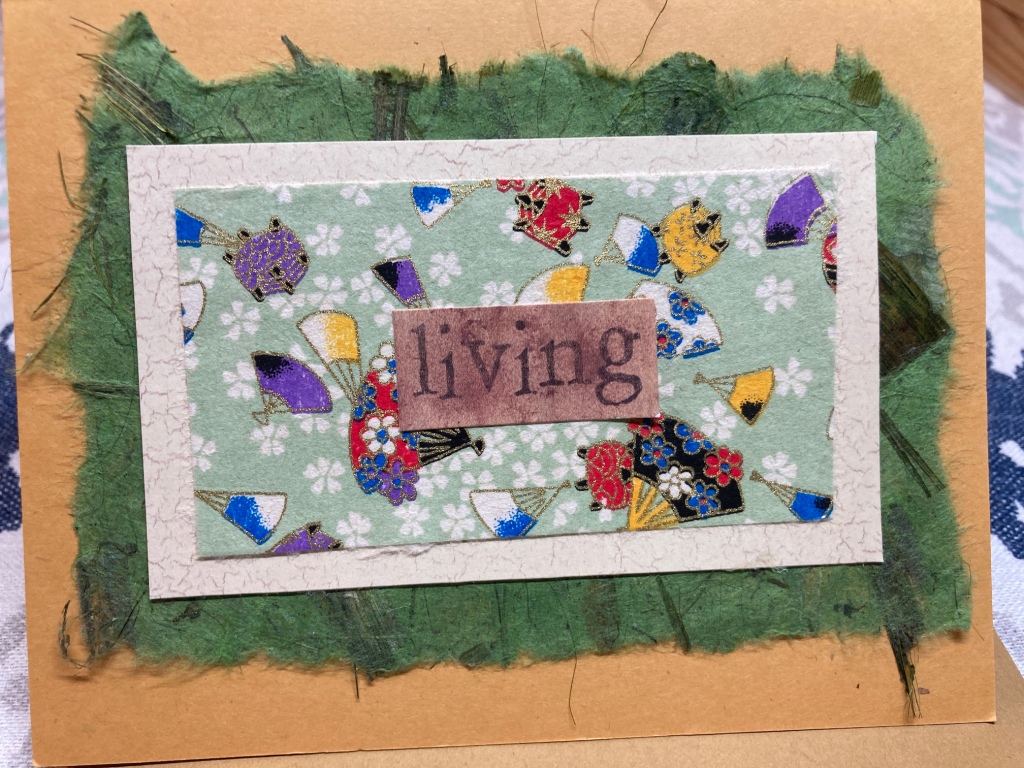
Here are the two cards I made:
I am not sure if the recipients of these cards actually liked them, but I had fun making them. I listened to a classical radio station on my new(ish) thrift shop radio and found card making very meditative.
Card making was actually my first official crafting hobby that I did with others.
My work colleague got me started in the late 1990s. I think it opened my mind to starting quilting, which I learned shortly after. I still have many of my card making supplies from the late 1990s and early 2000s. I donated about 1/2 of those supplies to charity organizations but I still have some wonderful supplies to make more handmade cards (whether people want them or not – ha!)