It’s the 15th of the month and time for my “ScrapHappy” post as part of the ScrapHappy group I belong. At the end of this post I have a link to the other blogs participating in this monthly event in case you’d like to check out their ScrapHappy posts.
As I mentioned in yesterday’s post What’s on the Design Wall: Scrappy Log Cabin, I am having a “Scrap Happy Retreat” at my house.
It starts today with two of my friends attending and runs to Friday where they will fly home. I only have enough space for two other quilters at the table in my studio and in the accommodations in my home (unless I install bunk beds, ha!).
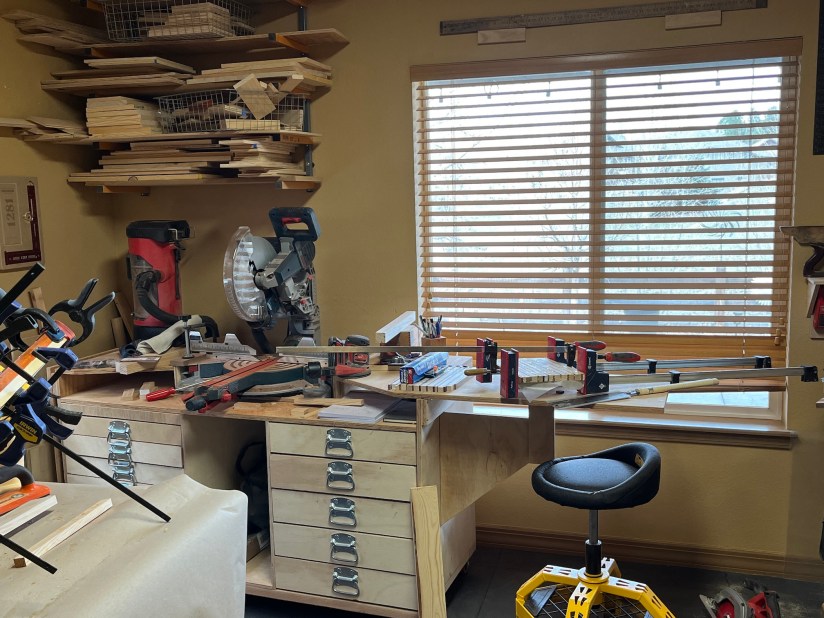
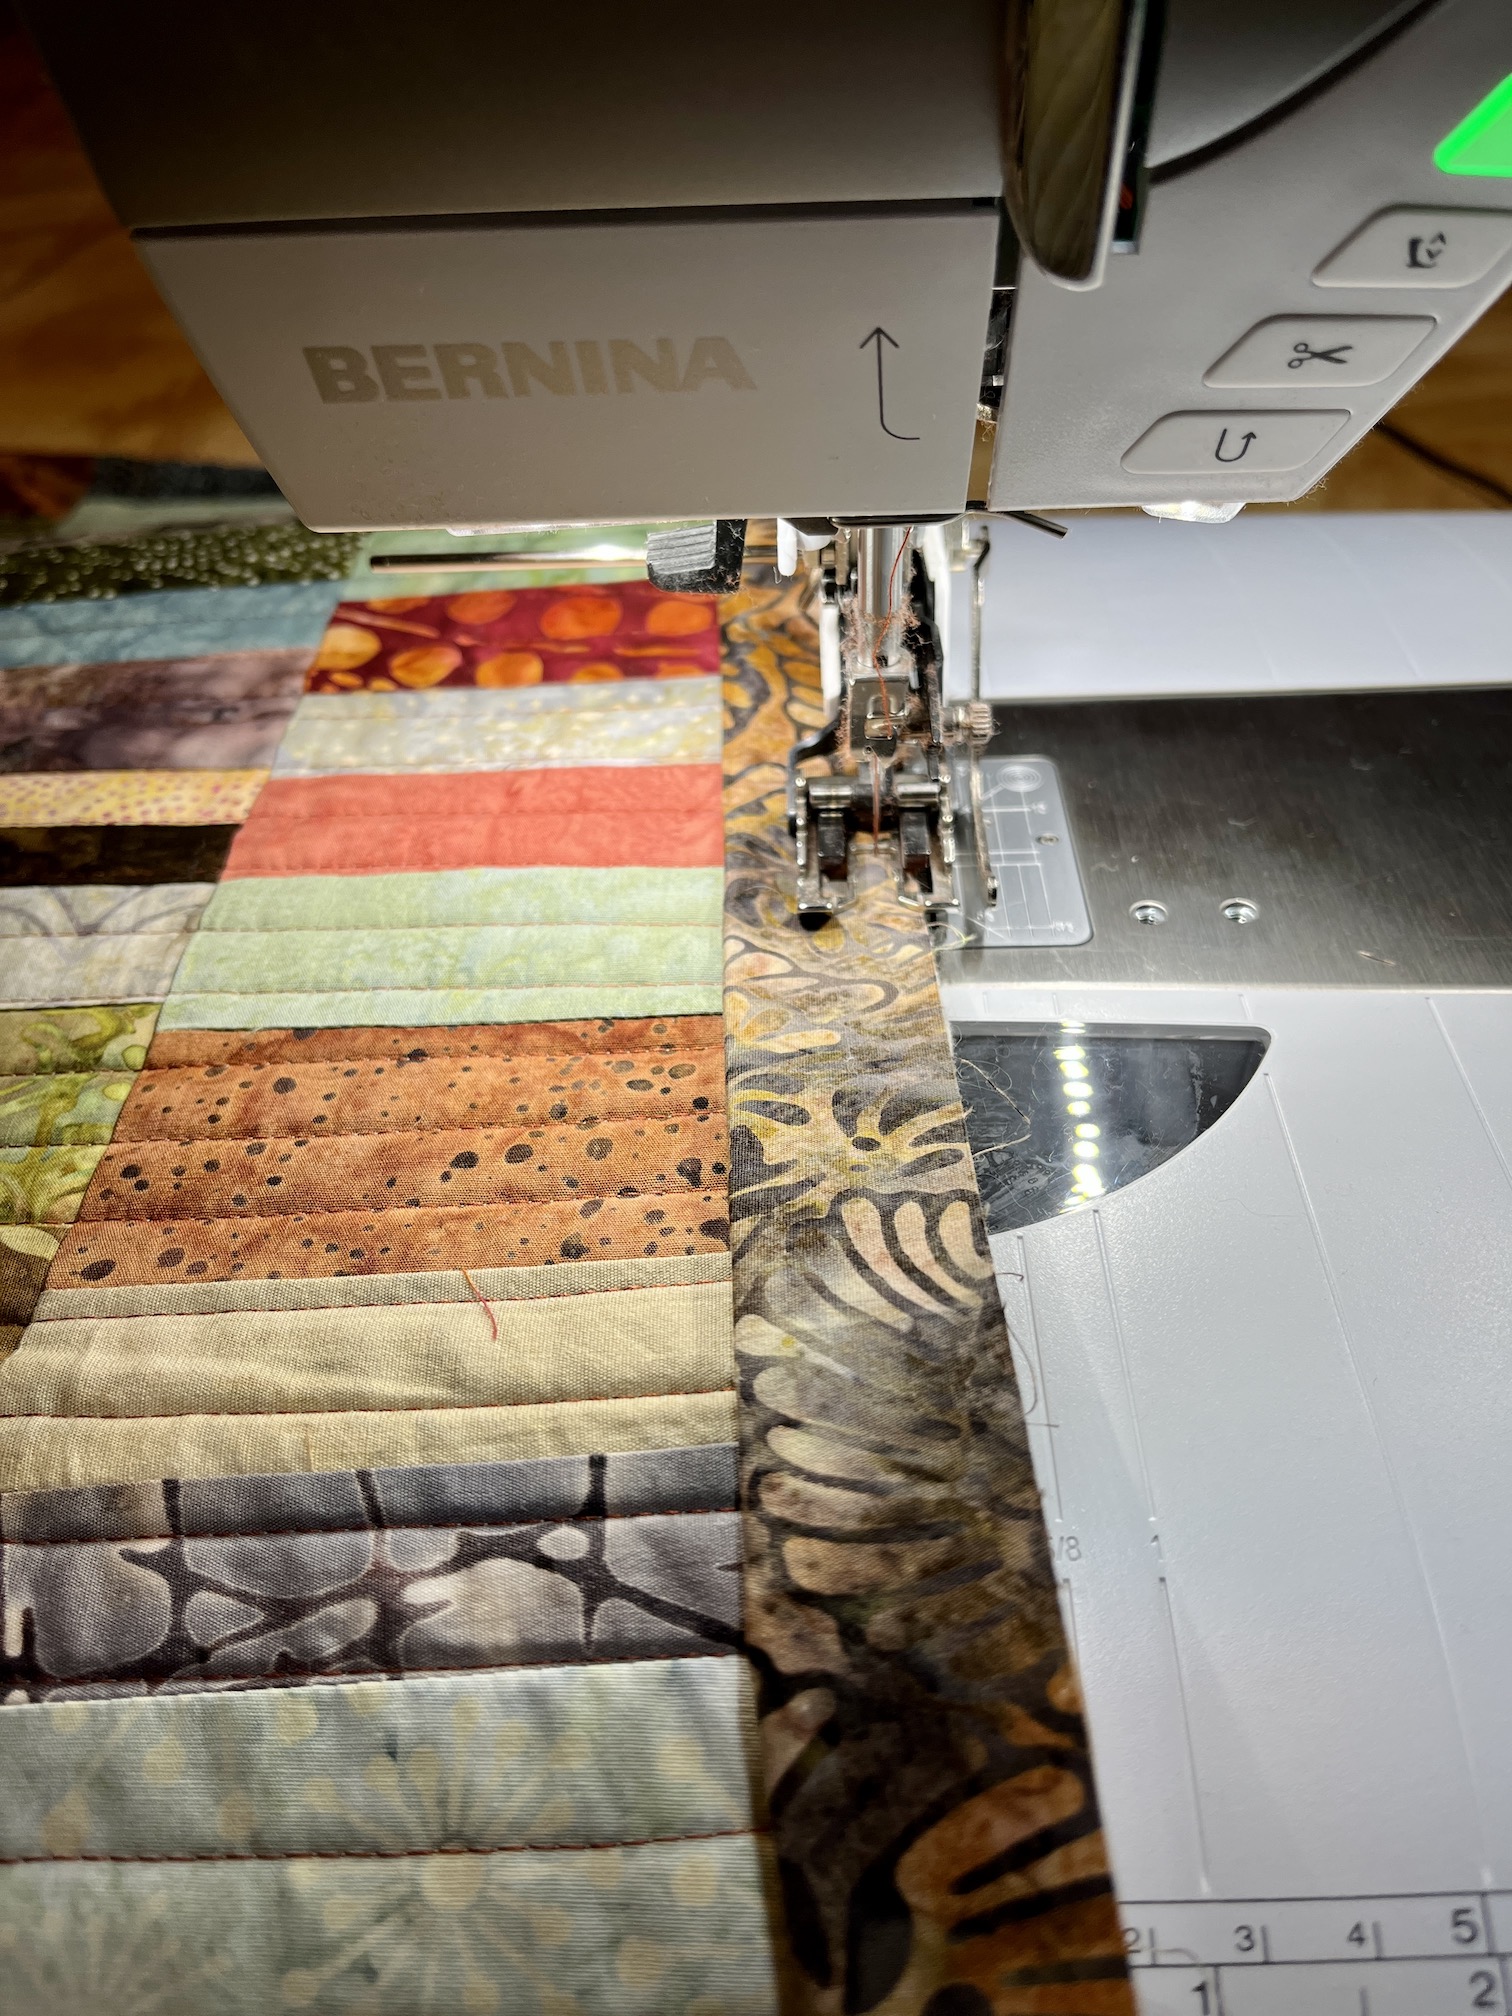
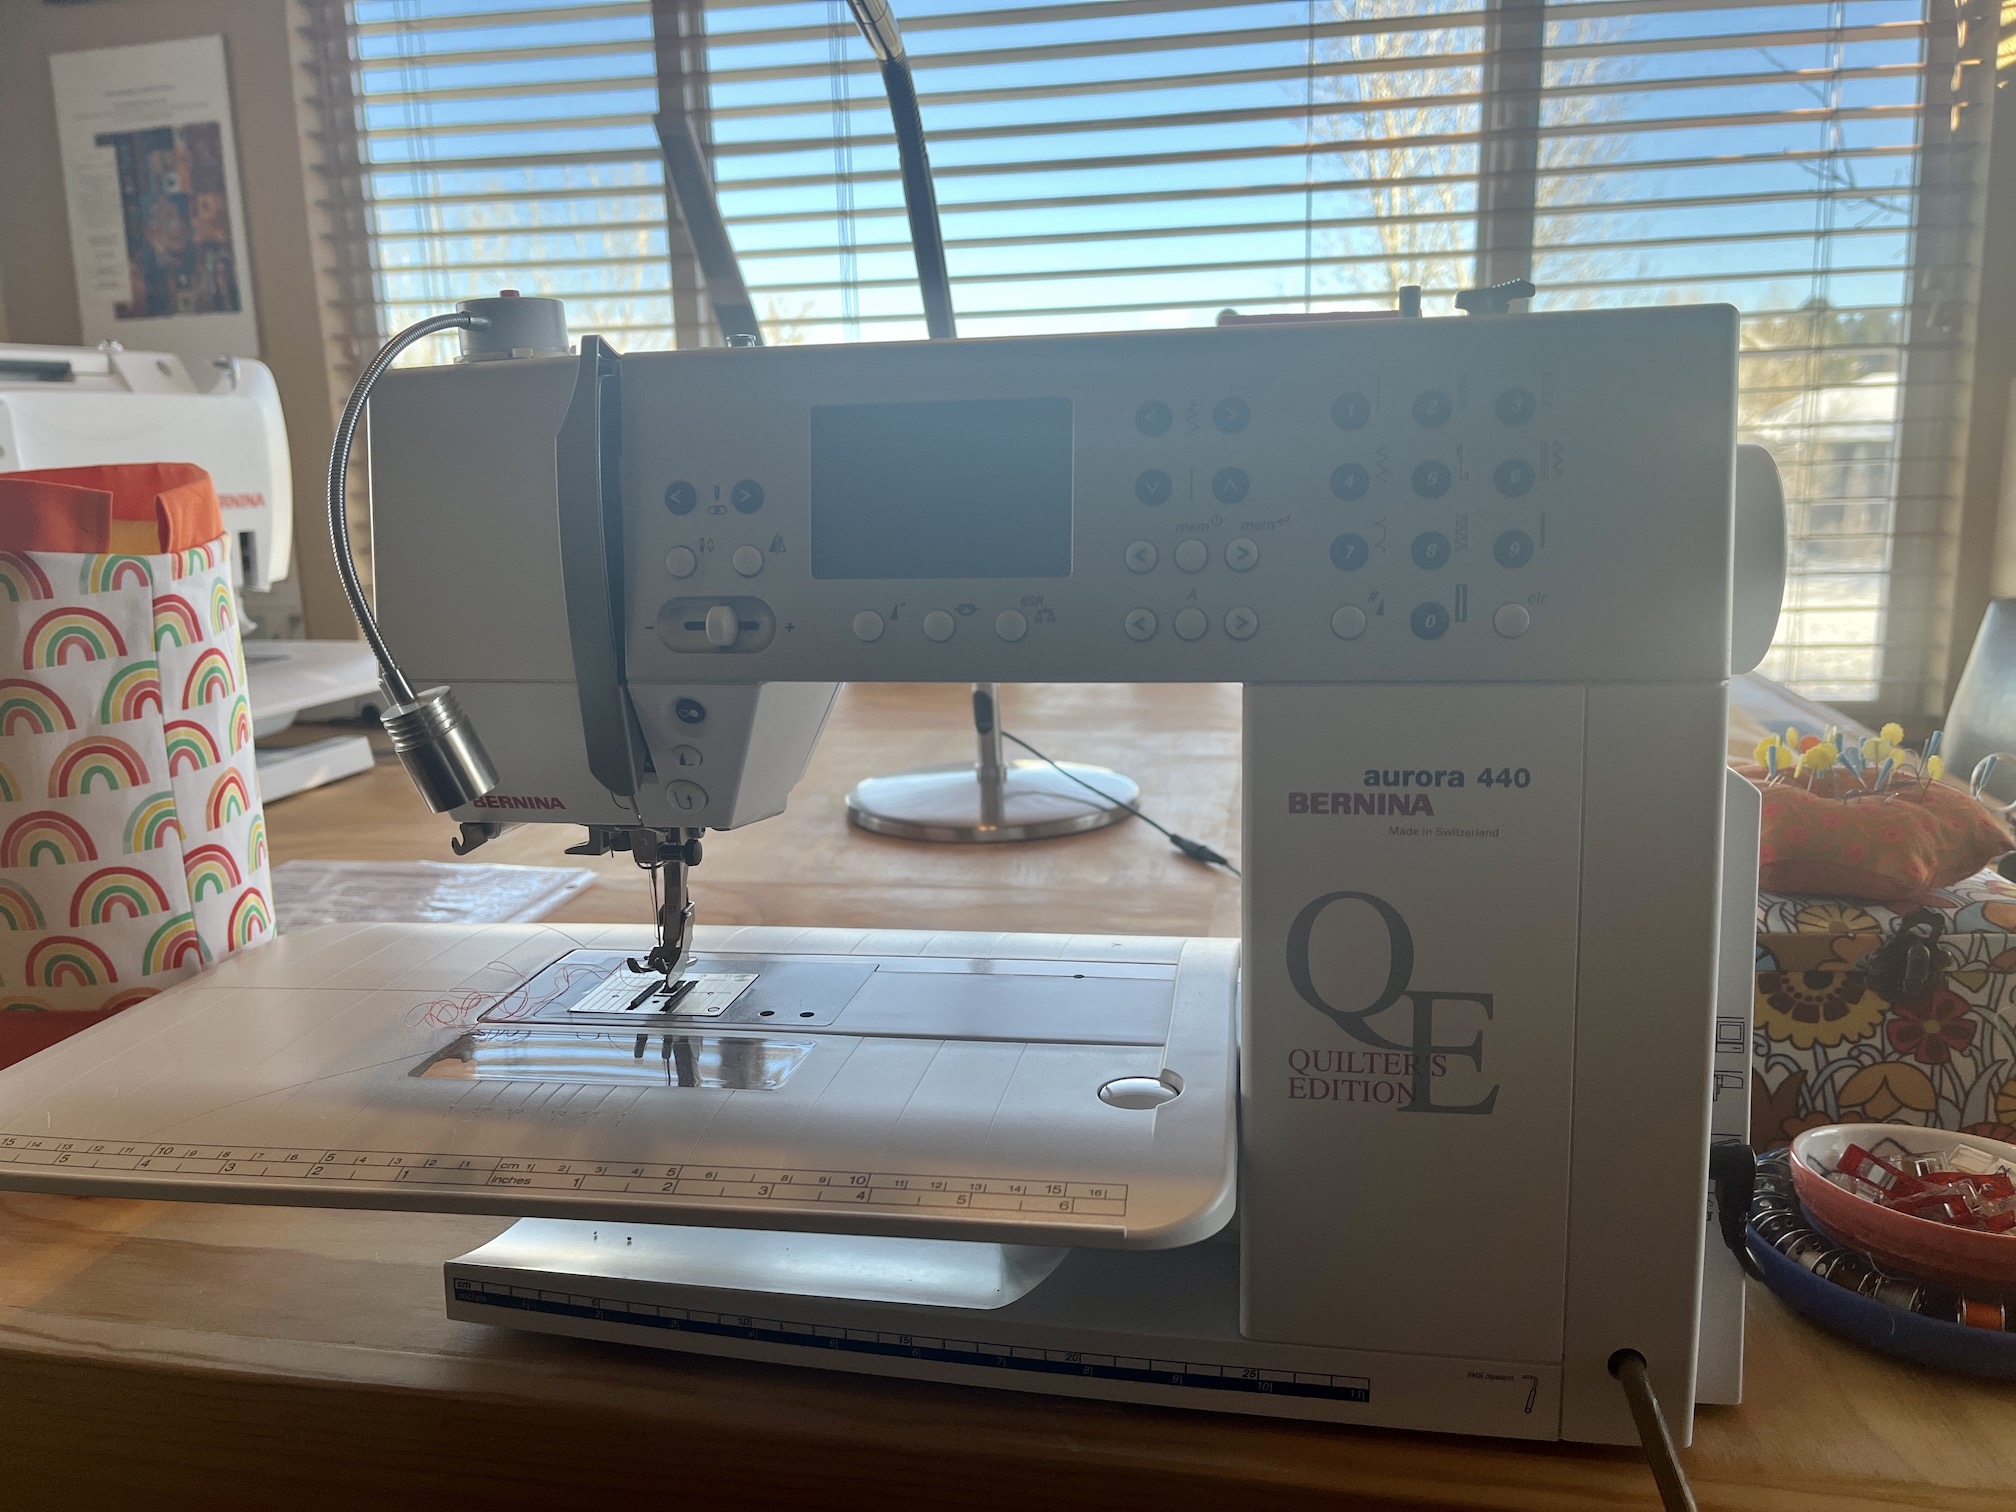
My sew table is set up for the retreat, I pulled out my other Bernina sewing machines – my QE 440 with 7 million stitches (see post 7 Million Stitches+) and my little 215 that I take to classes.

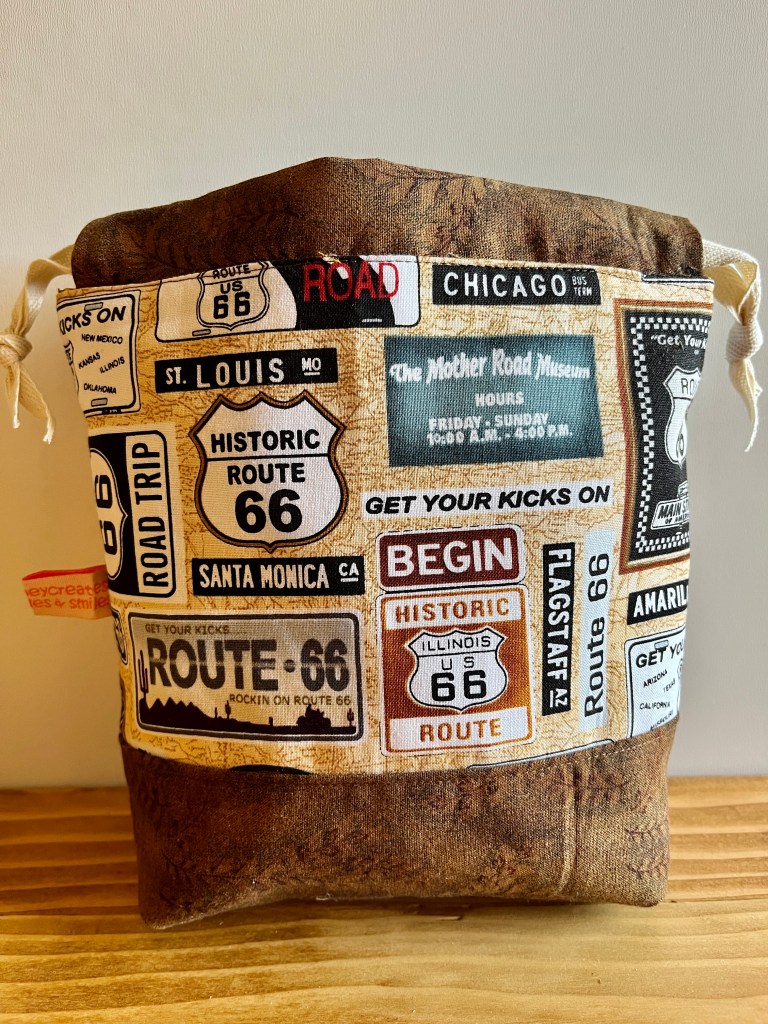
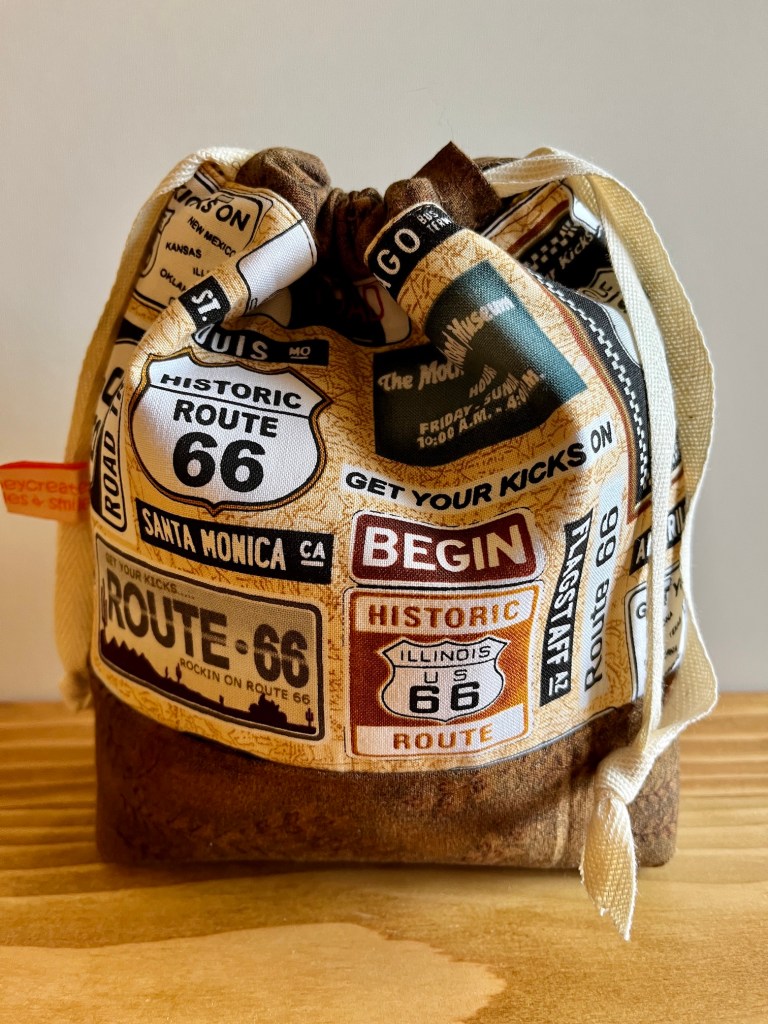
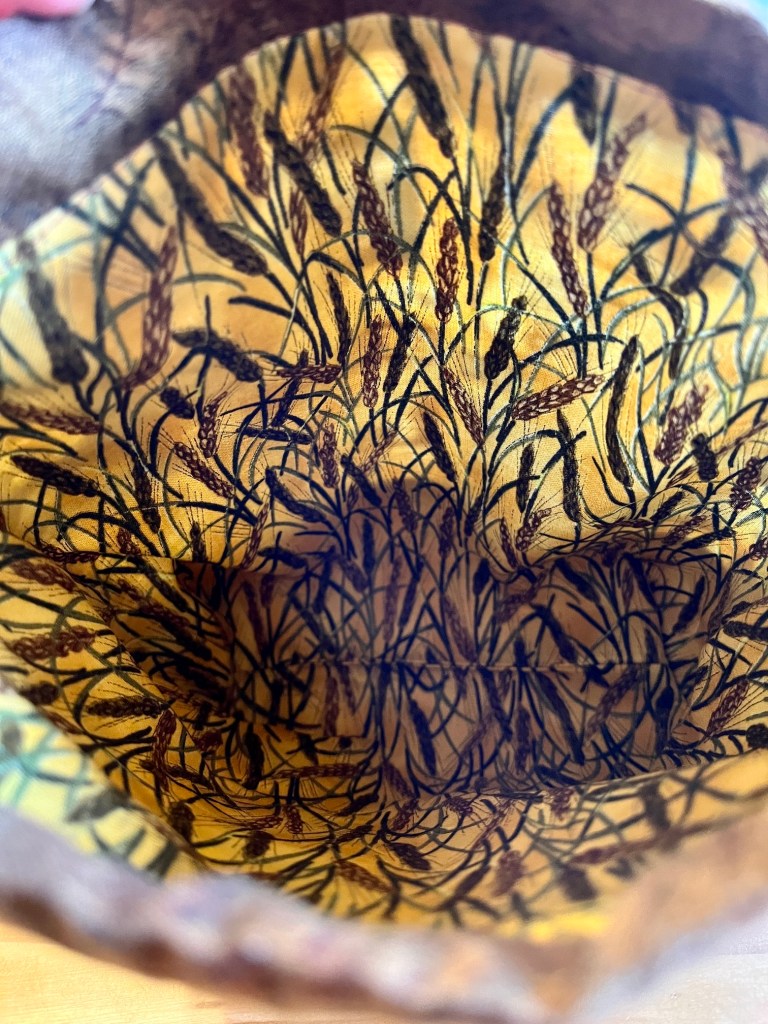
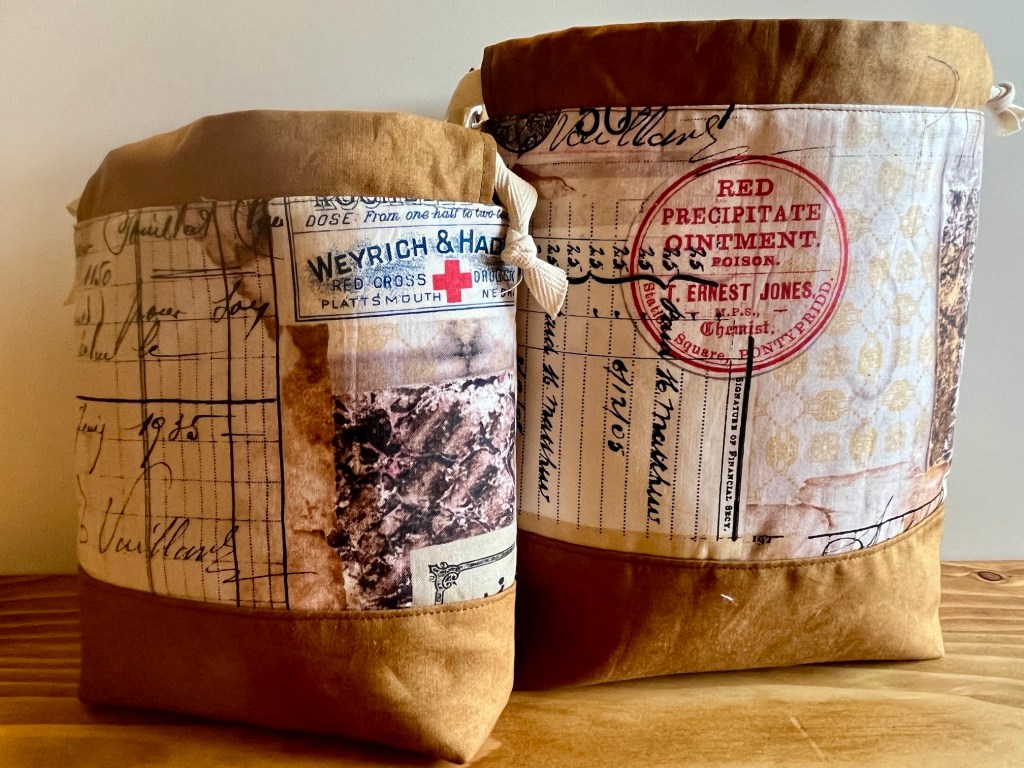
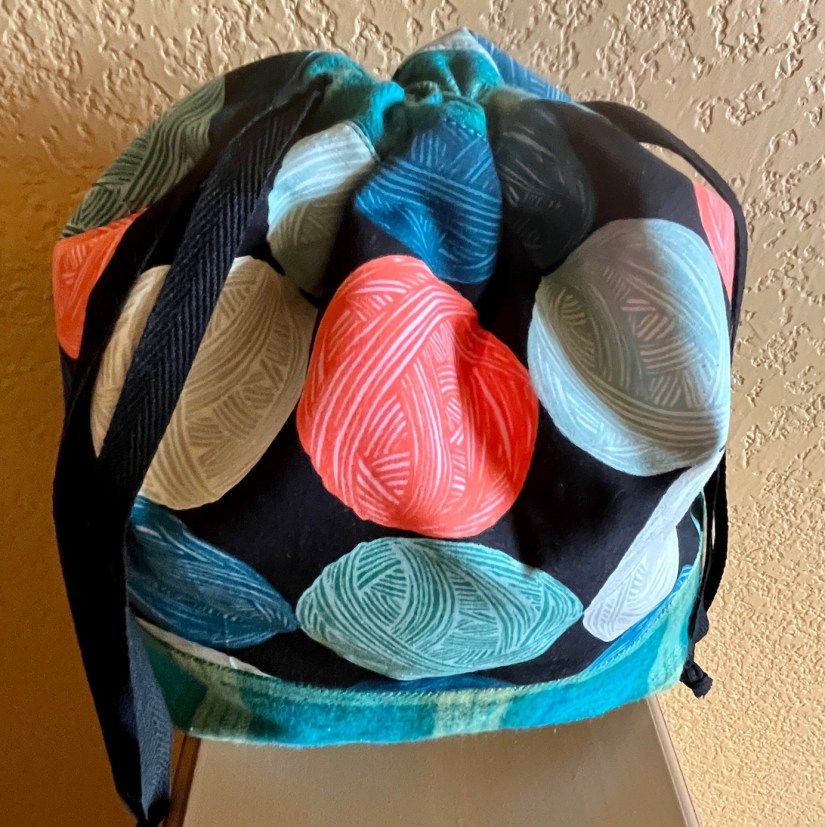
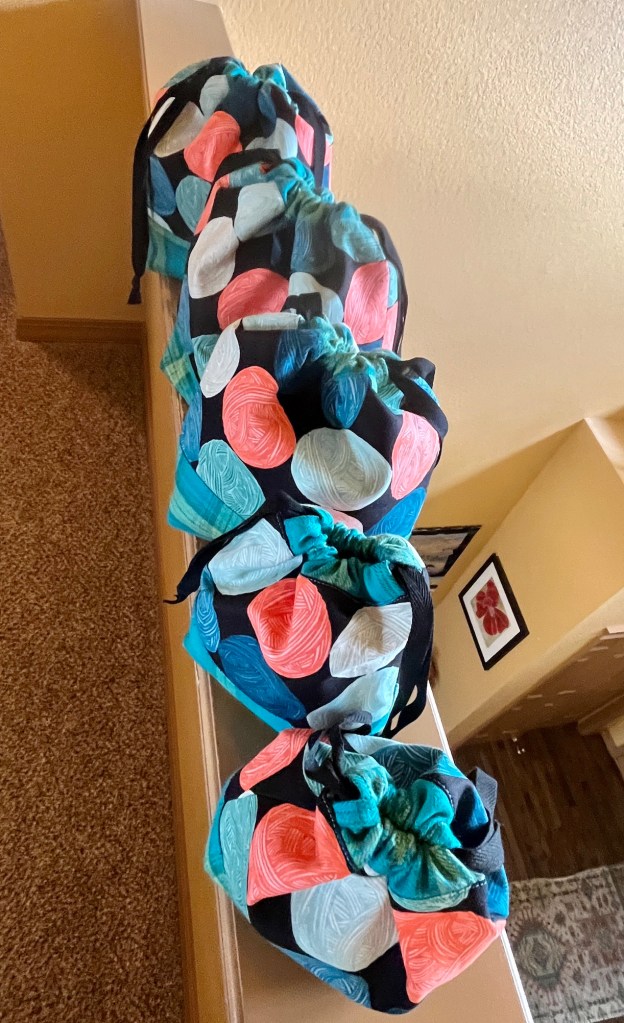
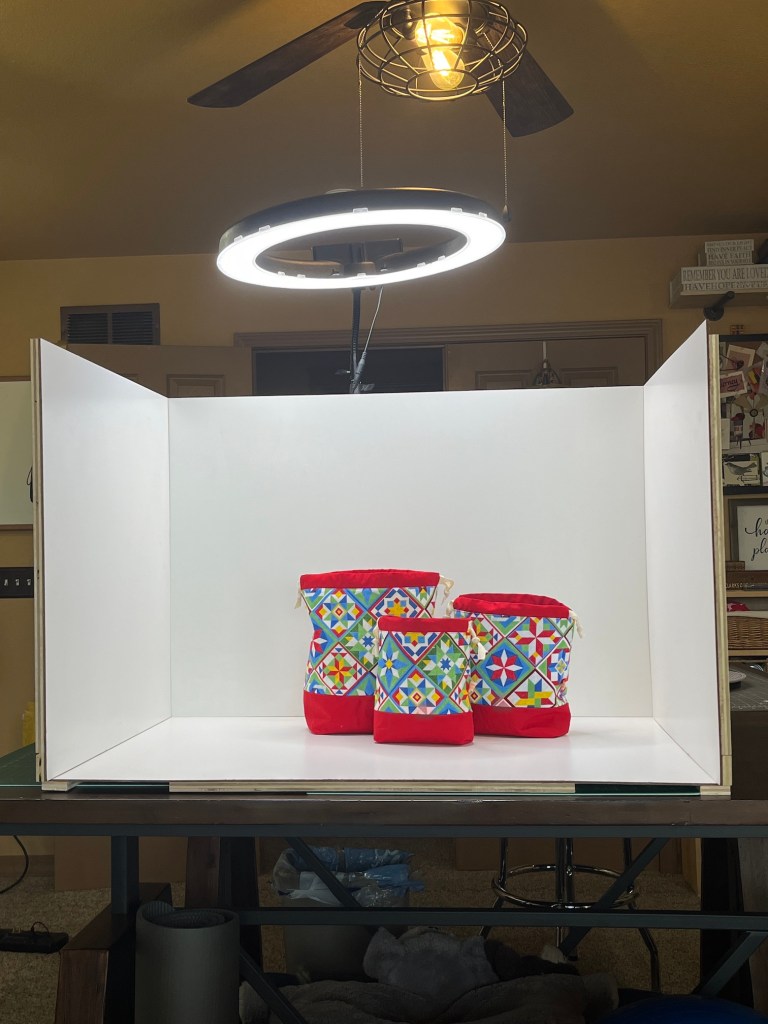
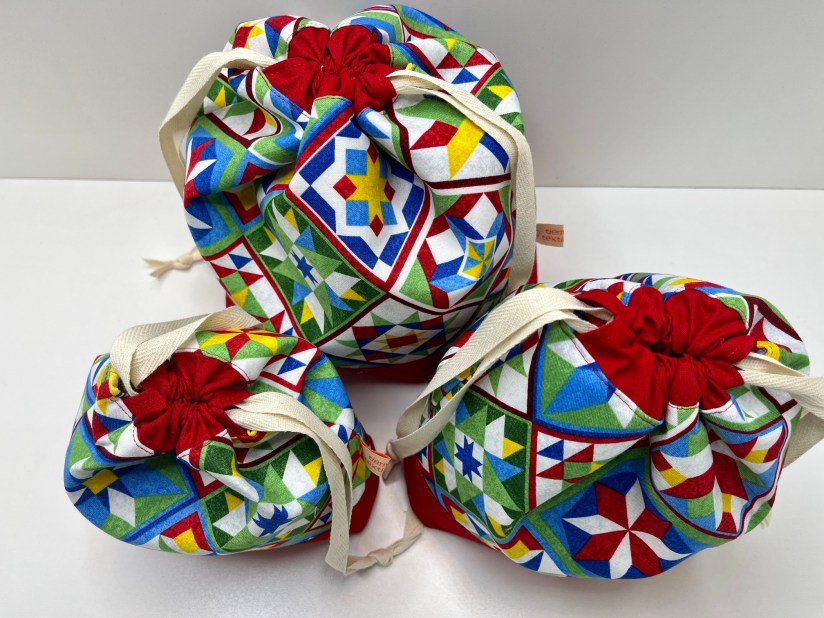
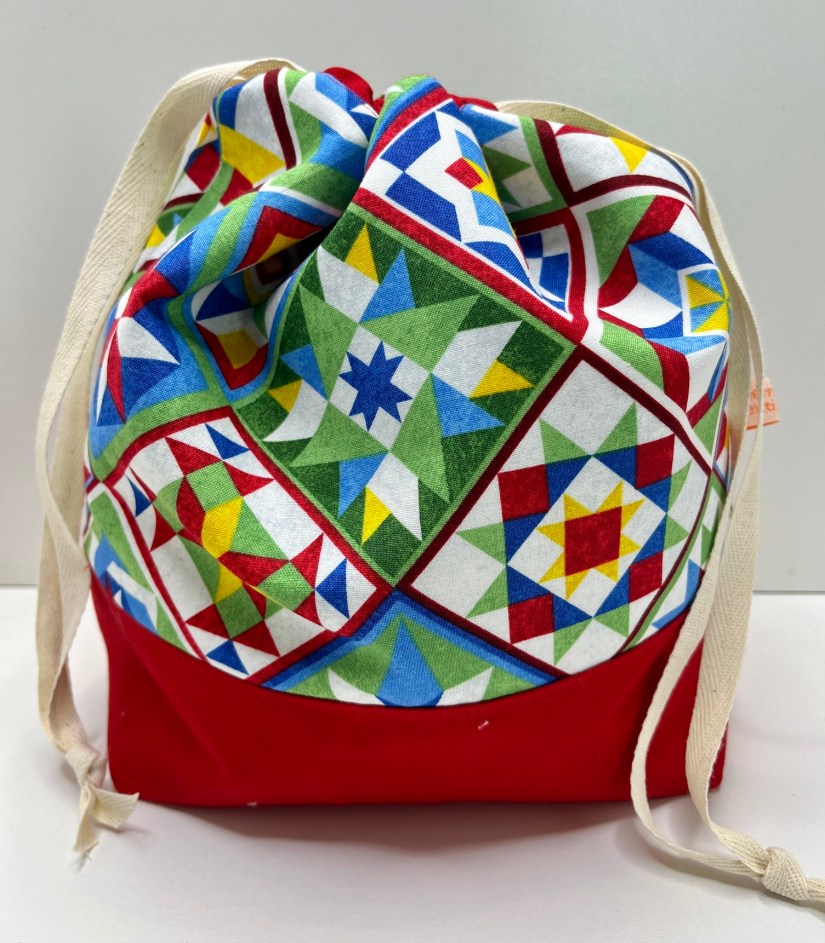
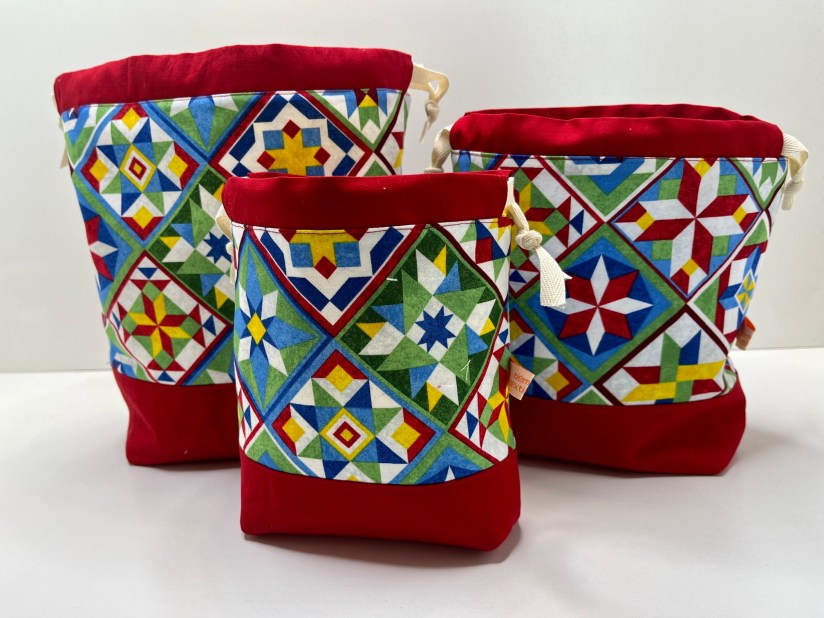
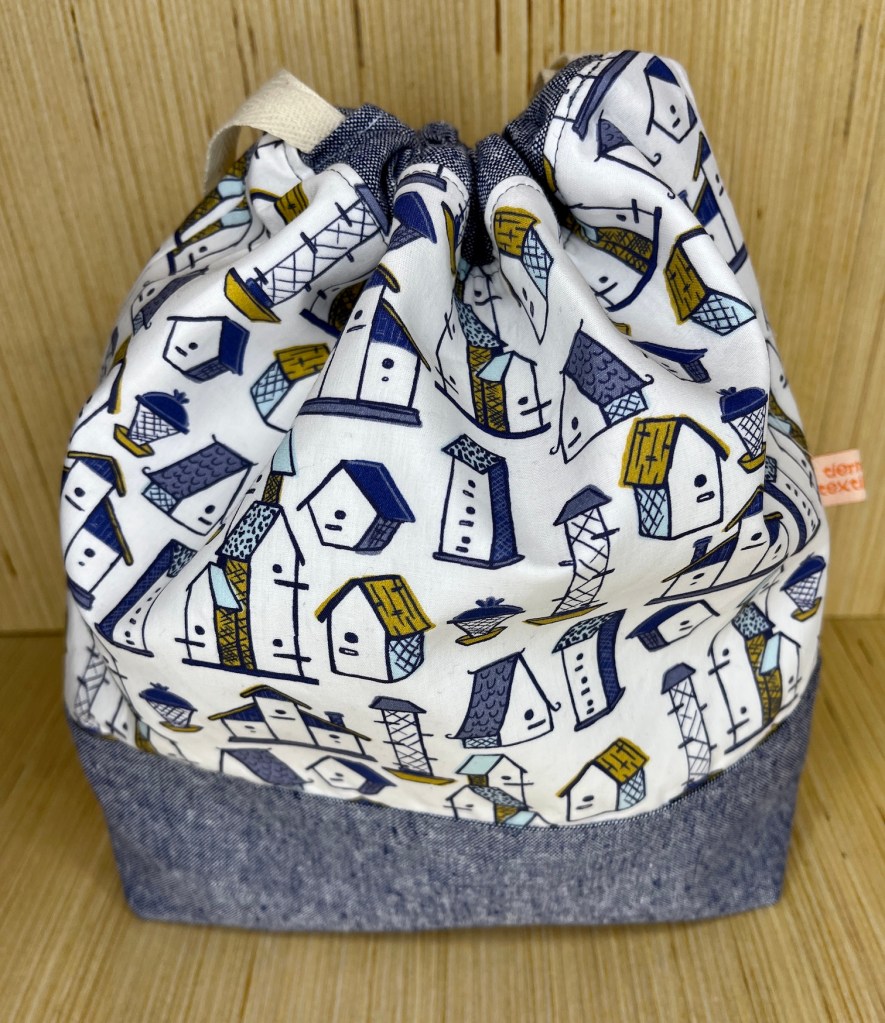
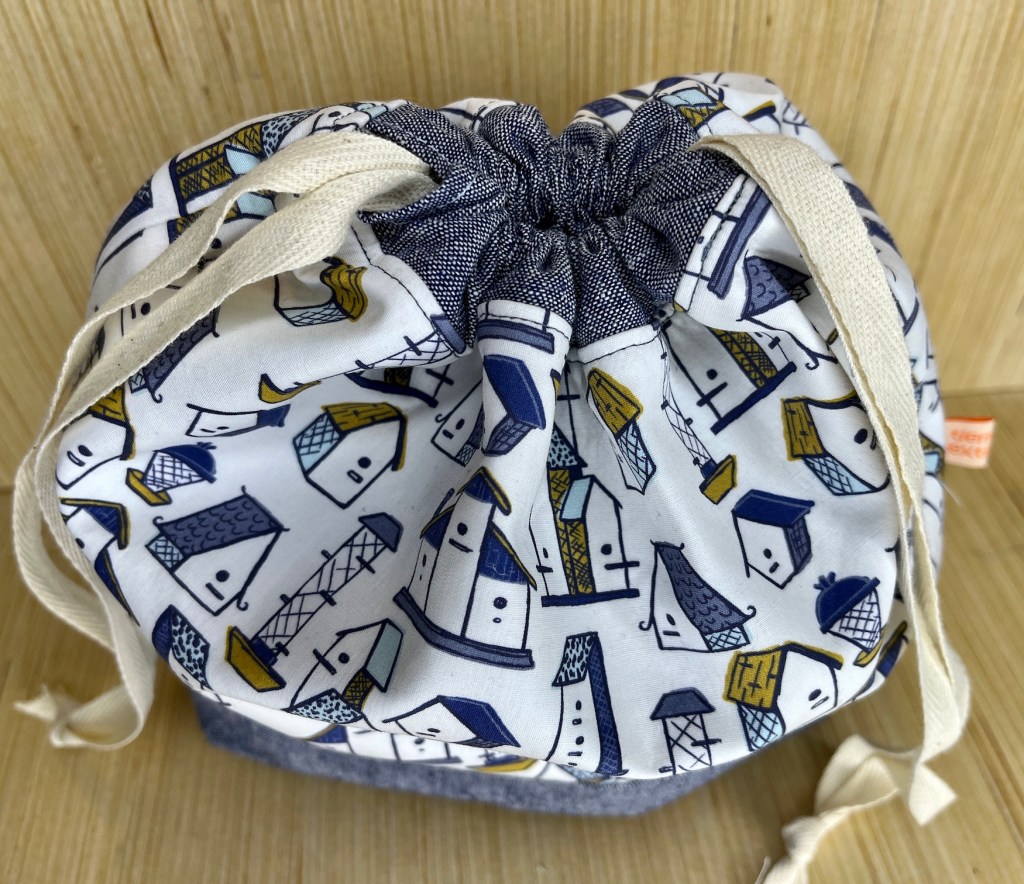
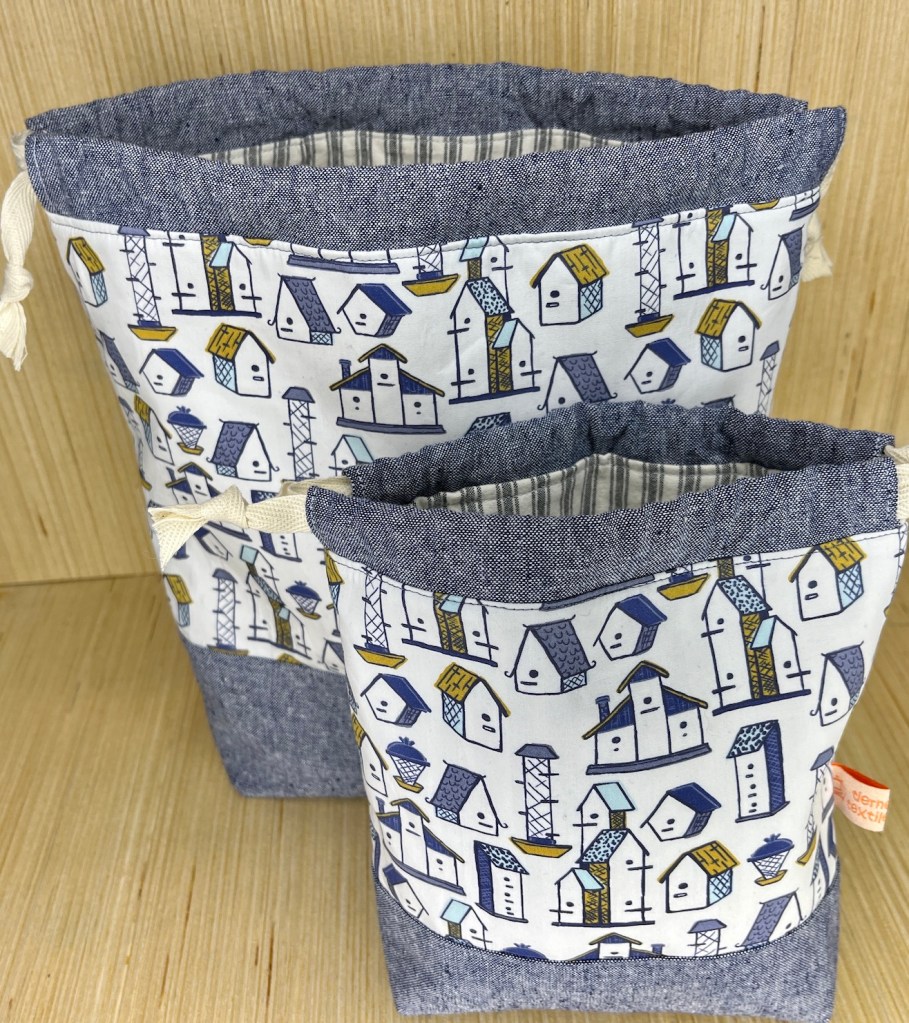
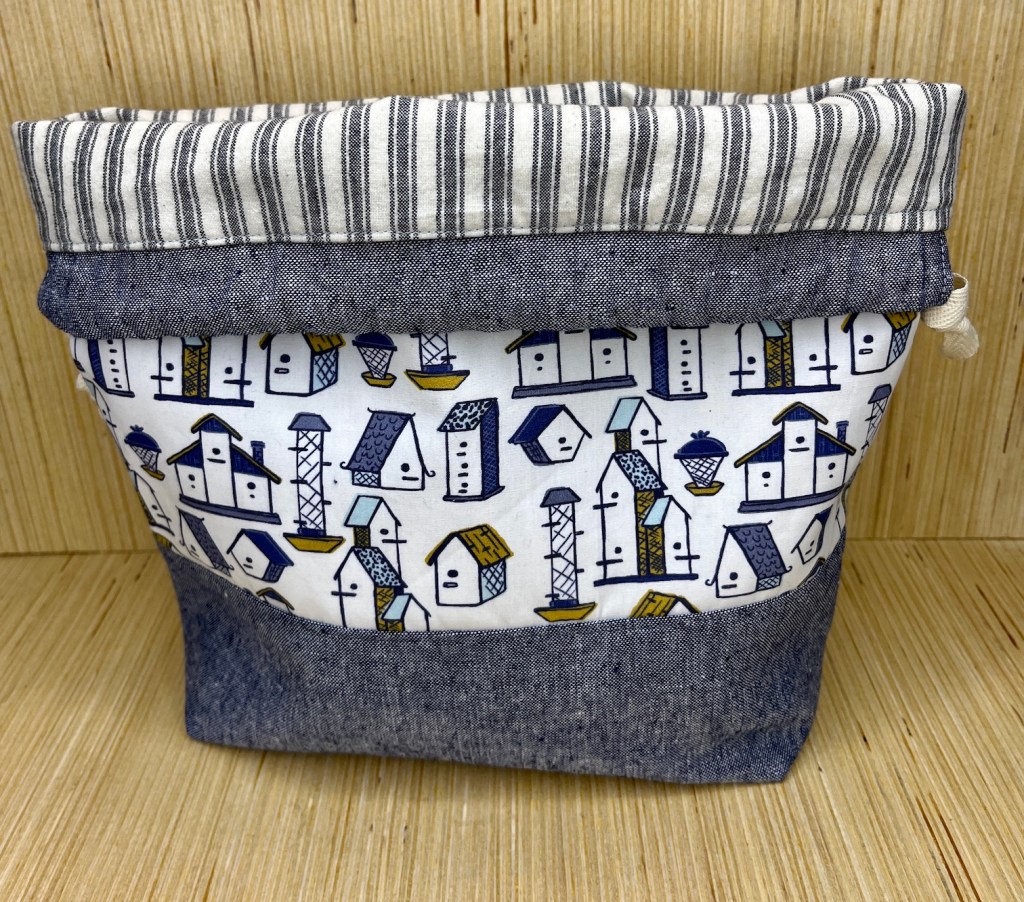
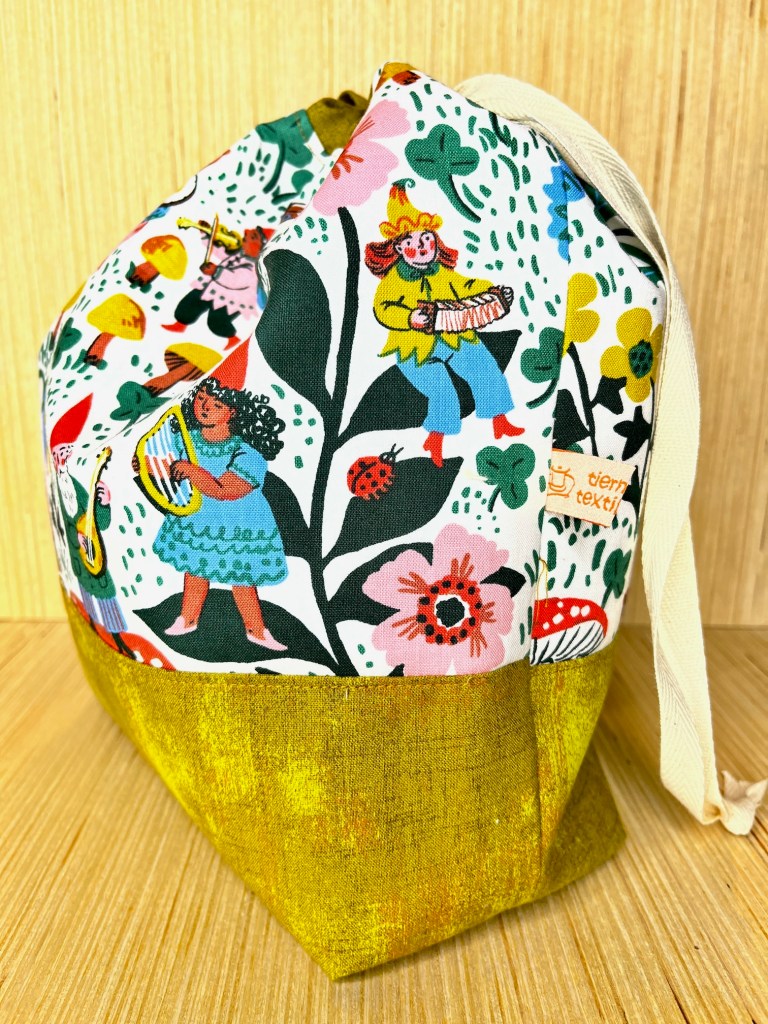
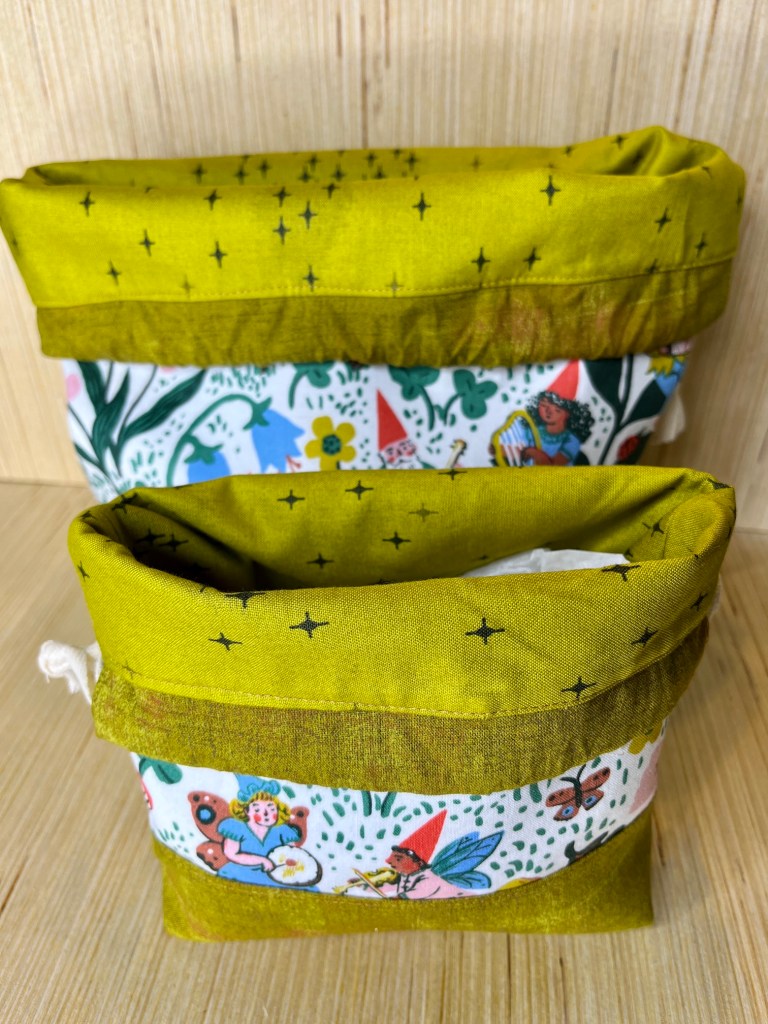
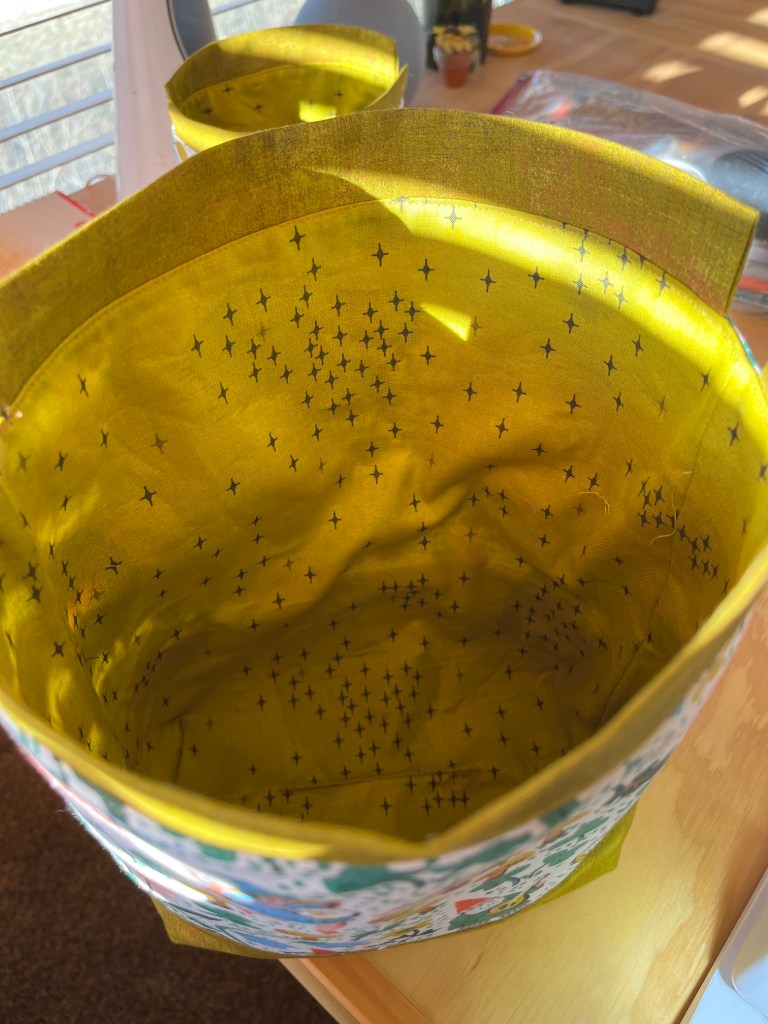
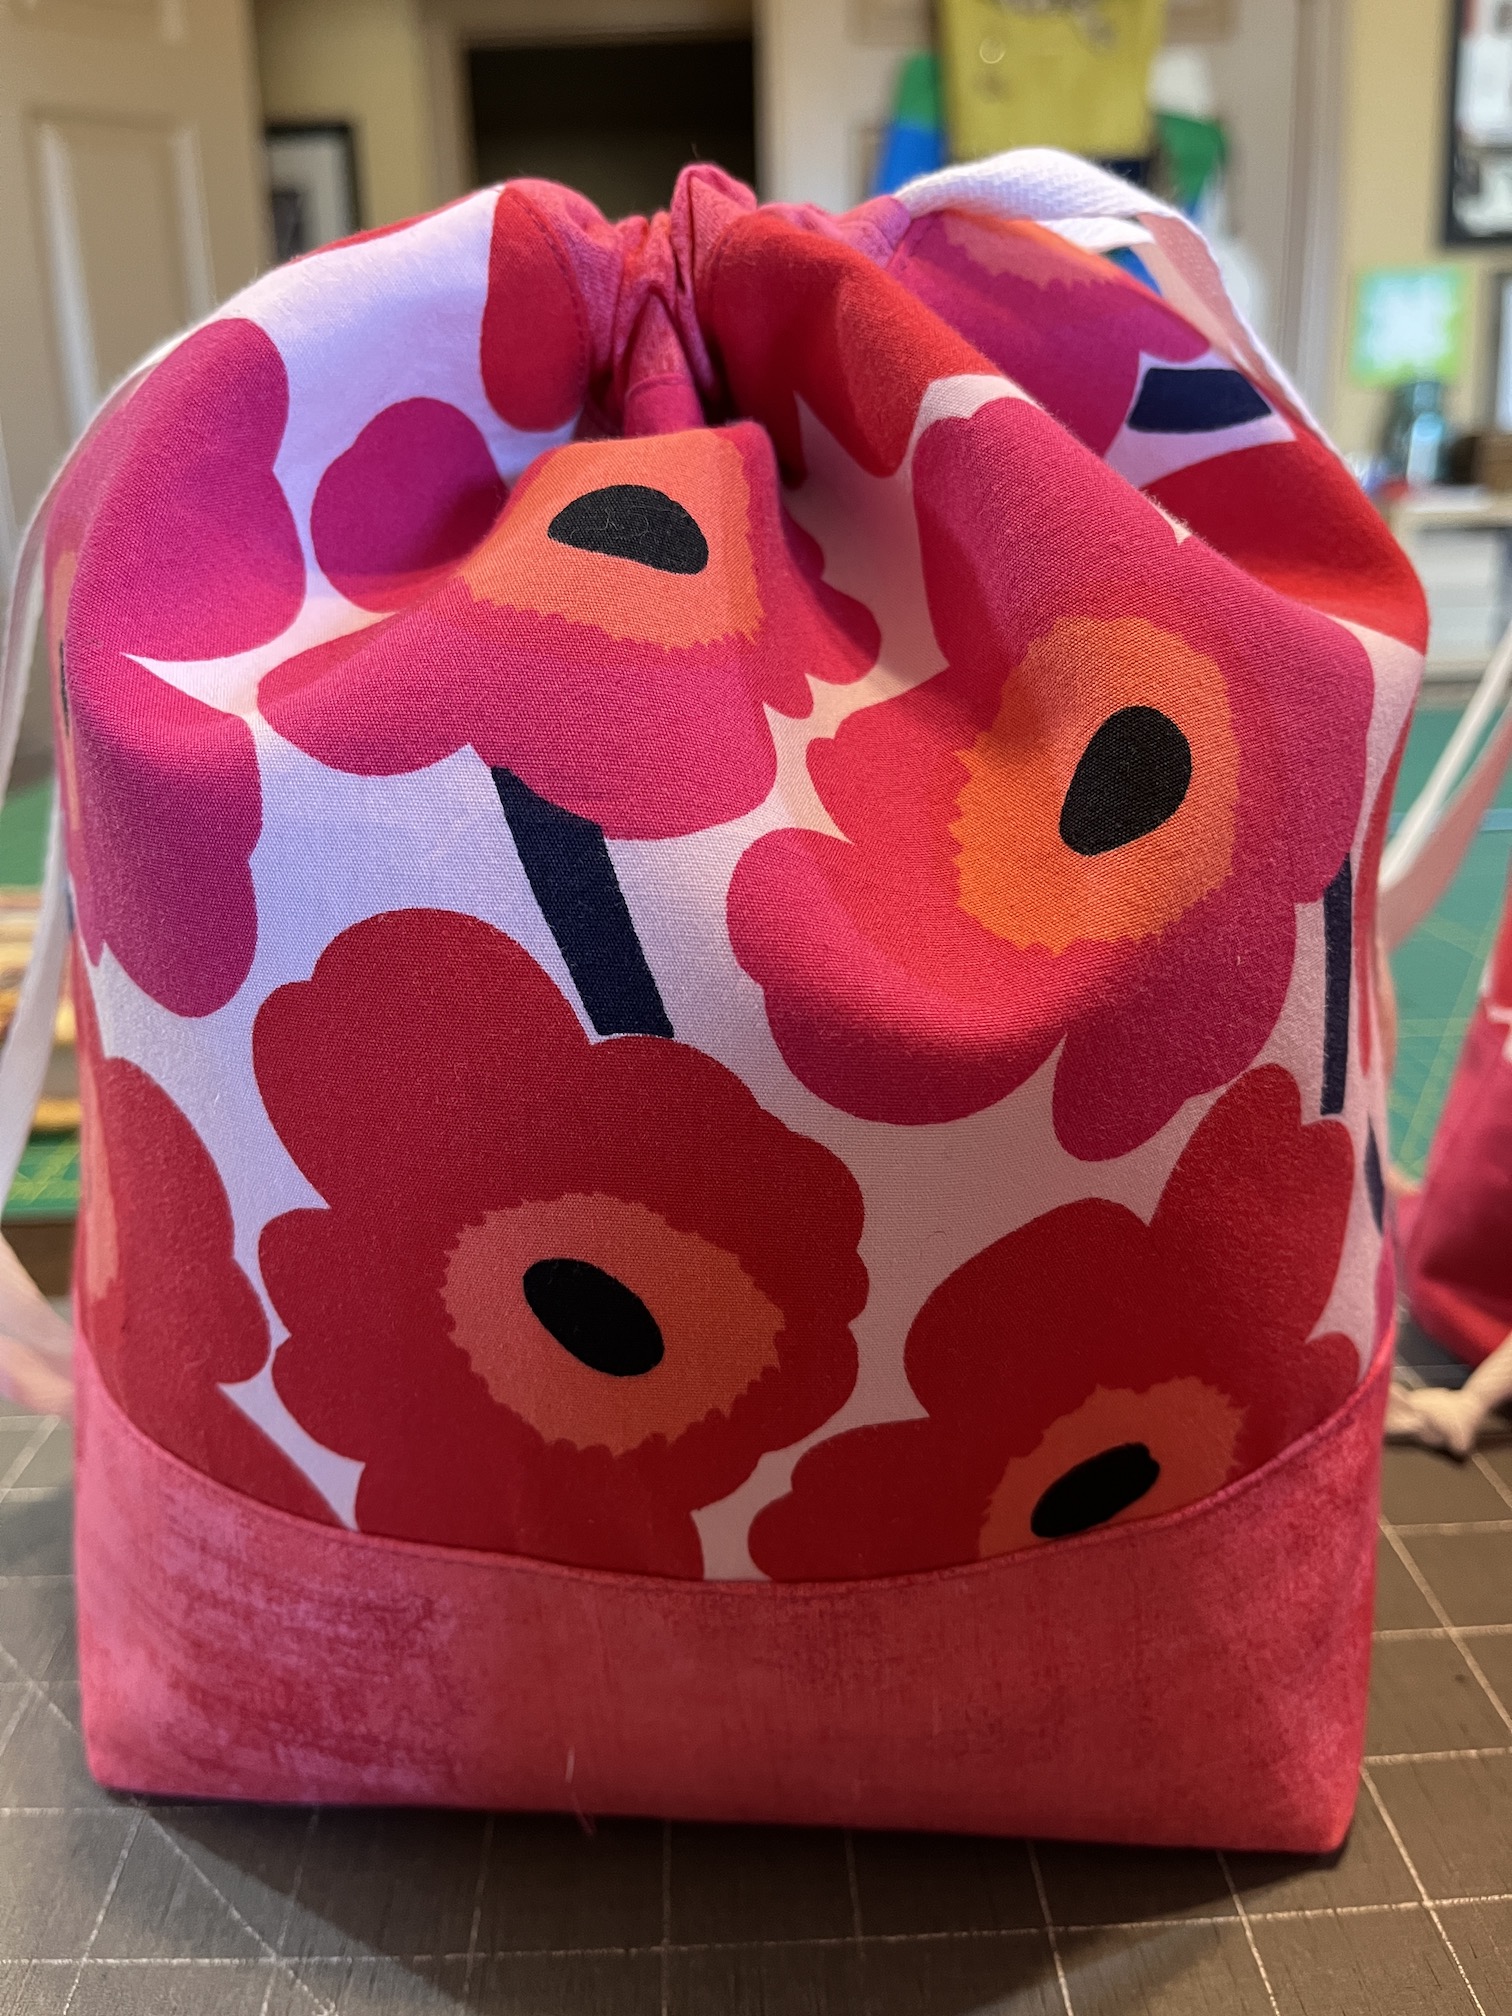
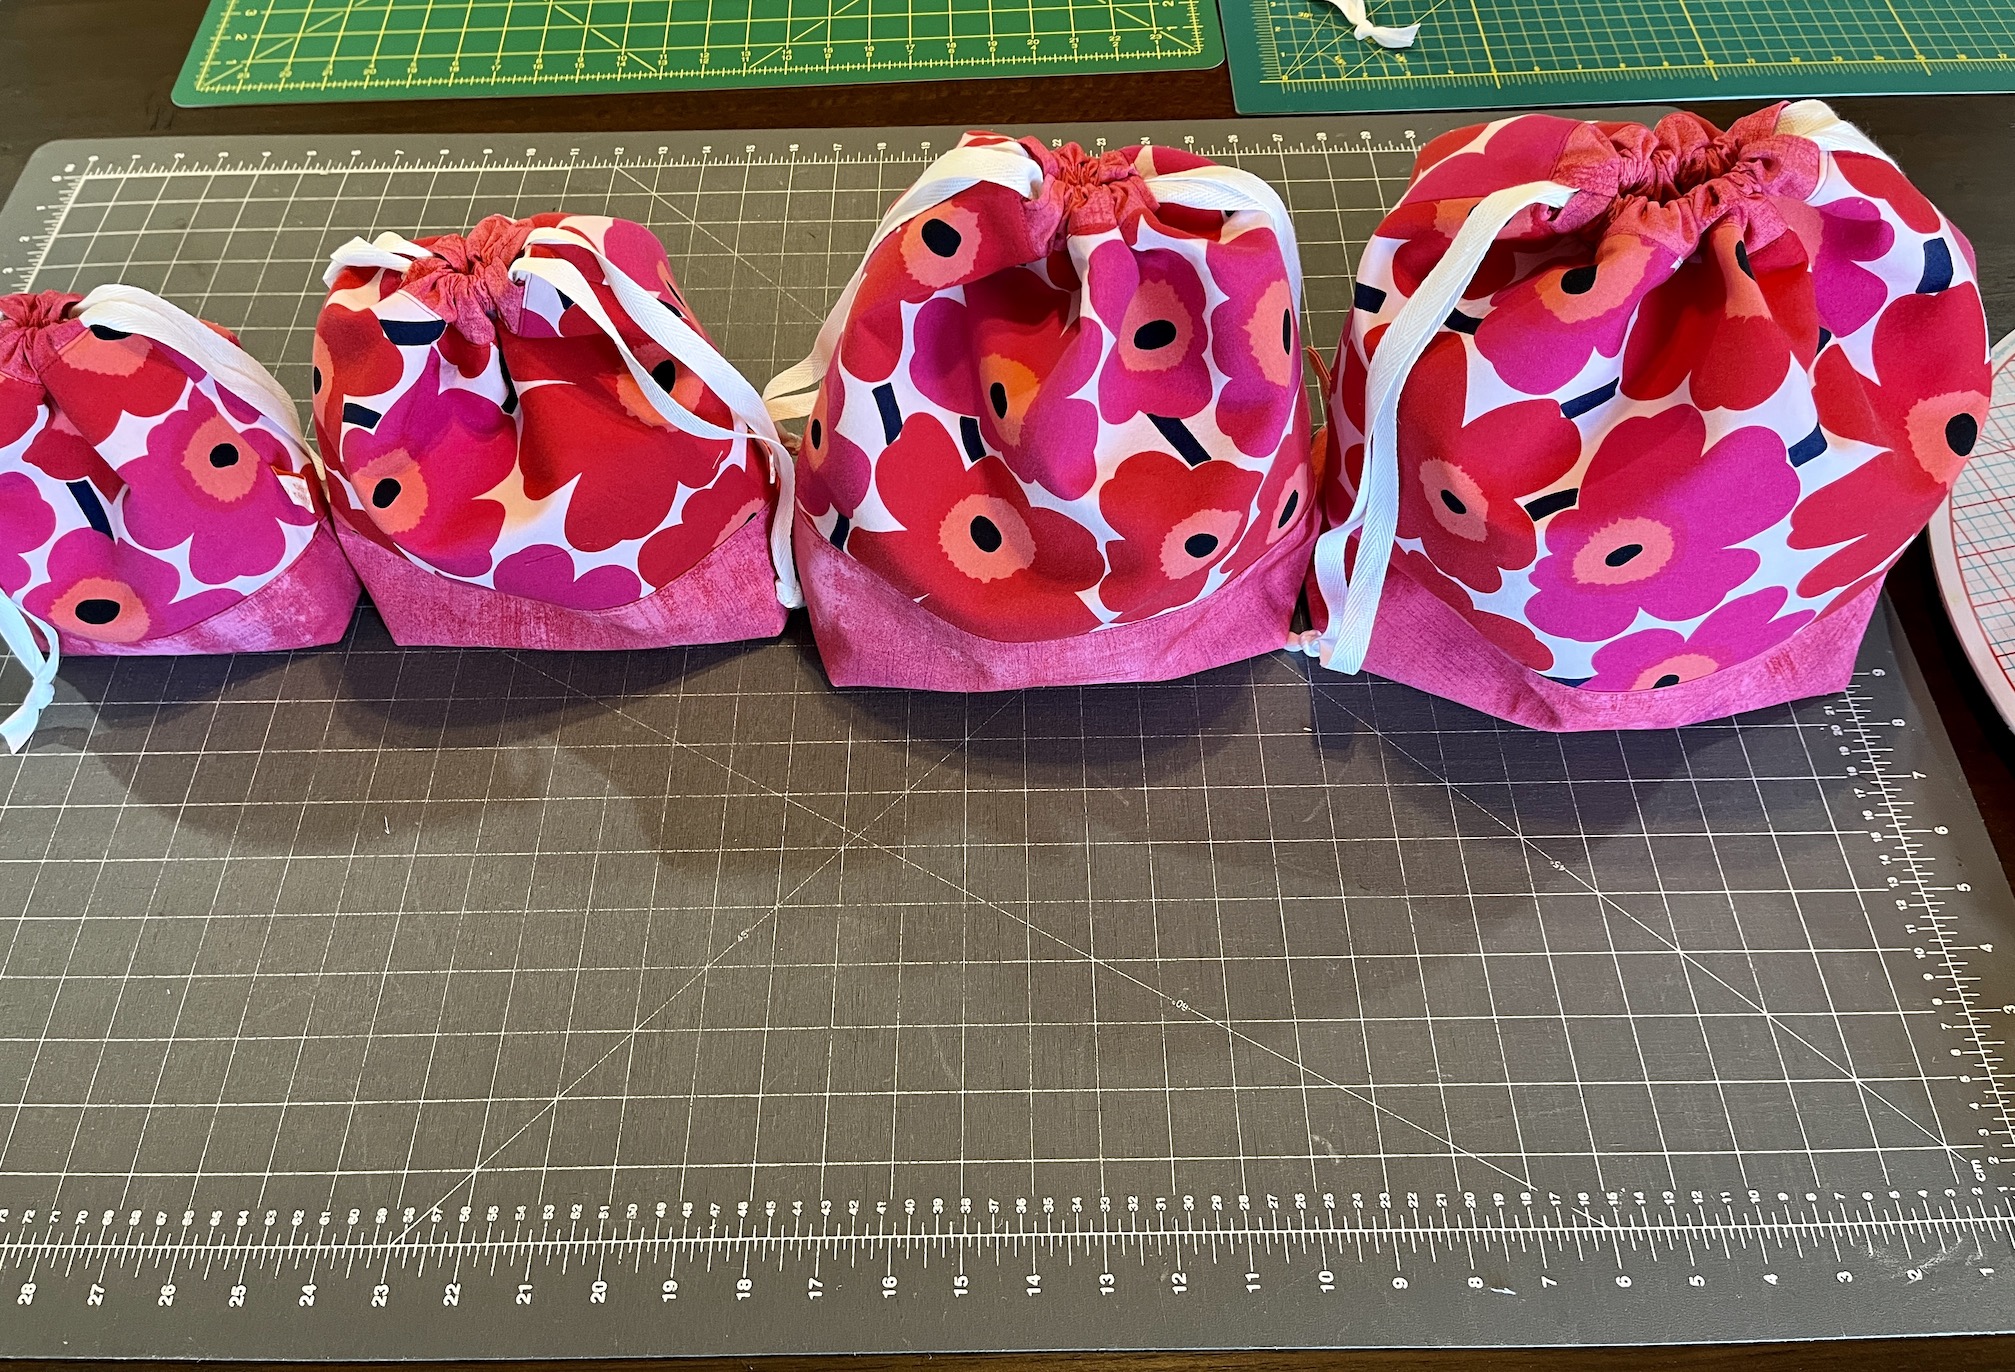
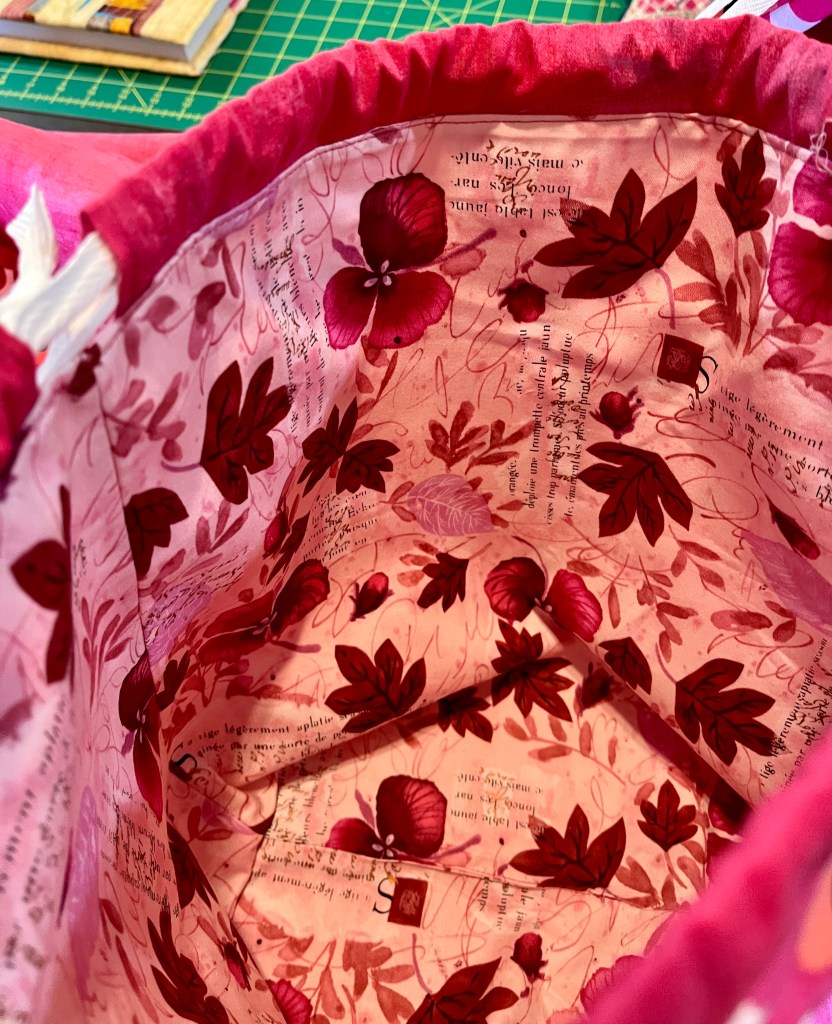
I have some treats set up for my friends at their sewing stations and of course tucked inside a drawstring bag (if you are new to this blog see post The End of the Drawstring Bag Era (A Year of Finishes – 36th to 42rd Finish))!


In case you are wondering what the zippers are – I have a lot of red zippers and thought I would share in case we want to make any scrappy zipper bags during the retreat.
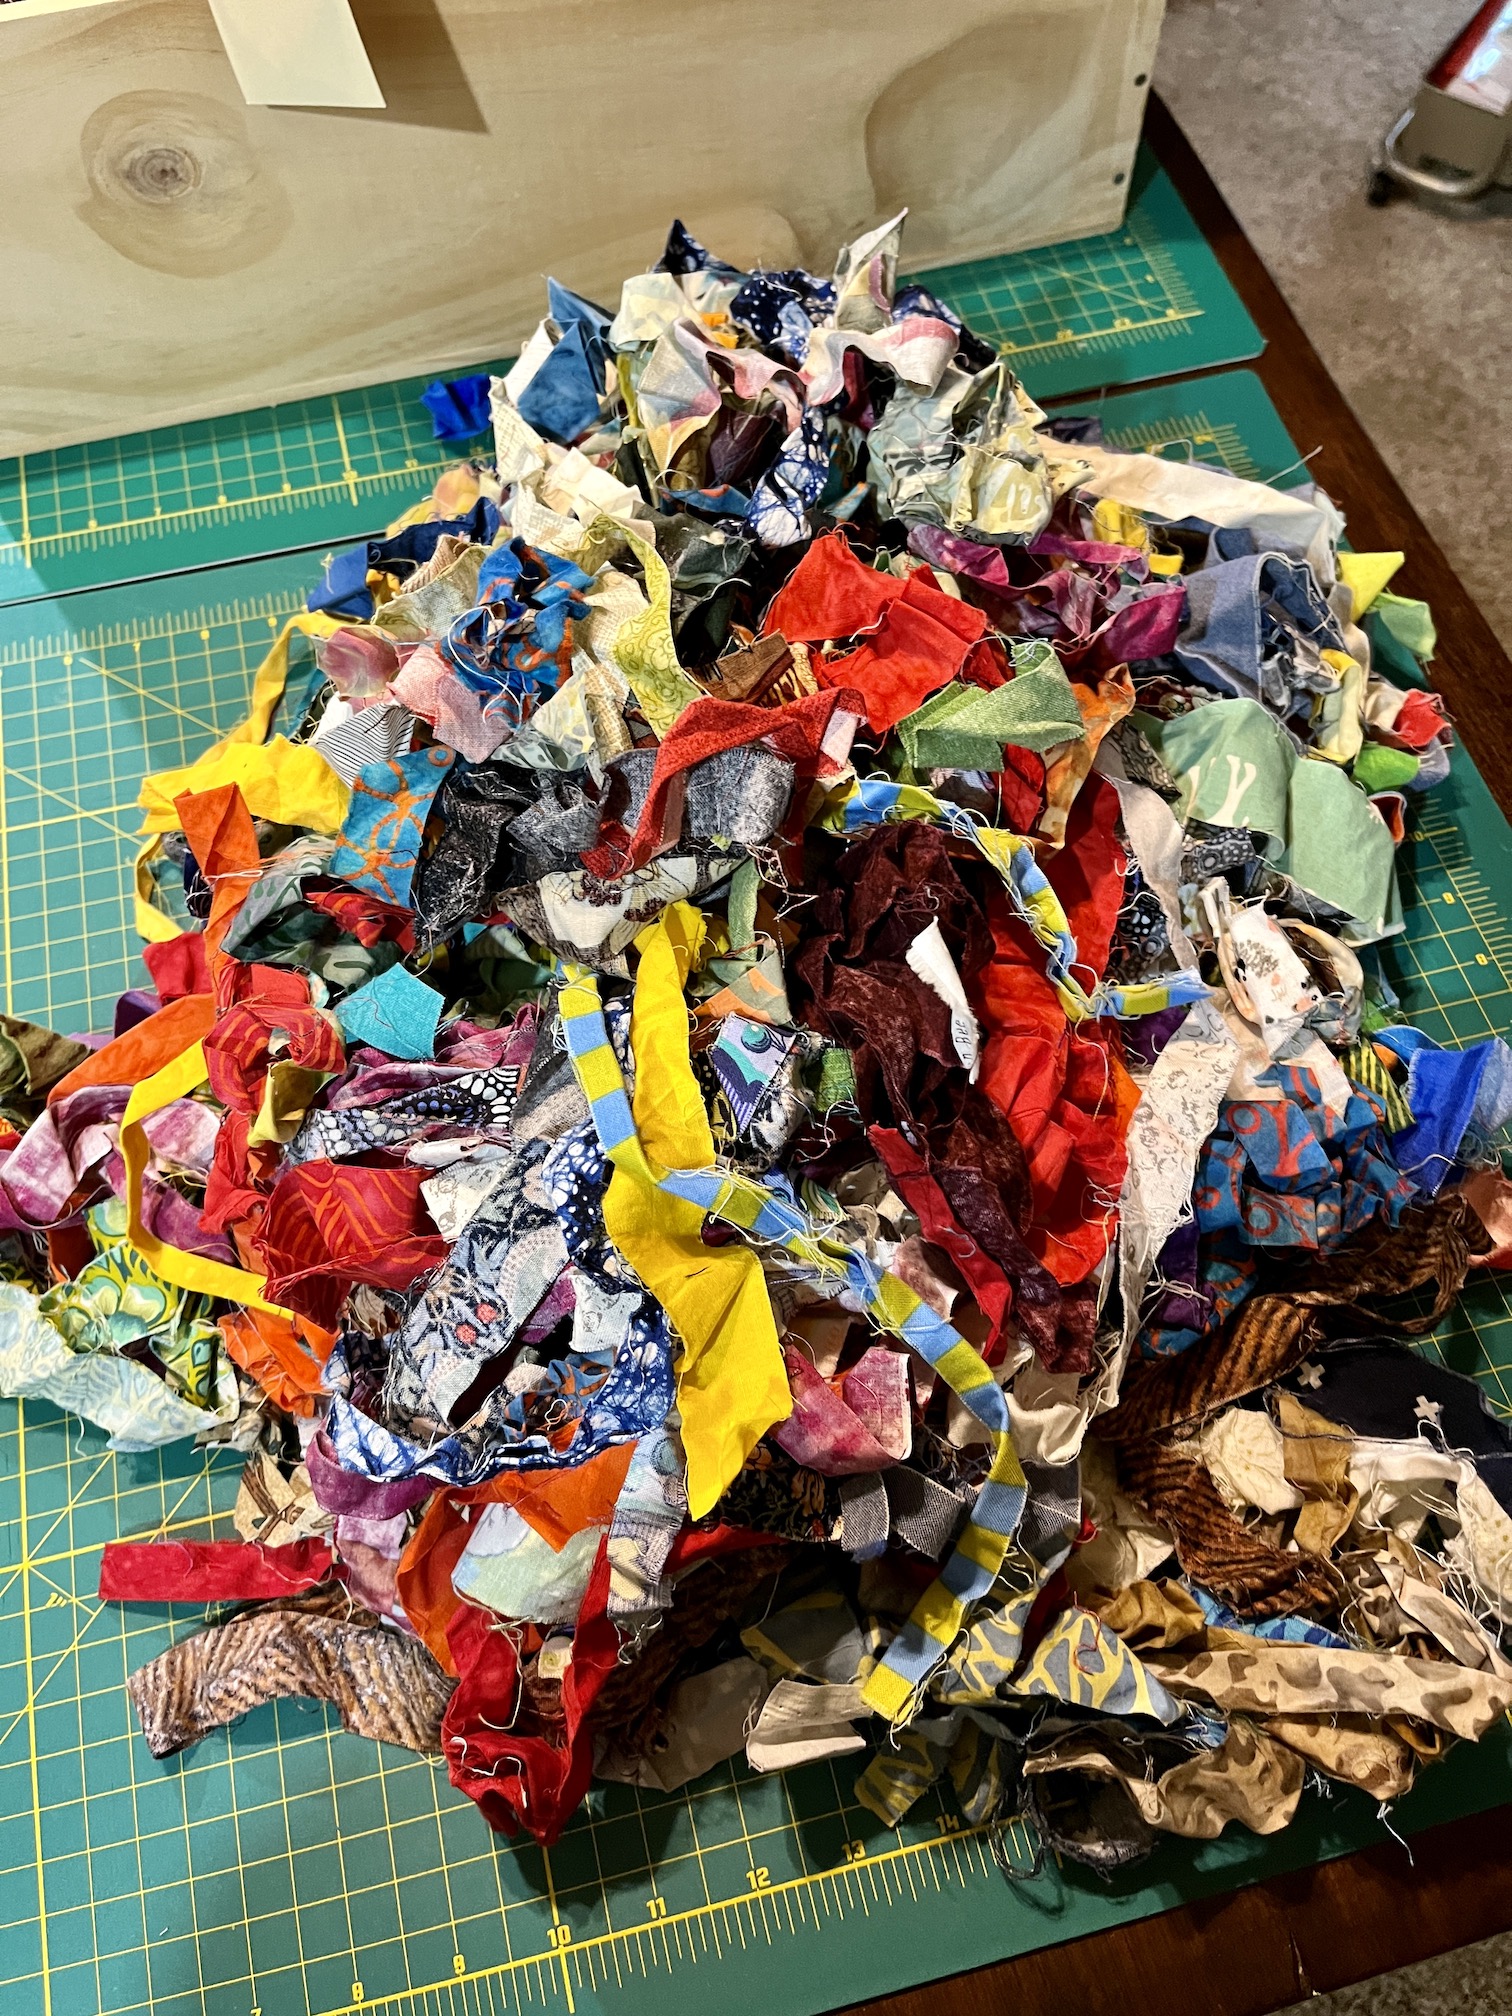
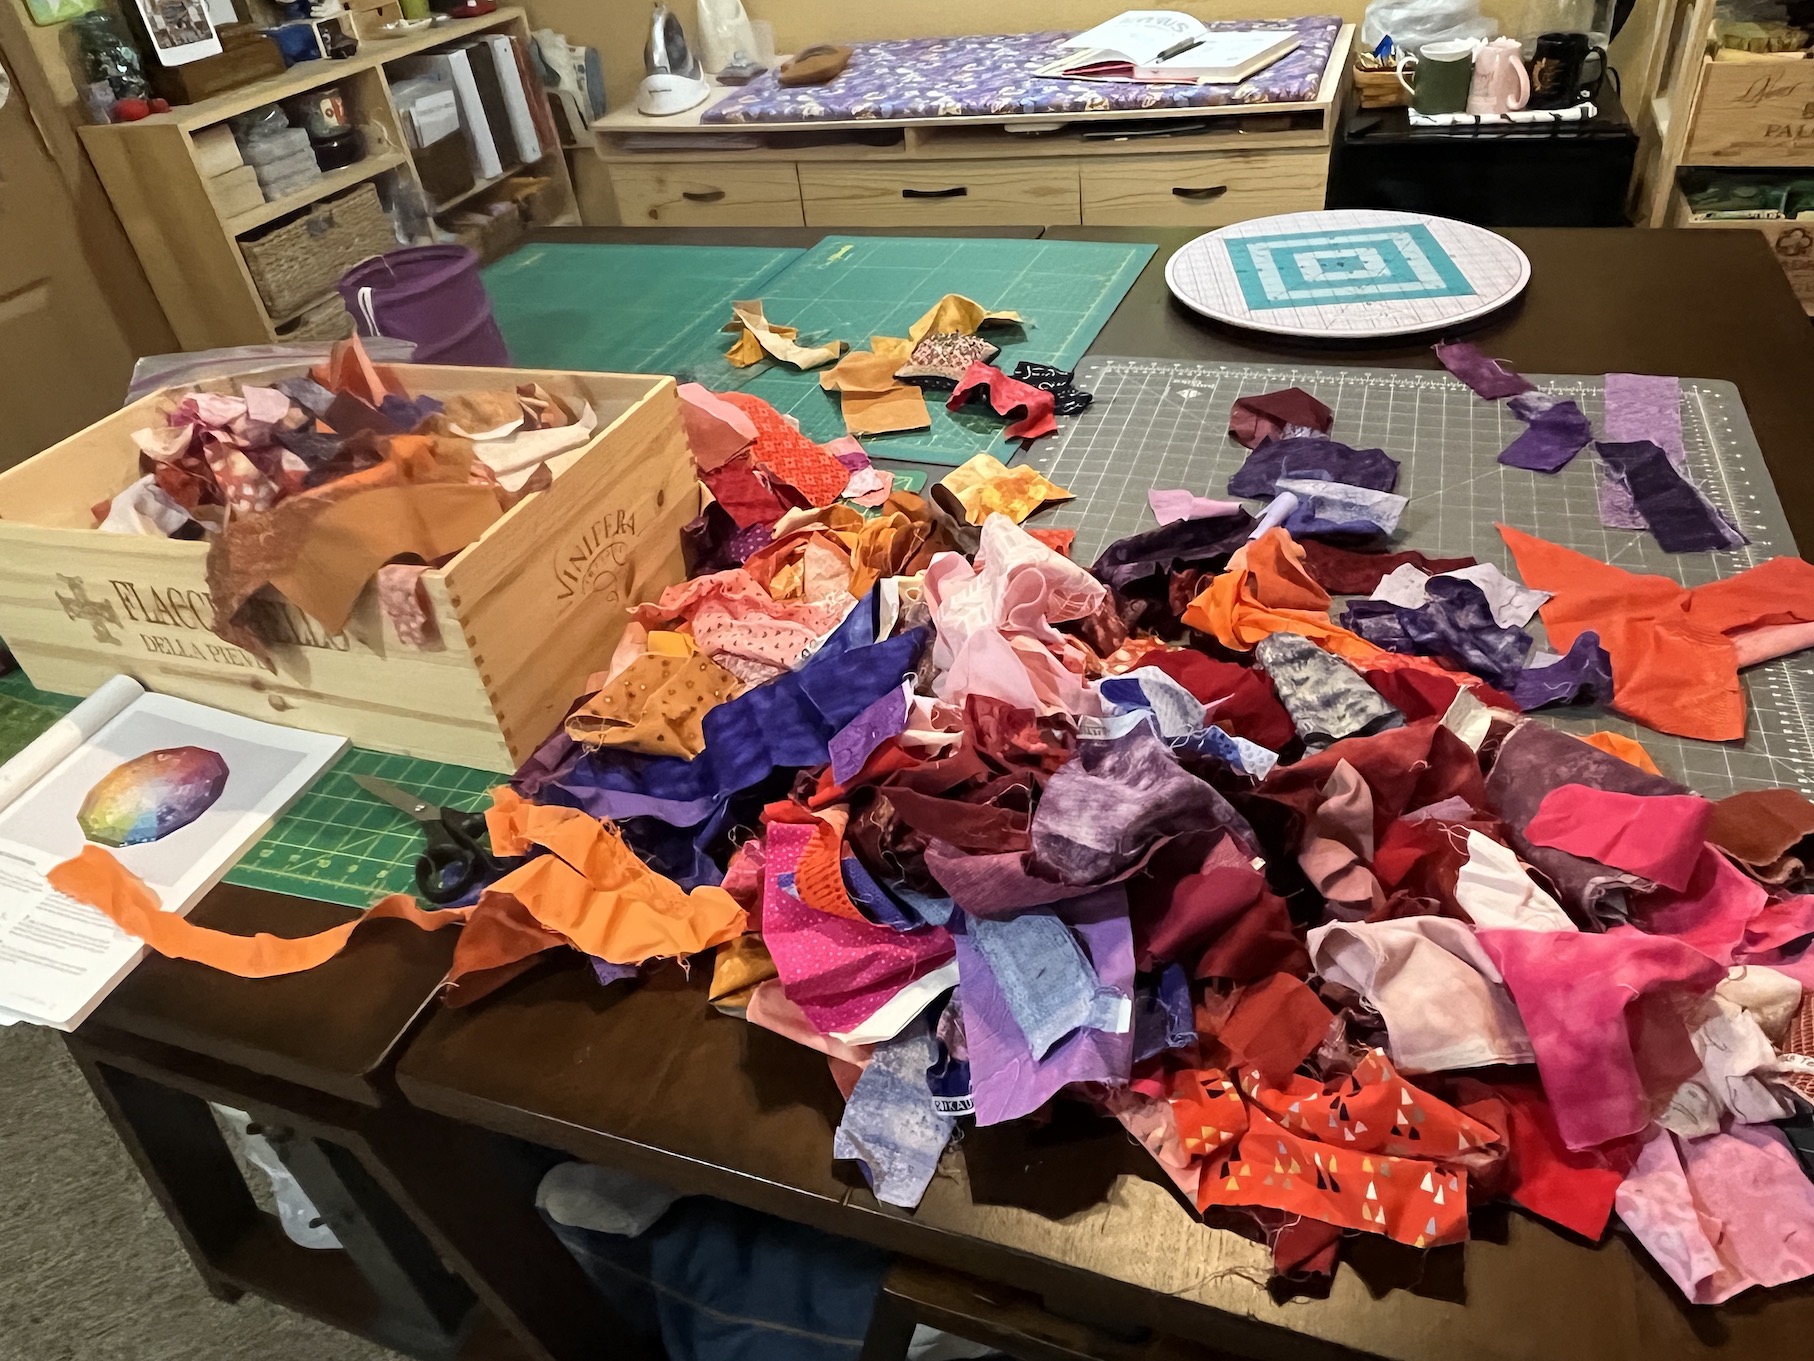
I am calling our retreat a “Scrap Happy Retreat” because we are going to work on projects using my fabric scraps (though they are threatening to bring some of their own to unload).
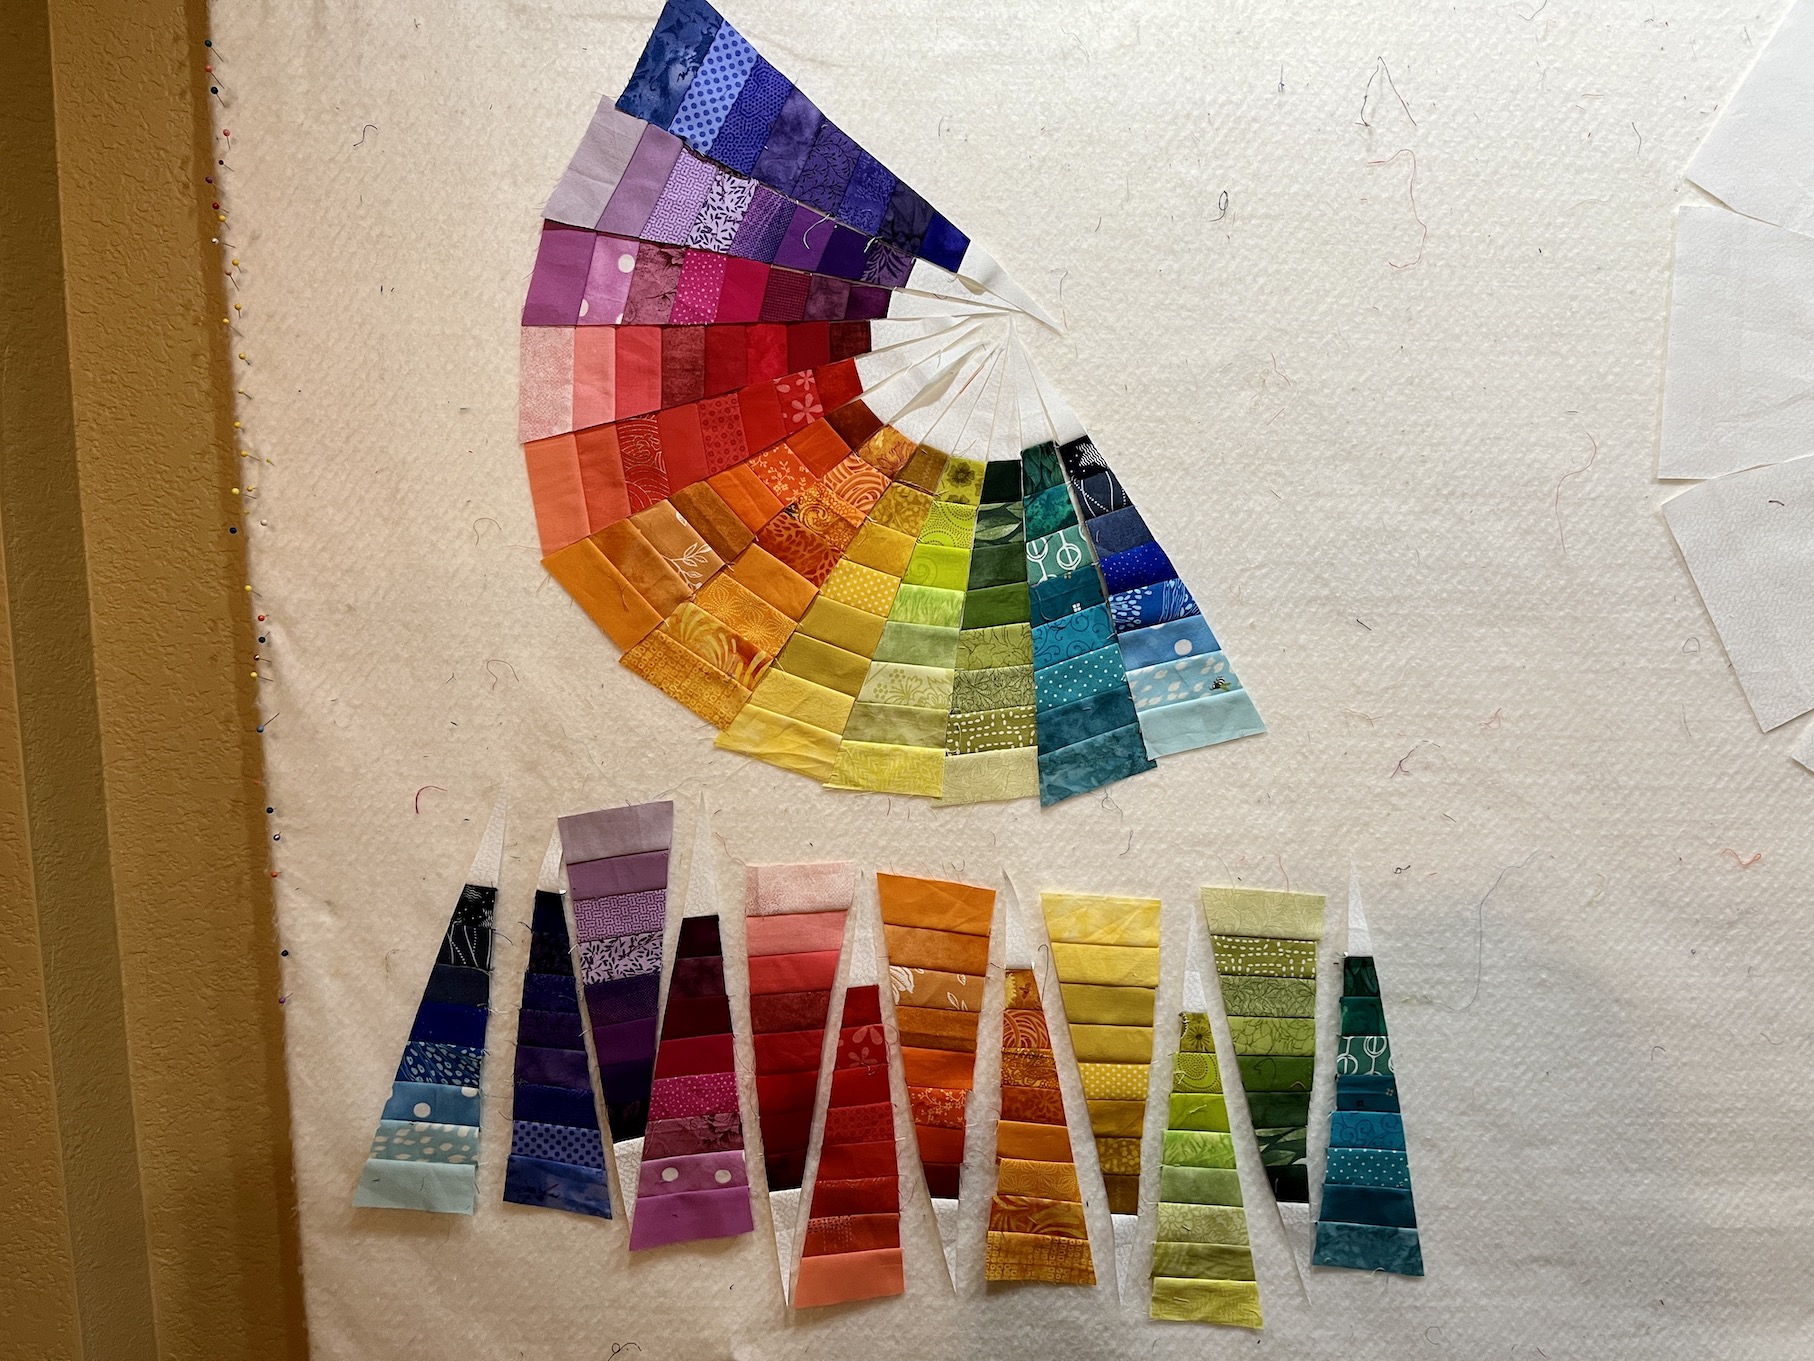
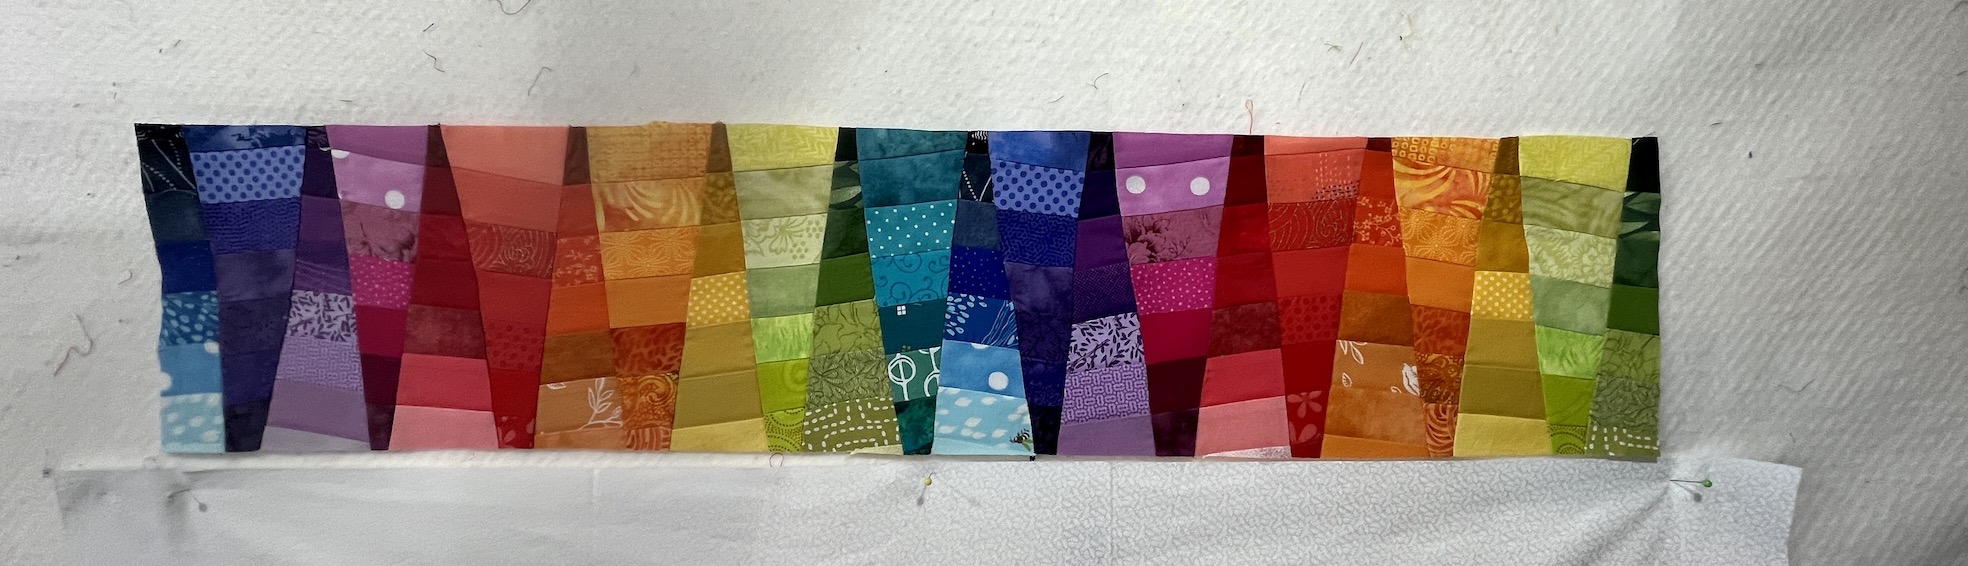
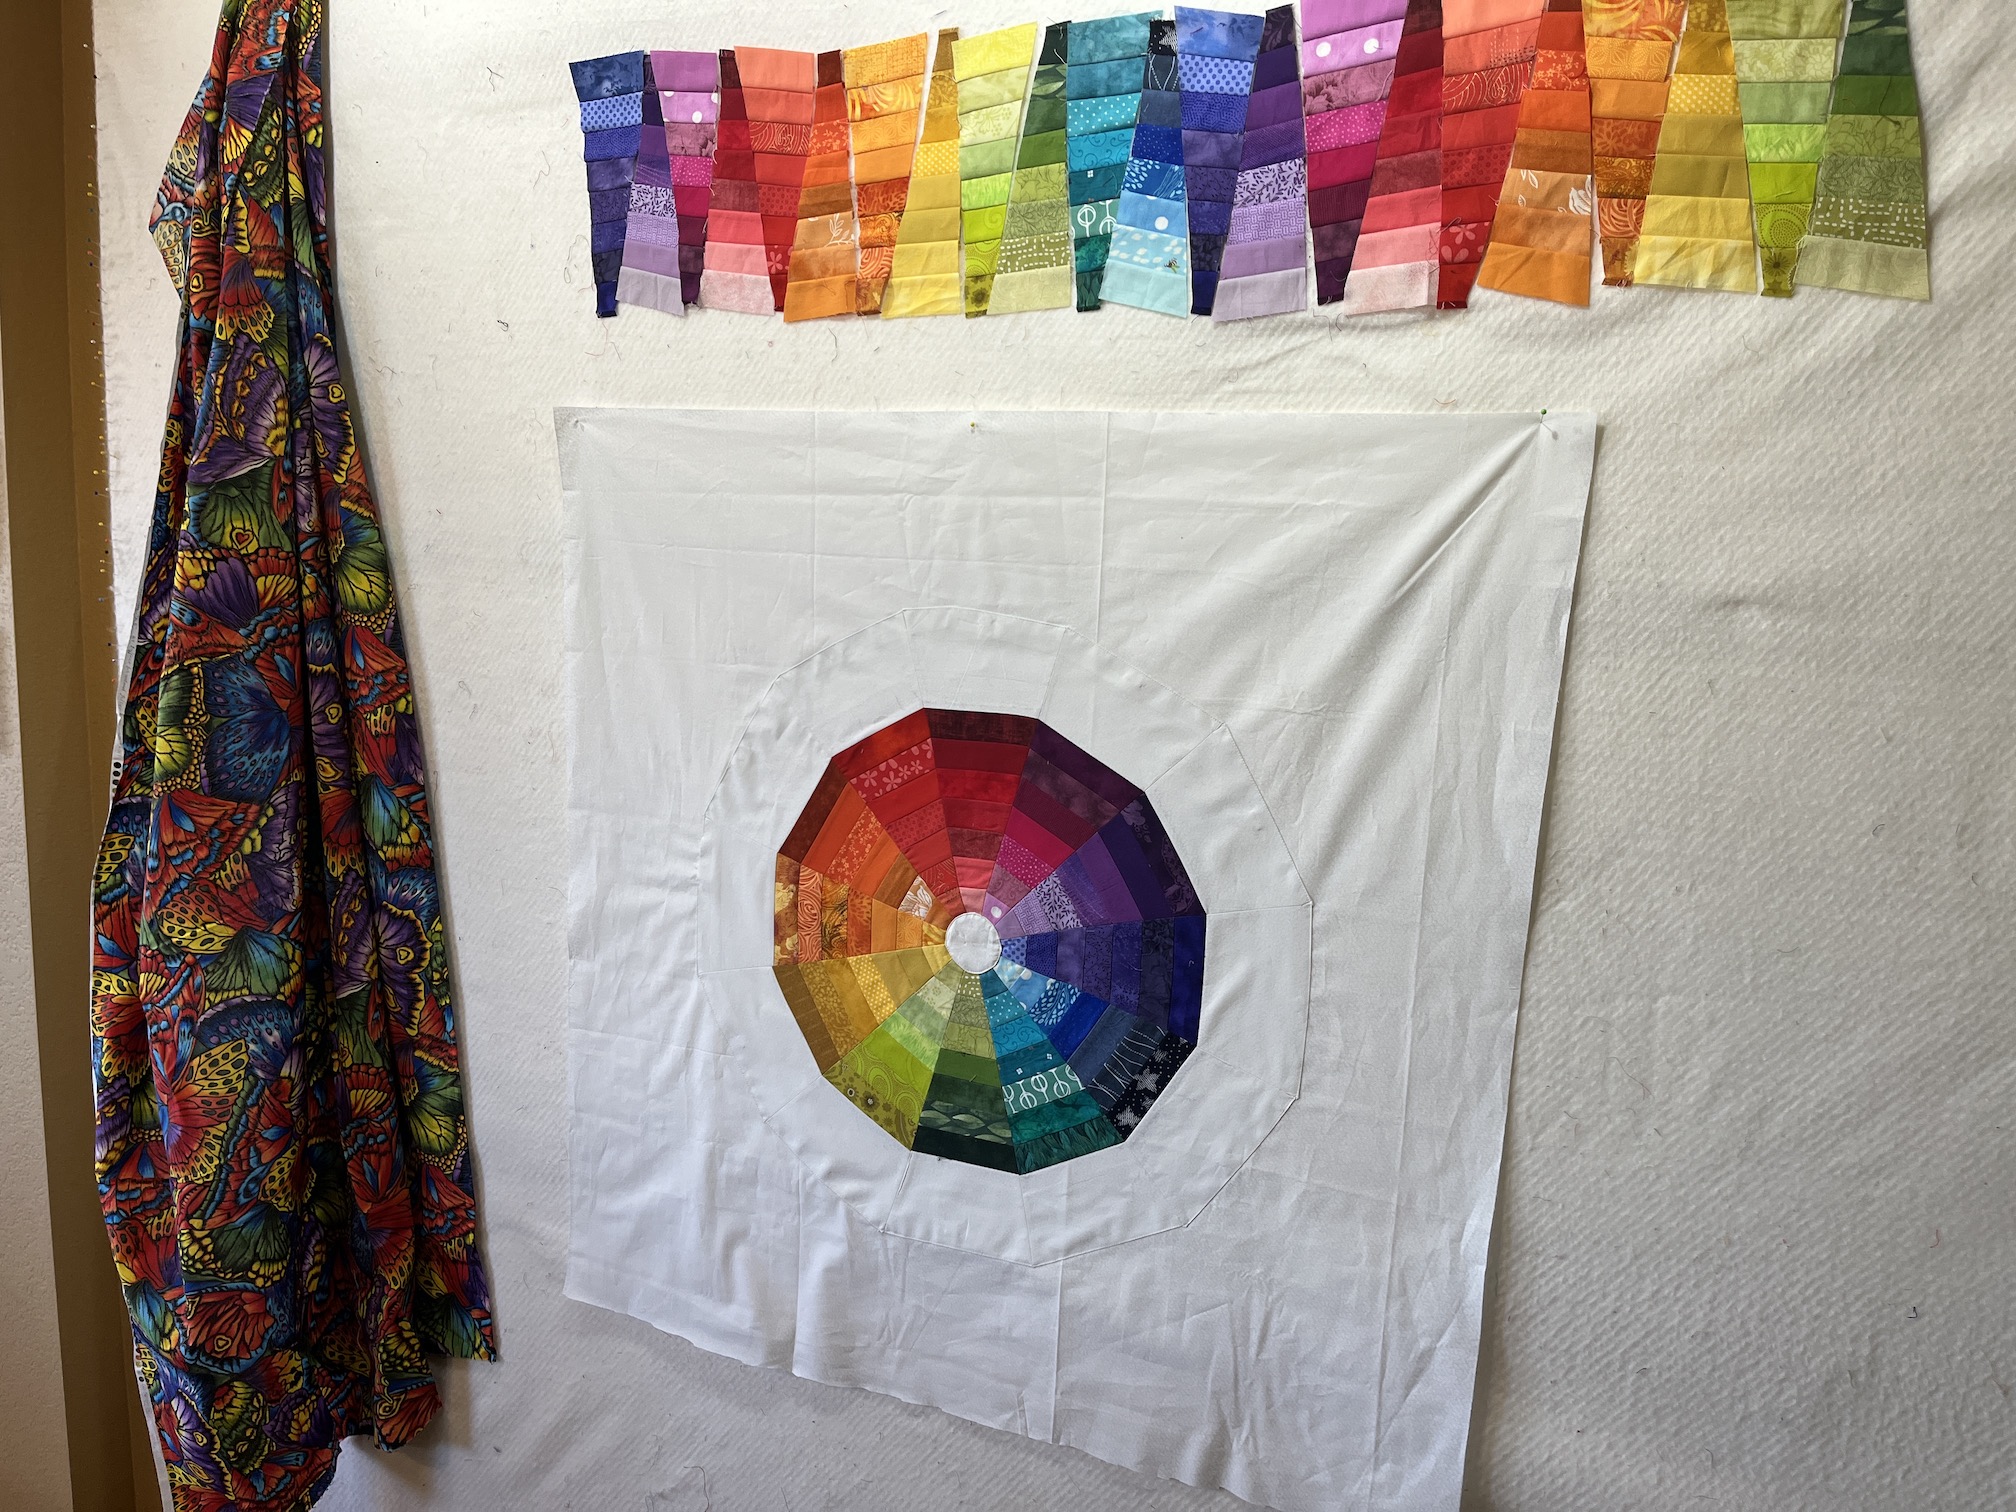
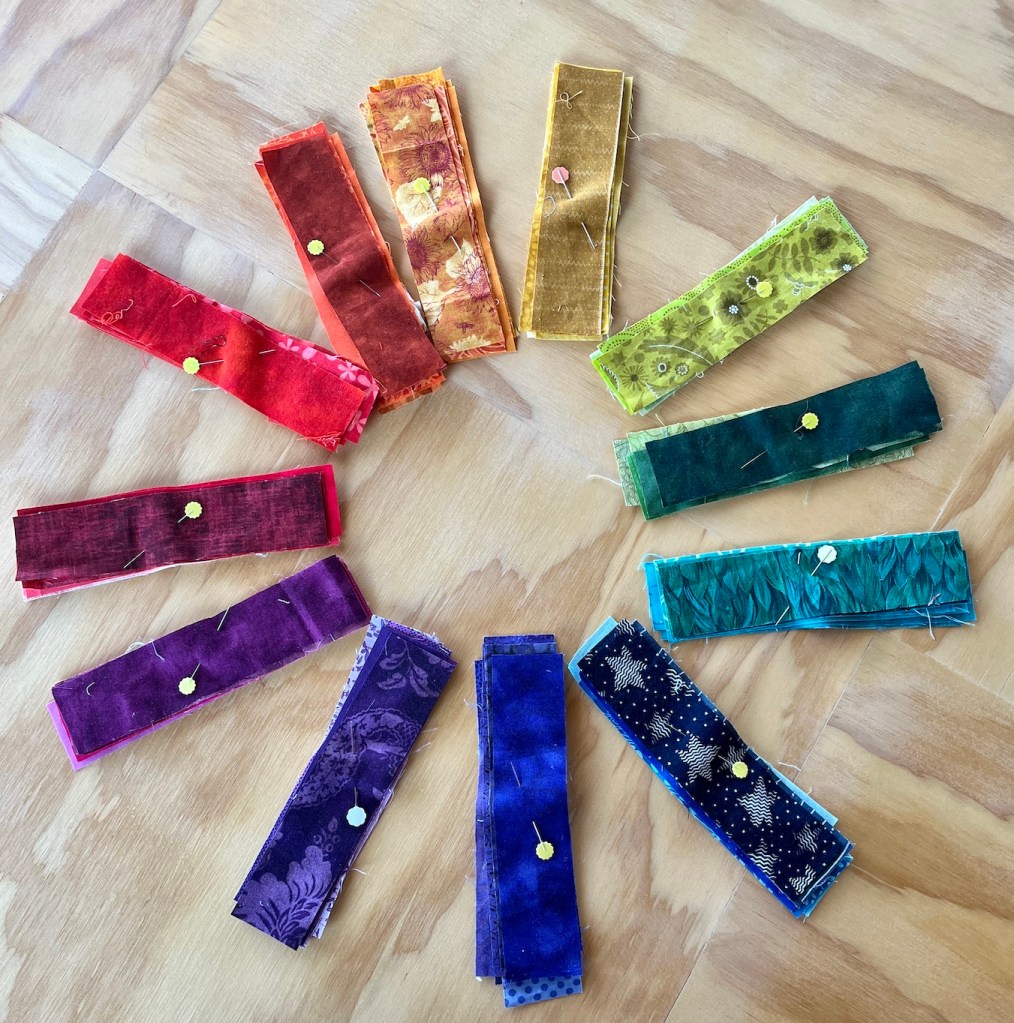
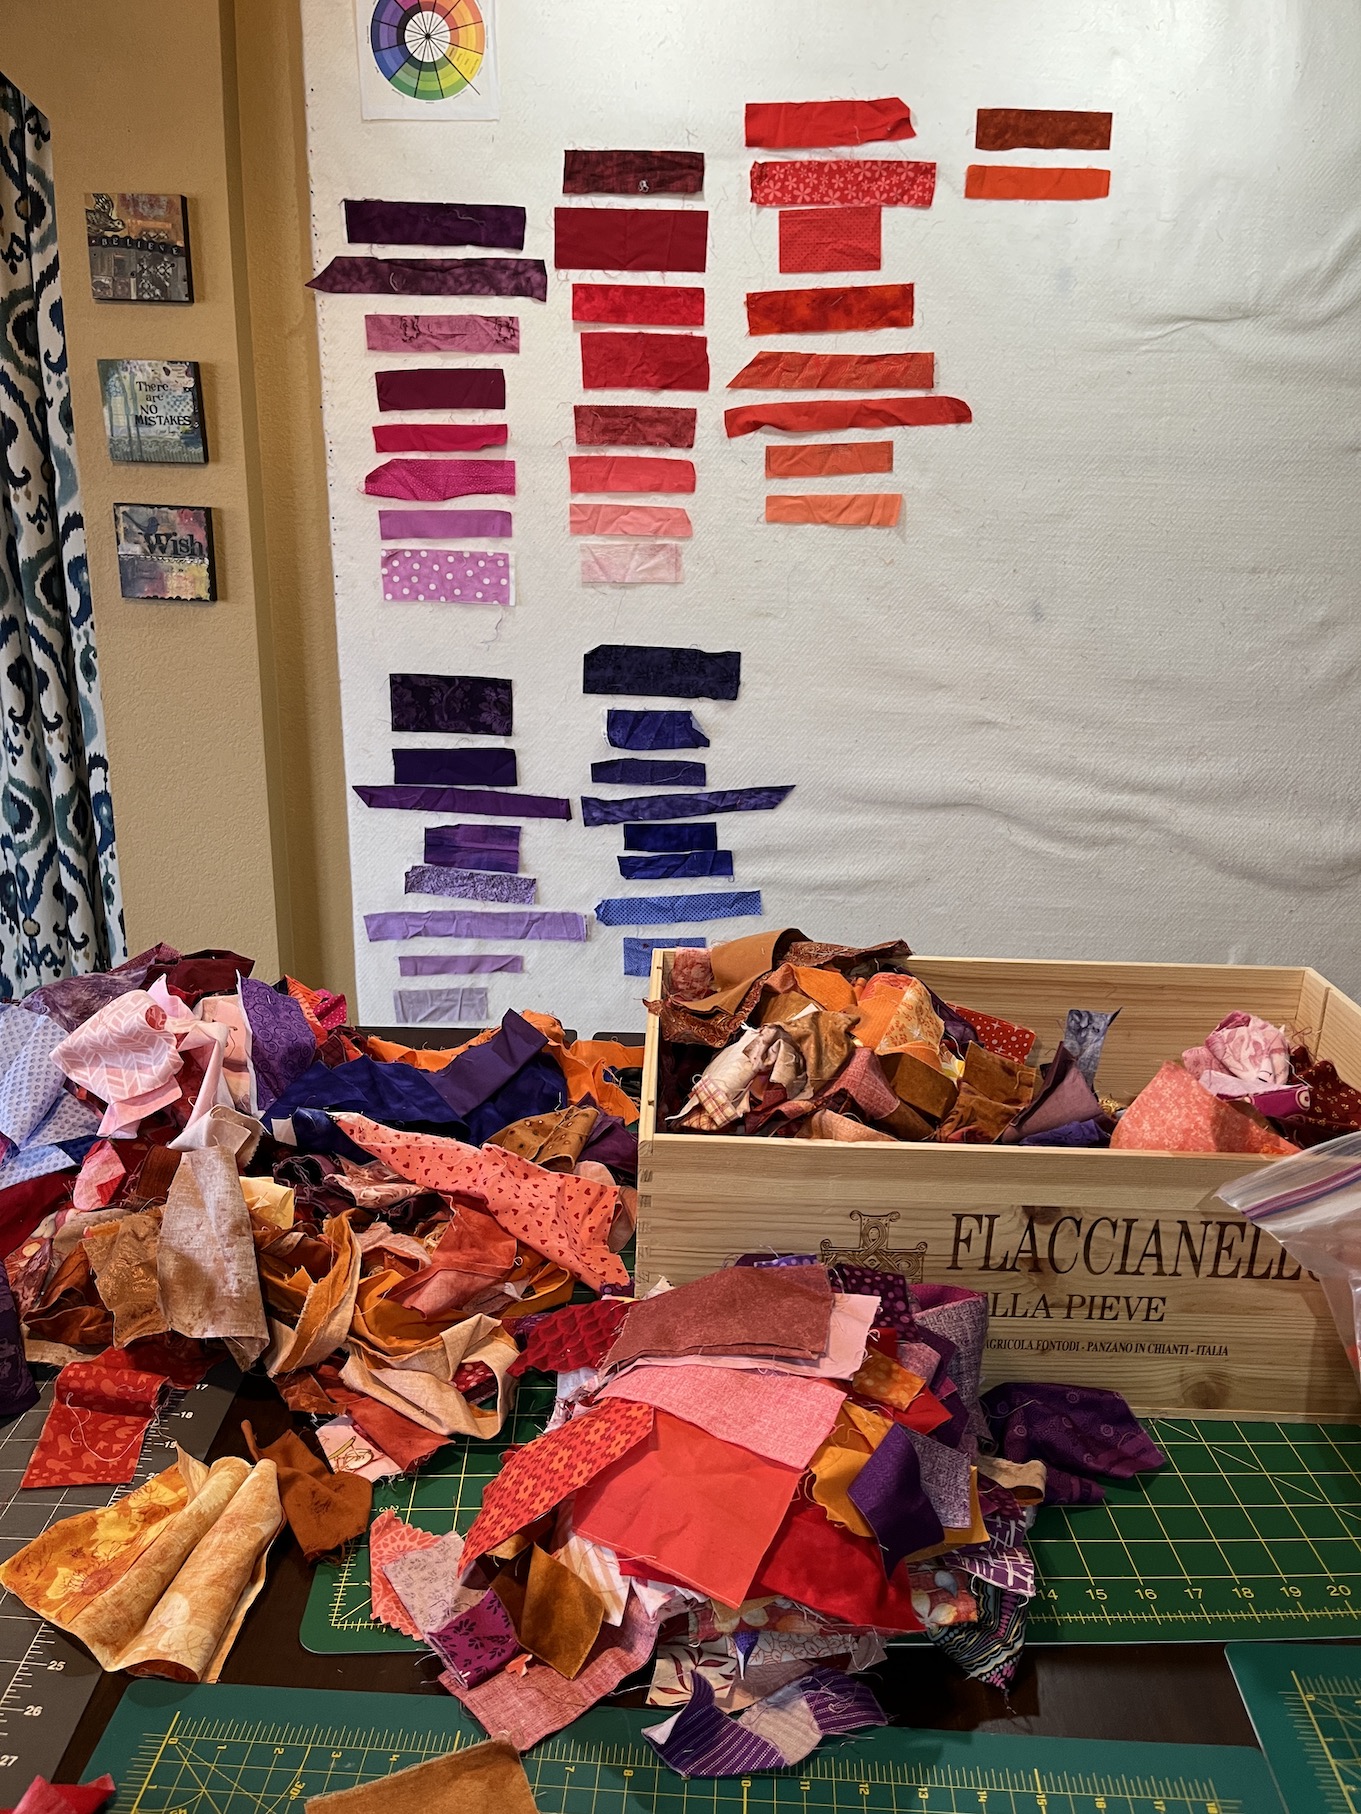
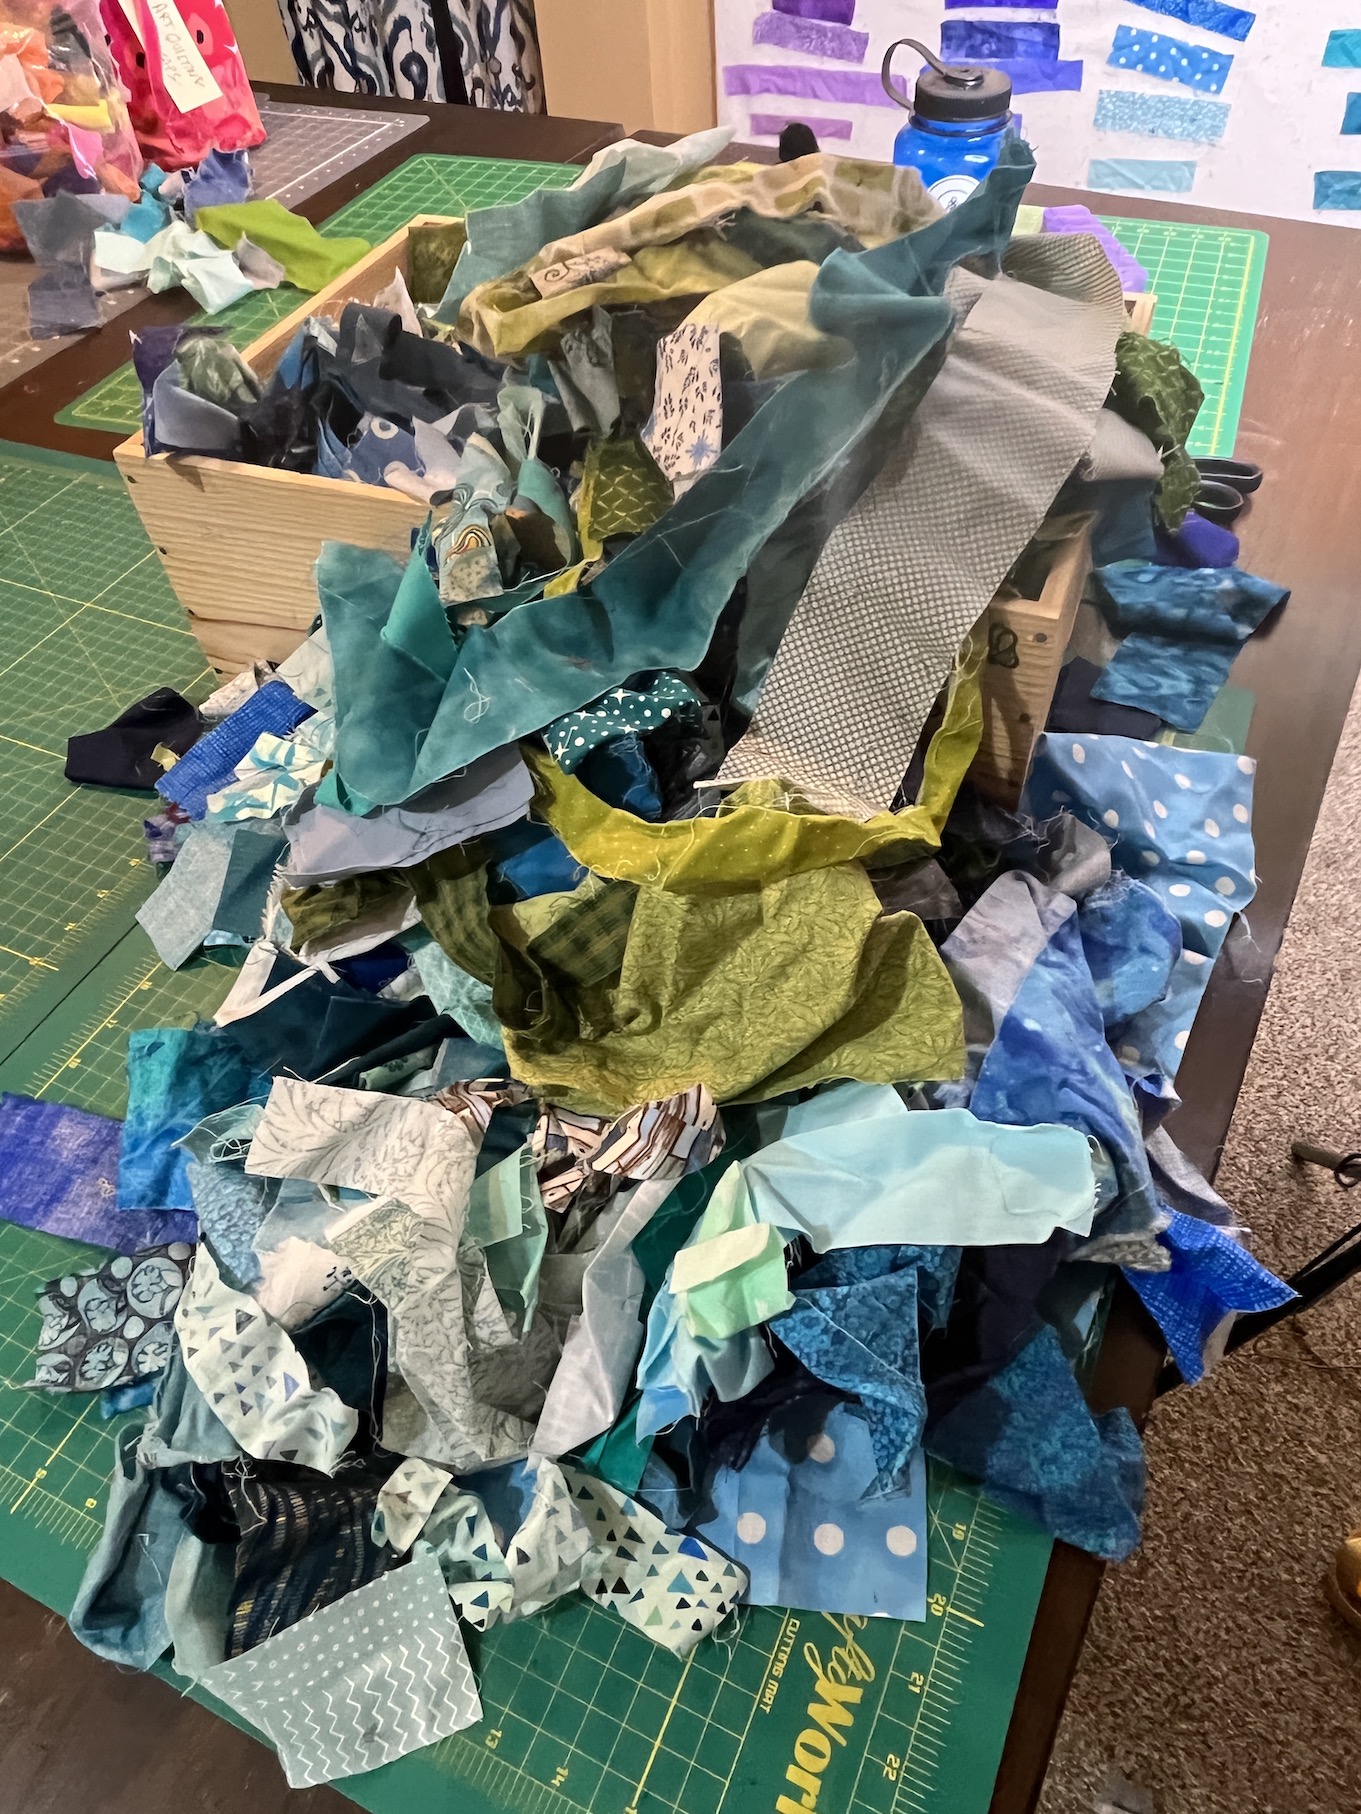
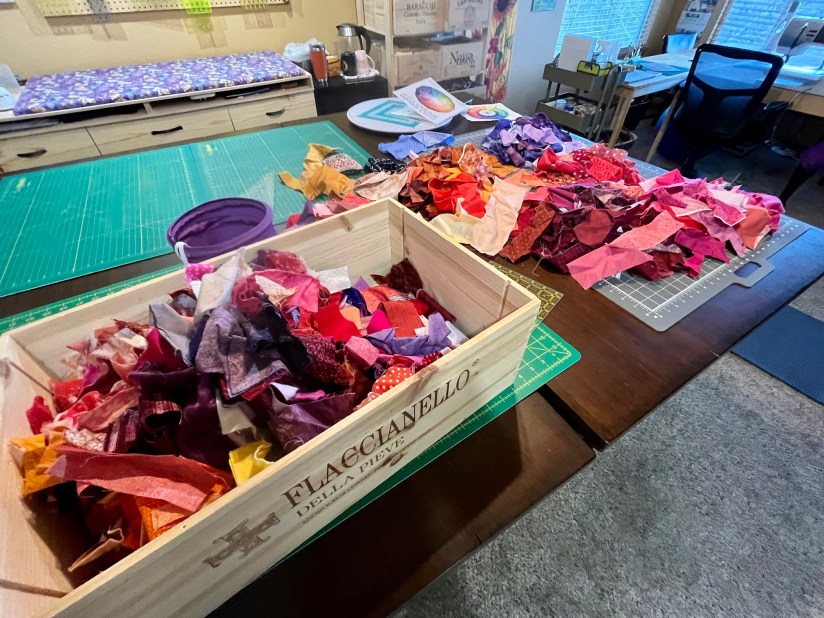
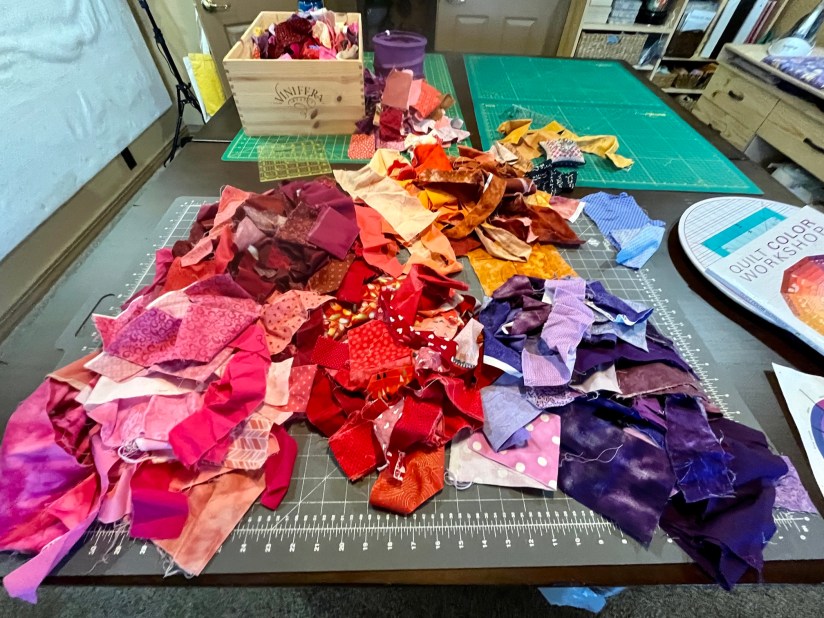
I got my scraps already sorted by color (or type as I keep Batik fabric scraps separate) and they are ready in their wine crates:
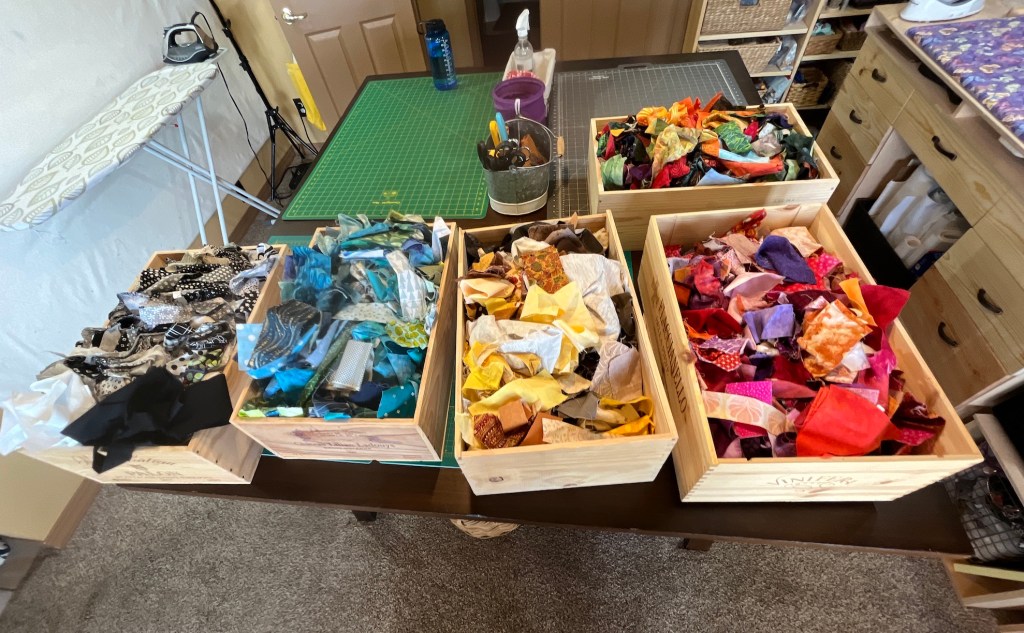

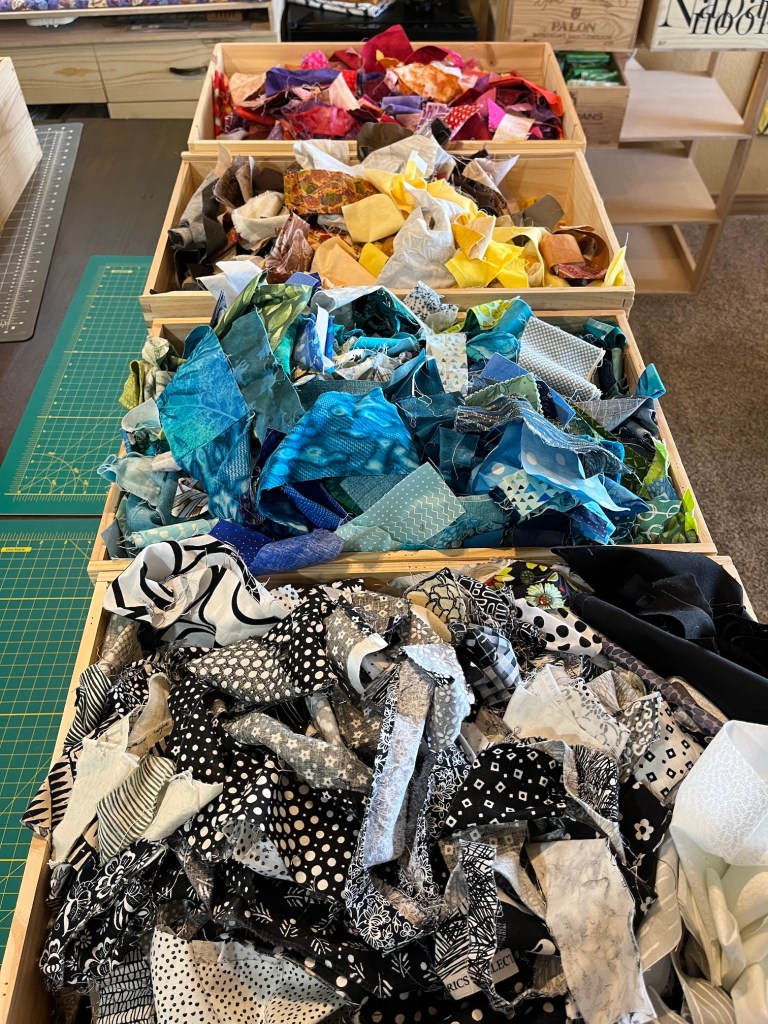
I’ve sorted my fabric scraps into these color groupings:
- Black, white, grays
- Reds, oranges, purples
- Yellows, creams, browns
- Blue, green, blue-greens (teal, aqua, turquoise, etc)
- Batiks (all colors)
Next year when I teach the 6 day workshop I am slated to teach (more on that later when the venue complete the class catalogue and I can officially announce) I am going to bring this whole lot of scraps with me to let the workshop participants use them if they like. I just have too many fabric scraps, even after donating several bags of them to charity thrift shops.
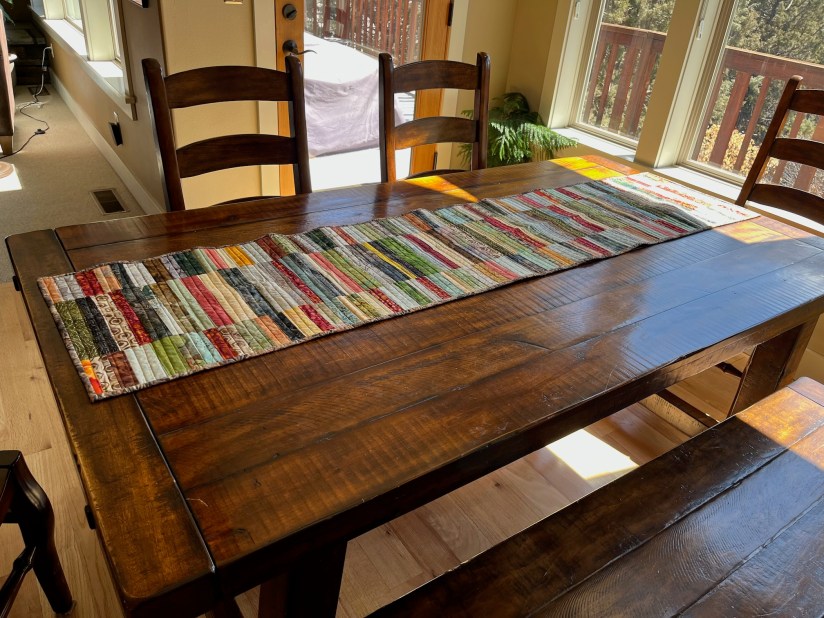
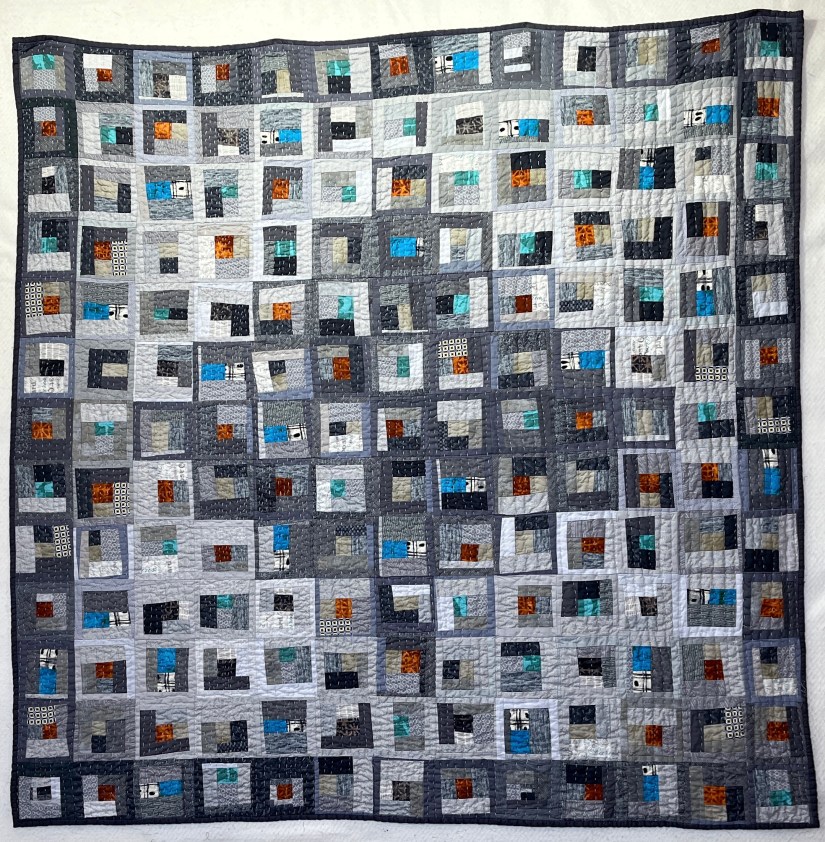
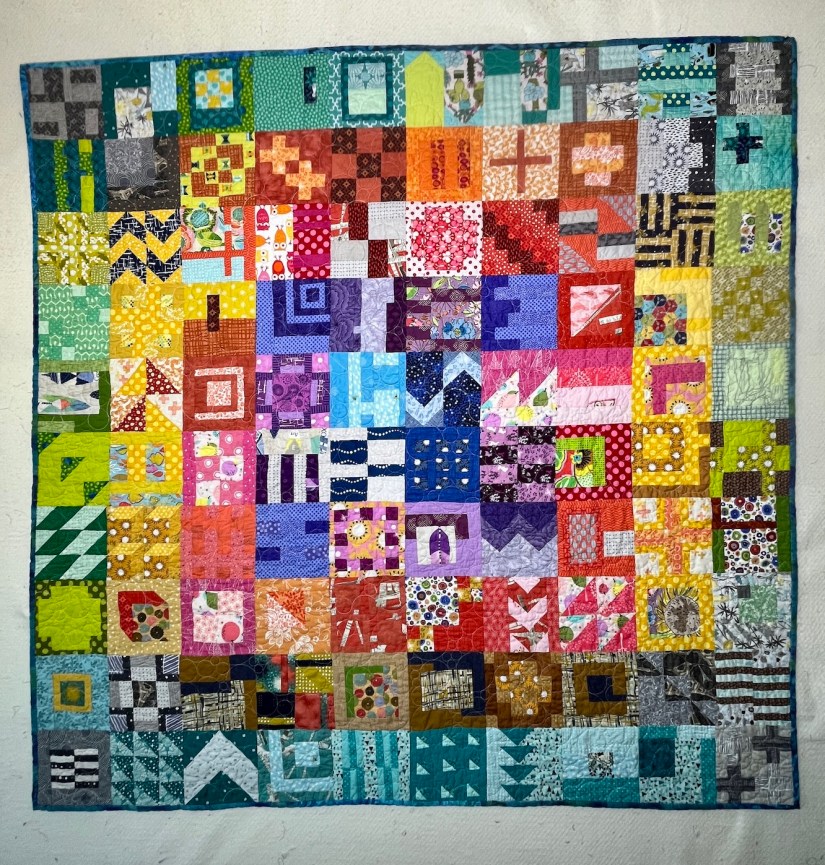
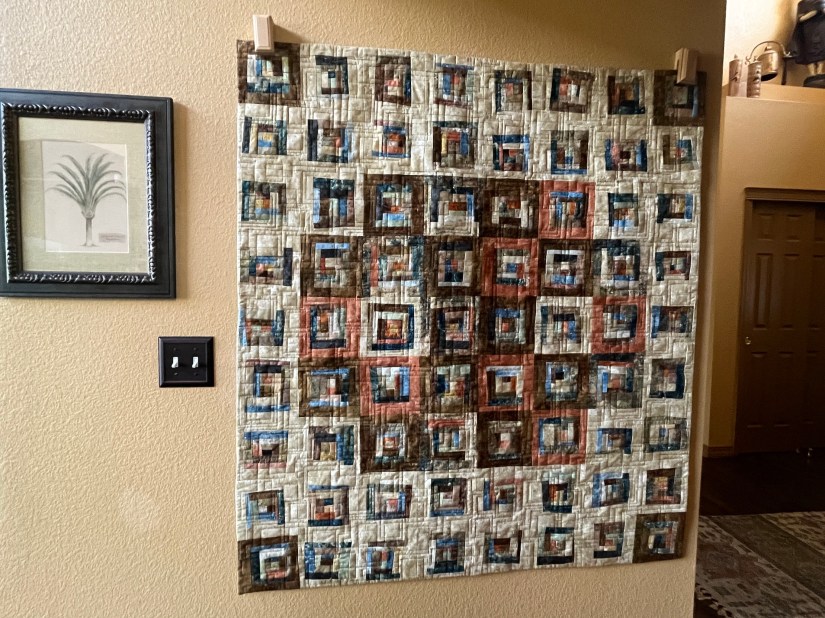
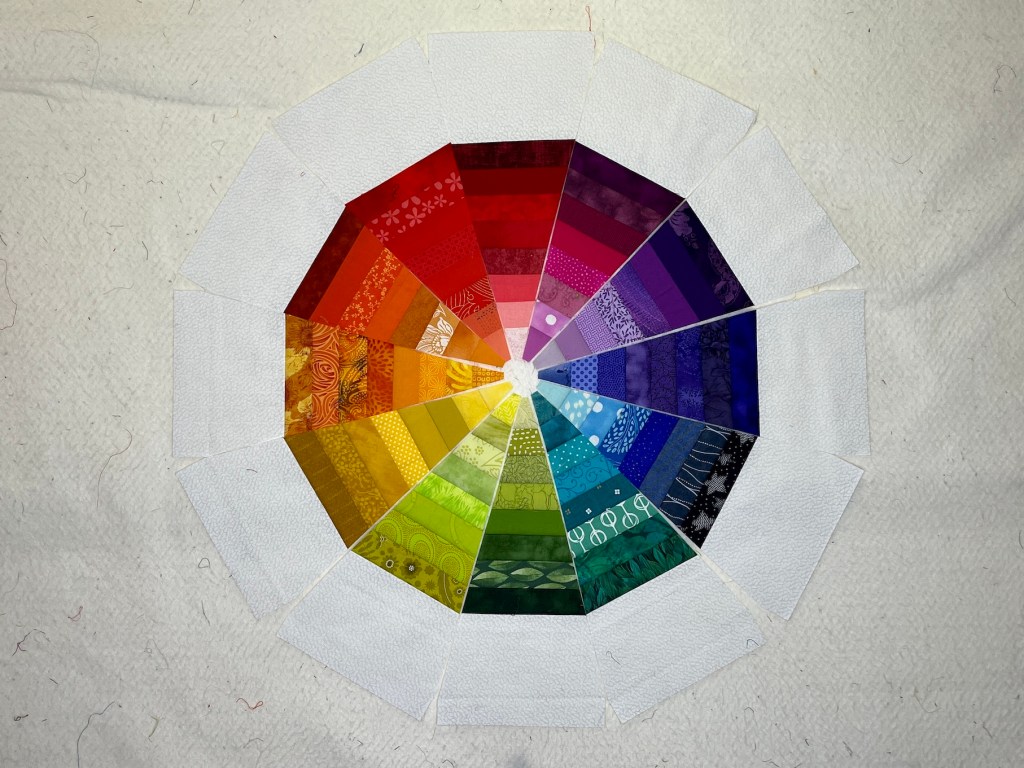
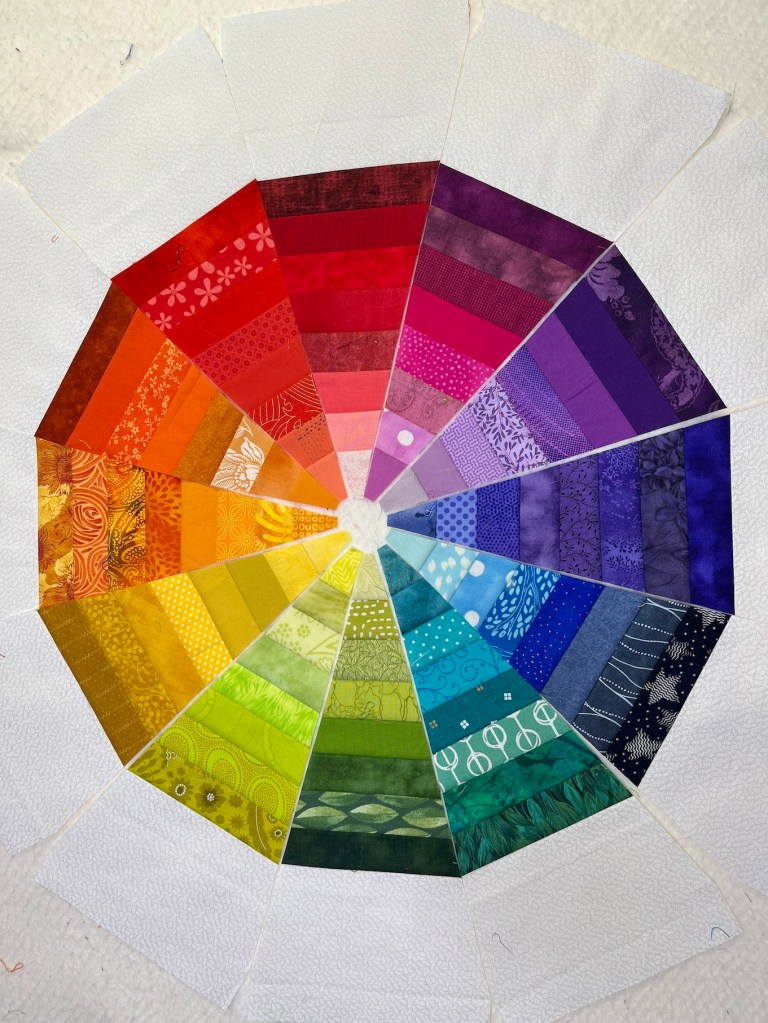
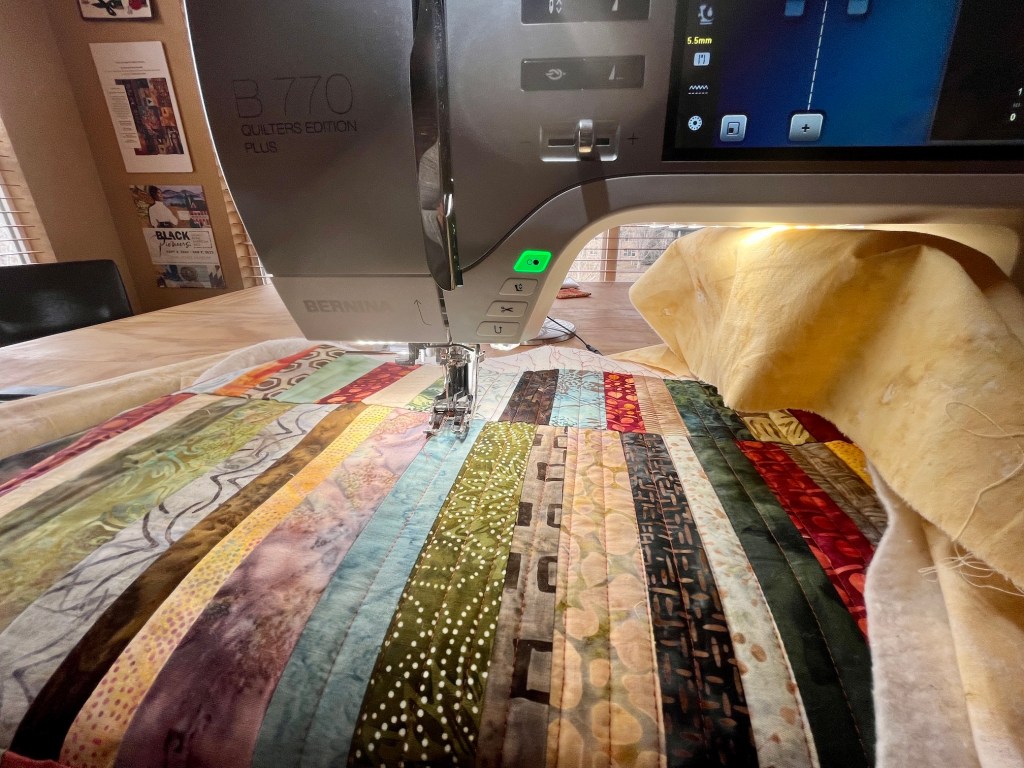
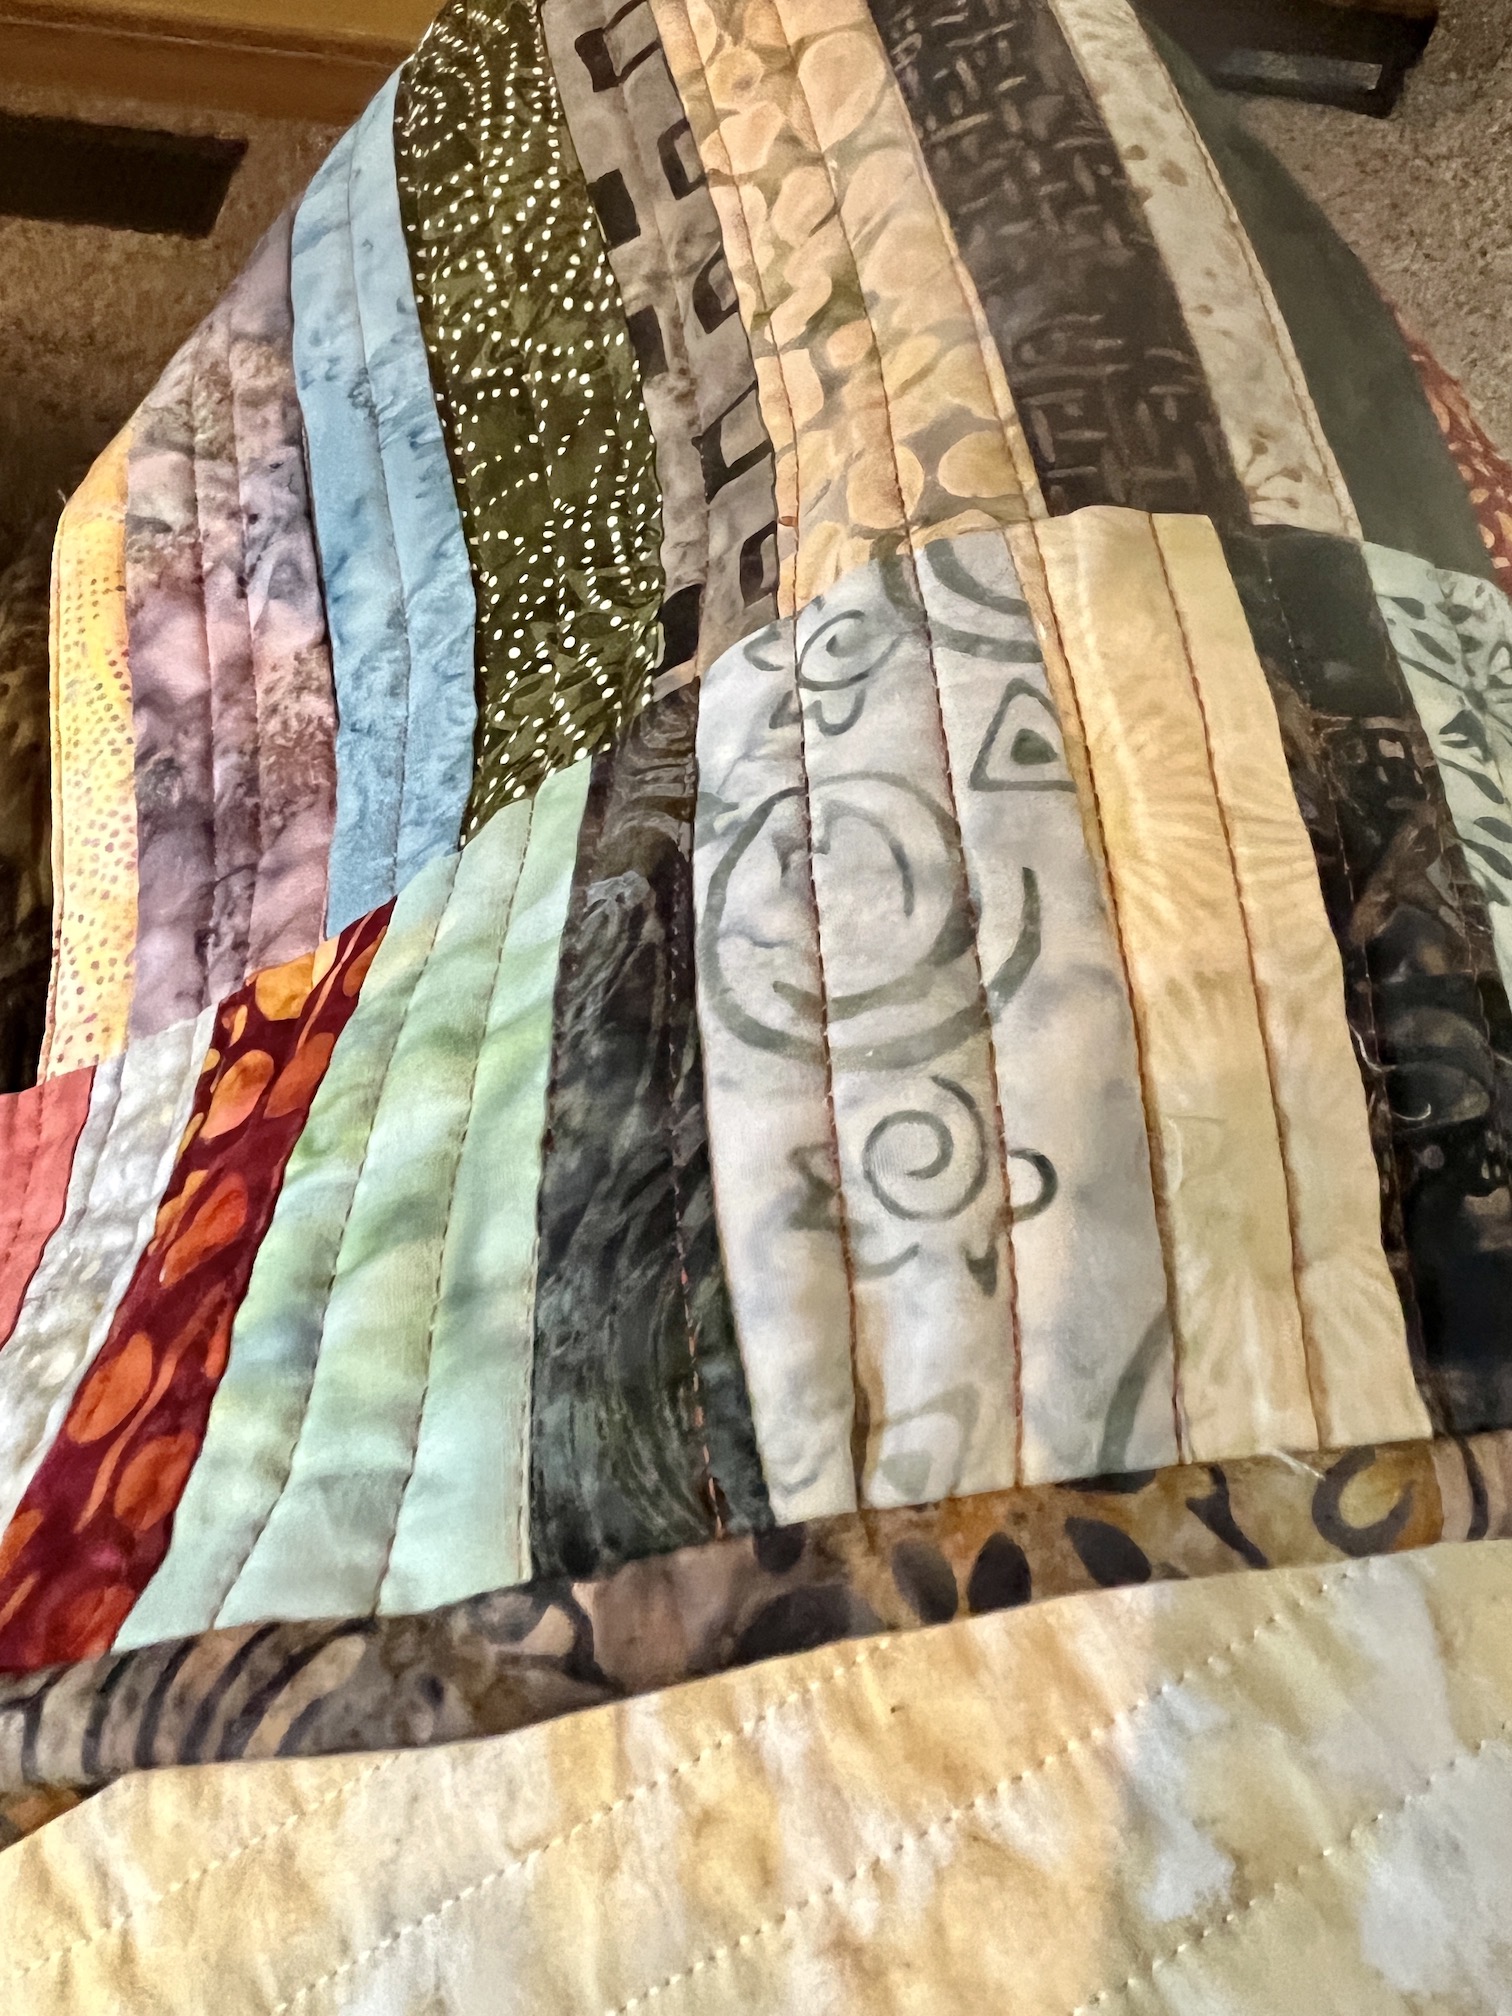
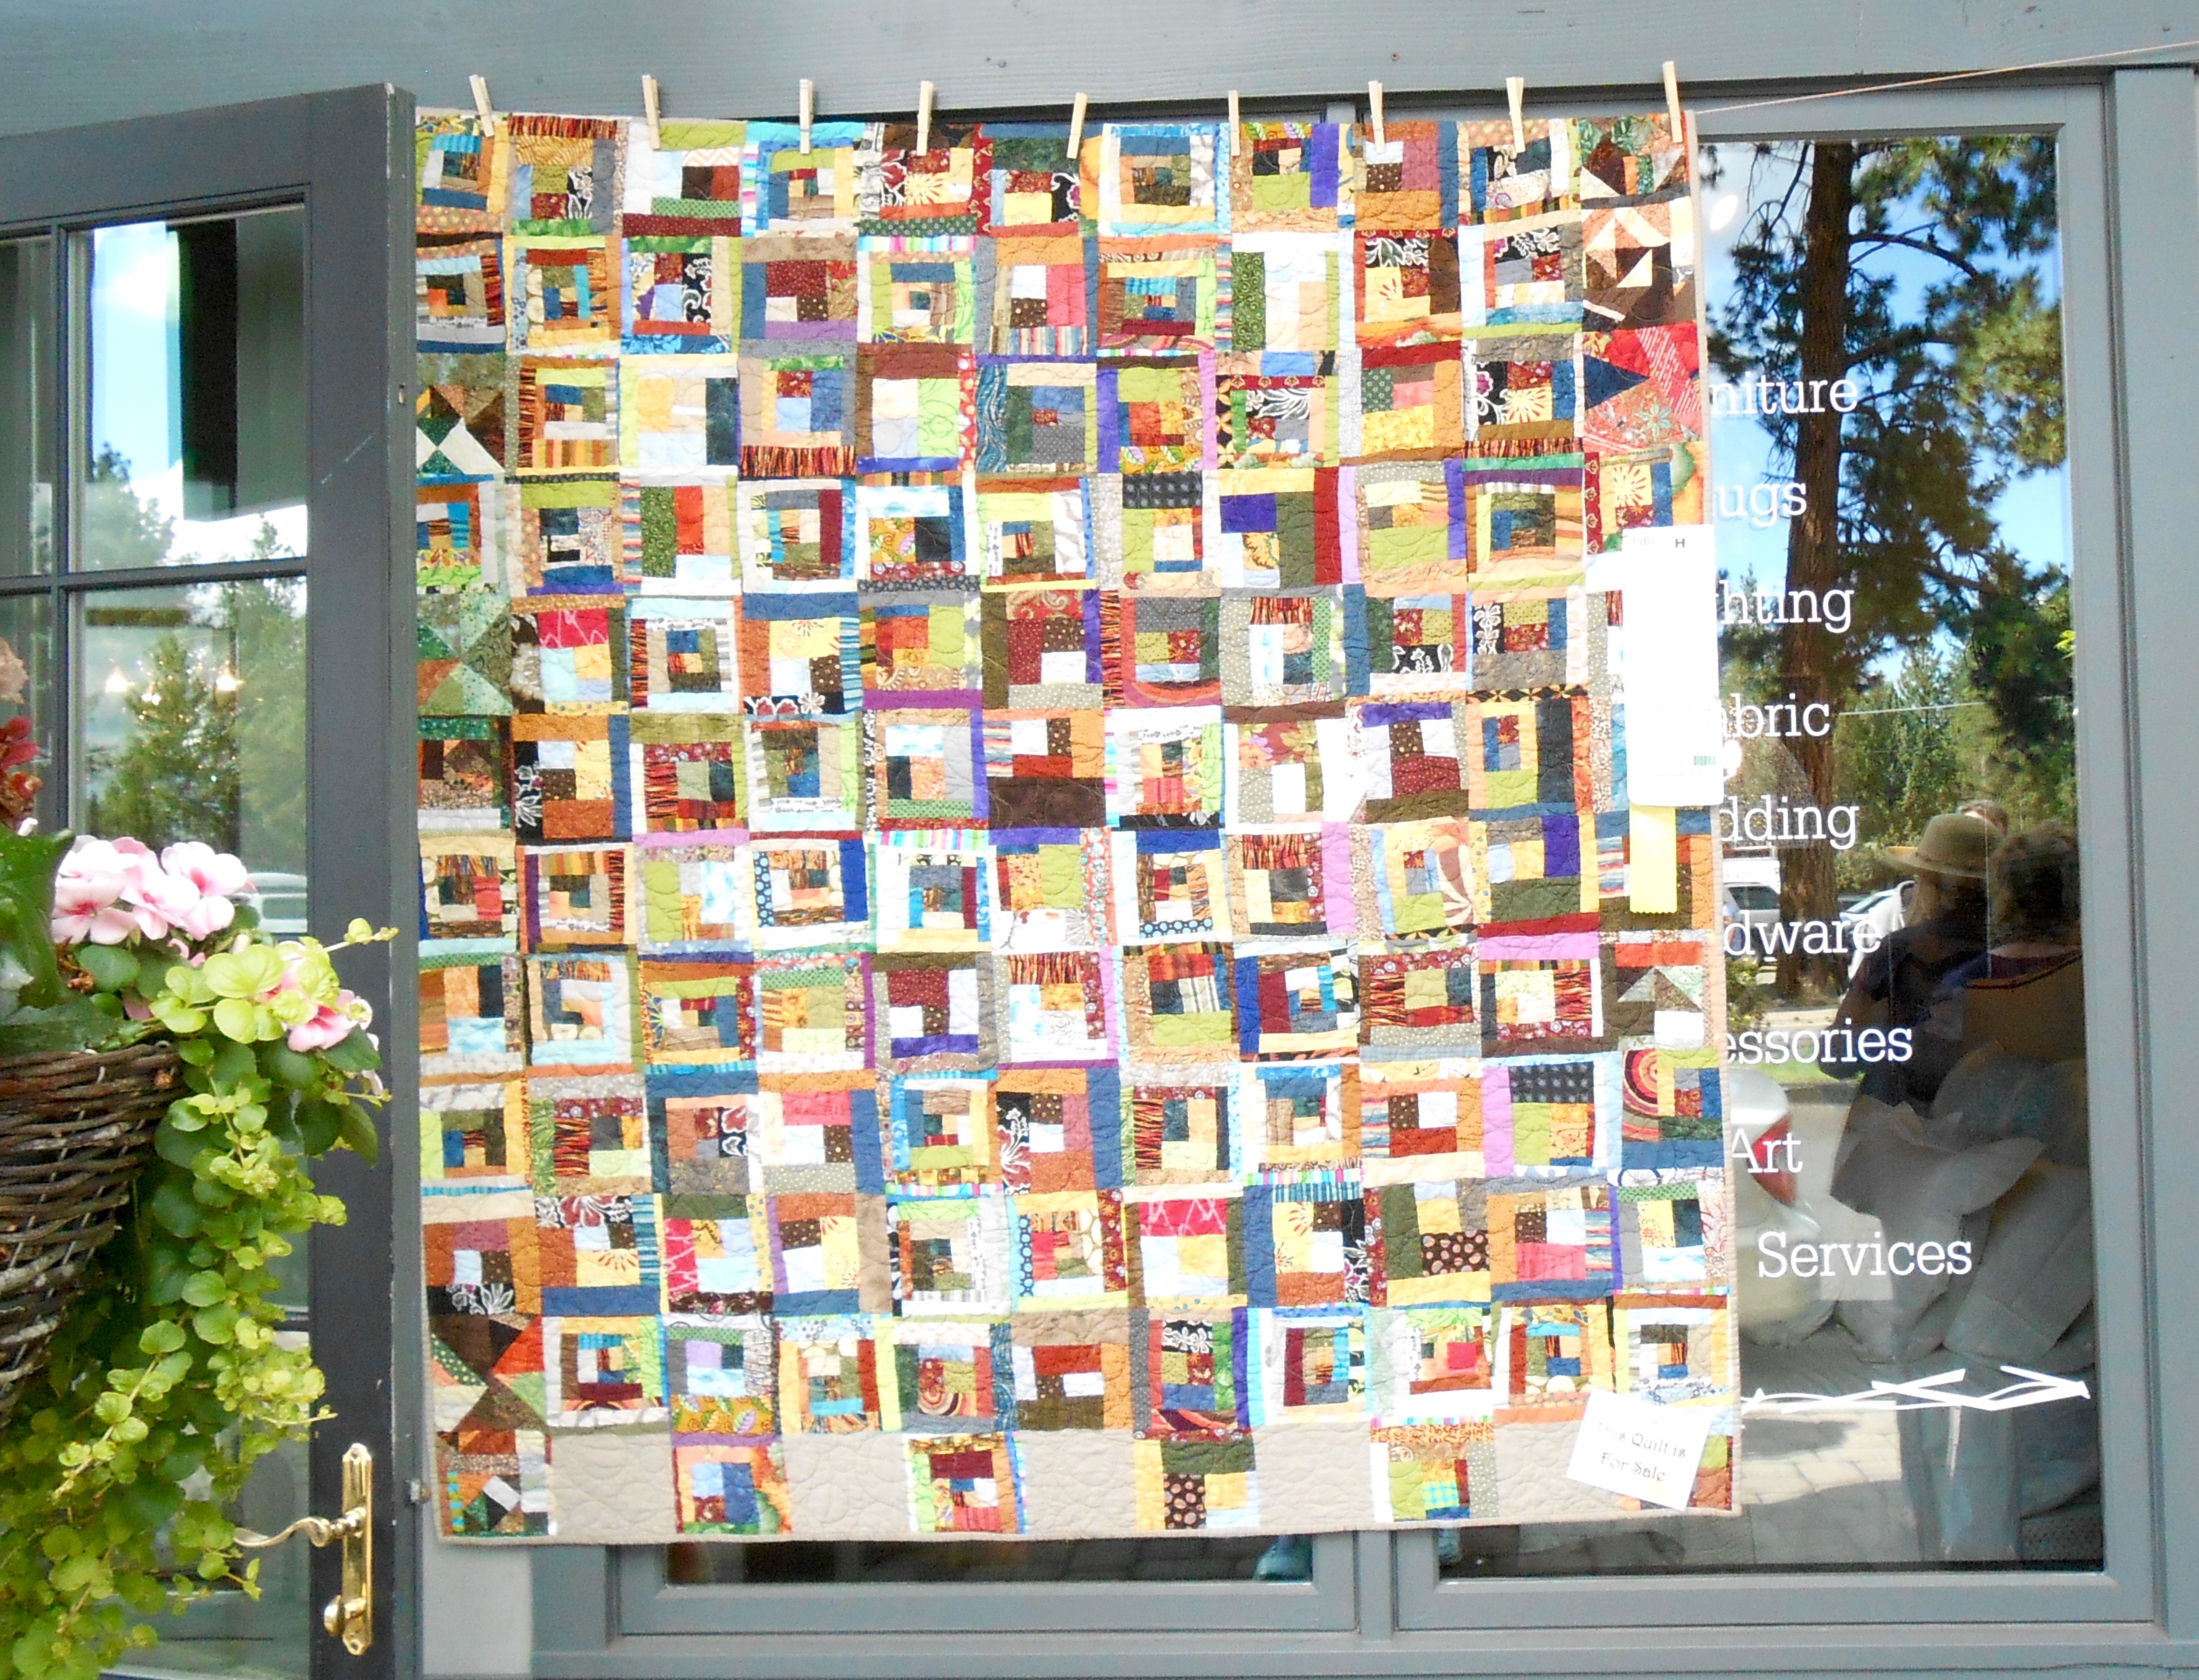
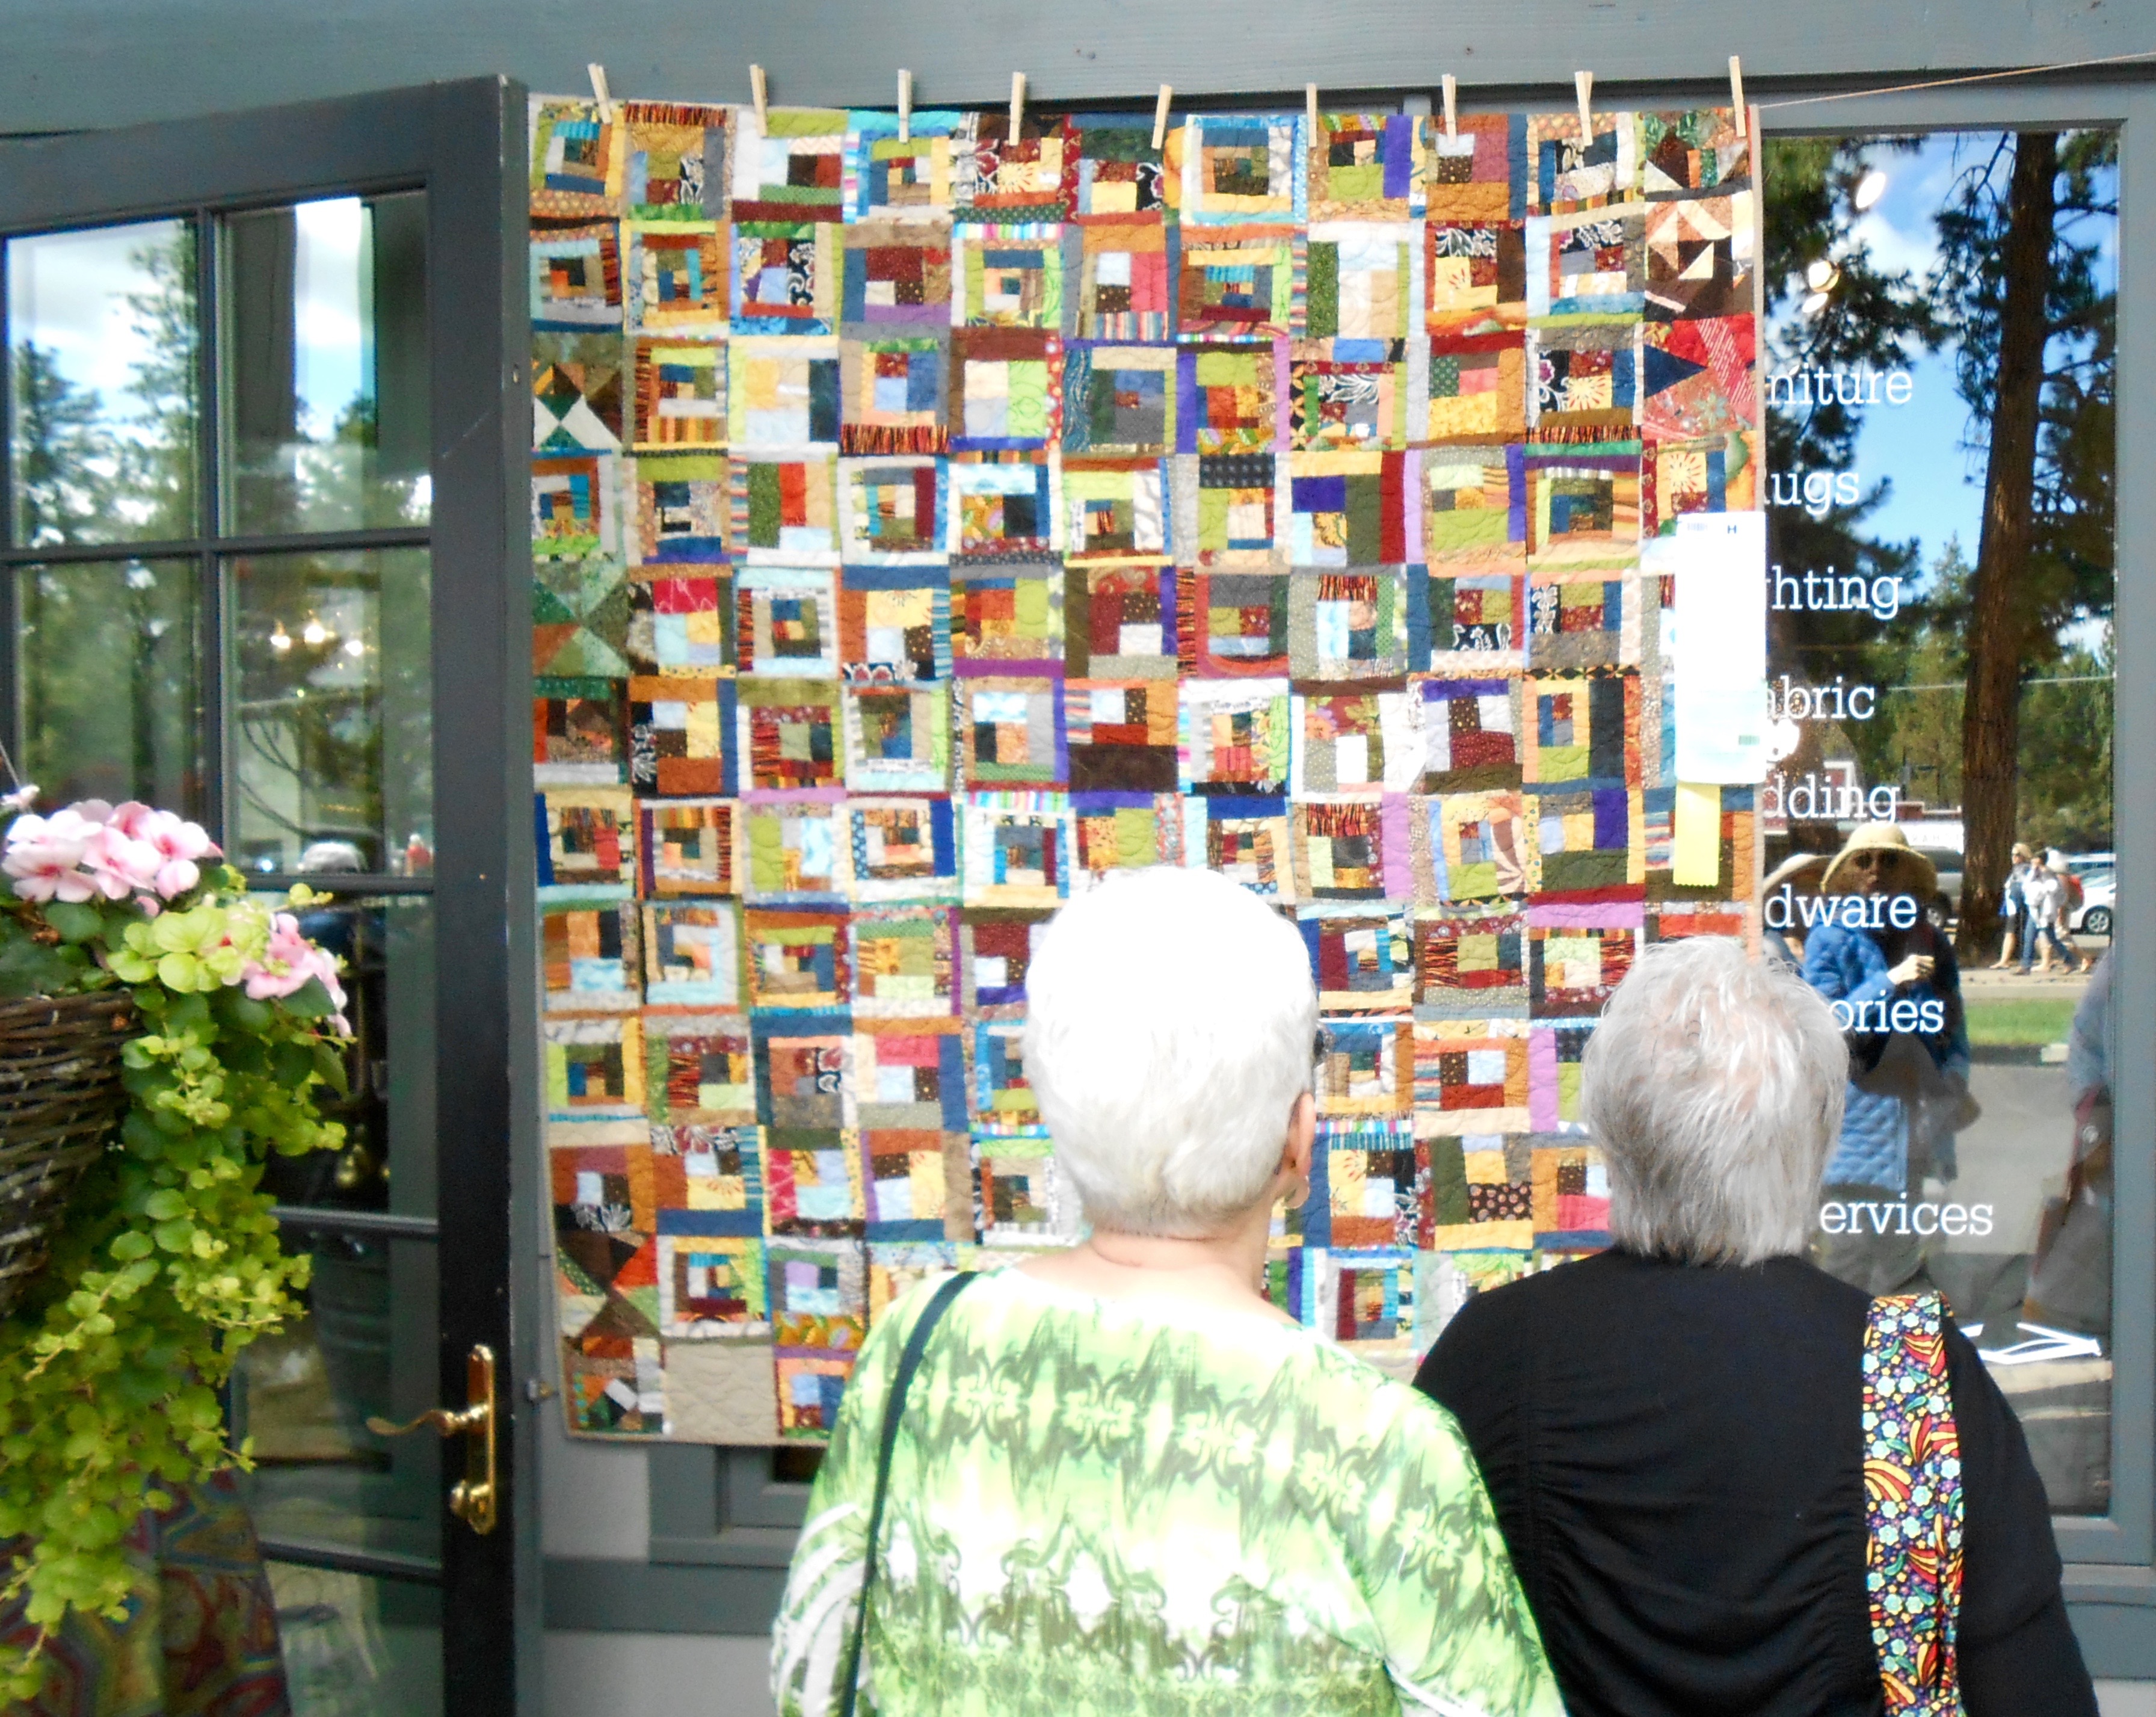
At the retreat this week, which runs Monday to Friday, we are going to work on improvisational piecing log cabin quilts (I will review the “log jamming” technique I first learned in a class at the Stitchin’ Post many years ago) like the one share in yesterday’s post:

Here is a YouTube video on “log jamming” by the Stitchin’ Post if you’d like to see the technique. I’ve adapted the original technique to a process that works better for me but it is still essentially the same concept.
And here is the fabulous Jackie who taught the class I attended and has a pattern she’s published on Modern Log Jam (I miss the Stitchin’ Post so much, a lot of wonderful creative memories while living in Central Oregon happened there):
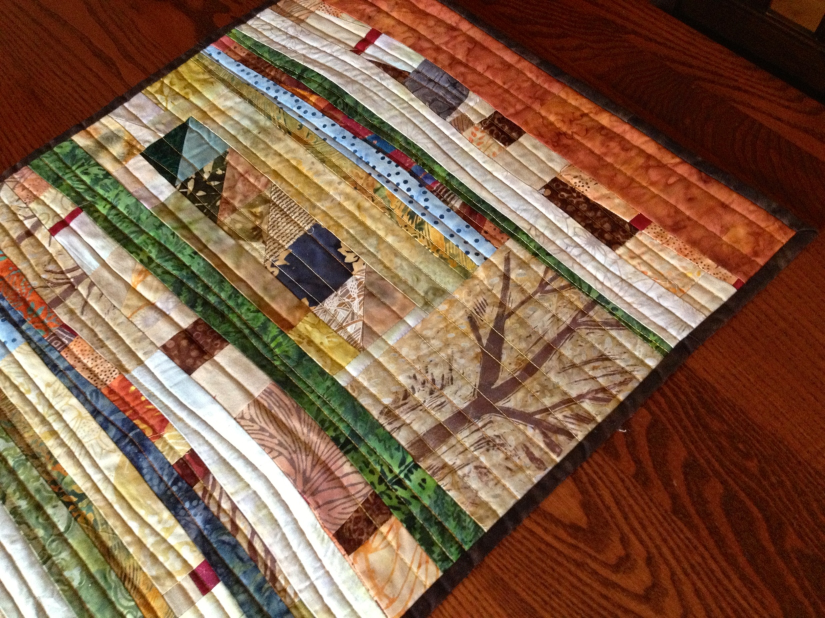
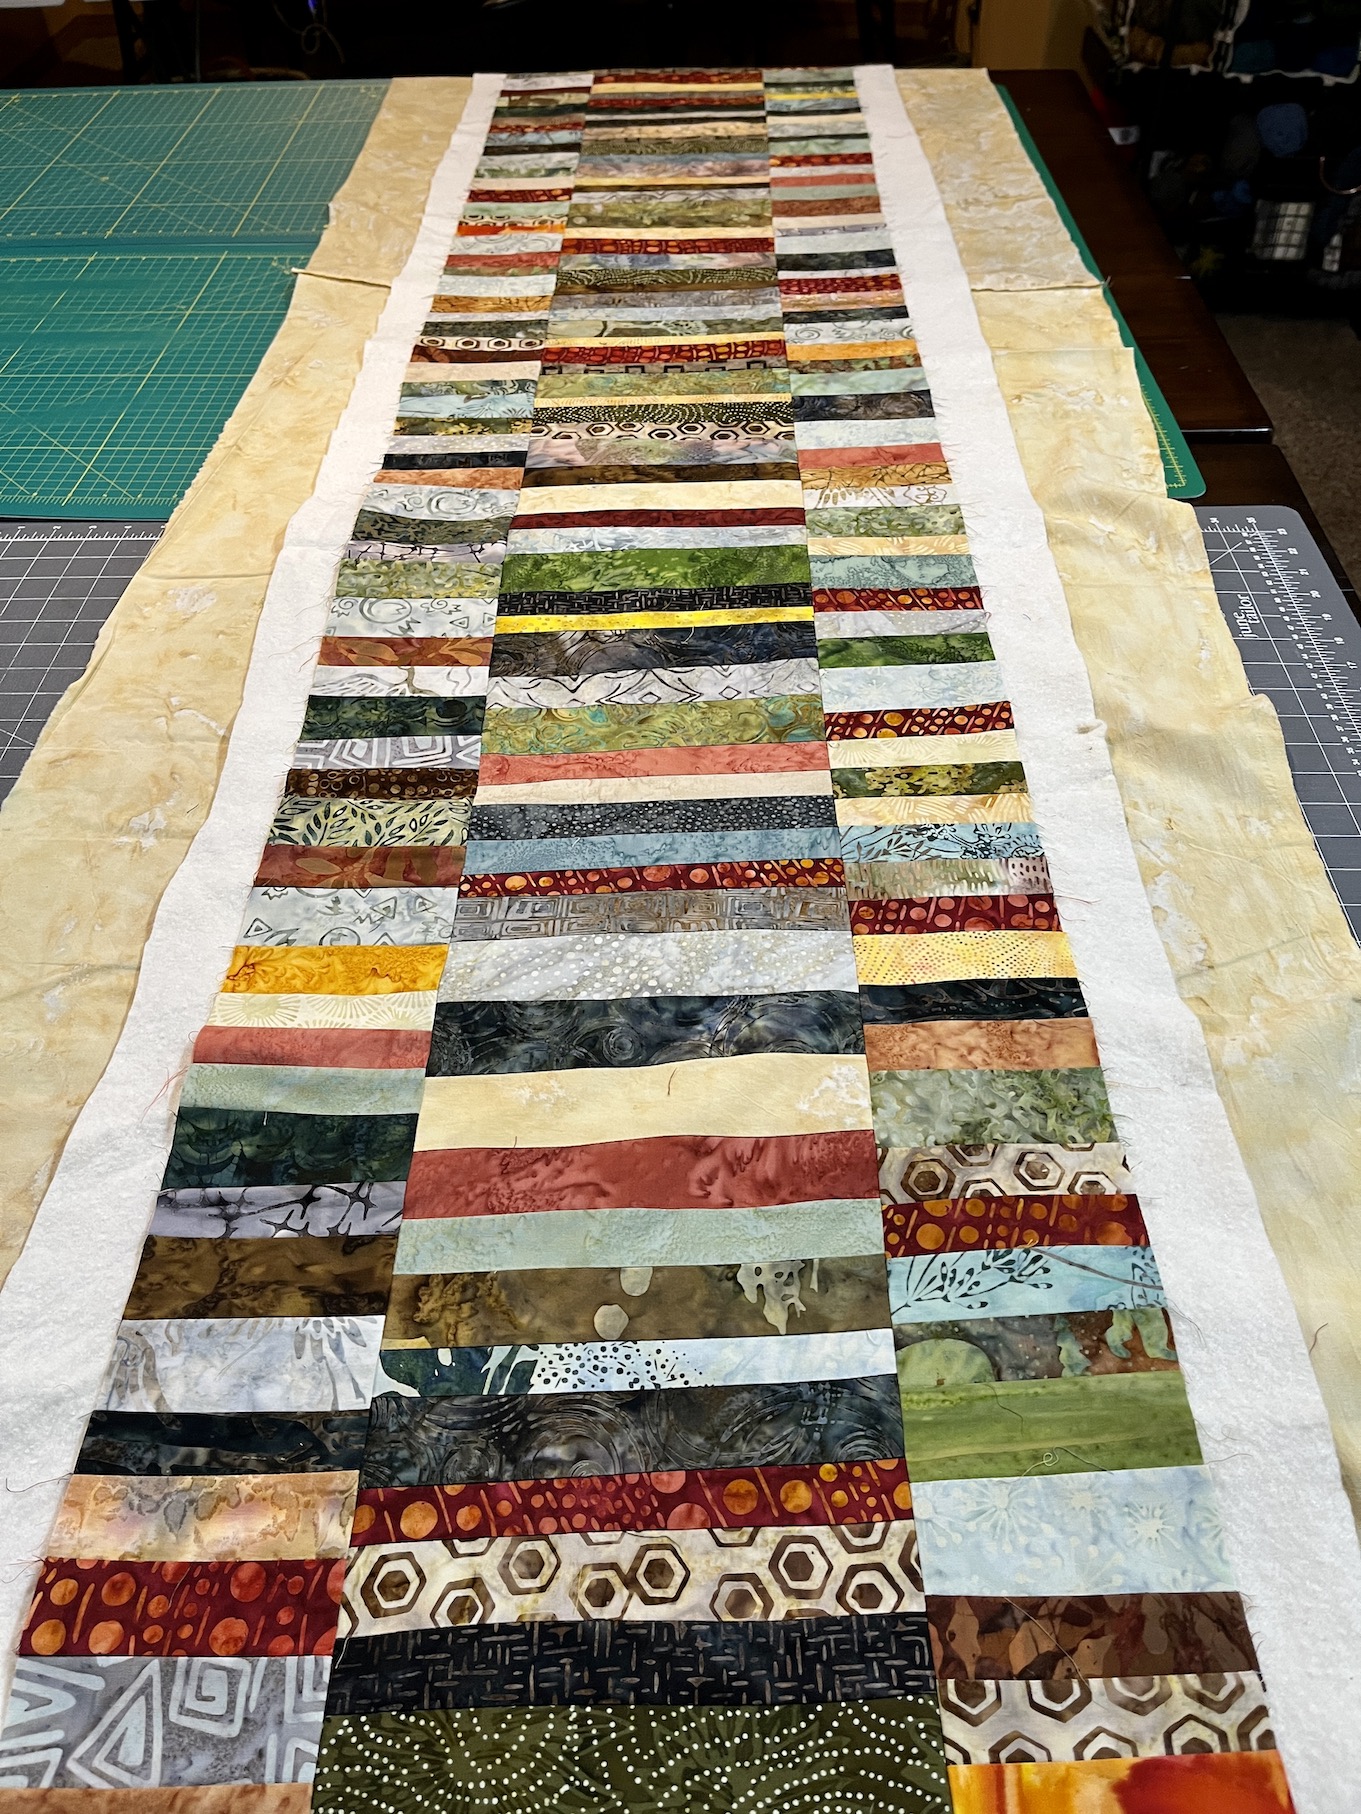
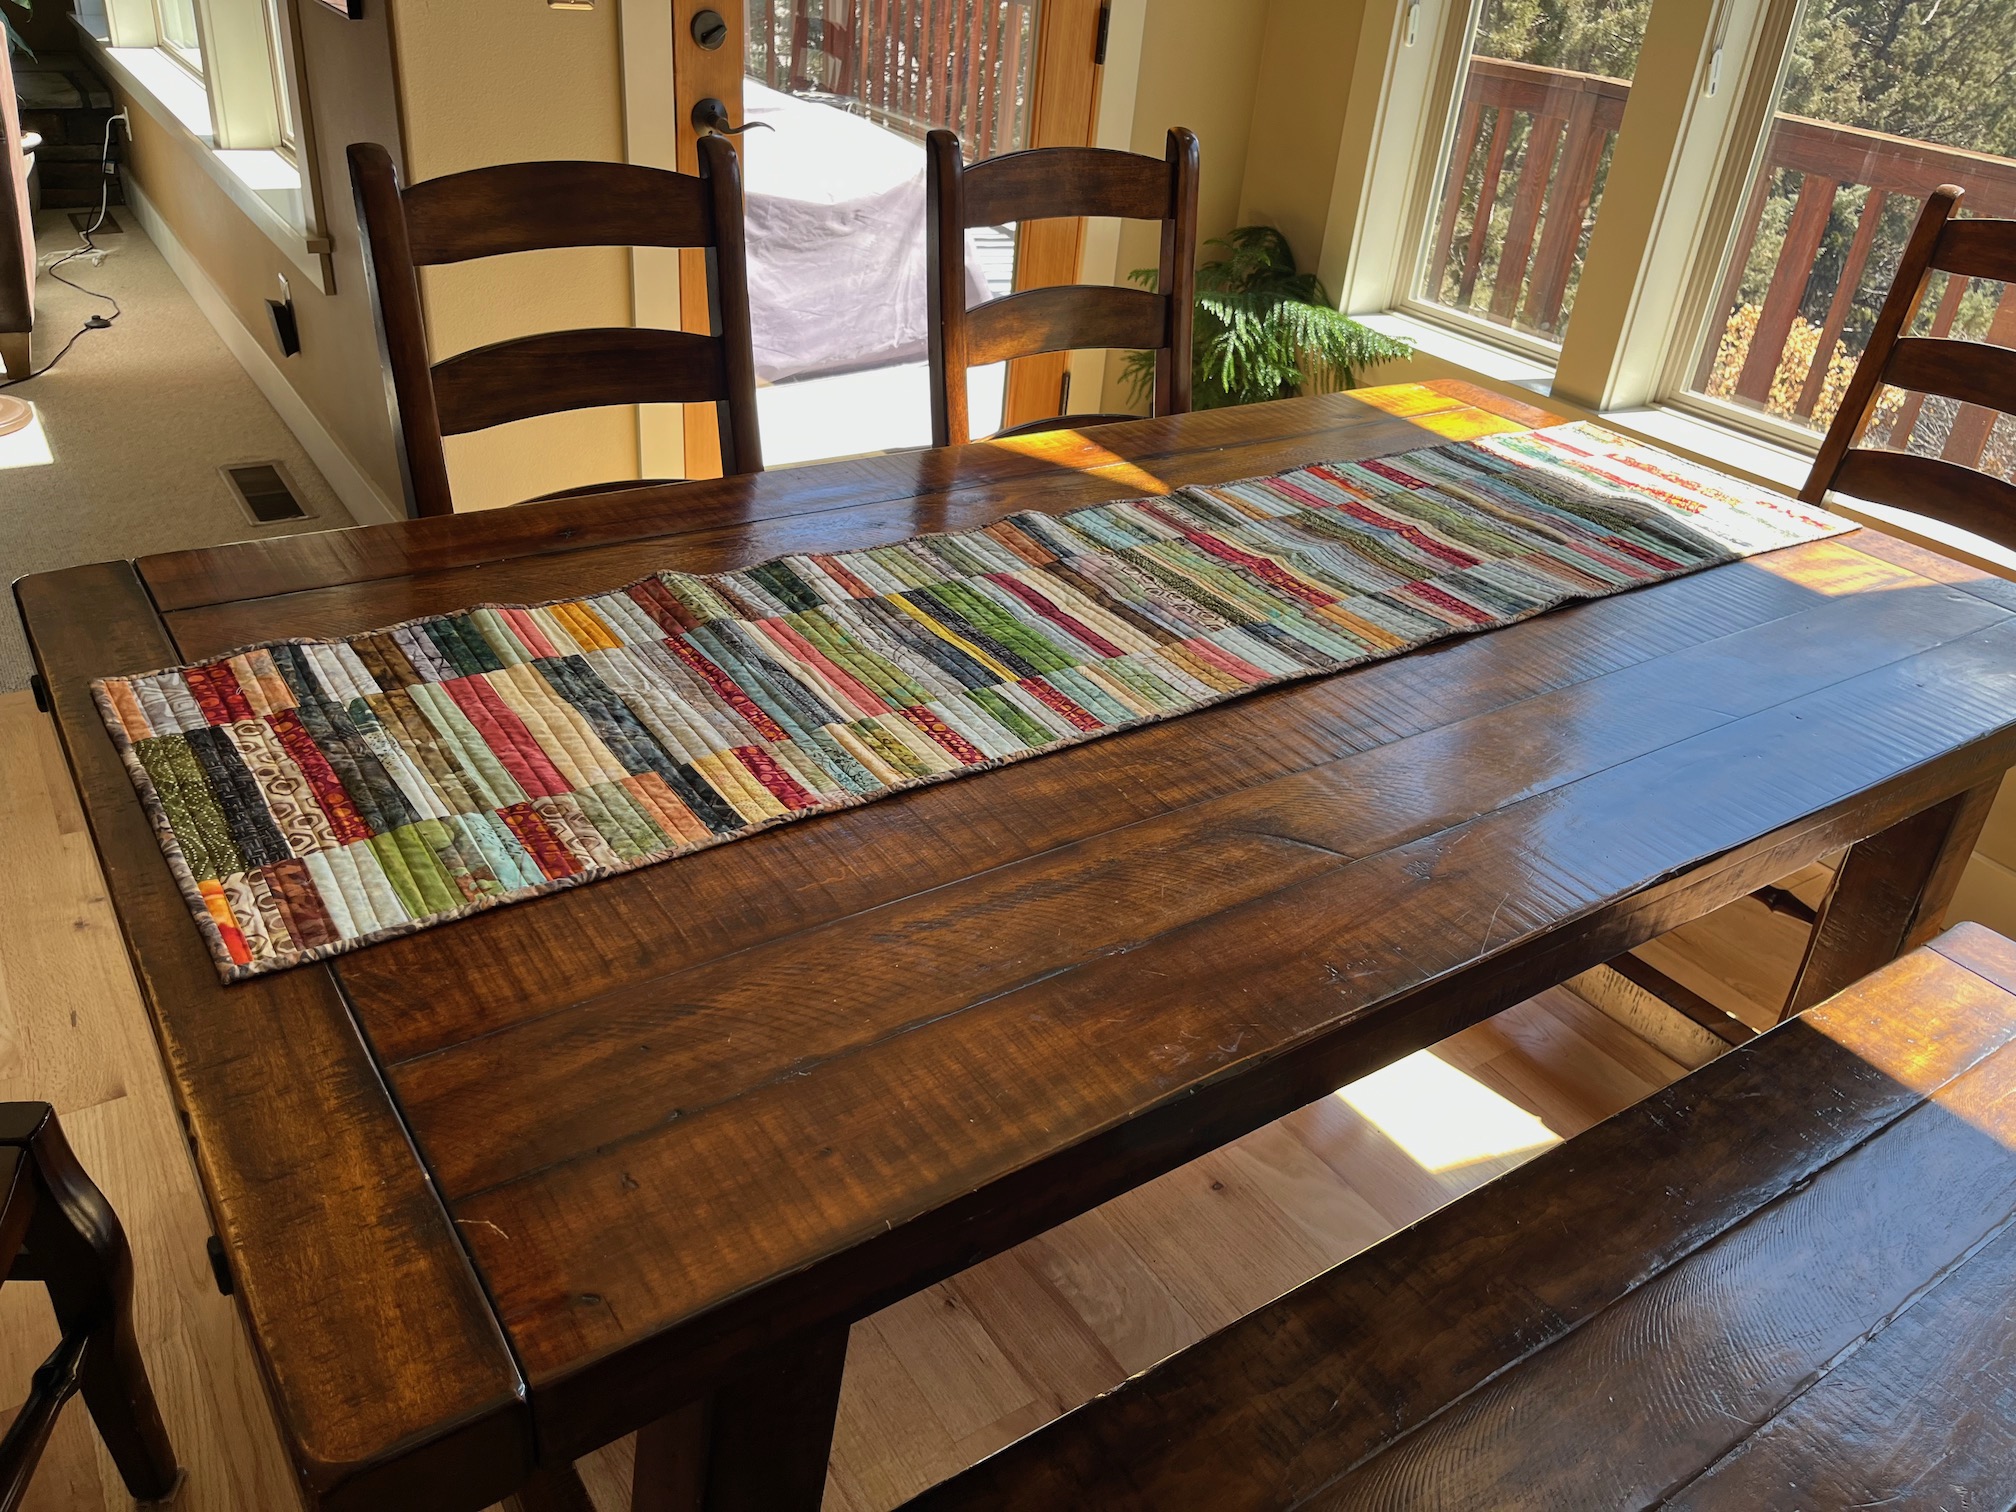
In addition to working on improvisational log cabin quilts, we are also going to try our hands at piecing scraps onto adding machine tape. I have a bunch of adding machine tape I bought from a thrift store for $2:

Here is the YouTube tutorial we are going to use (I have a small TV in my studio and we can watch and try it together on our machines):
Wish us luck on this new technique for us!
I’ll update you on the progress on our projects at the retreat!
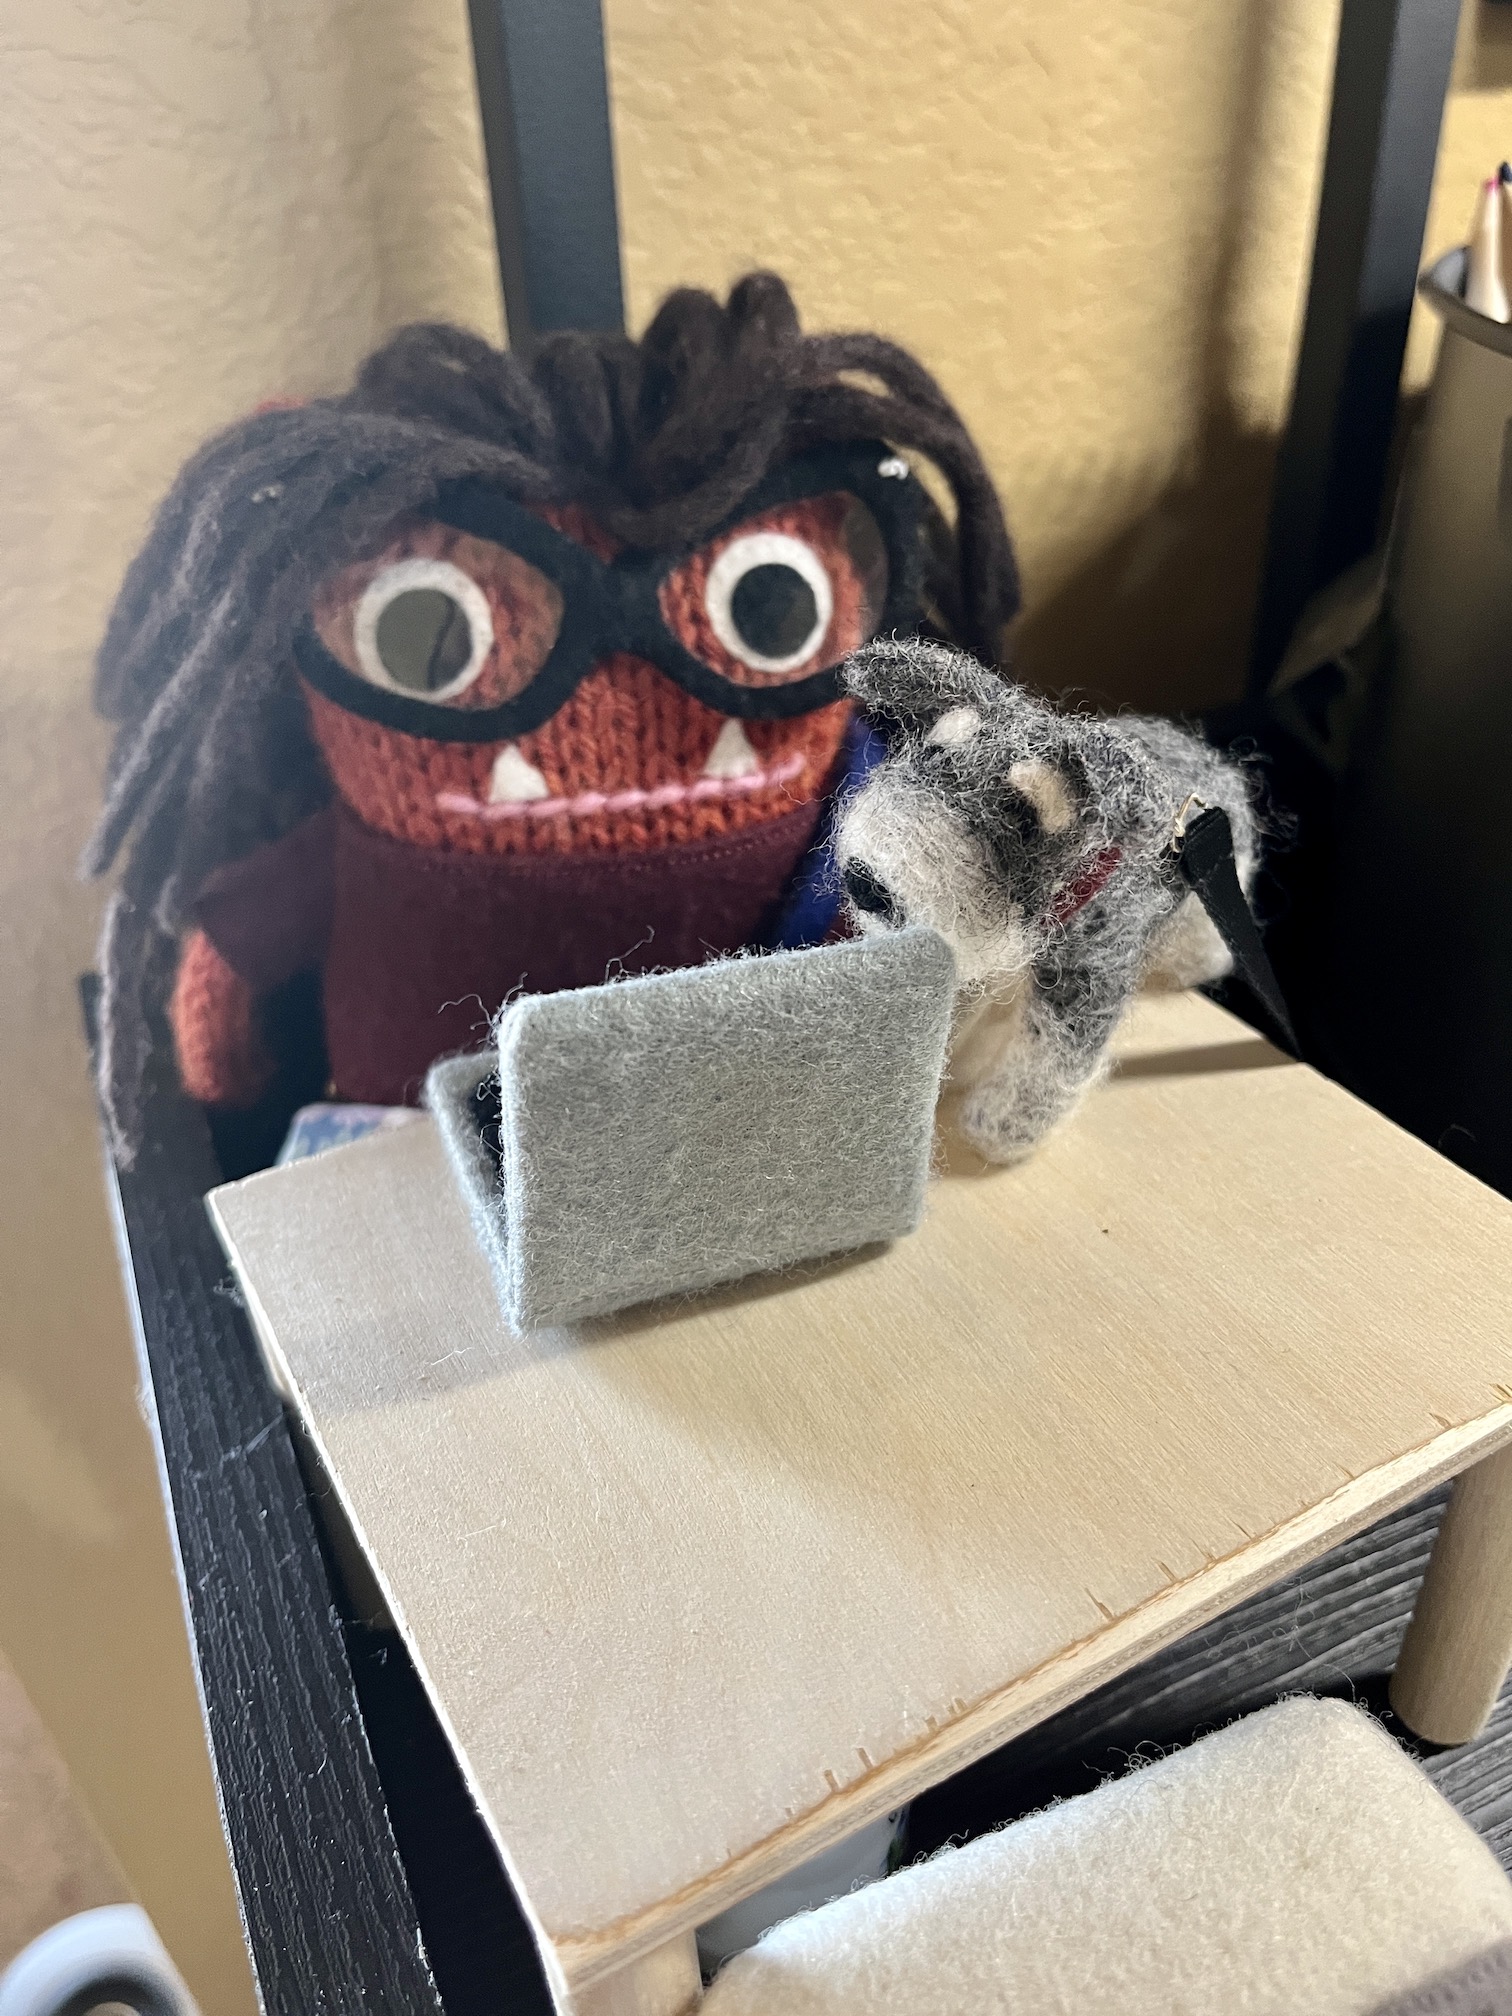
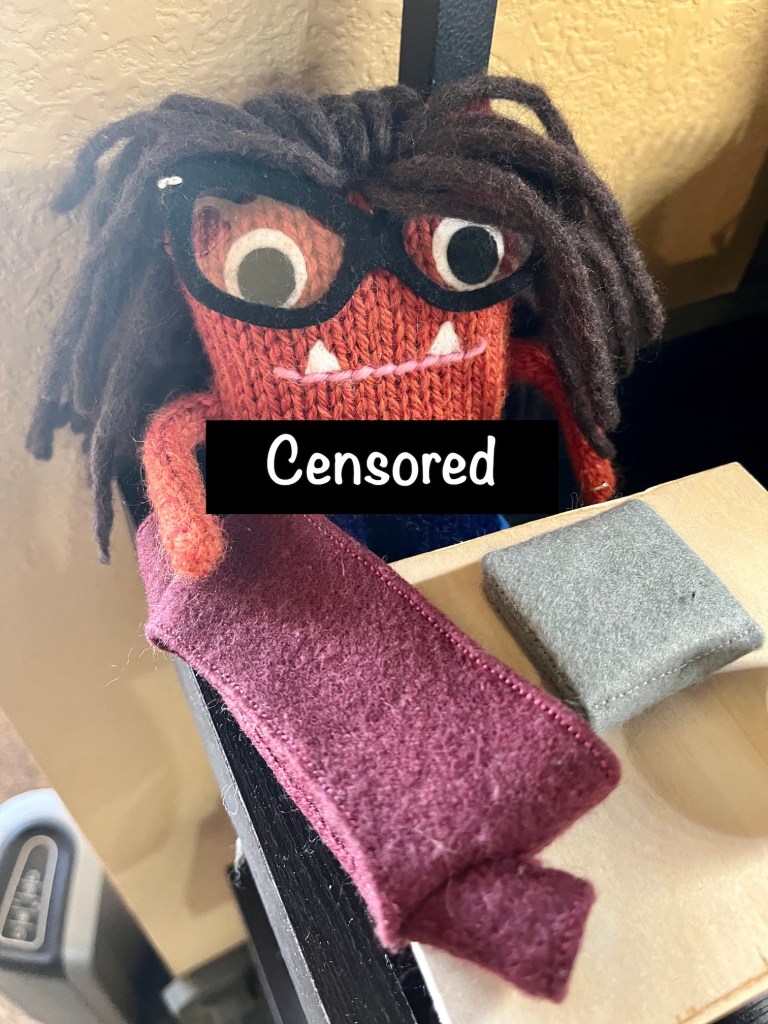
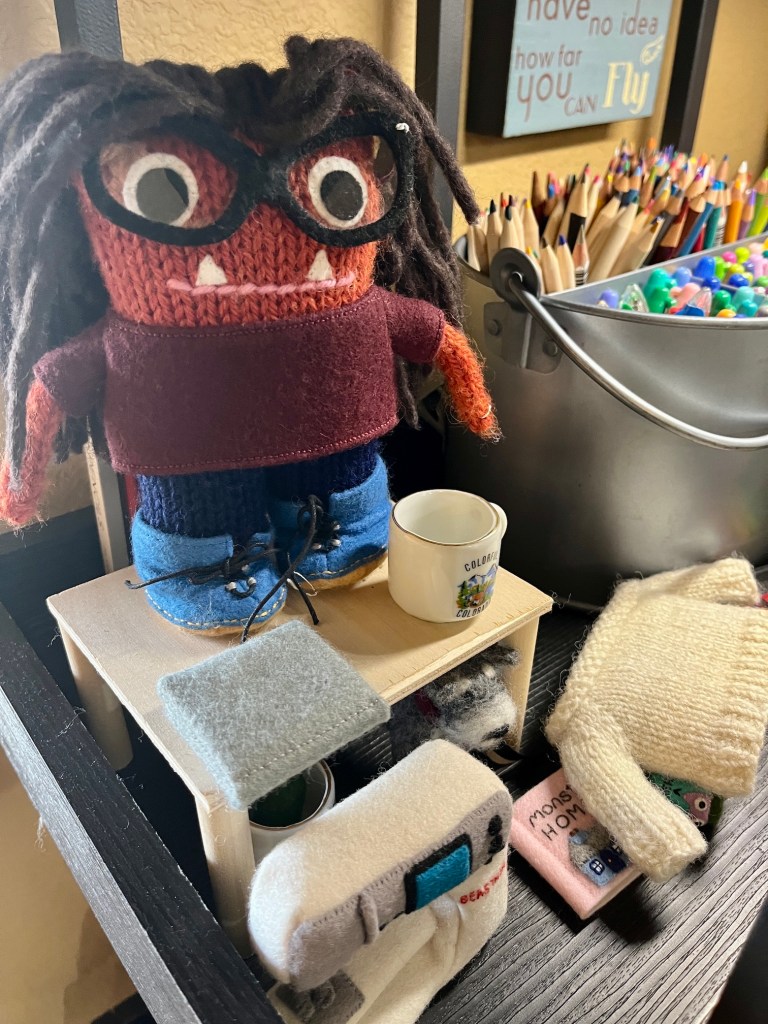
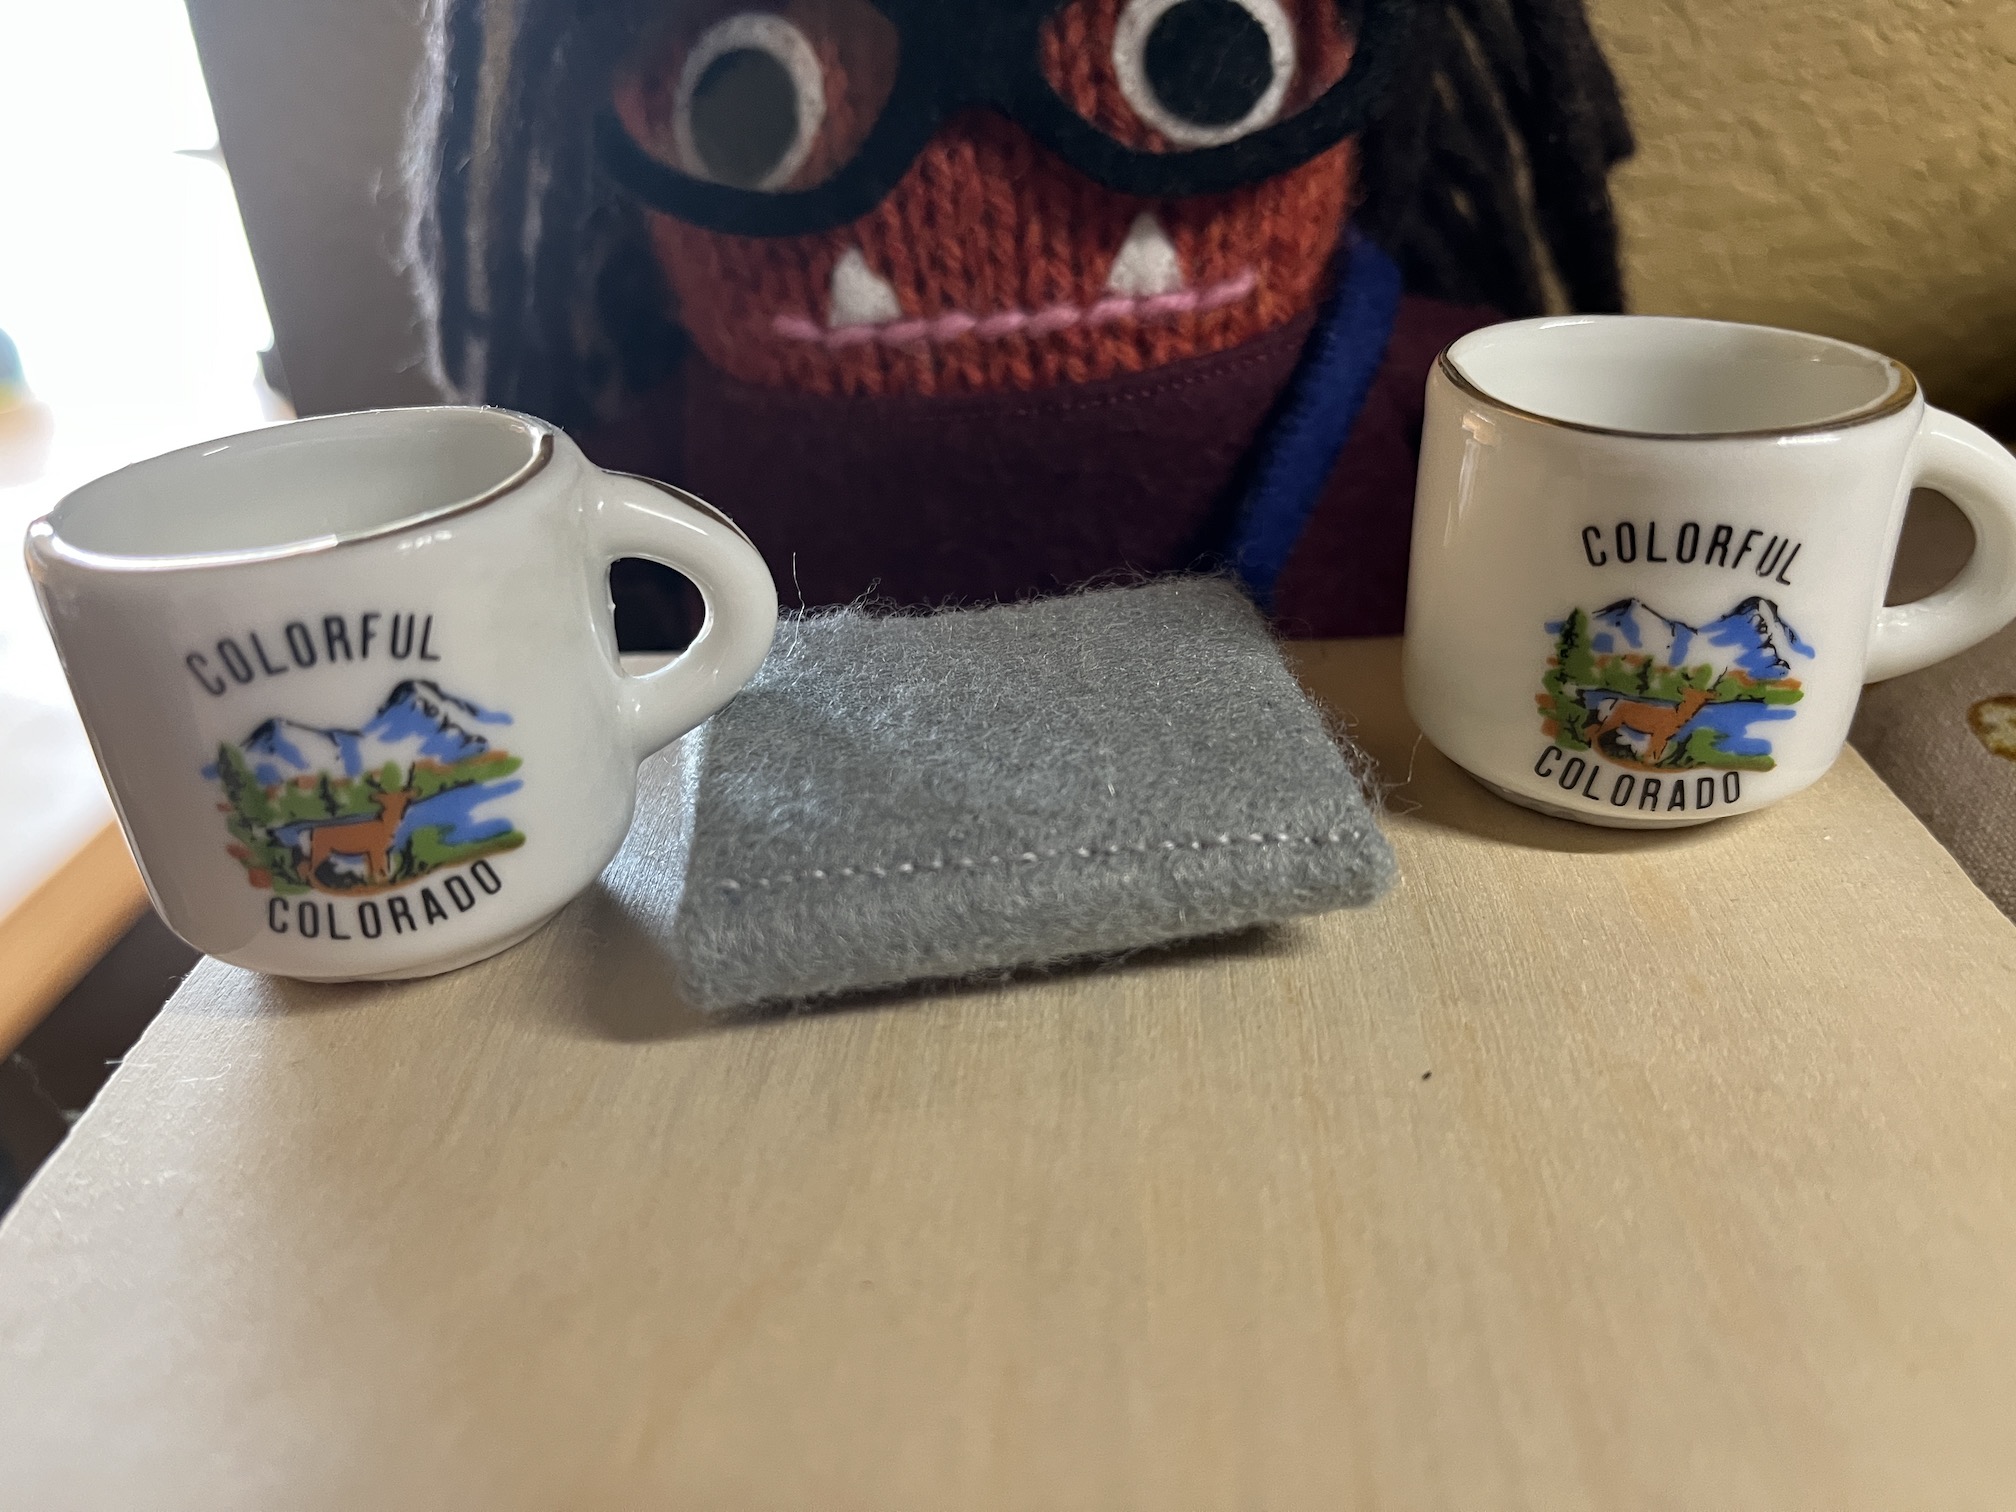
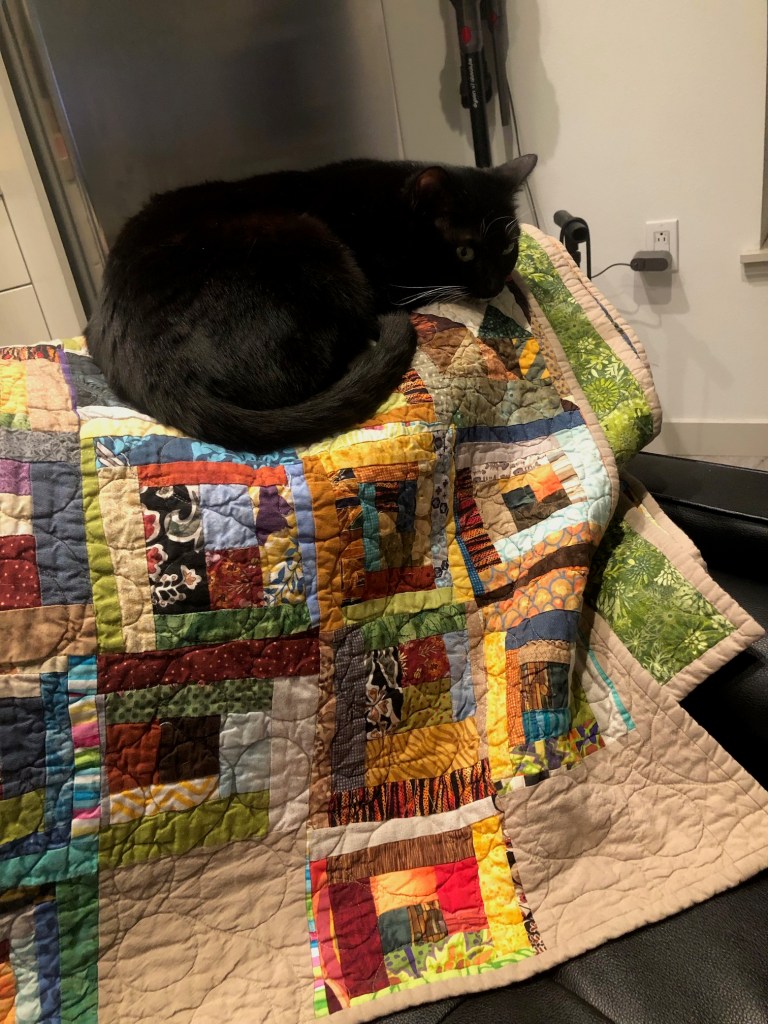
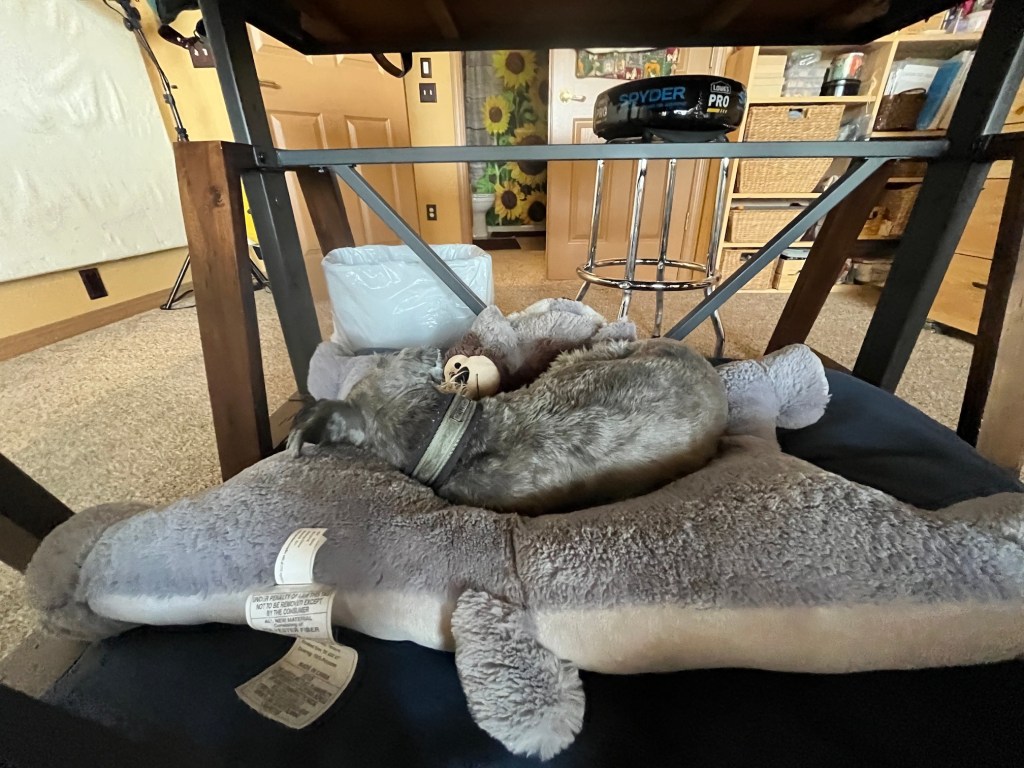
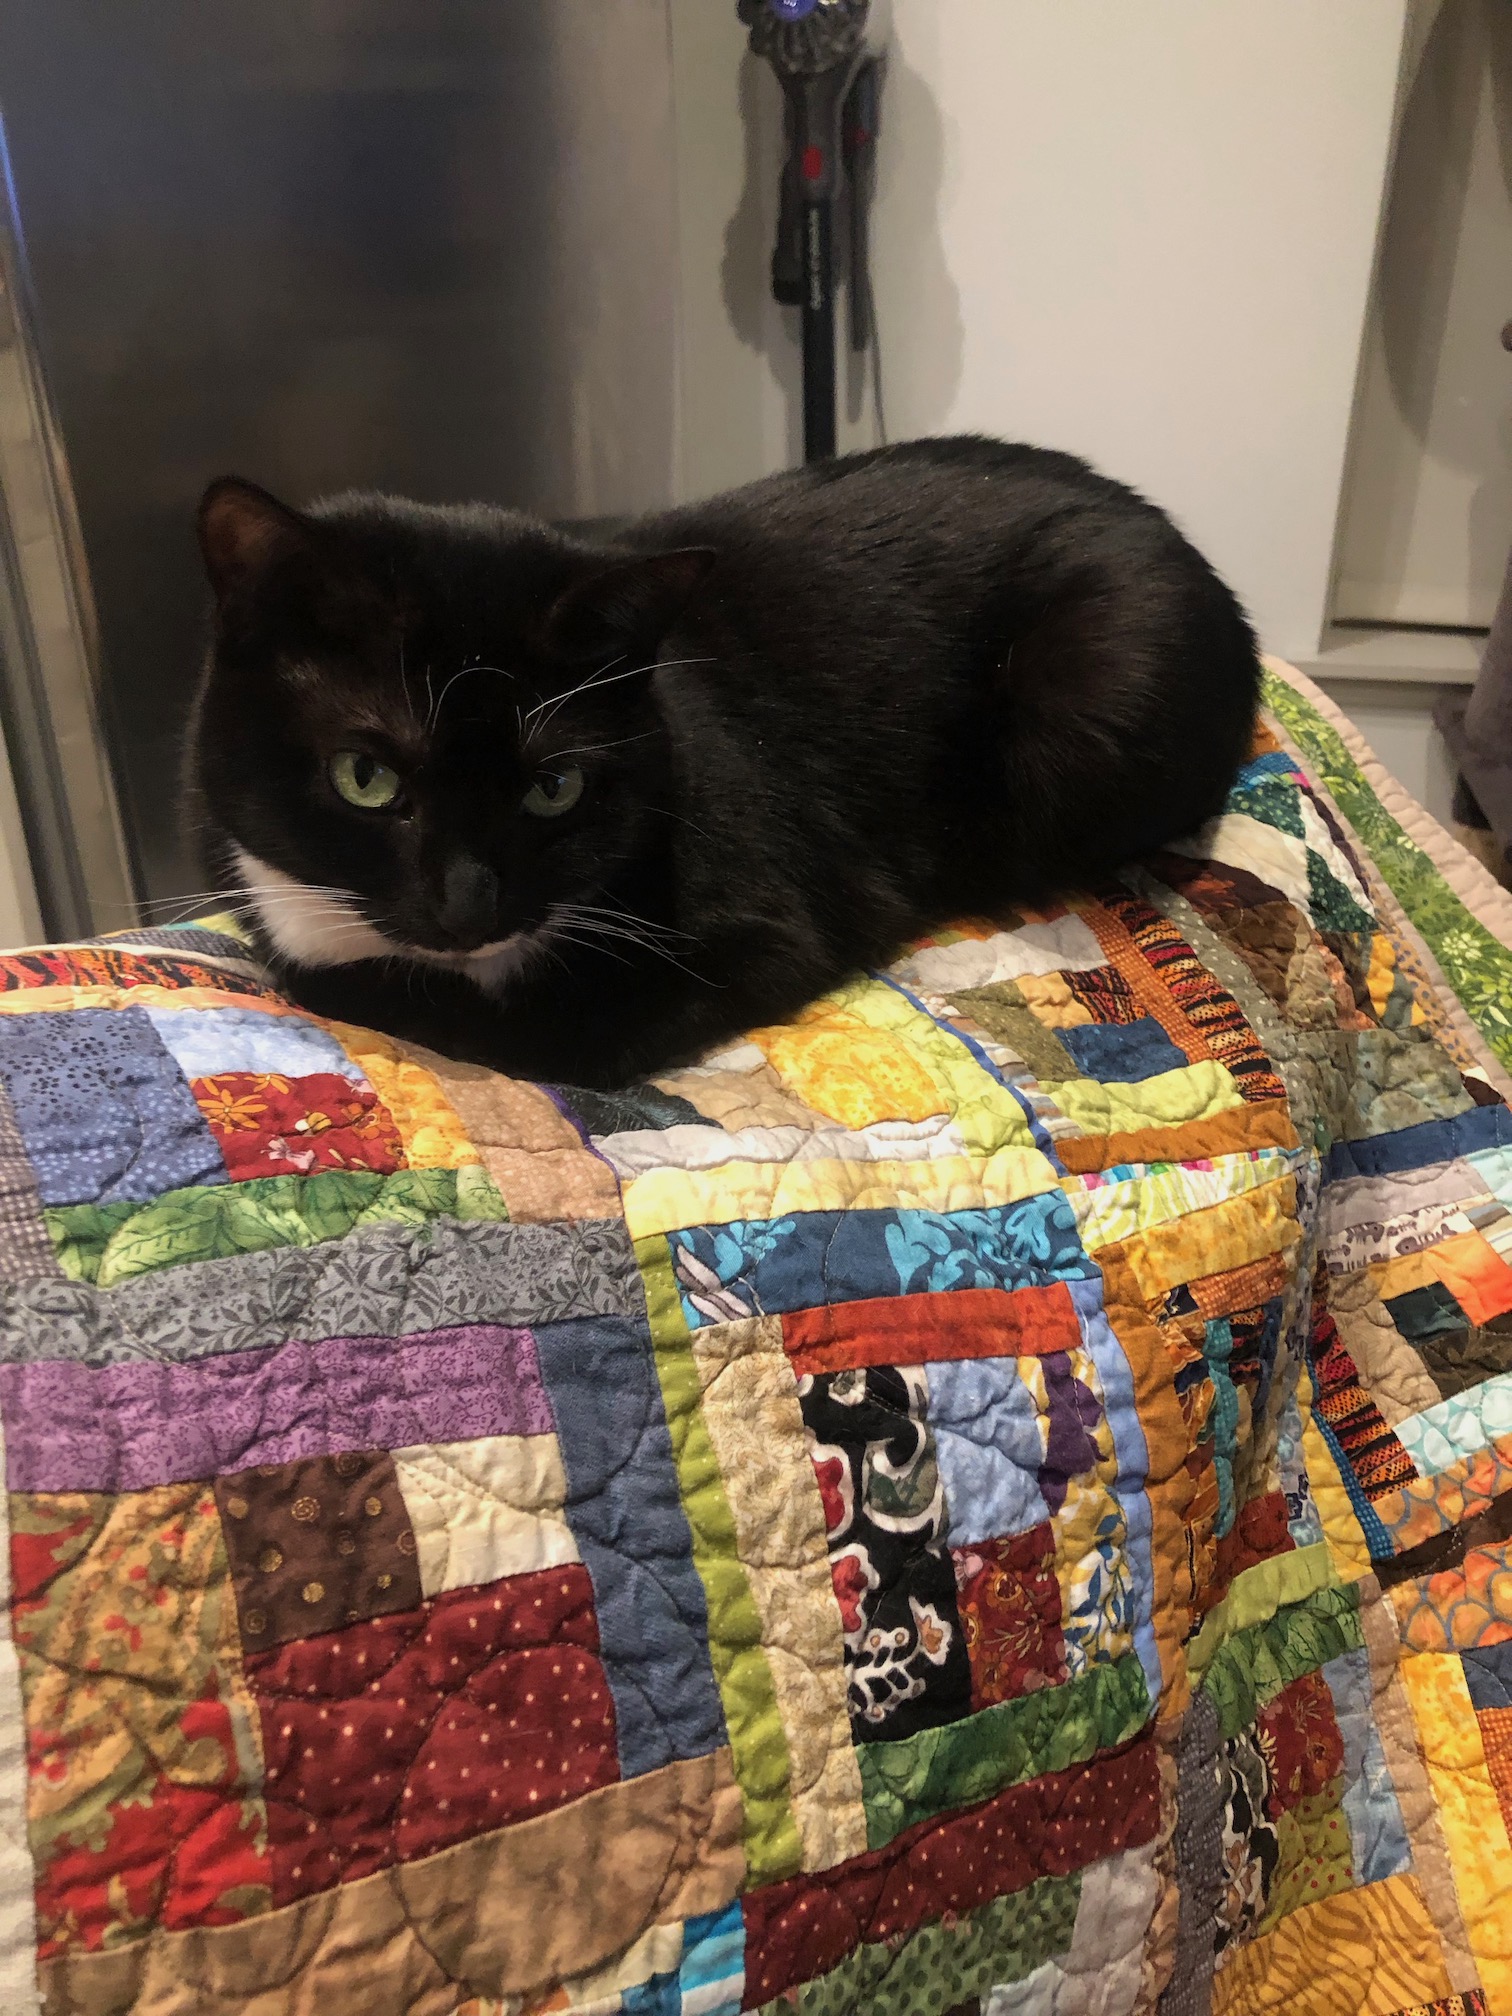
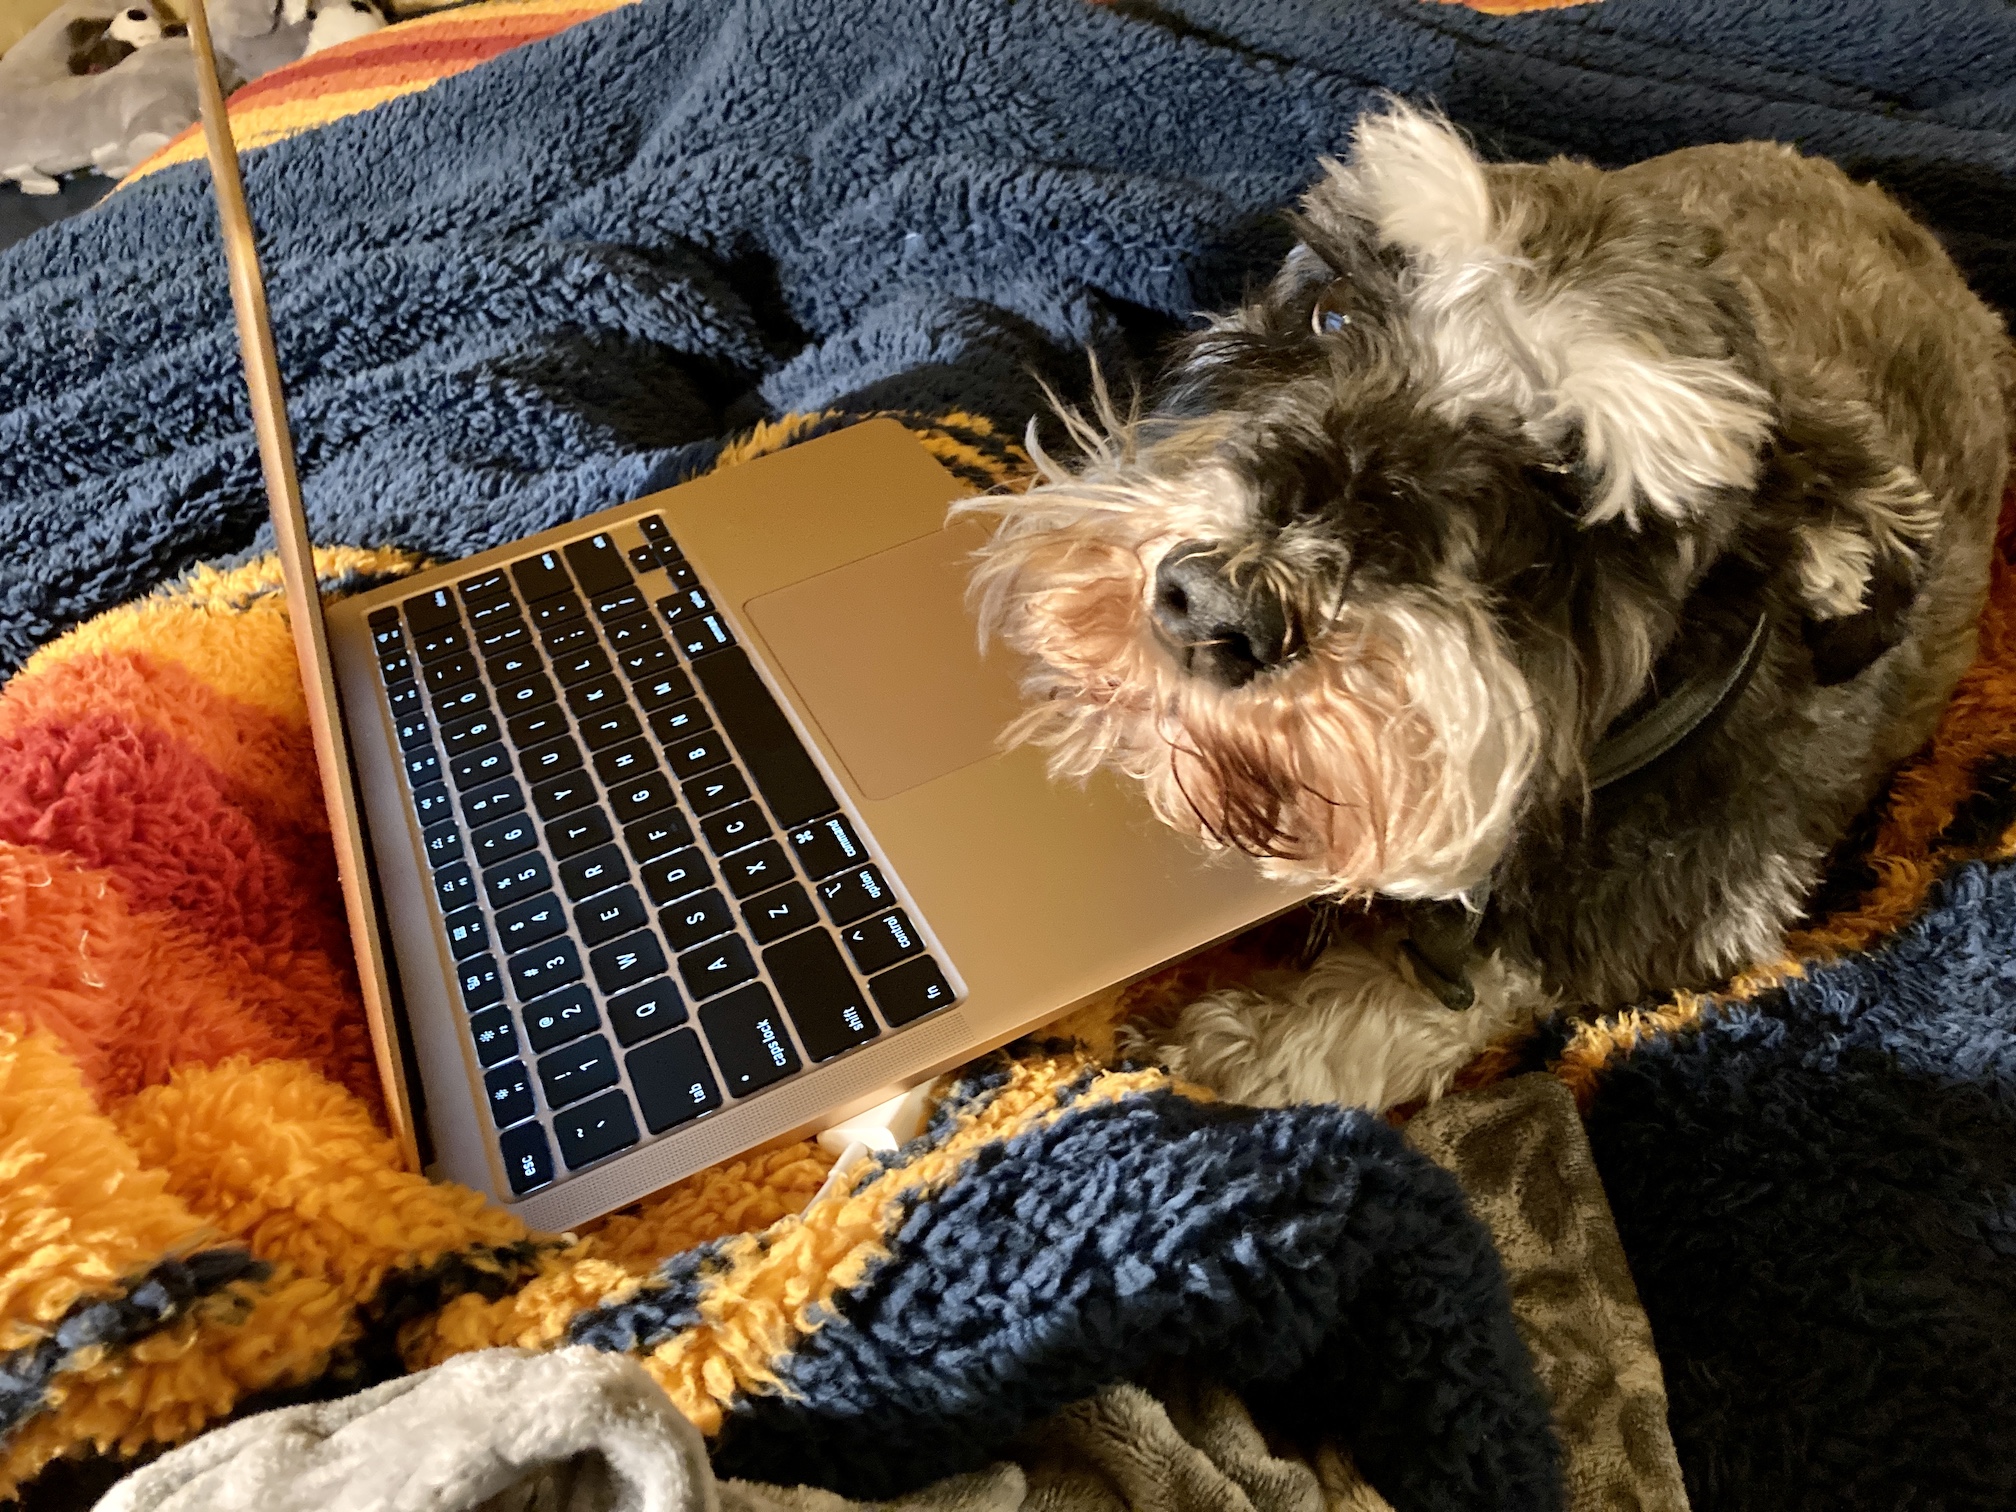
Oh and the tierneycreates Beastie thinks she might be able to pull out her Beastnina (made by Helen of Crawcraft Beasties) and sew with us 😉

Here are the bloggers that participate in the ScrapHappy monthly posting event, check out their blogs and ScrapHappy posts:
Kate @Tall Tales from Chiconia , Gun @Rutigt – G Adrian, Eva @bambisyr-evaj, Sue @From the Magpie’s Nest, Lynda @Life on the Farmlet, Birthe @Birthes rom, Turid @Den syende himmel, Susan @DesertSky Quilting, Cathy @nanacathydotcom, Tracy @It’s a T-Sweets Day!, Jan @The Snail of Happiness, Moira @The Quilted Snail, Sandra @Wild Daffodil, Chris @chrisknitsews, Alys @Gardening Nirvana, Claire @Claire93’s Blog, Jean @onesmallstitch, Jon @writinghouse, Dawn @DawnGillDesigns, Gwen @Deep in the Heart of Textiles/Textile Ranger, Sunny @The Adventures of Team Wil-Sun, Kjerstin @Quimper Hittys, Sue @Going Batty in Wales, Vera @lifebyacompassnotaclock, Edith @Edi’s Crafting Life, Nanette @Chopin – A Passionate Quilter From Texas, Ann @Ann F Stonehouse Quiltmaker, Dawn @myquiltprojects, Carol @Quilt Schmilt, Preeti @Sew Preeti Quilts, Debbierose @Sew Rosey, Nóilin @Paper, Pen and Mug, Viv @Where the Journey Takes Me 2, Karrin @Karrin’s Crazy World, Amo @View From Our Hill, Alissa @ Snakes & Cranes, Lynn @Tialys, Tierney @tierneycreates, Hannah @quietwatercraft