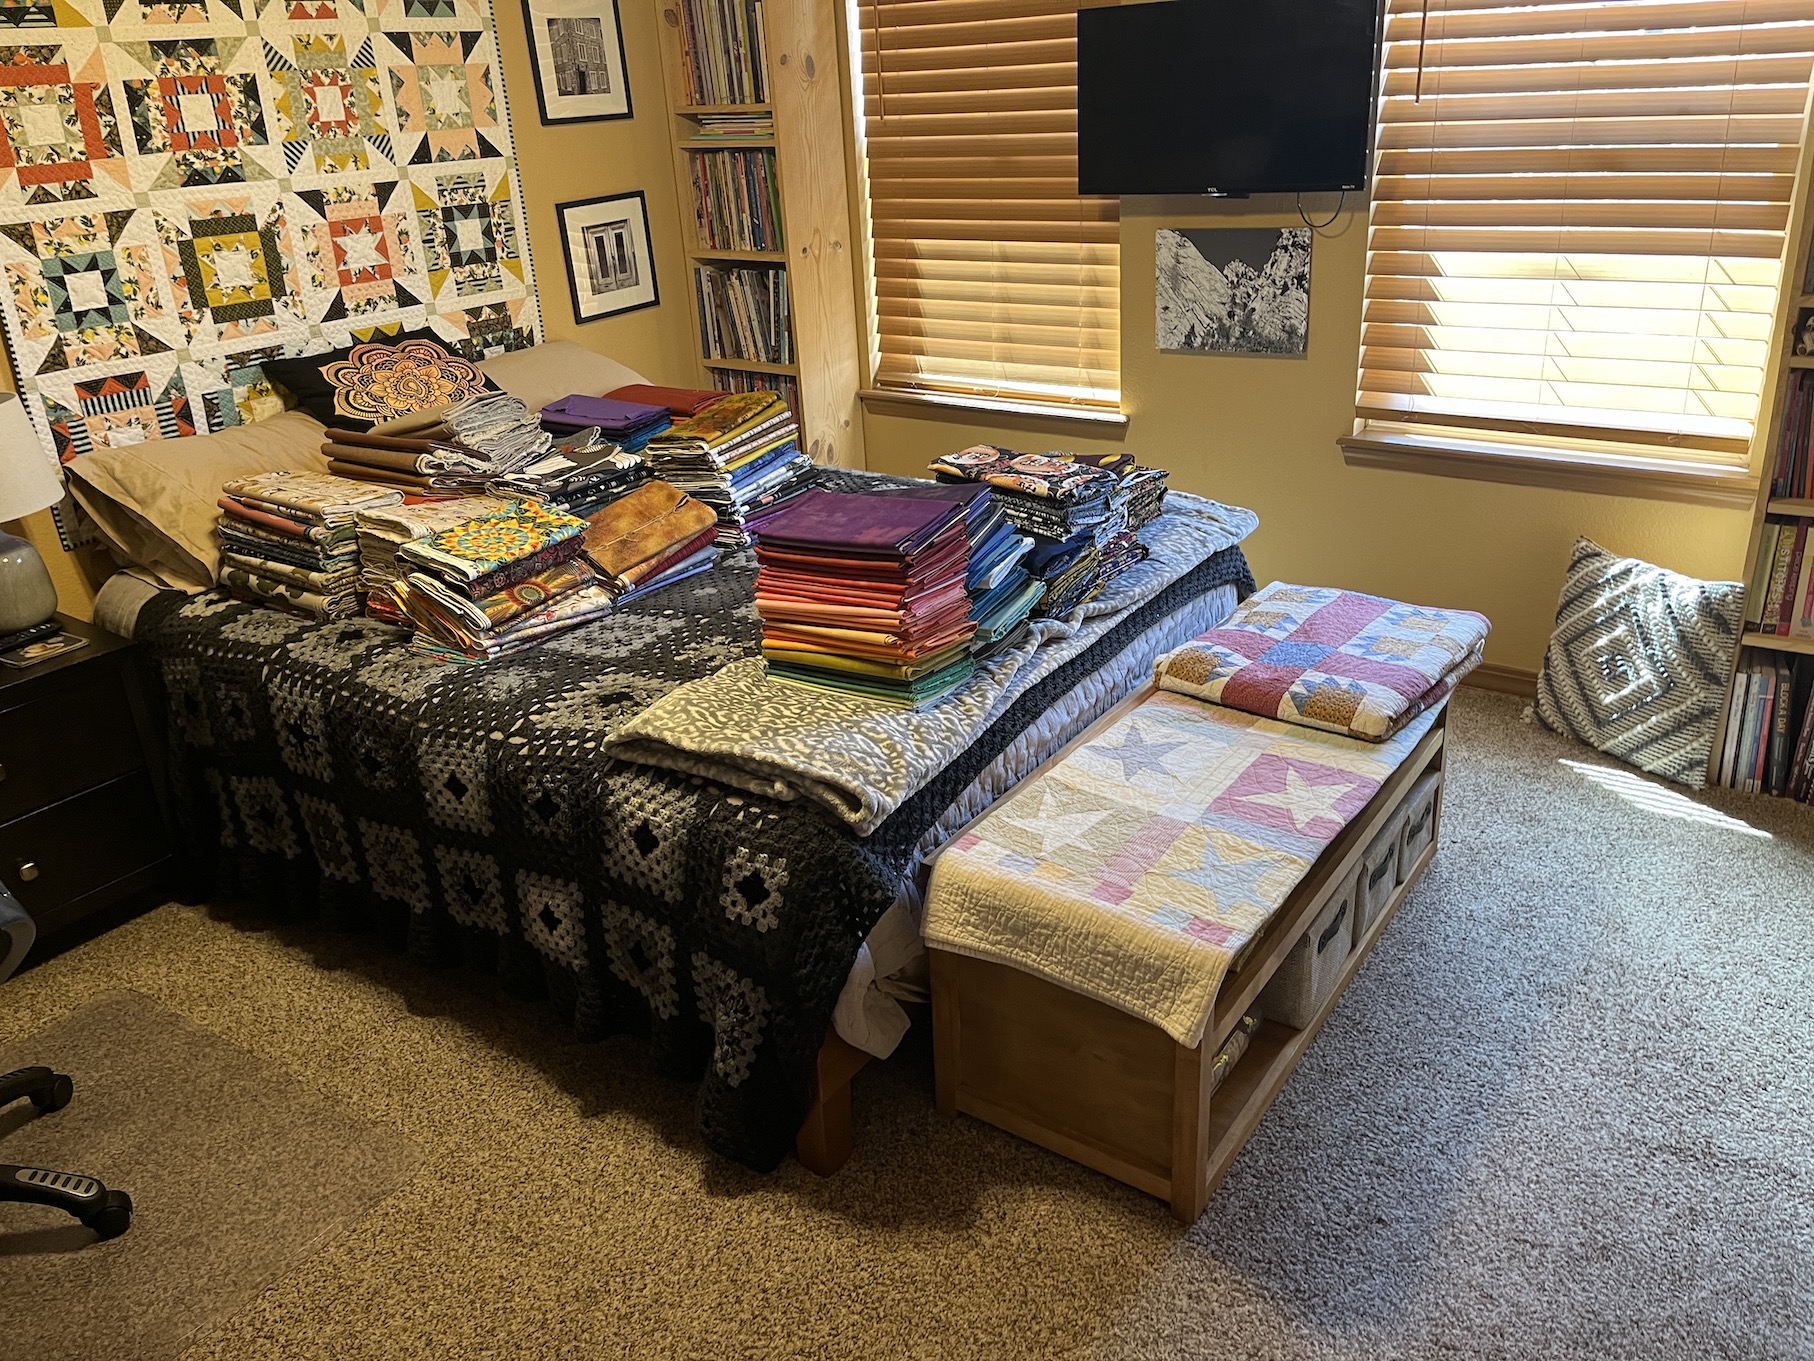
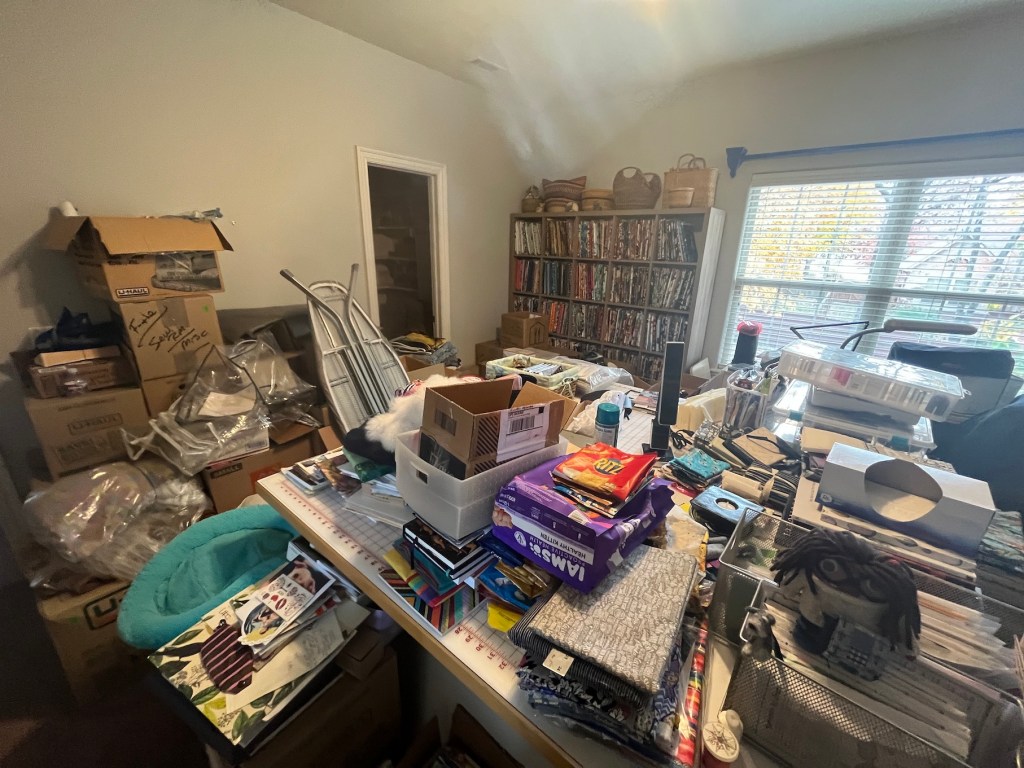
Back in mid-December 2025 I shared in the post Chaos in the Craft Room! that we had moved my quilting/crafting studio from the large Primary Bedroom to a small bedroom in preparation for putting our house on the market and moving to a smaller home.
Since then I’ve been playing/sewing/crafting in my new studio and doing some re-arranging to make it work best for me.
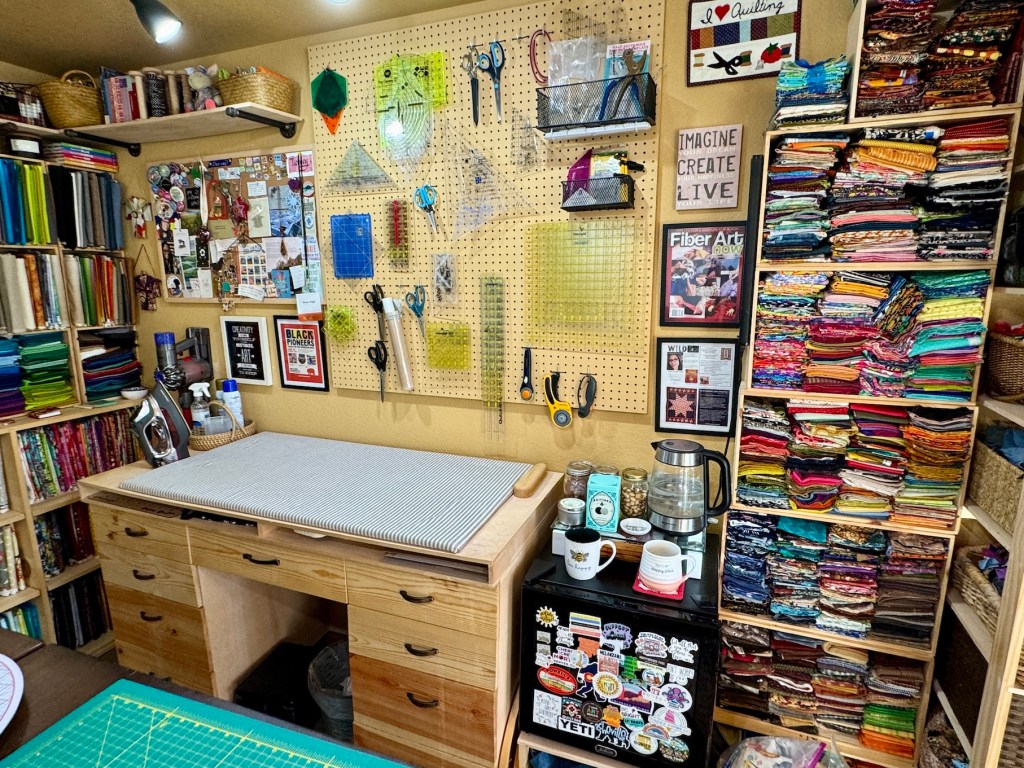
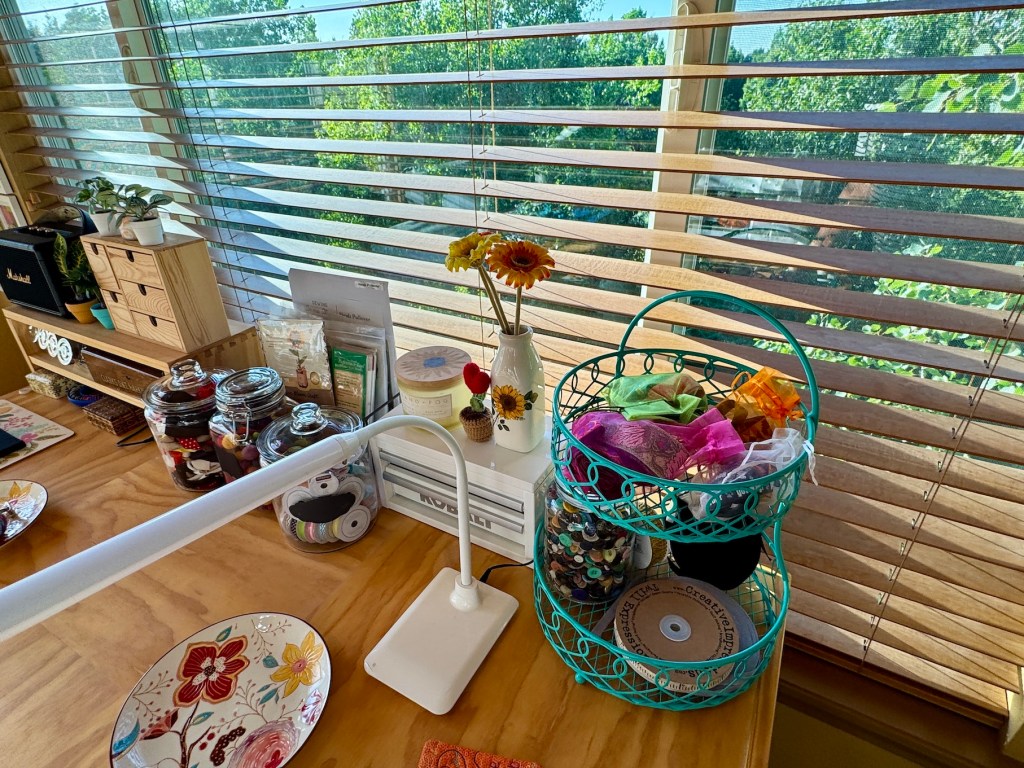
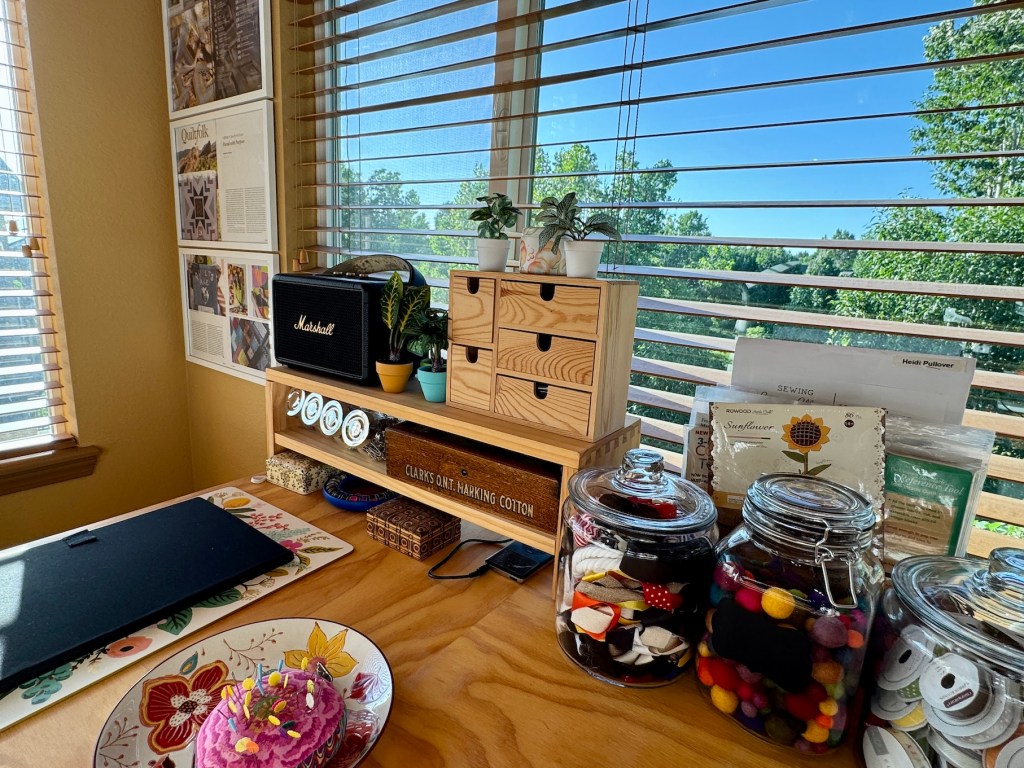
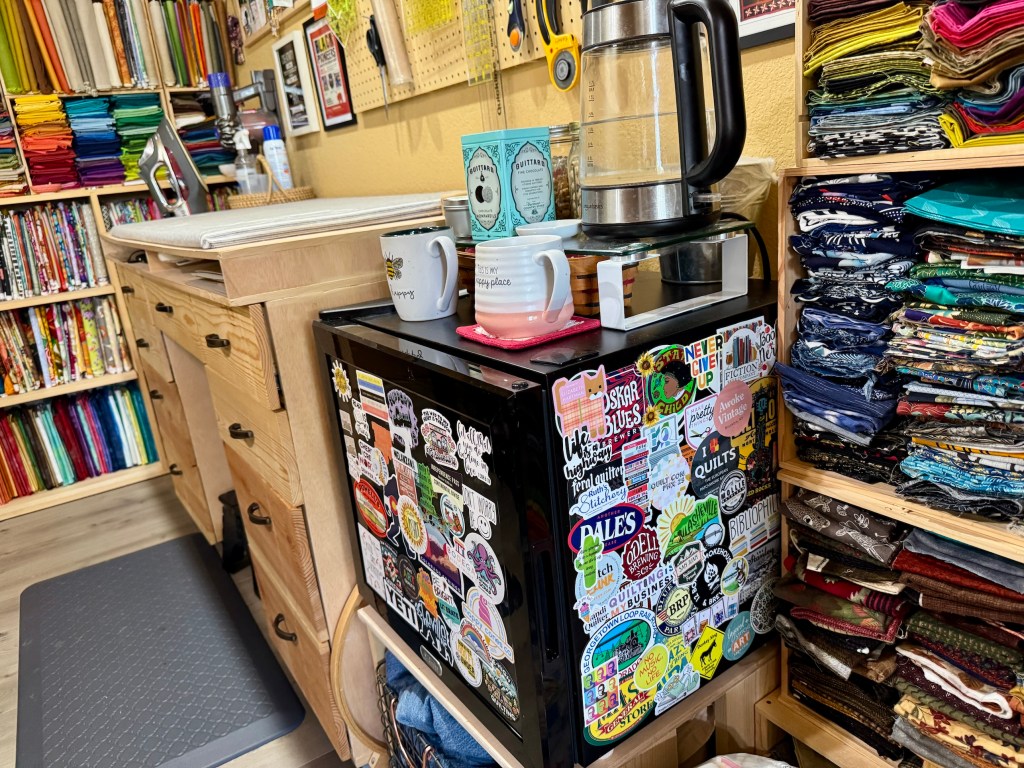
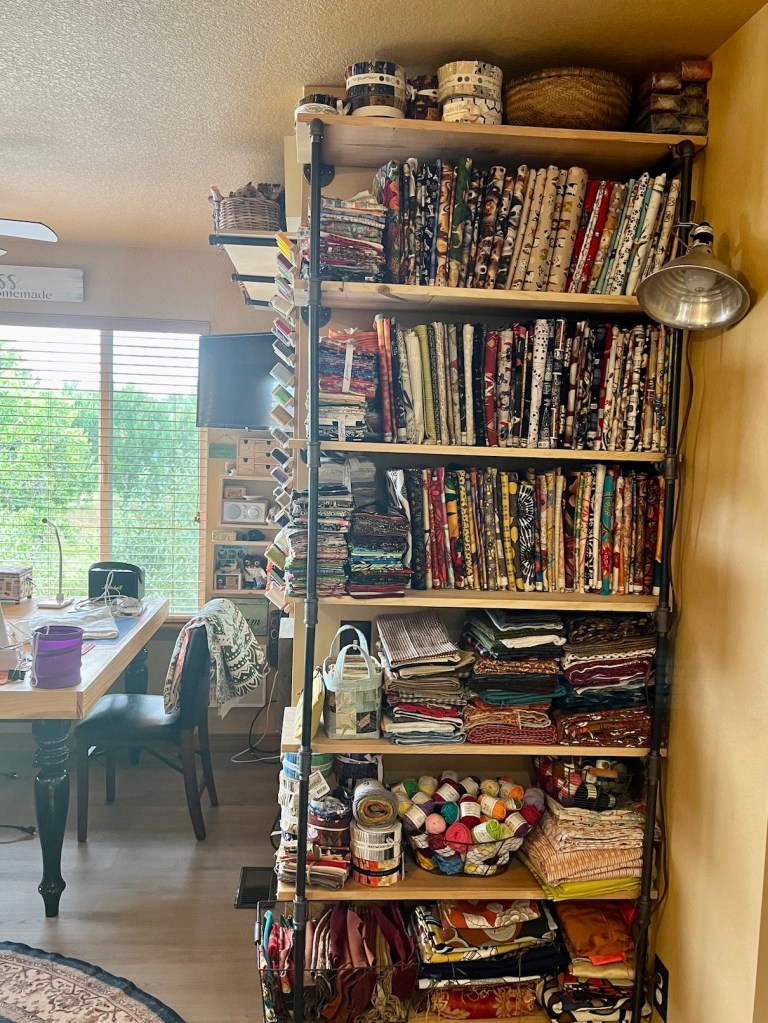
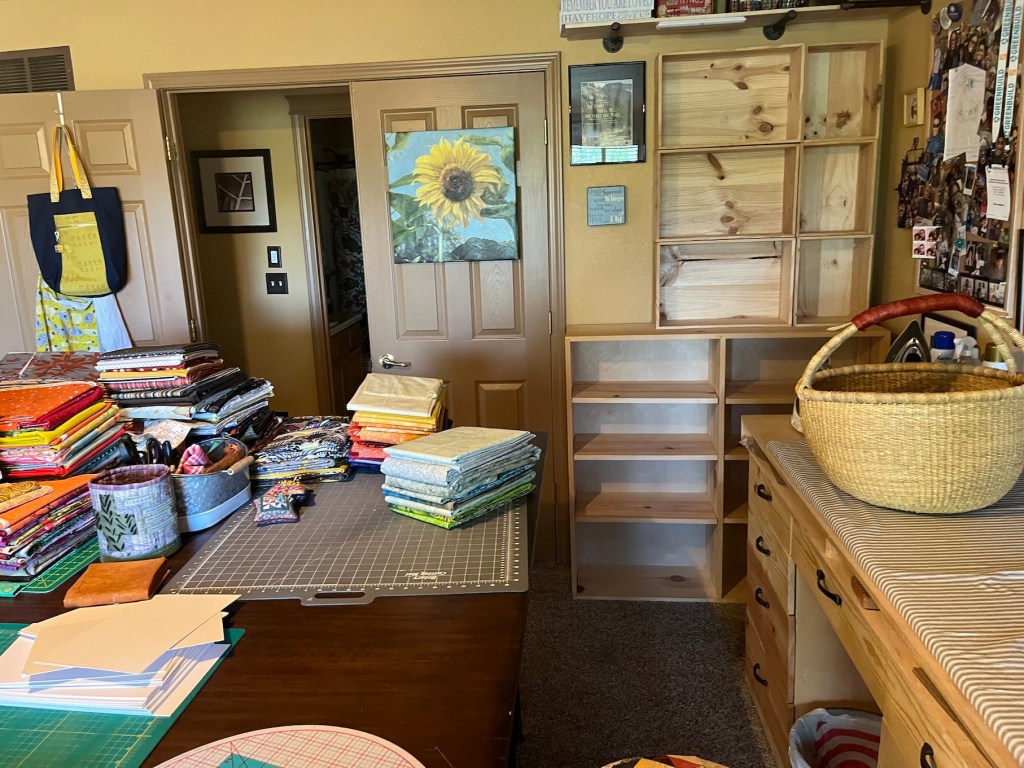
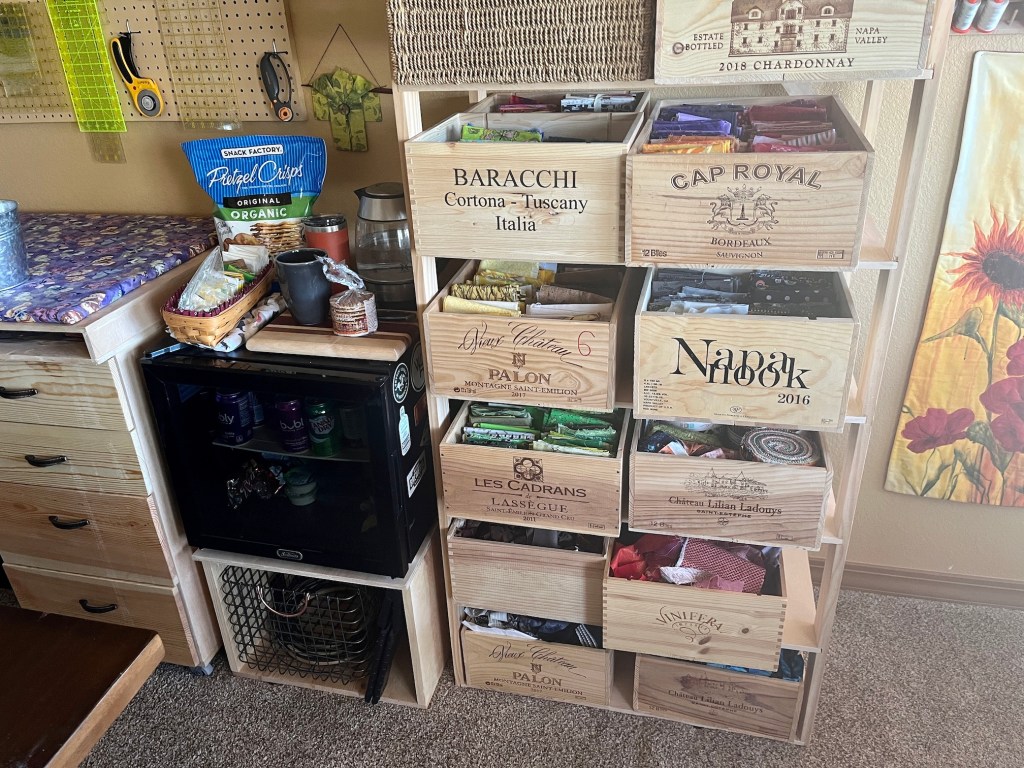
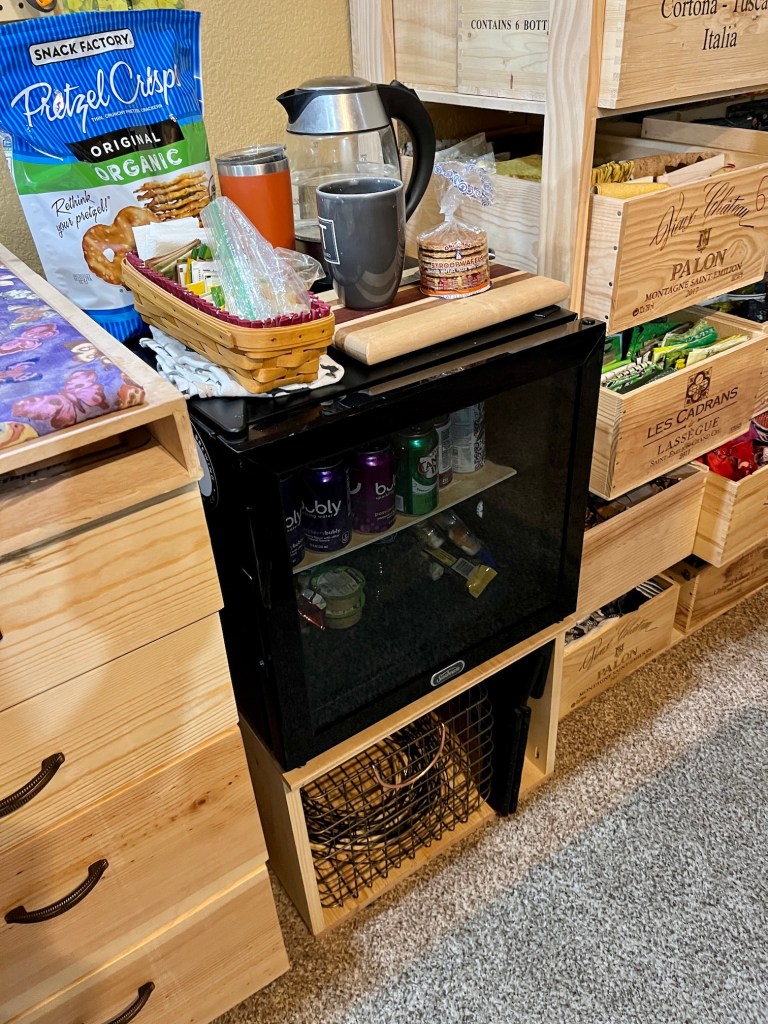
I added back in my tea station and little refrigerator (we tried to make it work in our Primary Bedroom but I didn’t like the low volume noise the refrigerator made when I was trying to sleep at night; and I missed easy access to tea as I need a couple cups a day to keep me happy, ha!):
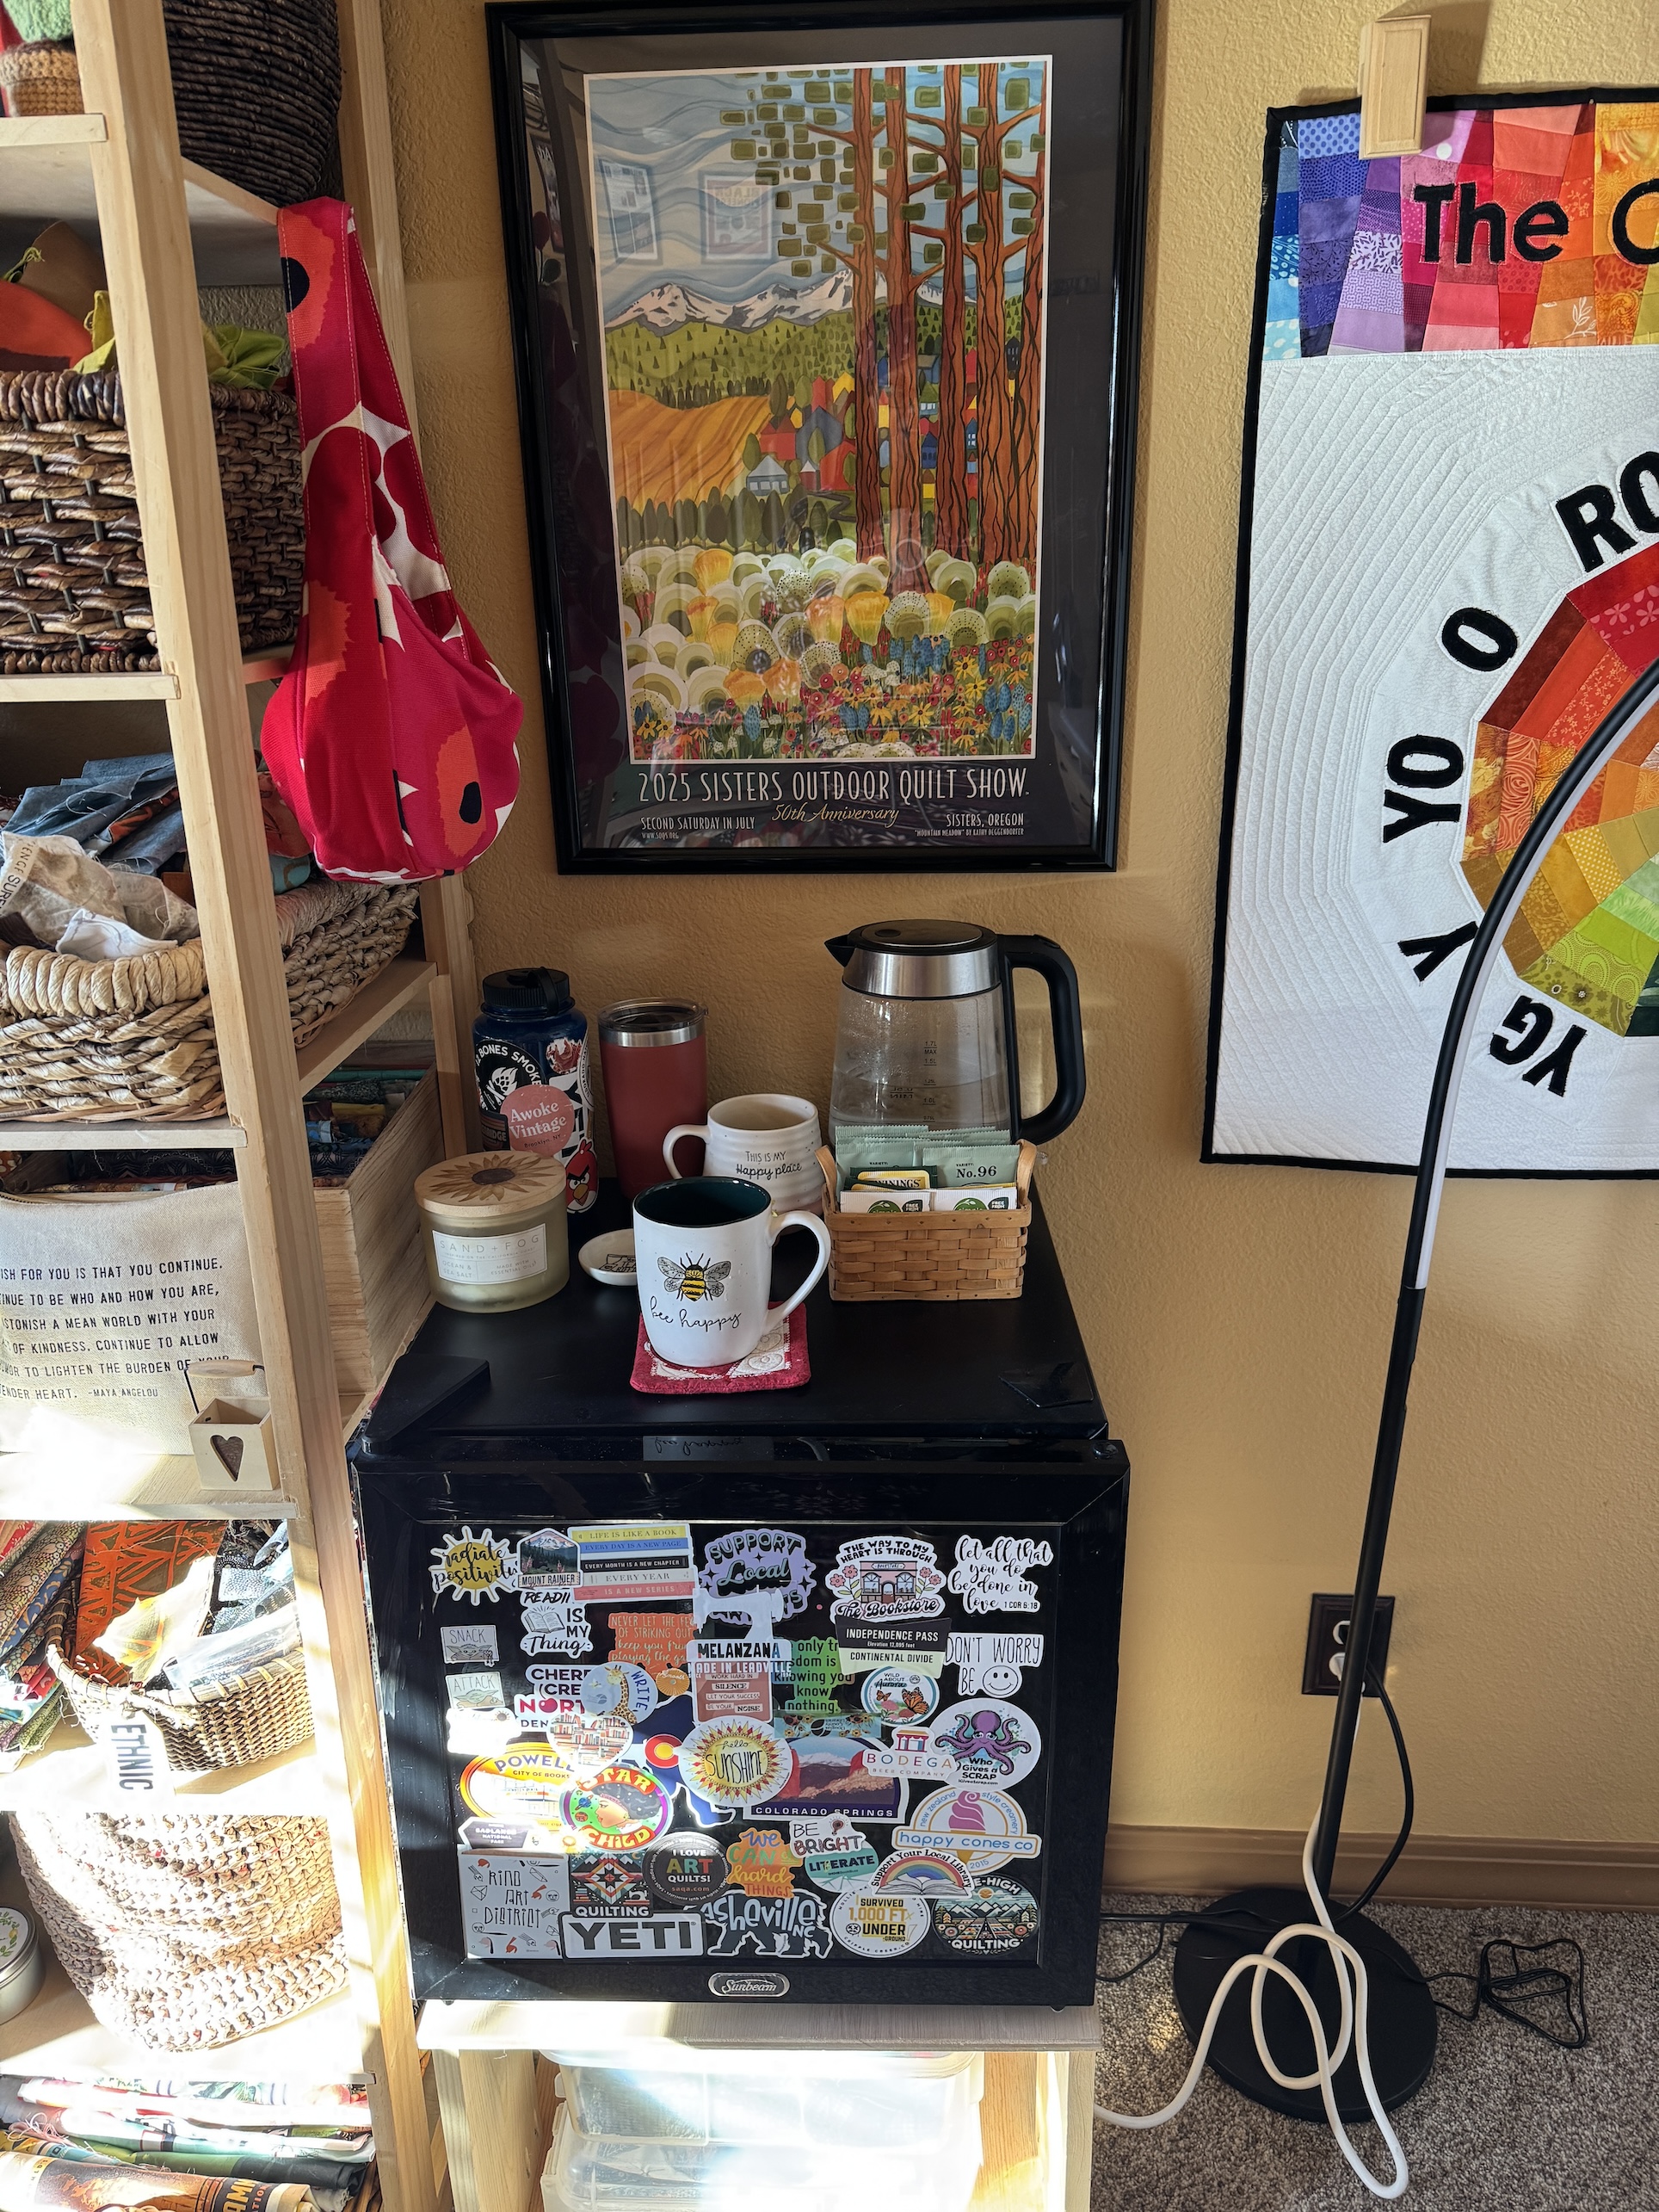
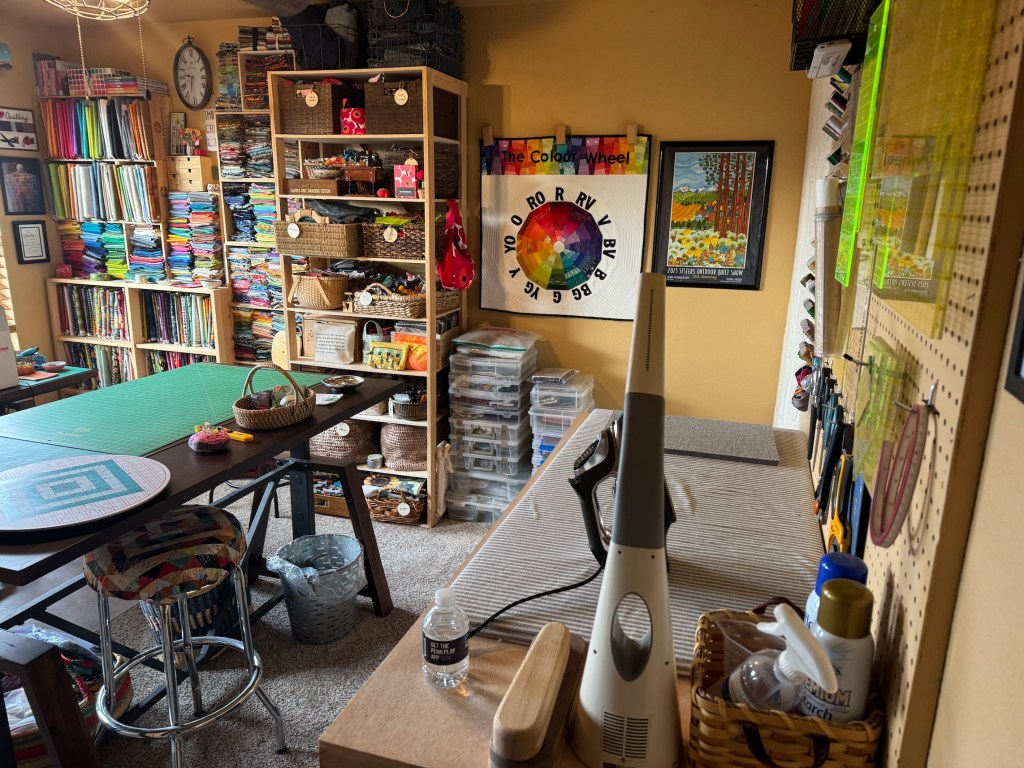
Thanks to my friend K who attended the 50th anniversary 2025 Sisters Outdoor Quilt Show and got me a poster! (I used to attend it every year when I lived in Oregon for 14 years and had exhibited quilts in it along with my quilter late husband several times…and sold quilts)
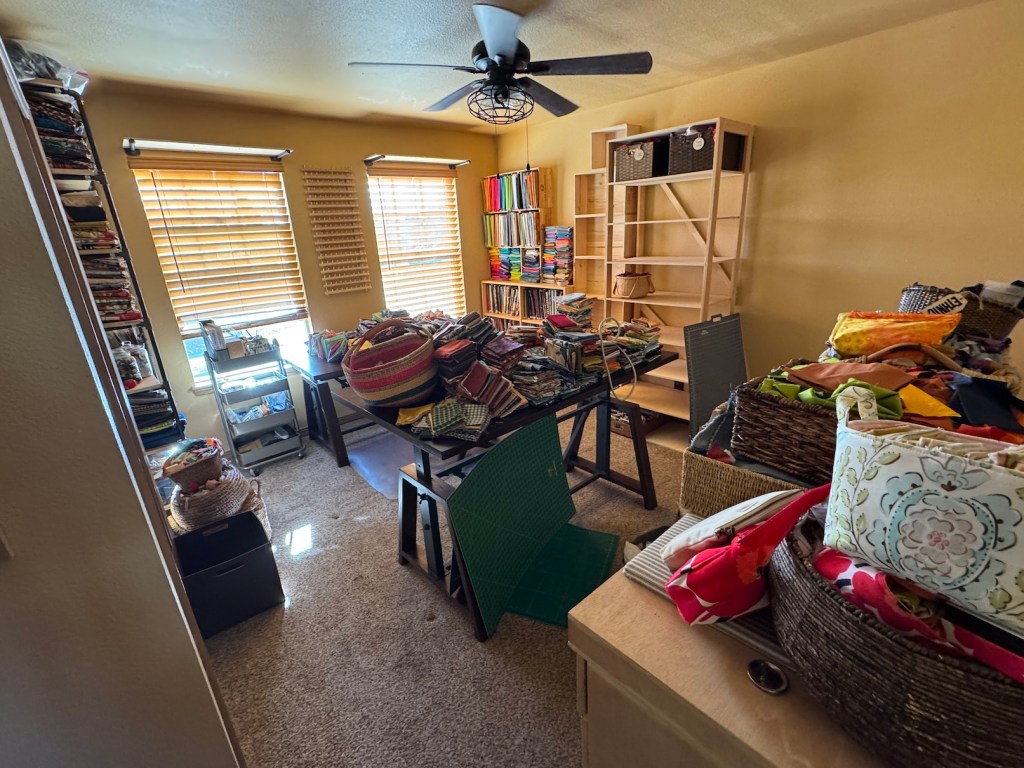
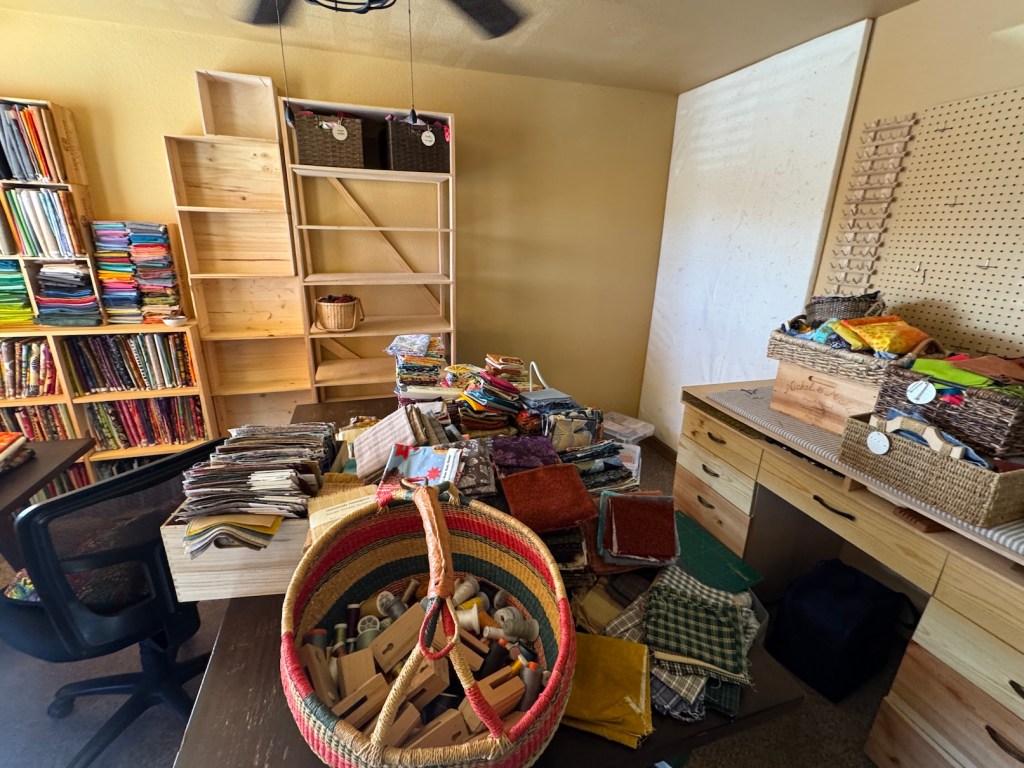
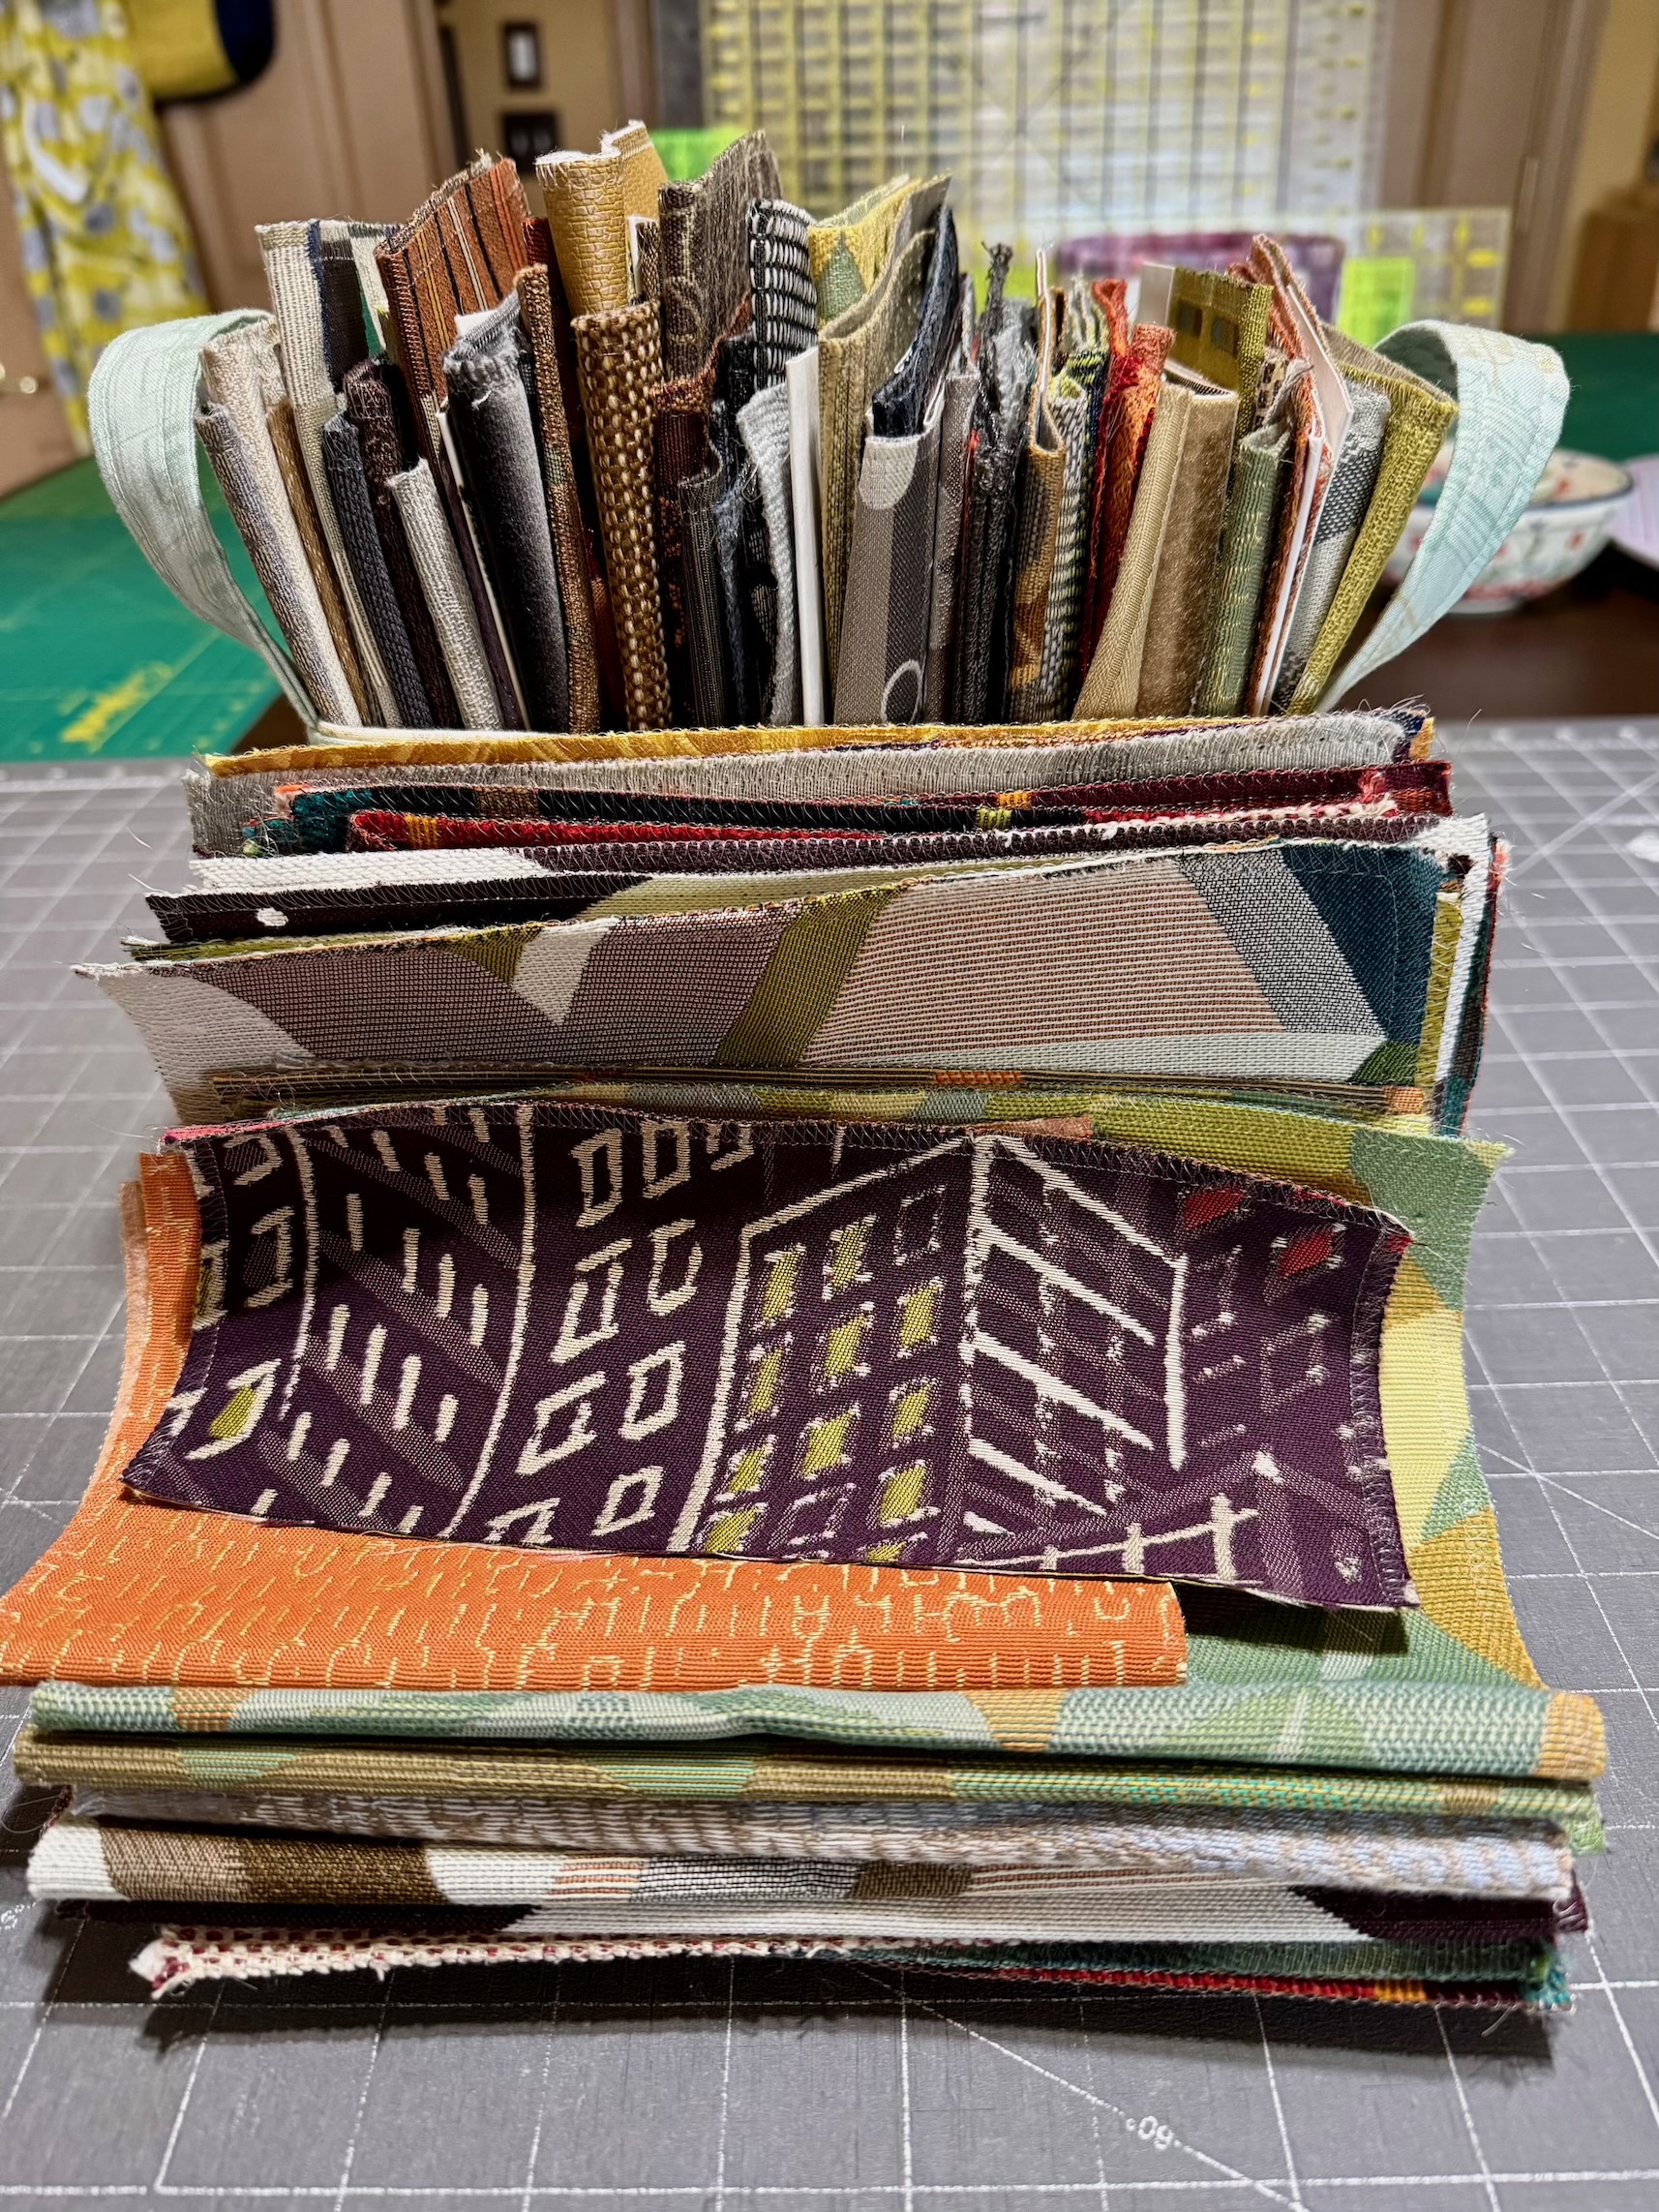
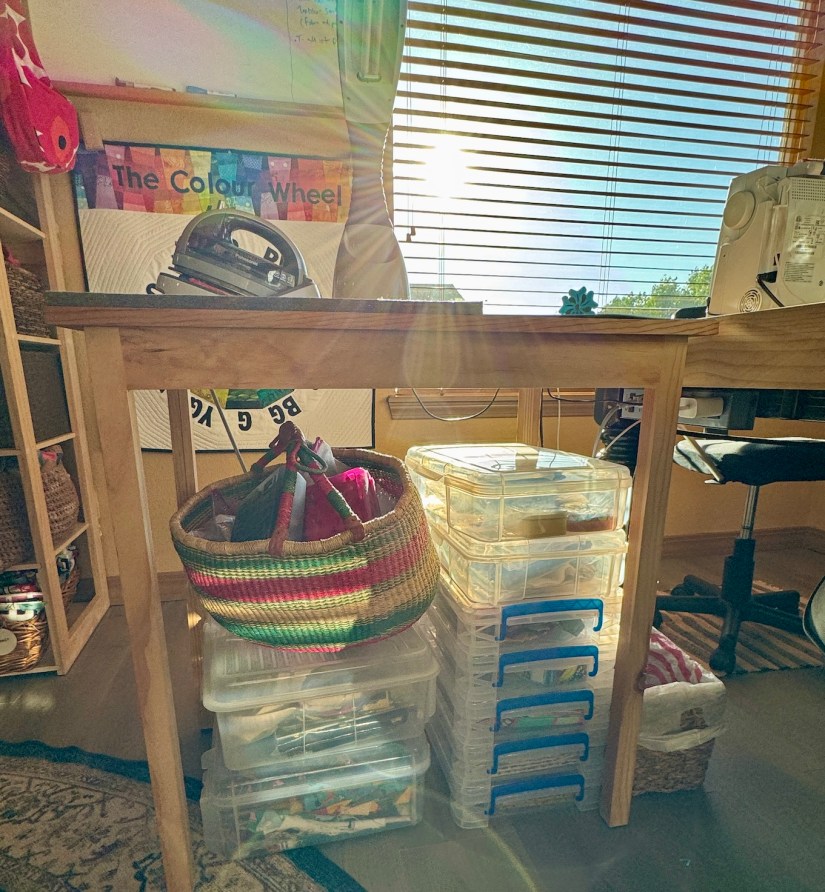
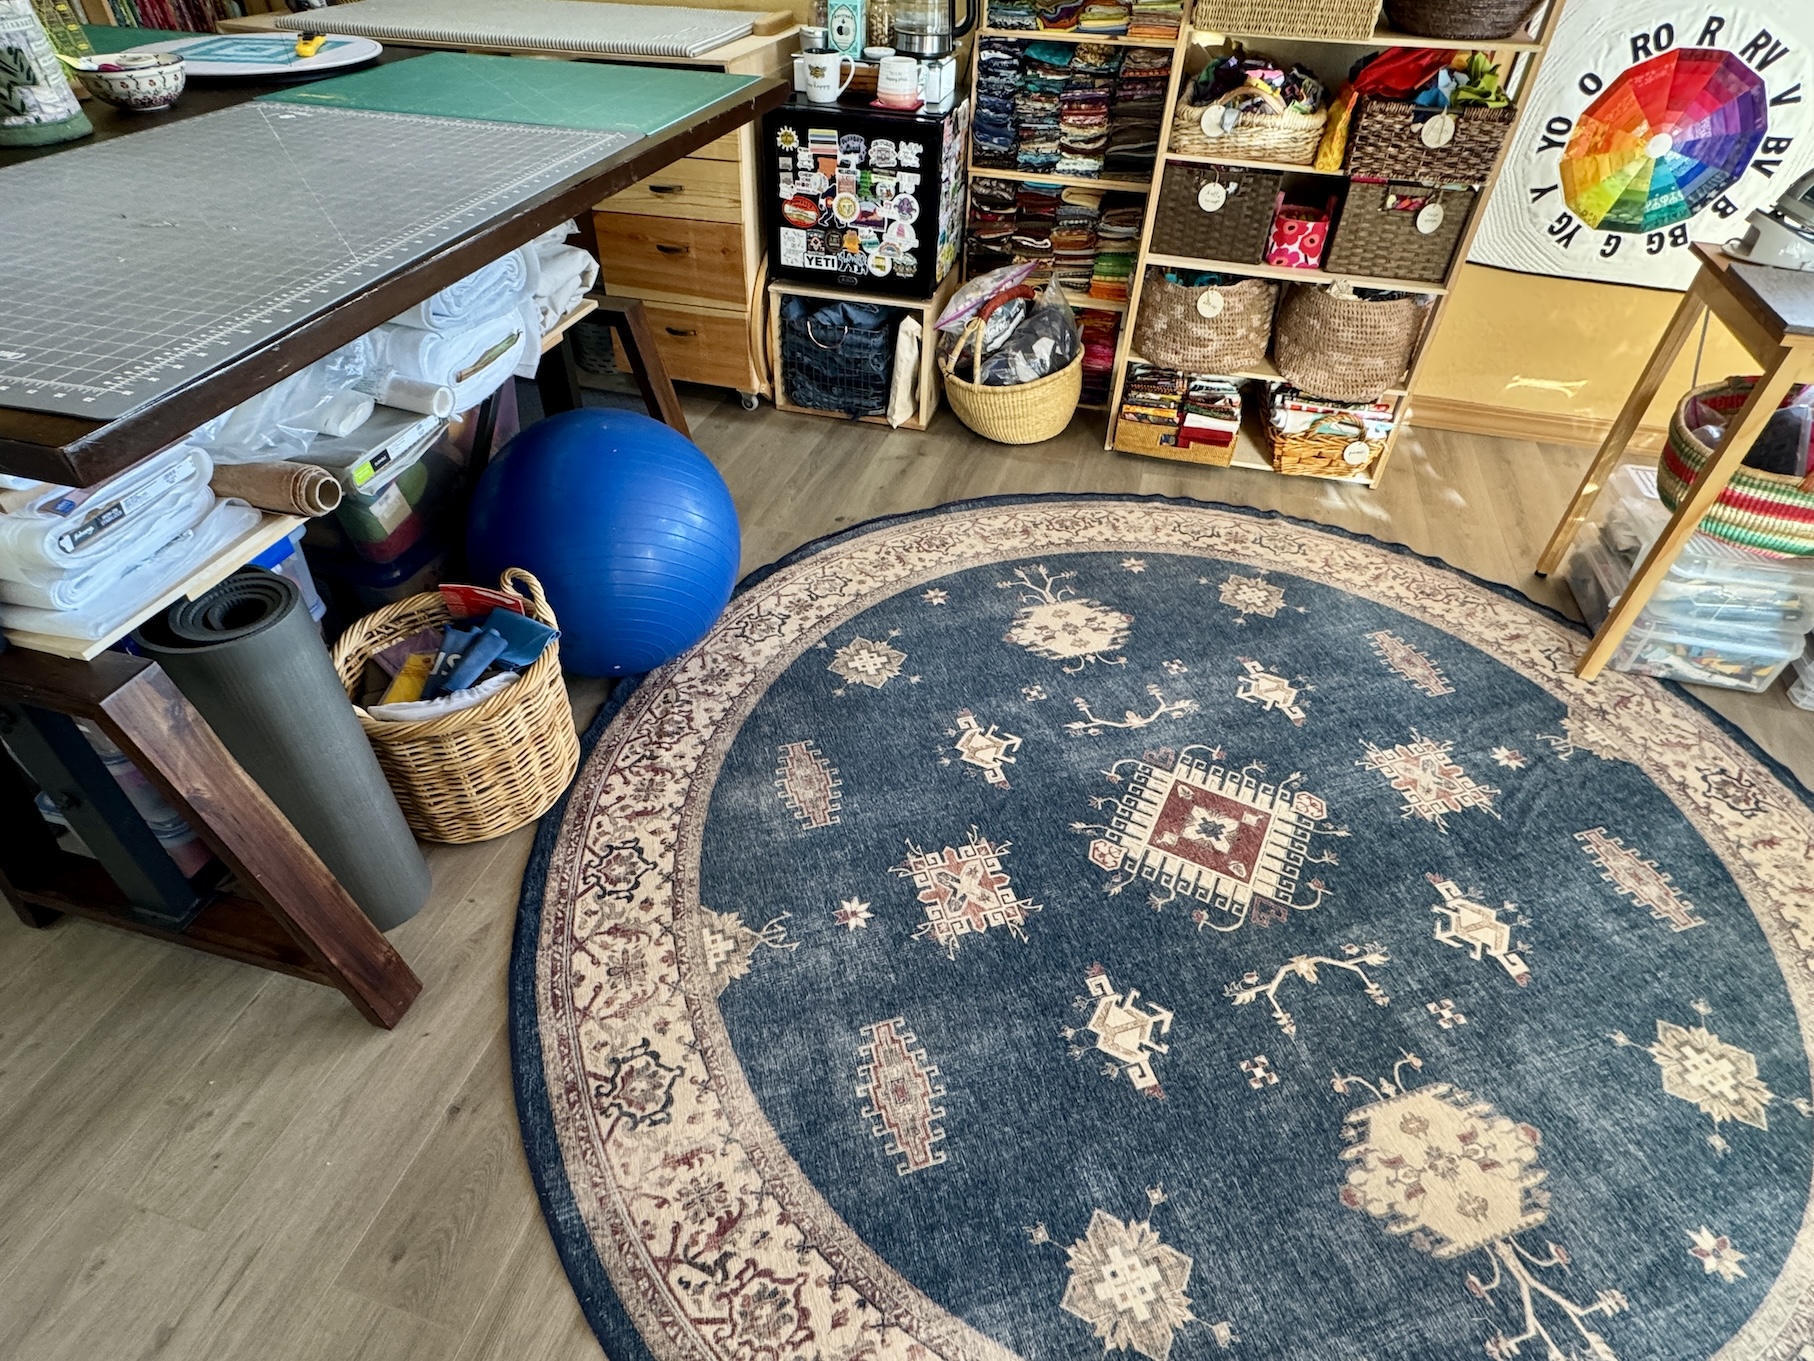
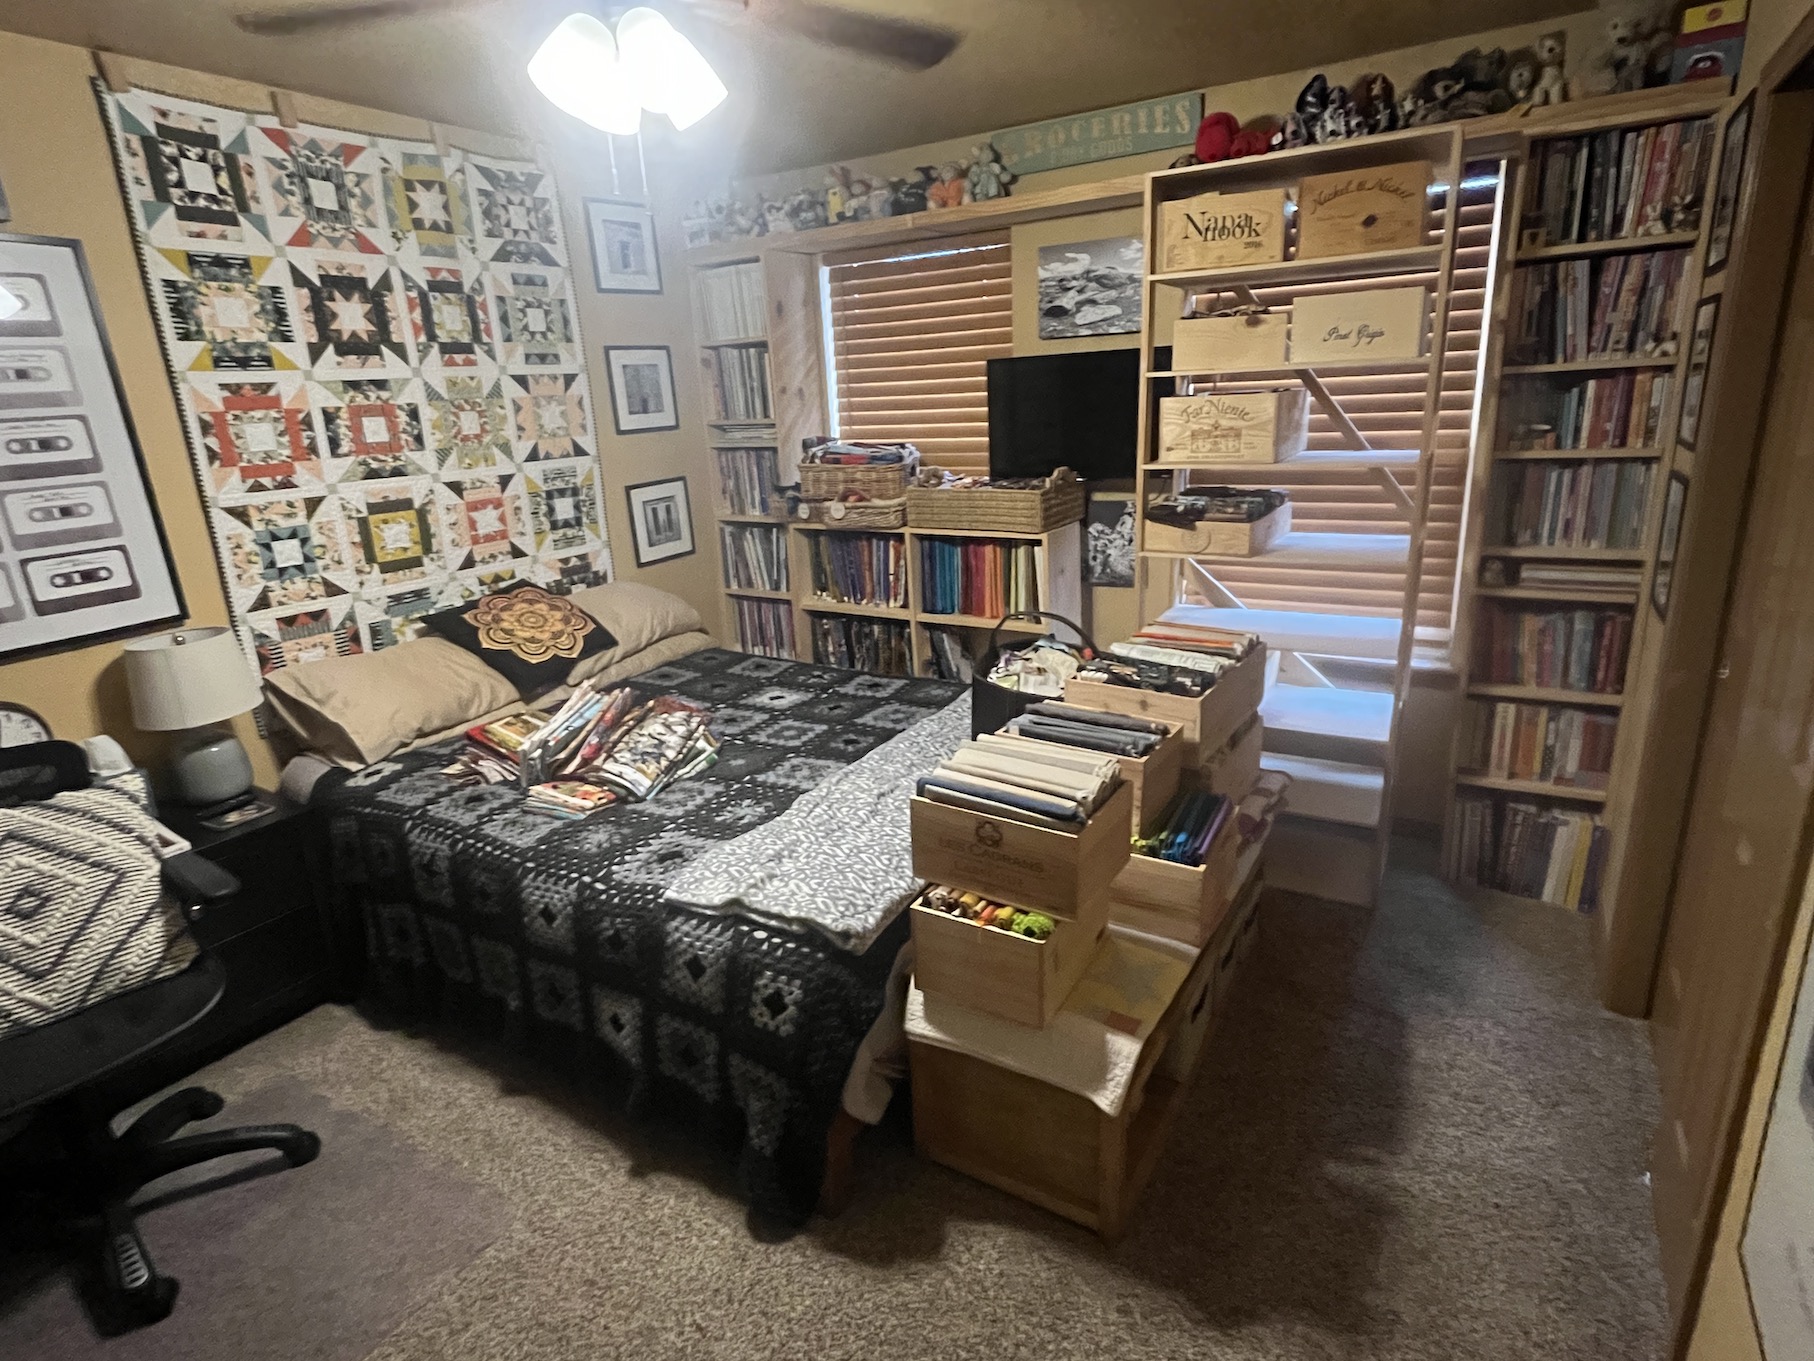
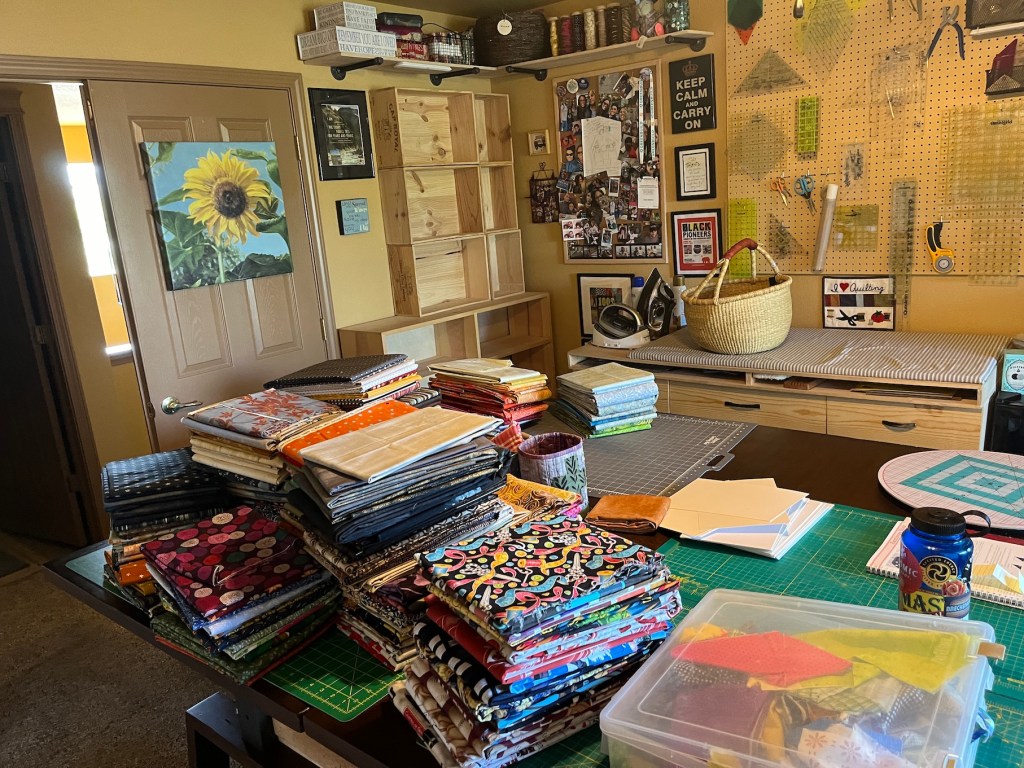
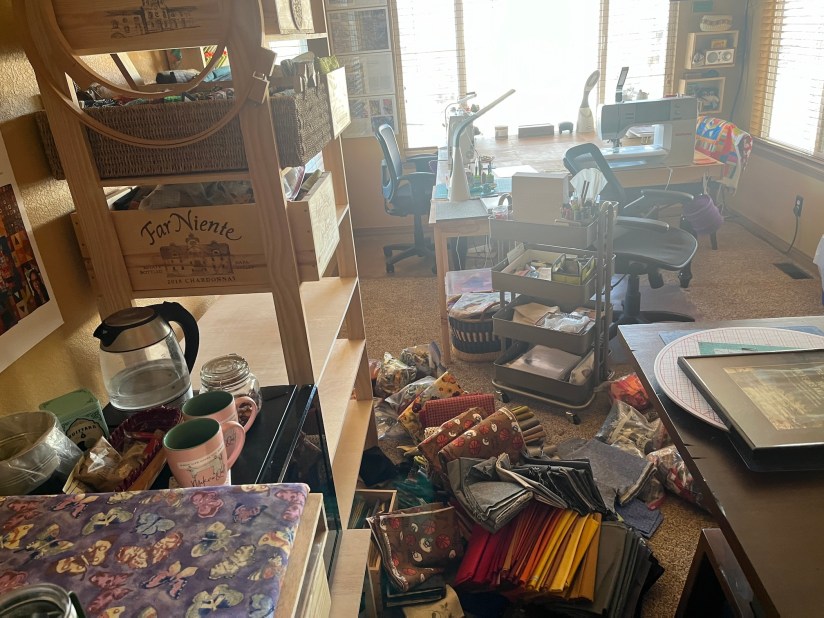
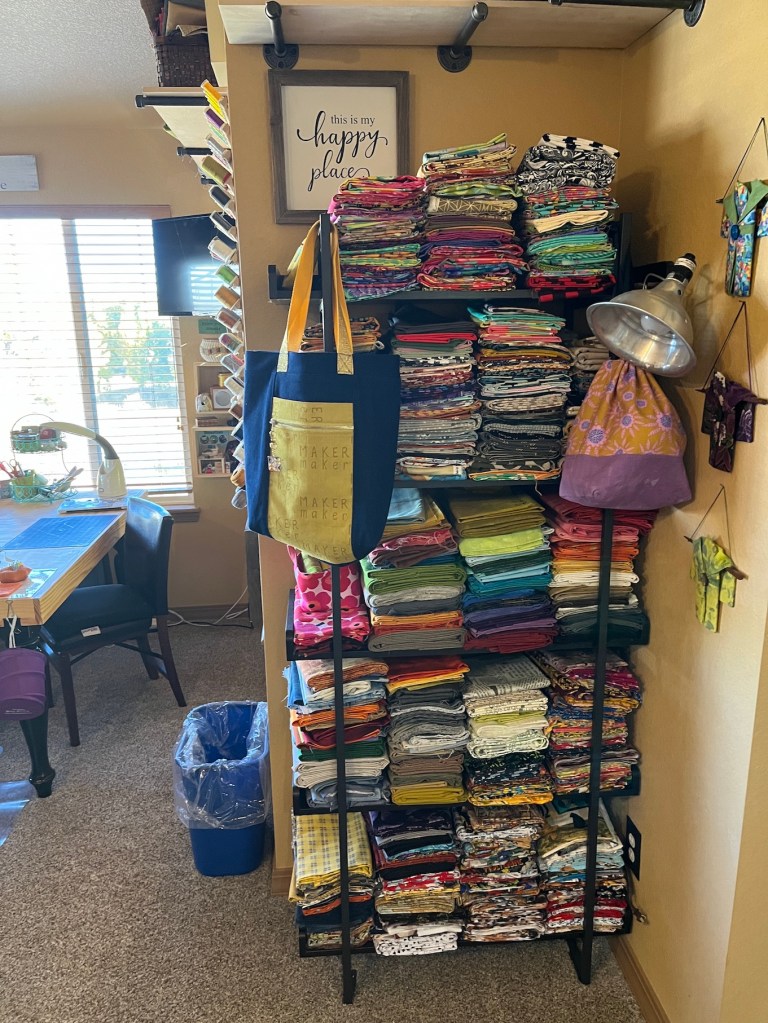
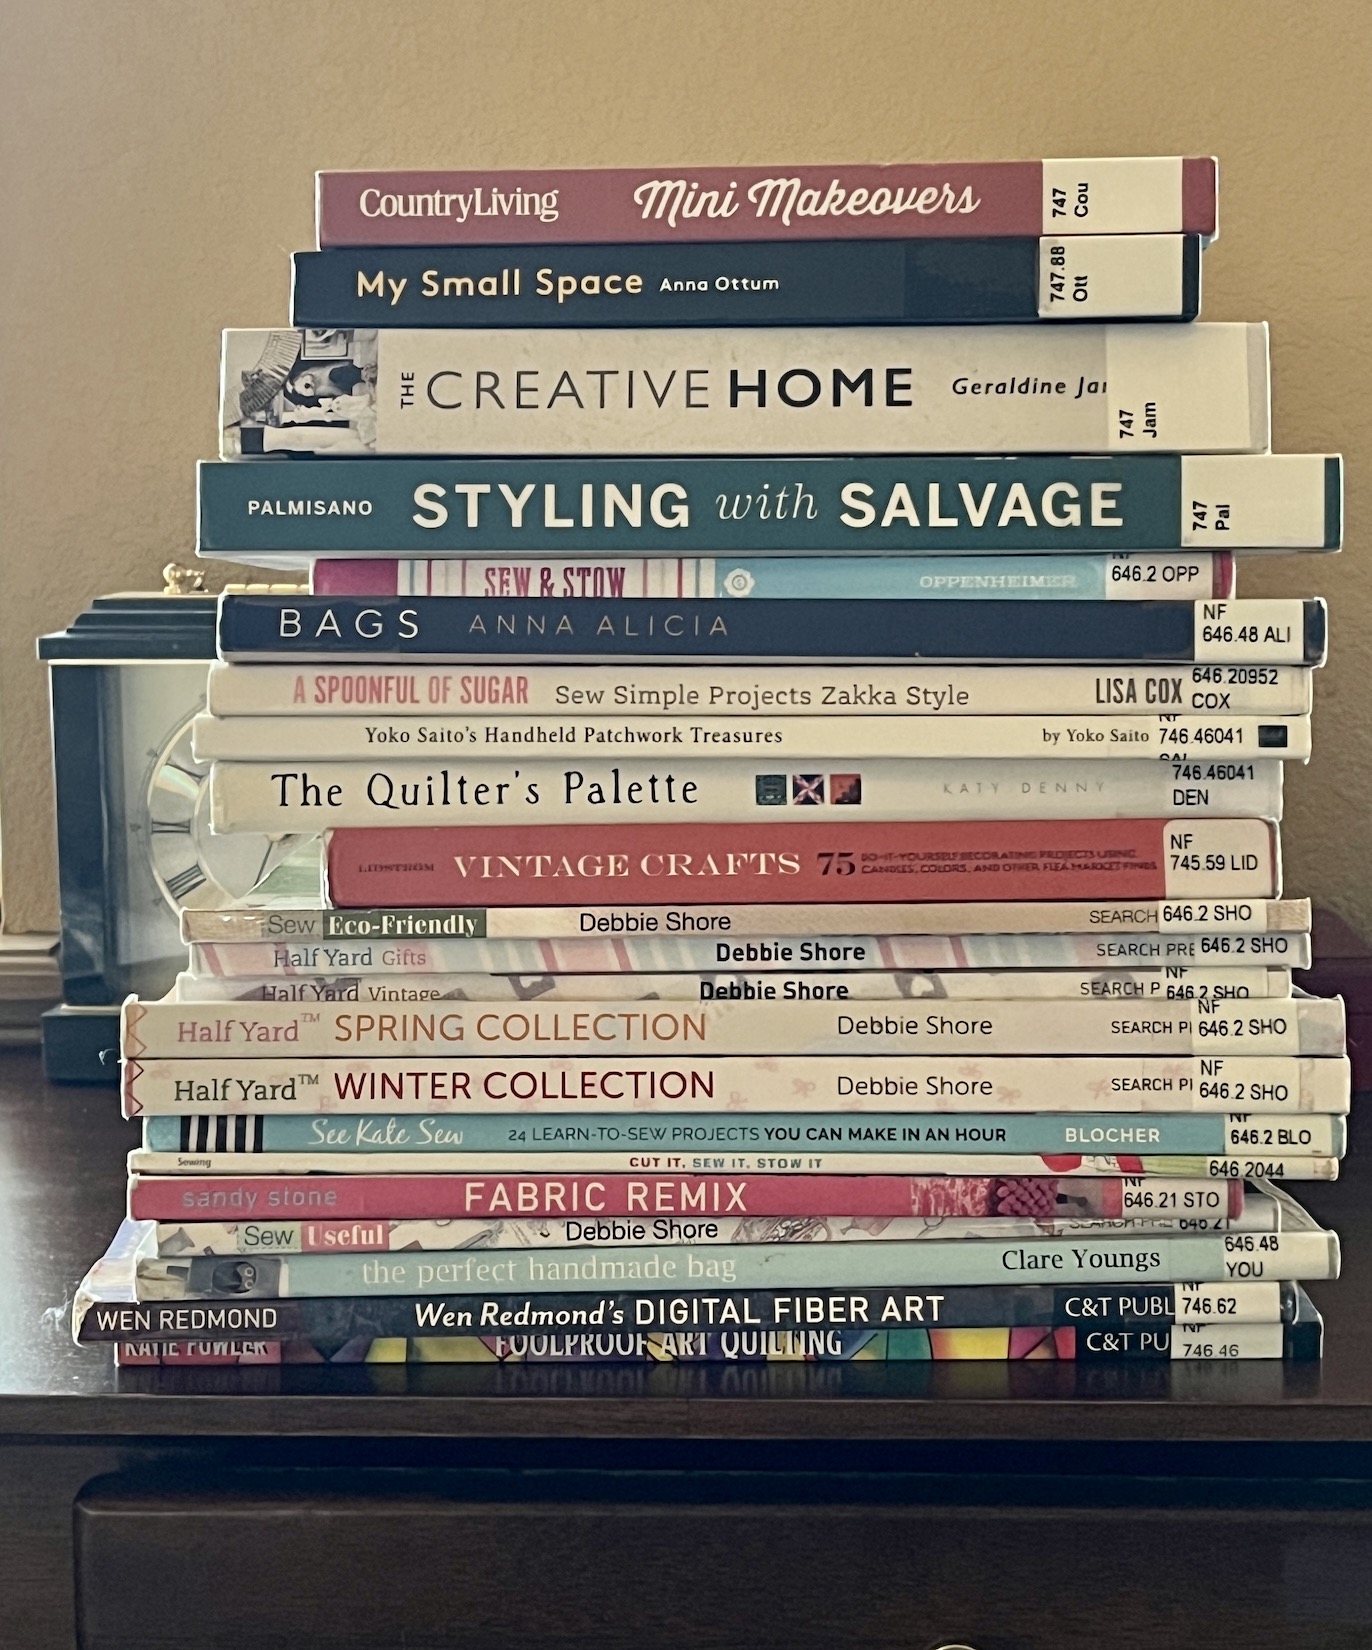
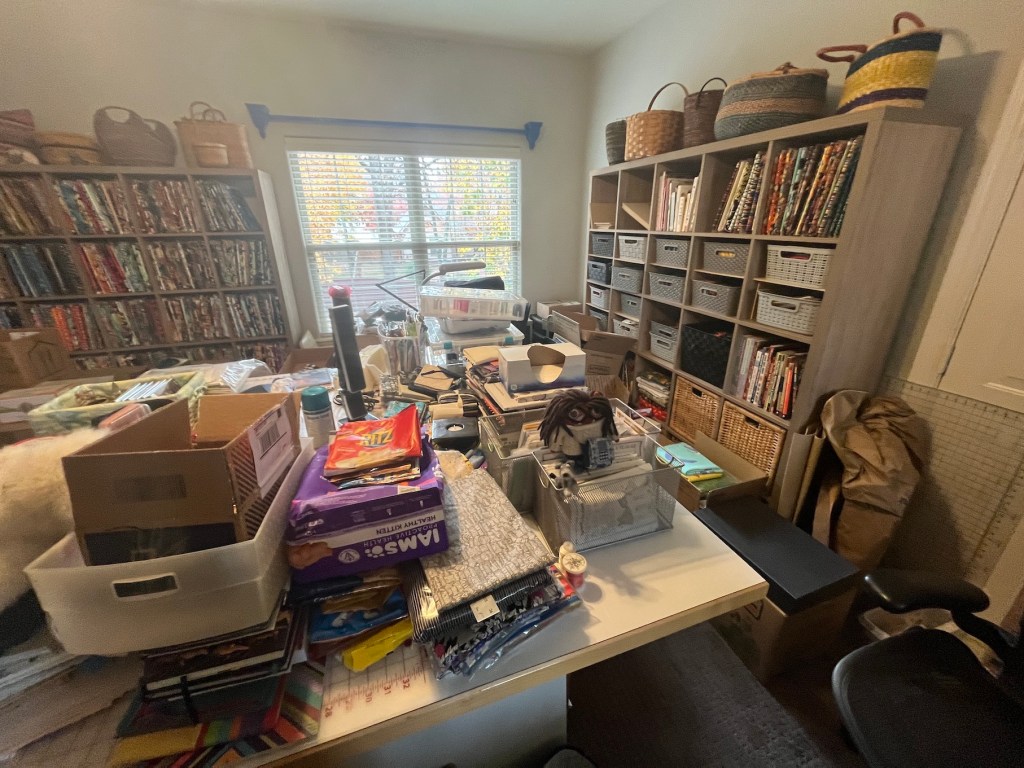
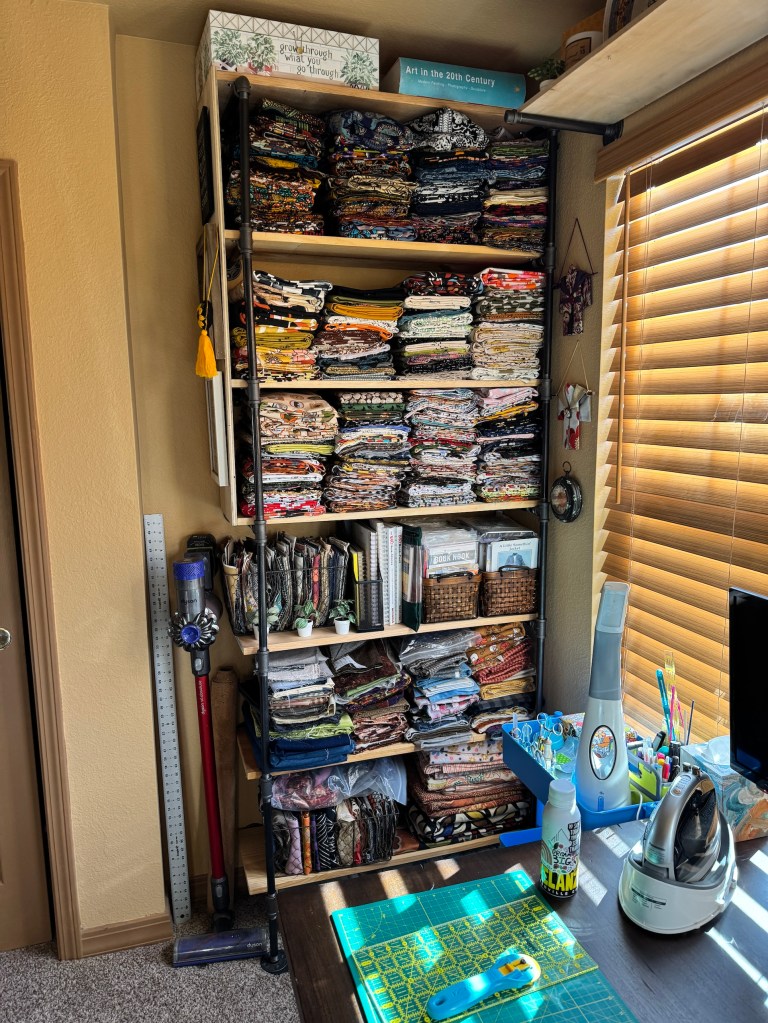
I had to rearrange where I kept my projects in queue because this is what the area looked like previously:
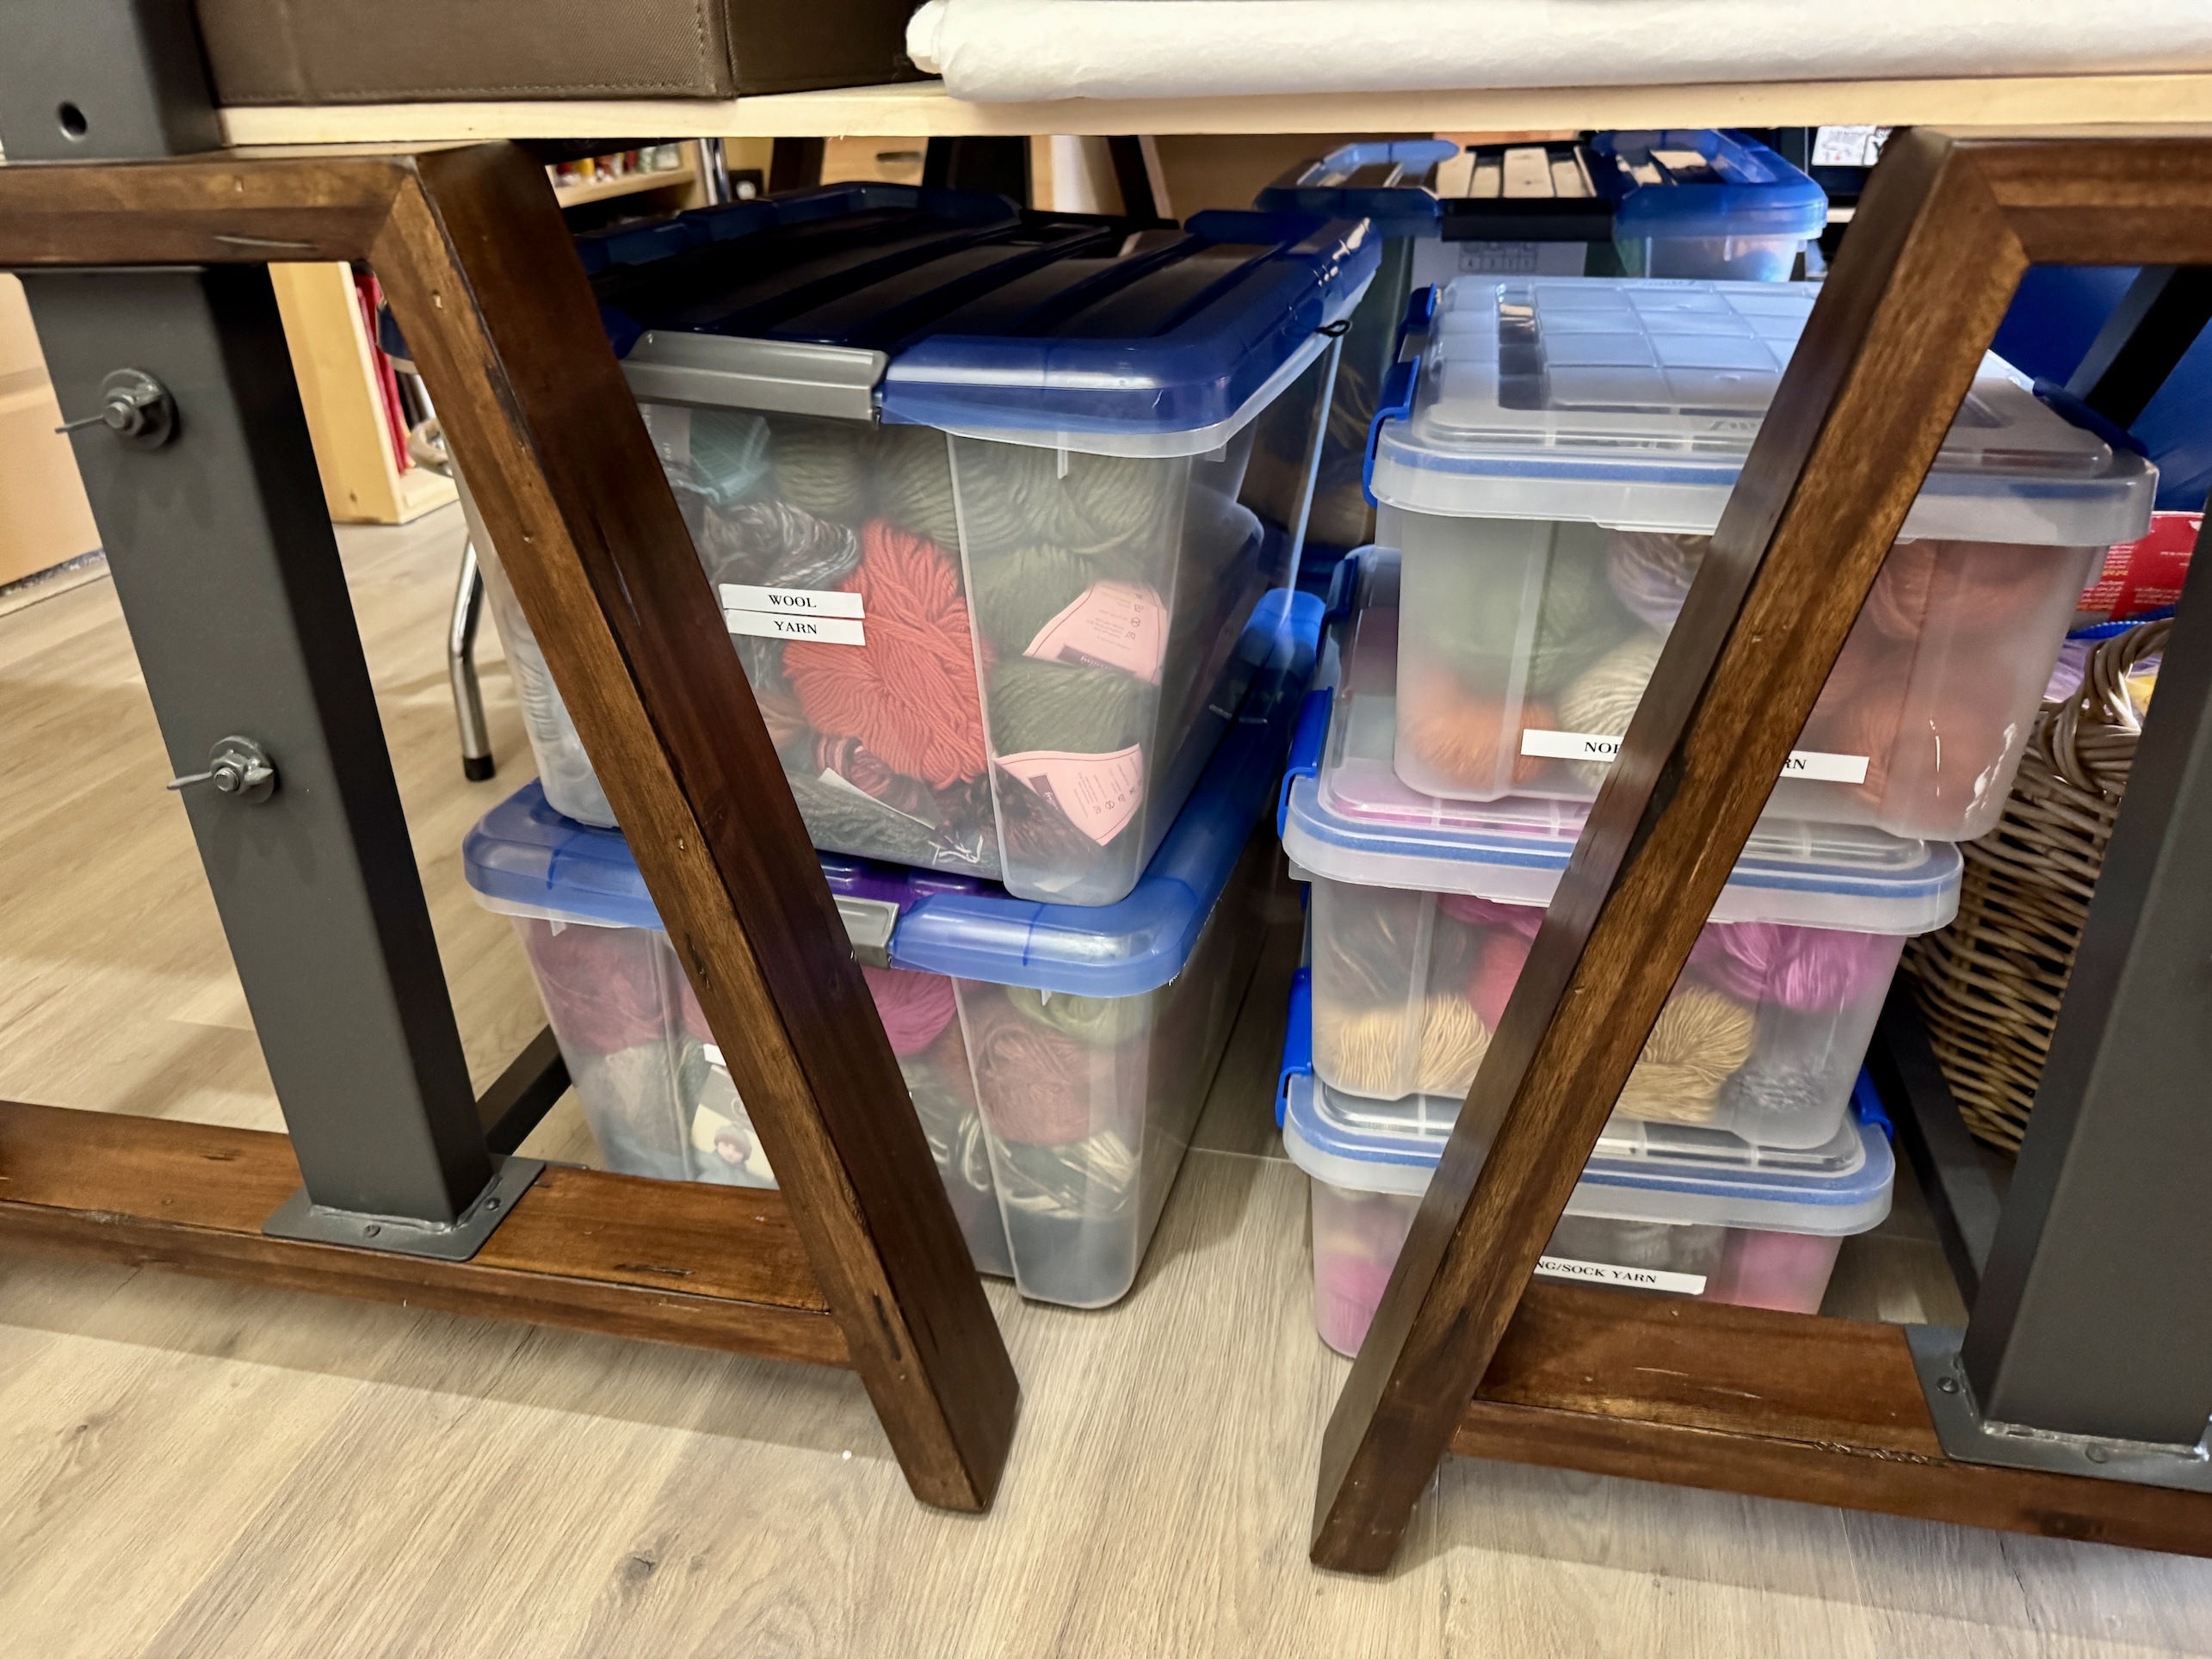
Now the projects in queue are stored under my cutting table (I forgot to take a photo).
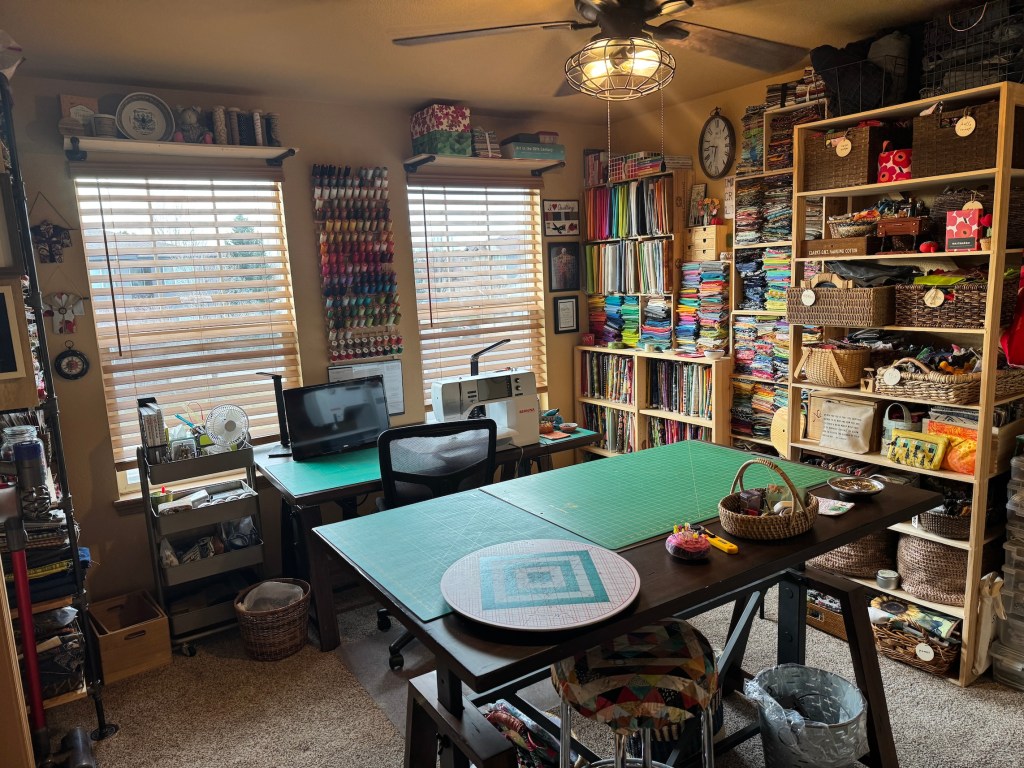
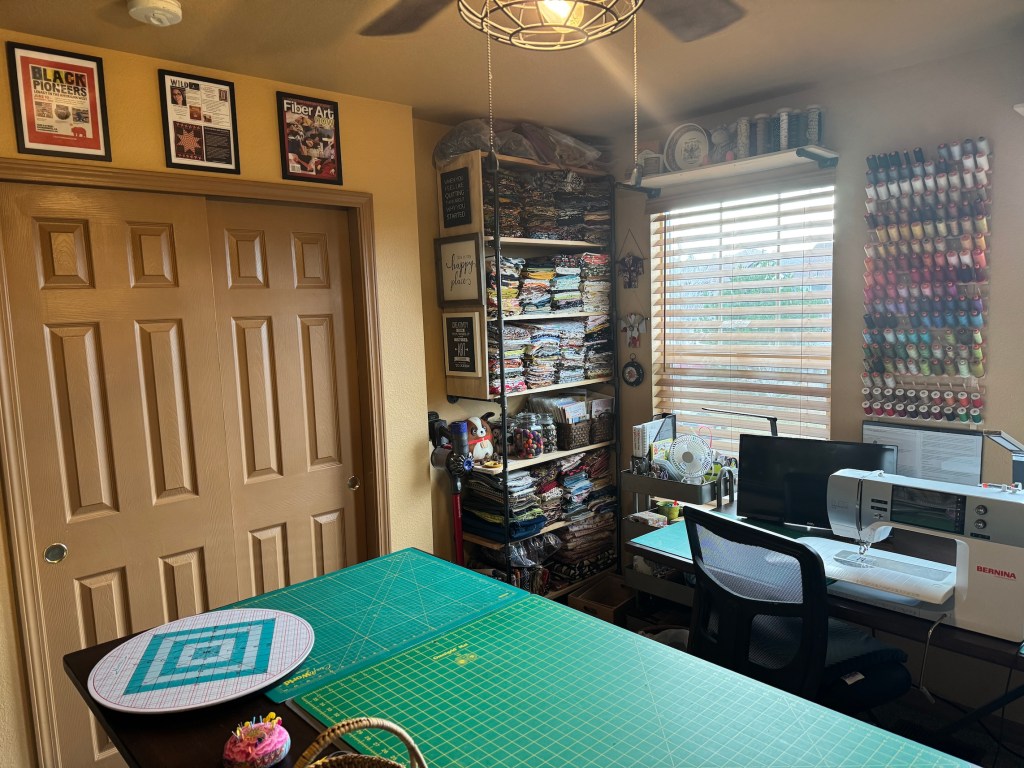
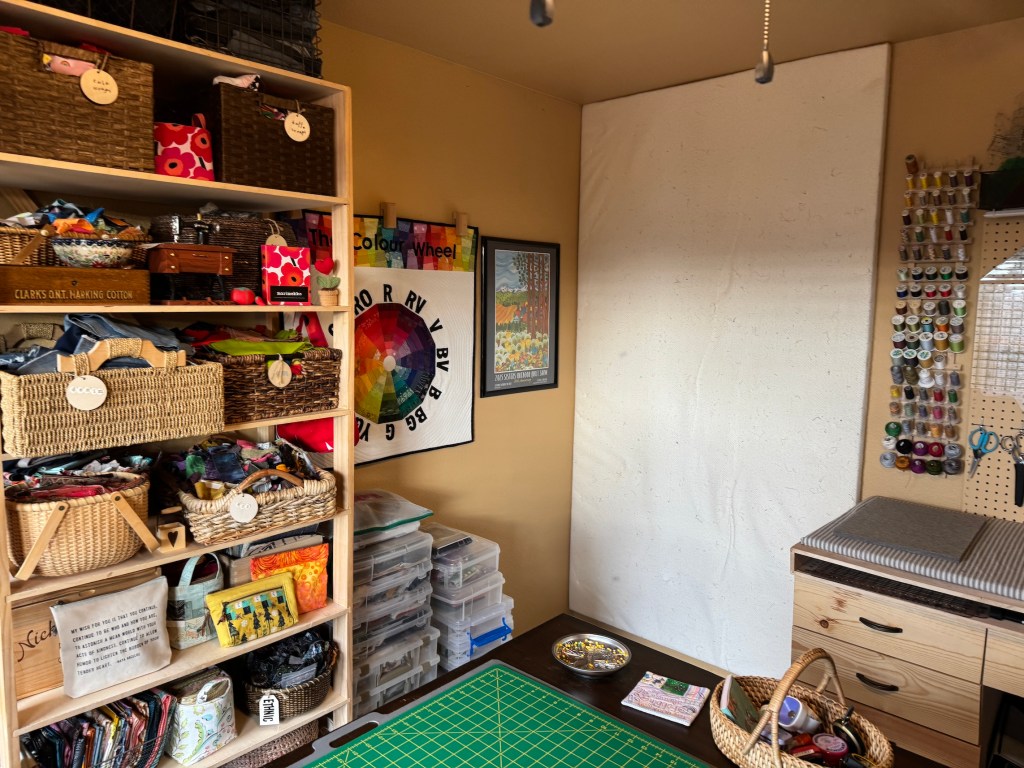
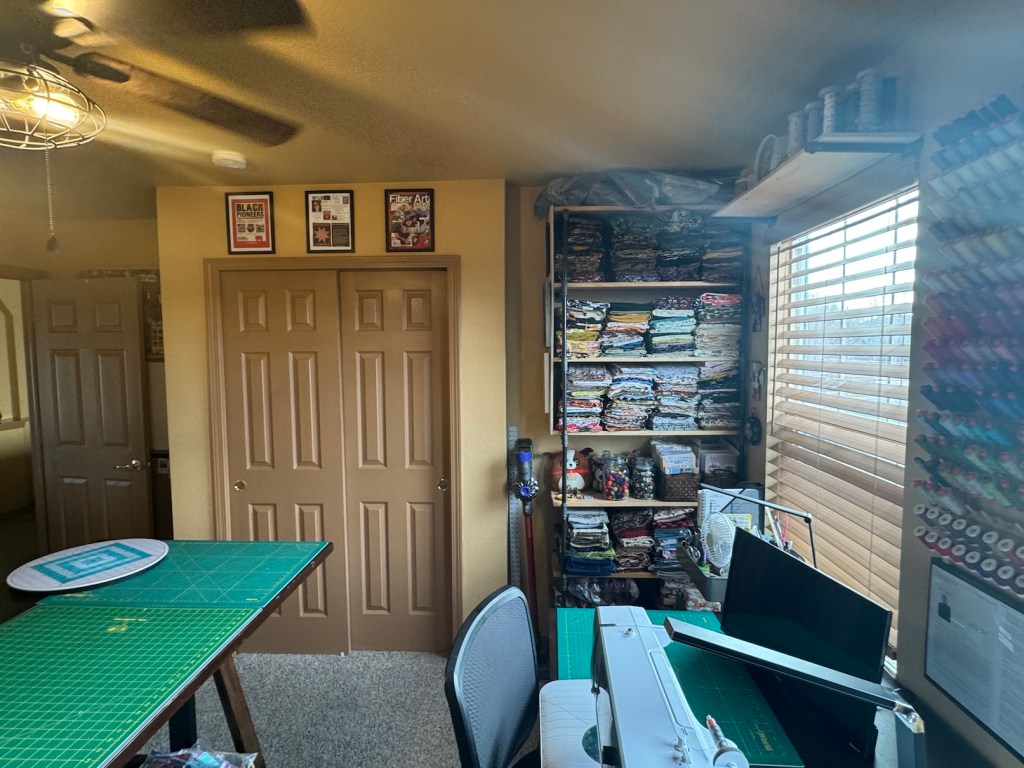
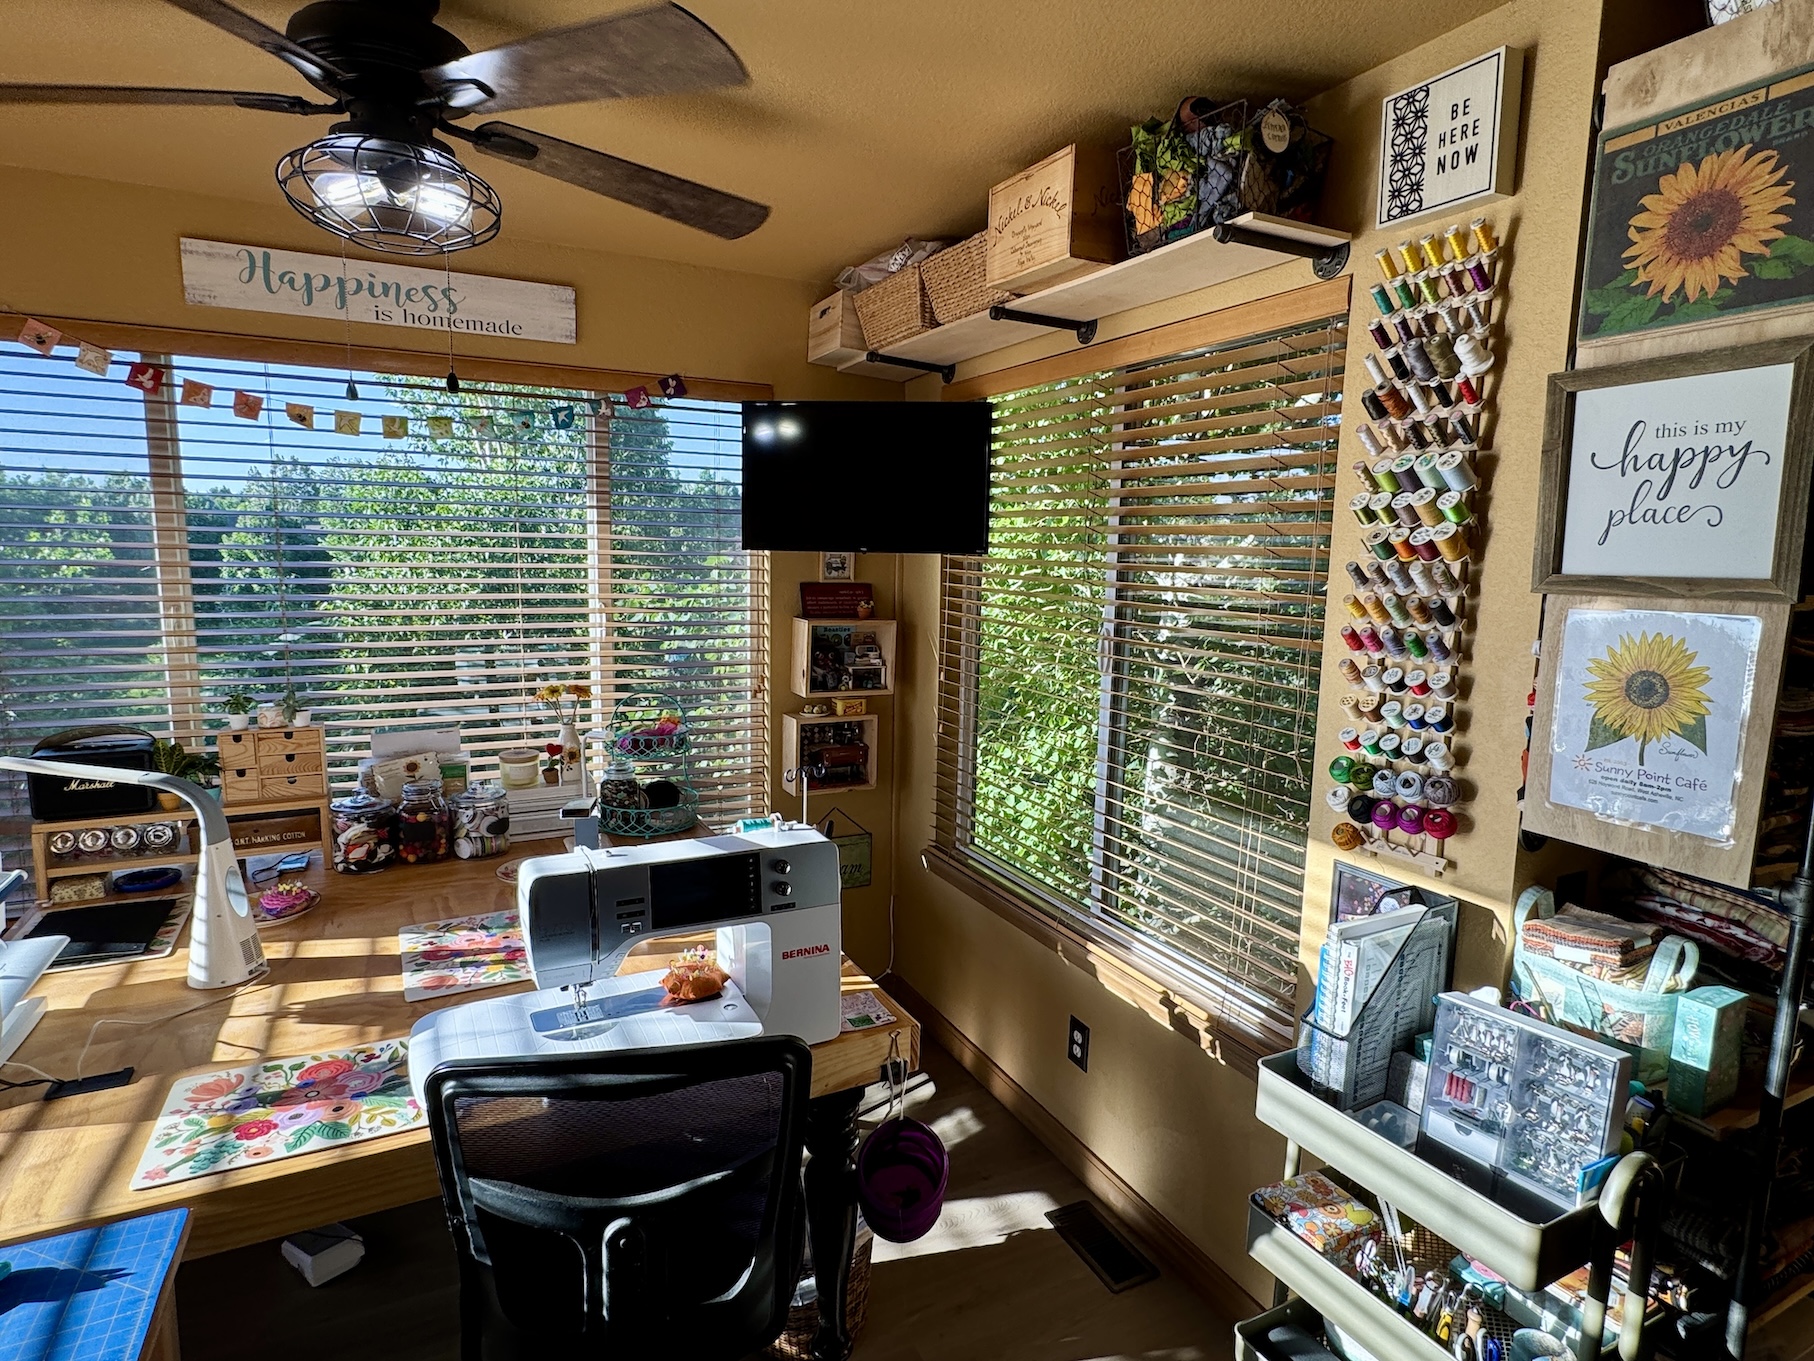
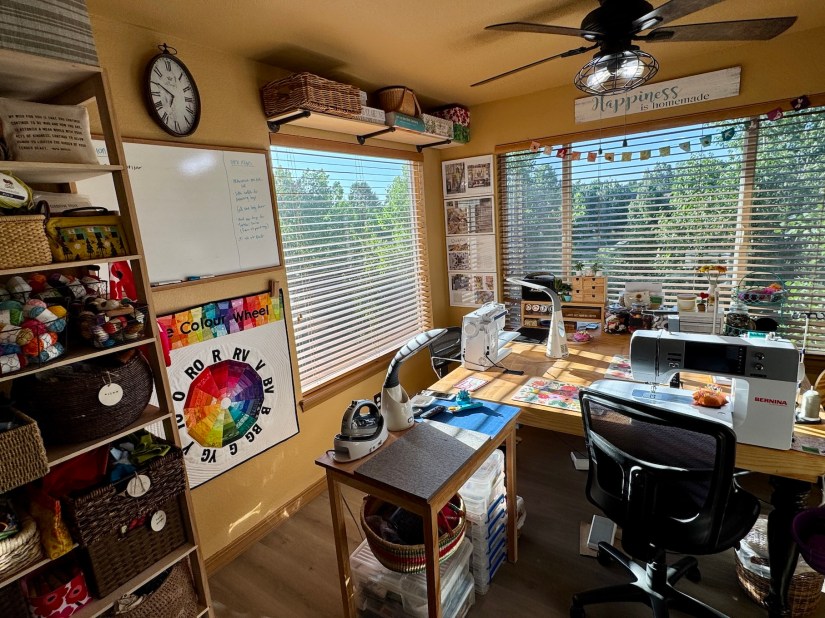
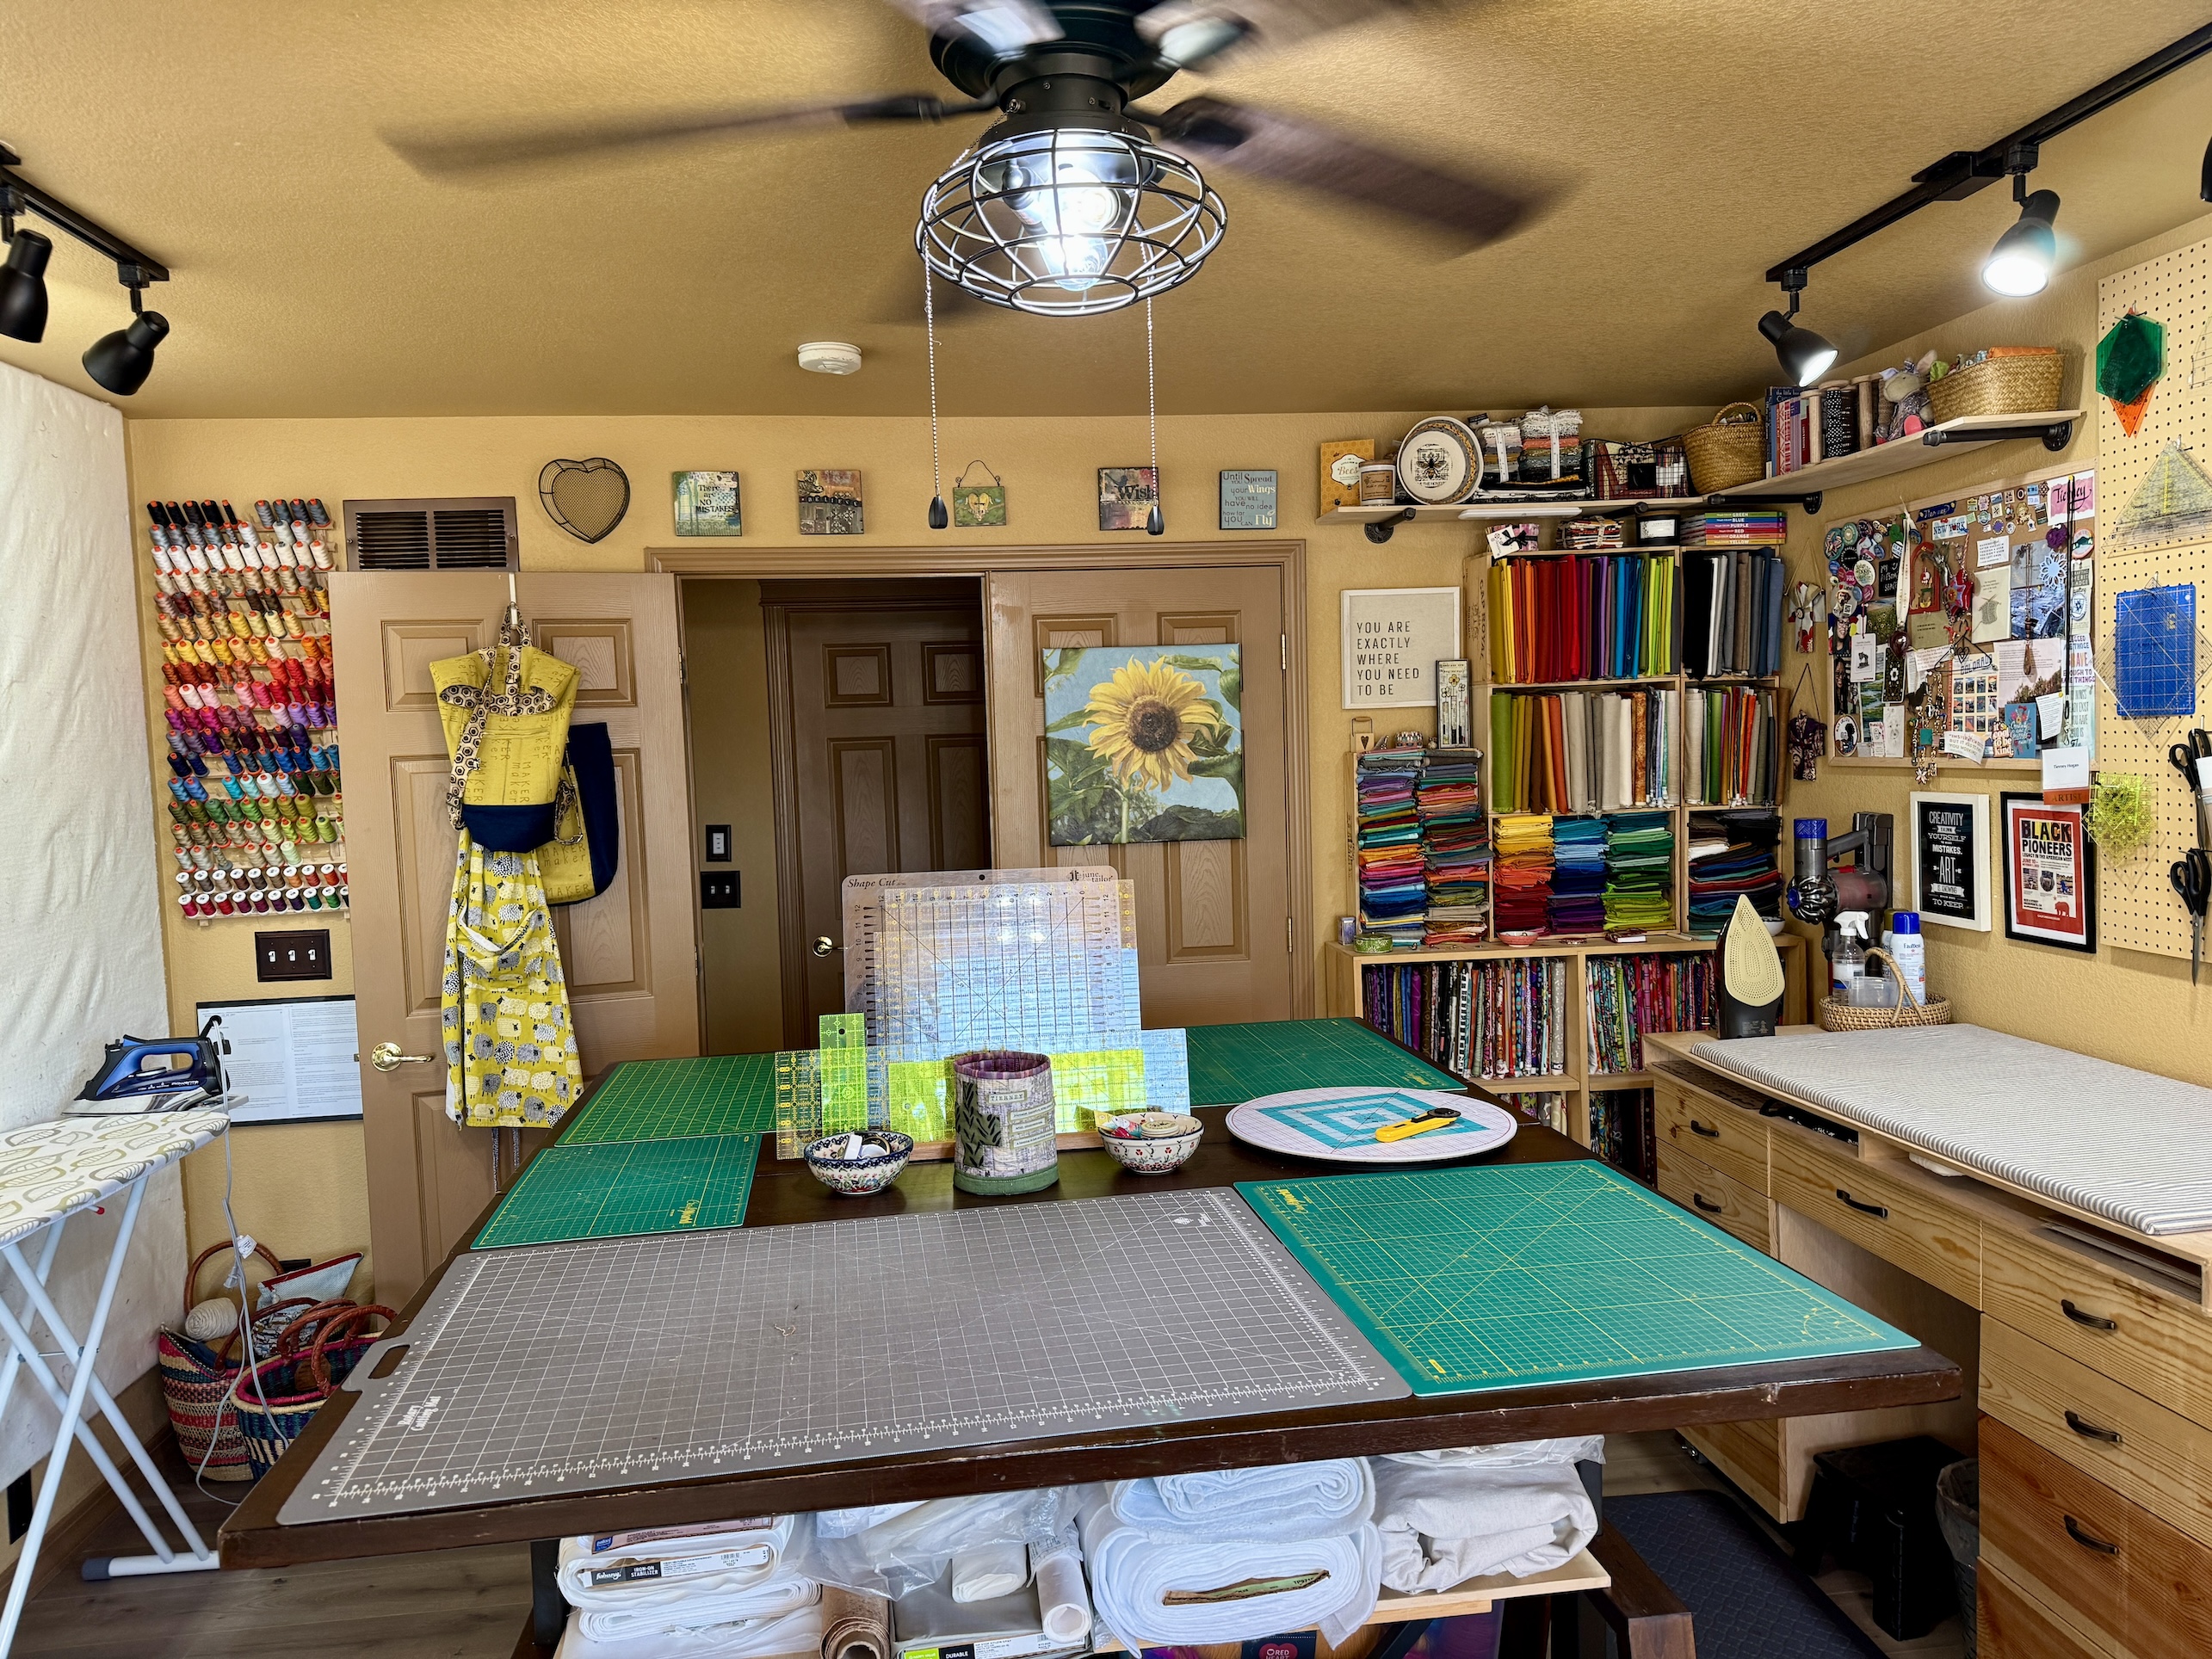
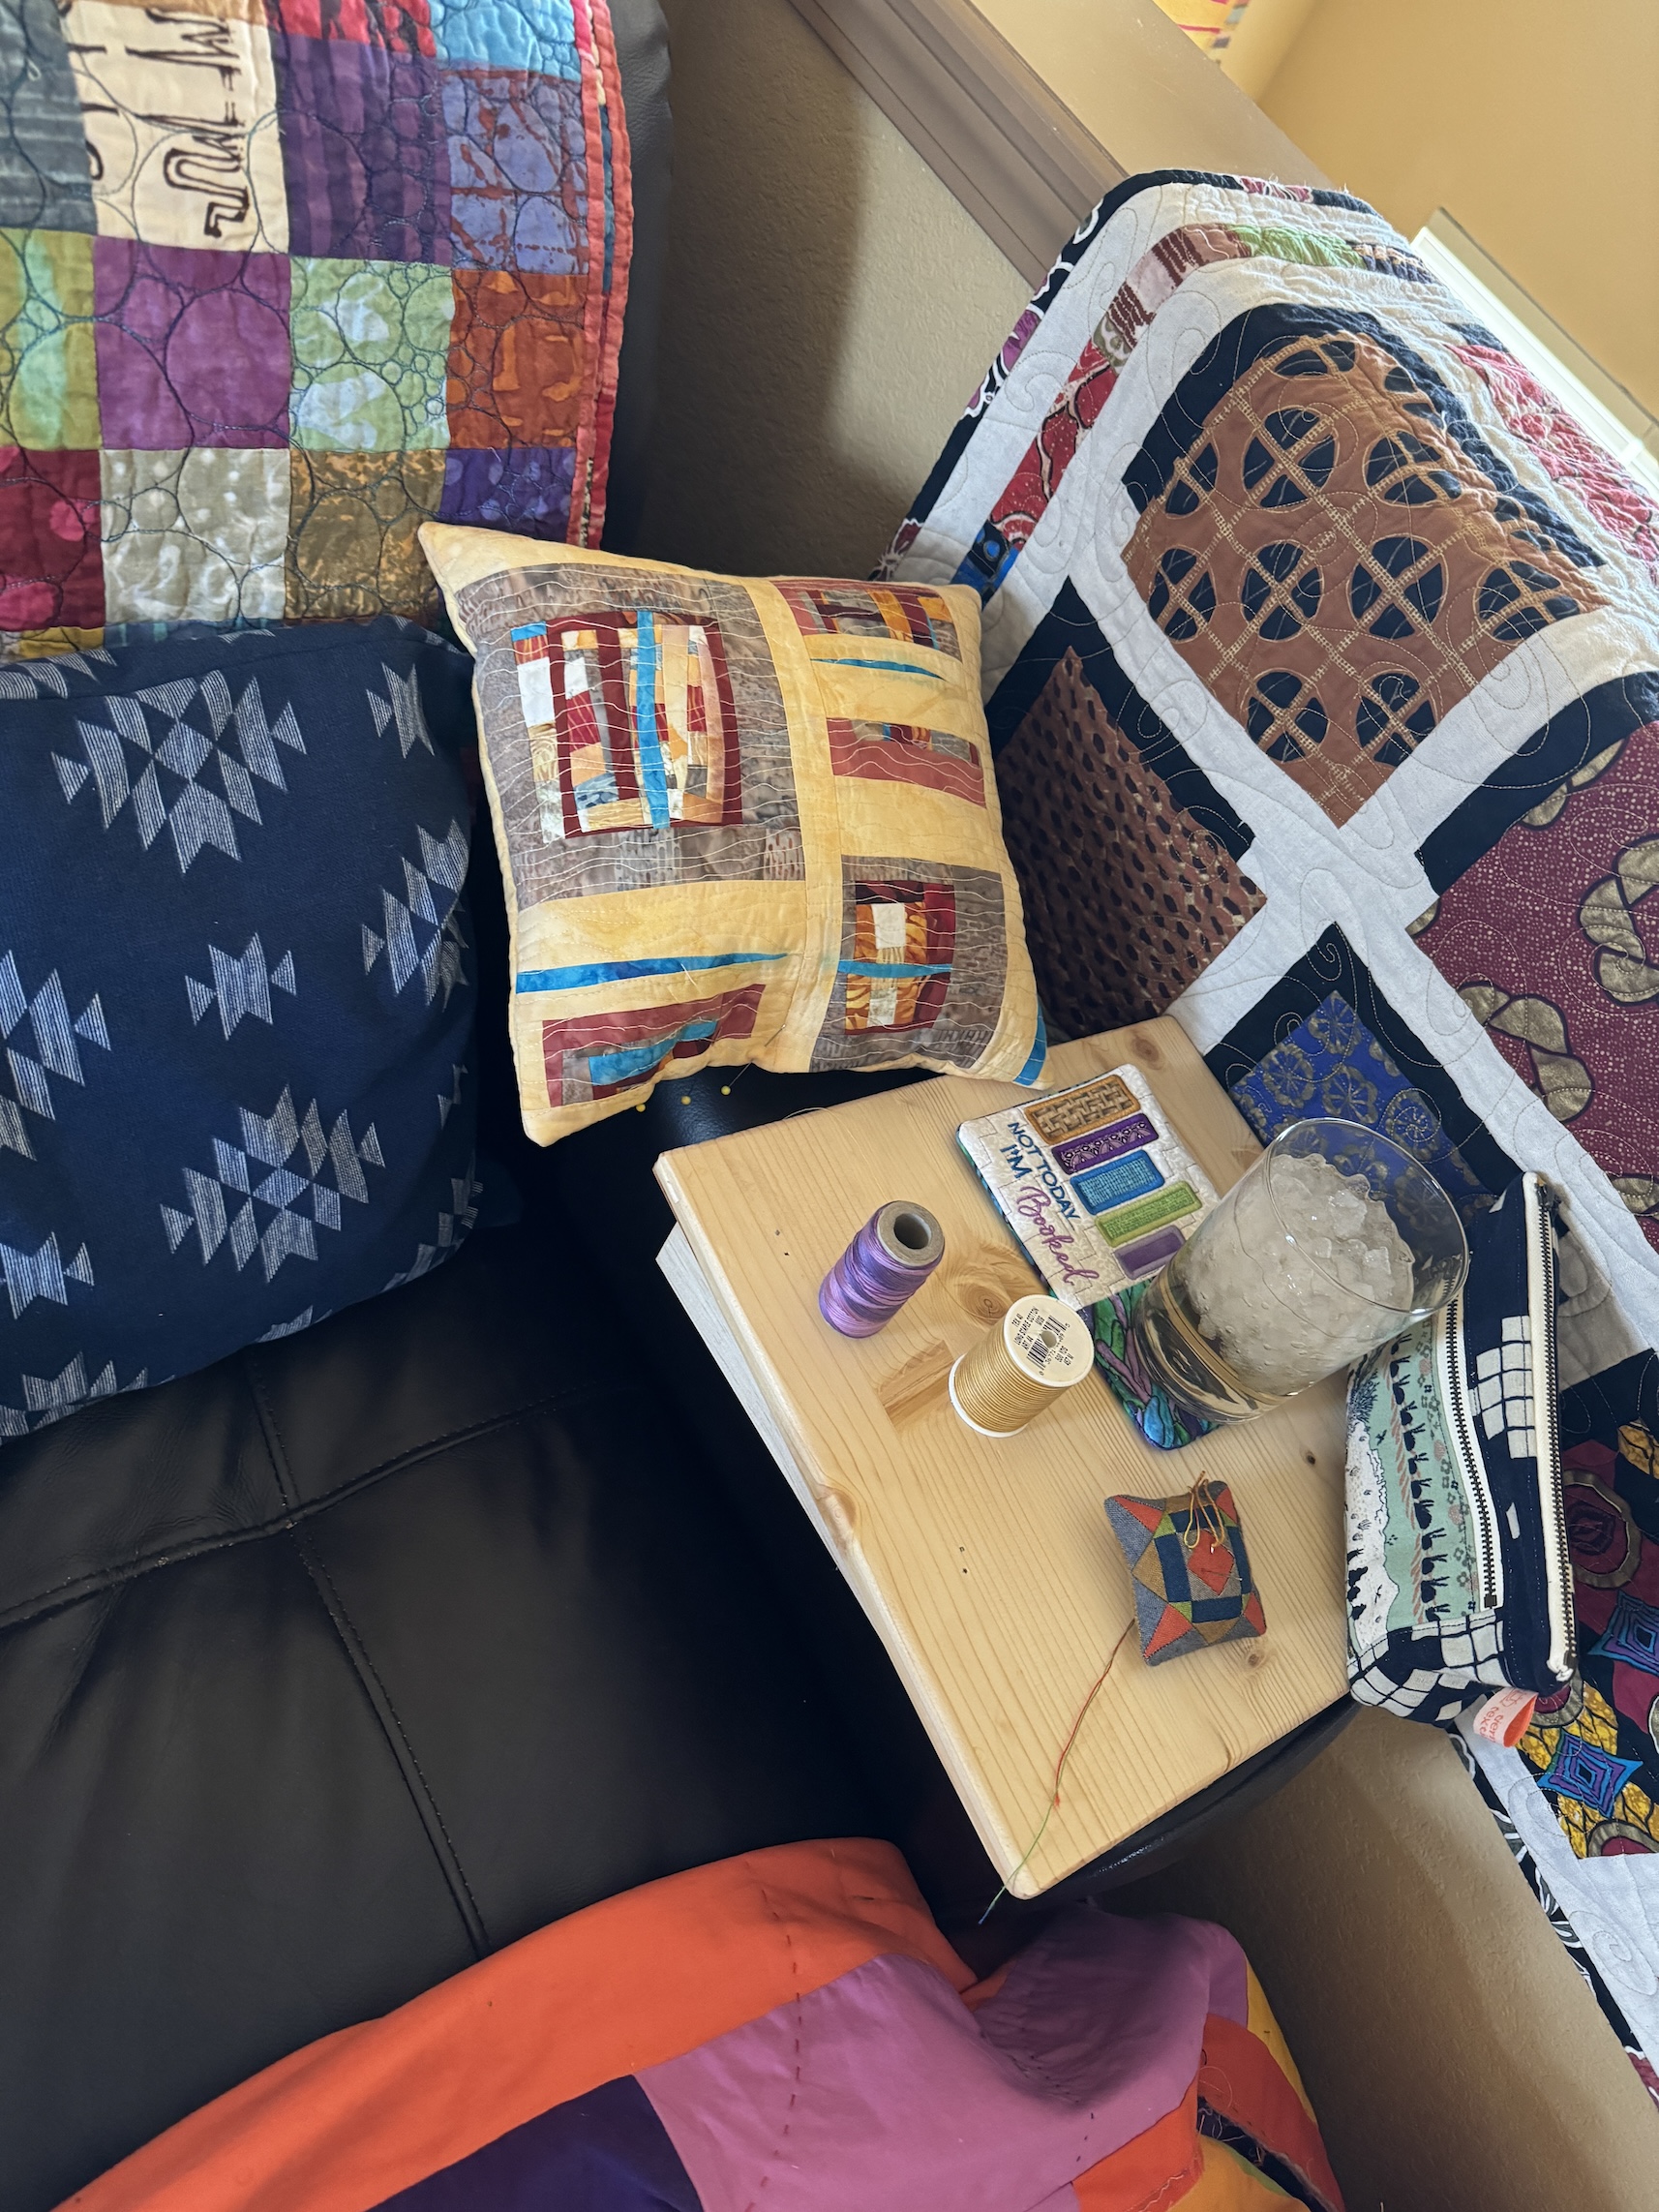
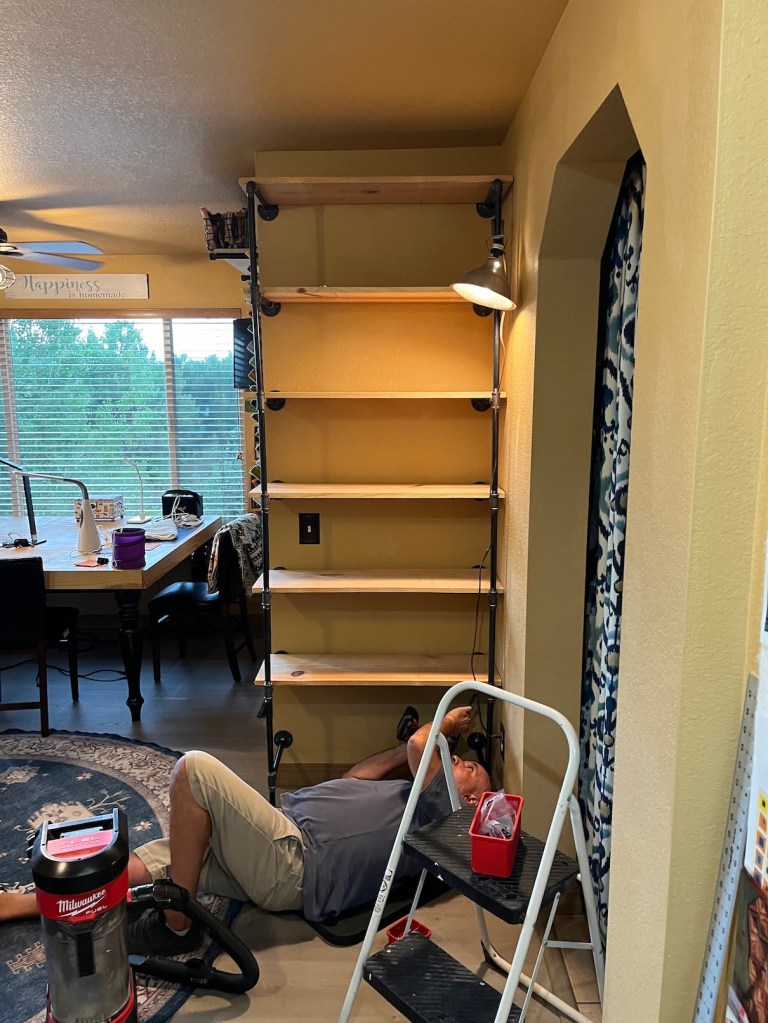
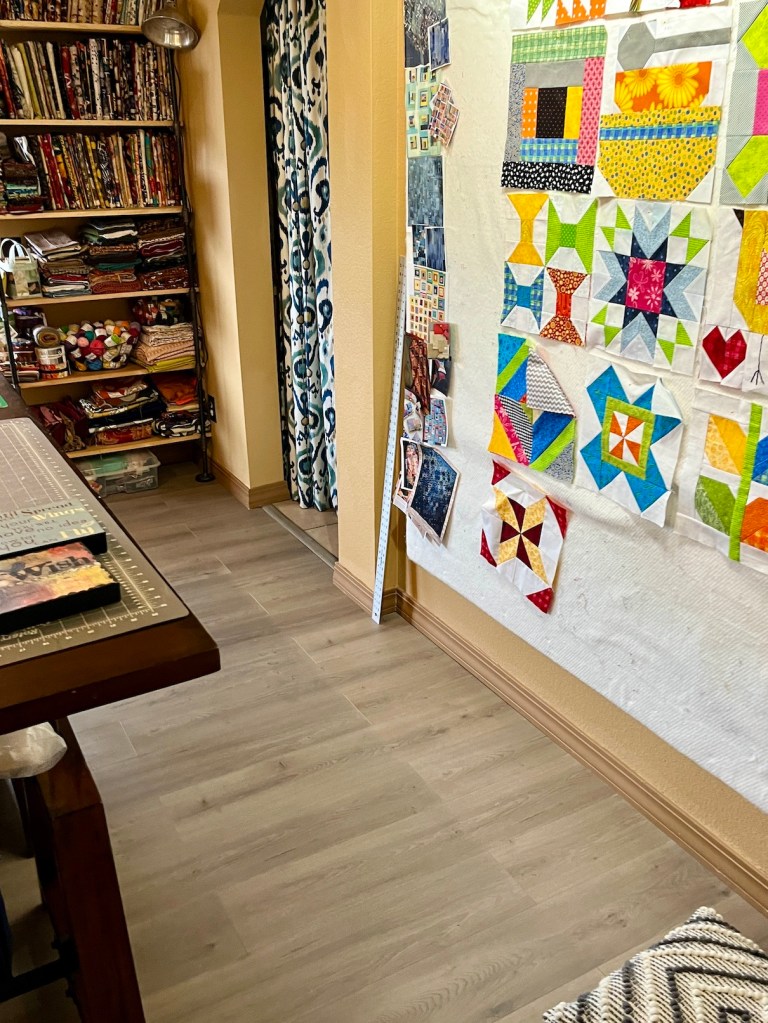
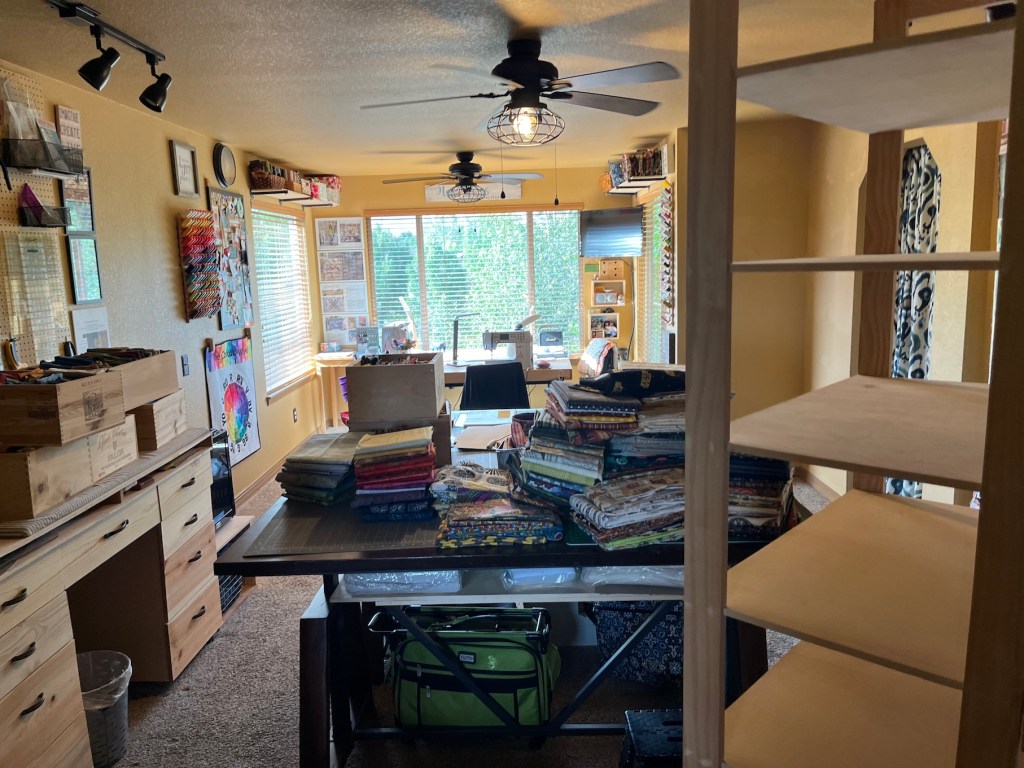
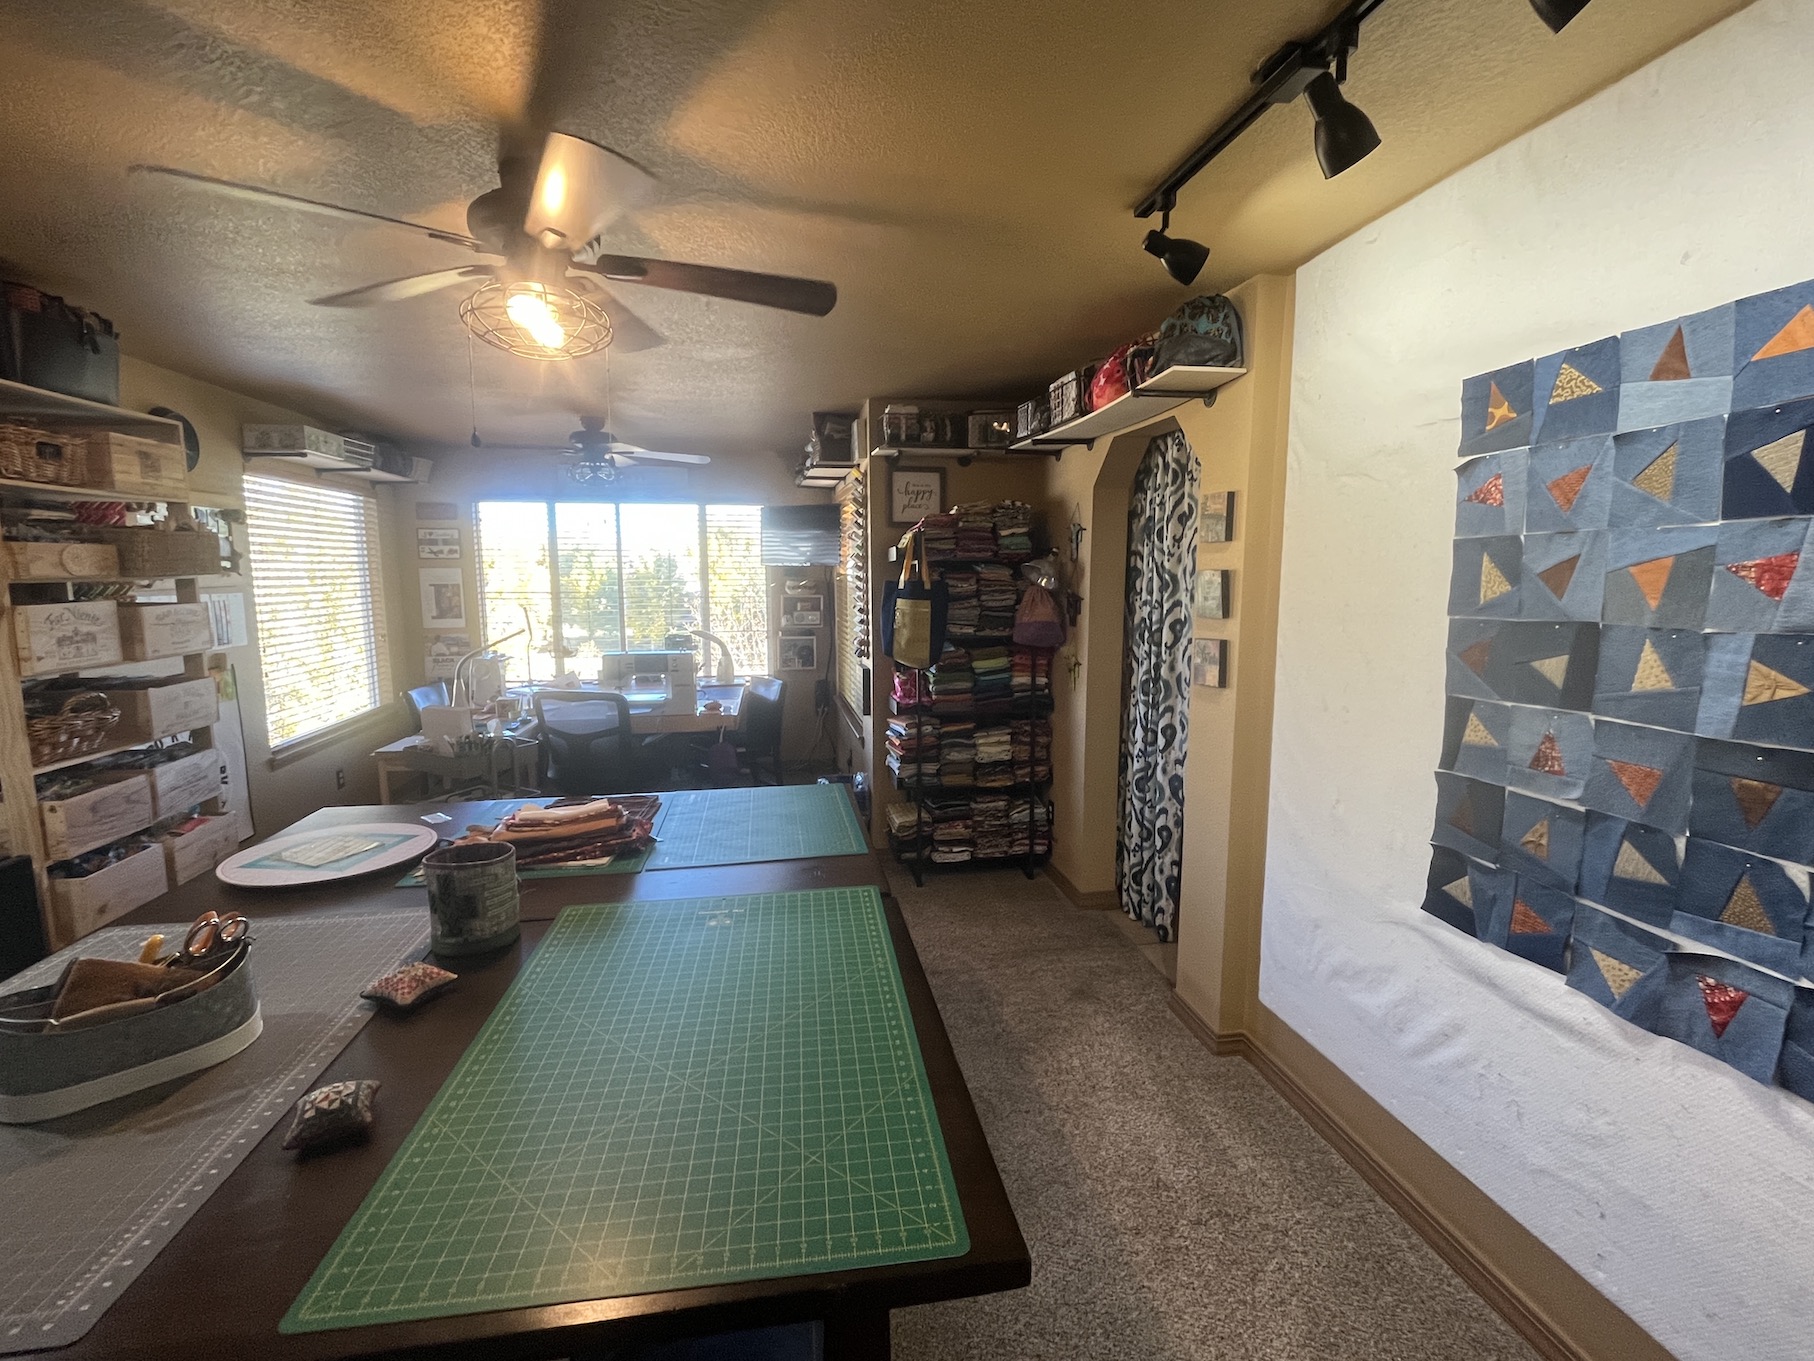
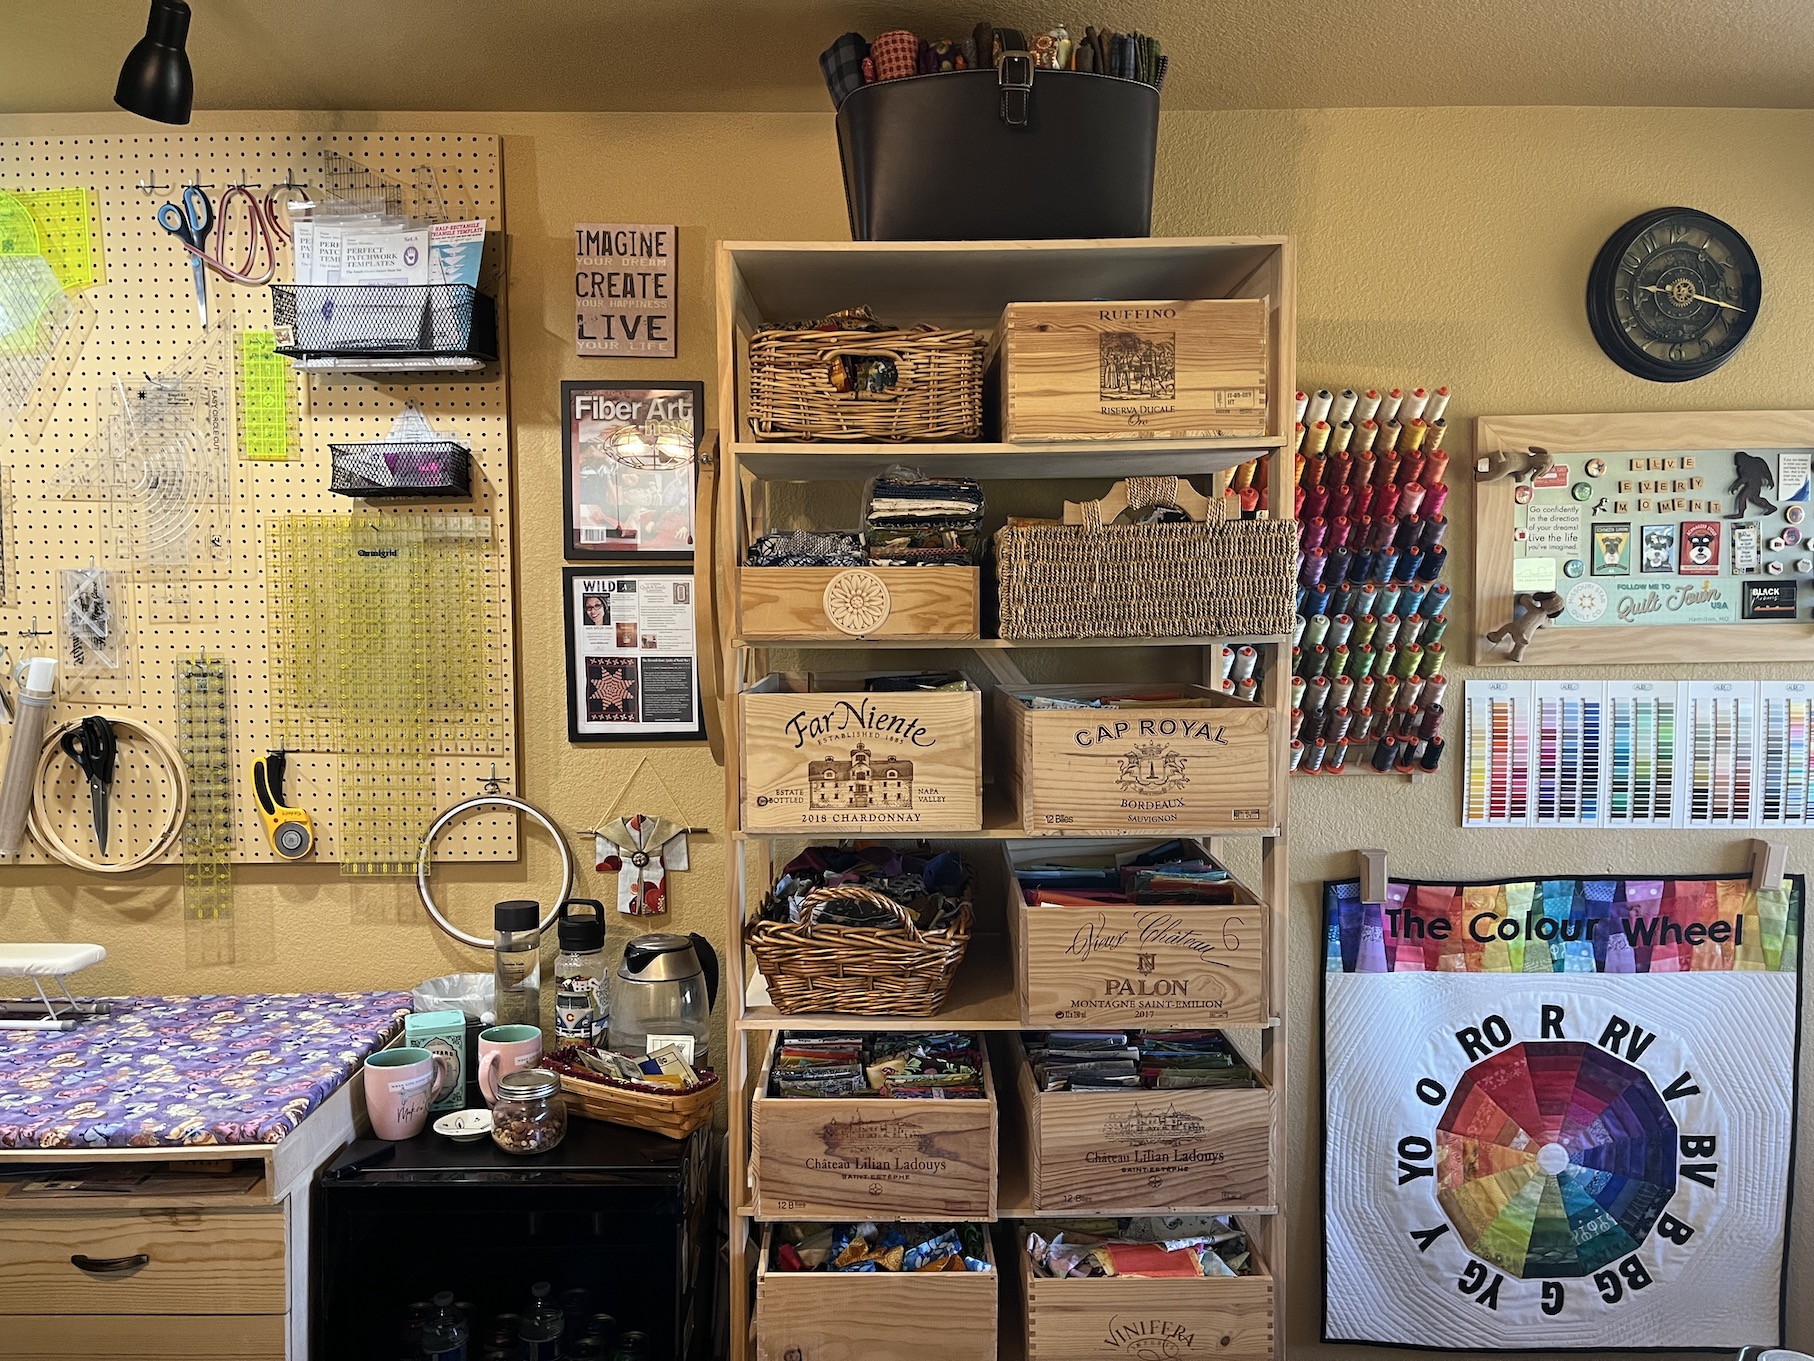
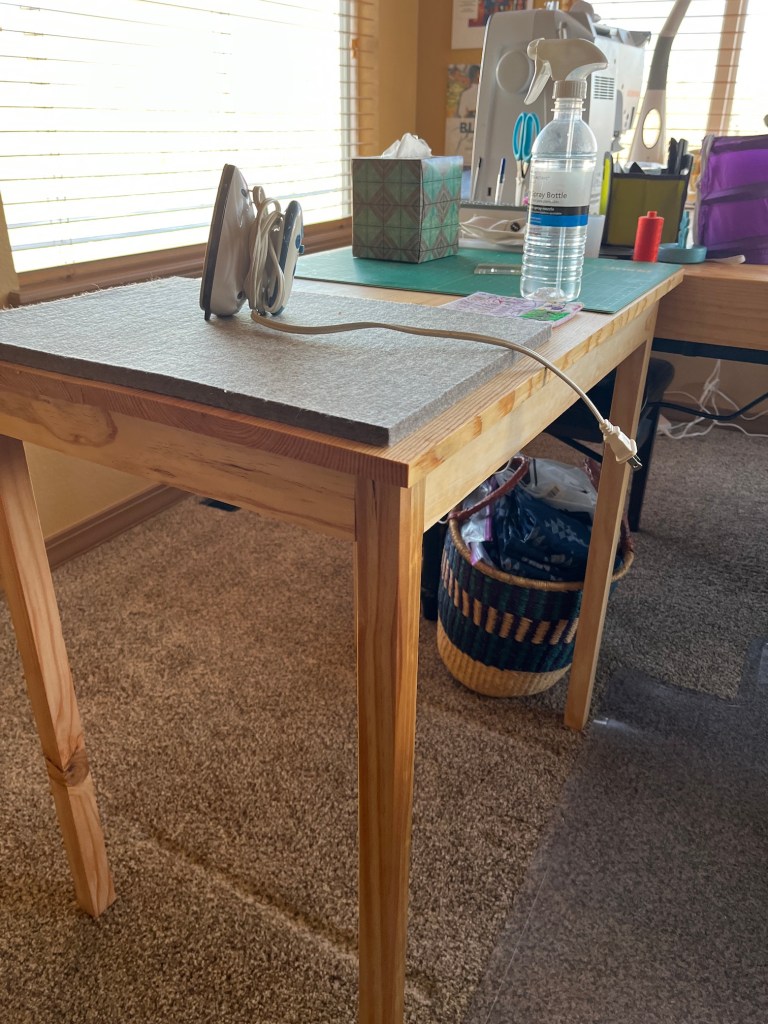
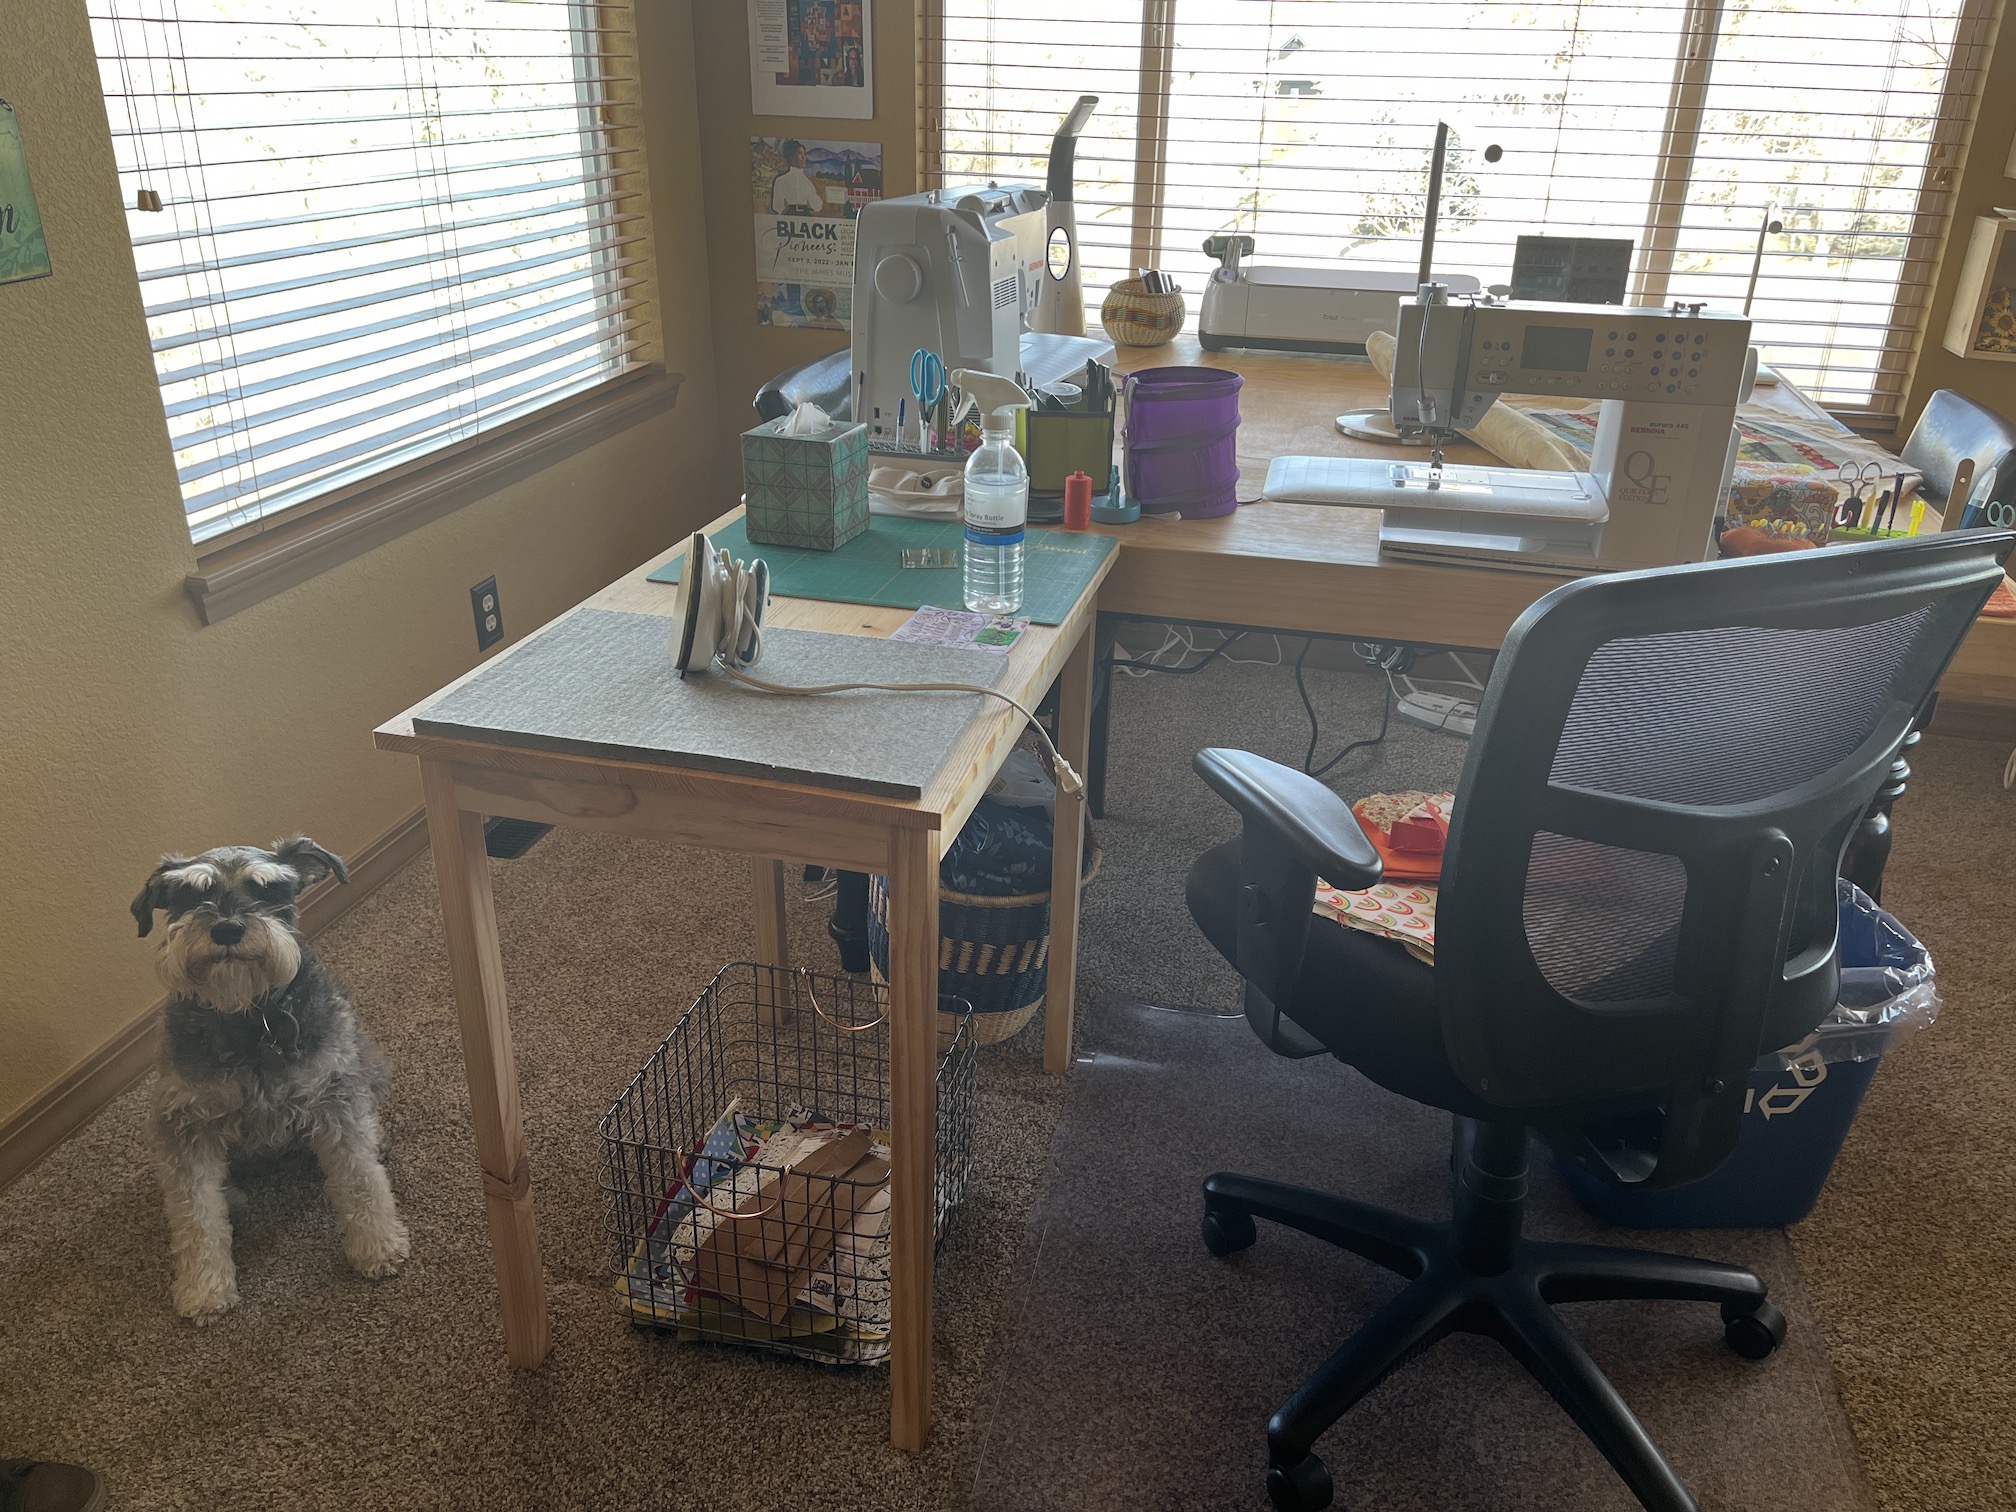
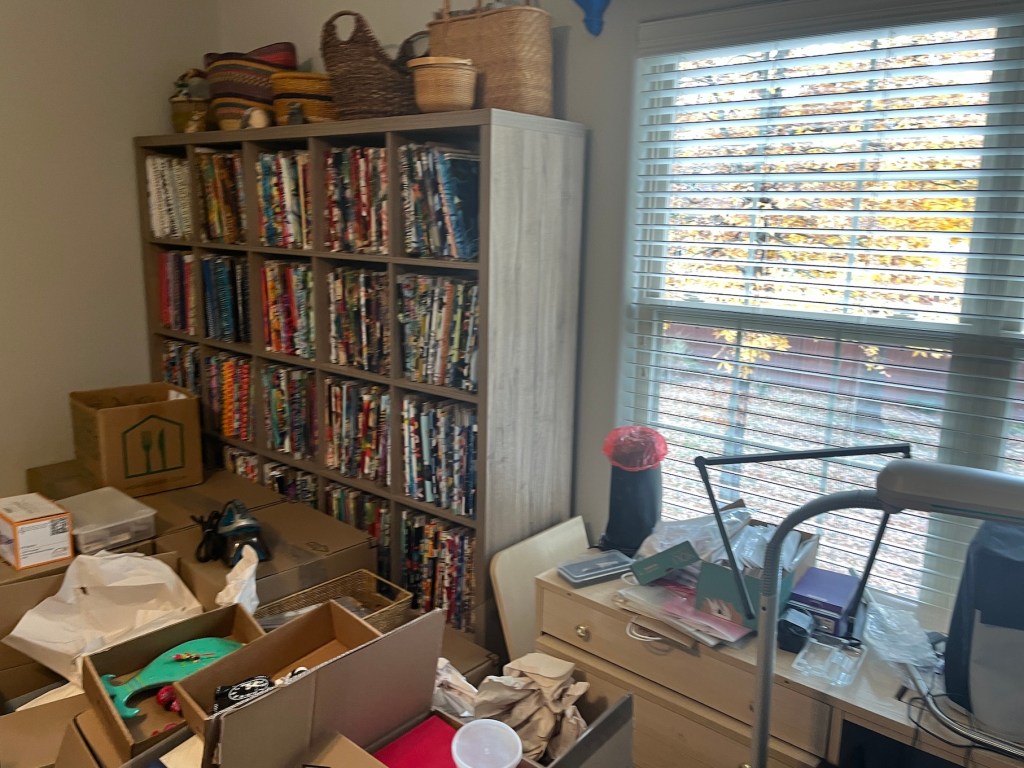
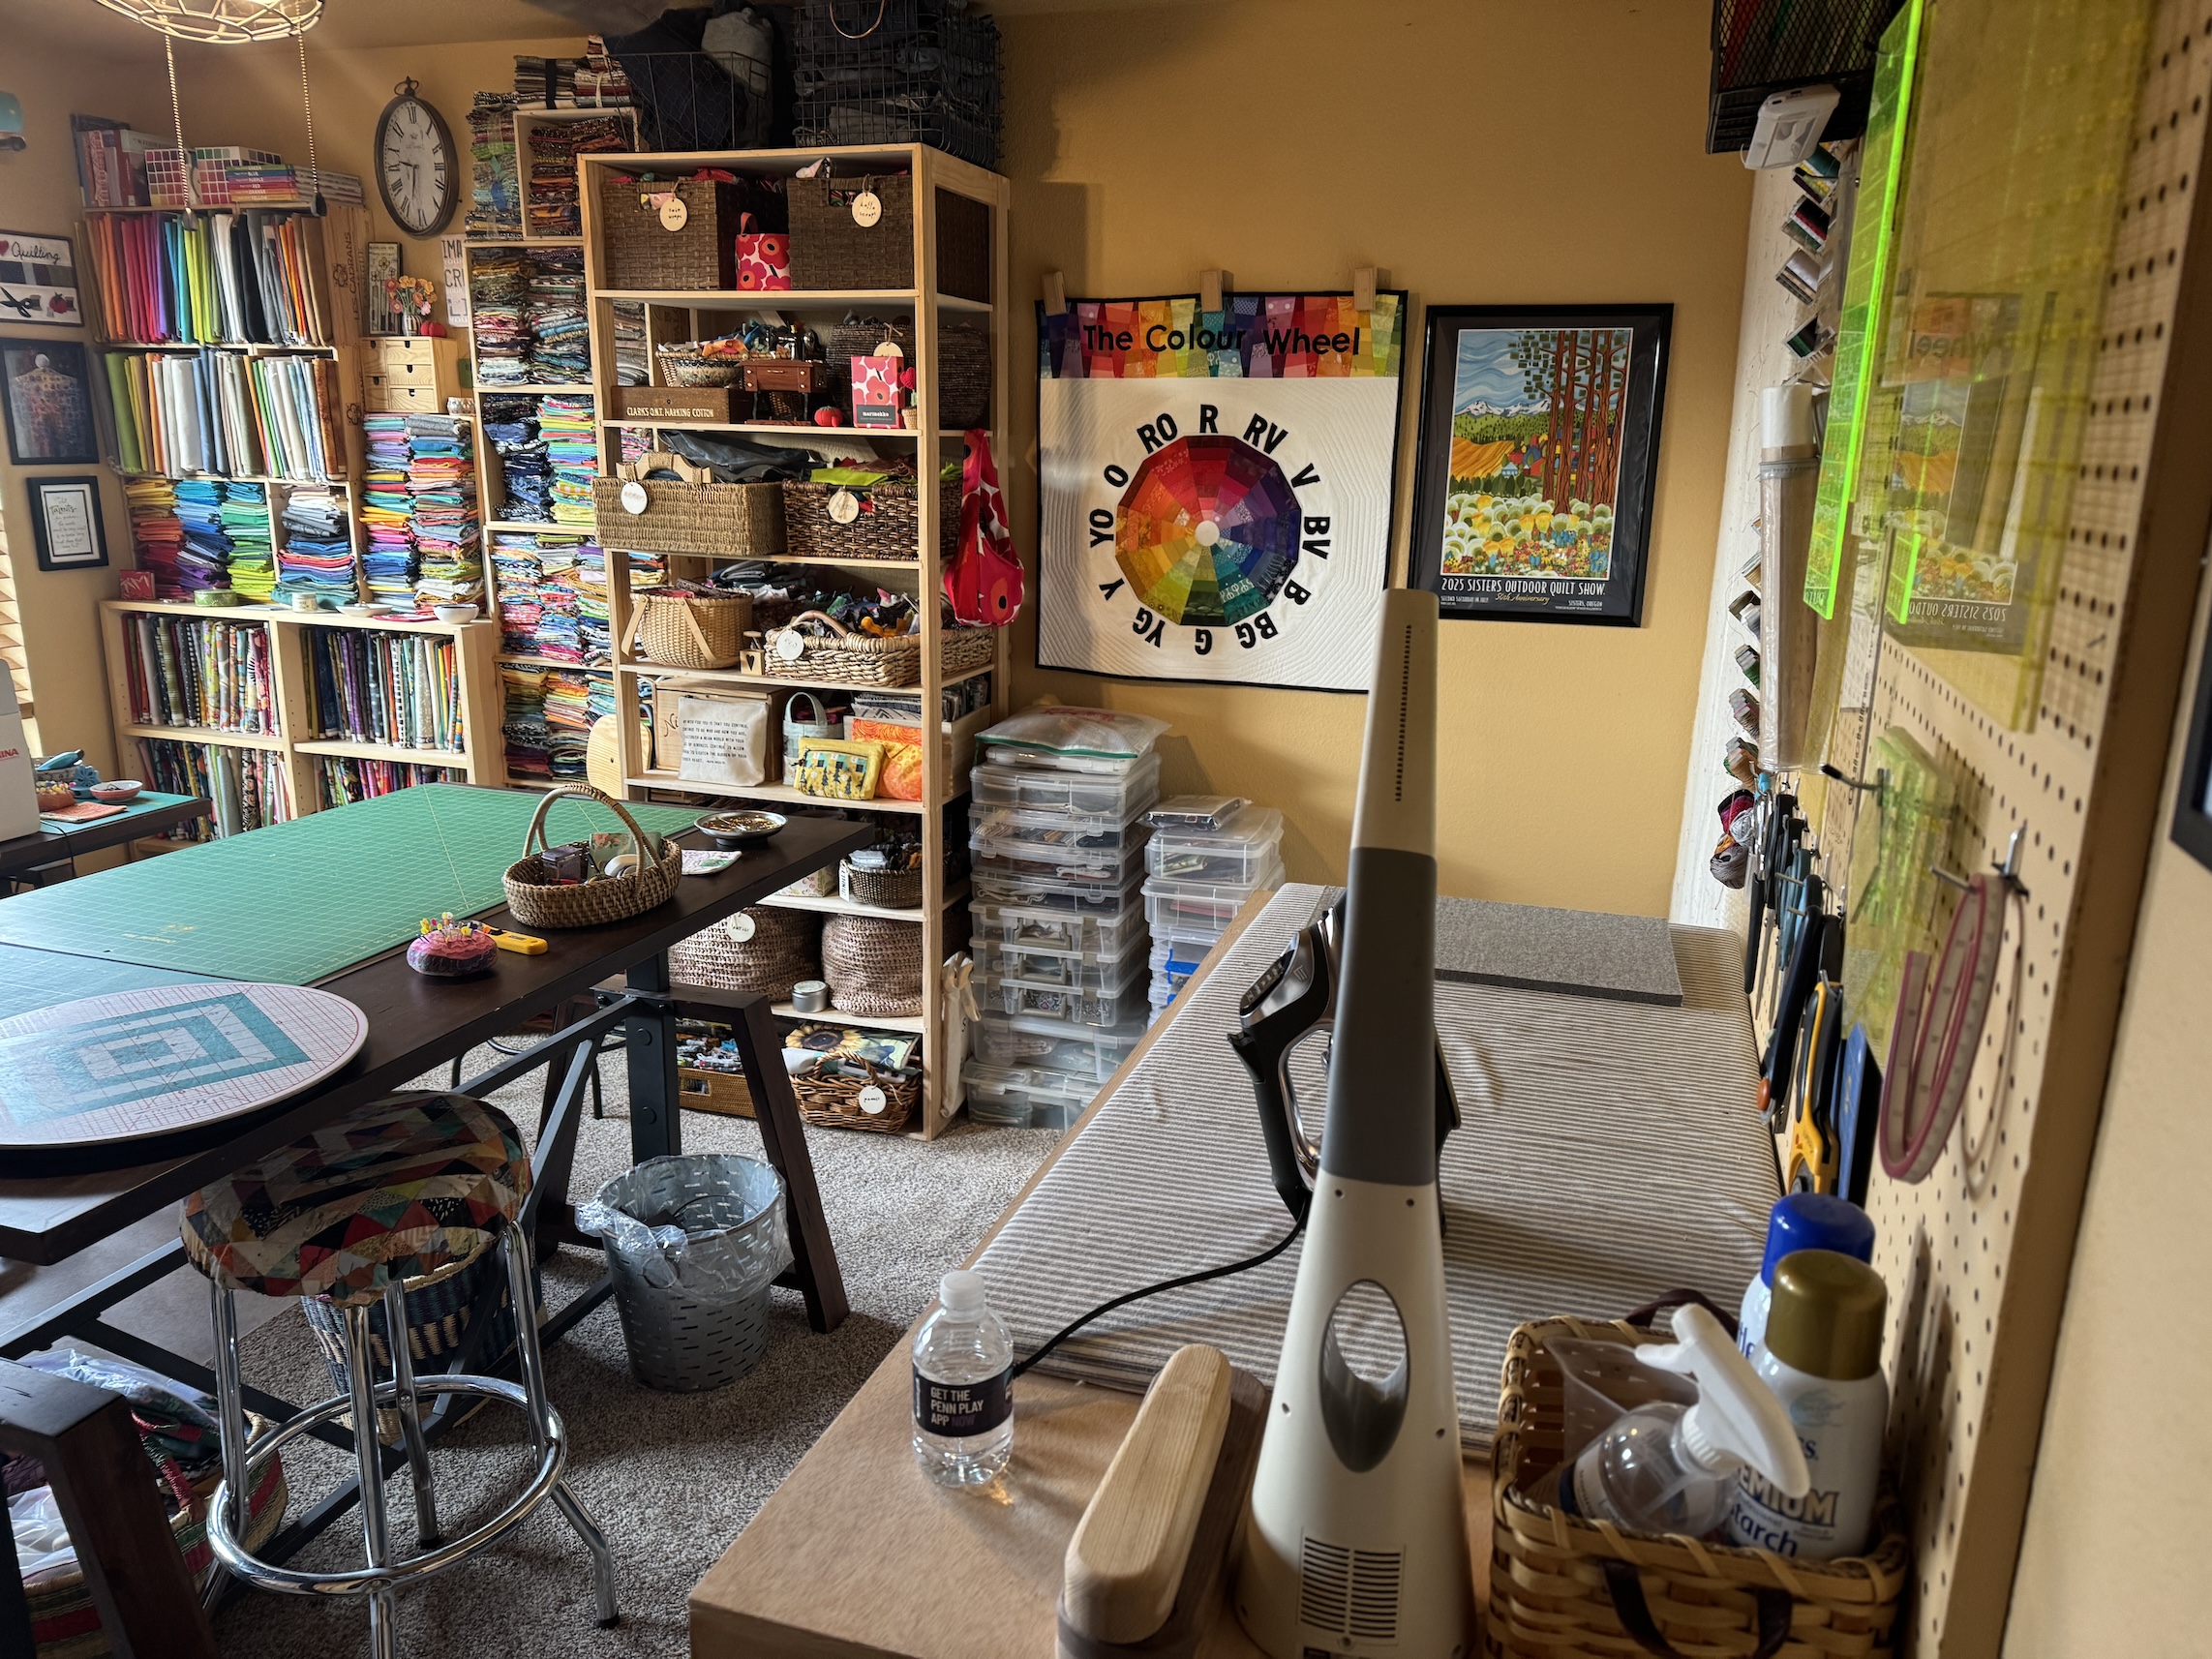
I added a floor lamp (left side of image below) to my half design wall area (we had to break up my former design wall to make it fit in the room). As we plan to sell the house and move next year to a smaller house, John didn’t want to install track lighting in this room like he did in my previous mega-studio that was in our converted Primary Bedroom (which has now returned to being a Primary Bedroom):
I am pleased with the floor lamp and it illuminates the design wall nicely.
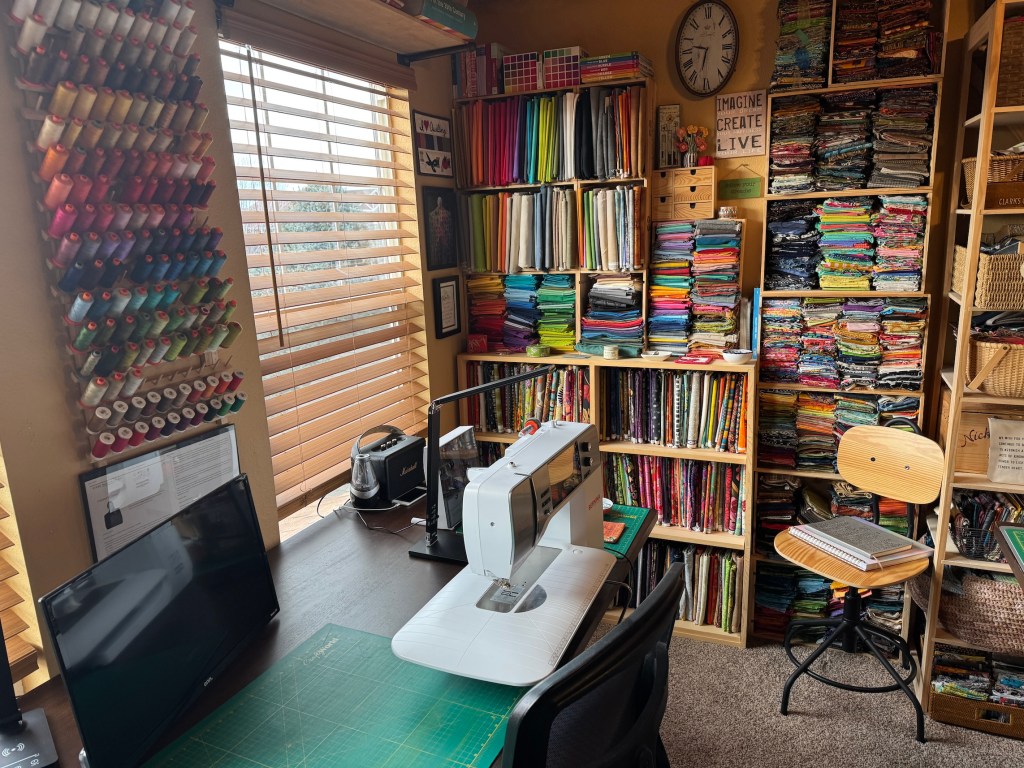
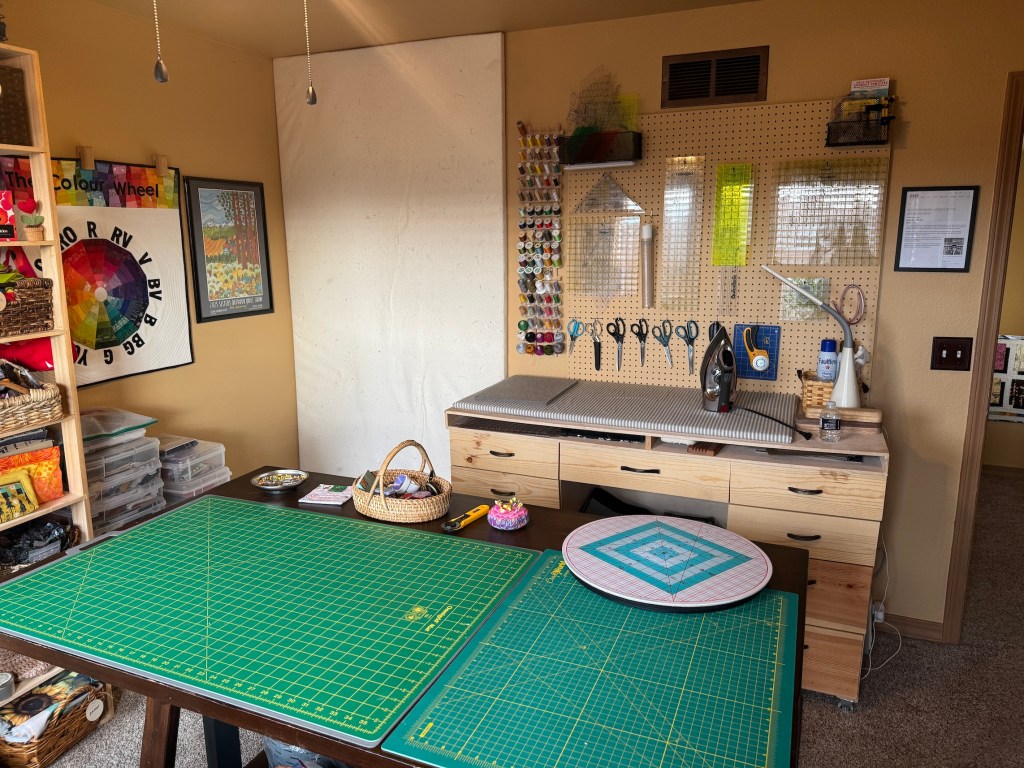
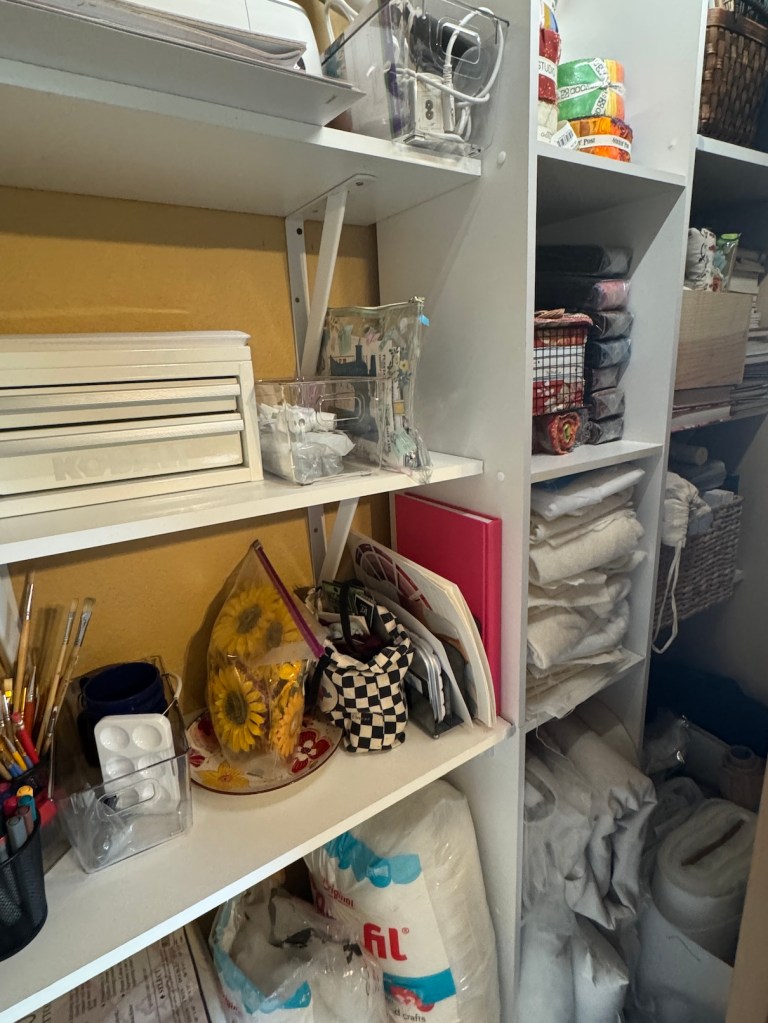
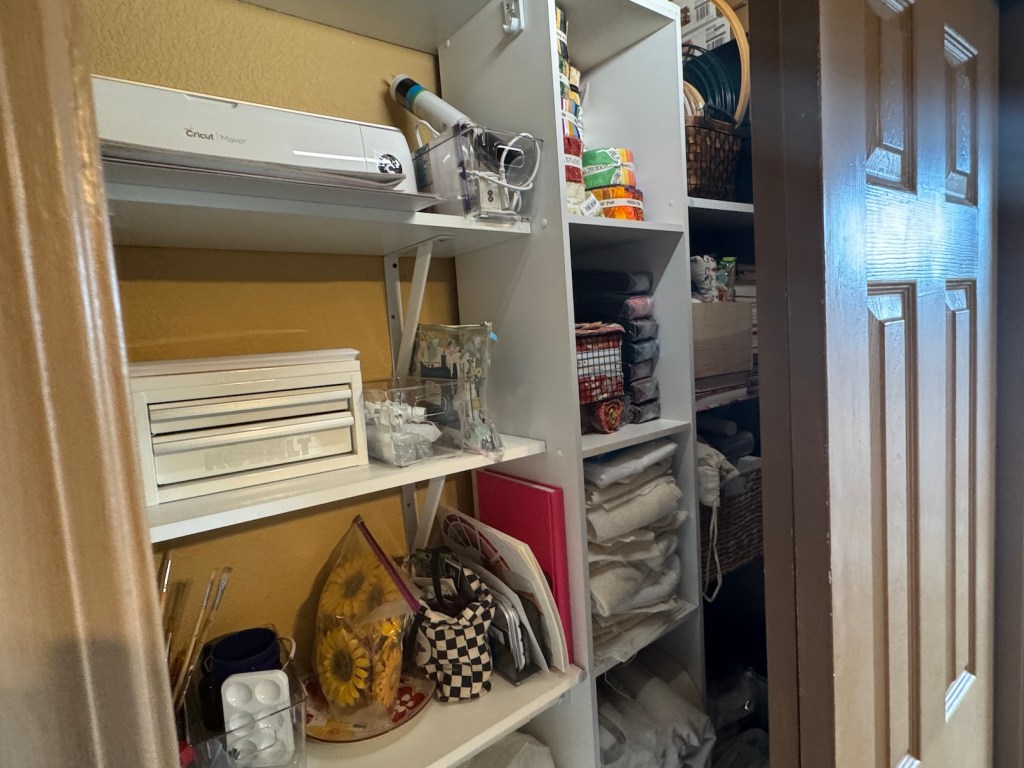
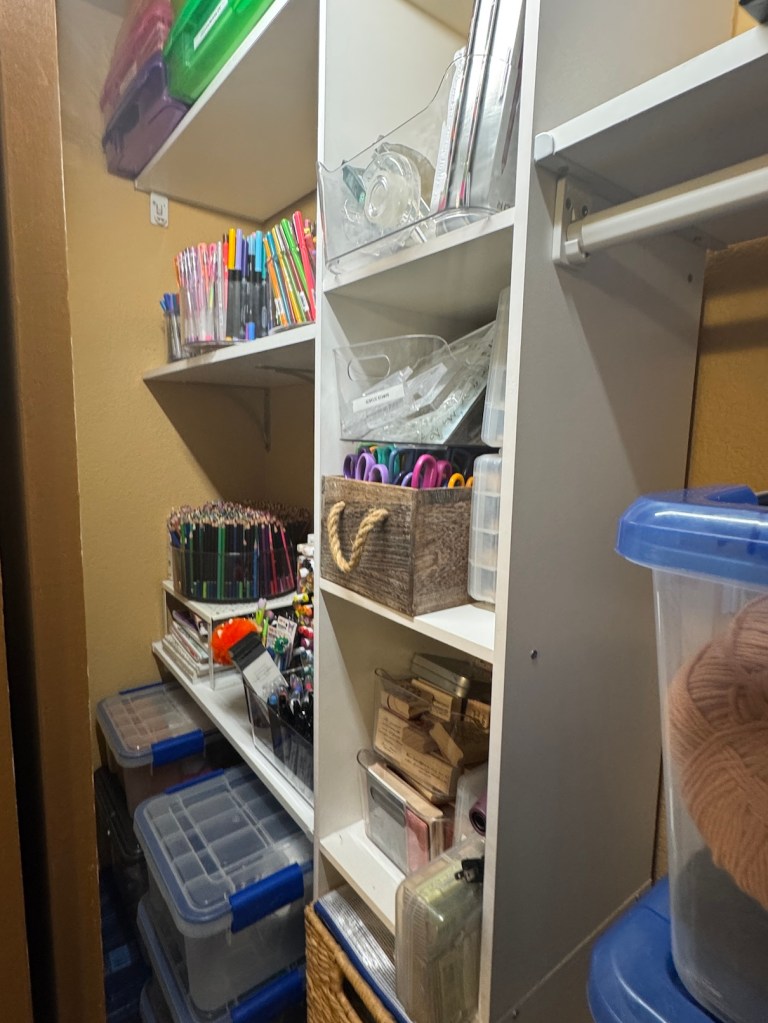
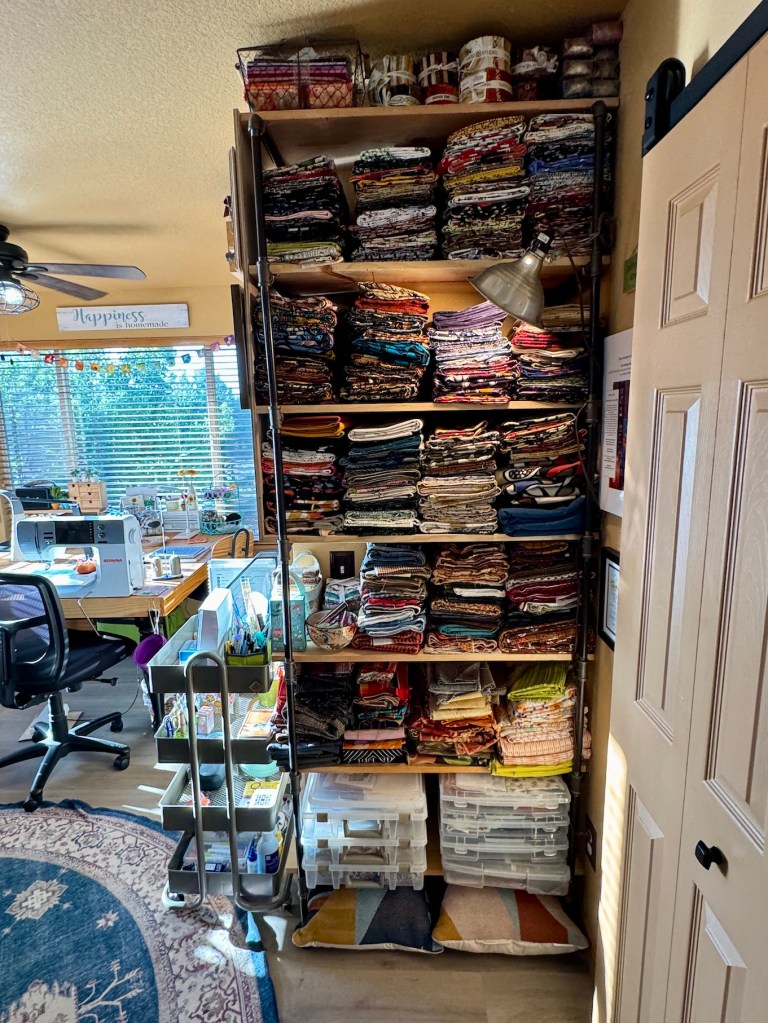
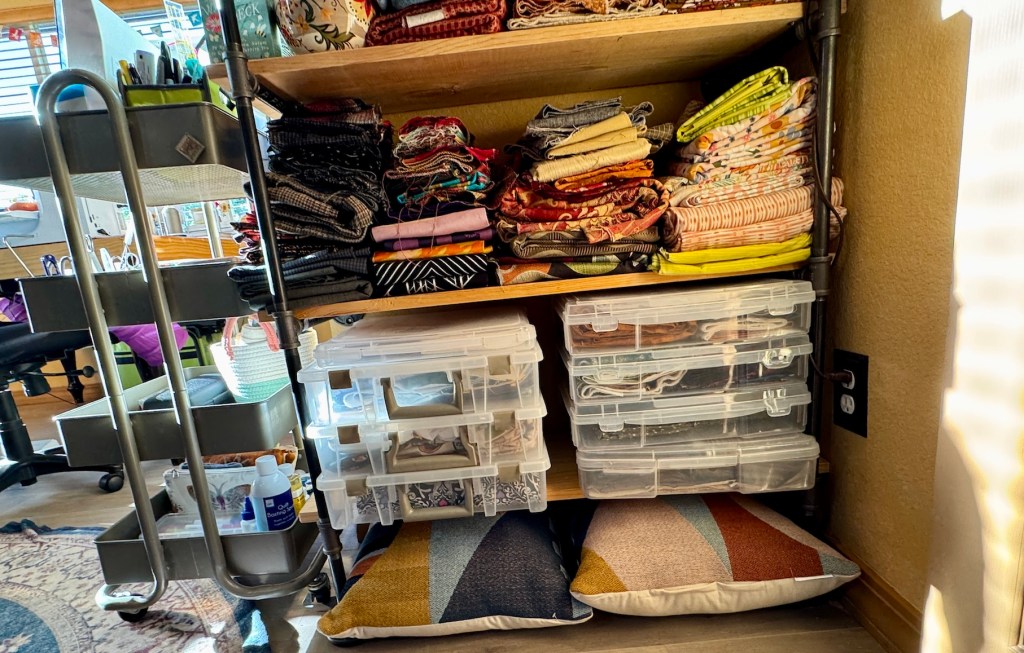
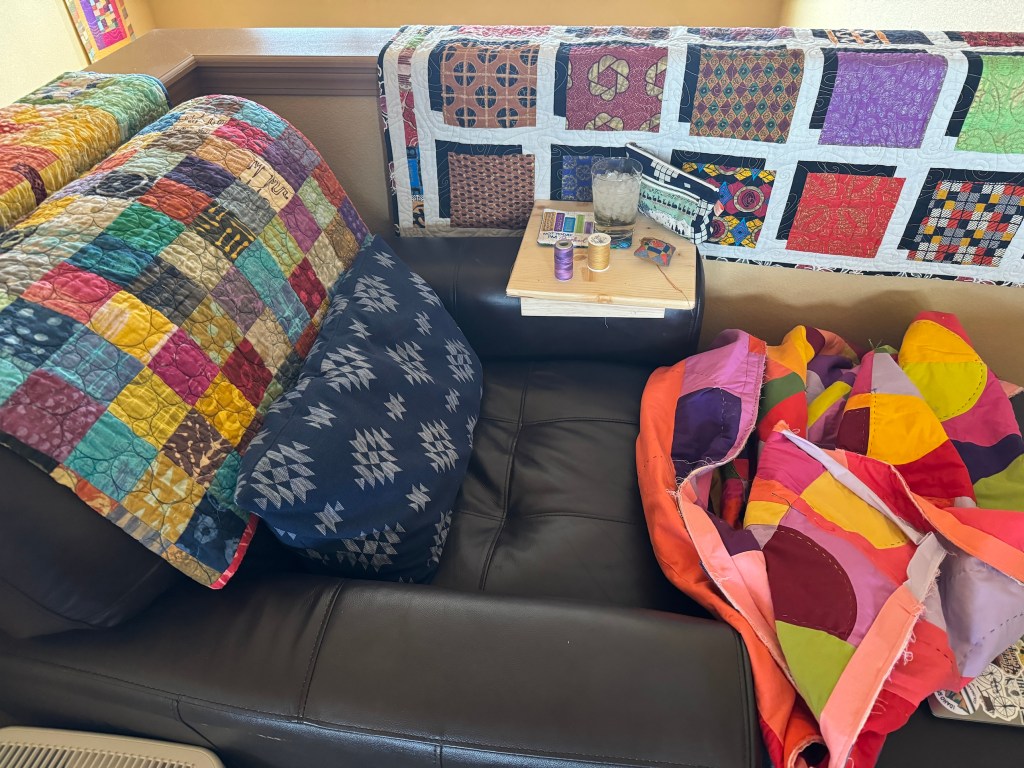
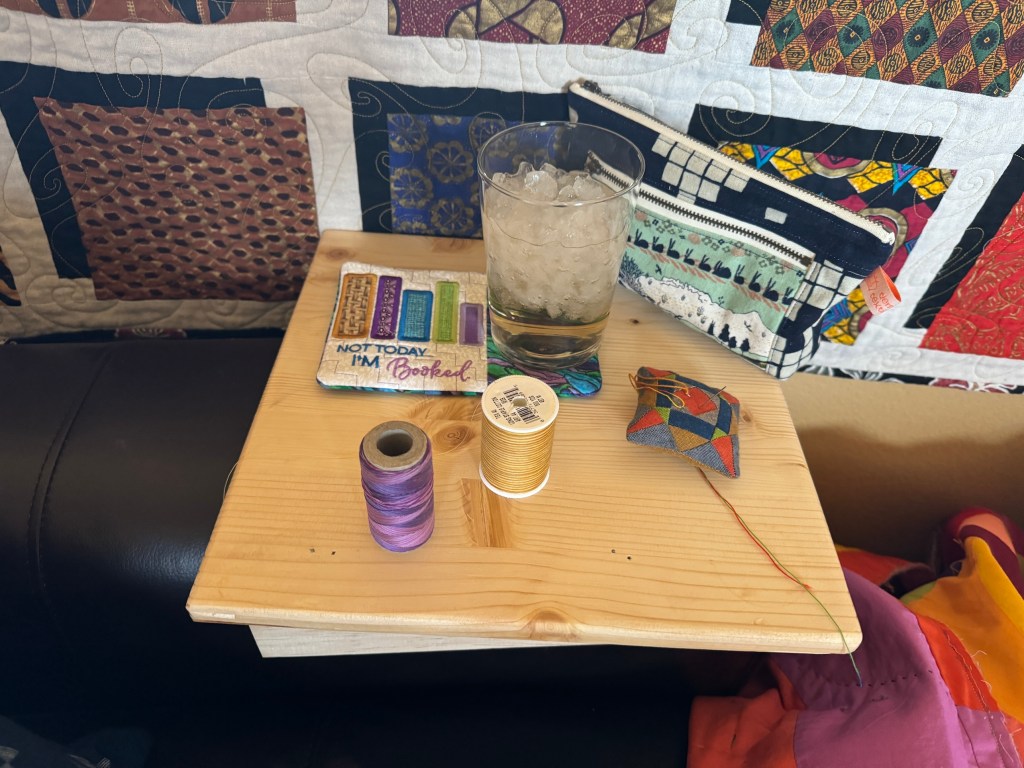
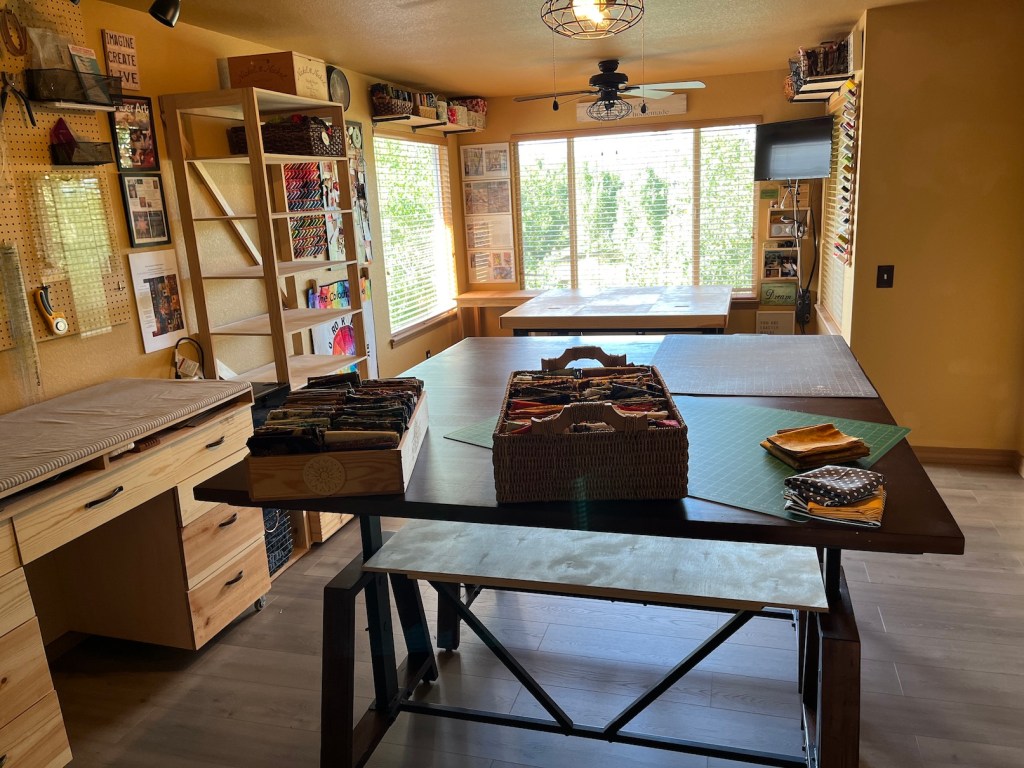
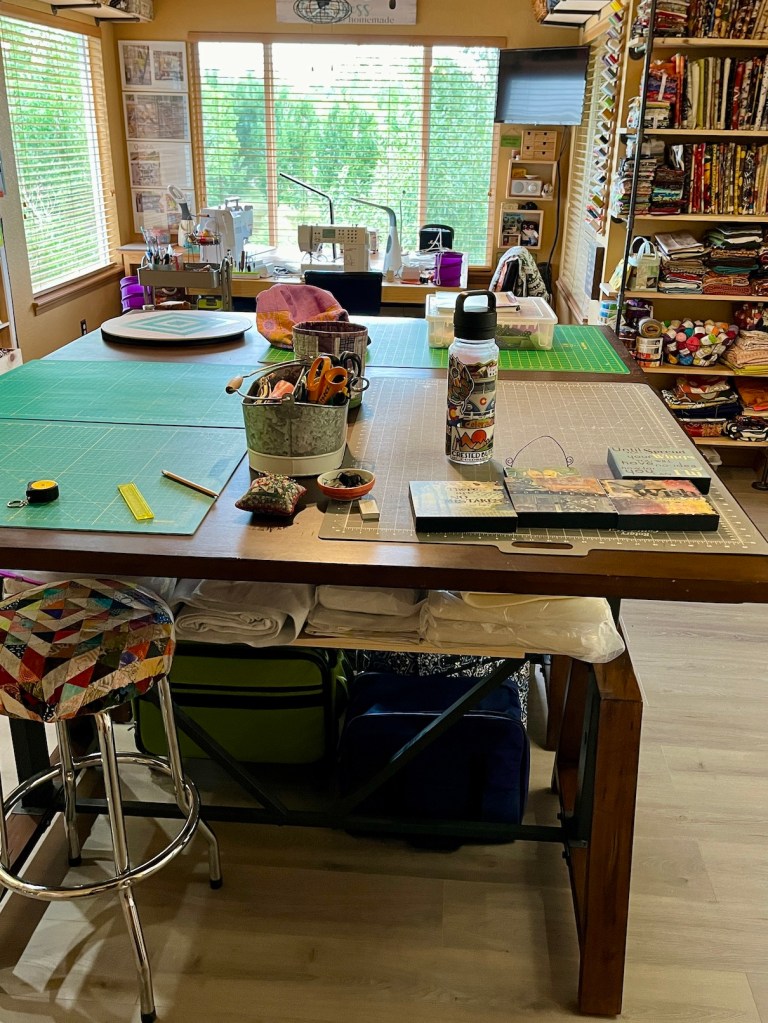
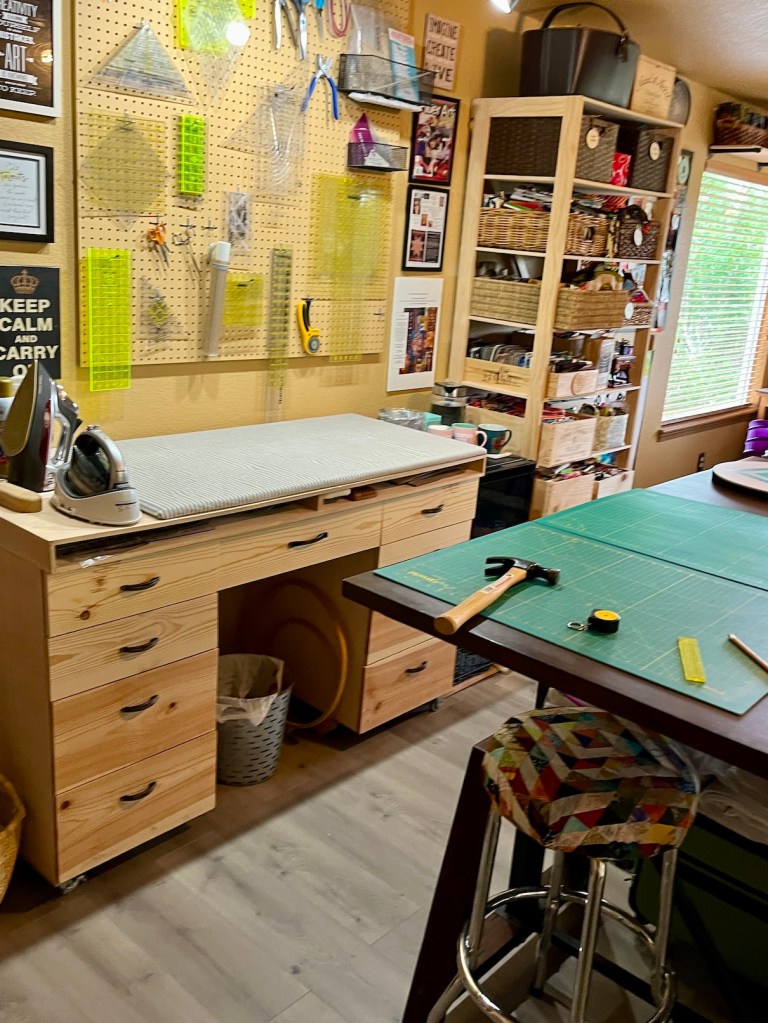
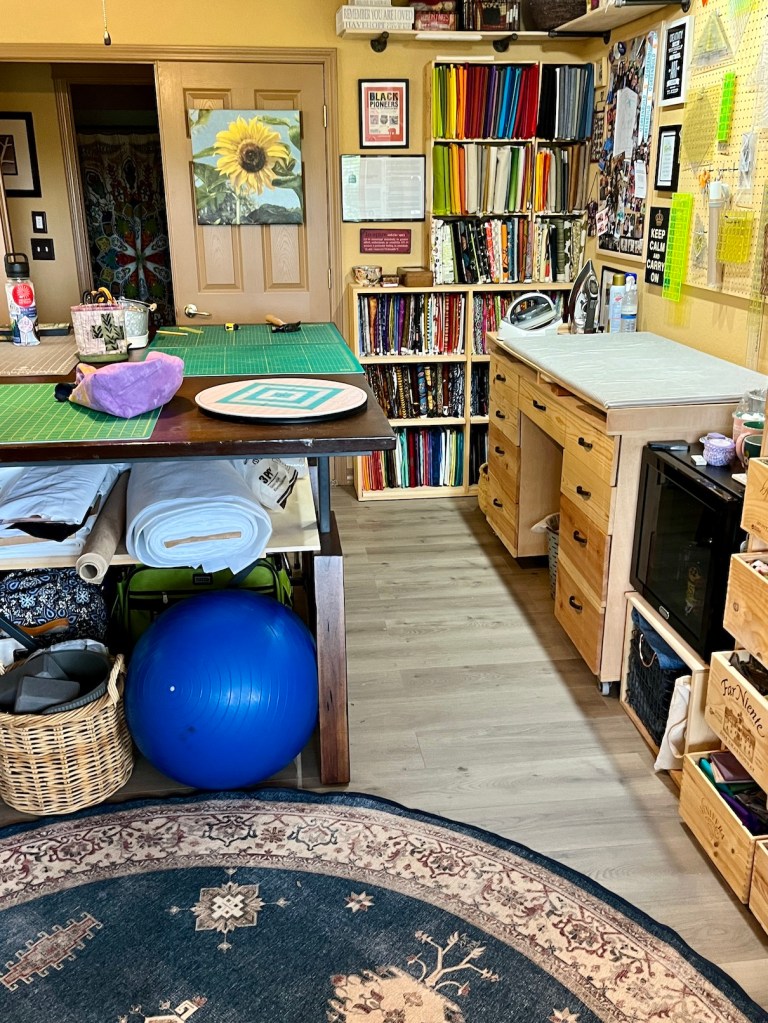
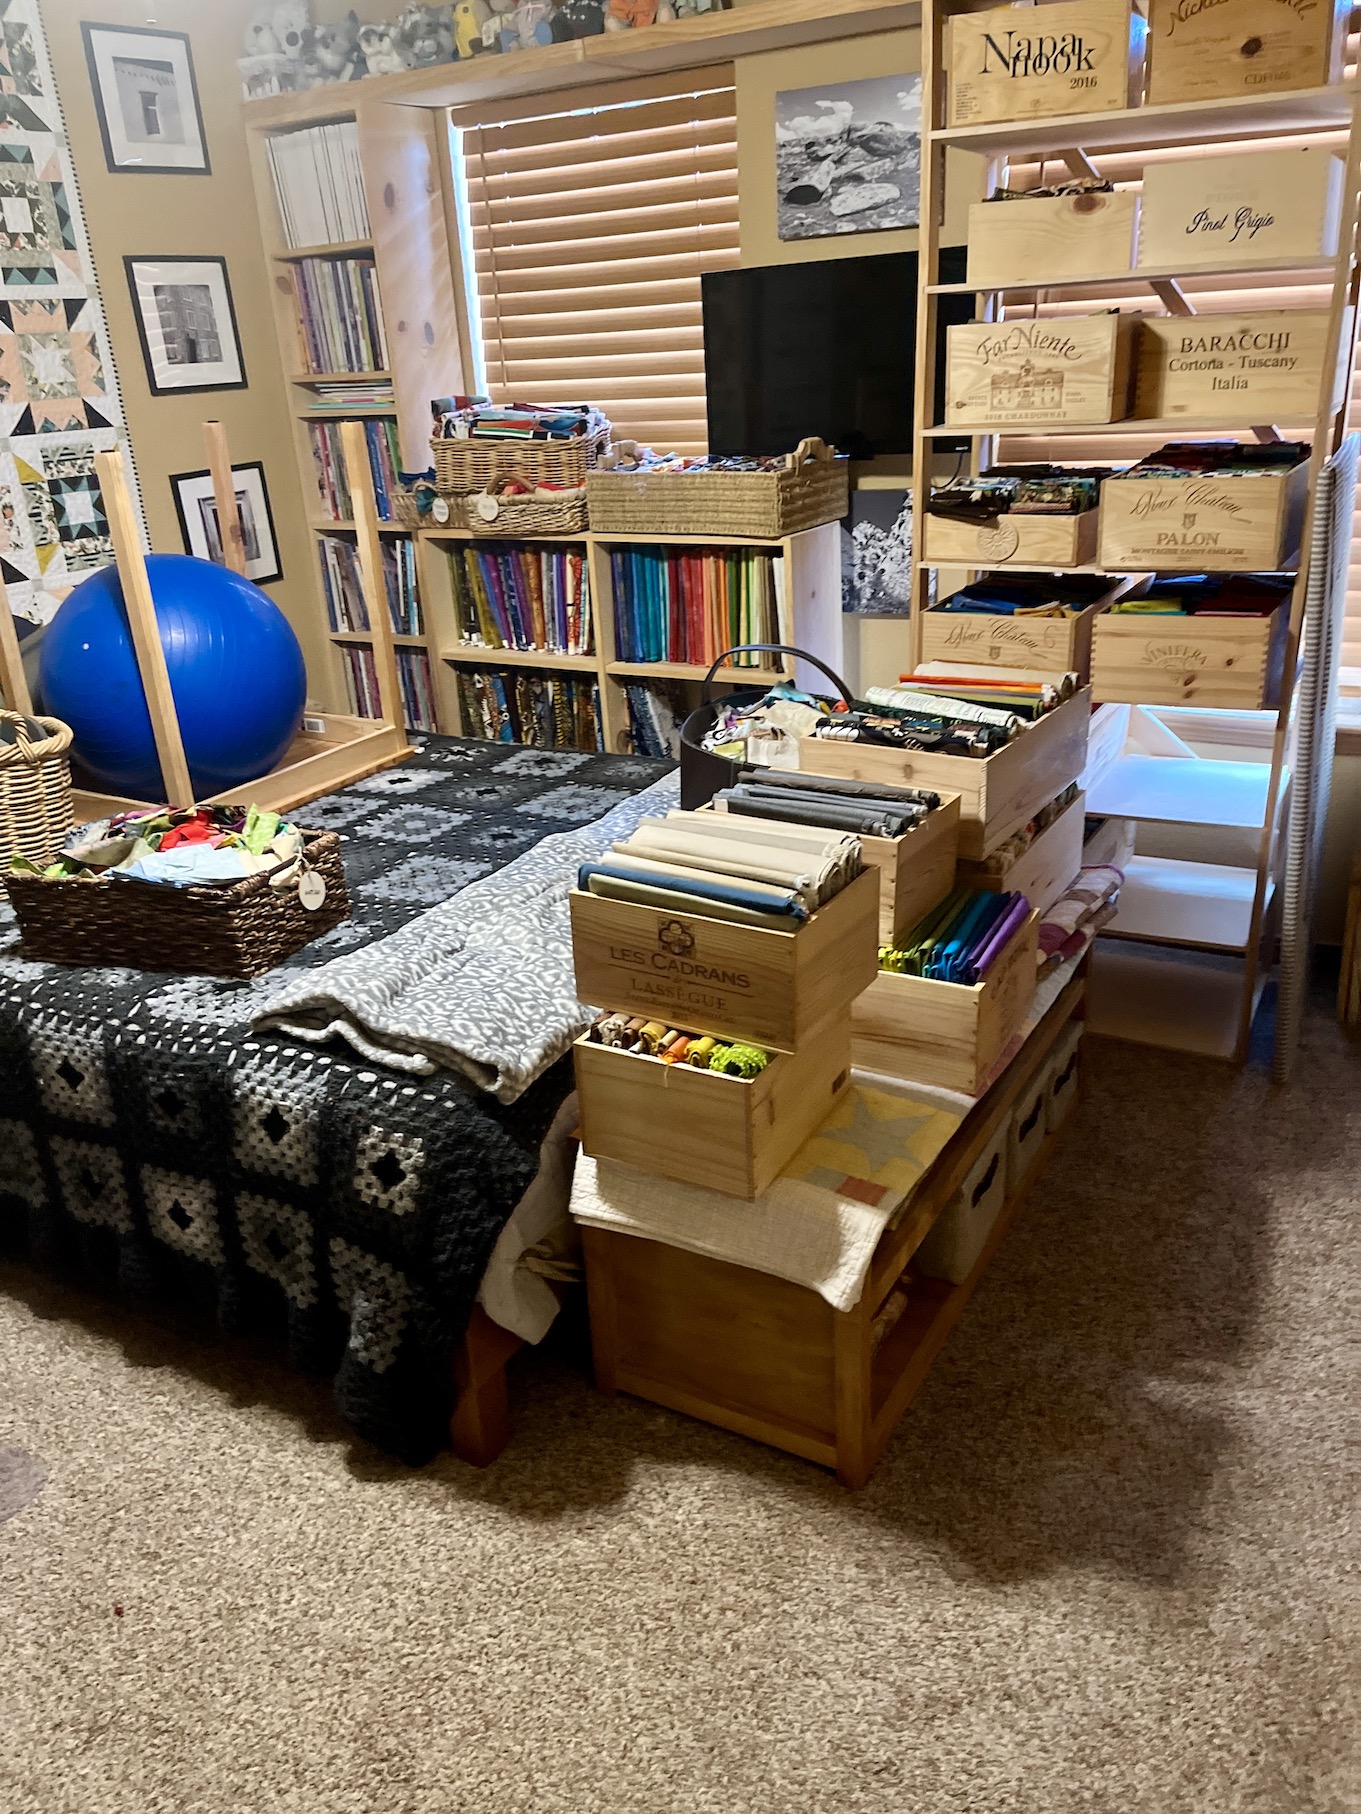
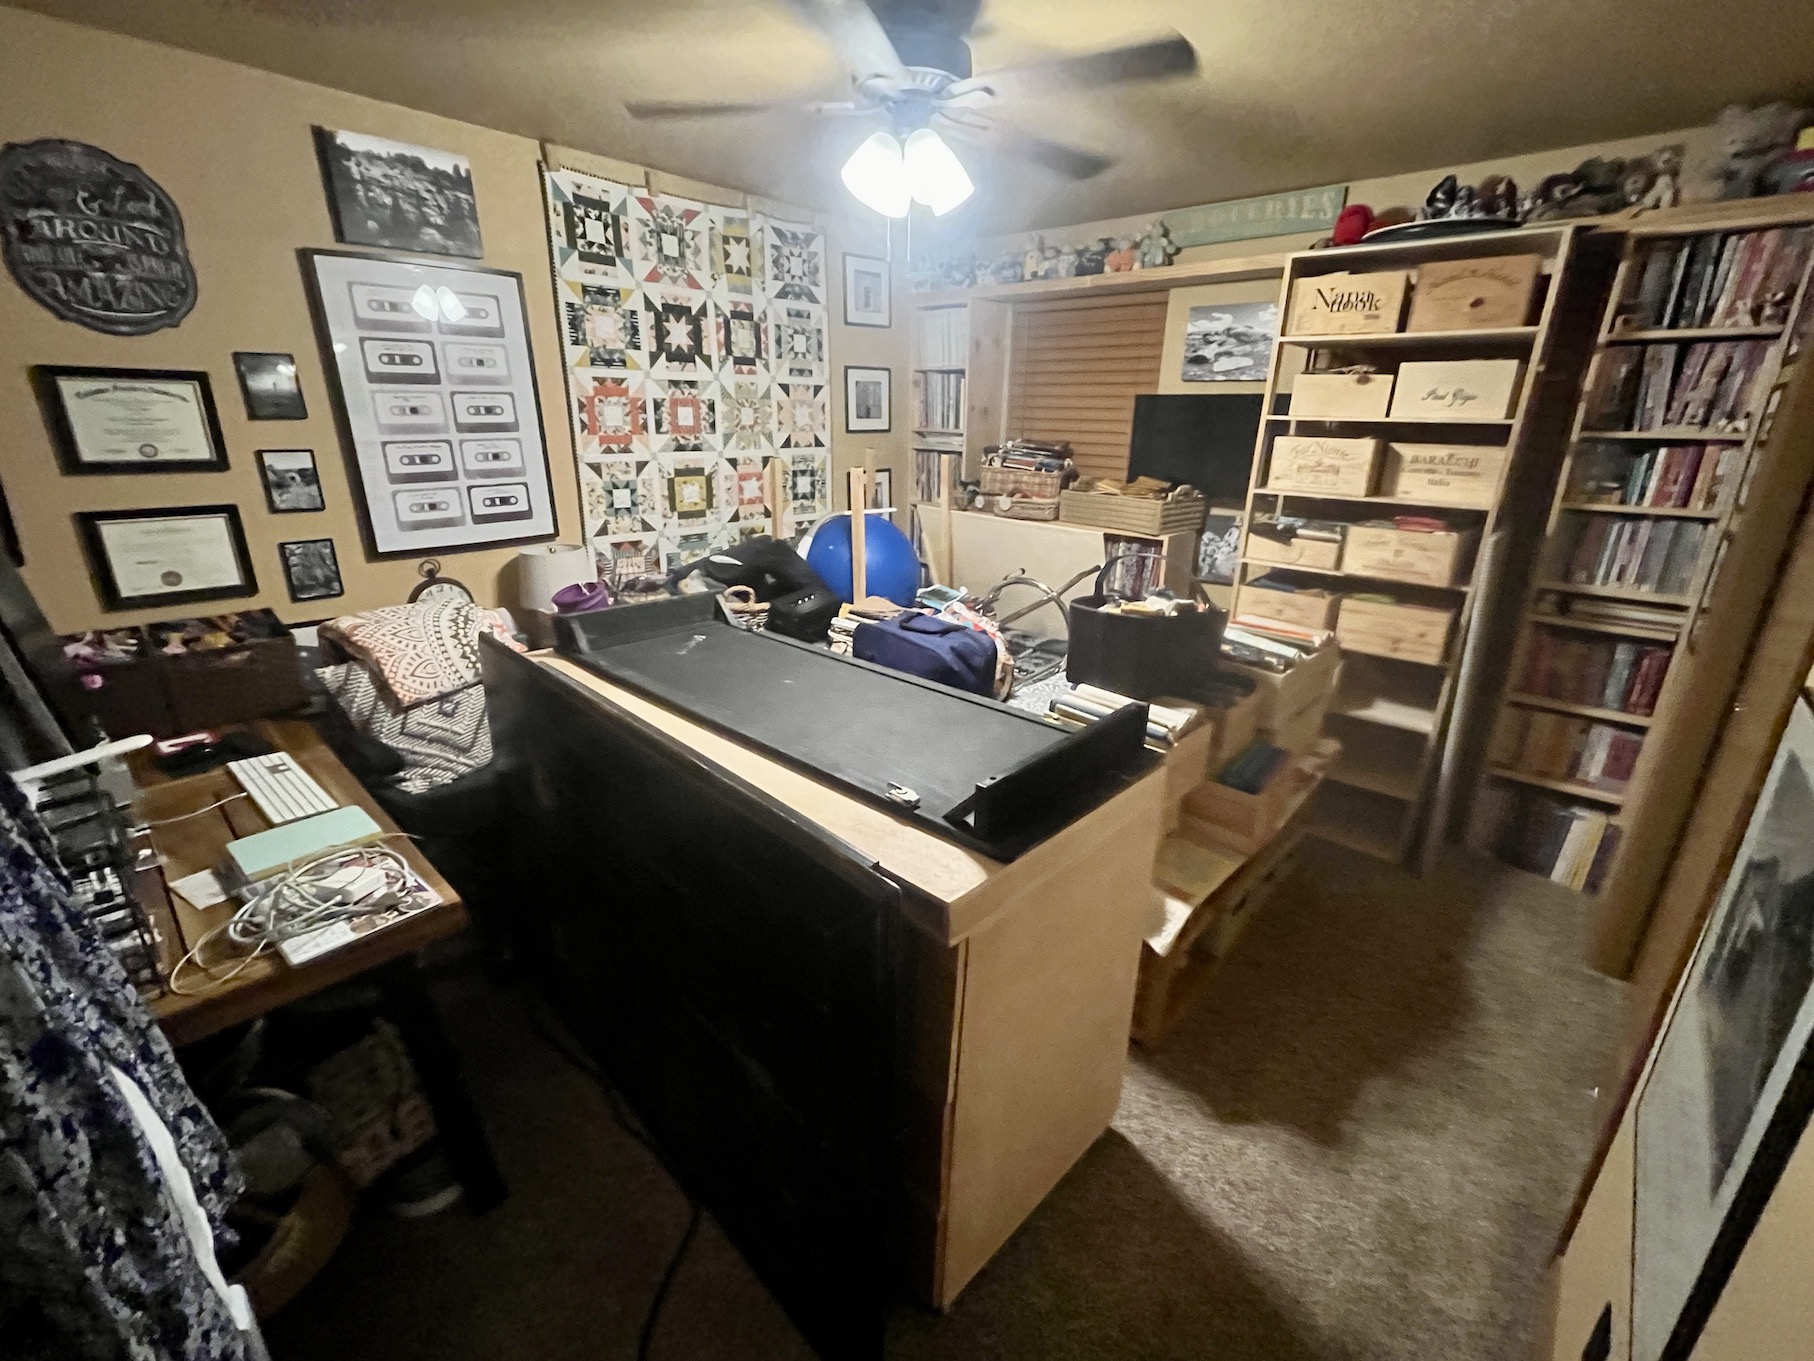
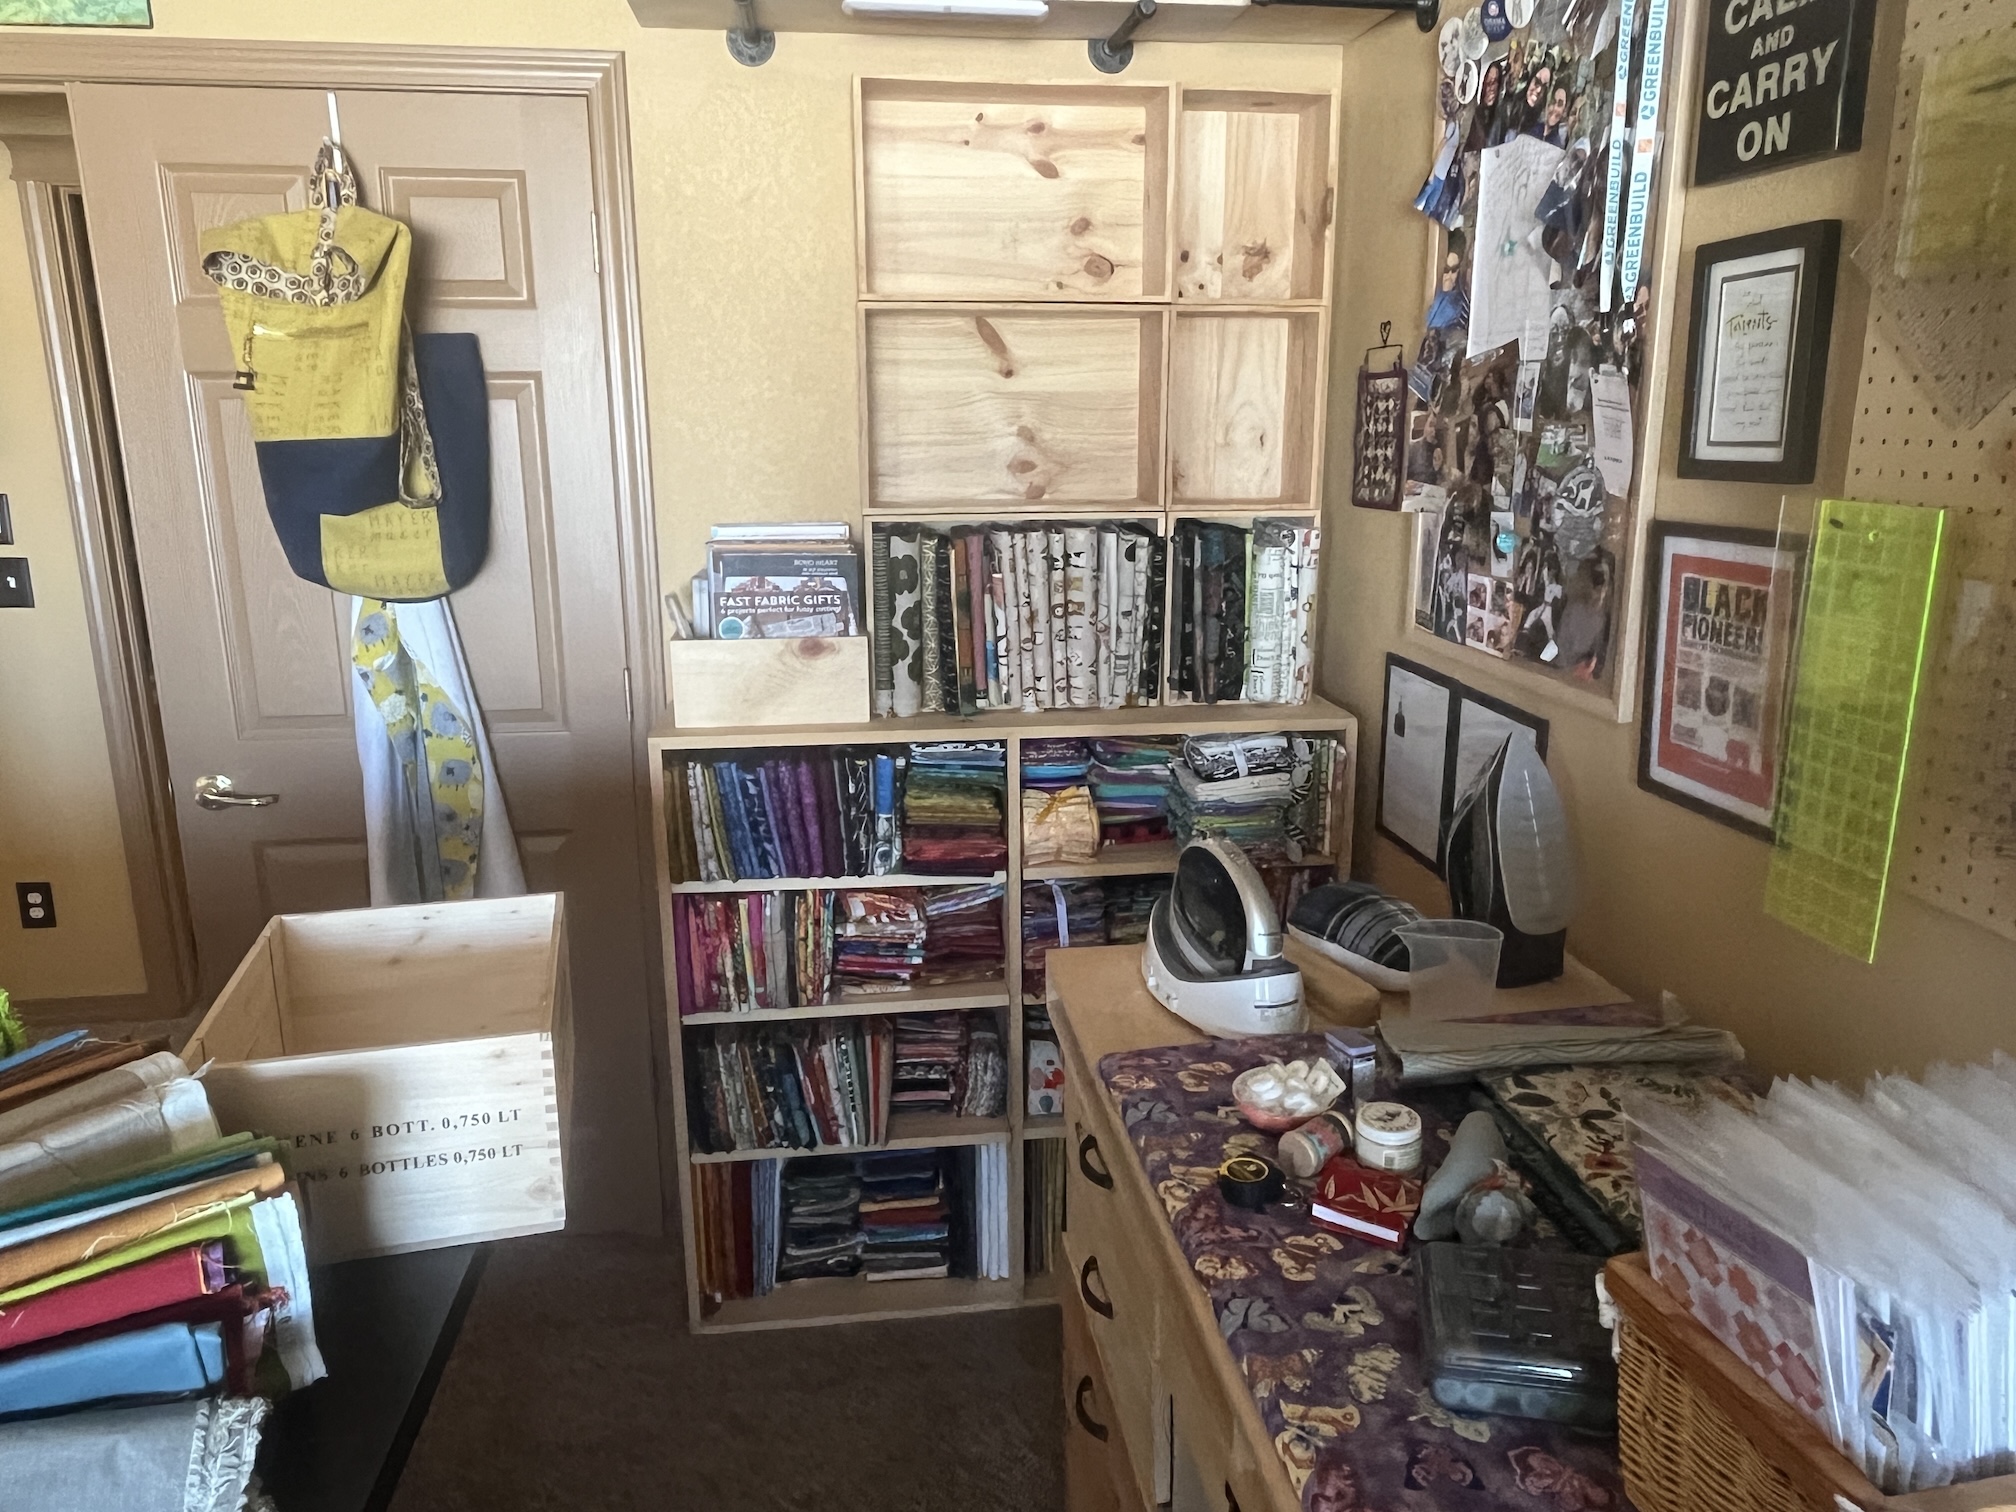
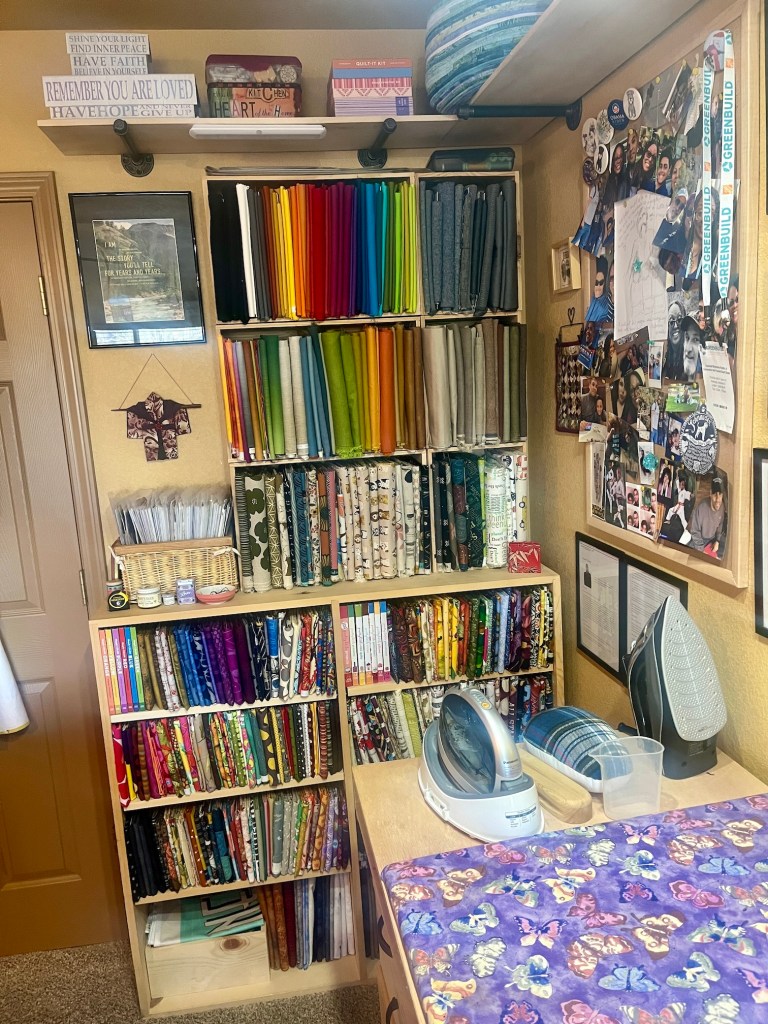
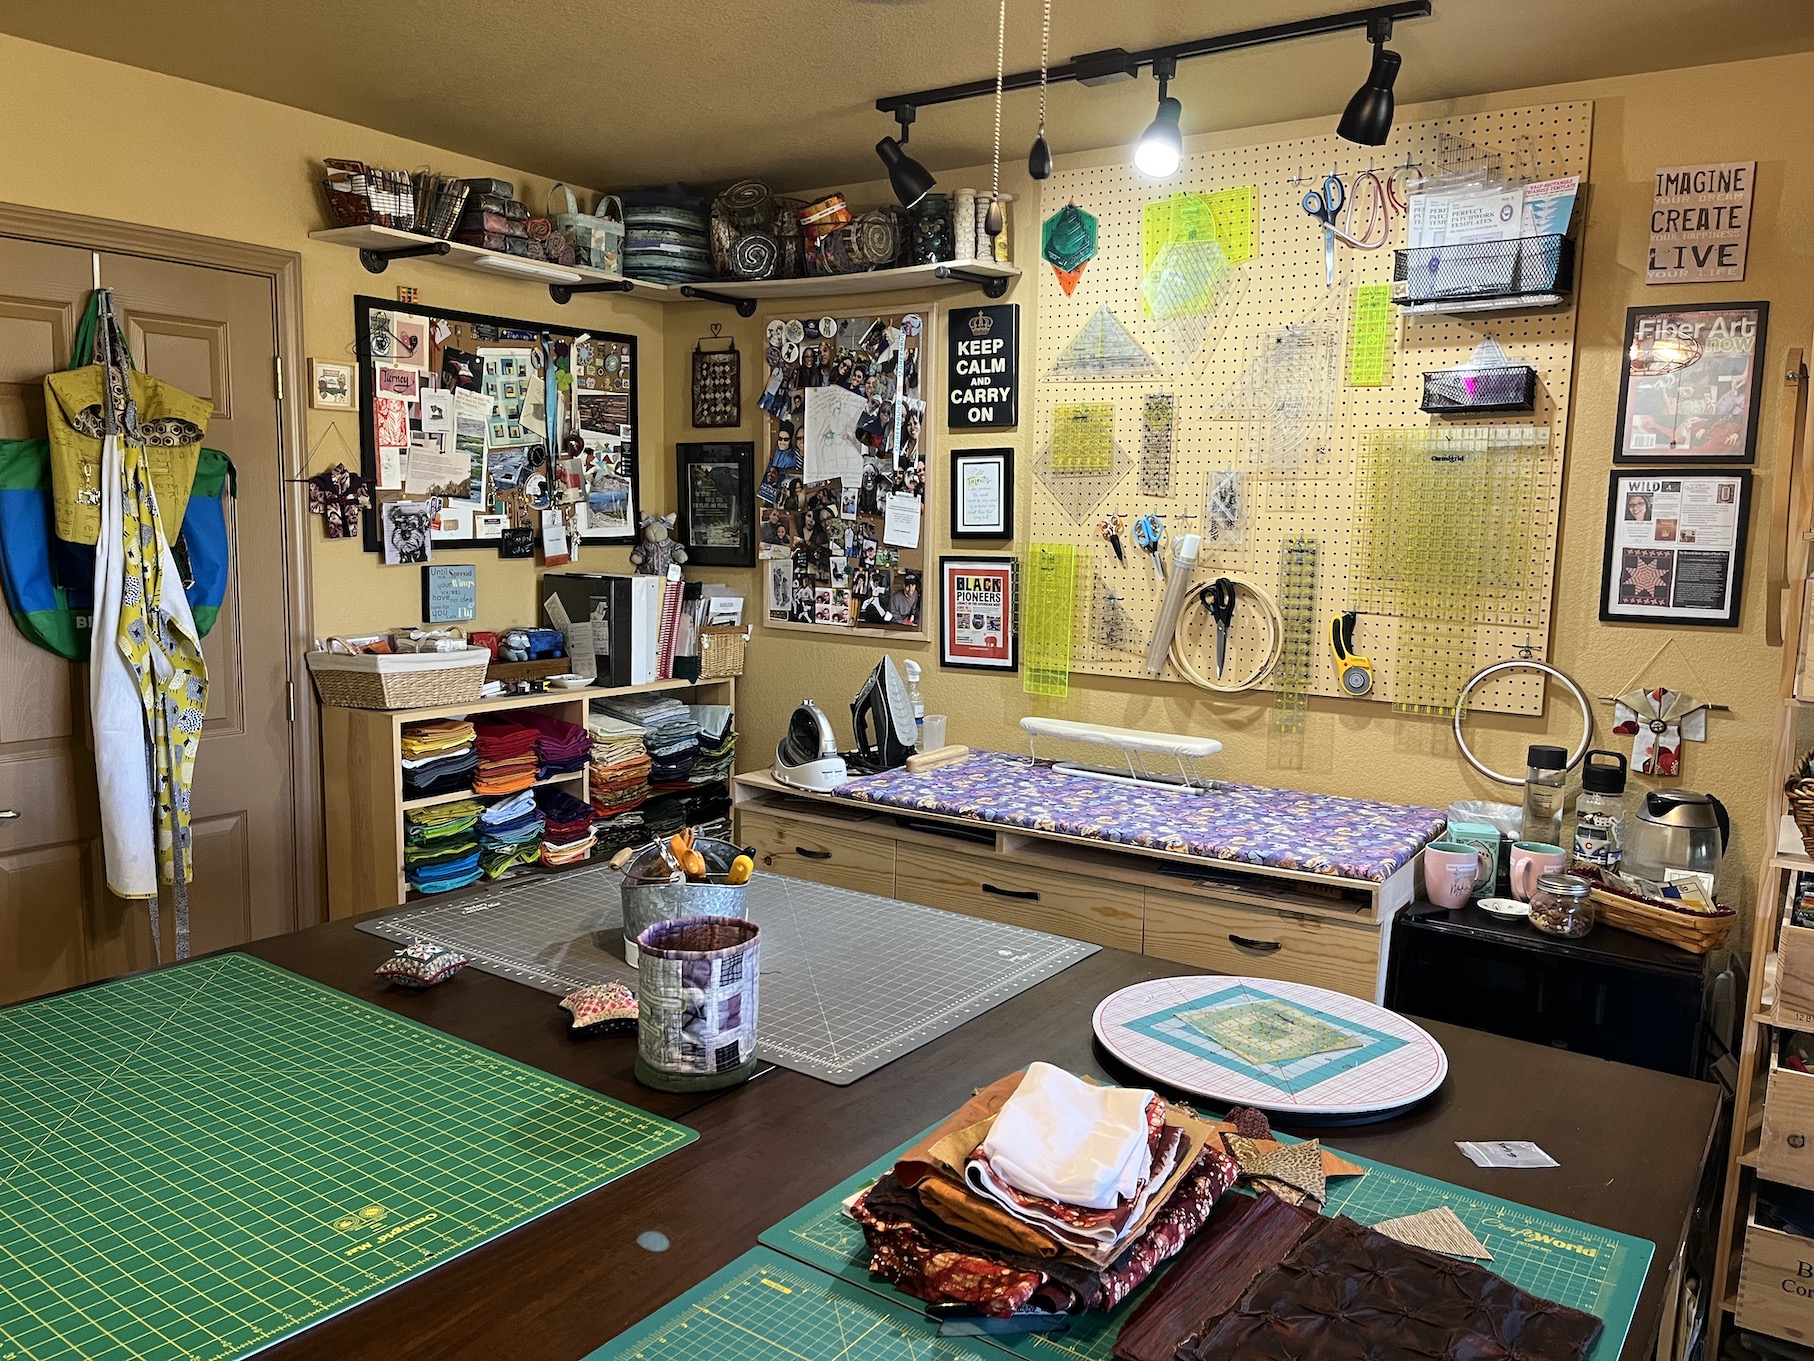
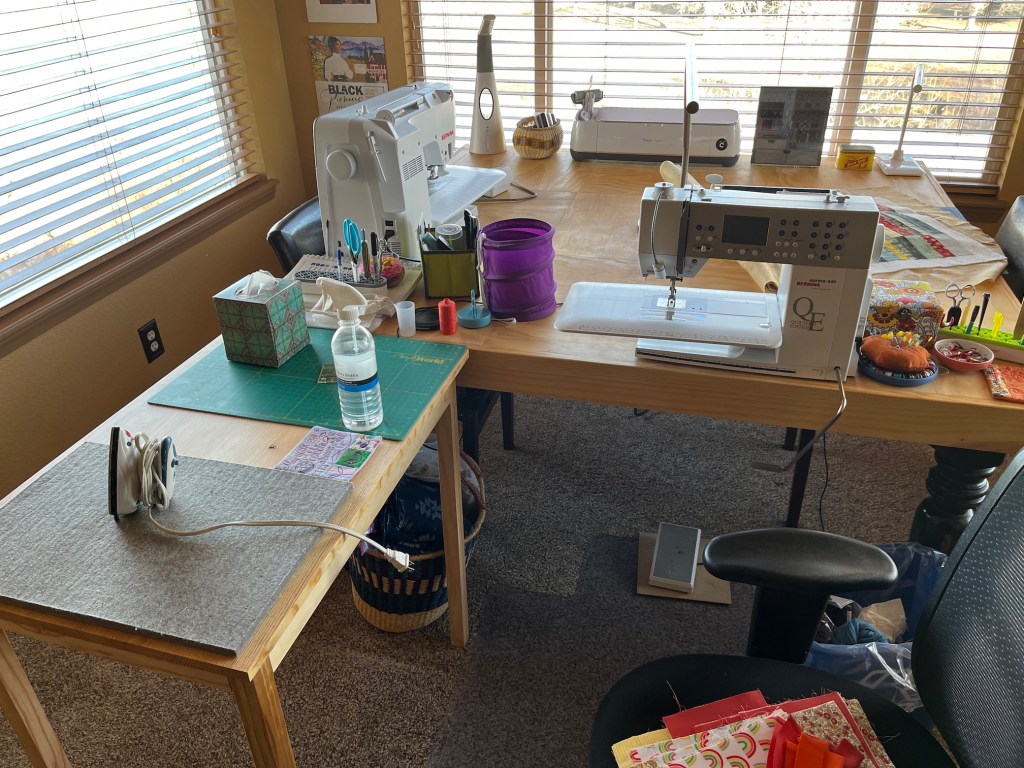
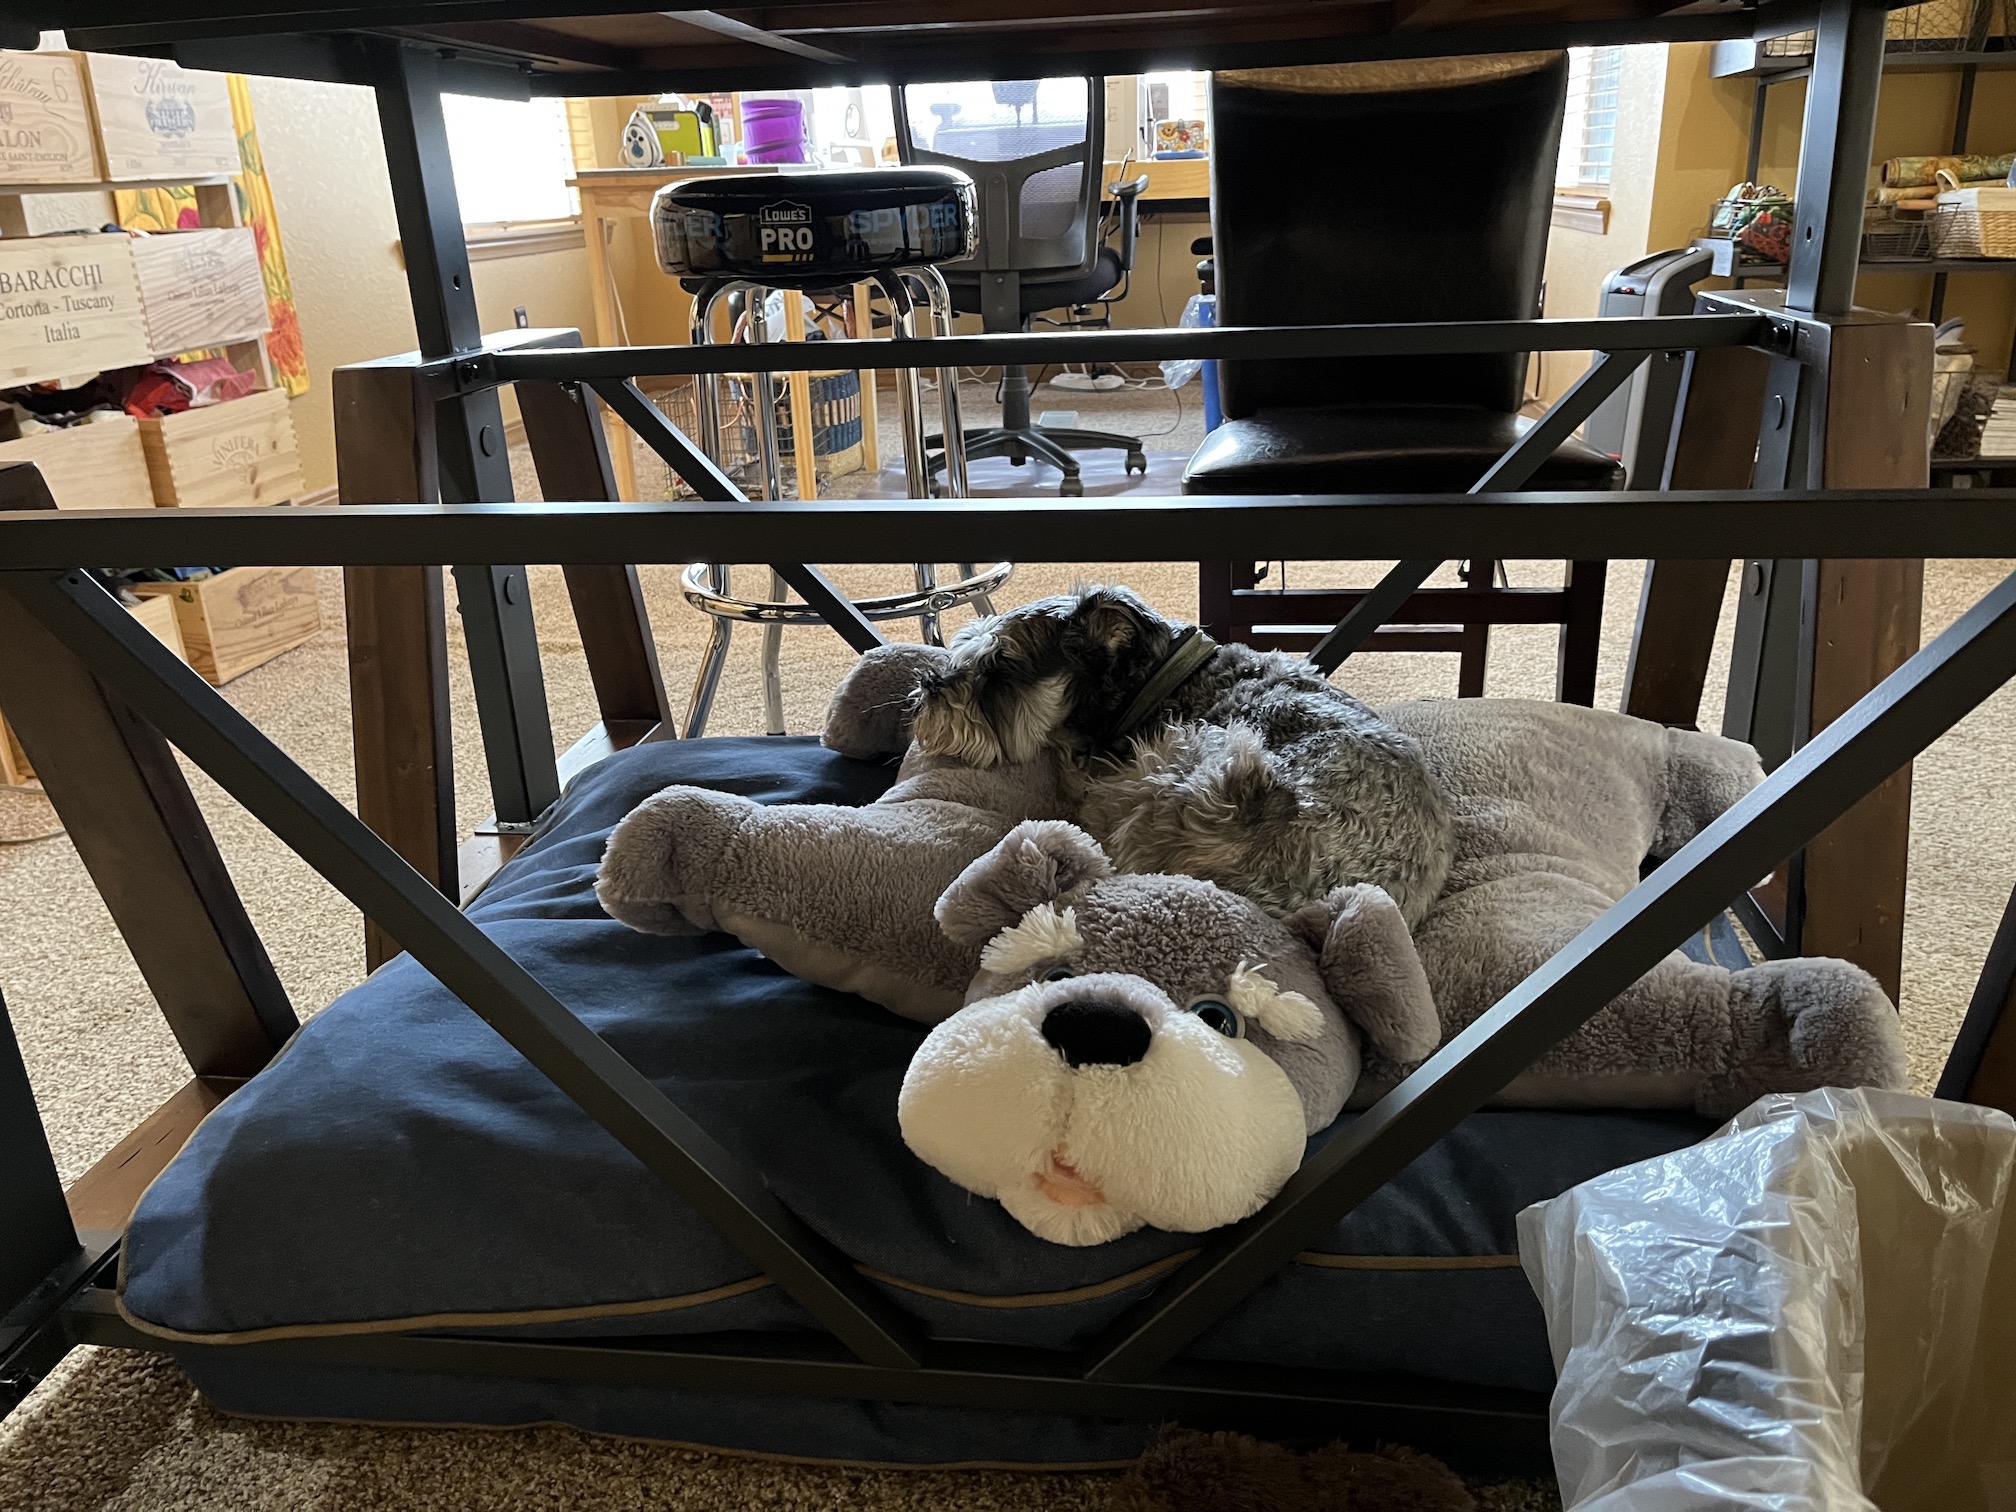
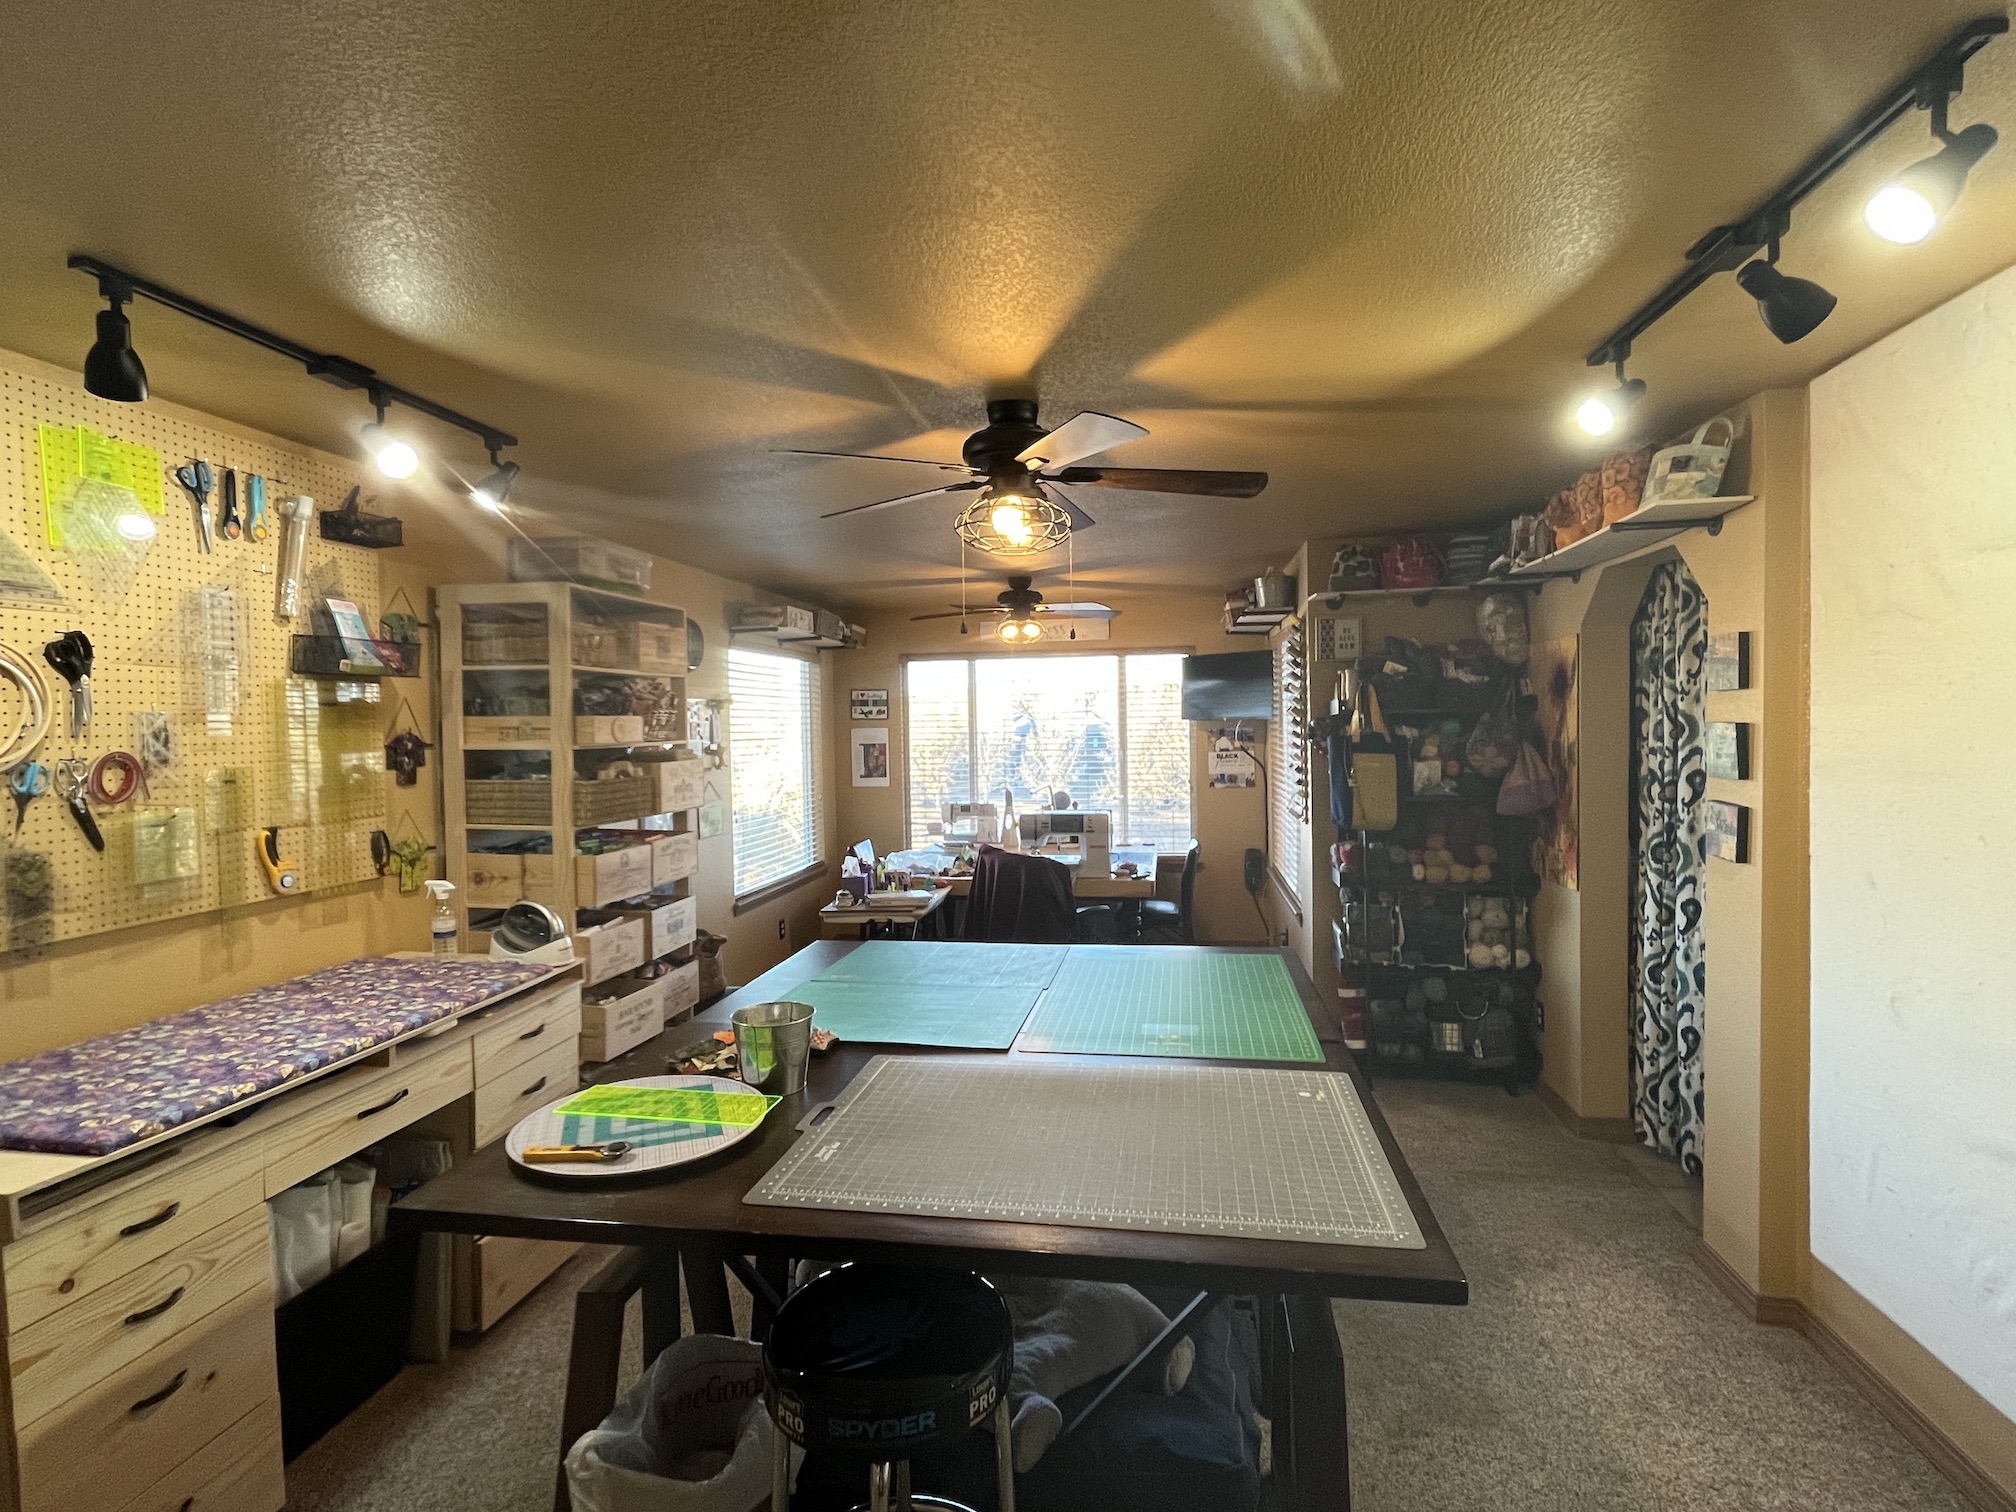
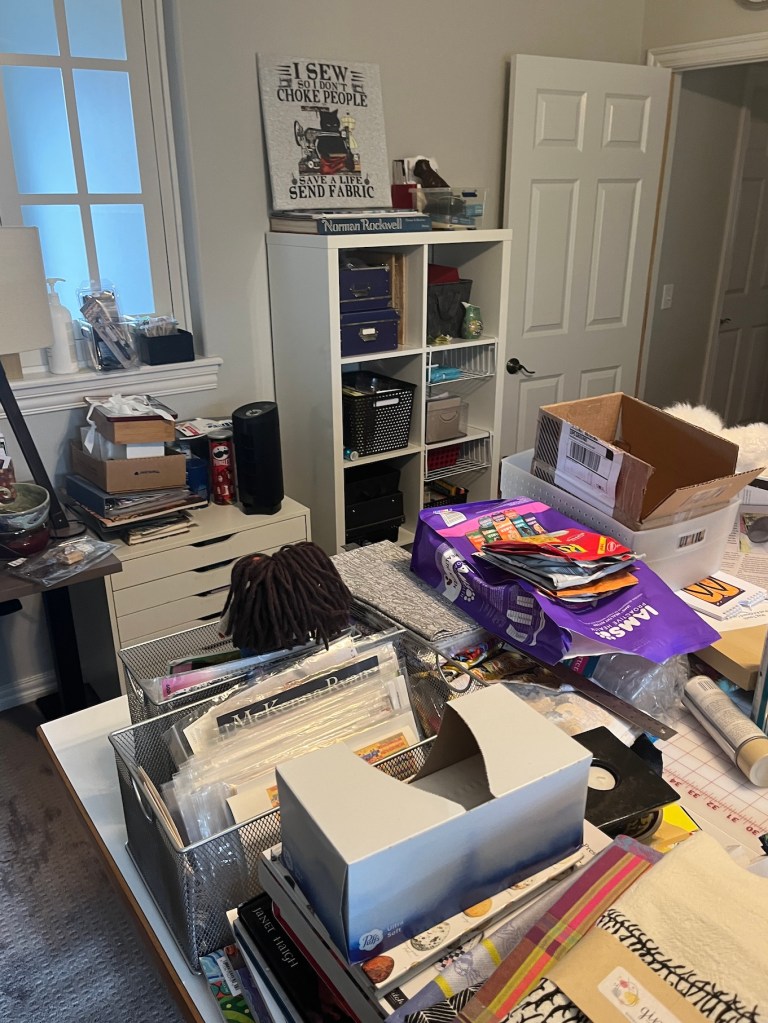
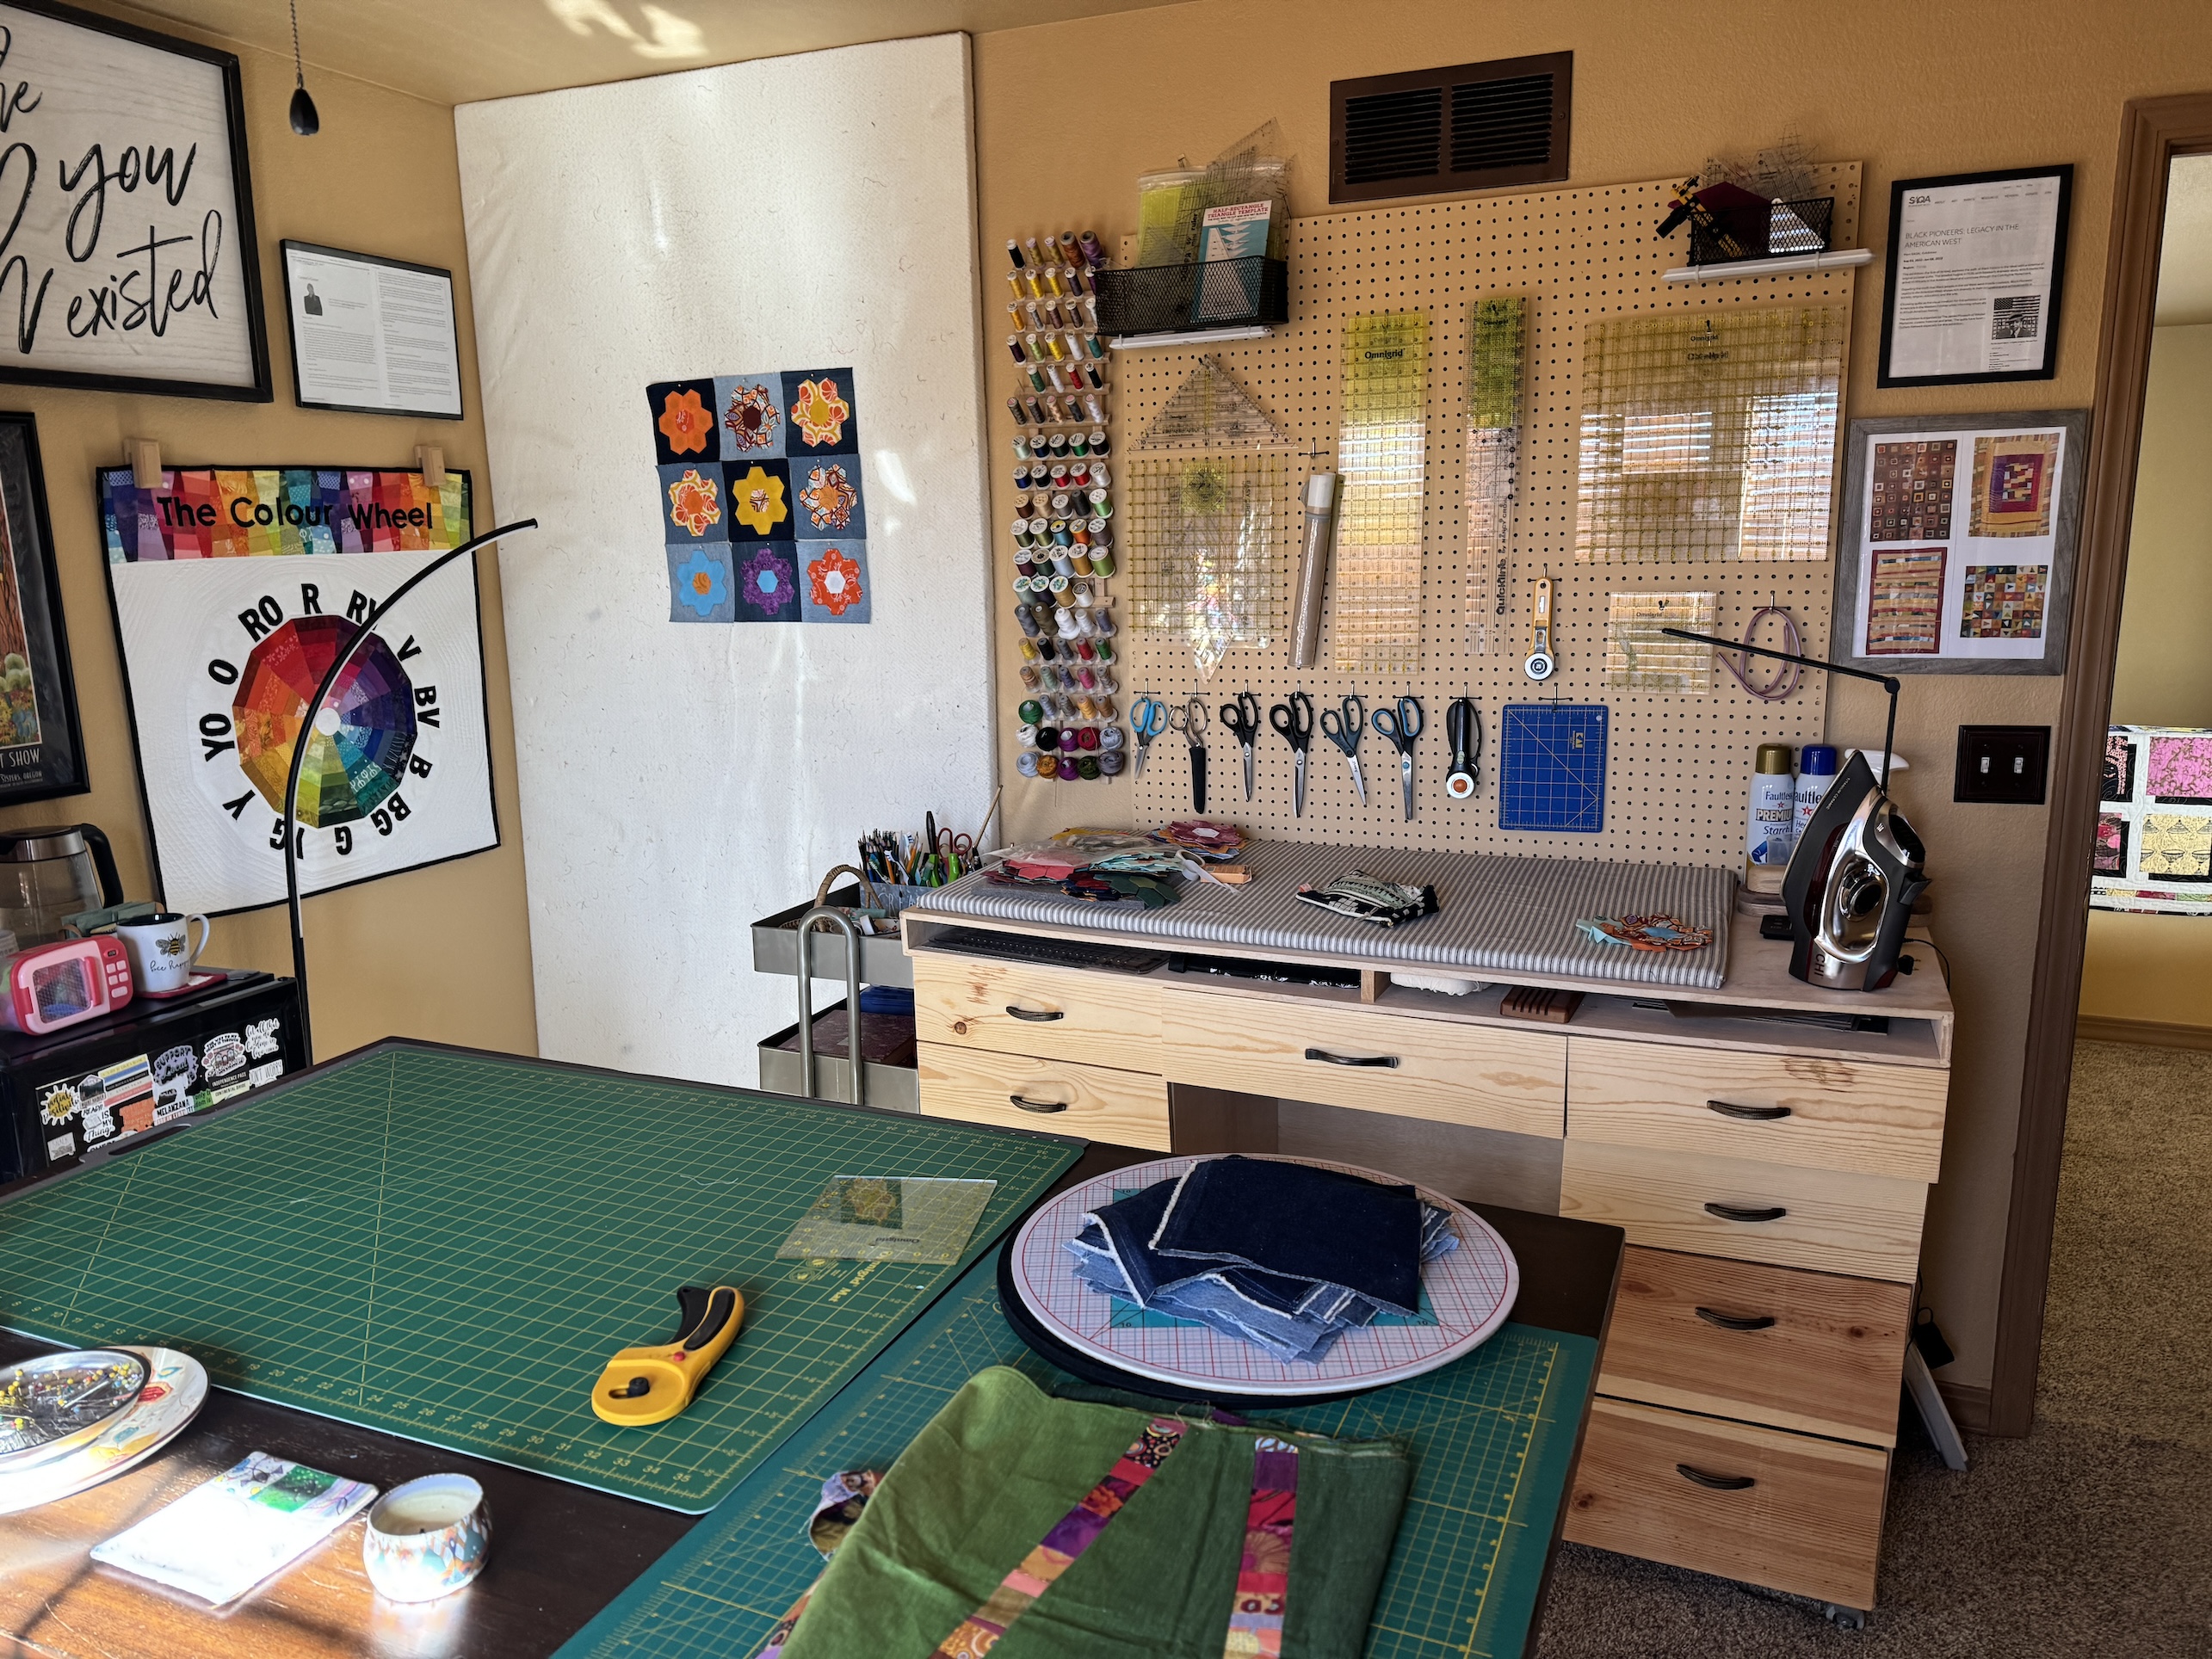
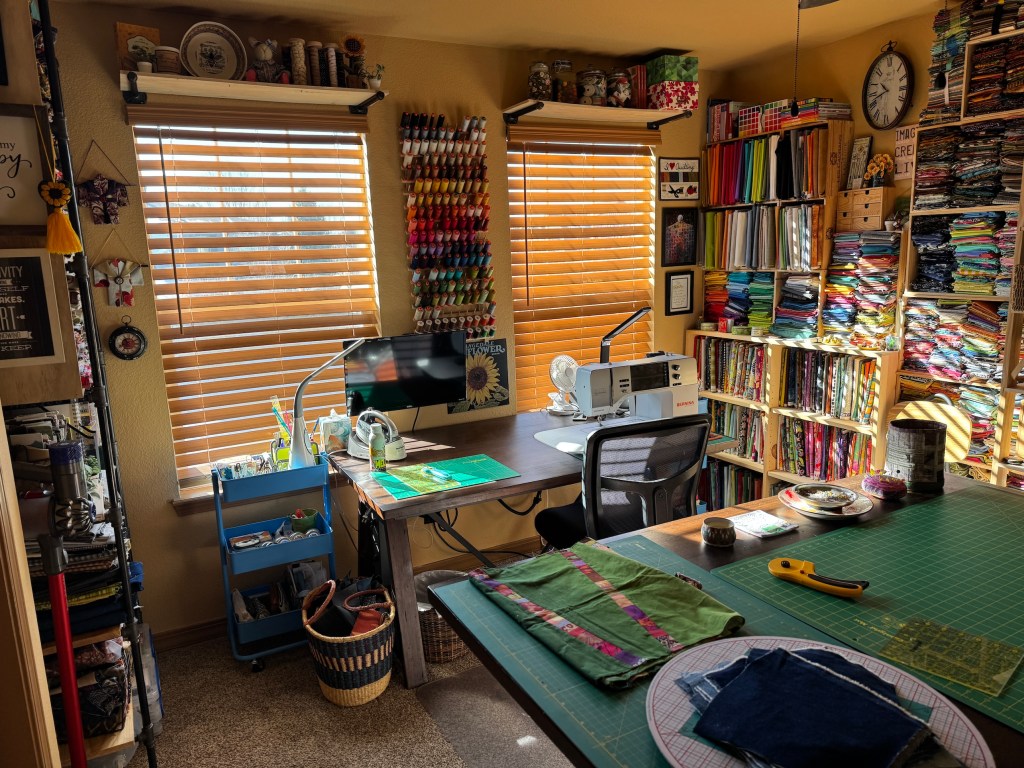
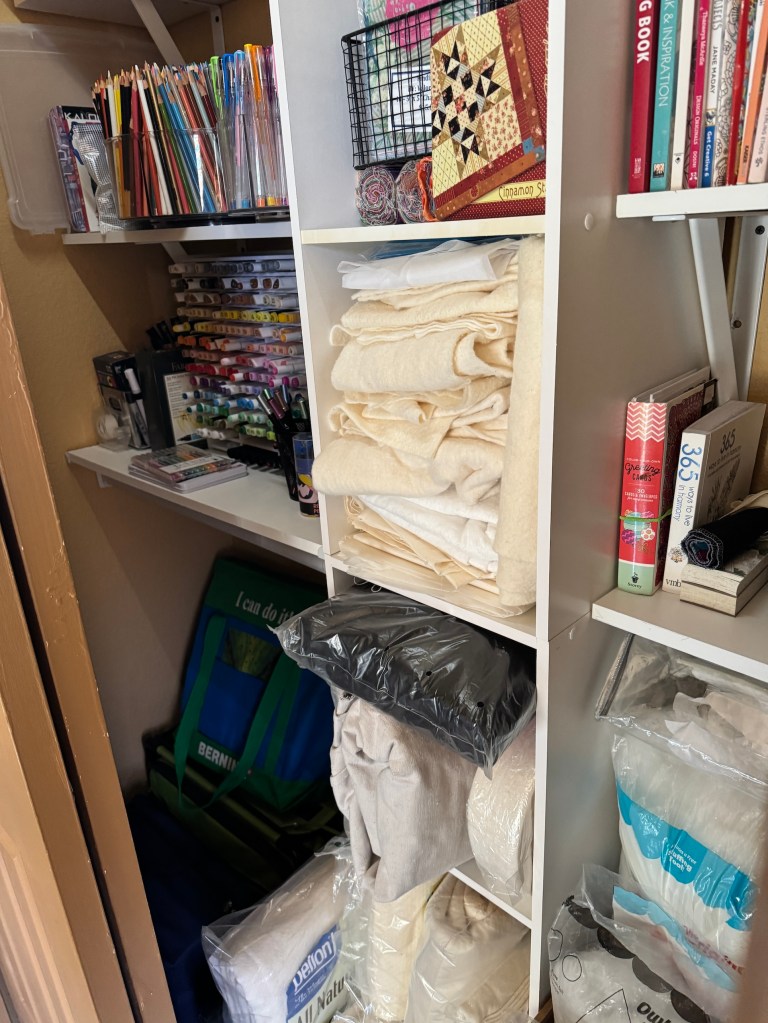
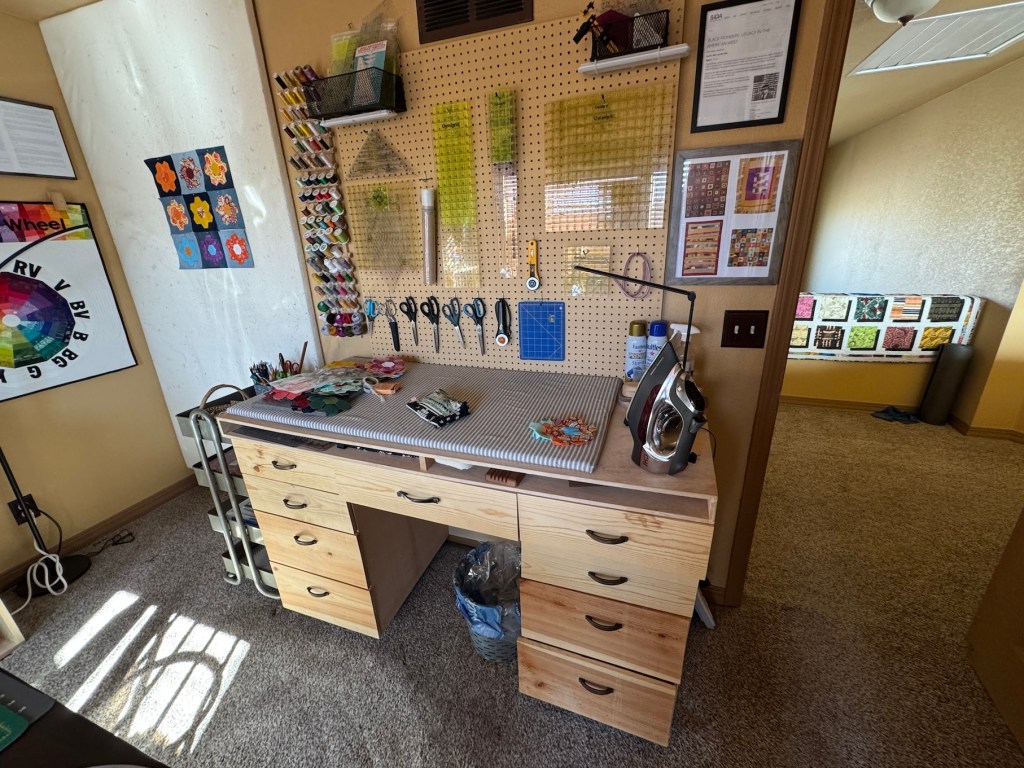
I’ve done additional rearranging and here is what the rest of the room currently looks like:

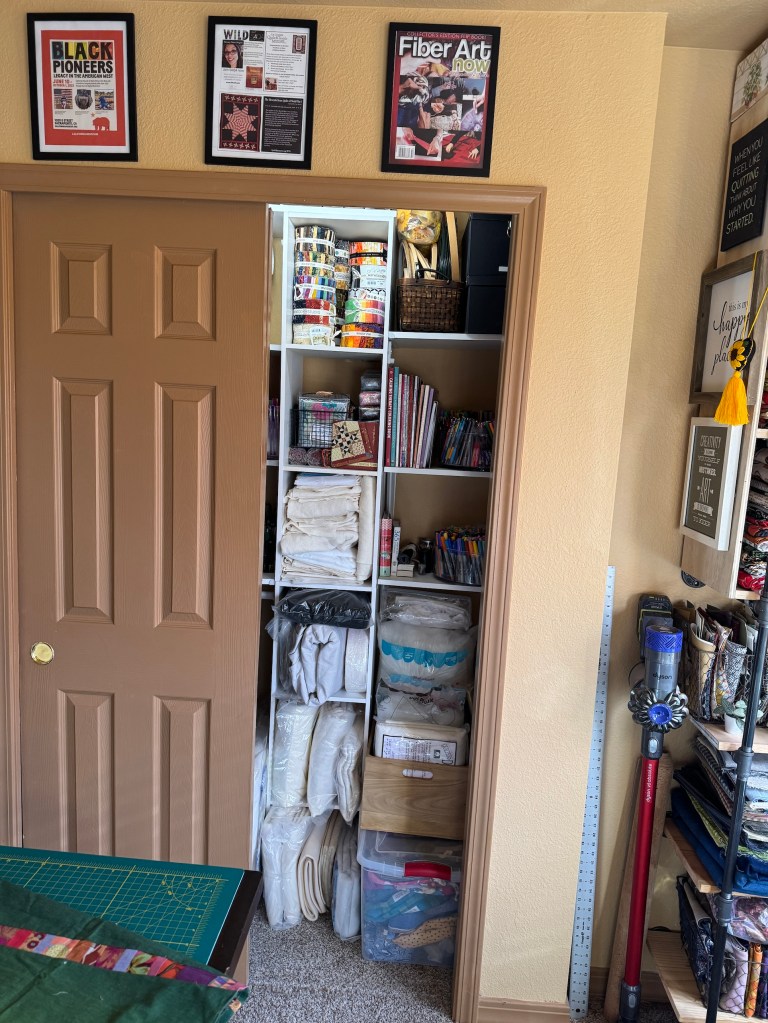
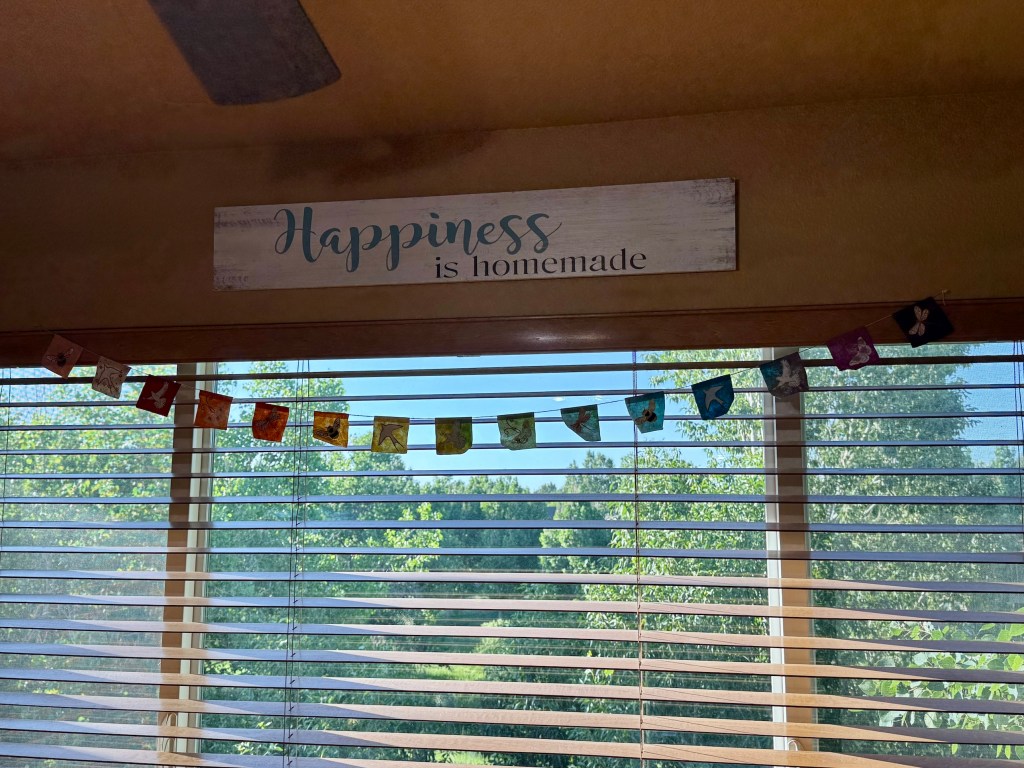
You might think it would feel very cluttered moving from a large studio (see the post Thrifting for the Studio if you’ve recently joined us and haven’t seen my previous studio) but it feels COZY and like a HUG of CREATIVE INSPIRATION whenever I go into the room.
In addition to being visually “warm and cozy” it’s also physically/temperature-wise warm and cozy because there is less space to heat compared to my big studio. In my post Magnetic Poetry to Ease My Soul I discussed, in the Postscript section, “Creative Restraints”/”Creative Limitations”/”Creative Limits”; and it appears that a smaller space to create in is really fueling/stimulating my creativity!
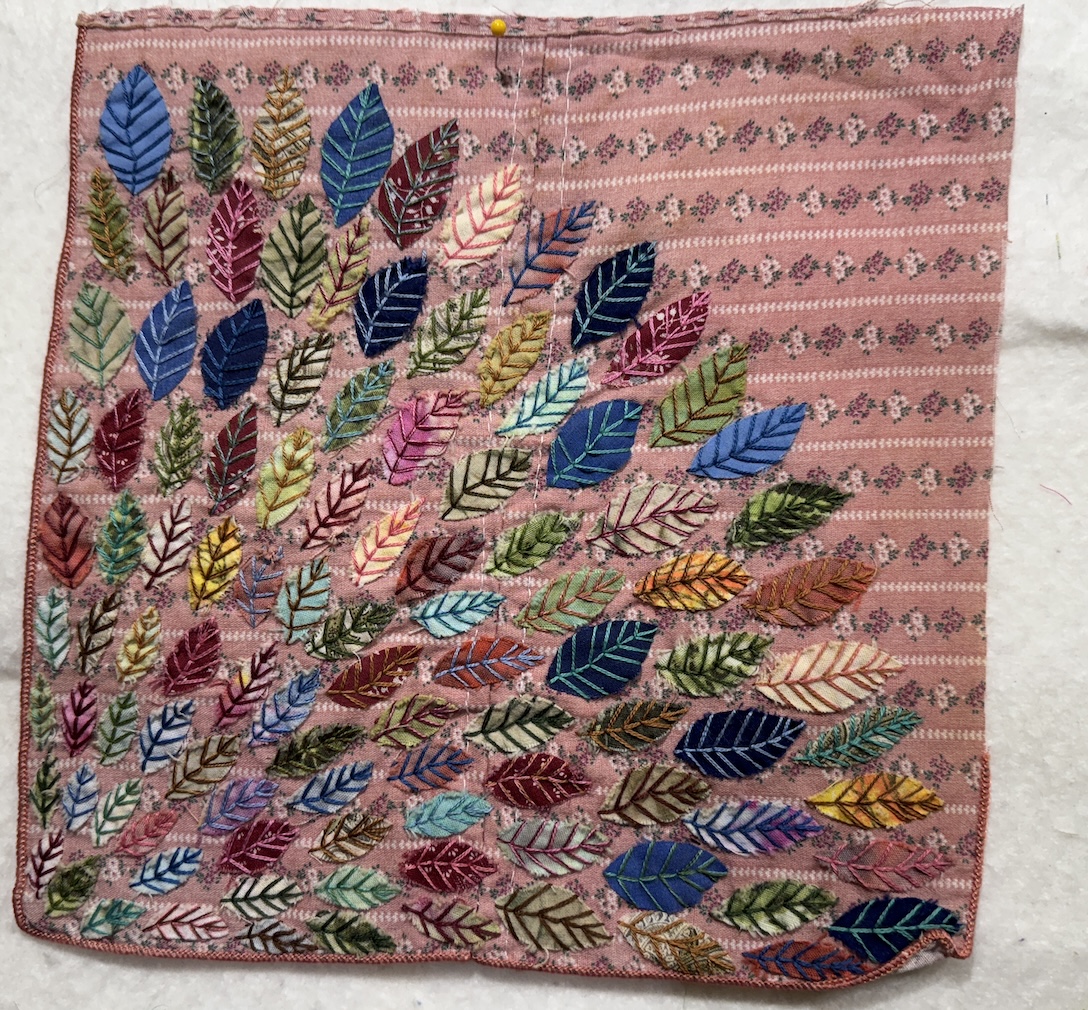
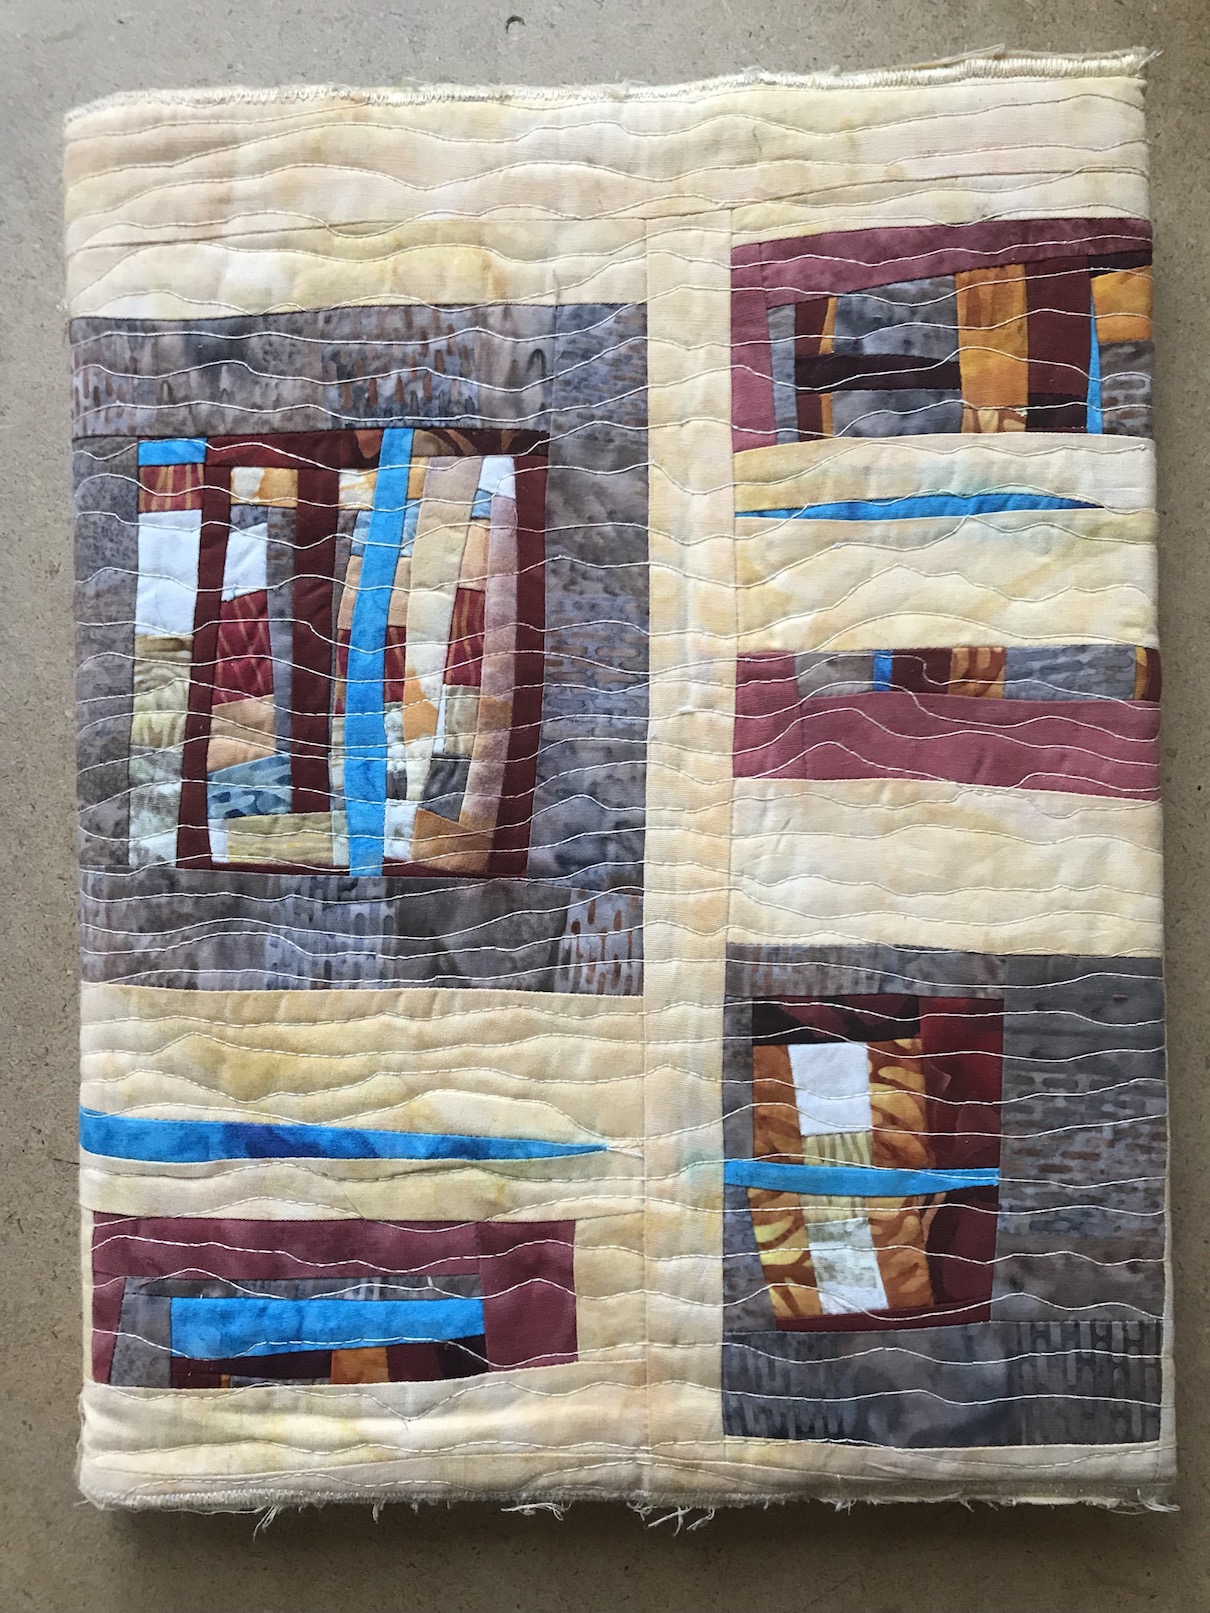
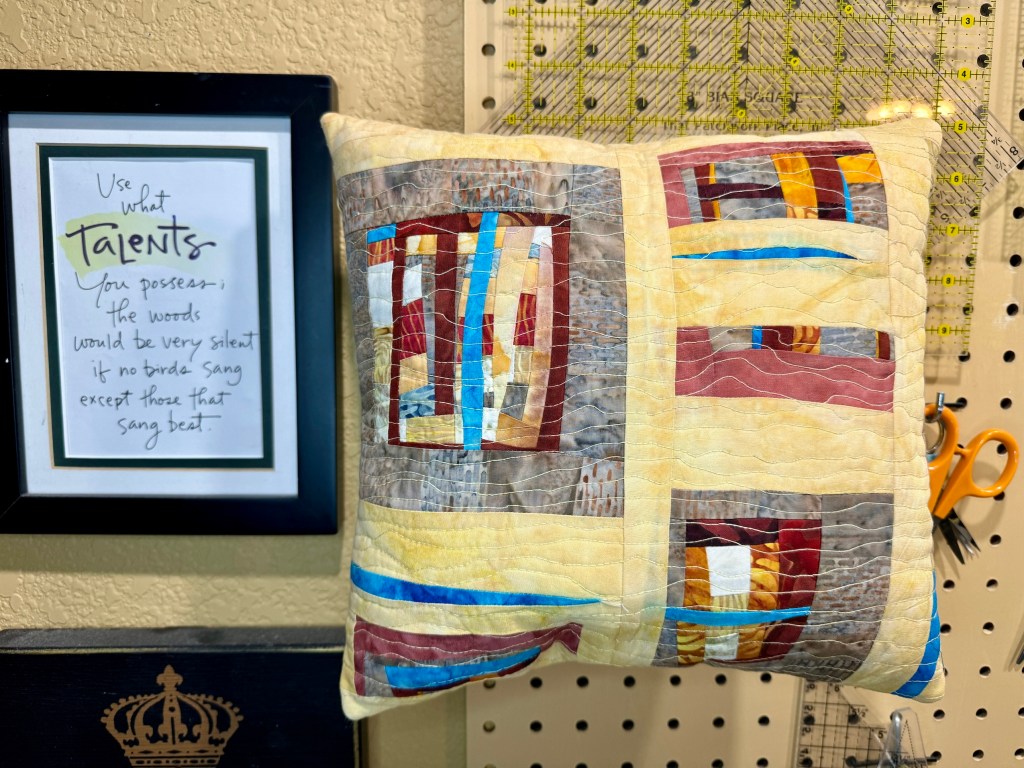
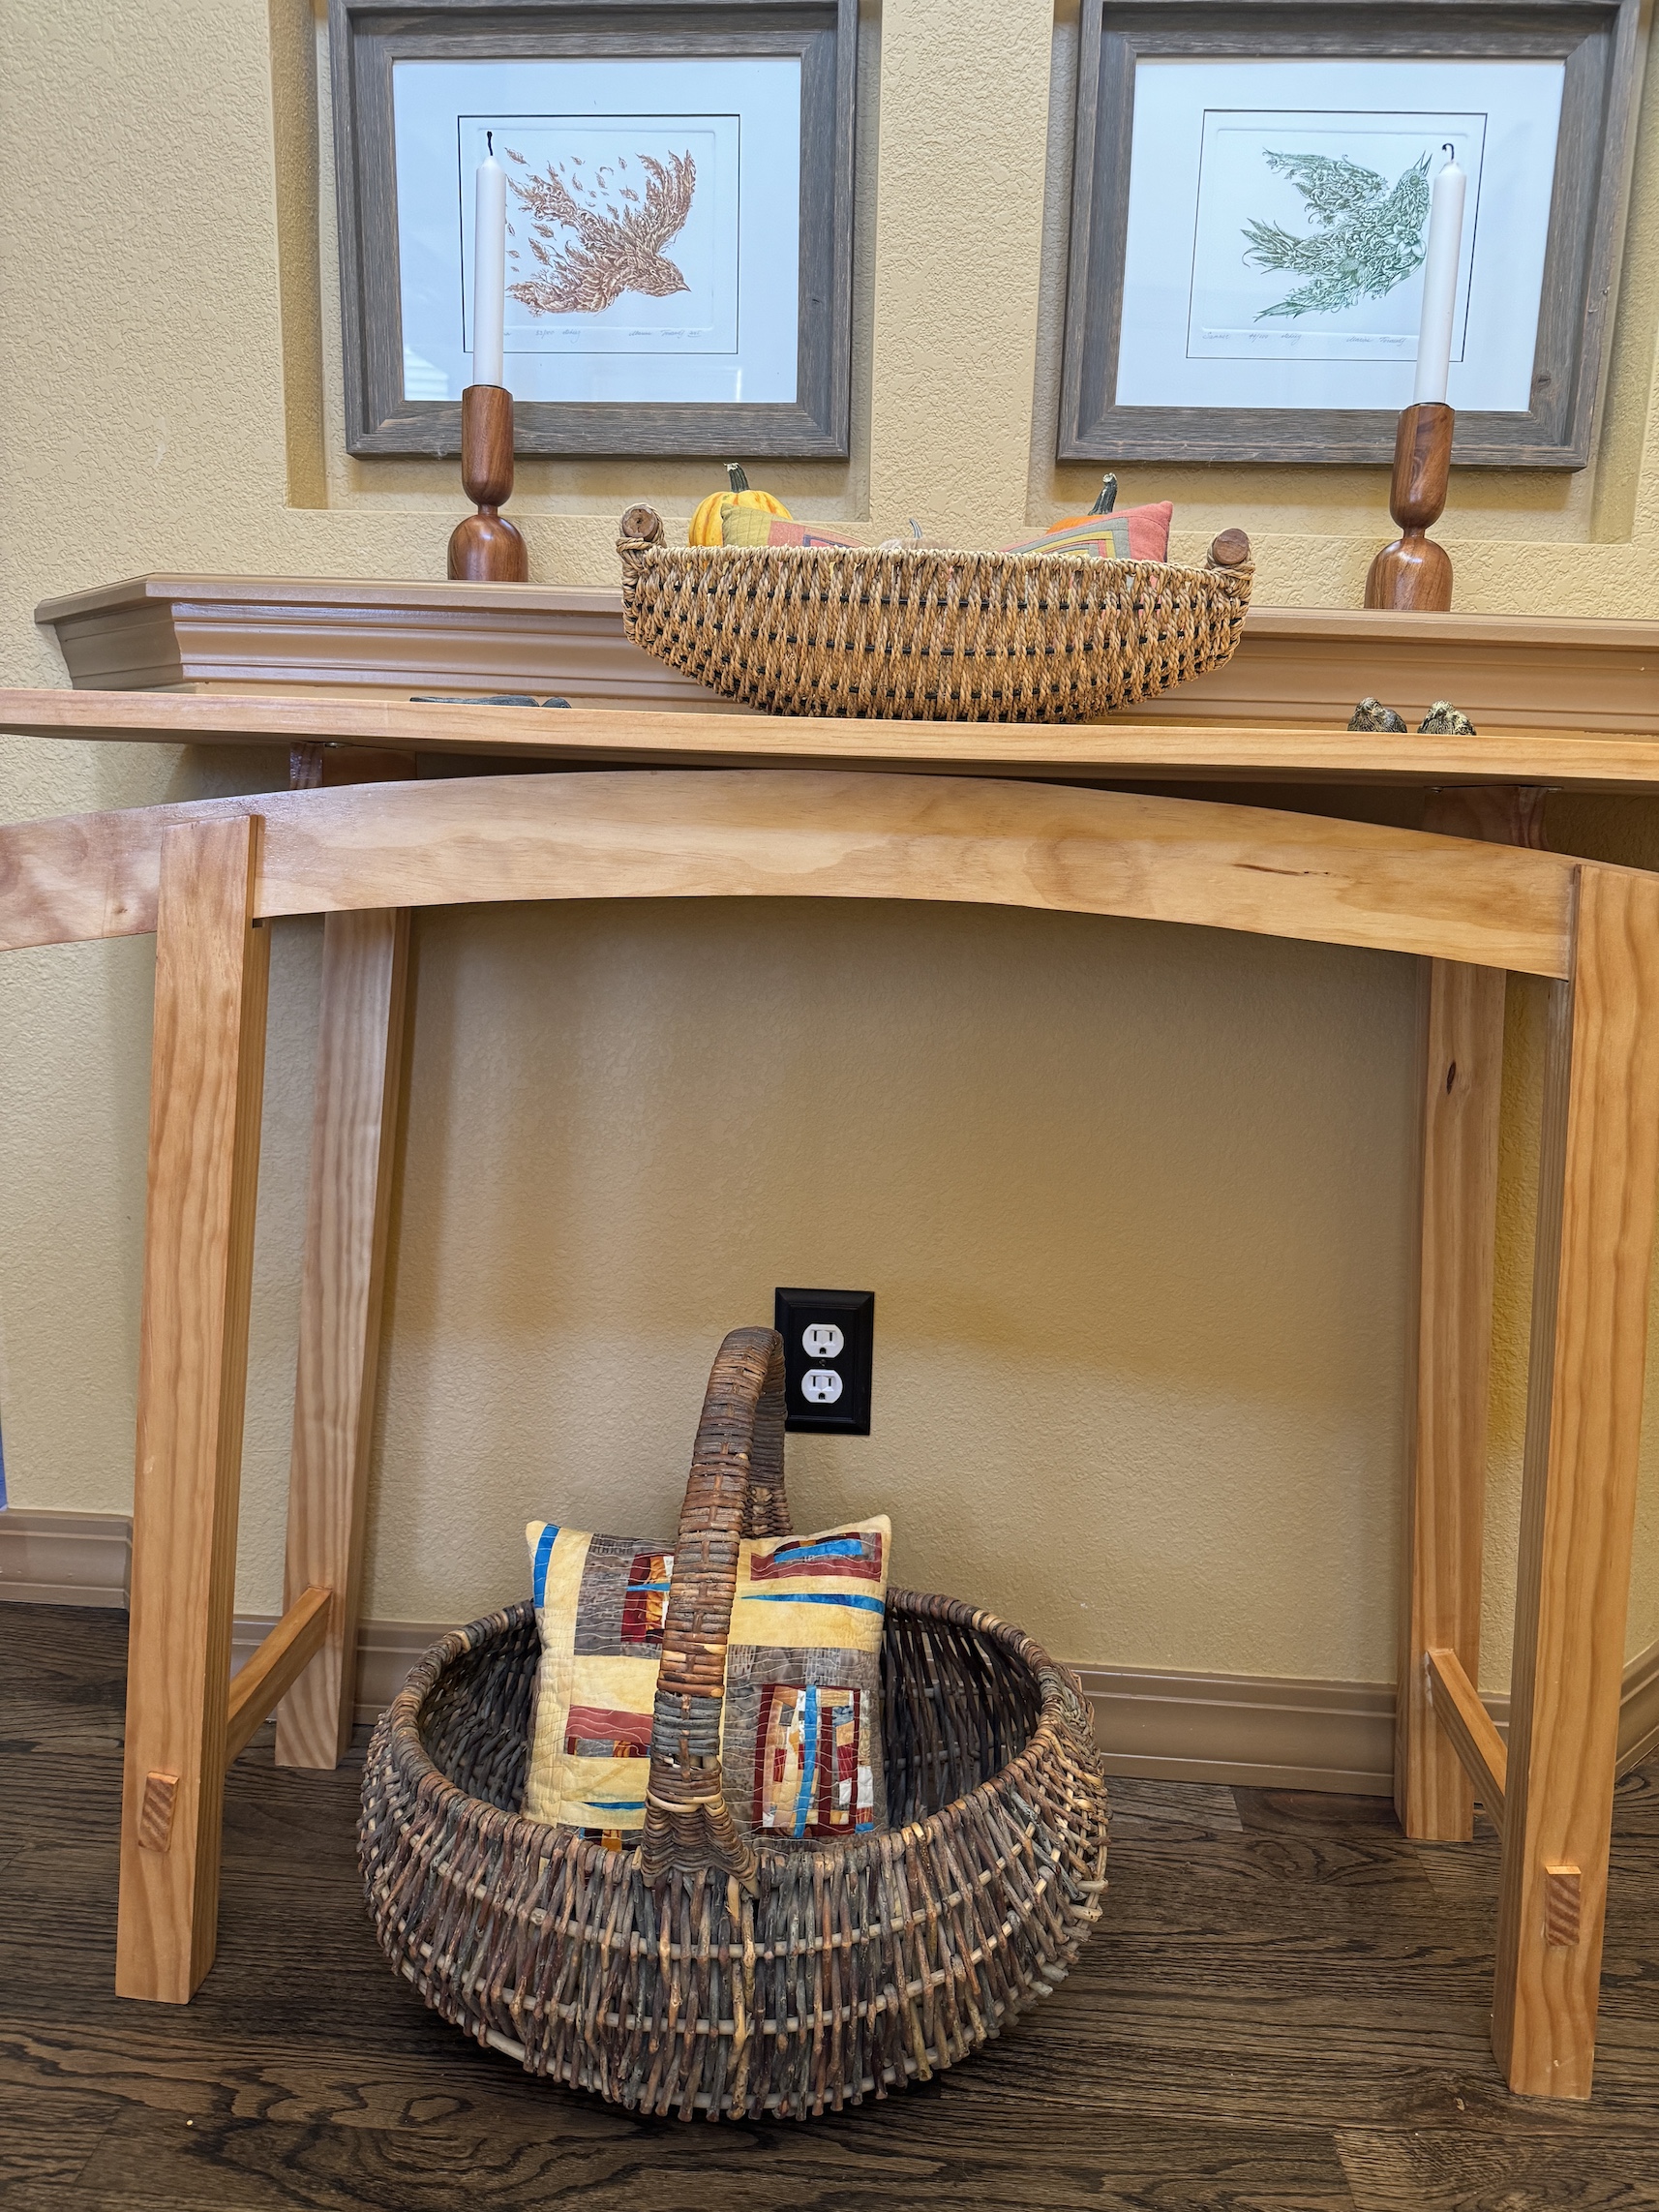
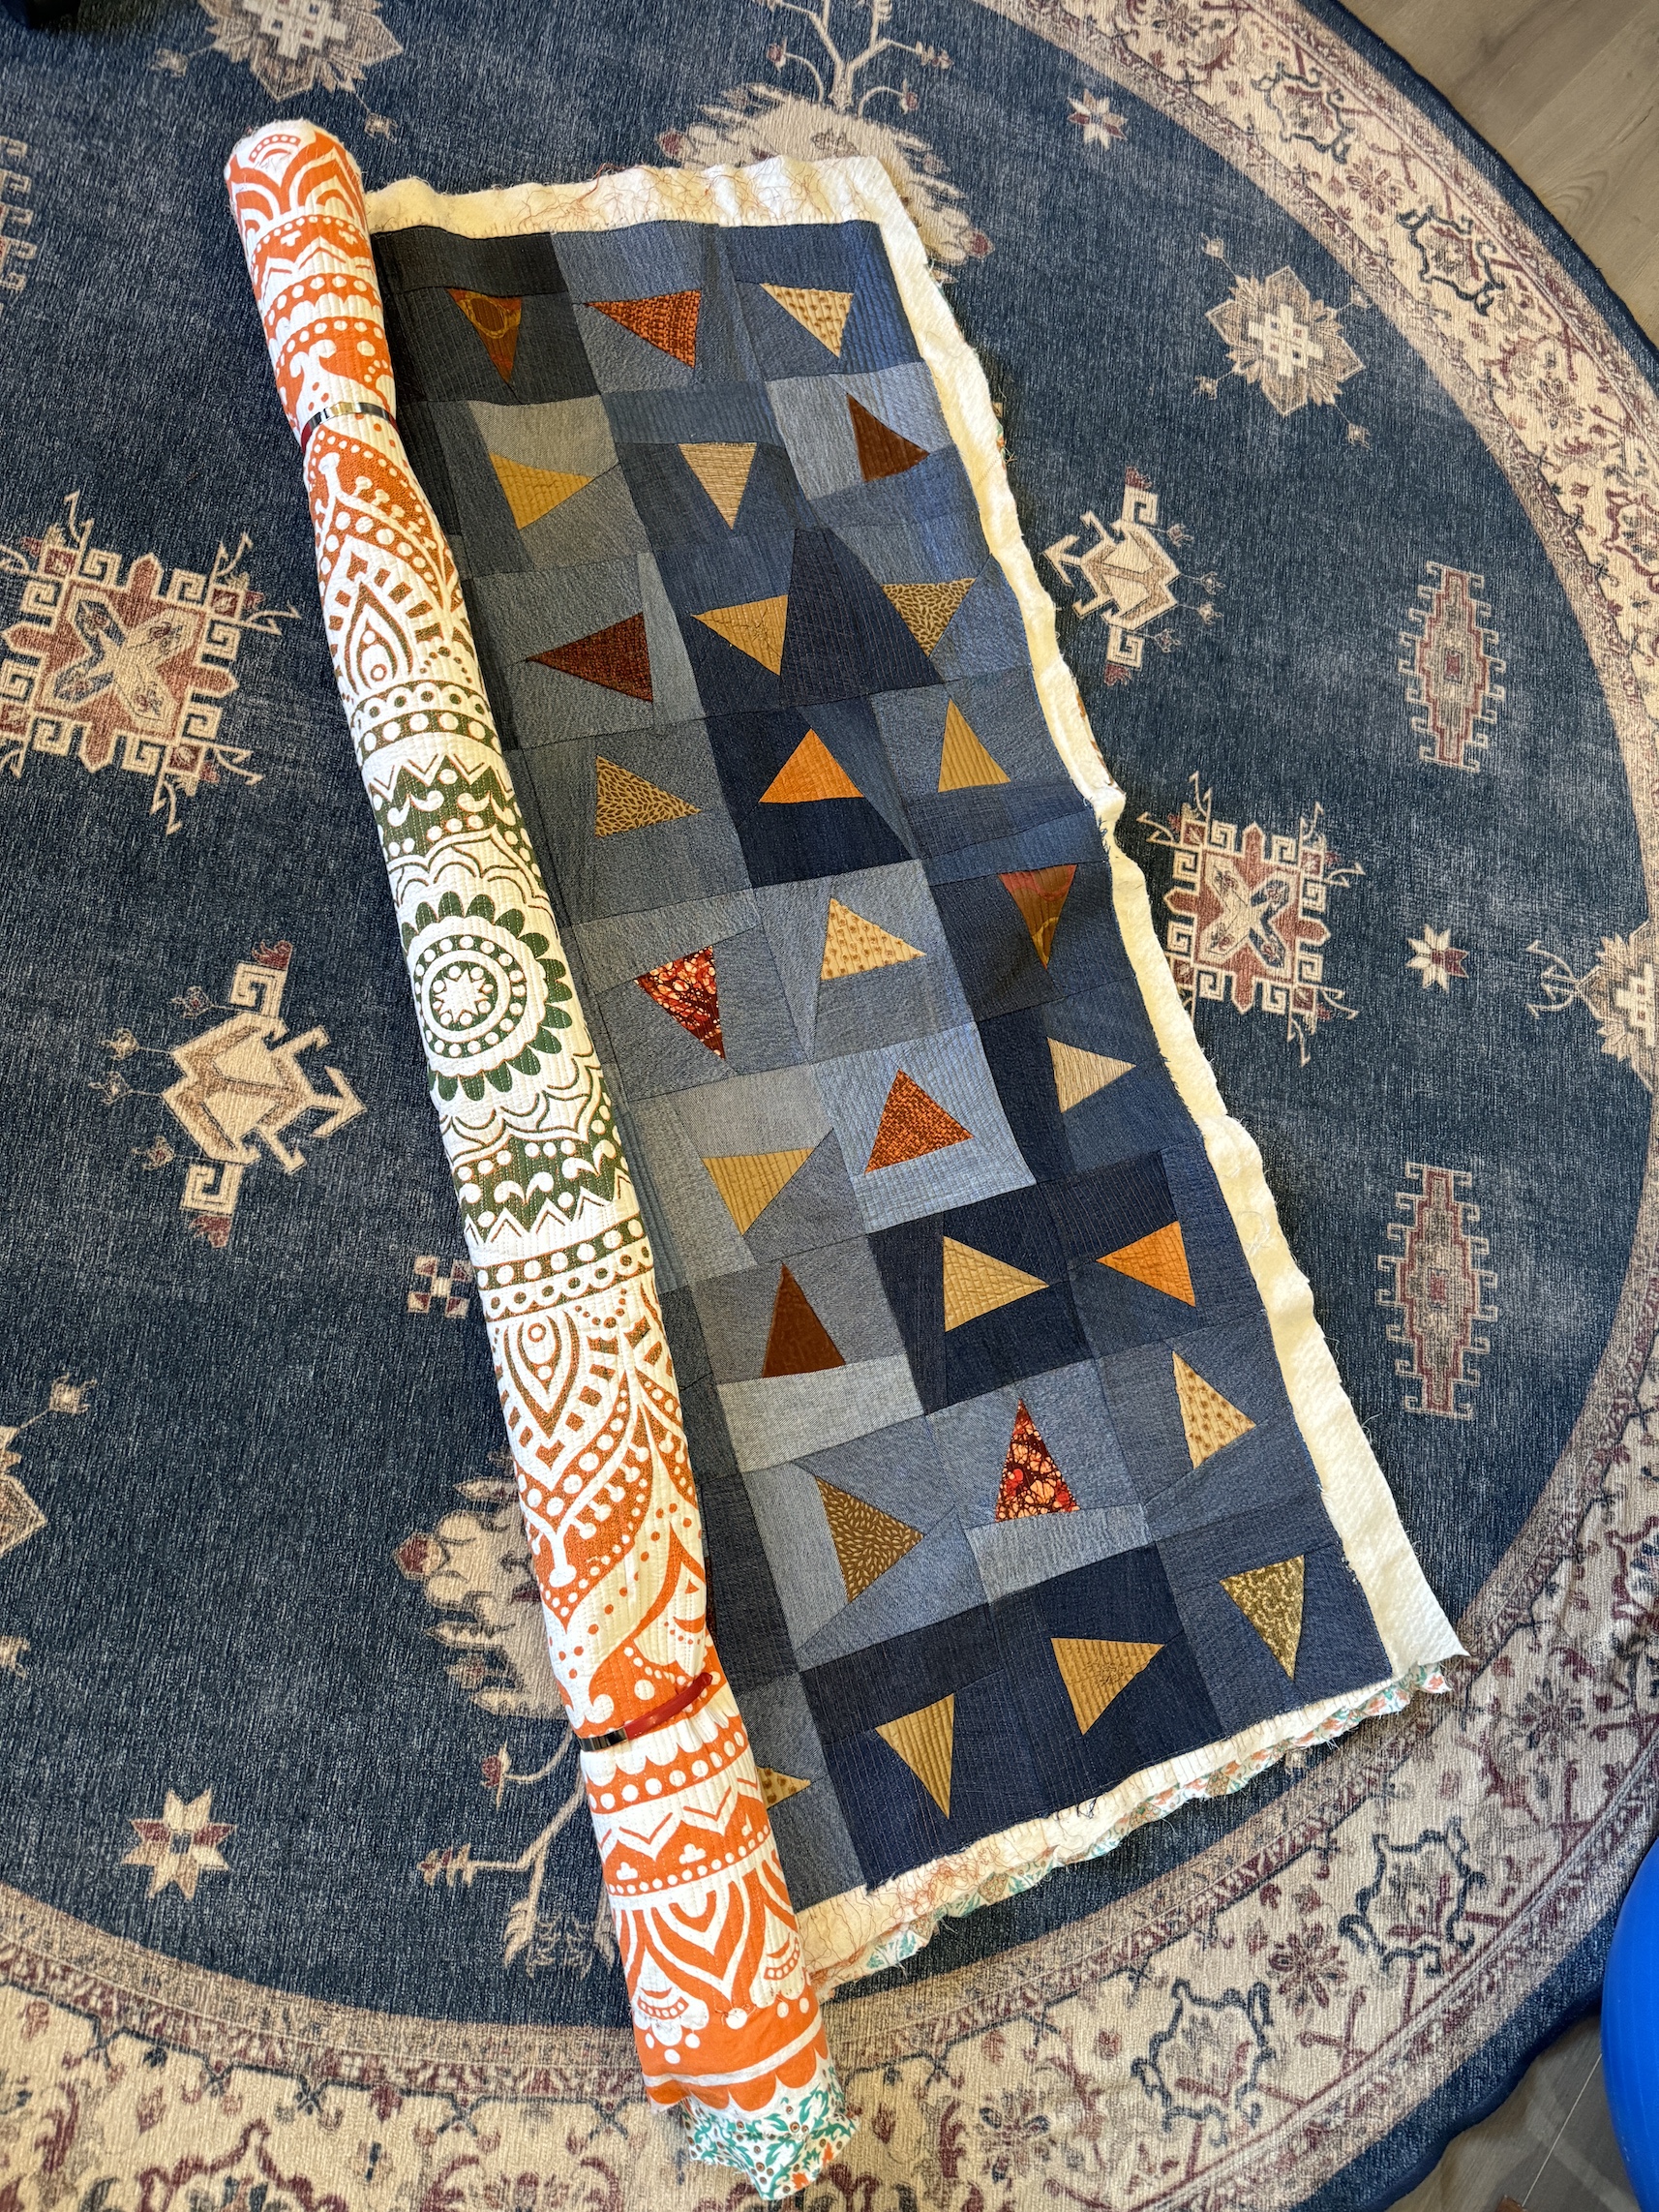
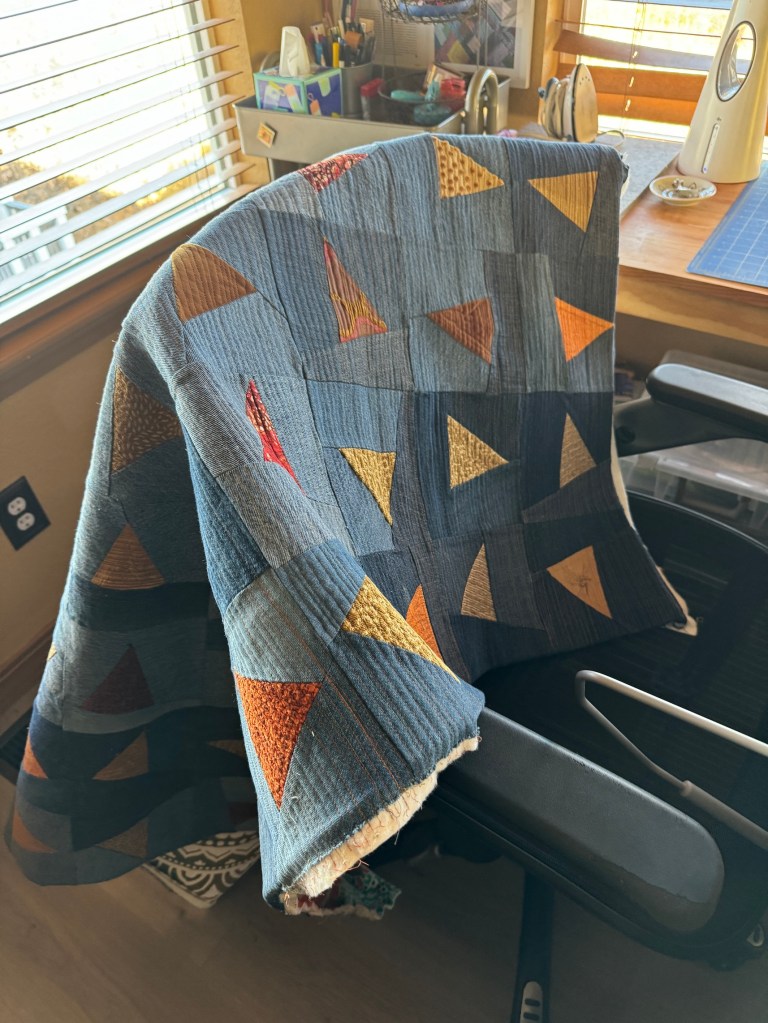
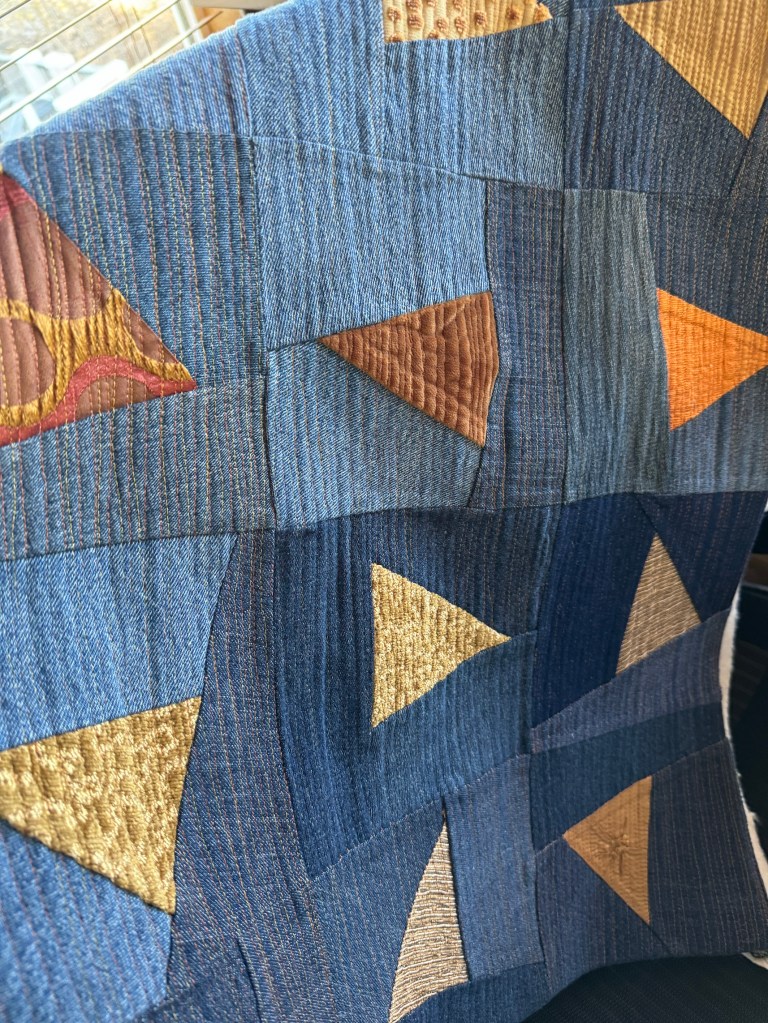
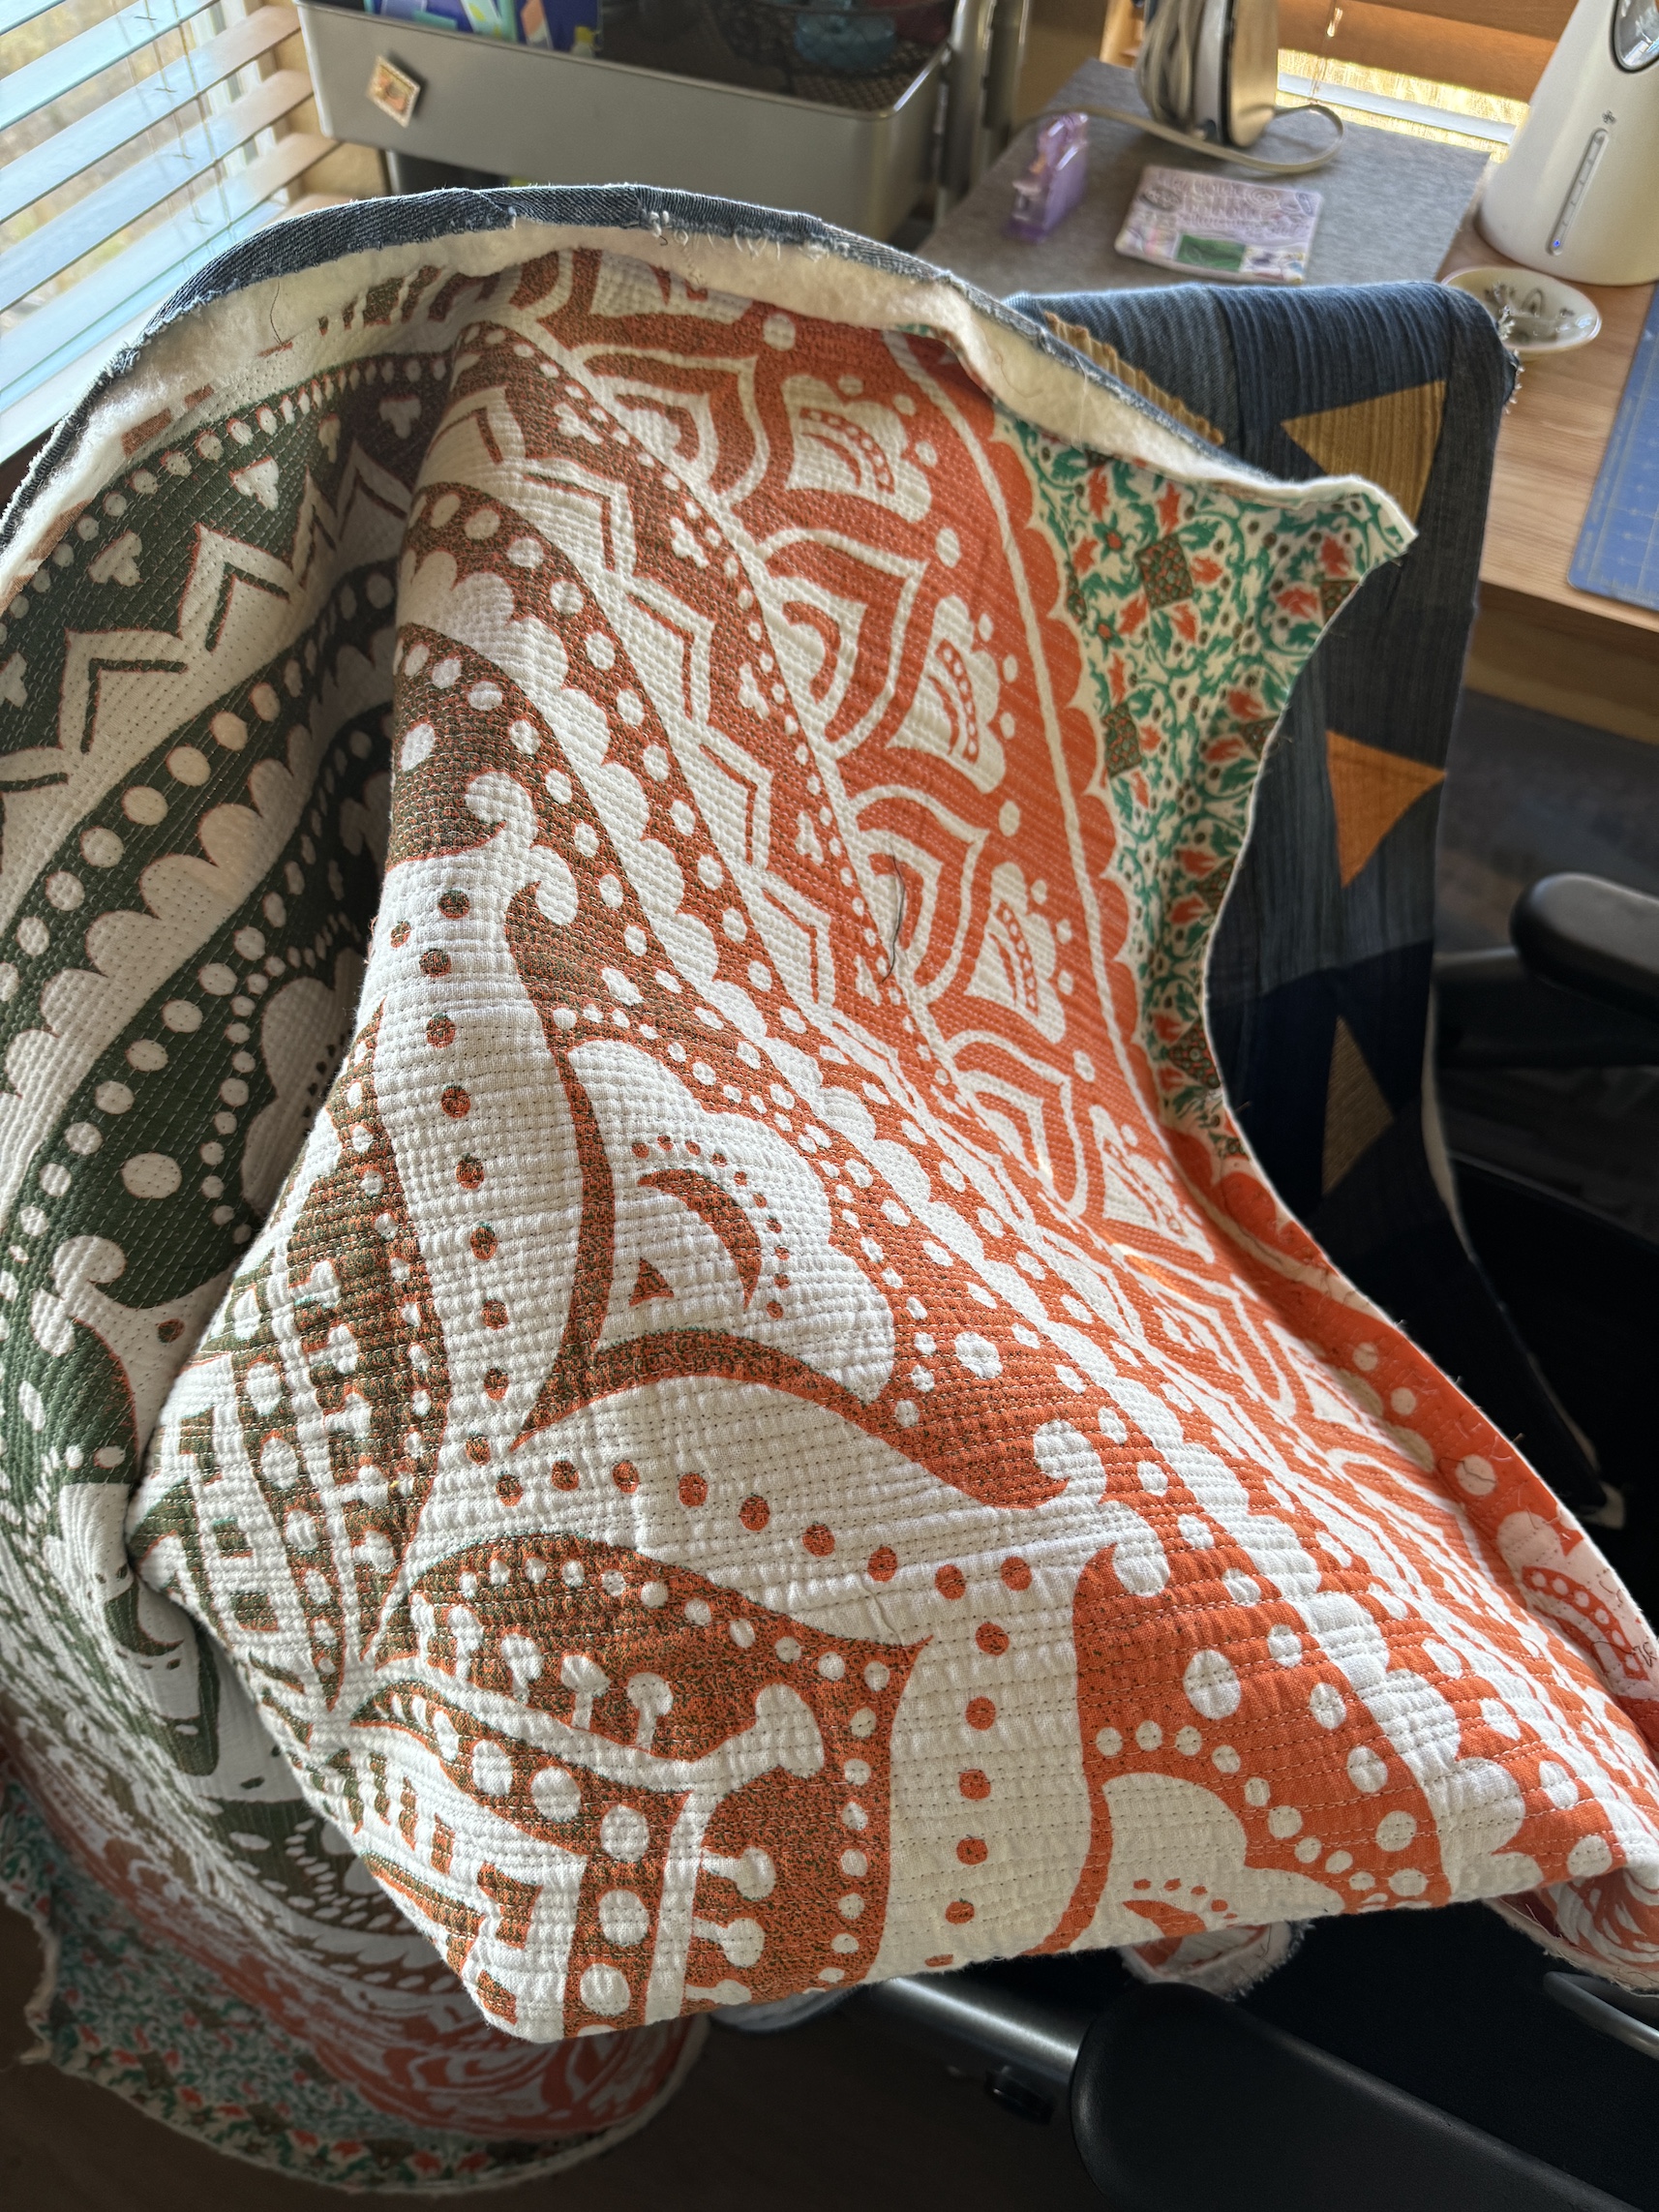
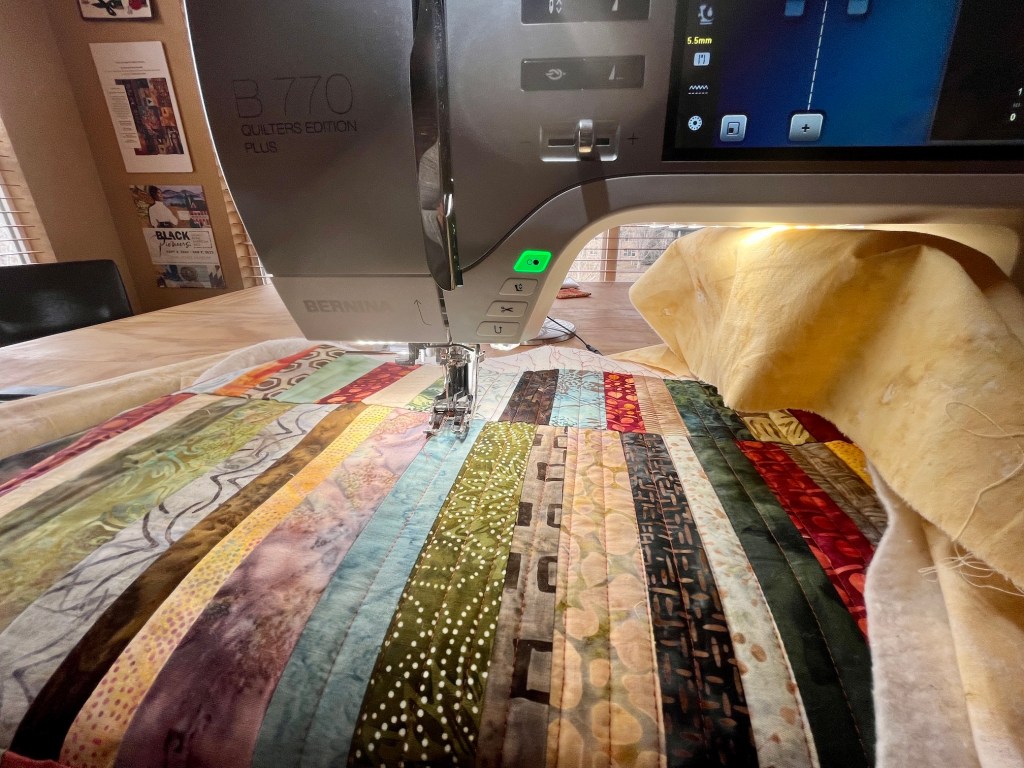
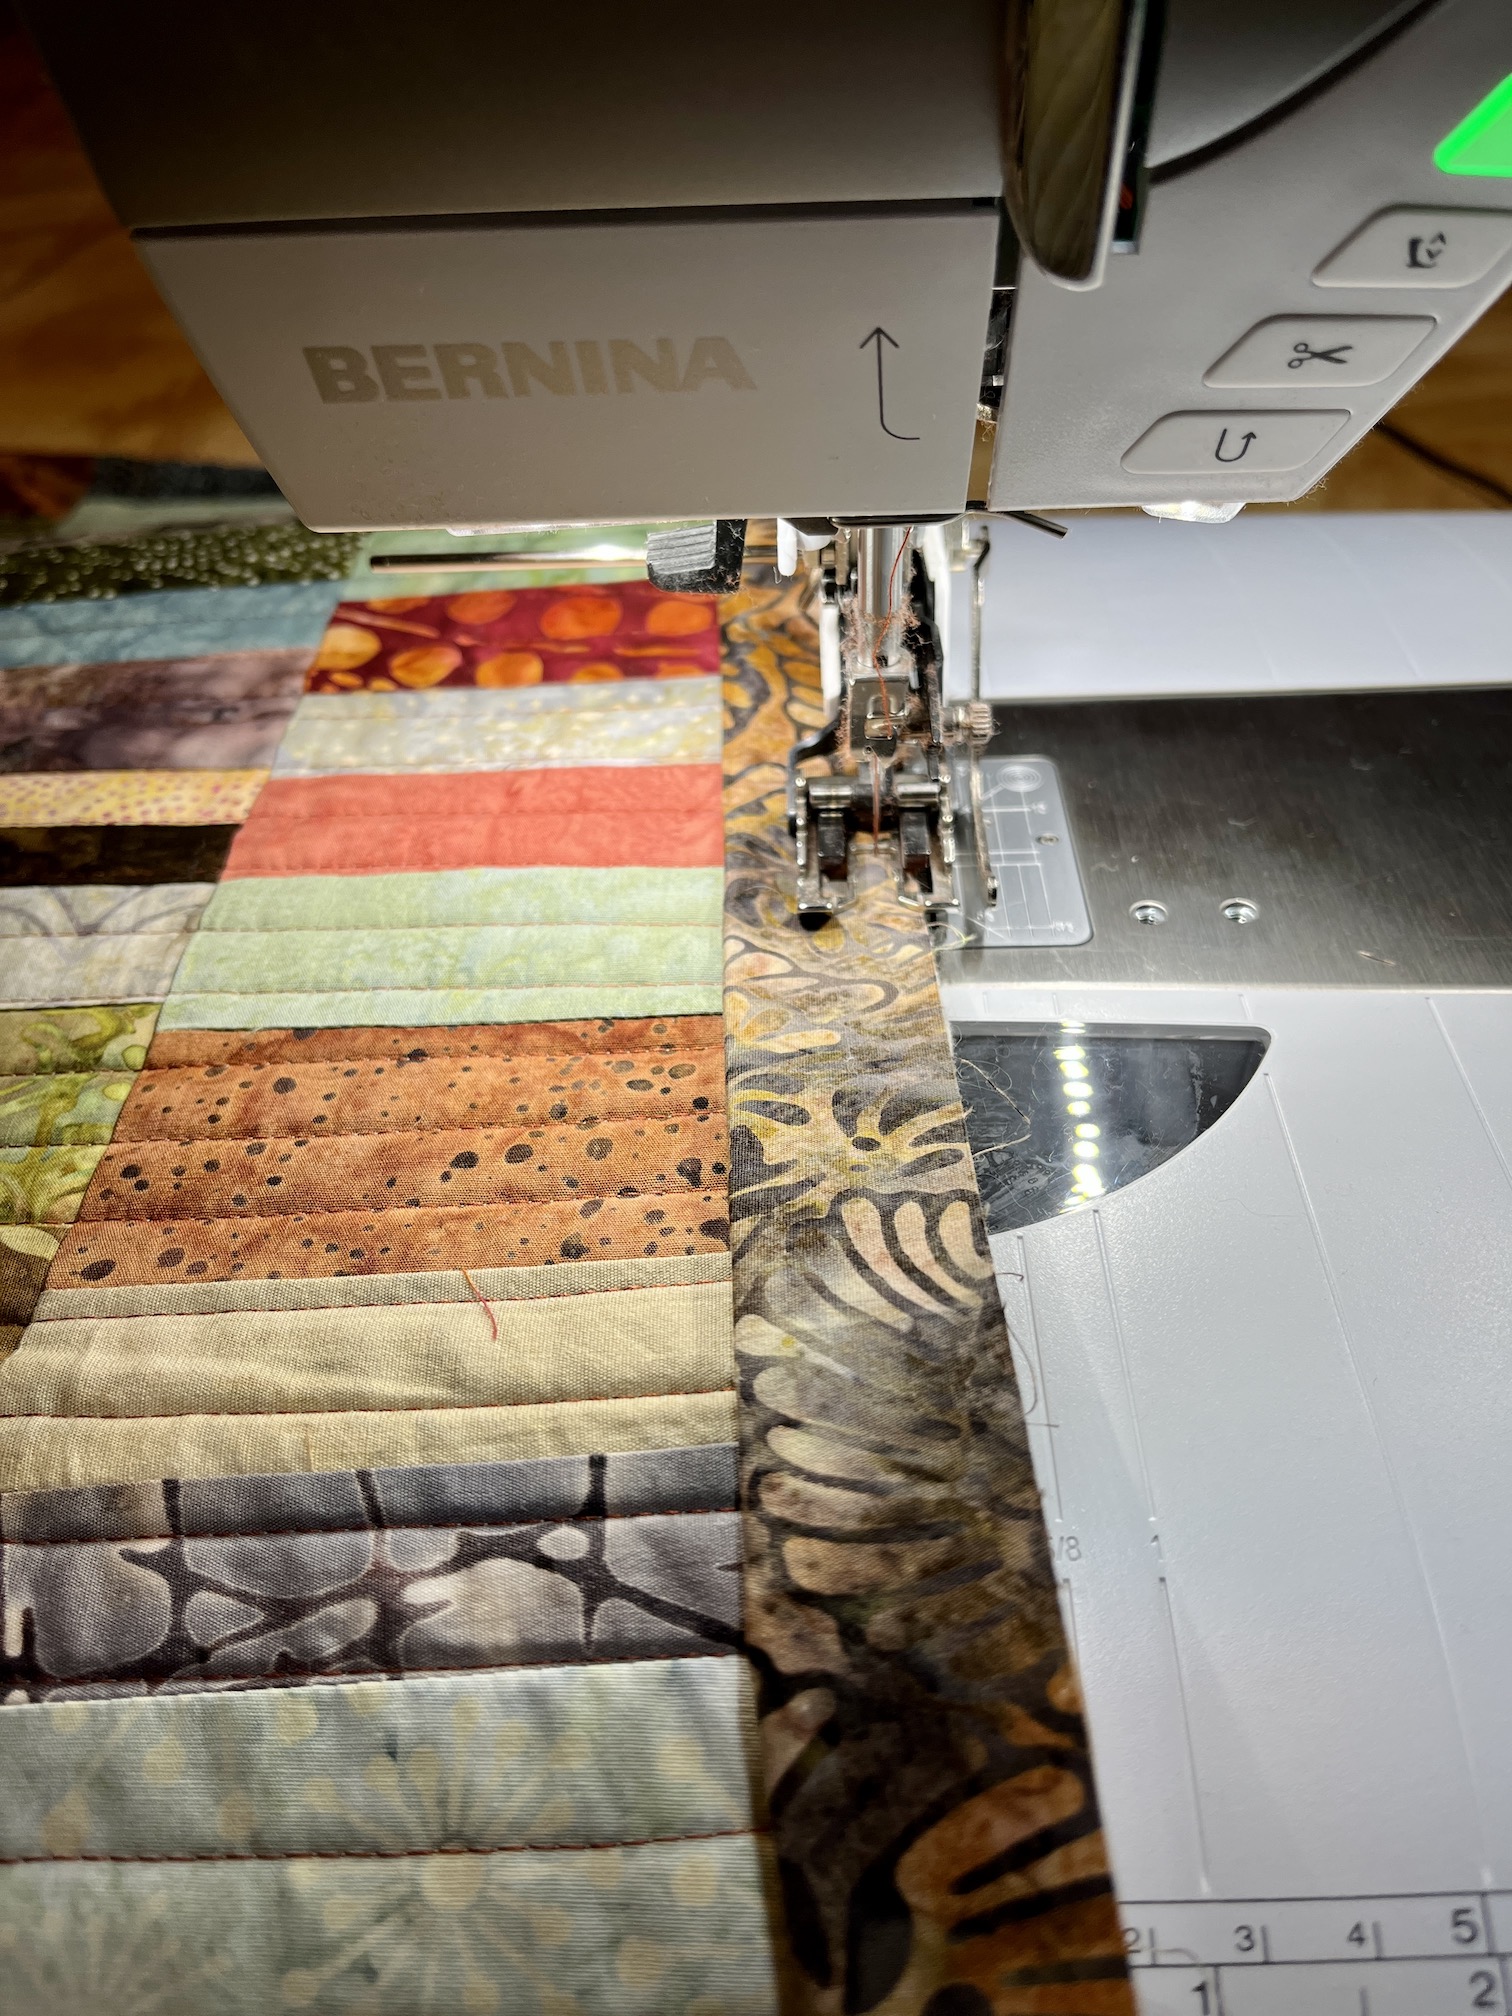
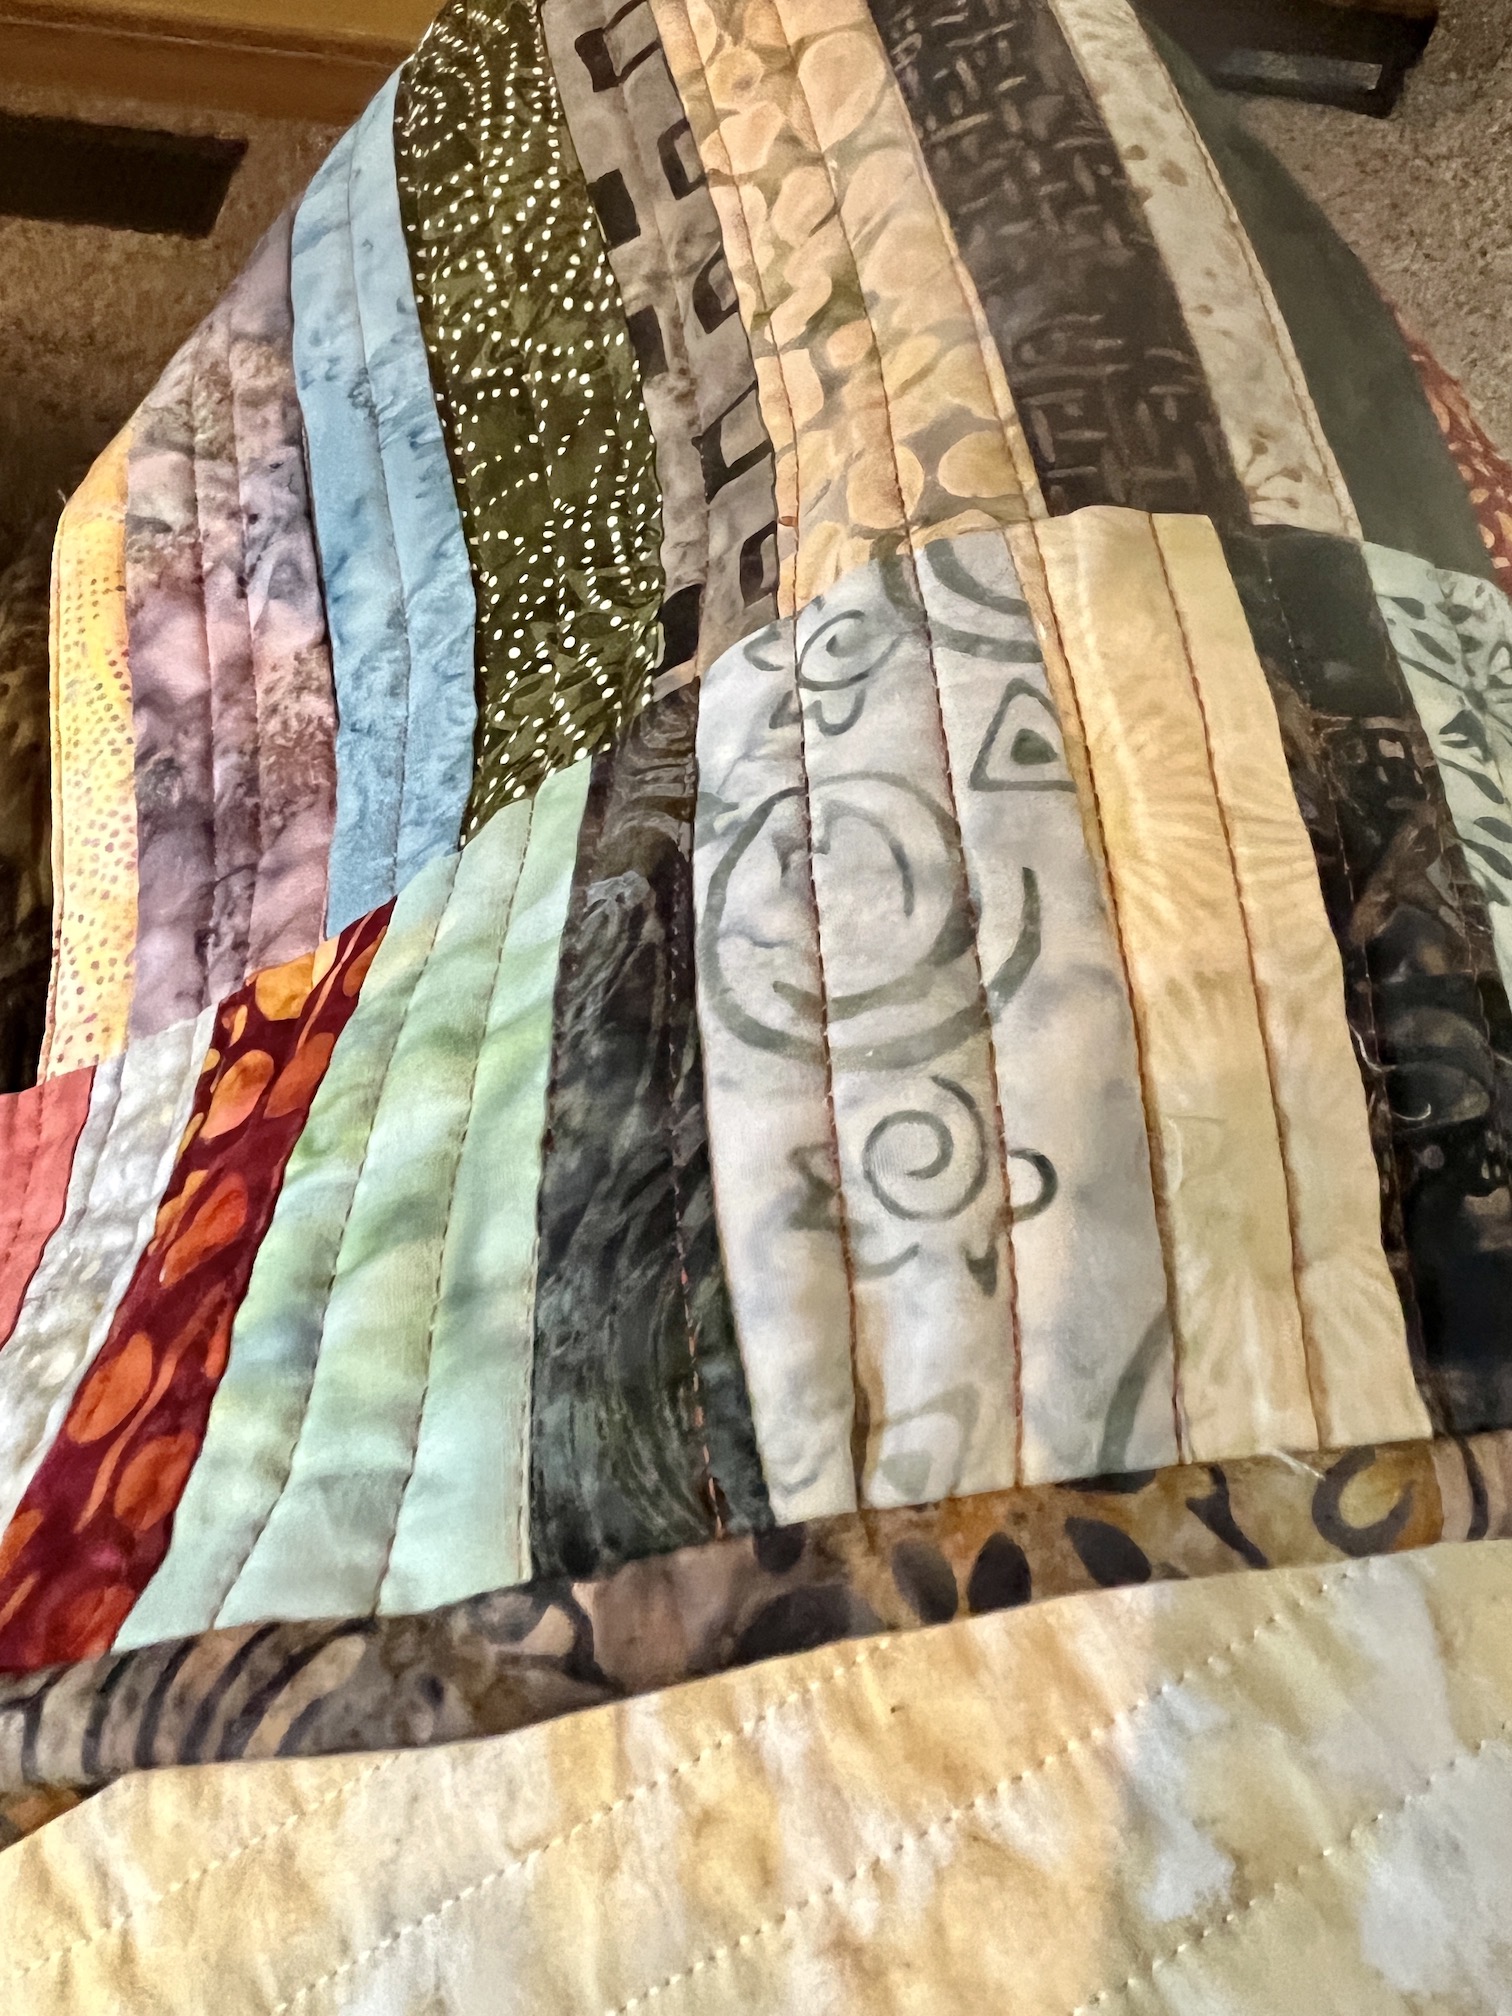
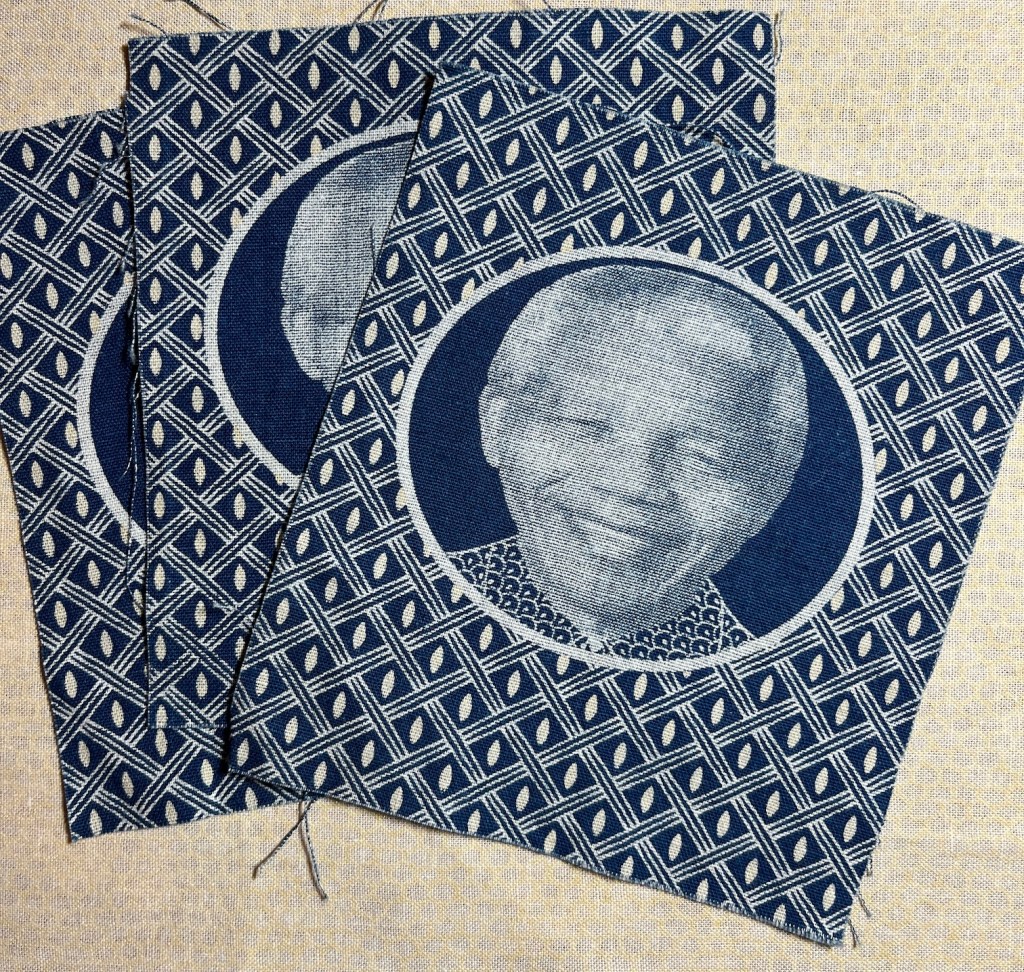
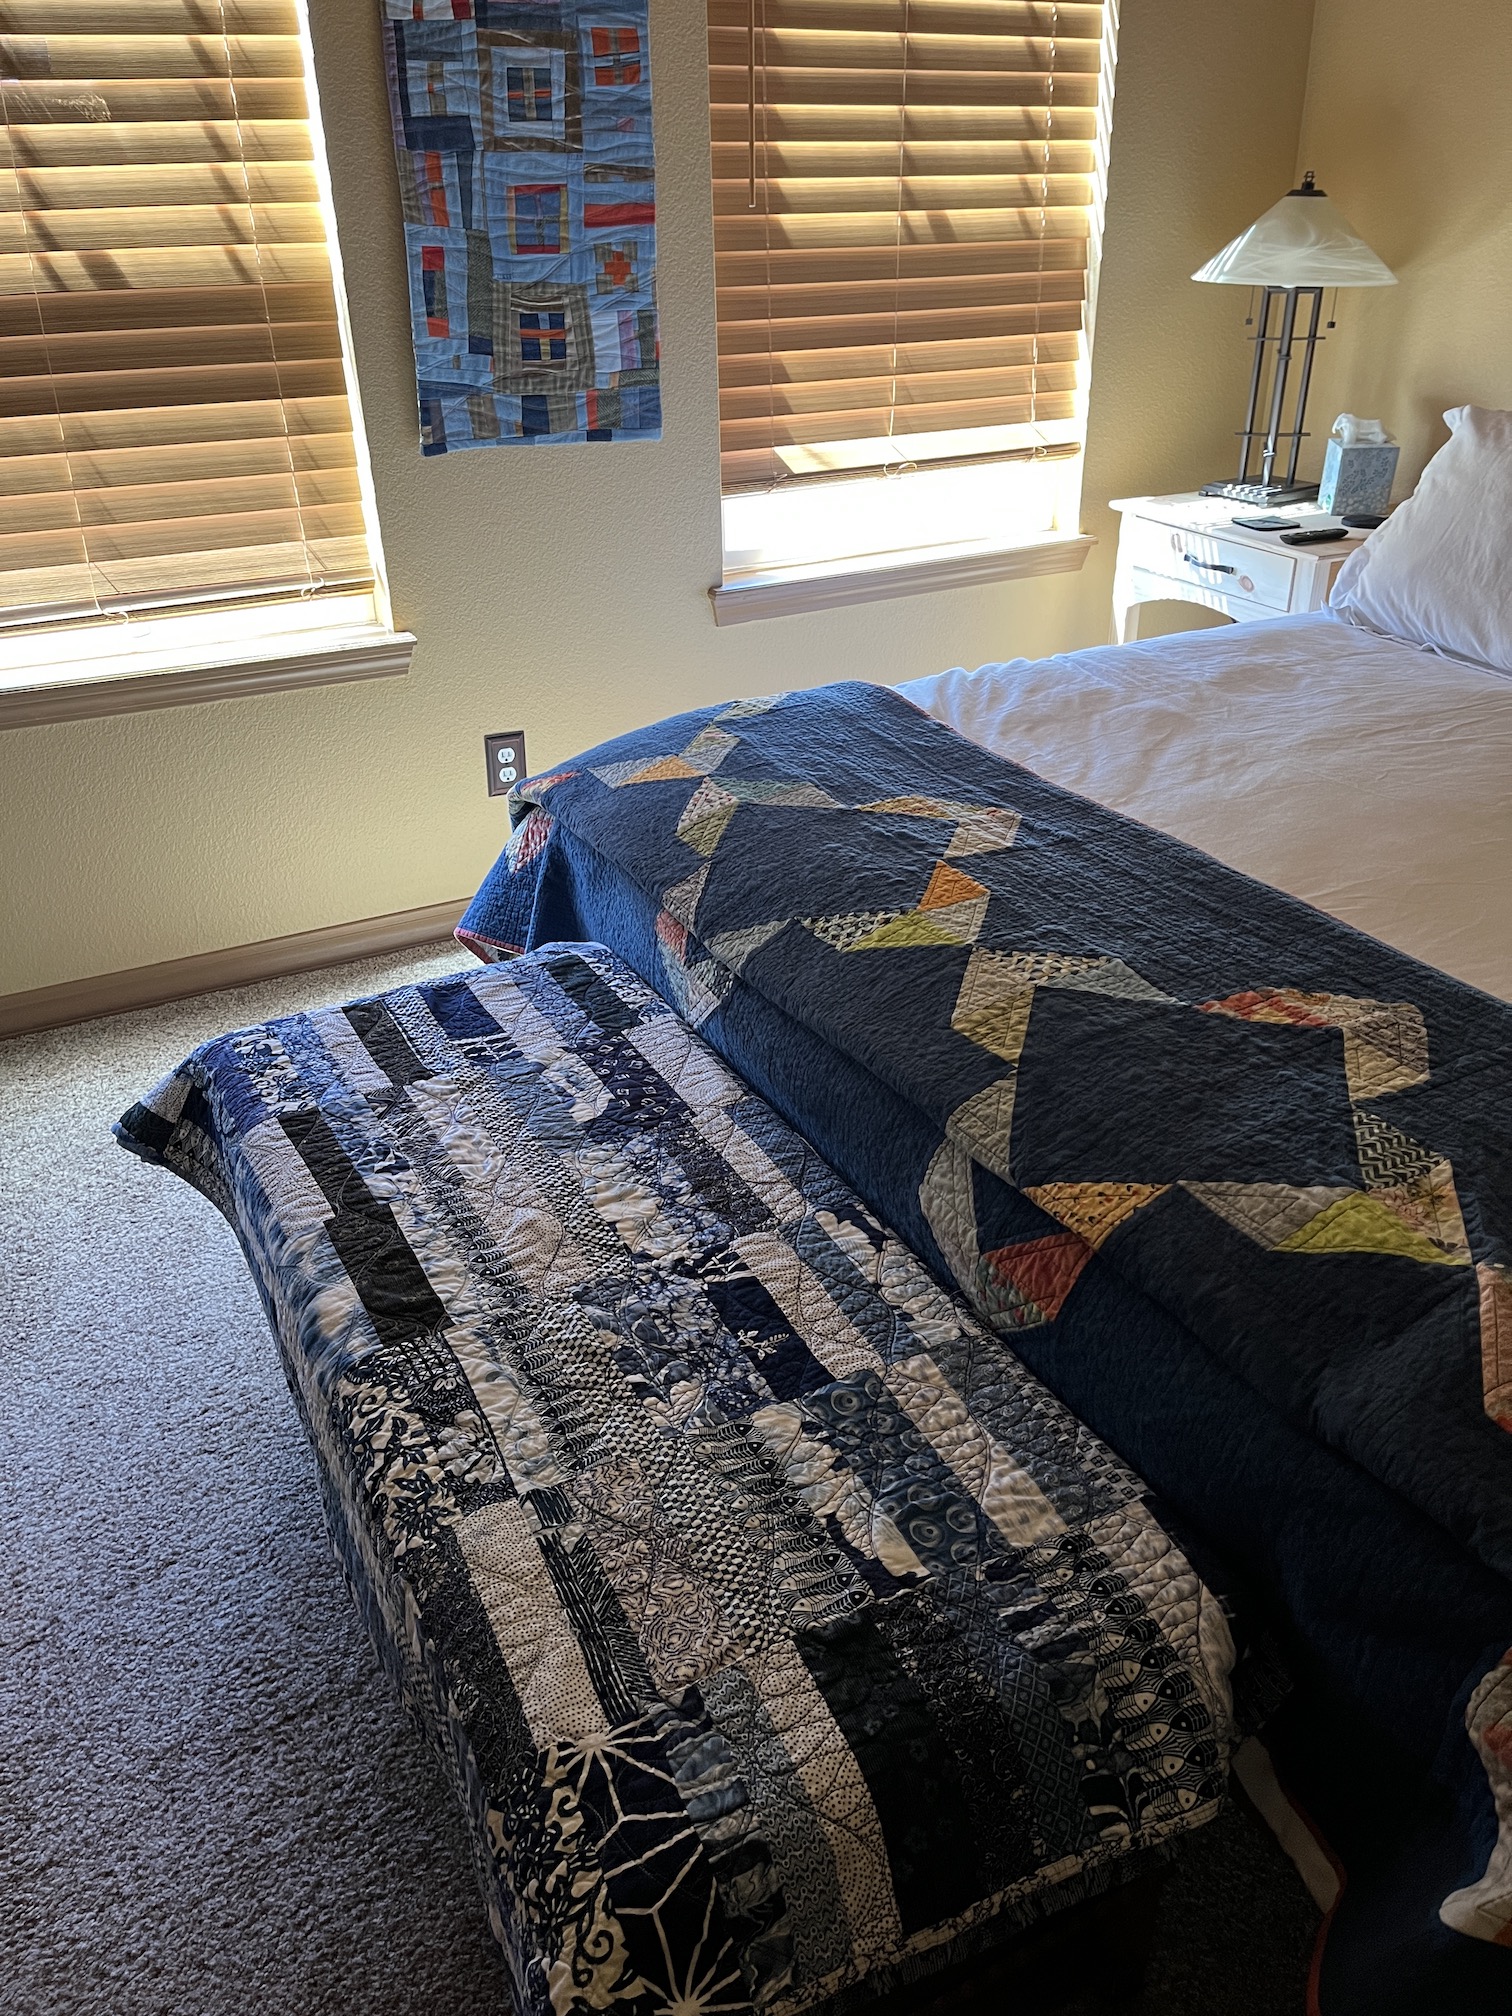
During the studio move and reorganization I’ve had an “archeological dig” of unearthing old projects in progress (or “UFOs”/Unfinished Objects as quilters like to call them). For example I discovered this partially finished table runner that would be wonderful on the table in our entryway:
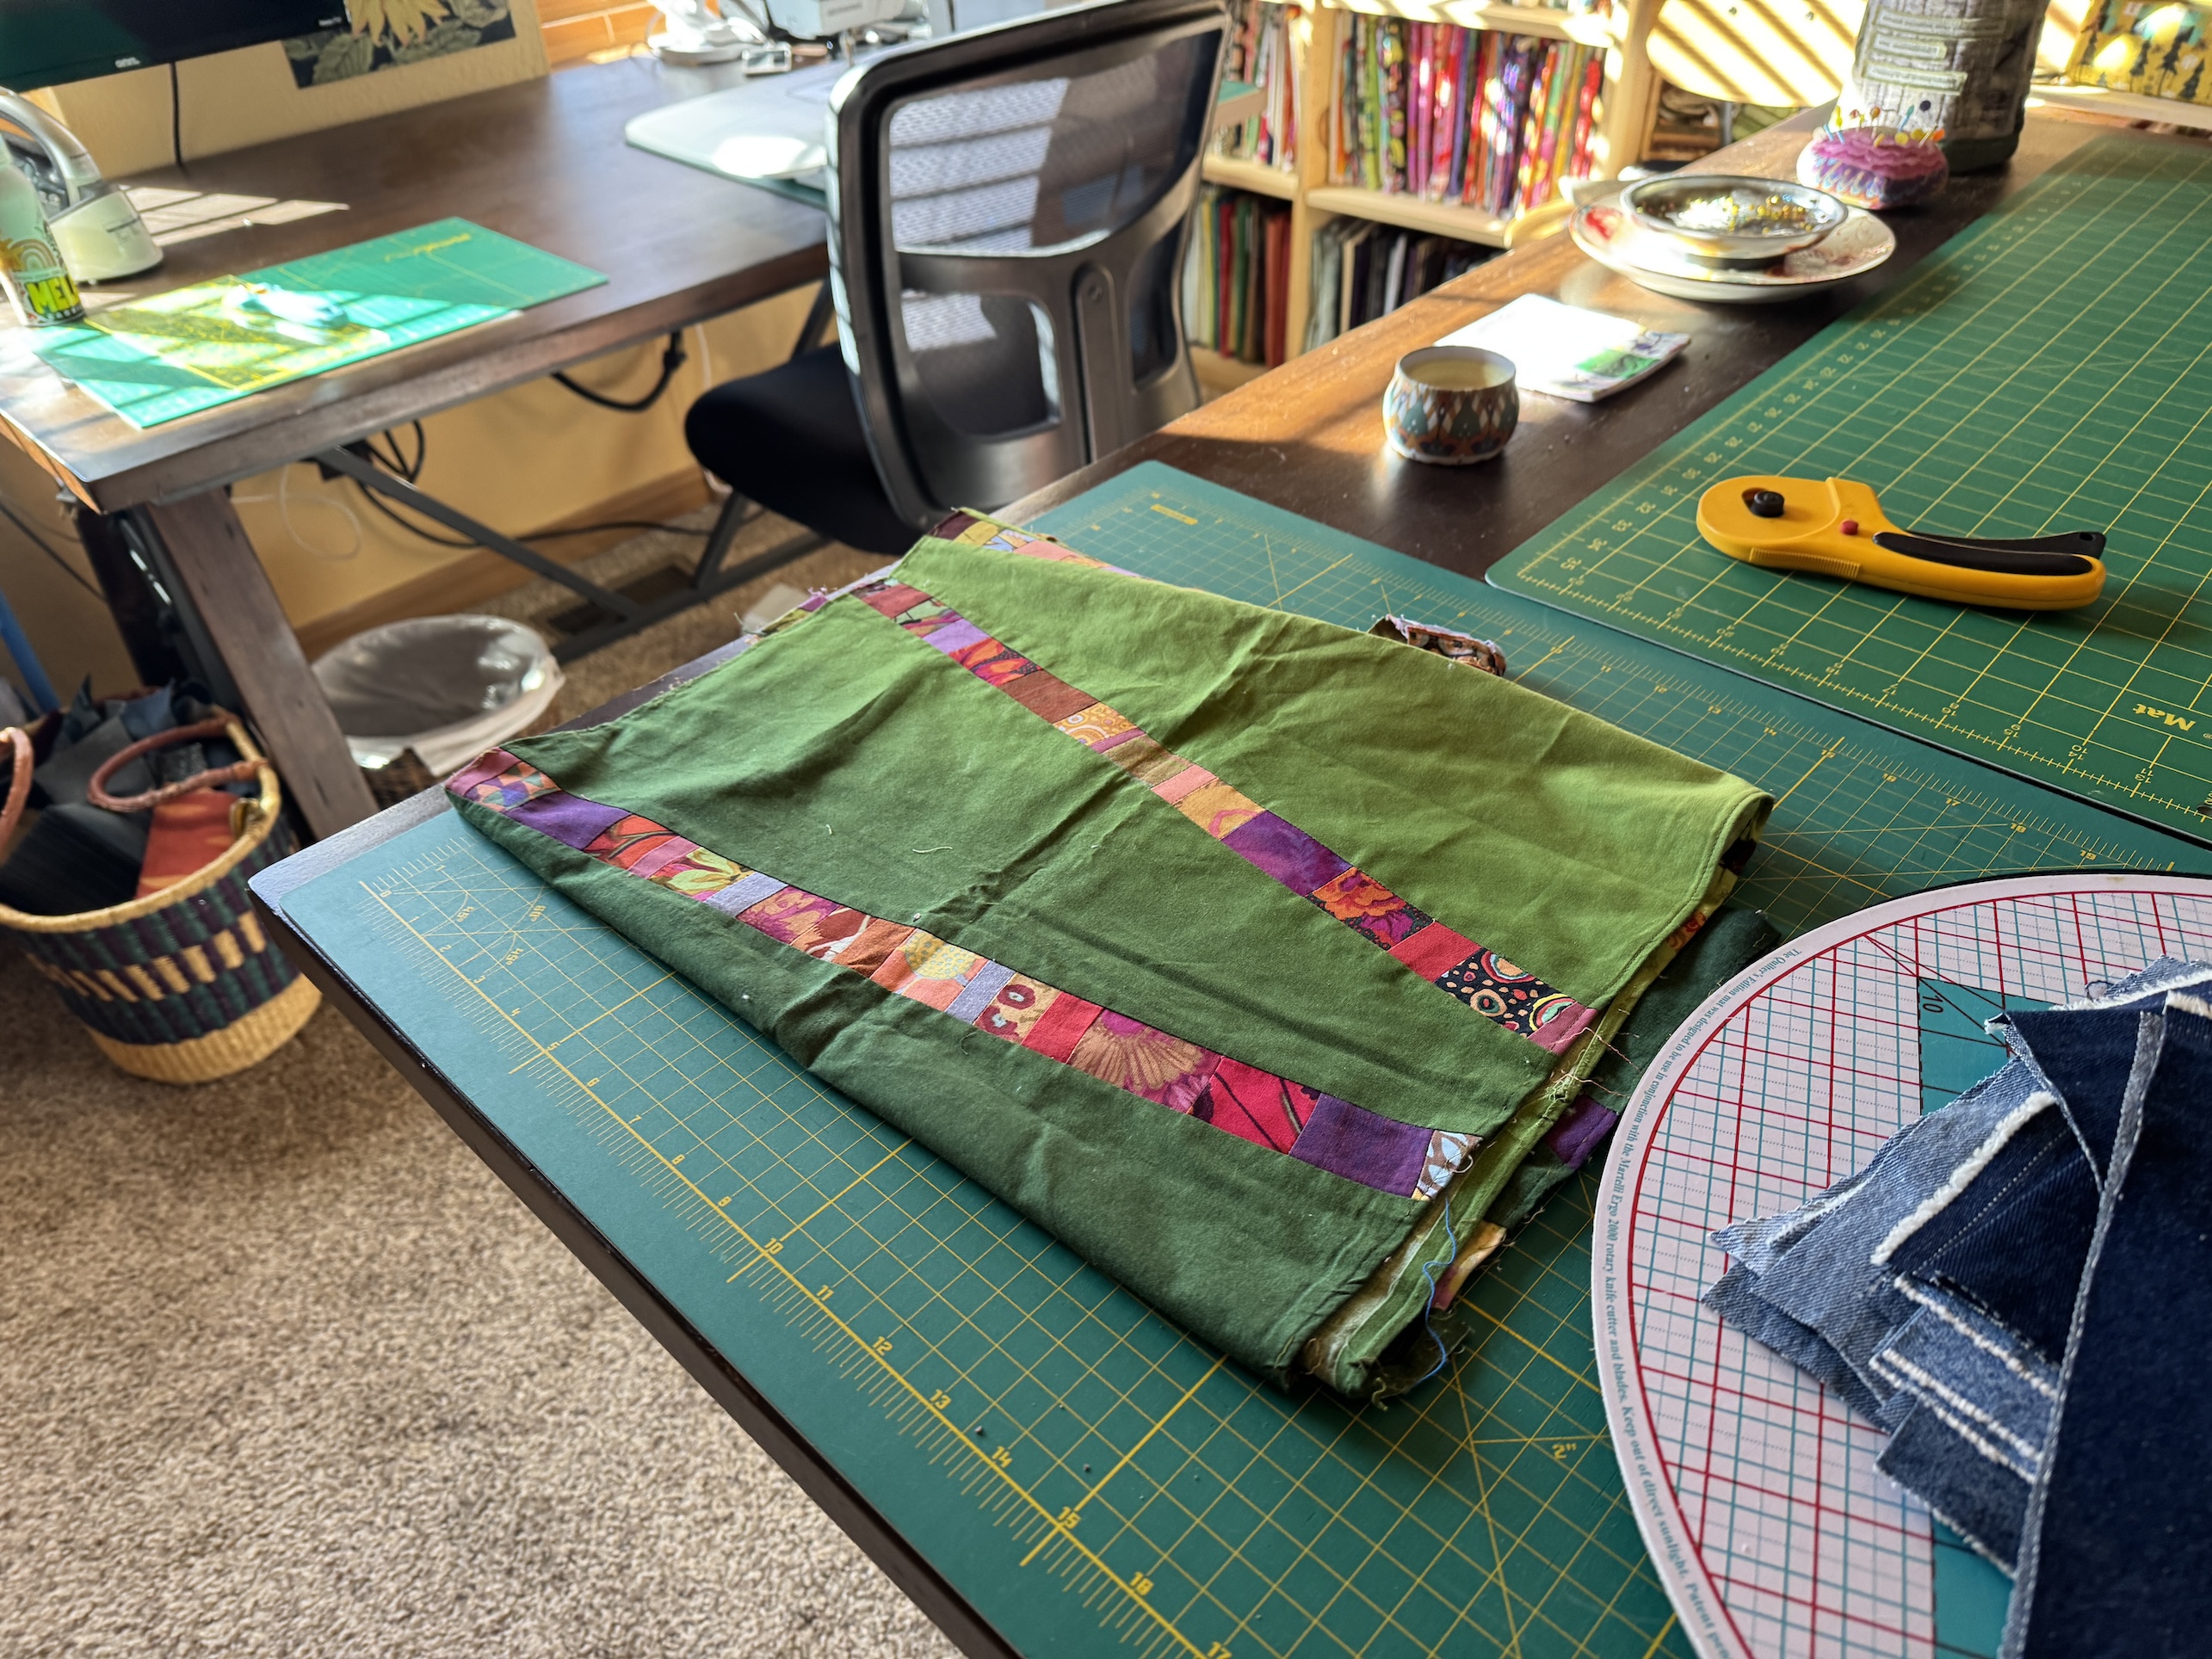
I actually sold a couple of these when I had my Etsy shop going (see my post from 2017 – What’s on the Design…Ironing Board?) and I guess this one another one from 2017 that I was going to finish and list in my Etsy shop.
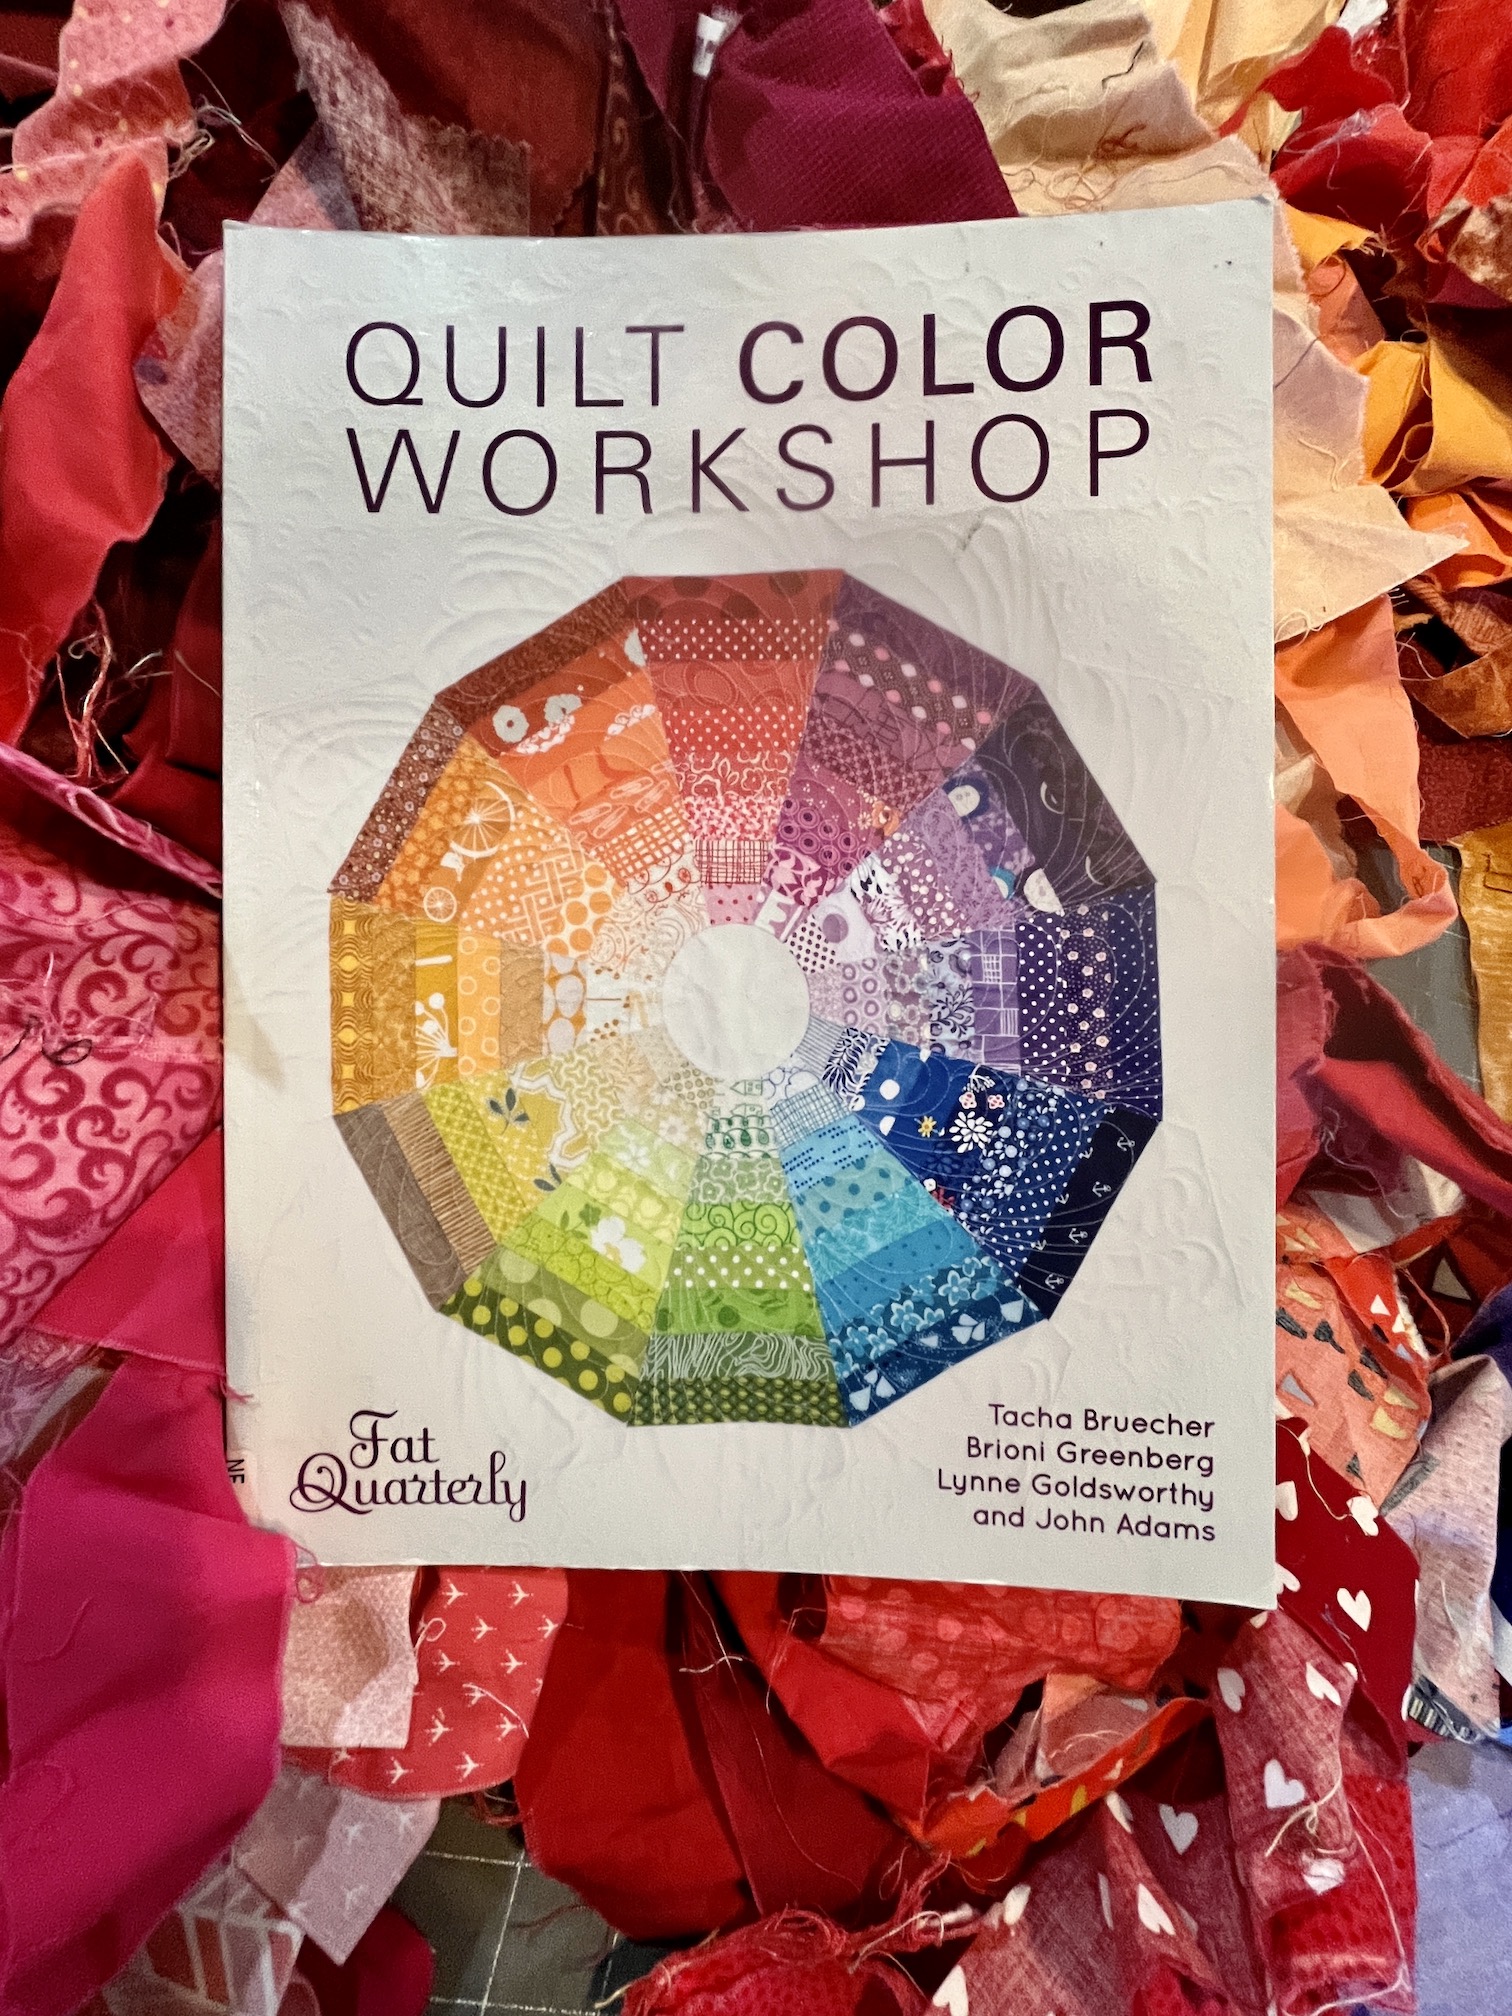
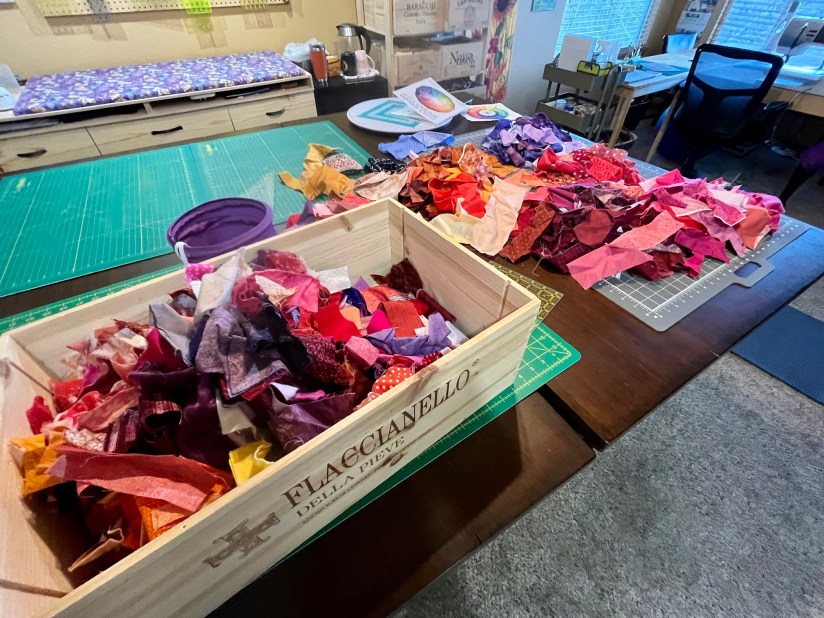
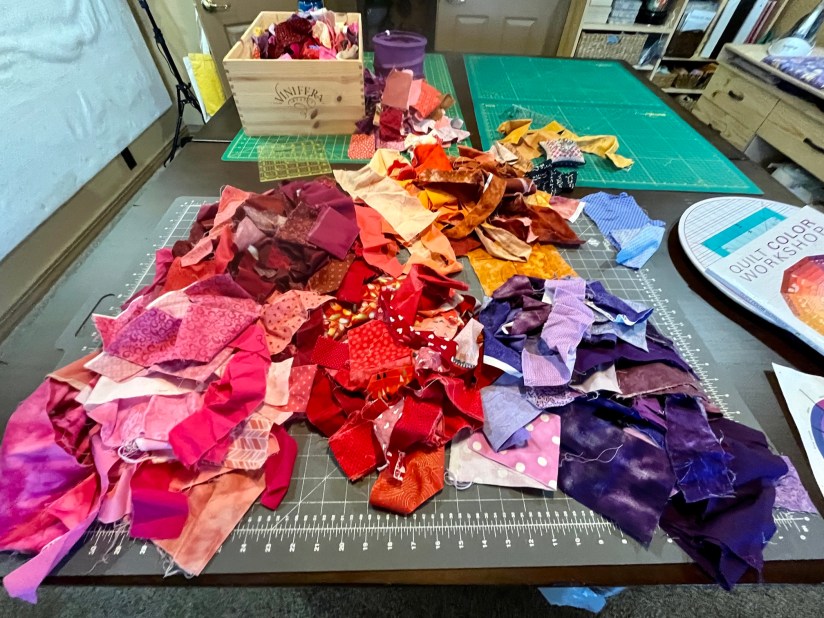
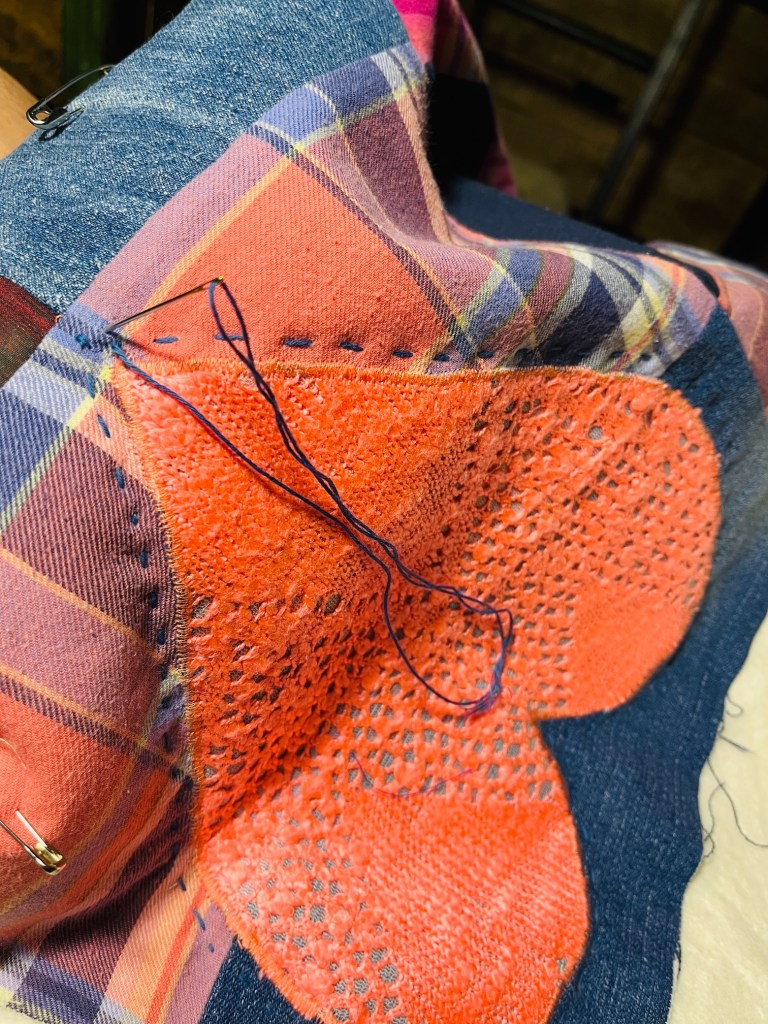
I continue to work on the English Paper Piecing hexie flowers quilt that I shared in my post ScrapHappy January 2026: Moving Forward on the Hexie Project ; and I love sitting my little studio and working on removing the hexie papers from the back of the flowers (so so so many to go…):
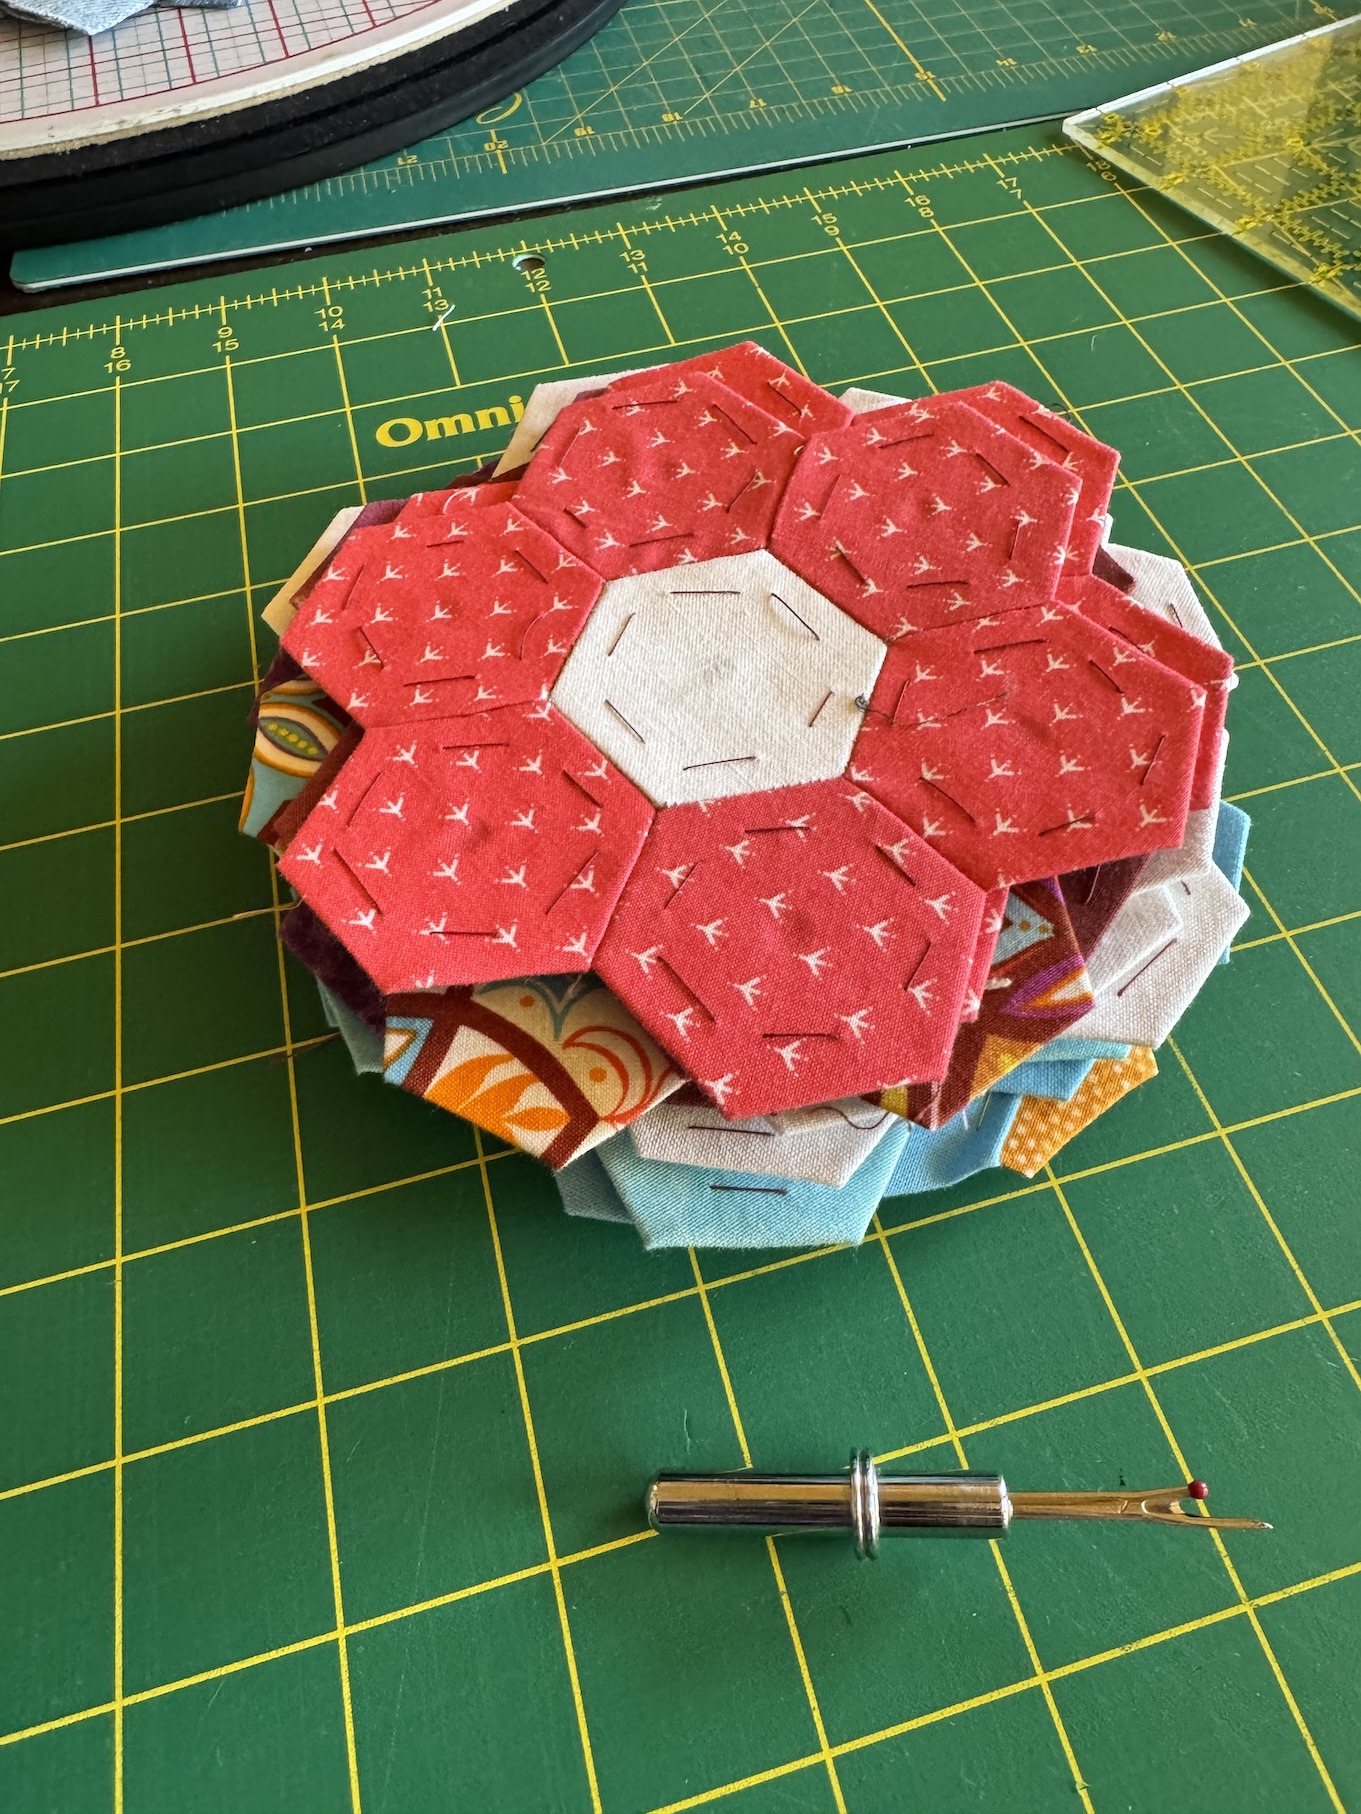
(I’ll share an update on the hexie quilt progress during February’s monthly ScrapHappy post.)