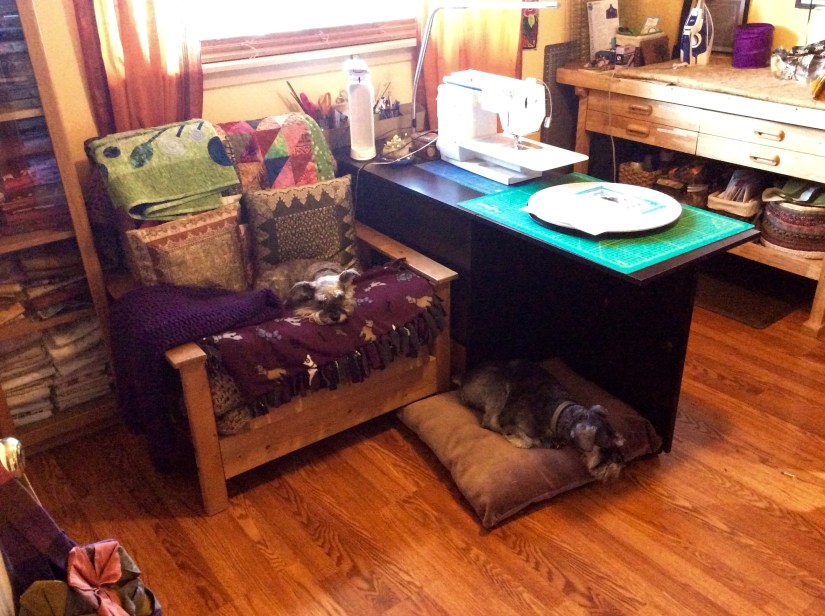
Check out Sassy the Highly Opinionated Miniature Schnauzer’s latest musings in her Schnauzer Snips page.
In my 09/23/16 post The Library Stack (and a little EPP) I mentioned that I was learning English Paper Piecing (EPP) using the book All Points Patchwork by Diane Gilleland.
So here is an update:
After purchasing a hexagon paper punch, I punched our a huge stack of hexagons using old cardstock from my handmade card making days.

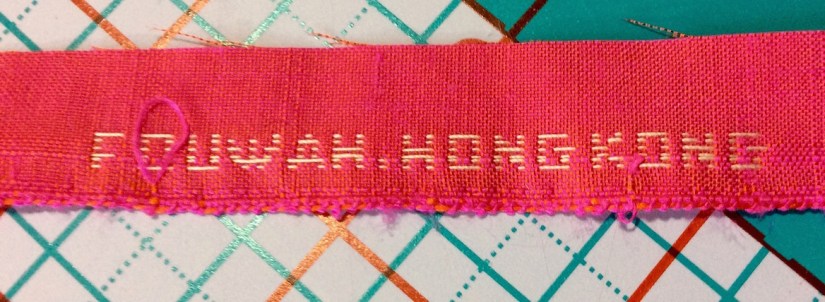
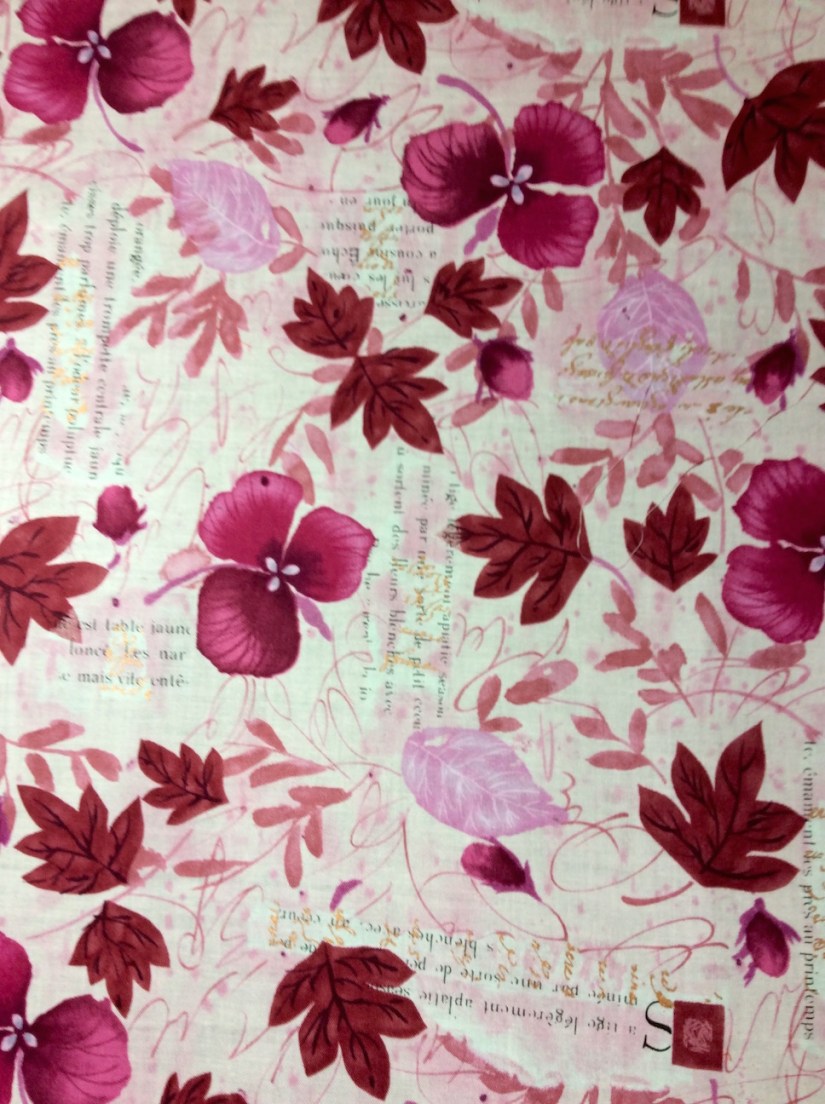
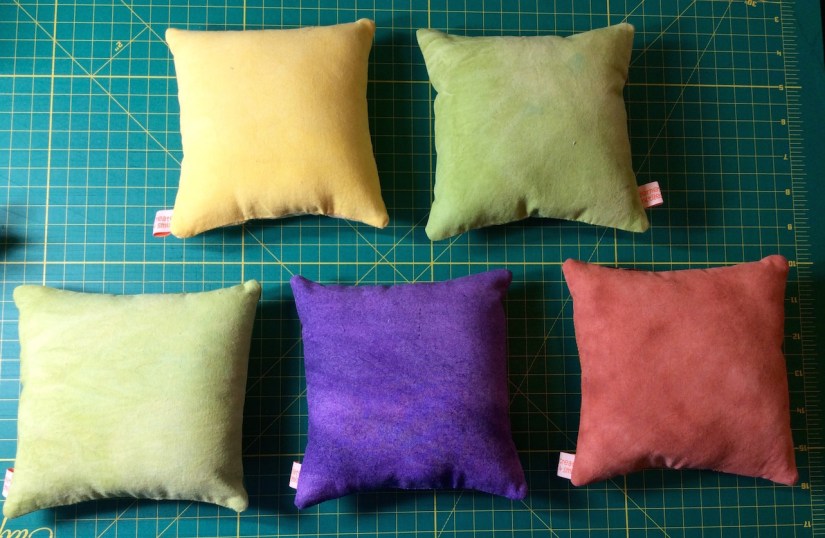
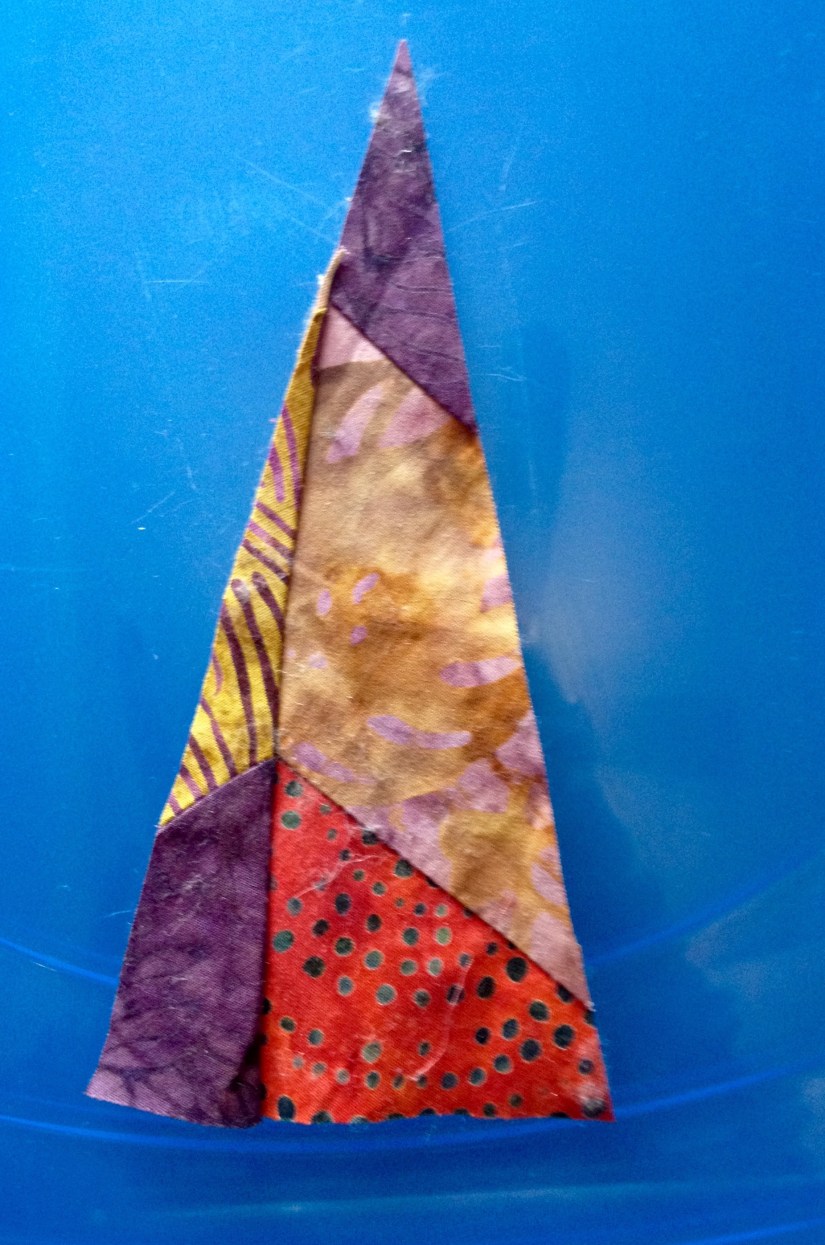
This past Spring, Terry the Quilting Husband and I went to the Central Oregon Quilt Shop Hop. During the Shop Hop we each received a “fat 1/8th quarter” of coordinated fabric. I stuck this fabric away for a future project and it seems perfect for my EPP experimentation!
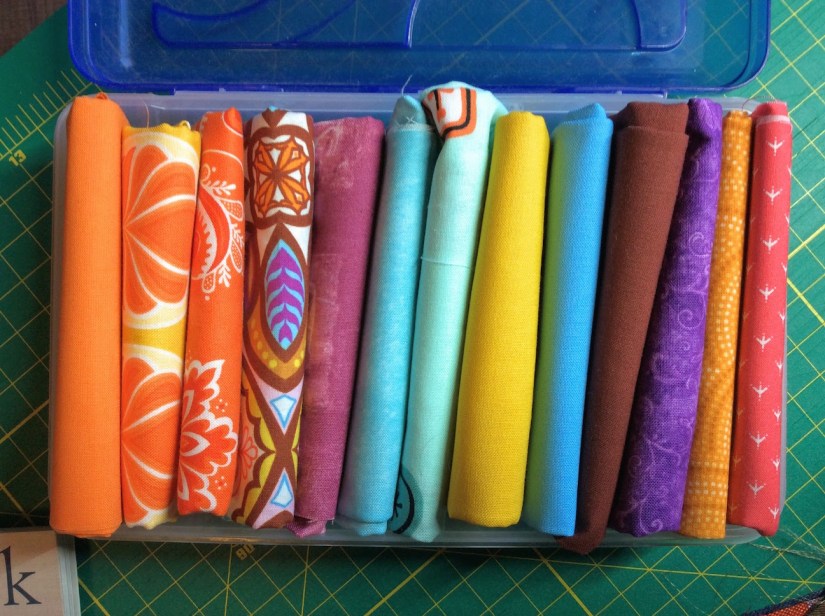
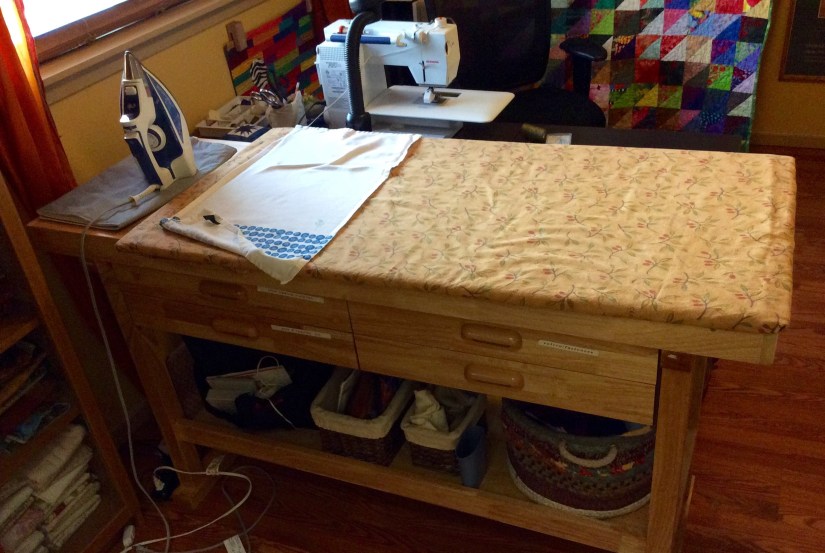
I put together a plastic tote for my EPP supplies:

And here is my beginning stack of EPP hexagons:

So why EPP?
Well I had become addicted to playing games on my iPad in the evening as we watch evening TV shows (like NCIS on Tuesdays).
Playing these games were actually making me kind of frustrated and anxious as I moved into higher and higher levels. I had lost the sense of initial enjoyment that I experience when I first played. It became as if I had to keep playing and get to higher and higher levels (but why, for what purpose?).
Although the games were a complete meaningless waste of time and no longer fun, I did not seem to be able to stop. I even tried deleting them from my iPad but in a moment of weakness the following evening, I would reinstall the app for evening TV watching.
I do not seem to be able to just sit and watch TV, I have to be doing something else. It was clear that I needed a productive alternative to playing these games and EPP seemed like the perfect solution.
So now I can do something productive with my hands in the evening while watching TV instead of playing iPad game apps! I am starting to find EPP kind of addicting – I like to keep cranking out EPP completed hexagons and it is becoming a game of how many hexagons I can rack up in an evening! (Oh no soon I will be strung out on hexagons!)
Next time I update you on my Adventures in EPP, hopefully I will have enough hexagons to start planning a small piece. Perhaps I will have even started assembling the hexagons into a piece!
POSTSCRIPT
If you are not familiar with English Paper Piecing (EPP), the online craft class site Craftsy has a nice little overview called Exploring English Paper Piecing.
Oh (random info) I recent reorganized my Gallery page into Art Quilts, Quilts, and Small Projects. I have a lot of old photos on this page and there are many old quilts I do not have digital photos on. Going forward I hope to only have high quality images of my work (but then I am taking the photos, so I am not promising – ha!)