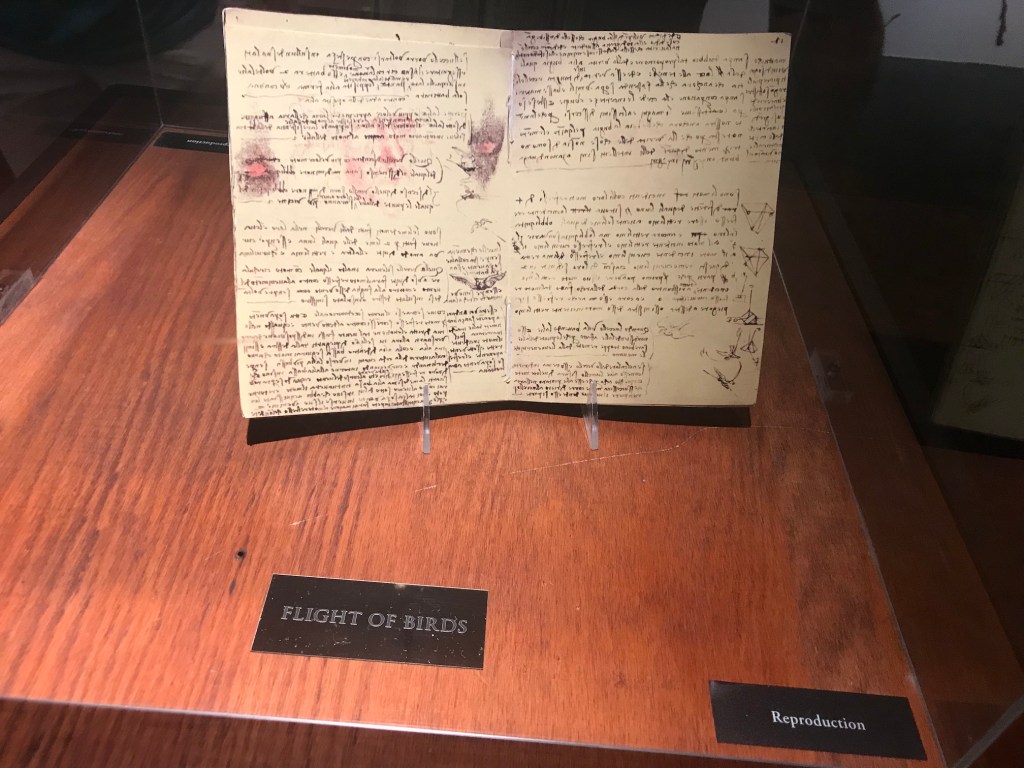
I love public libraries and as my series of posts The Library Stack shows, I am always browsing them and borrowing books when I can. A couple of years of ago I studied and embraced Minimalism trying to live a simpler lifestyle and letting go of things that I thought cluttered my life. I decided to stop buying books and just borrow them from the library.
Then in December 2018 my husband suddenly died and things shifted in my life on a large scale. And in early 2020 the pandemic hit and more shifting occurred to include examining how I could redefine a “simpler lifestyle” and have the physical things I enjoy in my life.
Our local libraries closed for what seemed like endless months during the early days of the pandemic and when they reopened it was only for curbside pickup. Currently they have fully reopened but have many strict protocols (beyond mandatory masks) and there are not that many patrons in the library anymore. It feels like something is lost from whole public library experience (and it is strange to see the librarians behind glass).
Pre-pandemic I was really in to audiobooks. Something shifted in me during the pandemic and I began to crave reading physical books rather than listening to them. I also remembered my secret dream of having an extensive home library like the ones I see in the home decorating books I borrow from the public library.
Like this one below:

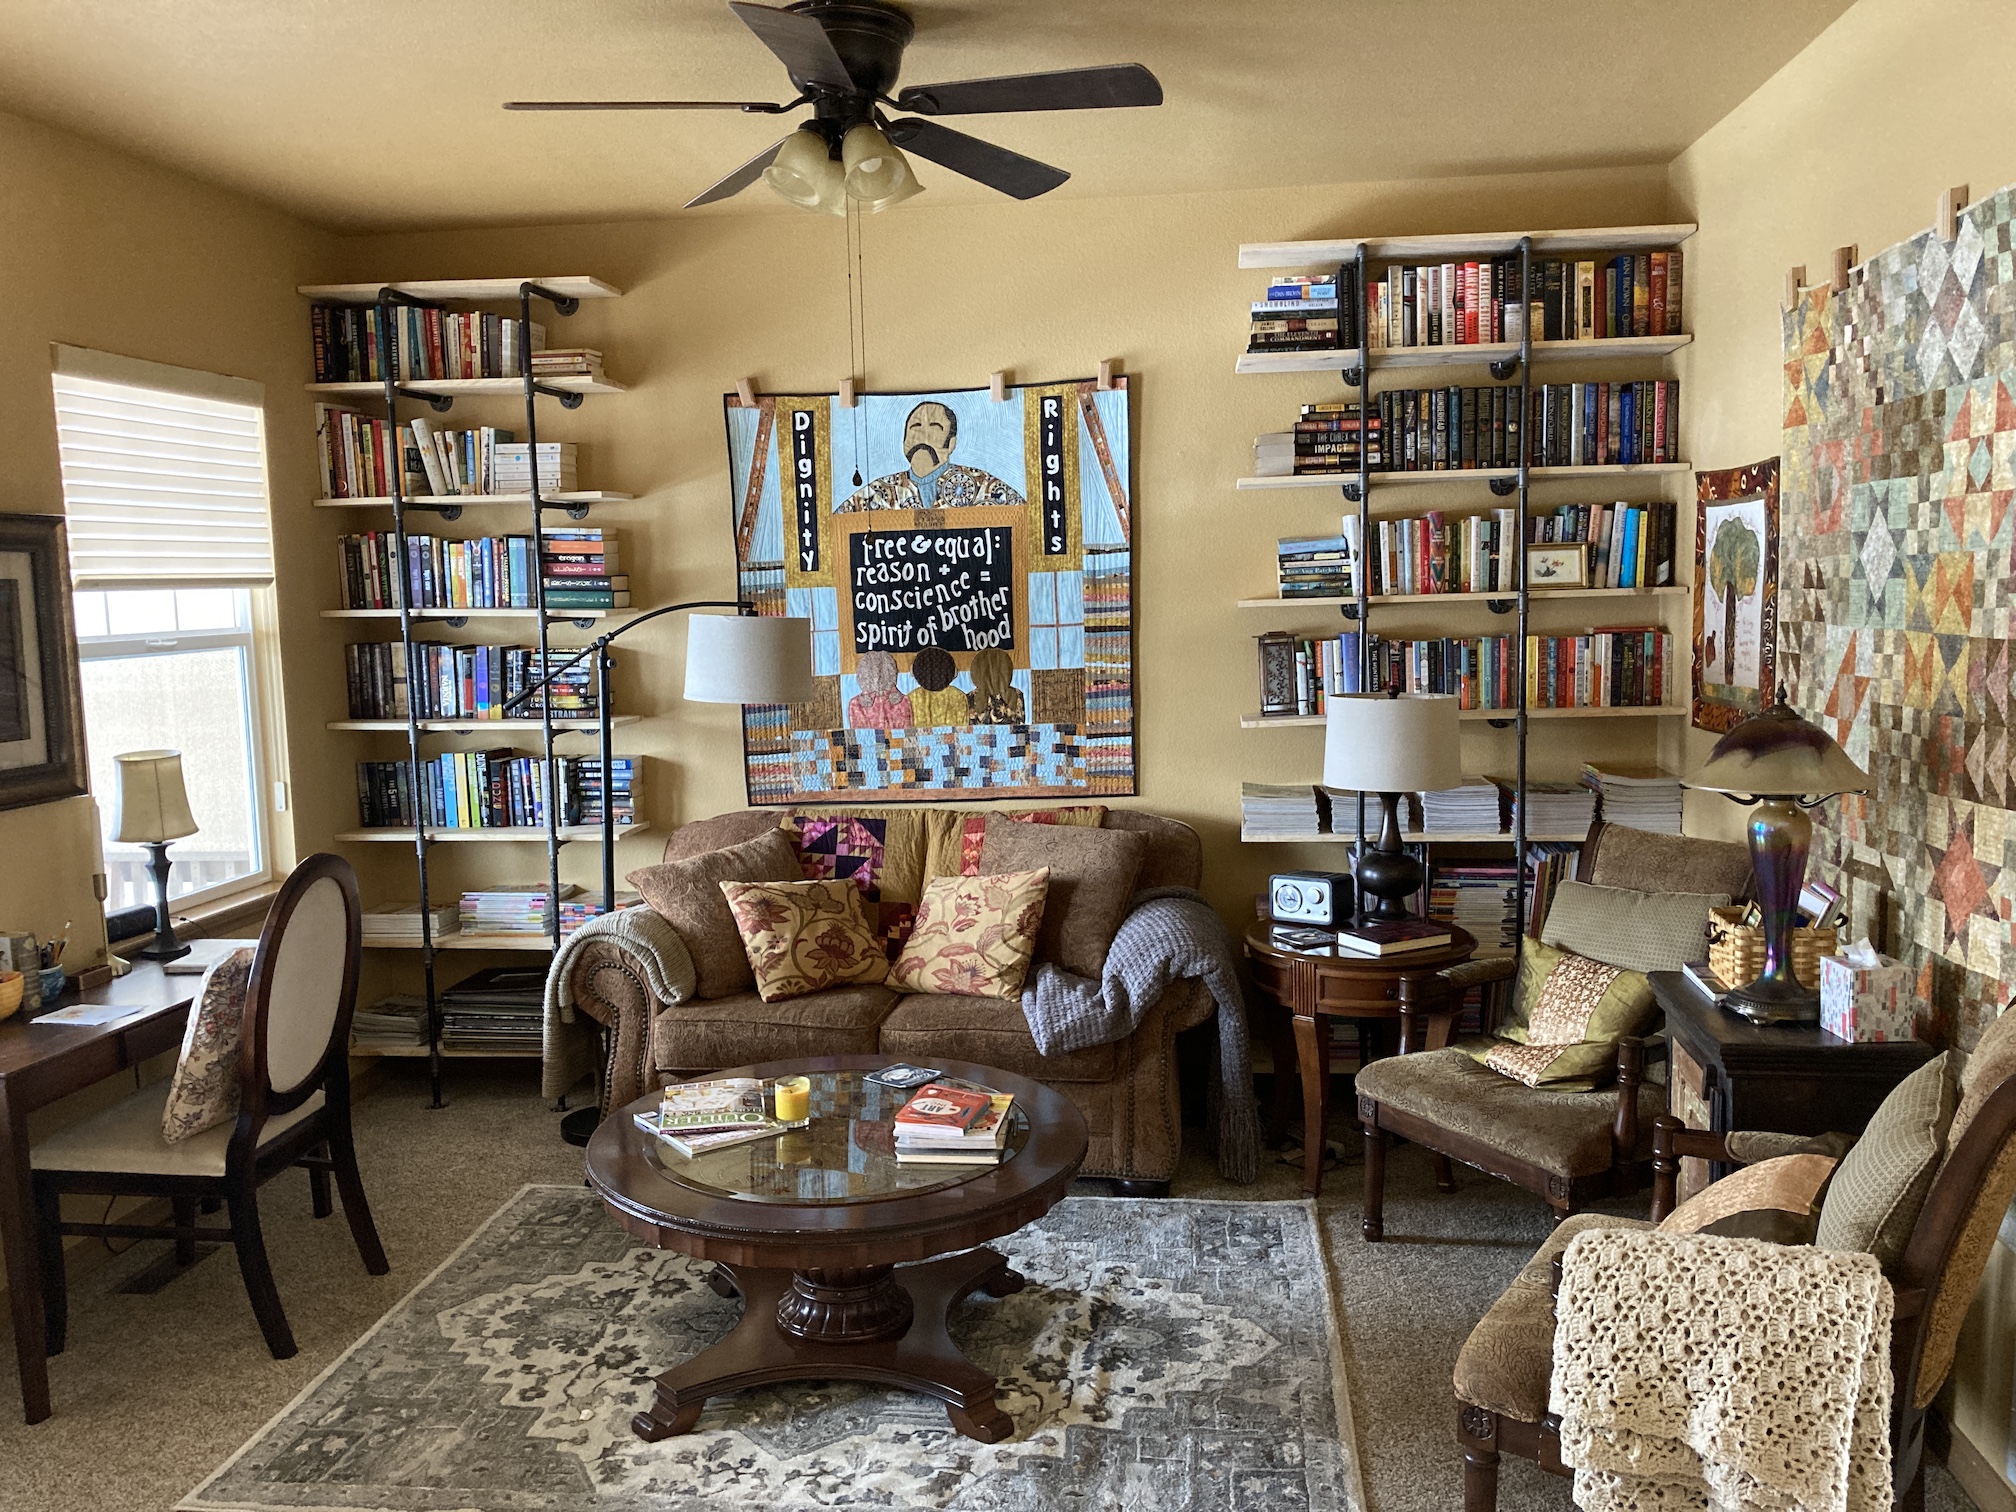
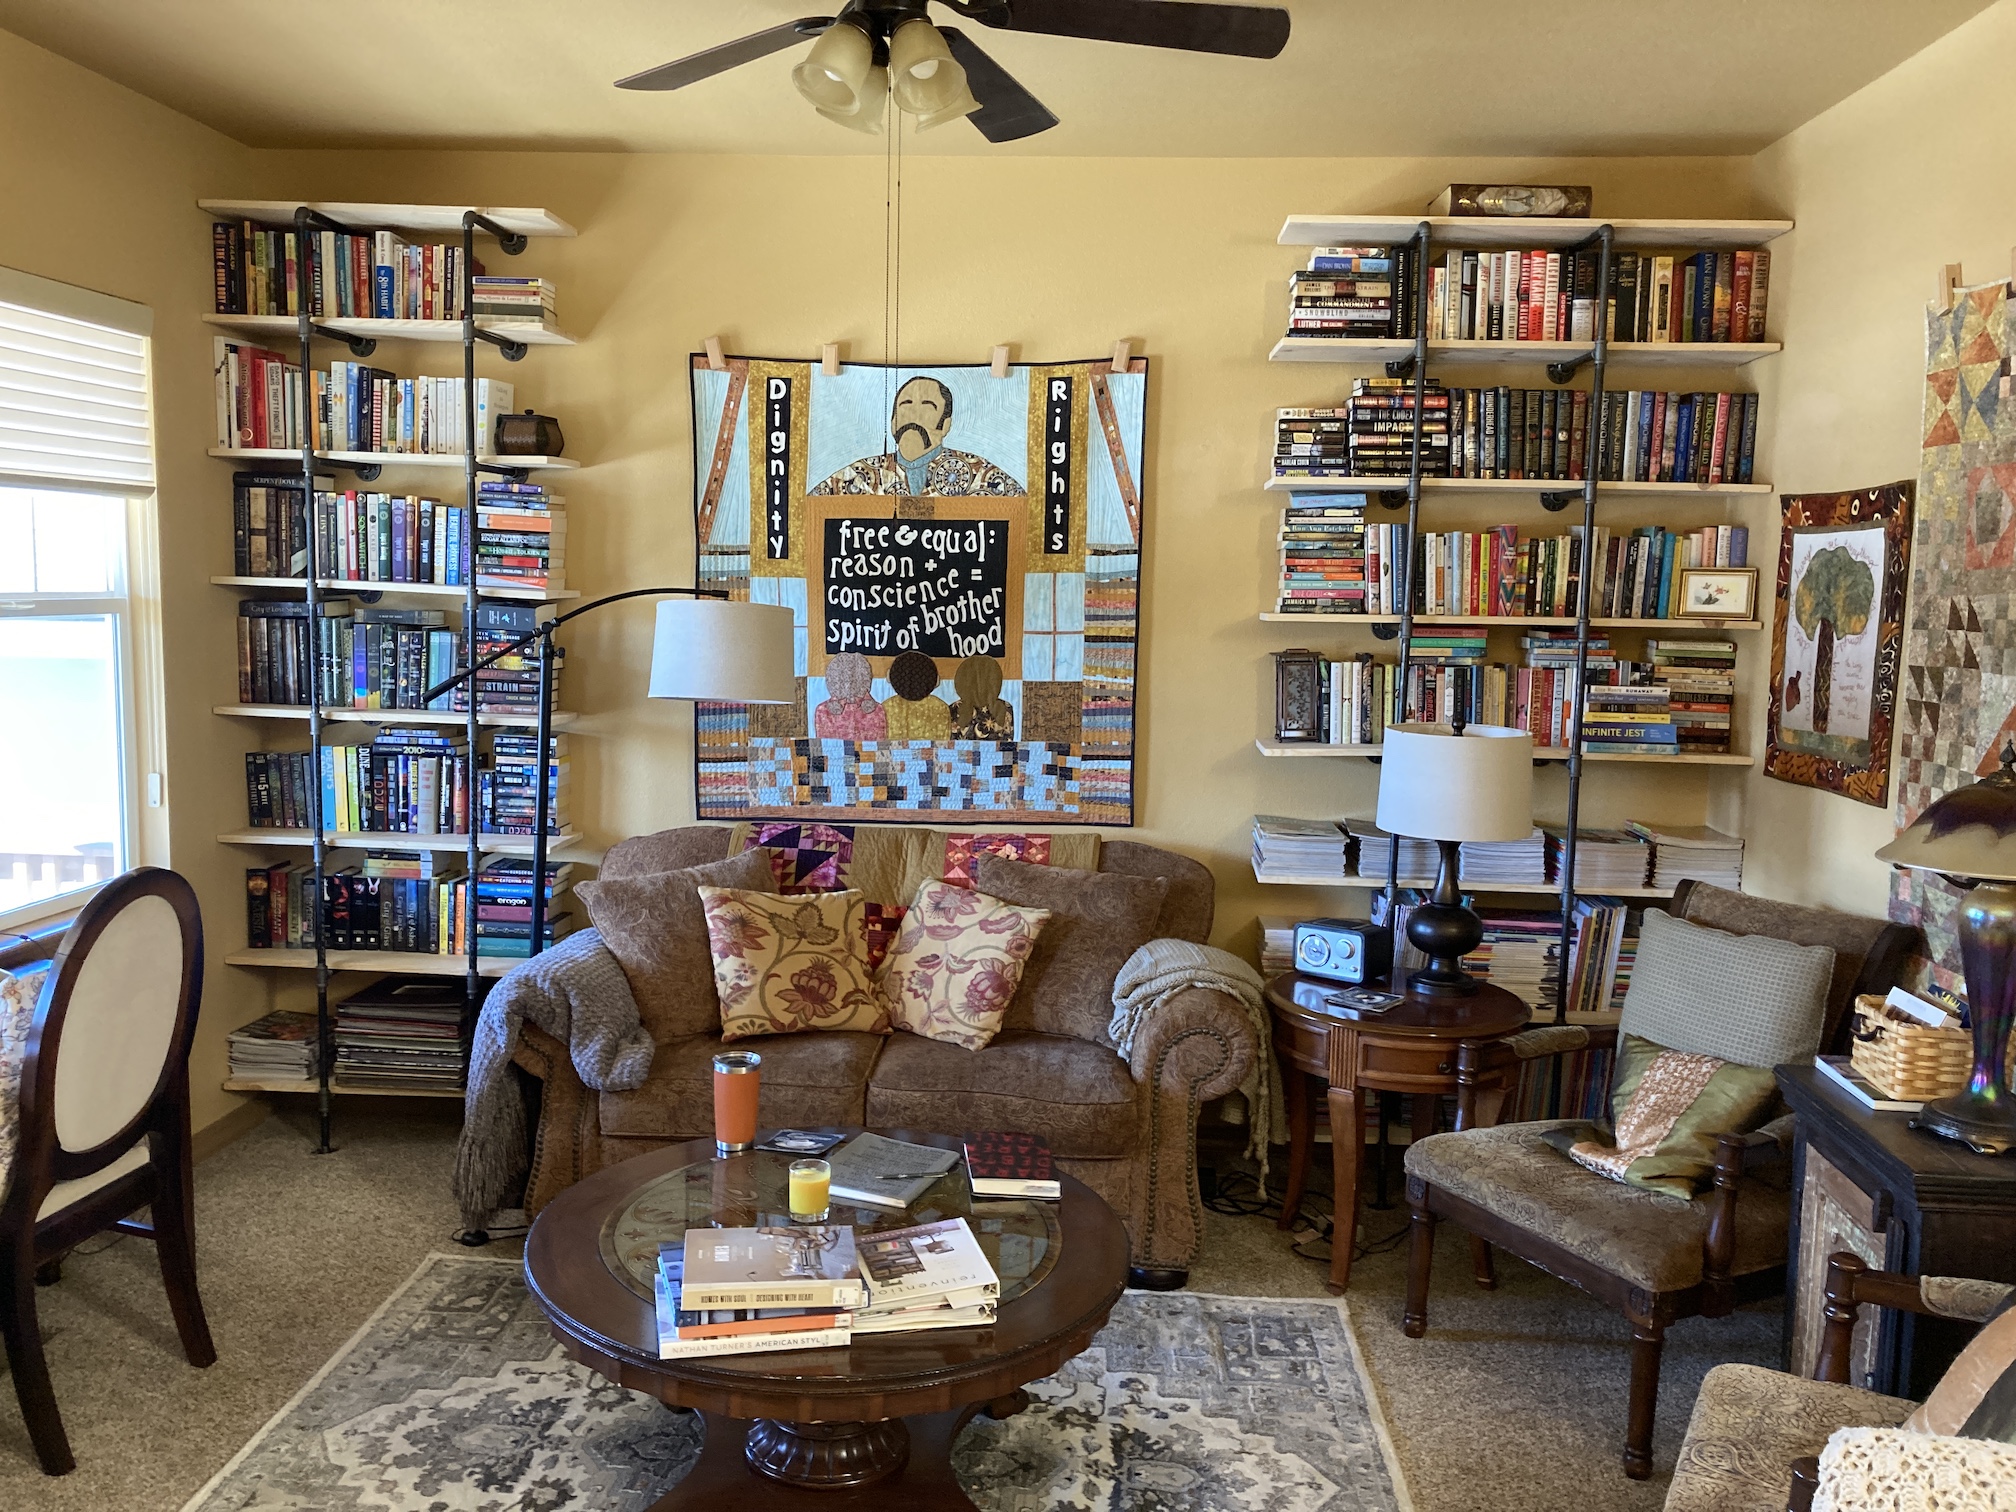
With all the above things in the background of my mind, a couple of months ago I decided that I wanted to proceed with curating my own home library. Nothing as extensive as the image above but a nice collection with books that I’ve read and loved (and want to read again) and books I want to read (and might read again).
So how to do this and not “break the bank”? Well I used the following sources to find books for my home library:
- Thrift Stores
- Garage Sales
- Thriftbooks.com
- Independent bookstores selling used books
I was able to buy books from 50 cents to $5.00 from these four sources. Most books I paid between $1.49 and $4.99.
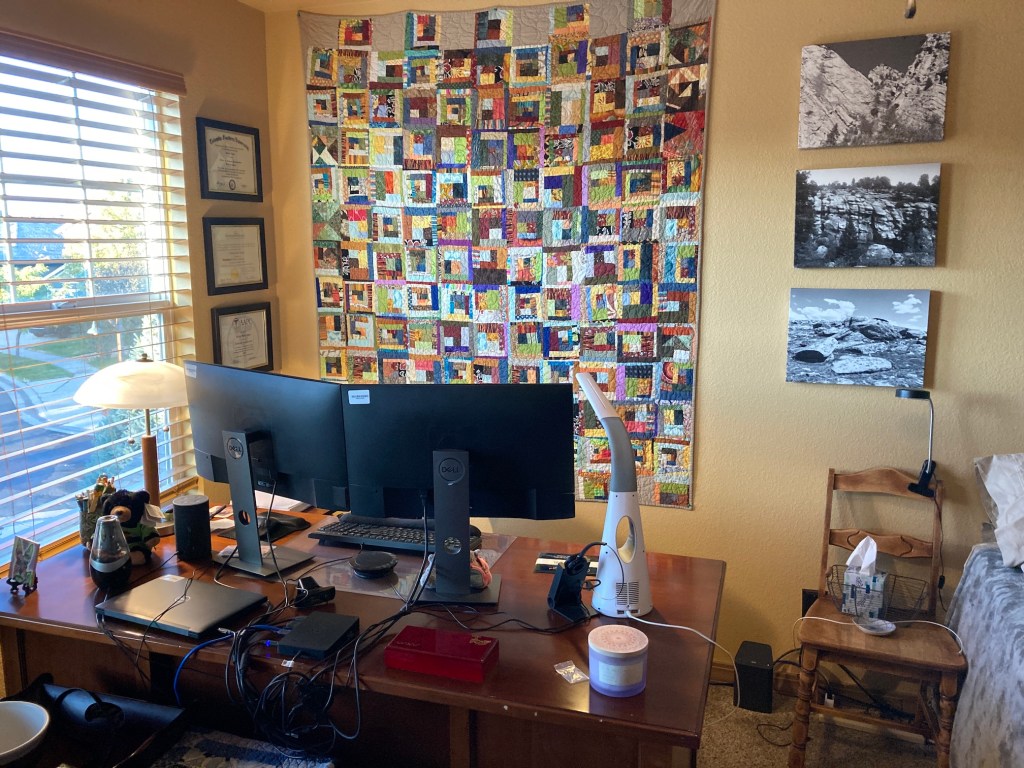
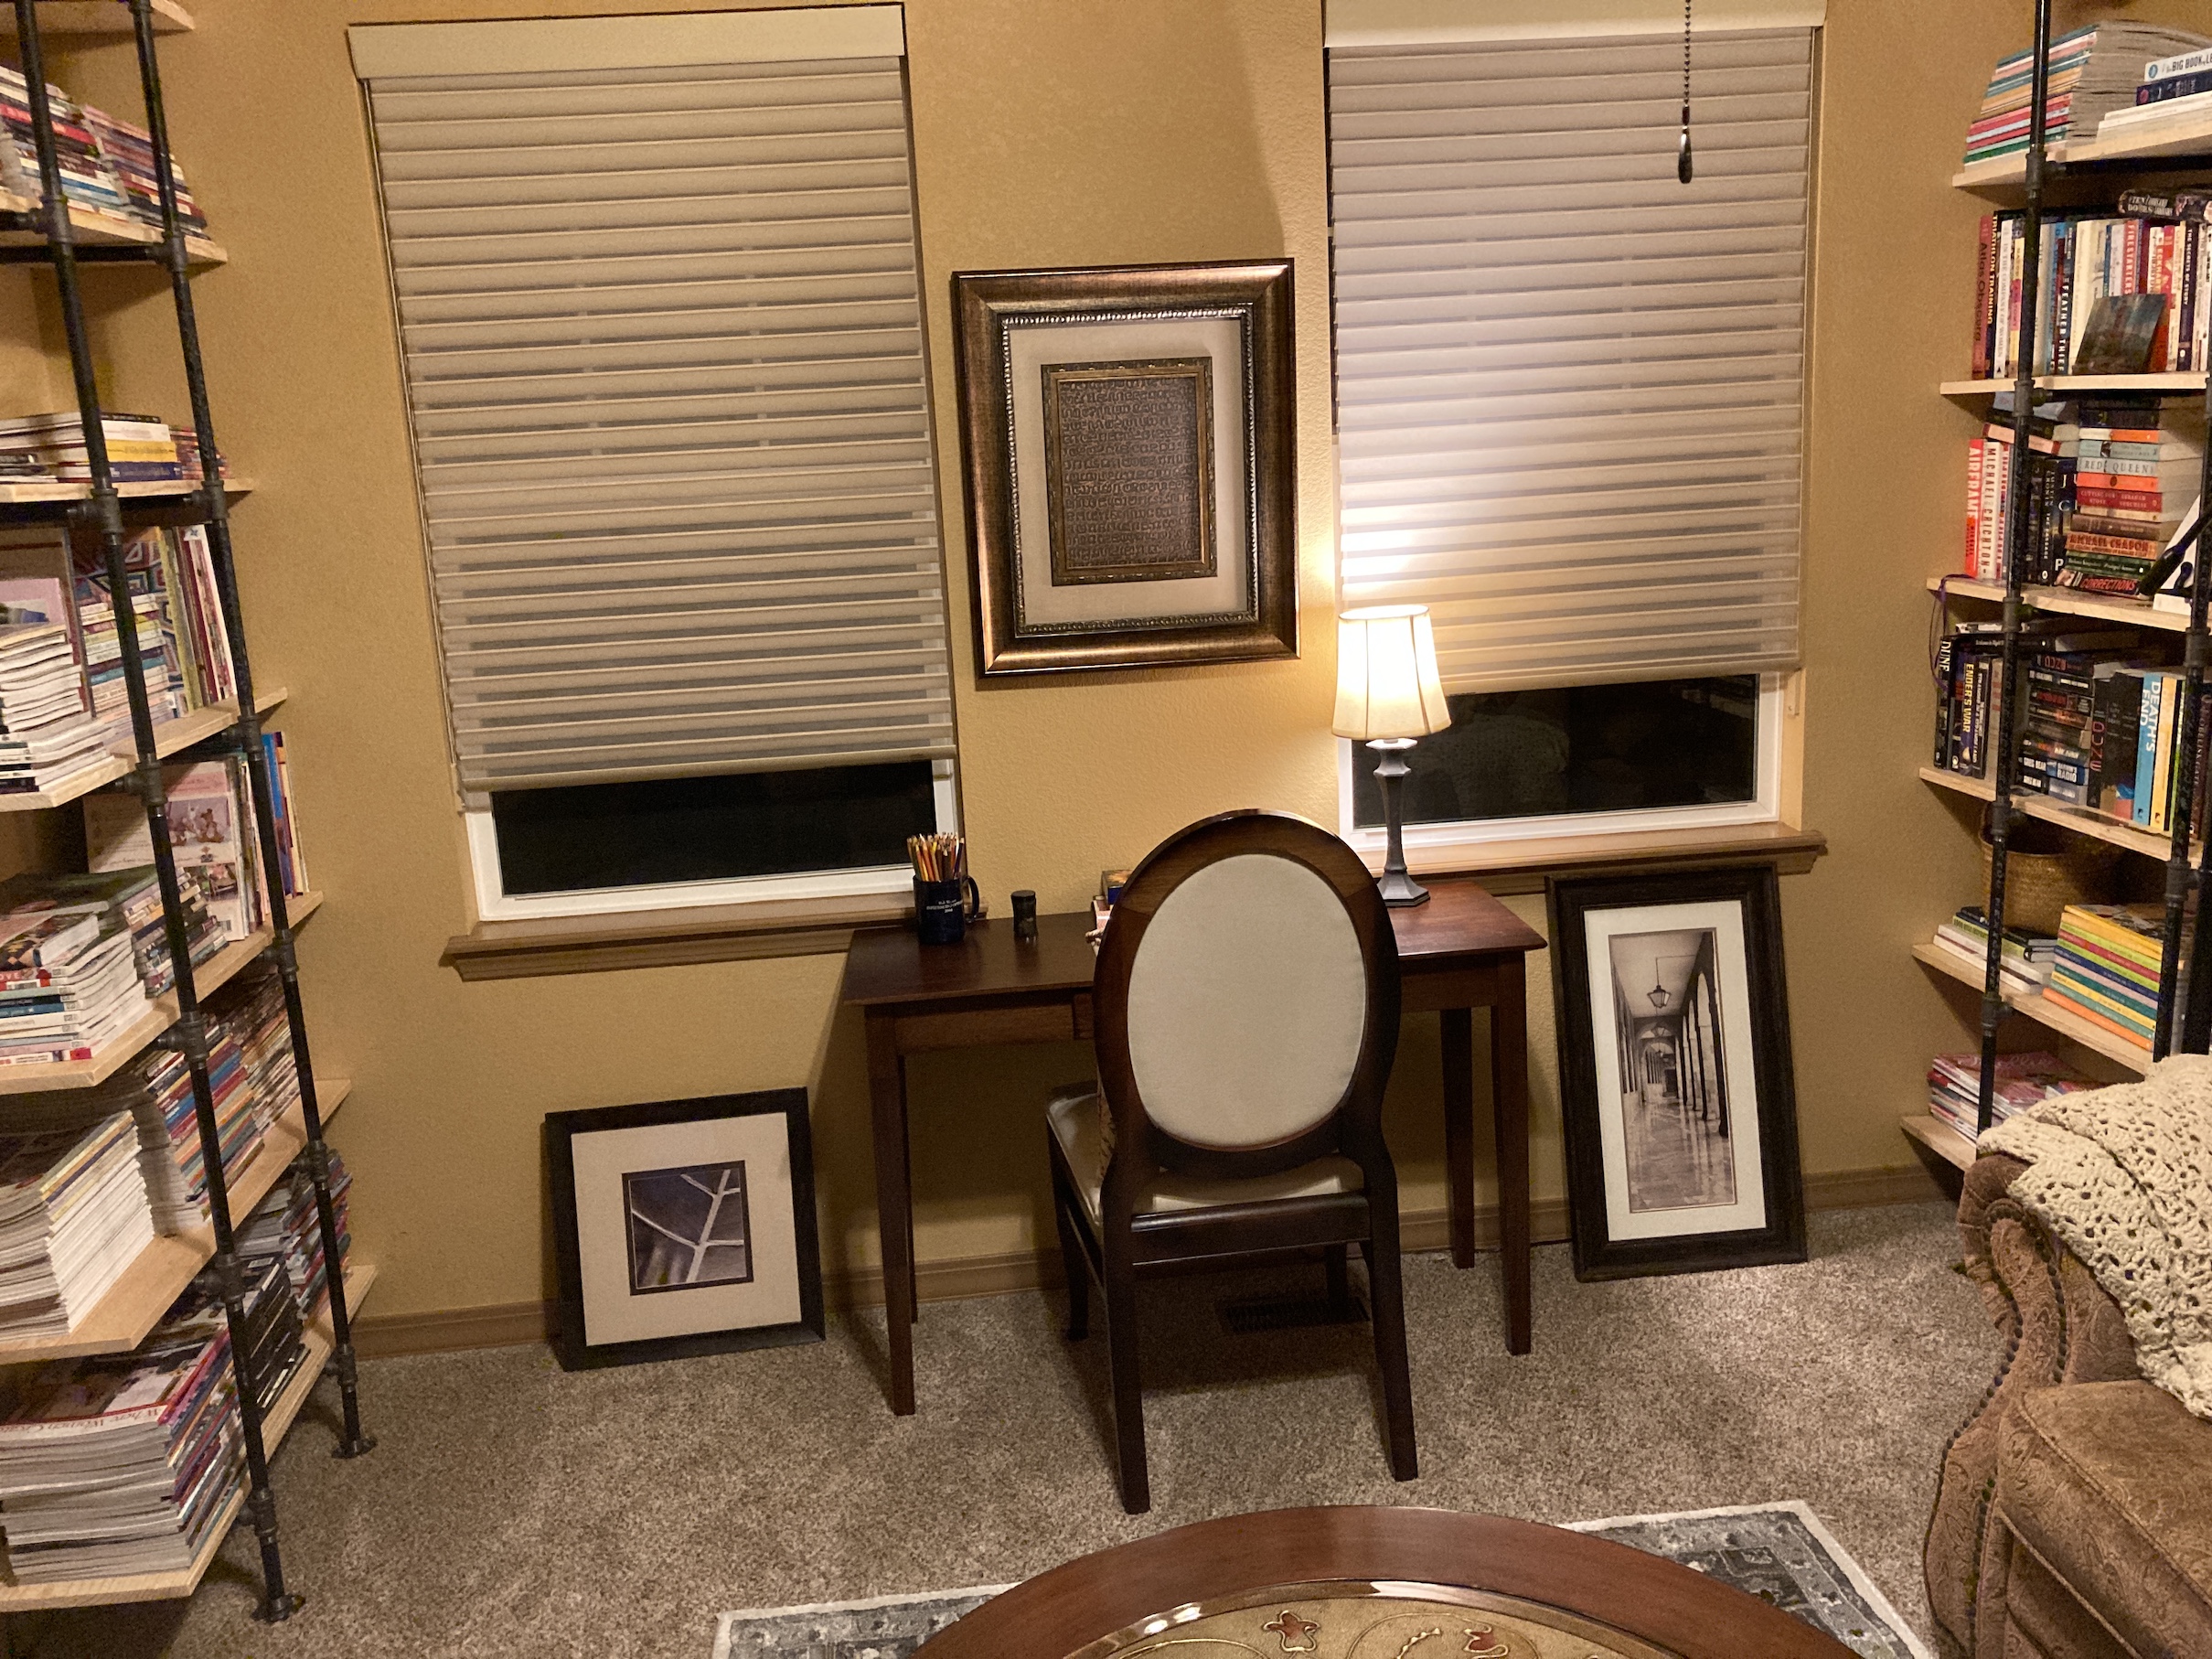
In addition to amassing a collection of second hand books over the past couple of months, my partner John also added an additional bookcase to the front room beyond the two he already built for me.
So here is the current version of my home library which used to be the front room/sitting room in my house:


I had so much fun hunting for books at thrift shops (one local thrift shop has 1/2 priced Saturdays).
I’ve loved the books by the authors Douglas Preston & Lincoln Child and I’ve read at least 85% of their entire catalogue of books. So I put together a collection of their books of my very own (previously I had borrowed them from the library):
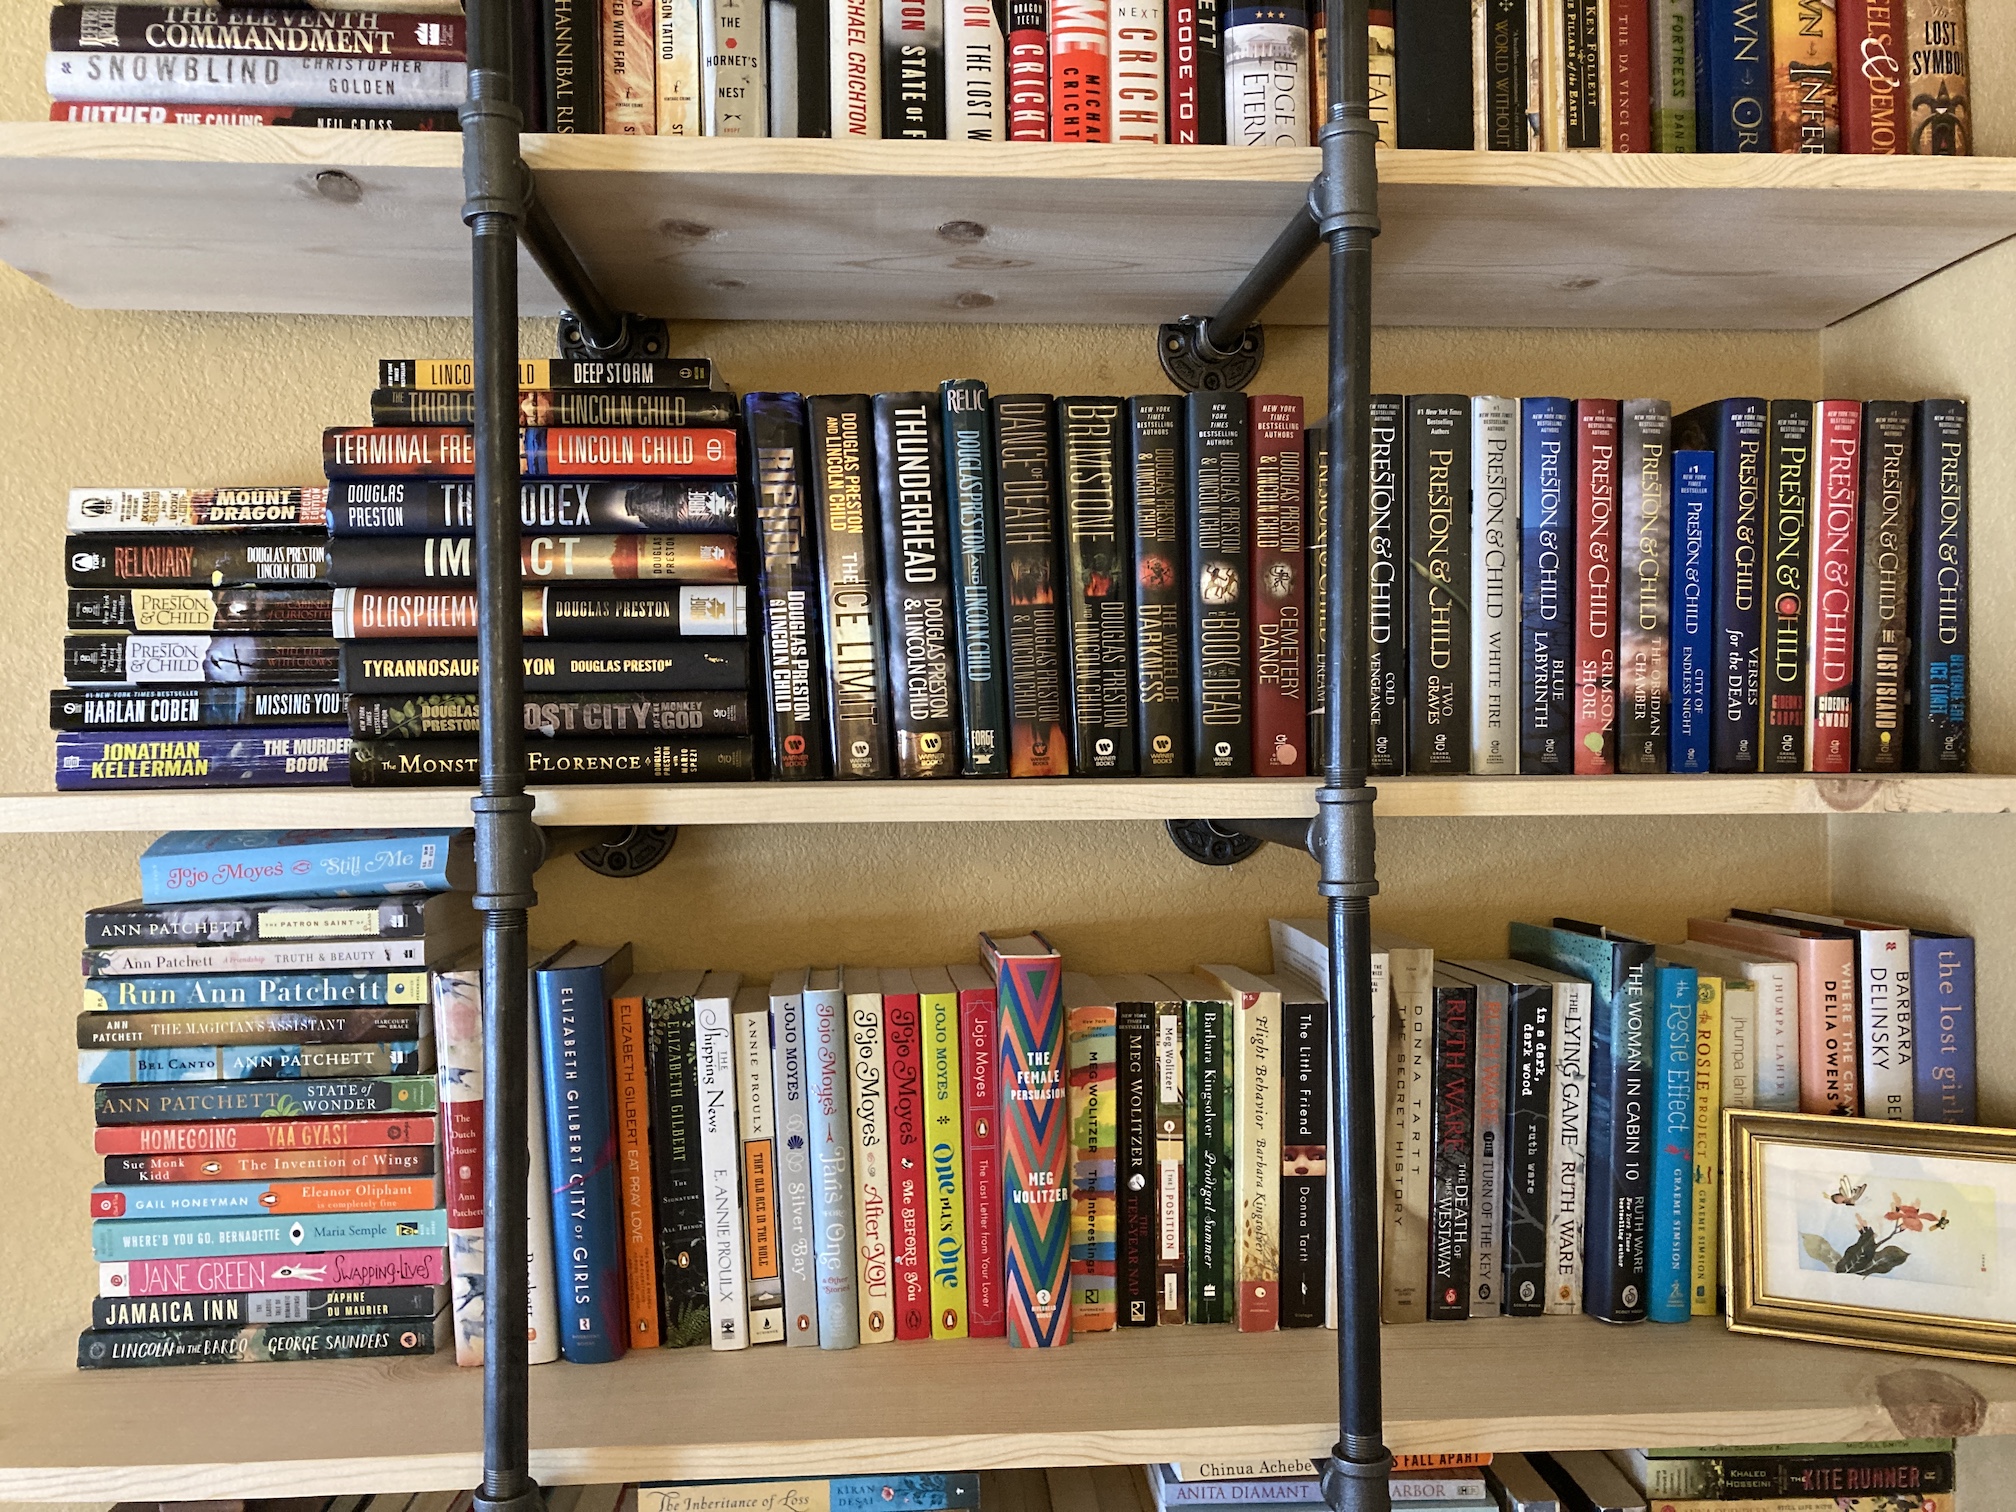
I do not have their latest books as those are not at thrift stores yet or reasonably priced on Thriftbooks.com but it was so fun finding each book one at a time while hunting at thrift shops.
At the beginning of my home library book curation process I thought about filling part of my home library with classic novels and books that might impress a book collector. But that thought lasted only a couple seconds. I have no need to impress anyone with my home library except myself. It is only filled with the kind of books I will read (and my partner too).
Like lots of Science Fiction and Fantasy (especially Young Adult Fantasy, I love it):

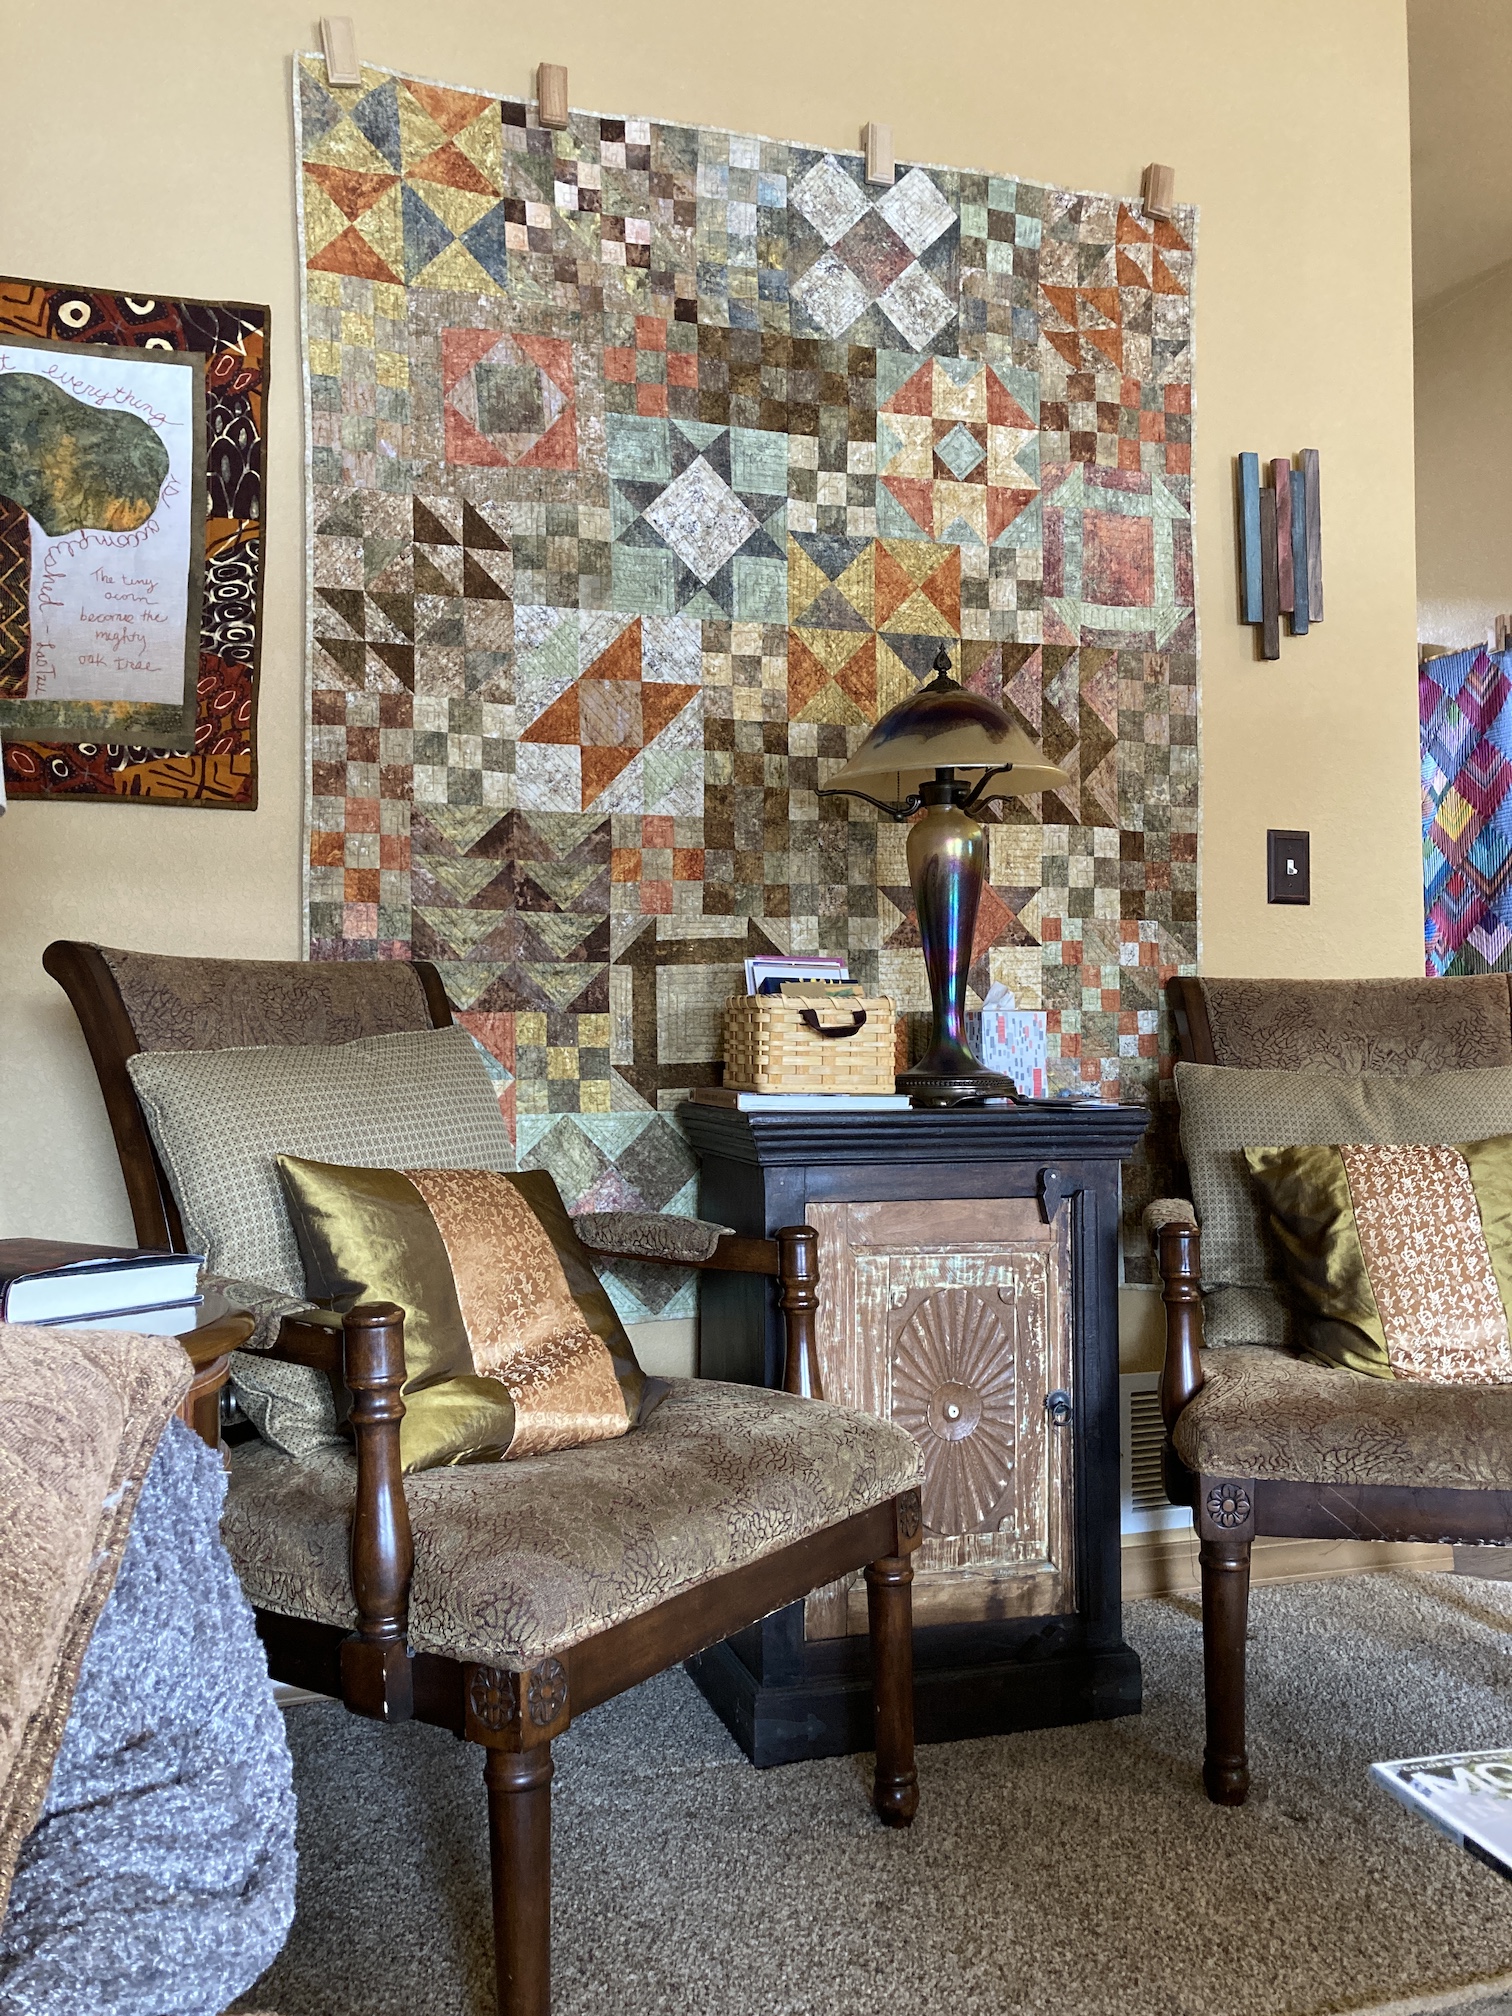
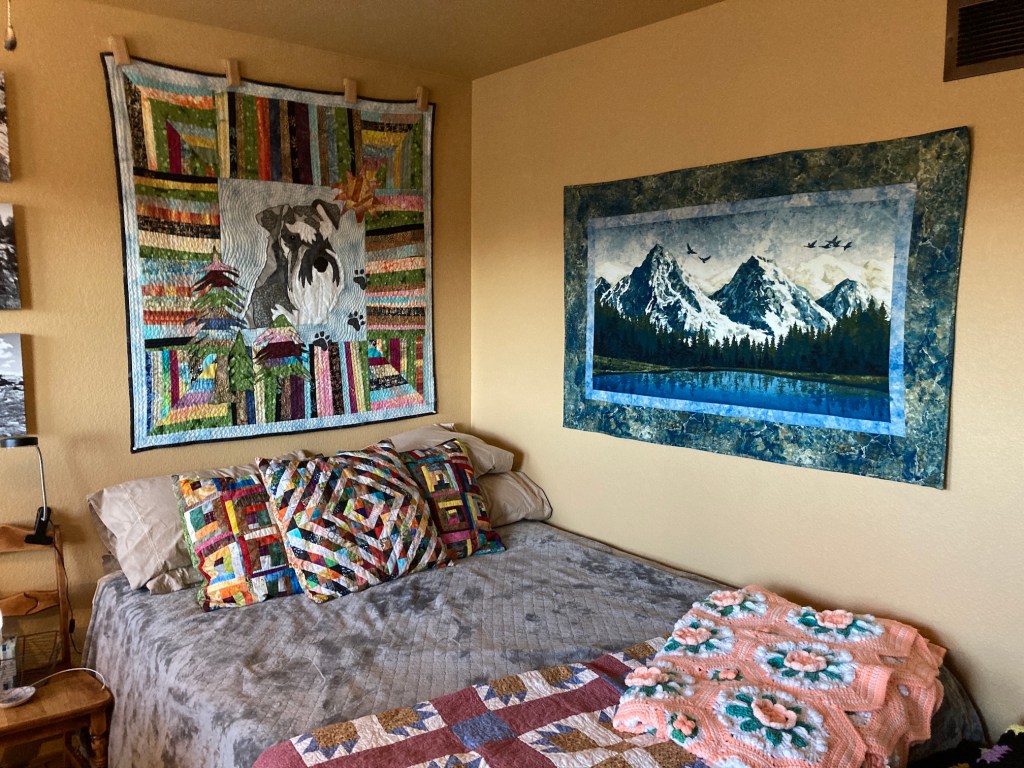
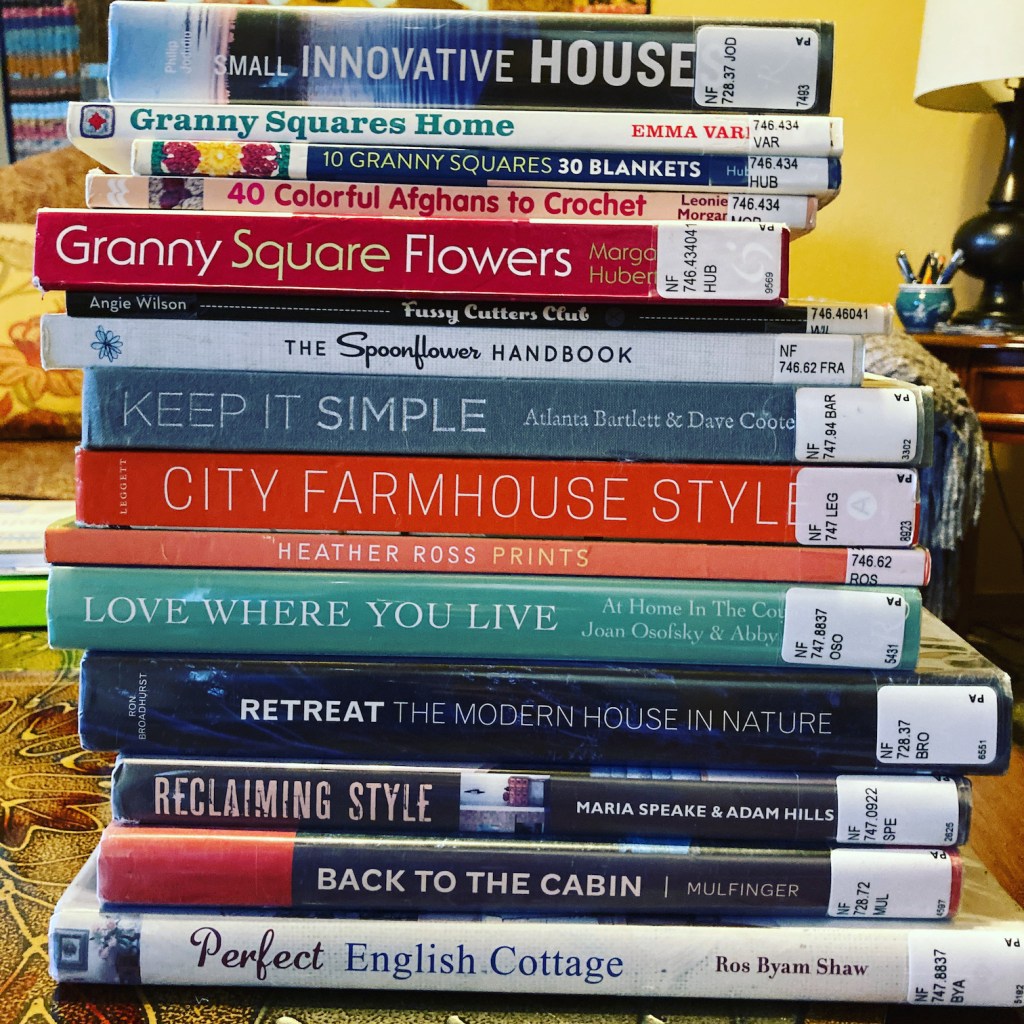
You might wonder what I did with my craft book collection. Well it is on the opposite wall organized by craft or topic (like art quilting):

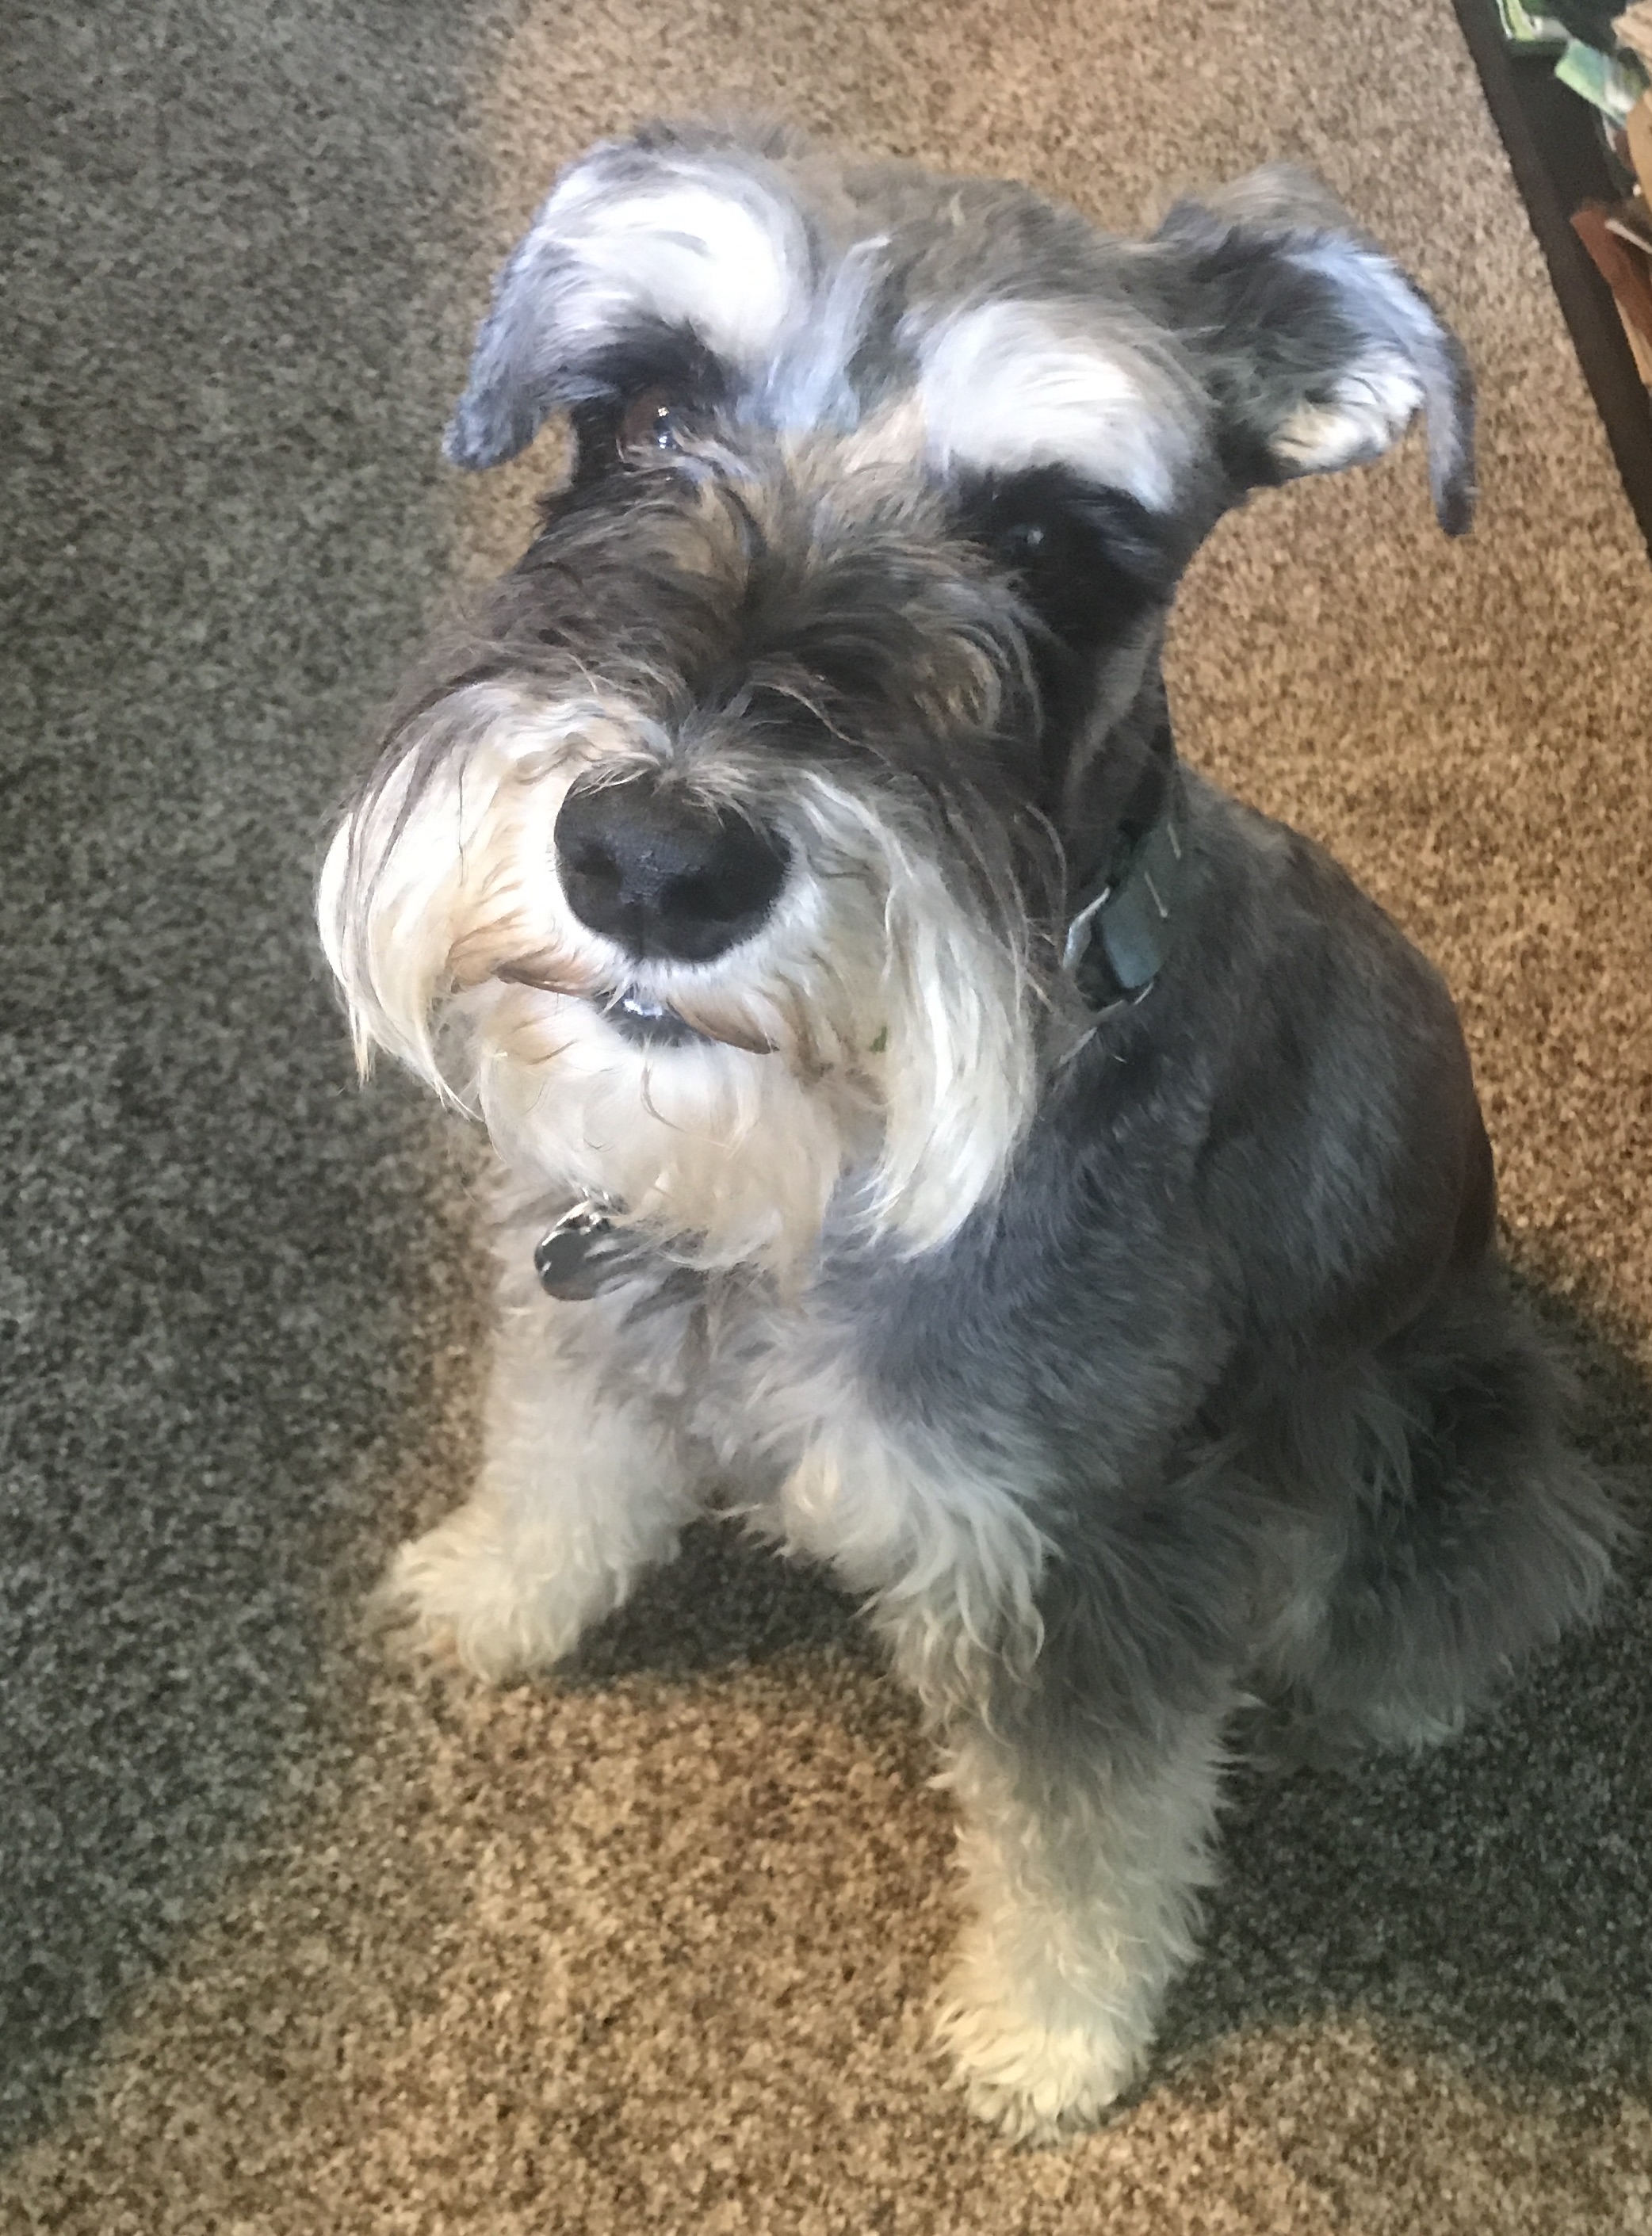
All those books – got to have a cozy place to read, right? Here is Mike the Miniature Schnauzer sitting in my favorite reading spot:

And here is Mike and I snuggled cozy under a warm blanket on a cold Saturday reading (it was quite a delicious morning with my pot of tea next to me). I rediscovered the joy of reading a while, napping, waking up and reading some more!


Note these images were taken before my partner put up the third bookcase last week.
In case you are curious, I am still occasionally getting a “Library Stack” from my local public library, though not as big as the ones I was getting (the ridiculously large stacks like in the post The Library Stack Is Back!) when the library first reopened. Here is my current linrary stack:
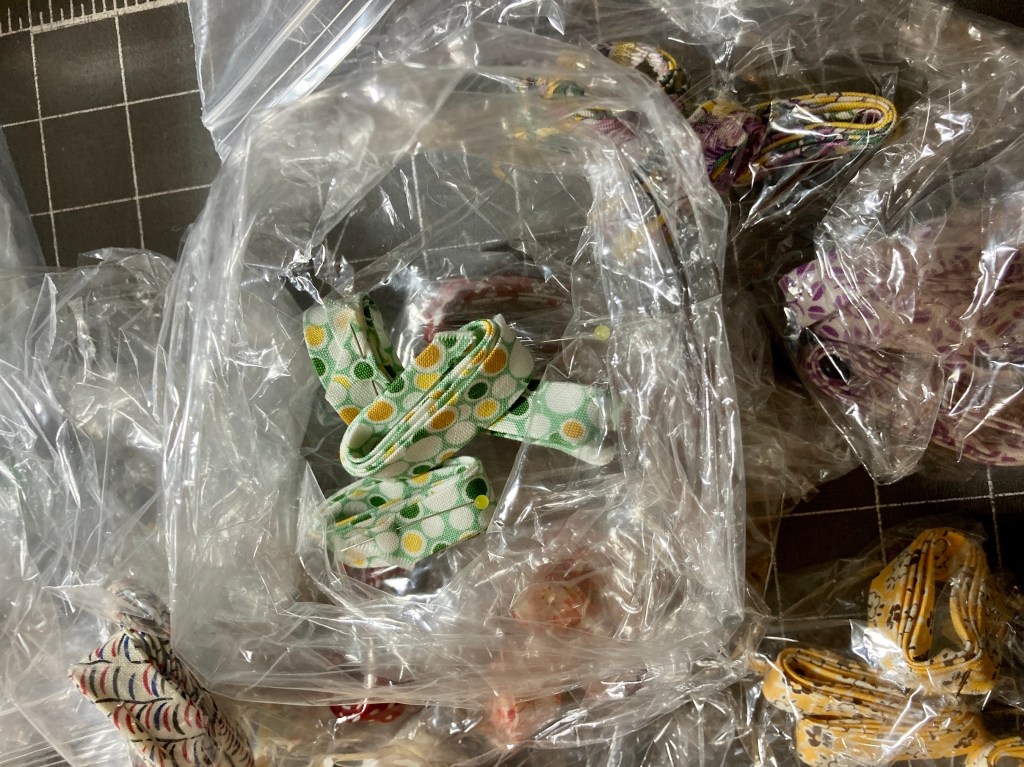
Speaking of libraries, some of the second hand books I’ve purchased over the past several months are former library books! I’ve gotten pretty good at removing the library’s plastic dust cover with all their library specific stickers so the books sitting on my home library shelves does not look like I stole them from a library – ha!
As I mentioned earlier in this post I used to listen to a lot of audiobooks. Current I am only listening to podcasts now, taking a break from audiobooks. I am currently enjoying holding a book in my hand and reading it. Quite a different experience. I am taking a break from multitasking in life and just enjoying a solitary task of reading a book!
Postscript
Over the past several months of going to thrift stores to find books for my home library, I’ve come across many curious items for sale at thrift shops.
Here are my top 5 favorite finds that gave me the chuckle (and I promise you I did not buy any of them):
Number 5: If you need a lamp and a place to store your leftover yarn, would this not be the perfect solution?
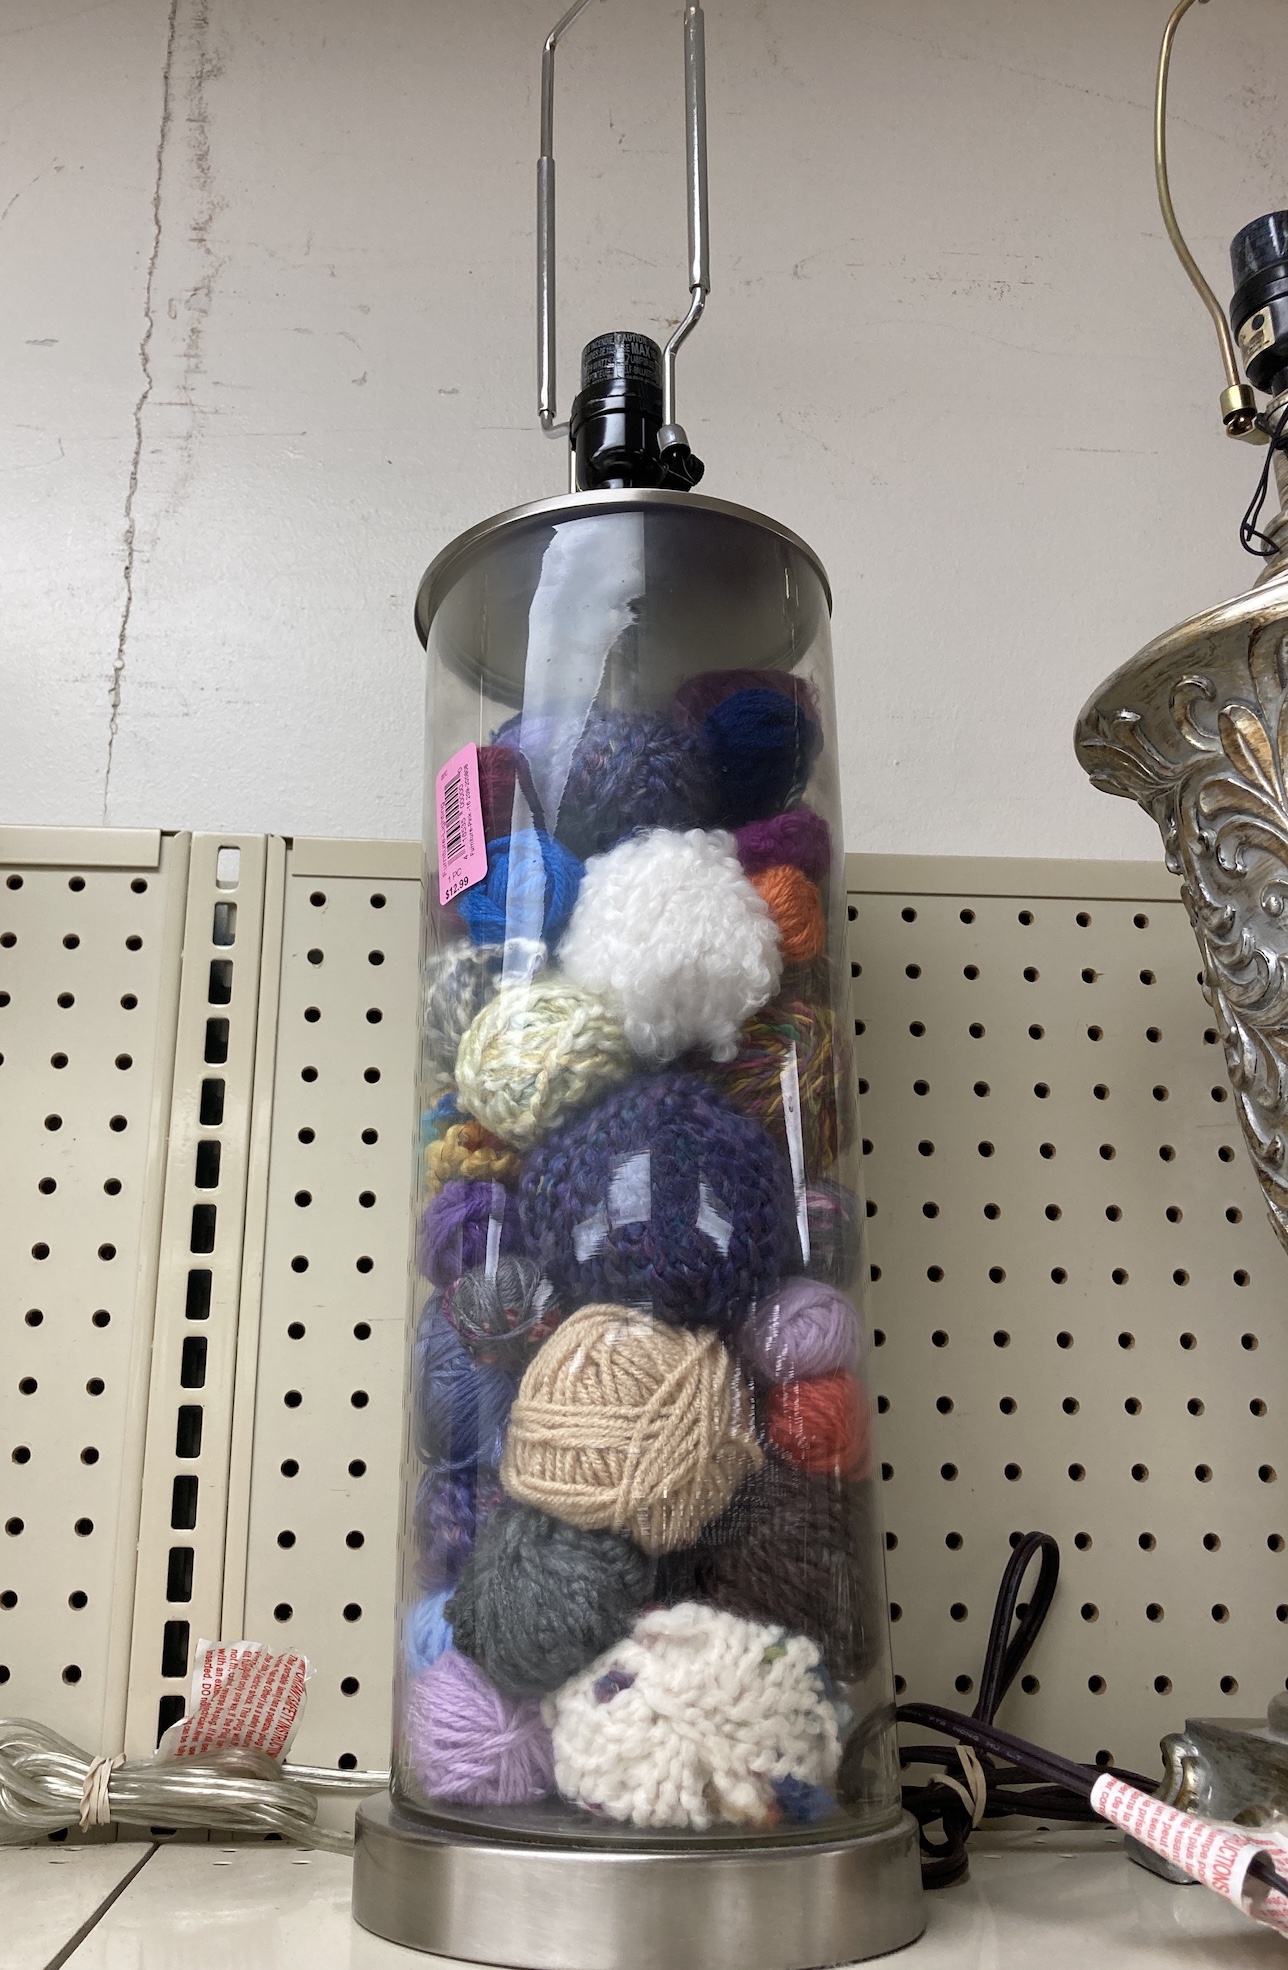
Yes it’s – YARN LAMP!
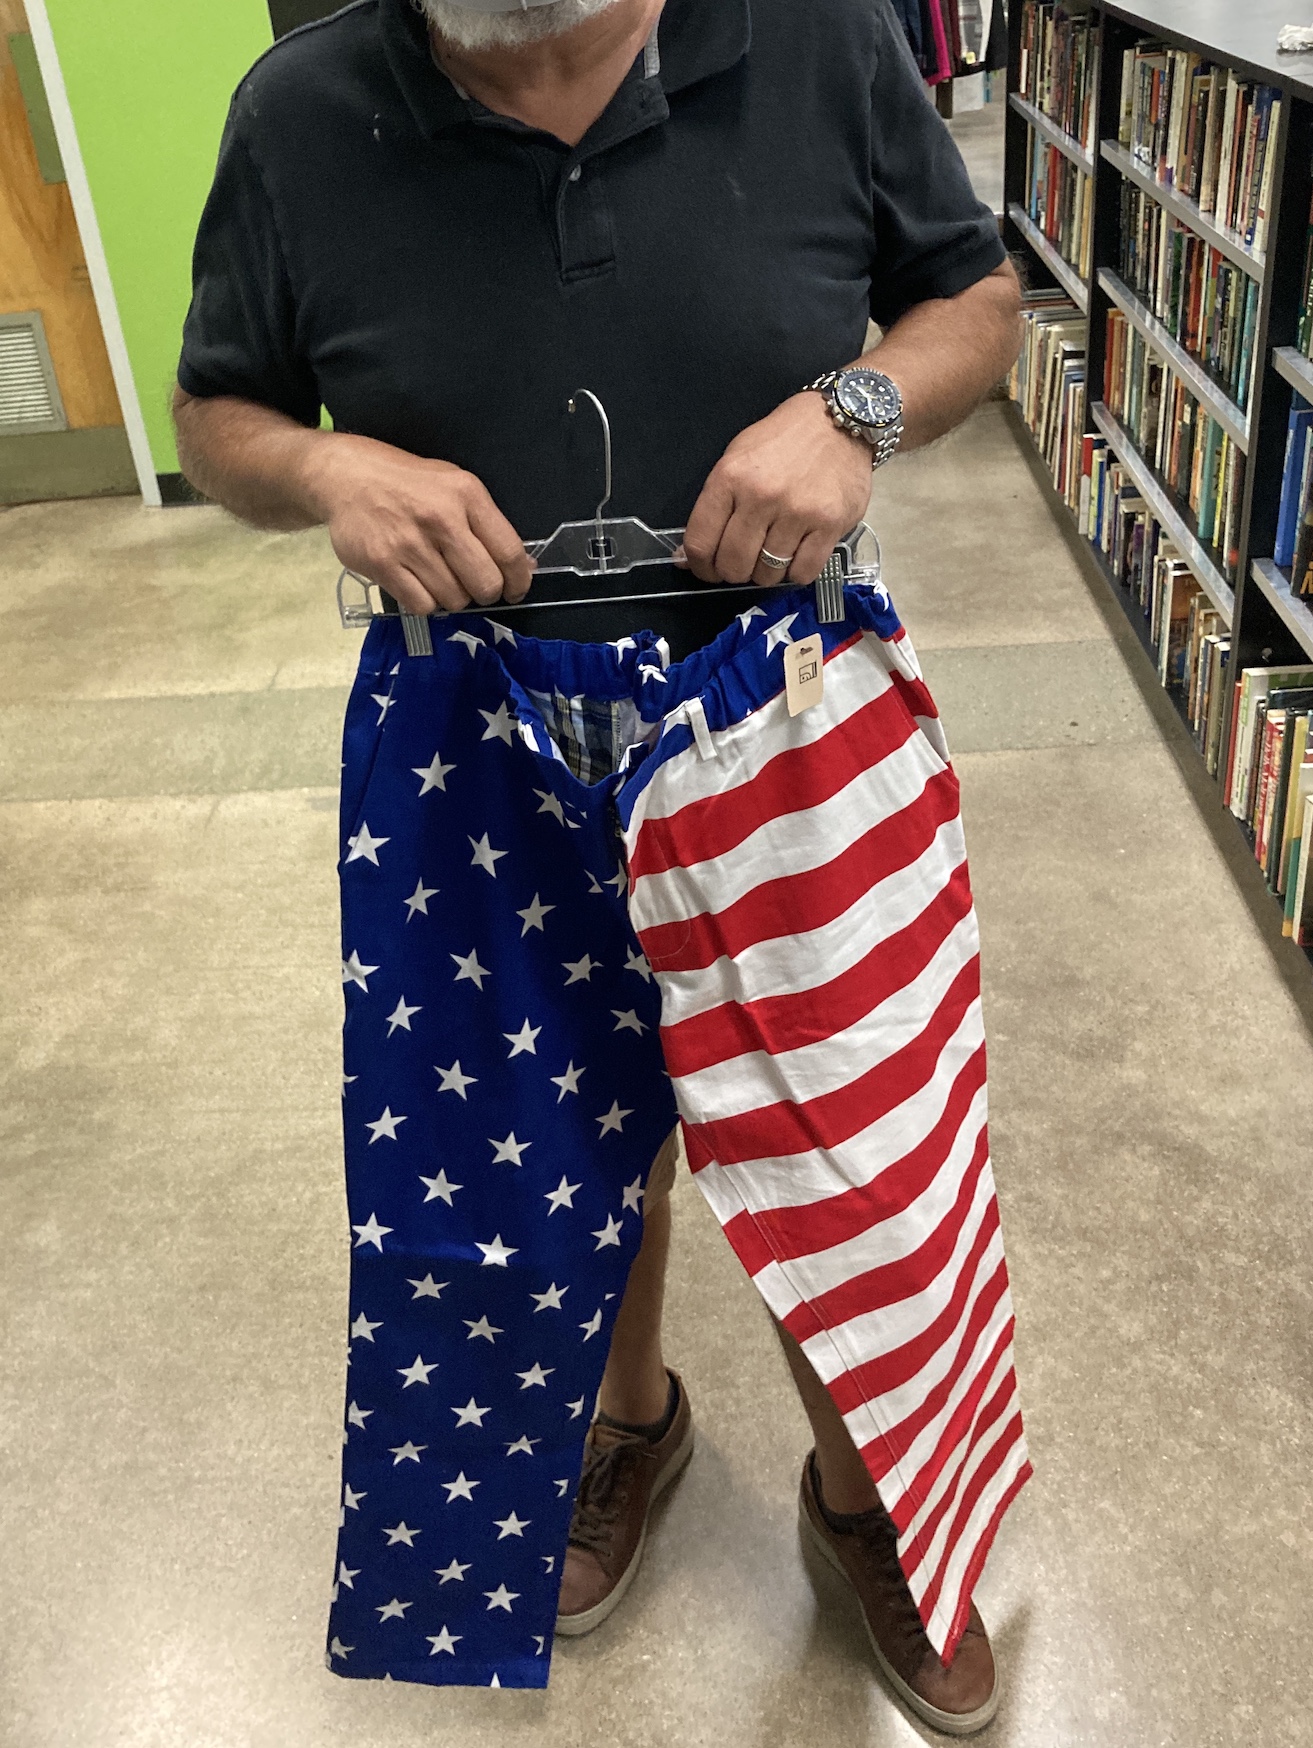
Number 4: Patriotic pants – they defy any further comment (but my apologies to you if you happen own these…)
Number 3: Donated photo frames with family photos still in them.
I could not believe how many donated photo frames I came across with family pictures still in them at various thrift stores, like the example below. Wouldn’t you perhaps remove your family photos before donating?!?!?

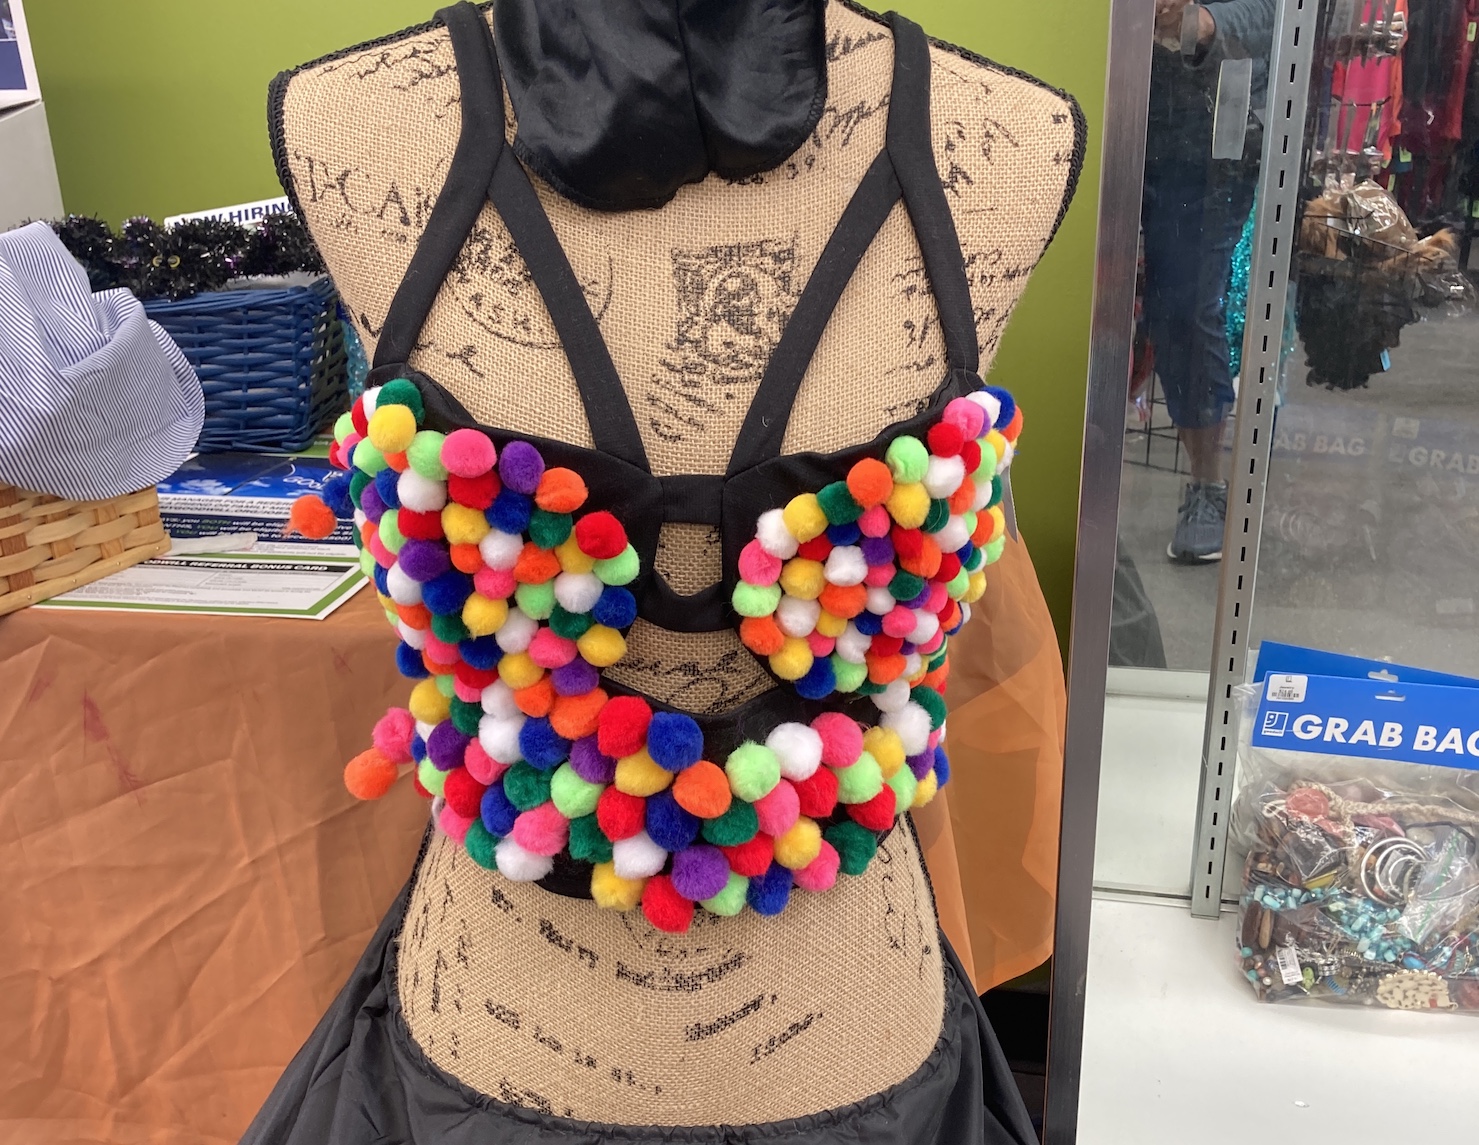
Number 2: An outfit for a very adventurous and crafty person.
Though it was on display way before Halloween, I think this was supposed to be a suggested Halloween outfit (hopefully as you would get a lot of stares should you select it for a cocktail party…)

And Number 1 is…
Something that you absolutely cannot imagine living without…
A cattle leg (yes real cattle leg) with hoof attached Barometer!

Yes, now you can remember the favorite steer you raised on your farm and know the current barometric pressure!
My regret is I did not buy it and put it away as the ultimate future “White Elephant” Christmas gift! (Could you imagine the look on someone’s face when they opened their gift!)


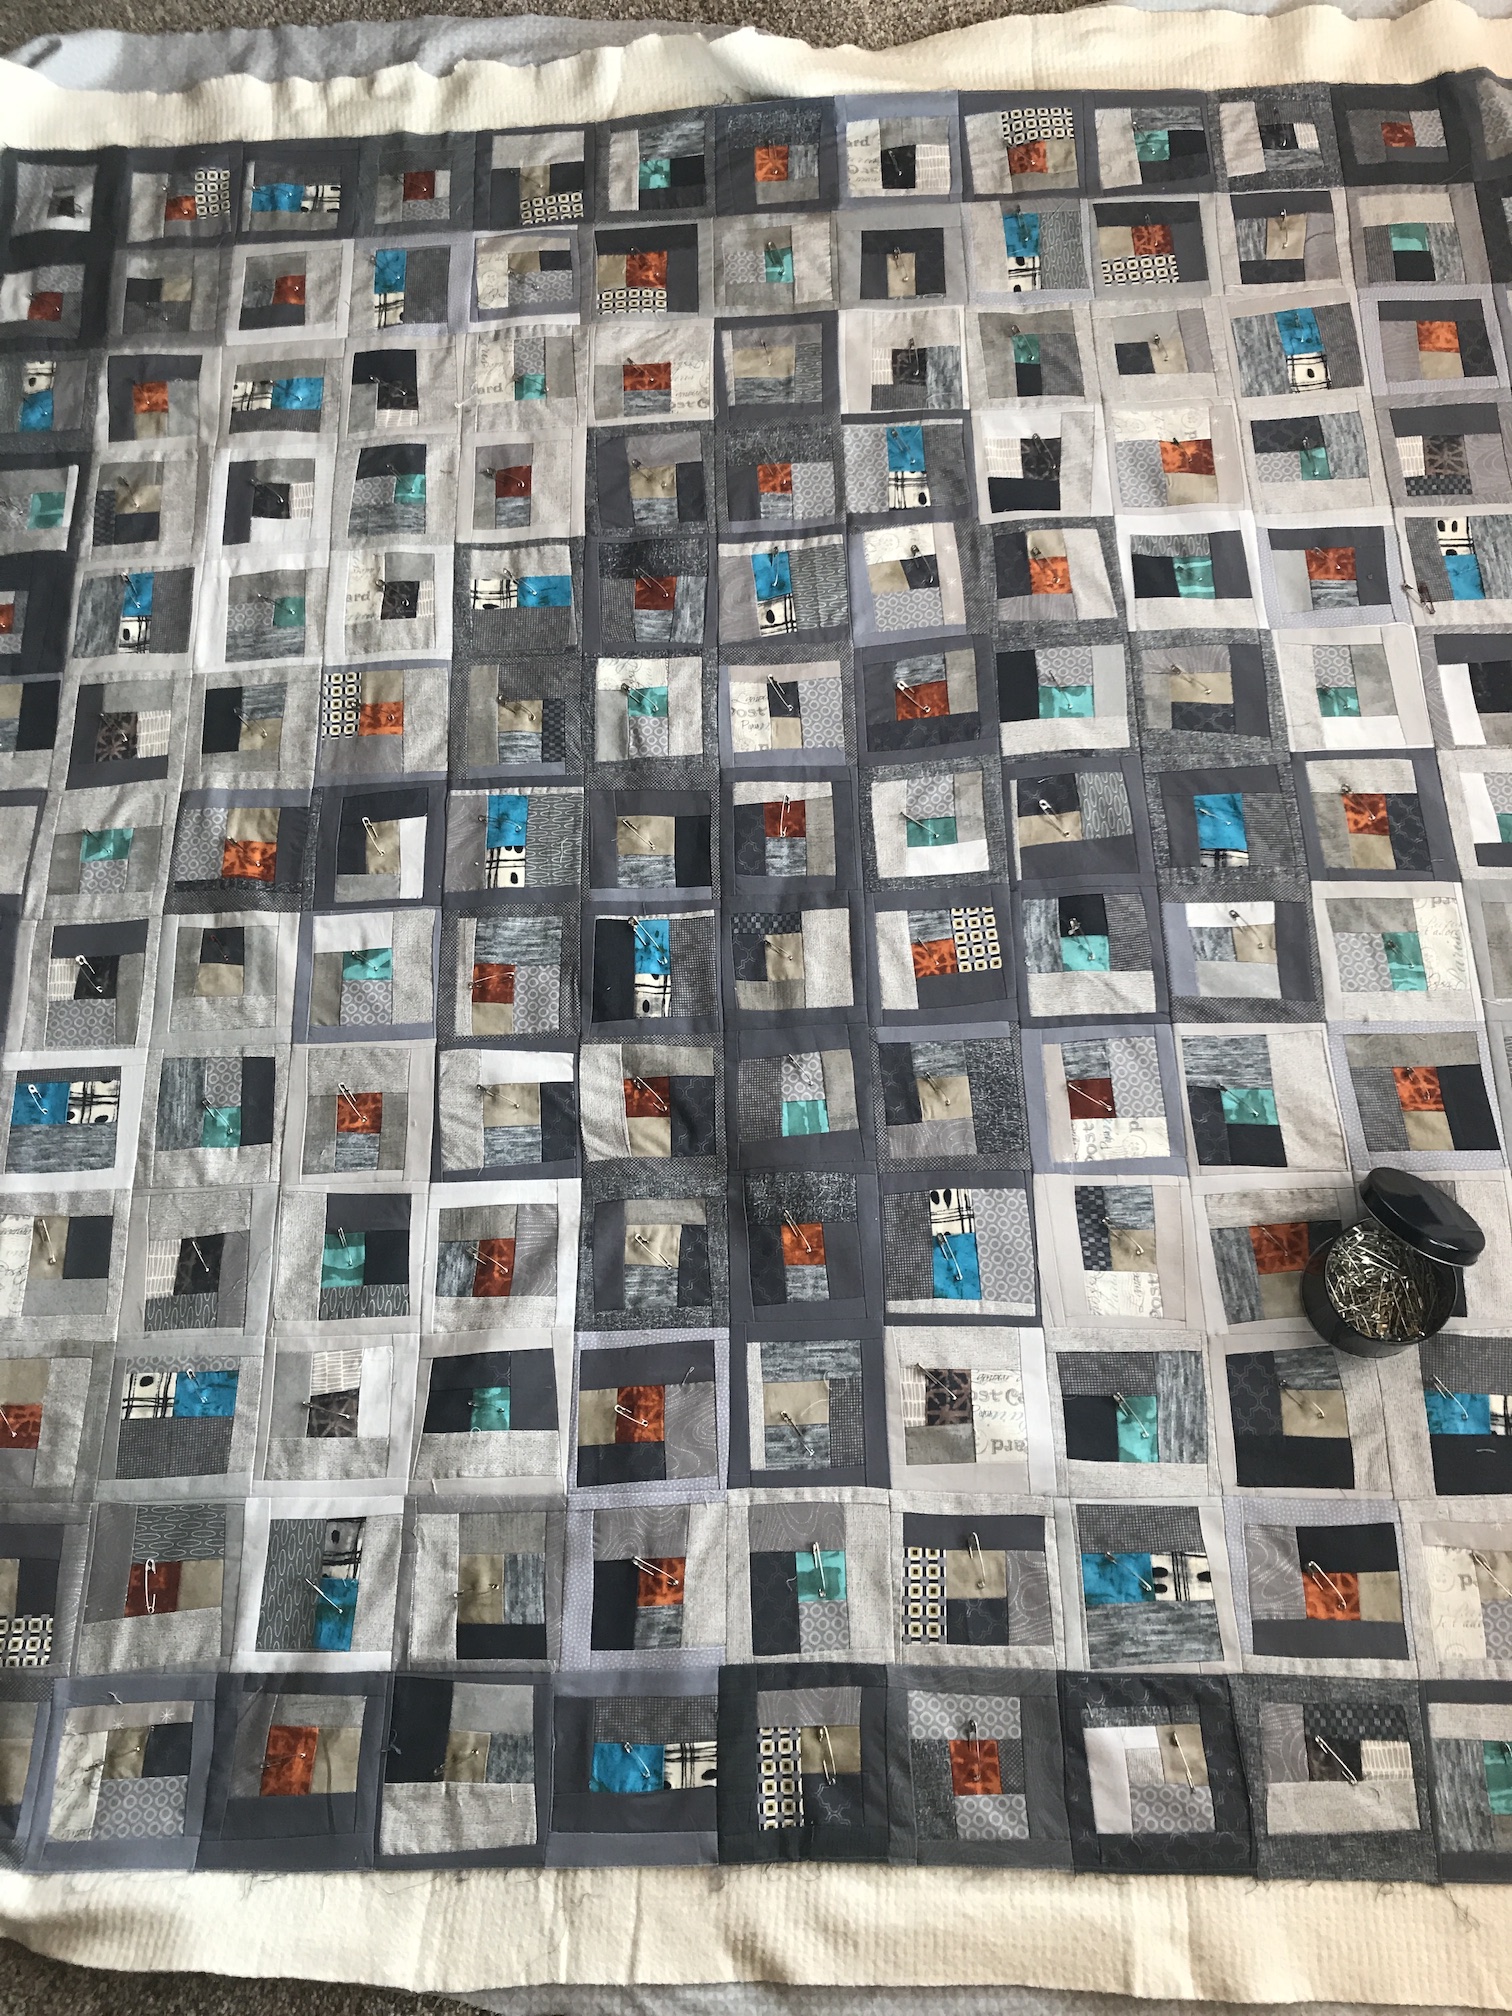


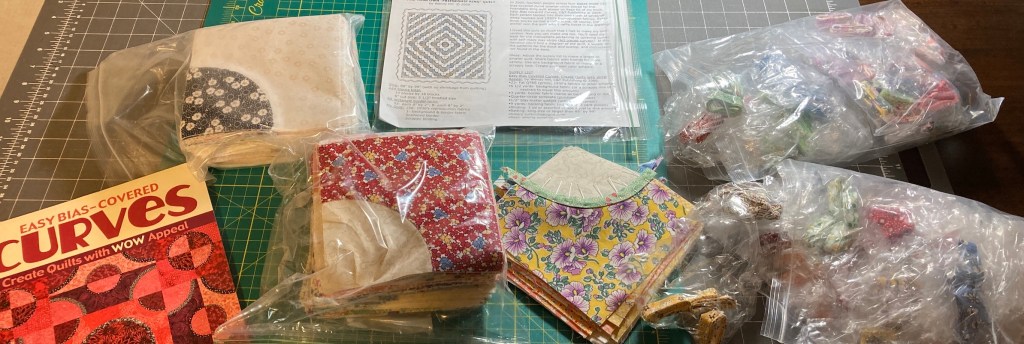
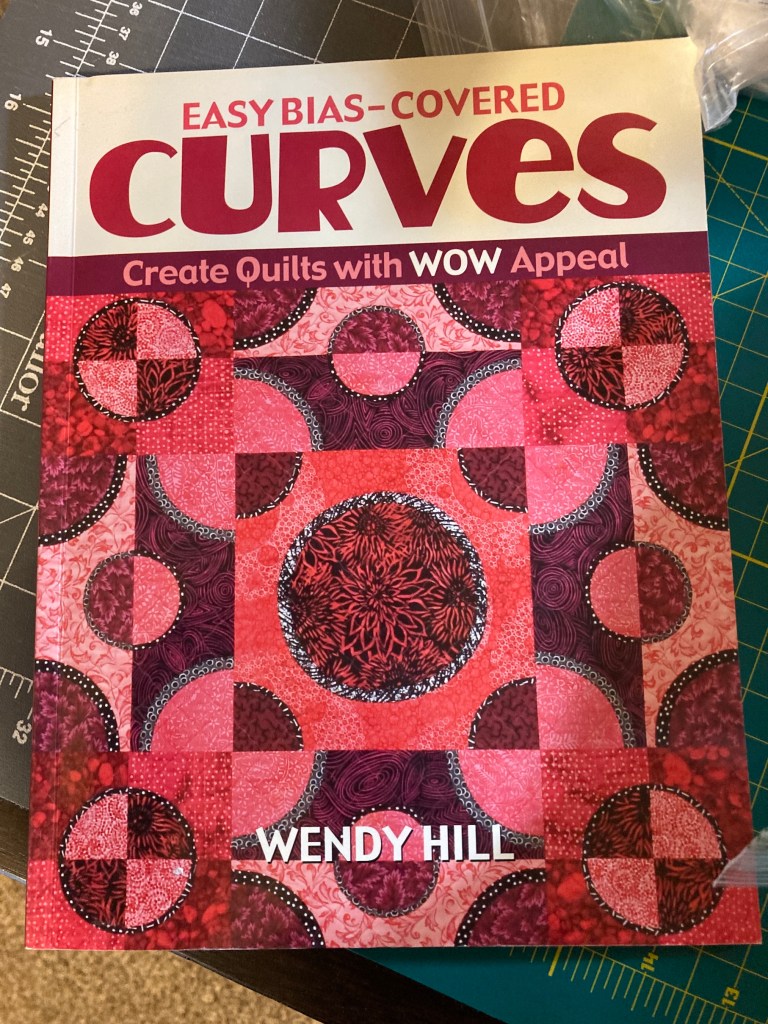
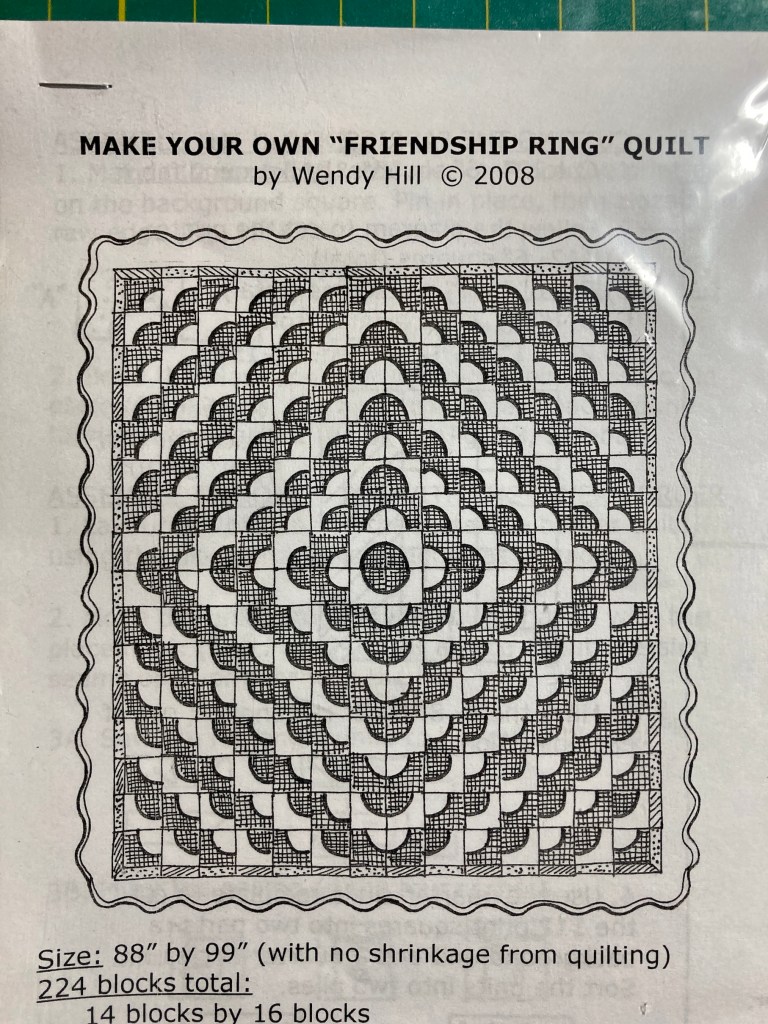
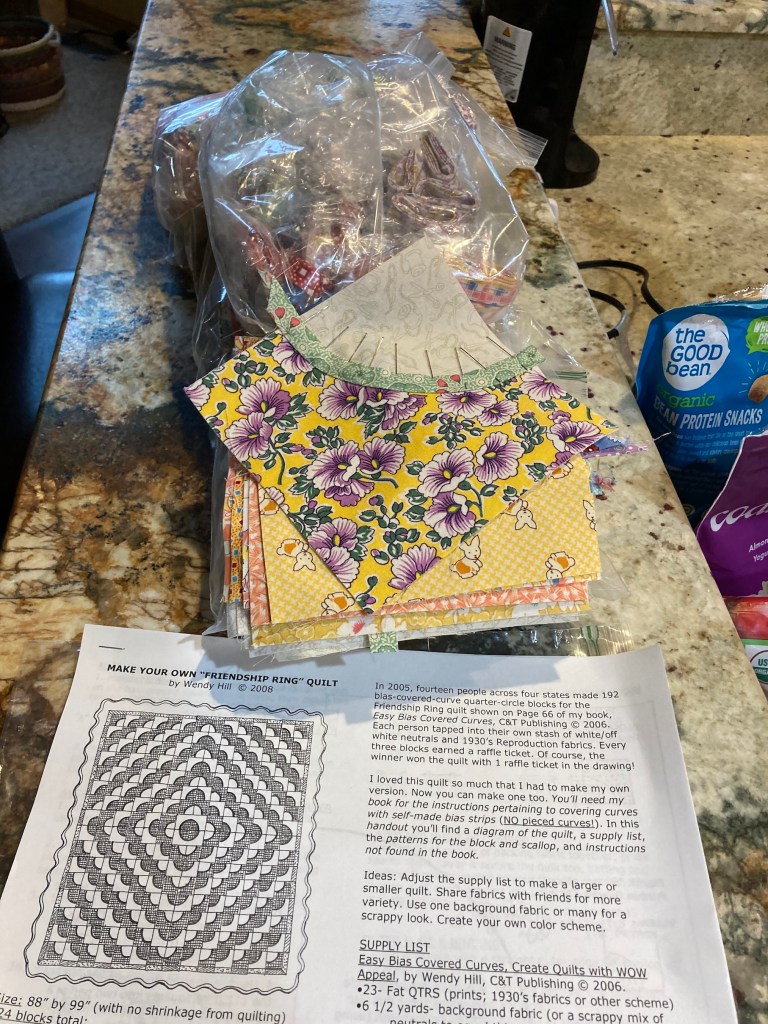
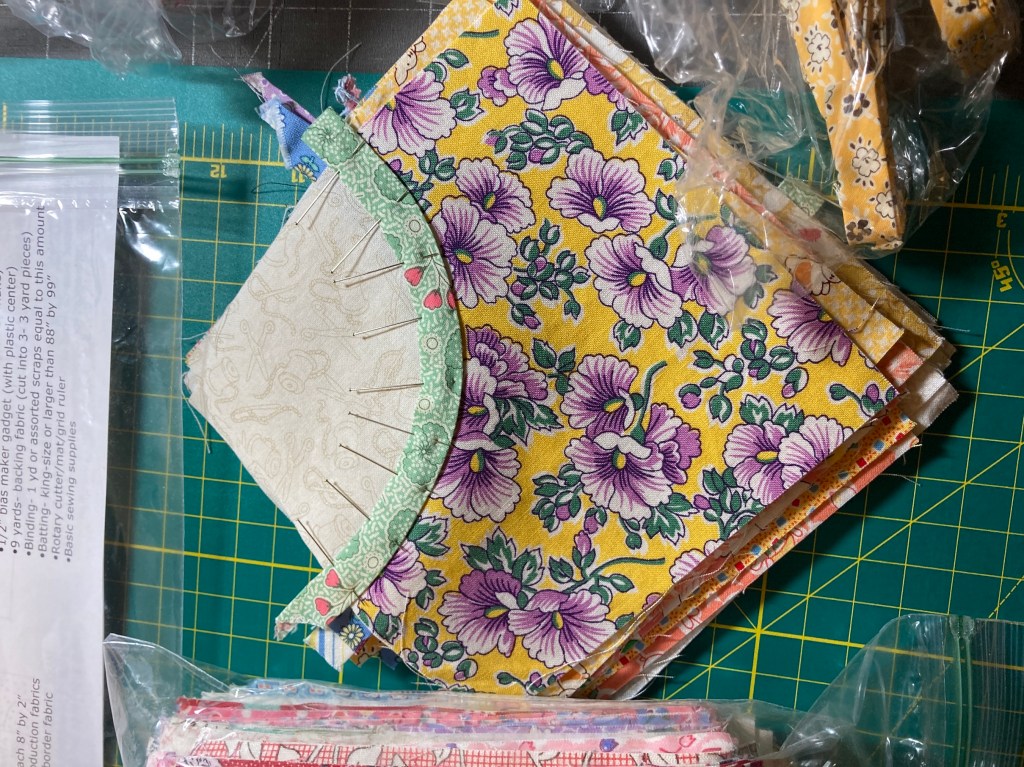
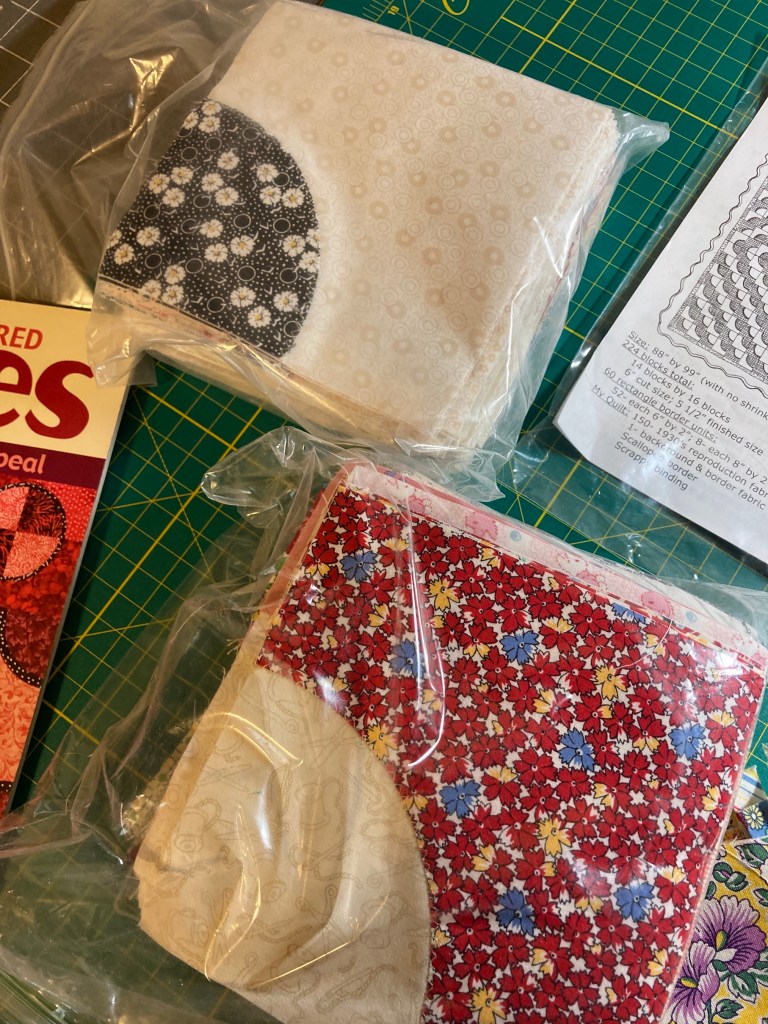


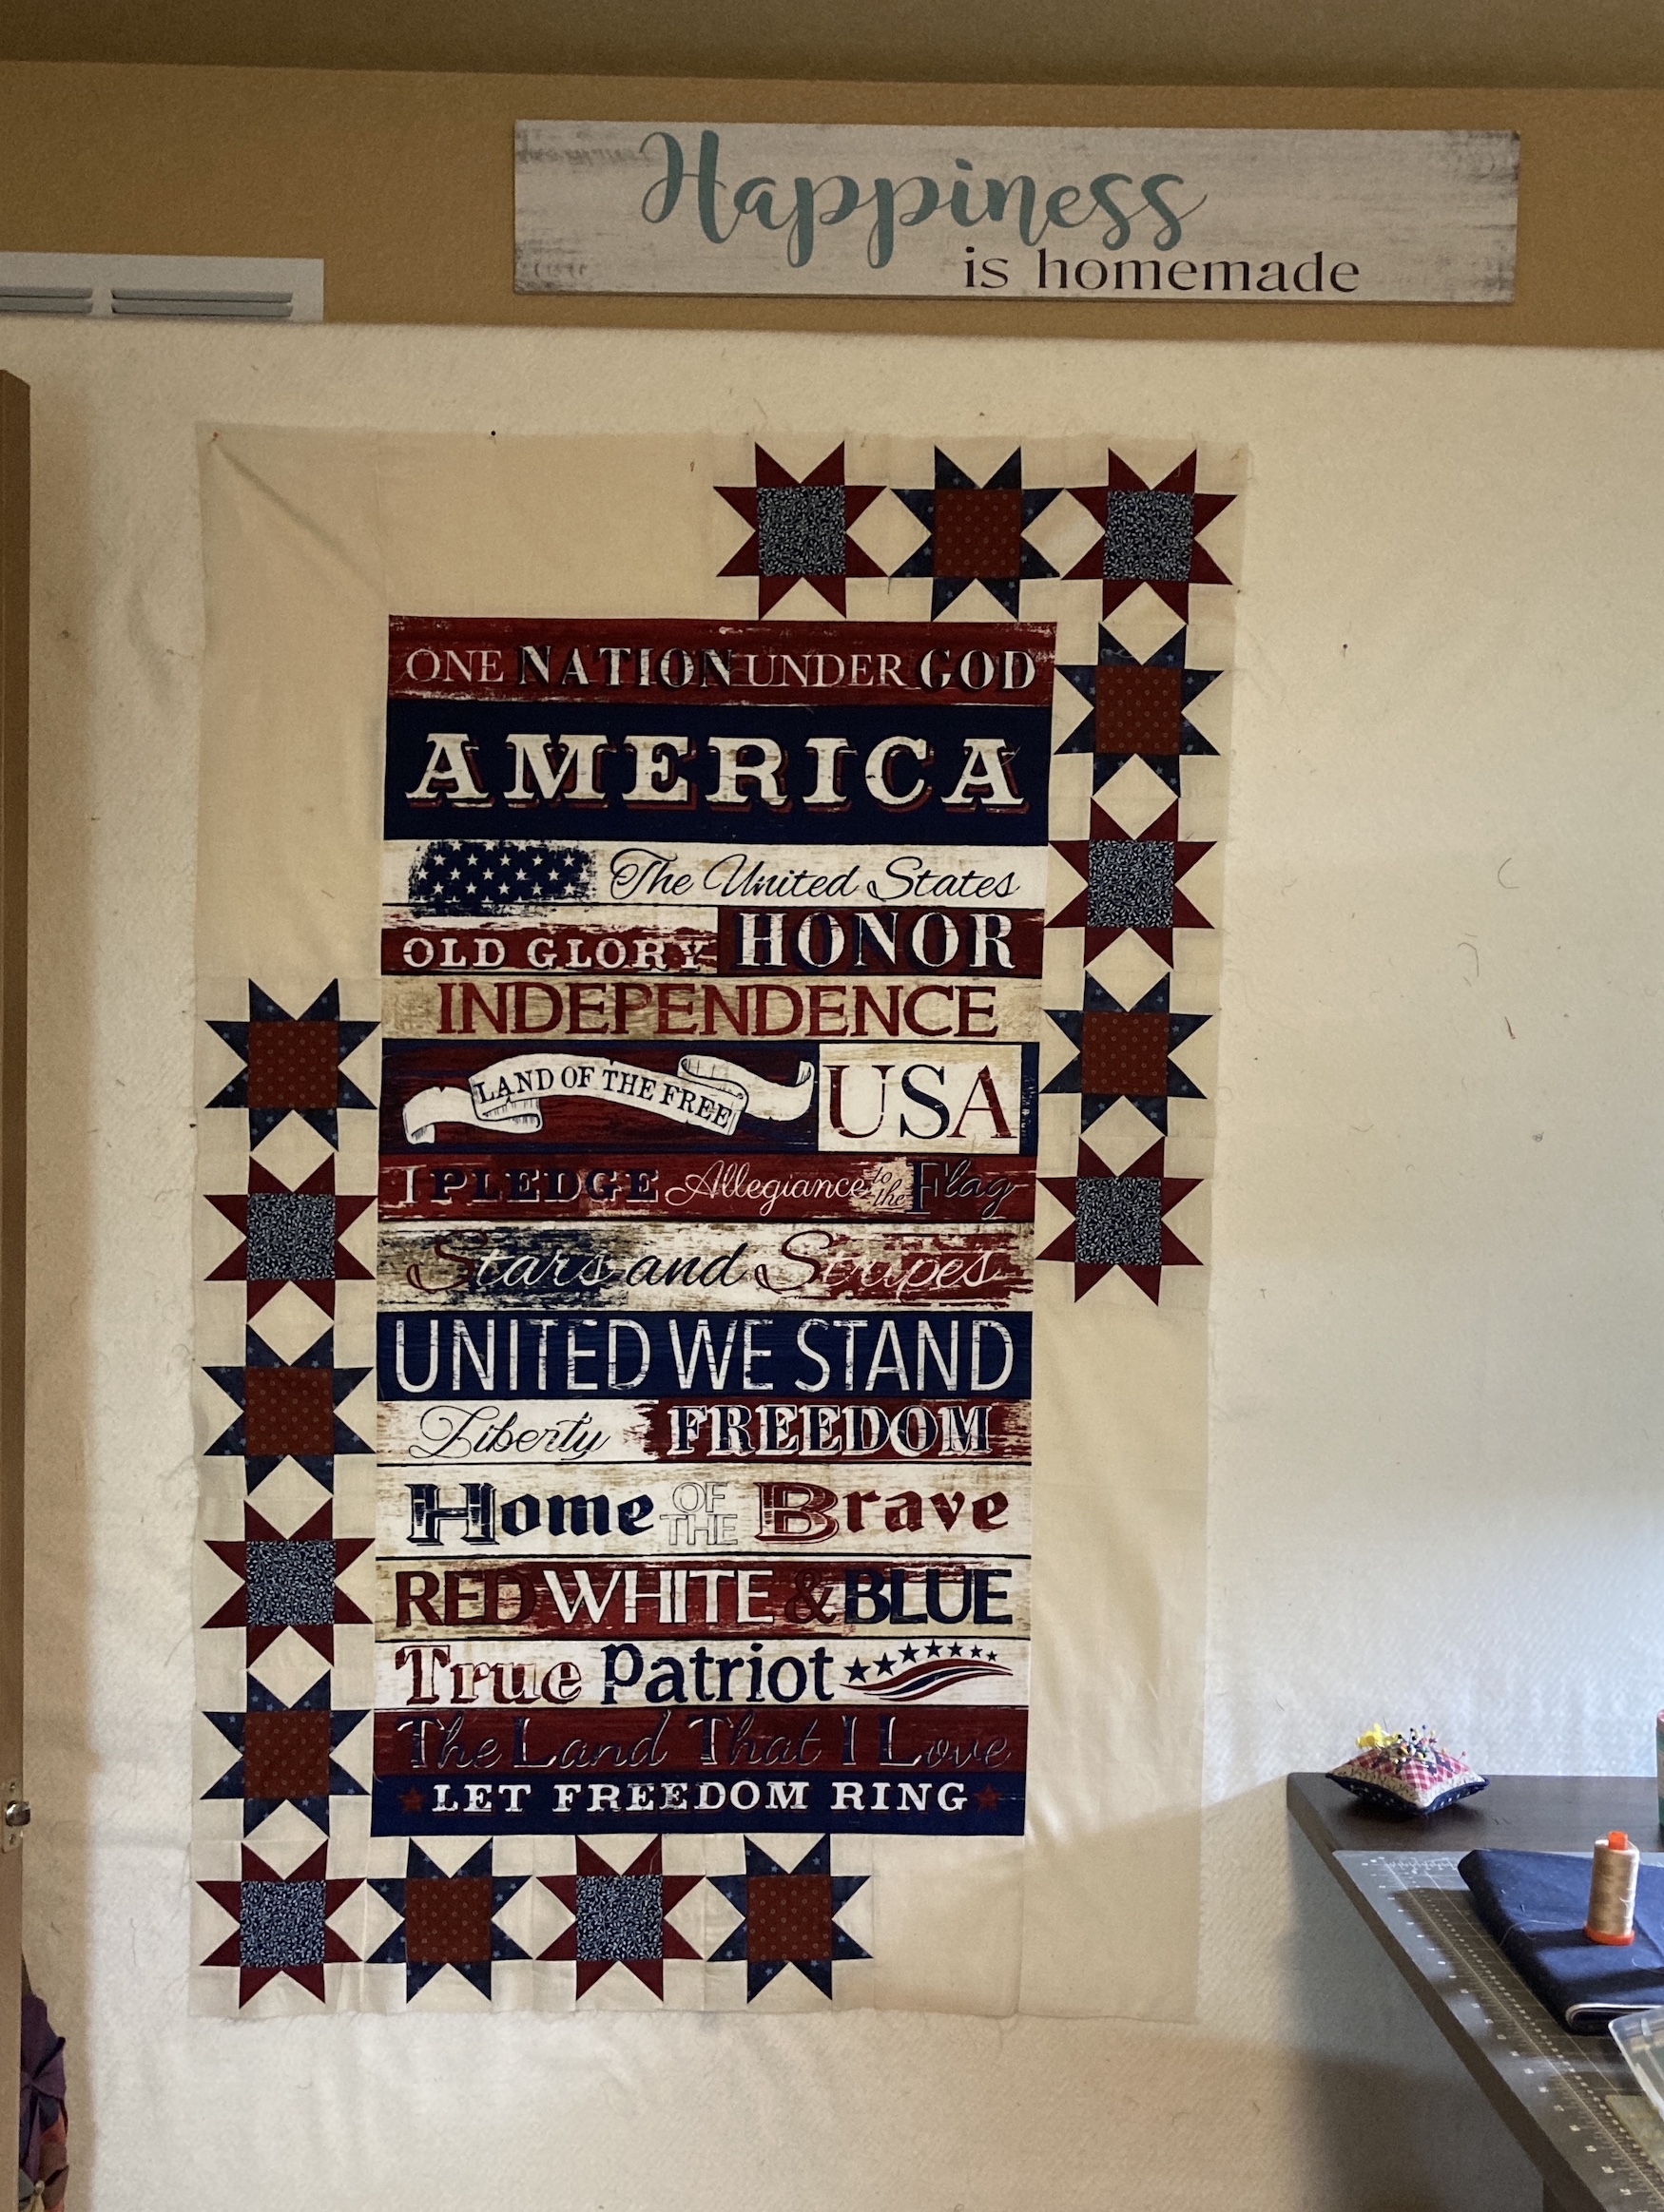 I made a lot of “flying geese” using the
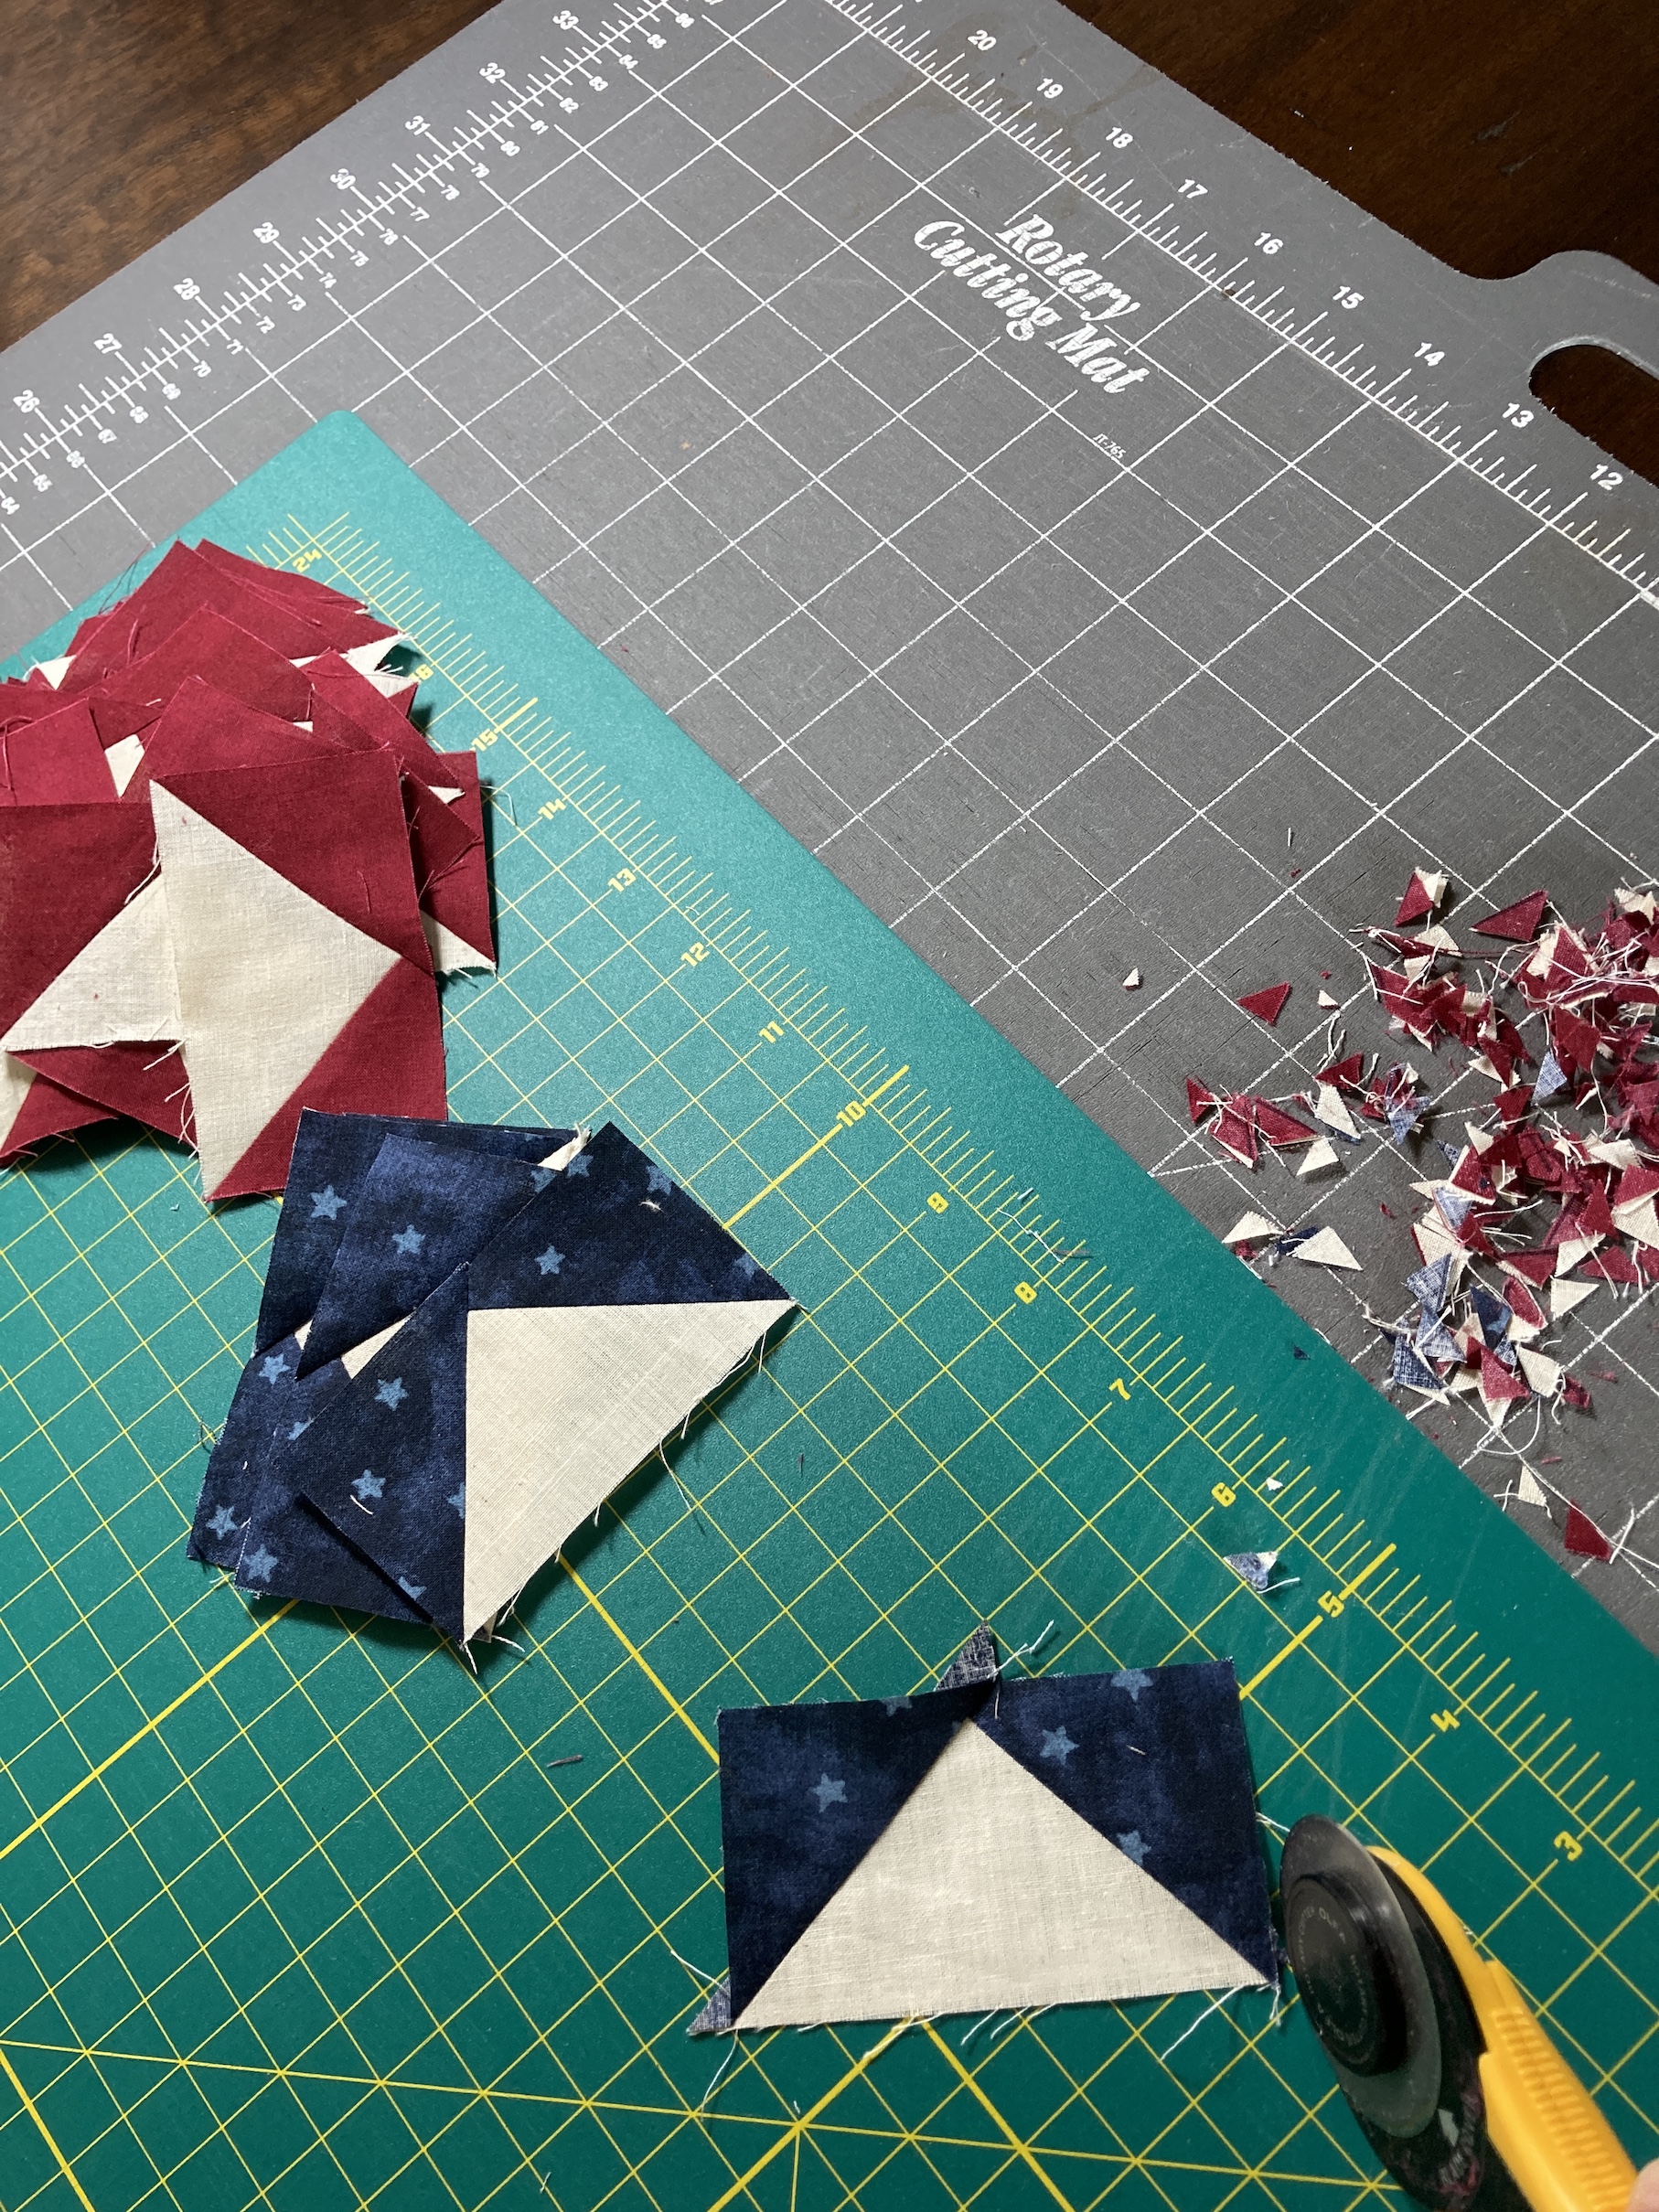
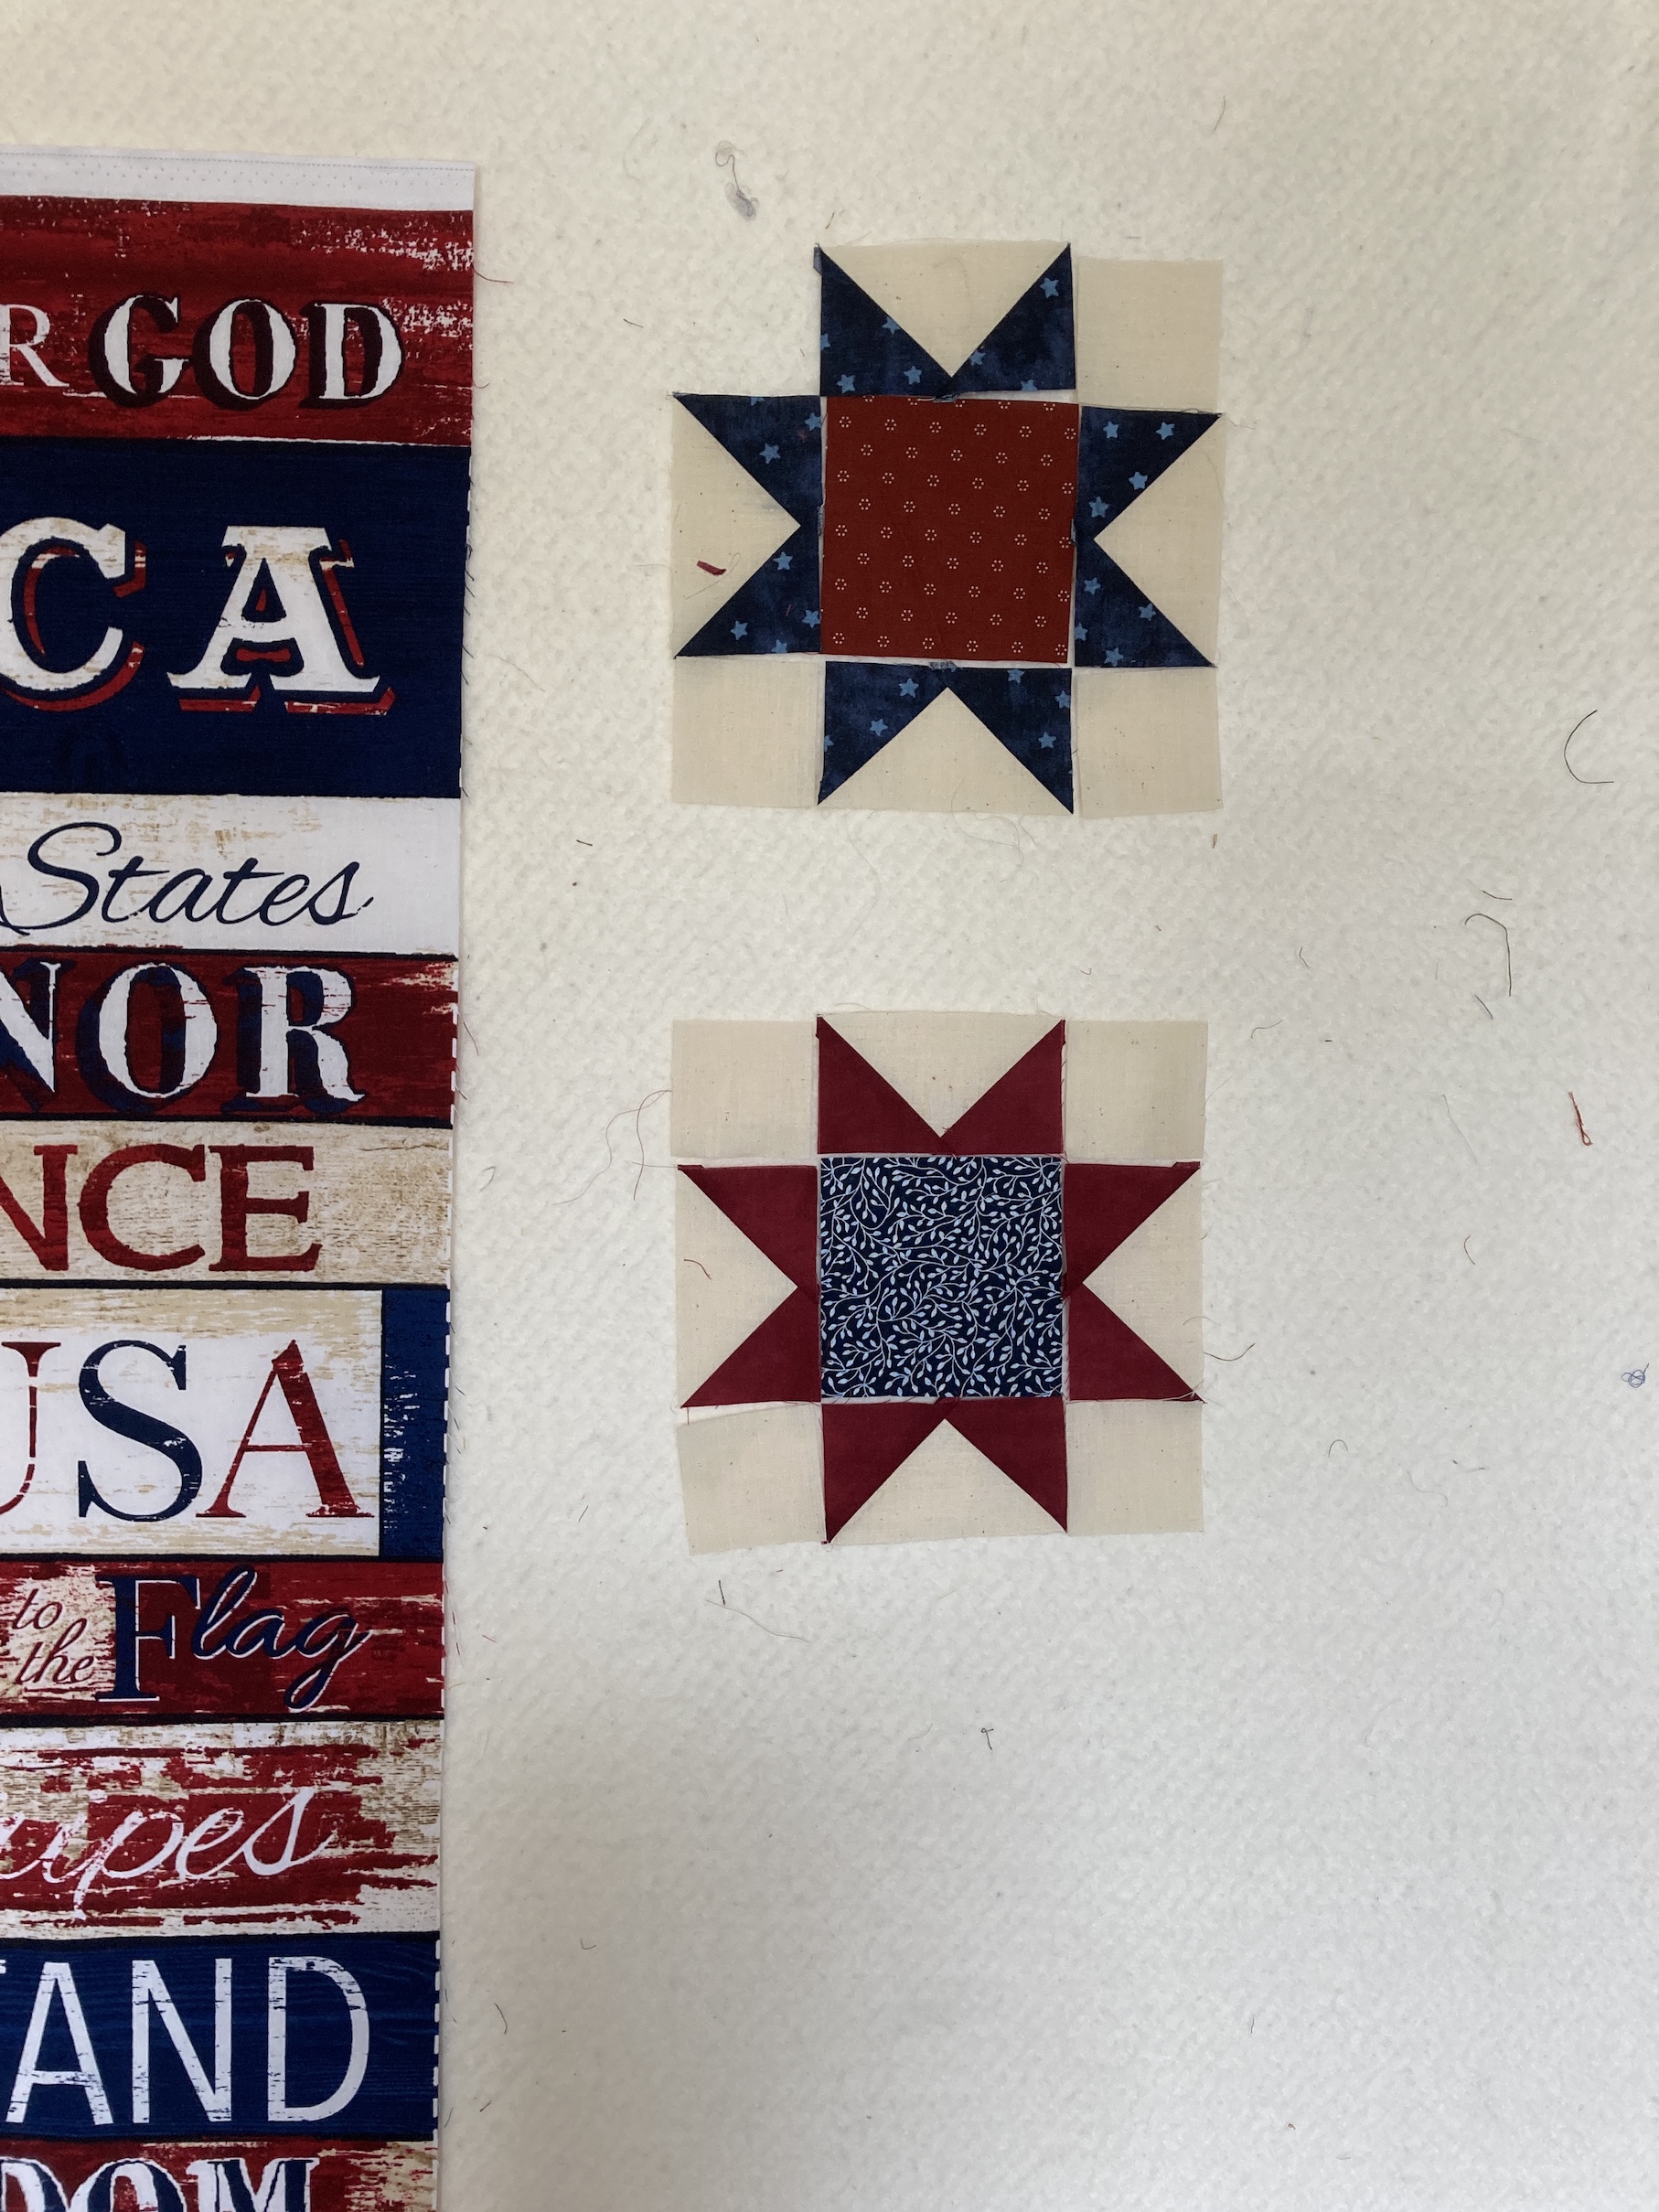 Here is the finished quilt next to the framed mission flag:
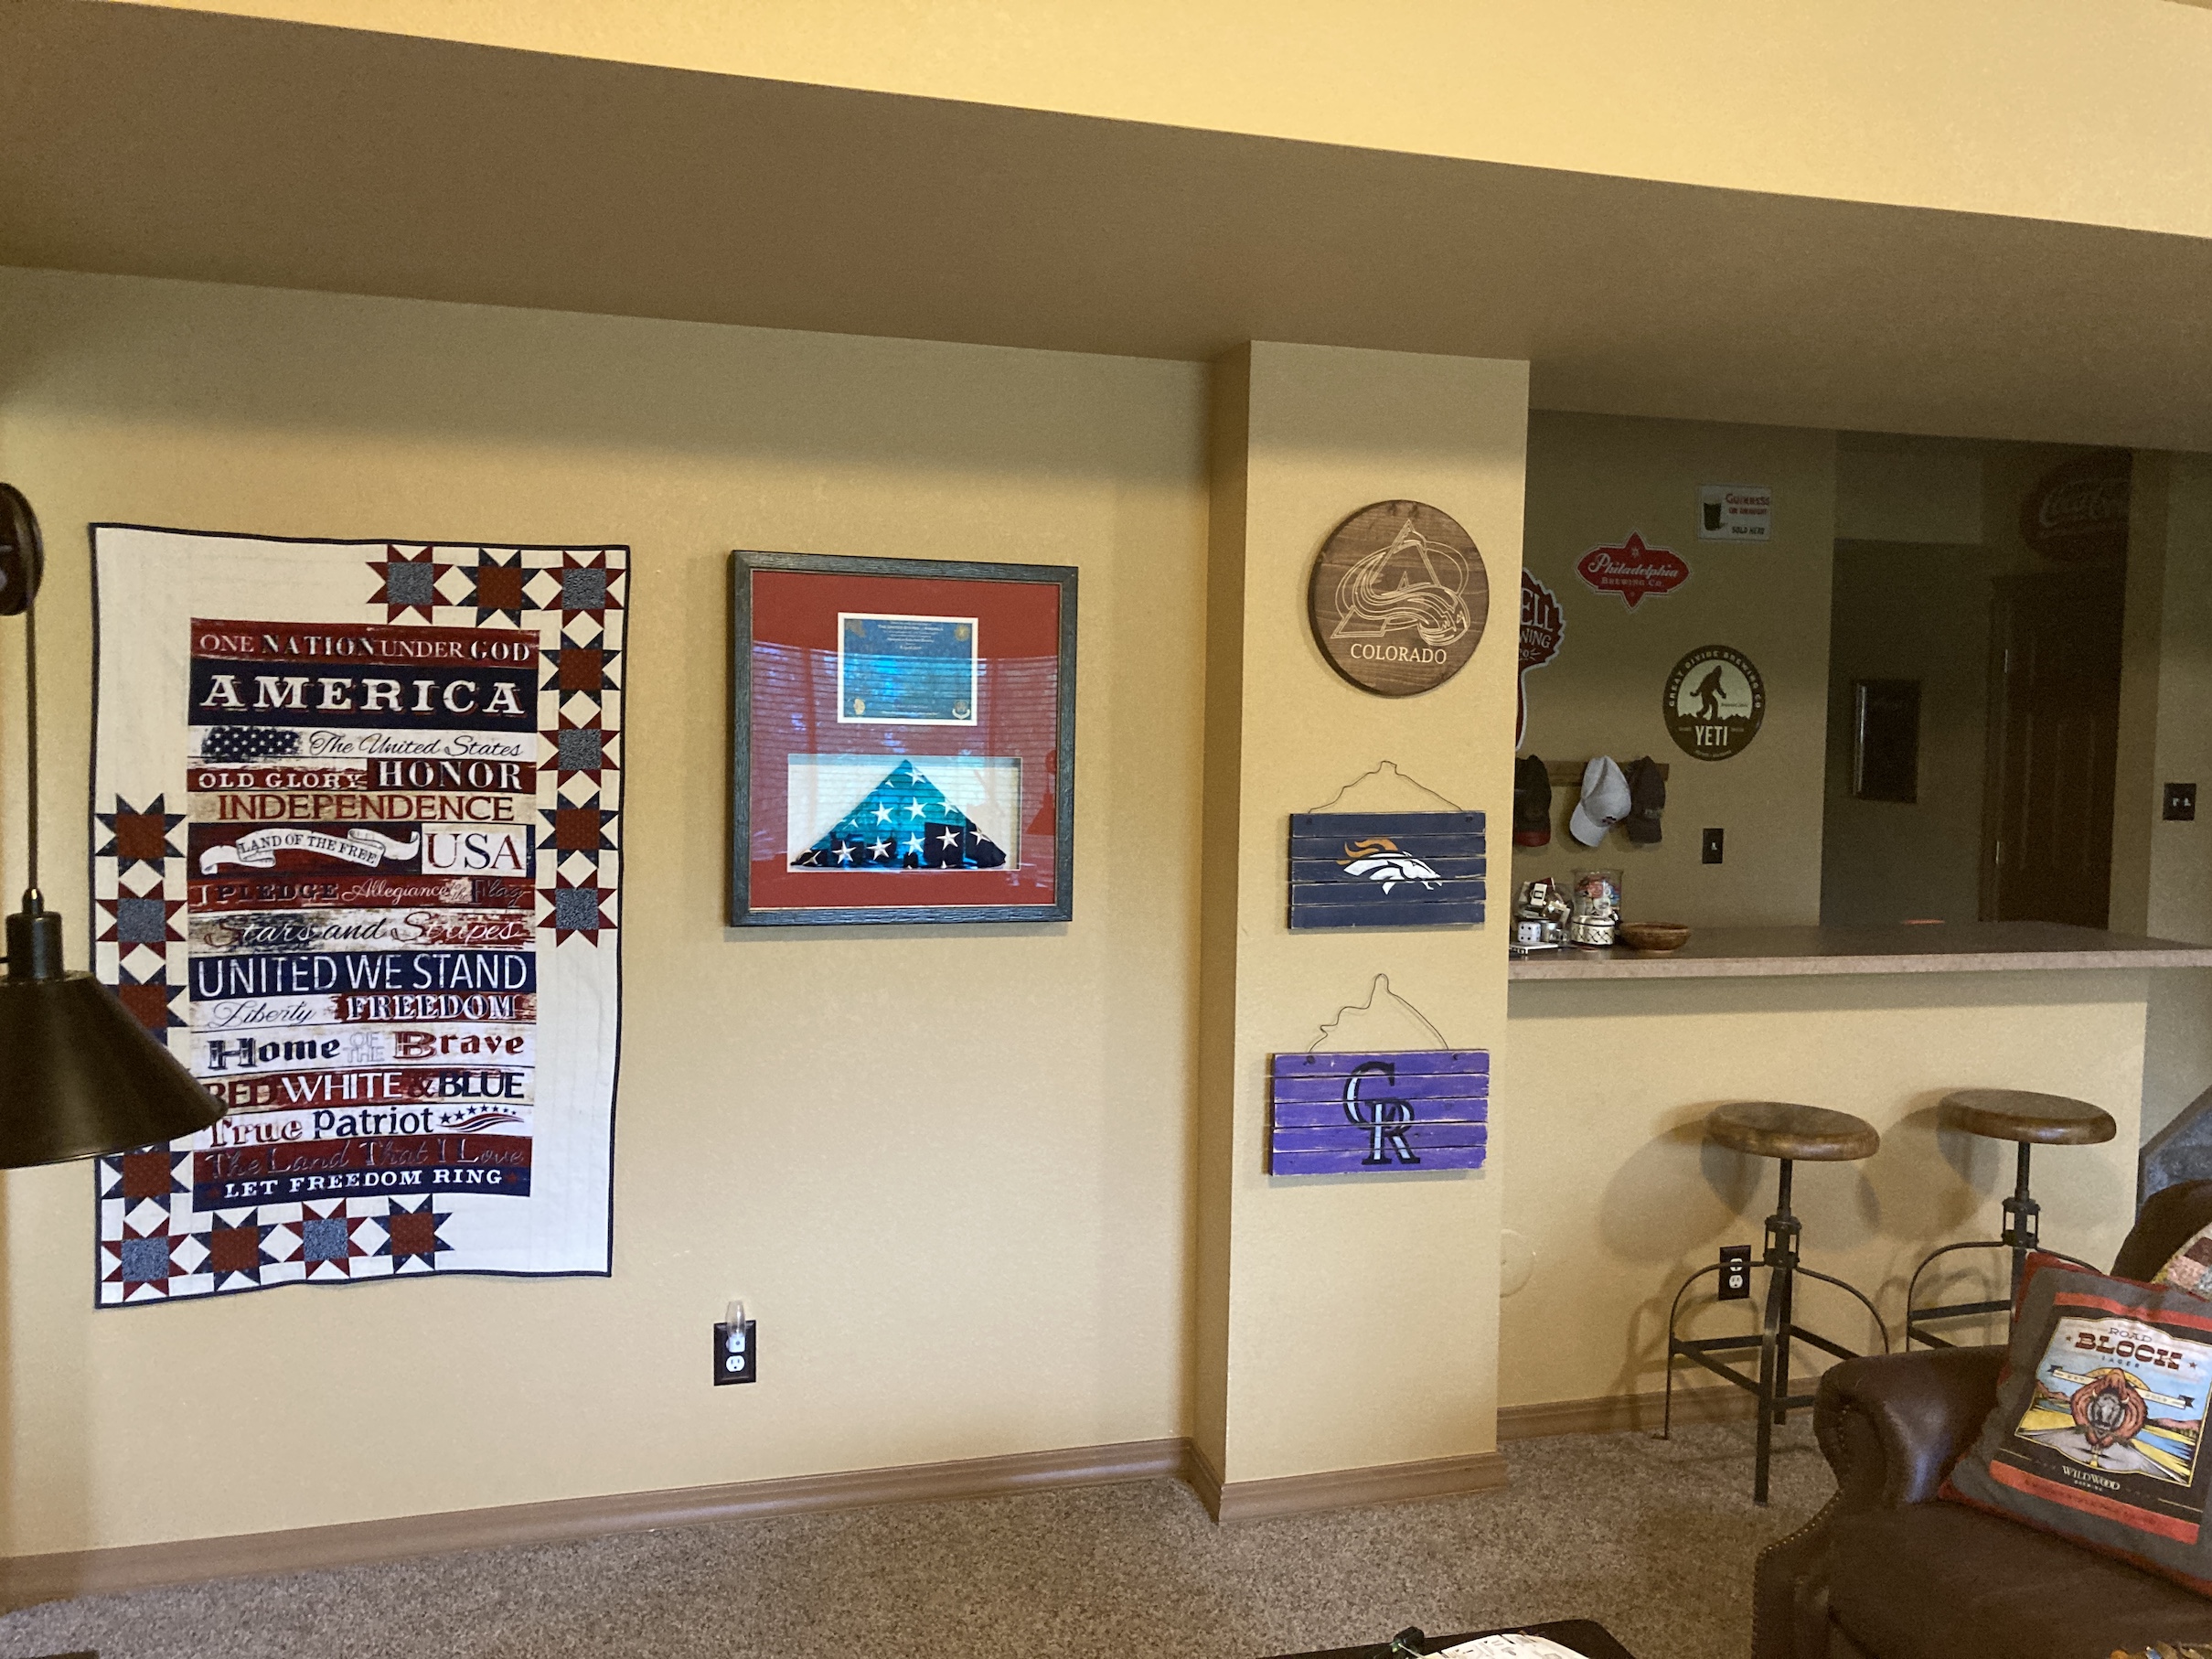
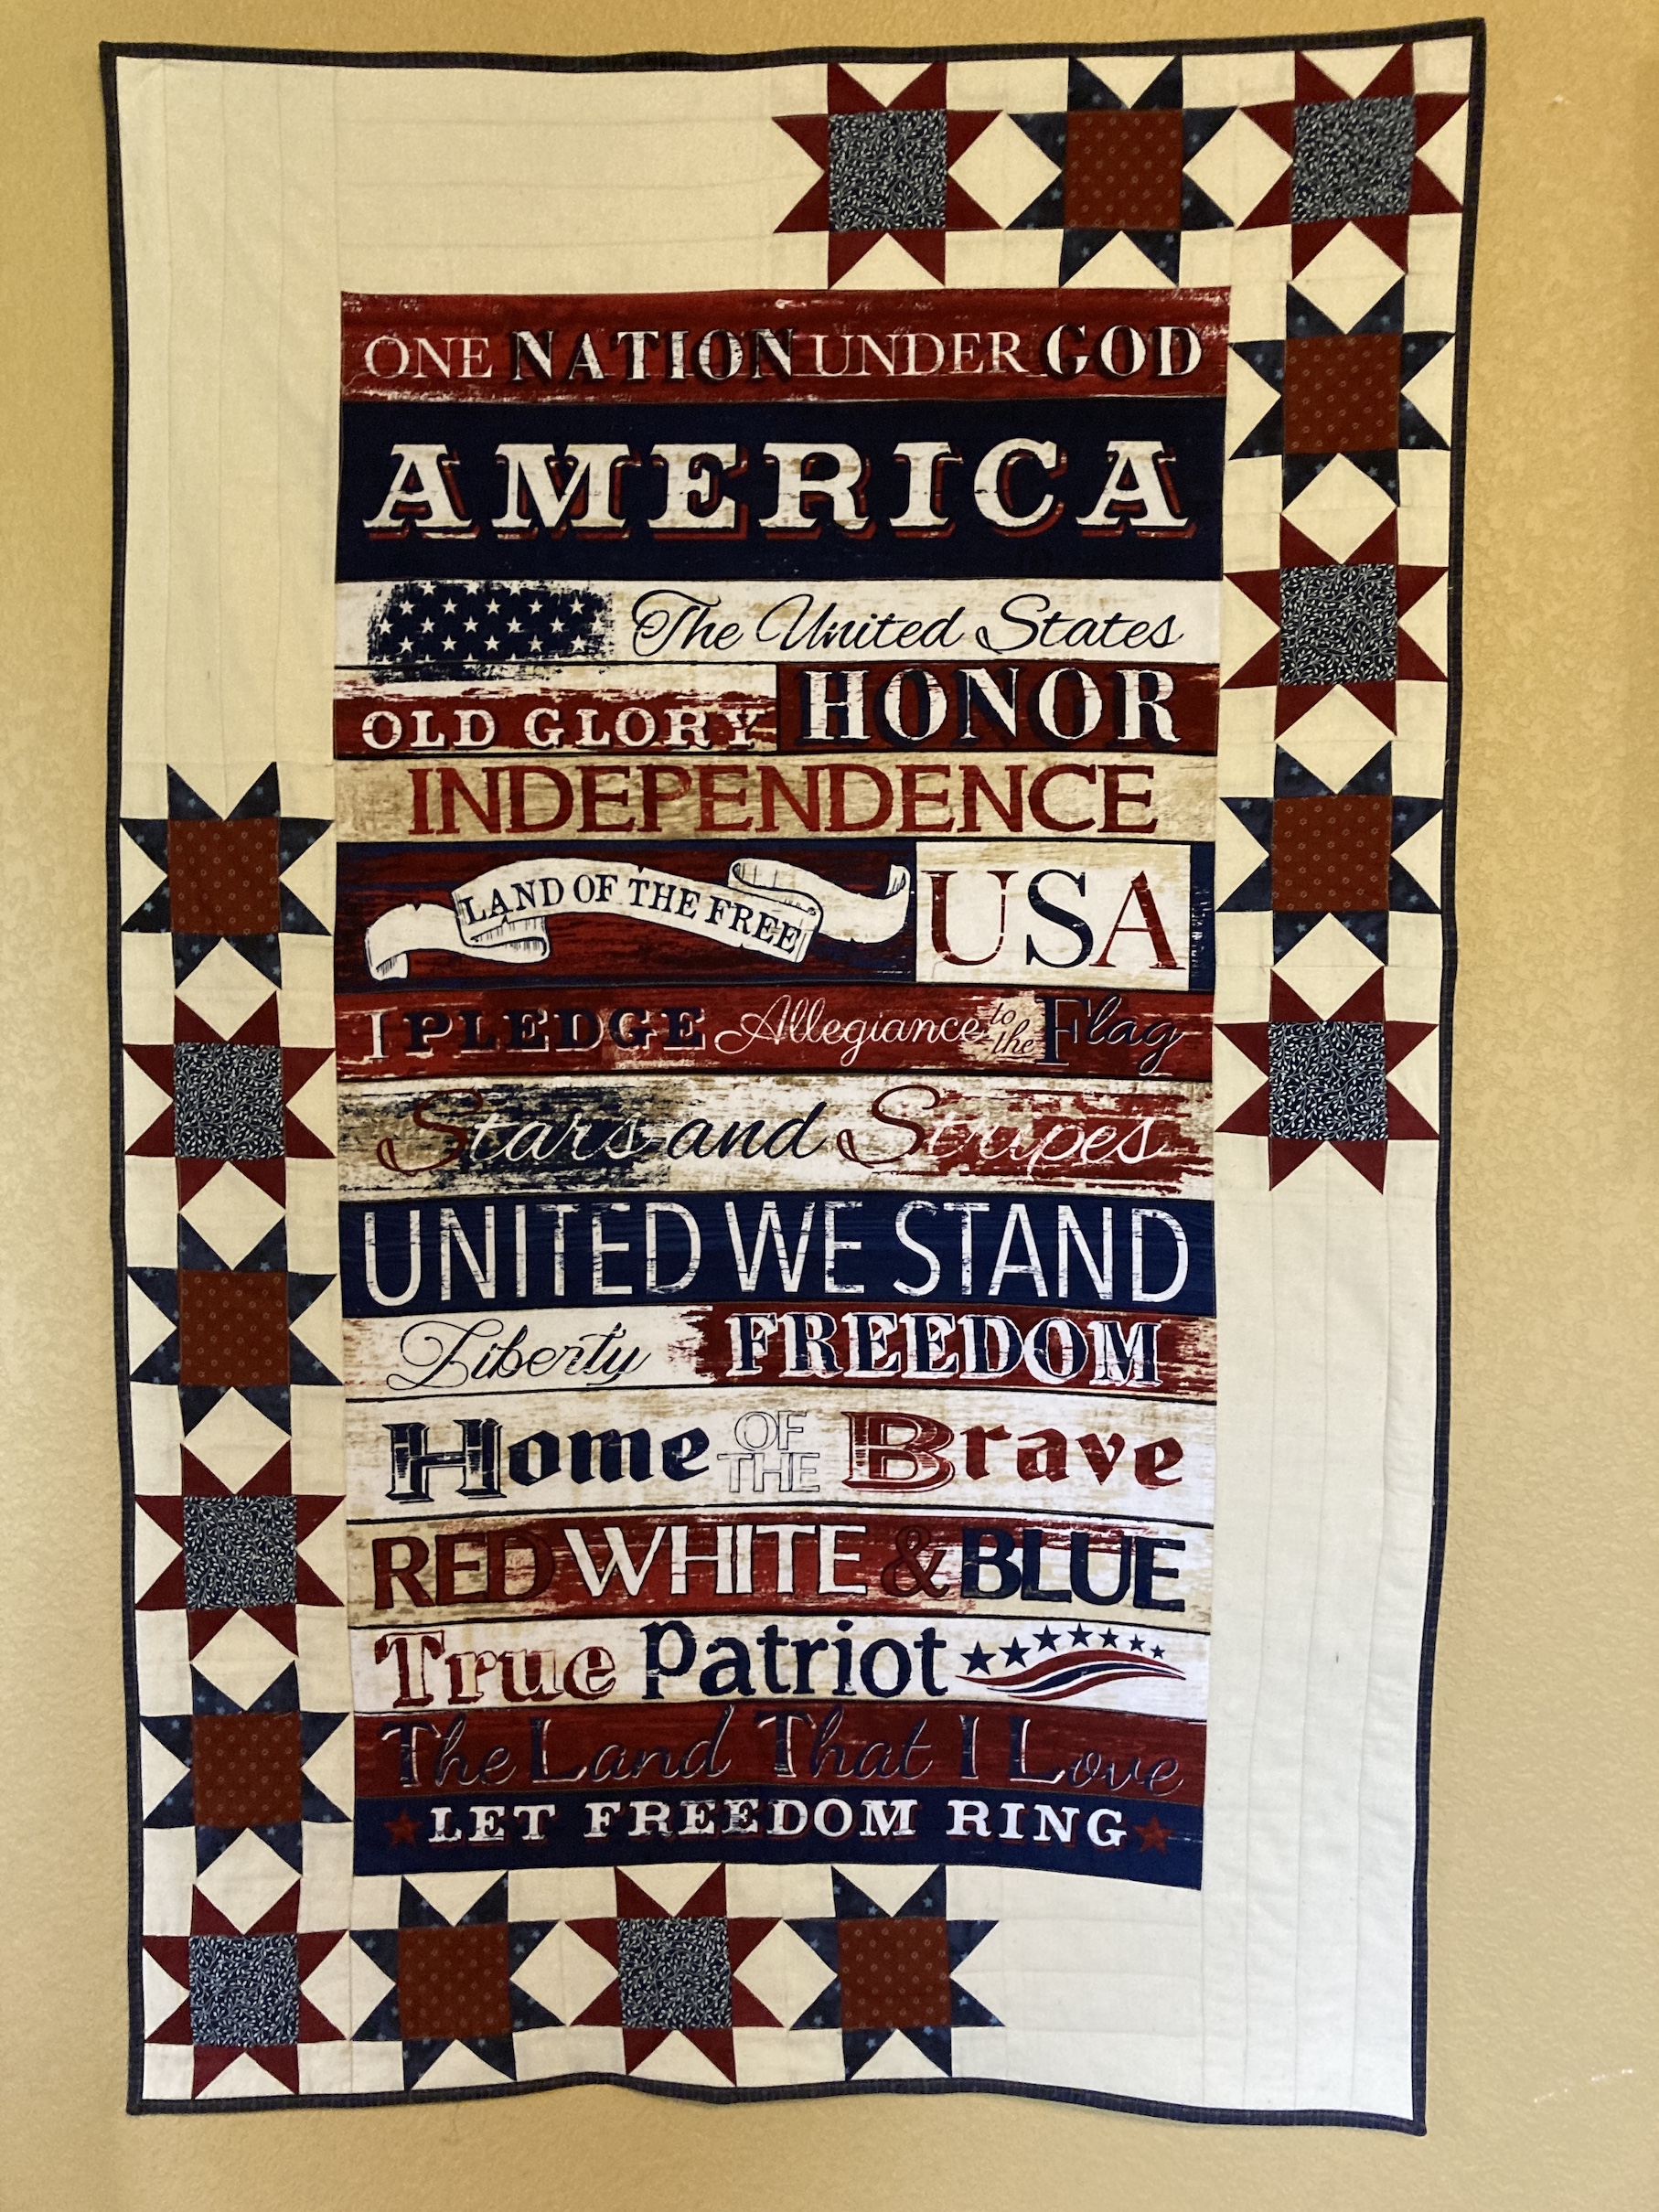 As you can tell, I machine quilted it myself (smile).


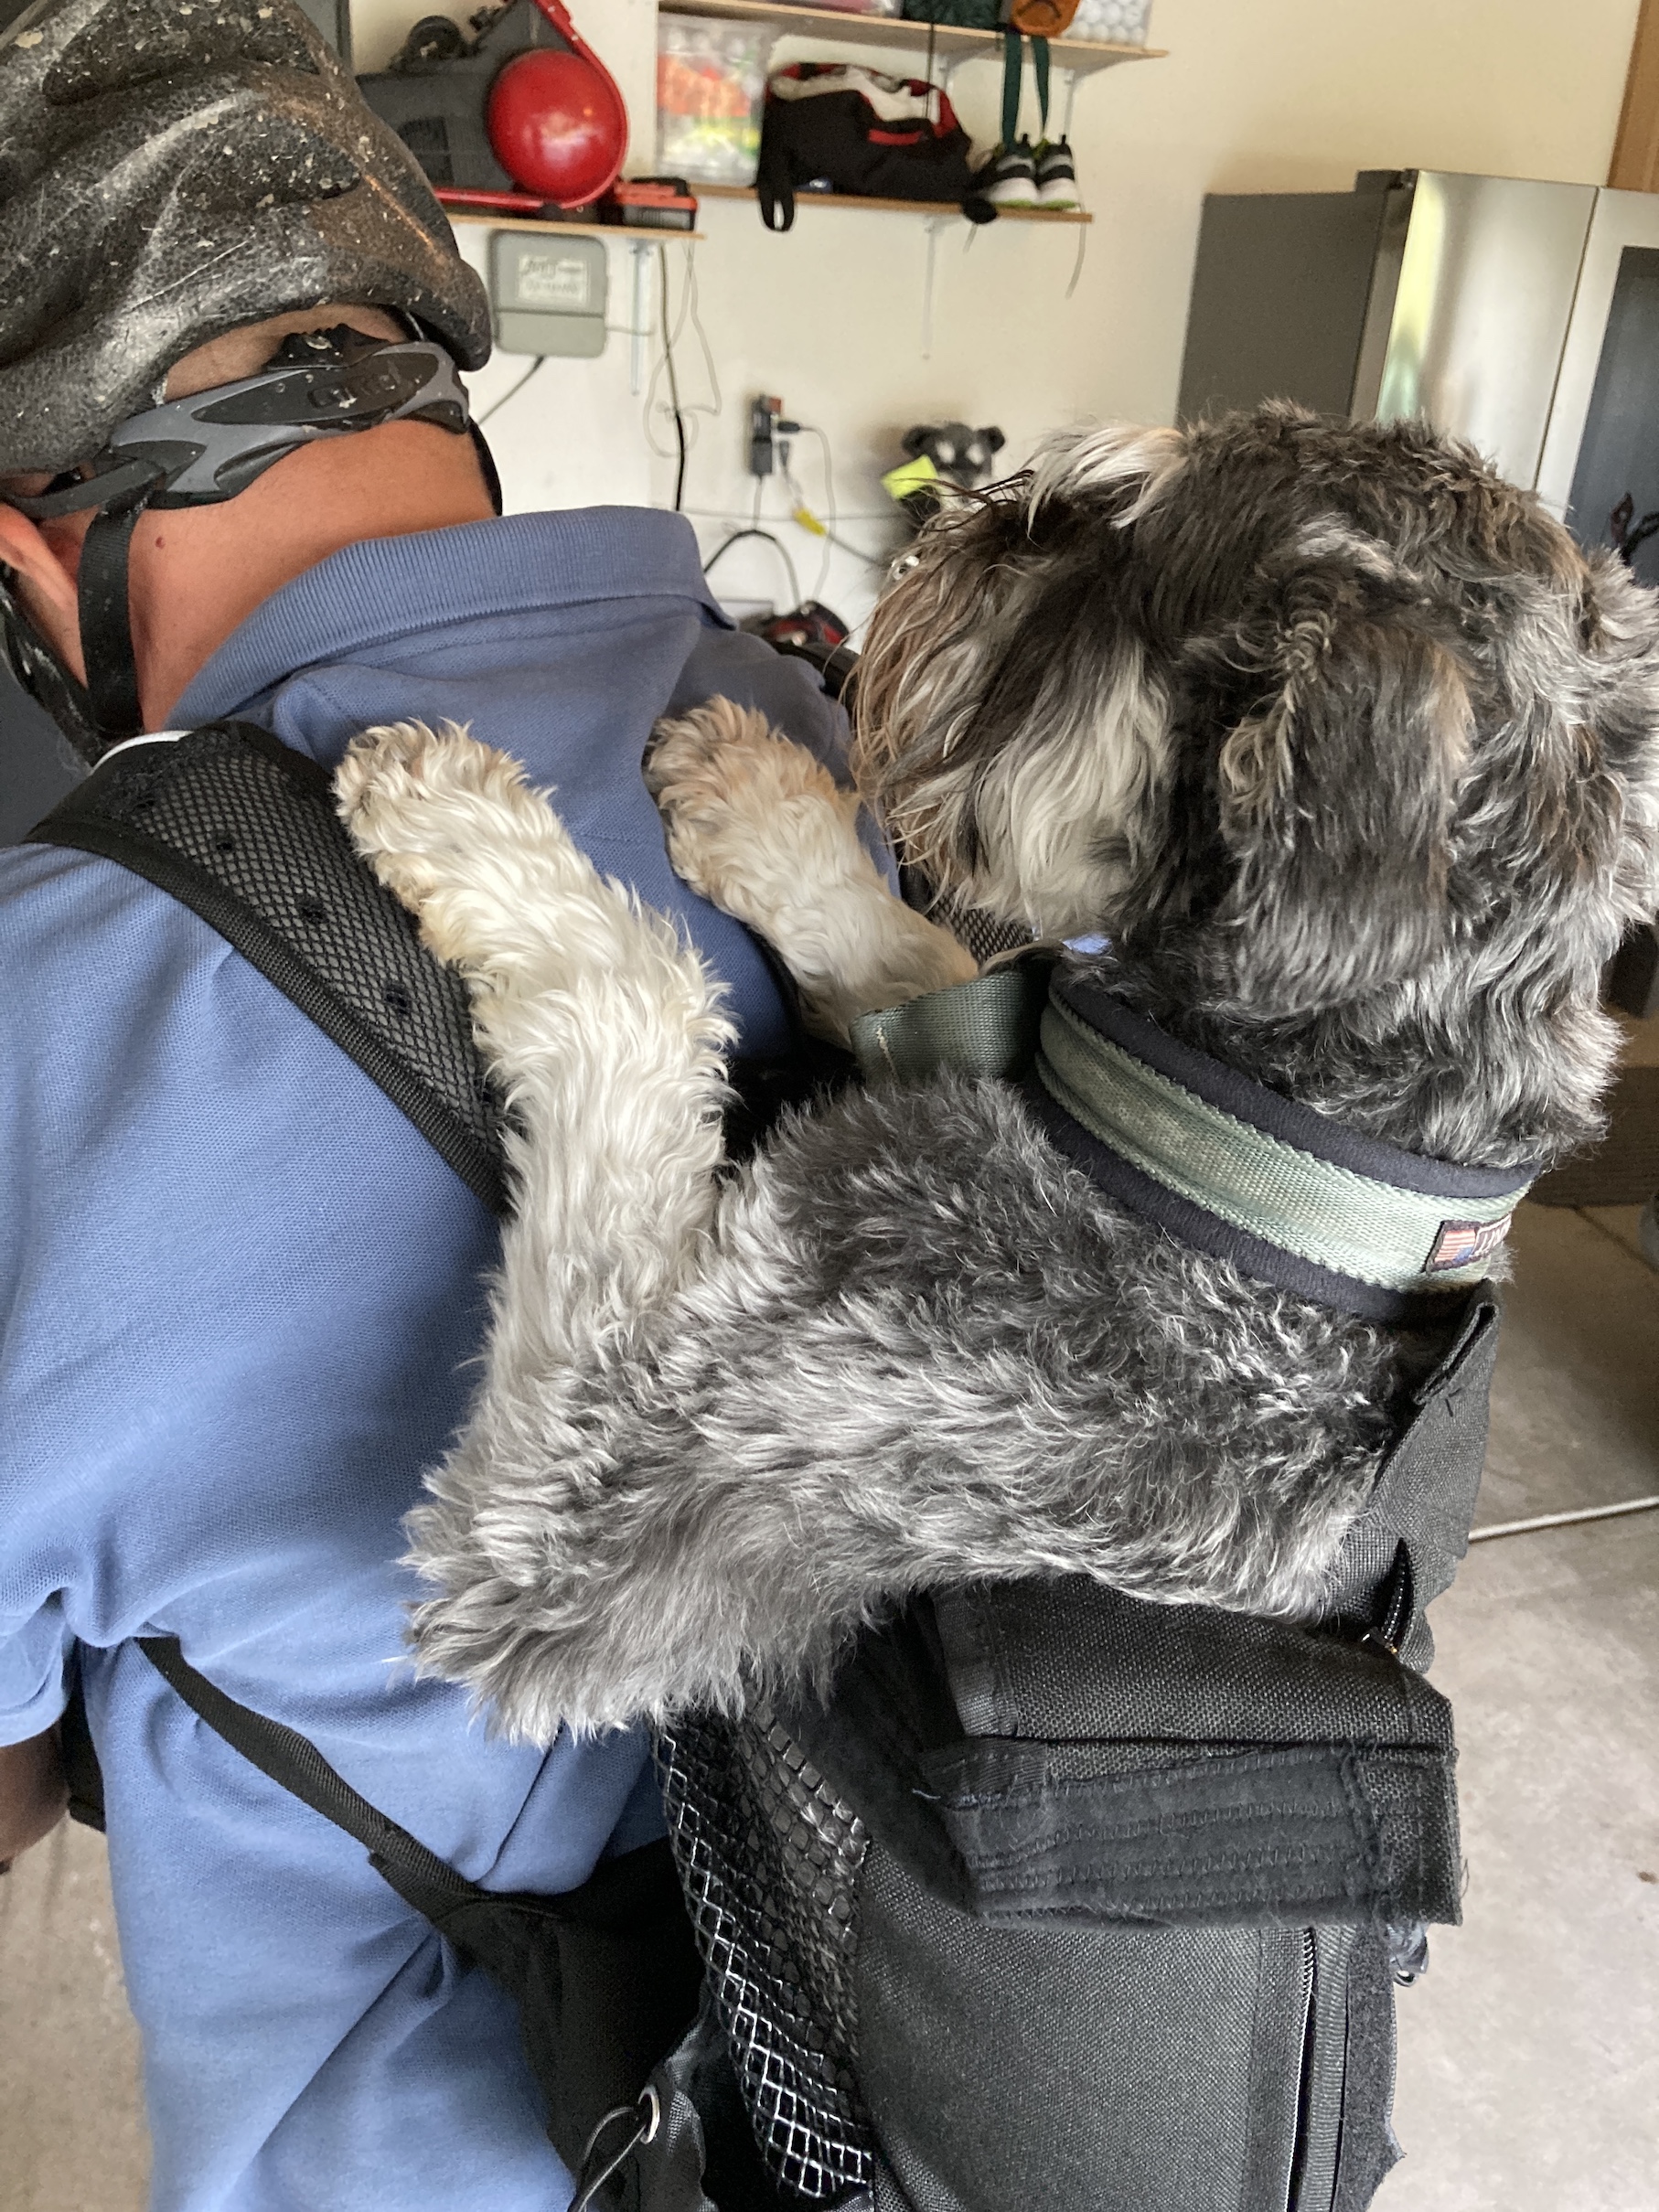
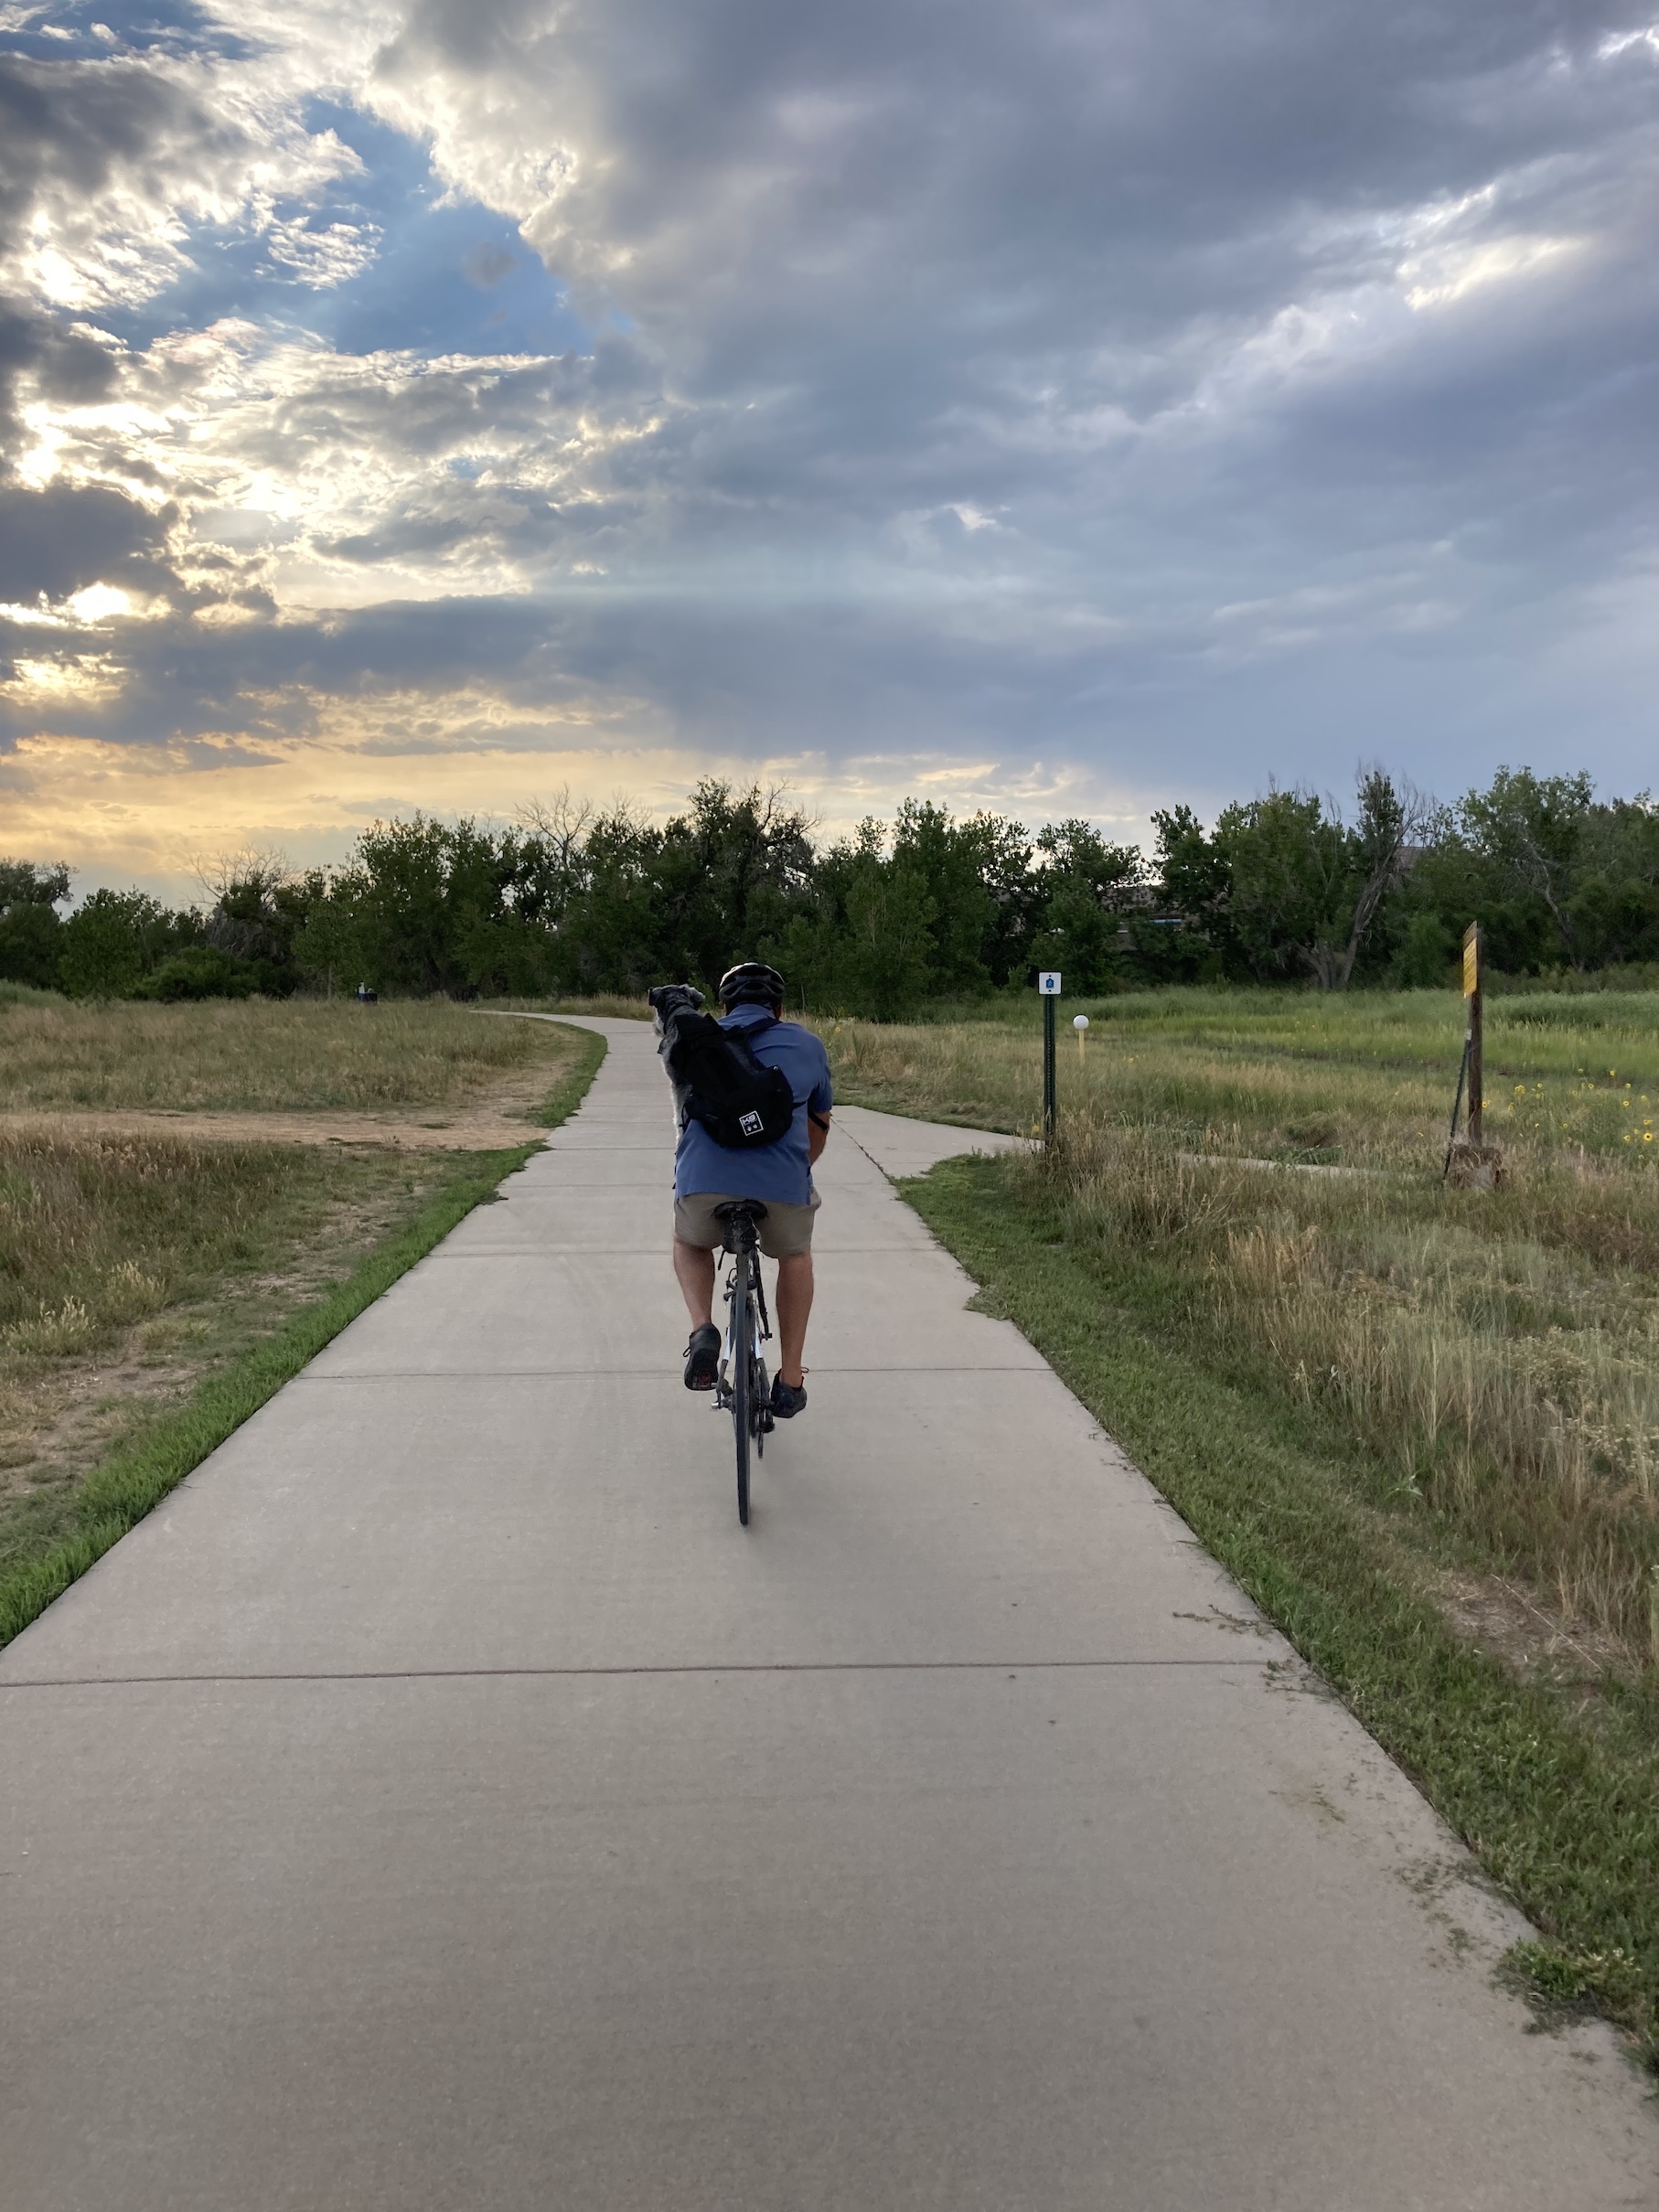
 Speaking of Mike, here is an image that either he forgot to share in his recent post –
  Yes it’s a photo of Mikelet (tierneycreates Beastie’s dog) and Mike, ready to go on their walks. I put a red arrow in the lower left hand corner of the photo above so you would not miss Mikelet who is a considerably smaller miniature Miniature Schnauzer!

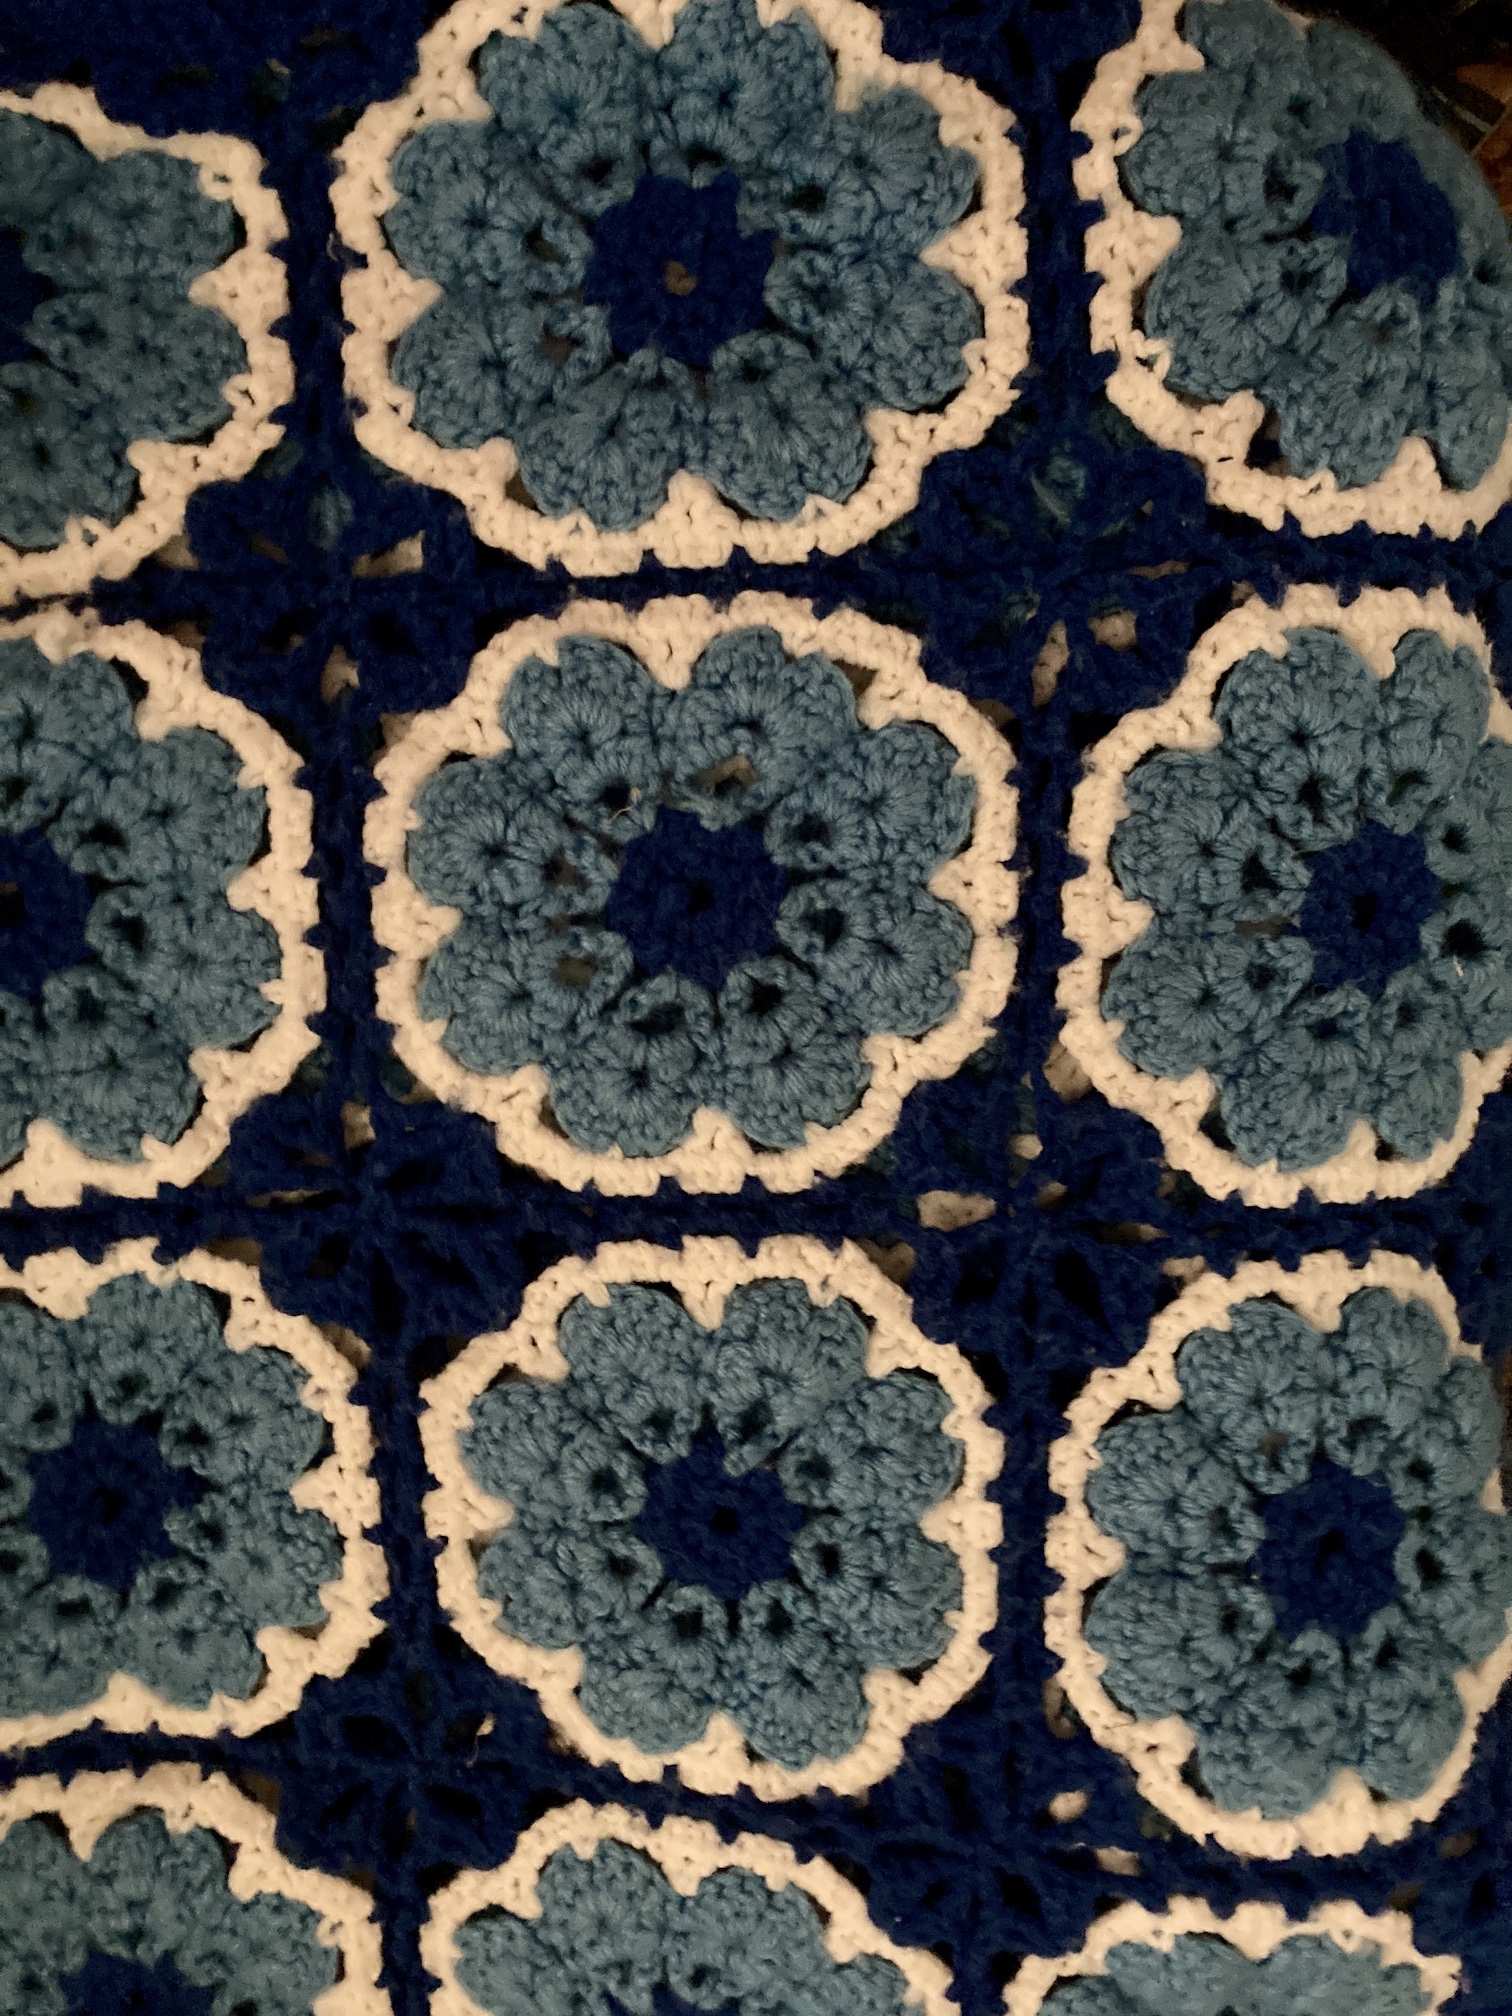 And here is the link to a post I wrote in 2015 called
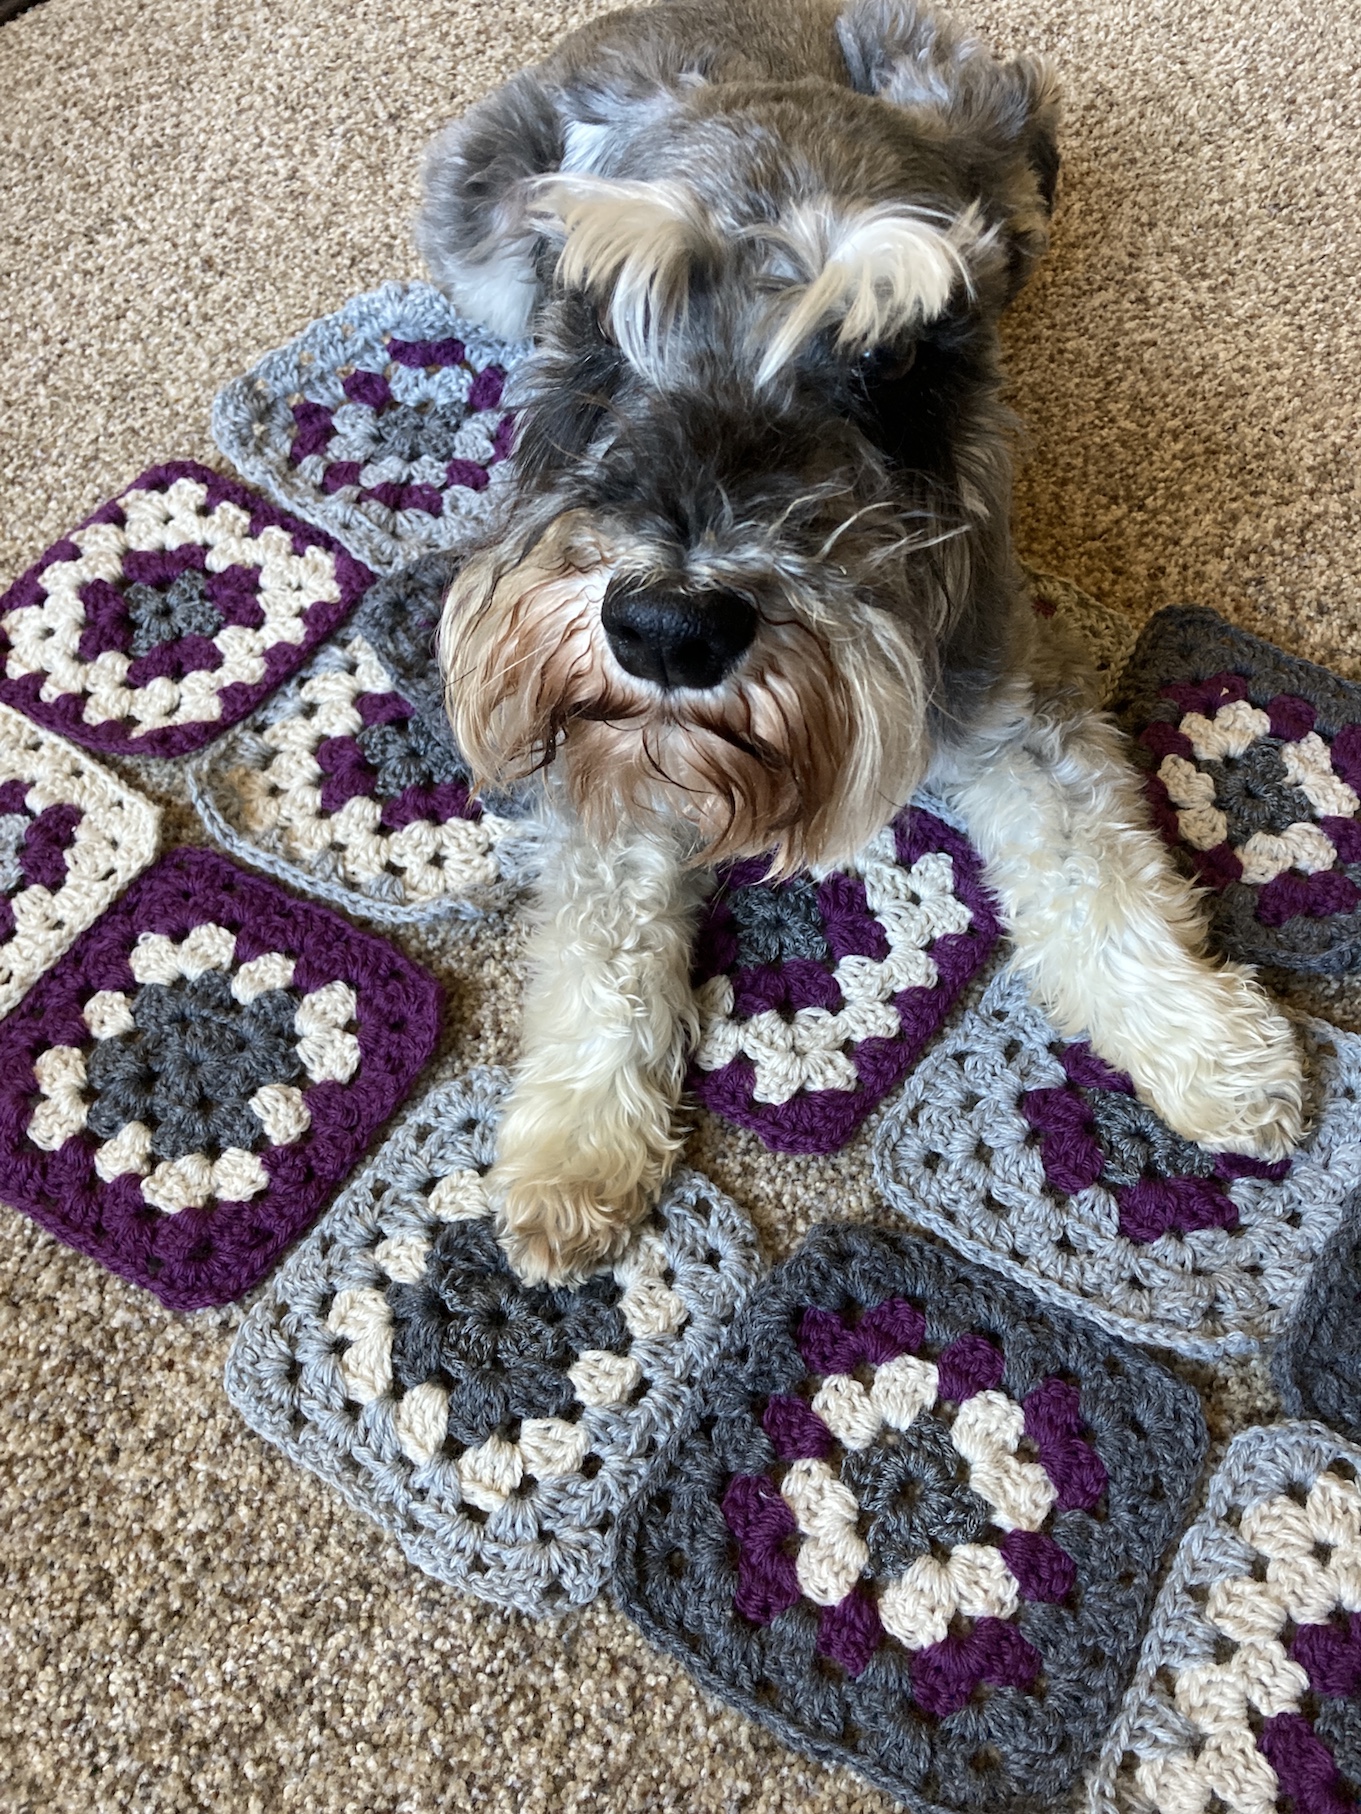
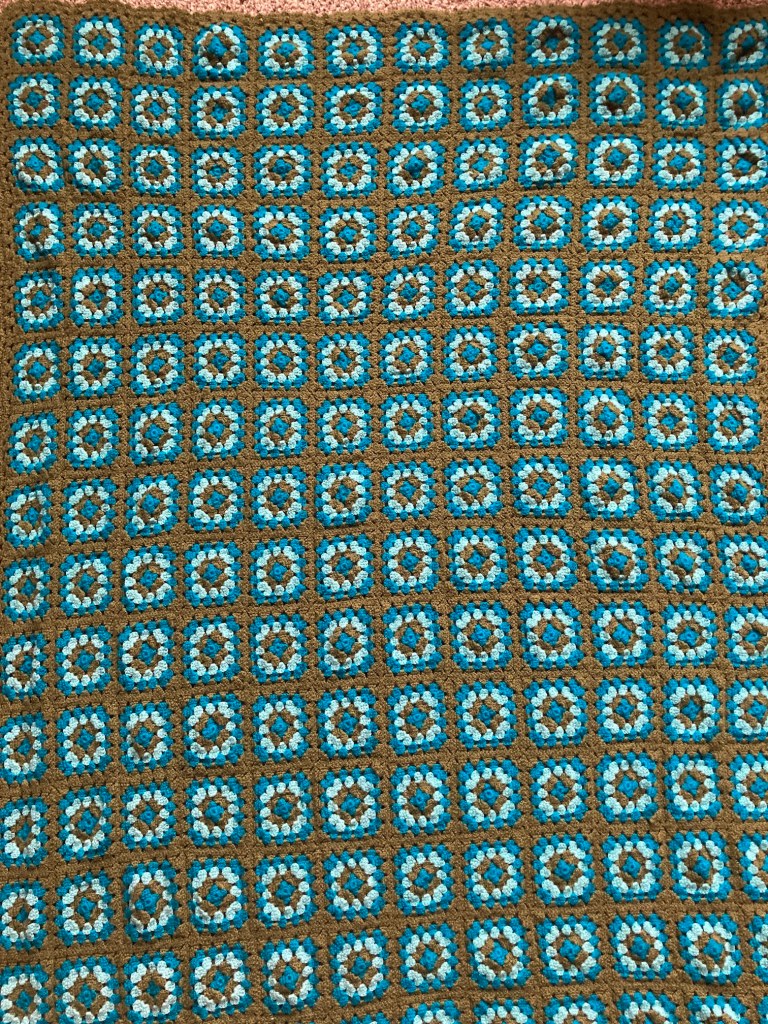
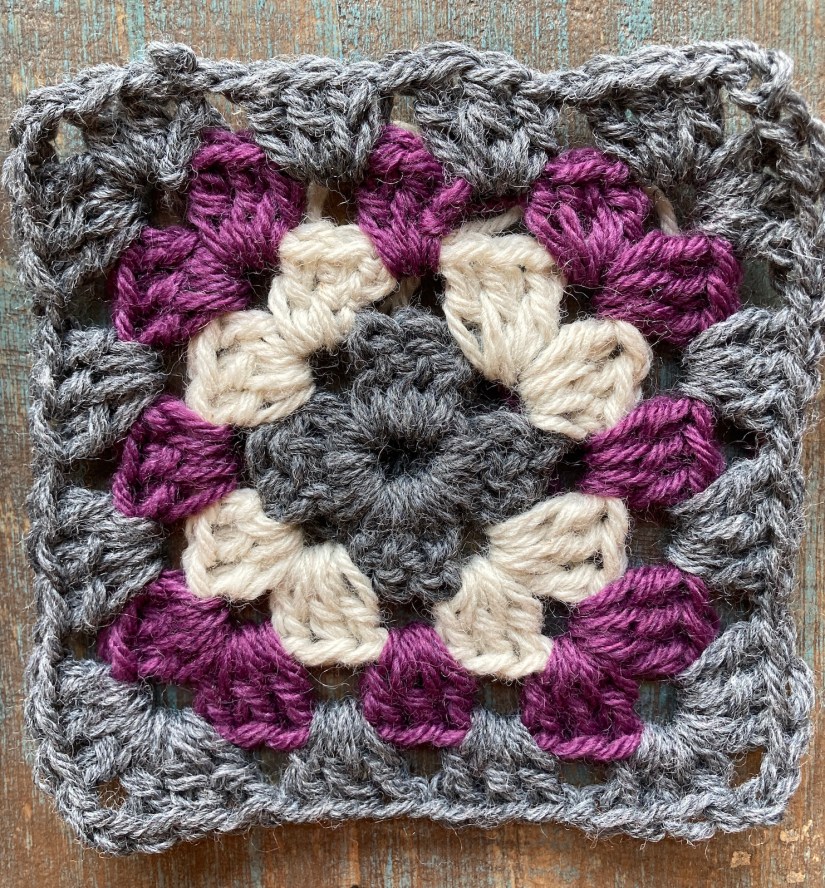
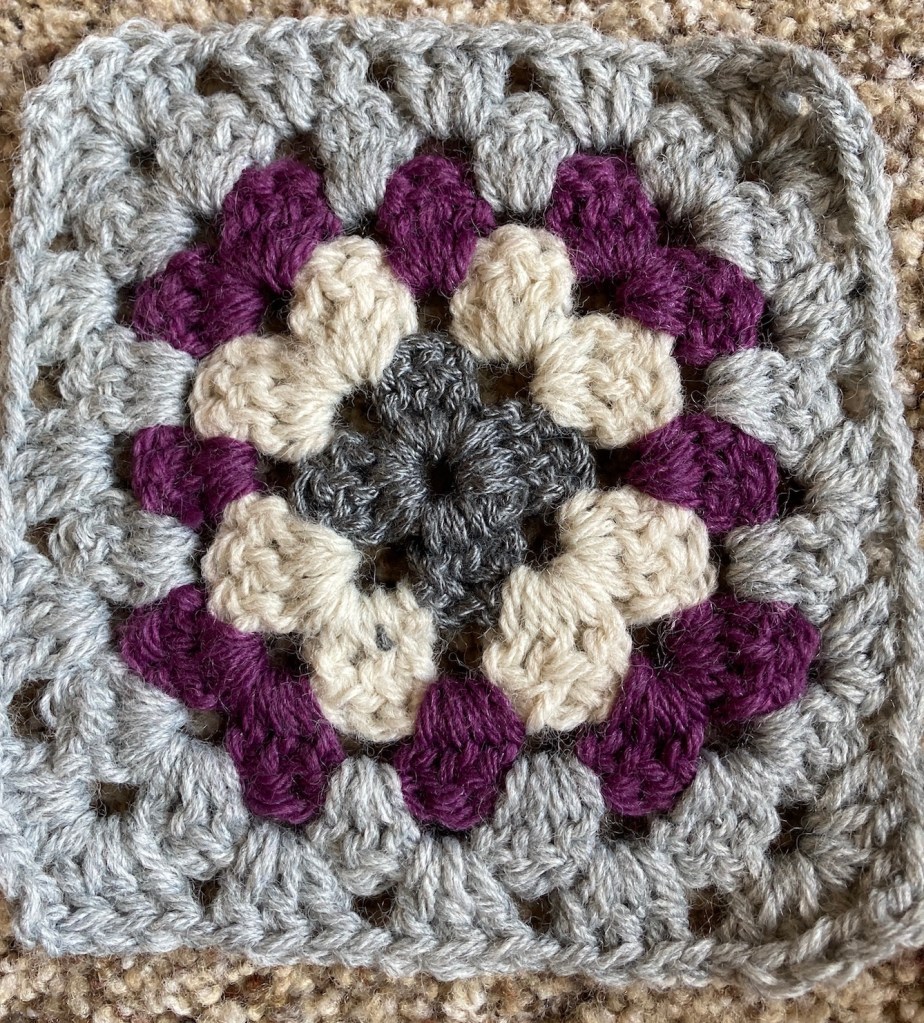
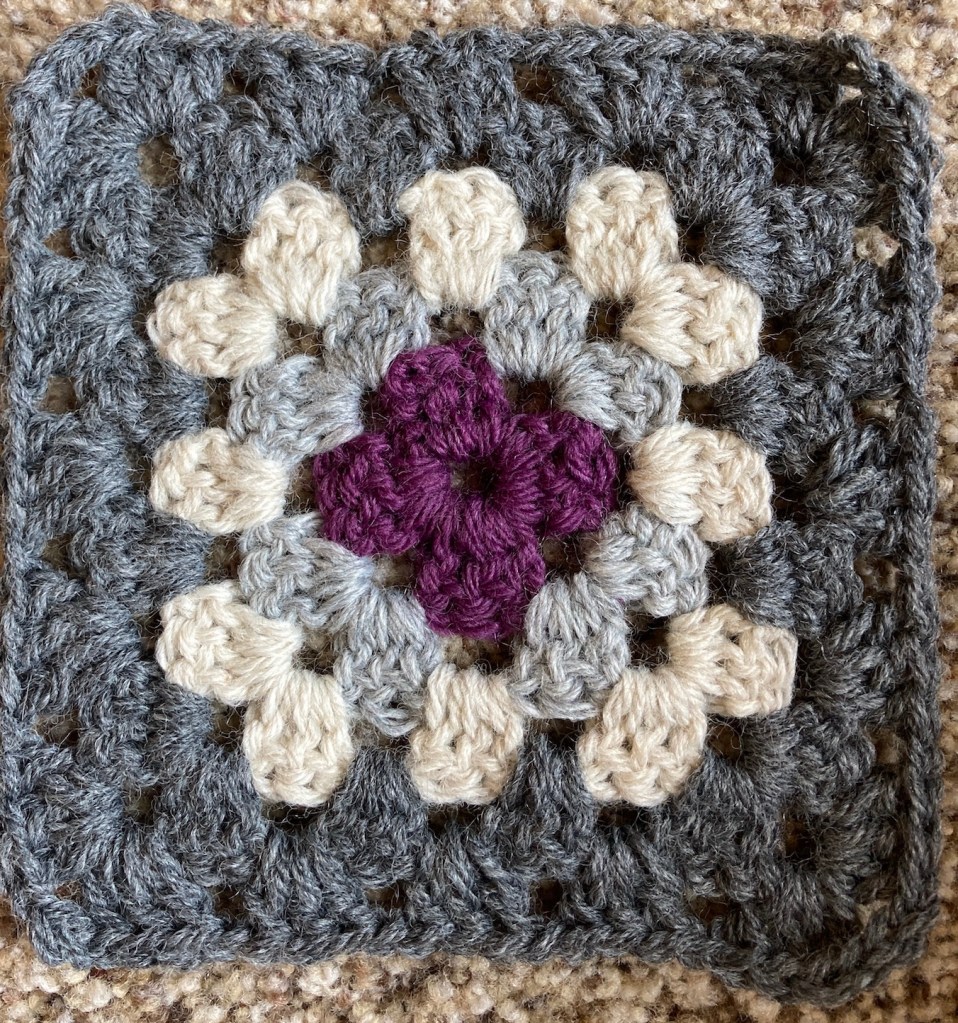
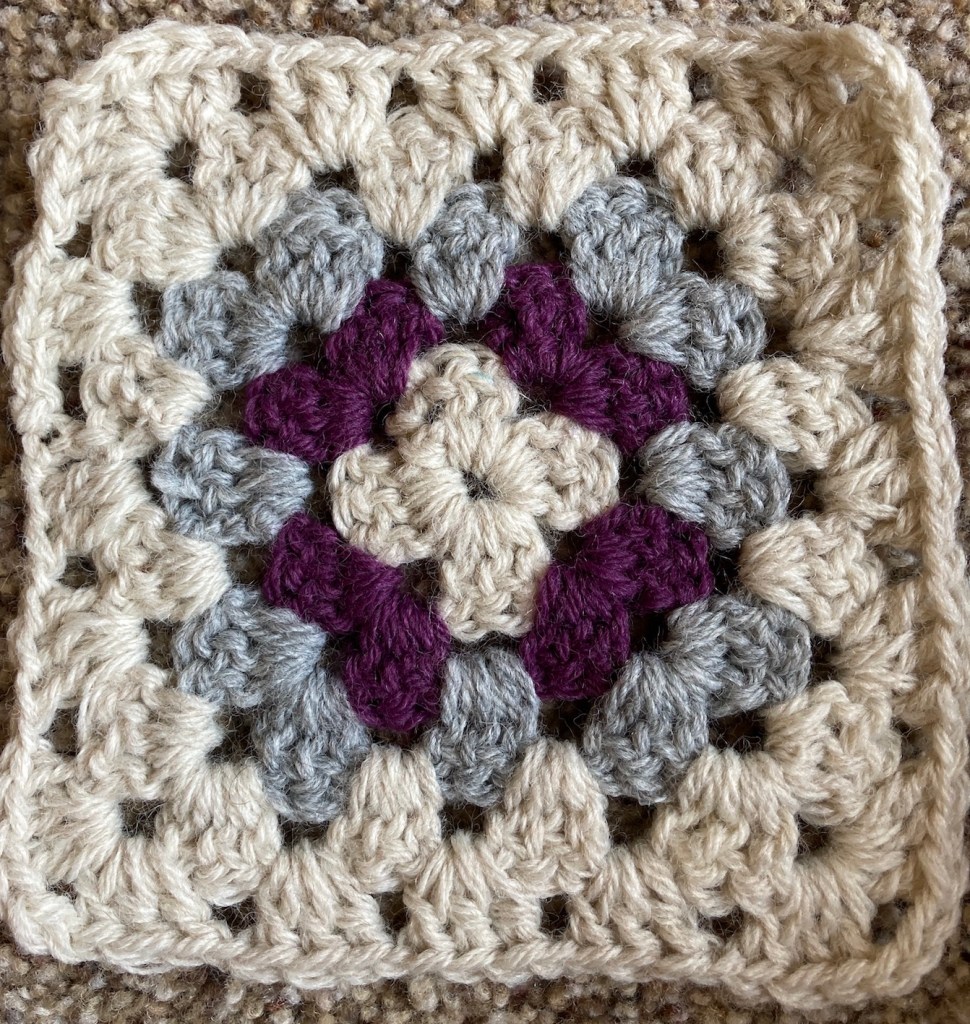
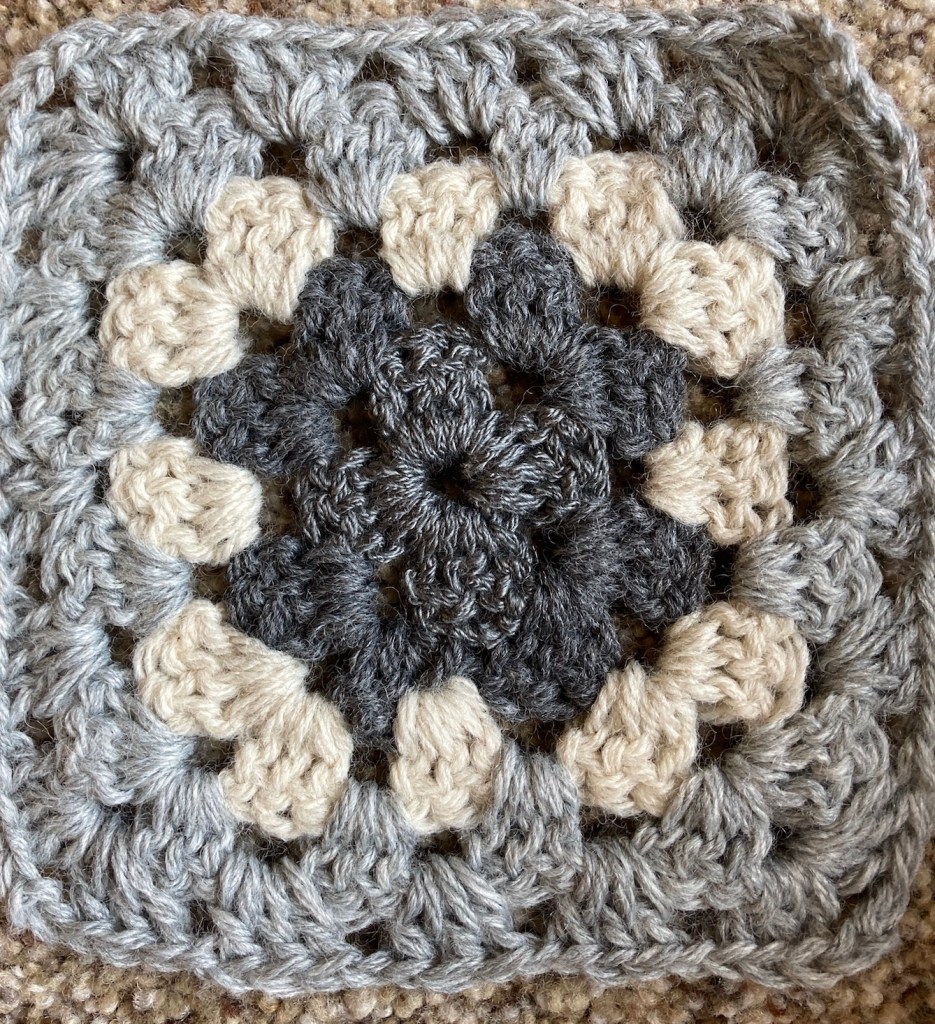
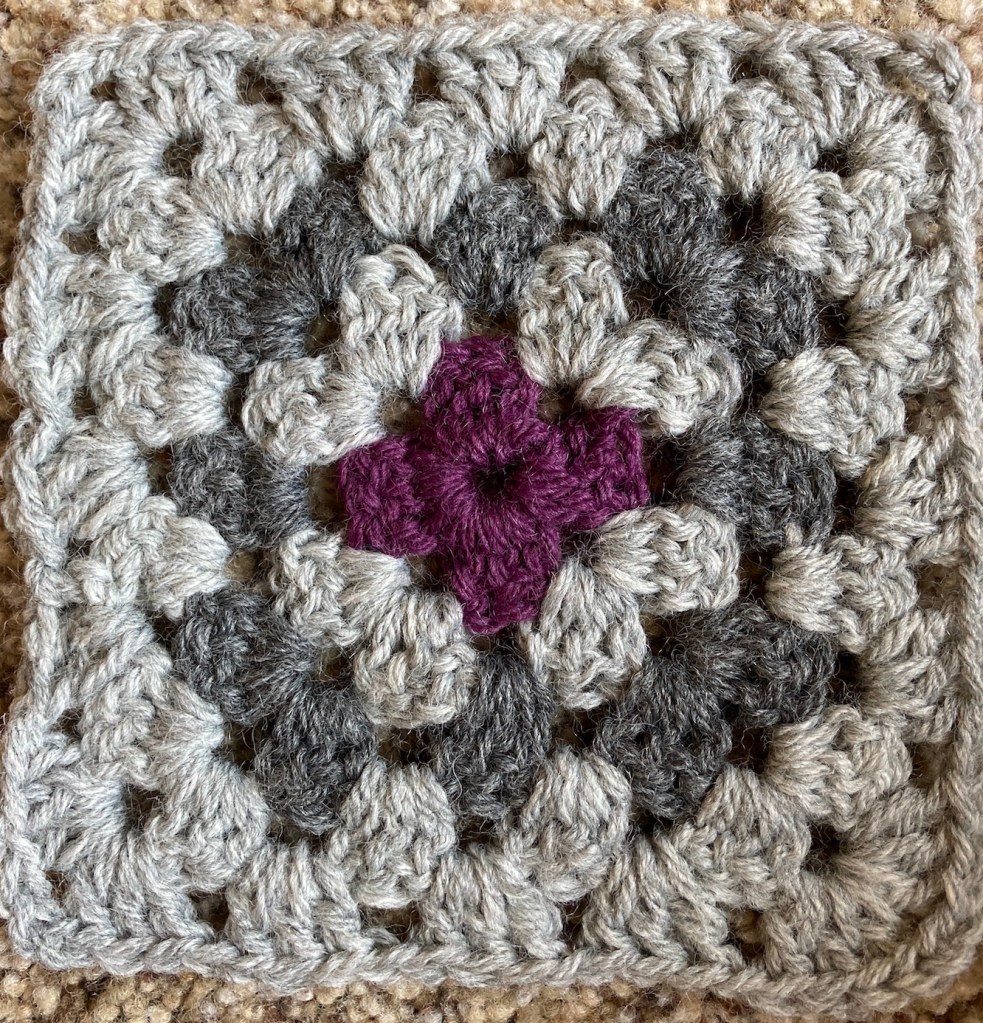
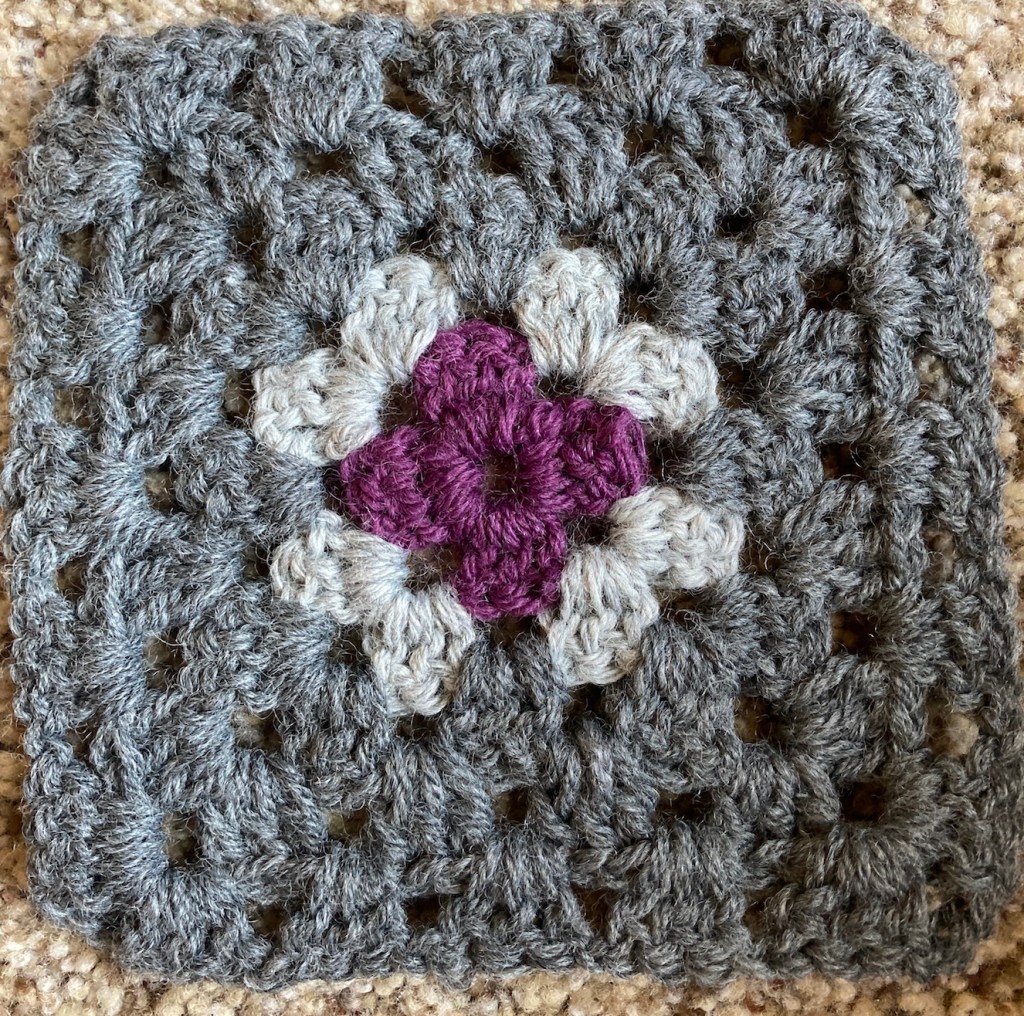
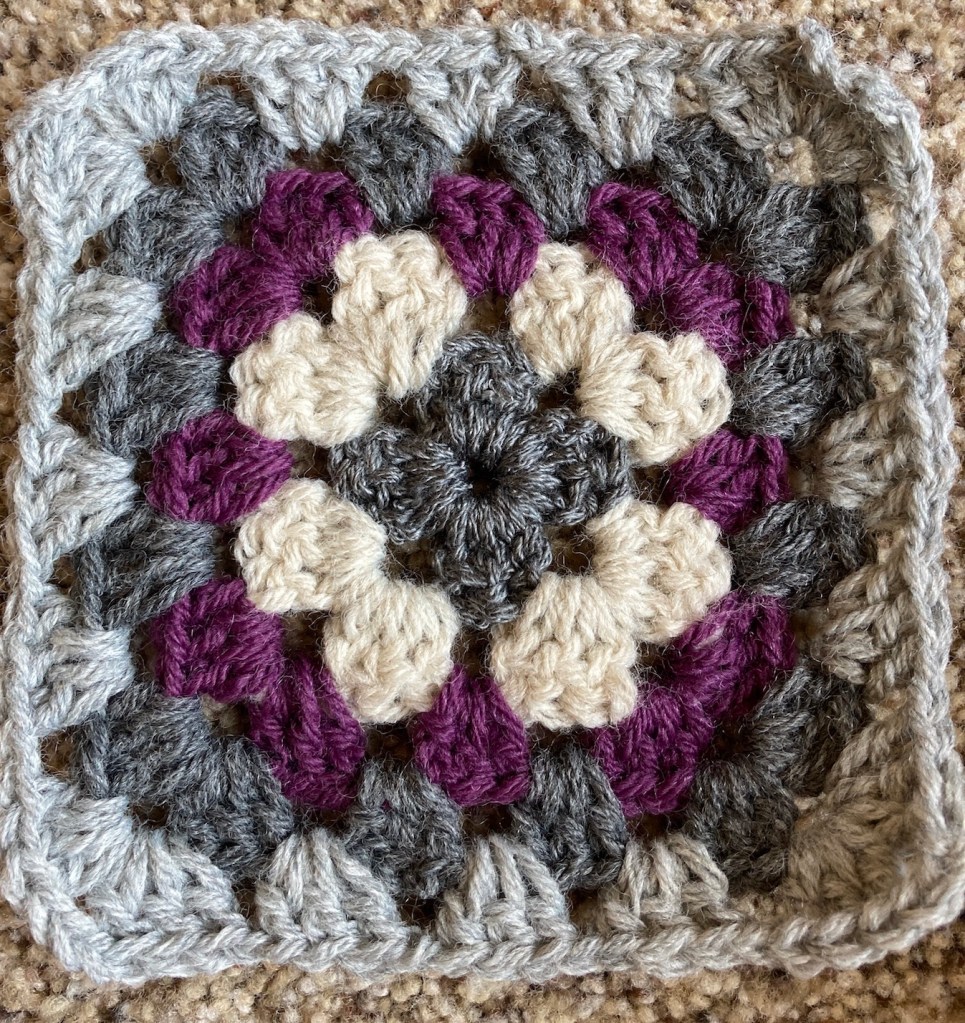
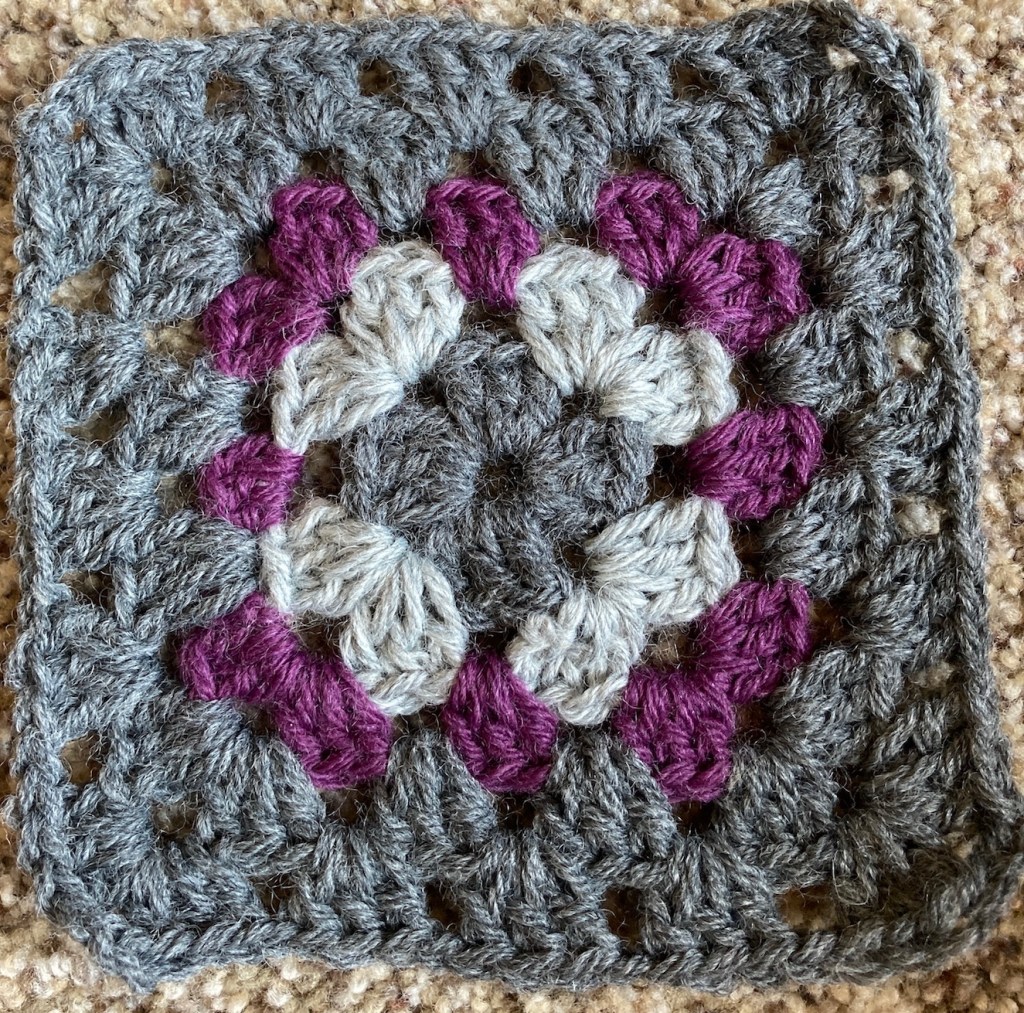
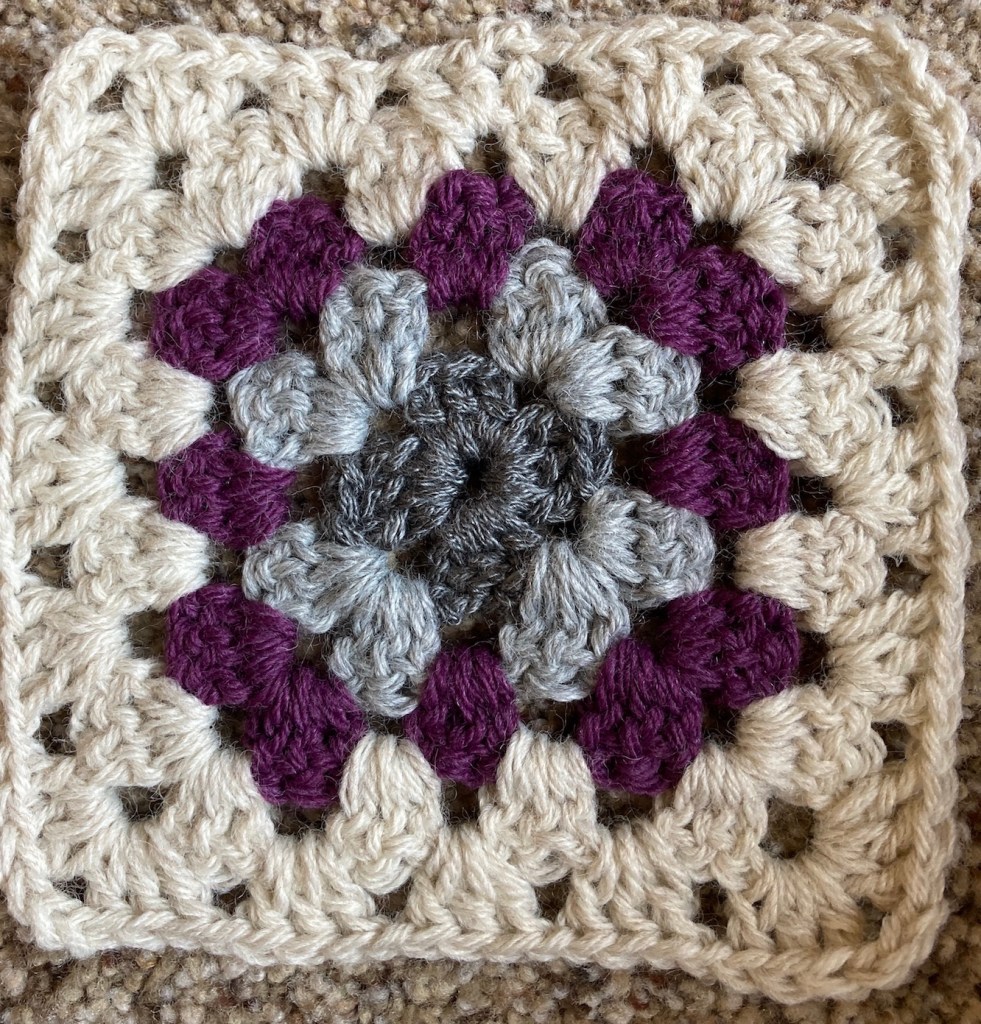
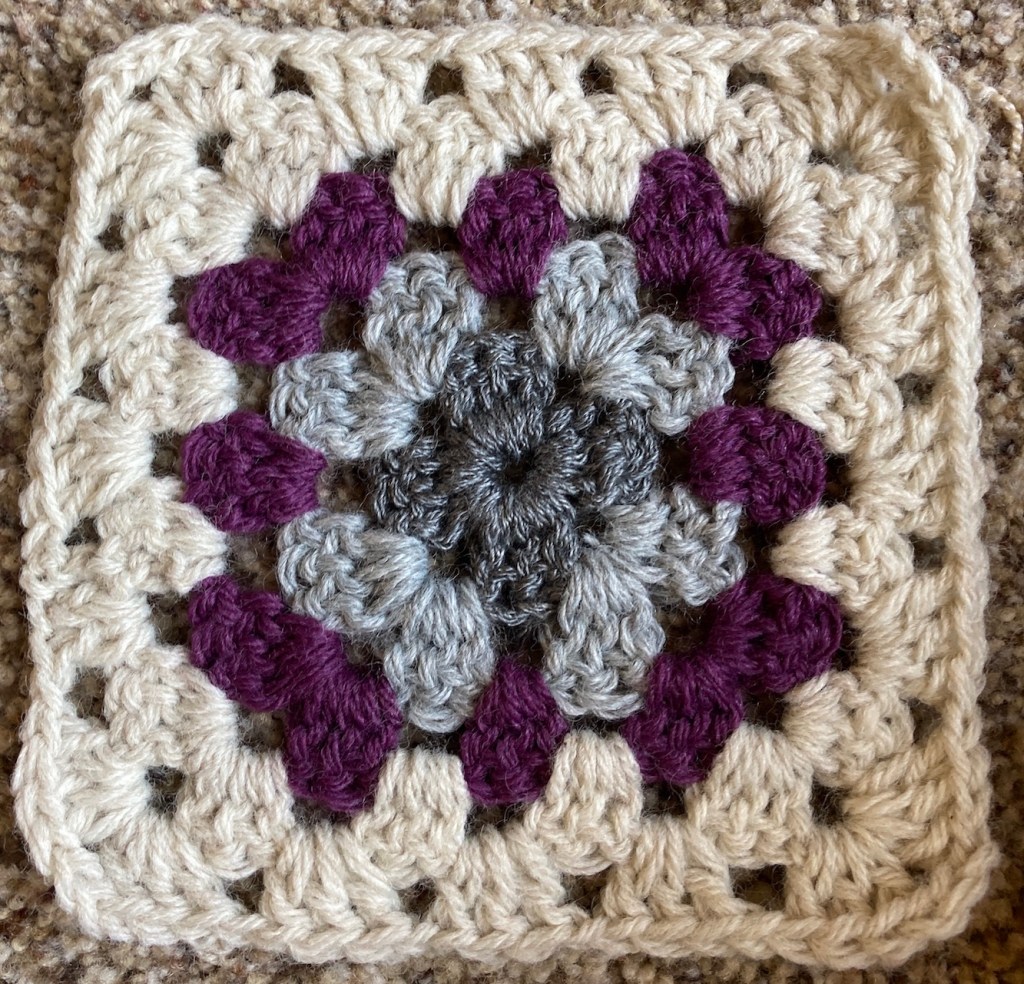
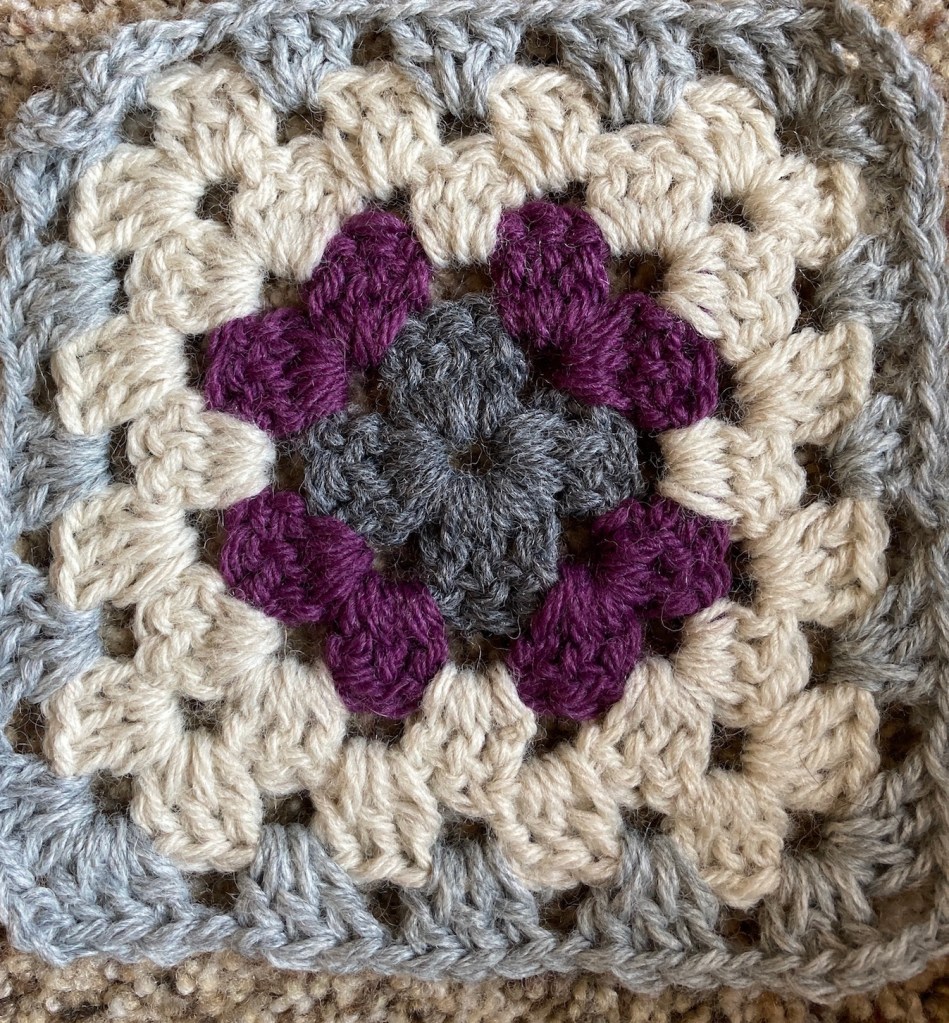
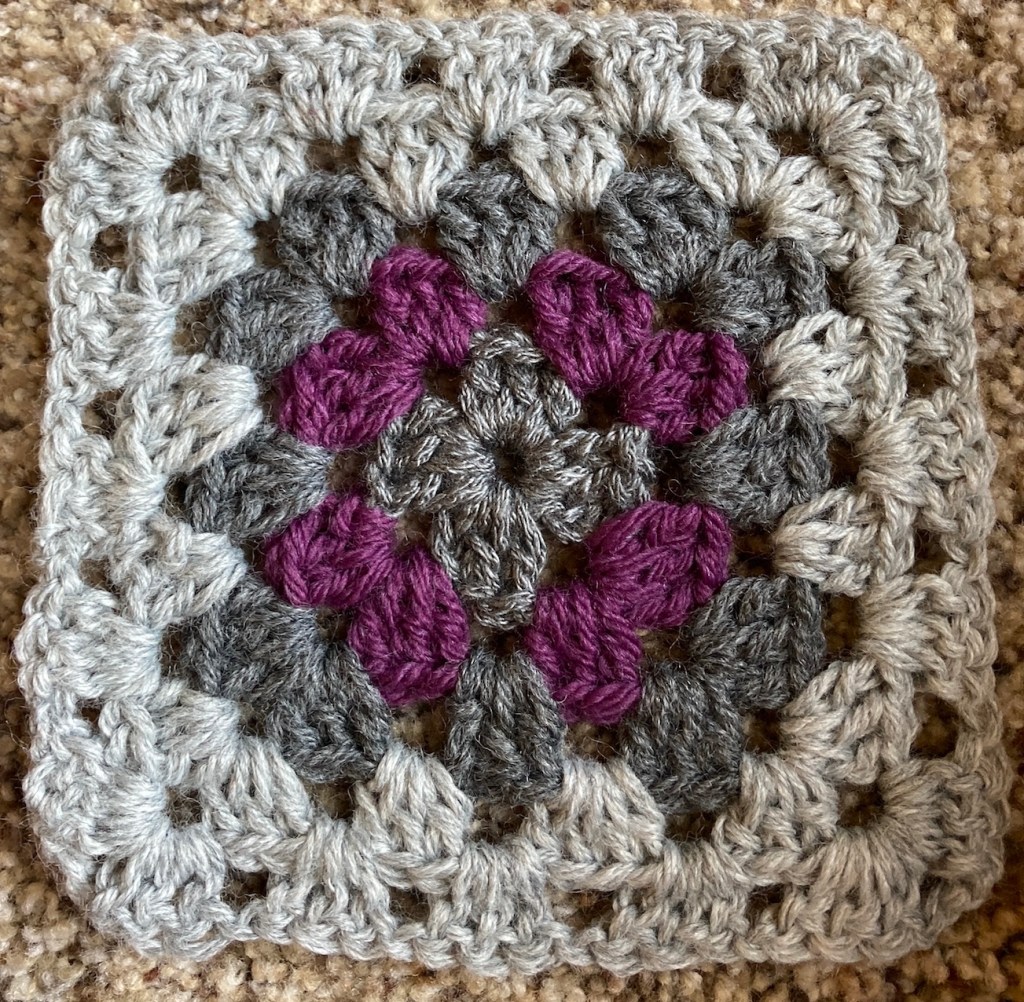
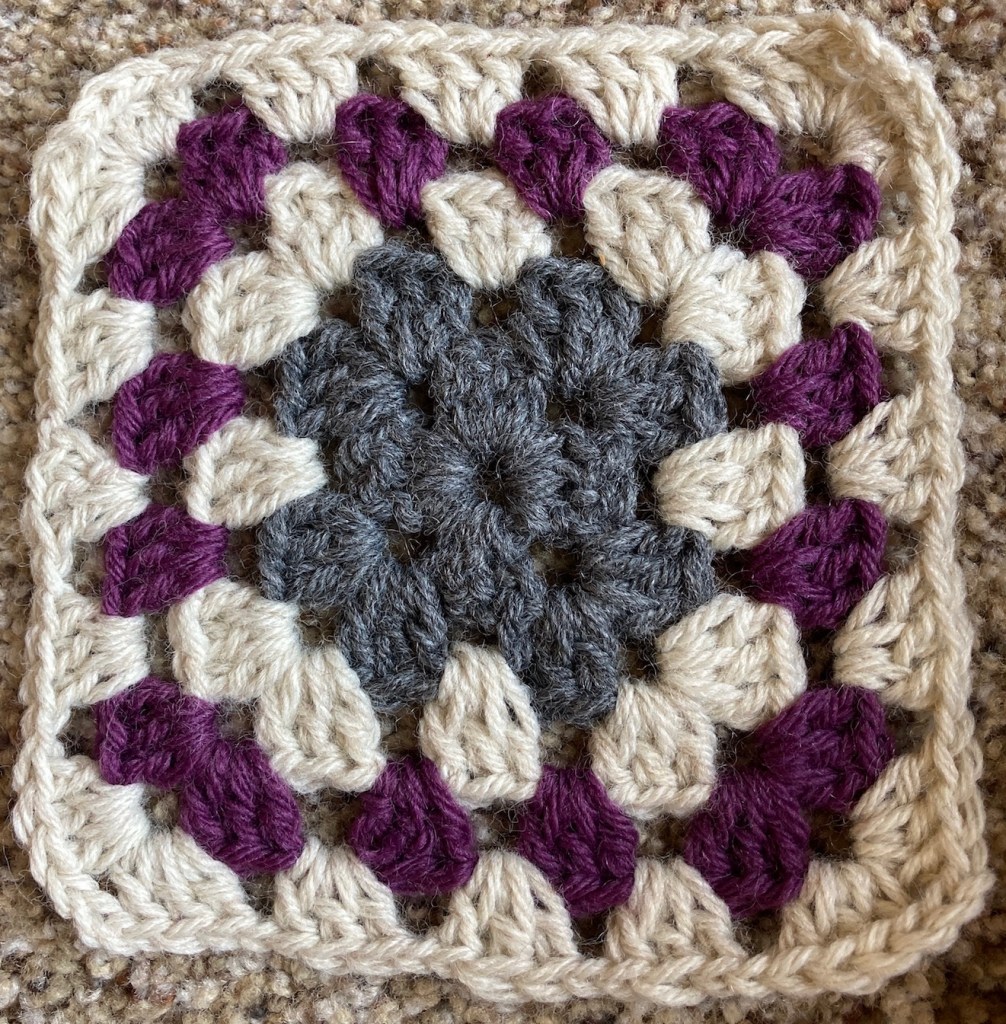
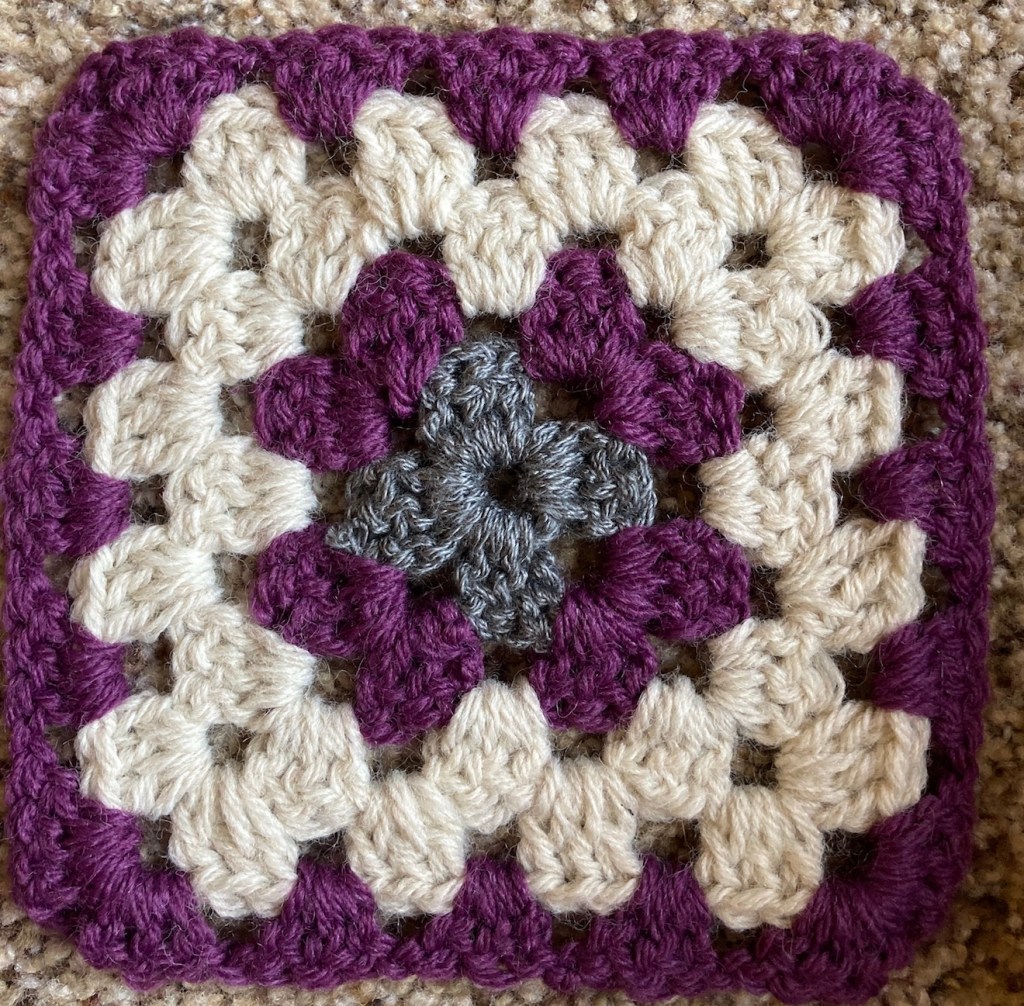
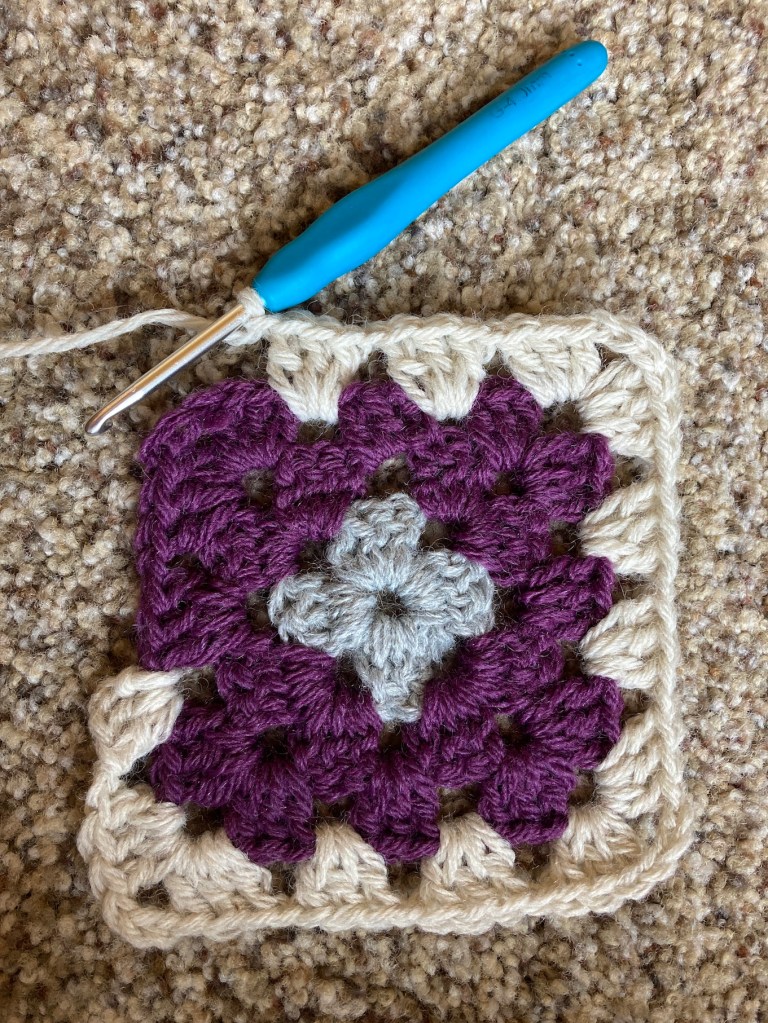
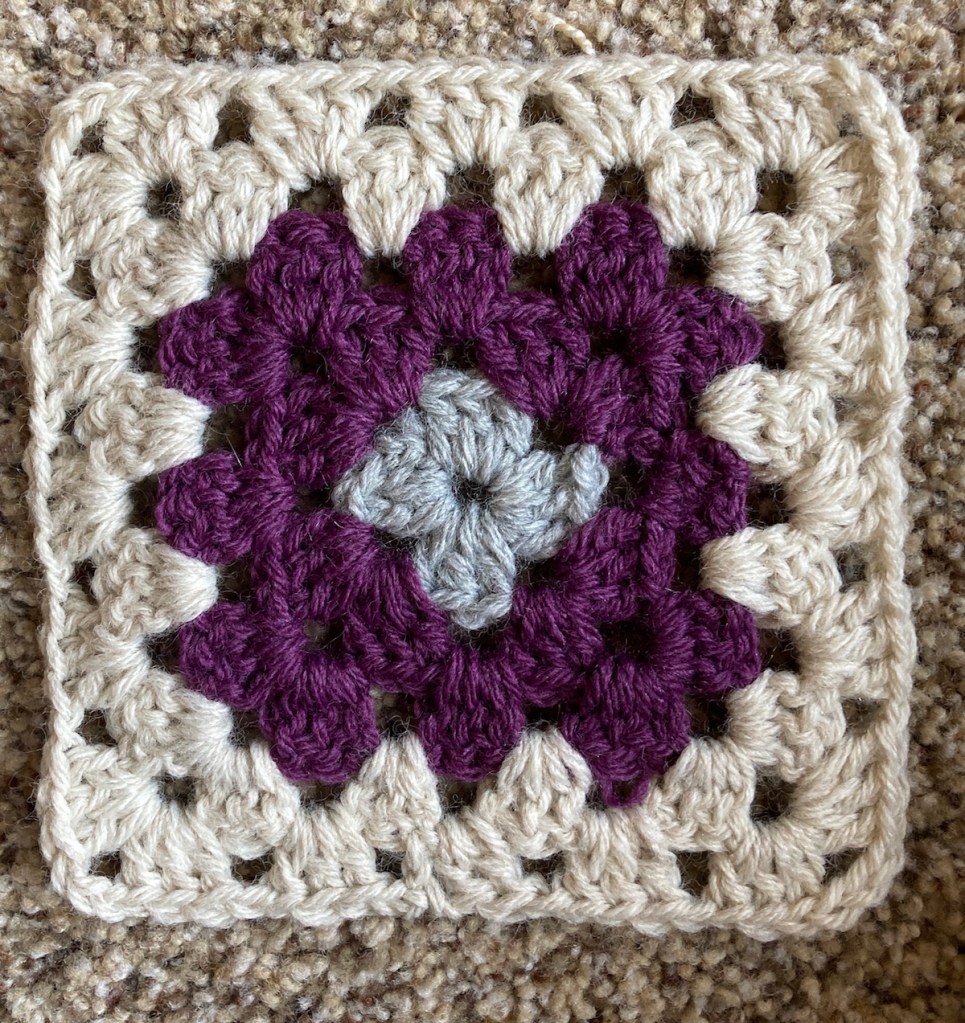
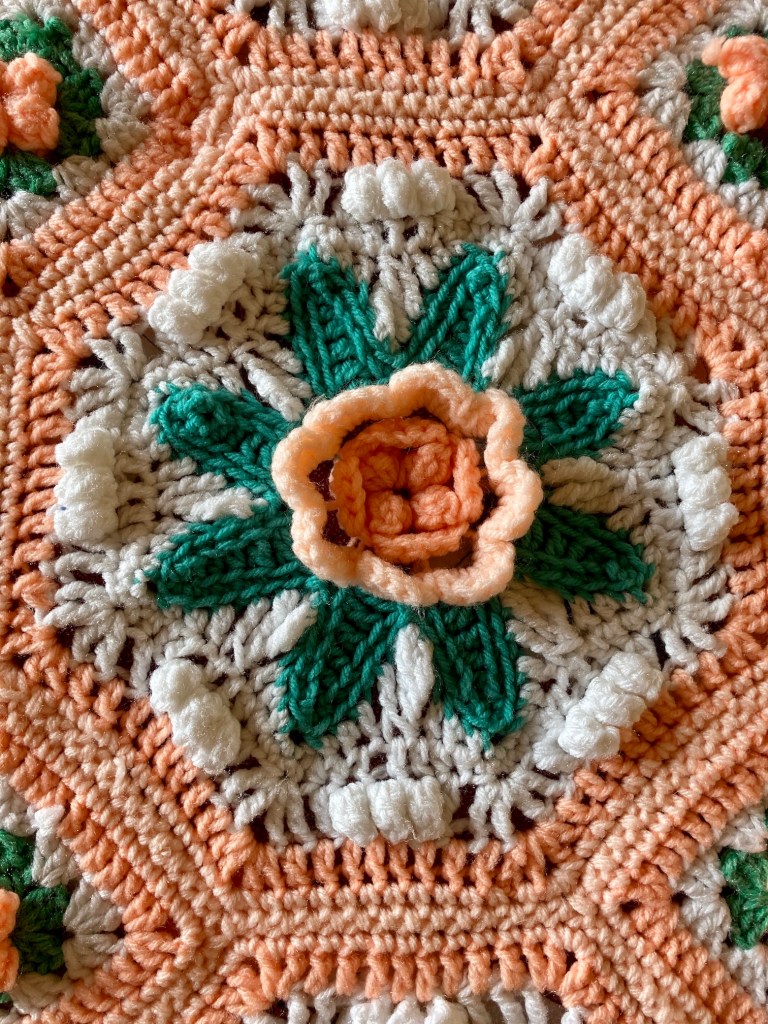
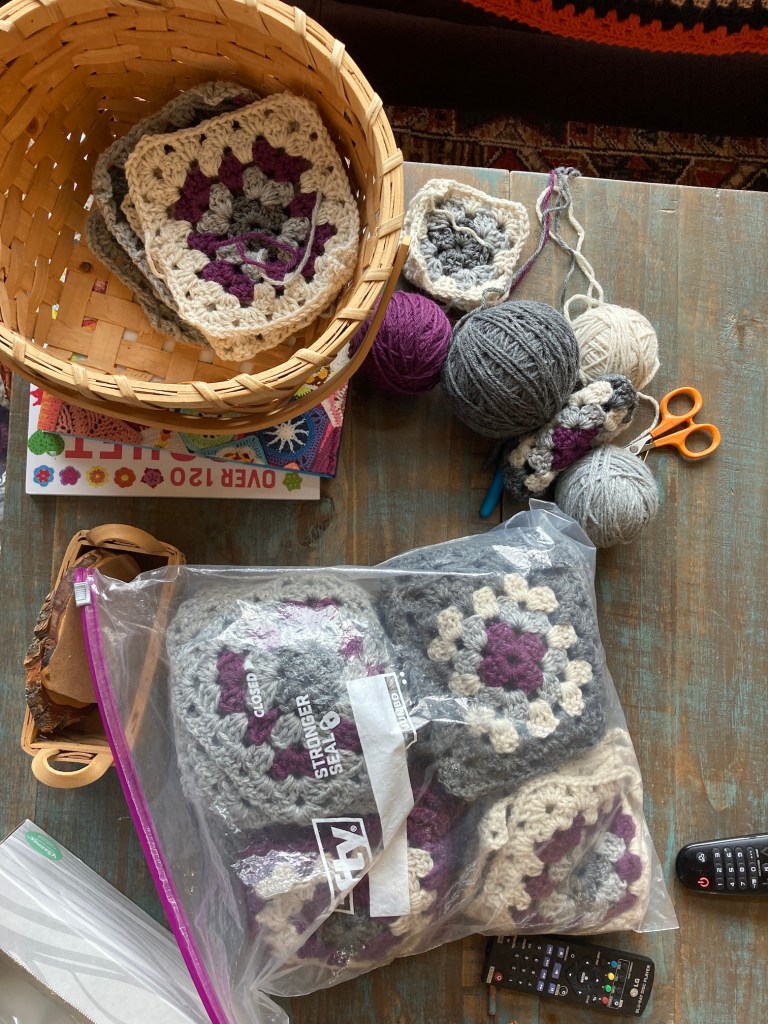
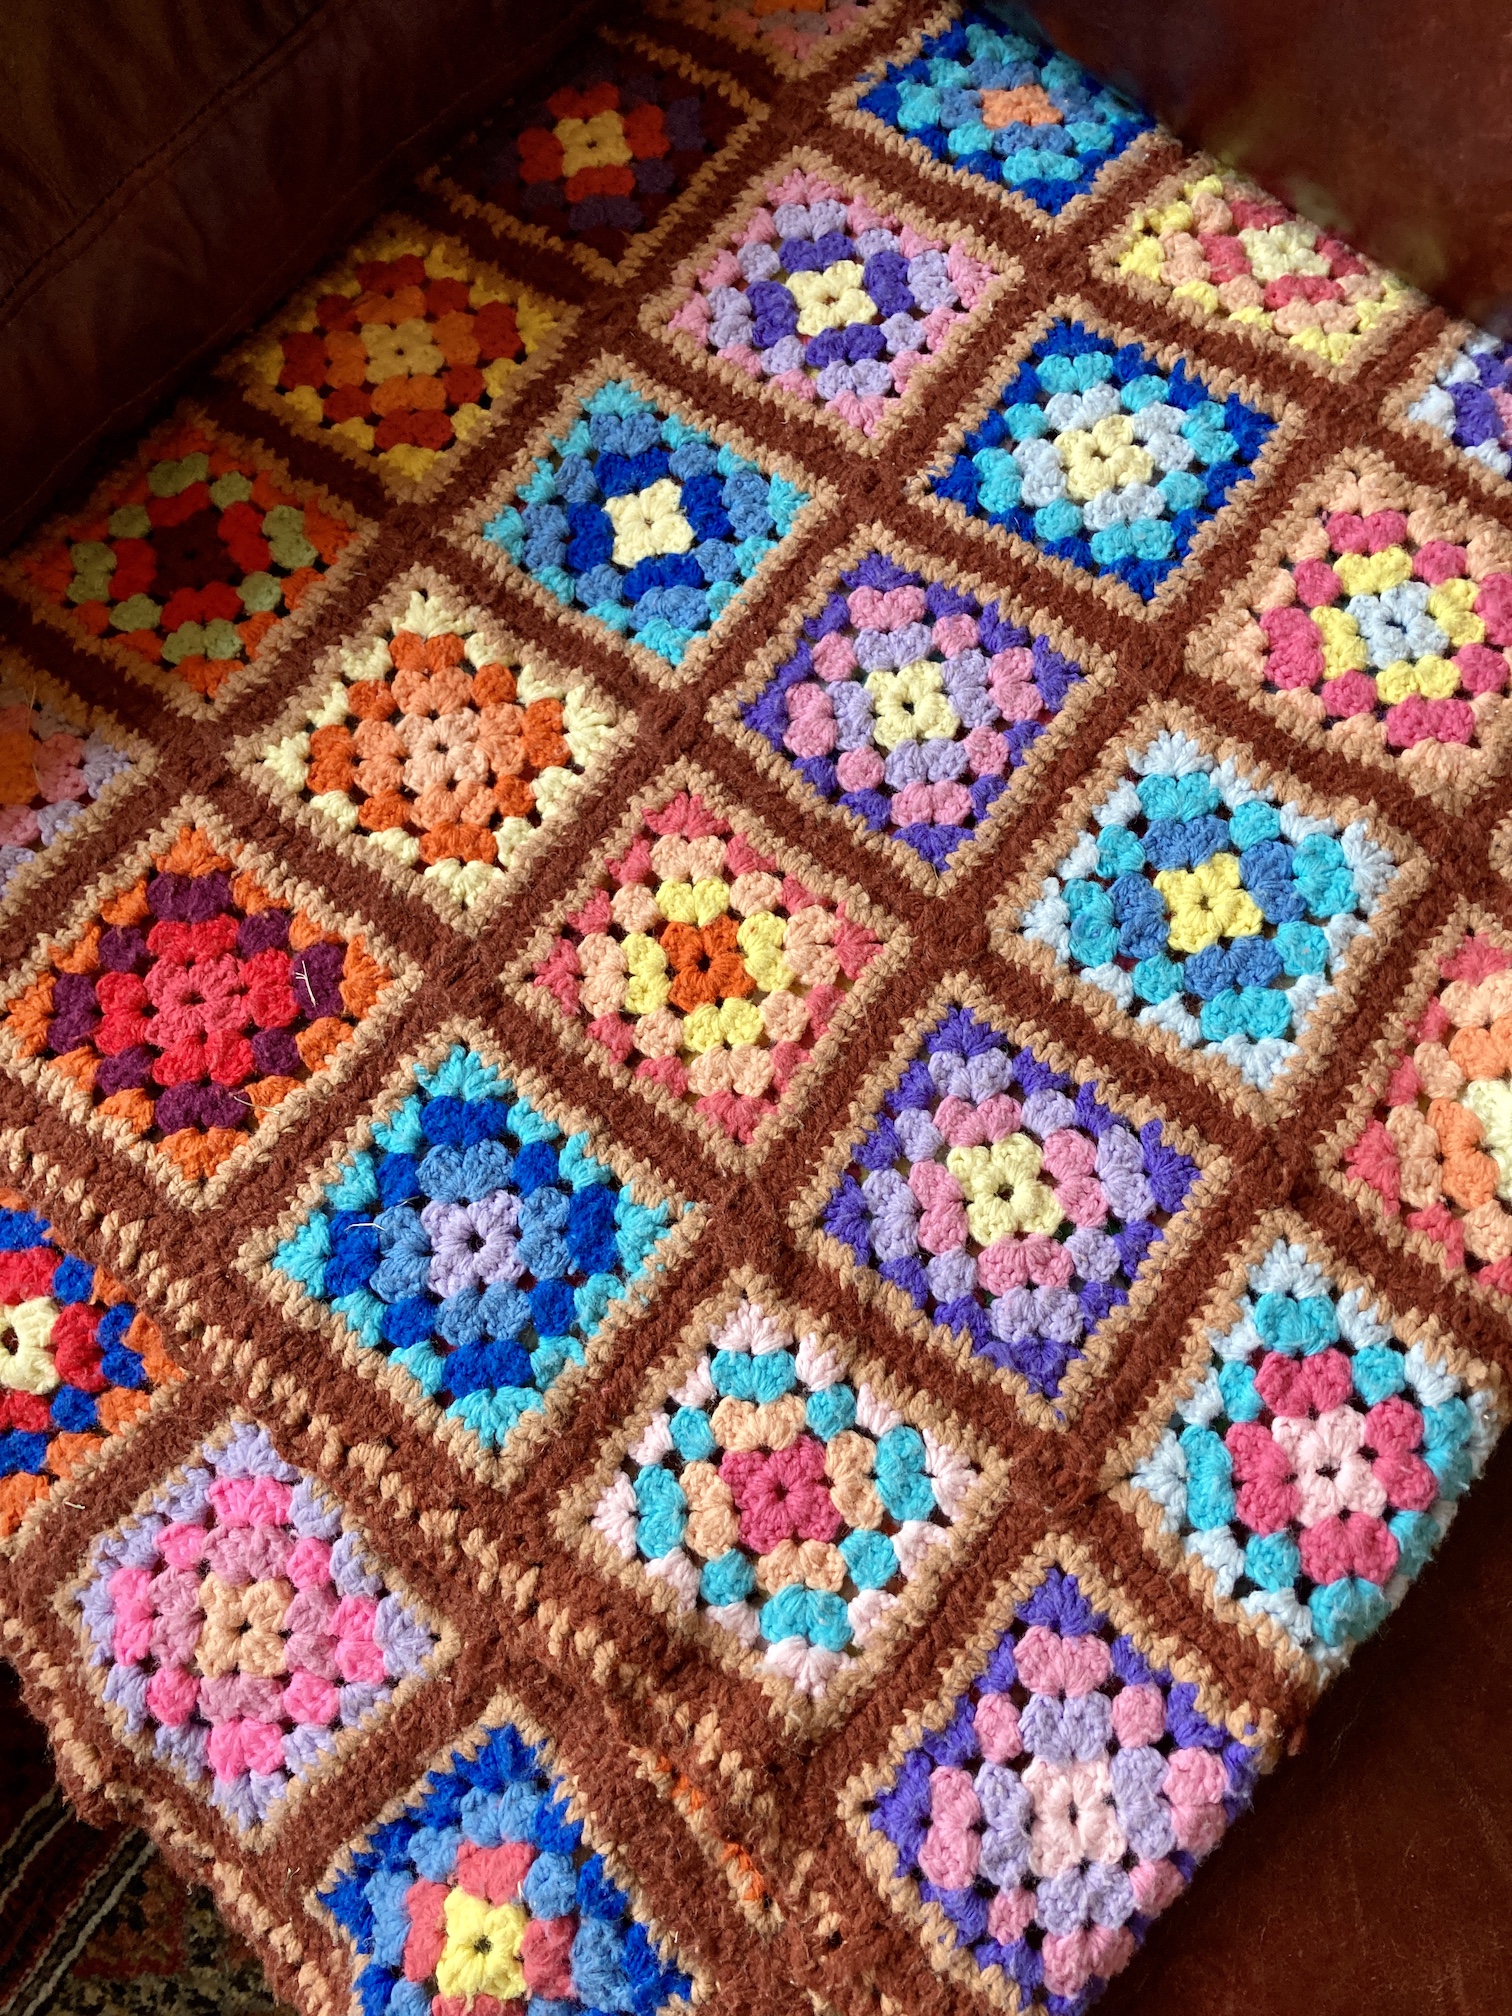
  A couple days ago I randomly decided that it was time I learned how to make Granny Squares and a Granny Square afghan.
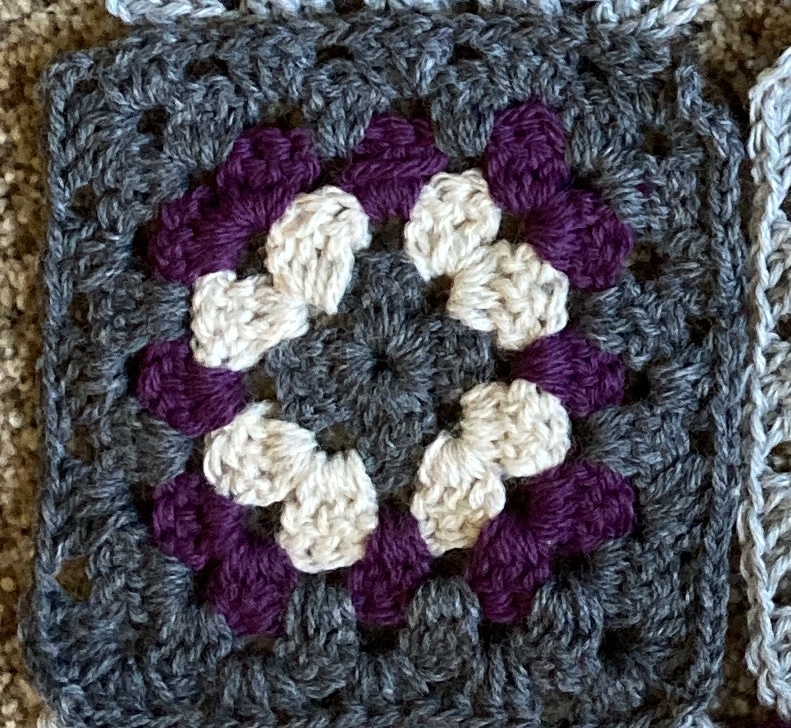
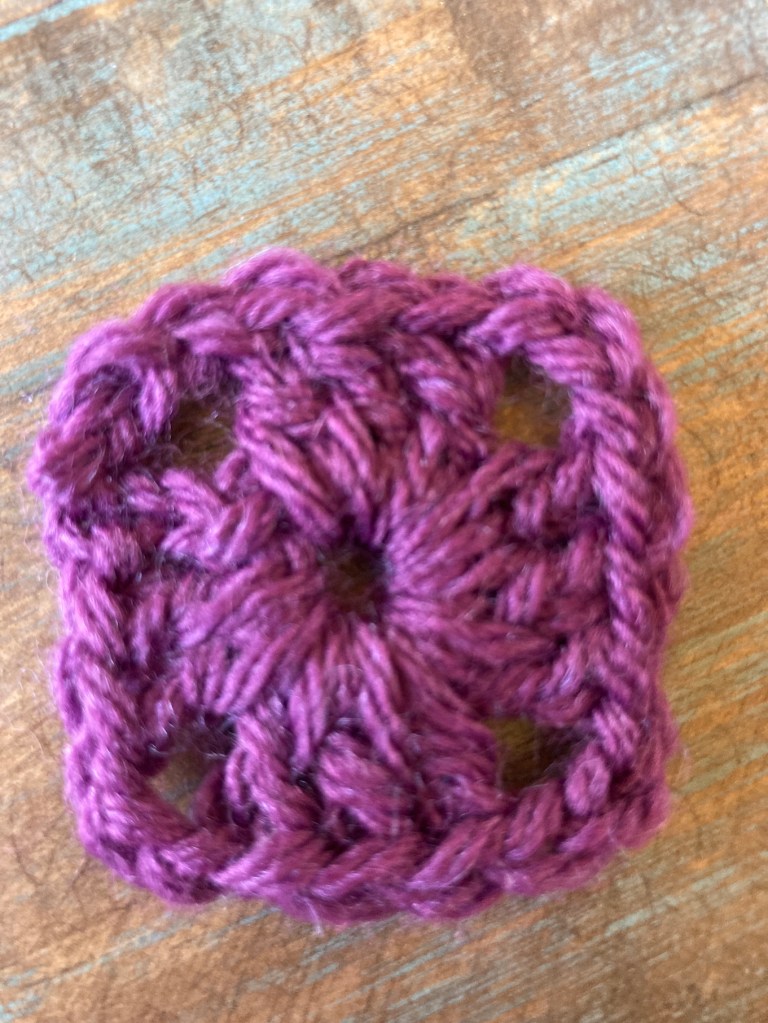
 I cannot tell you how pleased and excited I was to have completed my first Granny Square!
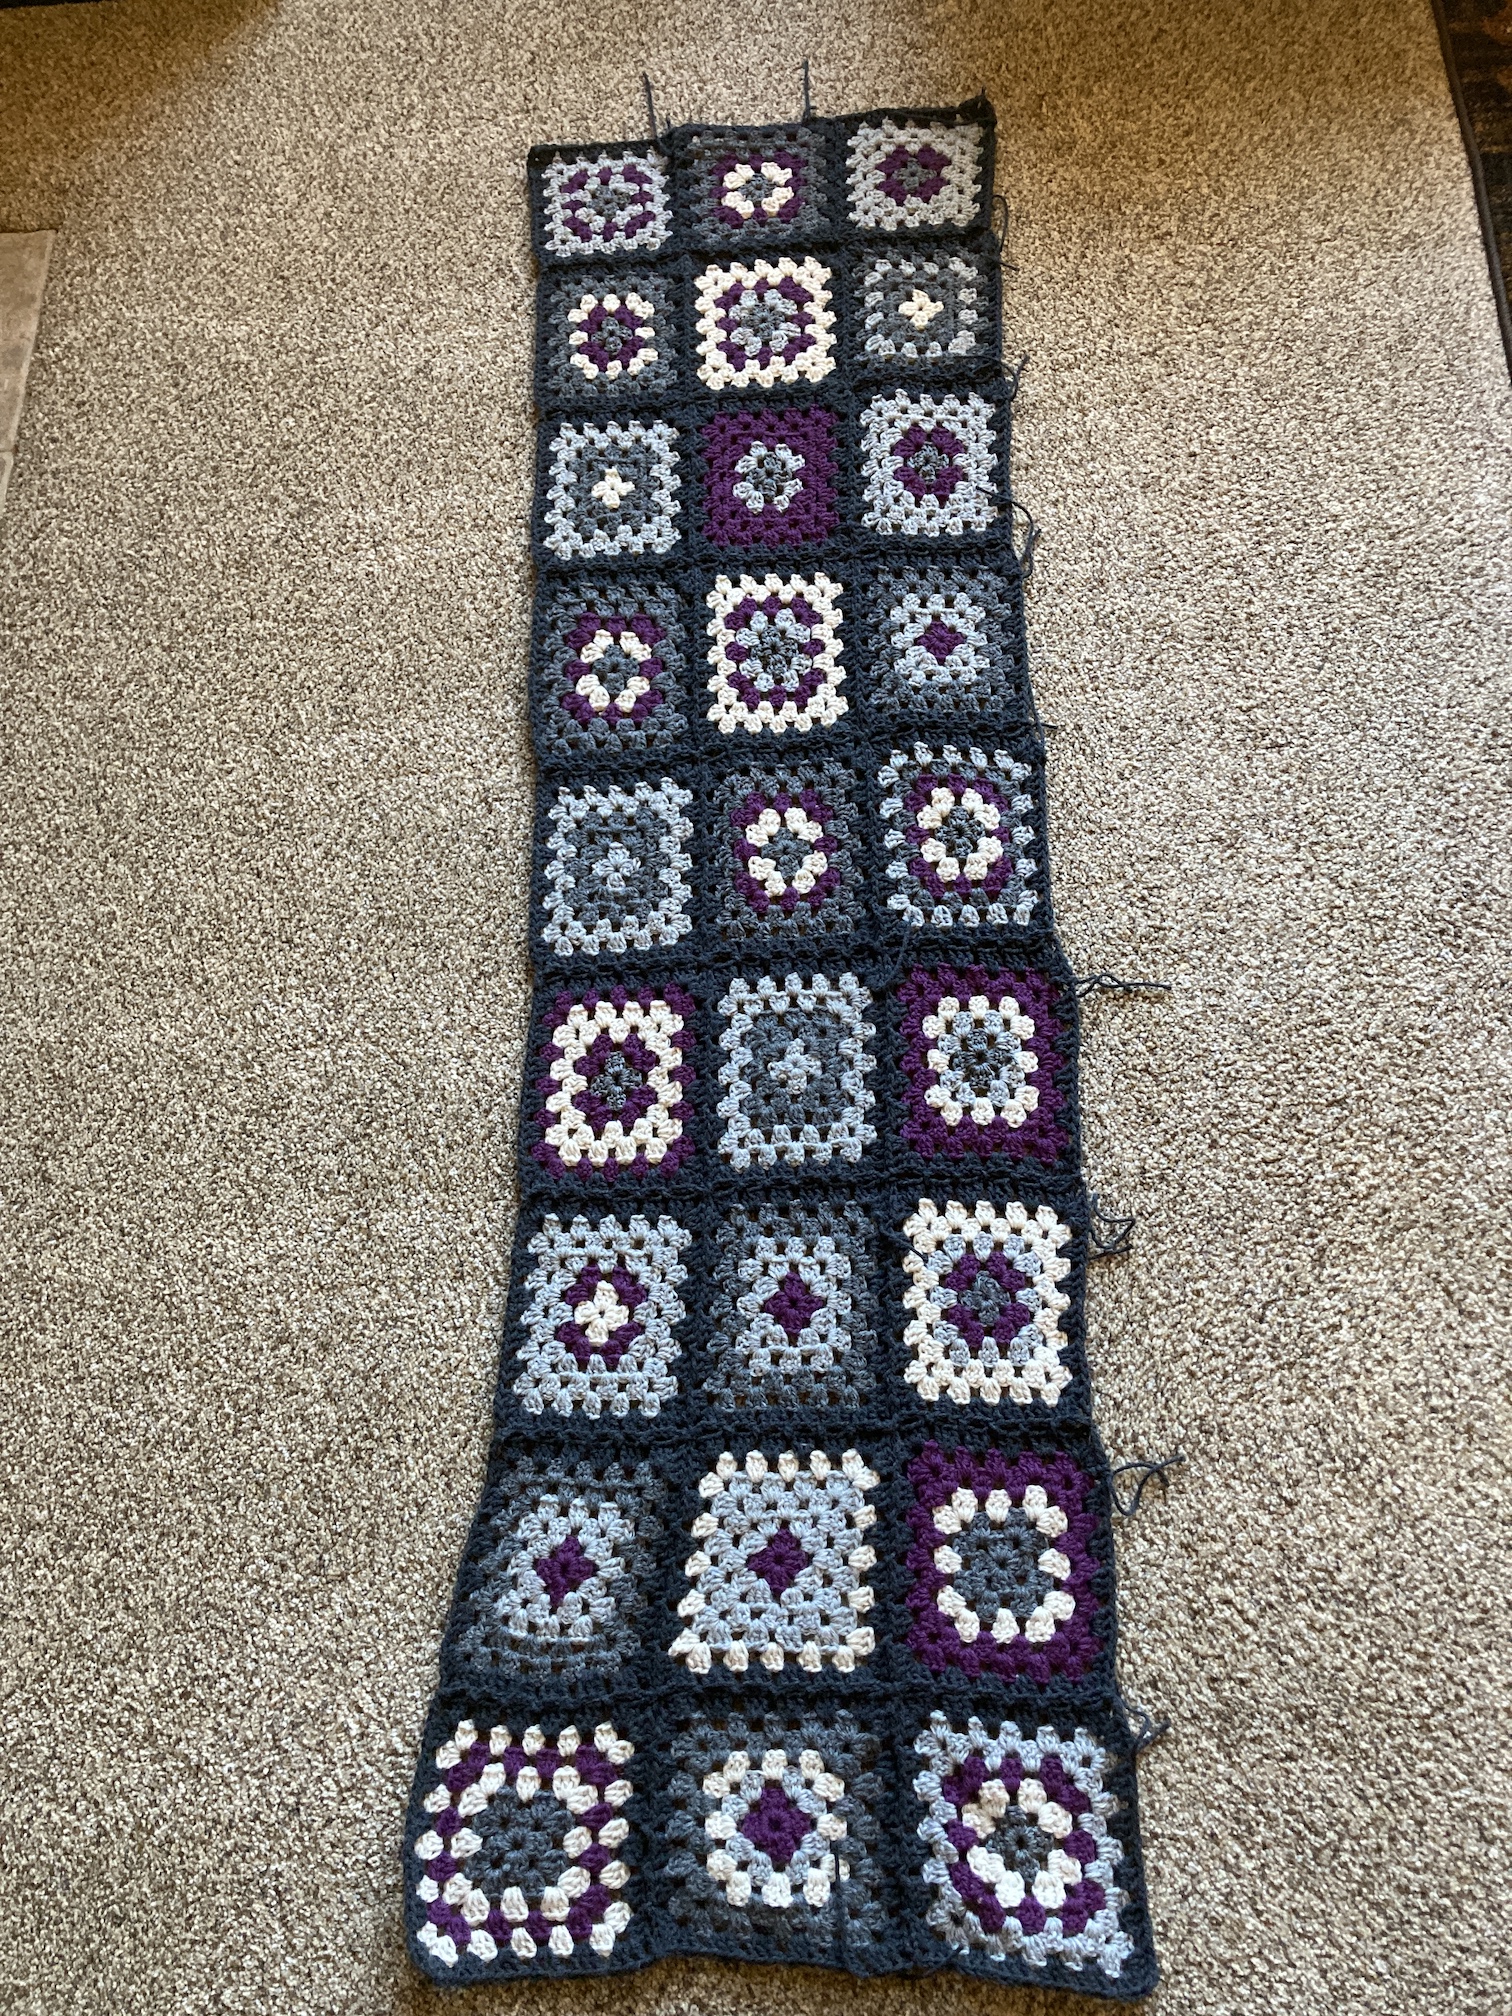
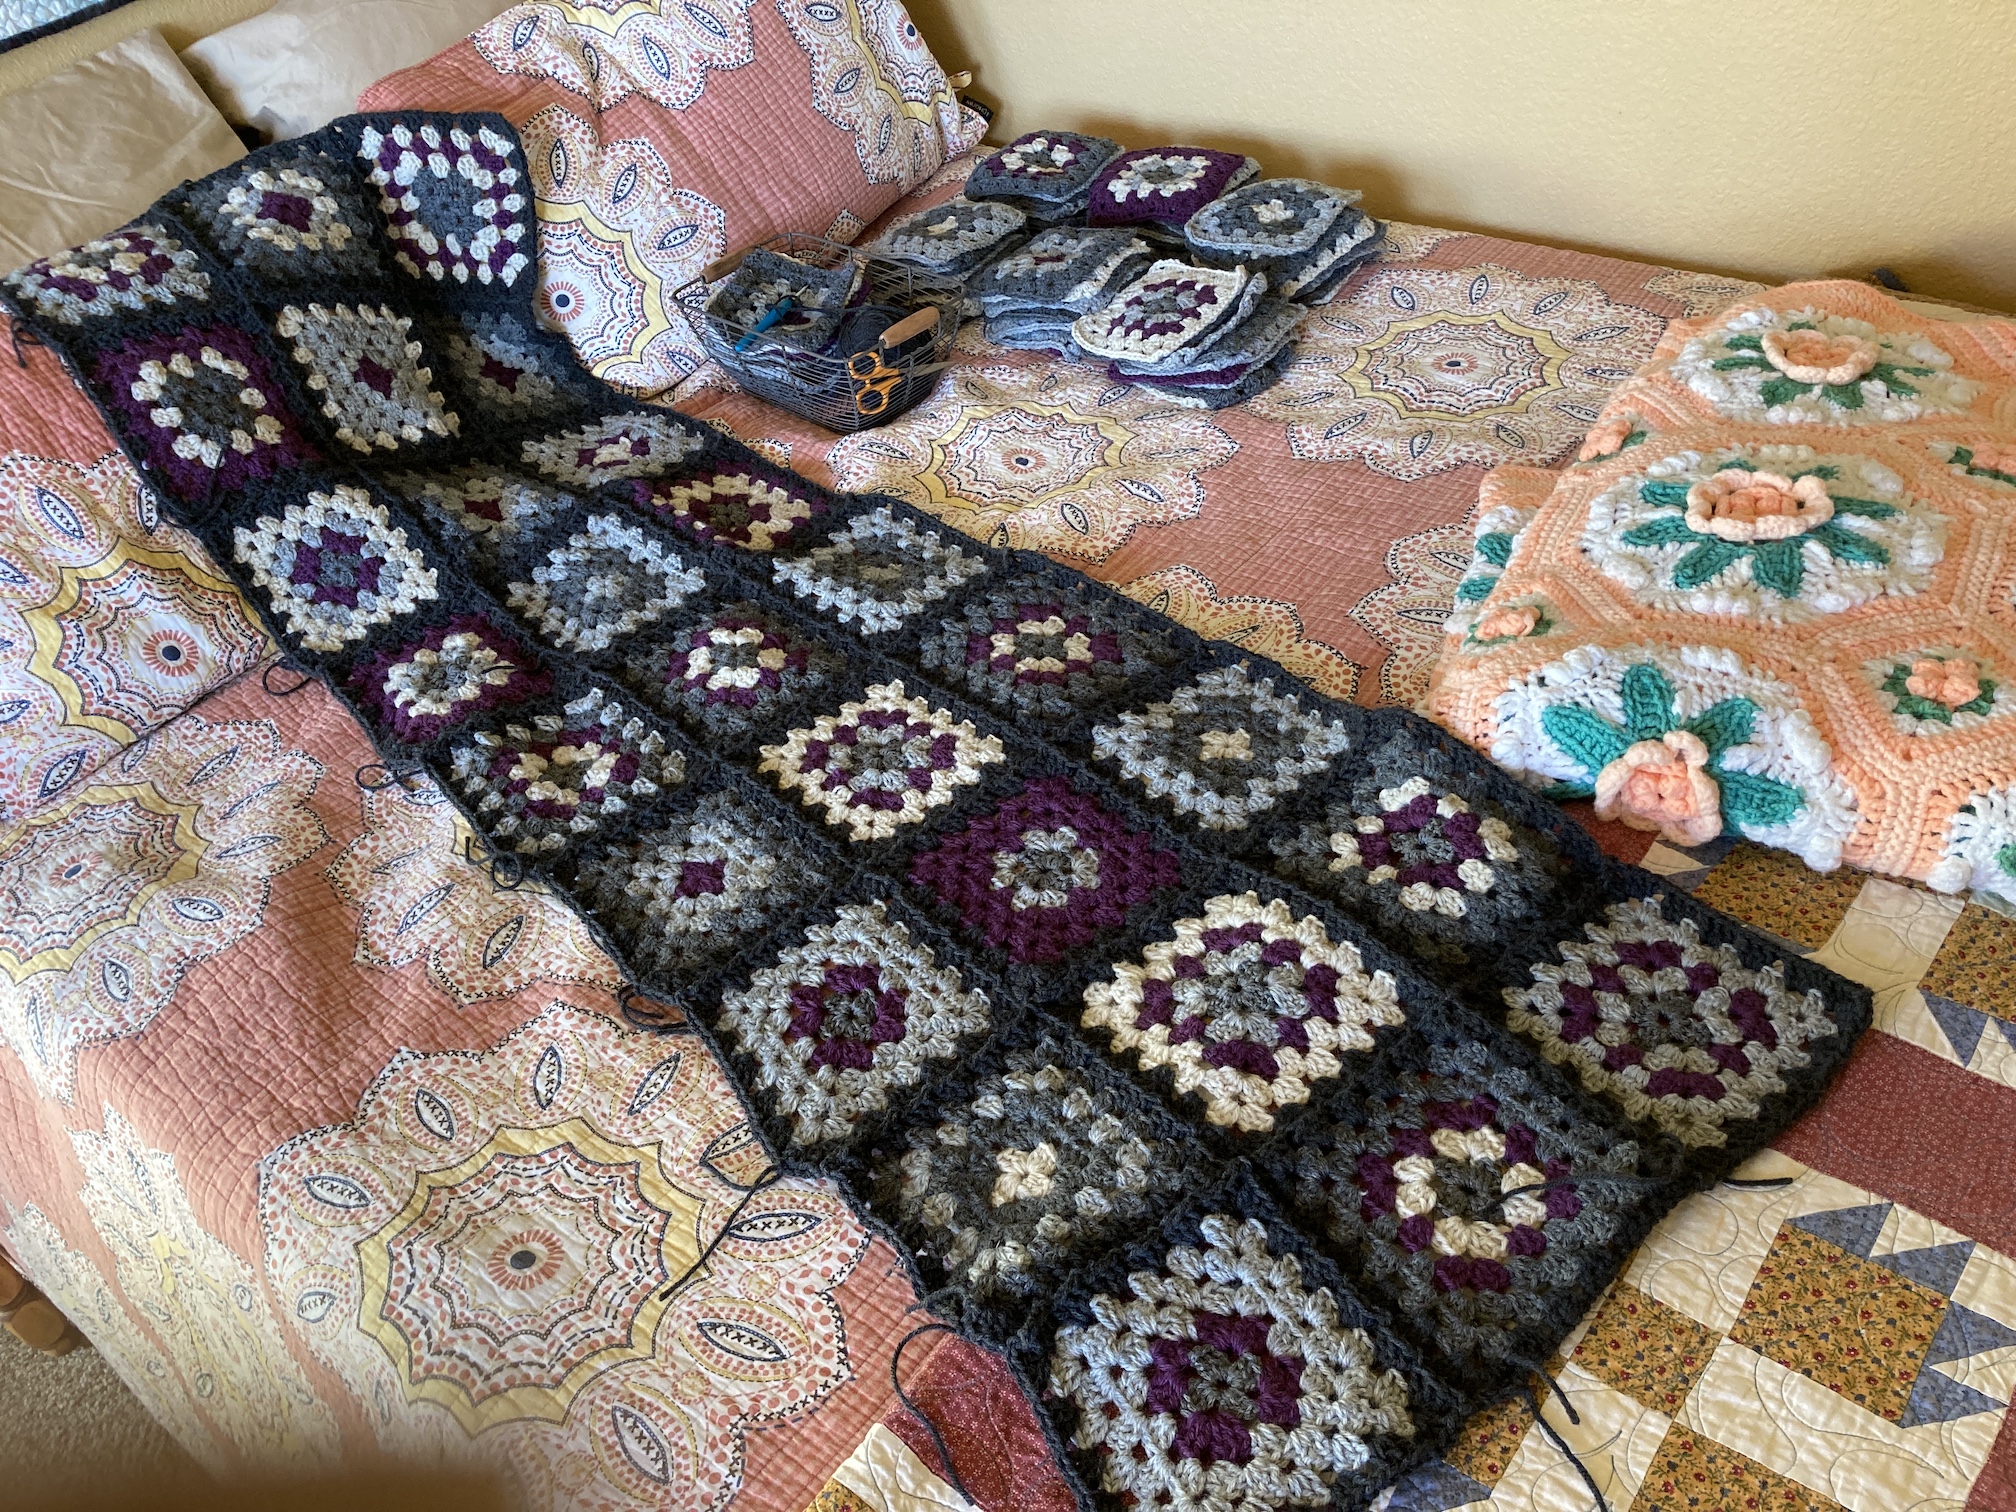
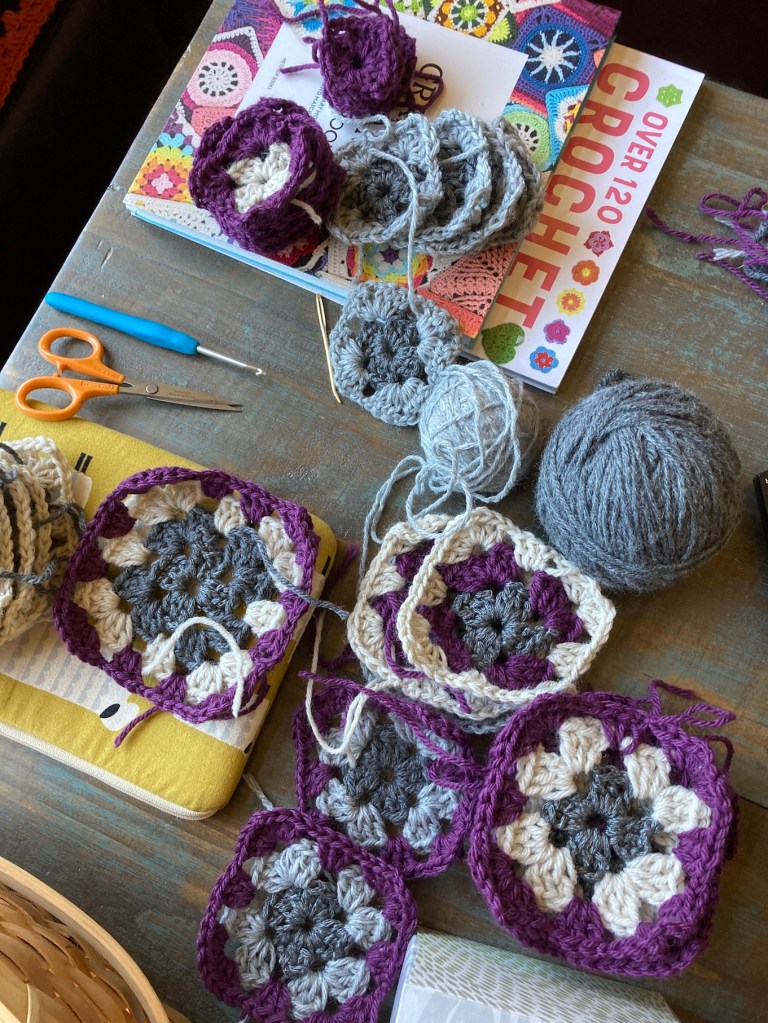
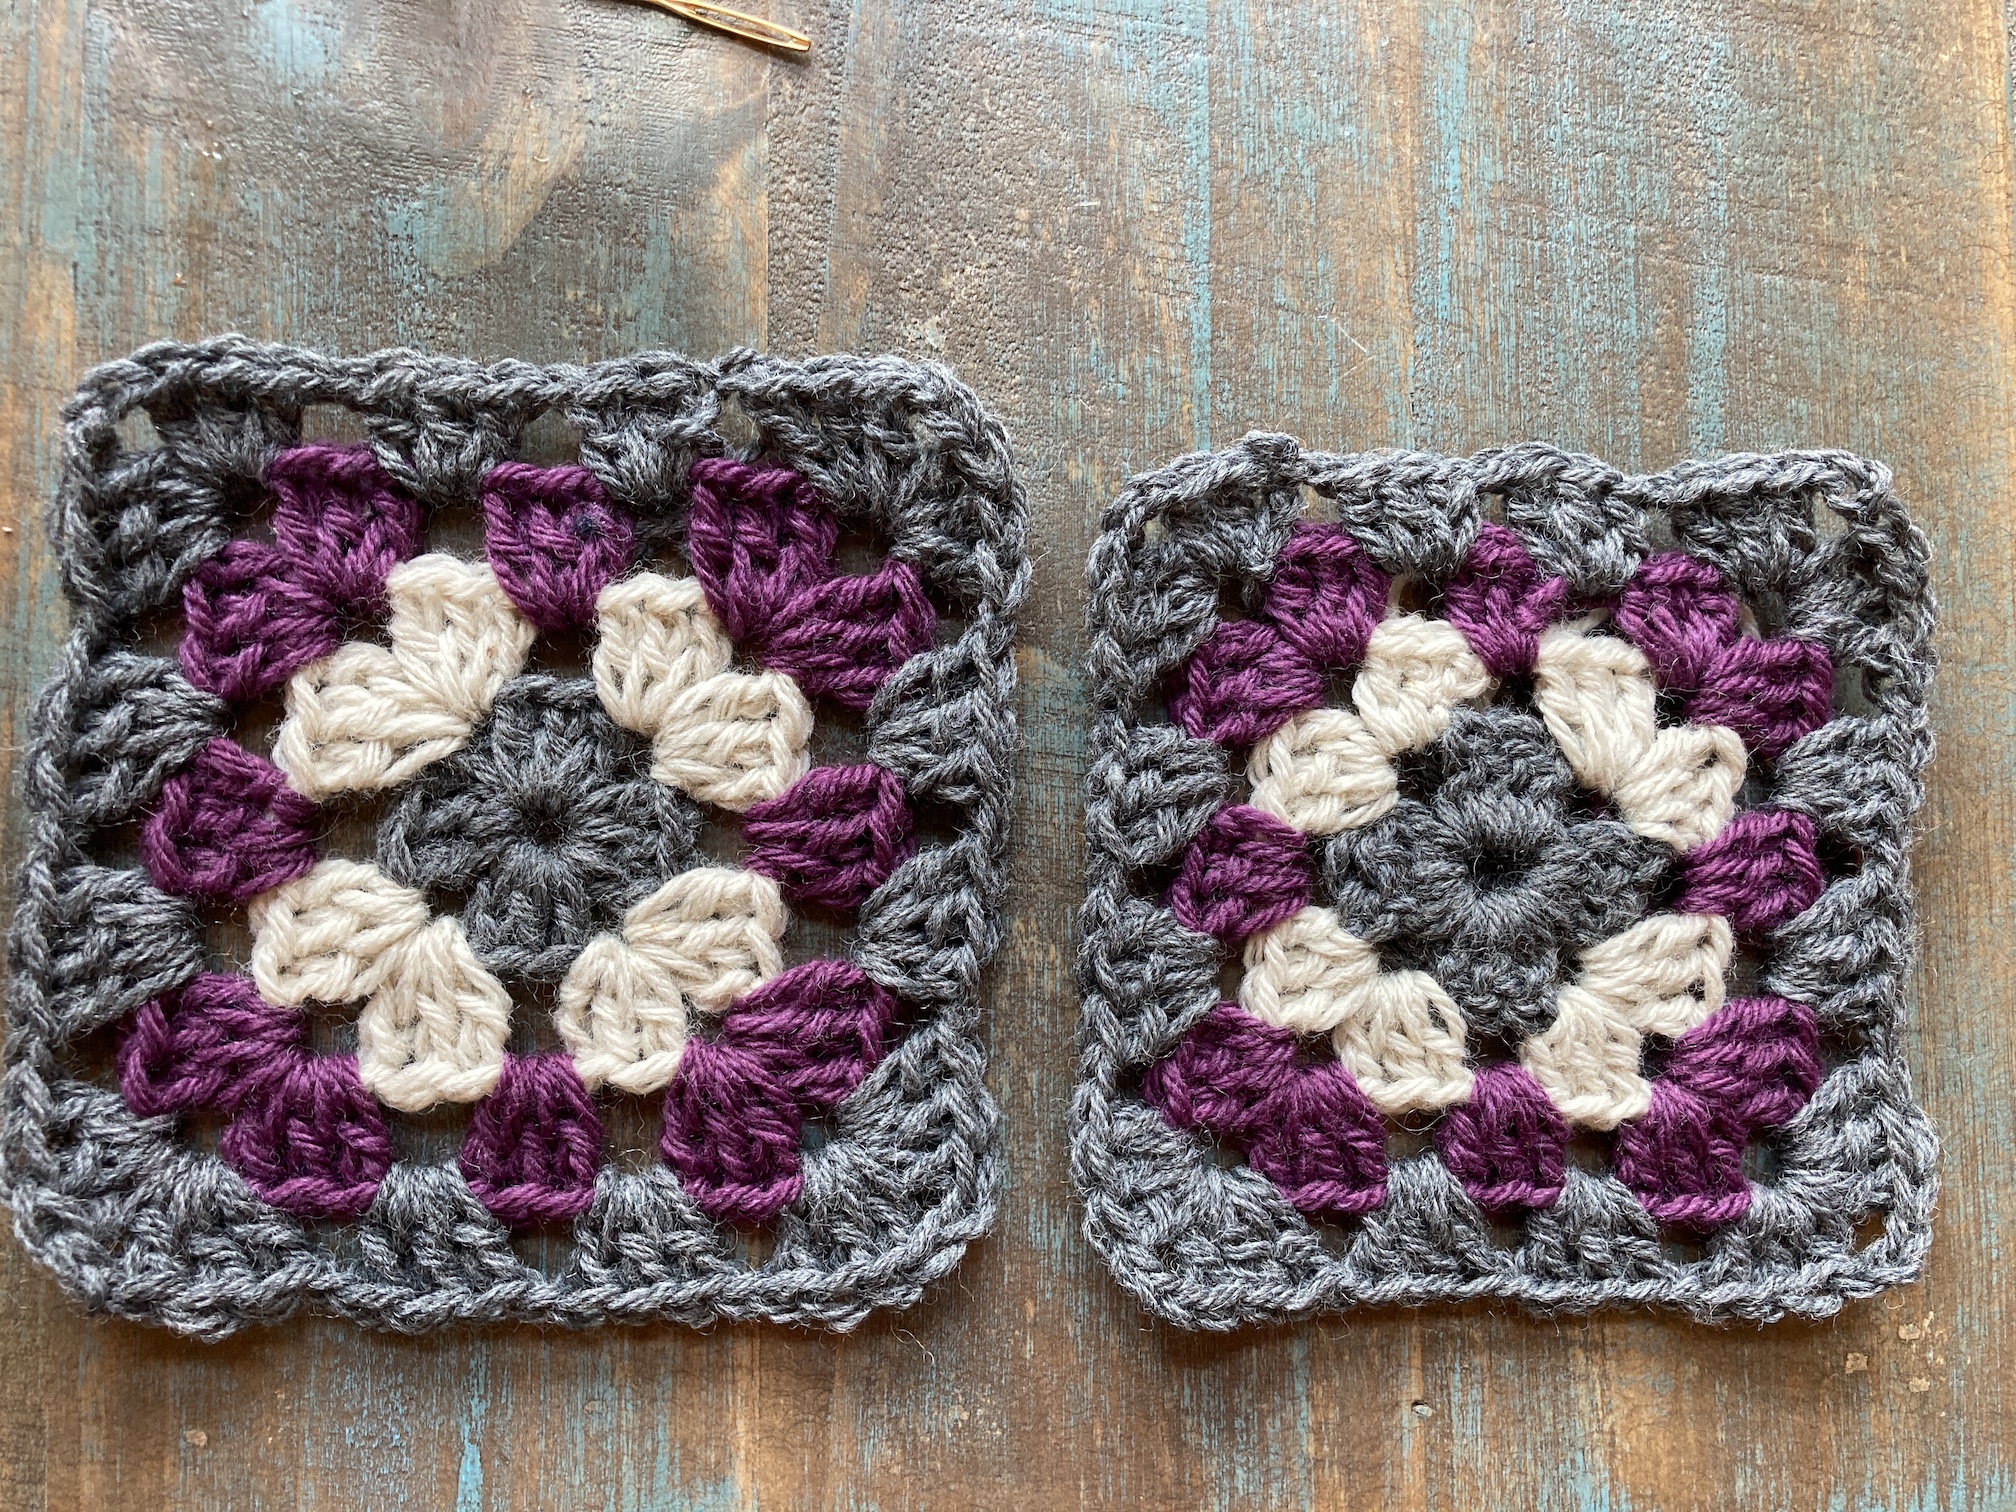 Now I plan to make up a bunch of centers and get started on “production line” crochet.
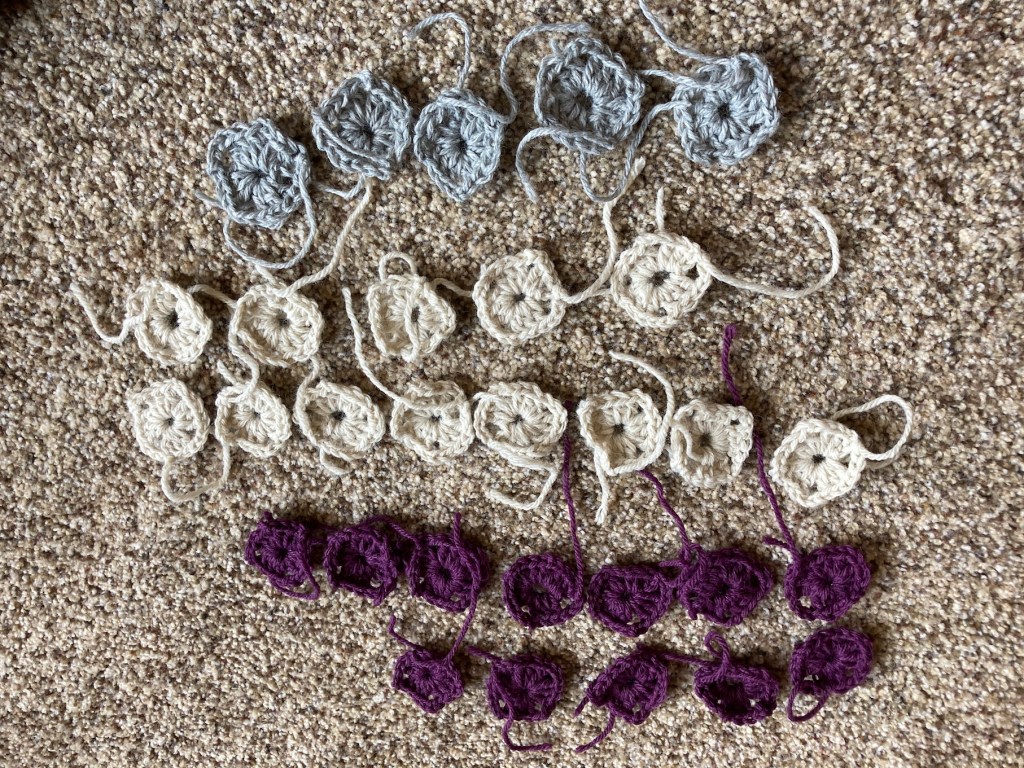
 This is going to be a lot of work but I am so excited to make my very own!

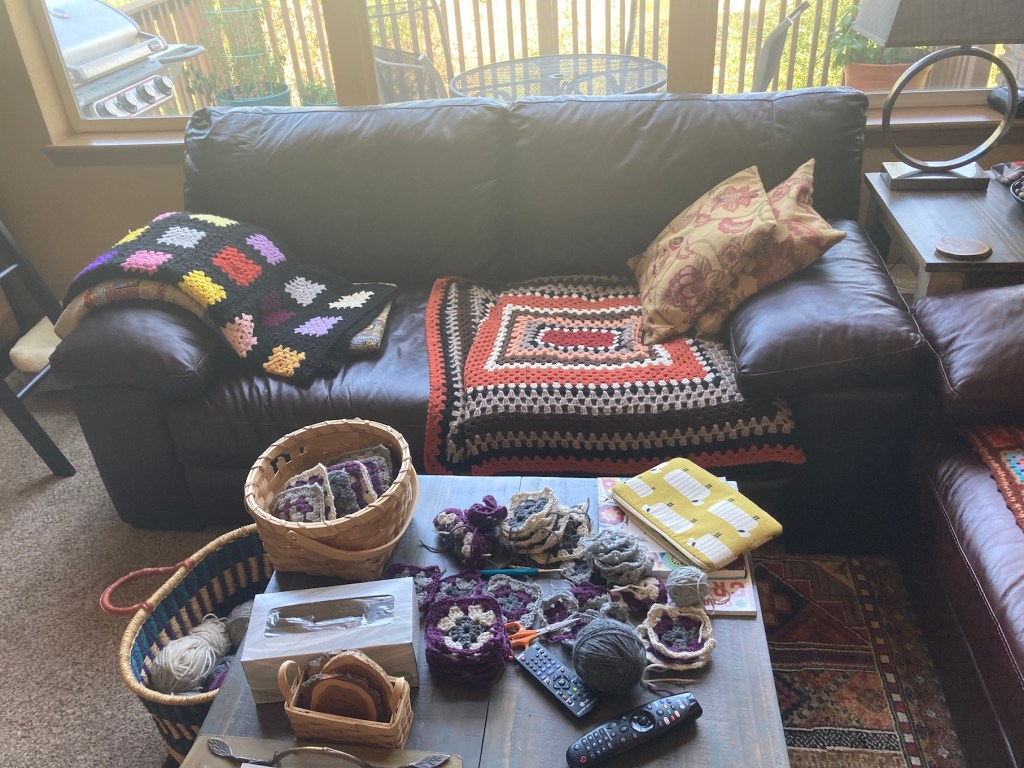
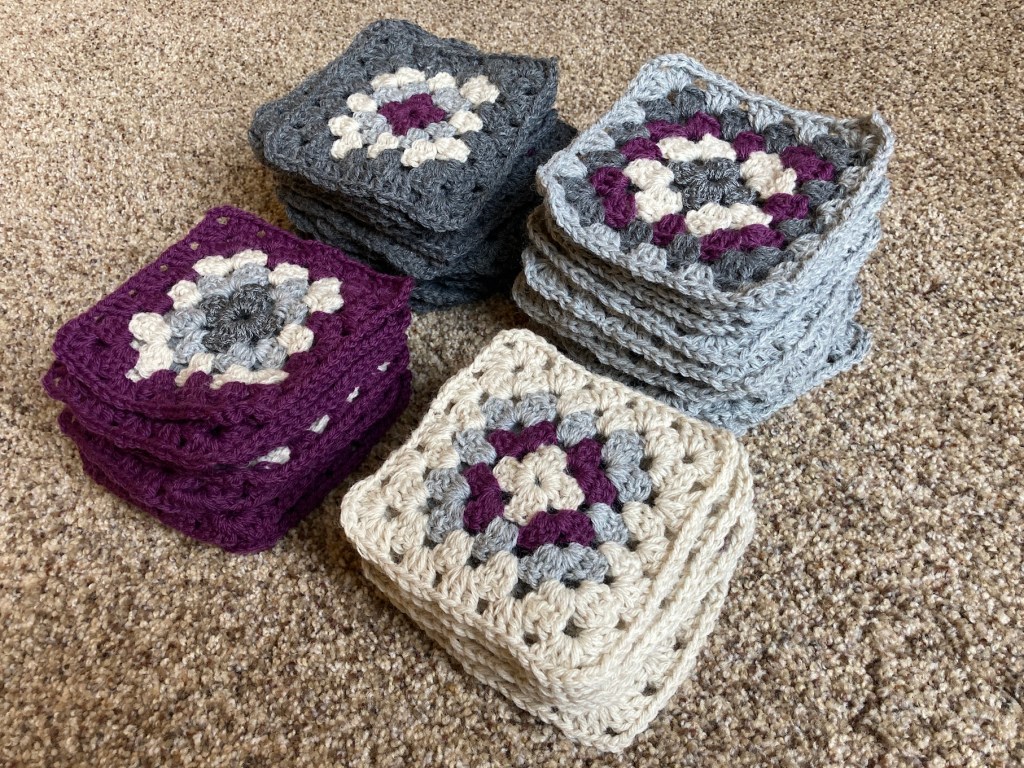
 So we were both pretty proud of ourselves!
 Back in late March/start of April 2020 my humans made the decision not to move to a new house they were going to buy and instead to stay in their current abode (see post
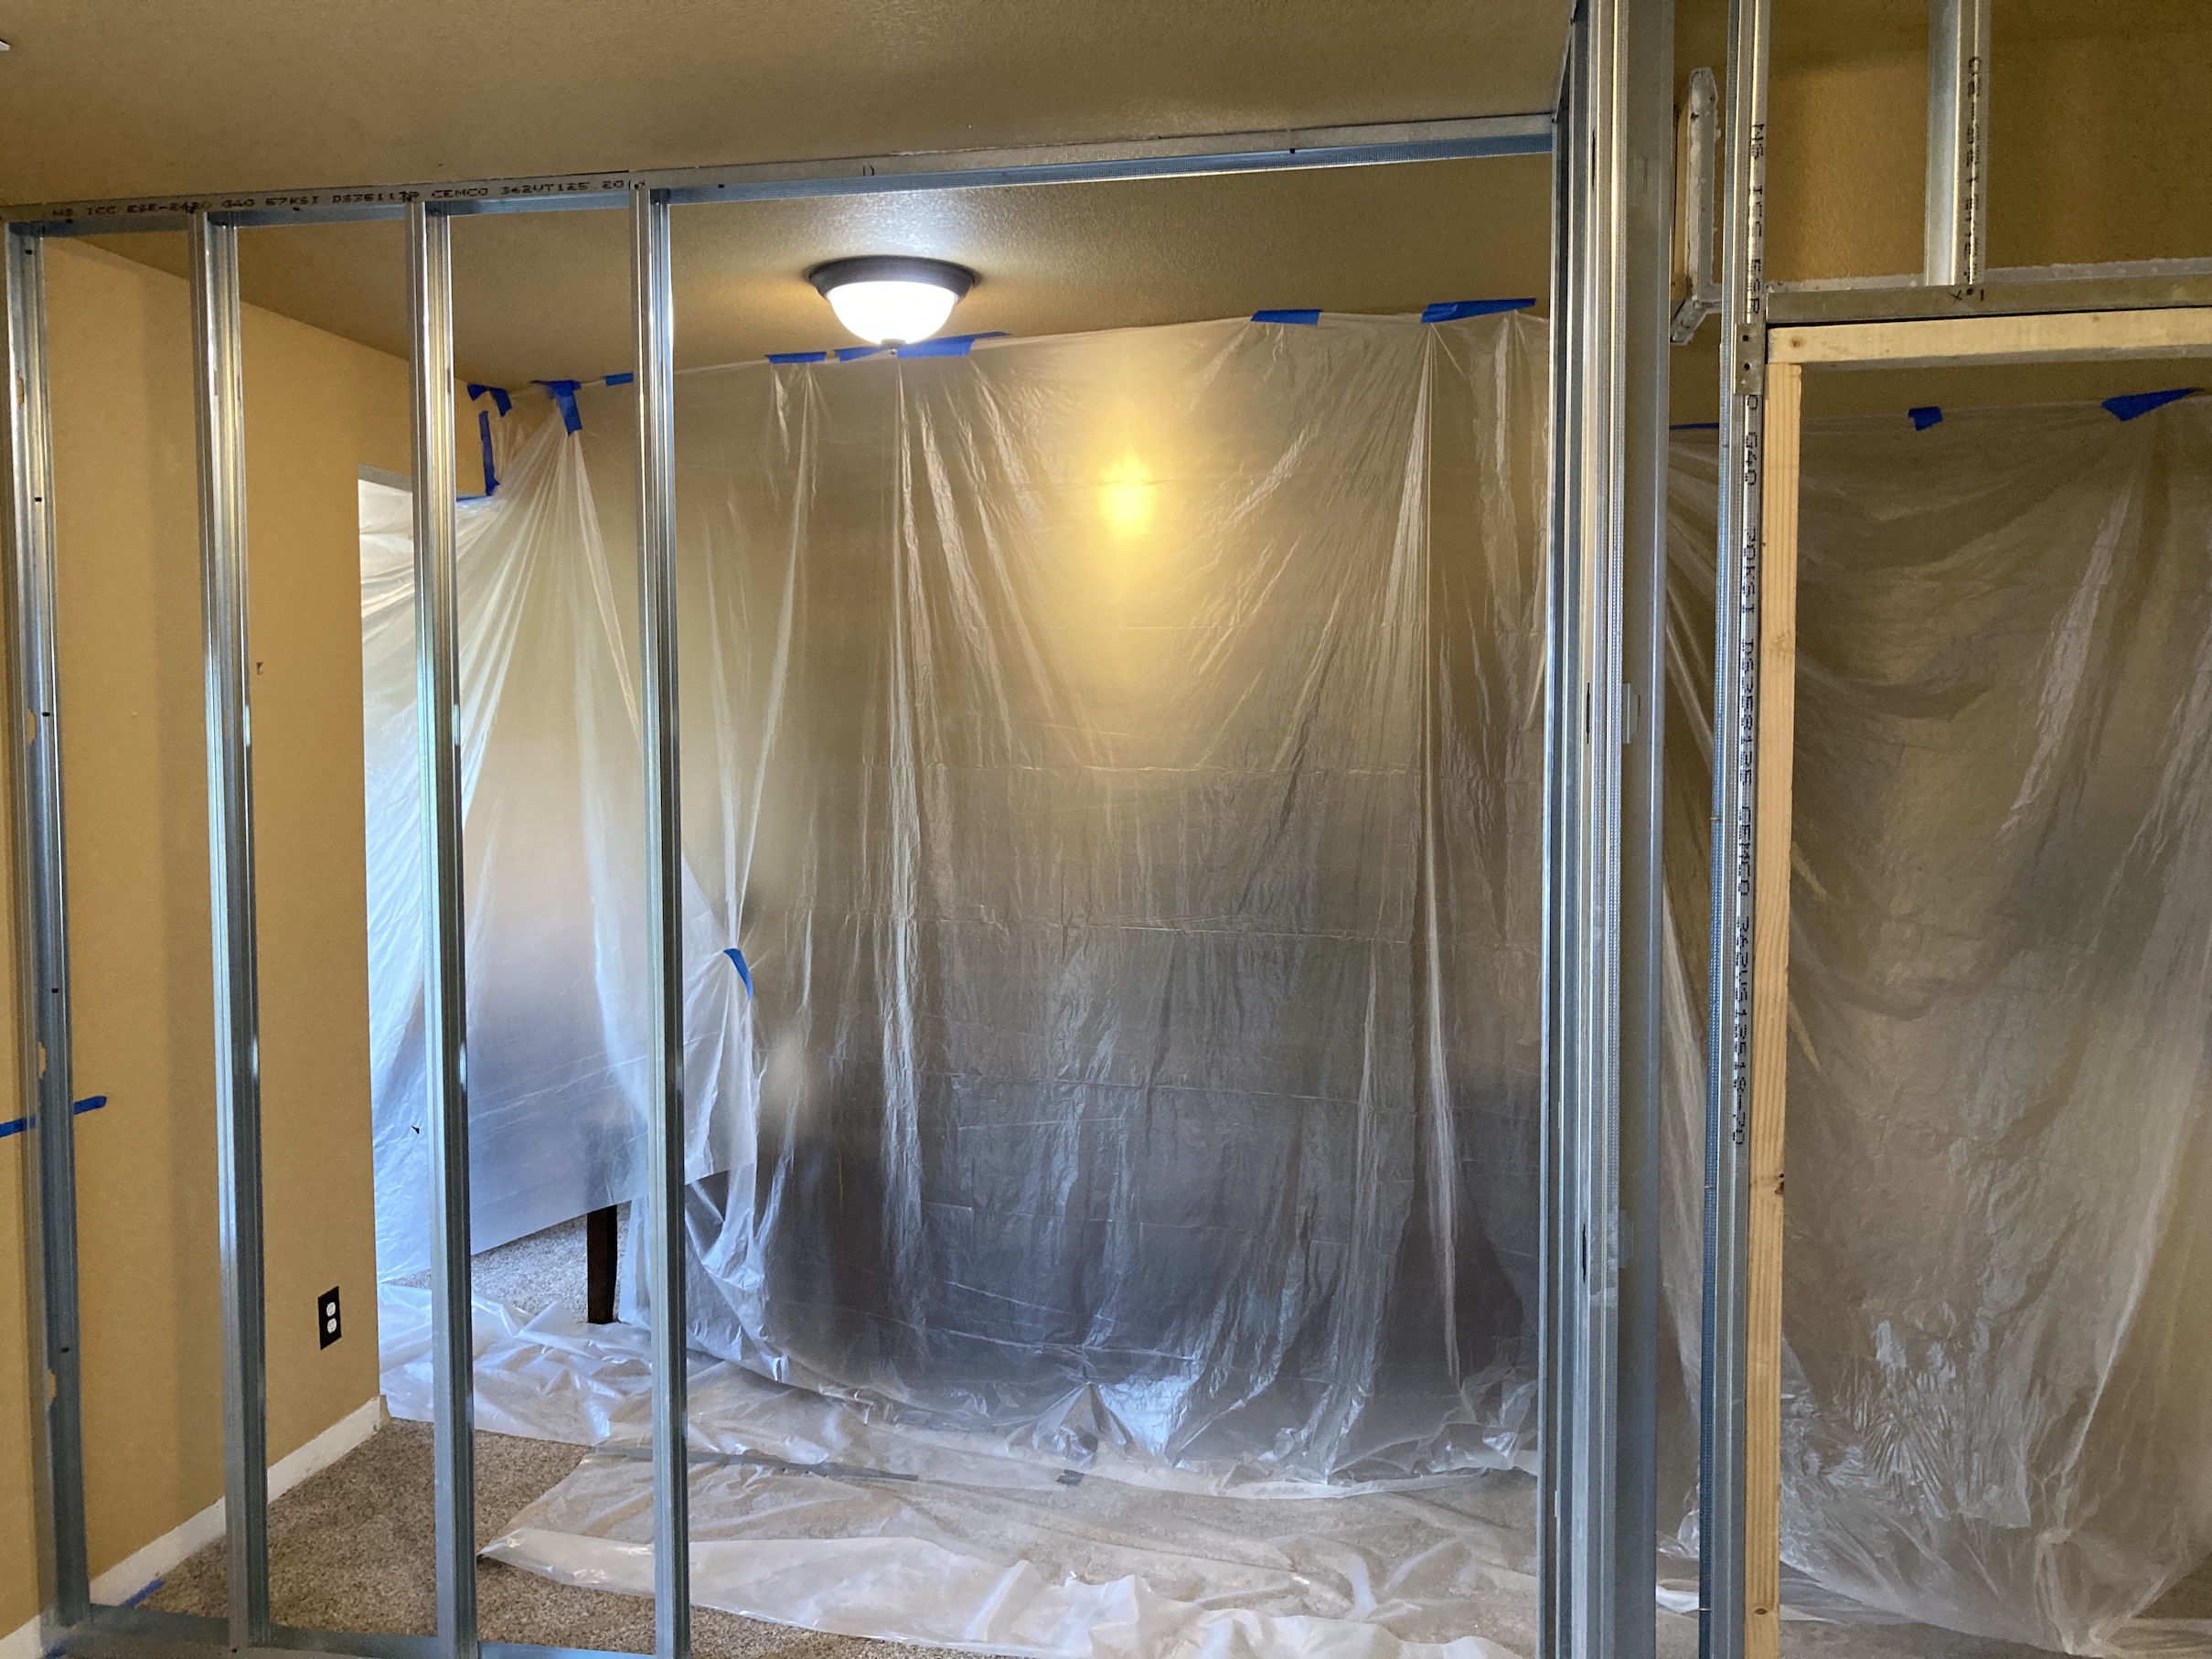

 His workshop is still a work in progress but he is very happy to now have his own “playroom” like my female human!
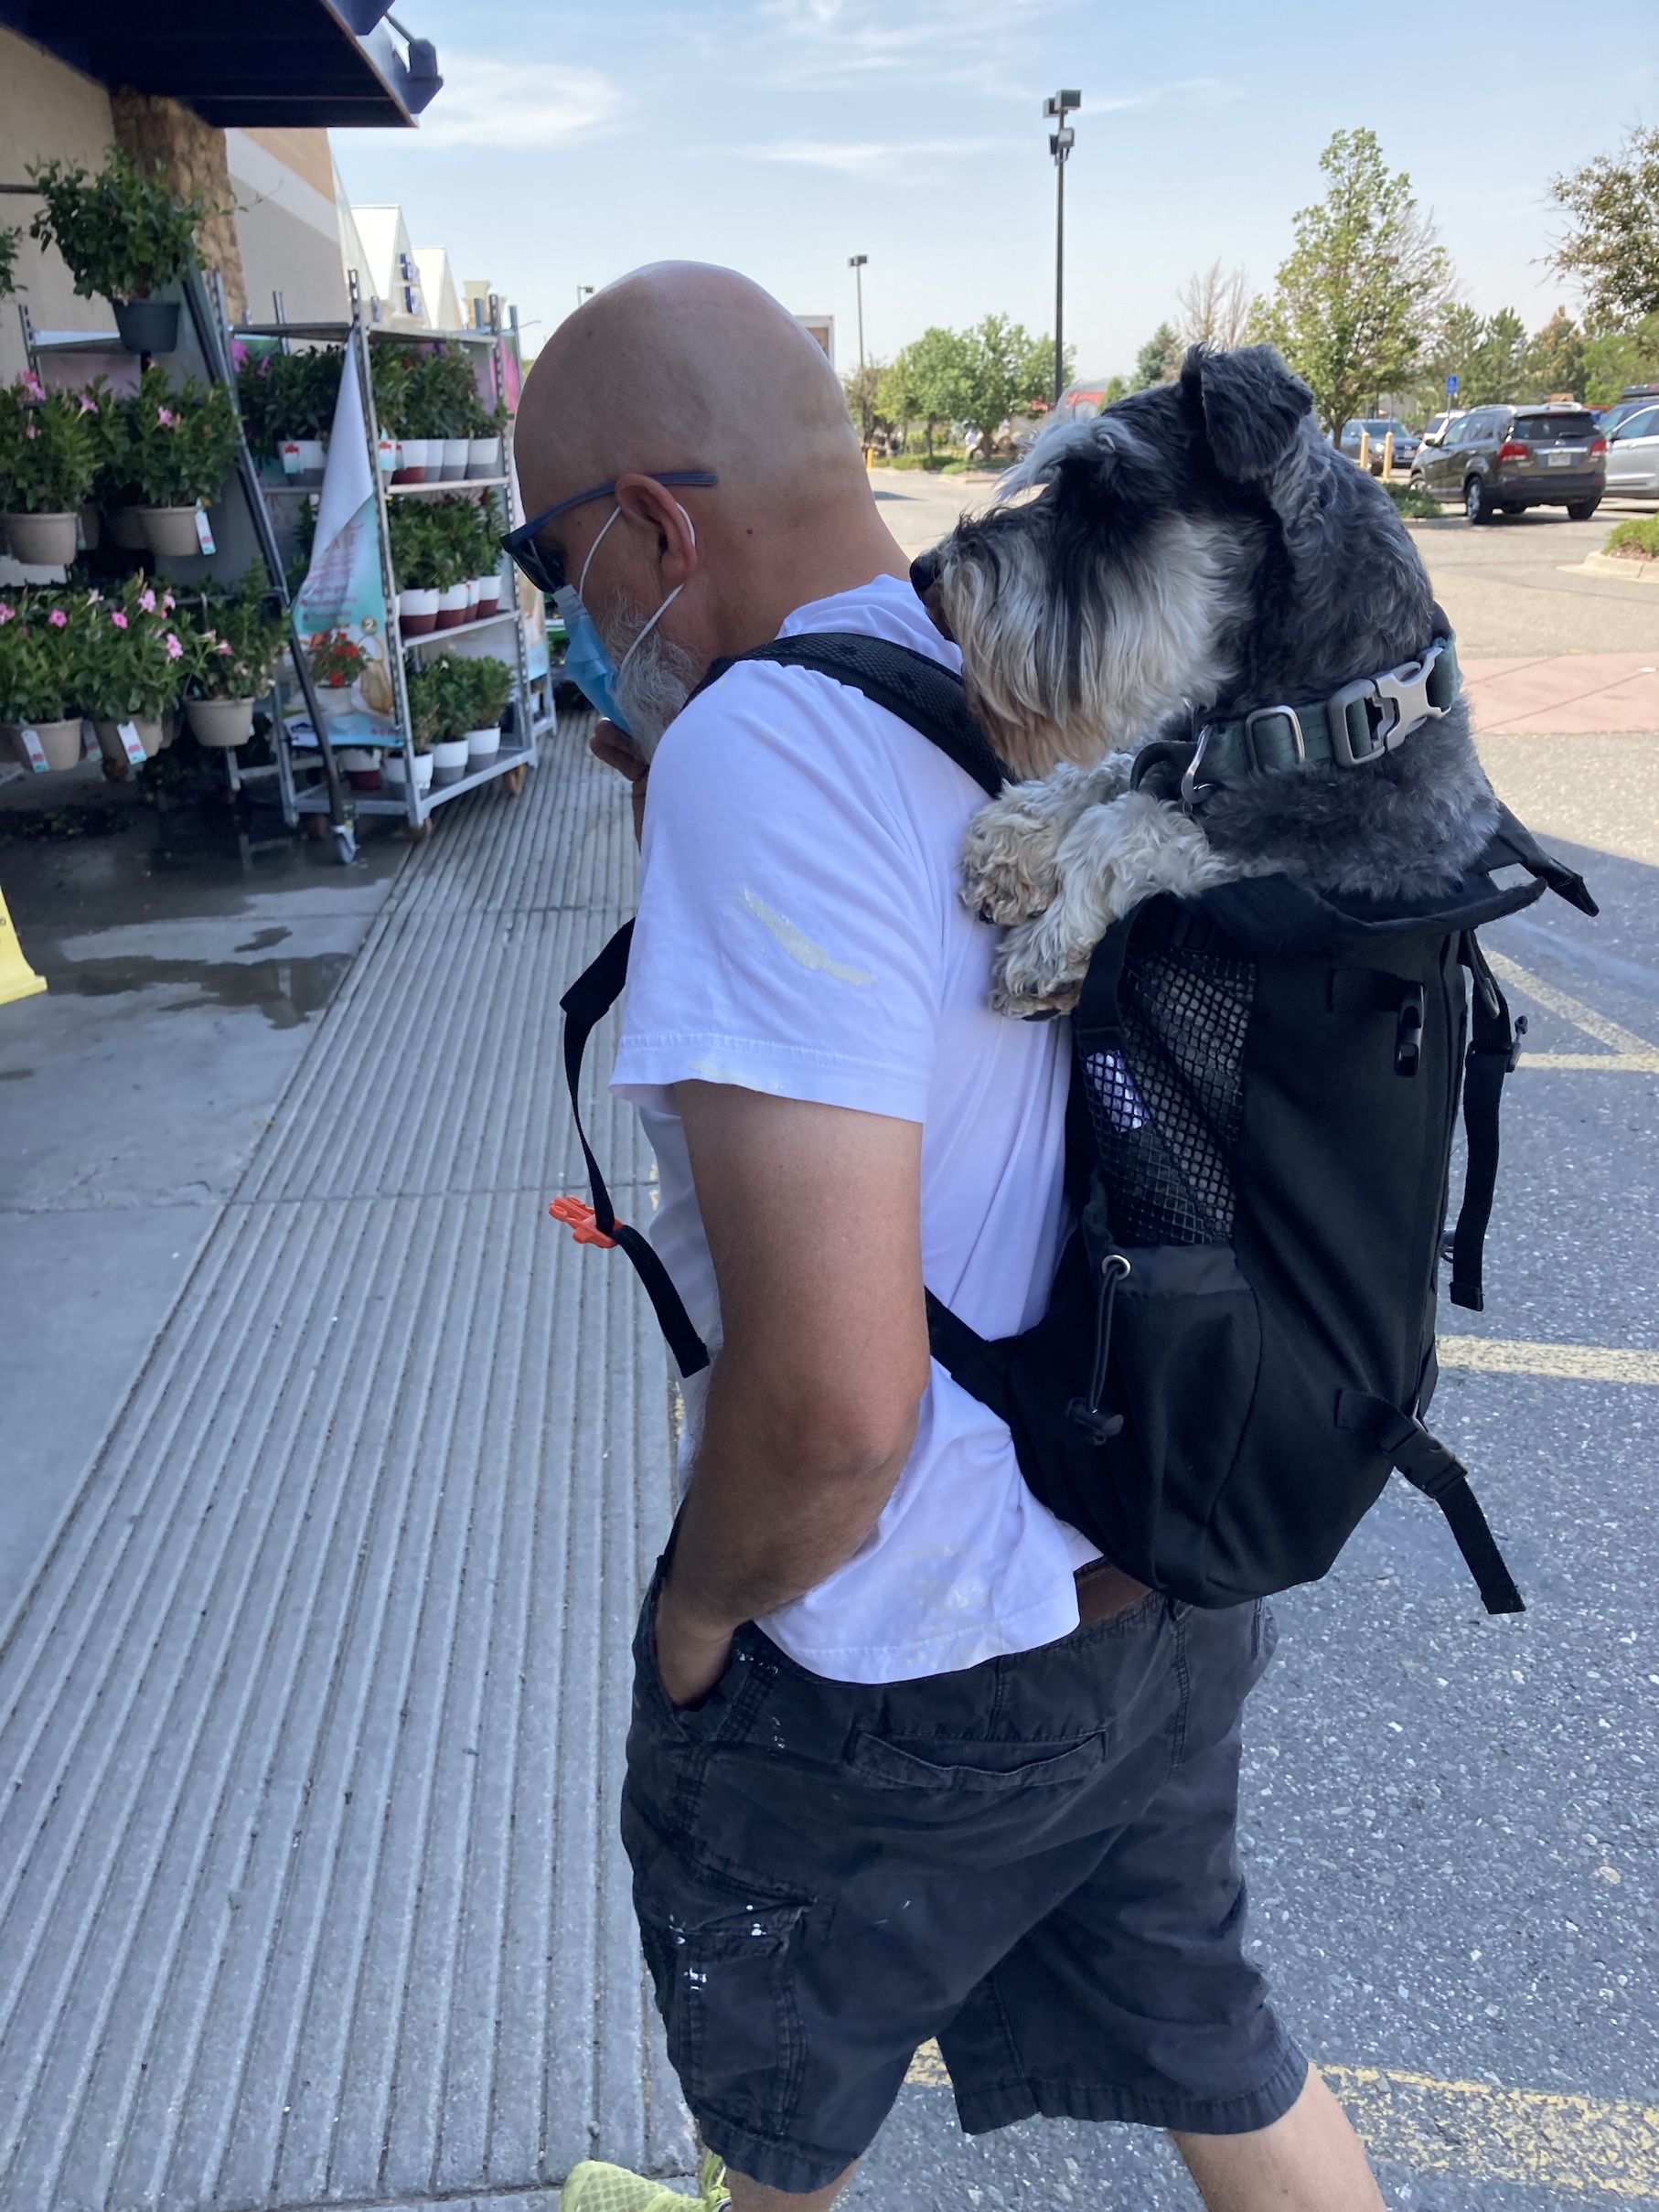

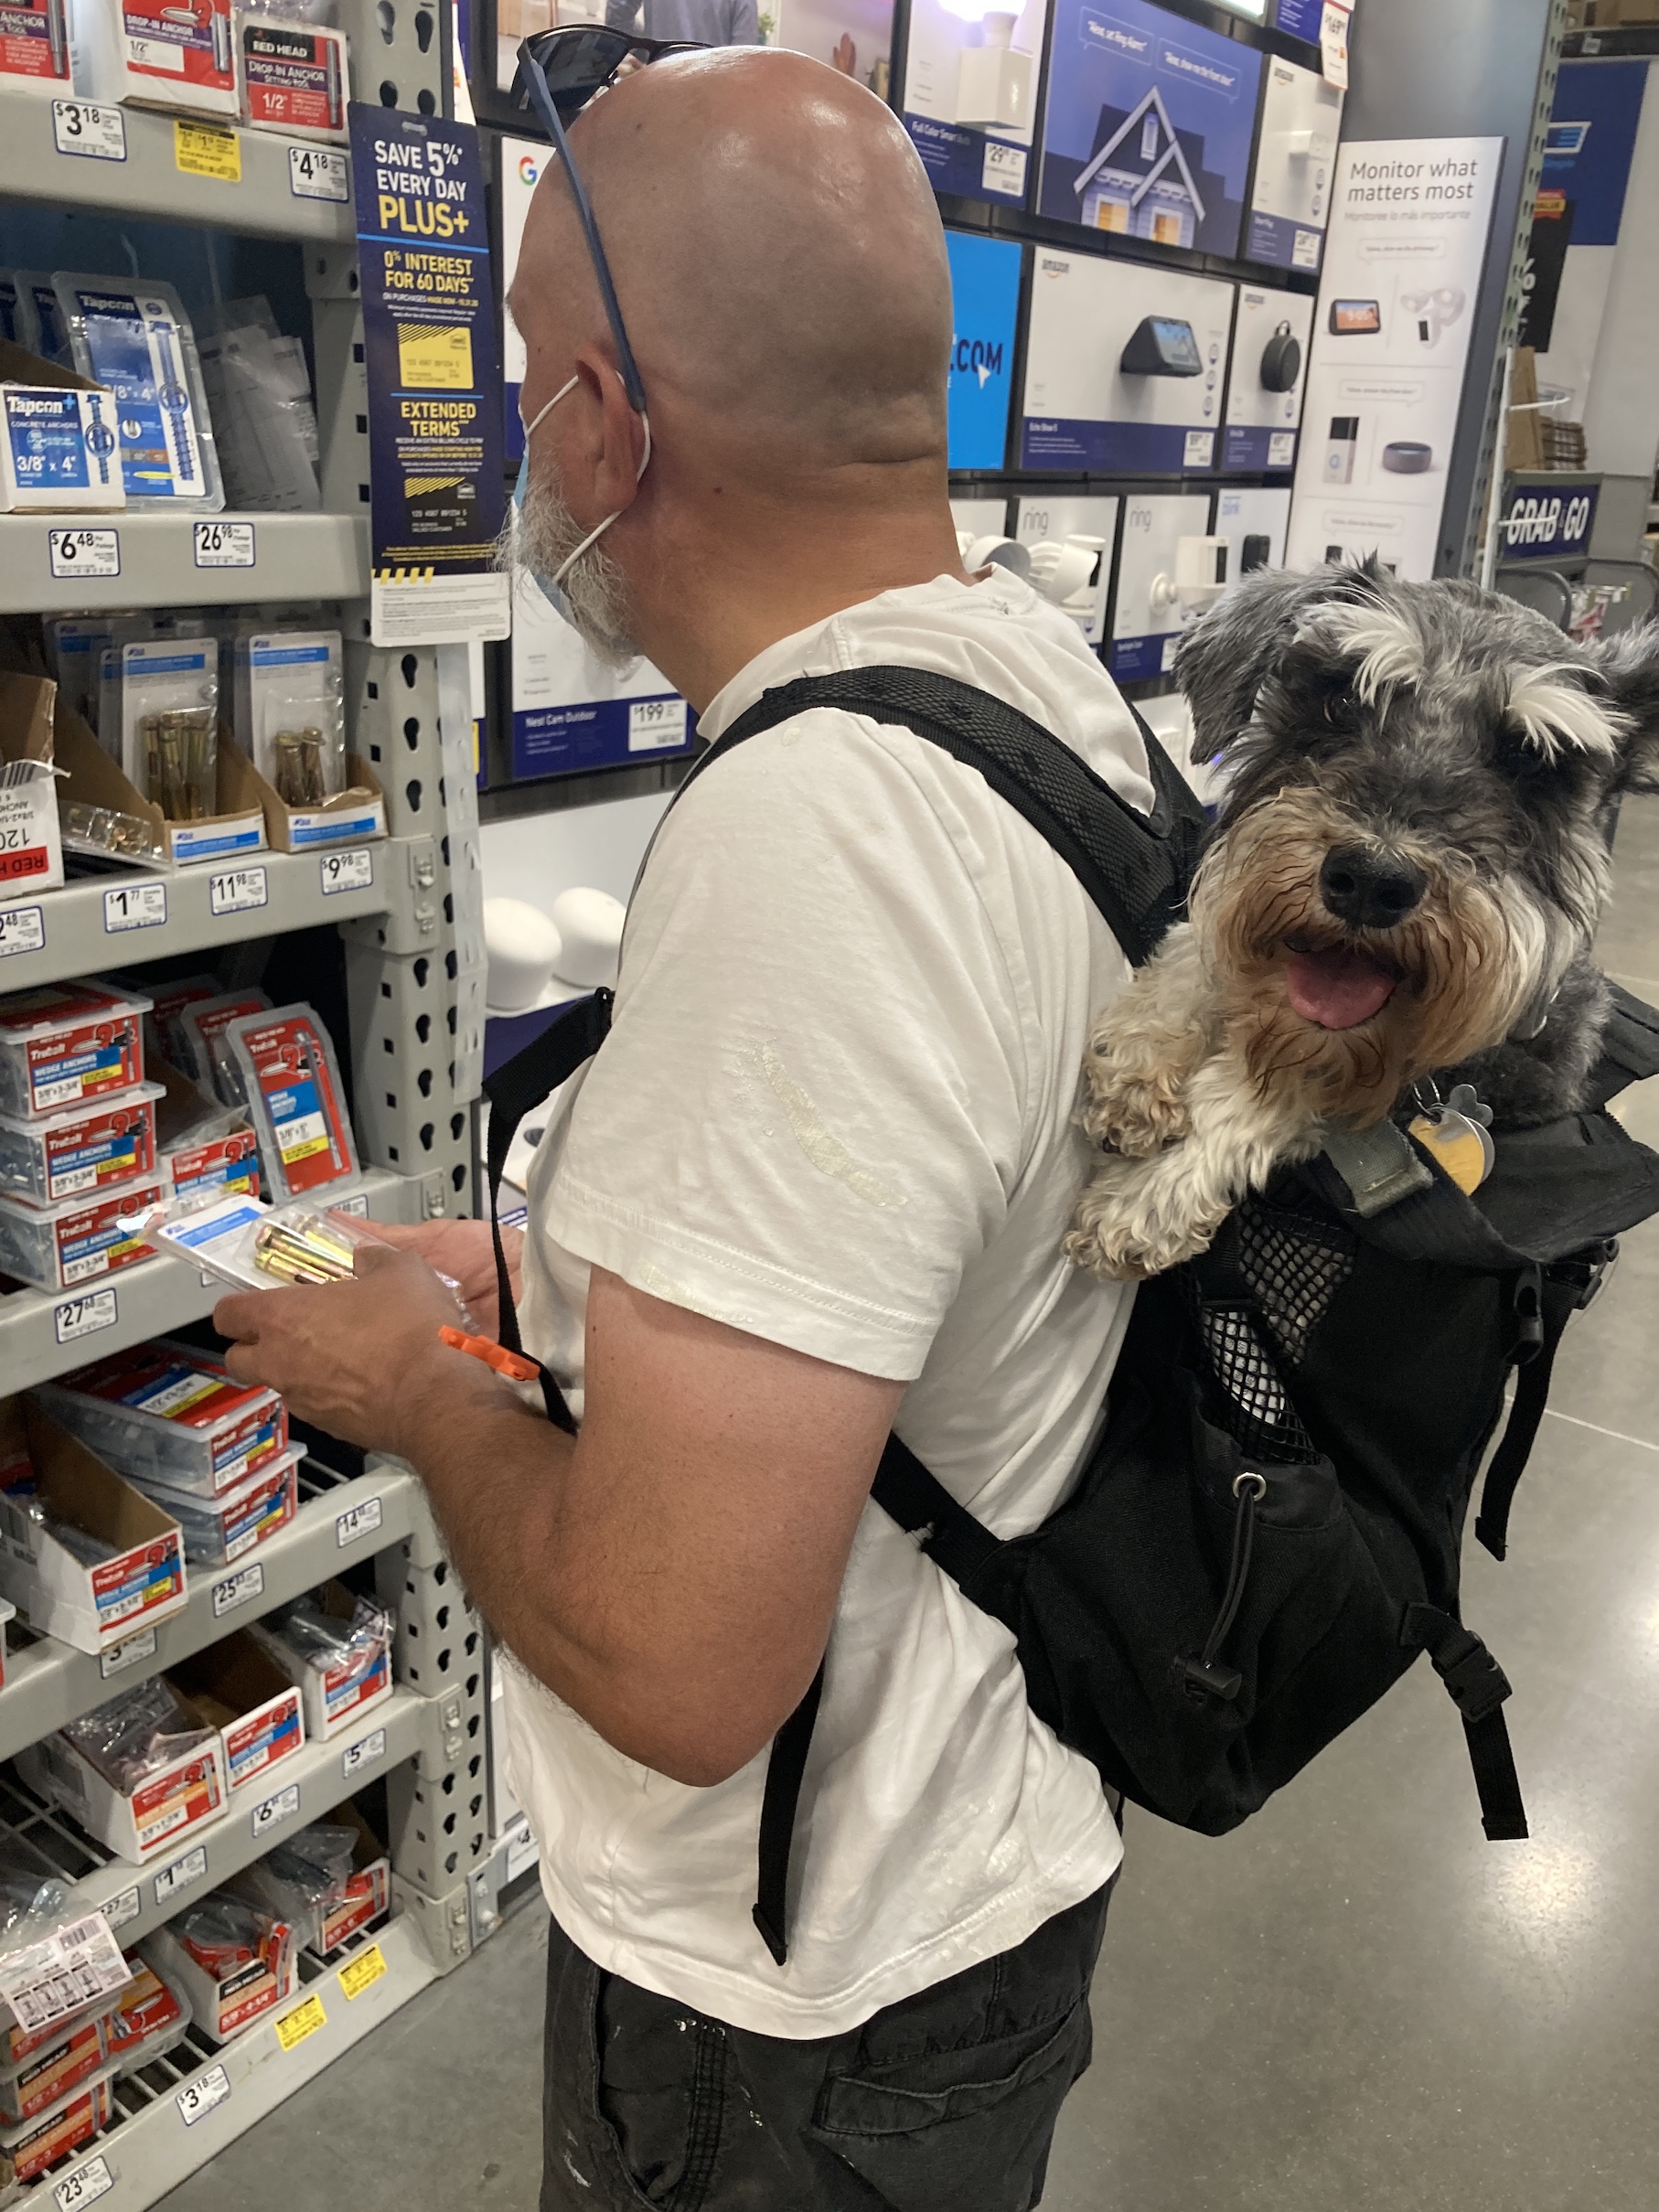
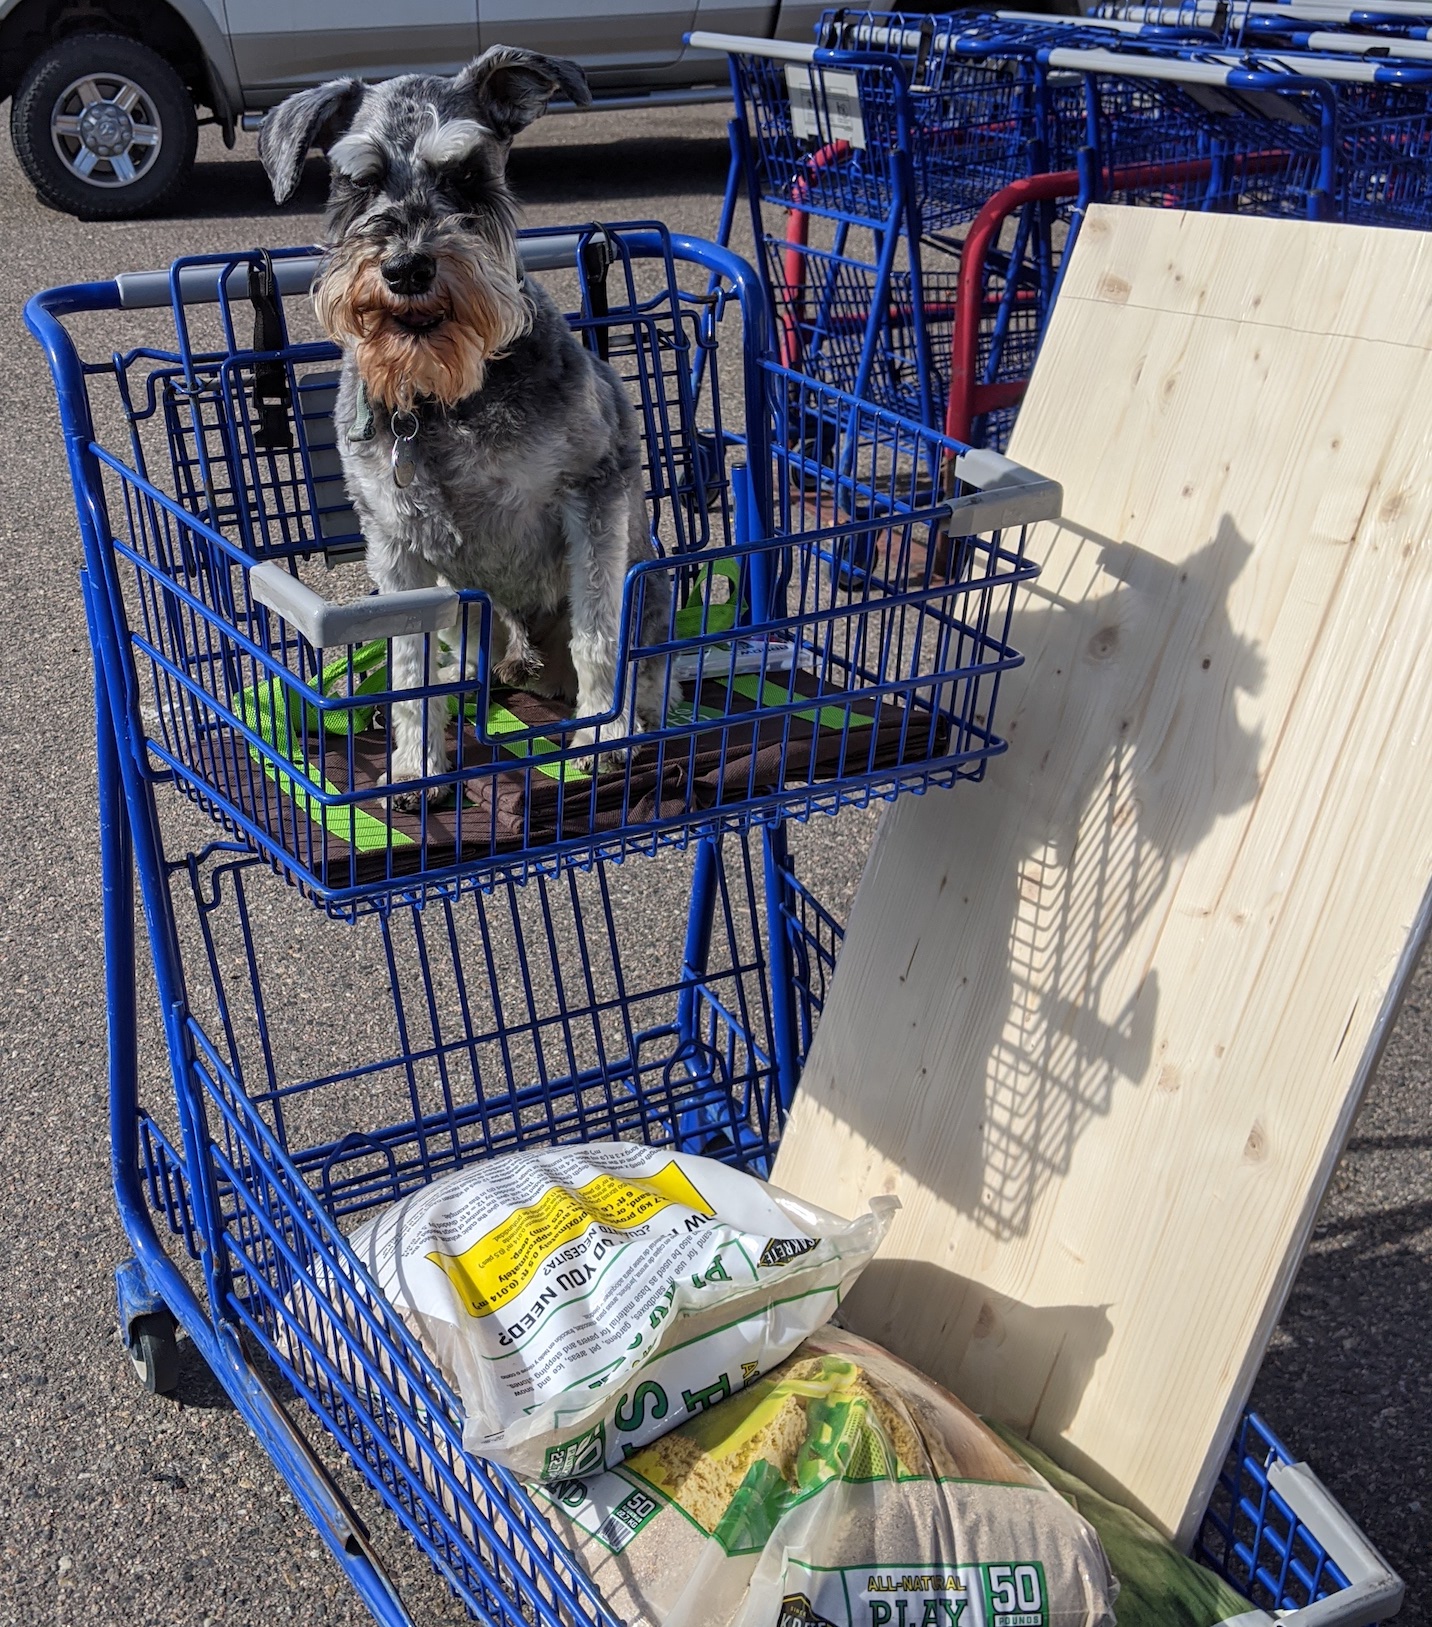
 And sometimes in the shopping cart:

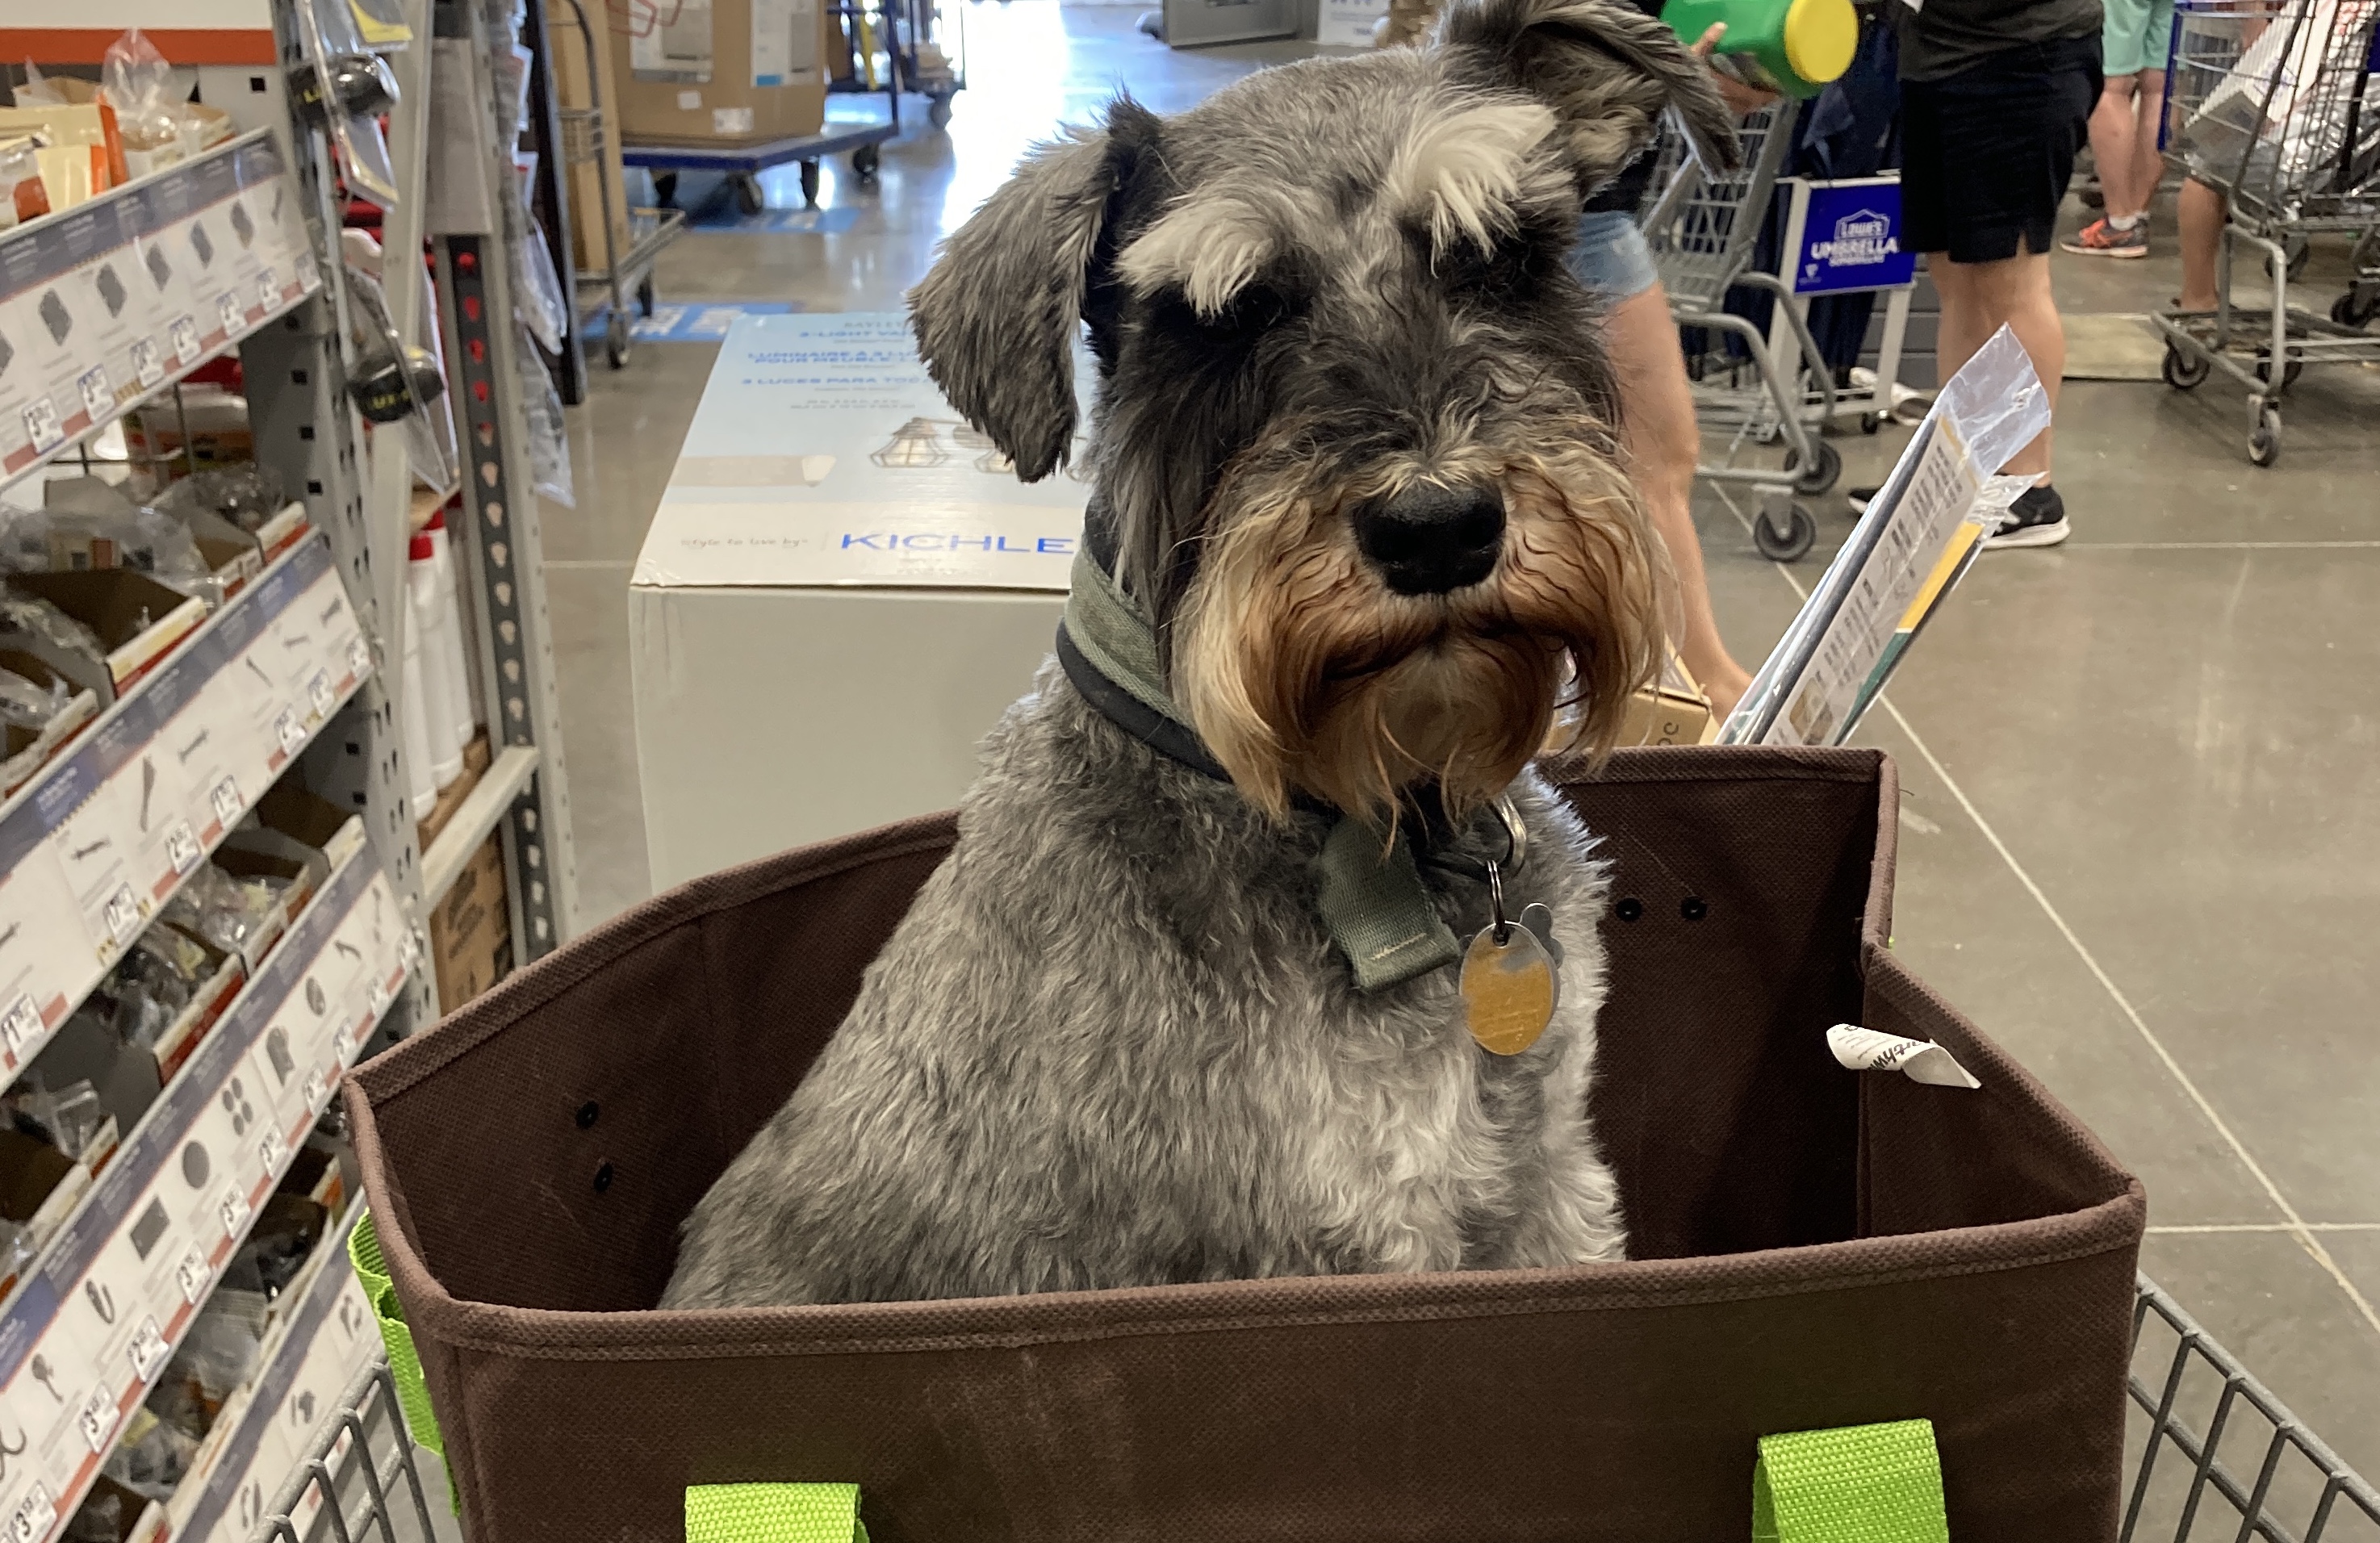
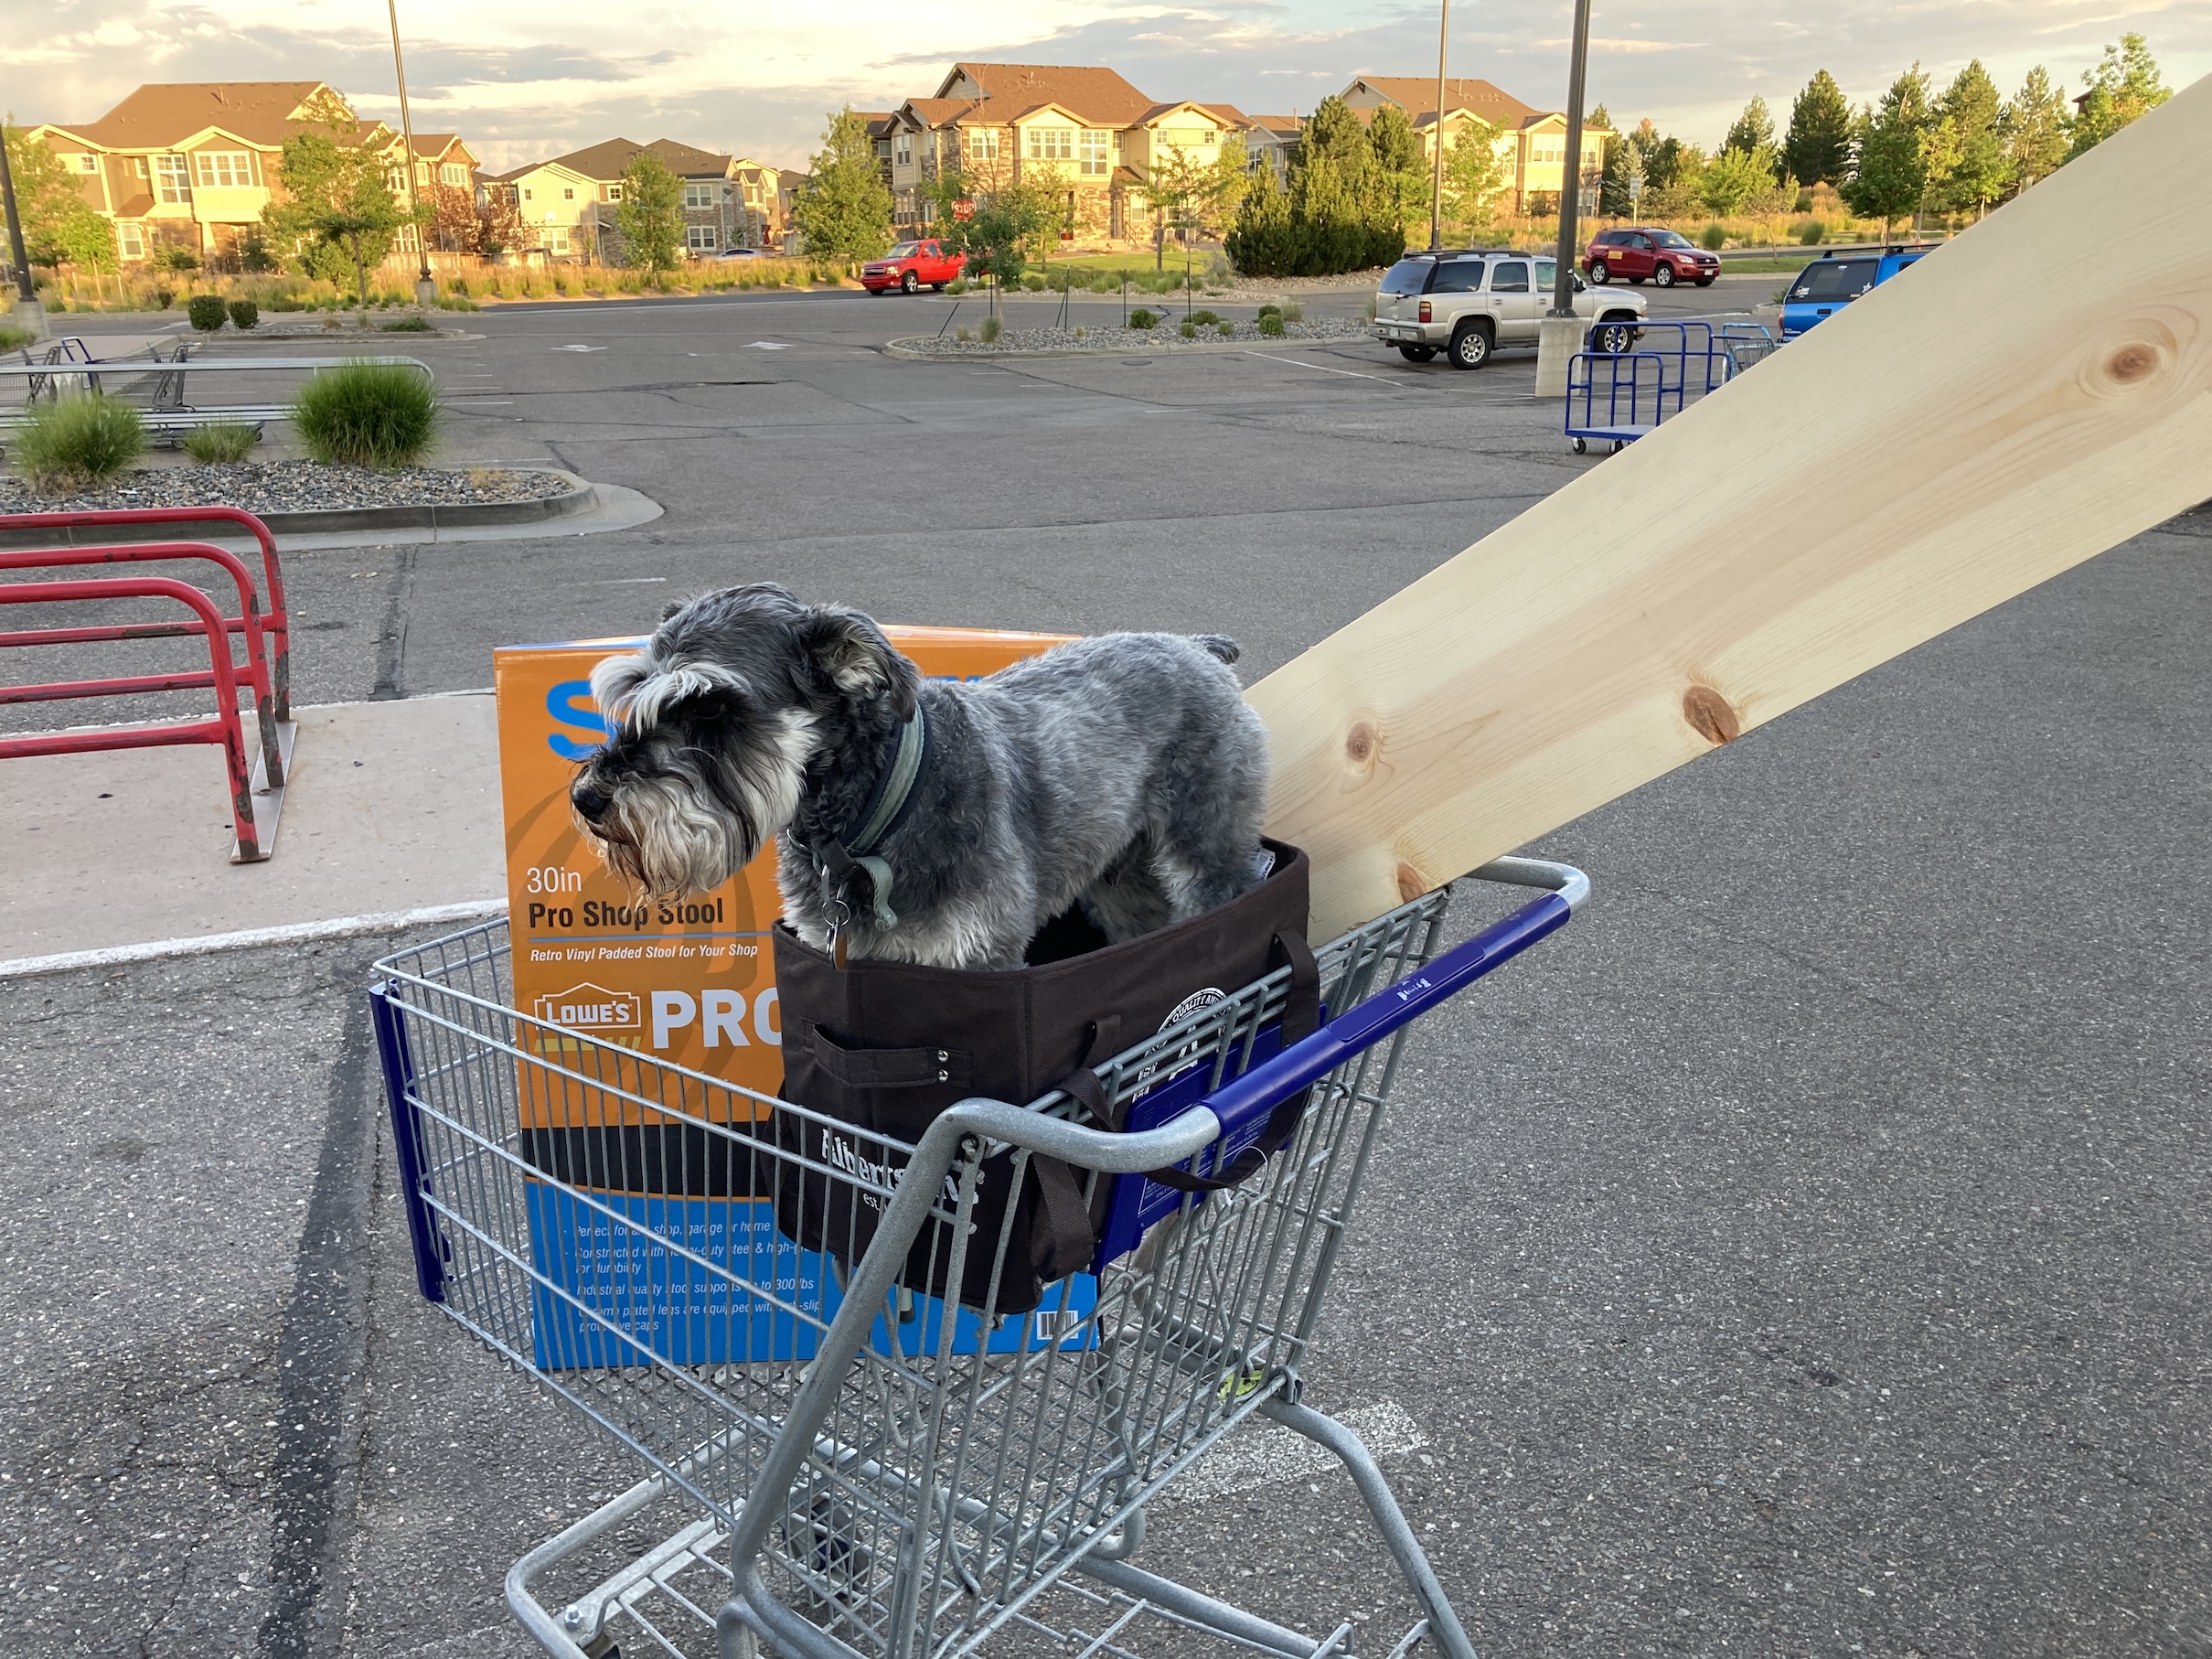 I know, I know, you just can’t get enough of the cute photos of me in a shopping cart. Unfortunately my female human said we have to limit the photos to only four (4) because she has to protect her digital storage allotment on her blog (sigh).
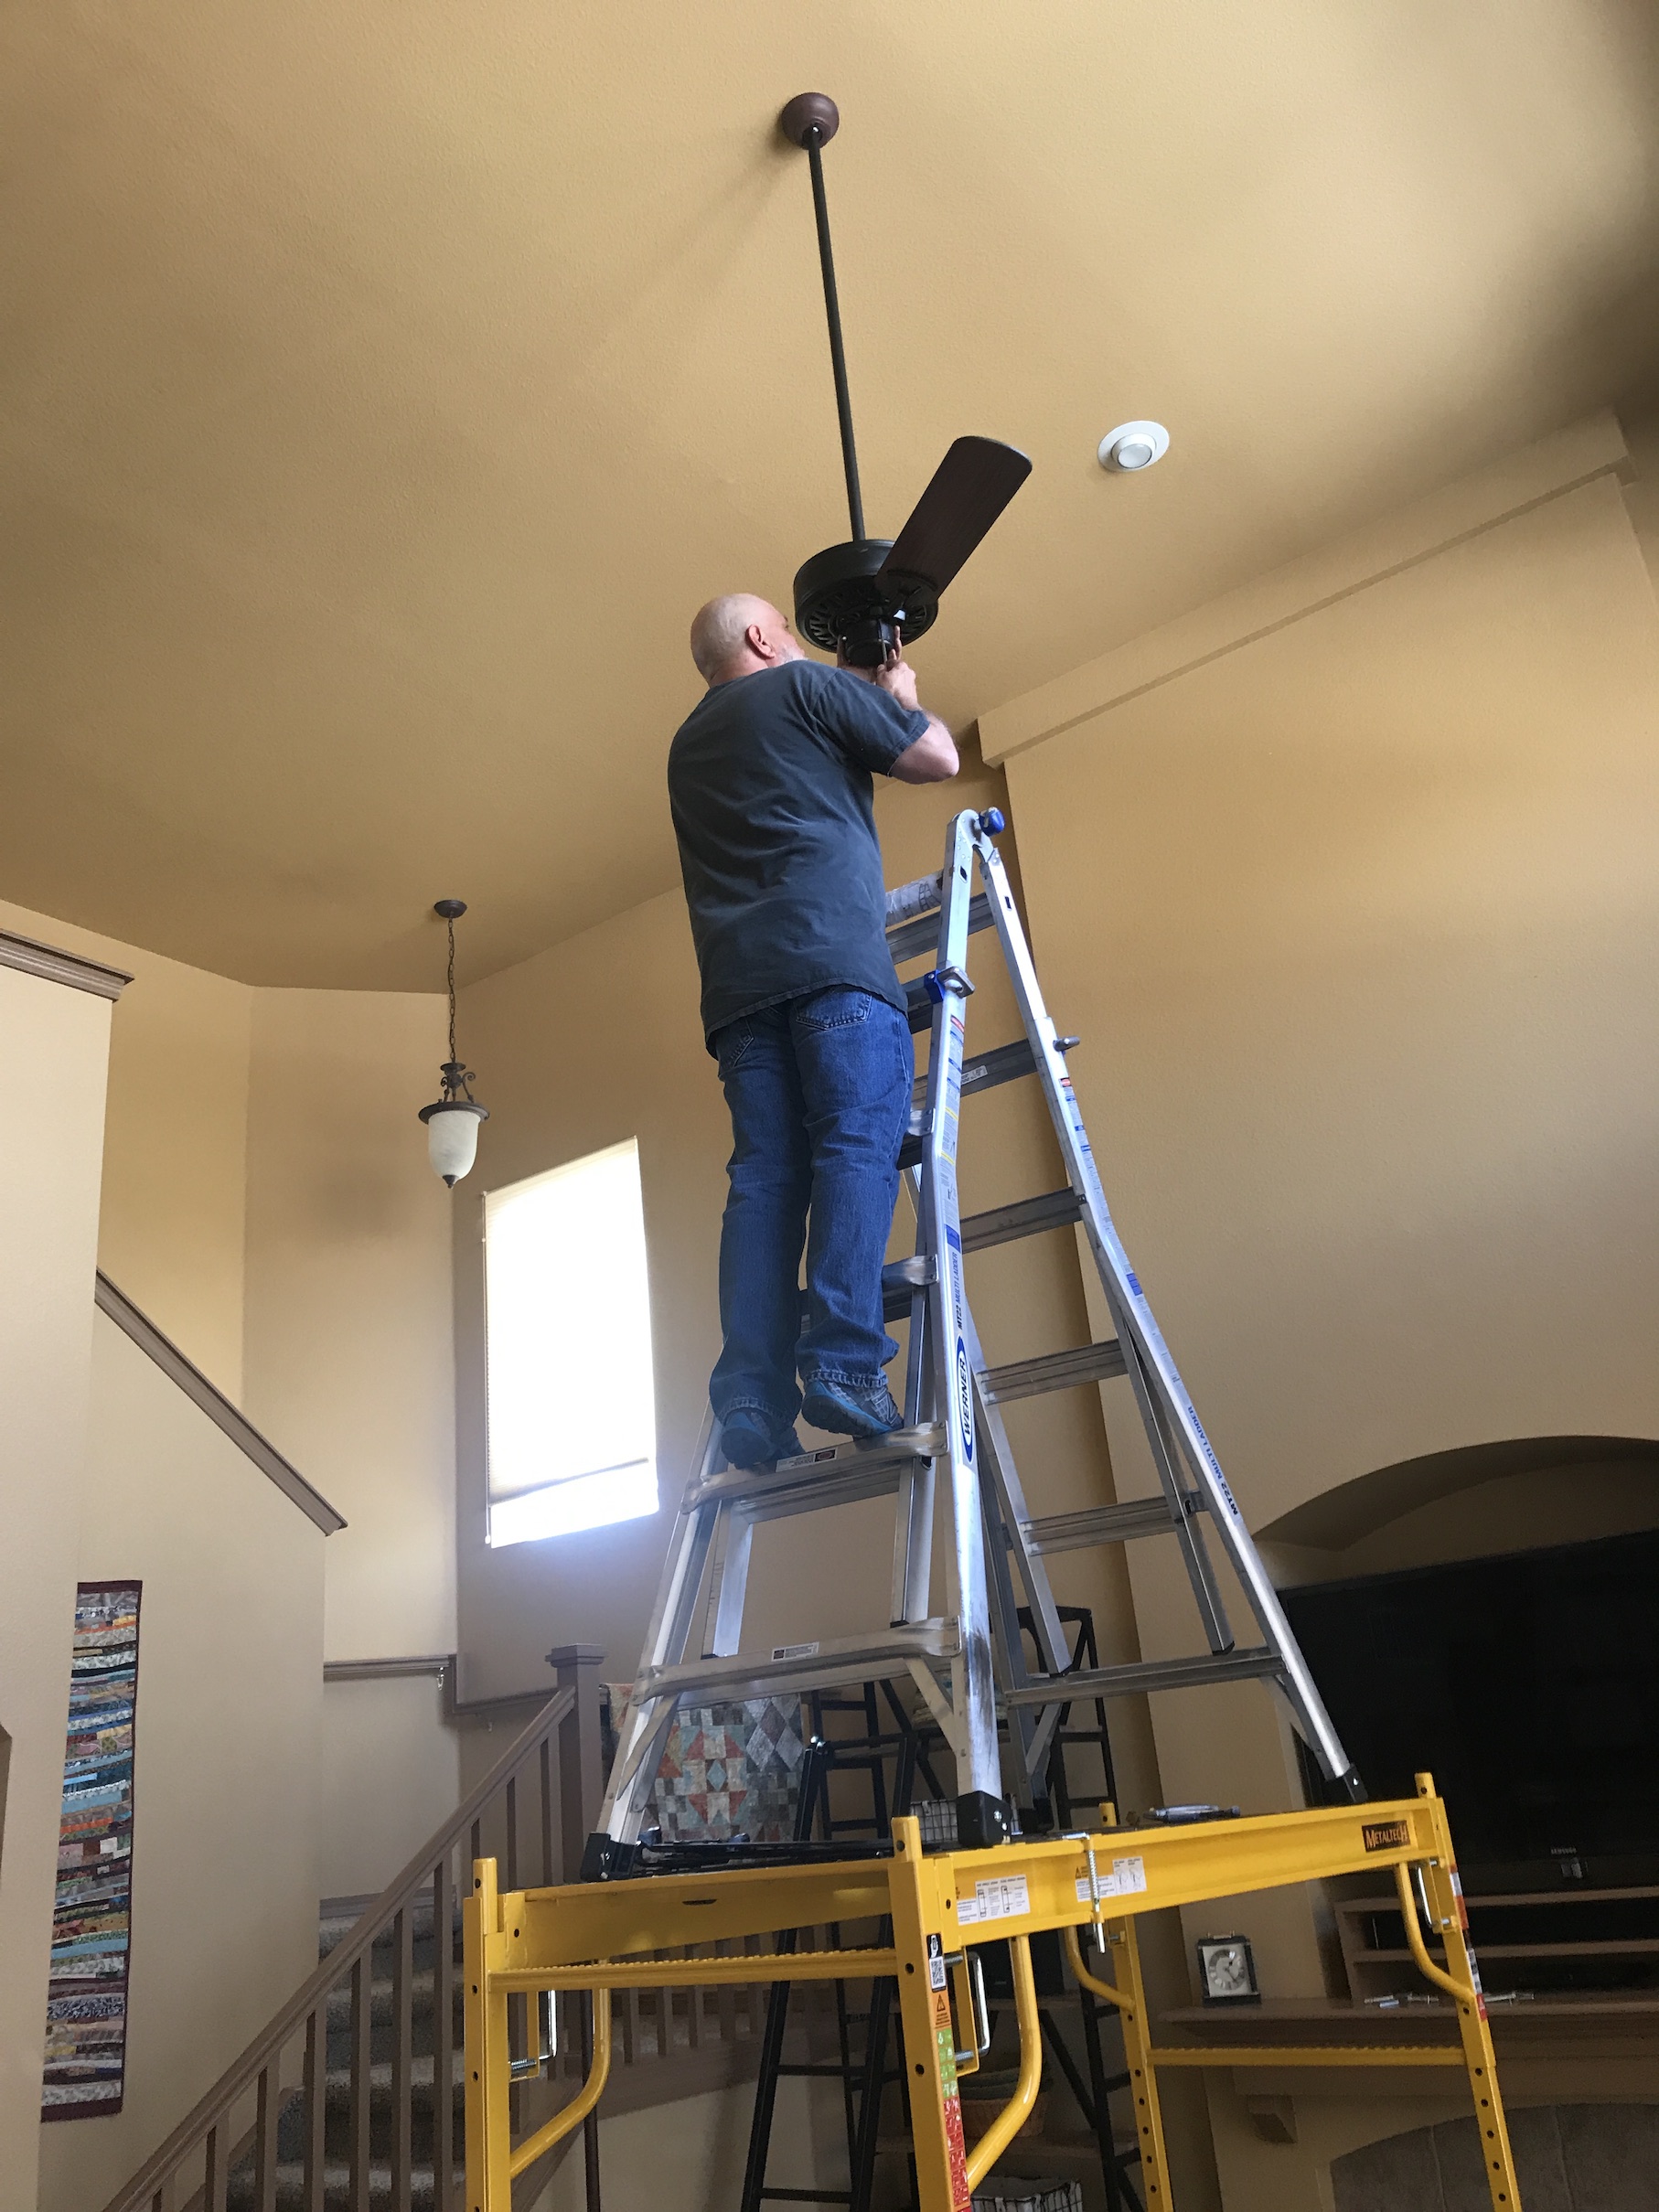 Yes that is a ladder, on top of scaffolding. Looks pretty safe to me (NOT!)
 He also completely redid the garage, drywalling it in, painting it and installing shelves:
 He also built bookcases in the front room to create our “home library” as my female human mentioned in this post –
 Most recently he added in a shelf behind our living room TV to distract your eye from the fact the flat screen TV is in front on an alcove (circa early 2000s) for a large deep TV. This was my female human’s idea from looking at too much Instagram home decorating feeds!
 I am sure there were a lot more home remodeling projects that occurred over the past four (4) months but this is all I can remember since I was sleeping through many of them.


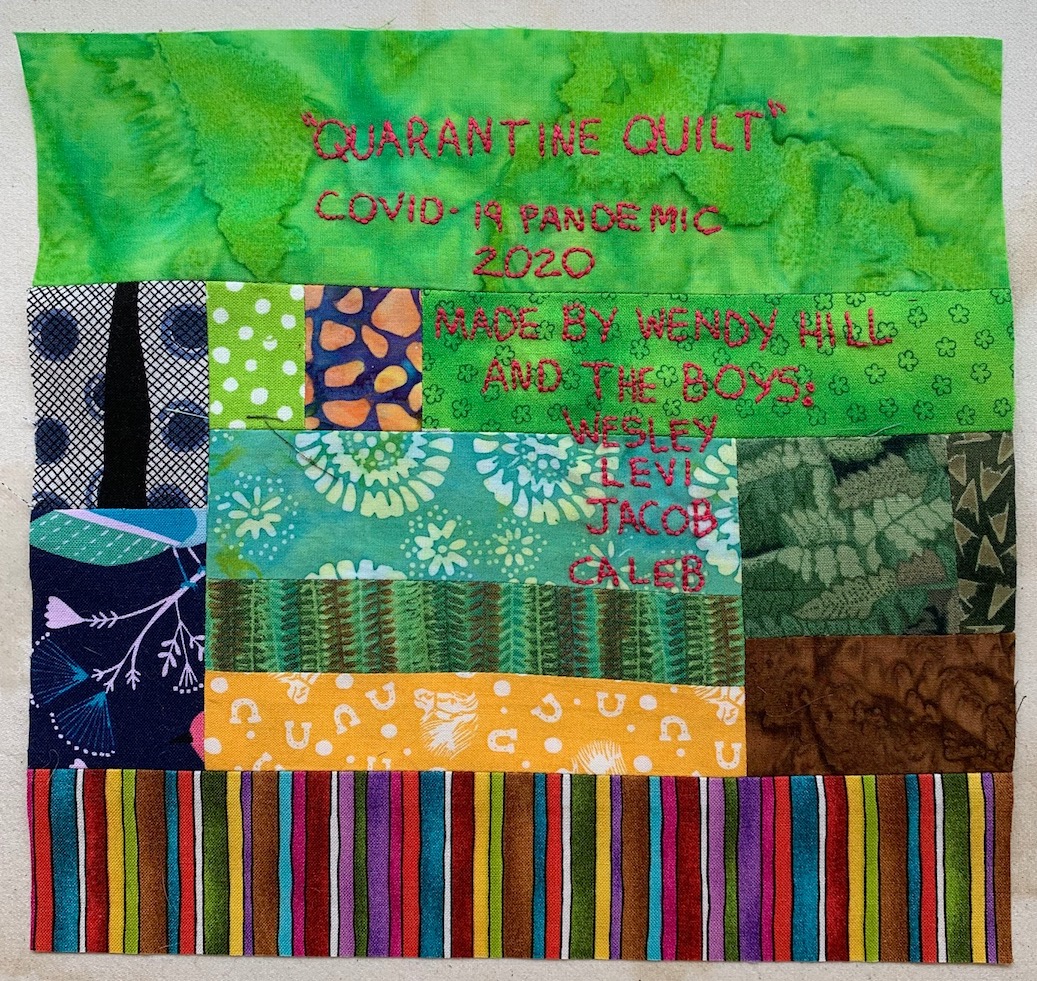
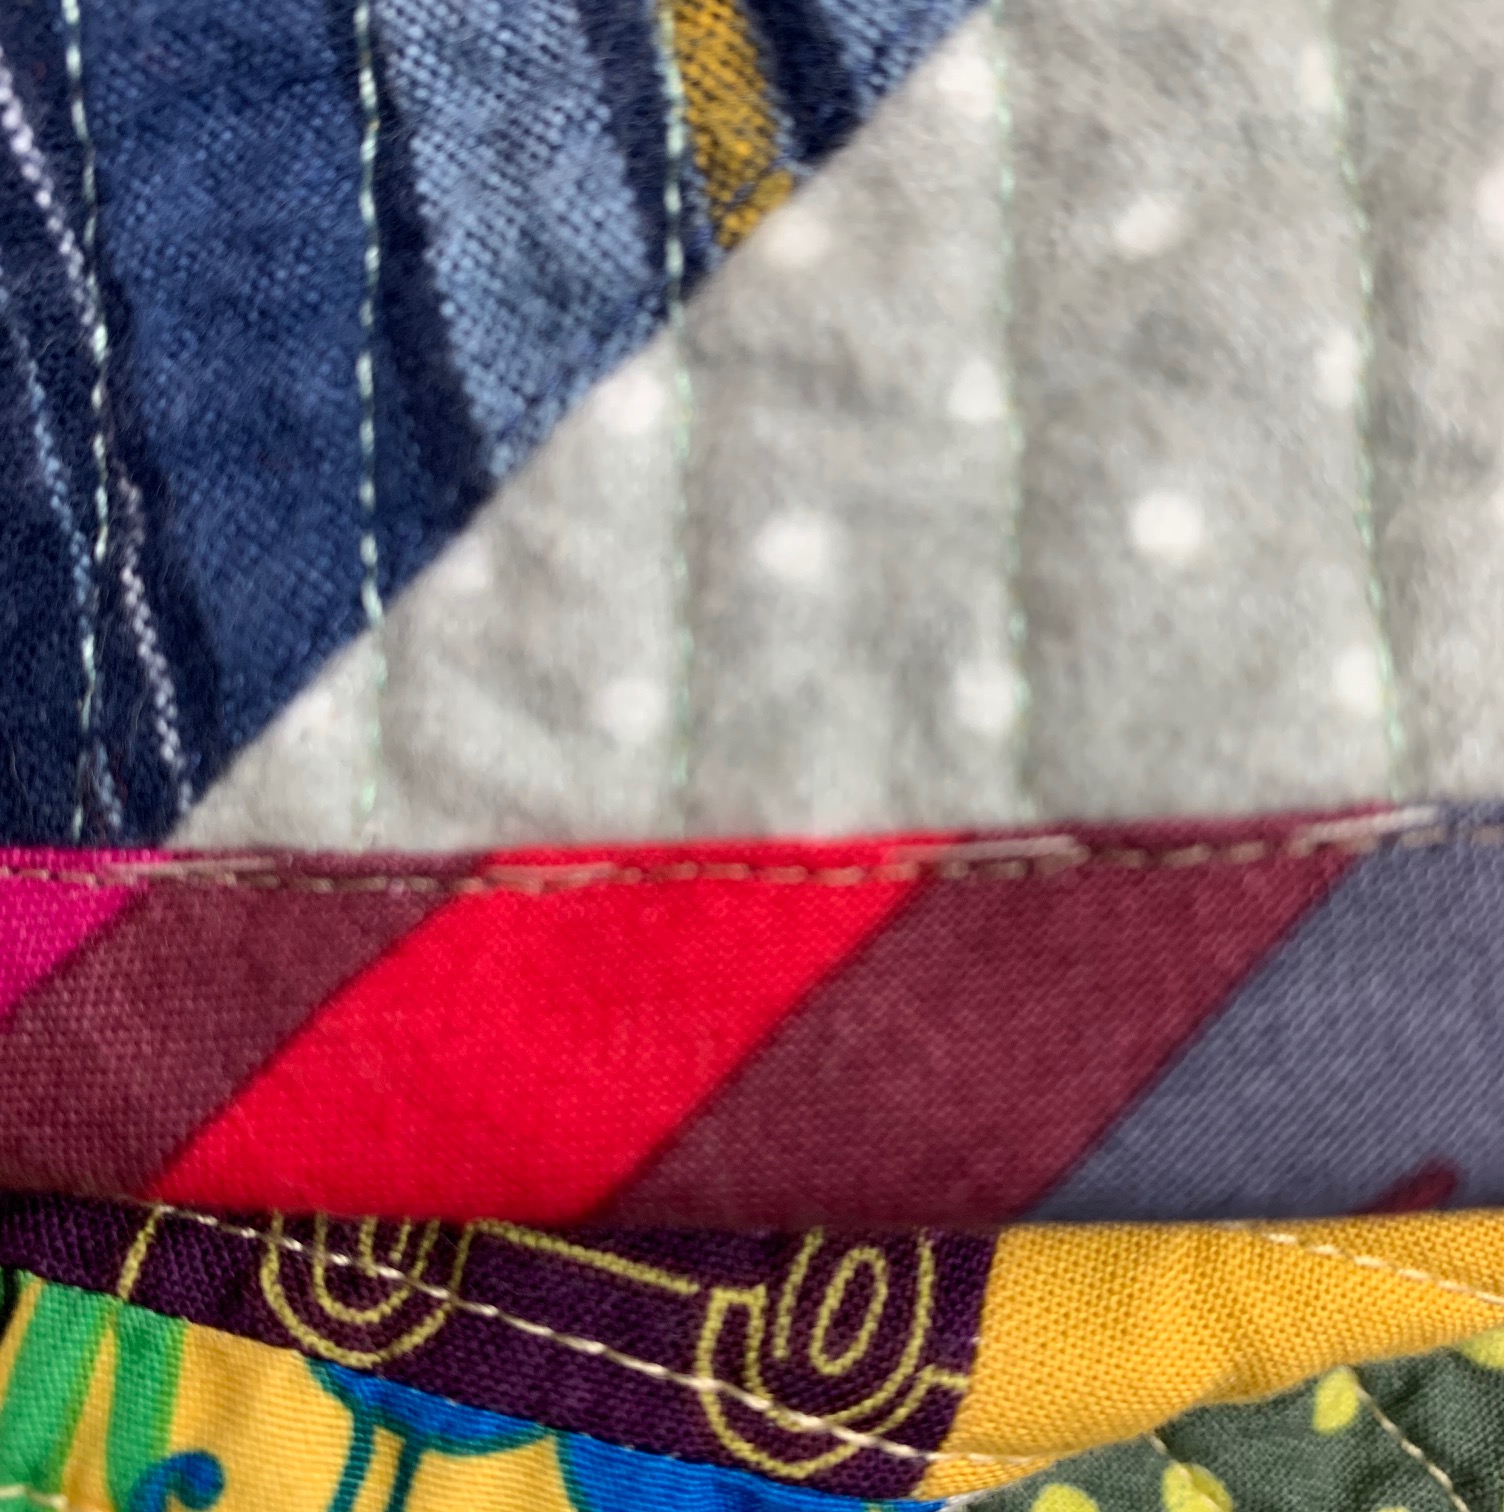
 At home, I took some detail photographs. Of course, the cats found the quilt in no time….The Quarantine Quilt is officially cat approved!!
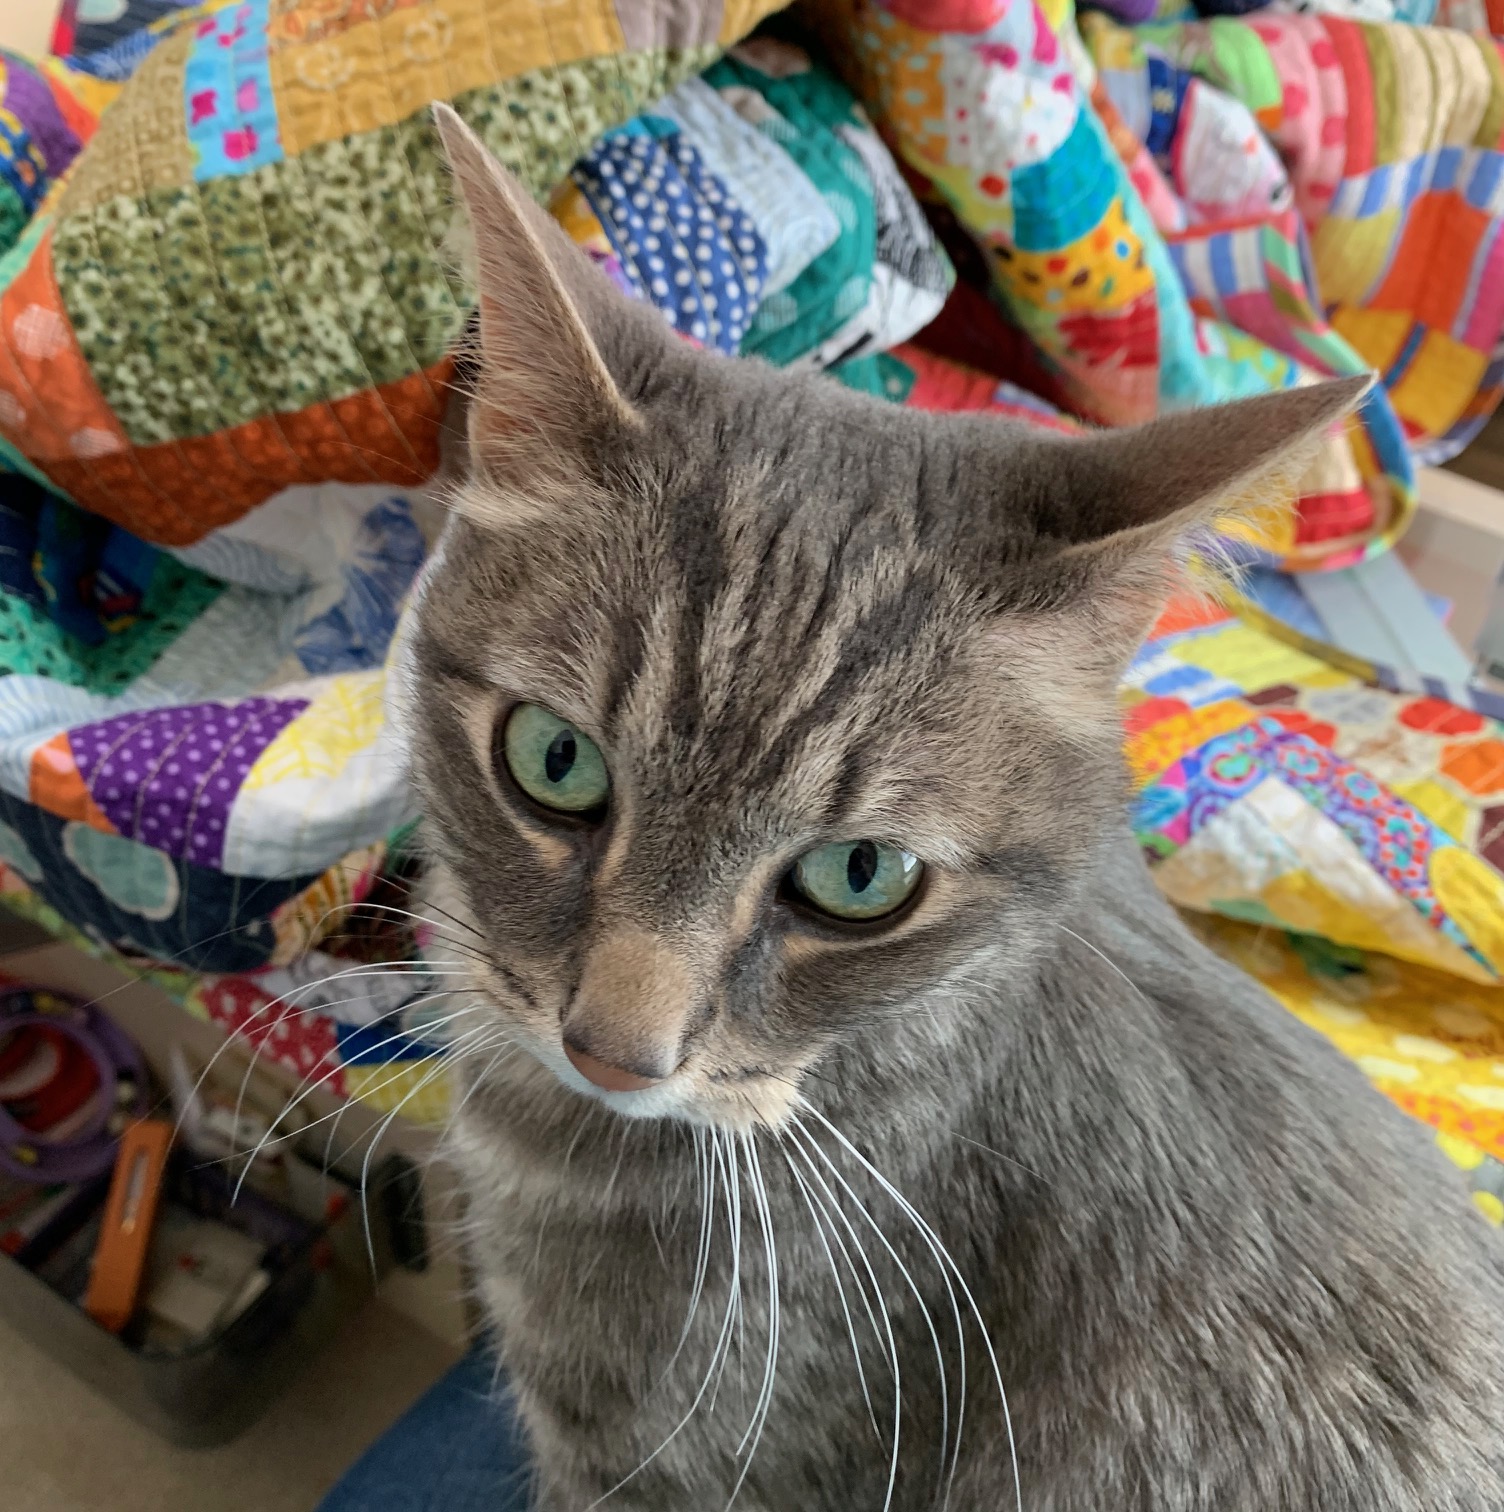
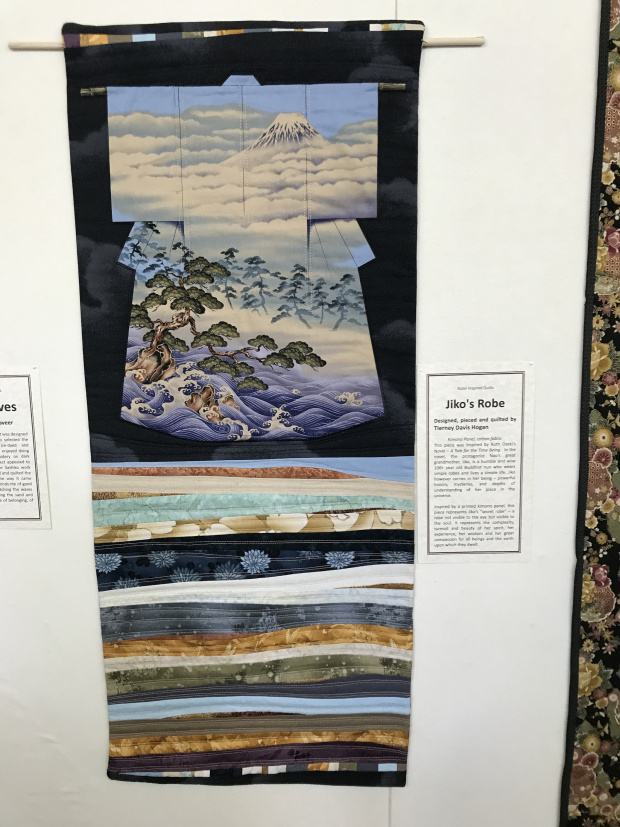
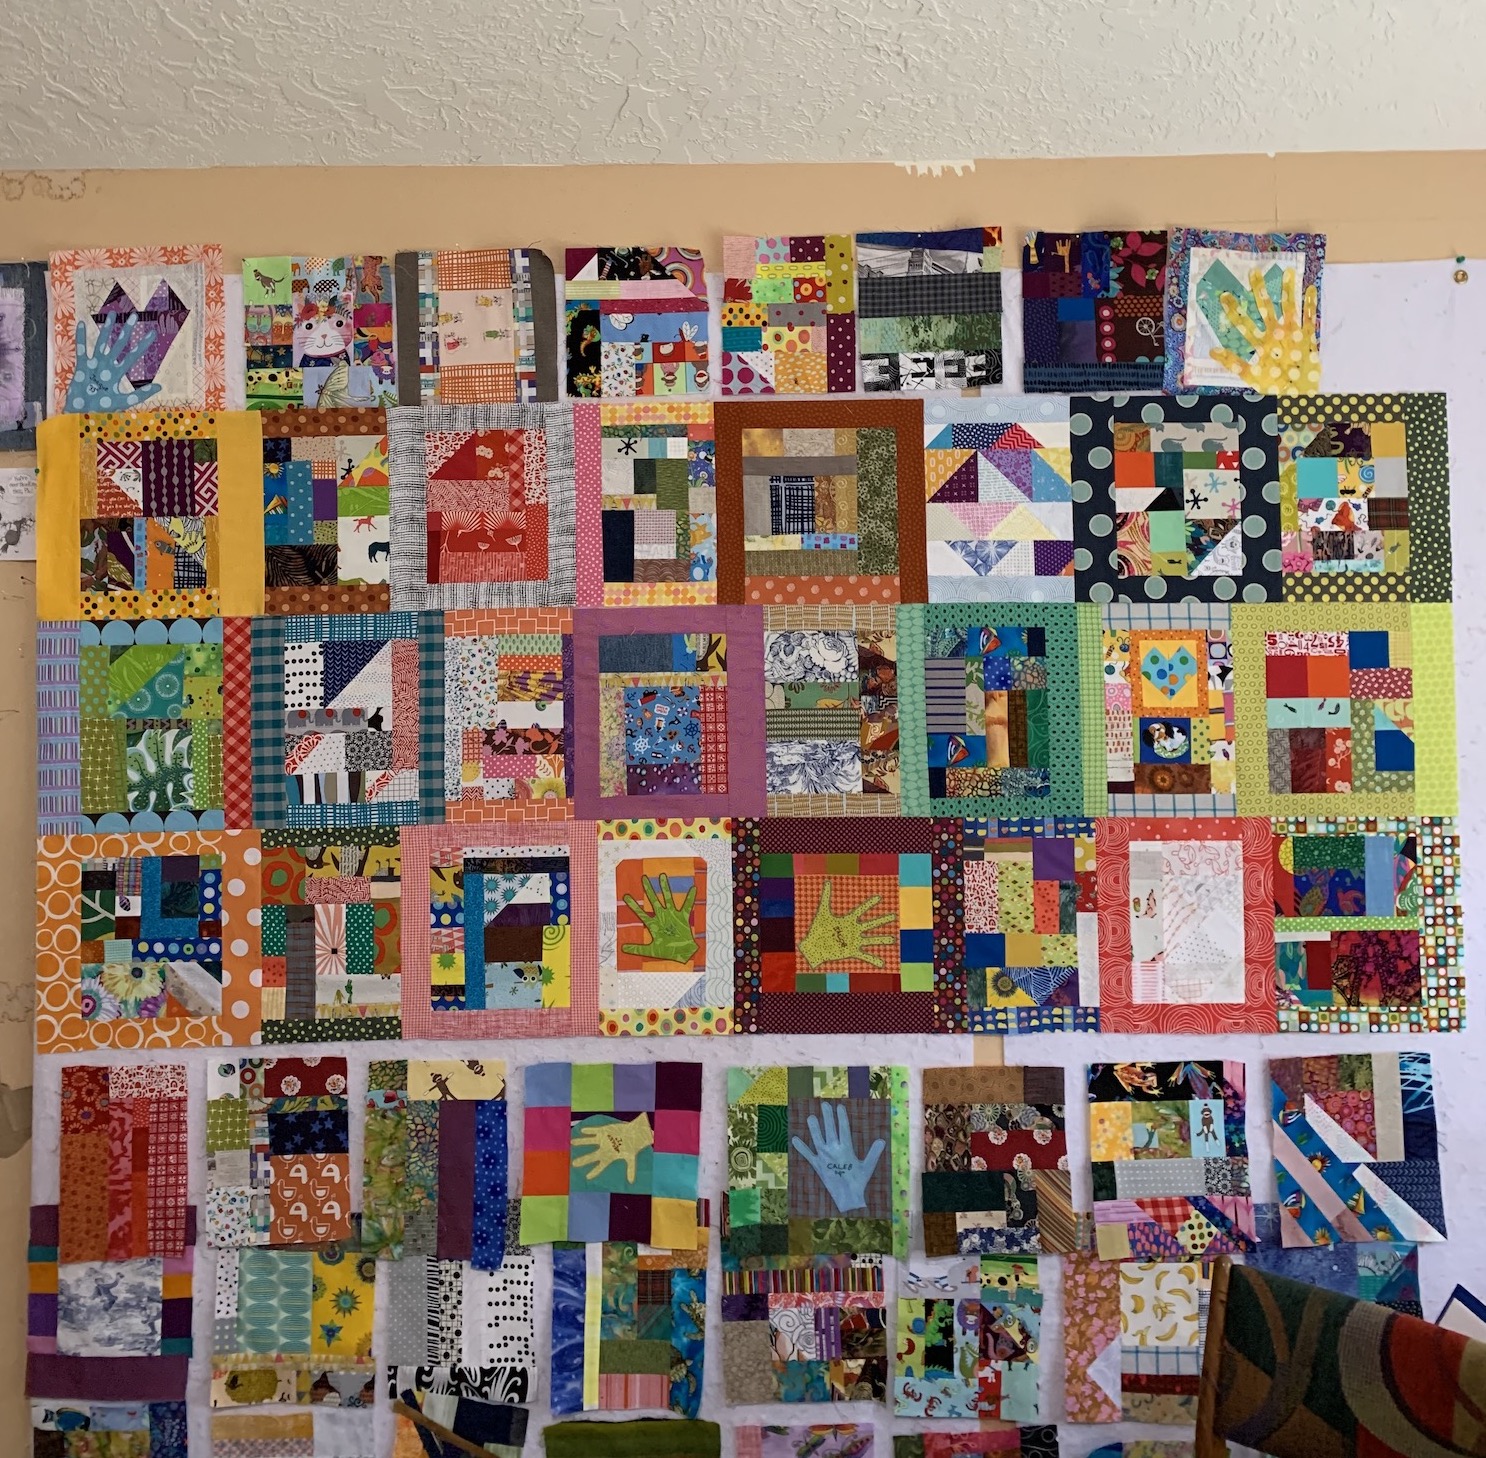
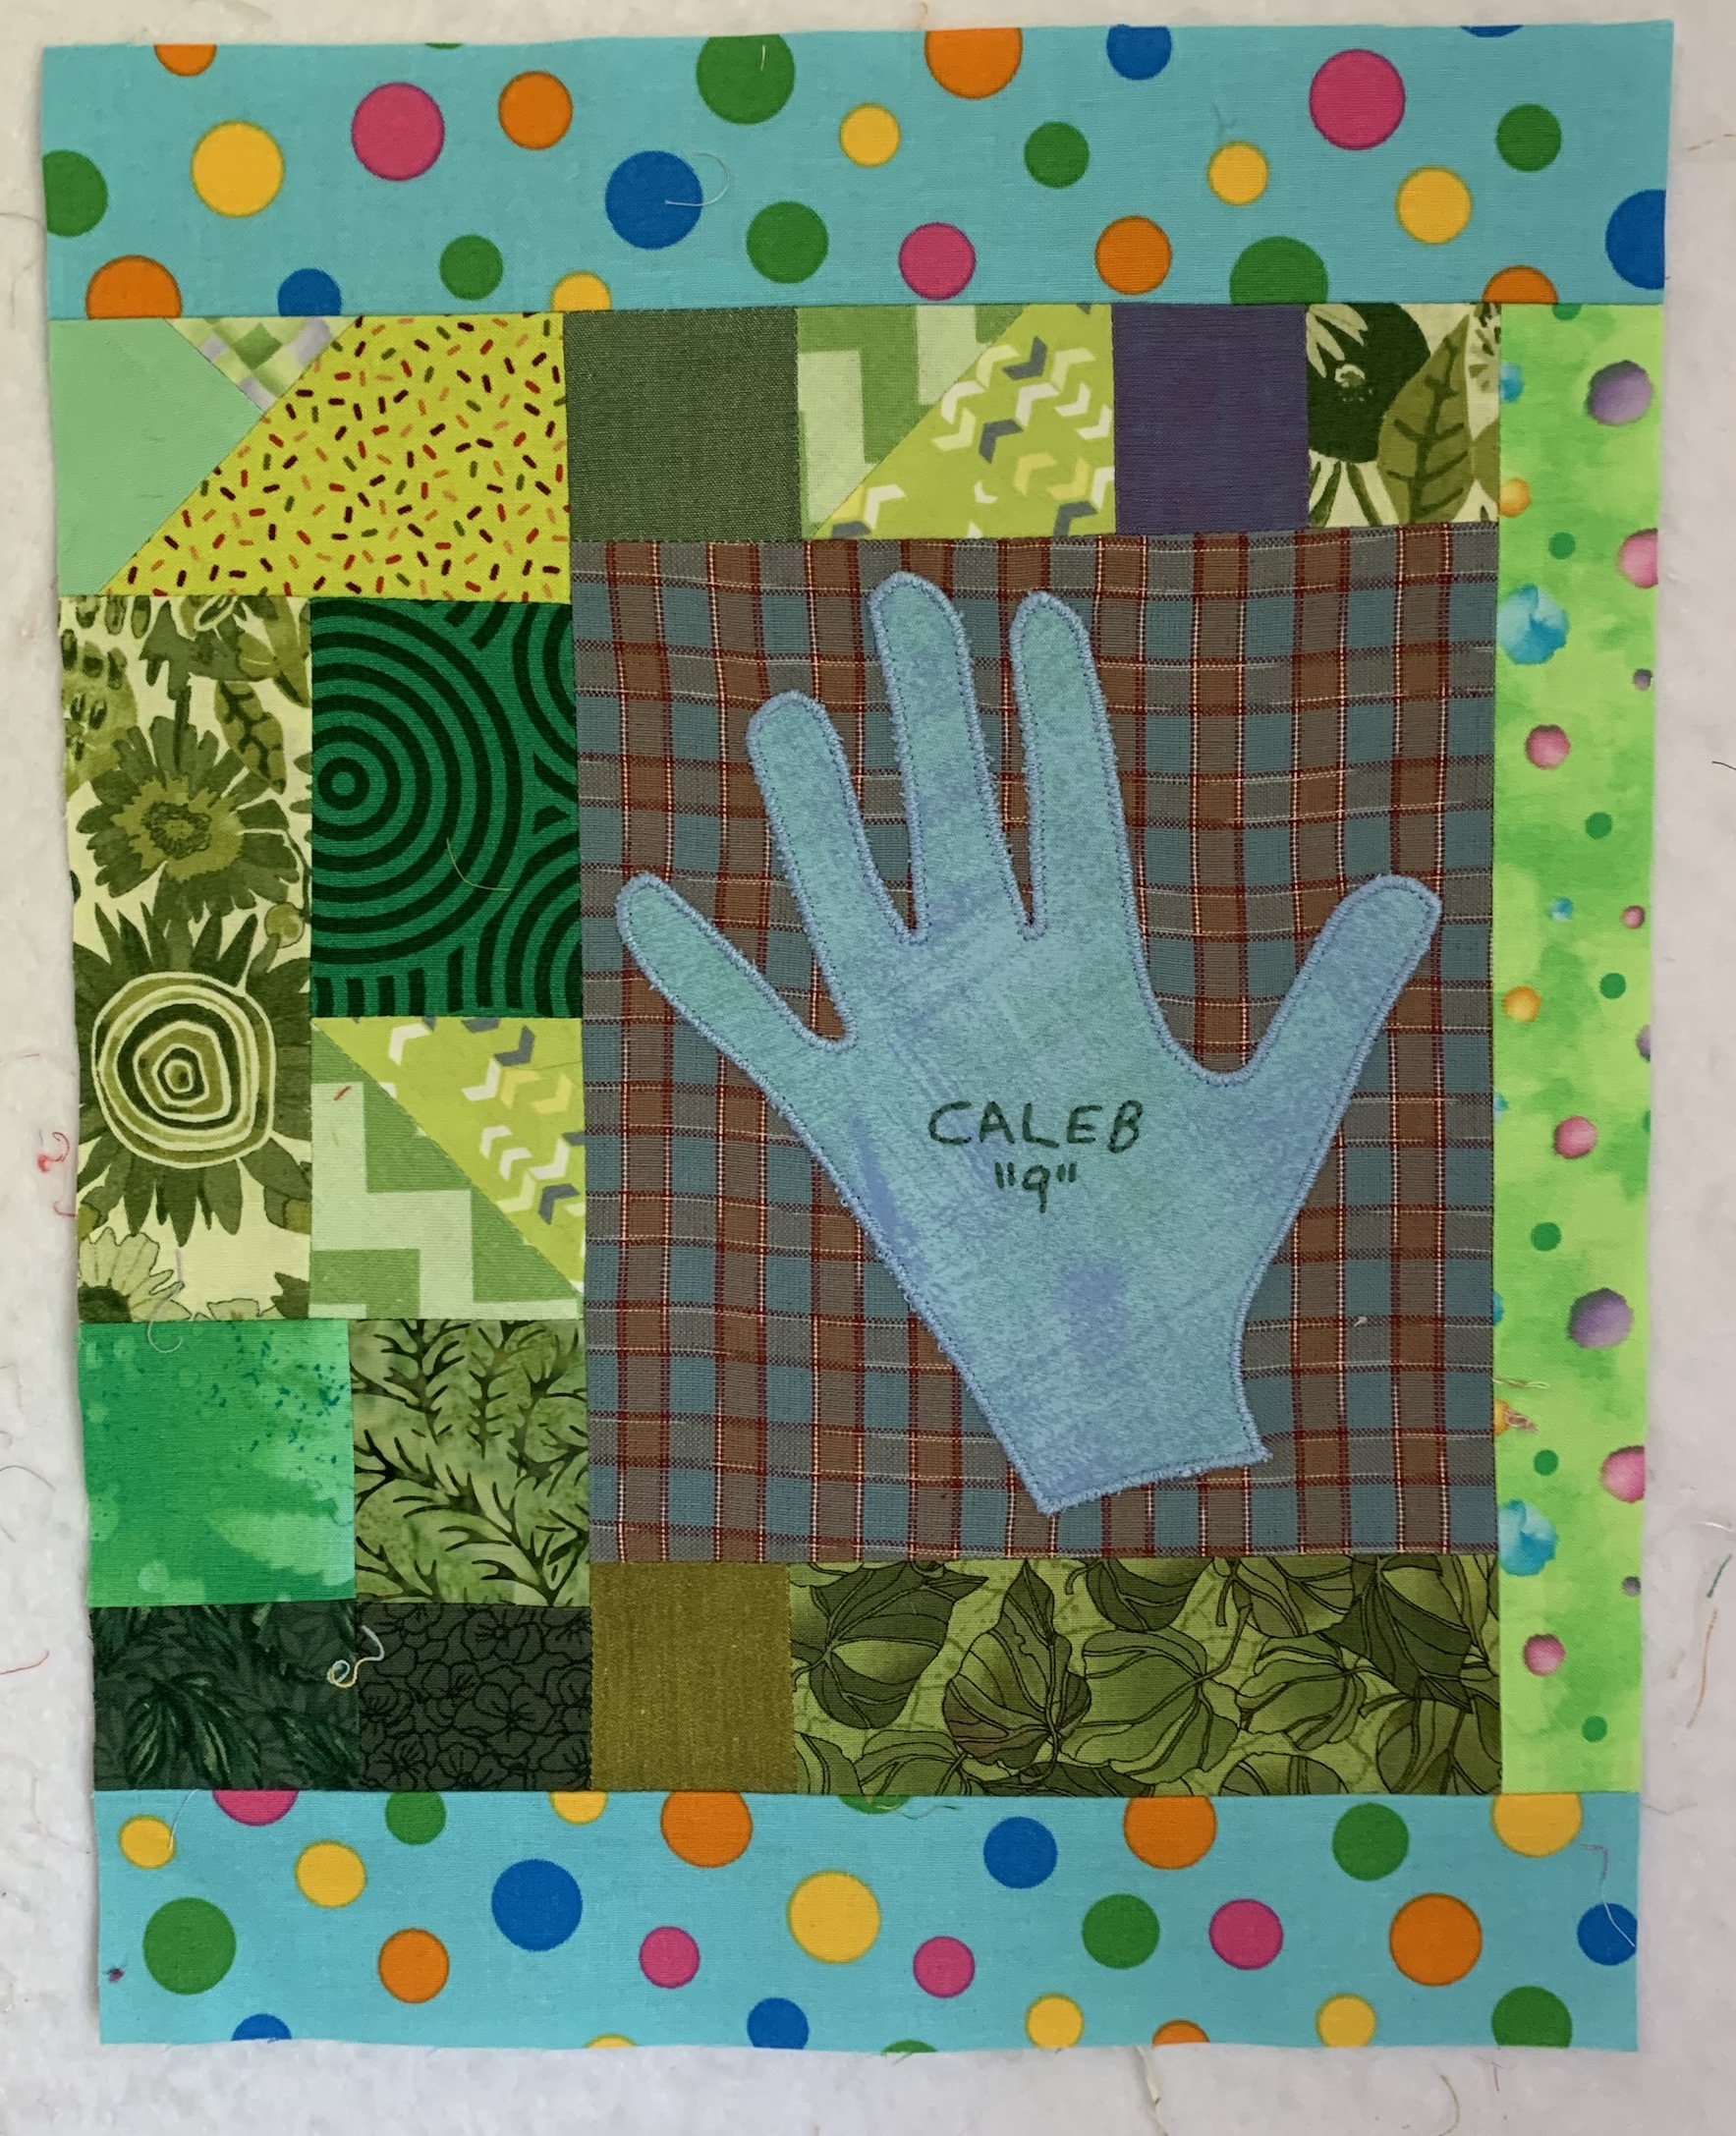
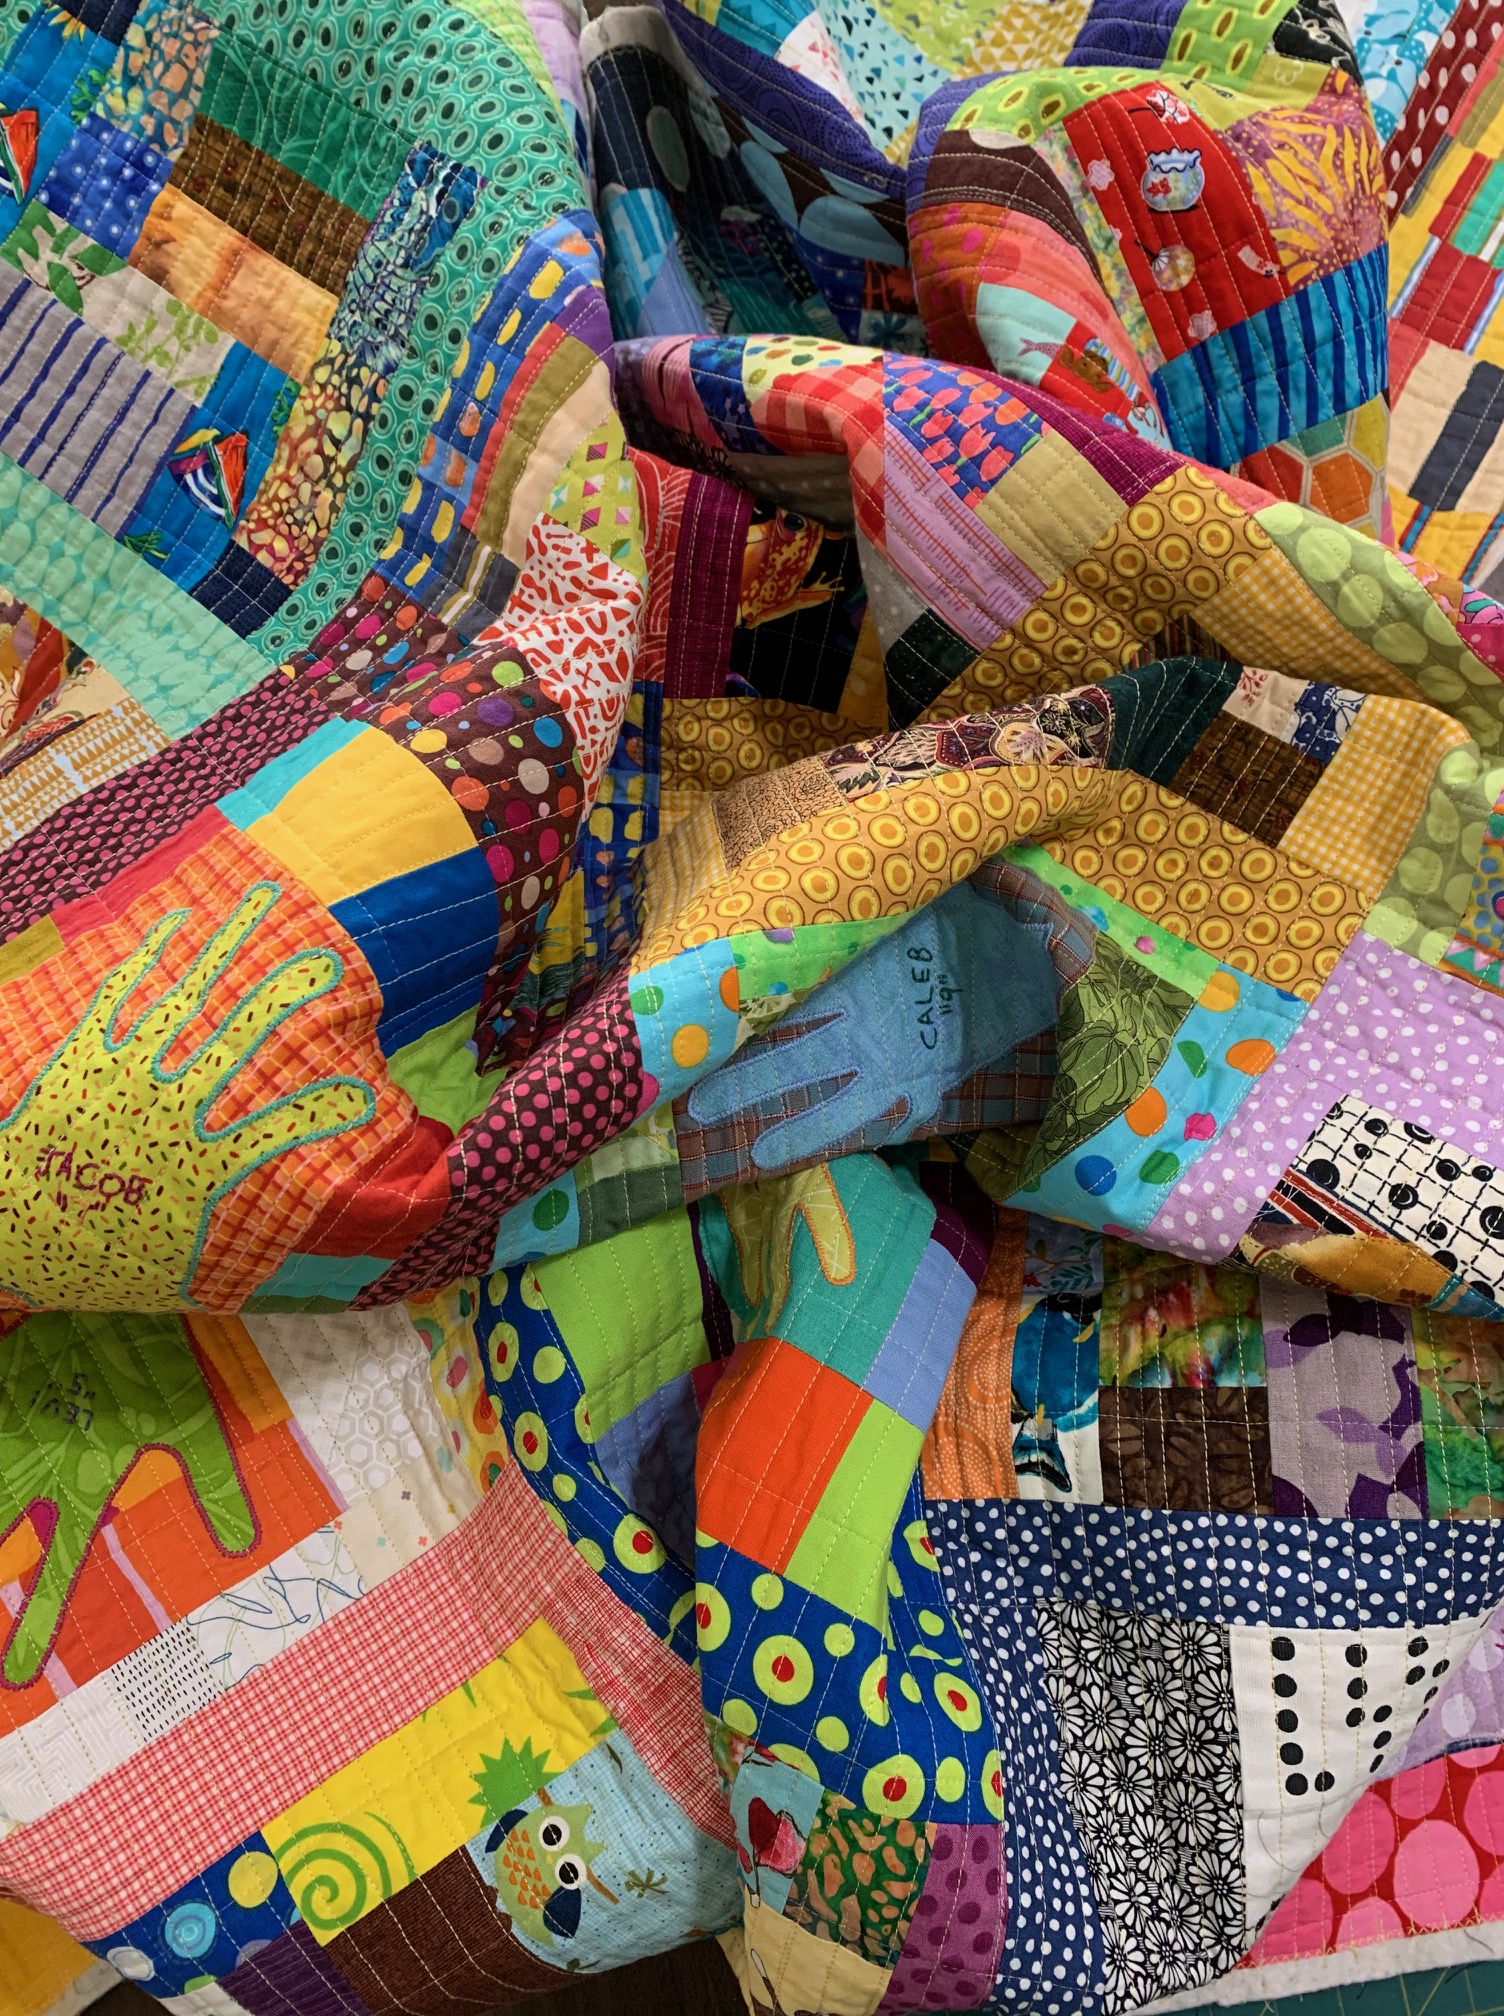
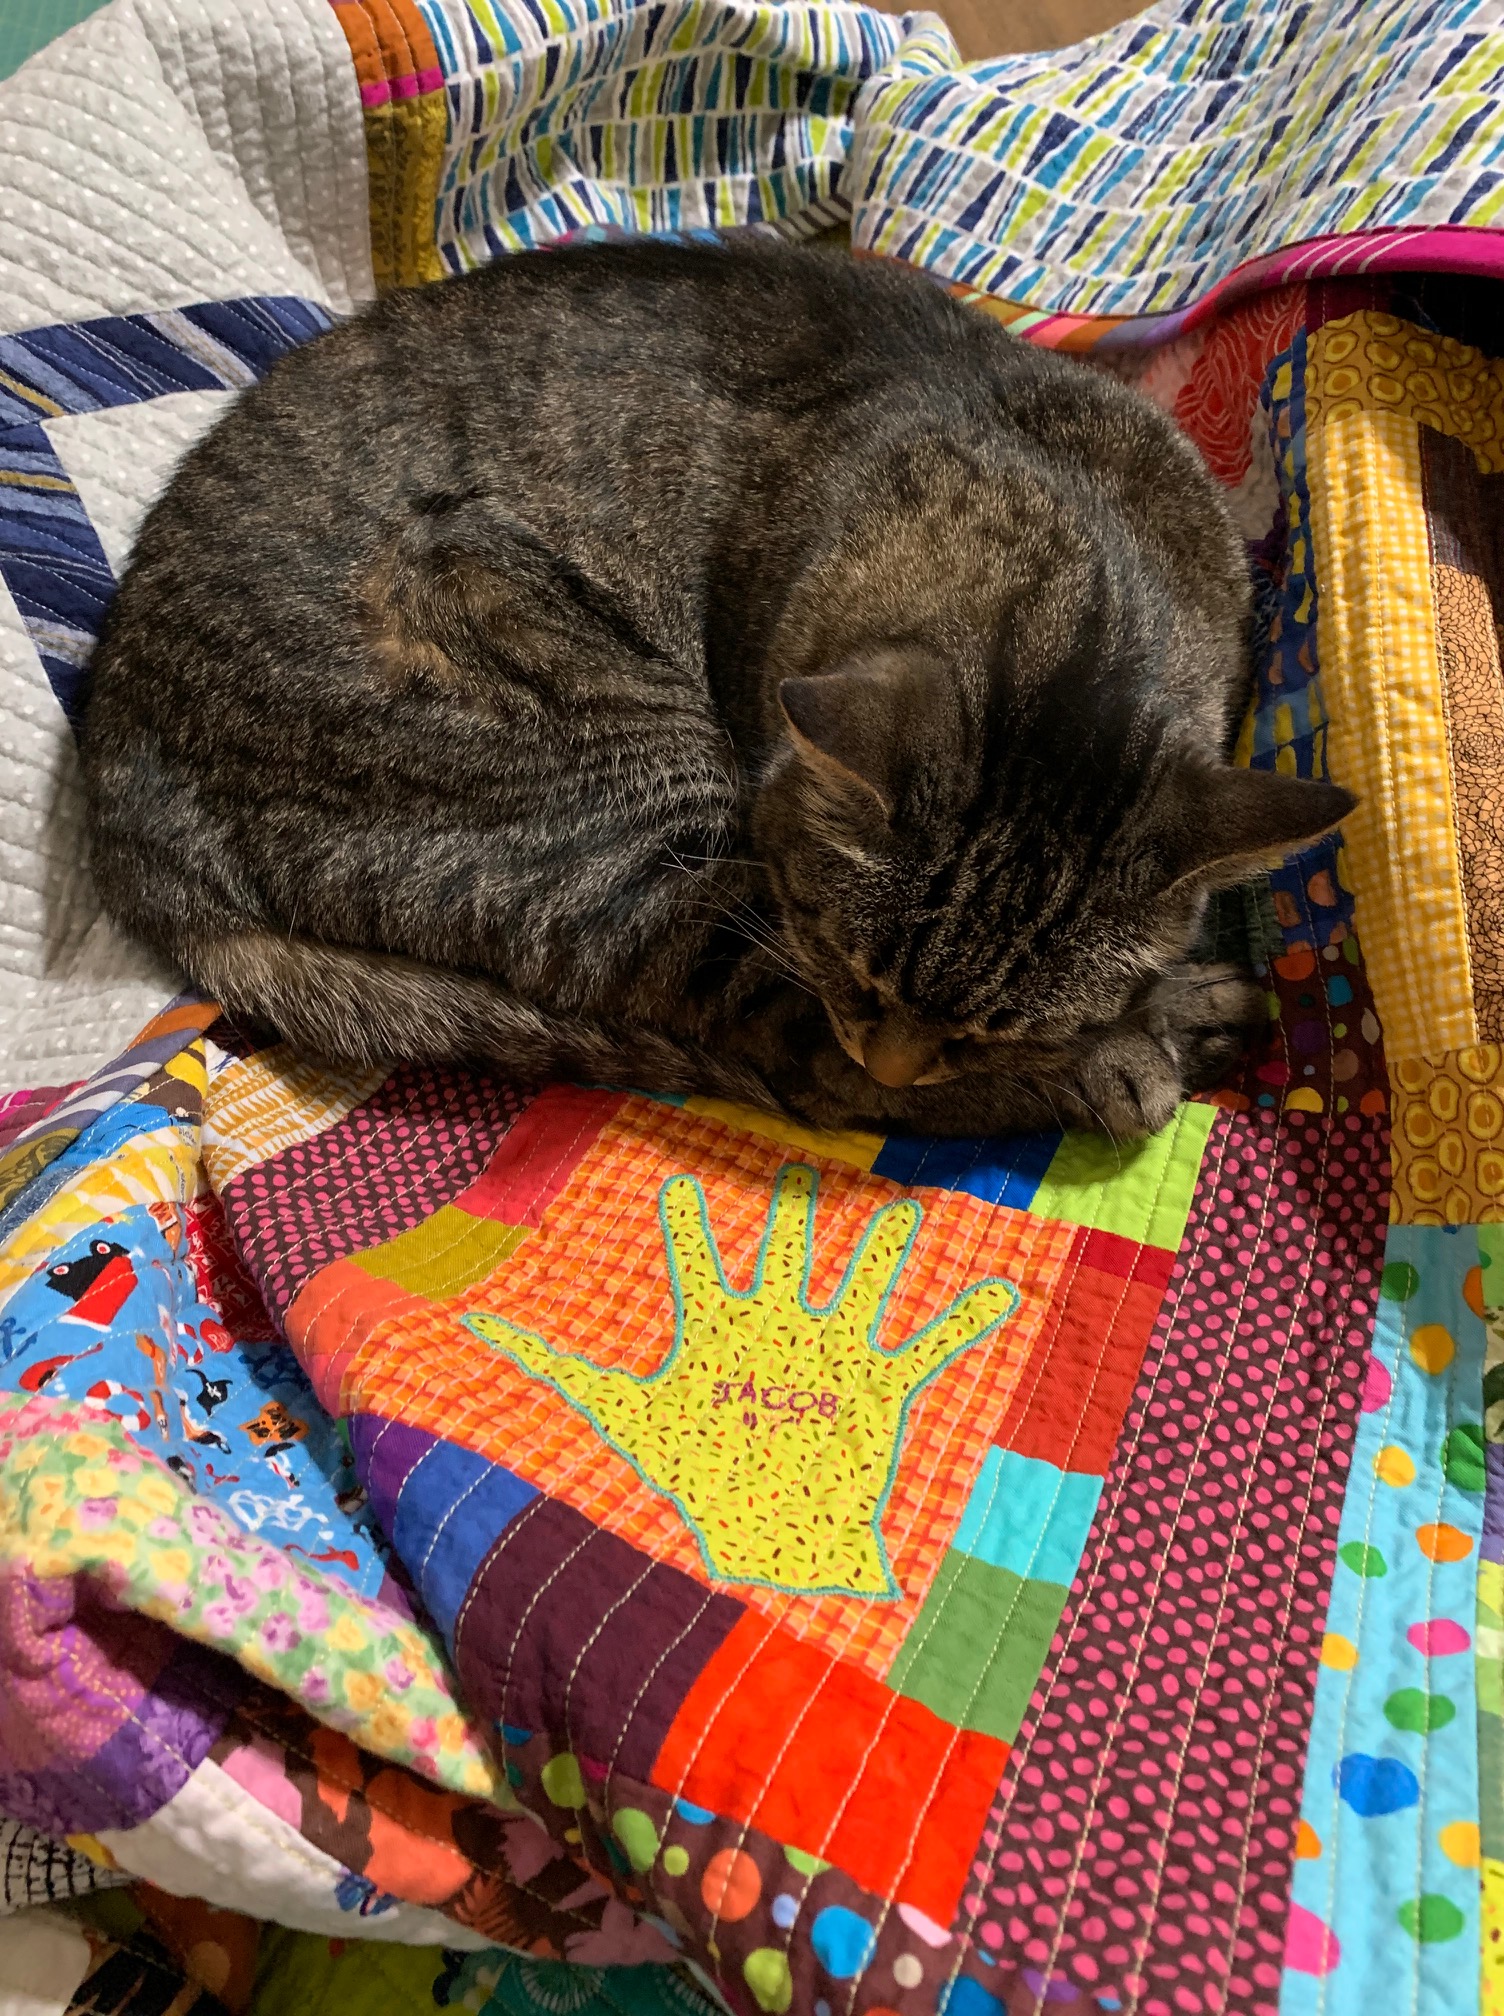 Let’s start with the appliquéd hand blocks. I put The Boys’ hands in the middle, with the adults’ hands on the four corners. It’s symbolic on purpose: the adults are looking after the kids.
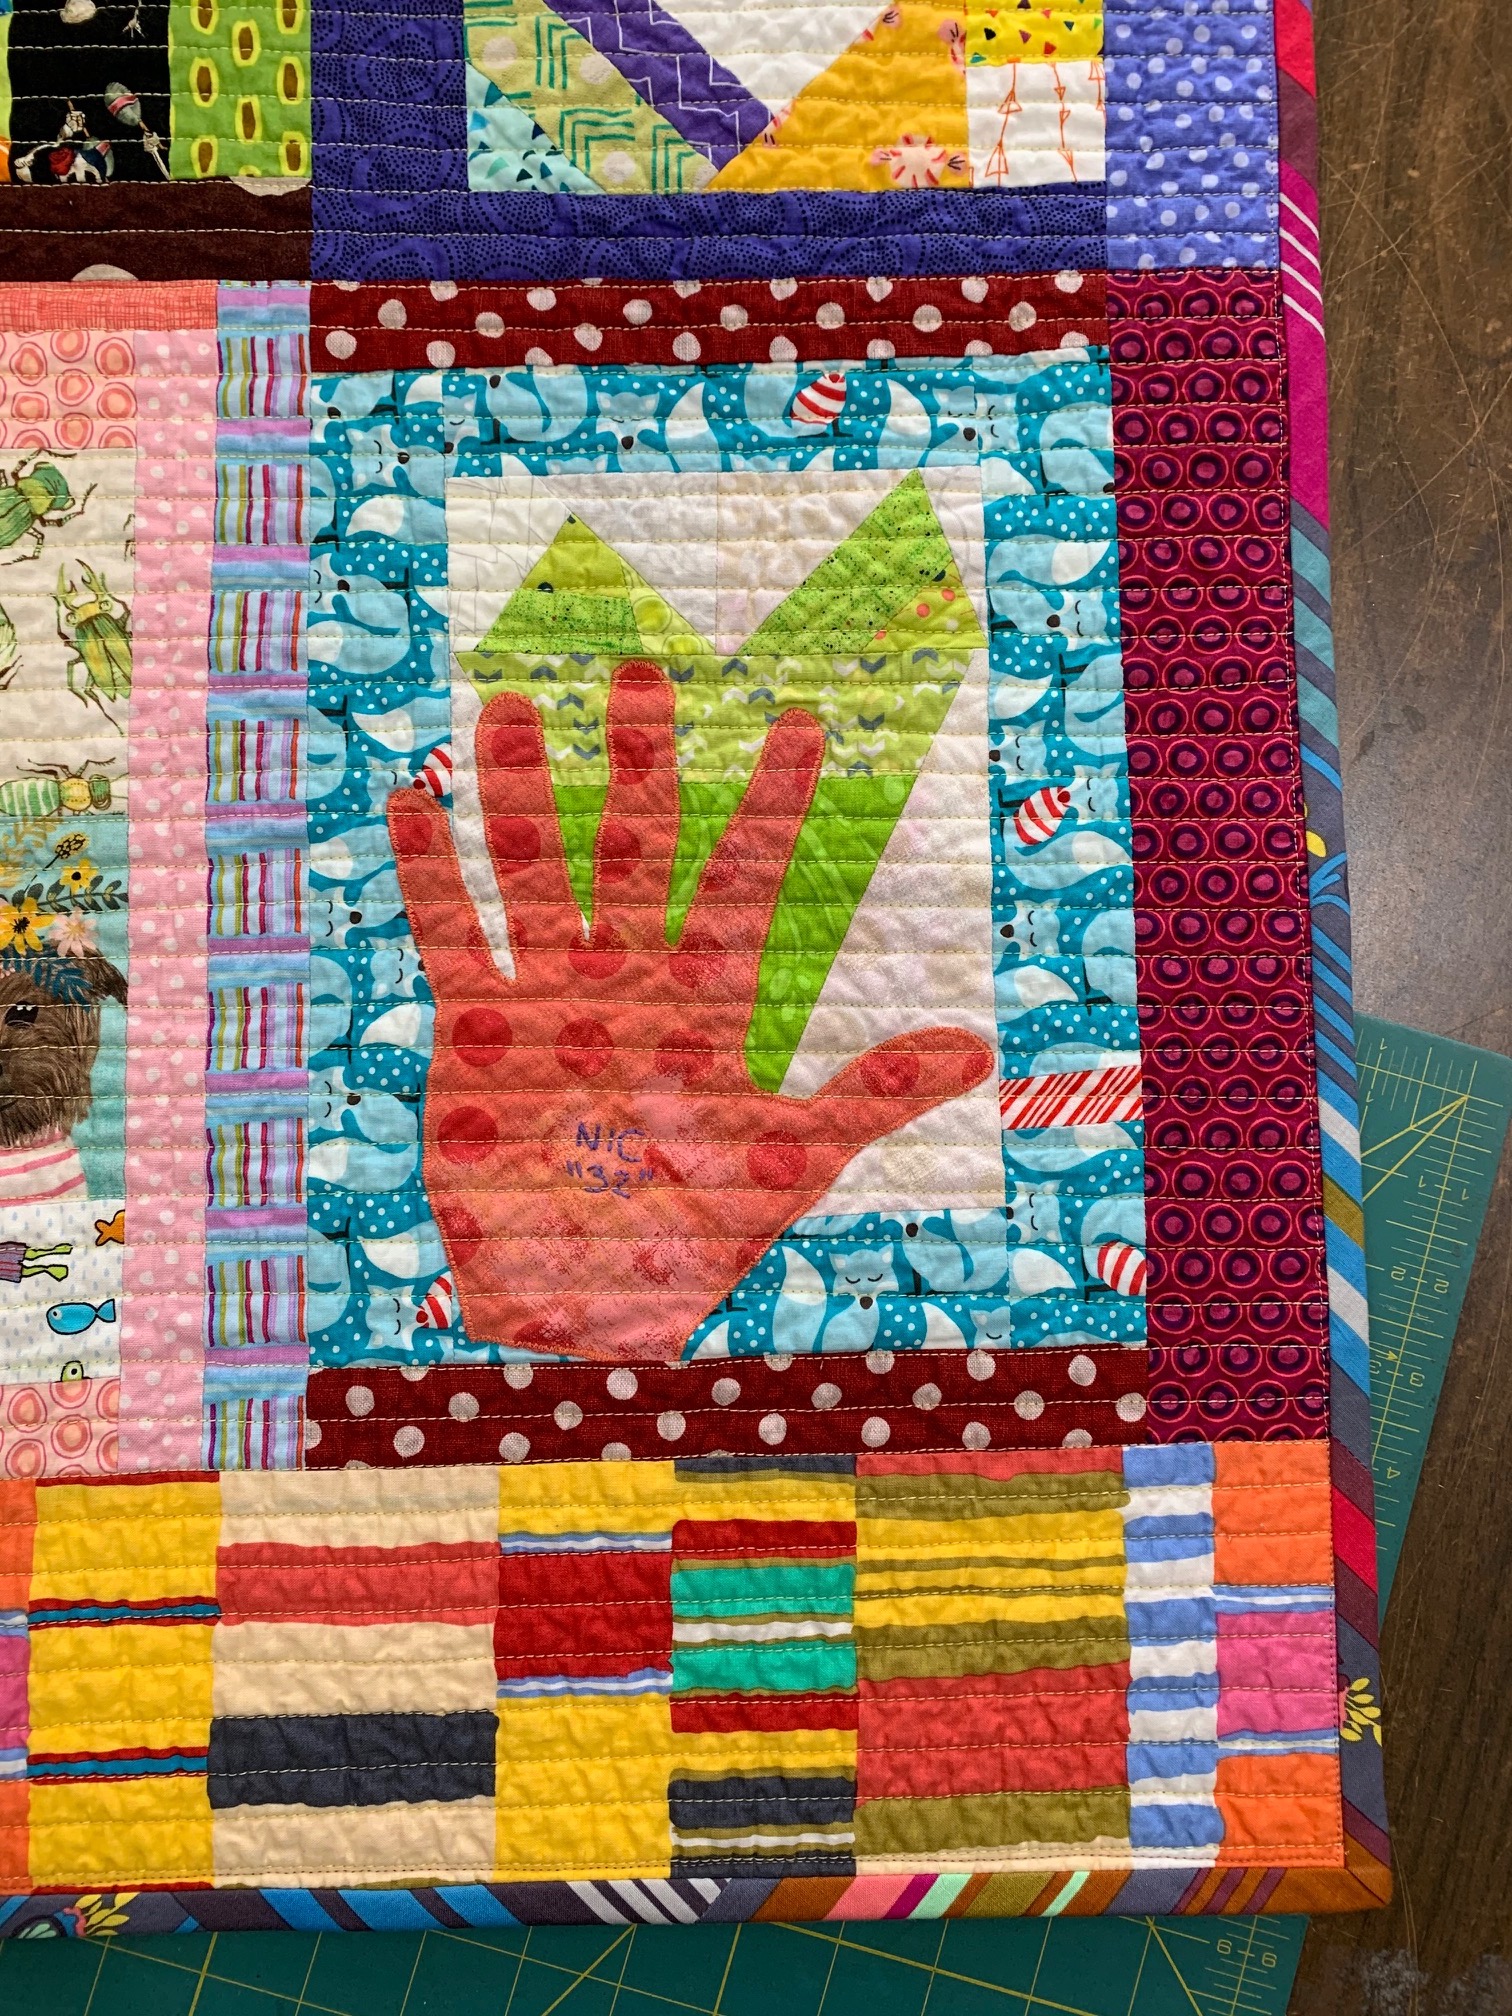
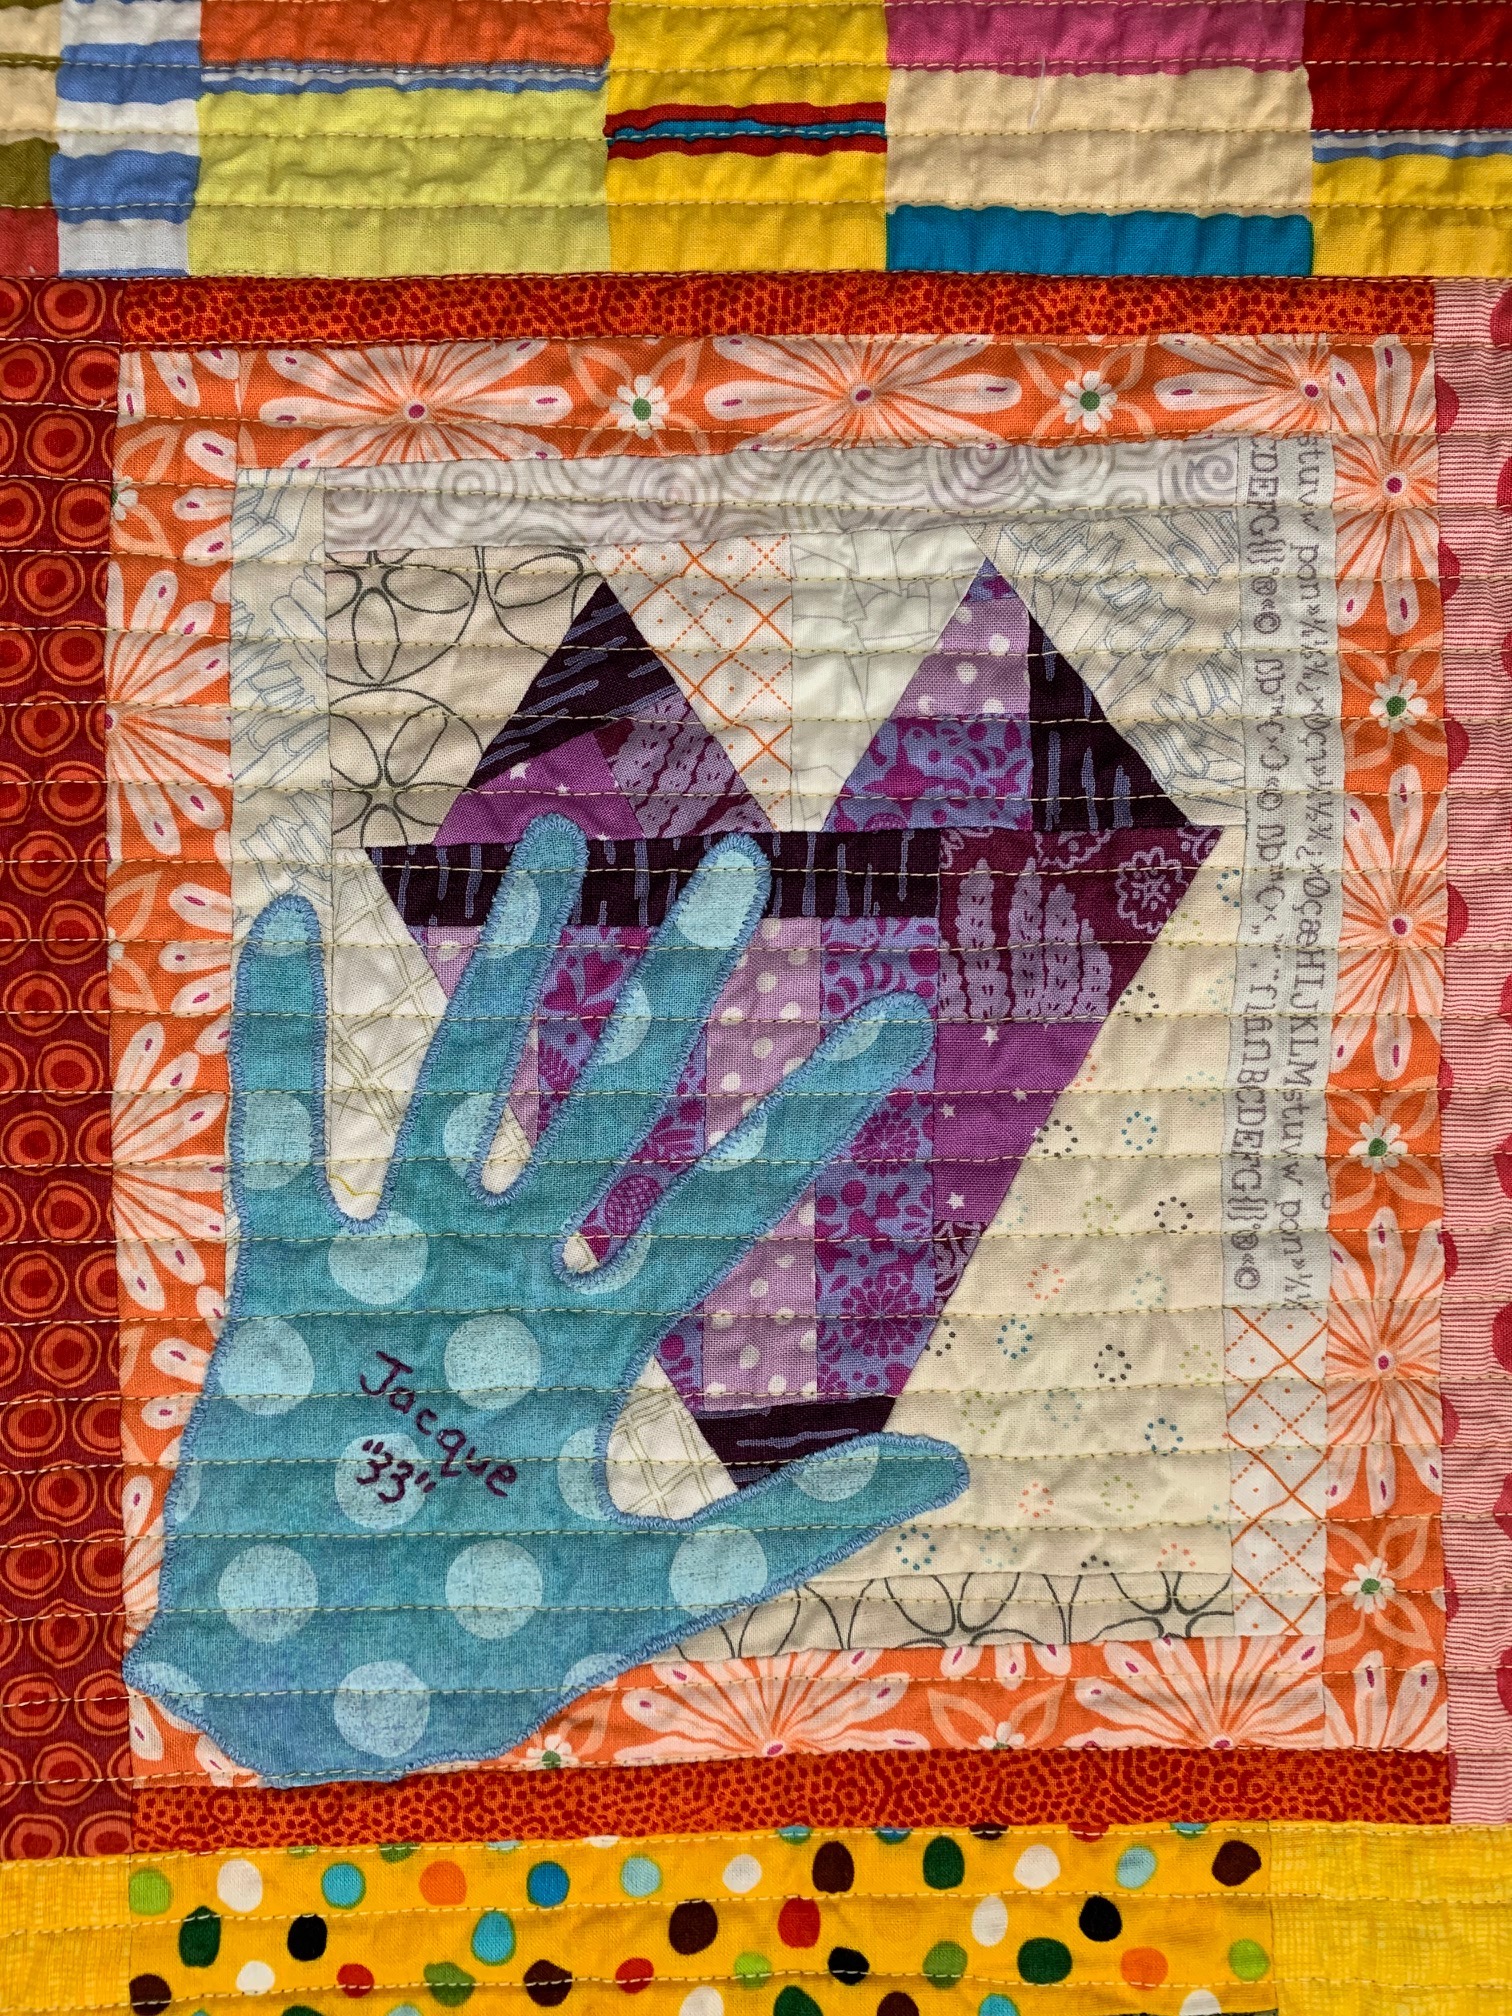
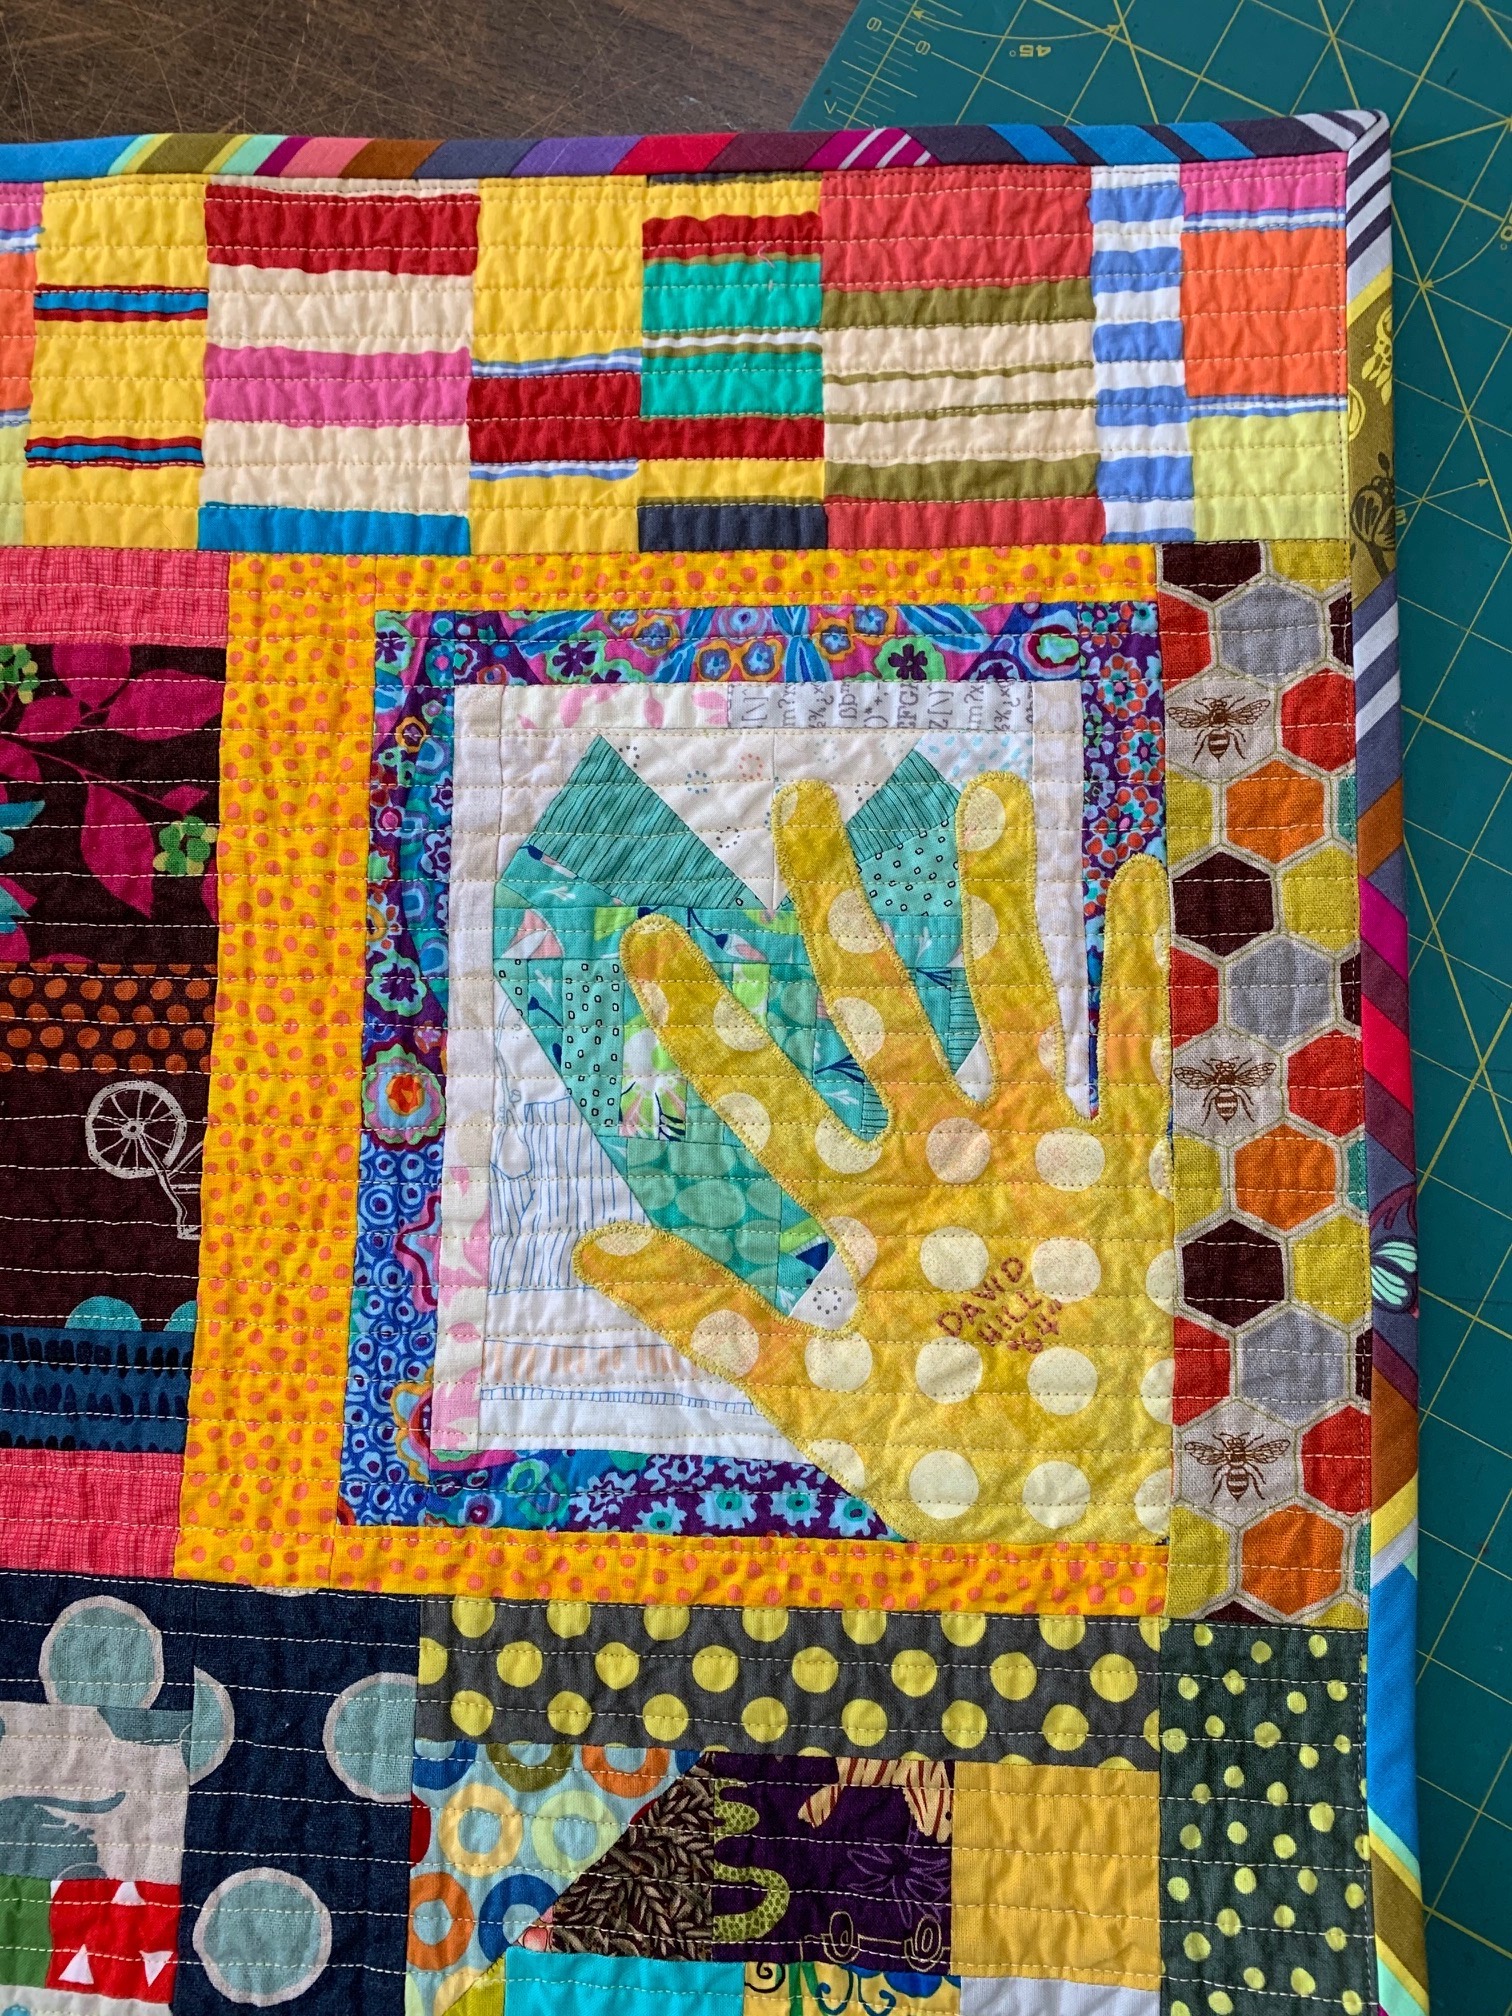
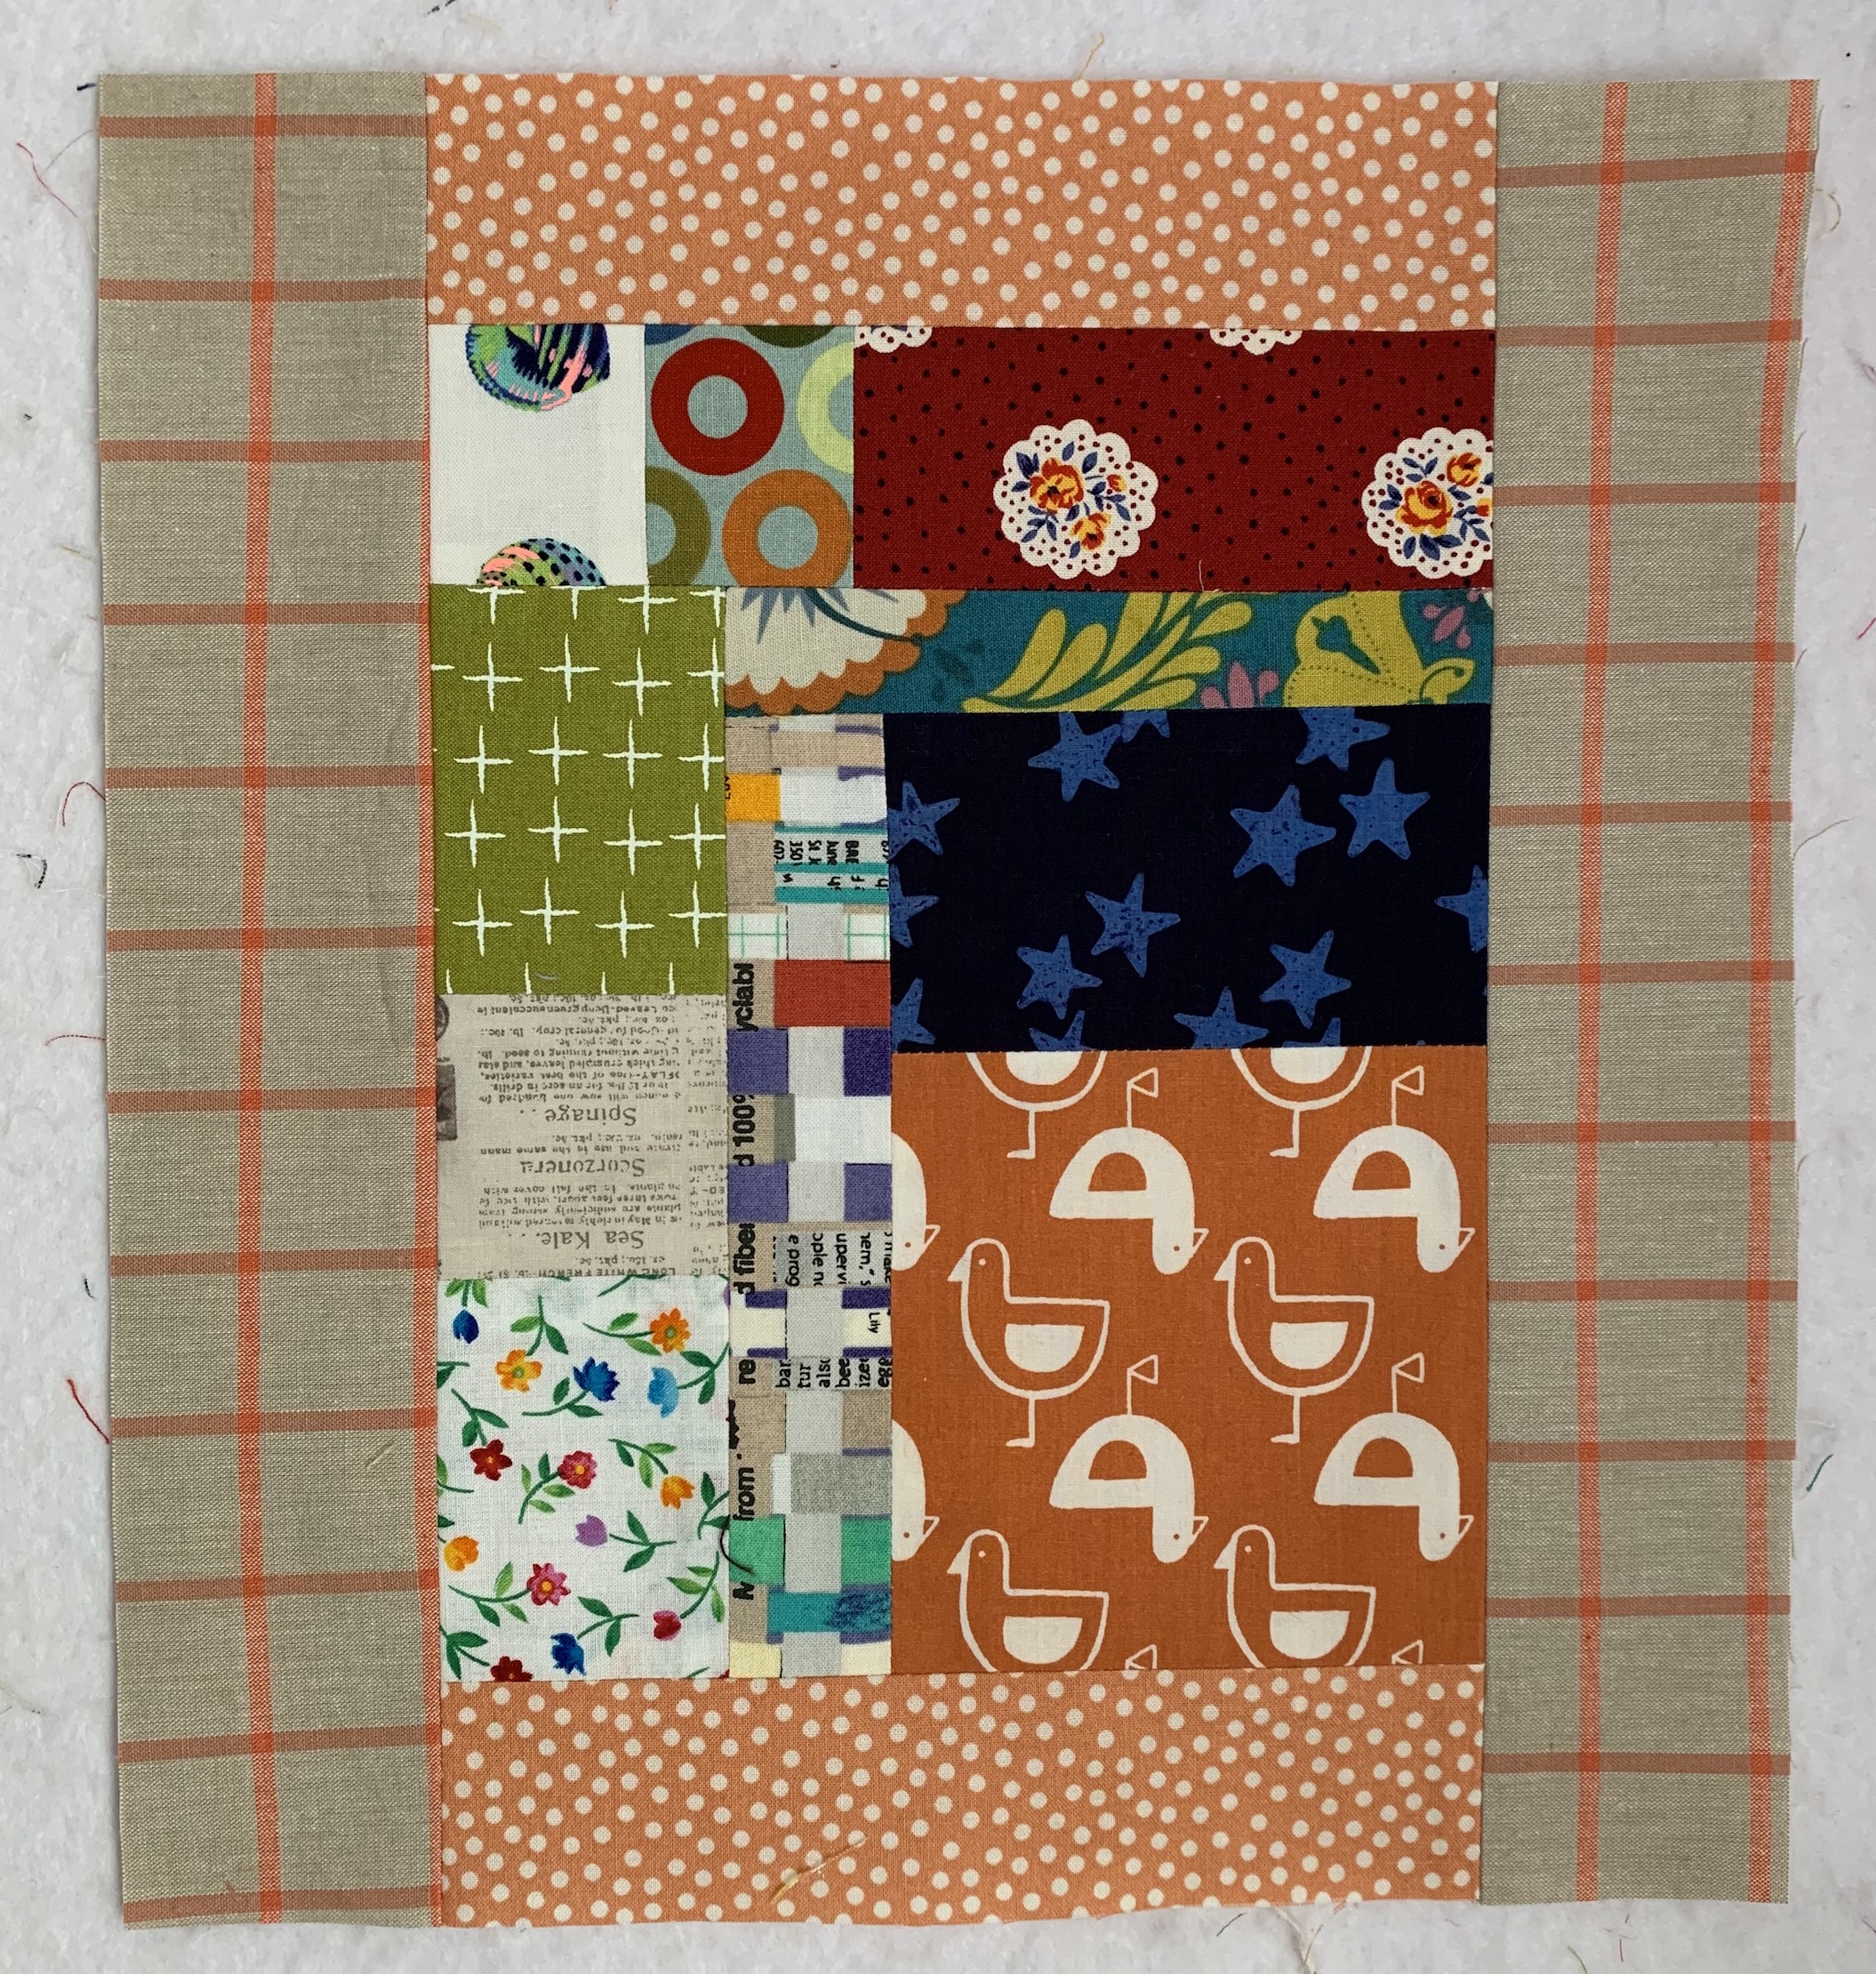
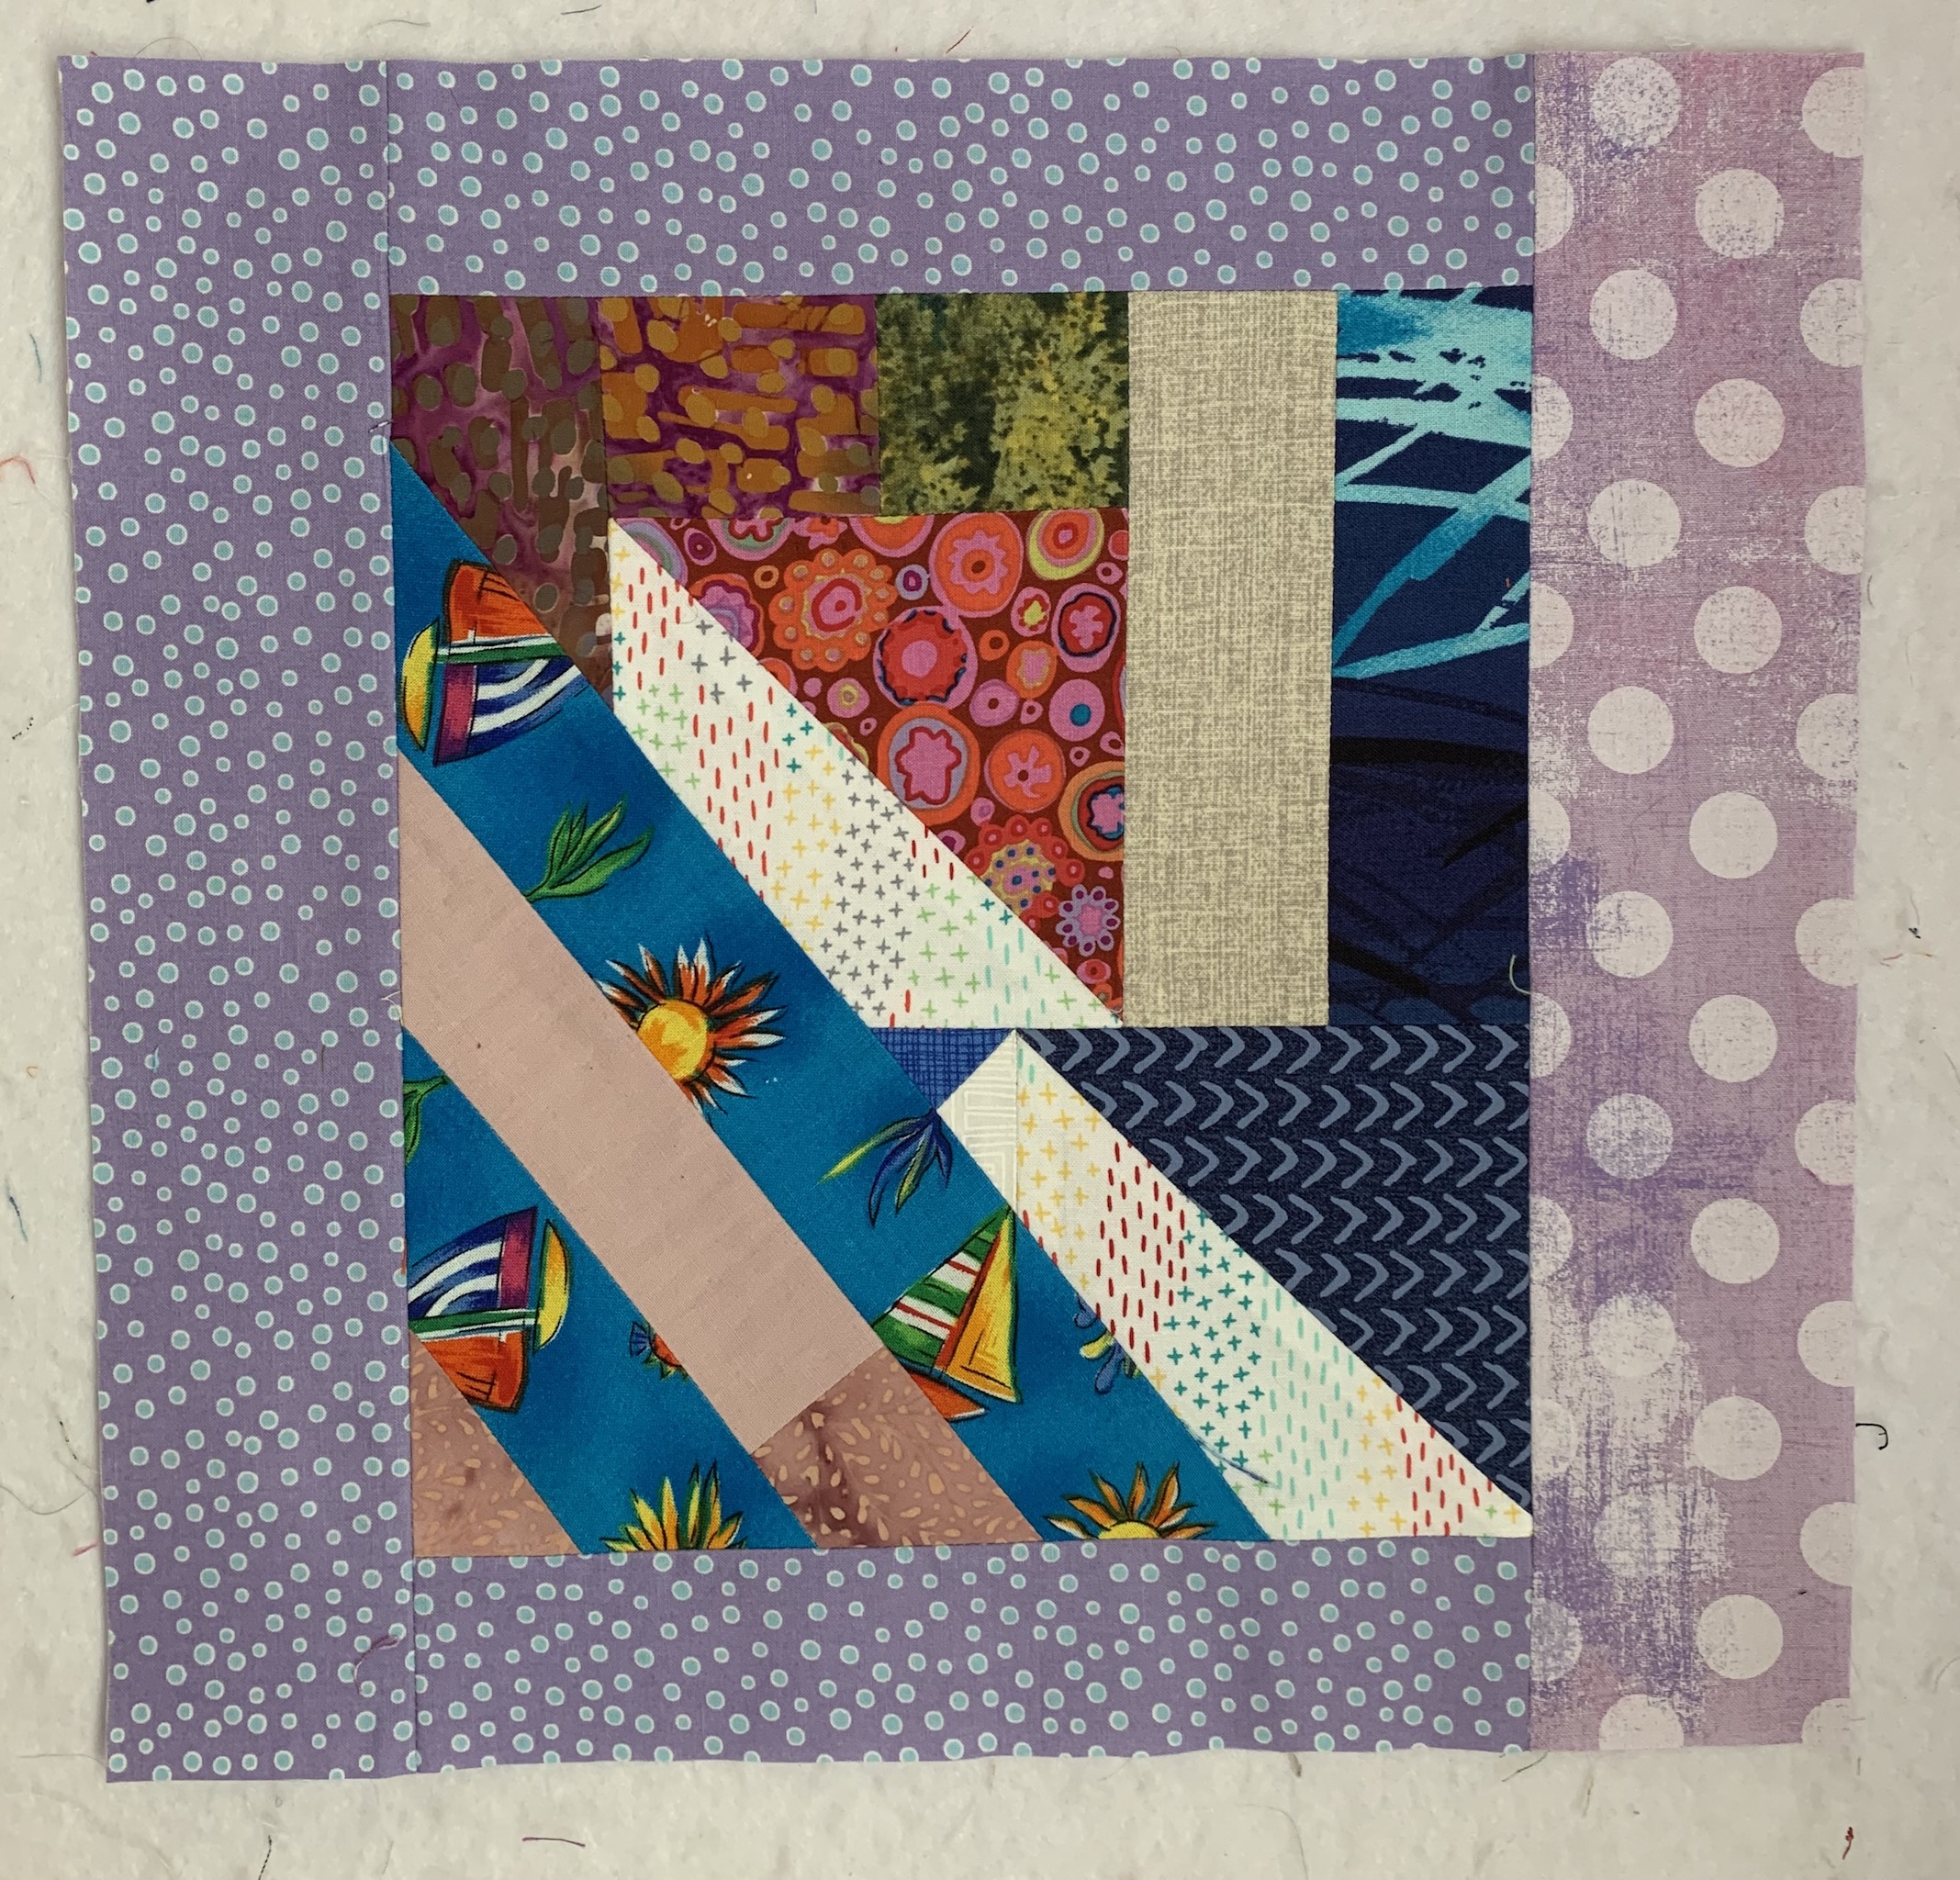
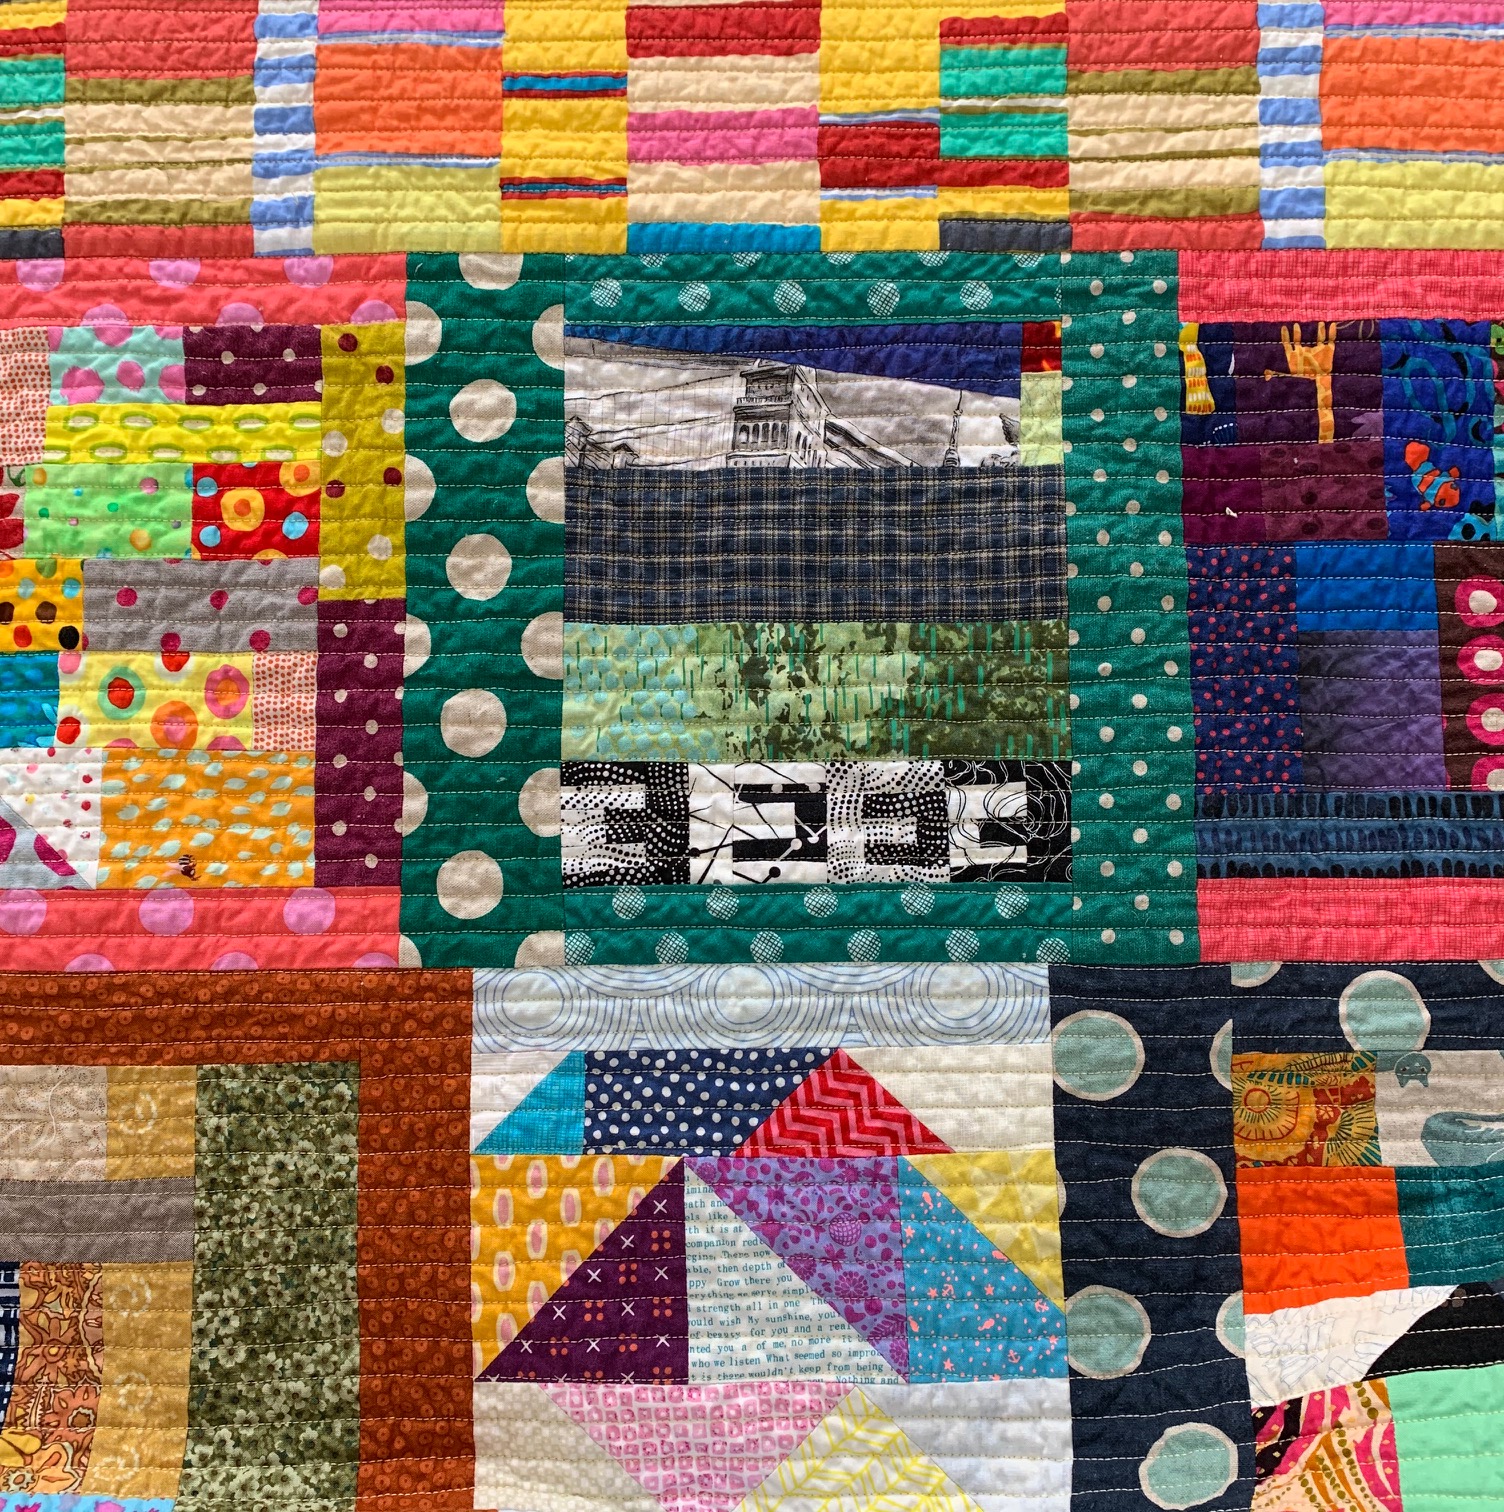
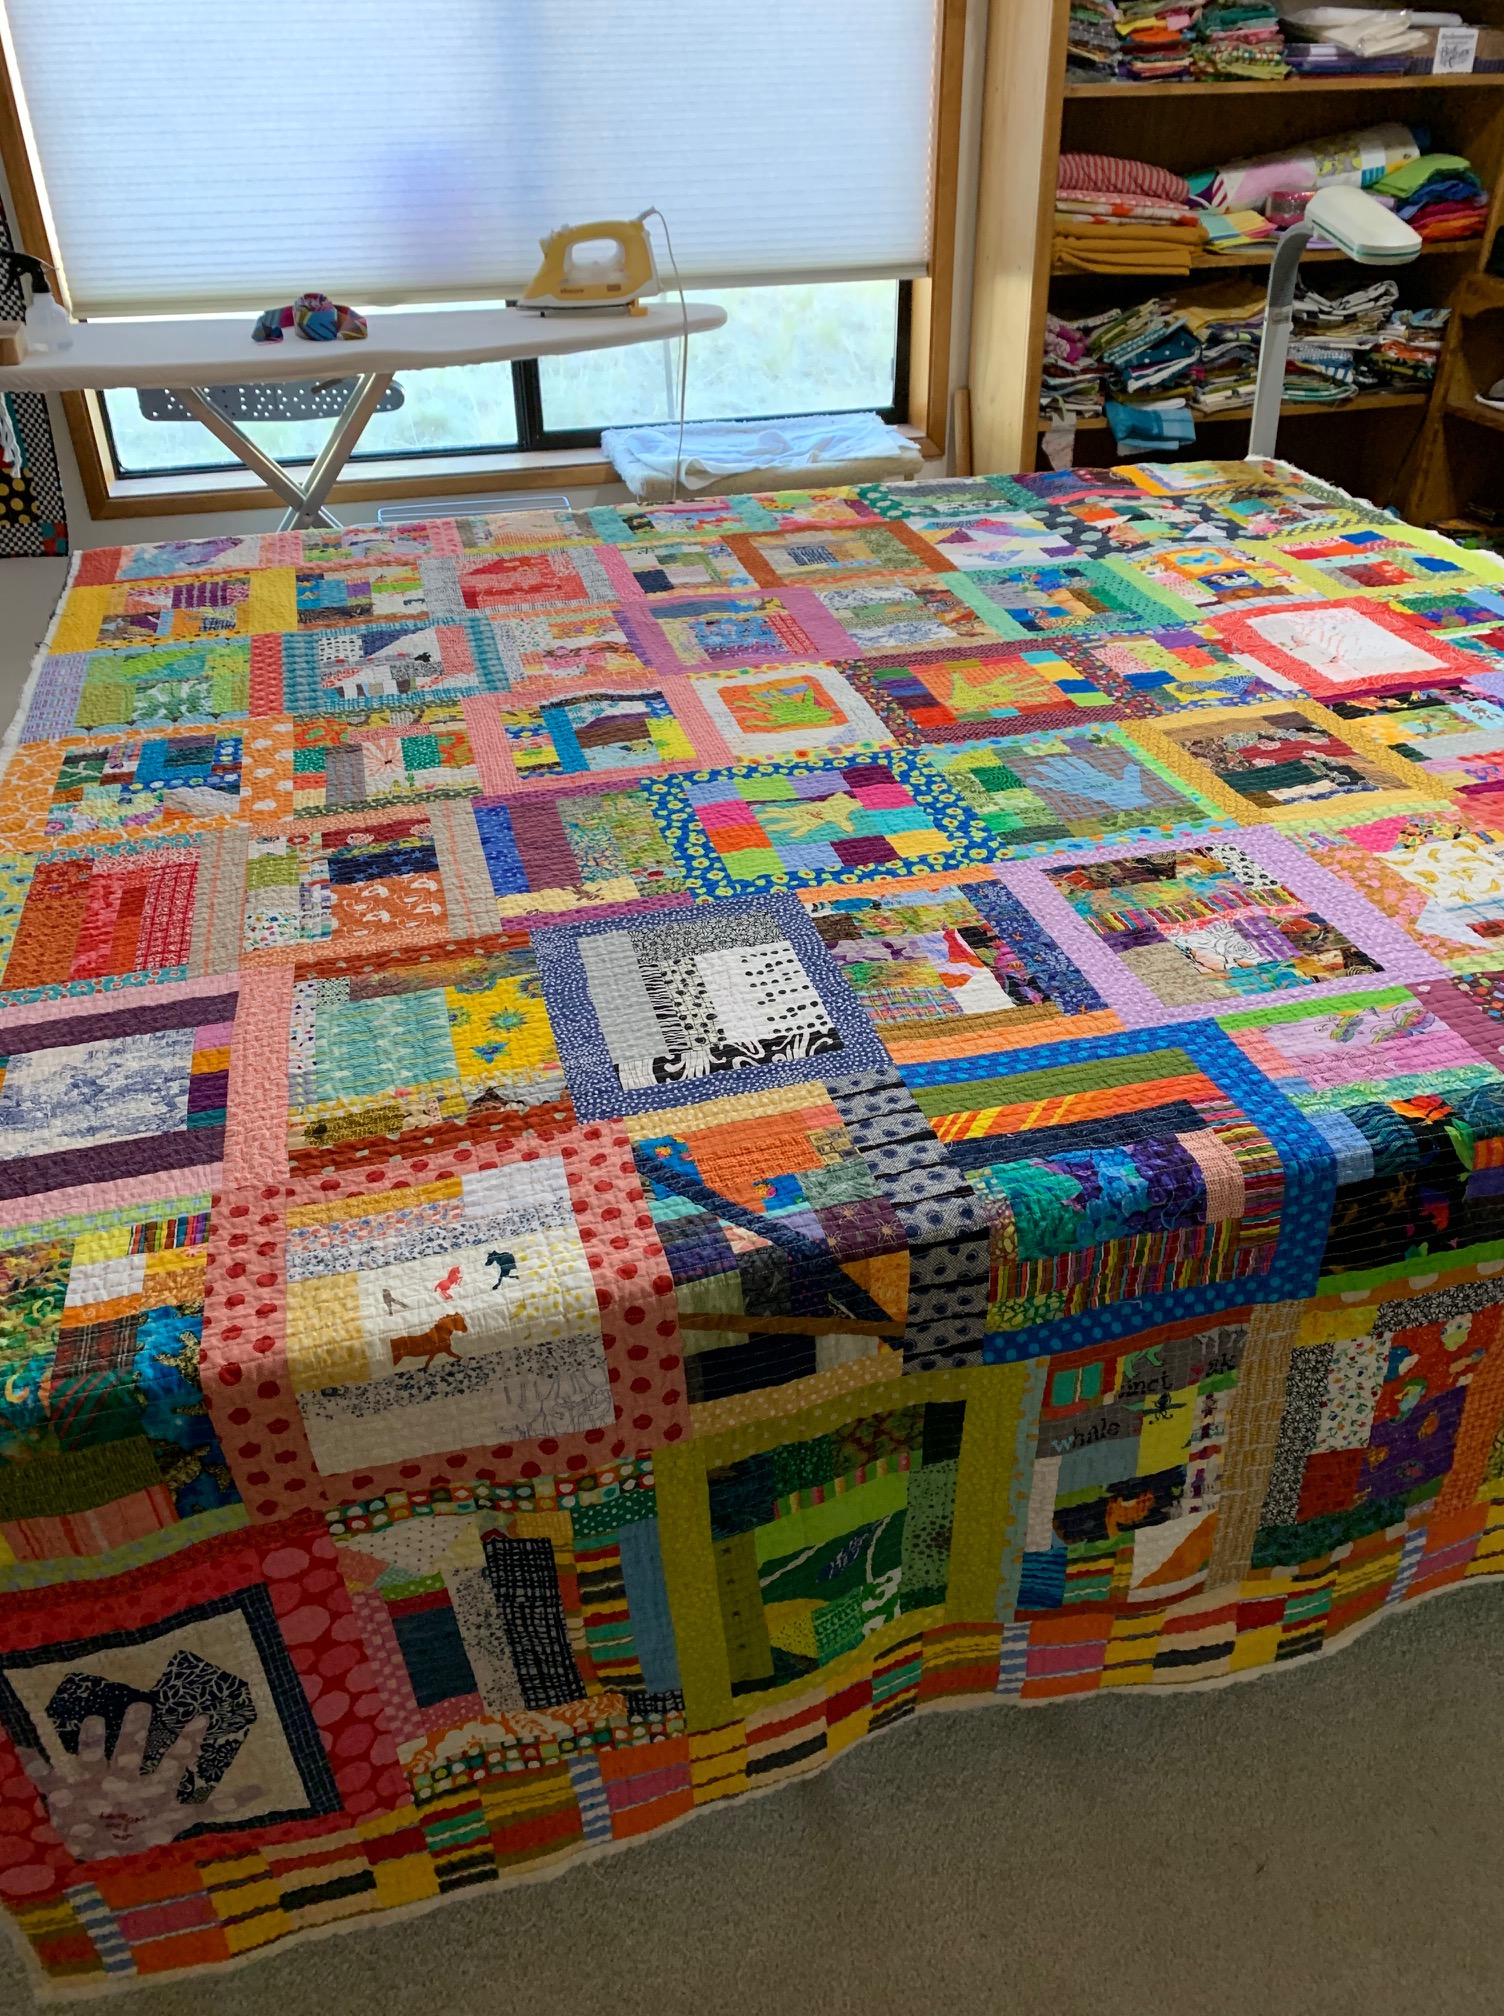
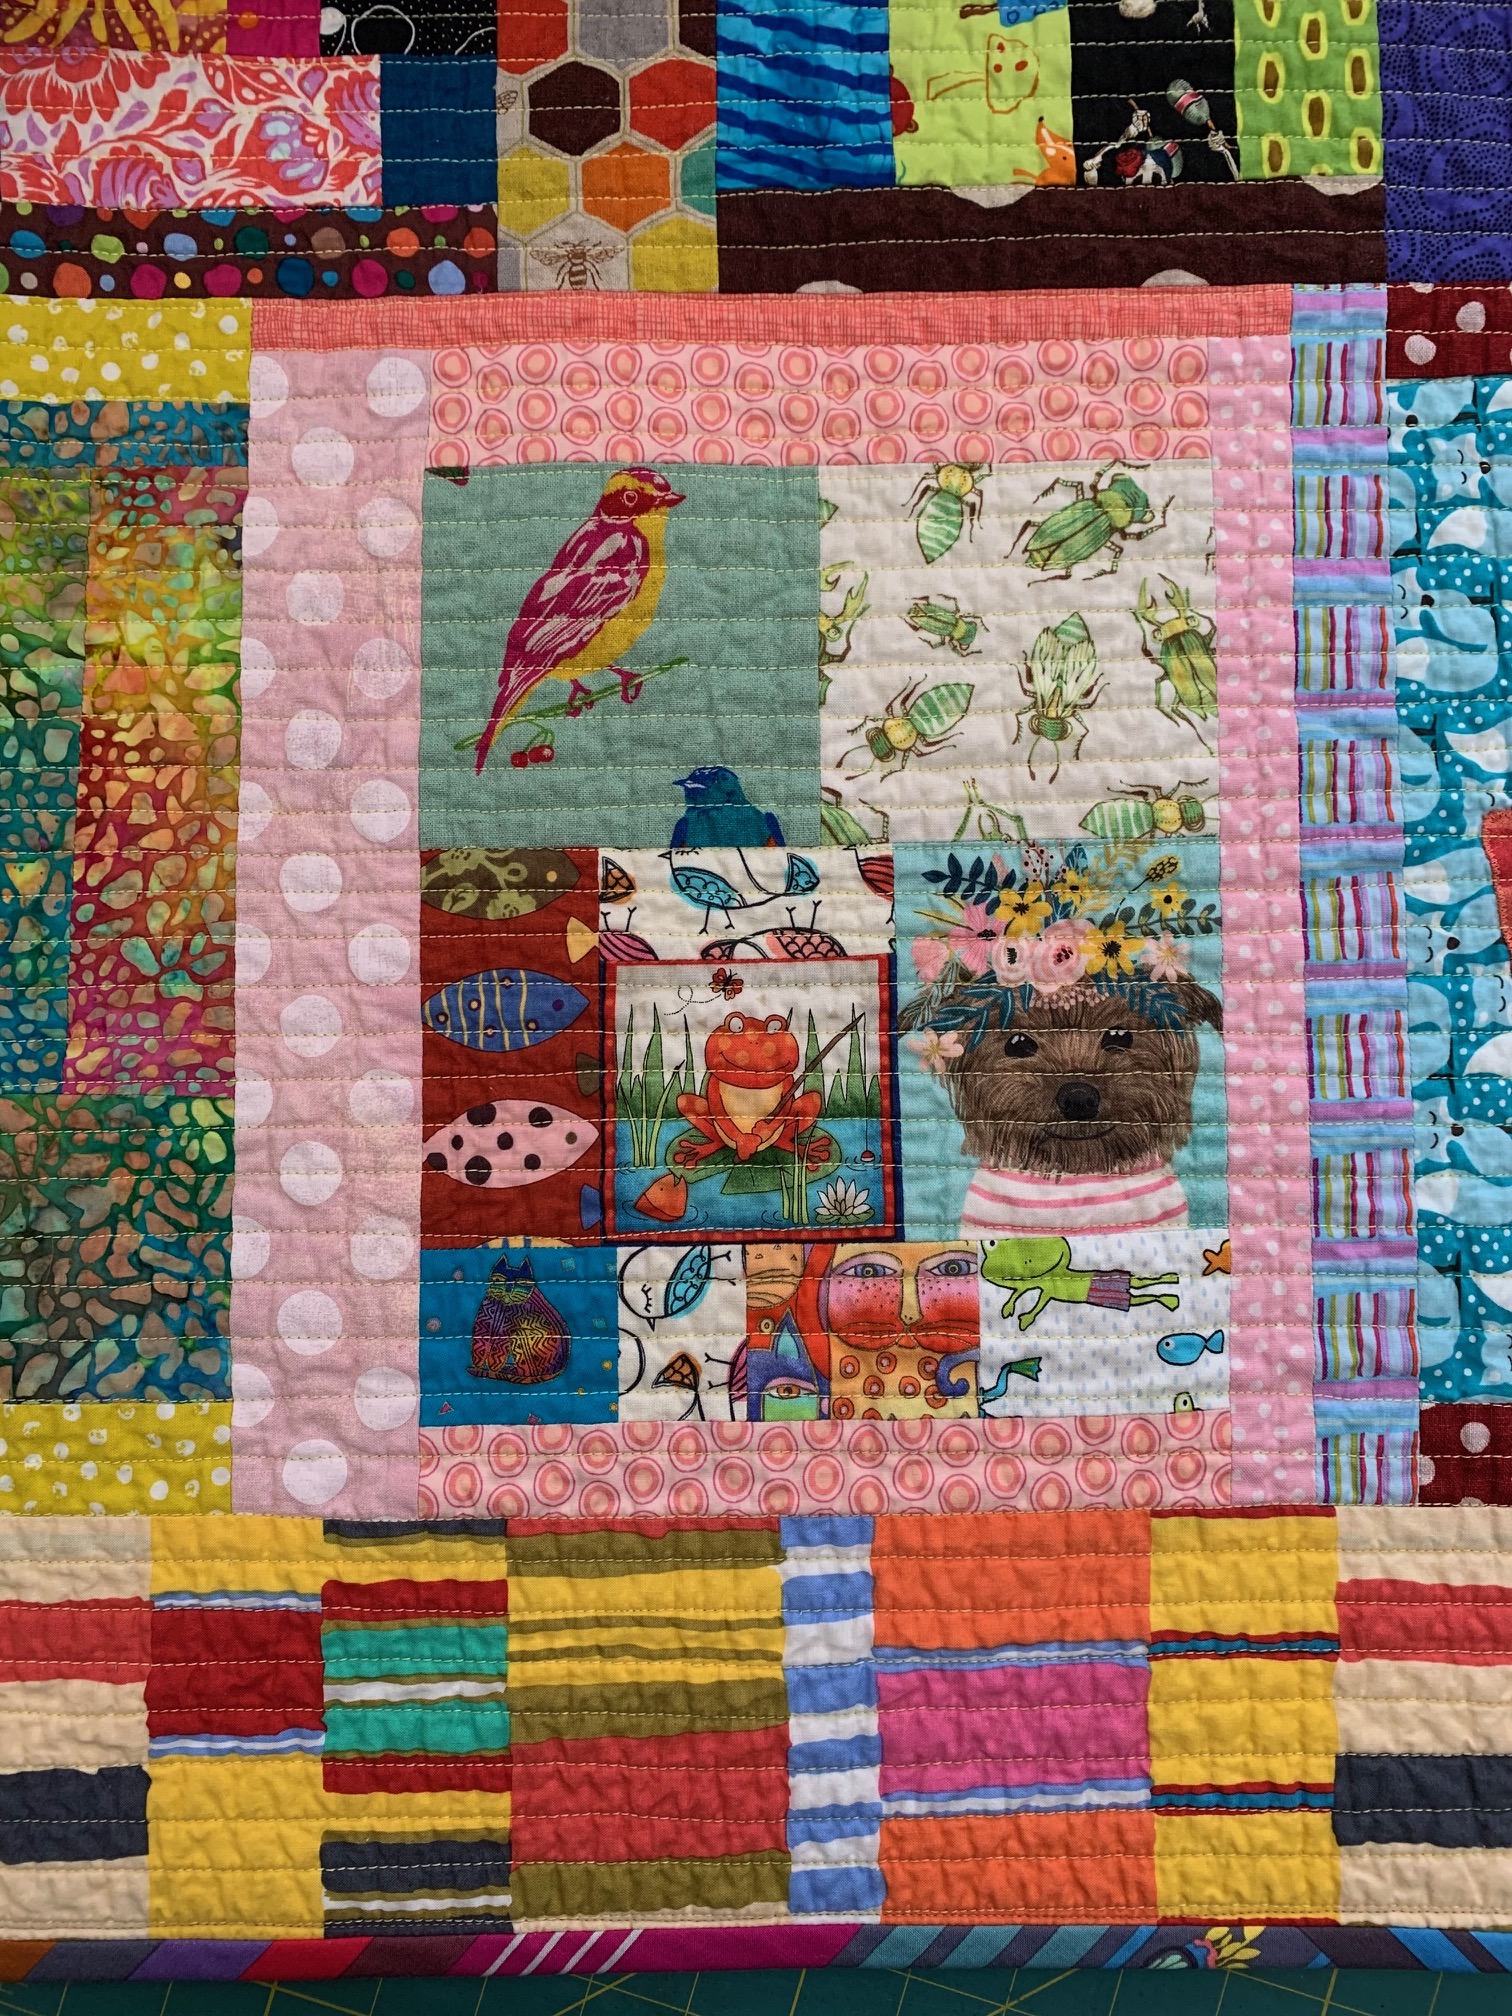
 Here are a few more detail photographs of the quilt front:
 The quilt back is fun too, with the assortment of found fabrics and leftovers. A friend sent me her found robot boy yardage for the center; she thought it perfect for The Boys.
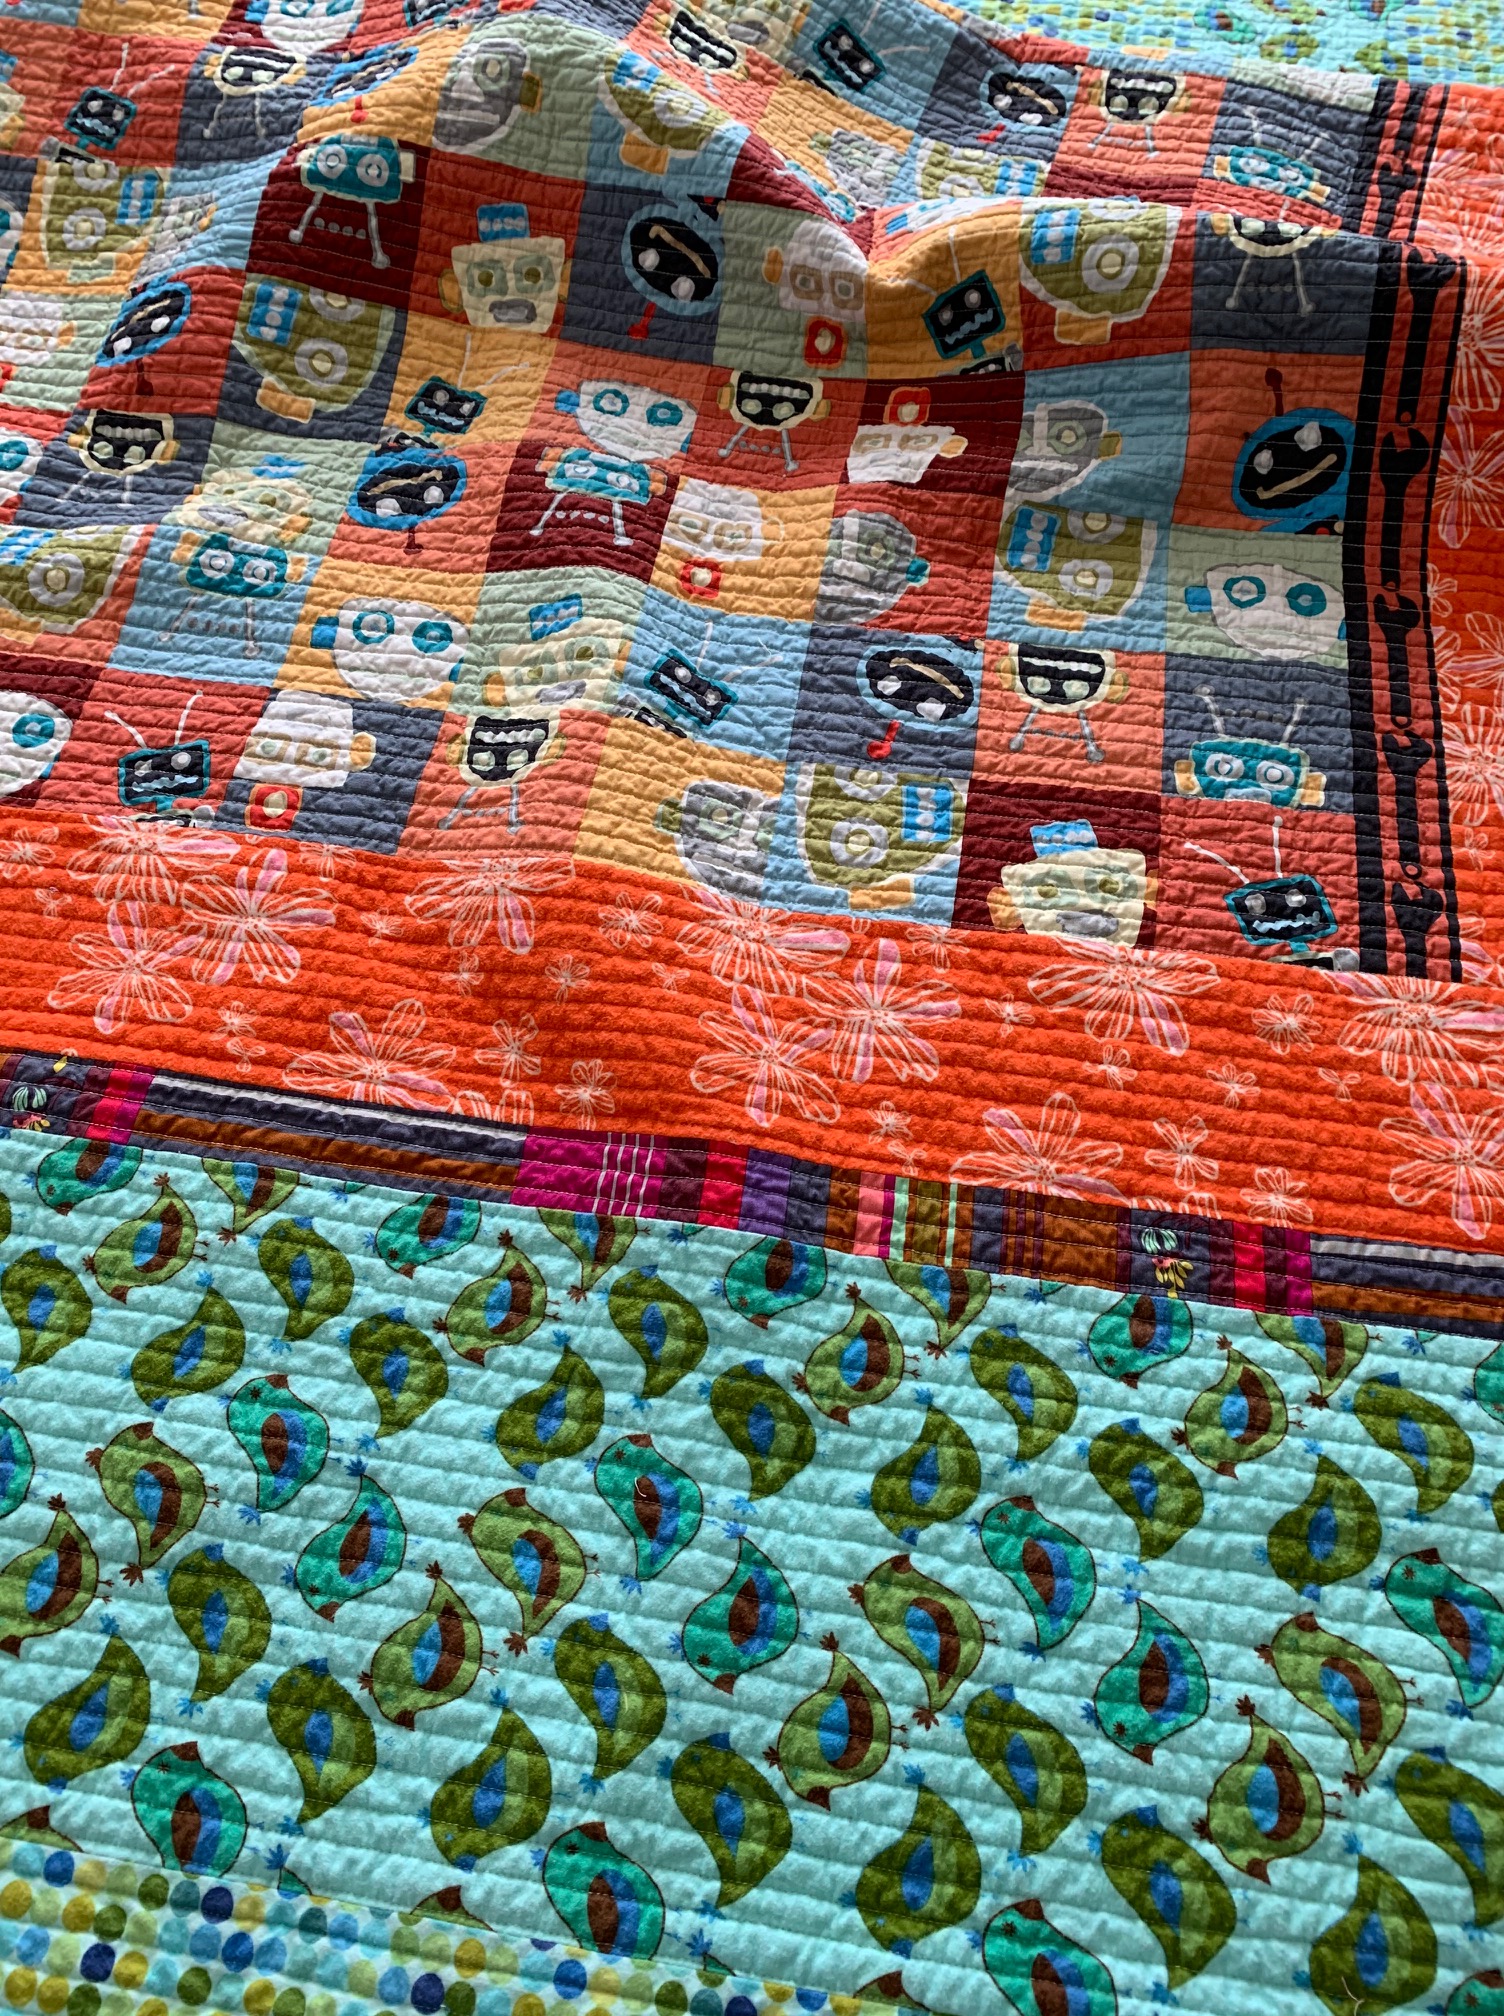

 I’m so pleased I took the time to embroider the labels. These labels will last as long as the quilt.

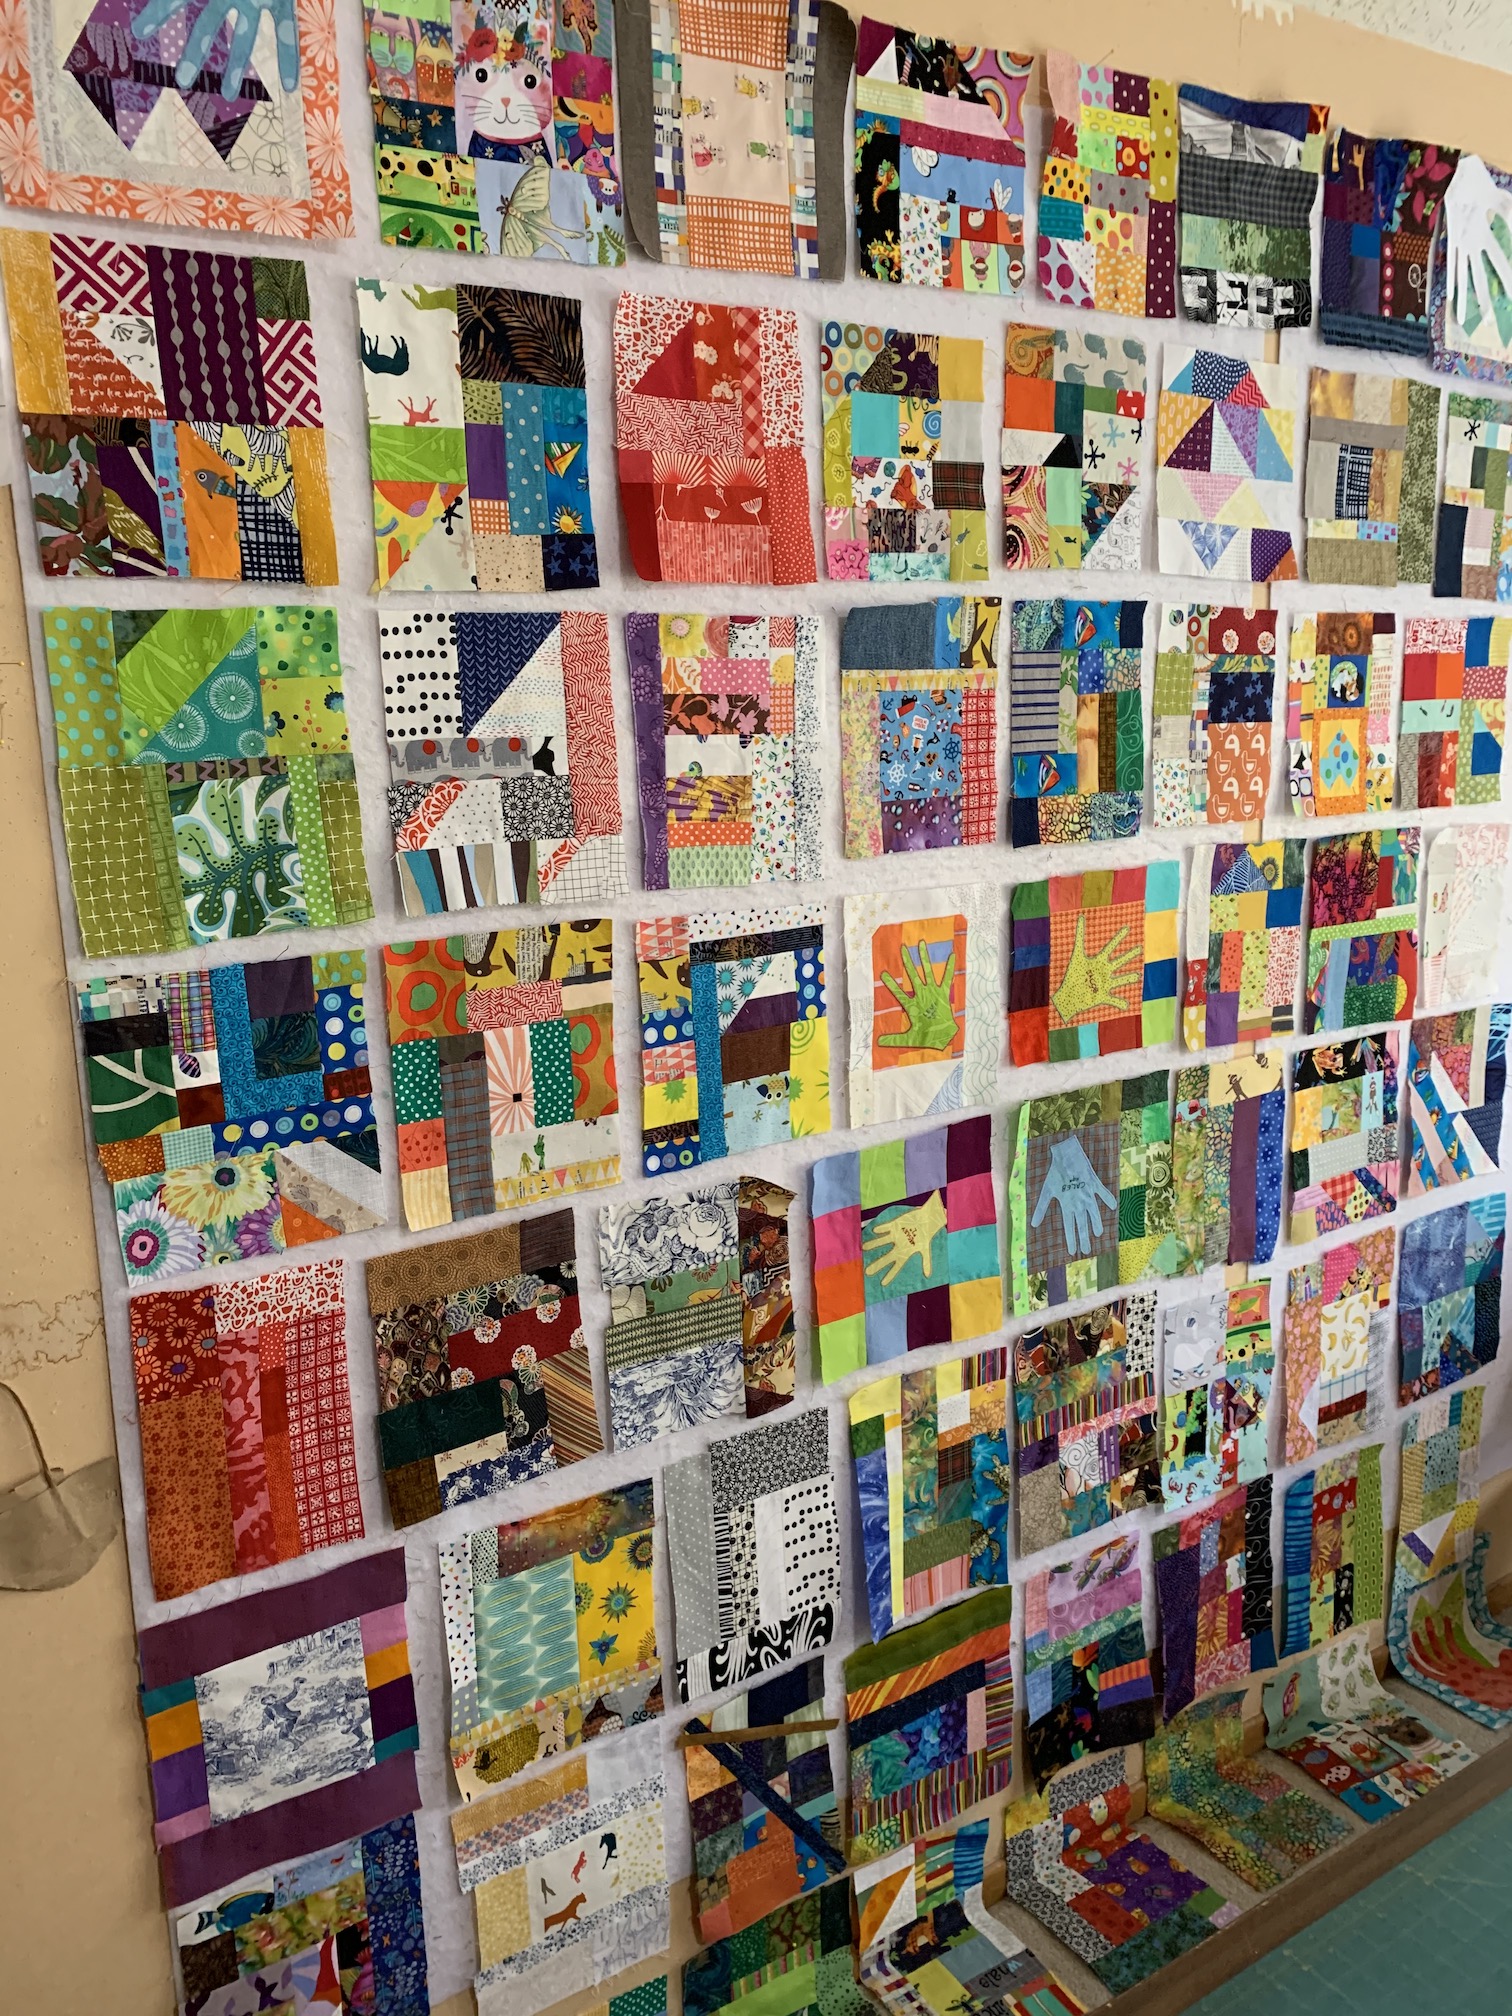
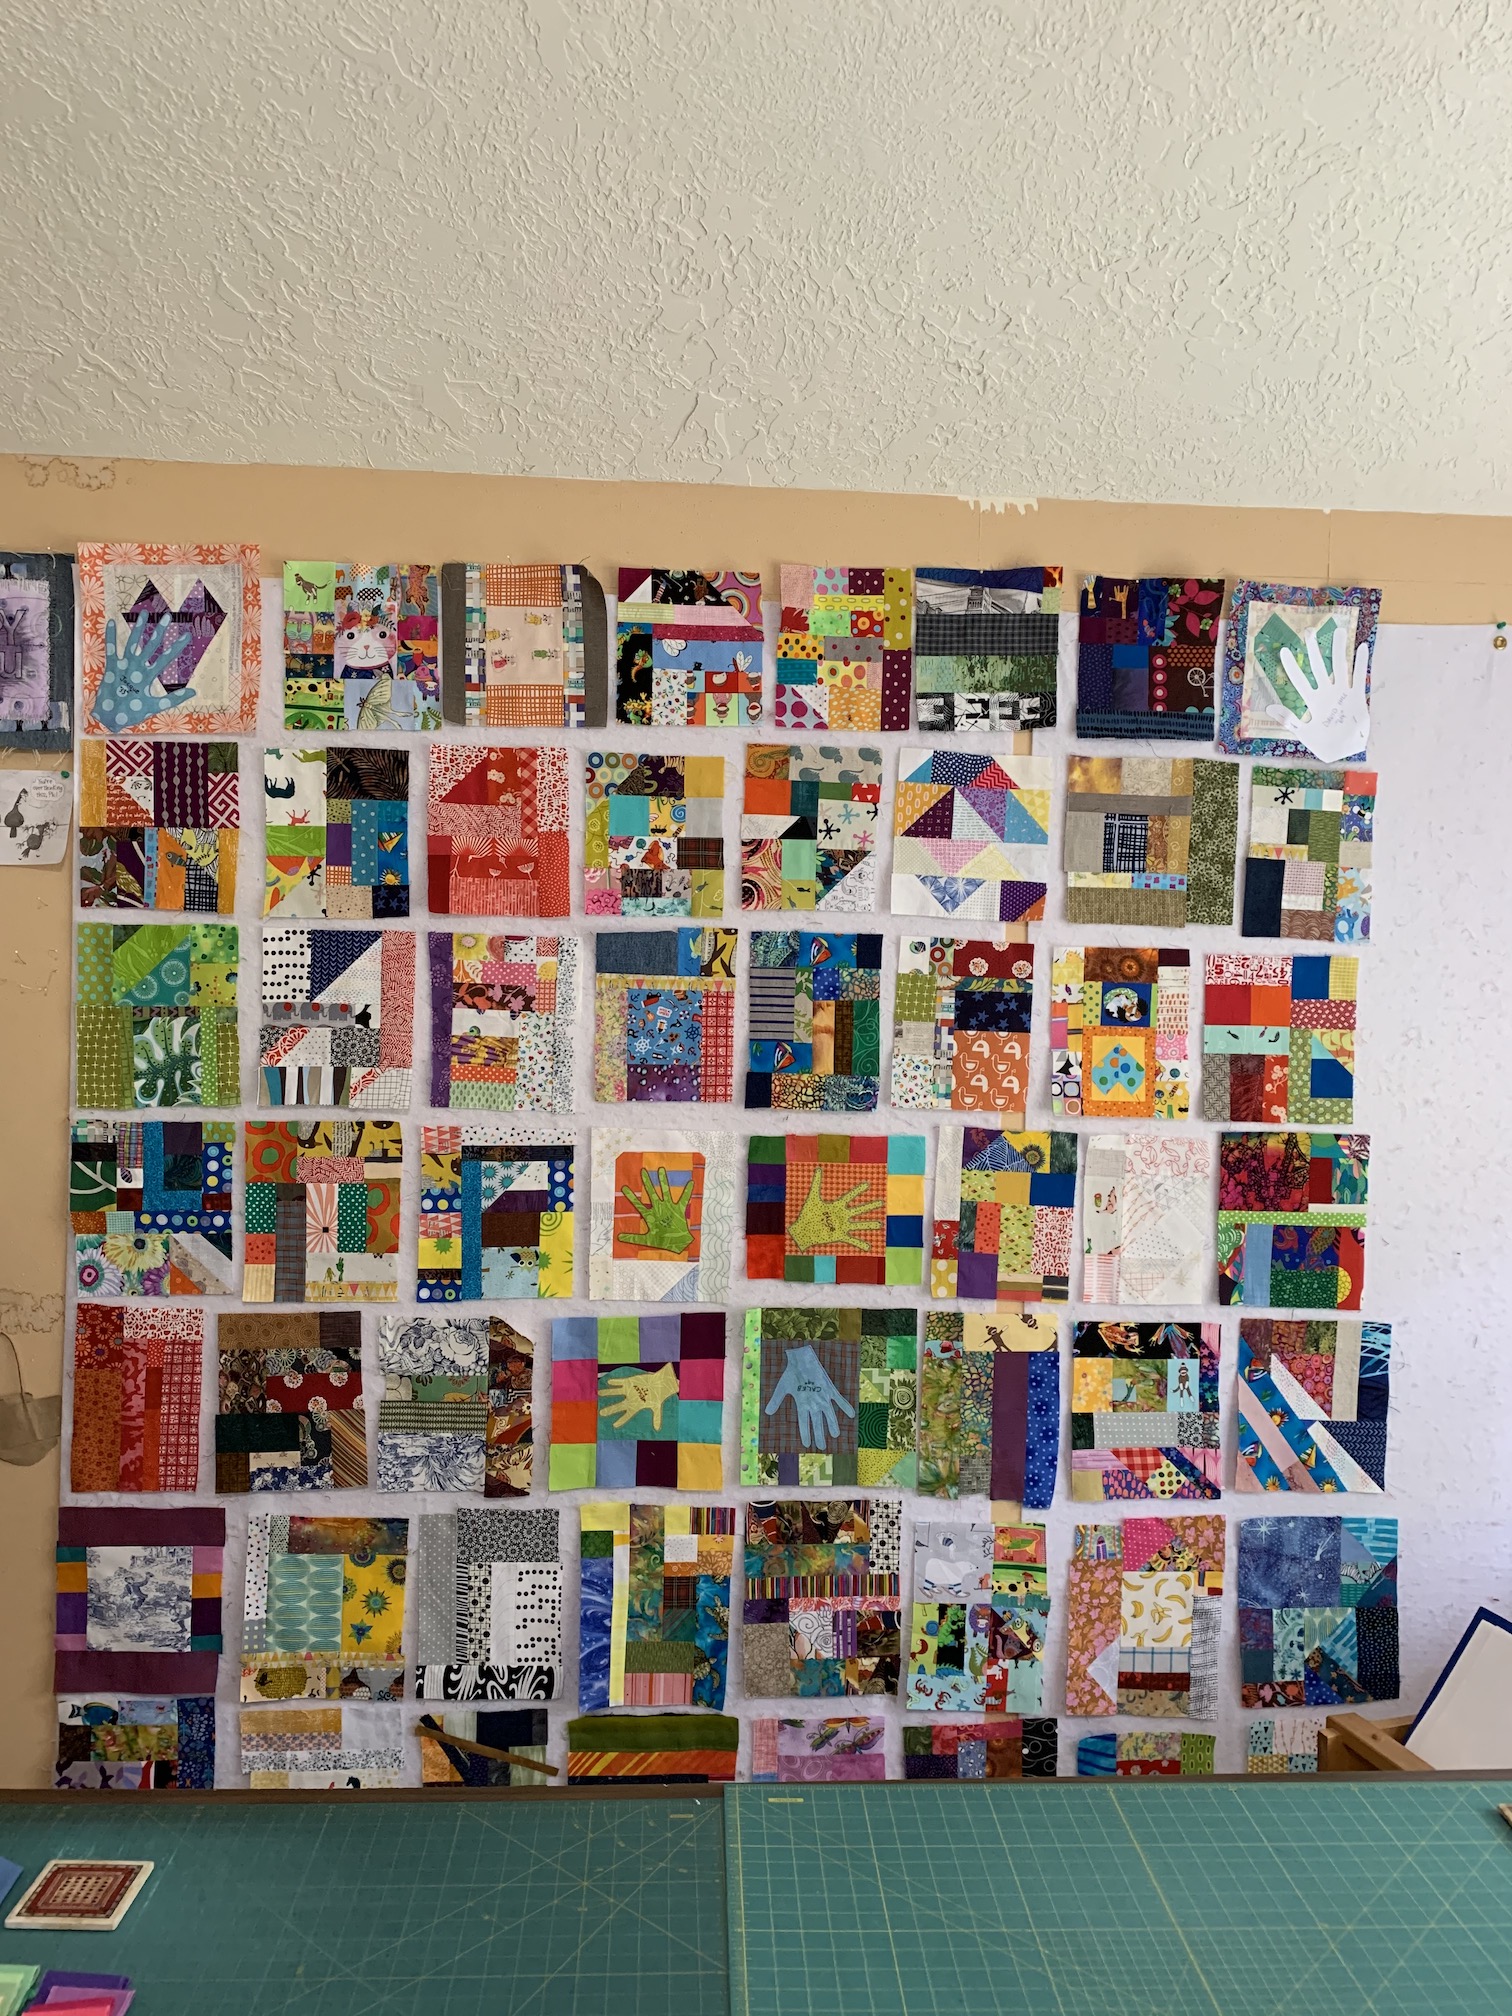
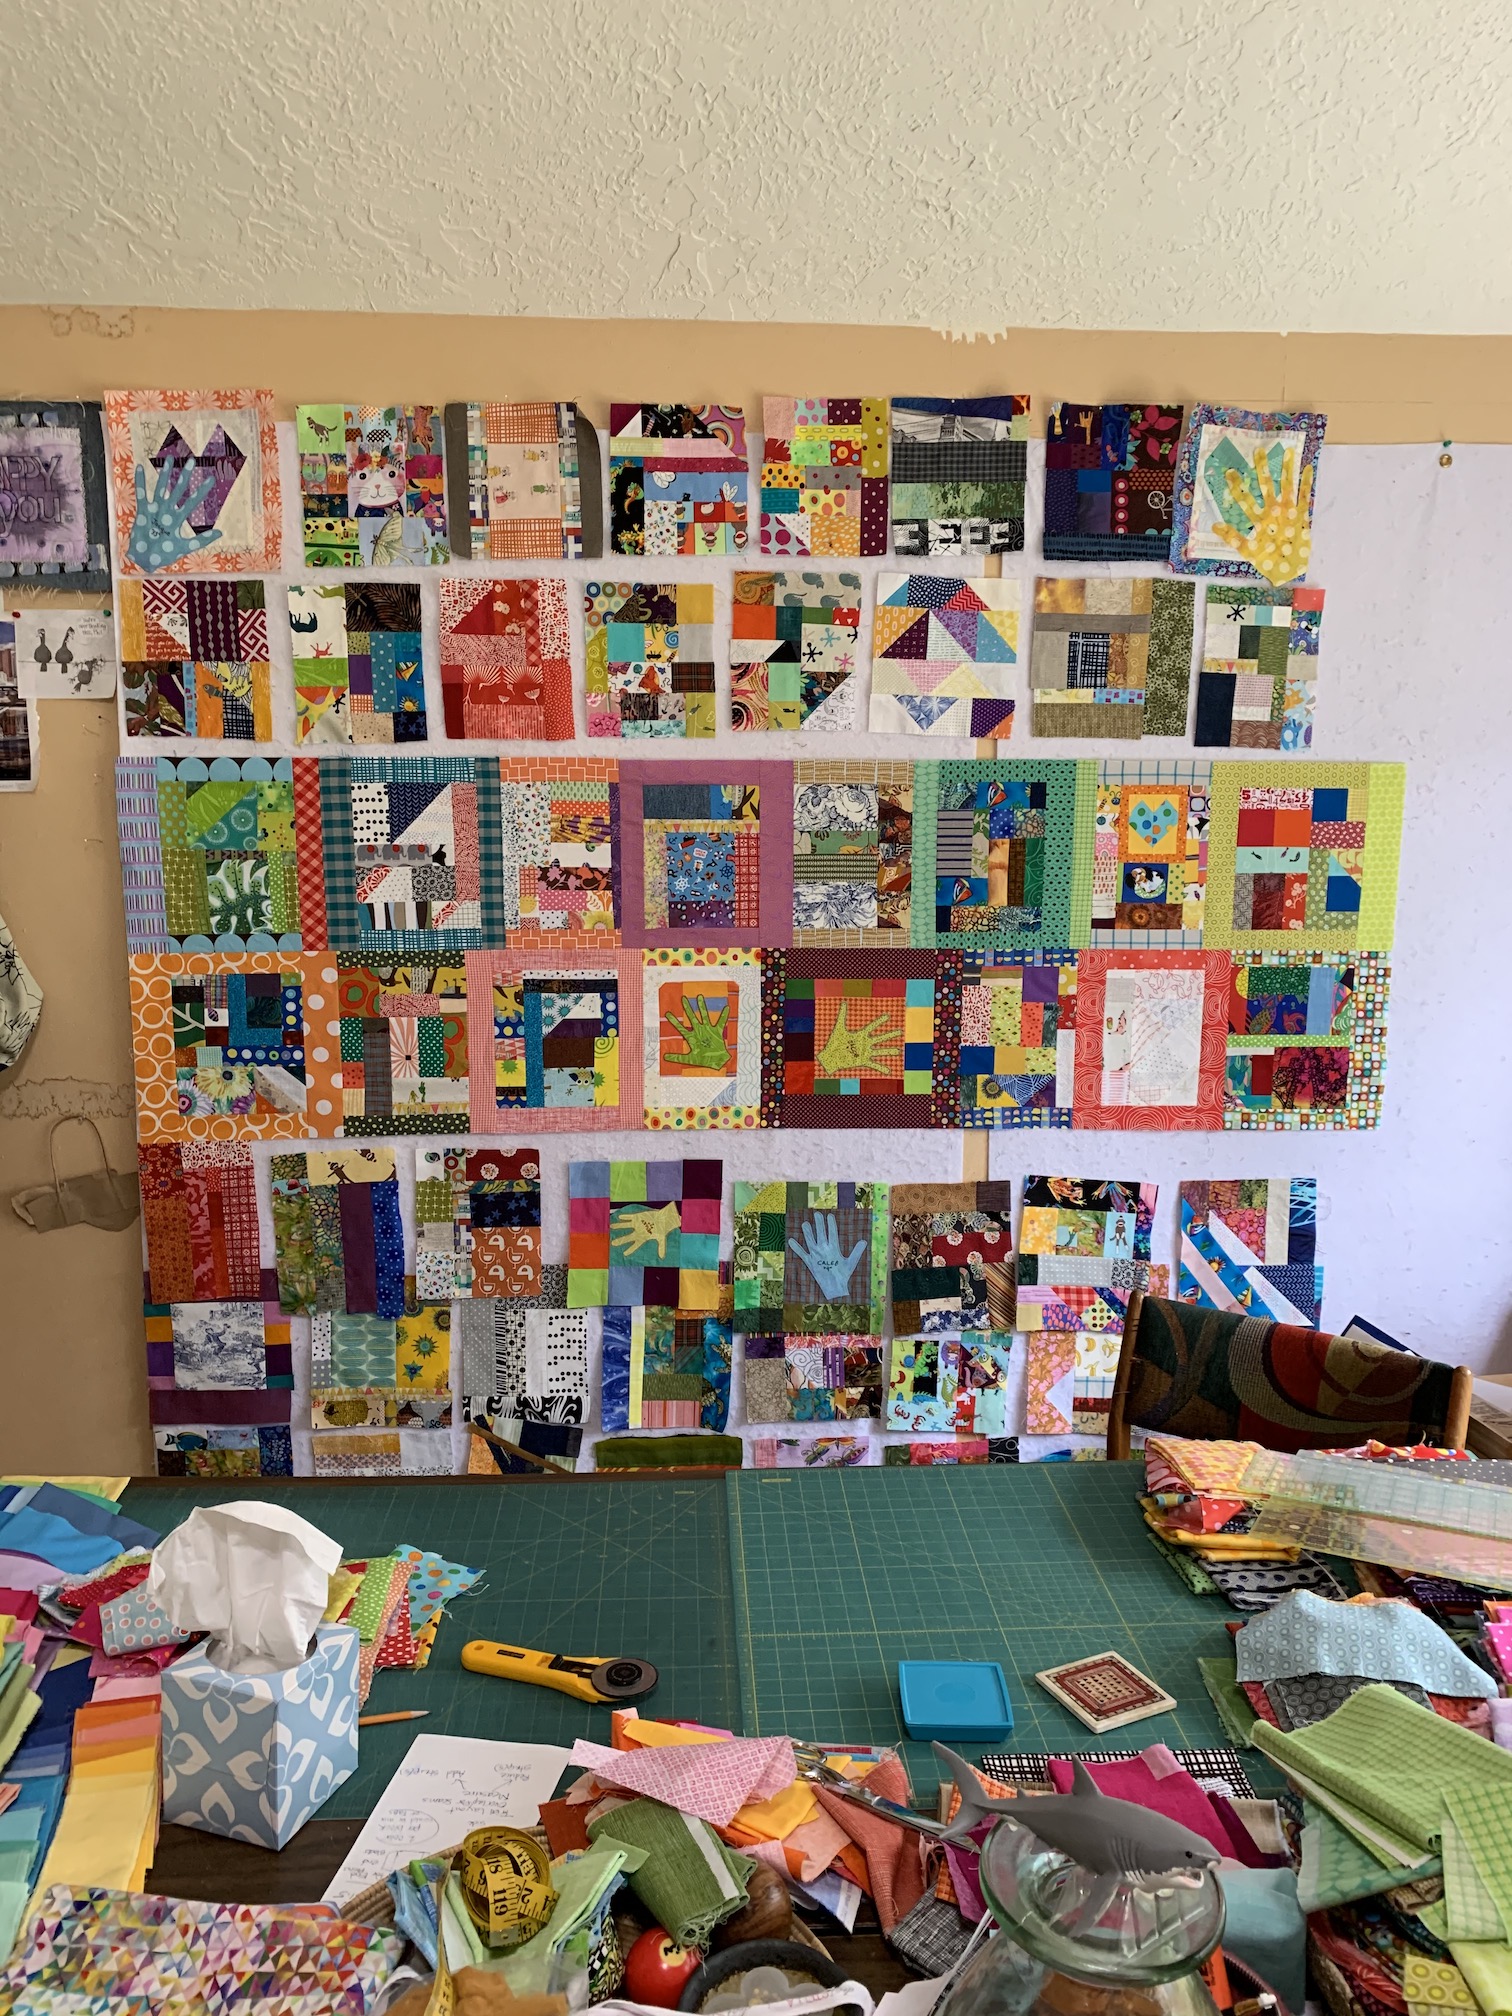
 It had been a long time since “The Boys” had seen the blocks, and I wondered what they would remember about their creations. But the 3 older boys wasted no time in finding their hand and favorite blocks.
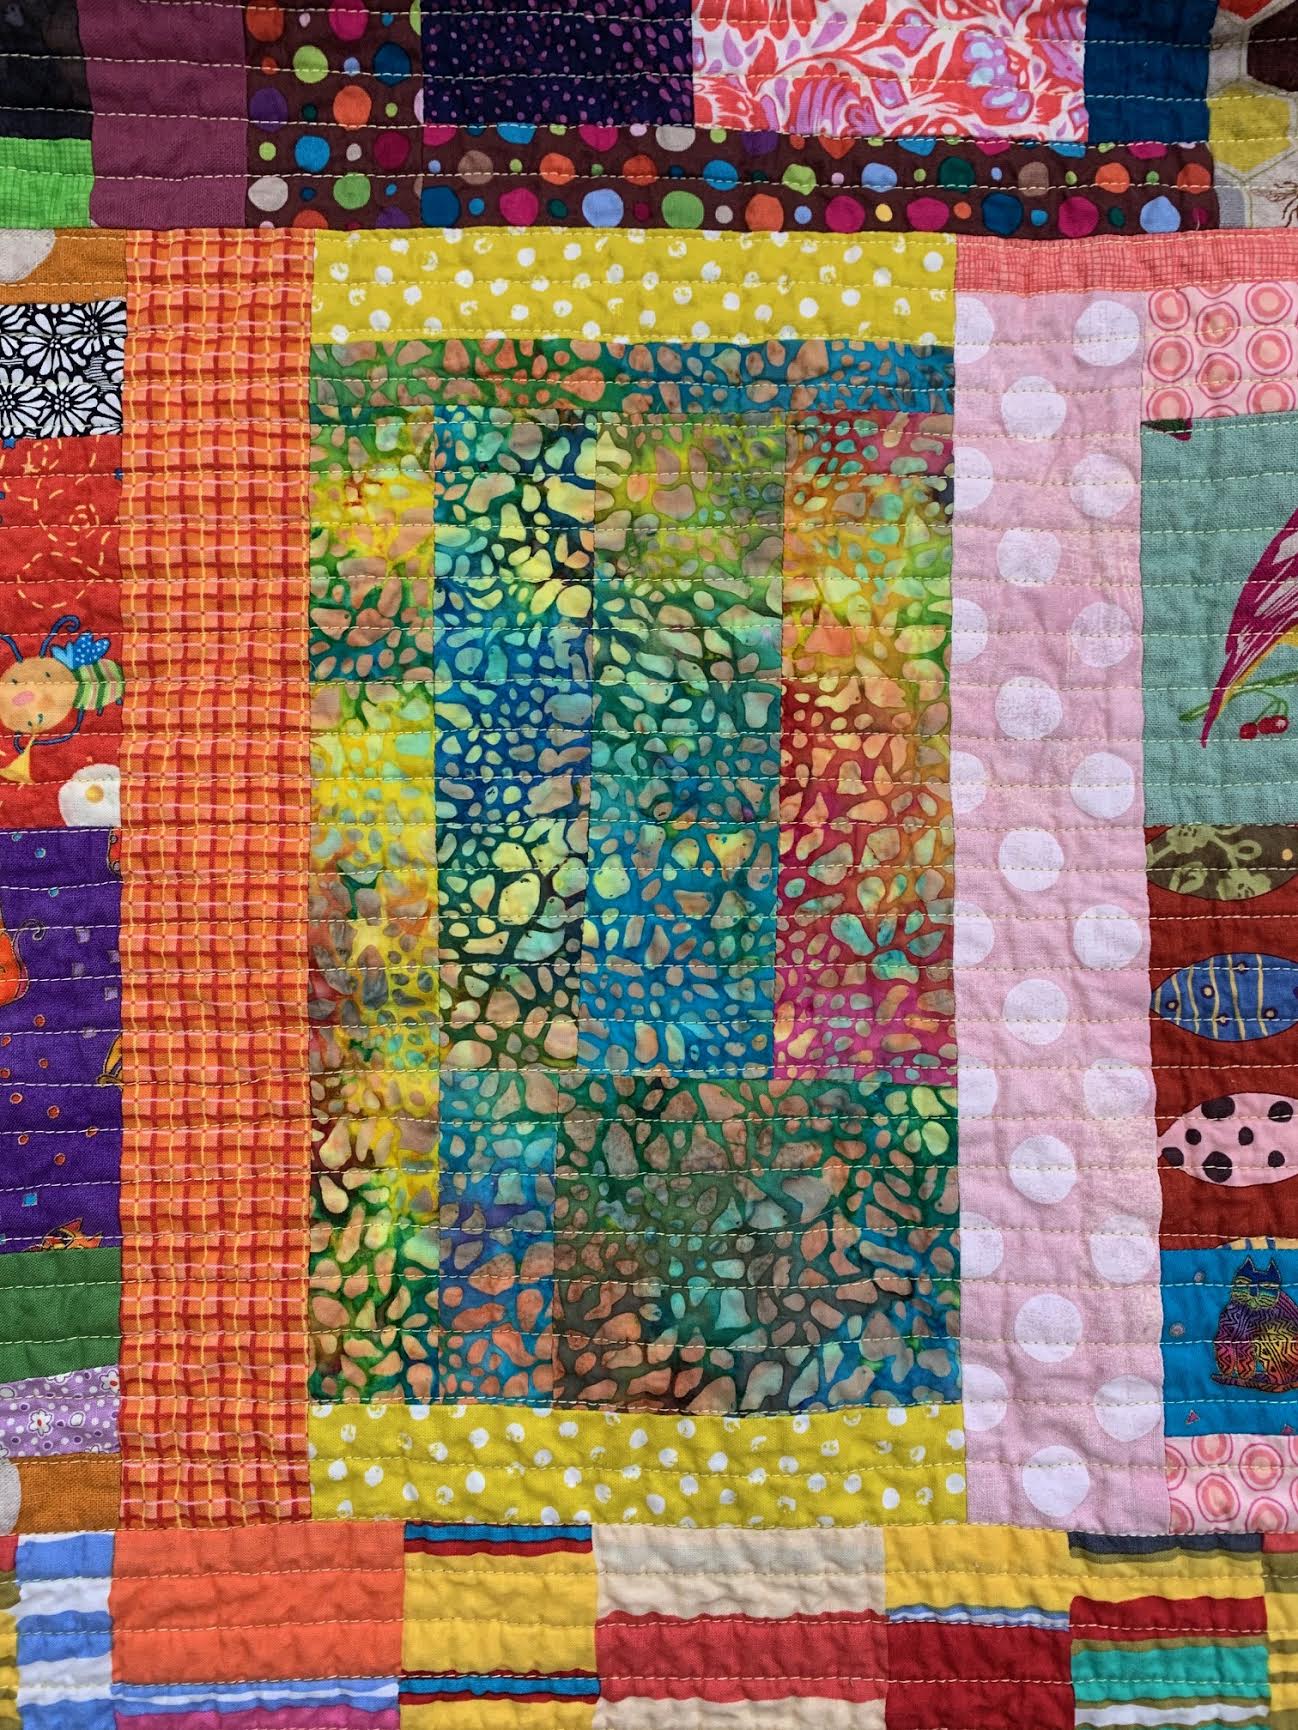 Another favorite of The Boys was this block. I think it’s graphic and moody, in a good way.
 Finally the day for the Big Giveaway came. David and I spread out several sheets on our back deck. As we watched the kids scramble around the quilt (while staying 10’ apart), some of us burst into tears while the rest became teary. This project was definitely a good thing.
 In the beginning, we were two neighbors who banded together when the state government ordered a month-long lockdown. At first, we joined forces to add something special to the daily life of “The Boys”, whose routines had changed suddenly with the Pandemic.


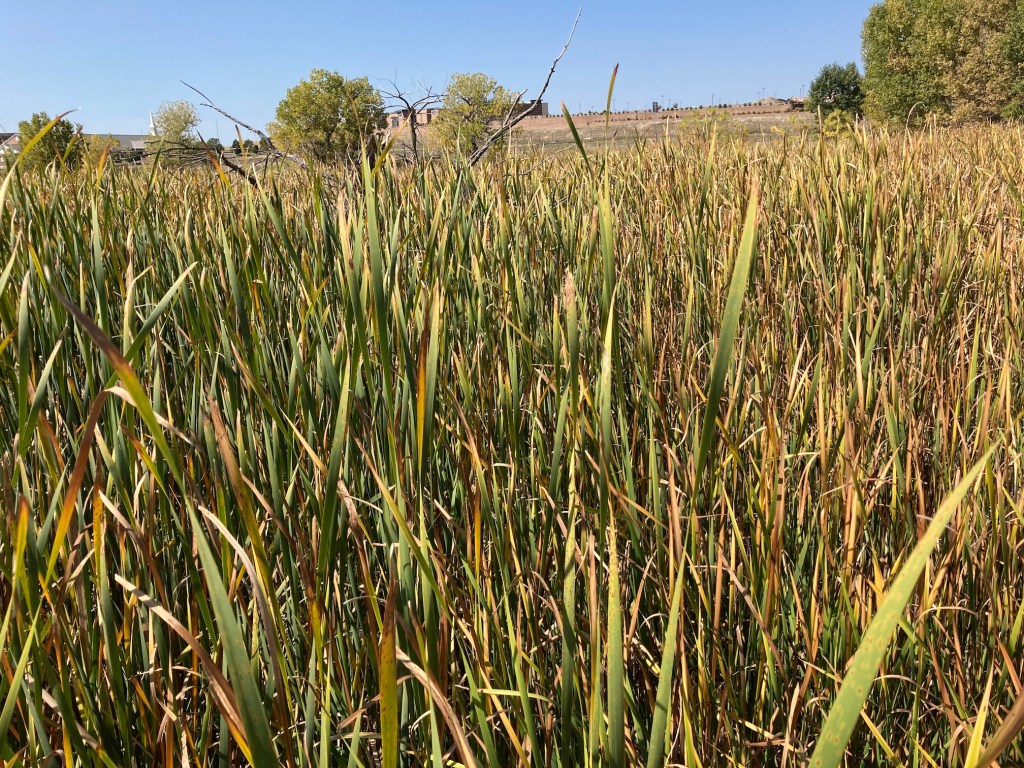
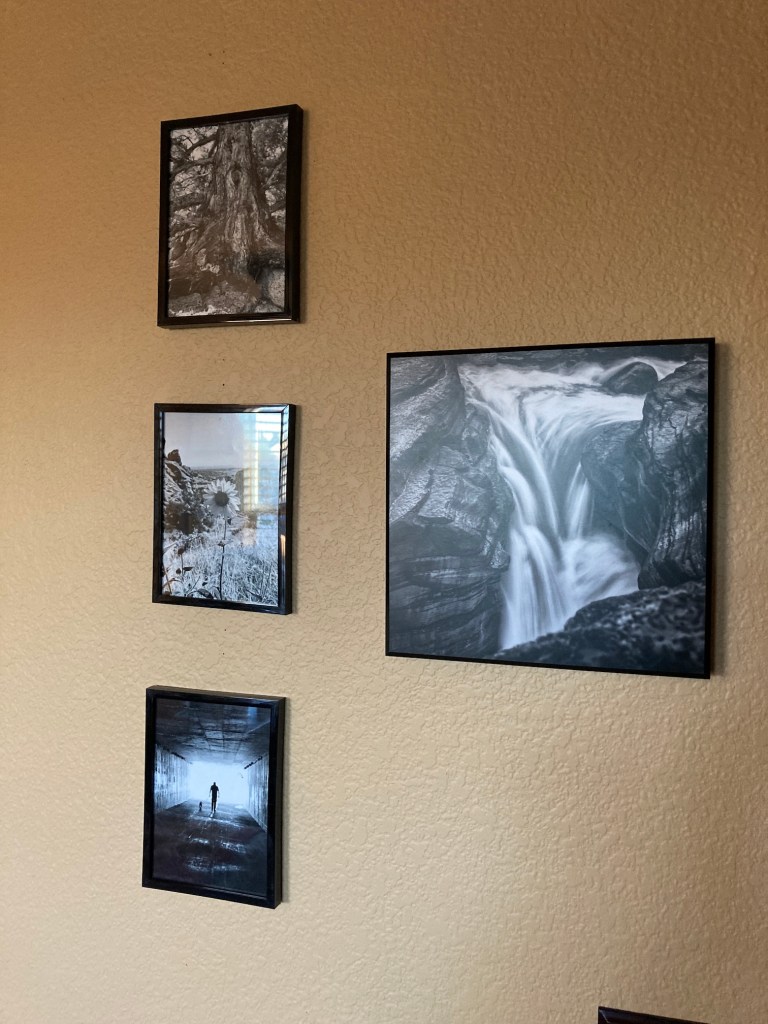
 I so enjoy seeing beautiful nature/landscape photos on the blogs I follow and I wanted to share a couple with you!
 We had to navigate the crowded hallway for a day or two, but the cats loved exploring this new-to-them space.
 With the quilt back centered on the batting, the window open, the ceiling fan on low, and paper around the edge to catch any over spray, I’m ready to baste.
 I can baste any size quilt with my “assistant”: a swim noodle. (My assistant never complains but getting up off the floor is another story!)
 Repeat to spray baste both halves of the quilt. Trim the excess batting along the fabric edge. Allow to dry for a few hours or overnight before turning over and taping the quilt to the floor.
 With both ends of the quilt rolled up to the middle, I stitched lines about 3”-4” apart with the water soluble thread, from the middle to the edge. Repeat with the other half. Re-roll the quilt in the other direction, stitching perpendicular lines about 3”-4” apart.


 With the quilt rolled up from both ends to the middle, I started stitching the roughly parallel lines, using the pressor foot as a guide. Ignore the water soluble thread lines.
 Keep quilting! The lines are actually unequal distances apart and not perfectly straight, but I like this look on a scrappy quilt.
 I used the seam lines between the rows to “square up” my parallel lines.
 Celebration! The very last line of stitching!! I zigzagged the edges and trimmed the batting before tossing the quilt into the washer and dryer. I like to let the quilt shrink at this stage, before sewing on the binding.
 Remove the quilt from the dryer while still slightly damp and allow to air dry the rest of the way.


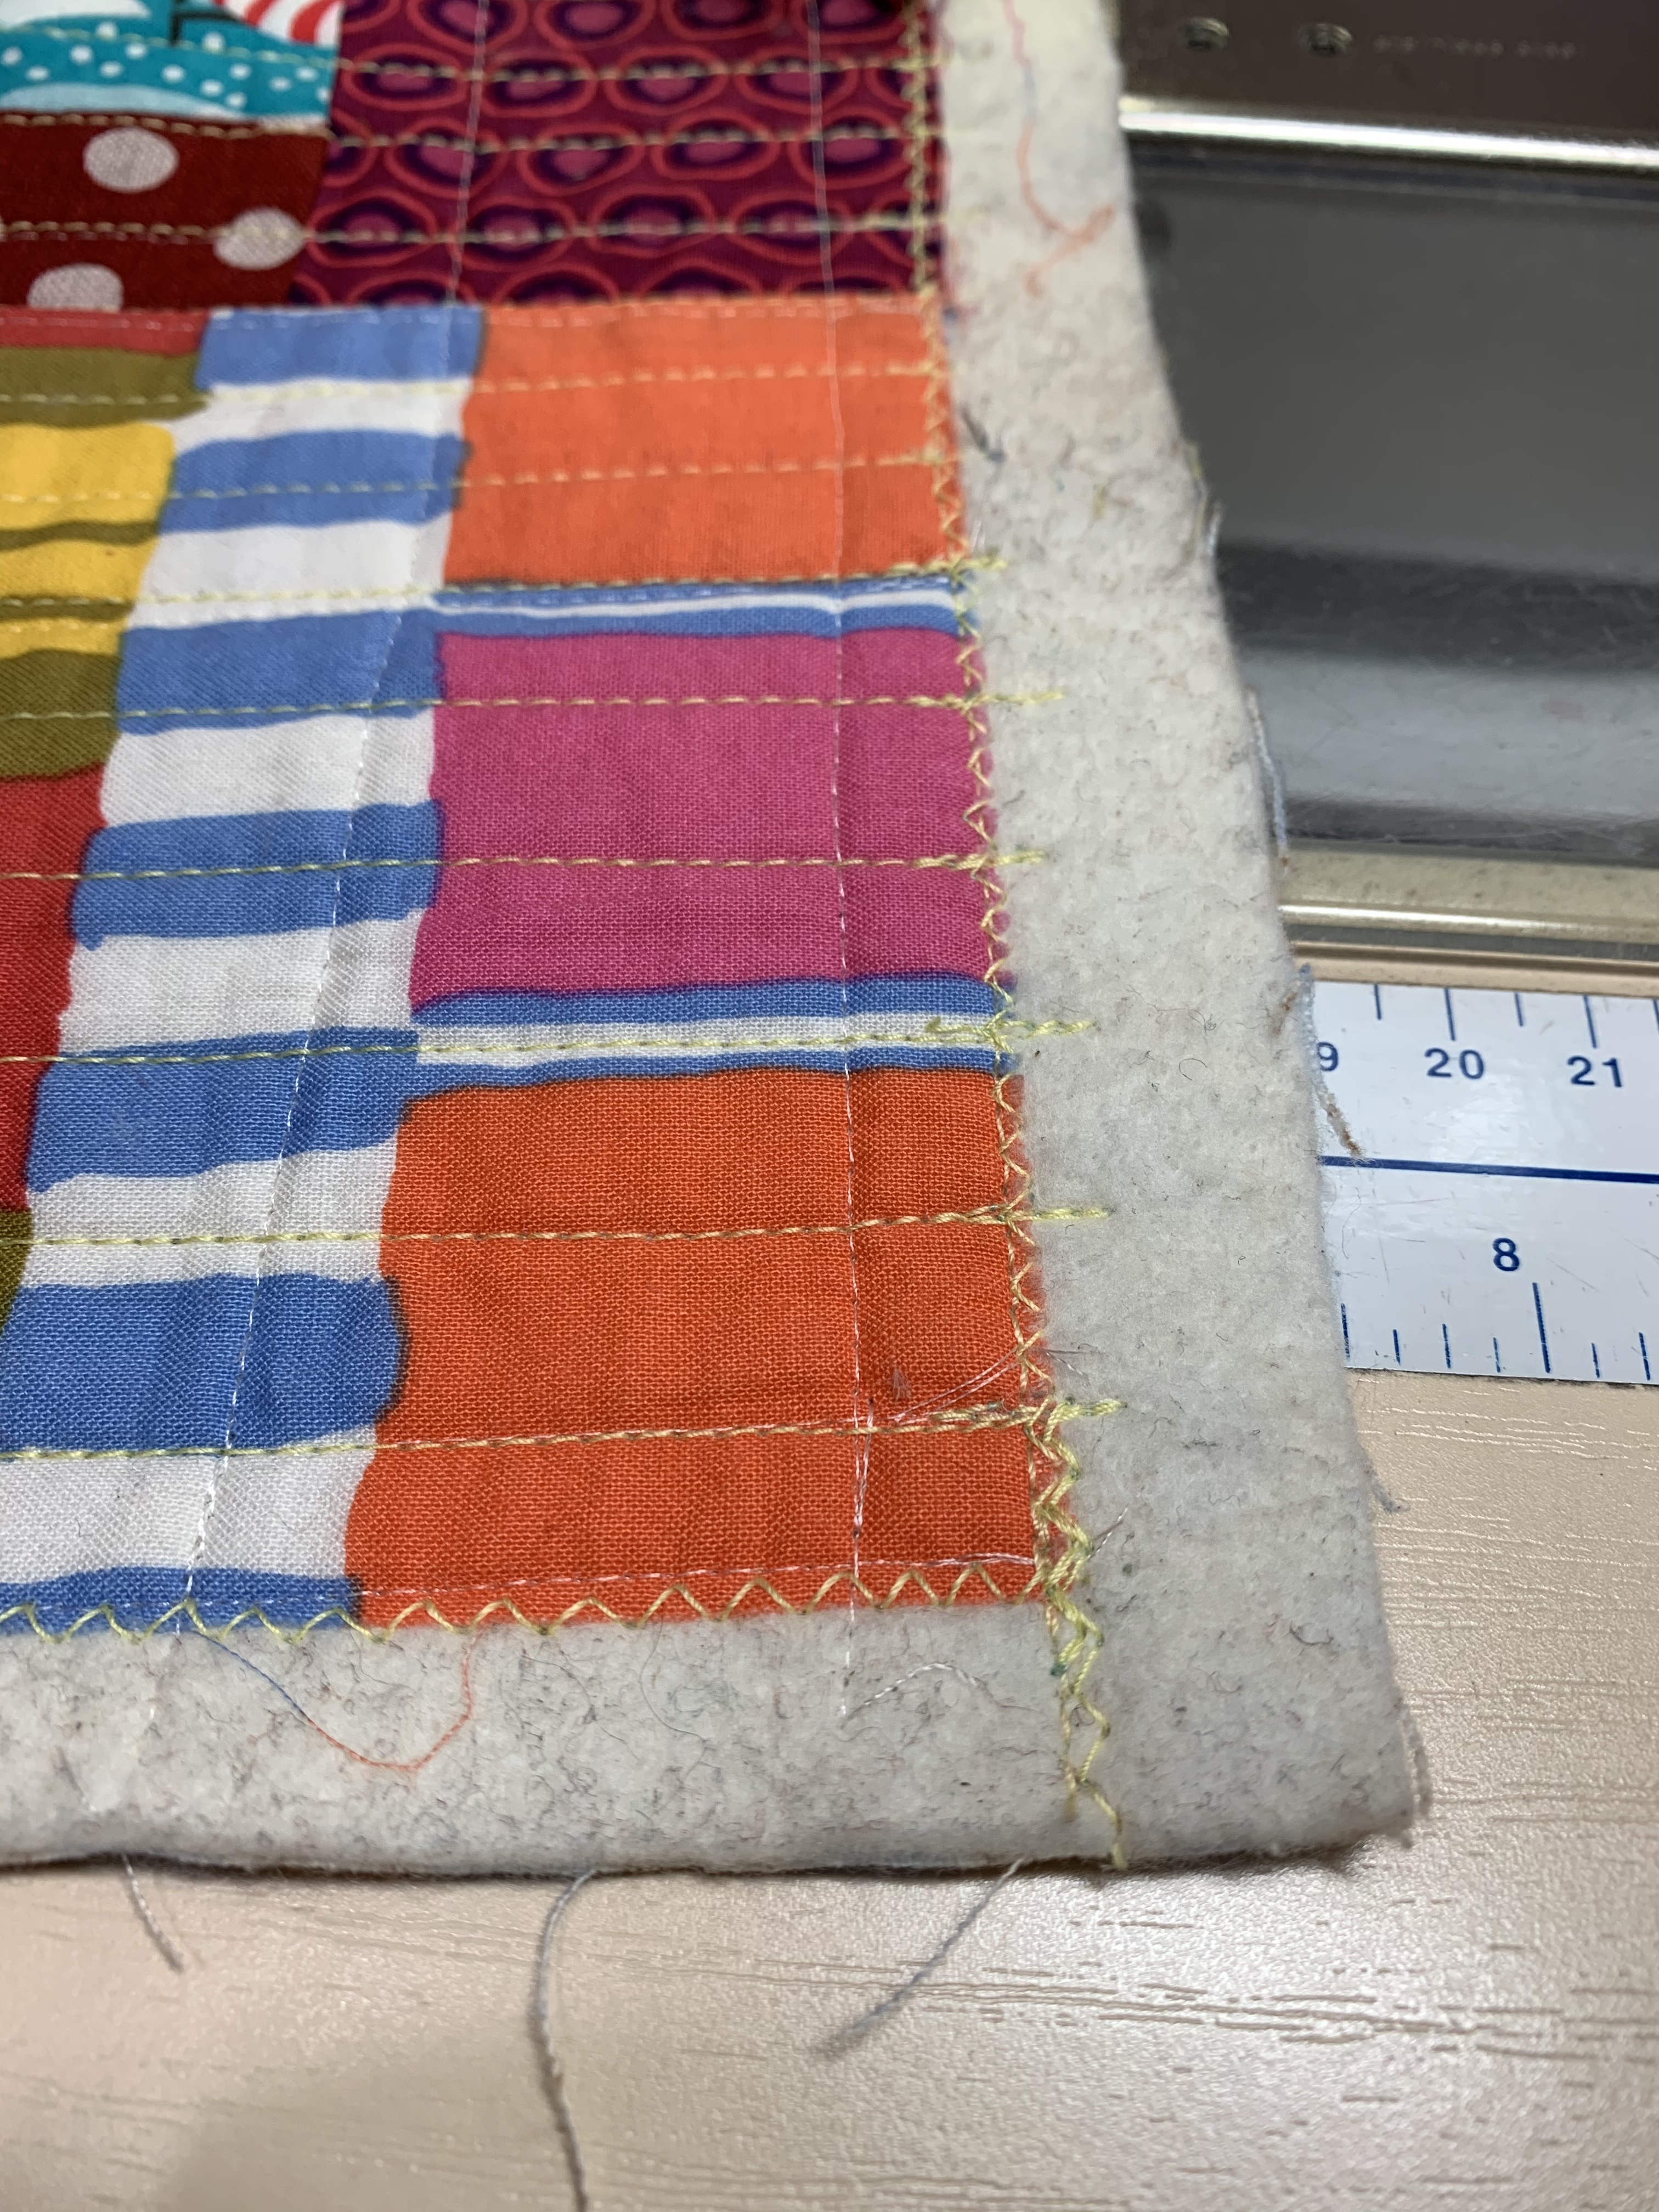
 After folding over and pinning (or clipping) the binding in place, I hand sewed the mitered corners, about 1” in each direction from the corner.
 Flip over. From the front, you can see the basting thread: this shows you exactly where the fold is on the other side.
 I machine topstitched the binding from the front, by stitching just to the right of the basting line. (You can stitch anywhere between the basting line and the ditch of the binding seam.)
 I removed the basting thread and checked the back to make sure the stitching line is along the edge of the binding. Finished!!!


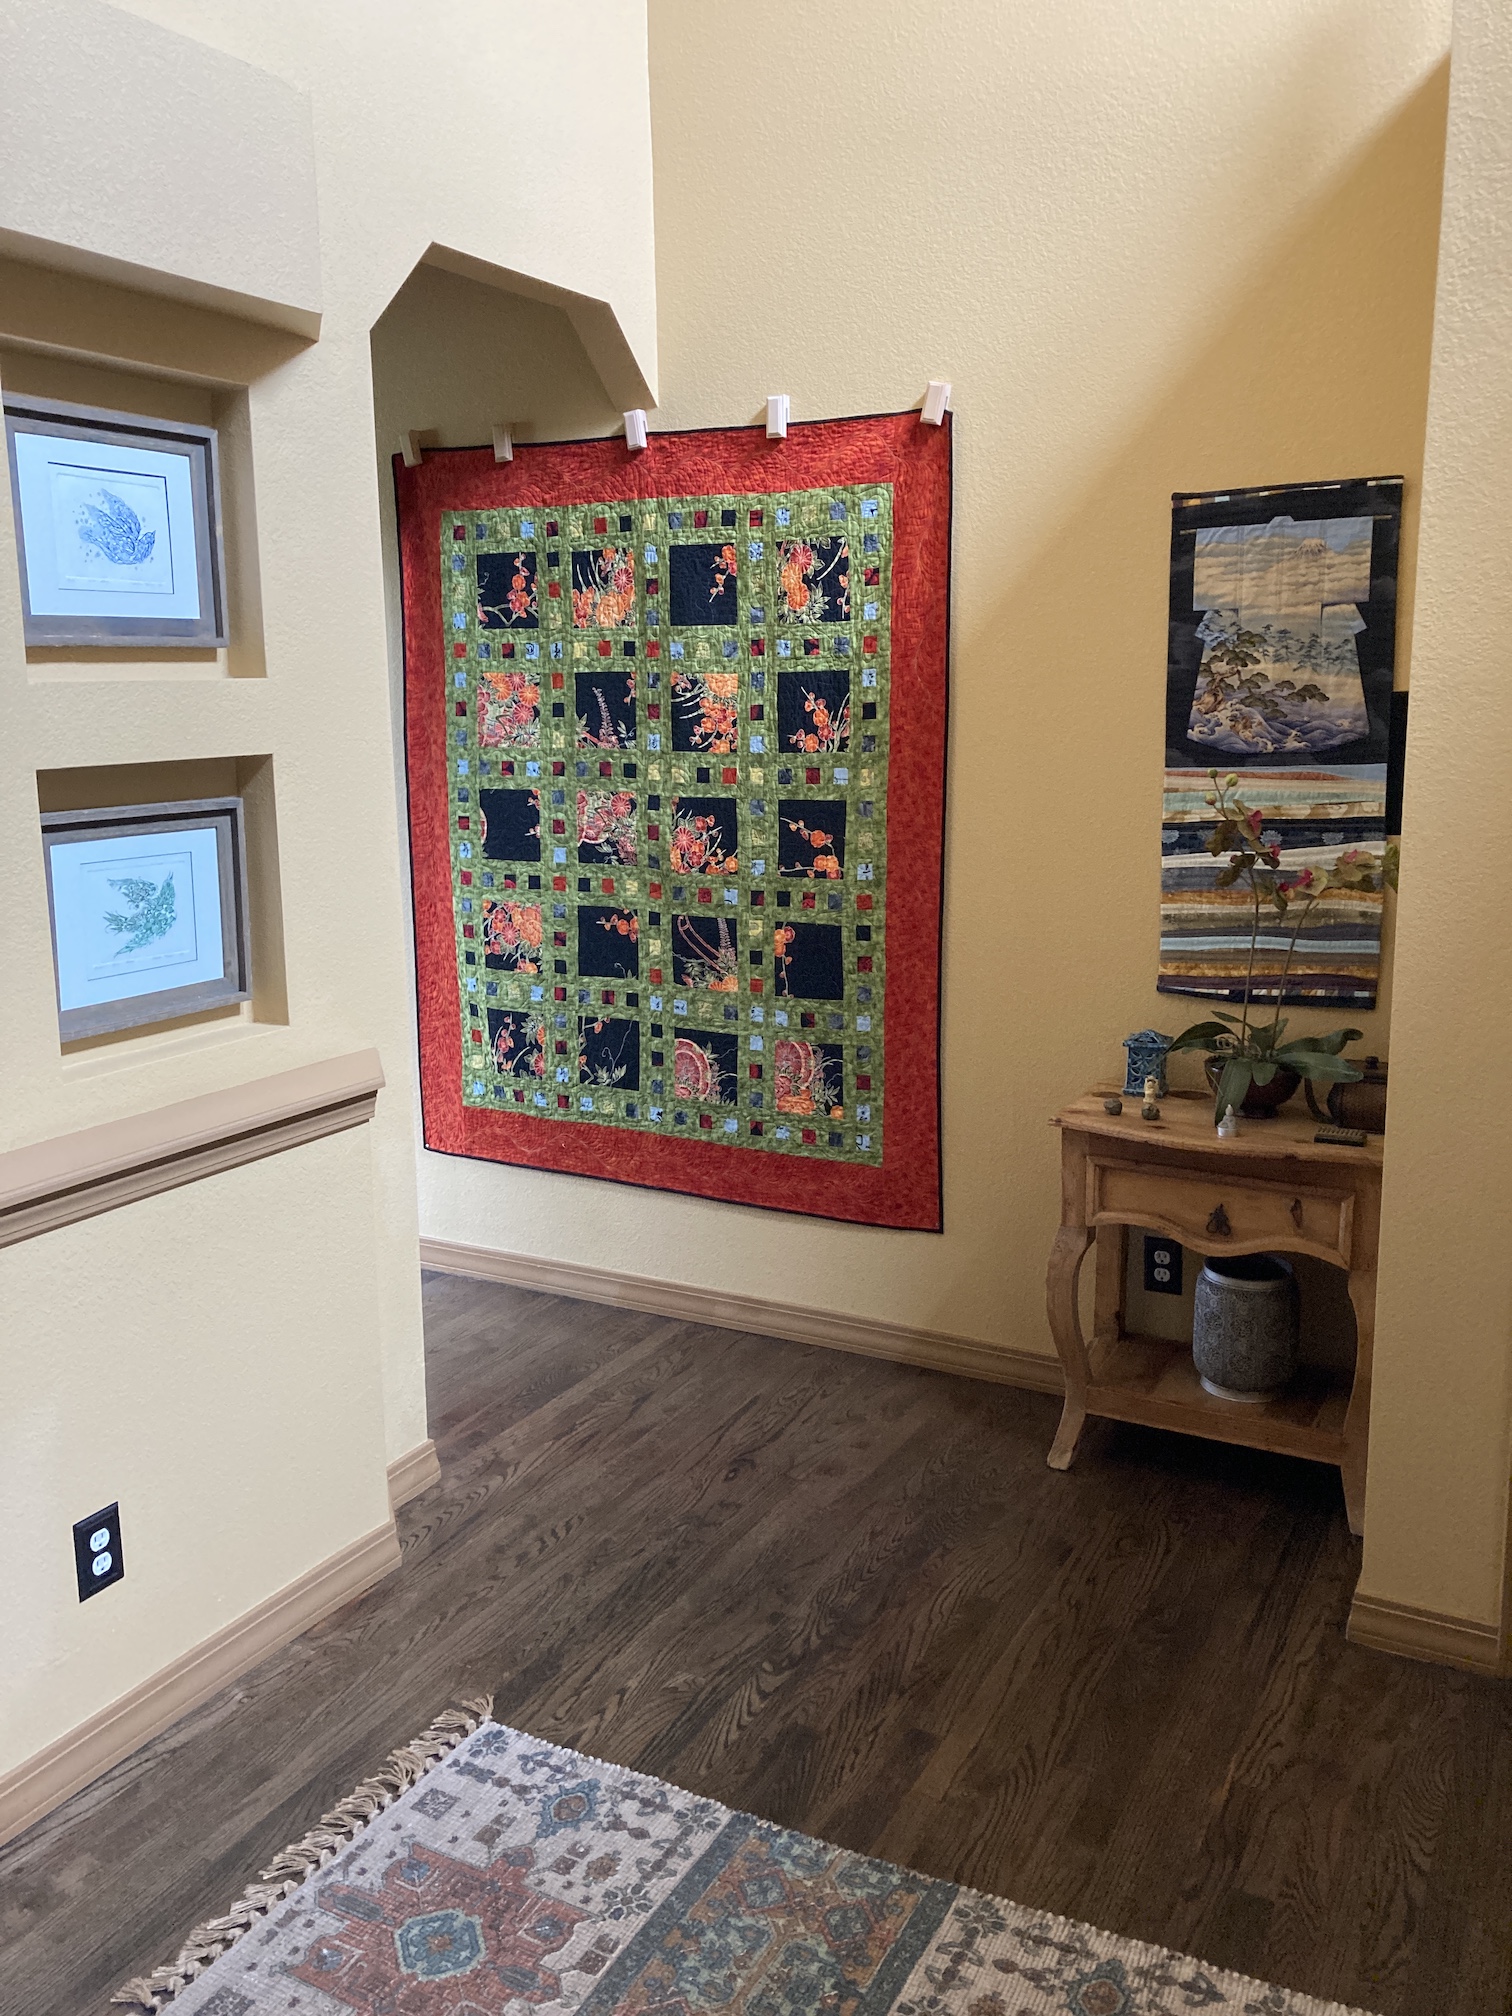
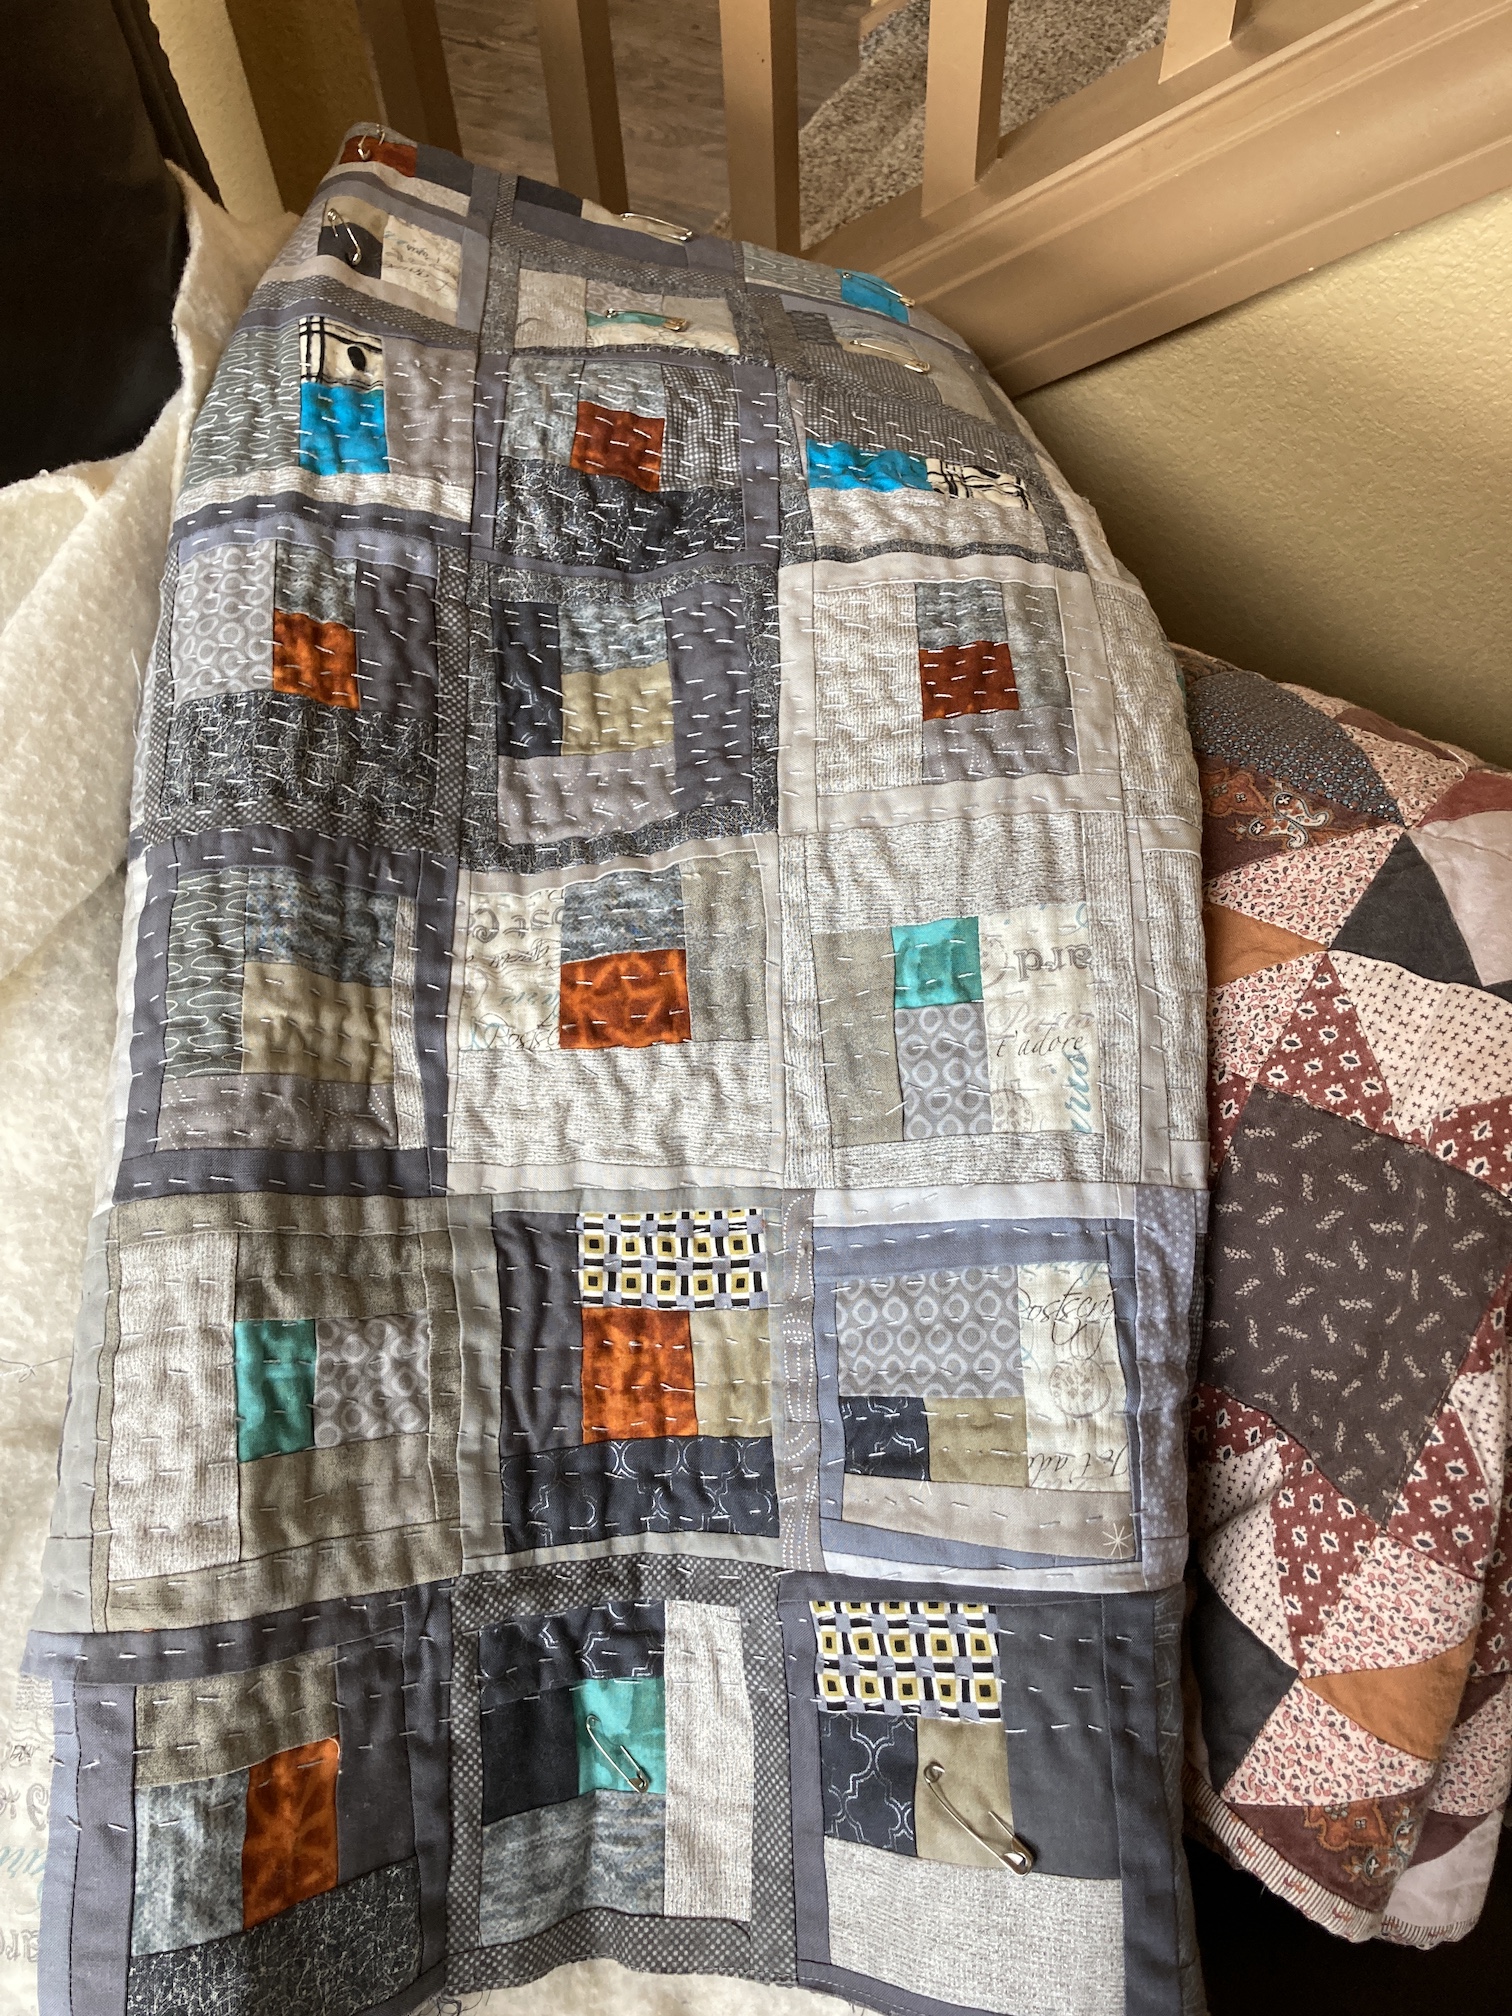
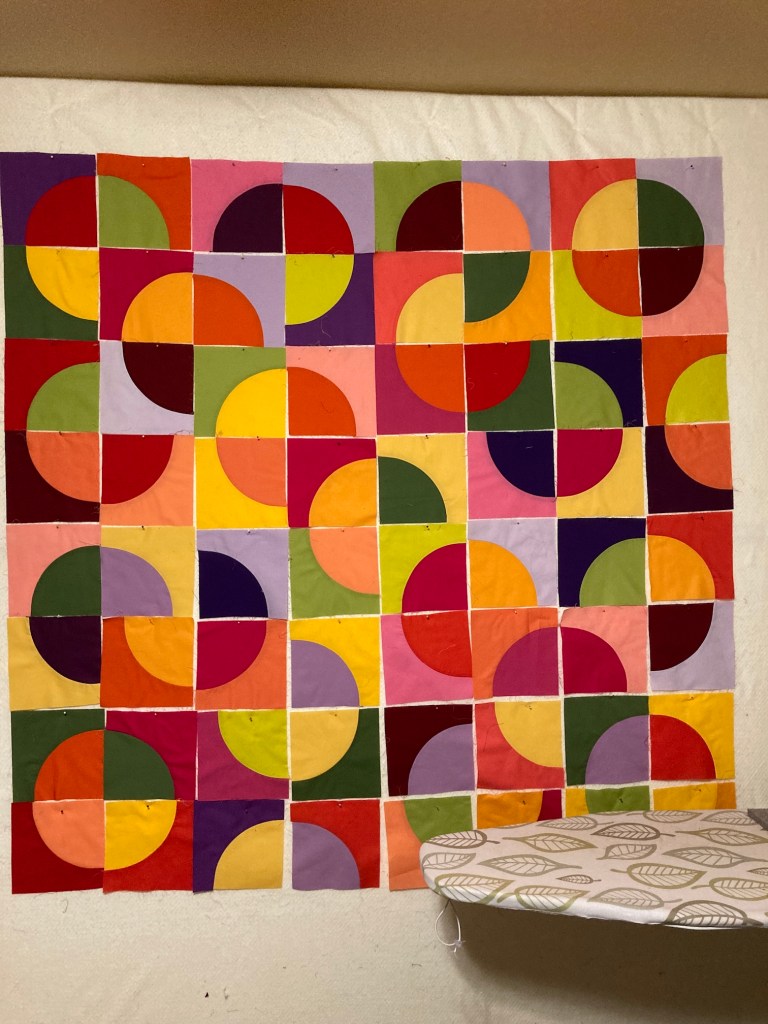
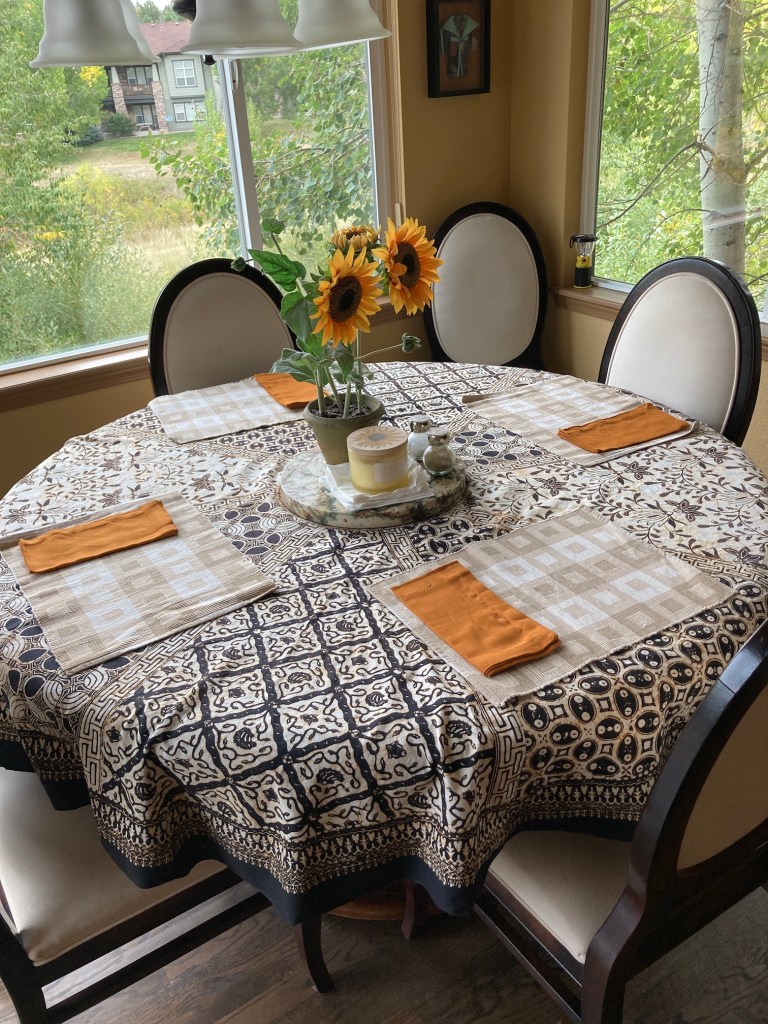
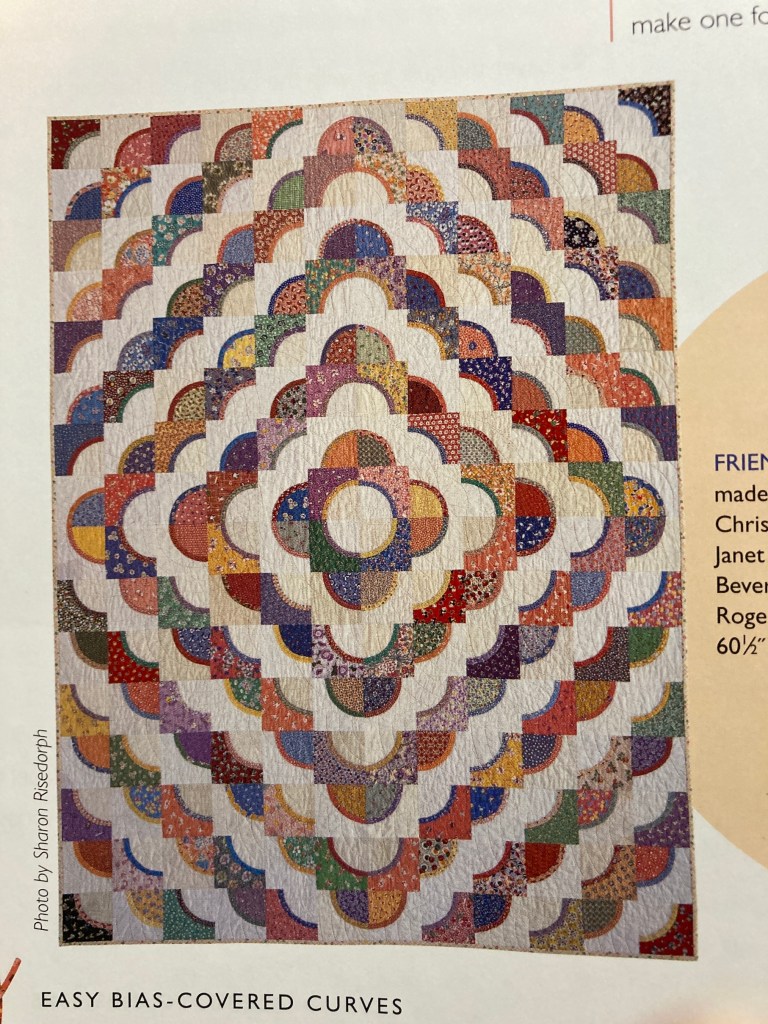
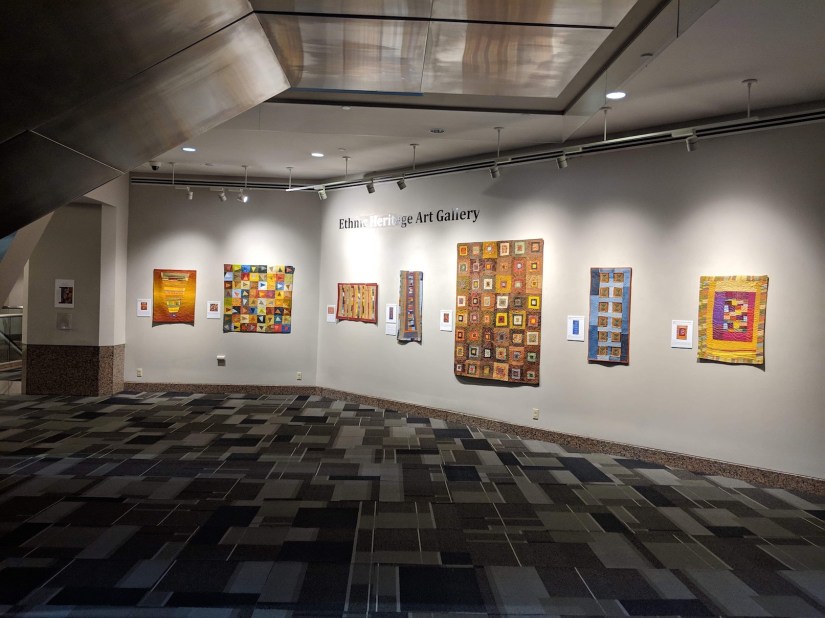
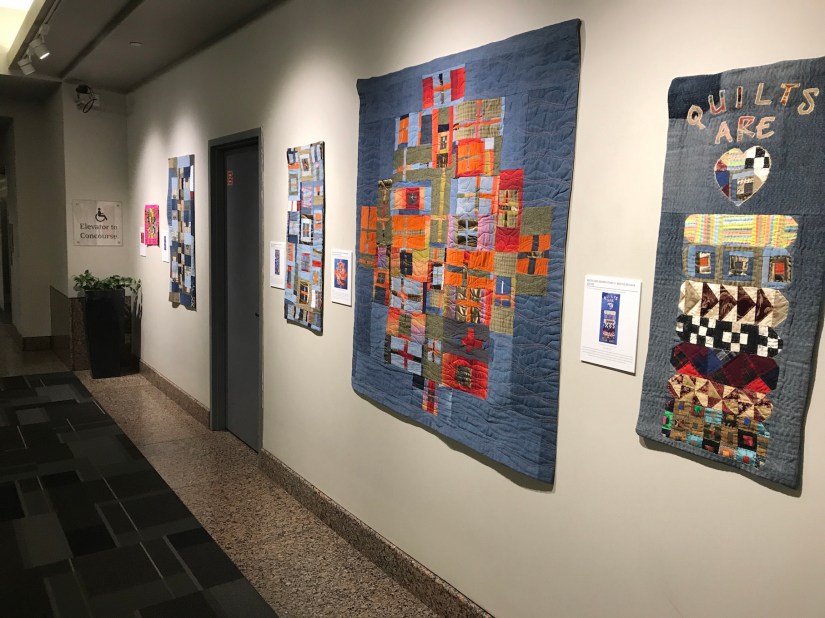
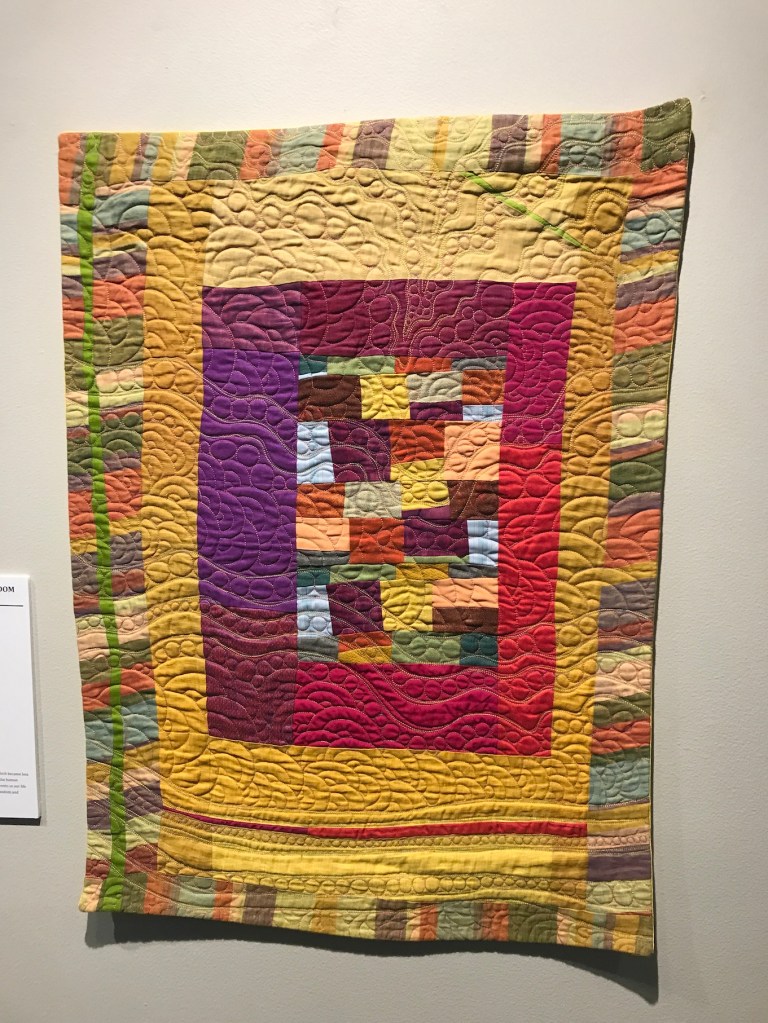
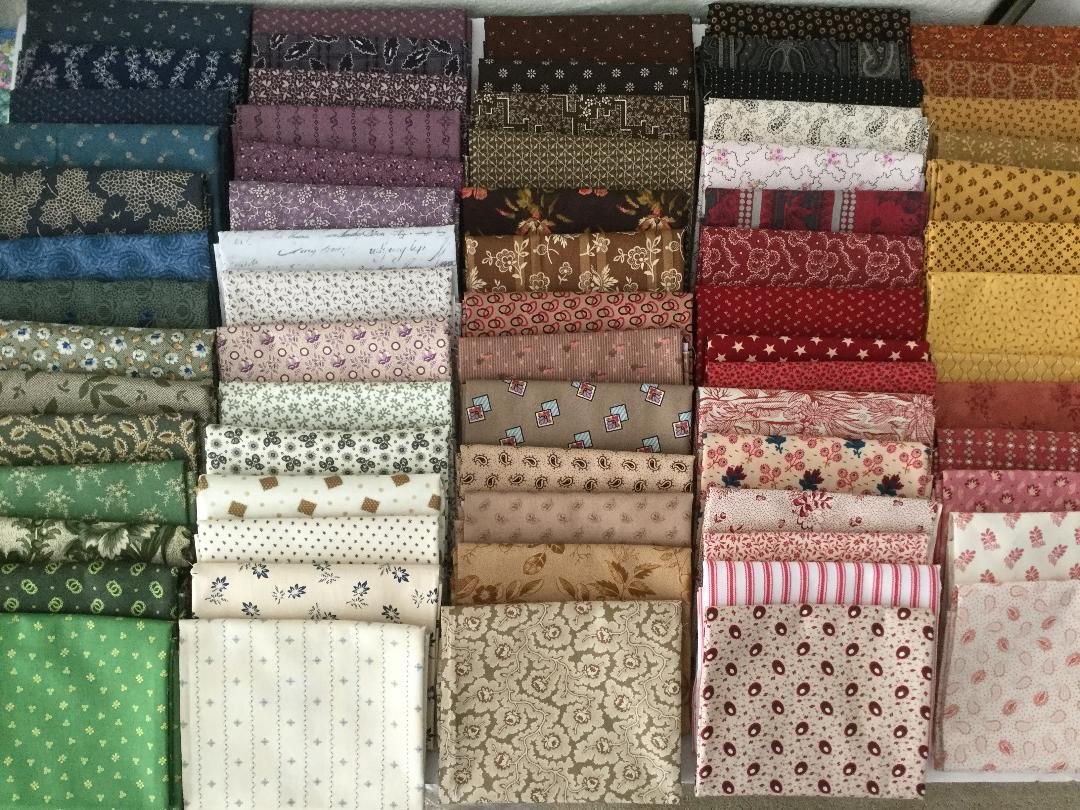 Somewhere in the late 2000s as I began to make quilts with batik fabrics, I became attracted to strong/bold colors.


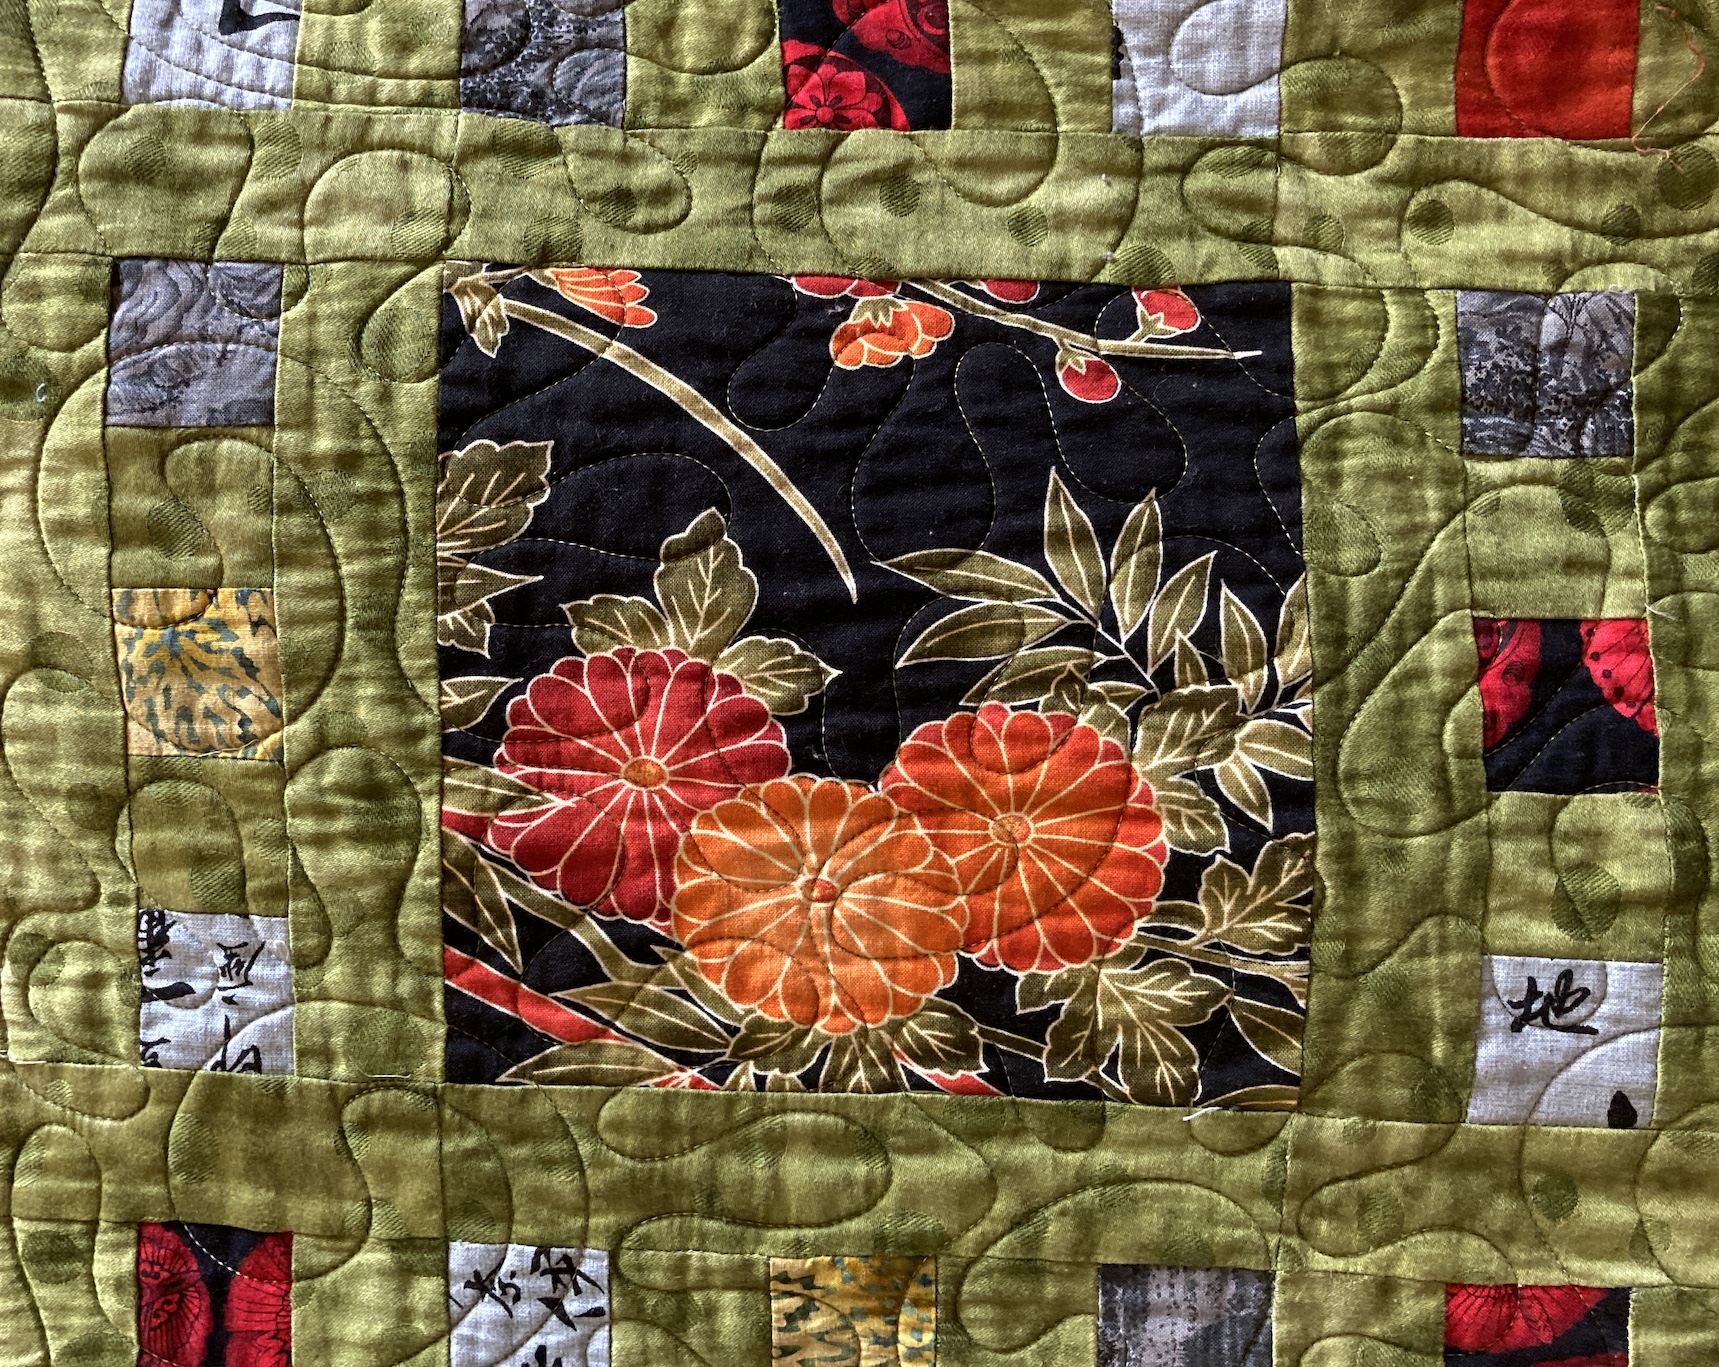


 For the little blocks surrounding the larger squares, I decided to experiment with adding a fabric that WAS NOT in the featured fabric but added a pop of color that appeared to go well with the other fabrics which were coordinated.
 Then I got really crazy with the quilt and added a very strong deep orange as the border. I’d never used this much orange in a quilt before. In the past I would have used the green I used in lattice or a black as the border. I am not sure what got into me but I decided to make the border really pop!
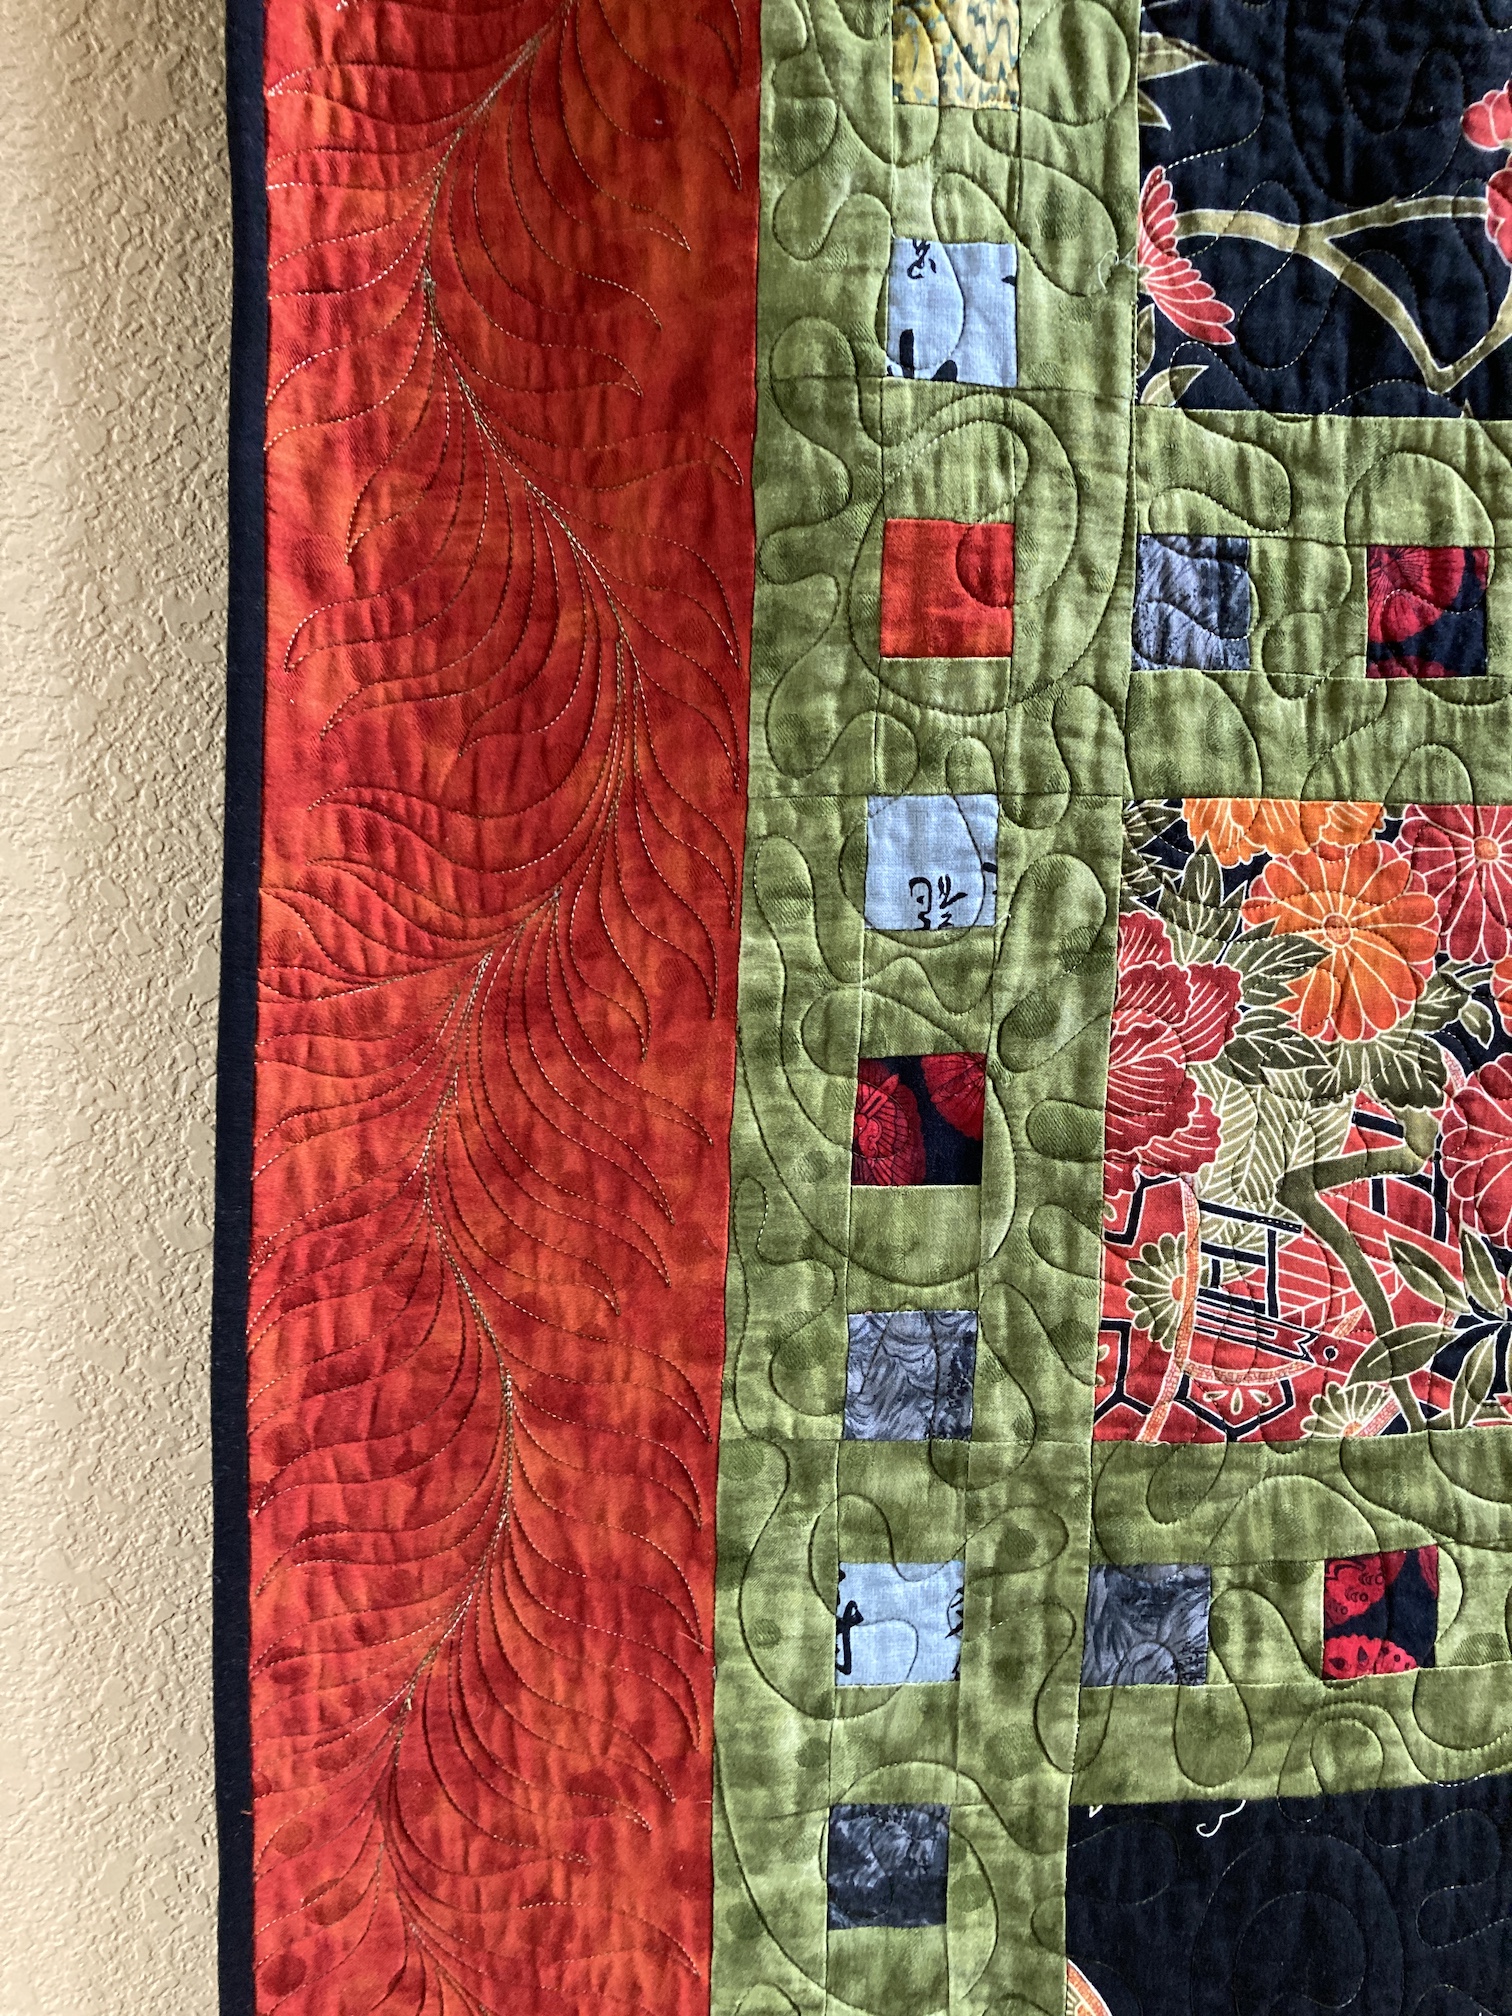
 It wasn’t until I recently rotated the quilts in the hallway that I remembered this part of my quilt journey.