I’ve decided to discontinue “other human” (so this does not include Mike the Miniature Schnauzer or the tierneycreates Beastie, ha) guest blog posts, as I want to just create content for my blog on my own (or content “channeled” me by Mike or the tierneycreates Beastie of course).
However the talented Rose Atkinson-Carter offered a couple weeks ago before I made this decision, to write an article related to two things I know many of you love: reading and crafting. Please see the bottom of this post for information on the London-based author of this guest post.
5 Novels that Feature Arts and Crafts
If you’ve ever tried looking for books about arts and crafts, the results are awash with innumerable ‘how to’ pamphlets, or nonfiction texts about artists and their work. While there’s nothing wrong with a good crafting guide, it’s nice to mix things up every so often. That’s why I’ve taken it into my own hands to curate a list of the best arts and crafts inspired novels.
If you’re struggling to find something artsy for your reading list, stick around for a few books you’ll definitely want to pin to your reading list.
The Lady and the Unicorn, by Tracy Chevalier

The Lady and the Unicorn is a historical fiction novel based around real works of art — six medieval tapestries made to form one large piece, thought to originate in Medieval Belgium — from which the author extrapolates a complex and affecting literary tapestry of love, lust, and betrayal. Though the narrative hails from seven different narrators’ points of view, the tapestries’ begins with budding nobleman Jean Le Viste, who commissions a tapestry to artist Nicolas Des Innocents, expecting him to depict bloody battles and passionate soldiers. However, after Le Viste’s wife (and Nicholas’s muse) throws down the artistic gauntlet, the artists desires lead him in another direction — to wax poetic about seductive flowers, unicorns, and numerous women.
Known for her previous bestselling novel The Girl With the Pearl Earring, also based on a work of art of the same name, Tracy Chevalier exceeds expectations as she breathes life into yet another mystery shrouding great works of art, turning them into the centerpiece about which every human desire orbits. Of course, this novel isn’t just concerned with desire between humans, but desire in every form — the desire to be useful, to be happy, to be inspired, and the desire to be free. This is a must-read for anyone wanting an insight into the decadent and tumultuous side of art.
Crewel World, by Monica Ferris

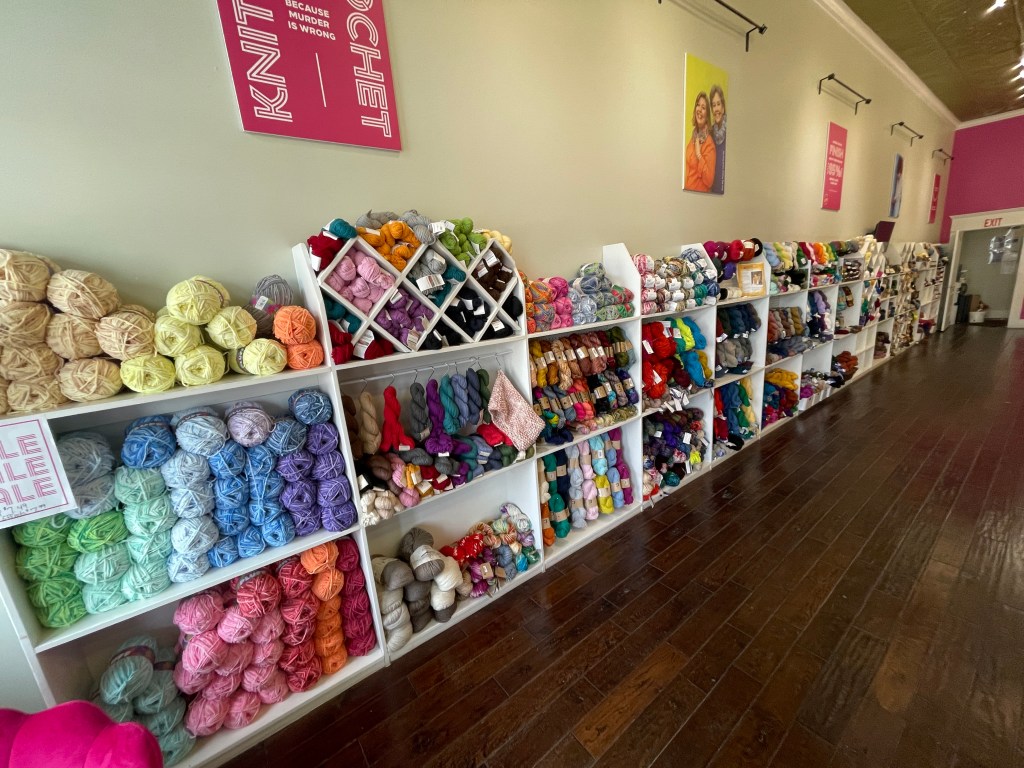
Though it’s labelled a ‘cozy mystery’, be warned that this mystery opens with a tragedy: the loss of our main character Betsy’s sister, a murder that took place in her very own needlecraft shop. In spite of its ‘cozy mystery’ label, this book begins with tragedy: the murder of our main character Betsy’s sister, who died in her very own needlework shop.
Following the murder, Betsy struggles to find her feet again, recover from grief, and take over the craft shop, all while a looming police investigation puts a halt to any hope of returning to normalcy. However, as is often the case with a good mystery novel, it soon becomes clear that all is not as it seems.
As she learns the ins-and-outs of the needlecraft, Betsy realizes that the police are dragging their feet over the investigation. Is it because they don’t have a good understanding of the craft itself, or is there something darker at play behind the scenes? Either way, the aspiring detective is certainly up to the task.
Monica Ferris’s breakout novel, Crewel World, the first in her expansive Needlecraft murder mystery series, is sure to keep you on the edge of your seat right until the end — and, as a bonus once you reach the final page, you’ll get a free embroidery pattern too!
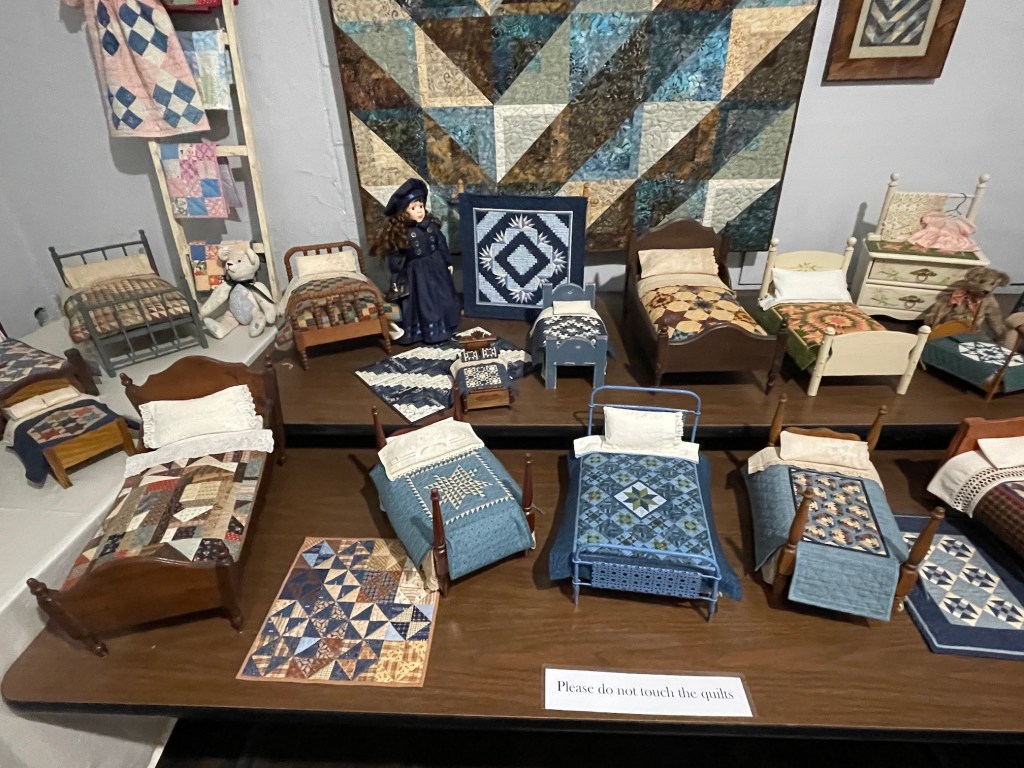
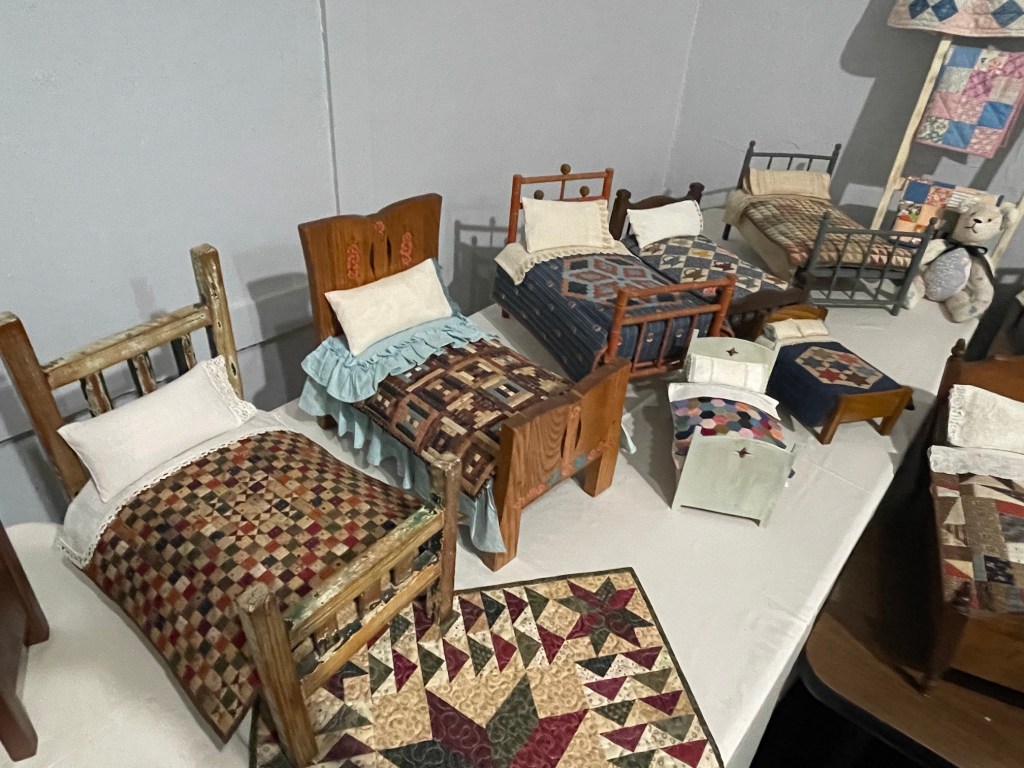
The Miniaturist, by Jessie Burton

Rose Atkinson-Carter is a writer with Reedsy, a marketplace that connects authors with some of the world’s best editors, designers, marketers, ghostwriters, and translators. She lives in London.
If you’re looking for a novel that blends crafting inspiration with a healthy amount of creepy mystery, then you’re sure to enjoy The Miniaturist. Set in the corrupt and glamorous seventeenth century Amsterdam, the narrative follows eighteen year old Nella Oortman as she steps into the unknown — an arranged marriage with famed (and wealthy) merchant Johannes Brandt. However, the house she marries into is not warm, but rather steeped in the secrets held by the merchant’s harsh sister Marin, the servants Otto and Cornelia, and the kind-but-distant Johannes himself.
So, where do the arts and crafts come in? Well, the clue is in the name. As a wedding gift, Johannes bestows Nella with a cabinet-sized replica of their house, which he commissions from a miniaturist. However, in the process of realizing the life-sized furnishings for the inside of the replica, packages start arriving — and peppered within what the family ordered are eerily accurate extra items. Indeed, the scenes, furnishings, and dolls are spookily true to events of the past, present, and the future. Given that, can Nella work out what’s behind this mystery all while surviving her secretive new family along the way? It’s worth finding out for yourself!
Last Wool and Testament, by Molly MacRae

Ivy McClellan is well known in the needlework community for being magically brilliant at her craft, as well as being the founder of a passionate group of needlework and fiber artists named Thank Goodness It’s Fiber, TGIF for short. Unfortunately Ivy eventually dies, leaving her shop (and the TGIF meeting place) to her beloved granddaughter, Kath Rutledge.
When Kath arrives to attend the burial, she discovers that nothing is as it was when she left — and local police officers now brutally nickname her grandmother as ‘Crazy Ivy’. The thing is: there’s been a local murder and, somehow, Ivy is the main suspect. On top of that, the title to Ivy’s house has been stolen and Kath is left with just a week to pack up and scrap together clues about what on earth happened. In the meantime, she manages to rent an apartment with an unexpected roommate — a specter — and that specter seems to be just as interested in Ivy’s case as Kath. So, if you can’t tell already, this story is sure to keep you guessing with its twists, turns, and knots, right until the very end.
How to Be Both, by Ali Smith
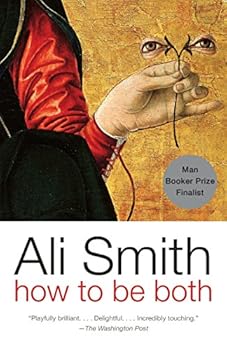
Ali Smith’s ground-breaking novel, How to Be Both, borrows from art in both its narrative as well in the very format in which it’s written. For the latter, Smith borrows from paintings fresco technique to deliver a double take in the form of a novel, starting each halve of every print edition with a completely different narrative point of view.
For one half, you might end up with a narrative beginning with Italian painter Francesco, while, for the other half, you may start the story with a teenage girl named George, and vice-versa. Either way, both are intrinsically connected to the art world (as well as each other) and invested in what it may become. The two artists’ are worlds apart: Francesco’s narrative is contemporary to the Renaissance Italy in which the painter of the same name that inspired Smith lived, whereas George serves as a teenaged 1960s counterpart. Despite the two characters’ differences, the parallels between them, the love, and the injustice they experience are striking. If you’re interested in sinking your teeth into the inner workings of artists, their muses, Renaissance Italy, and a playful narrative structure all in one — this novel is for you.
That concludes my list of the five arts and crafts influenced novels that inspired me! Whether you prefer to use a pin, pen, or paintbrush, I hope they can be a suitable muse for all of your crafty needs or, at the very least, refresh your love for the arts.
Rose Atkinson-Carter is a writer with Reedsy, a marketplace that connects authors with some of the world’s best editors, designers, marketers, ghostwriters, and translators. She lives in London.
Feature photo credit – Photo by Tom Hermans on Unsplash