Well it’s time for one of her guest bloggers to step in, as Tierney has disappeared from the blogging world for some time now due to “Hooman Life Distractions“.
I recently learned us dogs are supposed to refer to our Humans as “Hoomans” courtesy of looking at too many dog postings on Instagram. I guess they feel dogs are not very literate? Nah, I am going to keep called them “Humans”, as you can see I am literate enough to write guest blog posts.
In case you have not guessed it, this is Mike the Miniature Schnauzer here to fill in for Tierney and do a blog post.

If you are new to this blog, I fill in from time to time and here are a couple samplings of my previous posts:
Guest Blogger: What Happens at Dog Camp, Stays at Dog Camp
Guest Blogger: Happy in My Box
Guest Blogger: Obsession with Making Crocheted Dishcloths
Once you recover your awe from the brilliant writing by a 12 year old Miniature Schnauzer in the links above, you can continue on with this post.
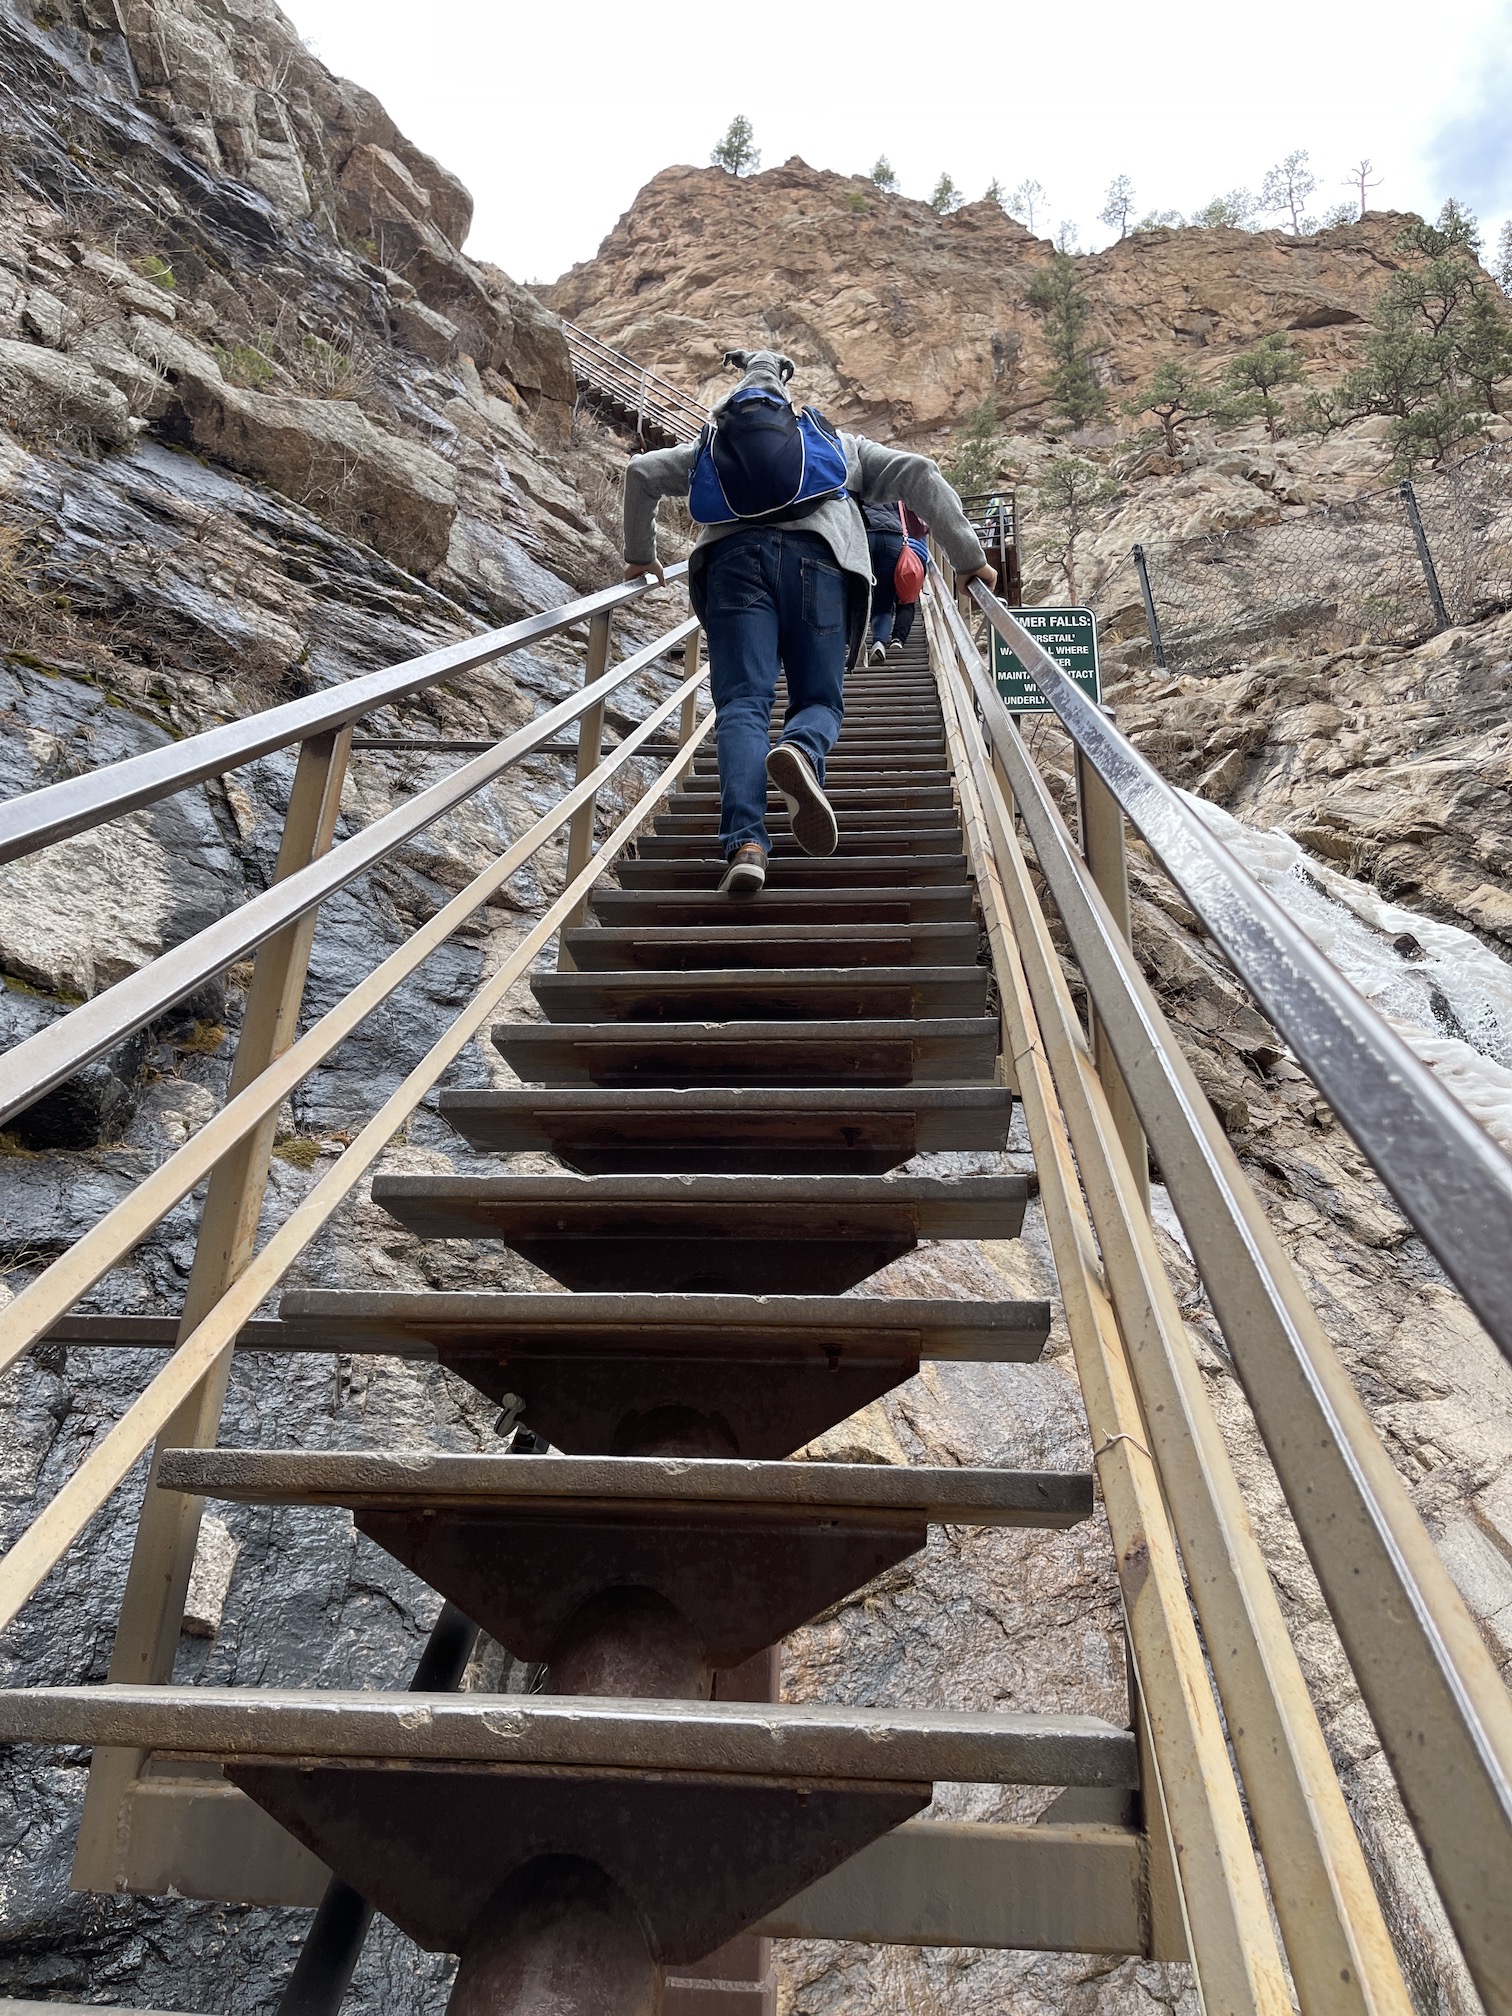
I am not sure if my Humans Tierney and her partner John will like this post, because I am going to tell you of how they attempted to COMPLETELY TERRIFY me by taking me on a day trip to Seven Falls in Colorado Springs, Colorado and making a death-defying vertical climb up the scariest stairs I’ve ever seen, with me in a backpack!
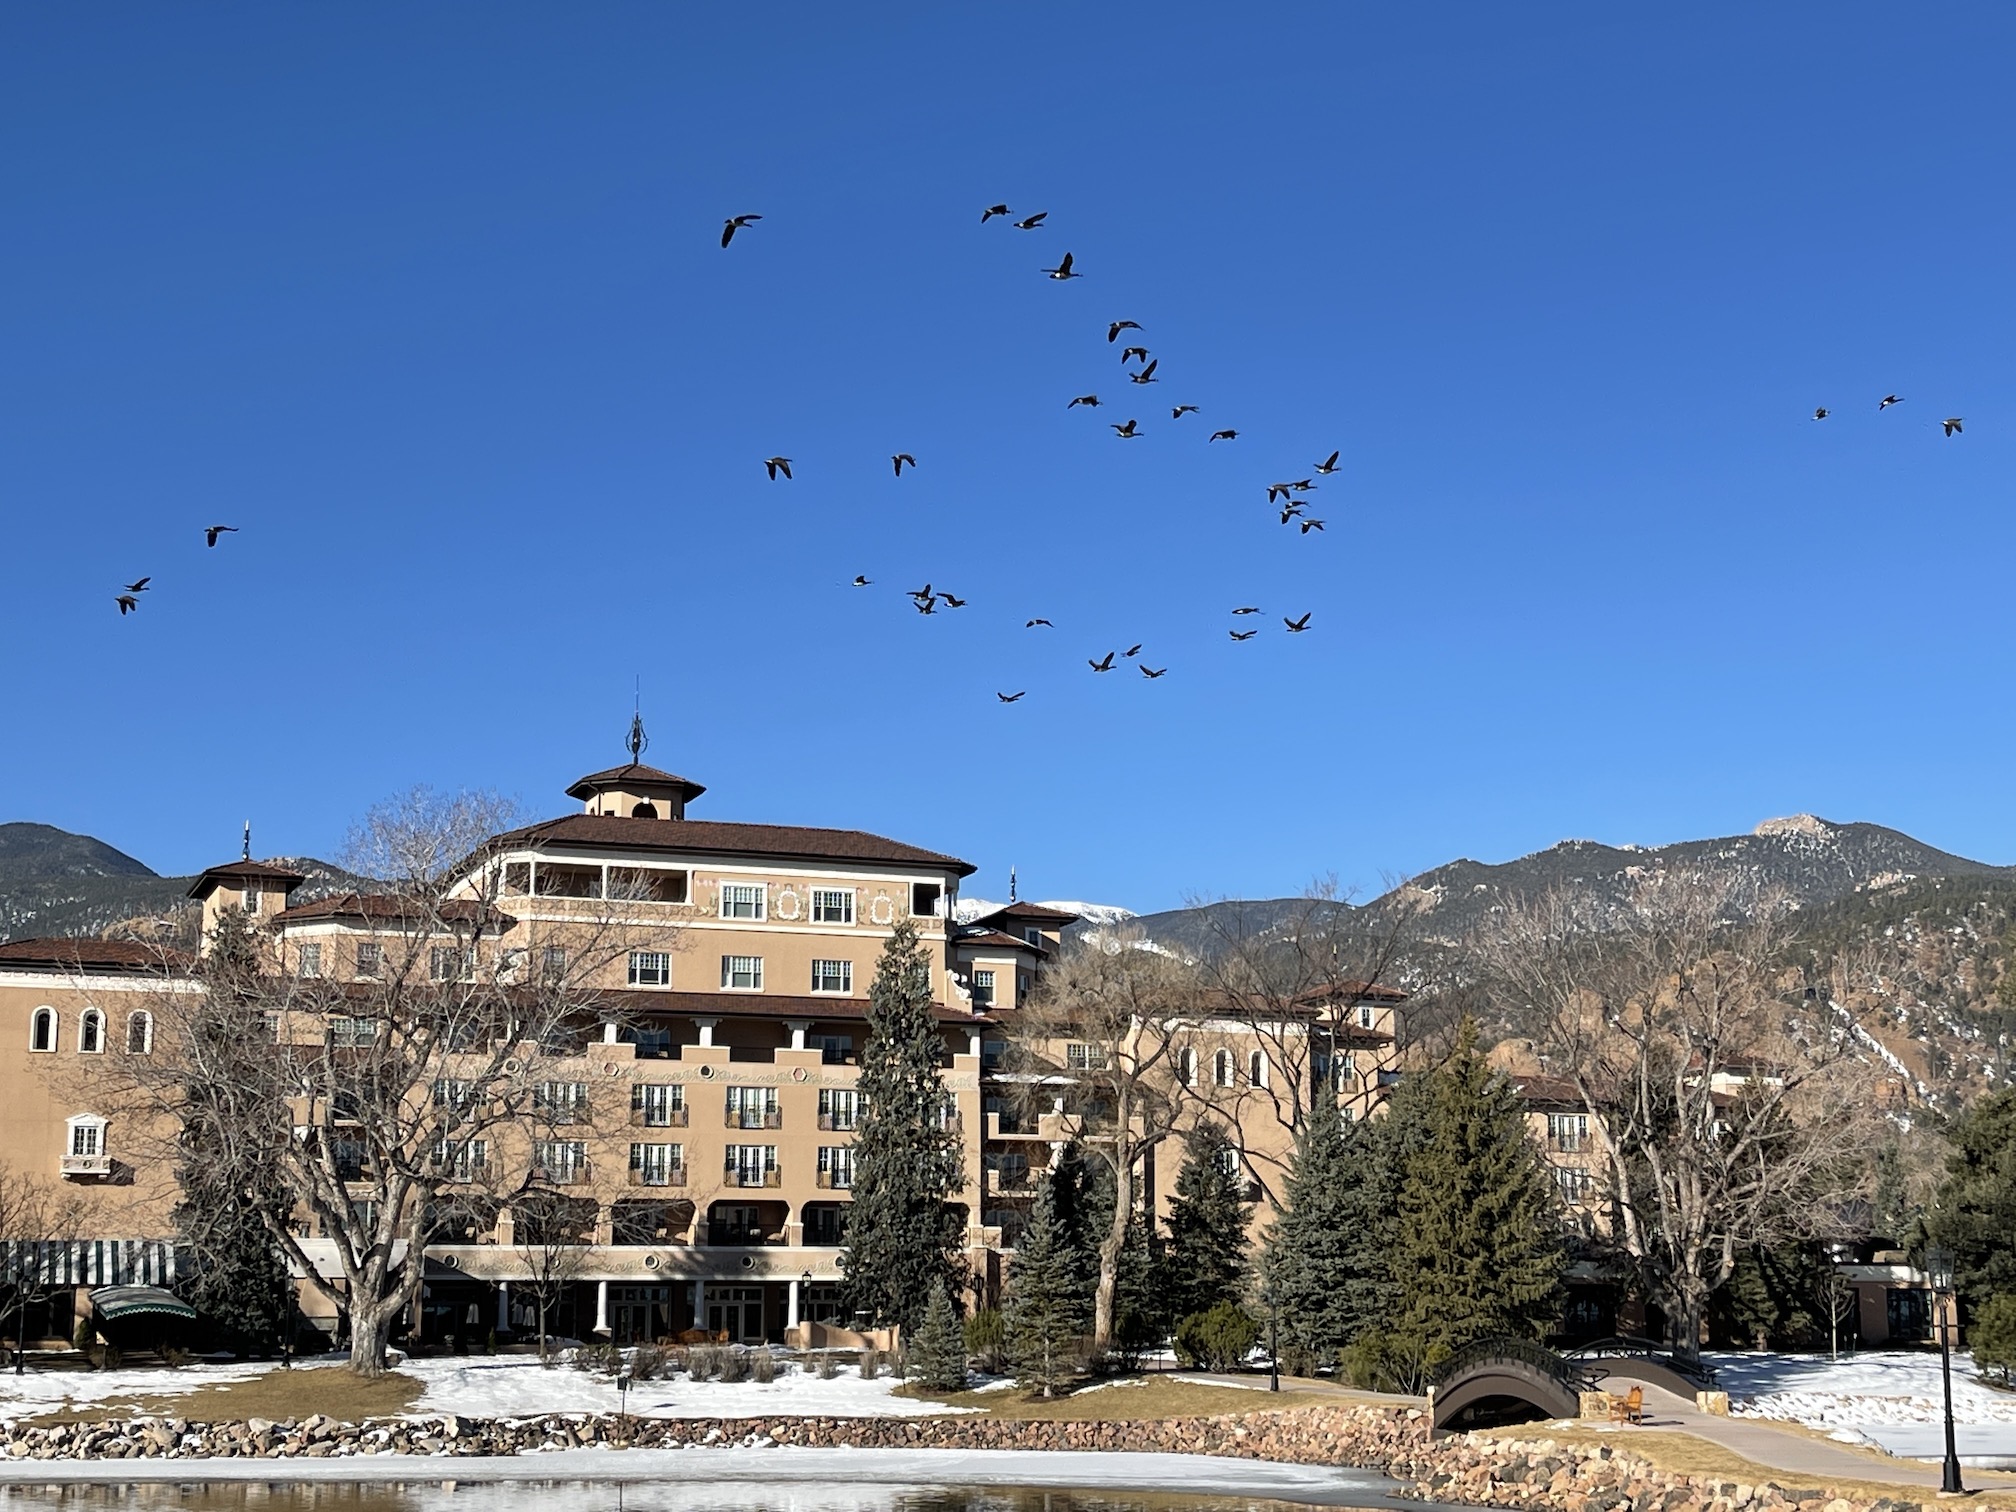
Here we are at Seven Falls before the terror started:

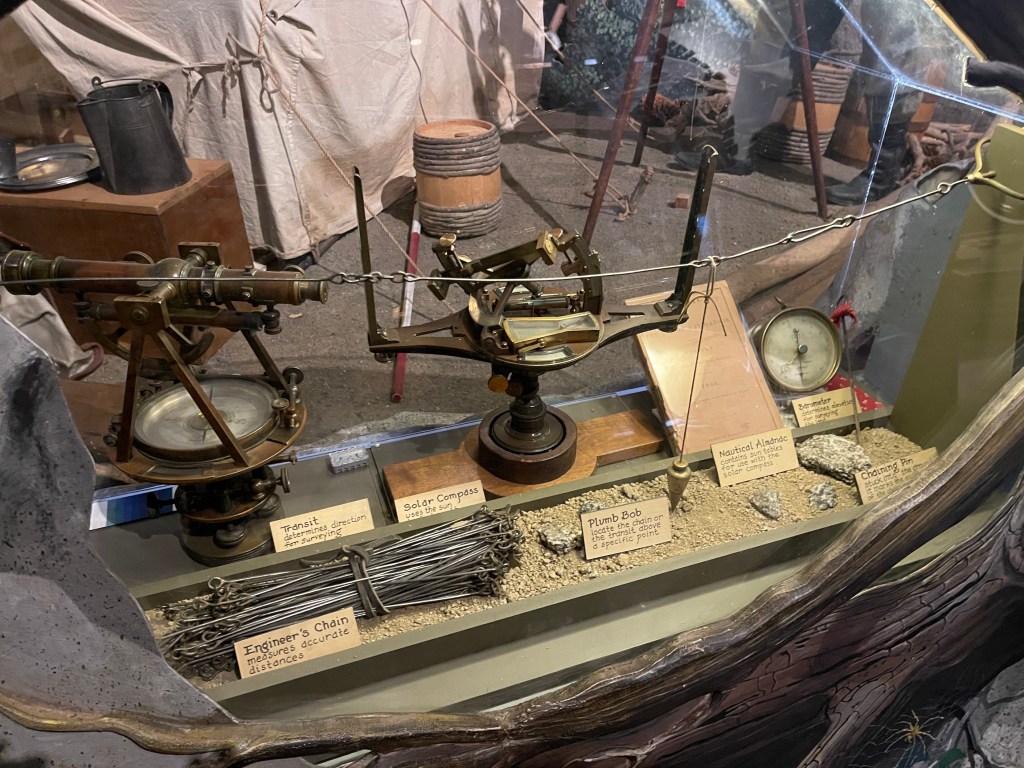
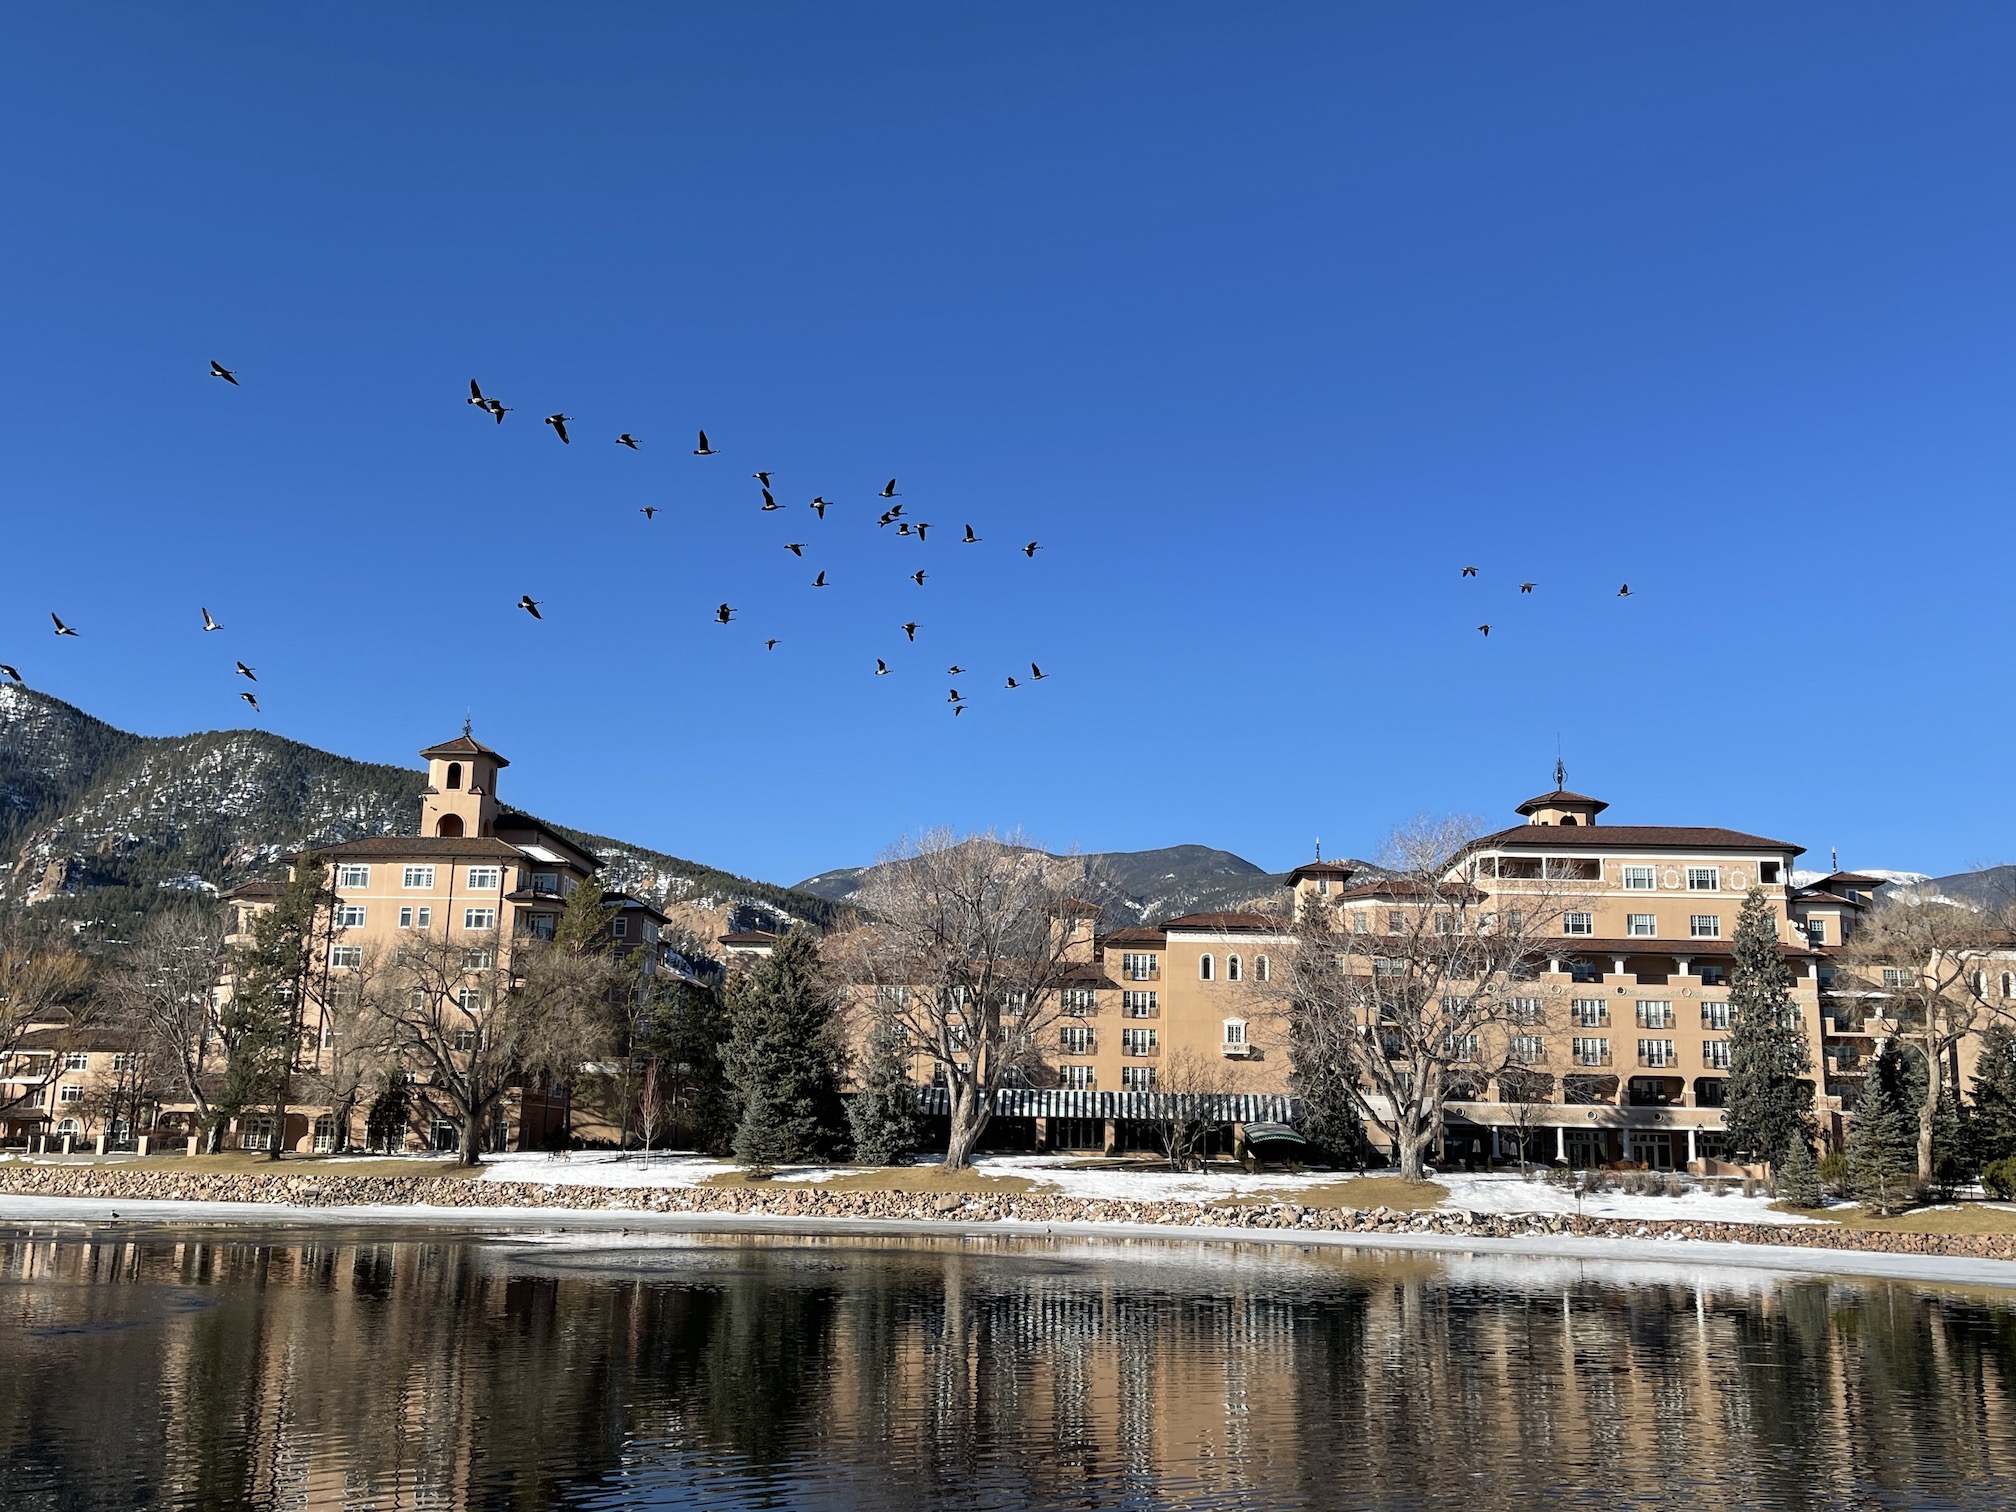
Seven Falls, according to the Broadmoor’s website (yes Miniature Schnauzers are capable of online research, duh) Colorado Springs Seven Falls, is Colorado’s most majestic waterfall.
The only waterfall in the state on National Geographic’s list of International Waterfalls, and often called “The Grandest Mile of Scenery in Colorado,” Seven Falls is situated in a 1,250-foot-wall box canyon between the towering Pillars of Hercules. Take in stunning valleys, striking rock formations and golden prairies as you climb the challenging 224 steps to the hiking trails and the banks of glistening streams that feed the falls, and its 181-foot drop of falling water.
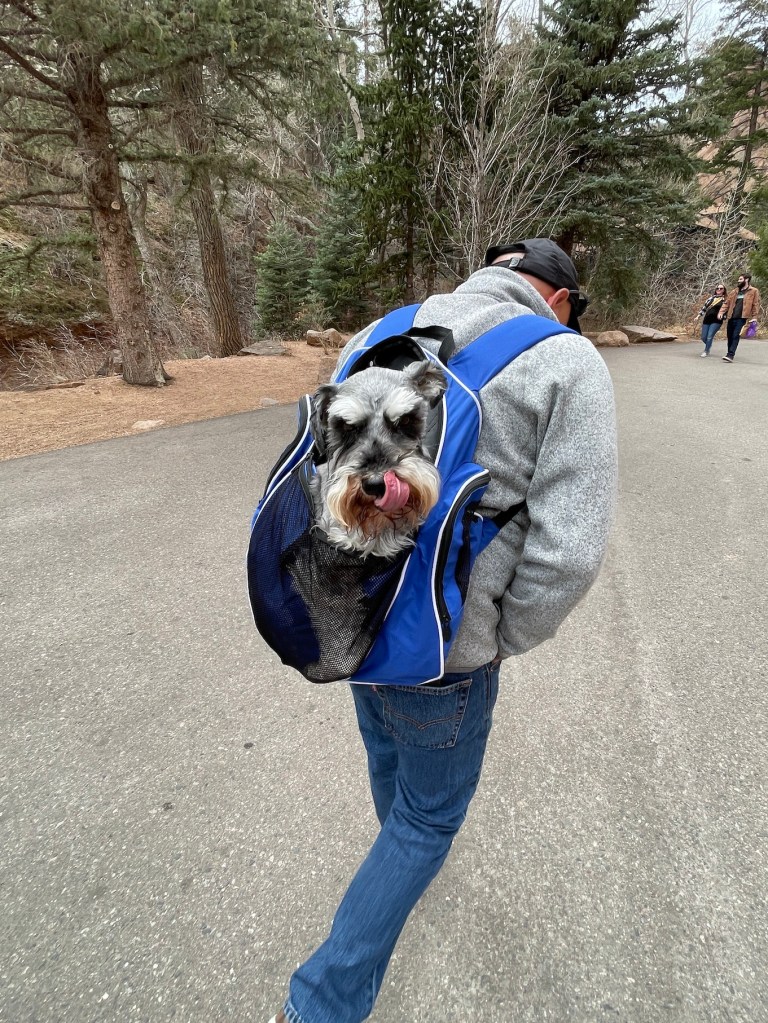
Did you notice the phrase in the quote above: “as you climb the challenging 224 steps…”? To me it seemed like they were climbing 224,000 steps to get to the top as I was looking our the backpack on the back of John’s back.
Here is the photo my Human Tierney took (she caught the photo during a moment that I had turned my head to take a break from the terror I was looking at below):
Oh! My Human Tierney just walked in while I am working on this post, and is now insisting that I share more photos from this day trip to show the climb was worth it.

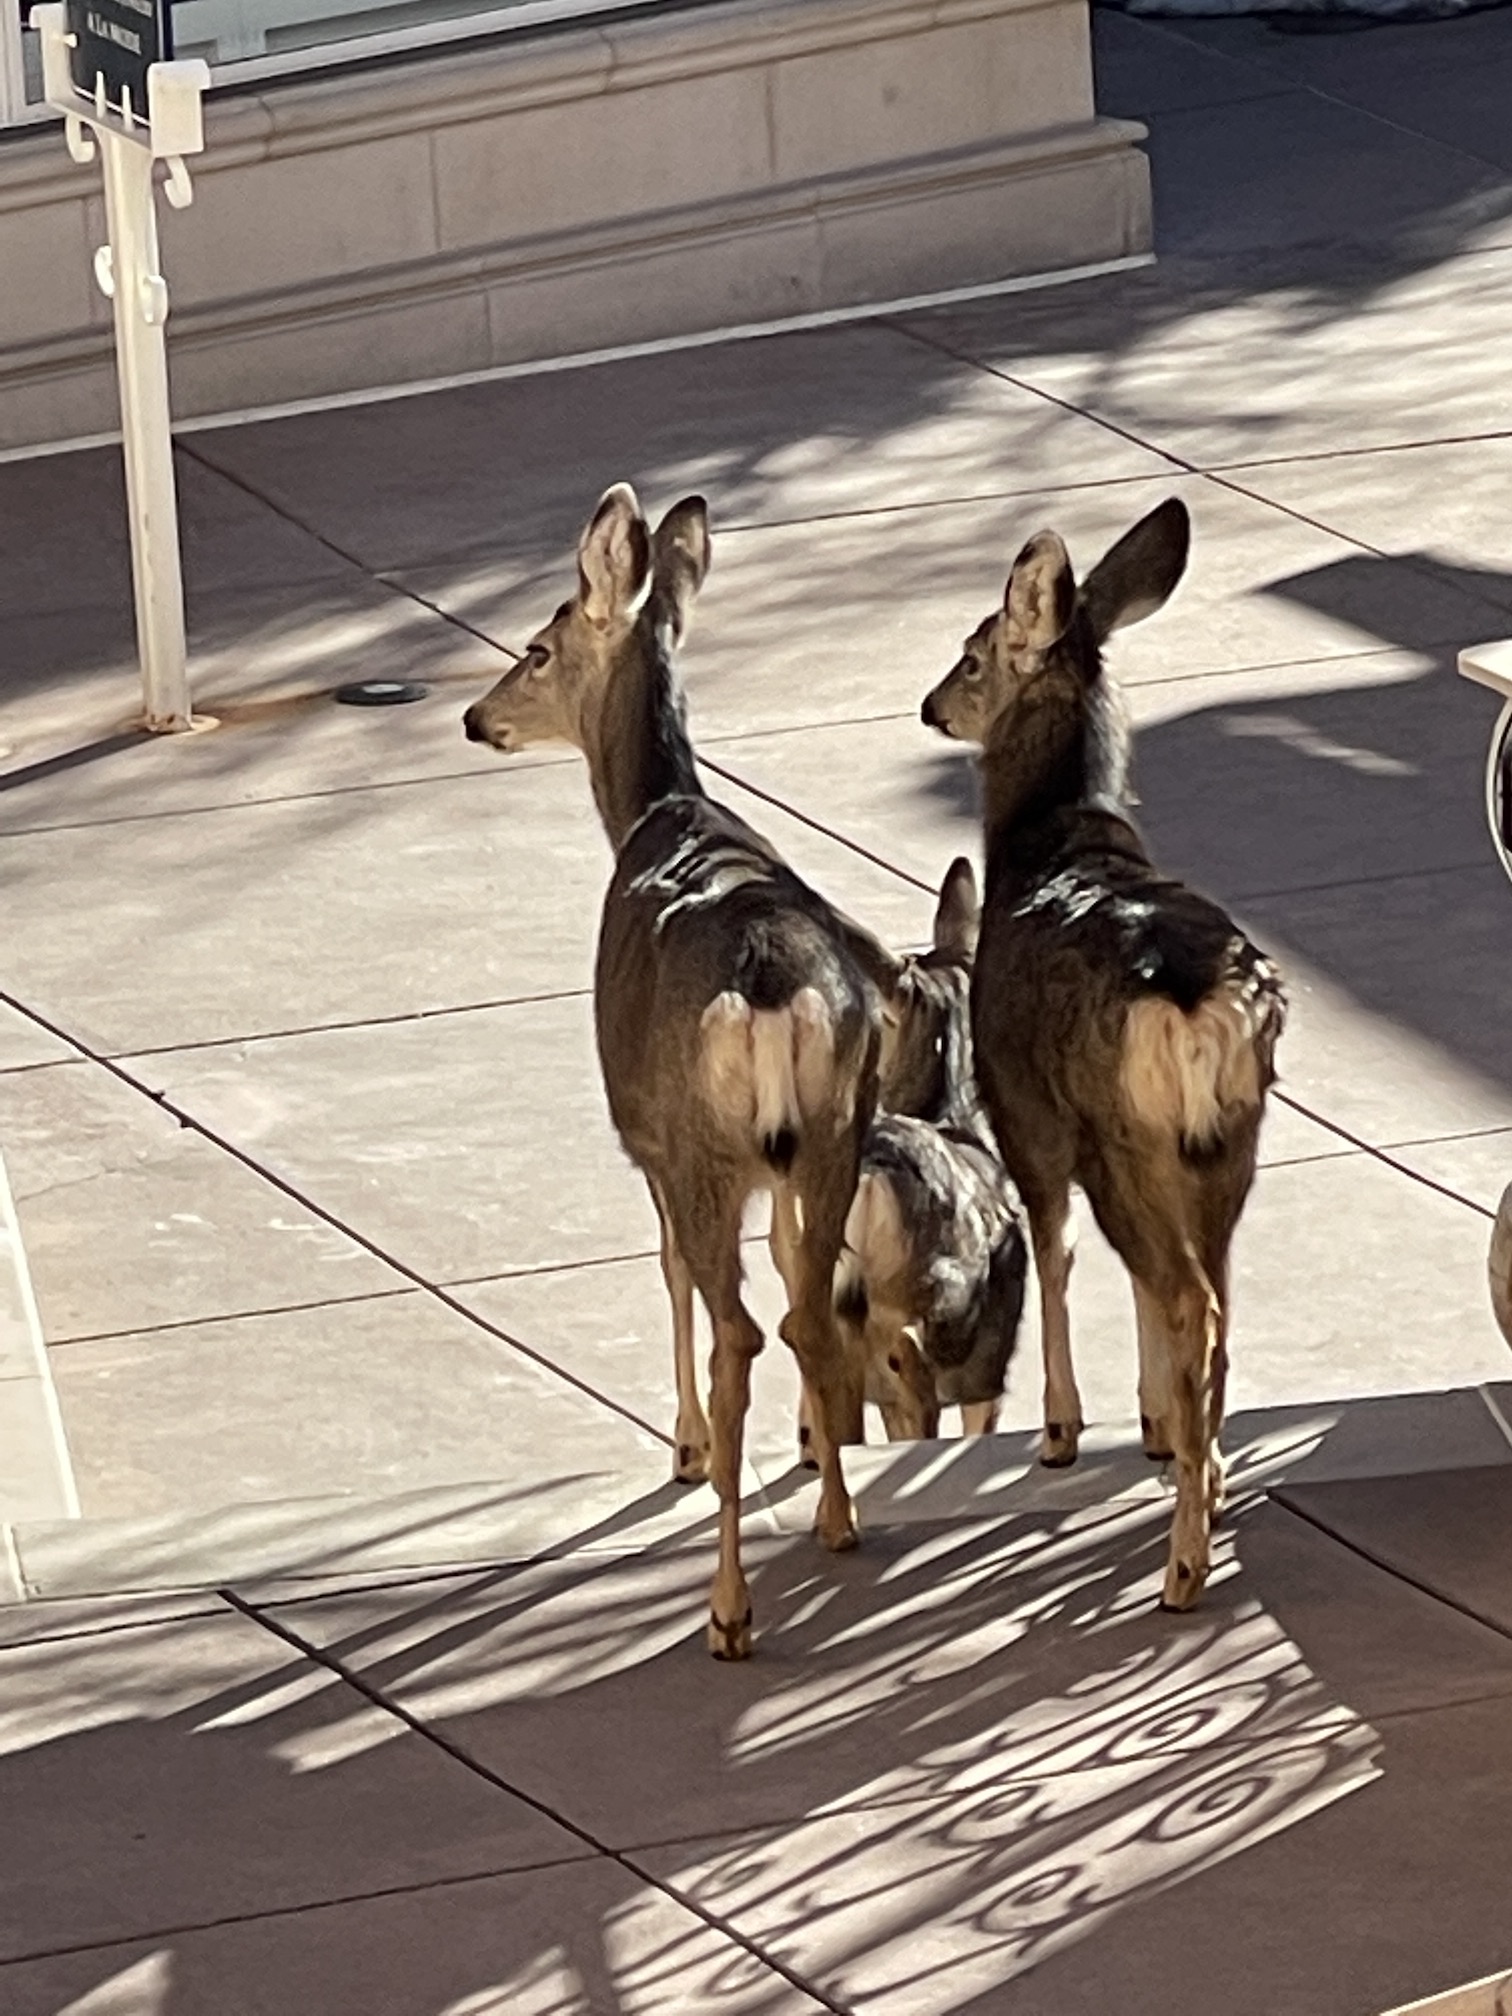
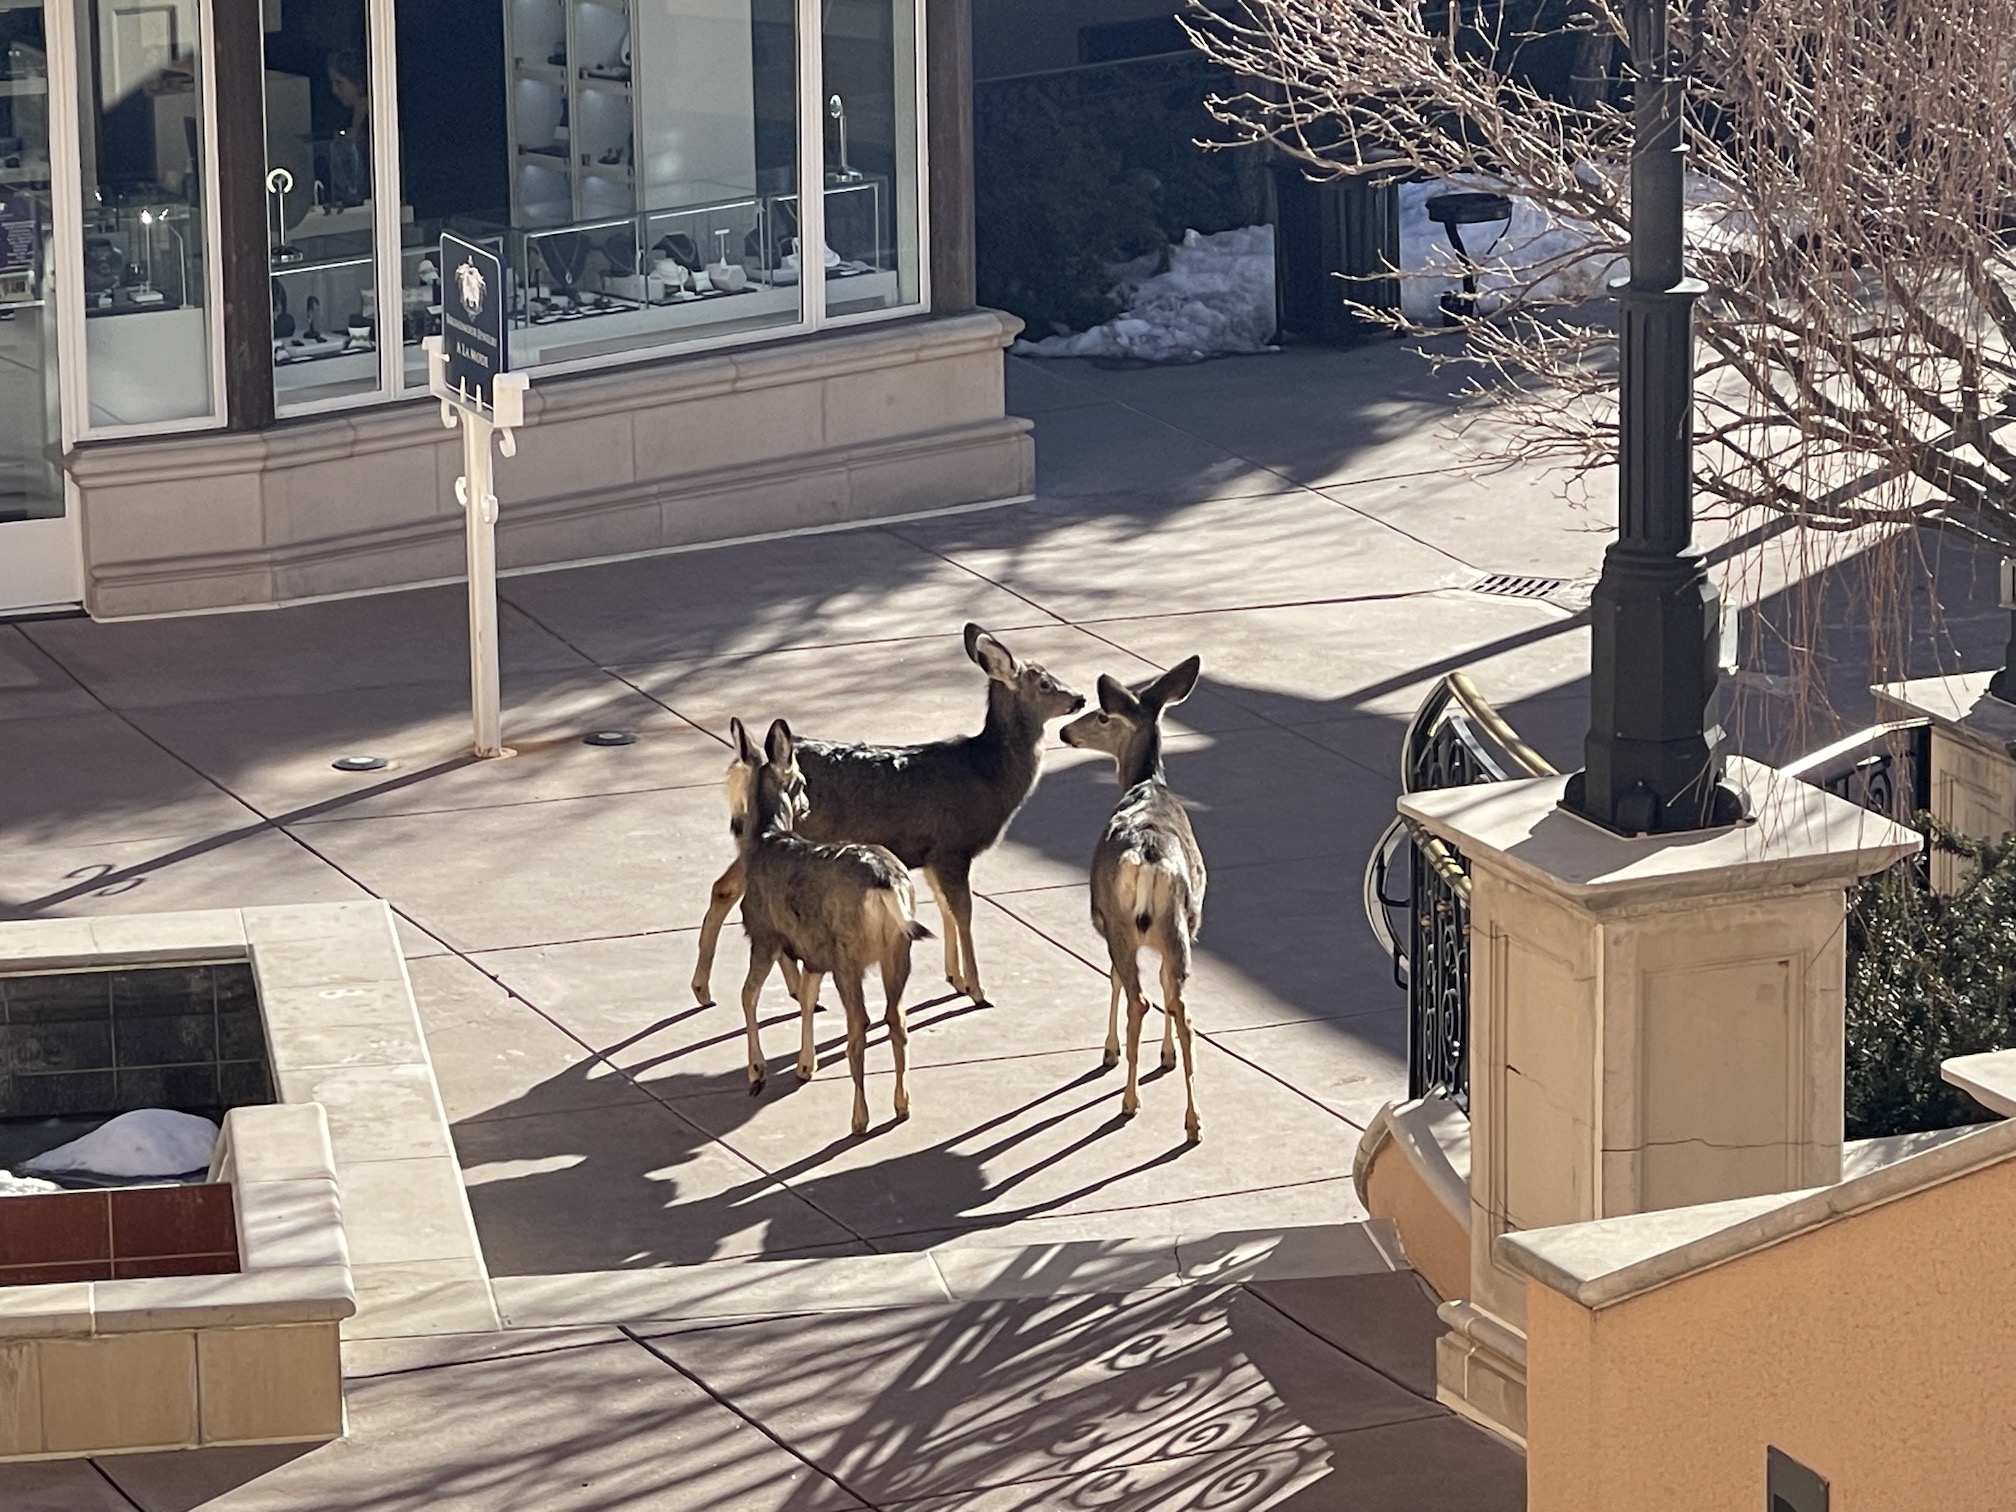
Although I don’t agree, here are a bunch of random photos from our day trip to Seven Falls. Just know the photos I like the best are the one’s taken on the ground before the crazy climb, even if the Humans think the climb was worth it!
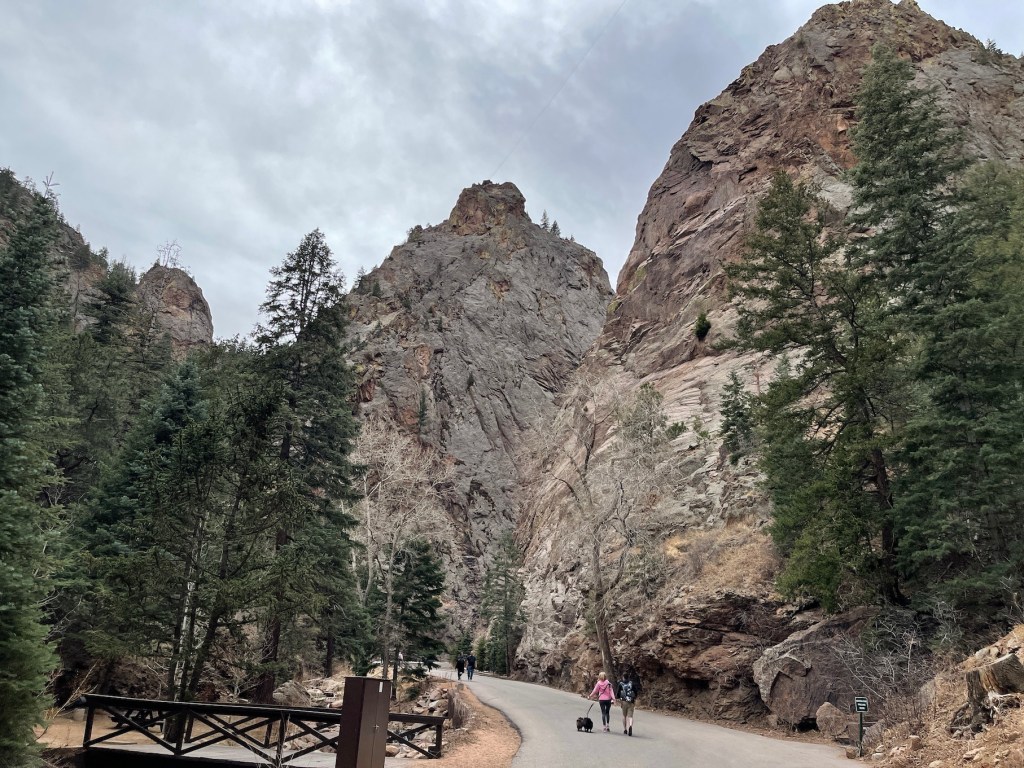
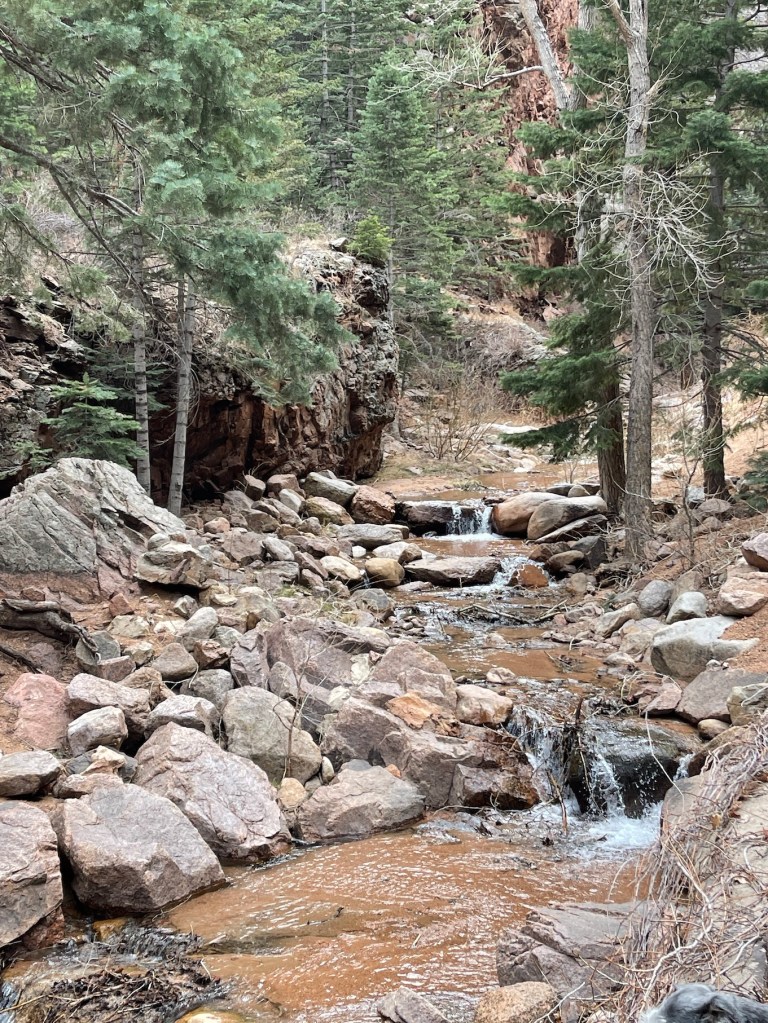
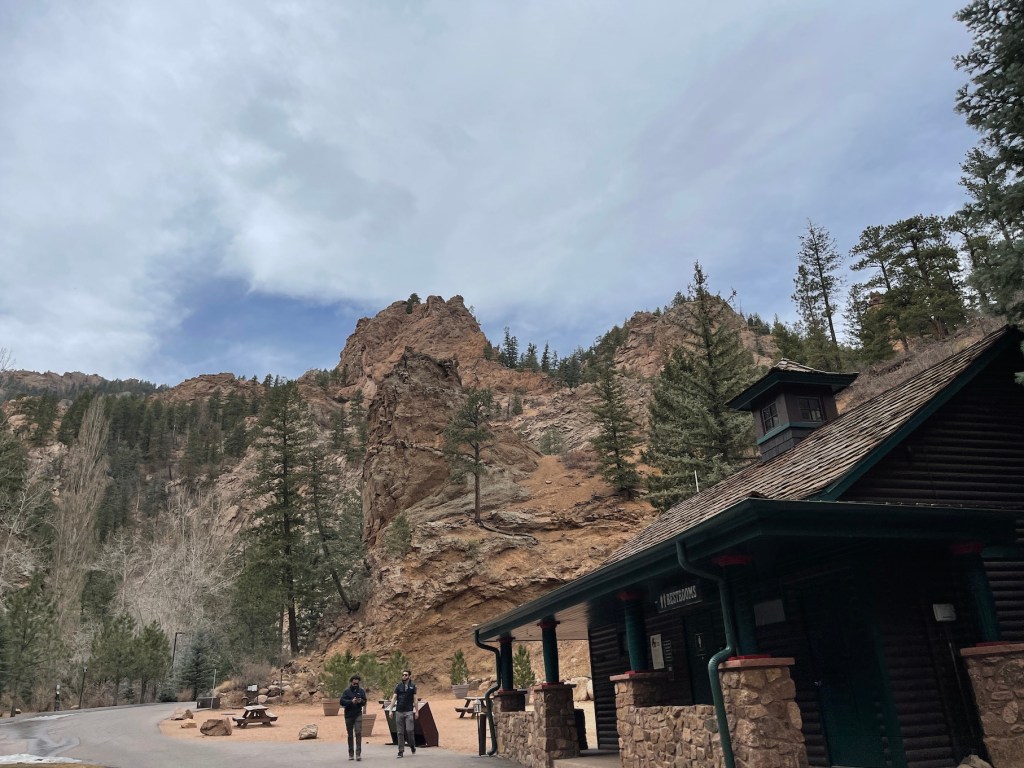
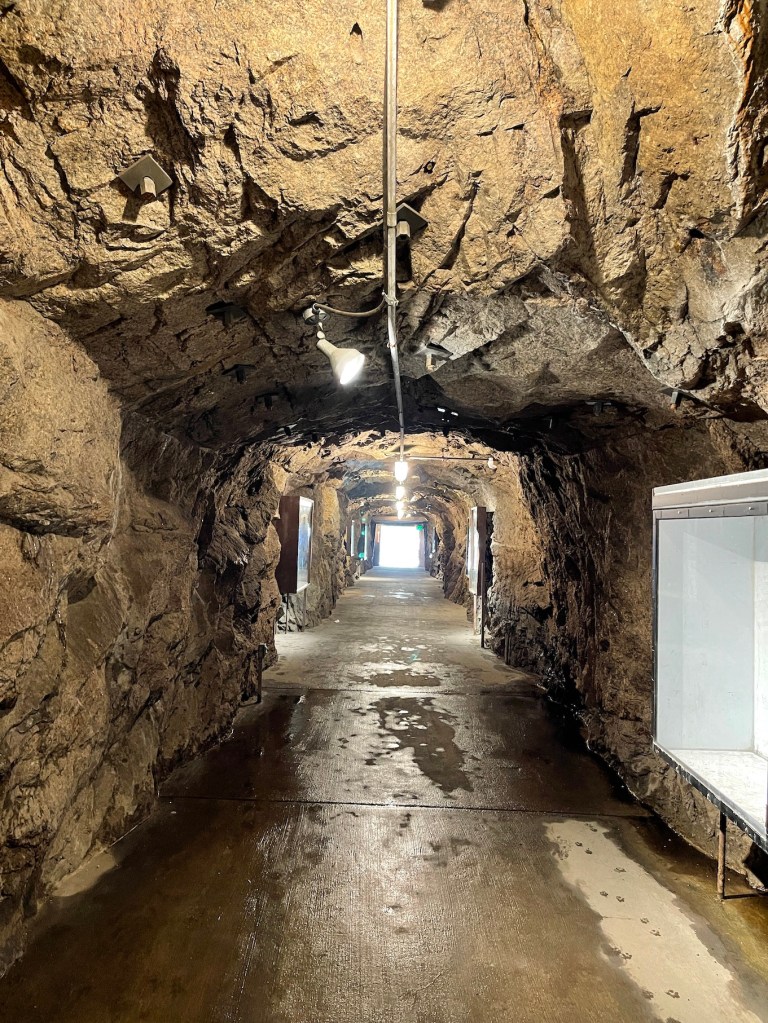
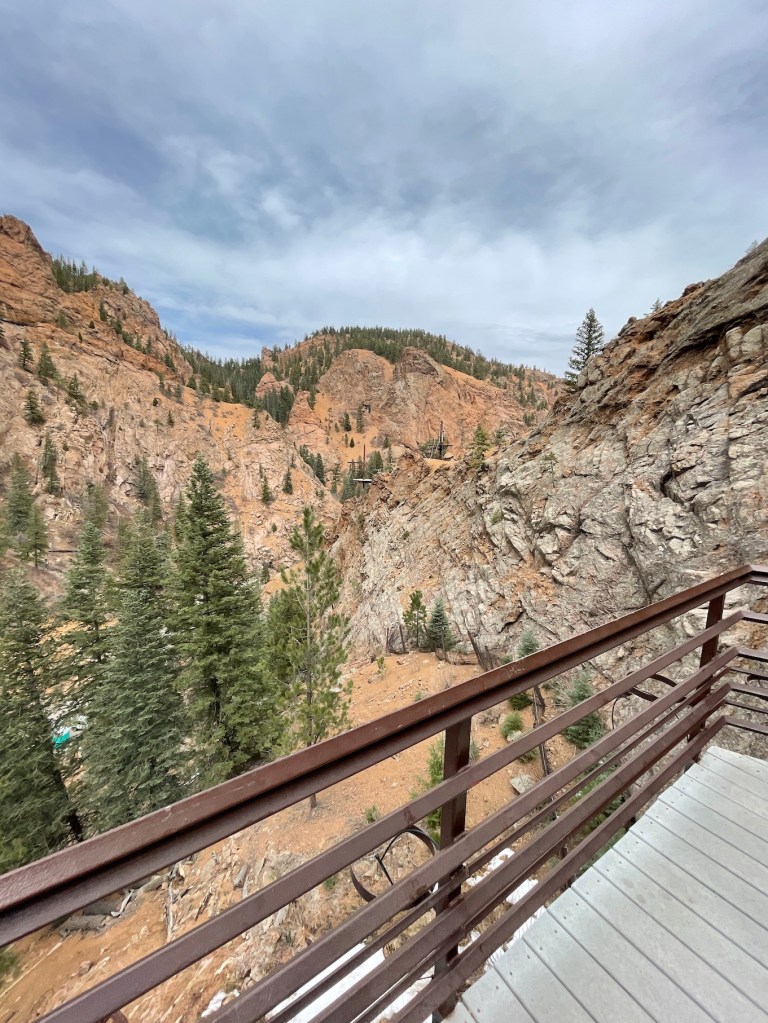
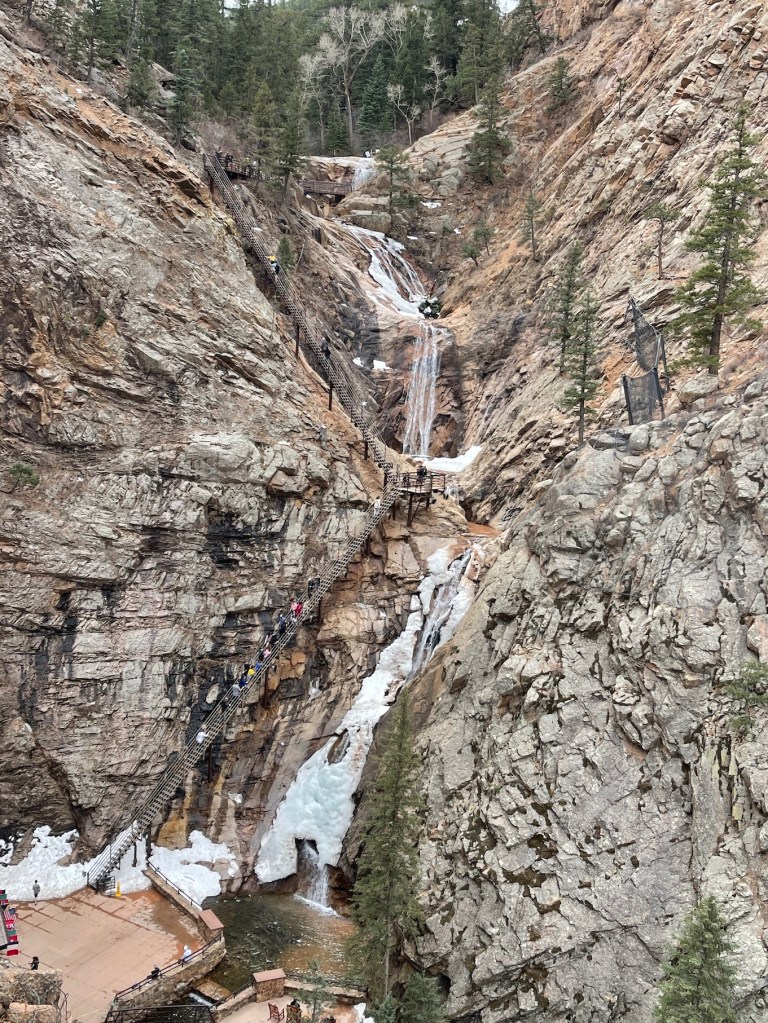
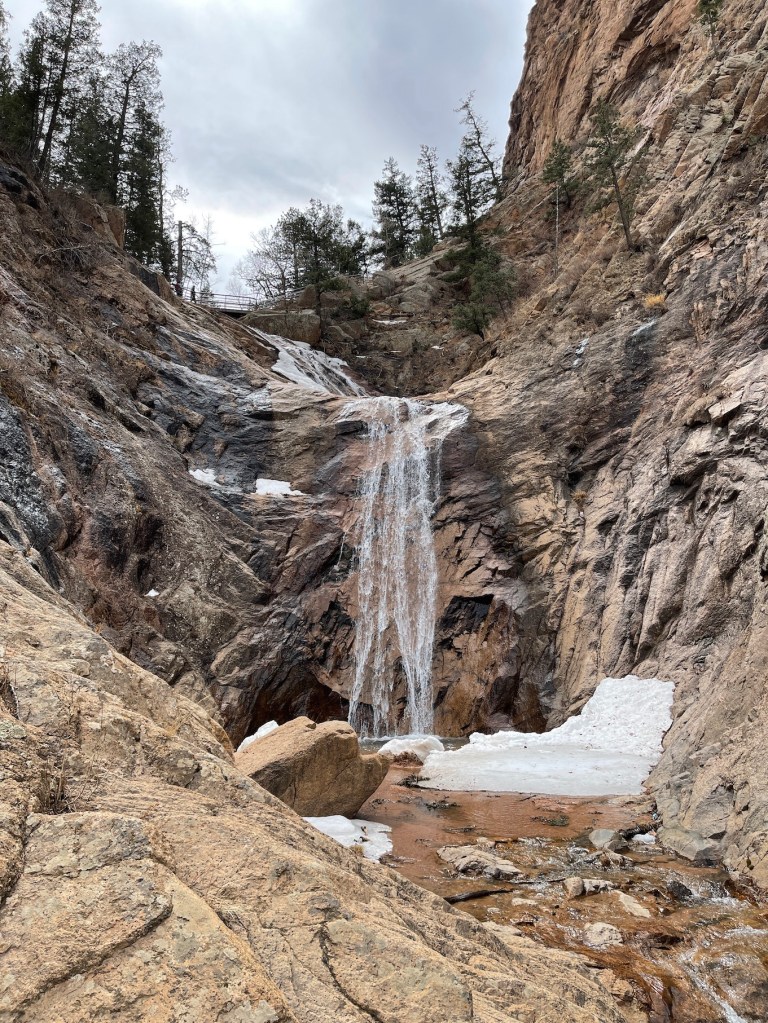

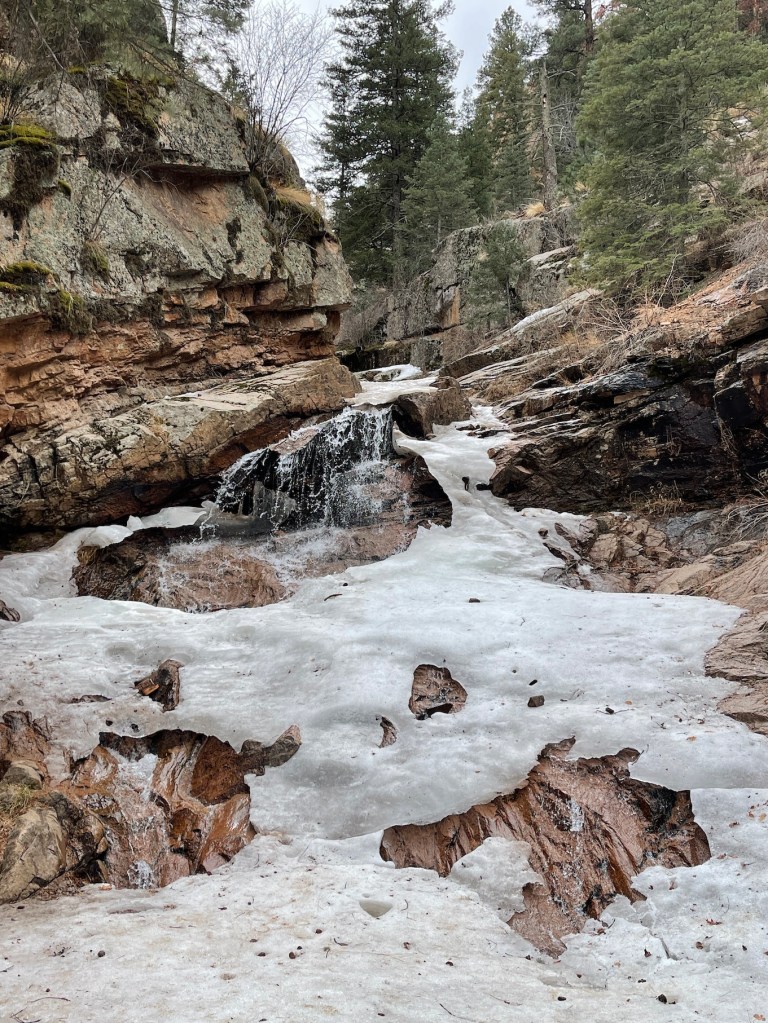
All I see when I look at these photos are rocks, rocks and more rocks. But the Humans seem to enjoy the scenery in Colorado.
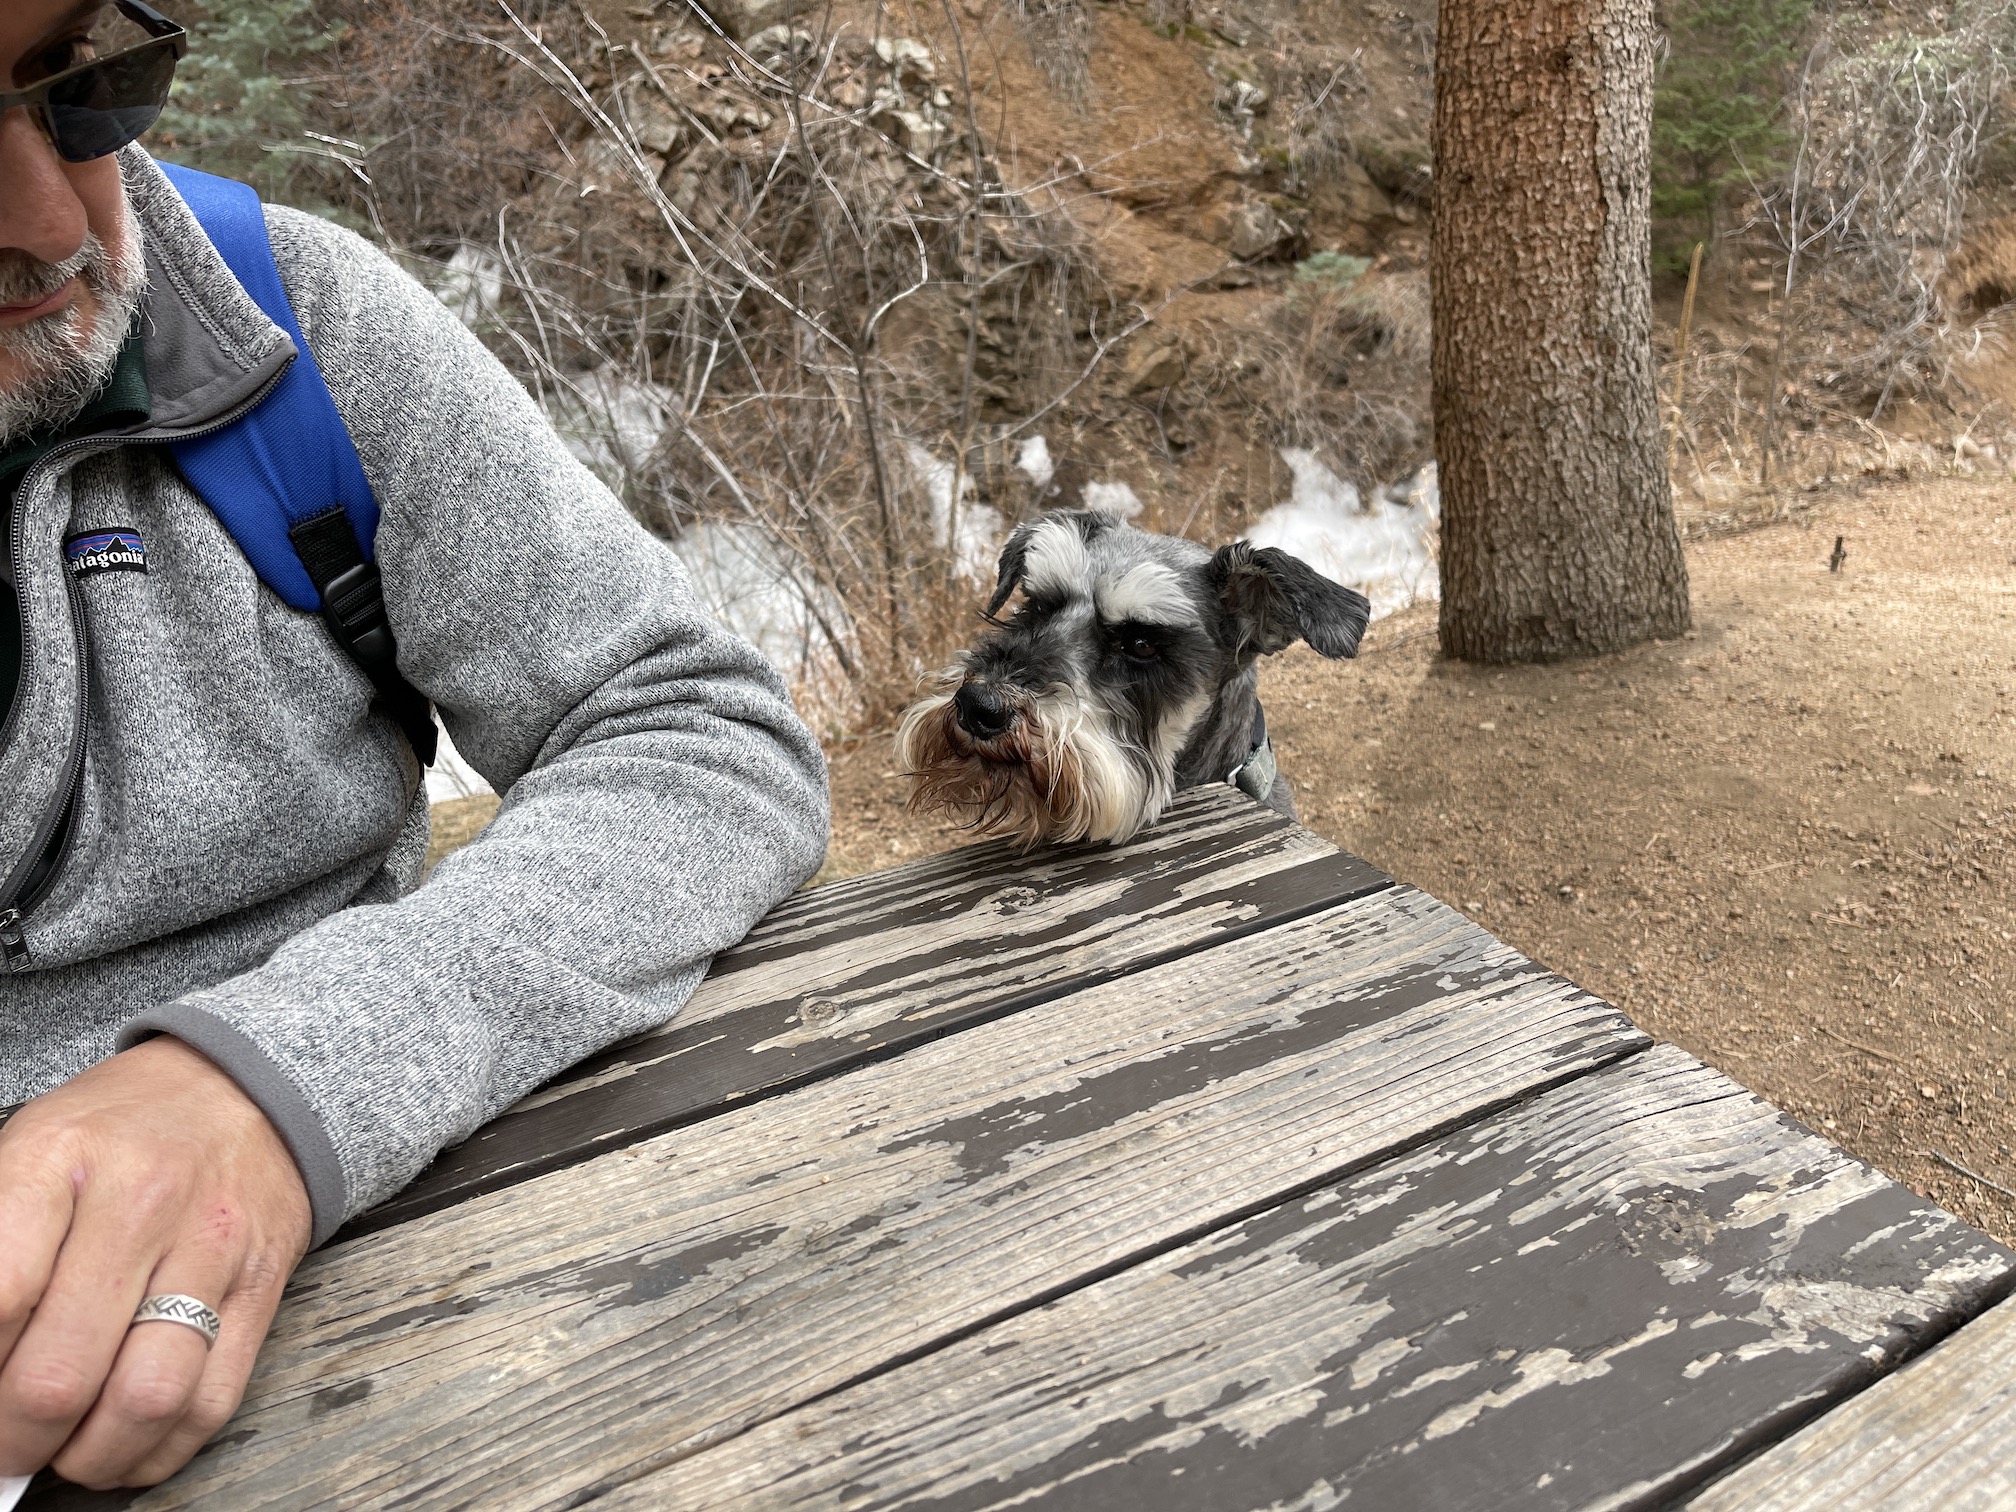
Here is the scenery I really enjoyed: after we climbed back down the 224 steps (and the Humans’ legs were like jello), we found a nice place to have a picnic before heading home:

And here I am trying to convince the Humans that I’ve earned a sampling of their food:
So that’s the end of my story, here I am putting the finishing touches on this guest blog post:

You will hear from my Human Tierney again after she catches up reading her blogging buddies posts (and she’s let them go too long without reading). Hope she gets her act together!