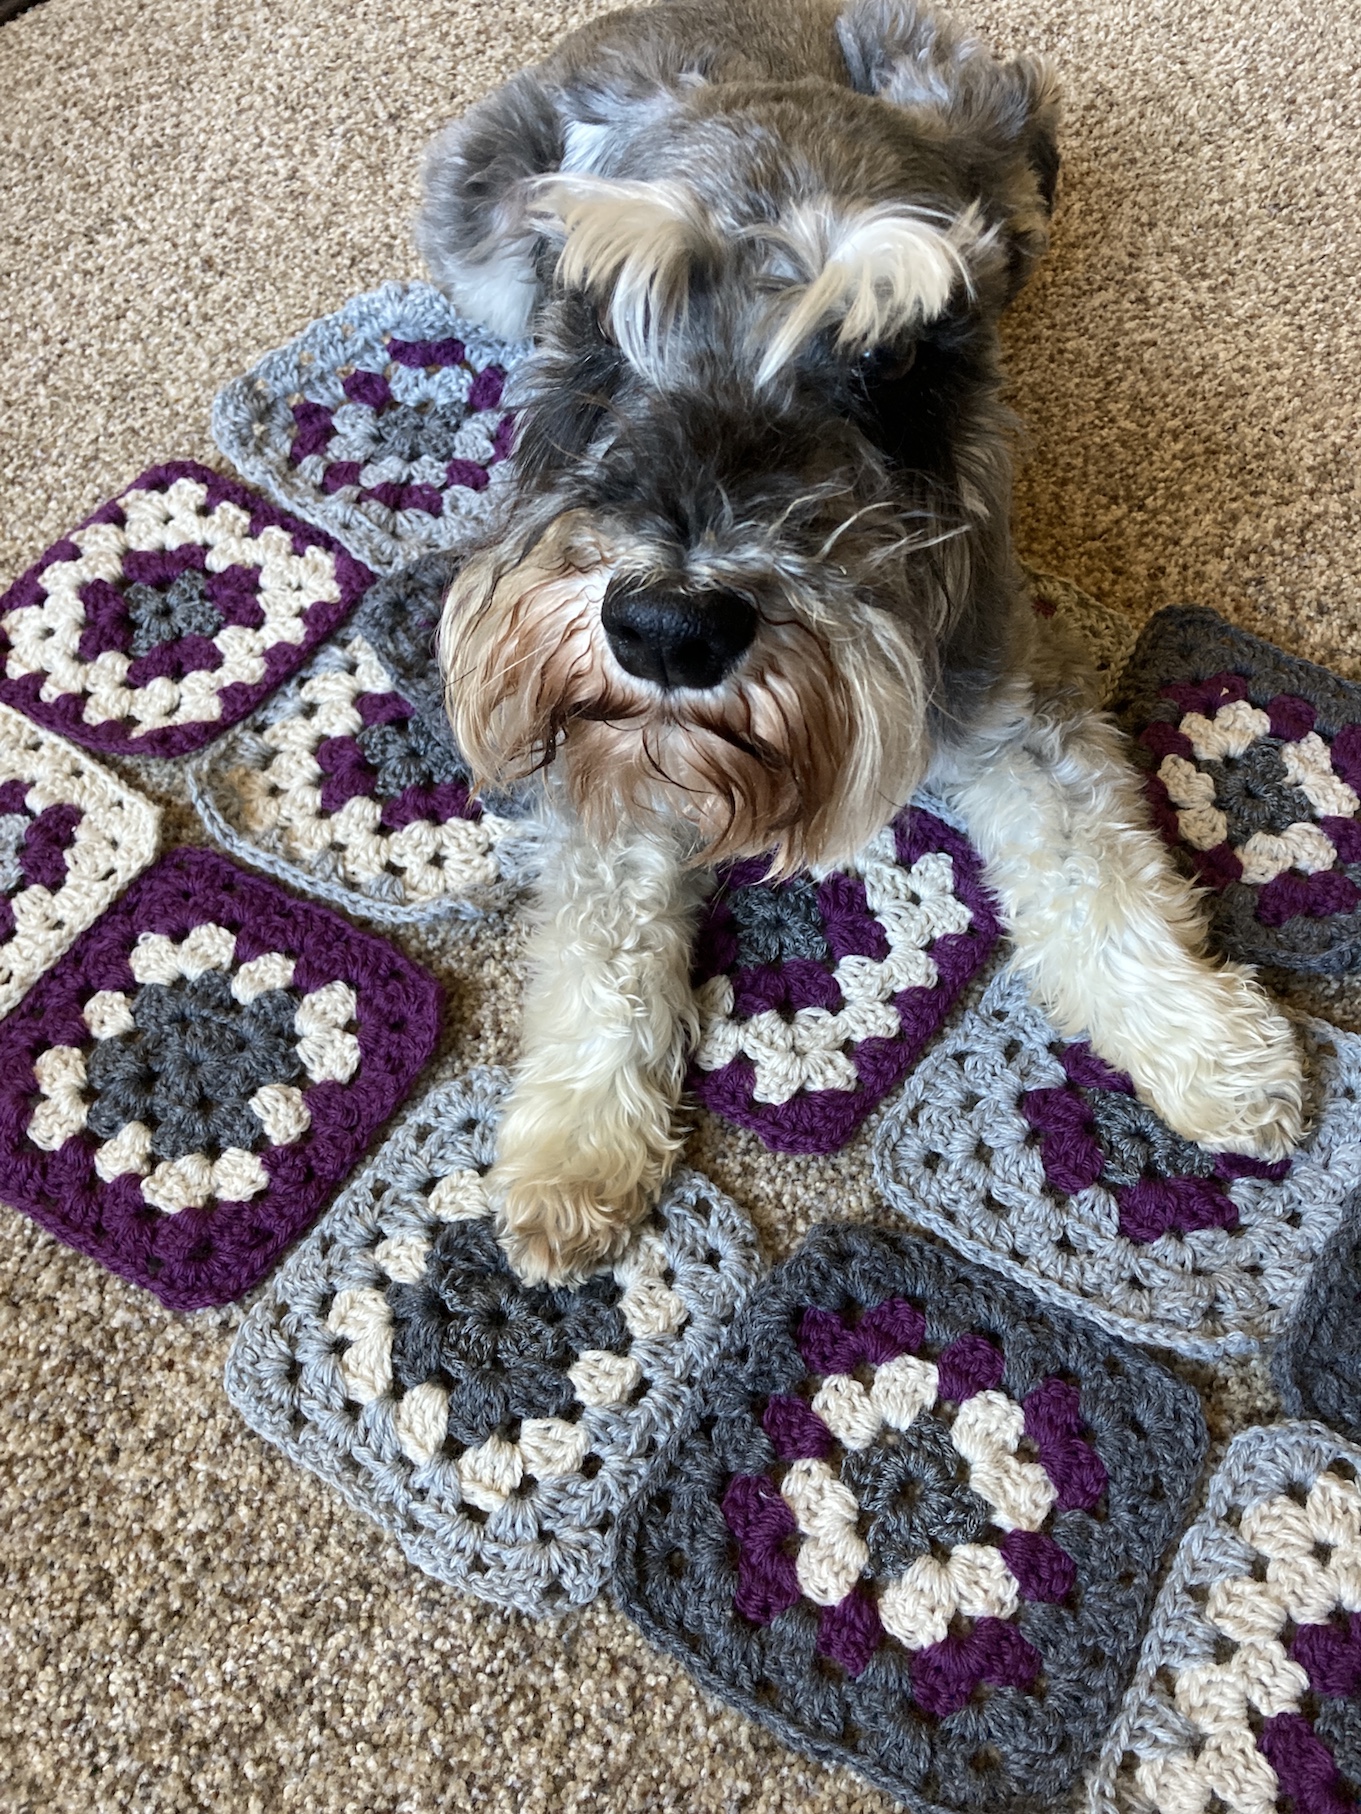
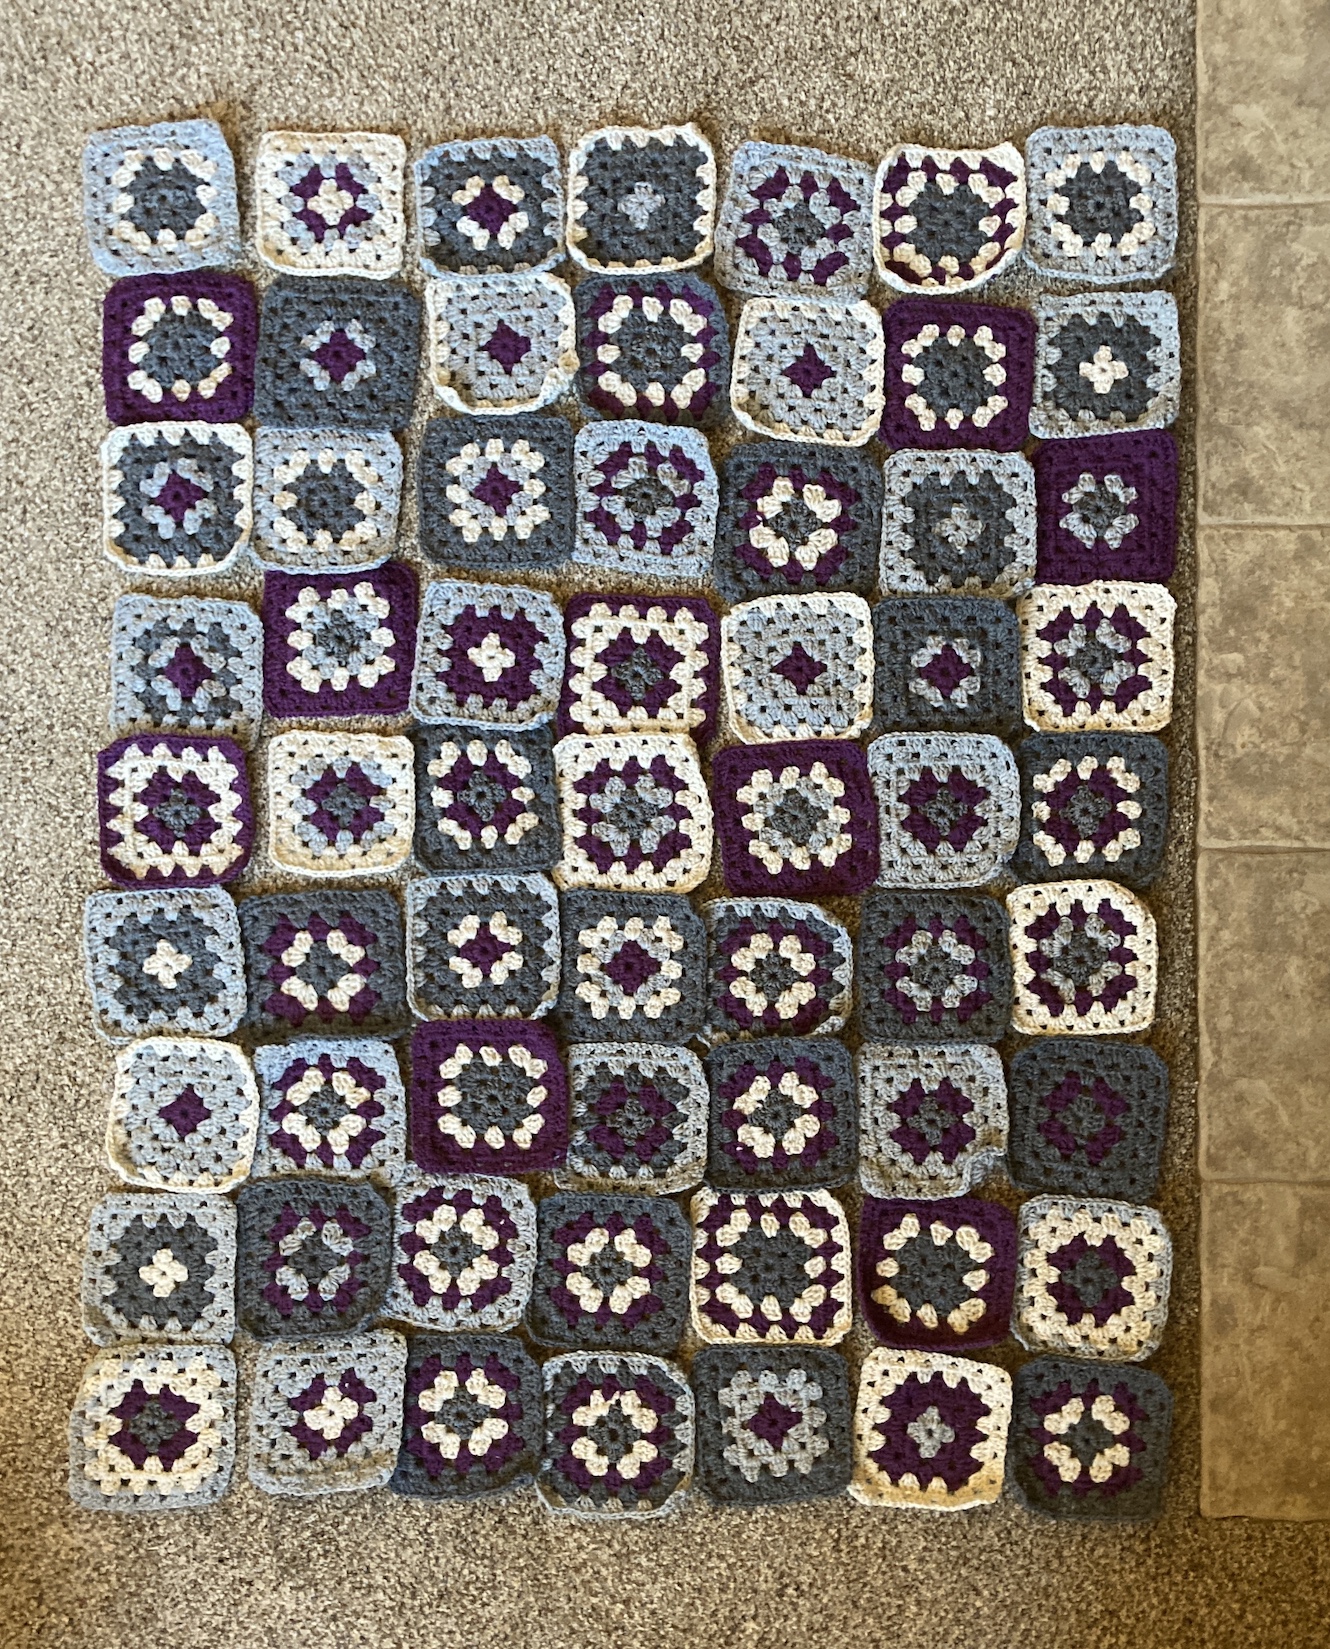
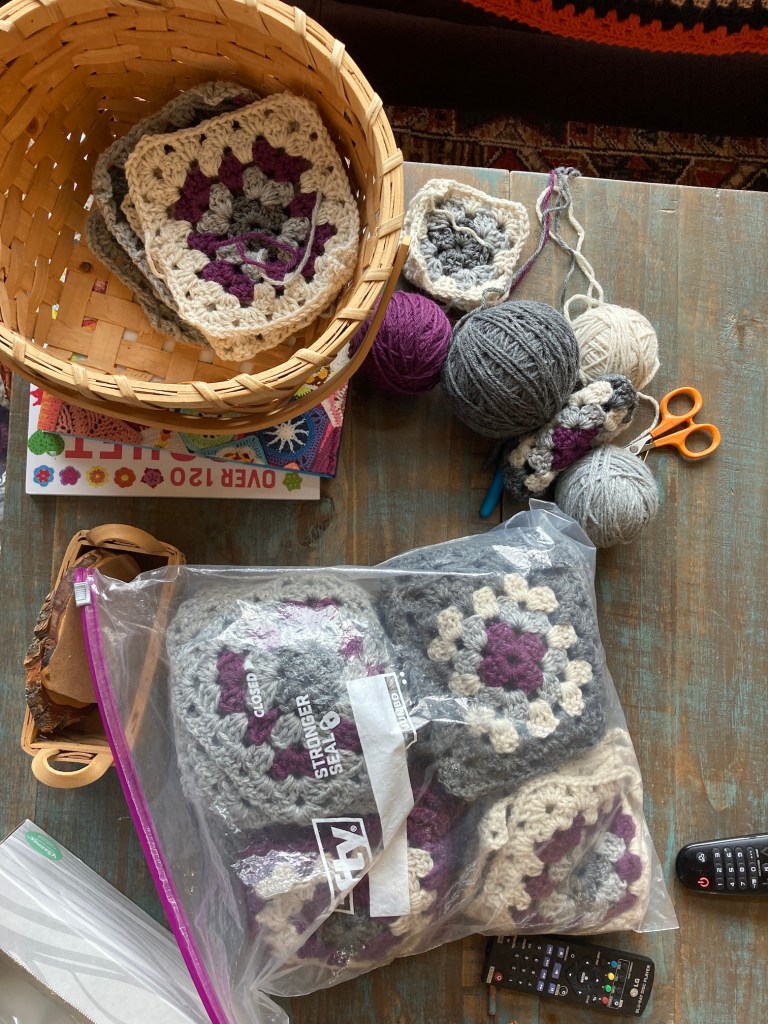
It’s done!
Well sort of – I still have to weave in the ends from joining the squares.
“Tierney, what are you talking about?”
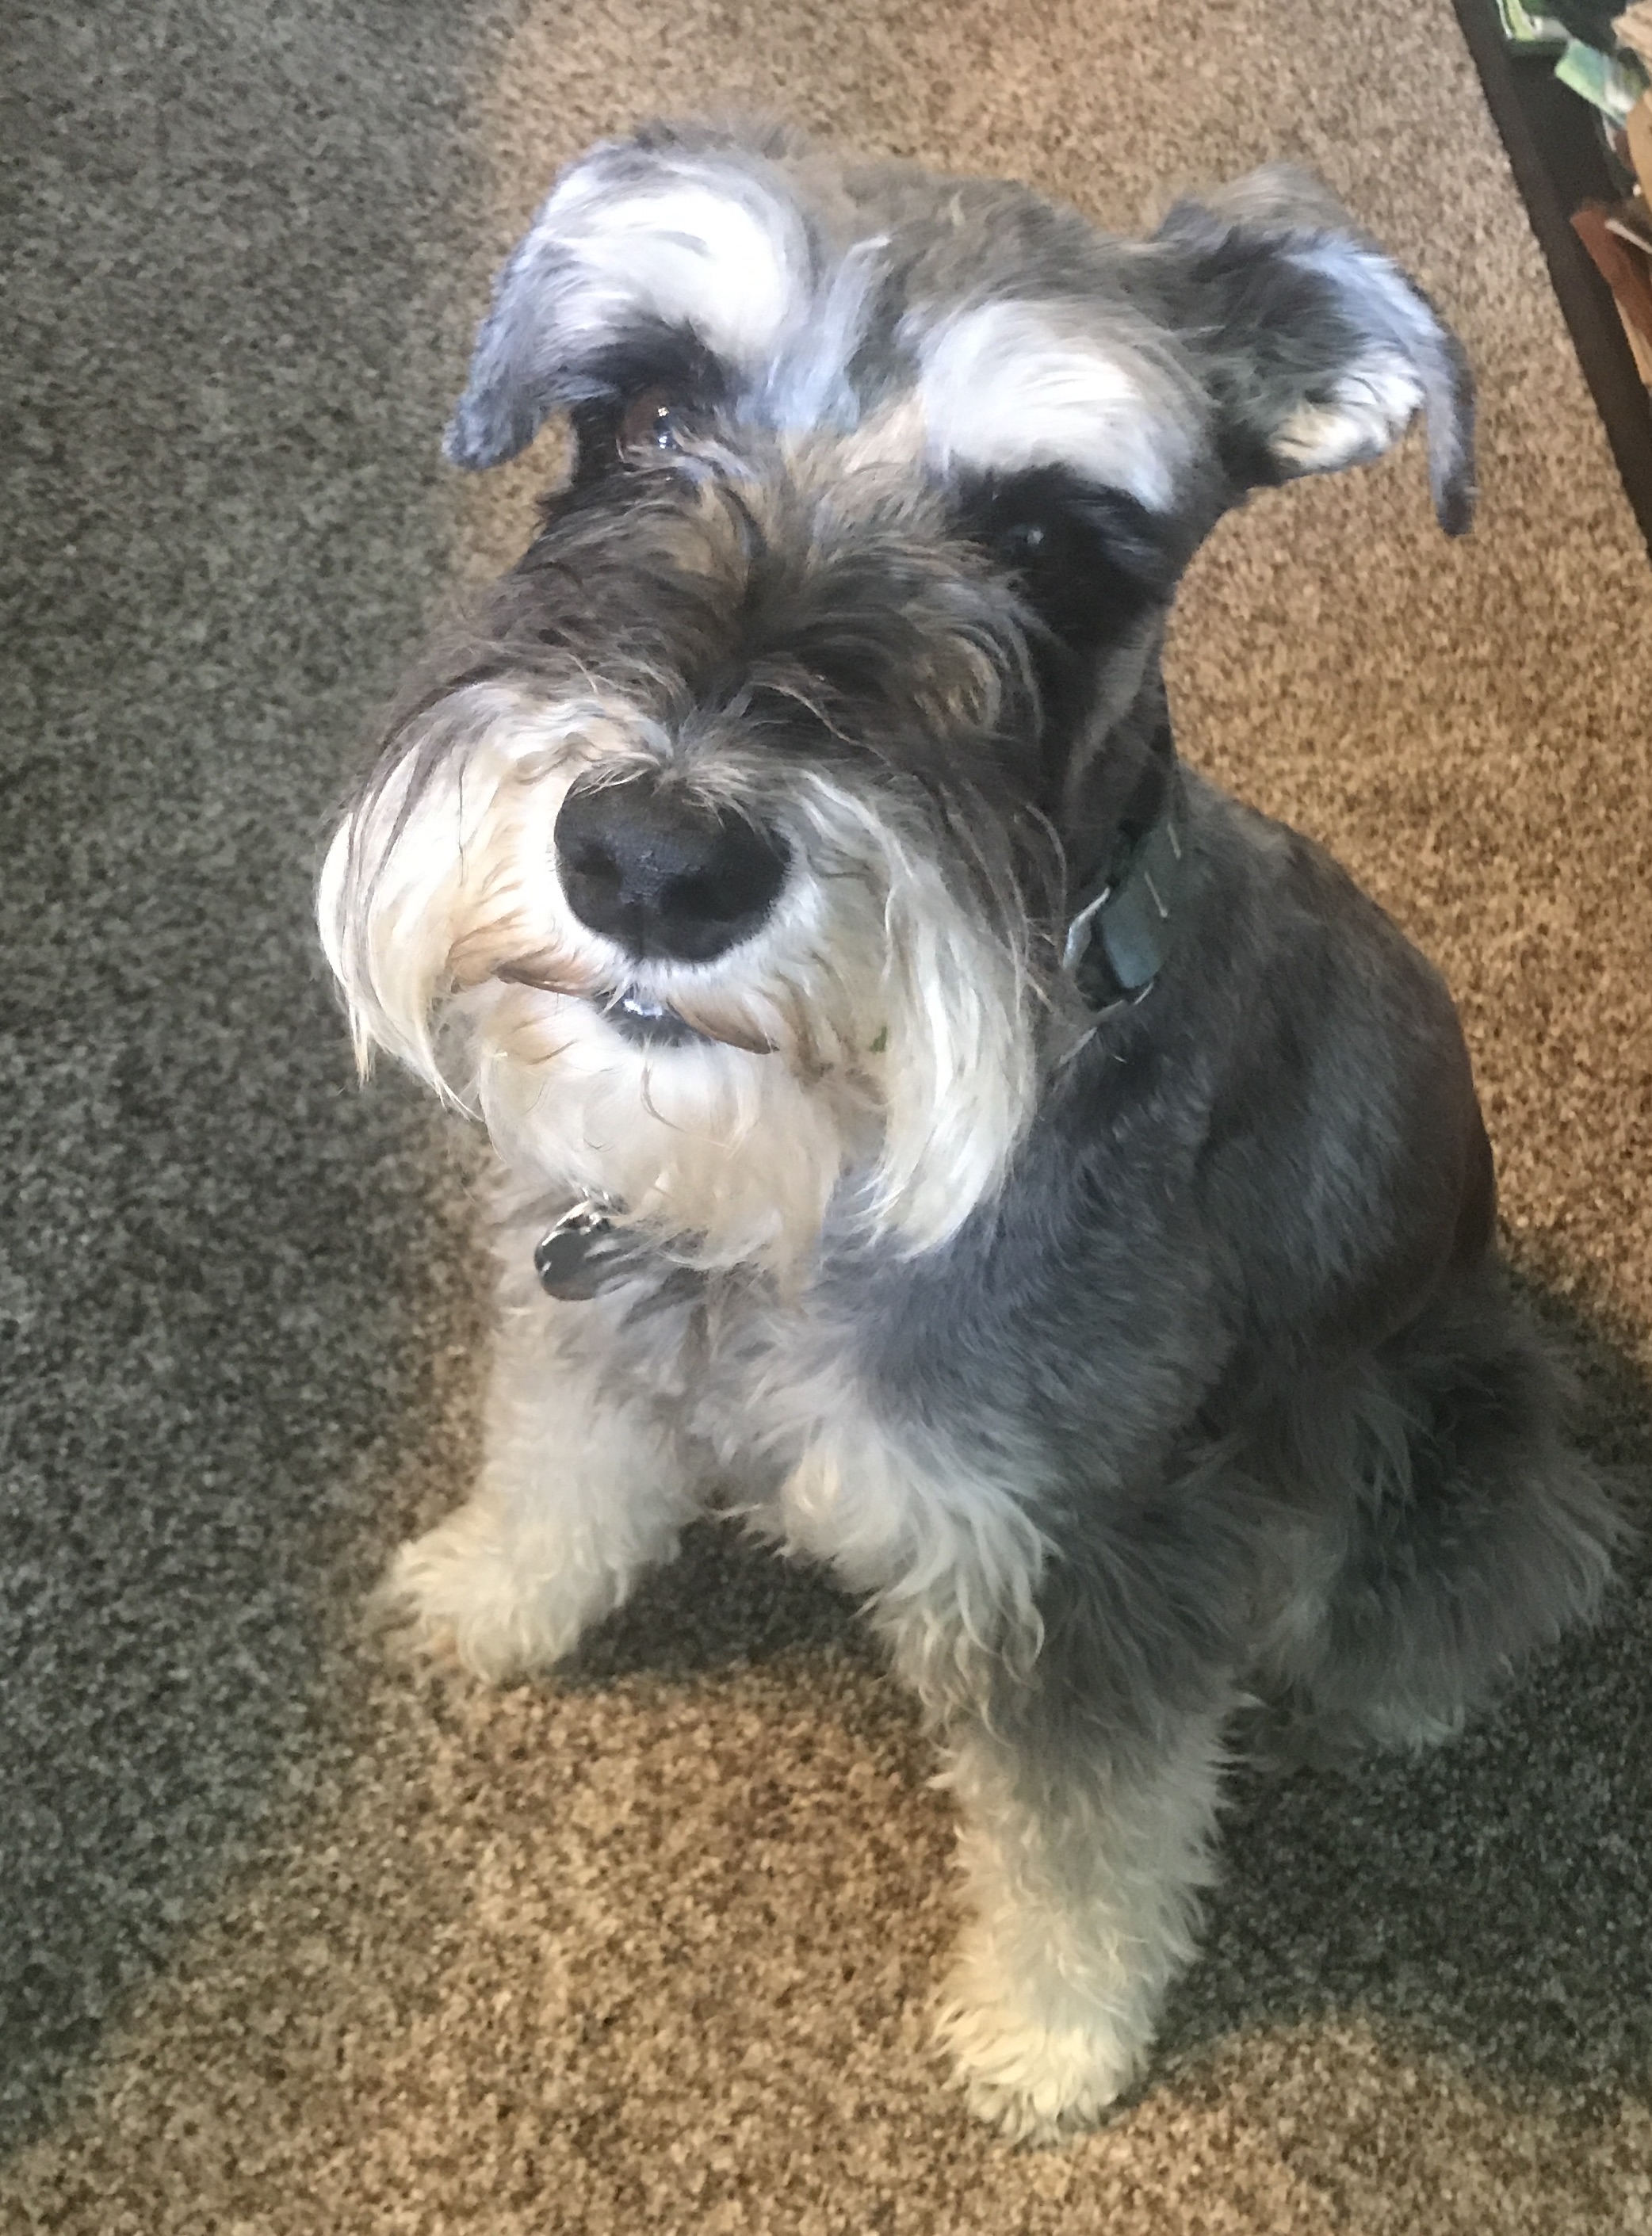
Well I am following up on the guest blogger post from earlier this month by my impatient miniature schnauzer Mike: The Inpatient Schnauzer: Update on the Granny Square Afghan (Guest Blogger).

Yes, of course my miniature schnauzer knows how to write blog posts, why are you asking?
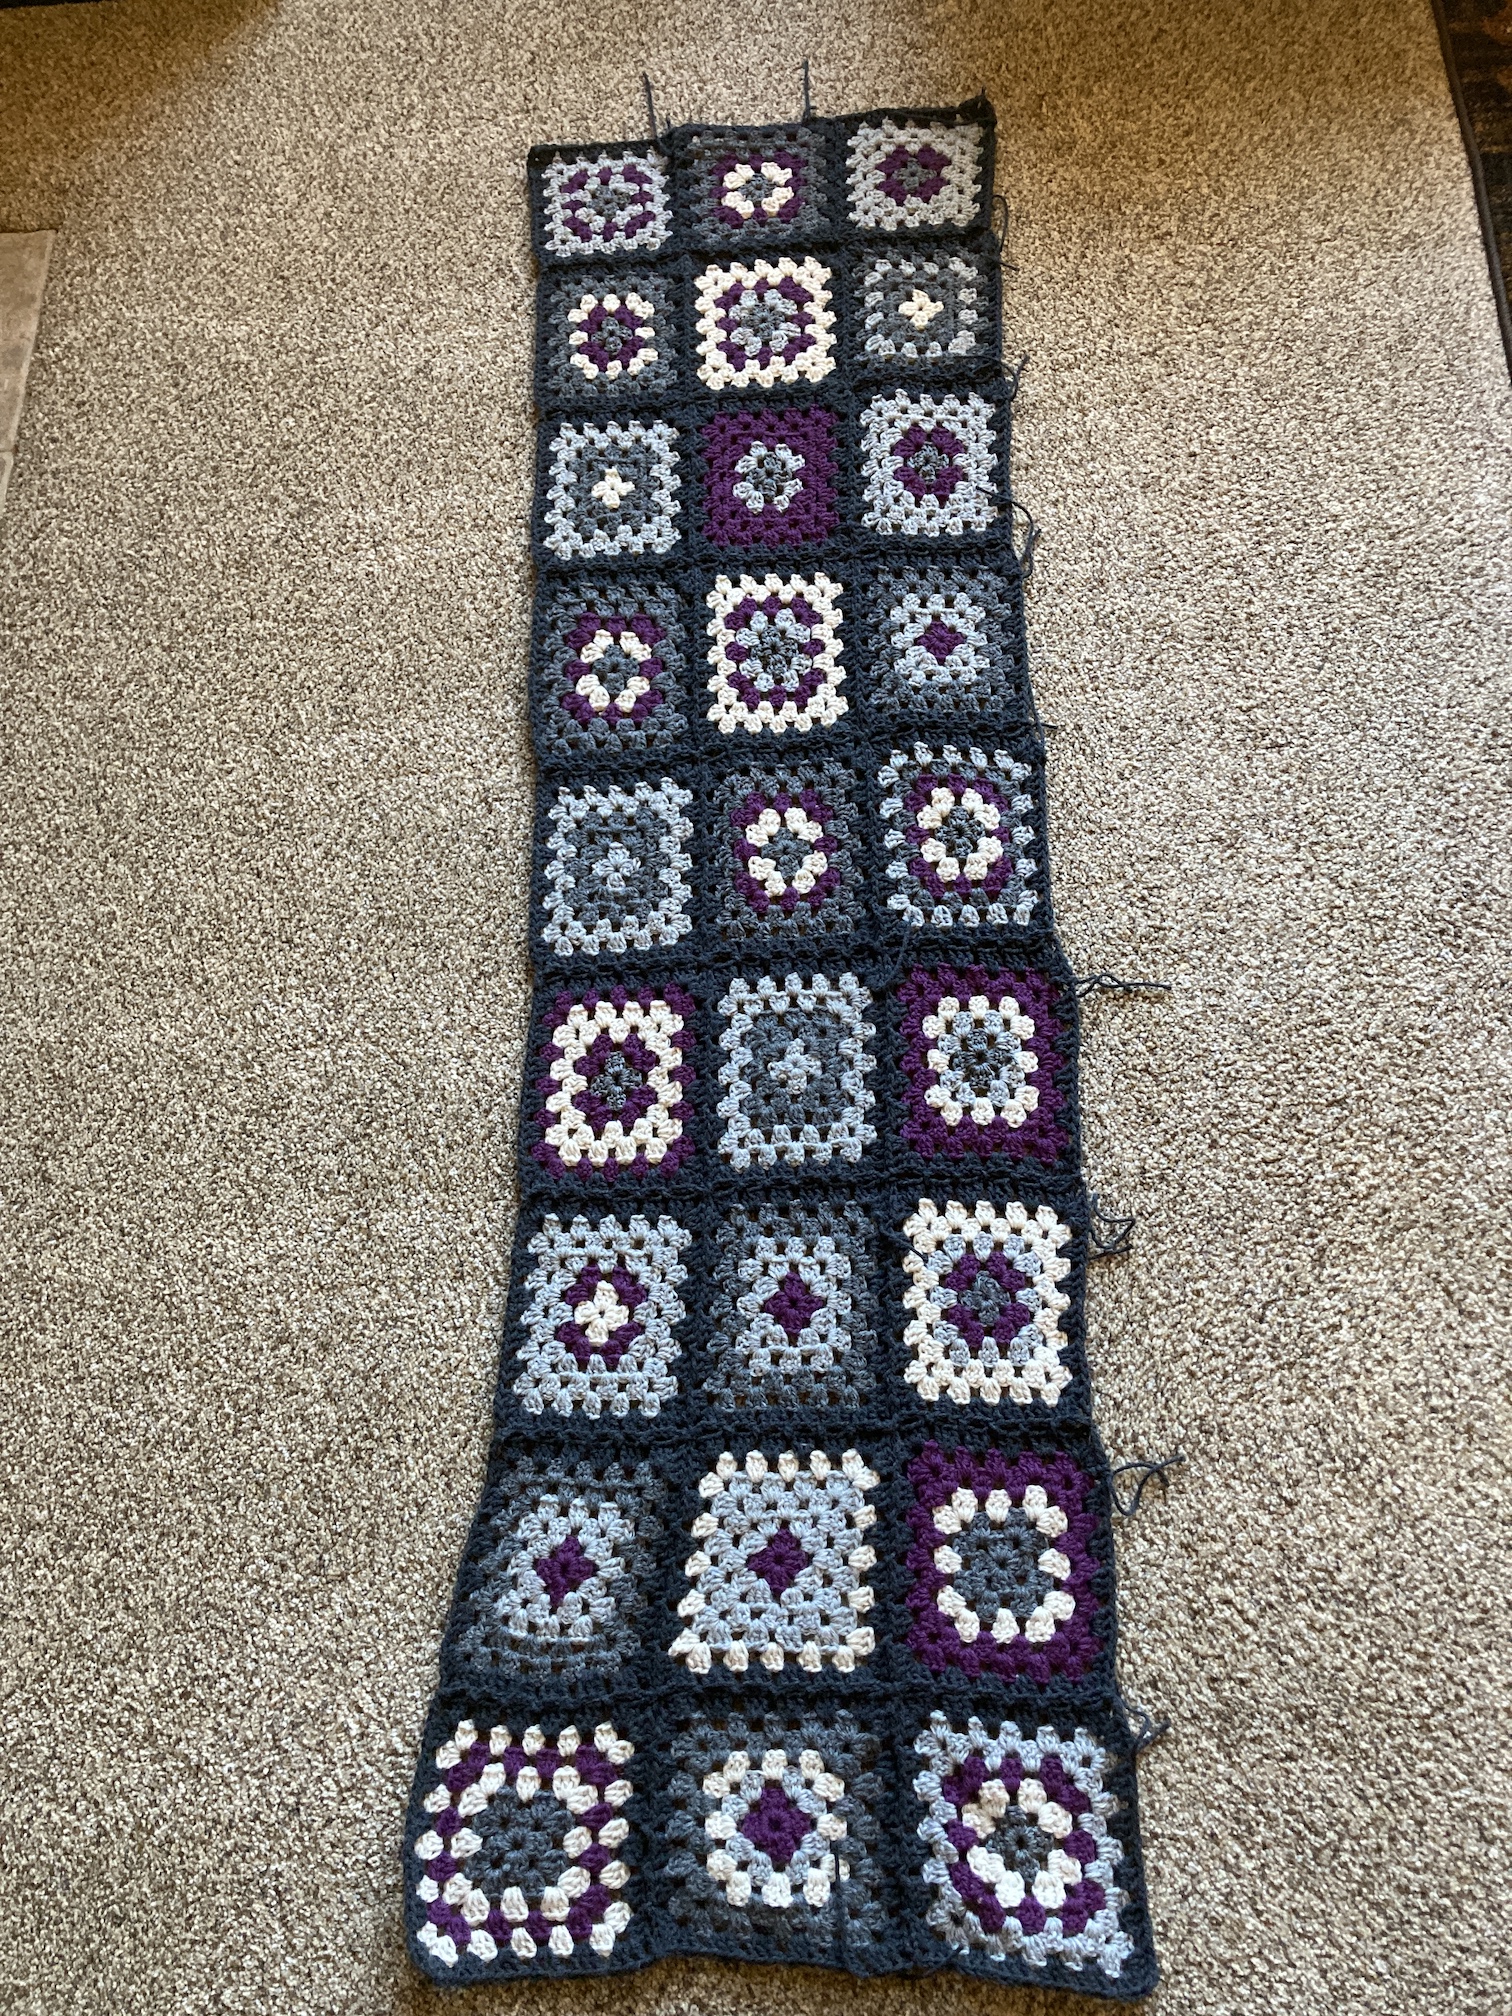
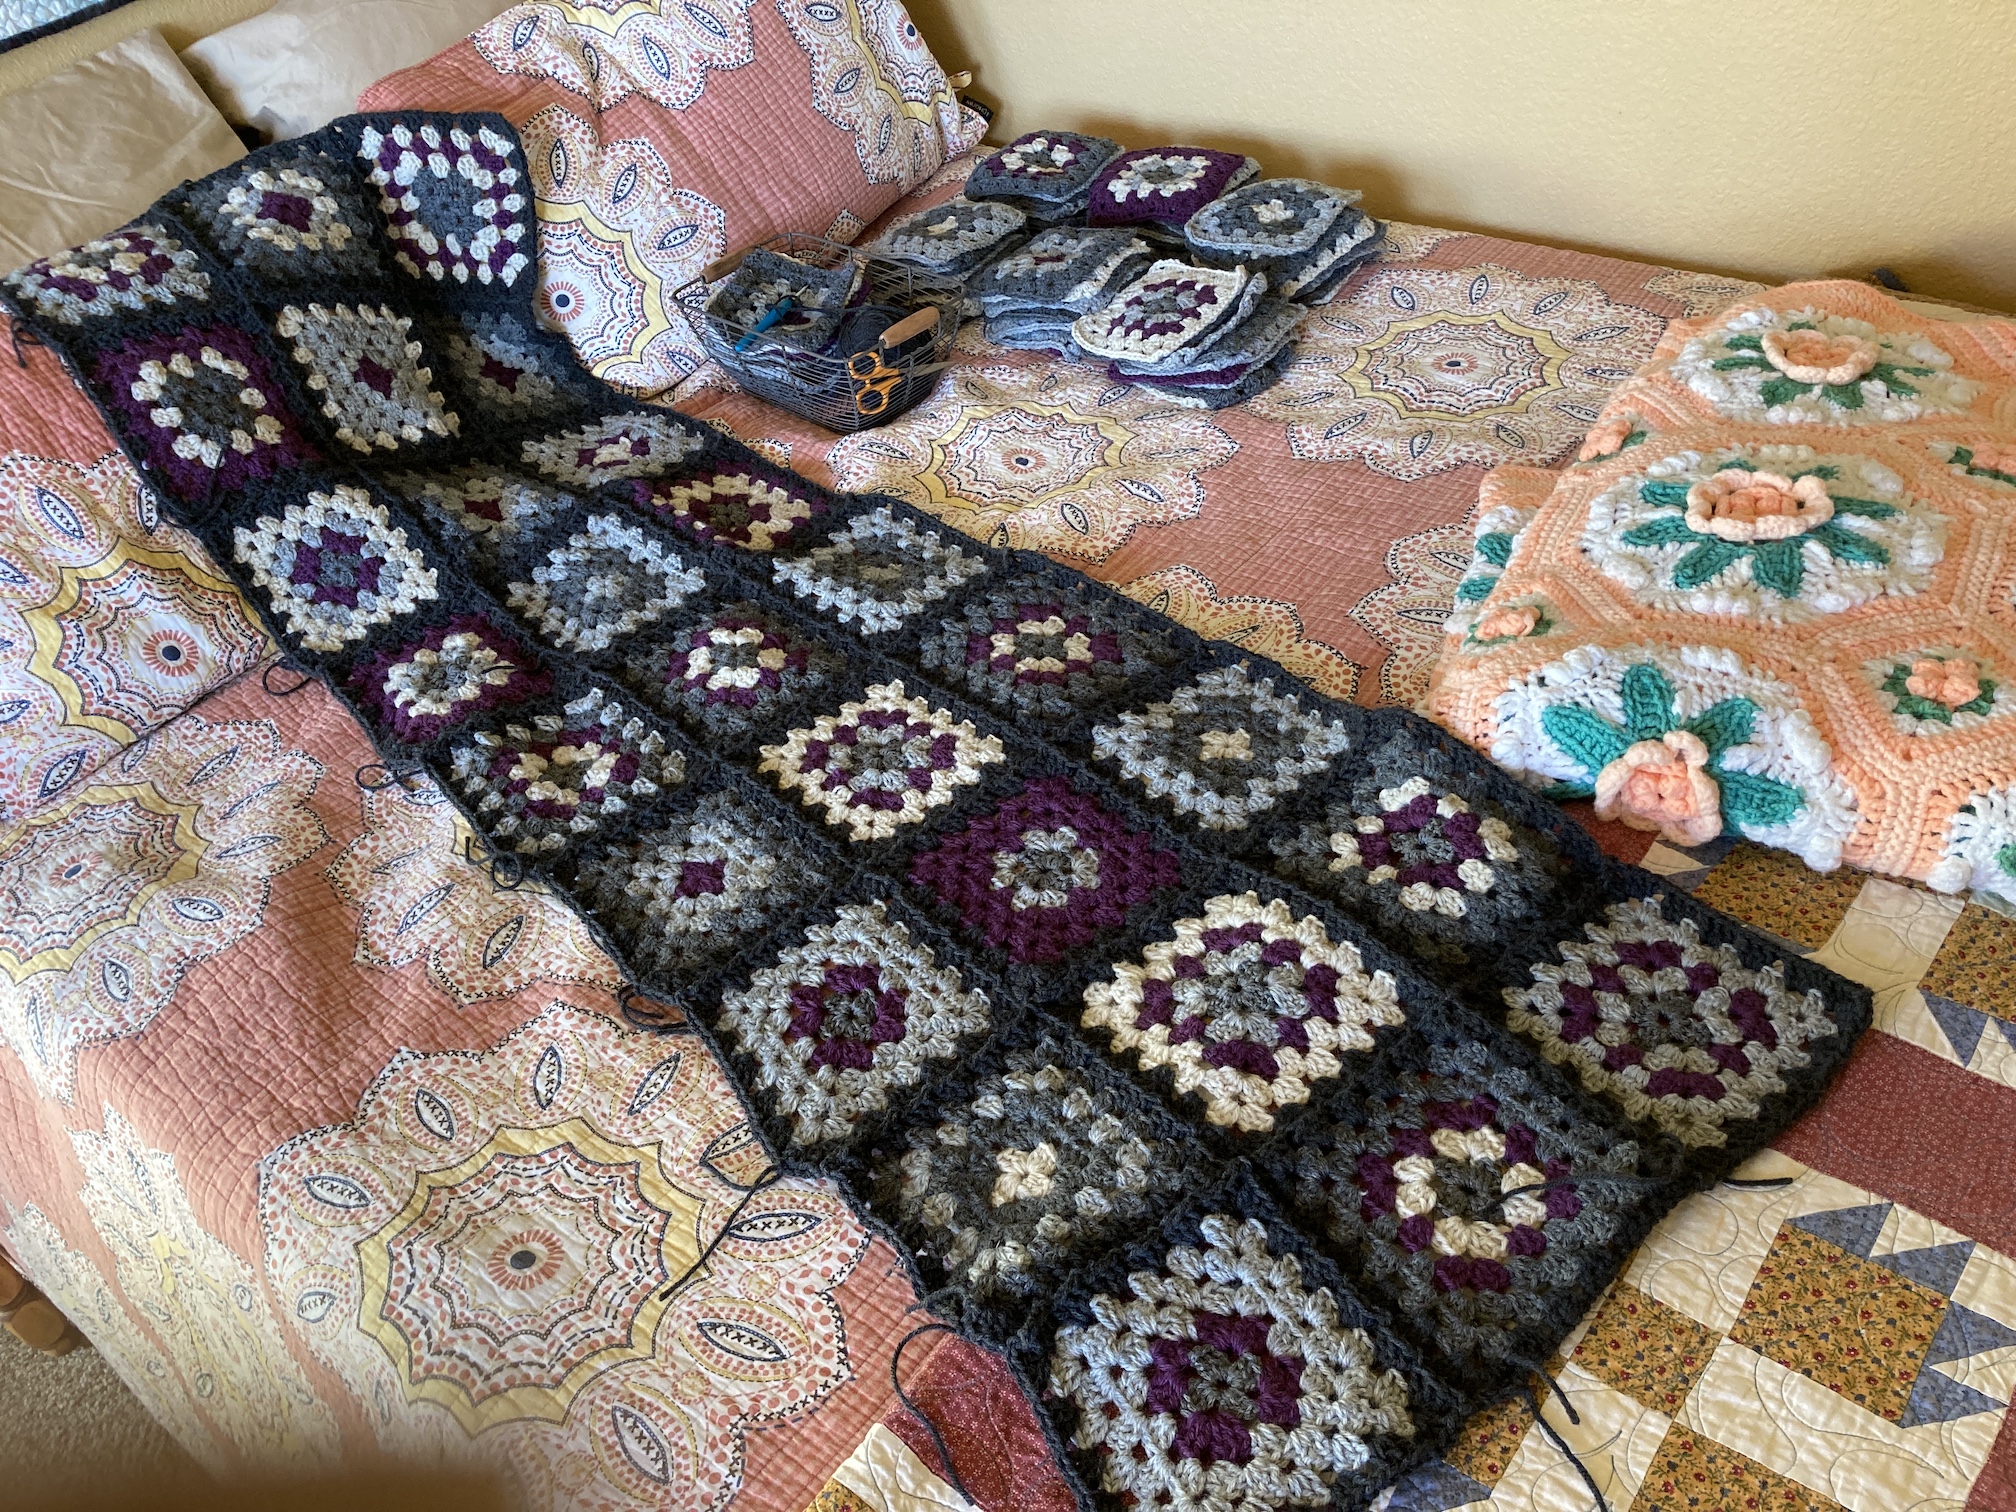
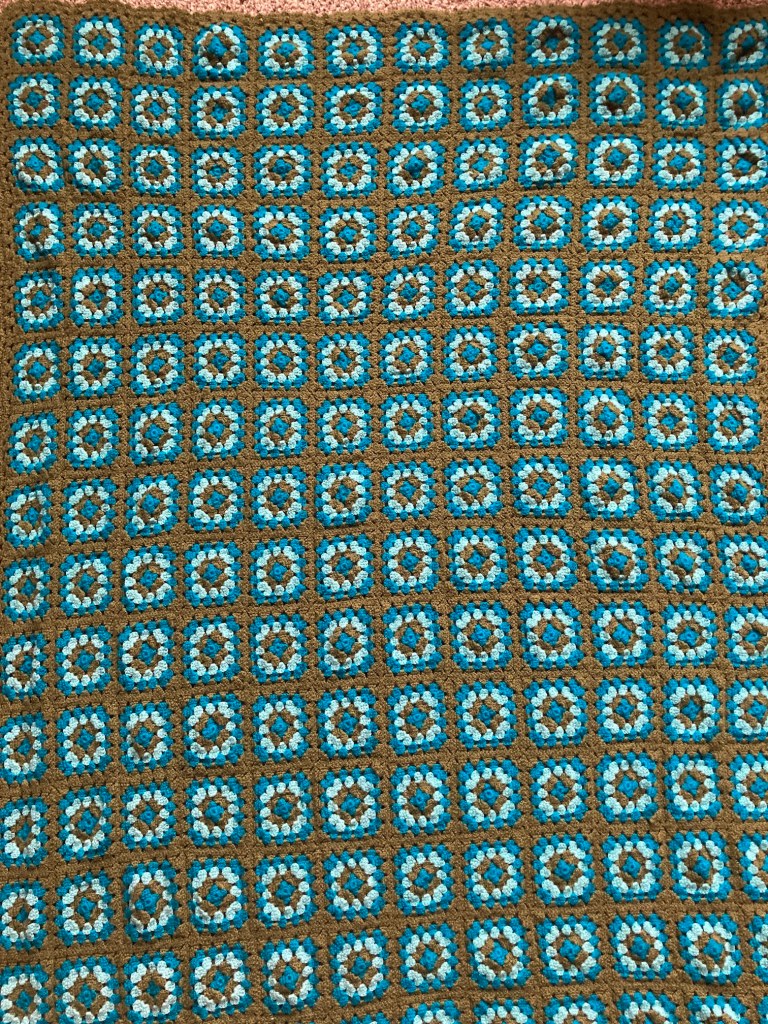
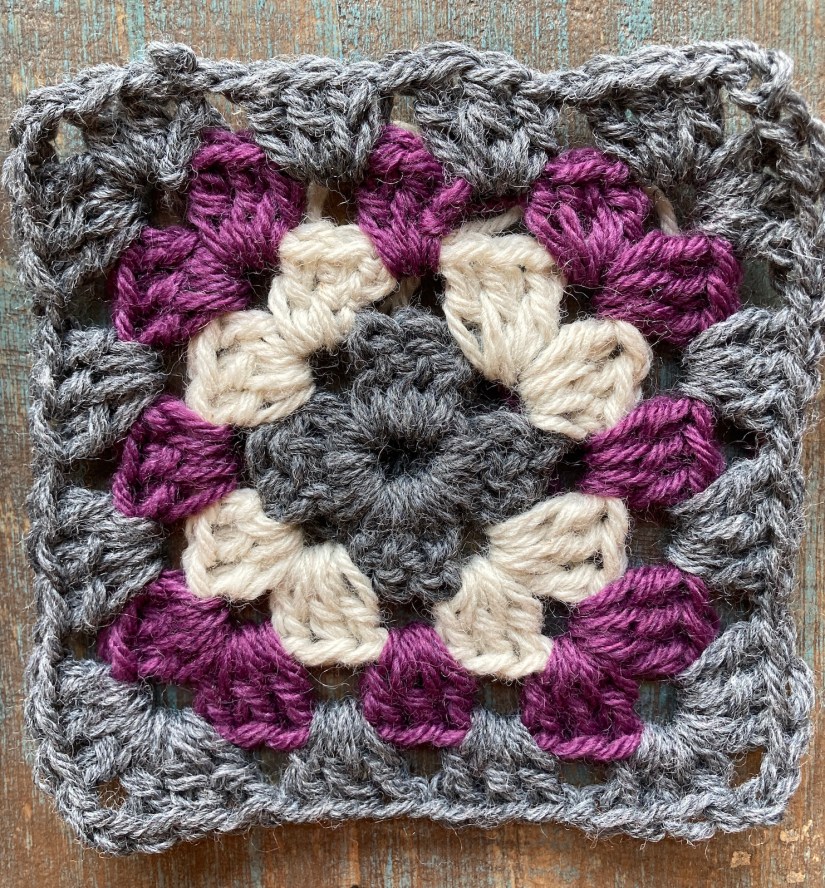
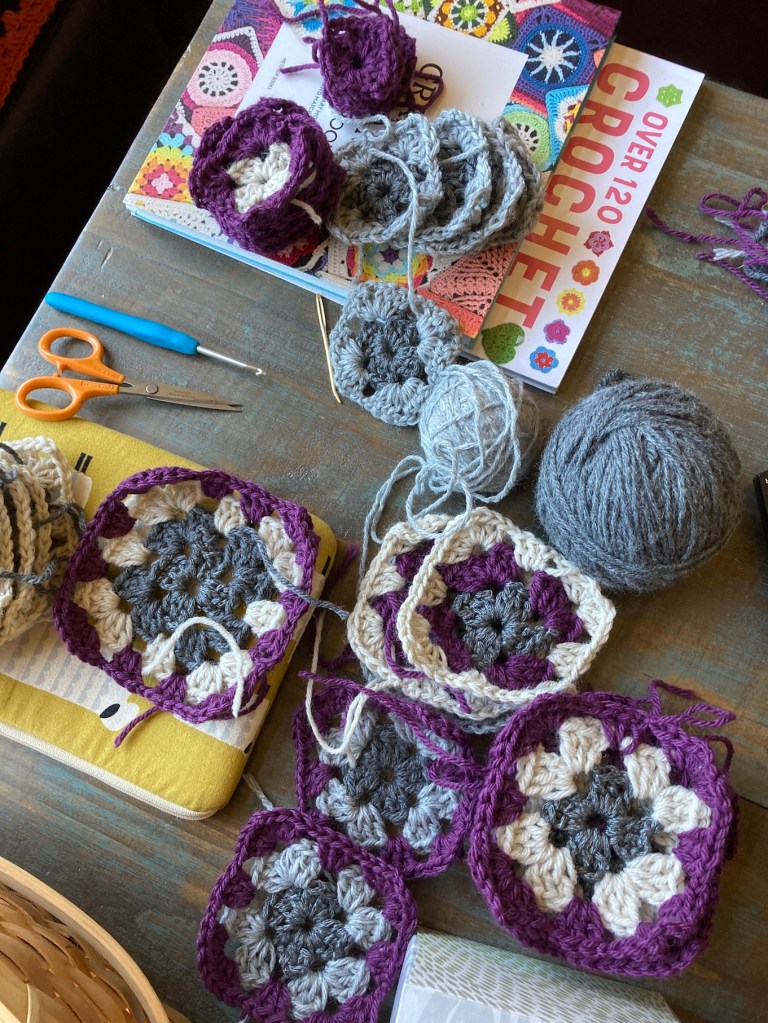
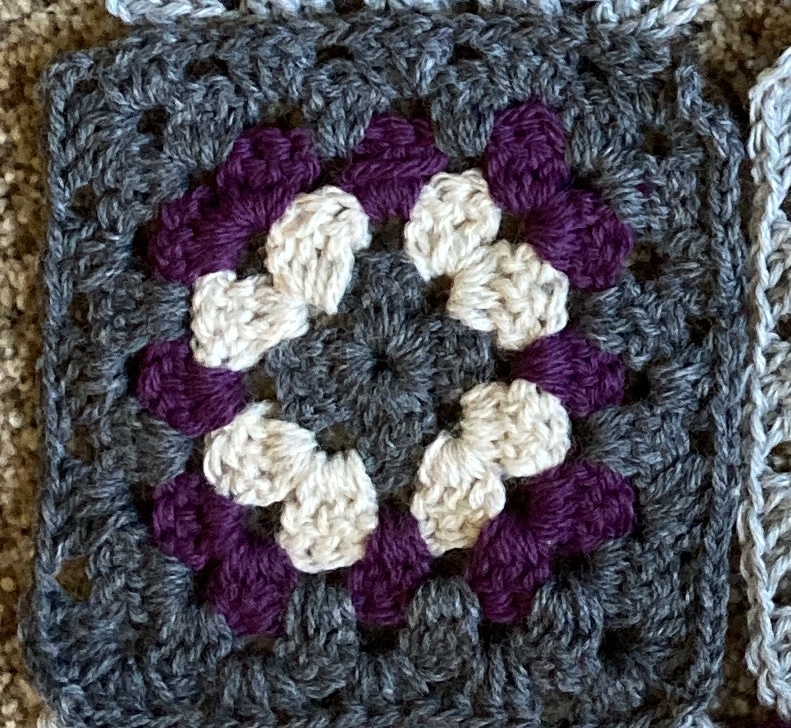
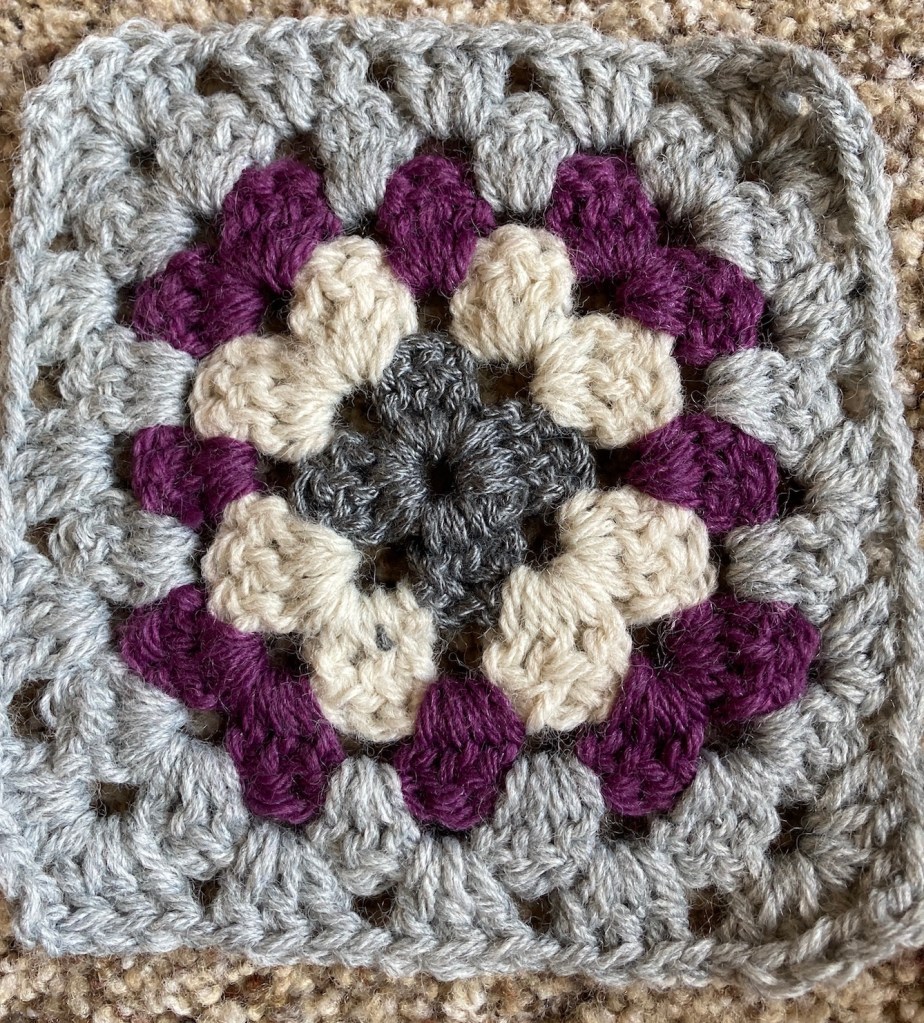
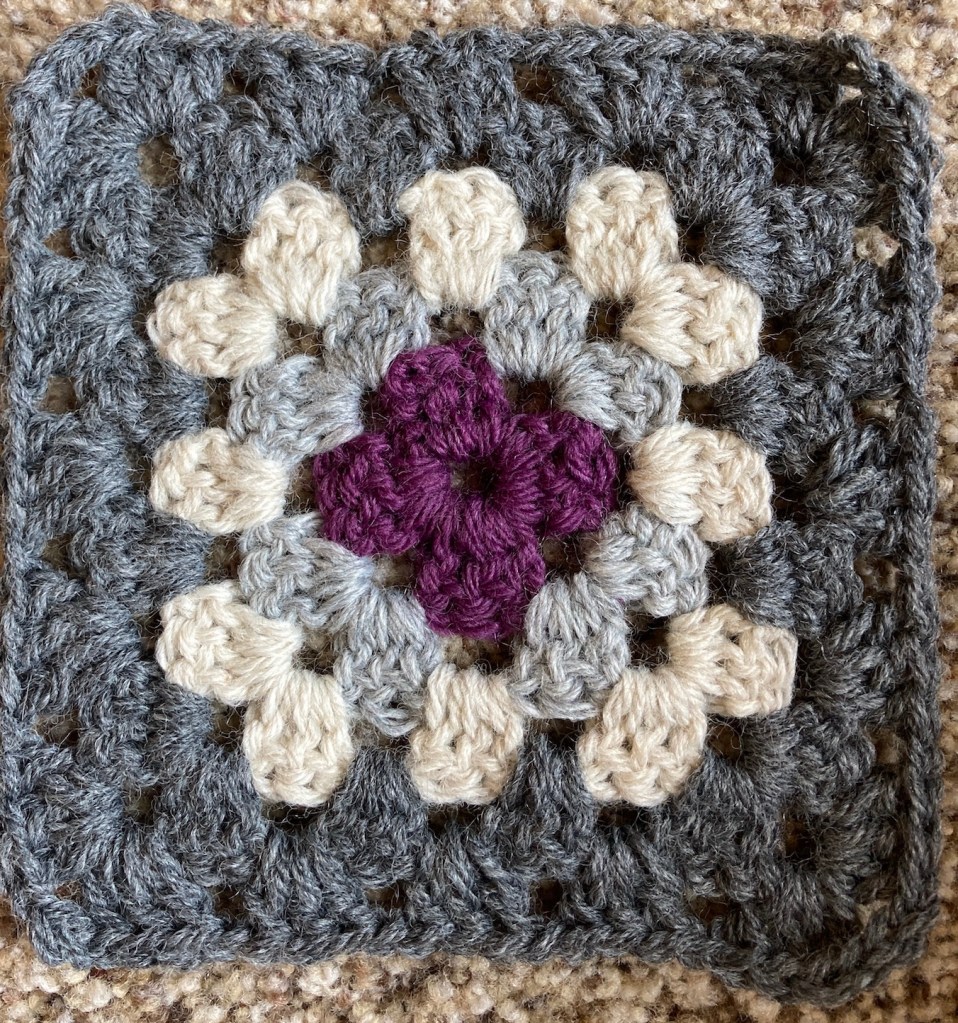
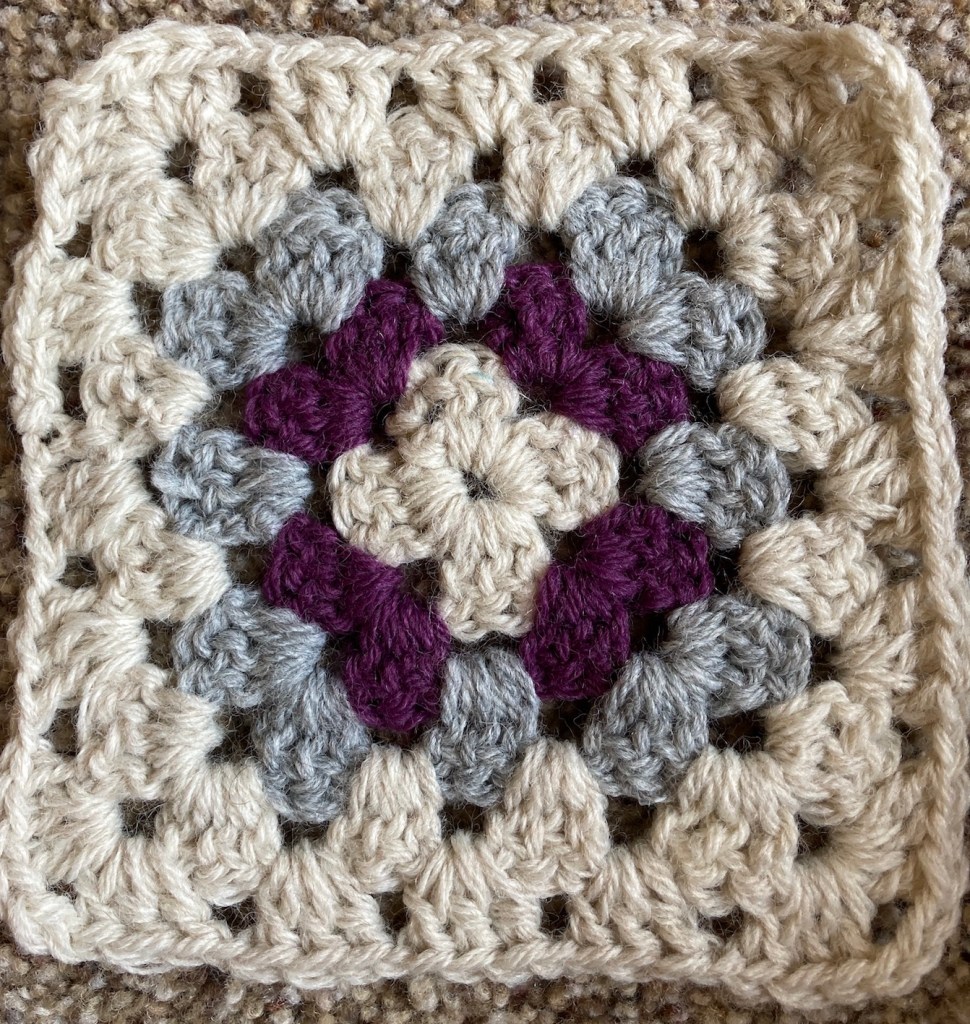
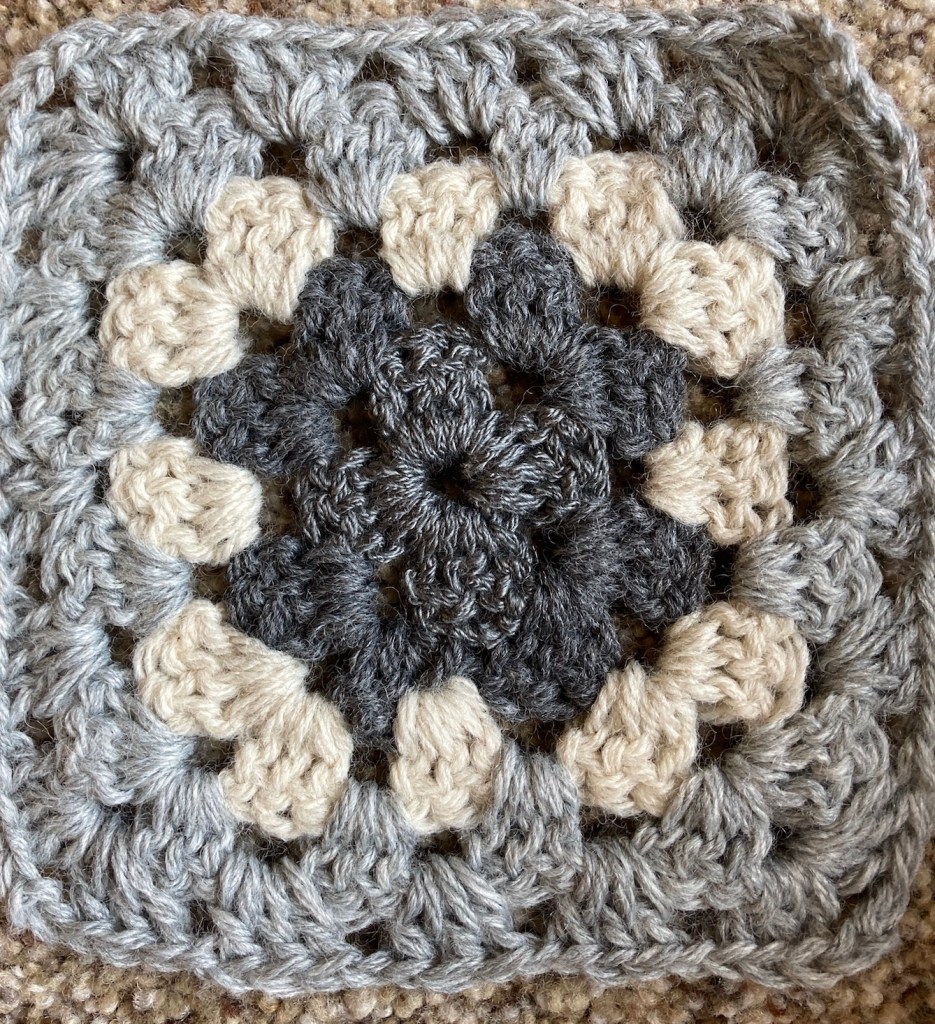
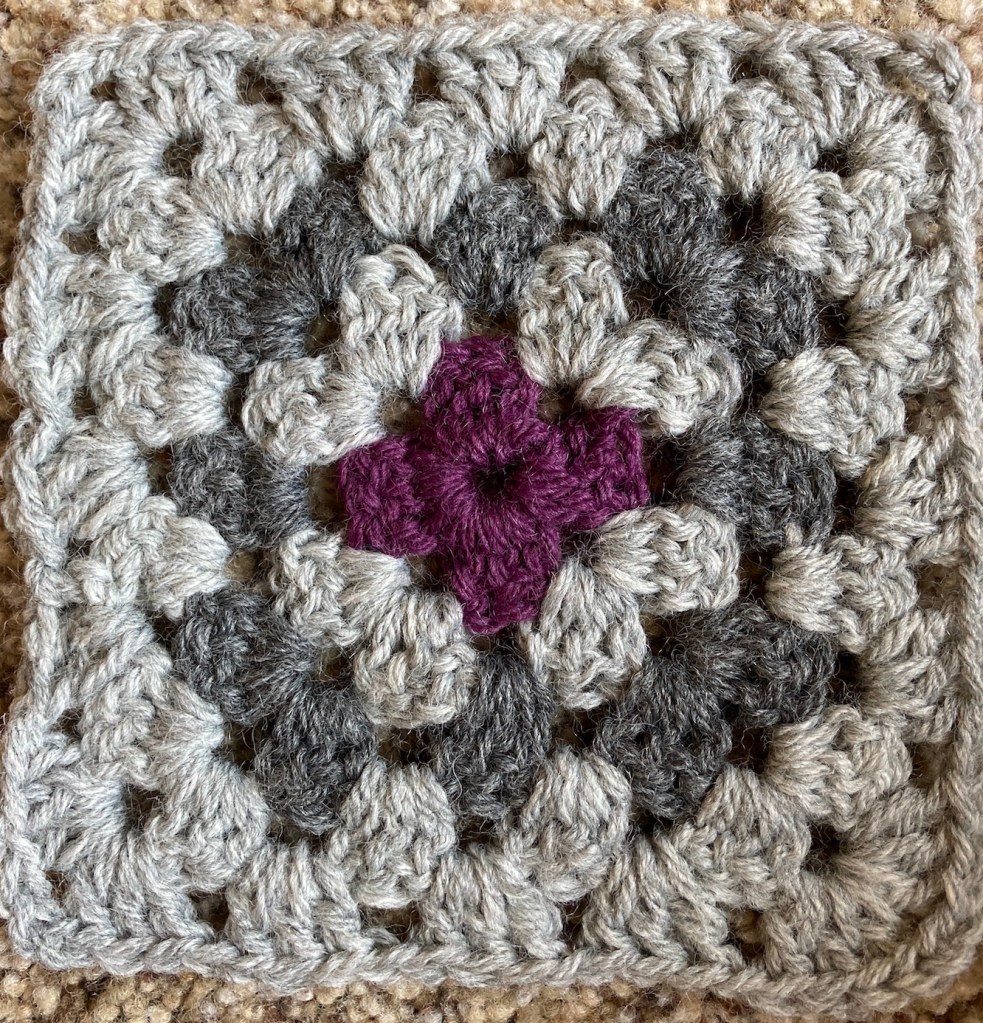
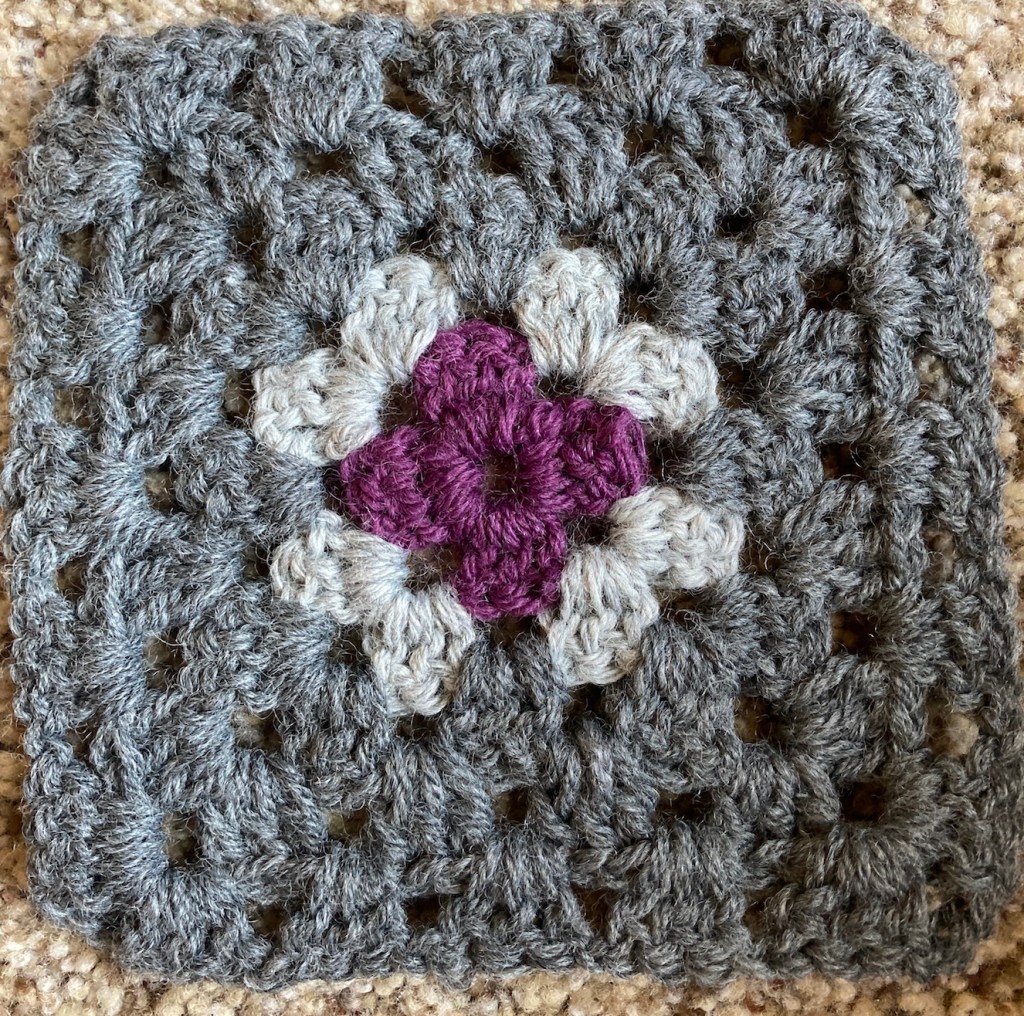
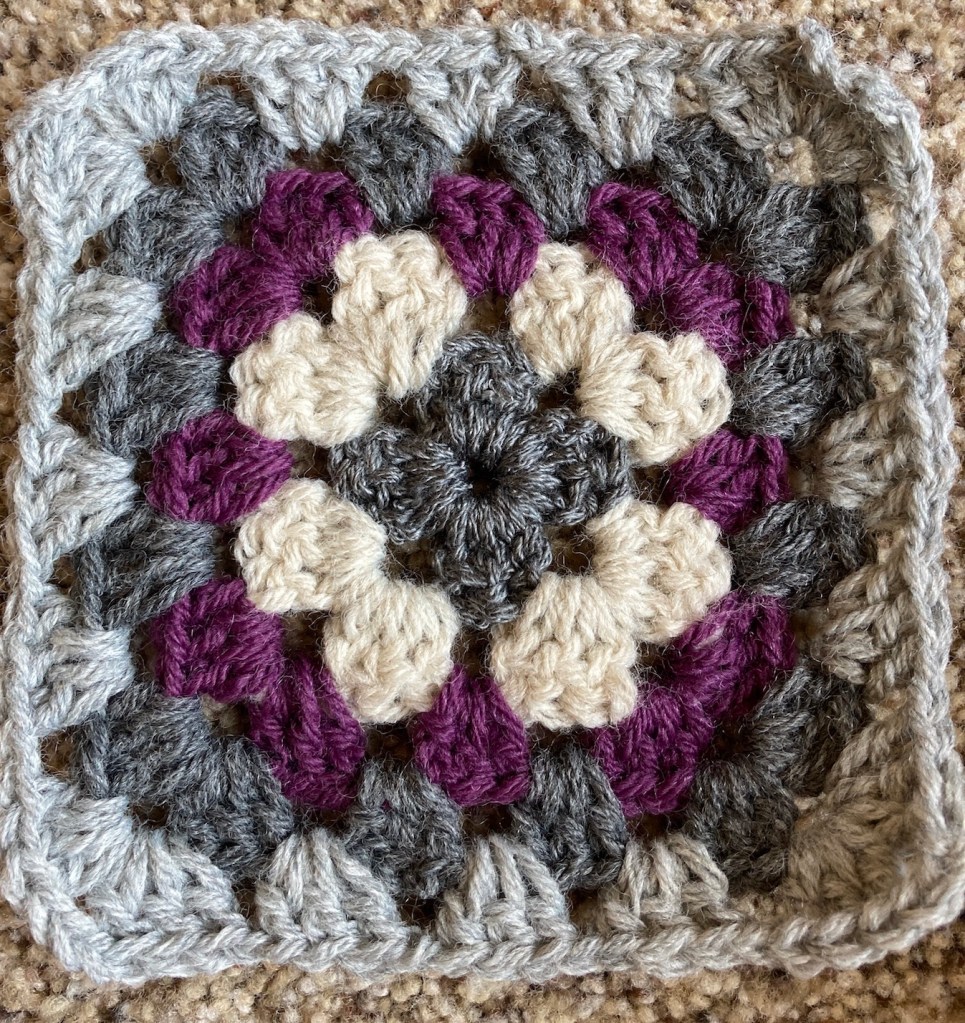
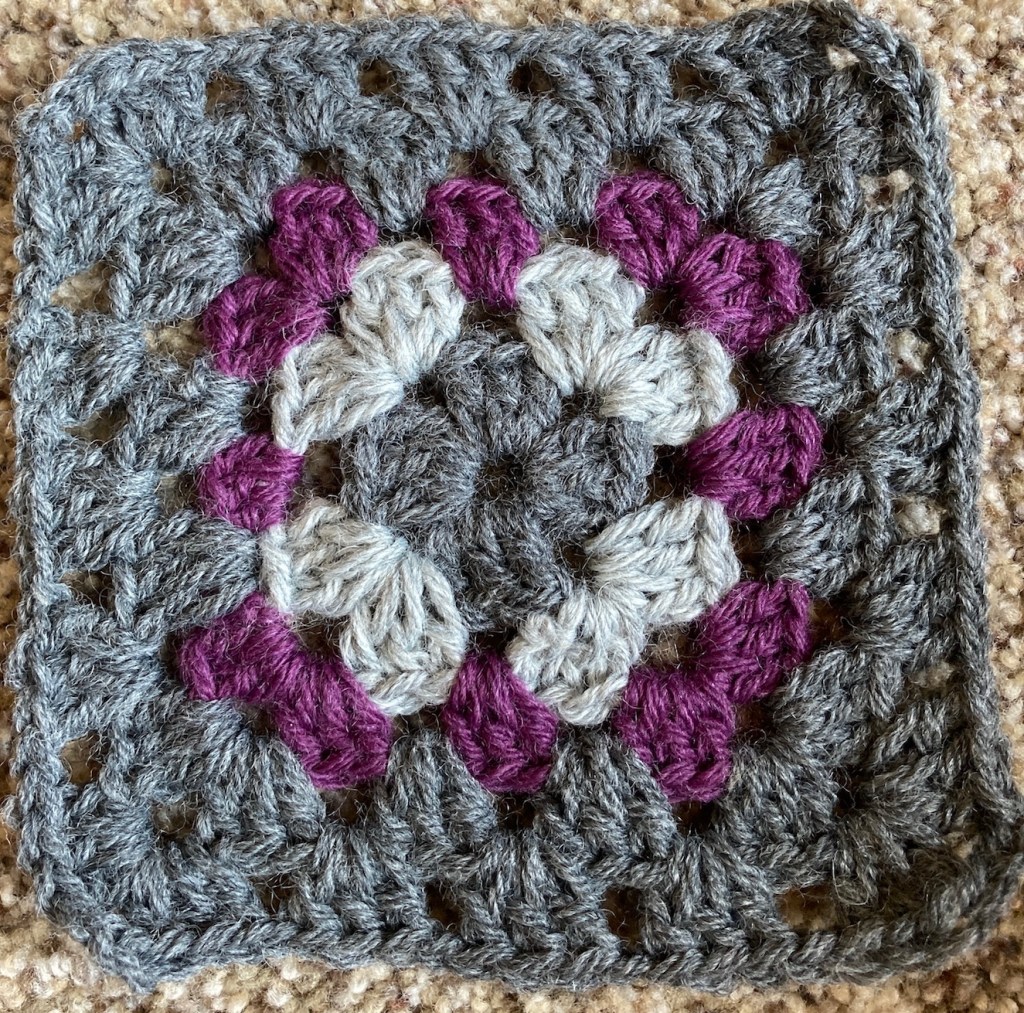
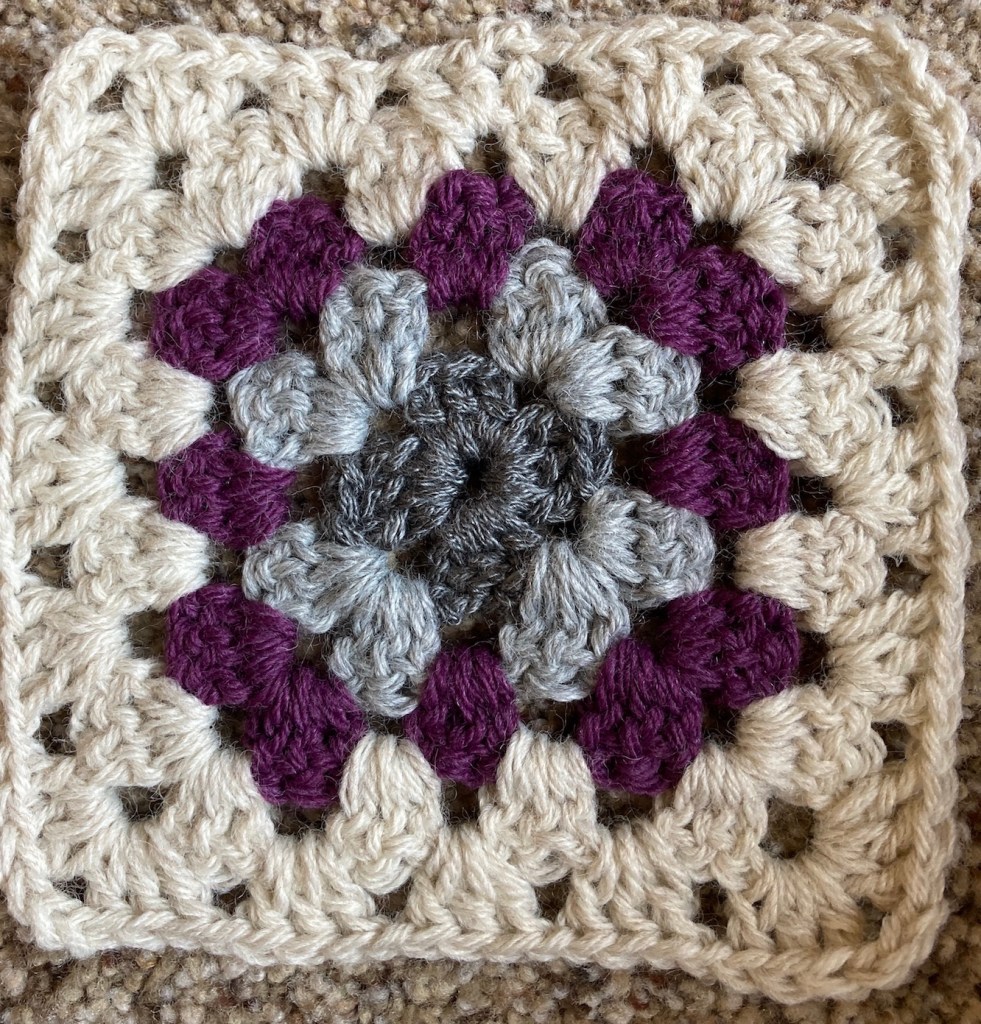
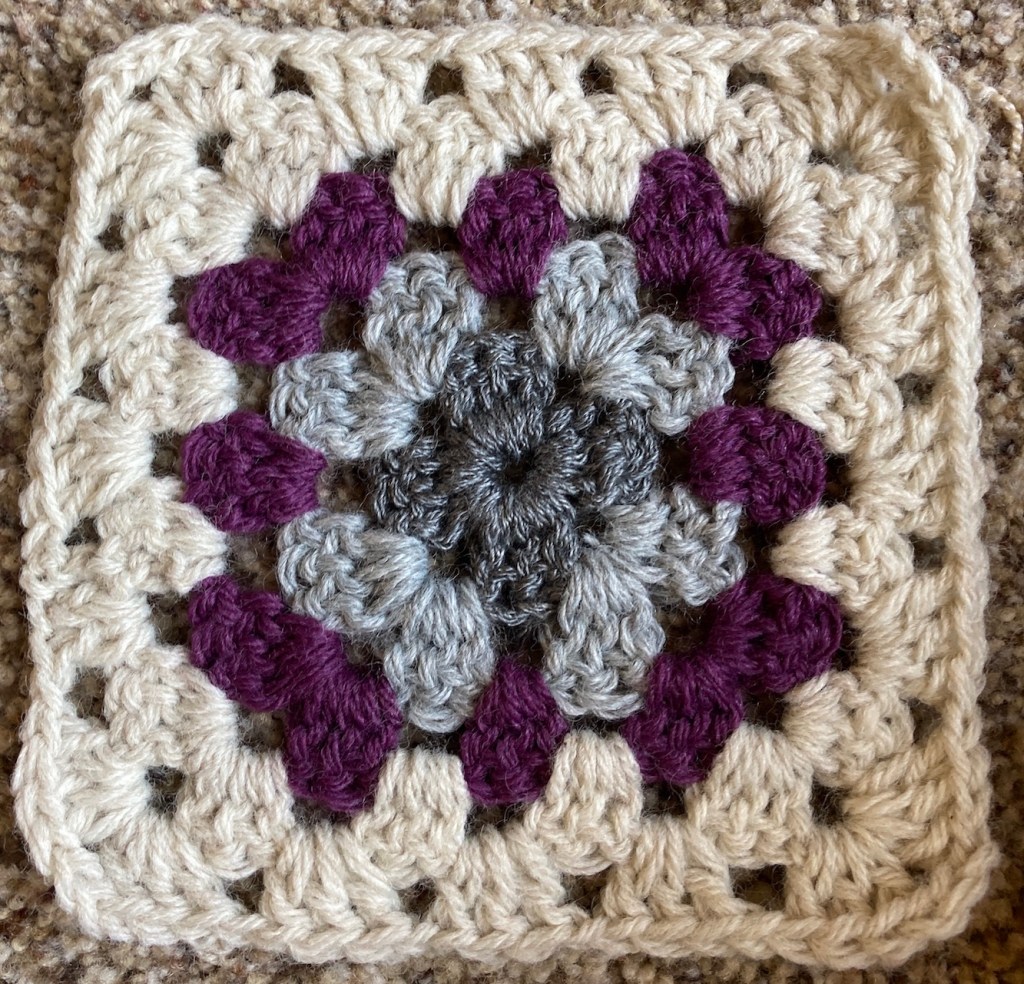
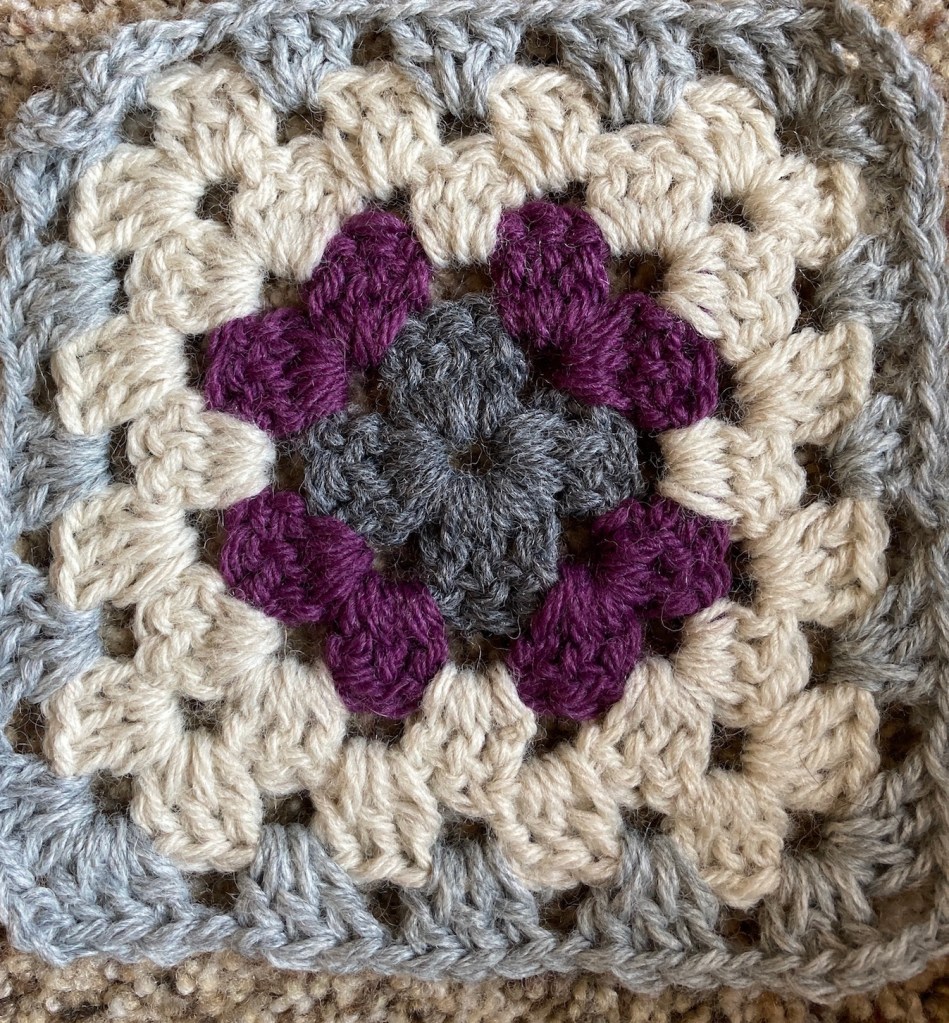
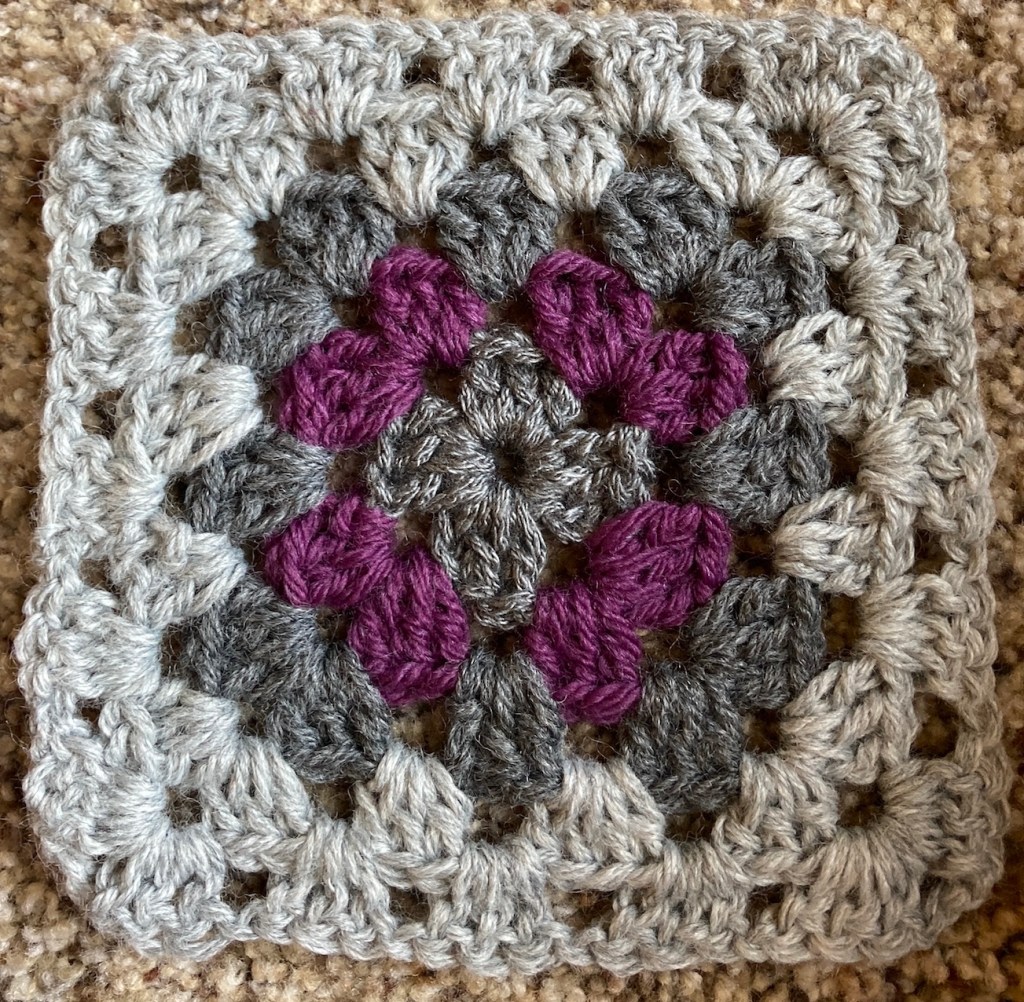
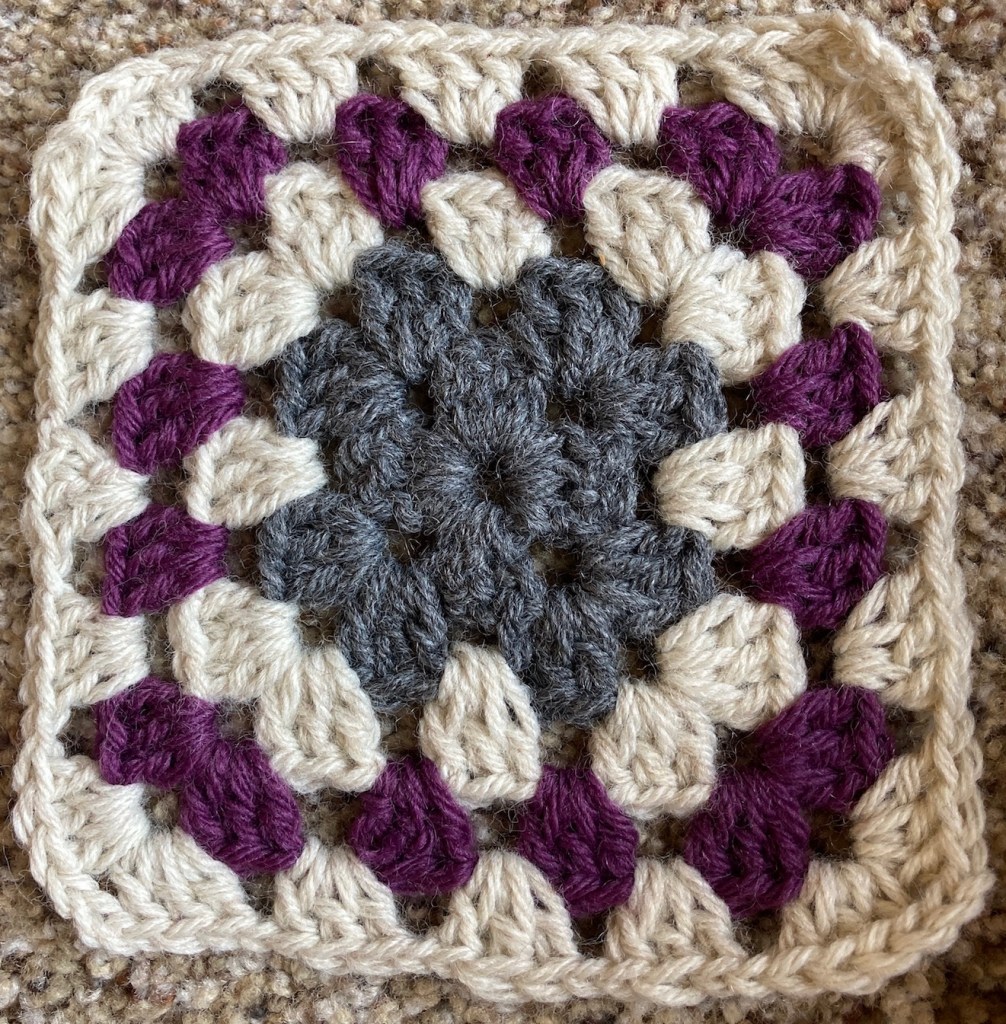
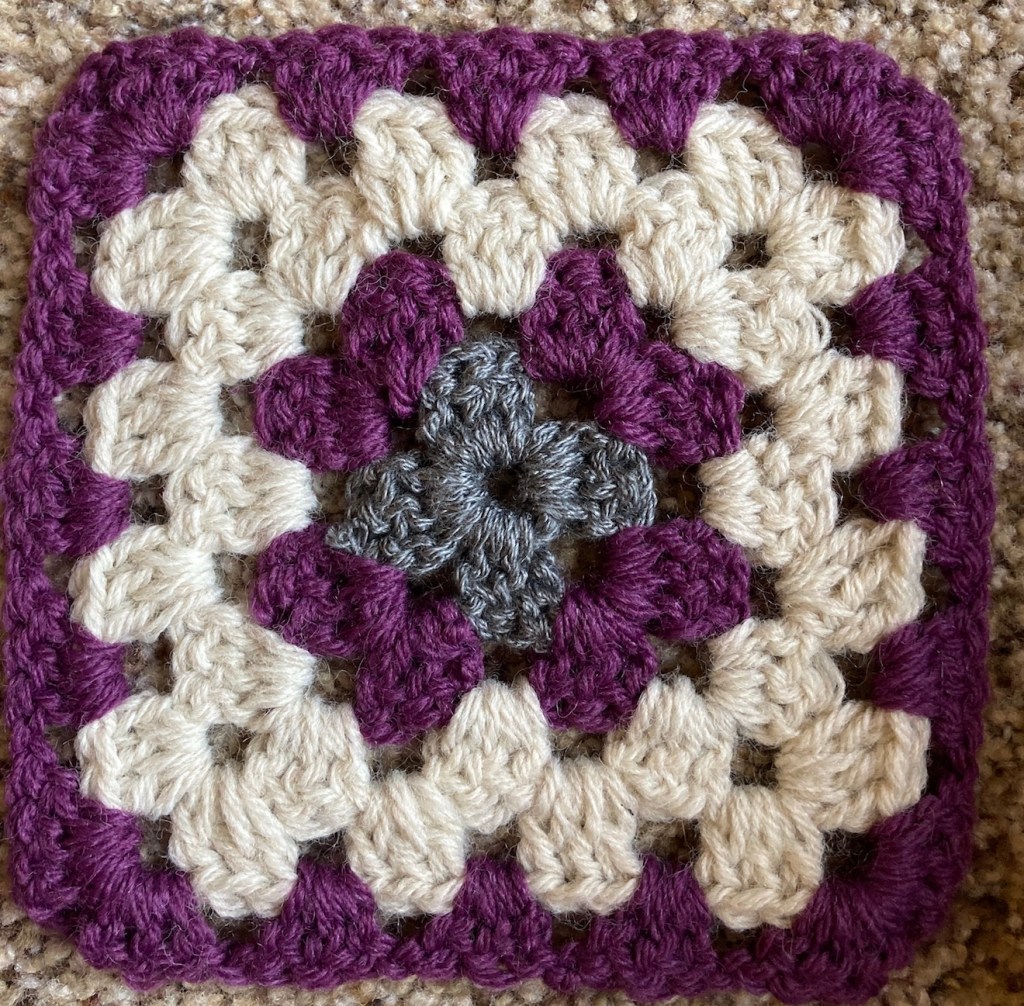
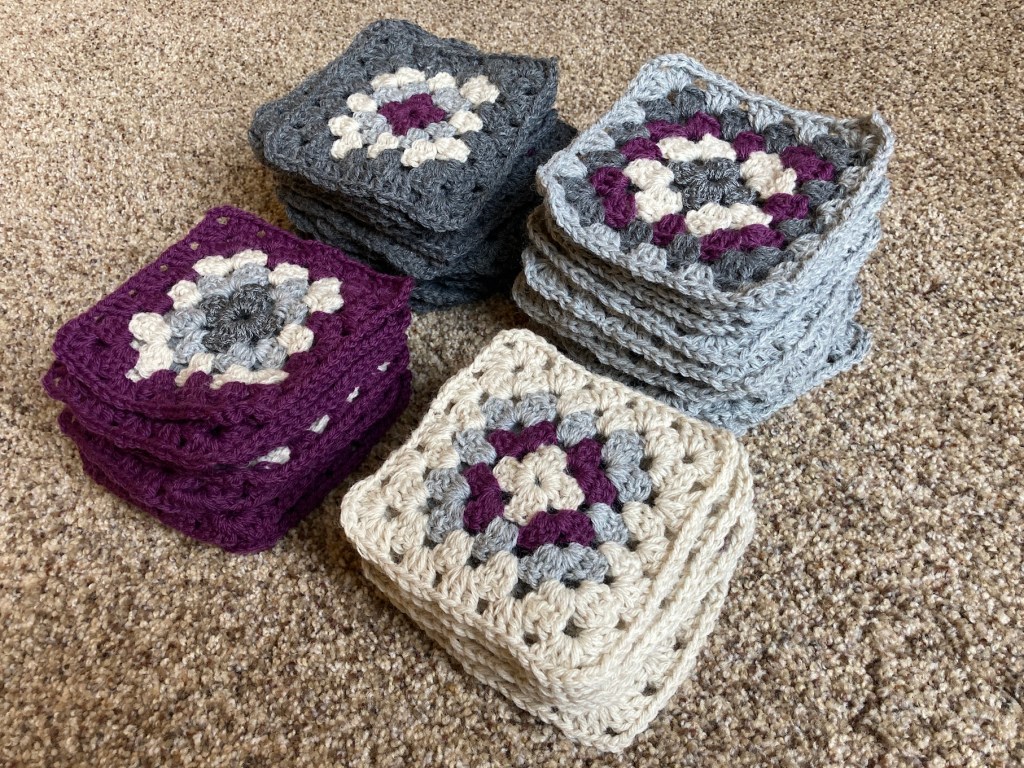
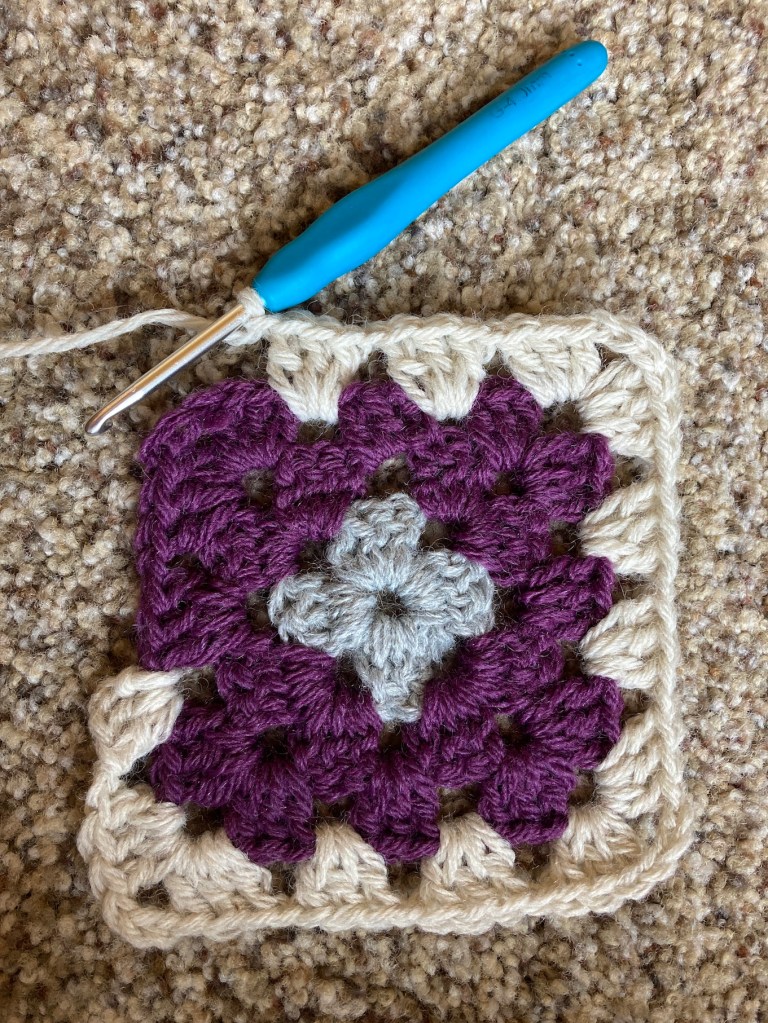
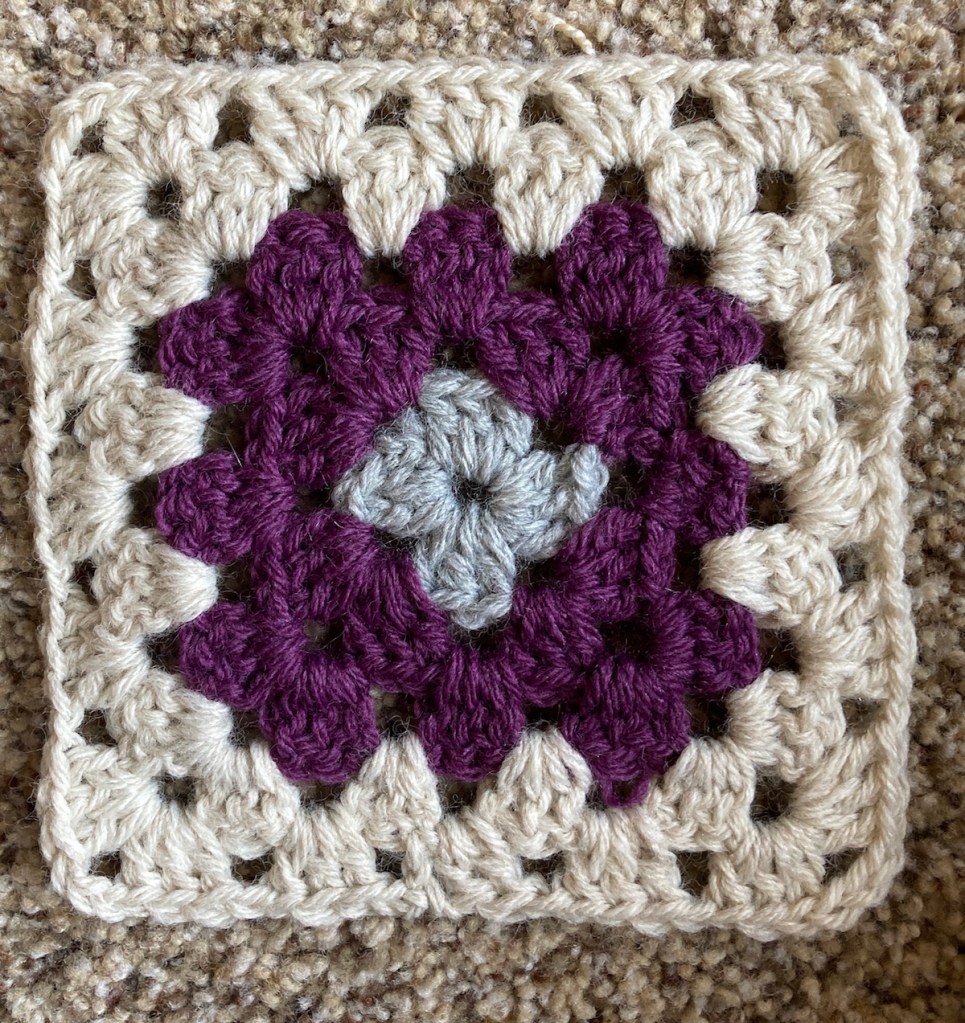
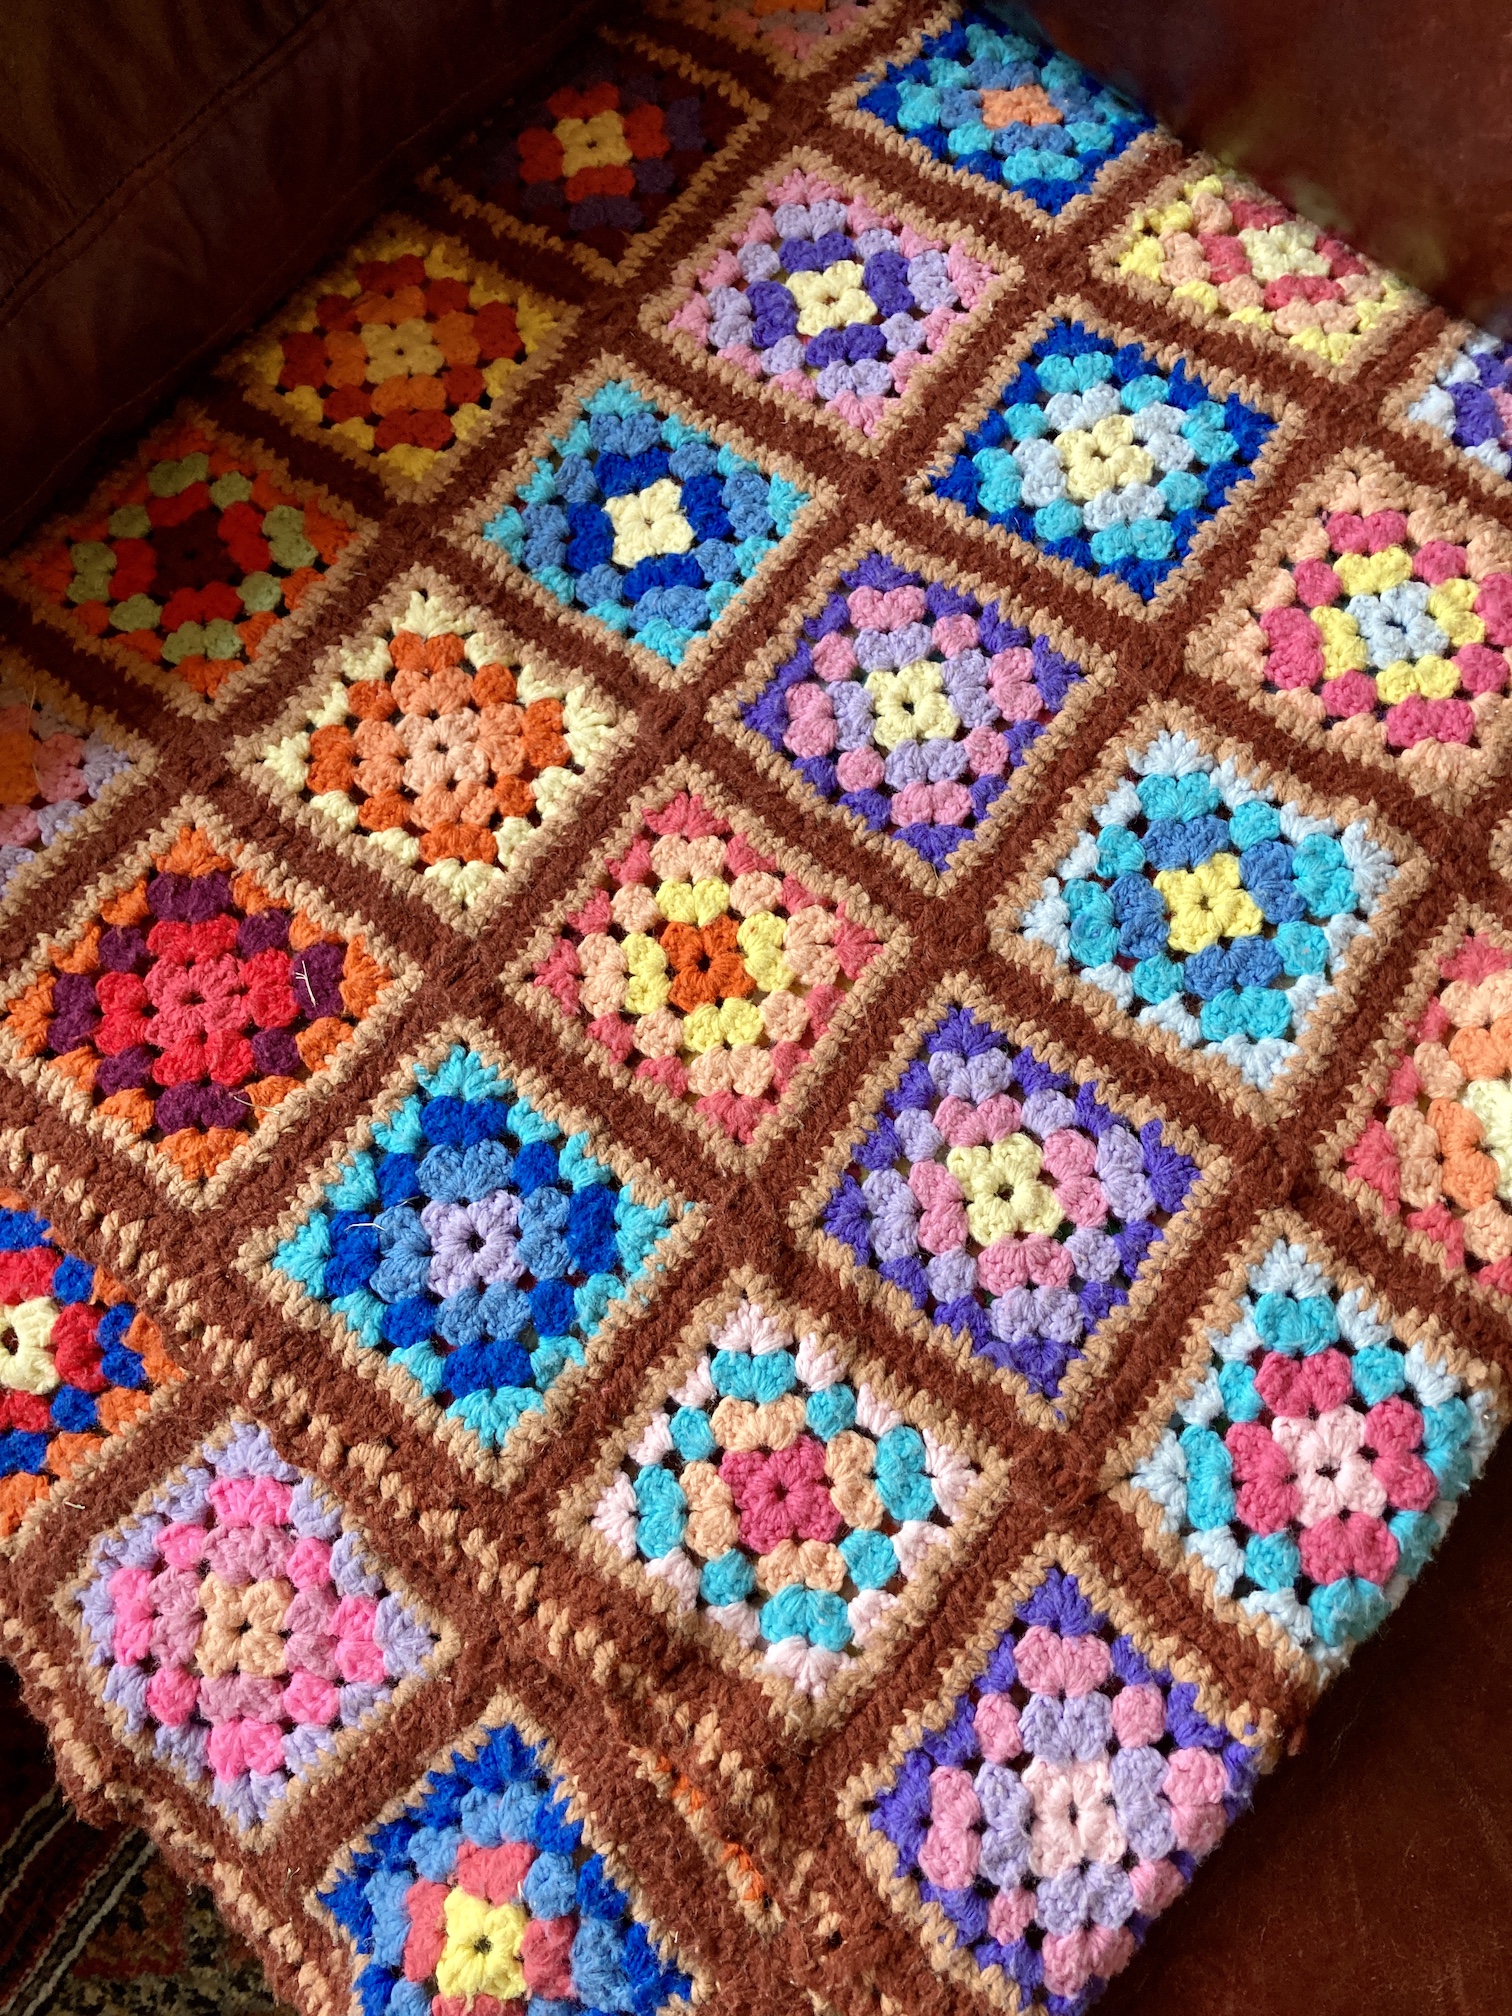
Well Mike no longer has to be impatient as I’ve finished my first granny square blanket. I used the word “finished” loosely as I have many yarn strands hanging about it waiting to be woven in.
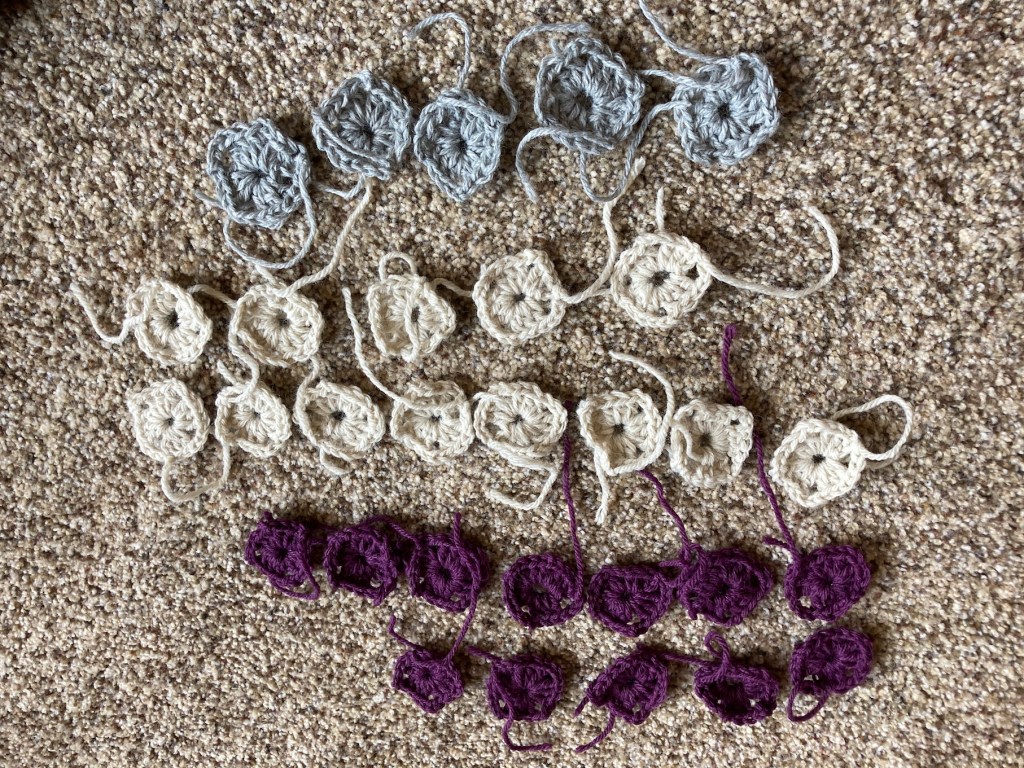
I wove in the ends as I finished each block but I got lazy when I was joining the 90 blocks into ten (10) rows of nine (9) blocks.
It measures approximately 70 inches by 74 inches (178 cm x 188 cm) and it is much bigger than I thought it would be.
Here is Mike stretched out on it as I tried to photograph it for this post:

Here it is once I removed the miniature schnauzer from it:

After joining the blocks with a dark grey yarn, I added a single border around the whole piece.
I am pretty pleased with myself now that I’ve taught myself via YouTube videos how to crochet granny square blocks and to join them into a blanket. Here are all the posts if you really need something to fill your day (smile, wink) of my first granny square blanket journey. Some of these posts include links to the YouTube videos I used to learn.
Making My Own Granny Square Afghan
Update on the “Granny Square Madness”
The Inpatient Schnauzer: Update on the Granny Square Afghan (Guest Blogger)
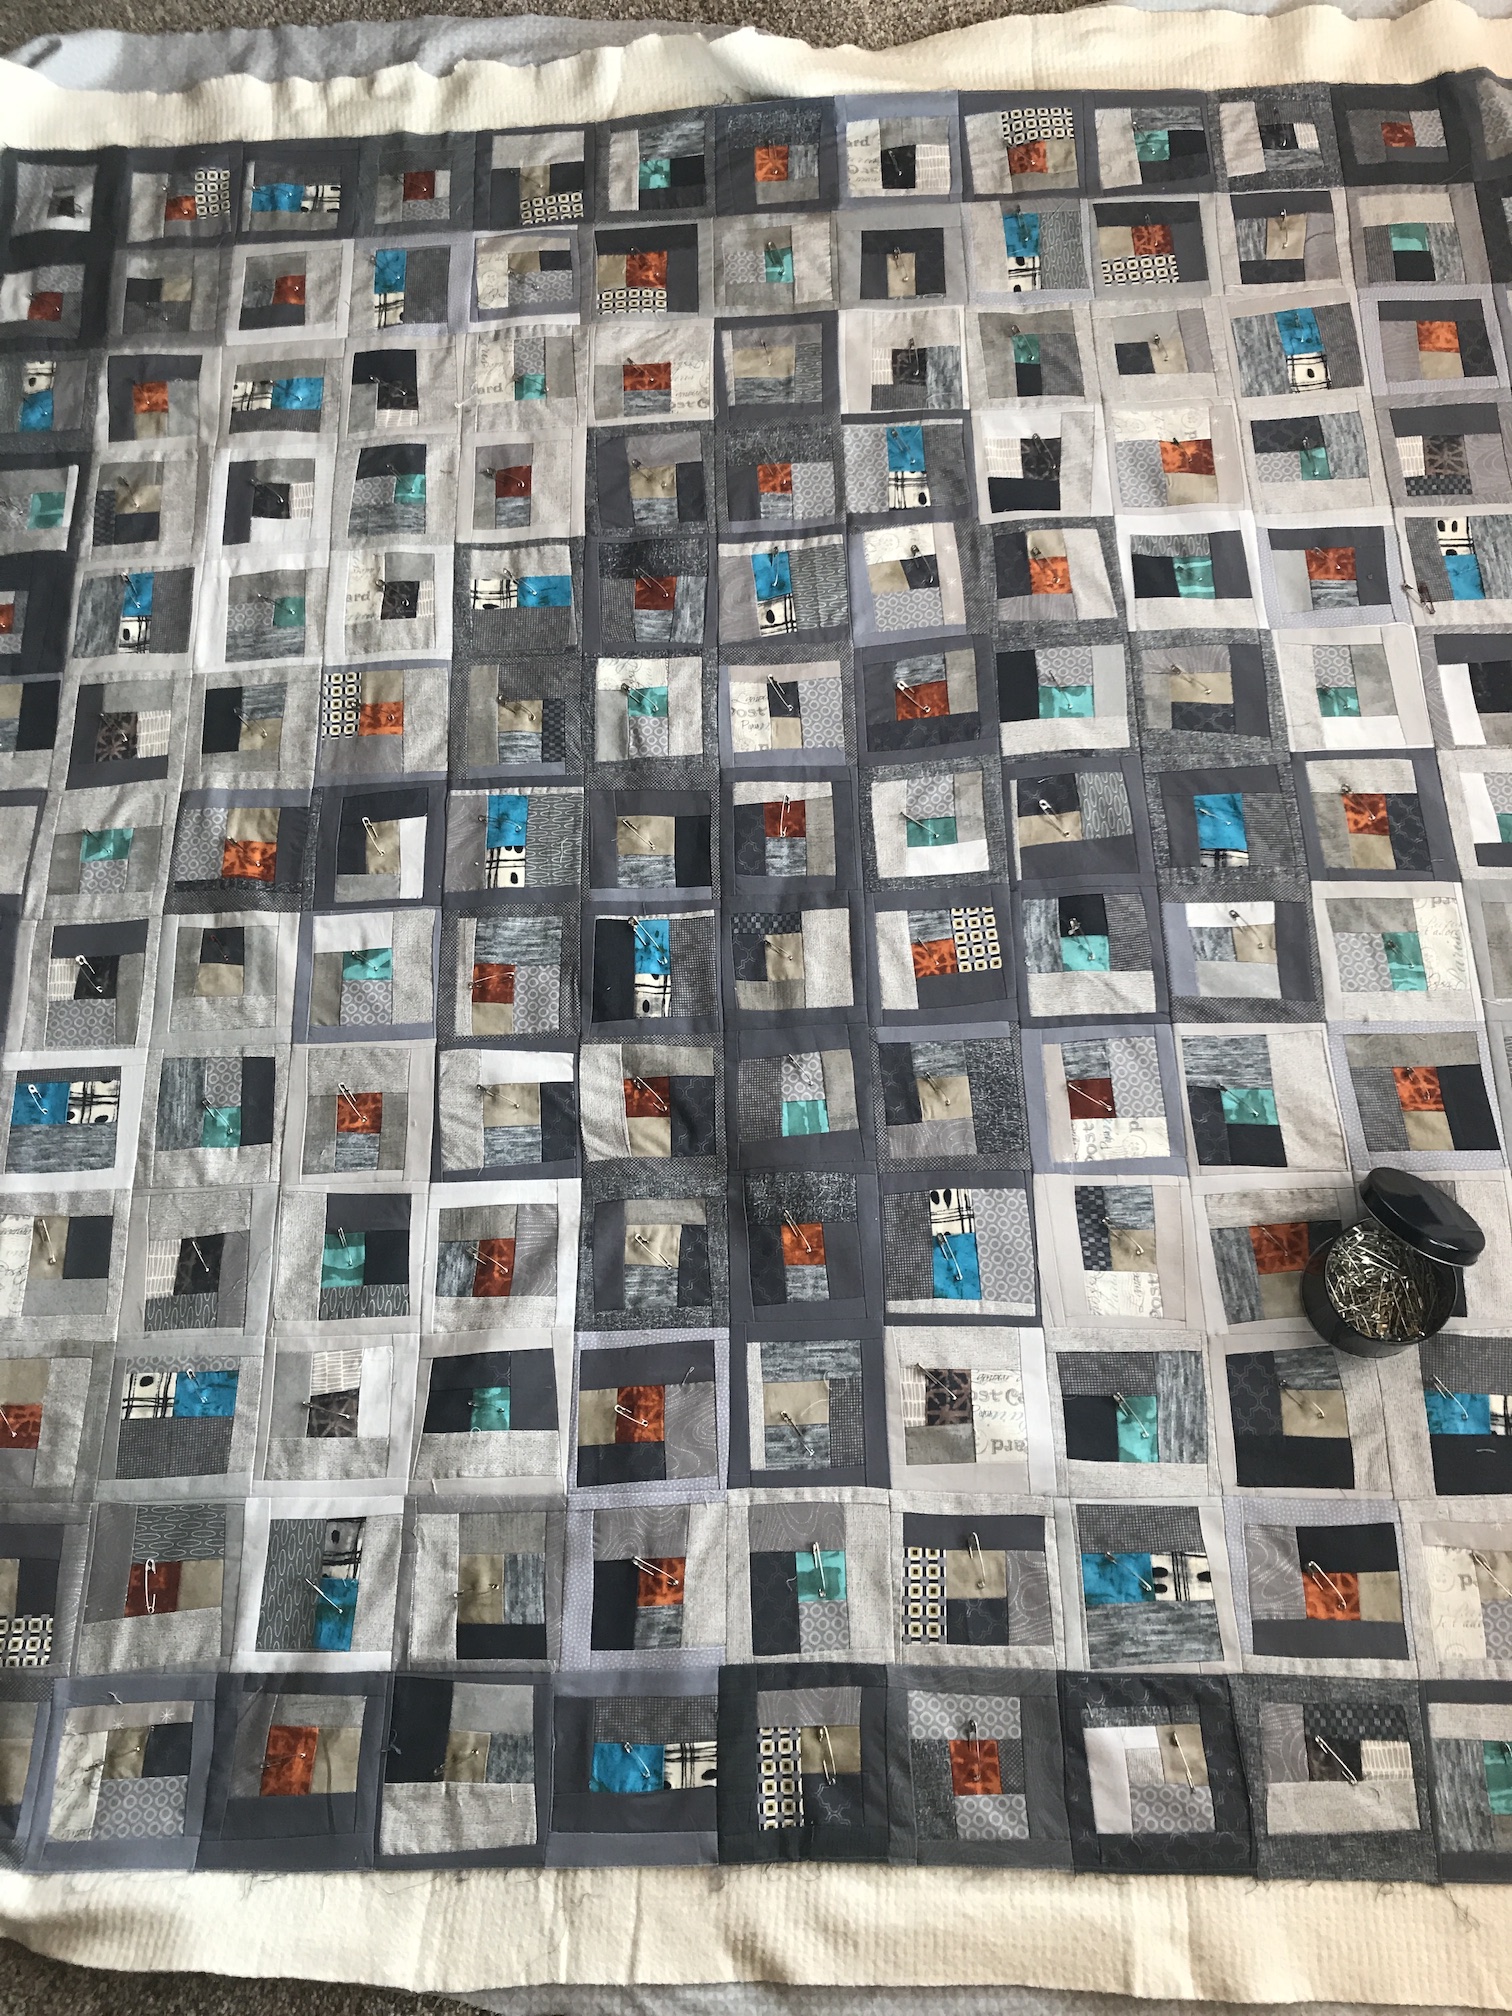
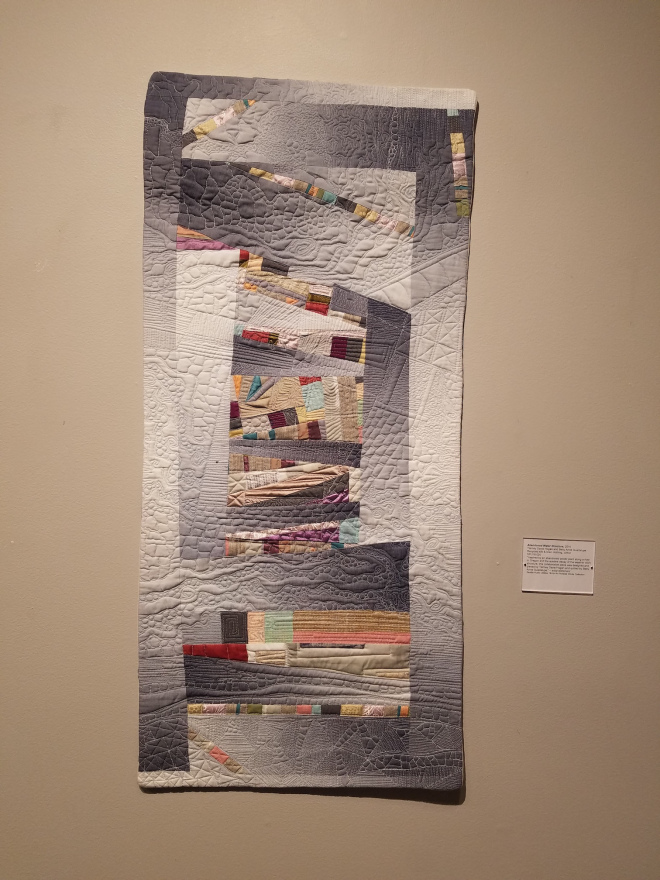
Now that I’ve finished the blanket (except for the weeks and weeks of weaving in ends..ha..ahead of me), it is time to finish up hand sewing my quilt Seattle Scrappy (see most recent post on this scrappy quilt – An Update on “Seattle Scrappy” – Haphazard Stitching… ).
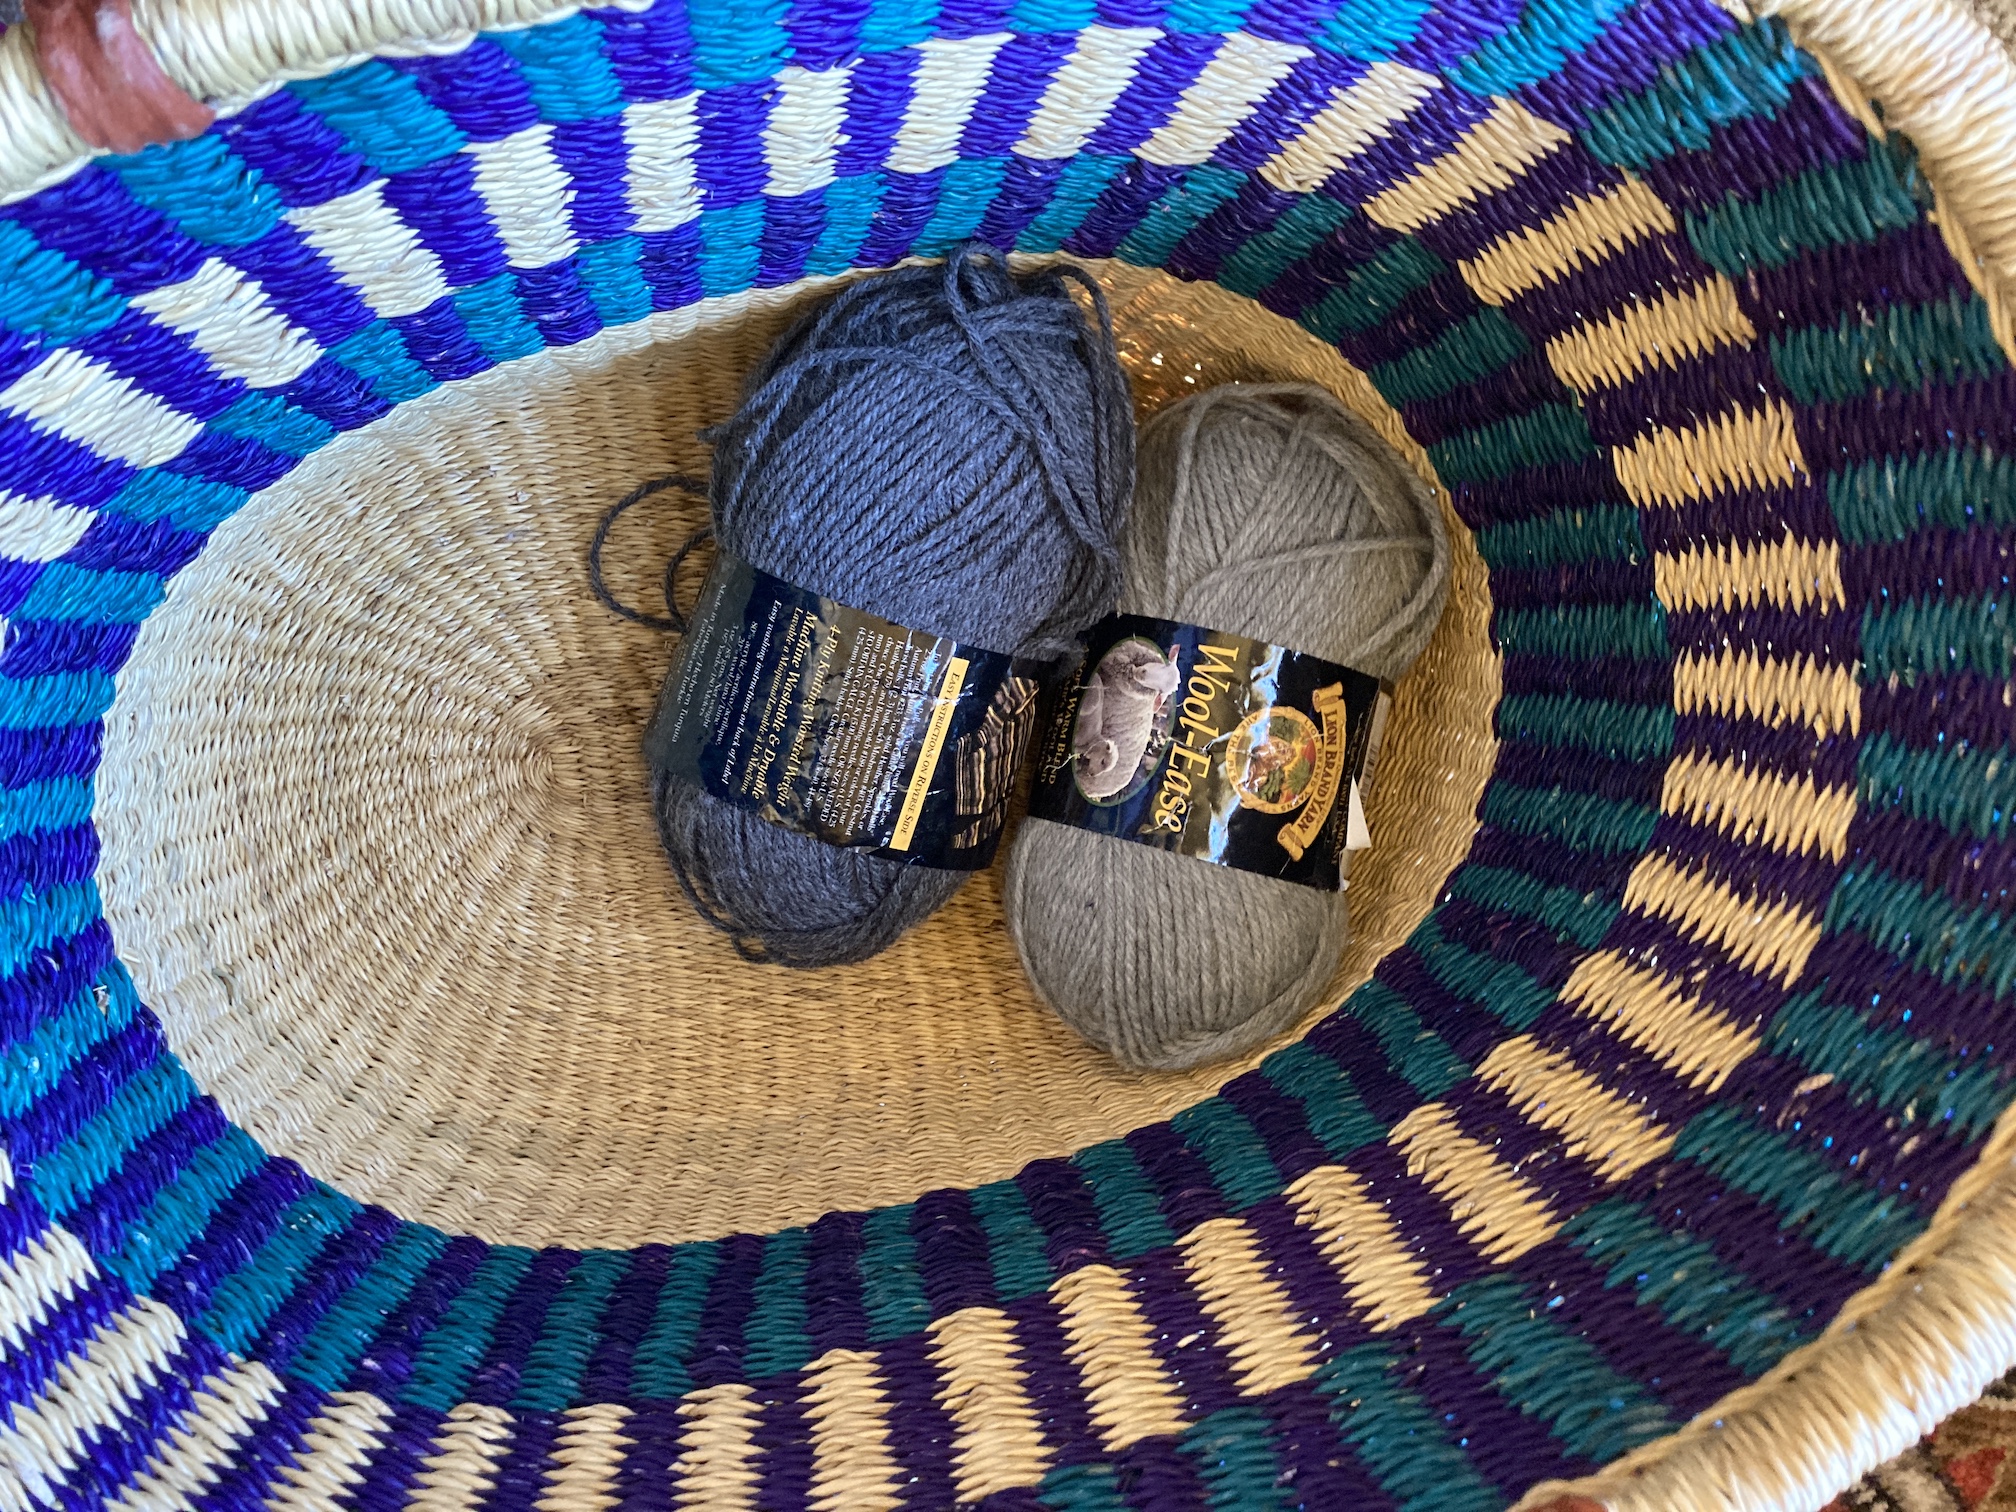
I notice a pattern – I seem to be really into grey lately (or is it “gray” I can never decided which one to use).
I want to start my next granny square blanket (I’ve been watching more granny square YouTube videos) but I should not start a new project when there are old ones awaiting some love!
Postscript
How about that pandemic thing going around. Oh yes it still sucks and I have complete “pandemic fatigue” at this point (I know you are thinking: “join the club”).
A couple of my friends were recently diagnosed with COVID (I was not exposed) and have been on quarantine for a couple weeks. I did drop someone homemade chocolate chip cookies on their porch. They are doing okay and their worse symptom was not being able to smell.
But I will keep on crafting my way through and I might have some news in the next couple of weeks.
Oh and Mike the miniature schnauzer has been concerned that since he’s been a guest blogger on this blog a couple times (The Inpatient Schnauzer: Update on the Granny Square Afghan (Guest Blogger) and Guest Blog Post: A Whole Lot of Remodeling Going On) he might be recognized by his growing fan base, so he’s asked to start wearing sunglasses when he goes out to keep a low profile:


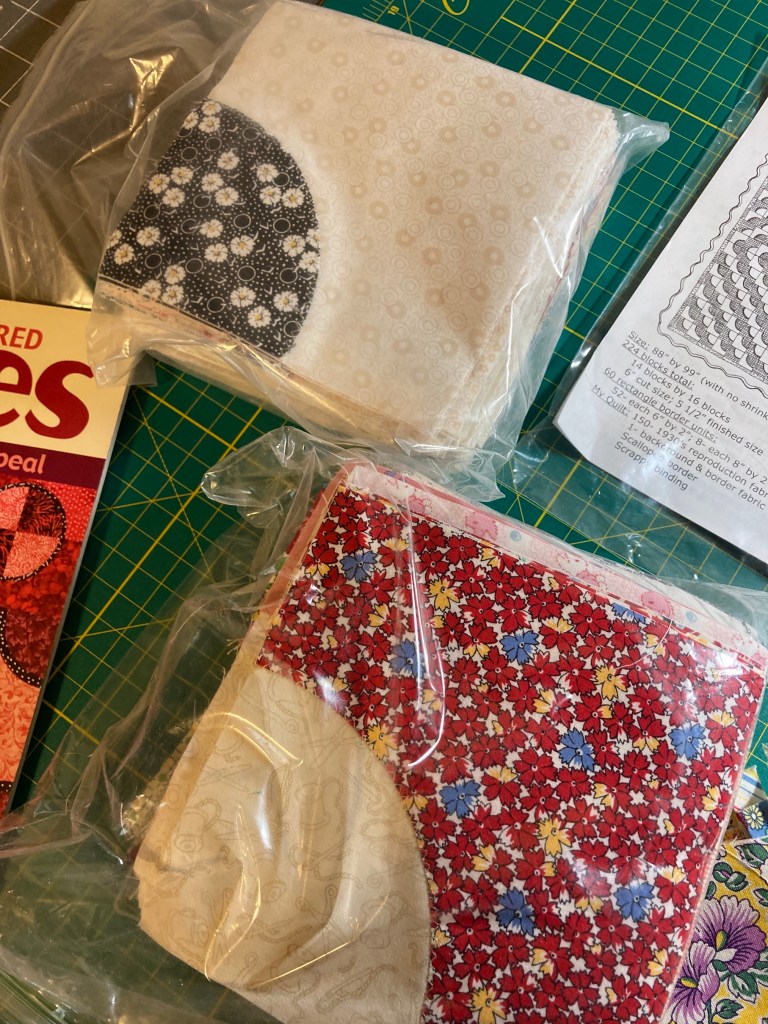


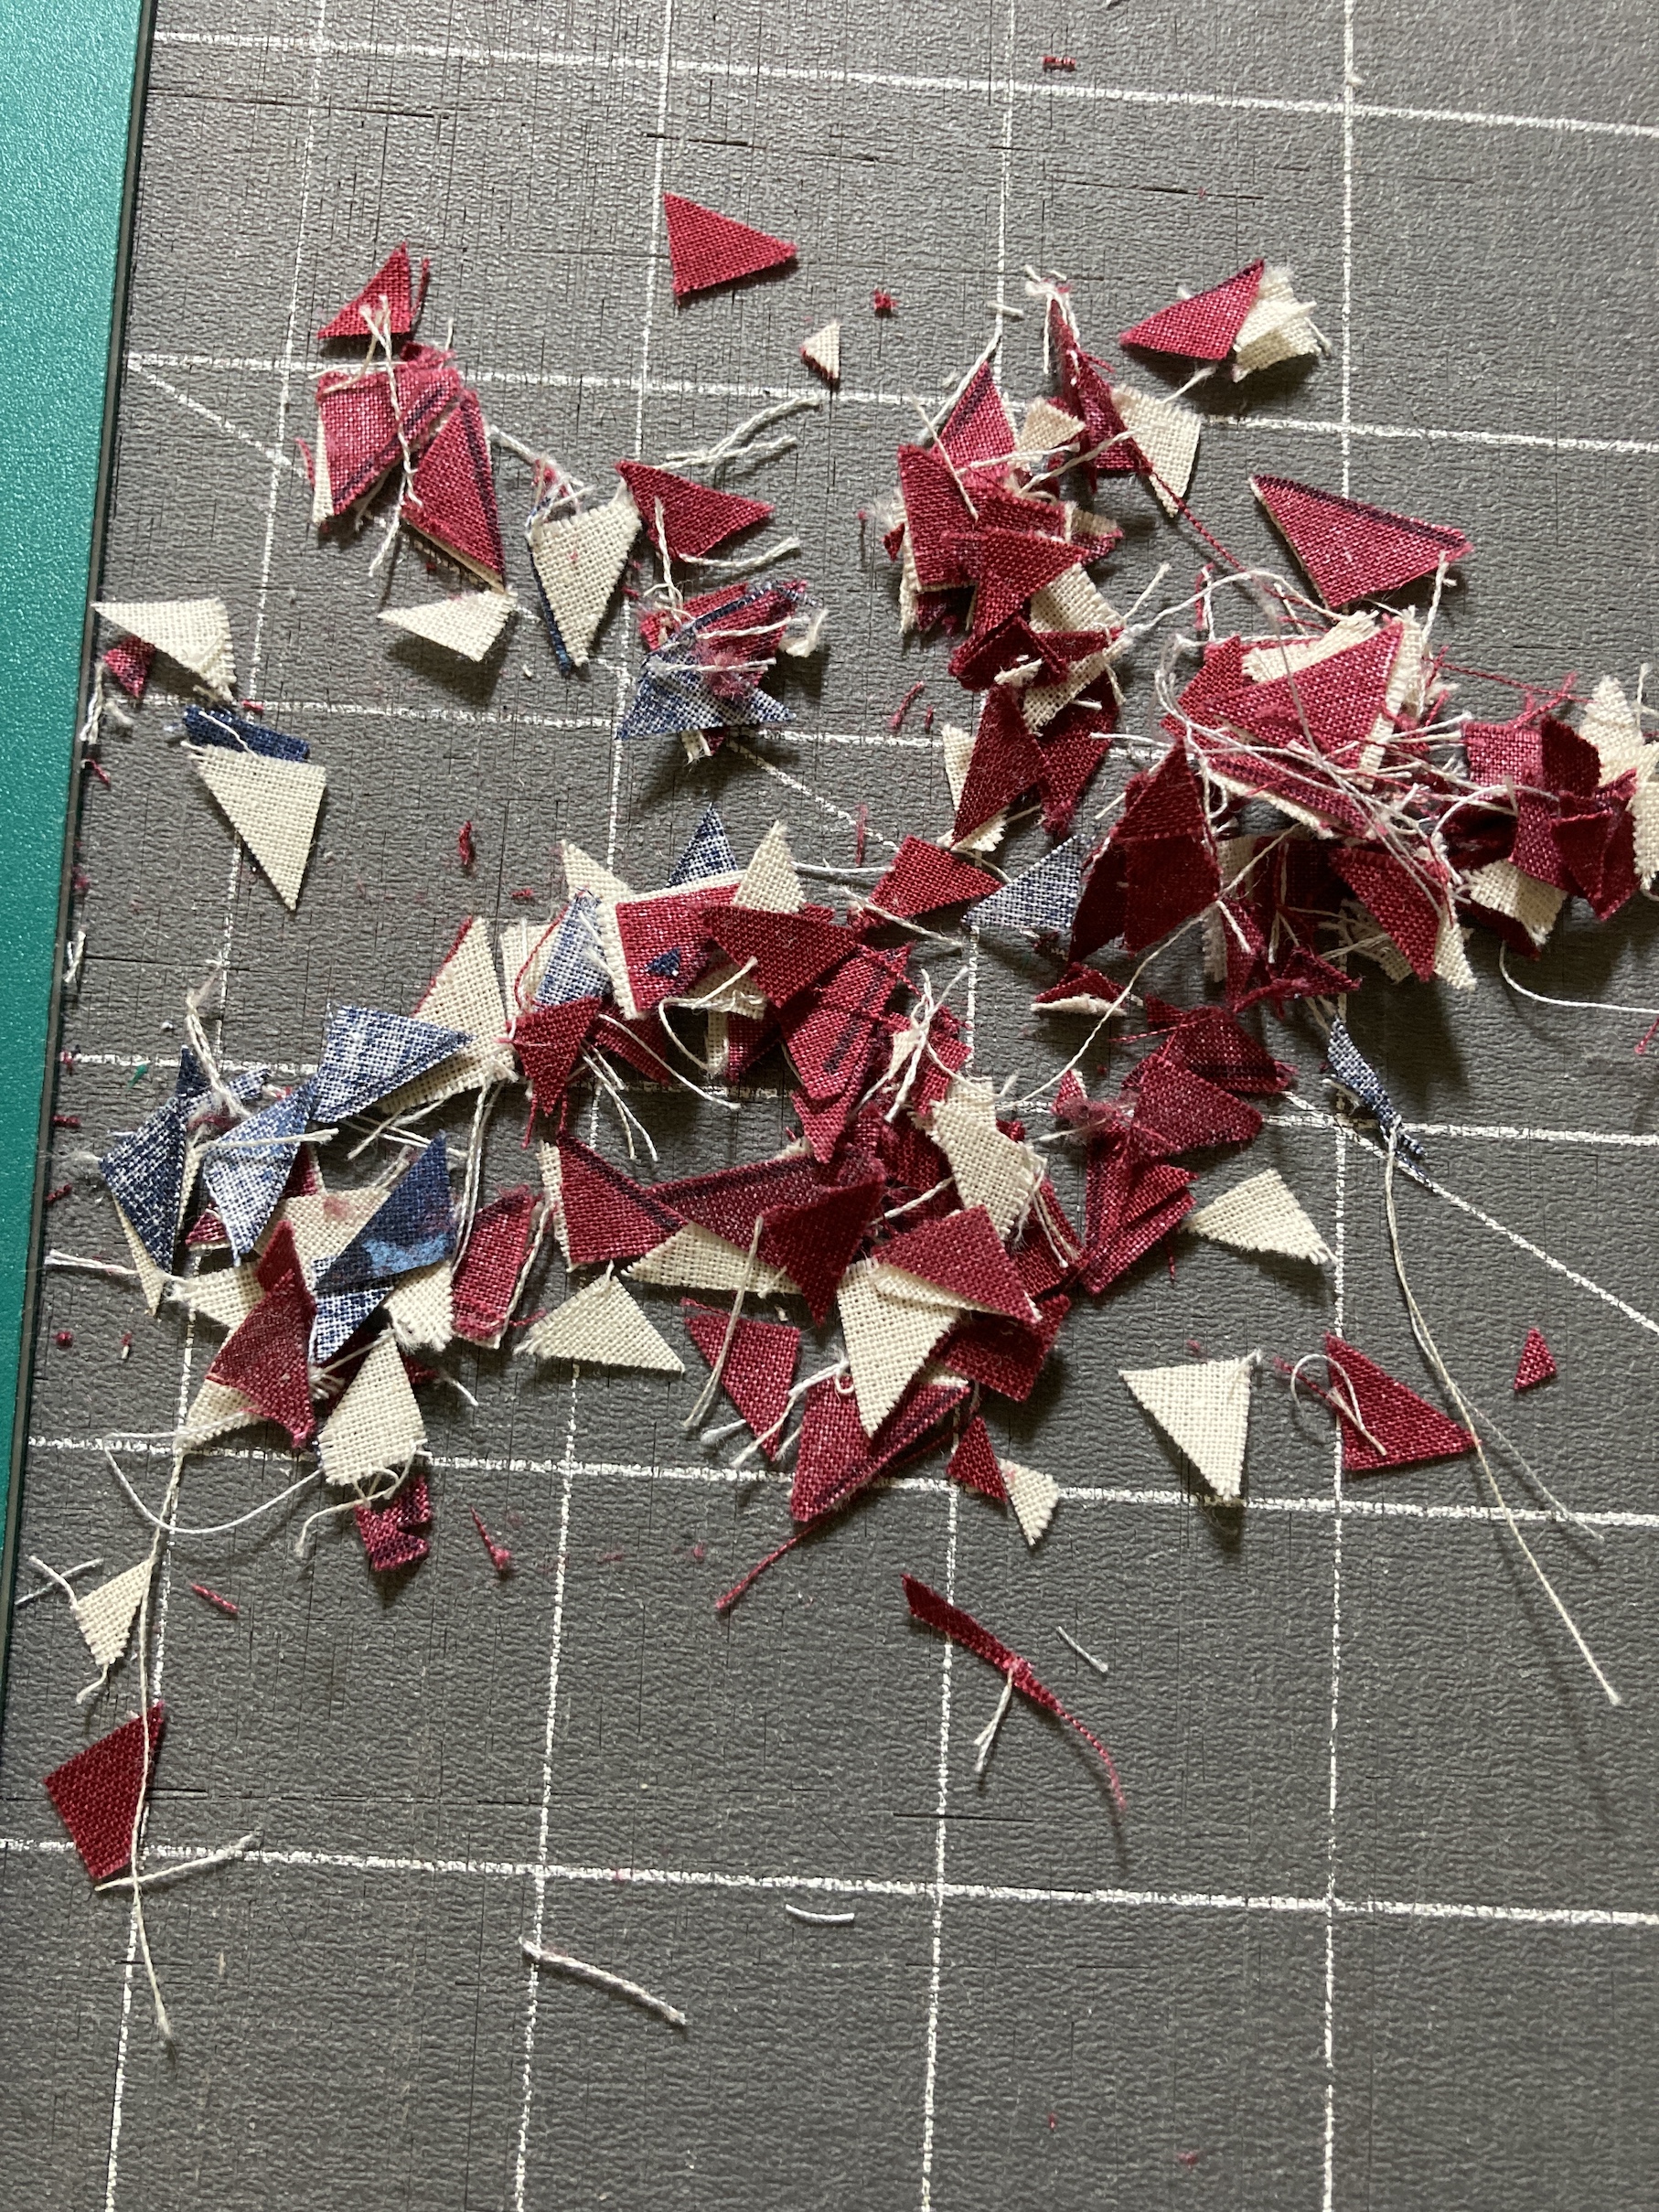
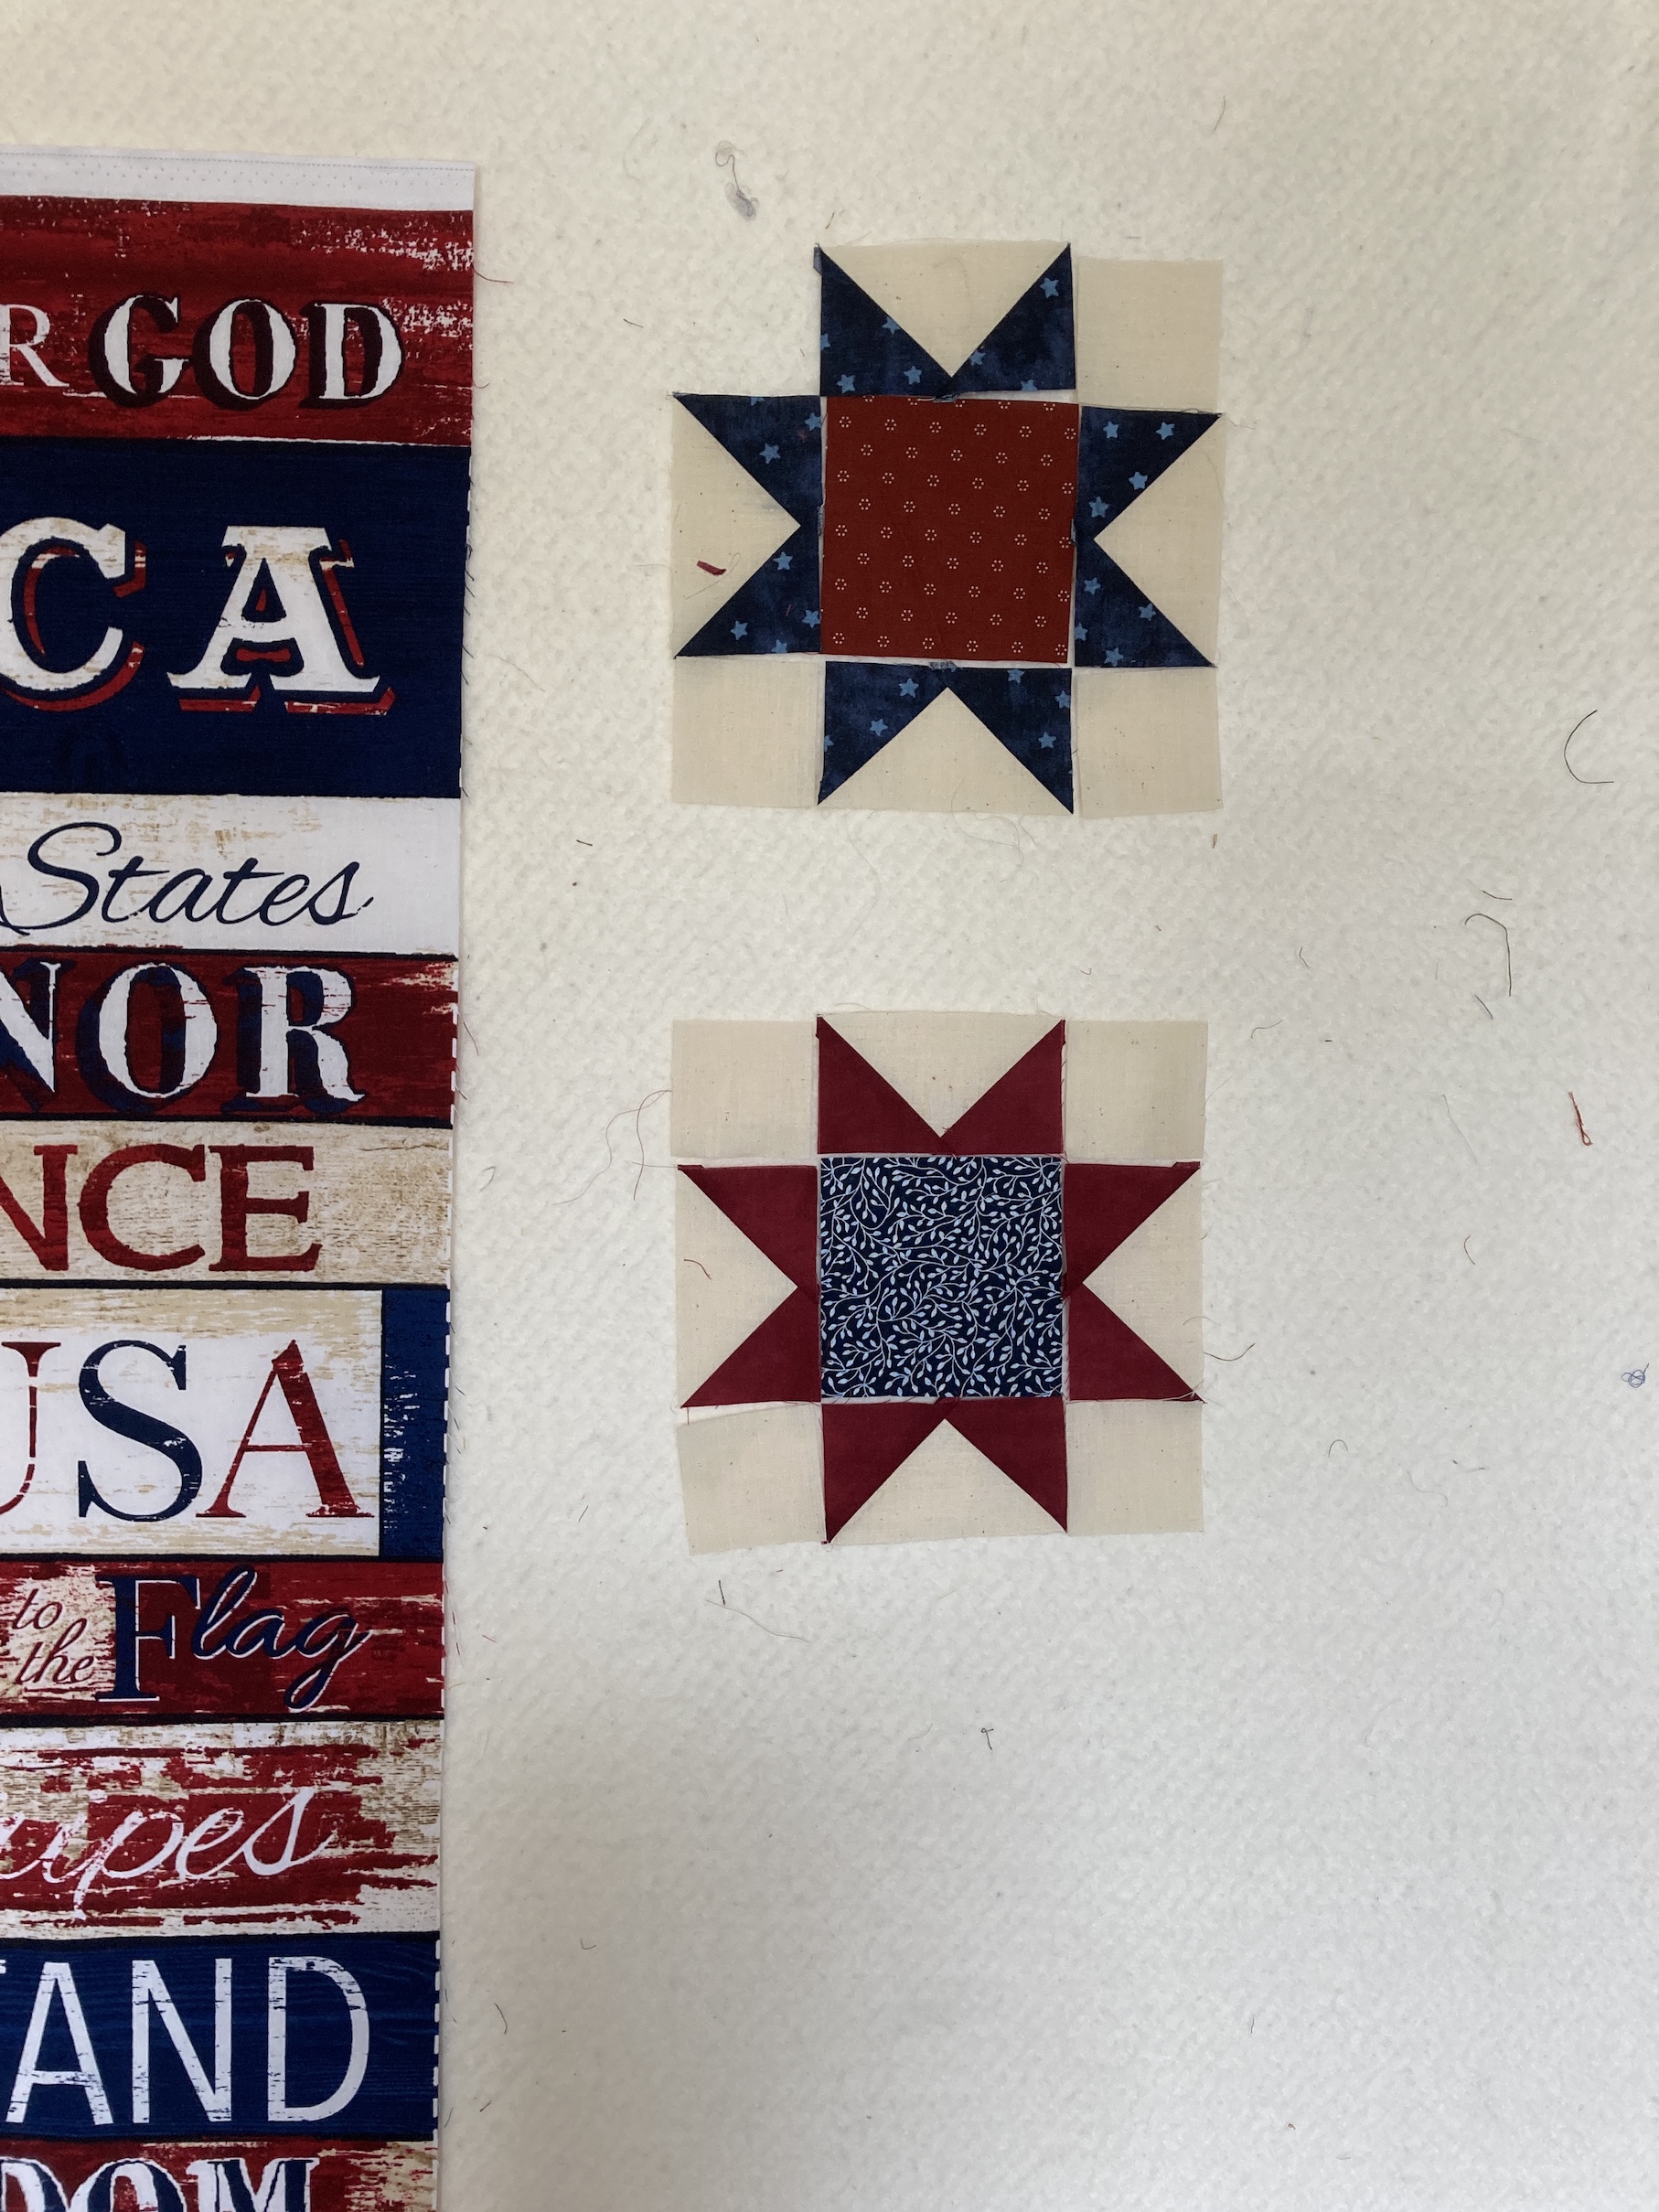
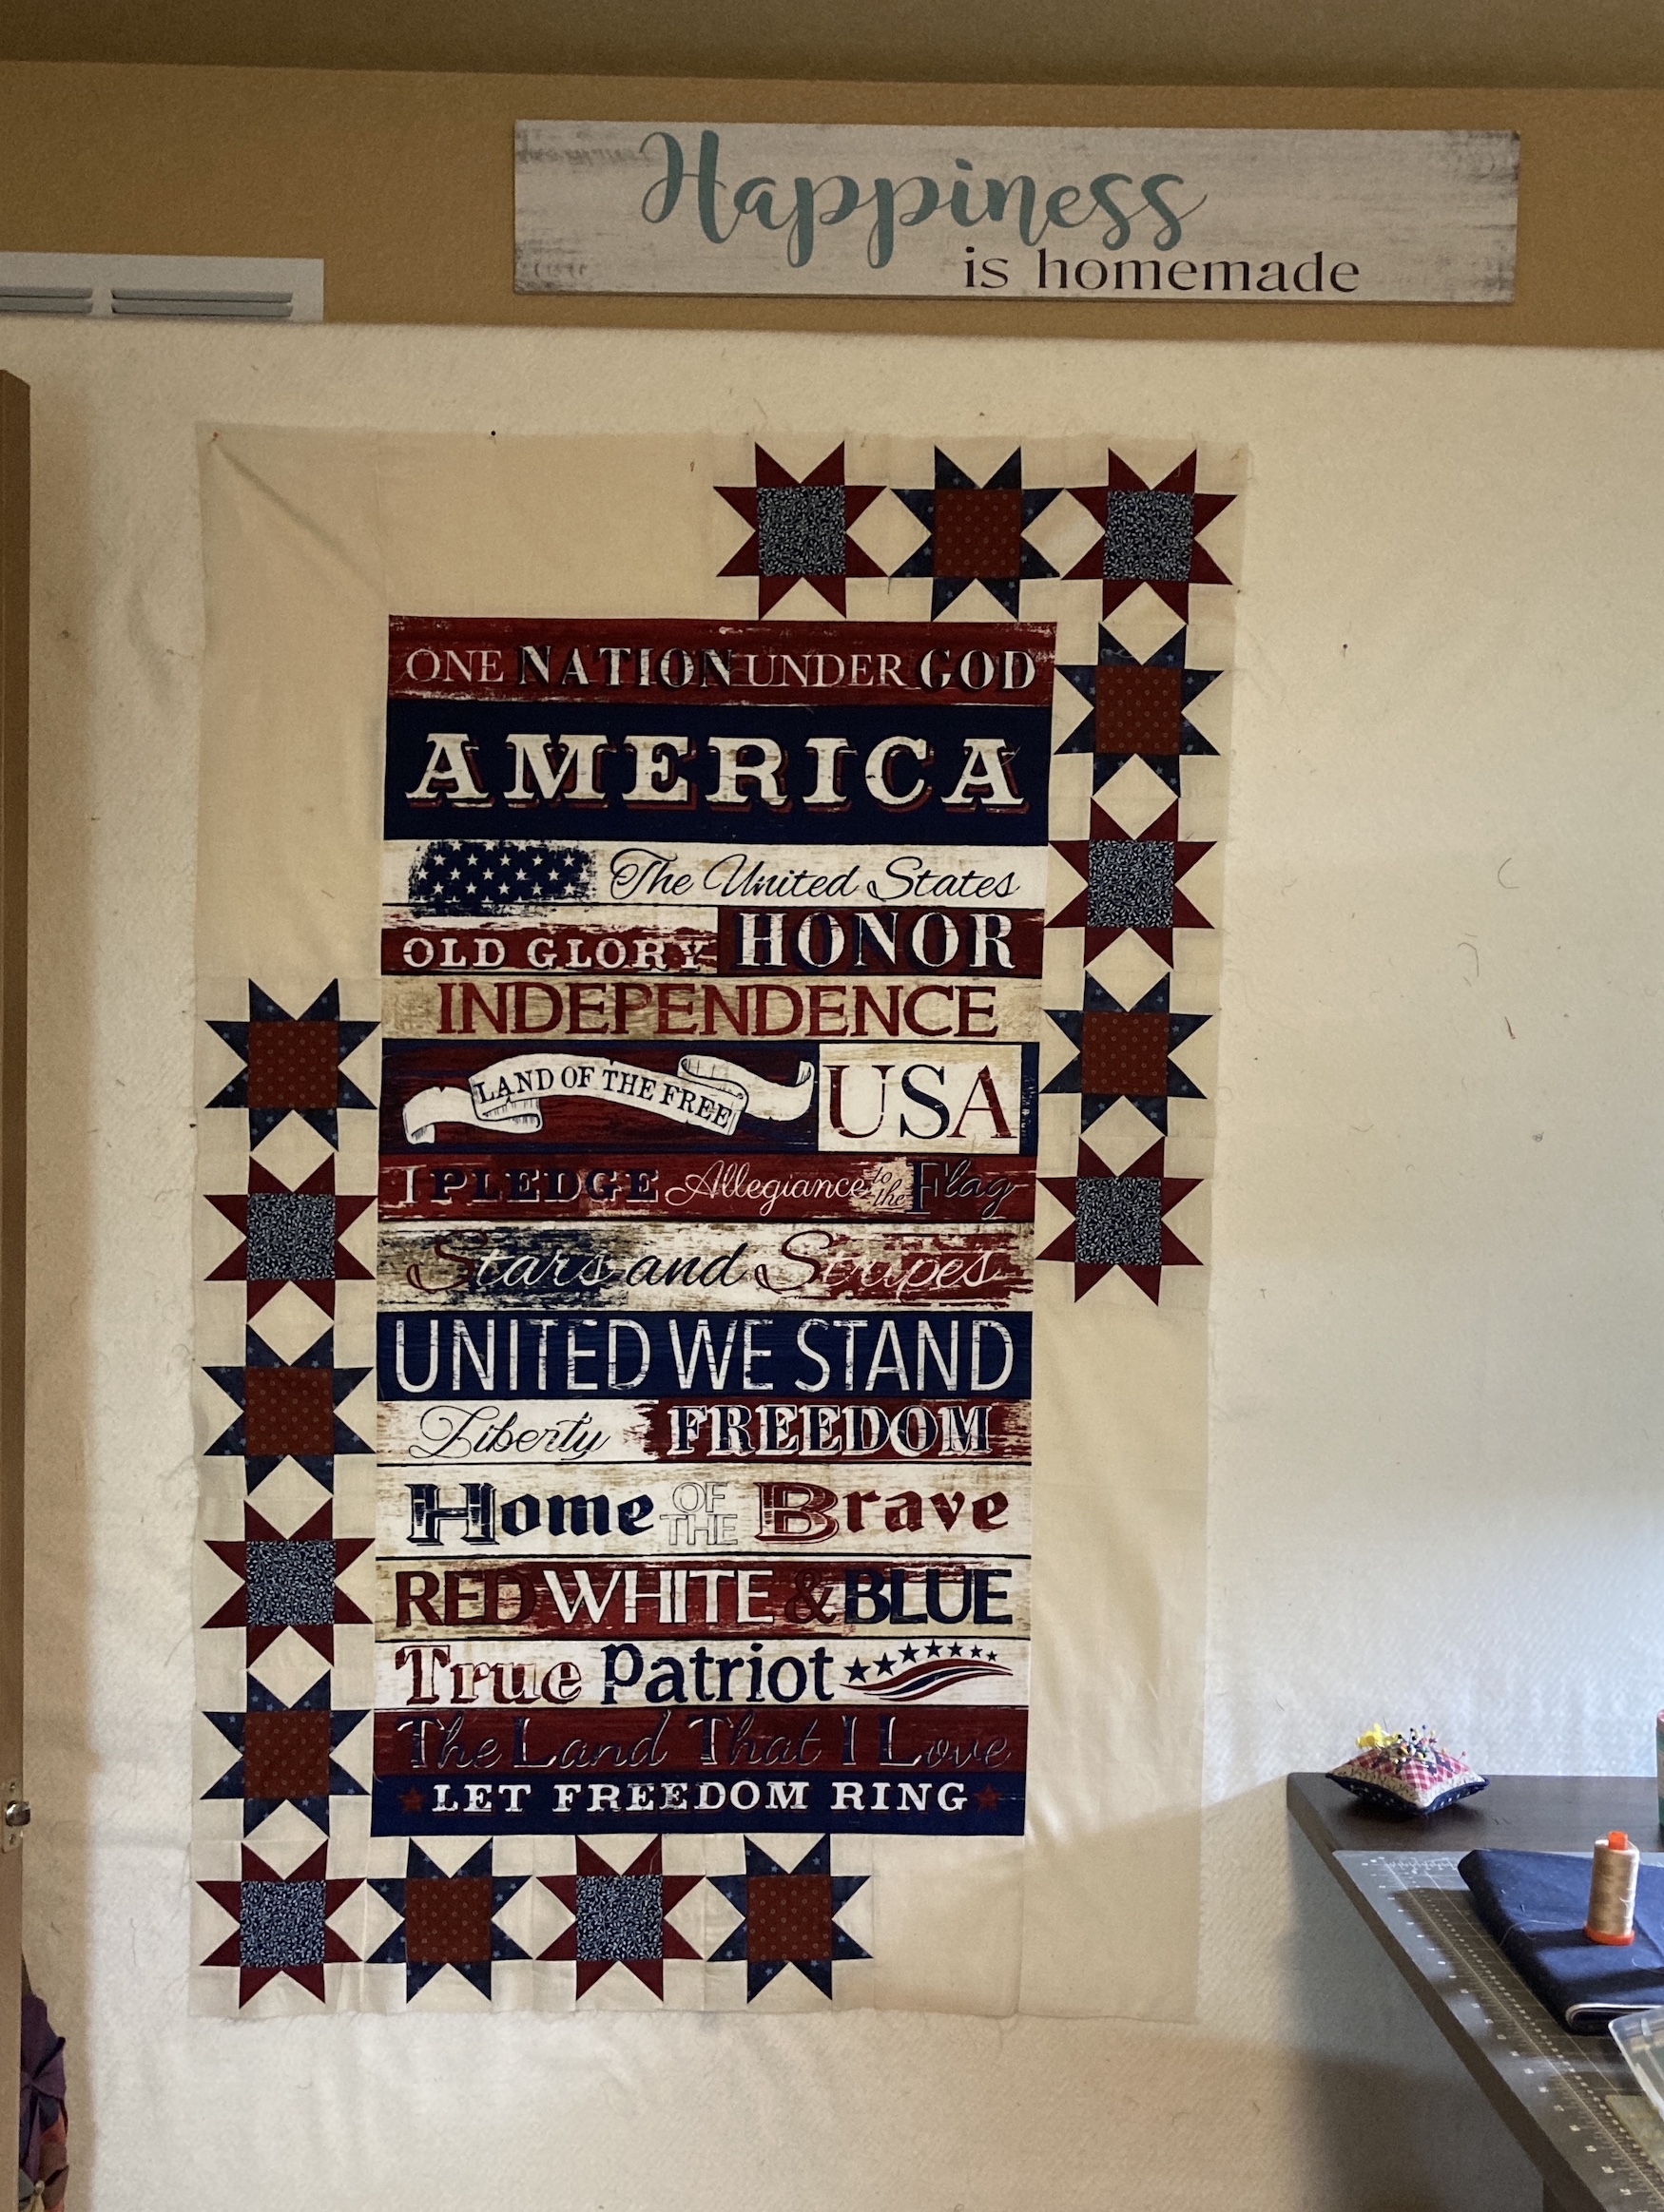 I made a lot of “flying geese” using the
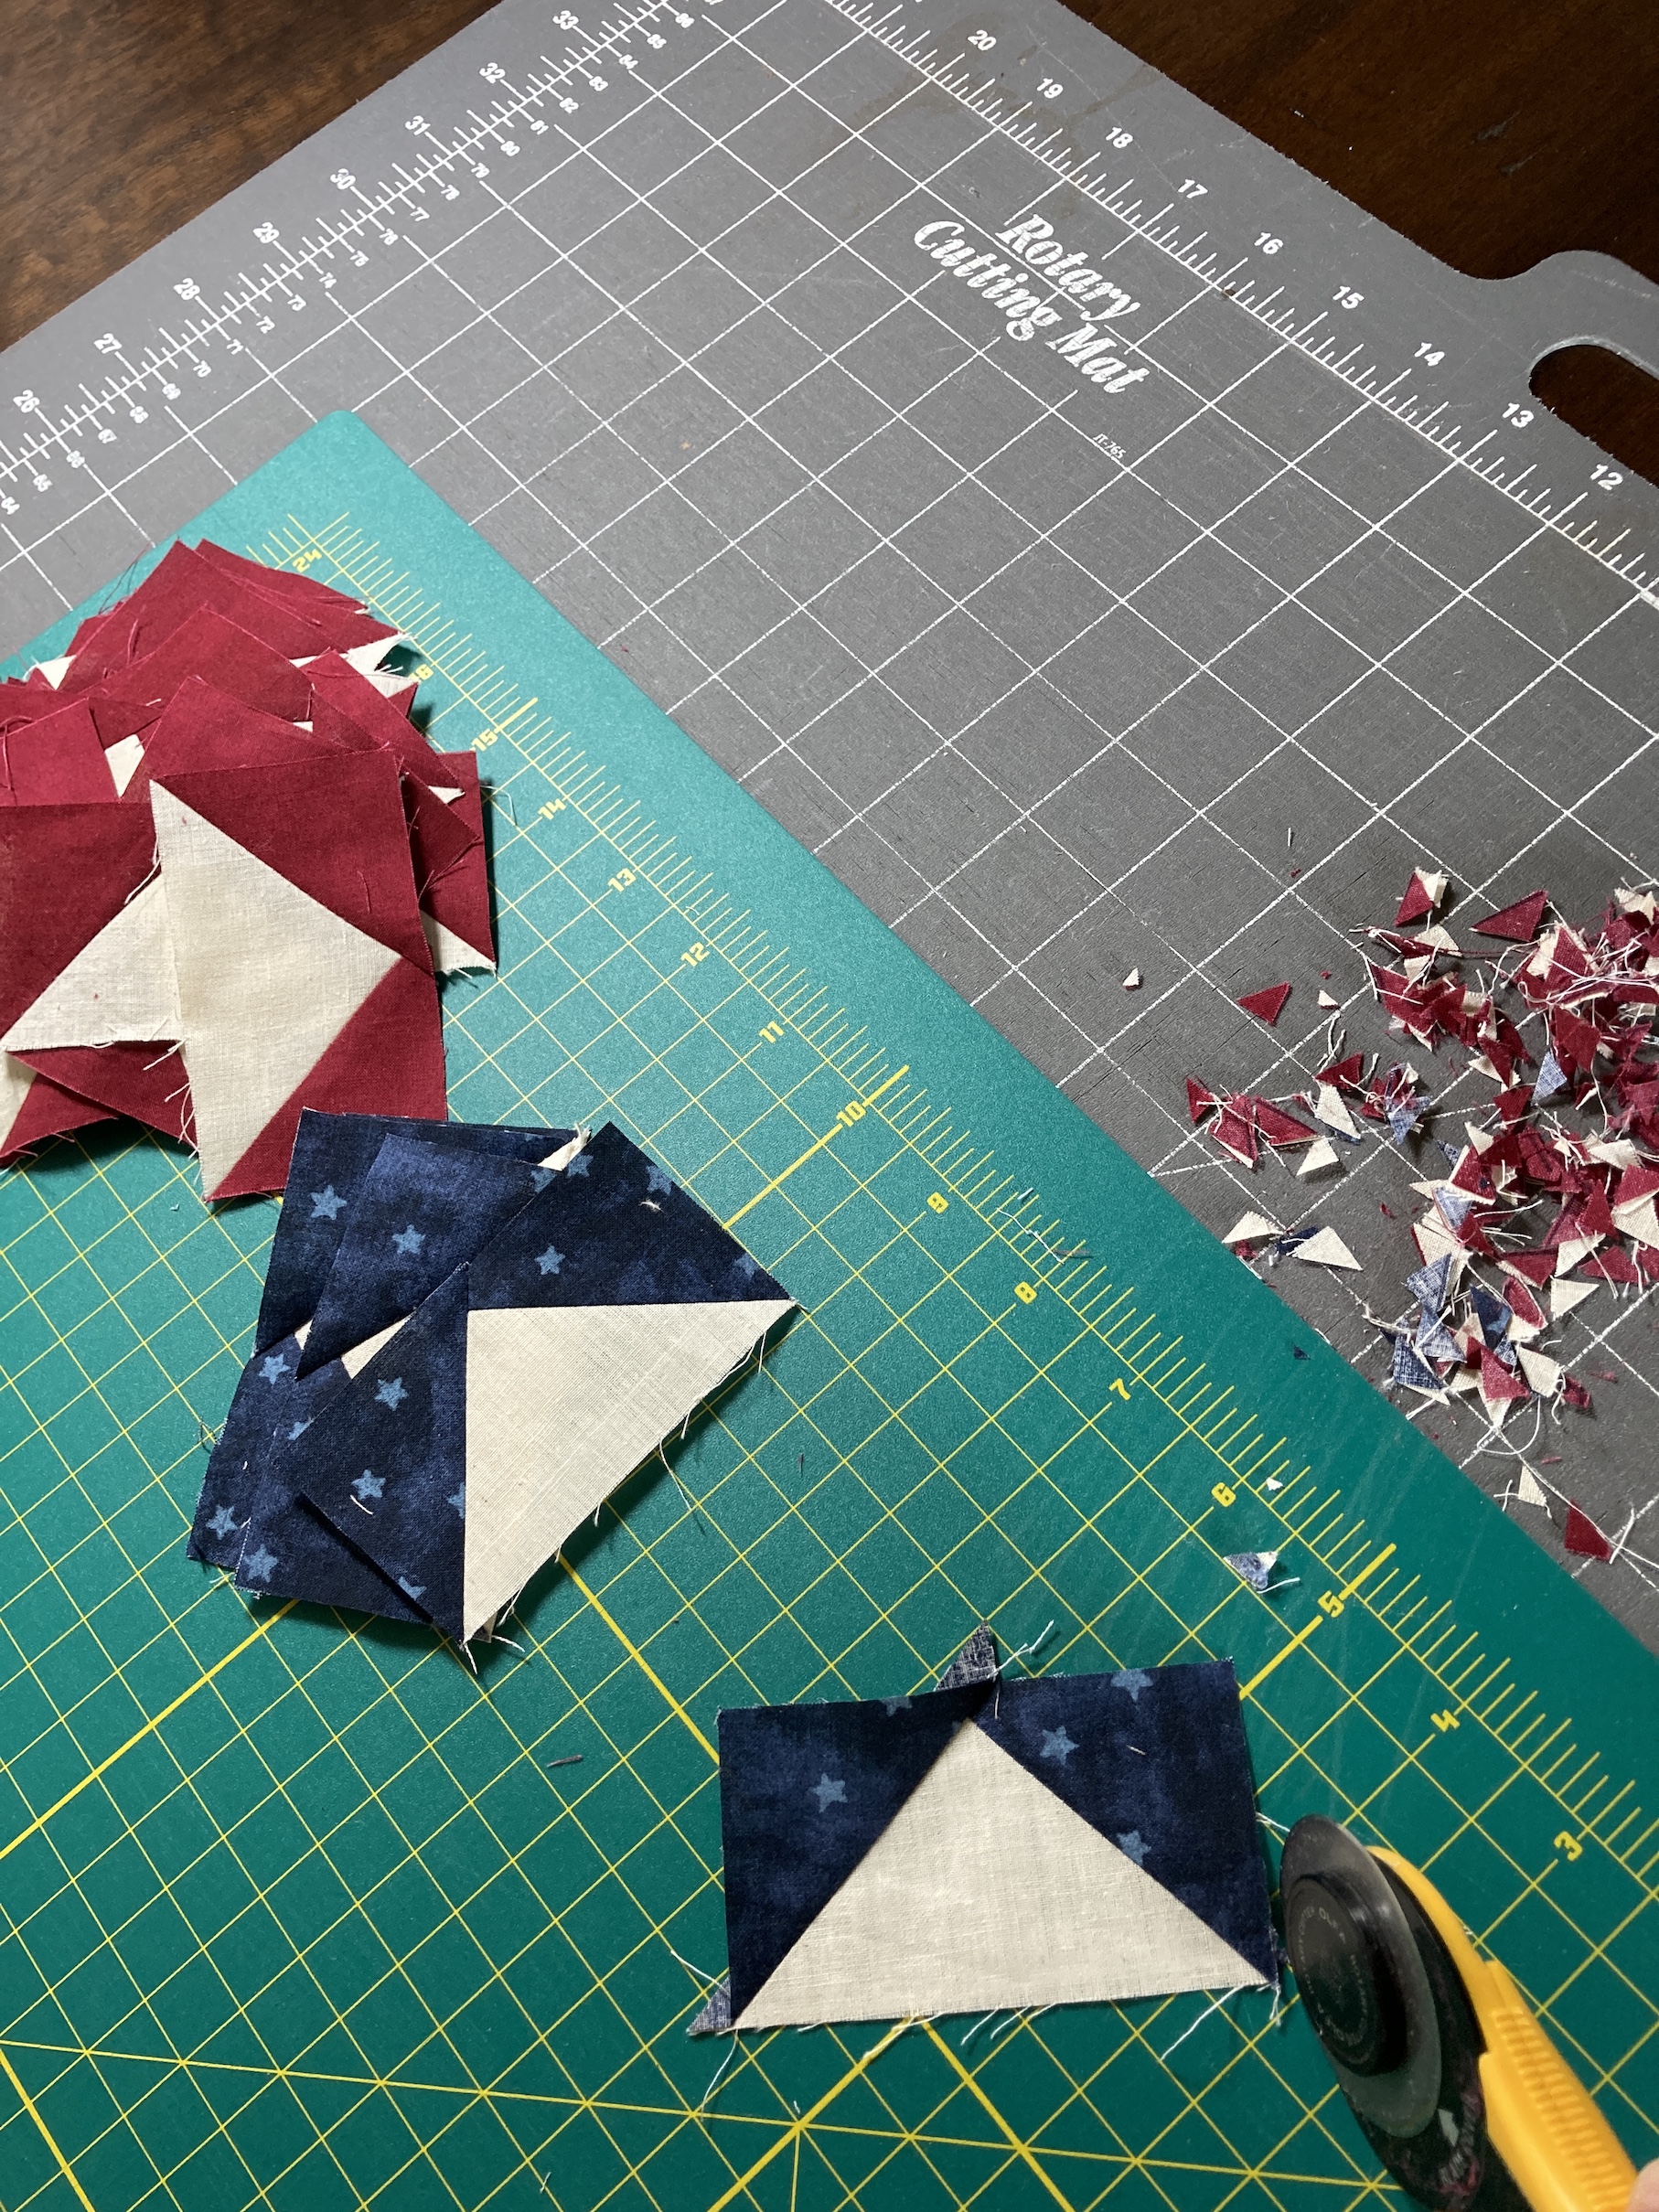
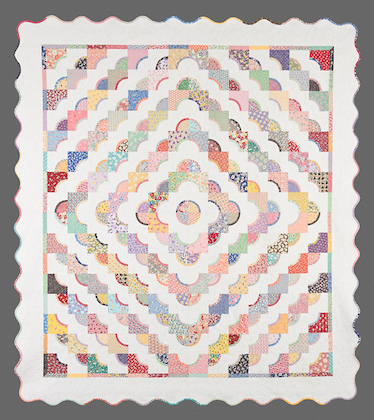
 Here is the finished quilt next to the framed mission flag:
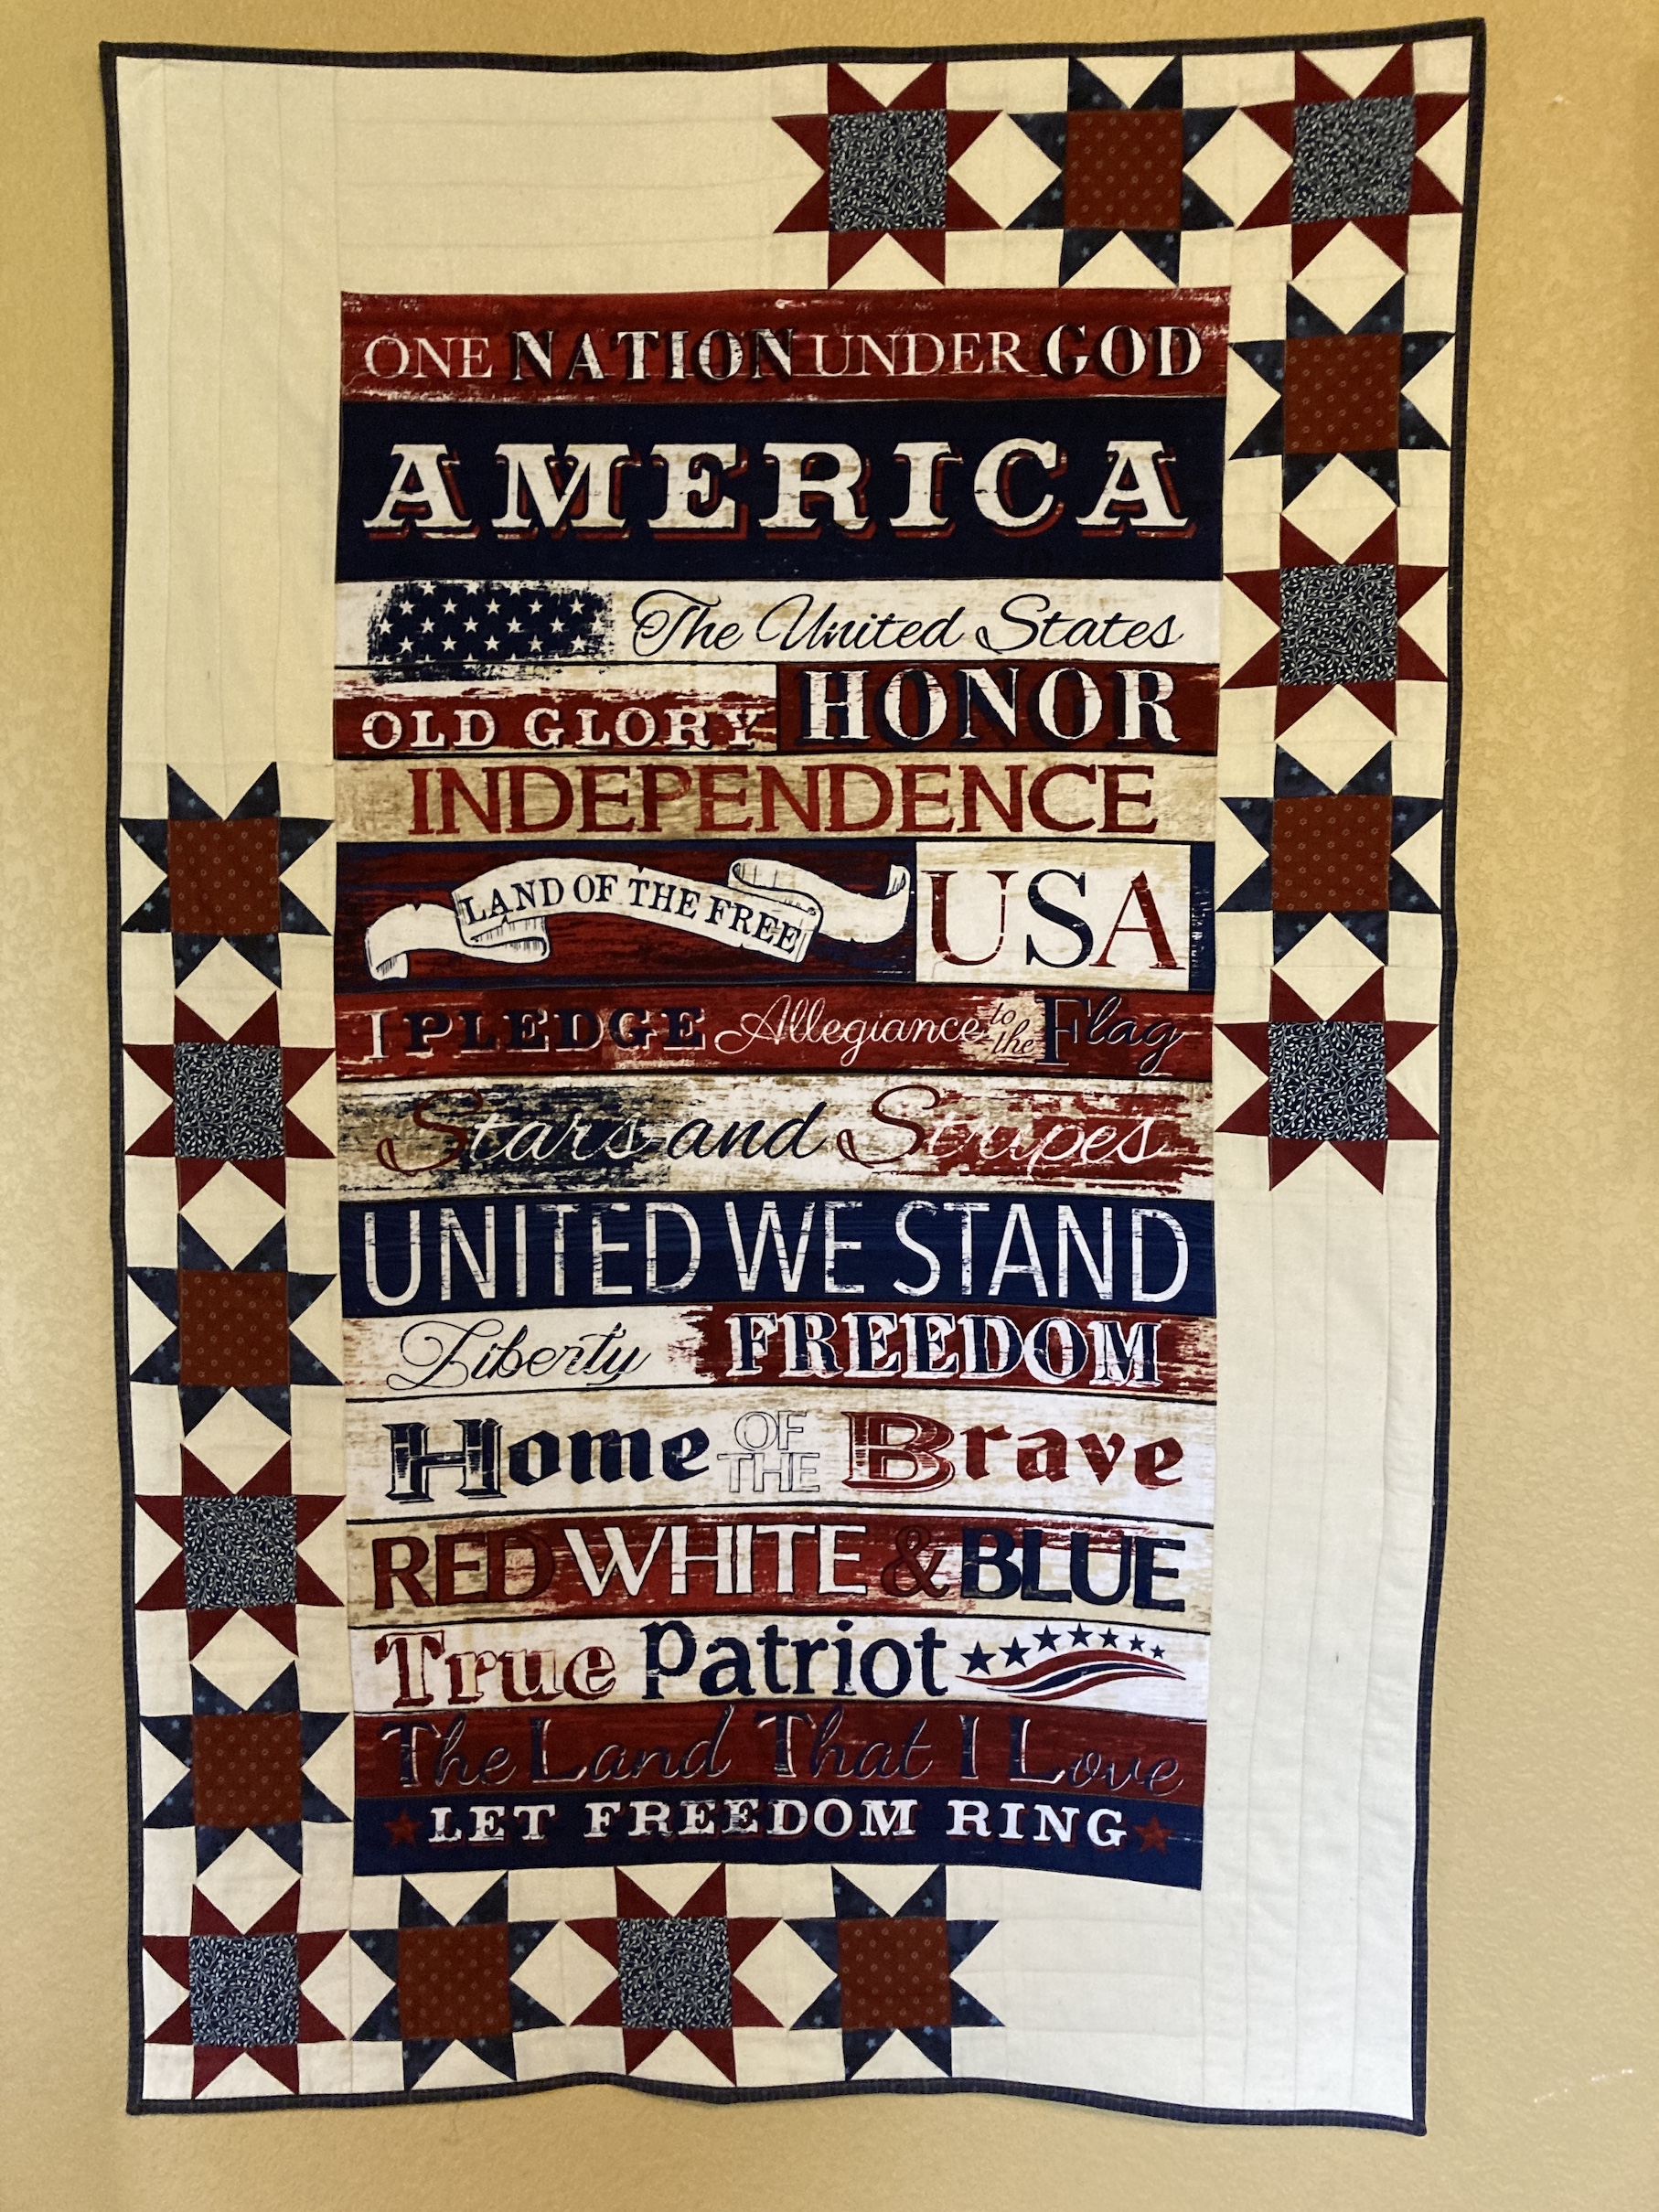 As you can tell, I machine quilted it myself (smile).


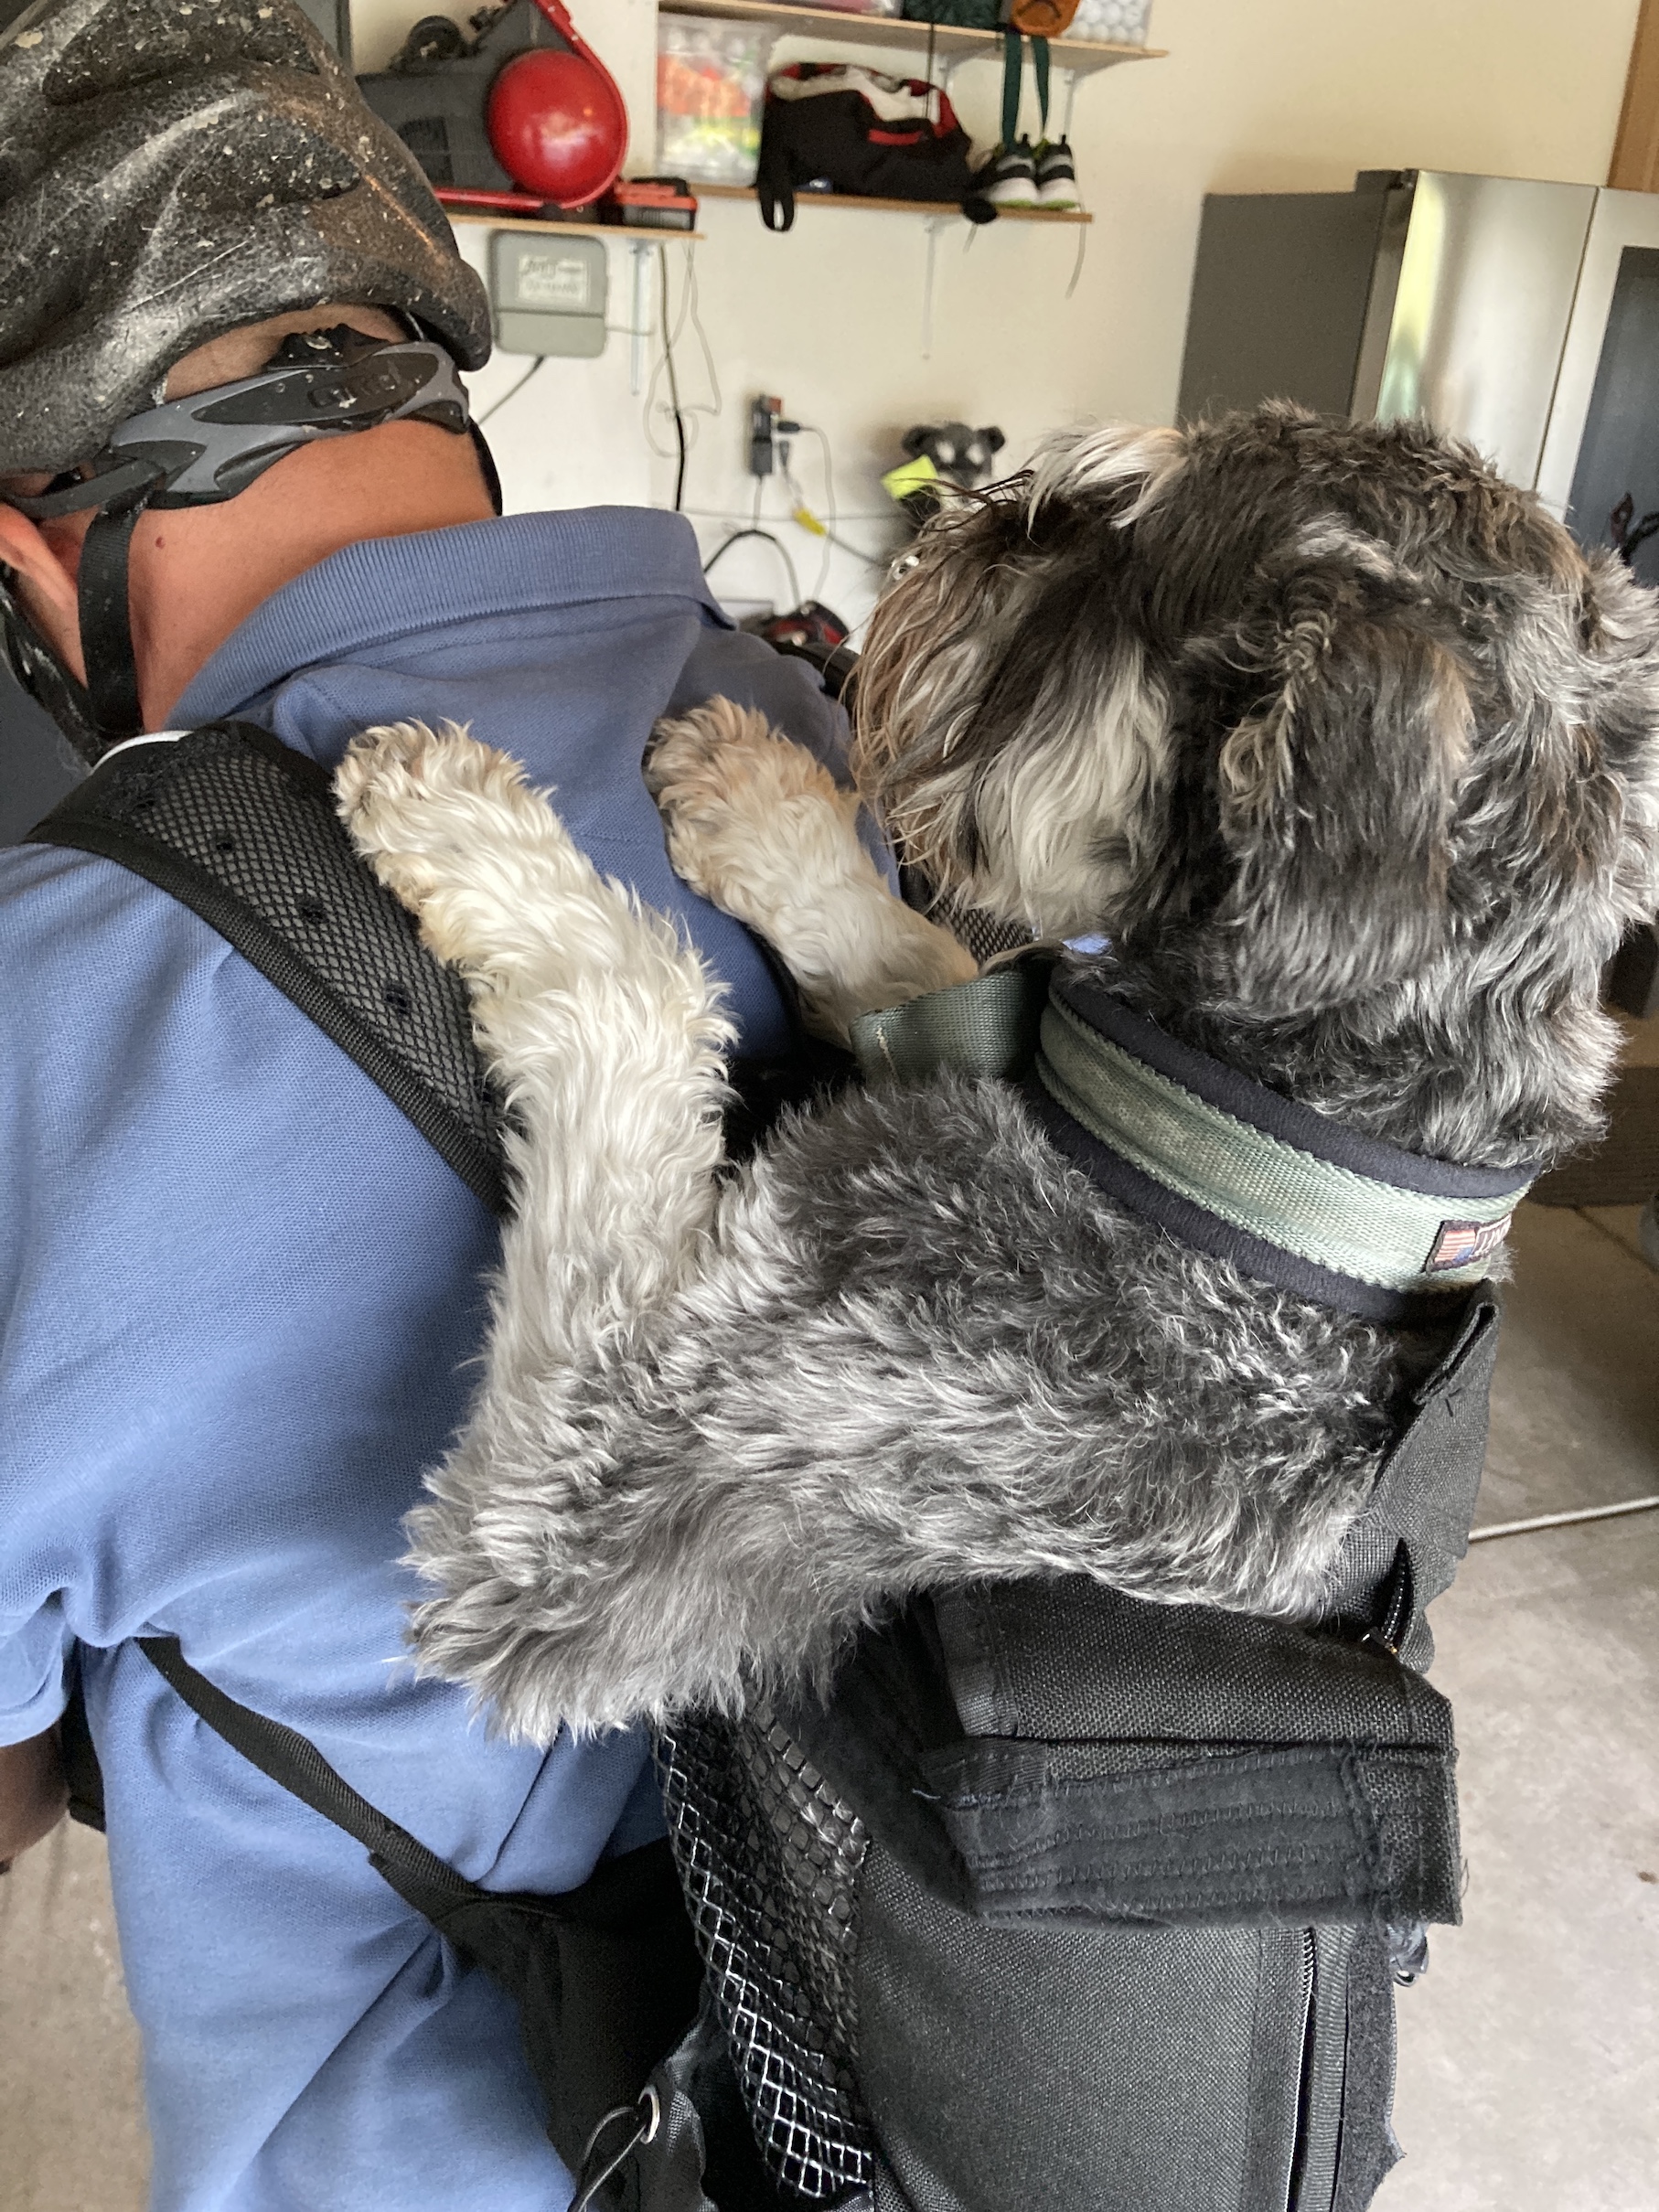
 Speaking of Mike, here is an image that either he forgot to share in his recent post –
  Yes it’s a photo of Mikelet (tierneycreates Beastie’s dog) and Mike, ready to go on their walks. I put a red arrow in the lower left hand corner of the photo above so you would not miss Mikelet who is a considerably smaller miniature Miniature Schnauzer!

 And here is the link to a post I wrote in 2015 called
  A couple days ago I randomly decided that it was time I learned how to make Granny Squares and a Granny Square afghan.
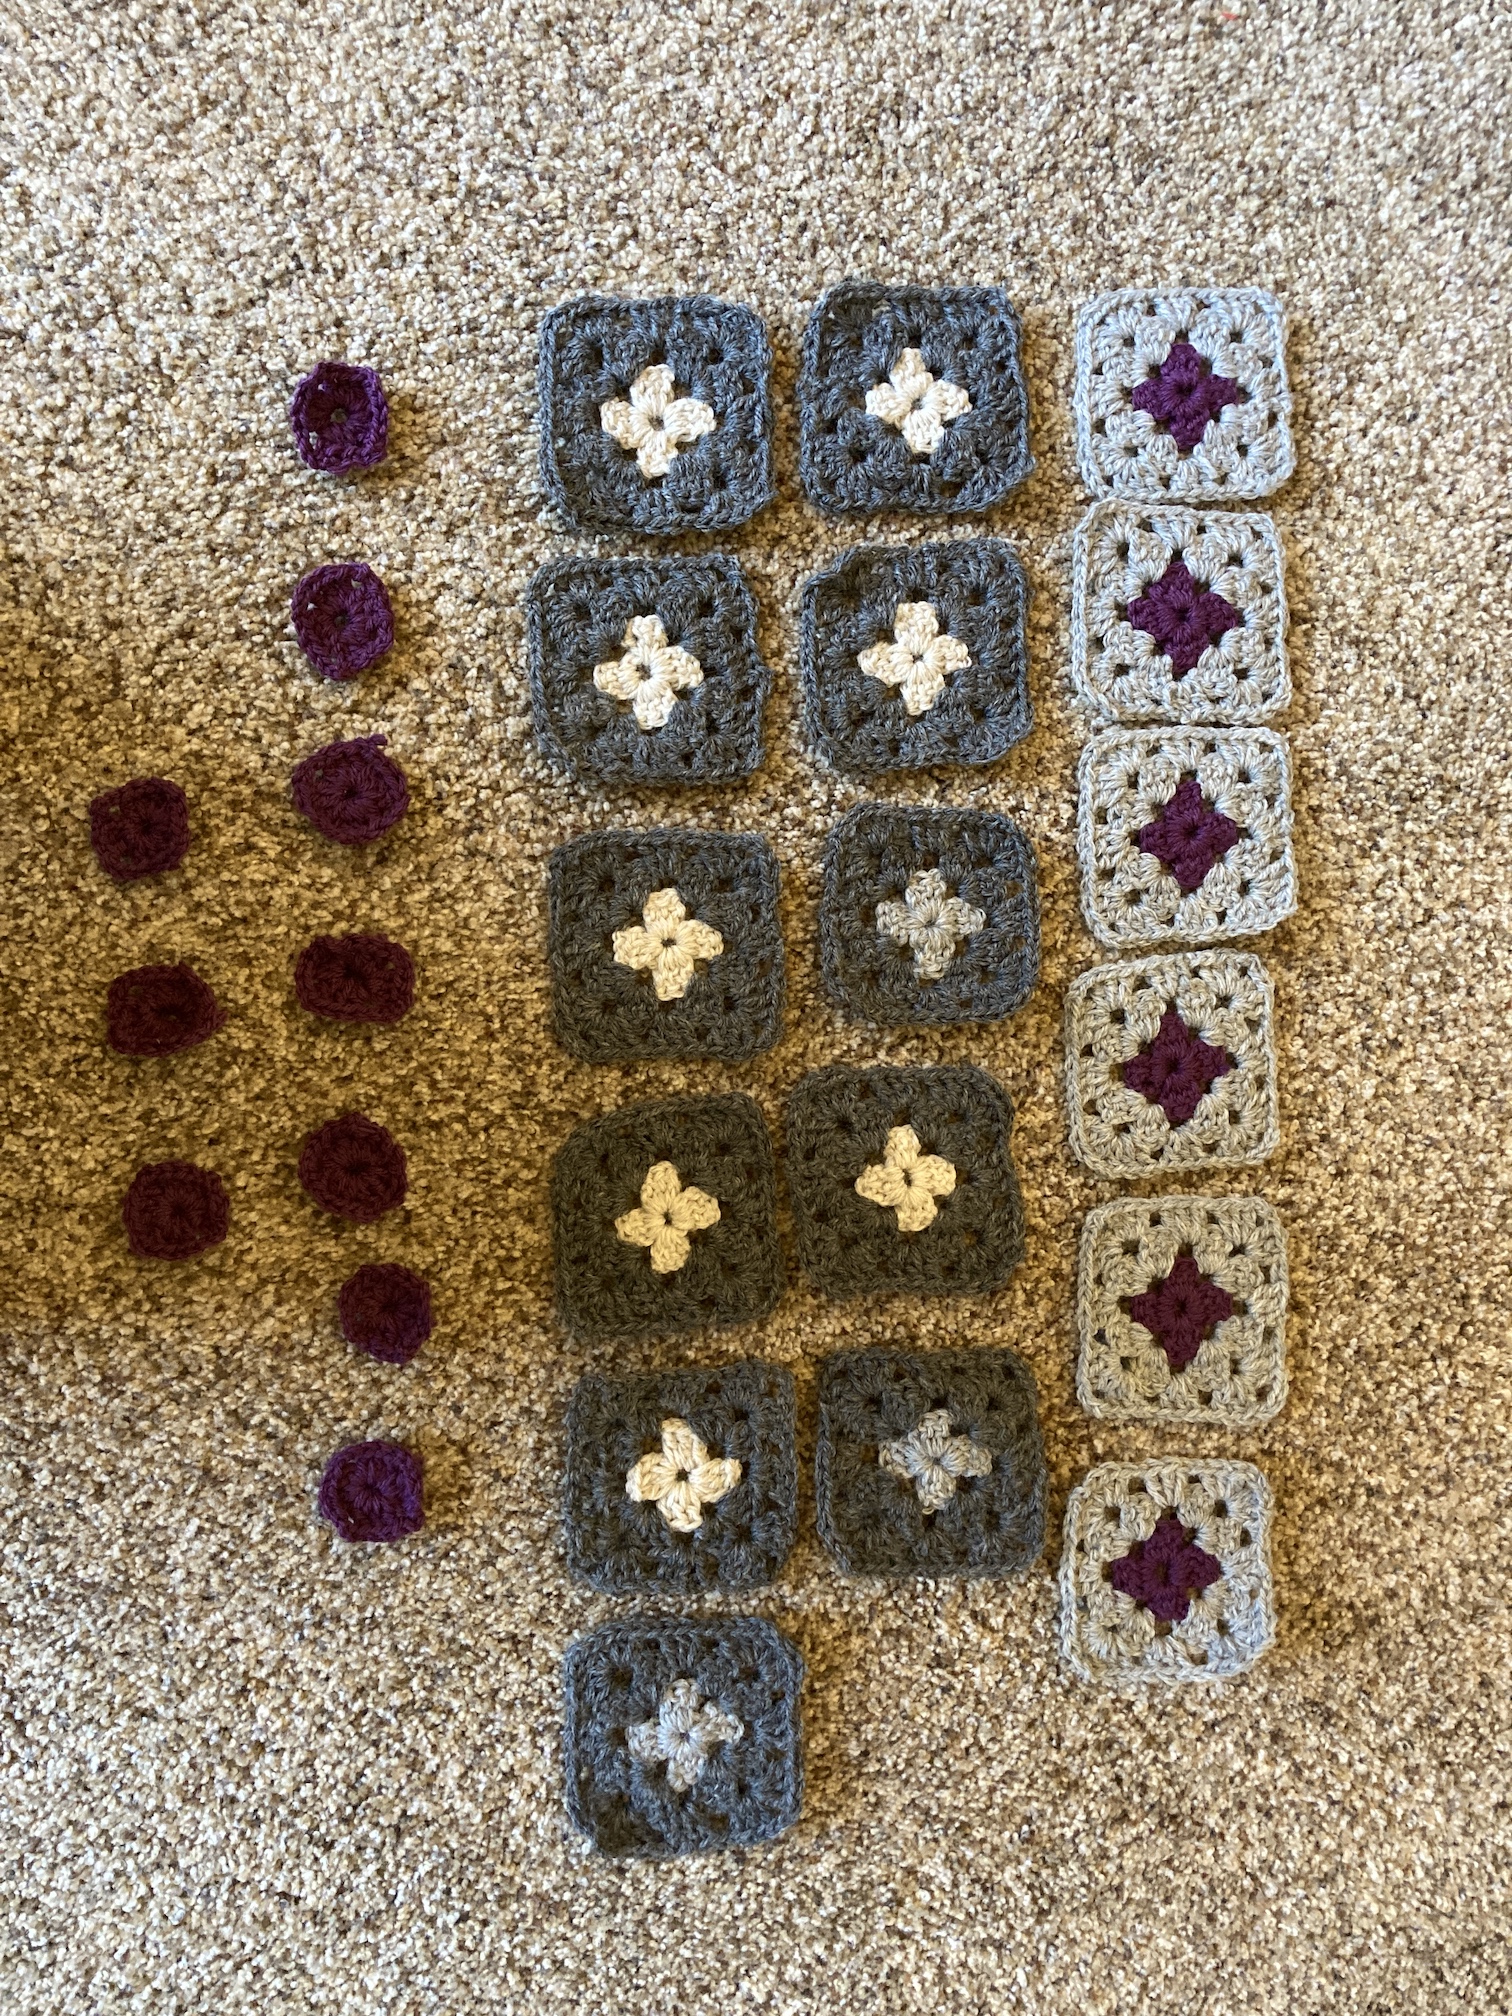
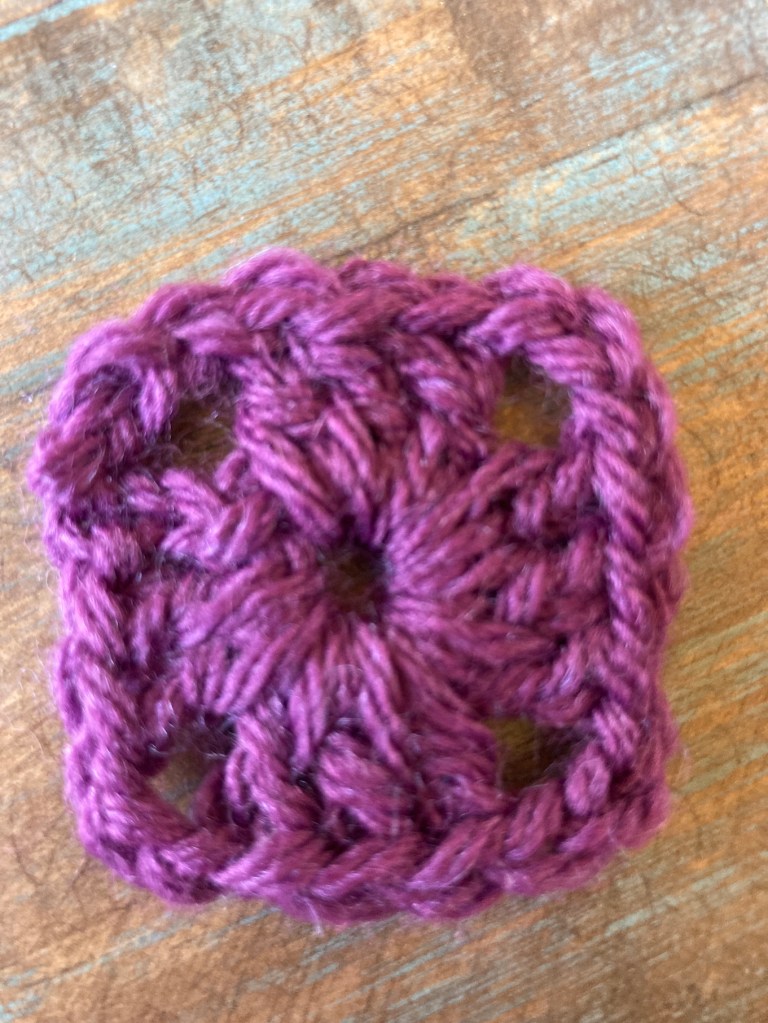
 I cannot tell you how pleased and excited I was to have completed my first Granny Square!
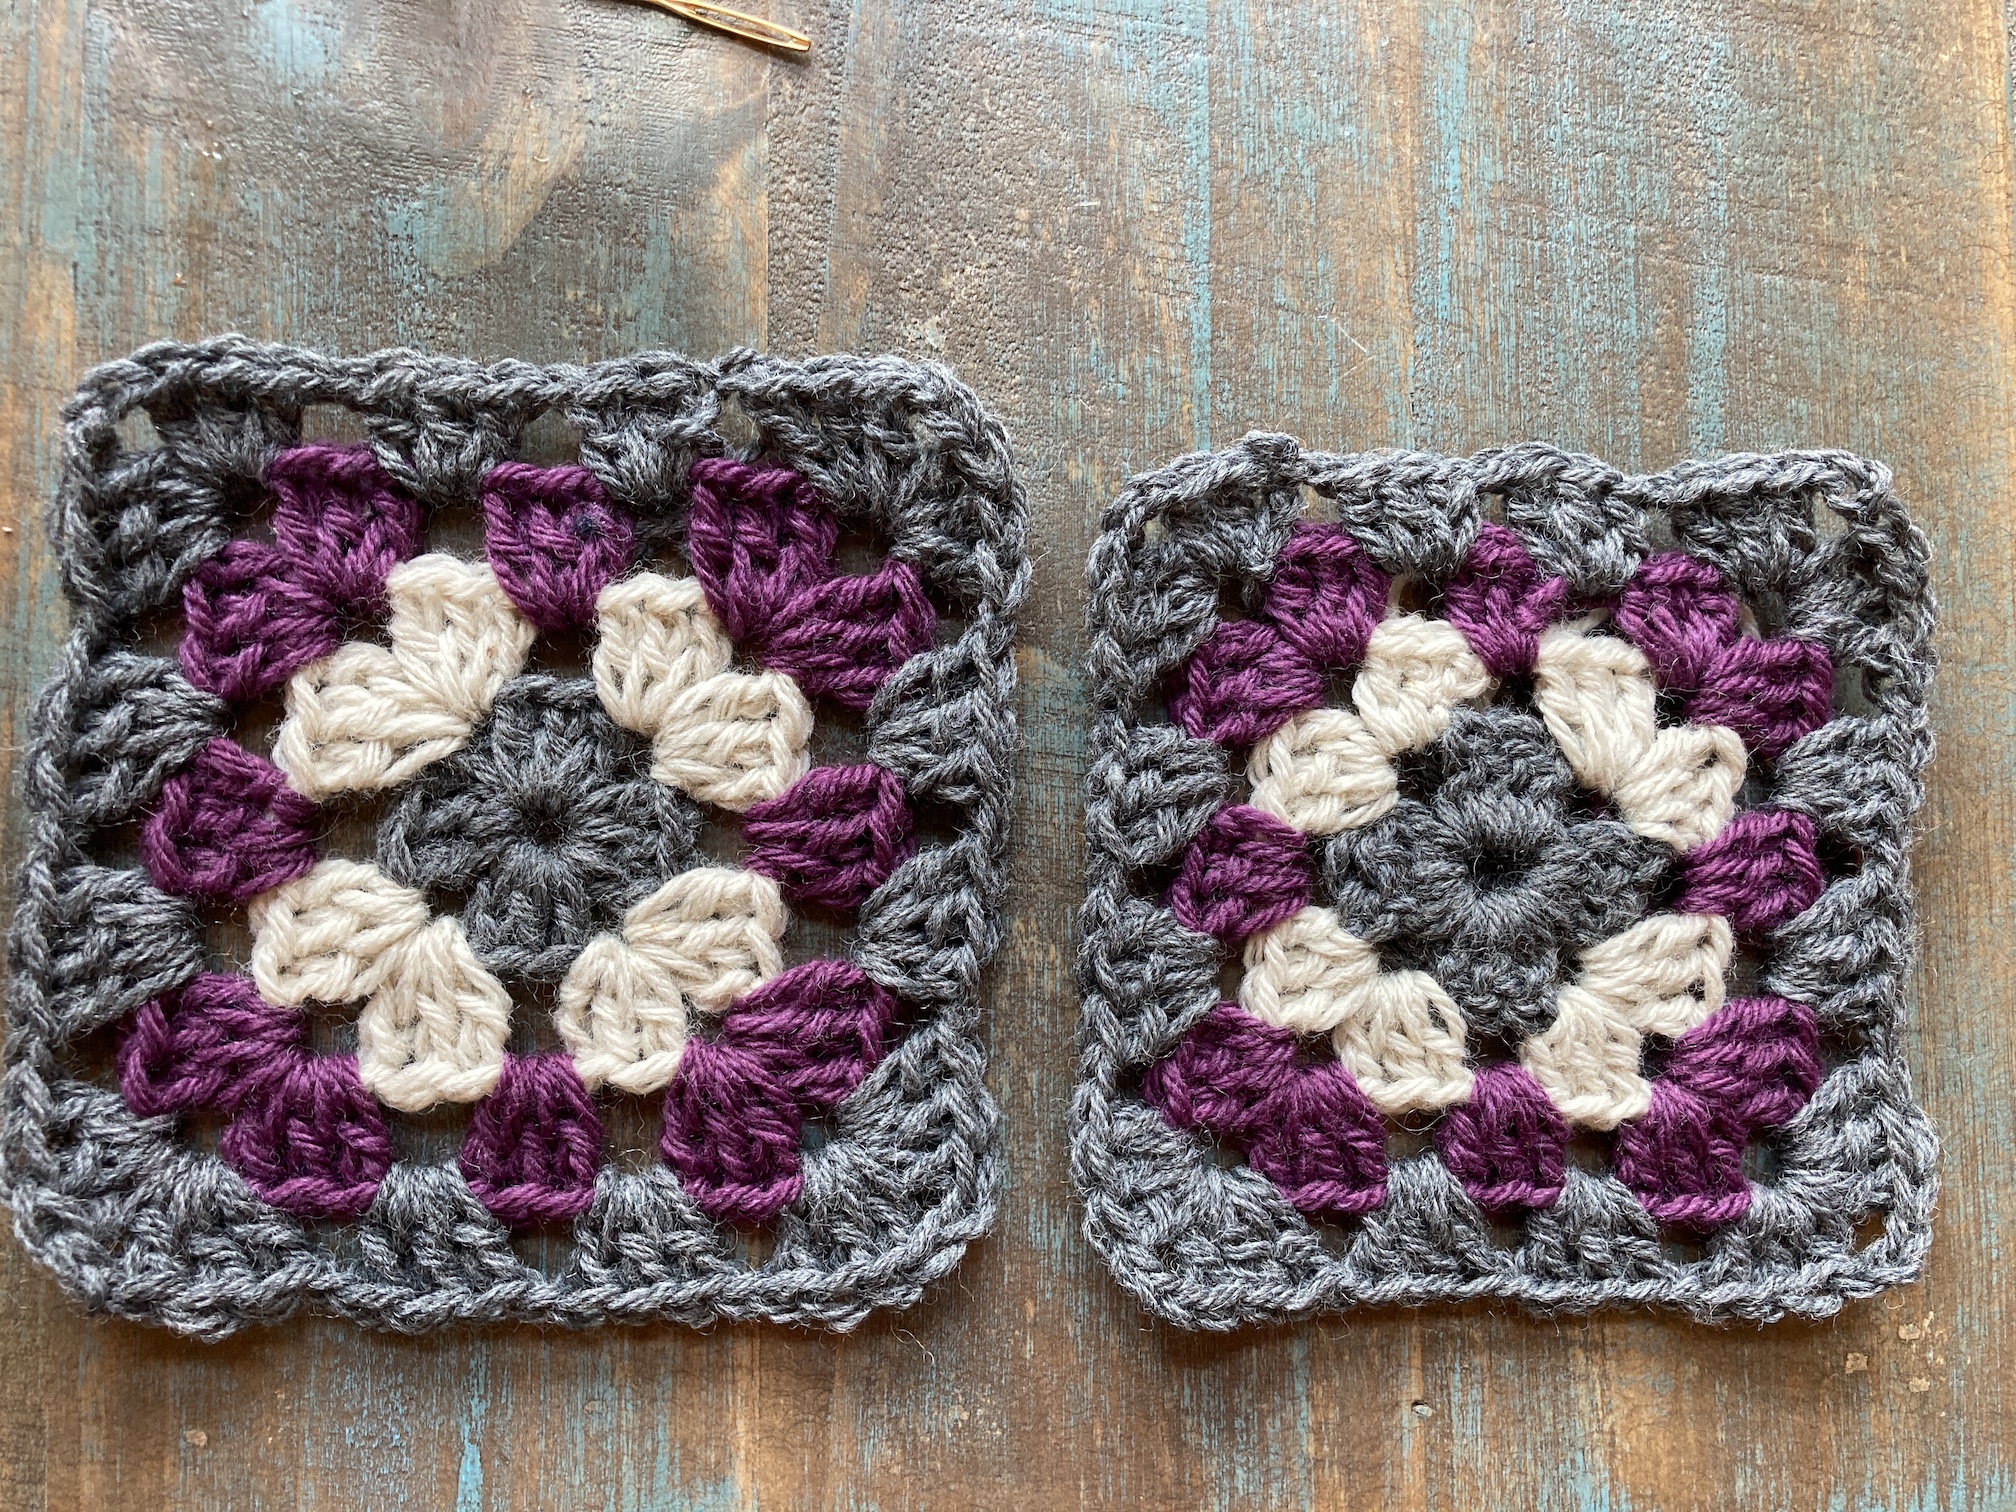 Now I plan to make up a bunch of centers and get started on “production line” crochet.
 This is going to be a lot of work but I am so excited to make my very own!

 So we were both pretty proud of ourselves!
 Back in late March/start of April 2020 my humans made the decision not to move to a new house they were going to buy and instead to stay in their current abode (see post
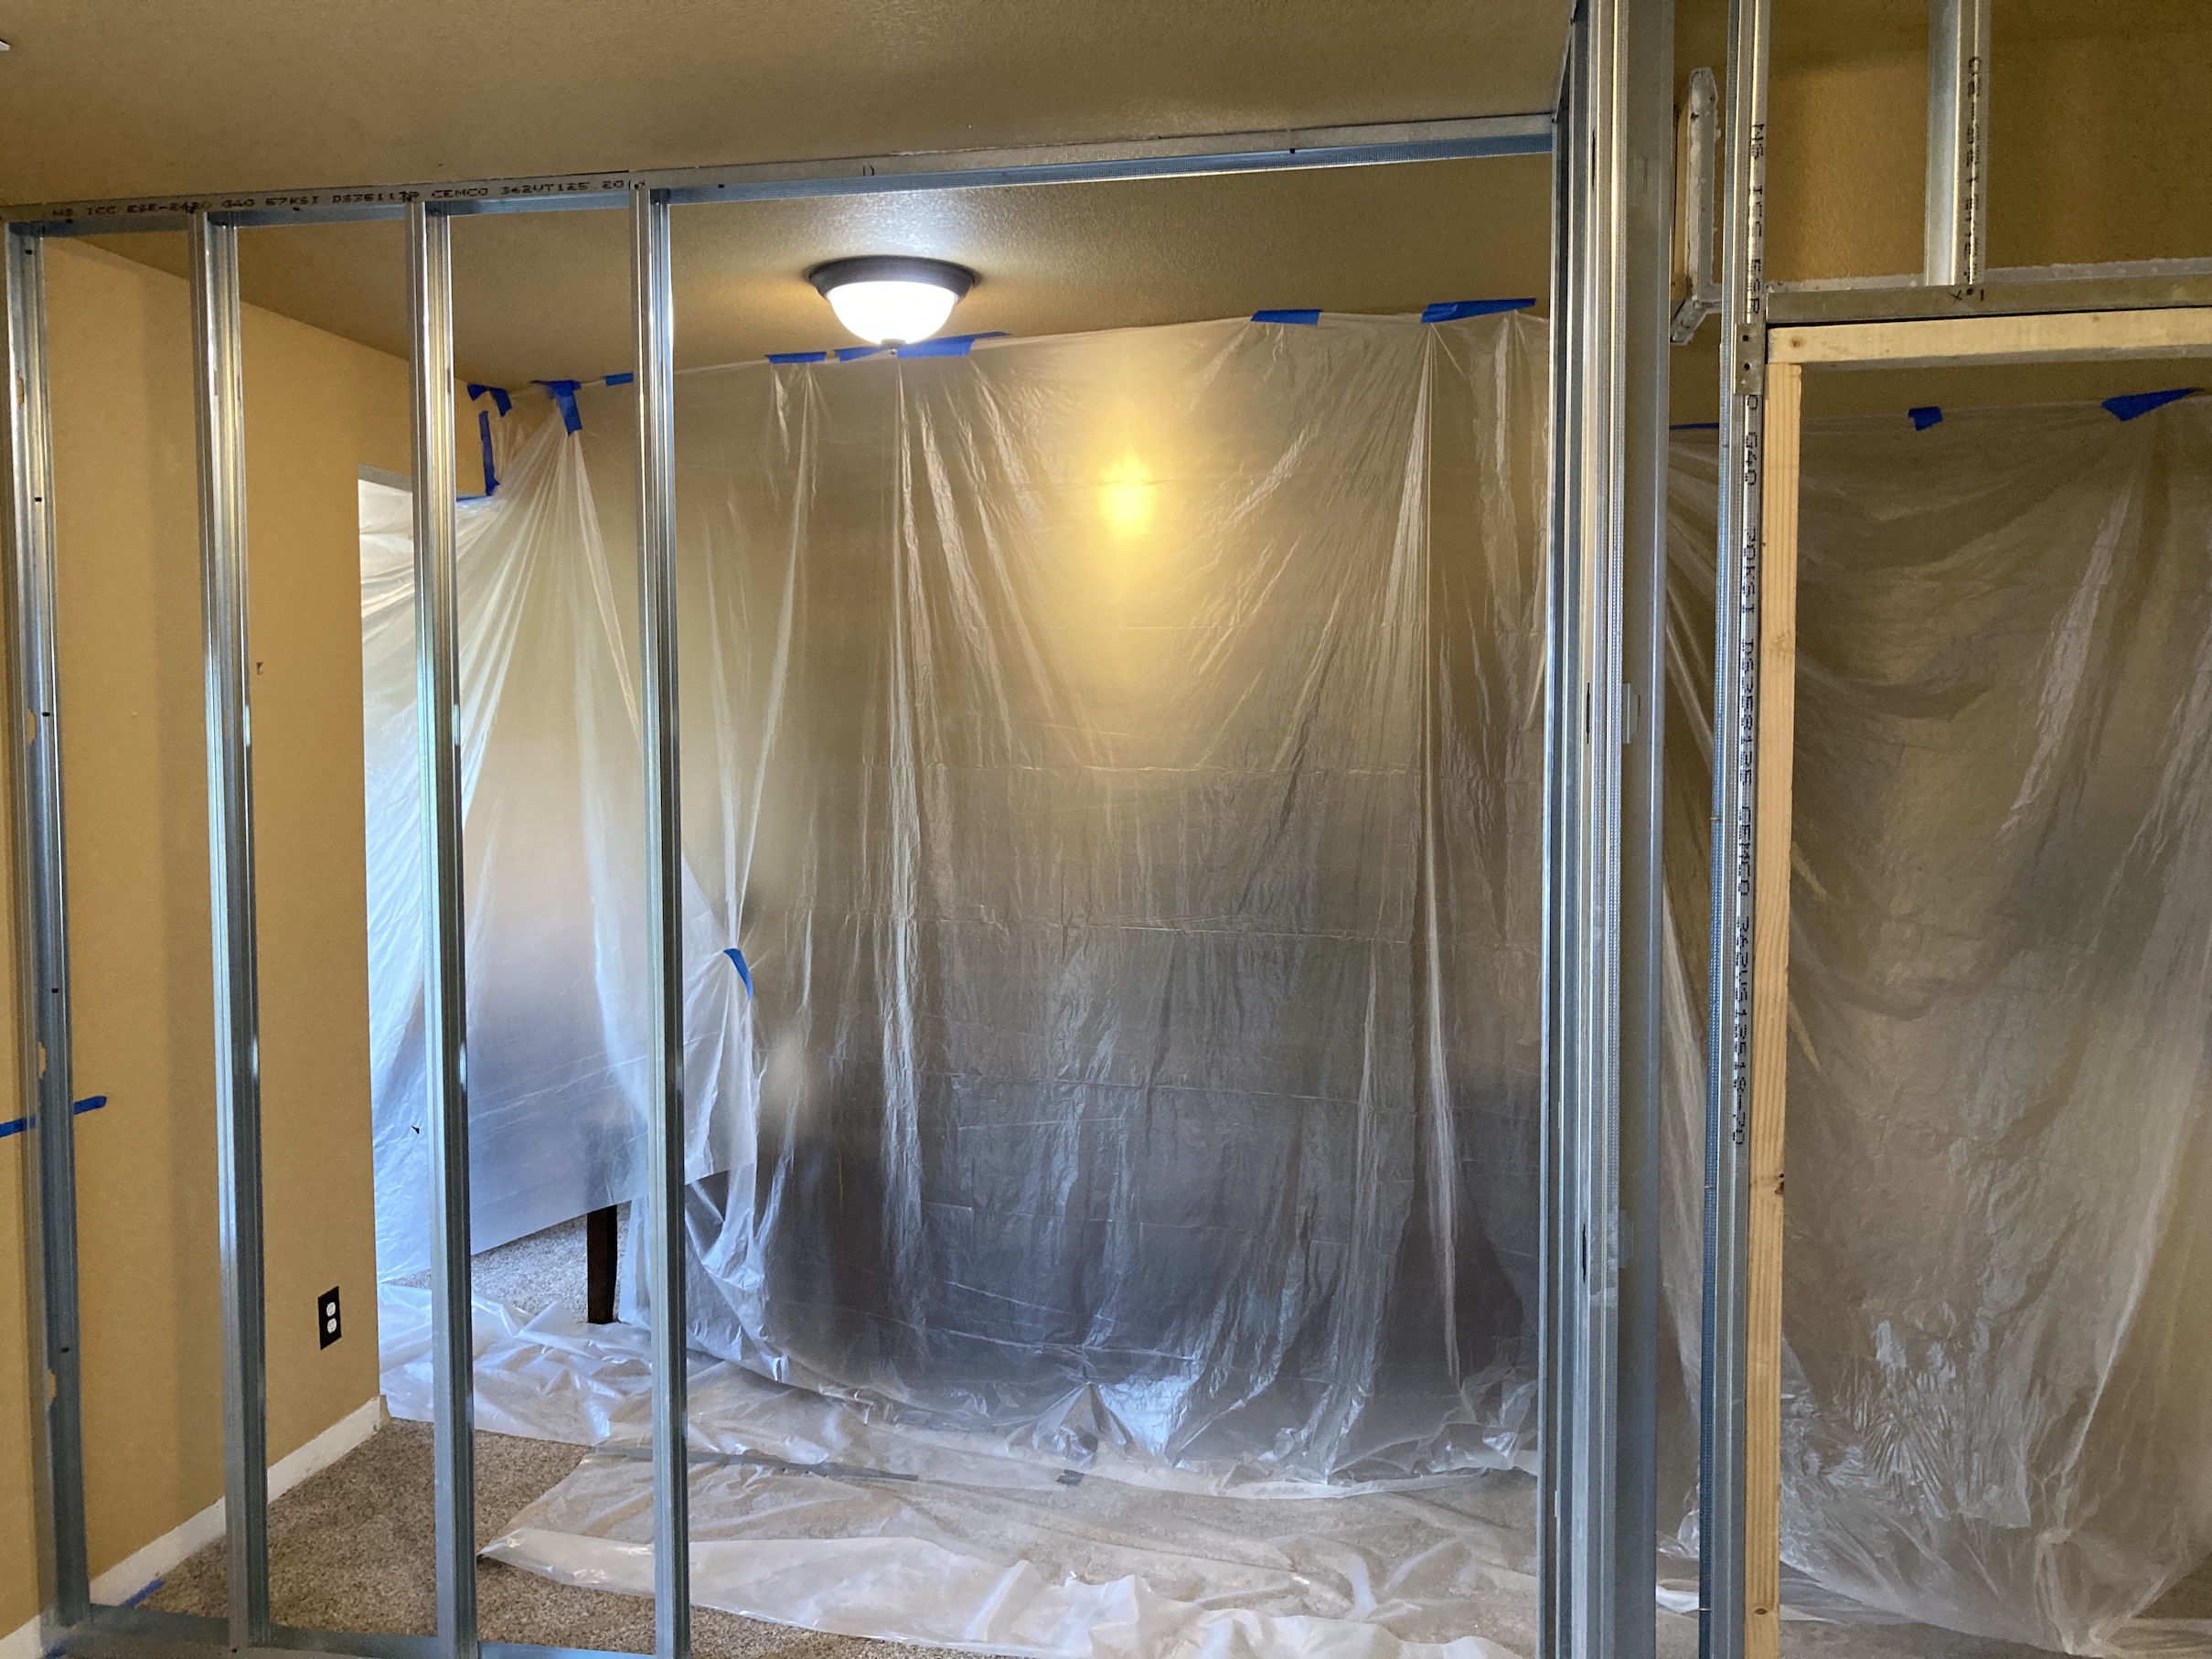

 His workshop is still a work in progress but he is very happy to now have his own “playroom” like my female human!
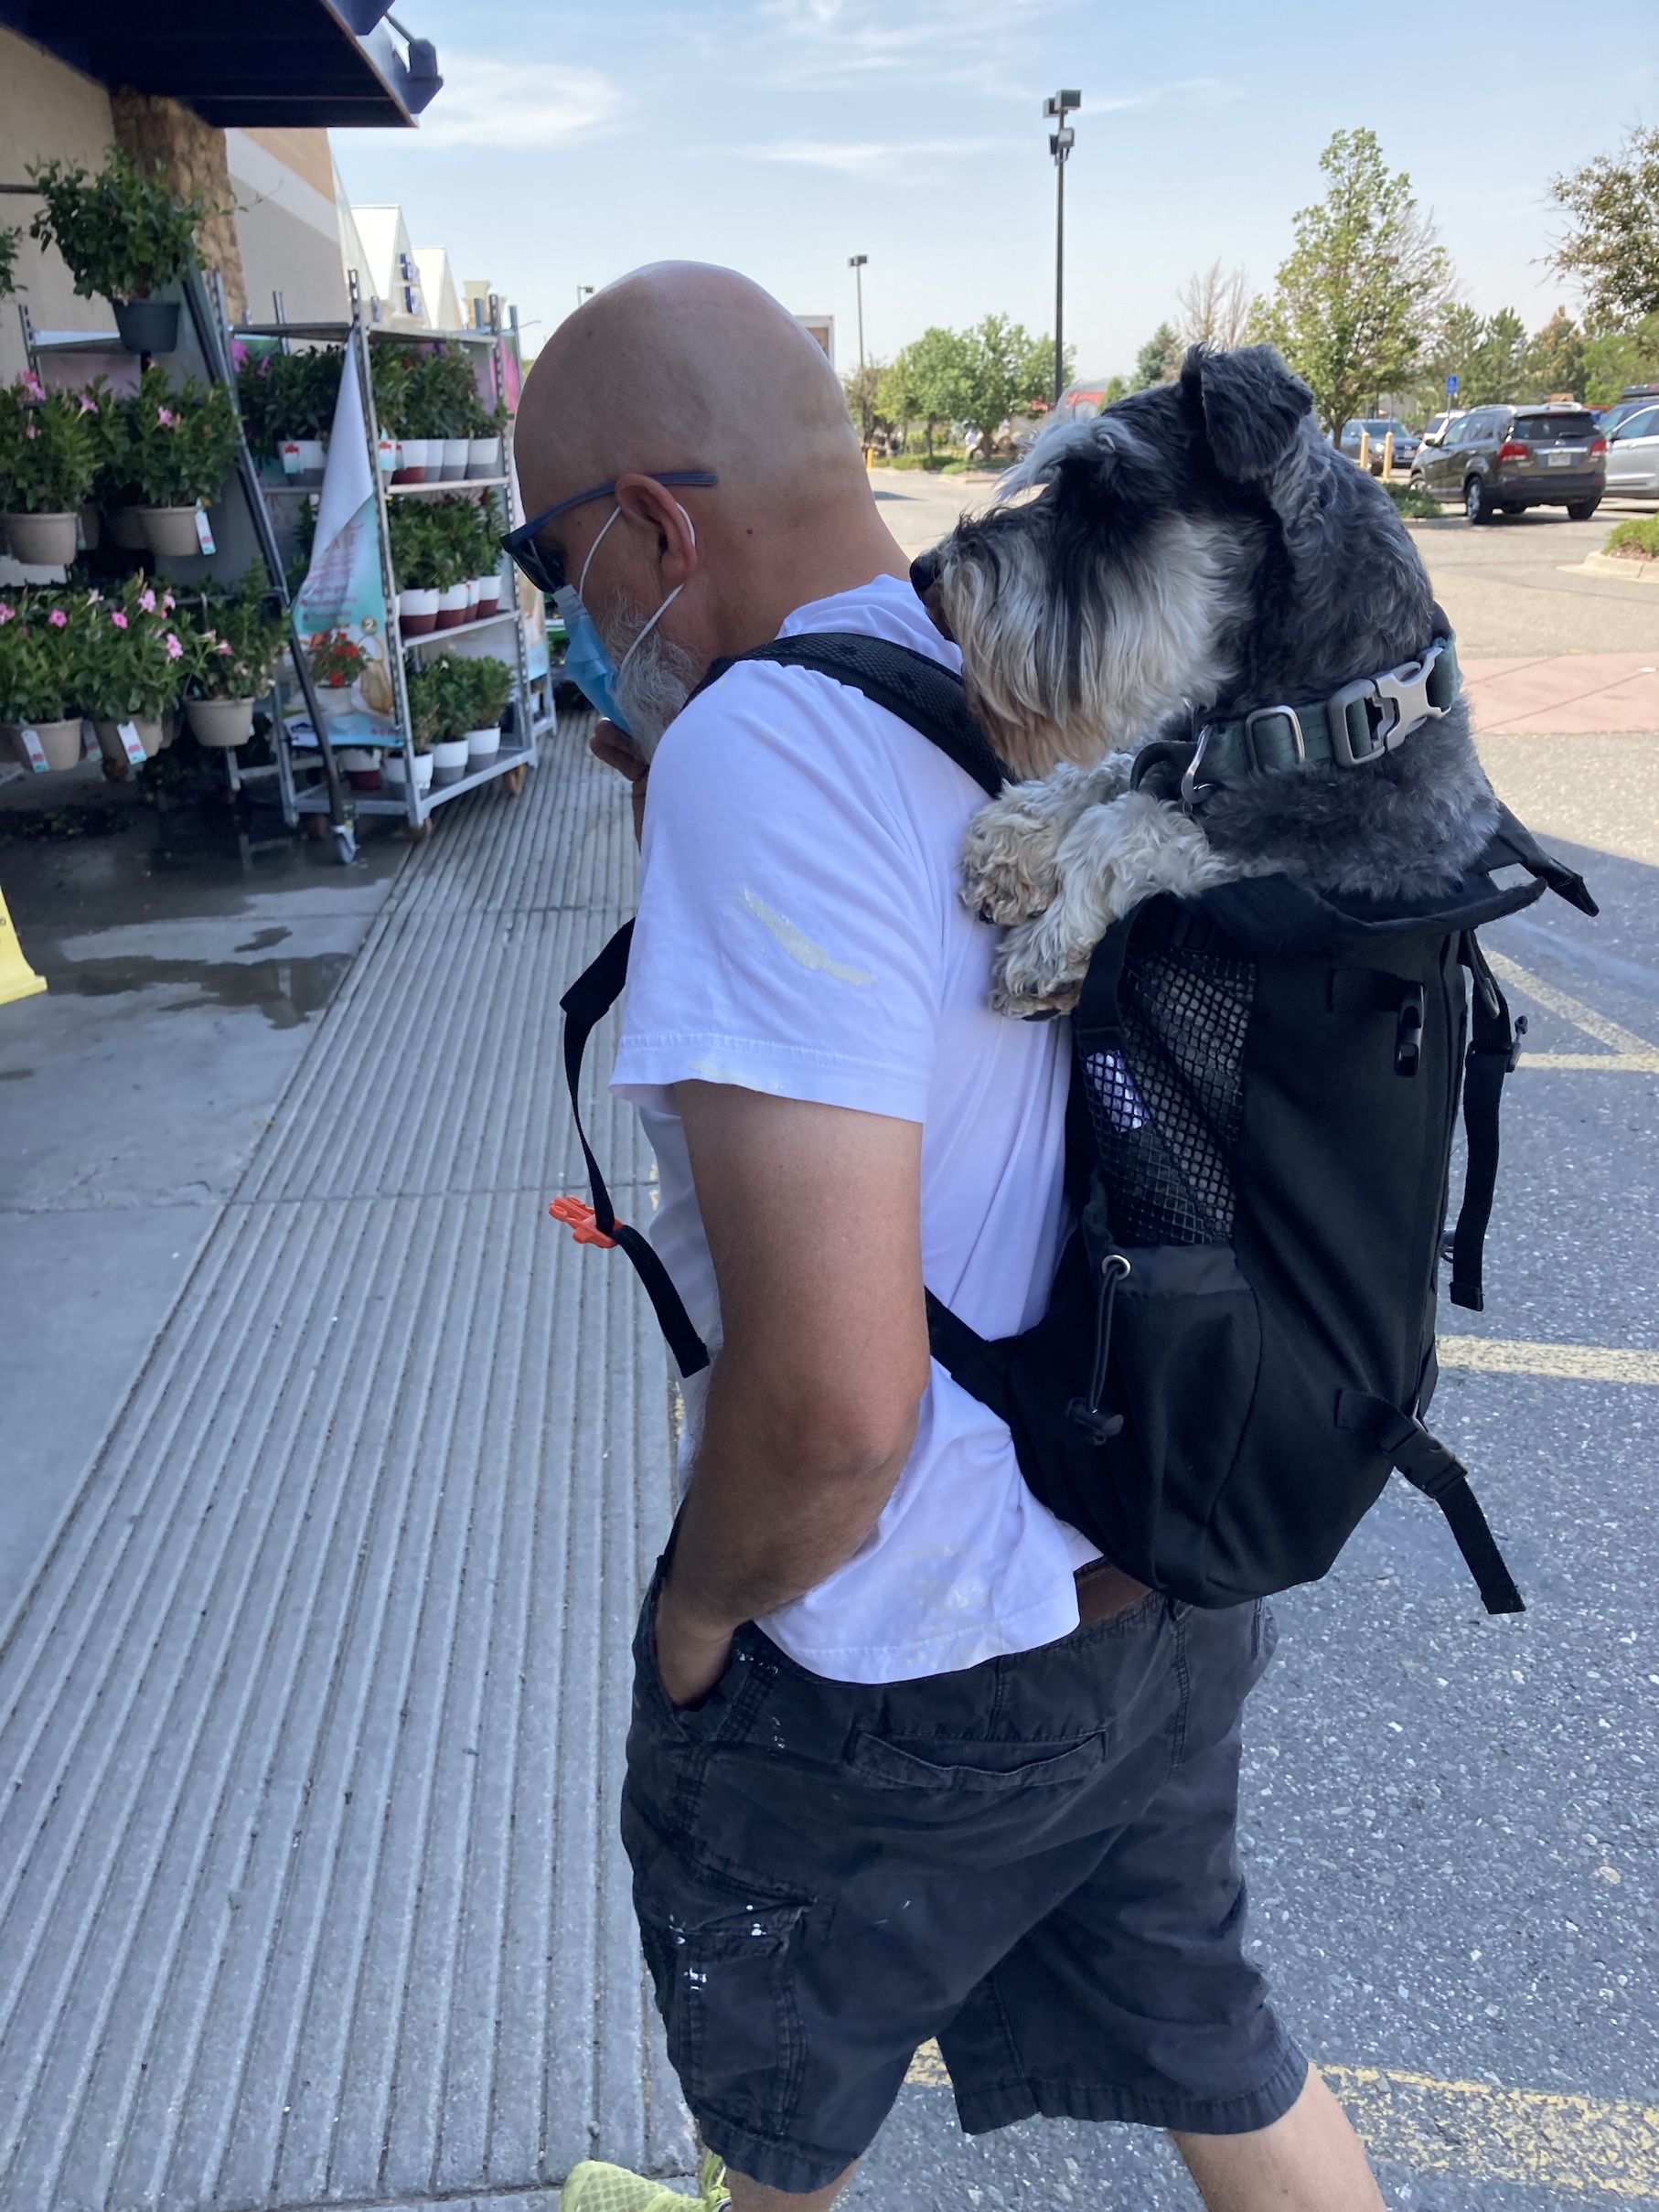

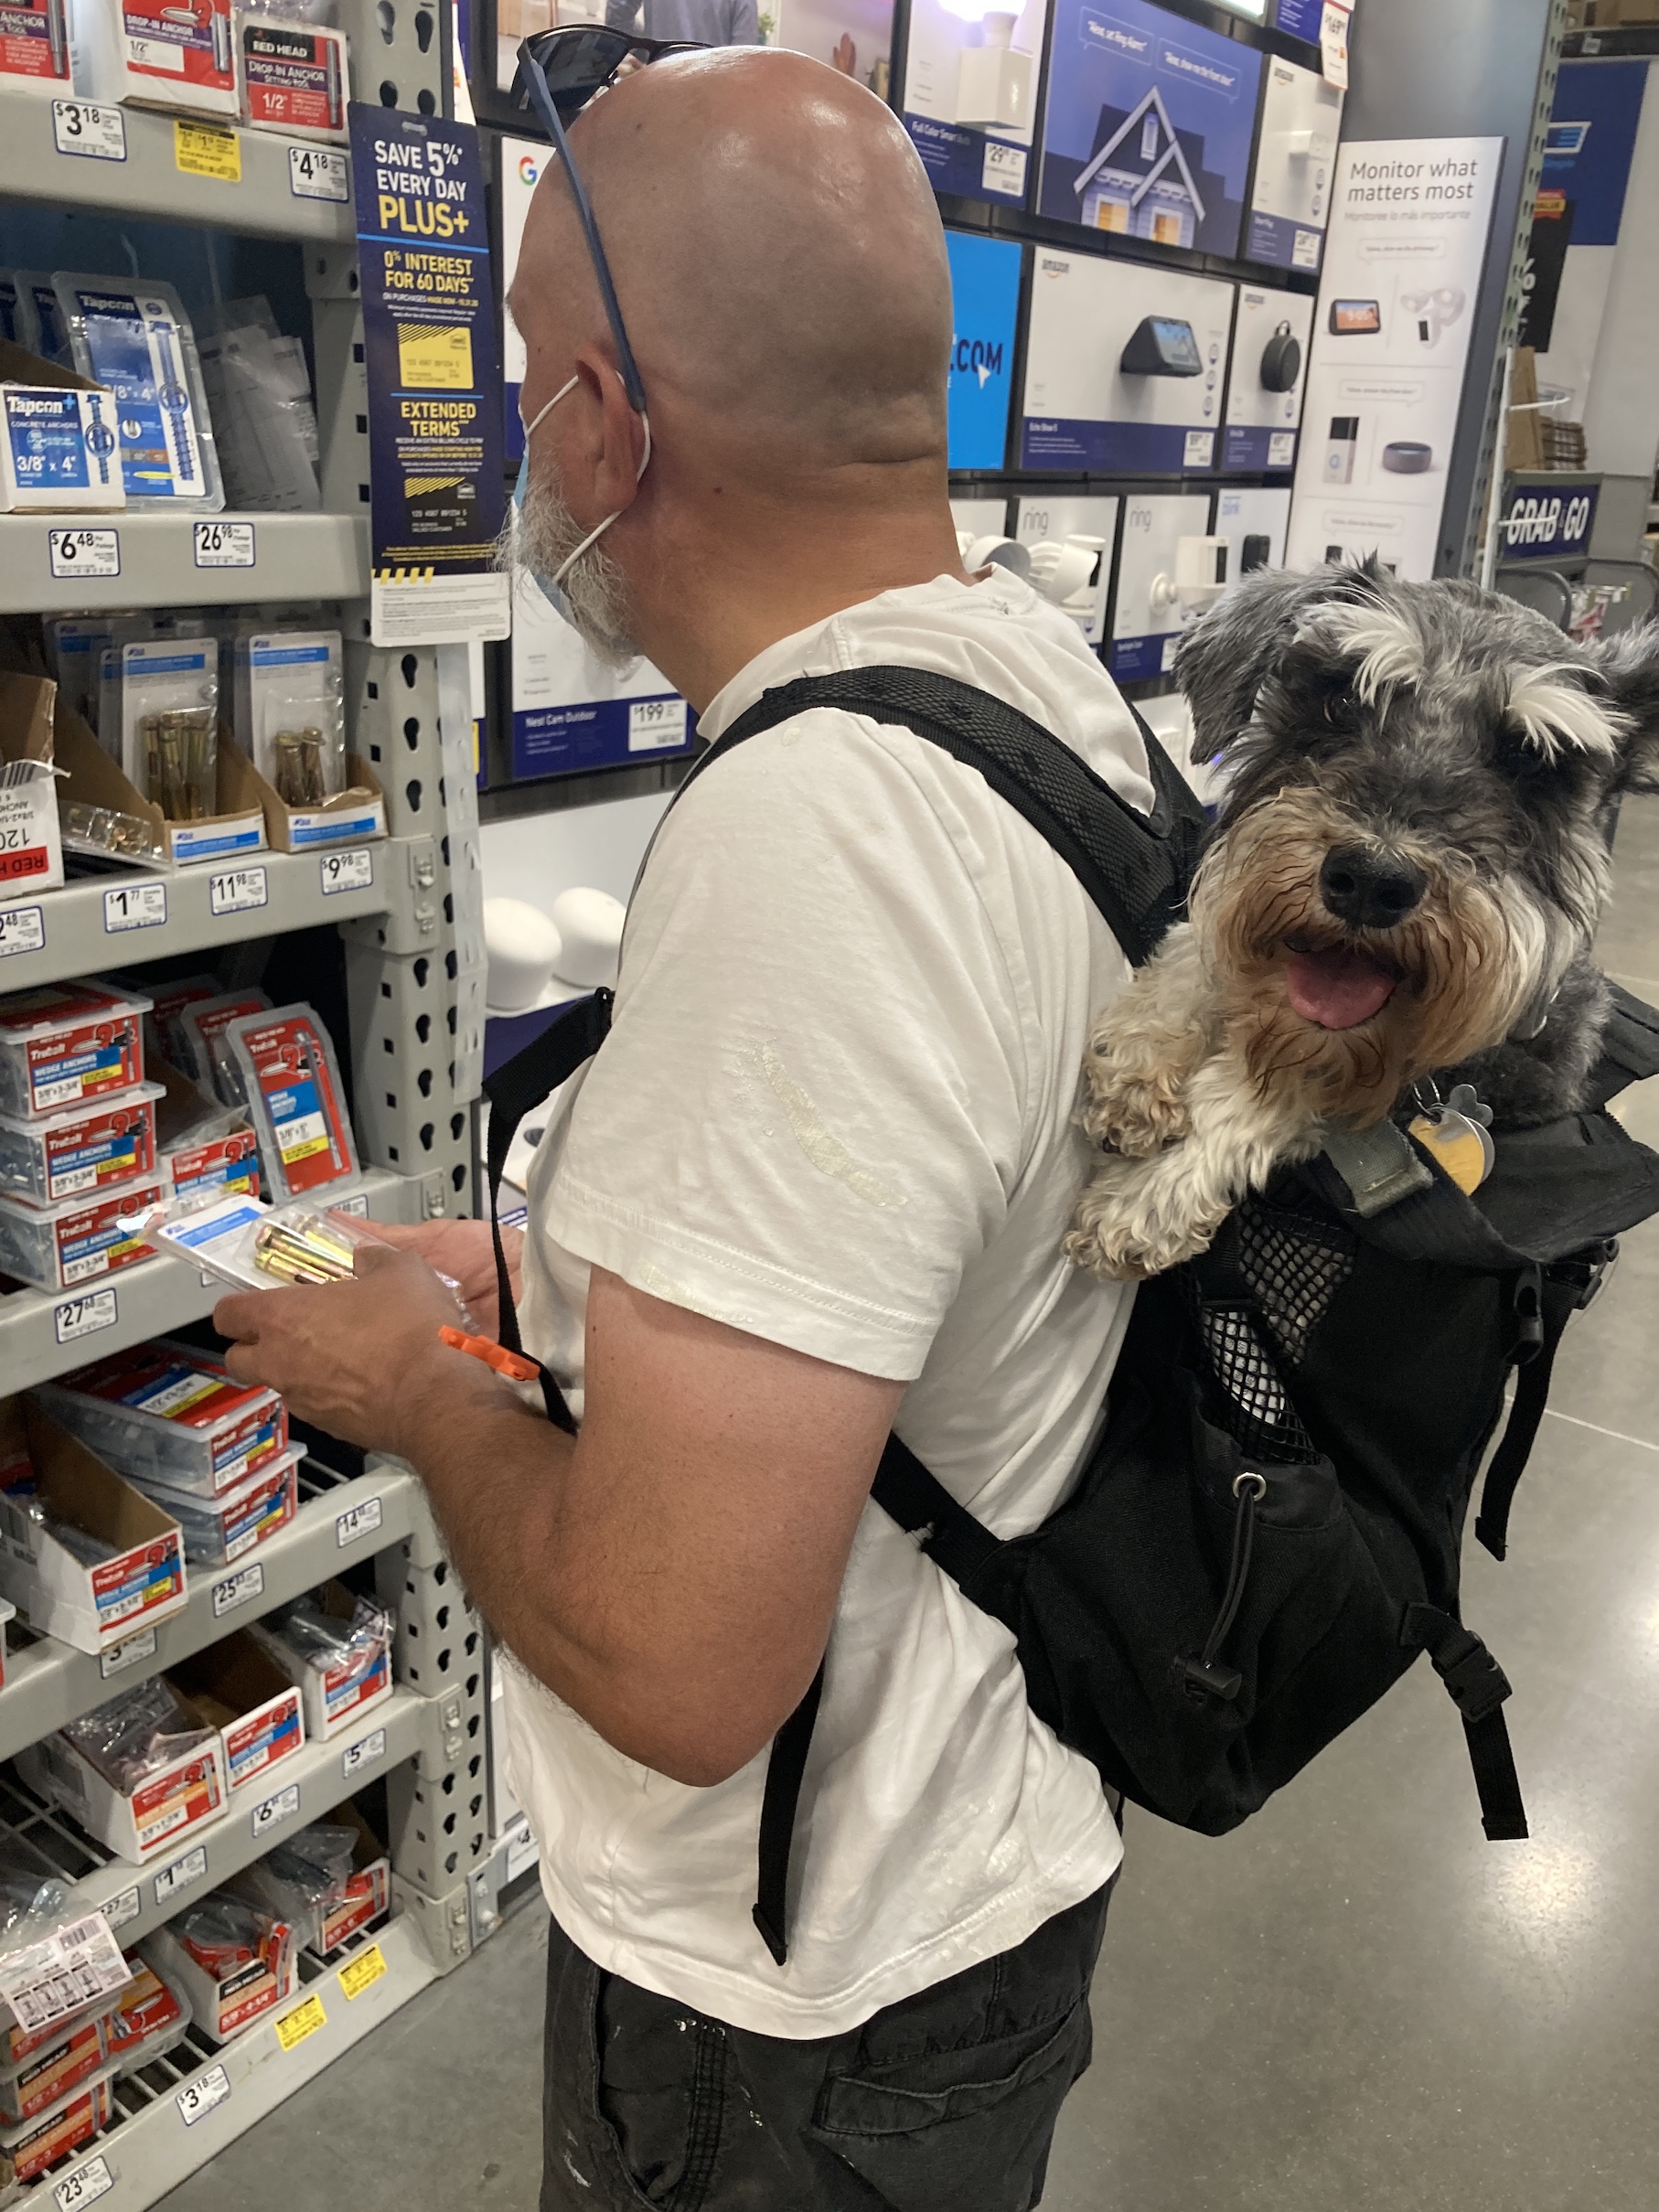
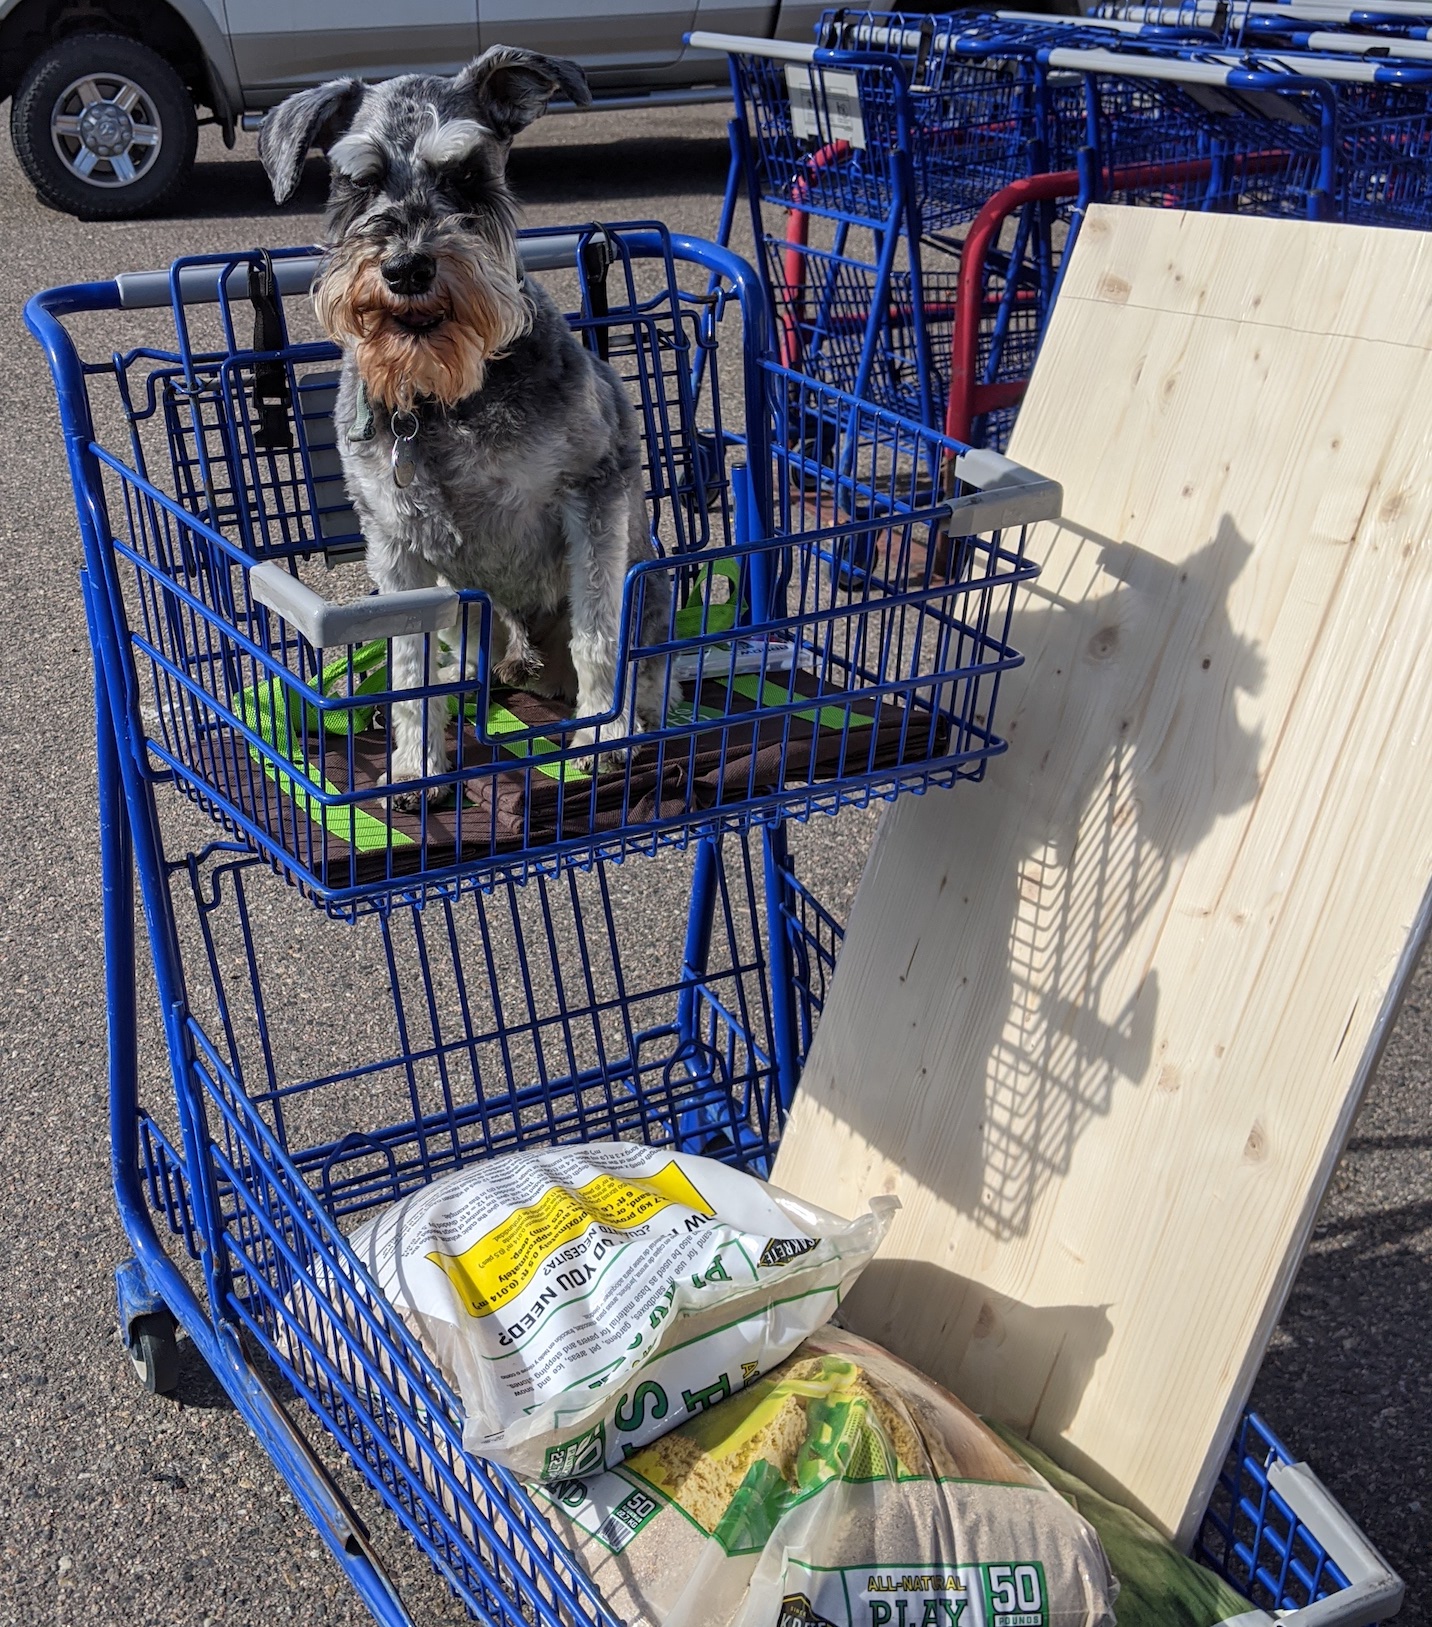
 And sometimes in the shopping cart:

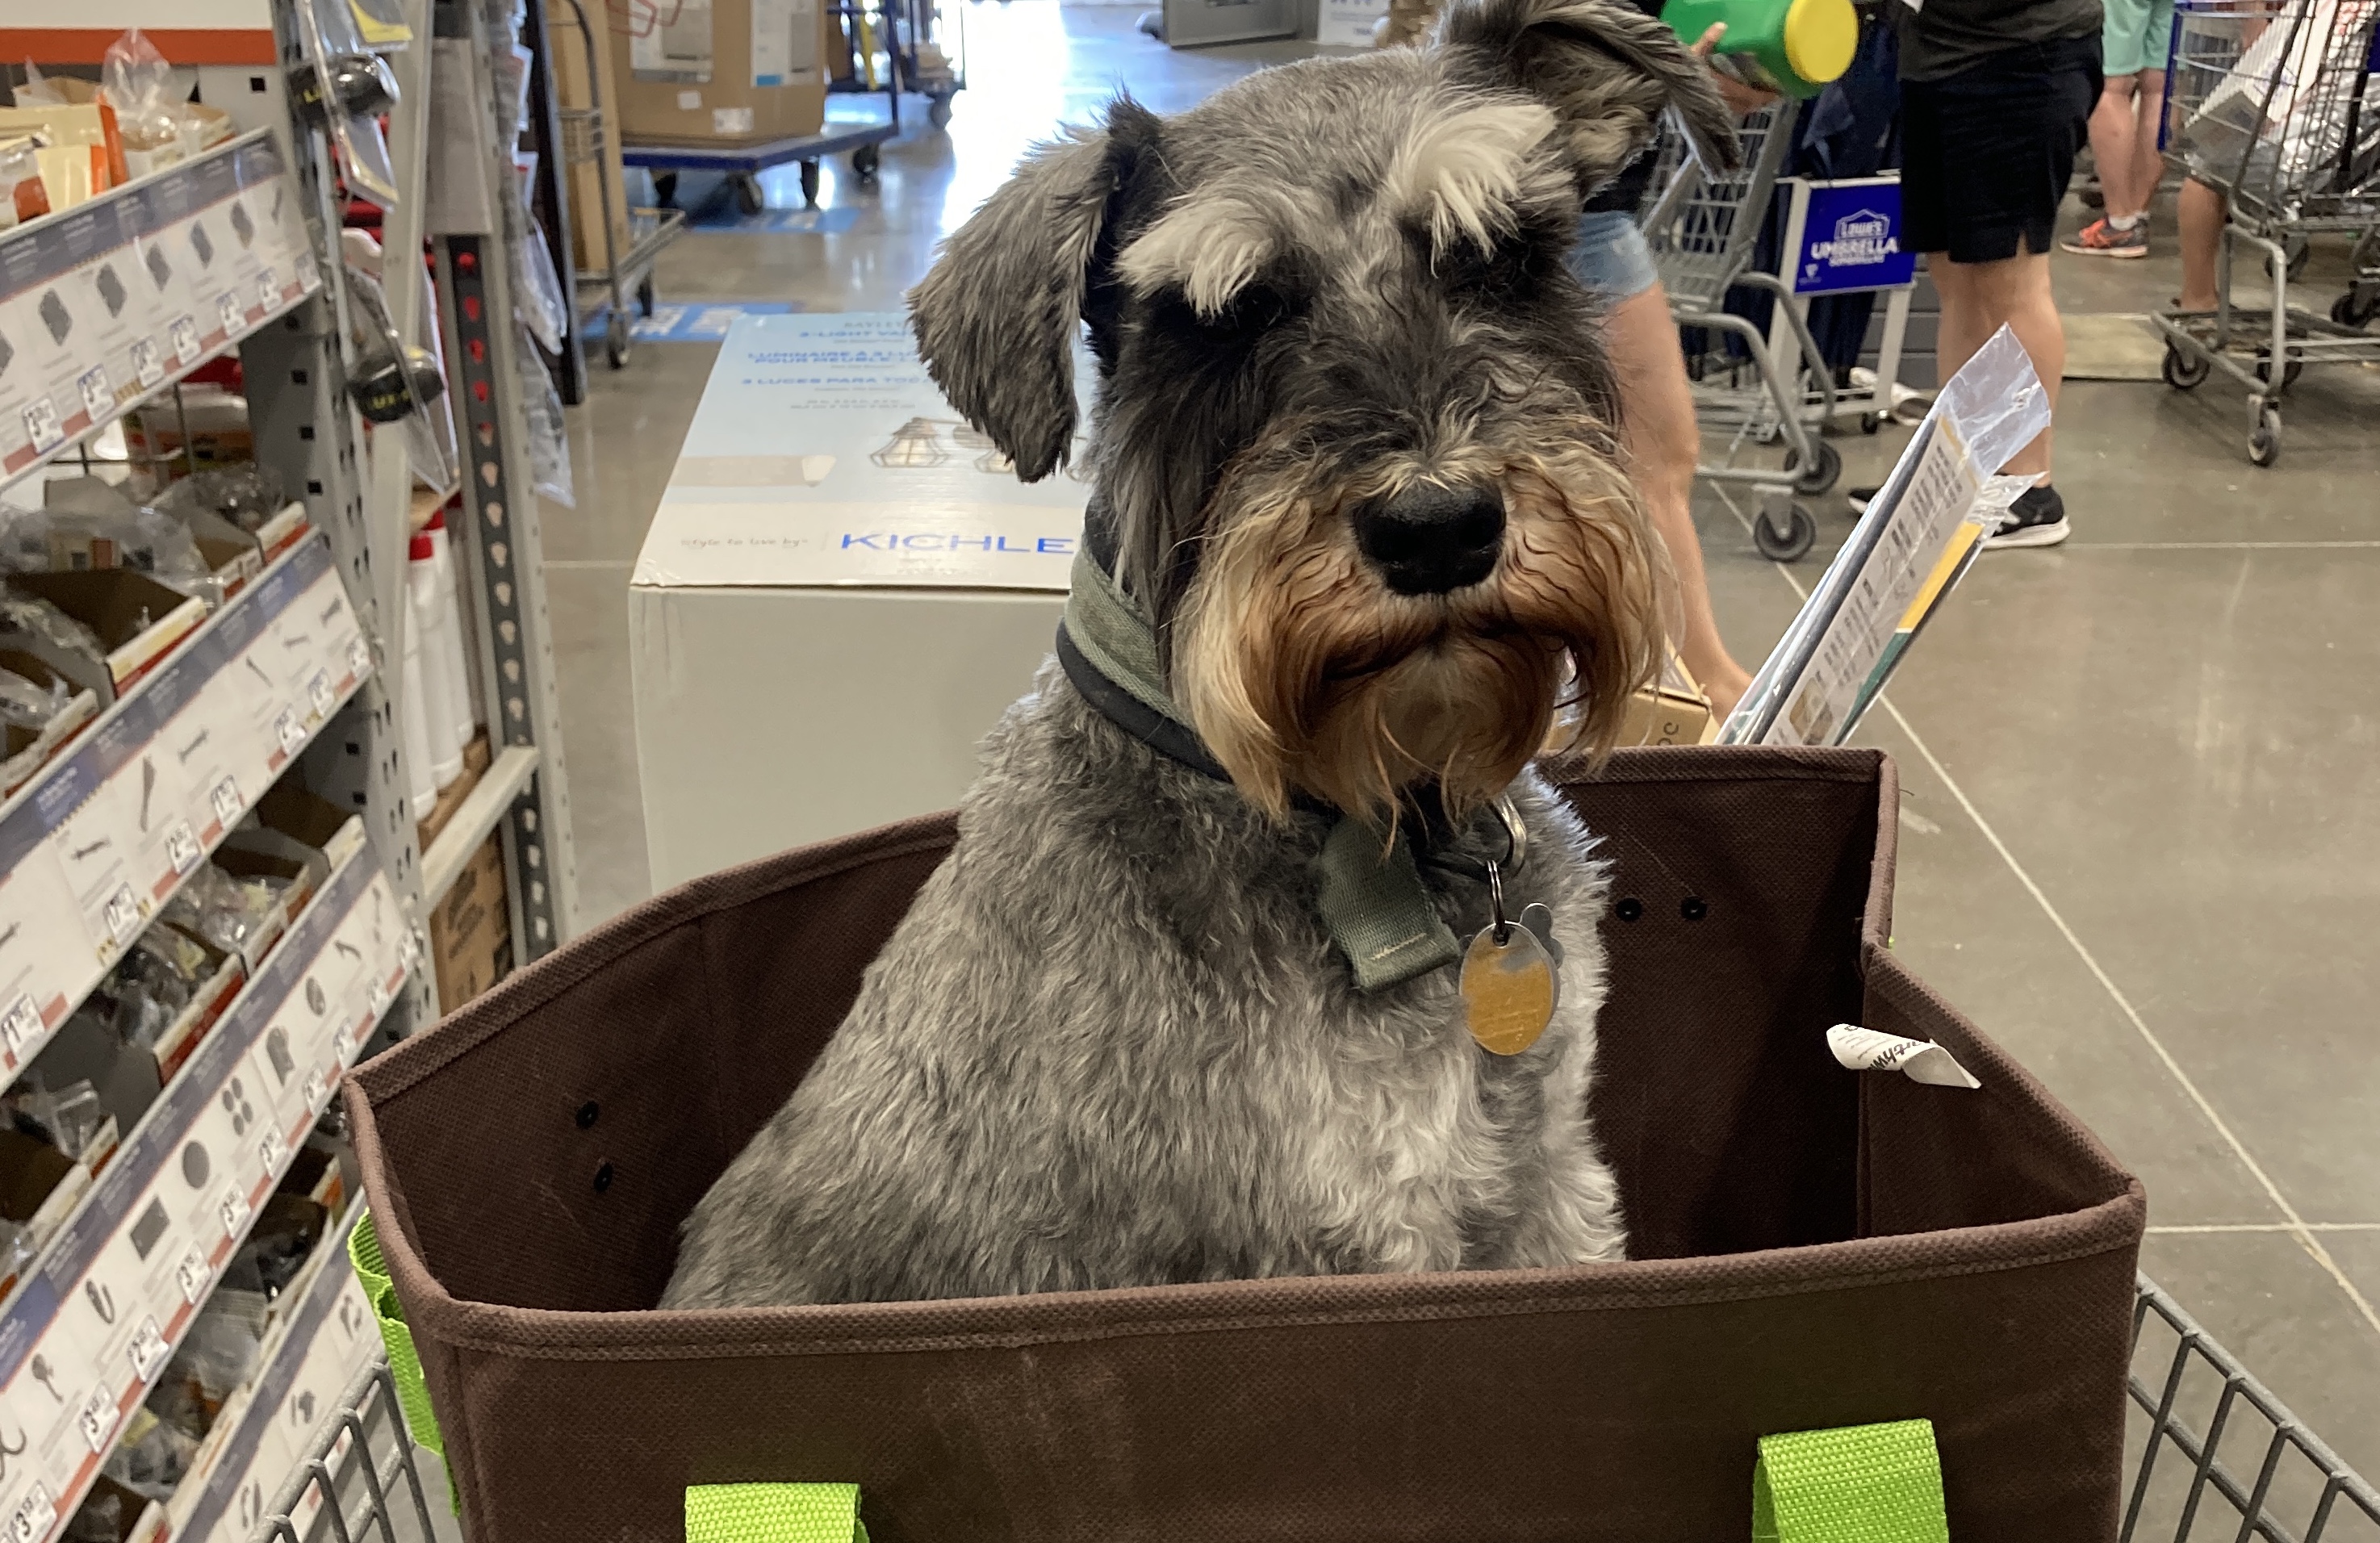
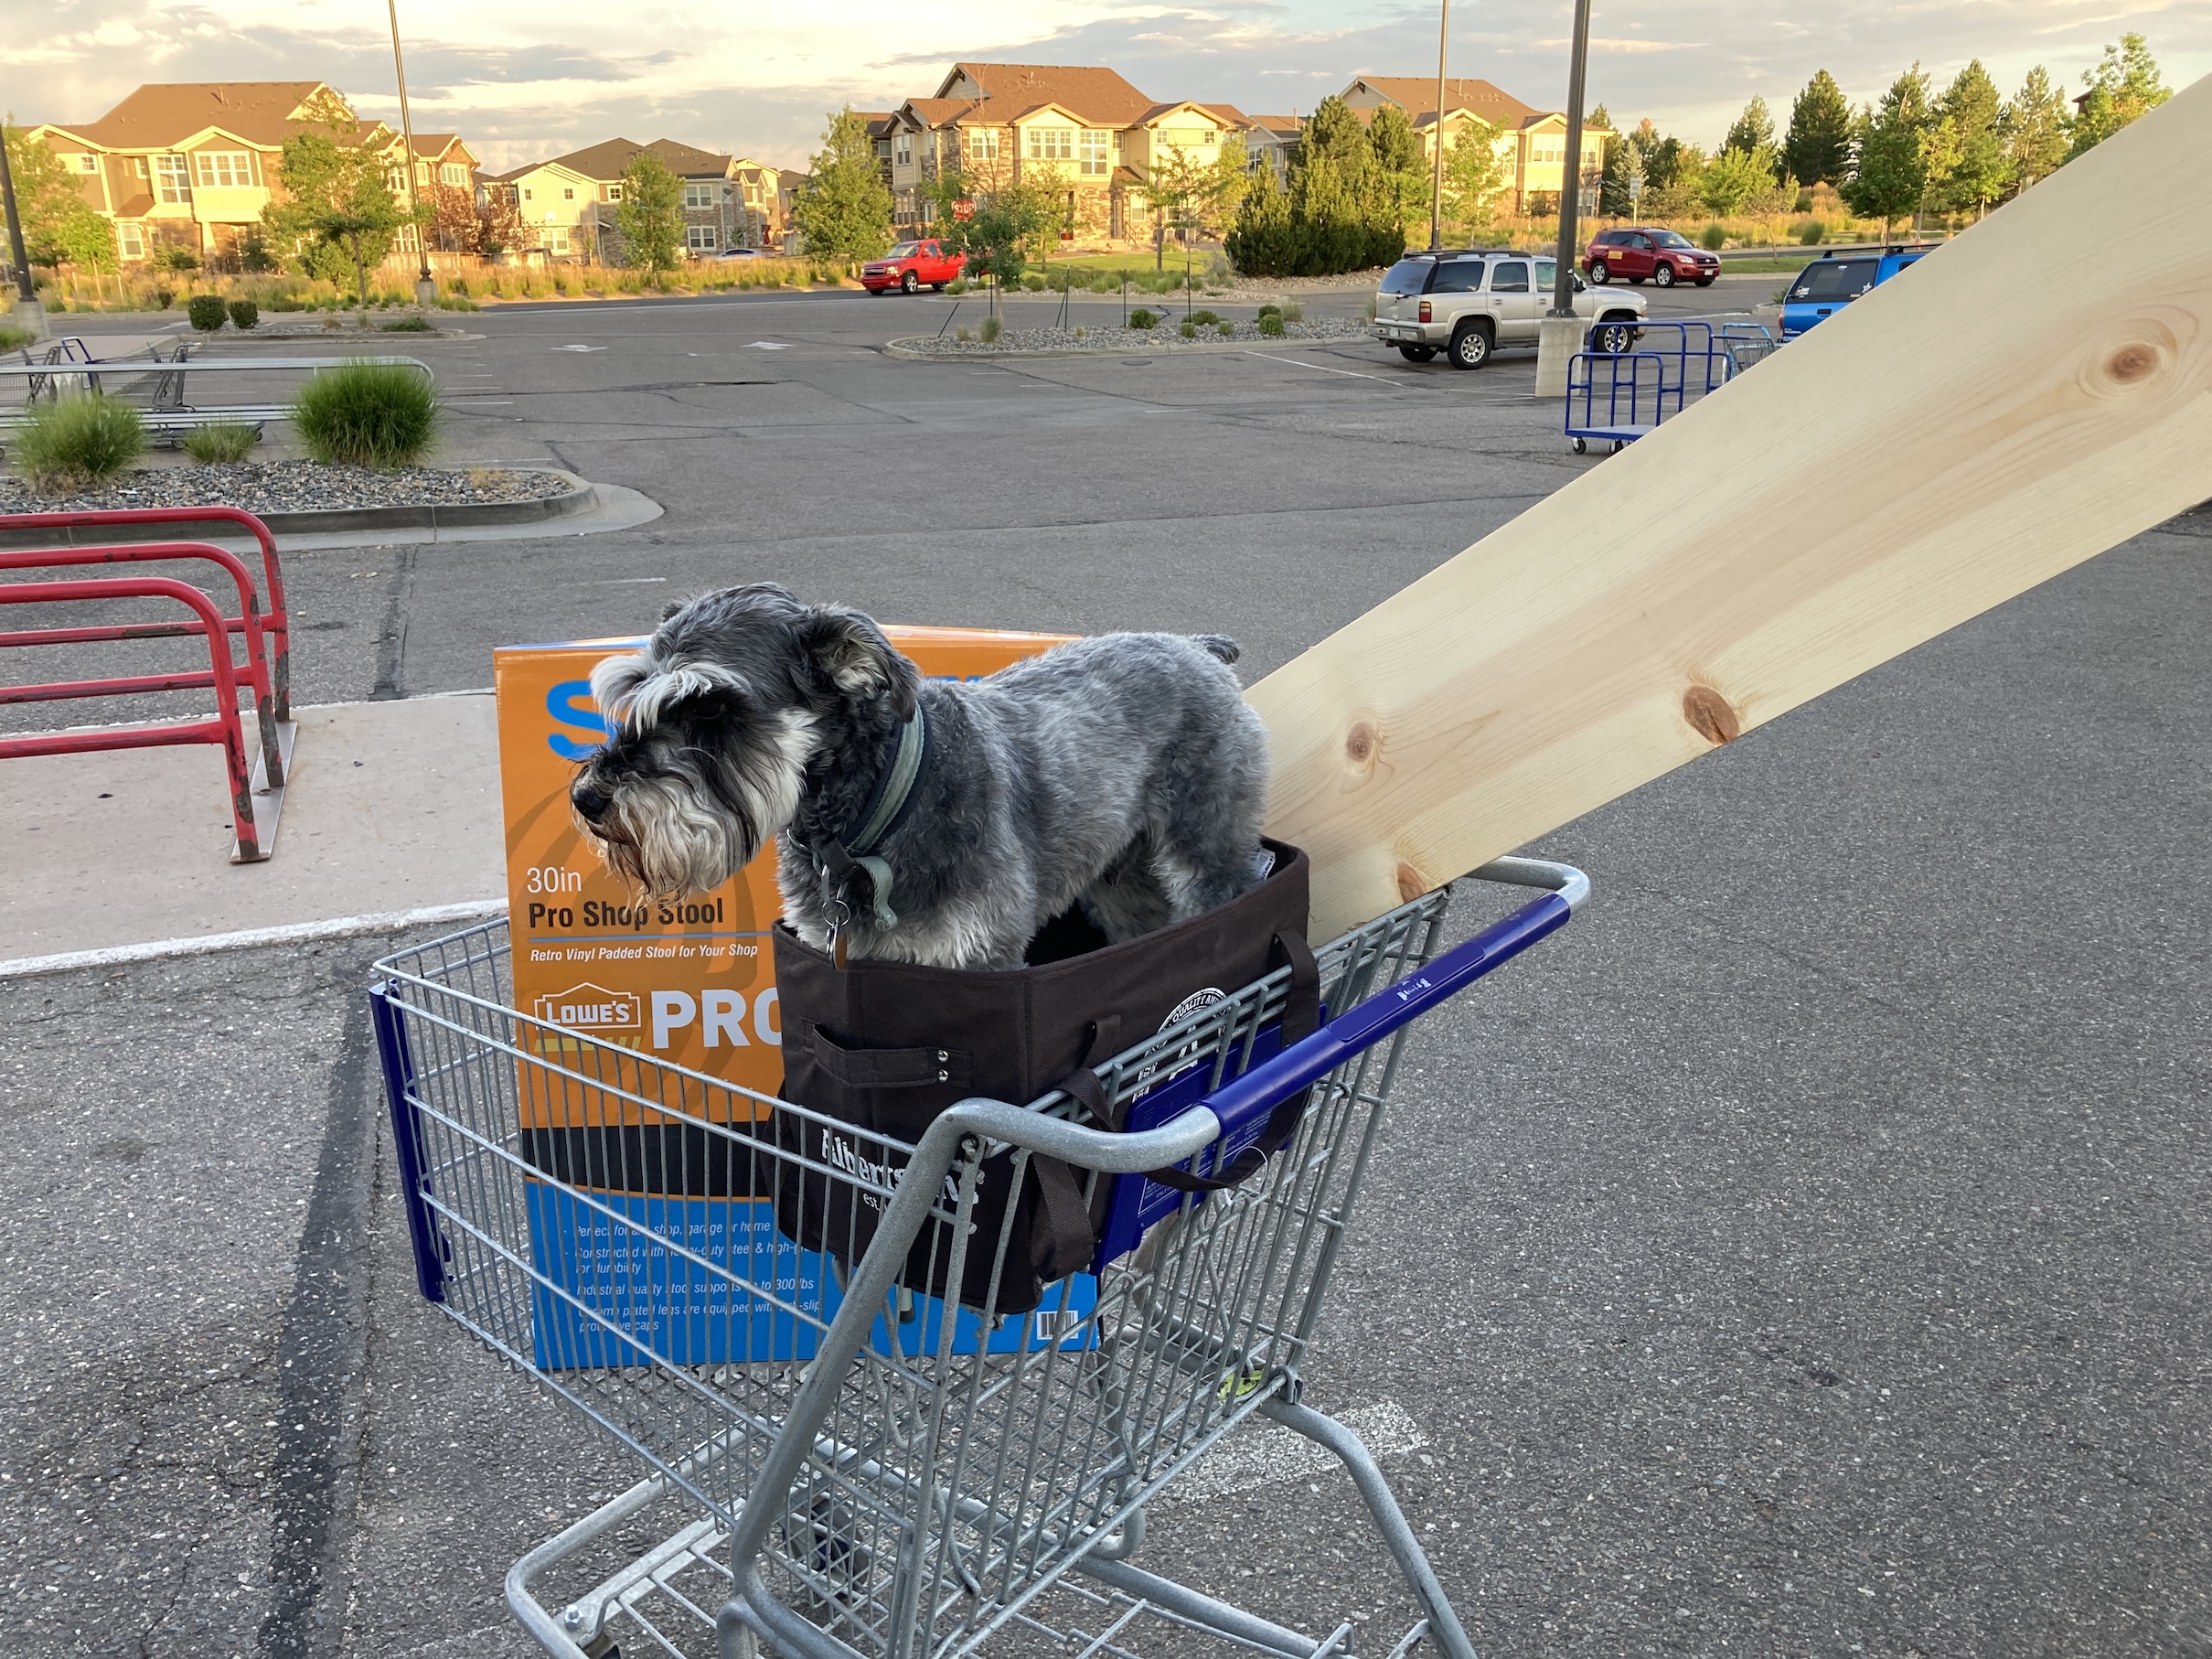 I know, I know, you just can’t get enough of the cute photos of me in a shopping cart. Unfortunately my female human said we have to limit the photos to only four (4) because she has to protect her digital storage allotment on her blog (sigh).
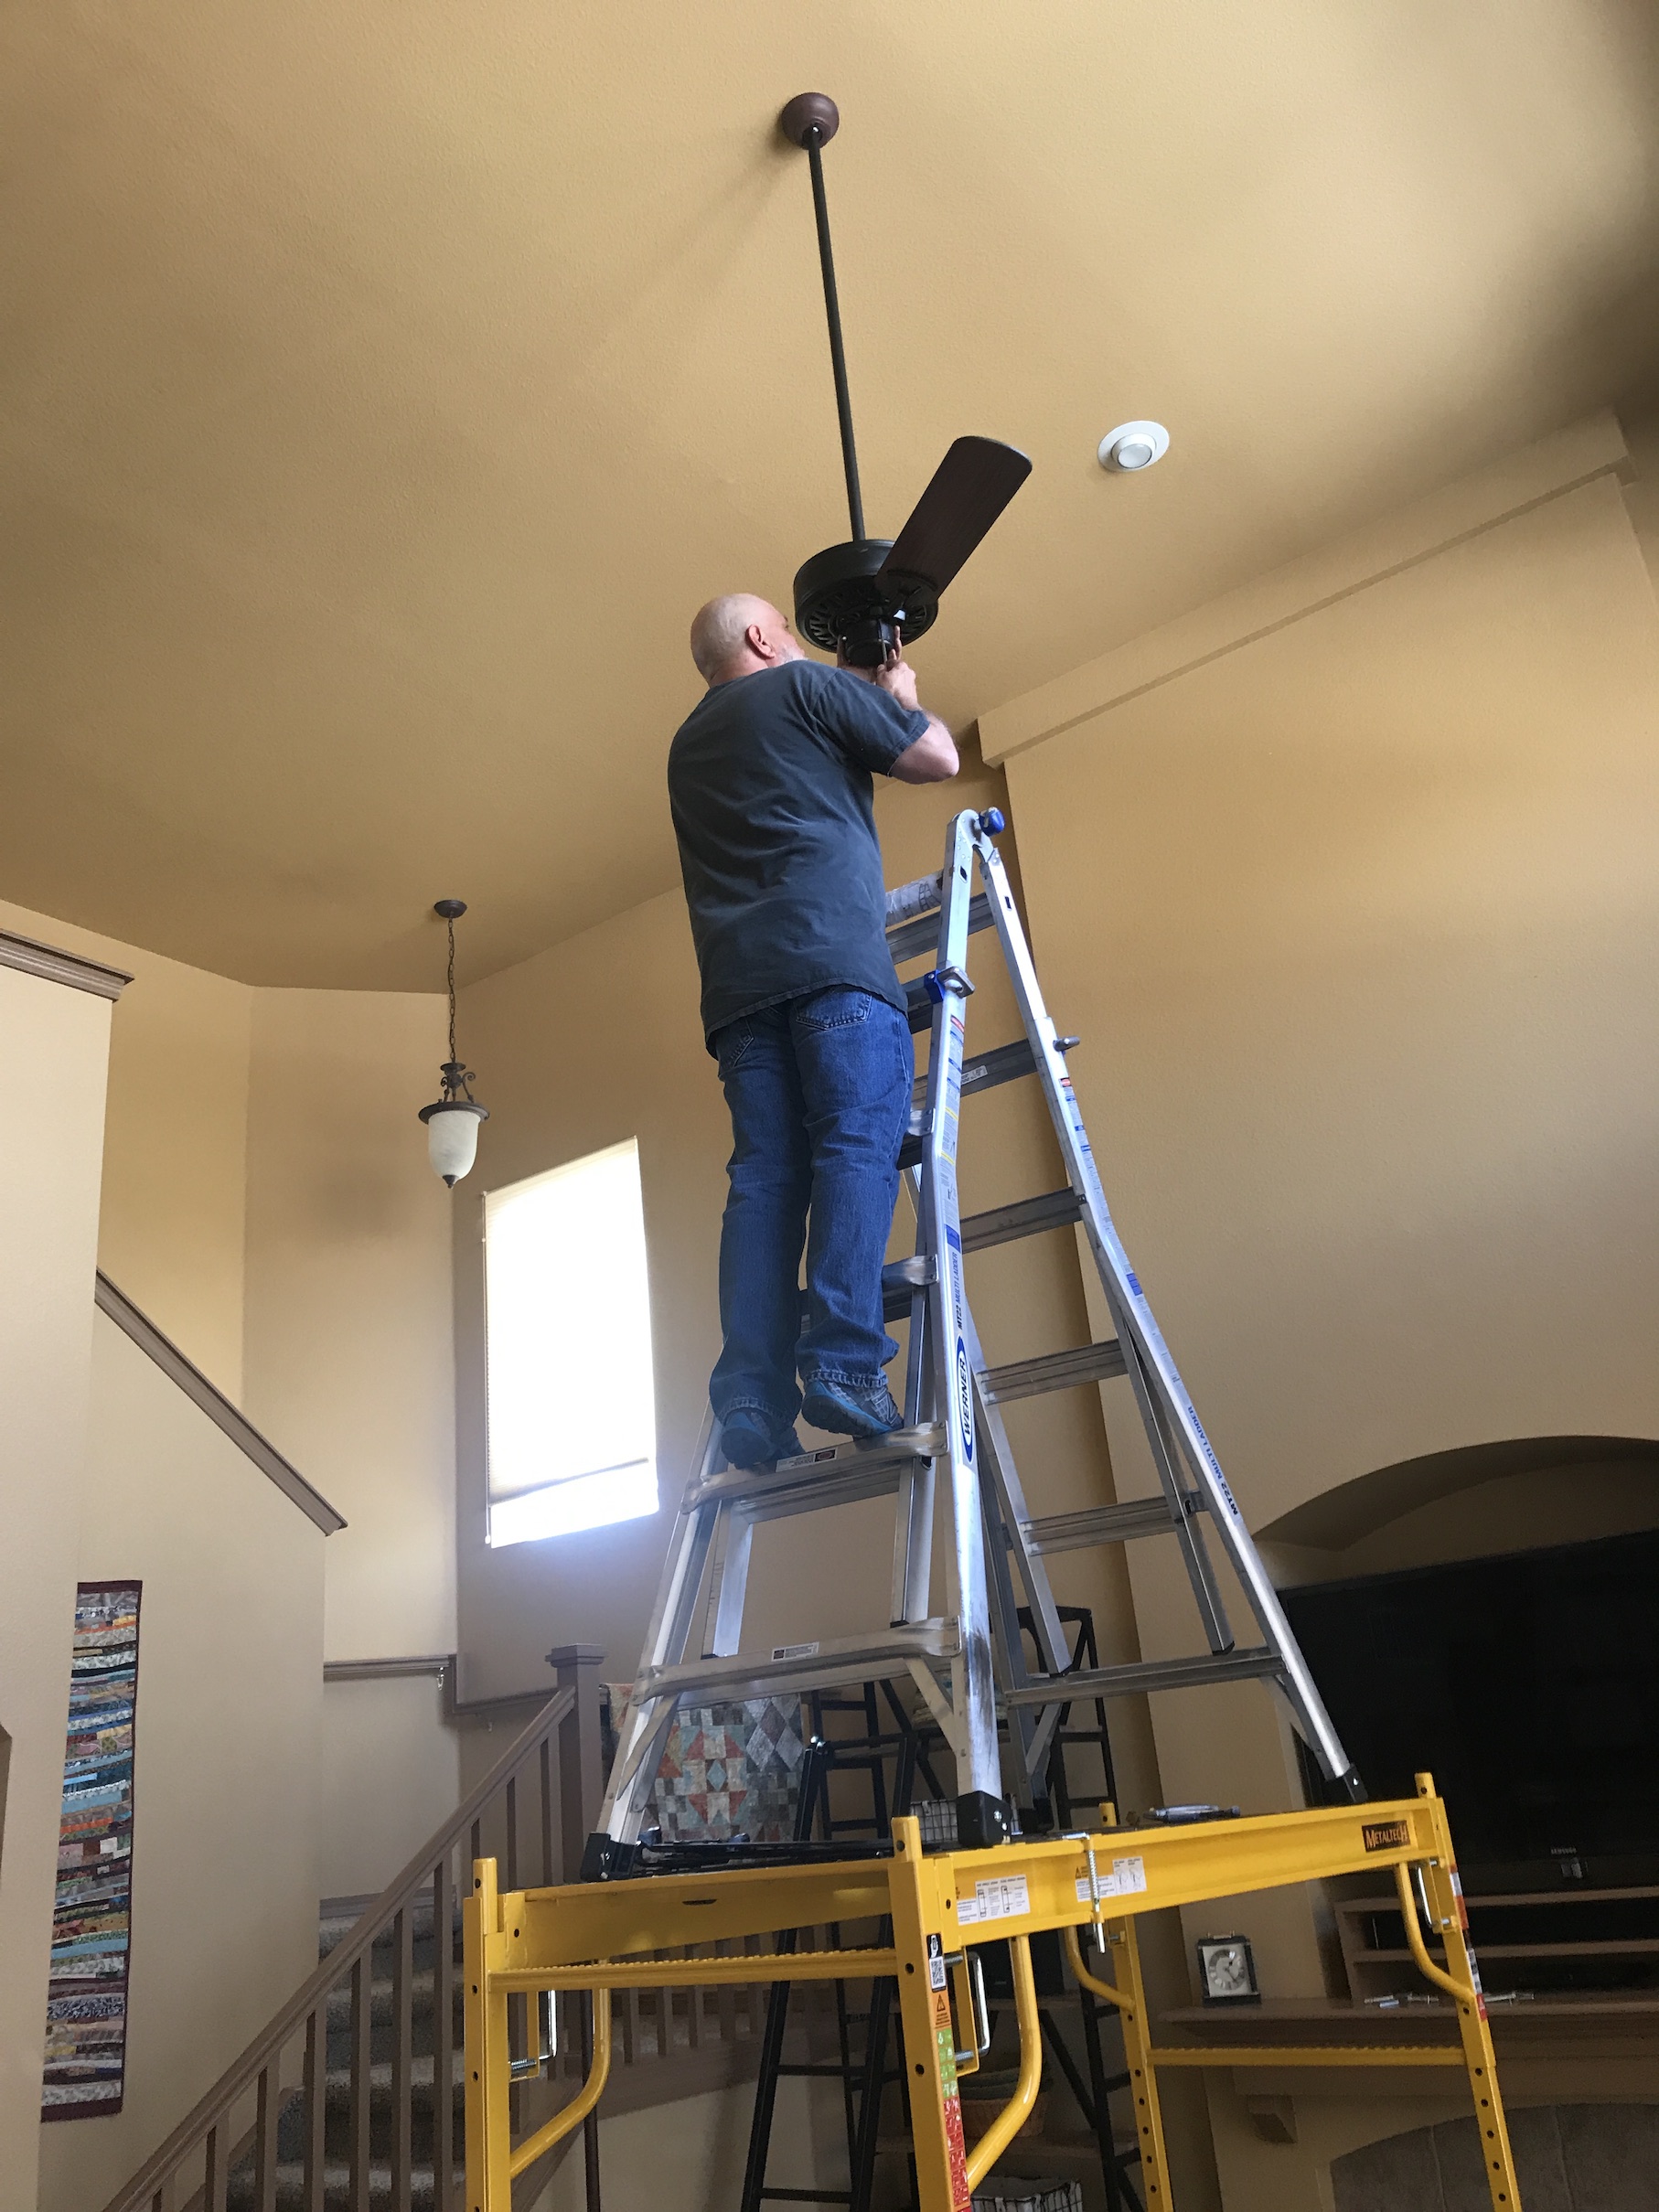 Yes that is a ladder, on top of scaffolding. Looks pretty safe to me (NOT!)
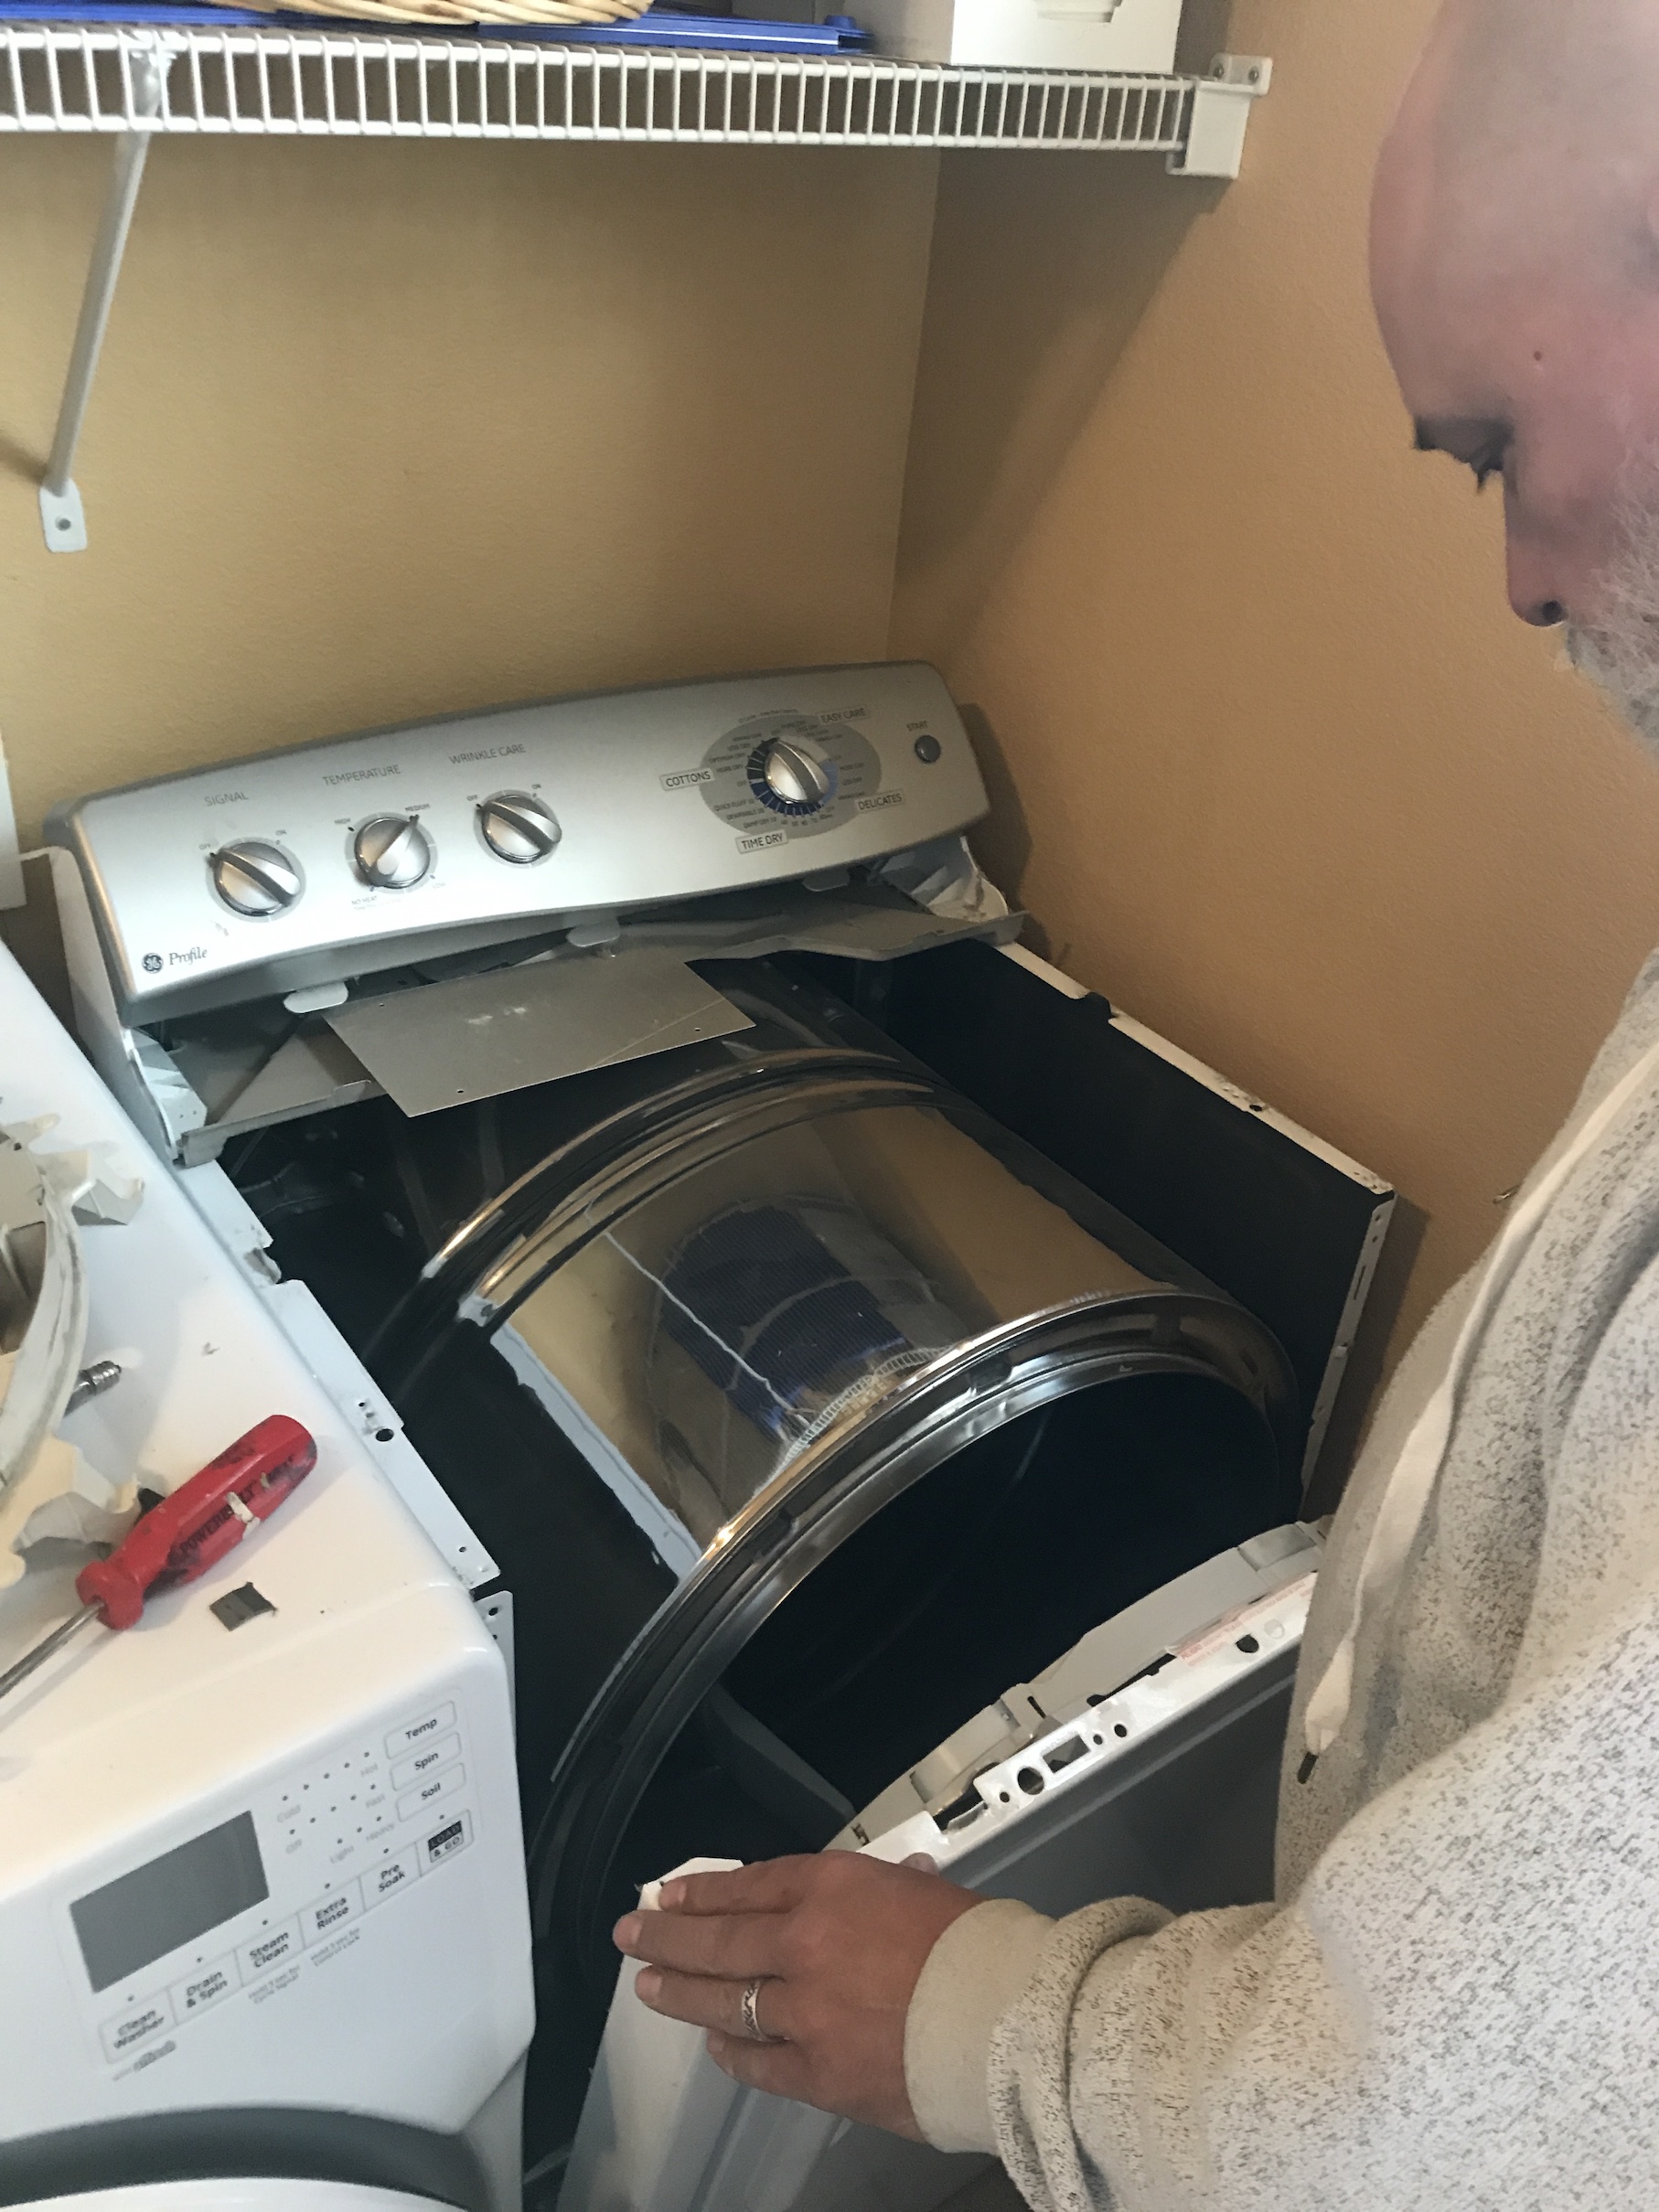 He also completely redid the garage, drywalling it in, painting it and installing shelves:
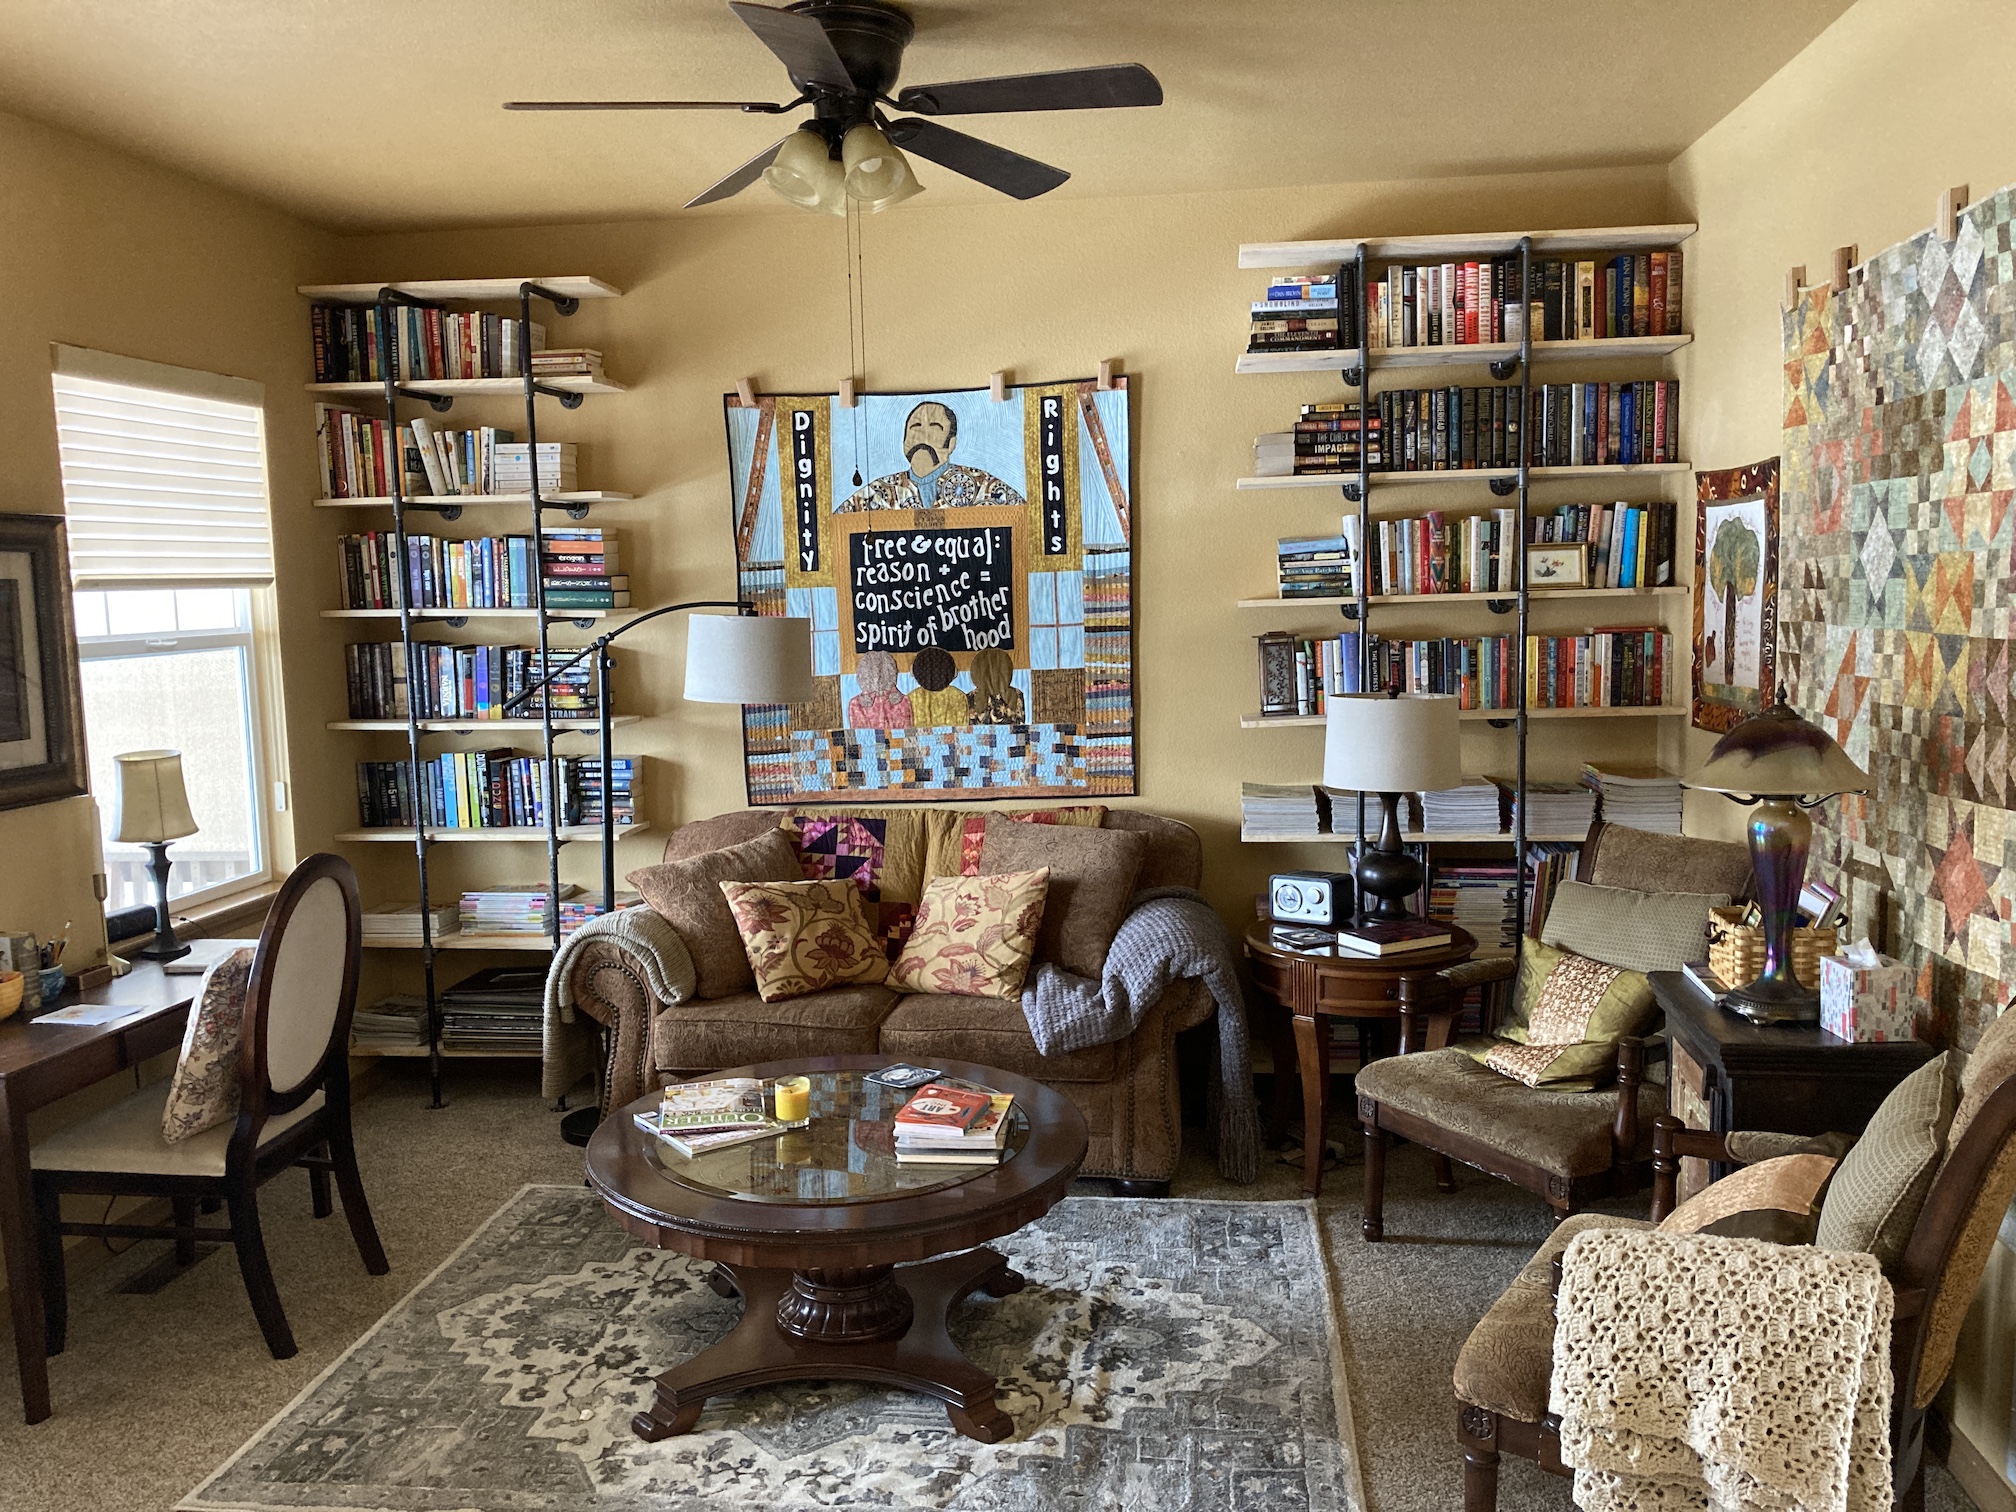
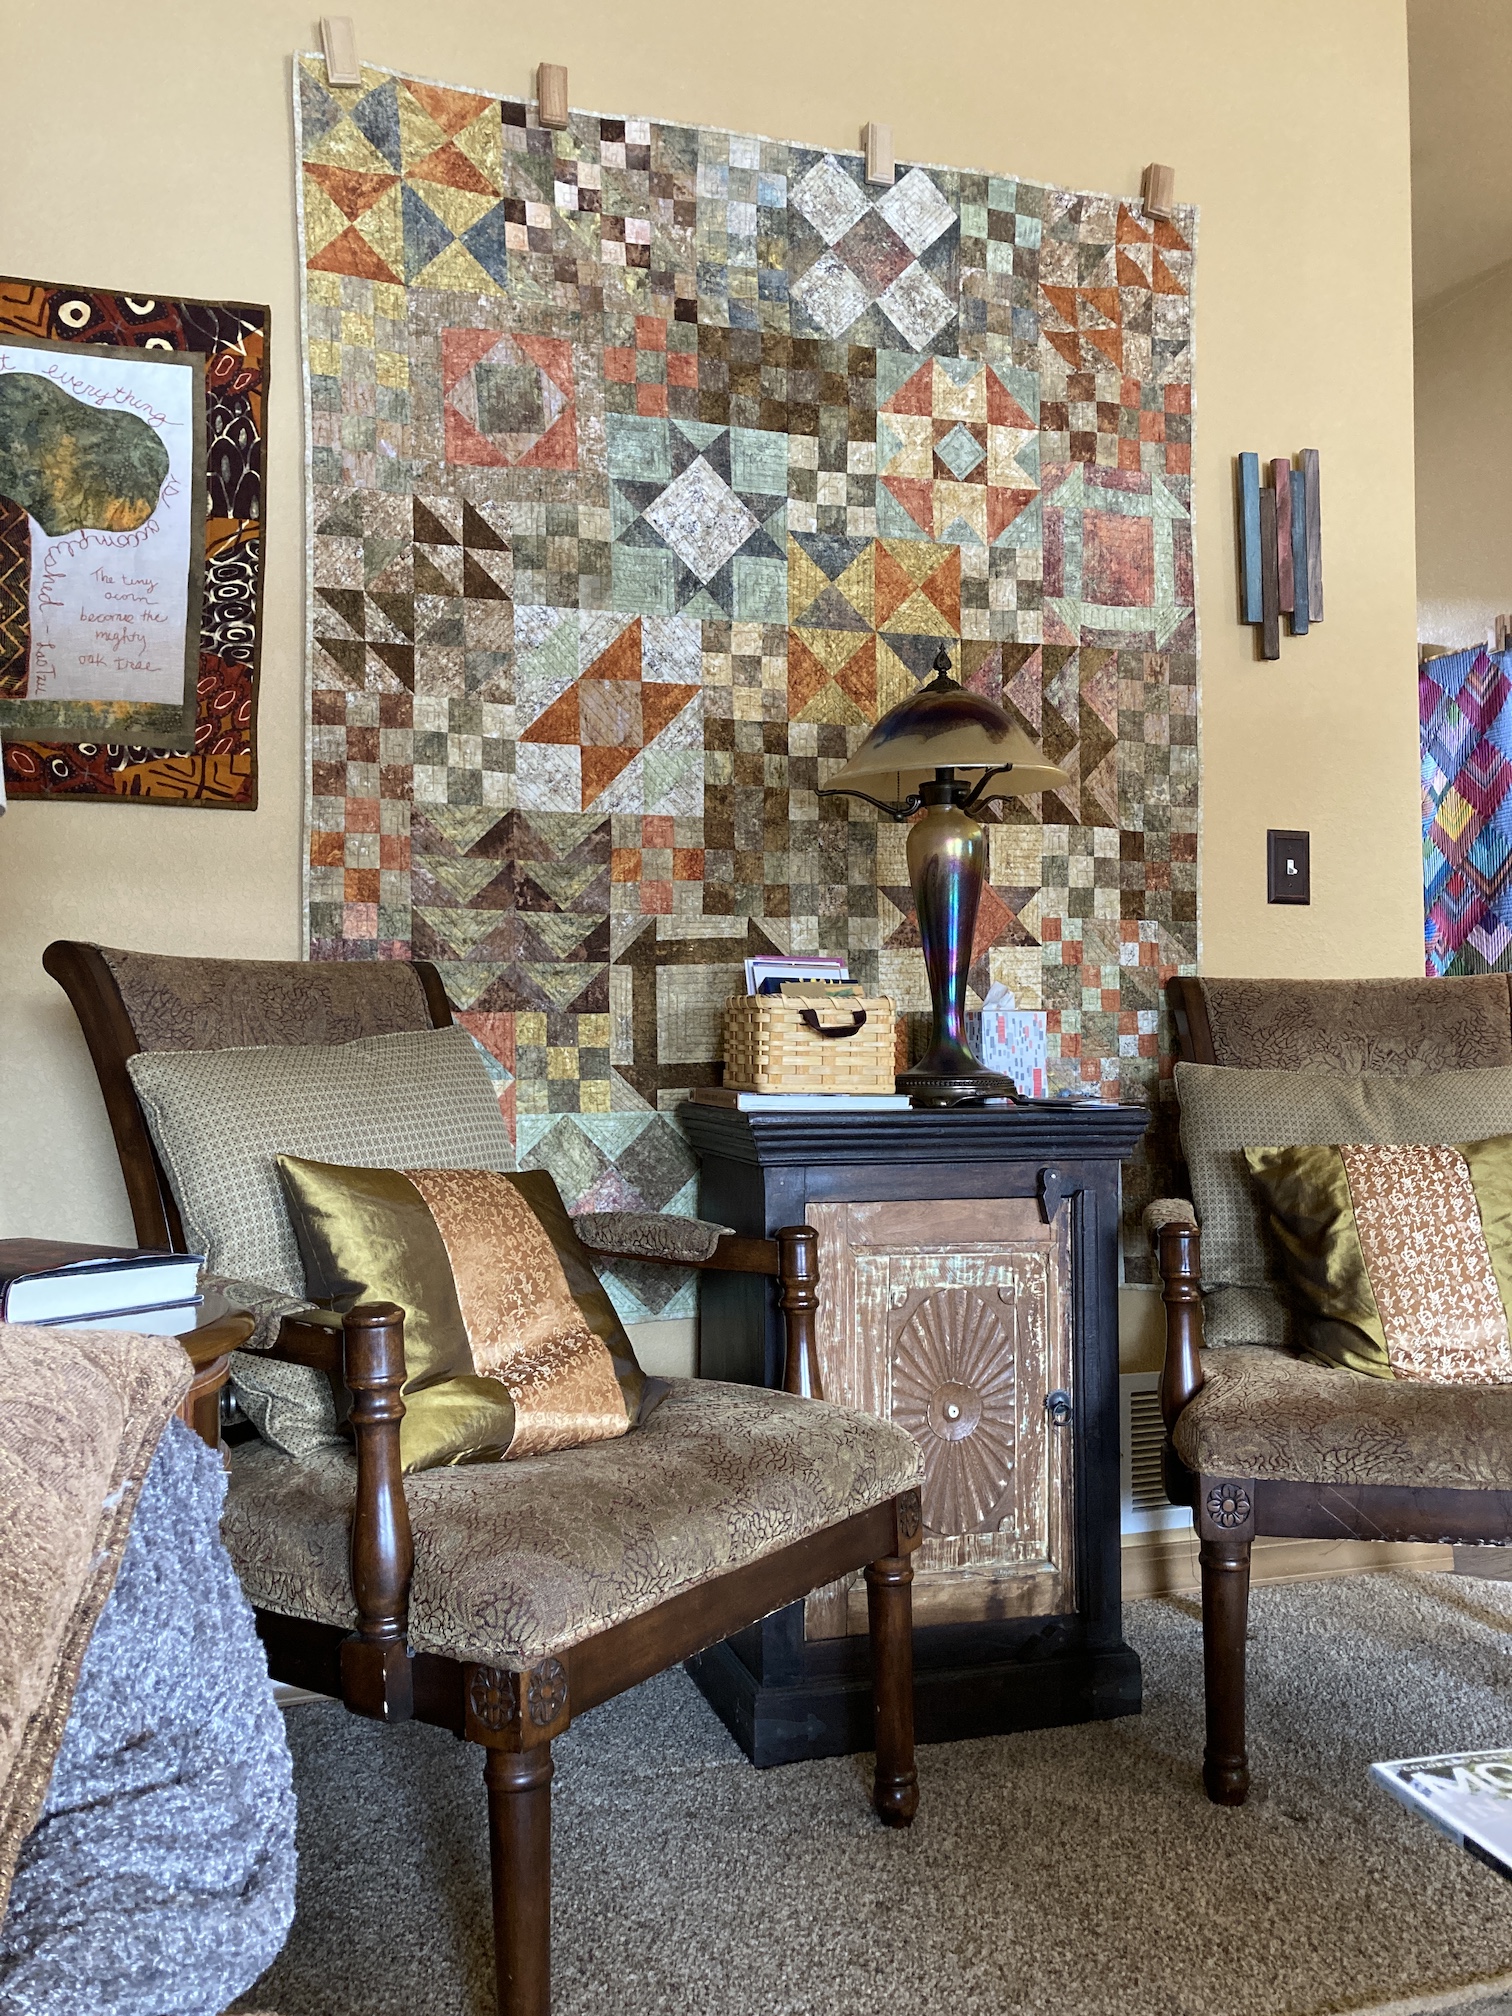
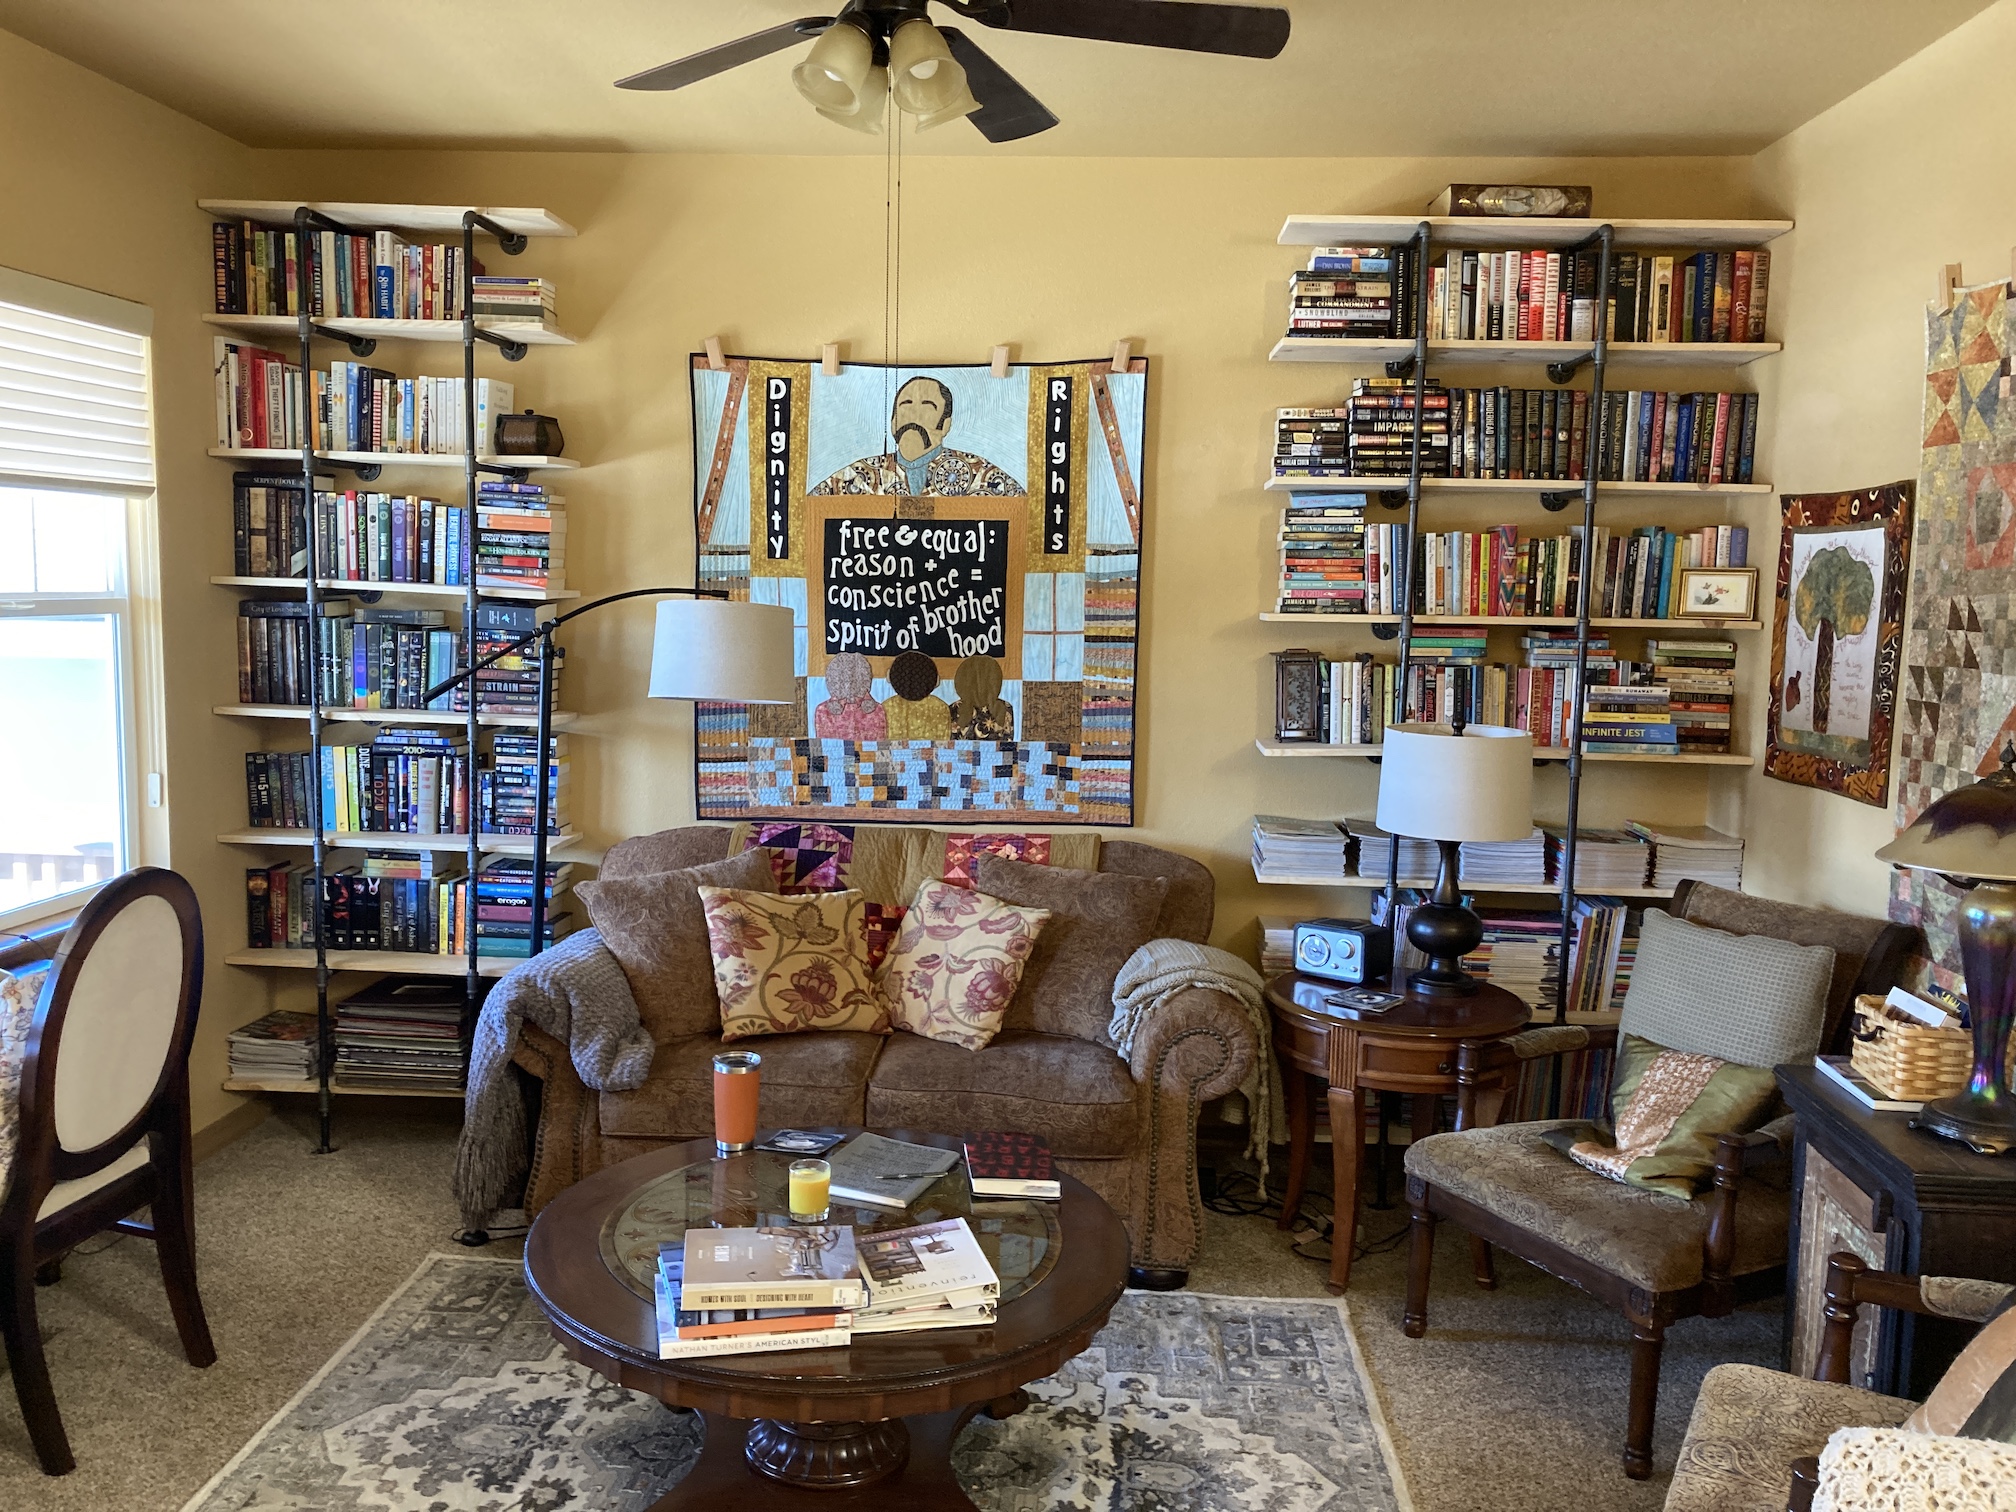
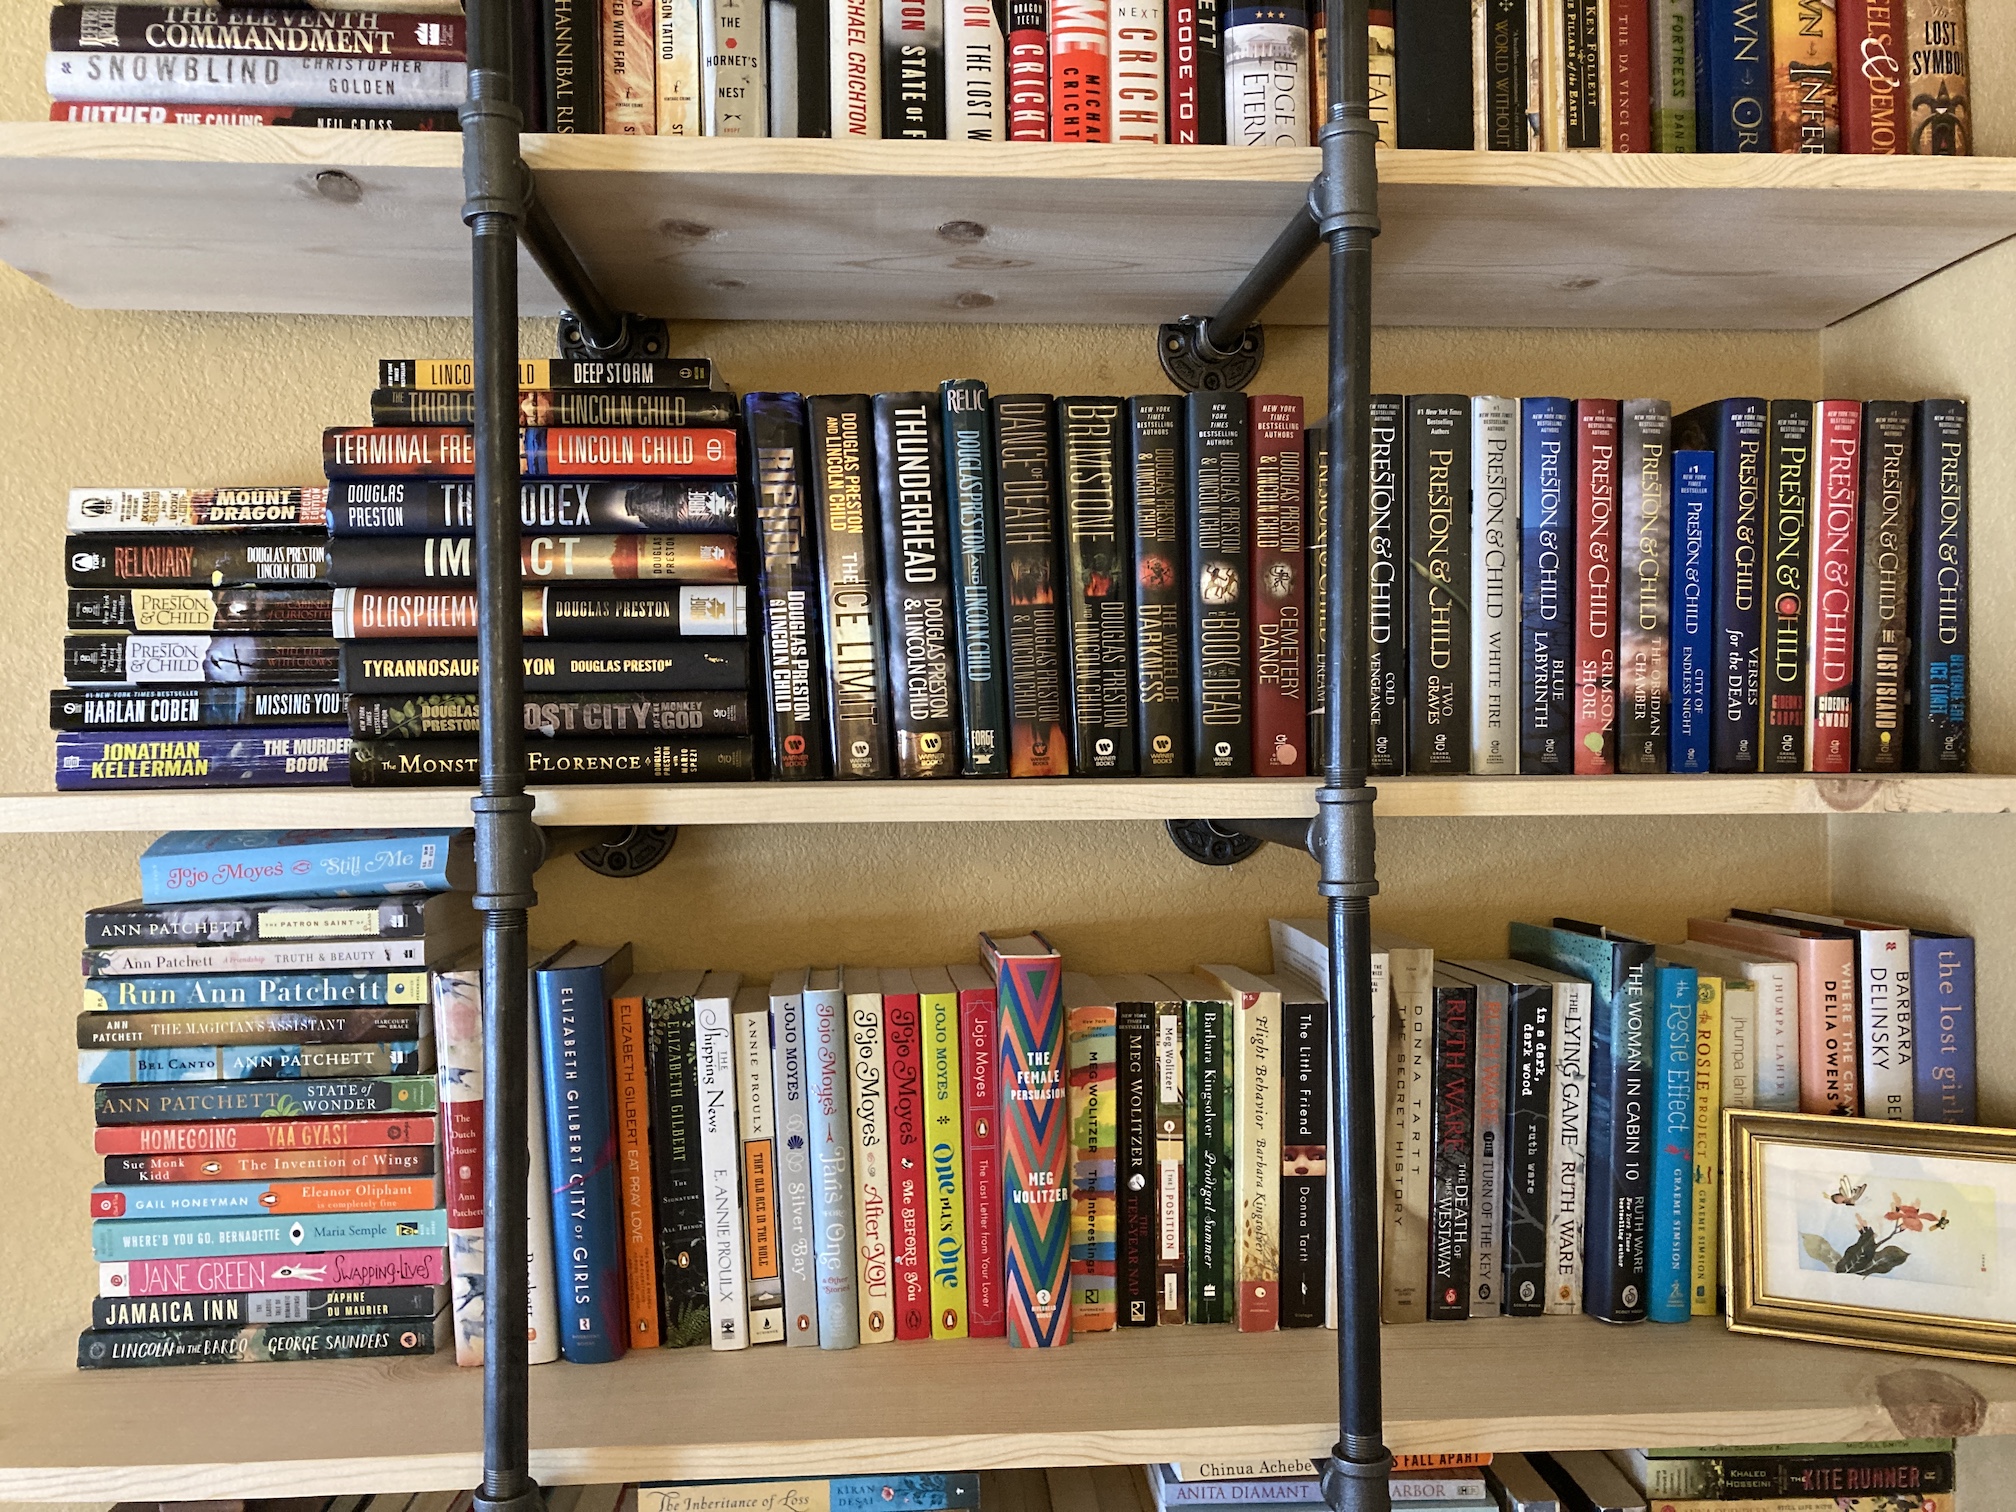
 He also built bookcases in the front room to create our “home library” as my female human mentioned in this post –
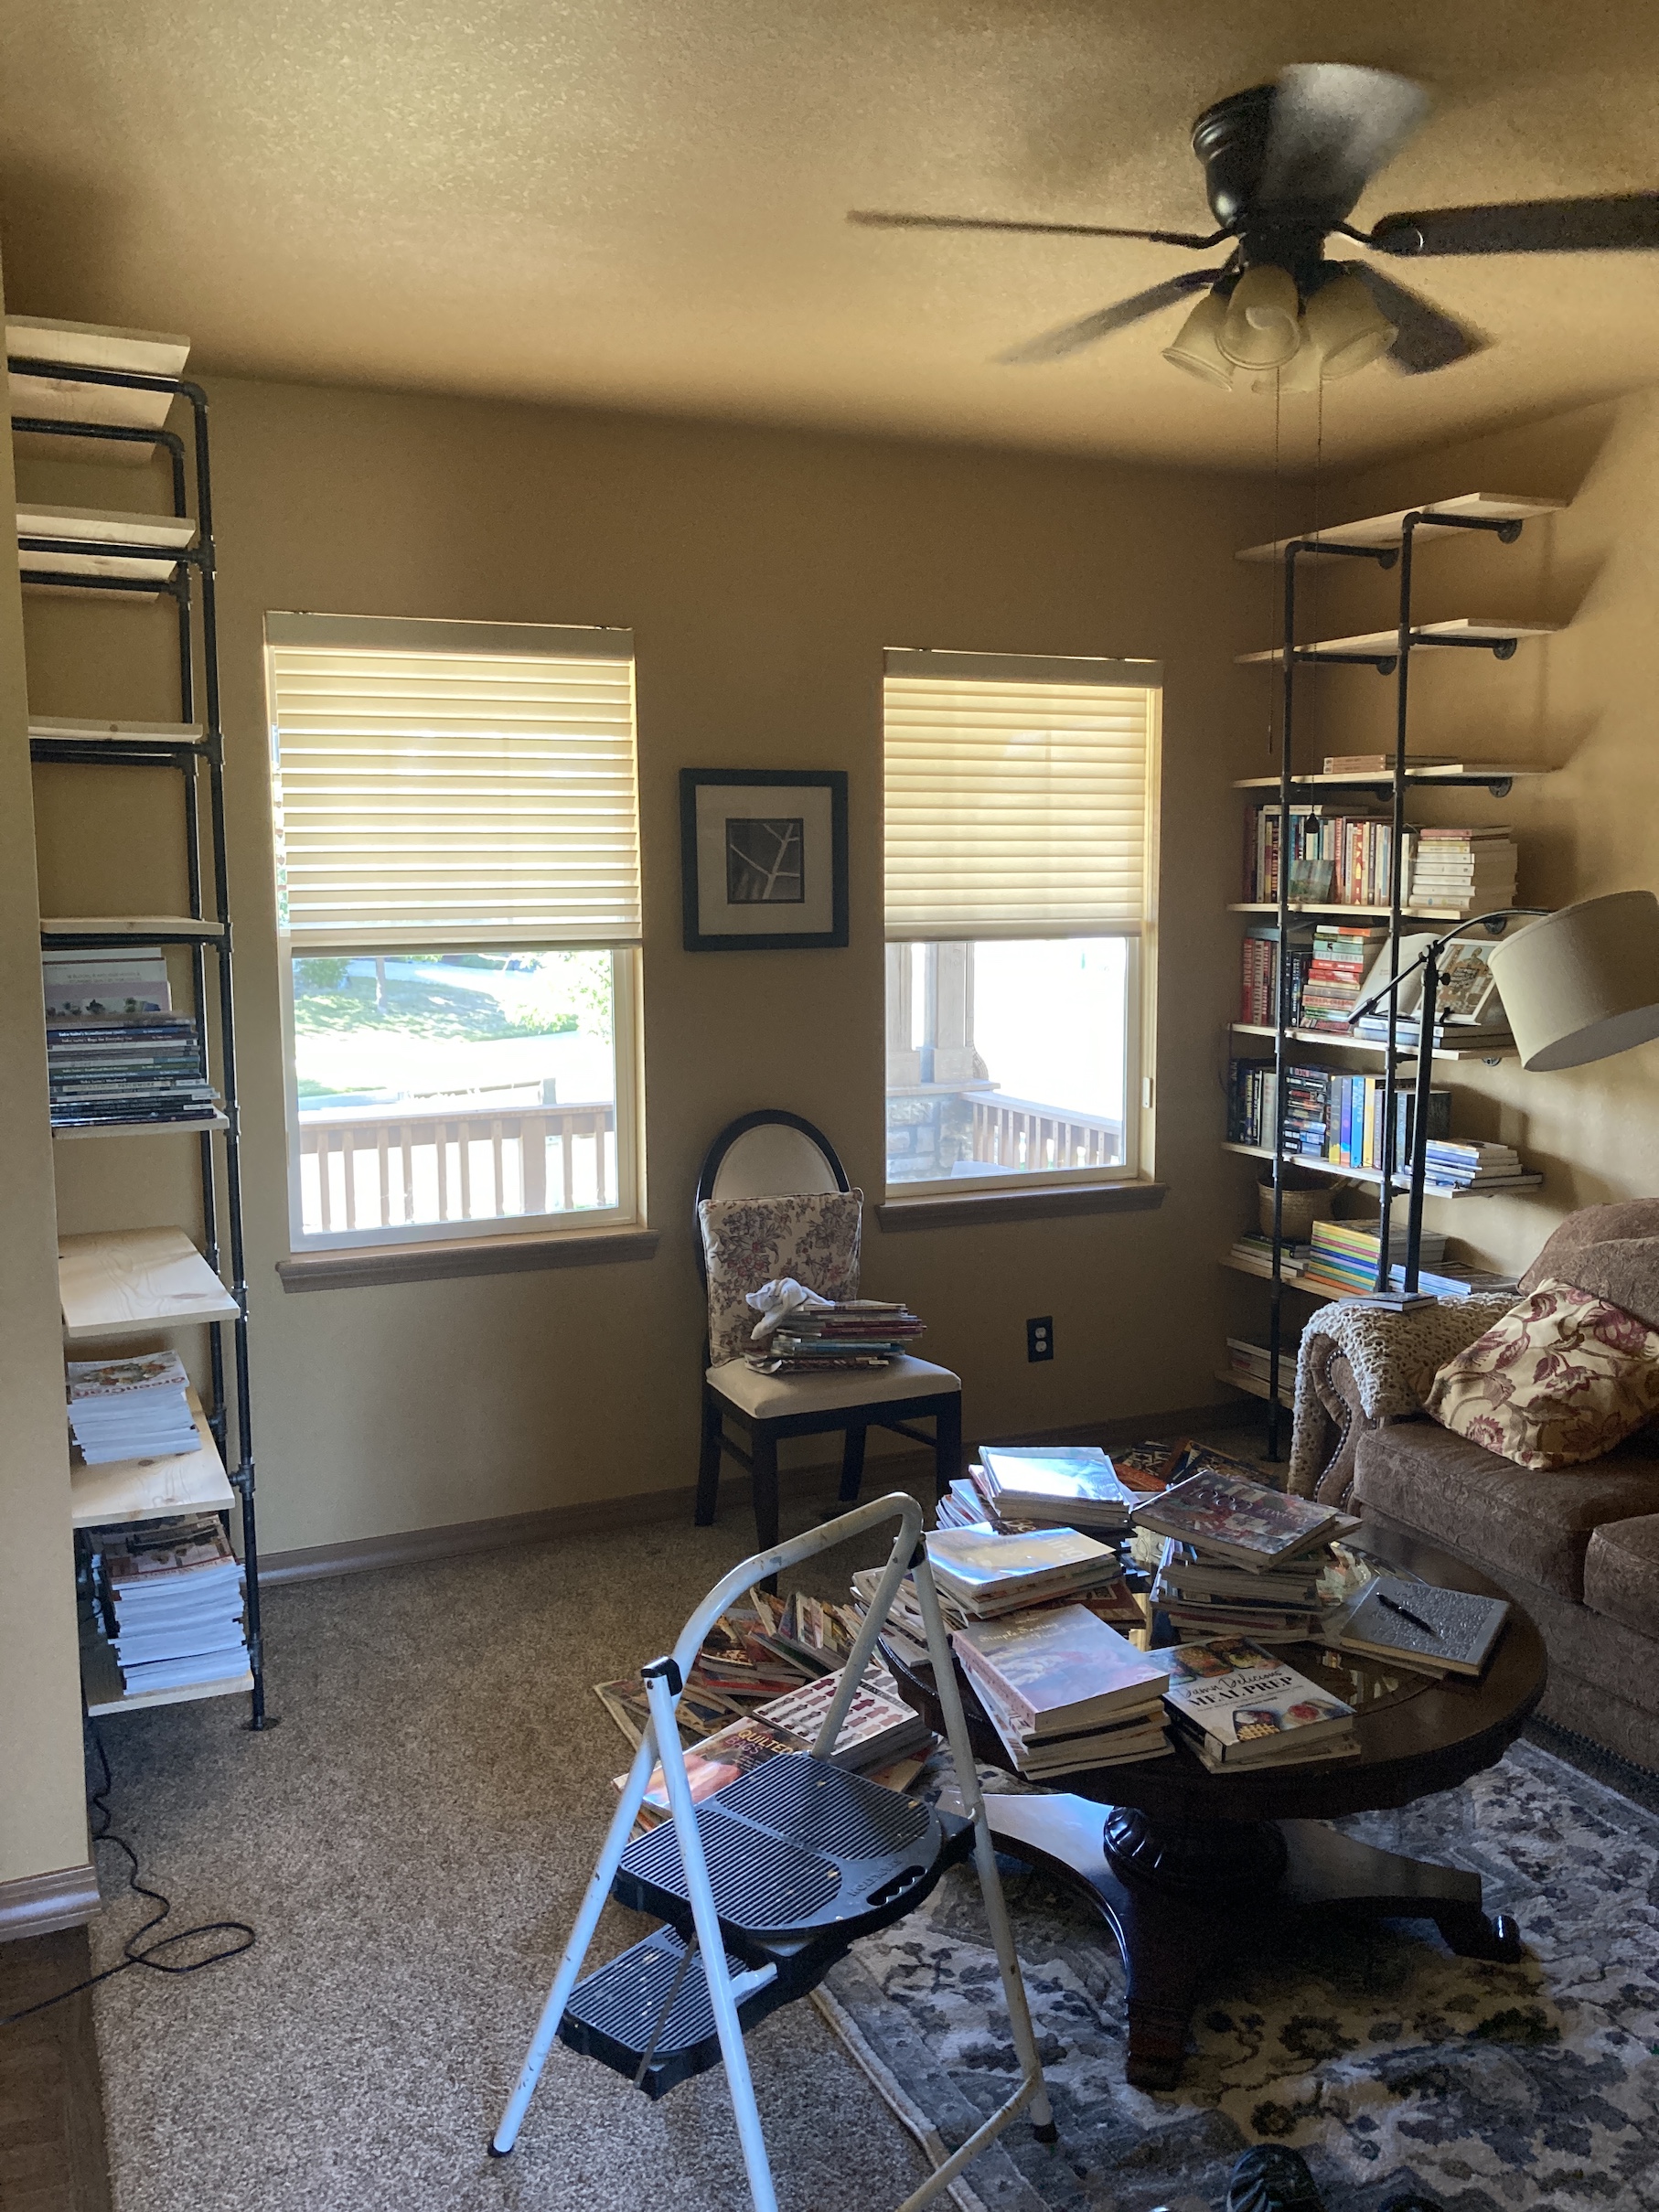
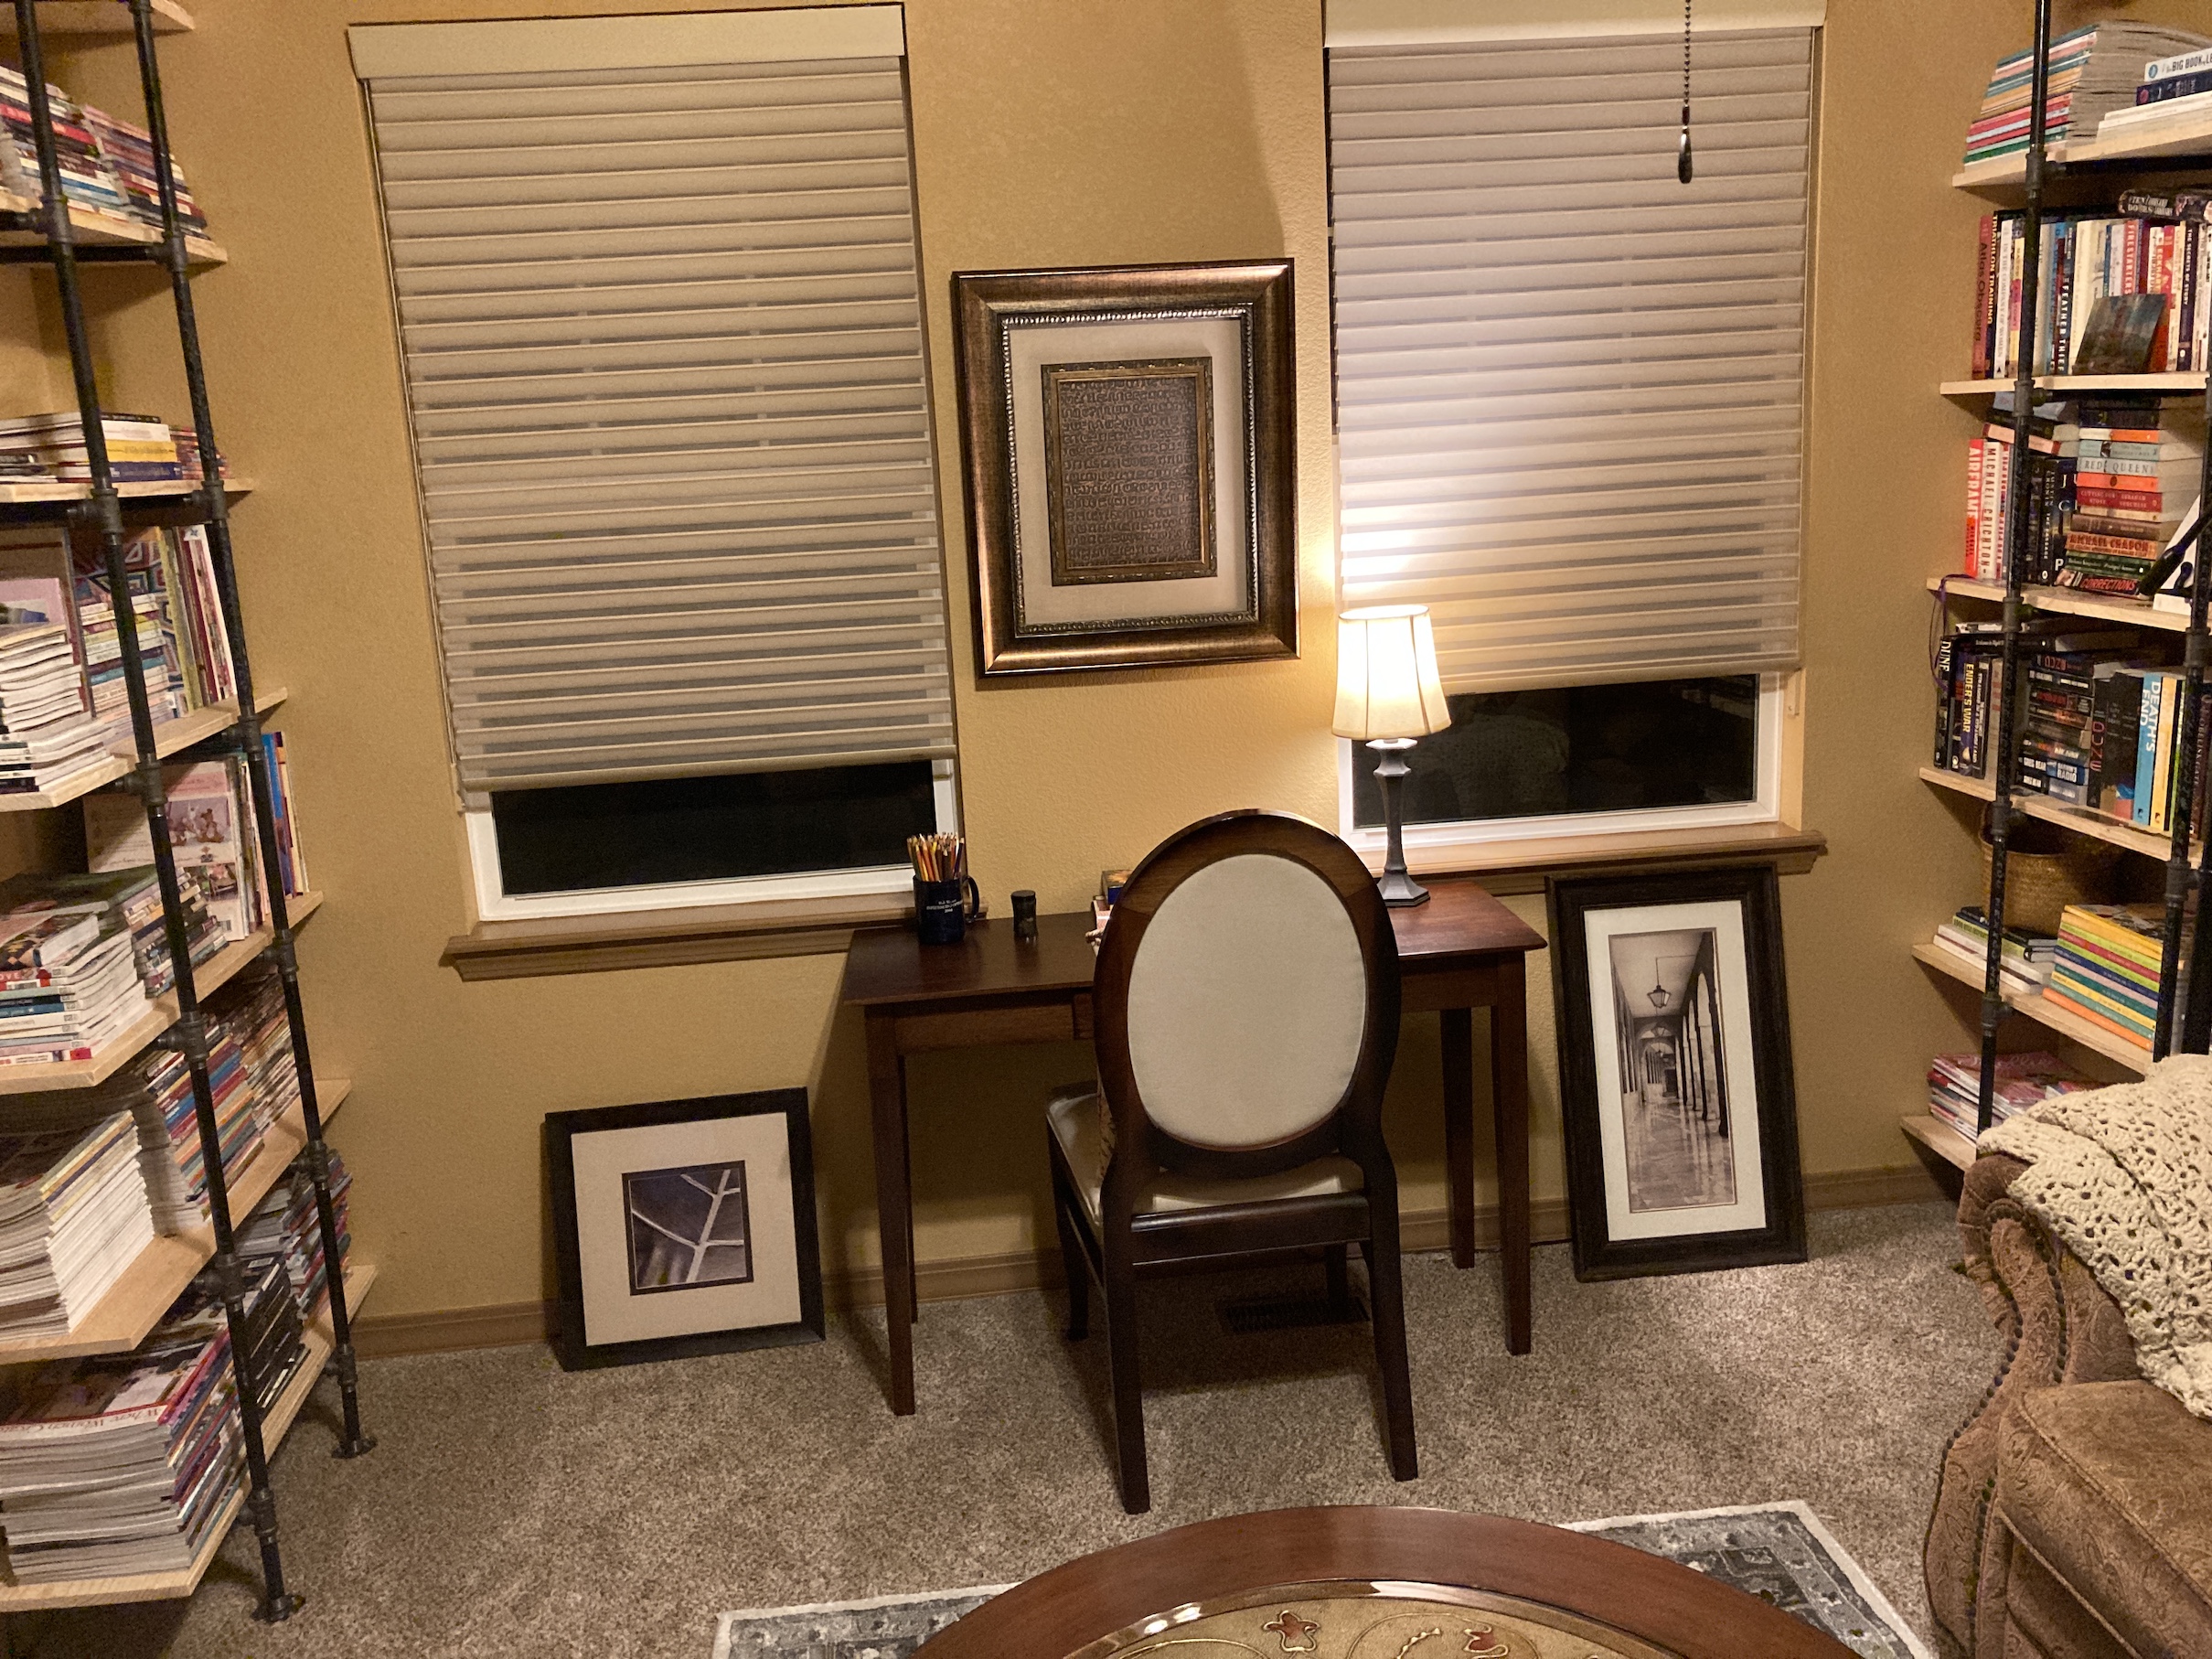 Most recently he added in a shelf behind our living room TV to distract your eye from the fact the flat screen TV is in front on an alcove (circa early 2000s) for a large deep TV. This was my female human’s idea from looking at too much Instagram home decorating feeds!
 I am sure there were a lot more home remodeling projects that occurred over the past four (4) months but this is all I can remember since I was sleeping through many of them.


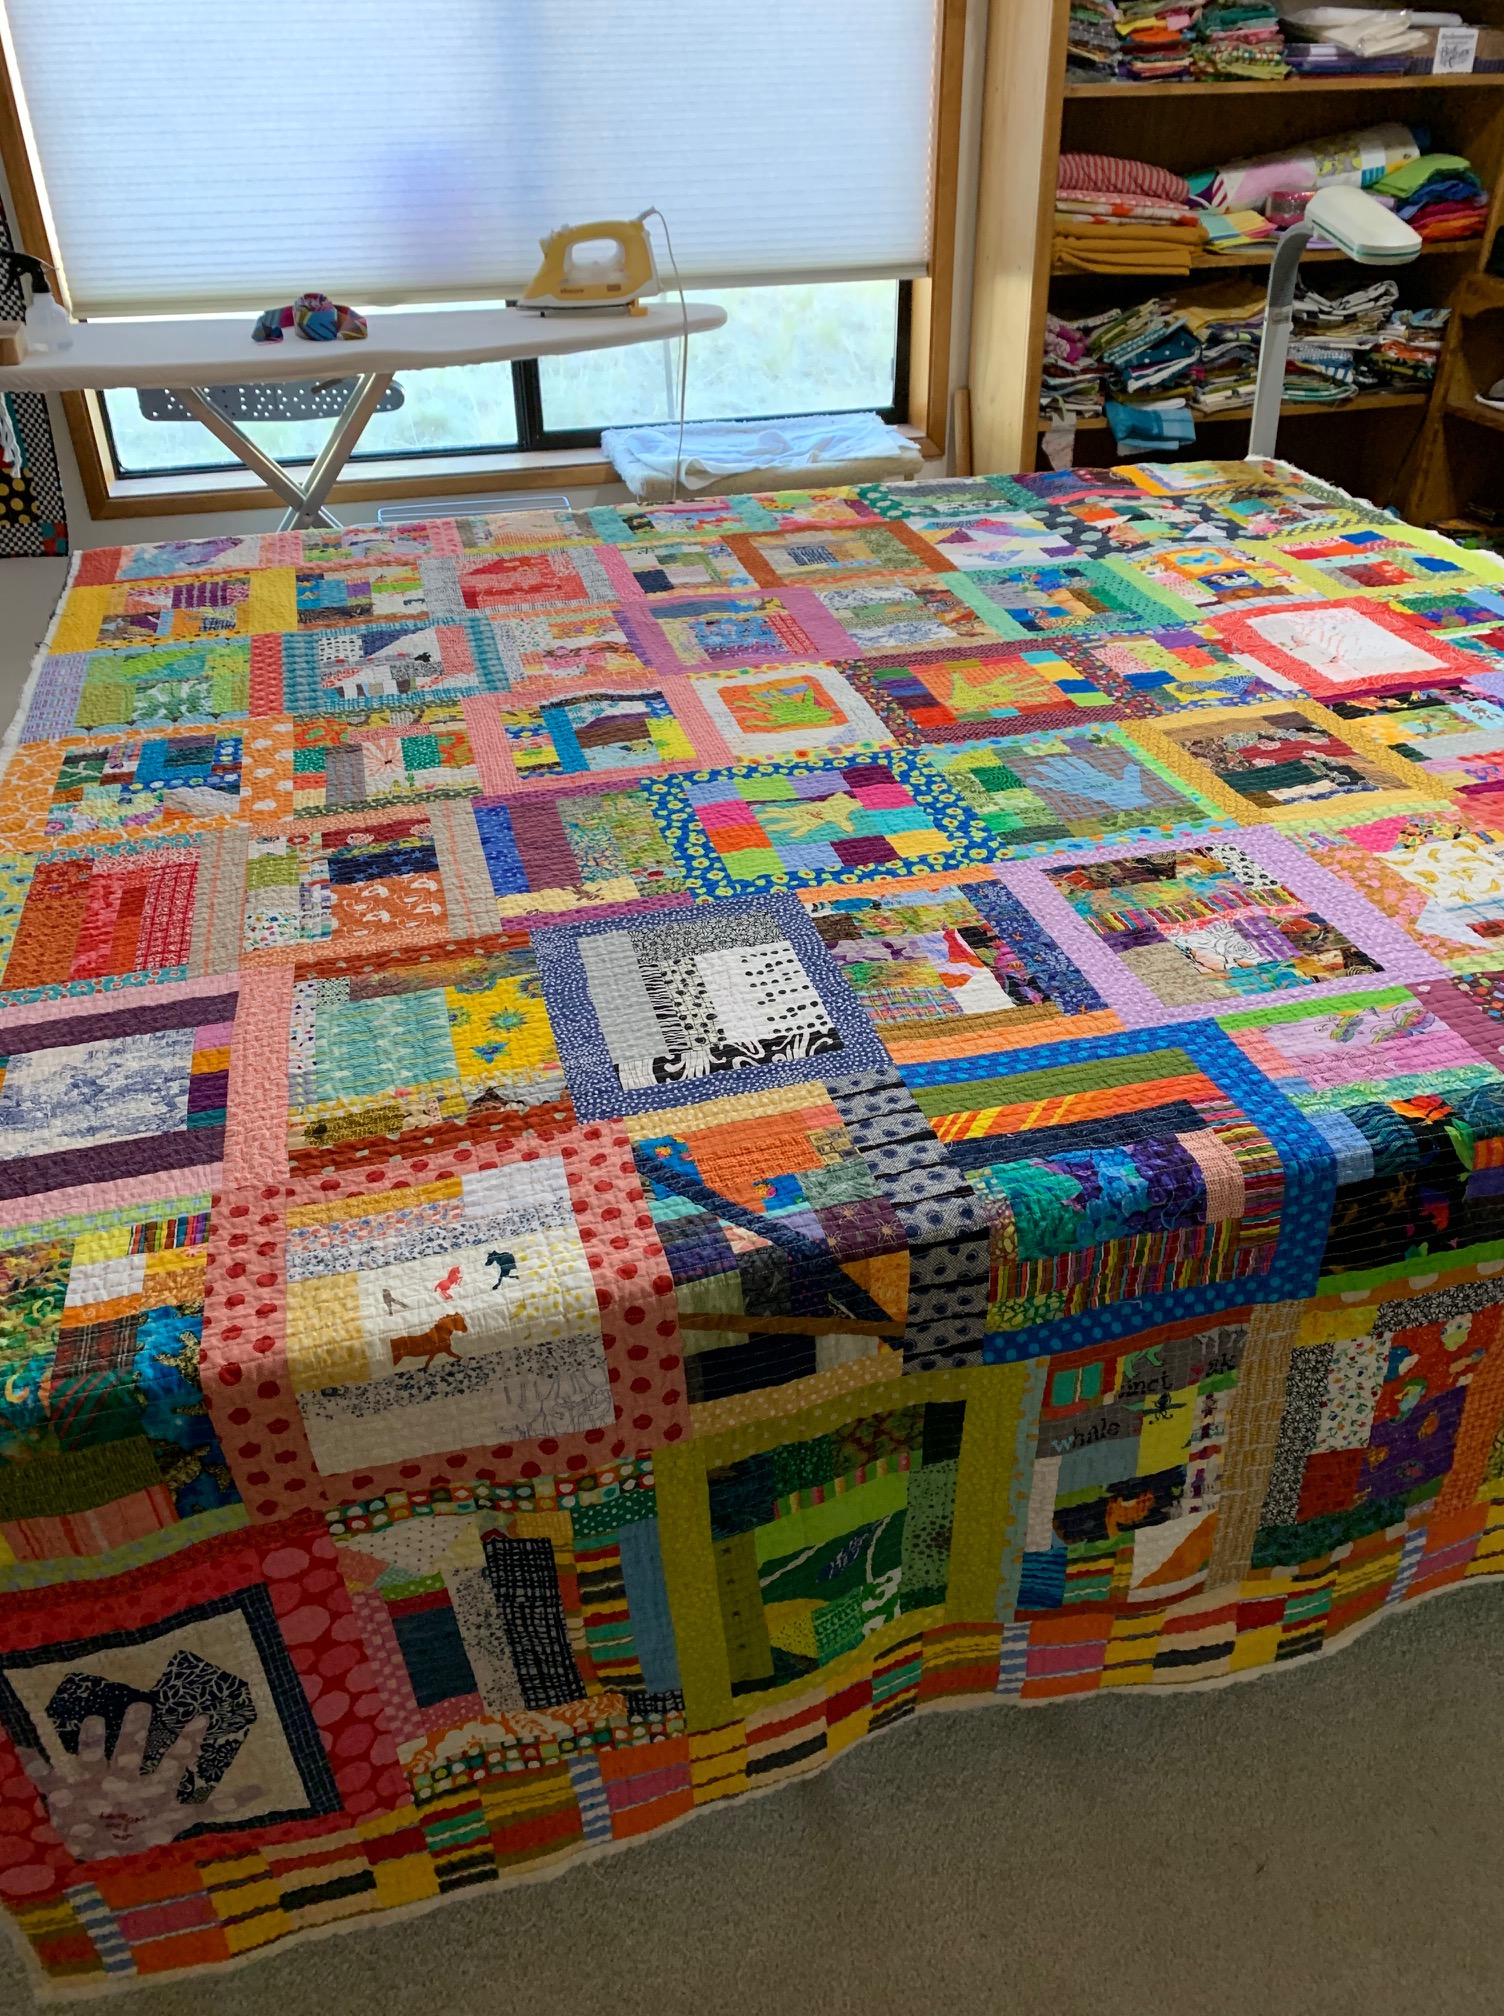
 At home, I took some detail photographs. Of course, the cats found the quilt in no time….The Quarantine Quilt is officially cat approved!!
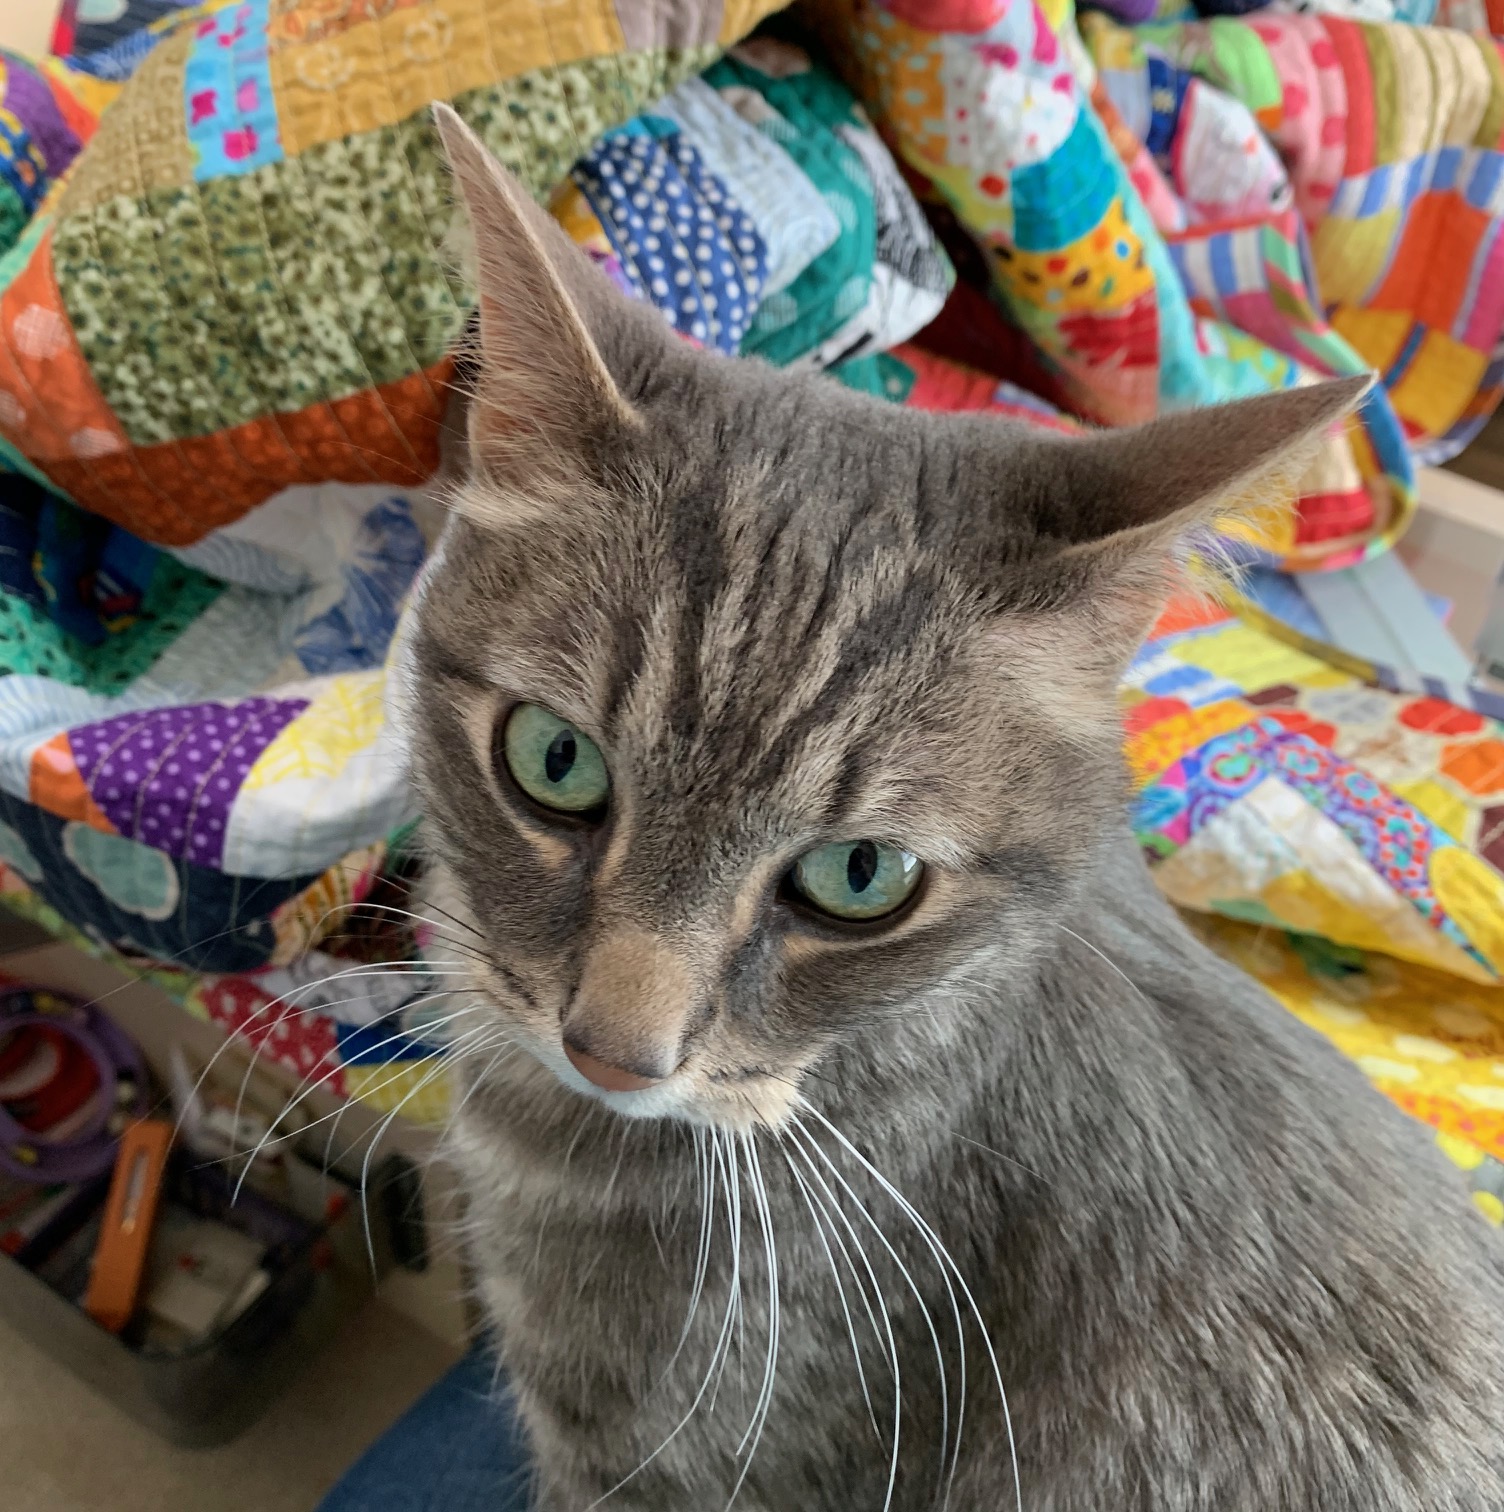
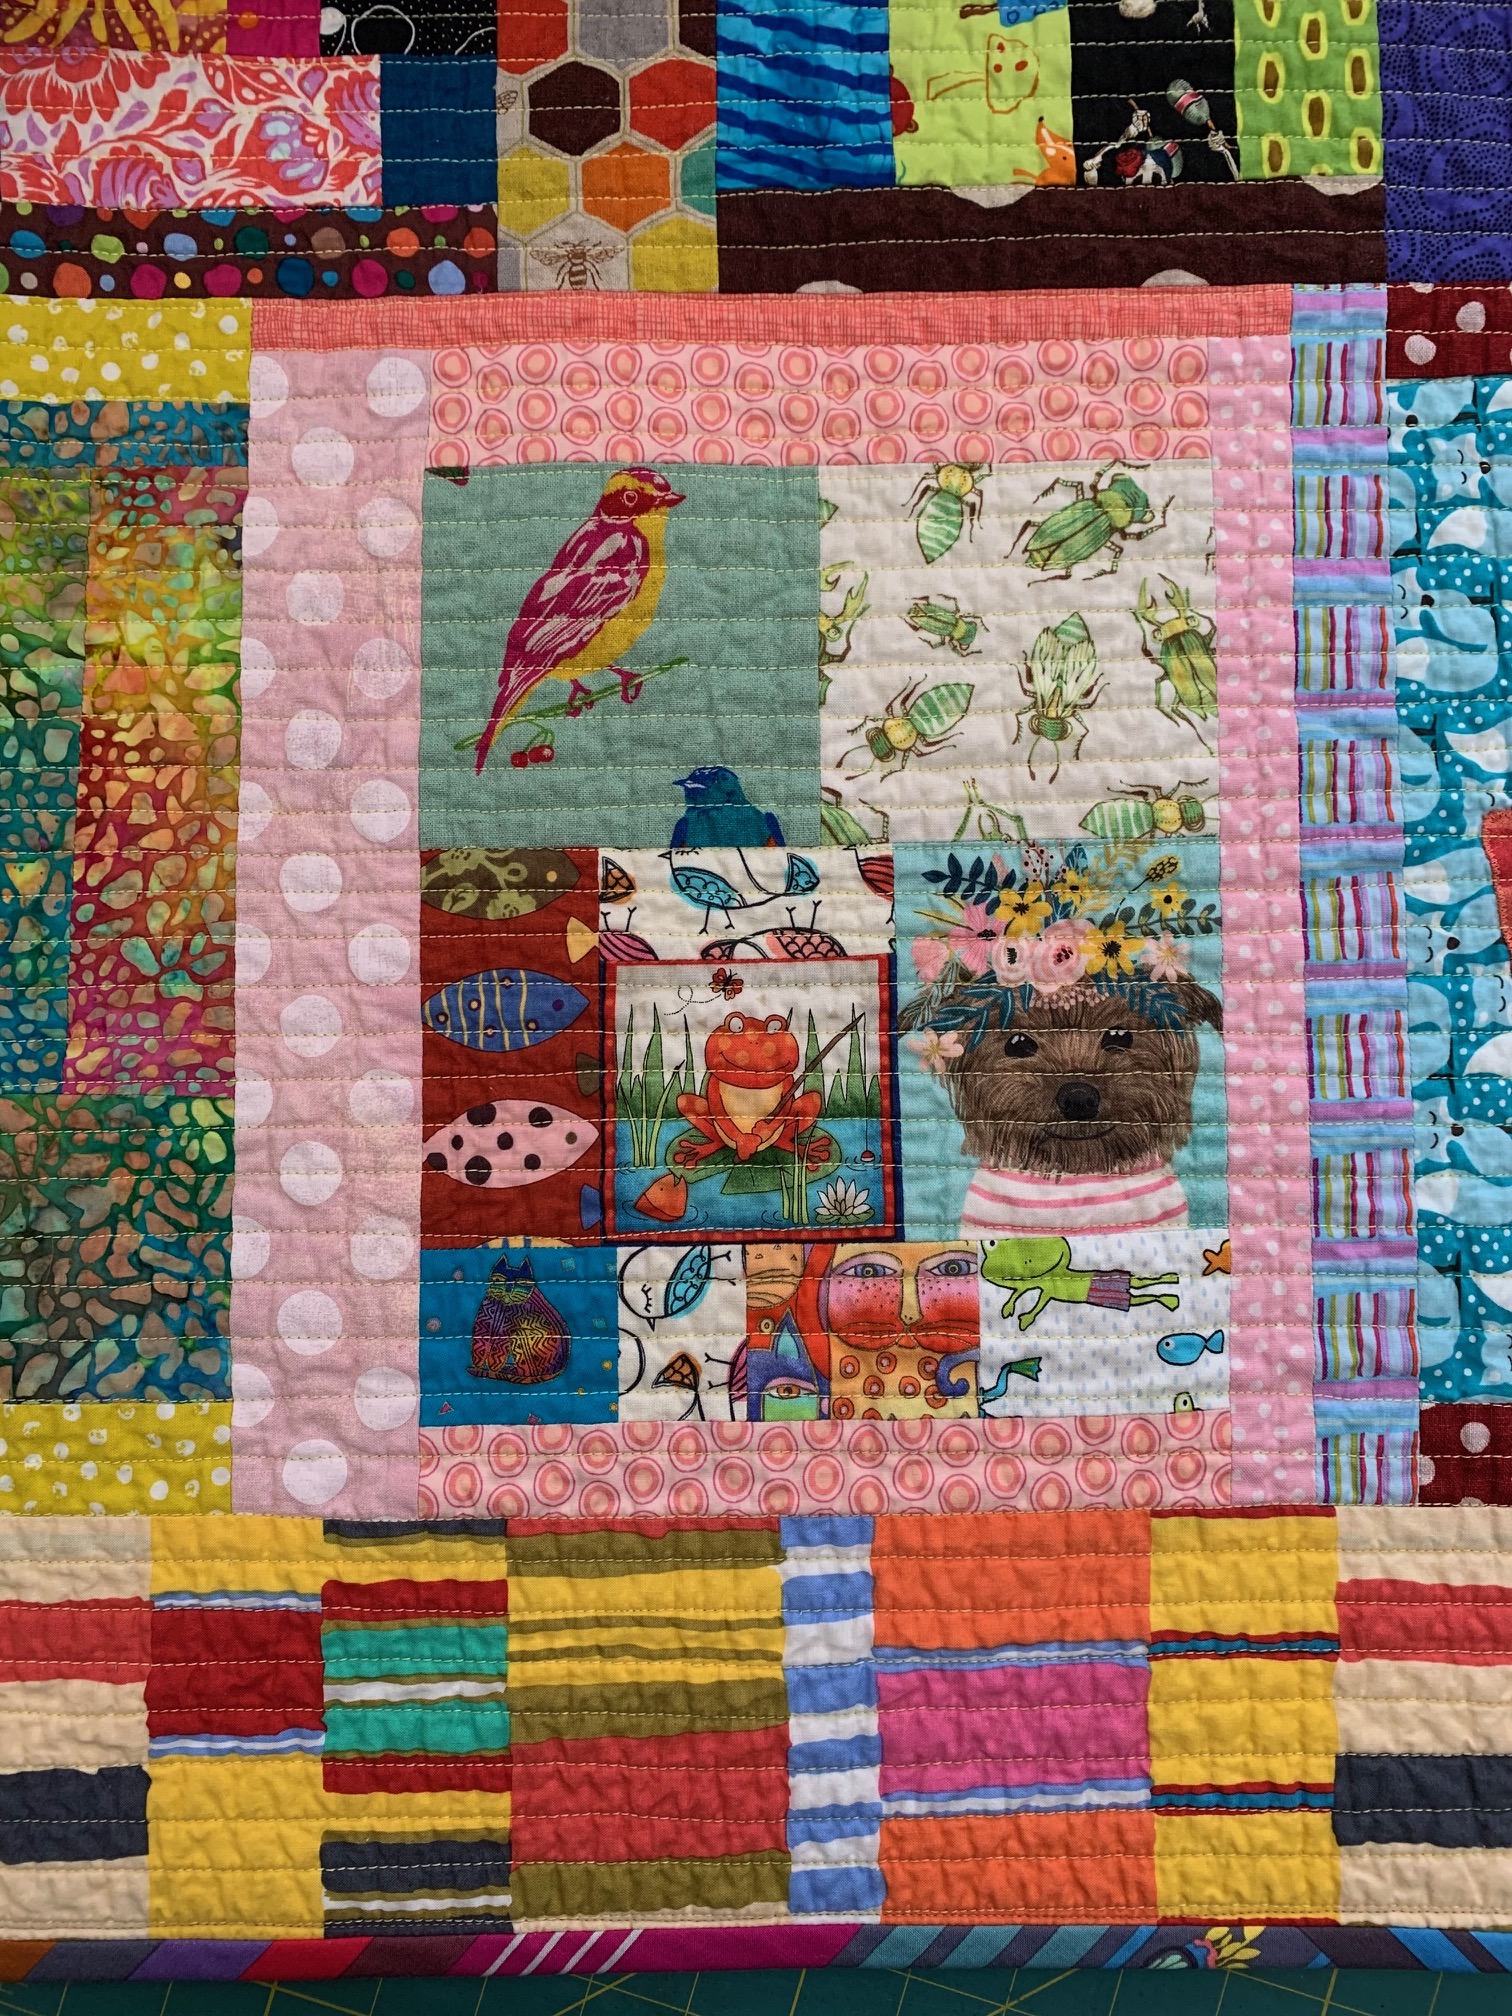
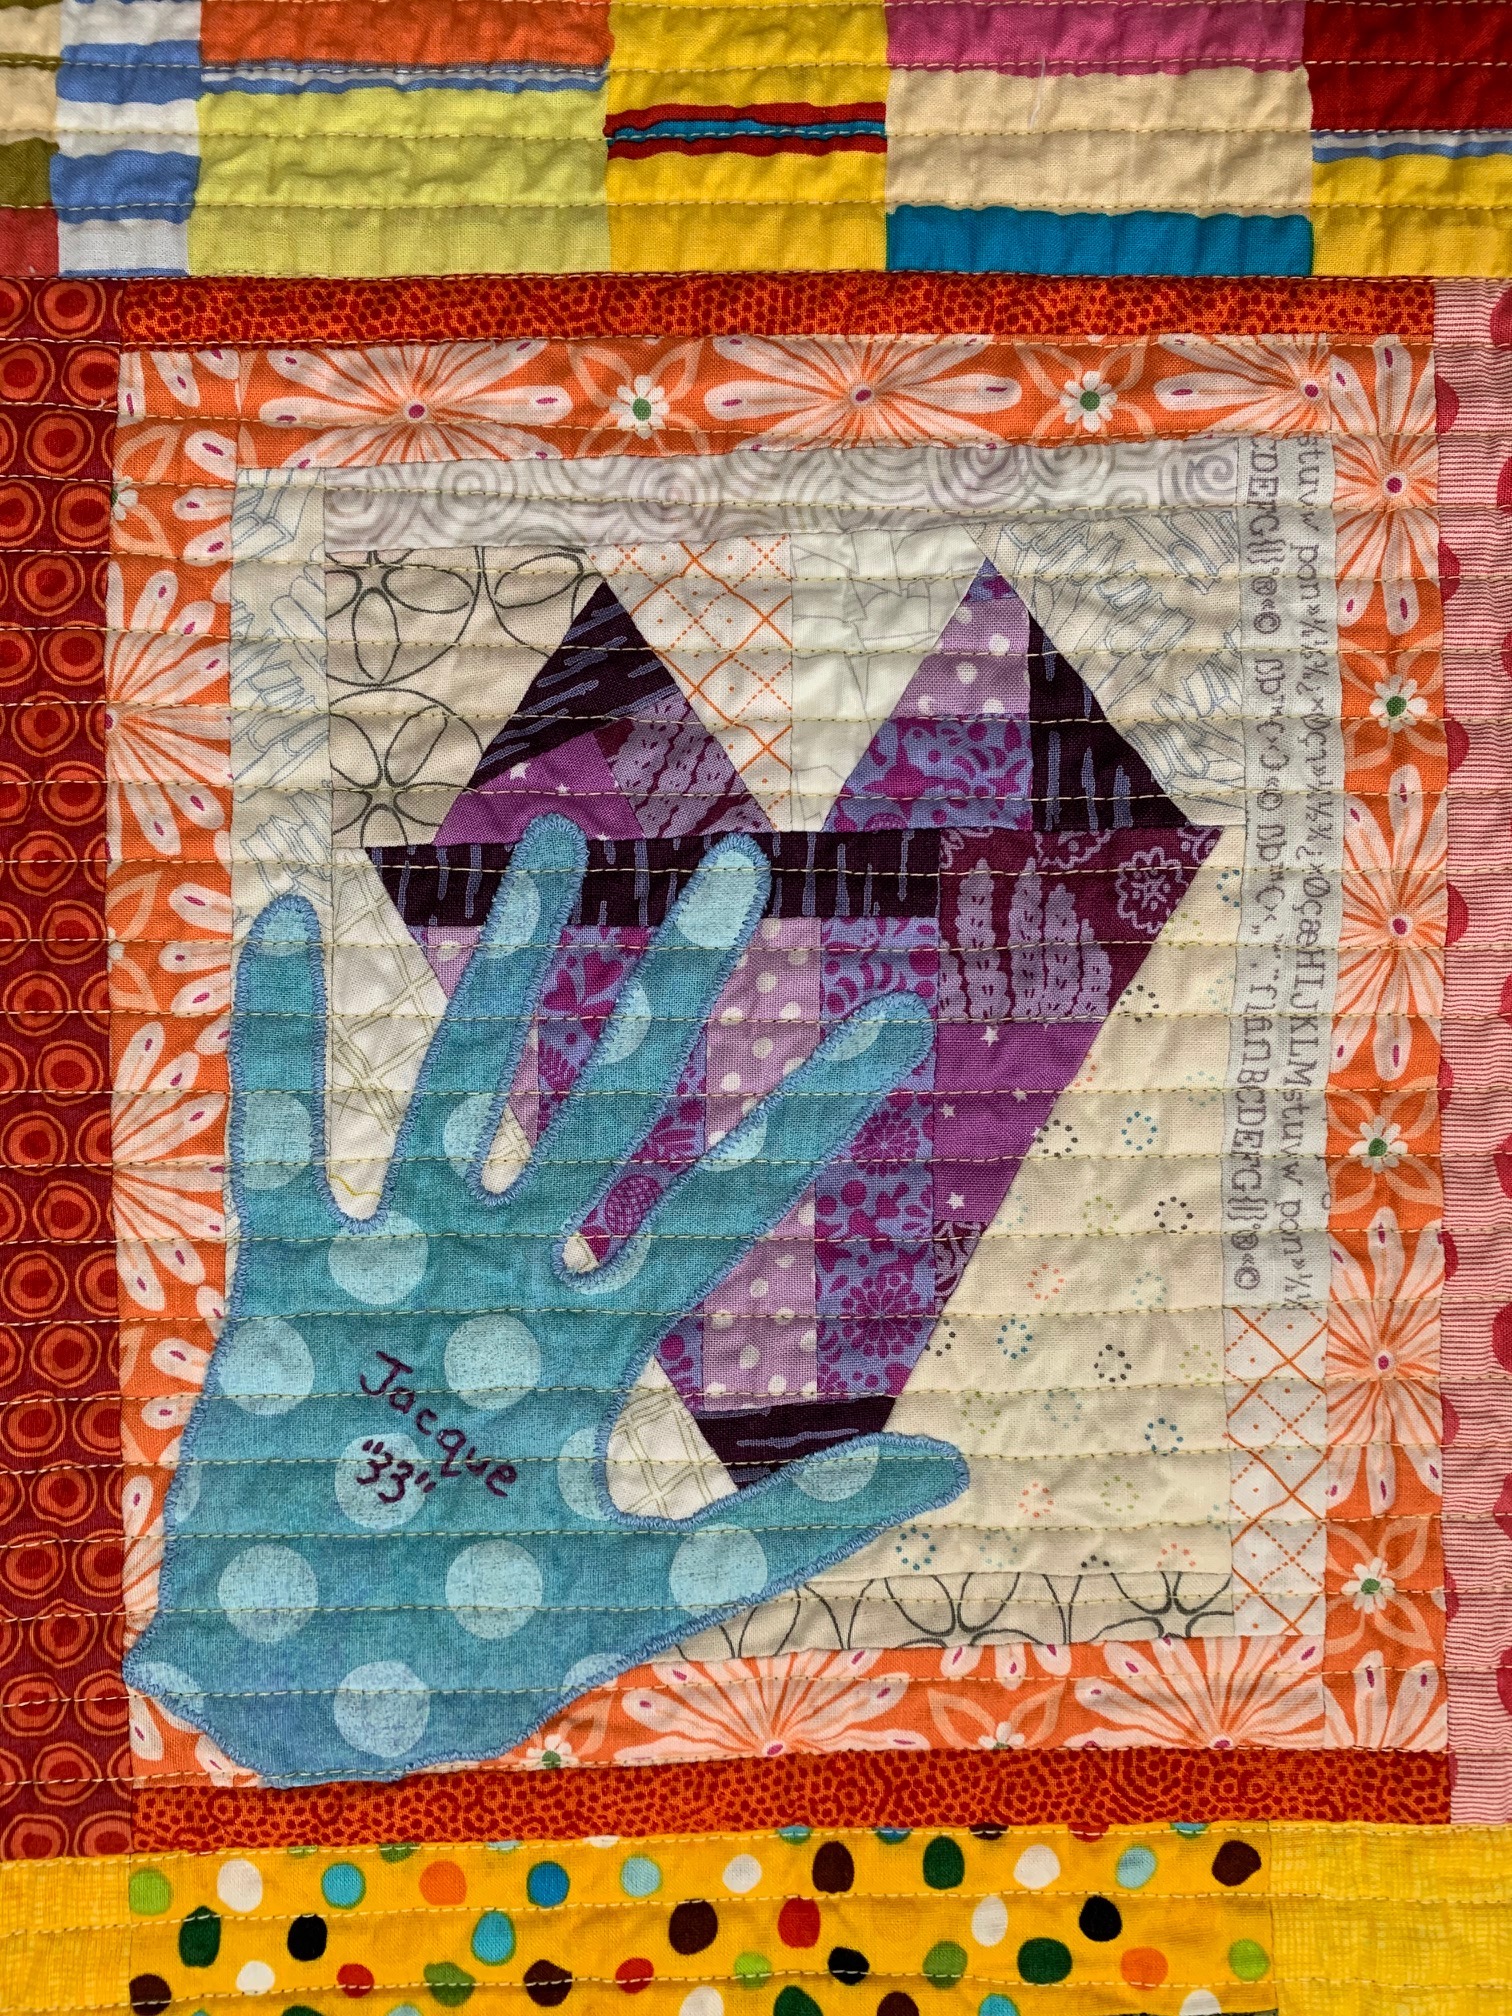
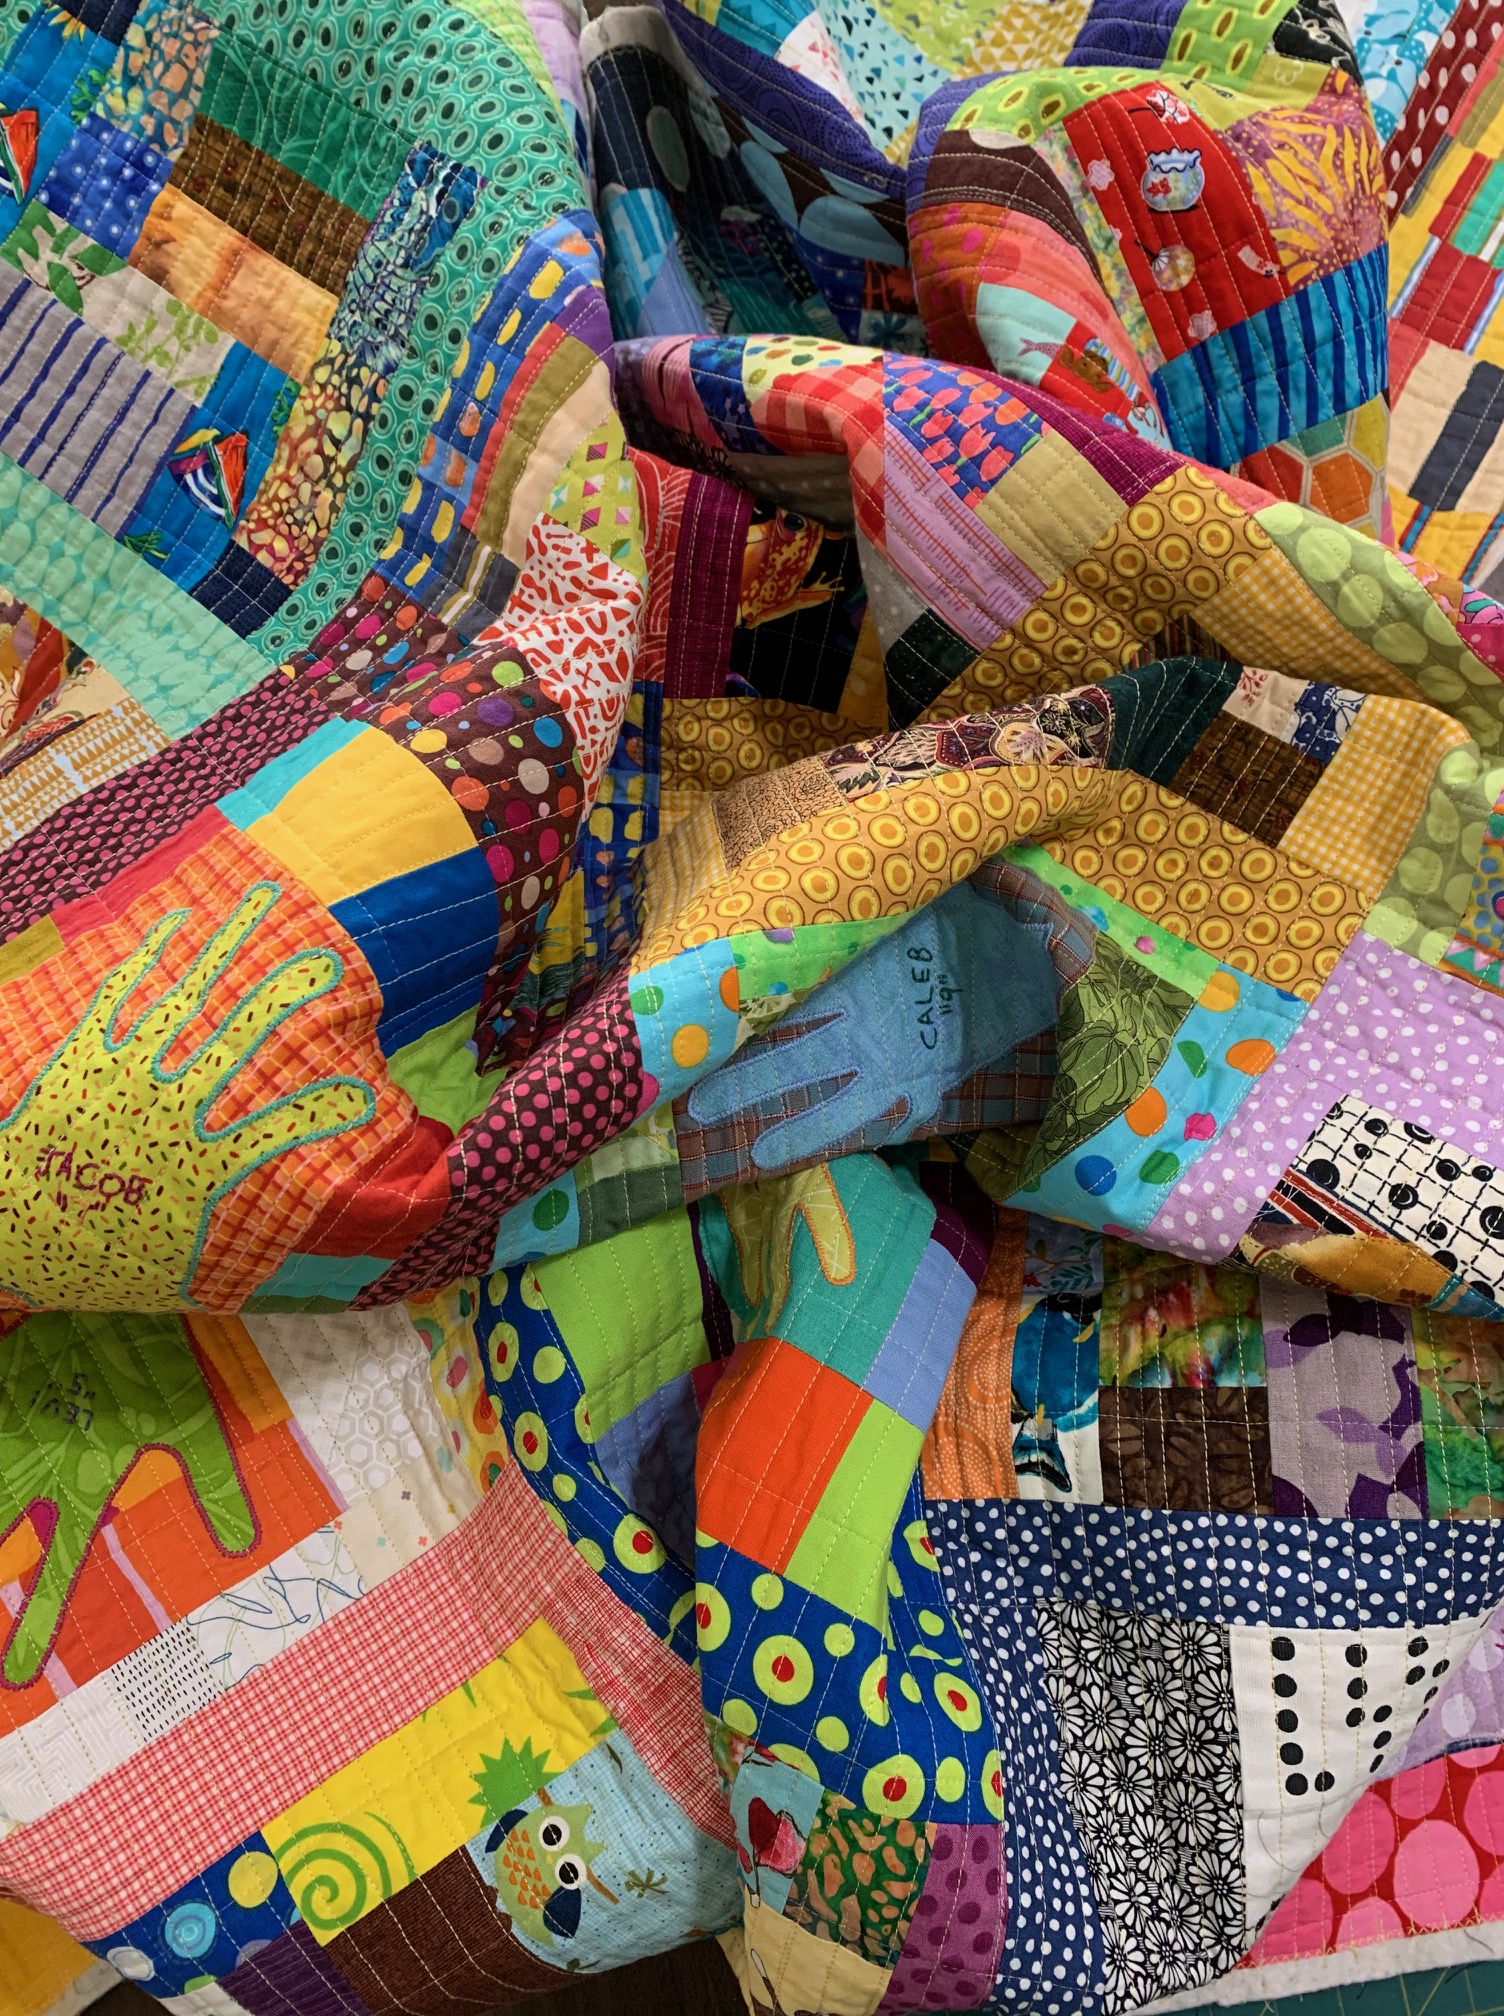
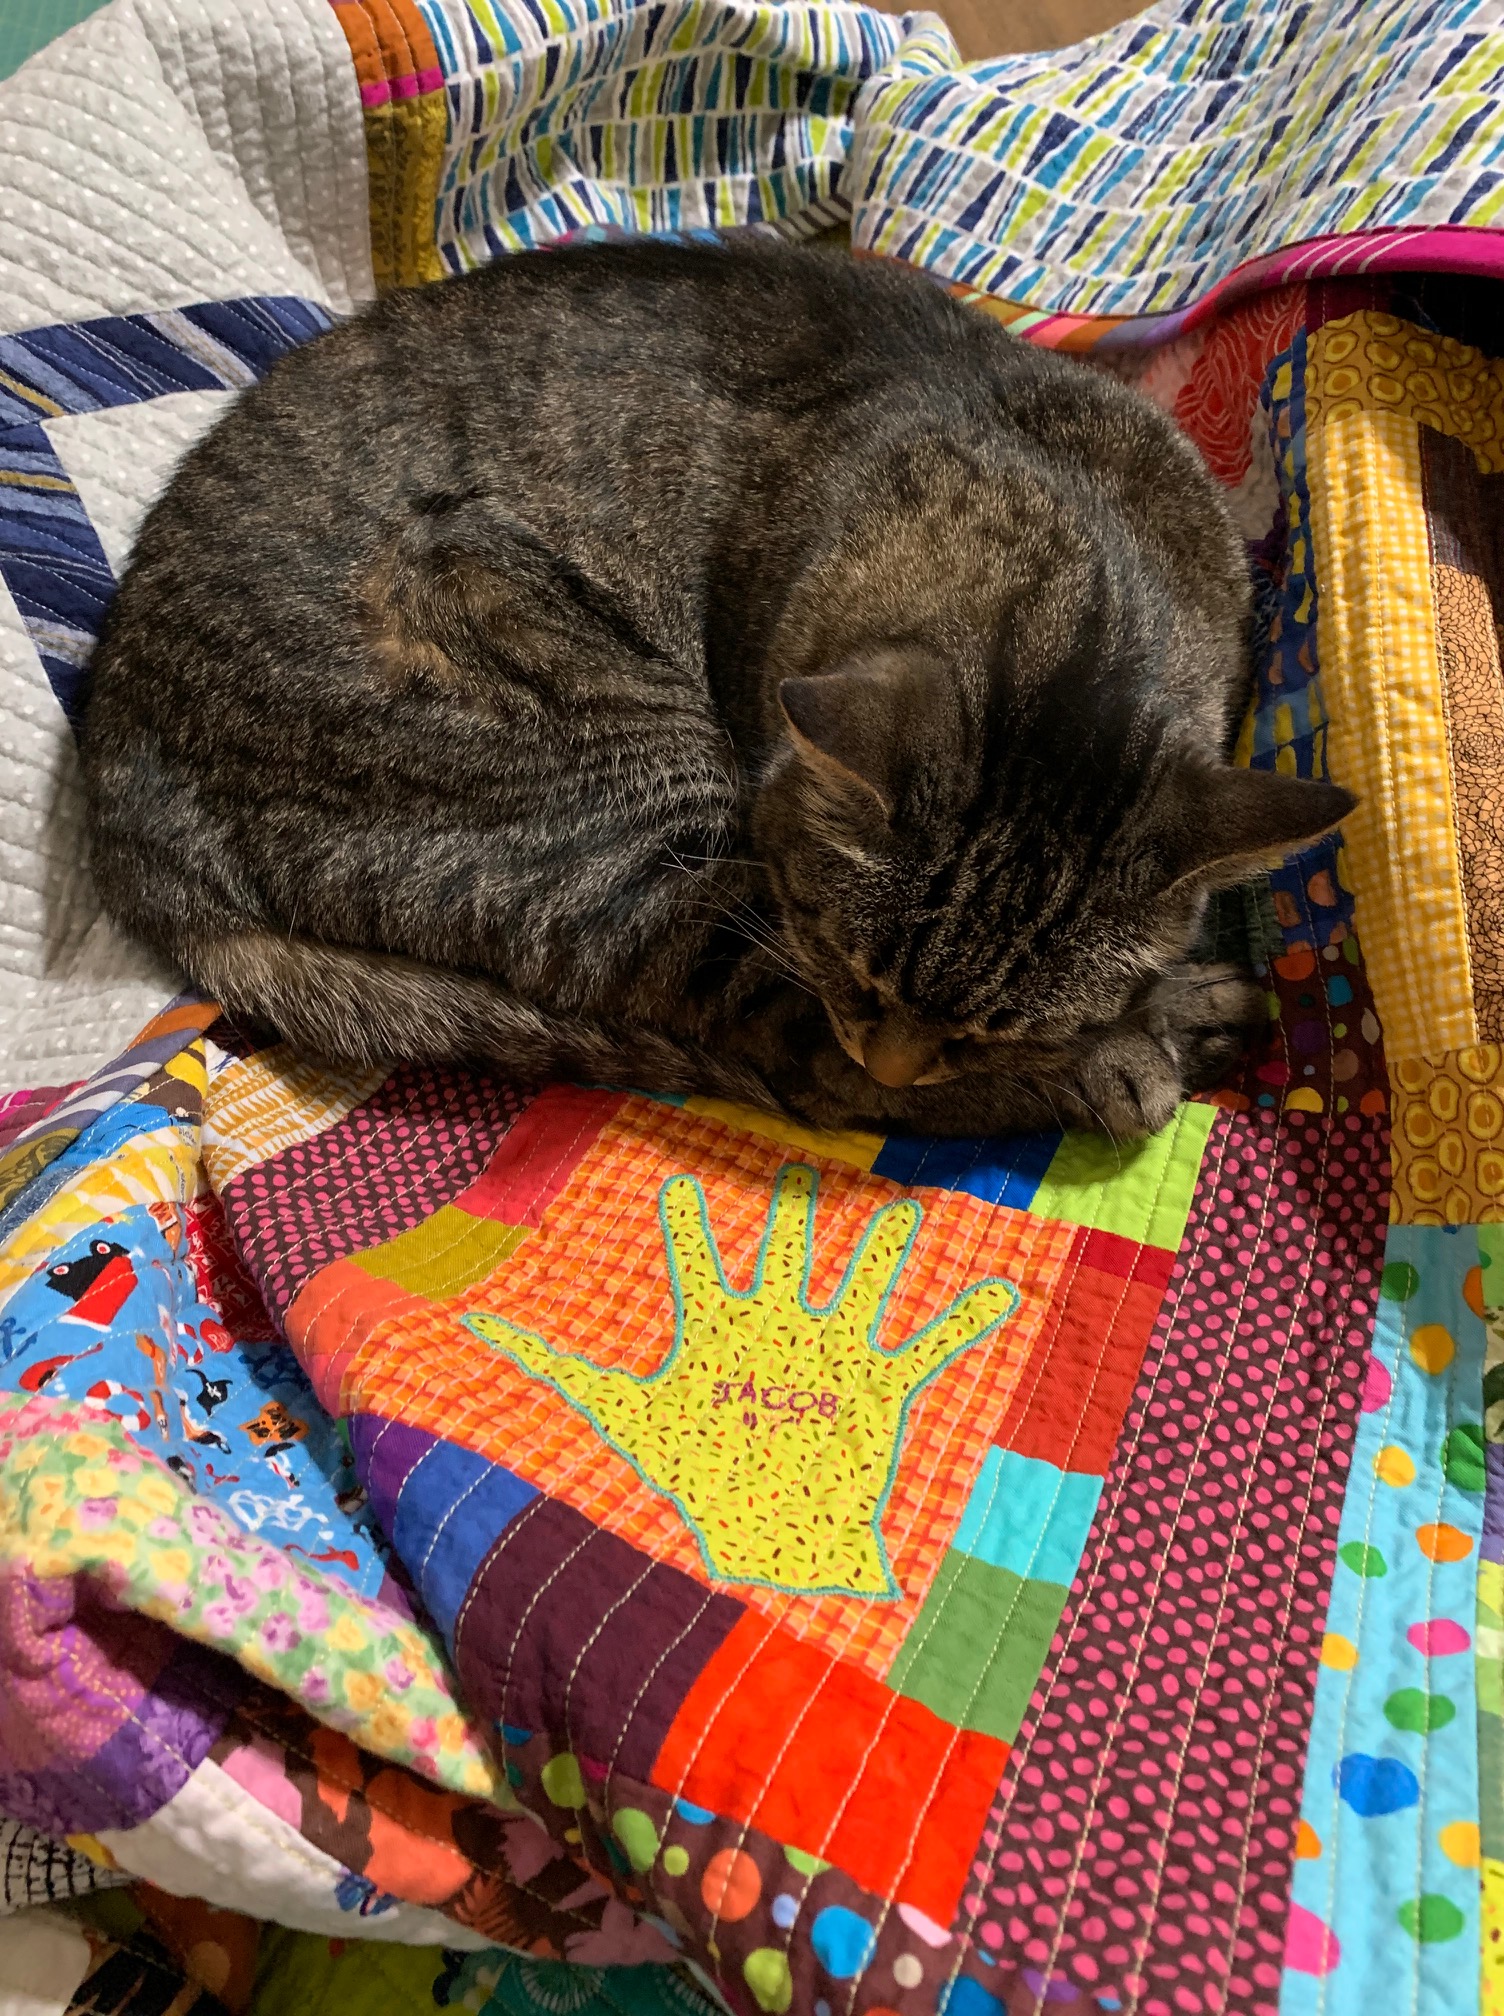 Let’s start with the appliquéd hand blocks. I put The Boys’ hands in the middle, with the adults’ hands on the four corners. It’s symbolic on purpose: the adults are looking after the kids.
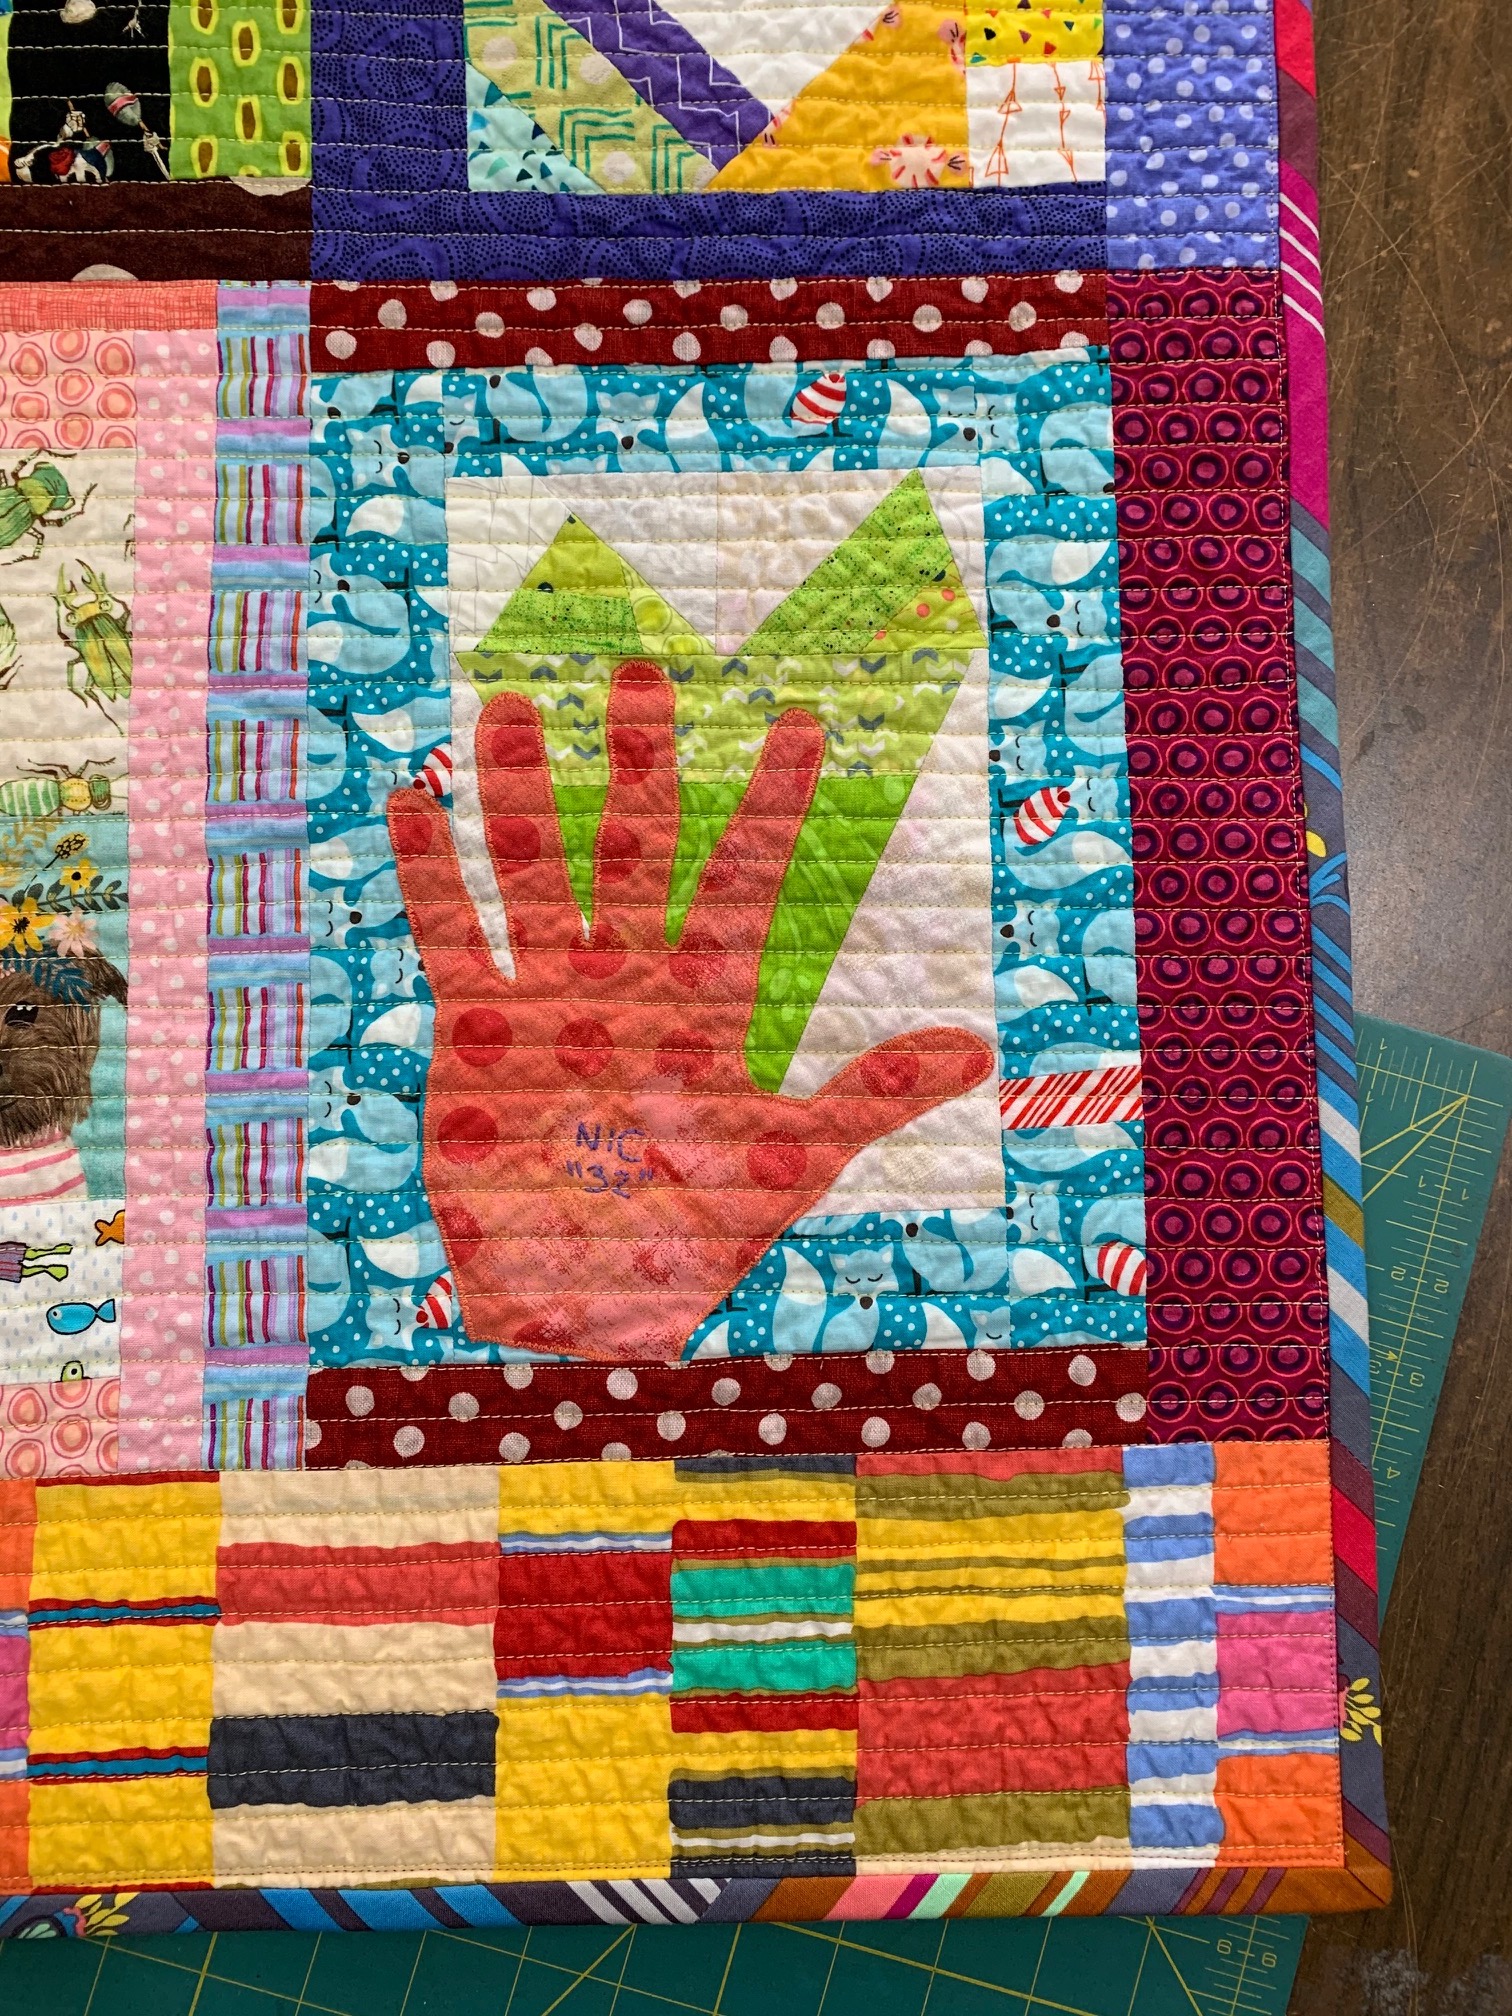
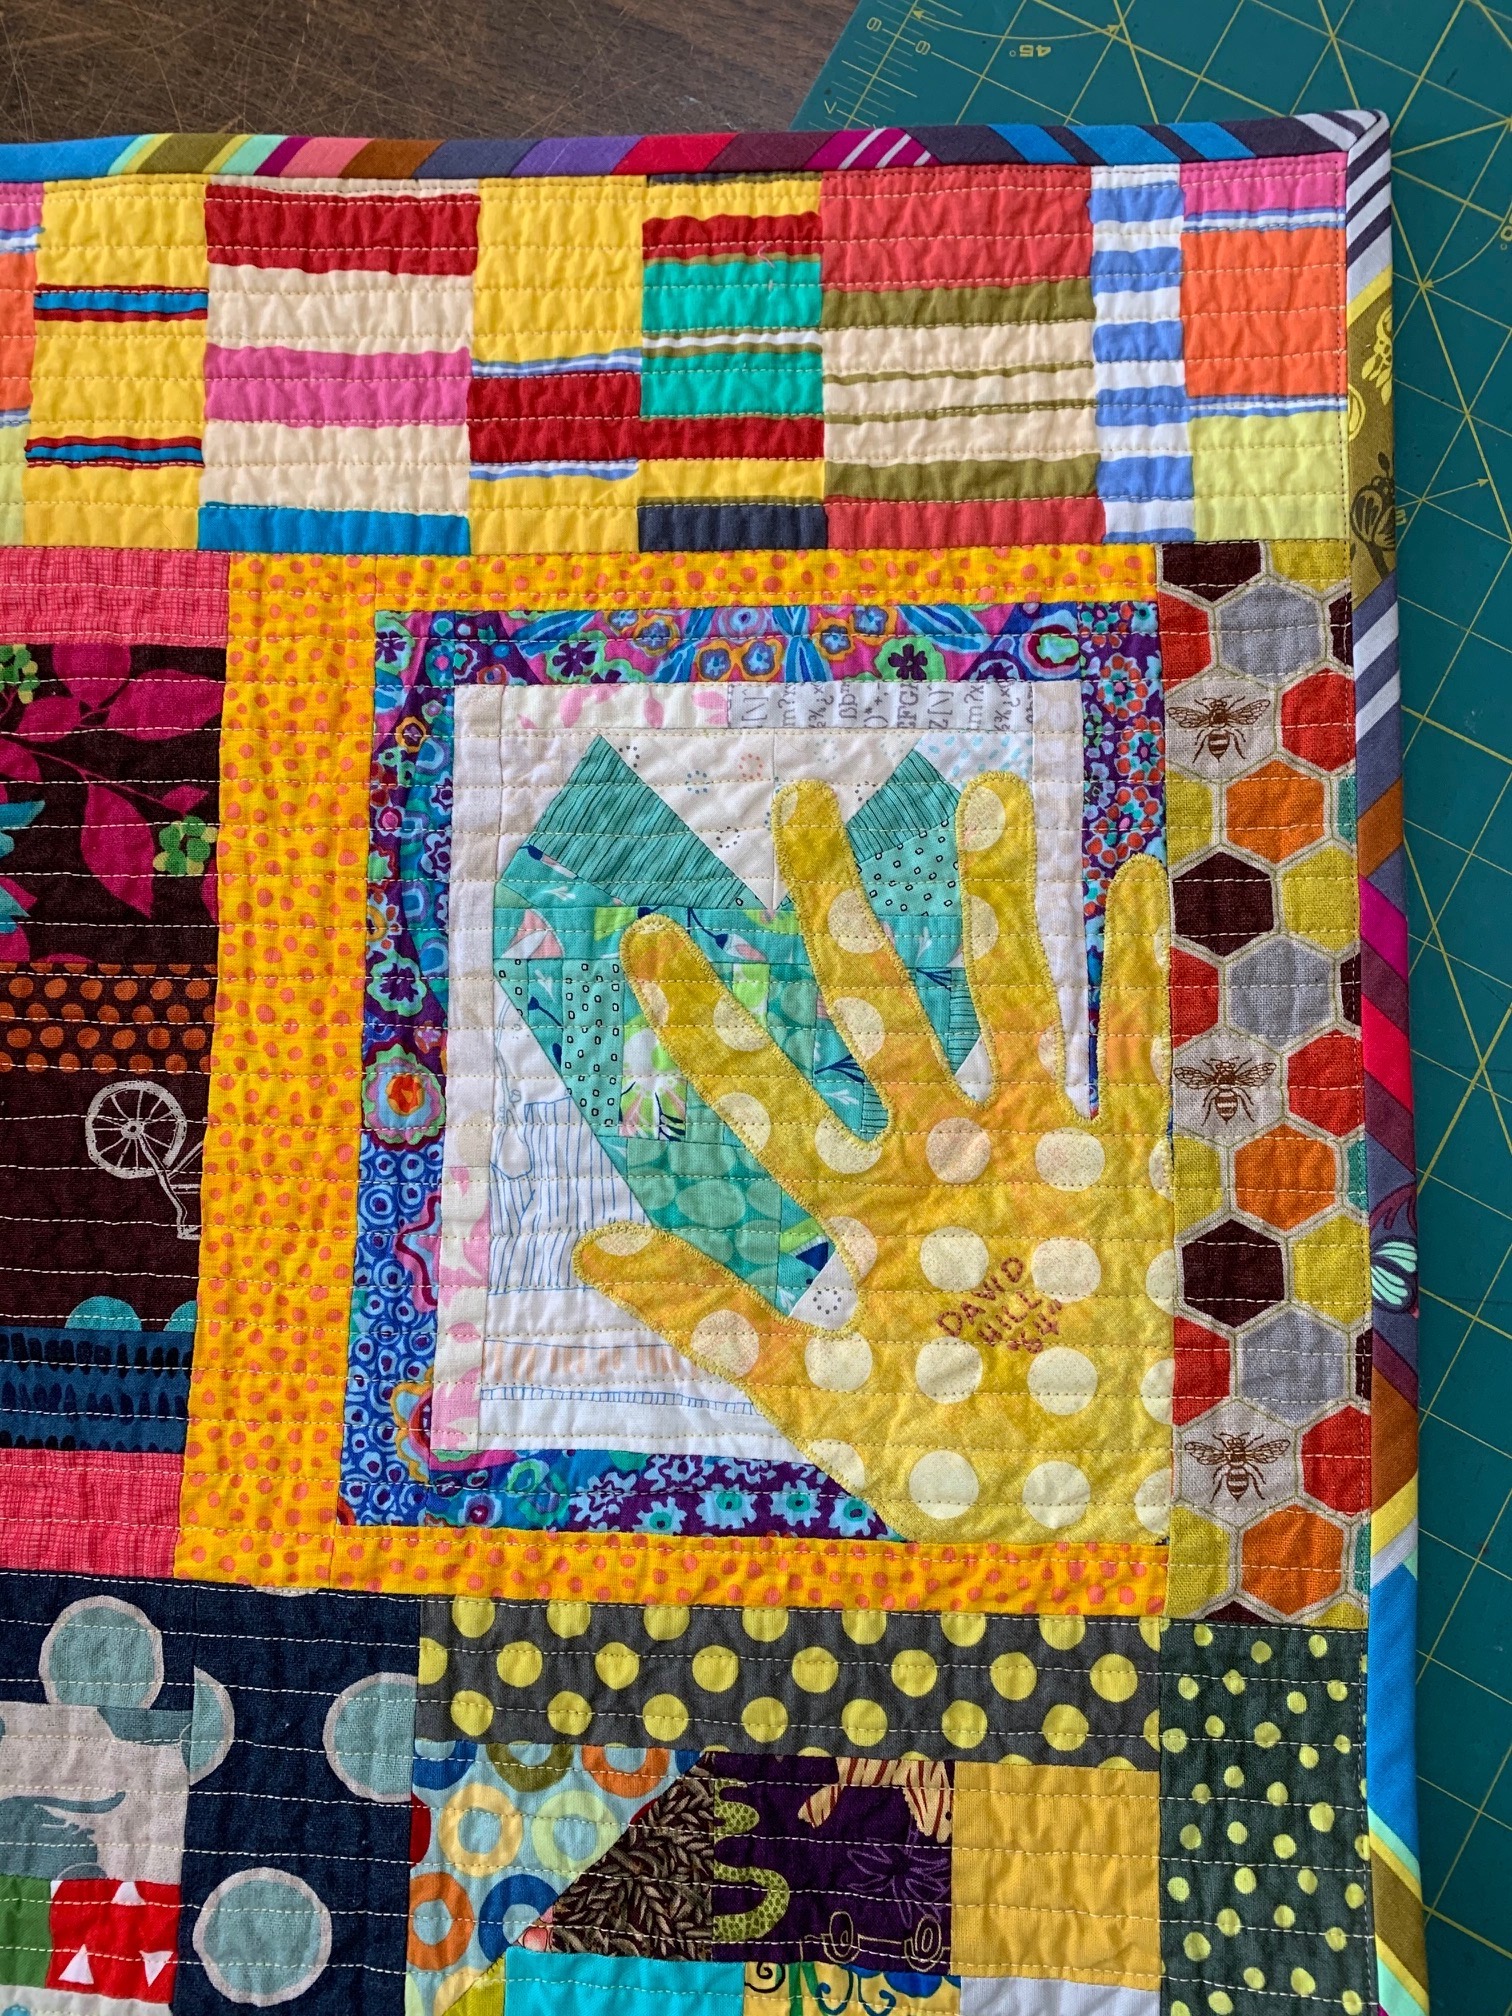
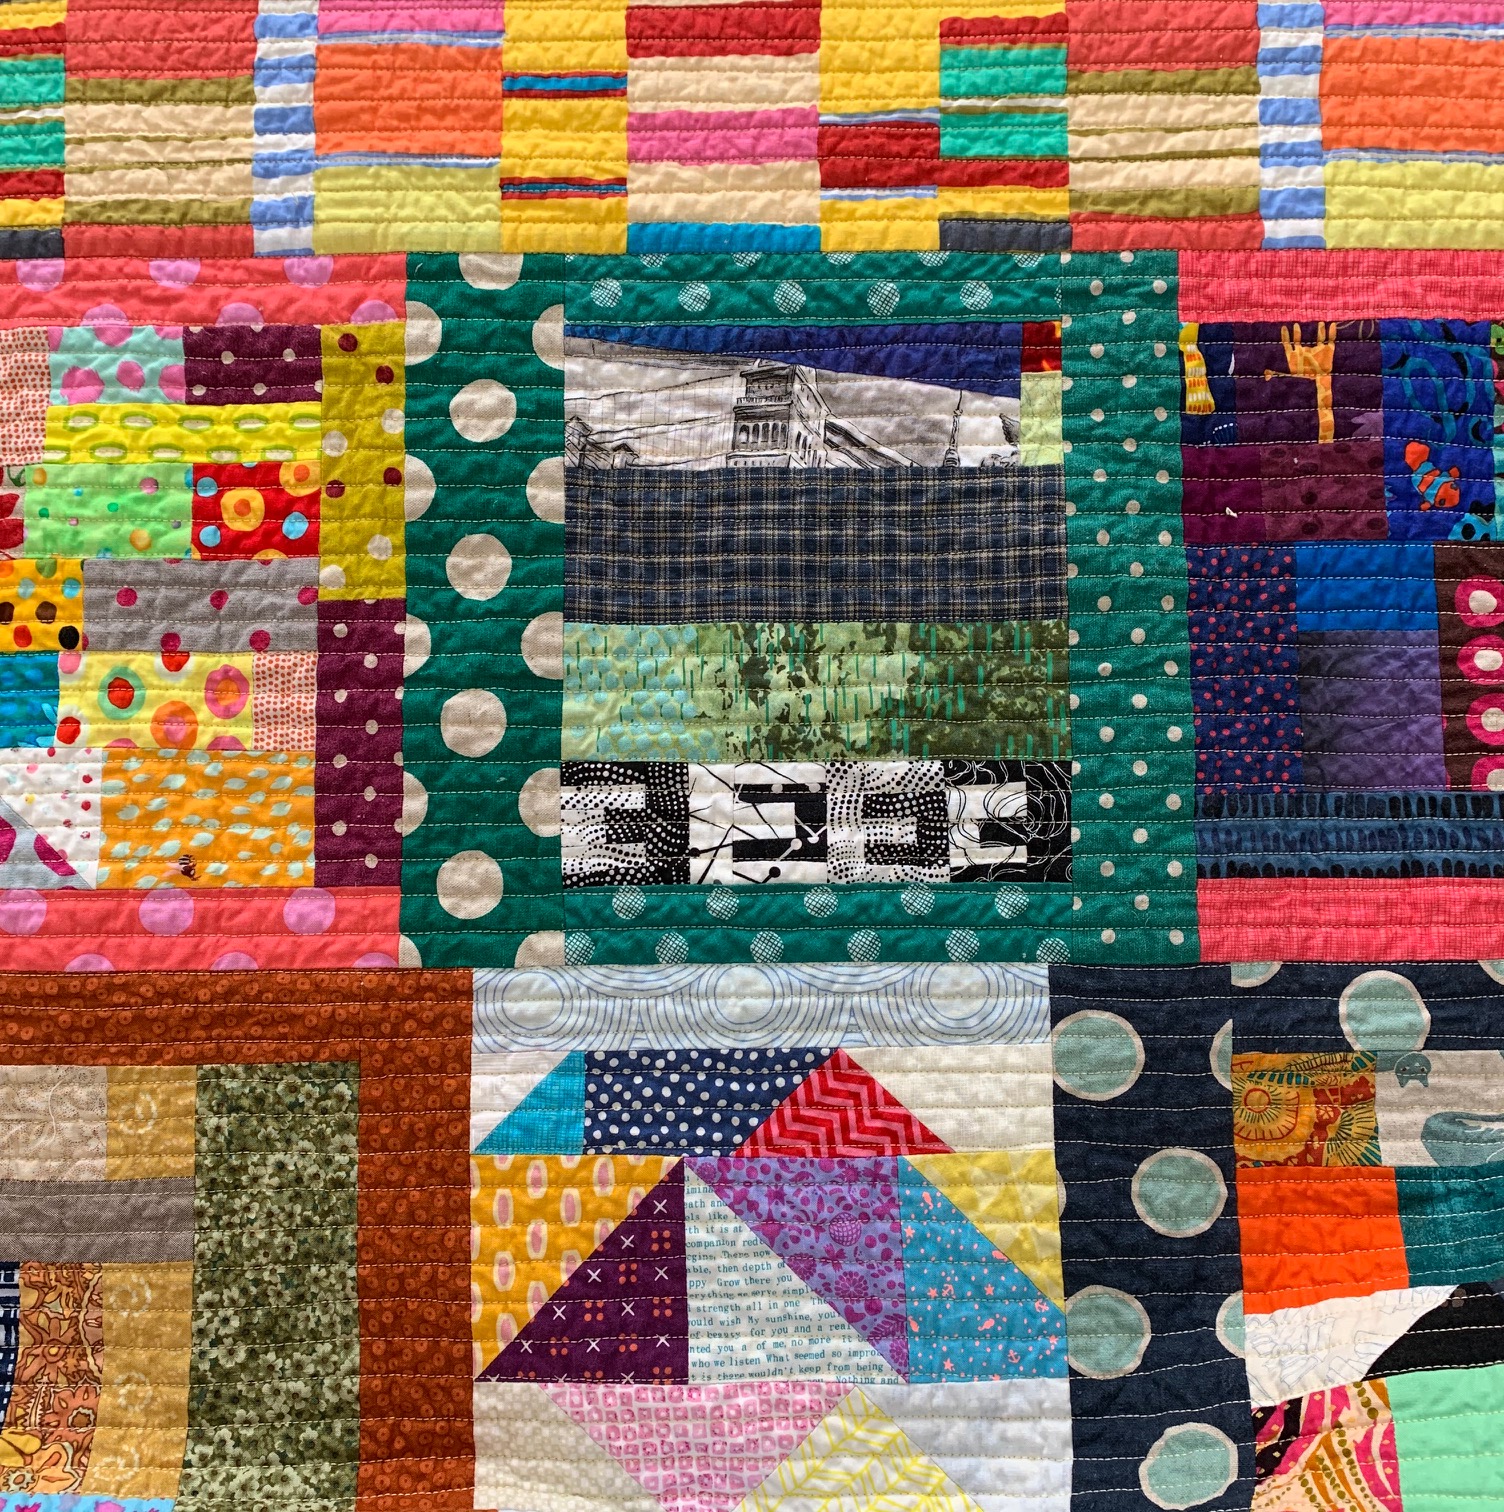
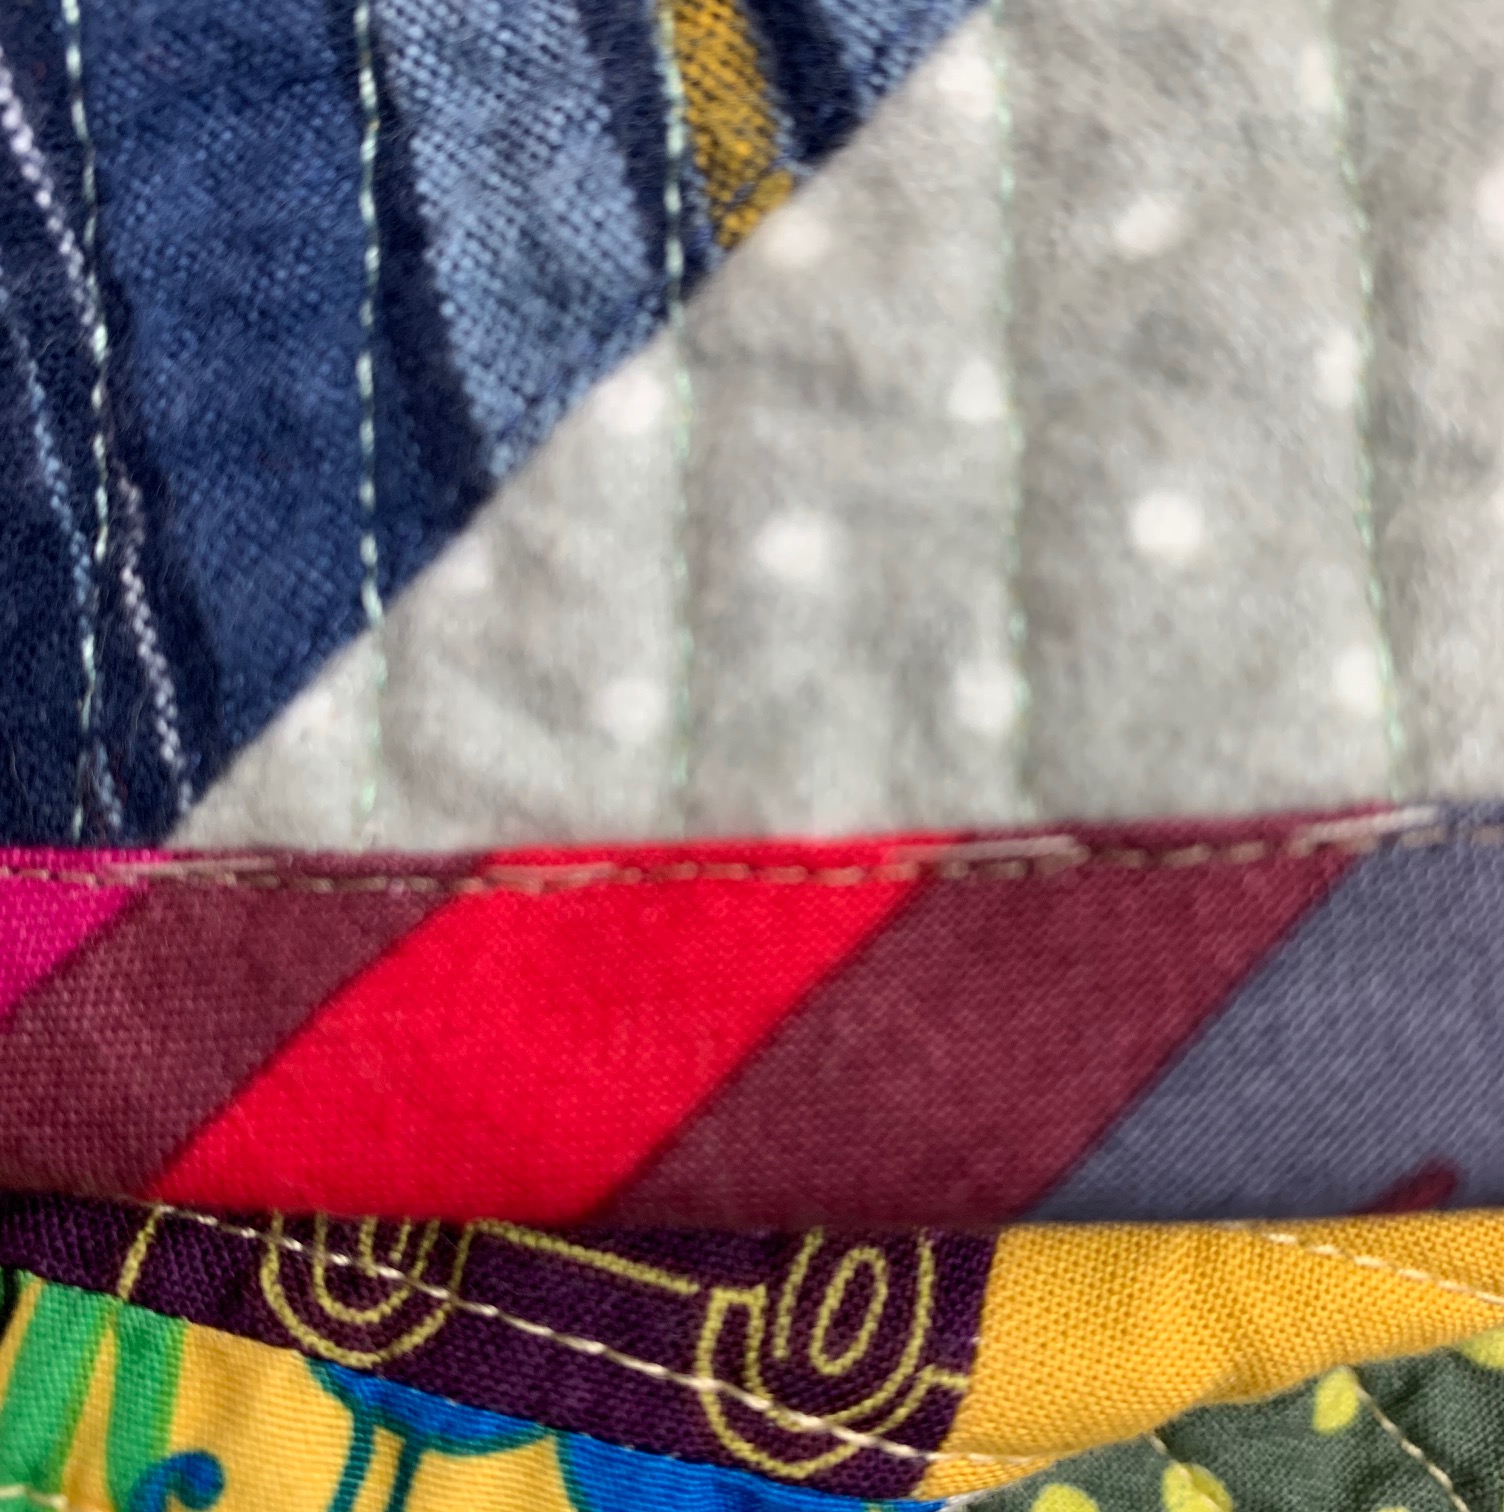
 Here are a few more detail photographs of the quilt front:
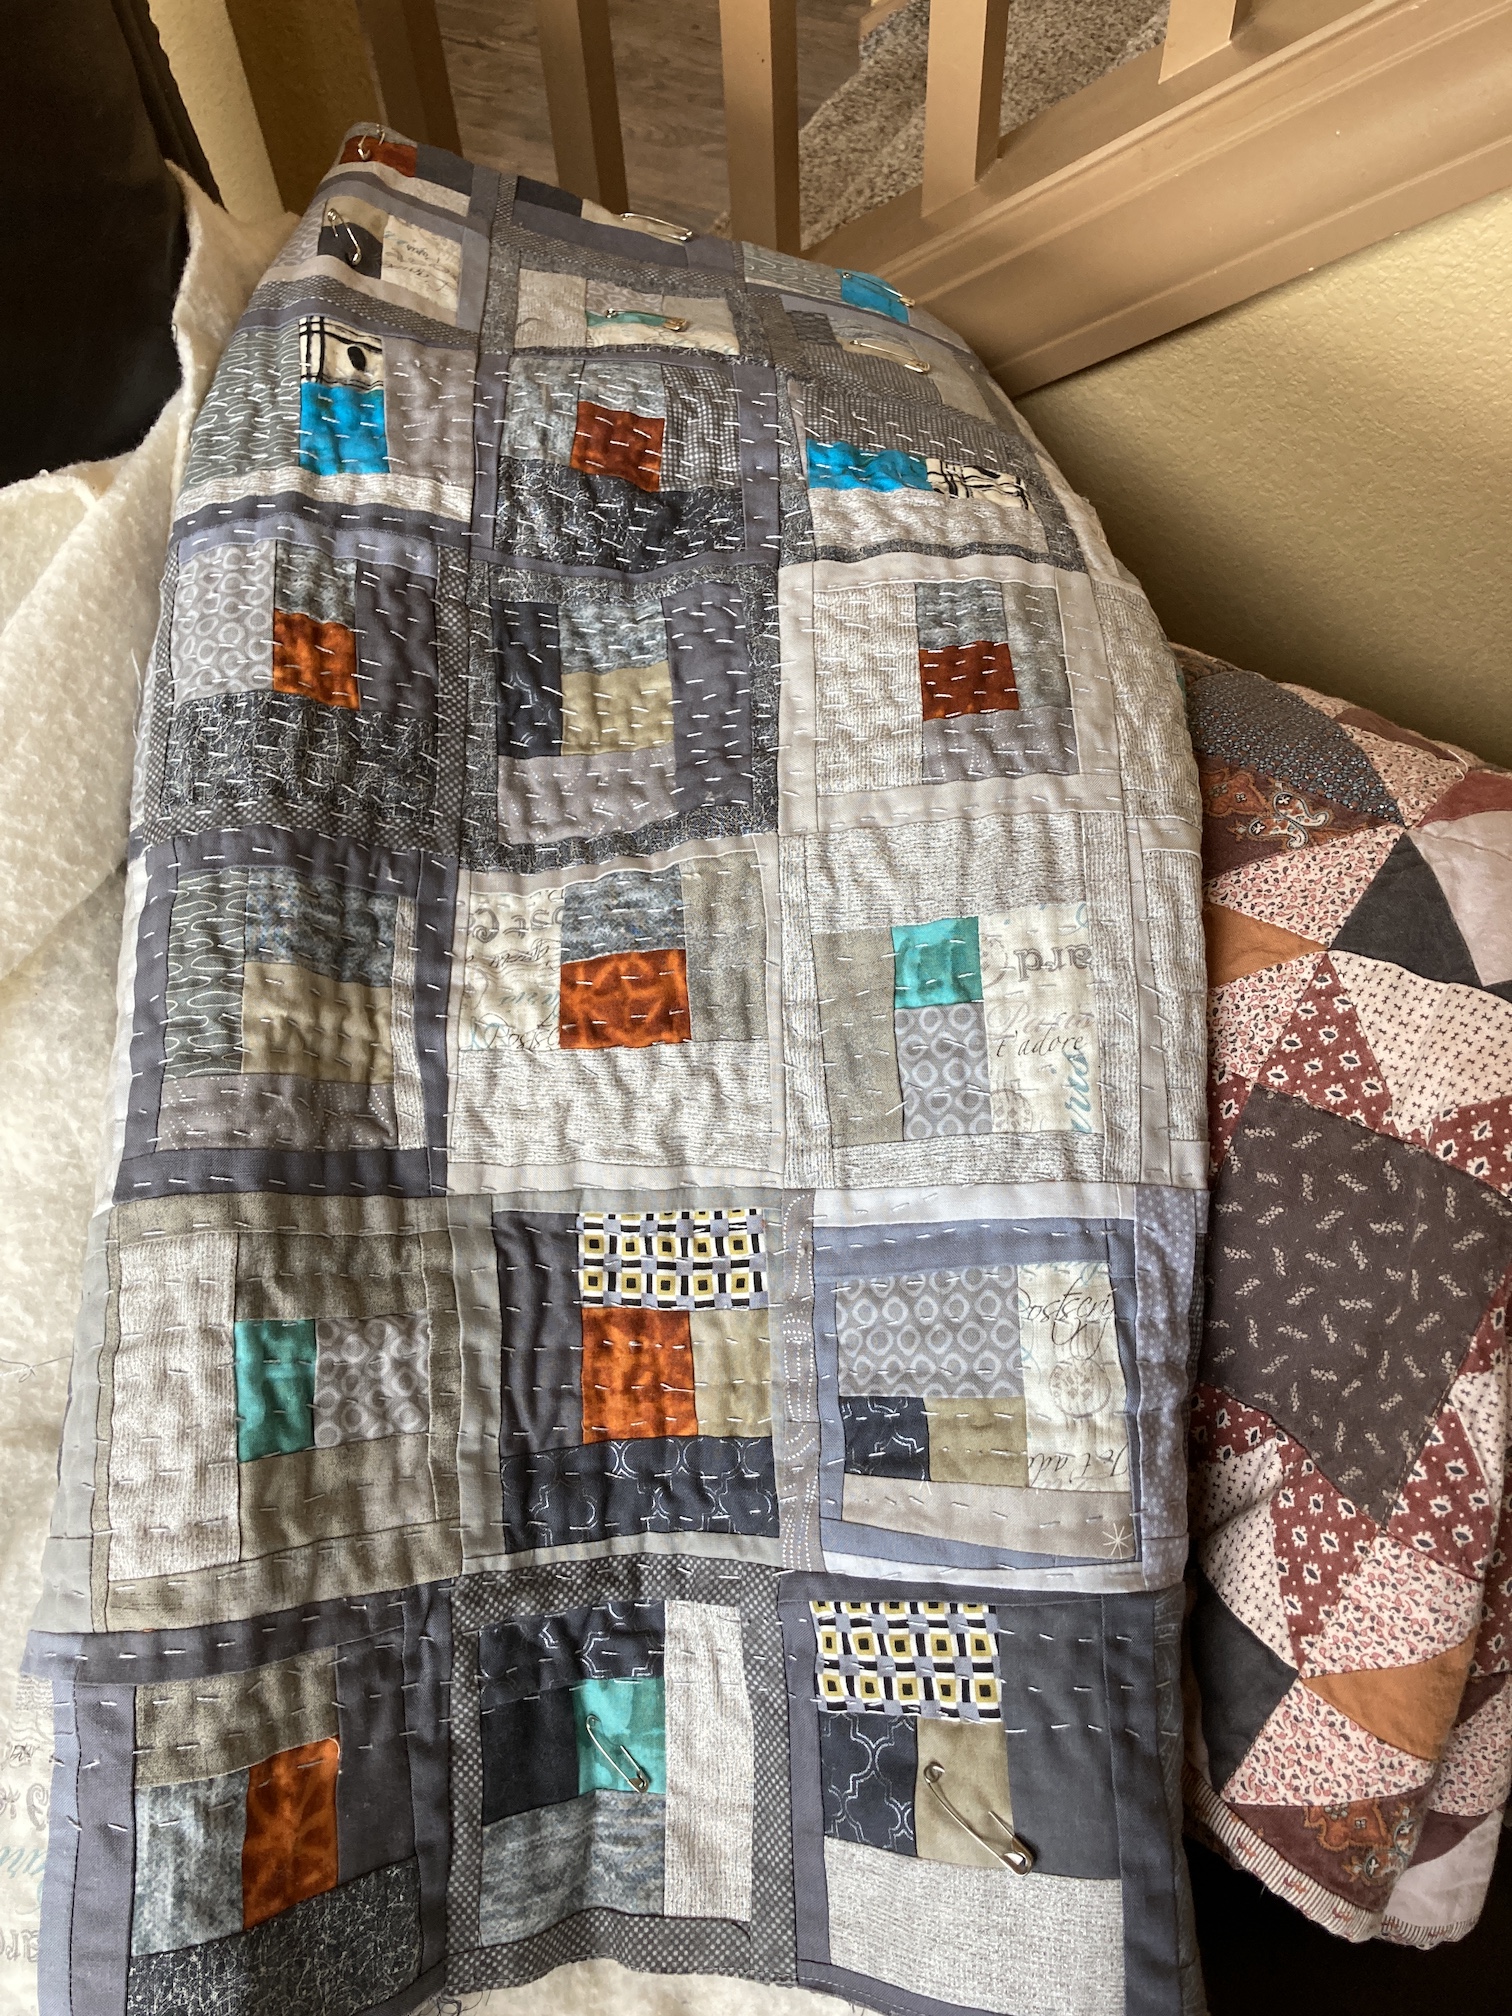
 The quilt back is fun too, with the assortment of found fabrics and leftovers. A friend sent me her found robot boy yardage for the center; she thought it perfect for The Boys.
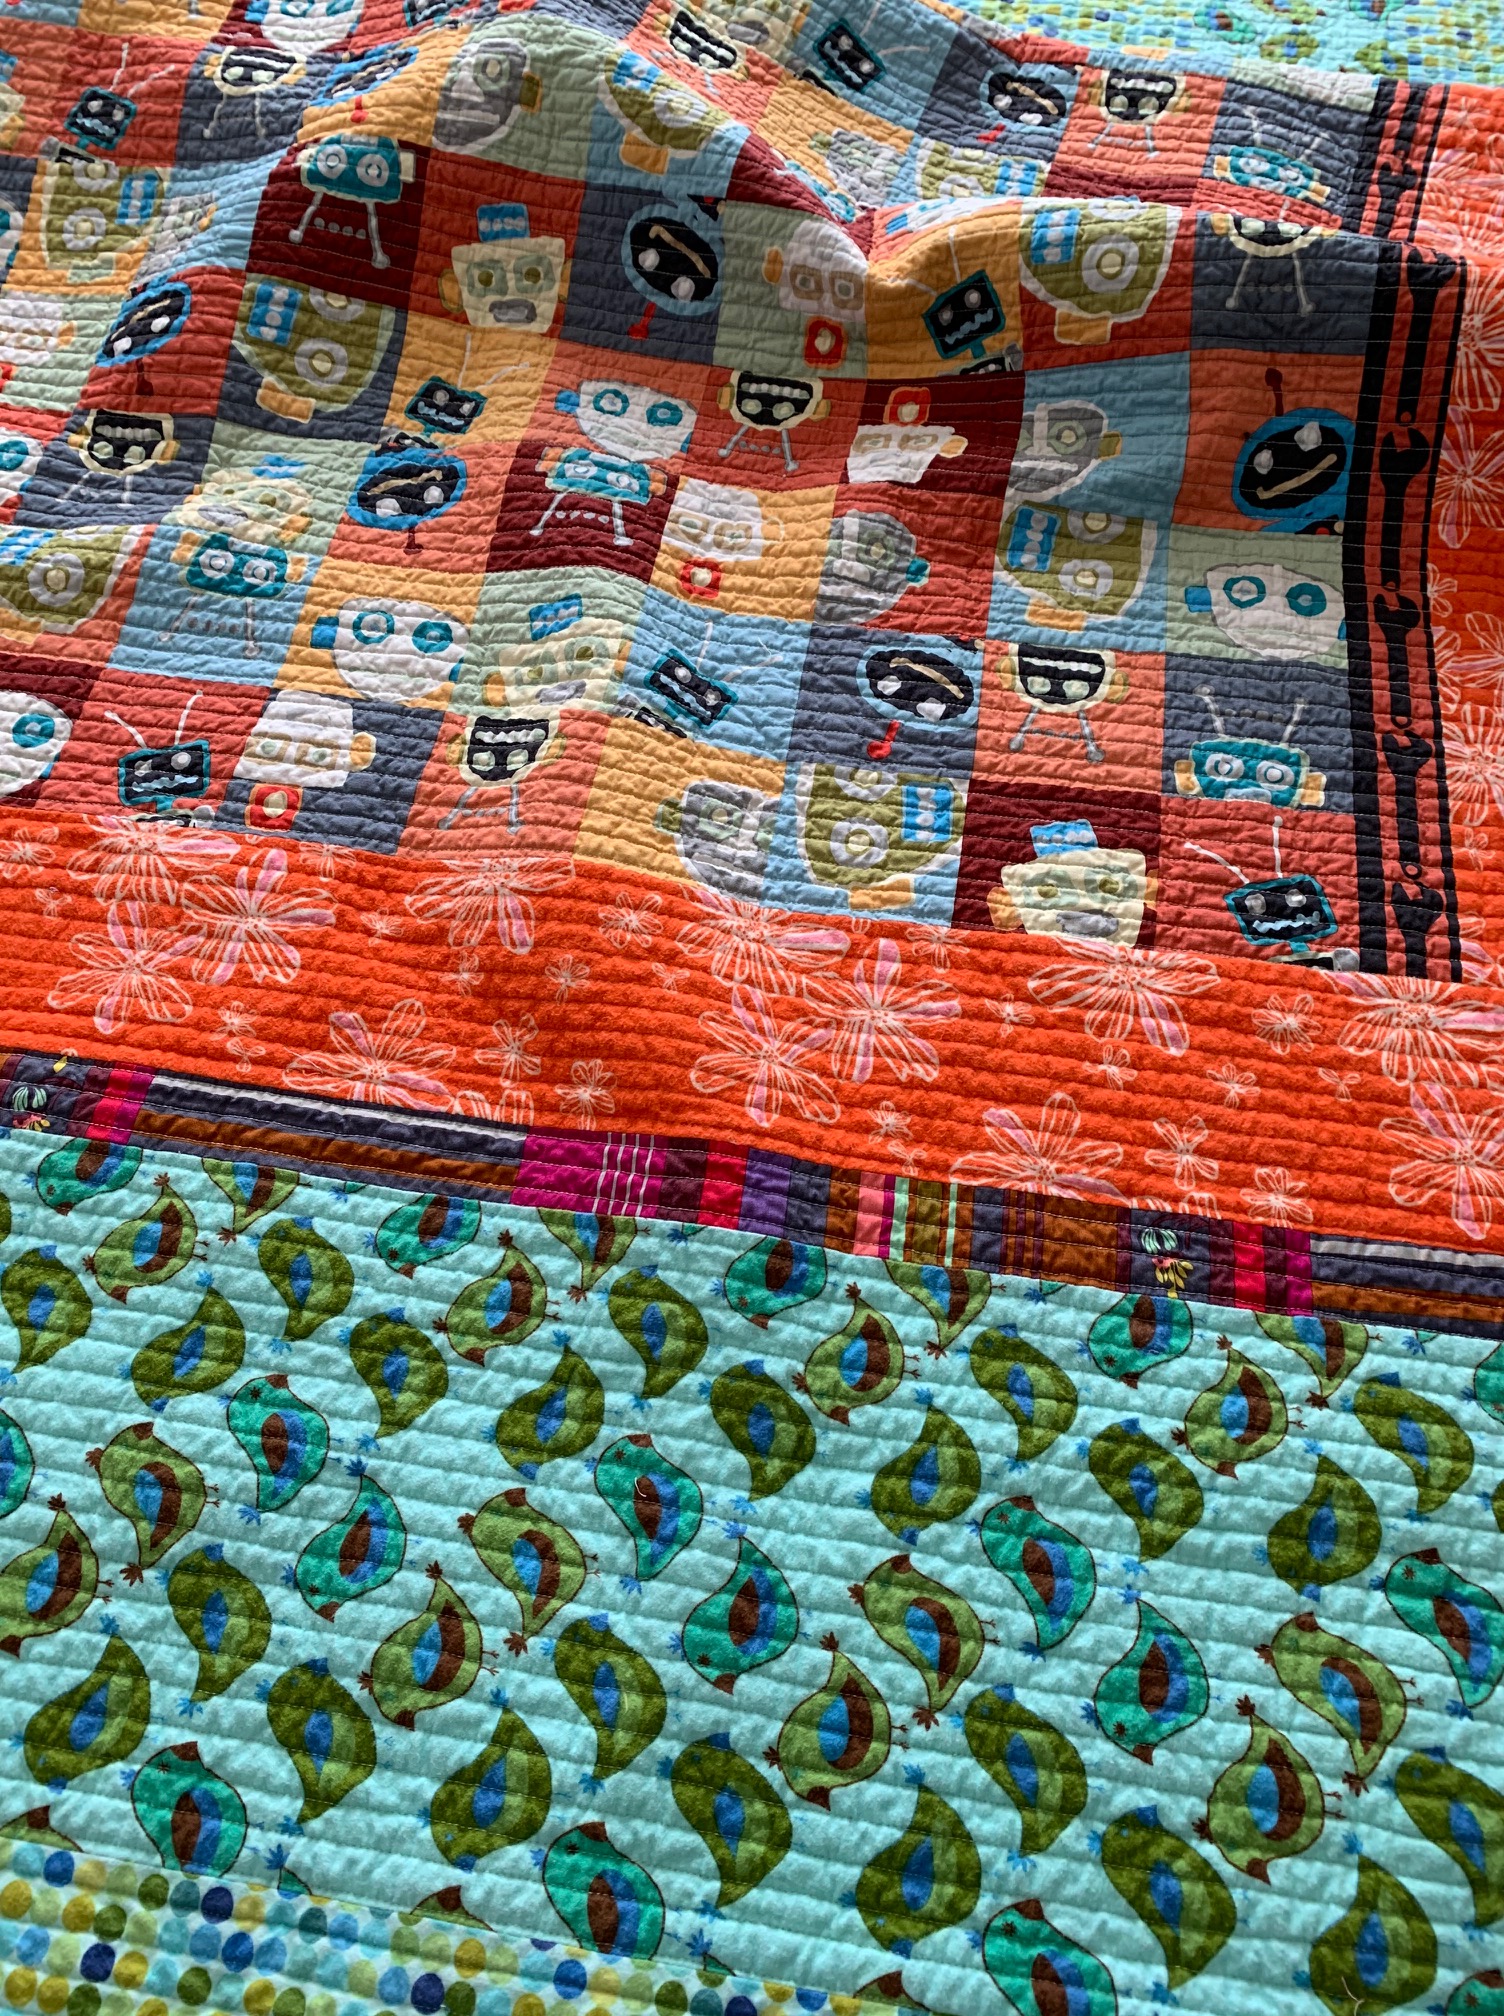

 I’m so pleased I took the time to embroider the labels. These labels will last as long as the quilt.

 It had been a long time since “The Boys” had seen the blocks, and I wondered what they would remember about their creations. But the 3 older boys wasted no time in finding their hand and favorite blocks.
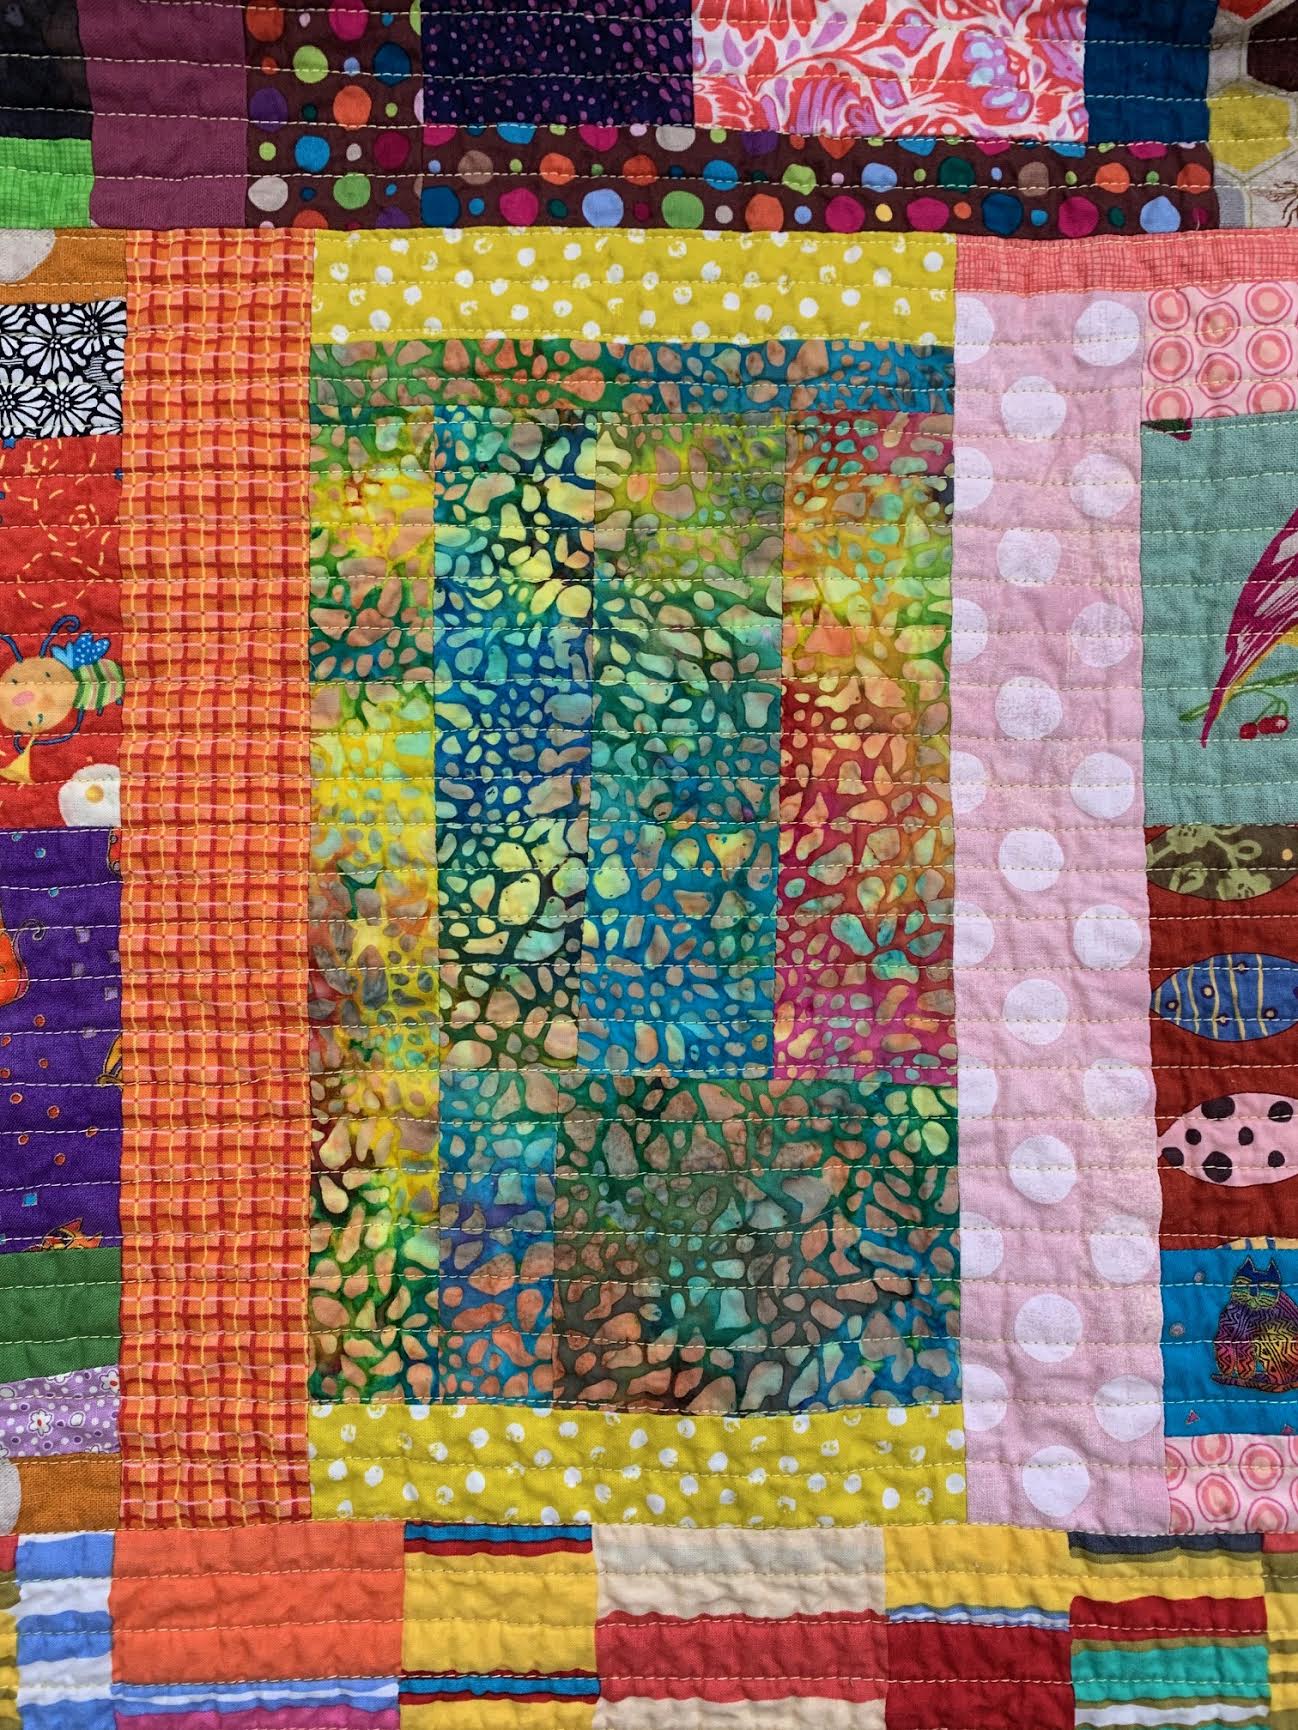 Another favorite of The Boys was this block. I think it’s graphic and moody, in a good way.
 Finally the day for the Big Giveaway came. David and I spread out several sheets on our back deck. As we watched the kids scramble around the quilt (while staying 10’ apart), some of us burst into tears while the rest became teary. This project was definitely a good thing.
 In the beginning, we were two neighbors who banded together when the state government ordered a month-long lockdown. At first, we joined forces to add something special to the daily life of “The Boys”, whose routines had changed suddenly with the Pandemic.


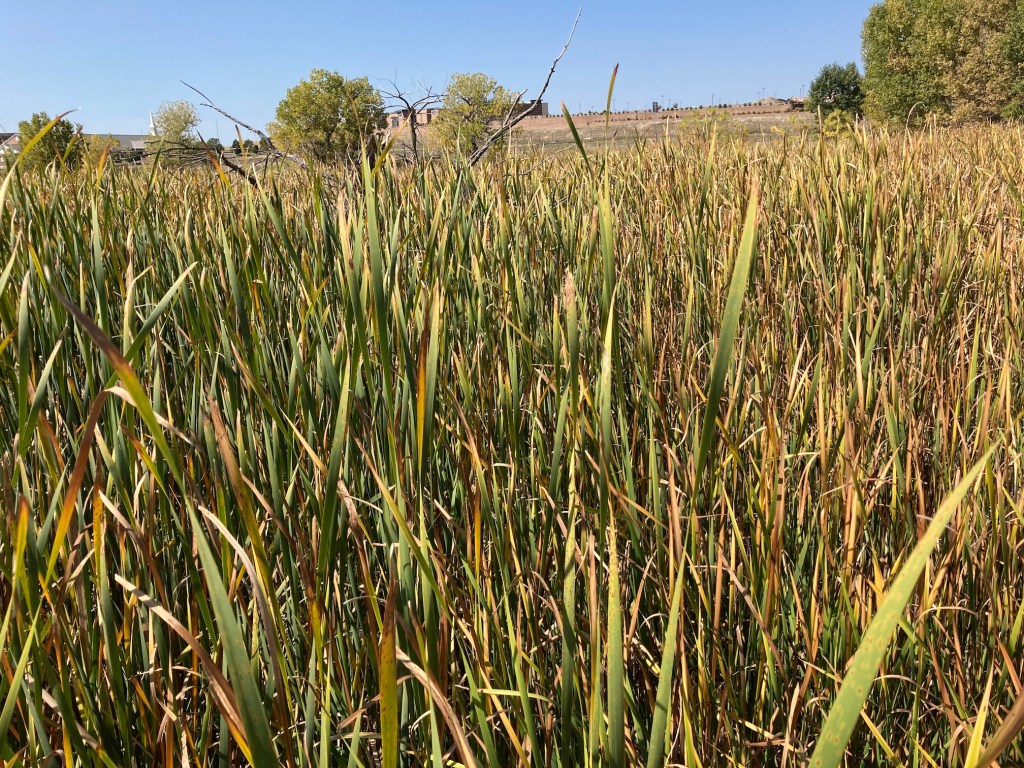
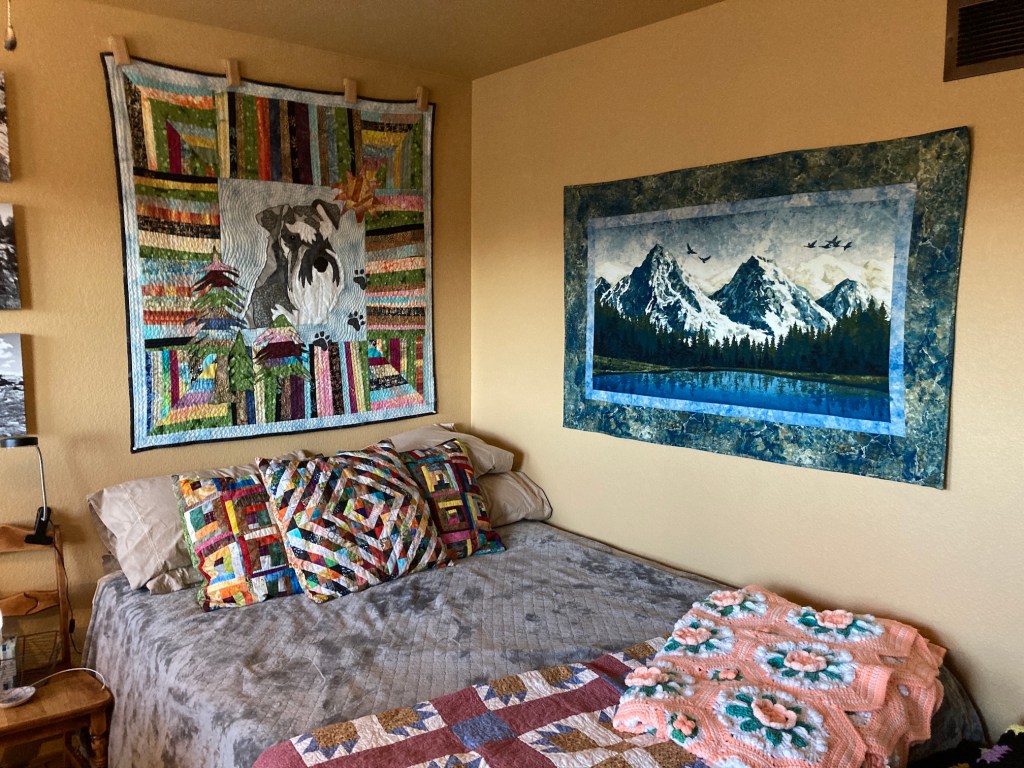
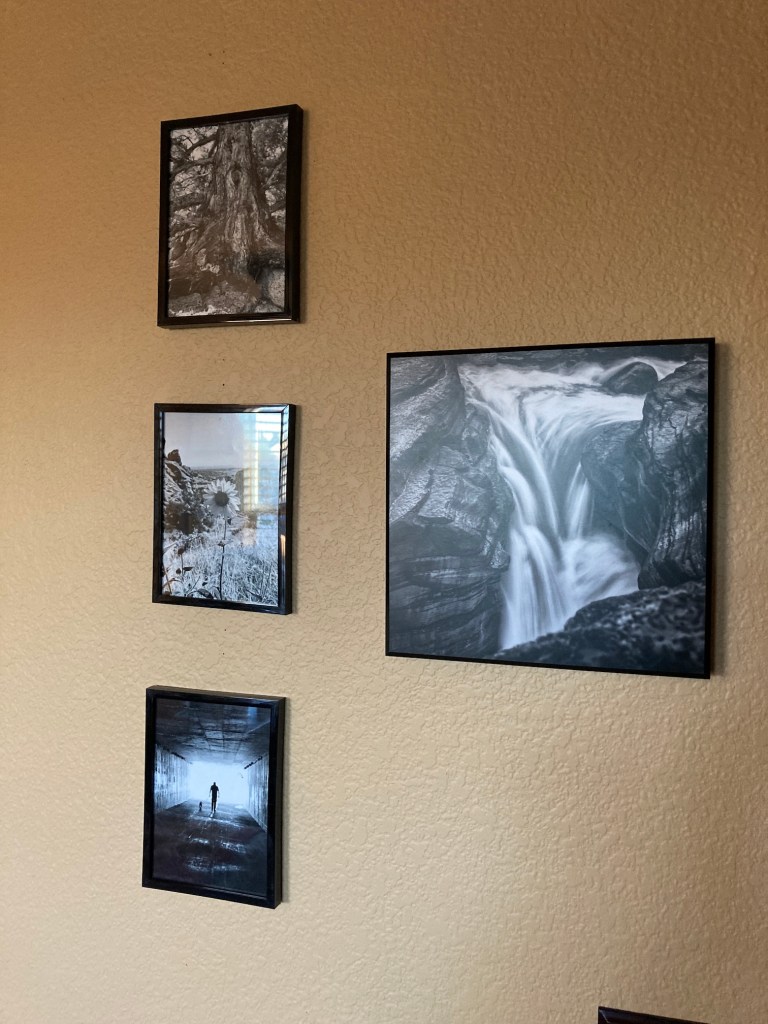
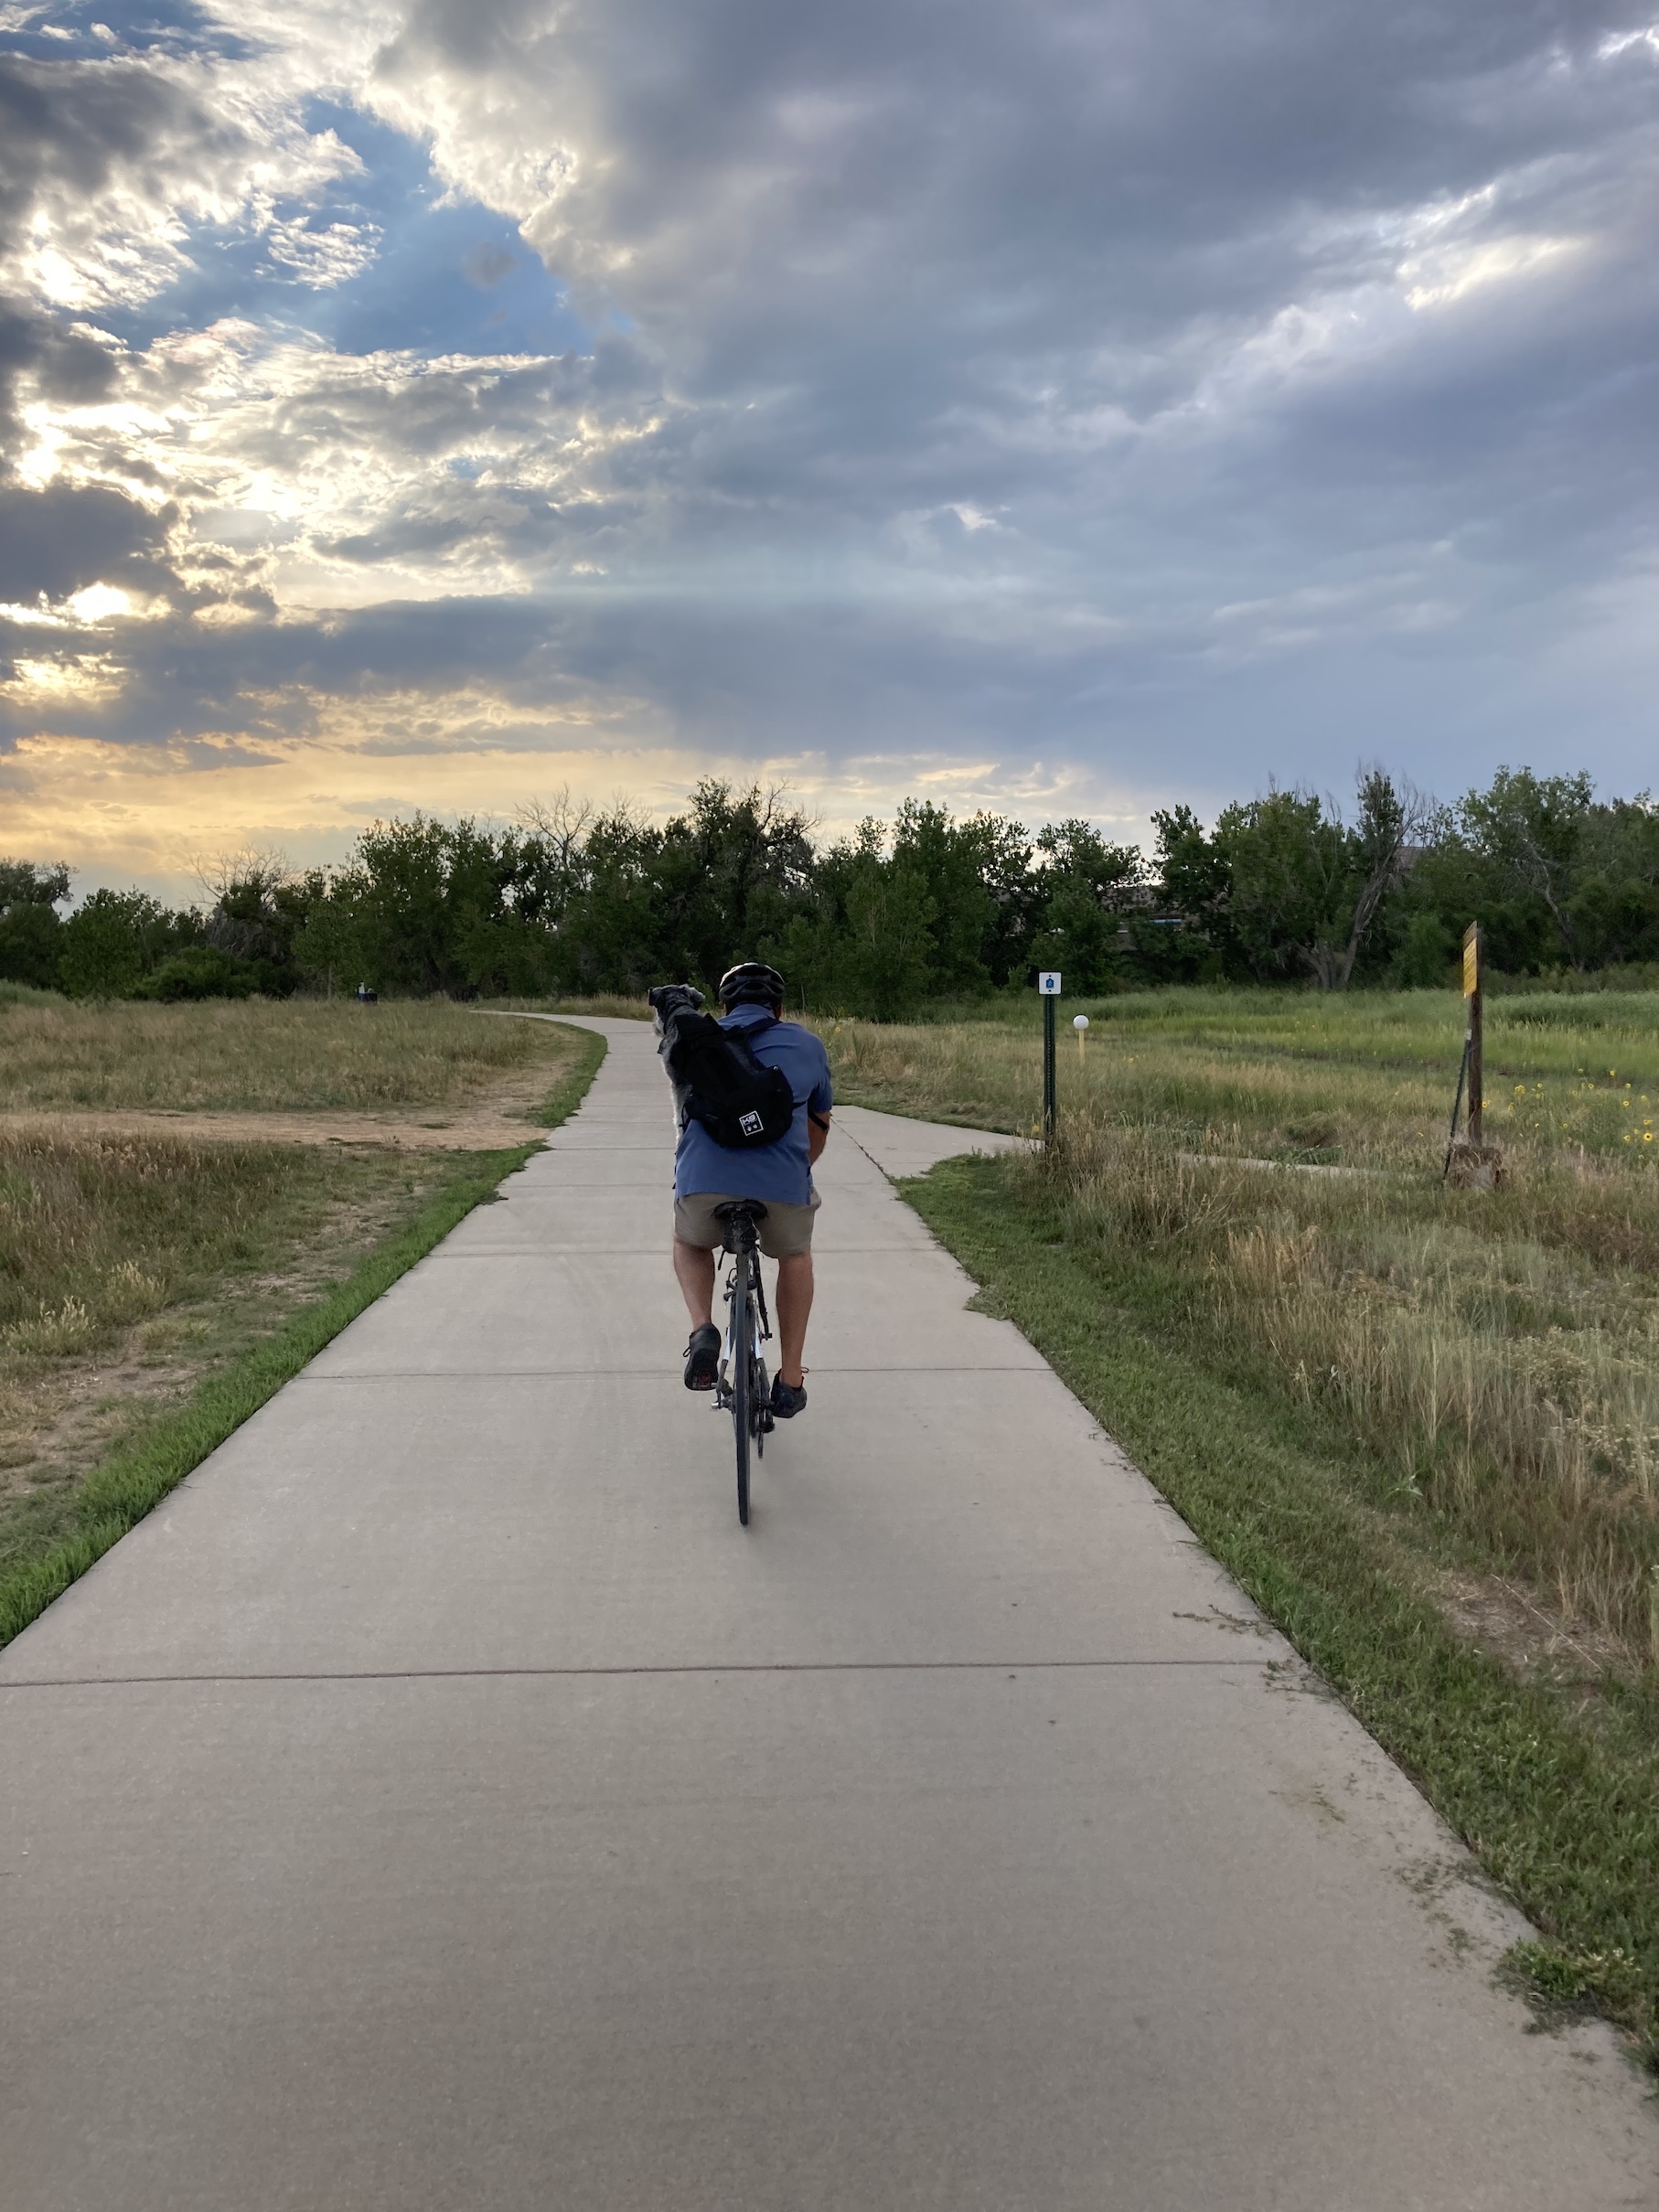
 I so enjoy seeing beautiful nature/landscape photos on the blogs I follow and I wanted to share a couple with you!
 We had to navigate the crowded hallway for a day or two, but the cats loved exploring this new-to-them space.
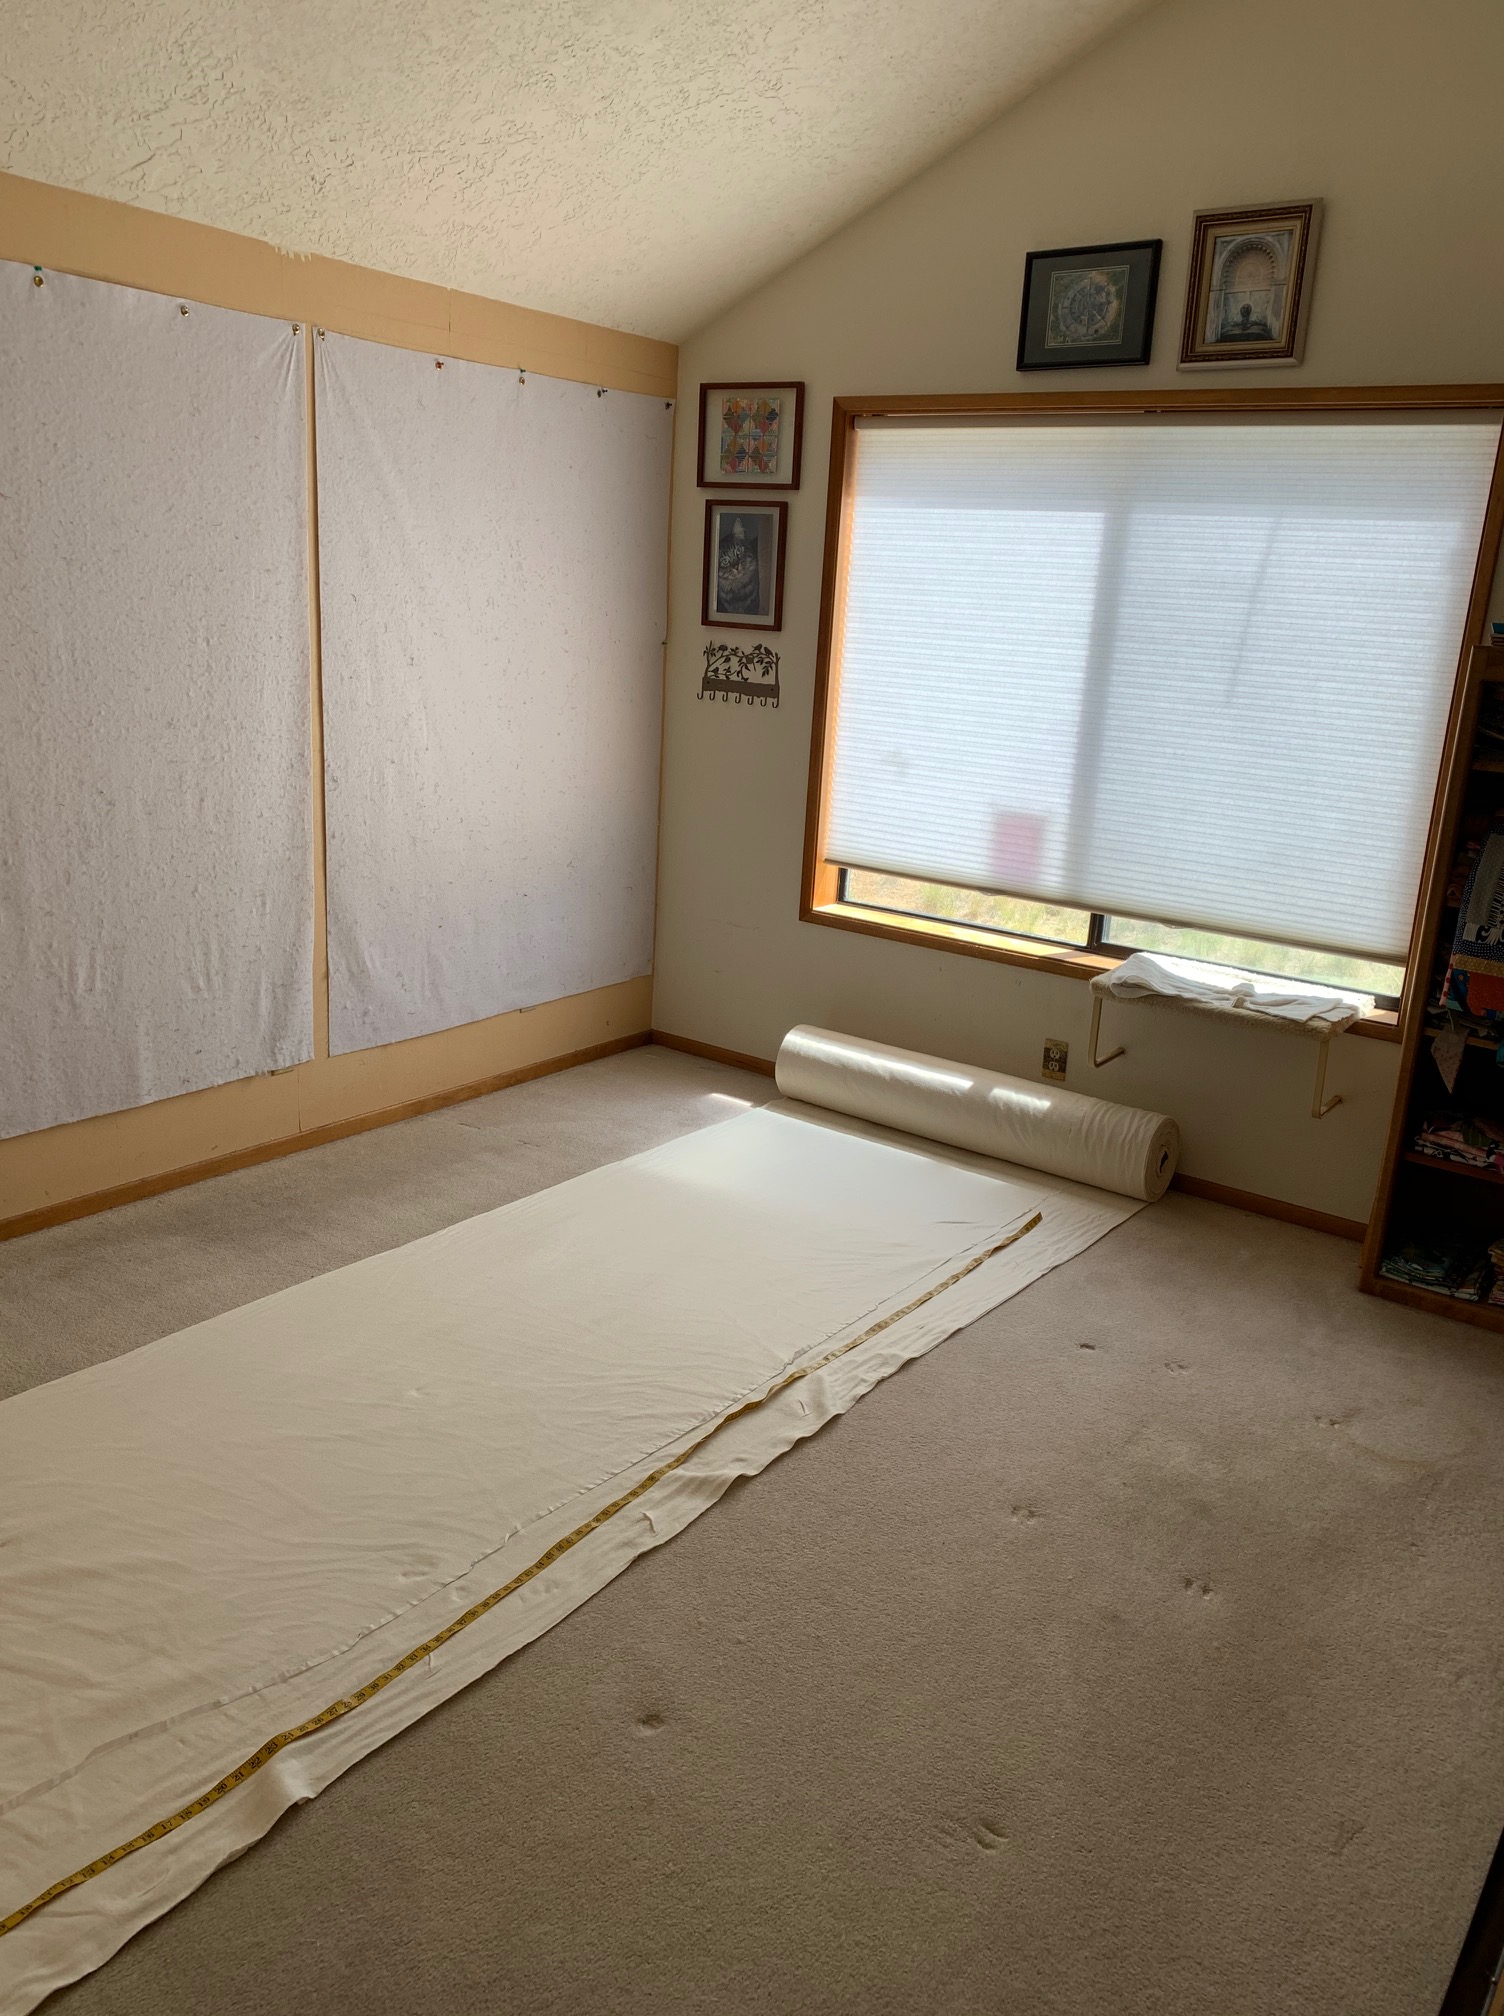
 With the quilt back centered on the batting, the window open, the ceiling fan on low, and paper around the edge to catch any over spray, I’m ready to baste.
 I can baste any size quilt with my “assistant”: a swim noodle. (My assistant never complains but getting up off the floor is another story!)
 Repeat to spray baste both halves of the quilt. Trim the excess batting along the fabric edge. Allow to dry for a few hours or overnight before turning over and taping the quilt to the floor.
 With both ends of the quilt rolled up to the middle, I stitched lines about 3”-4” apart with the water soluble thread, from the middle to the edge. Repeat with the other half. Re-roll the quilt in the other direction, stitching perpendicular lines about 3”-4” apart.


 With the quilt rolled up from both ends to the middle, I started stitching the roughly parallel lines, using the pressor foot as a guide. Ignore the water soluble thread lines.
 Keep quilting! The lines are actually unequal distances apart and not perfectly straight, but I like this look on a scrappy quilt.
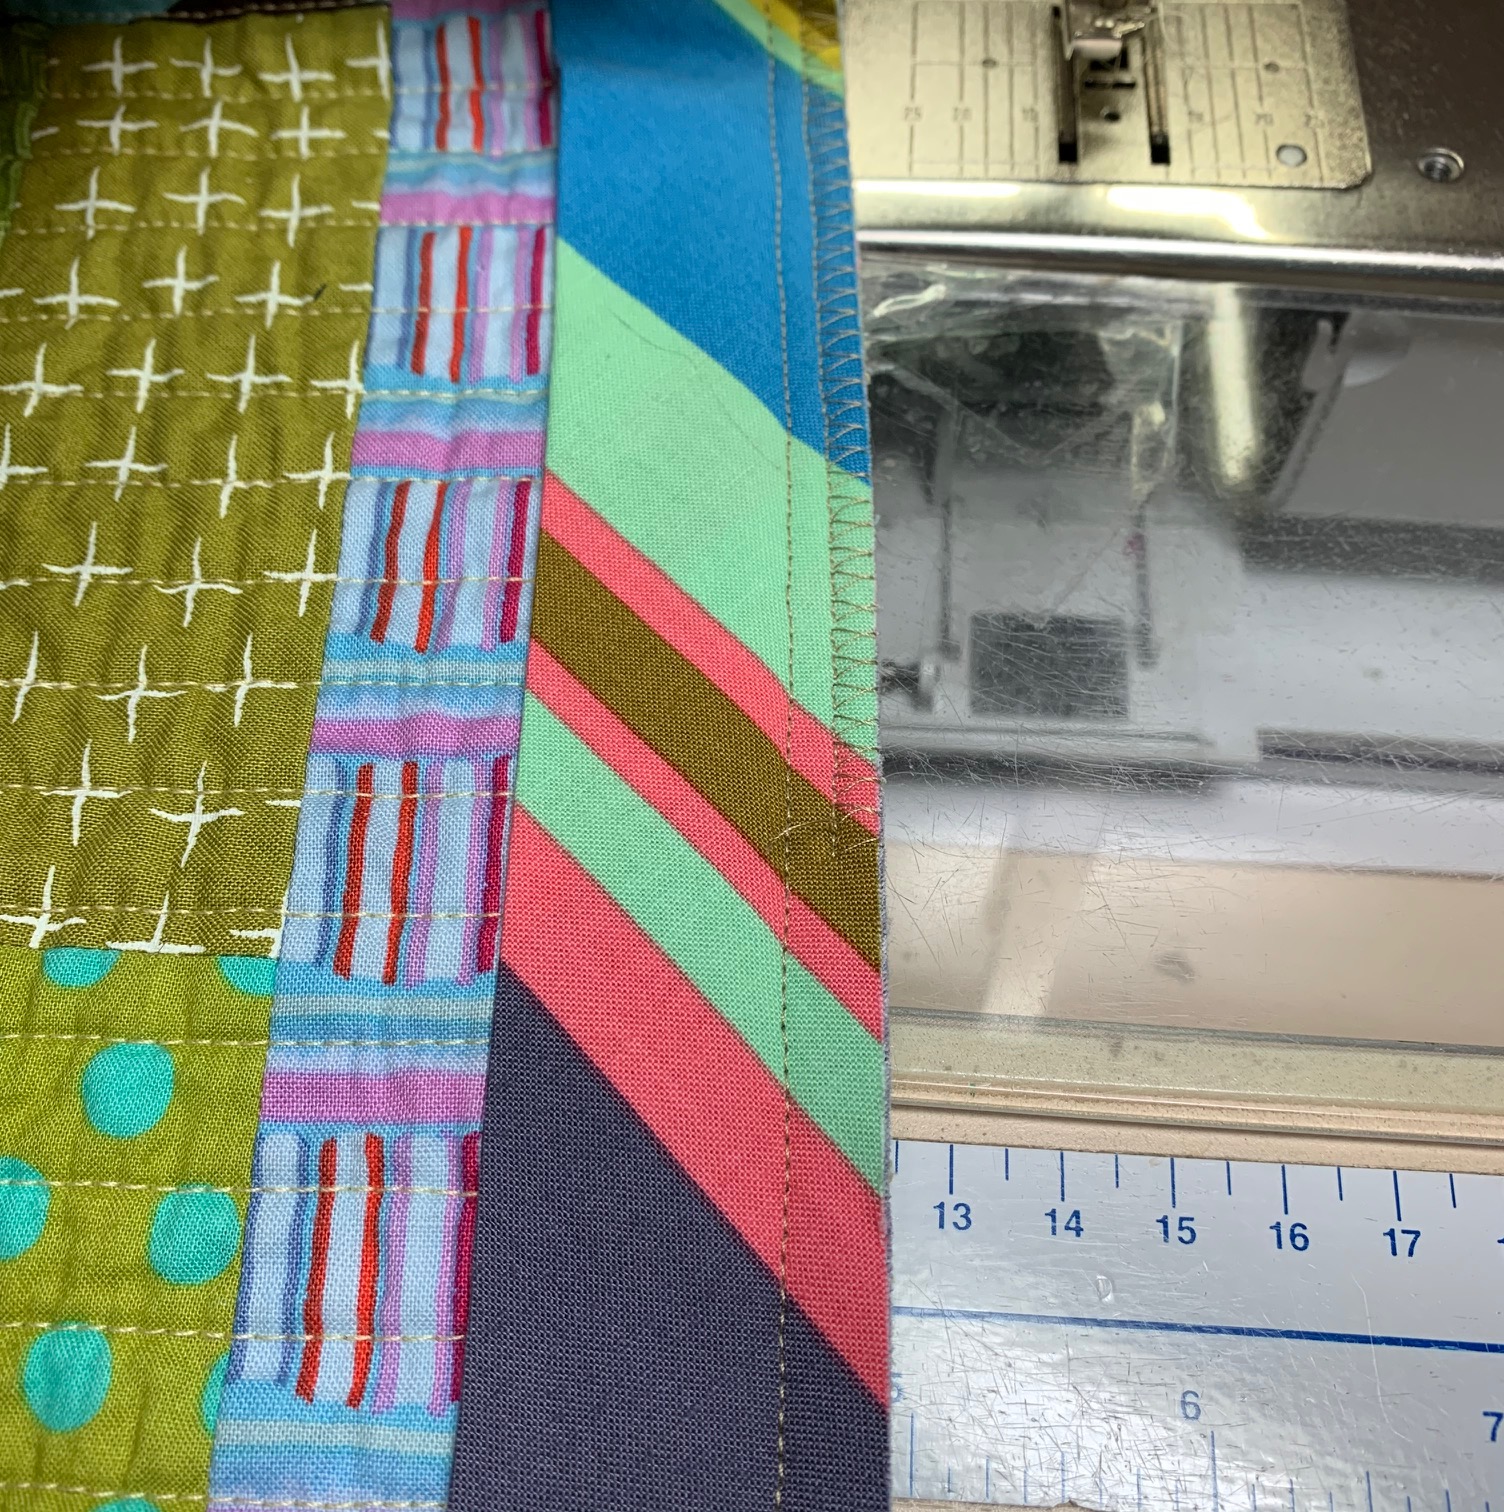
 I used the seam lines between the rows to “square up” my parallel lines.
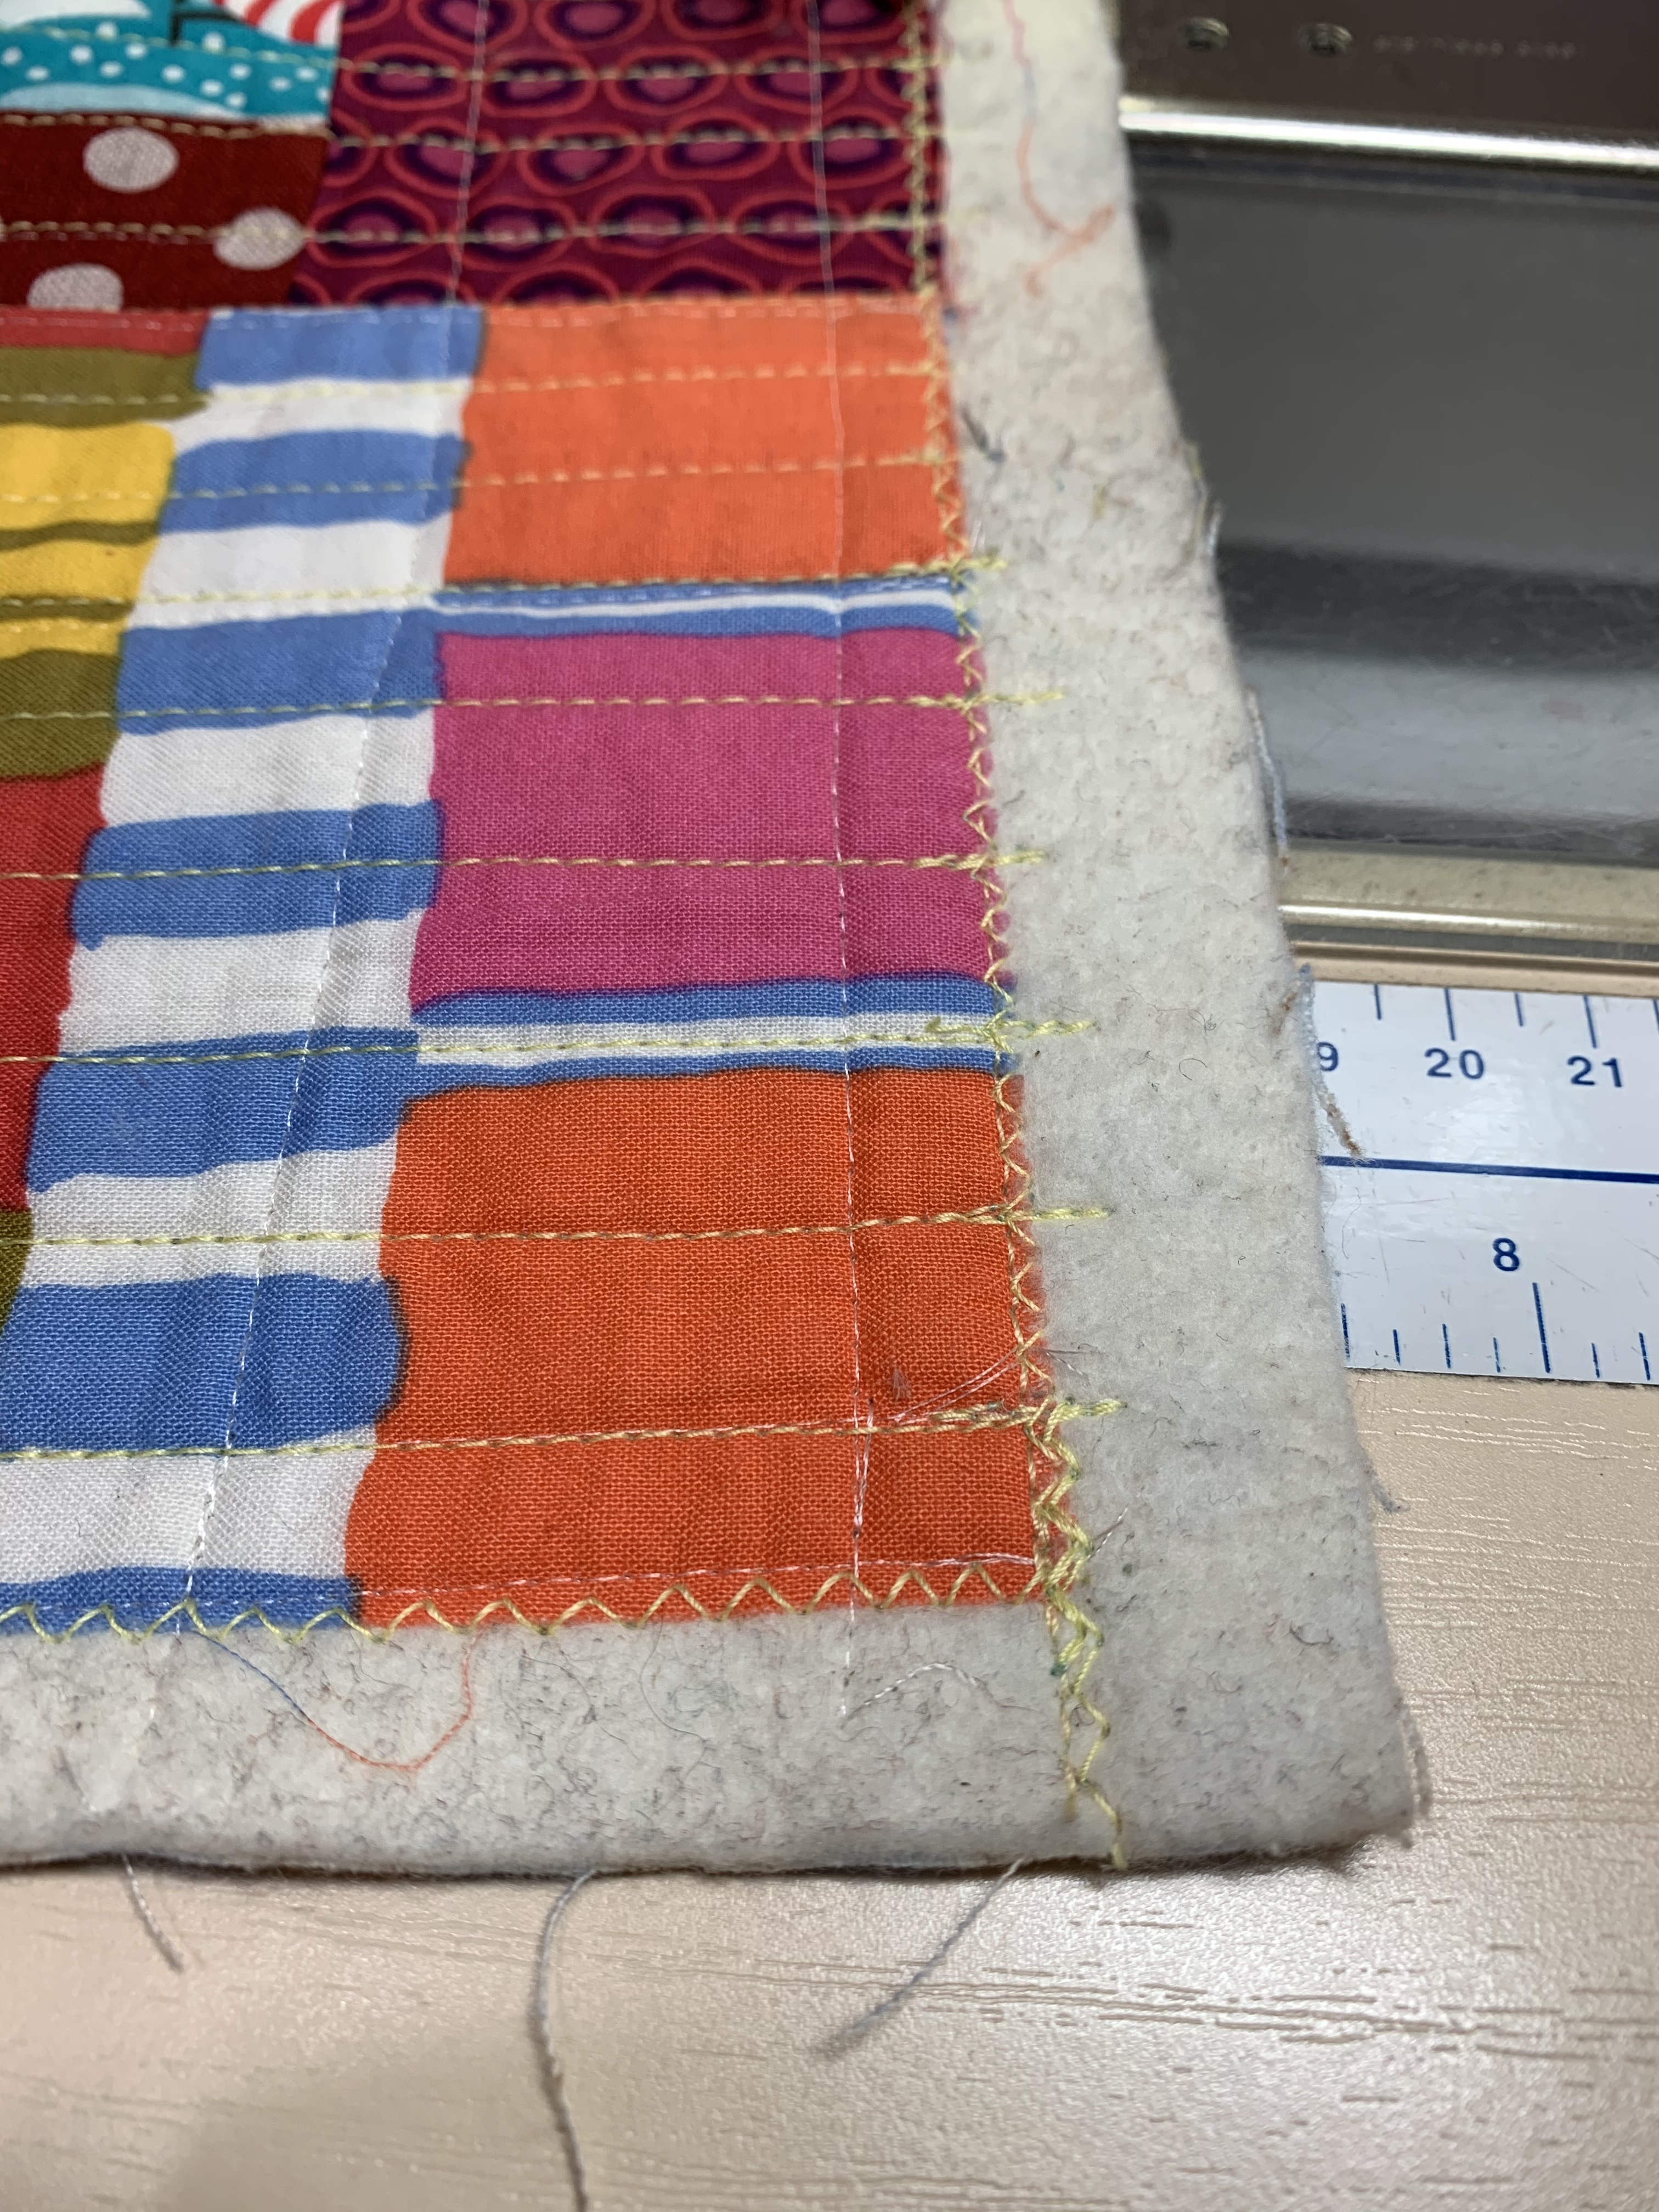
 Celebration! The very last line of stitching!! I zigzagged the edges and trimmed the batting before tossing the quilt into the washer and dryer. I like to let the quilt shrink at this stage, before sewing on the binding.
 Remove the quilt from the dryer while still slightly damp and allow to air dry the rest of the way.


 After folding over and pinning (or clipping) the binding in place, I hand sewed the mitered corners, about 1” in each direction from the corner.
 Flip over. From the front, you can see the basting thread: this shows you exactly where the fold is on the other side.
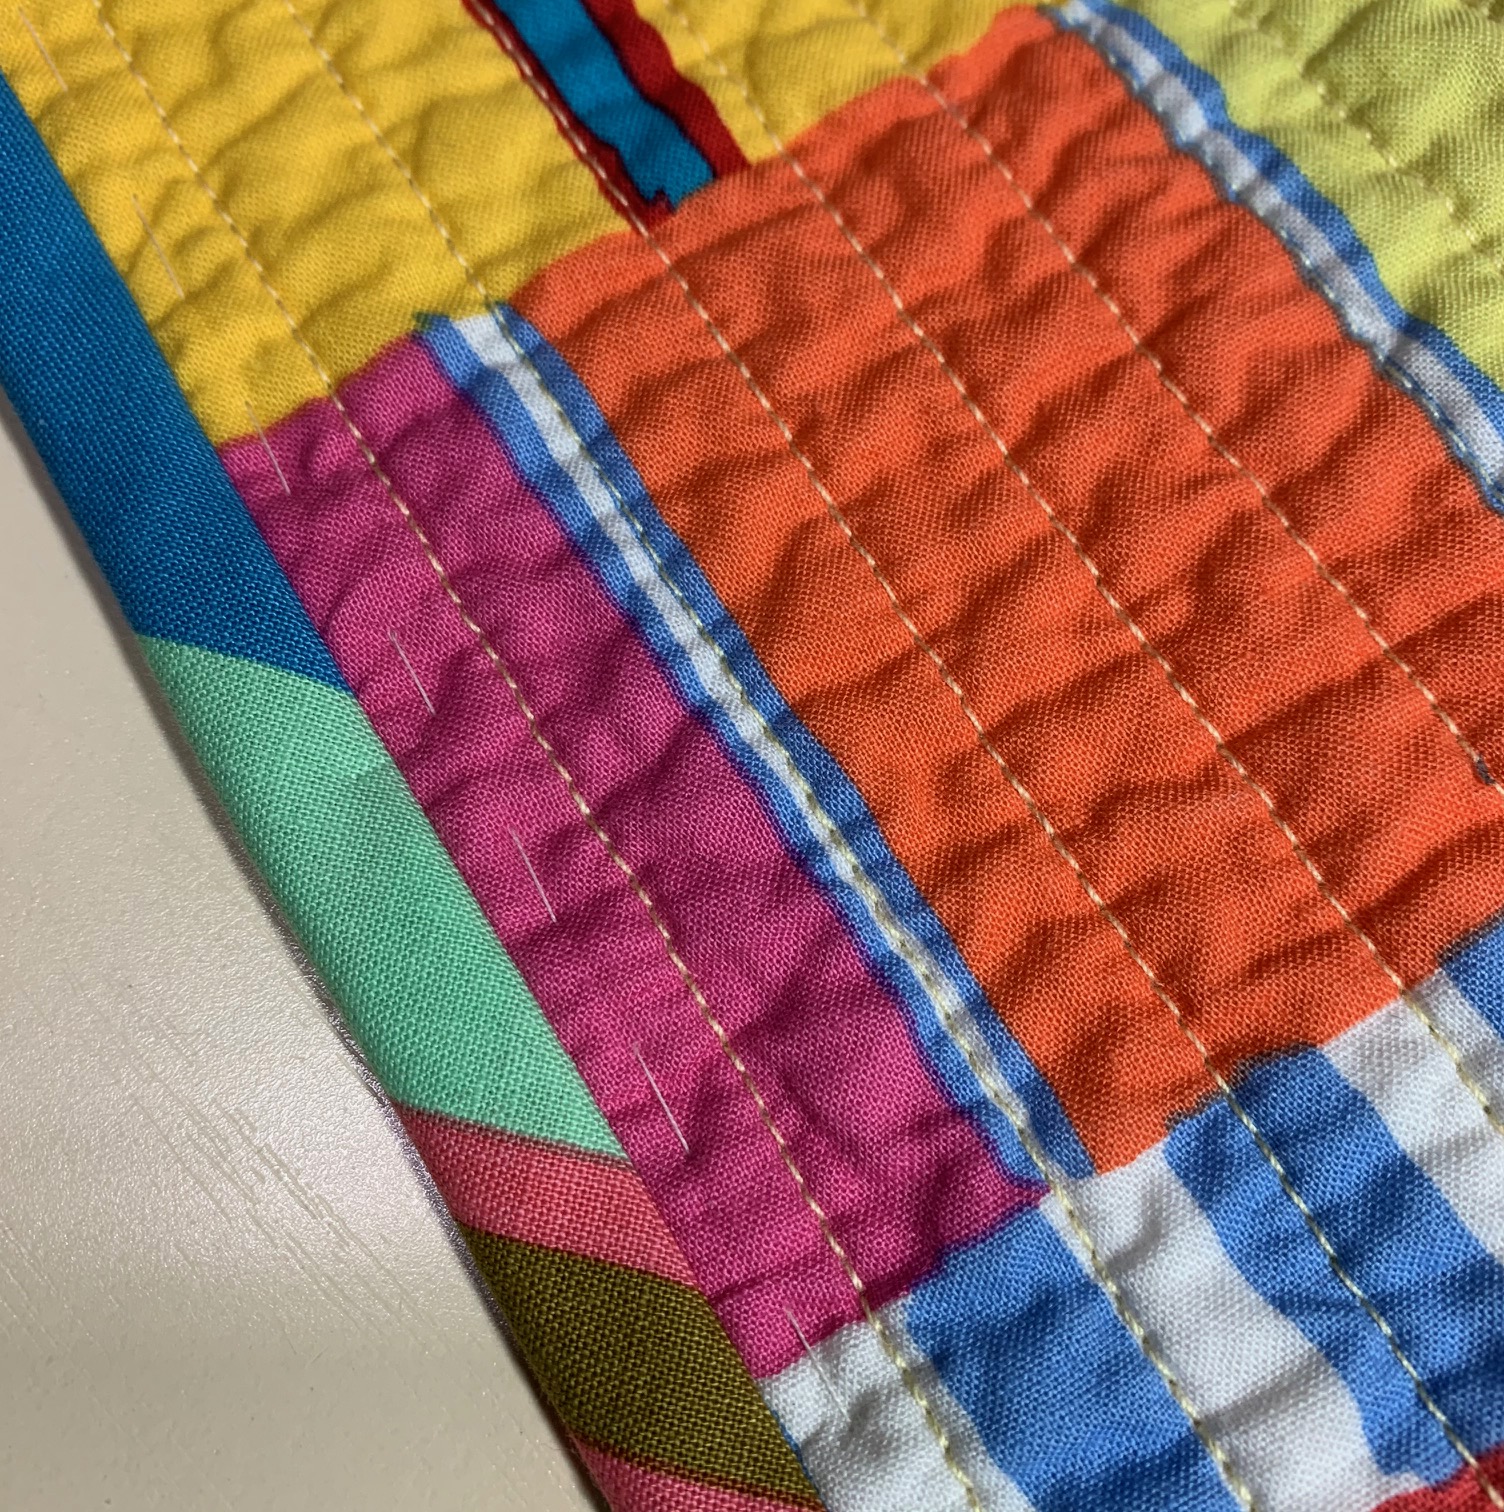 I machine topstitched the binding from the front, by stitching just to the right of the basting line. (You can stitch anywhere between the basting line and the ditch of the binding seam.)
 I removed the basting thread and checked the back to make sure the stitching line is along the edge of the binding. Finished!!!