
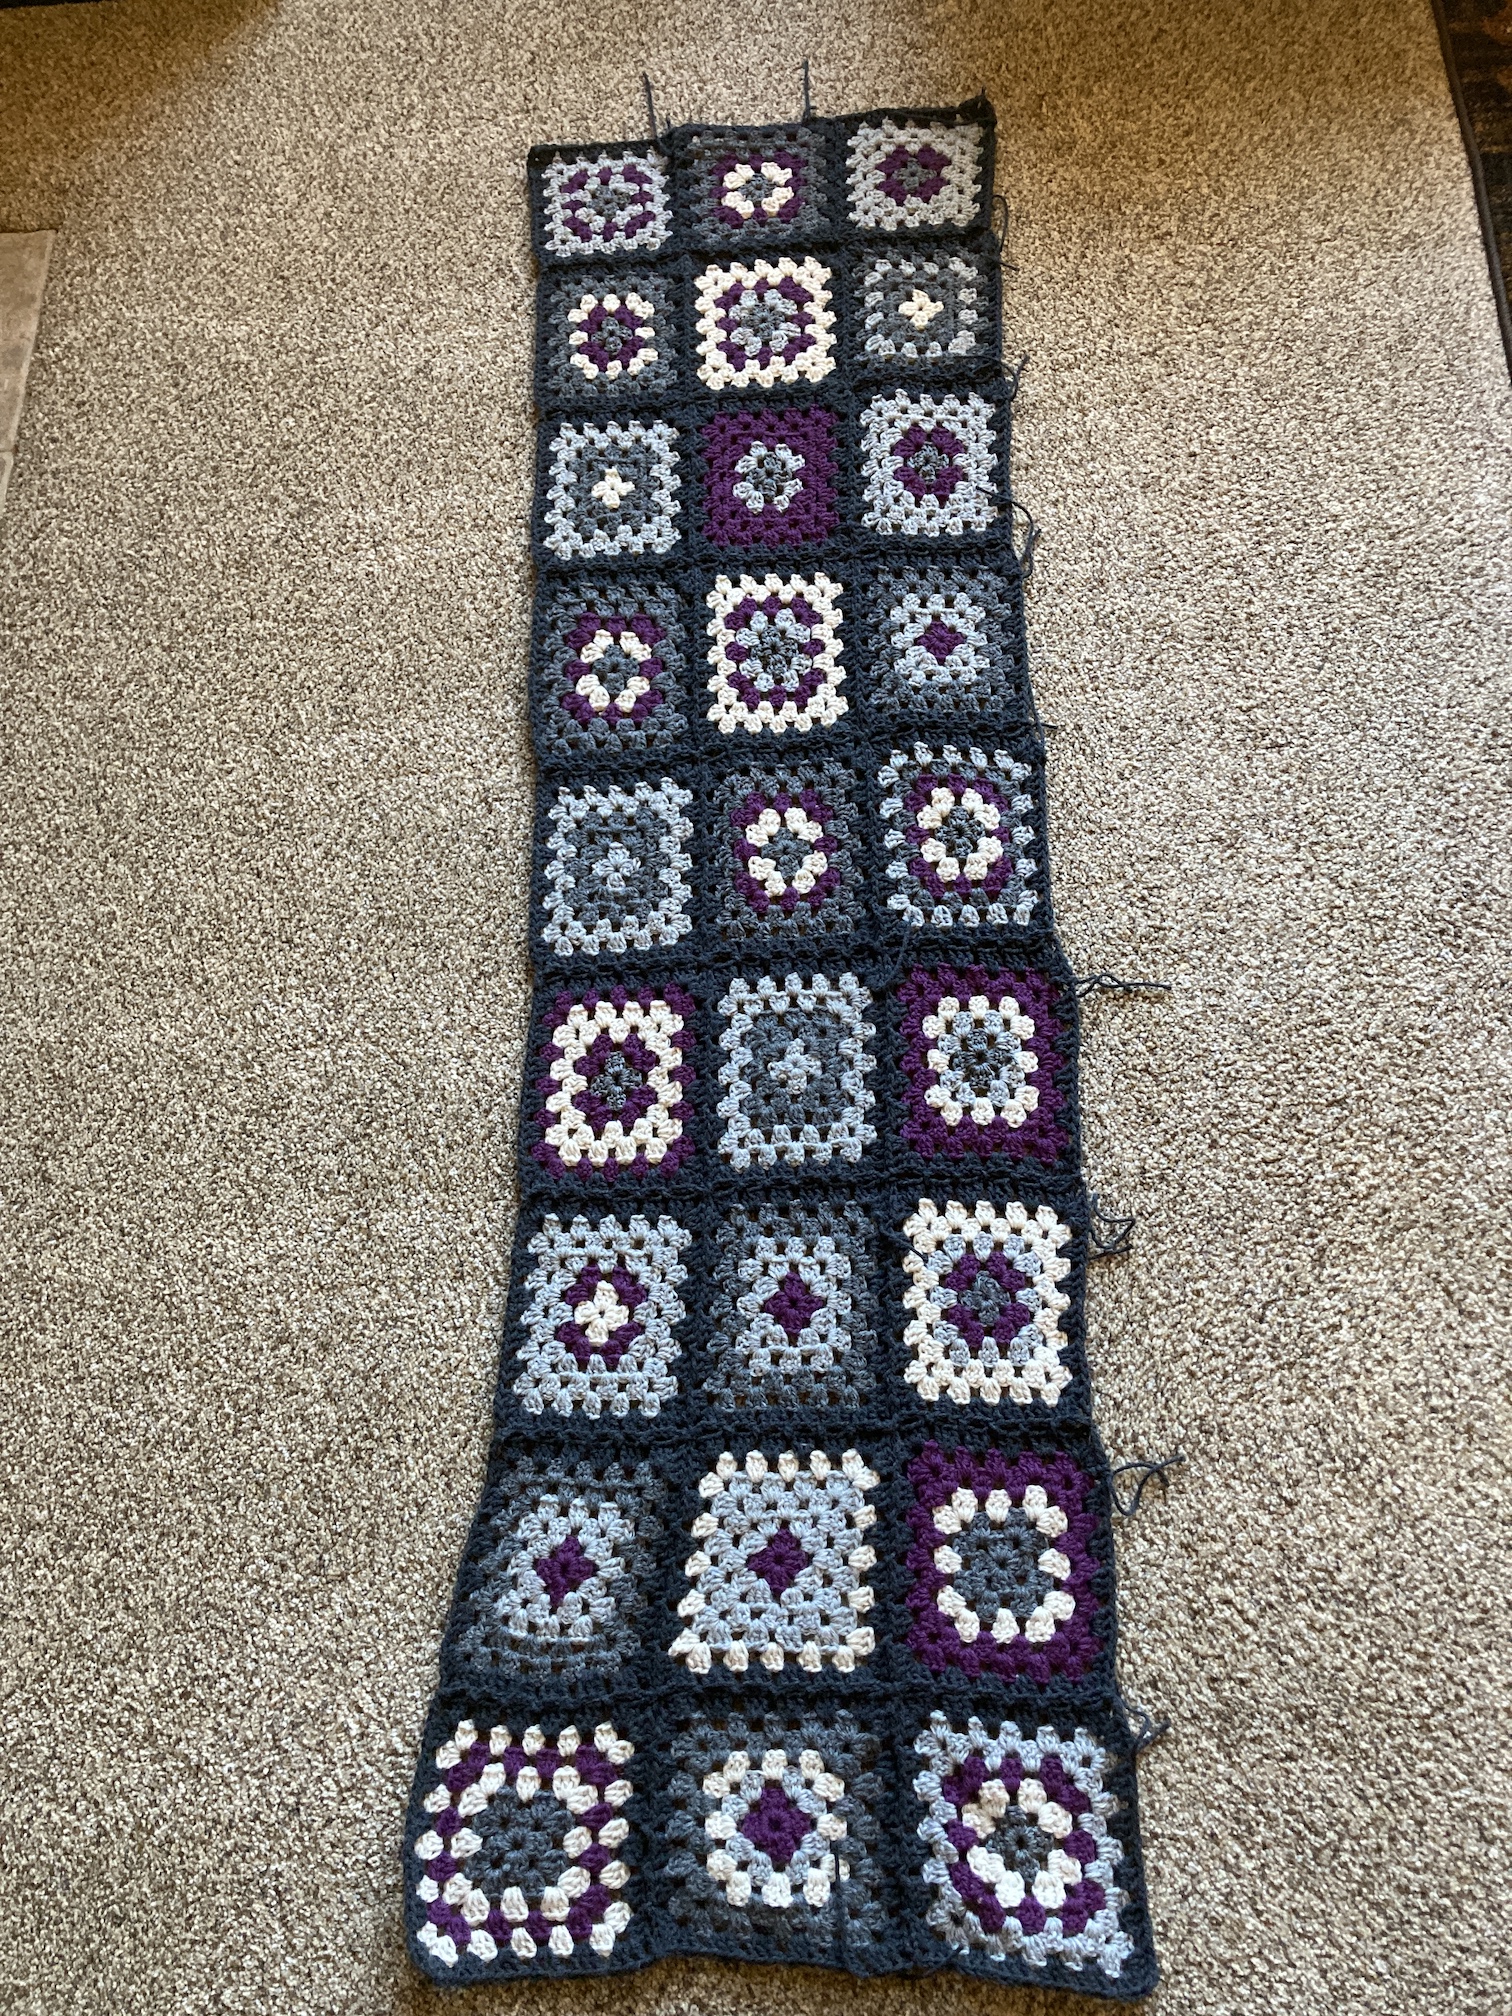
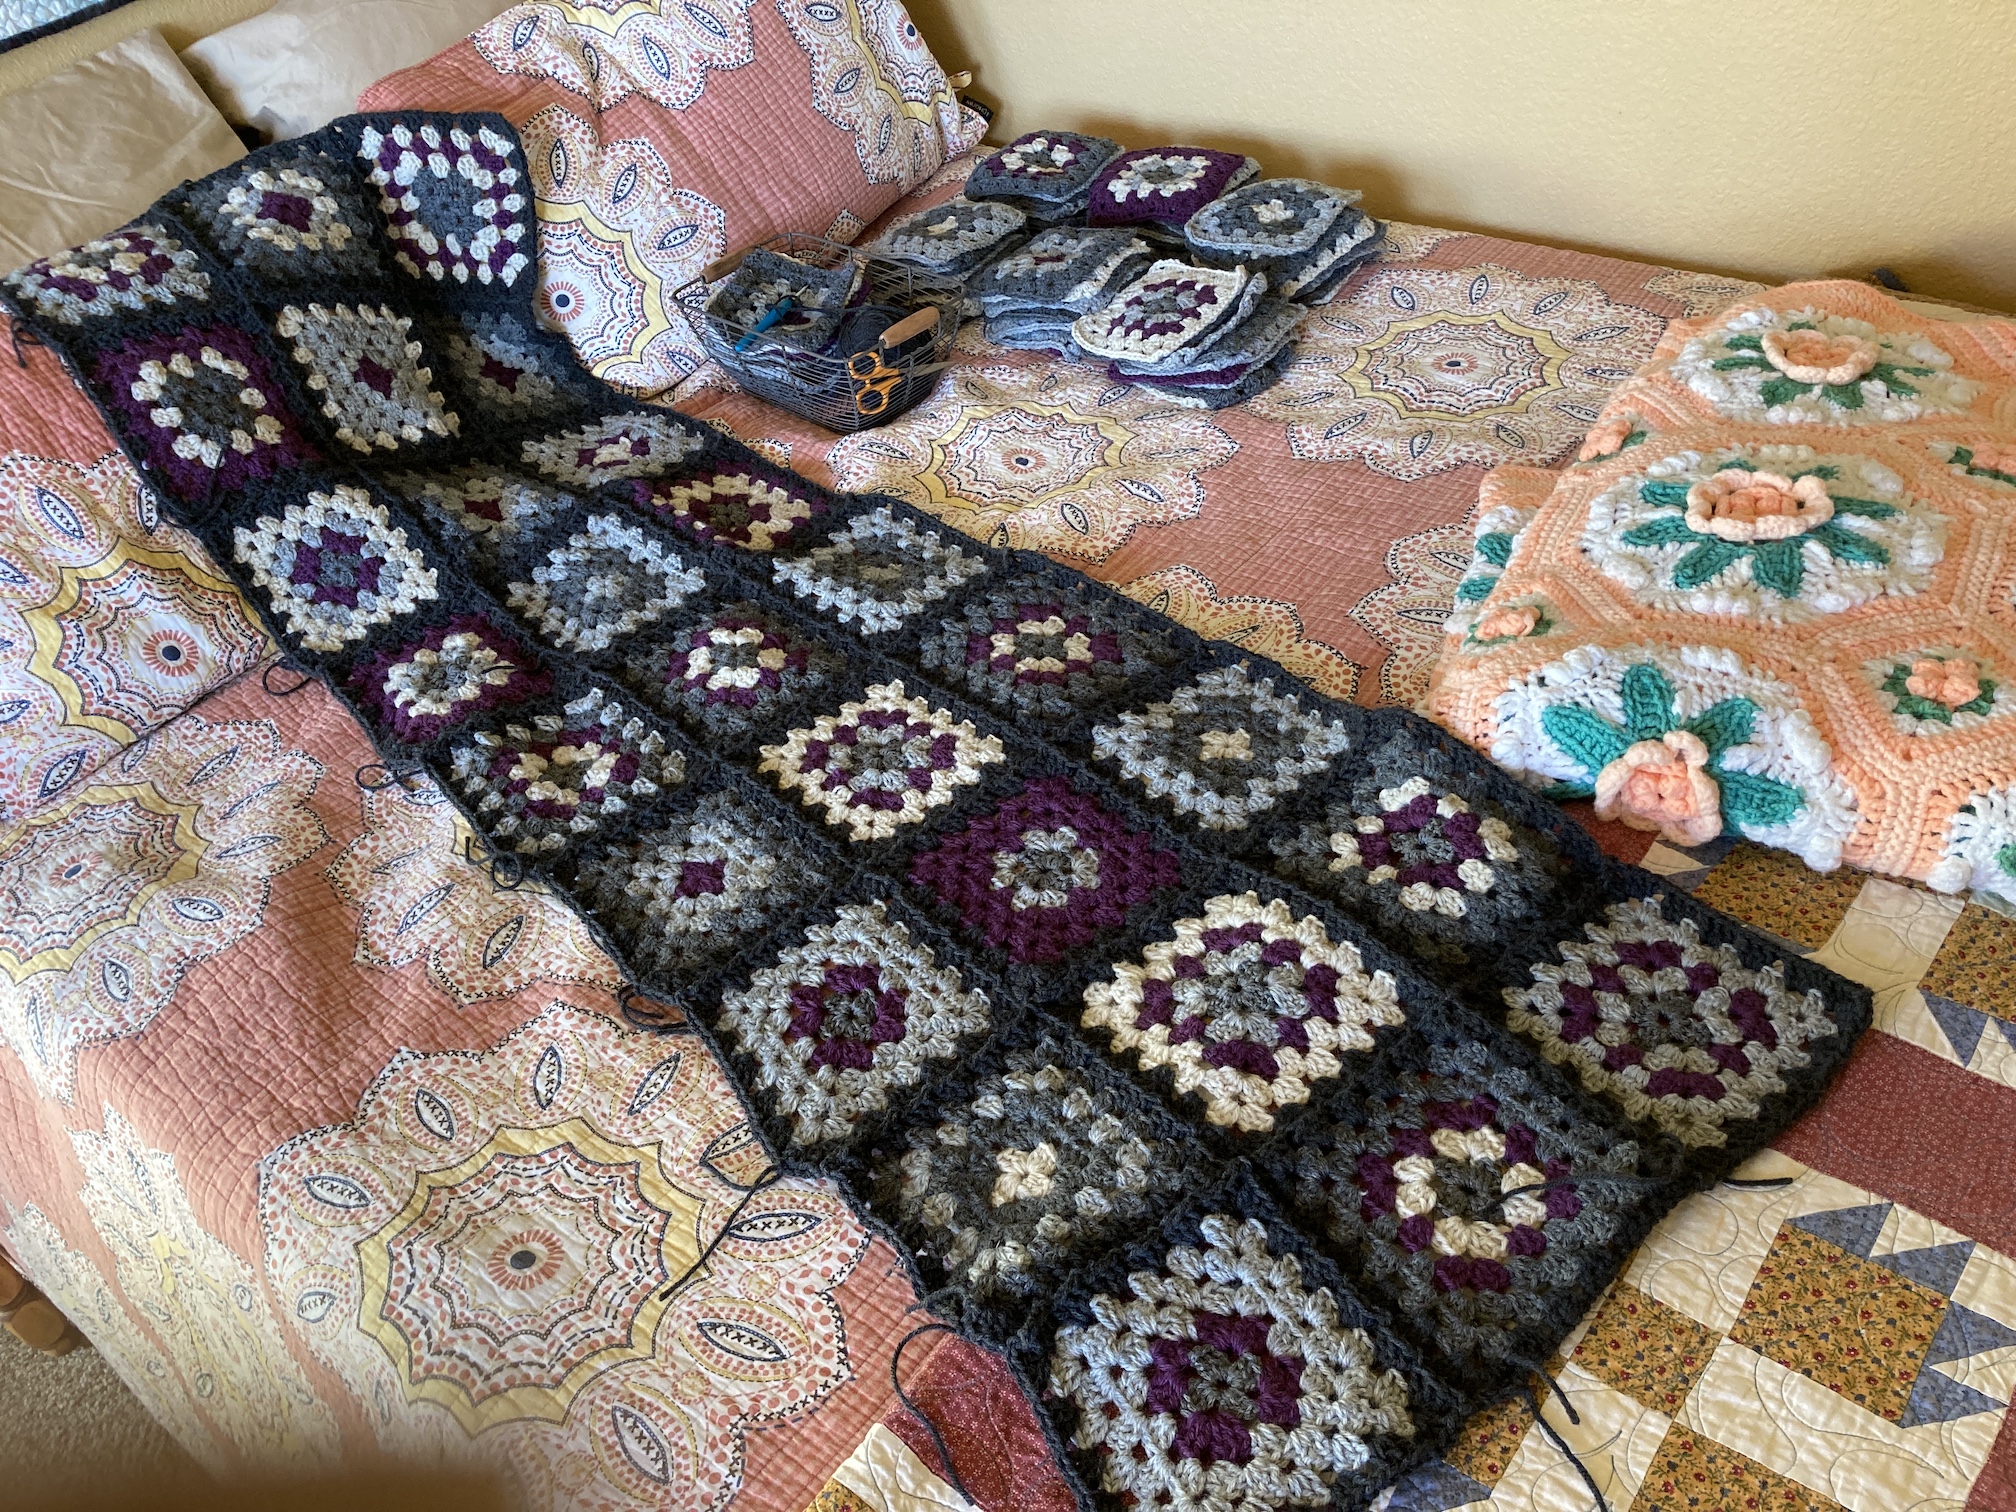
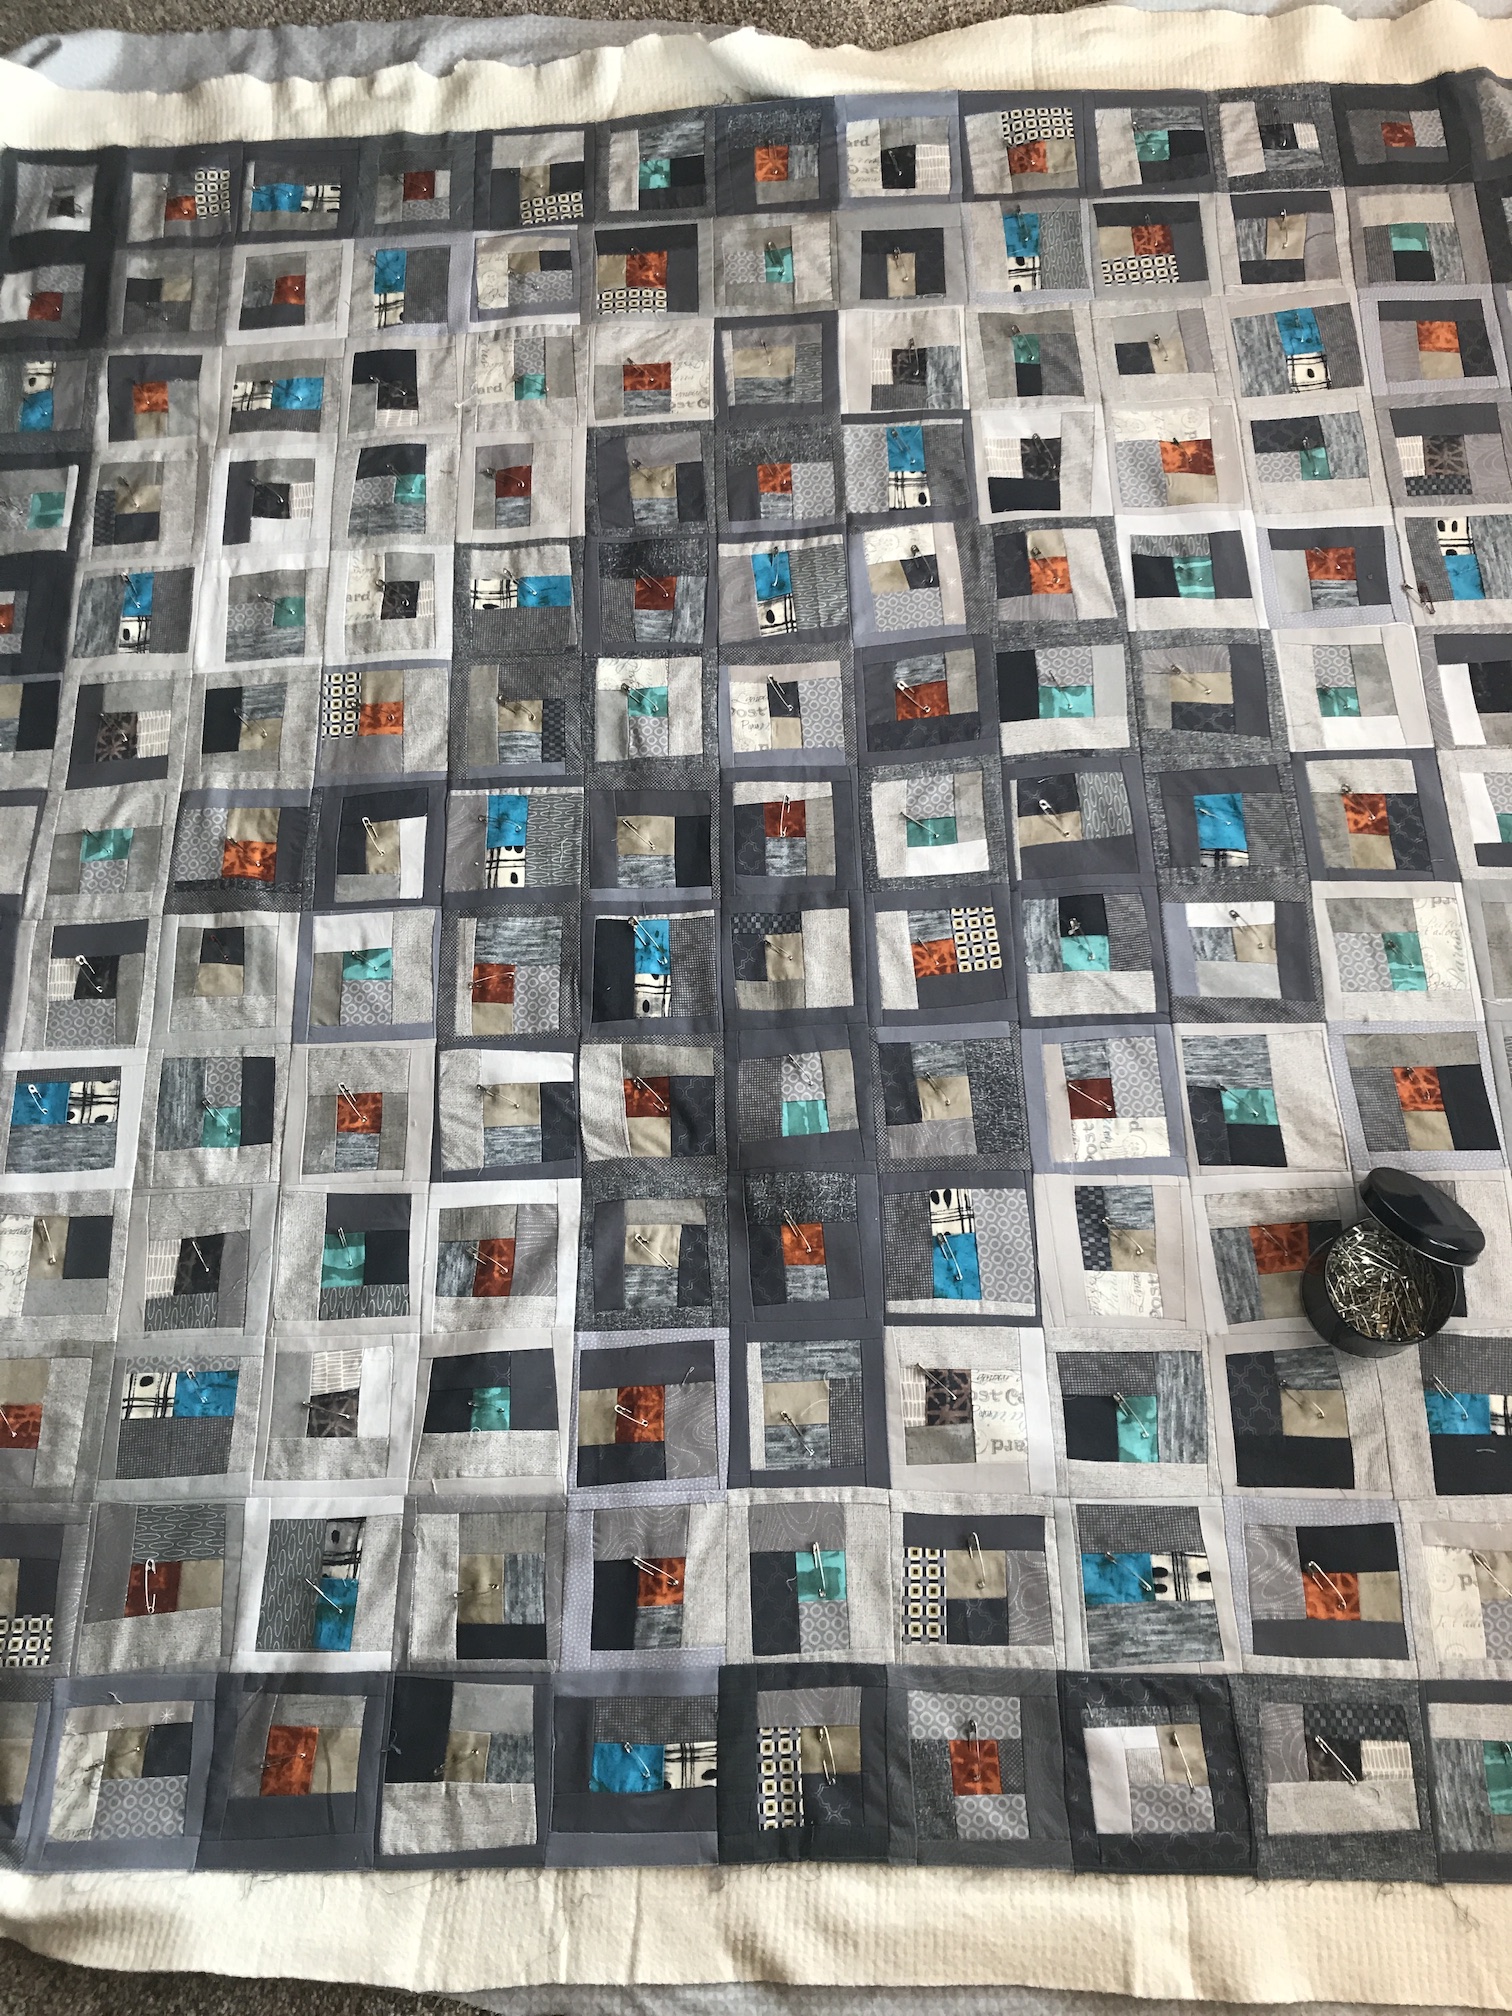
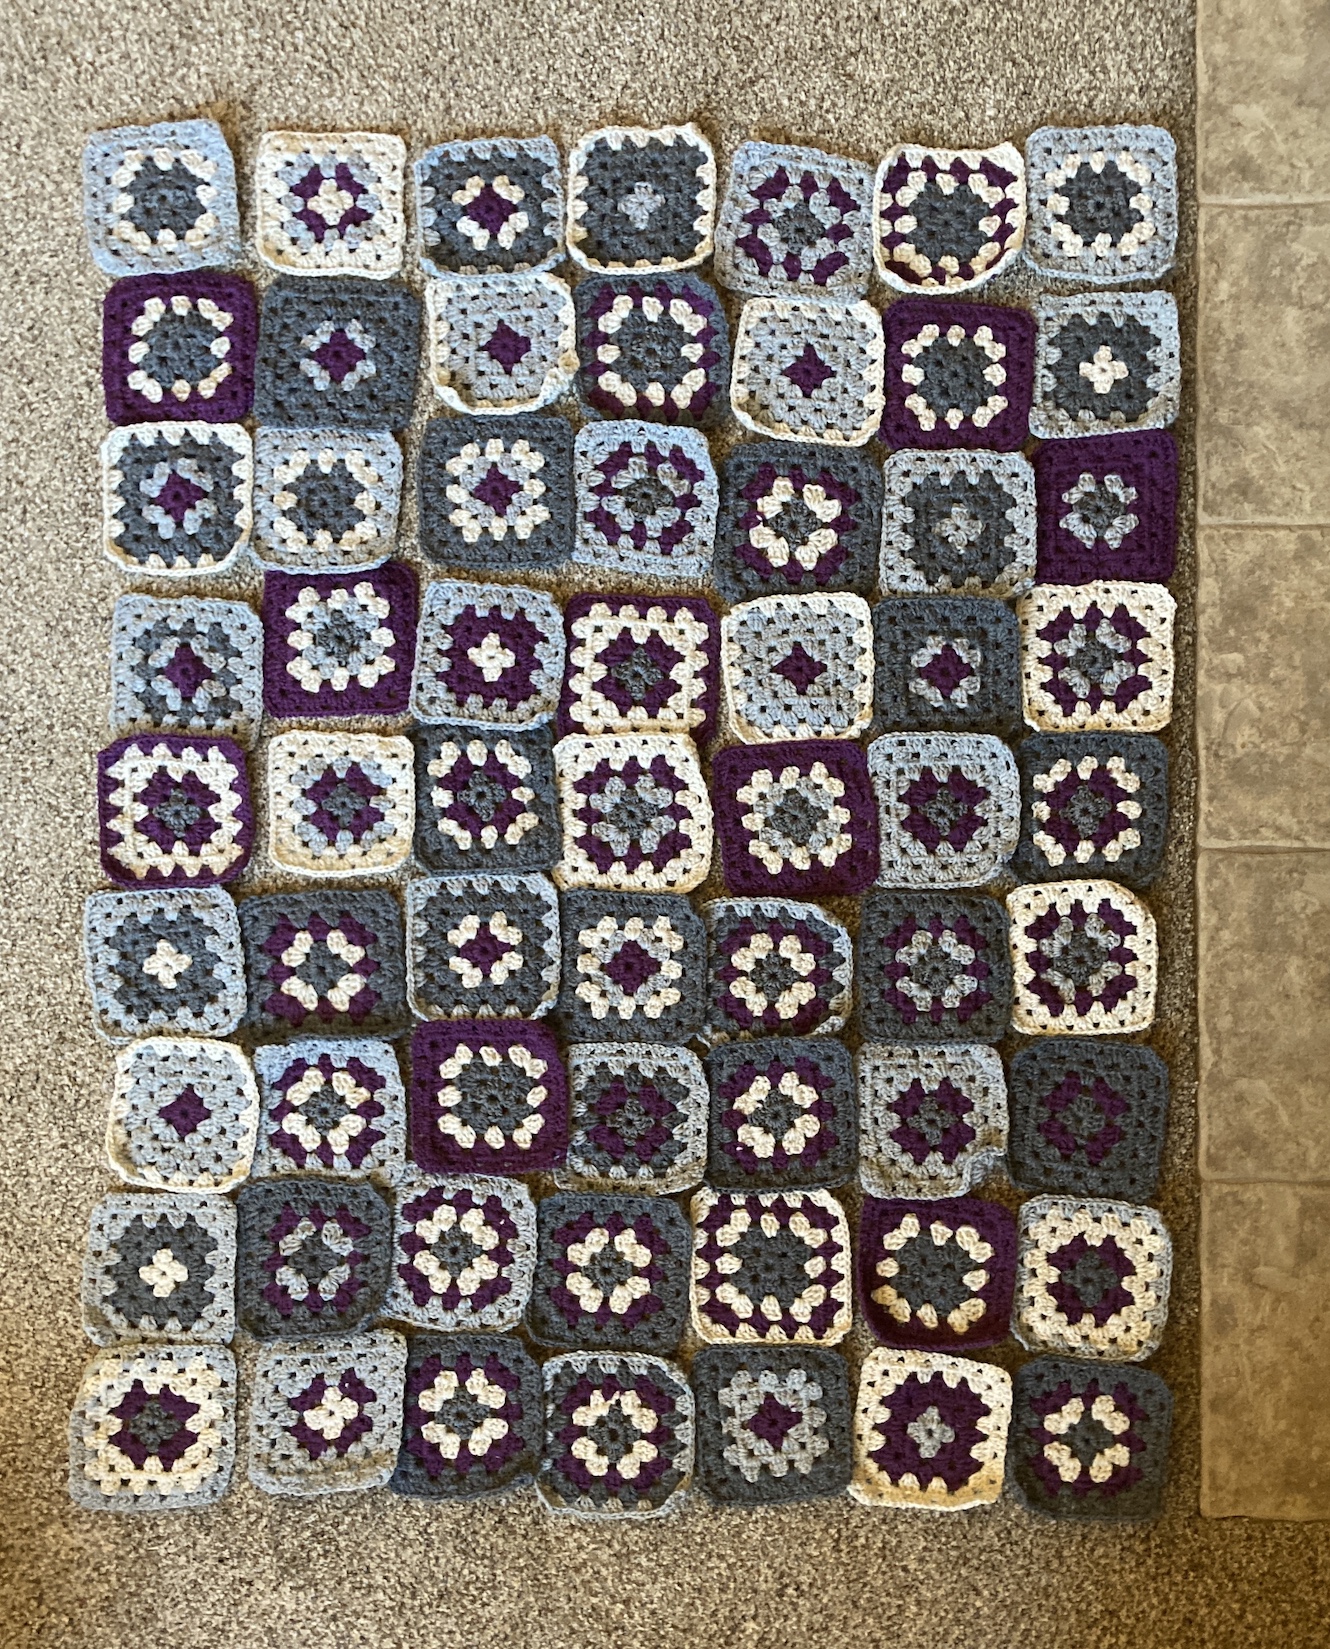
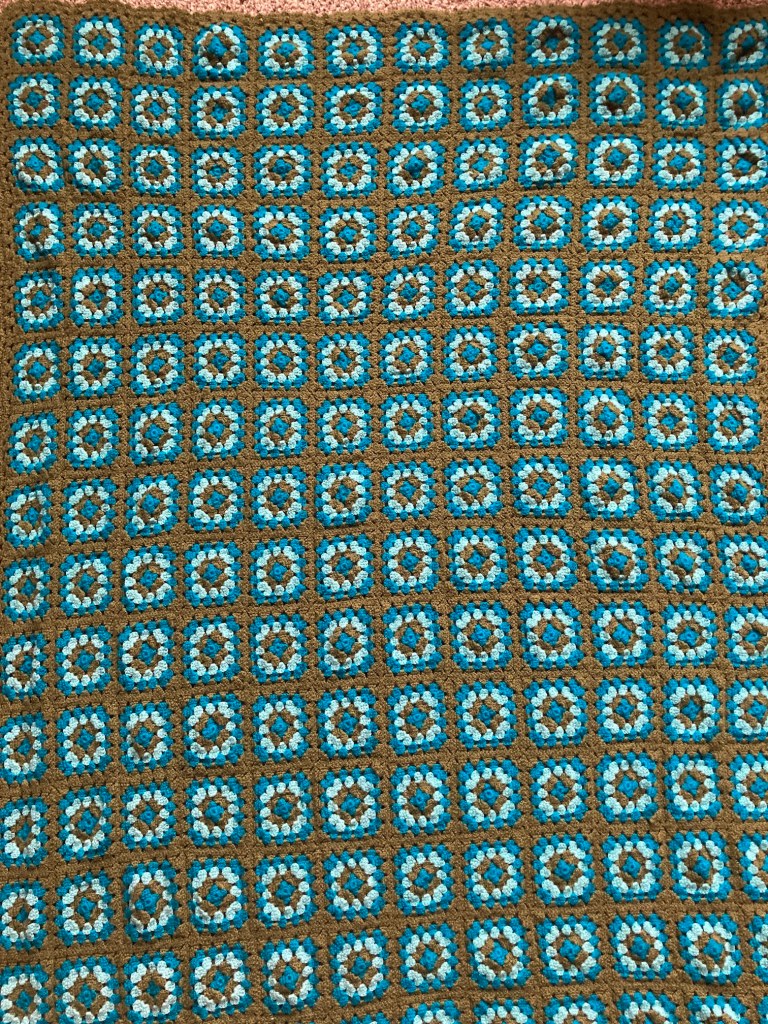
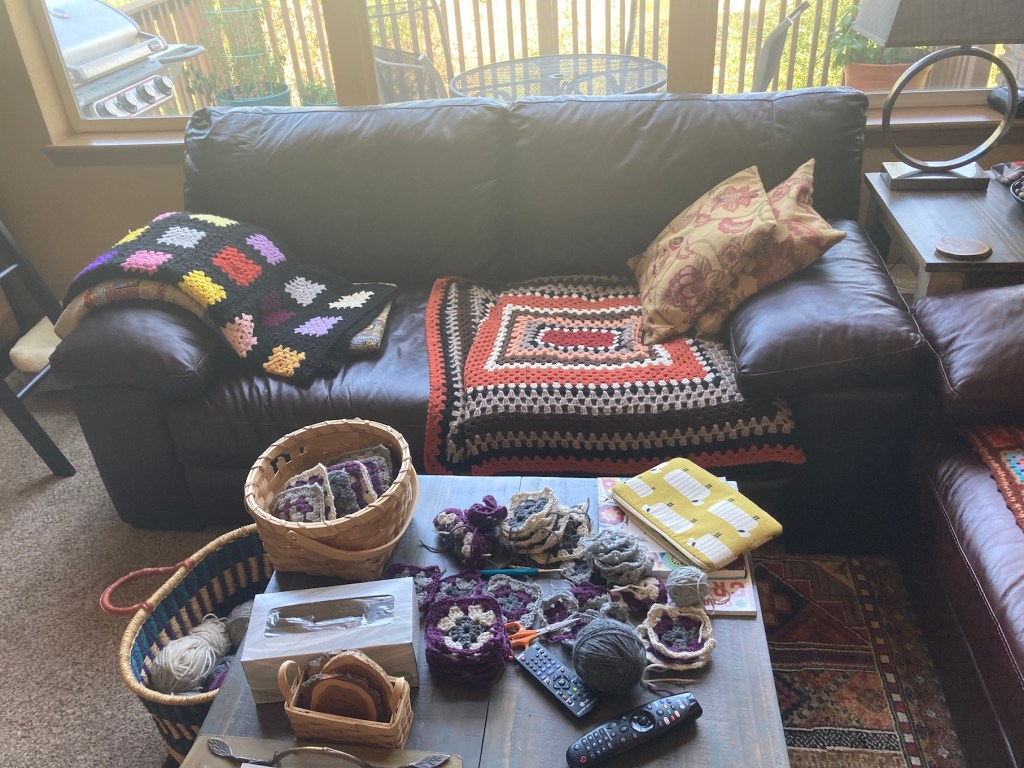
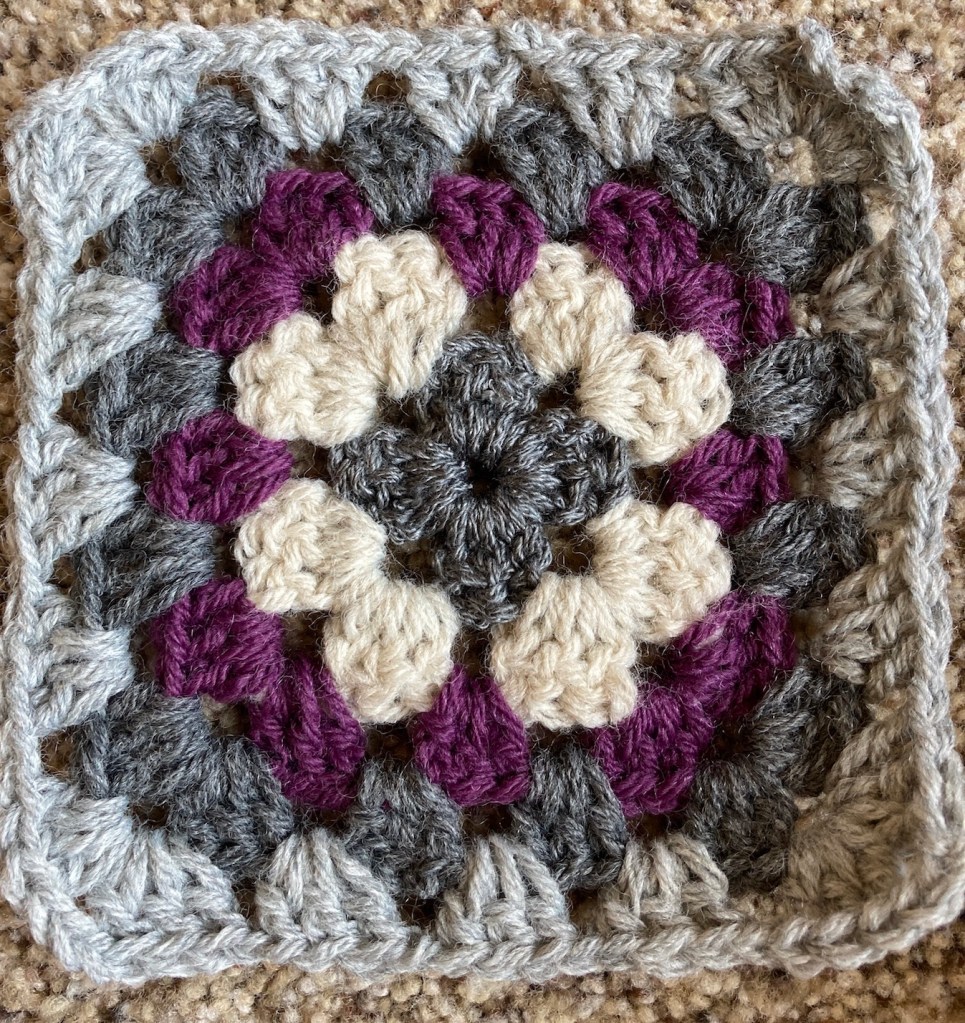
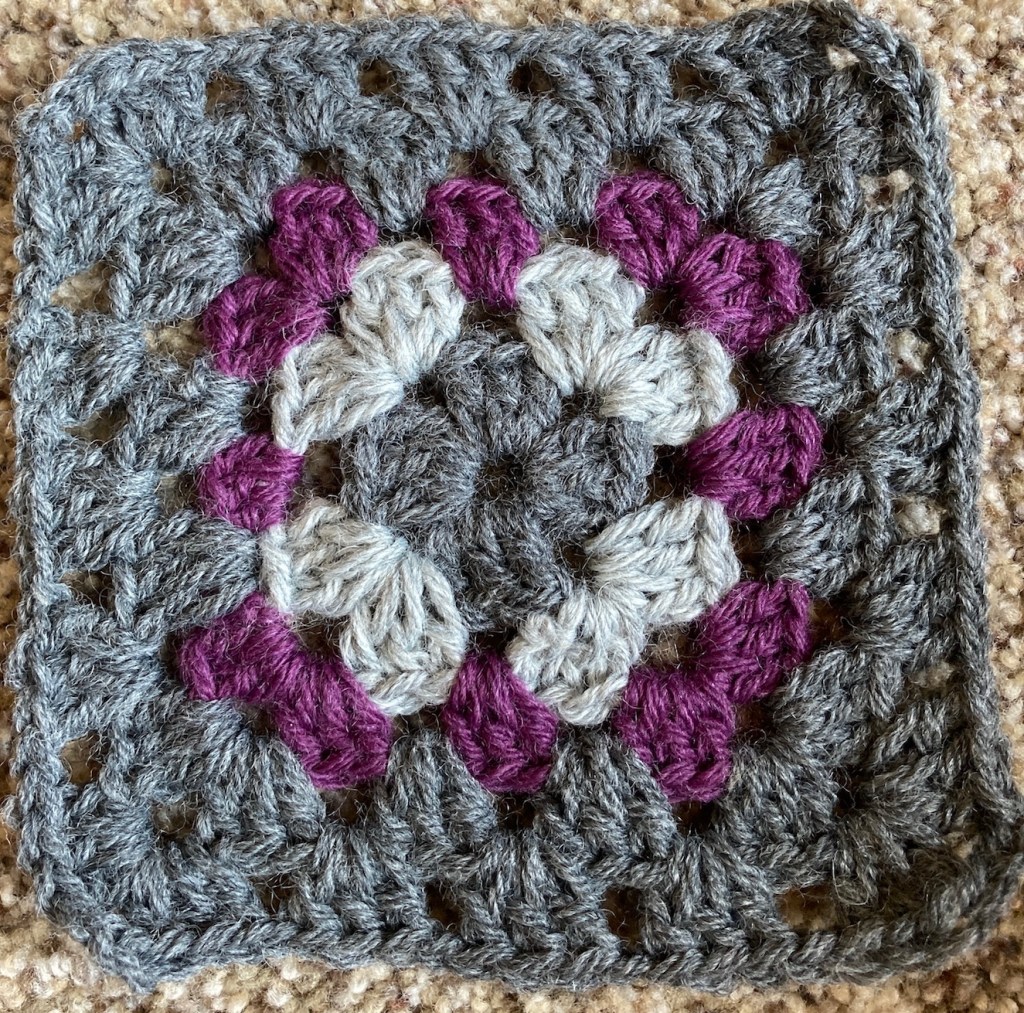
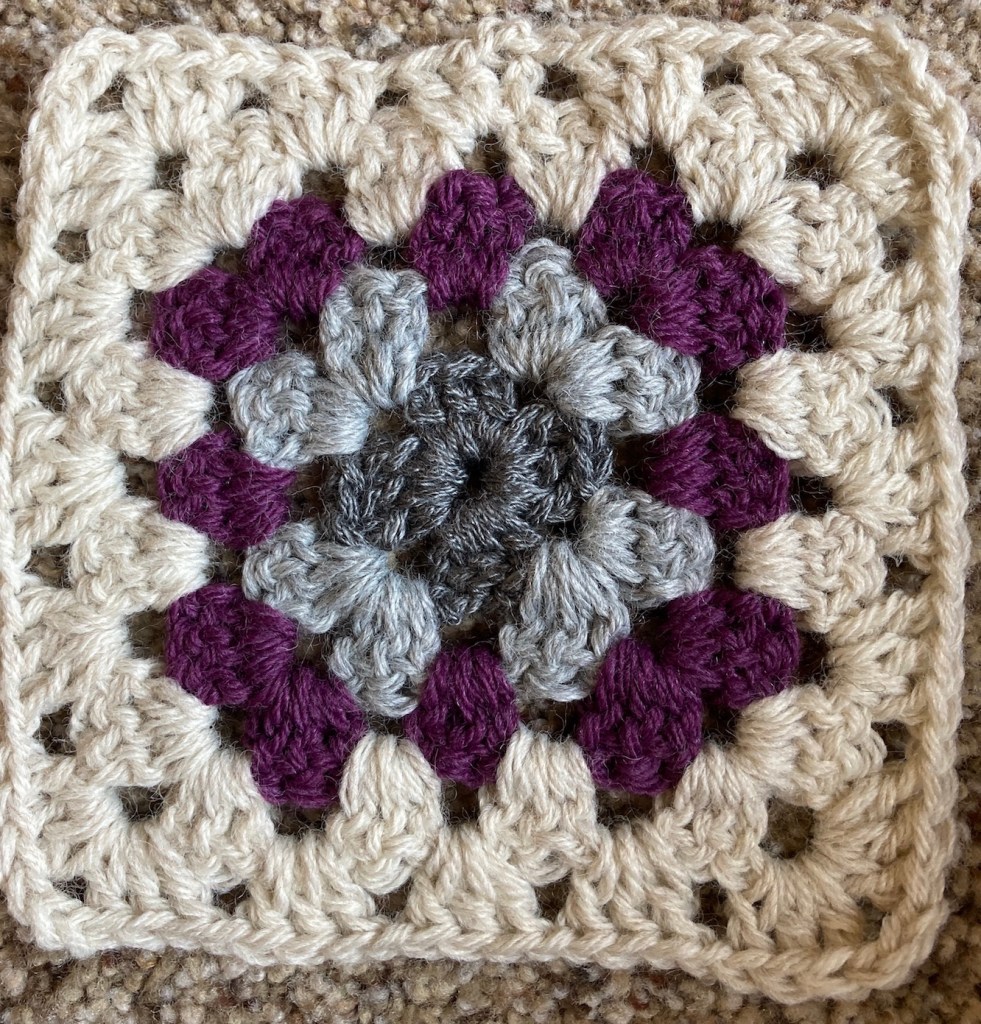
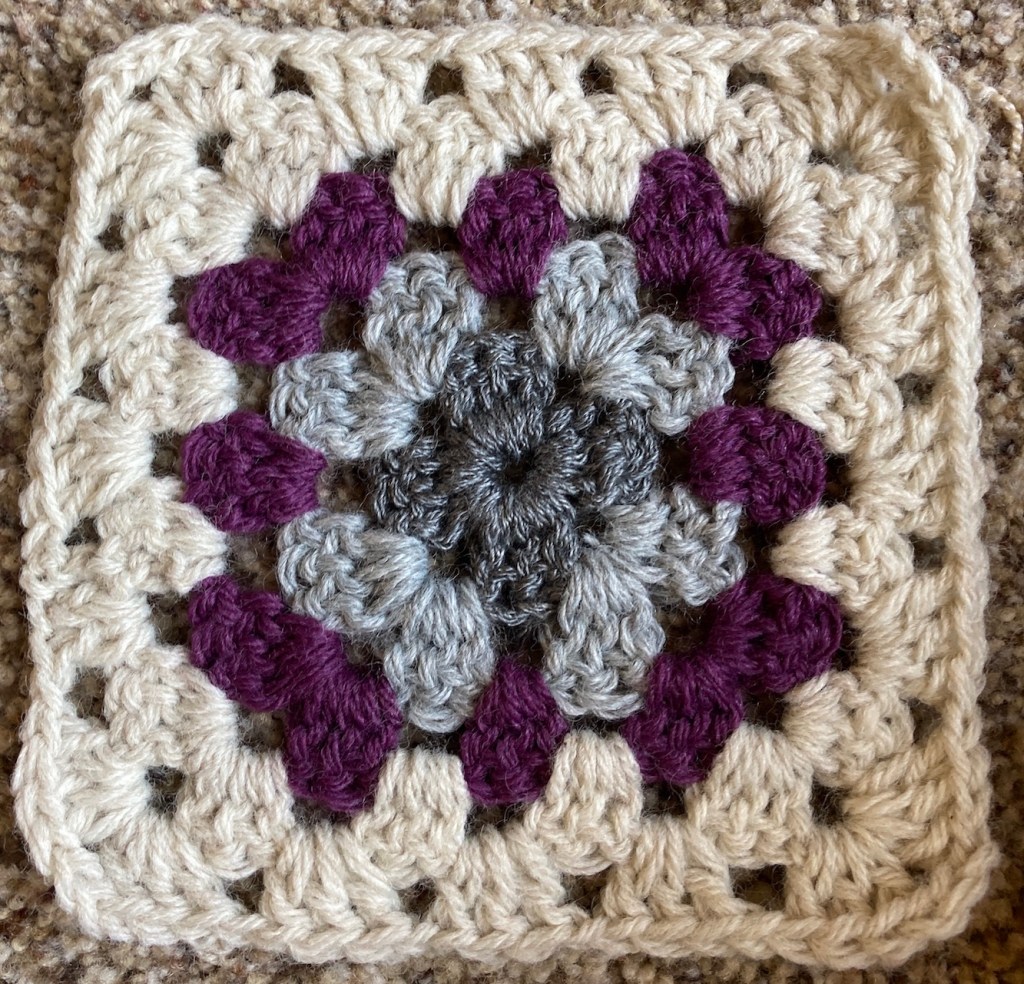
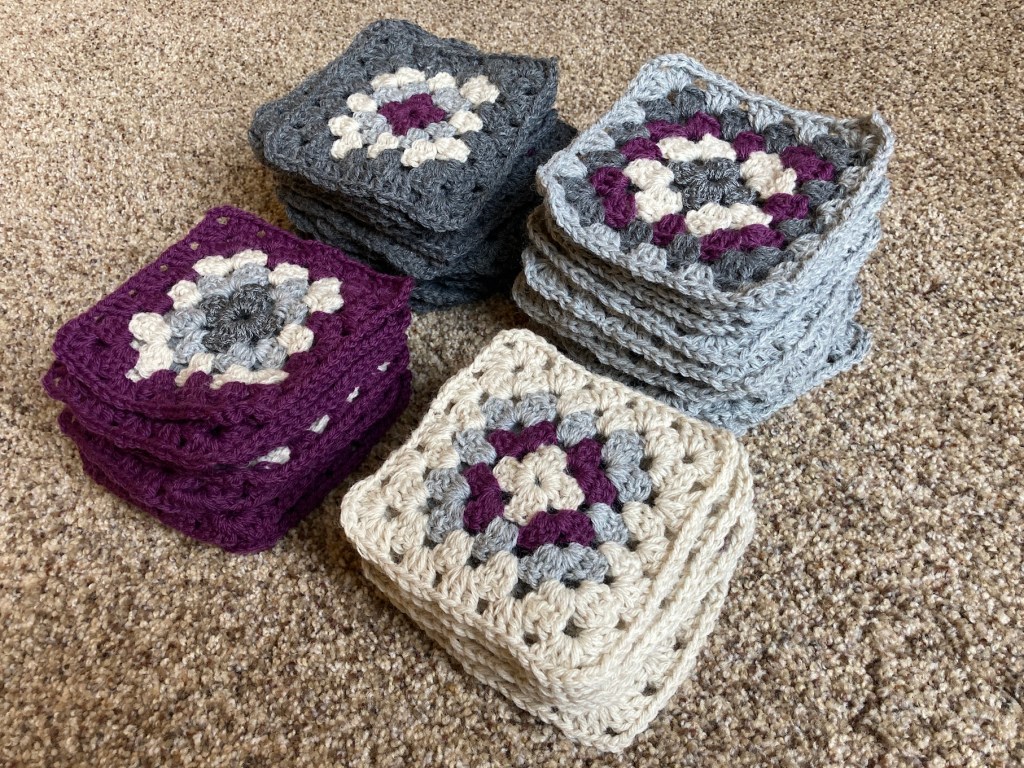
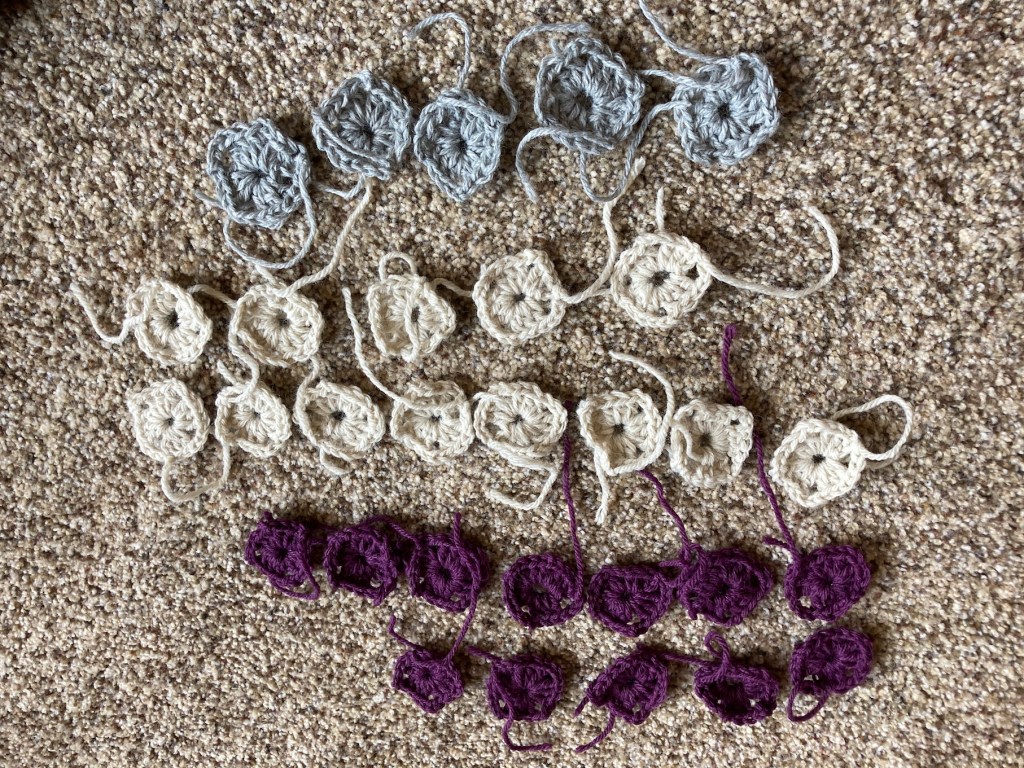
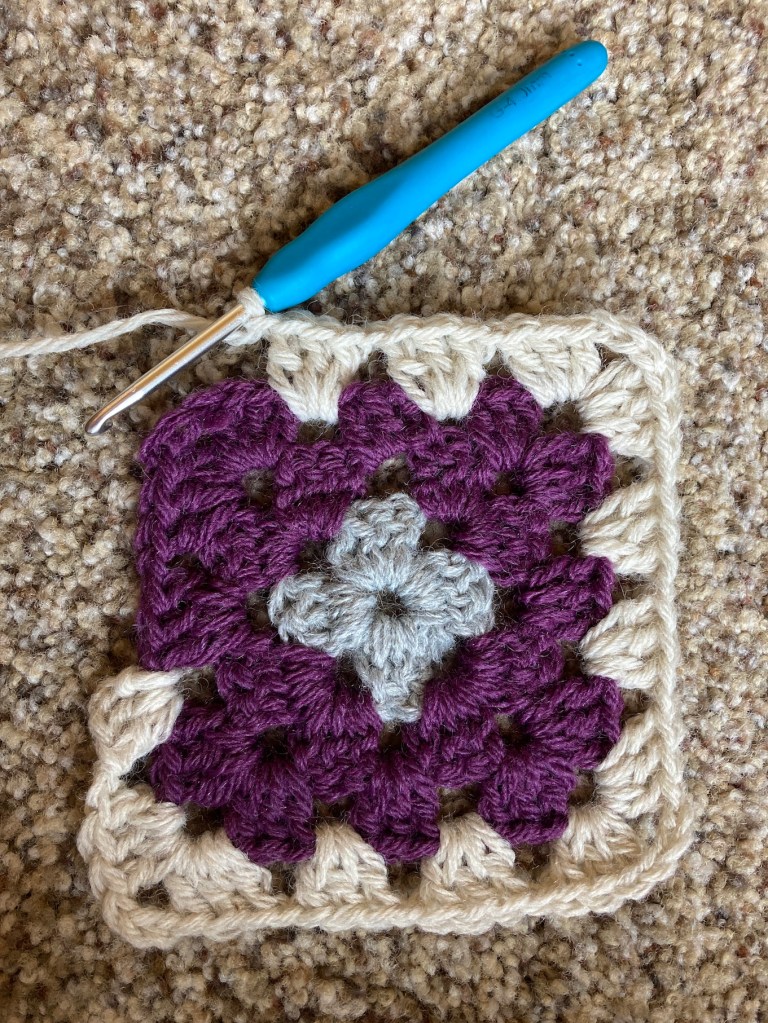
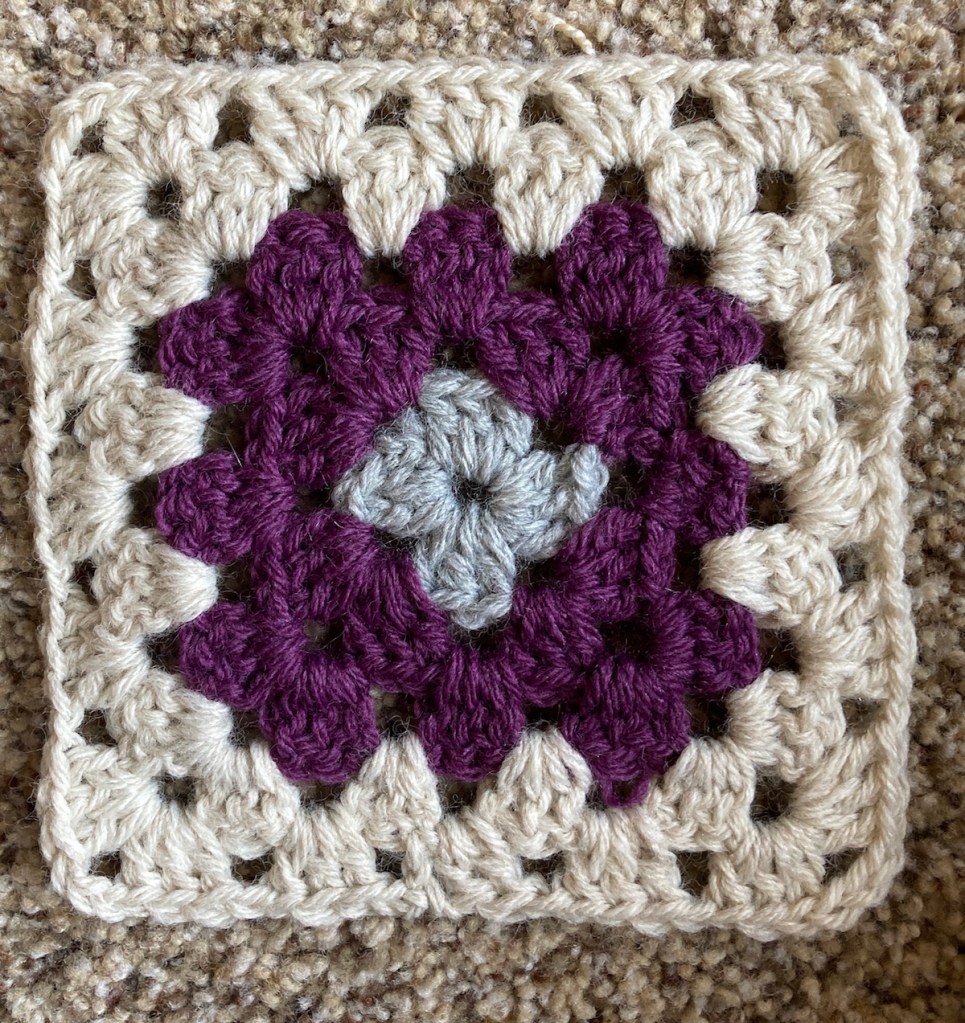
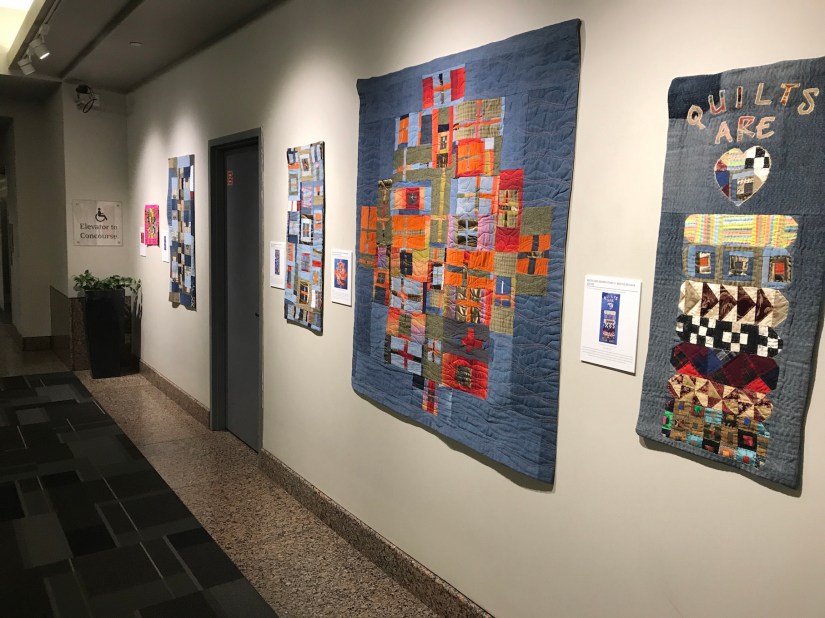
Crafting wise I do not have much to report as I am finished with the granny square blanket (see previous post Attack of the Giant Granny Square Blanket) and I am currently working on hand stitching Seattle Scrappy (see previous post and the post An Update on “Seattle Scrappy” – Haphazard Stitching… ).
So I am going to take this opportunity to share what the other crafty person in the house, my partner John has been working on.
A couple months ago we turned part of our basement into his woodshop (we had it professionally drywalled as well as electrical added, while John put in the floor and did all the finishing work), so he could have his own “craft room”.

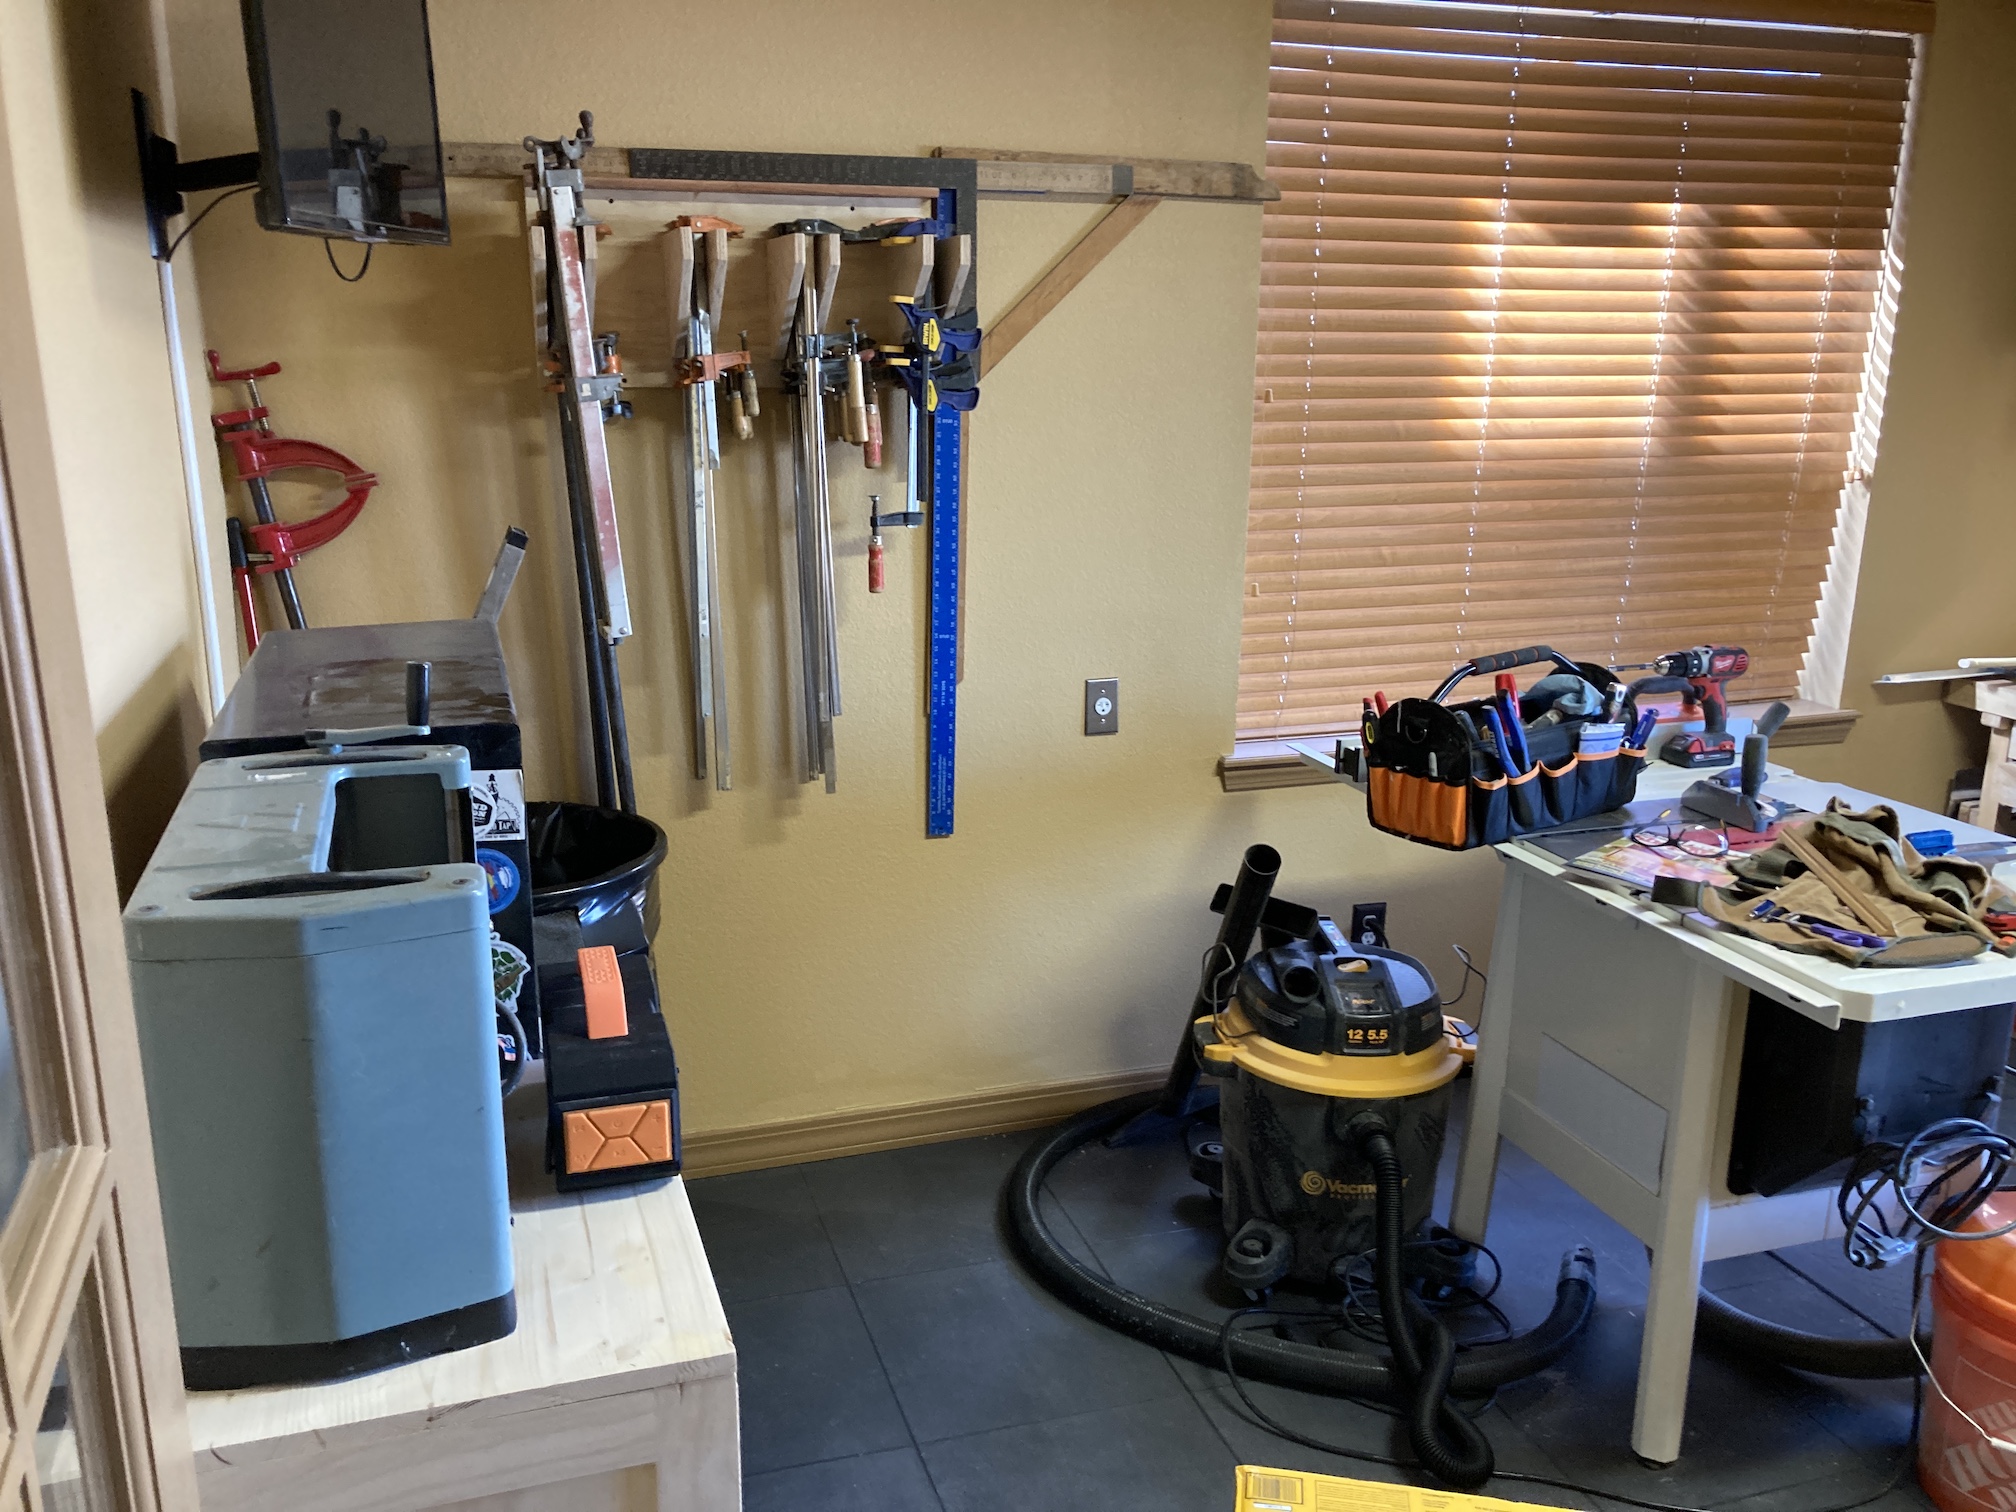
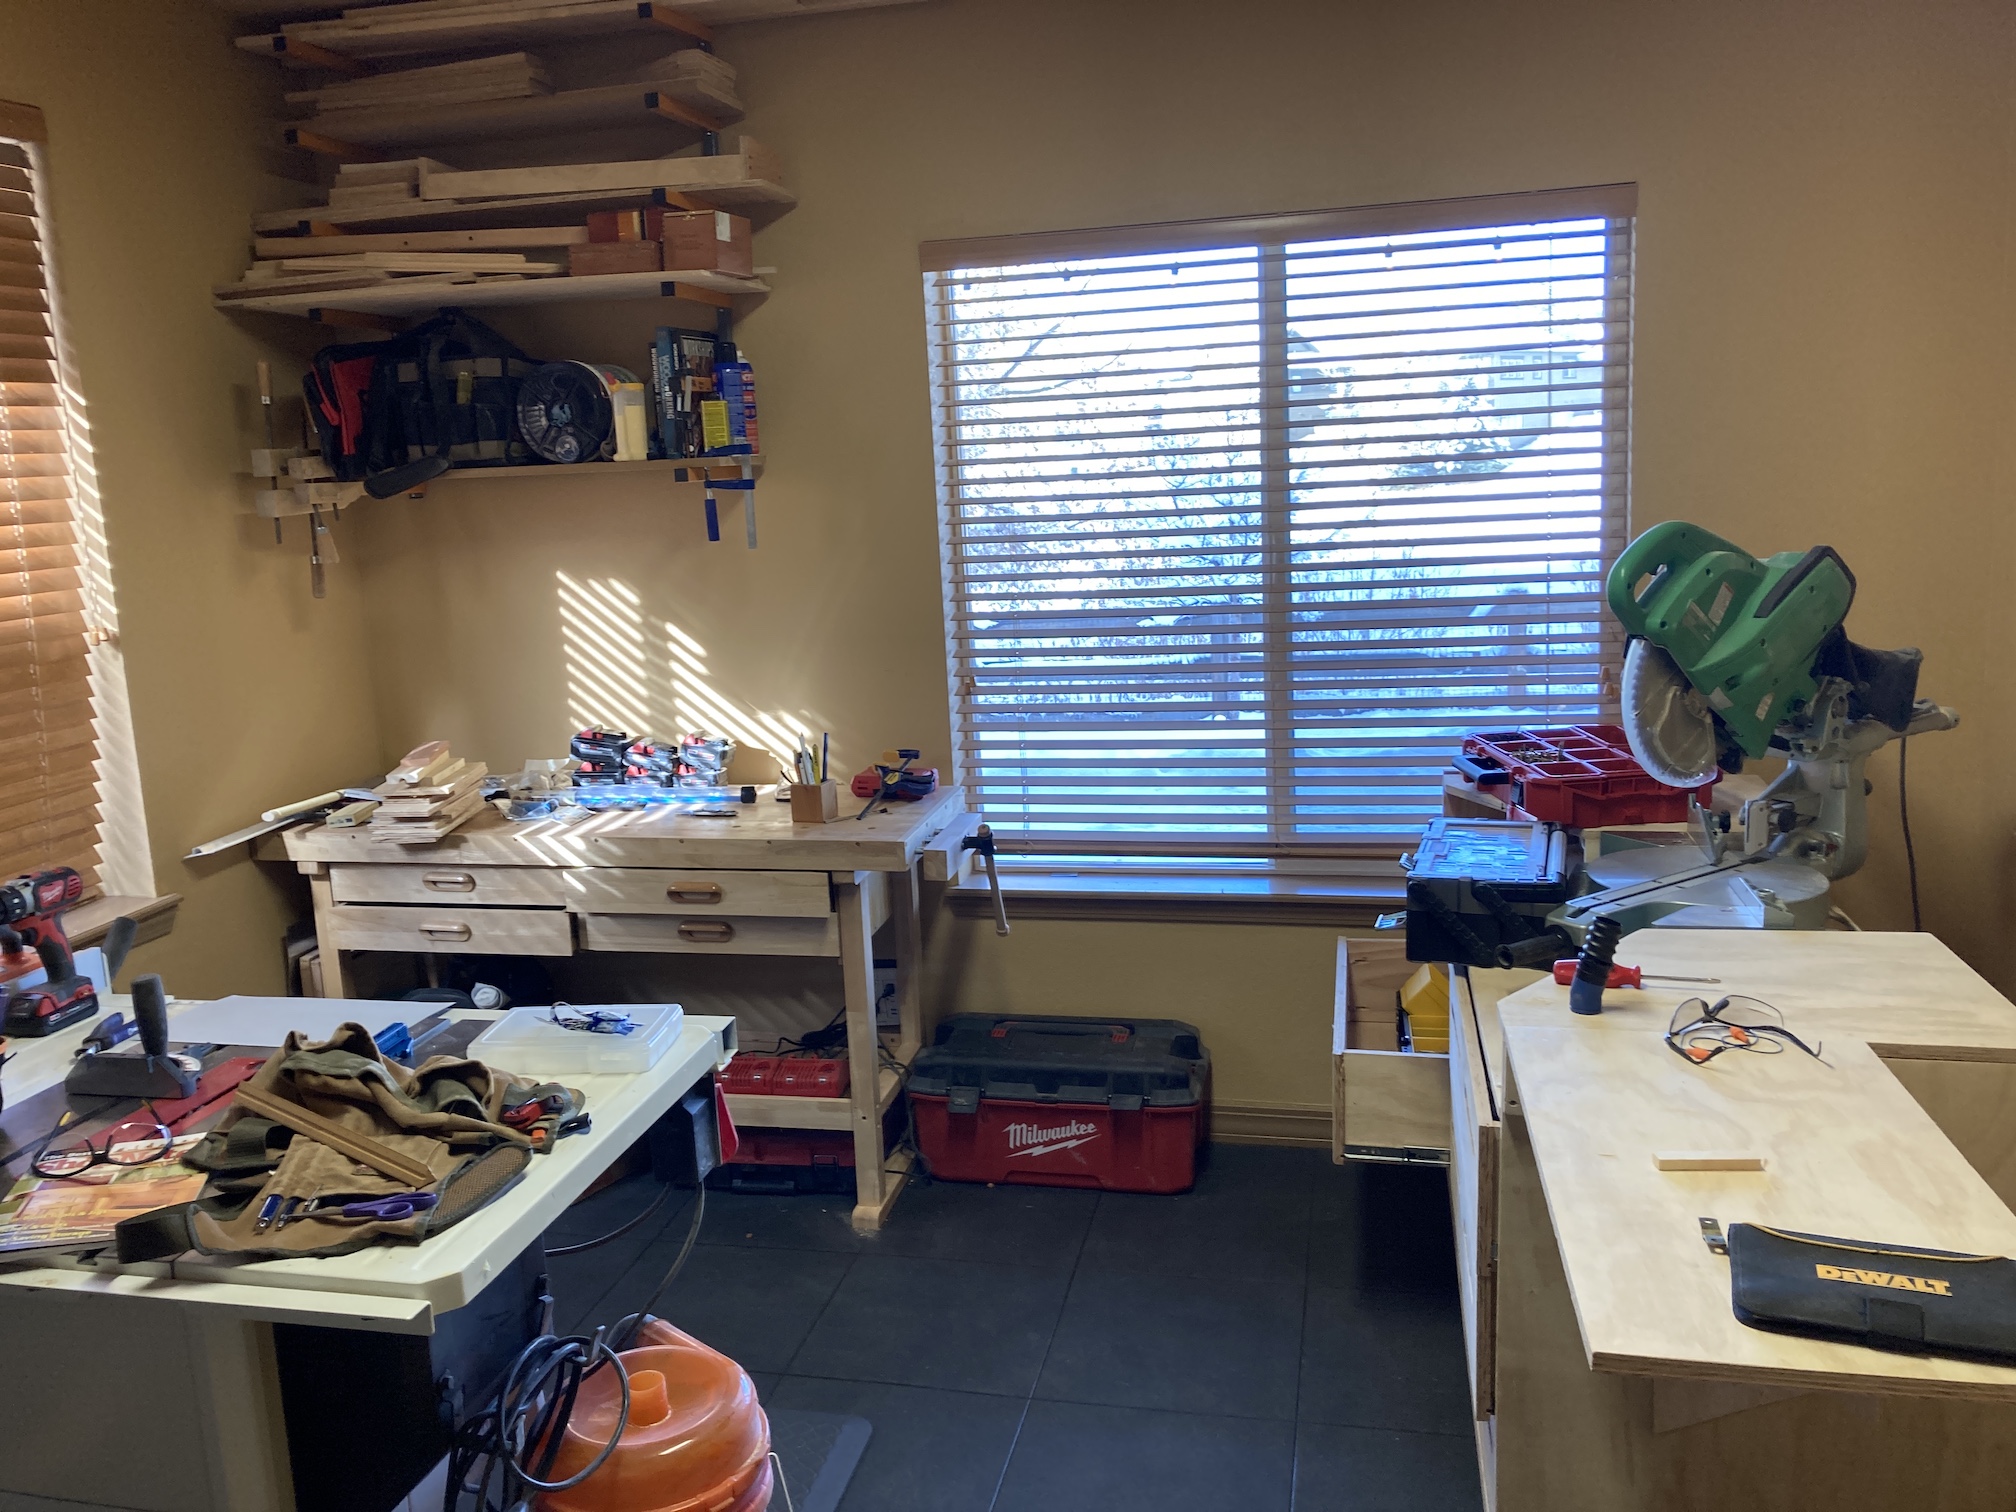
His workshop is a work in progress and evolving. For the first time in his life he has his dream of having his own dedicated woodshop beyond just tinkering in the garage.
John and I met in mid-2019 after suddenly each losing our long time spouses/life partners in 2018. We decided that since how long you have to live your life is unknown (when you become a widow/widower you think a lot about your own mortality in addition to grieving the loss of your spouse) we would not hold back from having our dreams (within reason and within financial possibilities of course!). One of his lifelong dreams was to have his own woodshop!
(One of our shared dreams is travel and pre-COVID pandemic we had many plans for travel in 2020, but you all know about “best laid plans” when it comes to 2020…)
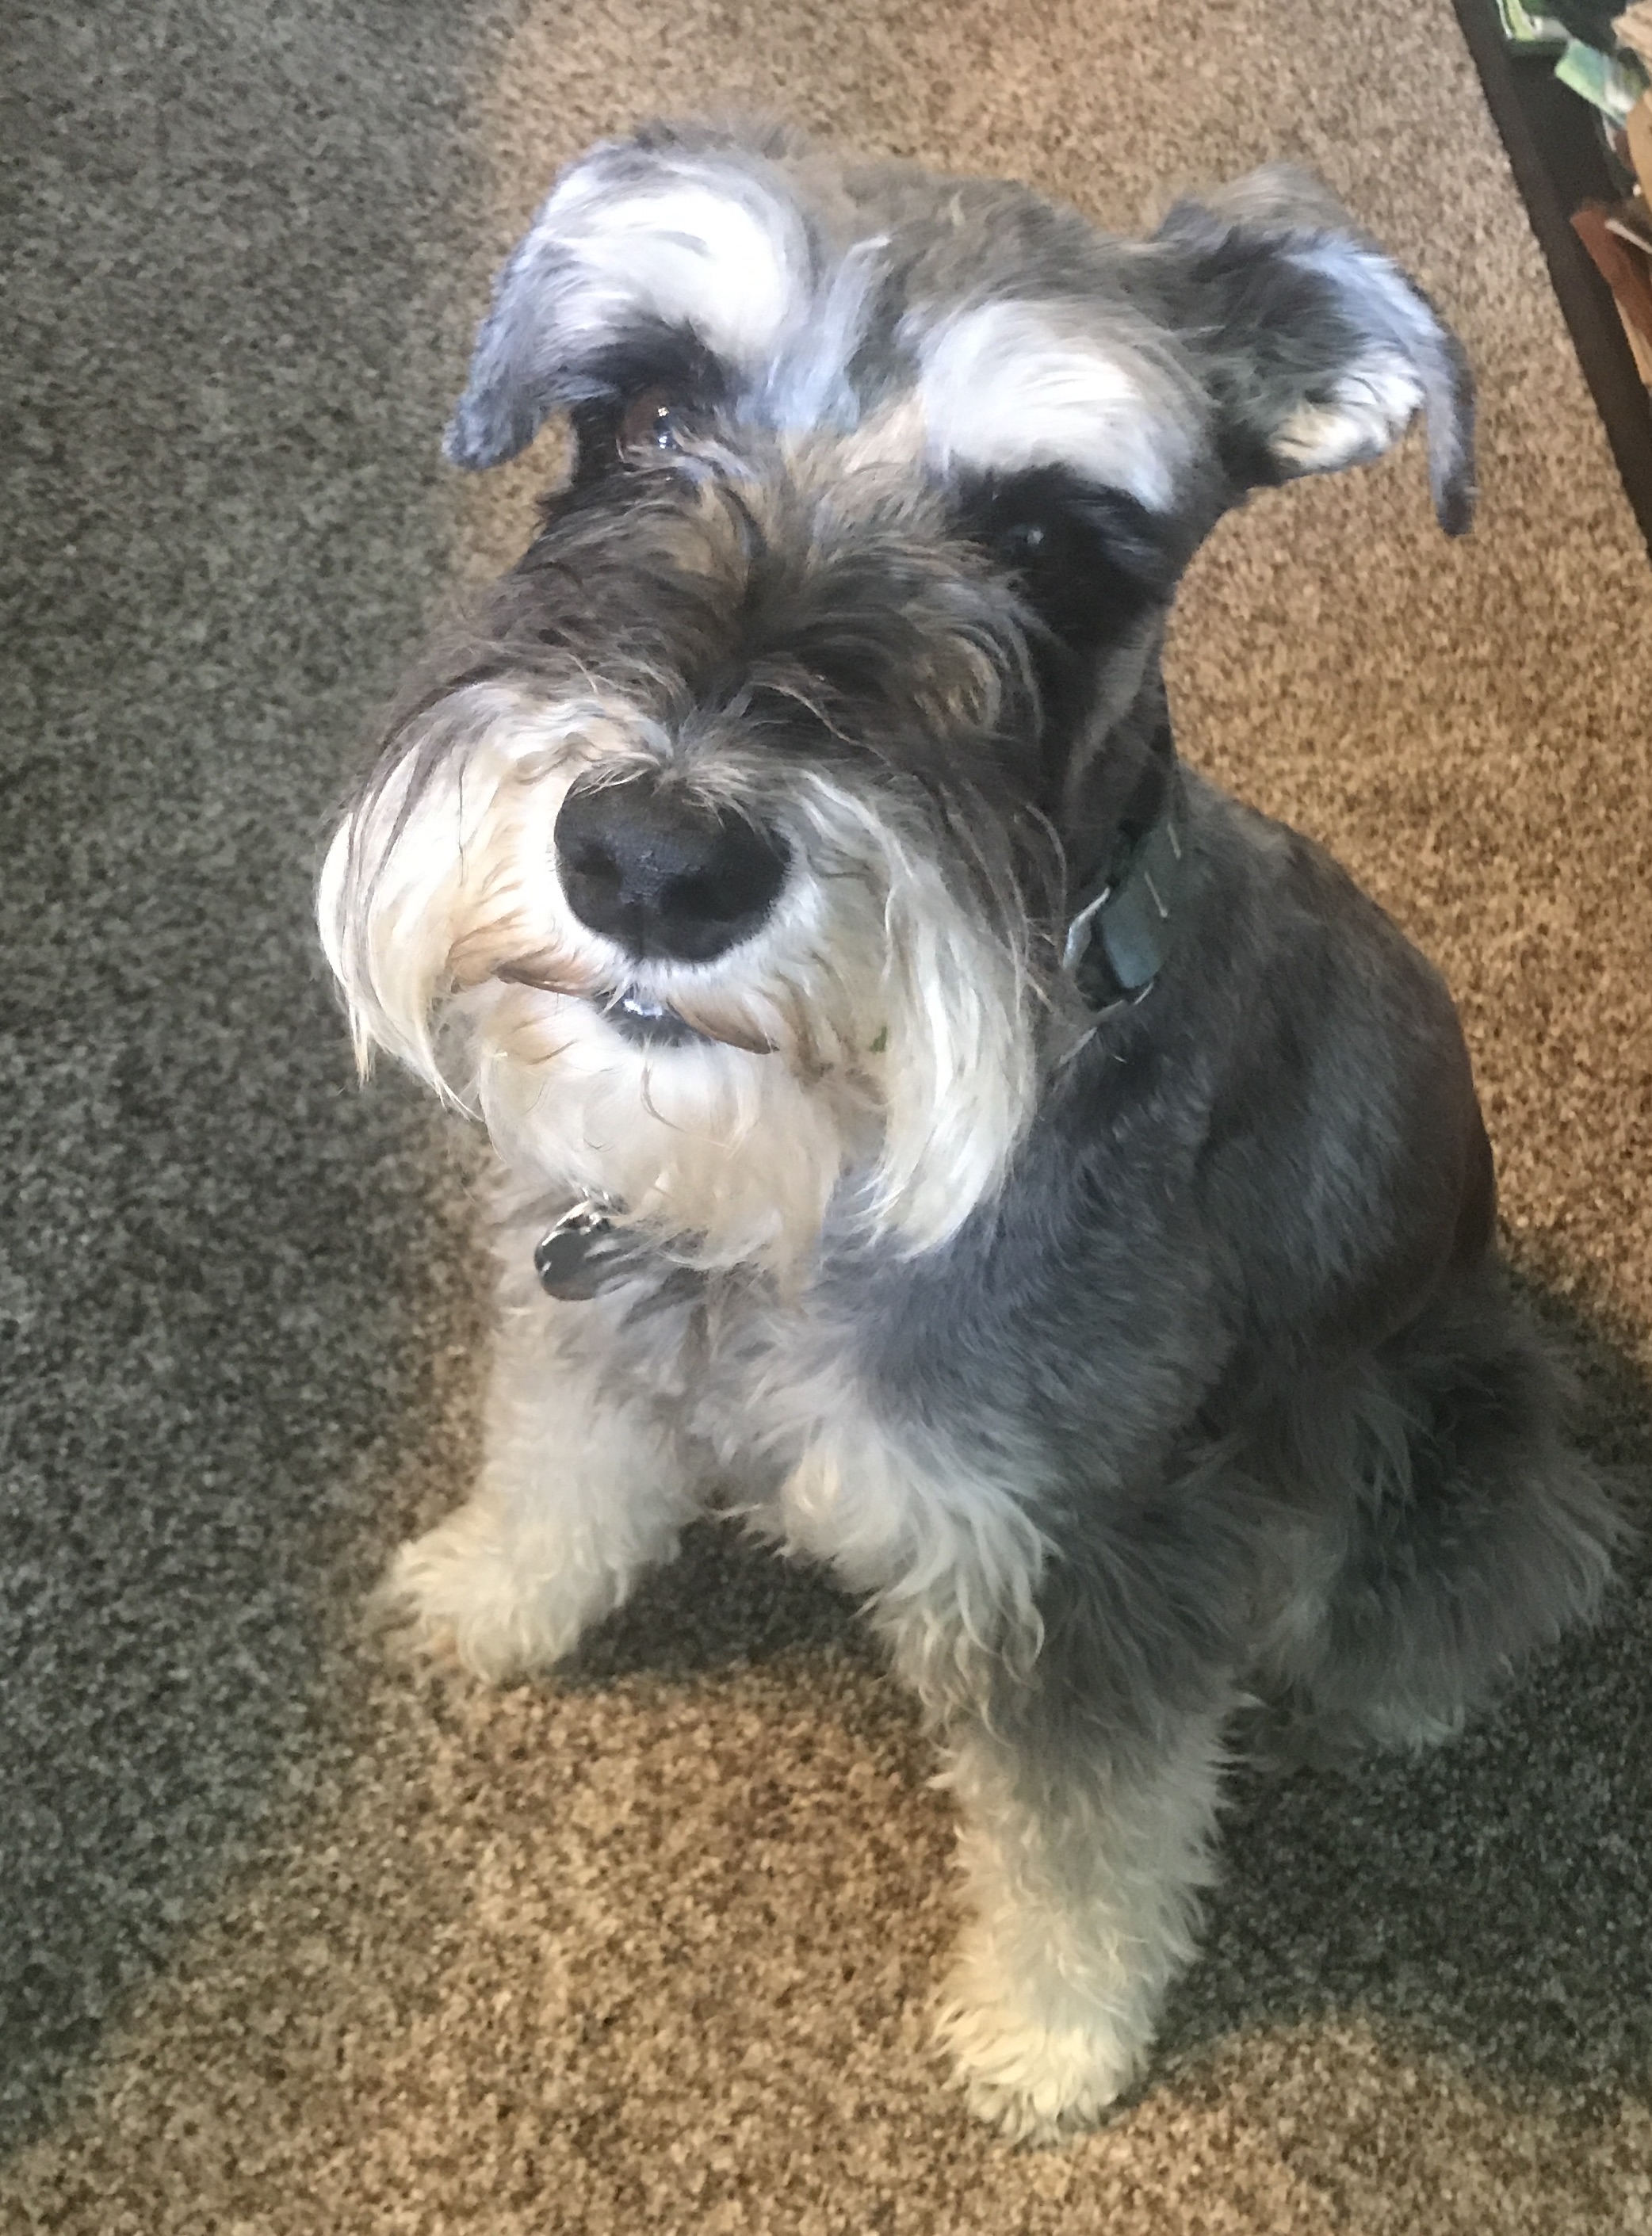
Mike the miniature schnauzer did a guest blog post a couple weeks ago (yes, yes, stop your disbeliefs that my dog writes blog posts, ha, ha) on some of the projects John has been working on – Guest Blog Post: A Whole Lot of Remodeling Going On , but I thought I would share some of the projects since that post.
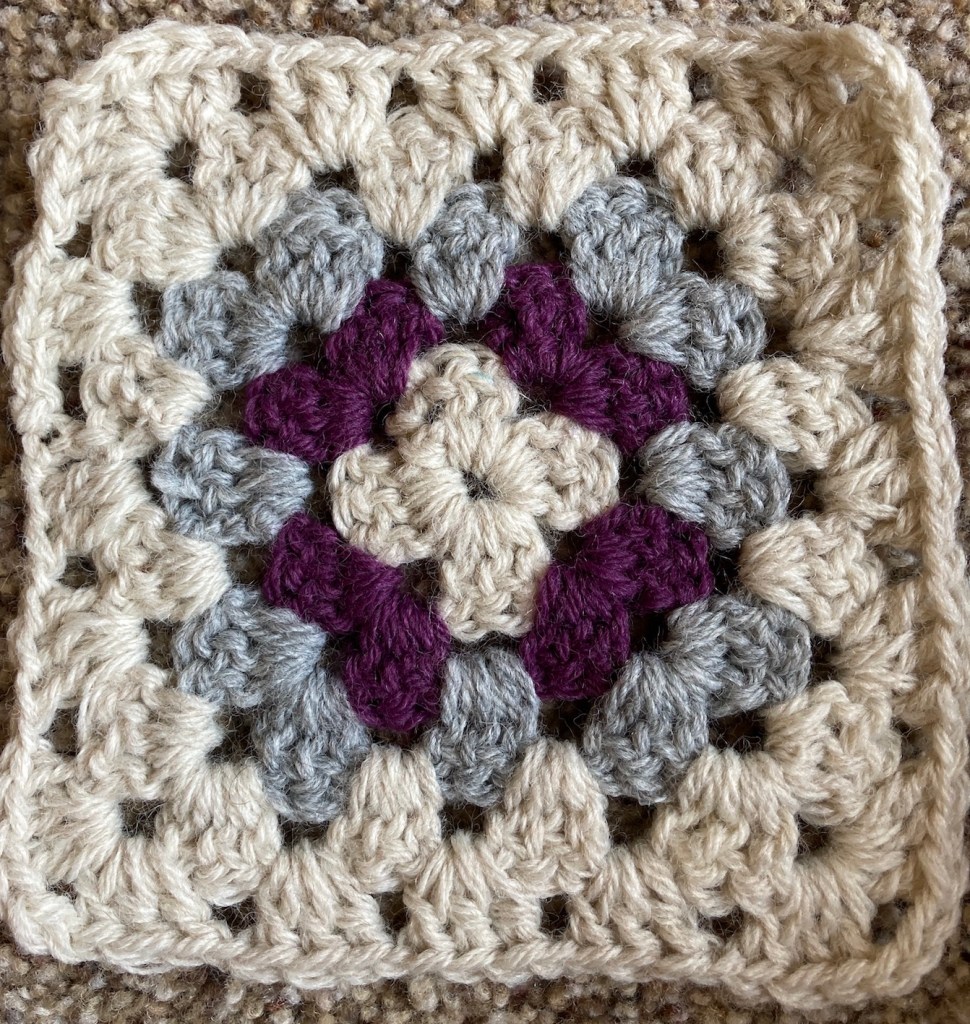
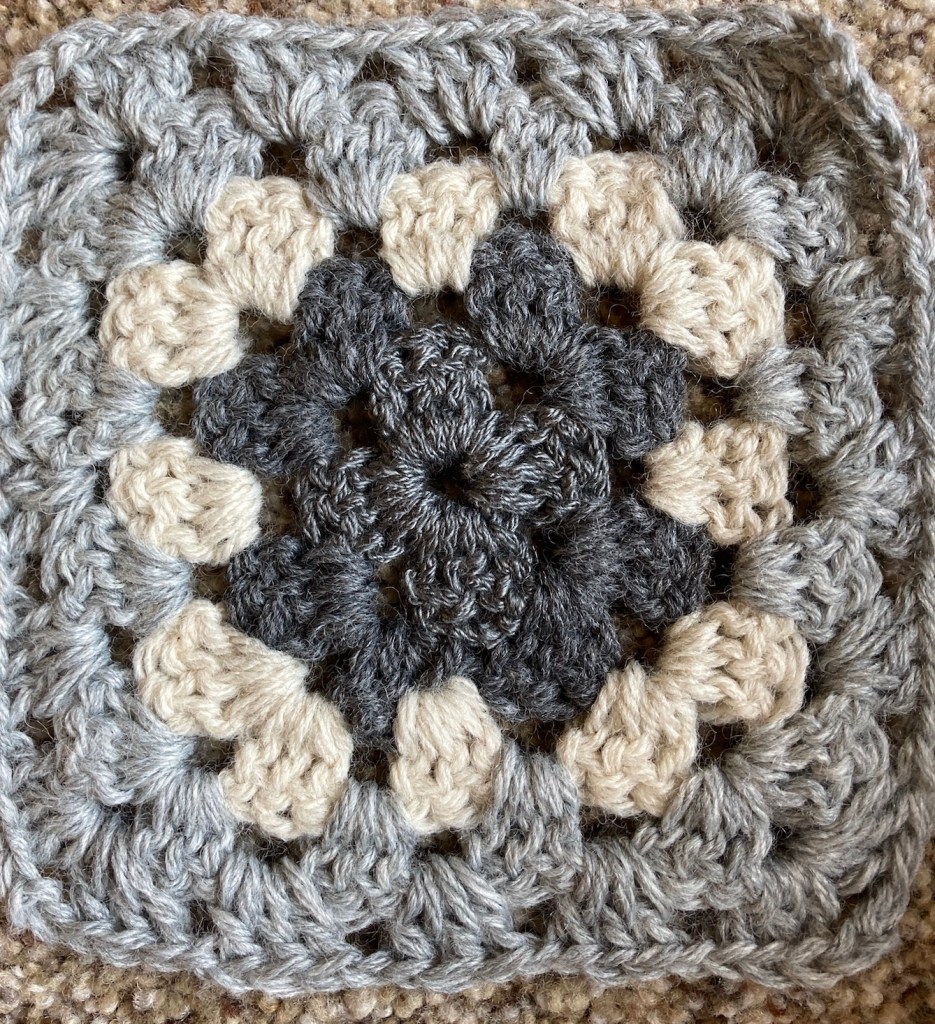
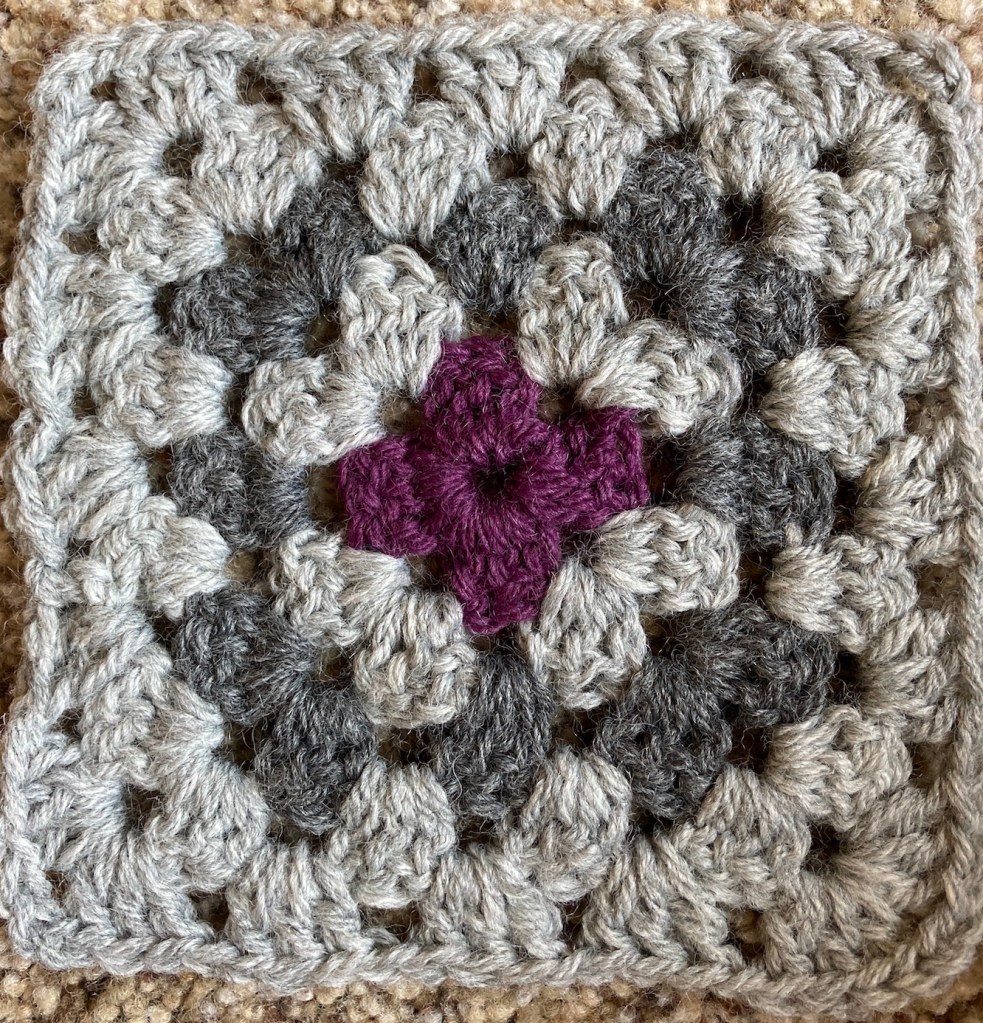
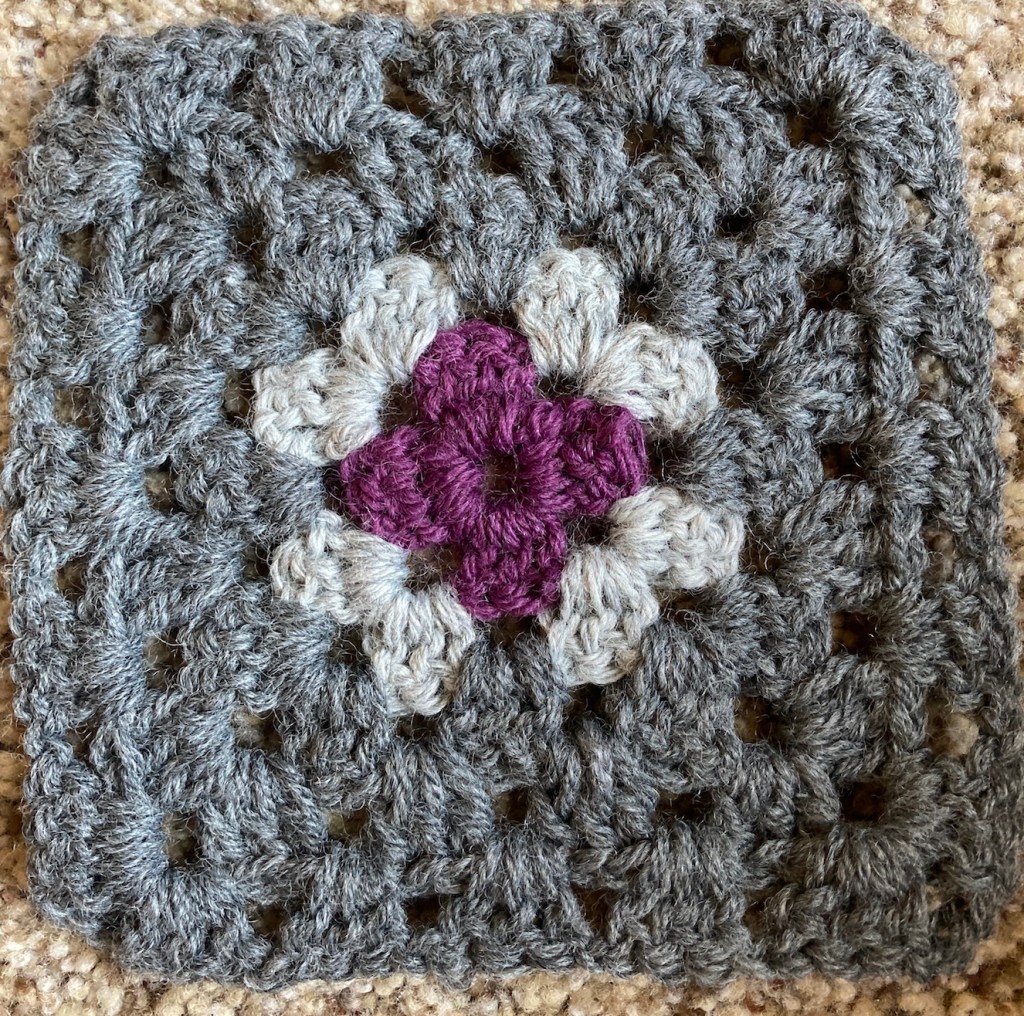
Wood Blocking Board
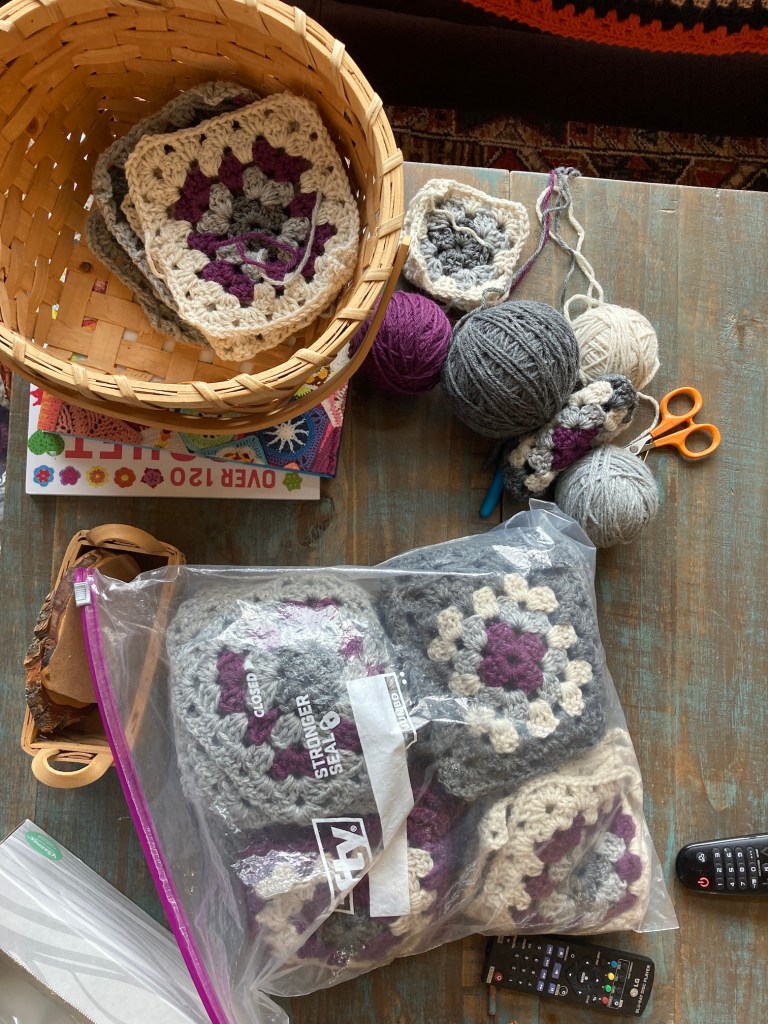
I saw on Instagram wood blocking boards for granny squares and asked John if he could make me one – and he did!
Here is an image of one I found online and texted him the image:

He watched a couple YouTube videos and checked out some on Pinterest and figured it out how to make me one:

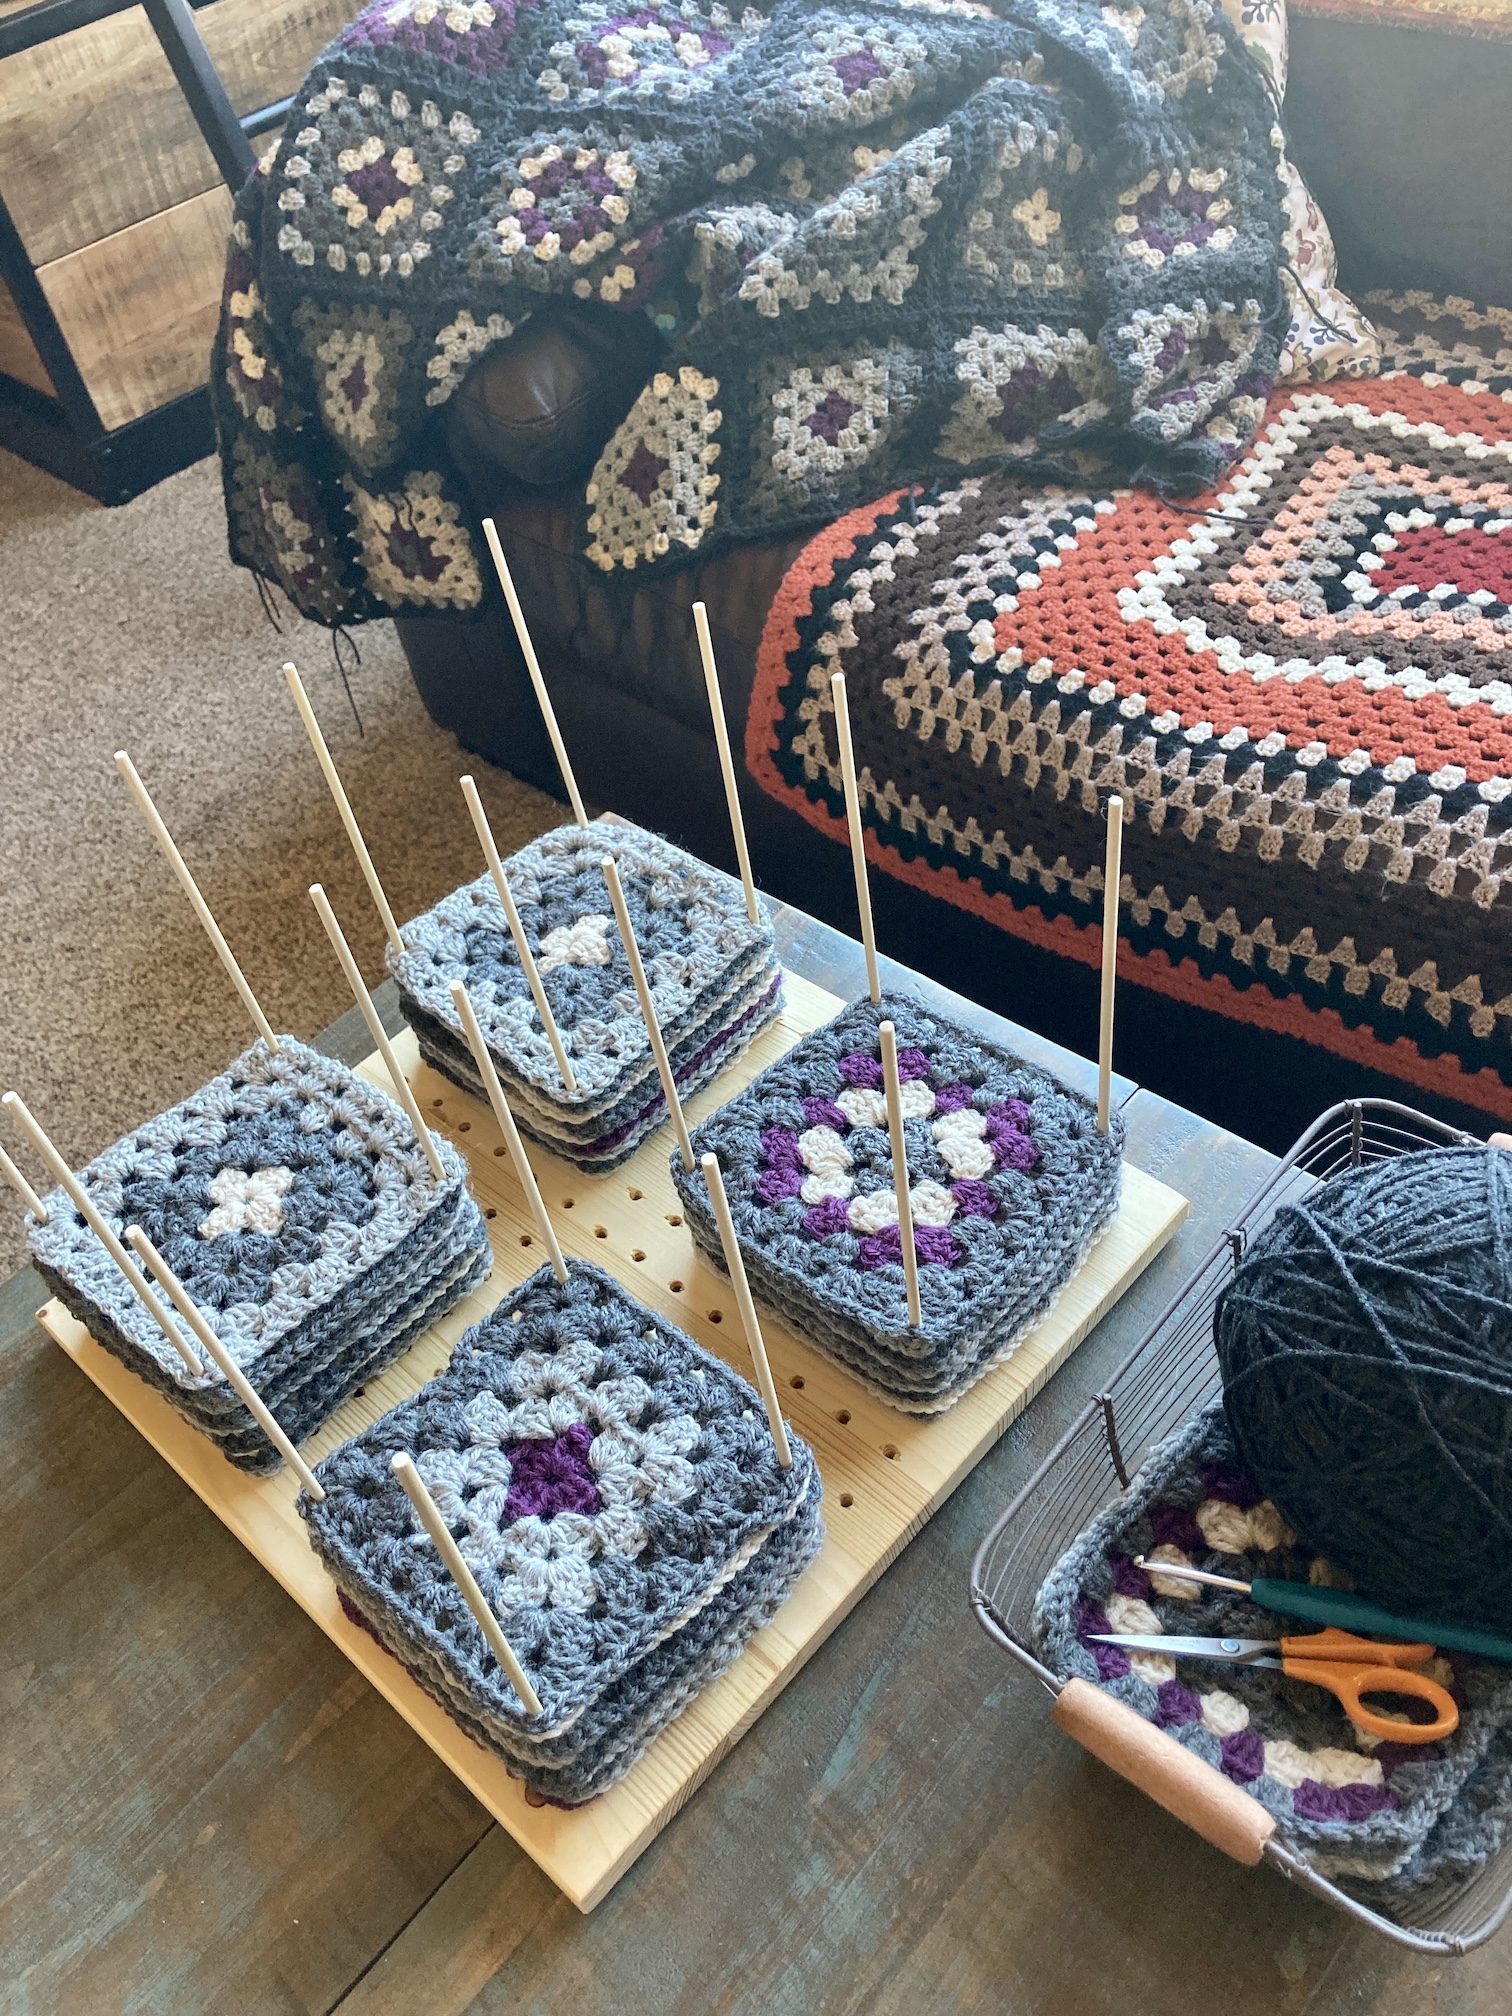
It’s going to be great to use for making my next granny square blanket – I can stack my blocks pretty high with the long pegs.
Bike Holders/Storage
John loves Pinterest as a great source of ideas. He wanted to get our bikes off just sitting on the ground of the garage and found a cool design for a bike rack and made one for each of our bikes!
He made mine first so most of the images are of mine with some detailed images of the rack to include the little drawer he built for it also.


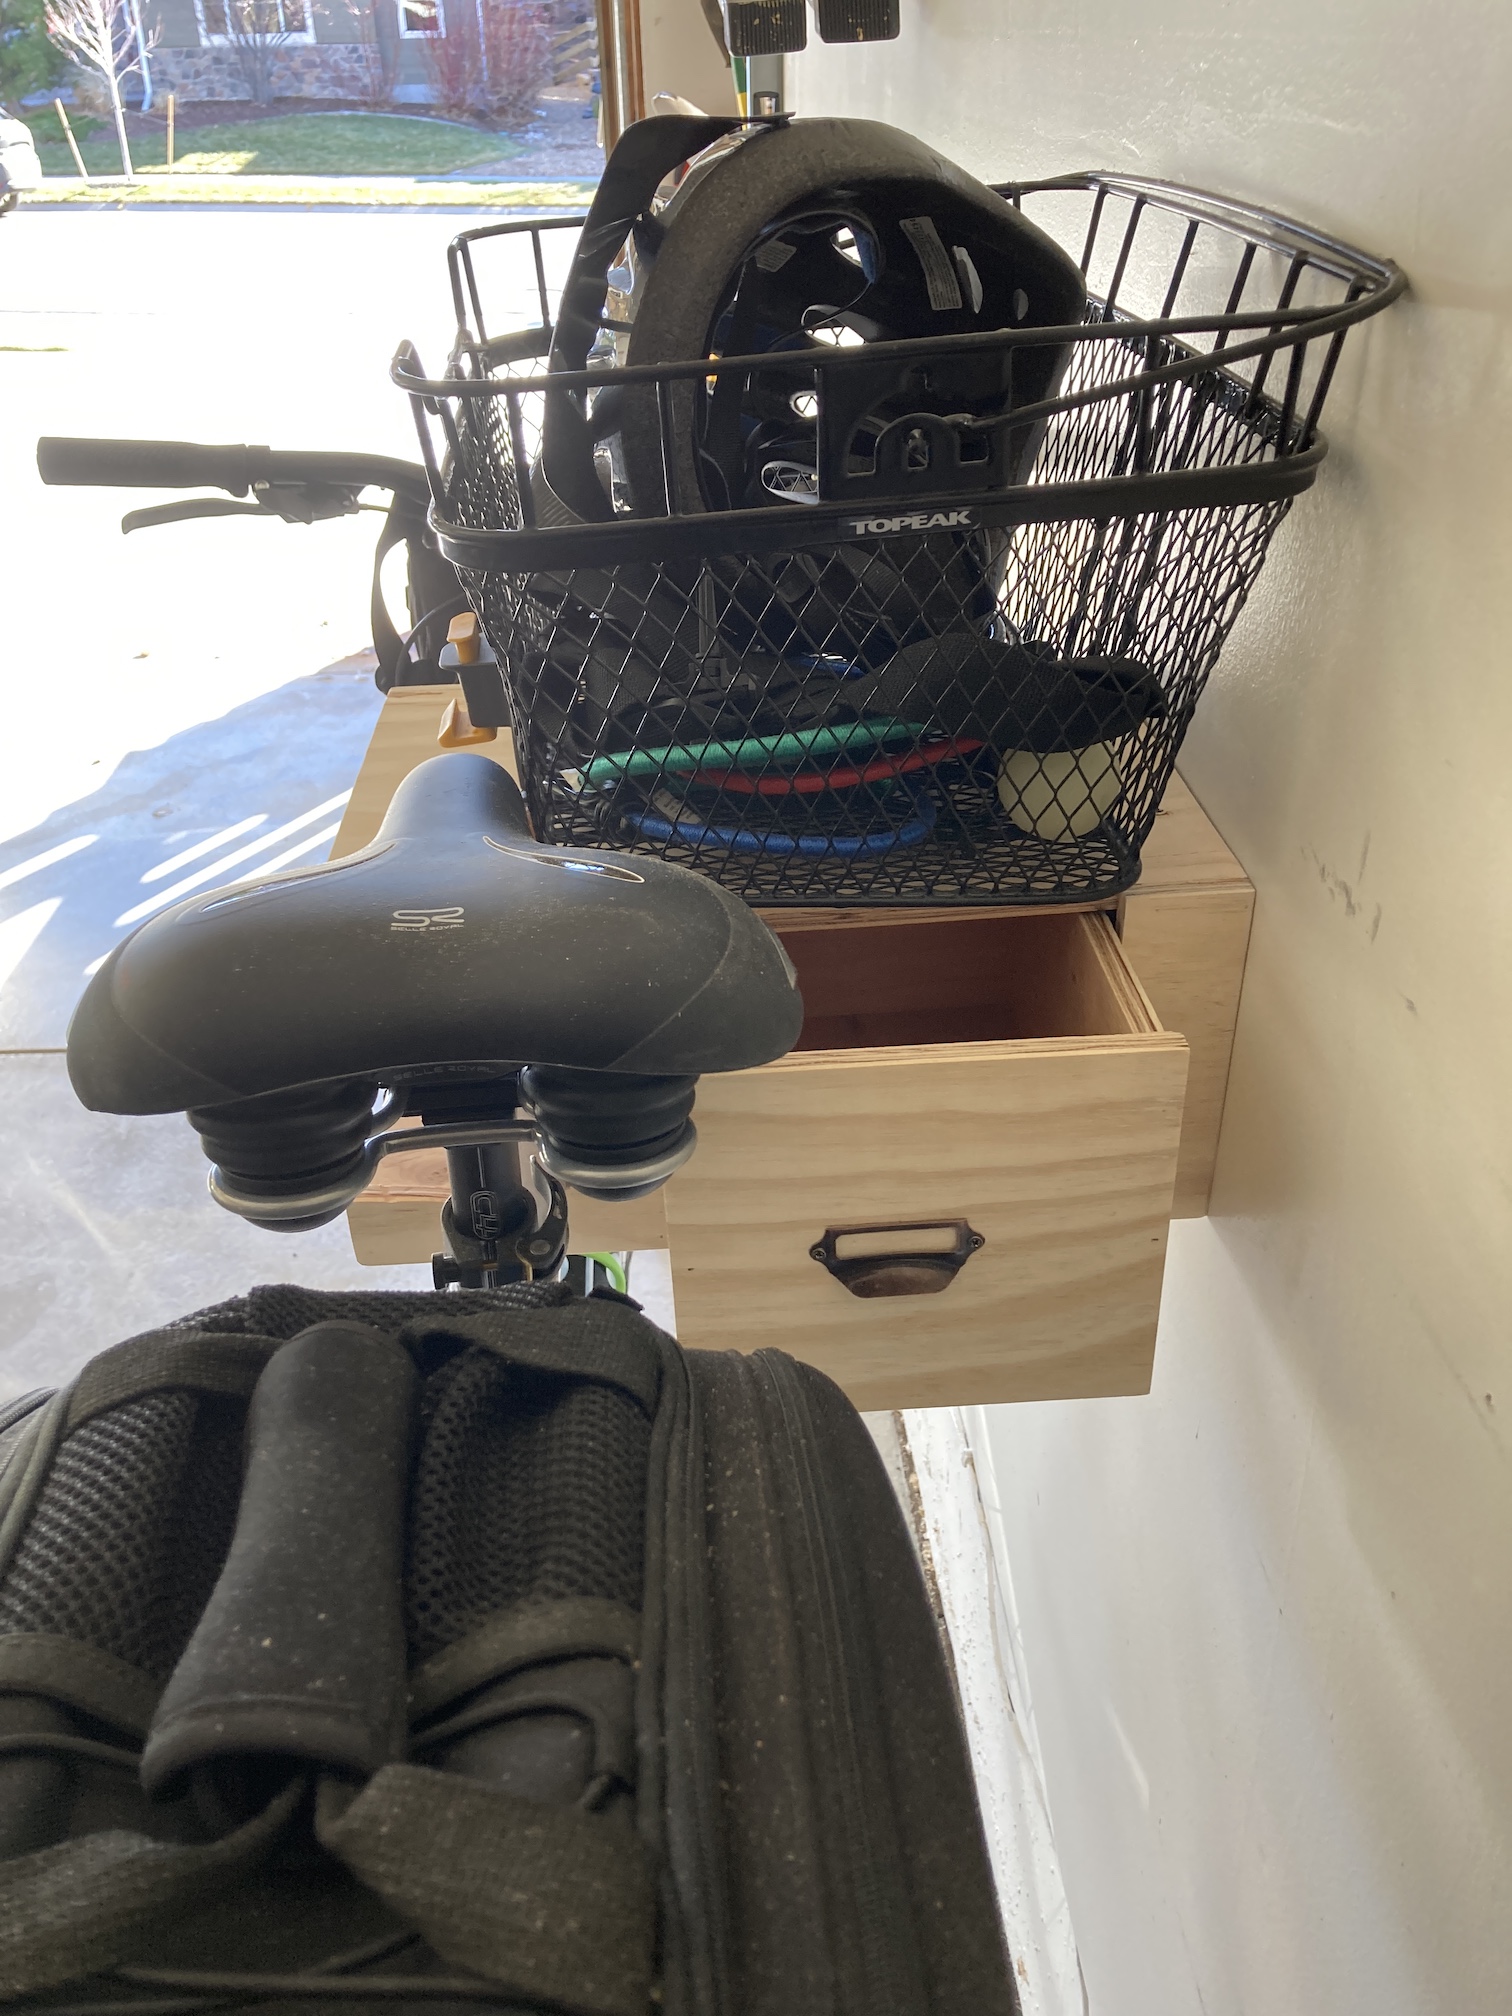

The little drawer is perfect to keep your biking gloves and other small items related to cycling. It is very easy to lift our bikes out of the holders.
Magnetic Board
I am obsessed with Scrabble letters. I have a collection of Scrabble letters from thrift stores and old Scrabble games. I’ve made gifts from them in the past like friend’s names spelled in Scrabble letters affixed to a magnetic strip. Recently while at a thrift shop I found a bag of Scrabble letters with individual thin magnetic strips attached.
This led to the idea of creating a magnetic board for my home office where I could write inspirational messages for myself with Scrabble letters! I asked John and he made it happen!
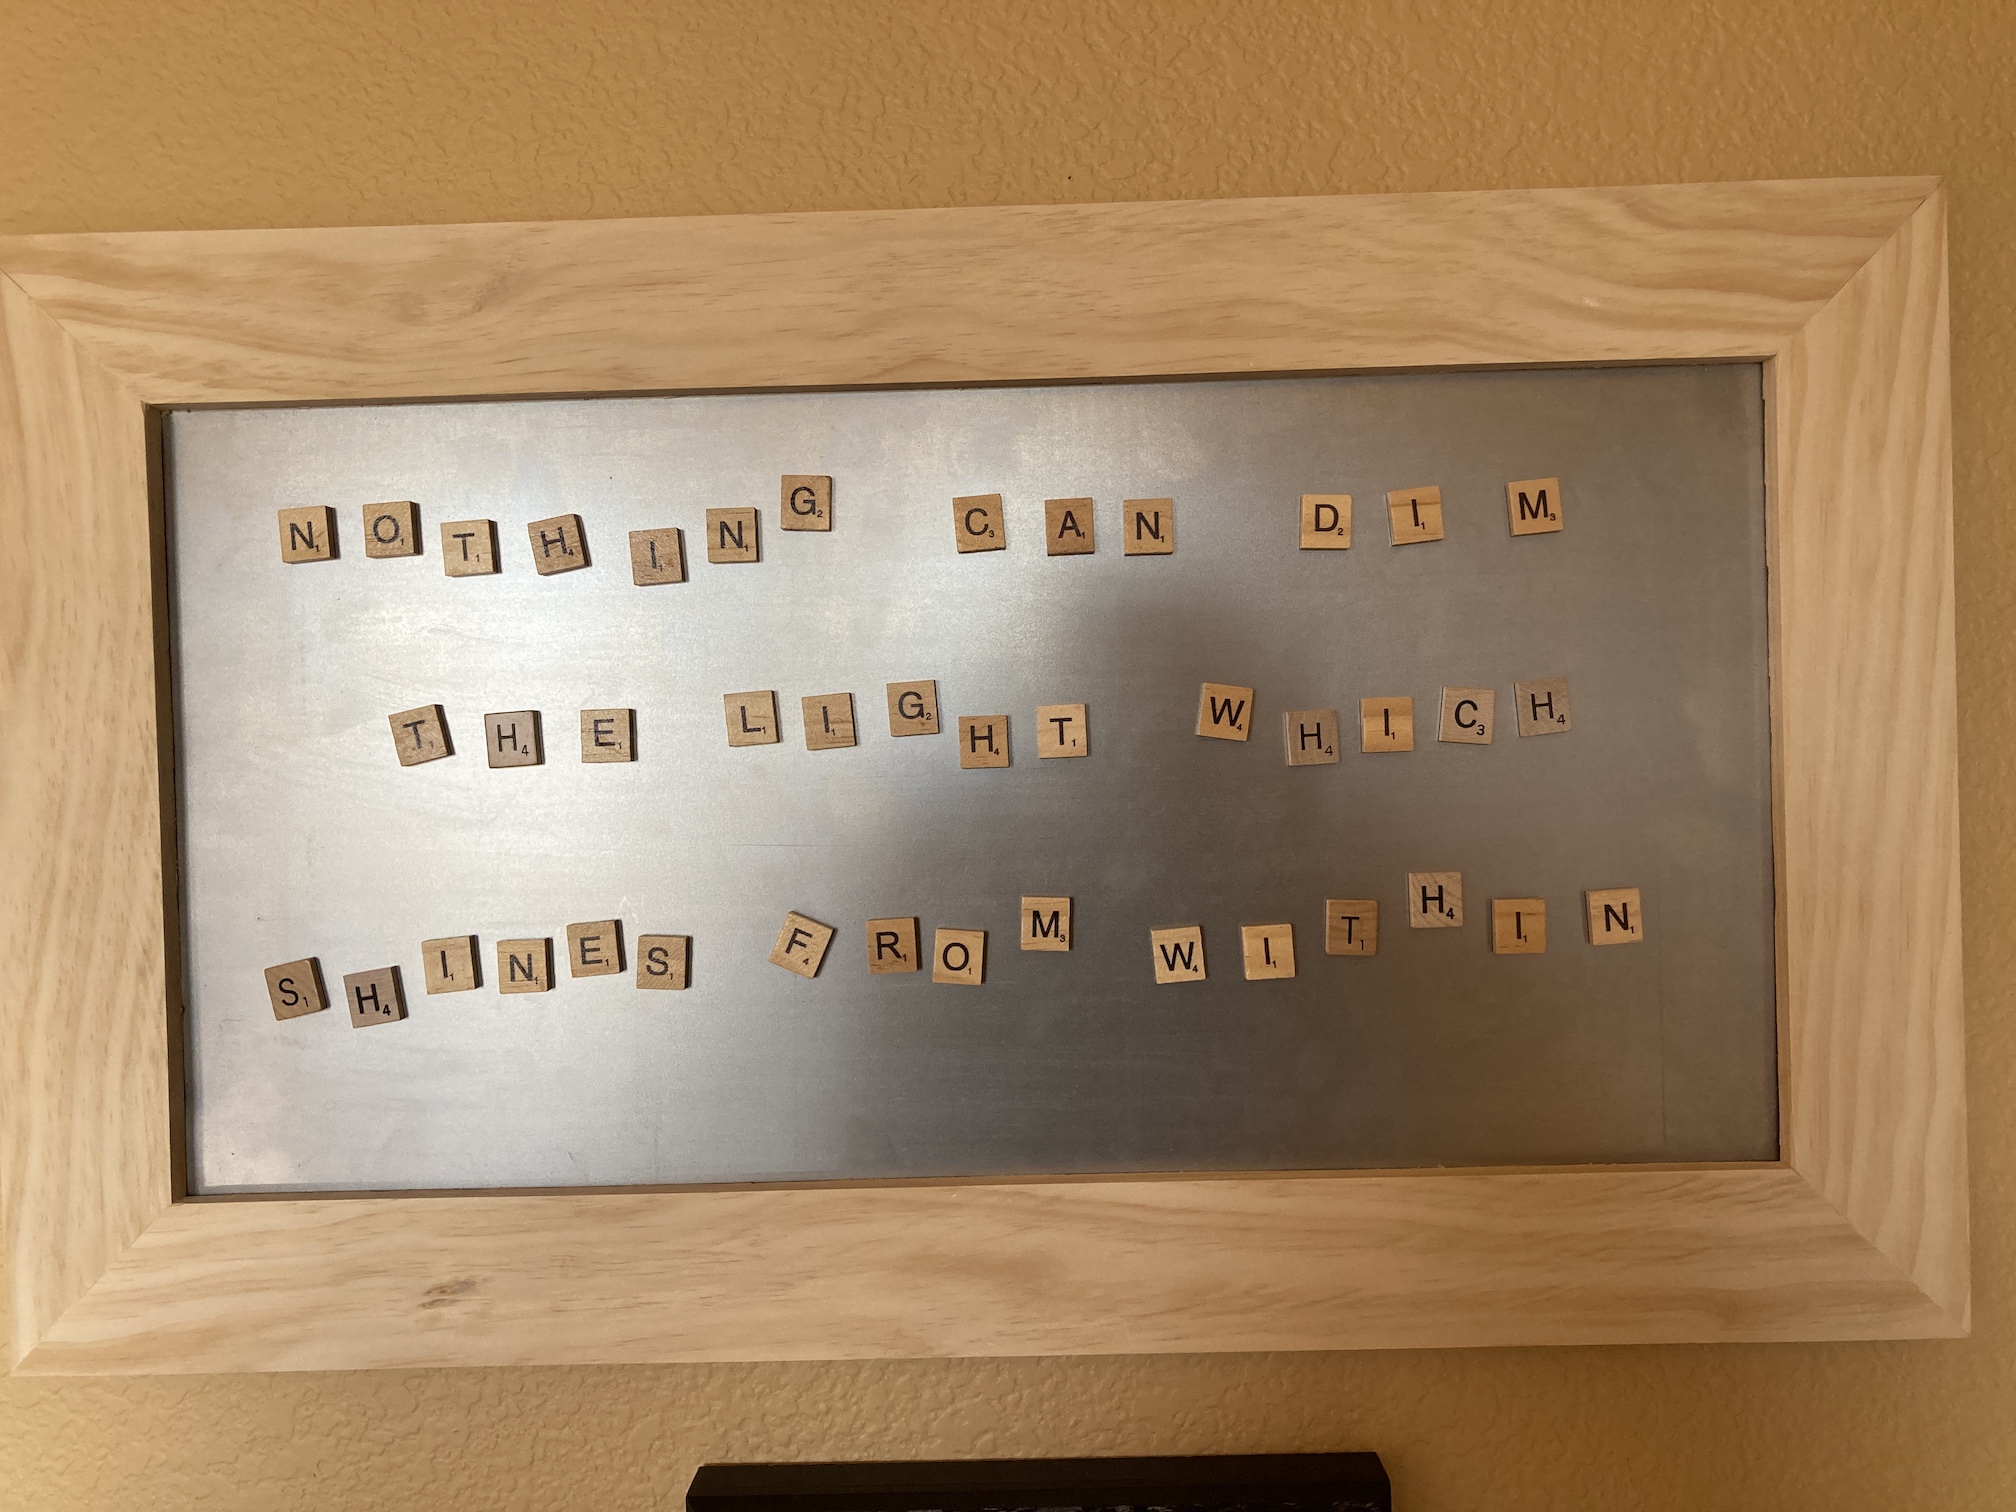
Currently up on the board I have the Maya Angelou quote:
Nothing can dim the light which shines from within.
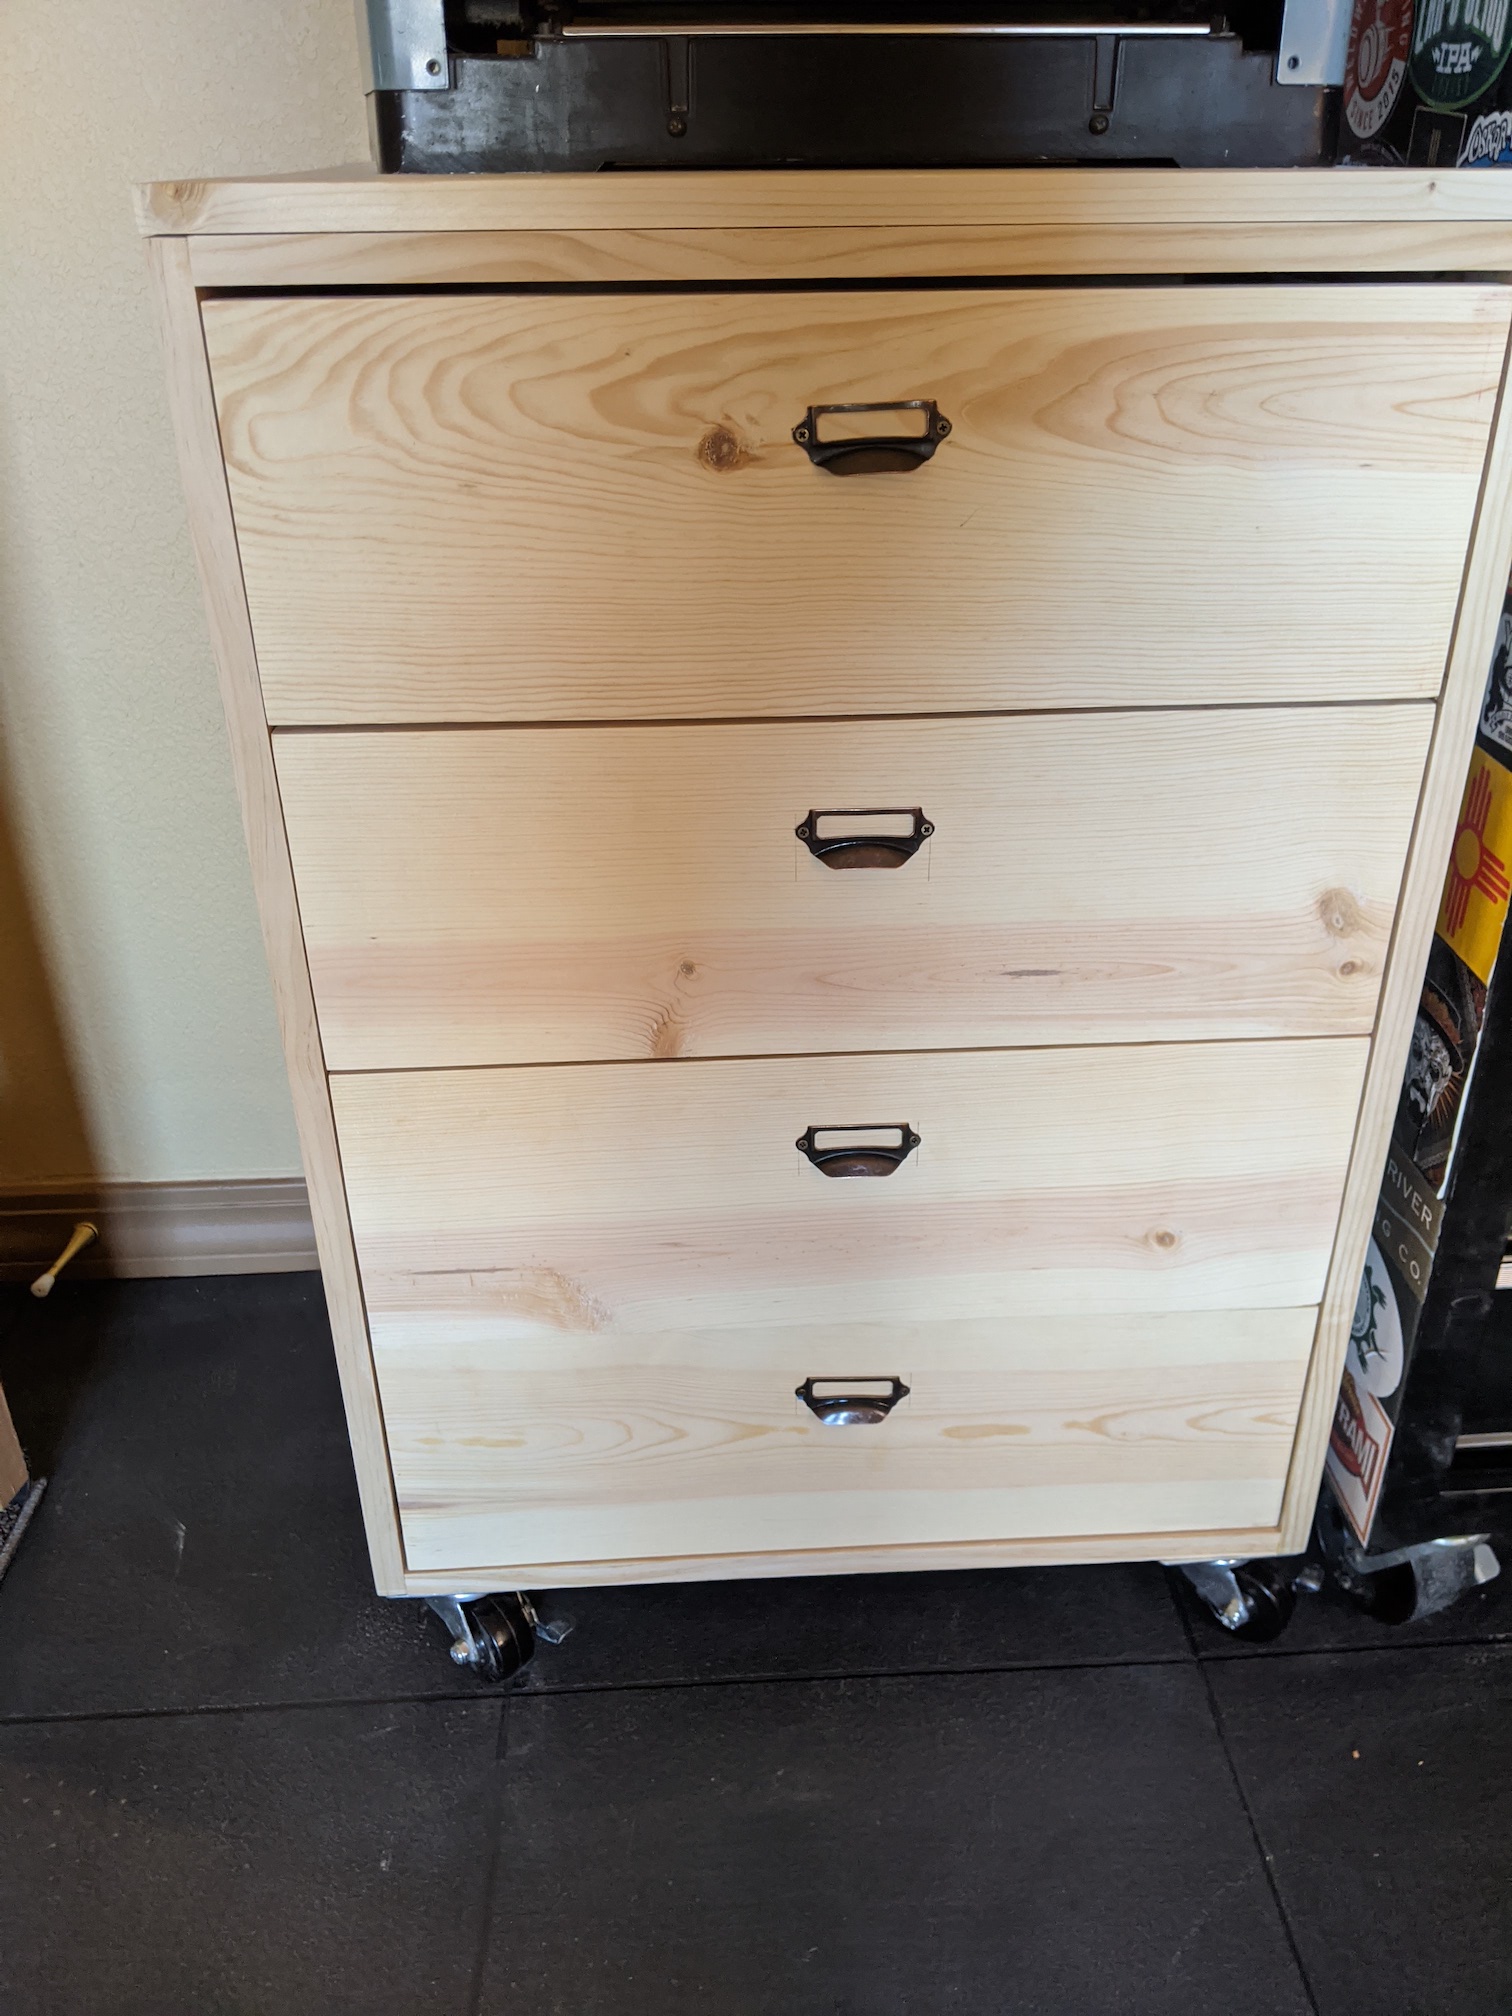
Custom Tables for his Woodshop
The first table John made for his woodshop was a table/stand/storage for his Miter Saw:

He used purchased plans he downloaded online to make this table and then made some adjustments for his needs.
Recently he made himself another table/stand/storage, this time without pre-purchased plans! He designed a table for his Planer with storage drawers with cool pulls he ordered online:

Exercise Room for Water Rower
And the big project that John recently completed did not technically involve his woodshop as he did much for the work in the garage – he converted part of our unfinished storage room in the basement into an exercise room for our new Water Rower. This involved framing out and dry walling the room. A wonderful friend helped him with a lot of the initial labor related to framing, installing the drywall, and pulling electrical for lighting and wall outlets.

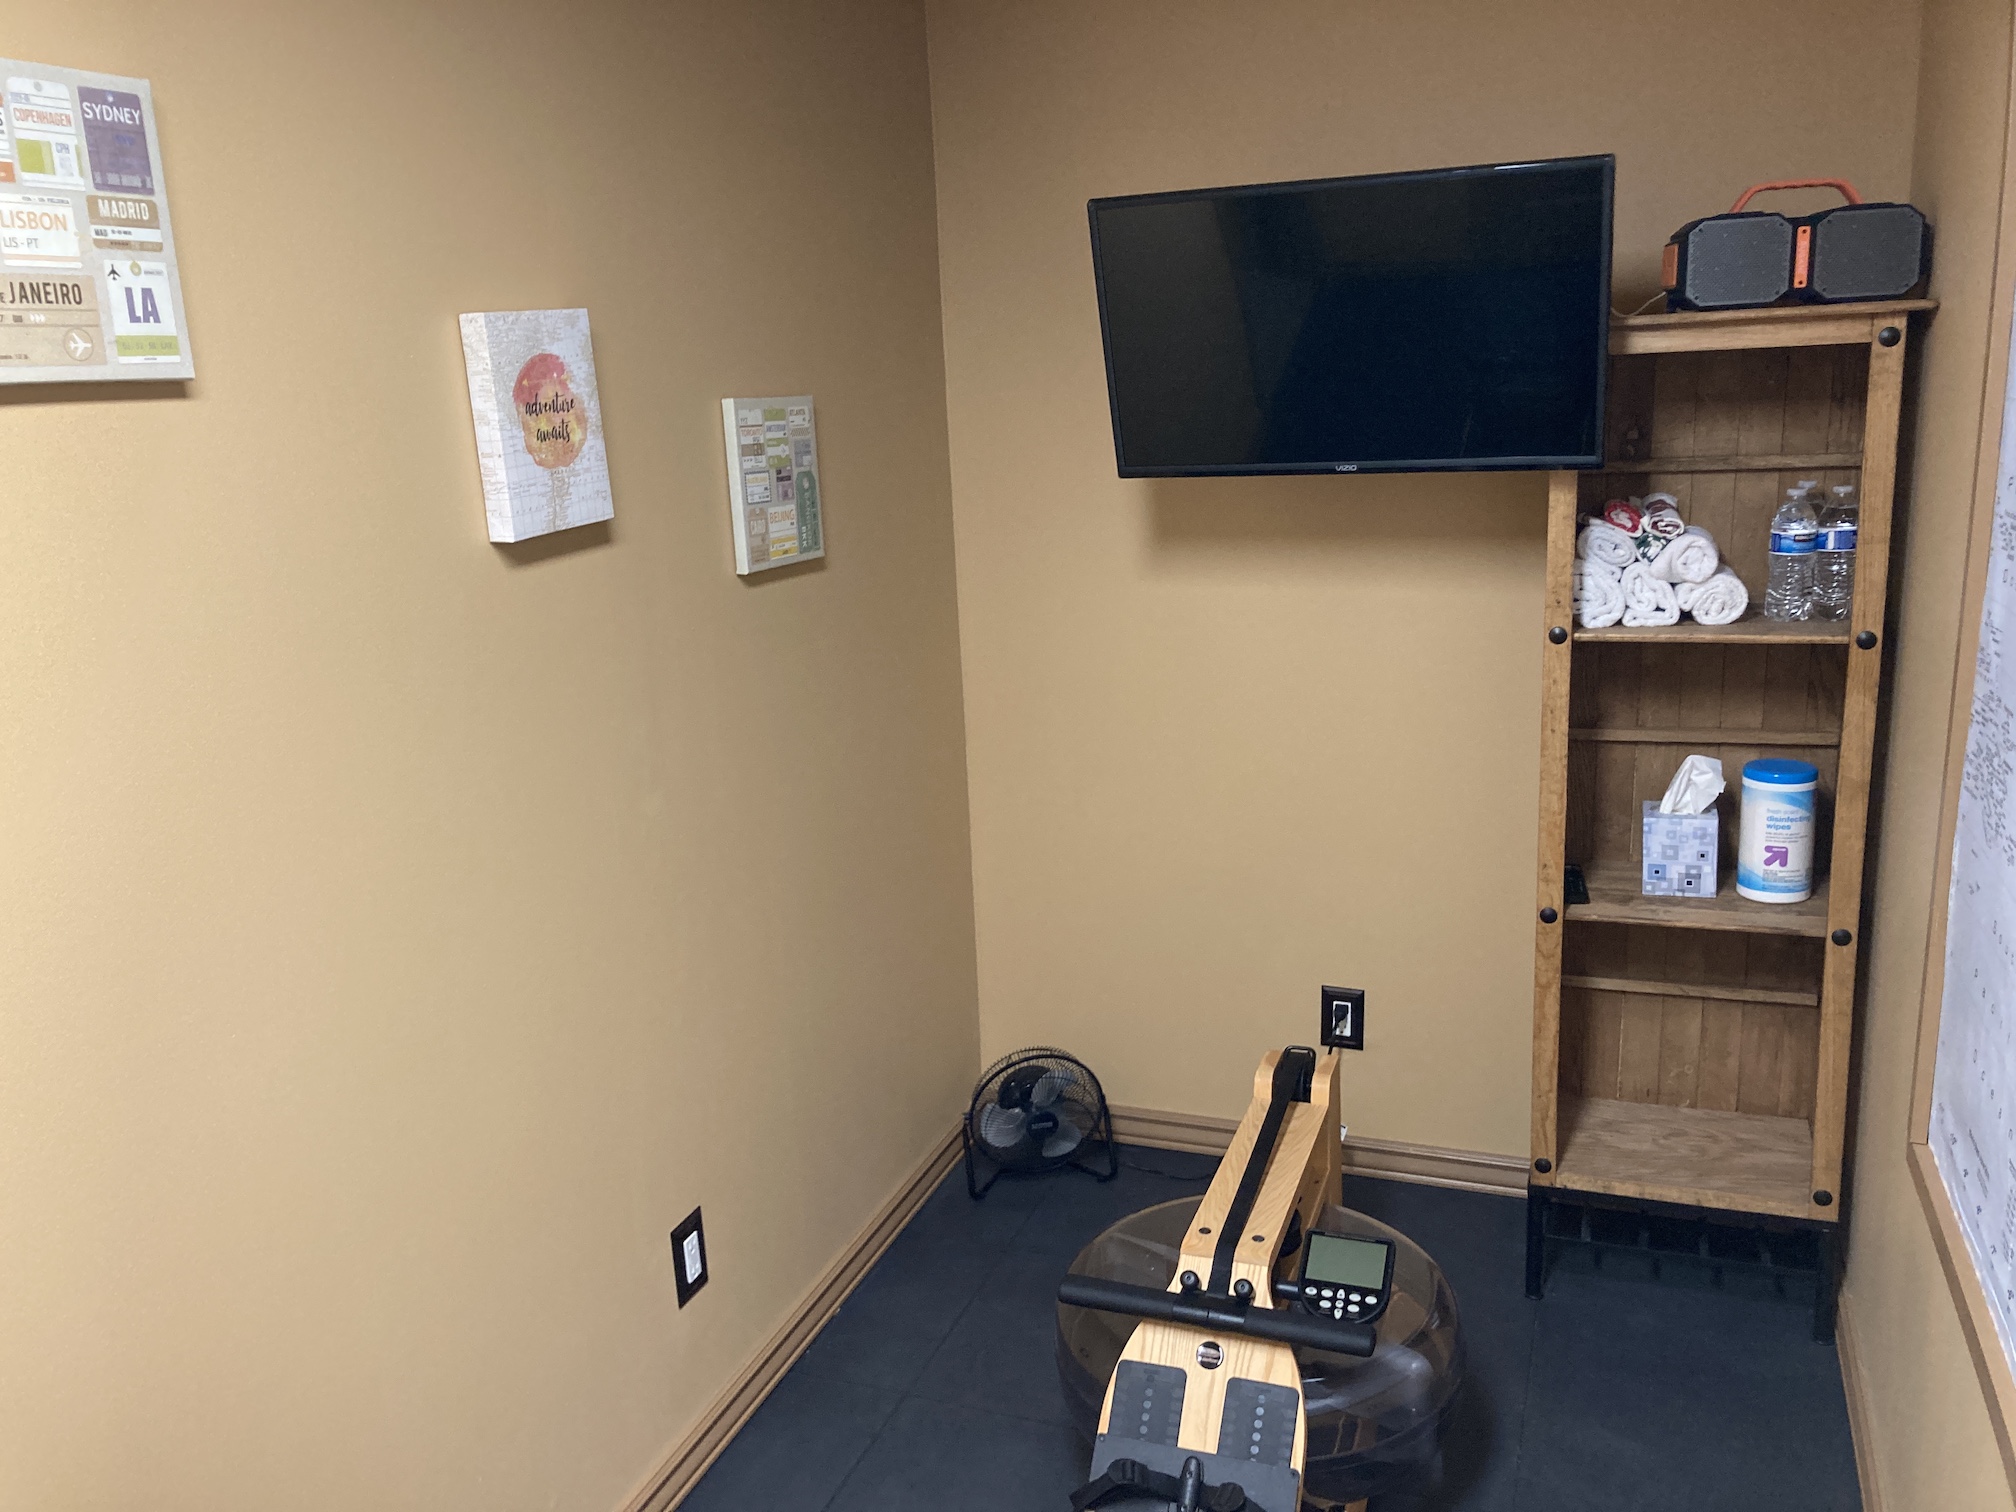
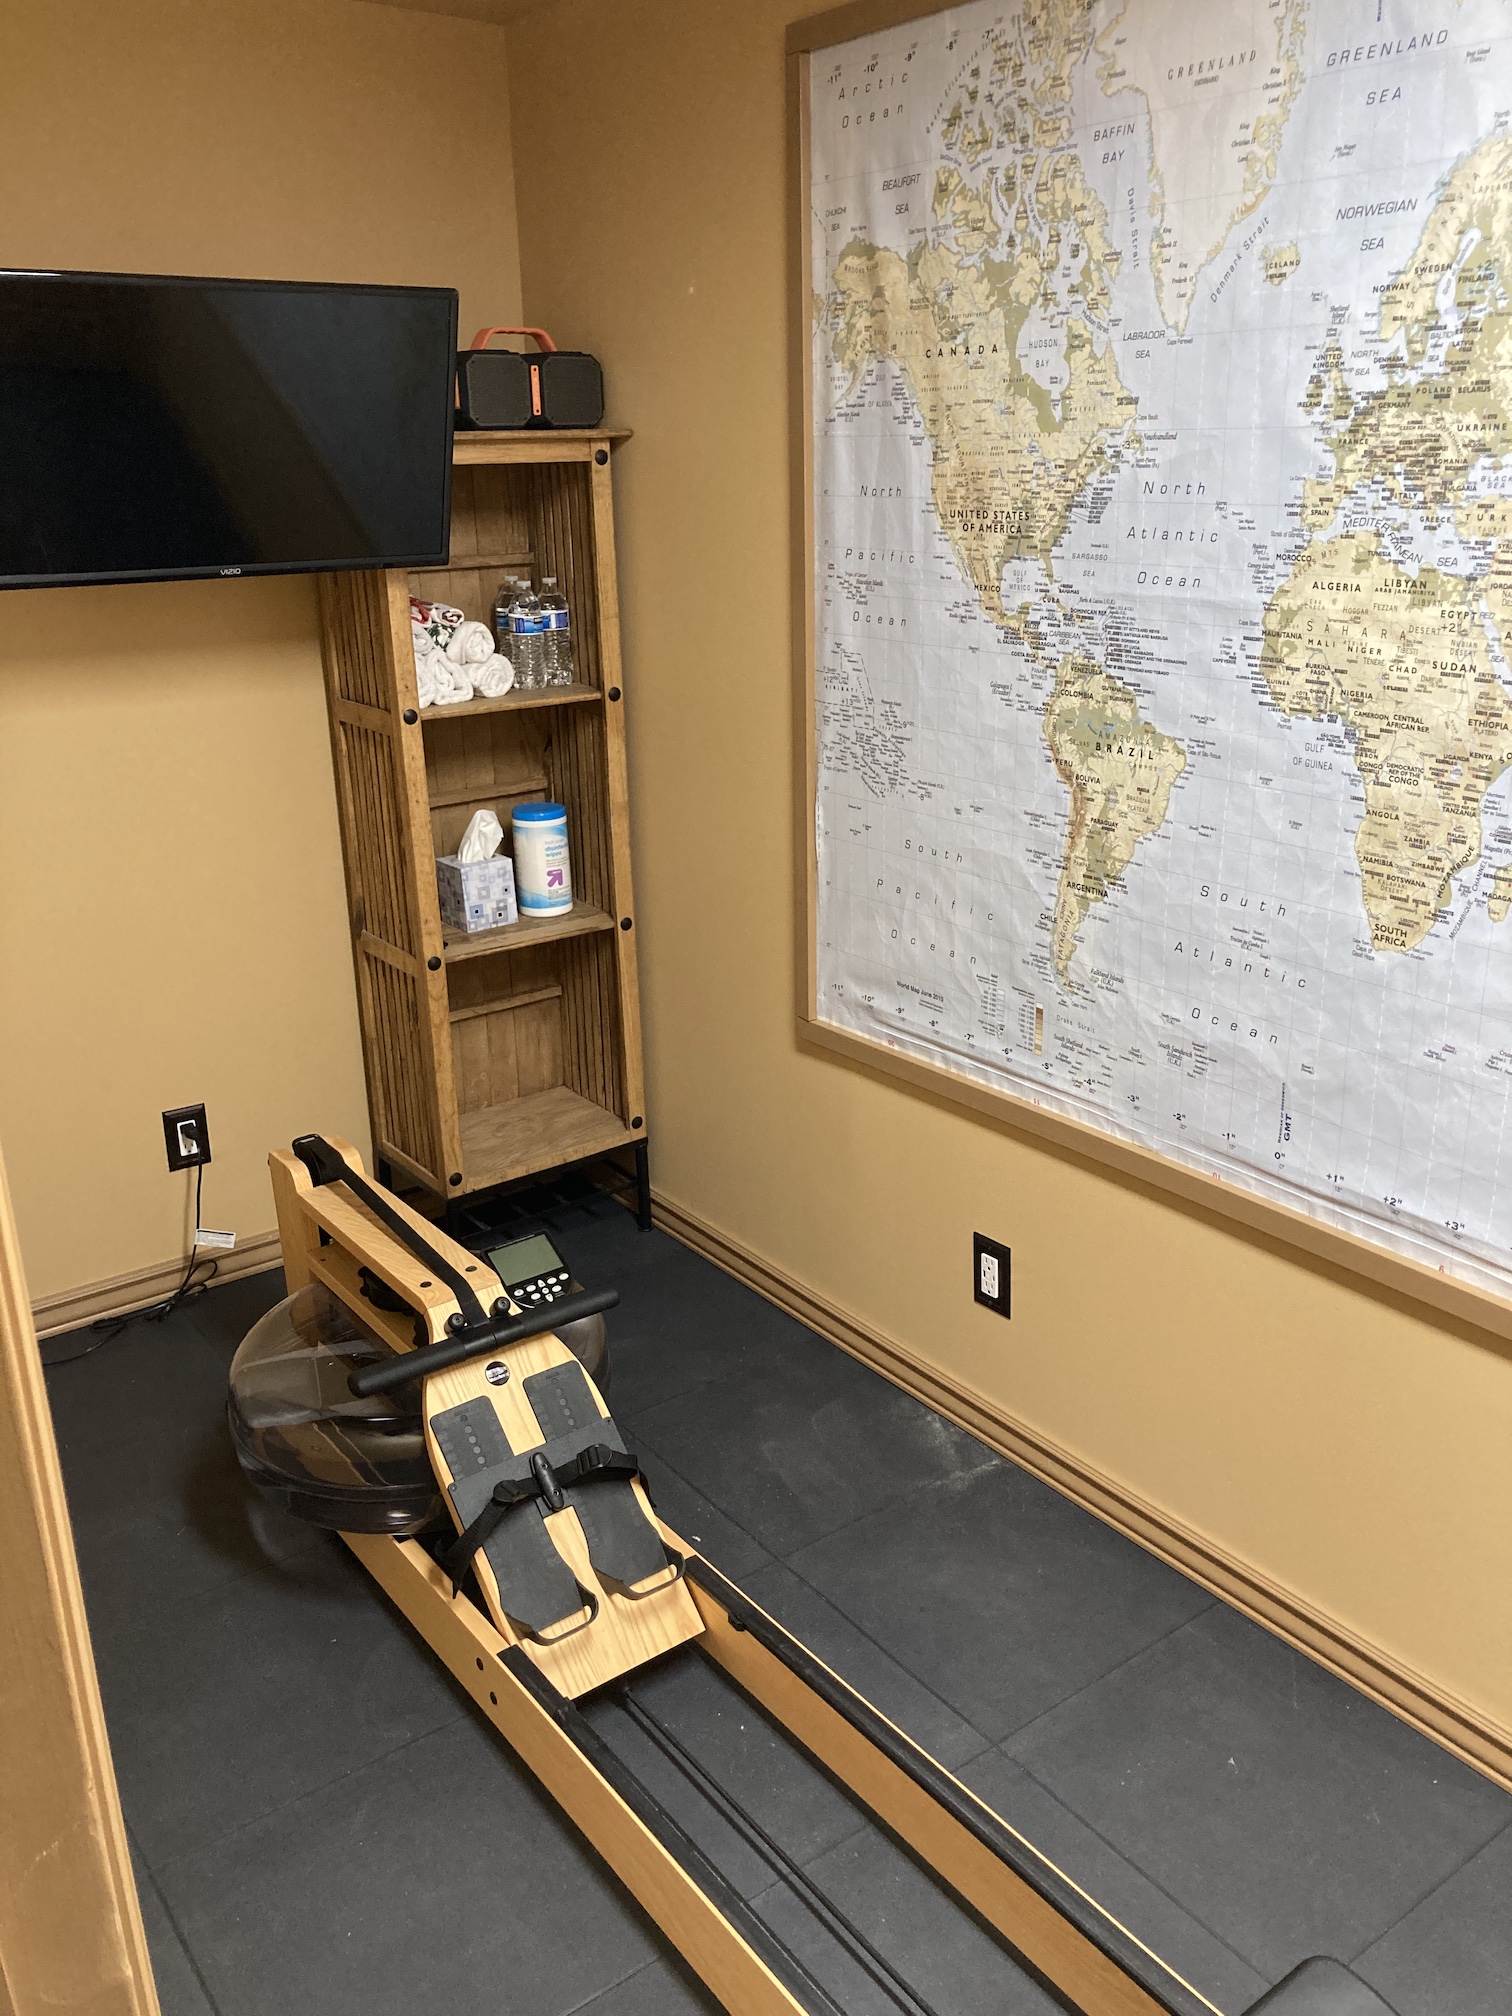
The artwork in the room was my idea and I found it at a thrift shop. John created the frame around the world map. I figured we can daydream about travel while we row. We found a television on sale and an inexpensive TV mount online so we can watch rowing instructional videos (or Netflix) while rowing.
We repurposed an old bookcase for our “gym” towels and water bottles like they would have at a real gym. John also put in a vent for the room for ventilation while we break a sweat.
Well I better go work on my hand stitching so I can have something to show you in the future – John makes me look pretty lazy!
Postscript
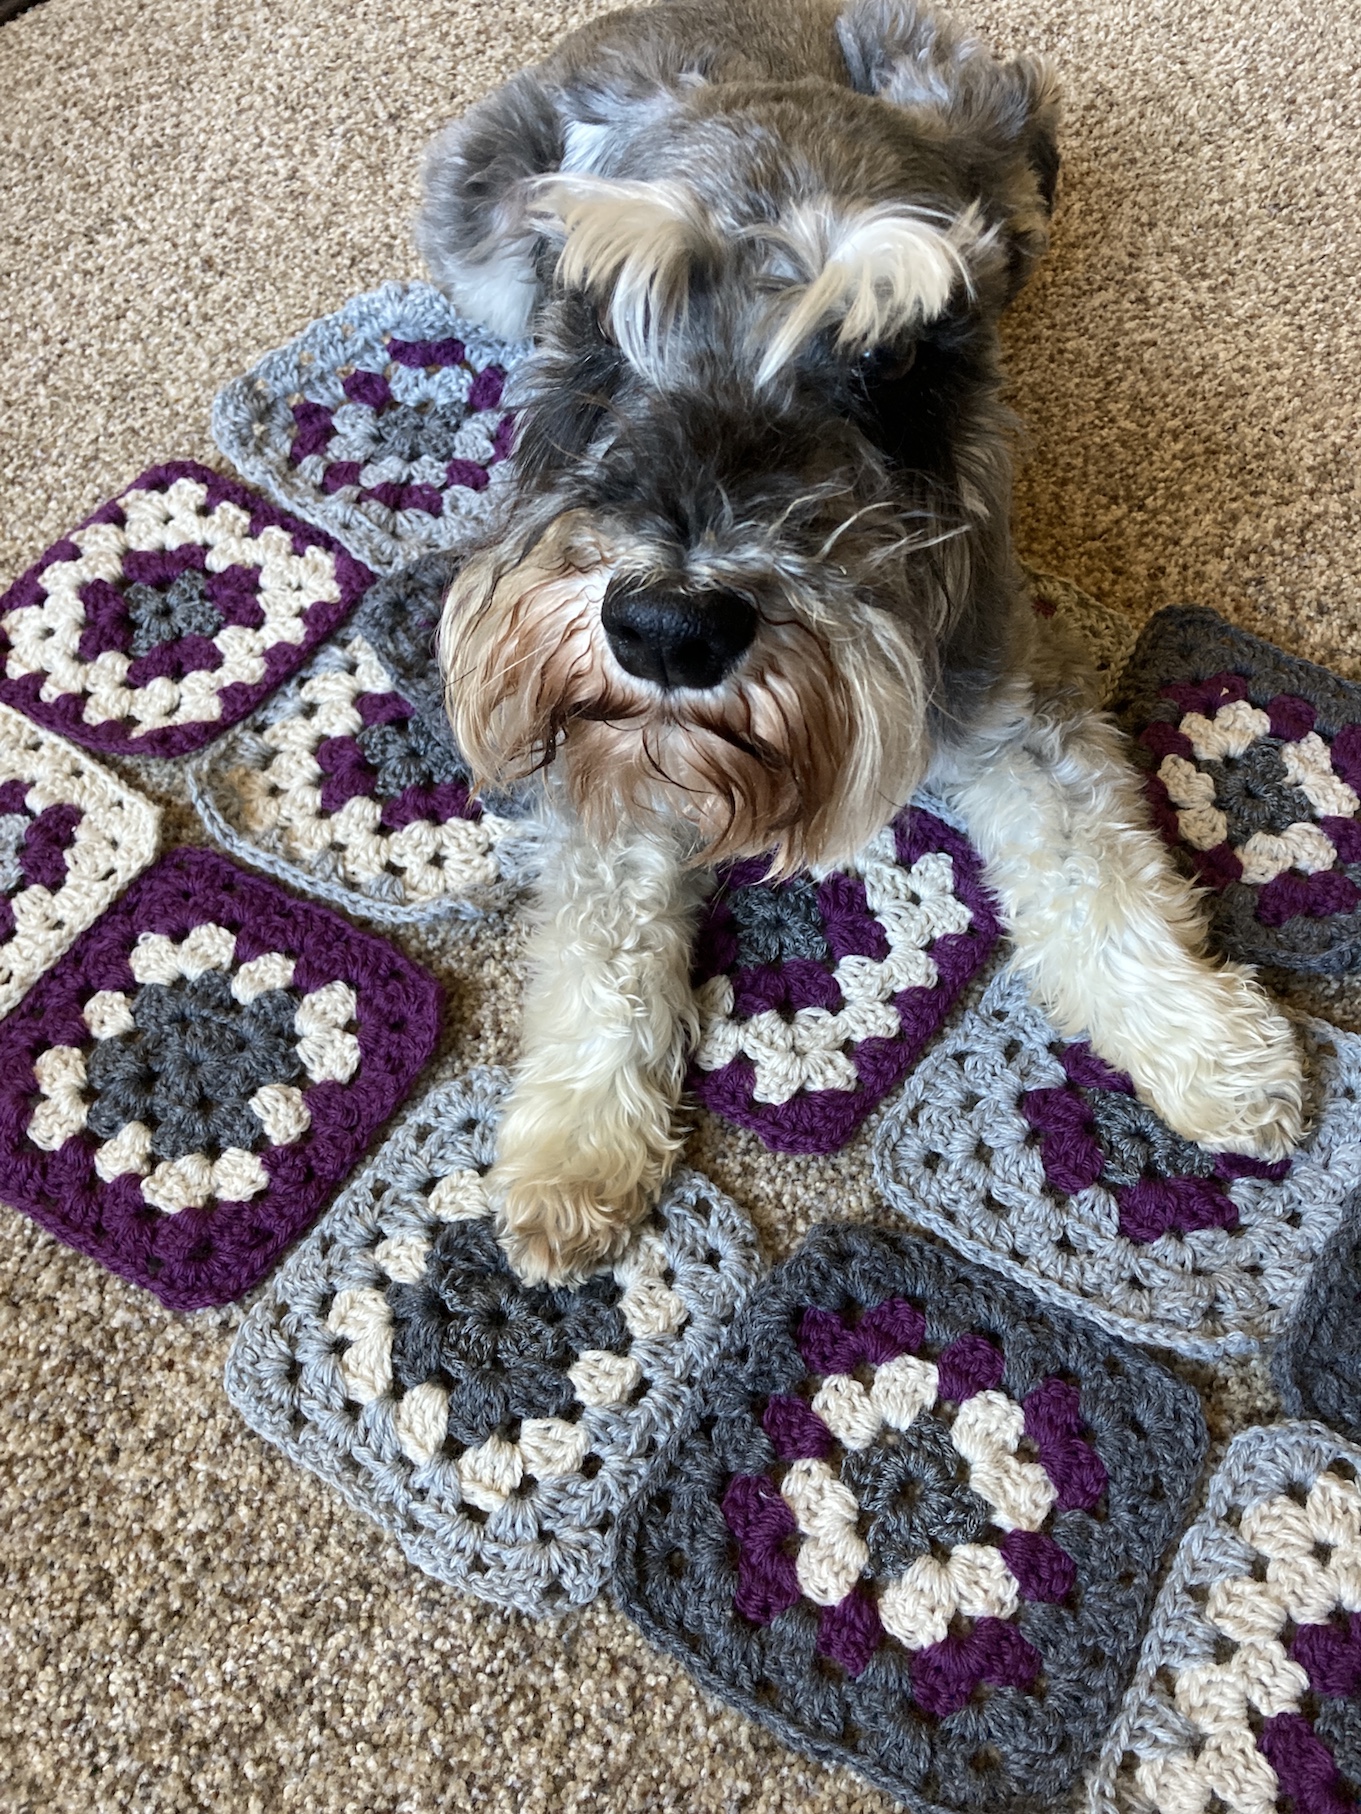
Do you remember how in the post The Inpatient Schnauzer: Update on the Granny Square Afghan (Guest Blogger), Mike the miniature schnauzer was getting impatient for me to finish the granny square blanket? So it is all finished but he seems to have moved on!
He is now in love with a new fleece blanket we recently picked up and has become inseparable from it!


I guess schnauzers are fickle!
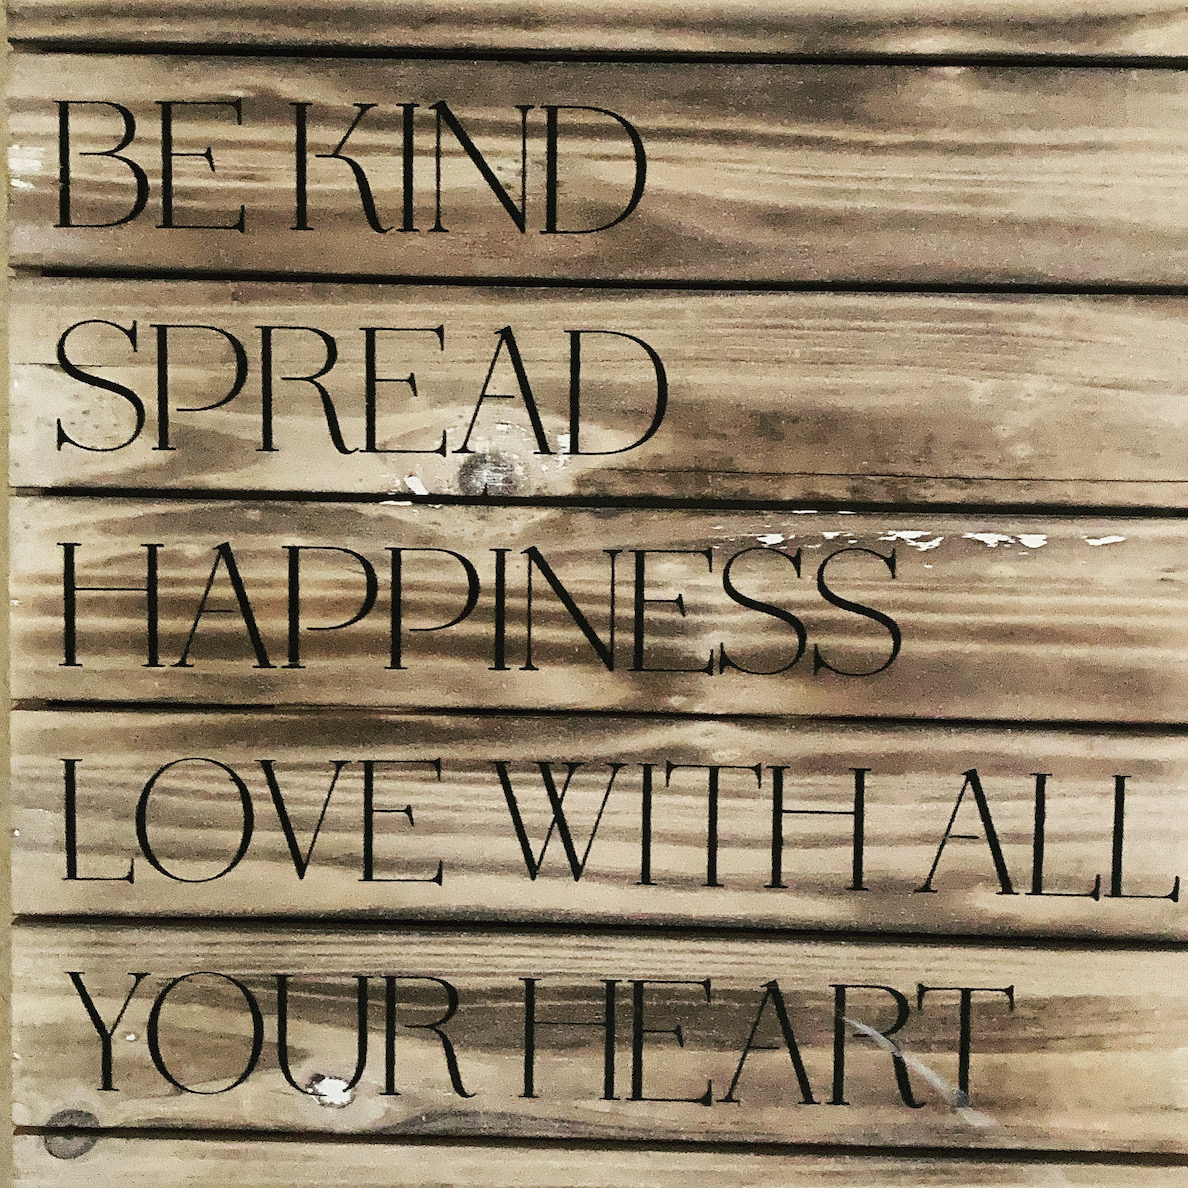
Let me close this post with a sign/piece of artwork I discovered while thrifting that I put up outside John’s woodshop door. I think it goes with the aesthetic of a woodshop and also embraces how we are hoping to live our lives:
Feature Image Photo by Joel & Jasmin Førestbird on Unsplash


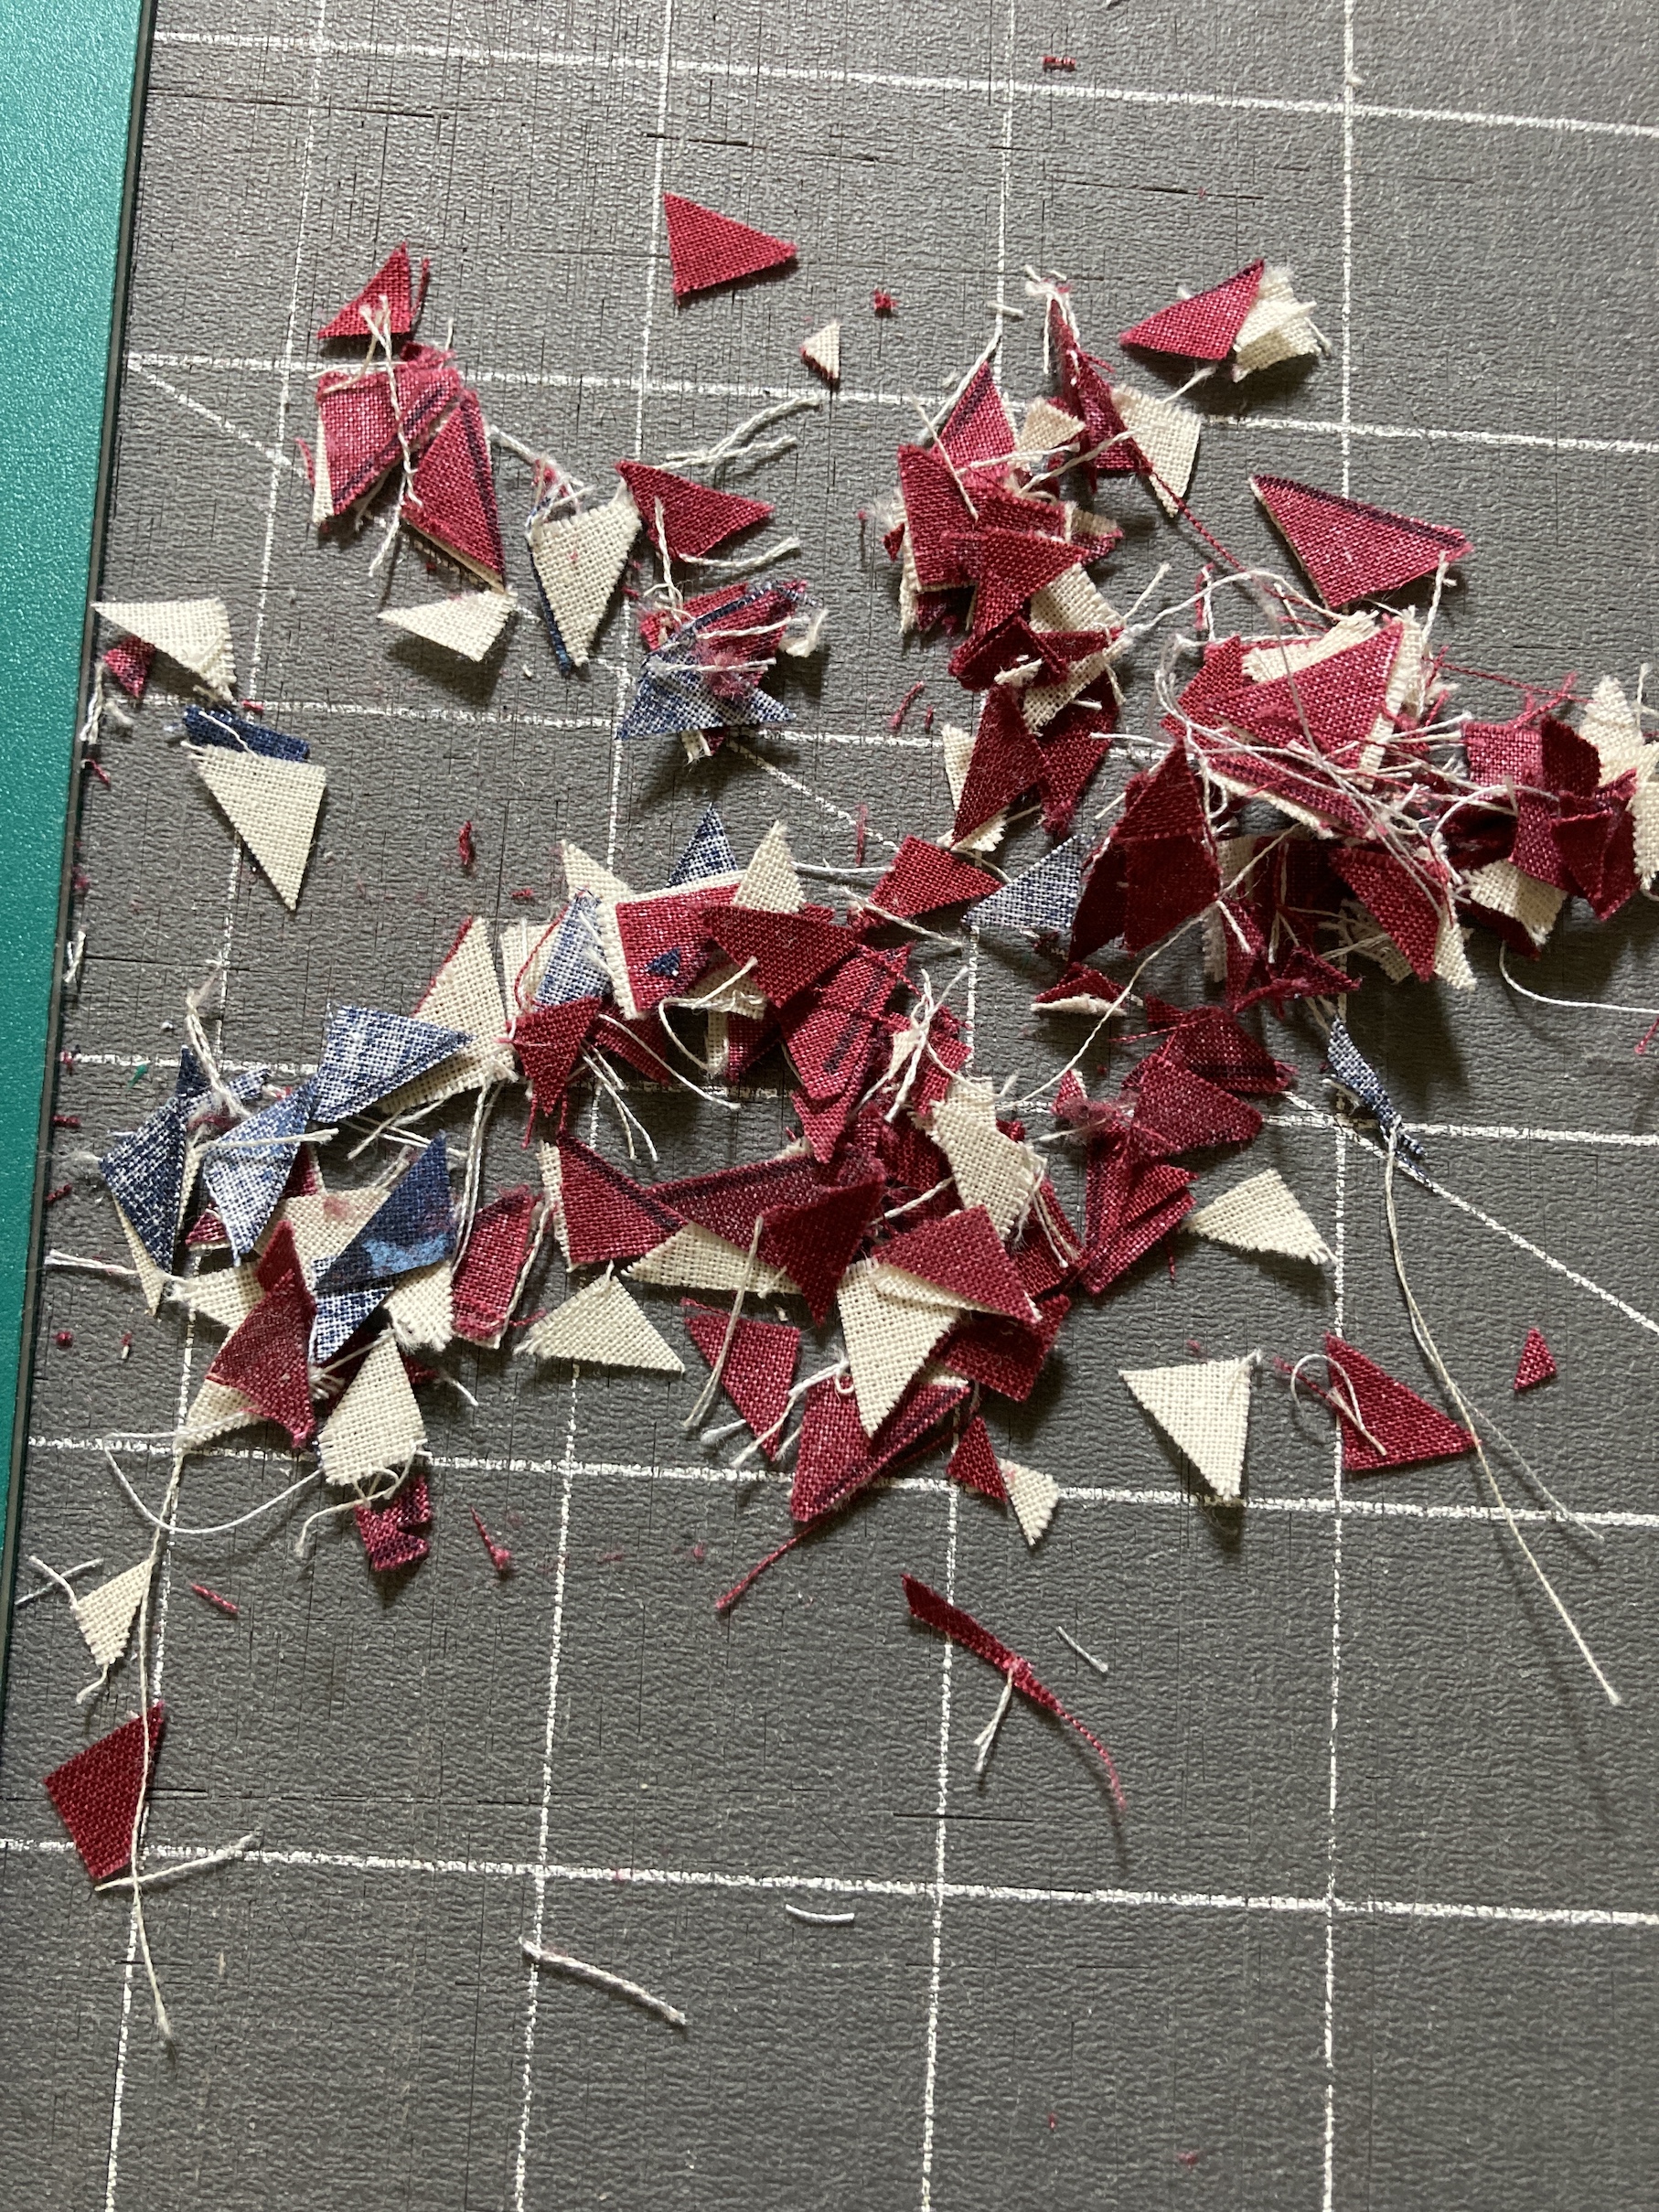
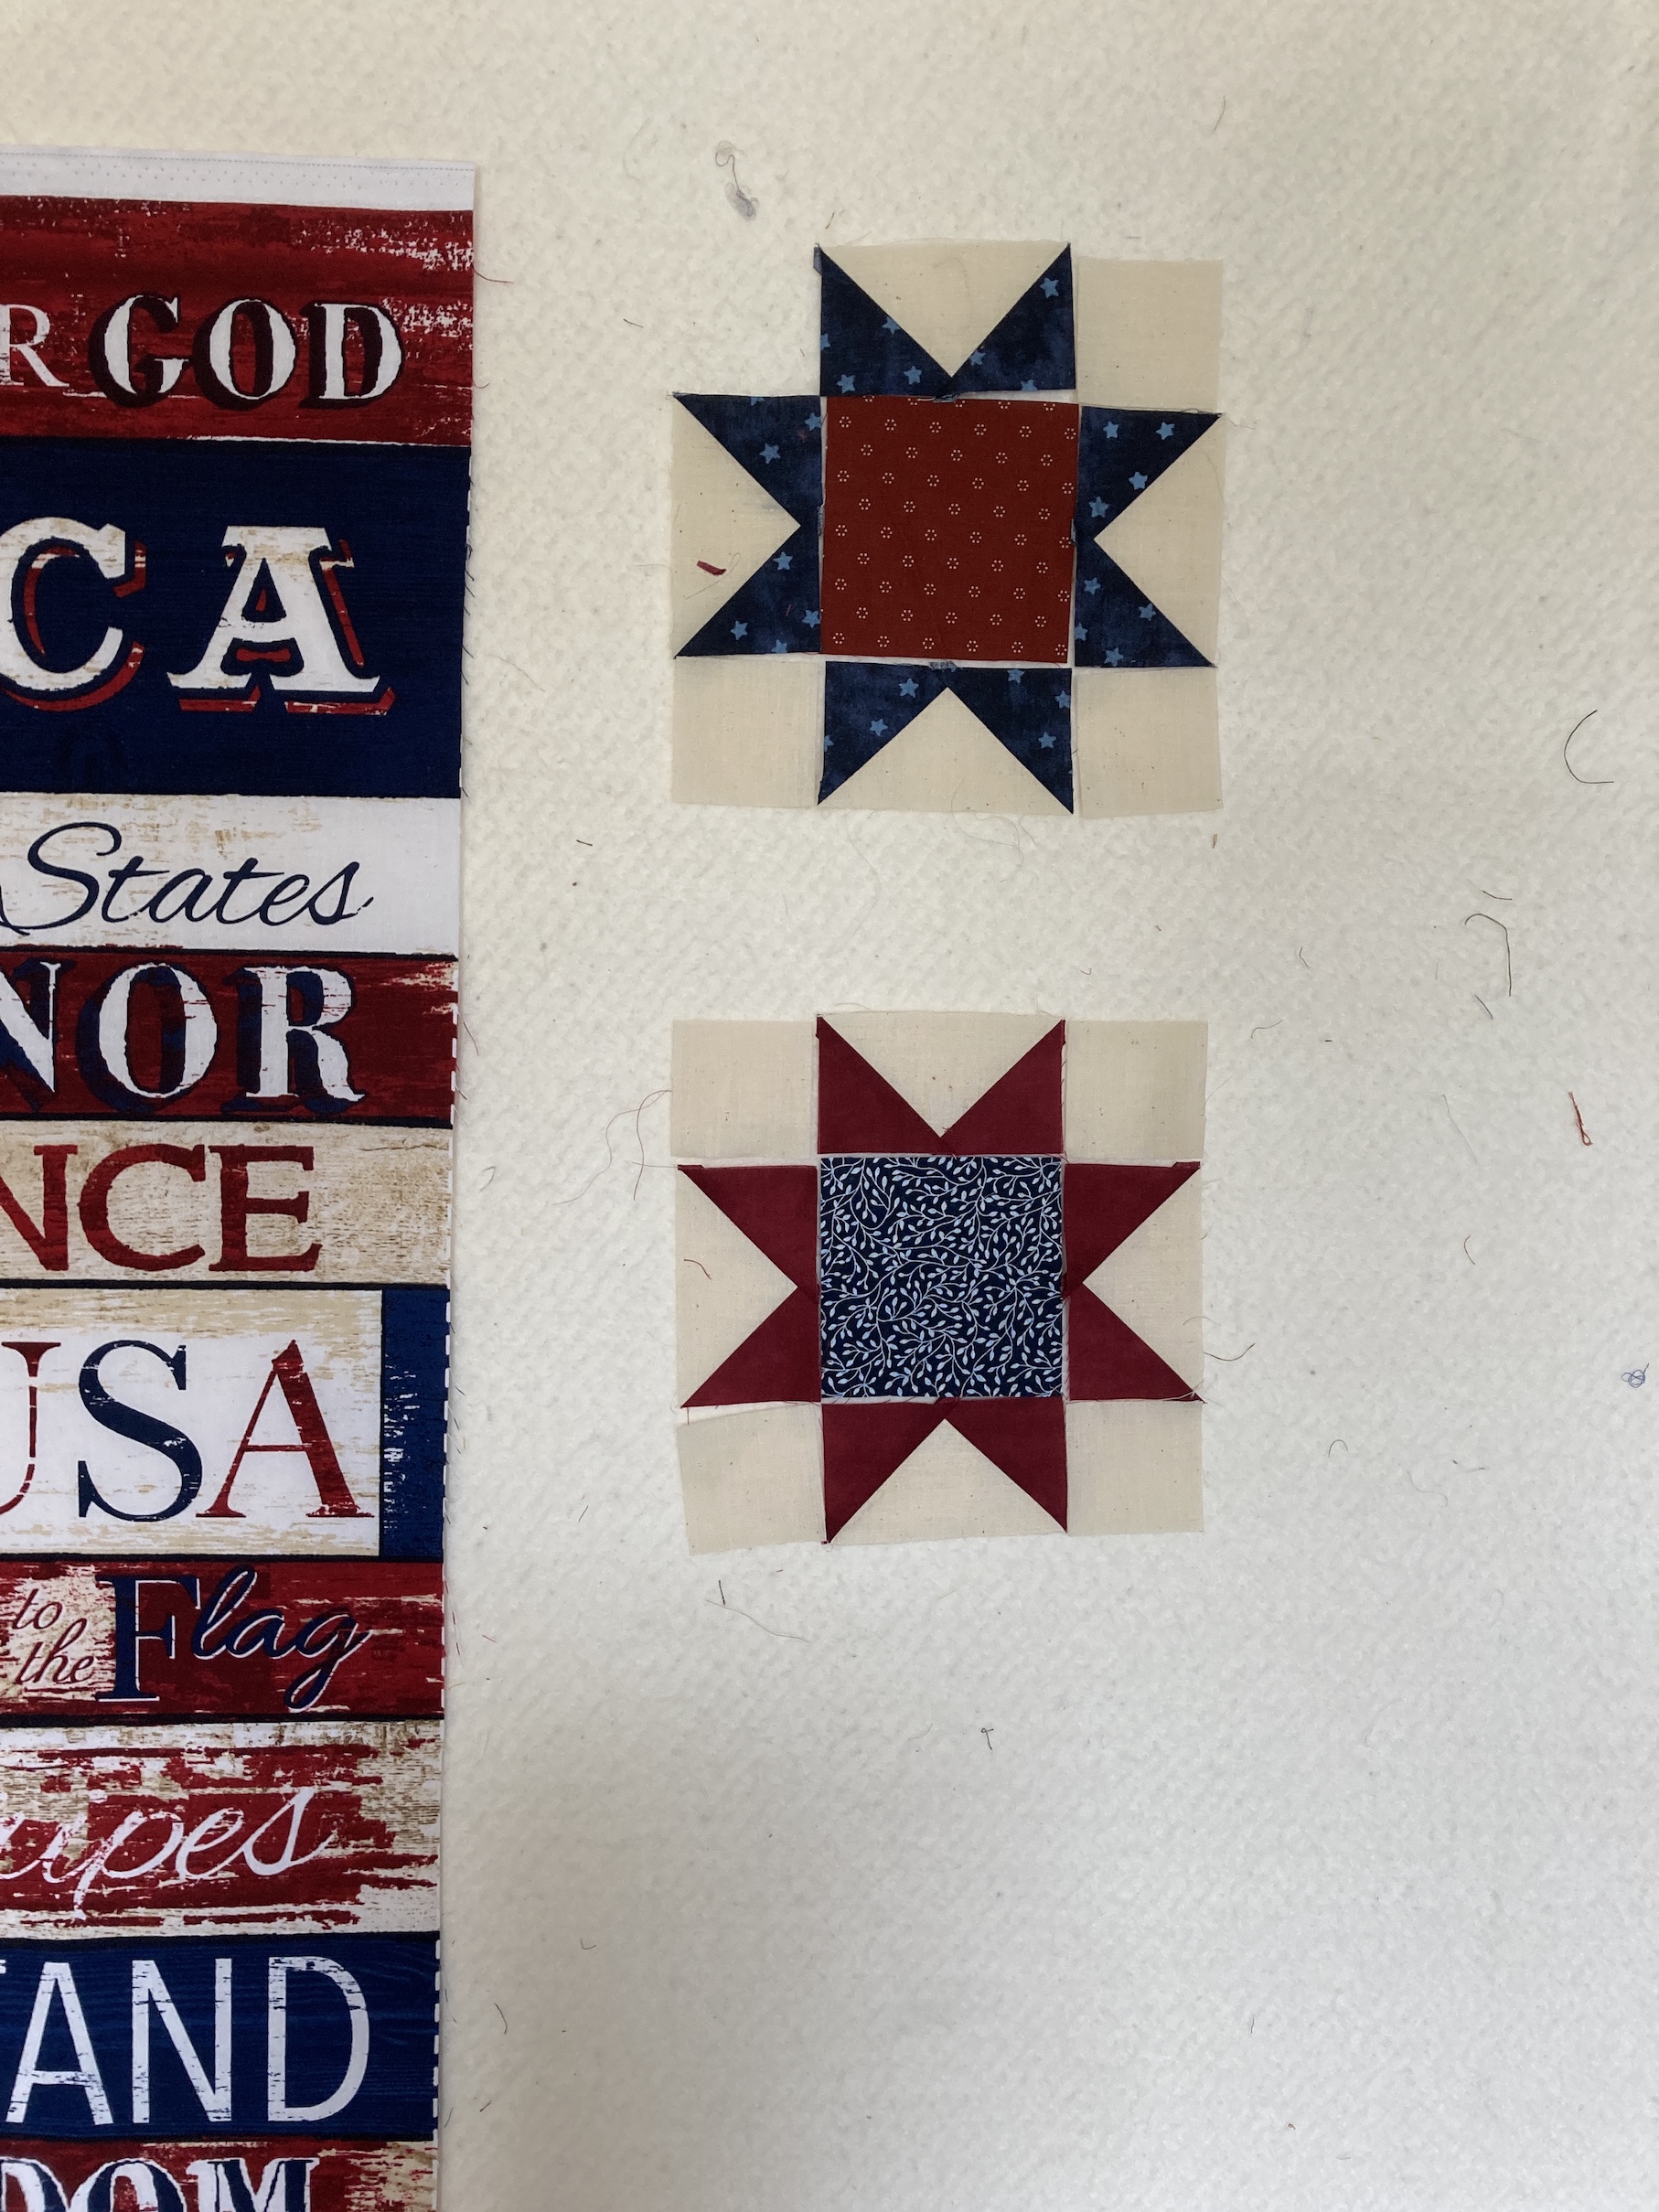
 I made a lot of “flying geese” using the
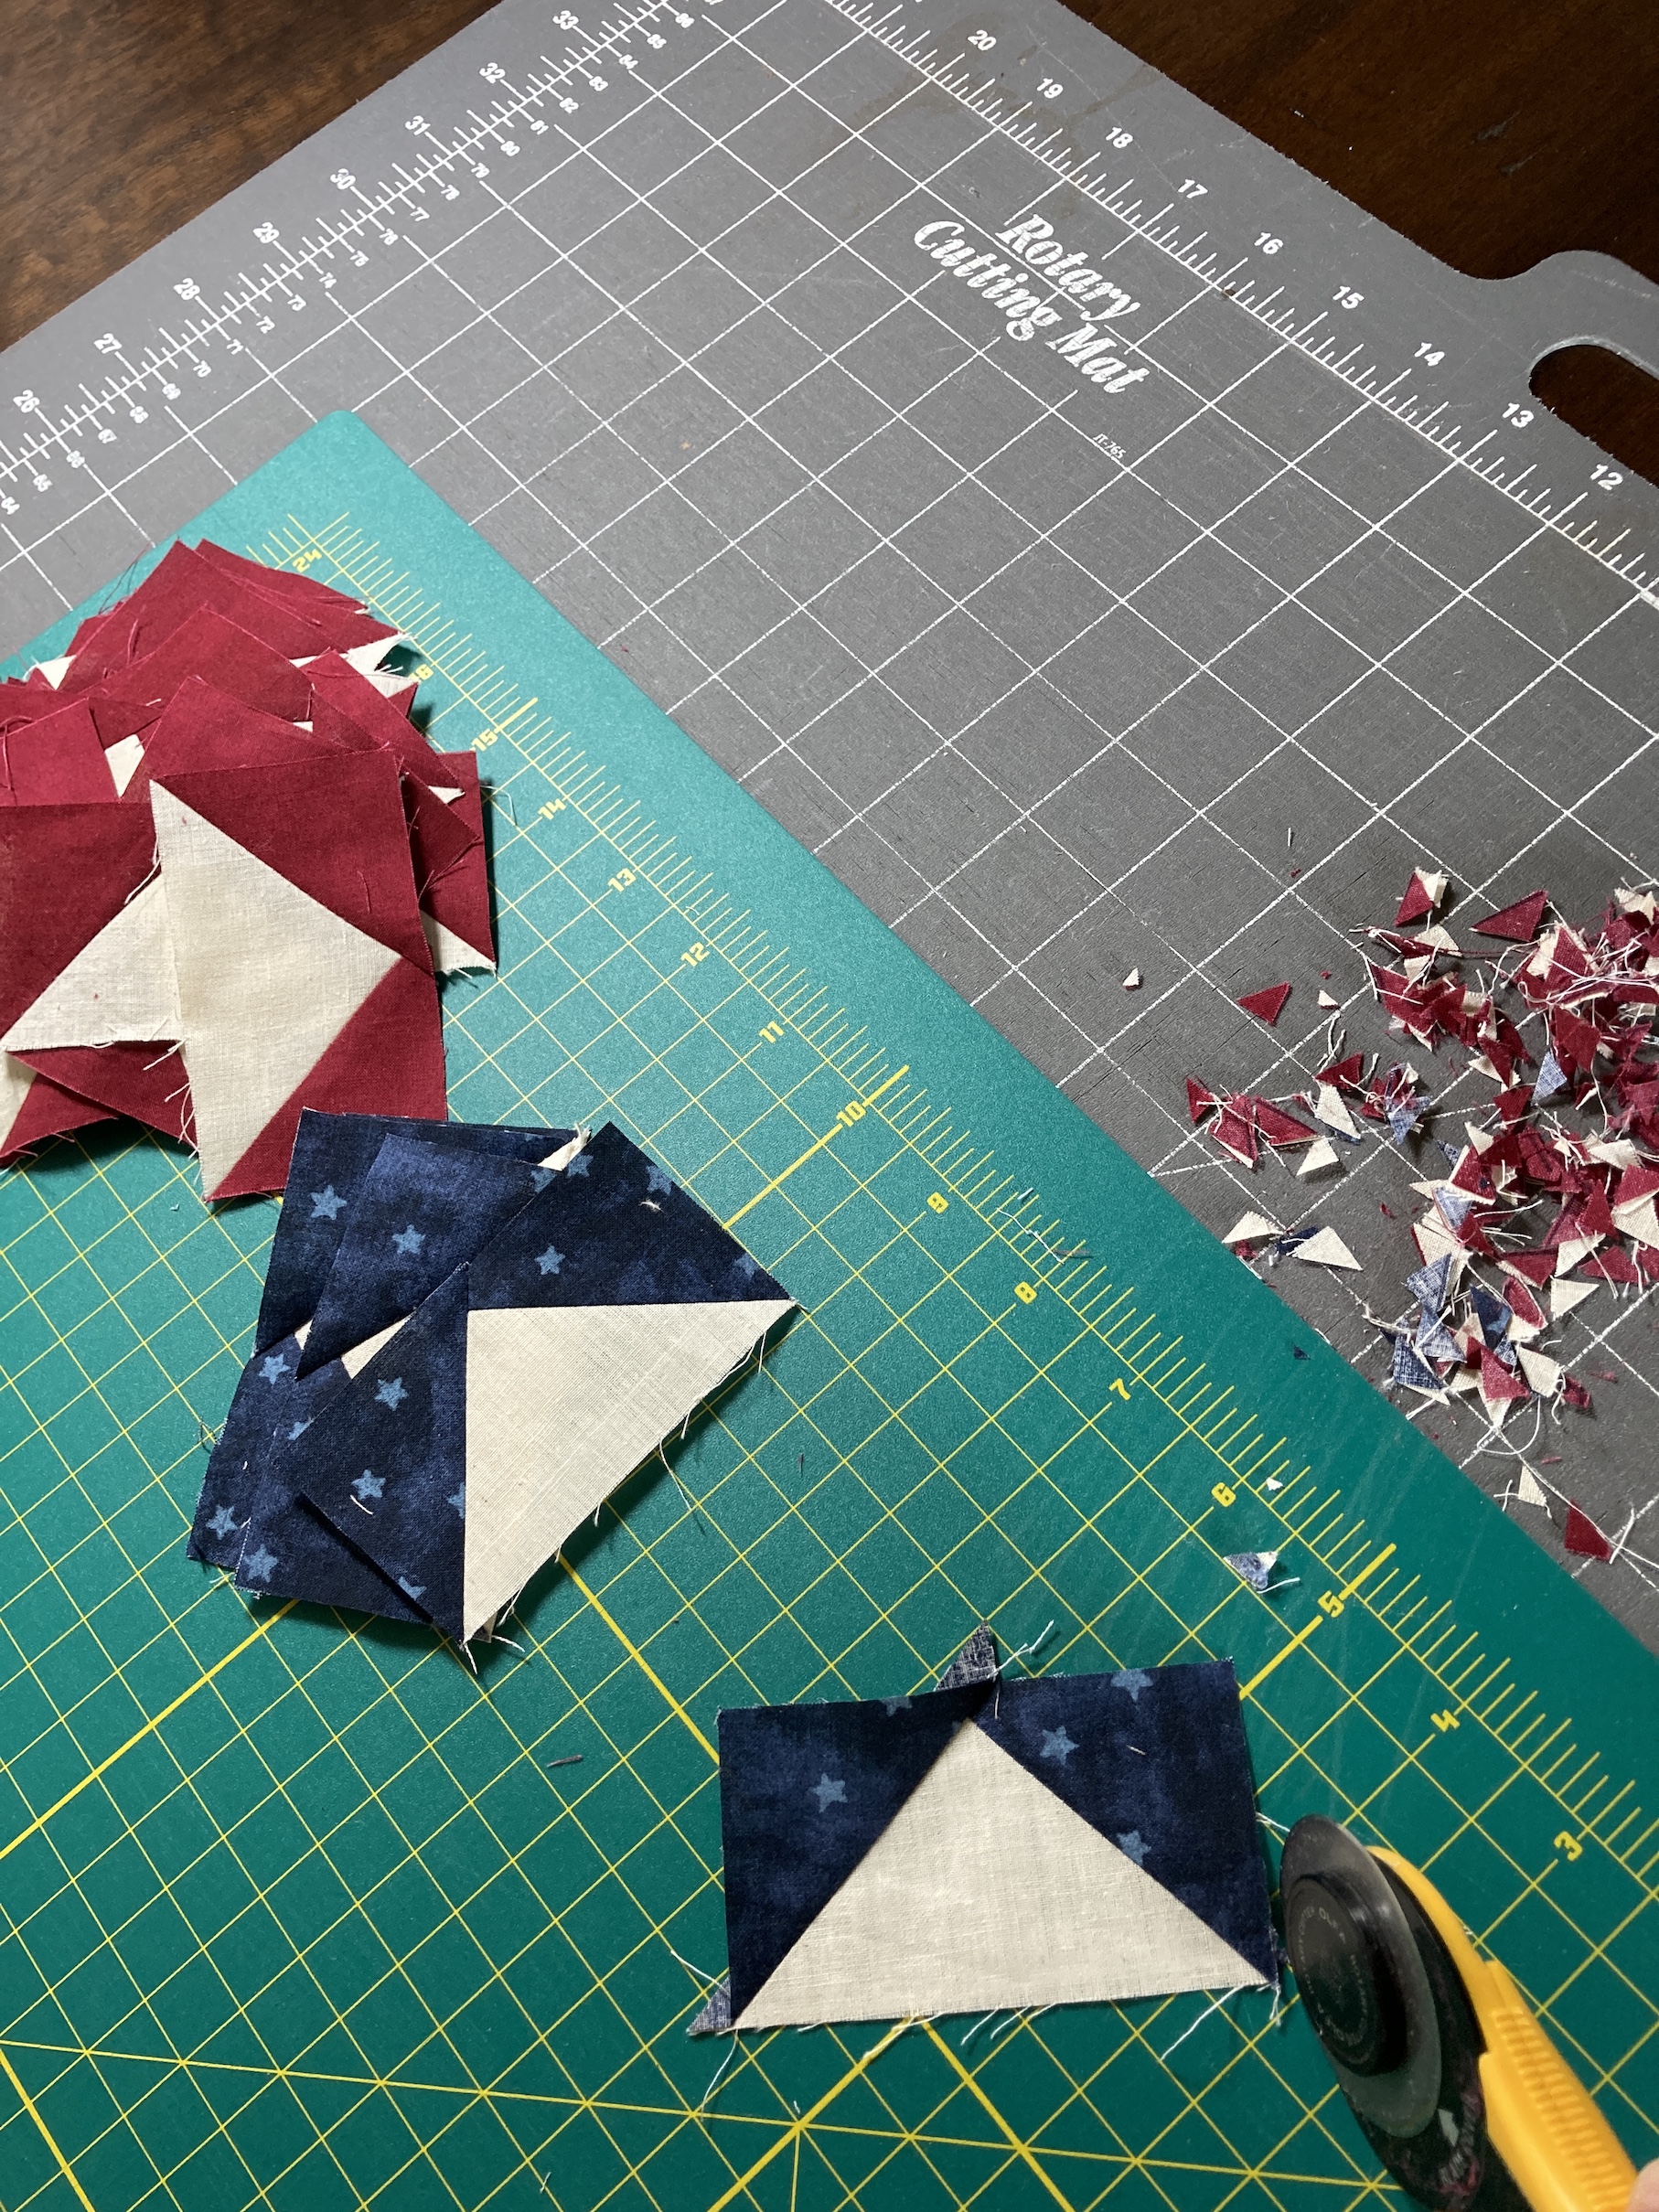
 Here is the finished quilt next to the framed mission flag:
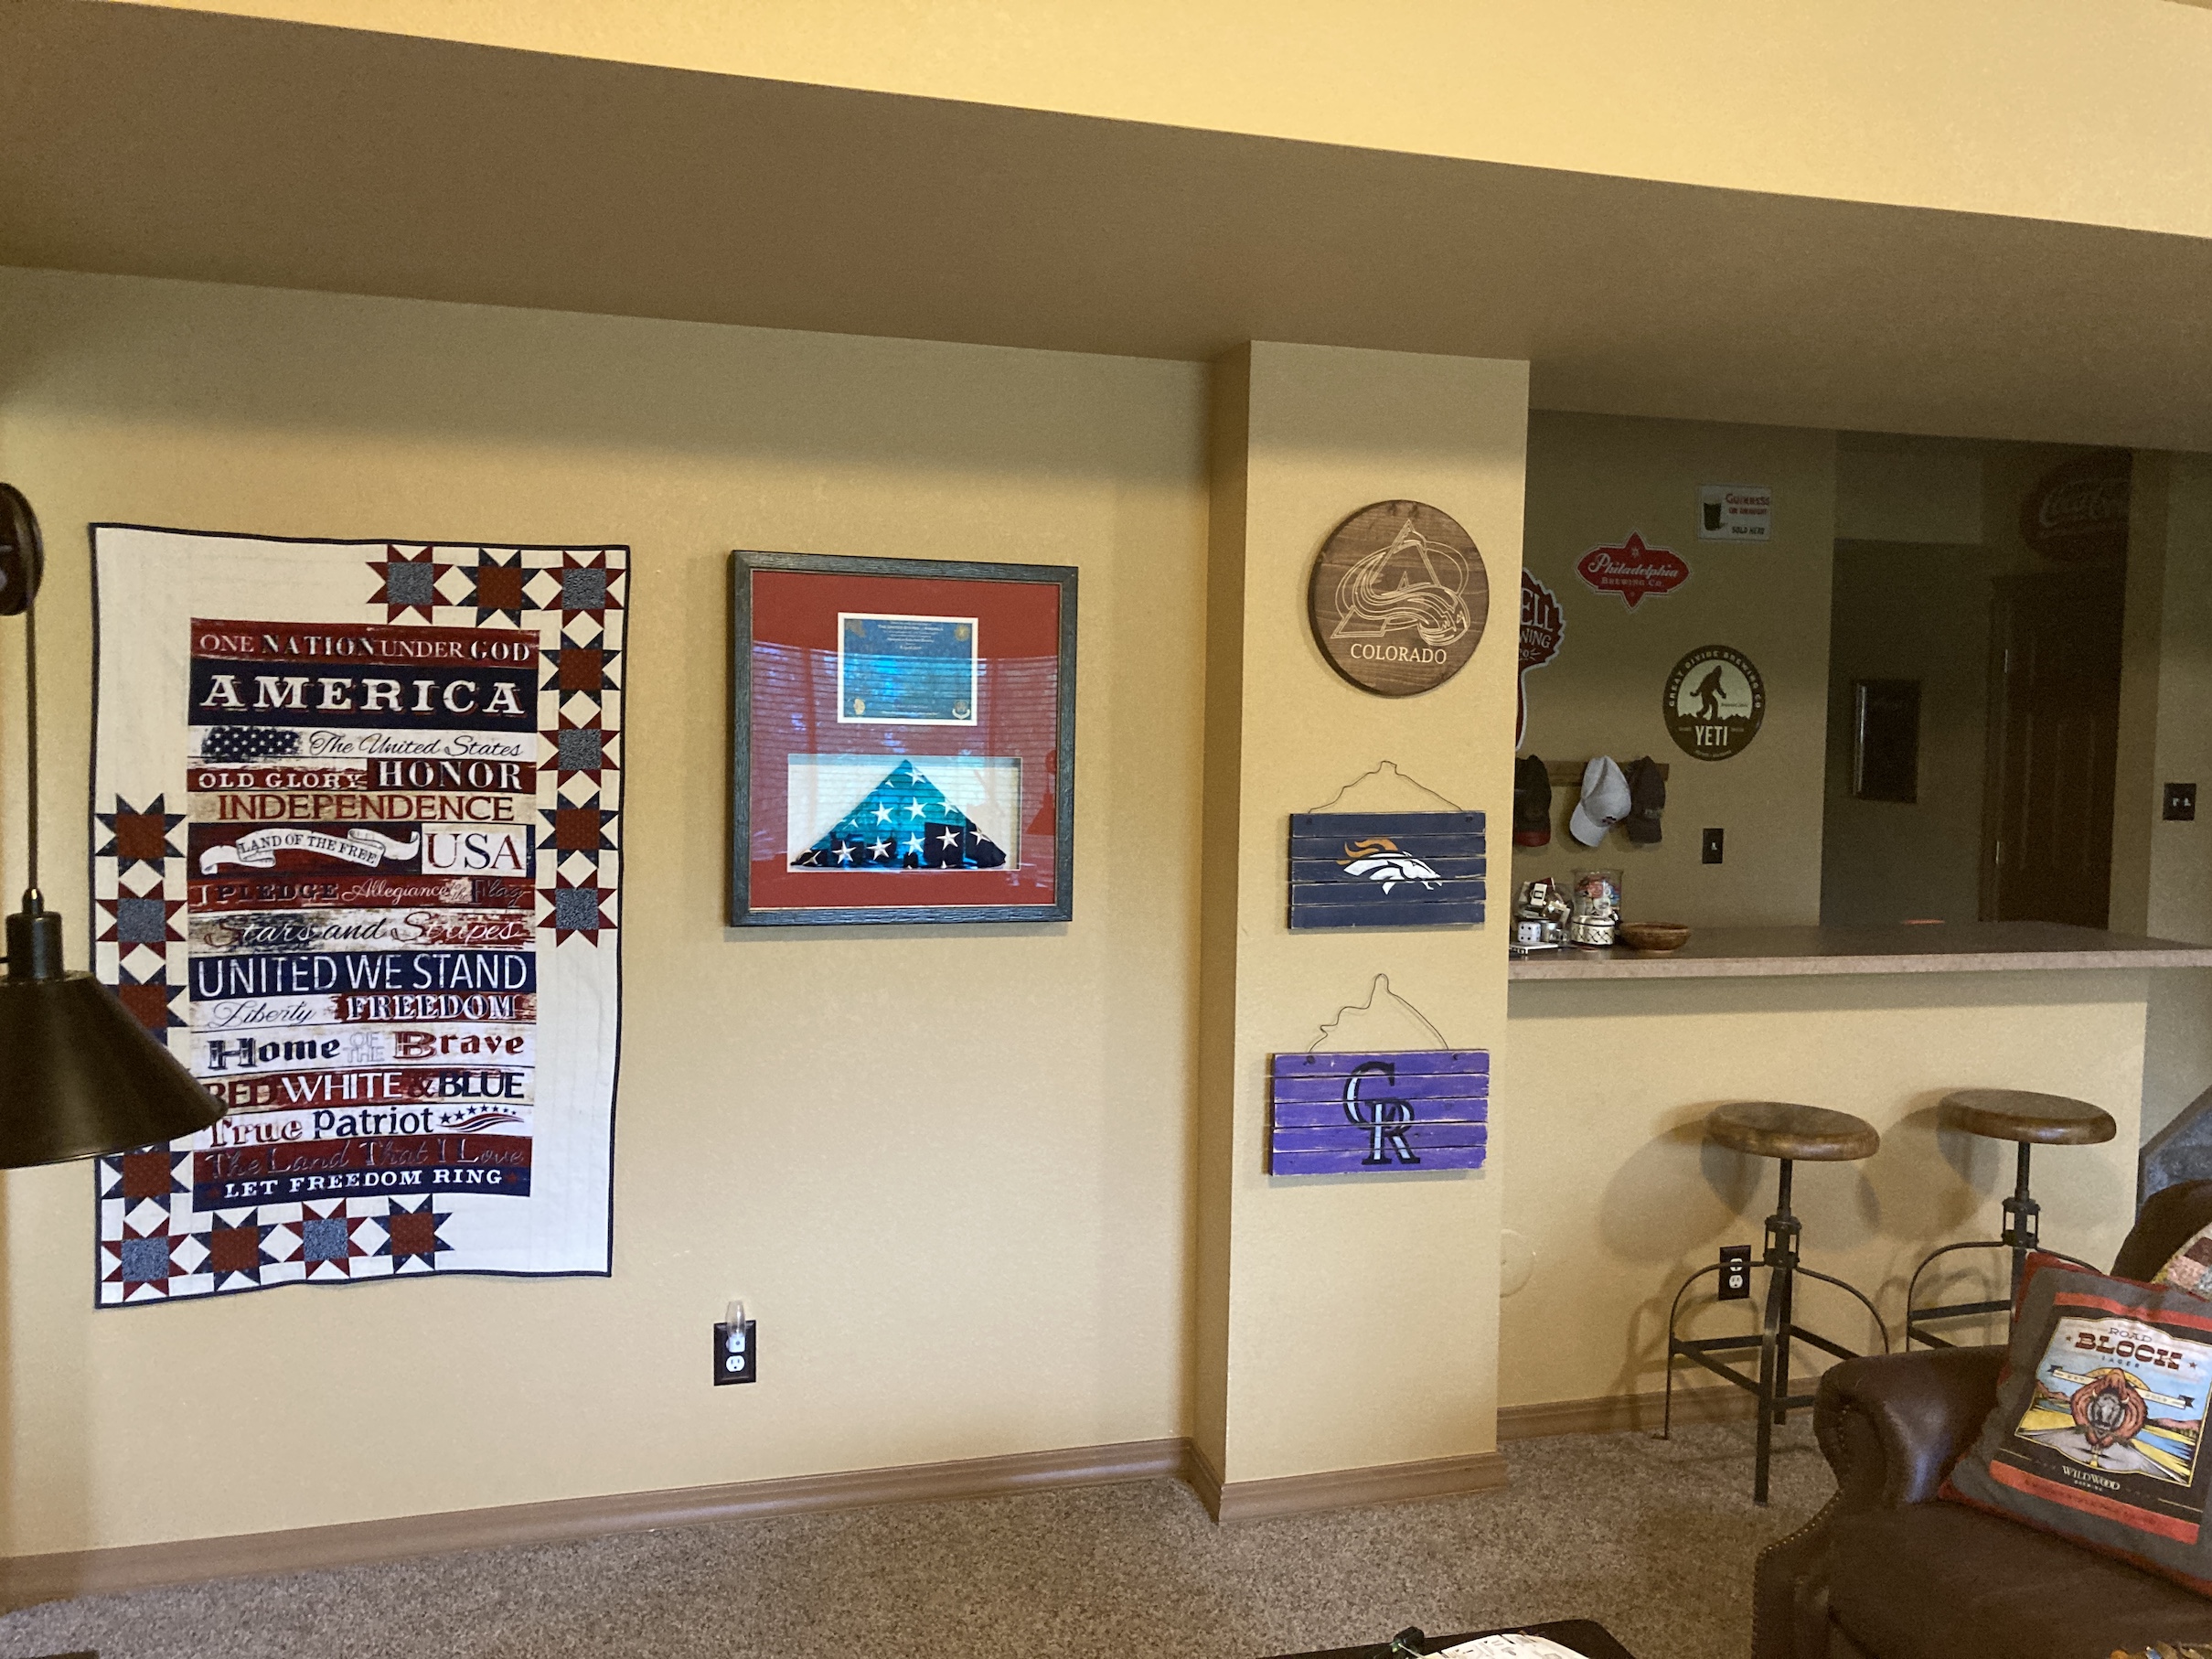
 As you can tell, I machine quilted it myself (smile).


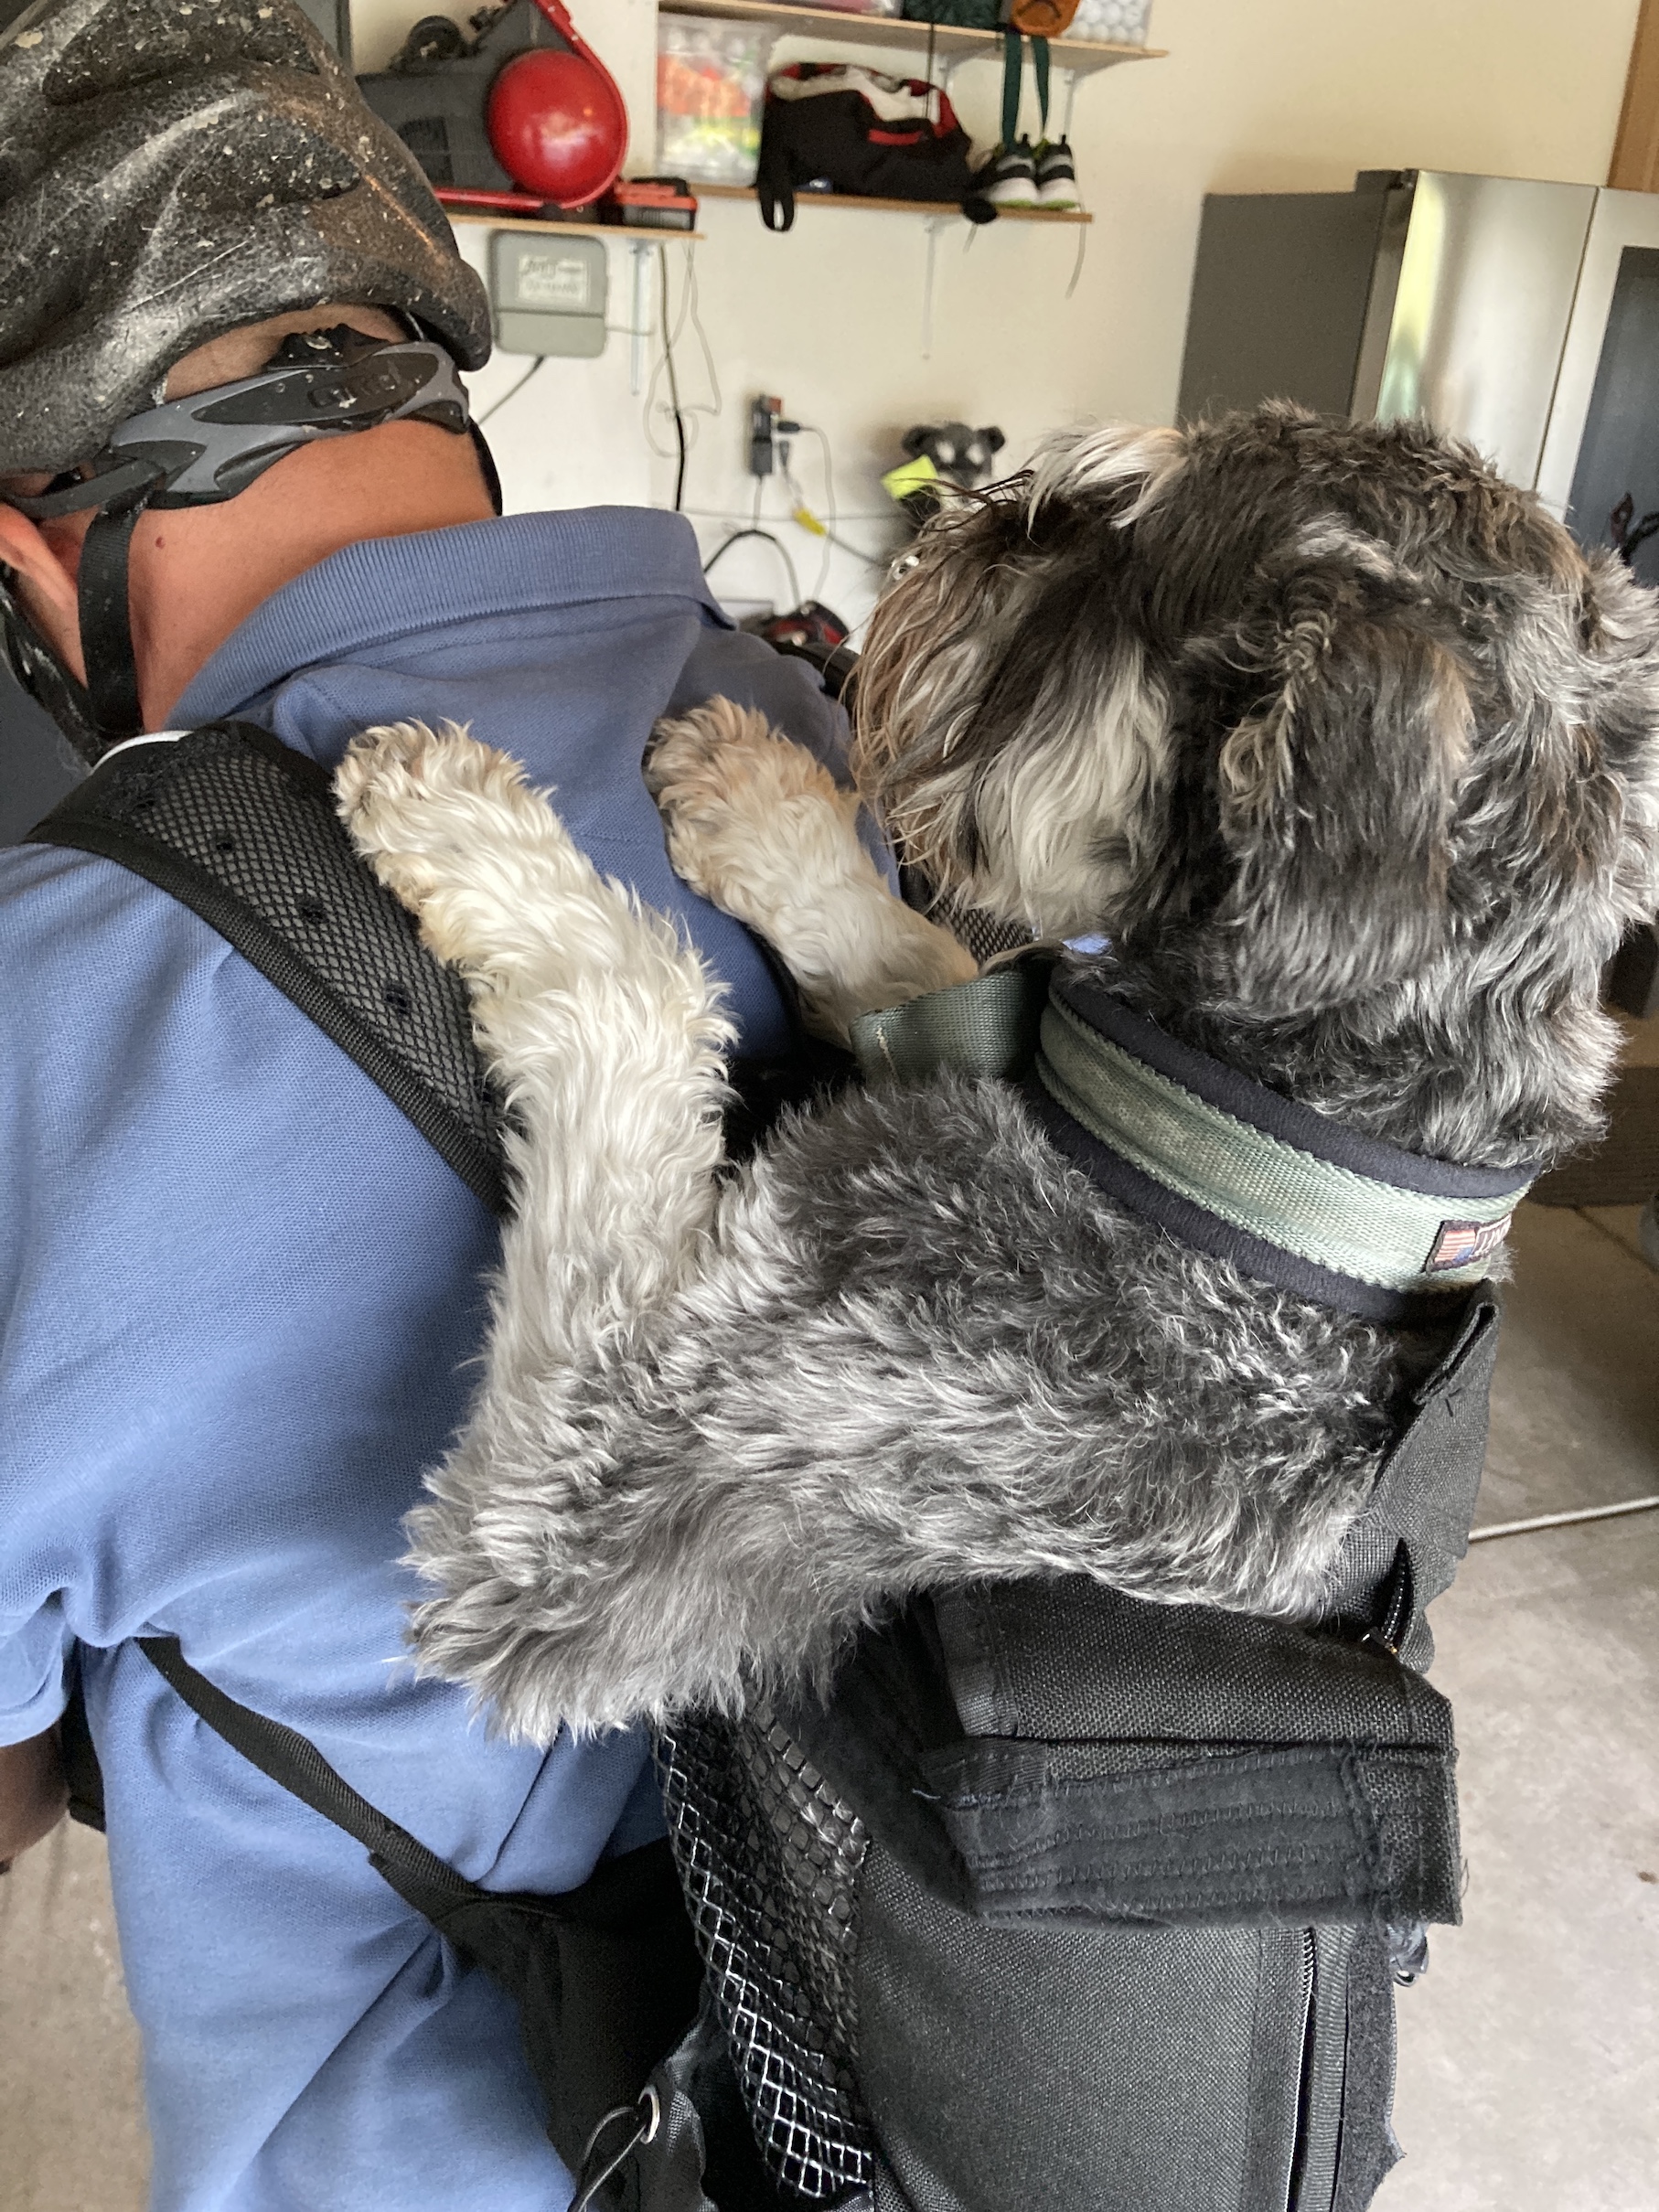
 Speaking of Mike, here is an image that either he forgot to share in his recent post –
  Yes it’s a photo of Mikelet (tierneycreates Beastie’s dog) and Mike, ready to go on their walks. I put a red arrow in the lower left hand corner of the photo above so you would not miss Mikelet who is a considerably smaller miniature Miniature Schnauzer!

 And here is the link to a post I wrote in 2015 called
  A couple days ago I randomly decided that it was time I learned how to make Granny Squares and a Granny Square afghan.
 I cannot tell you how pleased and excited I was to have completed my first Granny Square!
 Now I plan to make up a bunch of centers and get started on “production line” crochet.
 This is going to be a lot of work but I am so excited to make my very own!

 So we were both pretty proud of ourselves!
 Back in late March/start of April 2020 my humans made the decision not to move to a new house they were going to buy and instead to stay in their current abode (see post
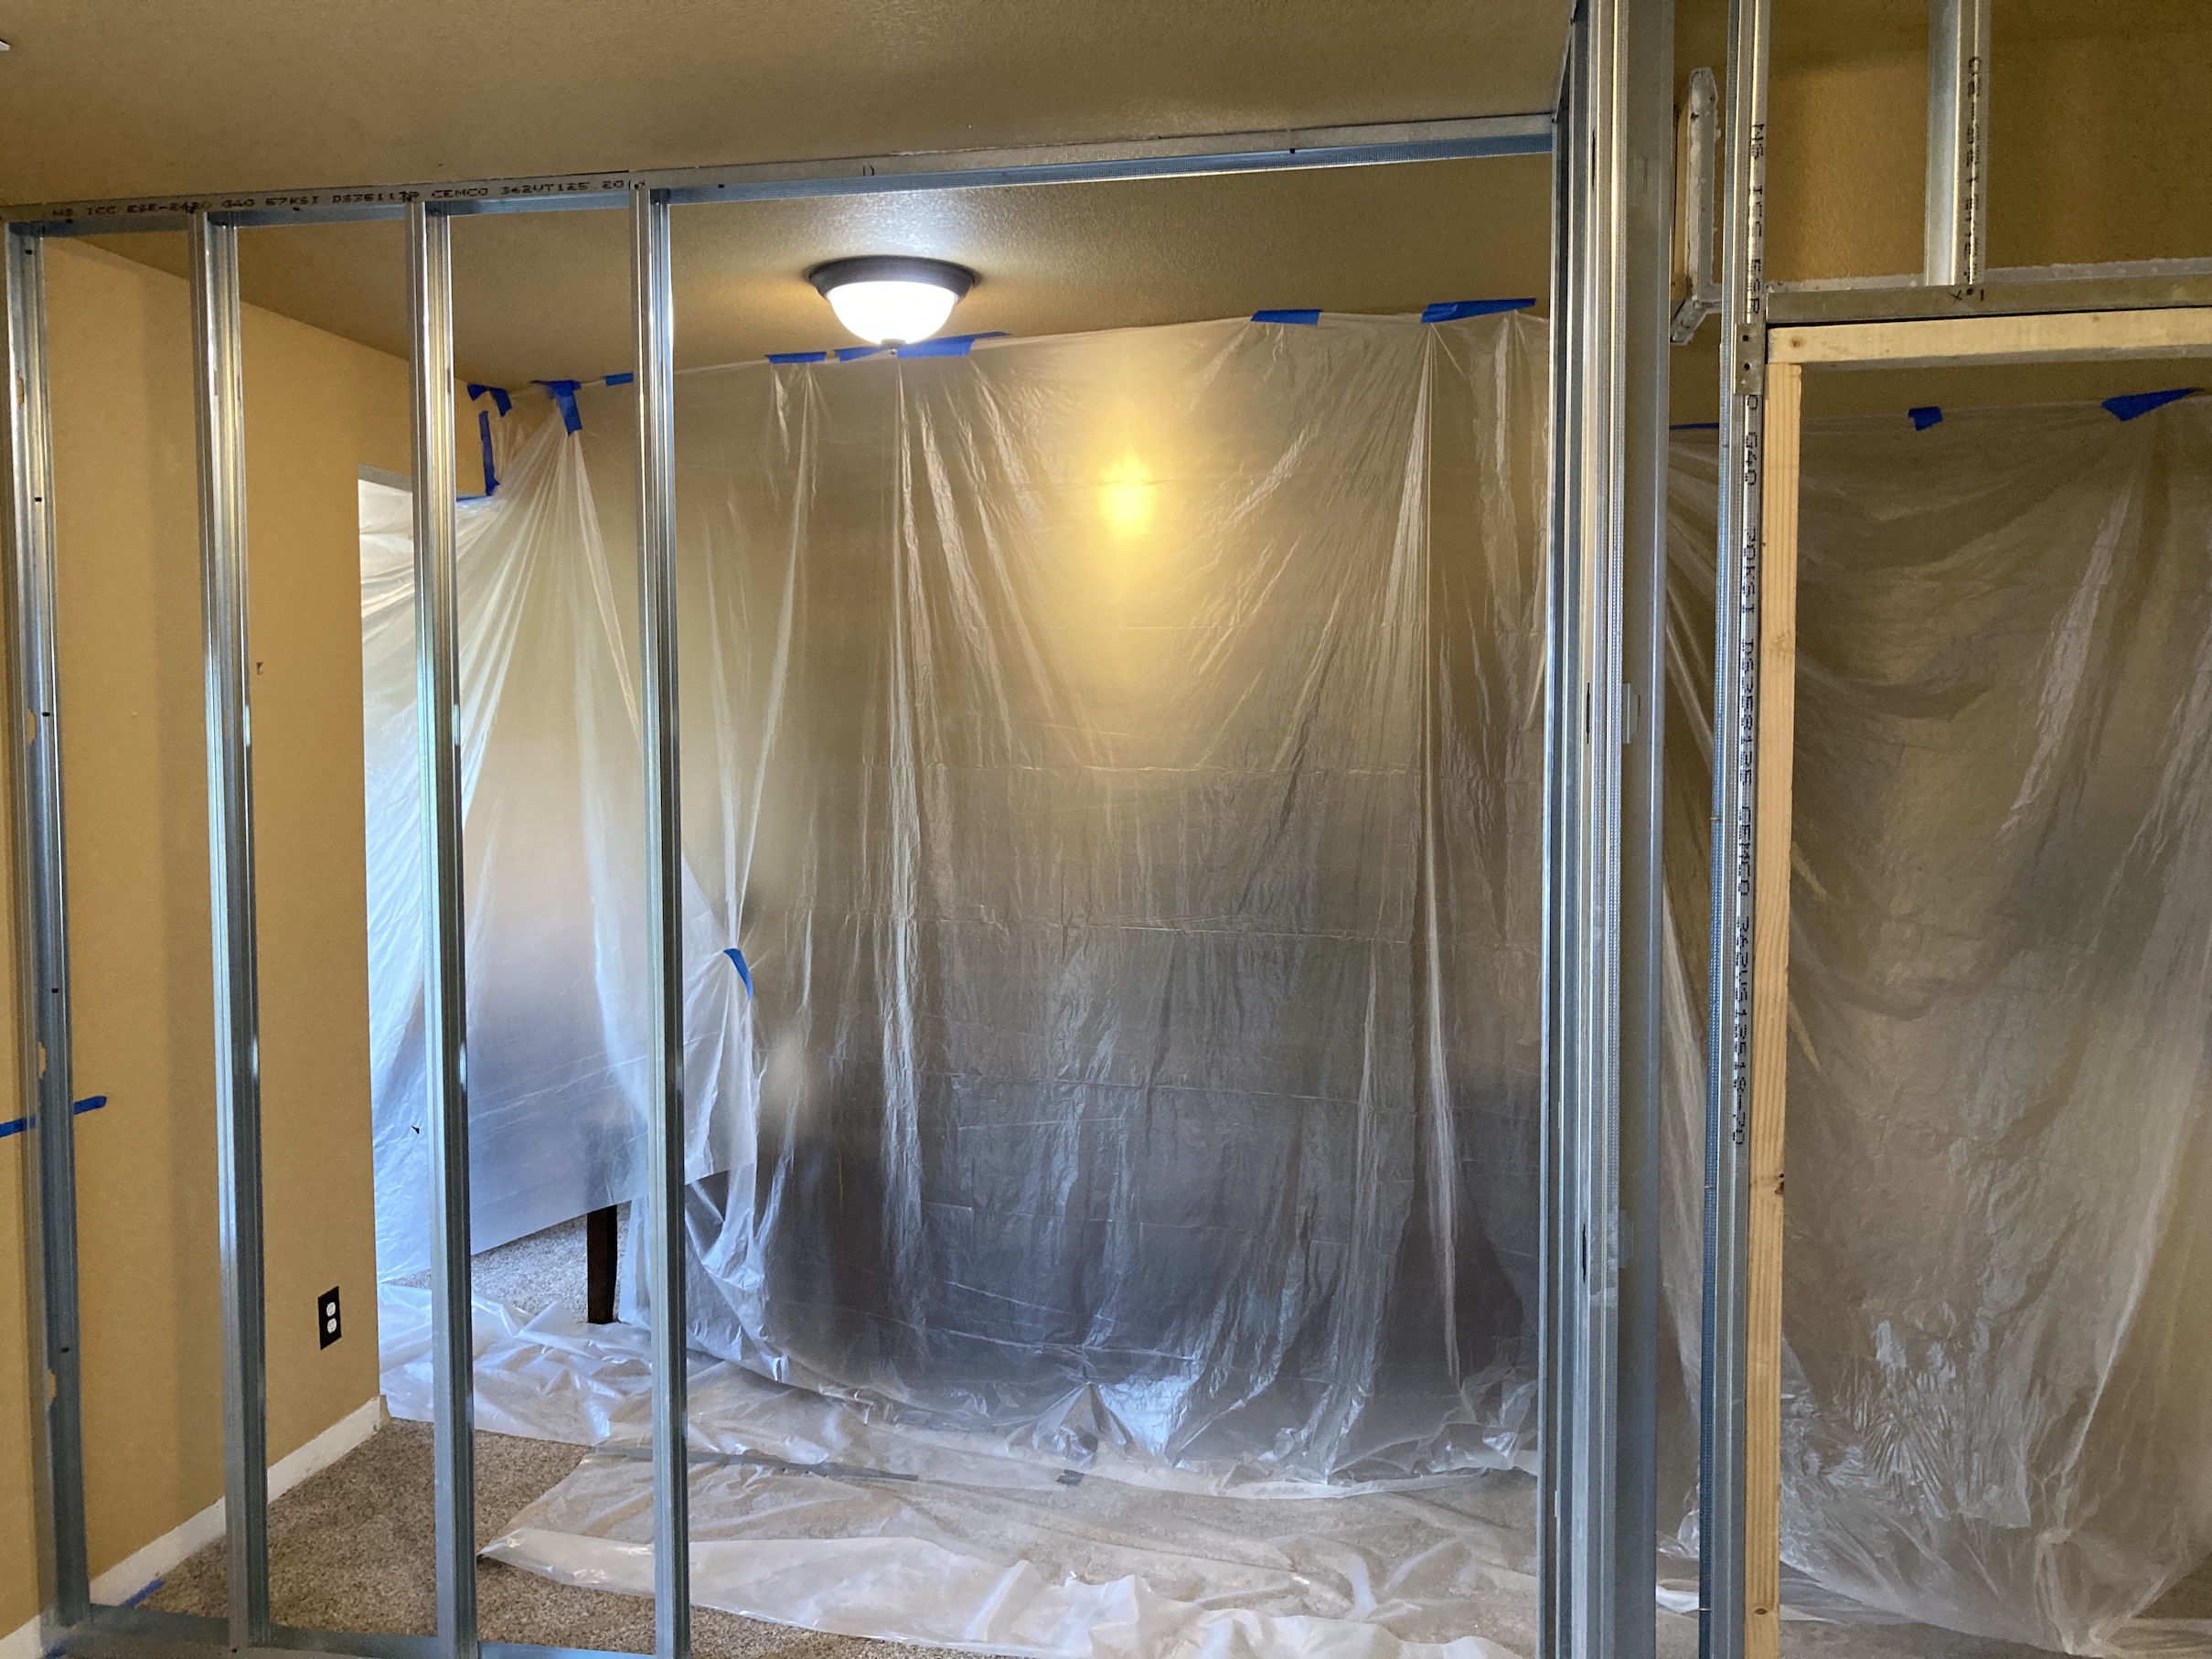

 His workshop is still a work in progress but he is very happy to now have his own “playroom” like my female human!
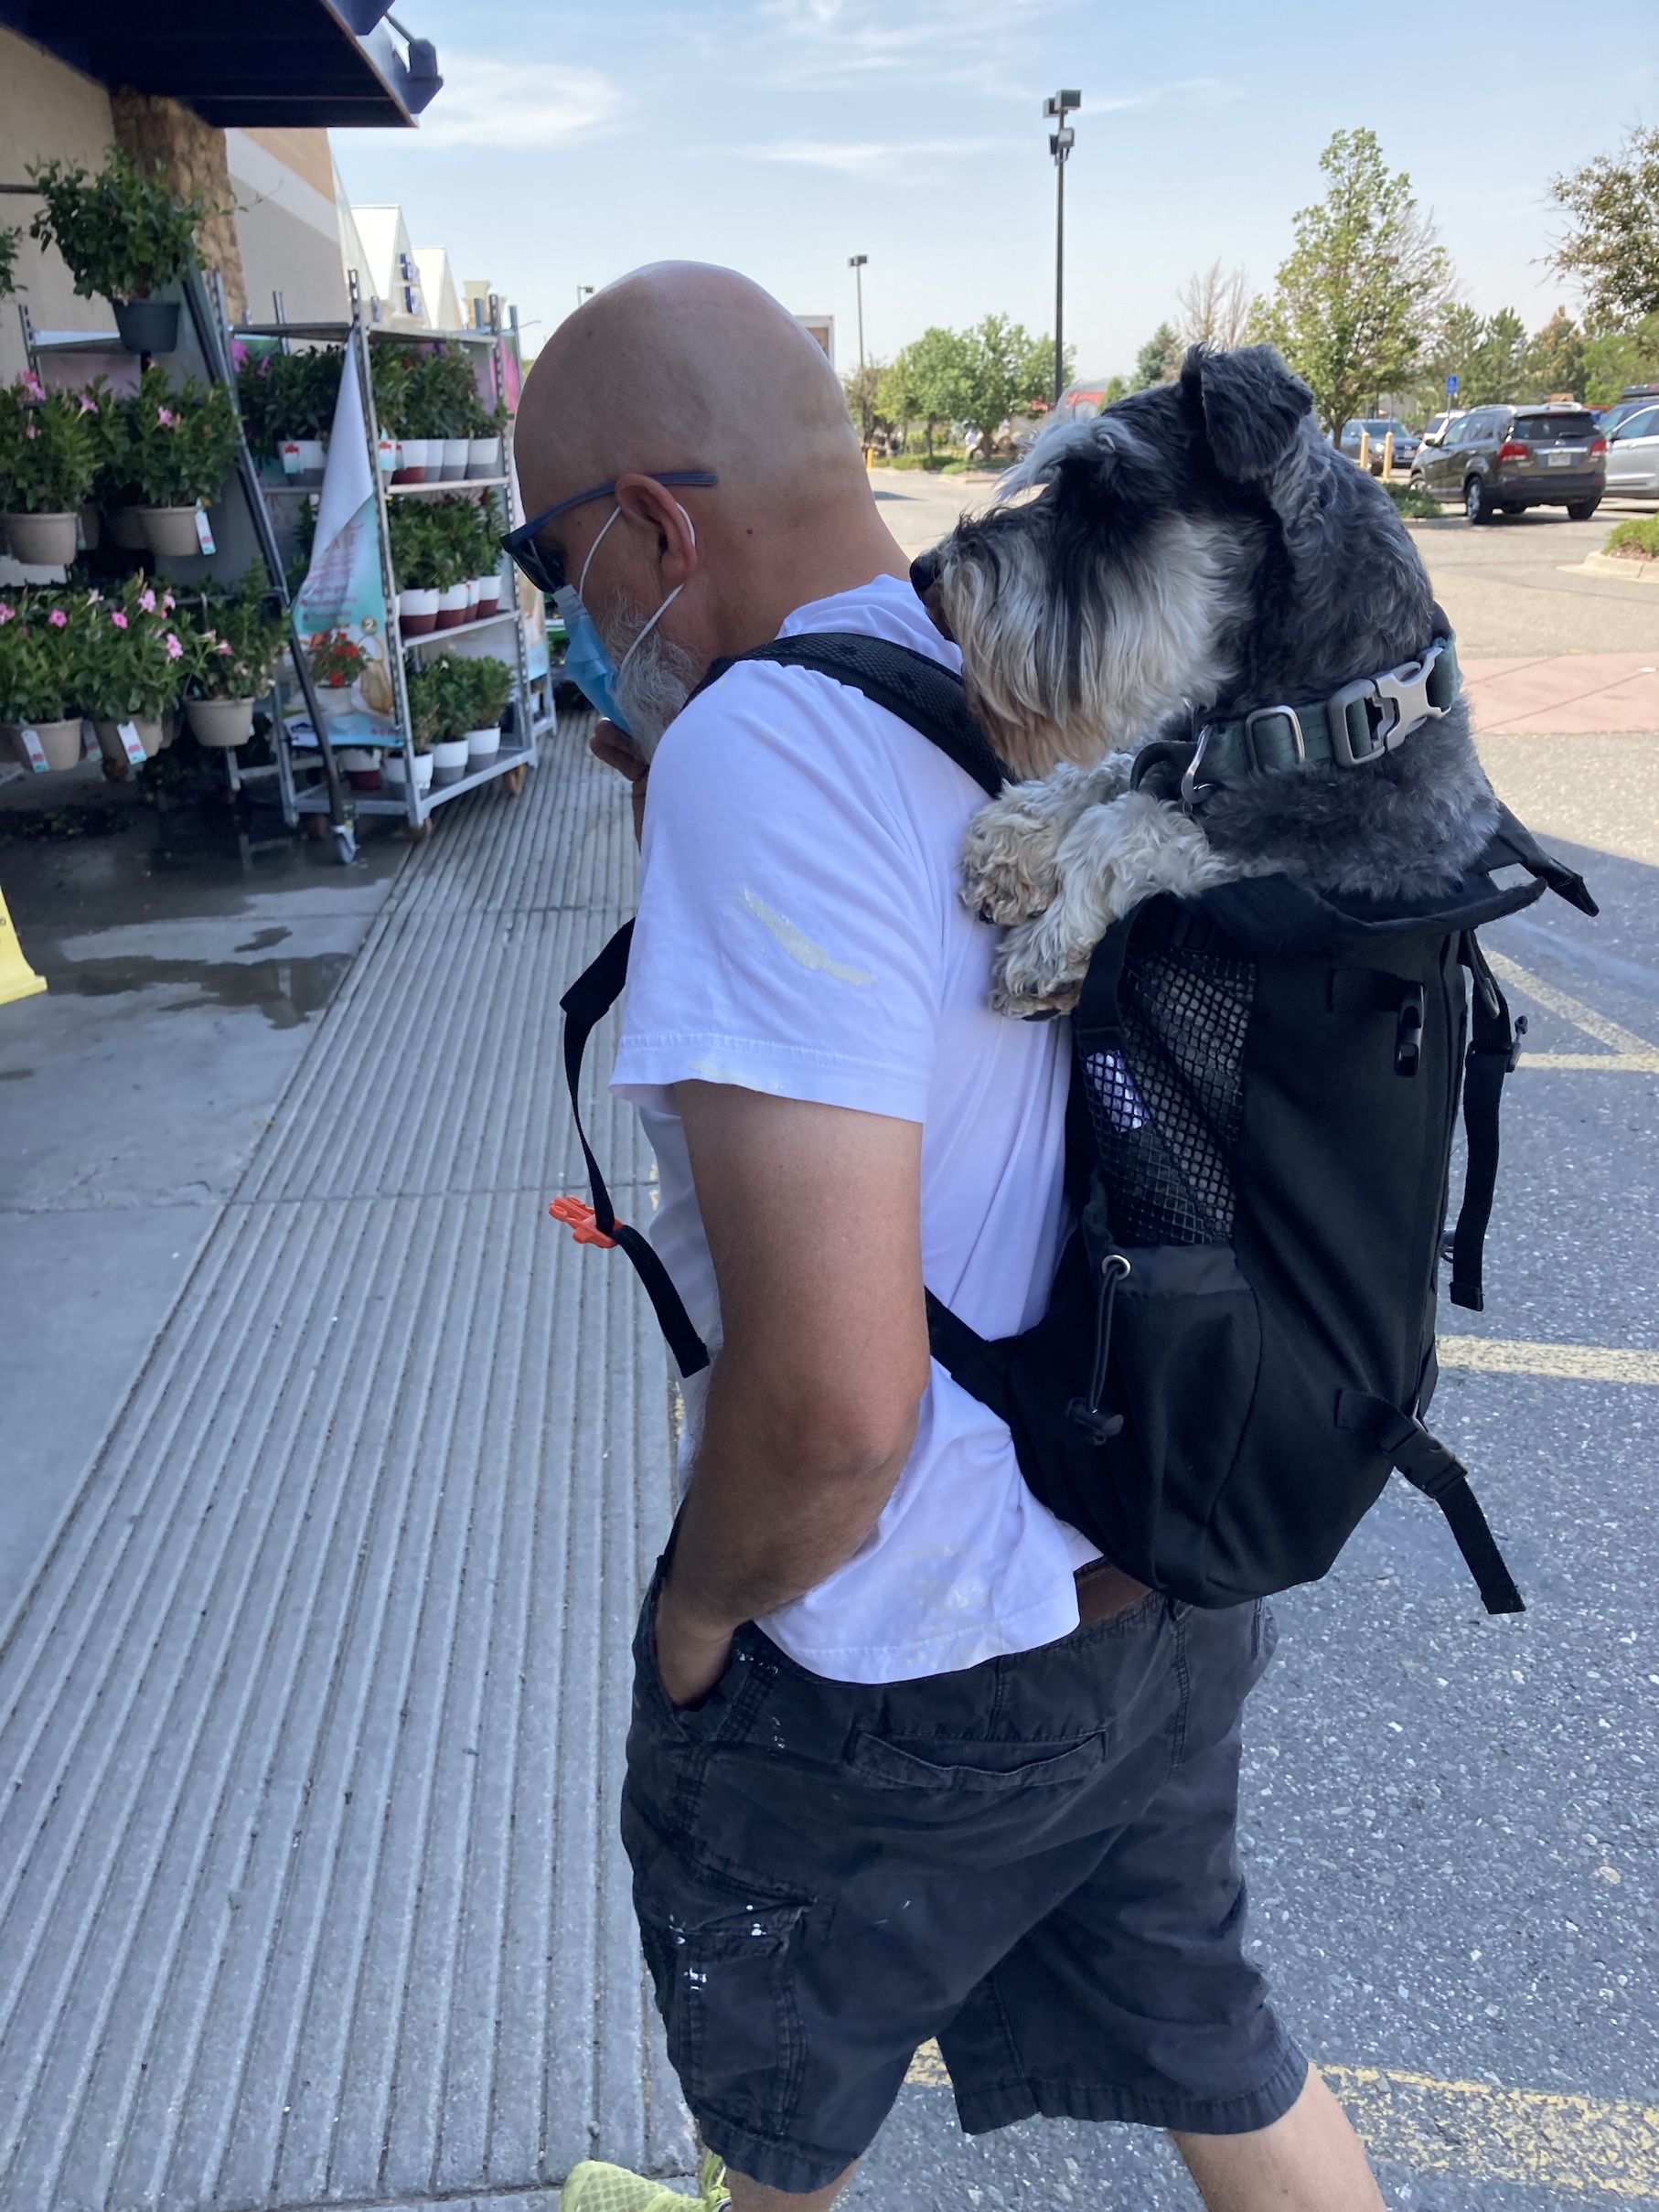

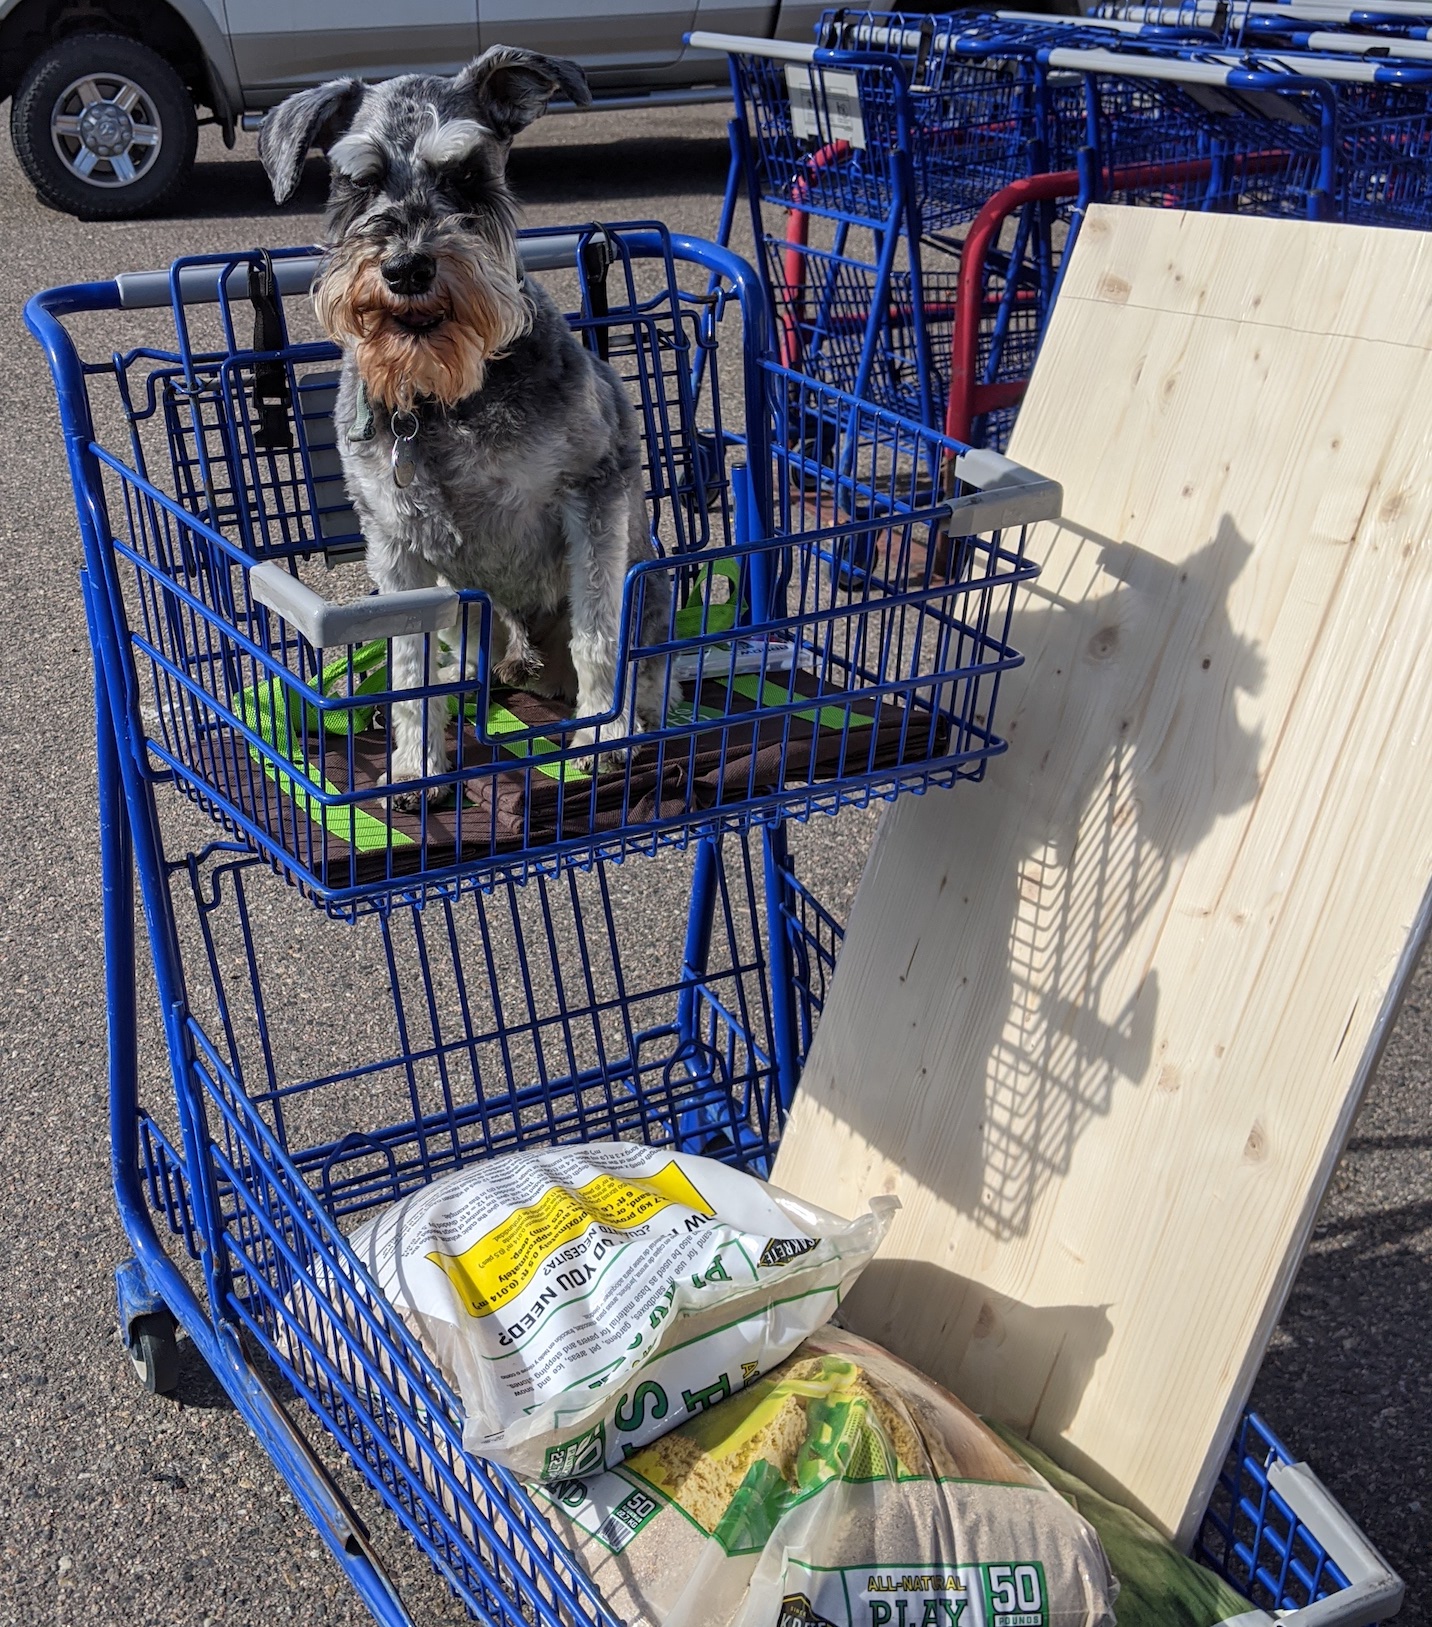
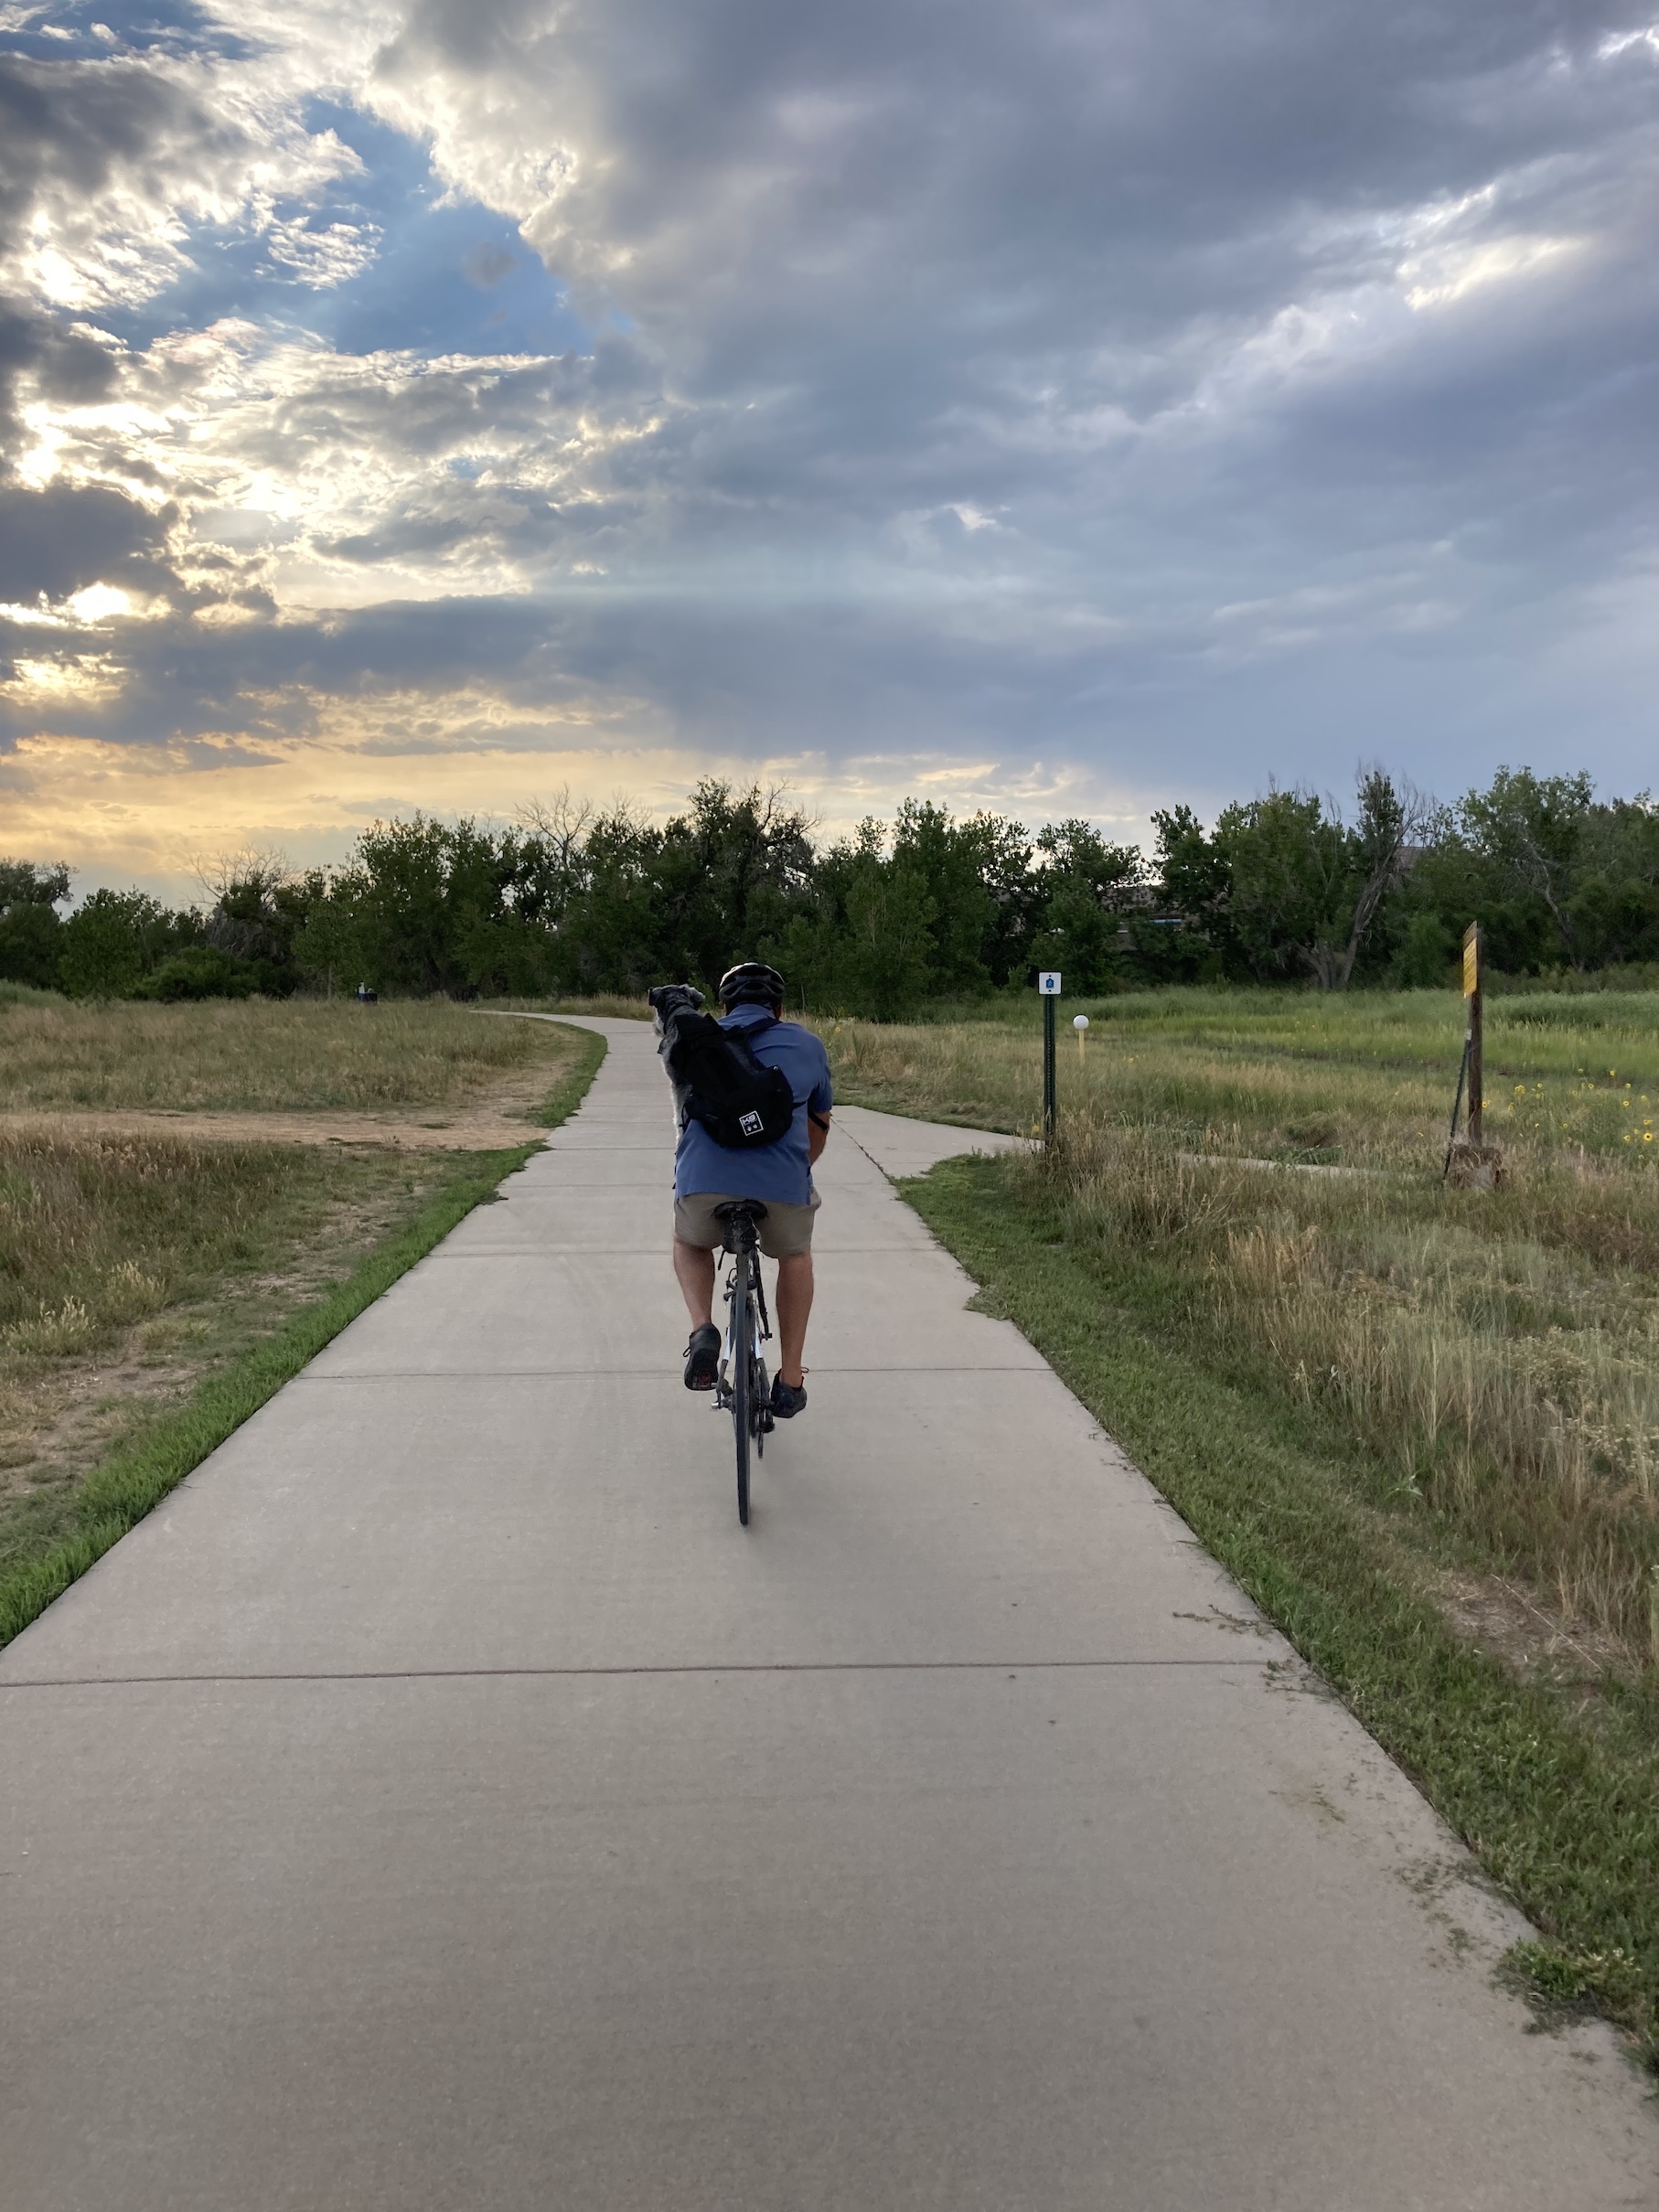
 And sometimes in the shopping cart:

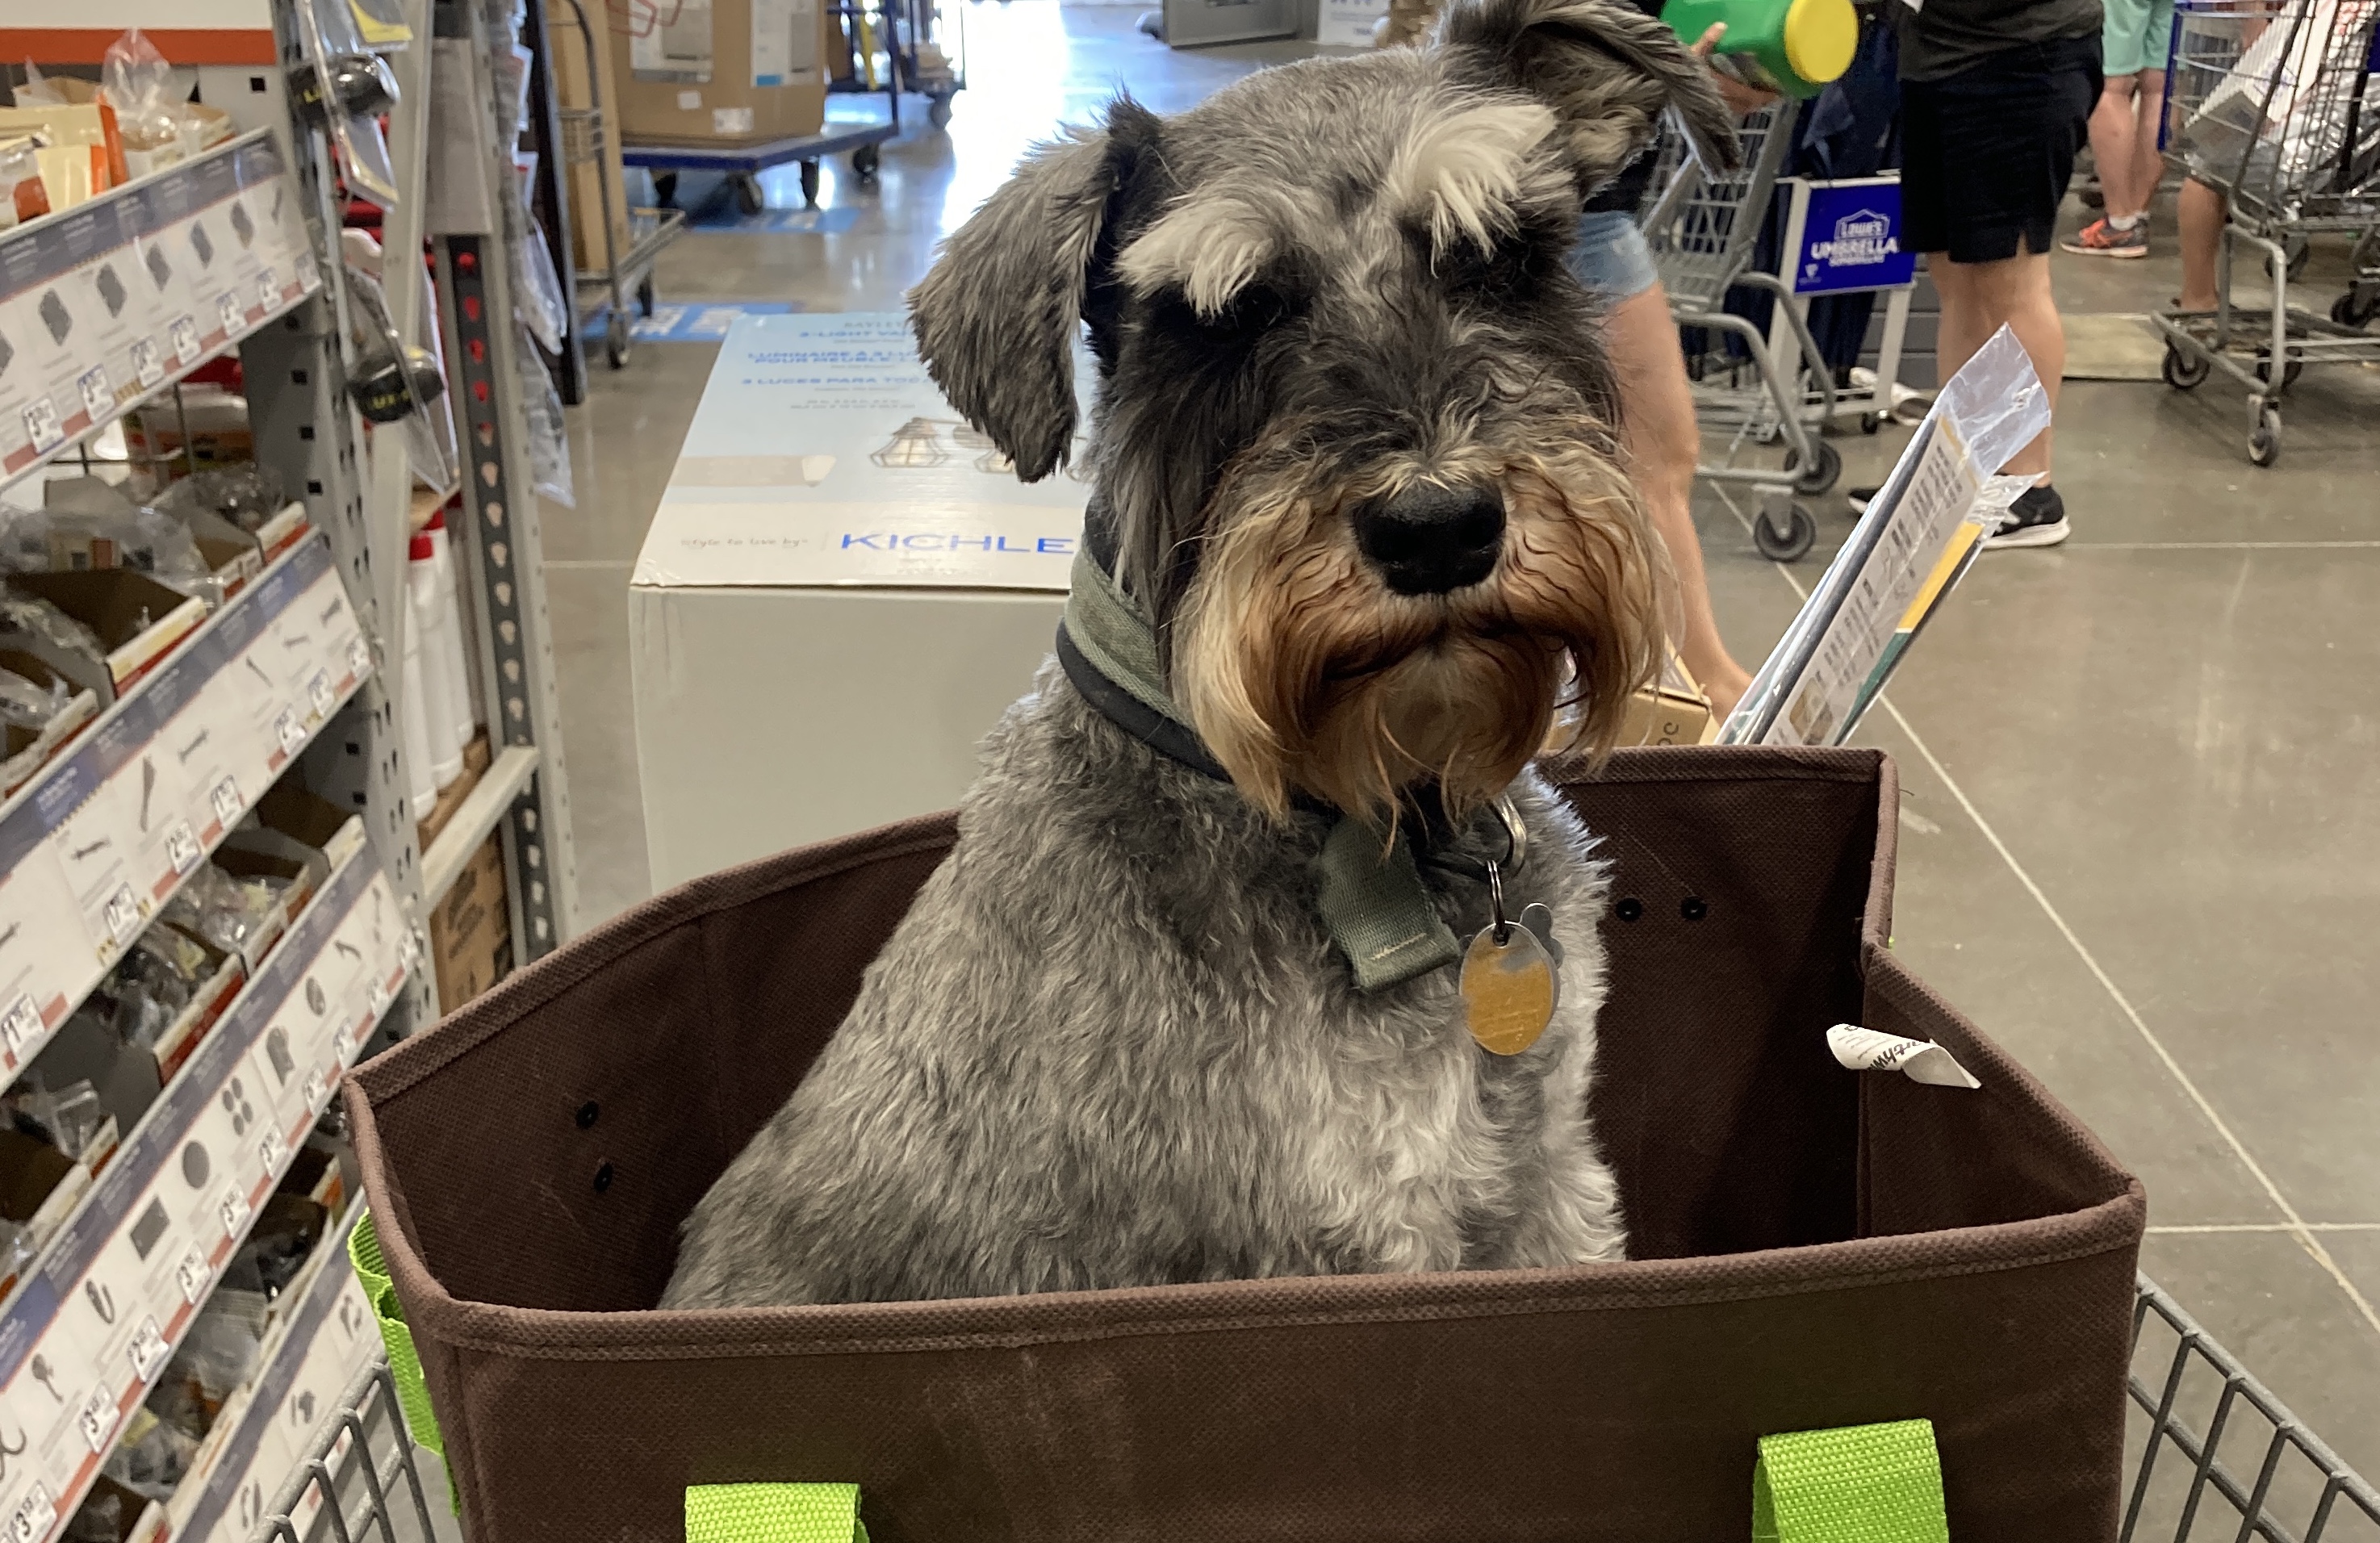
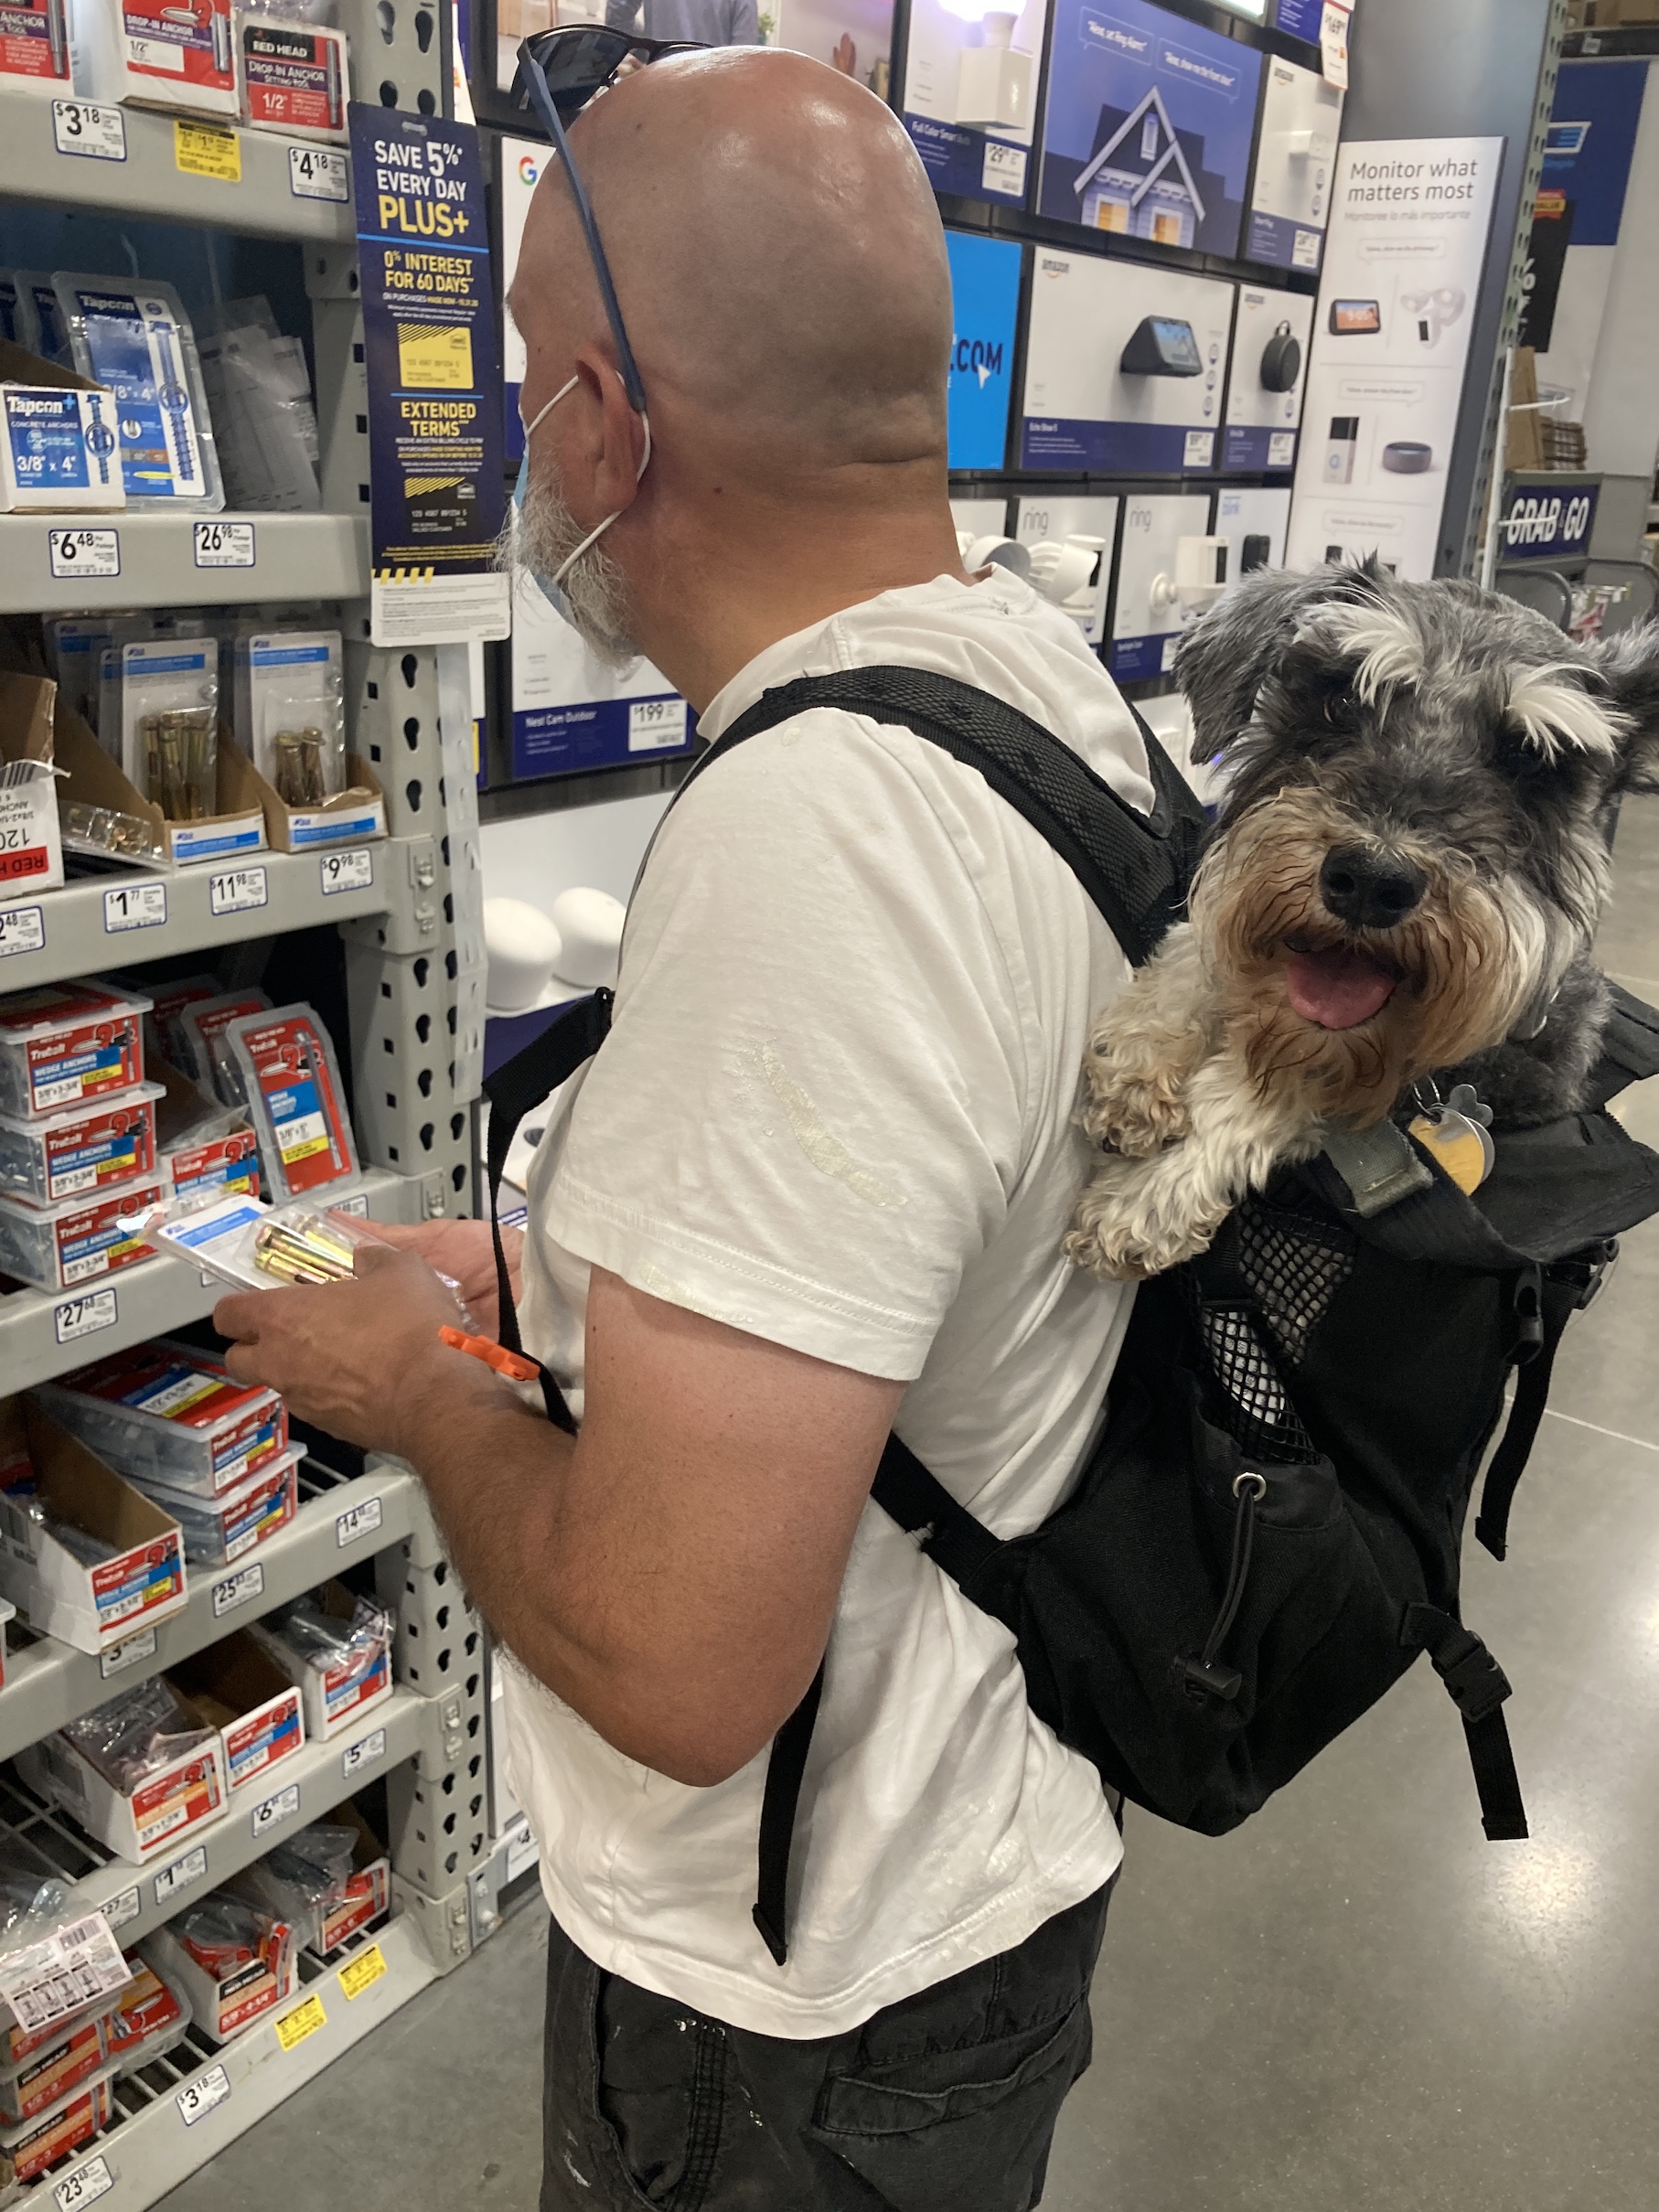
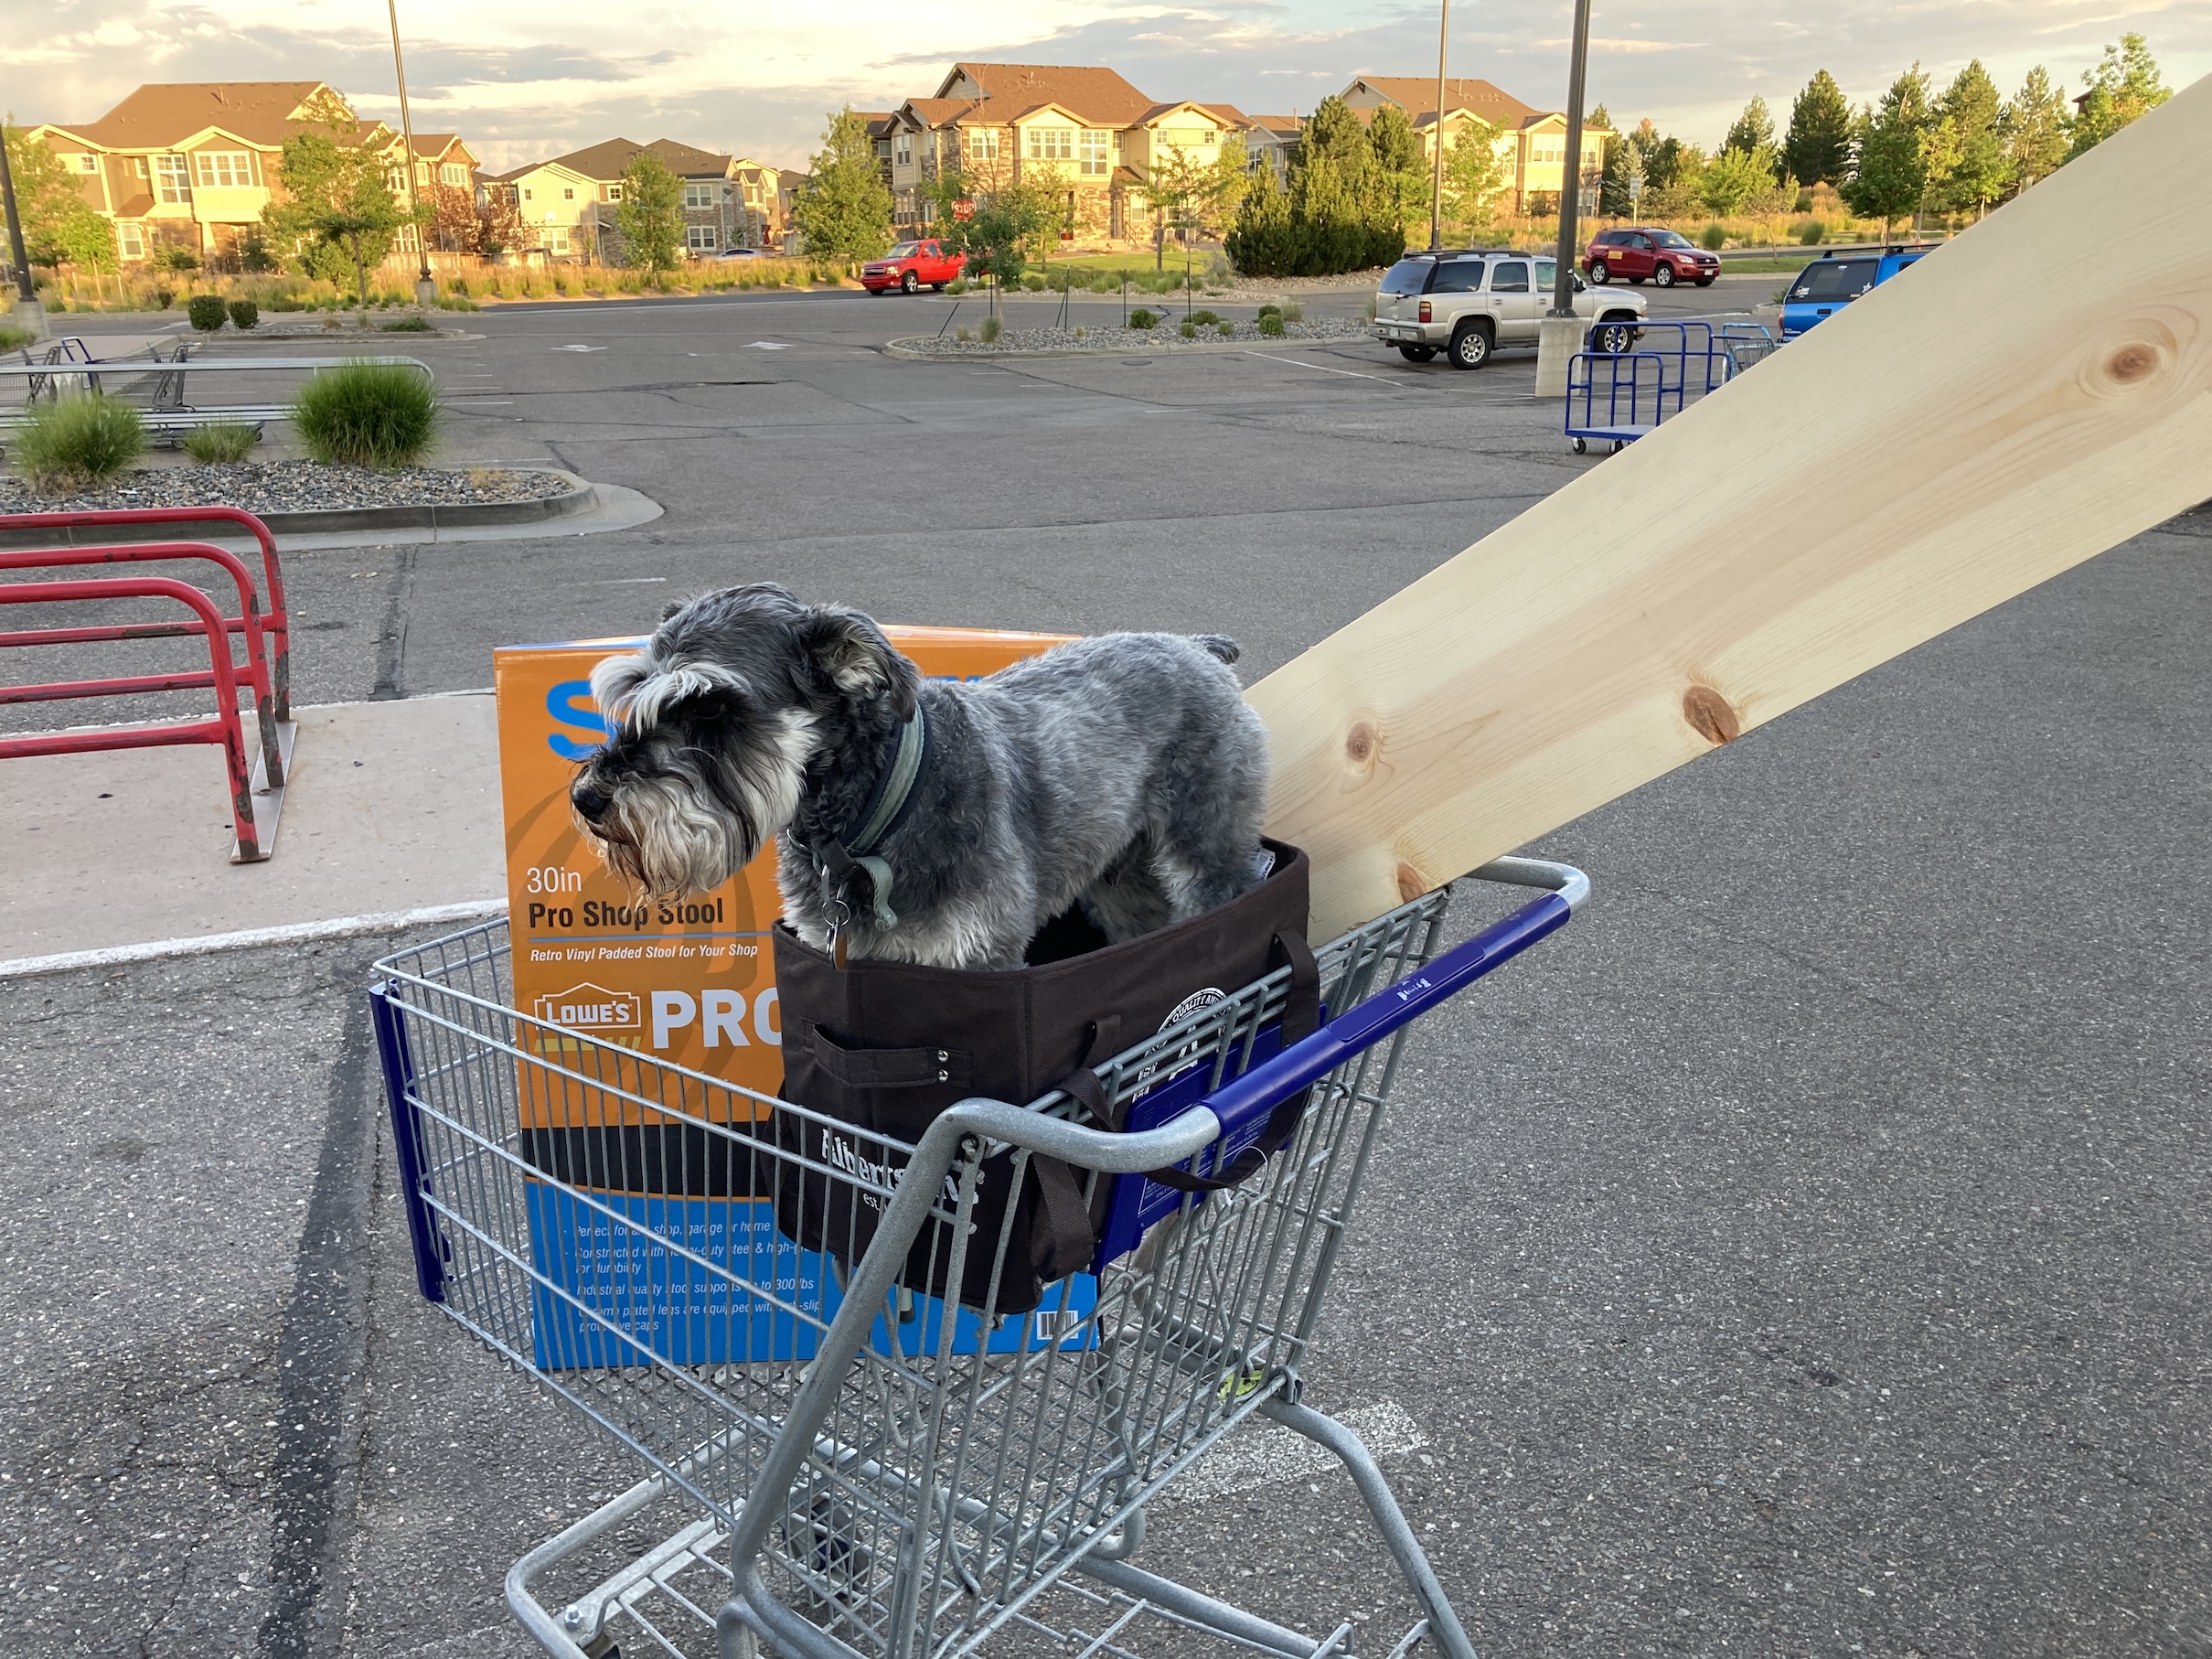 I know, I know, you just can’t get enough of the cute photos of me in a shopping cart. Unfortunately my female human said we have to limit the photos to only four (4) because she has to protect her digital storage allotment on her blog (sigh).
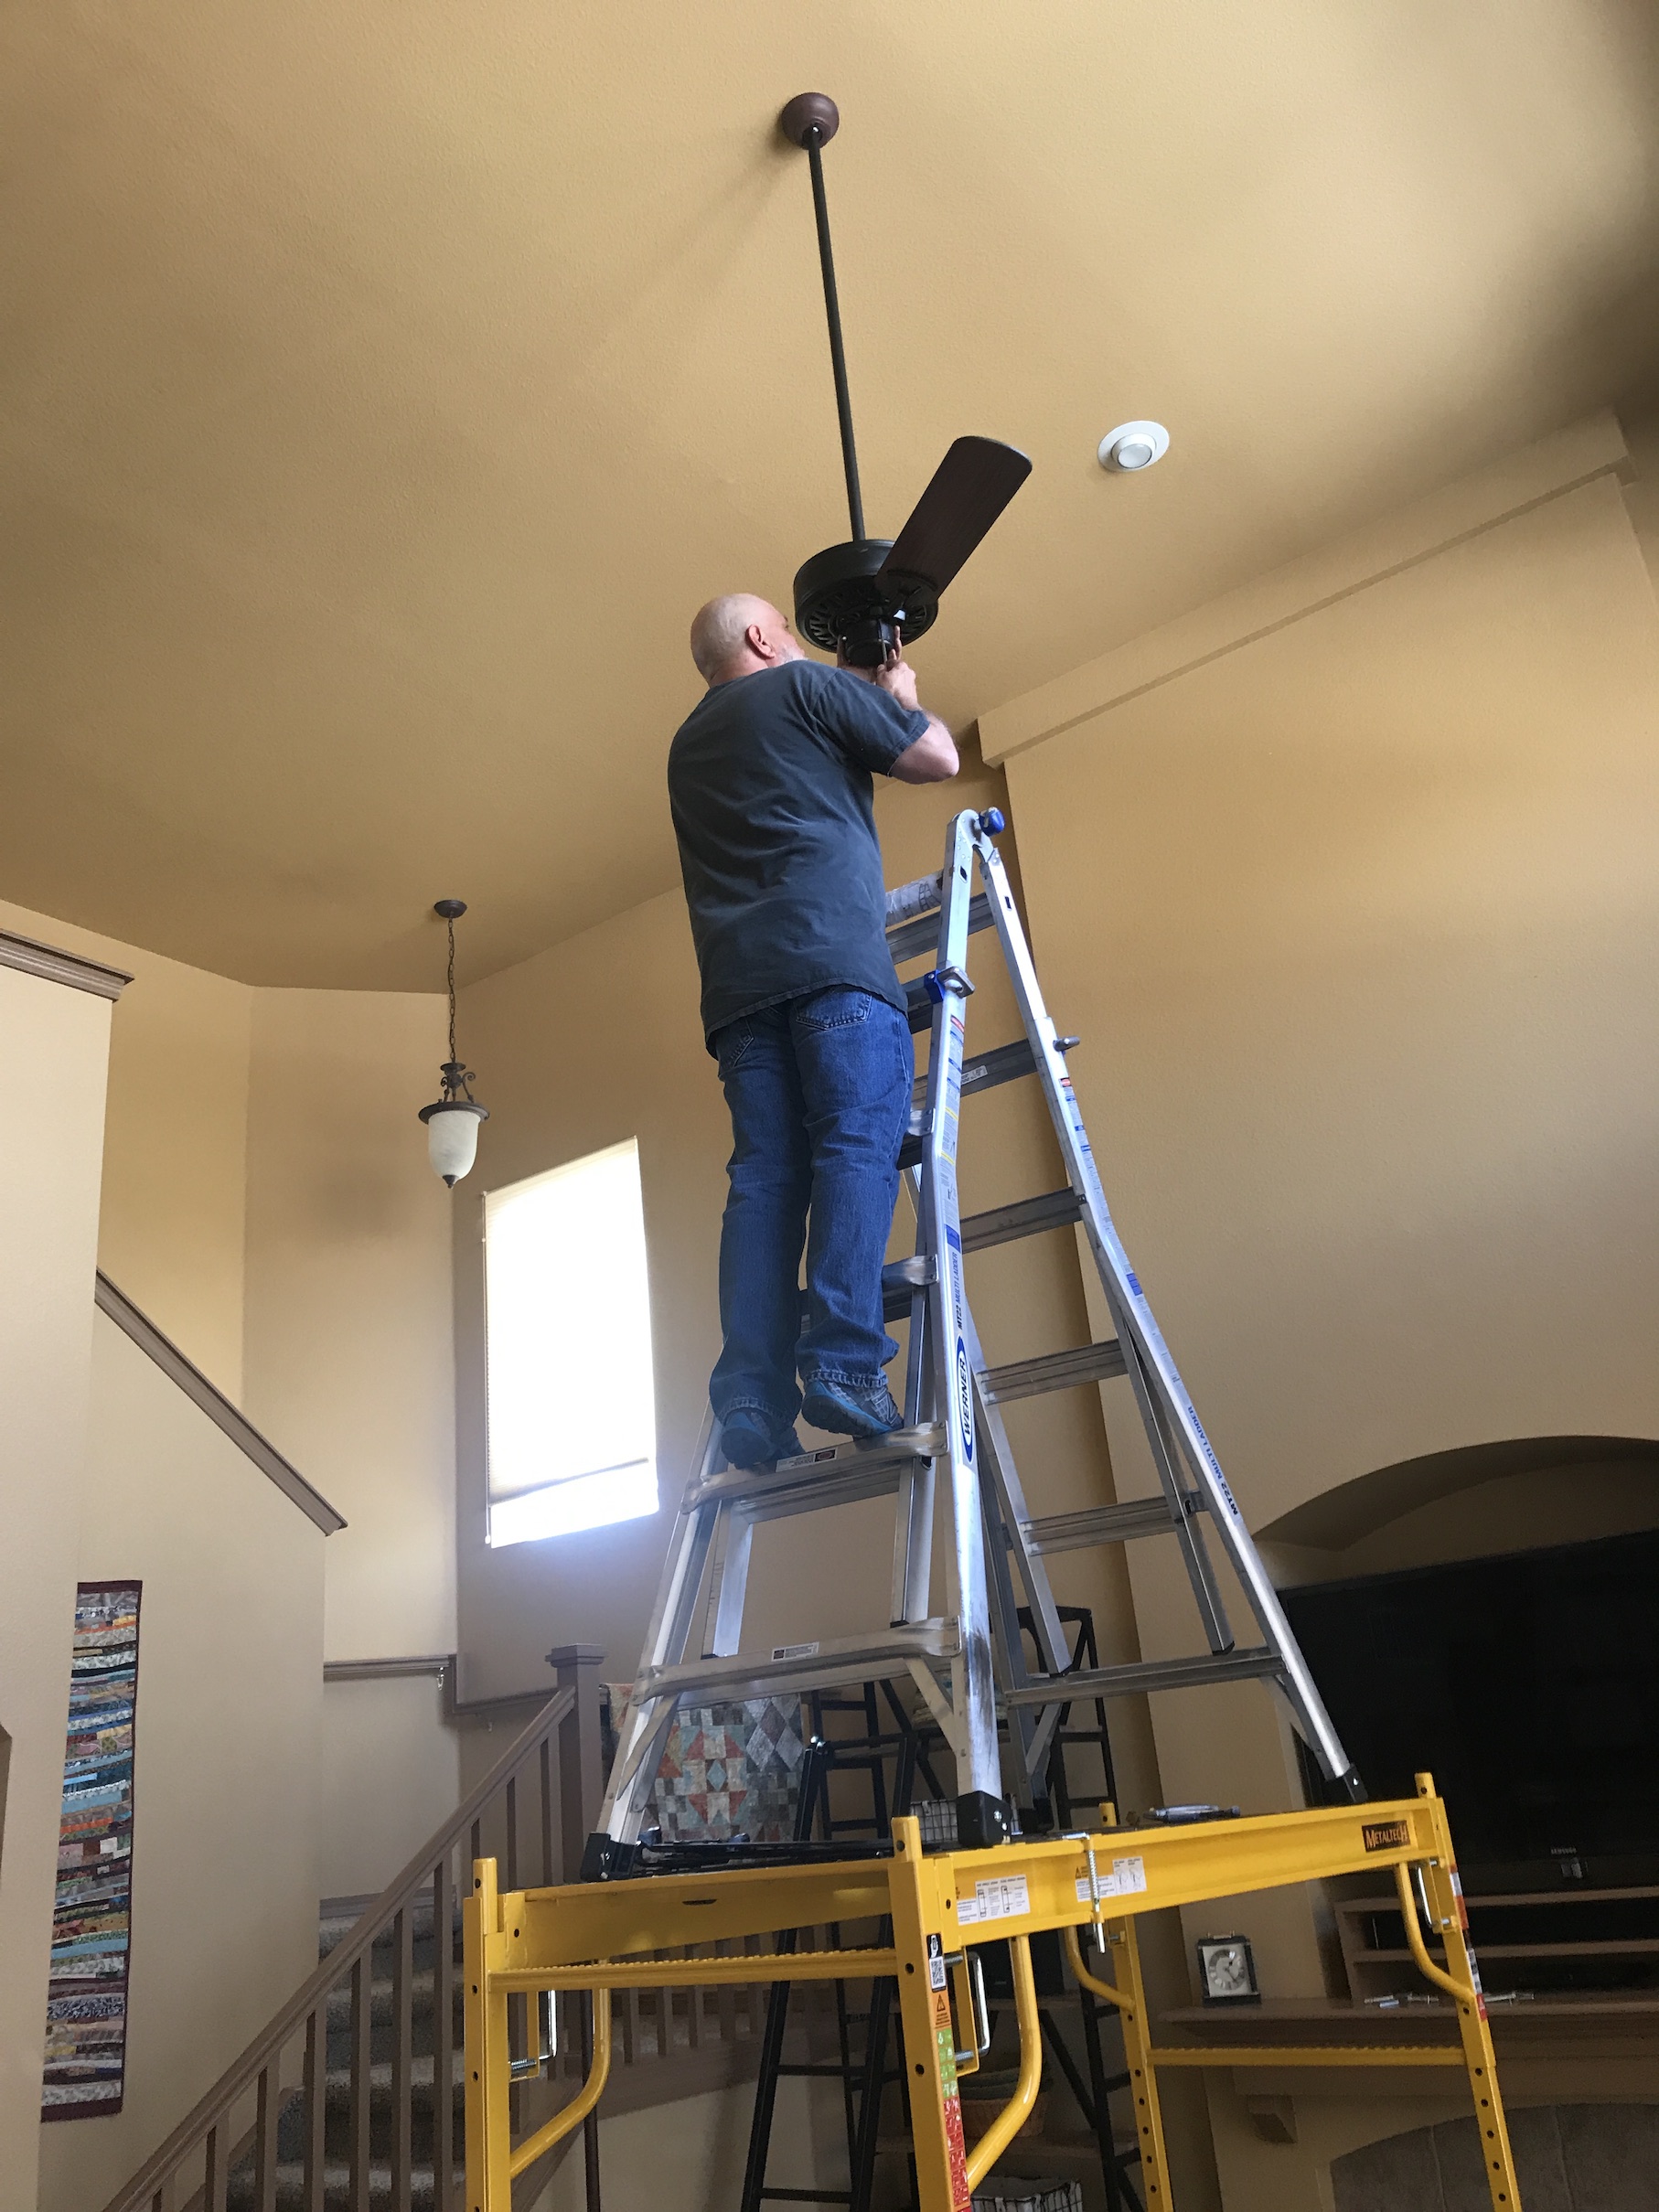 Yes that is a ladder, on top of scaffolding. Looks pretty safe to me (NOT!)
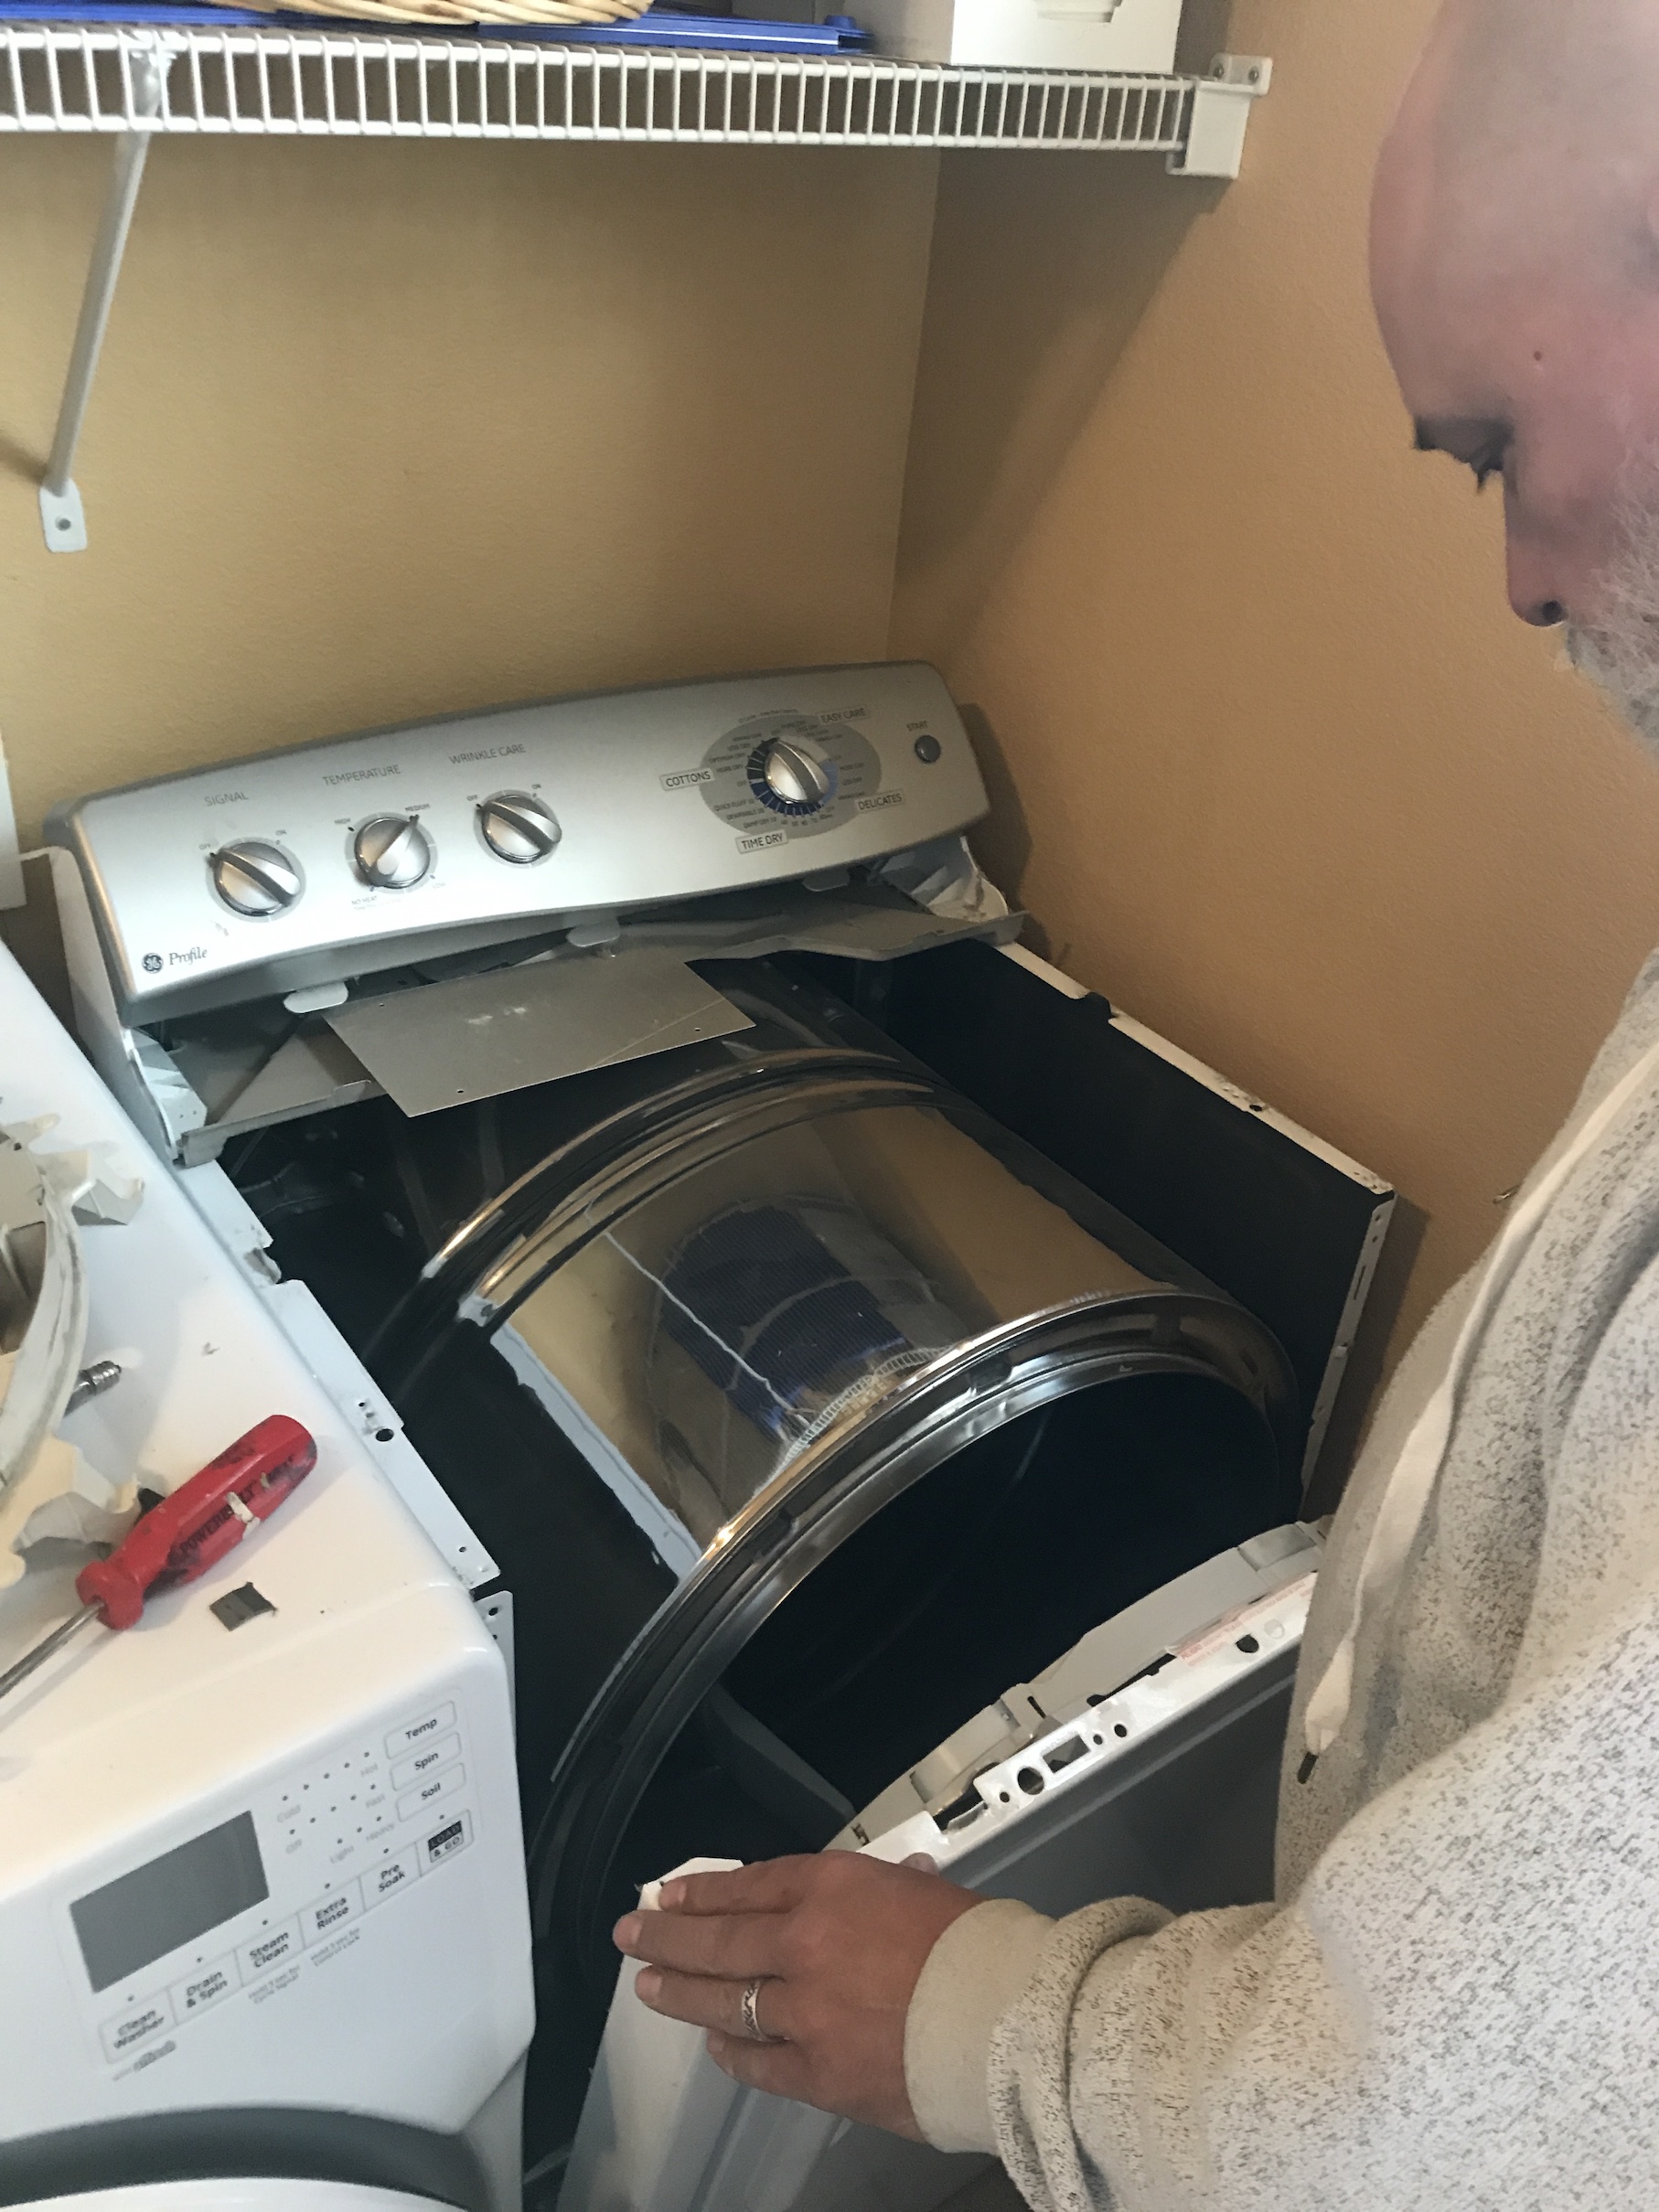 He also completely redid the garage, drywalling it in, painting it and installing shelves:
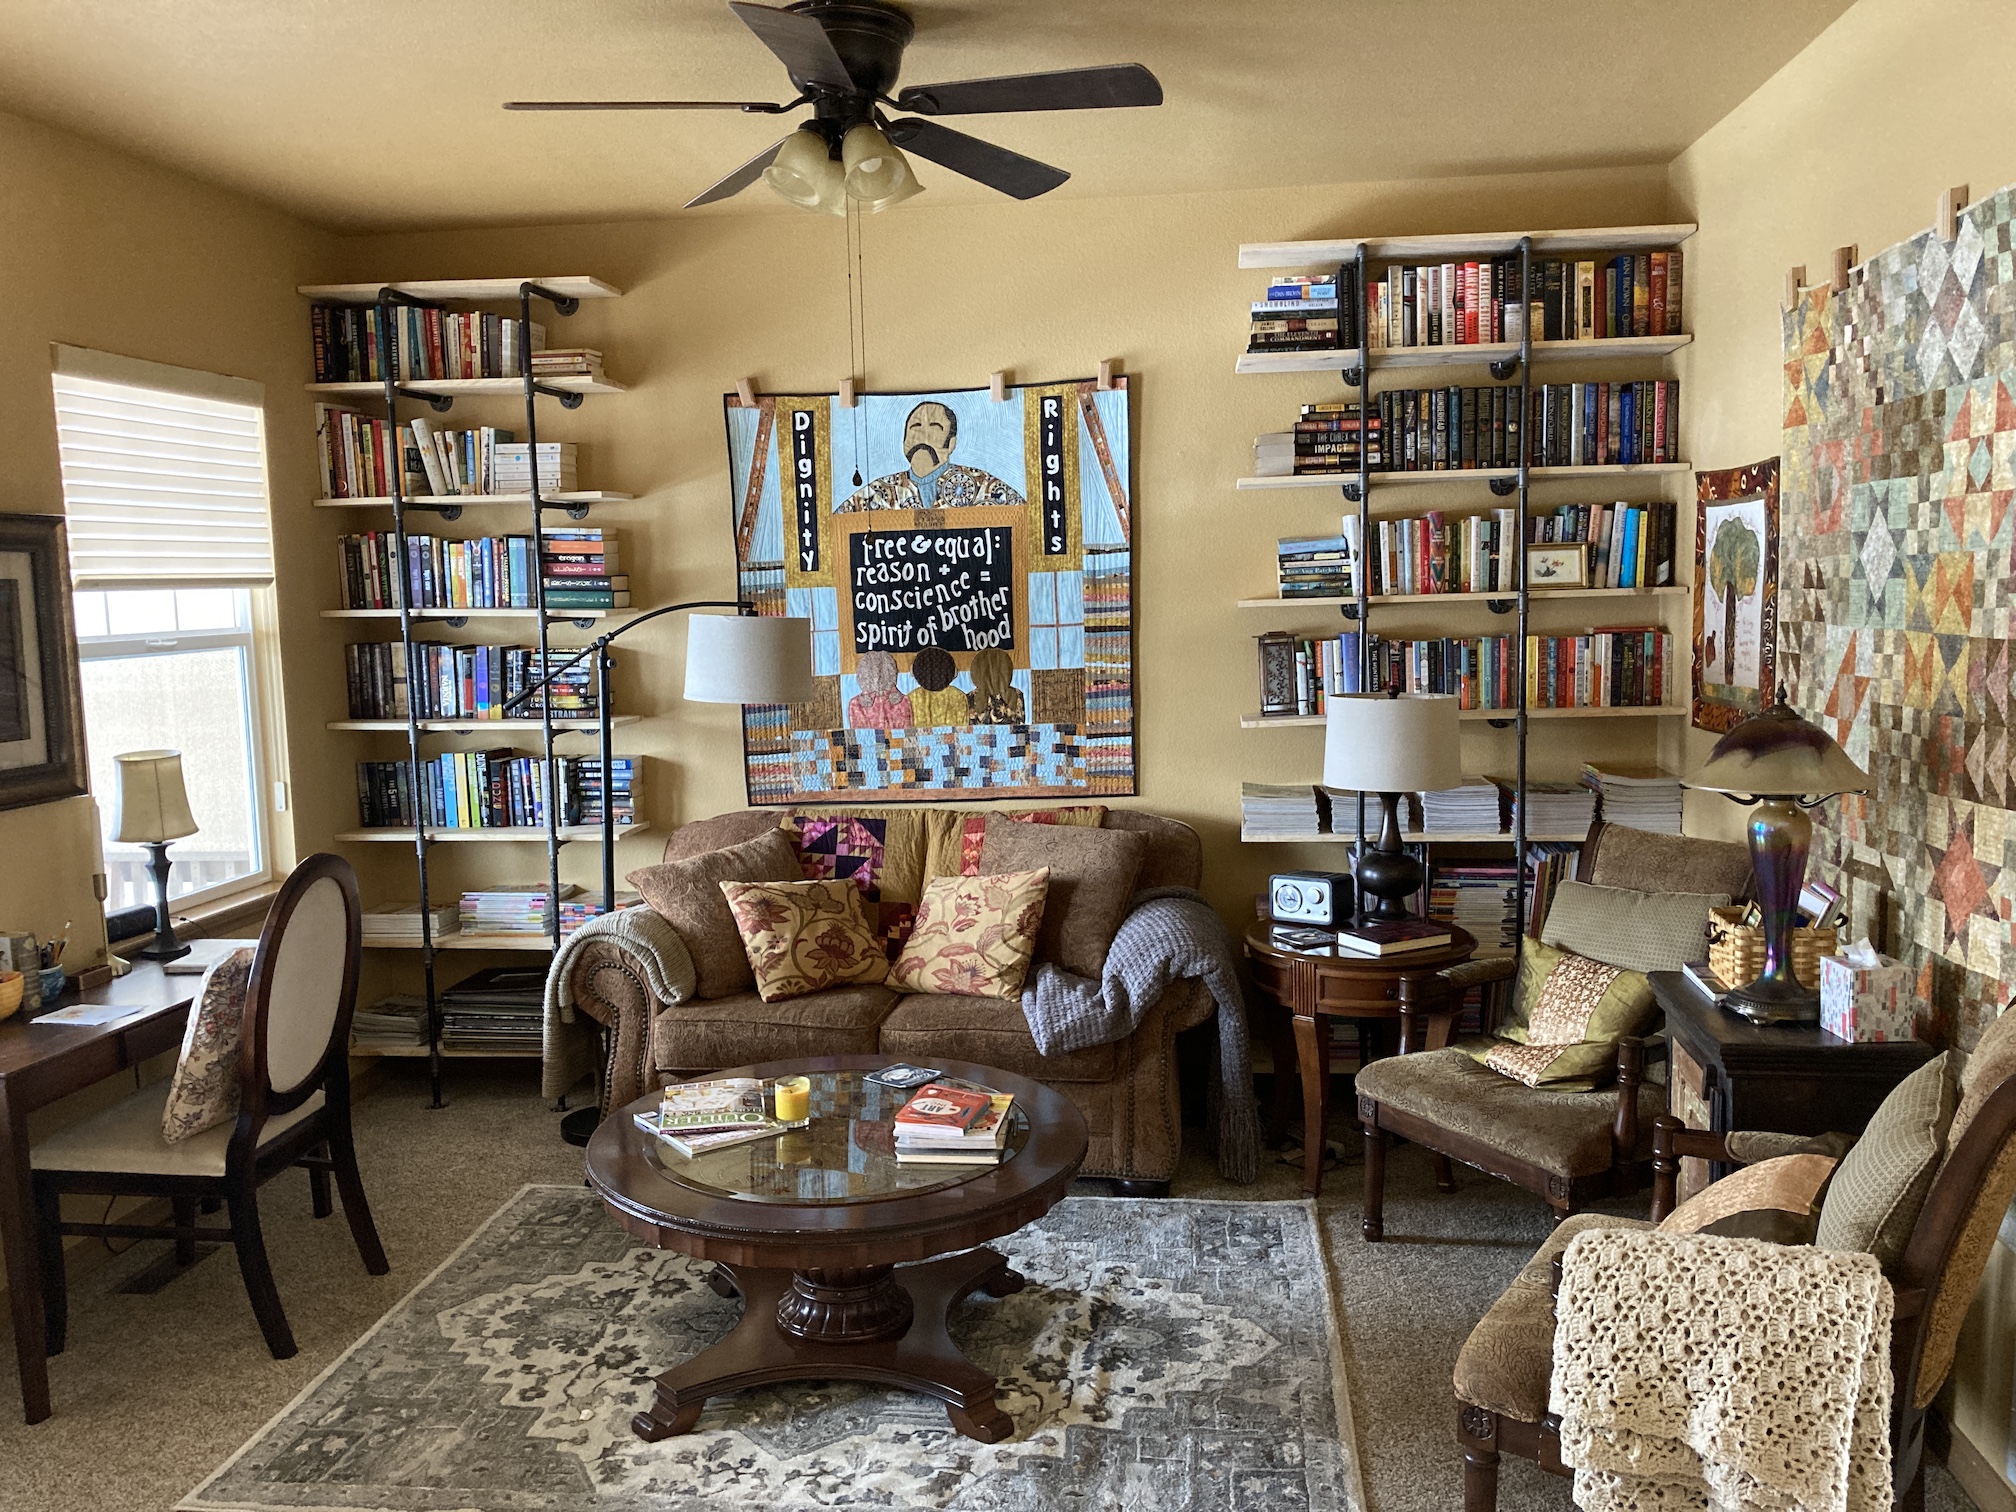
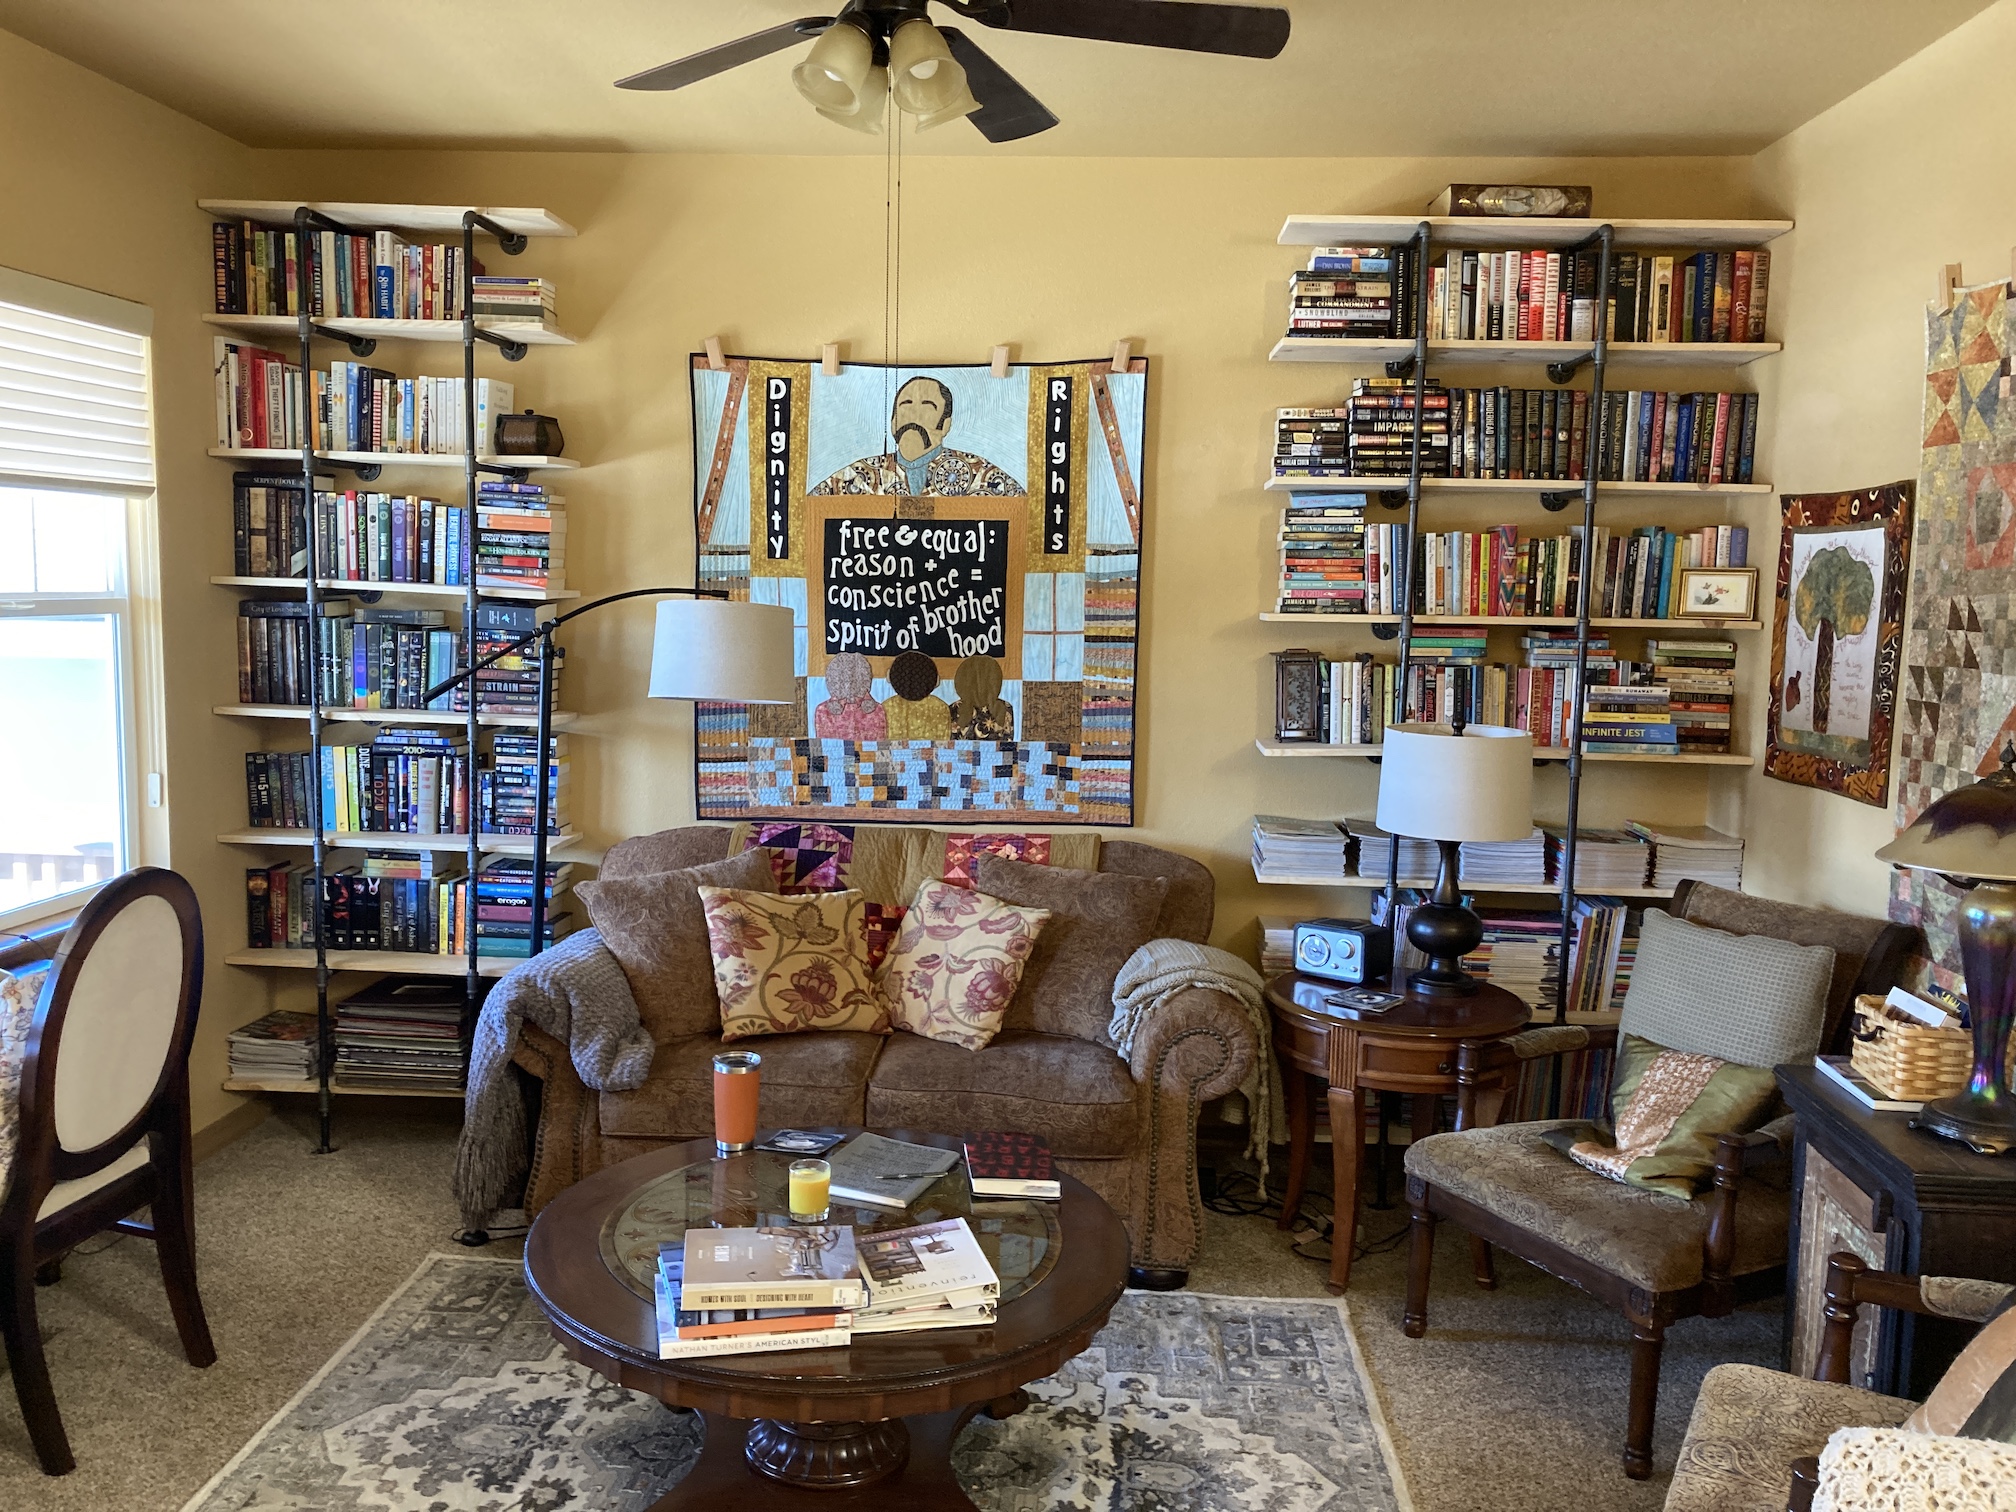
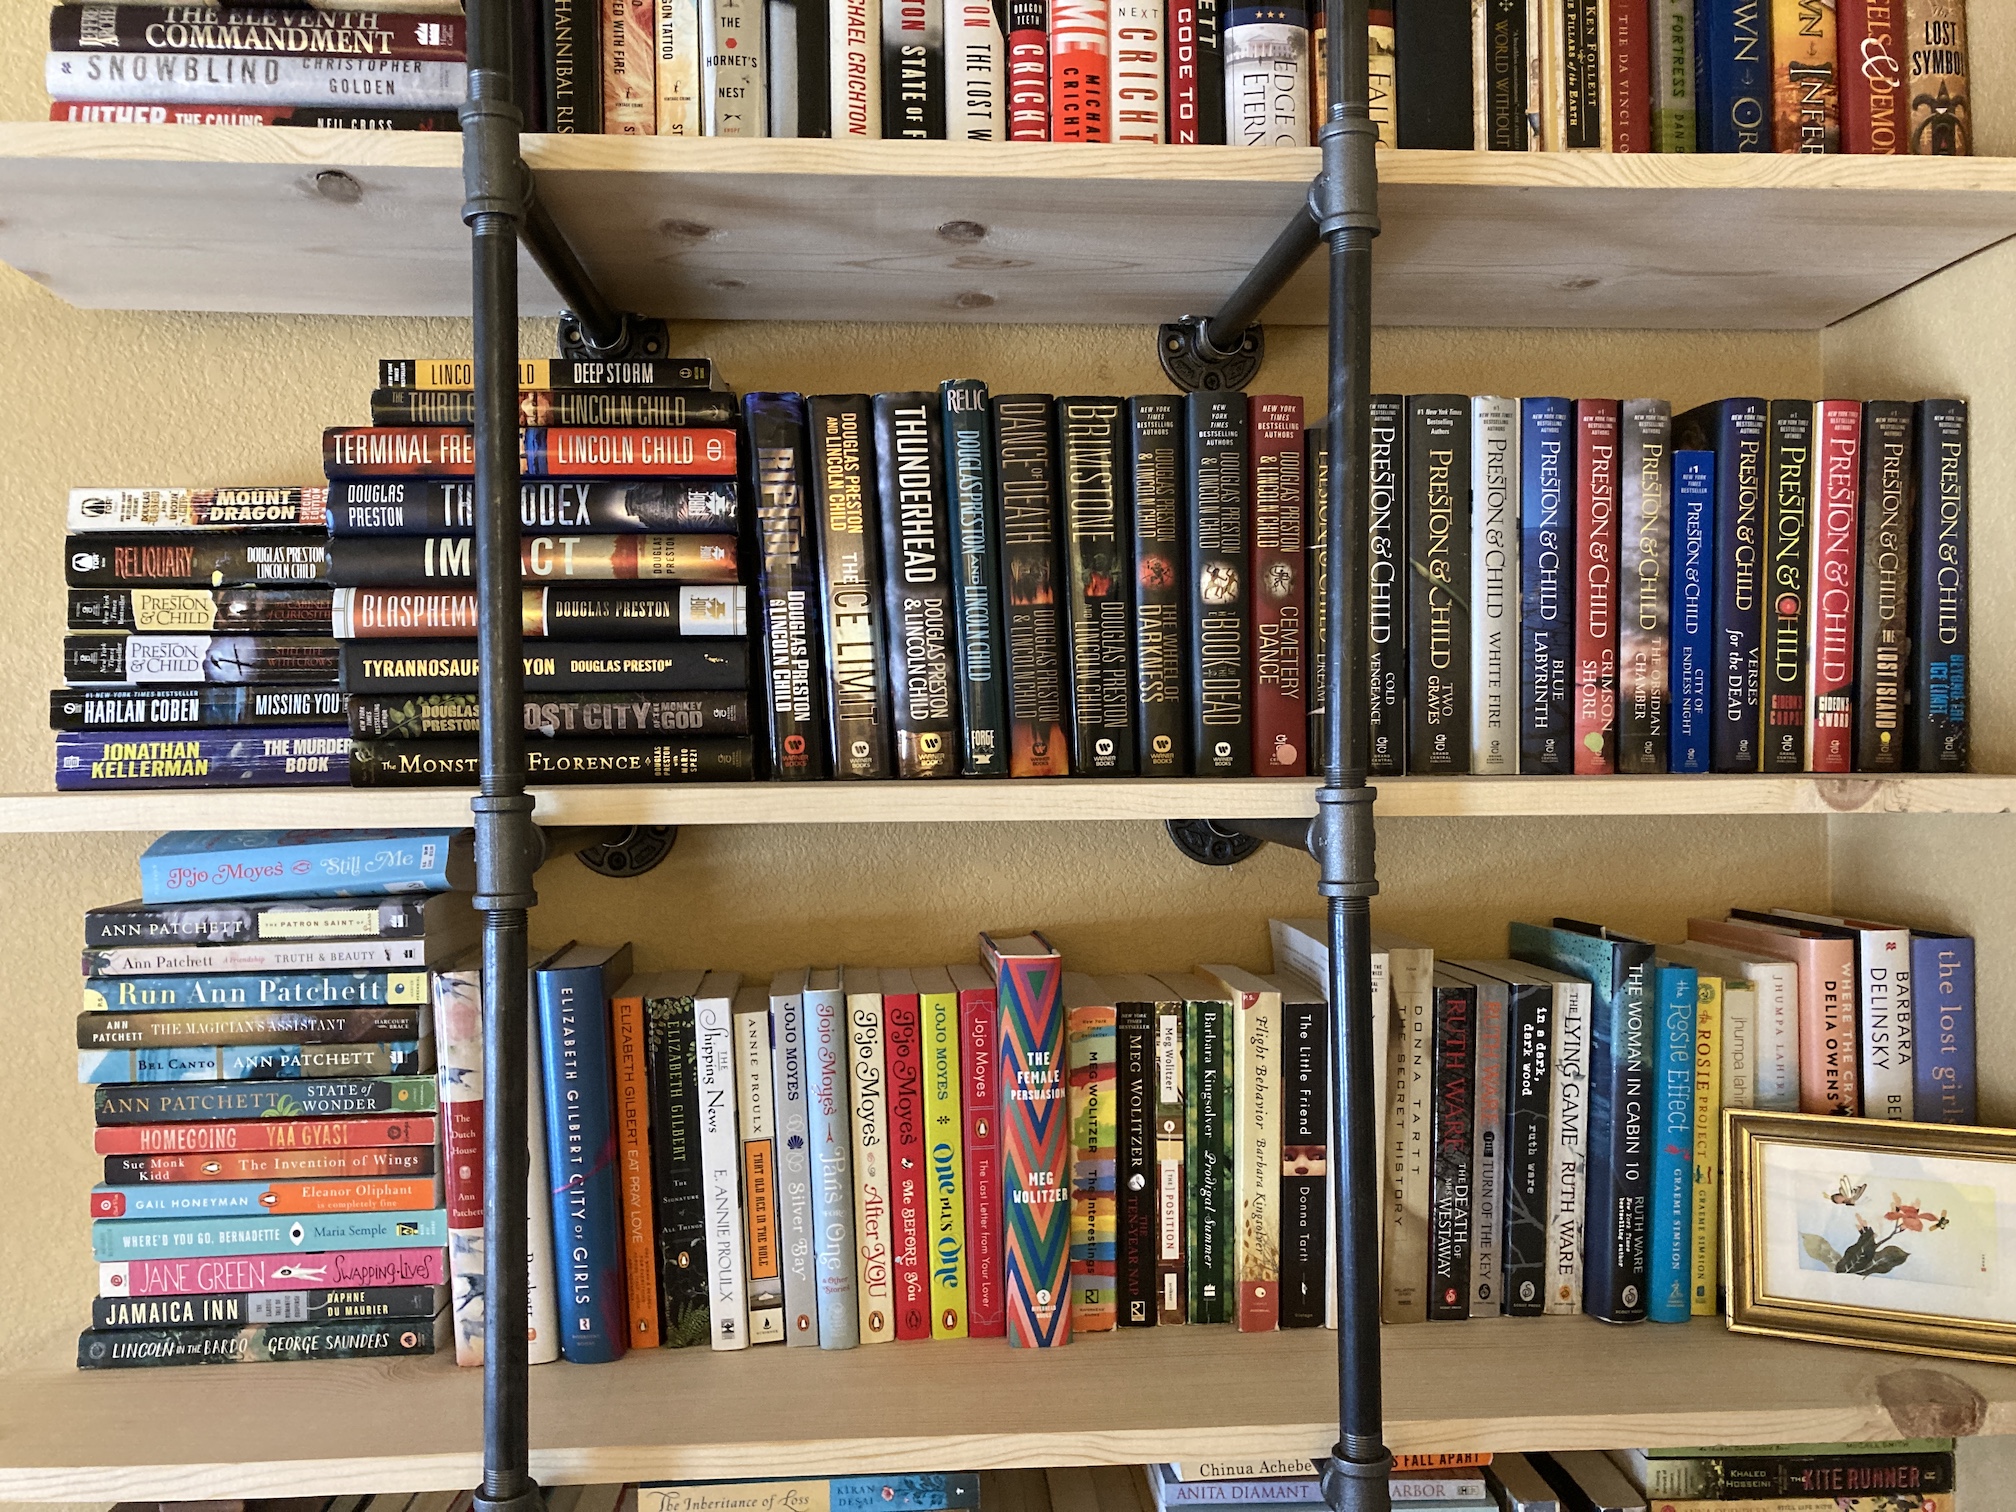
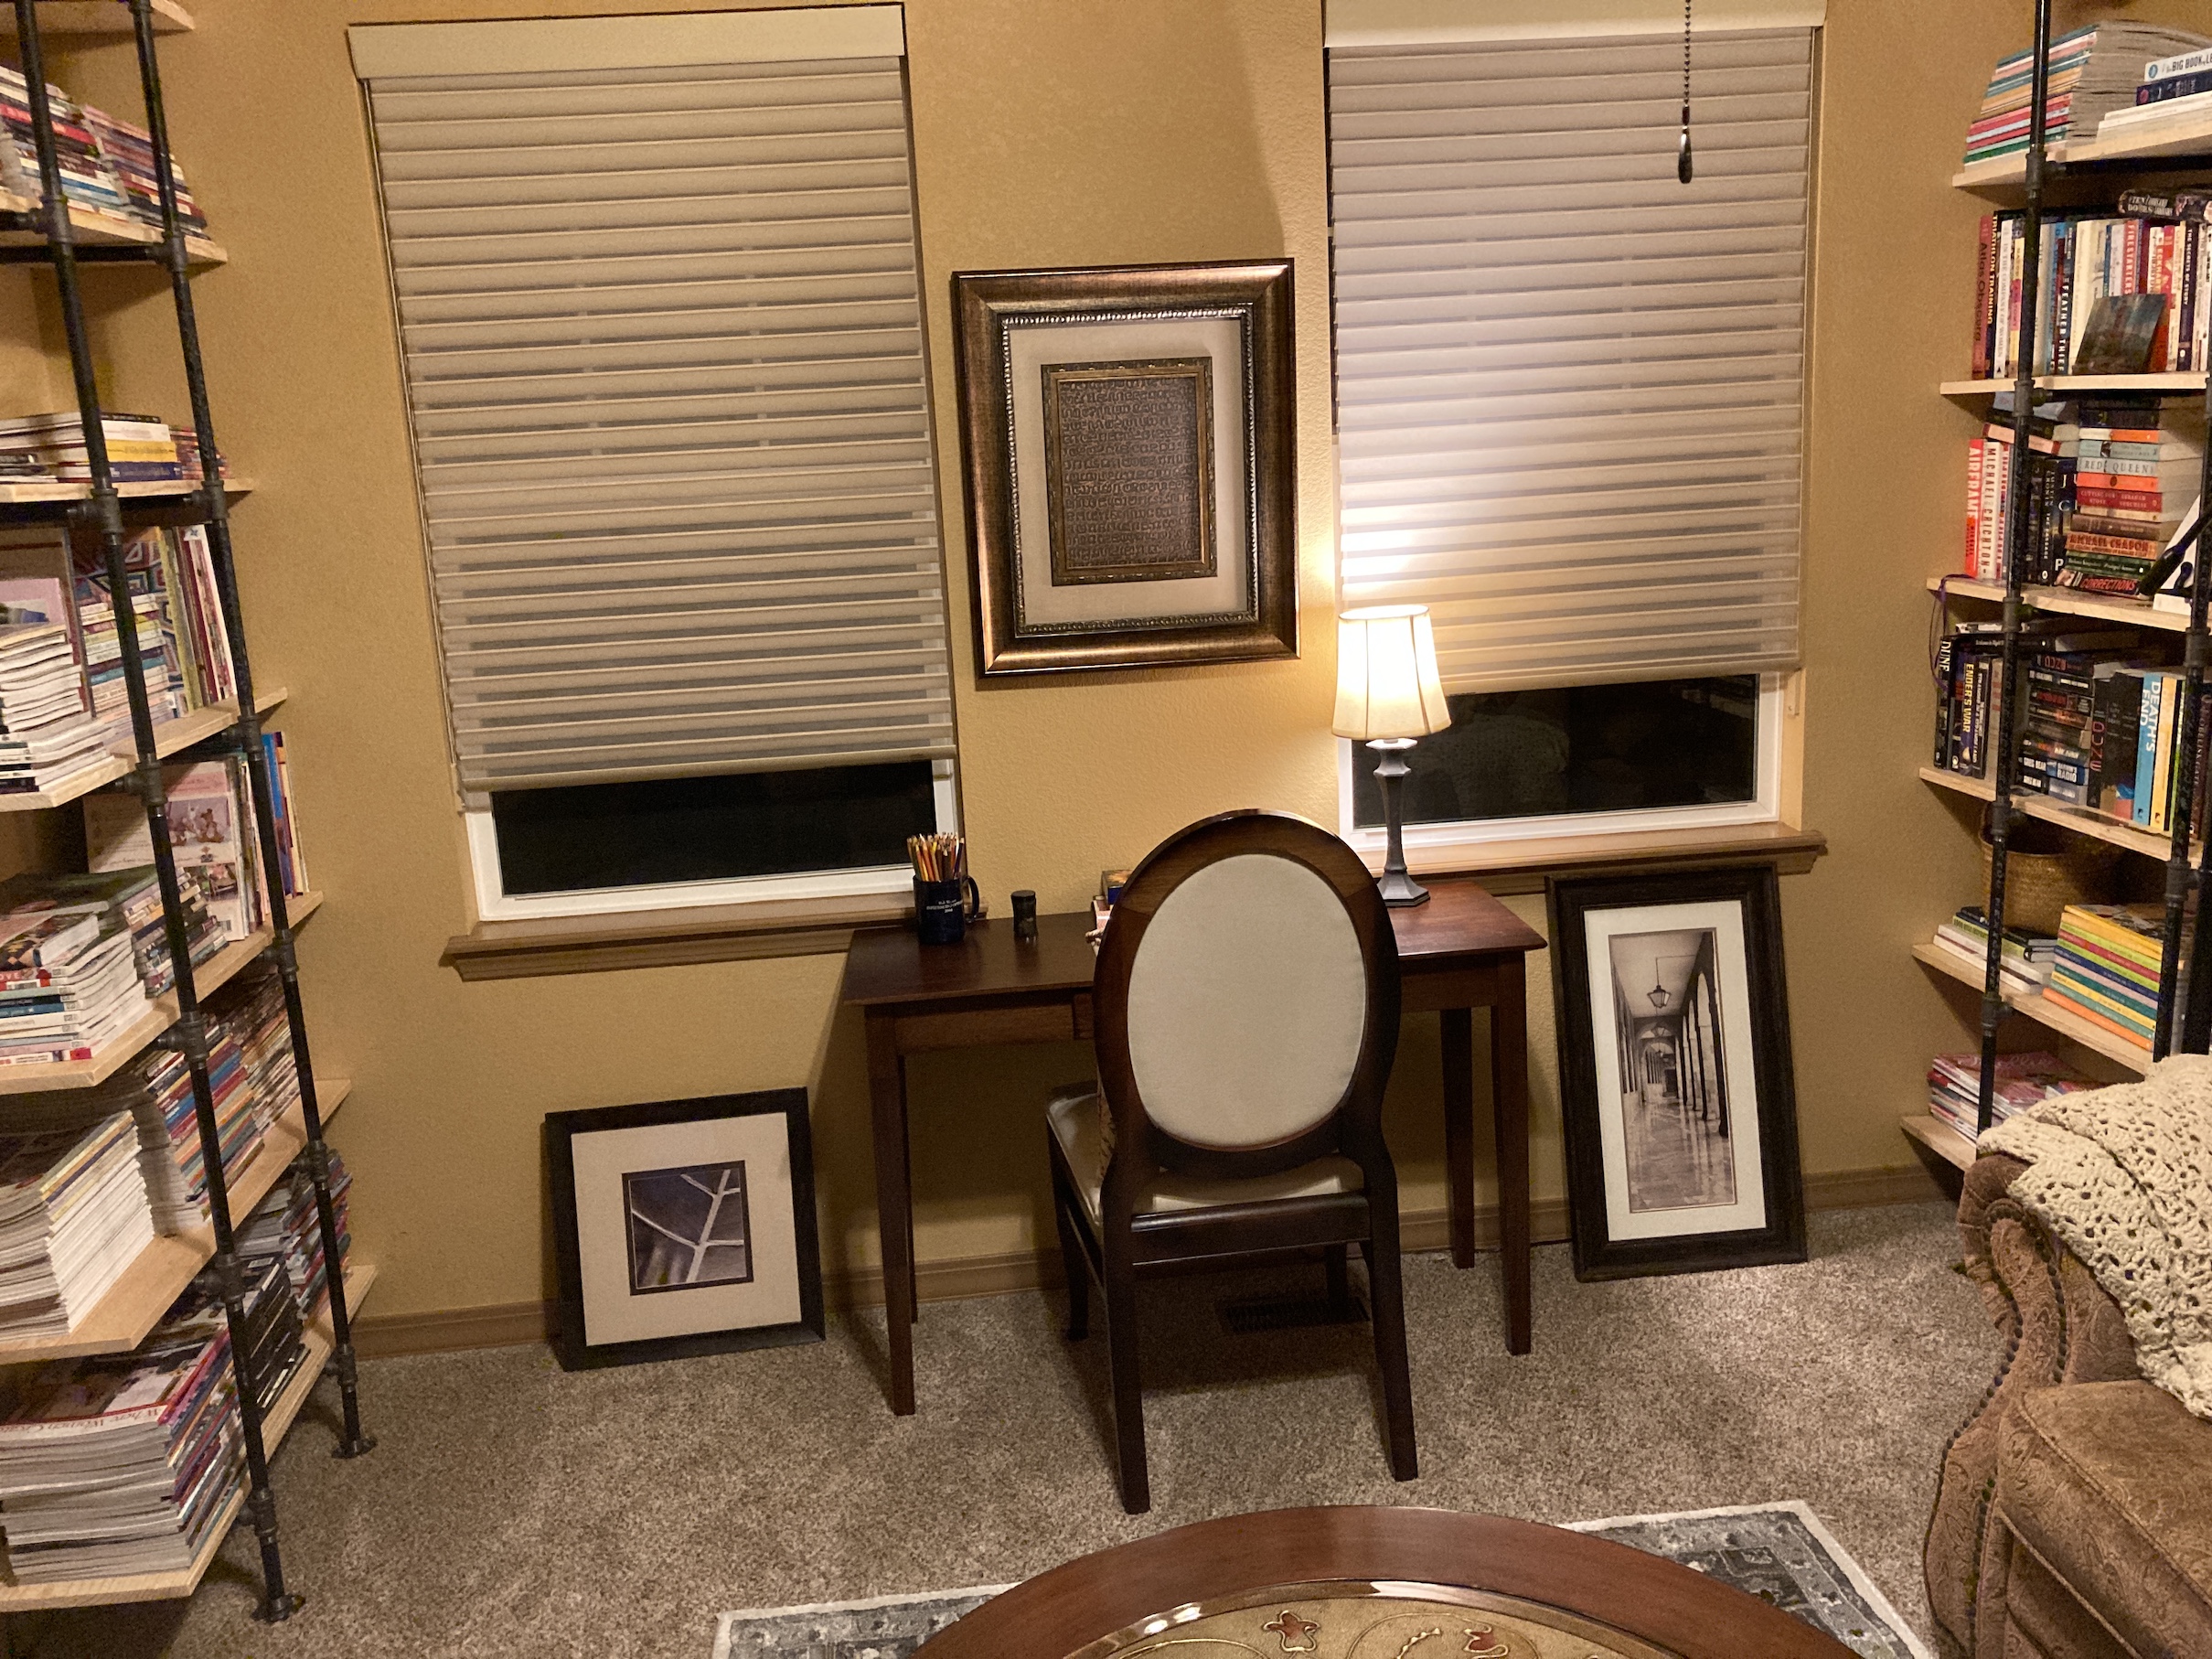
 He also built bookcases in the front room to create our “home library” as my female human mentioned in this post –
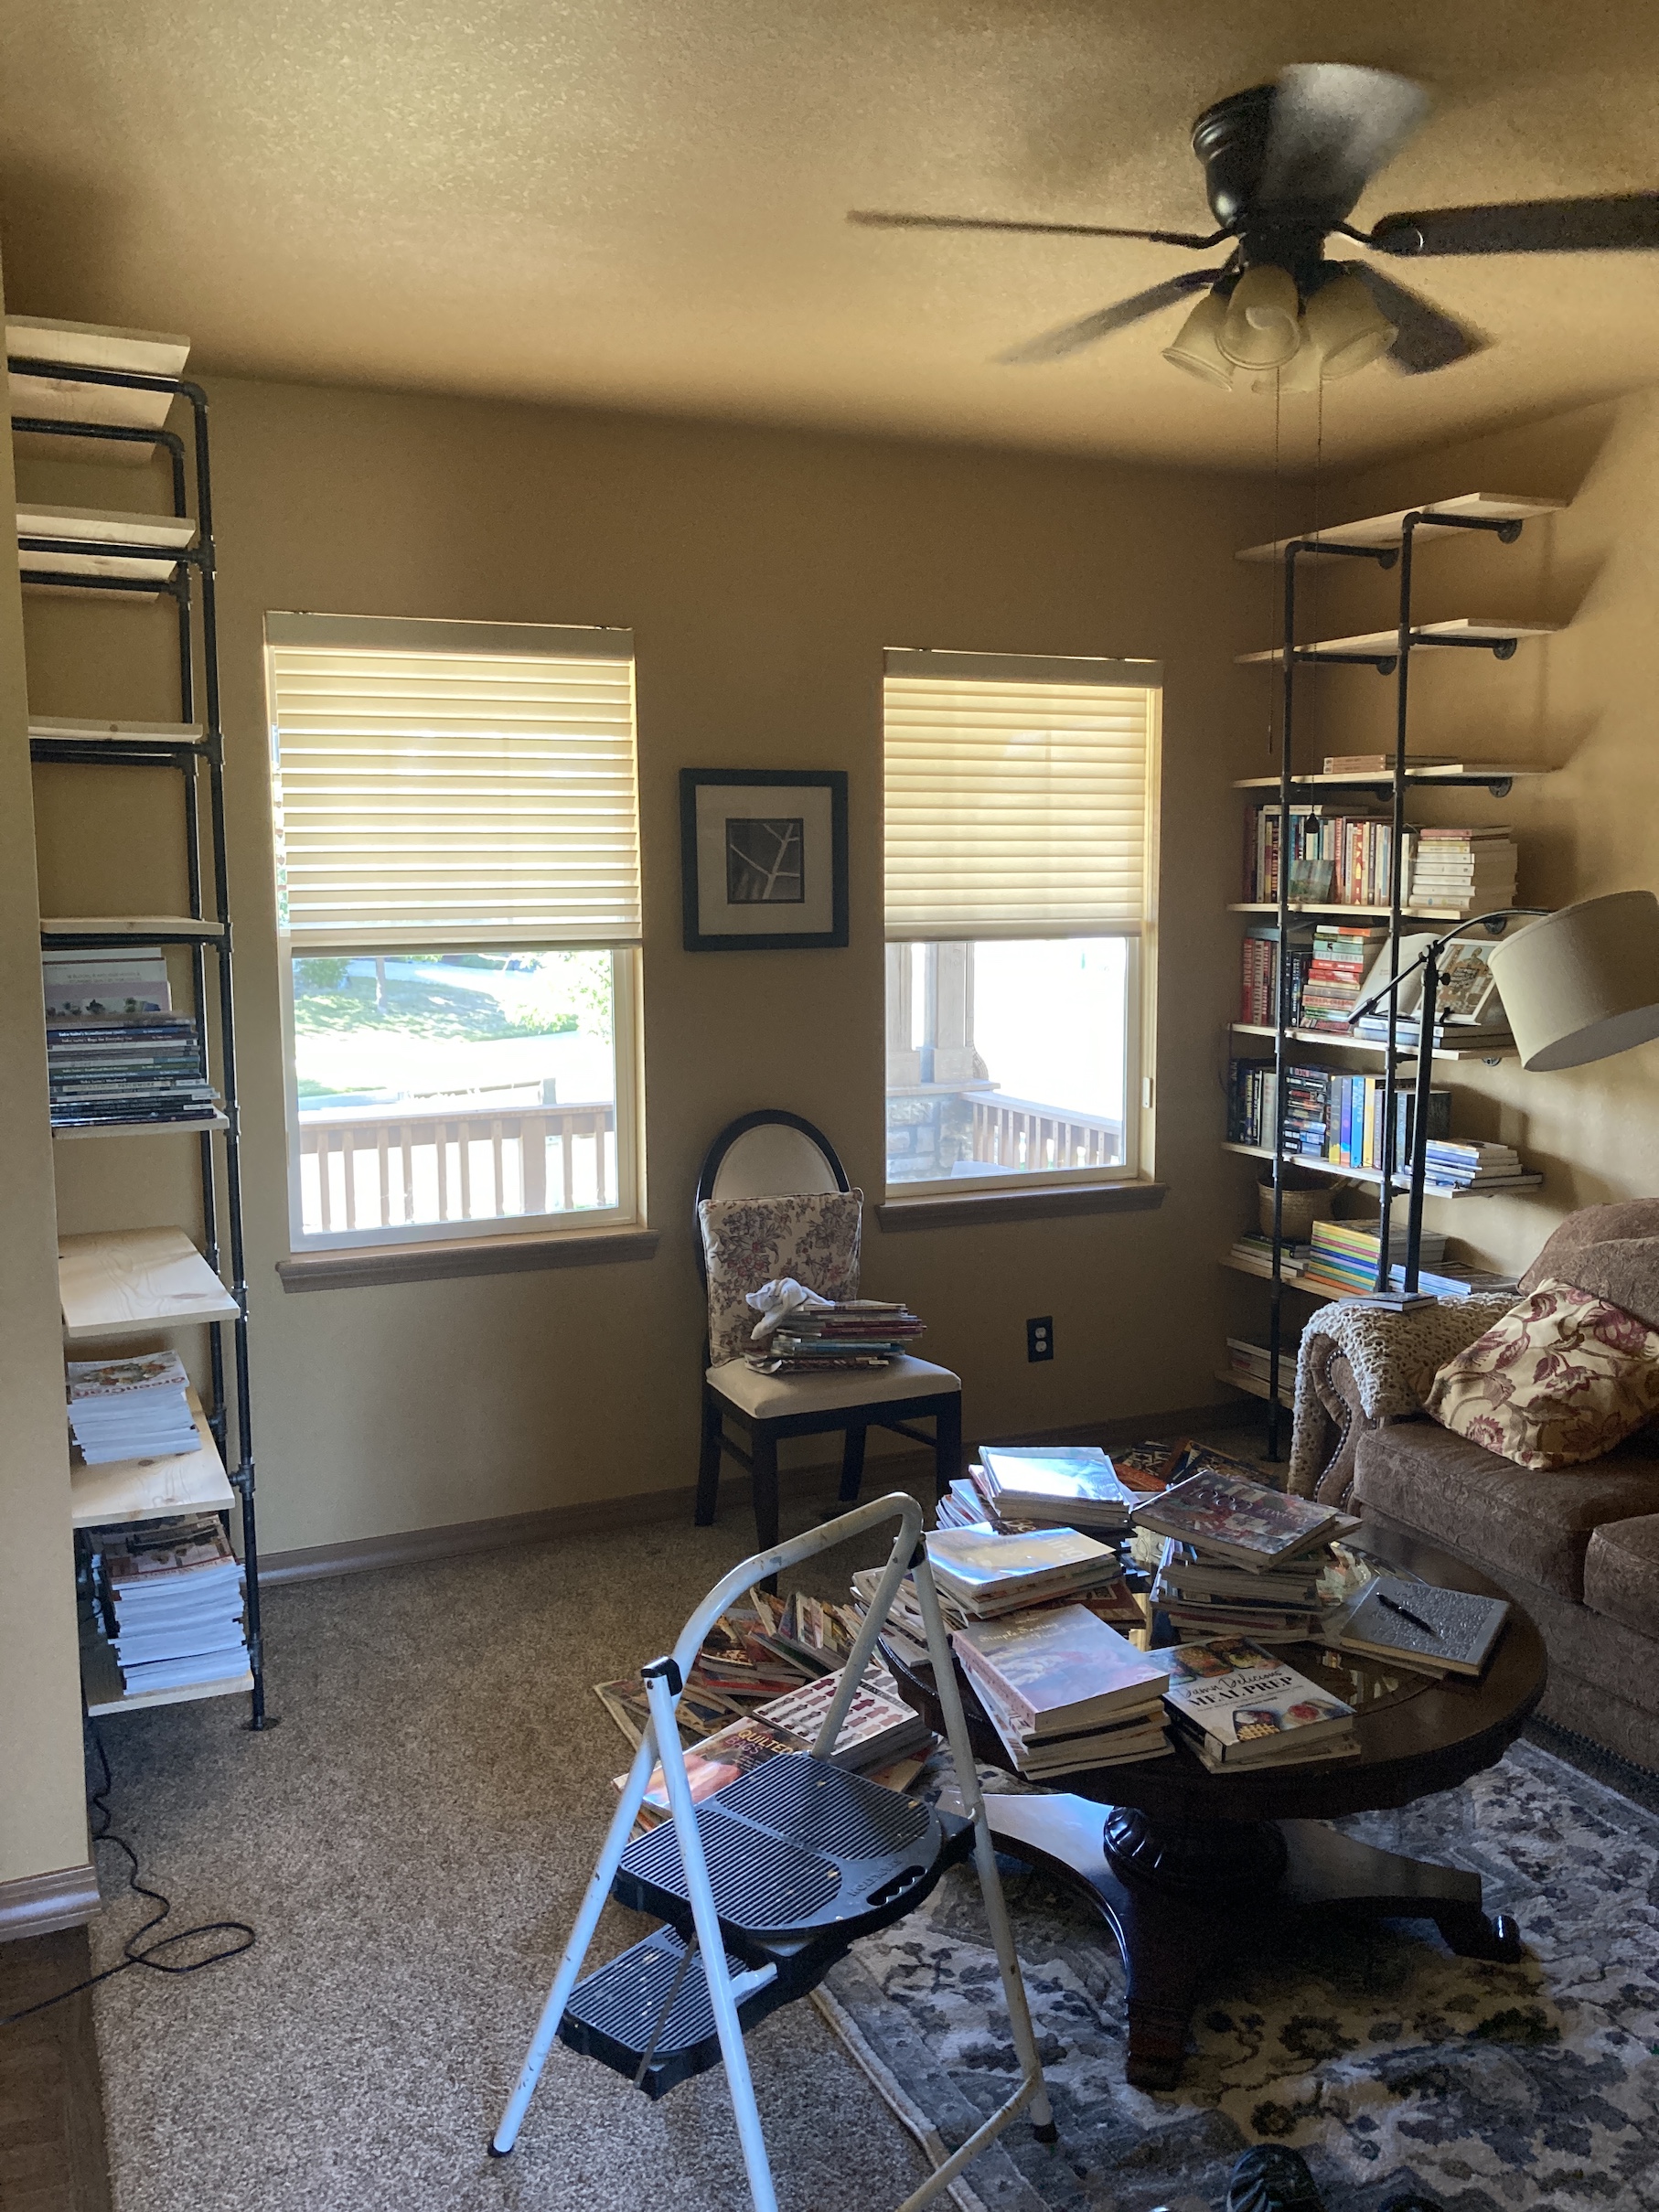
 Most recently he added in a shelf behind our living room TV to distract your eye from the fact the flat screen TV is in front on an alcove (circa early 2000s) for a large deep TV. This was my female human’s idea from looking at too much Instagram home decorating feeds!
 I am sure there were a lot more home remodeling projects that occurred over the past four (4) months but this is all I can remember since I was sleeping through many of them.


 At home, I took some detail photographs. Of course, the cats found the quilt in no time….The Quarantine Quilt is officially cat approved!!
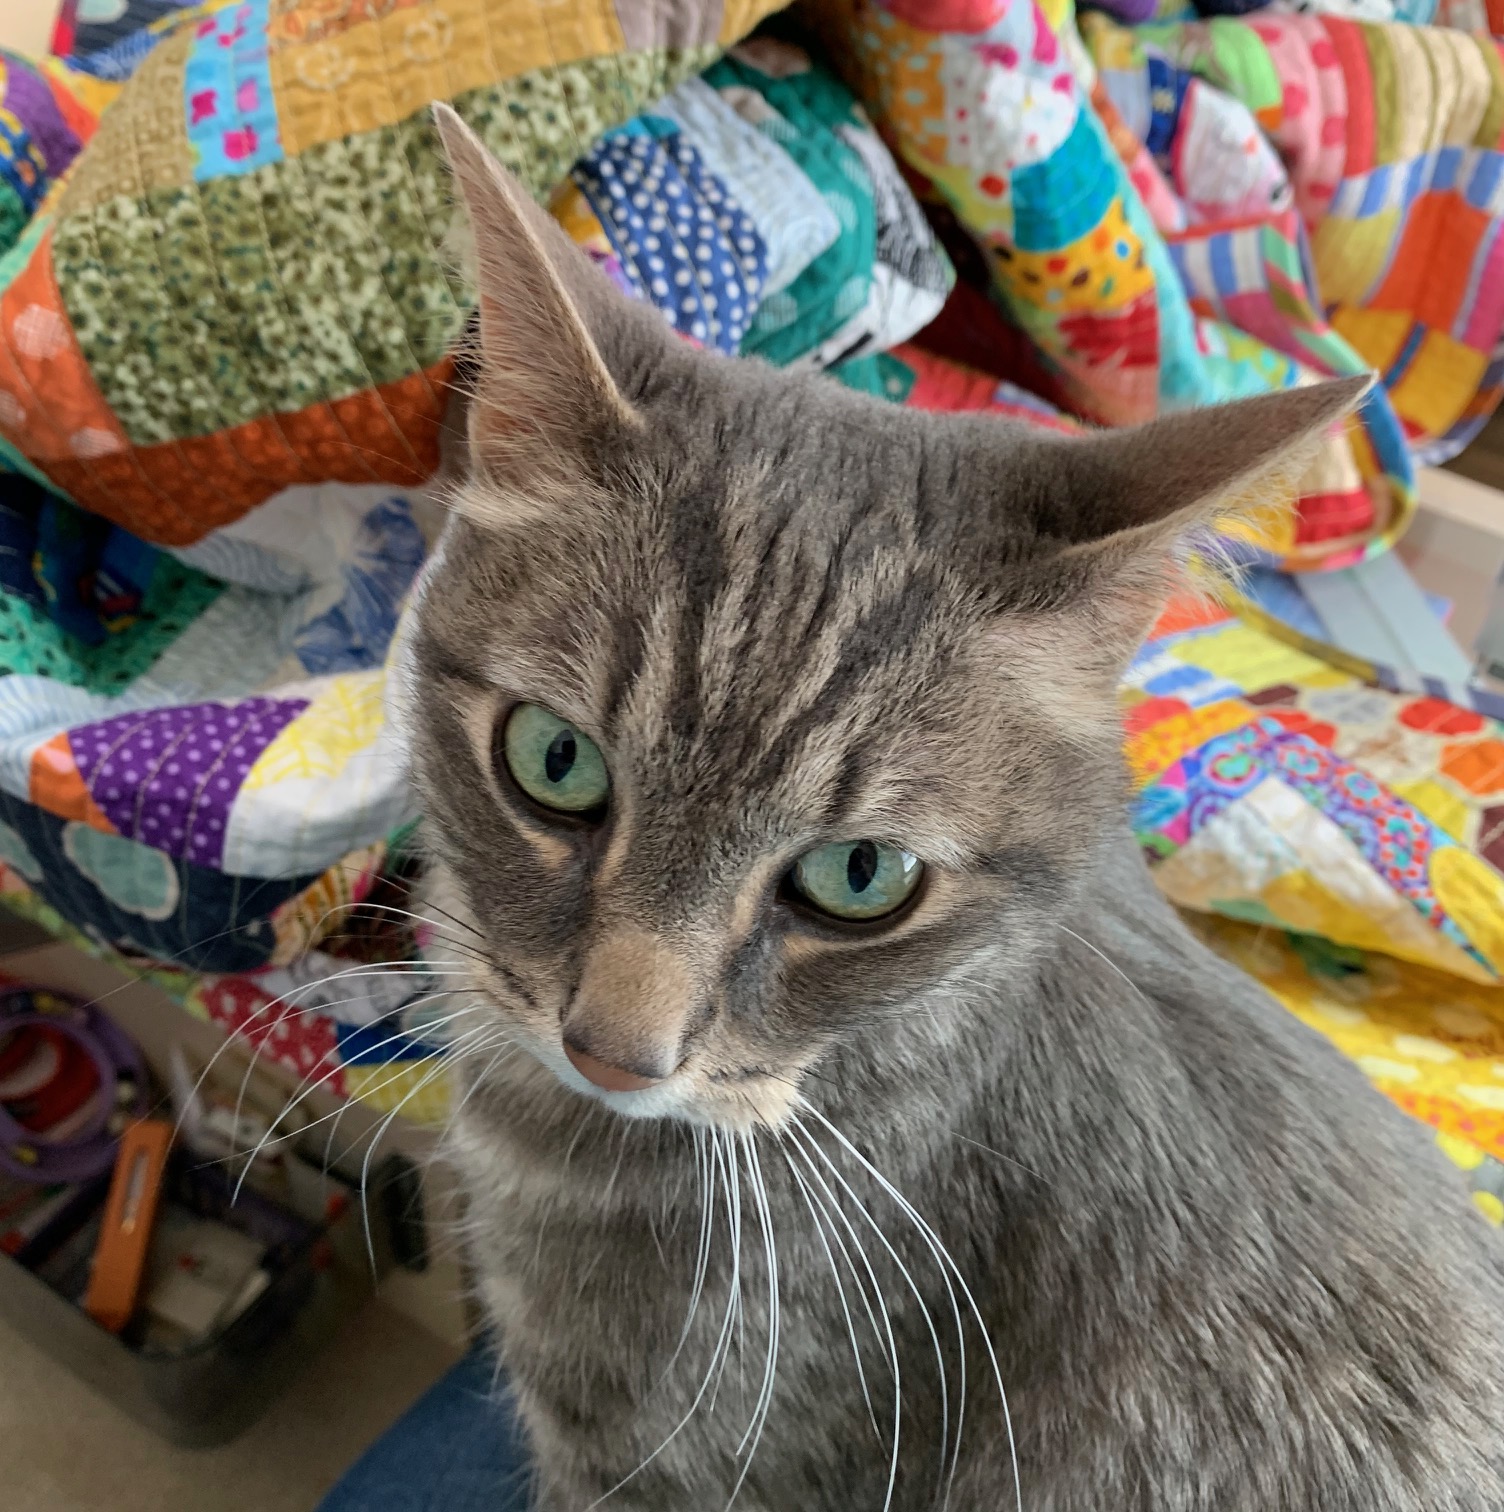
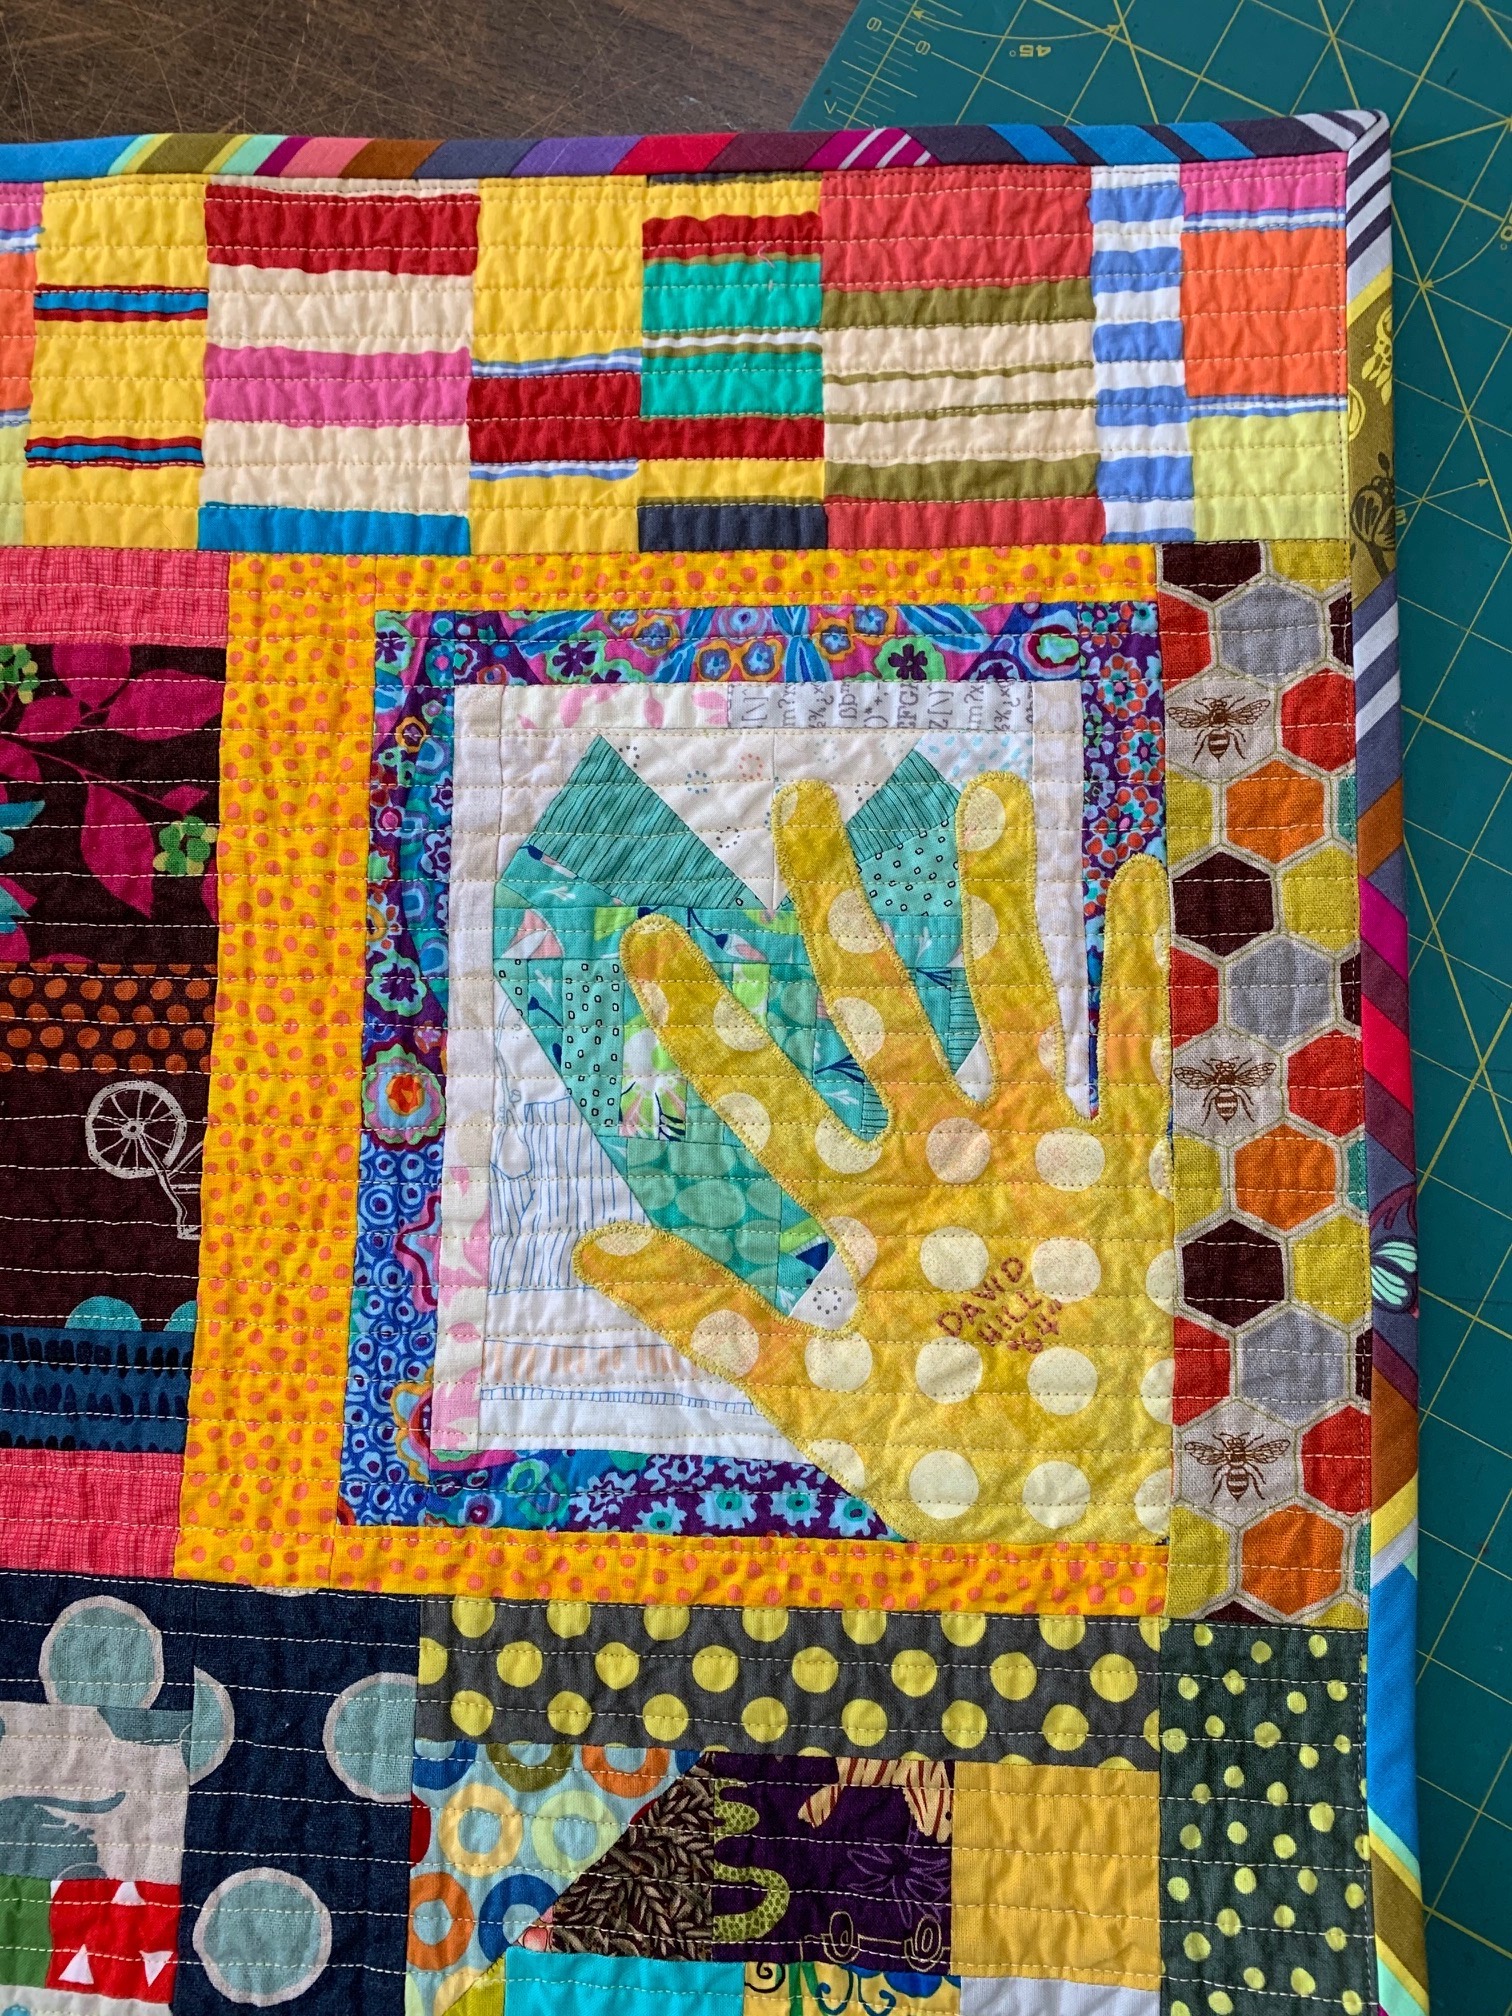
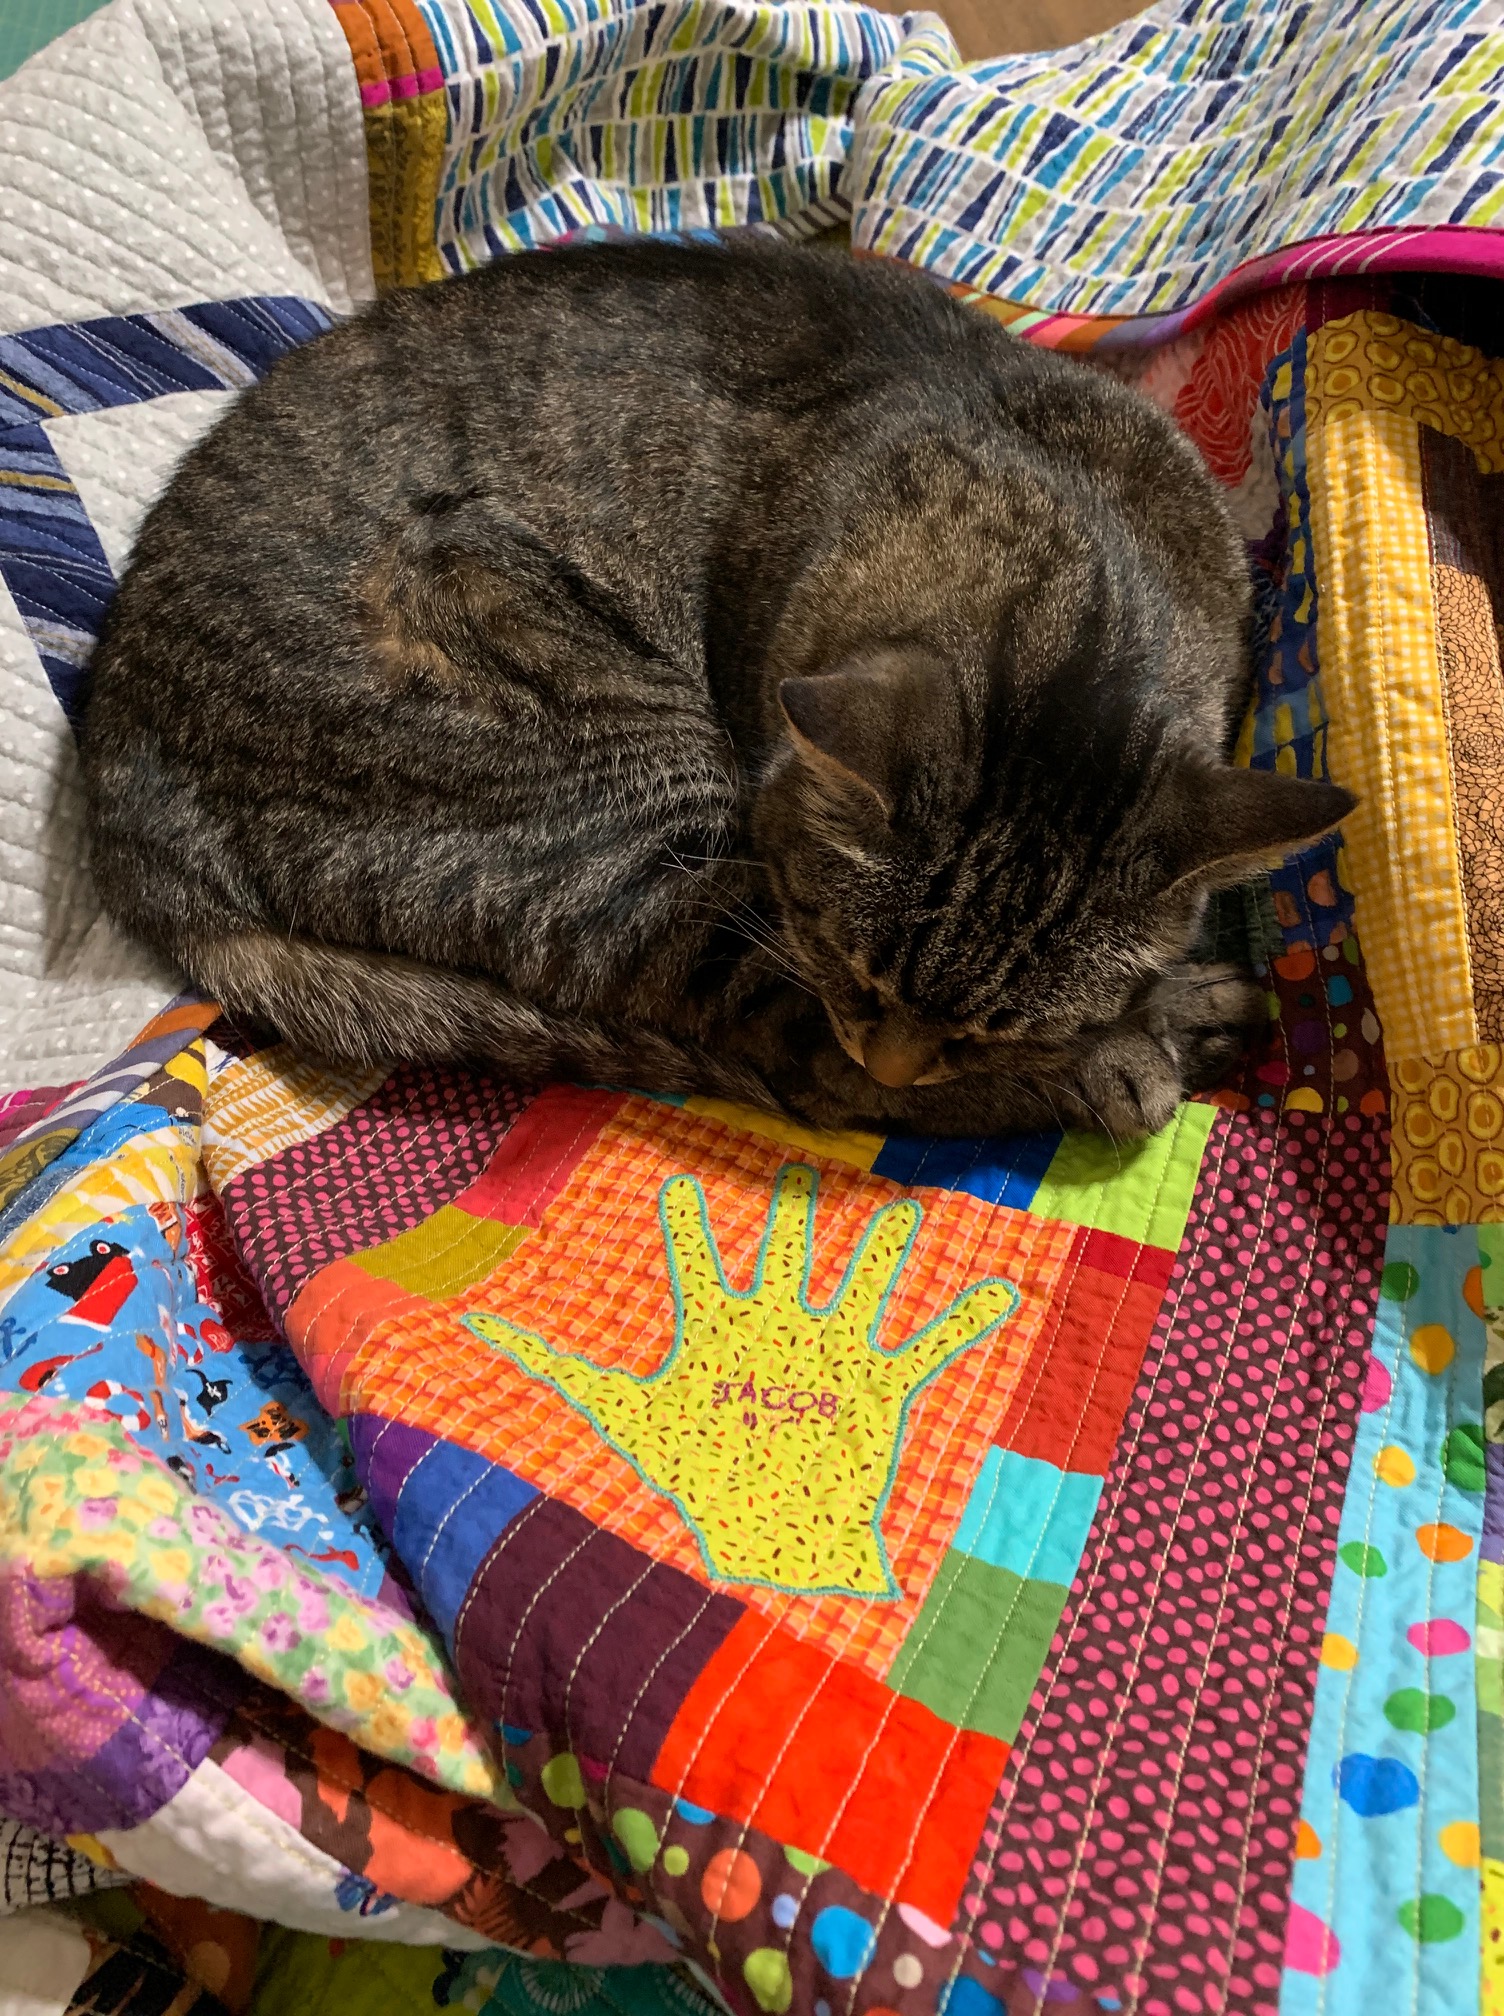 Let’s start with the appliquéd hand blocks. I put The Boys’ hands in the middle, with the adults’ hands on the four corners. It’s symbolic on purpose: the adults are looking after the kids.
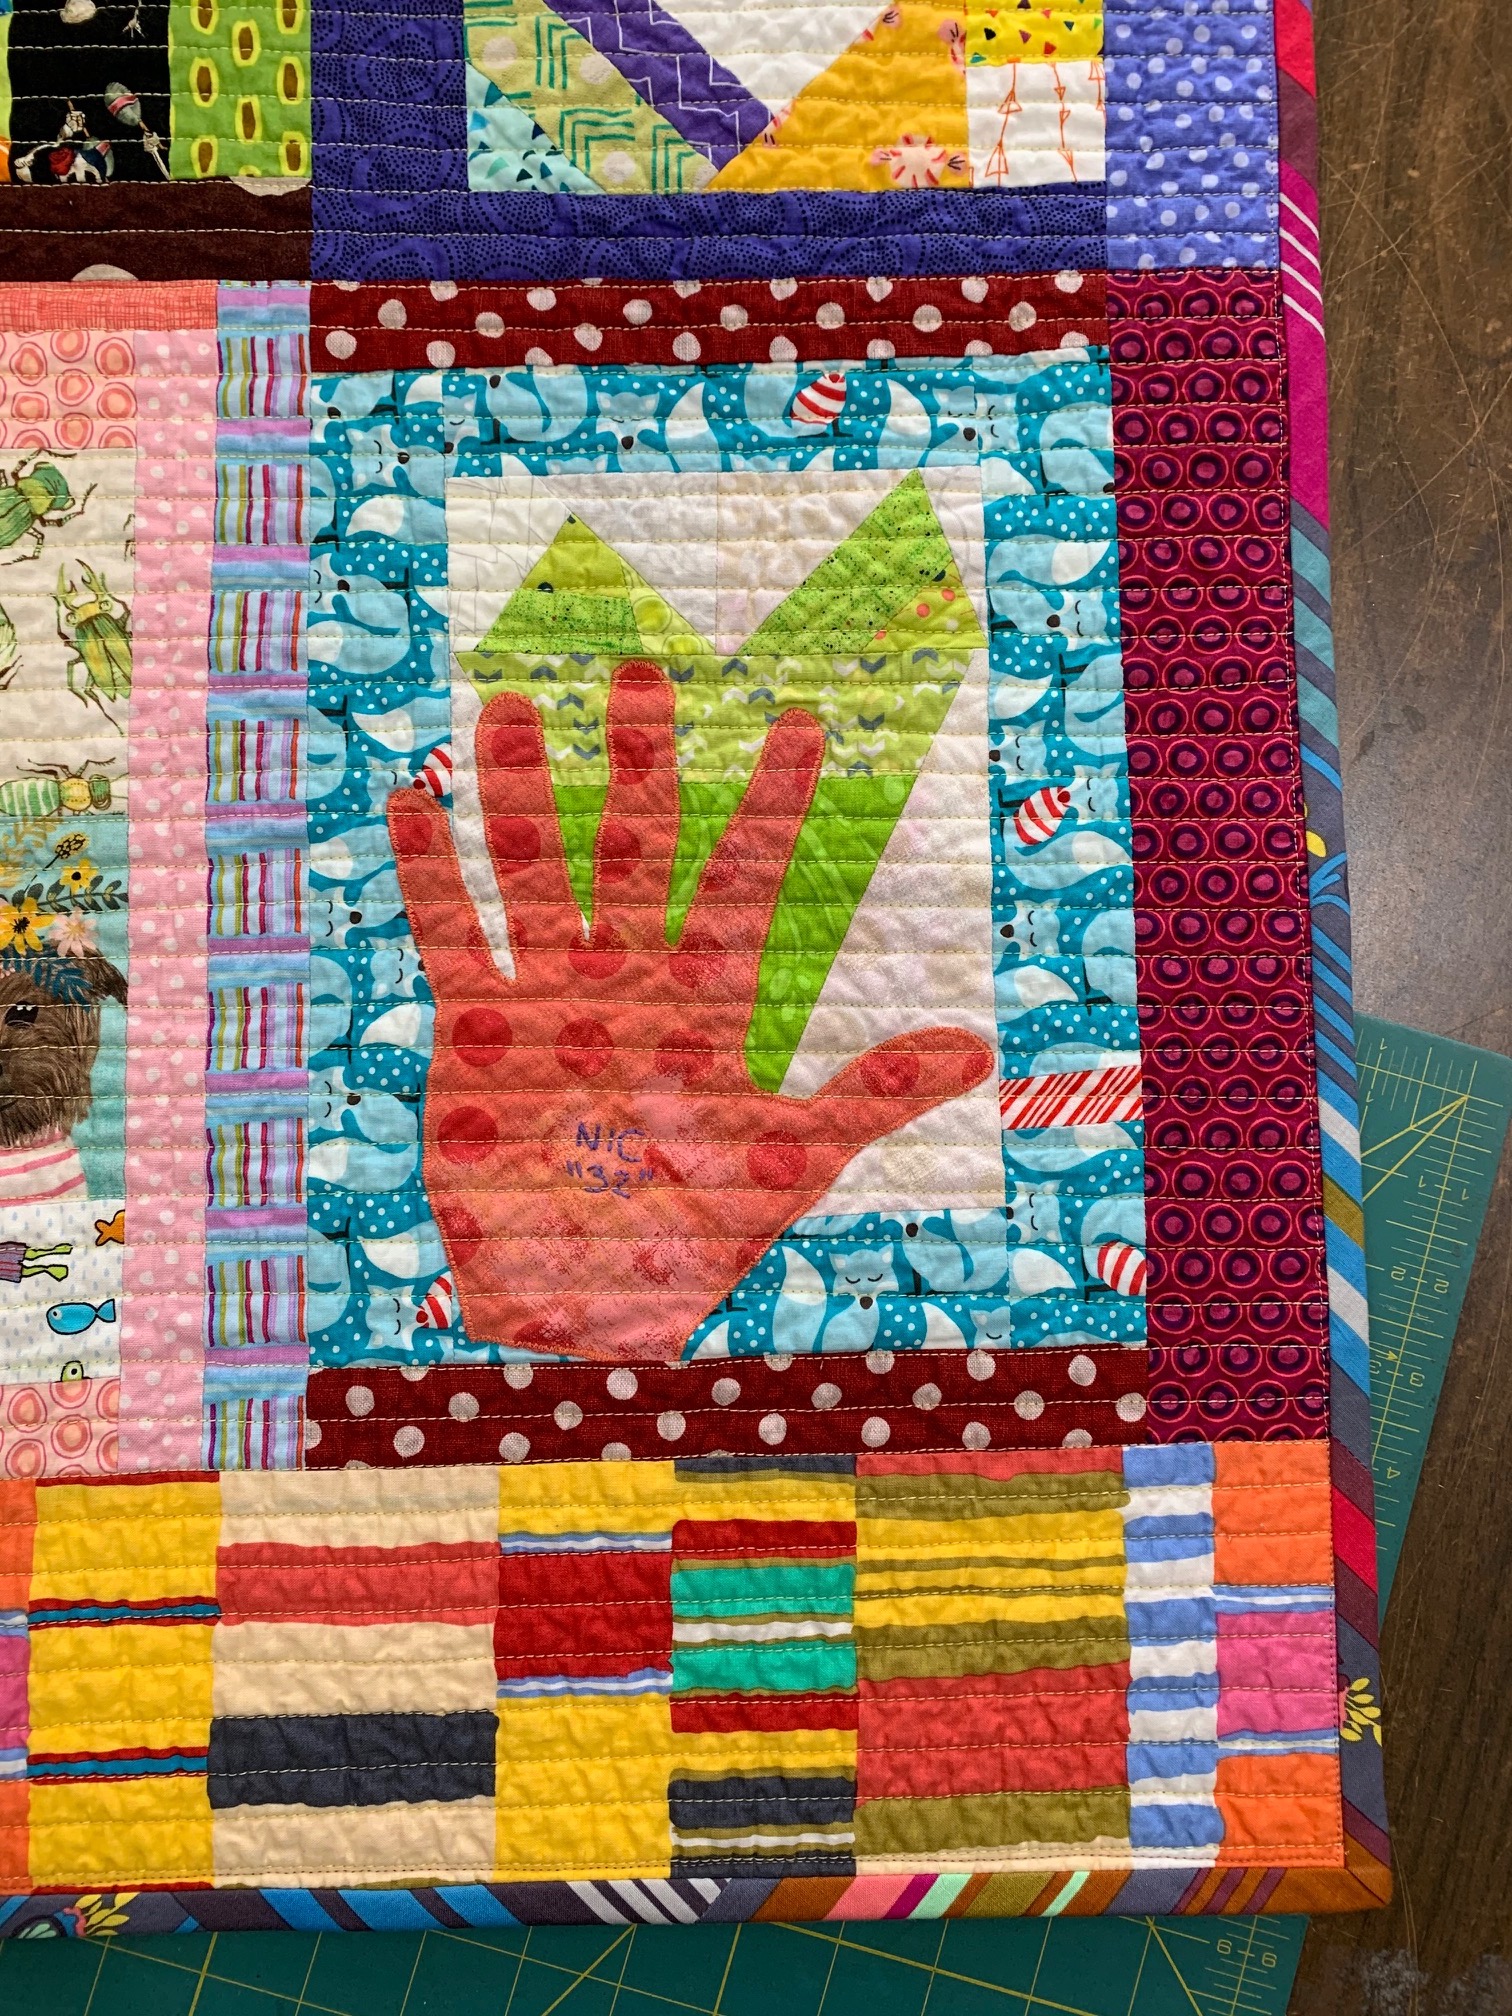
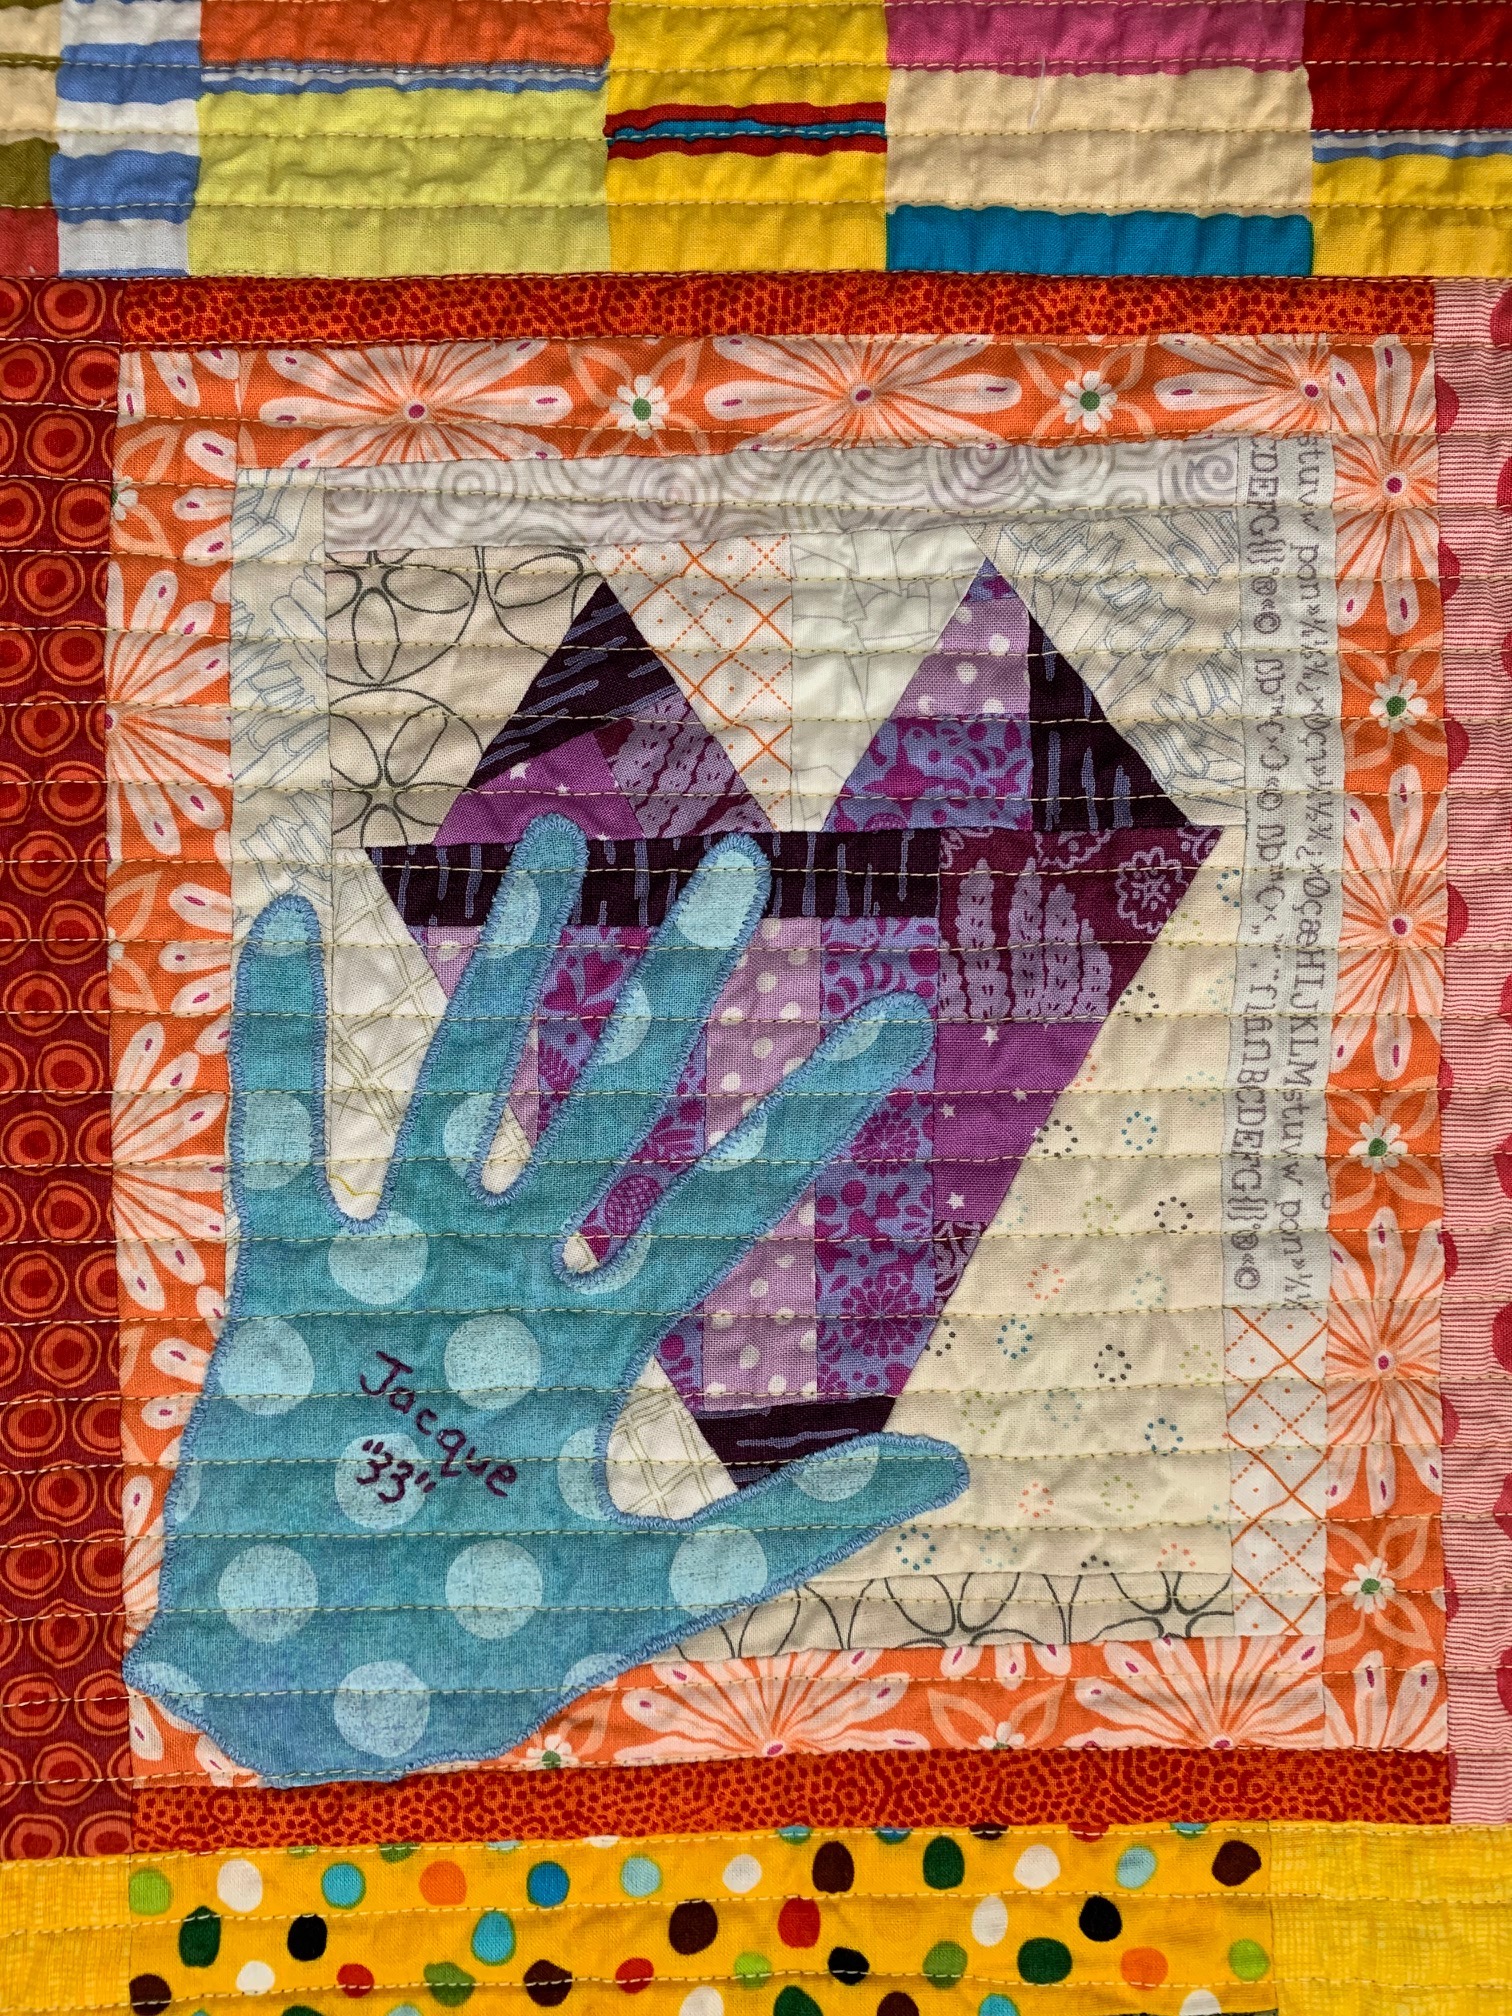
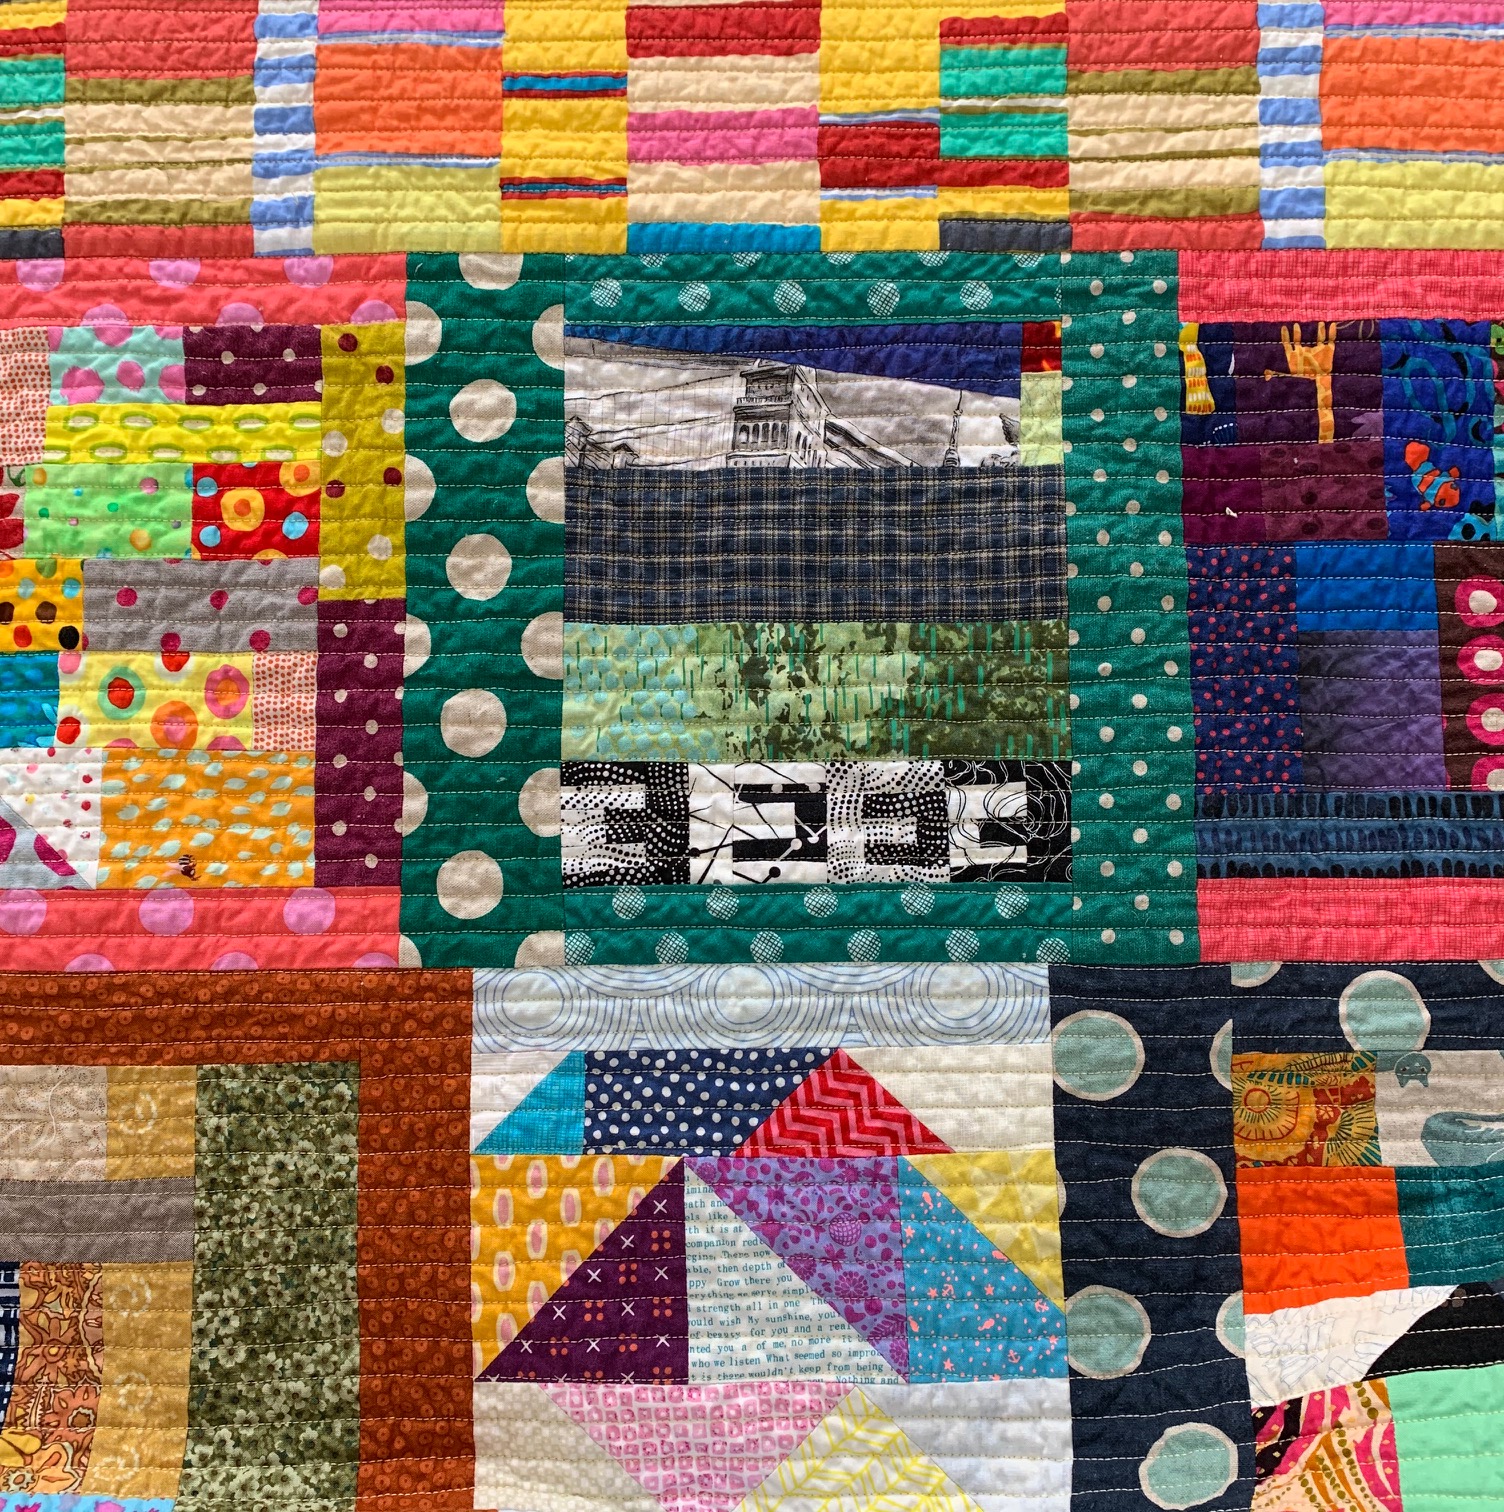
 Here are a few more detail photographs of the quilt front:
 The quilt back is fun too, with the assortment of found fabrics and leftovers. A friend sent me her found robot boy yardage for the center; she thought it perfect for The Boys.
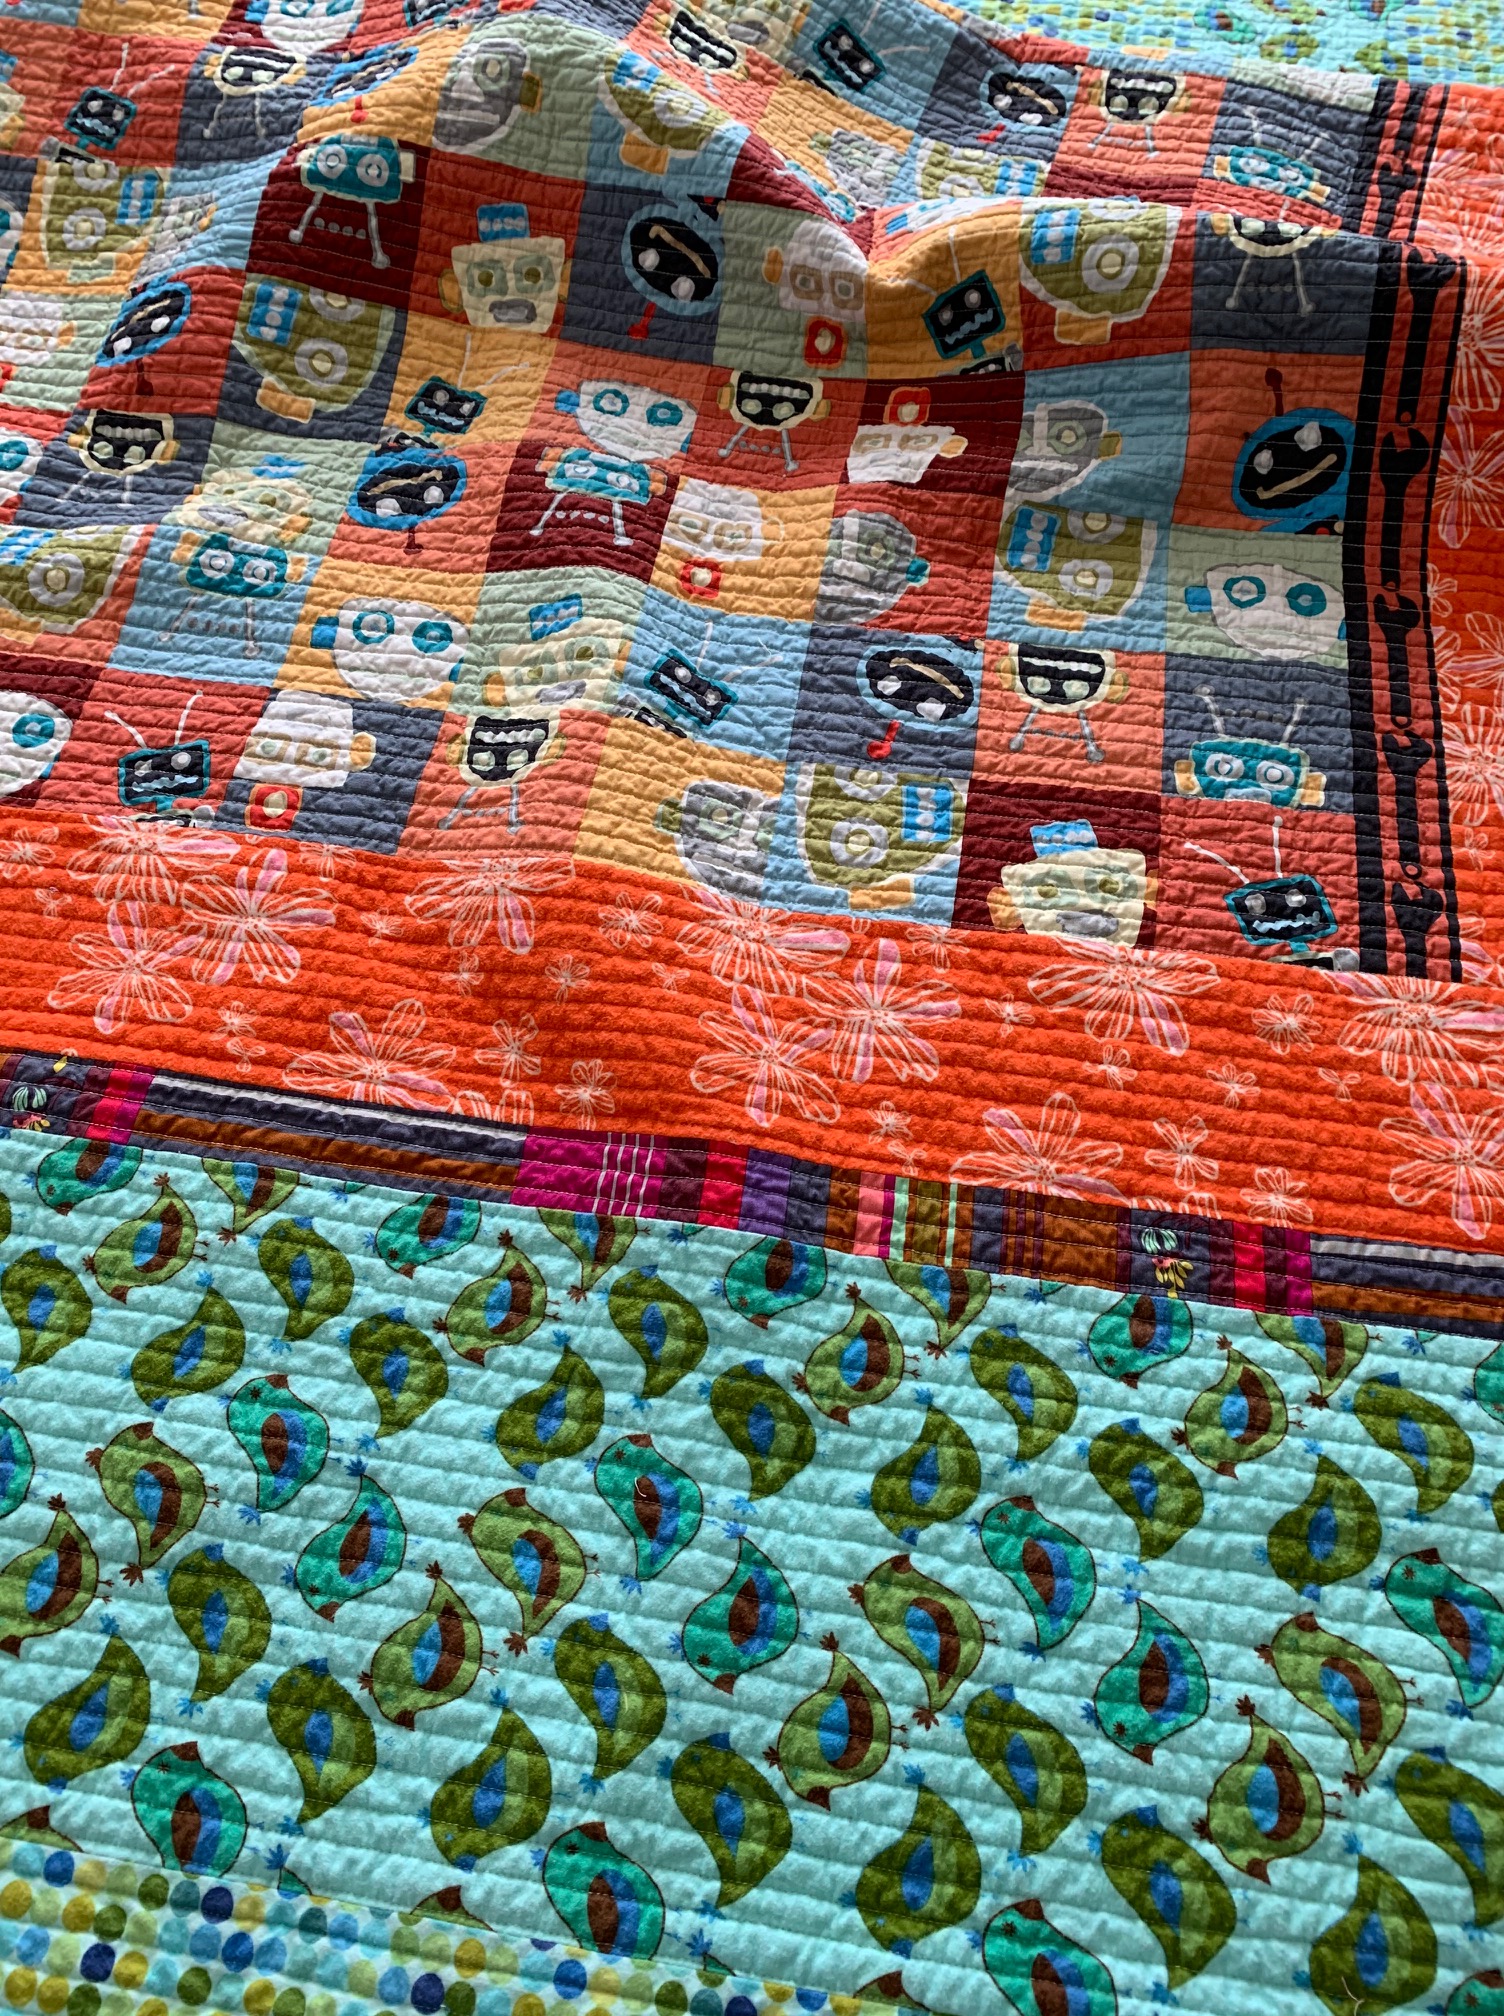

 I’m so pleased I took the time to embroider the labels. These labels will last as long as the quilt.

 It had been a long time since “The Boys” had seen the blocks, and I wondered what they would remember about their creations. But the 3 older boys wasted no time in finding their hand and favorite blocks.
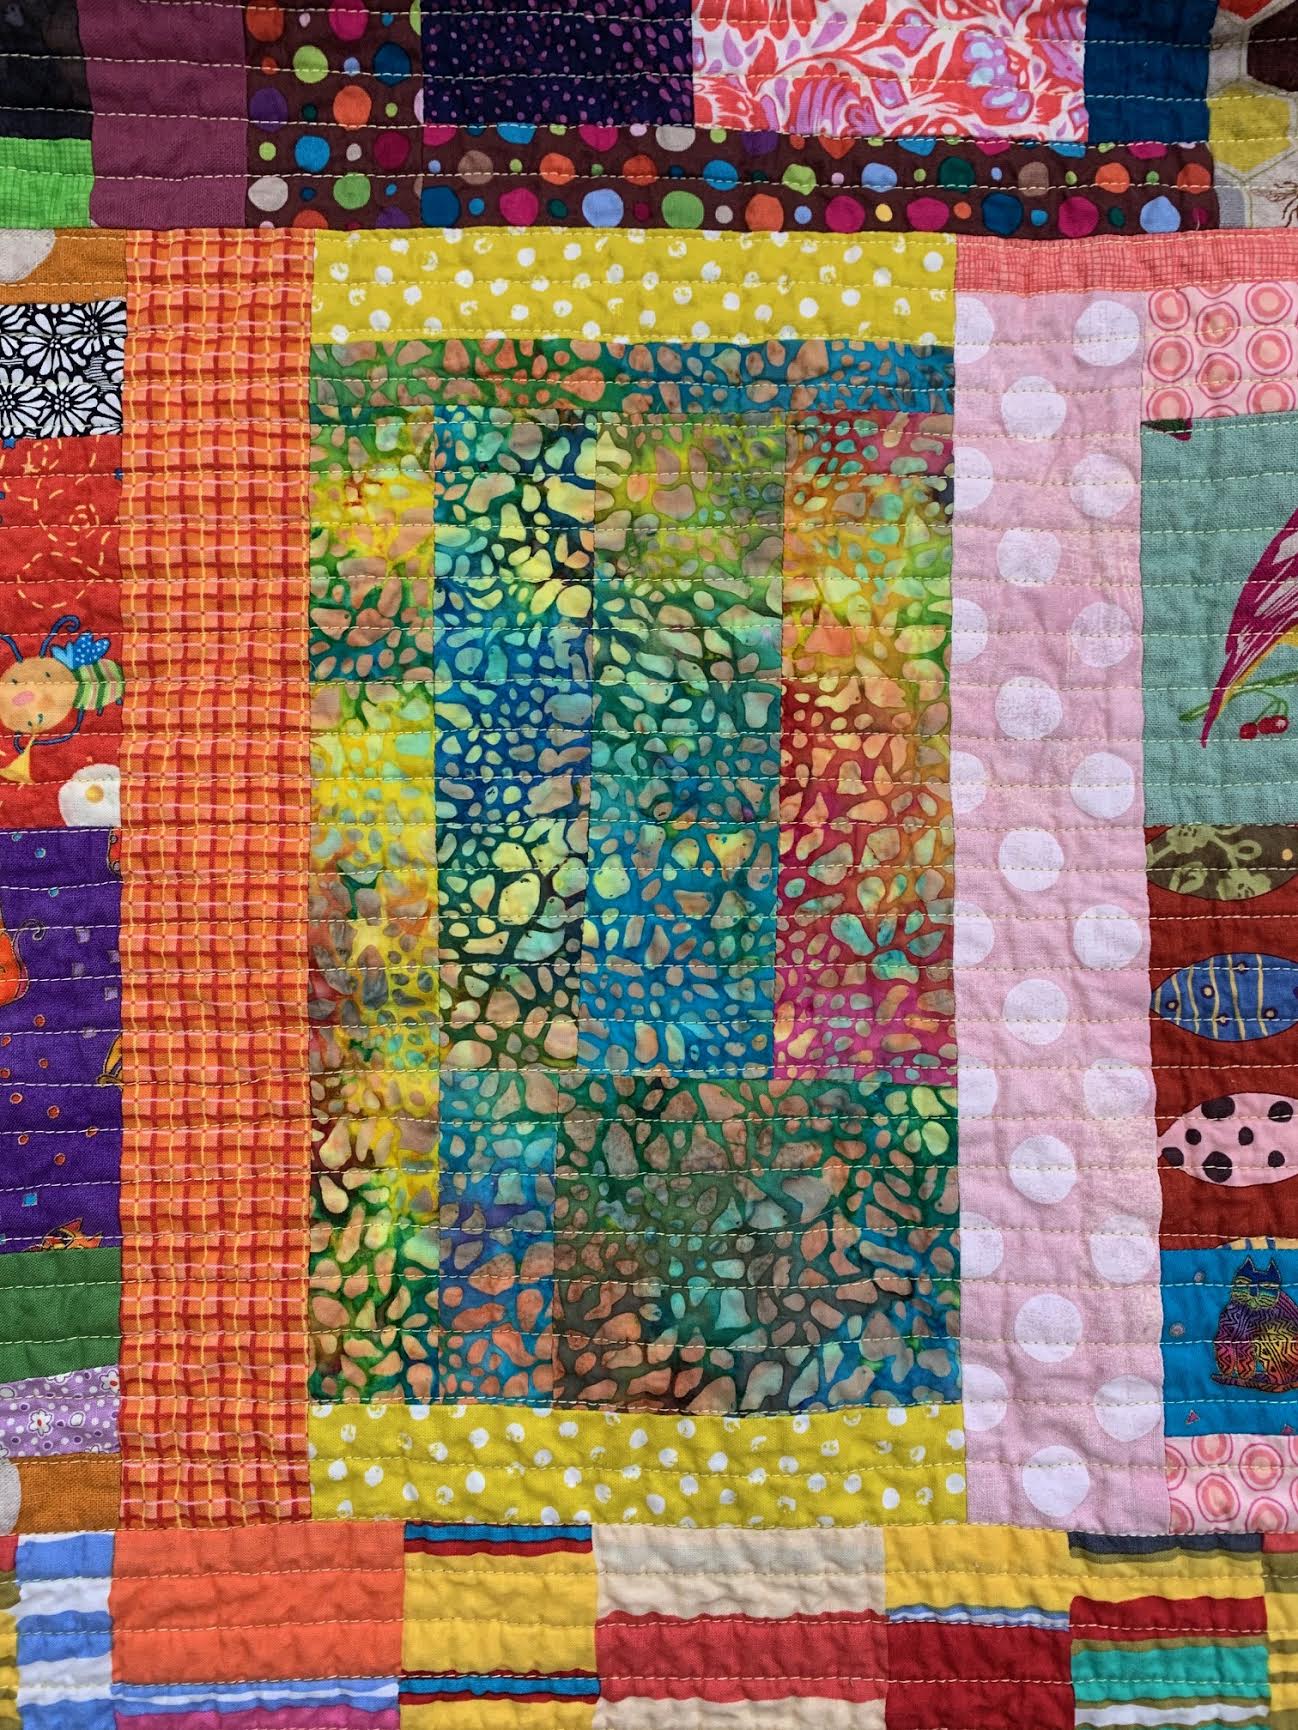 Another favorite of The Boys was this block. I think it’s graphic and moody, in a good way.
 Finally the day for the Big Giveaway came. David and I spread out several sheets on our back deck. As we watched the kids scramble around the quilt (while staying 10’ apart), some of us burst into tears while the rest became teary. This project was definitely a good thing.
 In the beginning, we were two neighbors who banded together when the state government ordered a month-long lockdown. At first, we joined forces to add something special to the daily life of “The Boys”, whose routines had changed suddenly with the Pandemic.


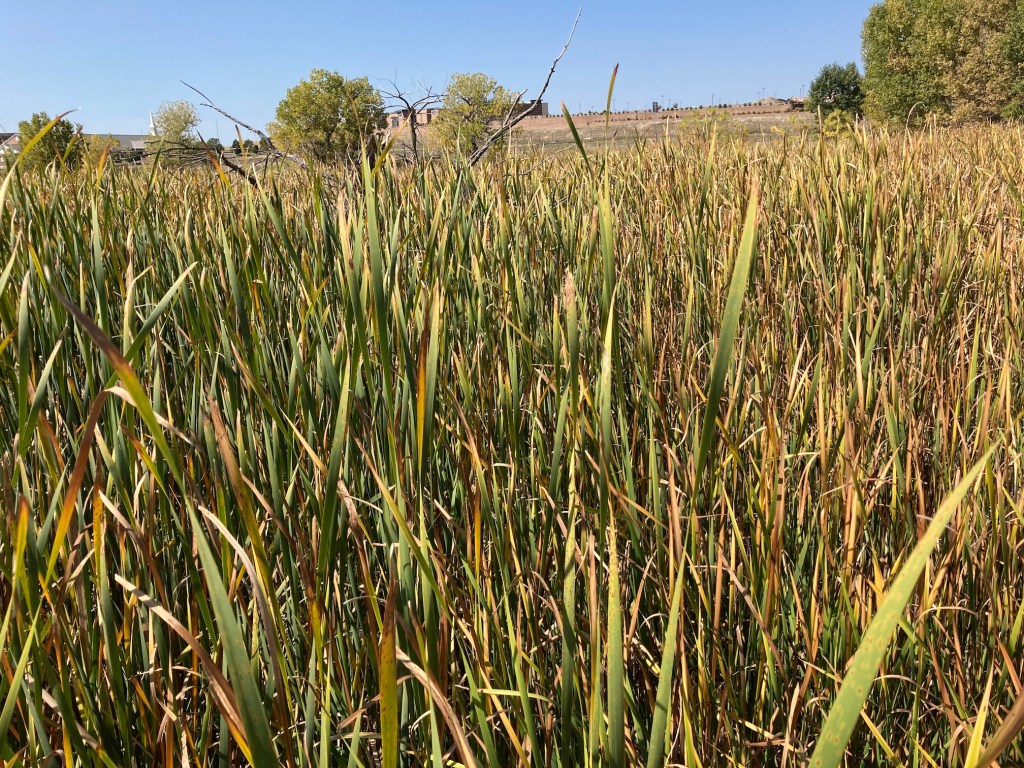
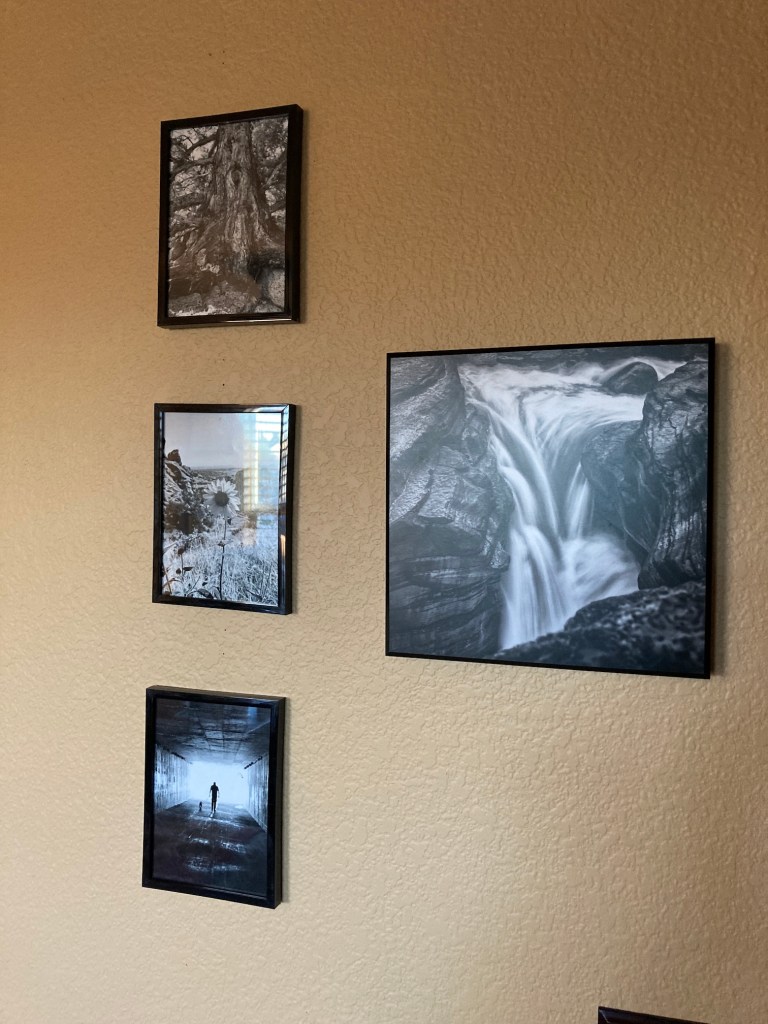
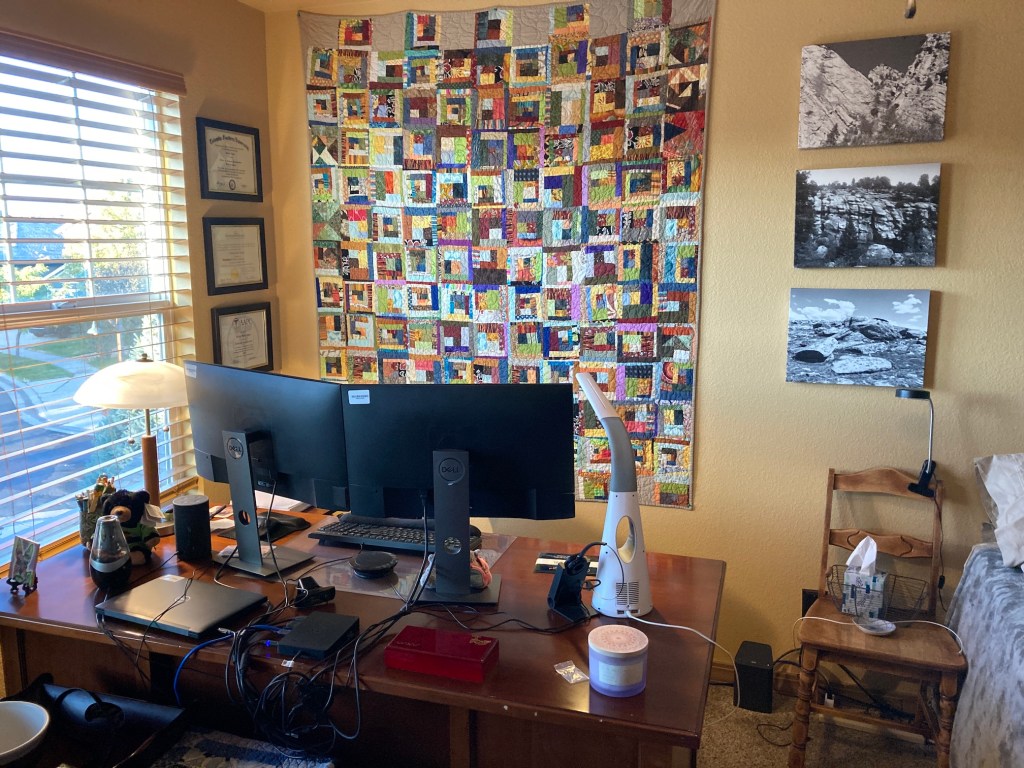
 I so enjoy seeing beautiful nature/landscape photos on the blogs I follow and I wanted to share a couple with you!