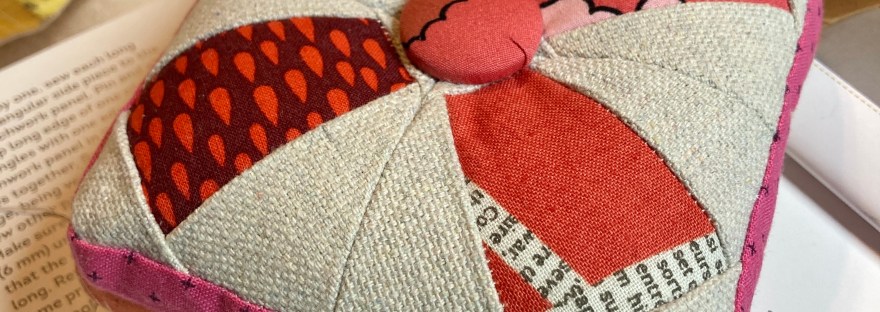
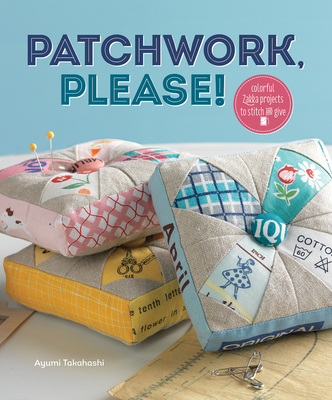
I mentioned in my post What I Did During My Blogging Vacation, that recently I’d been reading lots of crafting books to include Patchwork Please by Ayumi Takahashi.
I am OBSESSED with the adorable pincushions on the front cover of this book. The pincushions are made from fabric scraps (a plus!) but they are (foundation) PAPER PIECED (a minus).
If you are bad in life and go to the “Underworld” when you die, as your punishment you will be made to do foundation paper piecing all day (so live a good life as that is way too terrible an eternal torture)…
Did I mention I do not like foundation paper piecing?
But I really want to make the pin cushion, so I put my “big girl panties on” and proceeded with the pattern.
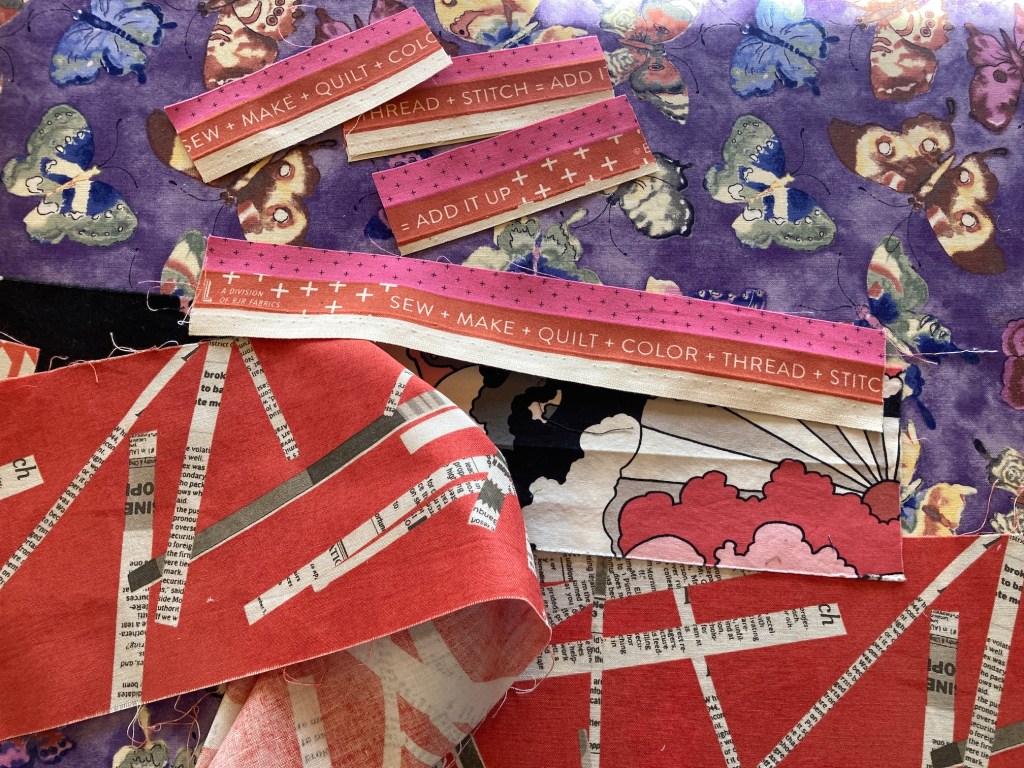
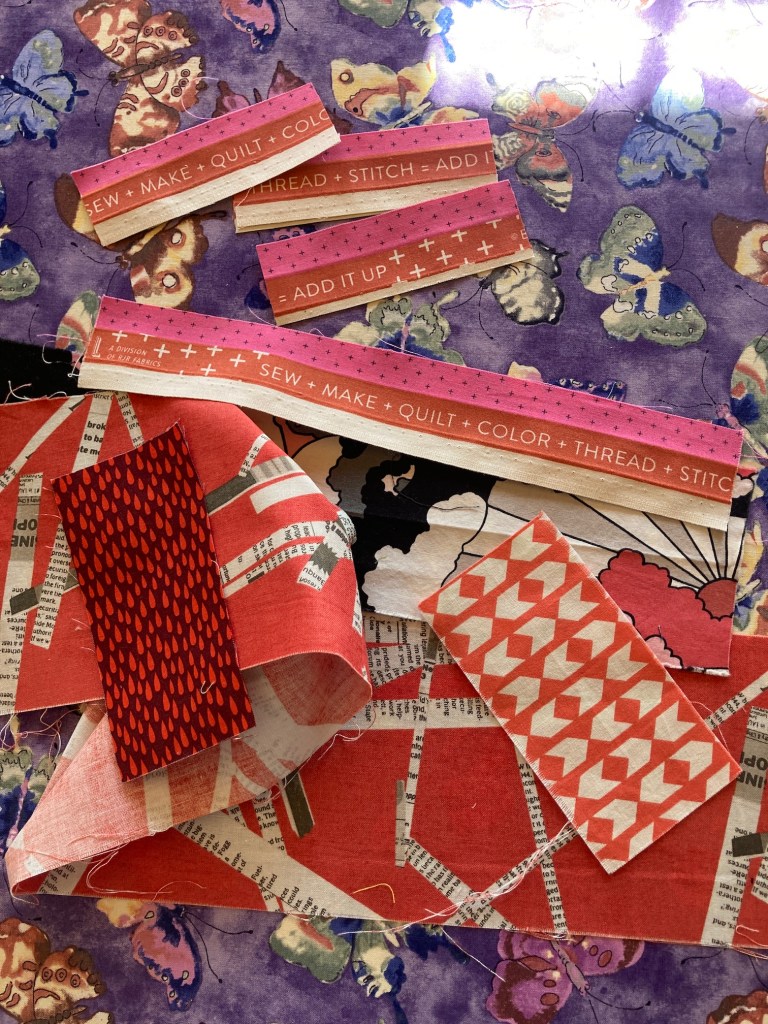
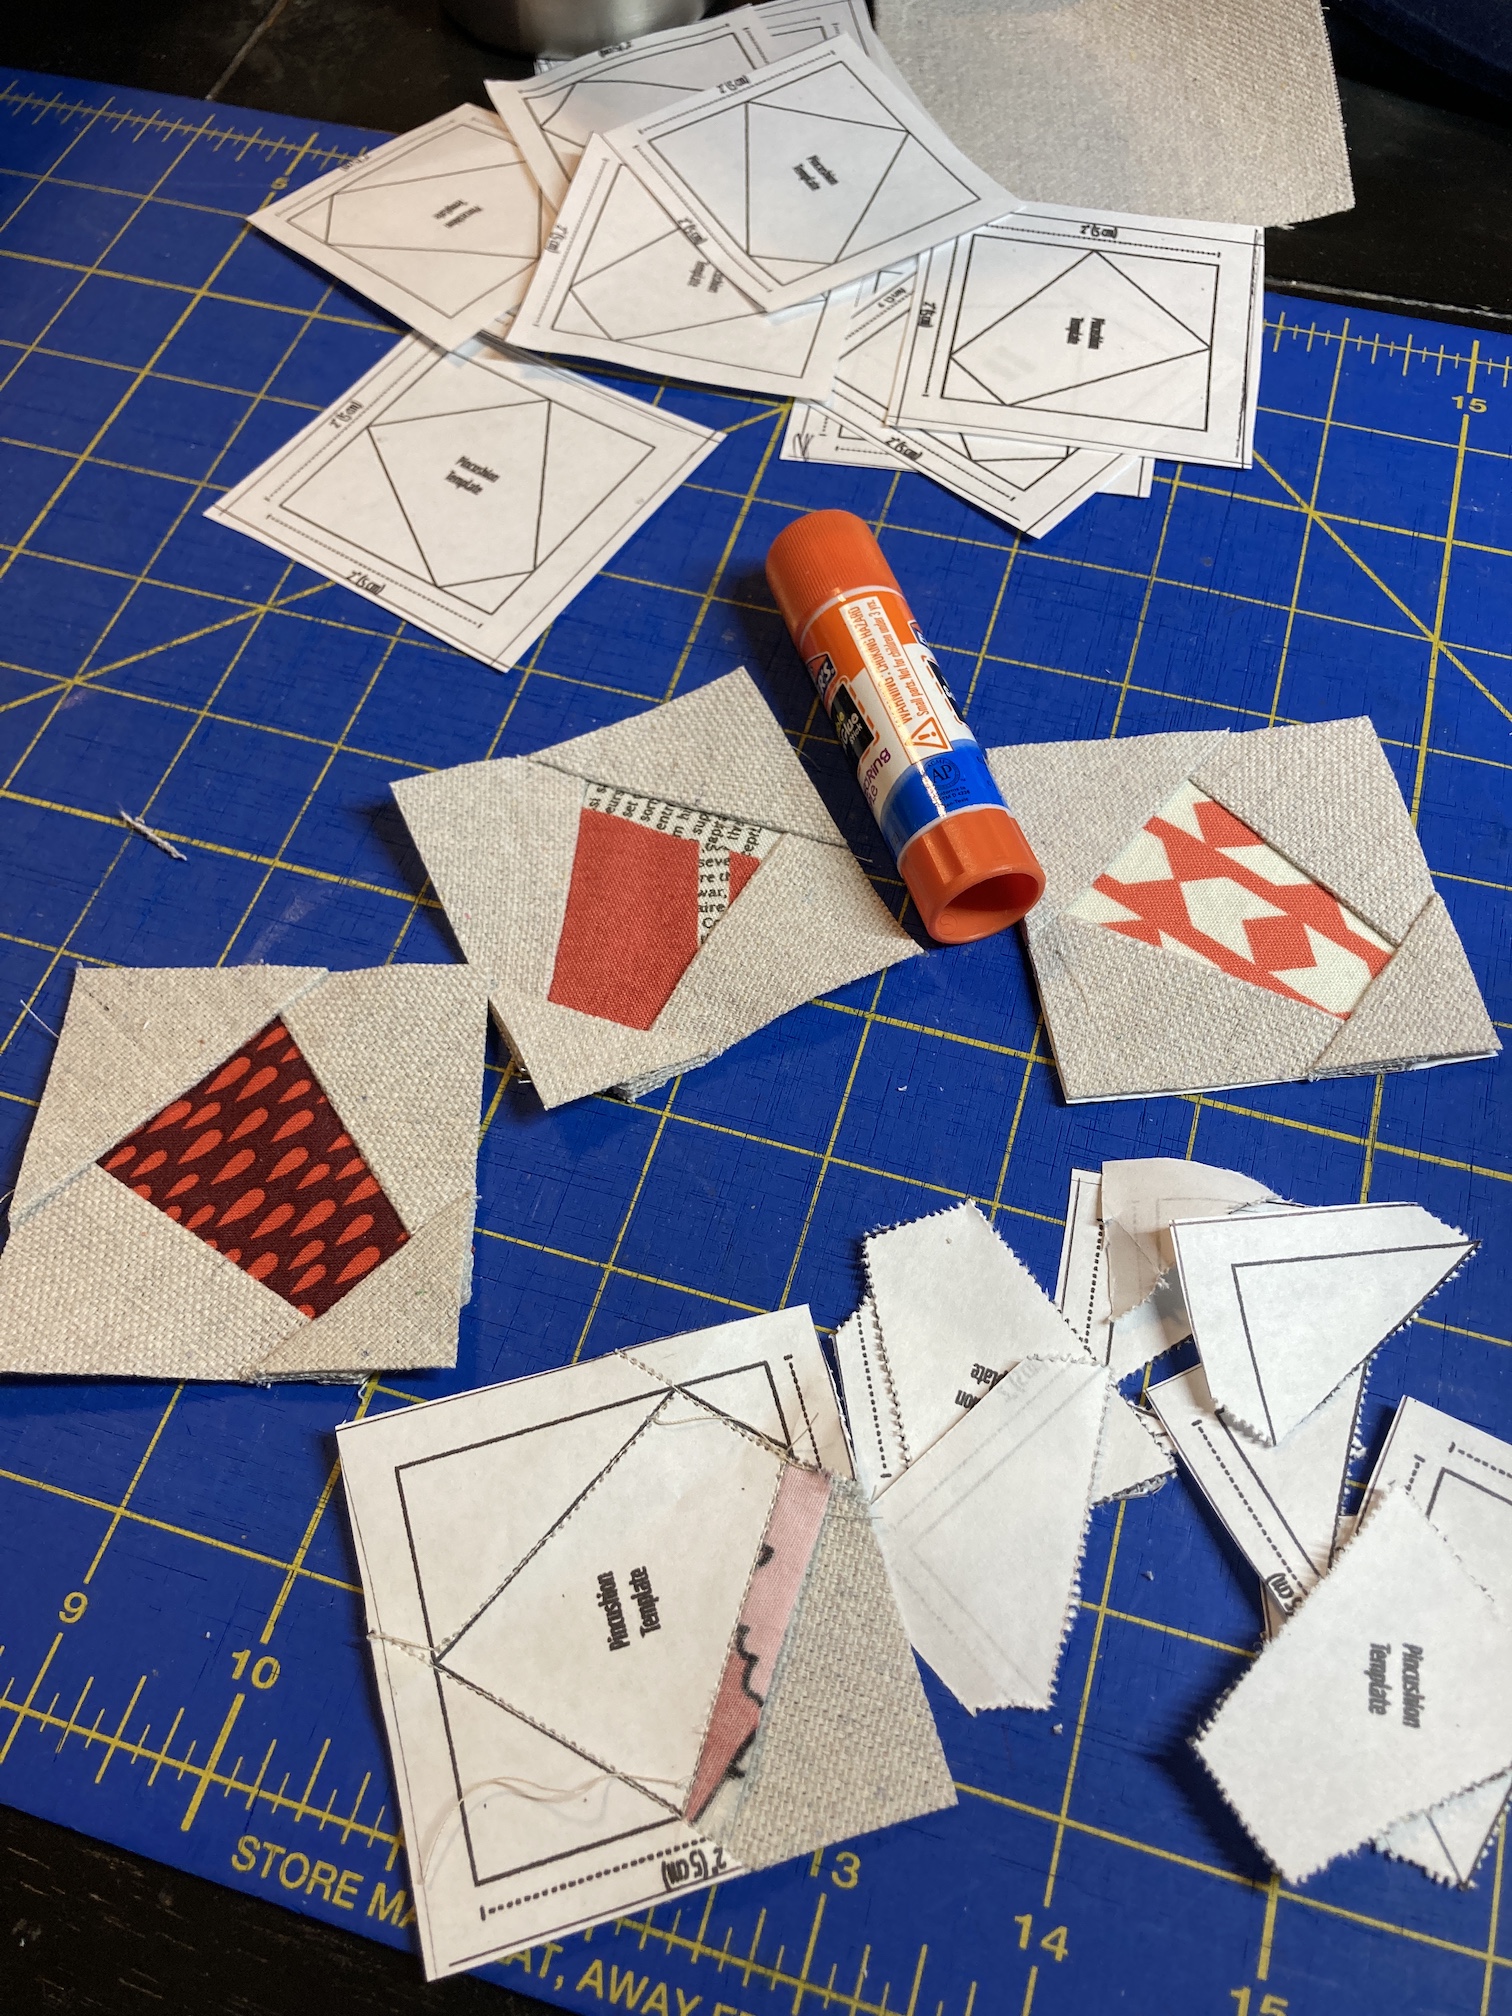
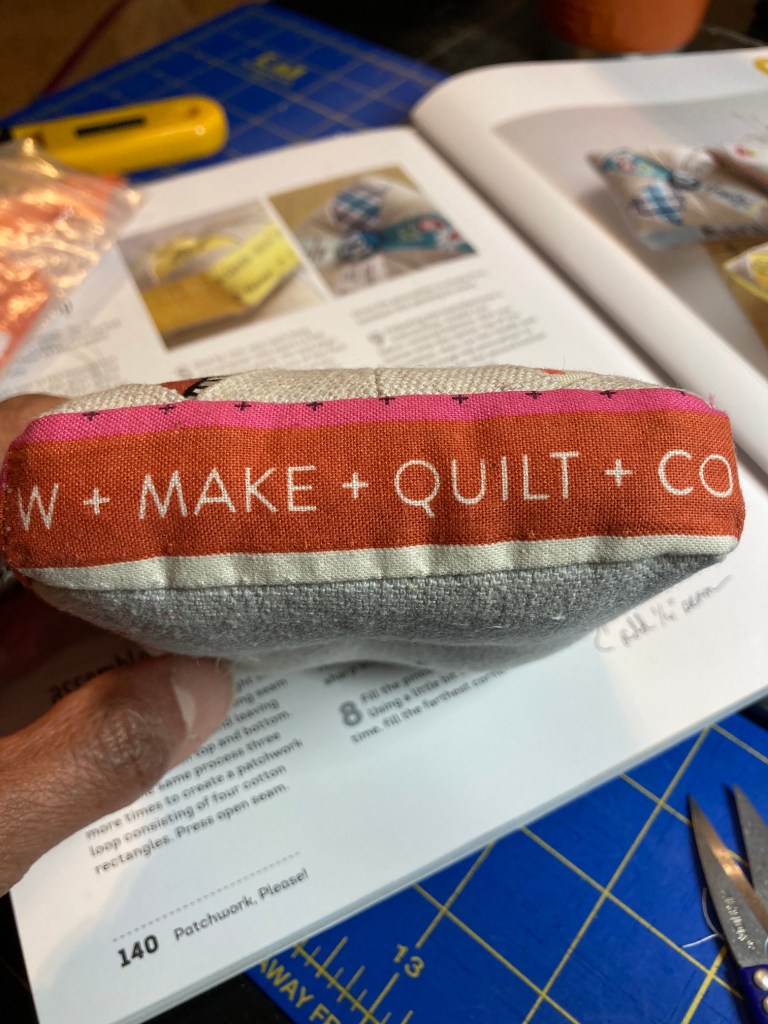
I had fun rifling through my modern prints fabric scraps to find some coordinated scraps as well as some interesting selvage pieces for the sides of the pin cushion:
After watching a tutorial on foundation paper piecing, and rewinding like 100 times (okay maybe a little less) to learn every nuance of the torturous technique, I successfully paper pieced the top of the pincushion:
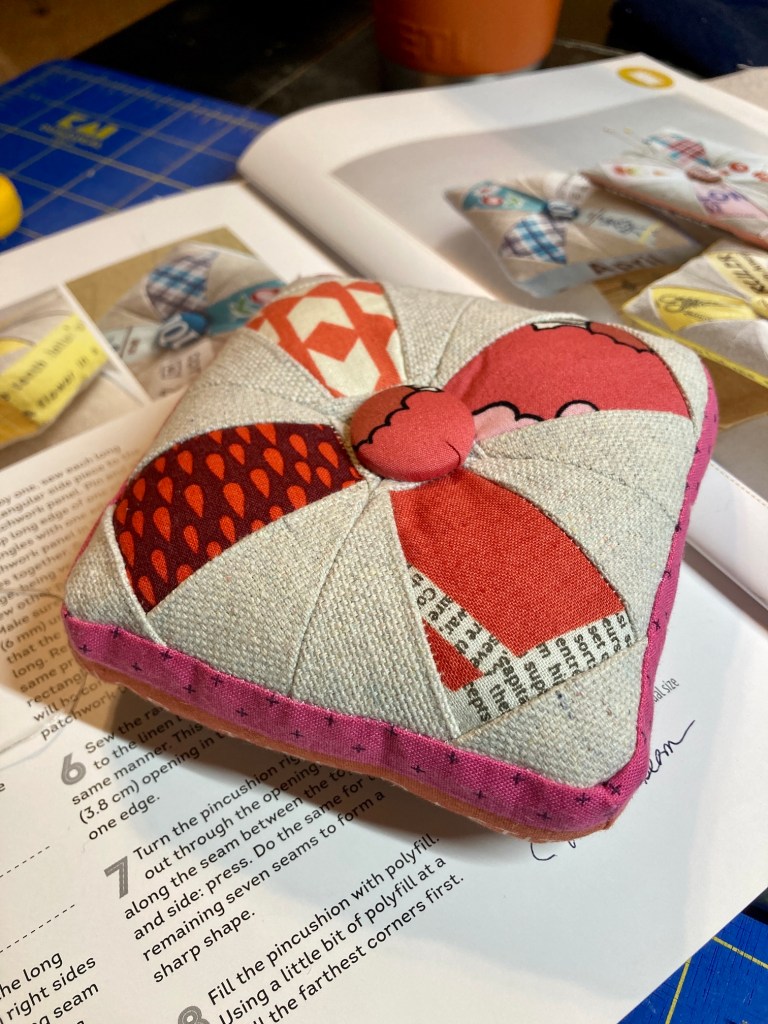
And voila – a pincushion was born!
I used leftover bits of canvas from making tote bags (see post Tote, Tote, Tote Bags) as the background fabric for the top of the pincushion. I loved making the fabric covered button for the pincushion – I think it is adorable!
As much as I wanted to keep it, I decided to send it as a surprise to my friend Wendy (the one who wrote the series of posts last year as a guest blogger on the Quarantine Quilt she made with her neighbors 4 boys ages 2 – 8 – Quarantine Quilts).
She sent me a photo of the pincushion in it’s new home in her sewing room:
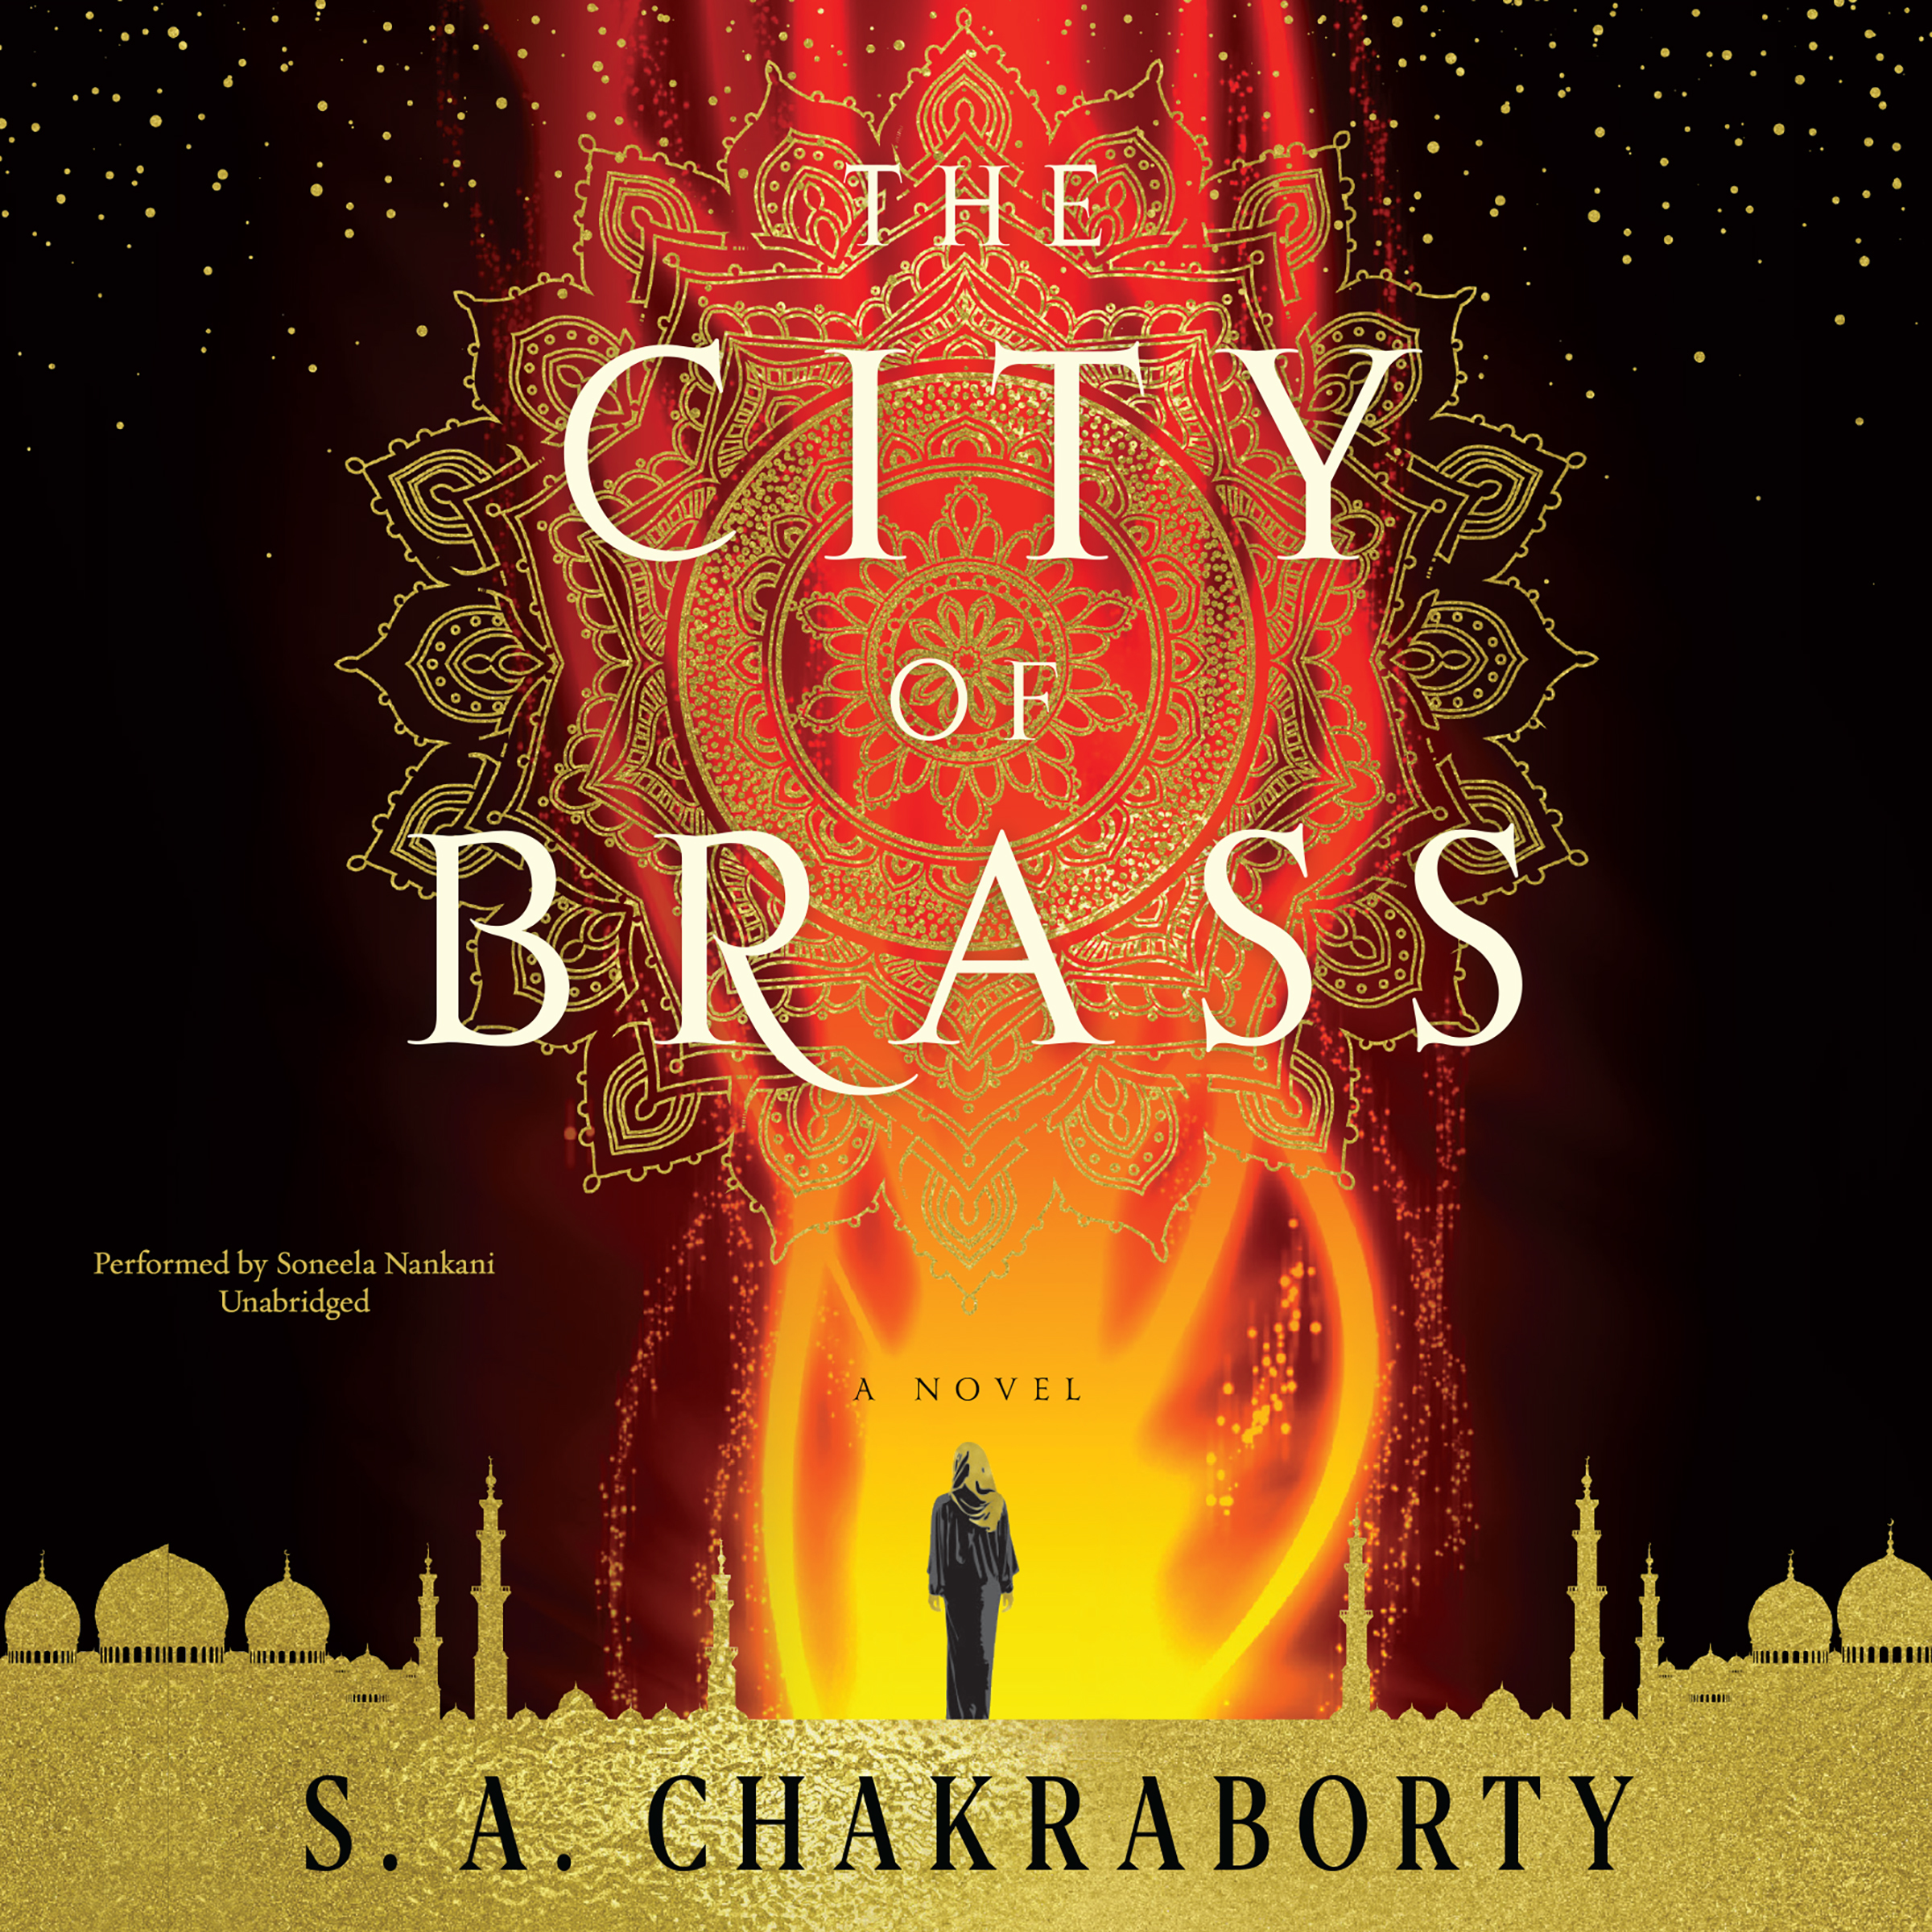
I mentioned in yesterday’s post (What I Did During My Blogging Vacation) that a friend and I together last Friday to discuss the book City of Brass by S.A. Chakraborty and to make greeting cards like we did a couple of months ago (see post Card Making Playdate).
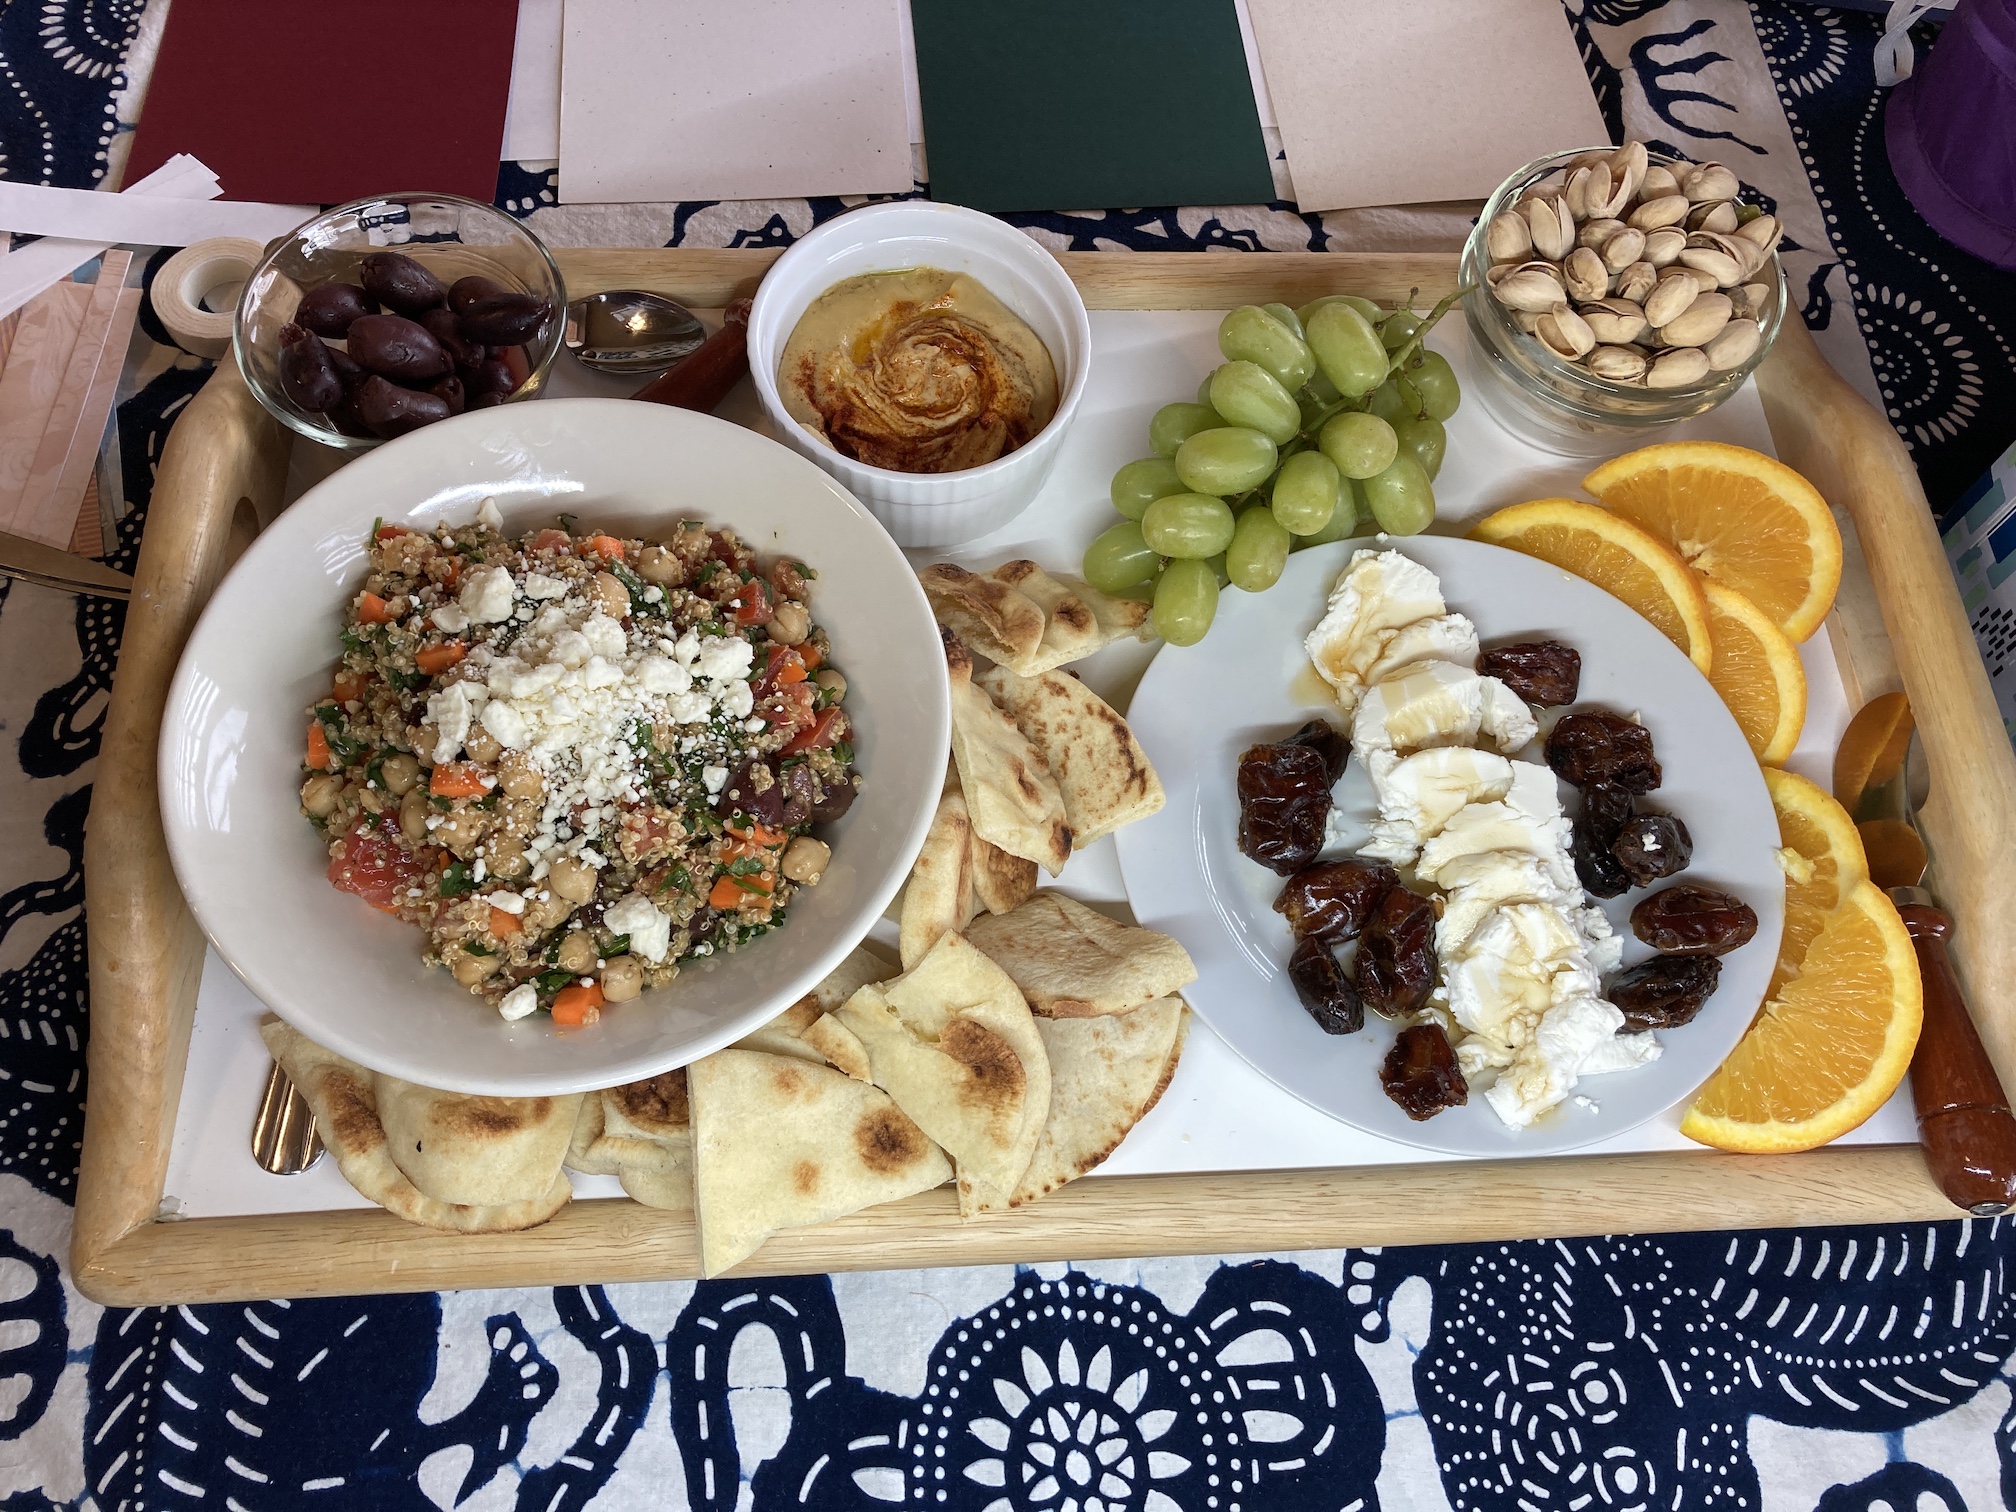
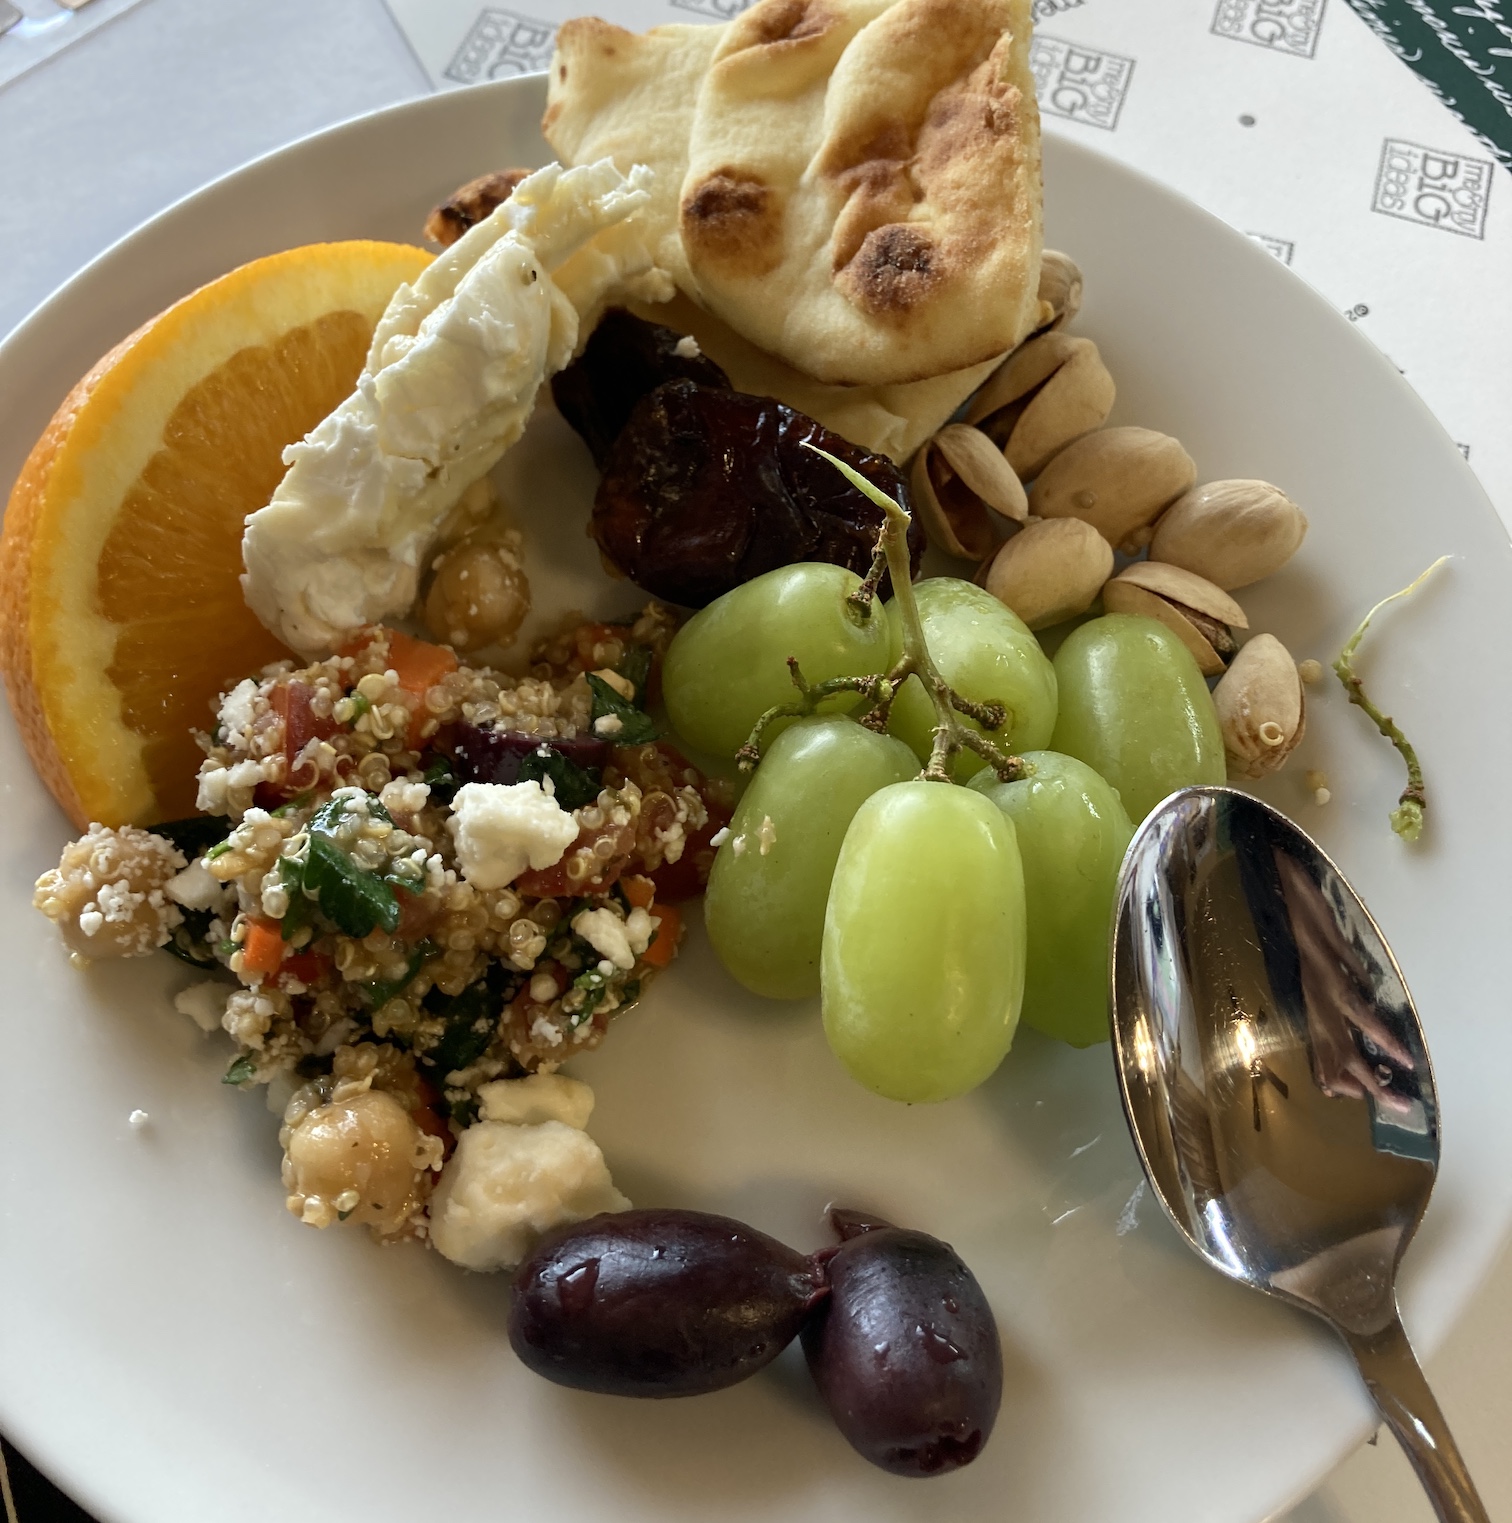
Since the City of Brass takes place in the 18th century Middle East, I made a Middle Eastern themed lunch for us of tabouli, hummus, fruits, pistachios, dates and goat cheese drizzled with honey, and pita bread:
It was a nice lunch break during a day of paper-crafting together.
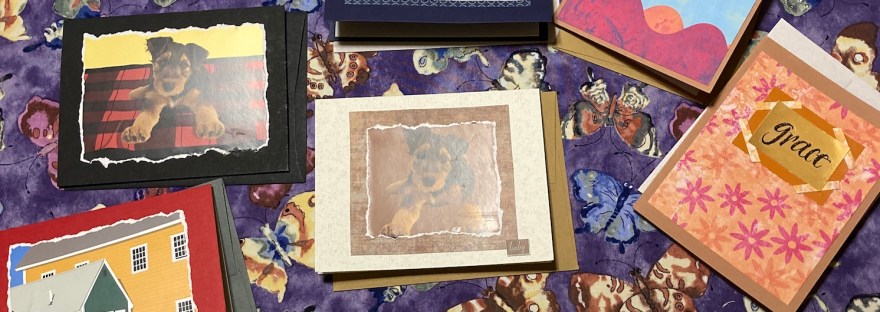
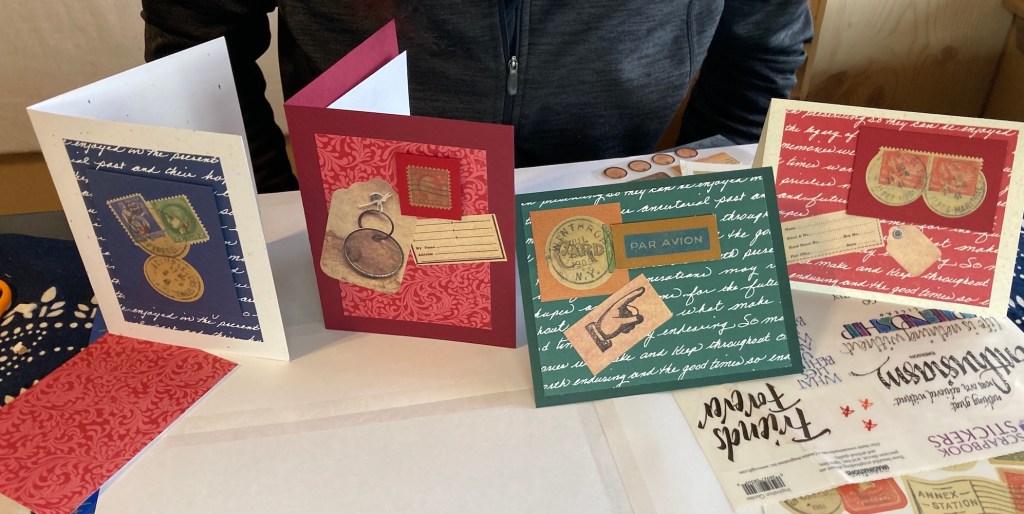
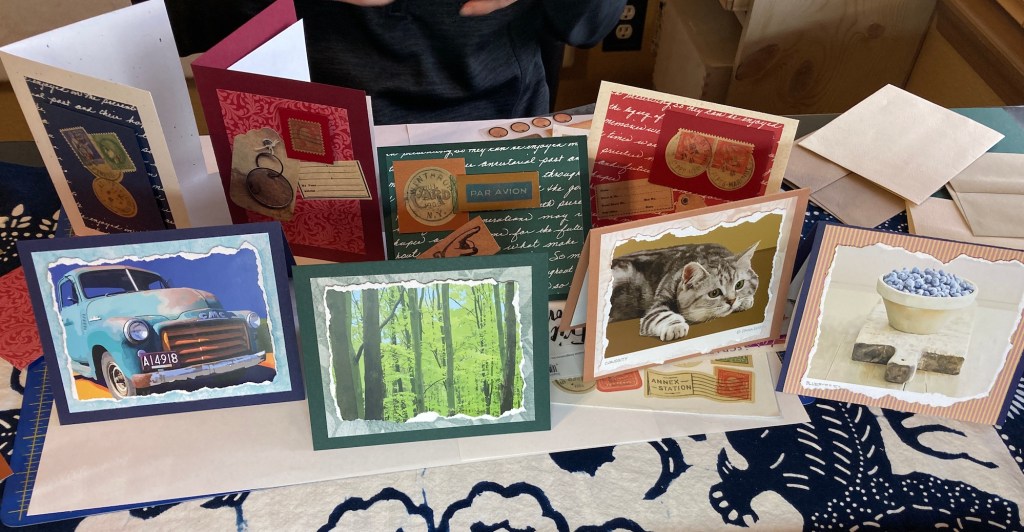
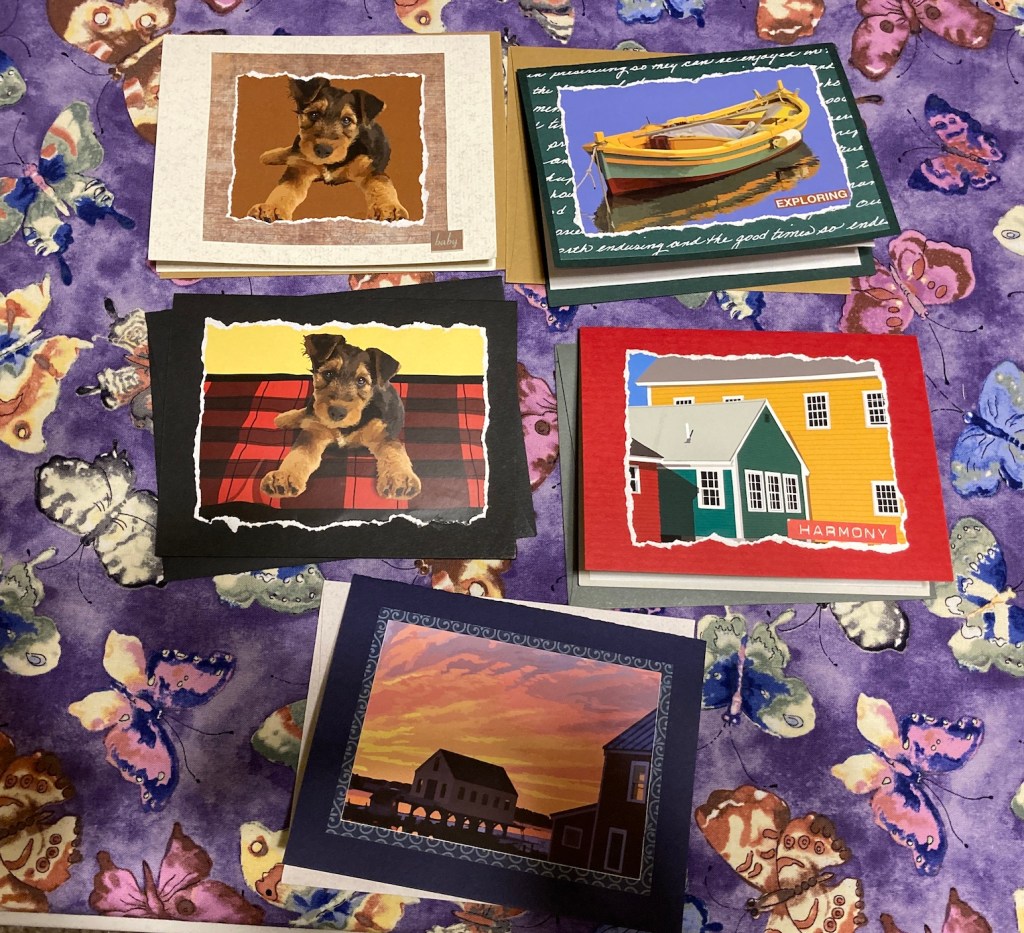
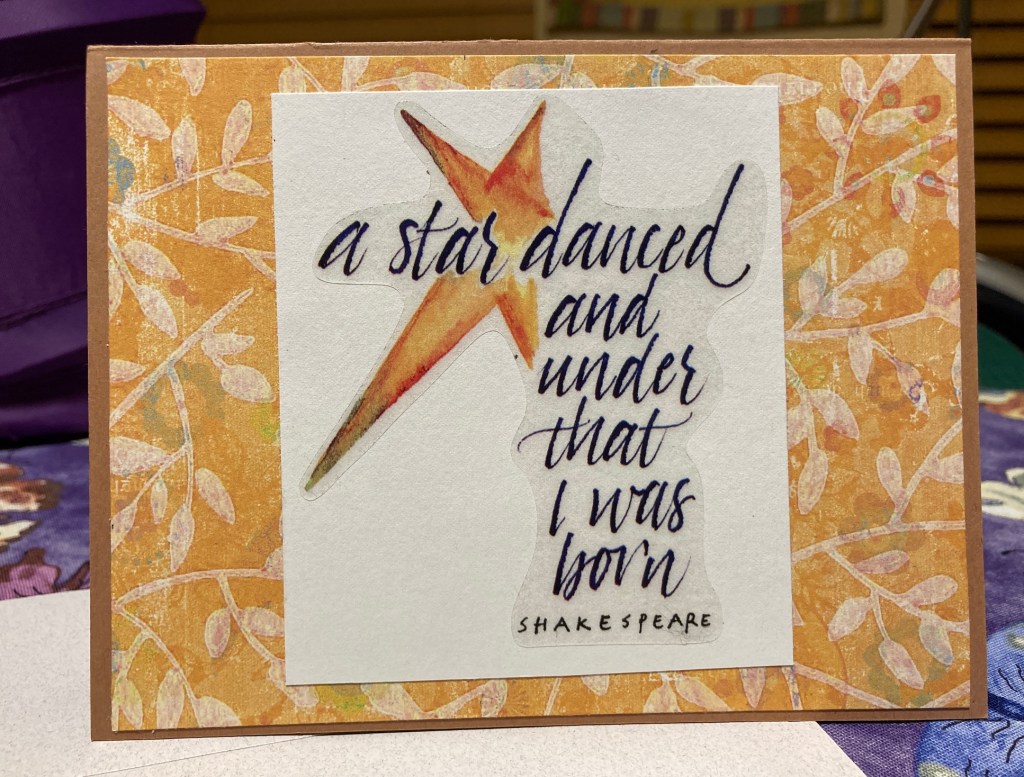
We made around 10 cards each. Here are some of the cards my friend made:
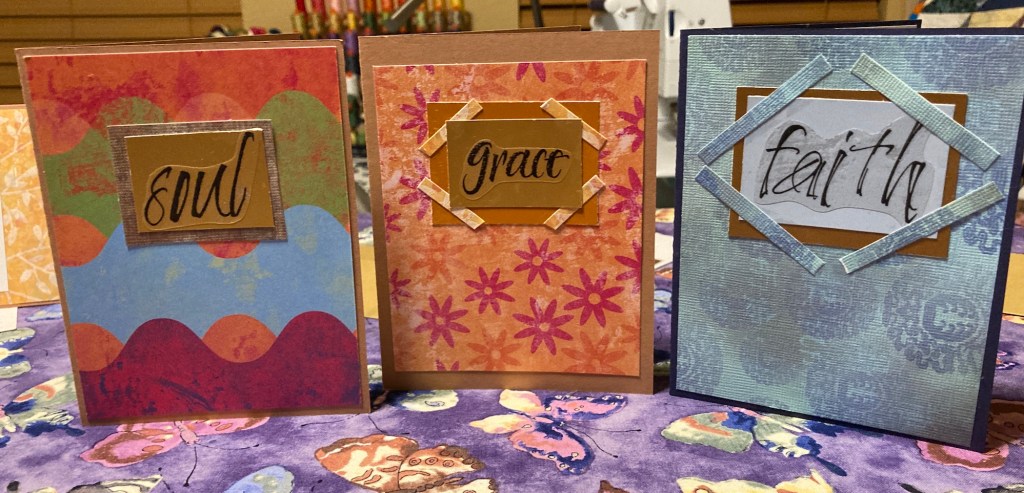
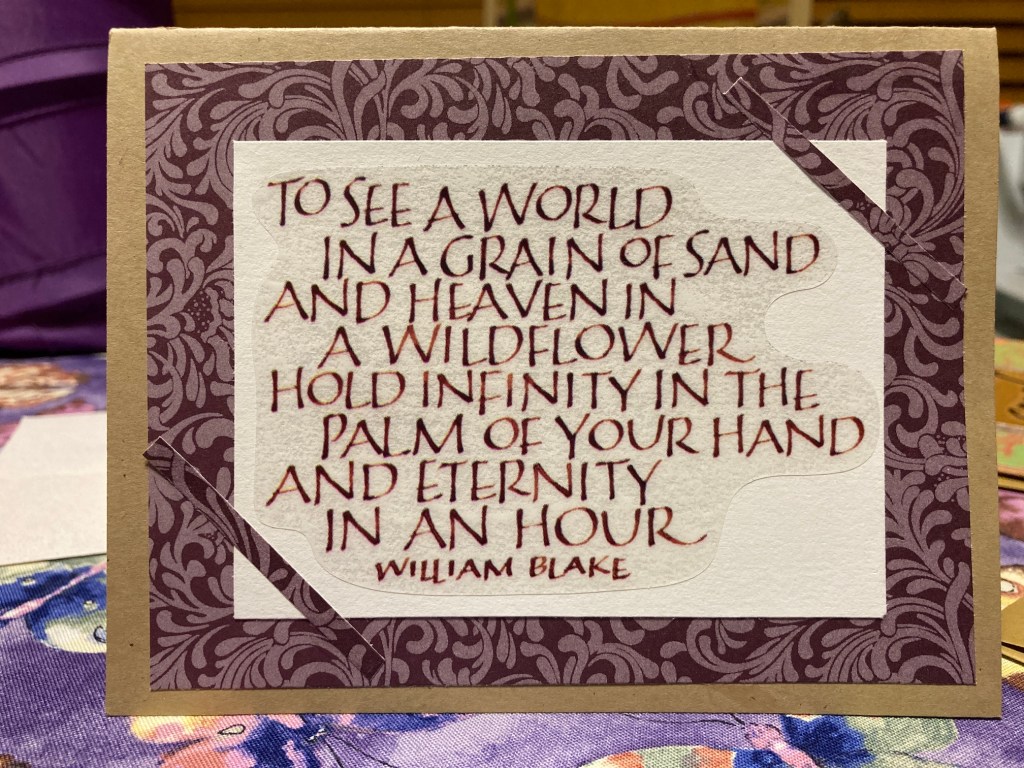
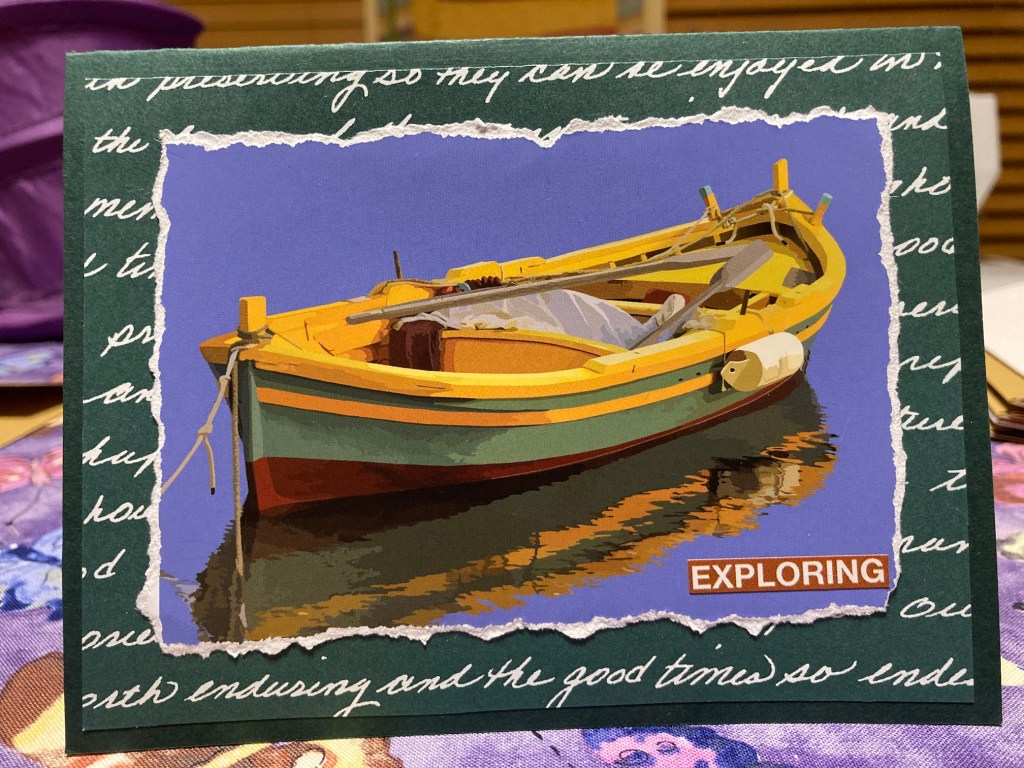
Here are the cards I made:
Many of the card stock was in darker colors which would be challenging to write in with regular pens so we added glued at the edge white copy paper into the middle of each card for ease of correspondence:
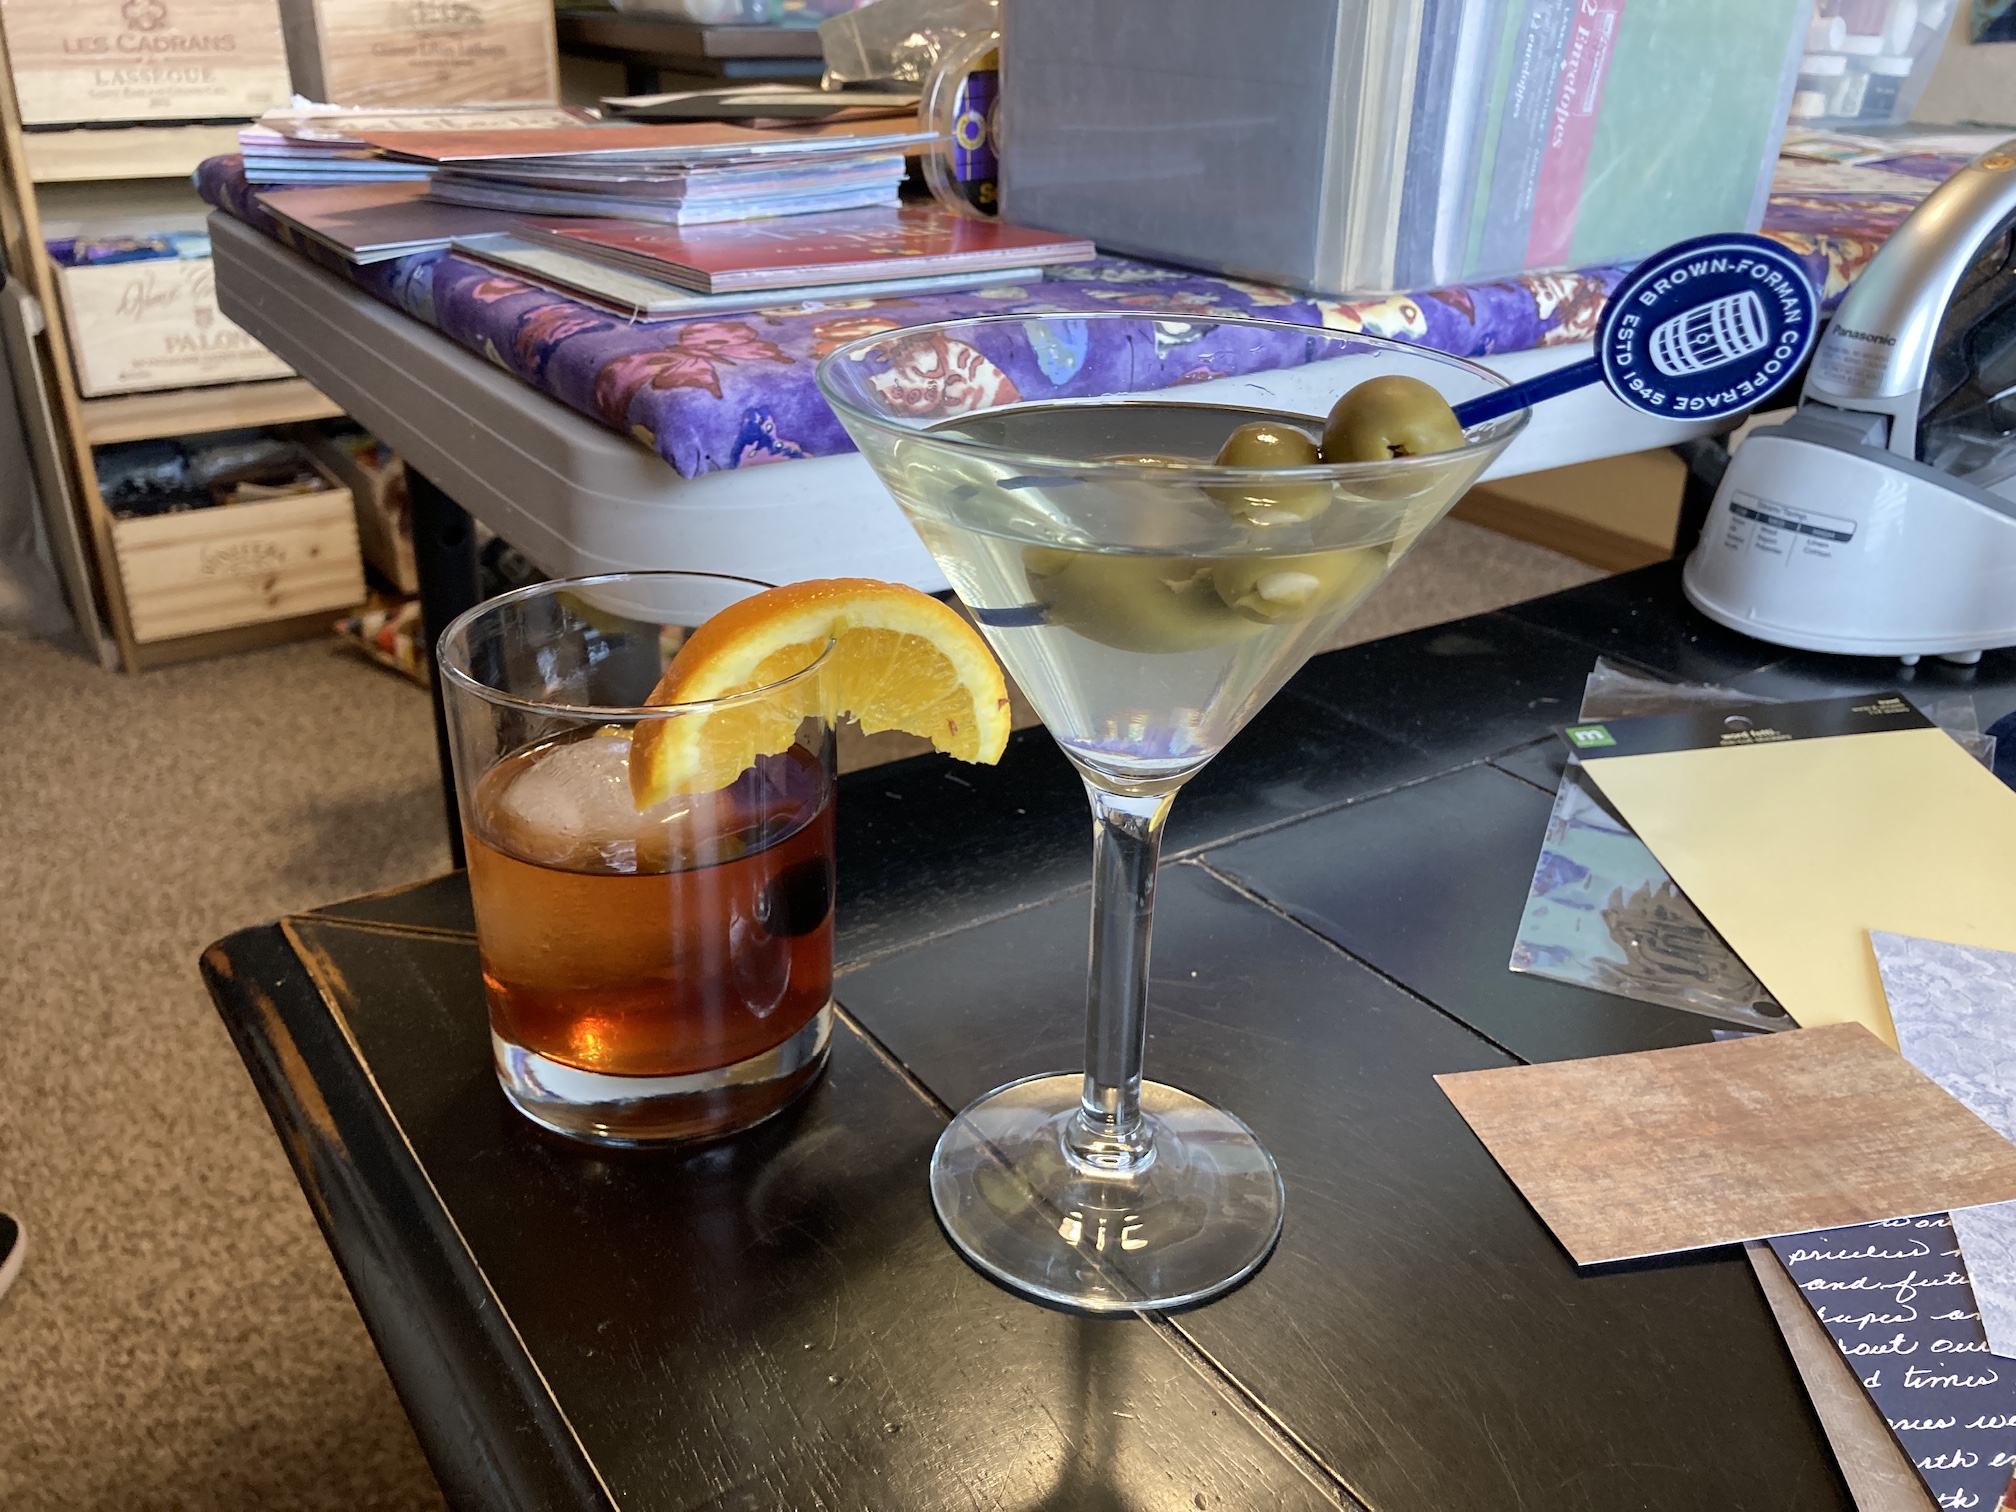
At the end of our card making day we headed out to meet up with her husband for dinner at a favorite Italian restaurant but not before my partner John made us some pre-dinner cocktails to celebrate all our productive day of card making!
And by the way, we only had one cocktail each in case you were curious – I photographed our individual cocktails together – ha!
Postscript
I’ve been catching up slowly on some of the blogs I follow and I was reminded how awesome the blog is of one of my blogging buddy Georgiana – Readers’ High Tea. She does a wonderful job of sharing her reviews of books, primarily contemporary fiction, and I now have a long list of what I want to read!
If you are looking for ideas of what to read next, check out her blog.
I’ve been on hiatus from blogging for a couple weeks to temporarily remove any “artificial” obligations in my life in order to have some time to “reset”.
Now feeling “reset”, I thought I would jump back into blogging with a little essay “primary/elementary” school style like the infamous “What I Did on My Summer Vacation“.
By the way I was not hanging out with the fabulous looking women at the beach during my hiatus, like those in the feature photo of this post (photo by Vitae London on Unsplash), I just thought it was a fun beach photo to use in the middle of semi-freezing winter in Denver!
Okay so now it is time to imagine me standing in front of our 4th grade class presenting this essay below (and perhaps my parents helped me make a slide deck for my images/photos)…
READING
Listening to audiobooks and turning the pages of actual physical books, I’ve done a lot of reading during the past several weeks.
I’ve finished the book City of Brass by S.A. Chakraborty, that I read for my virtual book club with a friend (see post Virtual Book Clubs):
image credit – Kirkus Review
Last Friday a friend and I had another card-making playdate like the one I shared in the post Card Making Playdate from last October and discussed City of Brass. In tomorrow’s post (why yes, I am going to now post frequently…hope you don’t grow tired of me) I will share what we made.
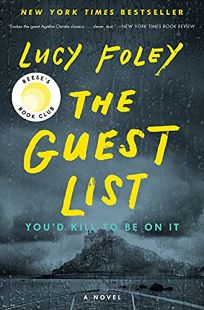
I recently finished the next book in our “Virtual Book Group” (but wait is it “virtual” if we are meeting in person, socially distancing of course, to discuss the book?) and it was quite the awesome page turner – The Guest List by Lucy Foley:
image credit – Publishers Weekly
It’s been a long time since I’ve read (actually I listened to the audiobook) the kind of book I absolutely could not put down. If you’d like to read a synopsis of the book – here is the link to the one on Publishers Weekly (no worries, there are no spoilers) – The Guest List.
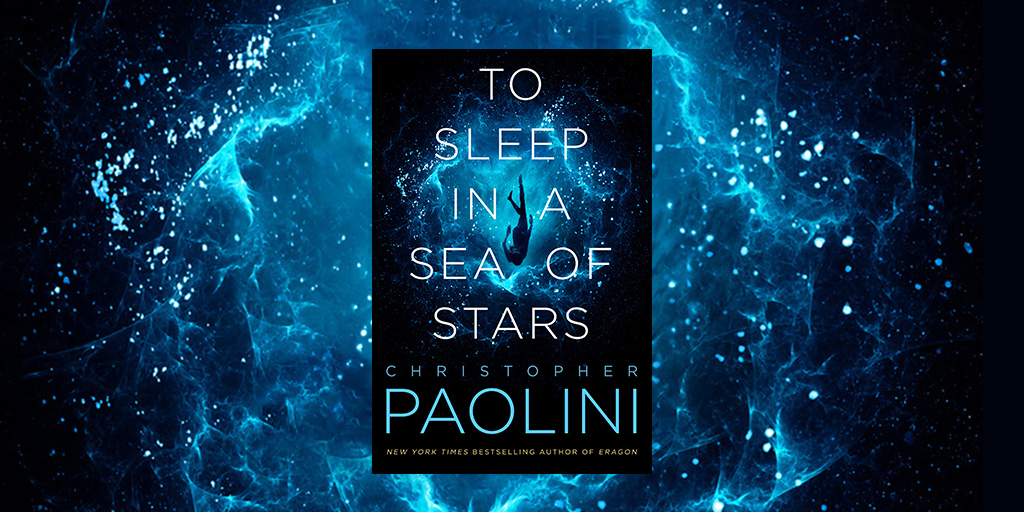
Currently I am listening to an excellent (so far) Science Fiction/space novel – To Sleep Under a Sea of Stars by Christoper Paolini. I love it so much I’ve already bought the hard copy of the book as my library loan of the audiobook is about to expire and there are a zillion other library patrons waiting in line to listen to it next.
image credit – Paolini.net
It not just fiction books I’ve been inhaling, I’ve also read several new crafting books I picked up over the past couple of months.
I’ve been obsessed lately with making non-quilt items such as tote bags (see post Tote, Tote, Tote Bags) and pincushions (a future post); and love my new book by Ayumi Takahashi – Patchwork Please which features lots of fun things to make:
image credit – amazon.com
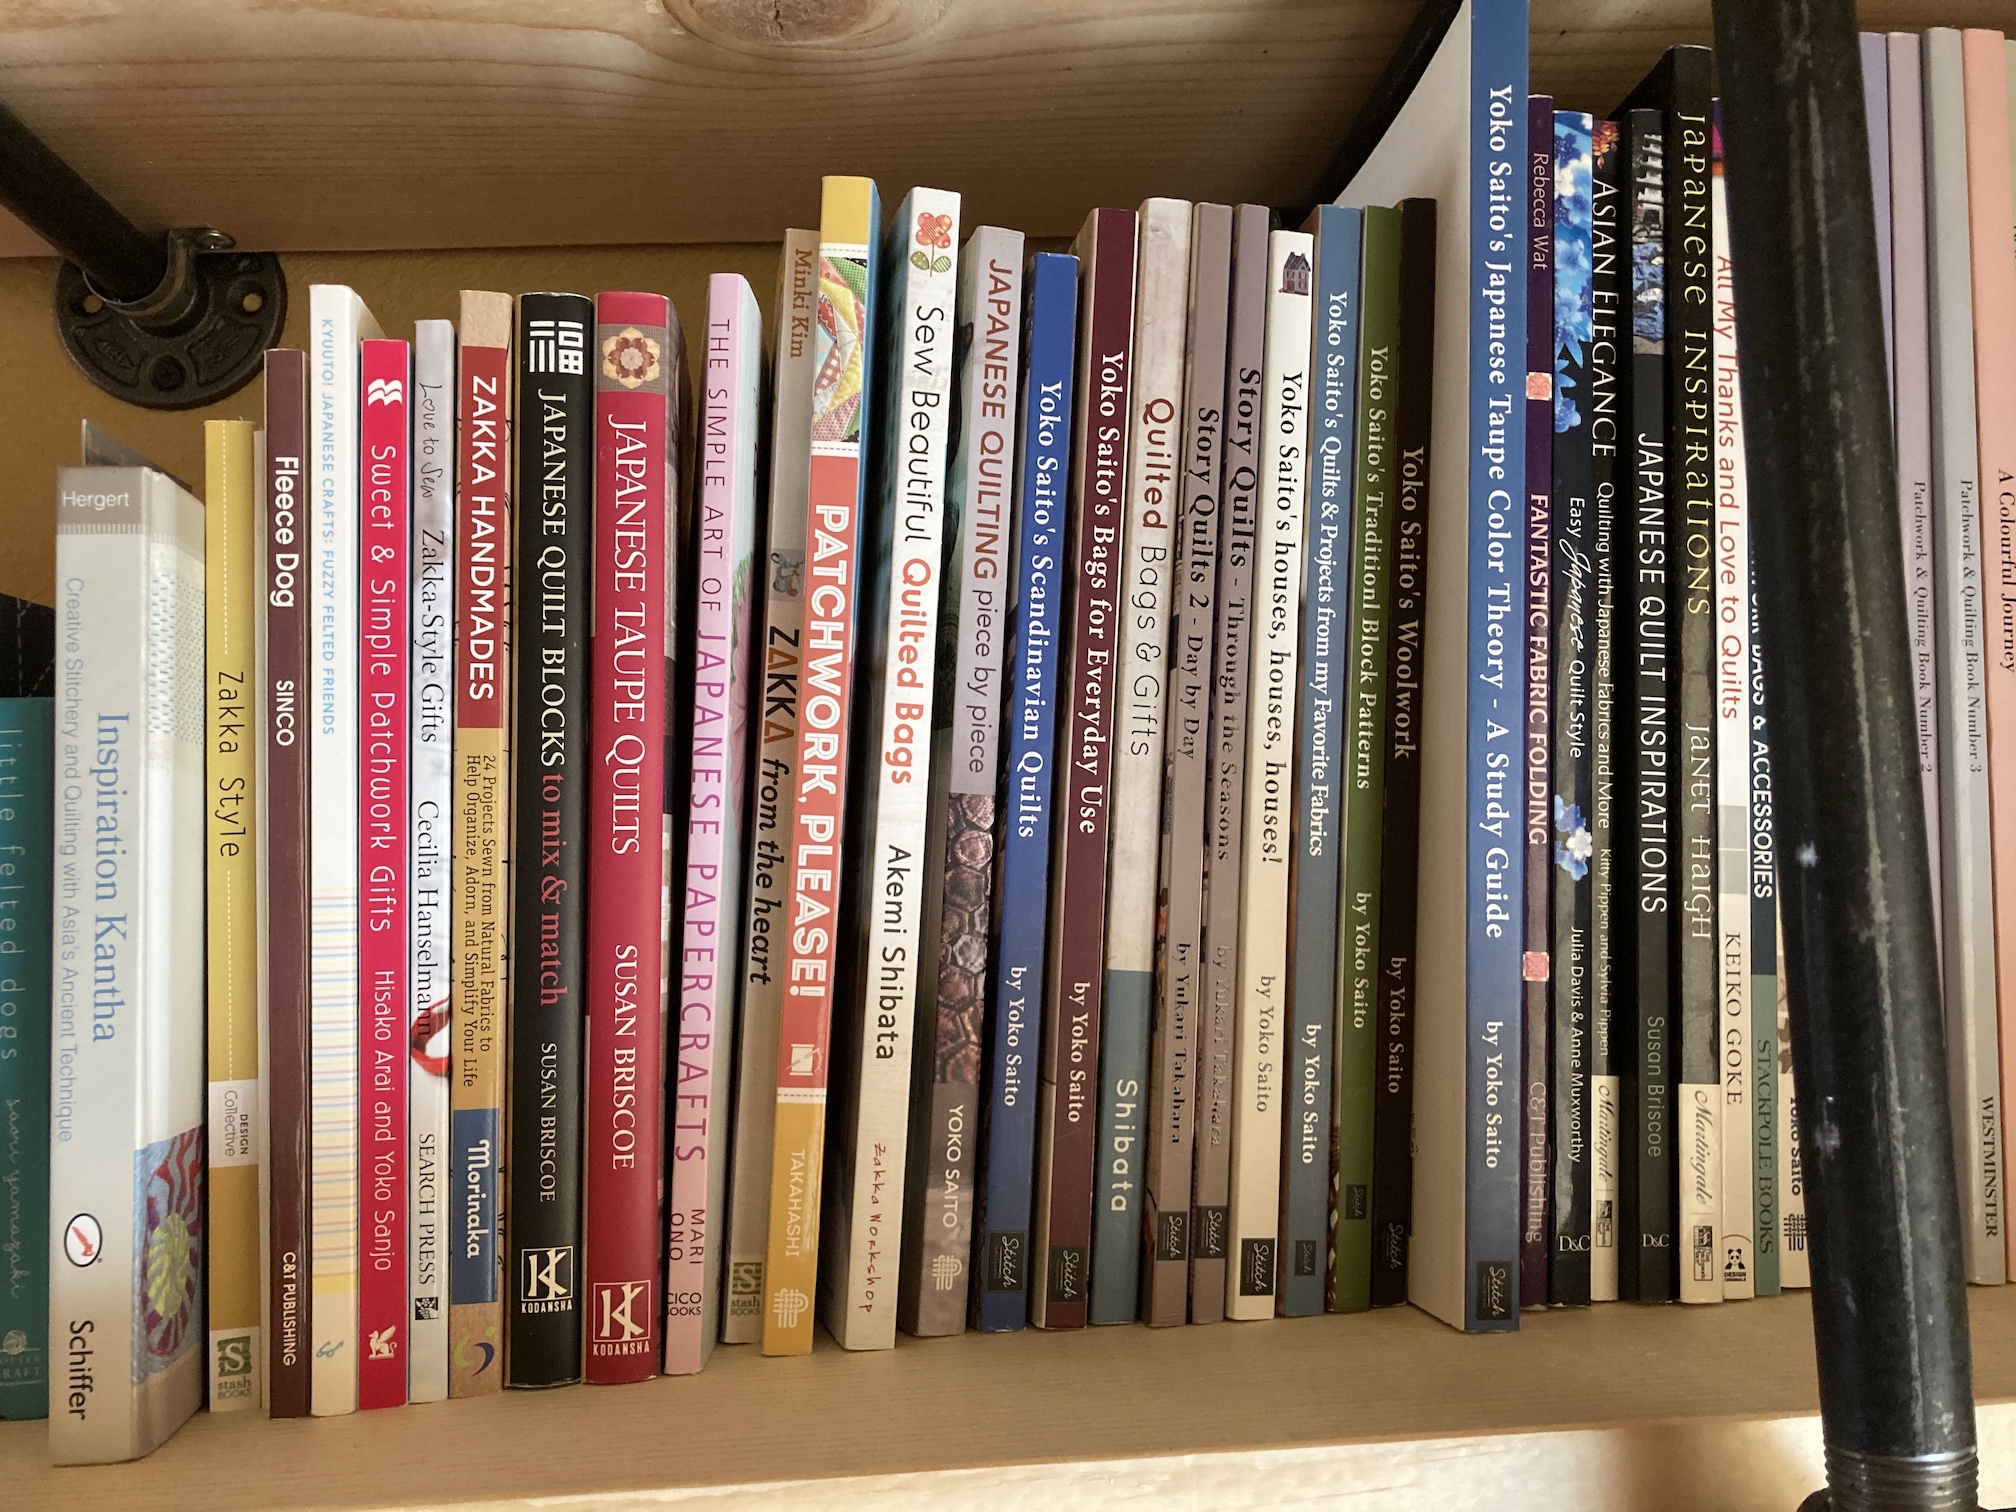
I am sort of obsessed with “zakka” and Japanese author craft patterns. I love the aesthetics of their designs as well as the function. Here are many of the books in my home library collection of Japanese author craft patterns:
COOKING
For a while in the Denver metro area, our restaurants closed down again to inside dining during the pandemic. Finally they opened to 25% capacity and now I think they are starting to reopen to even 50% capacity (or perhaps I am hallucinating at this point as I have complete pandemic fatigue at this point).
While they were closed again, like in the early days of the pandemic, we tried to make fun meals at home and not get home cooking fatigue. Here are a couple photos of the delicious meals my partner John (a very good cook who used to actually cook professionally) and I made.
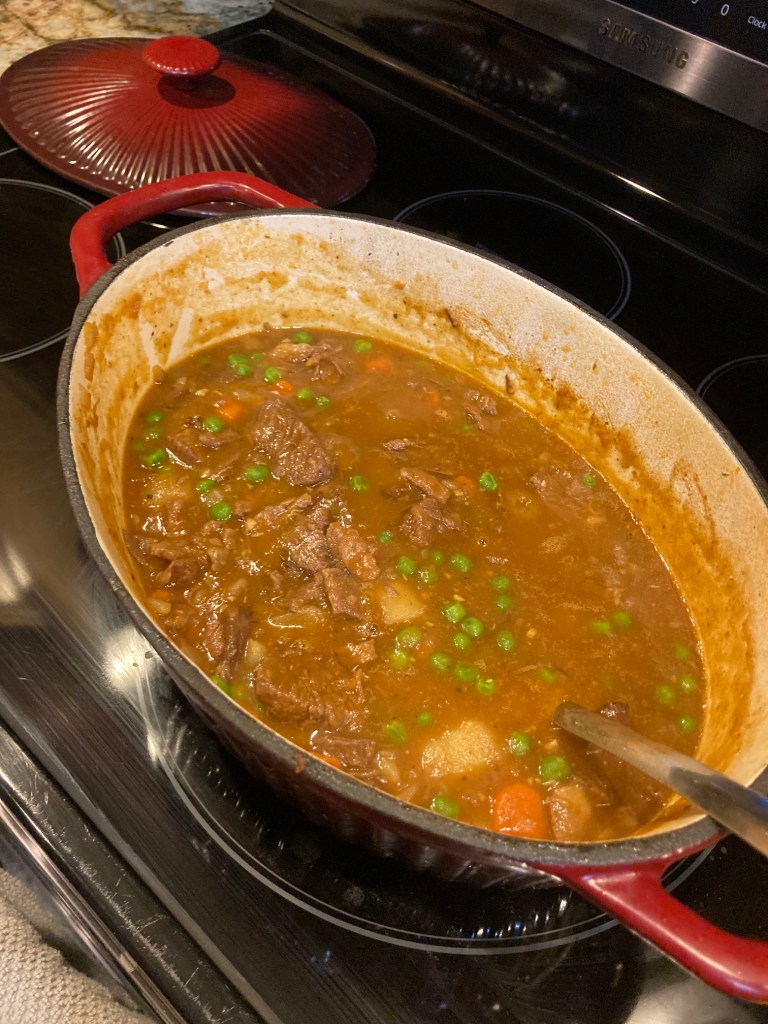
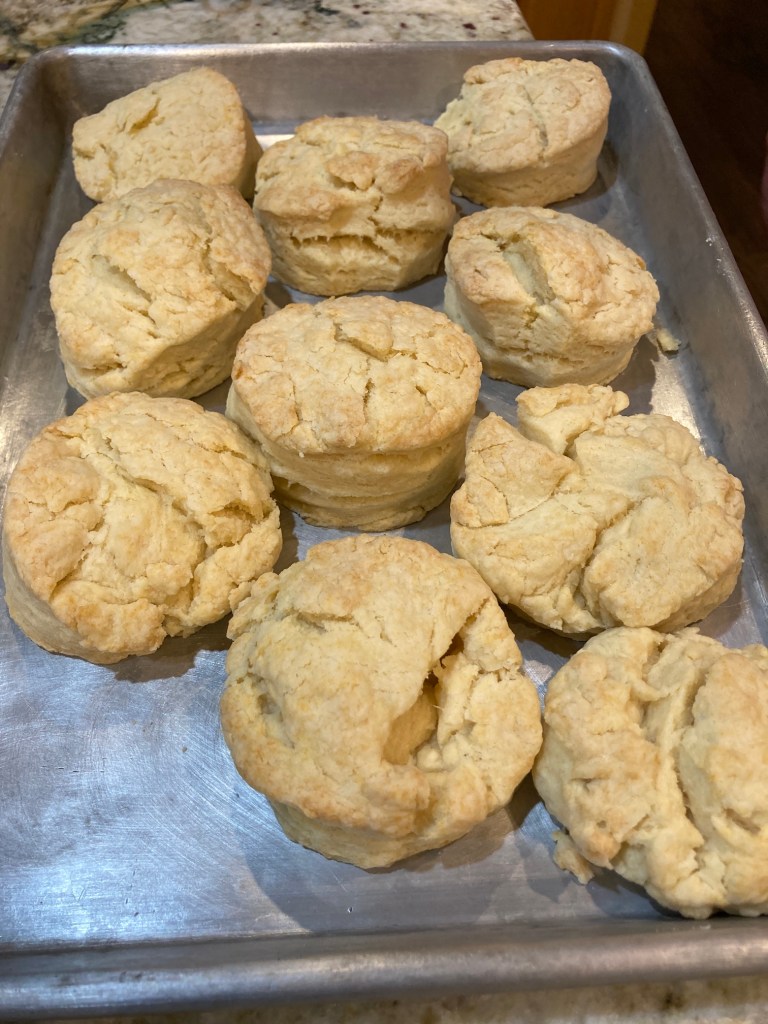
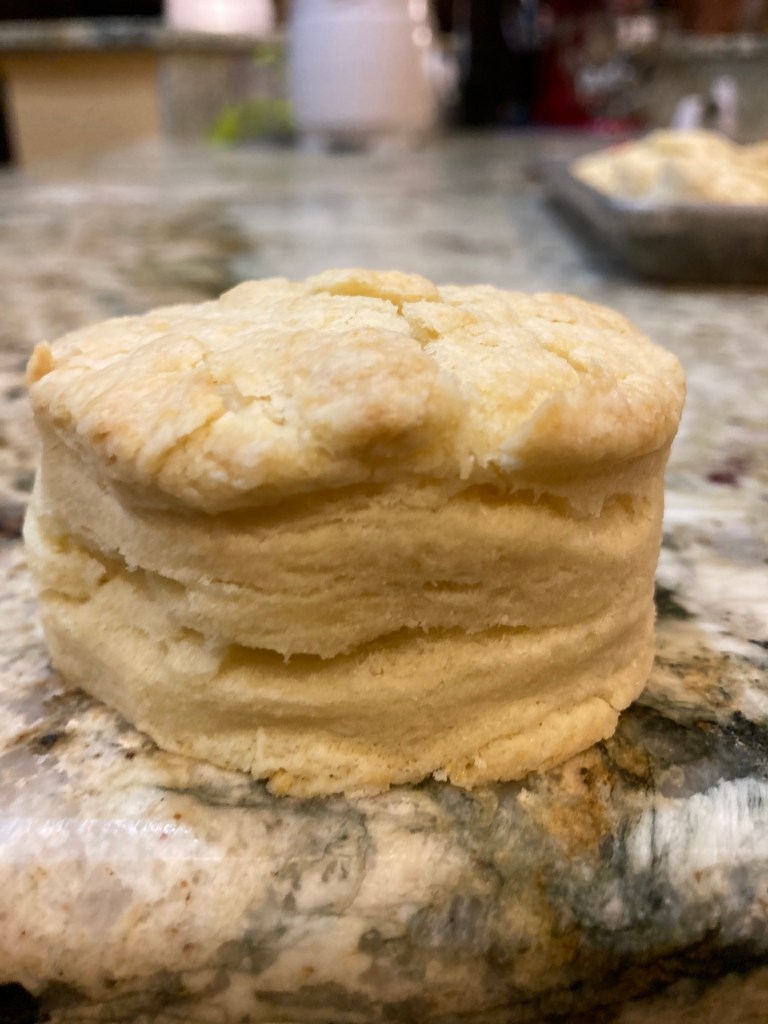
Delicious Irish Stew and Homemade Biscuits
Salmon Fried Rice
Nachos!
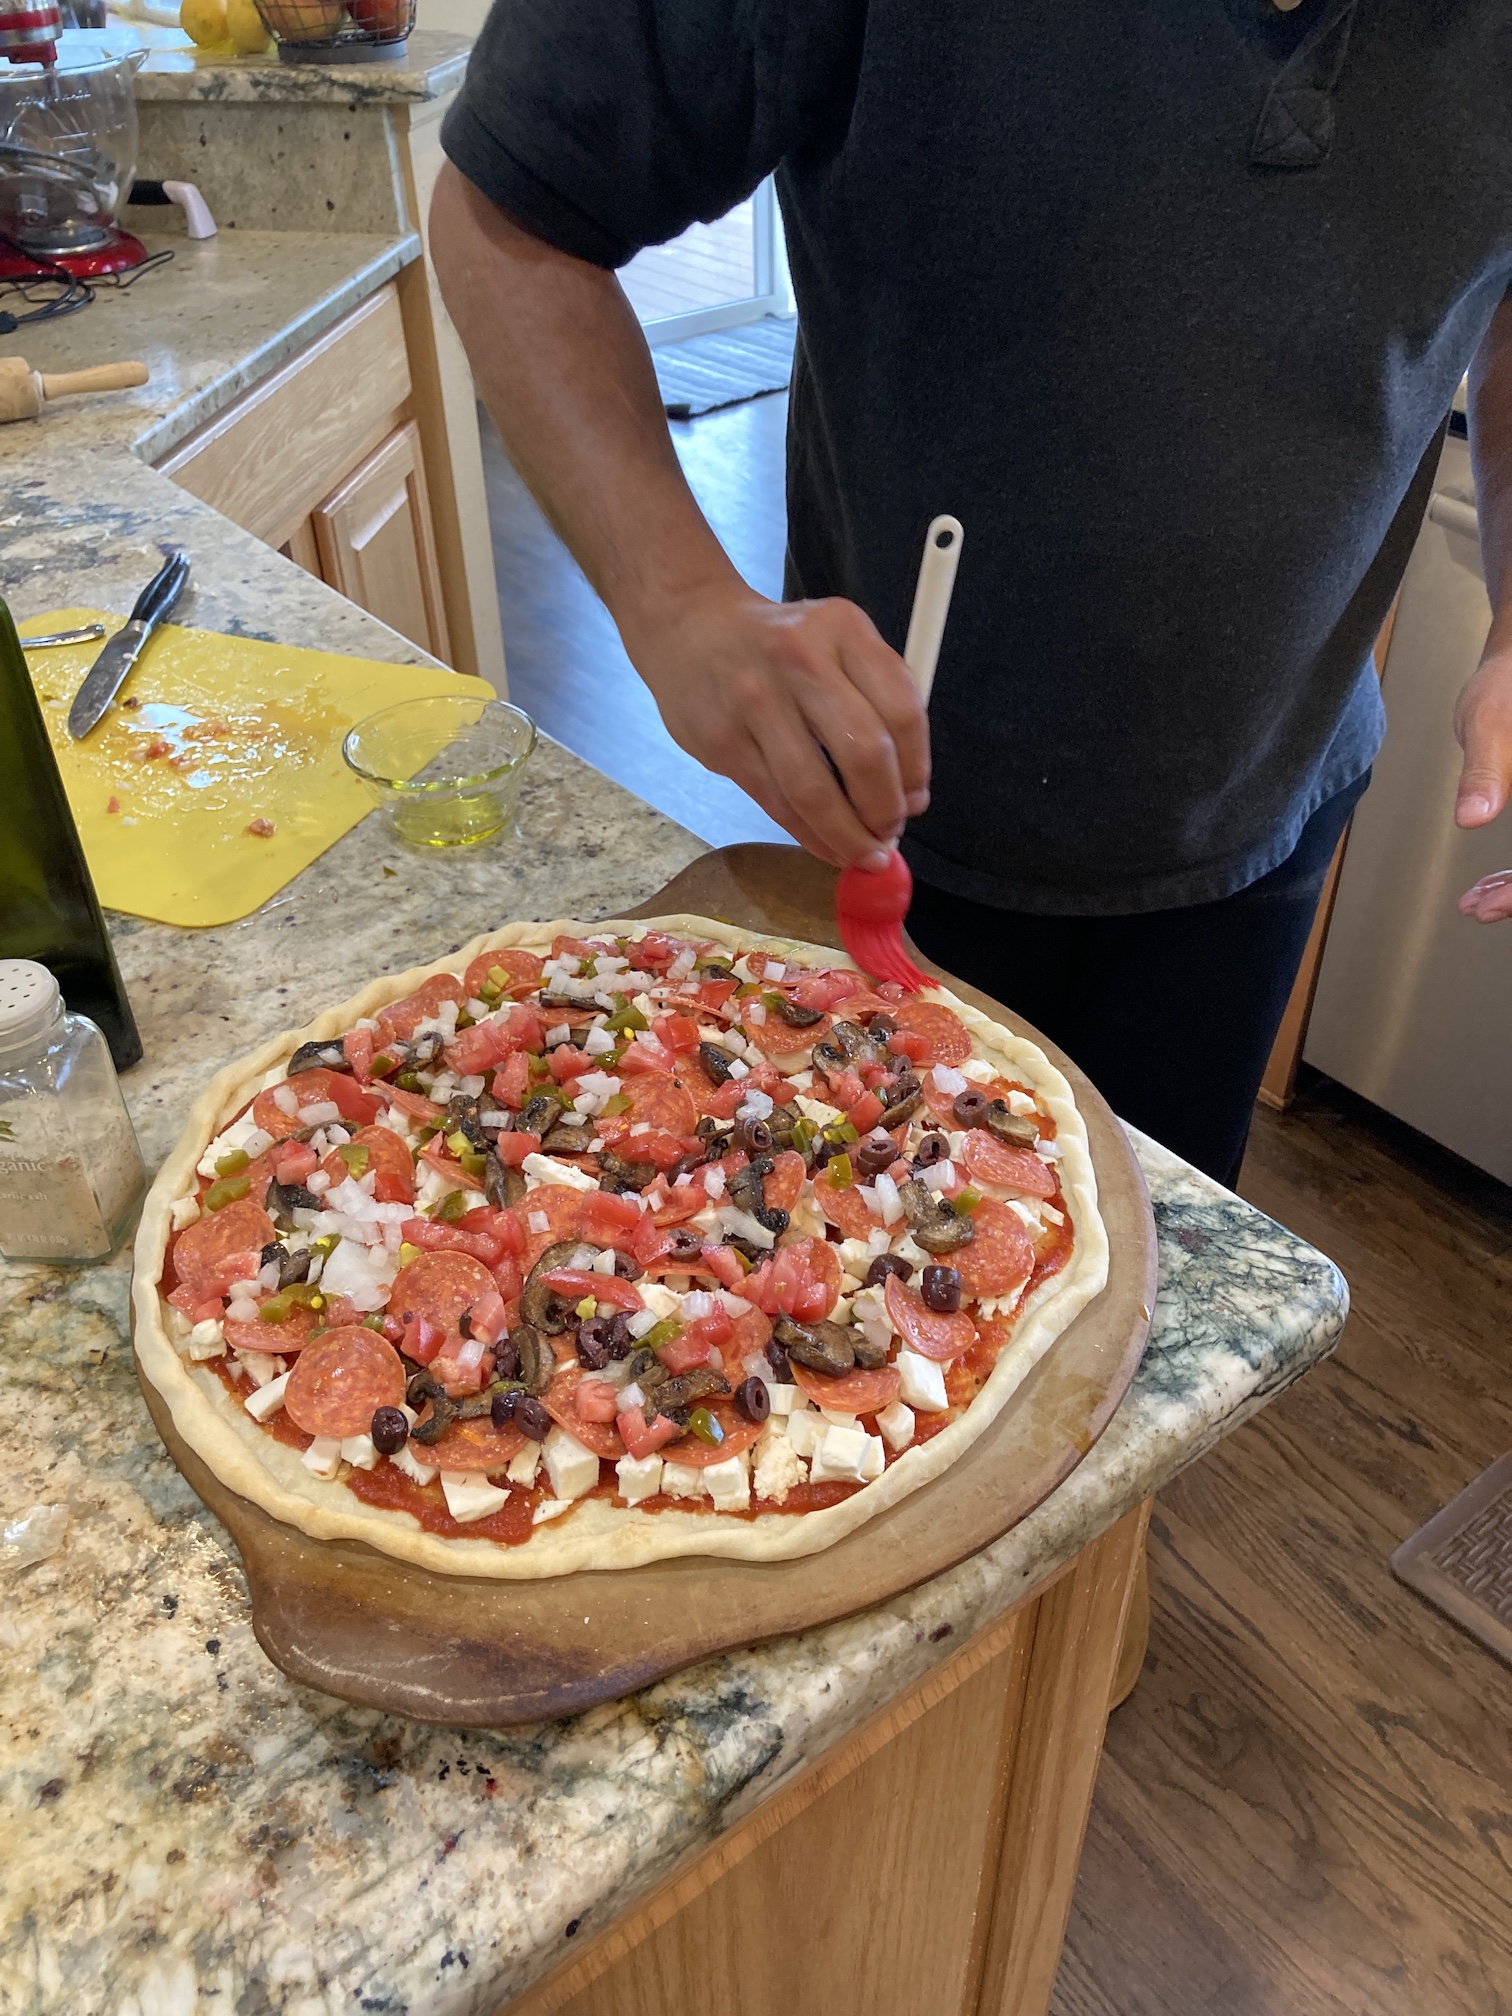
Pizza (with dough made from “scratch”)
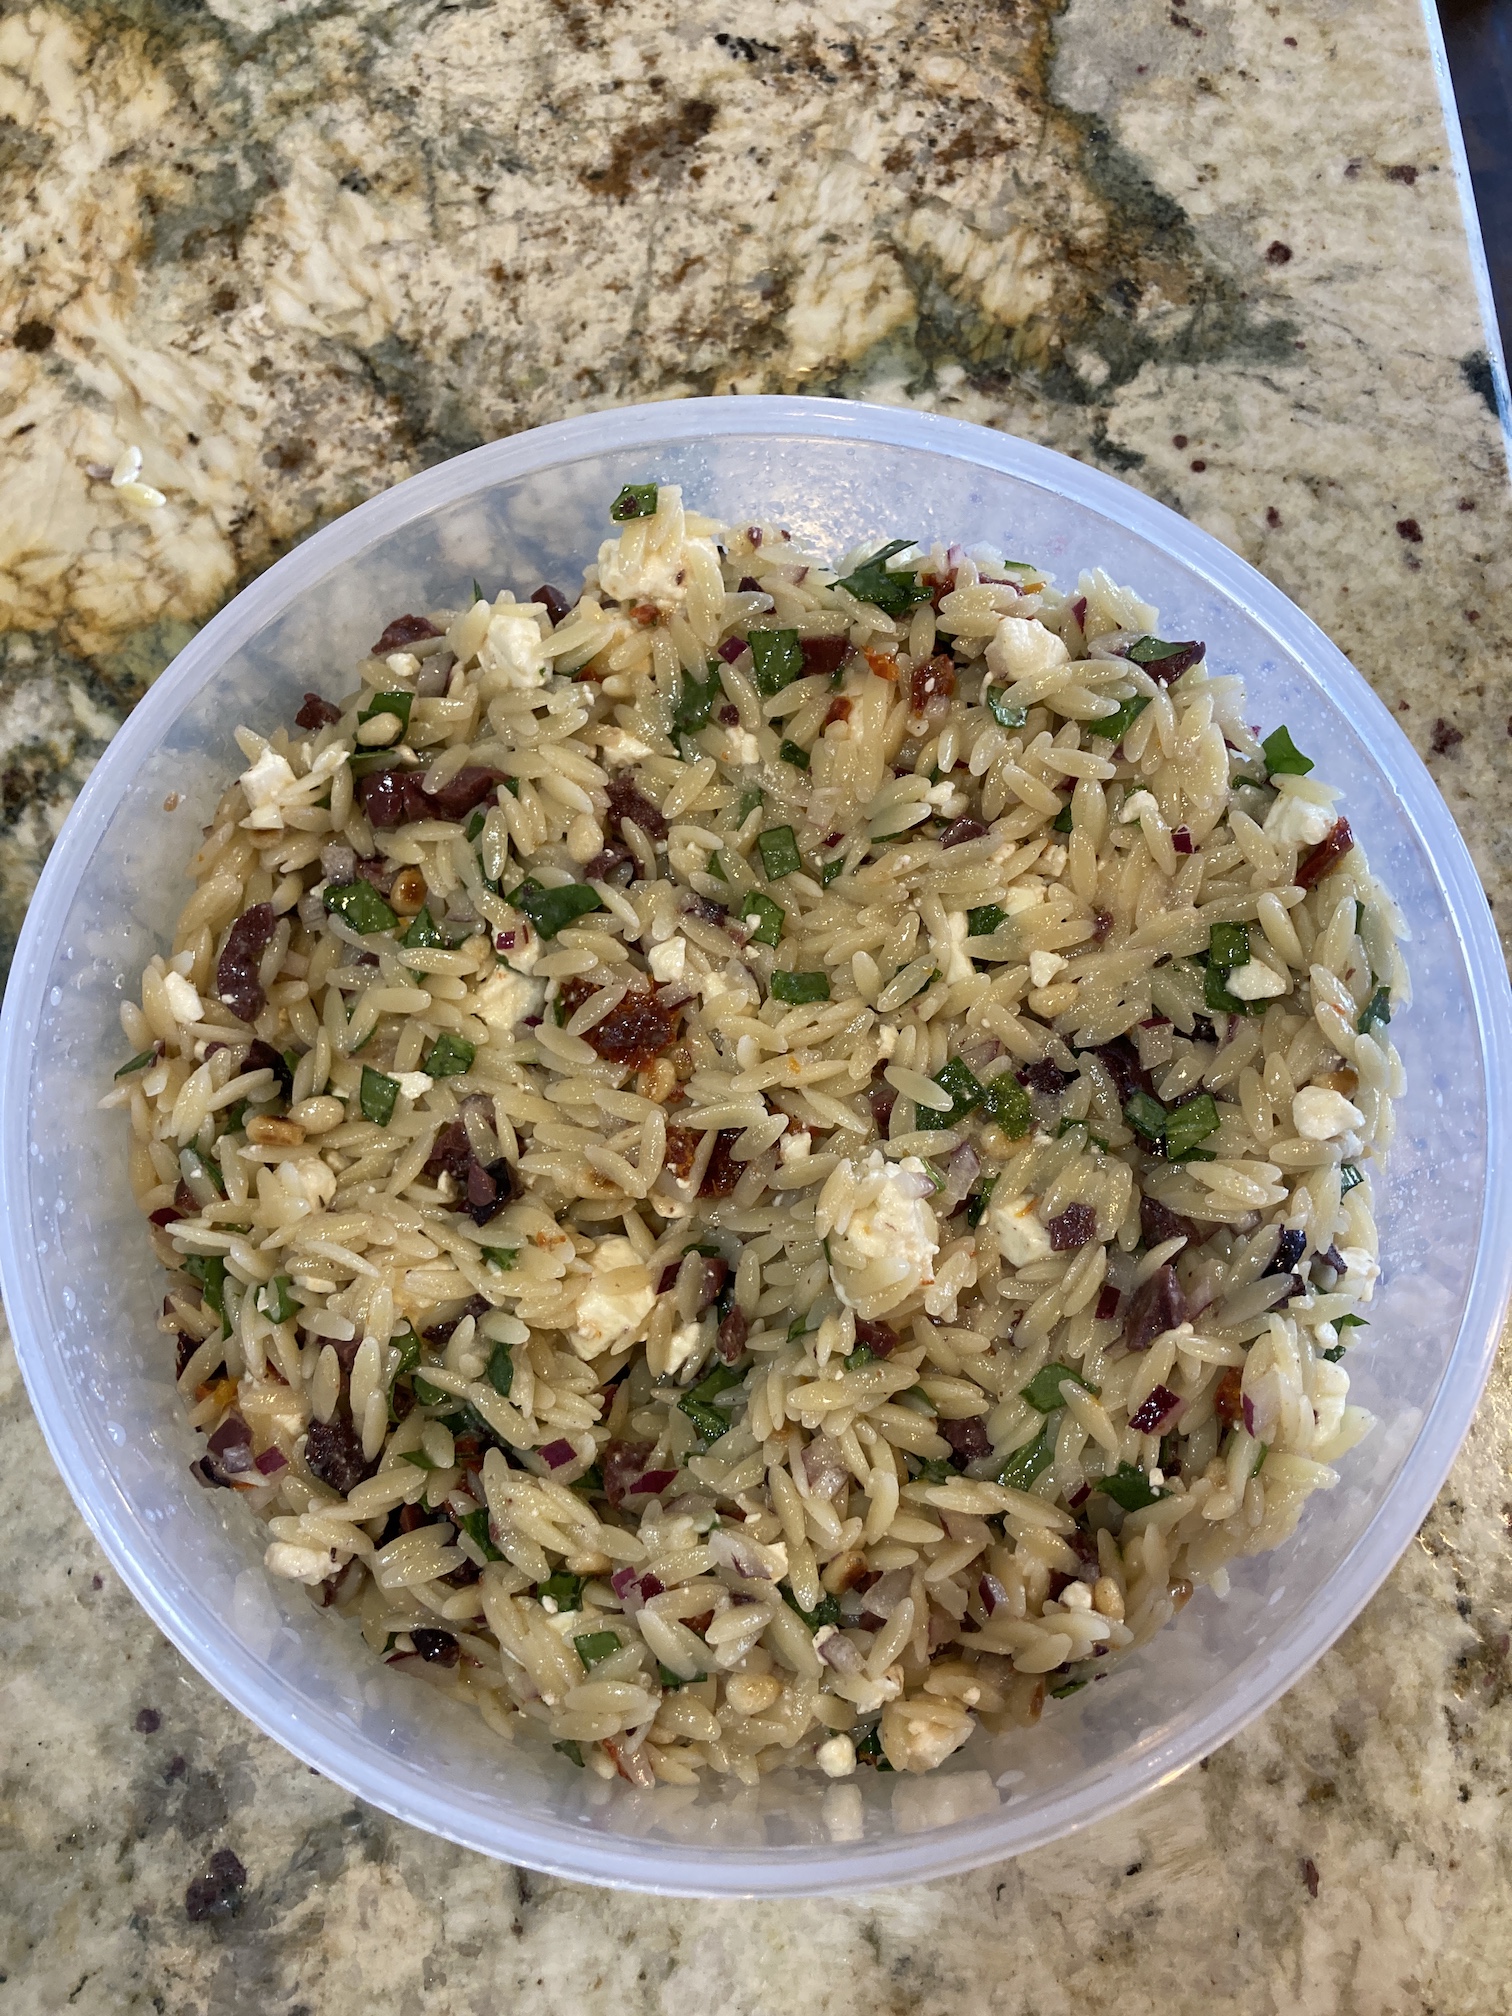
Orzo Pasta Salad
Are you hungry yet?
One of my favorites that I could not locate easily locate a photo for was the handmade gnocchi with gorgonzola sauce and scallops that John made one night. I thought I was at a high-end restaurant!
Yes, I will not lie, I had packed on a couple “pandemic pounds” from all this good eating, but we do not eat like this every night. We do try and have salads for dinner a couple nights a week.
WALKING
To combat the effects of all those delicious home cooked meals, I’ve been going on a lot of very long walks. It is always a great way to listening to my audiobooks. Most of the times I take Mike my Miniature Schnauzer with me but many times I just go walking alone (then I do not have to stop for the “frequent signing in on bushes” that Mike loves to do on his walk).
Here are a couple Black & White images I took on a wintry walk, in which someone had left a found glove on a branch for its owner to hopefully someday find. I got a kick out of the “composition” in the stark landscape created by the glove.
If you enjoy B&W images, I do have a series of posts where I feature B&W images – Life in B&W.
In case you are wondering – either the glove blew away or was reunited with its partner by the owner as the next day it was gone.
REFLECTING
During my break from blogging, I spent a lot of time reflecting and trying to figure out my life. As many of you know, I am in my second year of widowhood caused by the very sudden and very expected death of my life partner, Terry the Quilting Husband (see post Remembering Terry the Quilting Husband (TTQH)).
I’d been with Terry since I was in my early 20s and I am now on a journey to “reinvent” myself in my middle years of life as “Tierney minus Terry”, after what seems like a lifetime of “Tierney +Terry”.
In previous posts, I’ve discussed re-opening my tierneycreates Etsy shop and my original plan when I took a hiatus from blogging was to start blogging again in about a month when I was ready to re-open my Etsy shop.
Over the past several months, I’ve made a lot of items in preparation to re-open the shop but still could not move forward with re-opening the shop. I was struggling to figure out what the big block was for me.
Then while looking at some old photos on my Google Photos account which I rarely use, I found an old image of the joint tierneycreates business card Terry and I had together when he was helping me with my Etsy shop. He was listed as a “Maker” on my Etsy shop as he helped me with many of the items I produced by cutting out patterns and doing preliminary sewing, especially on items like Miniature Kimonos, which were very popular on my shop.
I realized that my tierneycreates Etsy shop is just too closely tied to memories of crafting with Terry and I am just not ready.
Part of my “widowhood journey” is trying to figure out what to do with what is basically a lifetime’s worth of memories with someone who is now gone.
After losing your spouse you are expected to go on with your life but what do you do with all those memories (and mementos) of a life previously lived? I think that is the $64,000 Question which I have yet to answer for myself (I’ve done a lot of reading on grief and the answers of other people’s journey but I still have to find my own answer).
But I have figured out that unless it is something critical, not push myself to do anything I am not ready to do, even if it seems like a good thing to do (like re-opening my Etsy shop).
(The above images are of Terry, Sassy, who passed in Dec 2017 a year before Terry, and I vacationing in Cannon Beach, Oregon; and of Terry modeling a quilt he helped me make)
CRAFTING
There’s been a whole lot of crafting over the past couple of weeks. I’ve found a lot of peace in making things. I feel very lucky to be a “Maker”.
Many of the items I’ve shared on my tierneycreates Instagram account but many I have not. I am going to save a discussion of what I’ve been working on for future blogs posts but I will share that I’ve been making more tote bags like I discussed in the post Tote, Tote, Tote Bags.
Here are some of my latest tote bags:
I look forward to diving into more about what I’ve been making in my future posts!
WAKE UP, THE ESSAY IS FINALLY OVER!
So that concludes my essay and I can safely assume the whole class is asleep now at their desks!
Oh wait, I see the teacher is also asleep at their desk! Maybe I won’t get a “A” on this presentation…
I decided it was time to redesign my tierneycreates logo which I had created originally back in 2013 when I first began blogging:
This time I wanted to do something more “organic”.
I’ve been addicted to the game/app Words with Friends for years and I play online Scrabble daily with friends such as my friend Kathy and my partner John:
Yup I lost in the game above.
I loved Scrabble since I was a kid. I actually have a collection of Scrabble letter collected from old games I picked up from garage sales or just the letters themselves.
I’ve crafted with them in the past making refrigerator magnet gifts with friends’ names done in Scrabble letters.
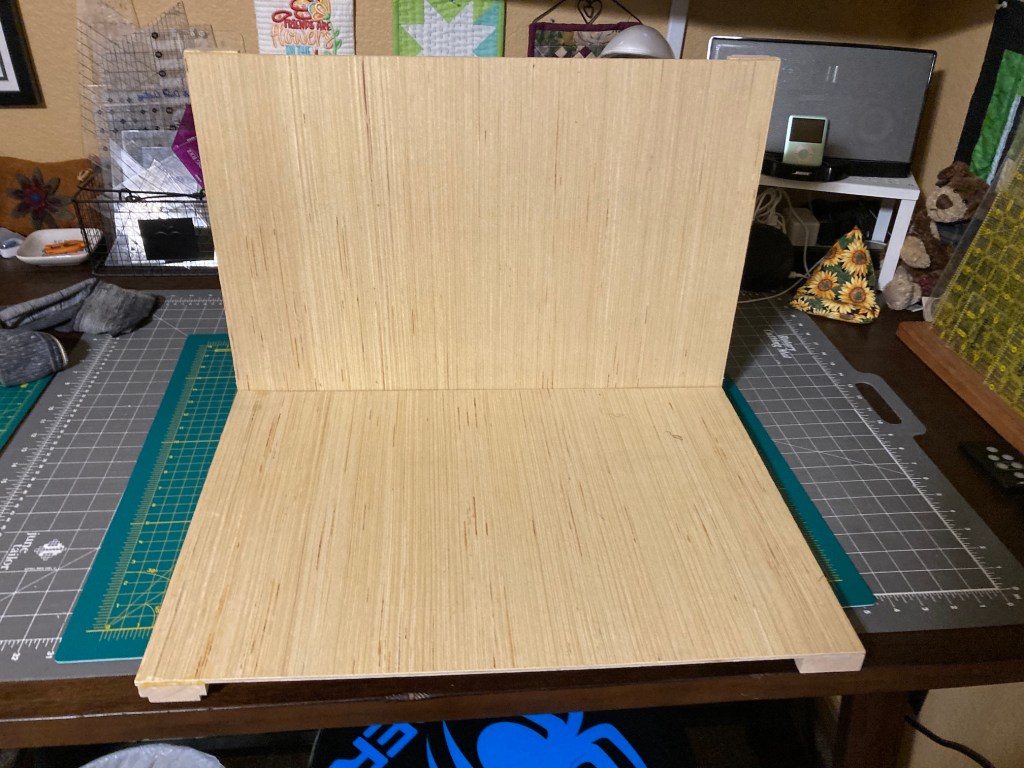
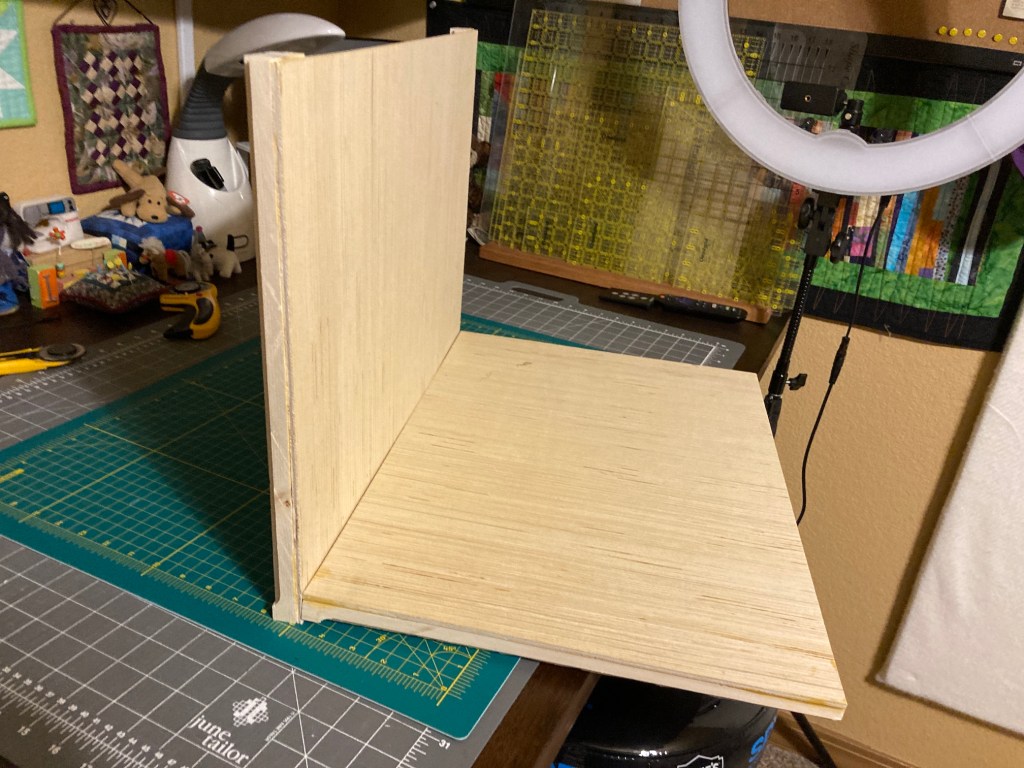
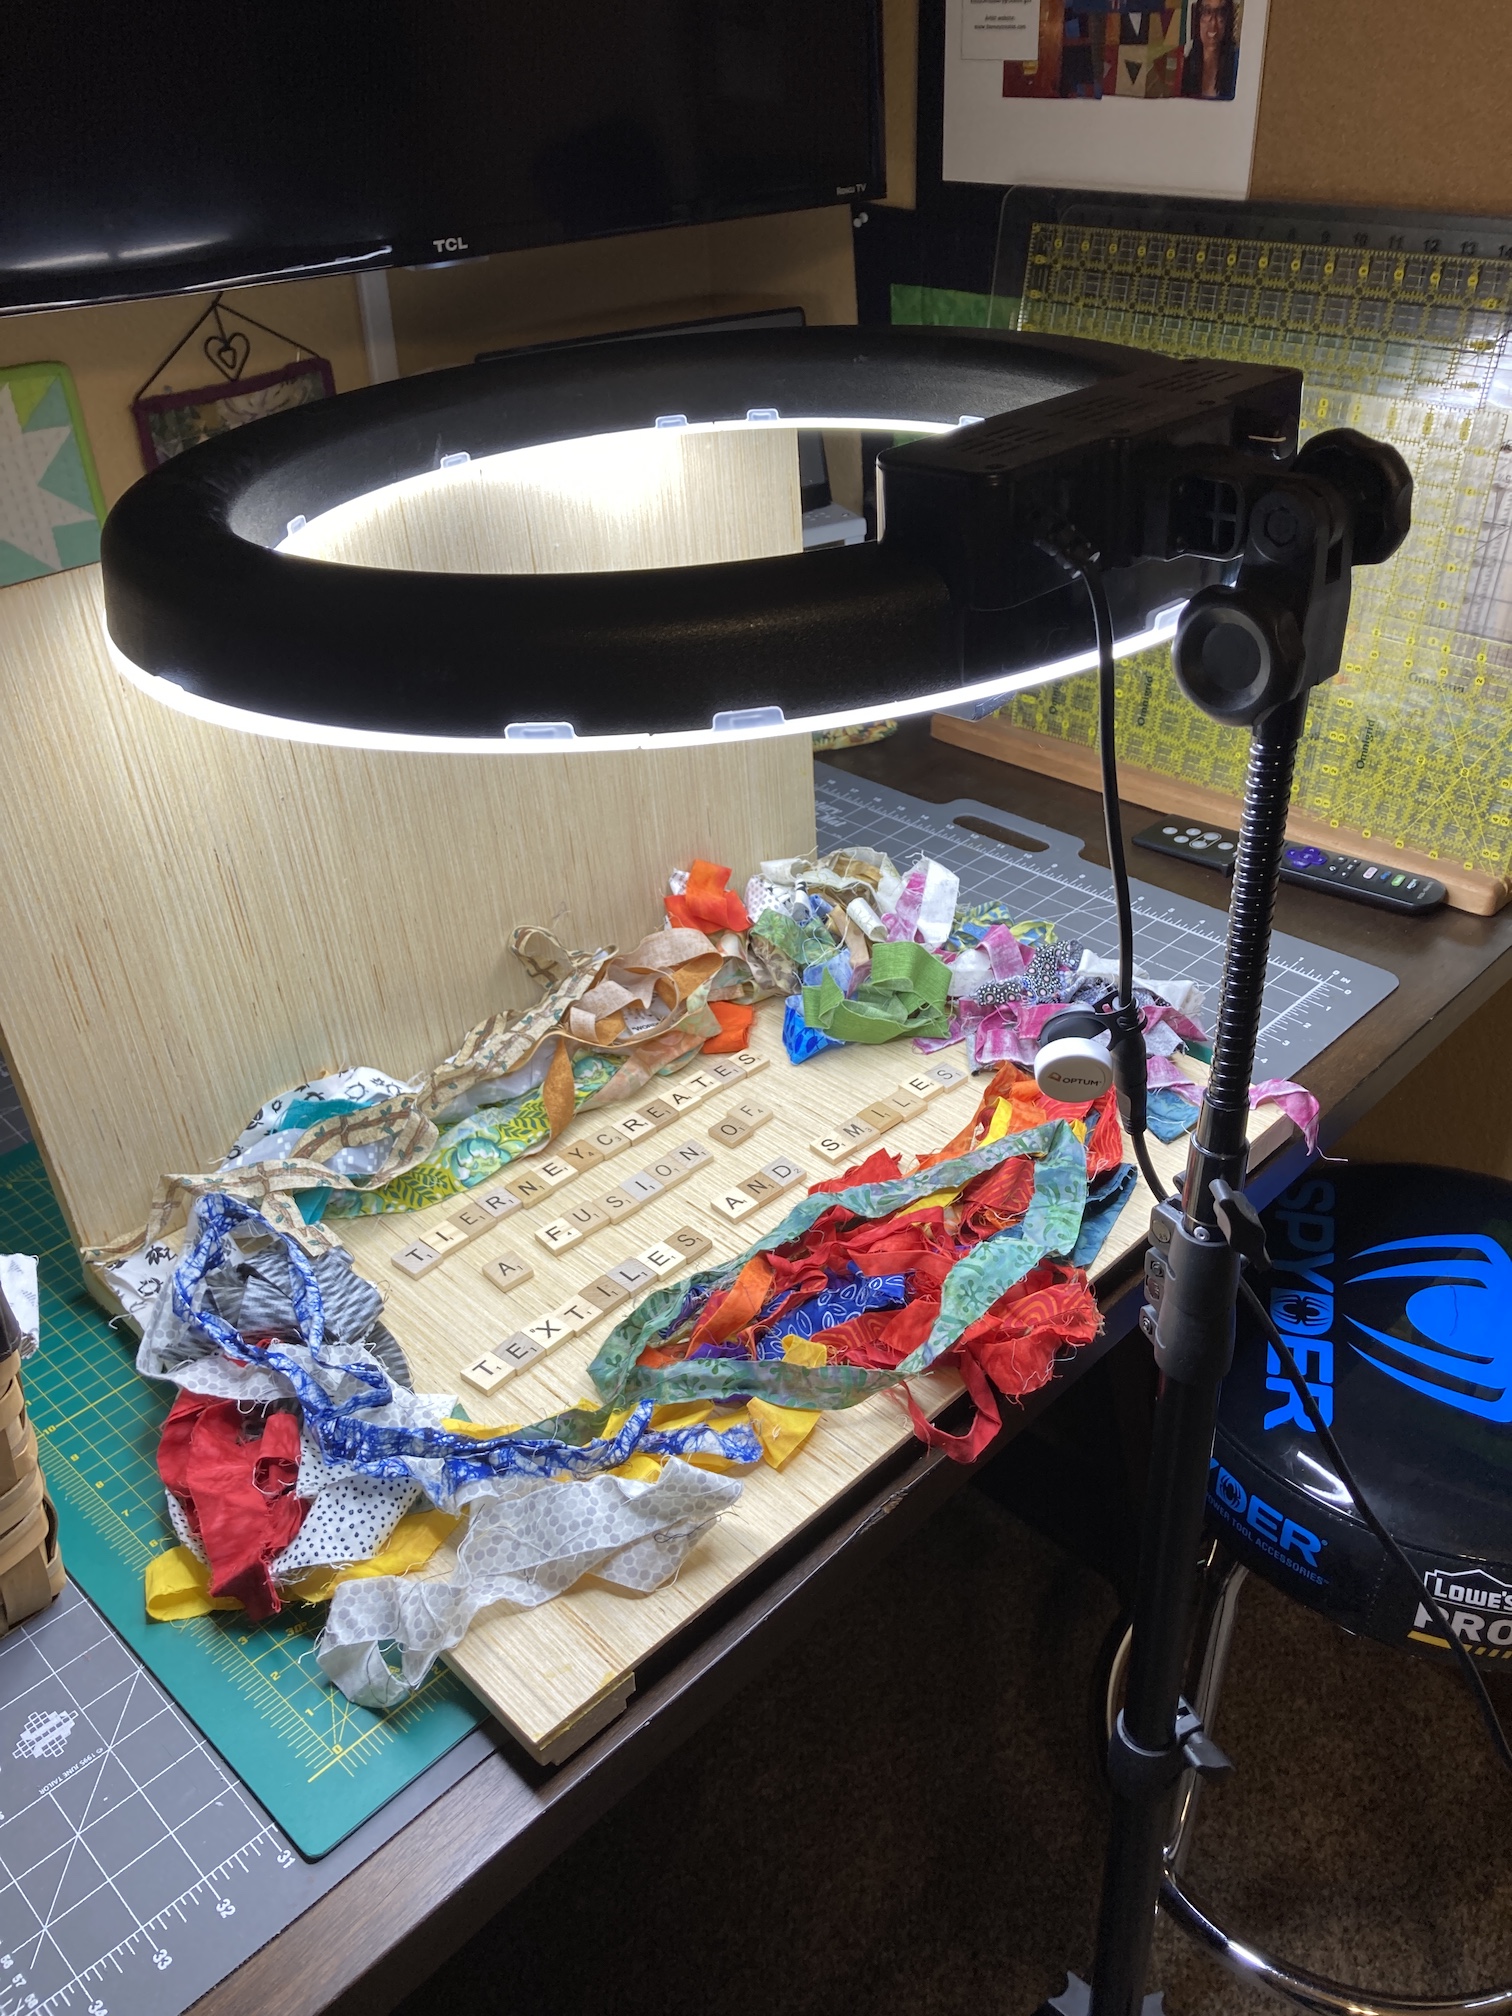
Also recently my partner John made me a photo platform to use for photographing items for my tierneycreates Etsy shop (which I hope to re-open this year). Combined with my new Ring Light (which I am still learning to use) I hope I will have decent photos for my Etsy listings!
So I came up with the idea of spelling out my company name (tierneycreates) with my tagline (a fusion of textiles and smiles) in Scrabble letters, and adding some textiles!
For the “textiles” I dug into my basket of fabric scrap strings:
Here is the photo shoot:
Here are two version of the resulting new logo I am thinking of trying out (and if you can’t tell any difference don’t worry it is subtle – they are each cropped slightly differently):
It’s definitely “organic”!
So what do you think? Does it look like I was Drinking While Designing (a “DWD”) a logo?
It’s been a while since I guest blogged. Hi there – it’s tierneycreates Beastie and I wanted to share some changes to my home (Tierney’s studio).
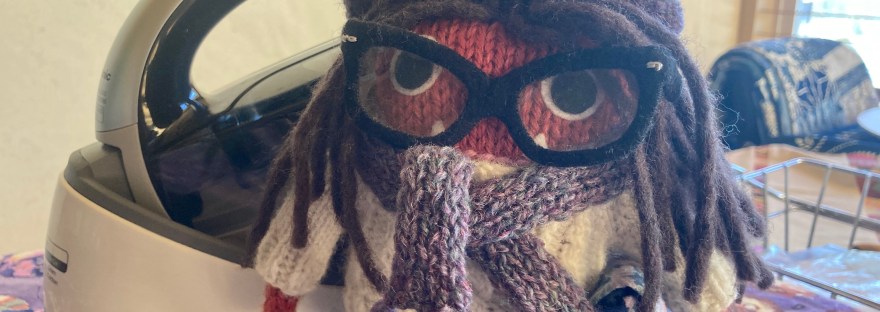
I’ve titled my post “From the Cutting Table…” because my dog Mikelet and I now live on the cutting table in Tierney’s studio:
In case you are new to this blog, here is a little background on me:
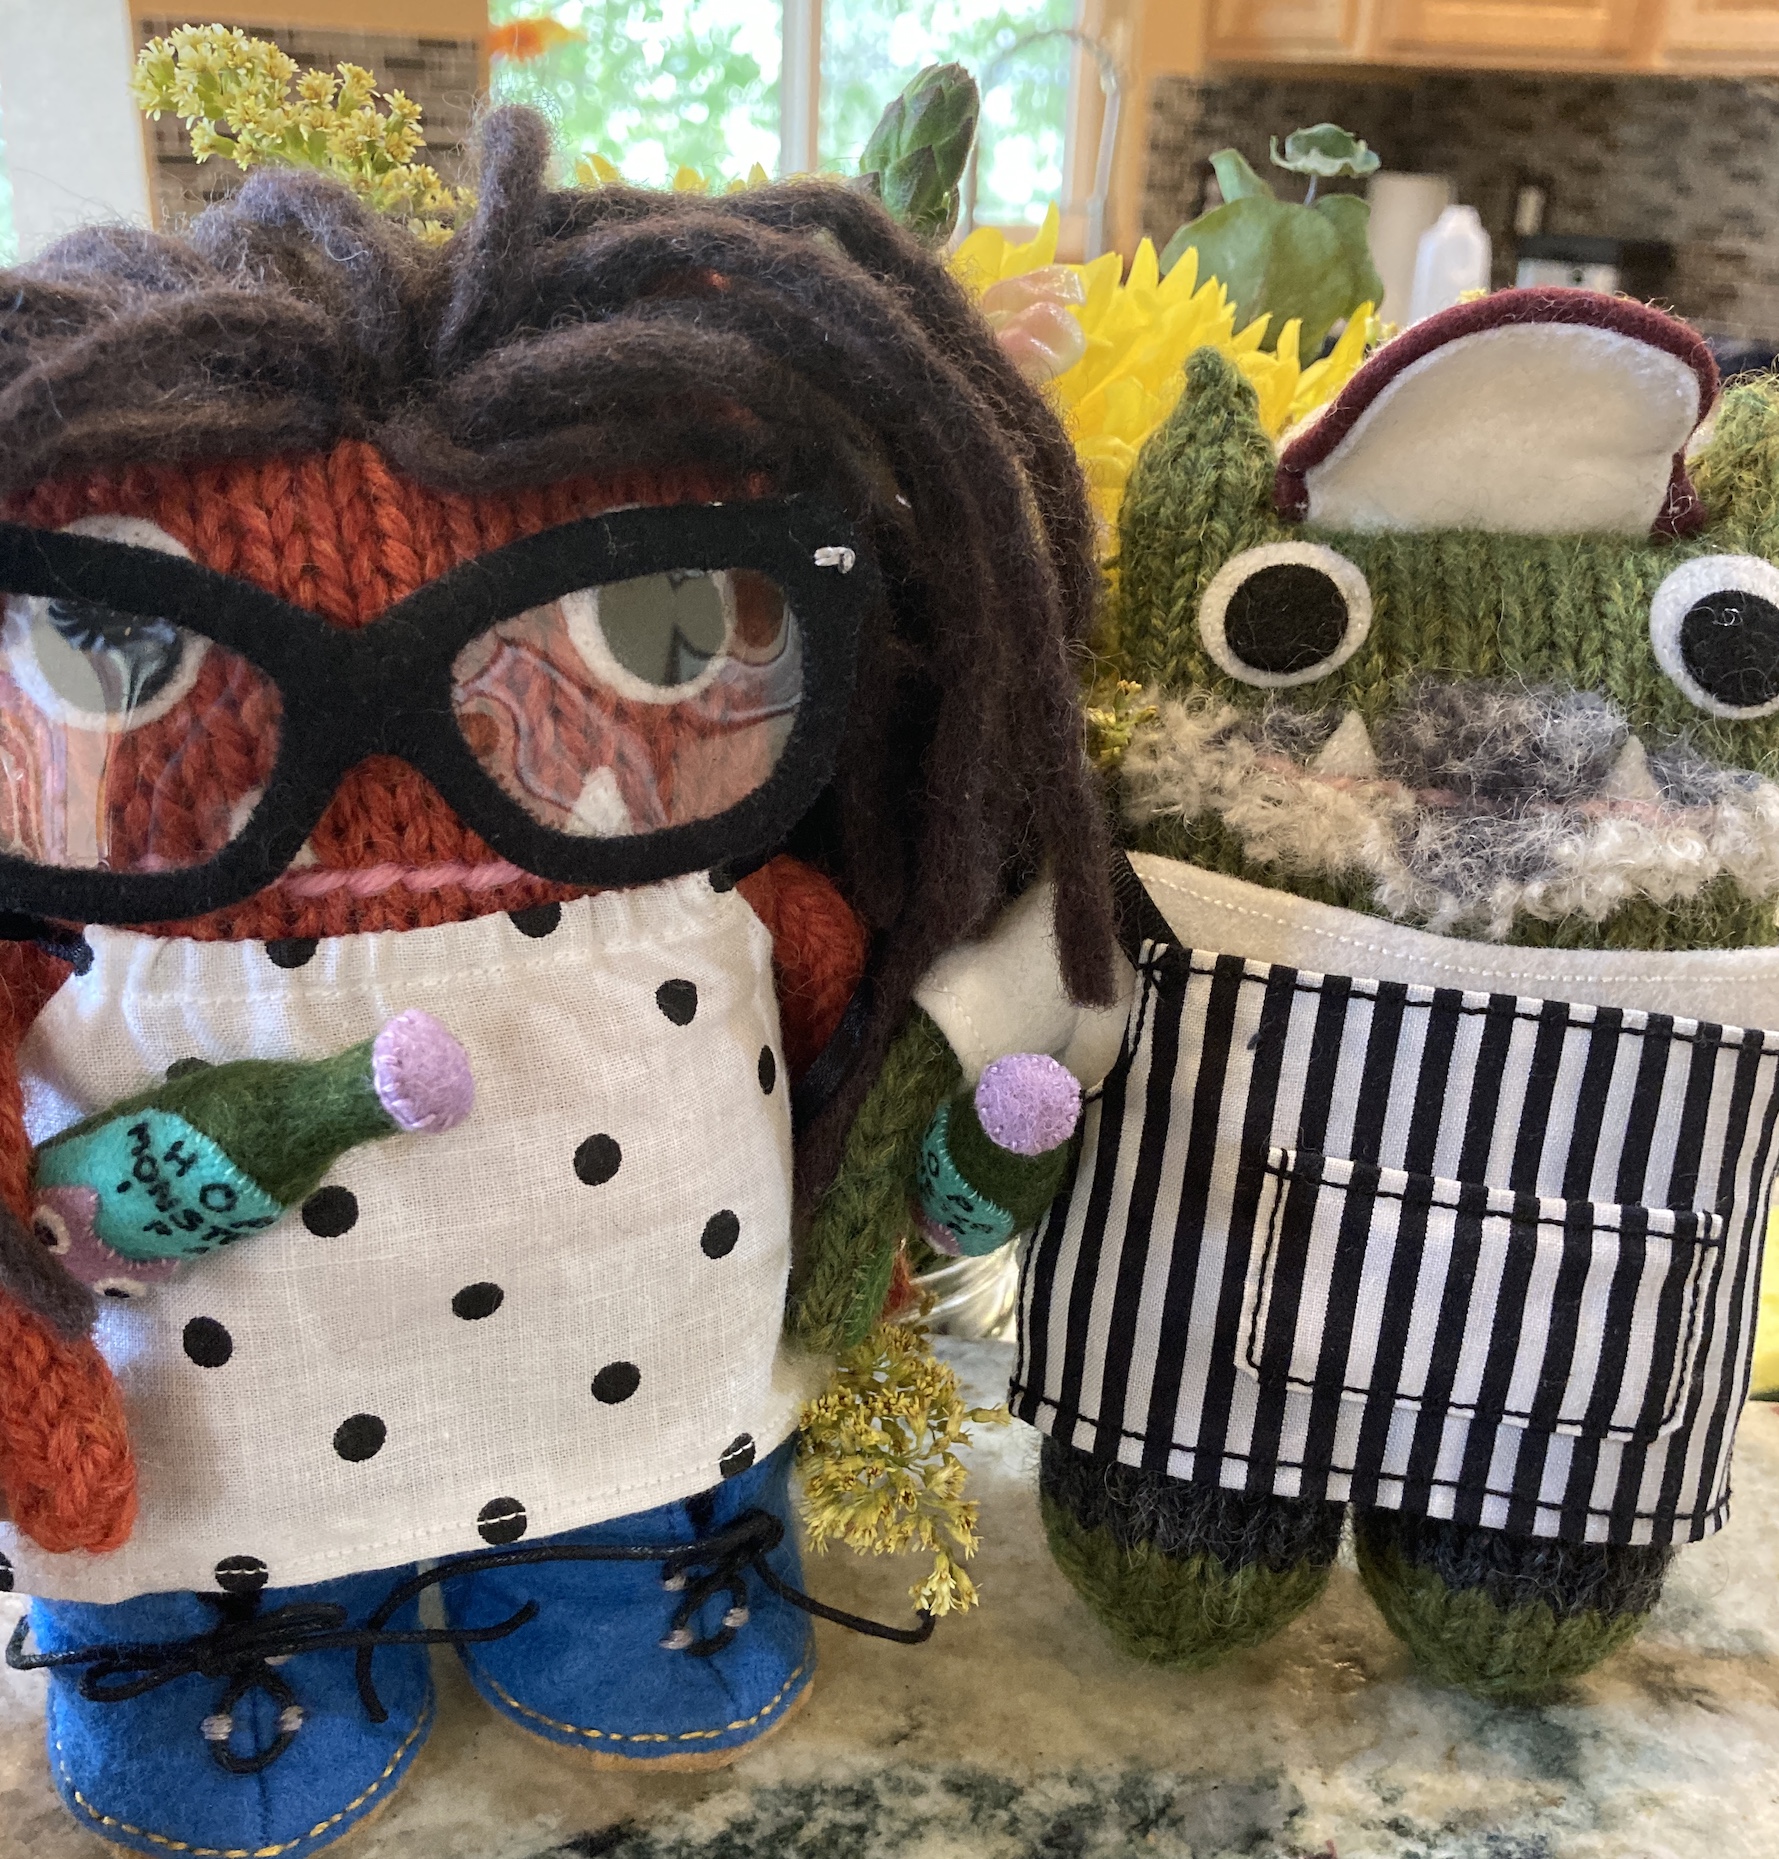
My name is tierneycreates Beastie and I am a Monster, but the good kind of Monster. I was made by Helen of CrawCrafts Beasties in Dublin, Ireland. You can read my story at I’m A Monster!!!. You can also check out the other posts I’ve had to guest blog on (i.e. when the human Tierney falls off the blogging-wagon and I have to help) in the series of posts: Beastie Adventures.
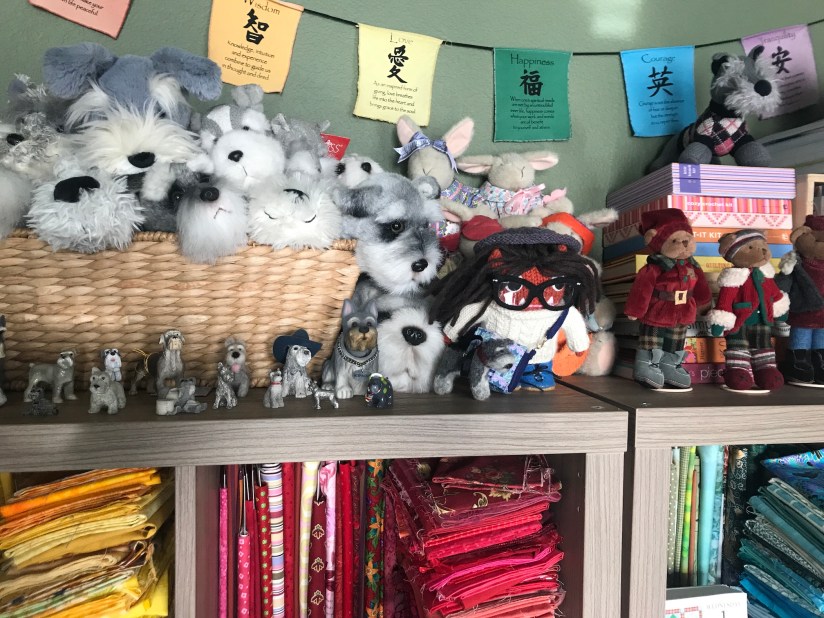
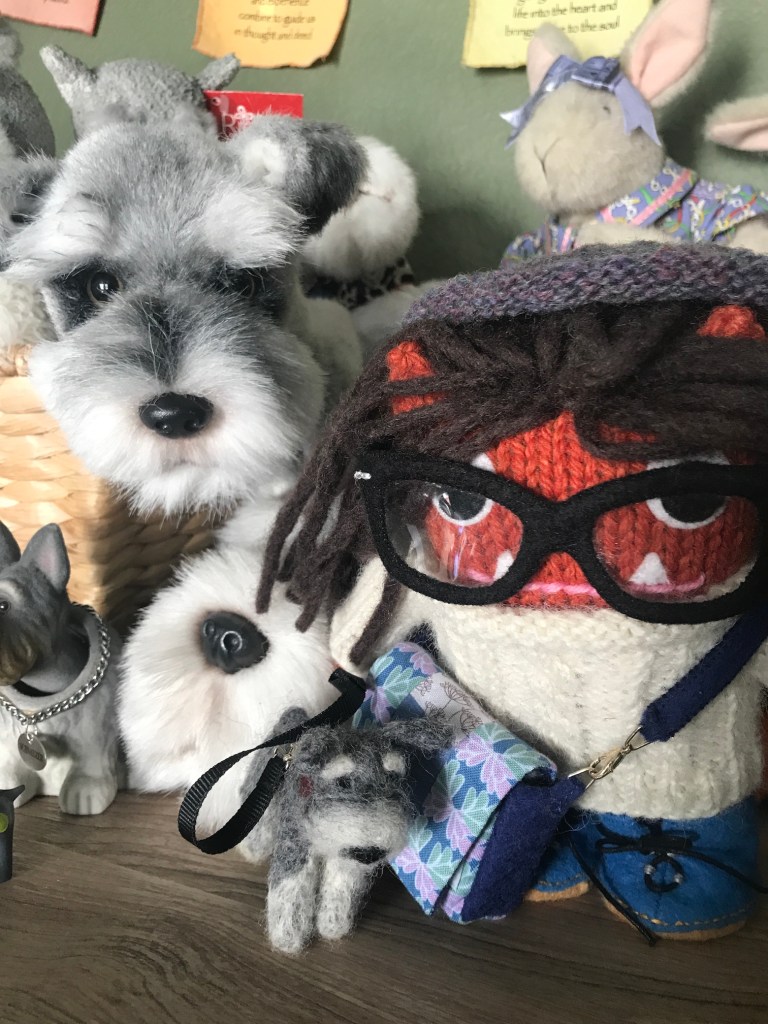
I like the cutting table, I have plenty of room and it is not too scary like it was when Tierney had me next to all those creepy giant schnauzers (see January 2020 post Guest Blogger: What the heck is going on here?)
Can you see the look of sheer terror in my eyes??!?!
Whew, glad those days are over! Oh you might wonder what became of my fiancé John Beastie (see post Guest Blog Post: Mail Order Groom), well he spends most of his time in John the Human’s office downstairs. Tierney and John Human feel it is best not to let a couple of Beasties spend too much time together as mischief is certain to happen! (Just wait until we get married, they’ll never keep us apart!!!)
Here we are in July 2020 celebrating our engagement
Oh I think I am getting off track on my post…
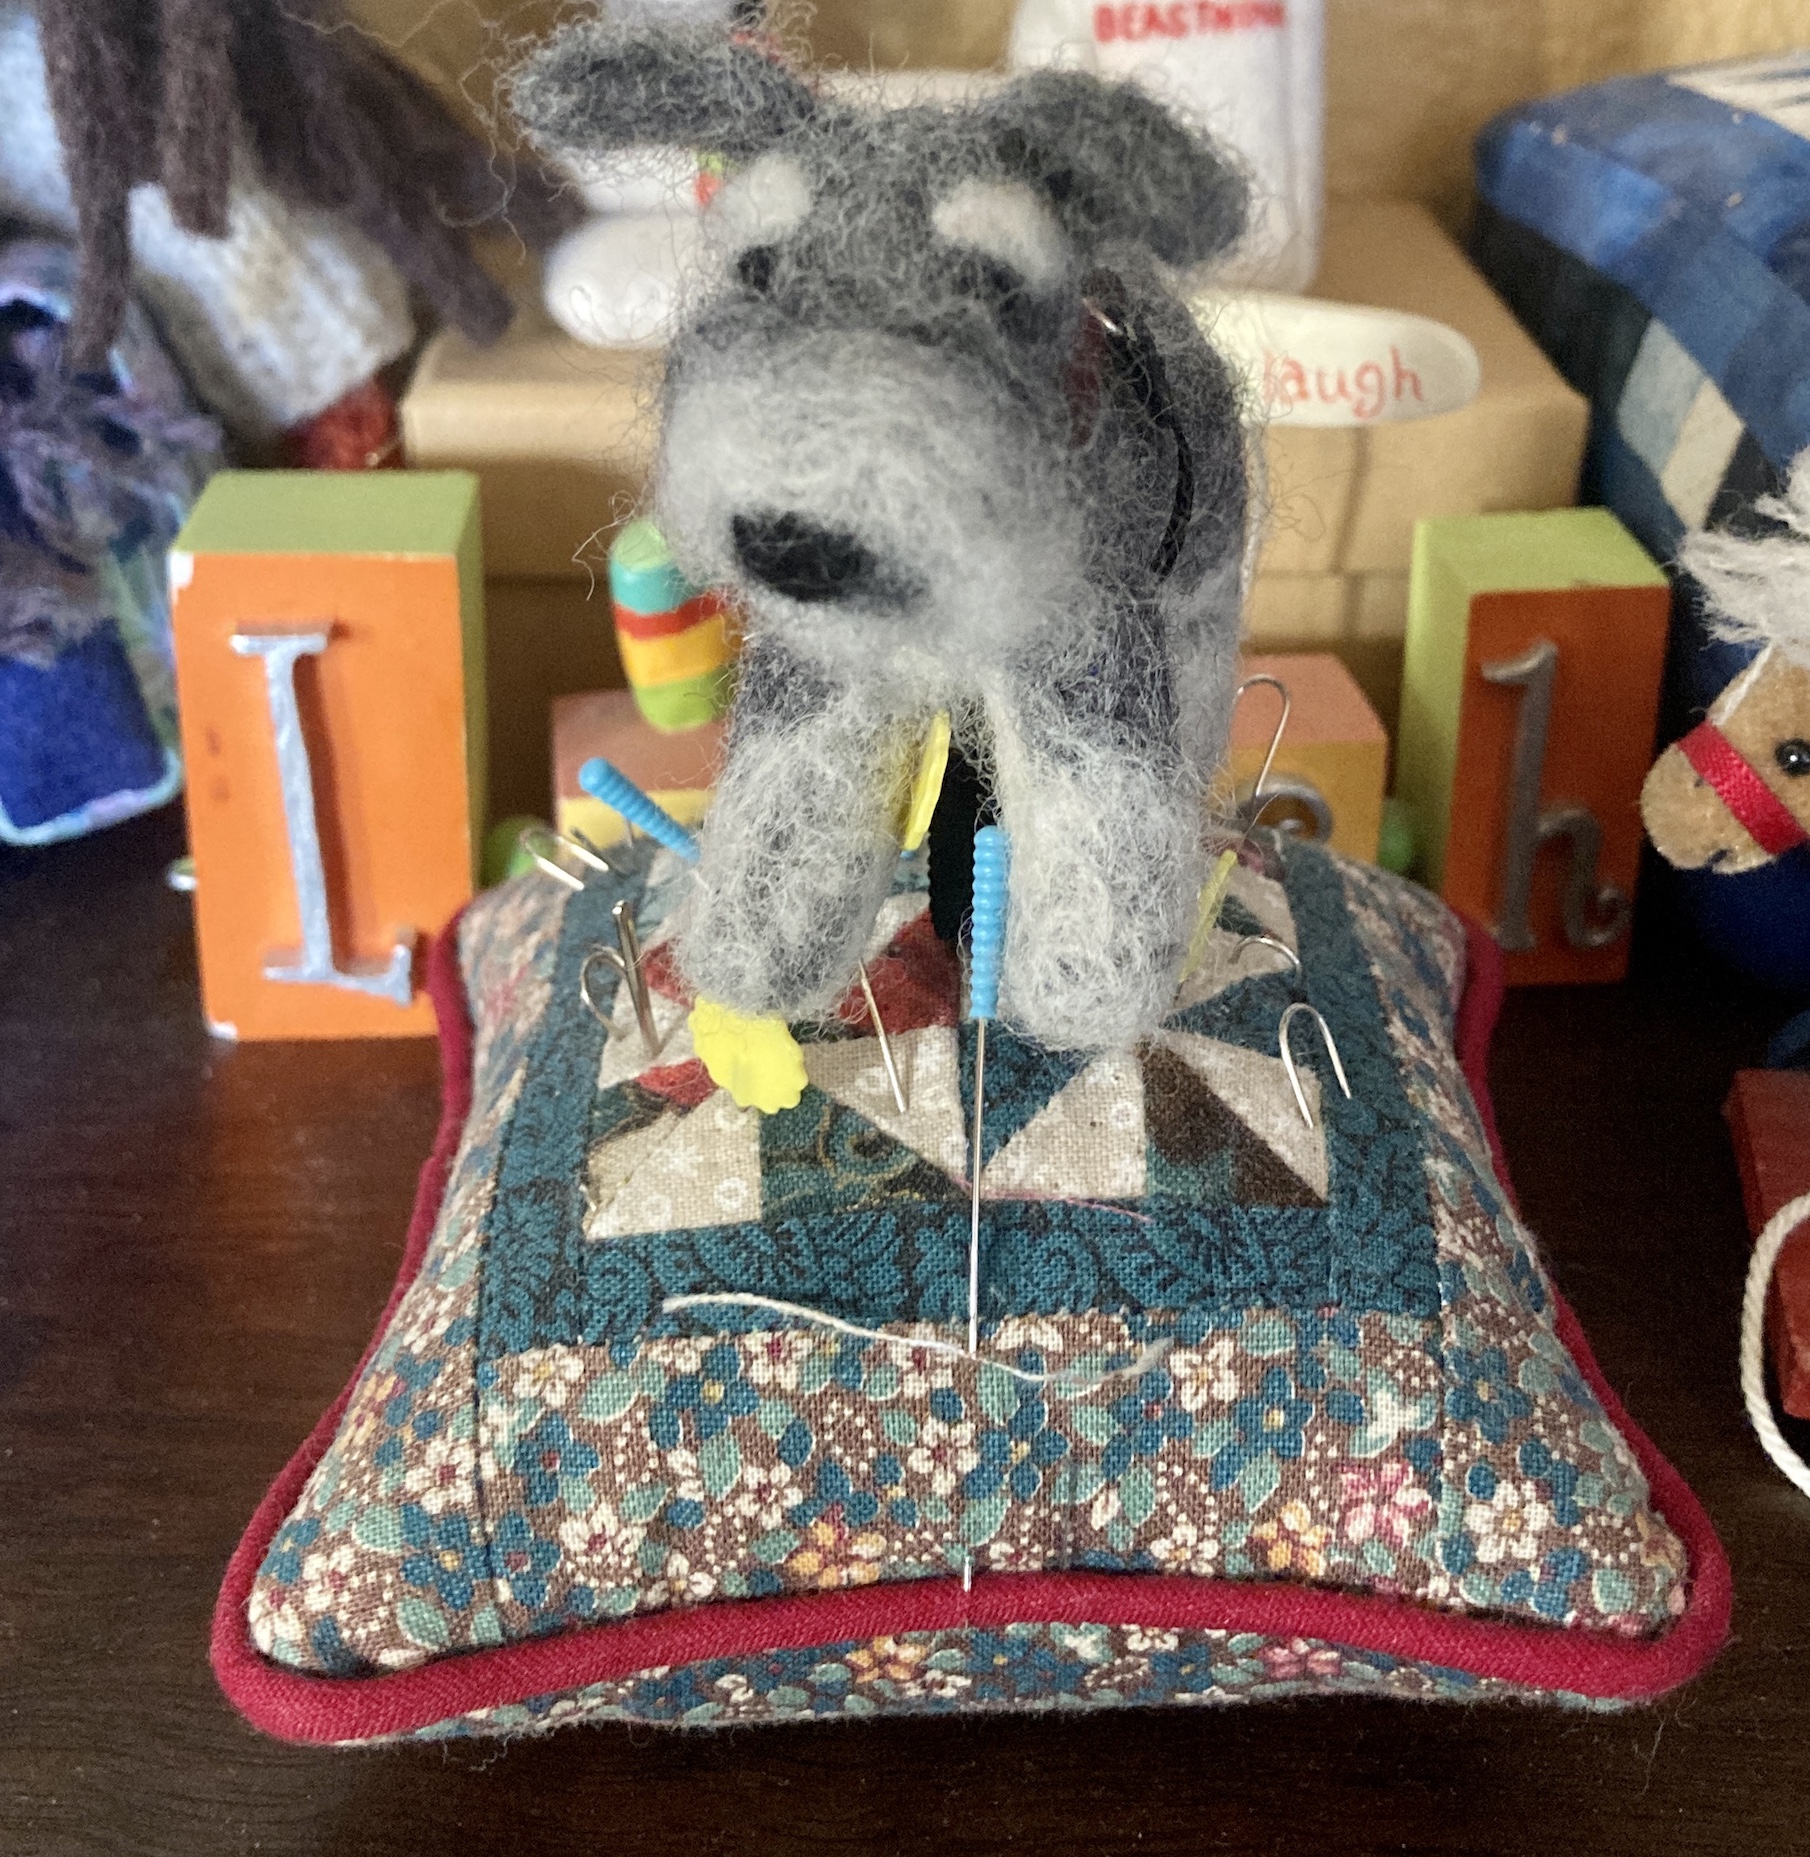
So yes my dog Mikelet and I spend most of our time on the cutting board in Tierney’s studio and we like it, though I have to keep an eye on Mikelet because sometimes he plays in the pincushion and I think that might be dangerous.
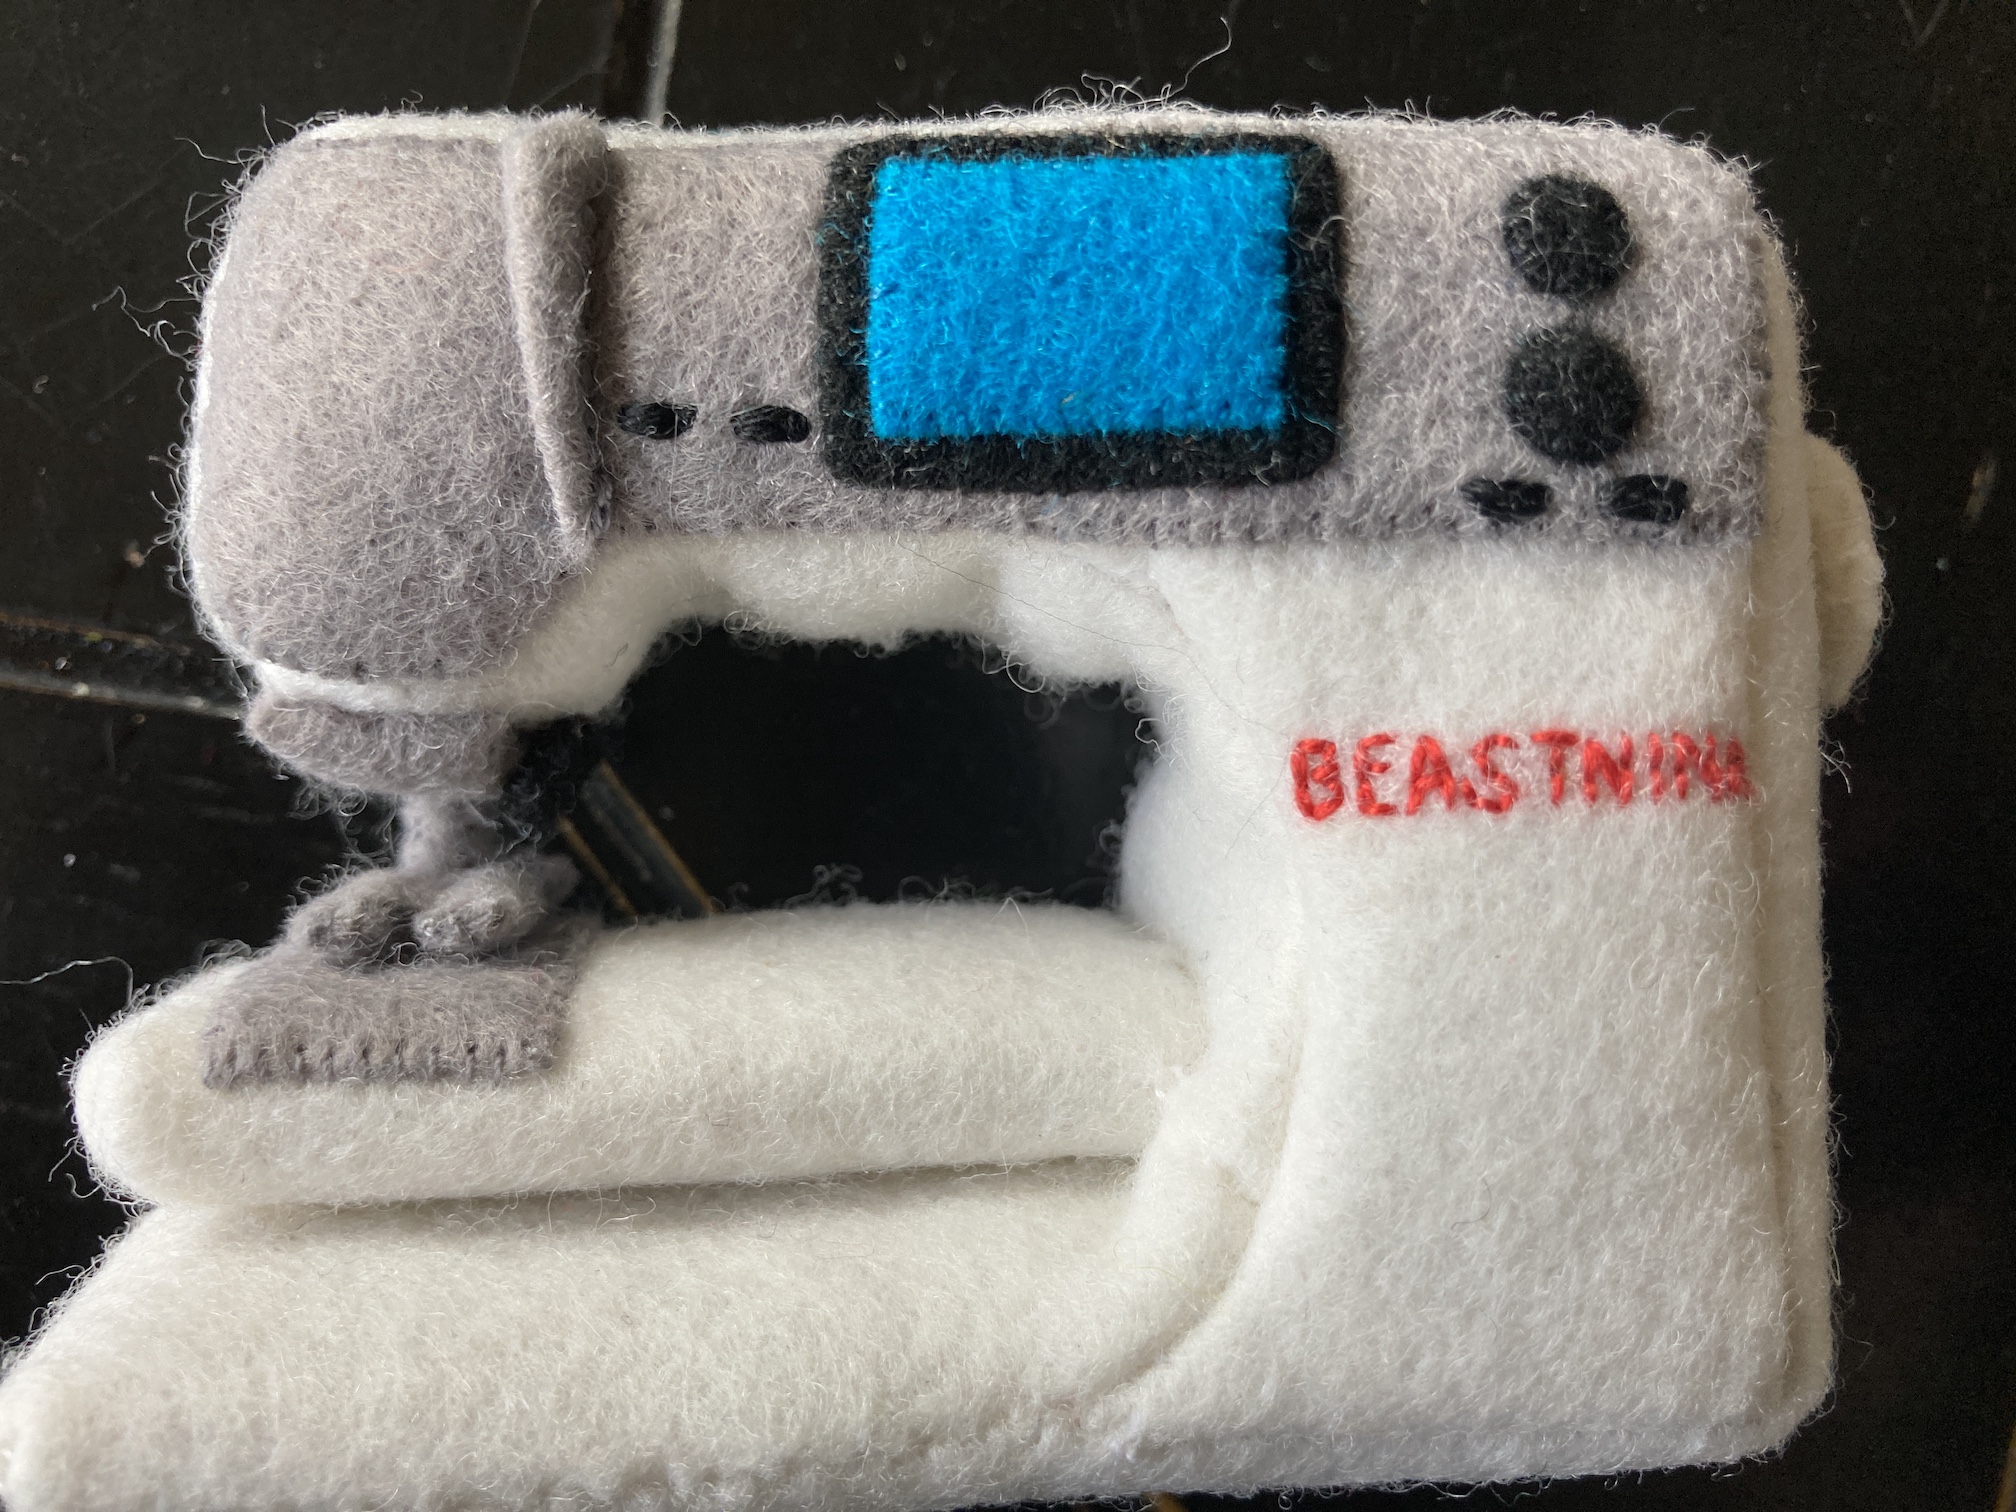
By the way my maker Helen of CrawCrafts Beasties made me my own sewing machine so I could help Tierney sew projects and once I figure out how to use it maybe I will have a guest post about my projects instead of Tierney’s!
Now what I was I originally planning to tell you? Beasties are easy distracted. Oh yes, I wanted to tell you about a recent change to my home the tierneycreates Studio.
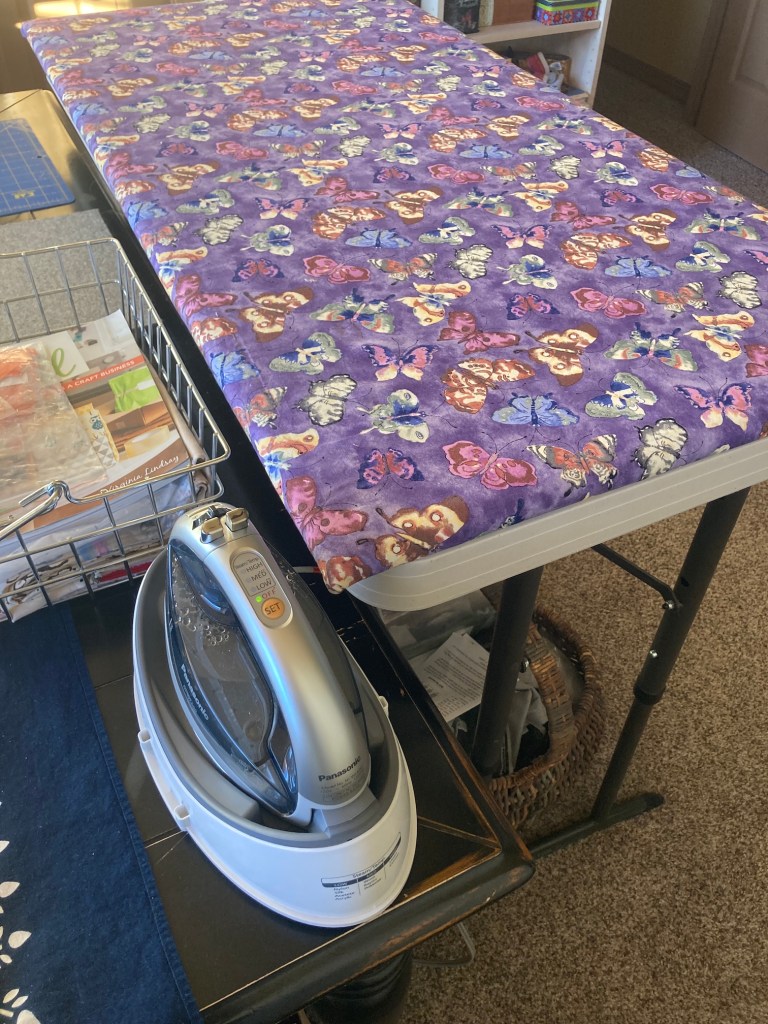
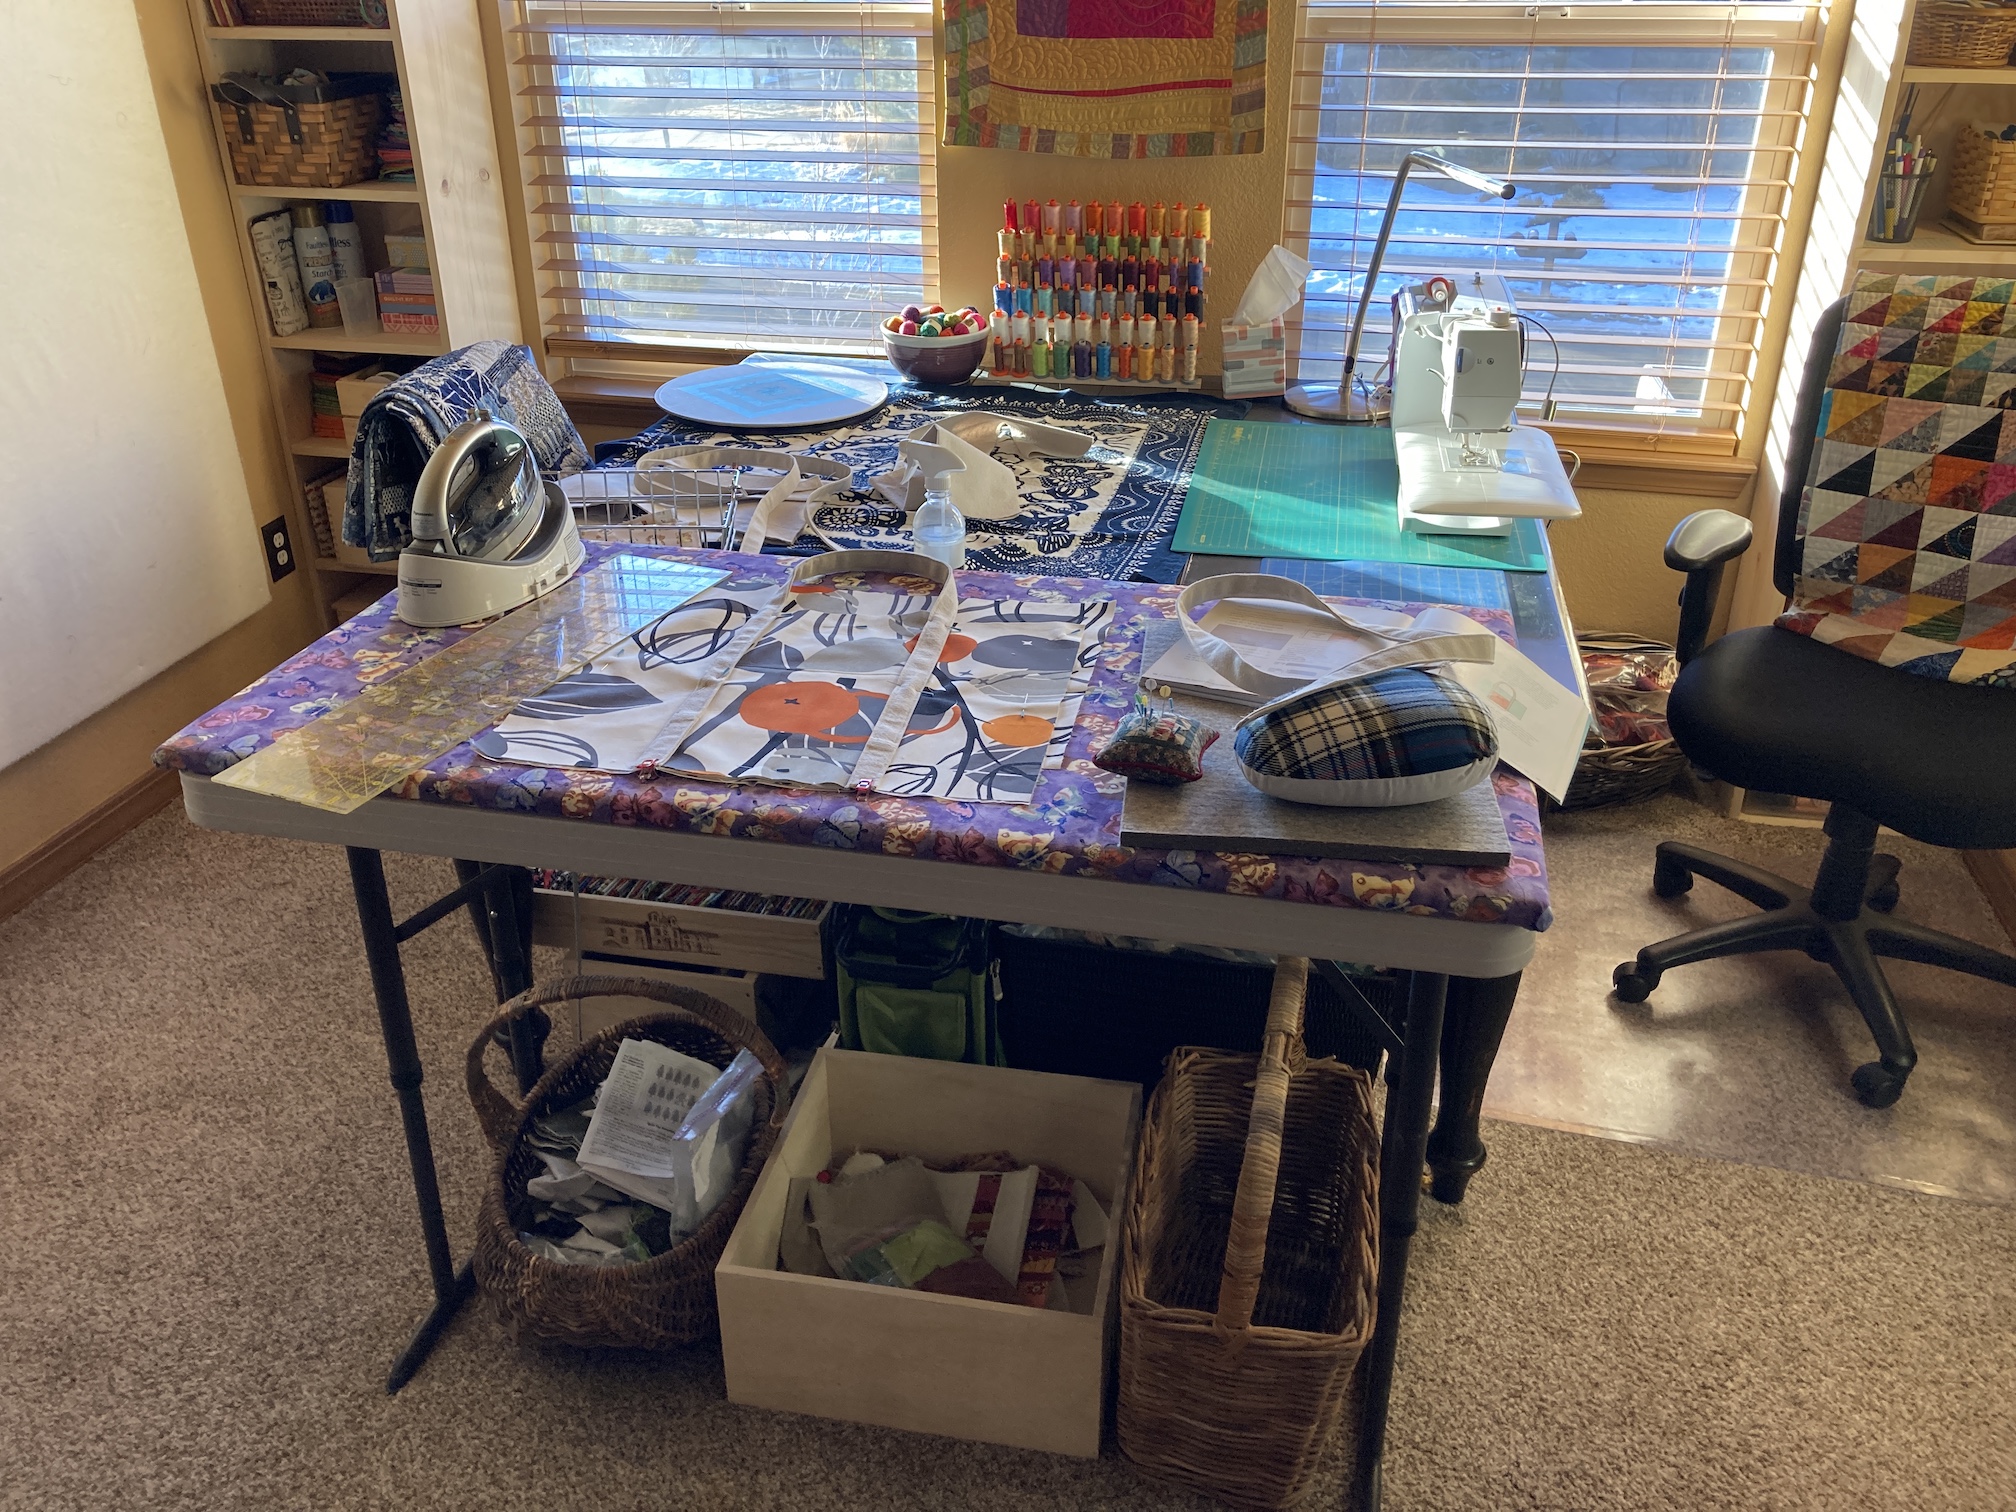
John, Human John not Beastie John, Tierney’s partner, recently made an ironing board table for the studio. Before the new ironing board table, Tierney was using a traditional ironing board and iron.
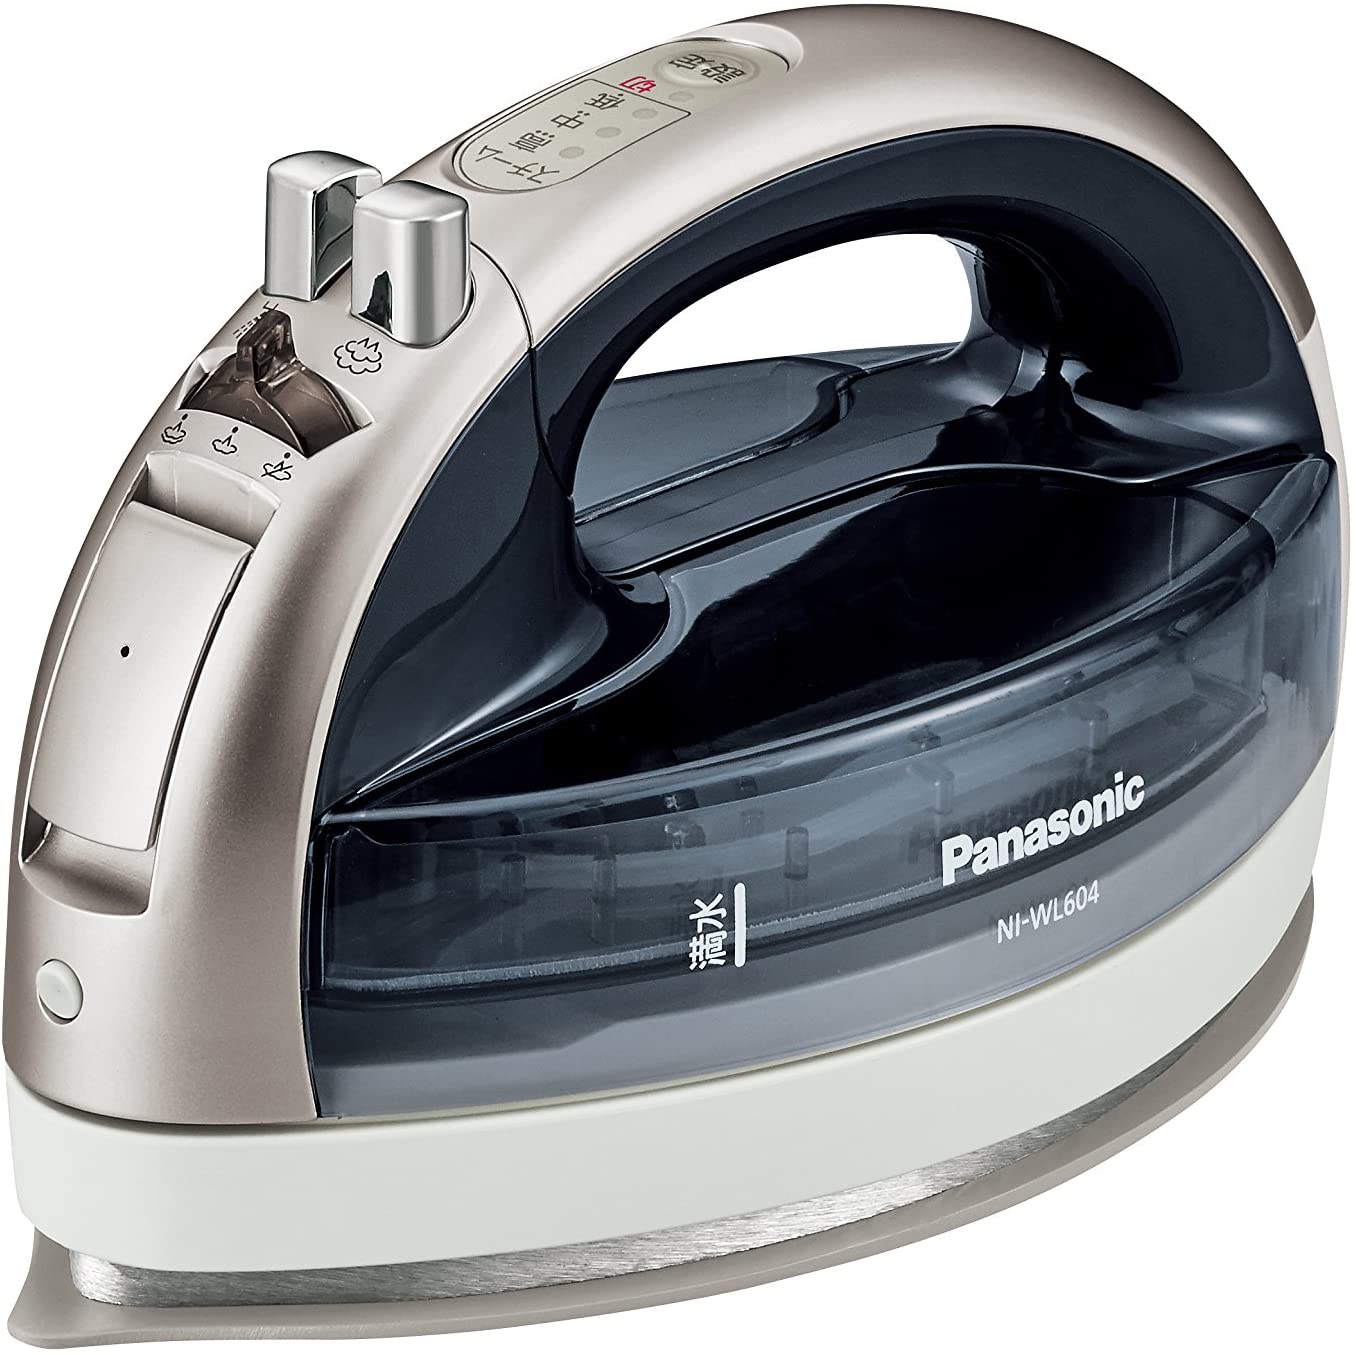
What started this change was for Christmas John got Tierney a cordless iron:
Perhaps you wanted to see a full image of the iron but isn’t the iron much cuter with me in front of it?!!?!?
Okay here is the iron:
Image from Amazon.com
Now that Tierney had cordless iron she had more flexibility on where her iron could be located, so John (again I mean Human John as Beastie John could not have handled the tools involved which are bigger than him…) built her a 2 foot by 4 foot ironing table for her studio.
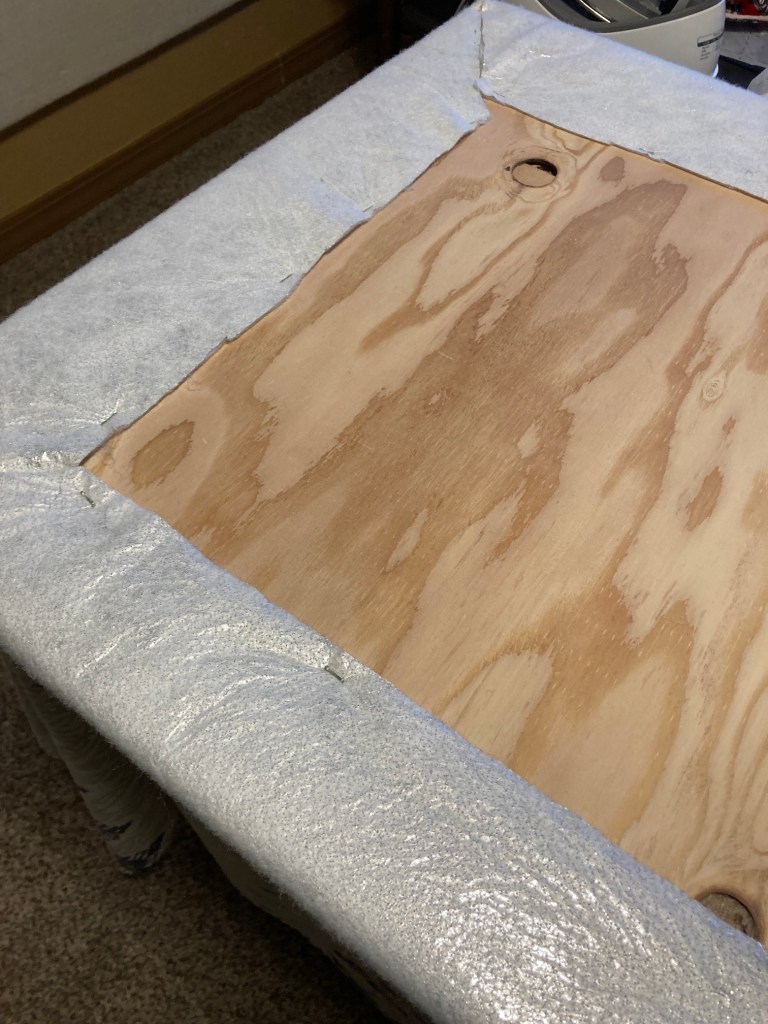
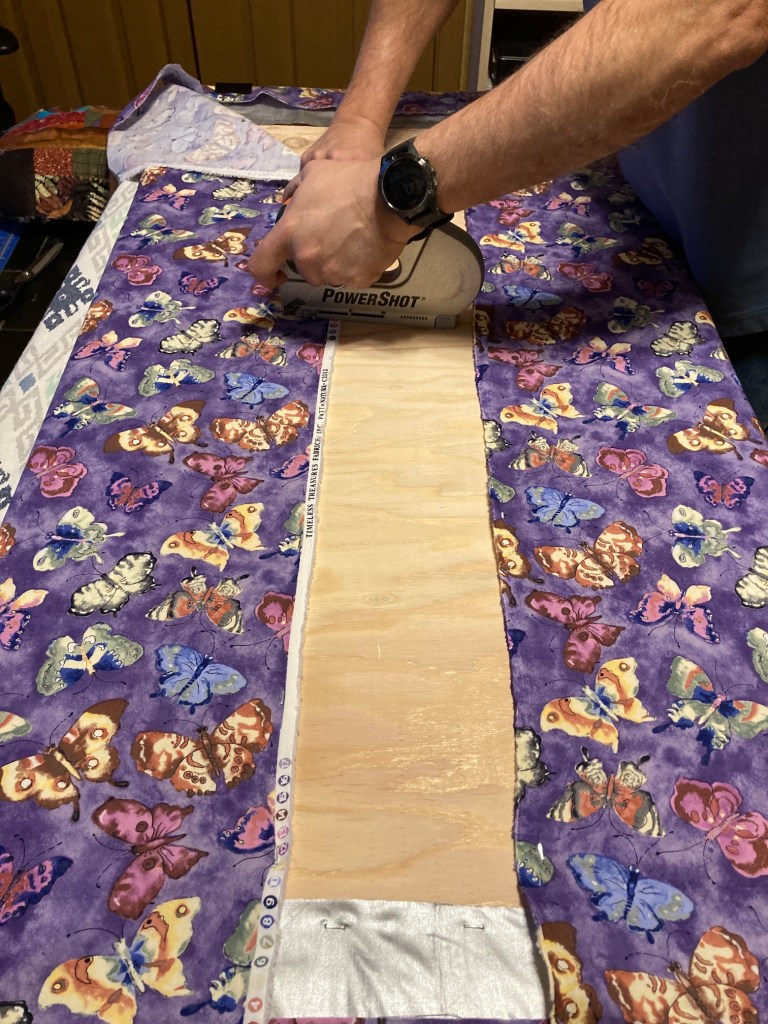
First John cut a piece of plywood the same size as the table base being used (an old counter height folding table). Then John and Tierney wrapped and stapled four (4) layers onto the plywood base:
Batting
Insul-Brite heat resistant batting
Heat resistant fabric (like the type used for old ironing board covers)
Cotton fabric
Tierney is really pleased with her new ironing table and she used it while making all those tote bags she talked about in her recent post (see post Tote, Tote, Tote Bags).
So that is the big change to the studio.
Somedays I get tired of the studio and miss the days when I used to go on adventures with Tierney. The pandemic has slowed down my adventures. Tierney promises that soon we will resume our adventures, I just need to be patient.
For now Mikelet and I will wistfully stare out the studio window…
Postscript
I am going to close this guest post by sharing a secret: Tierney is sort of a slob in her studio.
Look at these mini Toblerone candy bar wrappers she left on the cutting table!
I caught Mikelet sniffing them, luckily there was no candy in them as chocolate is bad for dogs.
I hope she will be more respectful of my space and clean up her wrappers!
Yes there are a lot of very strange things going on in my country (U.S.) but I am only going to write about making tote bags.
Lots of tote bags…
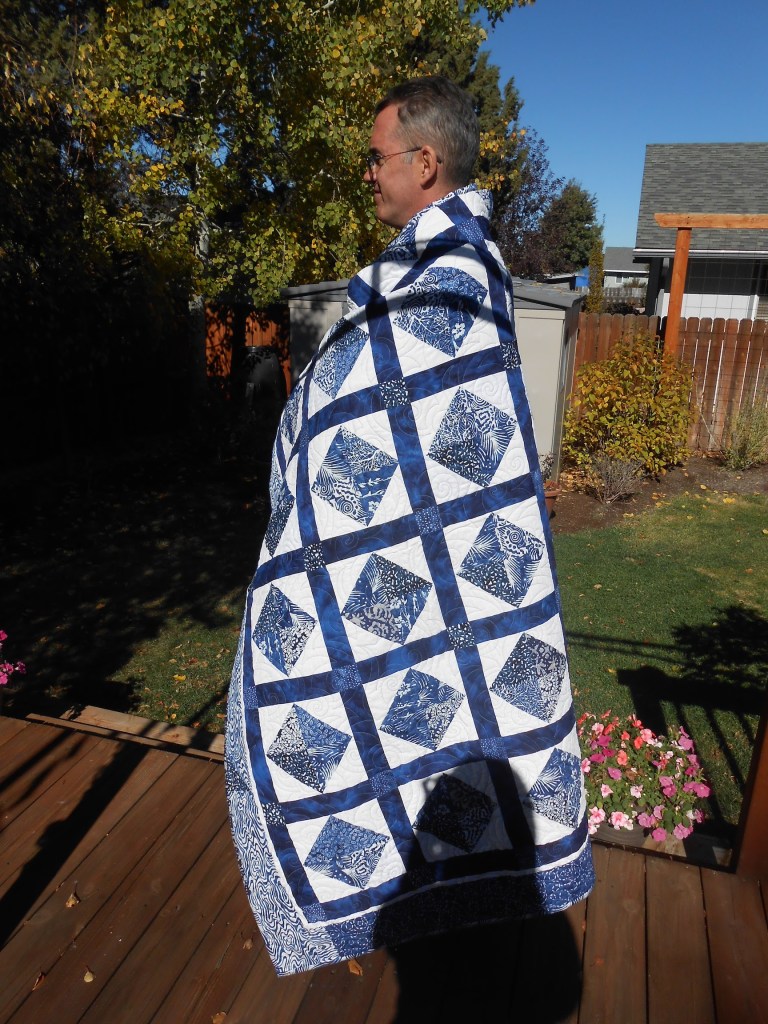
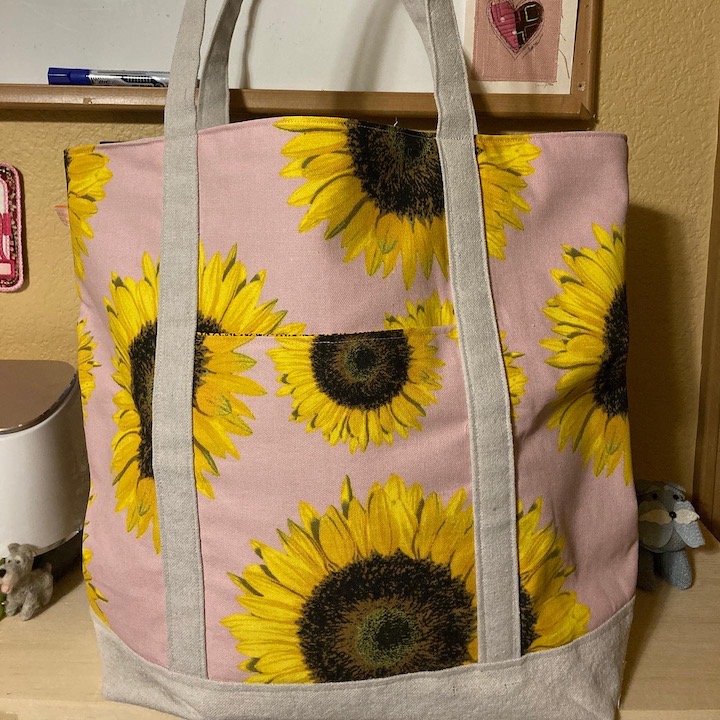
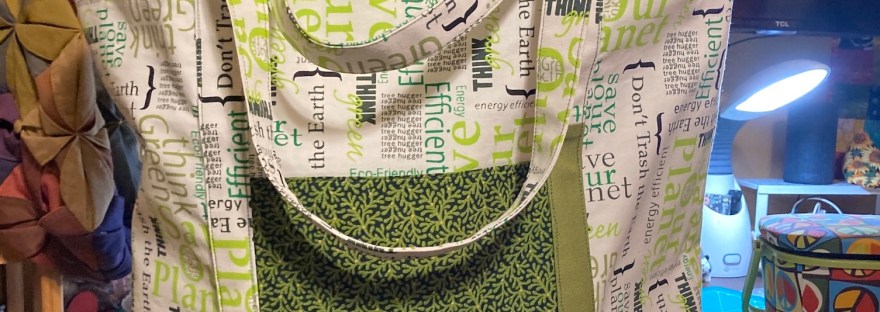
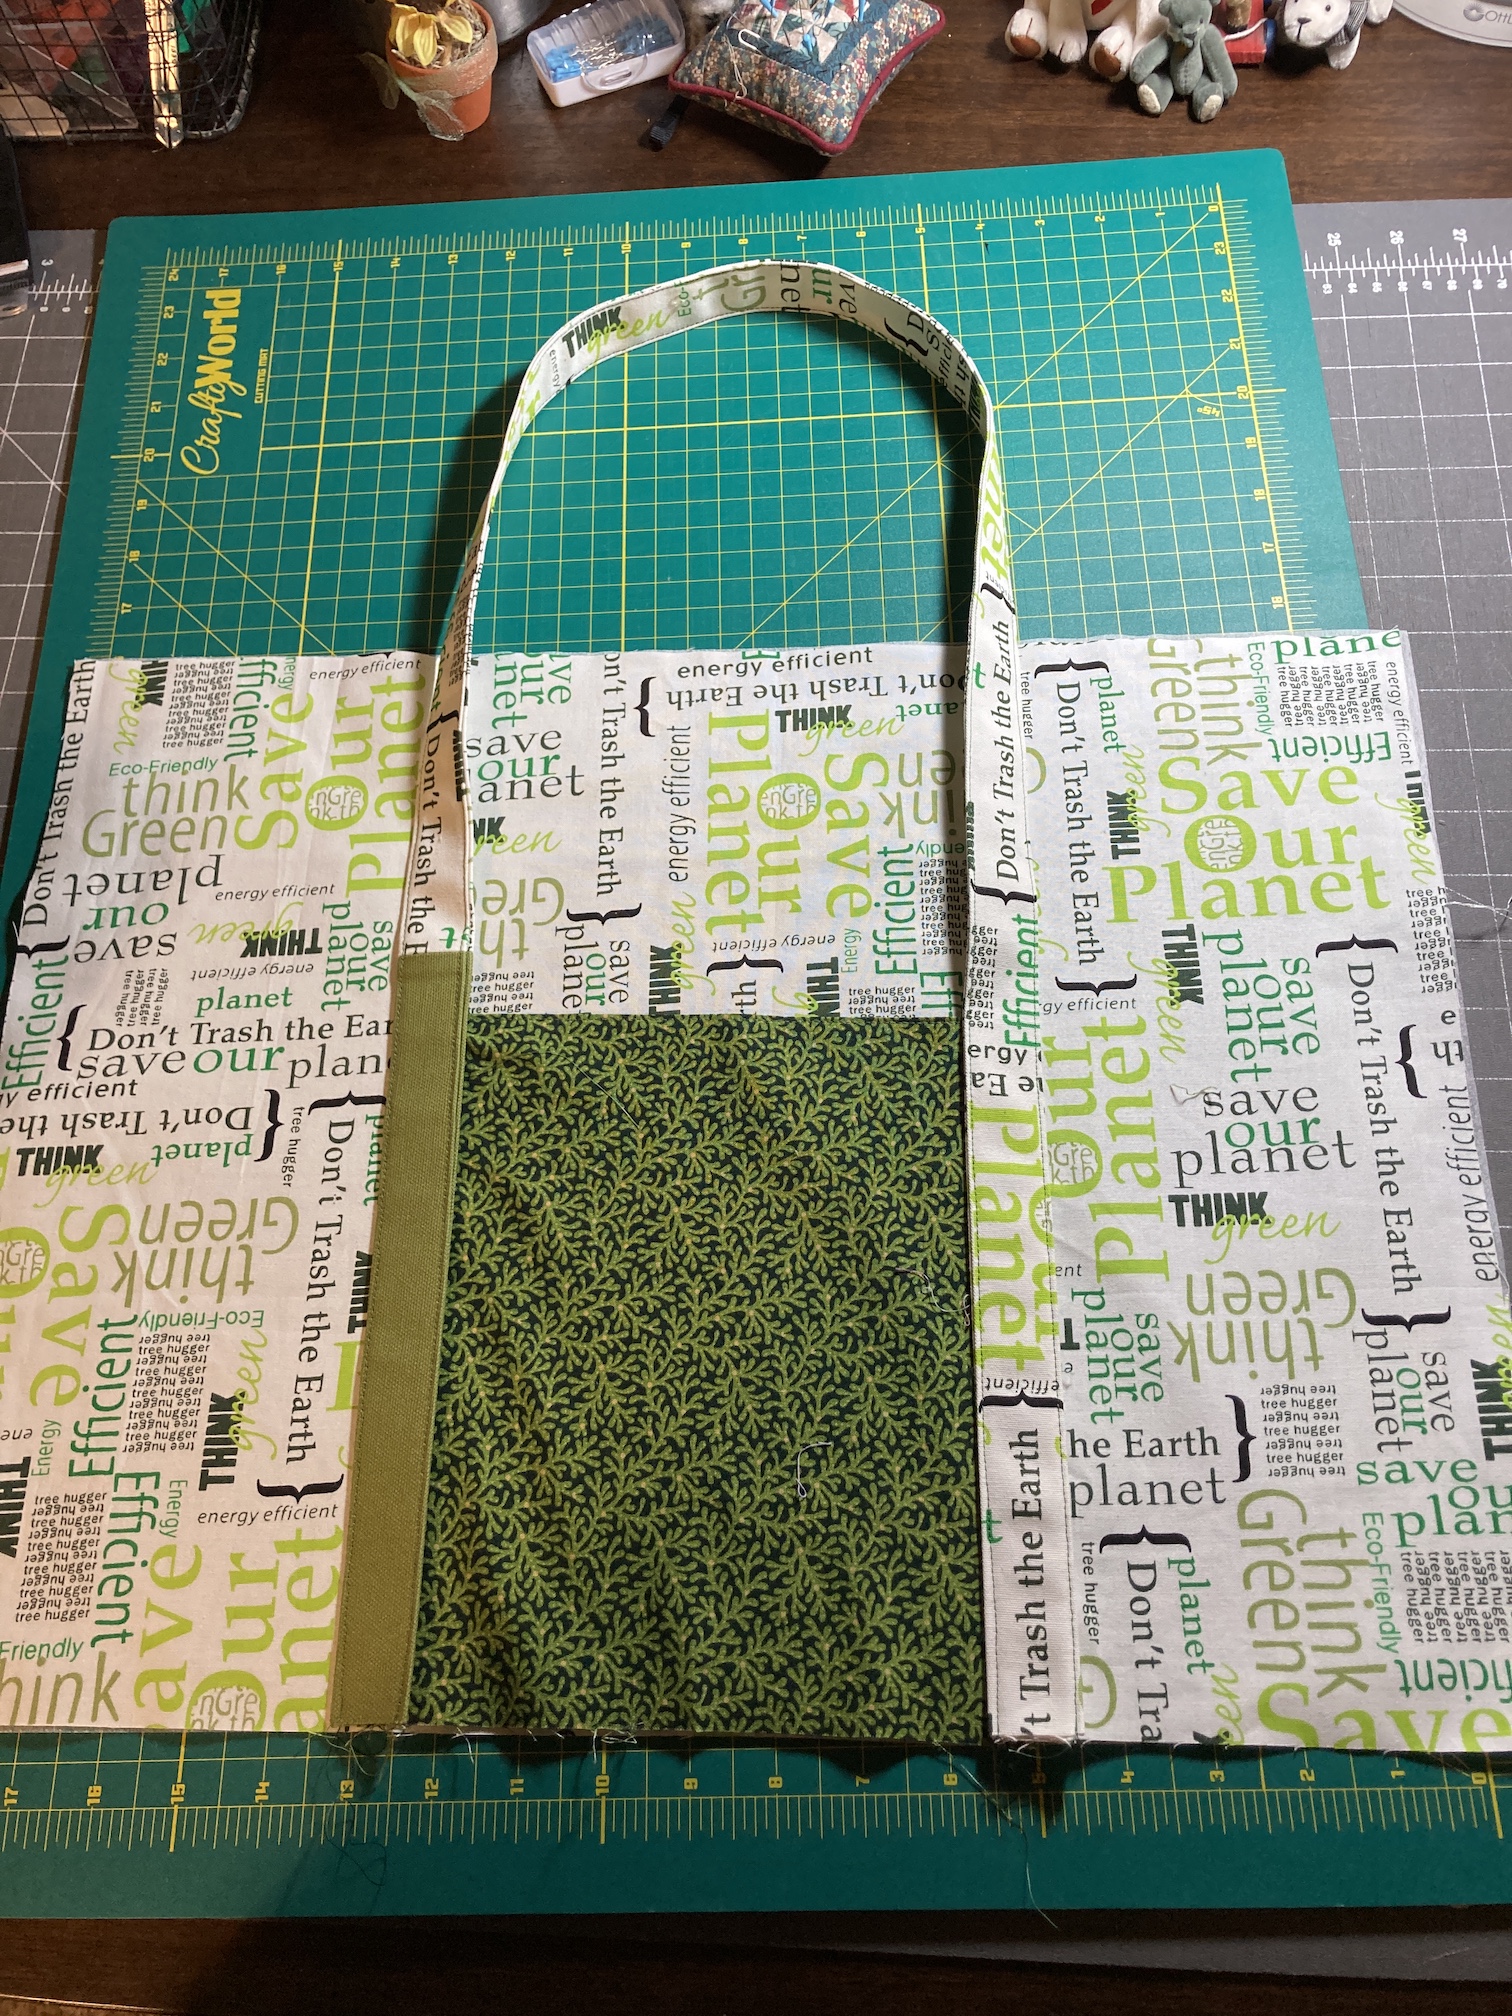
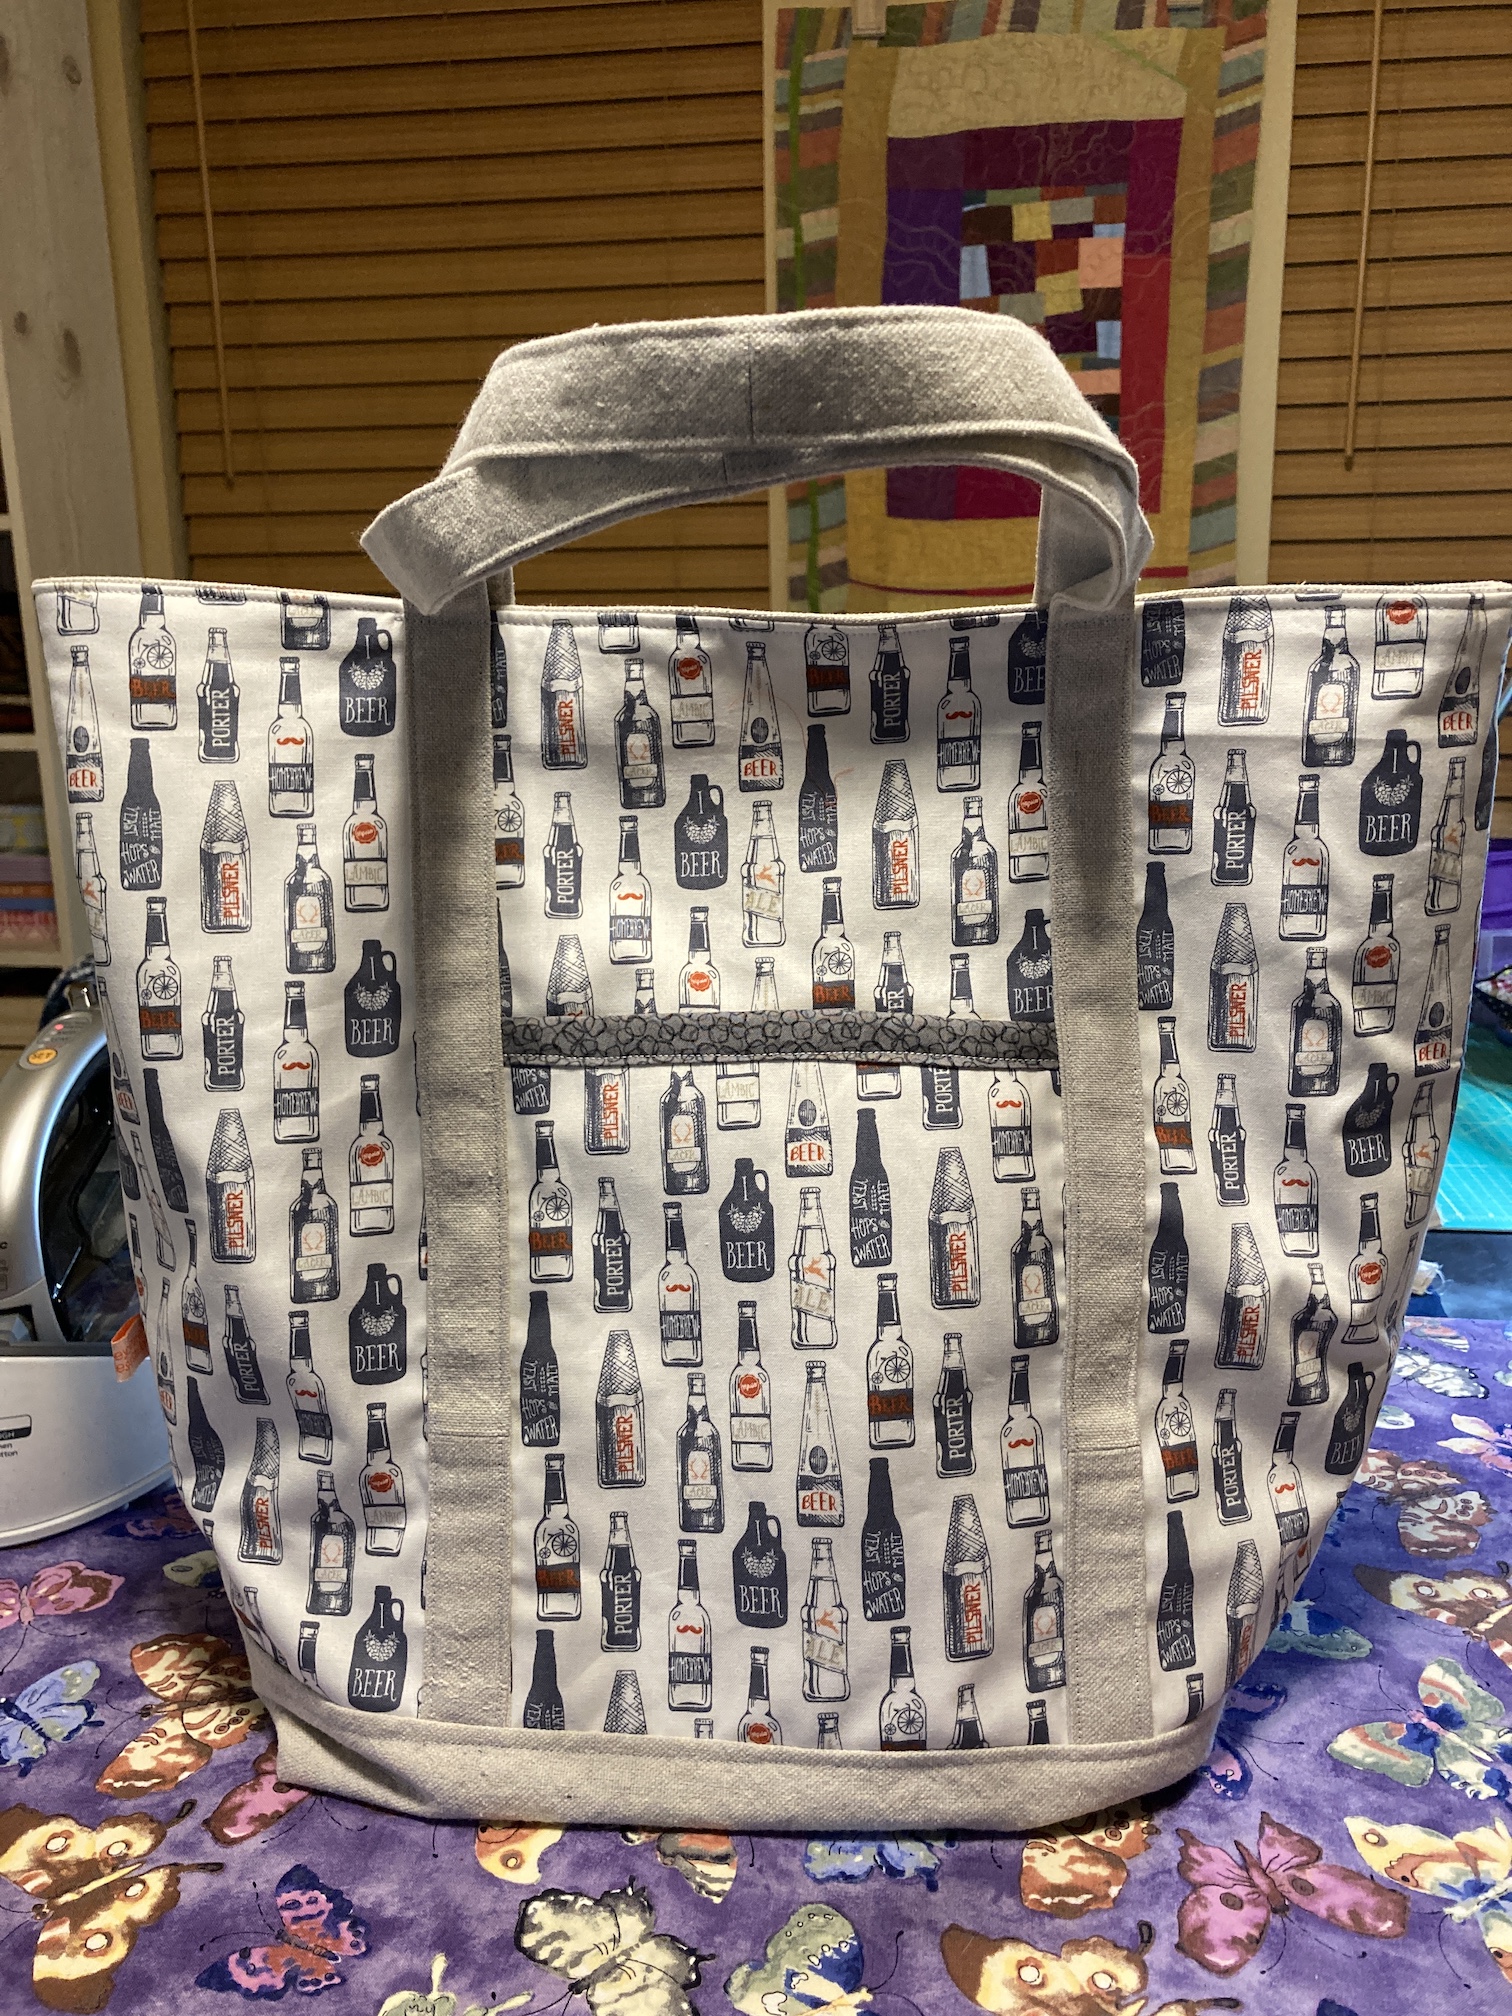
It began with making a Christmas gift for one of my partner John’s son for Christmas who is very eco-conscious:
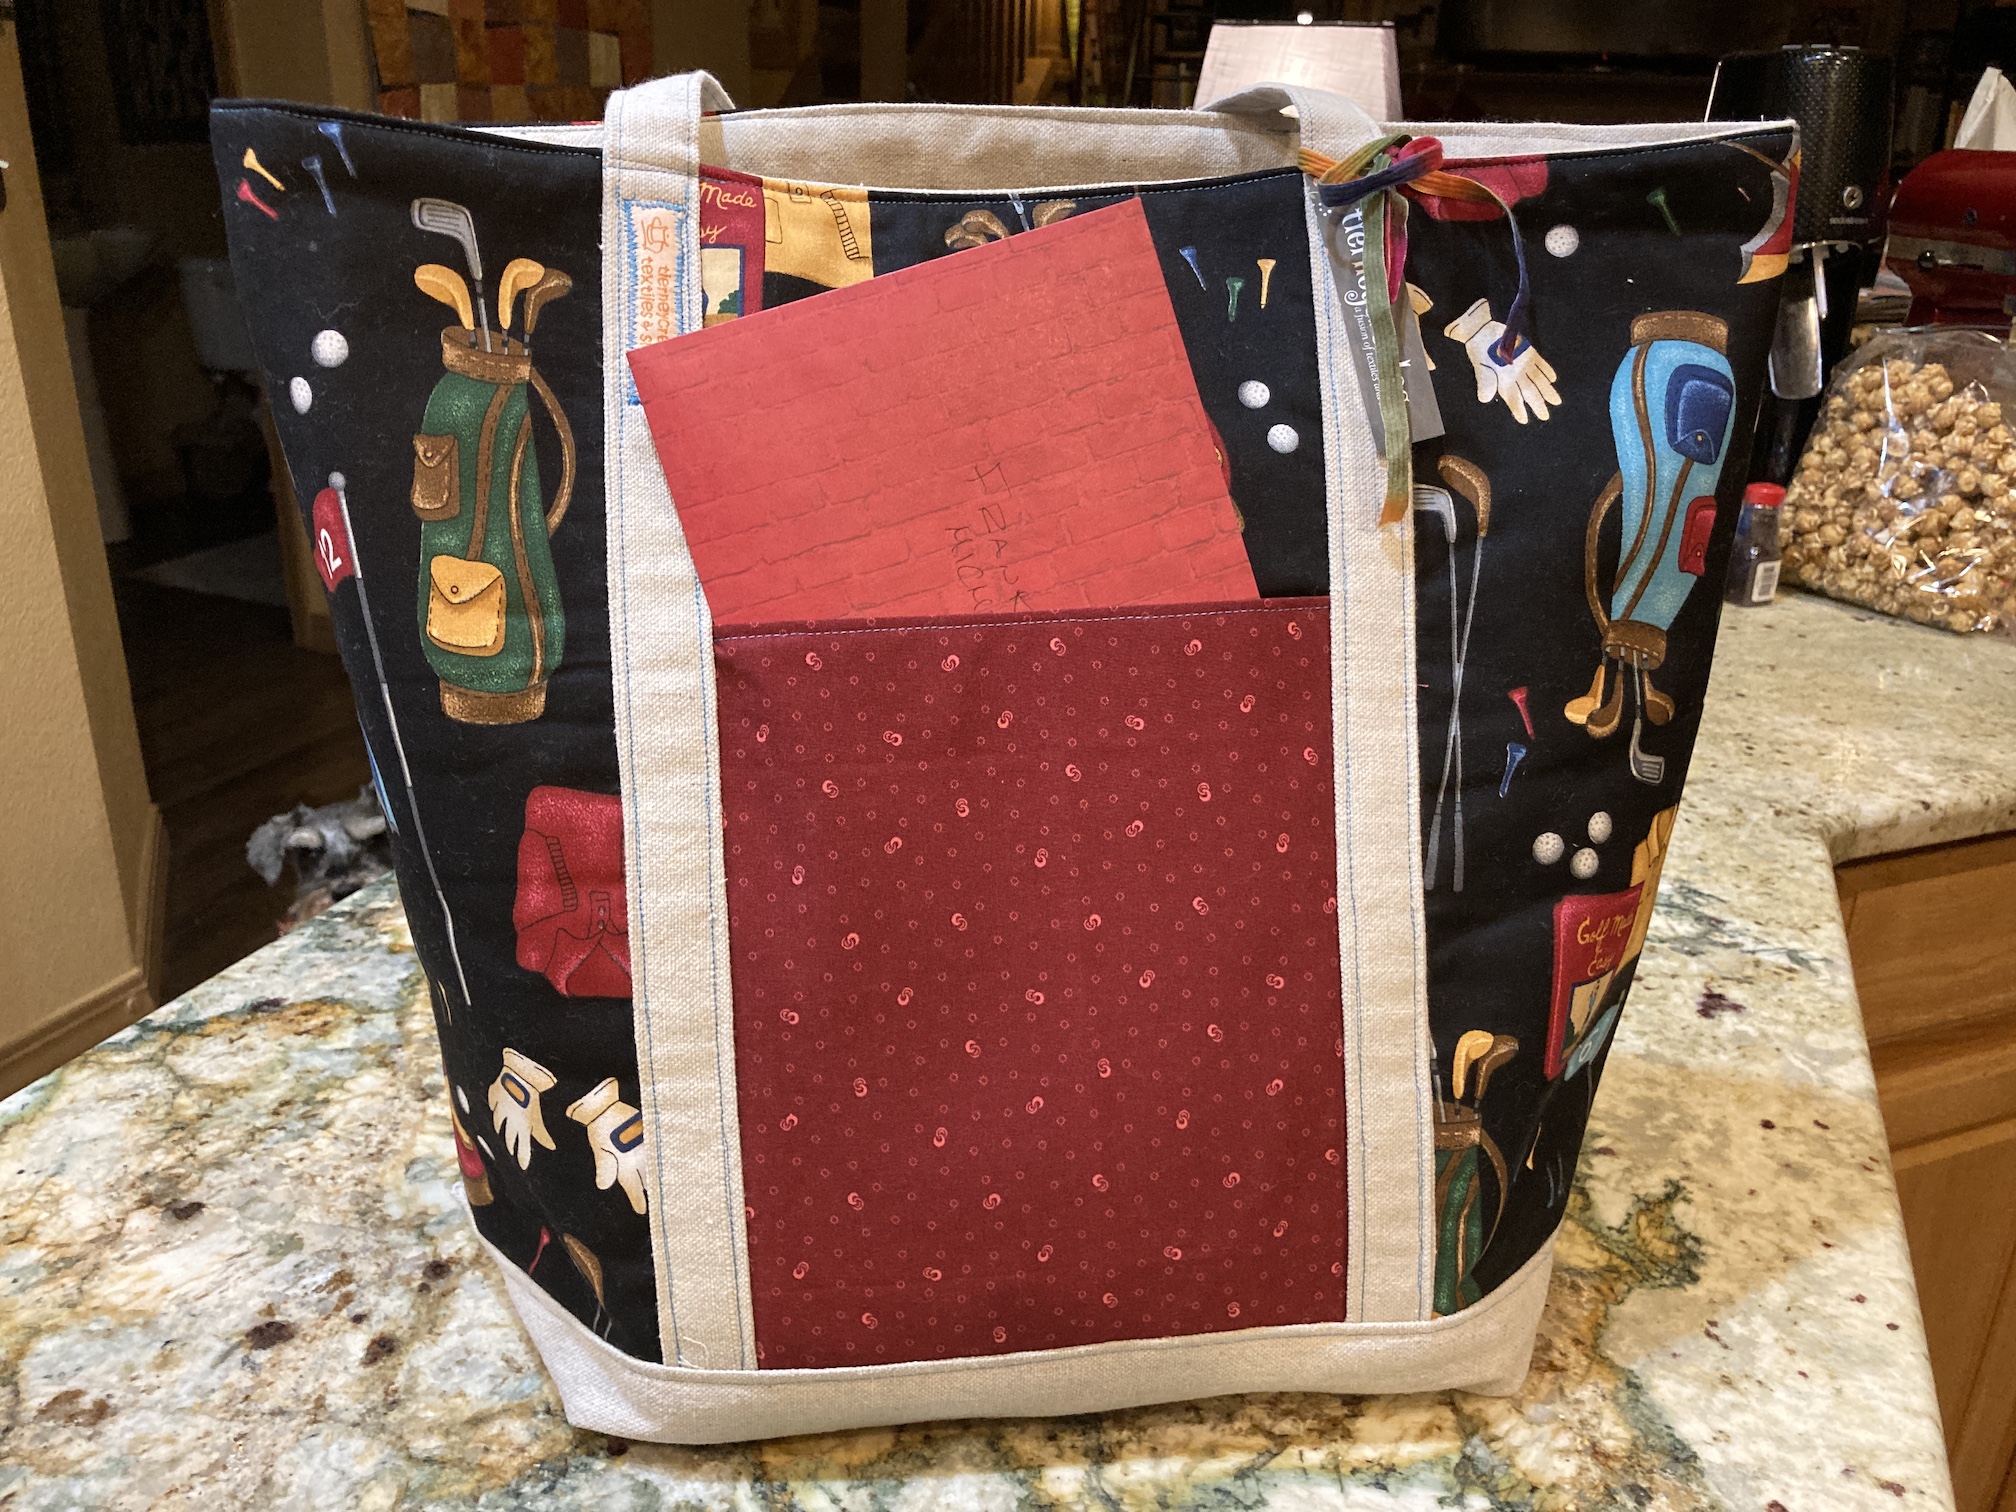
Next came a gift for our friends we golf with (in warmer weather) with some golf themed fabric I found in my stash:
Next came a craft beer themed tote bag for another friend for a New Years gift (more novelty fabric from my stash):
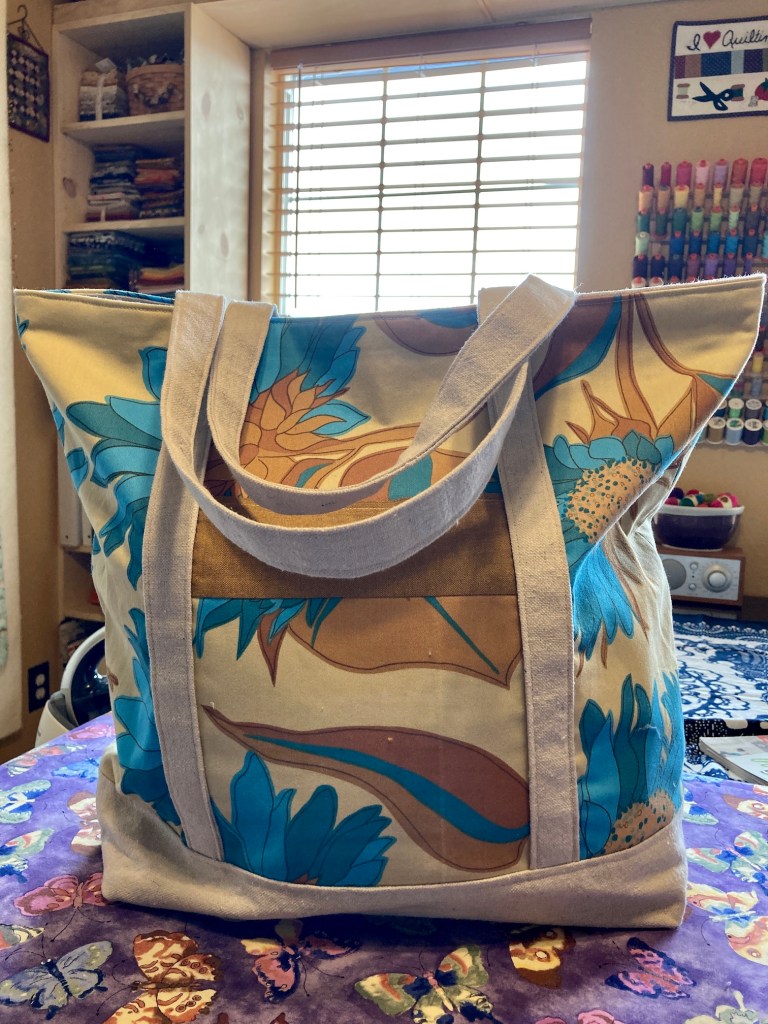
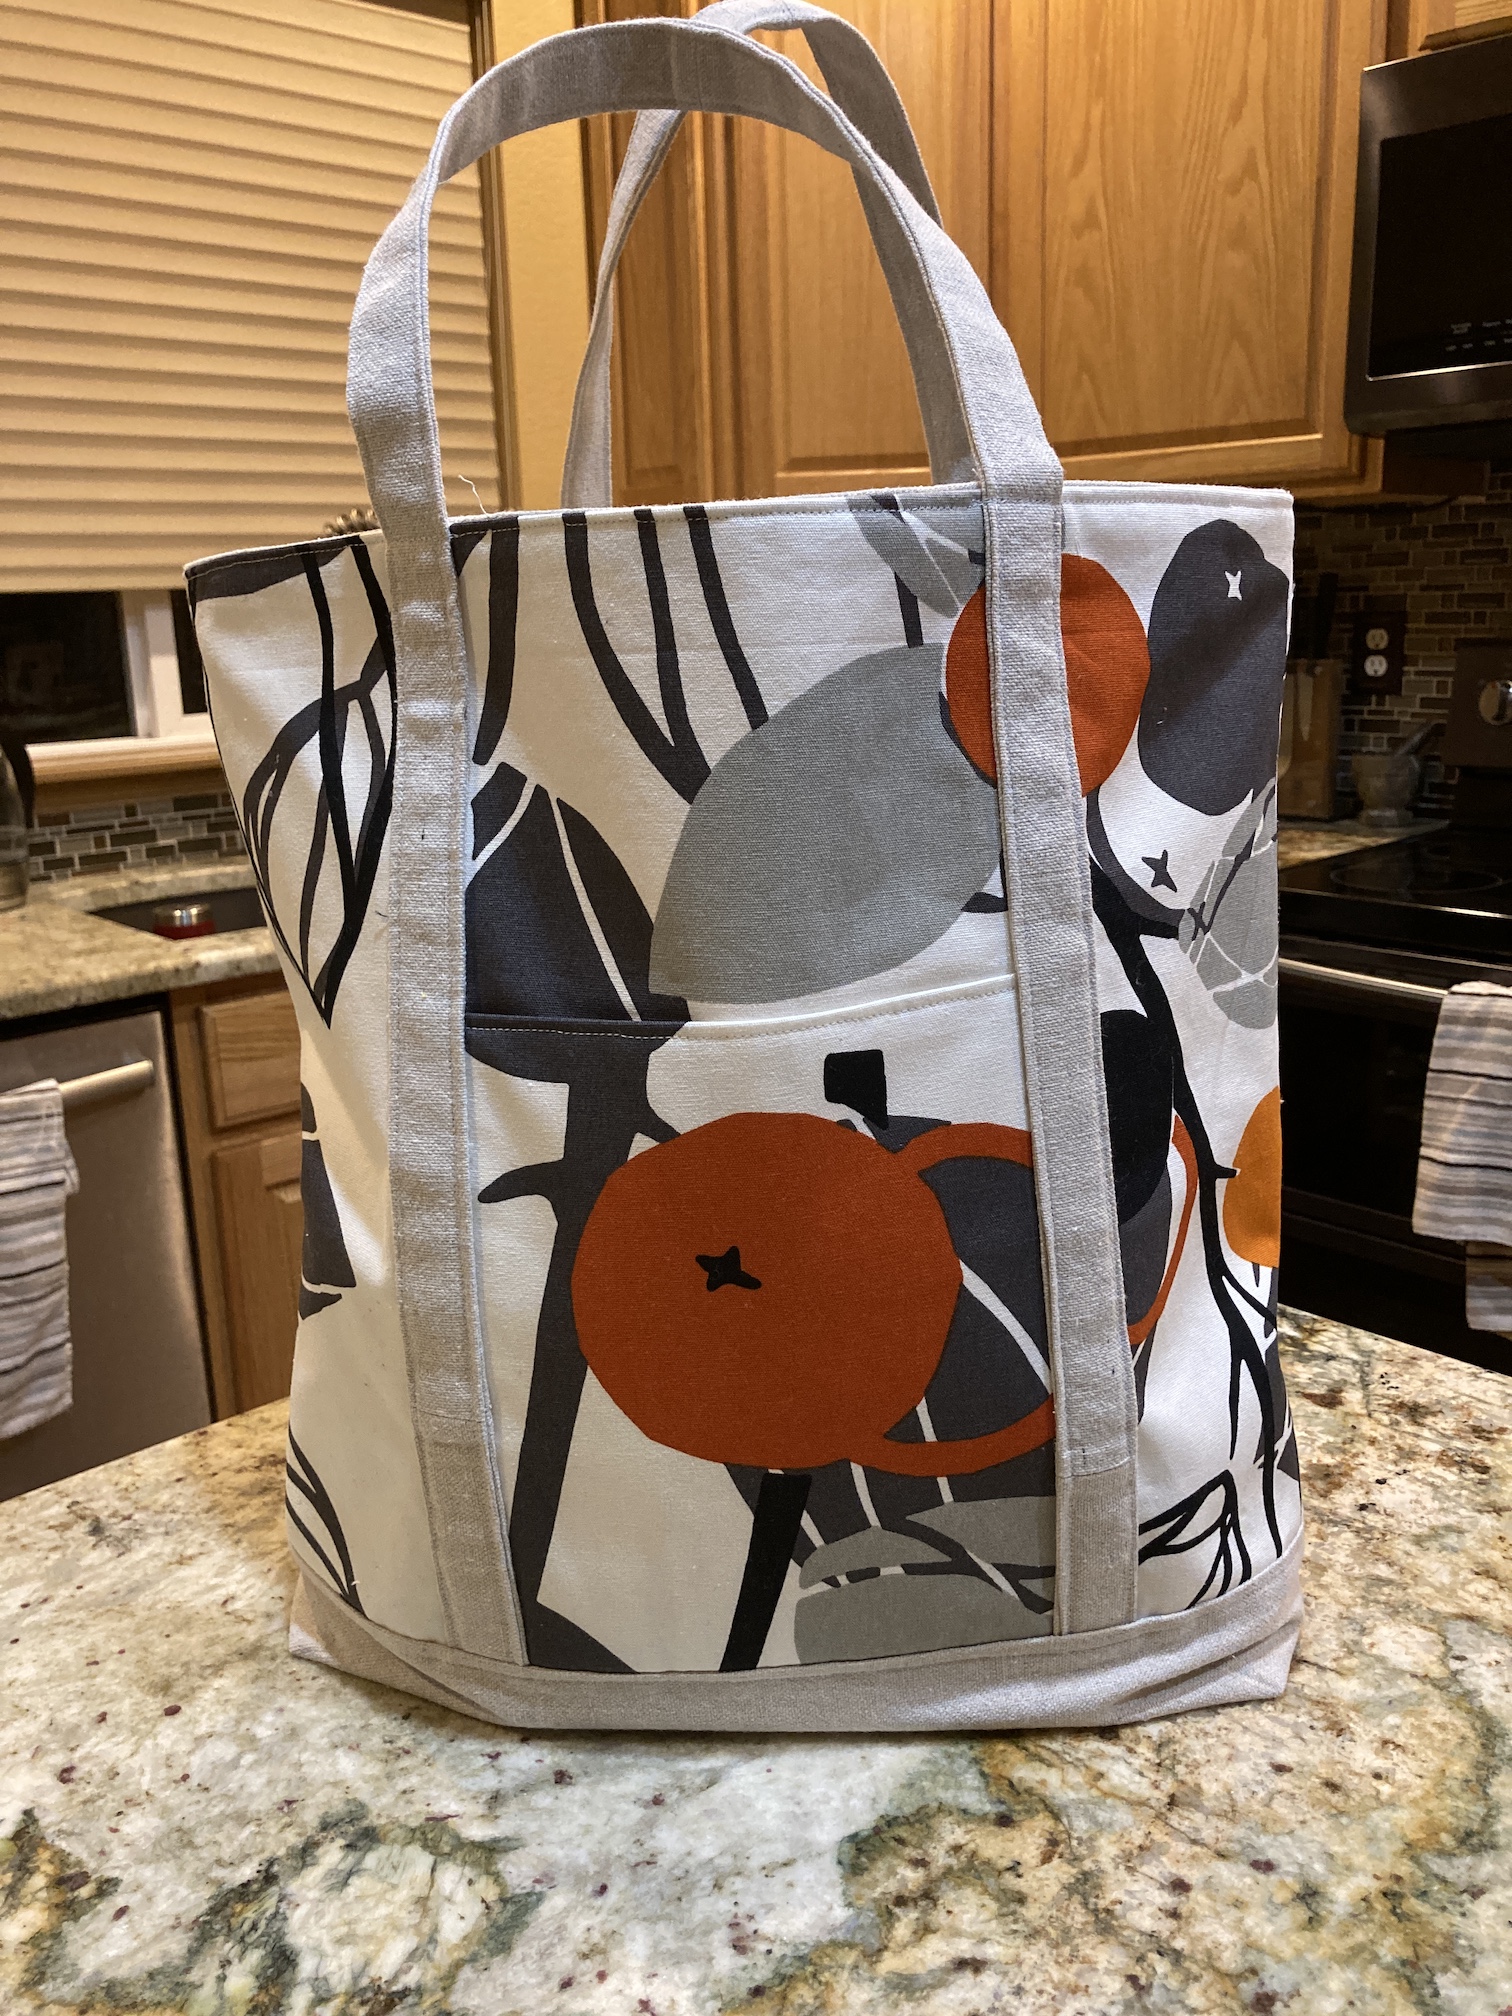
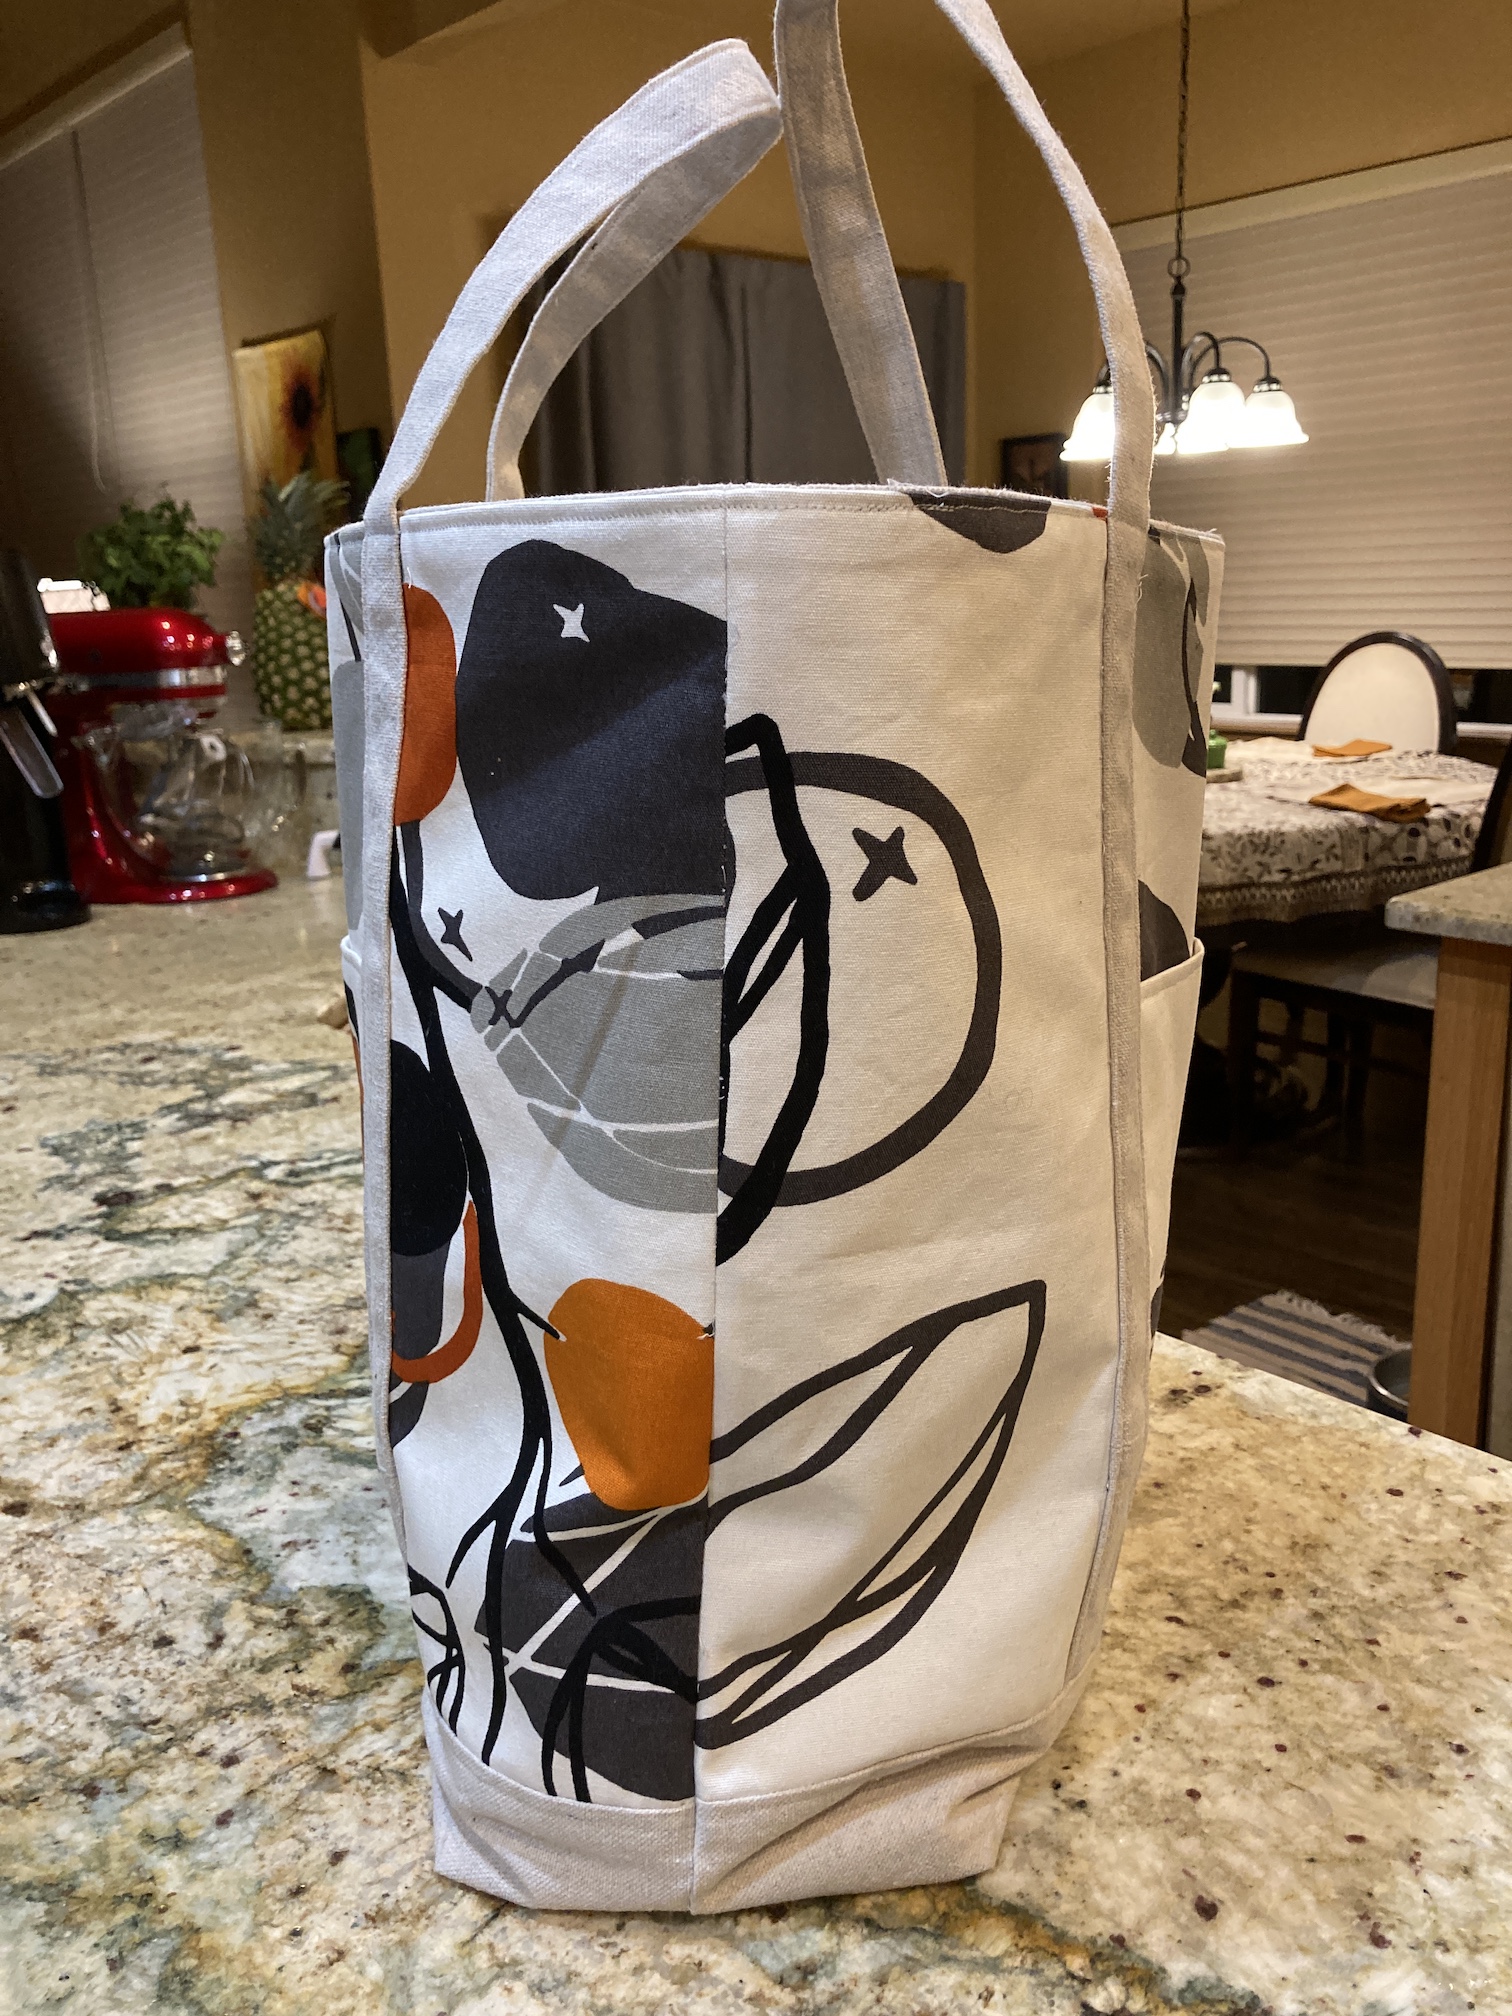
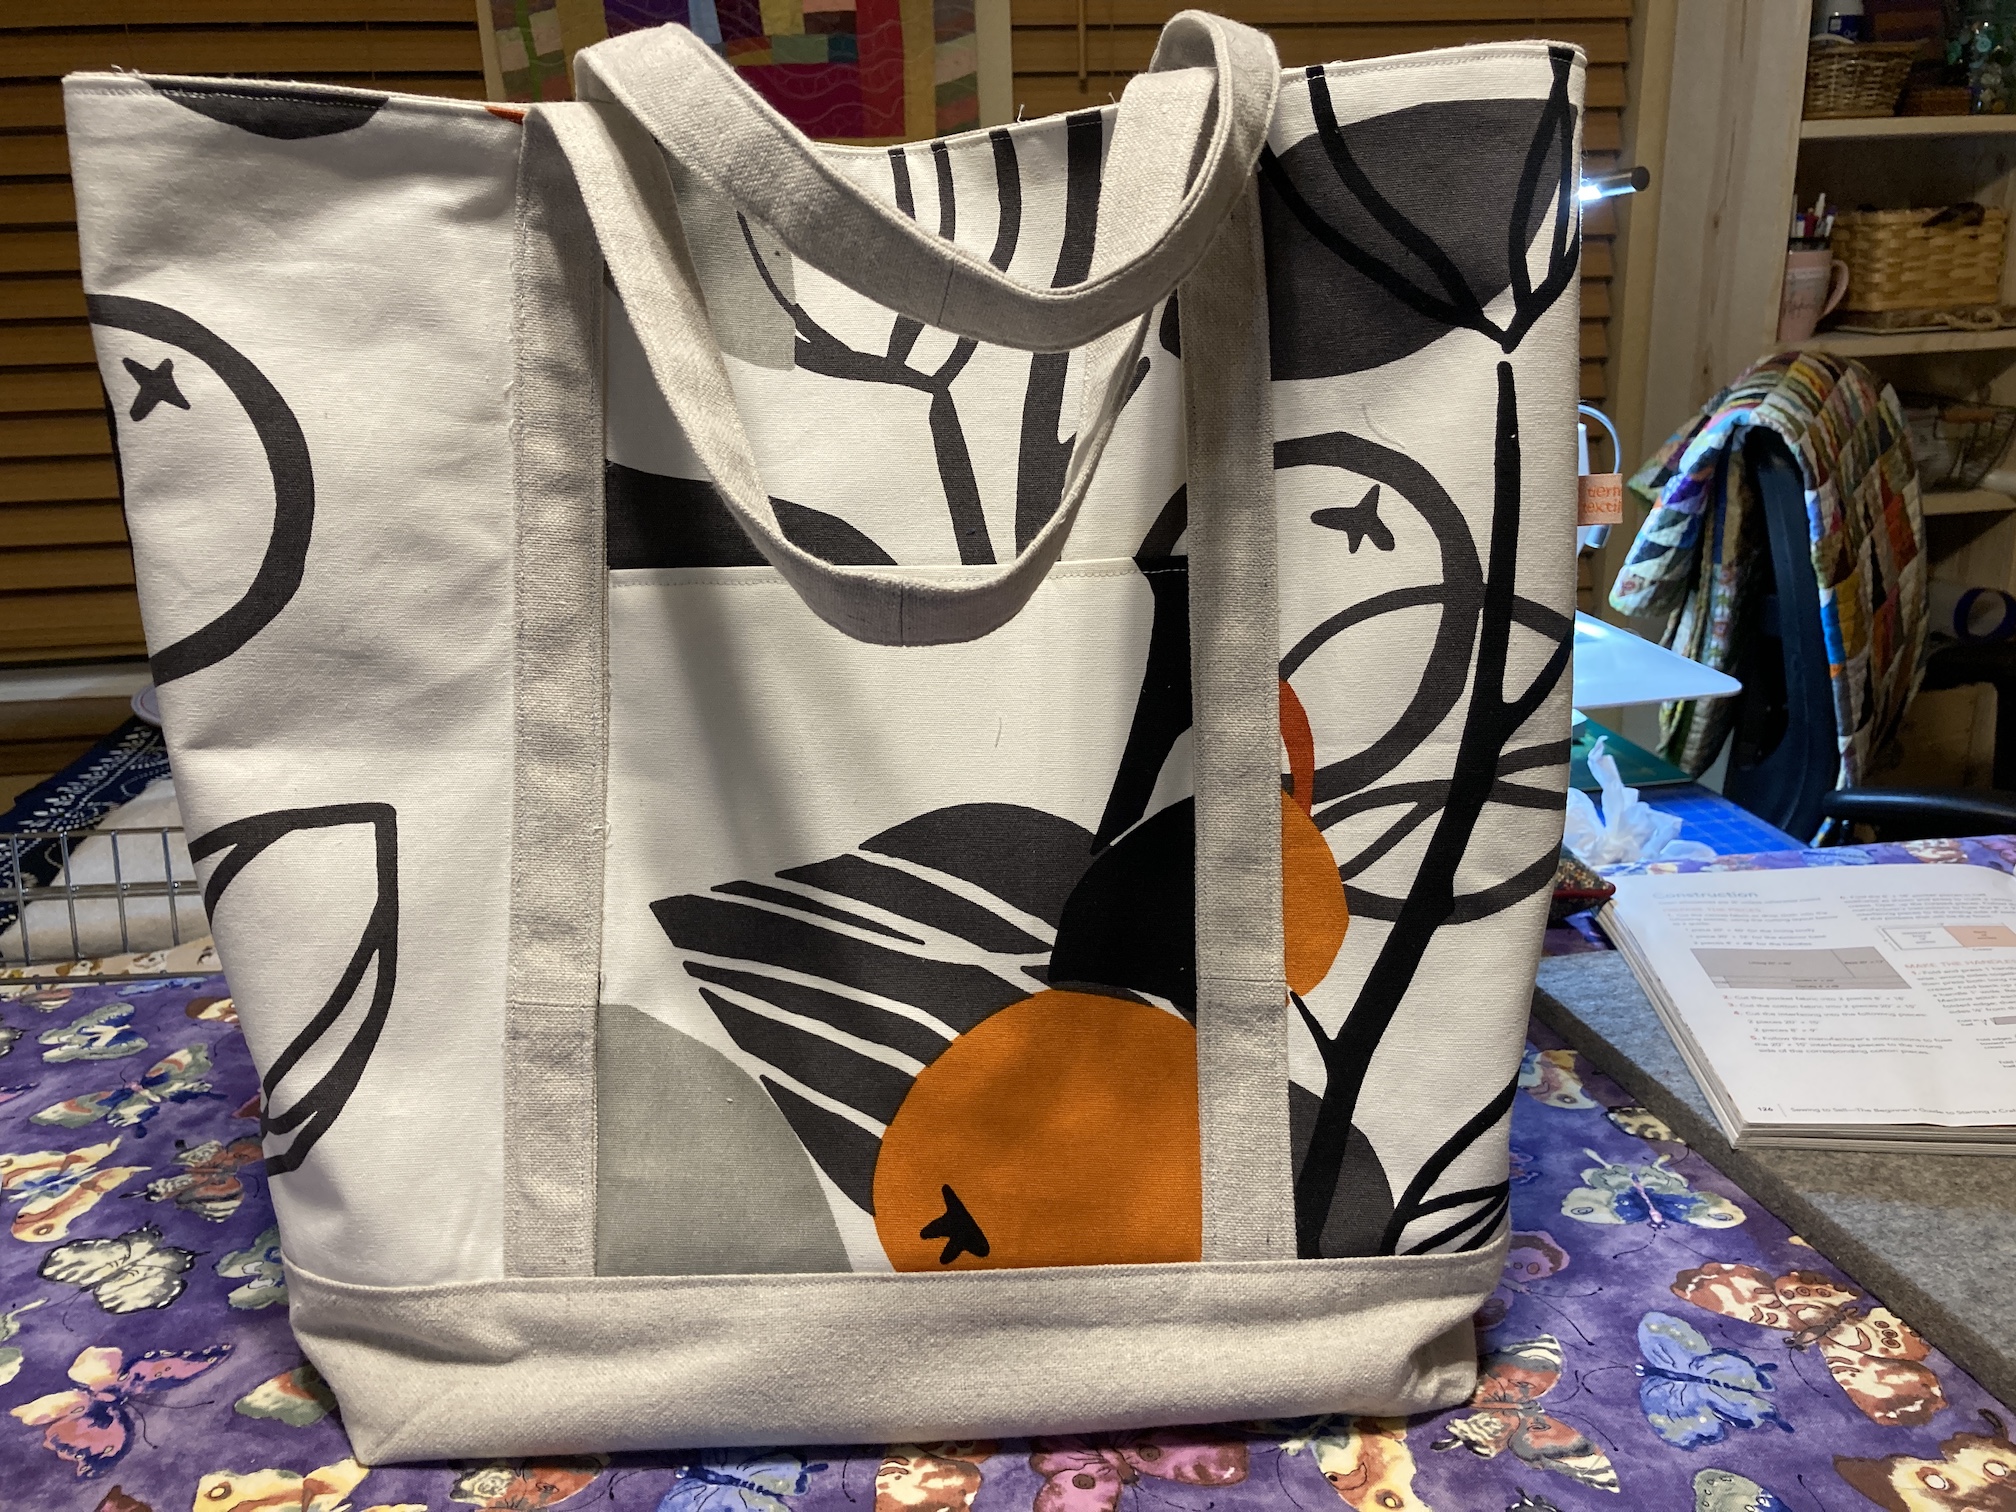
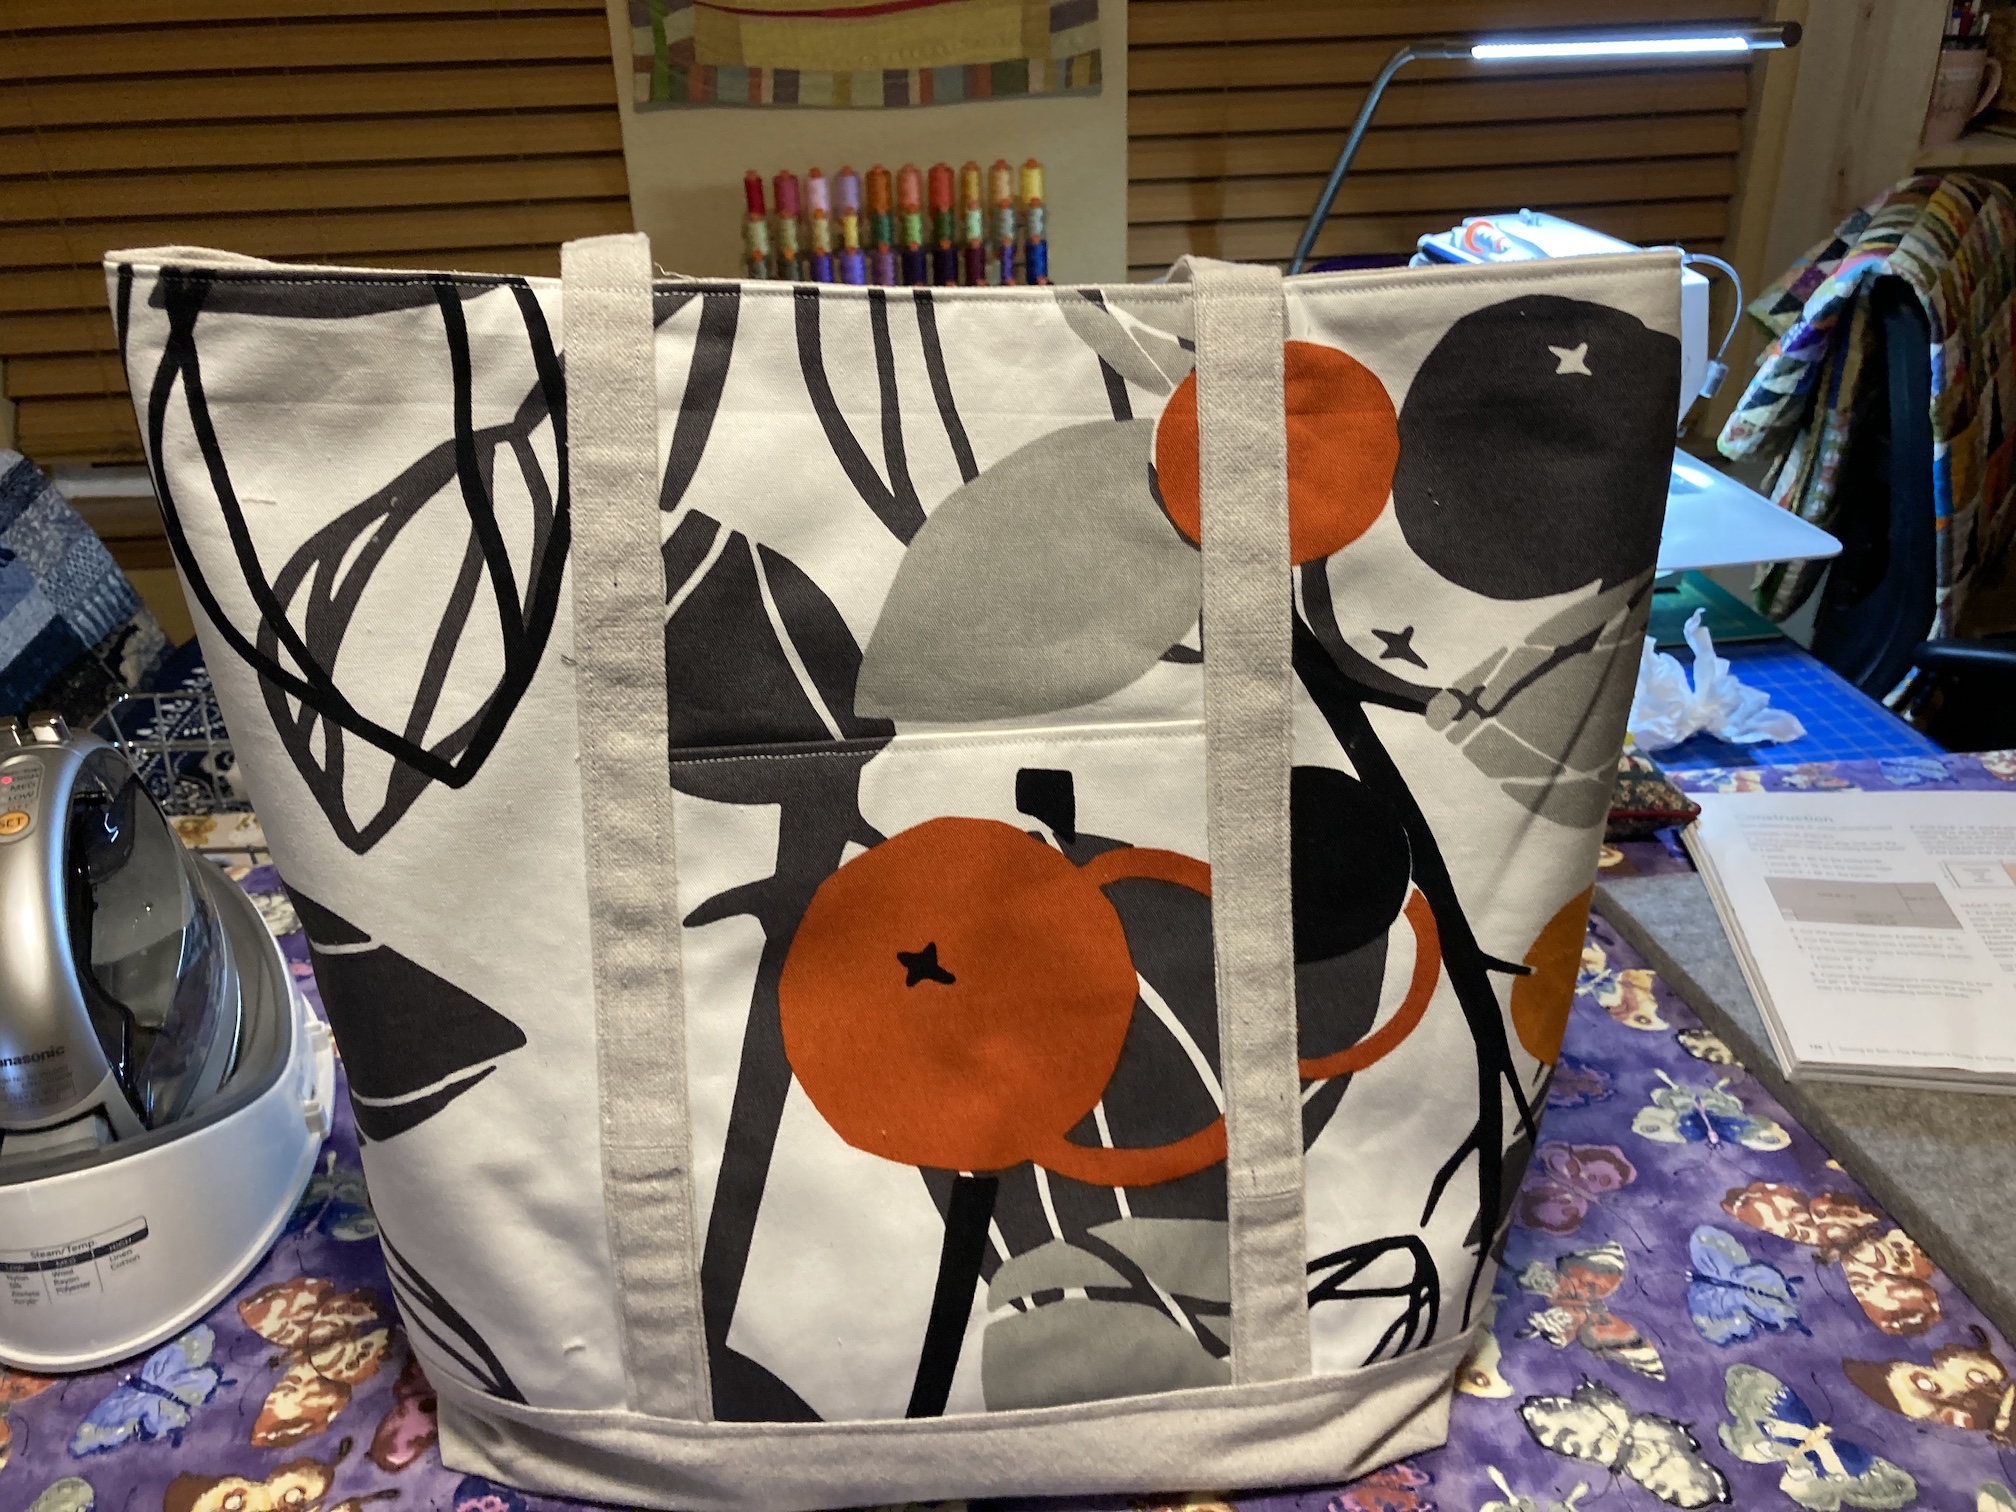
Most recently (couple days ago), I decided to experiment with more “artsy” fabric instead of novelty fabric and made this tote bag:
Here is one side of the tote bag:
And here is the other:
I’ve actually made a total of 6 tote bags since I began my tote bag making obsession in early December (2 of them are repeats of ones I shared above).
I am currently taking a break from tote bag making and moved on to other projects but I plan to make a fresh batch of tote bags in a couple weeks, this time for my (to be reopened sometime this winter I think) tierneycreates Etsy shop.
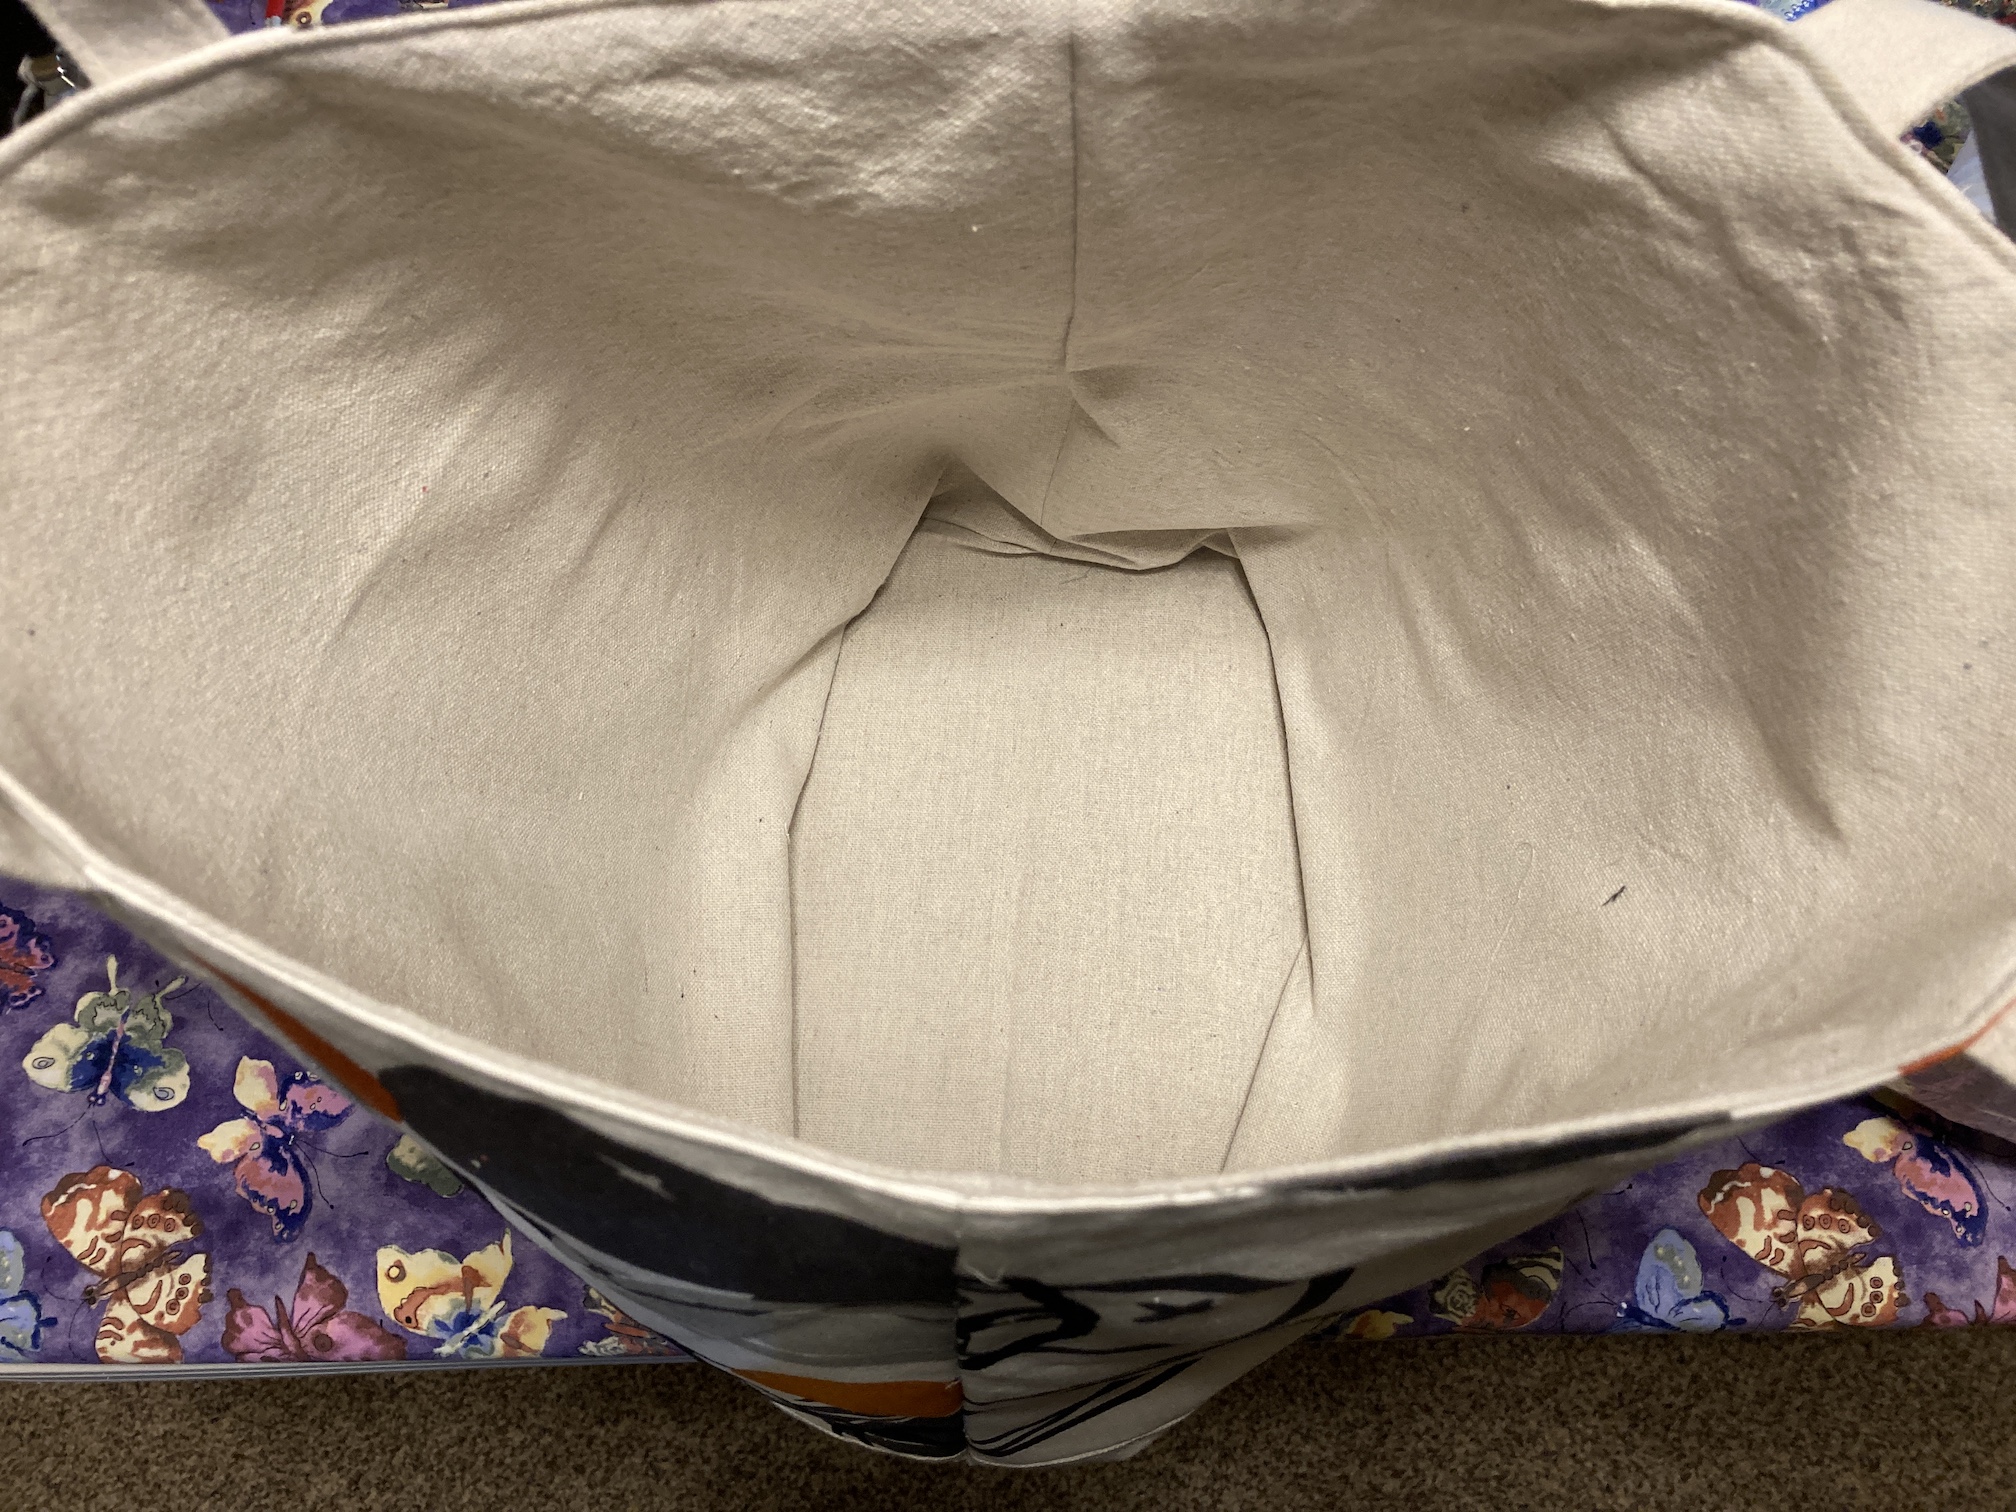
Each tote bag, except the first one I made, is lined with canvas drop cloth (yes the kind you use when painting to protect surfaces) from a home improvement store:
image credit: Home Depot
The canvas drop cloth (which I pre-wash before using), gives the tote bag a nice structure and is less expensive than buying canvas fabric from a fabric store.
Postscript
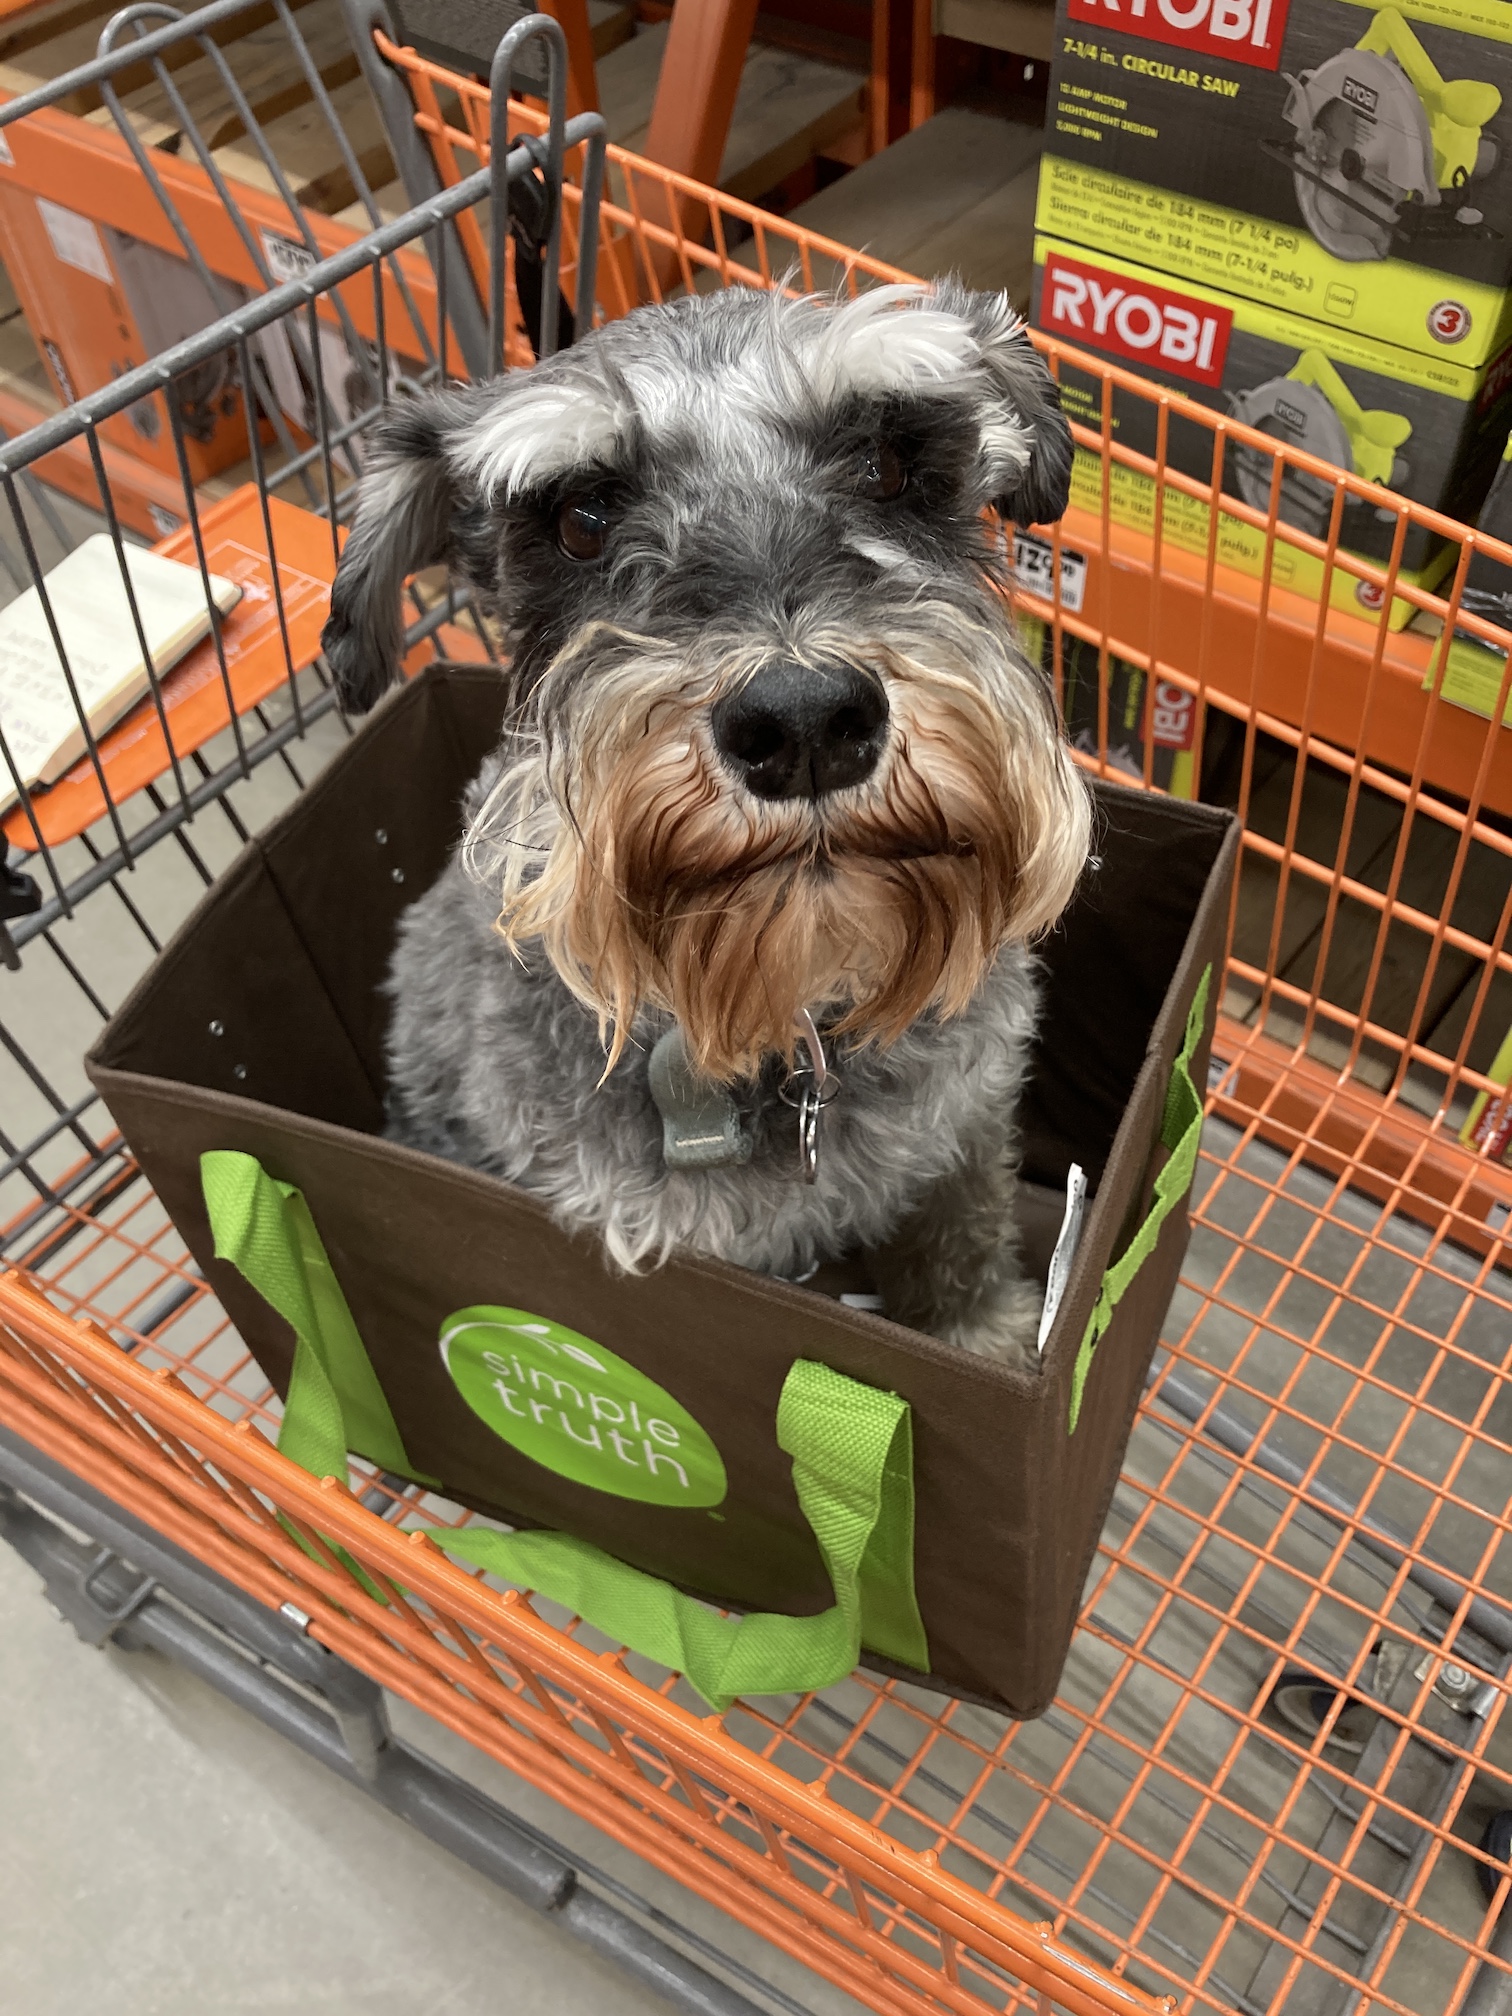
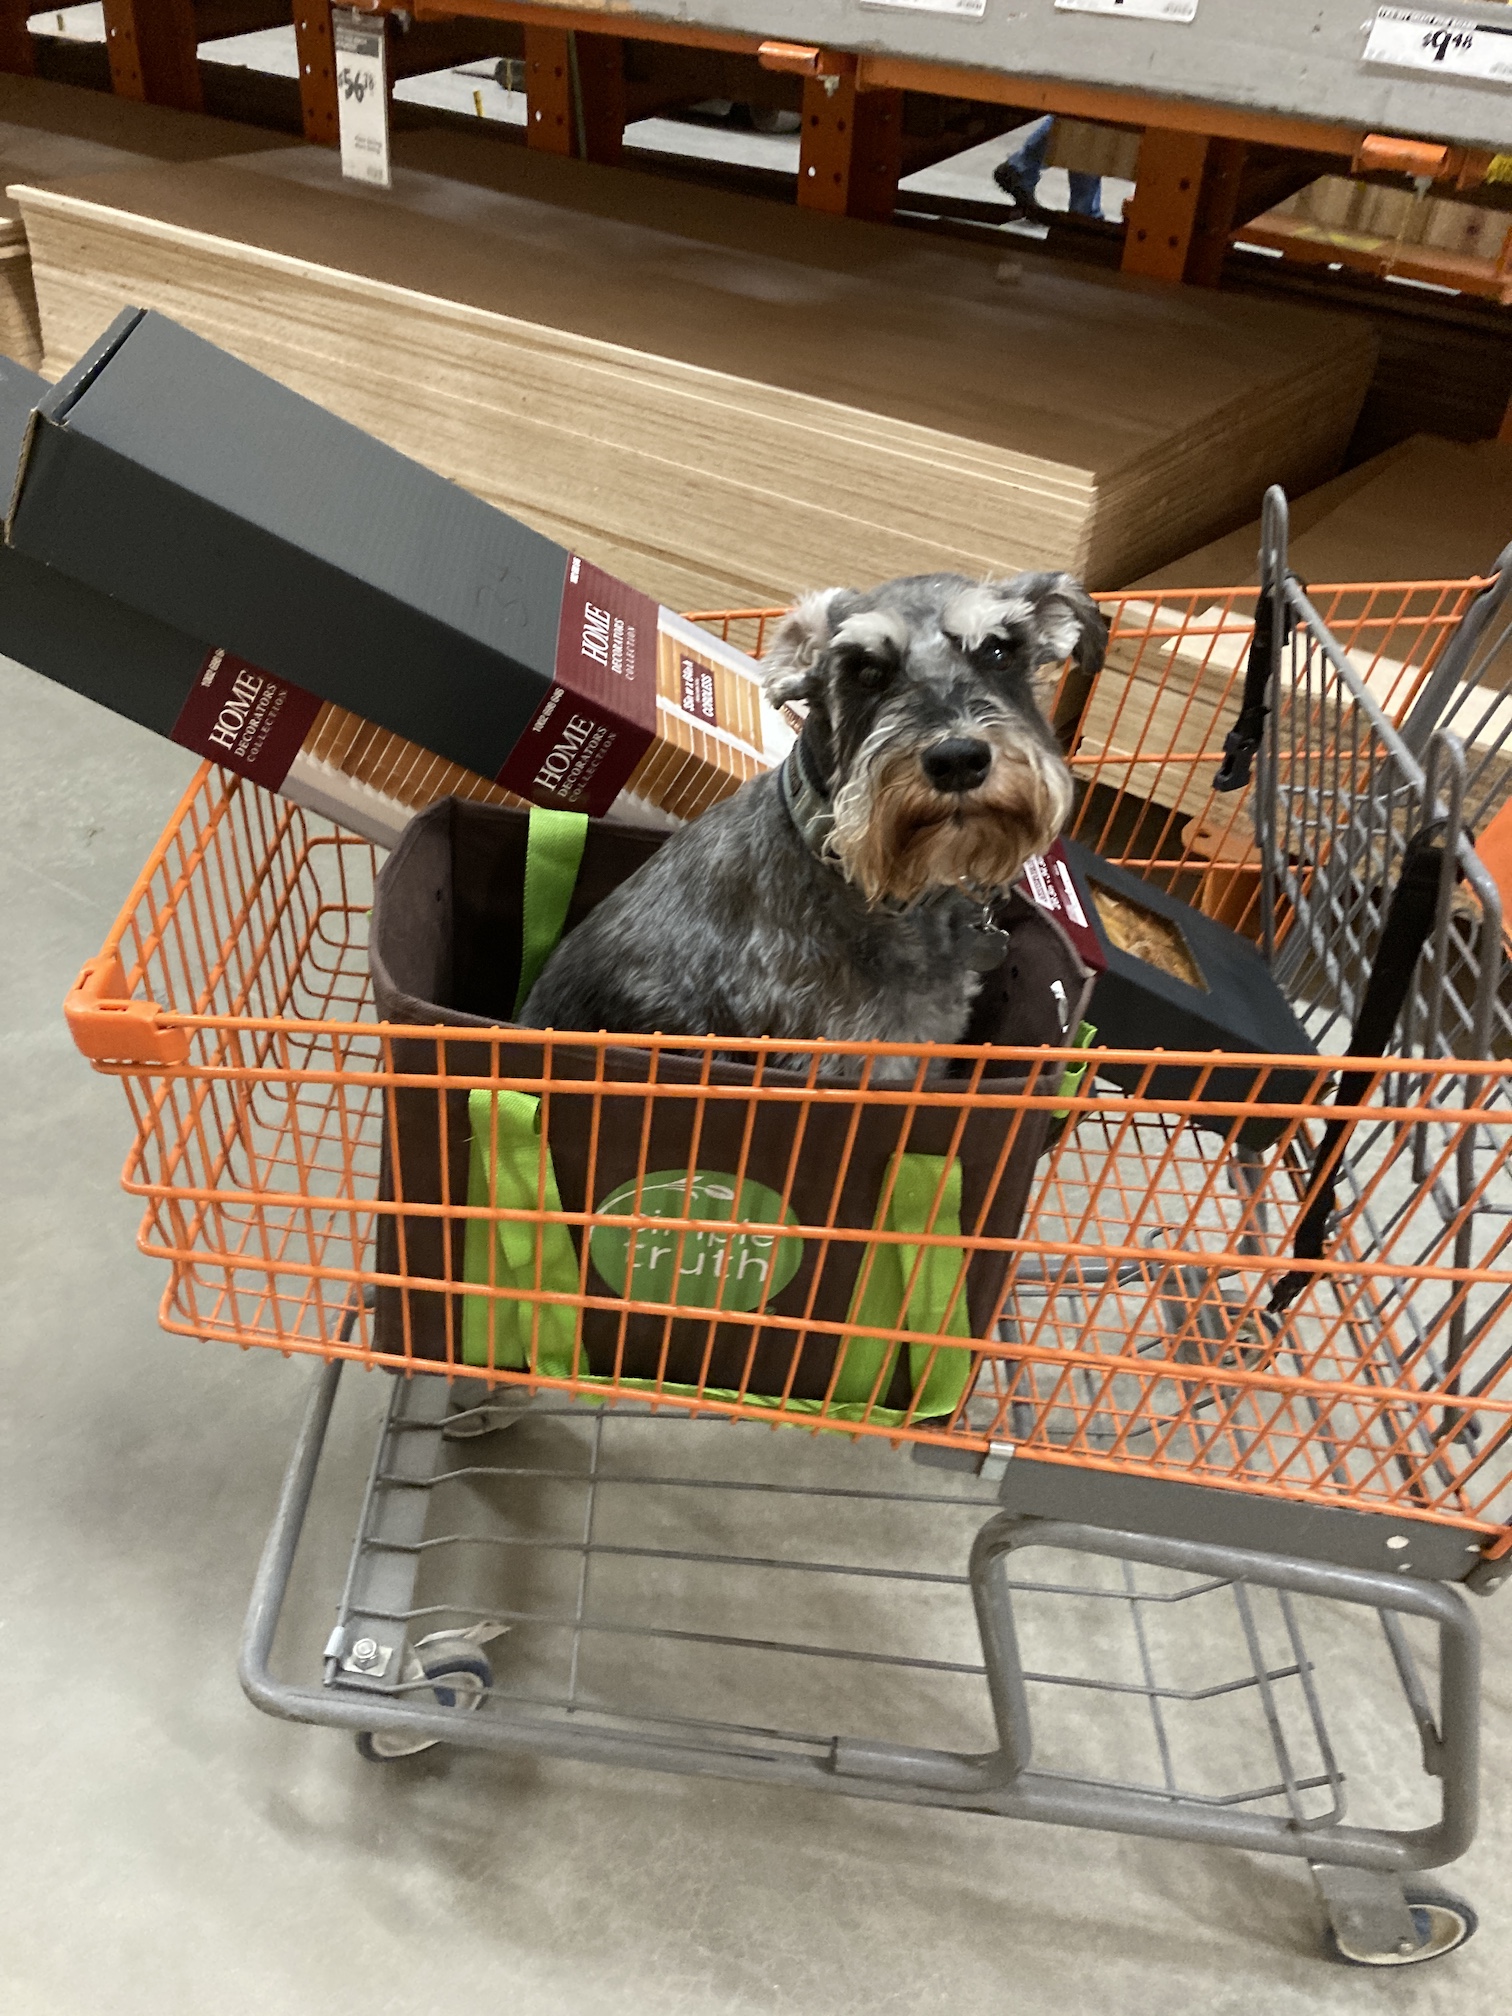
Here is Mike the Miniature Schnauzer riding through another home improvement store to pick up supplies for our next home remodeling project and some canvas drop cloth for more tote bags!
Addendum: I just realized from one of the comments, that Mike technically IN A TOTE BAG himself in the images above (smile)! He’s “tote-able”!
December was challenging for me but I stayed busy with crafting and reading. I will share those crafts in future posts.
I wanted to share some of the positive highlights of December now that this month is over and it is time to start a New Year!
Furniture Shopping with Mike the Miniature Schnauzer
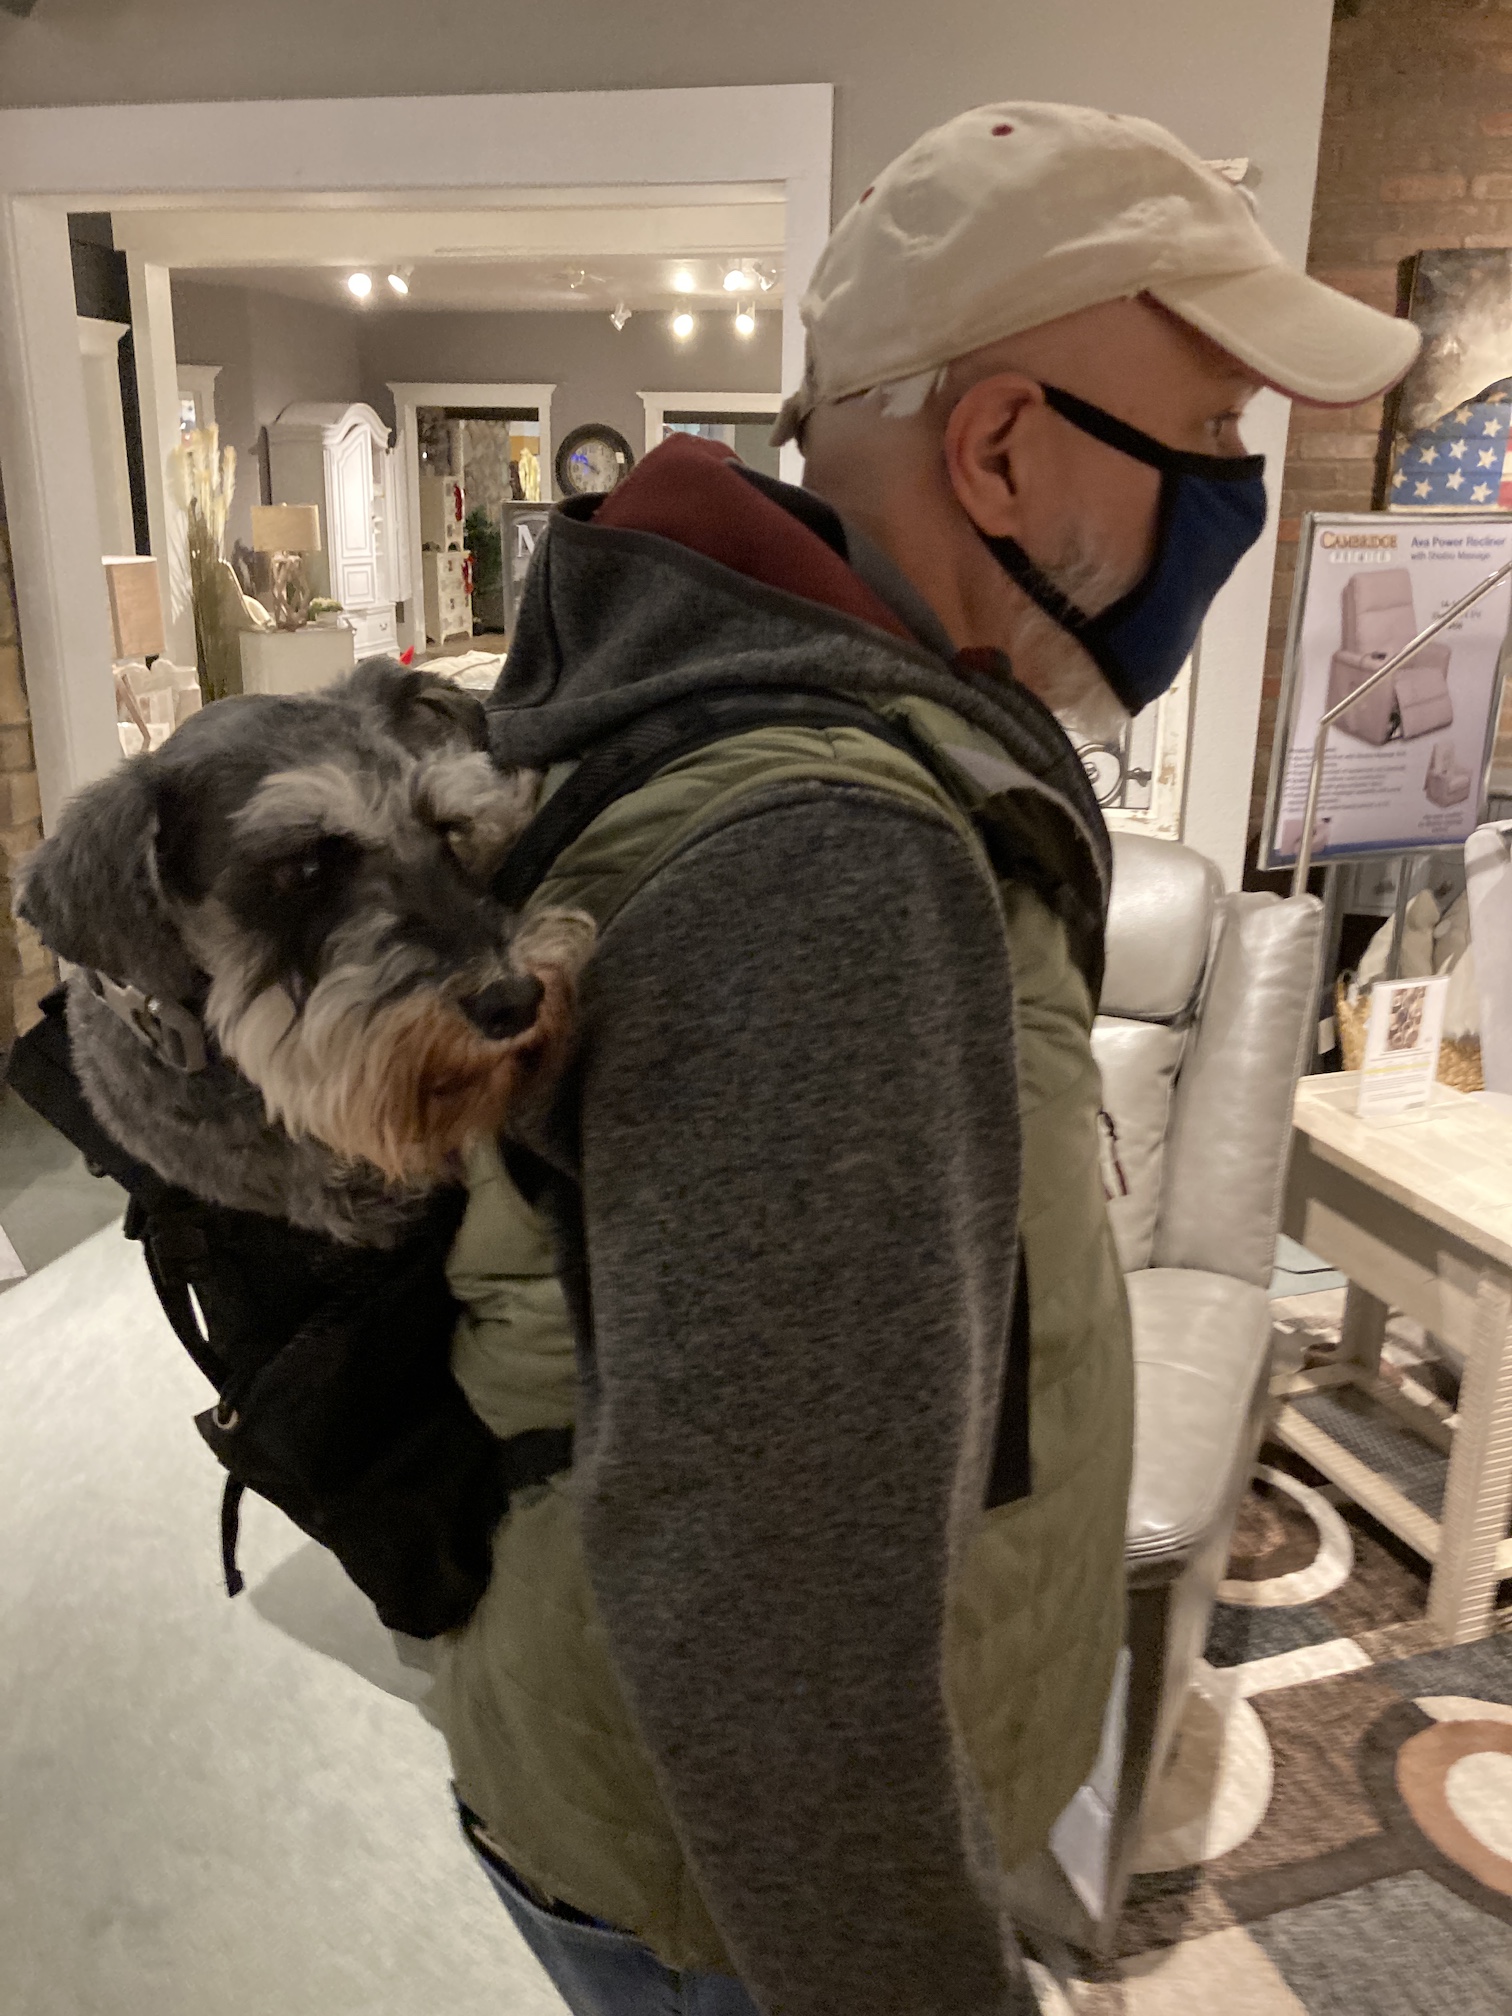
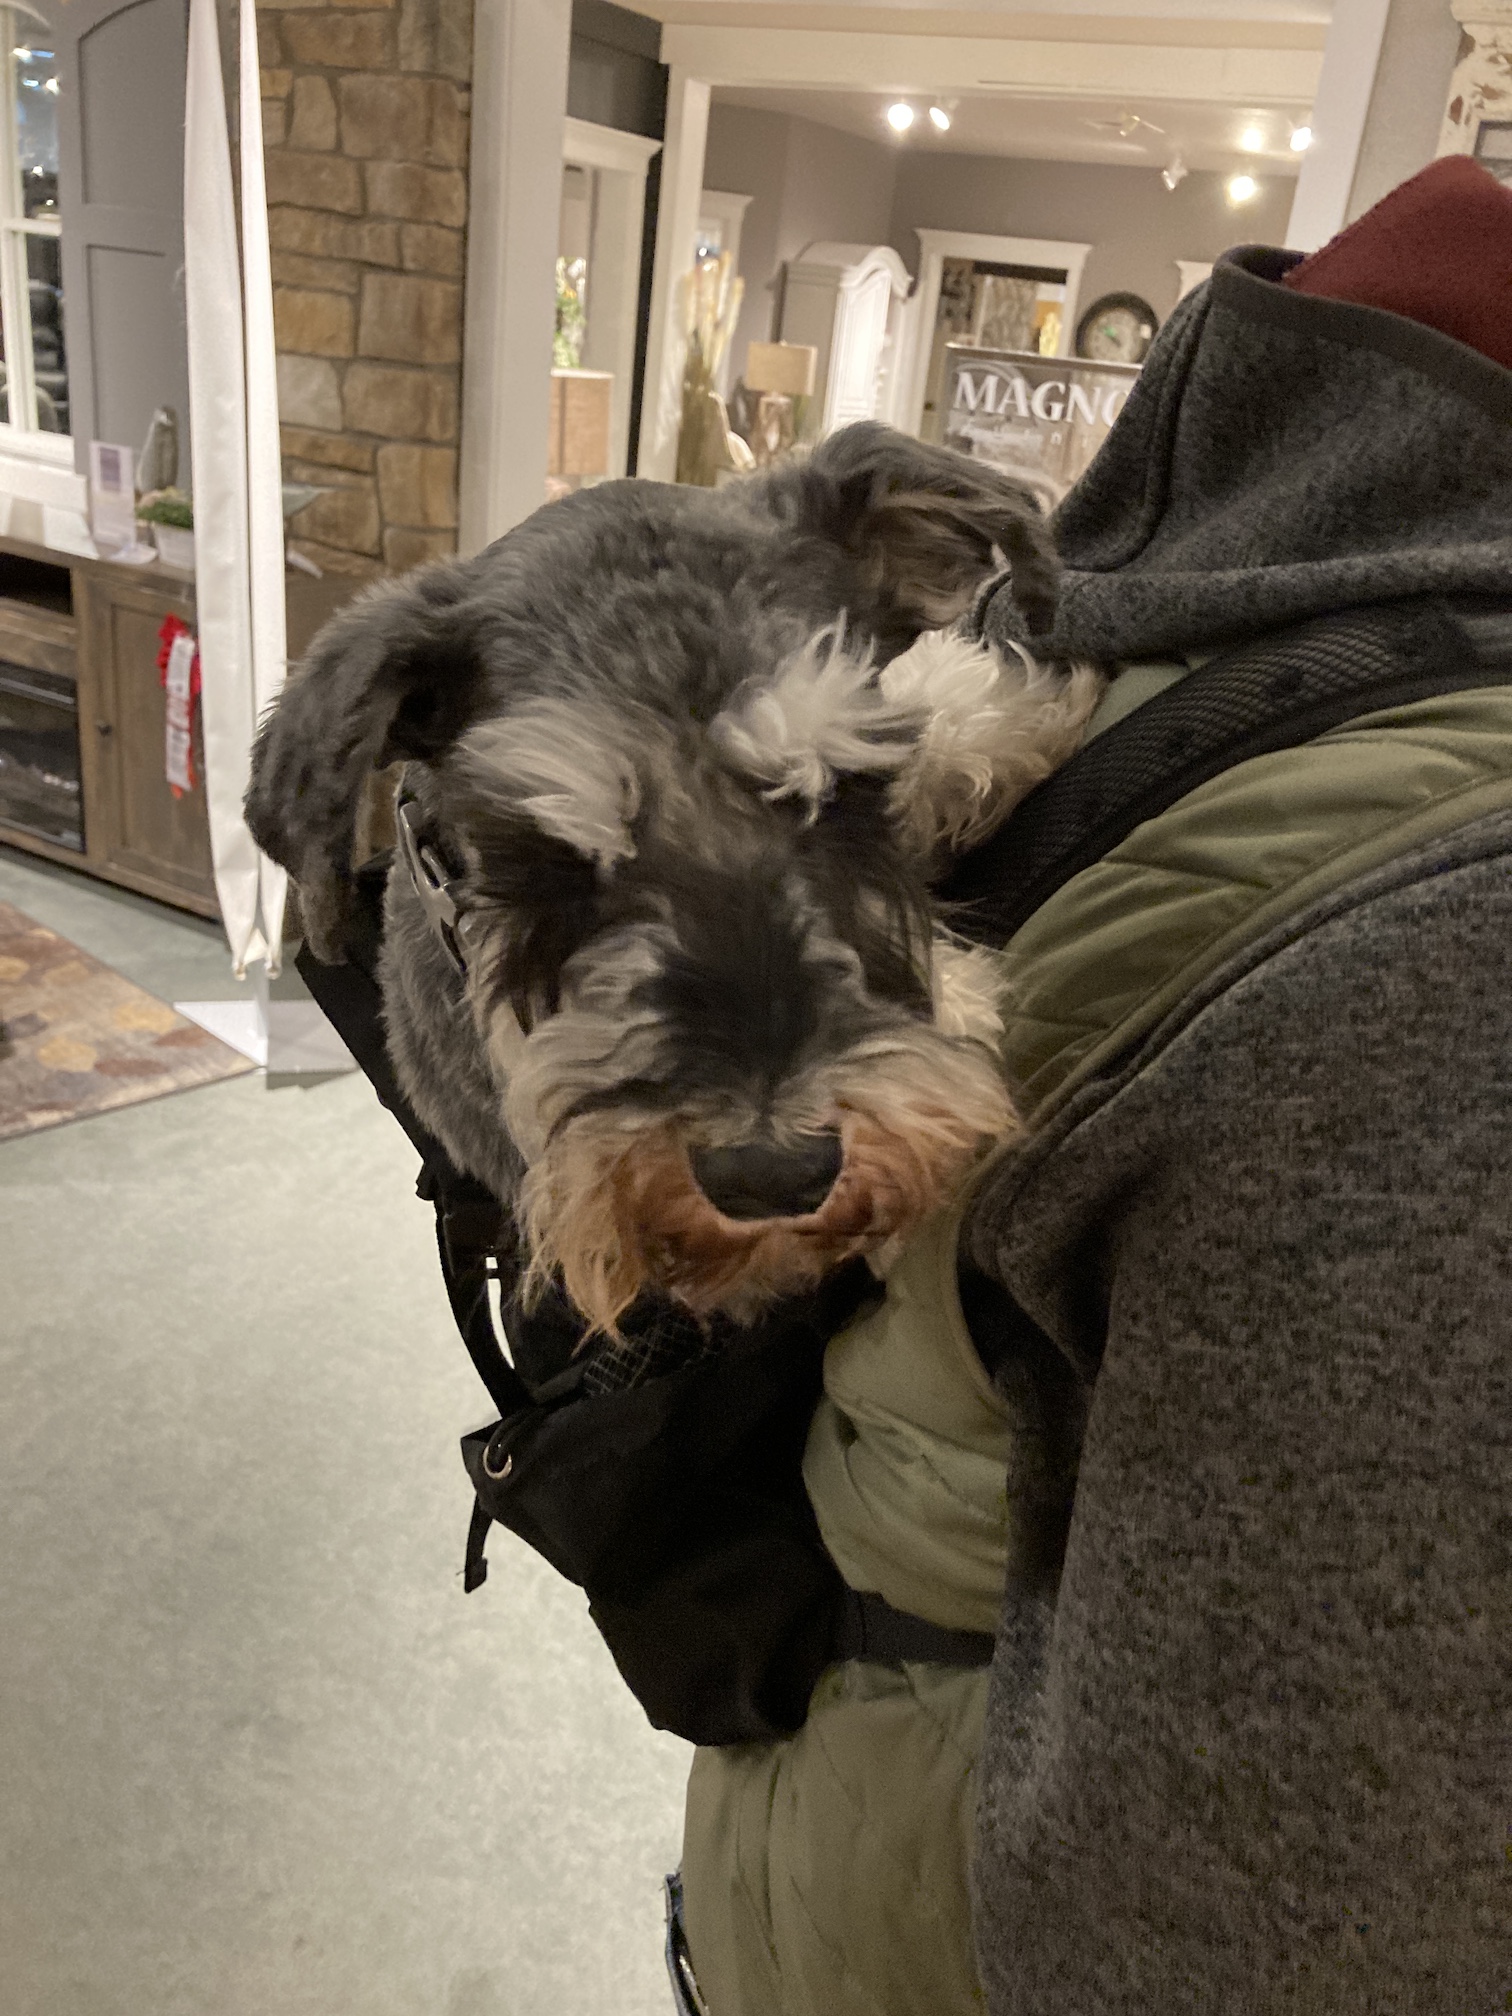
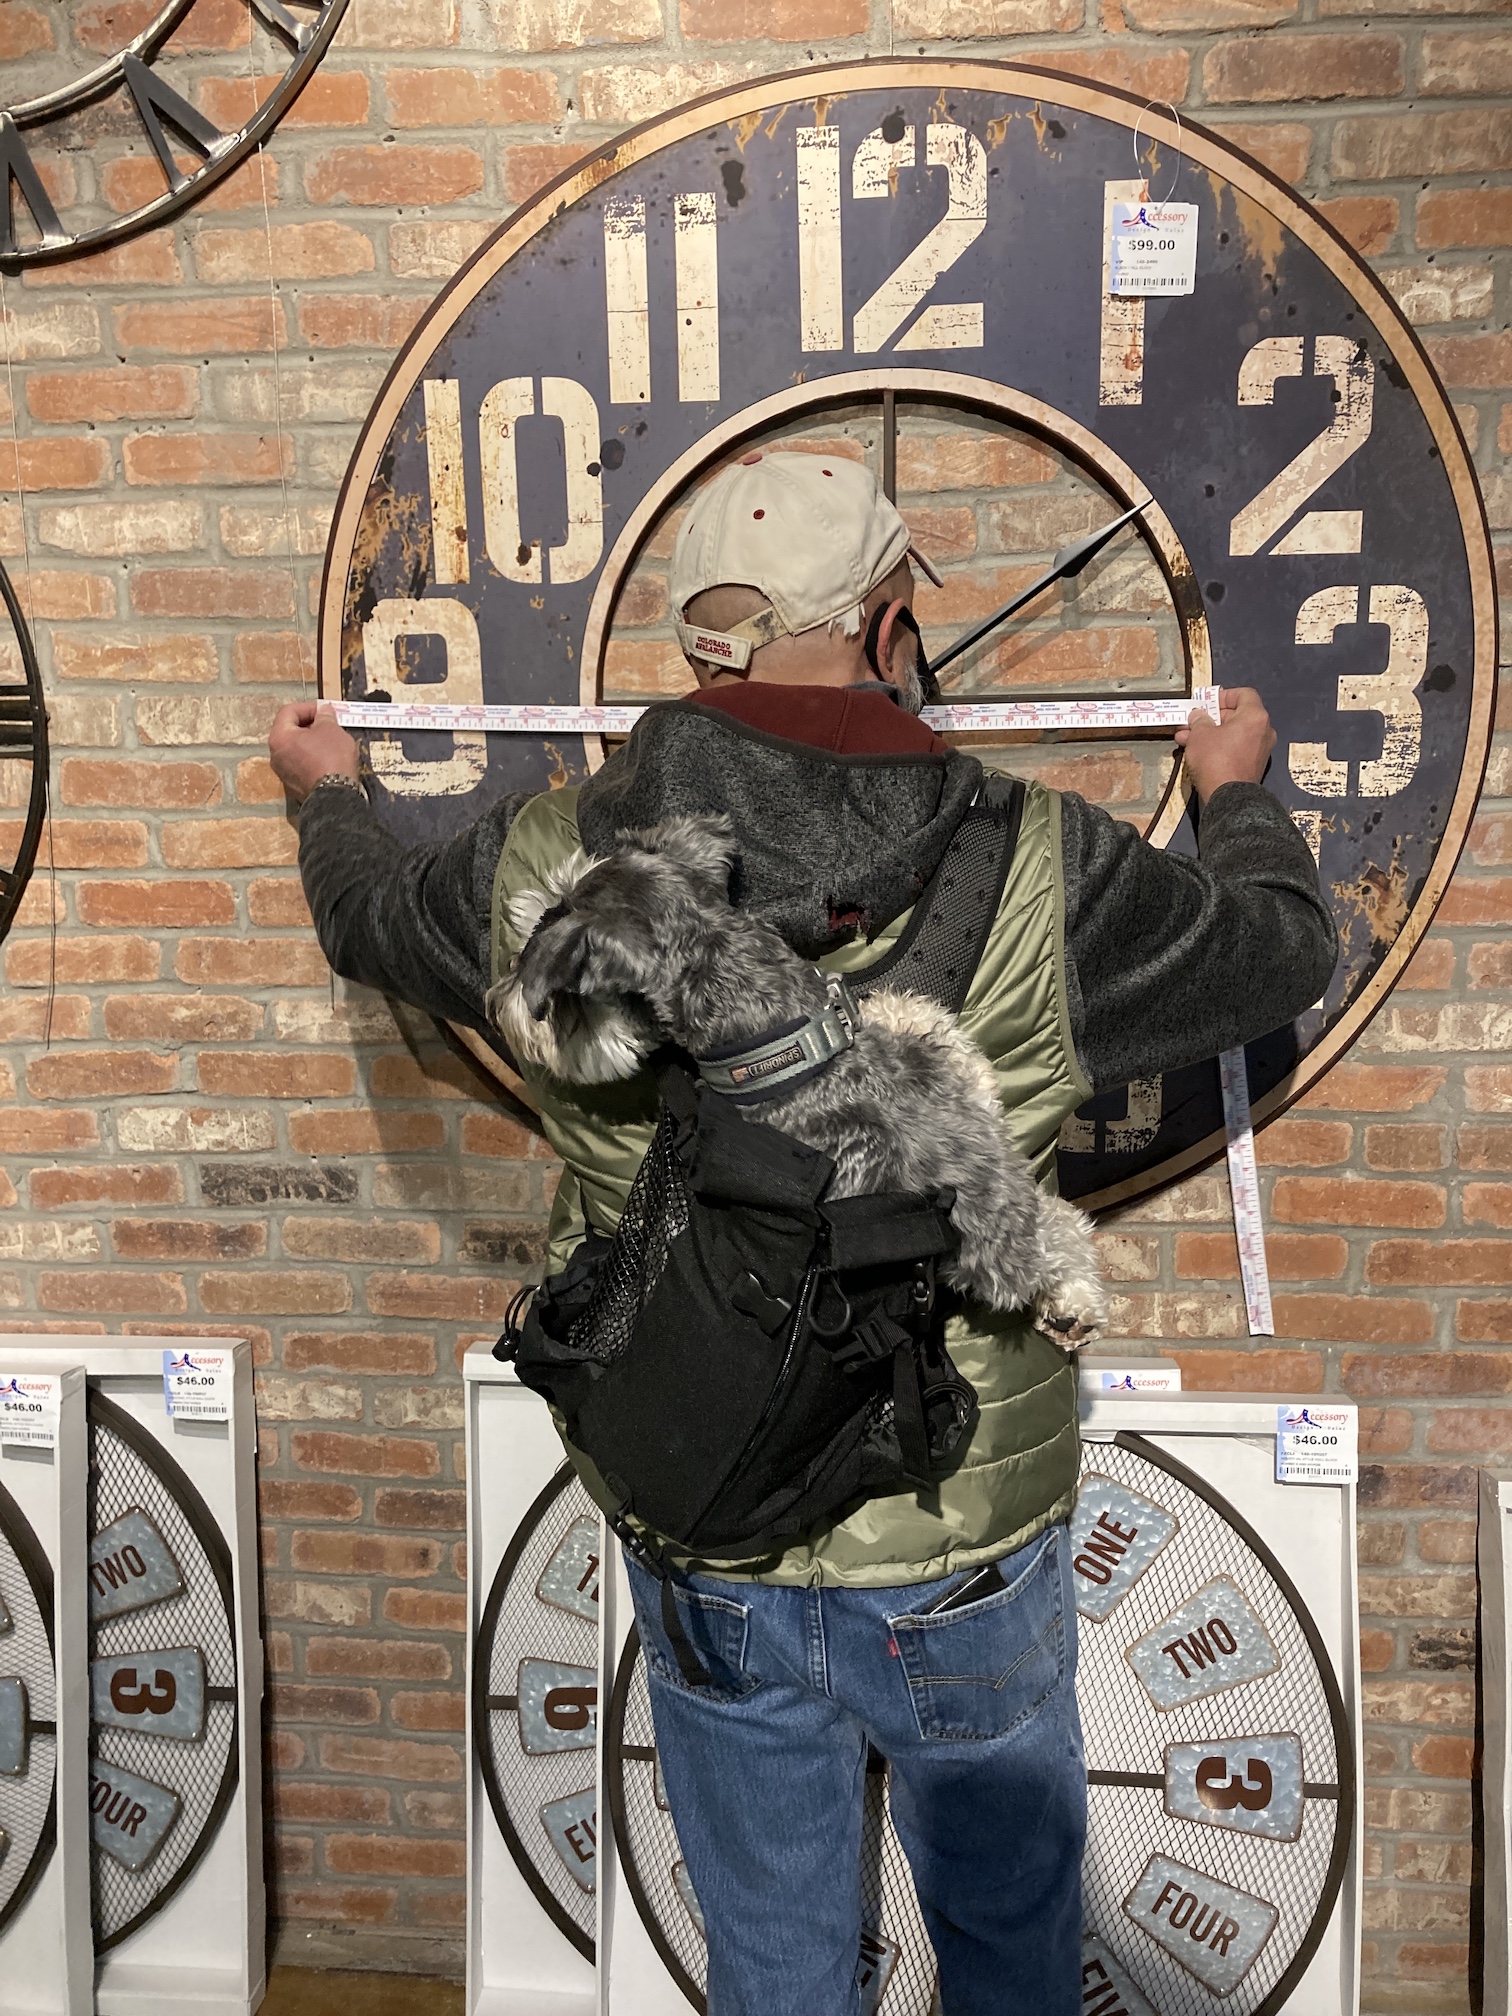
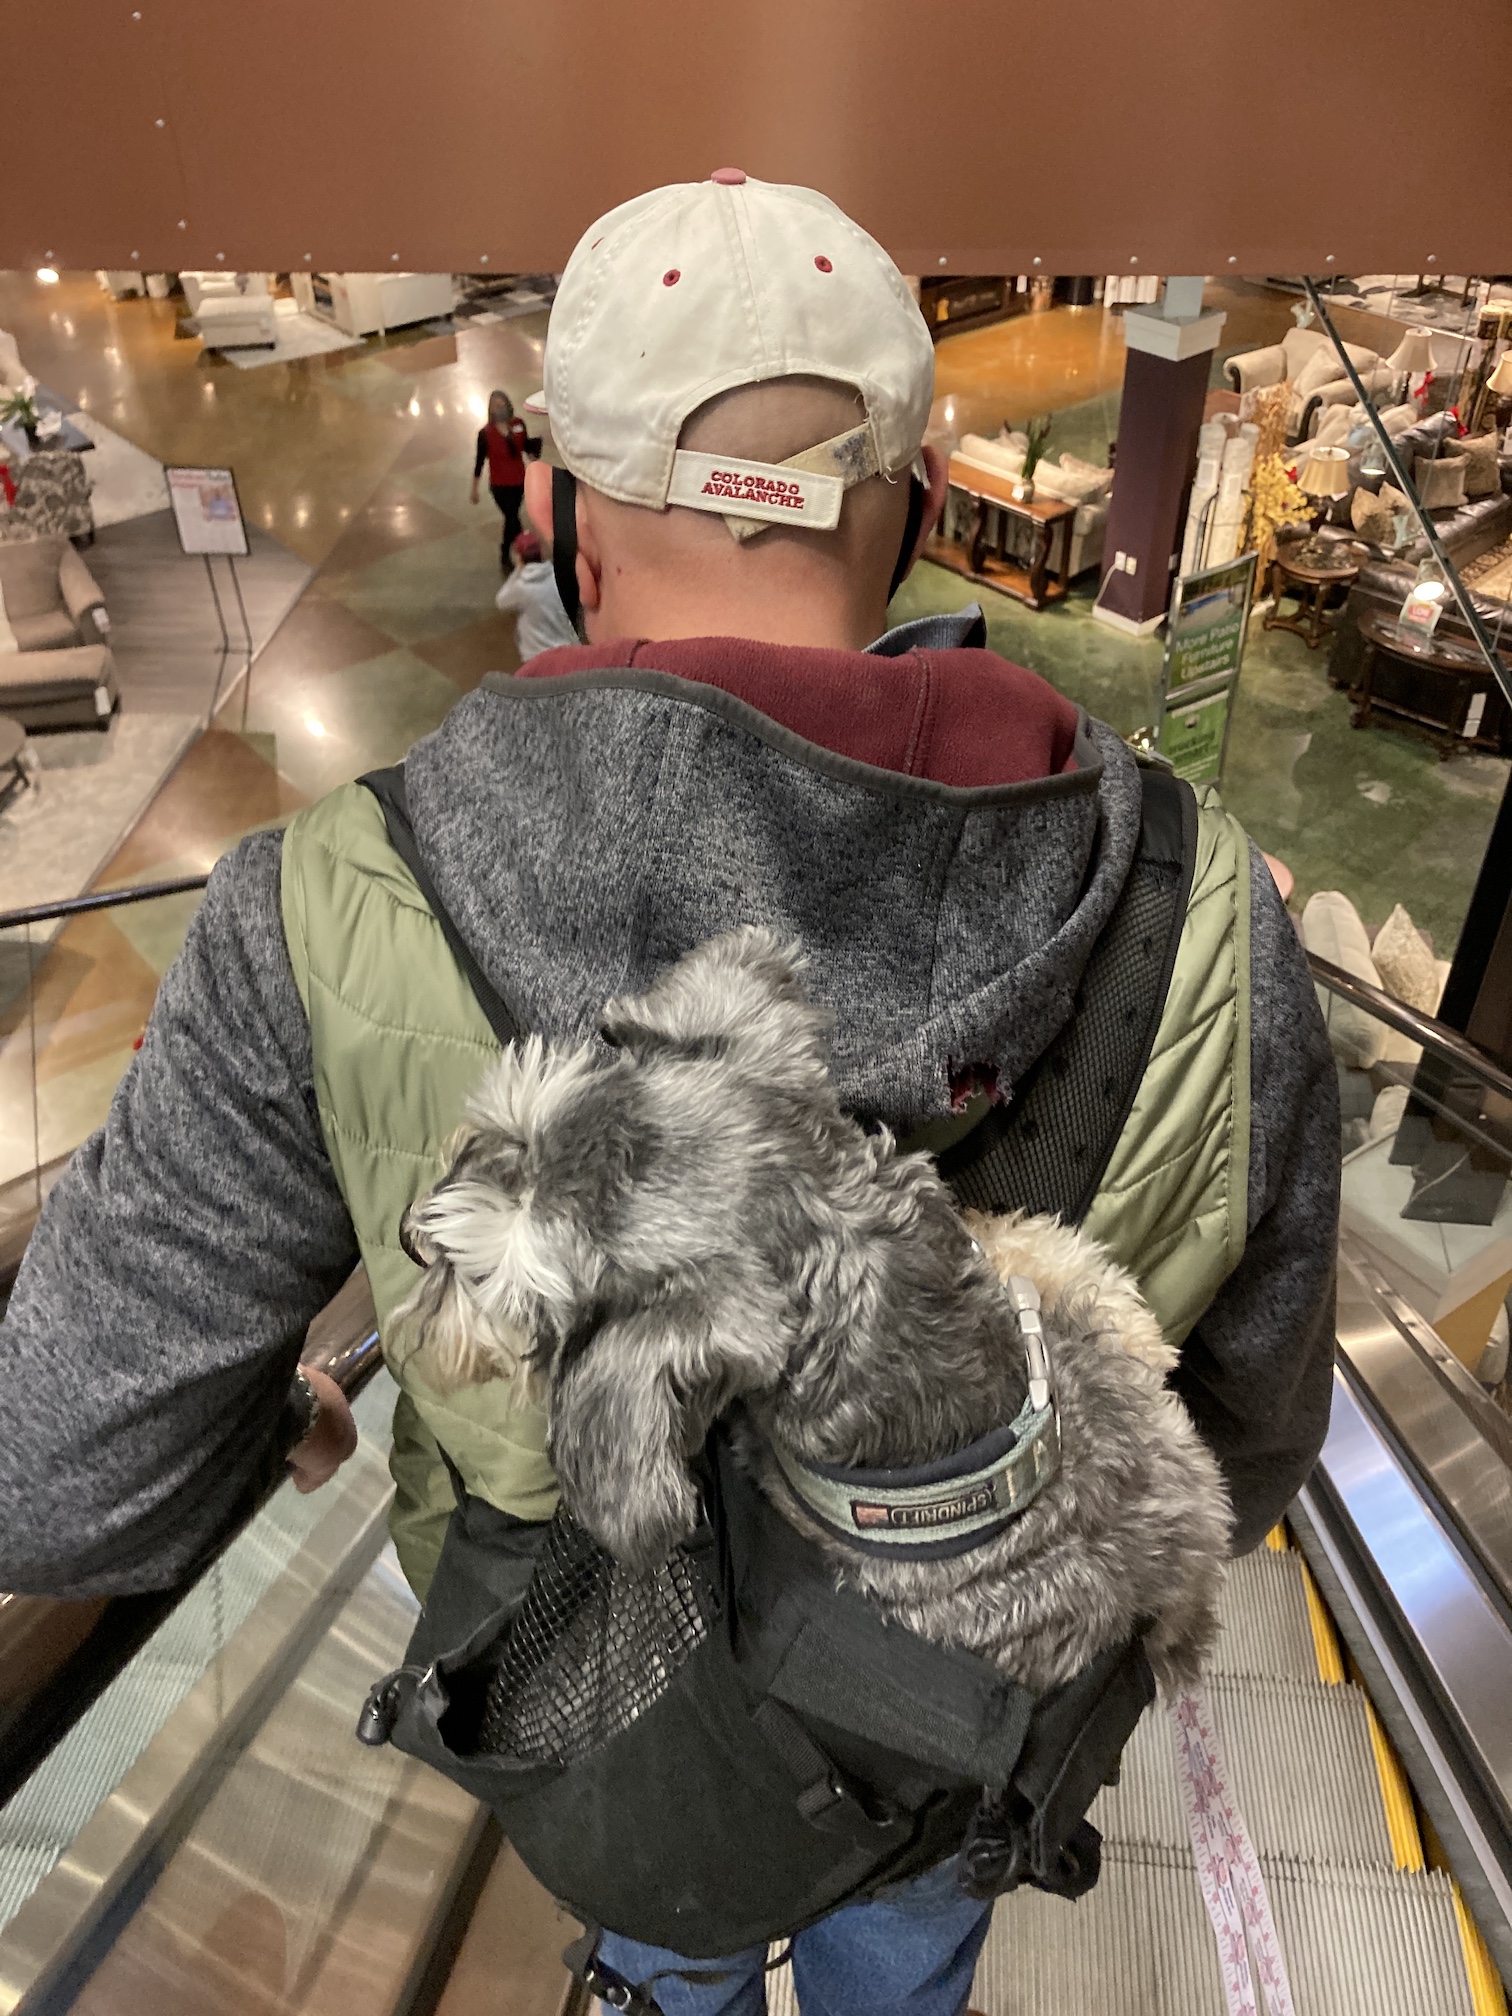
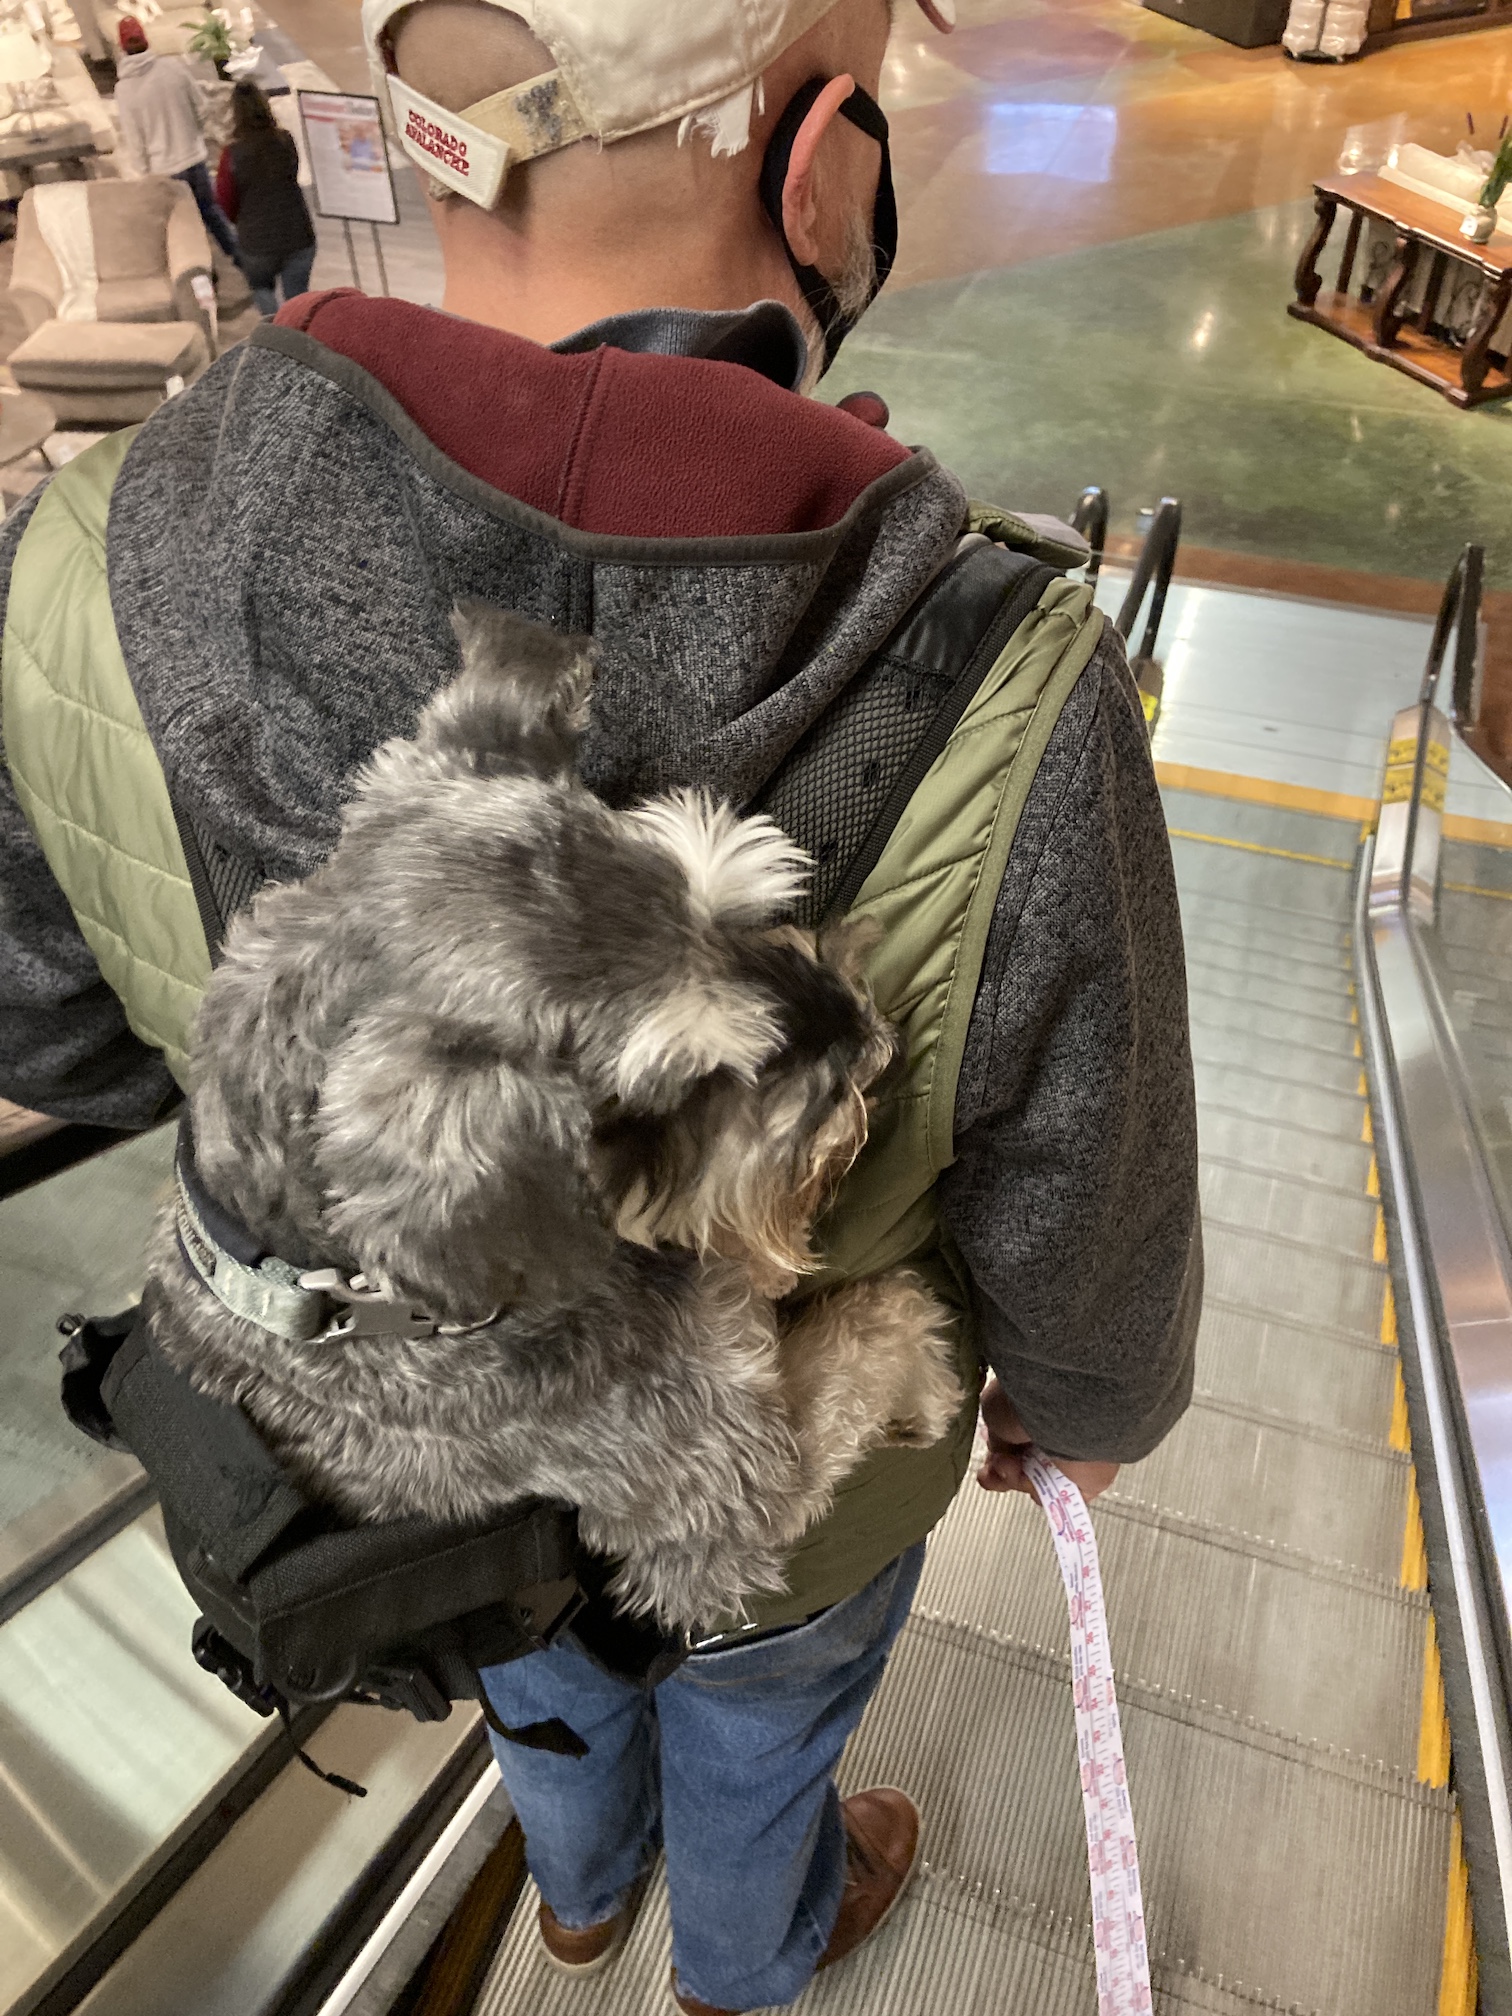
Mid month we went to a furniture store to look for a new loveseat for the front room. The furniture store had a sign on the front “No Dogs Allowed”. But they did not say: “No Dogs in Backpacks Allowed”!
We waited for one of the many furniture salespeople to approach us about our dog in a backpack but instead they asked if they could pet Mike.
Mike might be the first “Furniture Shopping Support” dog!
We did not end up buying a loveseat for the front room (looking at the prices we decided we would just make work what we have for now) but we did buy the clock in the photo above!
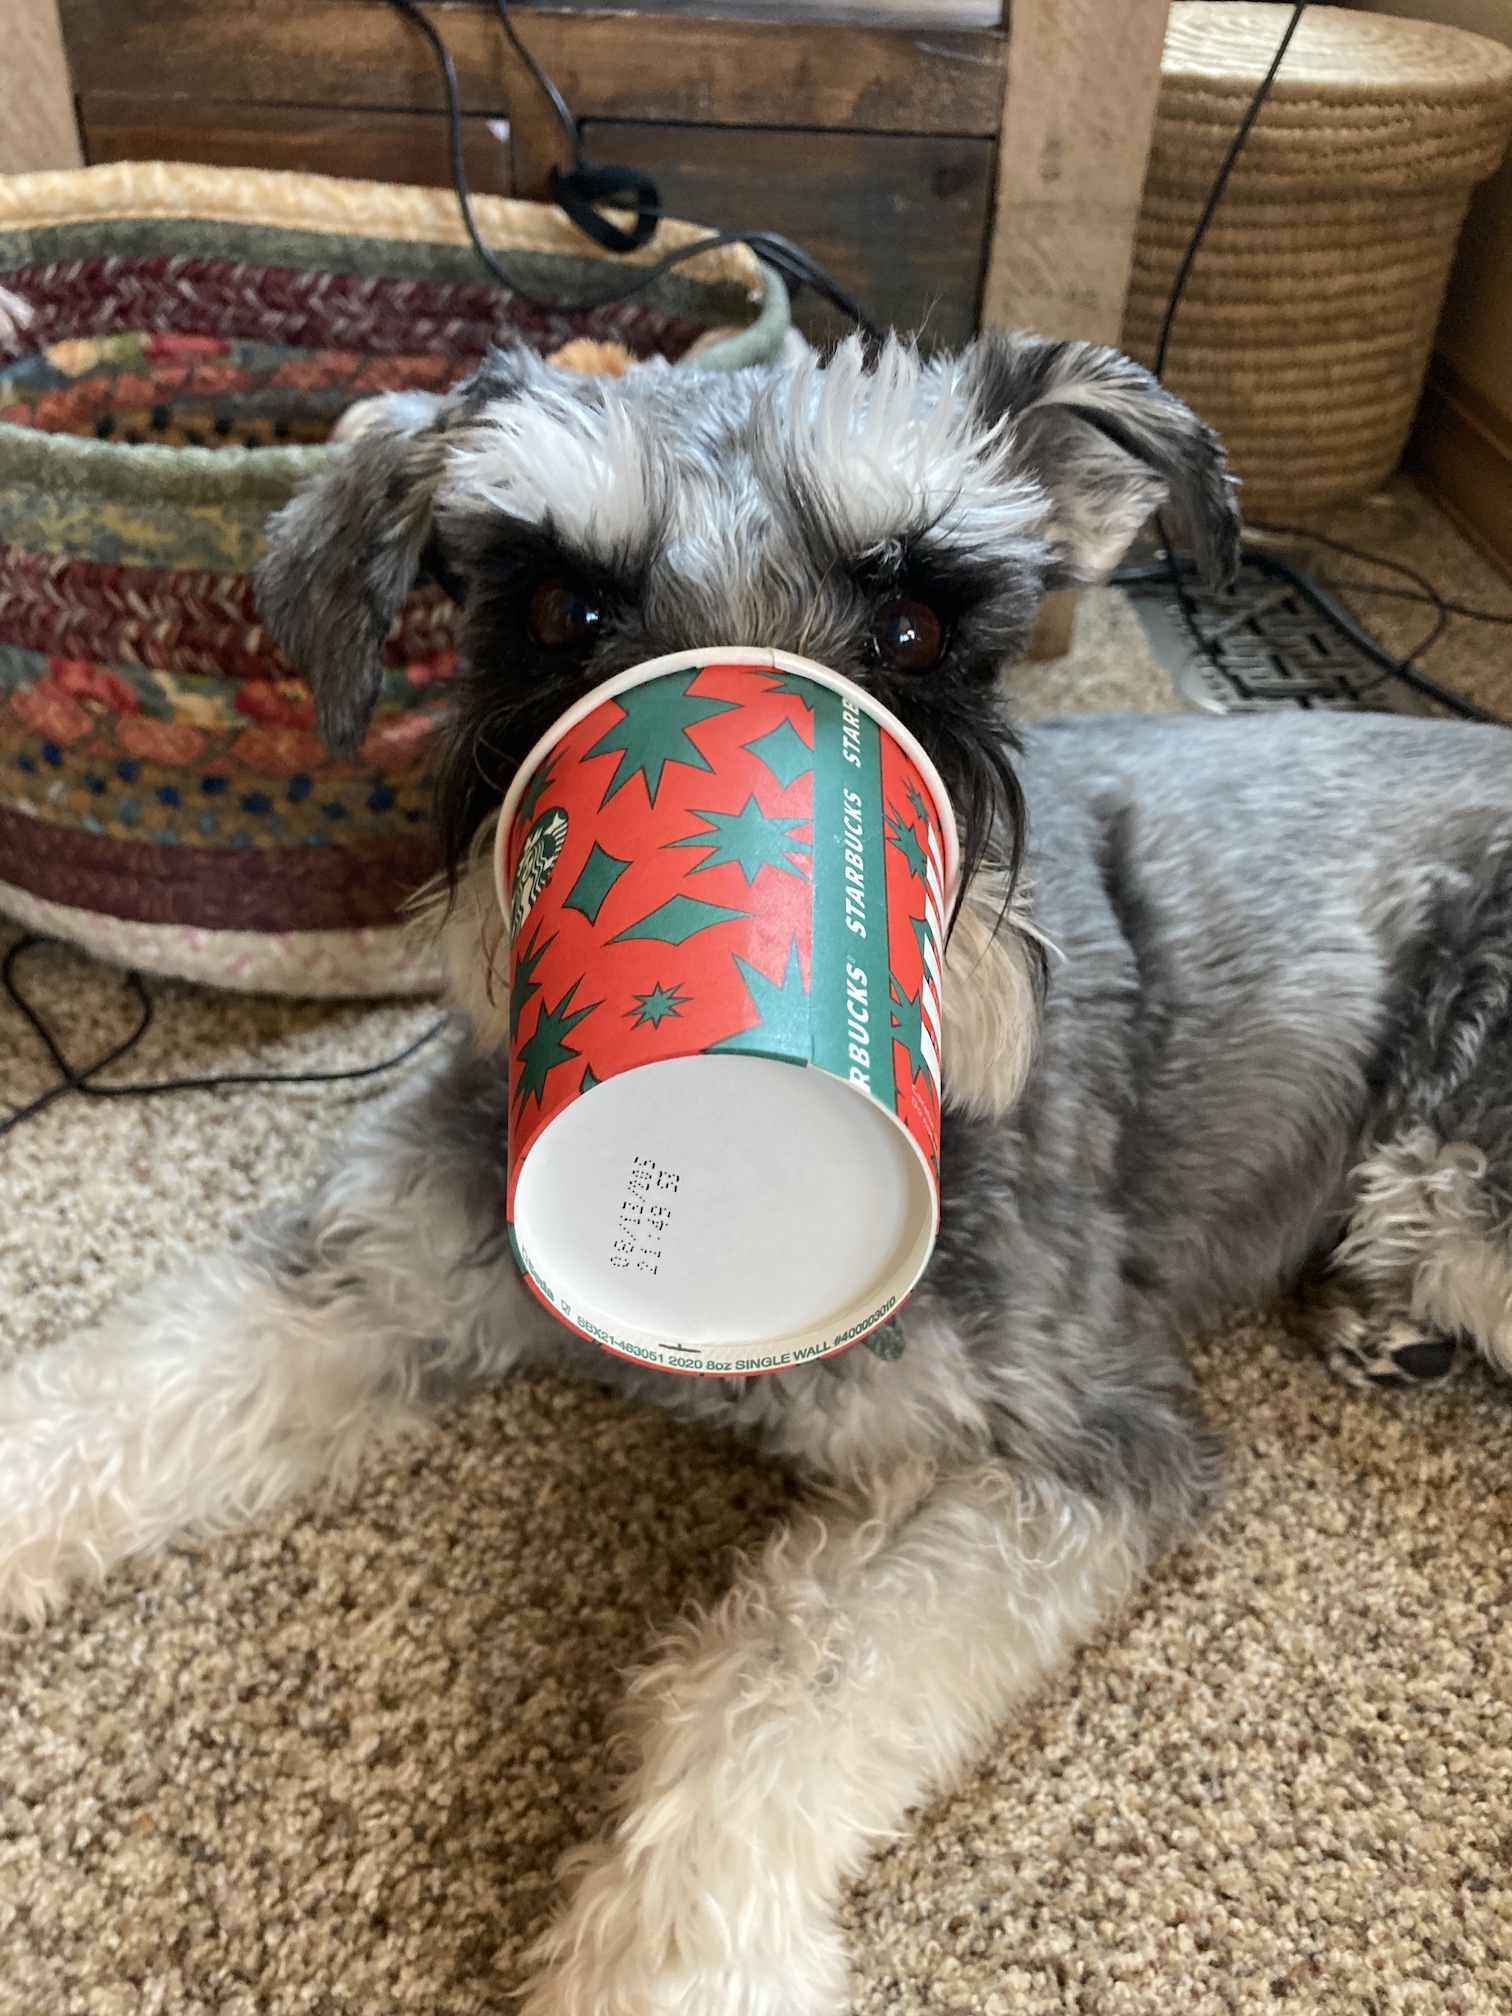
After furniture shopping (and clock purchasing), we stopped at Starbucks and Mike got his first Puppuccino.
Christmas and Bombs (Hot Chocolate Bombs)
We had fun celebrating Christmas with Mike the Miniature Schnauzer and my partner John’s immediate family that live in the Denver metro area. Unfortunately one of his son’s could not come visit from California because of the pandemic. (We were supposed to go to the East Coast and spend Christmas with my family but the pandemic made us make the difficult decision to cancel those plans).
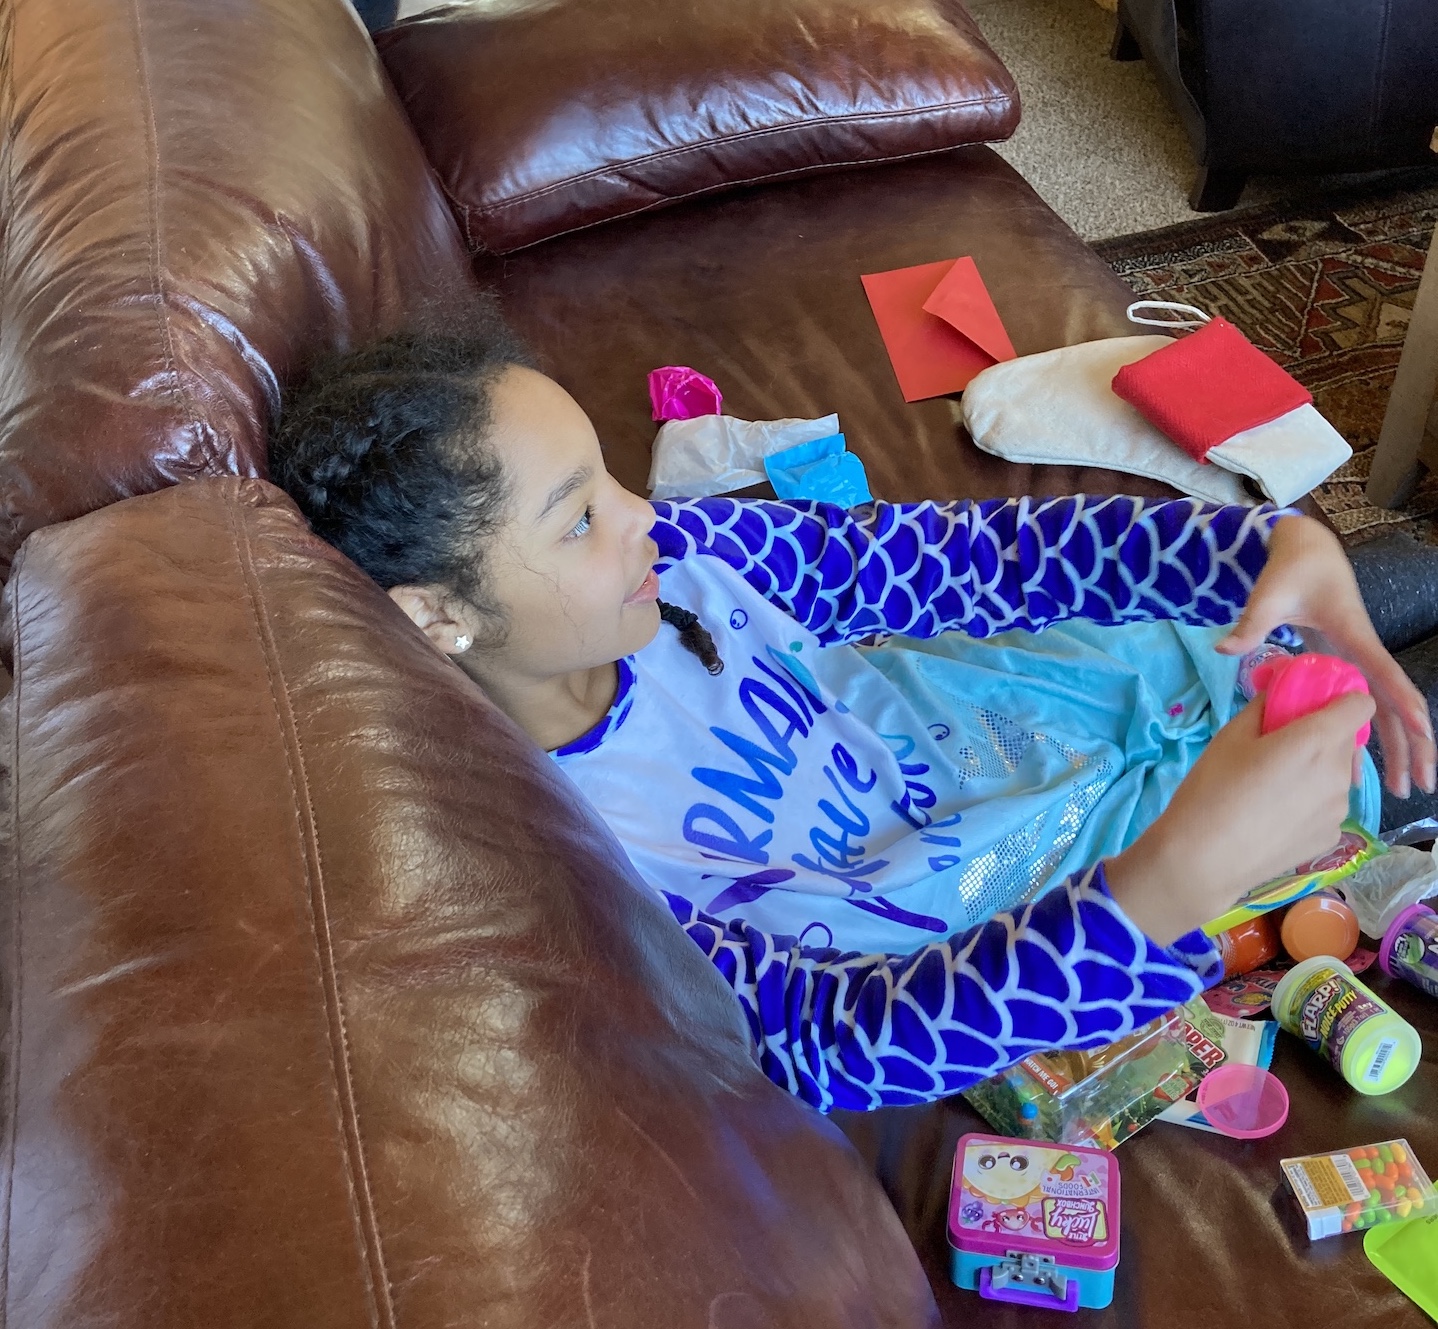
Here is my partner’s darling wonderful granddaughter enjoying some of her stocking stuffers (I went crazy shopping for them and over did it I am sure) while watching a Christmas movie, over our house at Christmas:
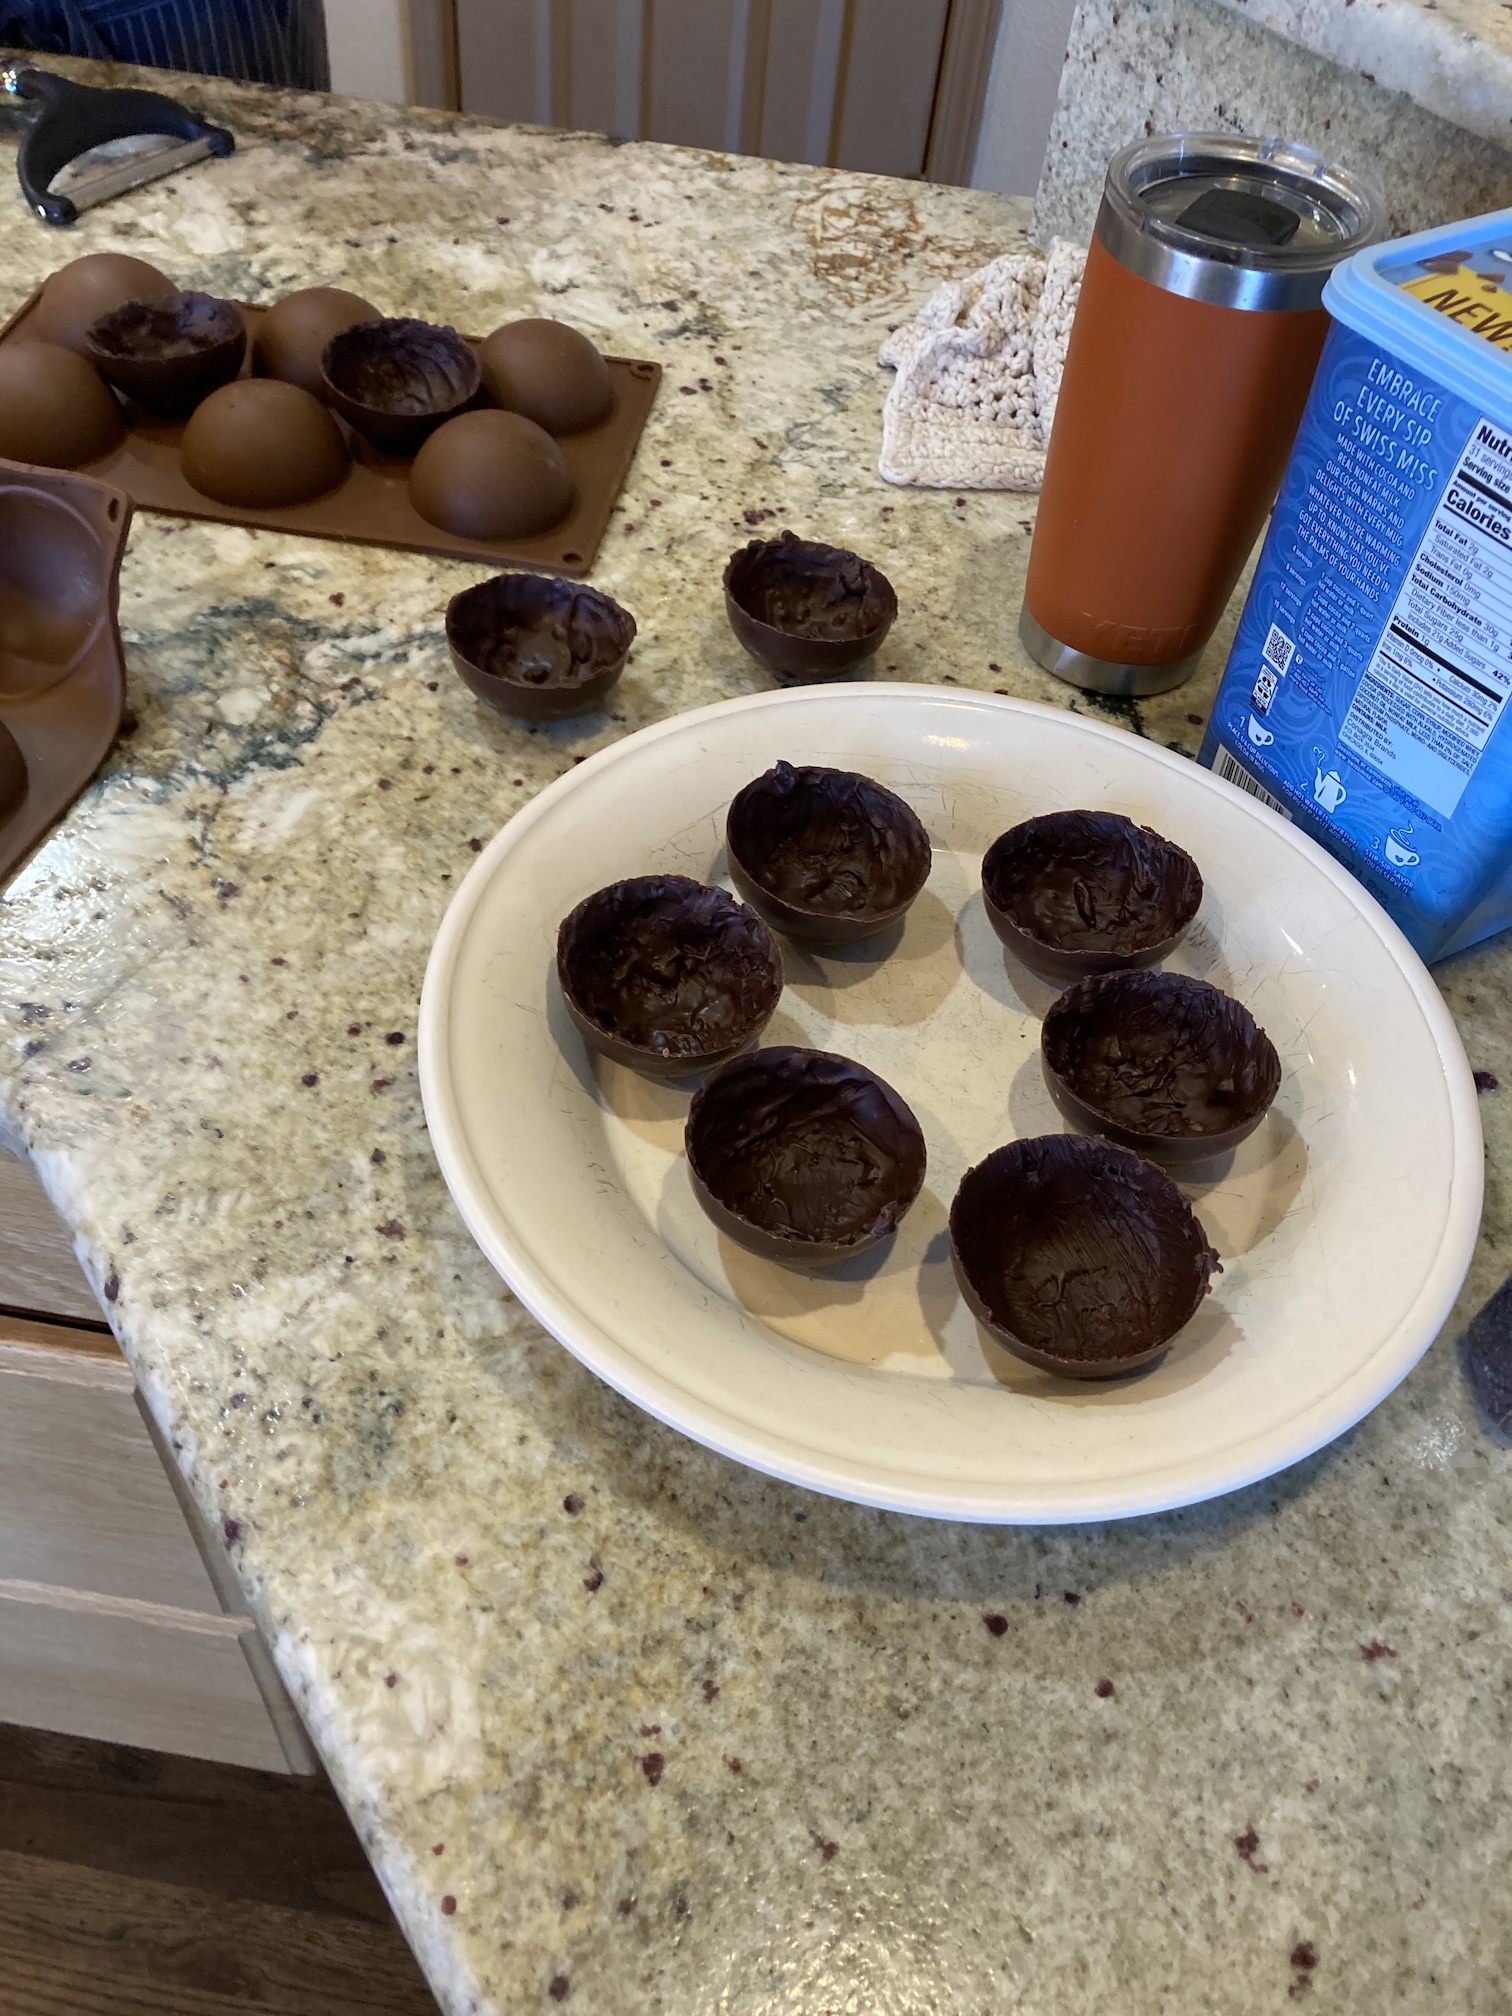
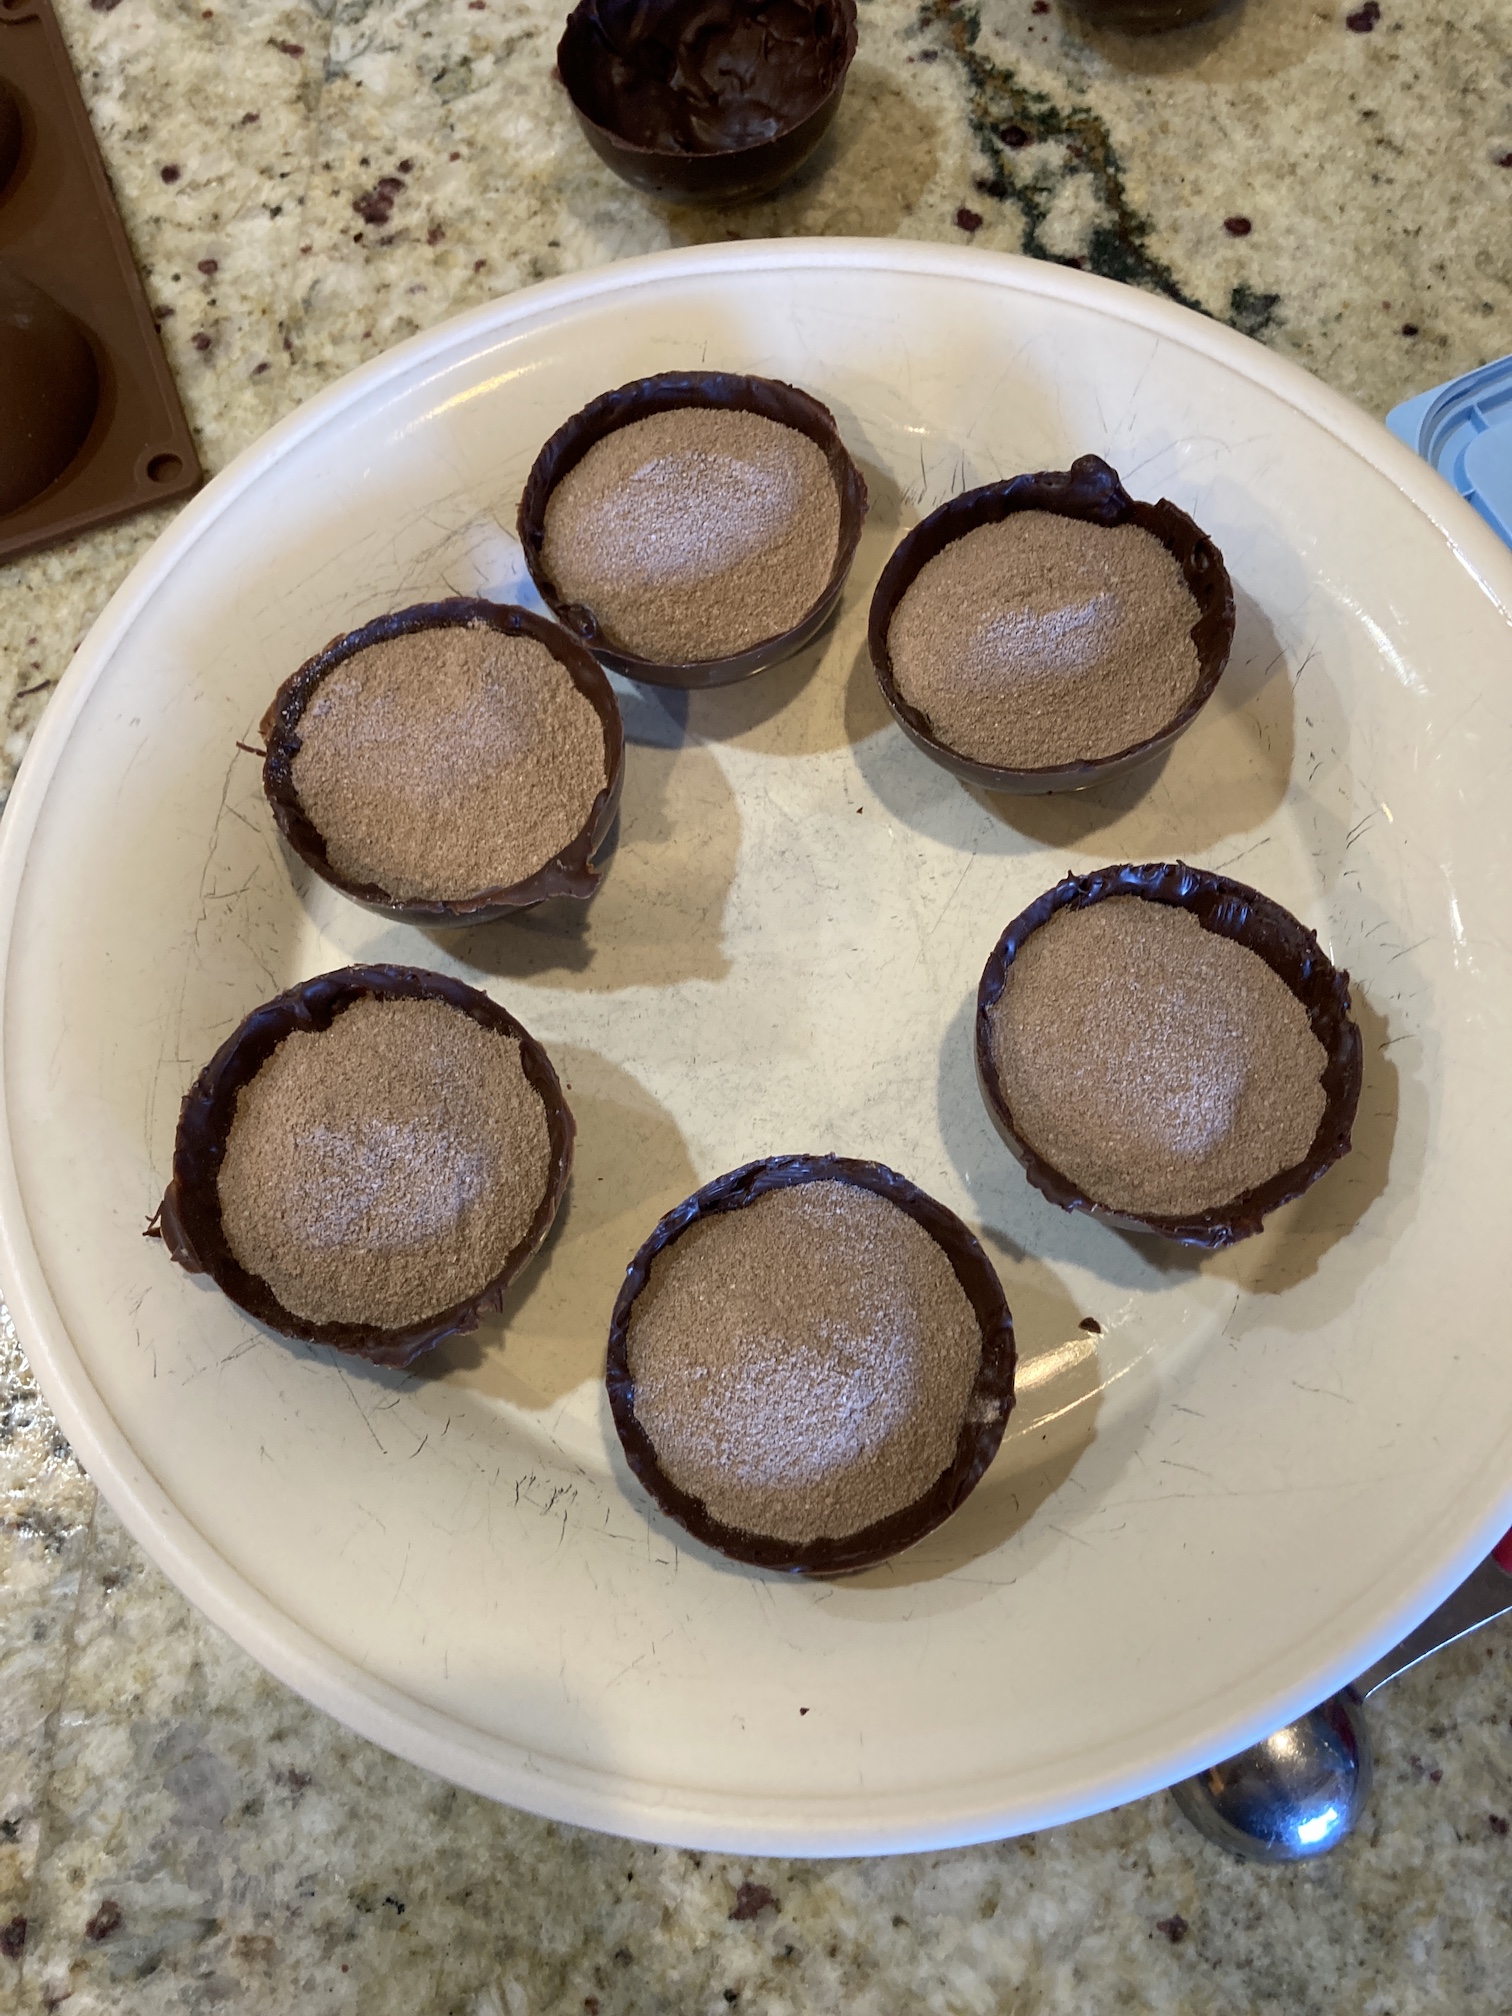
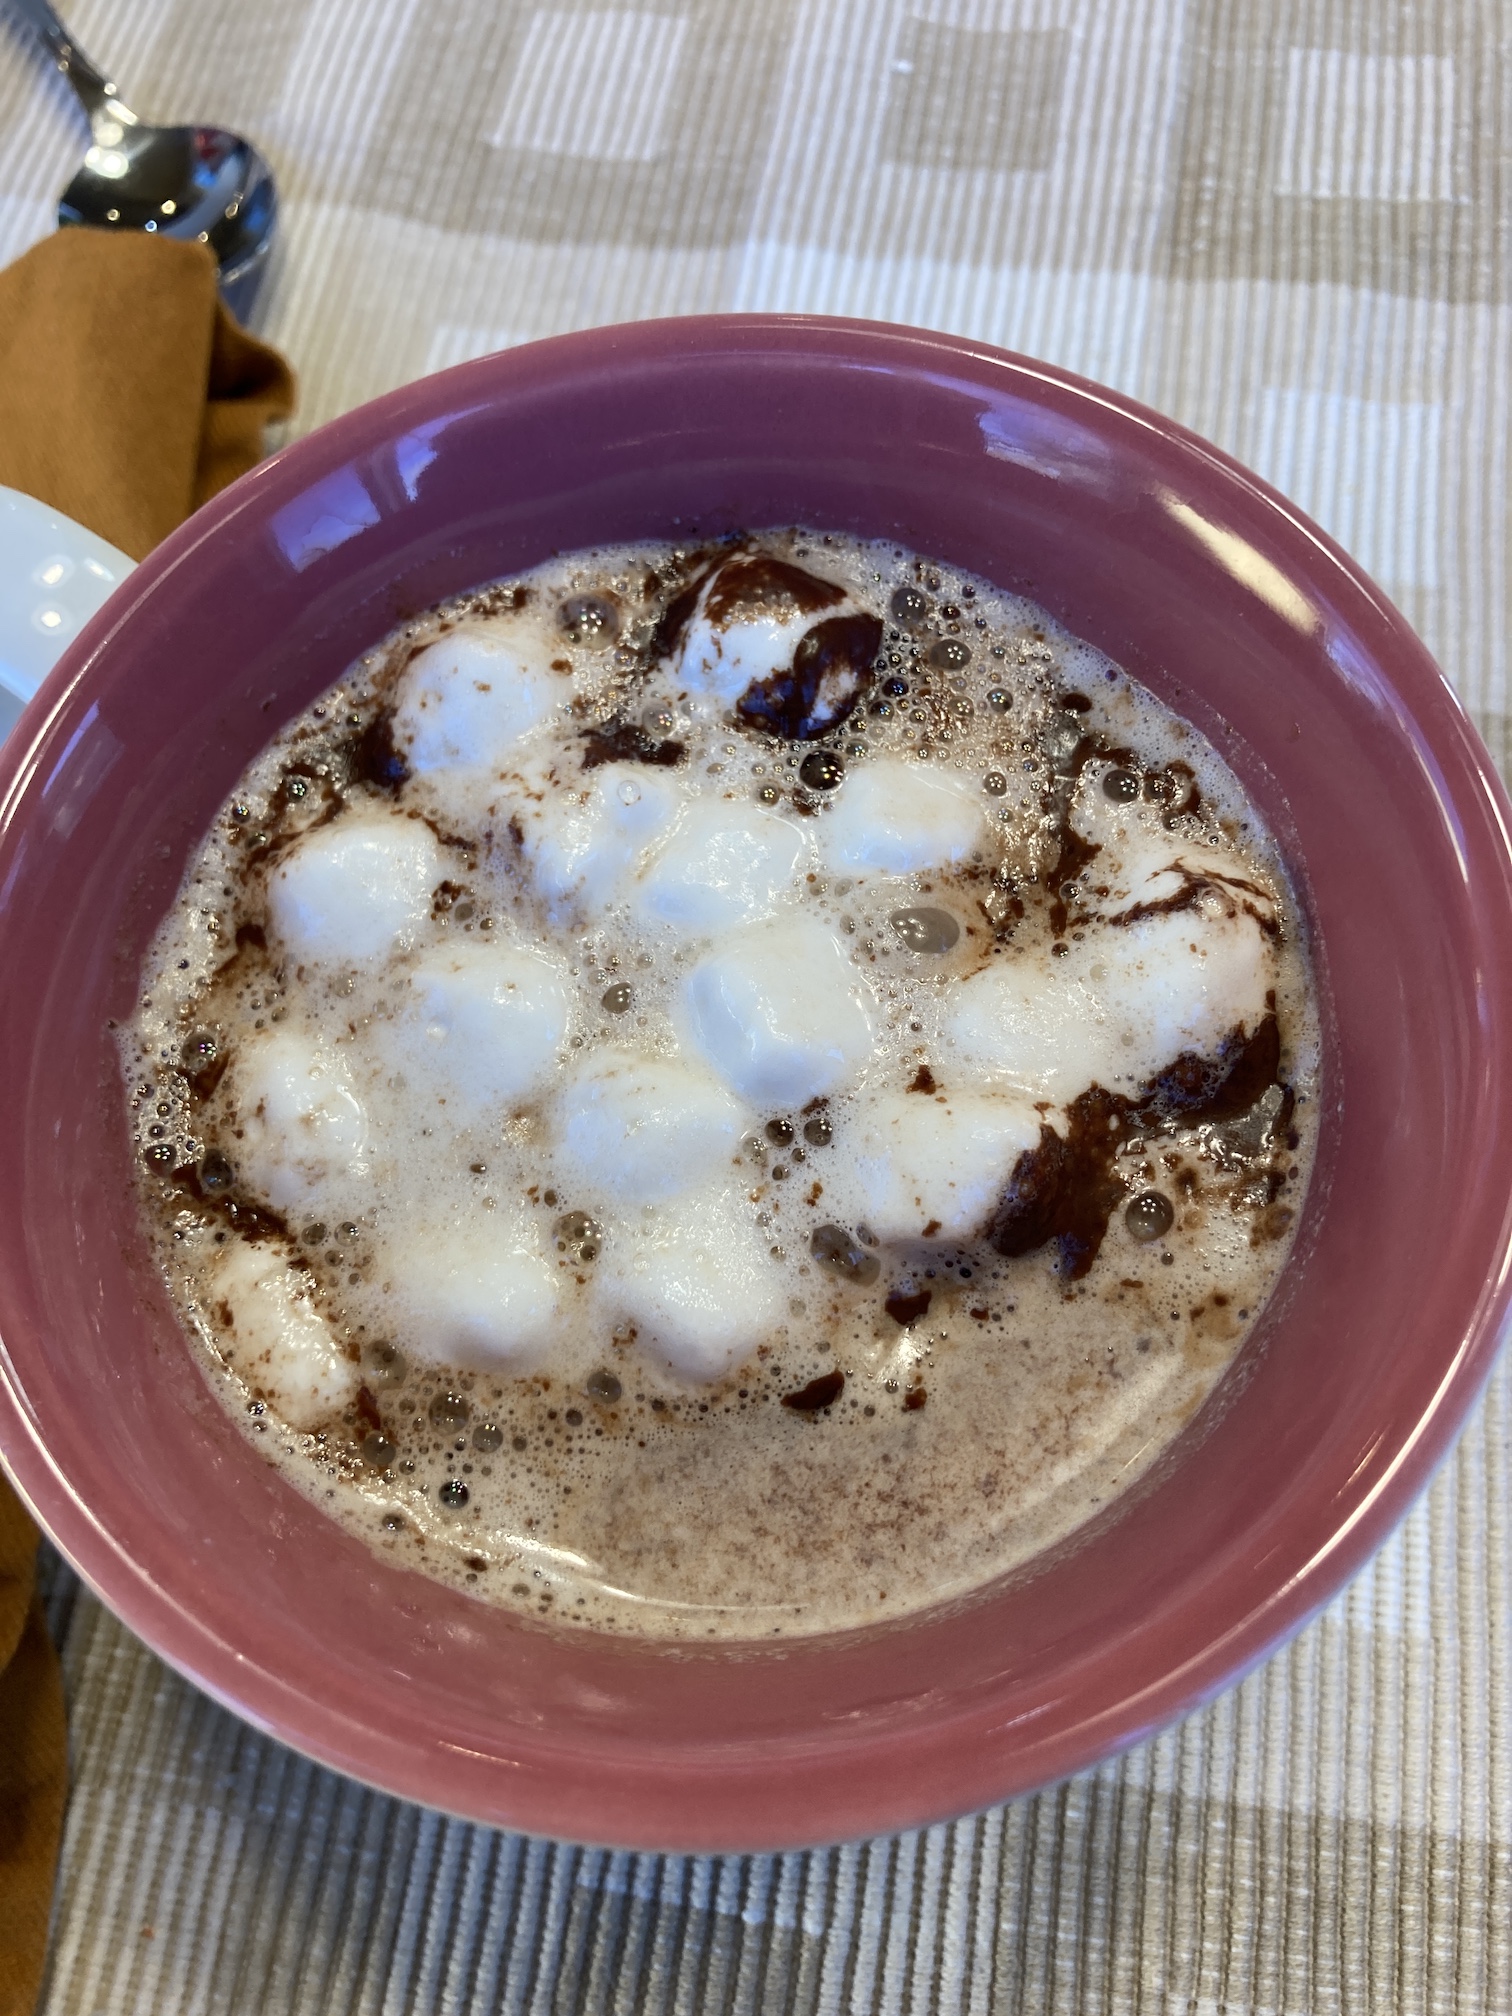
John and I wanted to do something special for Christmas and kept hearing about “Hot Chocolate Bombs“. We bought a couple silicon molds and followed the recipes and directions from this page – The BEST Hot Chocolate Bombs.
No one would buy Hot Chocolate Bombs from us (because they looked like a “hot mess”) but we had so much fun making them on Christmas morning:
Our Christmas dinner guests (my partner’s son, daughter-in-law, and granddaughter) had so much fun pouring steaming hot milk over their hot chocolate bombs and watching them “explode” into hot chocolate.
Here’s a video courtesy of YouTube that demonstrates what happens when hot milk meets a bomb!
We made basic Hot Chocolate Bombs and maybe next Christmas we will experiment with more complicated recipes such as Salted Caramel!
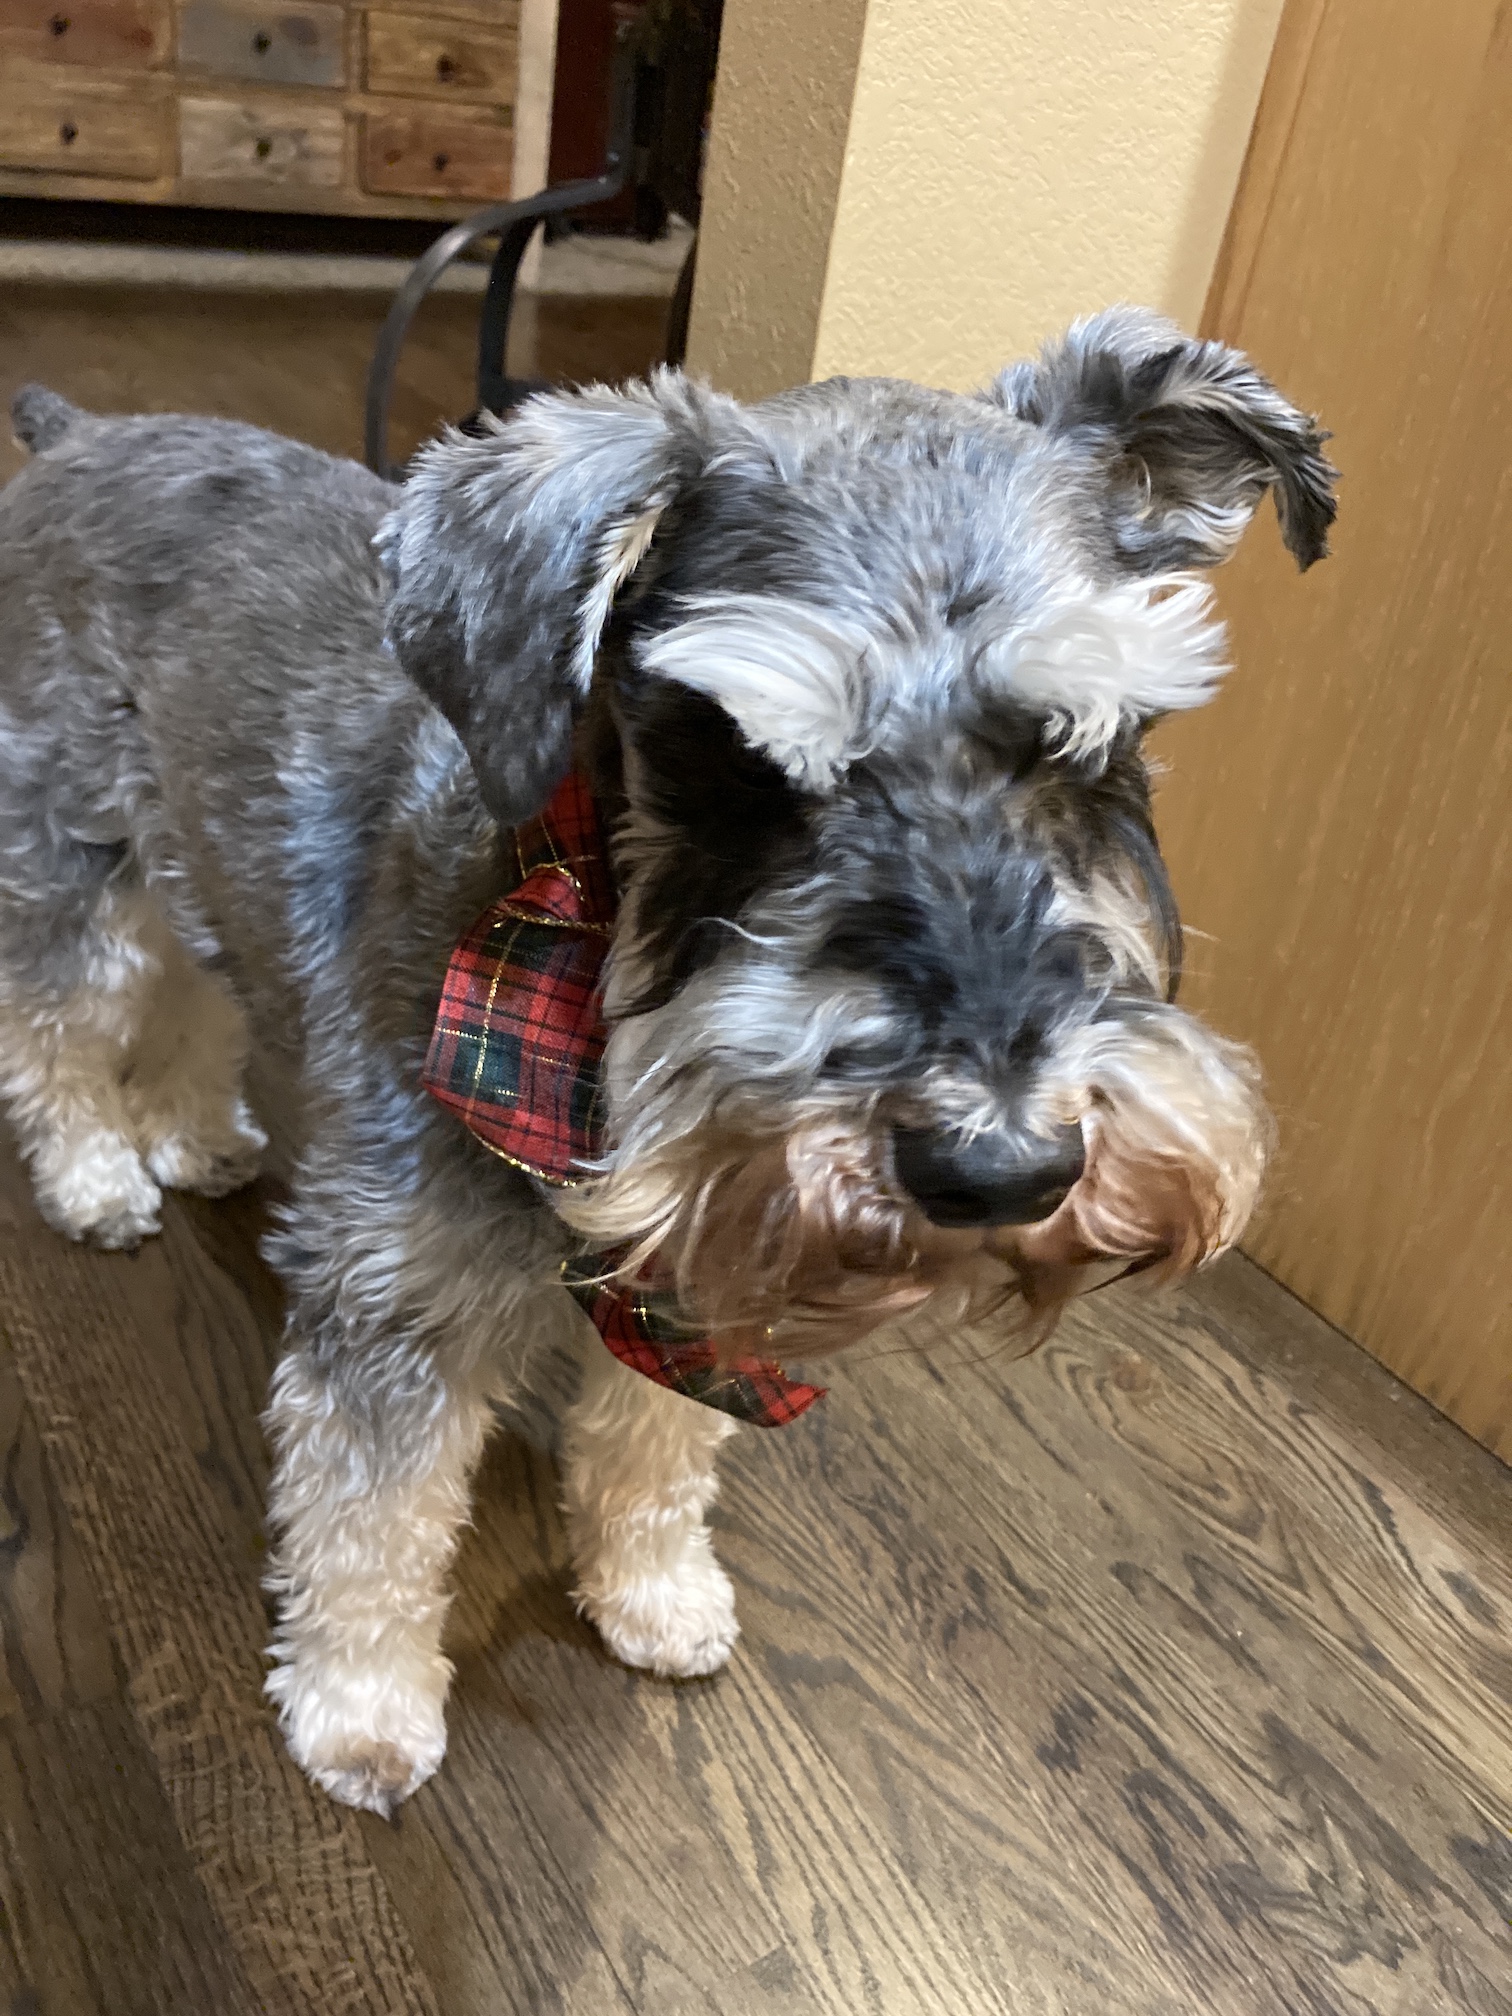
I’ll close this post with Mike the Miniature Schnauzer on Christmas looking cute in Christmas ribbon:
Just a quick(ish) post as I try to catch up on reading all my dear blogging buddies’ posts that happened while I was away from blogging for a little while.
This is an unexpected continuation of my previous post – In the Studio.
“Mr. Woodworker” (my new nickname for my partner John) is a little obsessed with getting my sewing studio in shape for maximum-creativity-efficiency (or he is just looking for more pandemic projects and we continue to primarily be stuck at home).
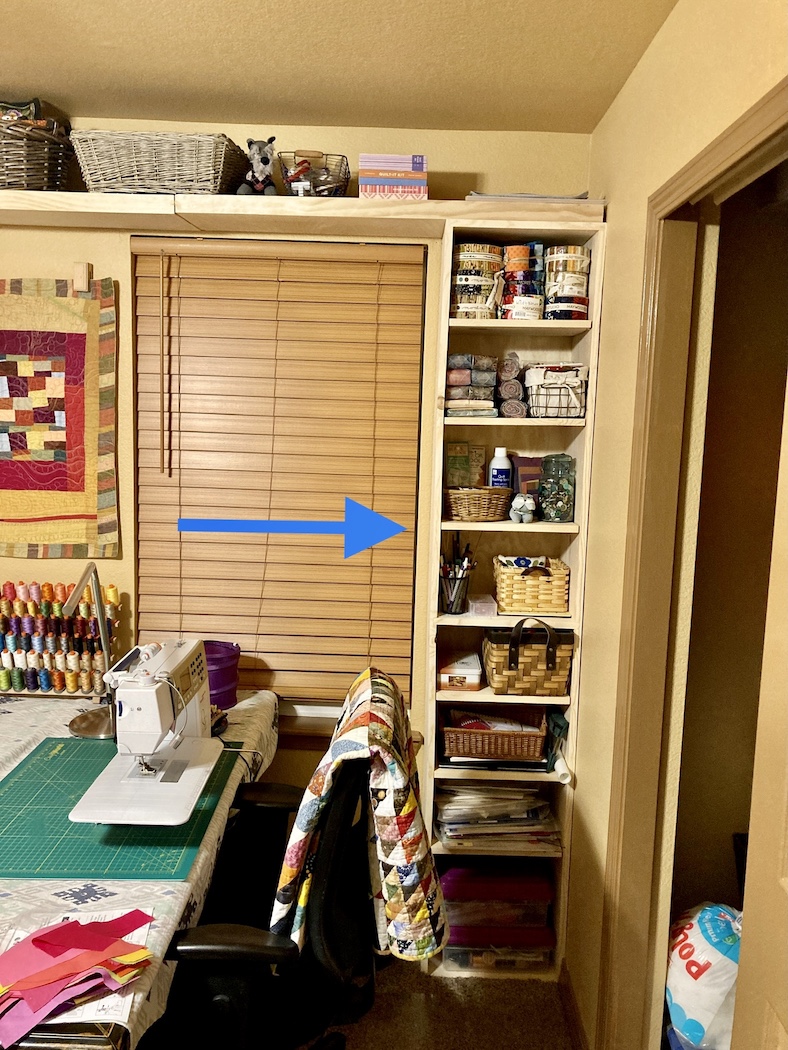
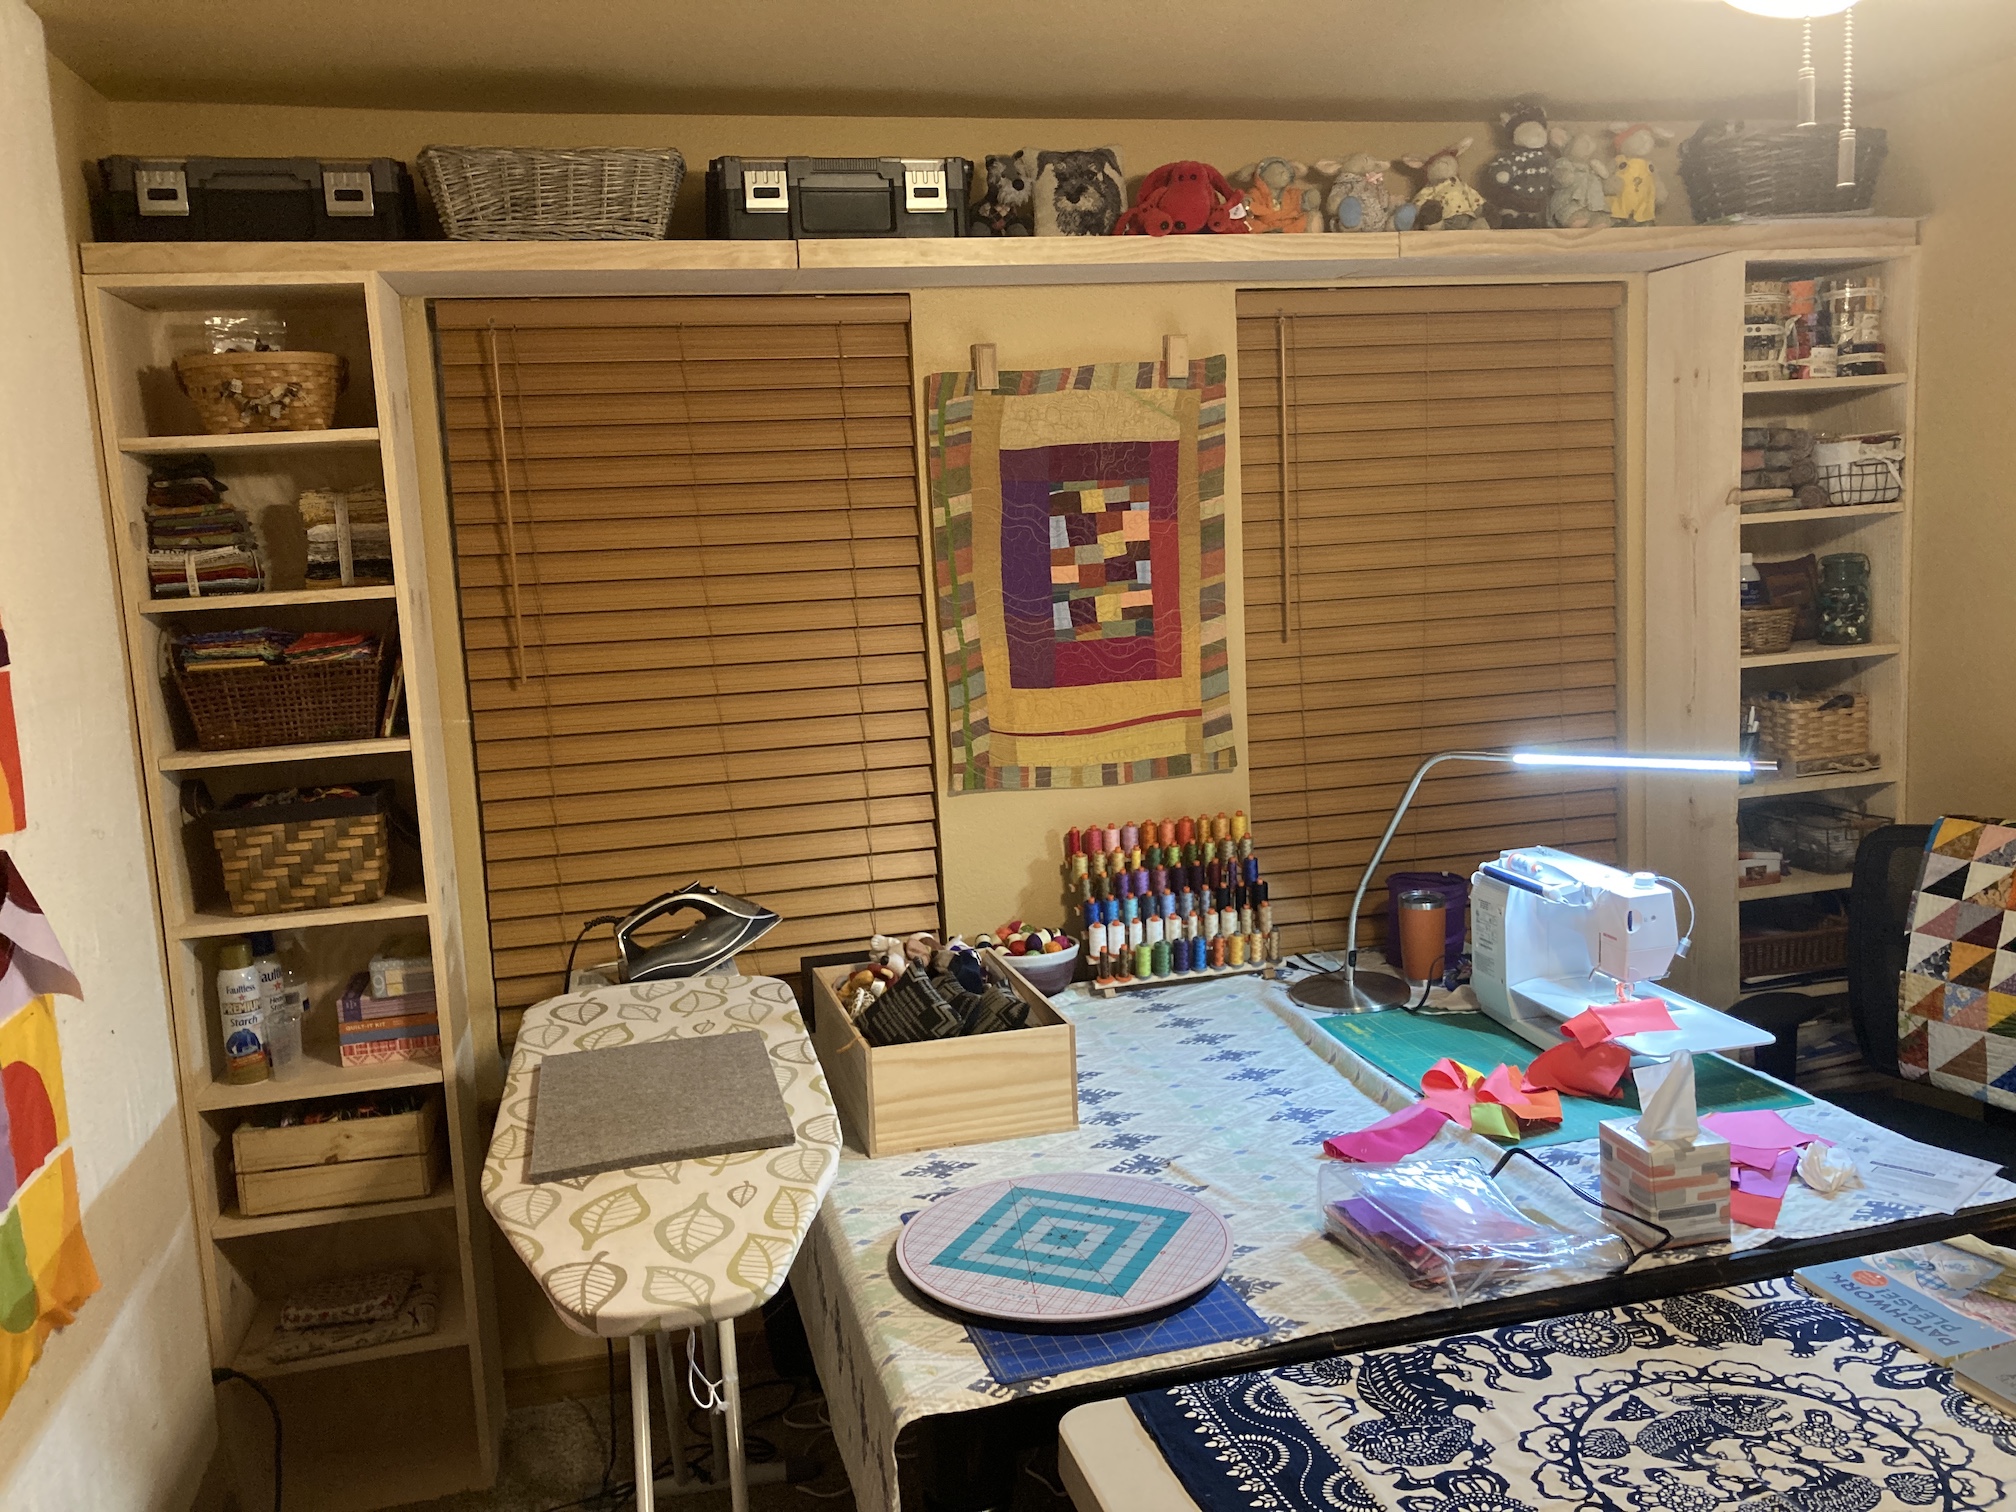
He and I came up with the idea of adding some shelving on each end of my new floating shelf he just installed:
Before the additional shelves
Here are the new shelves (just installed yesterday) – one on each side of the window in my sewing studio!
I cannot begin to tell you how pleased I am with my two new bookcases/shelving on each end of the new floating shelf. These bookcases are things I did not even realize I needed until we spontaneously came up with the idea and Mr. Woodworker whipped them up!
I now feel really organized!
What does Mr. Woodworker have planned next for my sewing studio? Well he wants to build me a matching cutting table, a sewing table and one additional bookshelf area. I asked him to hold off for now as I need to focus on using my studio to keep making stuff for my tierneycreates Etsy shop I hope to reopen in January 2021.
Postscript
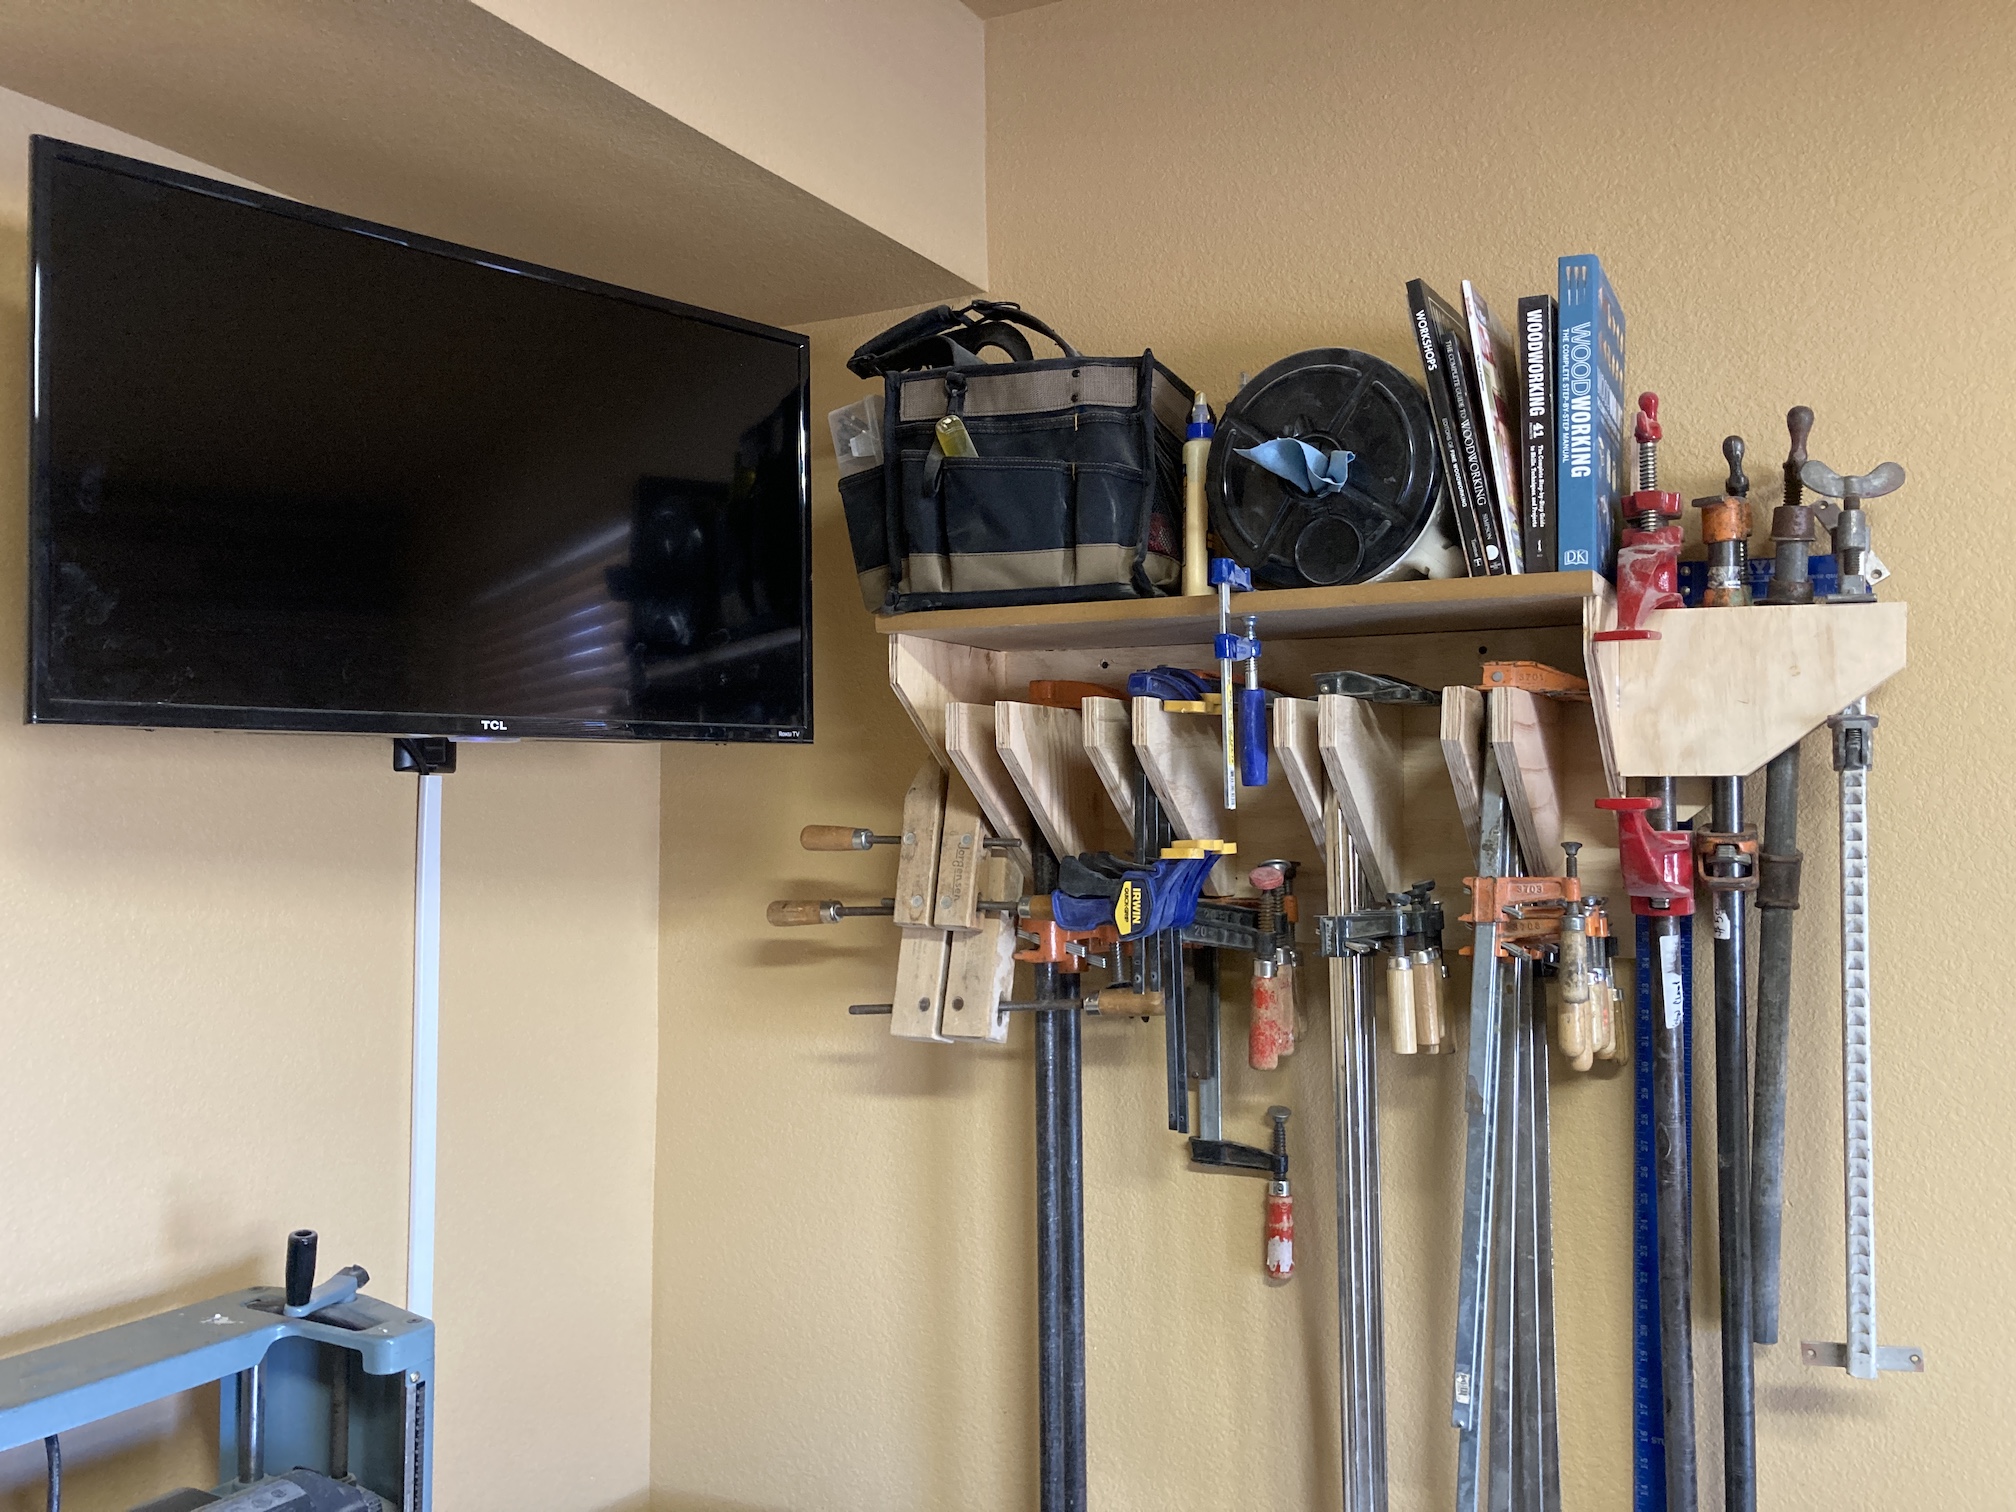
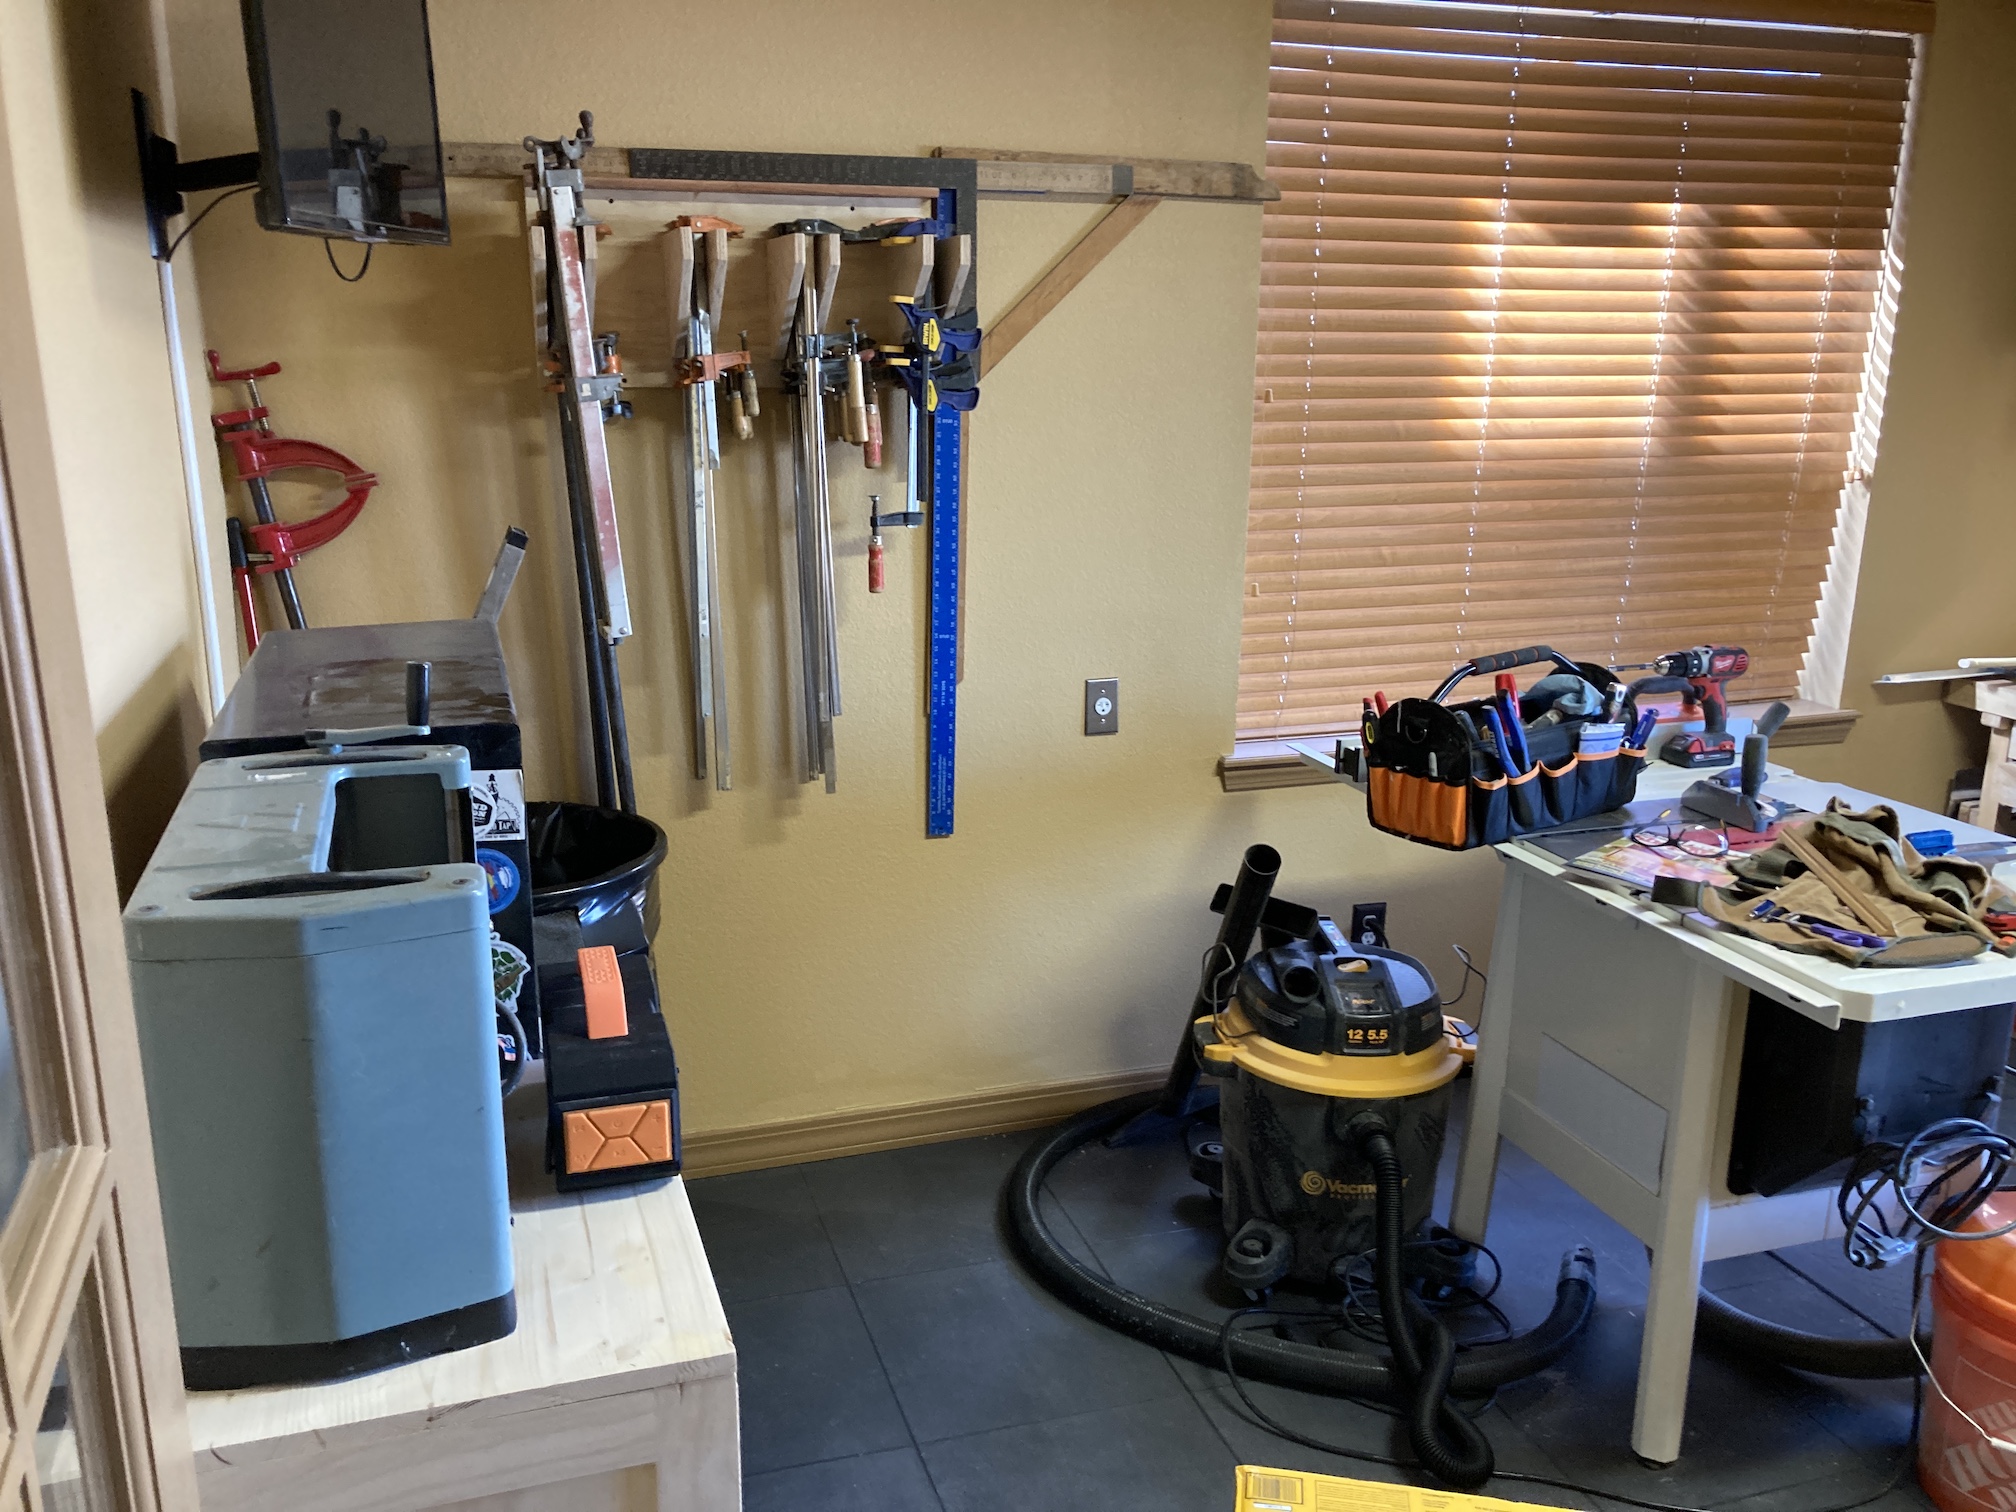
Mr. Woodworker has been working on his own studio too, which is located in the basement. He built himself a clamp stand for his woodworking clamps:
Functional – yes. As cute as my sewing studio area – no – ha!
It seems like it’s been a bit of a while since I posted.
To get myself through December (see Postscript section of the post Pillow for a Kitty) I’ve been spending a lot of time in my sewing studio working on various projects. I will share these projects over the next several posts.
Some of the projects have to do with preparing to re-open my tierneycreates Etsy shop after taking a hiatus for 4 (?) years (it appears I last sold something in my shop in 2016).
I’ll talk more about my decision to re-open my shop and the offerings I am working in some future post, but my studio currently shows evidence of my progress to eventually stock my shop.
My sewing studio has really been an oasis and making things has made me feel centered and peaceful. My partner John has been supporting my studio time and progressing with his new hobby woodworking by sprucing up my studio with some new handmade furniture.
New Bookcase
He made a bookcase for my studio (his first bookcase). The first image is of the bookcase being built in his studio in the basement:
New Floating Shelf
He also built a floating shelf across the wall of windows in my studio to add extra storage:
(By the way, my studio is a mess because I’ve been busy making things and not always tidying up between projects…)
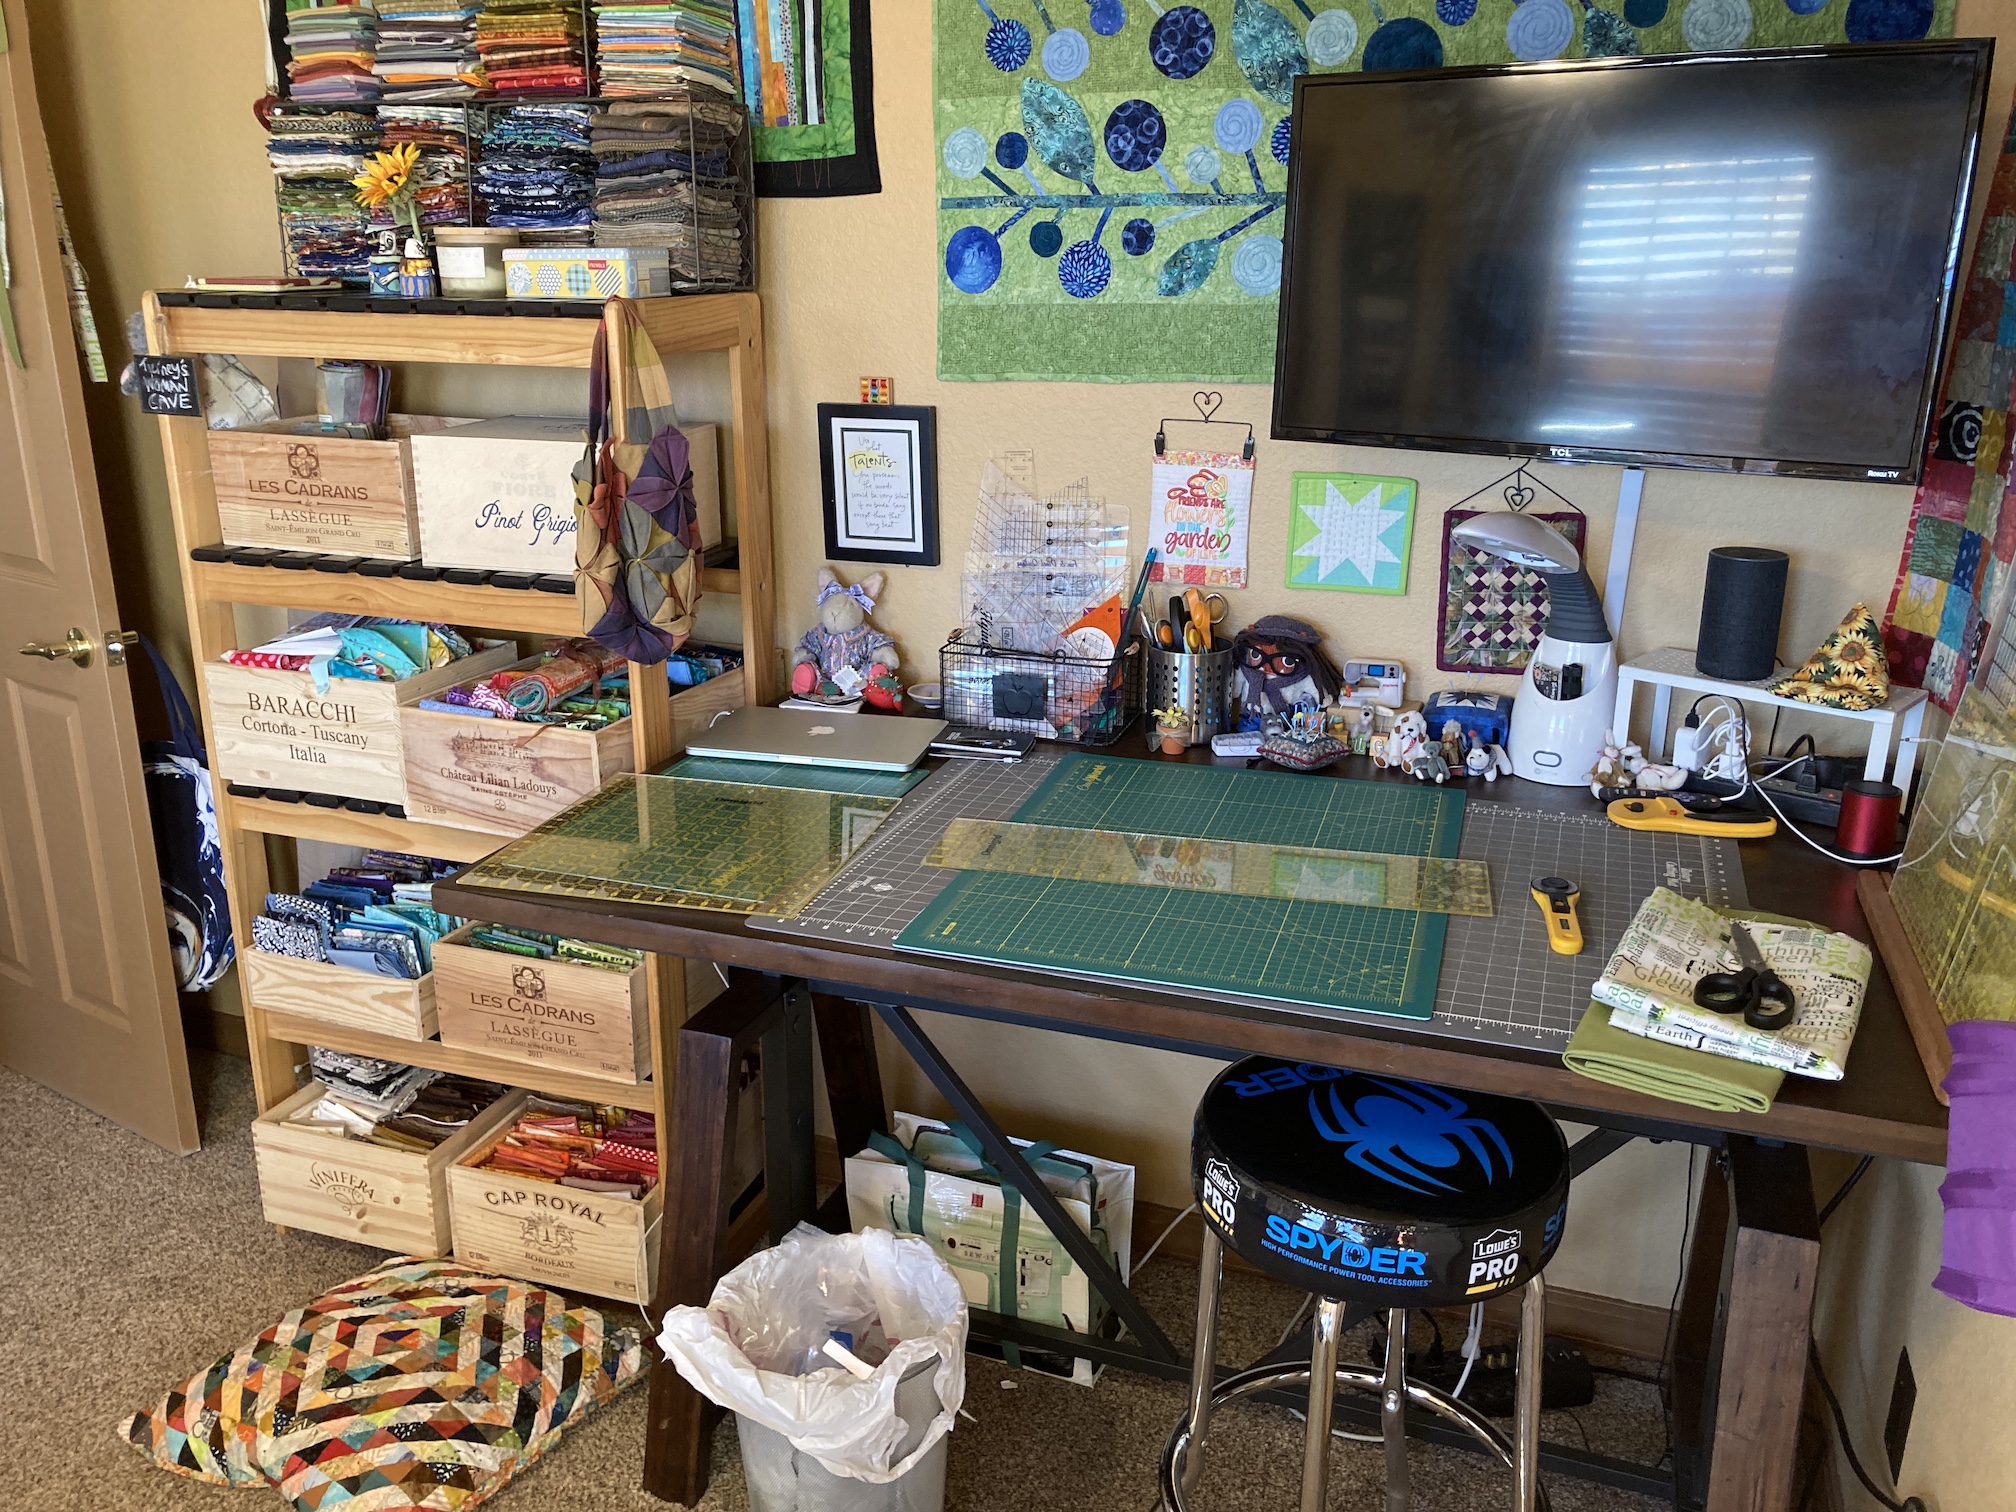
In addition to making many things over the past several weeks, I’ve also added in some additional organizational touches to include re-organized my fabric scraps into baskets in my sewing studio’s closet and getting additional wine crates to organize fat quarters.
Re-organizing Fabric Scraps
Here is what I did with the fabric scraps:
It looks messy but it is a much better way for me to access my fabric scraps which are organized by color groups:
Black, white and gray
Cream and yellow
Orange and brown
Red and purple
Green, blue, and all the blue-greens
I have batik scraps in their own separate bucket and I have speciality fabric scraps in their own basket.
The plastic bags are scraps for special projects.
While organizing my scraps I purged a lot of small pieces. I decided to finally let go of the small/tiny pieces as well as any scraps that “did not bring me joy”.
Fat Quarter Wrangling
I’ve collected a lot of fat quarters over the years and it feels like I am always searching for the best way to store them. A couple months ago I came up with the idea to organize them in wine crates that I got from local liquor stores. Some stores will give you 1 or 2 for free while others charge $5 a wine crate.
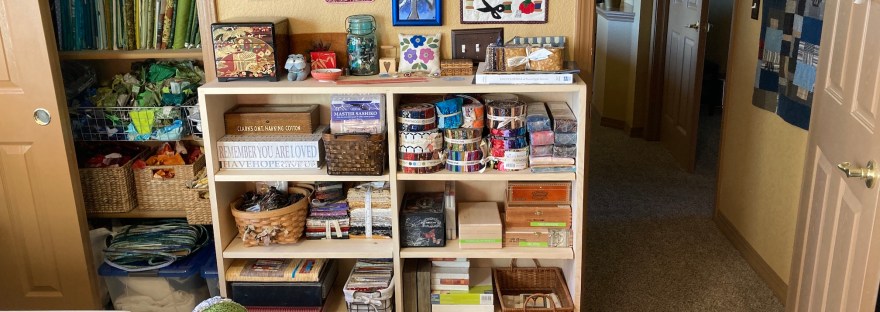
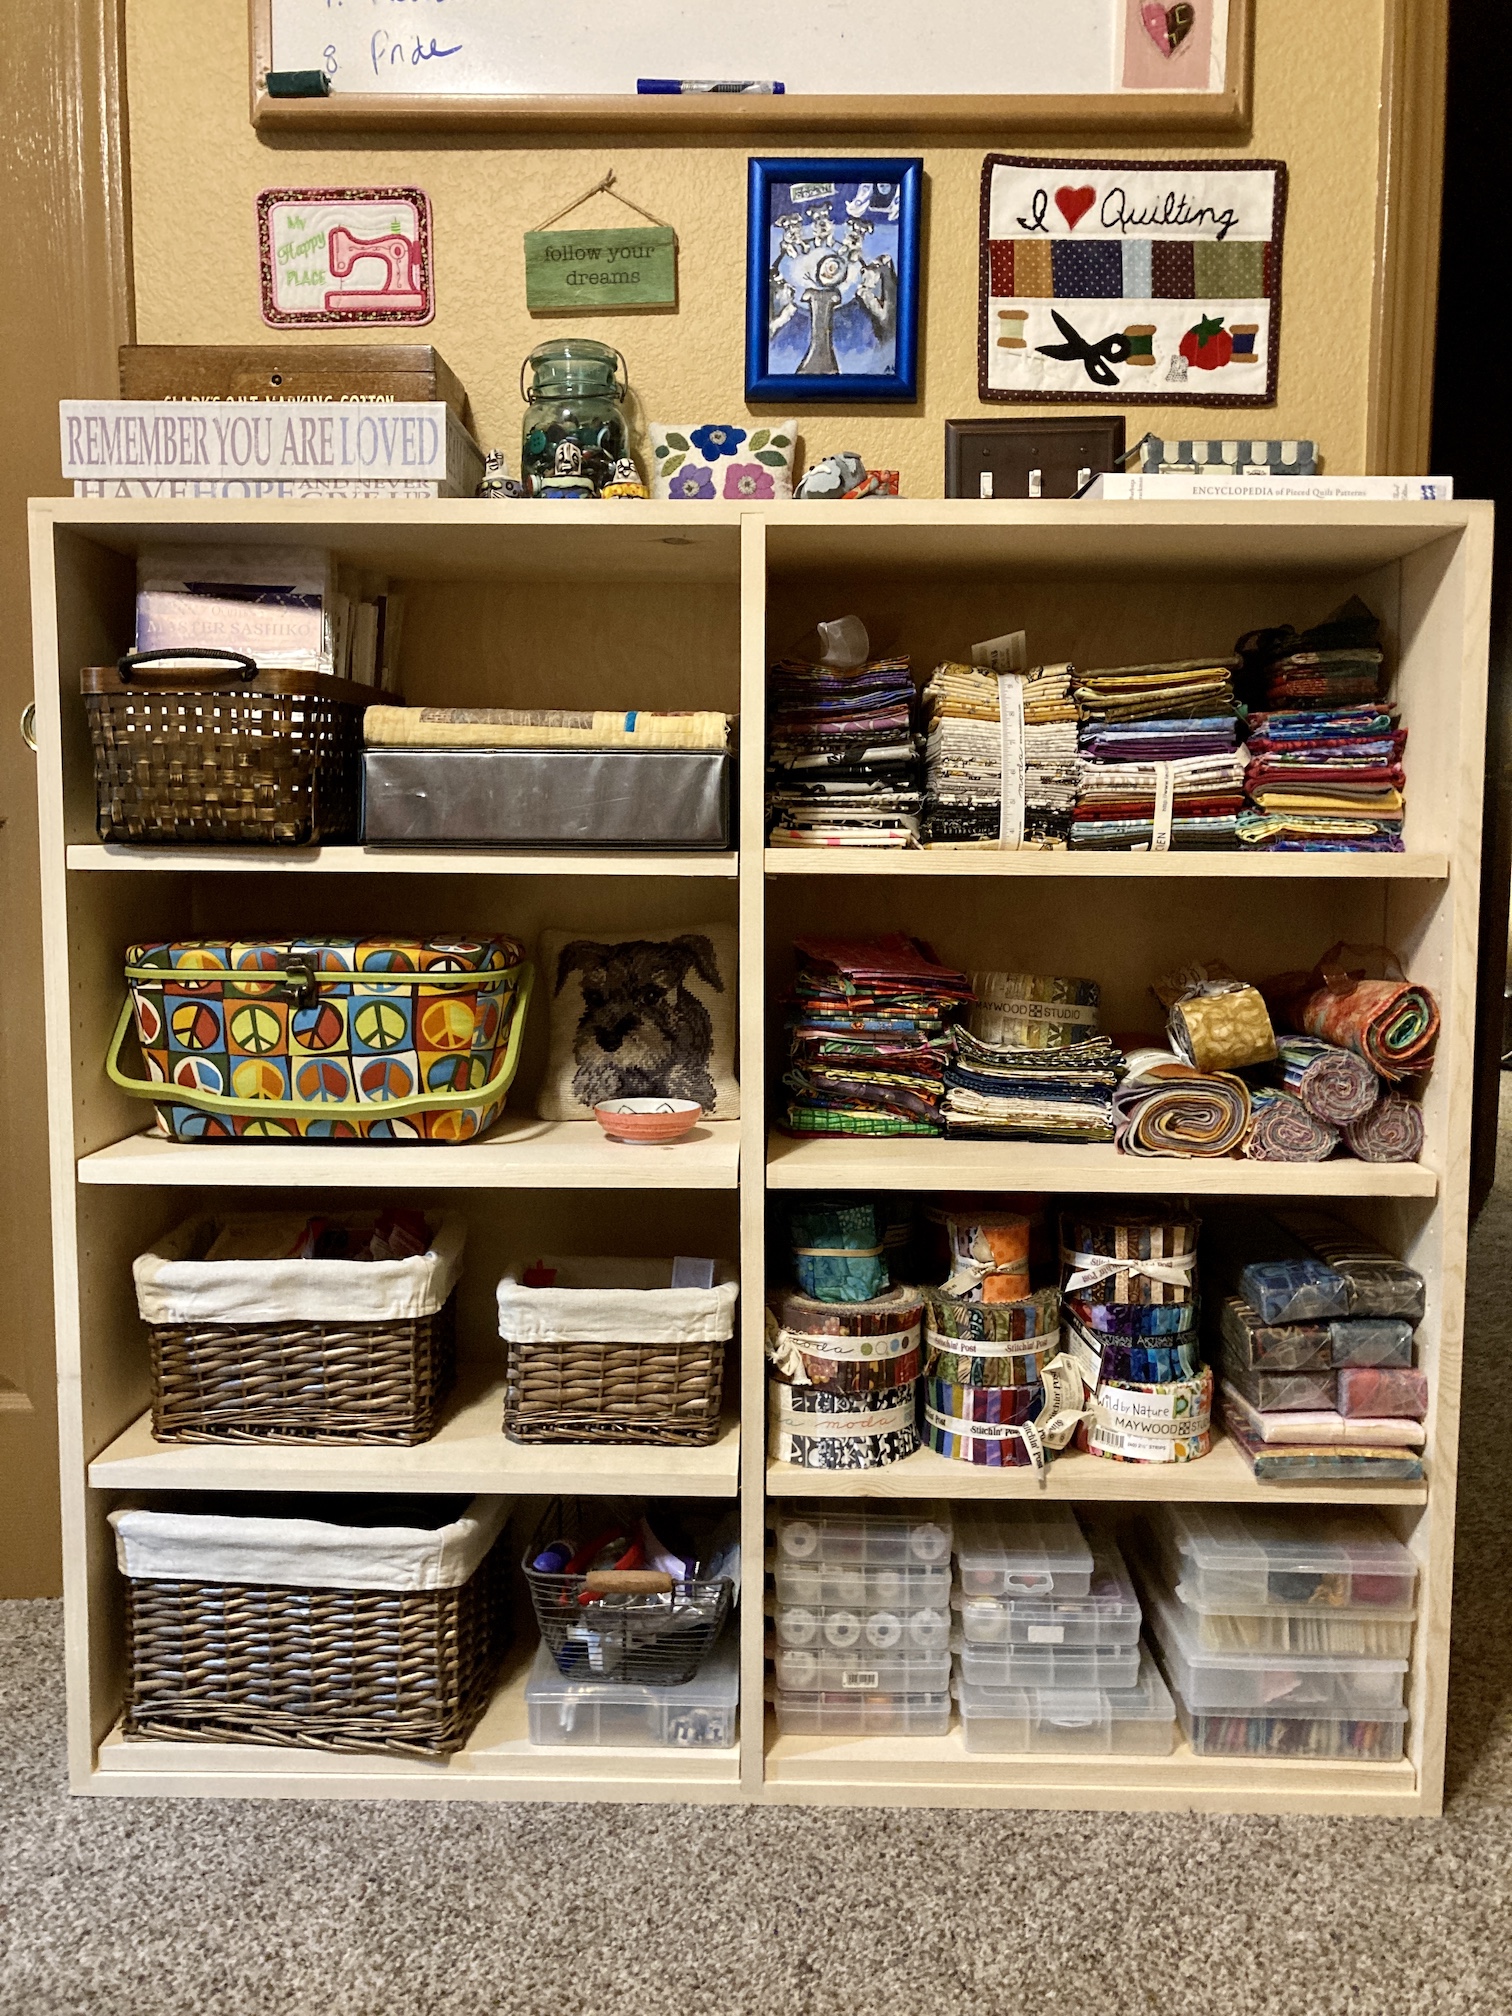
Using an old bookshelf (that I’ve had for like 20 years), I organized the fat quarters by color groups into crates, which I keep next to my cutting table:
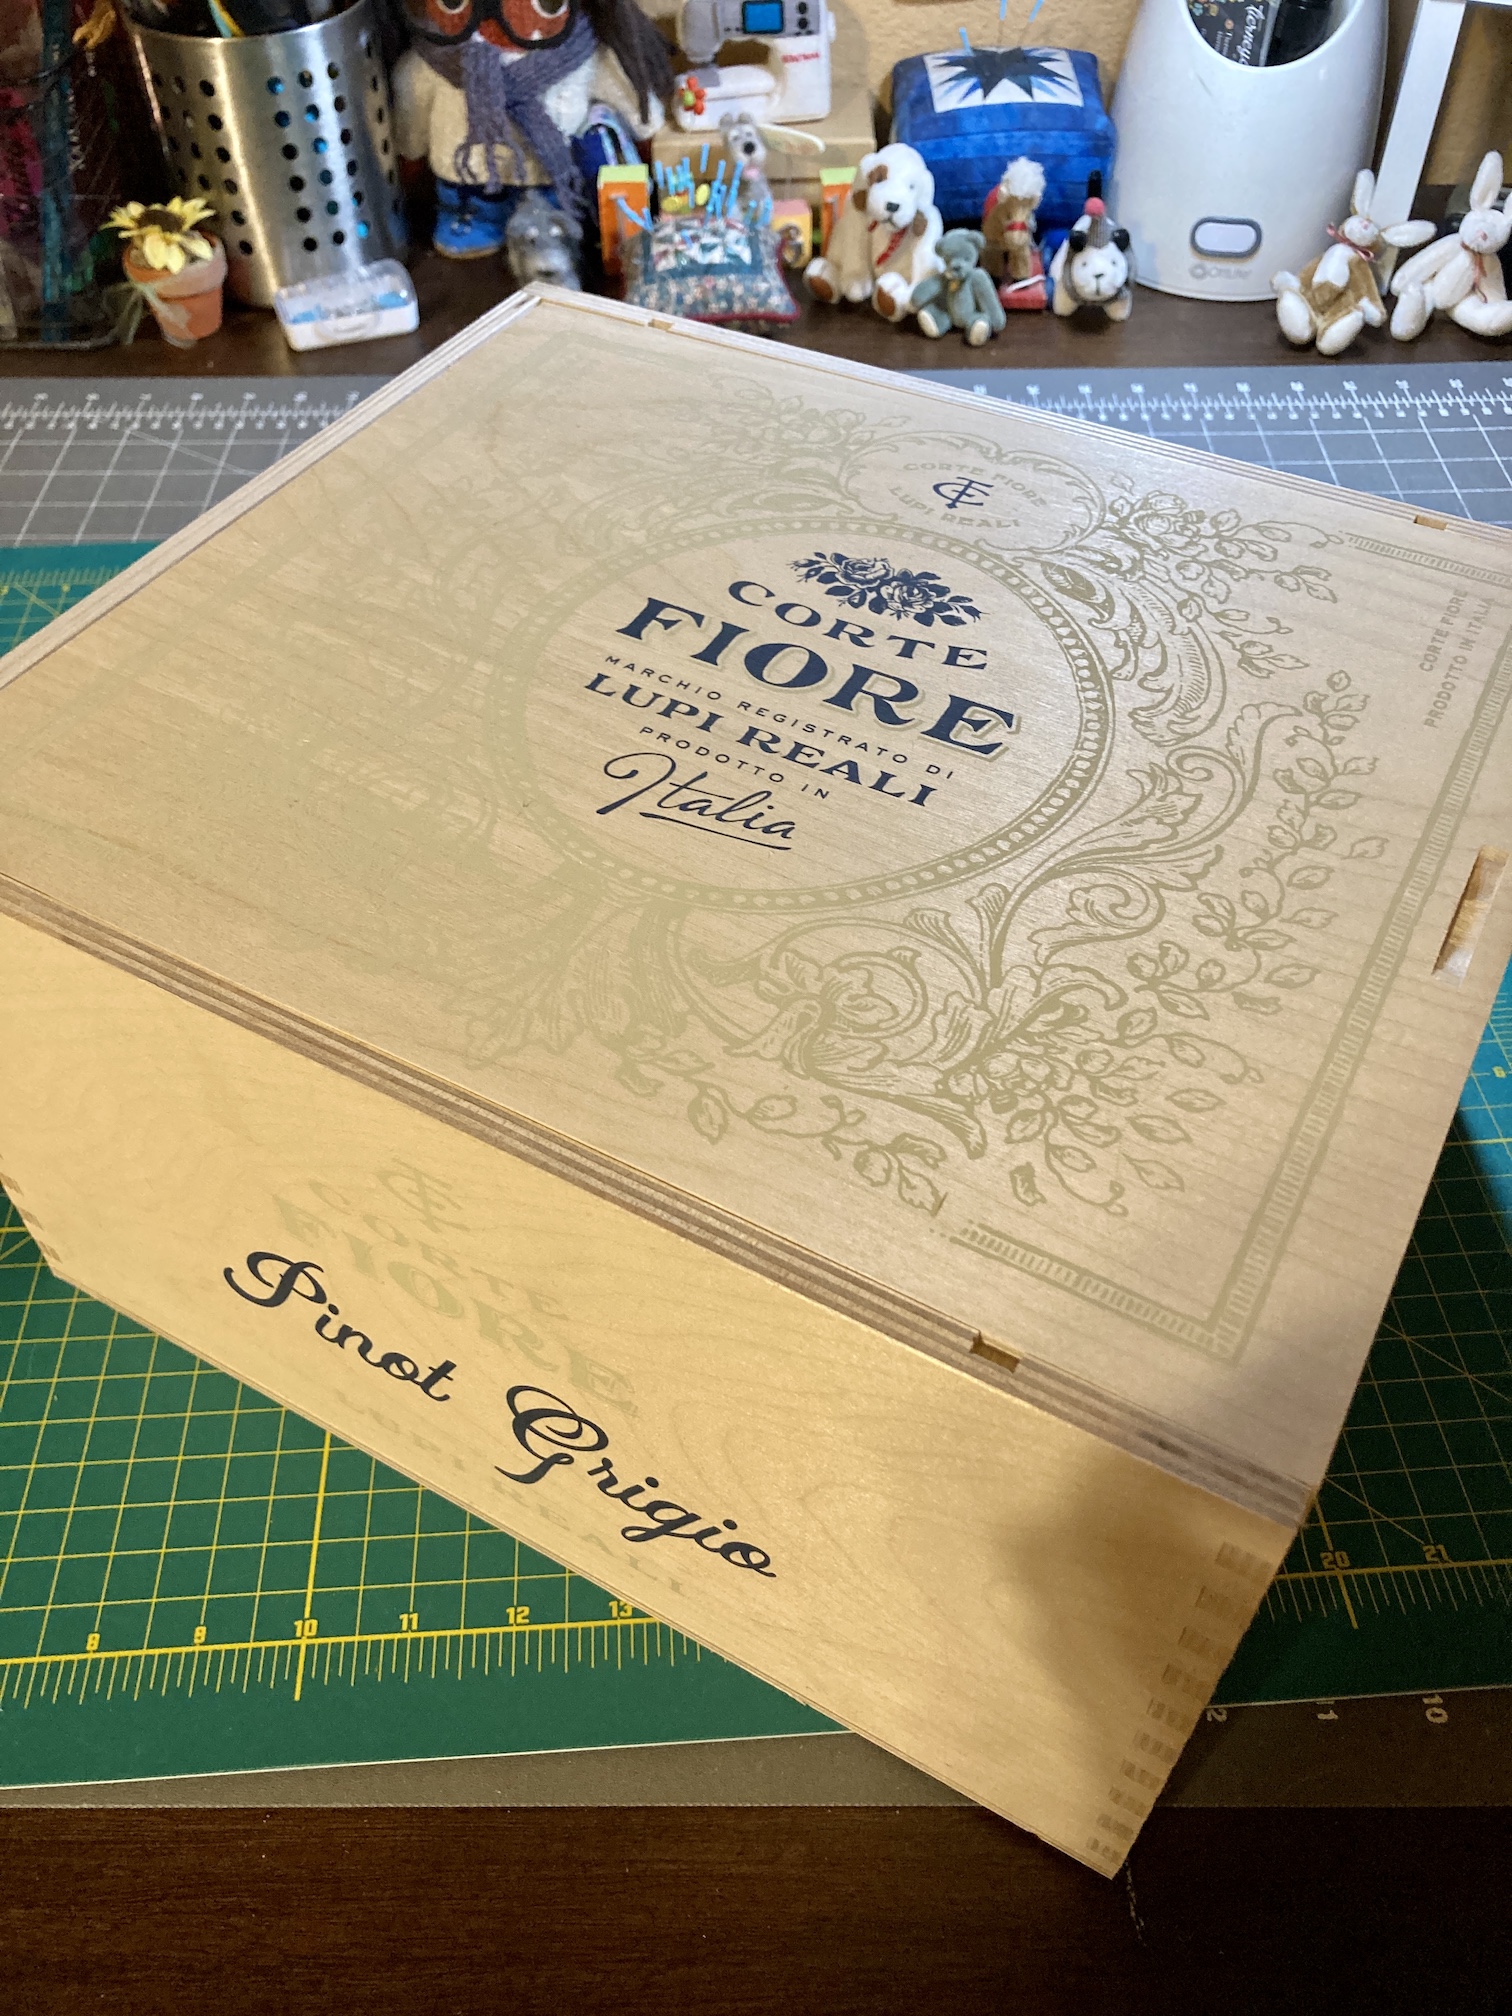
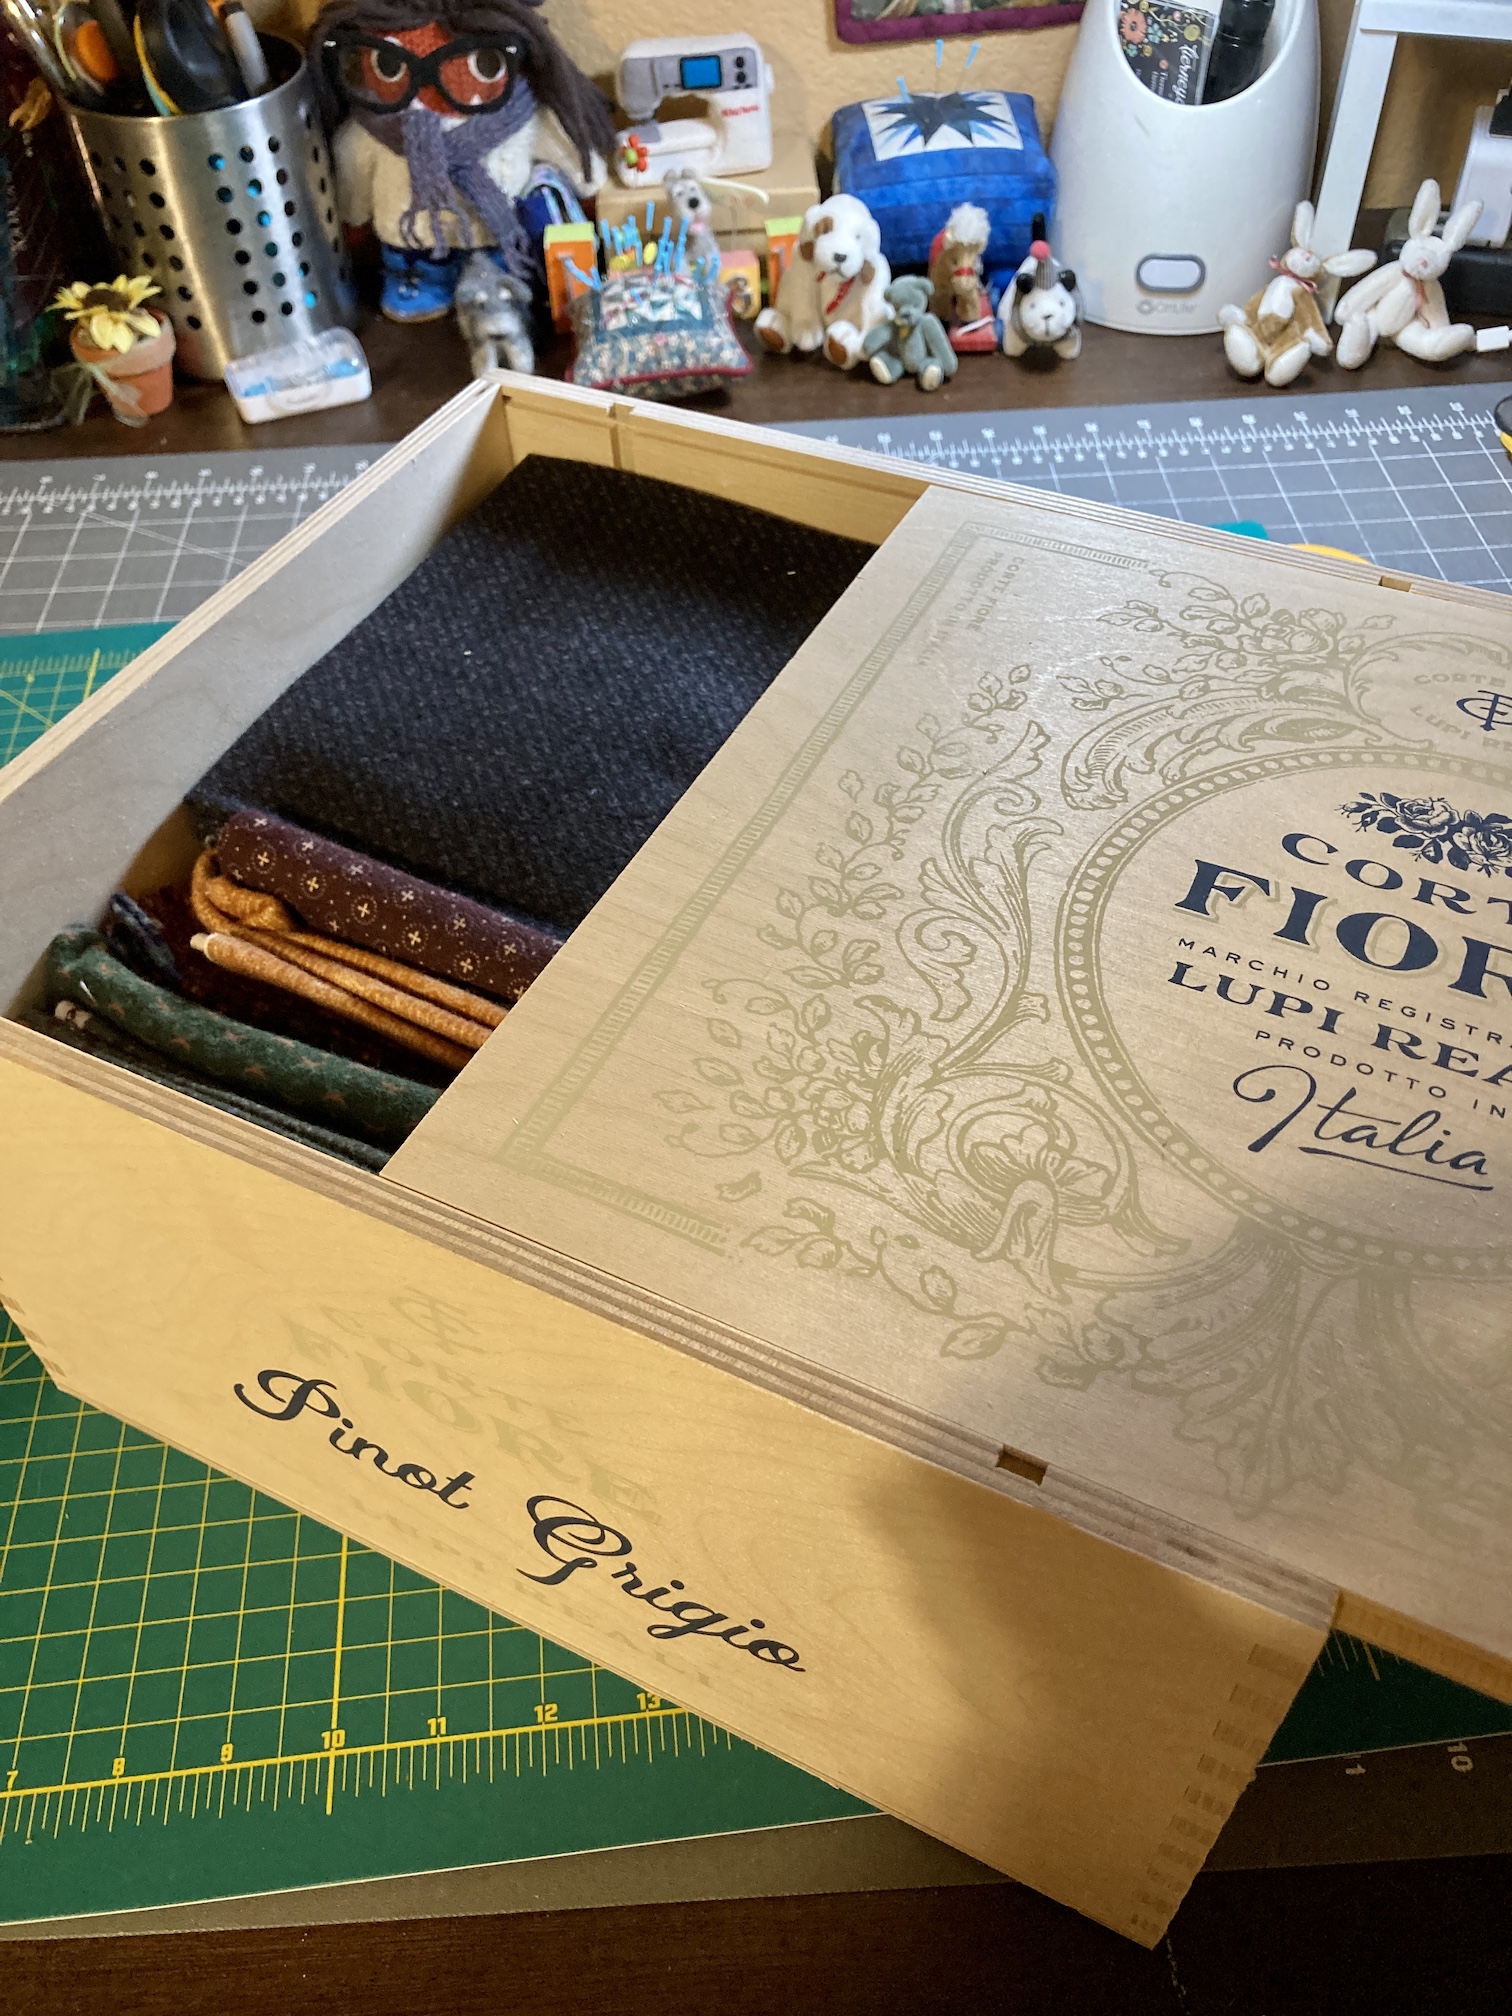
A week ago I added one more crate – the prettiest crate I’ve picked up to date and it was given to me for free by a local liquor store. It even came with a lid:
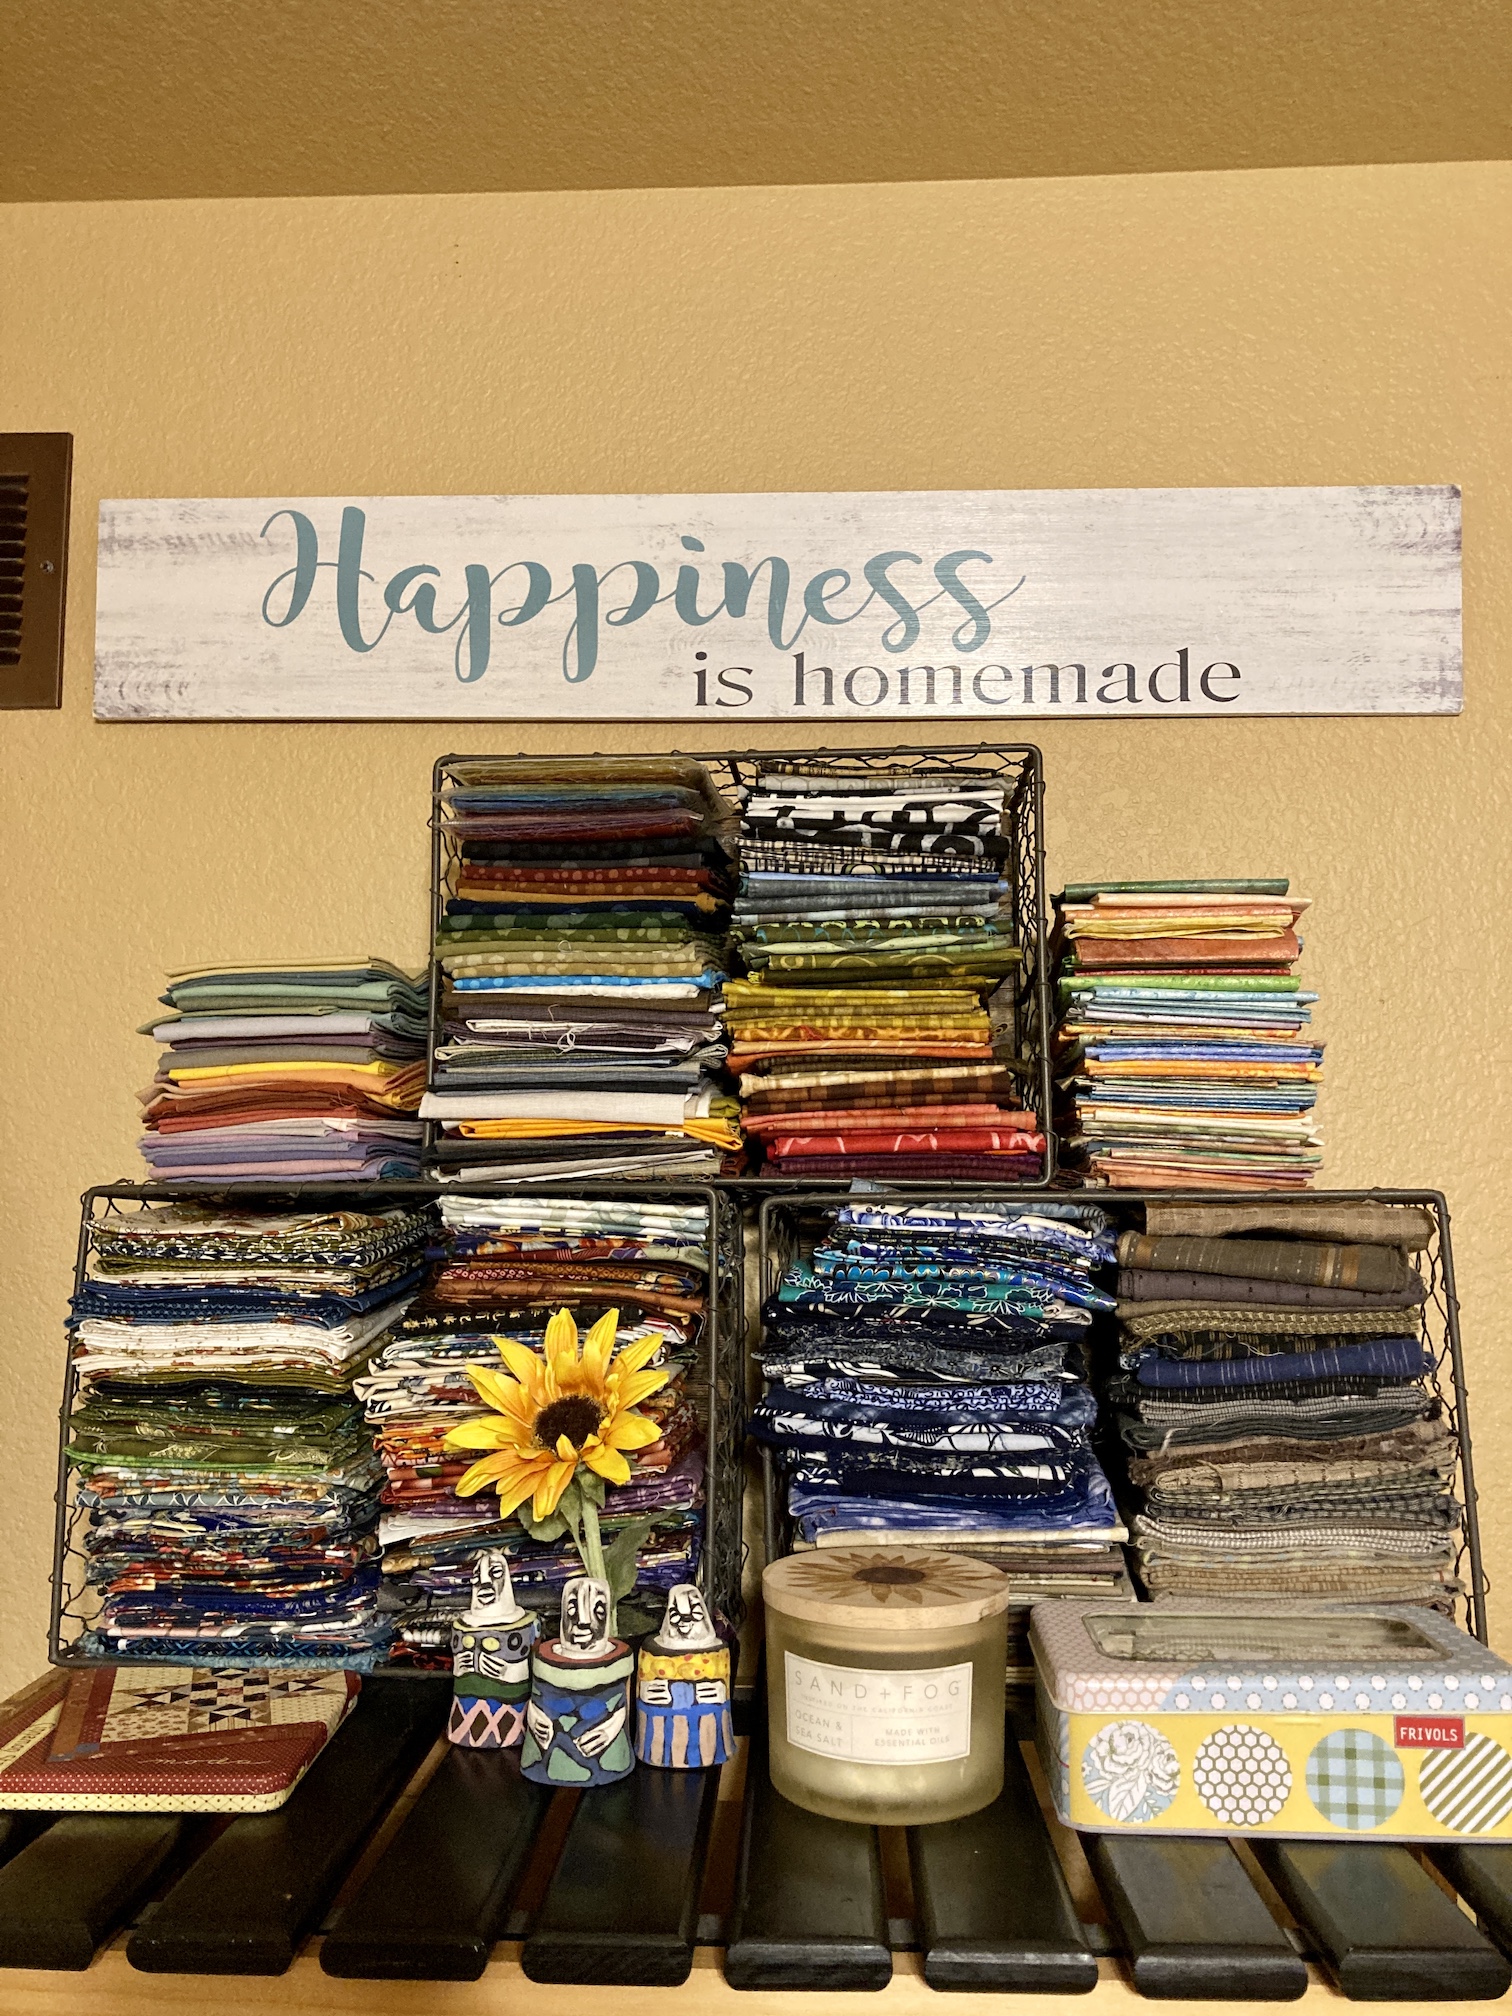
I keep my beloved collection of Asian and Japanese woven fat quarters as well as a couple other special fat quarter fabric sets (like my Marcia Derse fat quarter collection, see post Fabric Fangirl Frenzy for the story of when I met Marcia and went a little “fabric designer fan girl” on her… ) on the top of the bookshelf with the wine crates:
I love the sign I found at a thrift shop: “Happiness is homemade”. It feels like a lot of my recent happiness (or at least breaks from grief) is tied to working on handmade items!
As I mentioned earlier in the post, my next group of posts will be what I’ve been working on in my studio over the past couple of weeks.
Postscript
In case you are wandering what Mike the Miniature Schnauzer has been up to – he is back riding the aisles of home improvement stories and his continues to provide emotional support to his male human working on woodworking projects!
He actually loves going to home improvement stores and does not like John to leave the house without him!
I am not usually one for book clubs, at least not currently. I like to read what I want to read. I am however in two virtual “book clubs” with two friends right now on two different books: 1) a fiction physical book; and a 2) non fiction audiobook.
City of Brass by S.A. Chakraborty
I am reading this first book in the Daevabad Trilogy with a friend.
Here is the Kirkus Review on the book if you are curious:
A rich Middle Eastern fantasy, the first of a trilogy: Chakraborty’s intriguing debut.
On the streets of 18th-century Cairo, young Nahri—she has a real talent for medicine but lacks the wherewithal to acquire proper training—makes a living swindling Ottoman nobles by pretending to wield supernatural powers she doesn’t believe in. Then, during a supposed exorcism, she somehow summons a mysterious djinn warrior named Dara, whose magic is both real and incomprehensibly powerful. Dara insists that Nahri is no longer safe—evil djinn threaten her life, so he must convey her to Daevabad, a legendary eastern city protected by impervious magical brass walls. During the hair-raising journey by flying carpet, Nahri meets spirits and monsters and develops feelings for Dara, a deeply conflicted being with a long, tangled past. At Daevabad she’s astonished to learn that she’s the daughter of a legendary healer of the Nahid family. All the more surprising, then, that King Ghassan, whose ancestor overthrew the ruling Nahid Council and stole Suleiman’s seal, which nullifies magic, welcomes her.
With Ghassan’s younger son, Prince Ali, Nahri becomes immersed in the city’s deeply divisive (and not infrequently confusing) religious, political, and racial tensions. Meanwhile, Dara’s emerging history and personality grow more and more bewildering and ambiguous. Against this syncretic yet non-derivative and totally credible backdrop, Chakraborty has constructed a compelling yarn of personal ambition, power politics, racial and religious tensions, strange magics, and terrifying creatures, culminating in a cataclysmic showdown that few readers will anticipate. The expected first-novel flaws—a few character inconsistencies, plot swirls that peter out, the odd patch where the author assumes facts not in evidence—matter little. Best of all, the narrative feels rounded and complete yet poised to deliver still more.
Highly impressive and exceptionally promising.
This book is one of the first books (purchased new from an Independent Bookstore mentioned in the post – A Friday Frolicking Adventure) added to my new home library discussed in the post Curating a Home Library.
I am enjoying the book so far and look forward to discussing with my friend.
Untamed by Glennon Doyle
Not only is this a non-fiction book in the “self-improvement genre” but I am listening to it as an audiobook with my friend Jenny from Central, Oregon where I used to live before I moved to the Denver Metro area in April 2019.
In my February 2020 post Musings on Self-Improvement, I swore off self-help/self-improvement audiobooks after sudden series burnout on listening to them. I’ve also been trying to stick to podcasts or music for the listening during my walks/hikes and save reading fiction or non-fiction in physical book form. During the pandemic I’ve rediscovered the pleasures of curling up with a book like in this photo below (and Mike the Miniature Schnauzer prefers it also_:
But I heard a lot about this book and it really appealed to me as an exception to my “no more self-improvement audiobook rule”.
It also appealed to my friend Jenny who is dealing with some major life changes ahead; and who likes to go on long walks in Central Oregon and listen to audiobooks.
When we both finish the book, we are going to do a “Virtual Book Group” meeting and discuss via Facetime over a pot of tea (we have to each make our own because virtual tea gets complicated – ha!).
Oh and here is the Kirkus Review on the book (which I’ve actually finished and thought was spectacular and inspiring!):
More life reflections from the bestselling author on themes of societal captivity and the catharsis of personal freedom.
In her third book, Doyle (Love Warrior, 2016, etc.) begins with a life-changing event. “Four years ago,” she writes, “married to the father of my three children, I fell in love with a woman.” That woman, Abby Wambach, would become her wife. Emblematically arranged into three sections—“Caged,” “Keys,” “Freedom”—the narrative offers, among other elements, vignettes about the soulful author’s girlhood, when she was bulimic and felt like a zoo animal, a “caged girl made for wide-open skies.” She followed the path that seemed right and appropriate based on her Catholic upbringing and adolescent conditioning. After a downward spiral into “drinking, drugging, and purging,” Doyle found sobriety and the authentic self she’d been suppressing. Still, there was trouble: Straining an already troubled marriage was her husband’s infidelity, which eventually led to life-altering choices and the discovery of a love she’d never experienced before. Throughout the book, Doyle remains open and candid, whether she’s admitting to rigging a high school homecoming court election or denouncing the doting perfectionism of “cream cheese parenting,” which is about “giving your children the best of everything.” The author’s fears and concerns are often mirrored by real-world issues: gender roles and bias, white privilege, racism, and religion-fueled homophobia and hypocrisy. Some stories merely skim the surface of larger issues, but Doyle revisits them in later sections and digs deeper, using friends and familial references to personify their impact on her life, both past and present. Shorter pieces, some only a page in length, manage to effectively translate an emotional gut punch, as when Doyle’s therapist called her blooming extramarital lesbian love a “dangerous distraction.” Ultimately, the narrative is an in-depth look at a courageous woman eager to share the wealth of her experiences by embracing vulnerability and reclaiming her inner strength and resiliency.Doyle offers another lucid, inspiring chronicle of female empowerment and the rewards of self-awareness and renewal.
Here are a couple quotes from this book that seemed to be the right thing I needed to hear at the right time.
When a woman finally learns that pleasing the world is impossible, she becomes free to learn how to please herself.
Being human is not hard because you’re doing it wrong, it’s hard because you’re doing it right.
The only thing that was ever wrong with me was my belief that there was something wrong with me.
Be careful with the stories you tell about yourself.
Every life is an unprecedented experiment. This life is mine alone…So I have stopped asking people for directions to places they’ve never been. There is no map. We are all pioneers.
Privilege is being born on third base. Ignorant privilege is thinking you’re there because you hit a triple. Malicious privilege is complaining that those starving outside the ballpark aren’t waiting patiently enough.
I have learned that if I want to rise, I have to sink first.
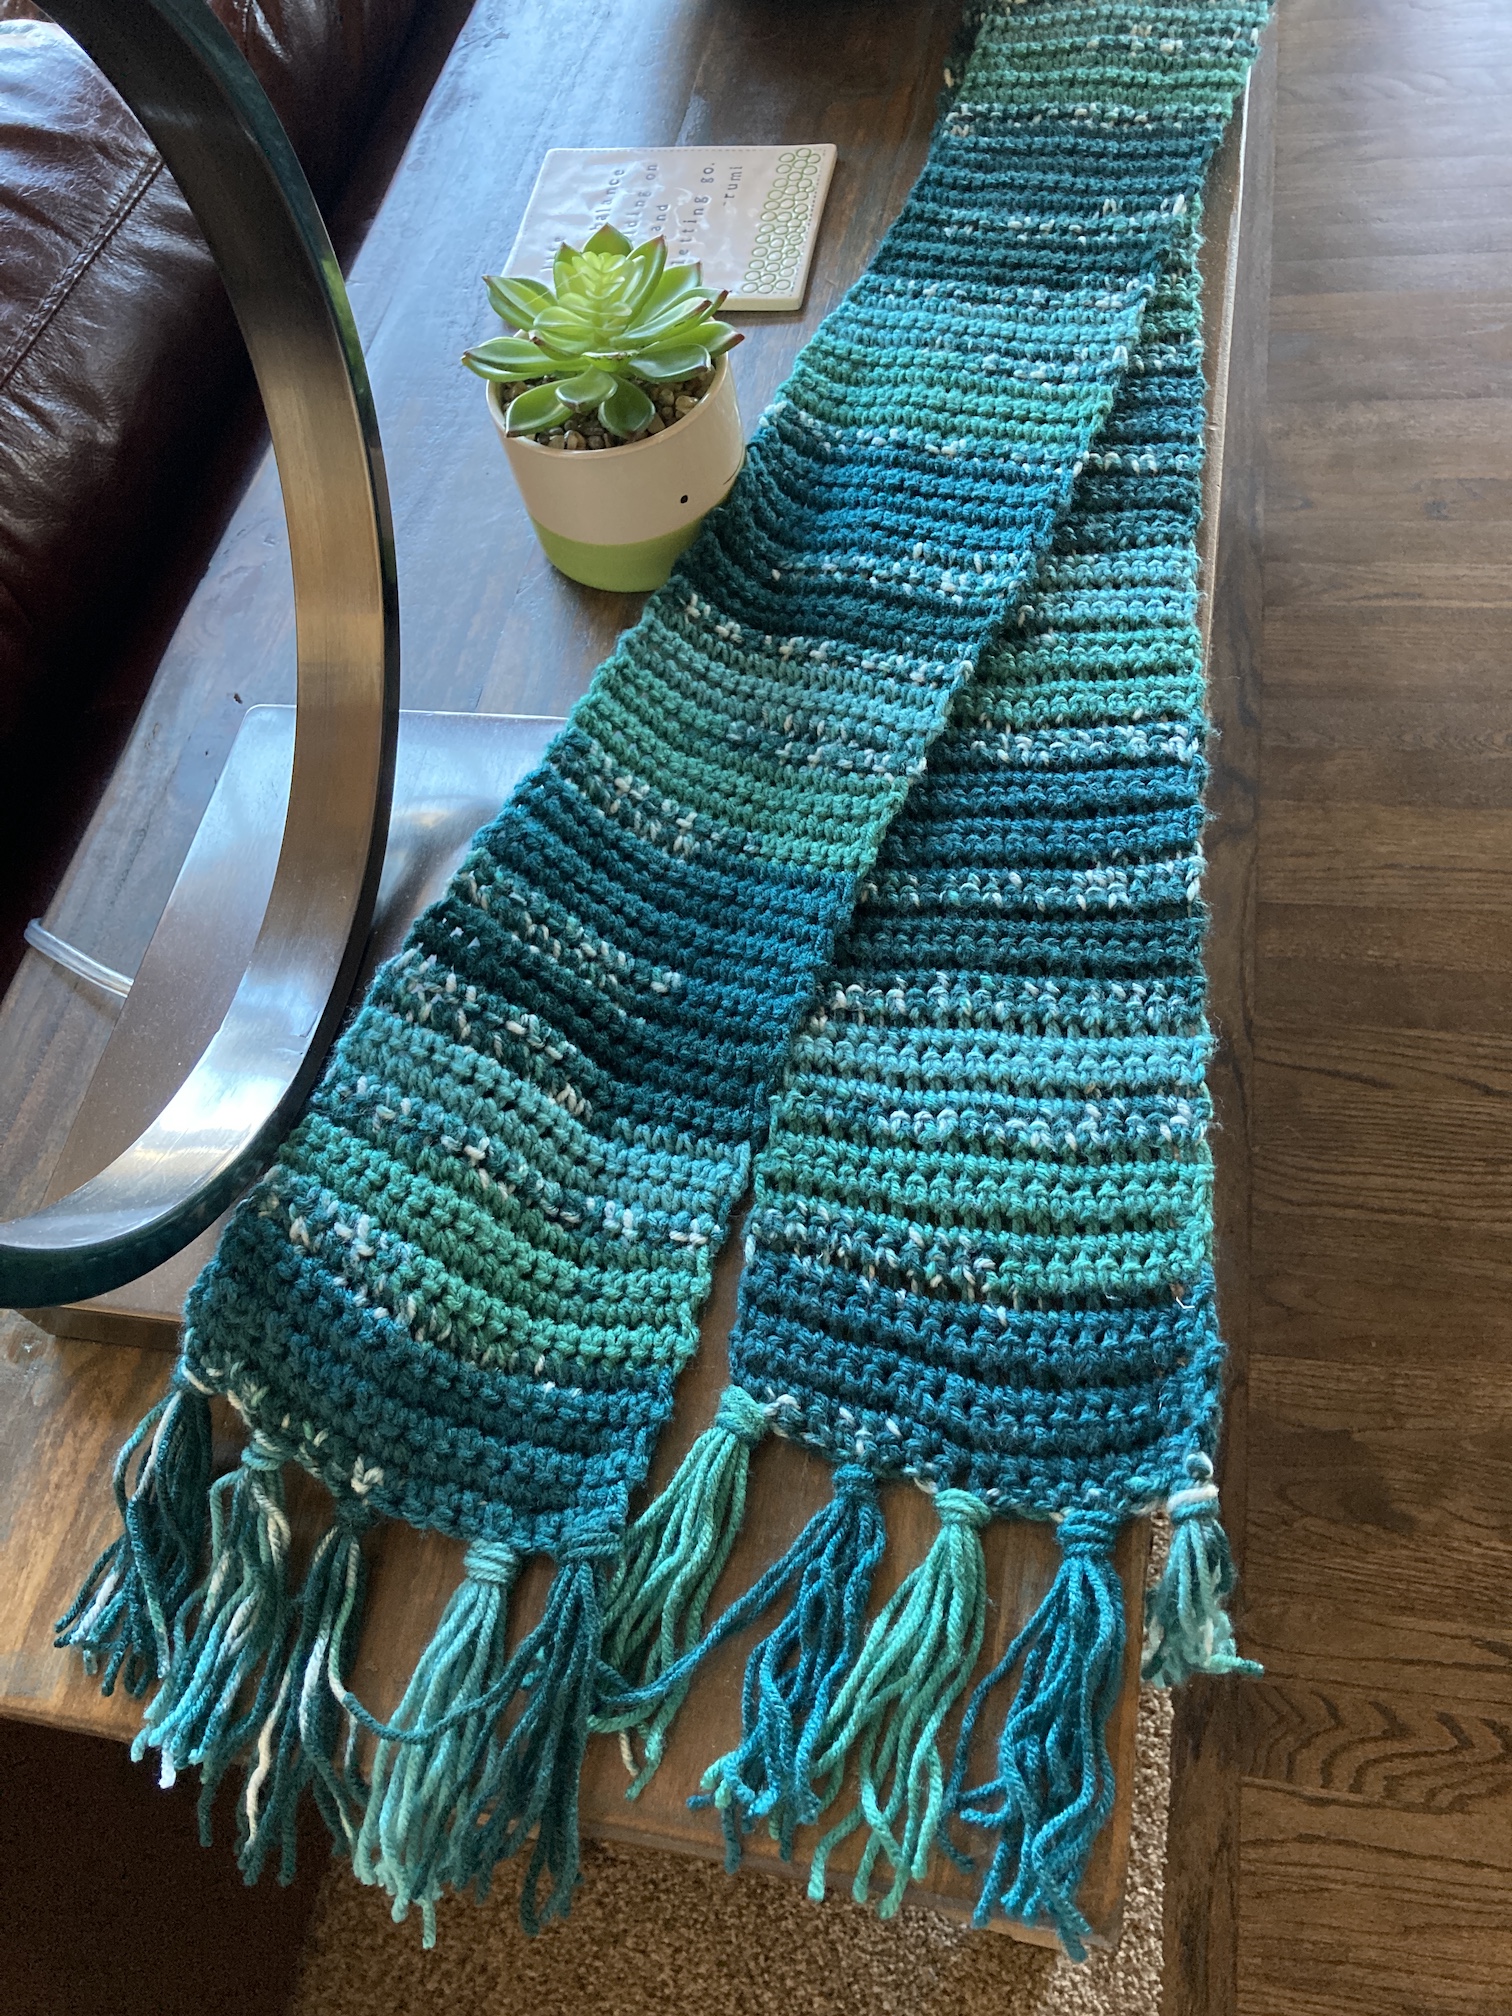
I had another skein of the yarn remaining so I thought she might need a scarf to match her hat.
At first I knitted a partial scarf but I was not enjoying the process for some reason. I had it as WIP at the same time I began my first granny square blanket, rediscovering the joy of crocheting. I decided to rip out the knit stitches and start over and crochet the scarf instead.
Here I am working on the scarf with Mike the Miniature Schnauzer supervising:
Is he supervising or is he trying to get pet? I suspect he wants the project out of my hands so I can lay my hands on him!
And here is the scarf completed – I added fringe to the edges to jazz it up a bit:
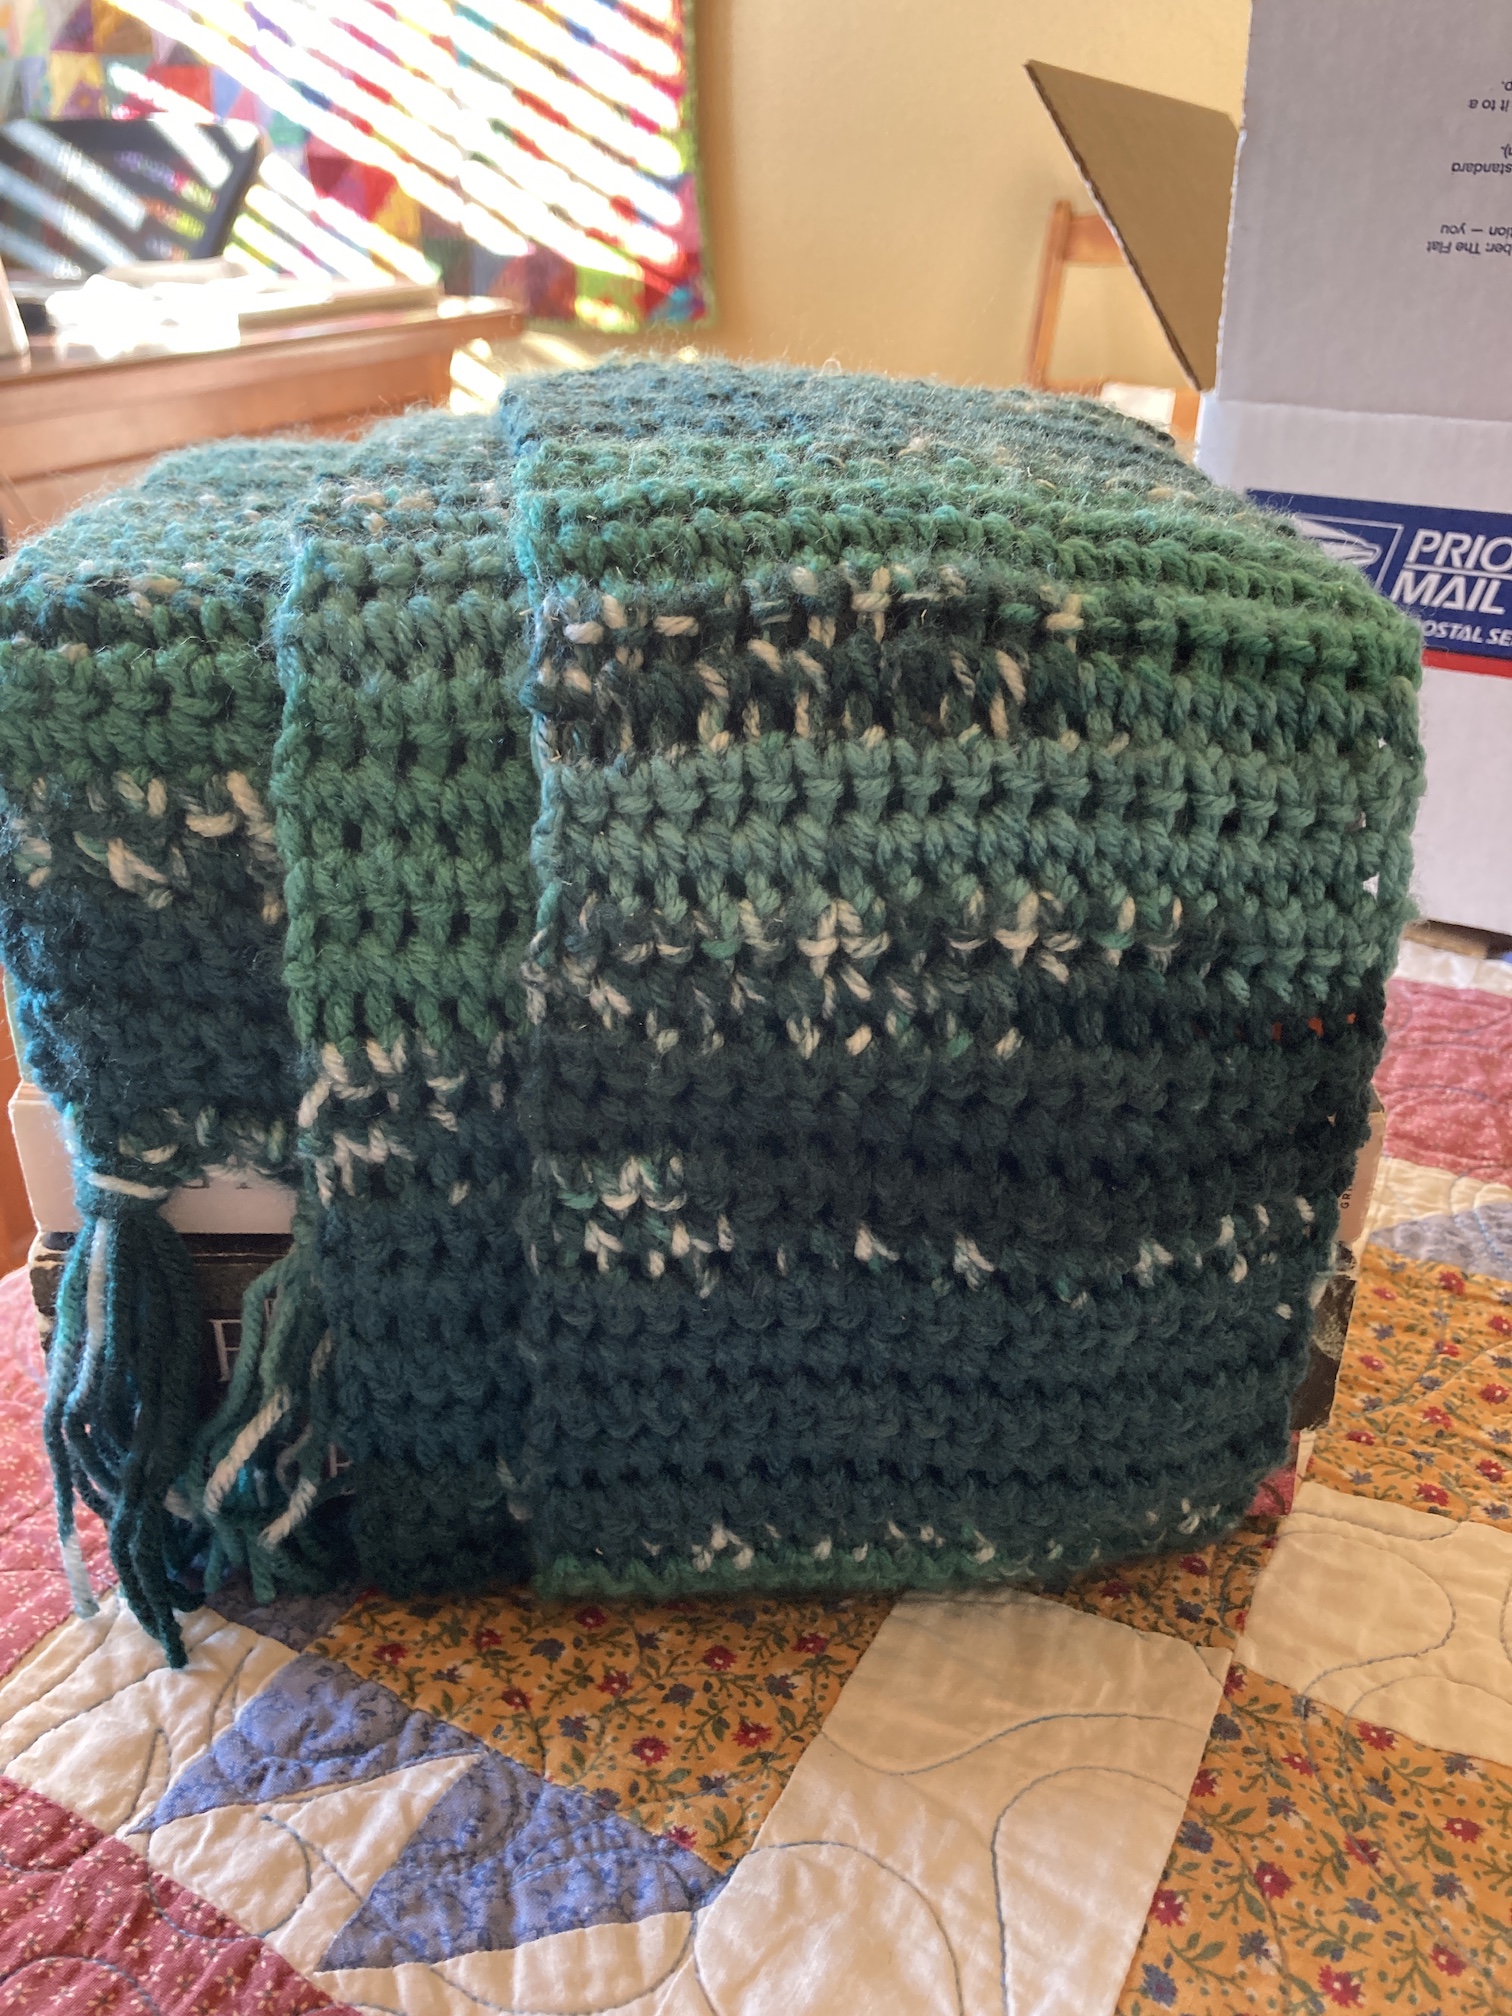
My friend loves to read and since this scarf was also her birthday gift I decided to wrap it in a stack of used books I gathered for her while thrifting and building my home library (see post Curating a Home Library):
She’s already received her gift in the mail so I can now share this project in a post (smile).
The title of this post might confuse you and lead you to wonder: “Is Tierney now focusing on making pillows for cats and how does Mike the Miniature Schnauzer feel about this?!?!?”
What is post is actually about it how as a crafter we make a lot of crafts and give a lot as gifts; and sometimes we forget what happens to those gifts over the years. It is a sweet and special blessing to hear how a gift is still being used years later.
Such in the case of an unexpected “kitty pillow“.
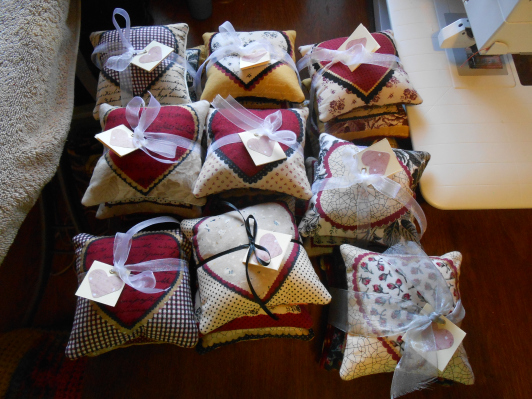
I have a post from February 2015, 2015 Goals, in which I shared that I had made Little Love Note Pillows for my then open Etsy Shop (aptly named tierneycreates). Around the same time as selling these pillows on my tierneycreates shop, I gave some as gifts to family and friends. Here are some images of these pillow sets I sold and gifted:
I sort of forgot about these pillows made 5 years ago, especially with all that has transpired in my life the past 5 years (and especially the past nearly 2 years…).
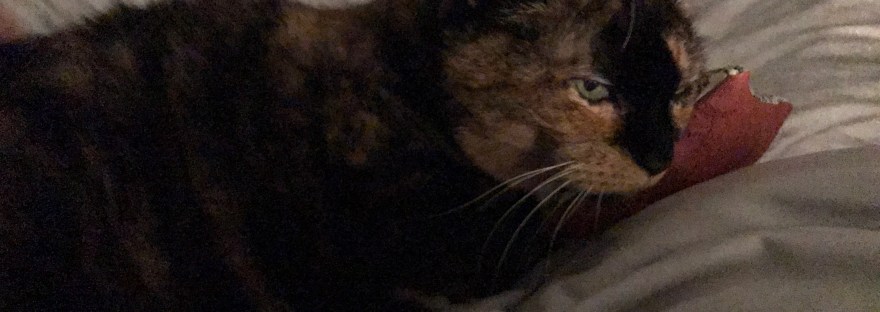
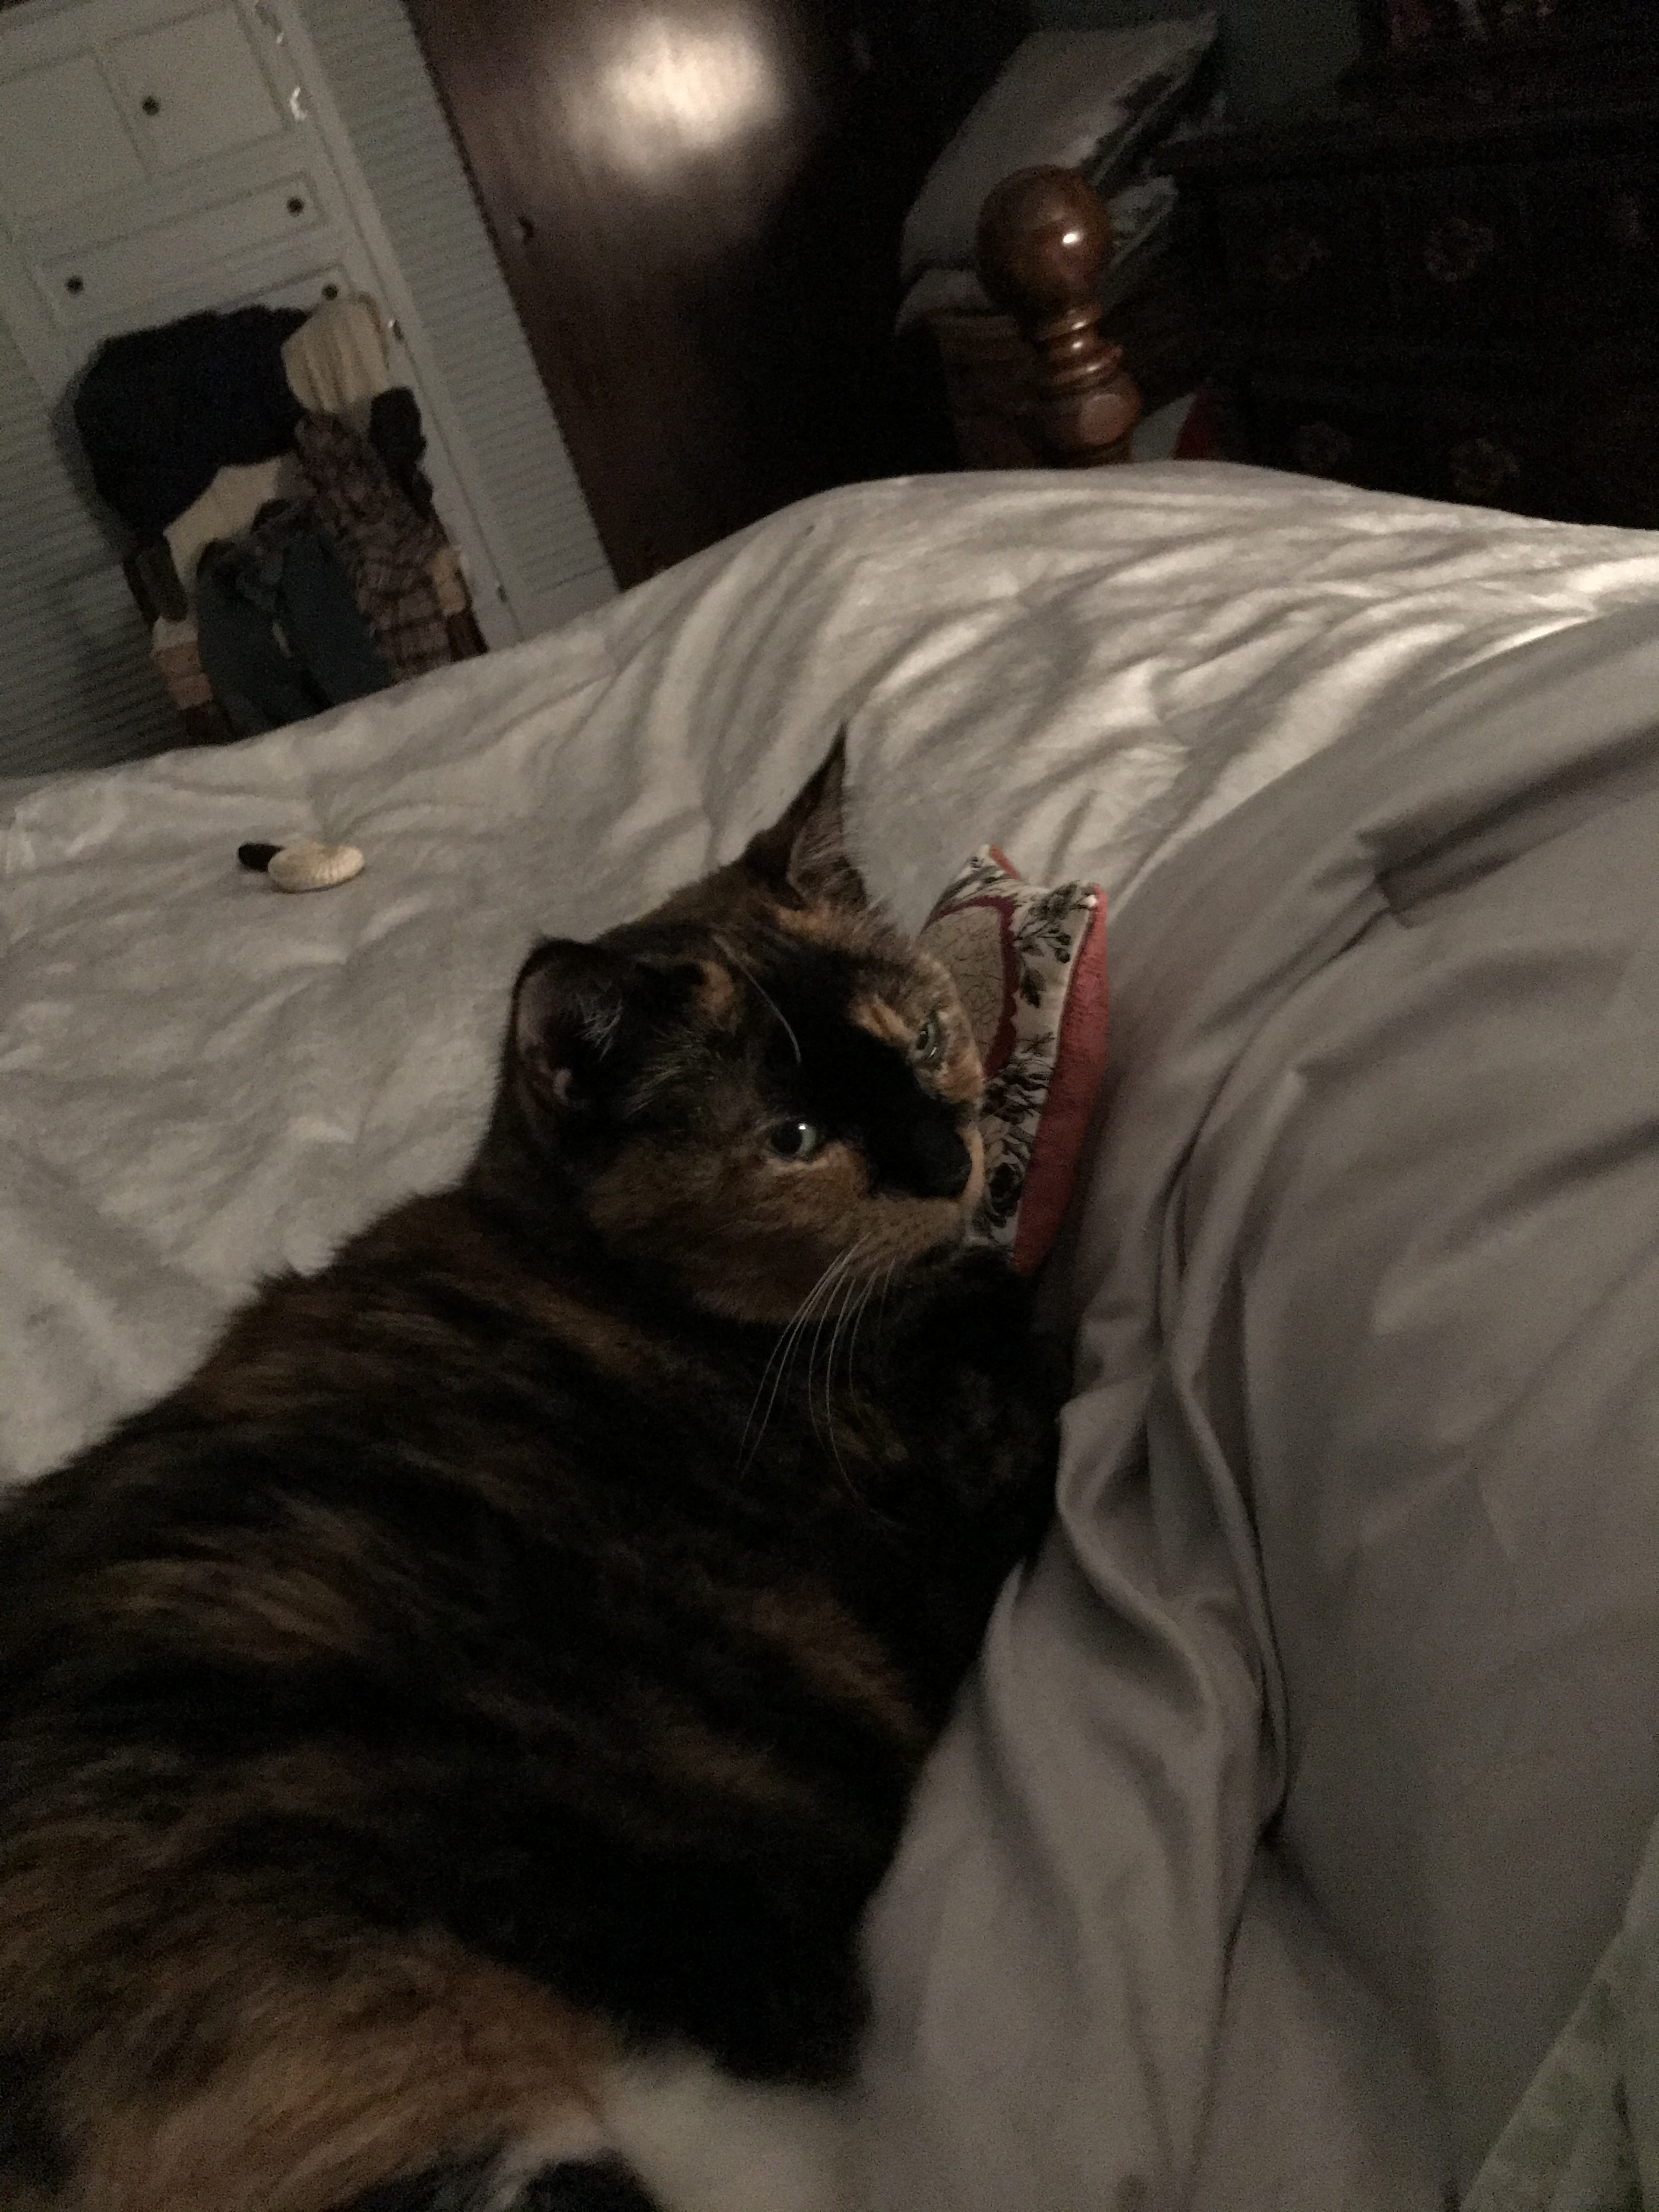
Well a couple days ago, I received a text and images from my brother-in-law Sean (my late husband Terry’s brother), sharing some photos of how his cat is enjoying the little pillows I sent him so many years ago. His kitty thought they were the perfect “cat sized pillows”!
He meant to tell me long time ago but kept forgetting.
What a huge smile his text and photos put on my face! It was a nice pick me up as I’ve been feeling quite blue of late (see the Postscript section below).
Postscript
Today is December 1st and I think I’ve come to accept that December is a very rough month for me.
December used to be my favorite month with my late husband Terry’s birthday (Dec 2), Christmas (Dec 25) and my wedding anniversary (Dec 29).
Now December also holds the anniversary of Terry’s (known to this blog as “Terry the Quilting Husband”) sudden passing (12/13) who had been my partner since I was 20 years old.
December also holds the anniversaries of the passing of my beloved mother-in-law “Mimi” that I had in my life longer than my biological mother; and Sassy the Highly Opinionated Miniature Schnauzer the greatest canine love of my life. The passed within a week of each other in December 2017.
I was numb during Christmas 2018; I made it through Christmas 2019 but I am thinking that this year I probably won’t do a Christmas tree as it is makes me even sadder. Unfortunately, on 12/13/18, a couple days after decorating our tree together, I discovered the love of my life deceased next to the Christmas tree.
I will get through December; and appreciate all the love and support from friends and family and I am so thankful for my partner John and our dog Mike.
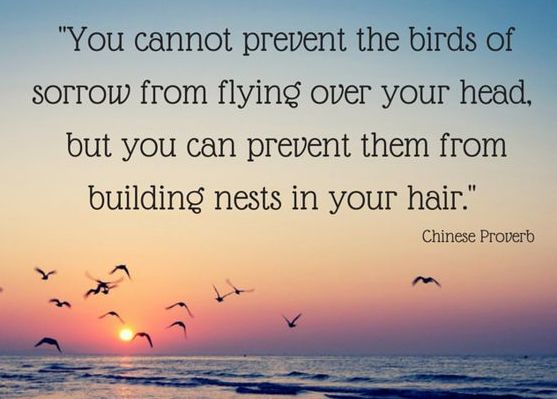
Also I am always trying to remember this wonderful quote I stumbled upon early in my grief journey:
Some days it seems like every moment of the day is a battle to keep the nests out of my hair at least during the month of December…
(okay Tierney you just won the “Most Depressing Blog Post” award…I promise future posts will not be as glum)
This past Thursday was Thanksgiving in the U.S. and traditionally it’s a holiday where family and/or friends gather and share a large meal featuring TURKEY.
However in 2020, time of the global pandemic, ongoing traditions likely did not work, especially with all the current COVID restrictions in place around the U.S.
In our region for example we are on “Level Red” restrictions and we are not supposed to congregate with people outside our immediate household. So that means no having relatives over for Thanksgiving.
My partner John has a son, daughter in law, and darling granddaughter in the area, as well as much of his siblings and parents in the Denver Metro area where we live. We could not gather with them for Thanksgiving due to the current restrictions in place.
I was not really in the mood for two of us to make and share a traditional Thanksgiving turkey dinner so we came up with the idea of John asking his son what his wanted to eat on Thanksgiving and John making it (he loves to cook) and dropping it off at his house. We decided to do the same thing with John’s elderly father and his partner who have been fairly homebound during the pandemic.
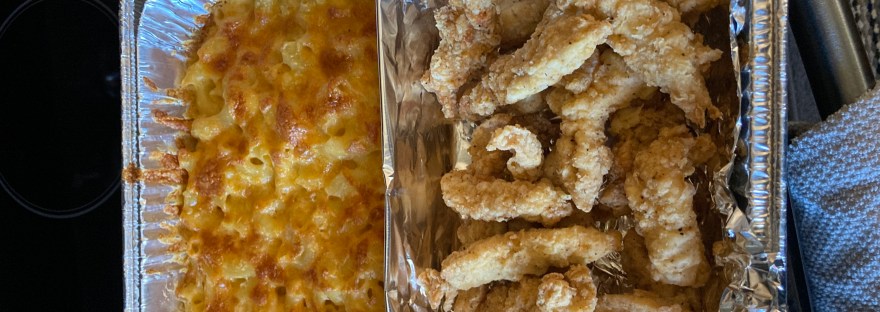
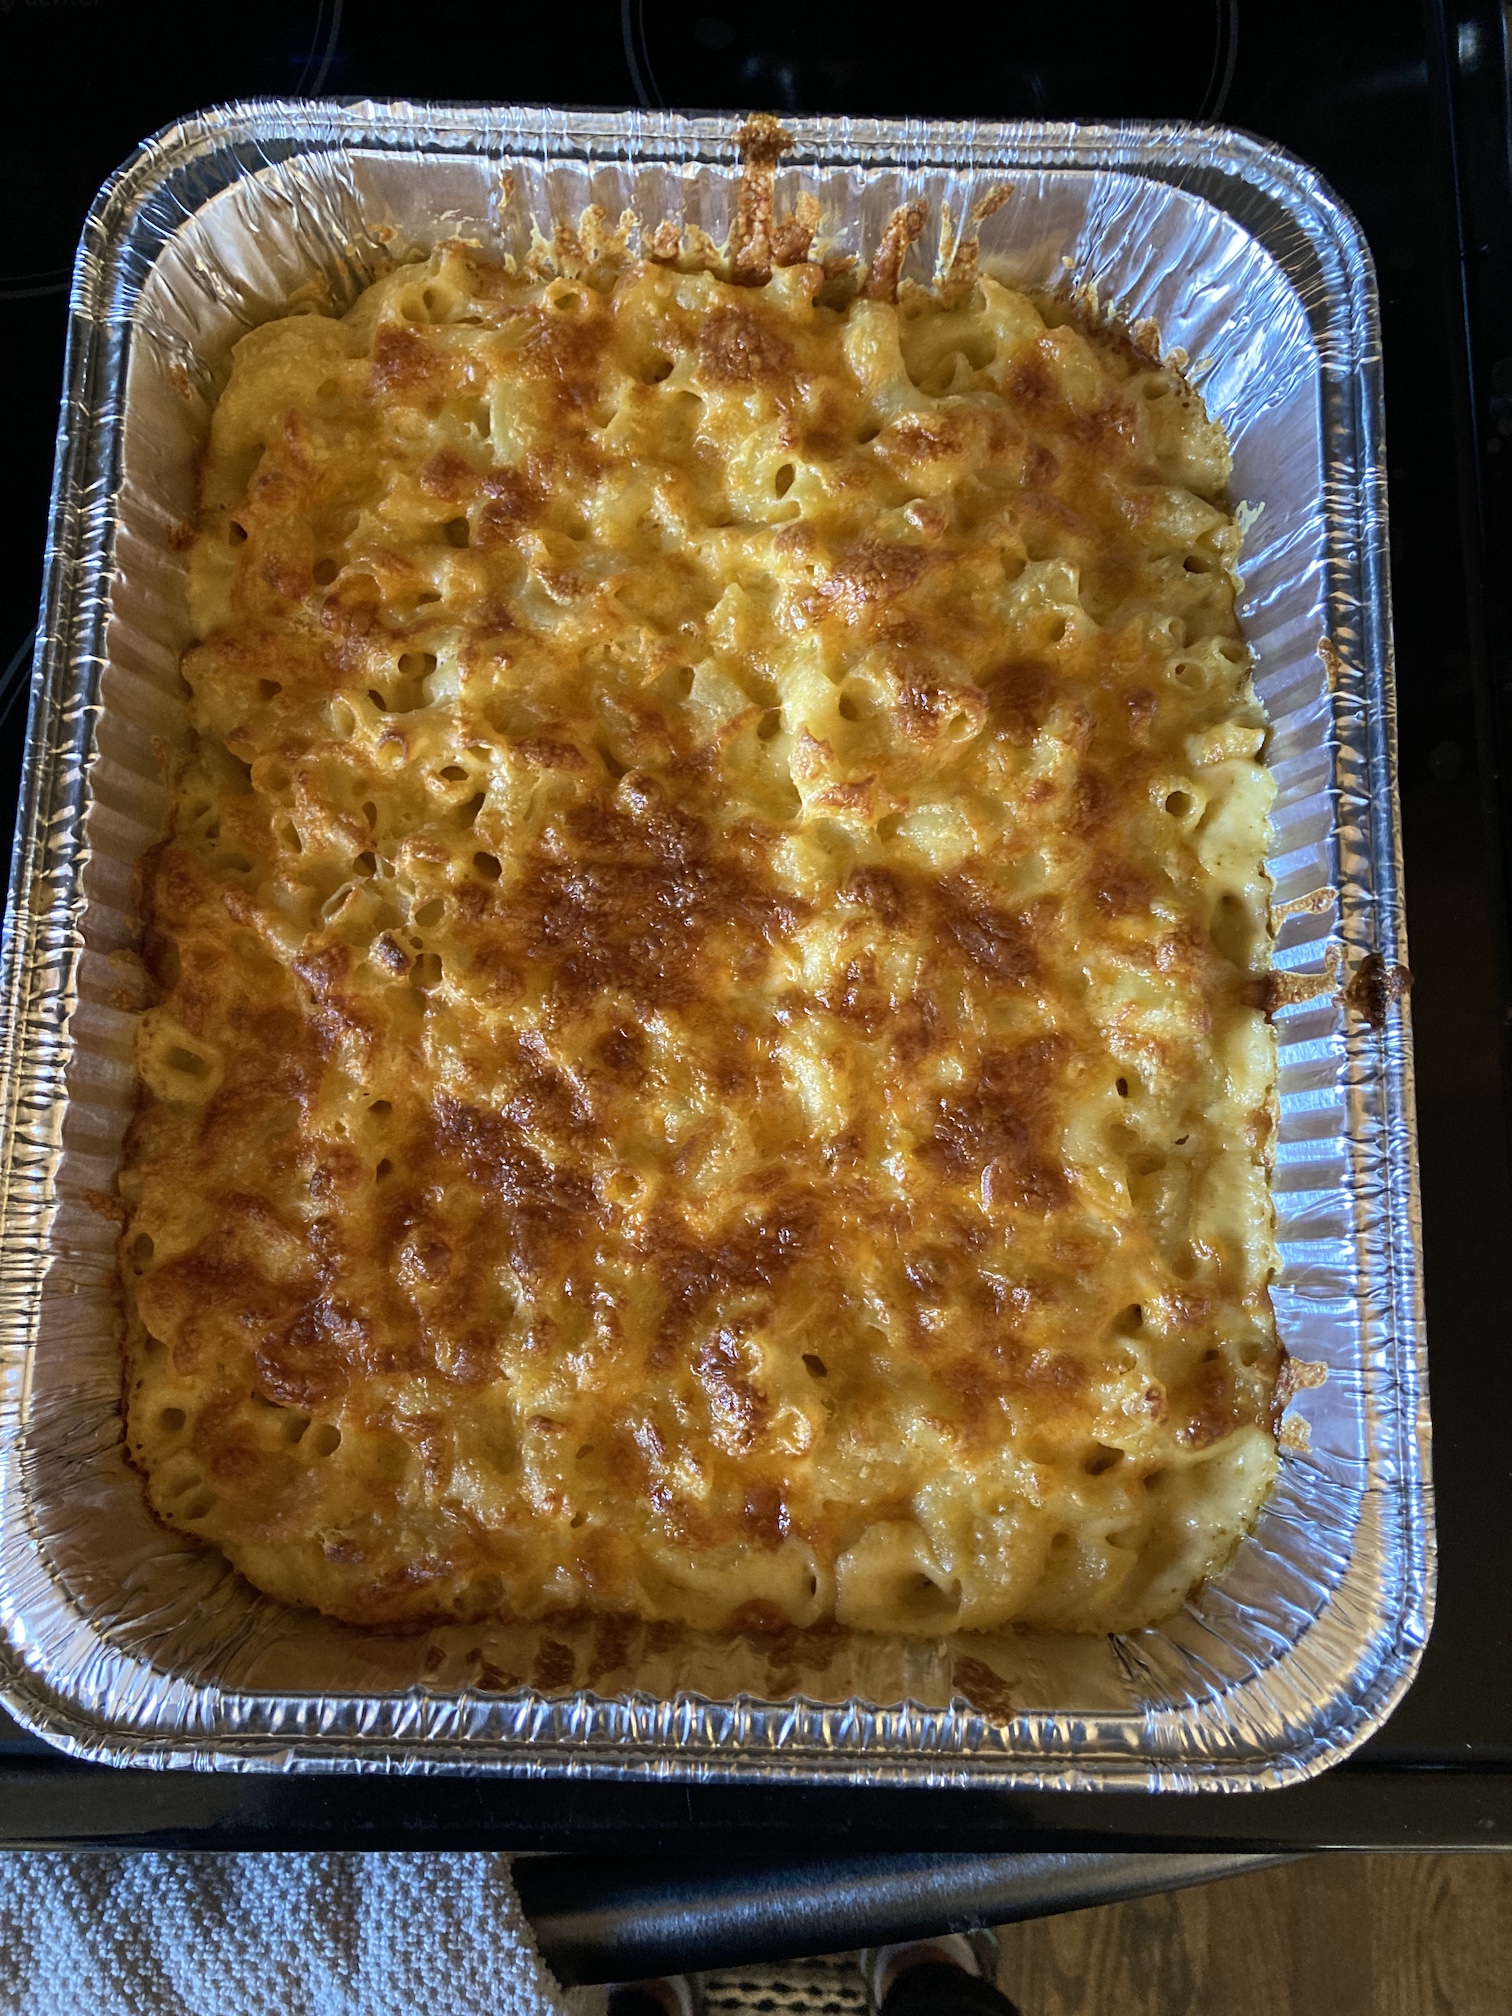
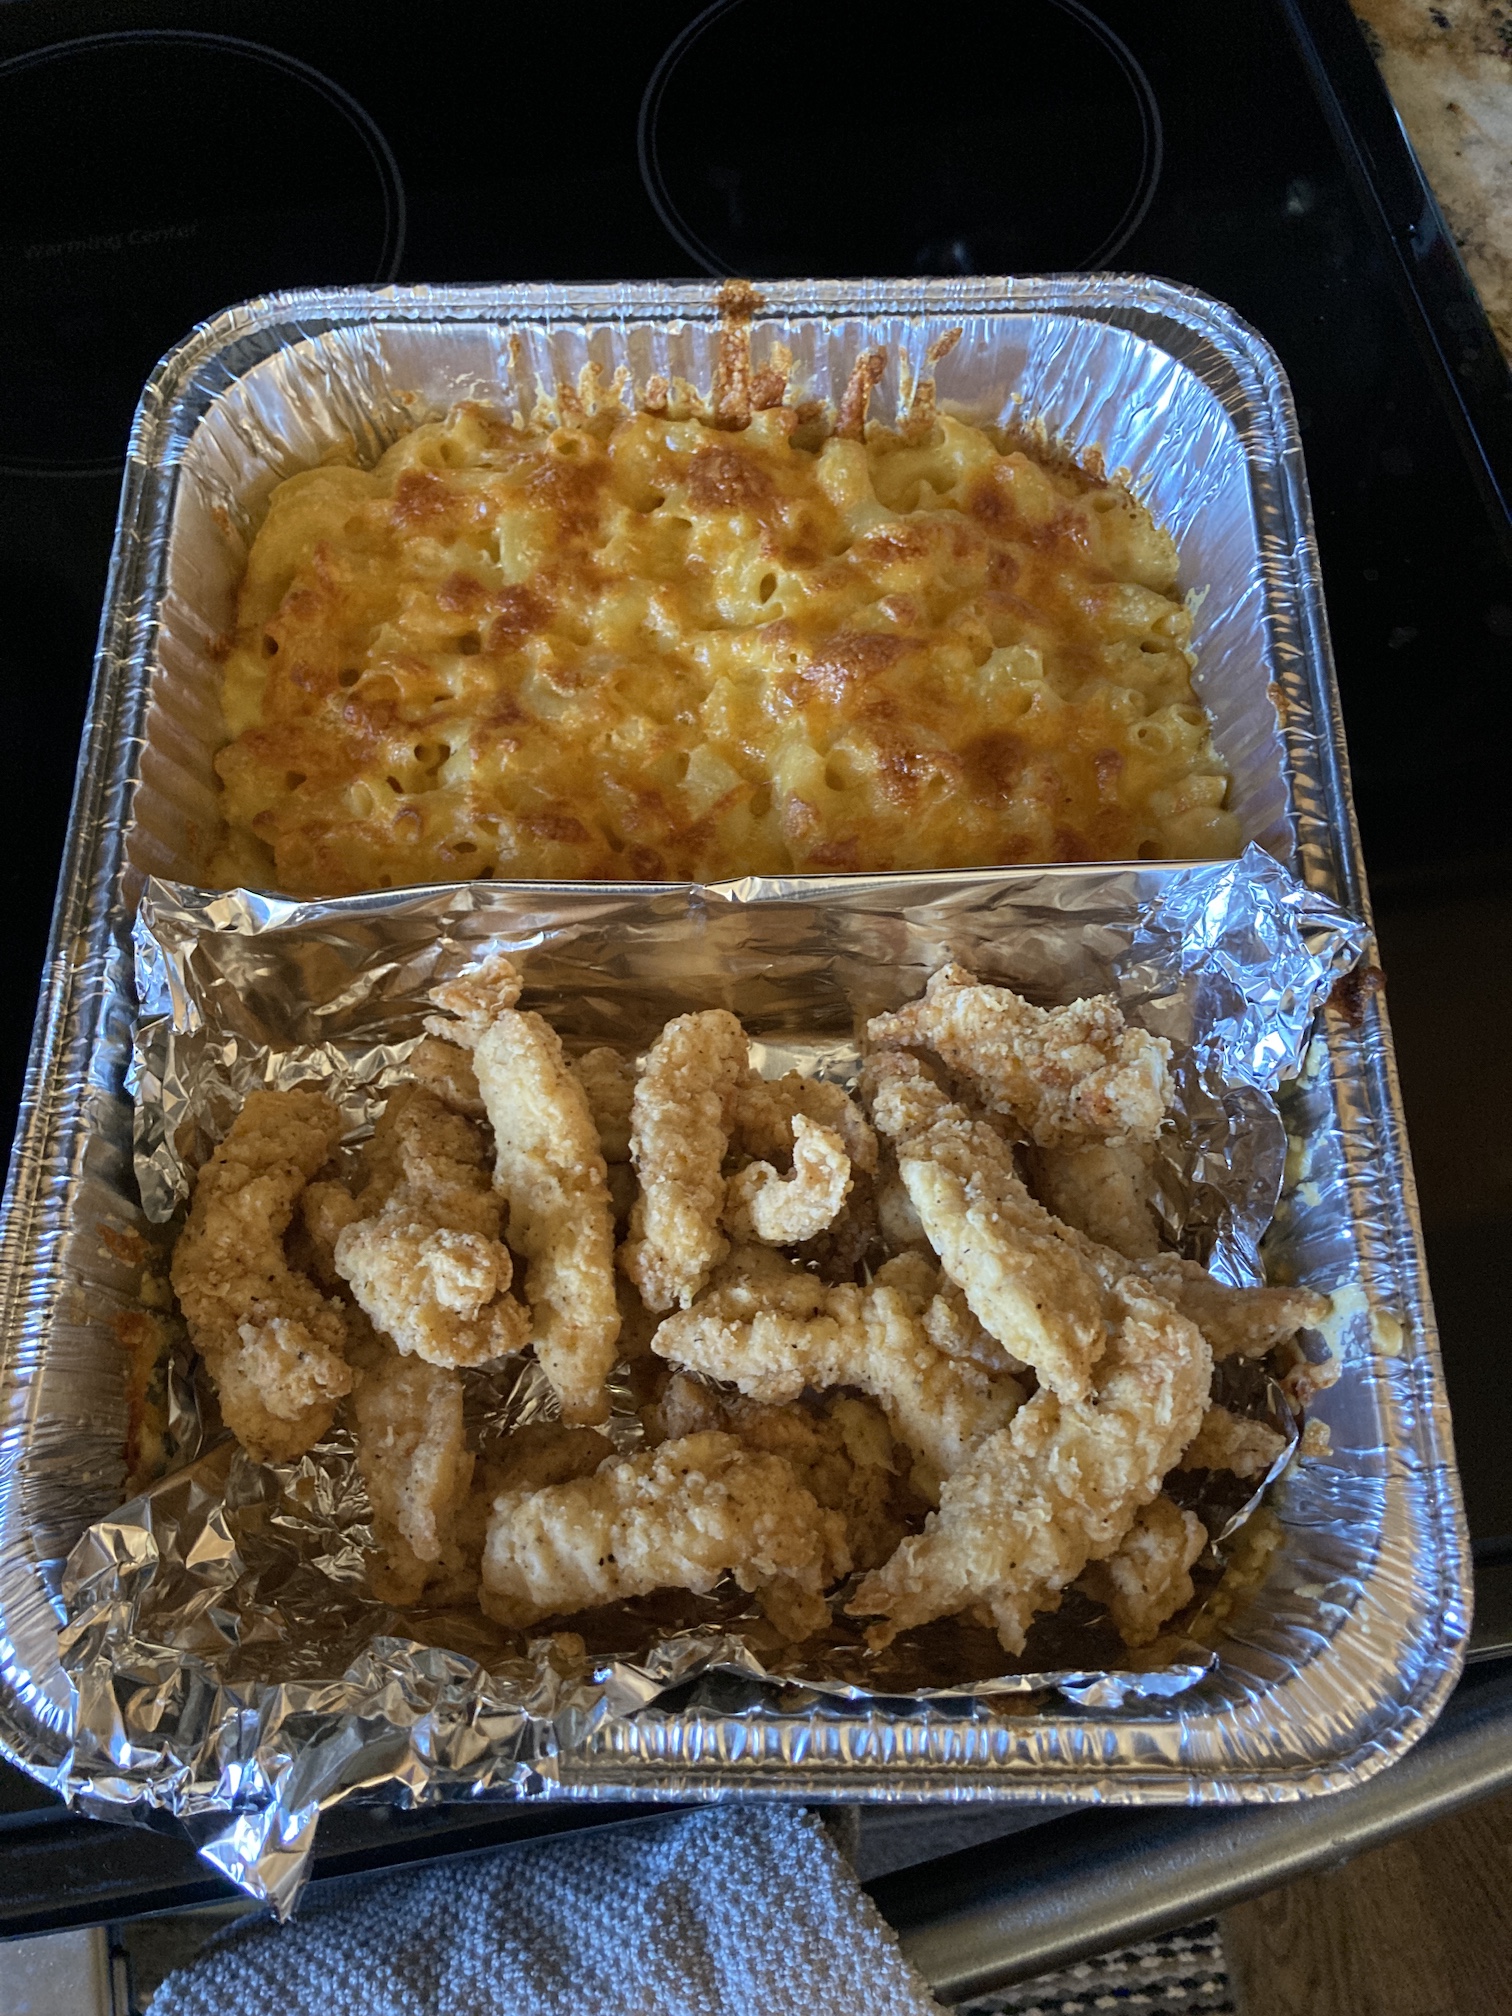
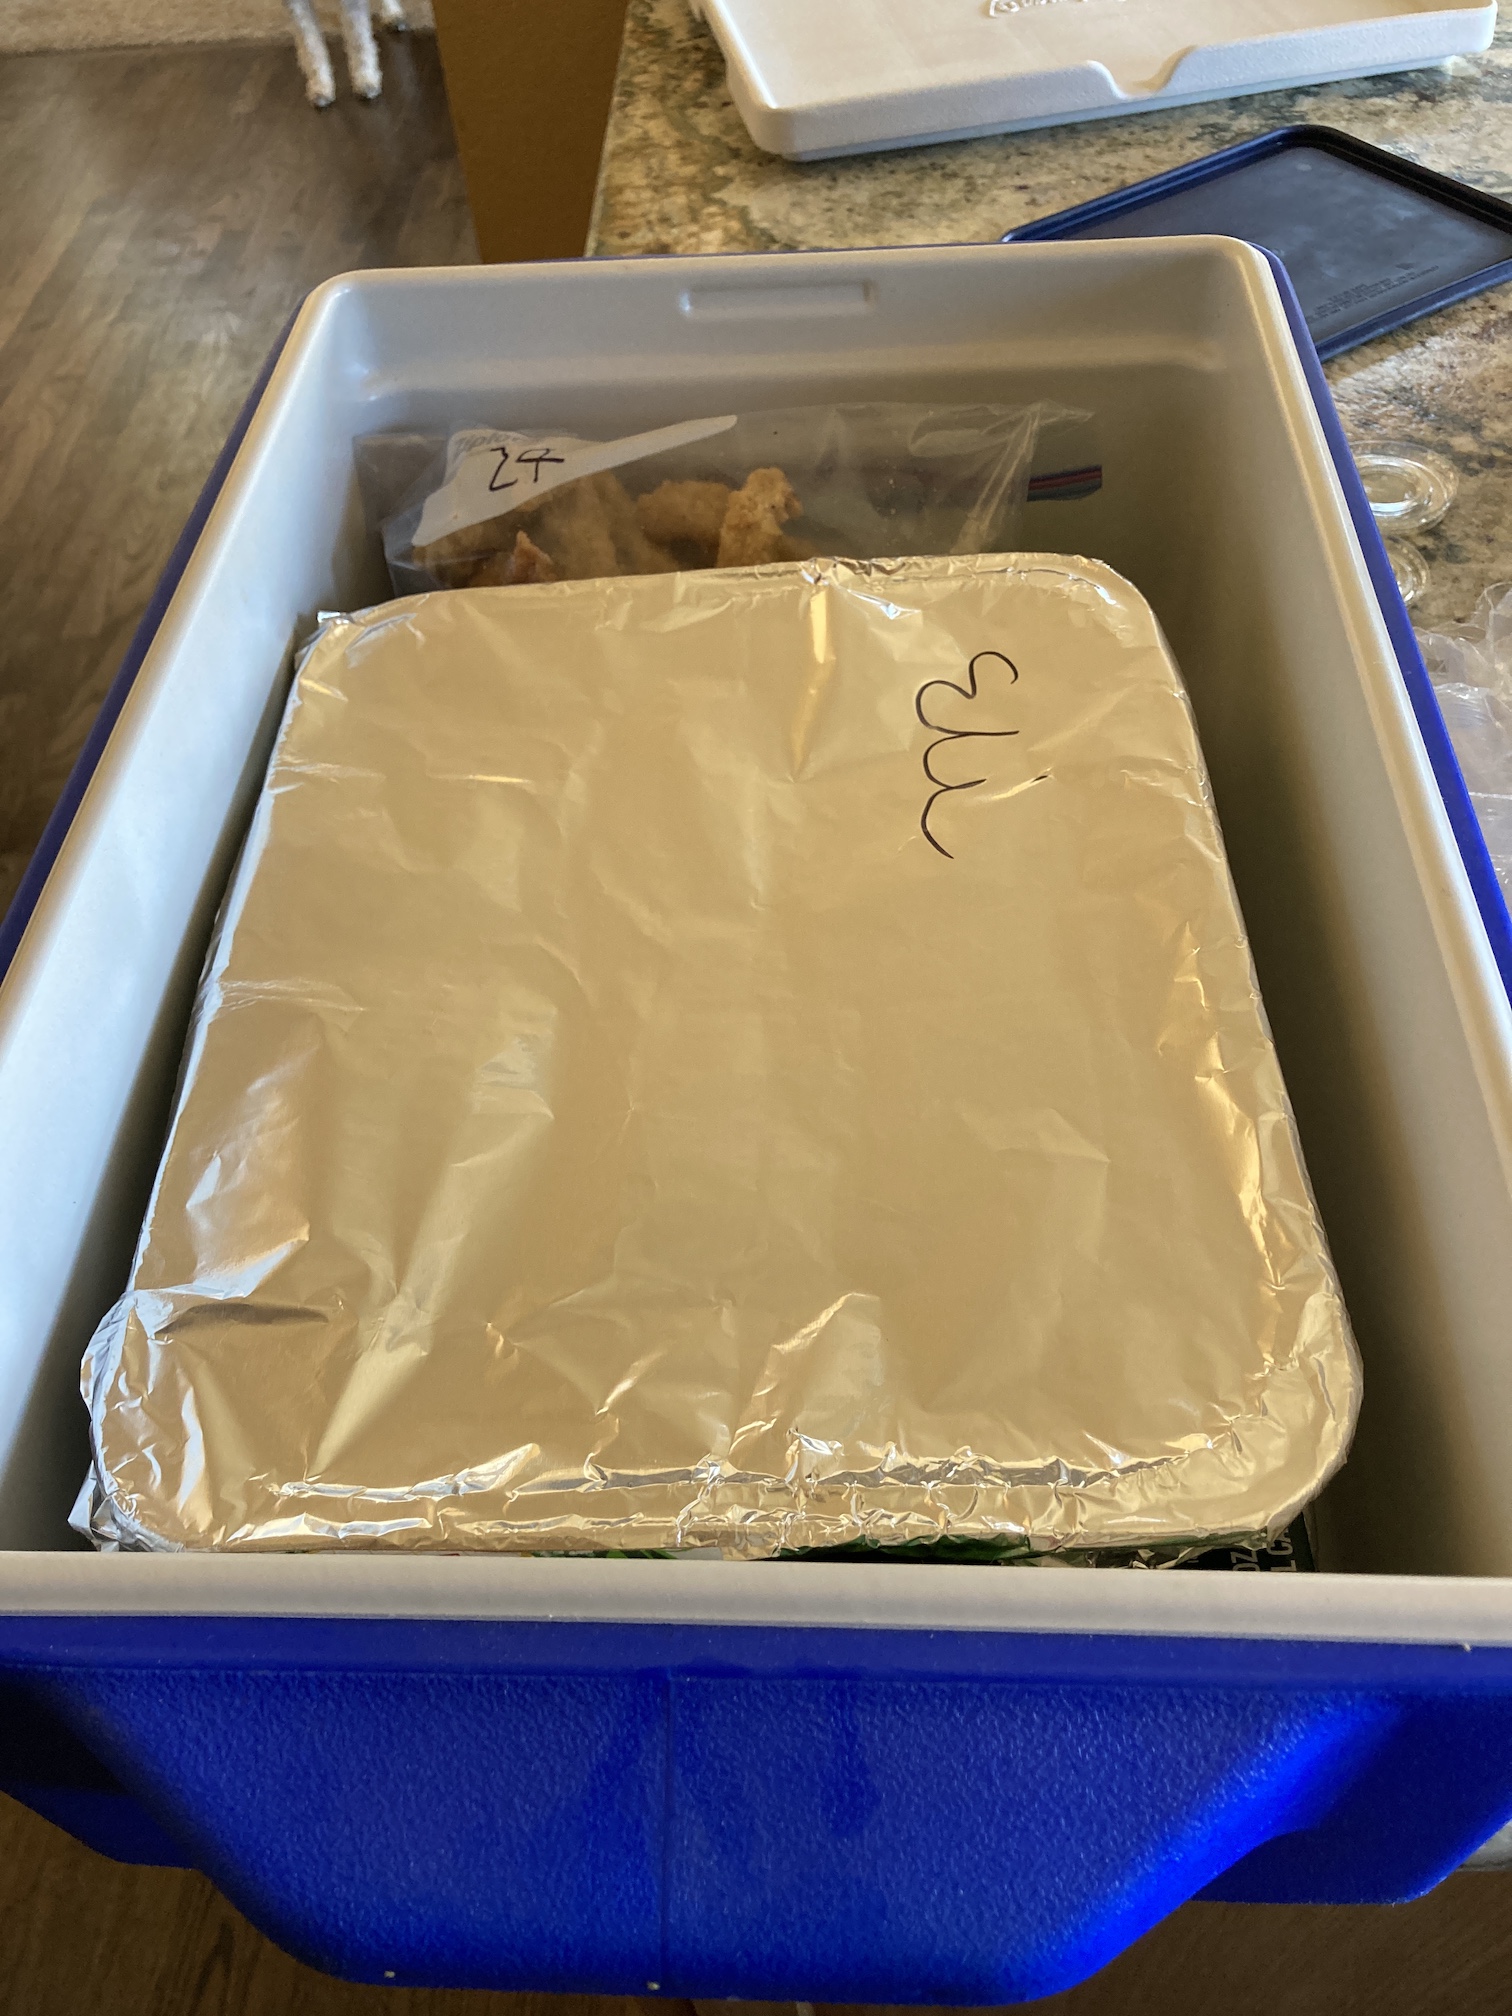
And what did John’s son choose for Thanksgiving dinner? He chose – CHICKEN STRIPS and MACARONI AND CHEESE, one of his favorite meals that his dad makes! John’s dad was happy with the same menu also so we made up several batches of homemade “mac & cheese” and chicken strips.
John set them up for delivery and then did a door drop off to each household for their “Thanksgiving dinners”!
We also included some ranch dressing for dipping the chicken strips.
John and I had the same dinner ourselves when he returned from dropping off the meals (which got rave reviews).
In a strange pandemic-times-way we “shared” a meal with family outside our household for Thanksgiving.
Here is Mike the Miniature Schnauzer asking for a sampling as the meals got boxed up for delivery.
Postscript
Speaking of Thanksgiving and cooking, if you like podcasts, head over to my blogging buddy, Portland based author Tammie Painter’s wonderful The Book Owl Podcast for the latest episode – Cooking Up Something Good – all about the history of cookbooks! It was another fun and informative podcast!
Good Morning from my side of the pond. I thought I would share some recent images from my partner John’s early morning bike rides like I did in the post Good Morning and The Library Stack.
If in addition to making me look lazy with all his recent woodshop crafting projects, he has also been showing me up on physical fitness activities during the pandemic. Several times a week at 5:00 am in the morning he goes on a 20 – 26+ mile (32 – 42 km) bike ride (even in the chilly Autumn mornings).
He usually catches great sunrises on his ride, especially at the reservoir near our house.
Here is John just returned from a morning ride (and I have just risen from bed to make my way to my 20 foot commute to my home office, ha!):
Postscript
Greetings from tierneycreates Beastie, she has not guest blogger posted in a while (Beastie Adventures). She might have a post in the future!
Well John is not early morning bike riding currently as it has snowed in the Denver Metro area.
Here is tierneycreates Beastie in her Autumn/Winter outfit all ready for the cold and snow:
Thanks so much to Helen @crawcraftsbeasties for making her a scarf to go with her hat.
The scarf matches the scarf I knitted to match my hat I shared in this post – Scarf finally done.
So I am going to take this opportunity to share what the other crafty person in the house, my partner John has been working on.
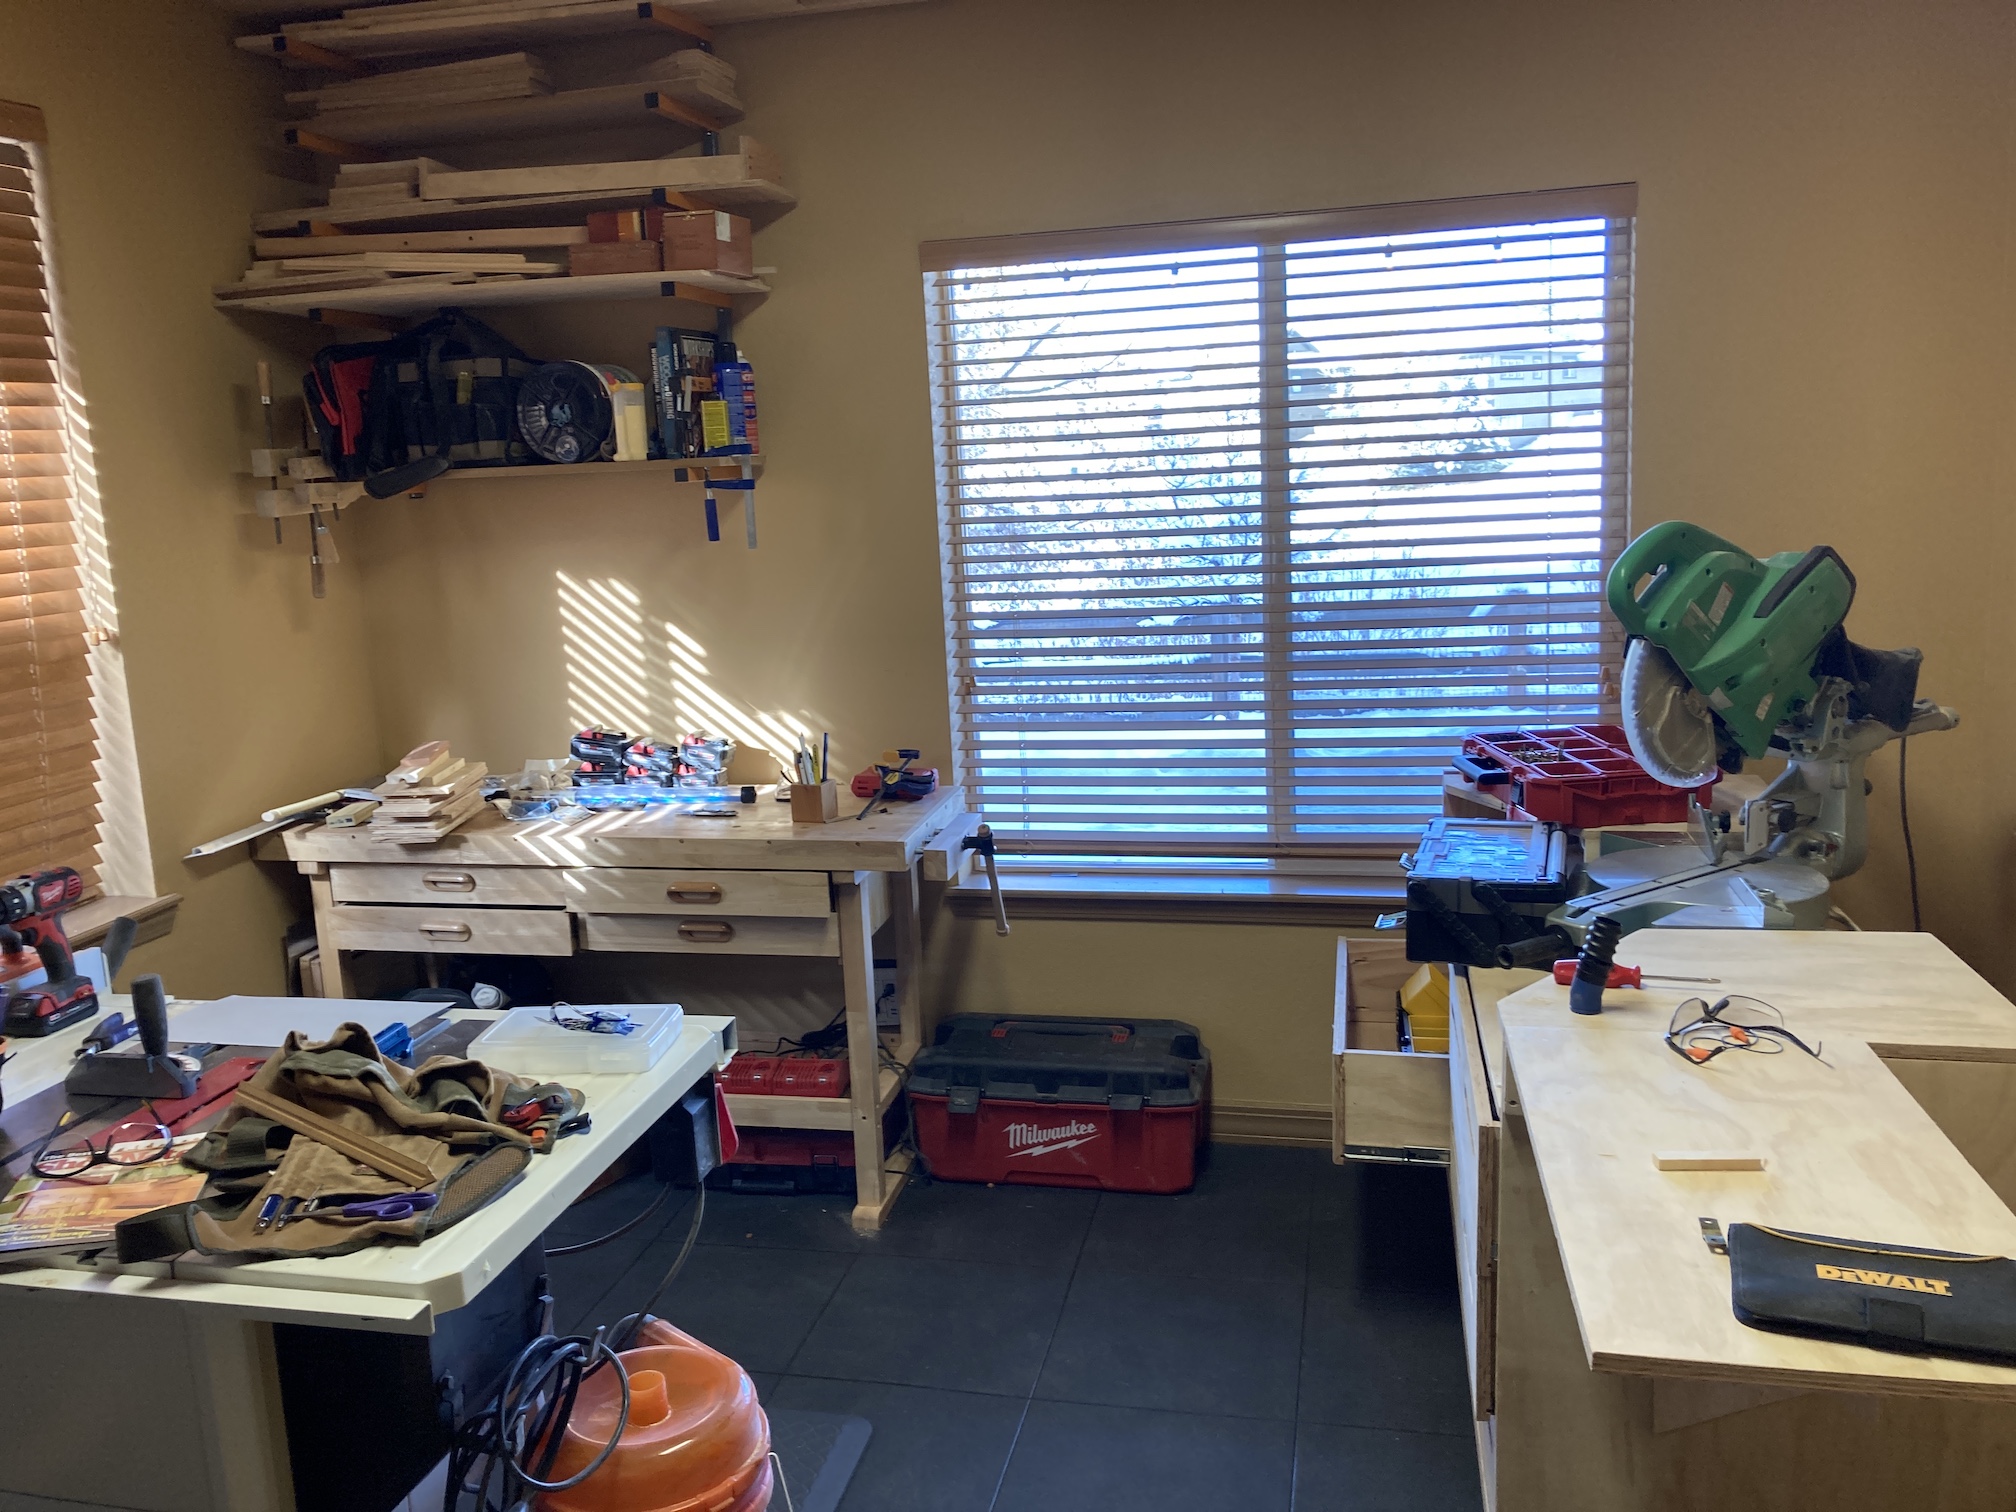
A couple months ago we turned part of our basement into his woodshop (we had it professionally drywalled as well as electrical added, while John put in the floor and did all the finishing work), so he could have his own “craft room”.
His workshop is a work in progress and evolving. For the first time in his life he has his dream of having his own dedicated woodshop beyond just tinkering in the garage.
John and I met in mid-2019 after suddenly each losing our long time spouses/life partners in 2018. We decided that since how long you have to live your life is unknown (when you become a widow/widower you think a lot about your own mortality in addition to grieving the loss of your spouse) we would not hold back from having our dreams (within reason and within financial possibilities of course!). One of his lifelong dreams was to have his own woodshop!
(One of our shared dreams is travel and pre-COVID pandemic we had many plans for travel in 2020, but you all know about “best laid plans” when it comes to 2020…)
Mike the miniature schnauzer did a guest blog post a couple weeks ago (yes, yes, stop your disbeliefs that my dog writes blog posts, ha, ha) on some of the projects John has been working on – Guest Blog Post: A Whole Lot of Remodeling Going On , but I thought I would share some of the projects since that post.
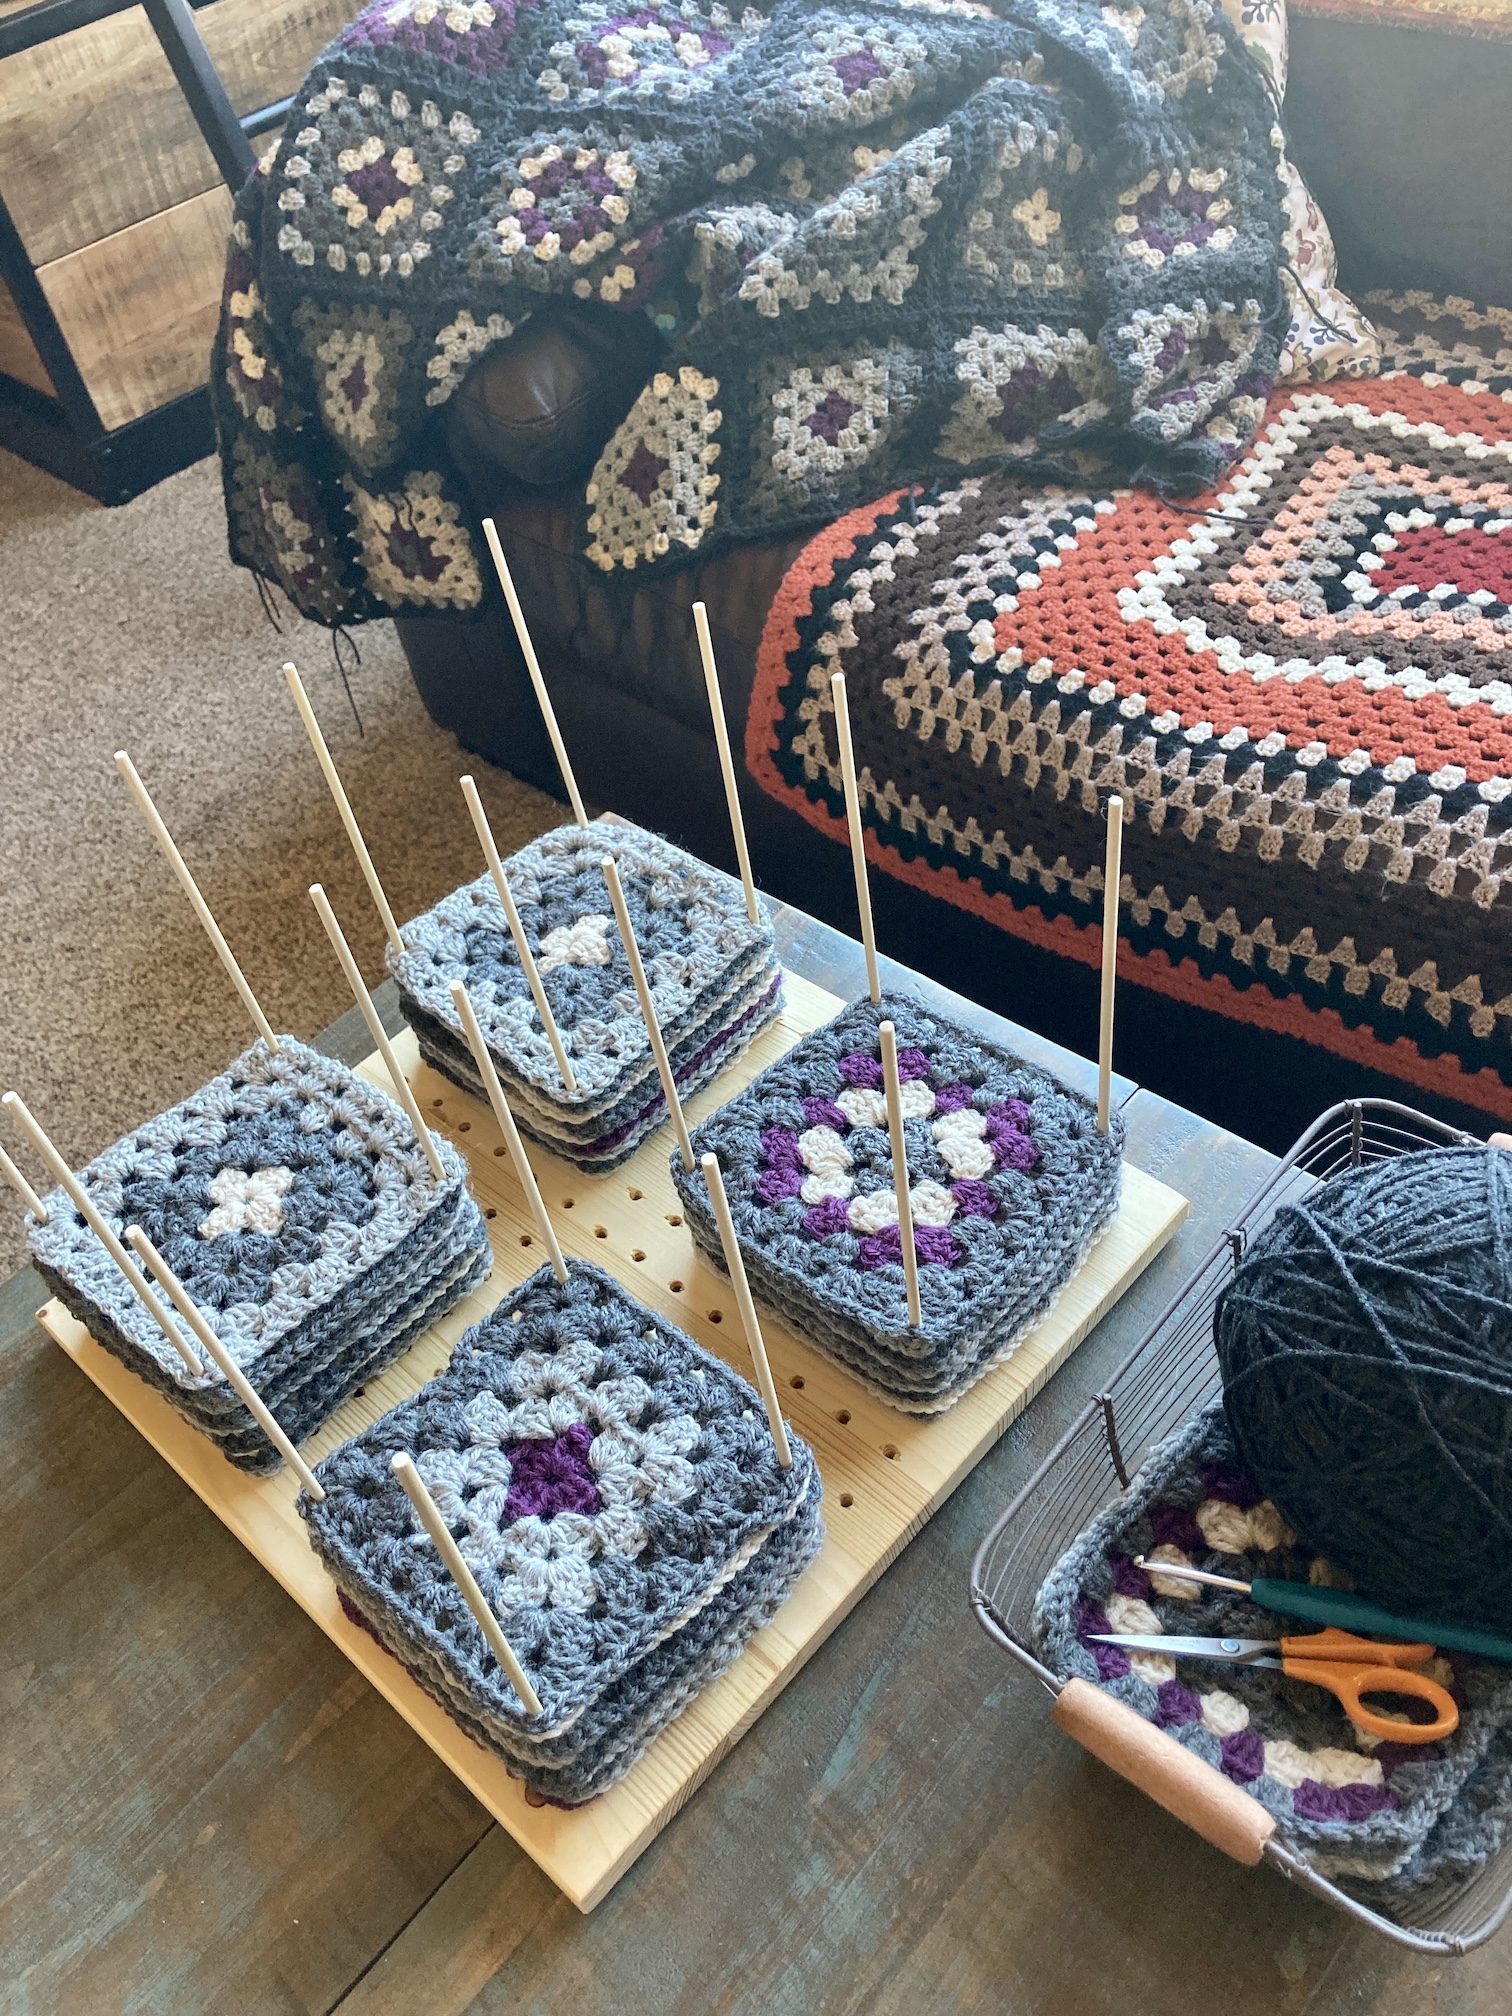
Wood Blocking Board
I saw on Instagram wood blocking boards for granny squares and asked John if he could make me one – and he did!
Here is an image of one I found online and texted him the image:
He watched a couple YouTube videos and checked out some on Pinterest and figured it out how to make me one:
It’s going to be great to use for making my next granny square blanket – I can stack my blocks pretty high with the long pegs.
Bike Holders/Storage
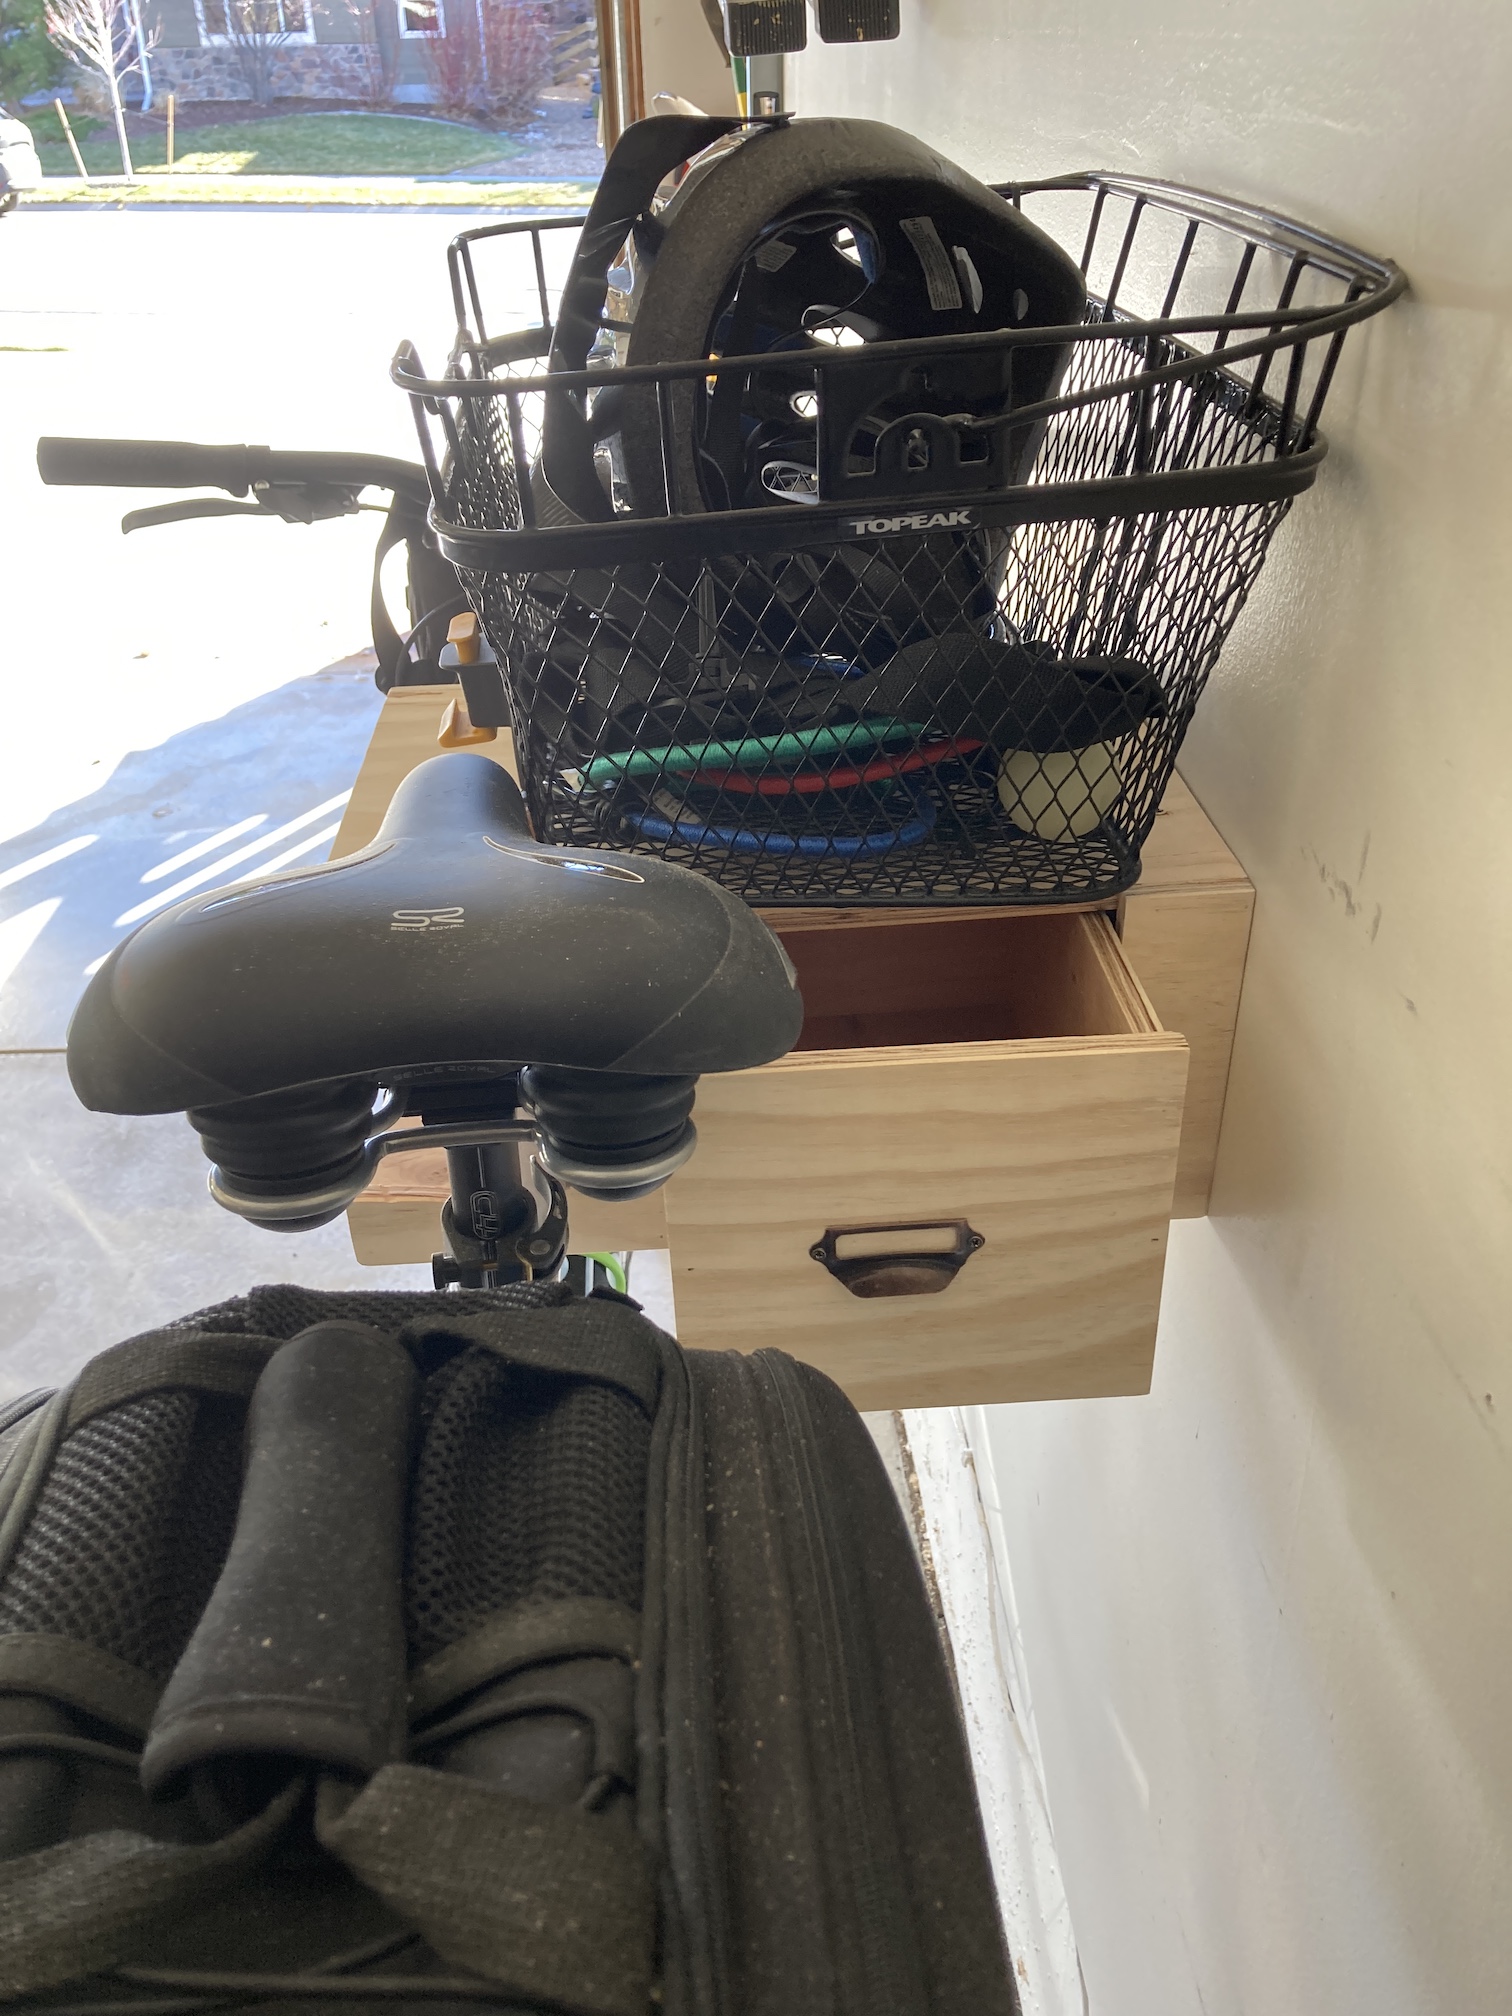
John loves Pinterest as a great source of ideas. He wanted to get our bikes off just sitting on the ground of the garage and found a cool design for a bike rack and made one for each of our bikes!
He made mine first so most of the images are of mine with some detailed images of the rack to include the little drawer he built for it also.
The little drawer is perfect to keep your biking gloves and other small items related to cycling. It is very easy to lift our bikes out of the holders.
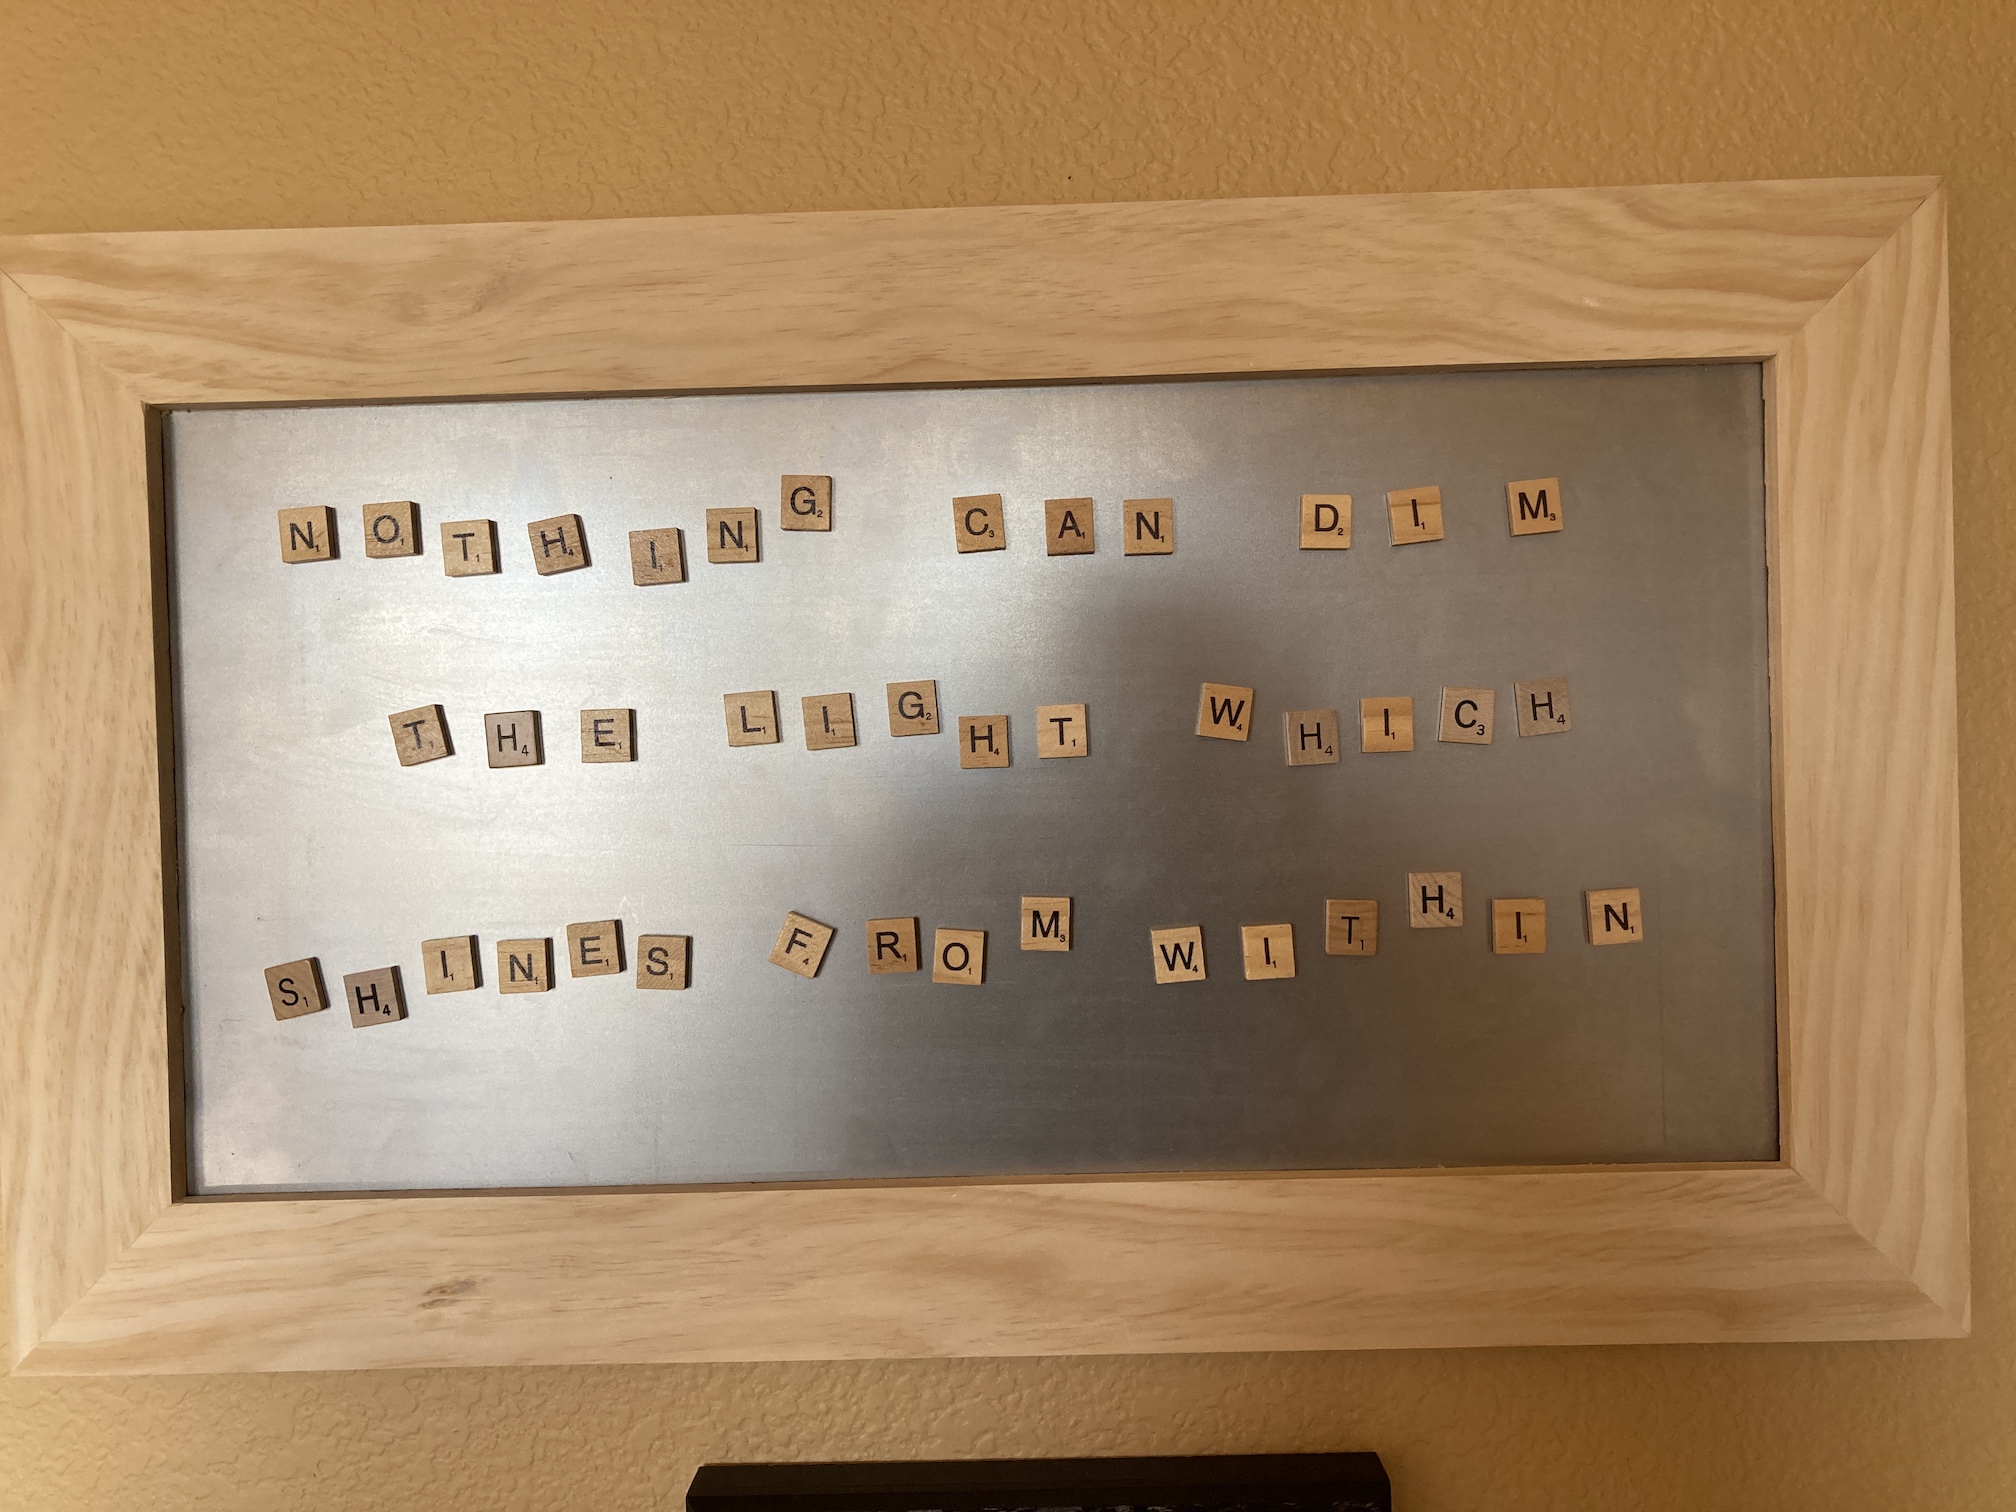
Magnetic Board
I am obsessed with Scrabble letters. I have a collection of Scrabble letters from thrift stores and old Scrabble games. I’ve made gifts from them in the past like friend’s names spelled in Scrabble letters affixed to a magnetic strip. Recently while at a thrift shop I found a bag of Scrabble letters with individual thin magnetic strips attached.
This led to the idea of creating a magnetic board for my home office where I could write inspirational messages for myself with Scrabble letters! I asked John and he made it happen!
Currently up on the board I have the Maya Angelou quote:
Nothing can dim the light which shines from within.
Custom Tables for his Woodshop
The first table John made for his woodshop was a table/stand/storage for his Miter Saw:
He used purchased plans he downloaded online to make this table and then made some adjustments for his needs.
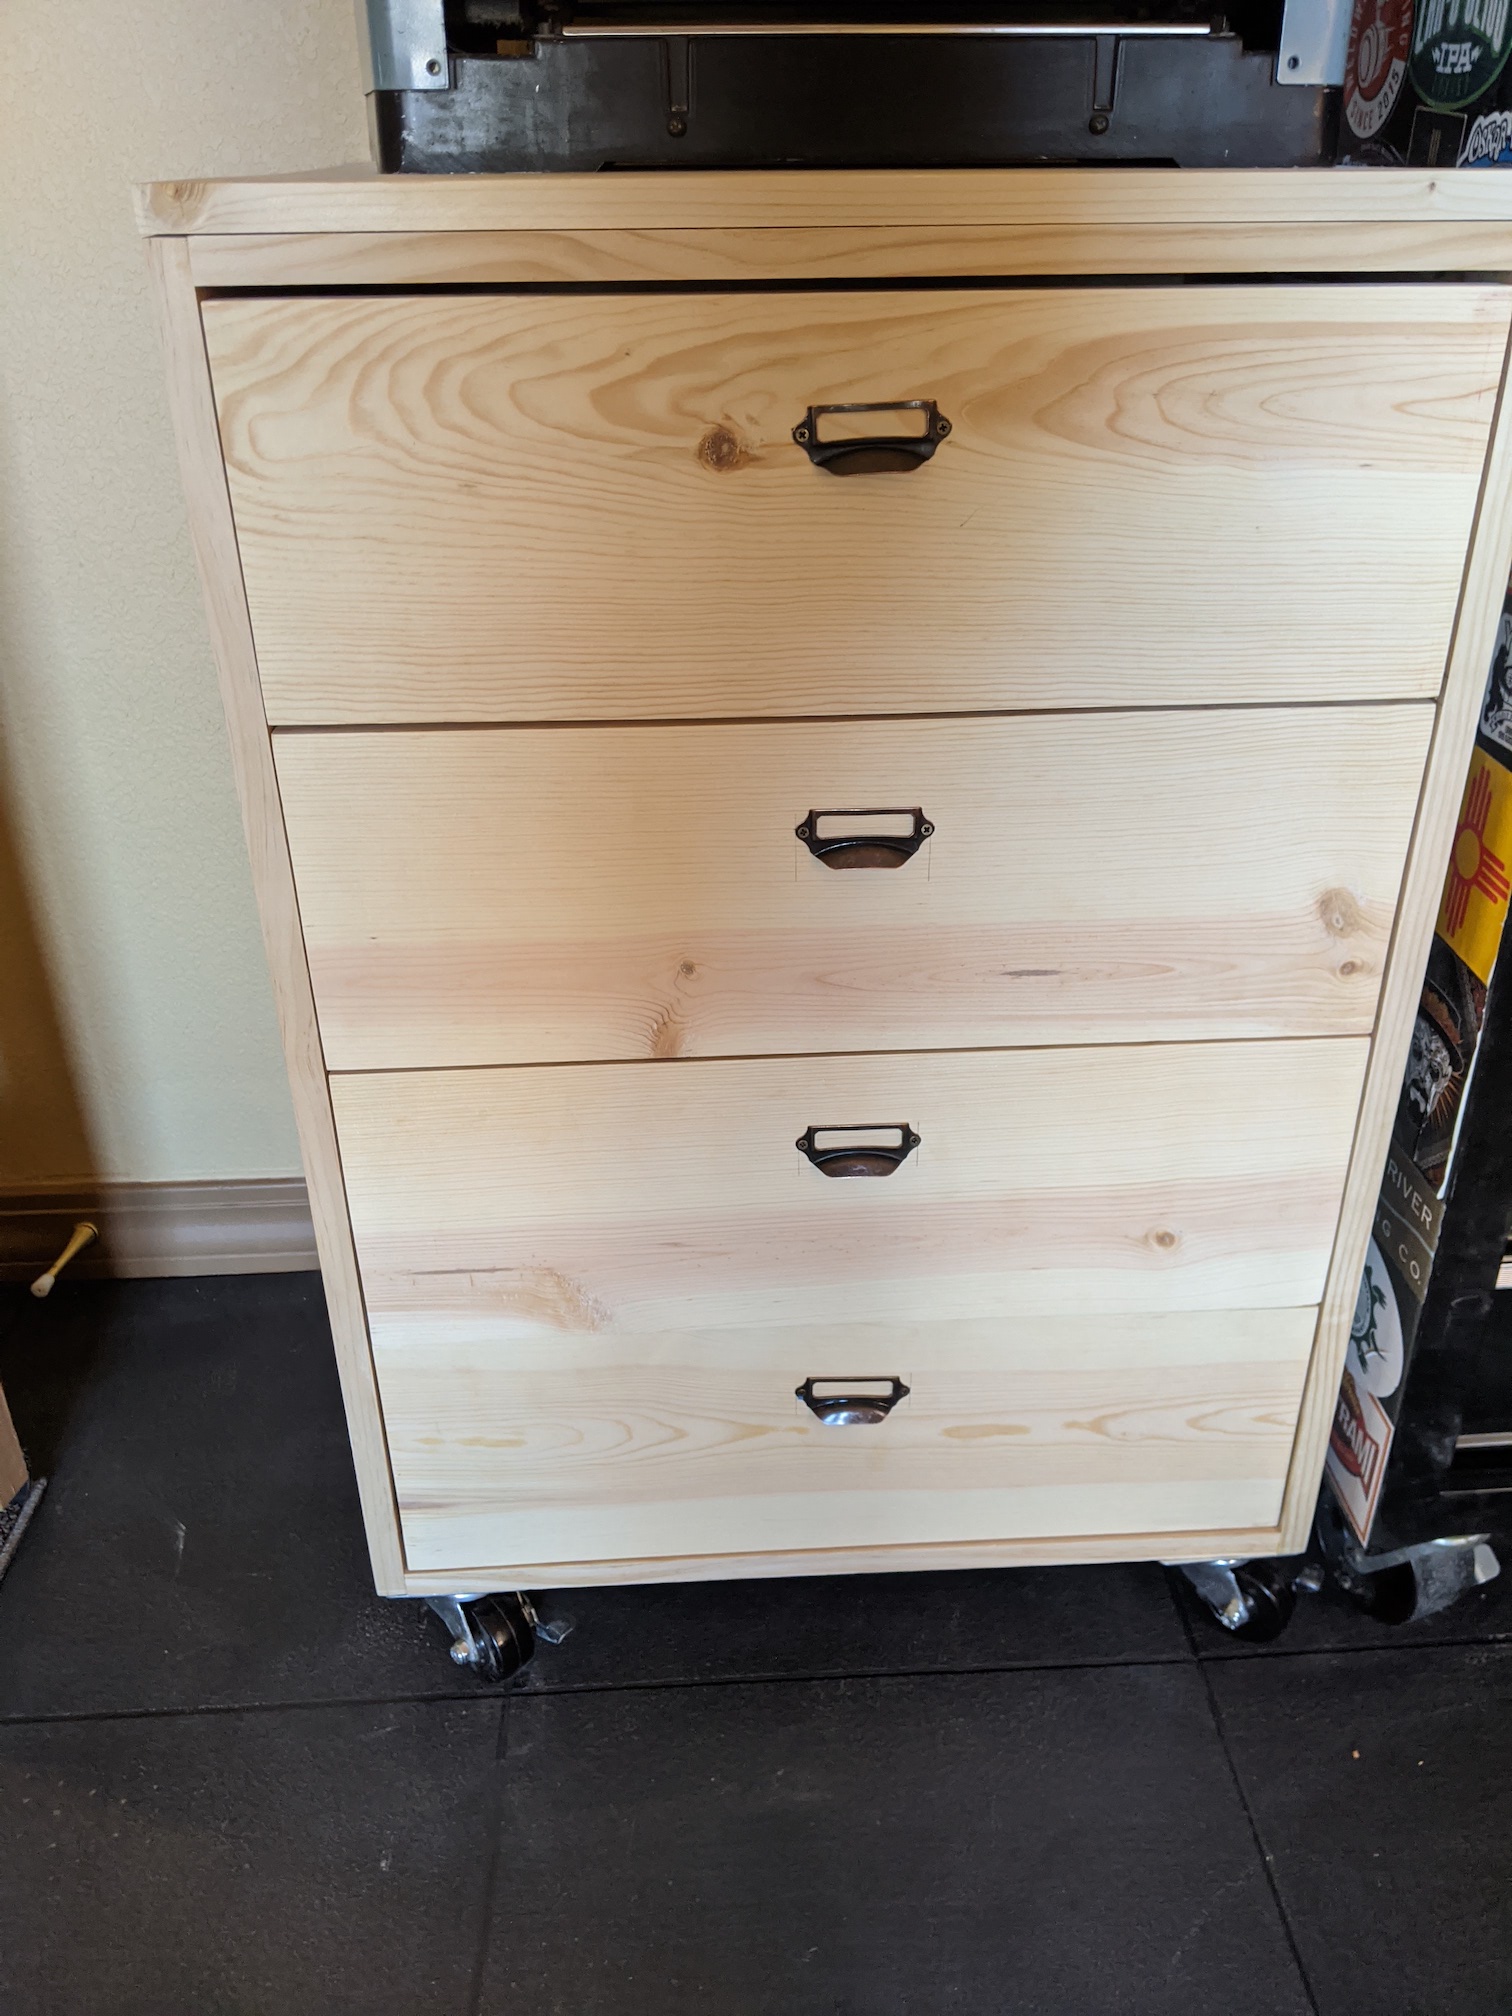
Recently he made himself another table/stand/storage, this time without pre-purchased plans! He designed a table for his Planer with storage drawers with cool pulls he ordered online:
Exercise Room for Water Rower
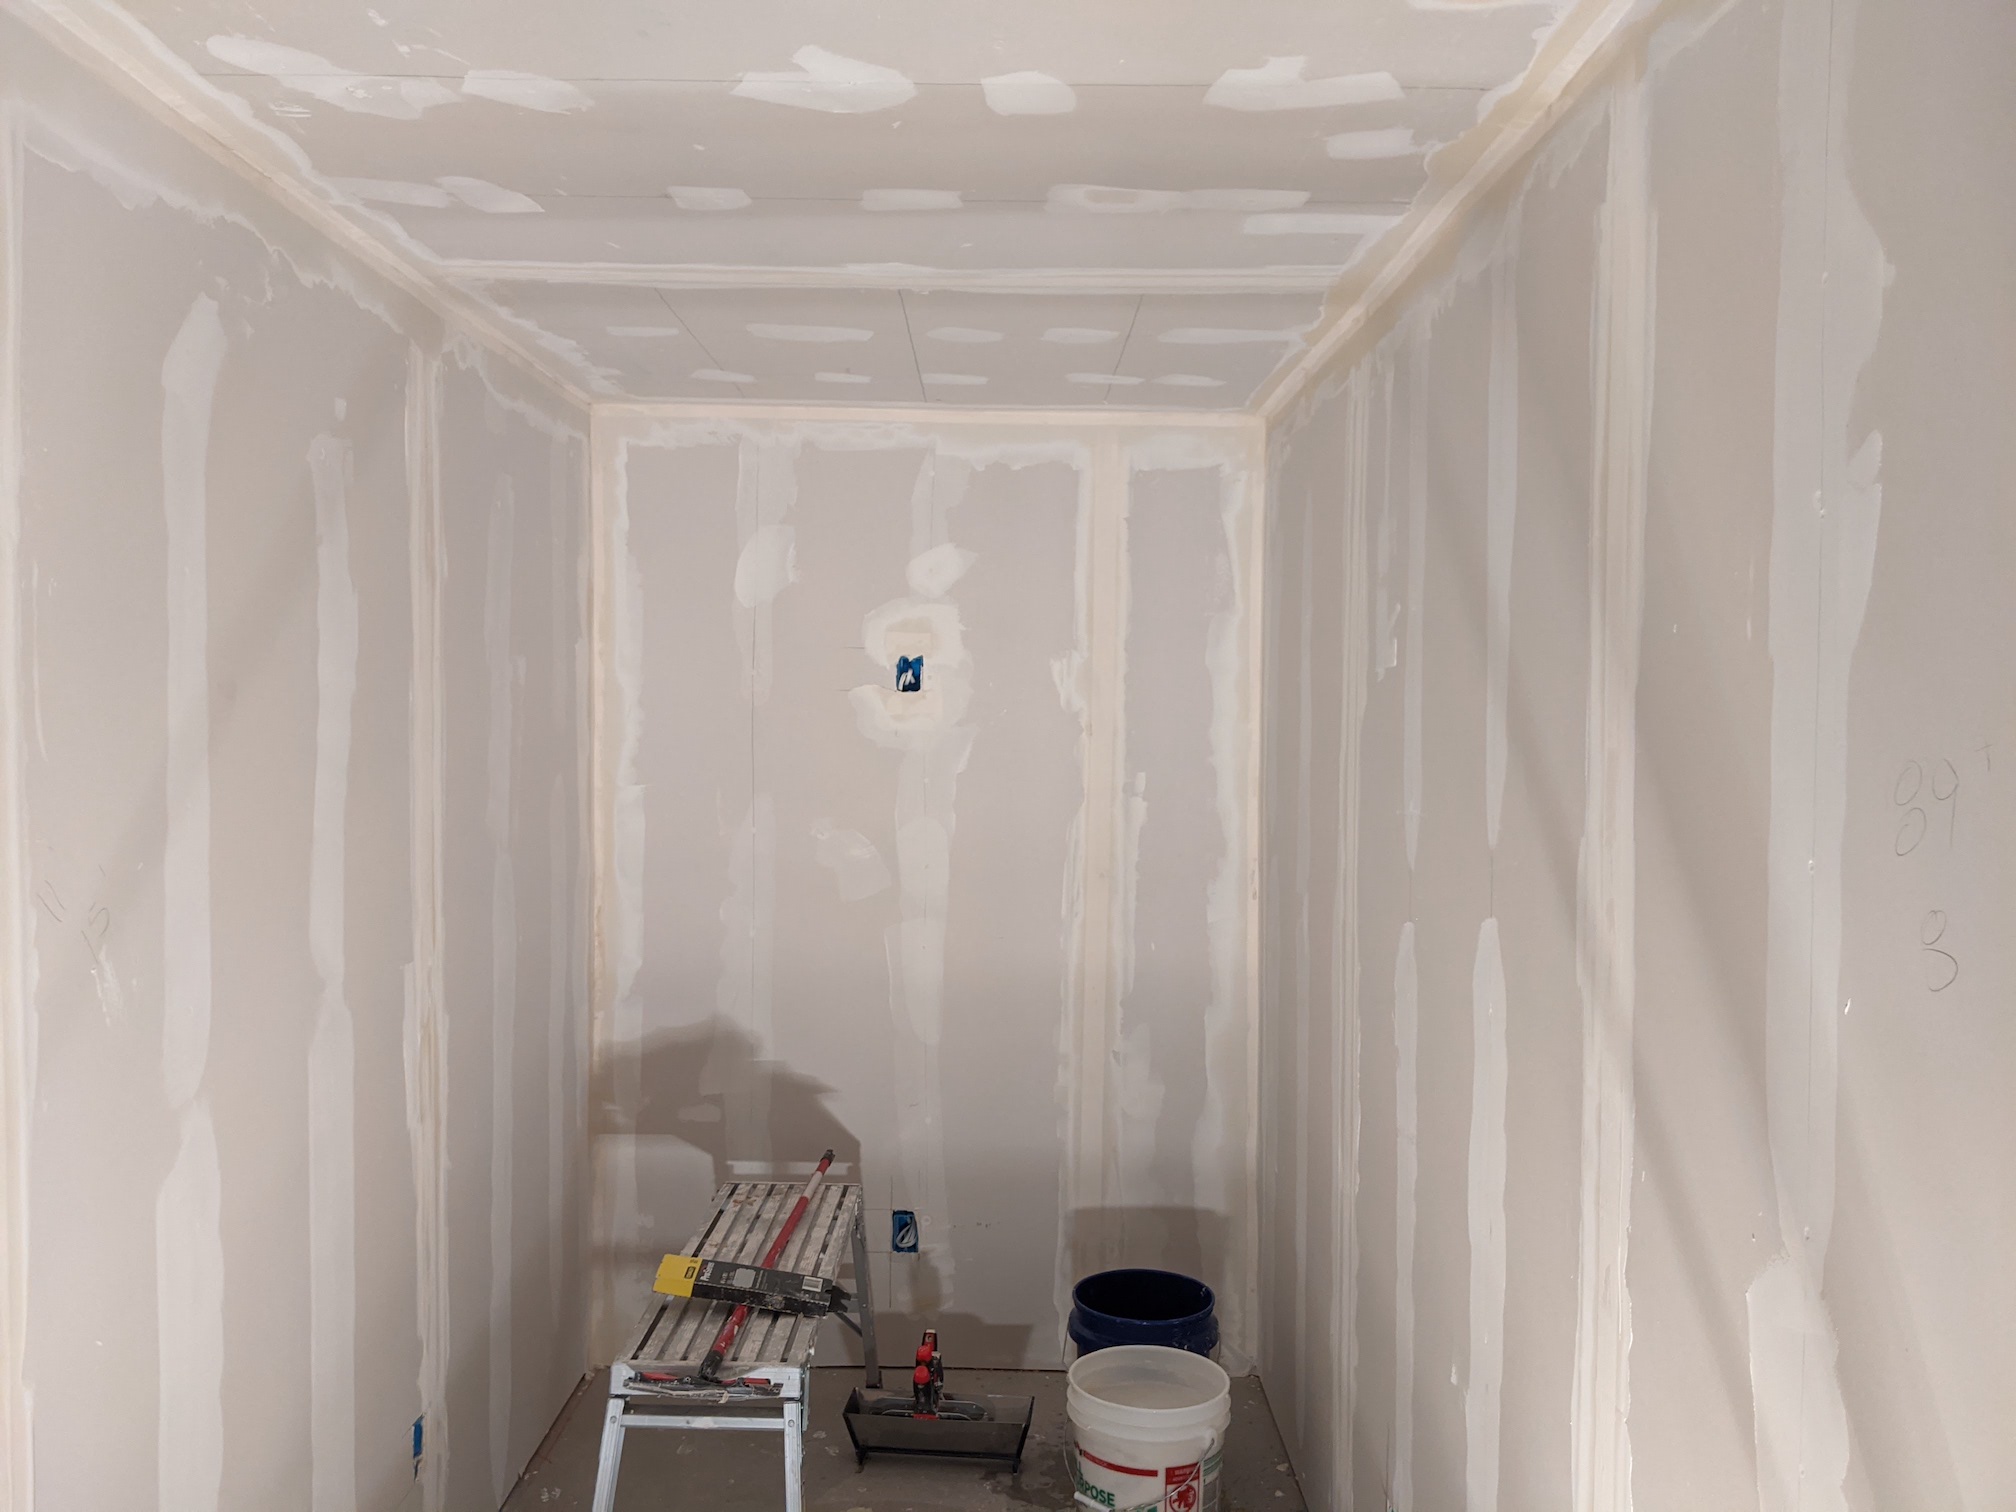
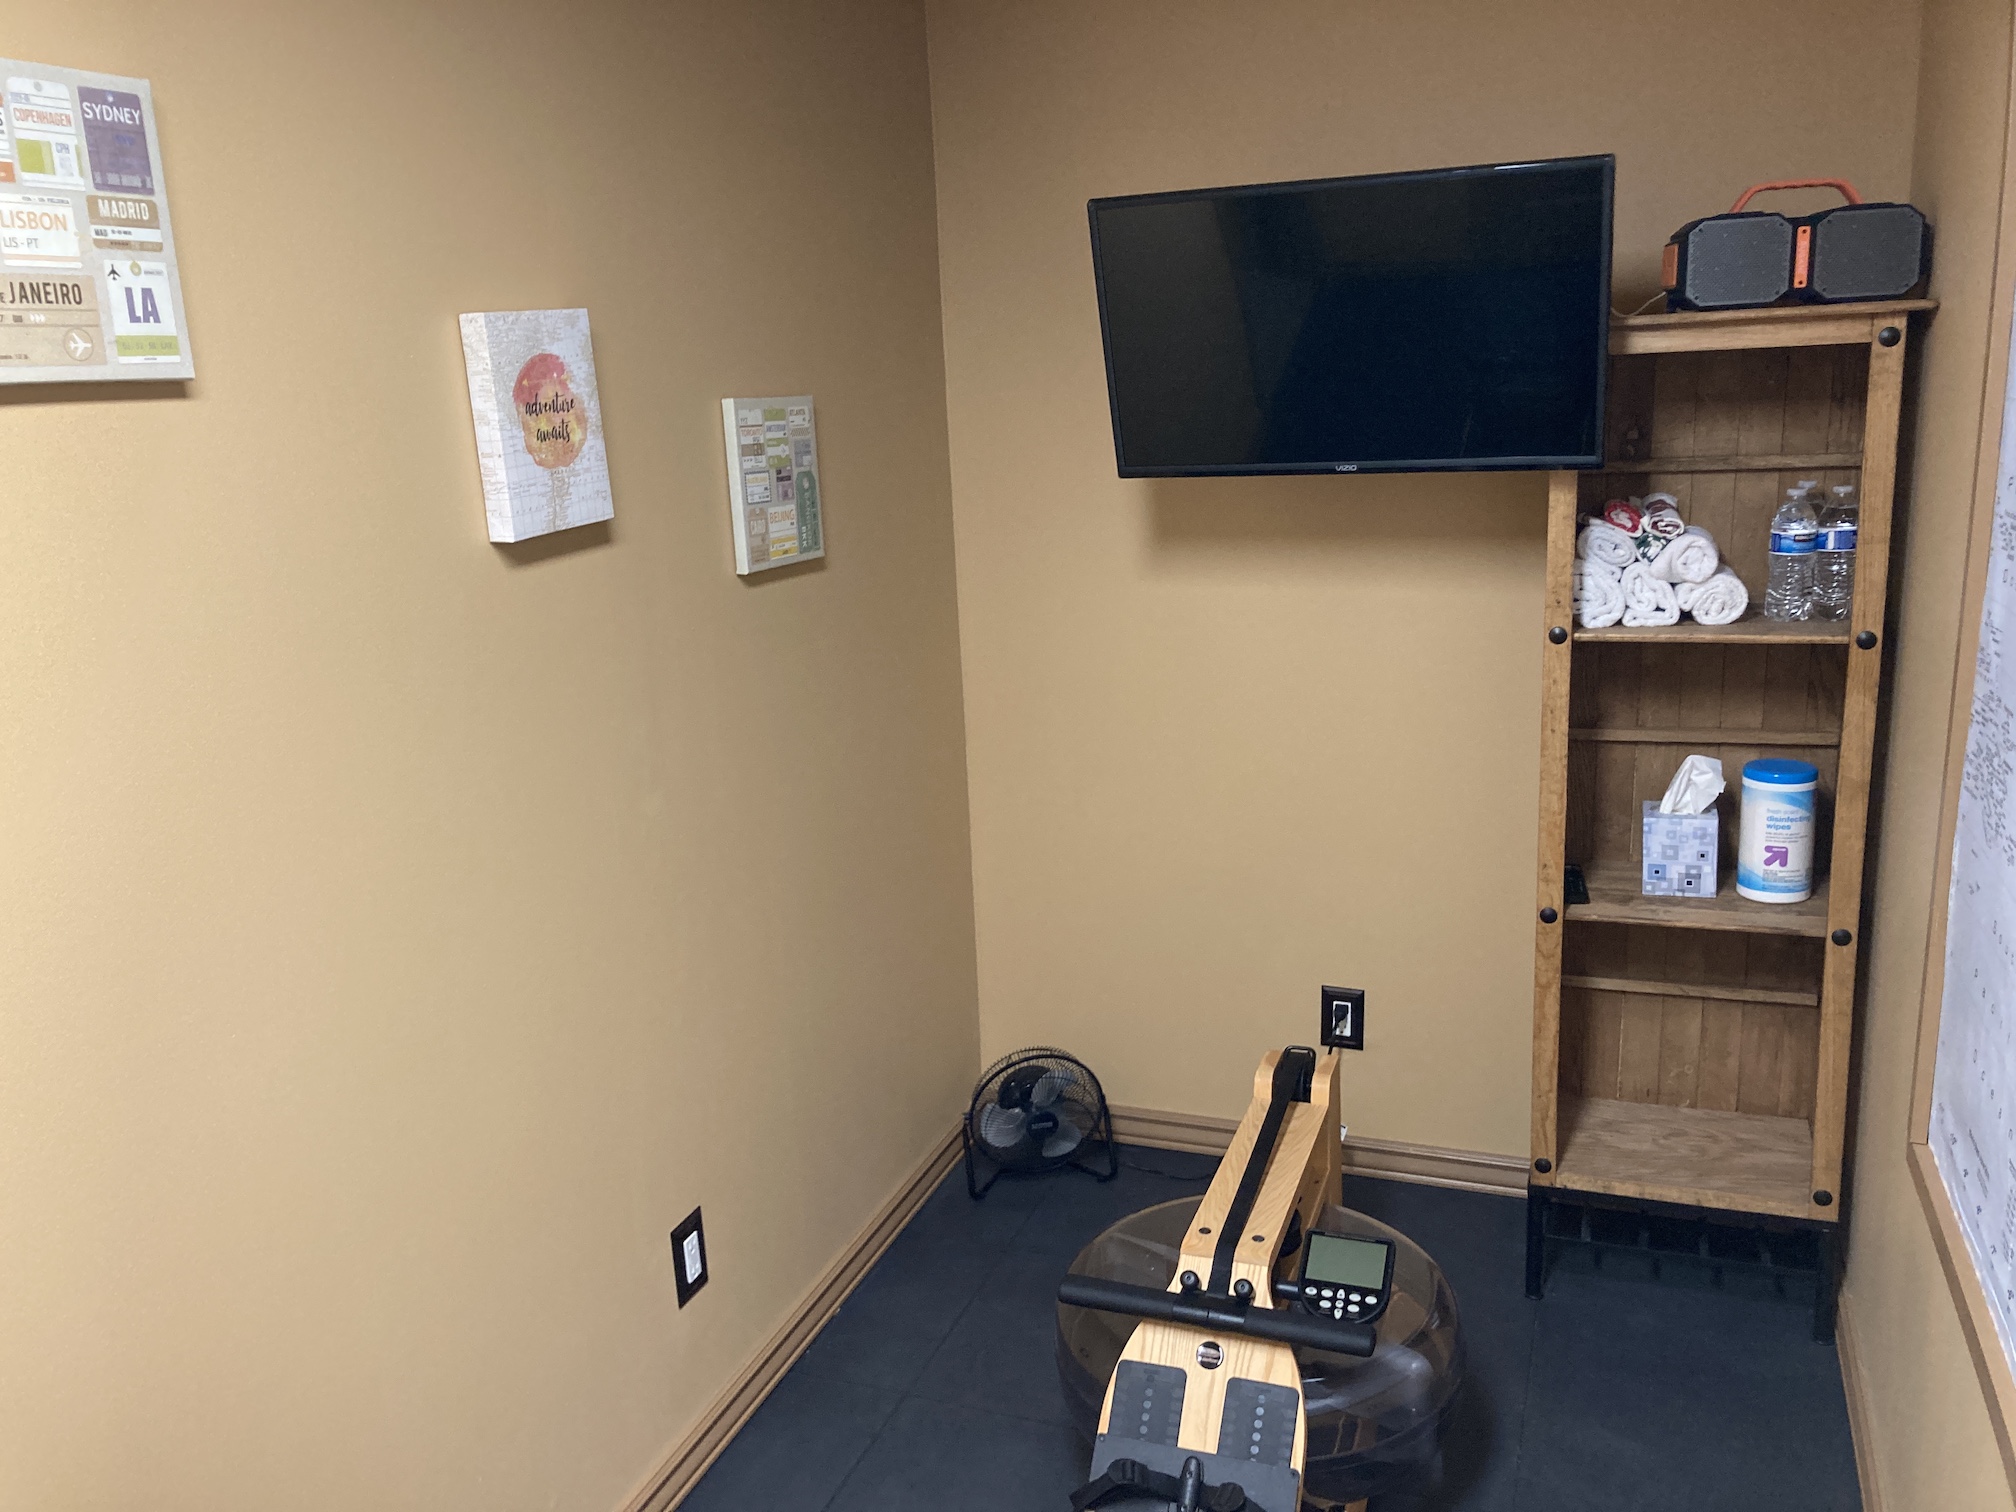
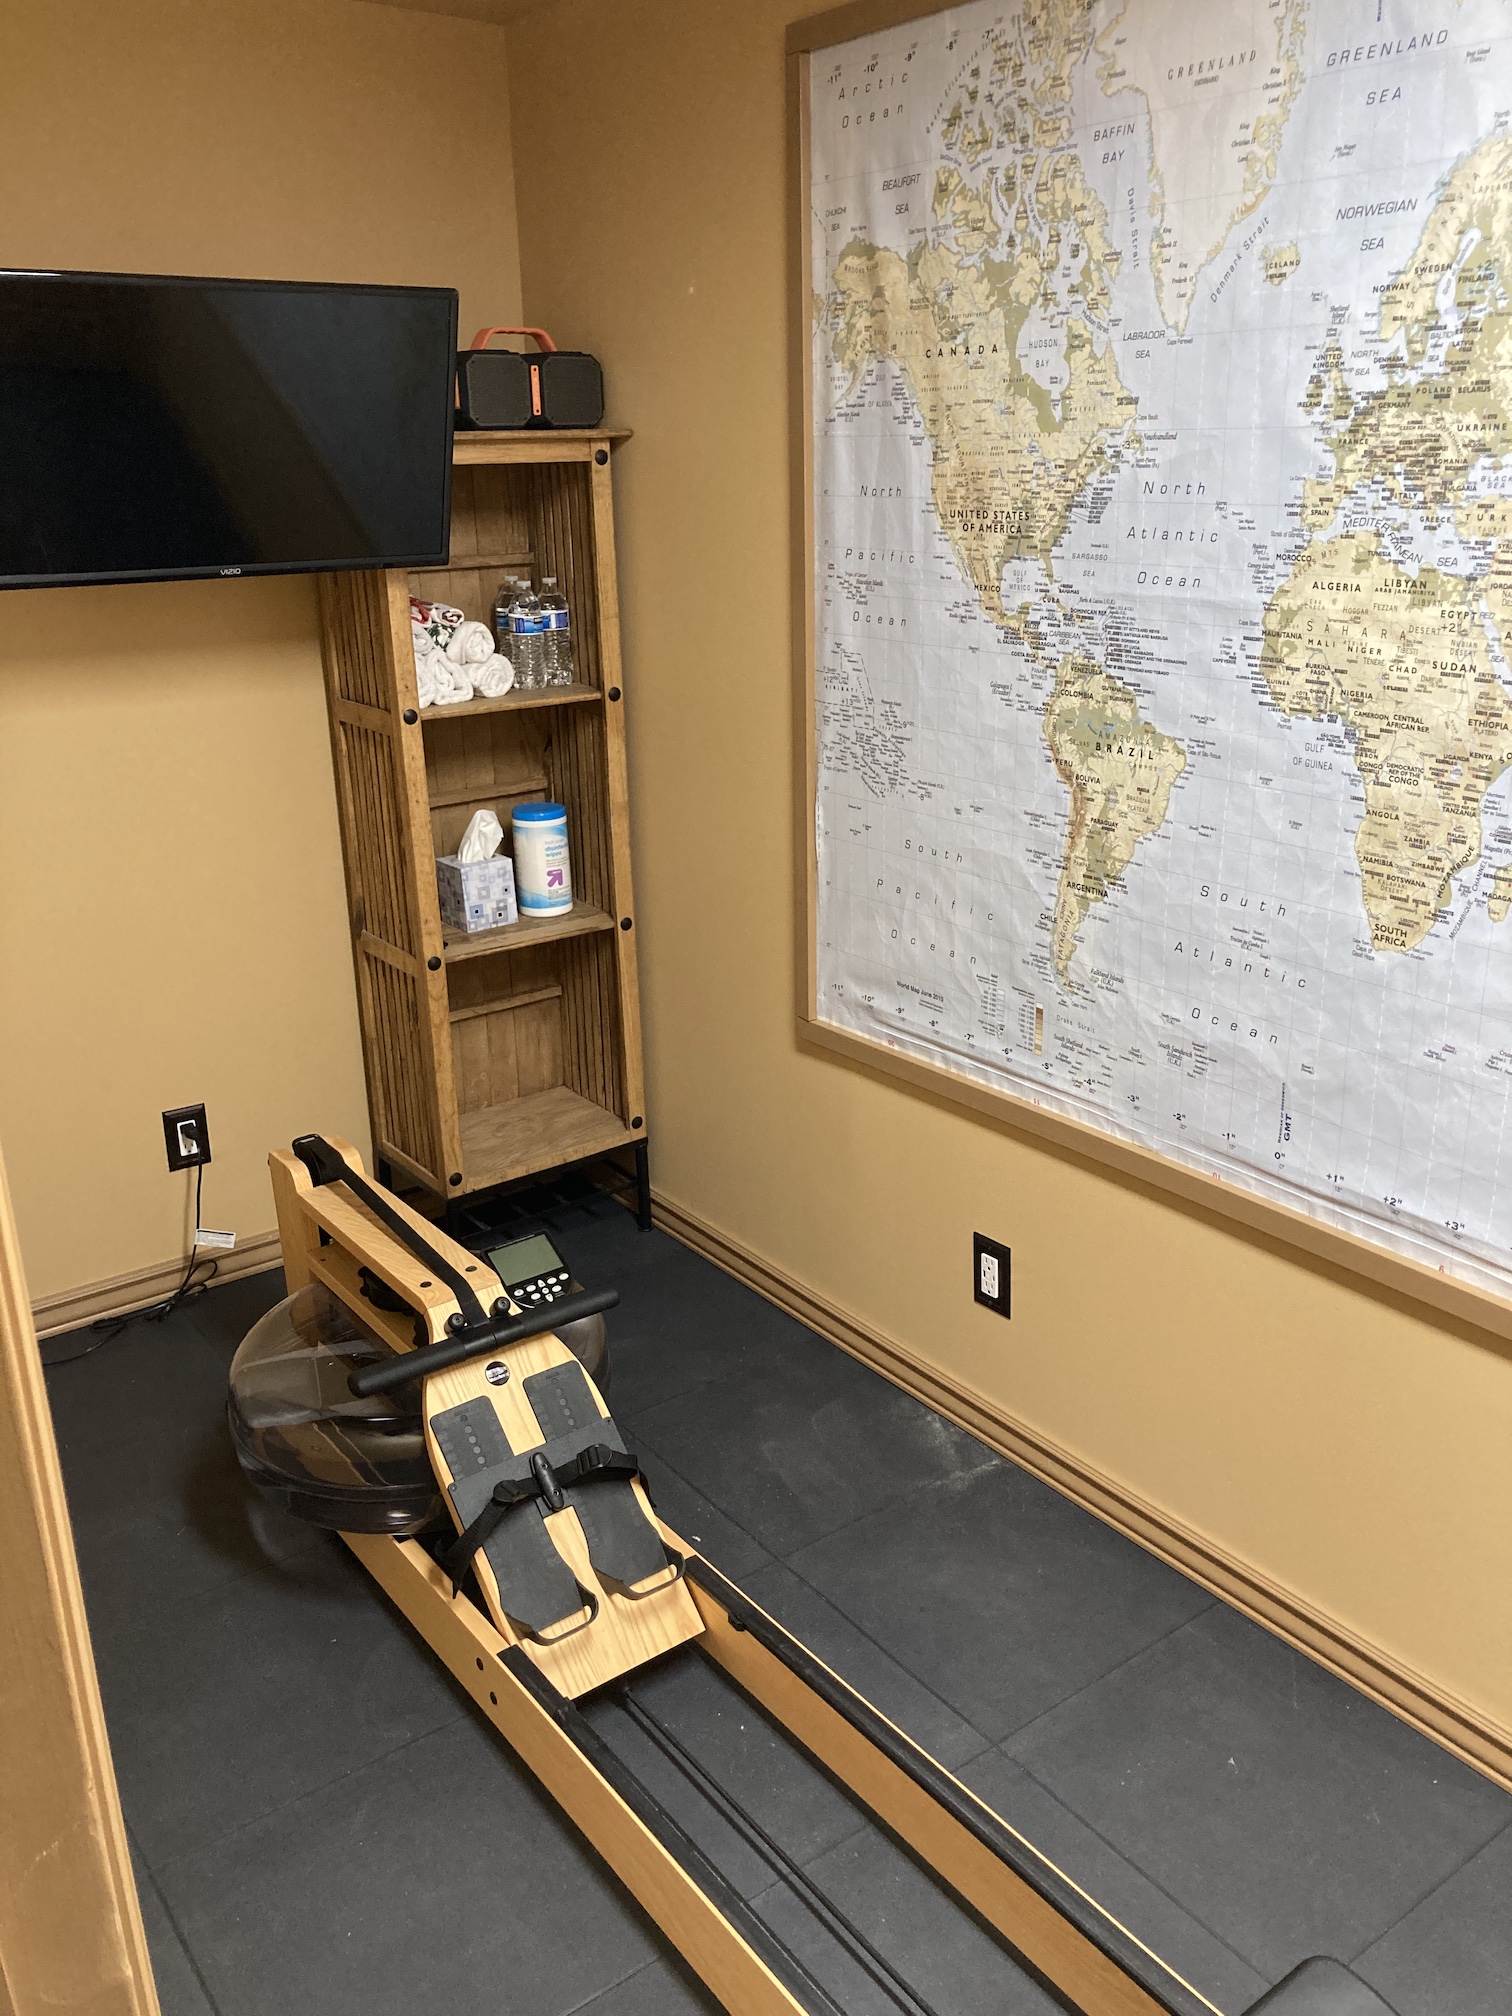
And the big project that John recently completed did not technically involve his woodshop as he did much for the work in the garage – he converted part of our unfinished storage roomin the basement into an exercise room for our new Water Rower. This involved framing out and dry walling the room. A wonderful friend helped him with a lot of the initial labor related to framing, installing the drywall, and pulling electrical for lighting and wall outlets.
The artwork in the room was my idea and I found it at a thrift shop. John created the frame around the world map. I figured we can daydream about travel while we row. We found a television on sale and an inexpensive TV mount online so we can watch rowing instructional videos (or Netflix) while rowing.
We repurposed an old bookcase for our “gym” towels and water bottles like they would have at a real gym. John also put in a vent for the room for ventilation while we break a sweat.
Well I better go work on my hand stitching so I can have something to show you in the future – John makes me look pretty lazy!
He is now in love with a new fleece blanket we recently picked up and has become inseparable from it!
I guess schnauzers are fickle!
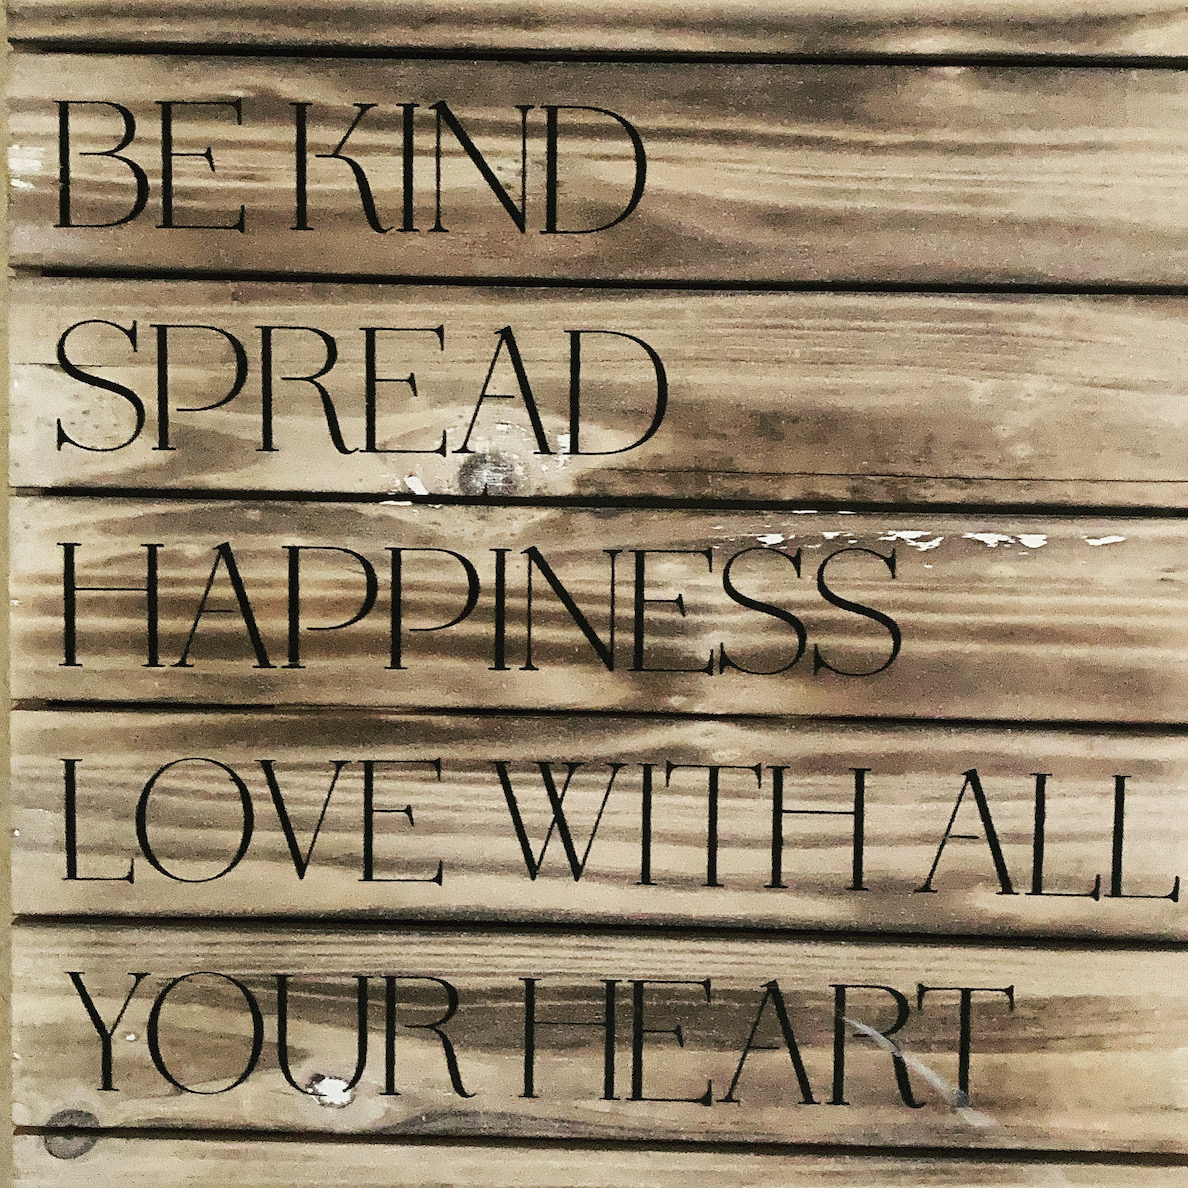
Let me close this post with a sign/piece of artwork I discovered while thrifting that I put up outside John’s woodshop door. I think it goes with the aesthetic of a woodshop and also embraces how we are hoping to live our lives:
Yes, of course my miniature schnauzer knows how to write blog posts, why are you asking?
Well Mike no longer has to be impatient as I’ve finished my first granny square blanket. I used the word “finished” loosely as I have many yarn strands hanging about it waiting to be woven in.
I wove in the ends as I finished each block but I got lazy when I was joining the 90 blocks into ten (10) rows of nine (9) blocks.
It measures approximately 70 inches by 74 inches (178 cm x 188 cm) and it is much bigger than I thought it would be.
Here is Mike stretched out on it as I tried to photograph it for this post:
Here it is once I removed the miniature schnauzer from it:
After joining the blocks with a dark grey yarn, I added a single border around the whole piece.
I am pretty pleased with myself now that I’ve taught myself via YouTube videos how to crochet granny square blocks and to join them into a blanket. Here are all the posts if you really need something to fill your day (smile, wink) of my first granny square blanket journey. Some of these posts include links to the YouTube videos I used to learn.
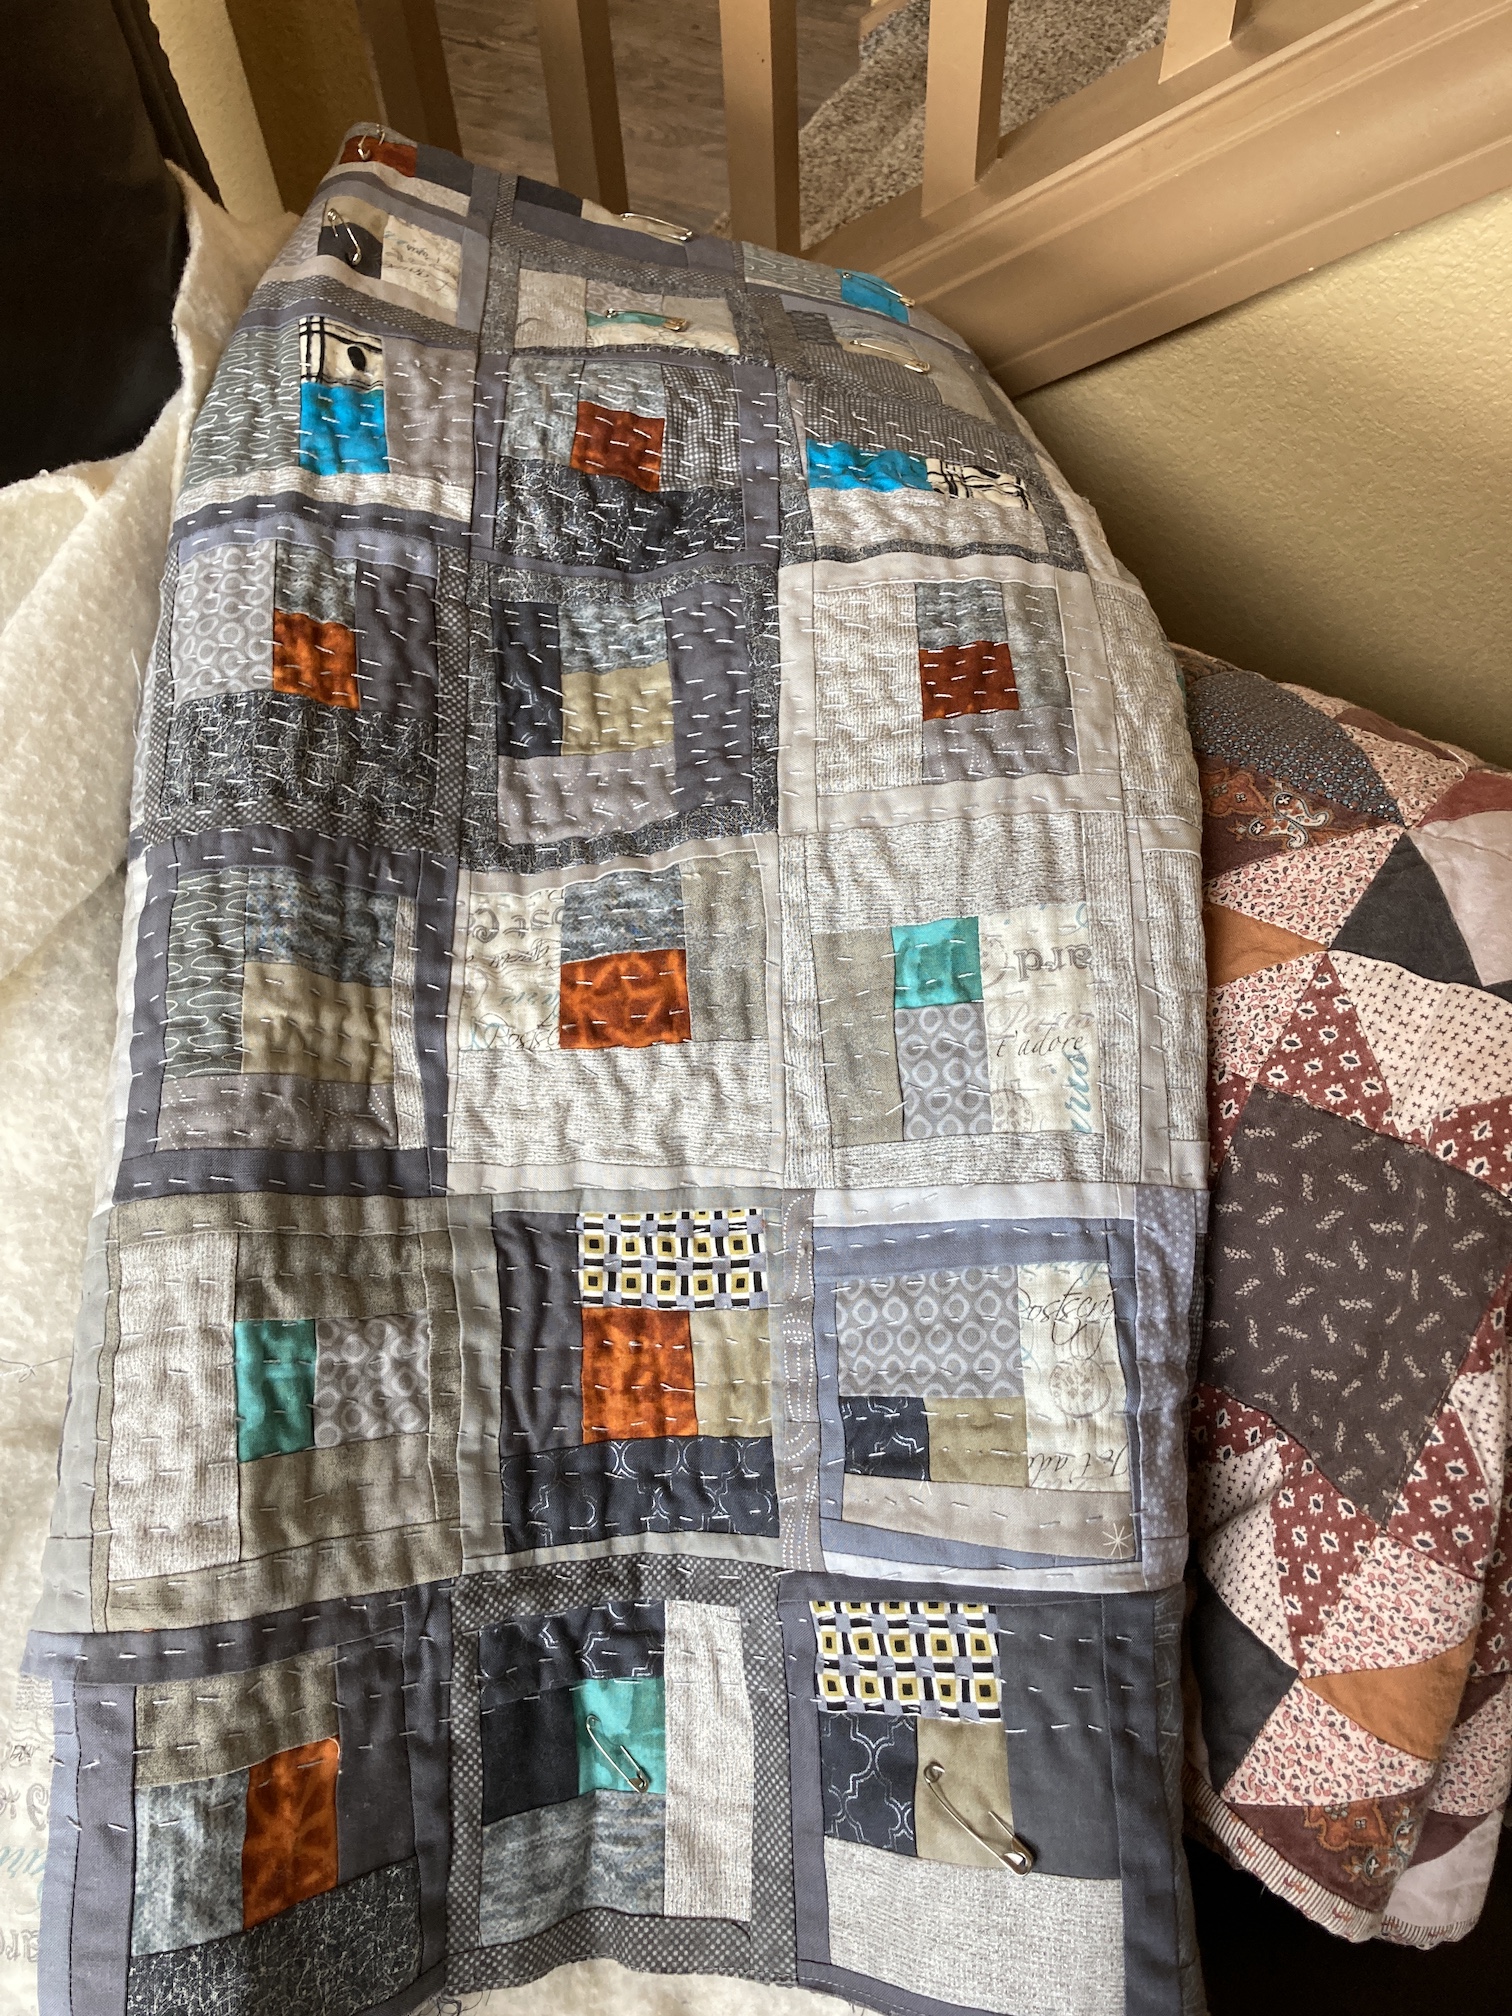
Now that I’ve finished the blanket (except for the weeks and weeks of weaving in ends..ha..ahead of me), it is time to finish up hand sewing my quilt Seattle Scrappy (see most recent post on this scrappy quilt – An Update on “Seattle Scrappy” – Haphazard Stitching… ).
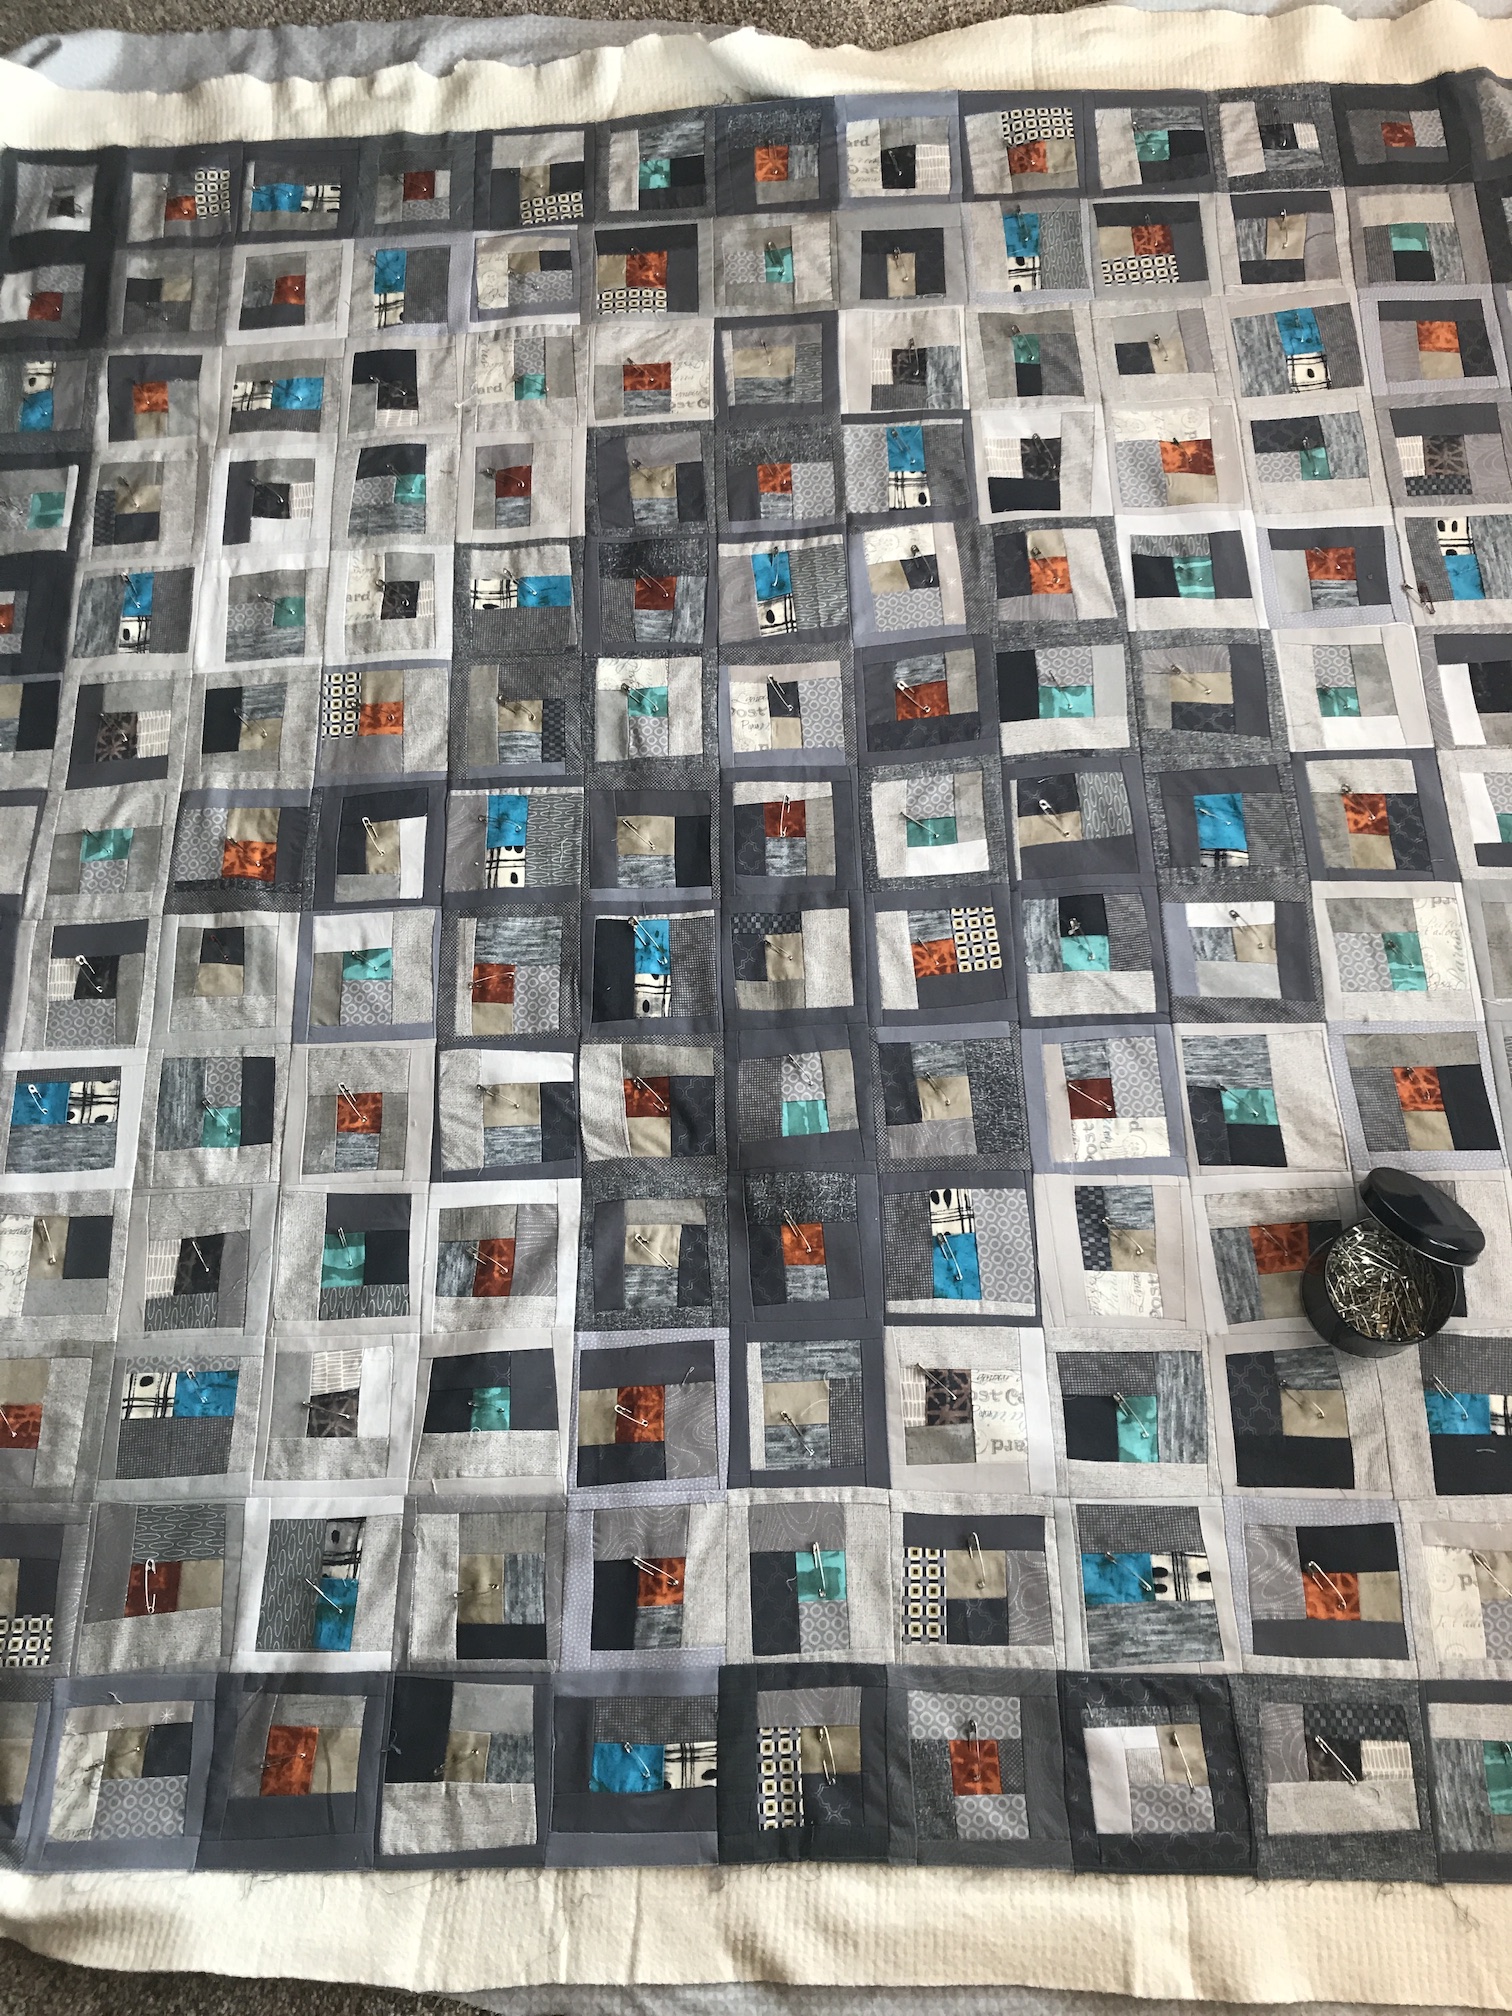
Seattle Scrappy waiting to be finished…
I notice a pattern – I seem to be really into grey lately (or is it “gray” I can never decided which one to use).
I want to start my next granny square blanket (I’ve been watching more granny square YouTube videos) but I should not start a new project when there are old ones awaiting some love!
Postscript
How about that pandemic thing going around. Oh yes it still sucks and I have complete “pandemic fatigue” at this point (I know you are thinking: “join the club”).
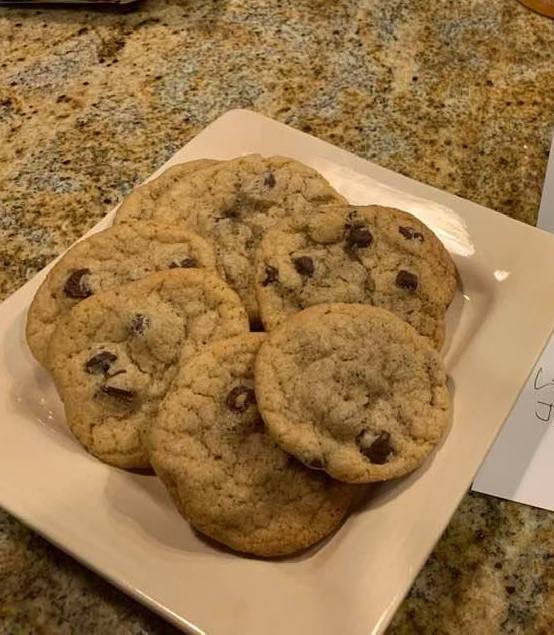
A couple of my friends were recently diagnosed with COVID (I was not exposed) and have been on quarantine for a couple weeks. I did drop someone homemade chocolate chip cookies on their porch. They are doing okay and their worse symptom was not being able to smell.
Chocolate Chip cookies have special healing properties
But I will keep on crafting my way through and I might have some news in the next couple of weeks.
“For those days when it’s too hot or cold for my kids to play outside, I’ve amassed a pretty great library of activities that keep them entertained and educated. I’ve got arts and crafts (aka learning in disguise) and even physical activities that give that (seemingly endless) energy a place to go. I’ll be sure to include some activities for parents to do as well – after all, we all need a creative and physical activity break! I’d love to compile some of these indoor activities into an article for your readers.”
I took her up on her offer (thanks Carrie!) and here is her guest post – enjoy!
Fun and Educational Activities to Drive the Indoor Blues Away
With the unfortunate spread of coronavirus, the kids are stuck inside and bored to death. Luckily, there are plenty of fun and engaging activities just a few keystrokes away thanks to the modern marvel of the internet. Look beyond the endless drone of news and cat memes, and you’ll find plenty for the young ones to do. Tierneycreates has got you covered with the following ideas:
Tech Time
If you own a tablet, you probably have access to a ton of educational apps that you can download for your kids, and the beauty is they can use them anywhere. Look for fun apps that cater to their interests or focus on areas that they need to work on. Tablets can power just about any app smoothly, so your kids can enjoy learning without issue whether they’re dabbling in art, geometry, languages, and so on. Consider investing in a new monitor so they can work on a larger high-resolution screen. Many models are suited for gaming, too, so your child can easily switch back and forth between learning and playing. Look for a monitor that features the latest tech for a smoother gaming experience.
A Cooking Session
Bring the tablet into the kitchen to learn how to cook — even children as young as three can participate. Not only will they learn how to slice, dice and mix up ingredients, the kids will absorb all sorts of information on the value of a healthy diet, which should be a big goal of your culinary lessons. A good way to start, especially if your children are really young, is to show them how to make healthy versions of their favorite snacks. Start with something easy, like popcorn. Rather than throwing a bagged brand into the microwave, add plain kernels into a microwave popper, and top your treat with healthy, homemade seasonings.
A Music Lesson
Playing a tune has been shown to help children’s cognitive development, so there’s no reason not to have a jam session right in your home. You’ll find plenty of songs you can download as well as lessons for a variety of musical instruments, from guitar to recorder.
A Science Project
Chemistry may not sound like fun to your kids, but that will all change once you see how the colors explode as food coloring, milk and dish soap all interact. Besides those ingredients, all you need are some cotton swabs and a shallow pan. What better way to get their little minds buzzing than with exciting new discoveries in front of their own eyes? Or, you can grab more items around the house to mix up some elephant toothpaste. Your little mad scientist will be thrilled with the results.
An Art Class
Art is often one of kids’ favorite parts of school, and it has many benefits including helping children reduce anxiety. So come up with some easy-to-do projects that will bring out their inner Rembrandt. Art for Kids Hub has a wide variety of tutorials that teach the little ones how to draw everything from gnomes to frogs to Garfield in a series of step-by-step videos that are as entertaining as they are easy to understand. Don’t forget to grab the supplies they need for their favorite artistic medium.
Storytelling
Now that you’ve got those creative juices flowing, keep it going by coming up with stories together. If you’re not sure how to start, the folks at Imagine Forest suggest writing some words on small pieces of paper, putting them in a jar to act as prompts, and having the first volunteer reach in and pick one out. Then, everyone else adds their own piece to the narrative to make an exciting group adventure.
A Trip Around the World
Learn about fascinating foreign cultures across the globe through a series of hands-on crafts, such as making an Indian wall hanging, a kokeshi doll or a mandala. You can find all the materials that you need around the house, then it’s off to an exotic land far away without ever leaving home.
A Foreign Language
Now that you’ve got their interest in life beyond the borders, it’s time to get the kids started learning Spanish, French, German or any of the other dozens of languages available for study. You’ll find a variety of activities involving reading, writing and speaking to get the kids ready for a life of travel and exploration.
After giving a few of these ideas a try, you may find that your days sheltering in place go by much quicker. Best of all, your kids will learn new things as well.
For more stories to brighten your day, head over to the Tierneycreates blog.
I love public libraries and as my series of posts The Library Stack shows, I am always browsing them and borrowing books when I can. A couple of years of ago I studied and embraced Minimalism trying to live a simpler lifestyle and letting go of things that I thought cluttered my life. I decided to stop buying books and just borrow them from the library.
Then in December 2018 my husband suddenly died and things shifted in my life on a large scale. And in early 2020 the pandemic hit and more shifting occurred to include examining how I could redefine a “simpler lifestyle” and have the physical things I enjoy in my life.
Our local libraries closed for what seemed like endless months during the early days of the pandemic and when they reopened it was only for curbside pickup. Currently they have fully reopened but have many strict protocols (beyond mandatory masks) and there are not that many patrons in the library anymore. It feels like something is lost from whole public library experience (and it is strange to see the librarians behind glass).
Pre-pandemic I was really in to audiobooks. Something shifted in me during the pandemic and I began to crave reading physical books rather than listening to them. I also remembered my secret dream of having an extensive home library like the ones I see in the home decorating books I borrow from the public library.
Like this one below:
Image credit: insidehook.com
With all the above things in the background of my mind, a couple of months ago I decided that I wanted to proceed with curating my own home library. Nothing as extensive as the image above but a nice collection with books that I’ve read and loved (and want to read again) and books I want to read (and might read again).
So how to do this and not “break the bank”? Well I used the following sources to find books for my home library:
Thrift Stores
Garage Sales
Thriftbooks.com
Independent bookstores selling used books
I was able to buy books from 50 cents to $5.00 from these four sources. Most books I paid between $1.49 and $4.99.
In addition to amassing a collection of second hand books over the past couple of months, my partner John also added an additional bookcase to the front room beyond the two he already built for me.
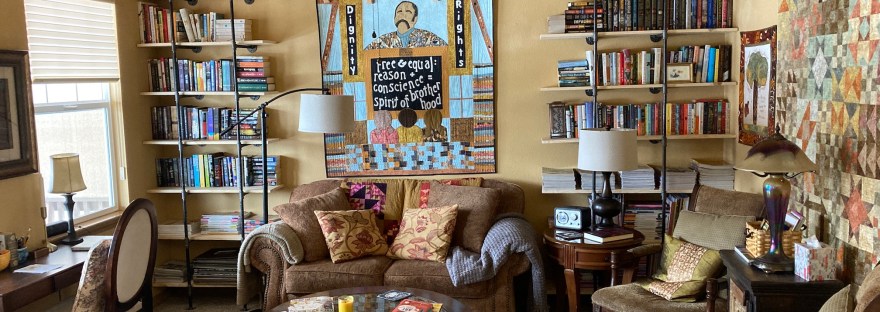
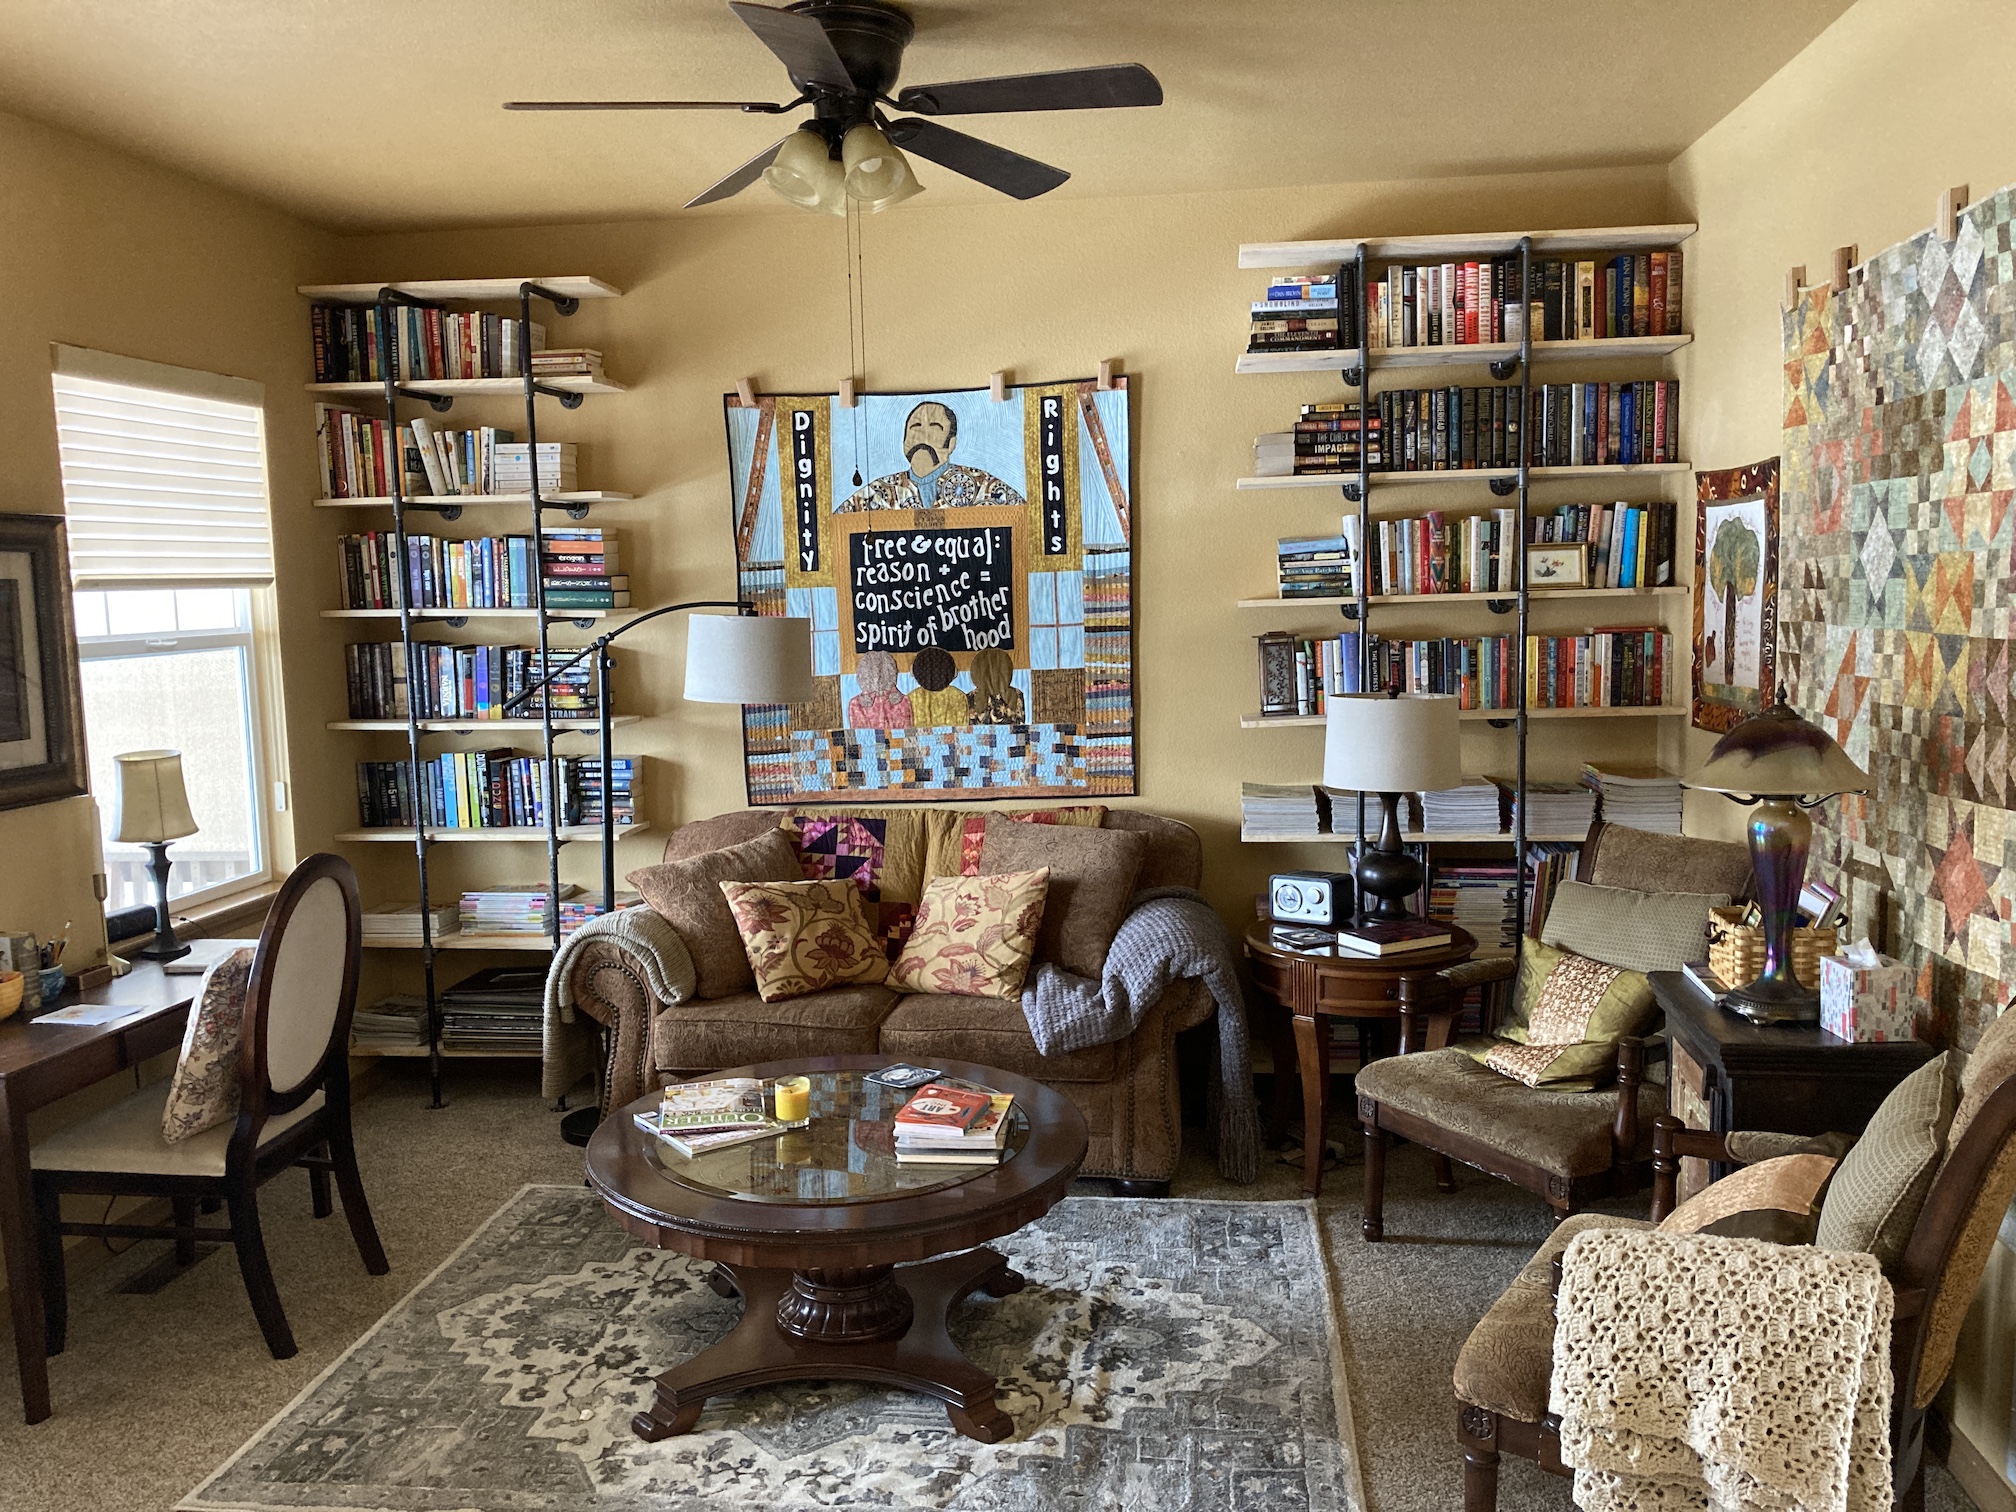
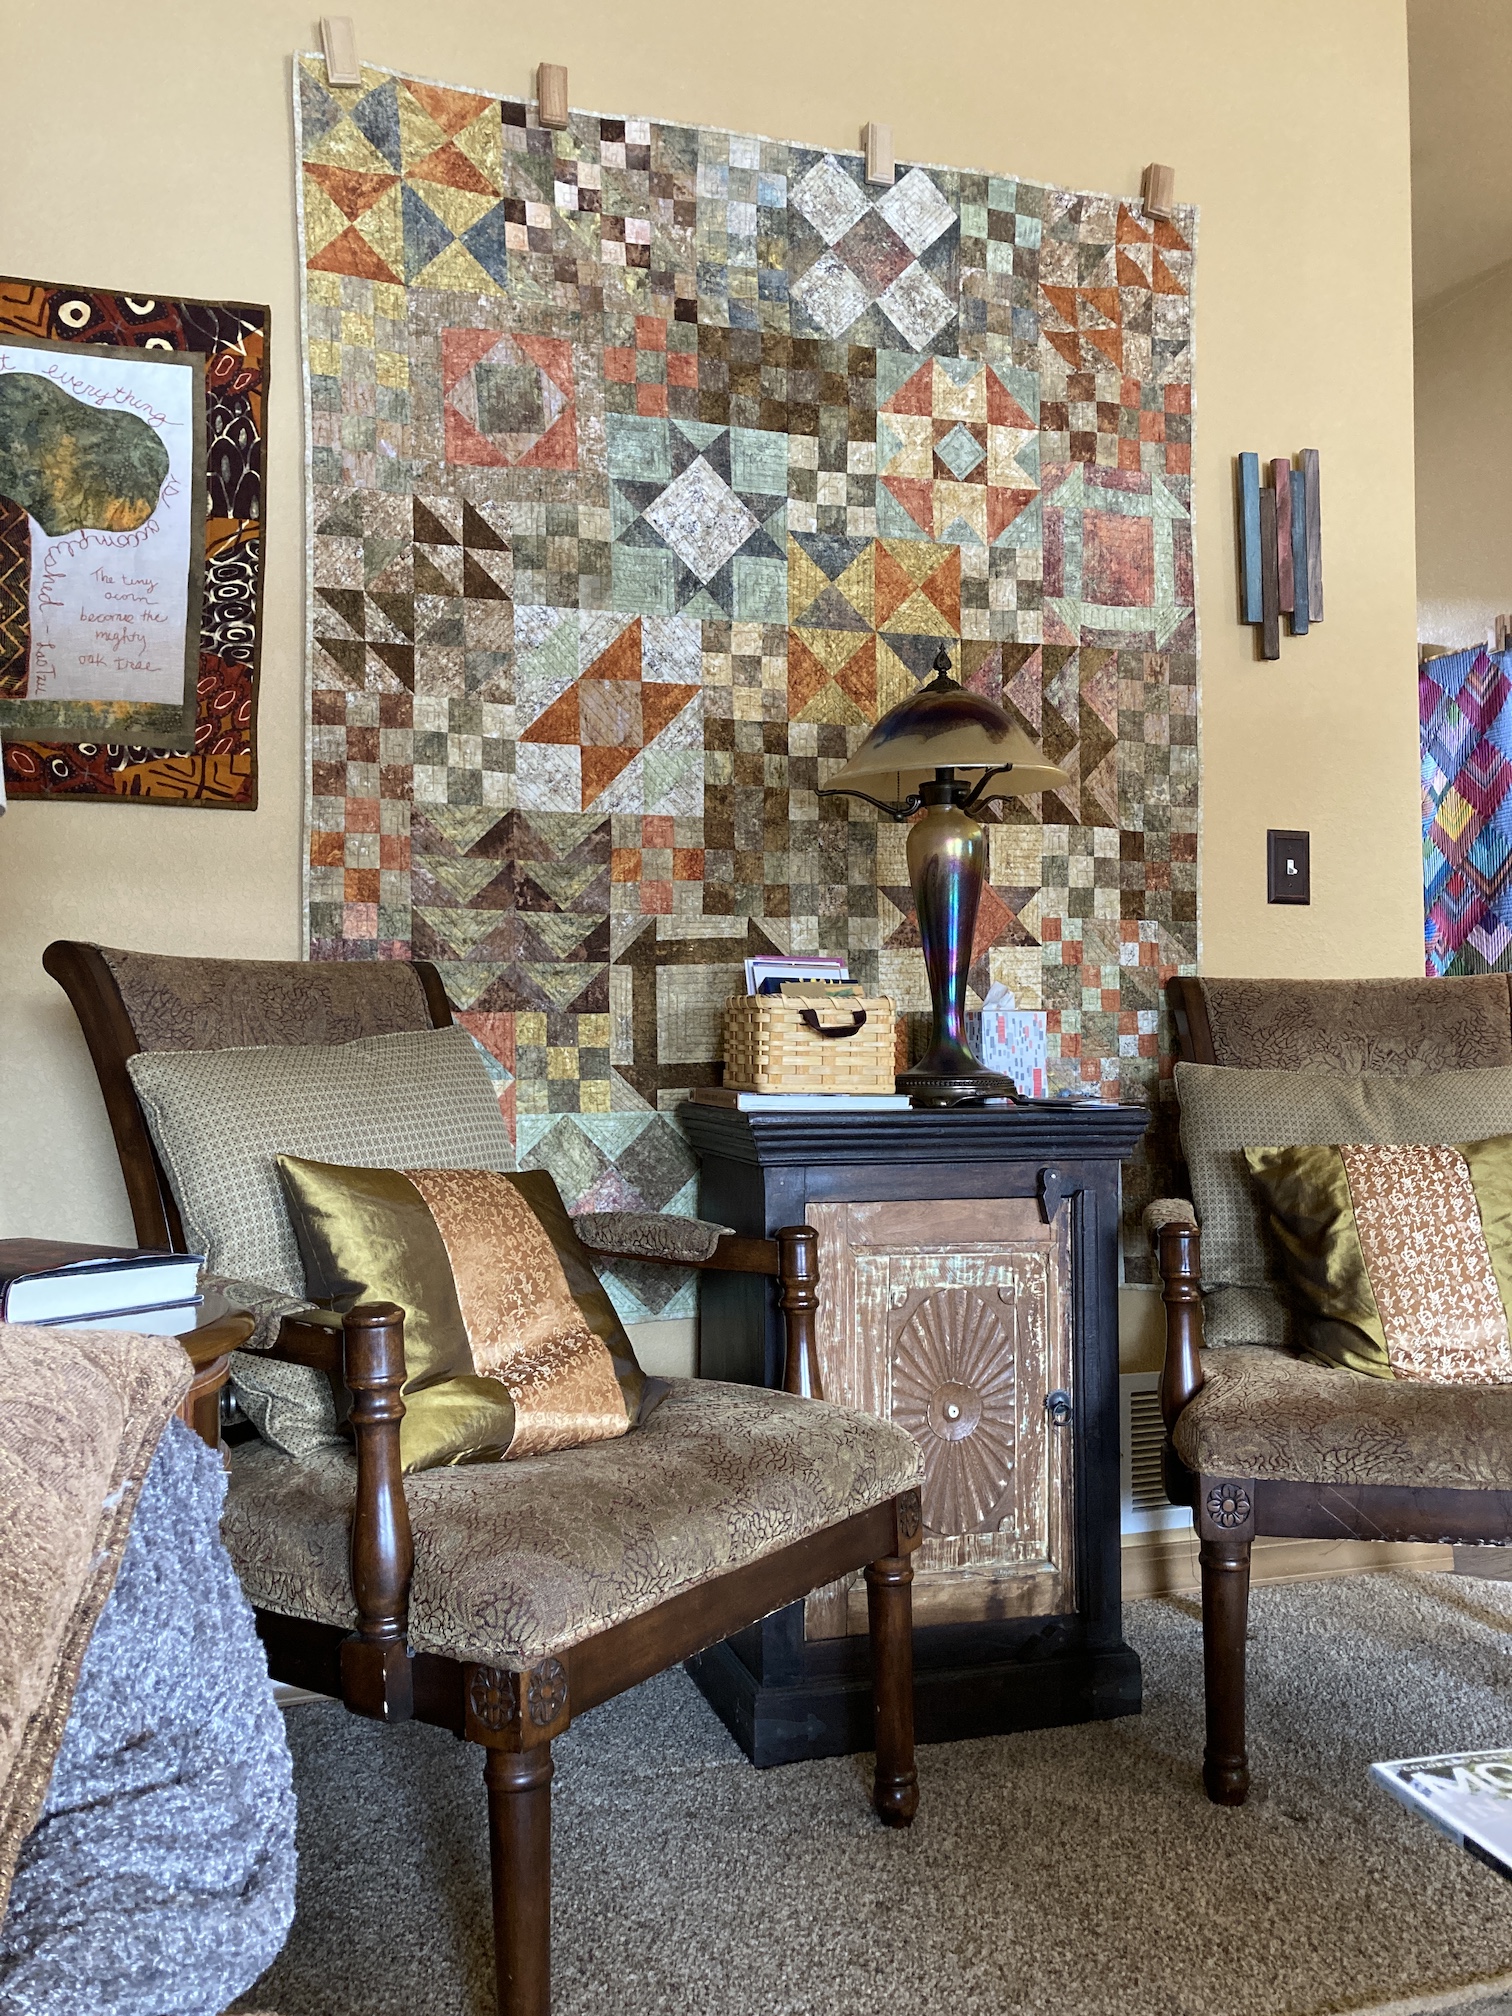
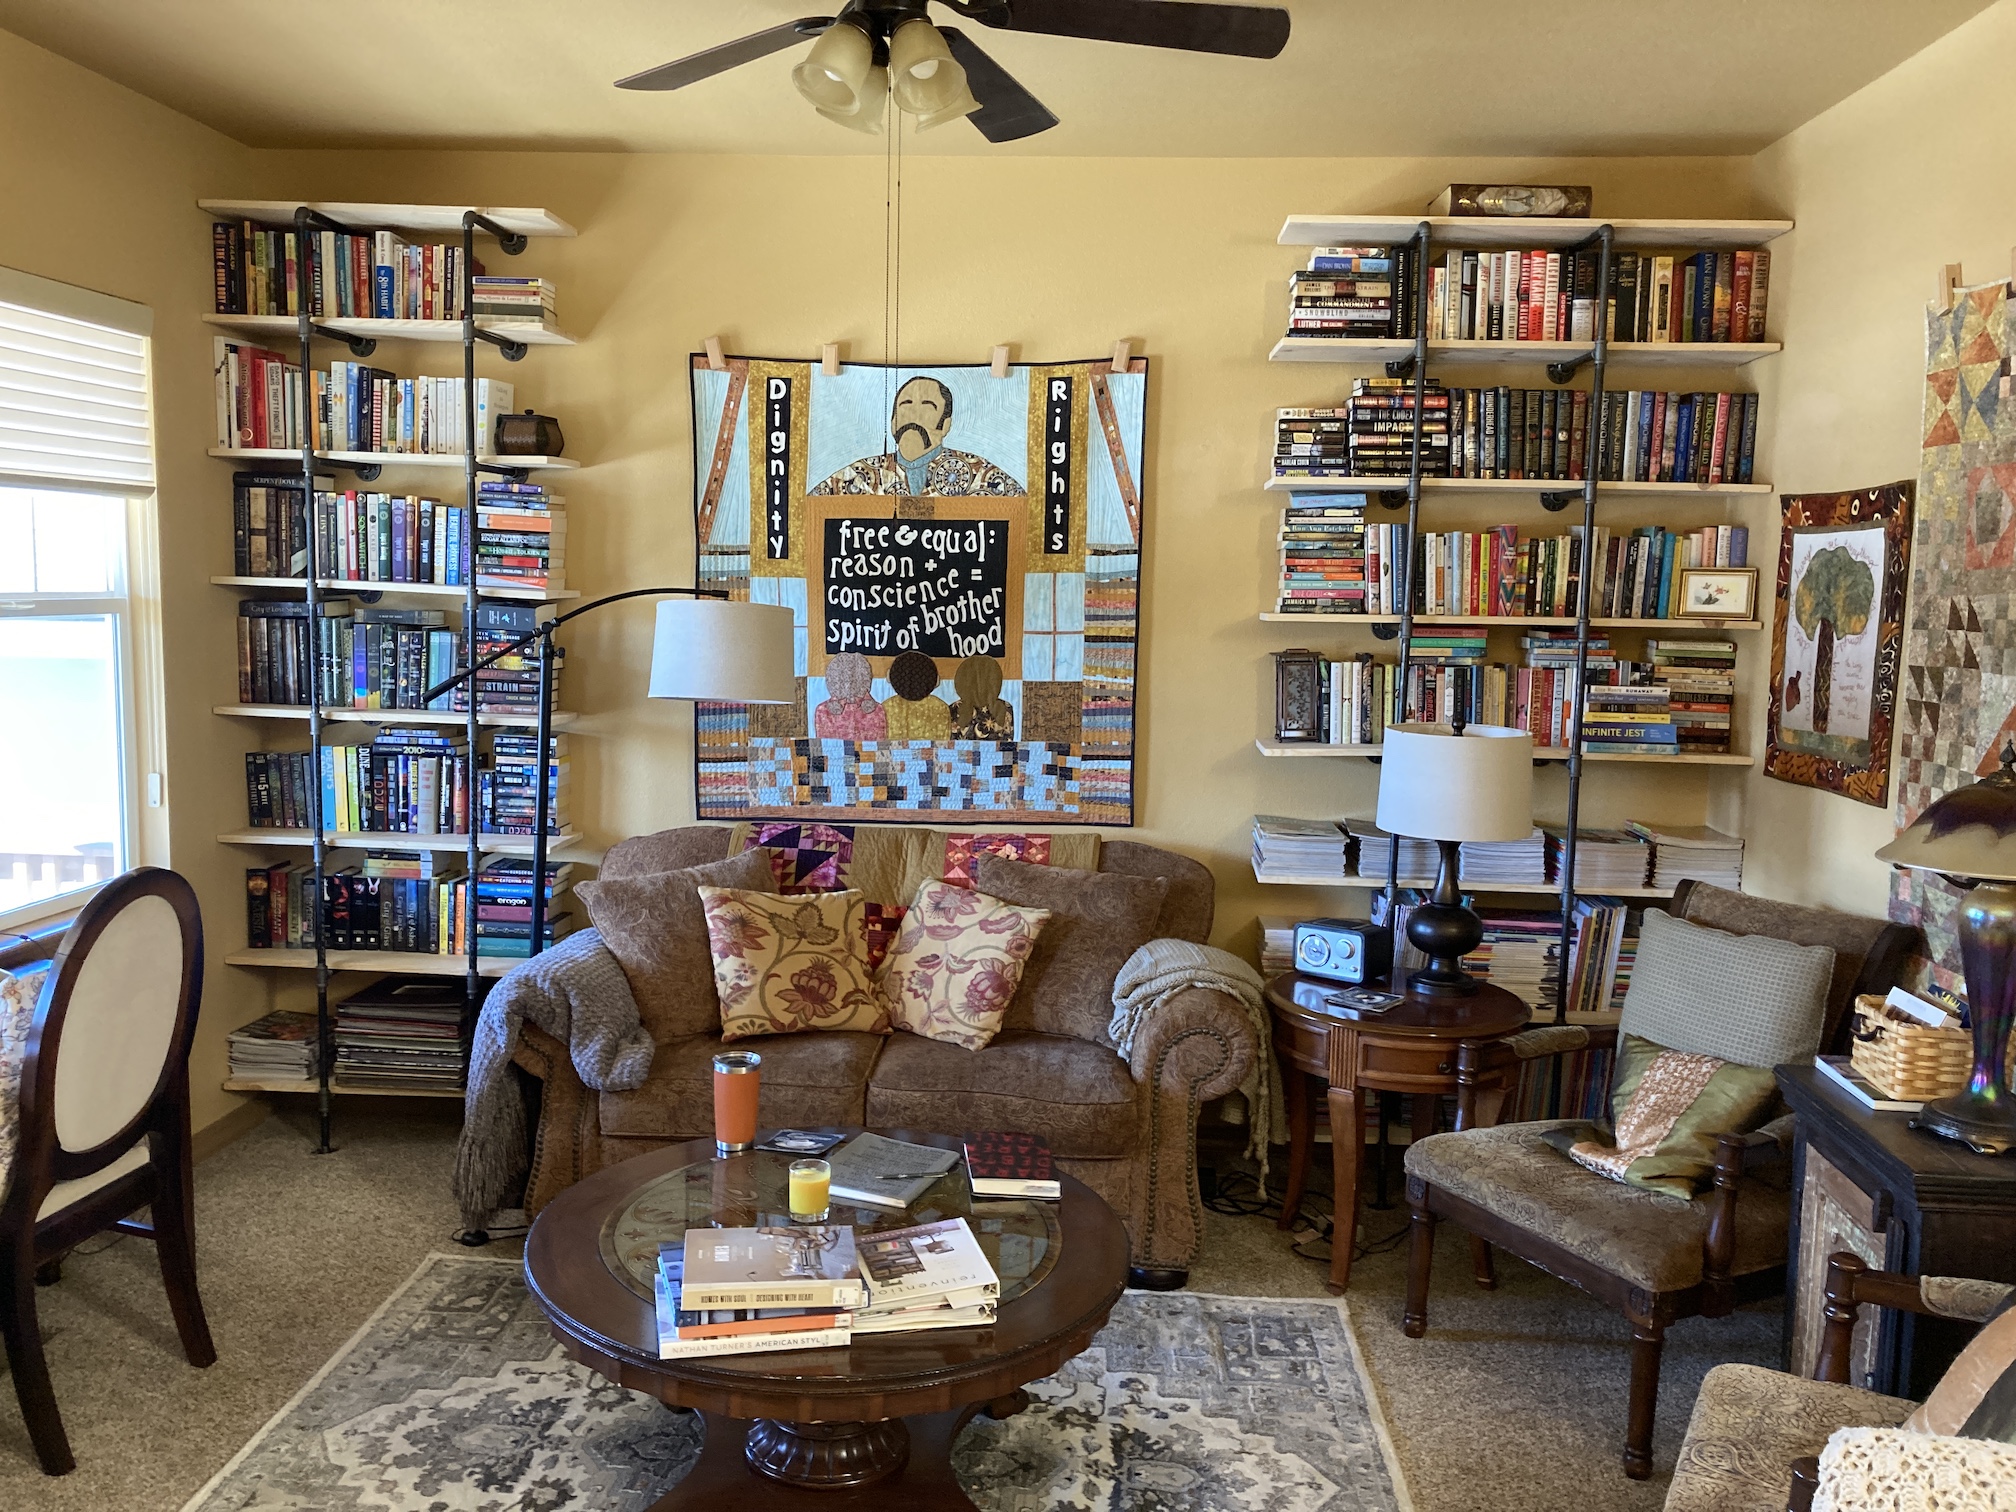
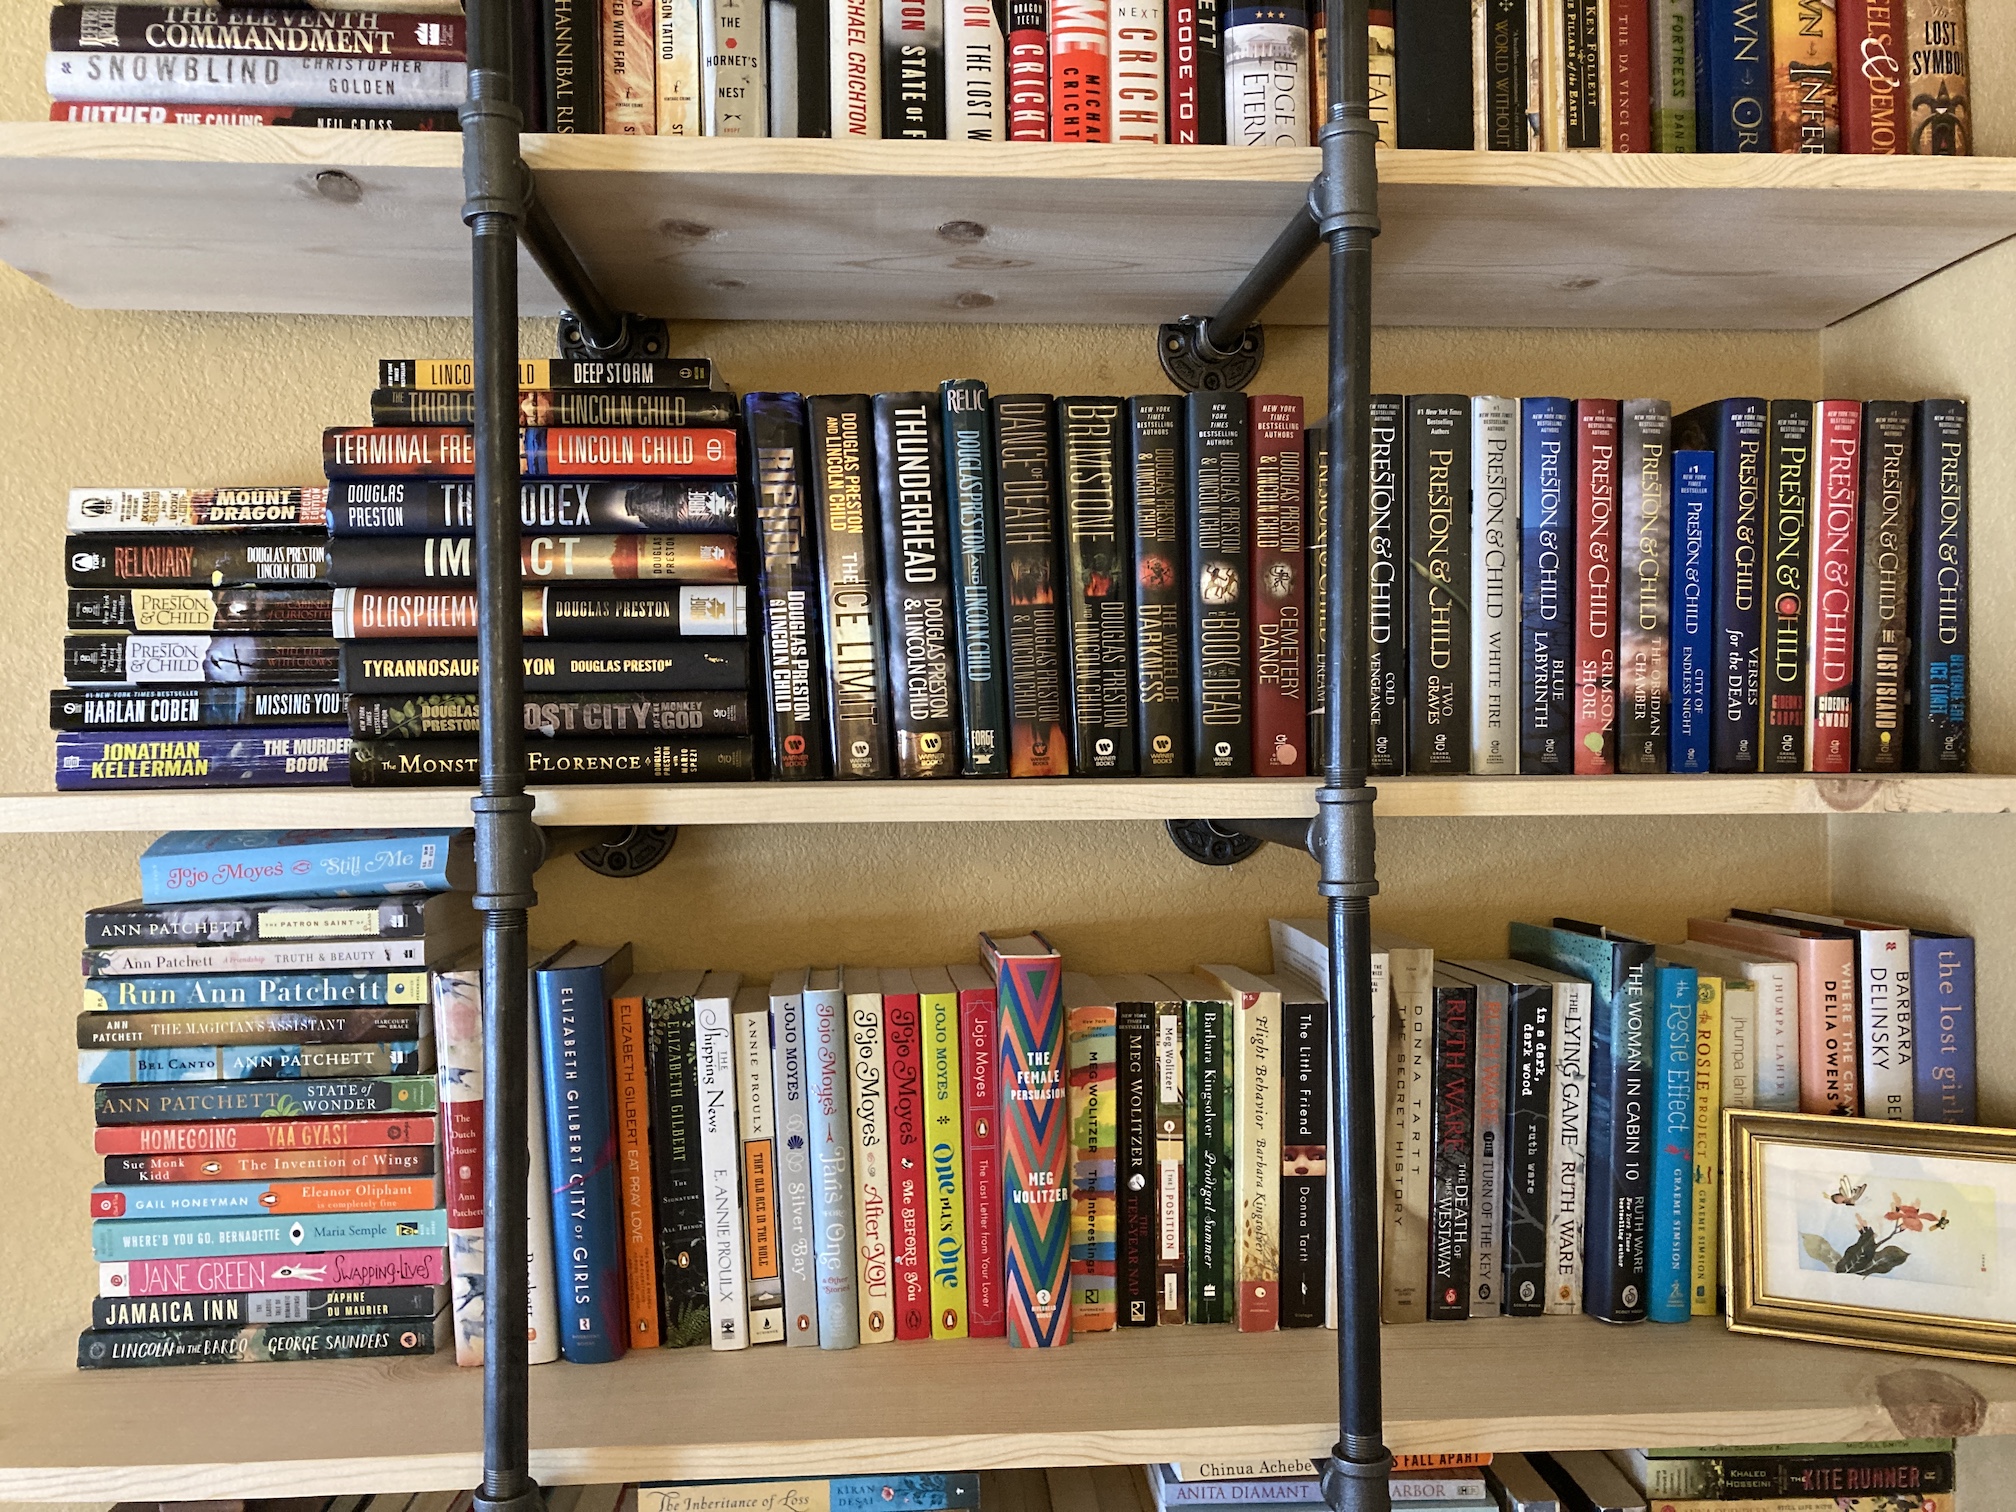
So here is the current version of my home library which used to be the front room/sitting room in my house:
I had so much fun hunting for books at thrift shops (one local thrift shop has 1/2 priced Saturdays).
I’ve loved the books by the authors Douglas Preston & Lincoln Child and I’ve read at least 85% of their entire catalogue of books. So I put together a collection of their books of my very own (previously I had borrowed them from the library):
I do not have their latest books as those are not at thrift stores yet or reasonably priced on Thriftbooks.com but it was so fun finding each book one at a time while hunting at thrift shops.
At the beginning of my home library book curation process I thought about filling part of my home library with classic novels and books that might impress a book collector. But that thought lasted only a couple seconds. I have no need to impress anyone with my home library except myself. It is only filled with the kind of books I will read (and my partner too).
Like lots of Science Fiction and Fantasy (especially Young Adult Fantasy, I love it):
You might wonder what I did with my craft book collection. Well it is on the opposite wall organized by craft or topic (like art quilting):
All those books – got to have a cozy place to read, right? Here is Mike the Miniature Schnauzer sitting in my favorite reading spot:
And here is Mike and I snuggled cozy under a warm blanket on a cold Saturday reading (it was quite a delicious morning with my pot of tea next to me). I rediscovered the joy of reading a while, napping, waking up and reading some more!
Note these images were taken before my partner put up the third bookcase last week.
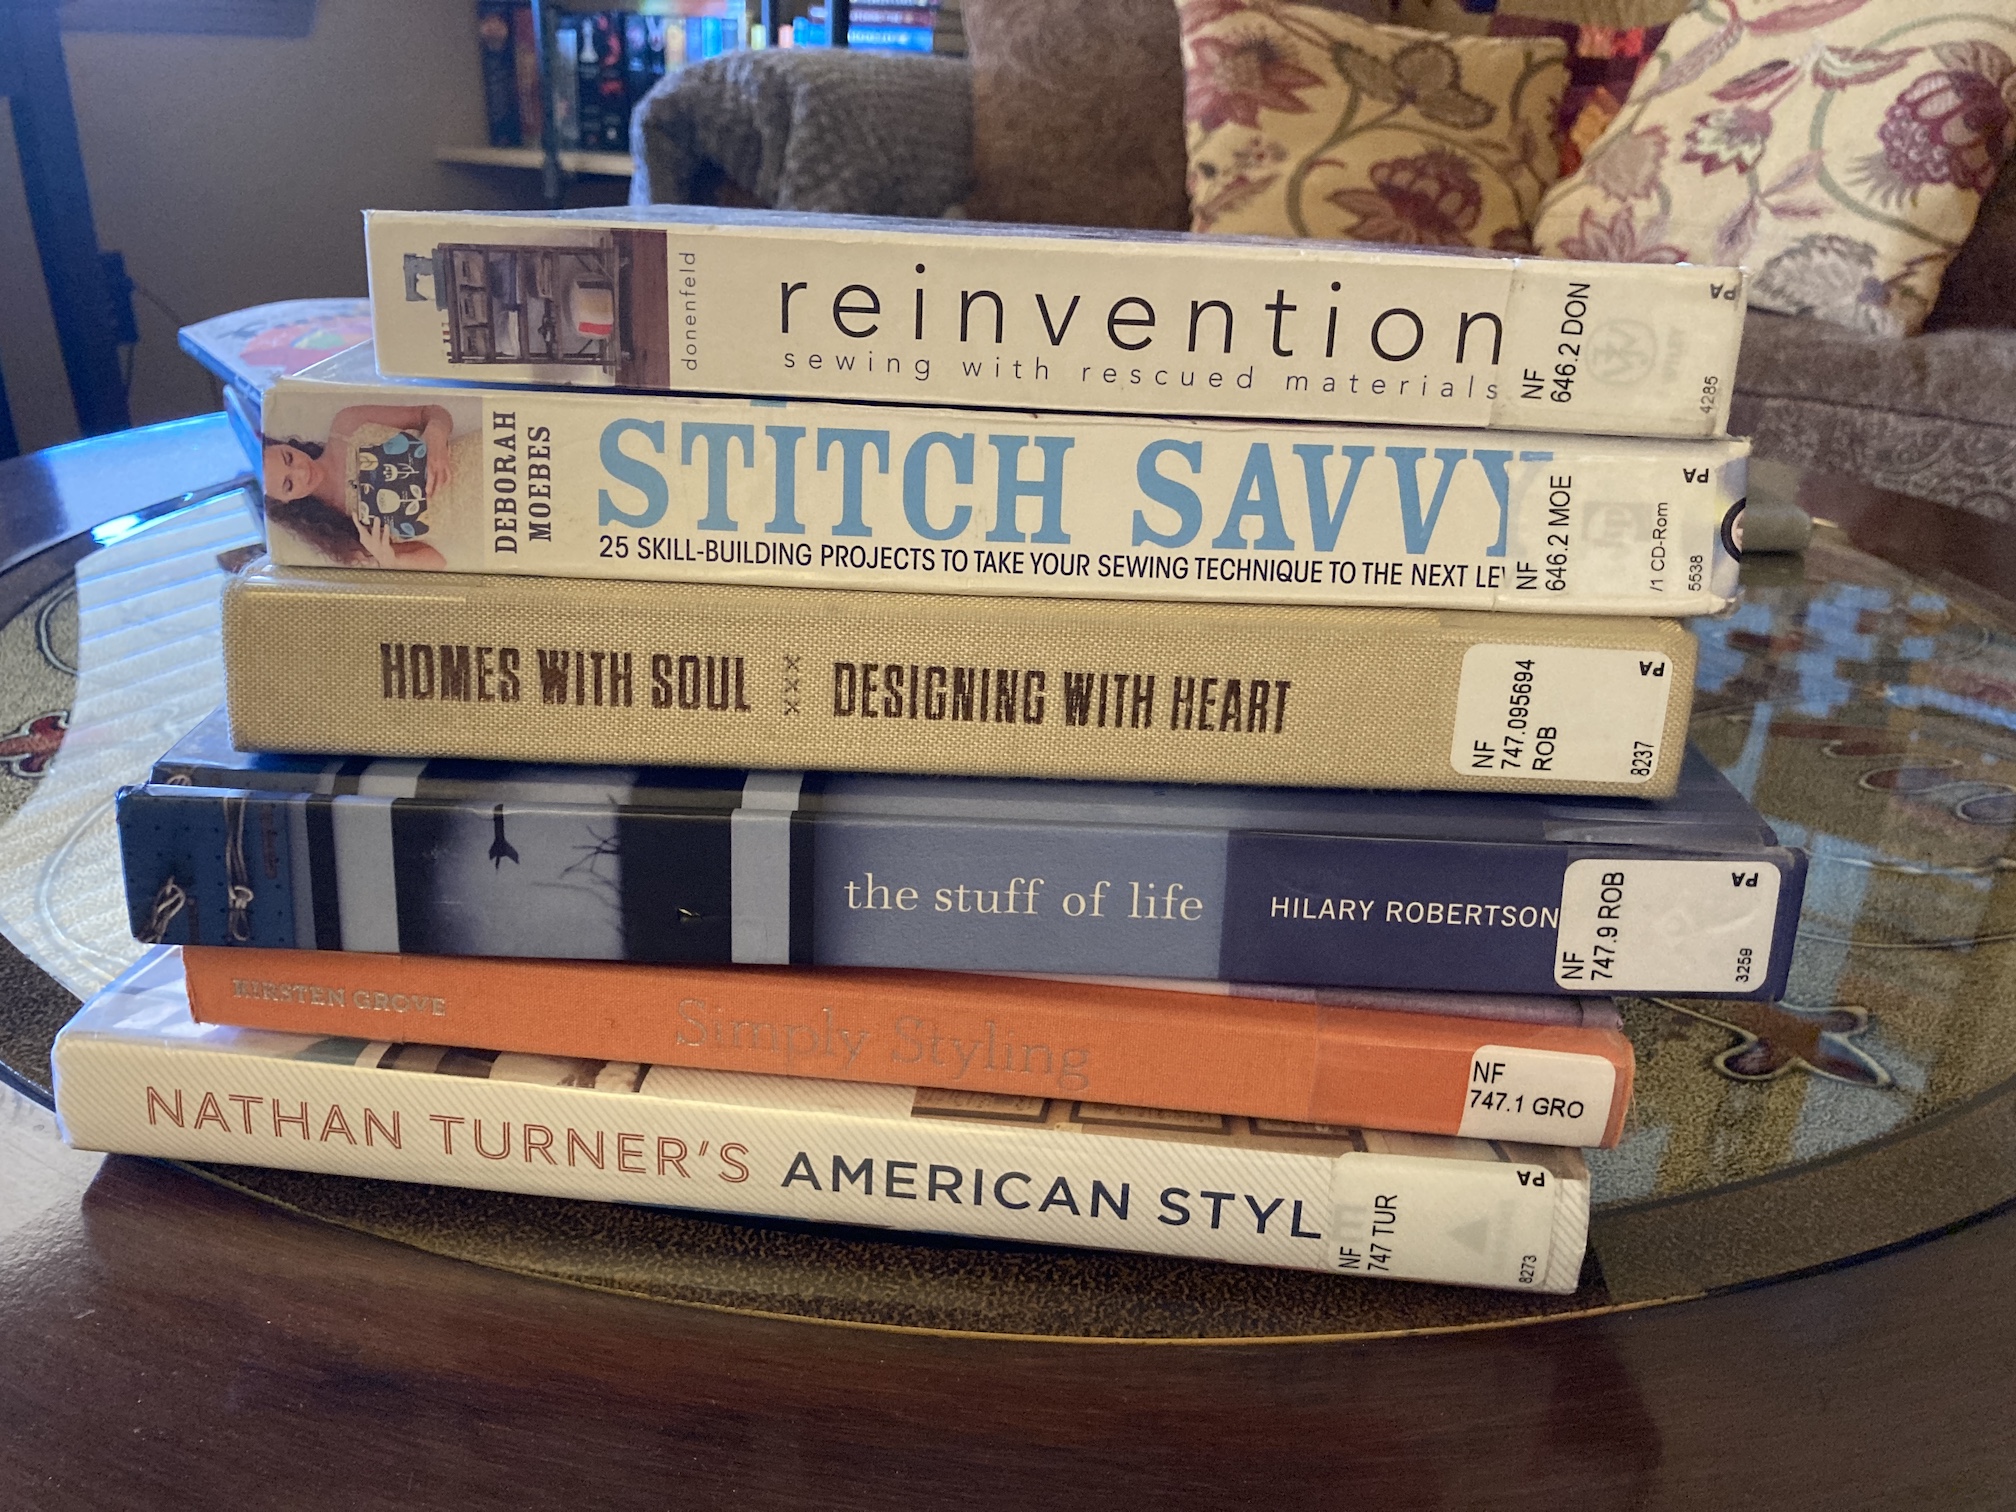
In case you are curious, I am still occasionally getting a “Library Stack” from my local public library, though not as big as the ones I was getting (the ridiculously large stacks like in the post The Library Stack Is Back!) when the library first reopened. Here is my current linrary stack:
Speaking of libraries, some of the second hand books I’ve purchased over the past several months are former library books! I’ve gotten pretty good at removing the library’s plastic dust cover with all their library specific stickers so the books sitting on my home library shelves does not look like I stole them from a library – ha!
As I mentioned earlier in this post I used to listen to a lot of audiobooks. Current I am only listening to podcasts now, taking a break from audiobooks. I am currently enjoying holding a book in my hand and reading it. Quite a different experience. I am taking a break from multitasking in life and just enjoying a solitary task of reading a book!
Postscript
Over the past several months of going to thrift stores to find books for my home library, I’ve come across many curious items for sale at thrift shops.
Here are my top 5 favorite finds that gave me the chuckle (and I promise you I did not buy any of them):
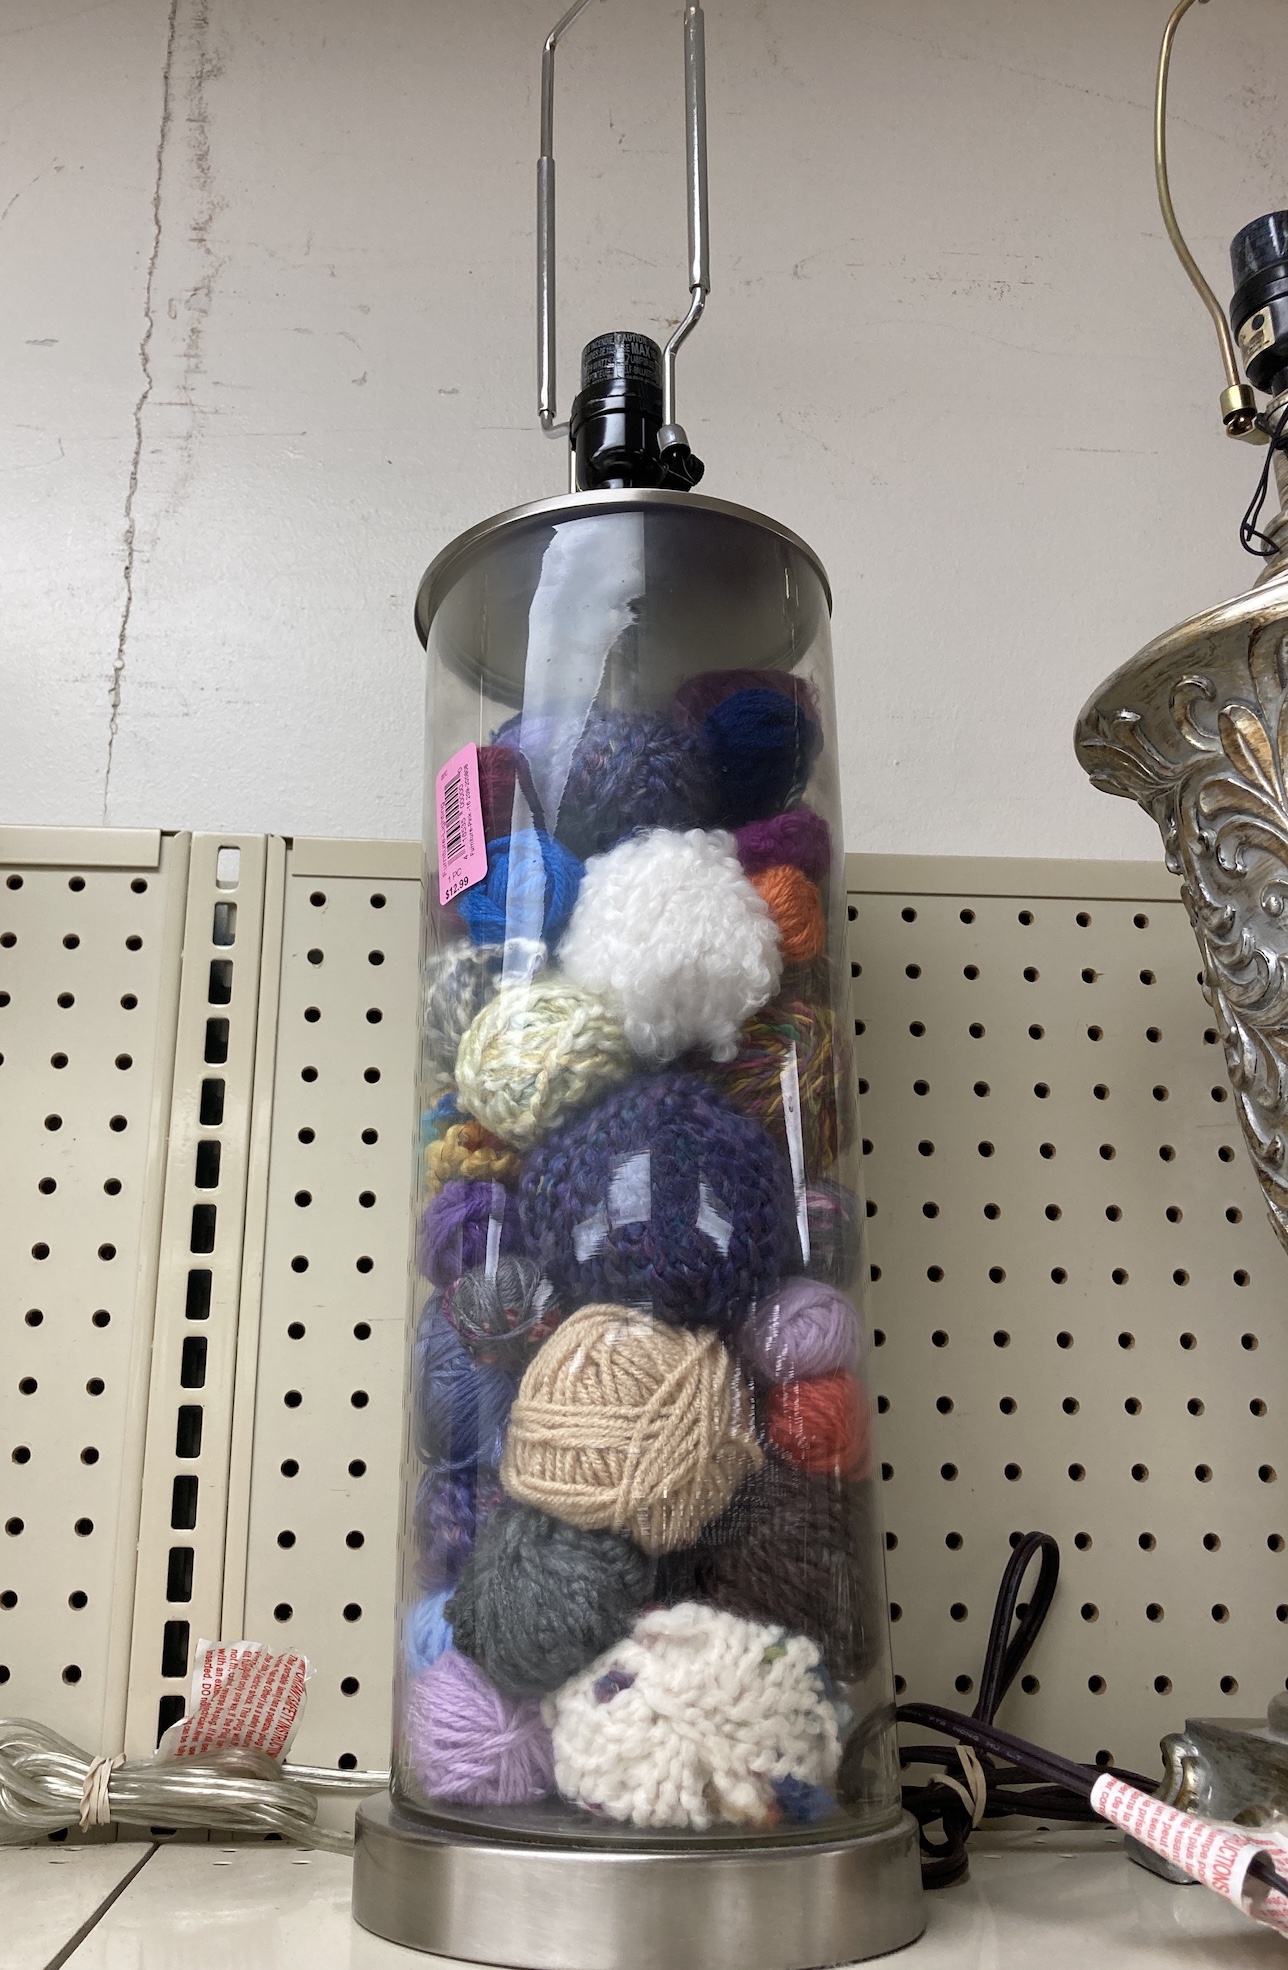
Number 5: If you need a lamp and a place to store your leftover yarn, would this not be the perfect solution?
Yes it’s – YARN LAMP!
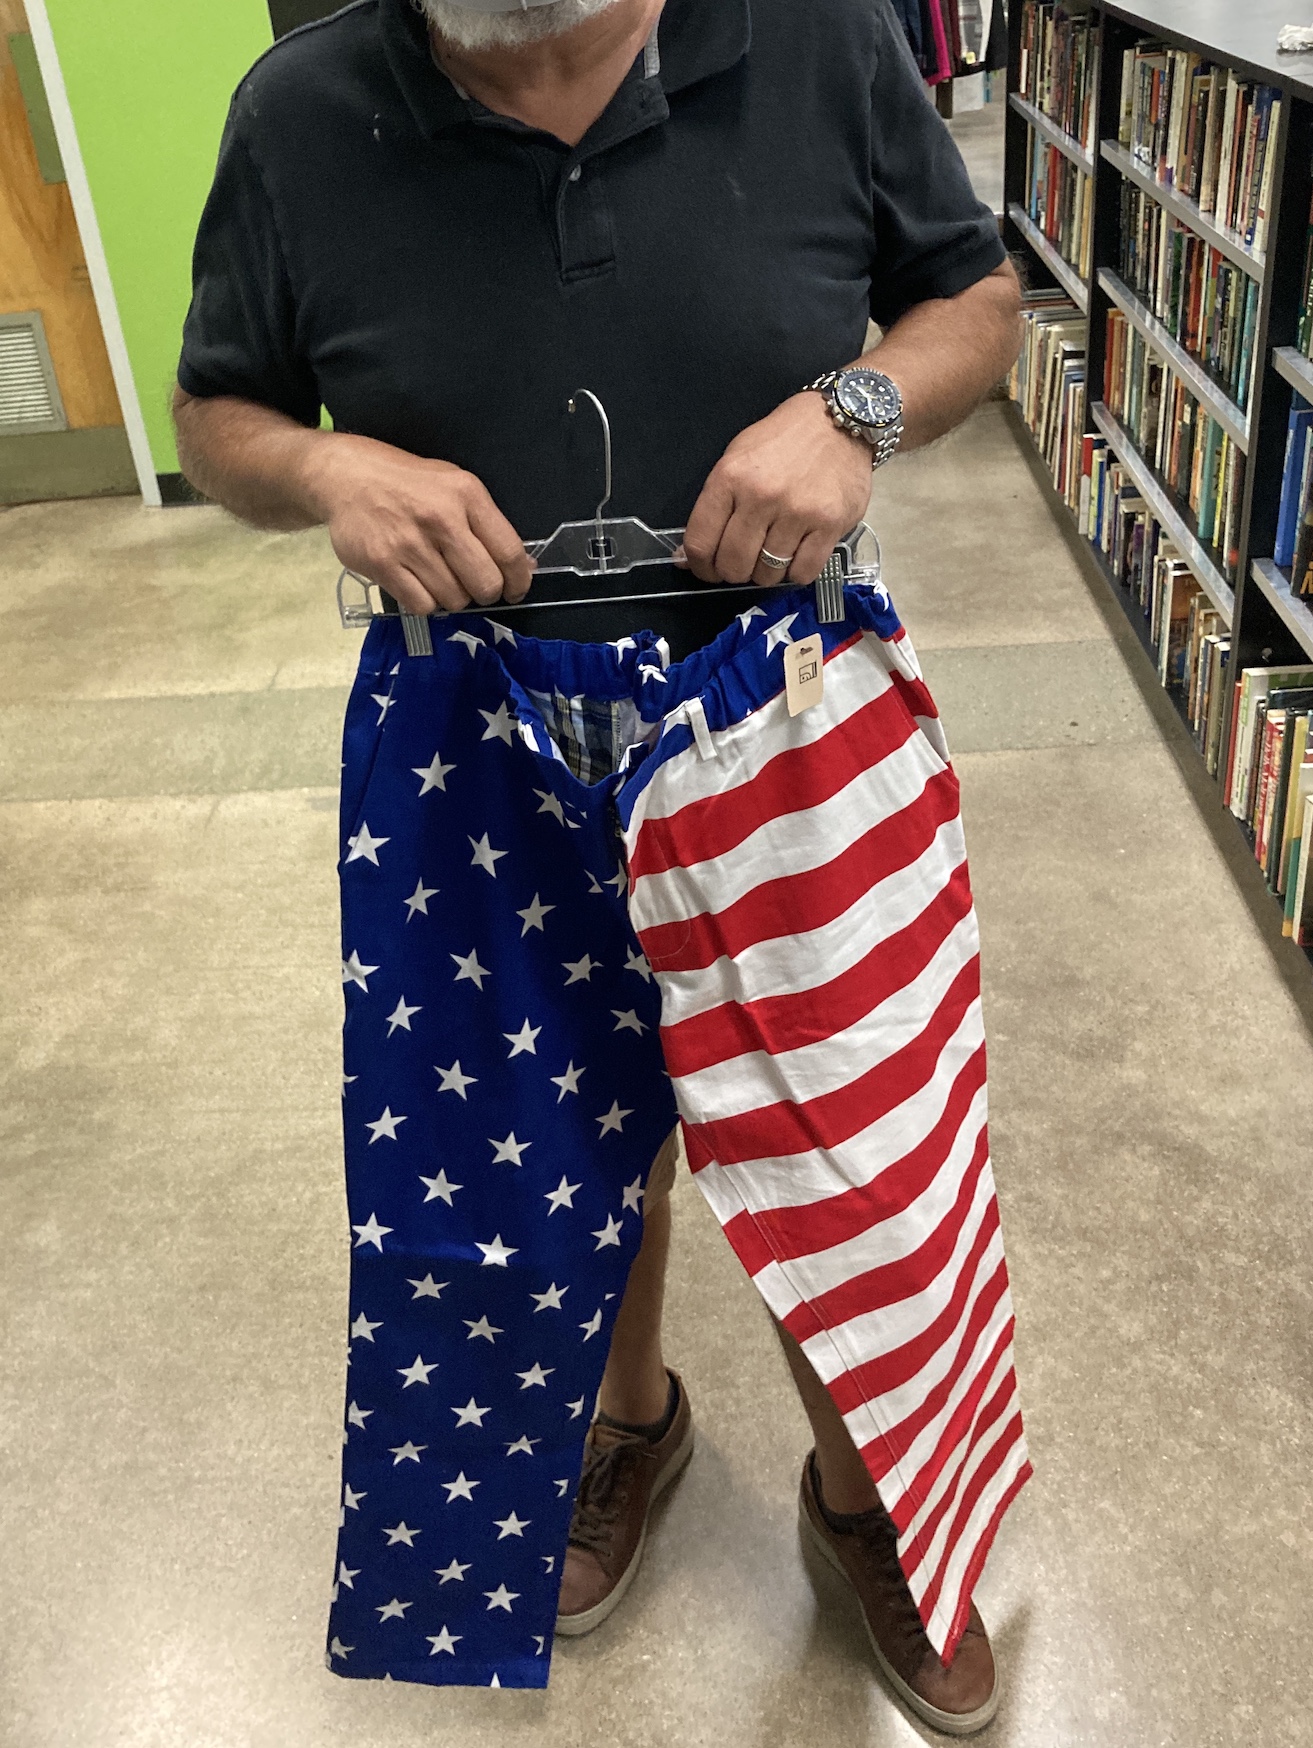
Number 4: Patriotic pants – they defy any further comment (but my apologies to you if you happen own these…)
My partner John is modeling them
Number 3: Donated photo frames with family photos still in them.
I could not believe how many donated photo frames I came across with family pictures still in them at various thrift stores, like the example below. Wouldn’t you perhaps remove your family photos before donating?!?!?
Number 2: An outfit for a very adventurous and crafty person.
Though it was on display way before Halloween, I think this was supposed to be a suggested Halloween outfit (hopefully as you would get a lot of stares should you select it for a cocktail party…)
And Number 1 is…
Something that you absolutely cannot imagine living without…
A cattle leg (yes real cattle leg) with hoof attached Barometer!
Yes, now you can remember the favorite steer you raised on your farm and know the current barometric pressure!
My regret is I did not buy it and put it away as the ultimate future “White Elephant” Christmas gift! (Could you imagine the look on someone’s face when they opened their gift!)
This is Mike the Miniature Schnauzer who lives with Tierney of tierneycreates. I am guest blogging on this post as you may have noticed Tierney has not blogged in a while and someone has to keep you updated…at least on my frustration.
If you saw this post like 3 weeks ago (maybe less, Schnauzers are not great with their perception of time) Update on the “Granny Square Madness”, she has been working on (like forever…or “fur-ever” as we say in canine) on a granny square afghan after teaching herself to make one via videos on YouTube.
Well I’ve been waiting a long time for it to be finished and I am getting very impatient!
(First I need to tell you that afghans and other cozy blankets are the “natural habitat” of Miniature Schnauzers)
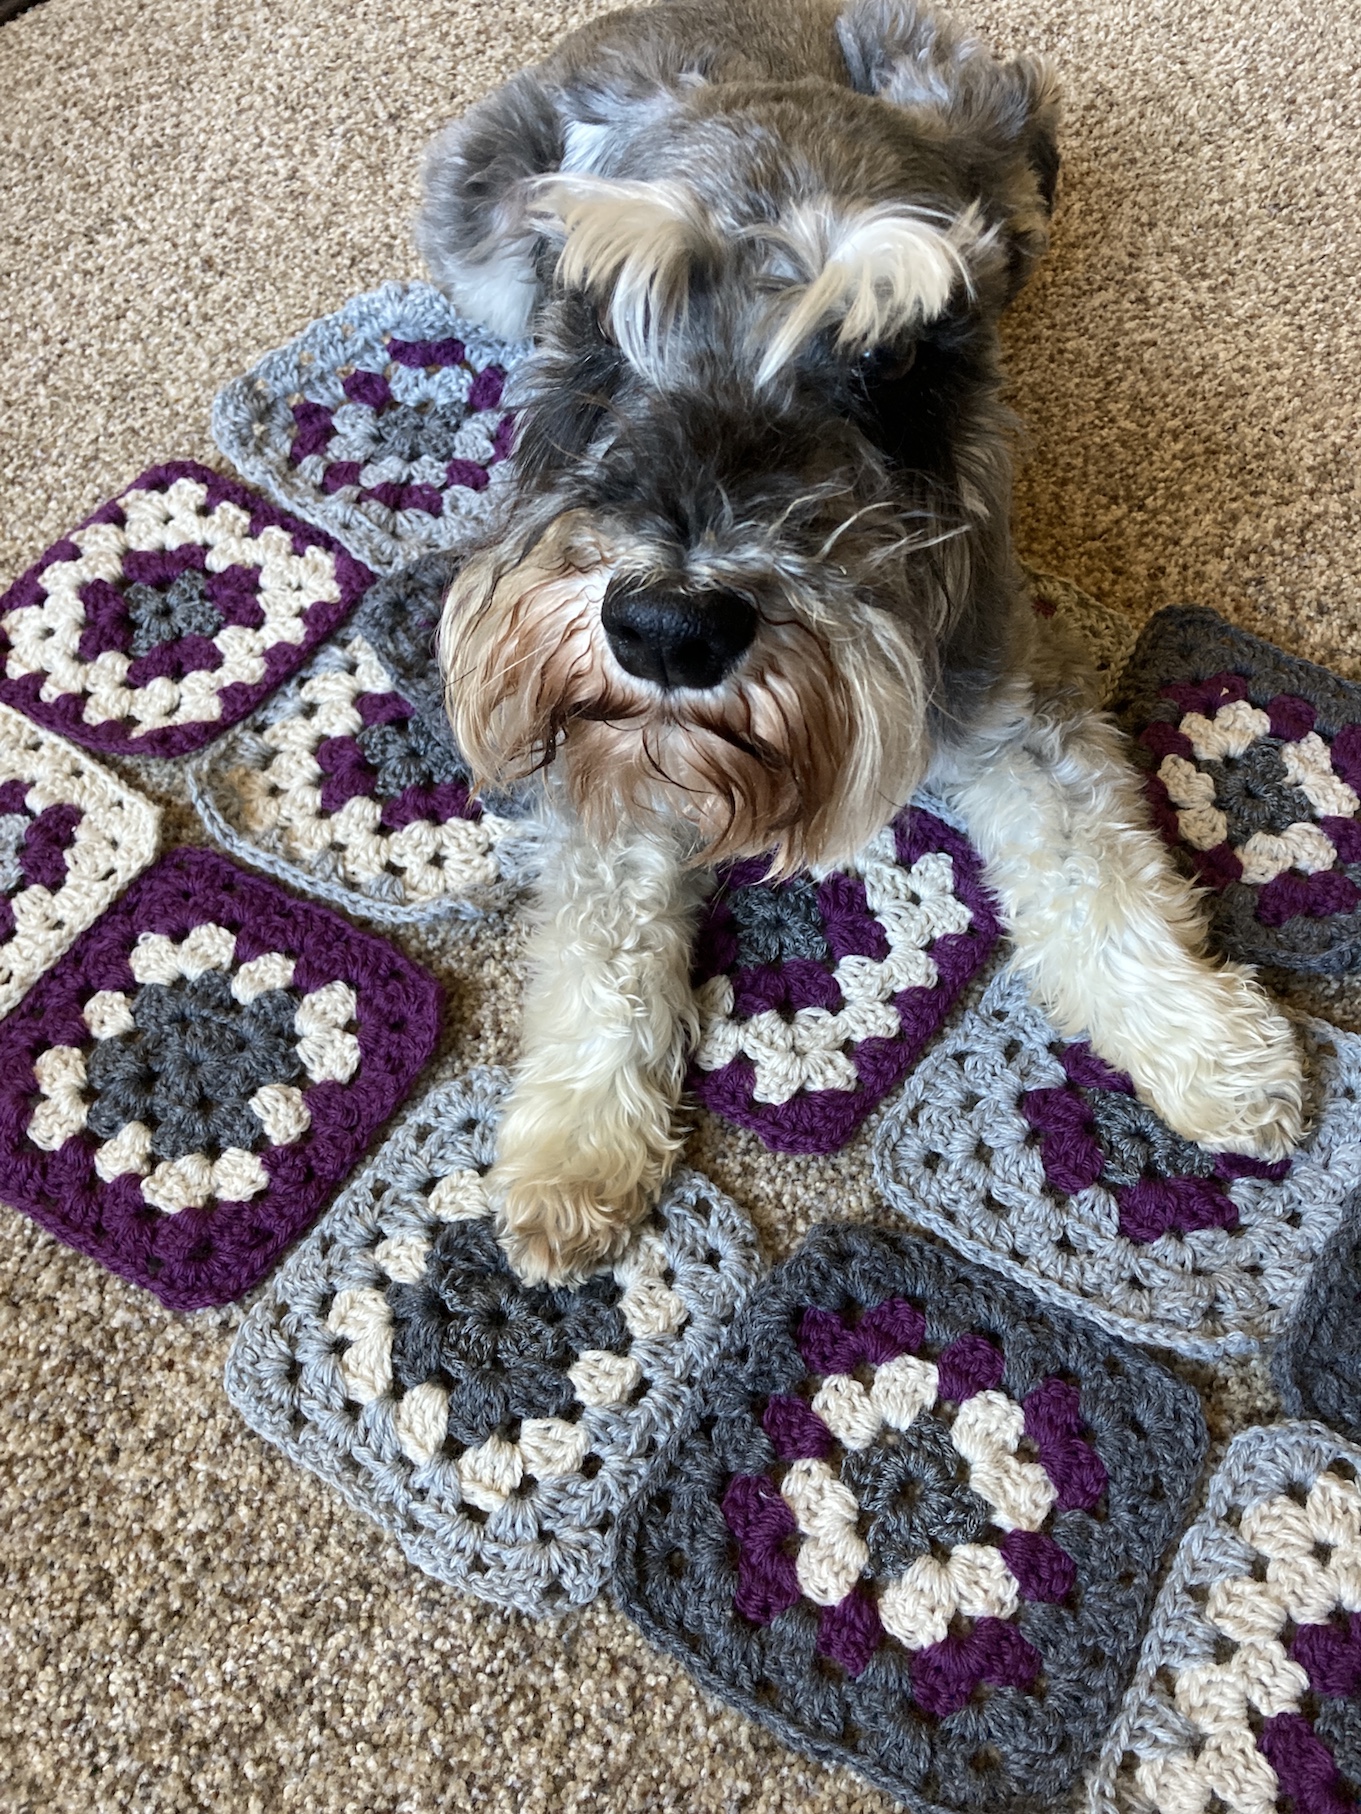
I first fell in love with the afghan when it was just a couple of square she had made:
Then she made more squares and my love of this afghan kept growing and I would sneak in to lay on them whenever I could:
A Partial Afghan Will Do…I Guess…
Now that she finished 90 granny square blocks, she is SLOWLY (at least in the Schnauzer-Time-Space-Continuum perception) putting the afghan together.
And I cannot wait.
I’ve begun nesting in it, while it is in assembly, any time she steps away from it:
I’ve even begun nesting in it while she is working on attaching the blocks together (note the crochet hook on the lower left):
She’s tried to appease me by wrapping me in it, but I am not fooled:
Do I look “appeased”?!?!? Nope. I want a finished afghan.
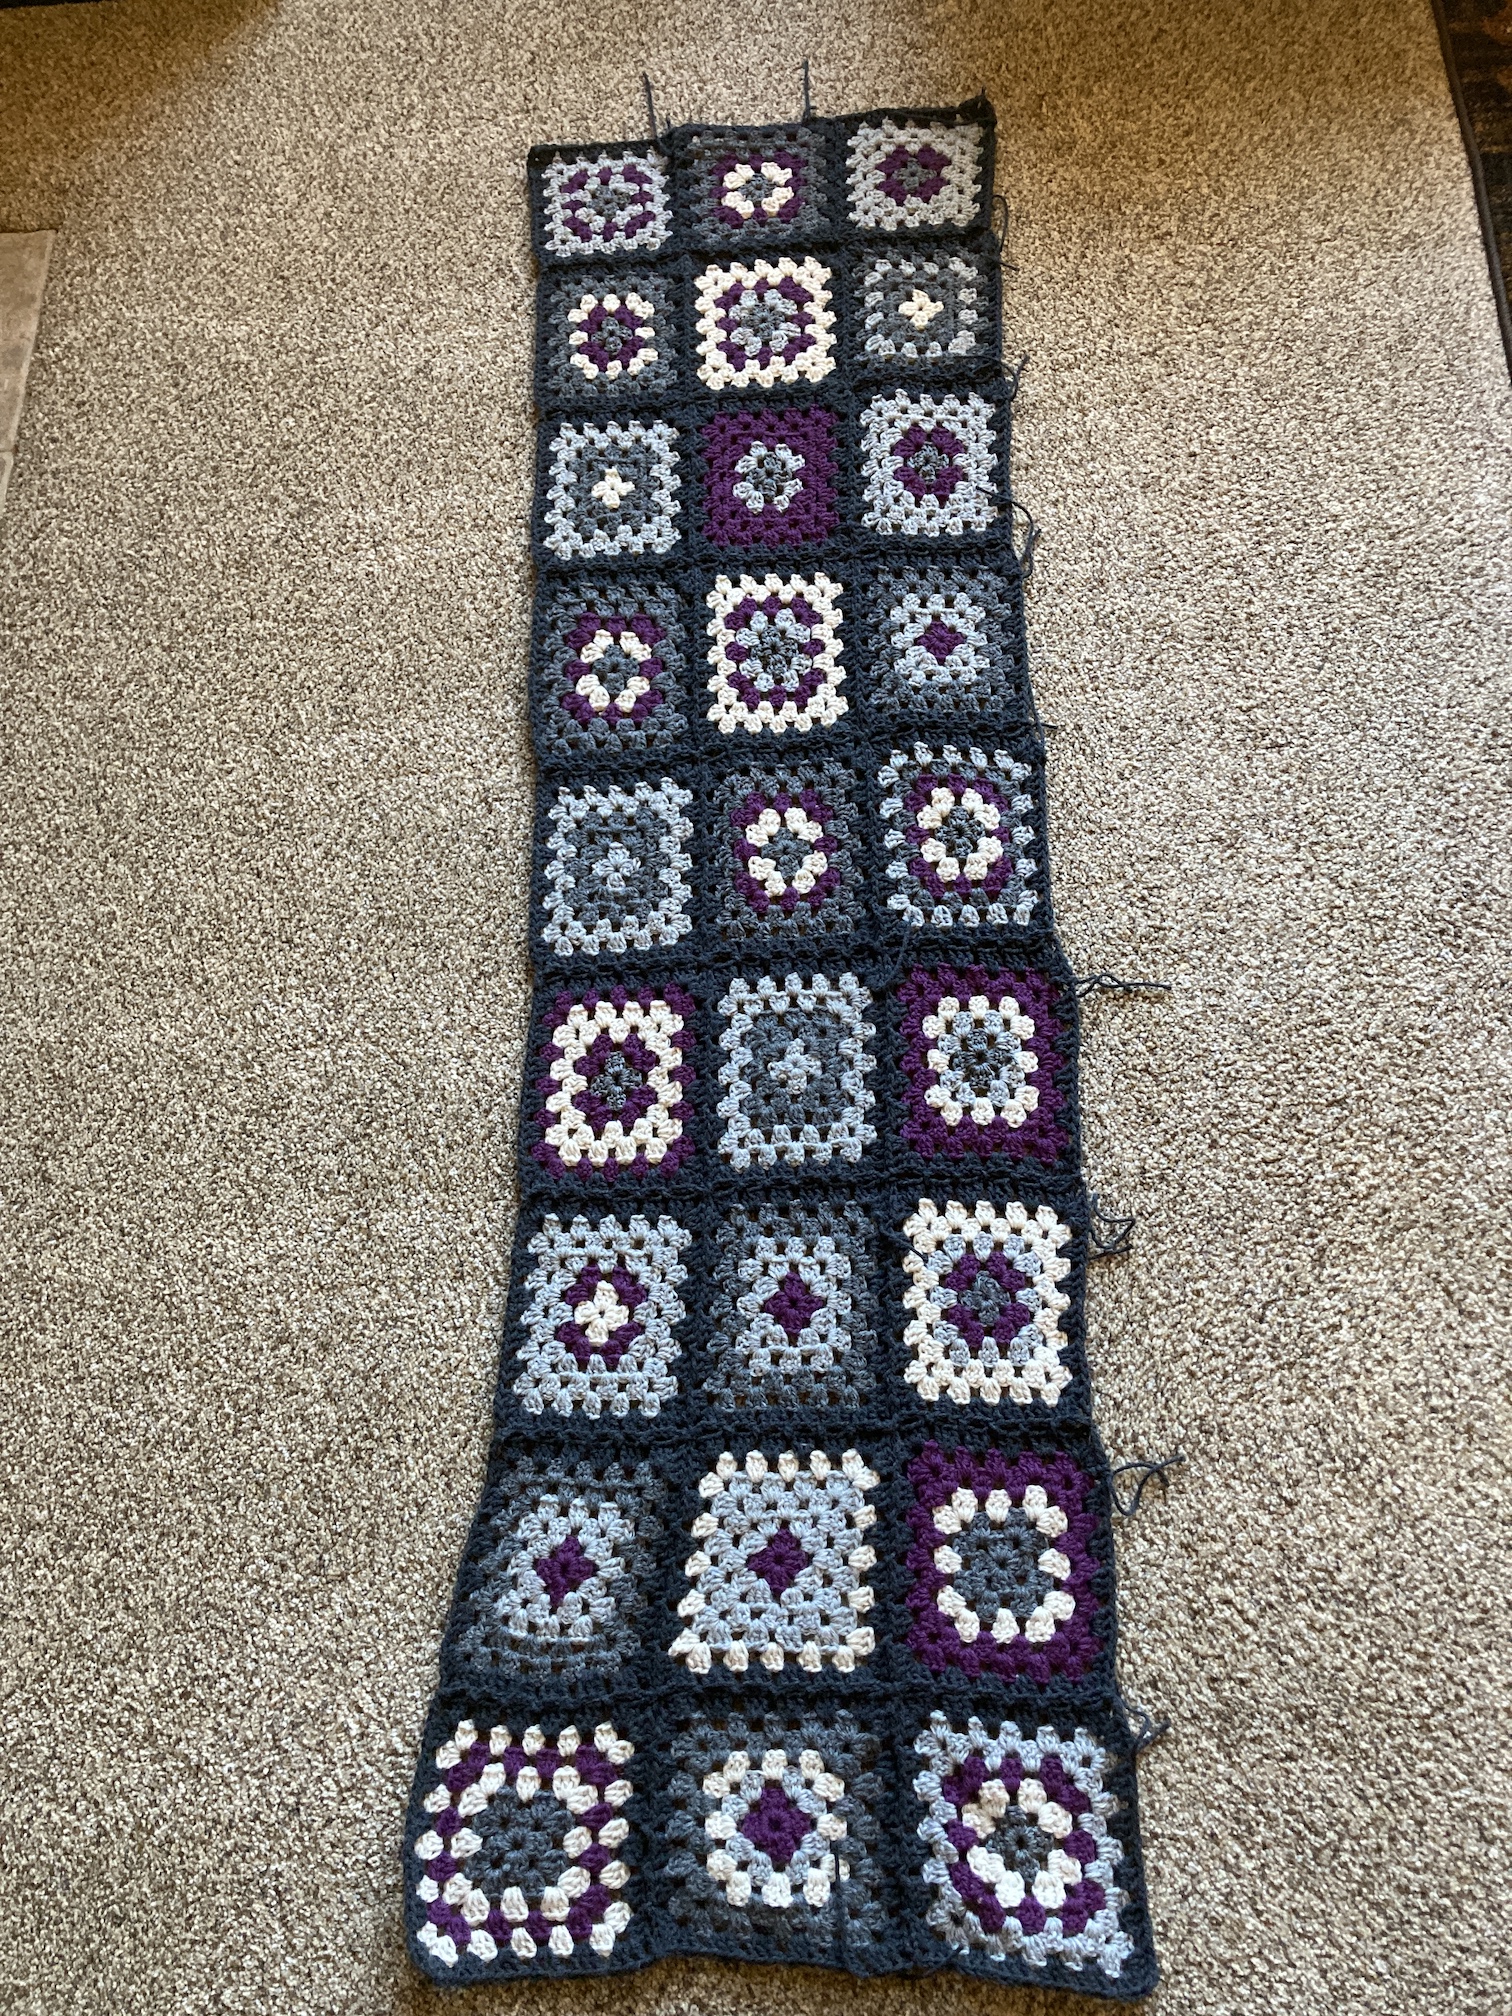
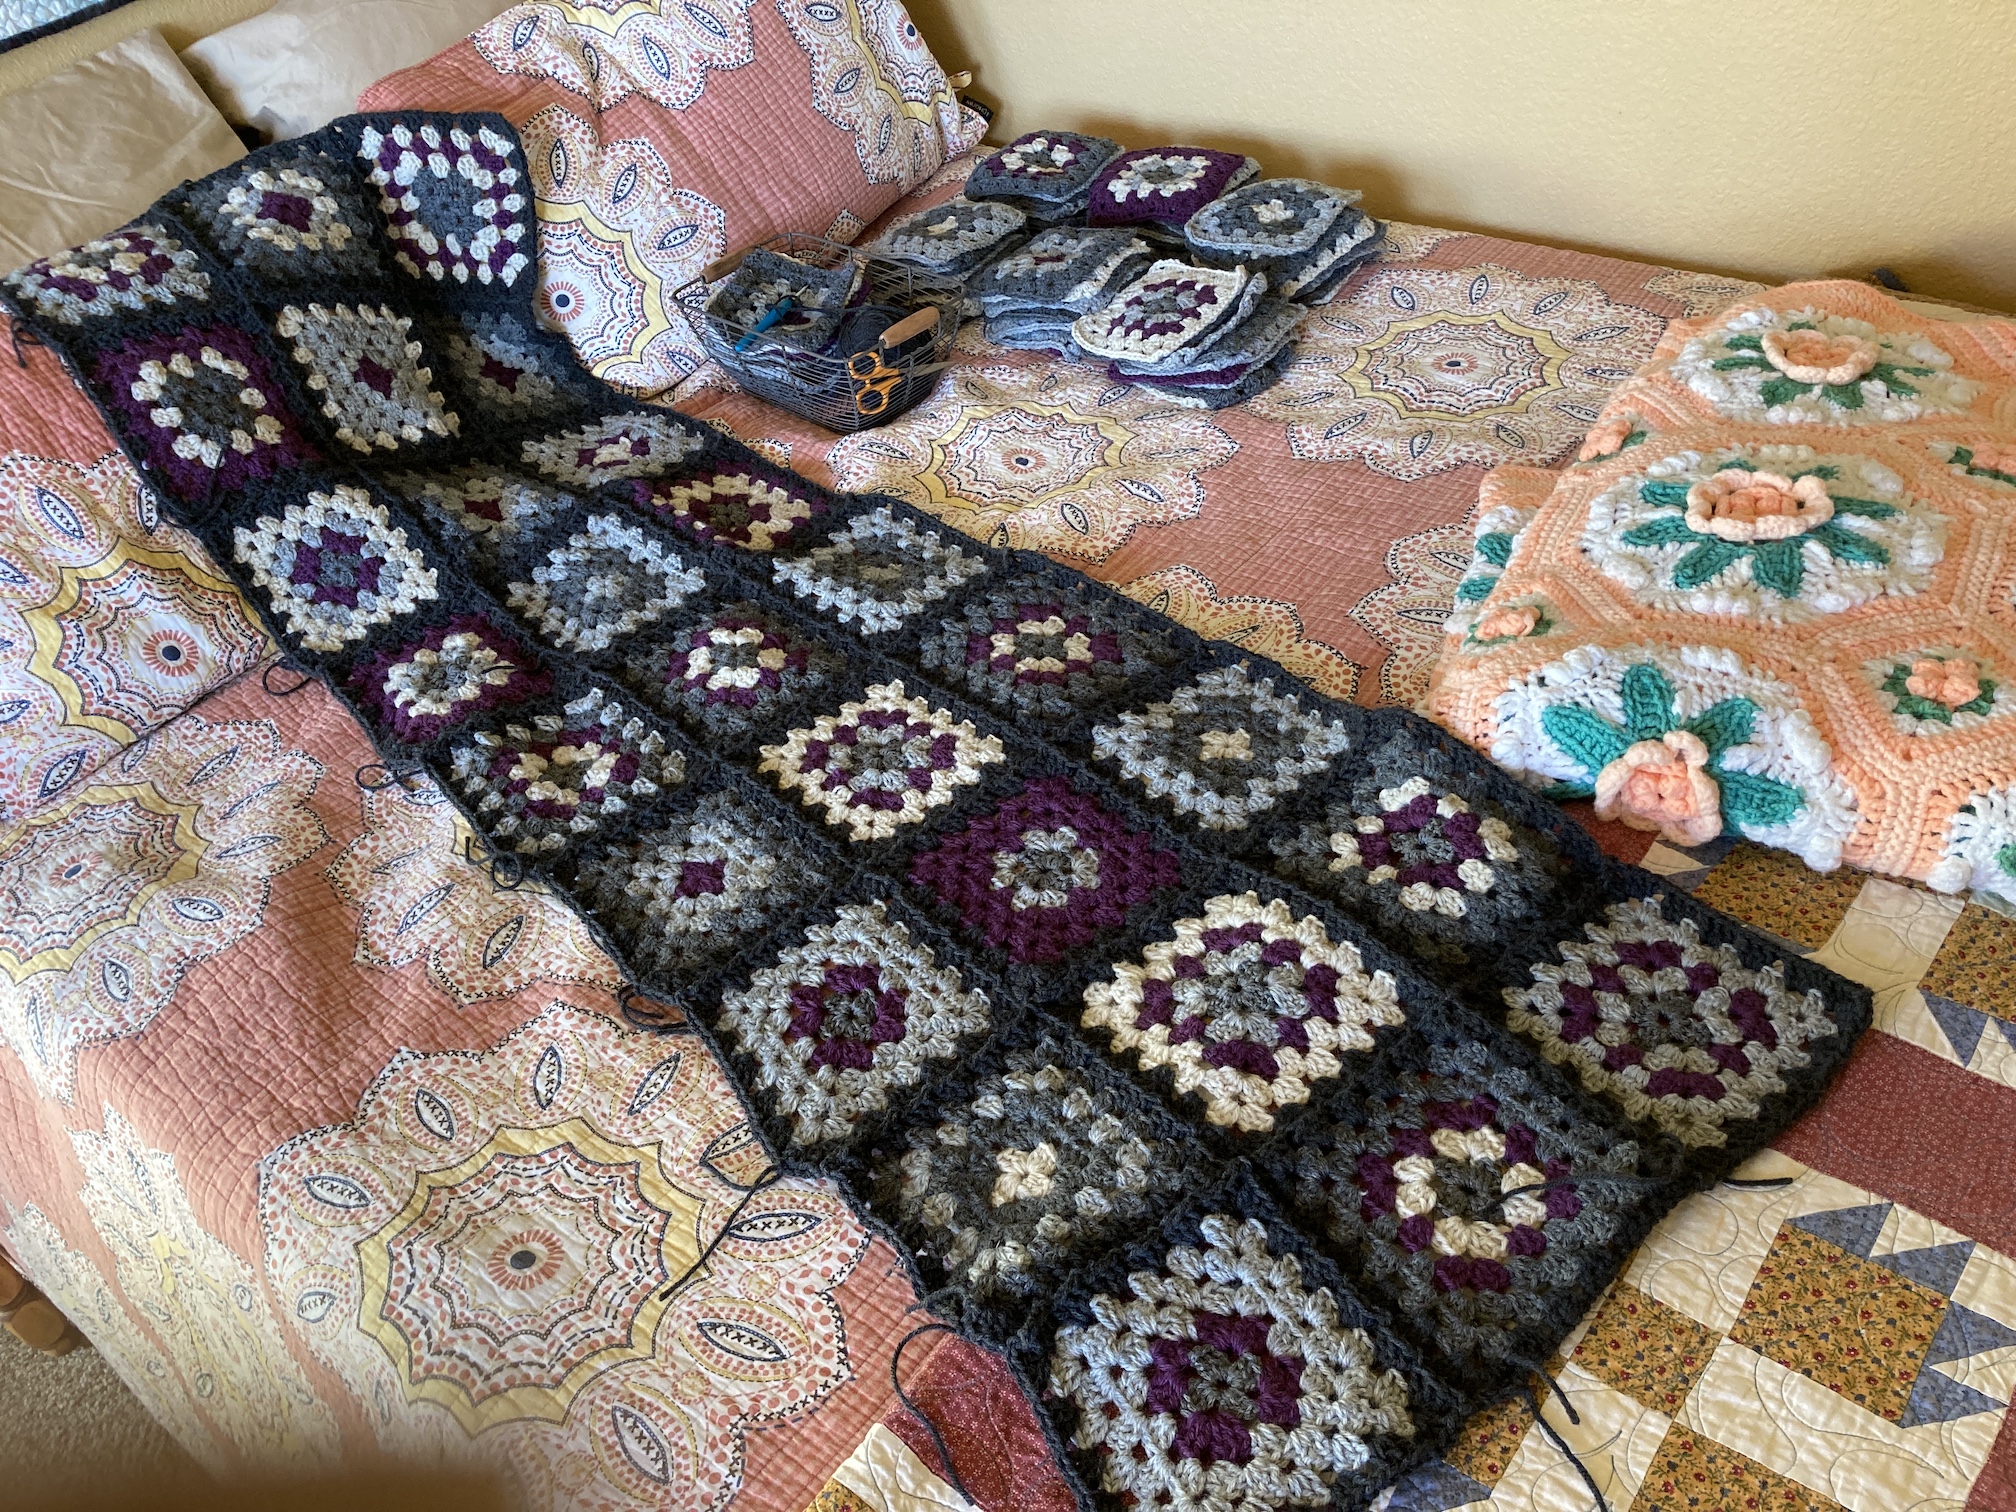
Unfortunately she only has 3 rows together and has 7 more rows to add:
Unacceptable.
She has a system on the guest room bed where she has stacked the individual blocks for each granny square row (so I won’t topple over the rows and mess up her order like I was doing when they were laid out on the living room floor):
She says she is working on it as fast as she can but has this full-time job thing going on and other life activities (poor excuses).
Absolutely Not Appeased
I know I mentioned somewhere in this post that a partial afghan might do but on further thought it does not. I want to nap in the full completed thing!
Here are some photos of me “not appeased” to close out this post:
Here is what the representative from New Mexico Arts informed me in the acceptance letter:
Photos/videos that you submitted of your artwork will be placed in a slideshow presentation. This presentation will be shown to potential buyers across the state of New Mexico over the next two years. These sites can include: amphitheaters, animal shelters, community centers, courthouses, educational institutions, fire stations, healthcare facilities, recreation complexes, rest areas, senior centers, etc. Participating sites will have a total budget equal to 1% of recent capital outlay funds appropriated for new construction or major renovation projects. If your artwork is selected by a site I will contact you to begin the purchasing process.
So I am hoping one of the New Mexico public institutions feel that my piece is a match for them. If selected I have to go to New Mexico and oversee the installation of the art quilt under plexiglass (I am responsible for all costs related to installation it is included in the fee they will give me if selected).
RECYCLED HOPE
Windows of Conversation used to be part of my Recycled Denim Series (all my art quilt series are listed with images and Artist Statements on my page Art Quilt Stories). Recently I reimagined by Recycled Denim series into the Recycled Hope series. It seemed to me that “hope” was something many people needed with all that is going on in the world.
I added in newer non-denim quilts into this series I’ve made such as All the Trimmings (see post “All the Trimmings” is all done) which is made from recycled materials. If you scroll on my Art Quilt Stories page to Recycled Hope VII: All the Trimmings you will see it listed.
Here is what I put on the Art Quilt Stories page as an overview about the Recycled Hope series:
The Recycled Hope an ongoing series of improvisational art quilts using recycled materials to include denim as the primary fabric on many of the pieces, combined with other recycled materials. “Hope” and the interpretation of the word “hope” is the primary theme of infused into these pieces.
Most of the fabrics were not reusable as clothing or home decor and were destined to end up in a landfill. Reimagining recycled clothing and other materials into art quilts satisfies my hopeful desire to honor the environment and make art that is eco-conscious. Ending up in an art quilt is a better outcome than ending up in a landfill.
Below is the updated Artist Statement for Recycled Hope III: Windows of Conversation
Photographed by Tierney Davis Hogan
55” W x 59” L, recycled jeans, various recycled clothing, and recycled home decor fabric
THE STORY OF THIS PIECE:
This textile creation in the RecycledHope series, was inspired my hope that in order to move forward as country we need to foster open windows of conversation and respectful dialogue between peoples of different cultures, socioeconomic statuses, ages, identities and life experiences.
I’ve shared many of the photos below already on Instagram but I thought I would pull them together and share a quick post about Autumn, my favorite season.
Fall Scenery
Who doesn’t love the colors of Autumn and the changing leaves?
Not only the color of the leaves but the sounds of the leaves? Usually when I’m on a walk I have my earphones in and I am listening to an audiobook, a podcast or music. Yesterday I went on a little afternoon walk and actually just listened to the trees – their dry autumn leaves rustling in the wind. It was sort of glorious.
In addition to the trees/leaves, we’ve seen some beautiful skies at sunset – my partner John captured these photos.
Fall Cooking
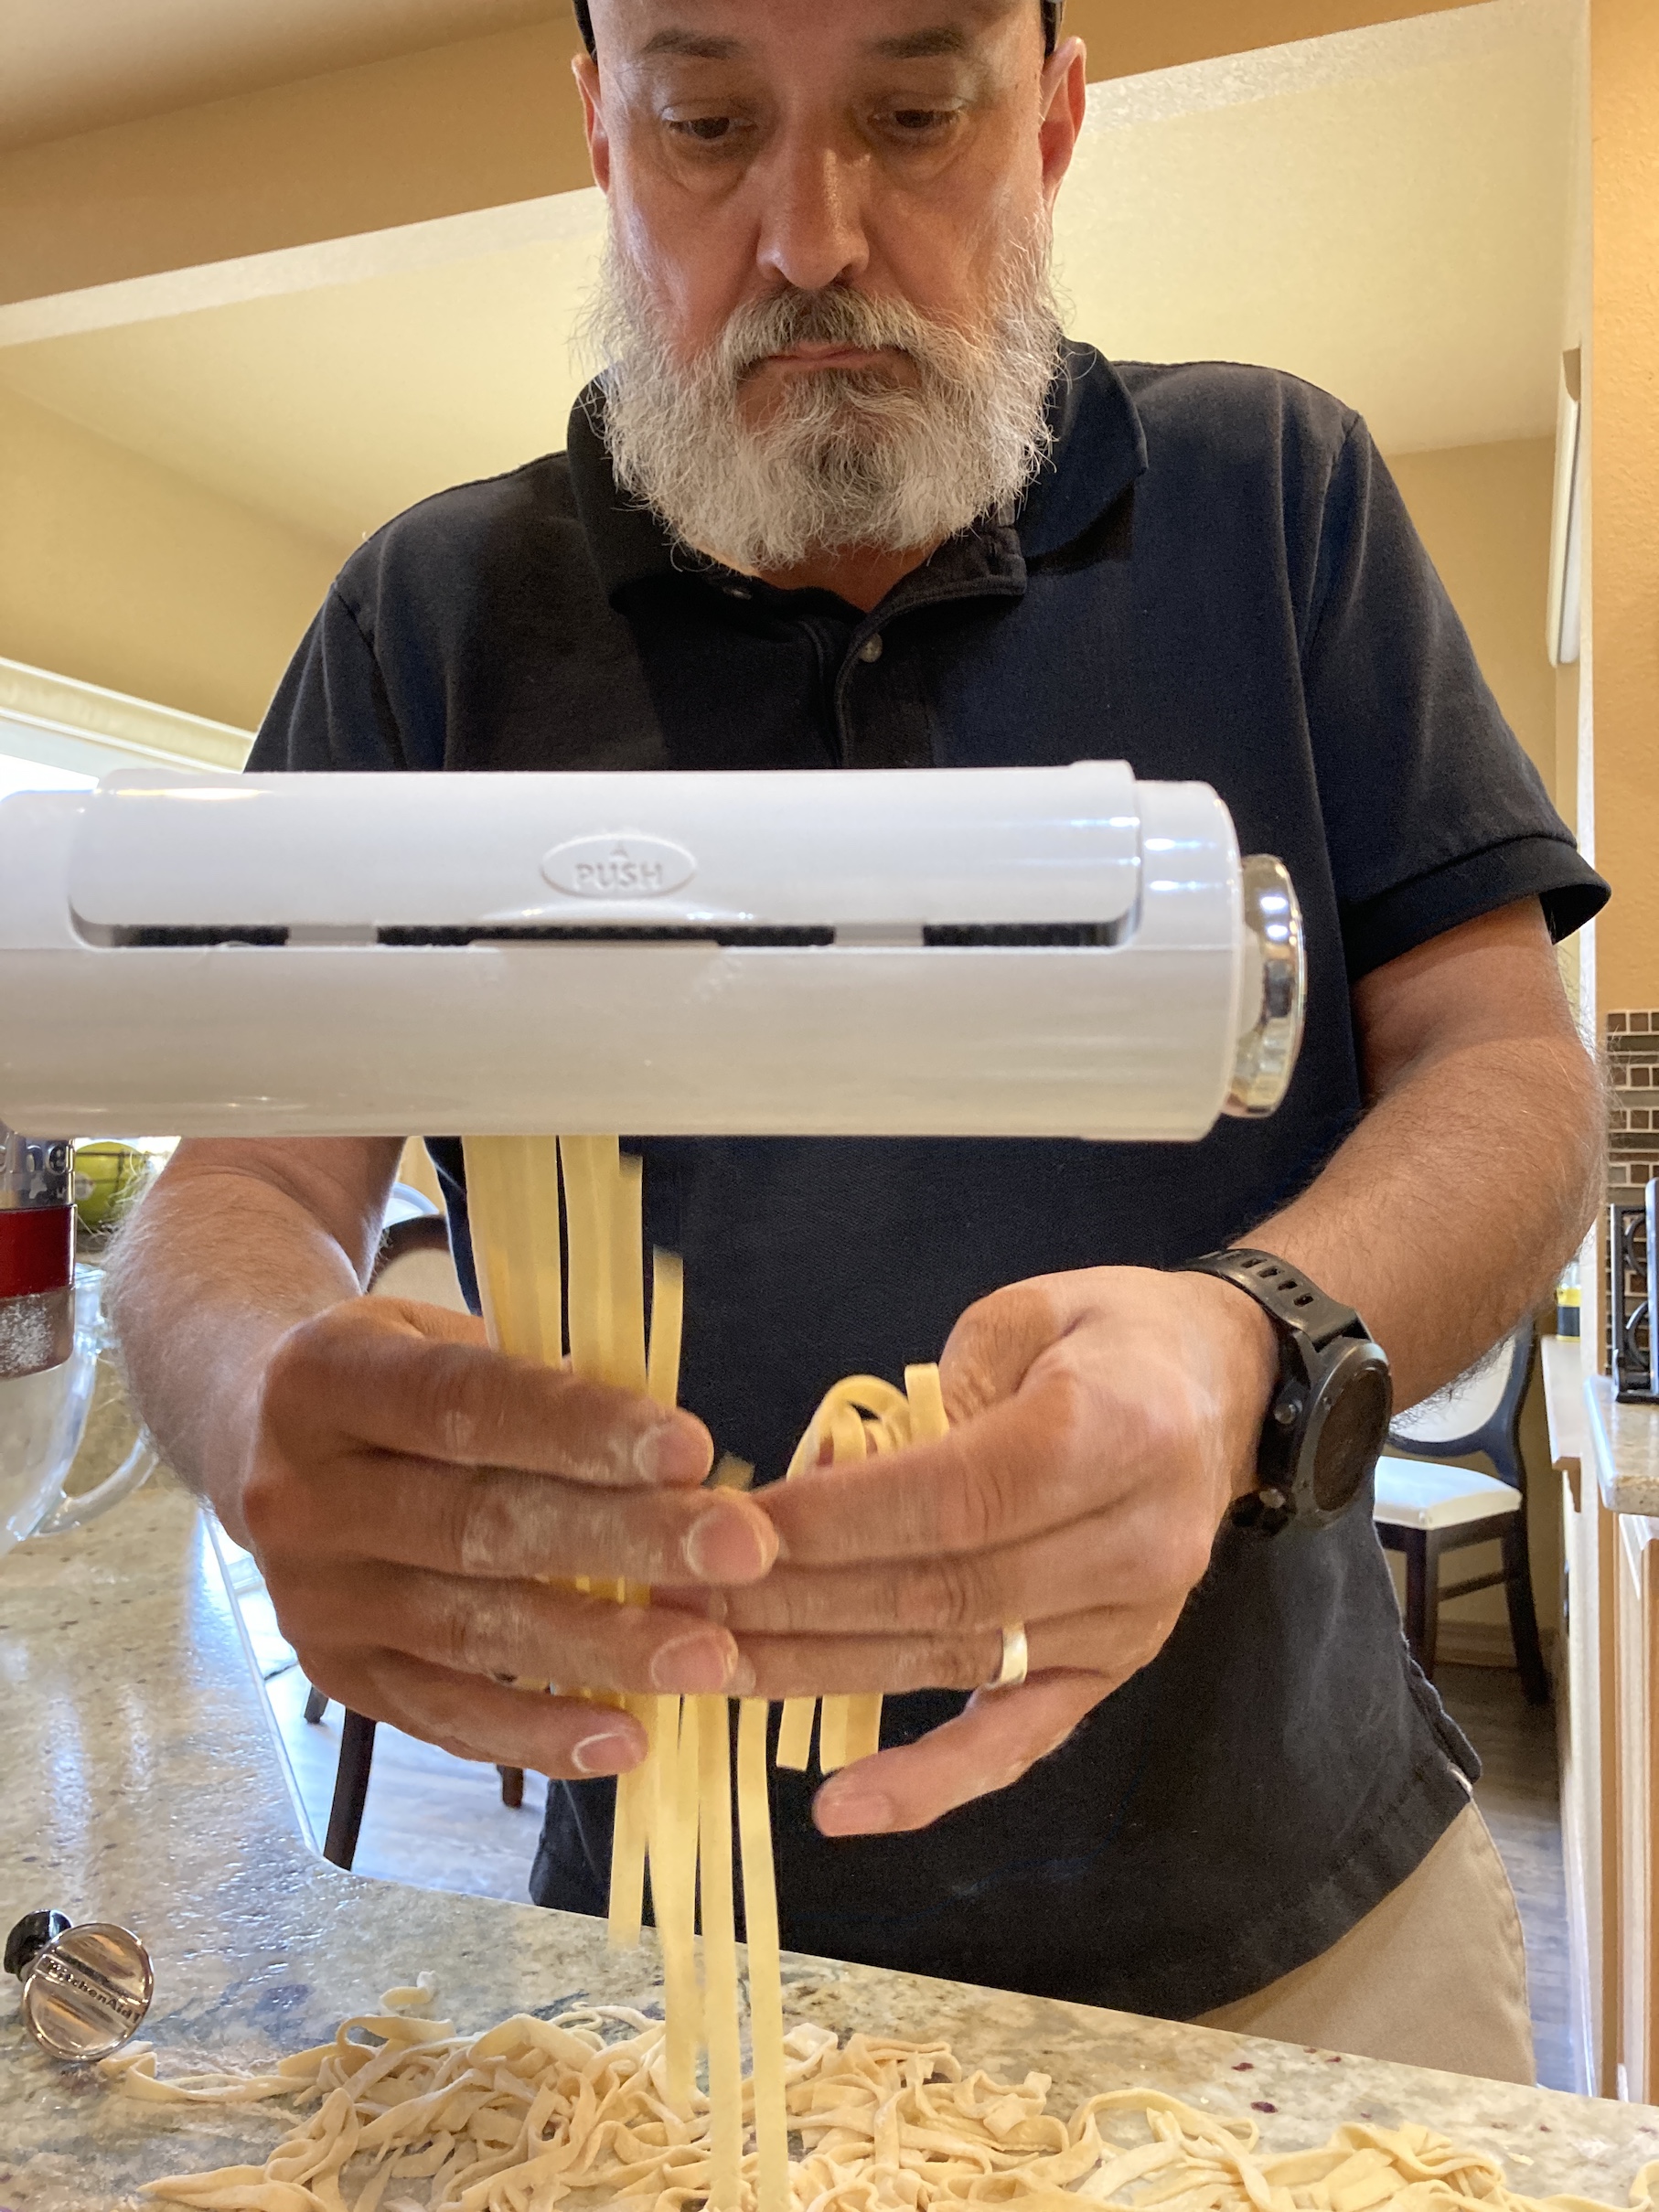
The other day it dropped to 48 degrees F outside so was it’s cold enough for homemade chicken noodle soup with handmade noodles!
On Instagram I shared these two images below, implying I made the soup…
But I was only adding extra noodles to the soup – actually my partner John made the soup and the noodles.
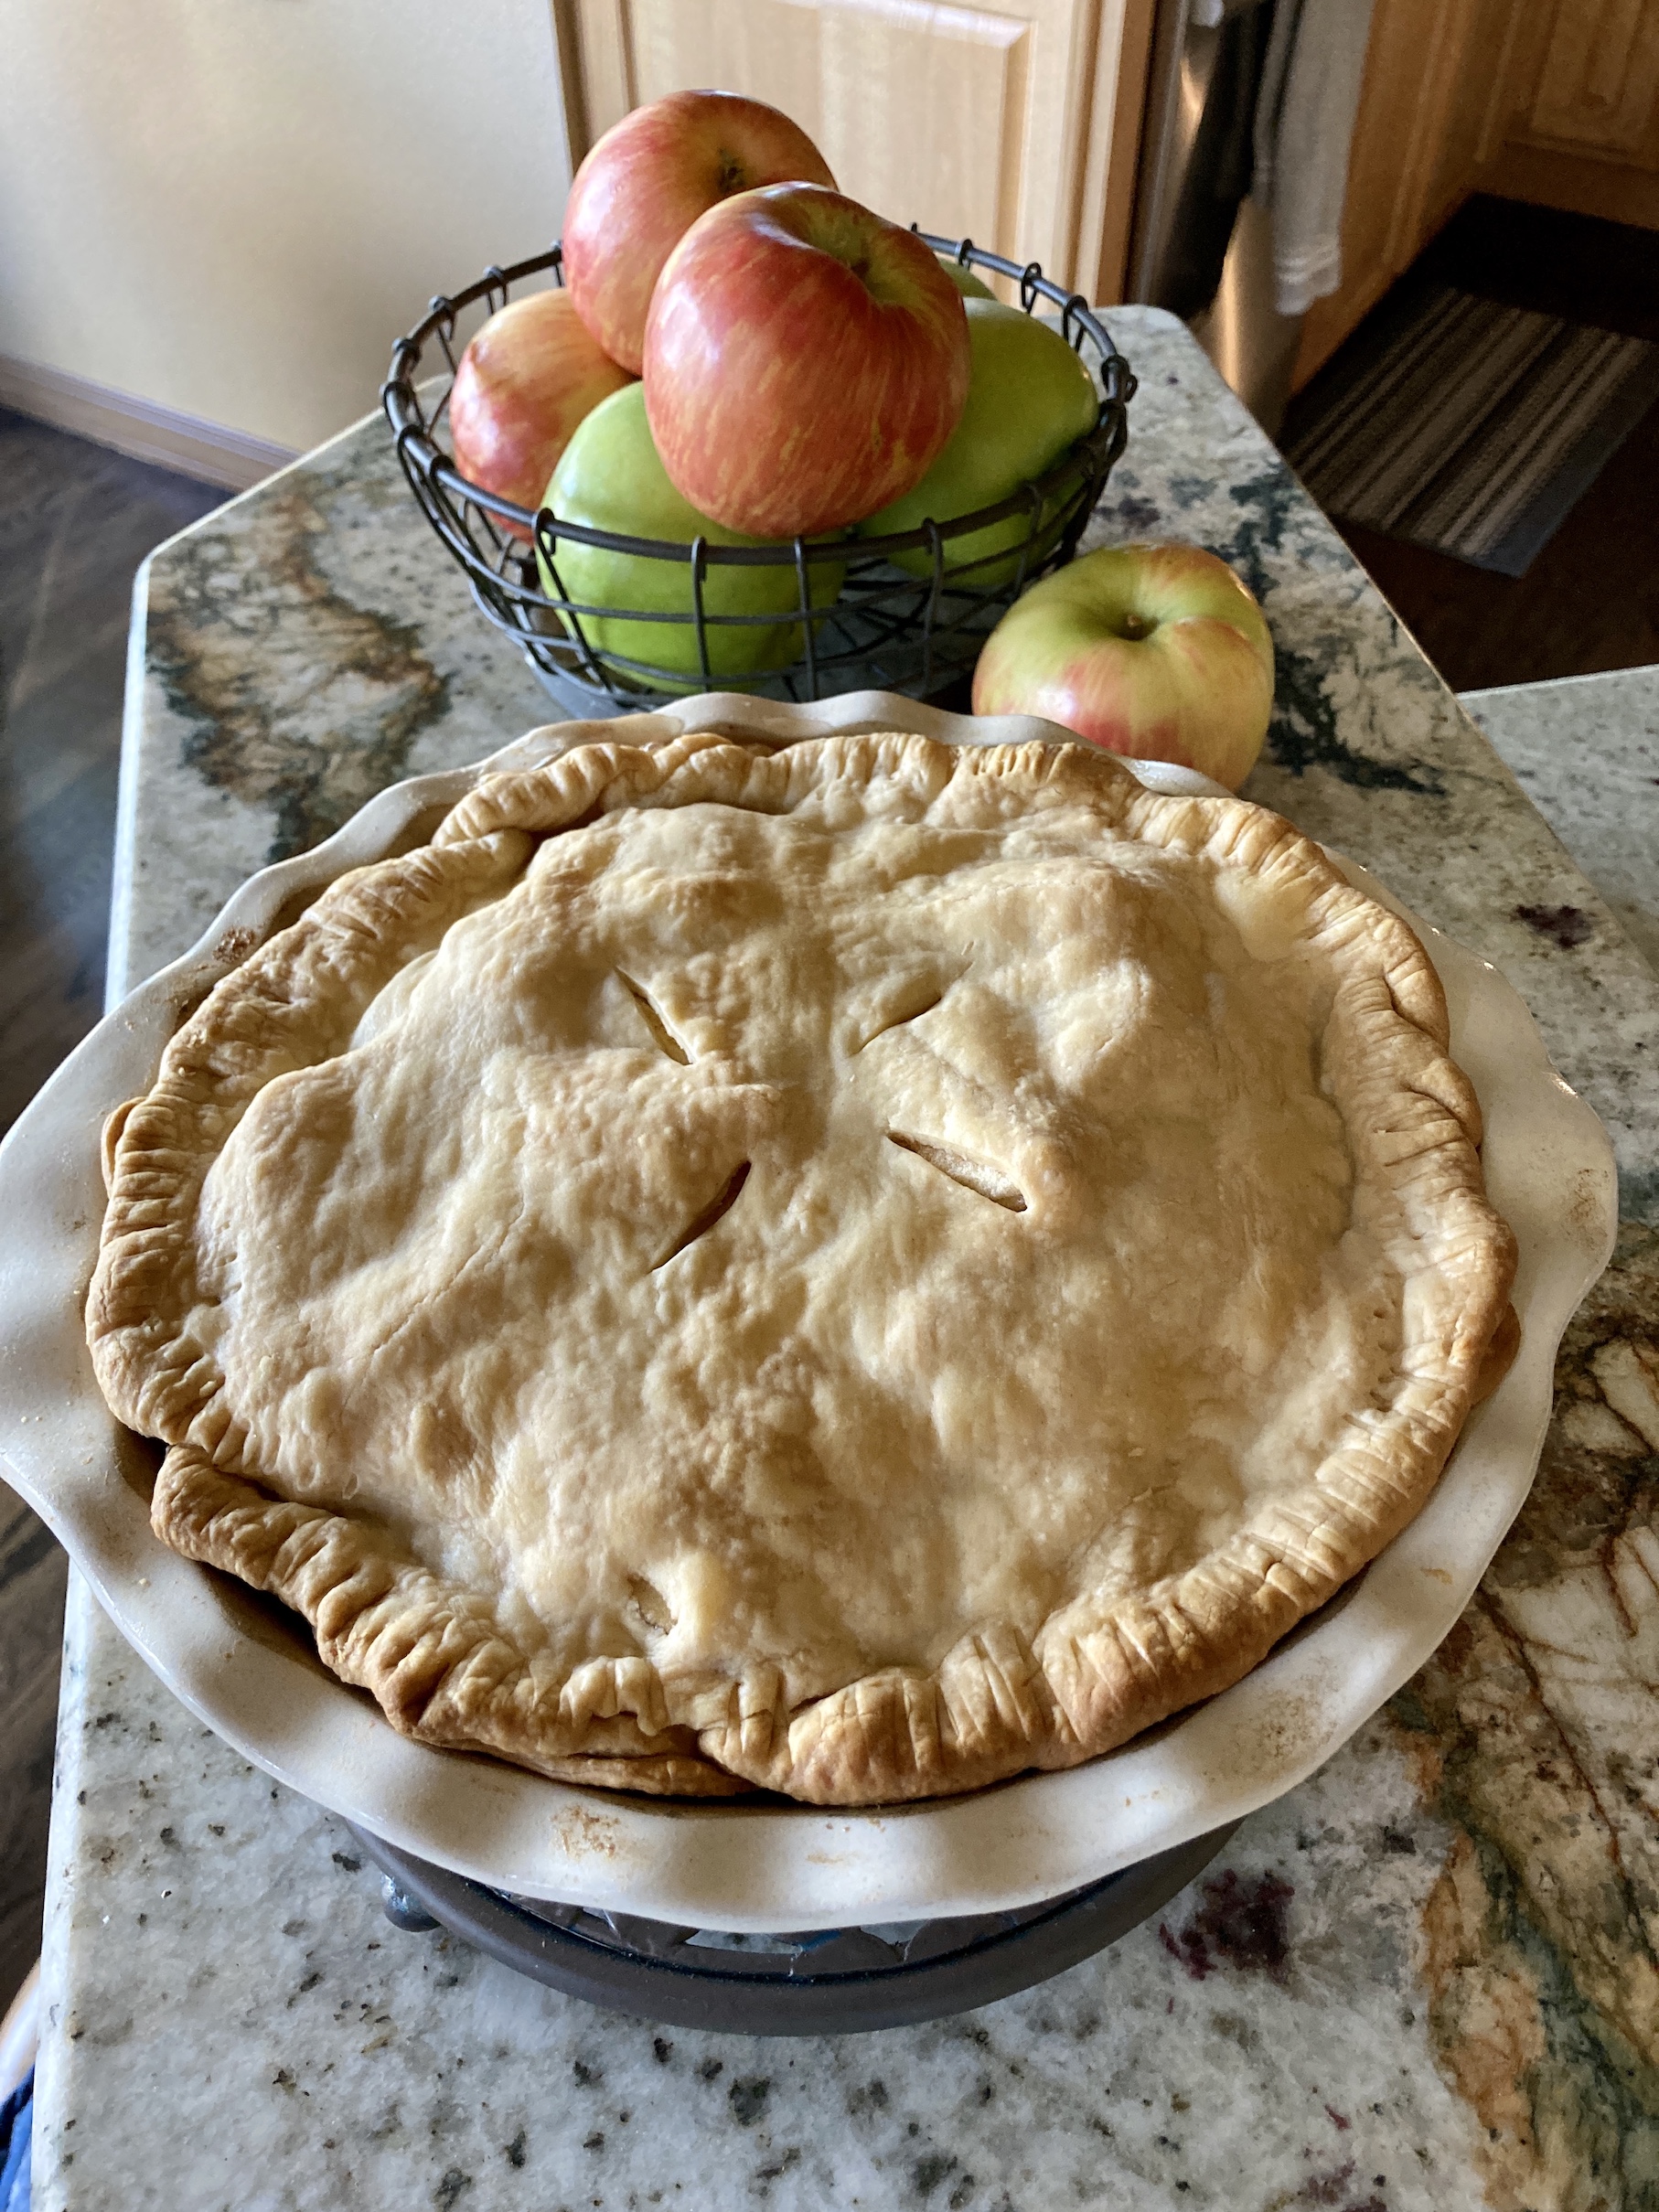
But I did make an apple pie – a perfect Autumn desert!
I was super tasty and we had it for desert after our soup and garlic bread for supper.
Now it’s time to pull out the stew recipes as well as the soups I like to make recipes. Cooler weather means lots of cooking (and maybe some more baking).
Postscript
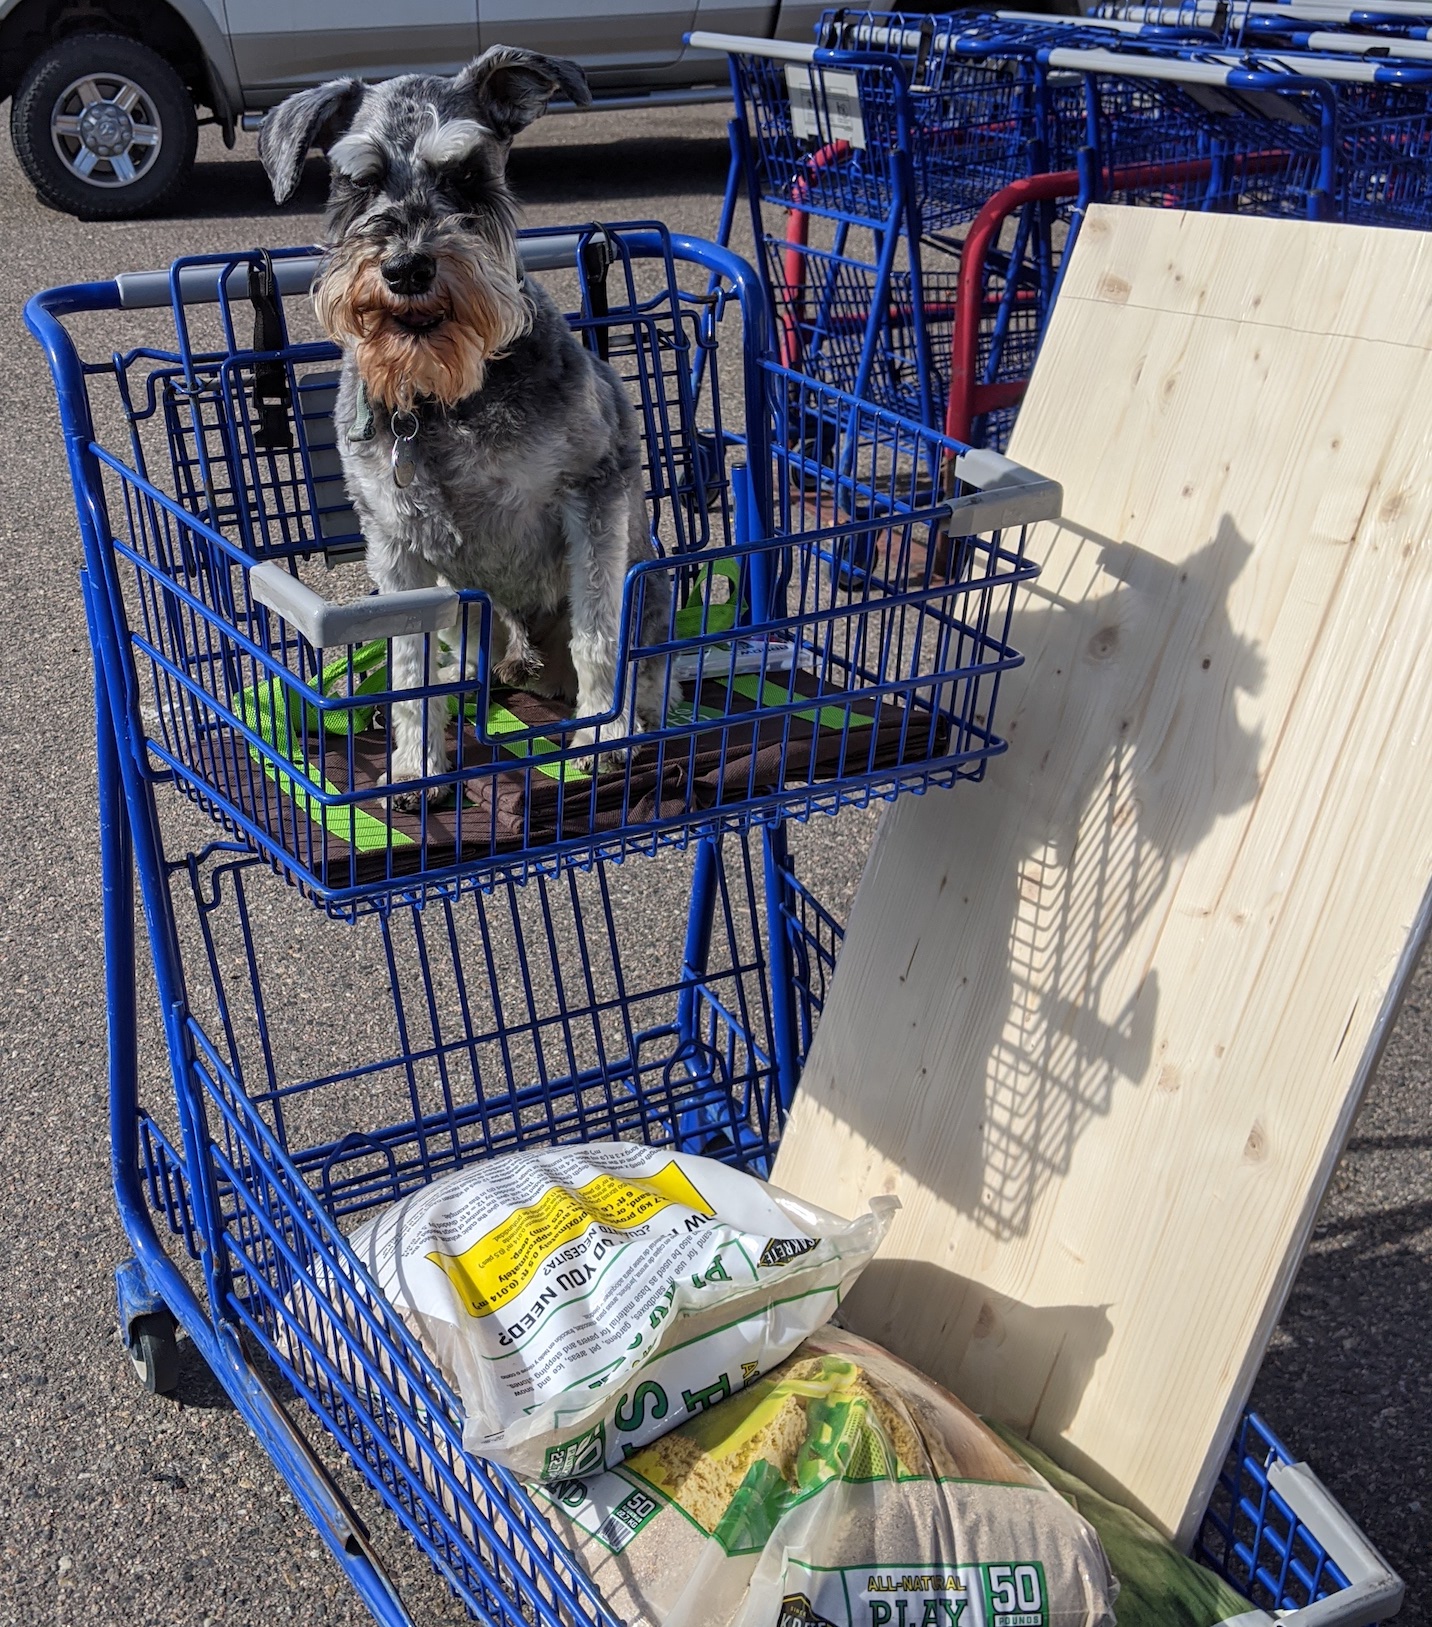
Oh I will close this post with what Mike the Miniature Schnauzer is up to – providing emotional support for more home remodelingprojects (see his guest post Guest Blog Post: A Whole Lot of Remodeling Going On) by going on trips to home improvement stores.
Here is his photo from the other day when he went to pick up more supplies and it looks like he’s trying to give the humans some directions…
I thought I would give you all an update on the improvisationally free-form log cabin block style pieced quilt I’ve been working on since January 2020 – Seattle Scrappy. I last updated you on this piece in my March post – Update on Seattle Scrappy (though I think here and there in the Postscript section of later posts I provided a brief update…maybe).
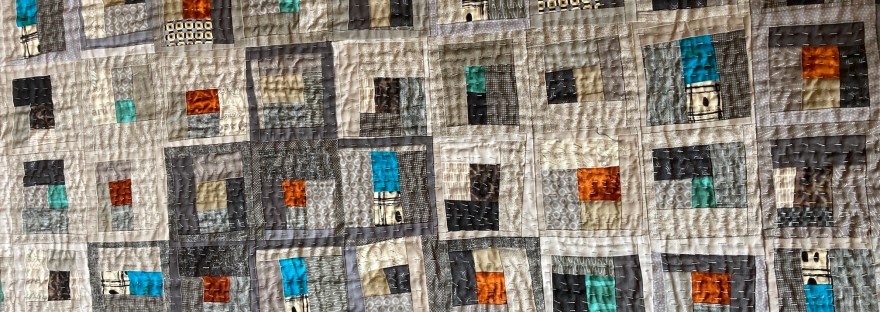
The quilt began as a pile of scraps that my friend Dana let me play with when I attended a quilt retreat in Poulsbo, Washington in January 2020 (see posts Mini Quilt Retreat, January 2020 and A Jaunt About Poulsbo, WA). I pieced these scraps into free form log cabin blocks (no measuring, just “eye-balling” and trimming to make fit):
I made a lot of blocks and when I returned home I arranged them into this quilt top:
I decided to name the piece: Seattle Scrappy.
For the past 7 or so months, I’ve been hand stitching the quilt.
Update on “Seattle Scrappy”
In my mind I am doing something like Kantha hand stitching but actually what I am doing should be called “Drunken Kantha” (no I am not drinking while stitching – that could be disastrous since I am a “light-weight” when it comes to alcohol consumption, I would impale my finger…constantly…with the needle) as, well…it sort of looks…sloppy…
Let’s get this over with – let me show you the photos – I am nearly 1/3rd done on stitching this quilt which measures approximately 60 inches by 60 inches:
If you are gasping or just shaking your head at this point as you look at the nonuniform stitching, I have an artistic design “excuse” for the stitching. It is a weak excuse but here goes: As it frequently rains in Seattle, Washington, I wanted the stitching to capture the feeling of a rainstorm (with the wind blowing the rain sideways…).
There. That sounds quite reasonable – it was just my artistic design, not that I am a terrible Kantha-stitcherist! (smile).
But seriously, I am hopeful it will look acceptable once I get the whole thing stitched, and then trim off the excess batting and backing, do a whole lot of ironing, and bind the edges in some manner (either a traditional quilt binding or the art quilt technique of putting a “facing” on the back edges of the quilt).
I cannot believe how long it takes to hand quilt a lap sized quilt. I’ve hand quilted smaller pieces before (see post What’s on My Lap) and I found it very meditative. I think in the future I will reserve hand quilting only for smaller pieces, it was a bit too ambitious an undertaking (for a slopping hand quilter) to hand quilt Seattle Scrappy!
Till the next update, Seattle Scrappy will continue to sit on the edge of my chair in the living room, waiting for the next set of haphazard stitches!
Postscript
Hopefully I did not visually traumatize you with images of my hand stitching.
If I have, I would like to undo the damage by referring you to look at the website of one of my extremely talented blogging buddies – Mariss the Quilter: Fabrications – who is a masterful Kantha stitcher. Check out her post On Hand Stitching to see some amazing Kantha stitching!
Someday…maybe…I can get my stitching to a “less scary point”. I am not aiming for her level of talent, just not to scare myself or others – ha! I did recently actually invest in a book on Kantha stitching. So perhaps there is hope…
I thought I would share an update to this post from a couple weeks ago Granny Square Madness, and let you where I am on making my first granny square afghan.
At the previous update I was here in my progress – 46 blocks completed:
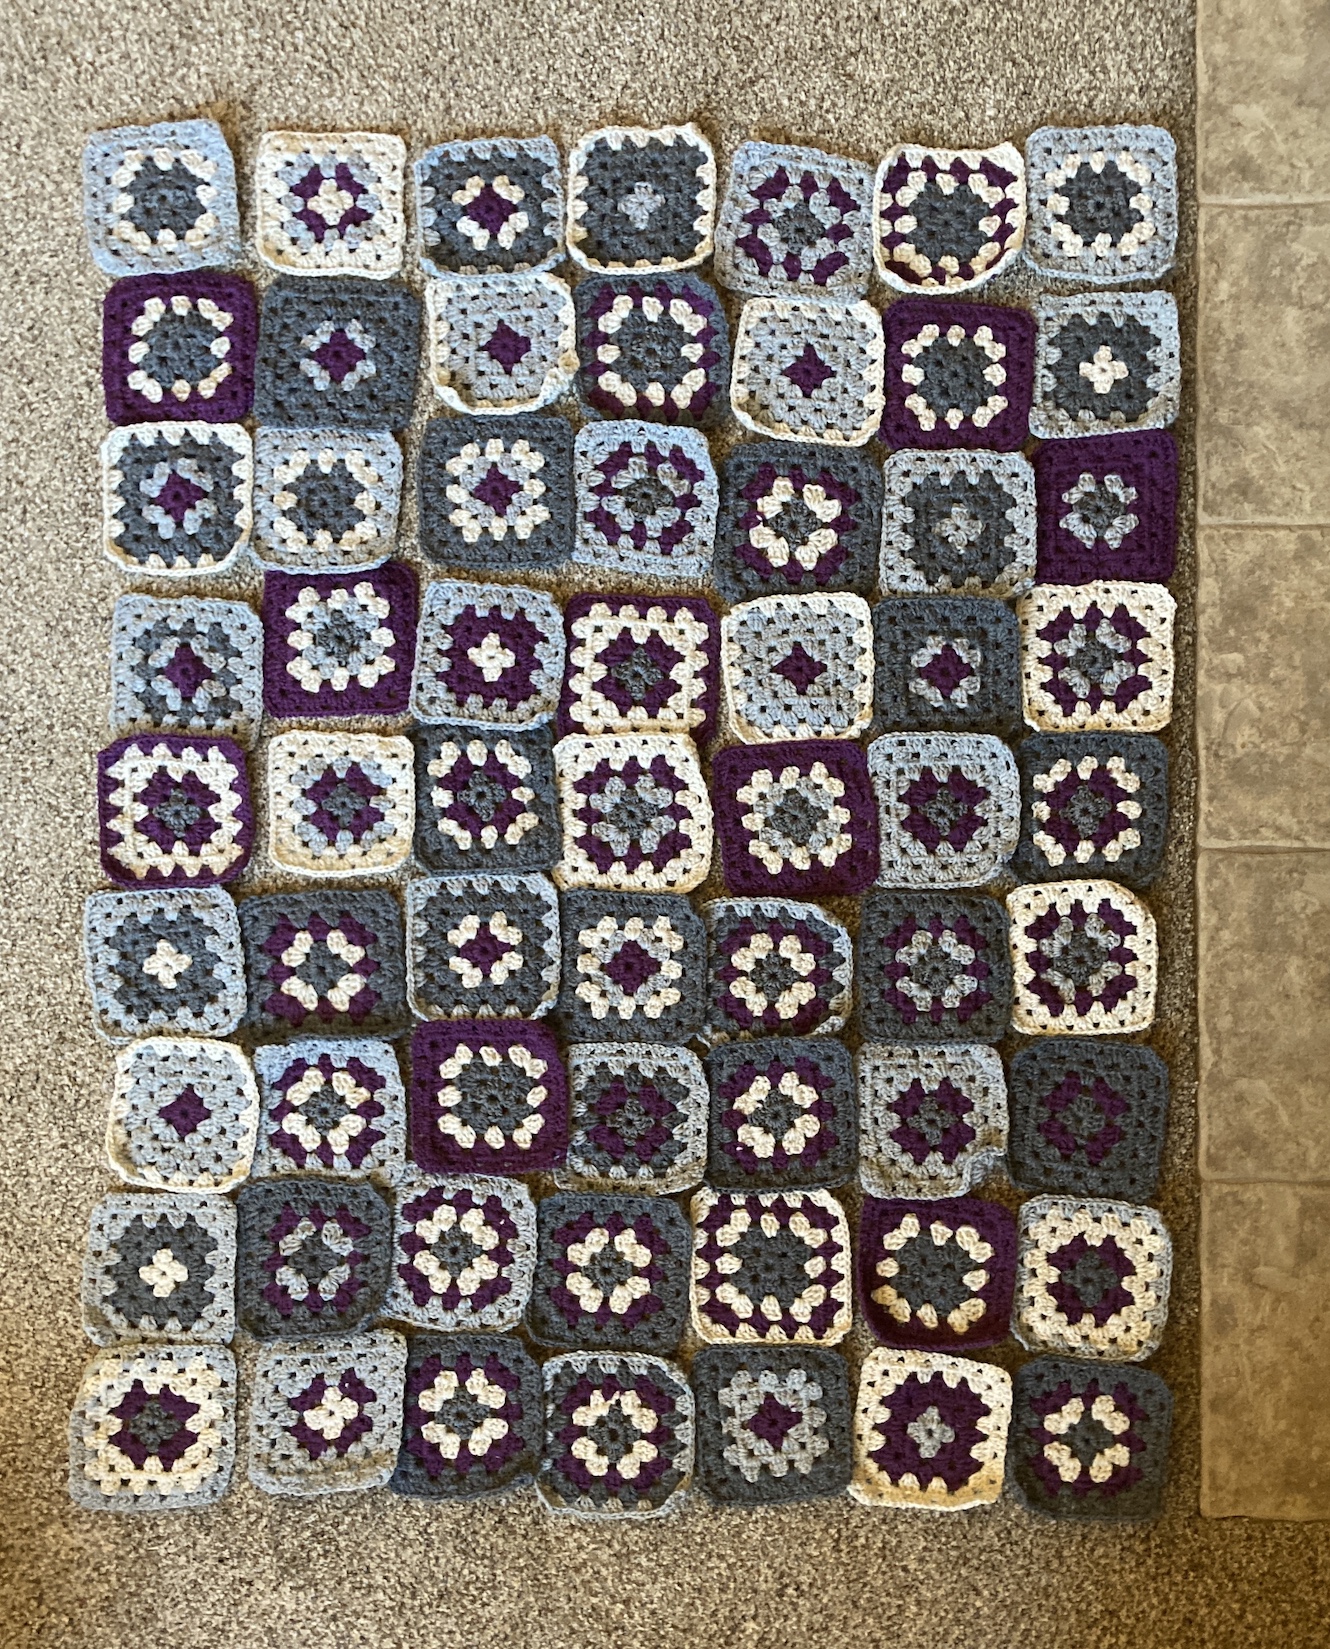
And here is where I am as of today – 63 blocks done:
Since I am making the afghan 9 x 10 (90 blocks), I have 27 more to go!
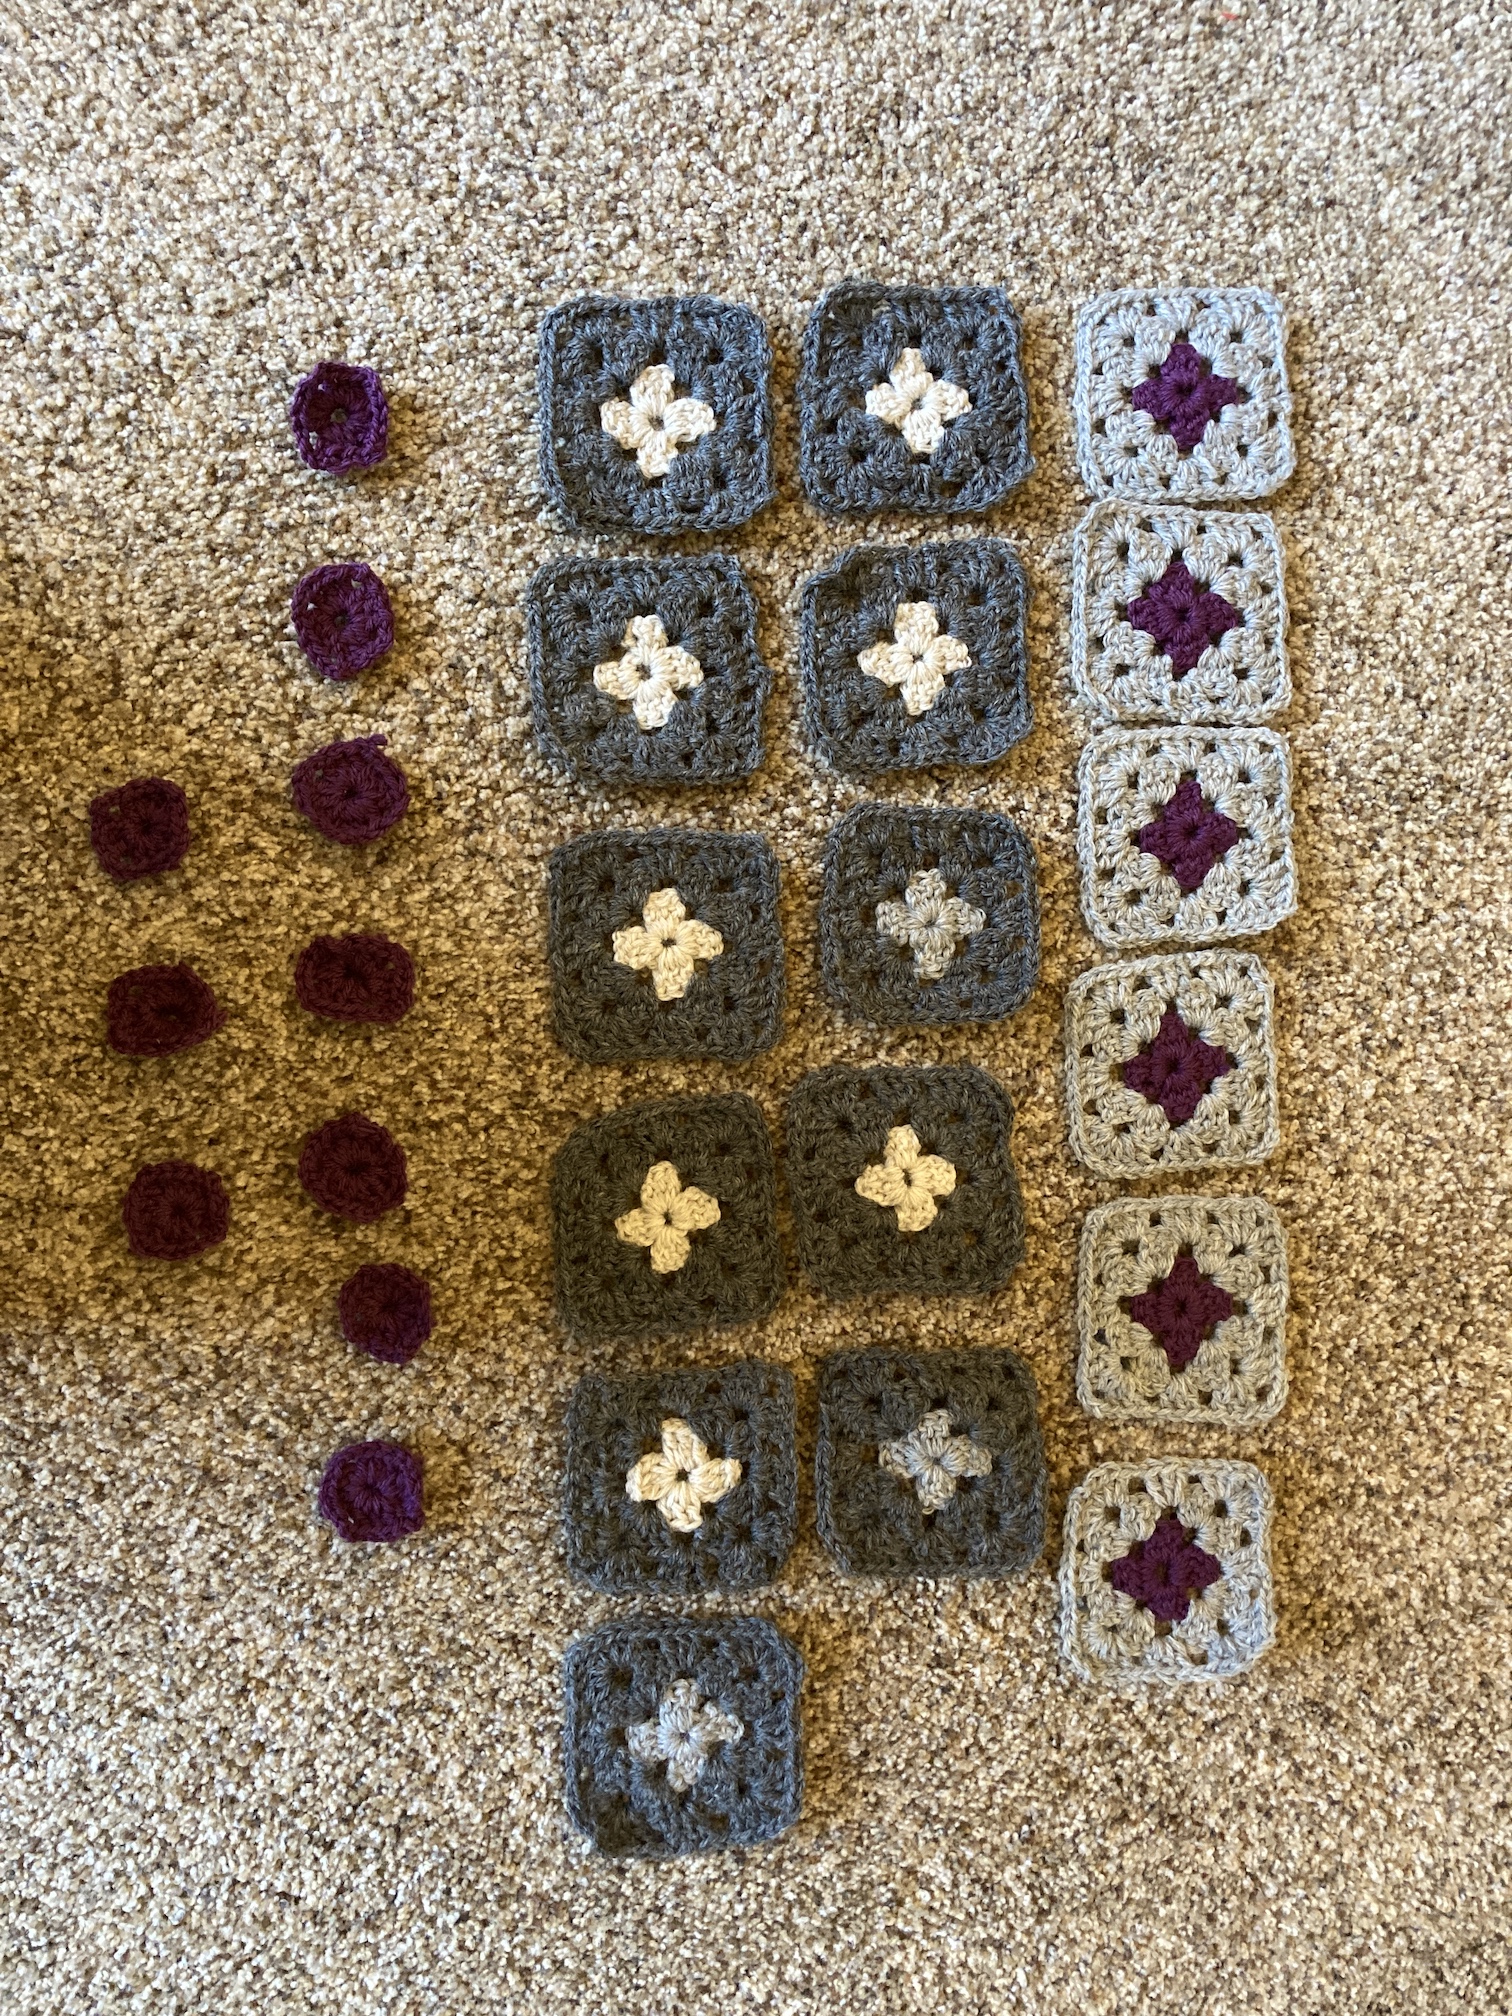
After laying out the completed blocks, I checked my remaining blocks in various stages of progress to make sure I had 27:
And yay – I have 27 in progress! This was important to check as I am getting low on yarn. I’ve already exhausted the magenta and most recently the oatmeal colored yarn; and now I only have 1 skein each of the dark gray and of the light gray.
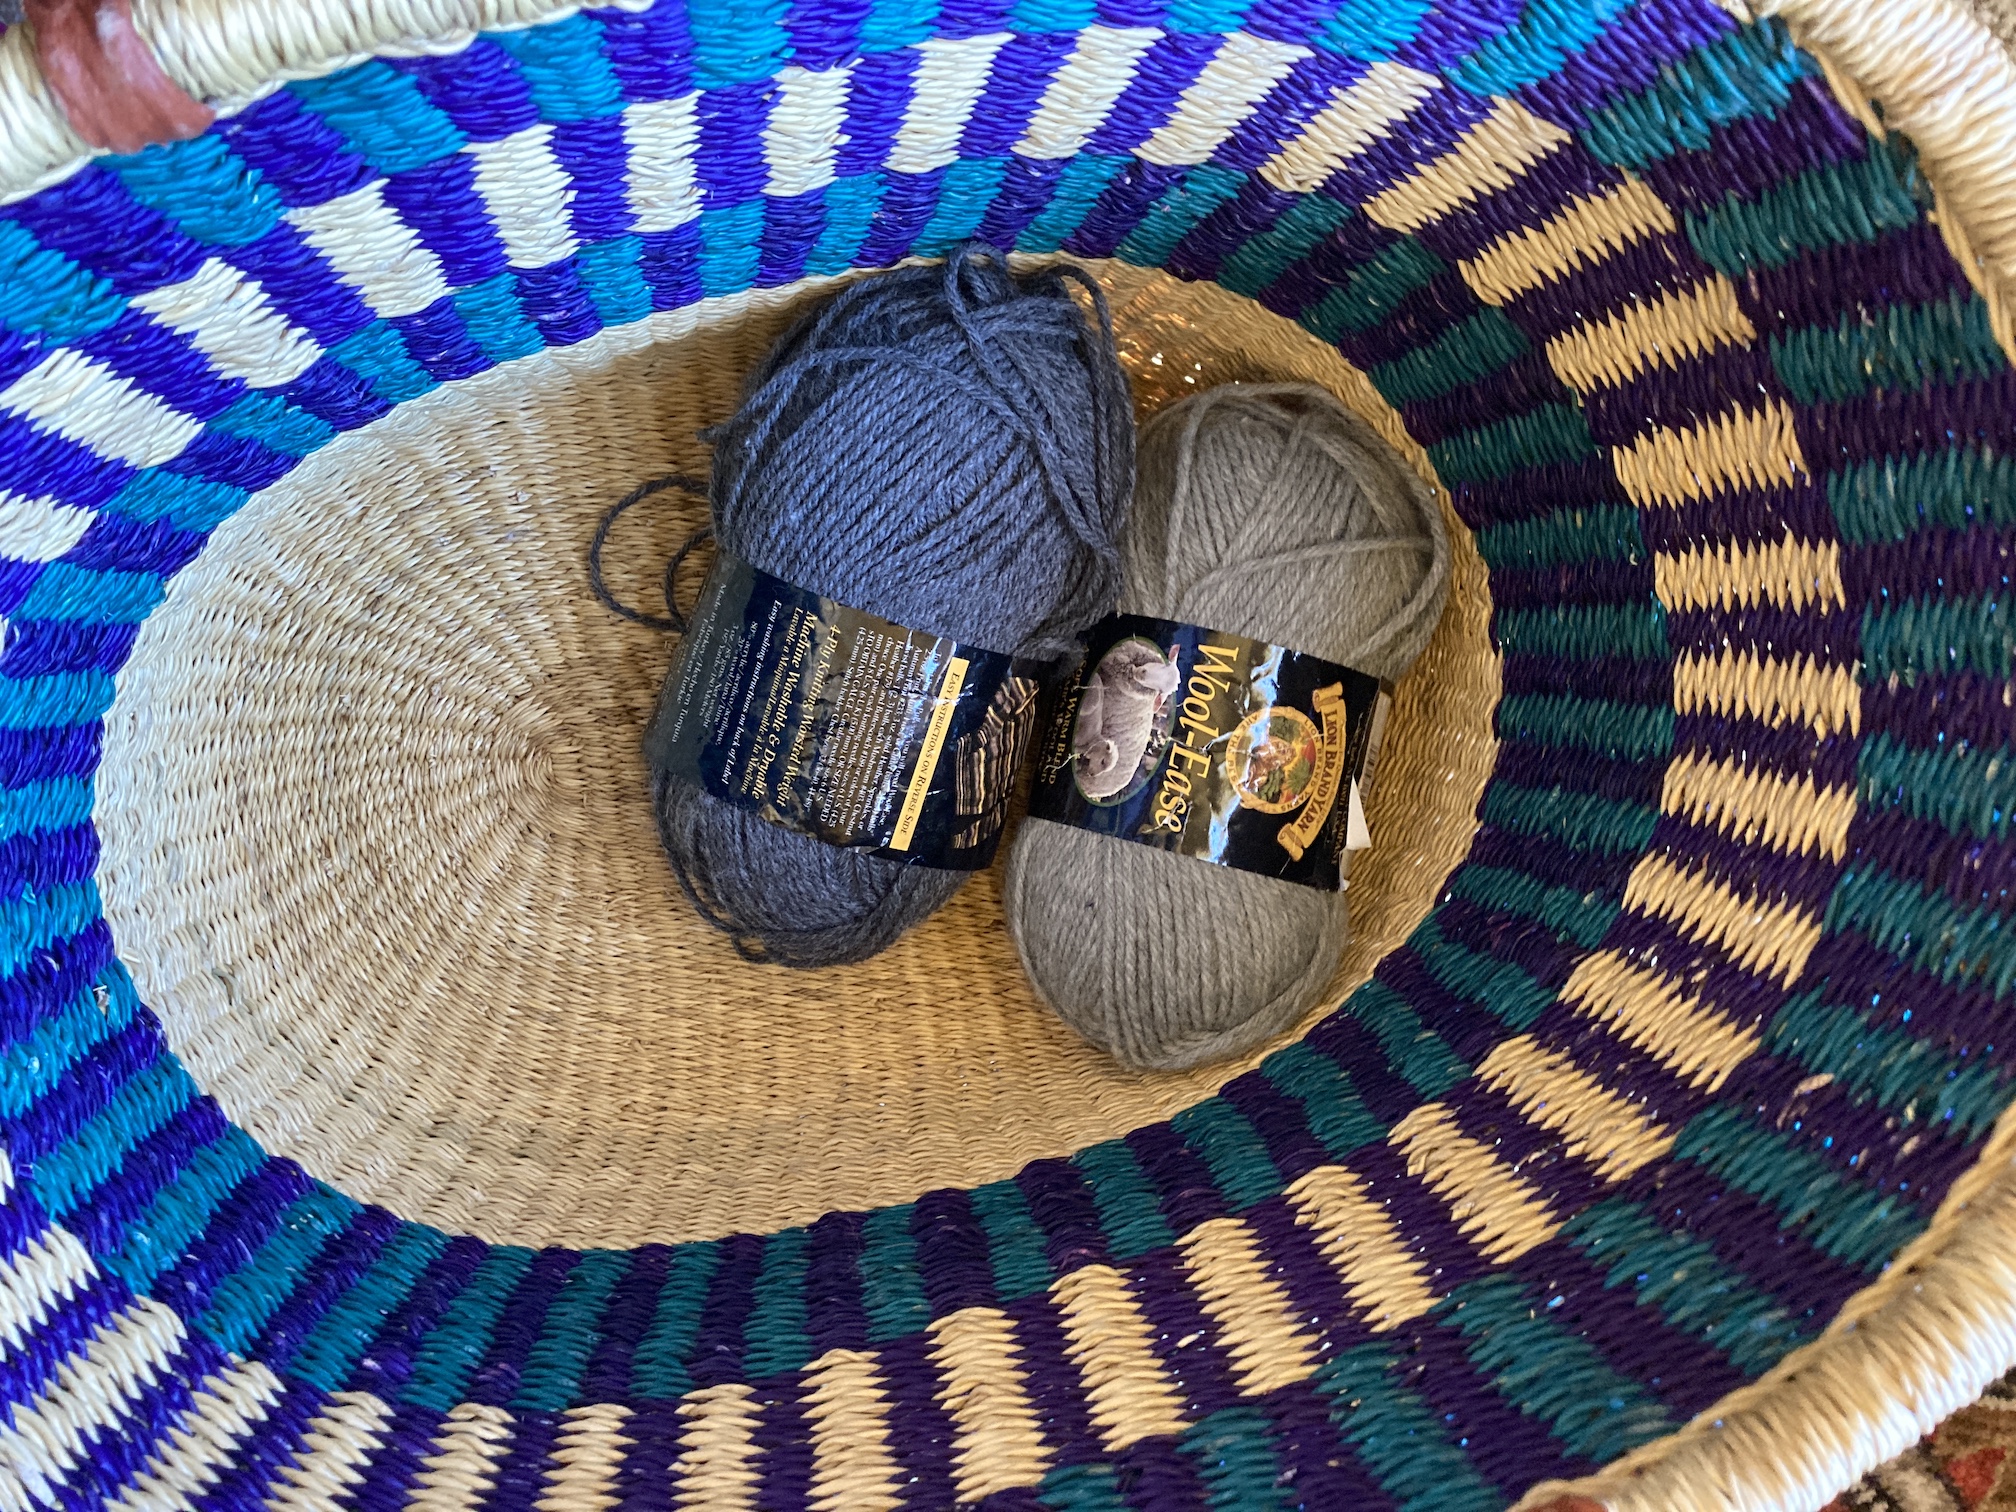
So I really need to conserve my remaining yarn to complete the rest of the blocks. That was once a full basket of yarn! It does feel good to use up 15 – 20 year old yarn I’ve had in my stash.
I did find a YouTube tutorial that I think I am going to use to attached my blocks:
Courtesy of YouTube
I like the join in this one. I have not made my final decision yet and plan to check out some more videos before deciding.
But as I mentioned earlier in this post I am running low on yarn, so what yarn will I use to join the blocks? Well – a couple weeks ago I found a giant skein of dark gray yarn (darker than the gray I am already using) at a thrift shop that I think I will use to join the blocks. Today I auditioned it with a couple blocks:
I plan to try joining a couple blocks as a test with the dark. dark gray yarn and see how I like it. I did take a look around the yarn department of Joann’s Fabrics, the same national chain where I bought the original Lions Brand yarn in Seattle, Washington in the early 2000s, and they did not carry any of the exact yarns I am using. Too bad I think it would have been cool to join the blocks with the magenta color!
Once again Mike the Mini Schnauzer tried out the afghan after I laid it out on the carpet:
He continues to grow impatient with me as he wants to snuggle in and fall asleep in the finished afghan.
When he got up from lying on the blocks one of the block got stuck on his foot and he “rearranged” the blocks a little…
Well that is an update for now, back to working on finishing the last 27 blocks!
Postscript
I am already thinking about my next granny square afghan (not sure when my first one is complete that I can stop the “madness”) and I realized a couple weeks ago I do not have much acrylic or wool-acrylic blend yarn in my stash. I mainly have wool yarns for knitting.
So on my visits to thrift stores to build my home library (future blog post), I’ve also been on the look out for yarn that will work for granny square afghans (acrylic and blends) and slowly building my stash (quite inexpensively):
I found a profound piece of “wisdom” taped to the inside cover of an old journal and wanted to share it with you, in case you also find it inspiring.
I do not know who to credit for this as I had no additional information on where I clipped this from; and when I tried to google it no result came up. So my apologies to whomever wrote these wonderful words I’ve copied below…
Even if storms come, know that they are just on the surface.
Sync your awareness into your own depths where there is always calm. Even if your depths seem dark, they are rich with life. you hold, so much more than you imagine.
You are part of so much more than you realize. You may think you are a small wave but you are an intrinsic part of a large ocean.
I was thinking about a different post to write this post on my morning walk with Mike the Miniature Schnauzer.
The trees have turned and the weather has cooled down and there was a delicious Autumn cool quiet to my walk this morning.
I enjoy listening to either podcasts, audiobooks or music while I walk Mike. This morning I was listening to music and one of my all time favorite songs queued up on my playlist – Why Worry by Dire Straits from of one of my favorite albums of all time – Brothers in Arms.
In the back of mind lately, always swirling around, are thoughts of the craziness going on in the world. Listening to this song gave me pause.
So I decided to save the post I was going to write today for tomorrow and instead share this song with you and maybe it can give you a little pause too if you have a lot of “thought swirling” going on in your head…
Courtesy of YouTube
Baby, I see this world has made you sad Some people can be bad The things they do, the things they say
But baby, I’ll wipe away those bitter tears I’ll chase away those restless fears And turn your blue skies into gray
Why worry
There should be laughter after pain There should be sunshine after rain These things have always been the same So why worry now Why worry now
And if you’d like to see a lovely live version of the song in a Mark Knopfler duet with the exquisite Emmylou Harris, here you go…
Courtesy of YouTube
I thought my soul would float away from peacefulness listening to this…
By the way if you enjoyed this duet they have a brilliant album together that I highly recommend (it’s in my music collection) – All the Road Running.