I consider myself an organized person. I try to keep everything nicely organized in my crafting area.
However it is just organized clutter.
In two recent posts Quilting Studio Archaeology and Quilt Studio Closet Purge I discuss going through the stuff in my sewing area with a critical eye and beginning to purge. Perhaps “quilting studio archaeology” is not the most appropriate term as over the past couple of days I have been engaged in Crafting Archeology.
You see, I am not just a quilter. I am also:
- A paper crafter (card making)
- A beader/jewelry crafting
- A knitter
- A crocheter
- A small fabric craft maker (bags, potholders, pillows, etc.)
- A various miscellaneous crafter (like my foray into felting…)
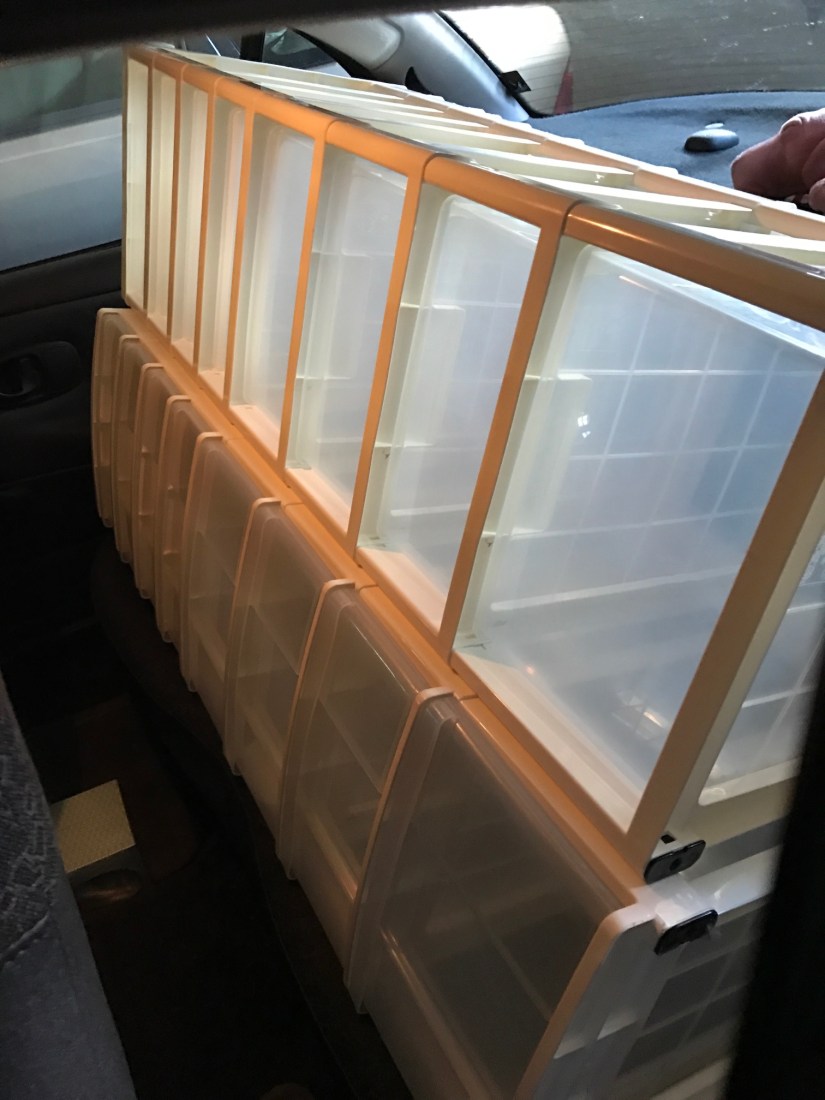
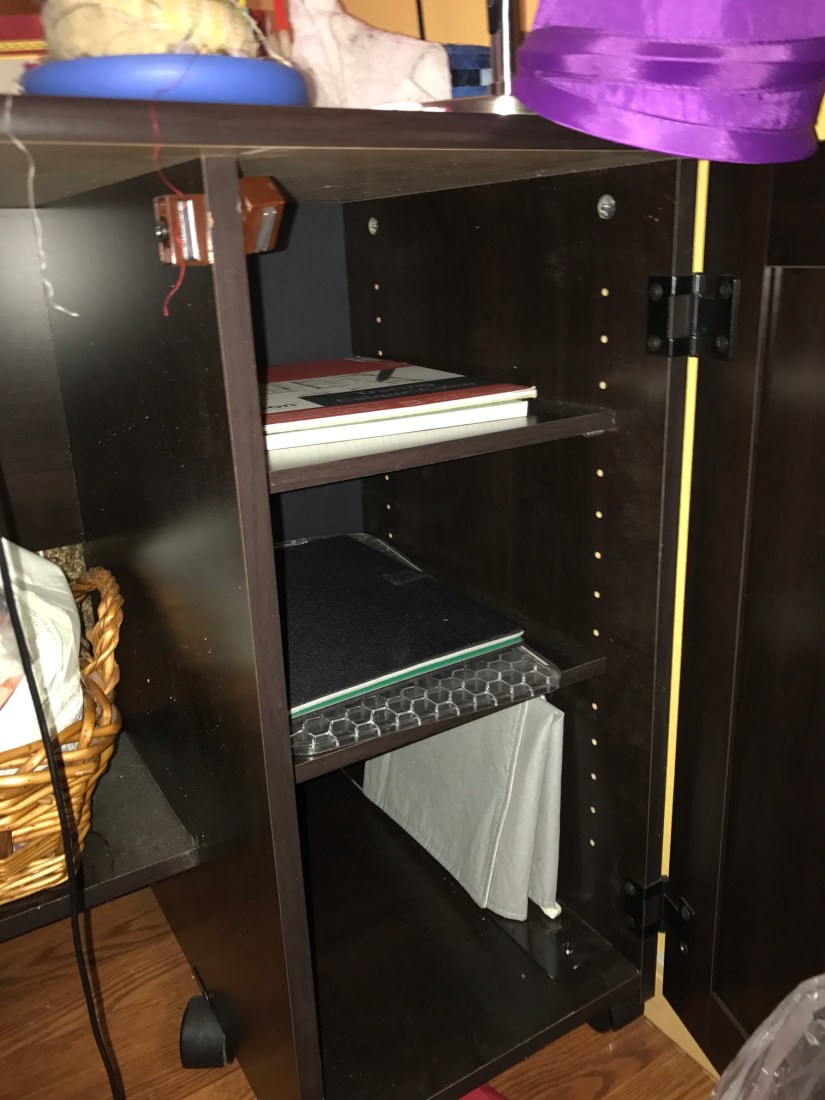
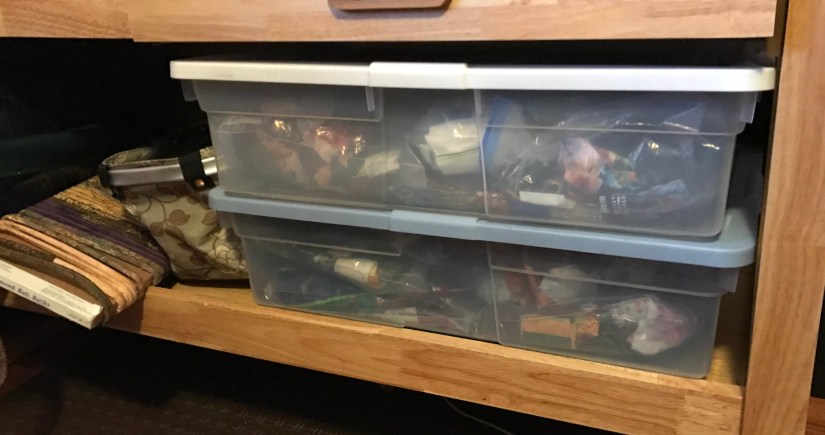
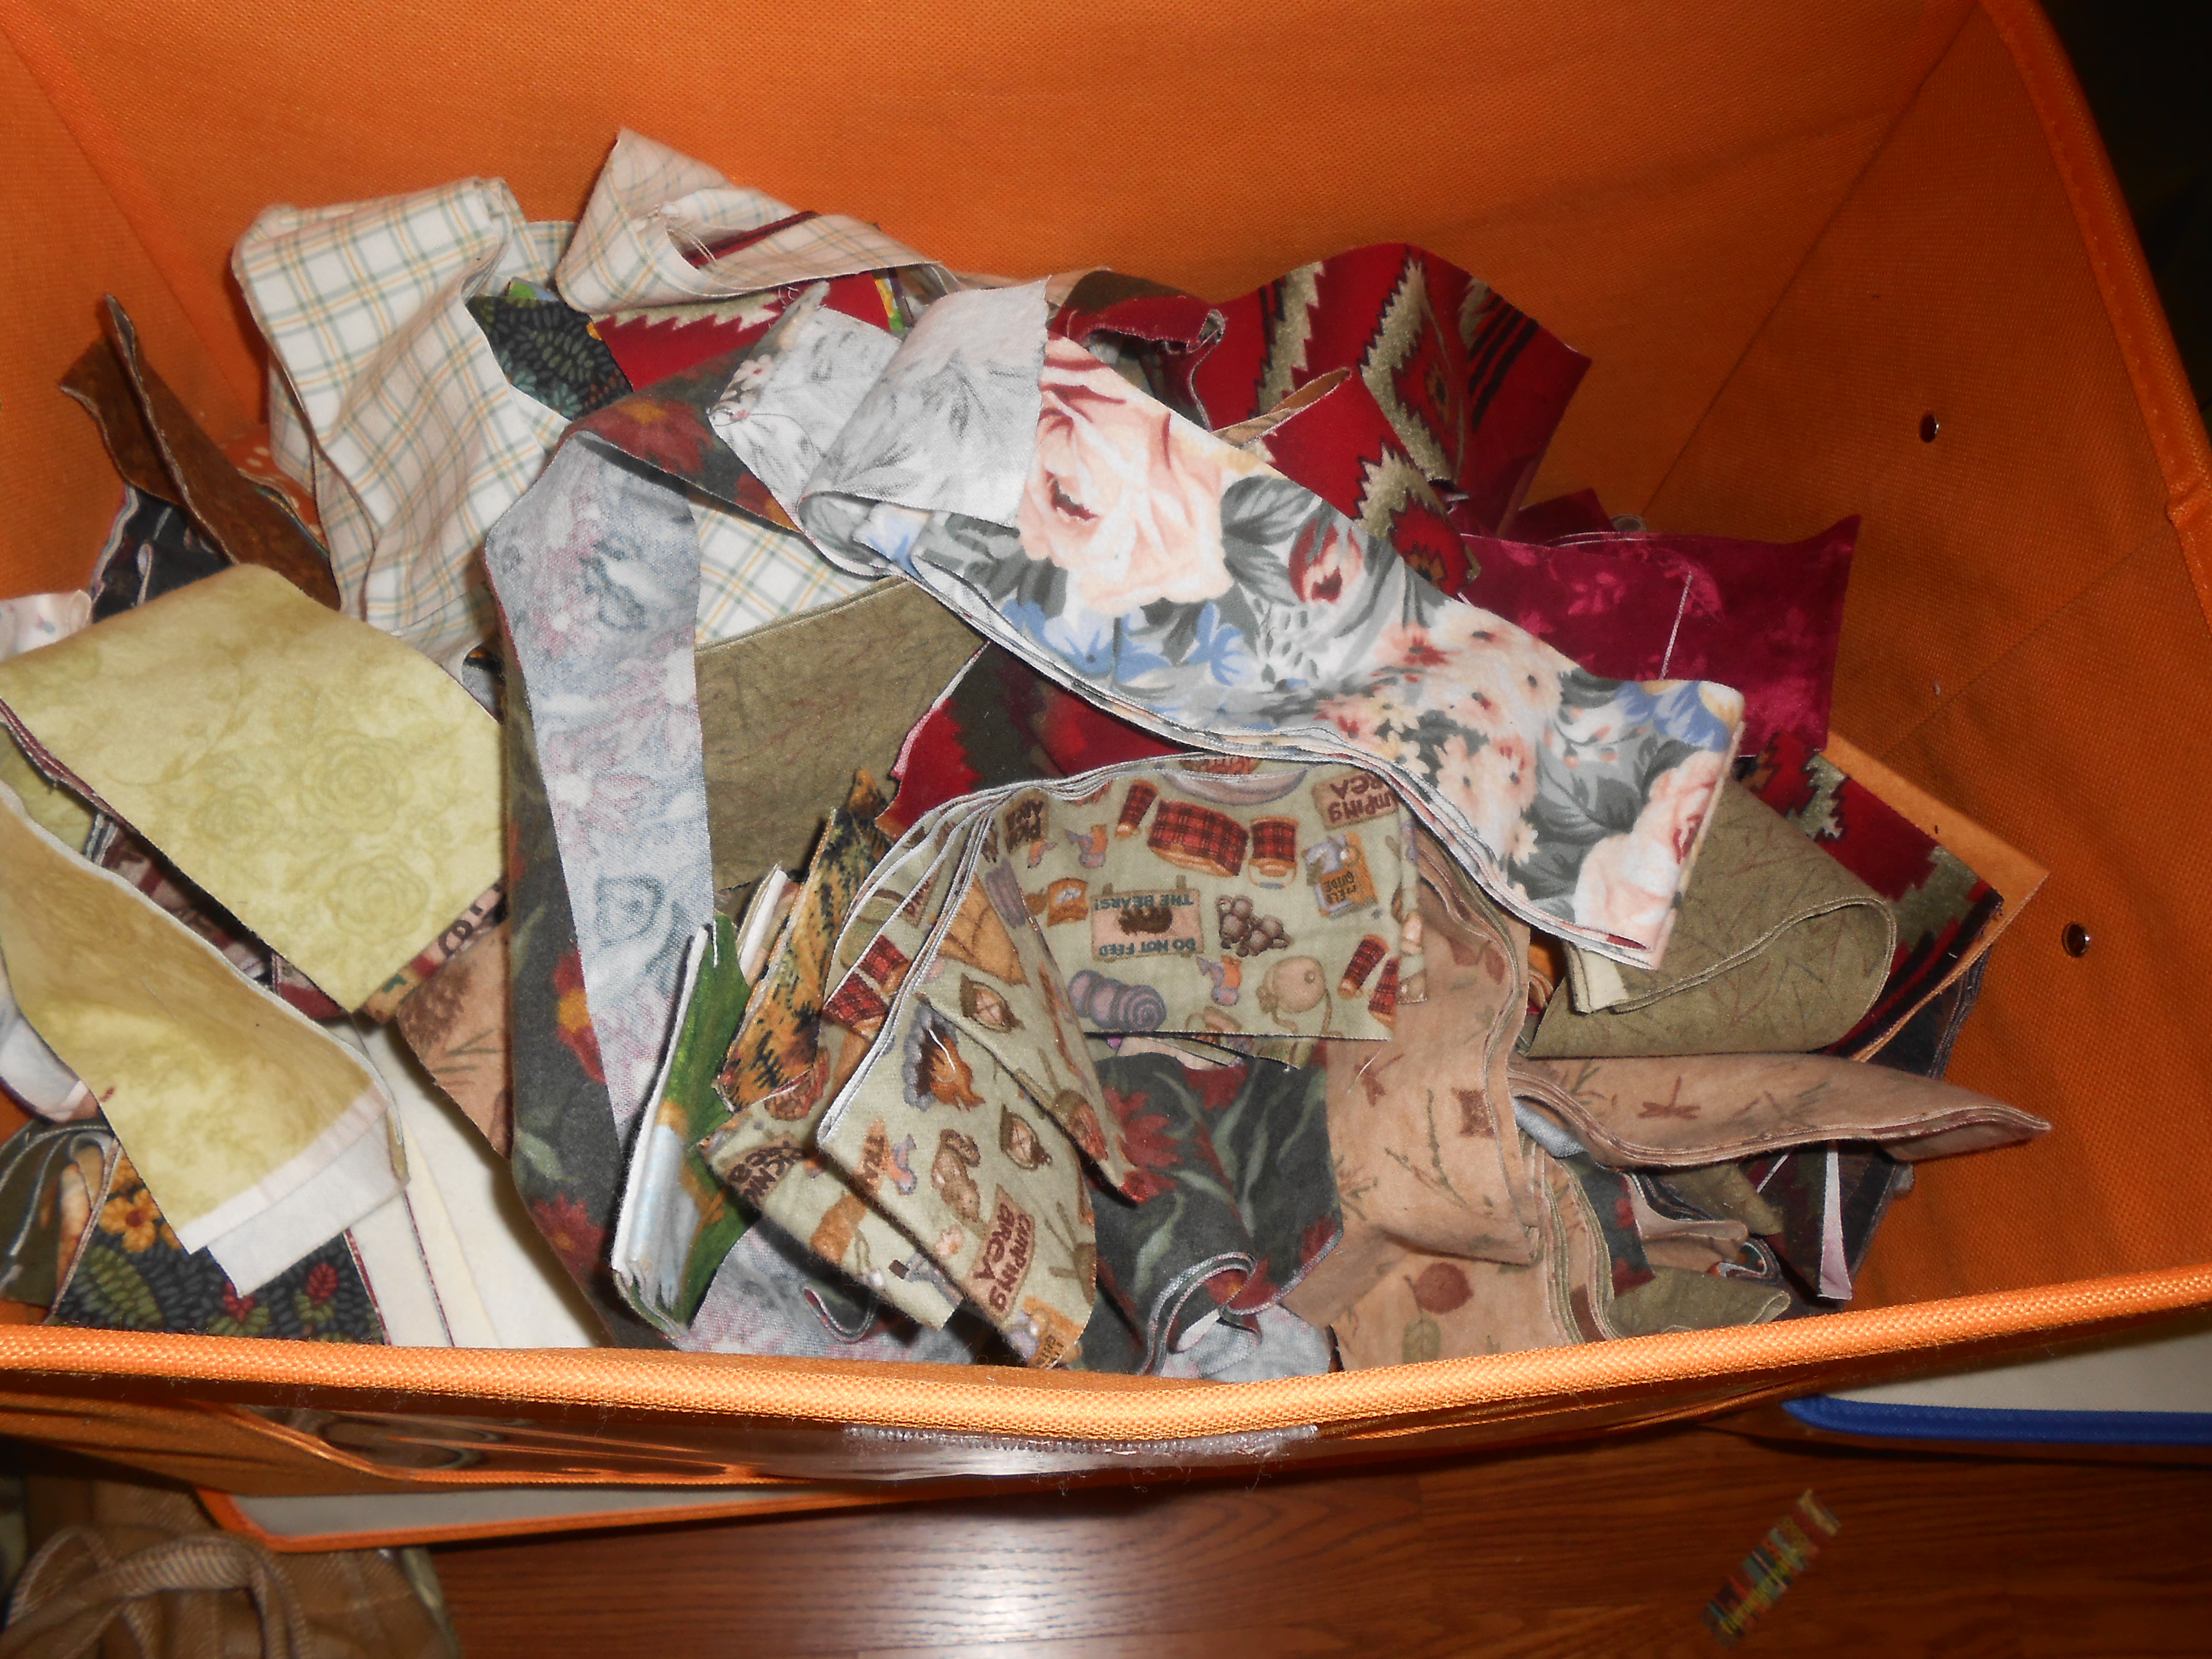
Each craft involves related paraphernalia and supplies. I had all of them organized in the closet in my studio, along with sewing fabric:
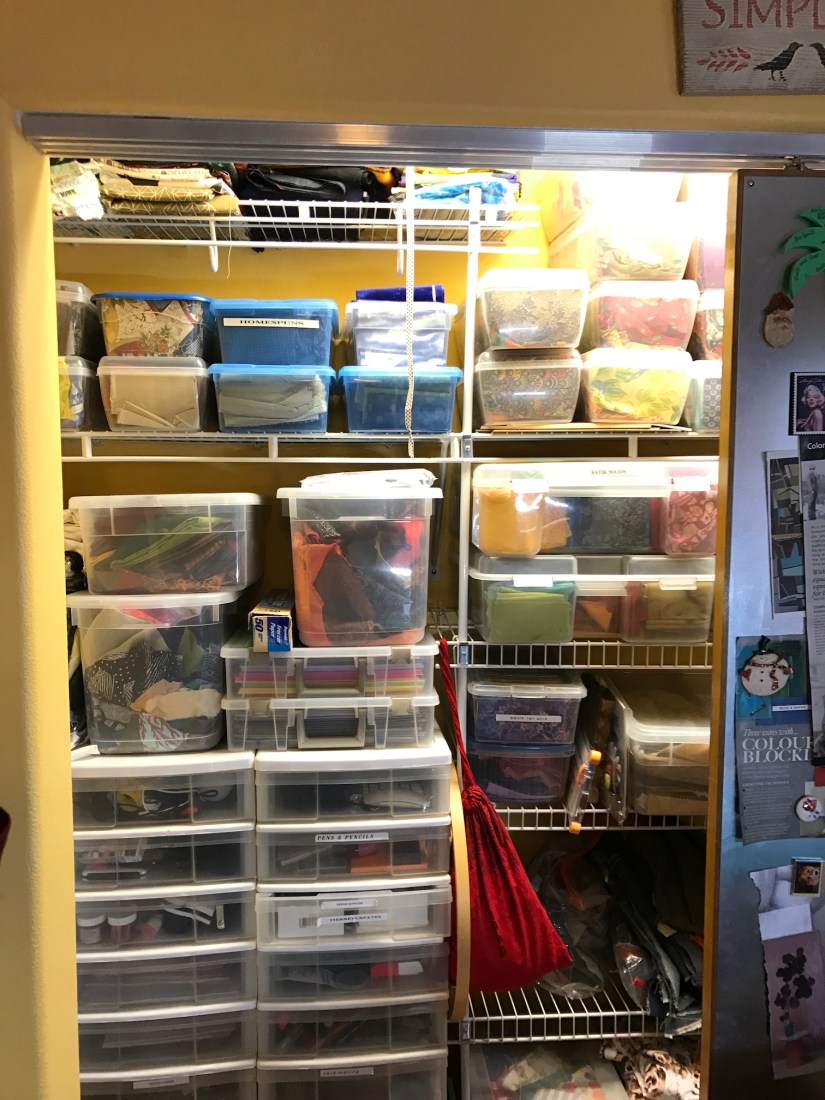
Above the closet doors is this a painted sign a friend gave me as a gift – Simplify. I kept this is mind as I go through everything left in the closet and make some honest decisions. I had already purged my unloved knitting, crocheting, and beading supplies. I have avoided until now my card making supplies, random crafting supplies and my fabric fat quarter storage.
Papercrafting Supplies
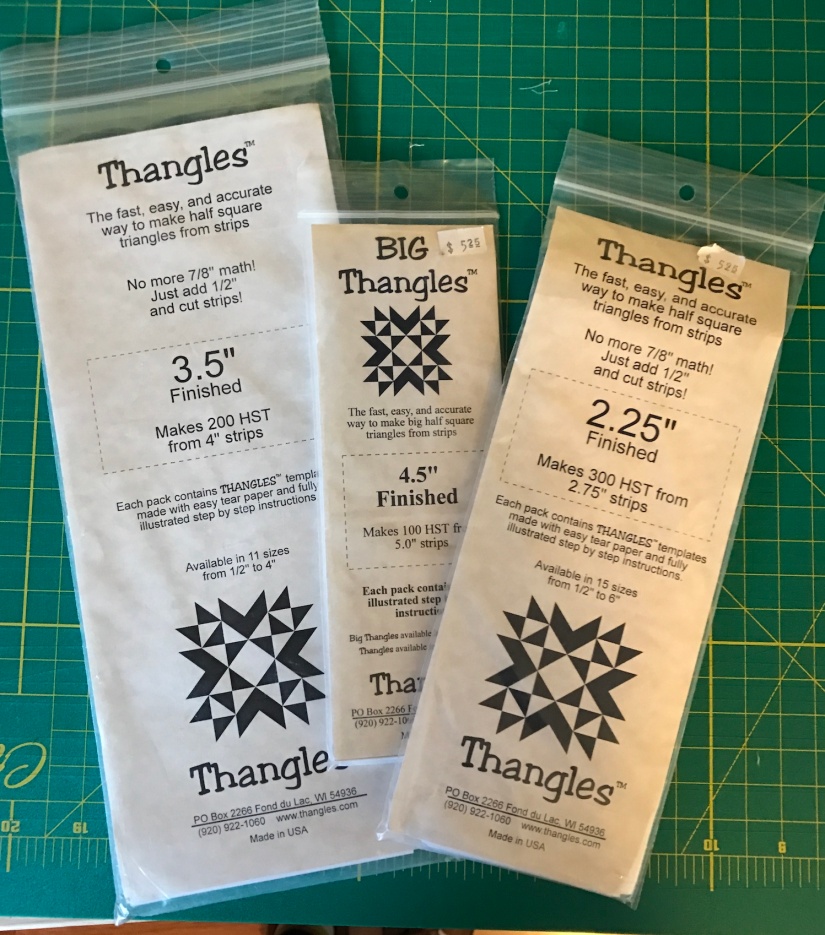
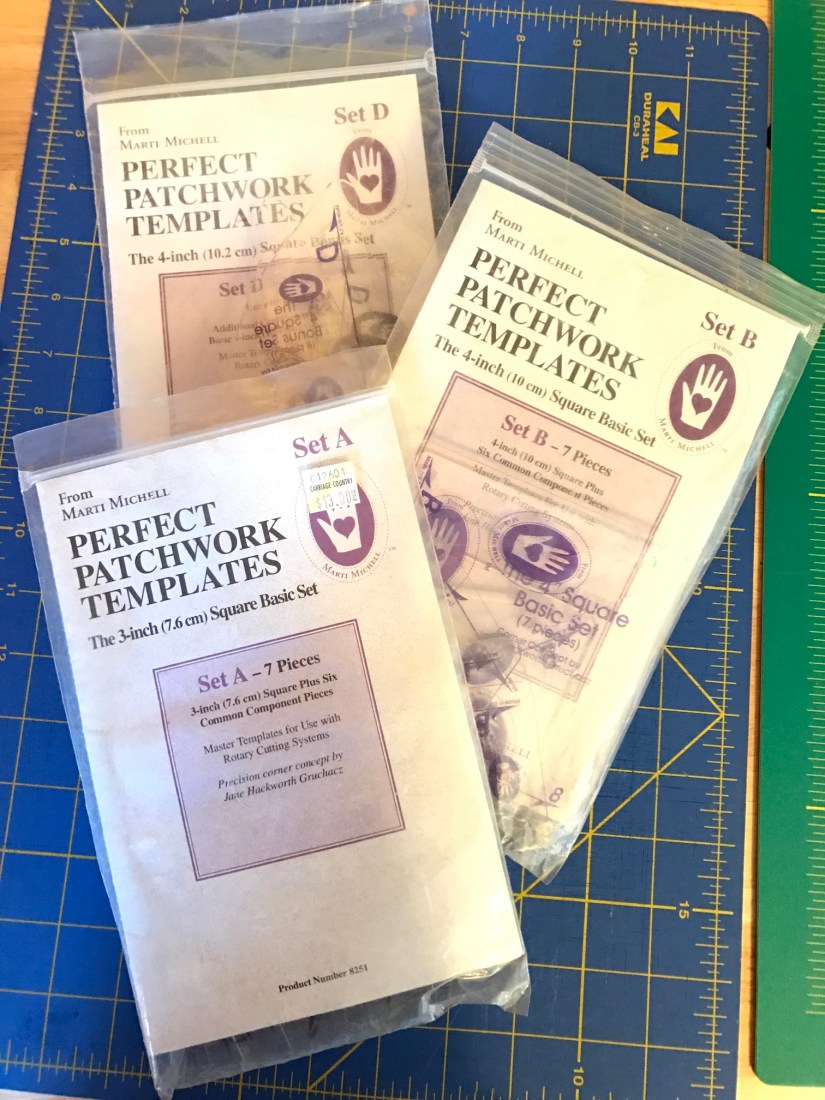
Between making cards and scrapbooking I have acquired quite a bit a paper and paper crafting supplies.
Over the past couple of years, on my journey towards embracing the minimalism movement and only have in my life that which brings me joy, I have donated a large amount of paper crafting supplies. I completed a huge project in 2015 – all my loose photos were either put into a scrapbook or discarded. I have no more loose photographs.
When I completed this massive scrapbooking project, I decided to give up paper scrapbooking. If I craved another scrapbook in the future, I would have a digital scrapbook professional created.
However I had not decided what to do with my card making paper and supplies. I did sell a set of handmade cards on Etsy a couple years ago and I still like making handmade cards.


Initially my plan was to just box up all my card making and remaining scrapbooking supplies and donate them all. However the I am continually inspired by the beautiful paper crafts I see on blogs I follow such as PaperPuff (paperpuff.wordpress.com) and I want to continue to make cards.
So here was the compromise…
What I kept:

What I let go:

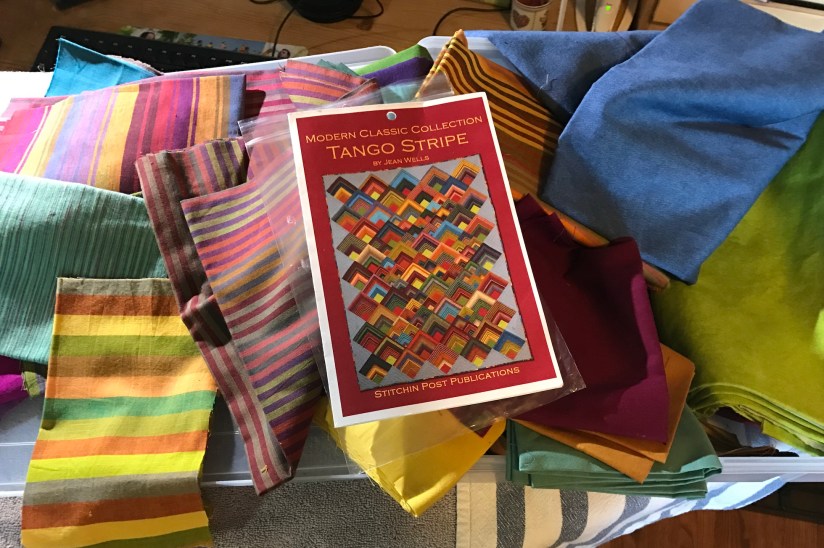
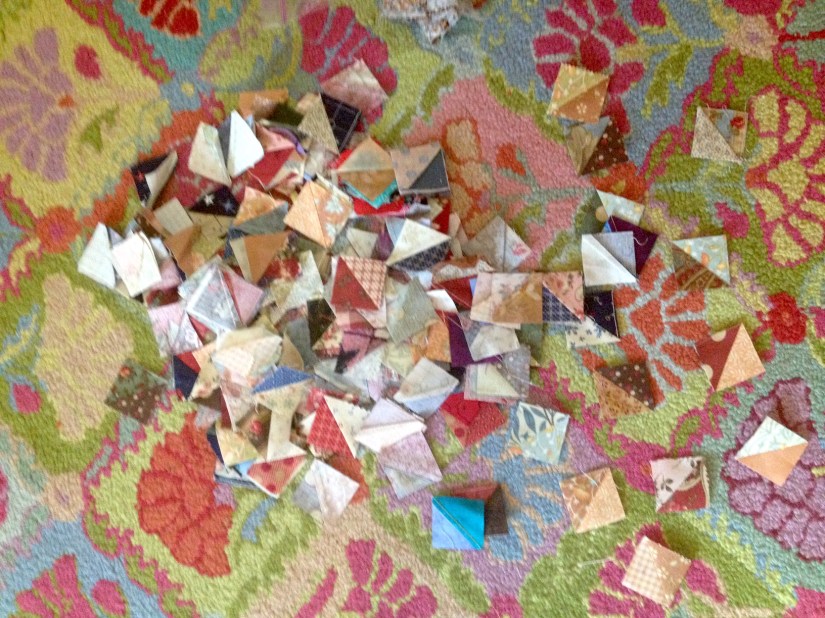
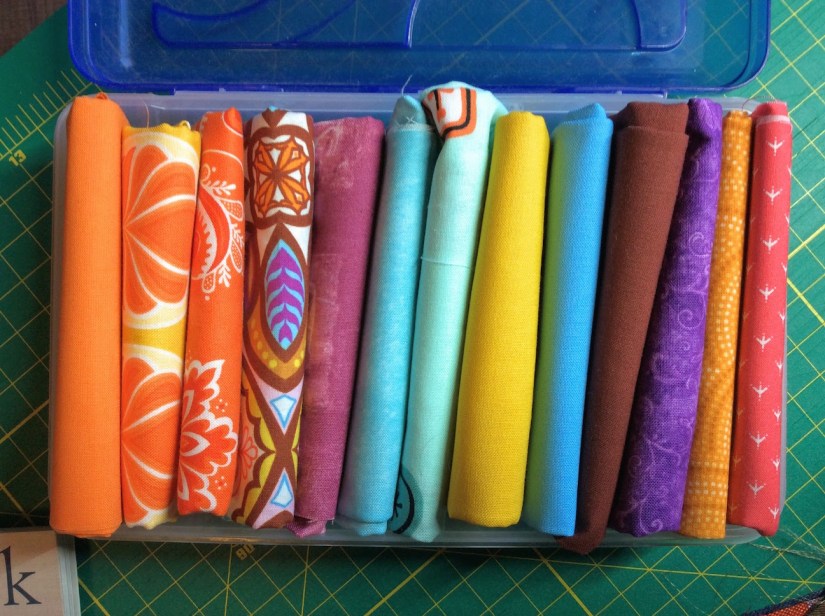
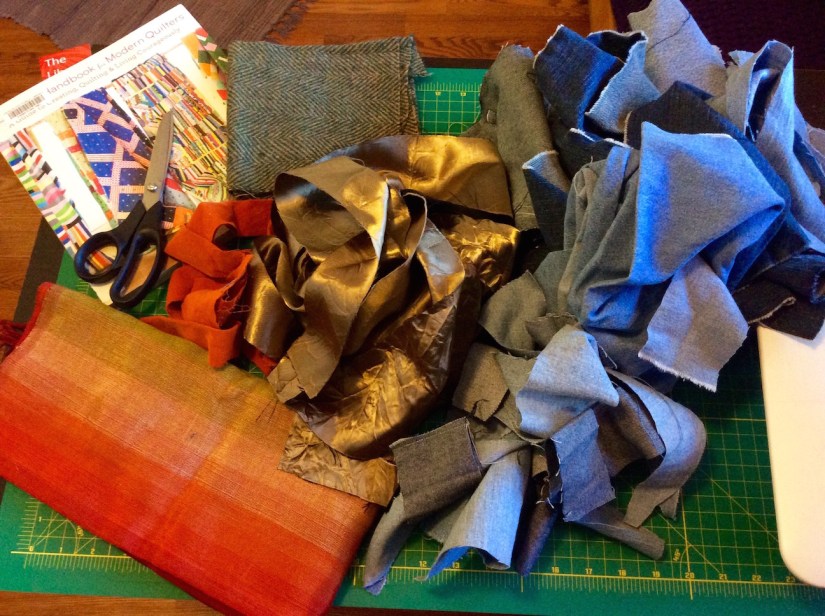
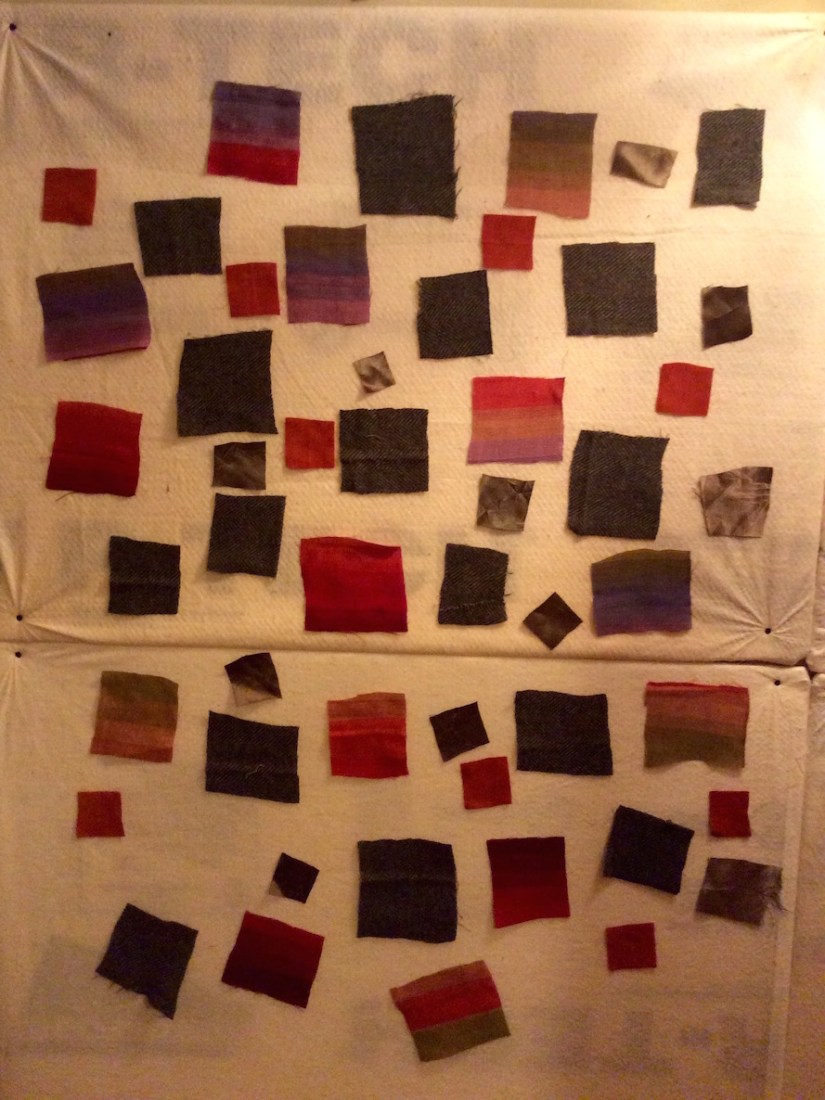
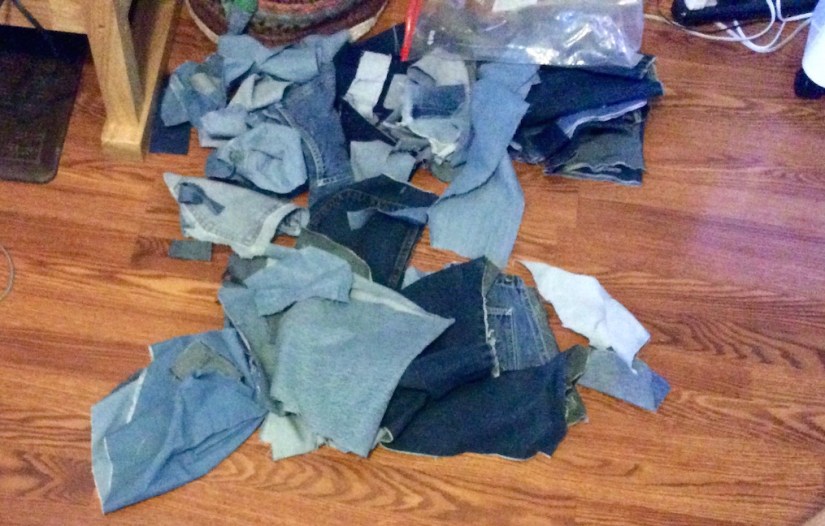
Next post, I will continue sharing my archeological dig and purge; and talk about my “Fat Quarter Pathology” and the big decisions made around my obscene collection of pre-cut fabric/fat quarters.
Postscript
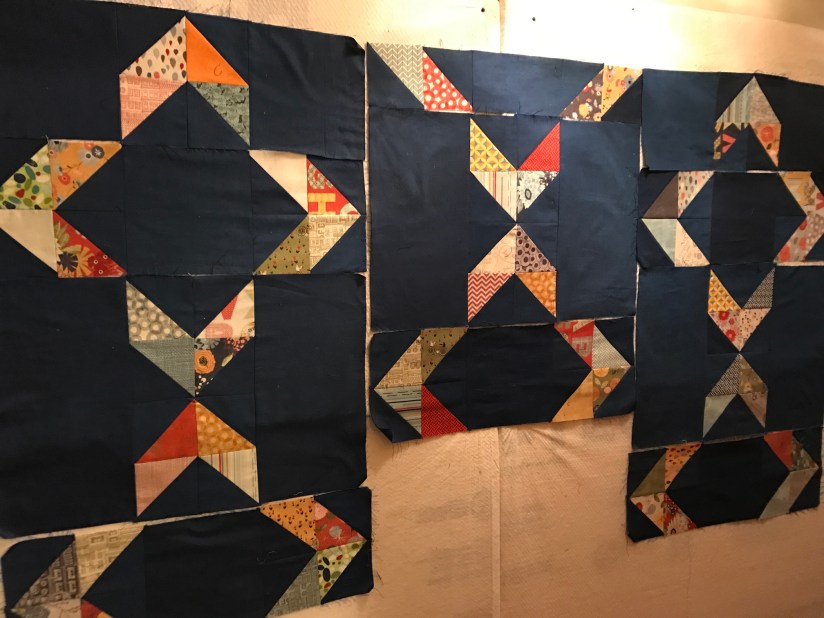
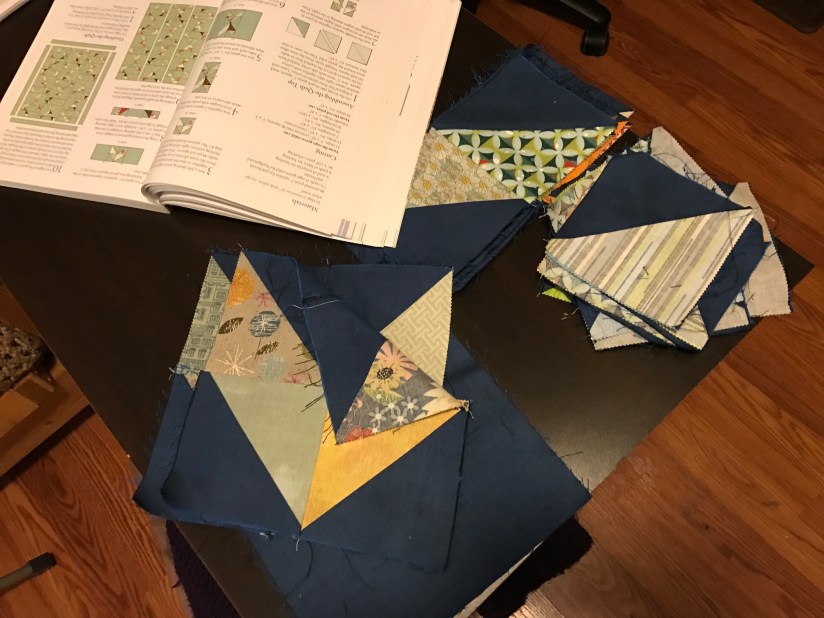
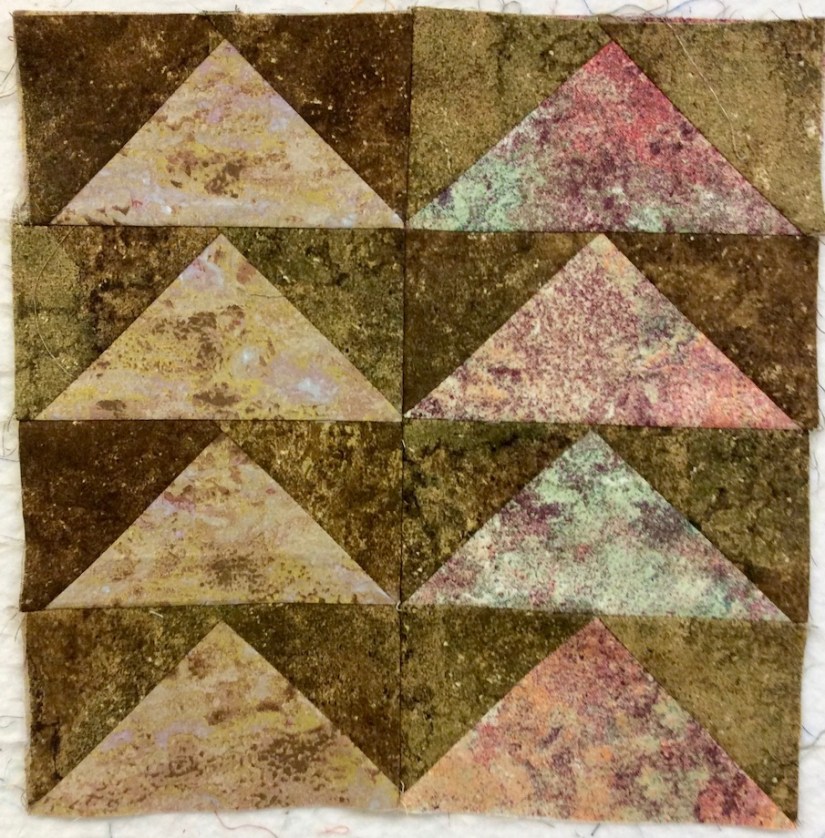
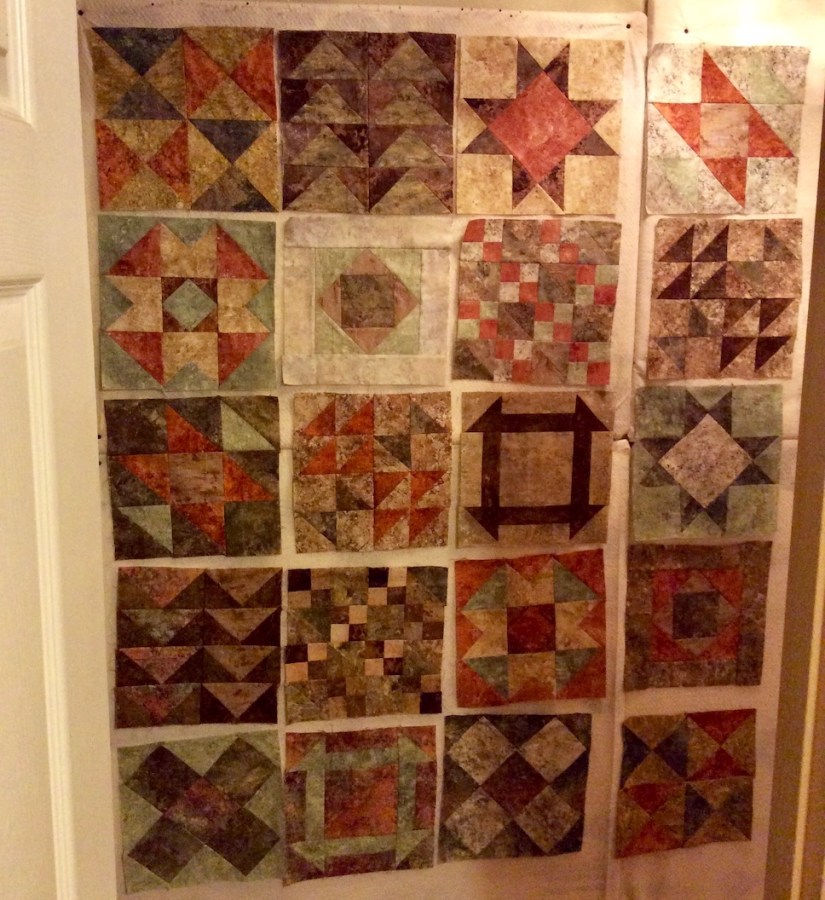
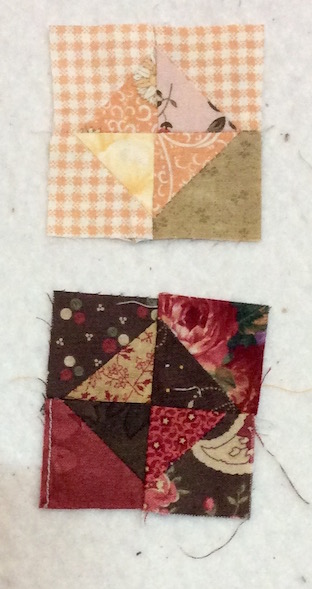
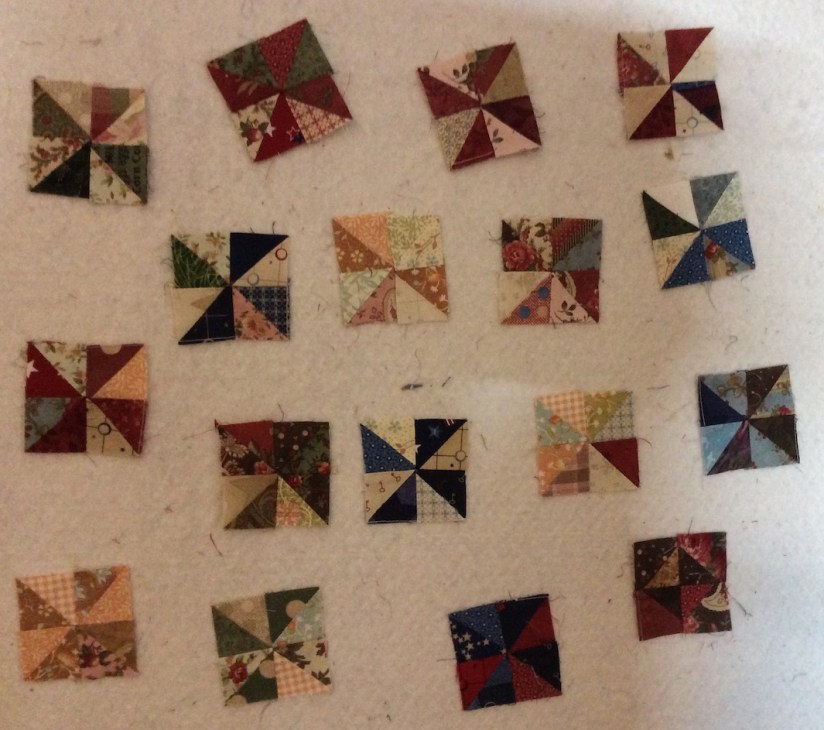
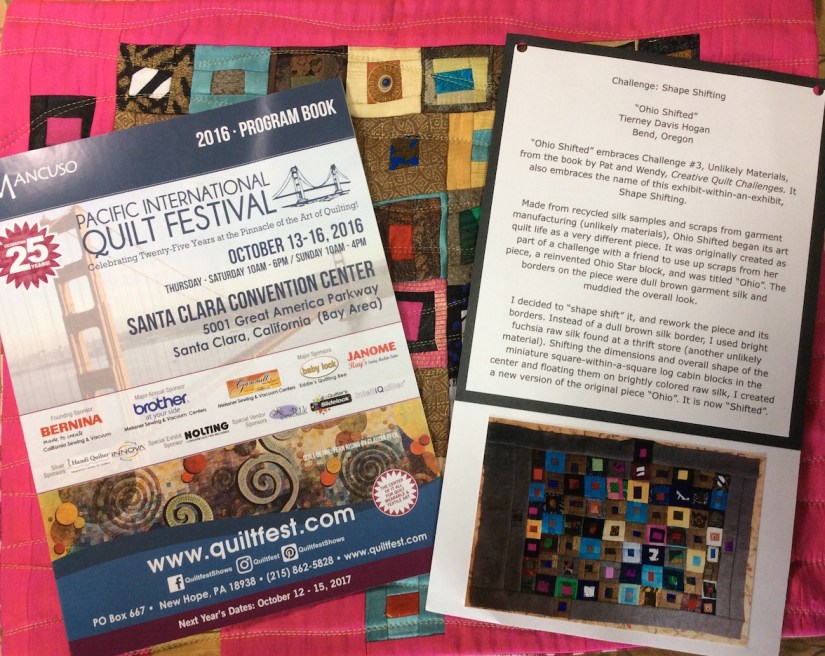
I am waiting until I have a couple more blocks done to provide an update on my Farm Girl Vintage blocks (see posts Farm Girl Vintage, Part I and Farm Girl Vintage, Part II and Recent Audiobook Delights). I just finished on called “Chicken Feet”.
One of my blogging buddies is also working on Farm Girl Vintage – check out peggycooperquilts.com for her blocks (she has made much further progress!)
Monday 3/6/17 is my last week of my 28 day Fast Metabolism Diet (FMD) that I shared in previous posts. I do not like scales but I feel like I have lost at least 5 – 10 pounds. When I have my annual wellness exam with my MD in April I will find out the official number.
My clothes are definitely looser and I feel great. I am looking forward to having a little dairy when the 28 day program ends!
Check out Sassy the Highly Opinionated Miniature Schnauzer’s posts on her Schnauzer Snips blog – schnauzersnips.wordpress.com/blog/
Feature photo credit: Russell Hugo, free images.com