I keep getting away from blogging as I seem to be having a very busy summer. We just returned from Chicago where we met up with my brother and his family for the weekend. Tomorrow my sister arrives and we go on a road trip to celebrate her birthday for a couple days and I show her a little of Colorado. Then the following week I head to a quilt retreat on the Washington coast.
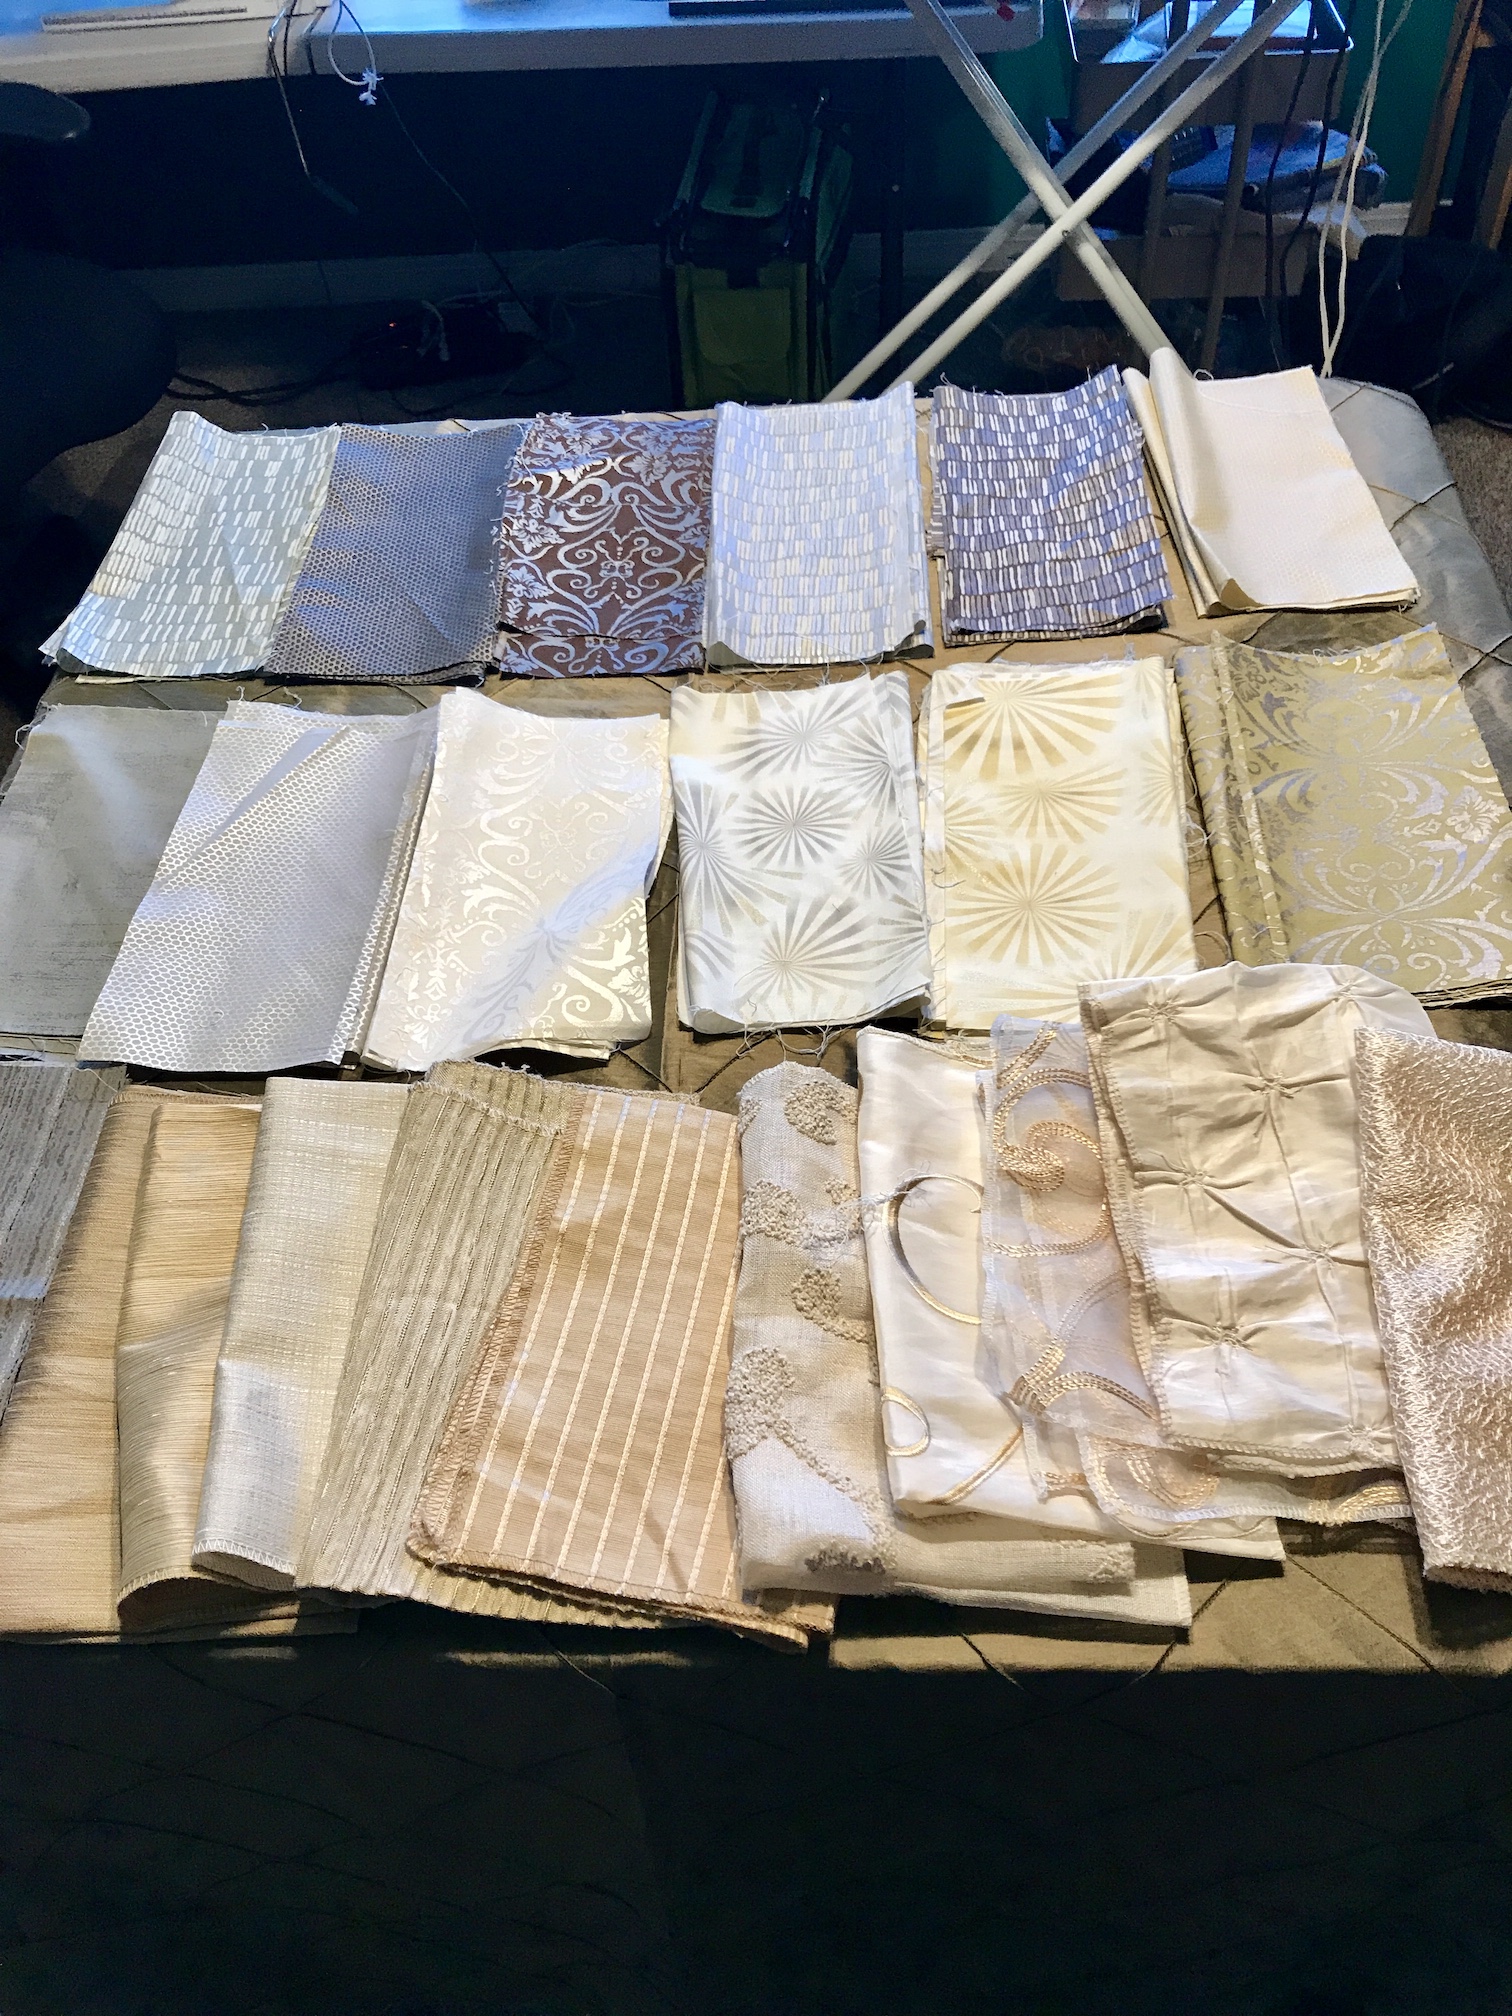
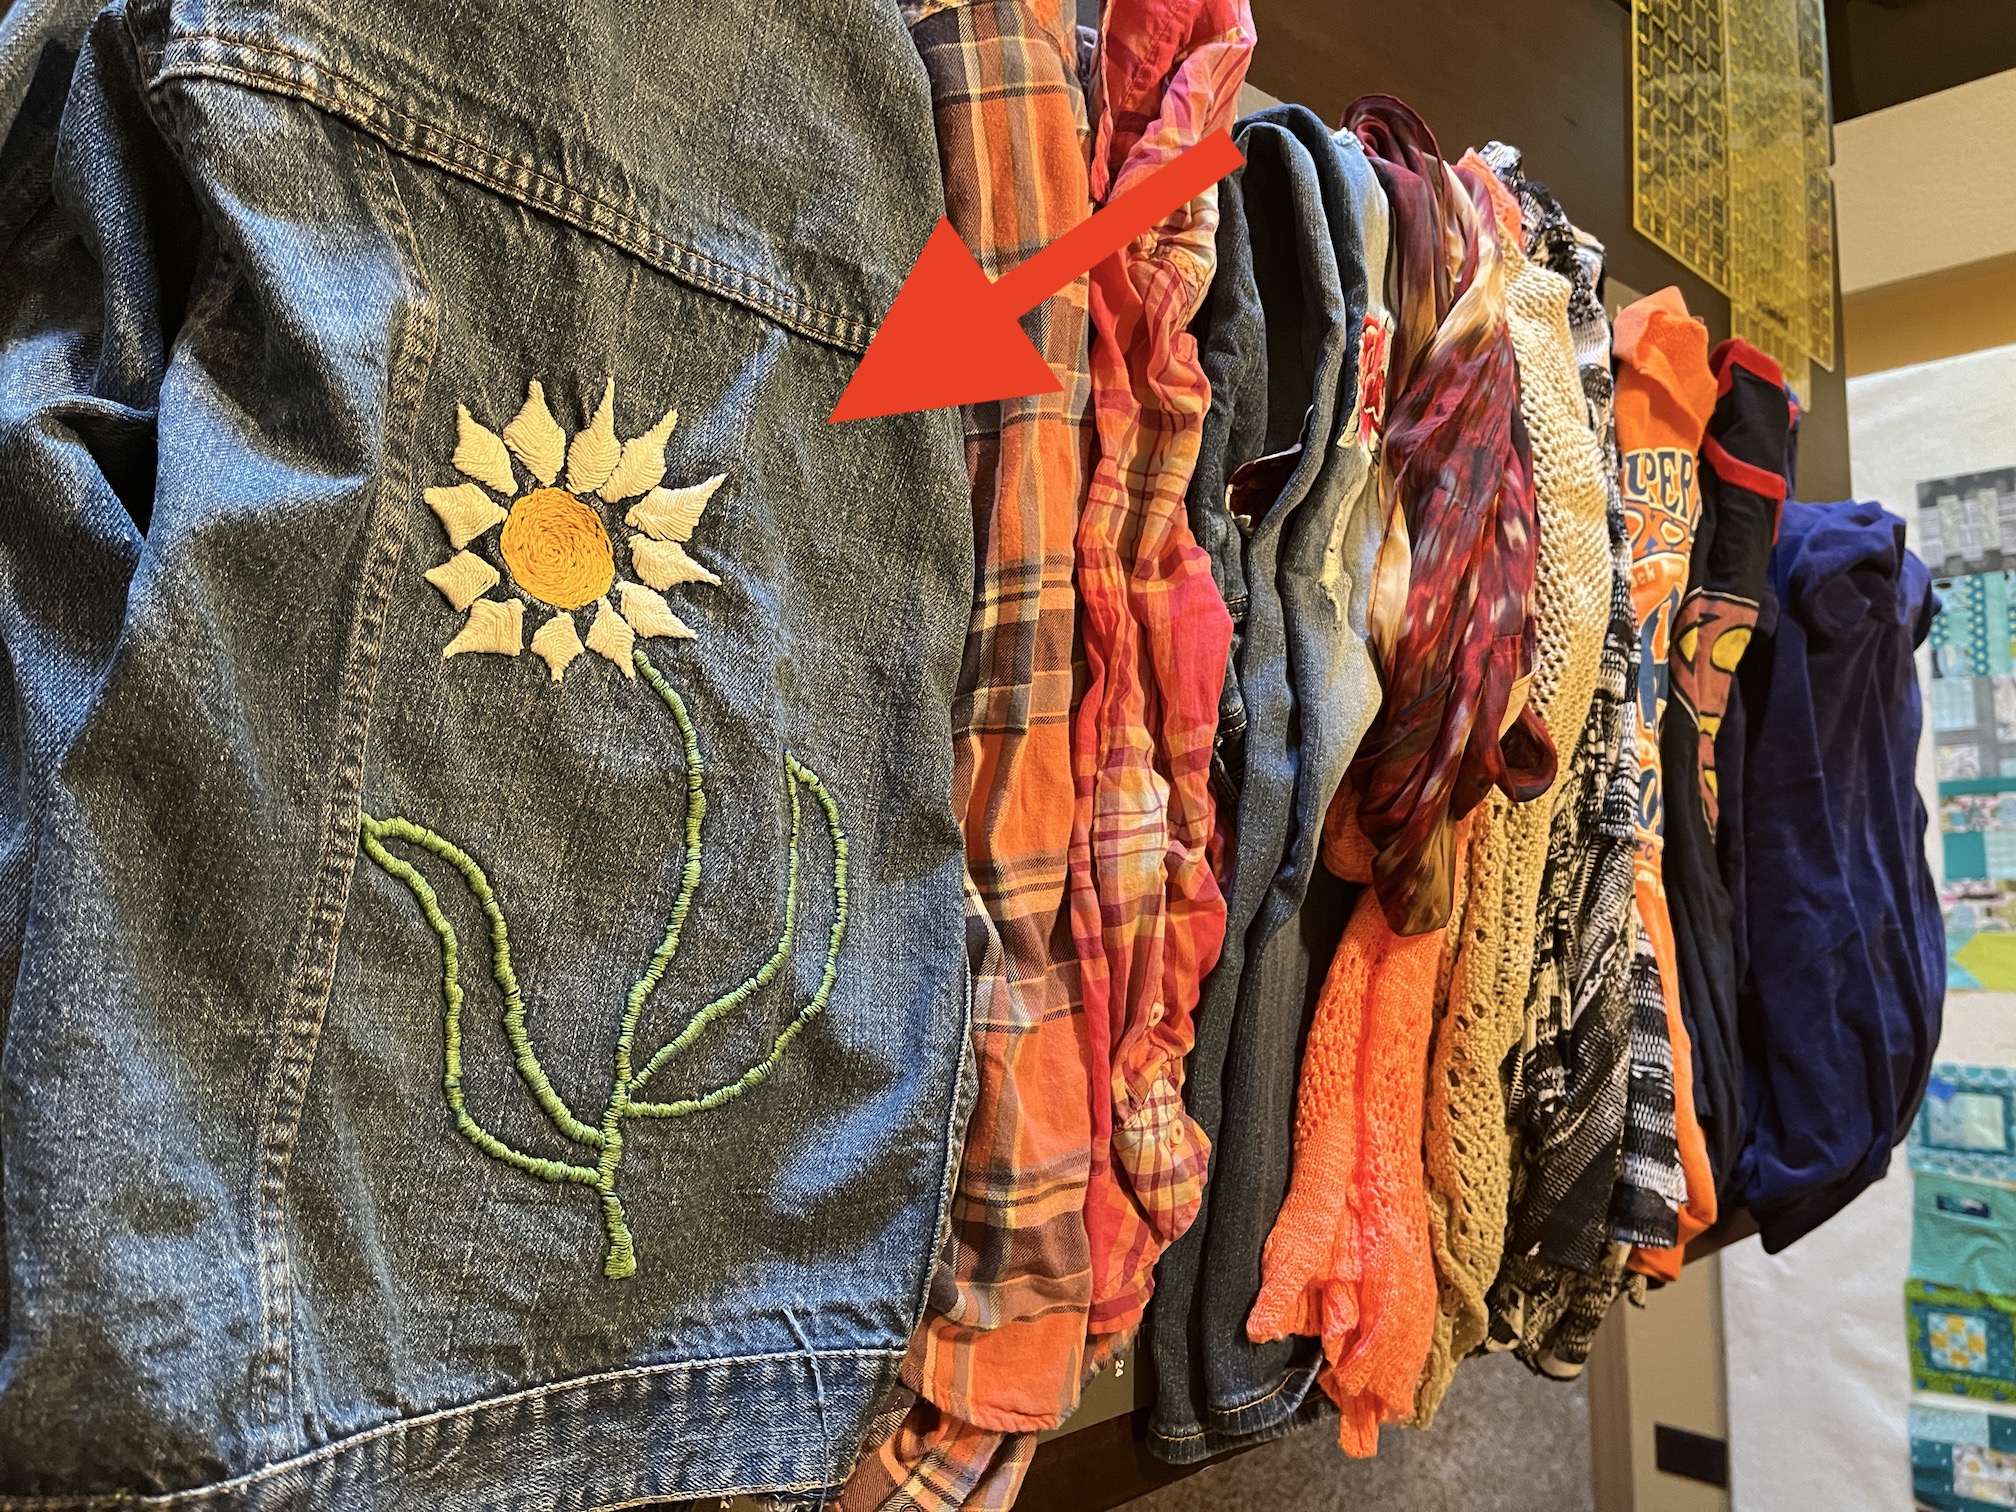
I did in between traveling, get the quilt top done on the quilt I discussed in the post The Challenge… , of my friend’s late mother’s favorite clothes that she asked if I could turn into a quilt. As I shared in that post, here is what I started with:

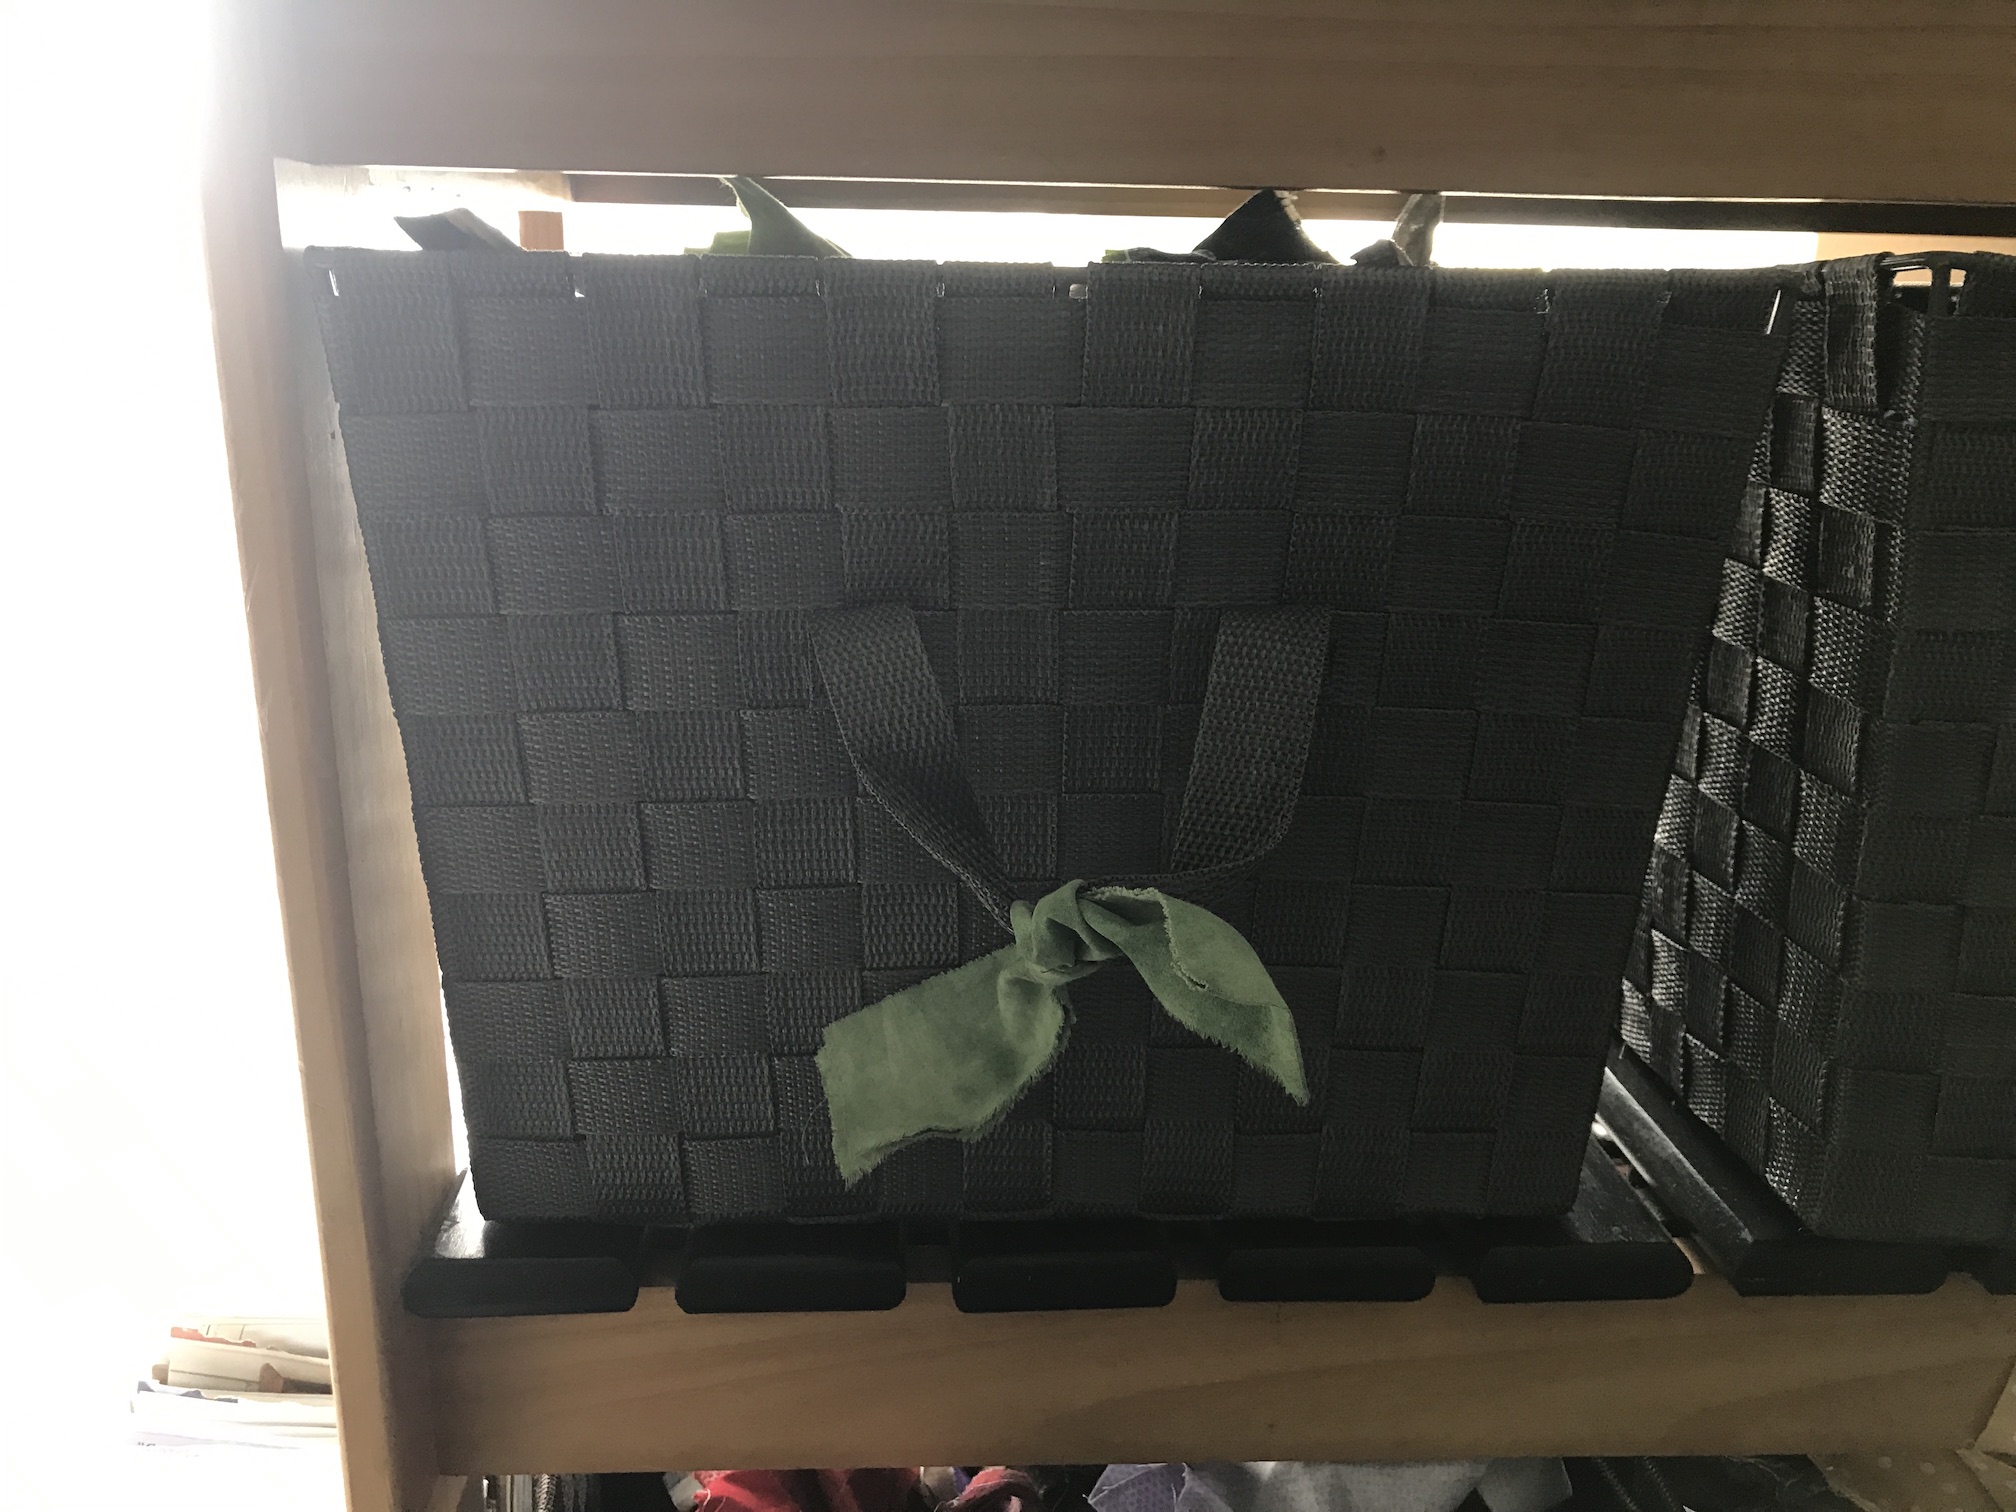
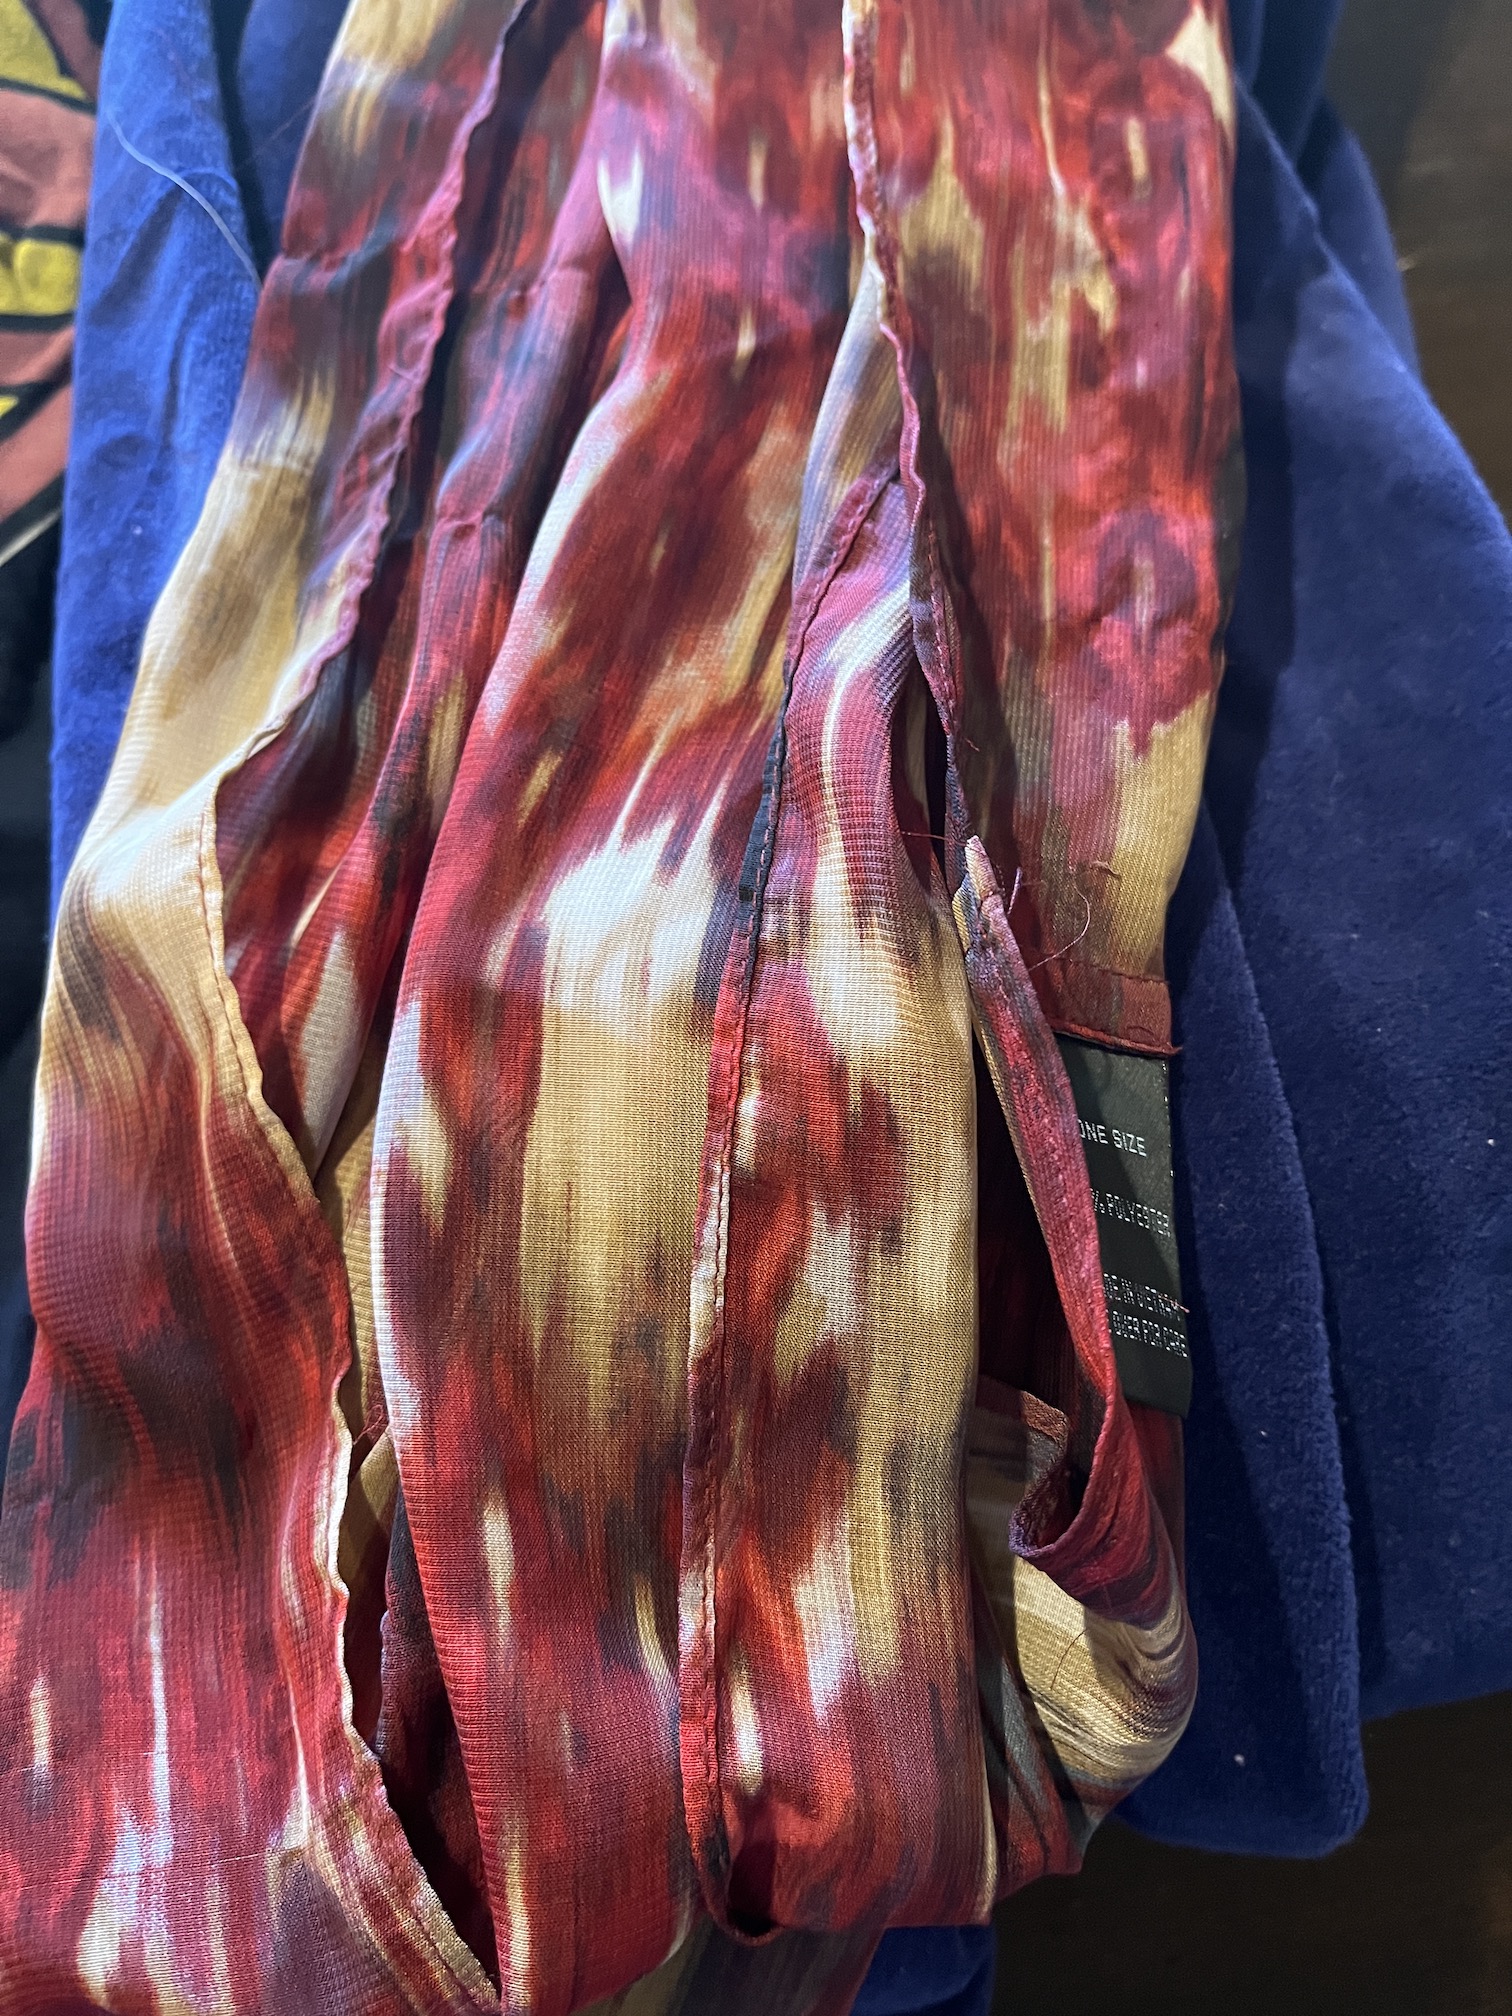
The sweatshirt, T-shirt, jean jacket, jeans and shirts did not scare me. The sweaters, scarf and the velour robe did!
I bought woven interfacing (like 12 yards of it) and fused it to all the deconstructed clothing (my first step was to deconstruct the clothing).

I was able to pull out the logos on the t-shirt and sweatshirts; and embroidery on the jean jacket. After fusing all the non denim fabrics to the woven interfacing, I was able to cut them into 5.5 inch x 5.5 inch blocks and create 10.5 inch by 10.5 inch 4-patch blocks.
What to do with these sweaters?

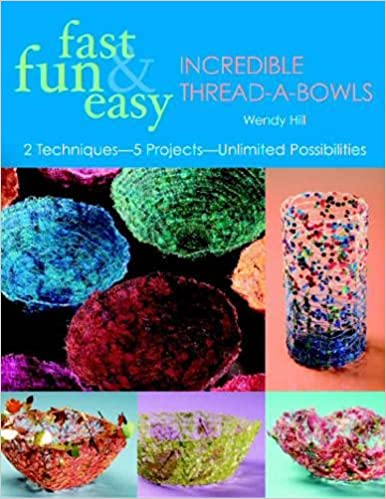
I did consult with my friend Wendy who suggested Solvy, a water soluble stabilizer. Wendy has a lot of experience with Solvy. Wendy did a little workshop for me at her house years ago and I made a little thread bowl with thread scraps like in her book Fast, Fun & Easy Incredible Thread-A-Bowls: 2 Techniques-5 Projects-Unlimited Possibilities. I still had a sample of it that she gave me.
Solvy is a little on the messy side and I decided to just try using the woven interfacing on a section of one of the sweaters as a test. It worked, not perfectly, but good enough. I was able to cut some hearts out of one of the sweaters, and then fuse the heart to a 10.5 inch by 10.5 inch block and satin stitch it down:

I did not use the other two sweaters, I am returning them to my friend.
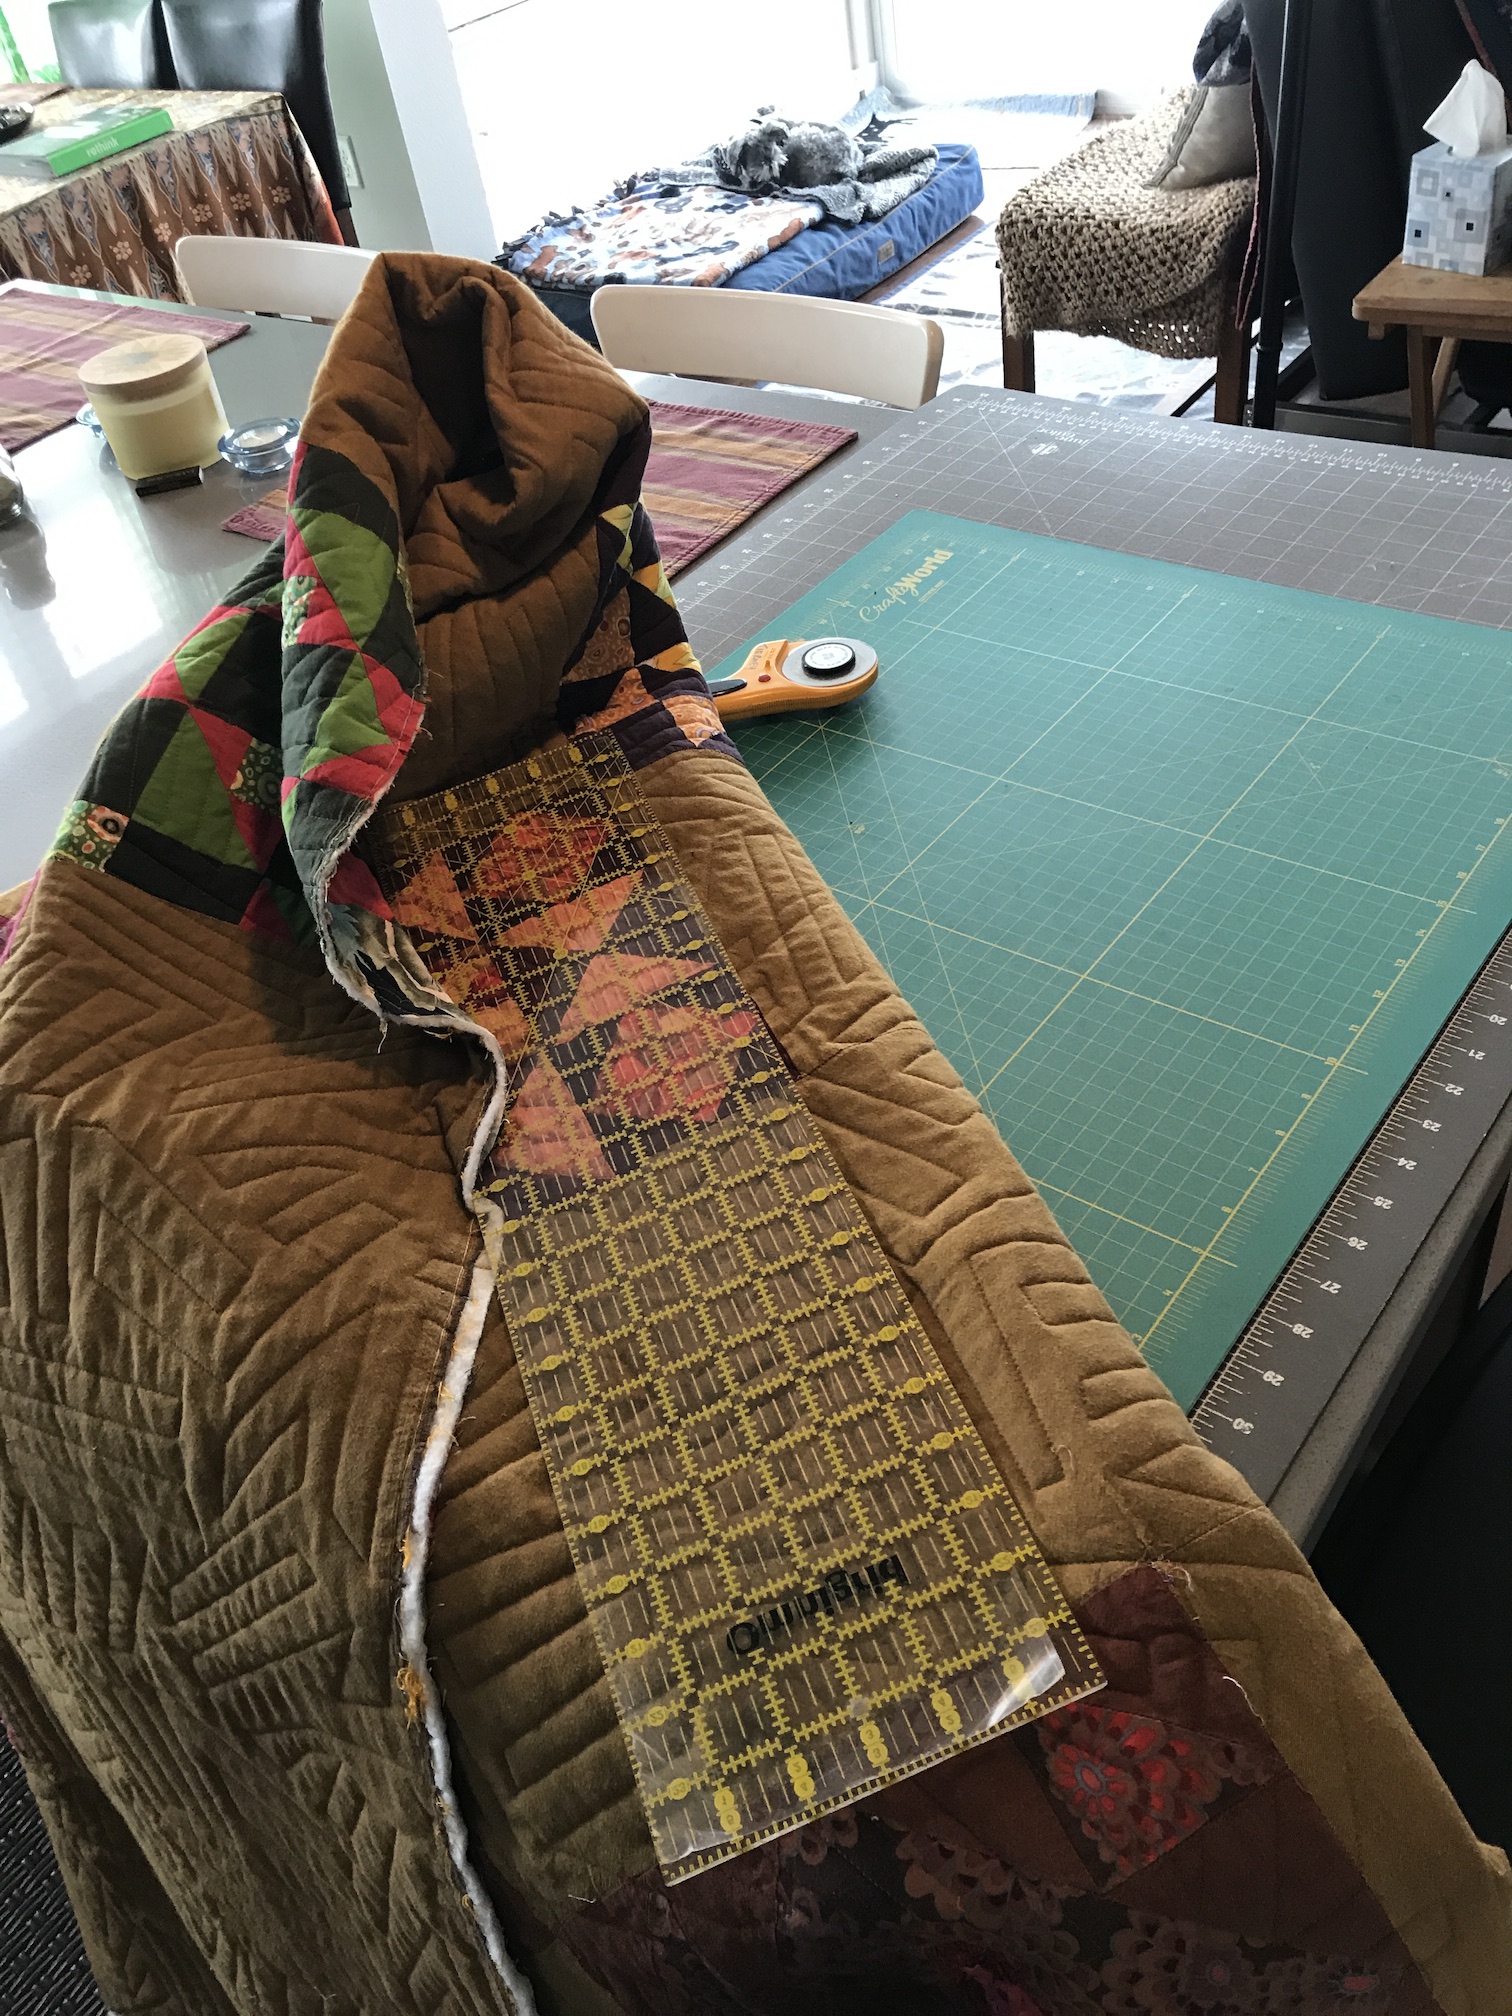
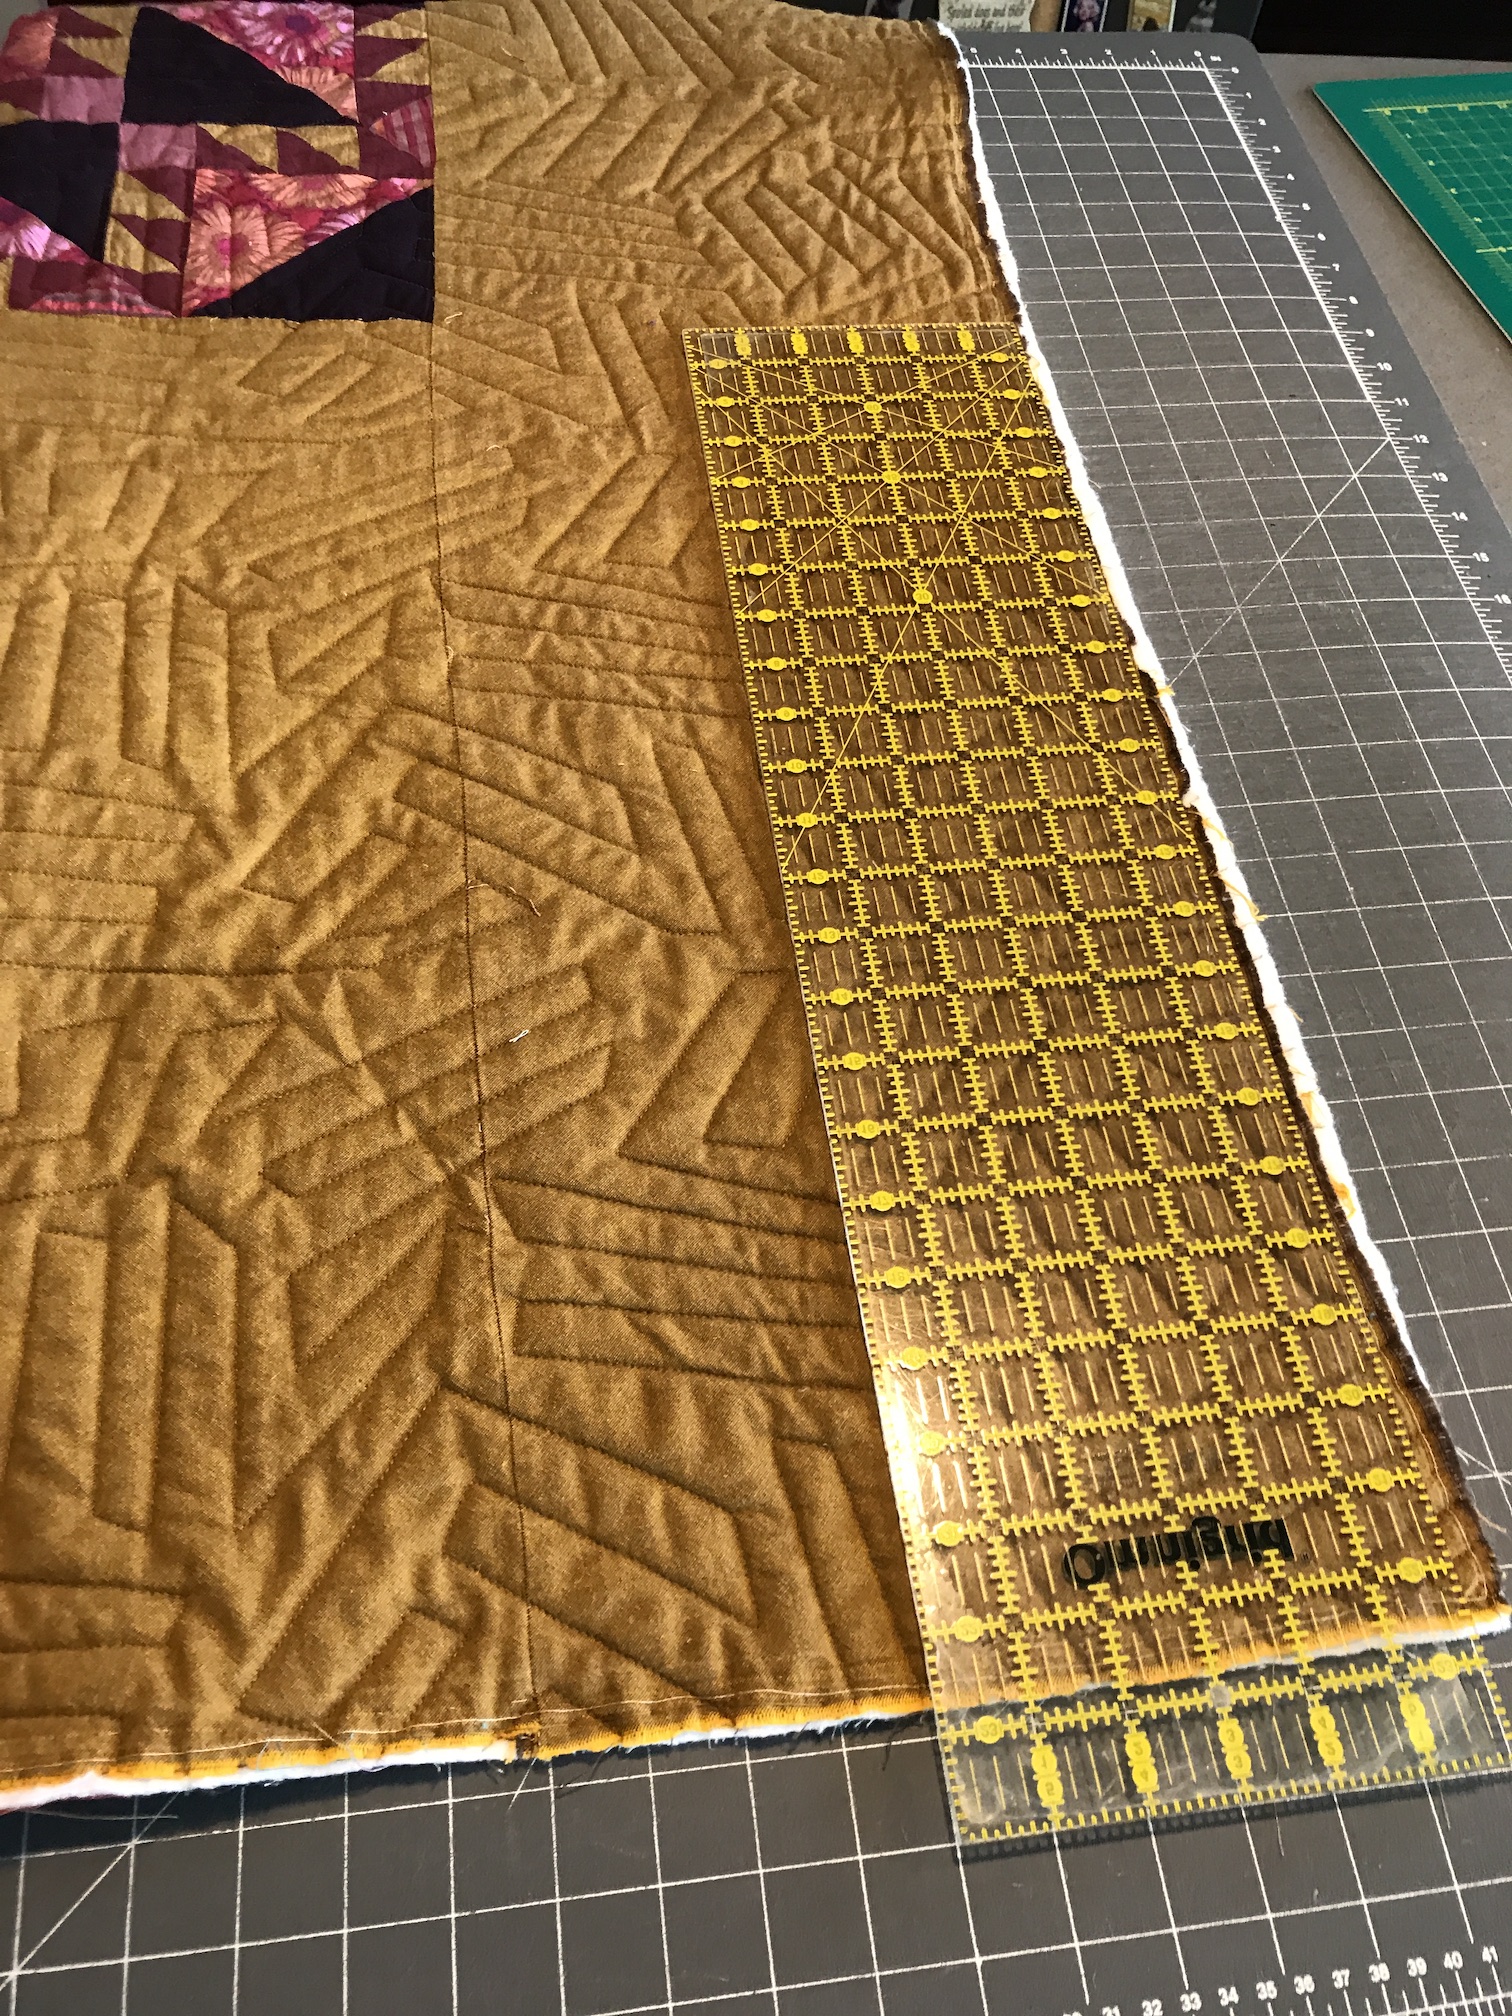
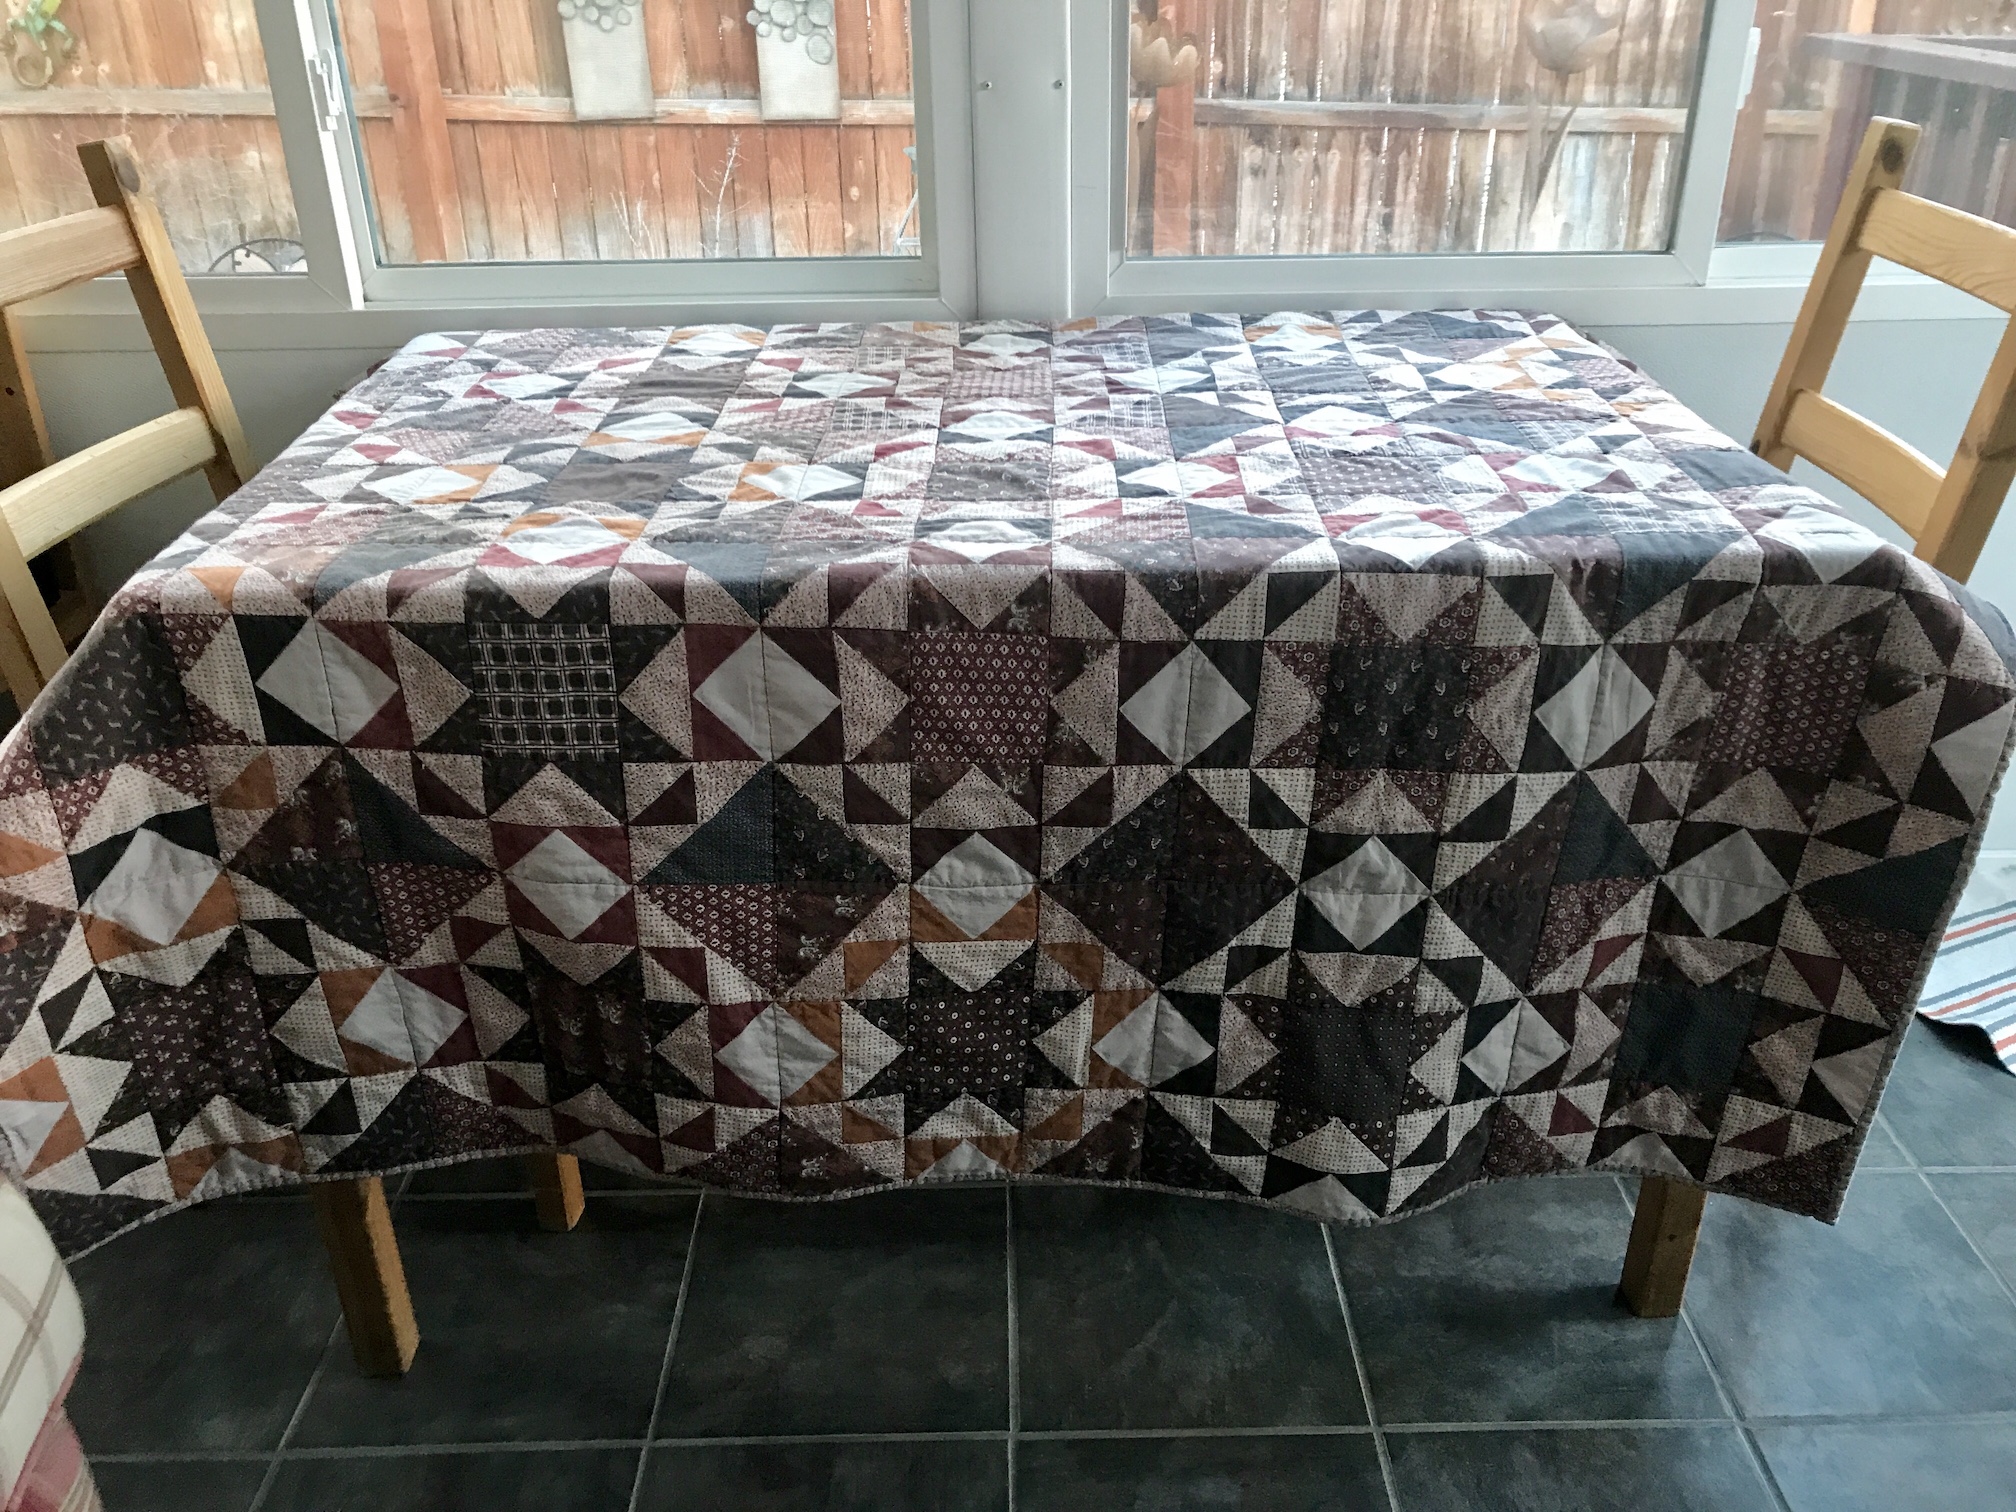
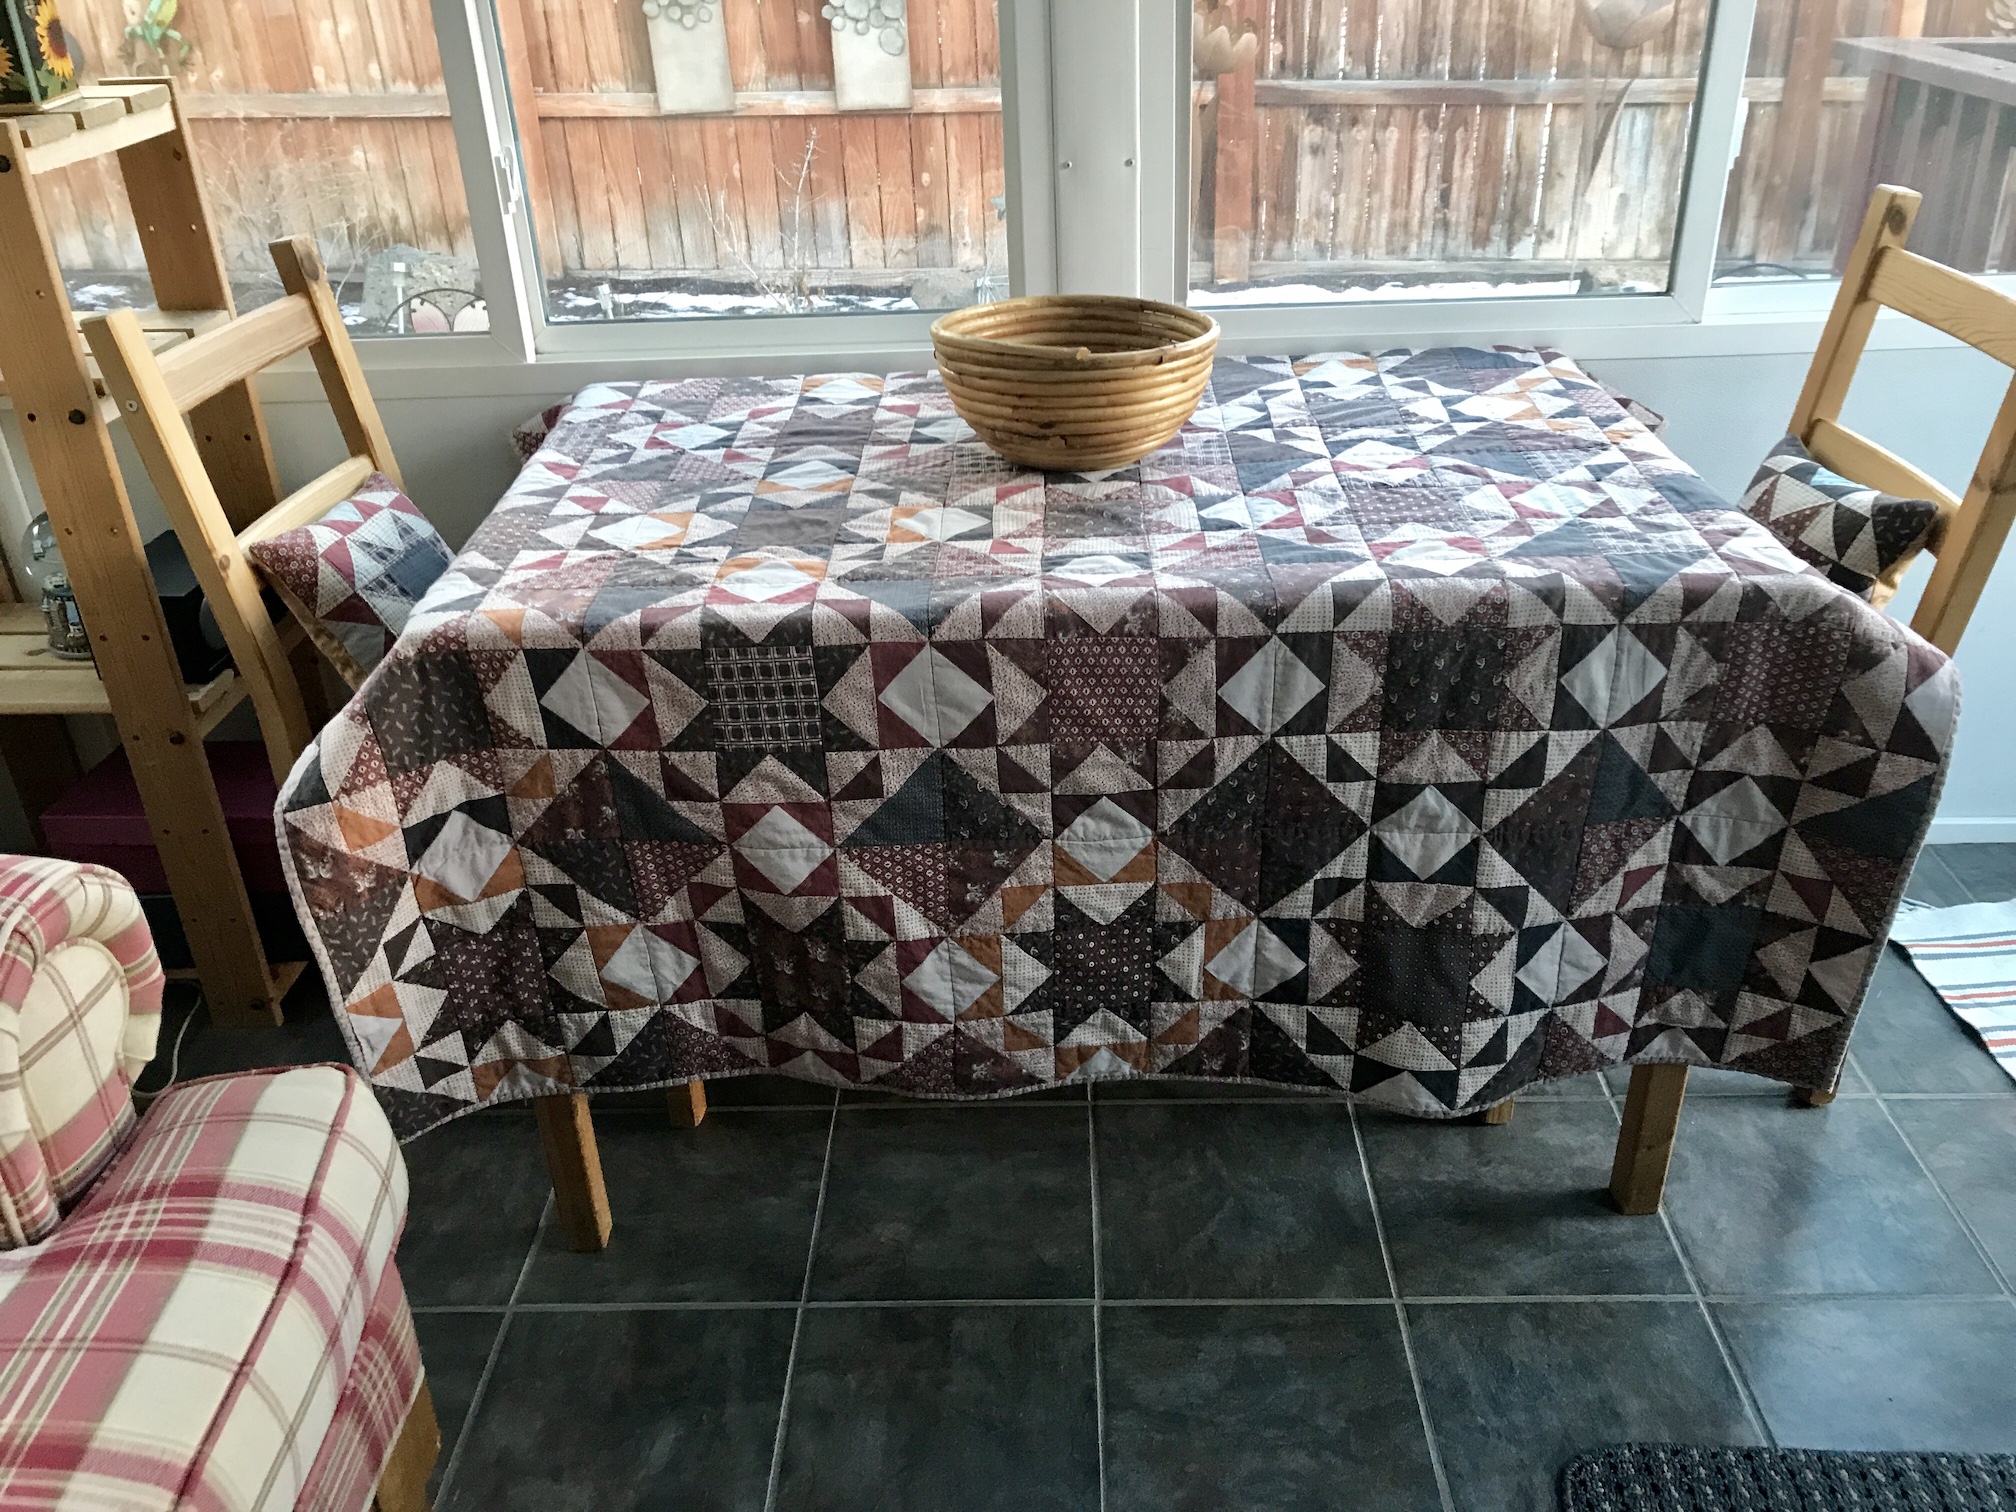
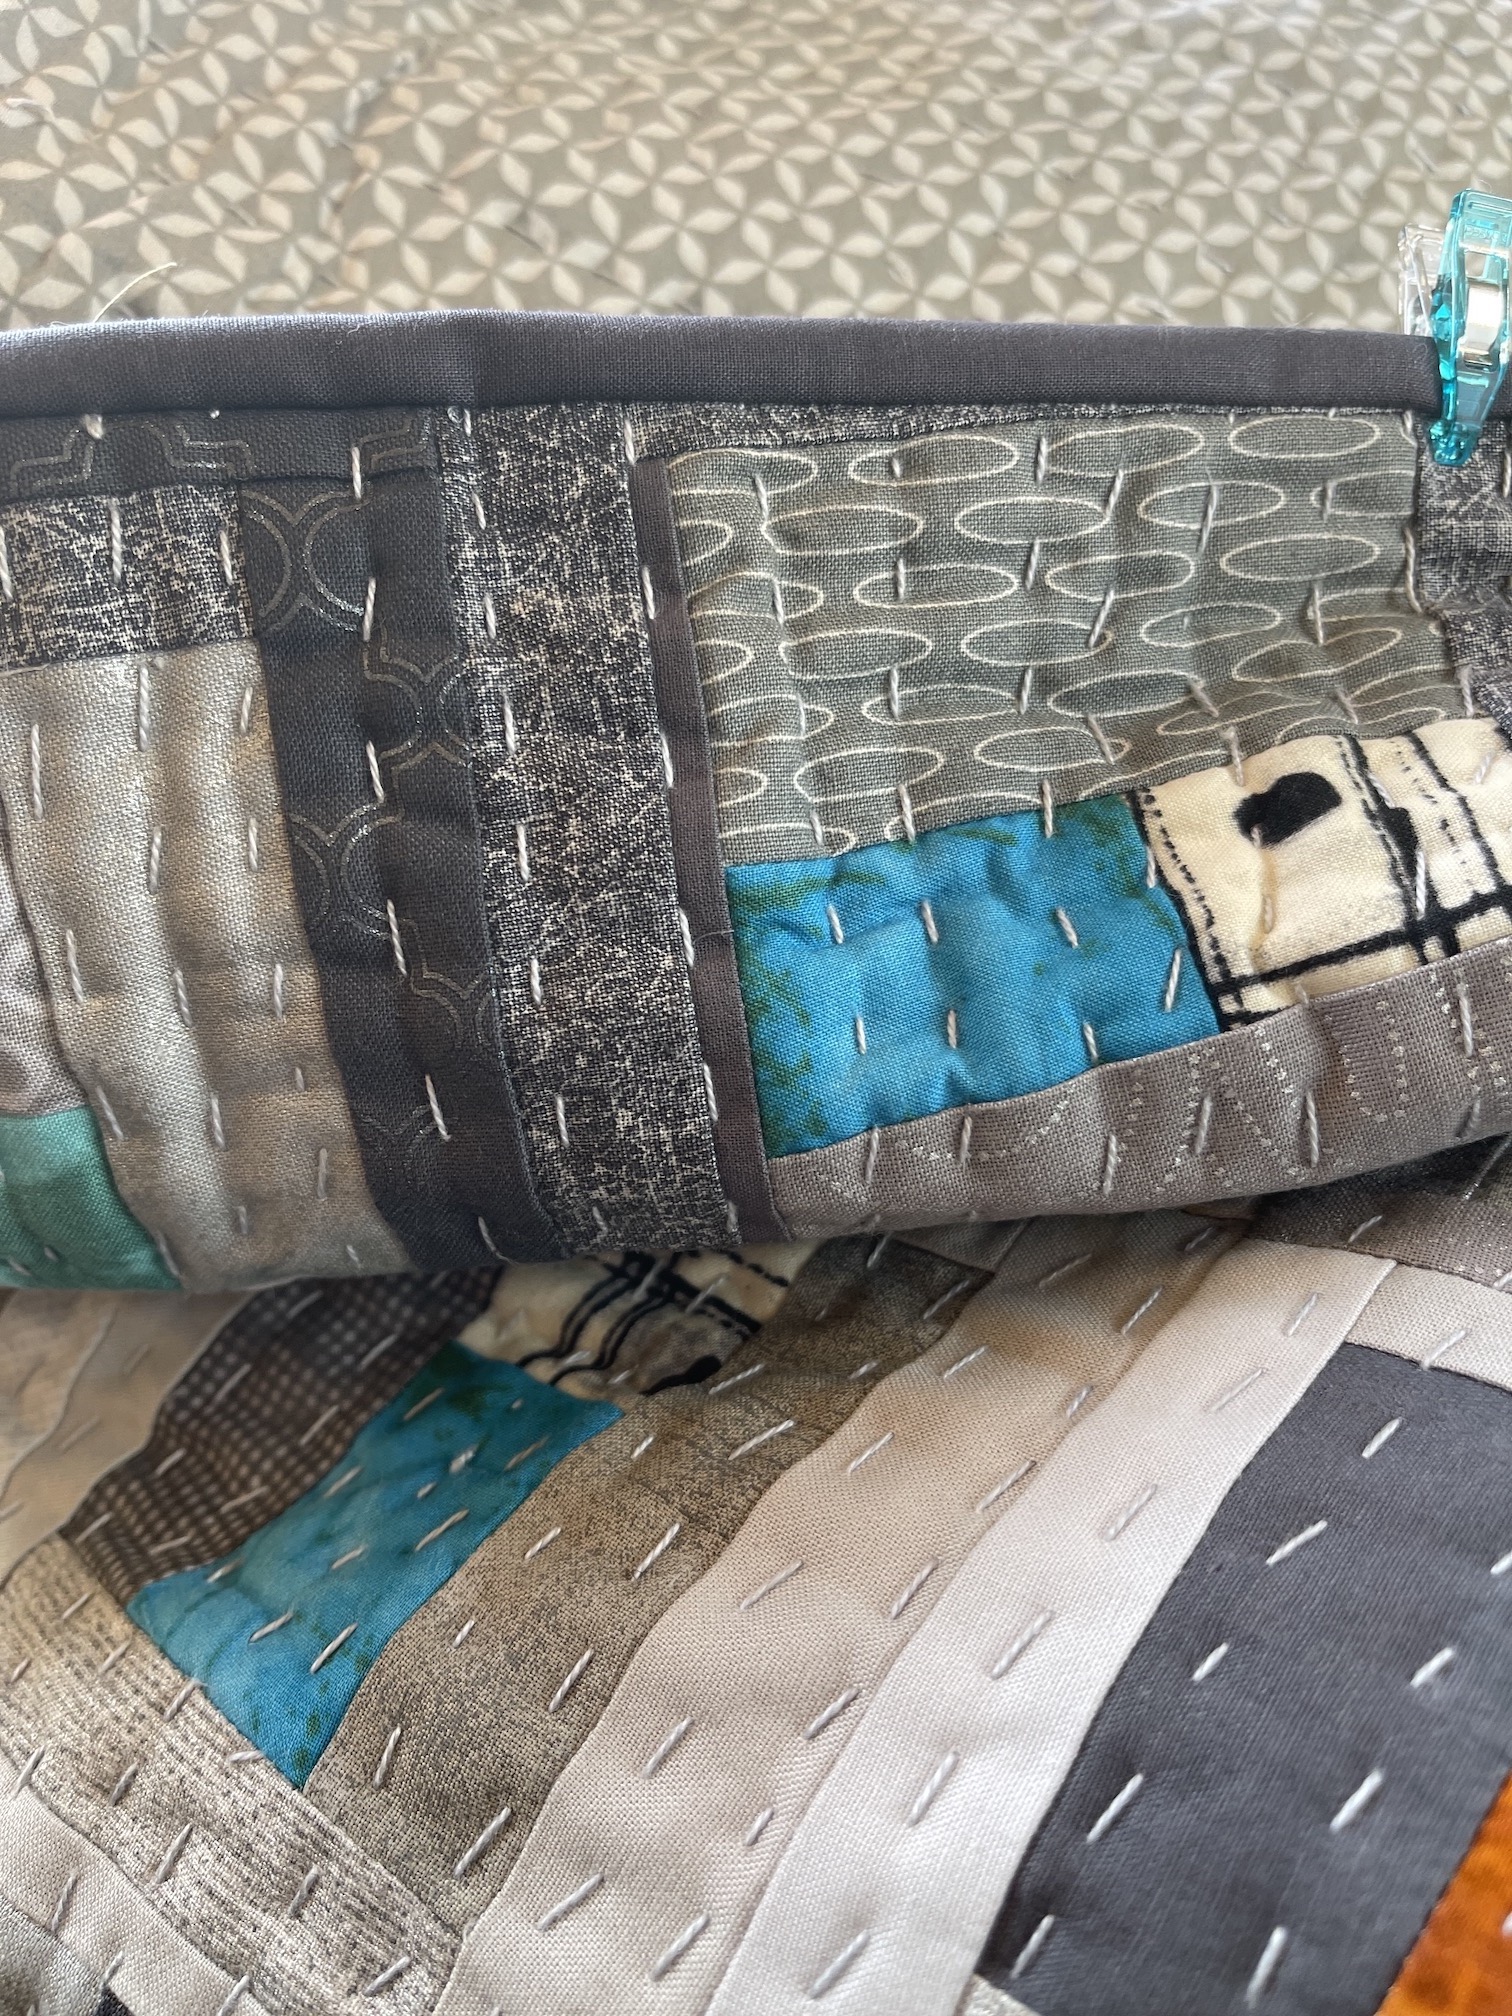
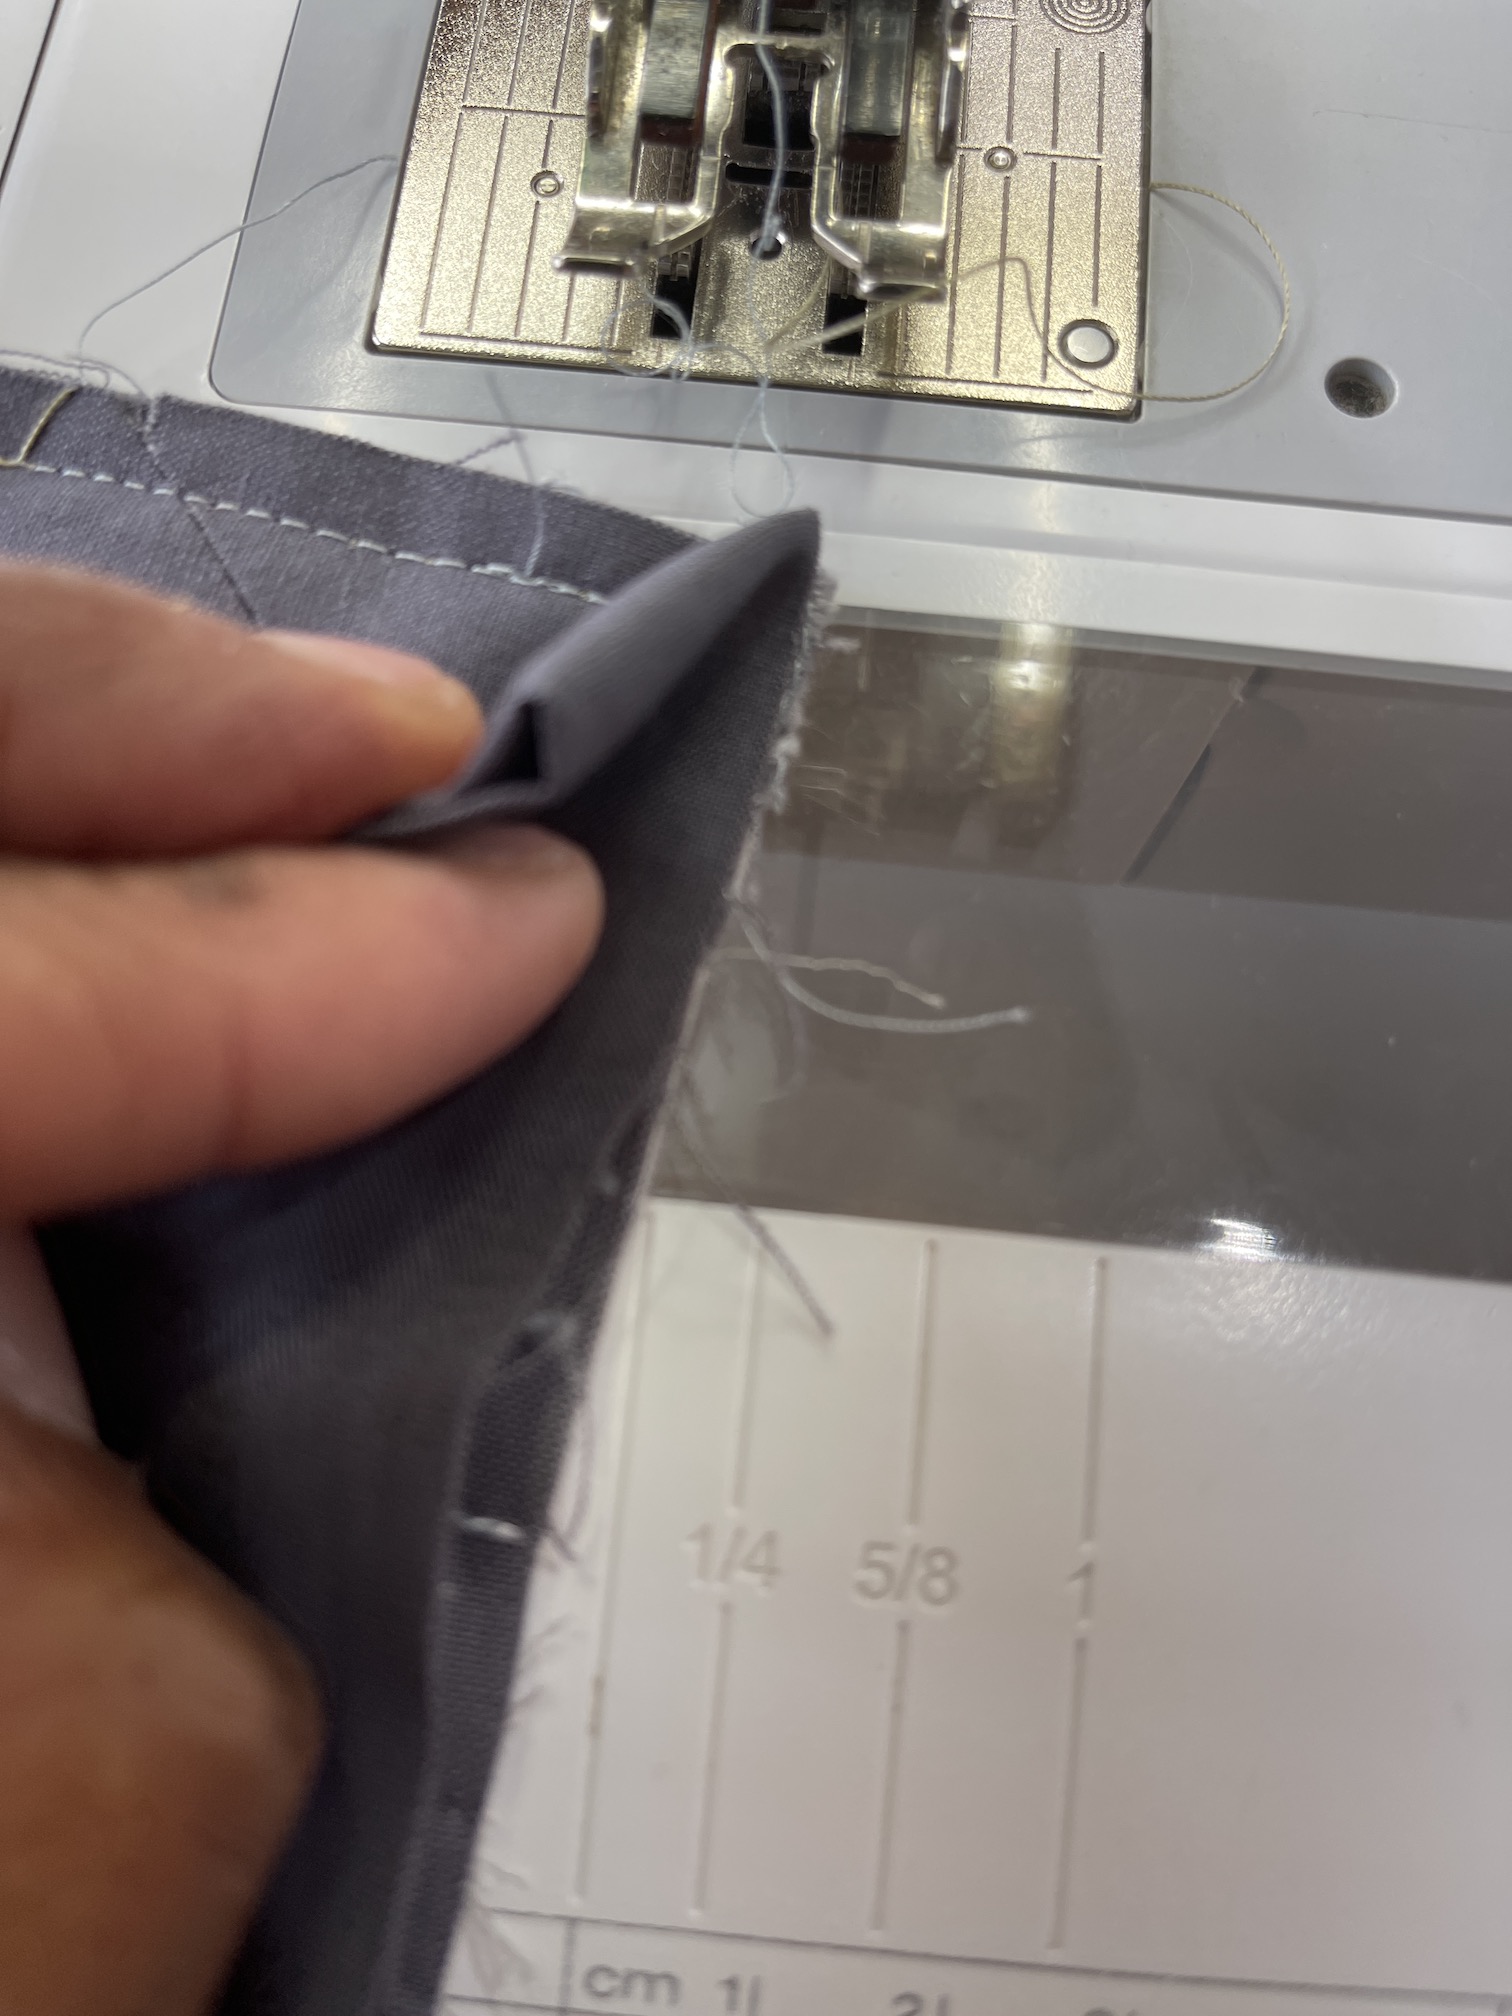
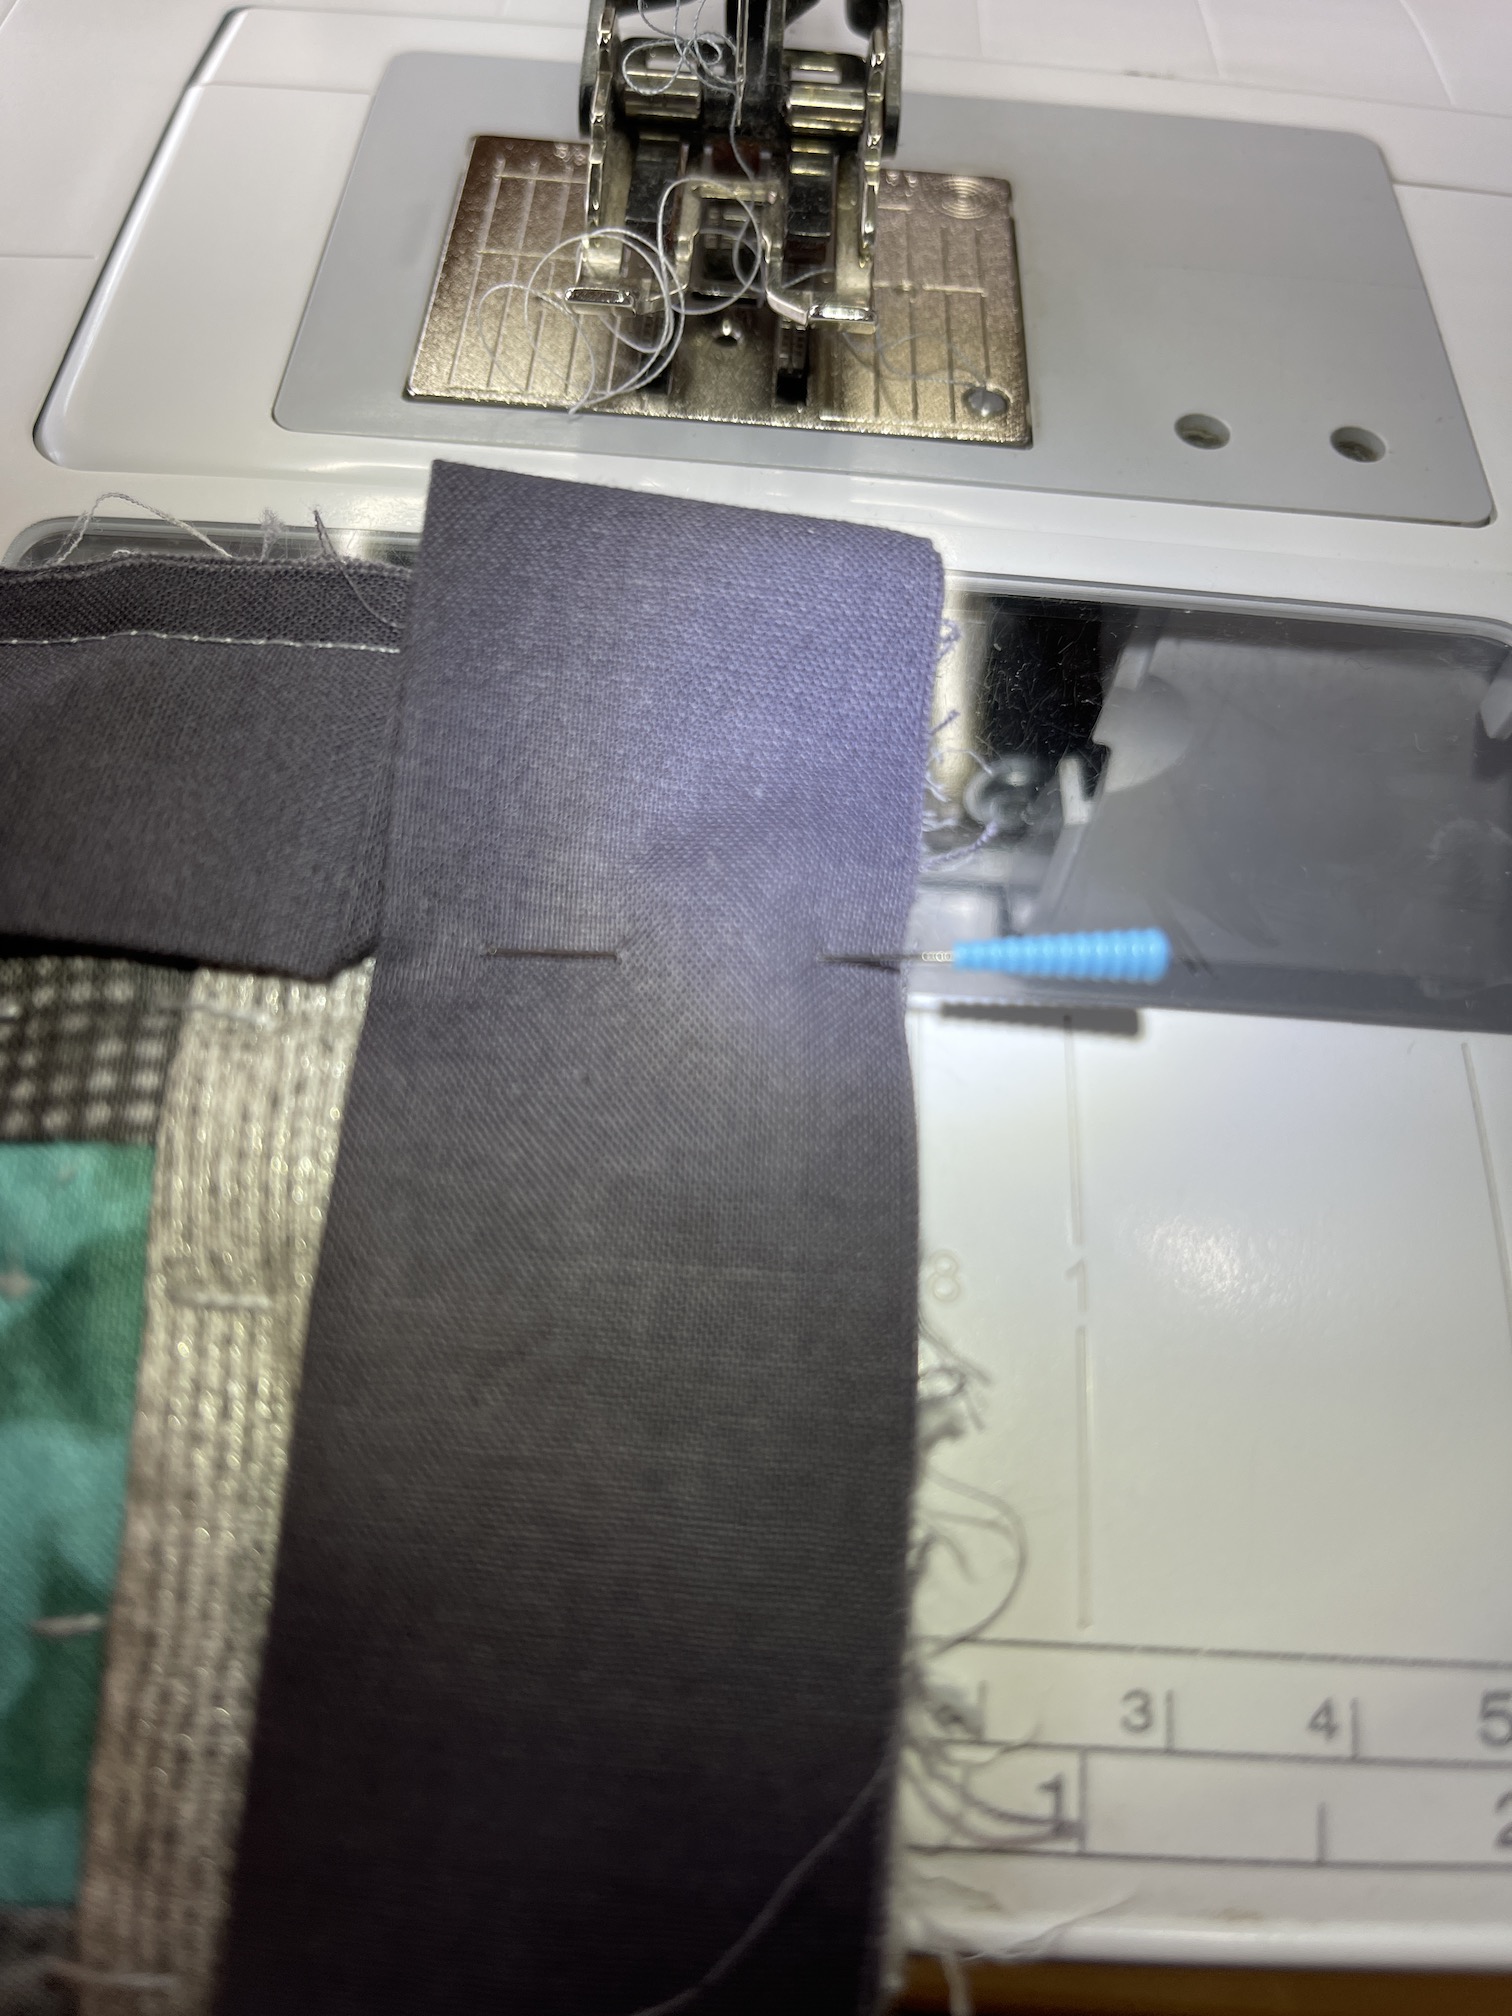
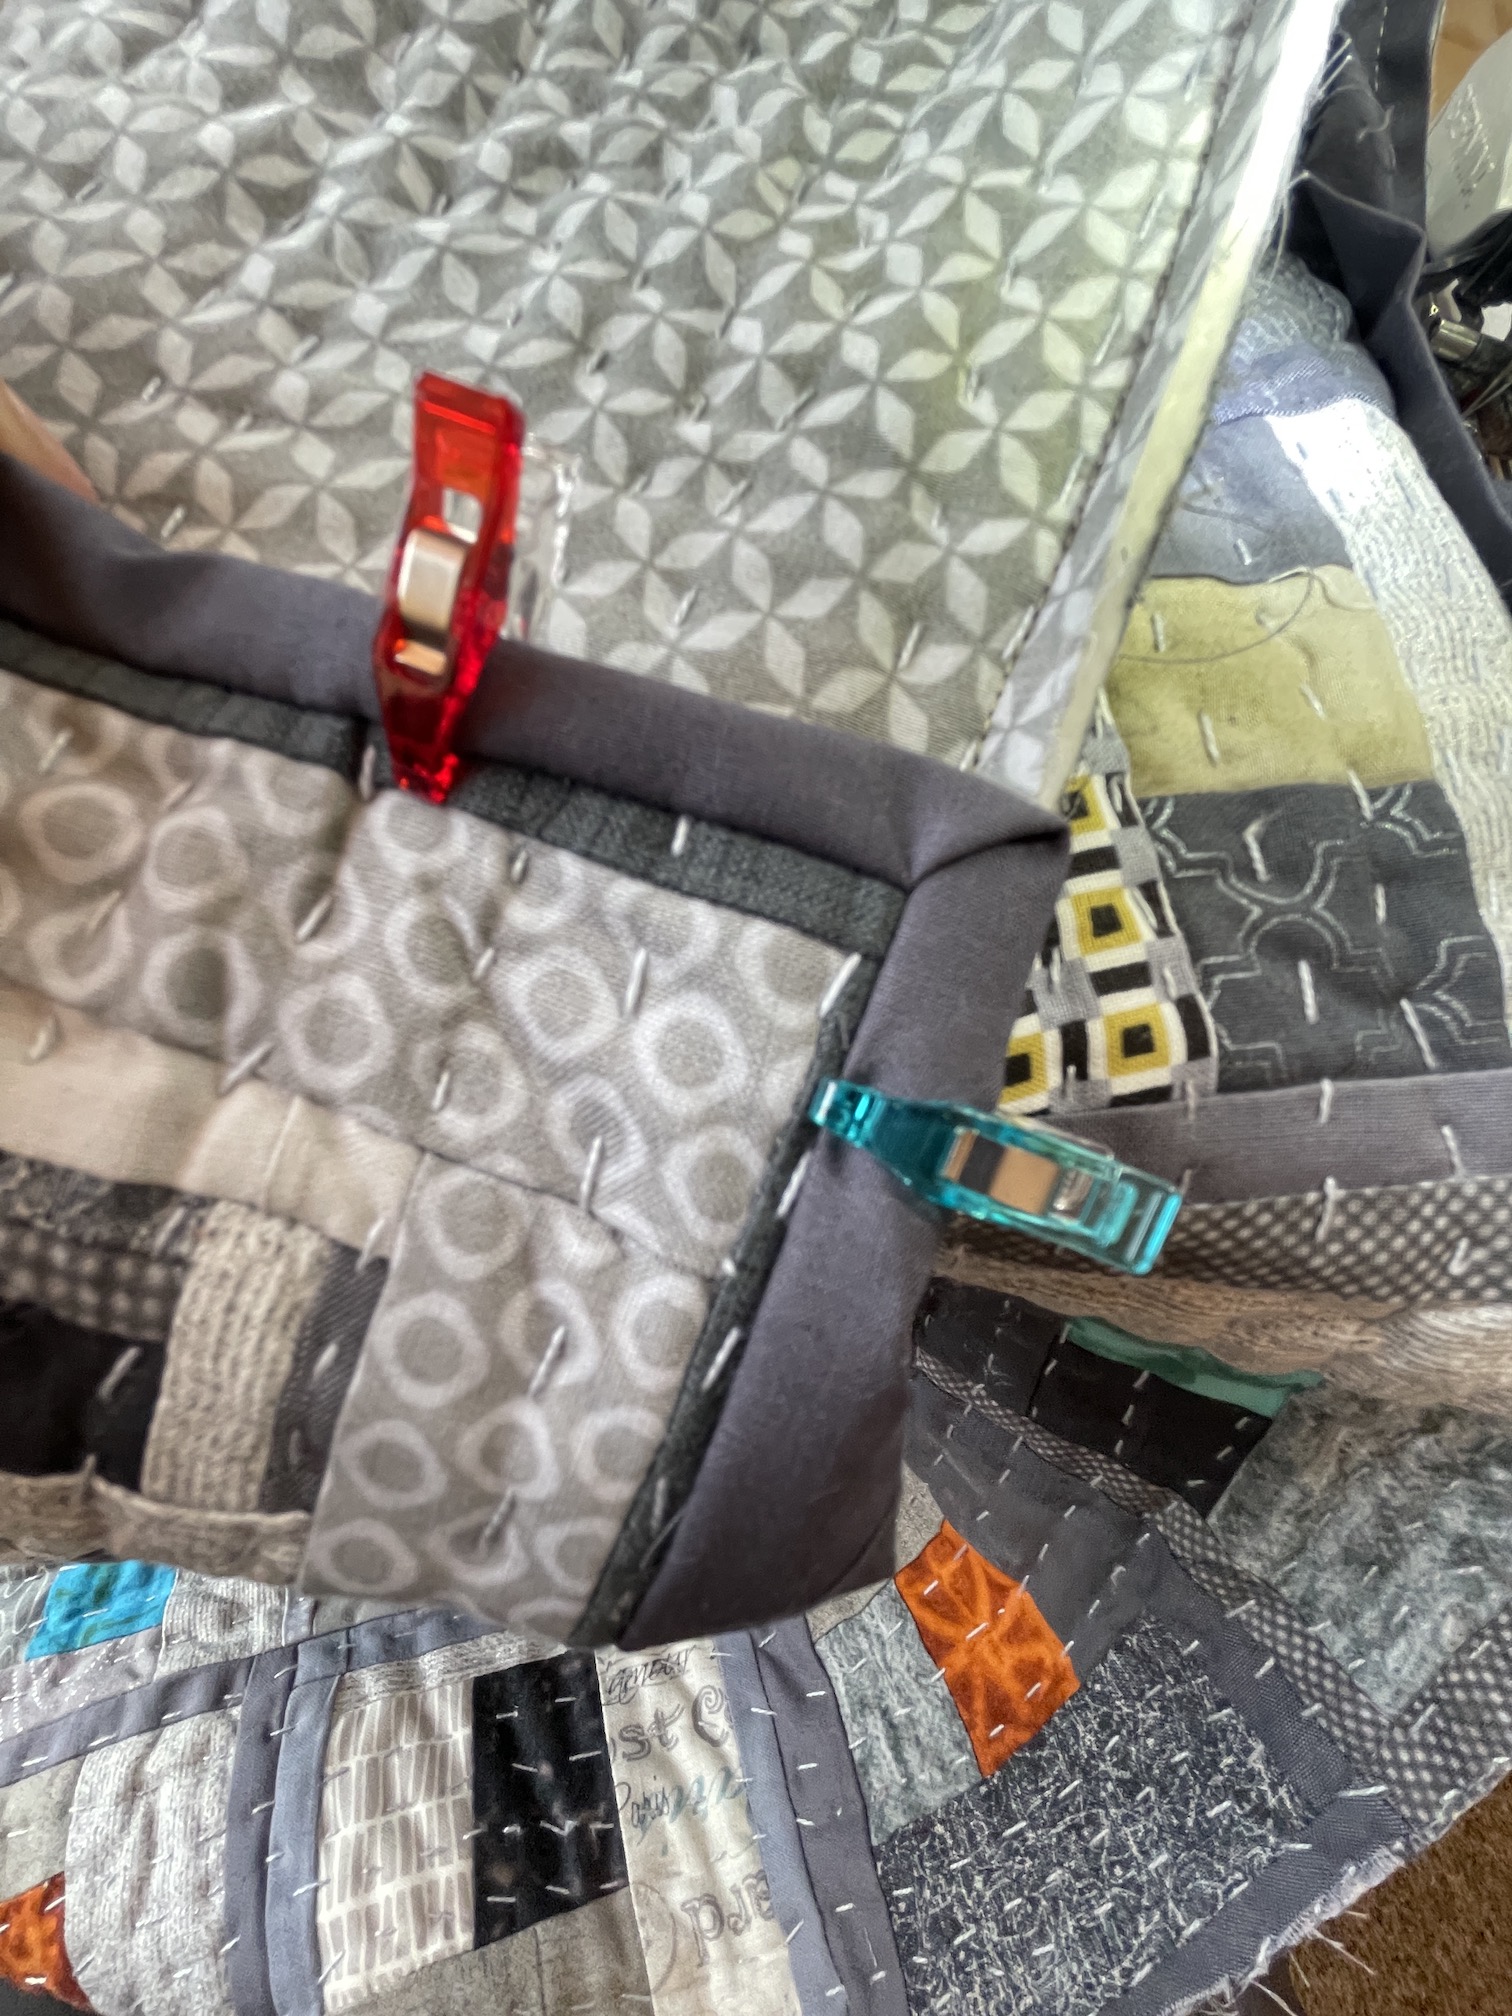
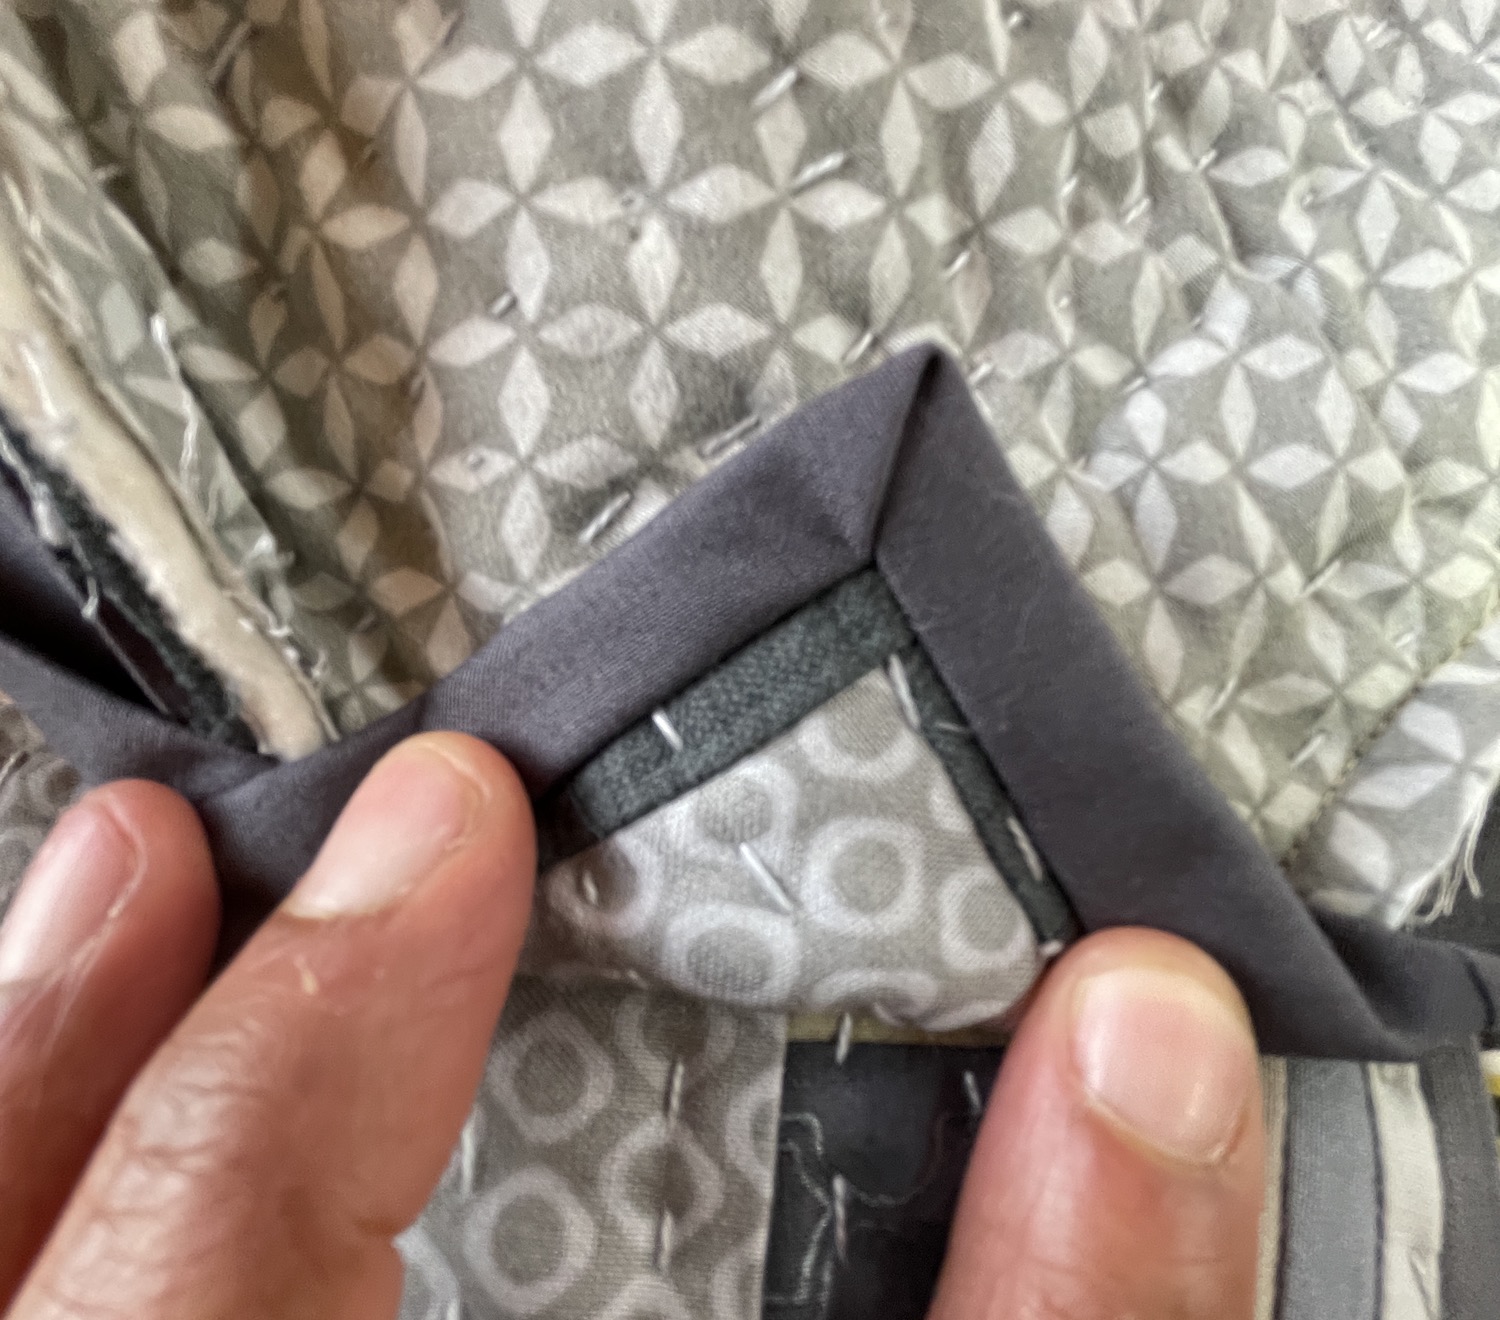
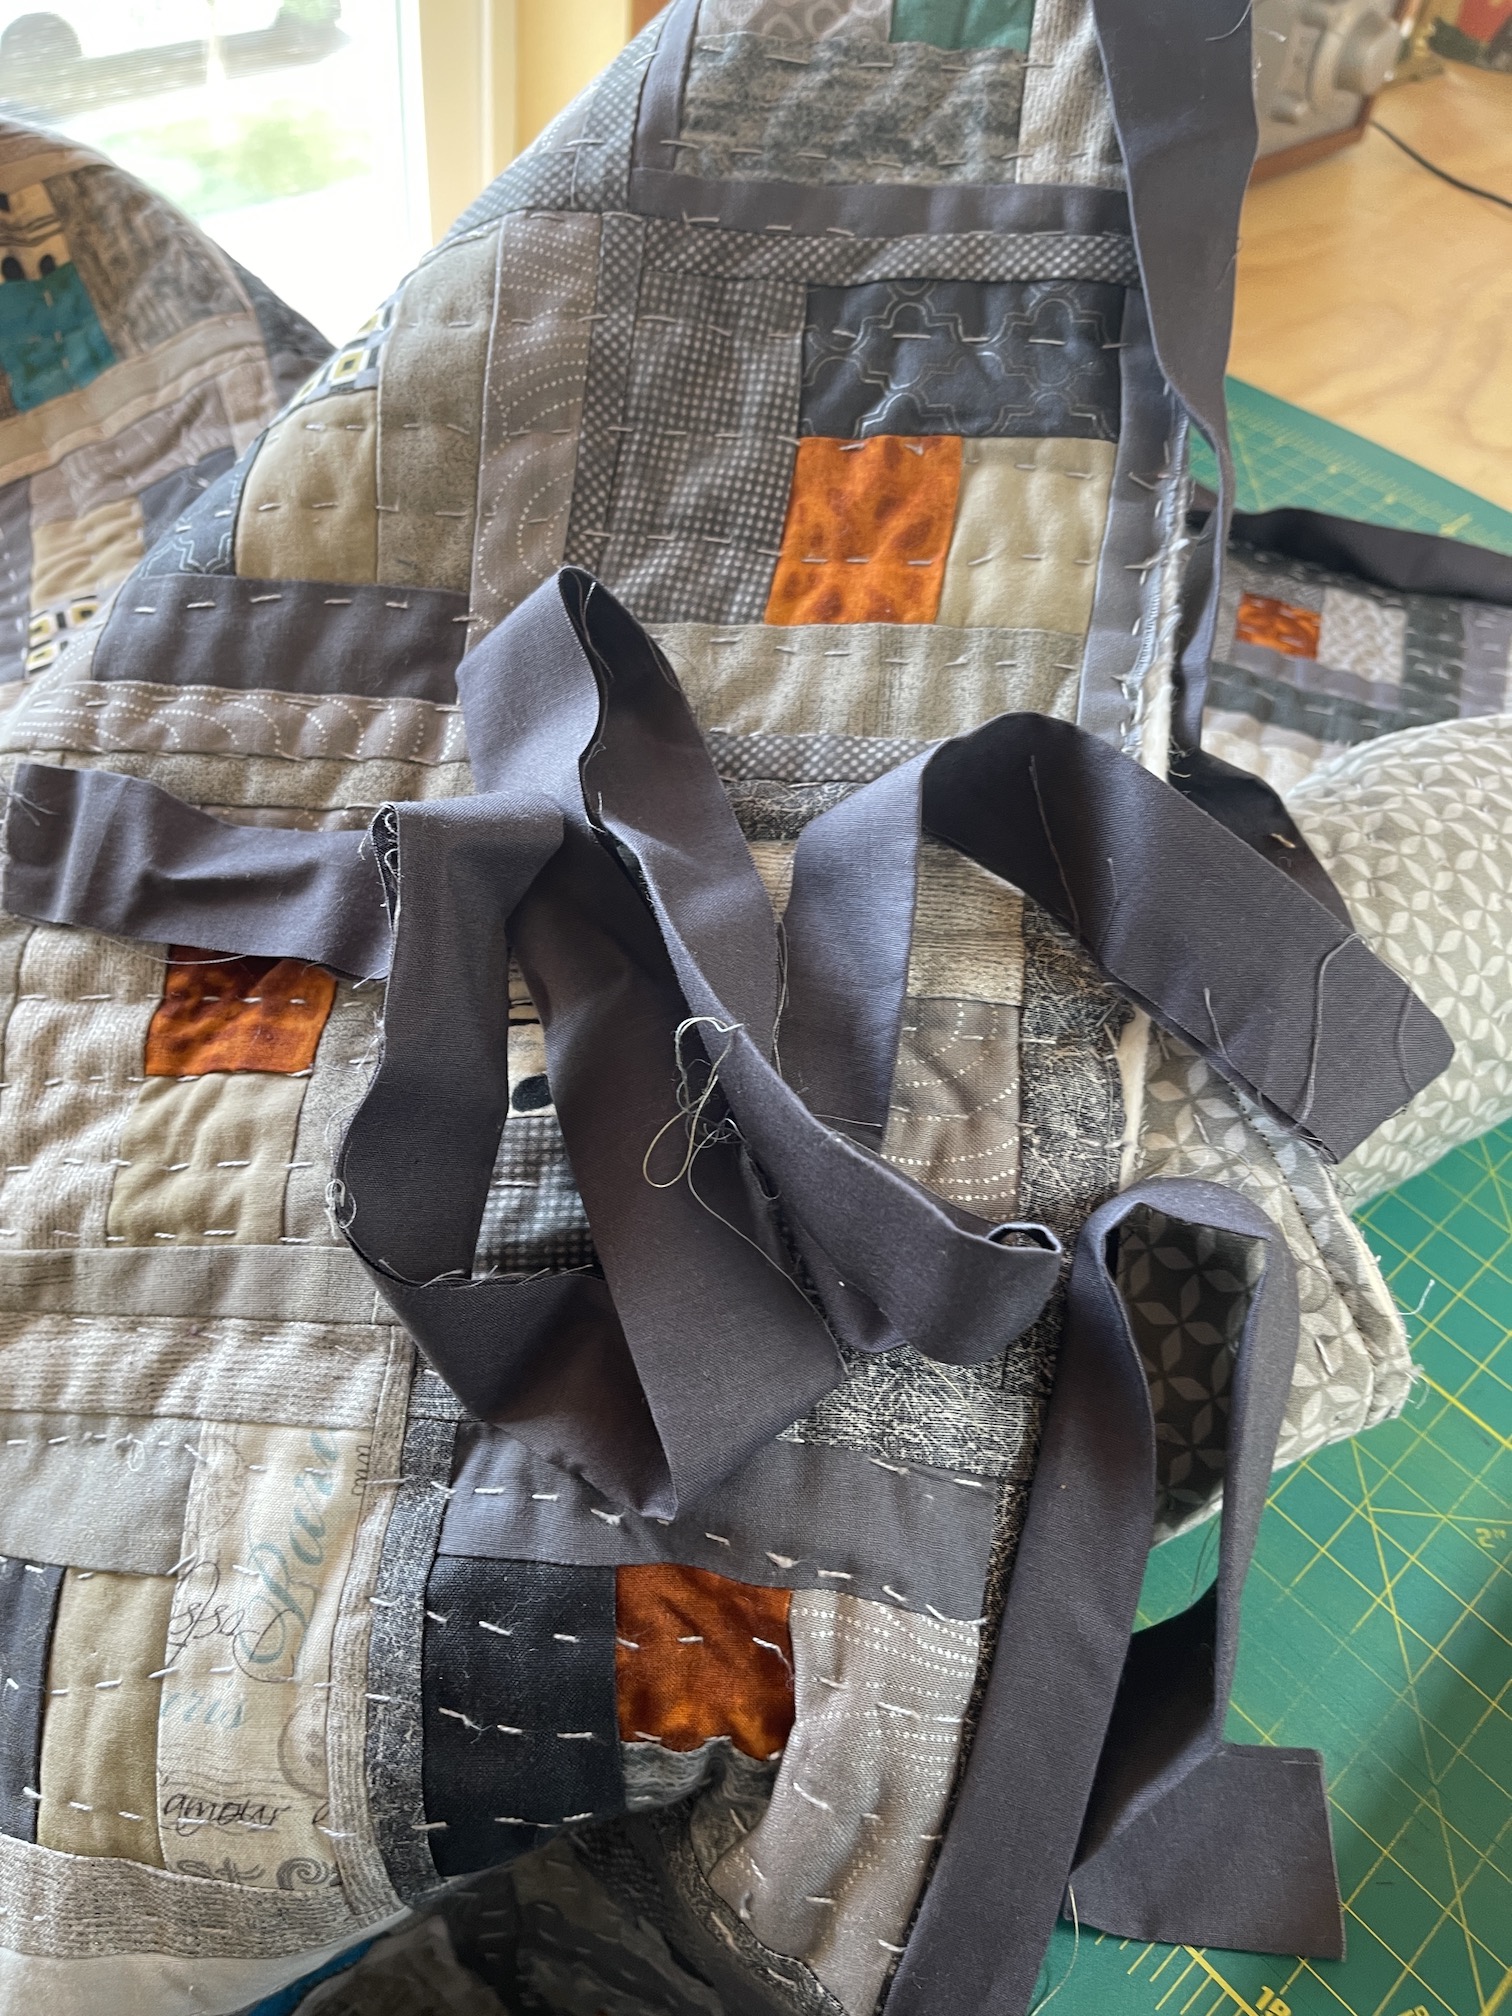
So here is the completed quilt top which I will machine quilt myself to batting and backing fabric; and then figure out what to use for binding.

It’s not my greatest work as the fabrics were very challenging to work with and I cannot believe I added a thin polyester scarf to a quilt, but I did it! Don’t even get me started on the velour robe – the deconstructed fabric shed everywhere and was a disaster when I tried to press the blocks with it in it. But I made it work also…
It does look better in person, you’ll just have to trust me (smile).
When I get it quilted and the binding sewn down, I will give you all the final photo as well as what ended up being the measurements on the quilt.


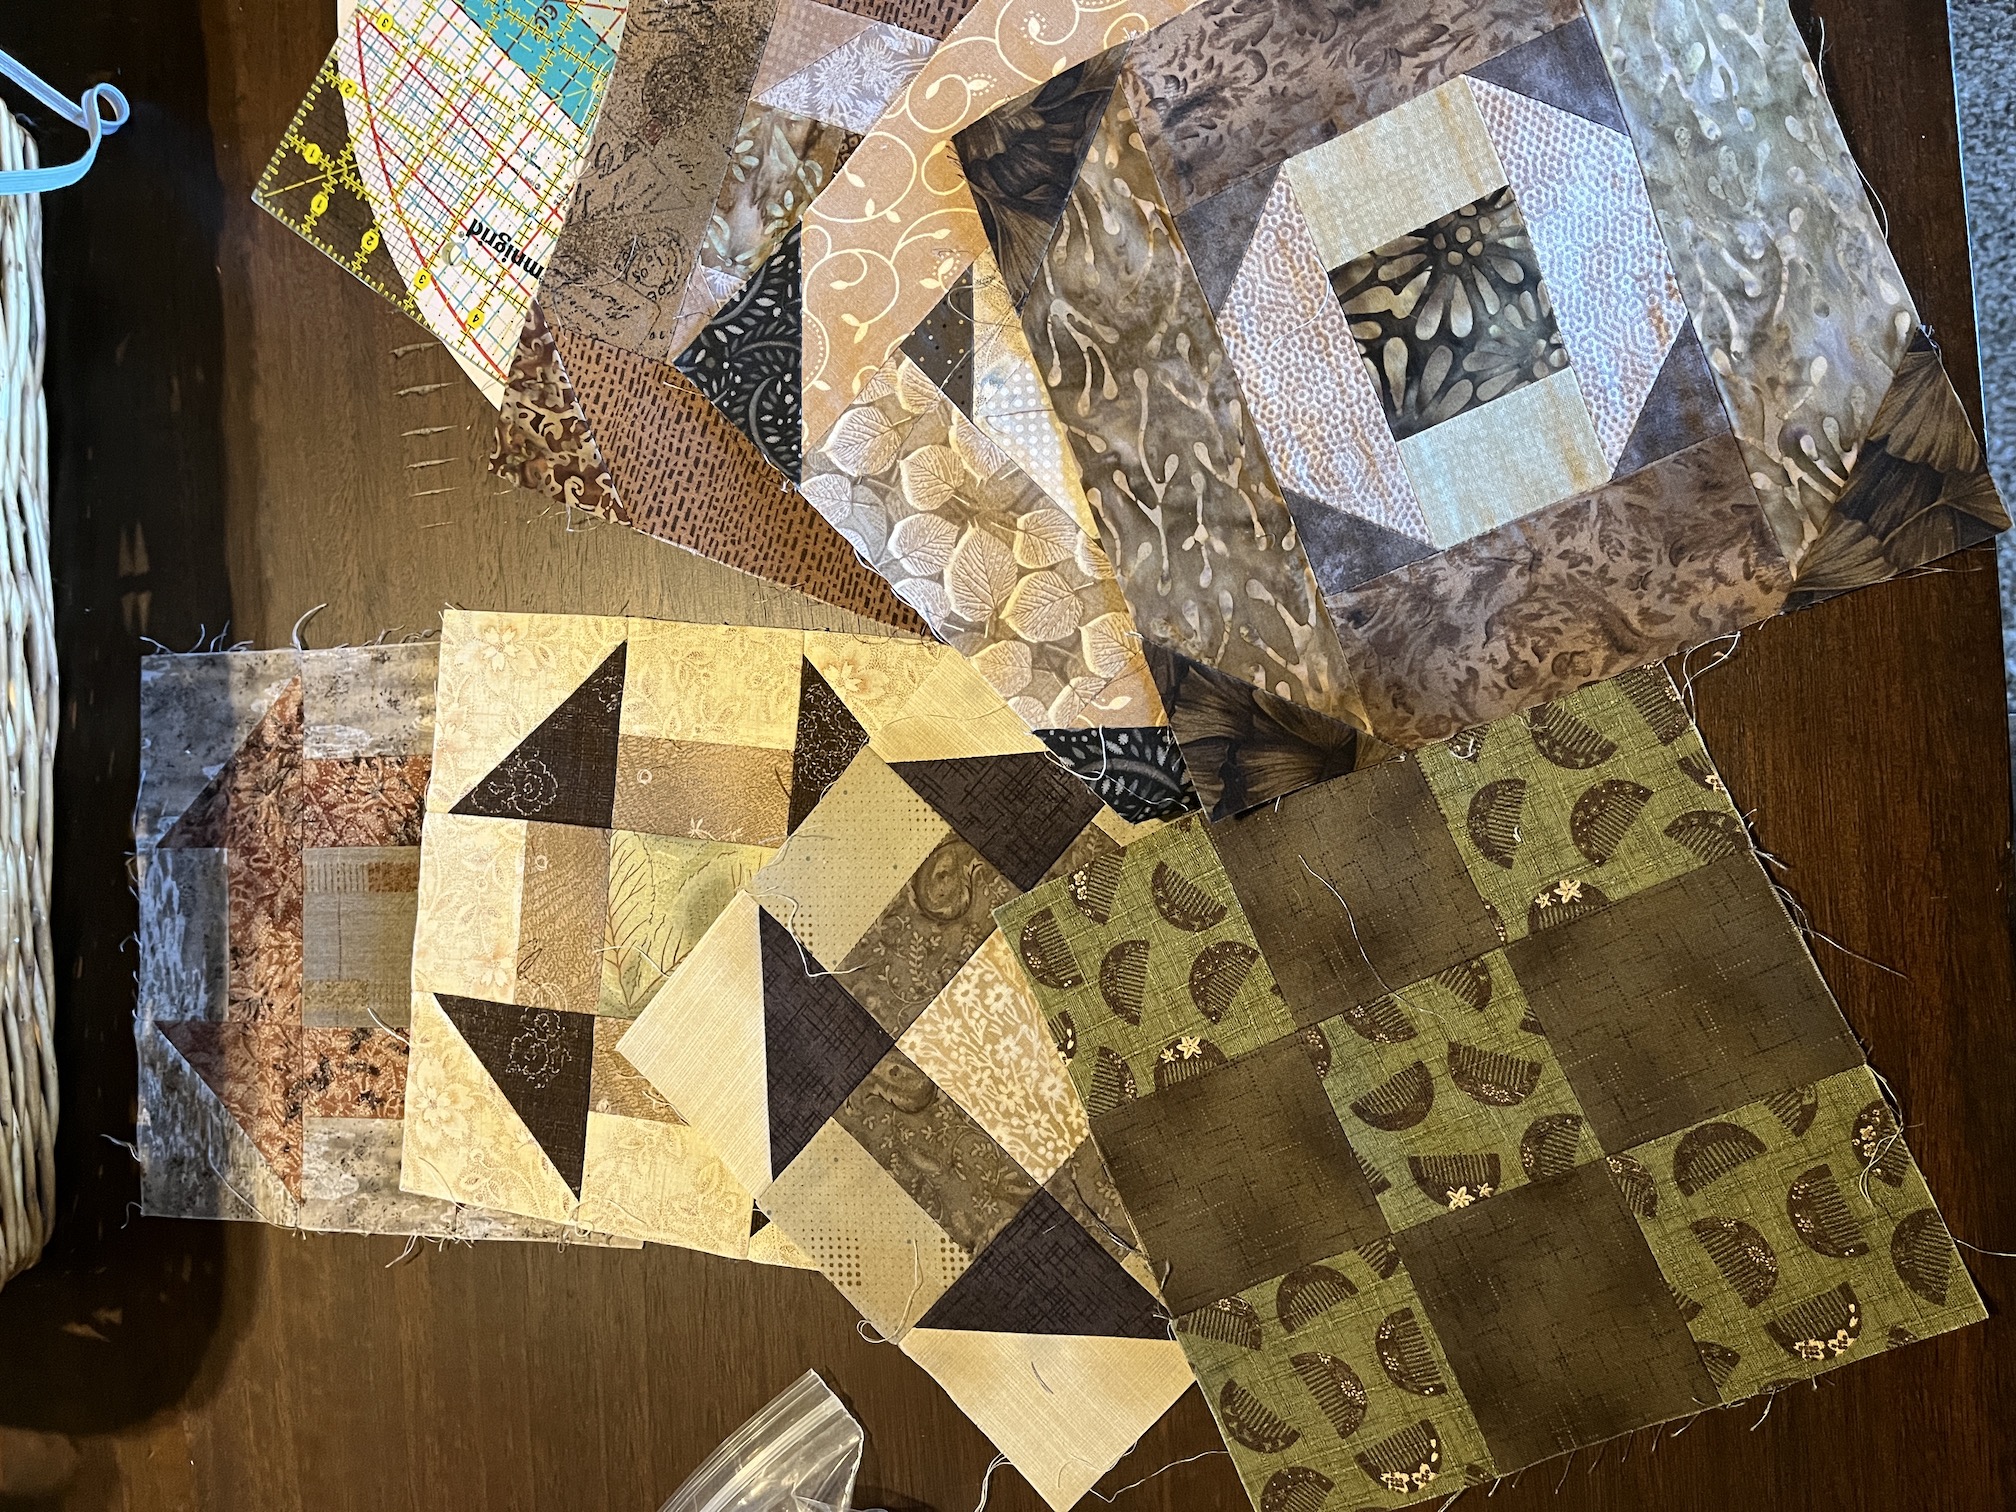

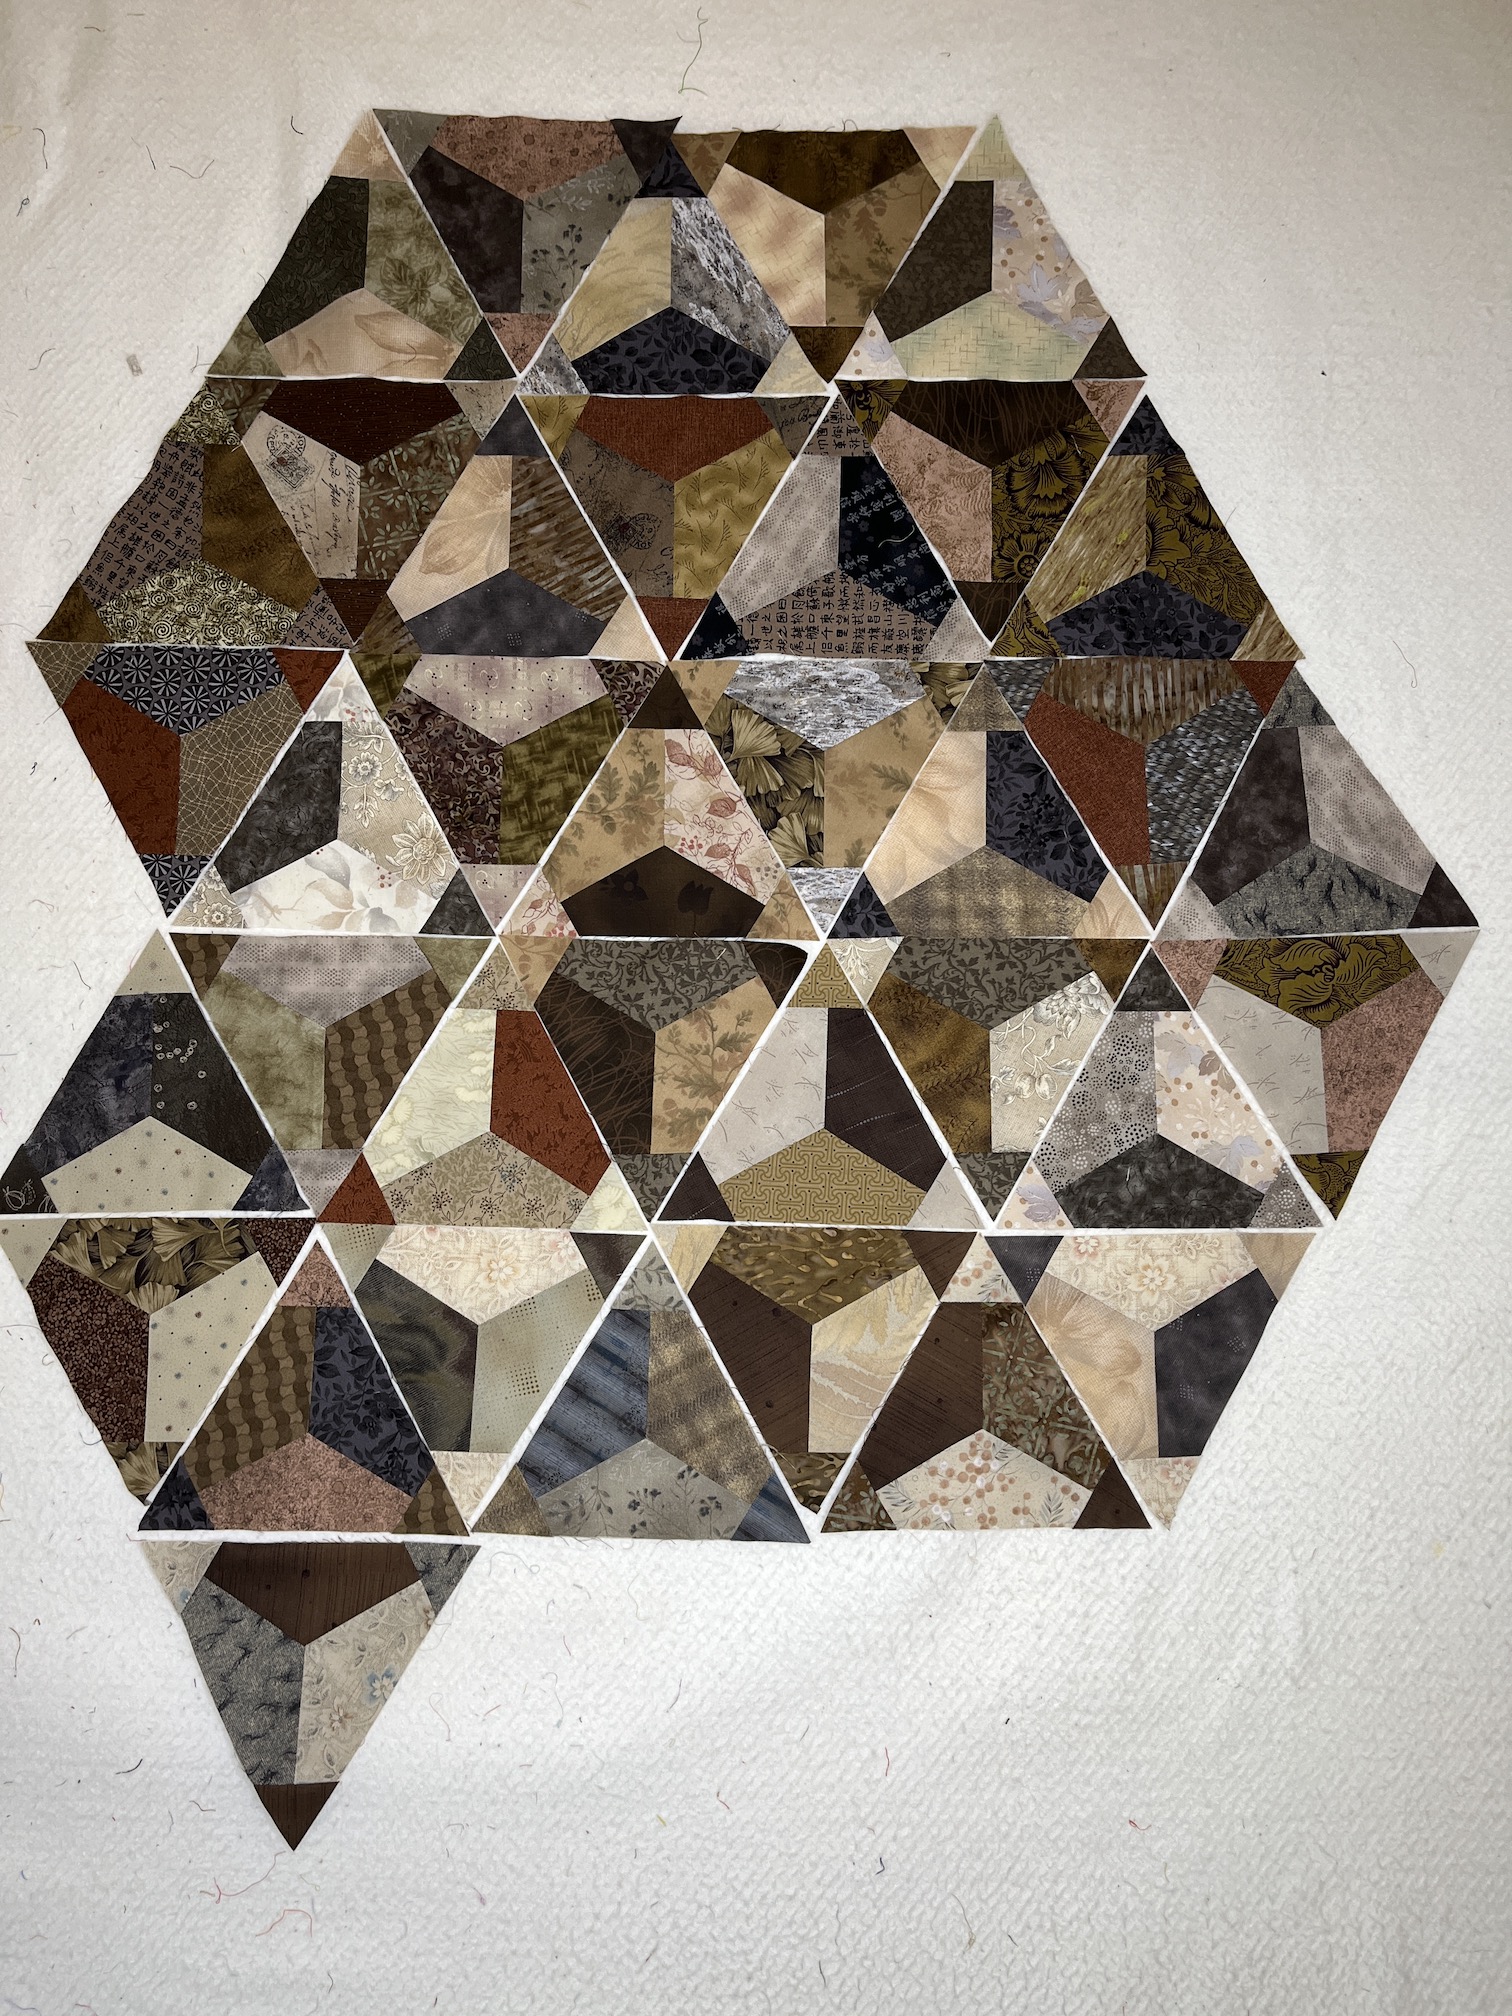


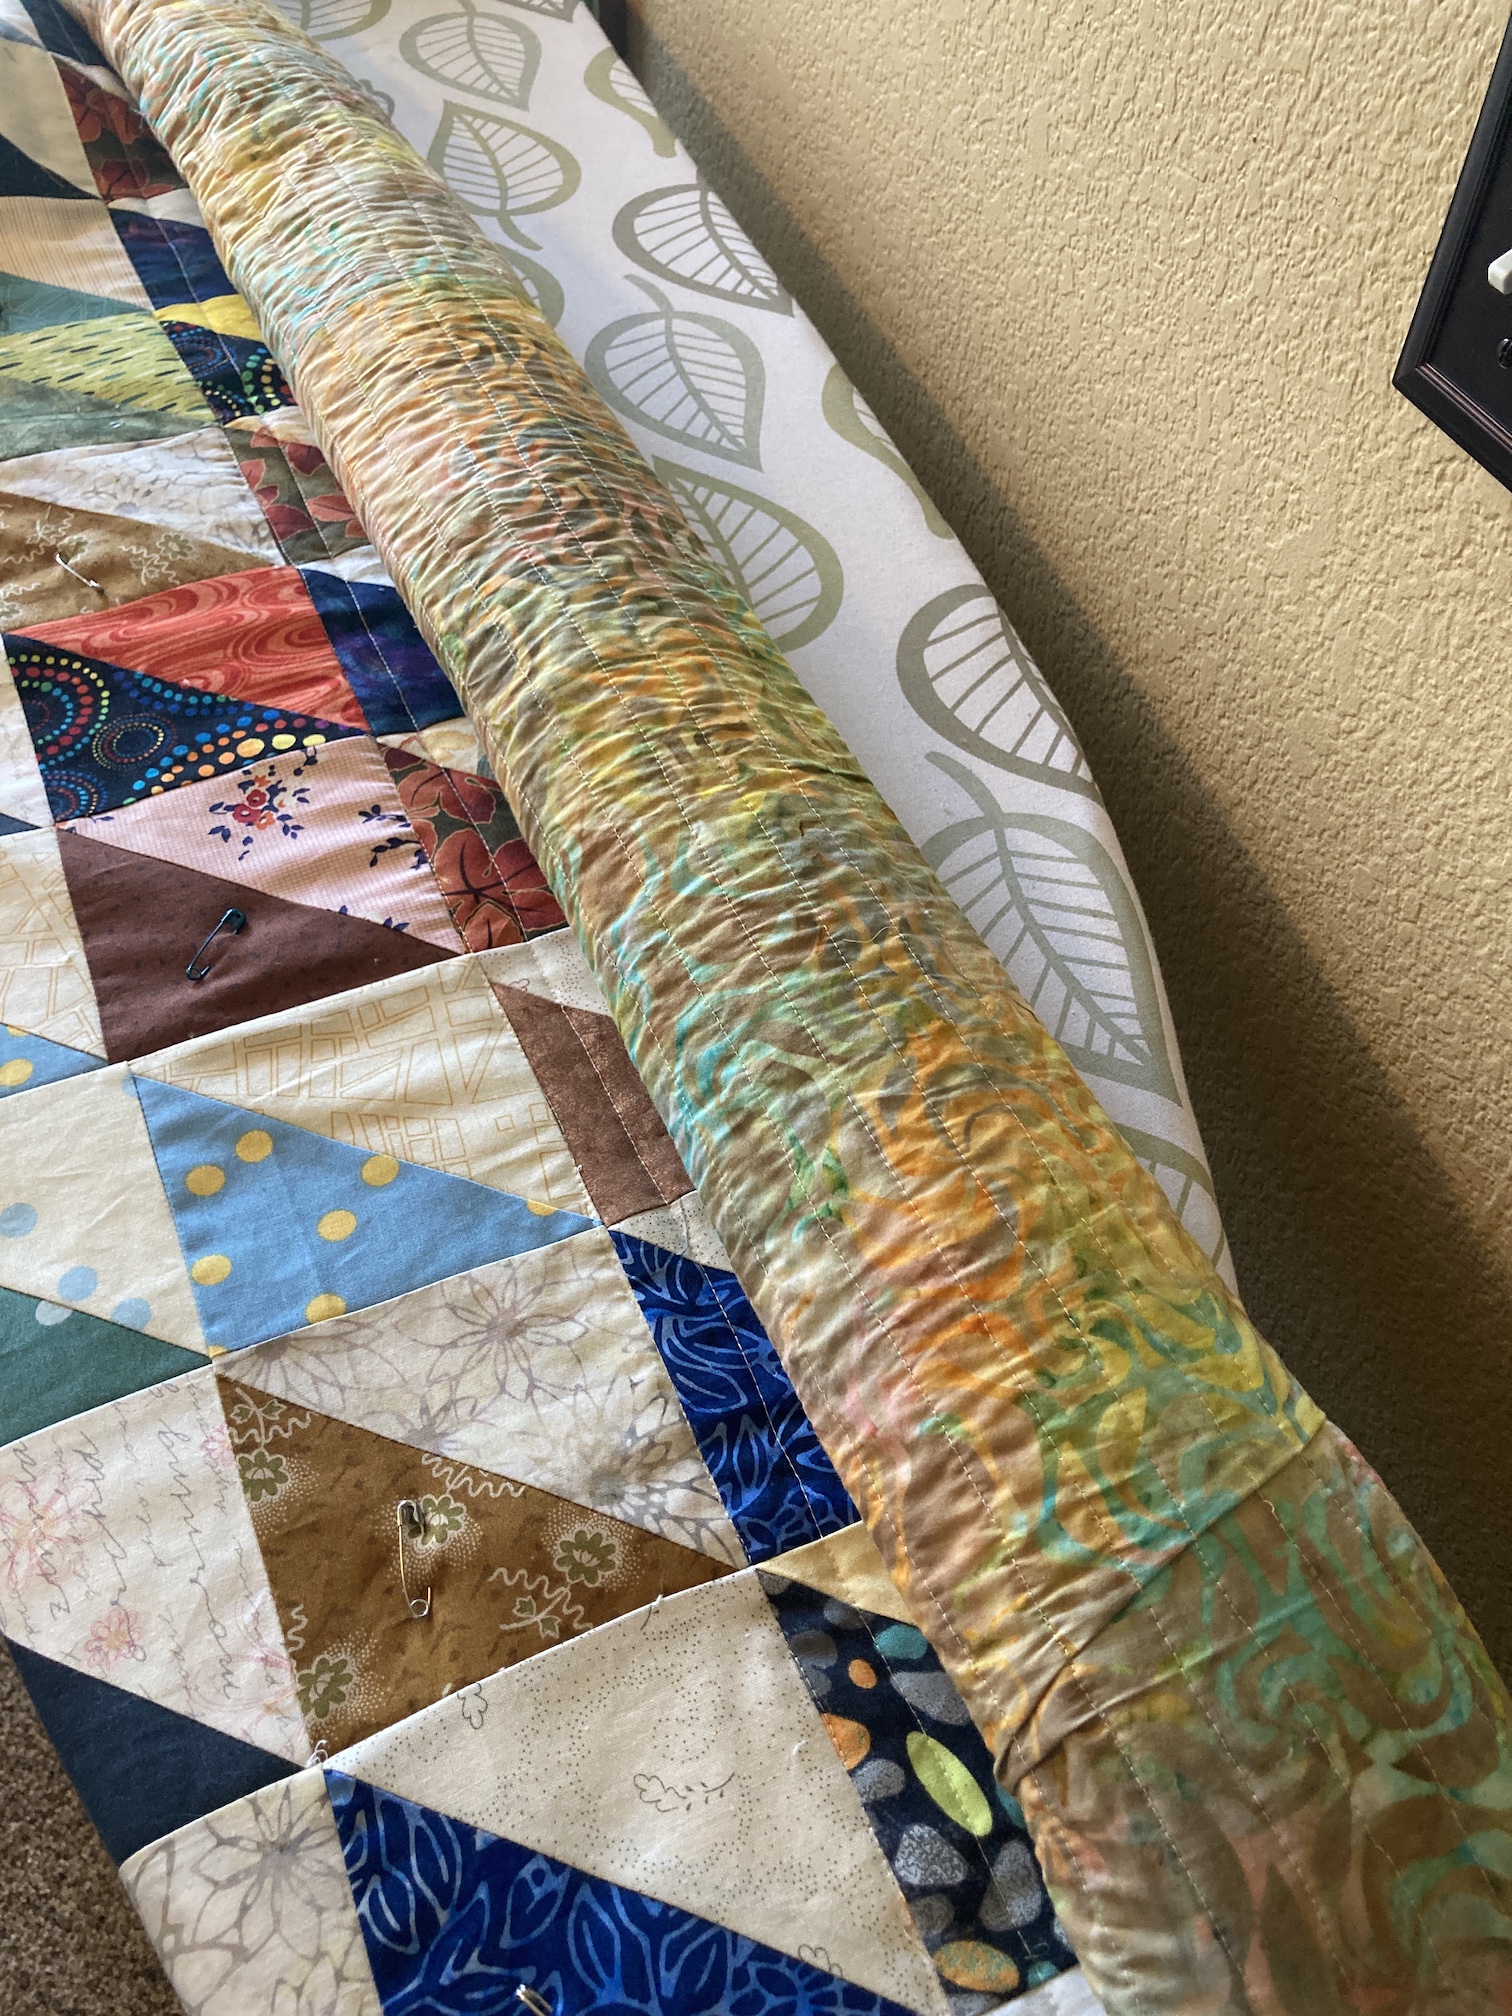
 I made a lot of “flying geese” using the
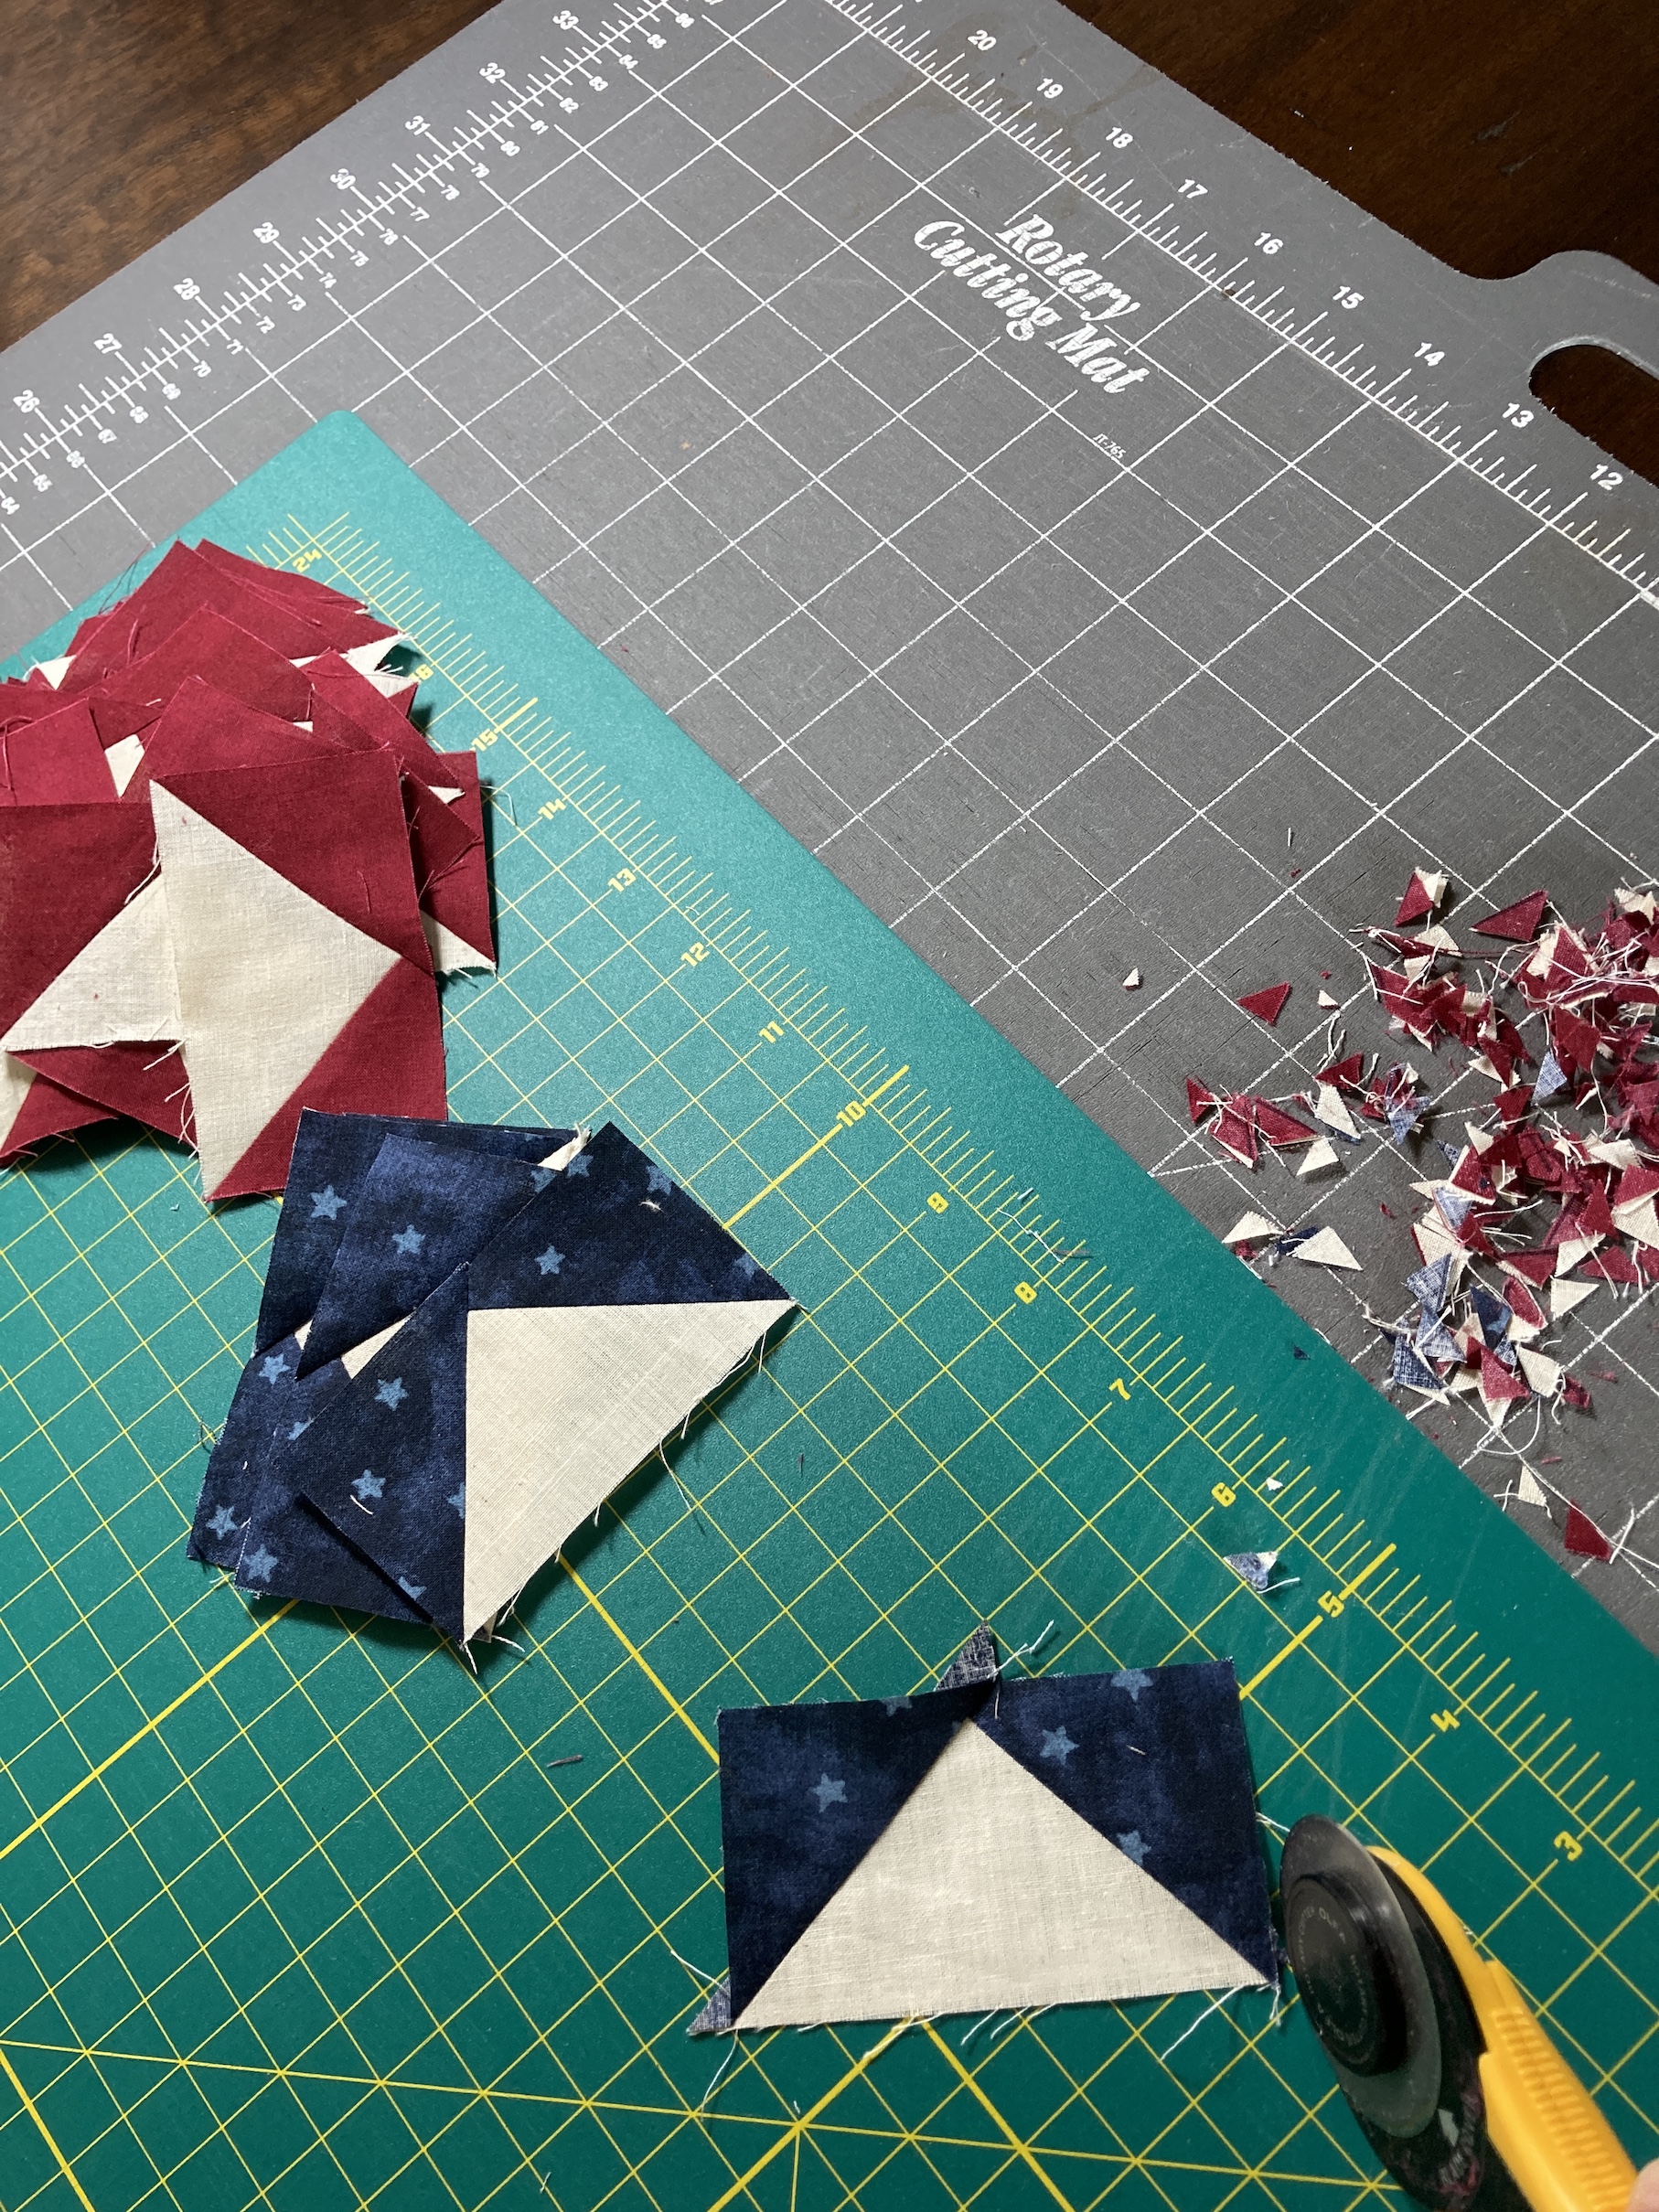
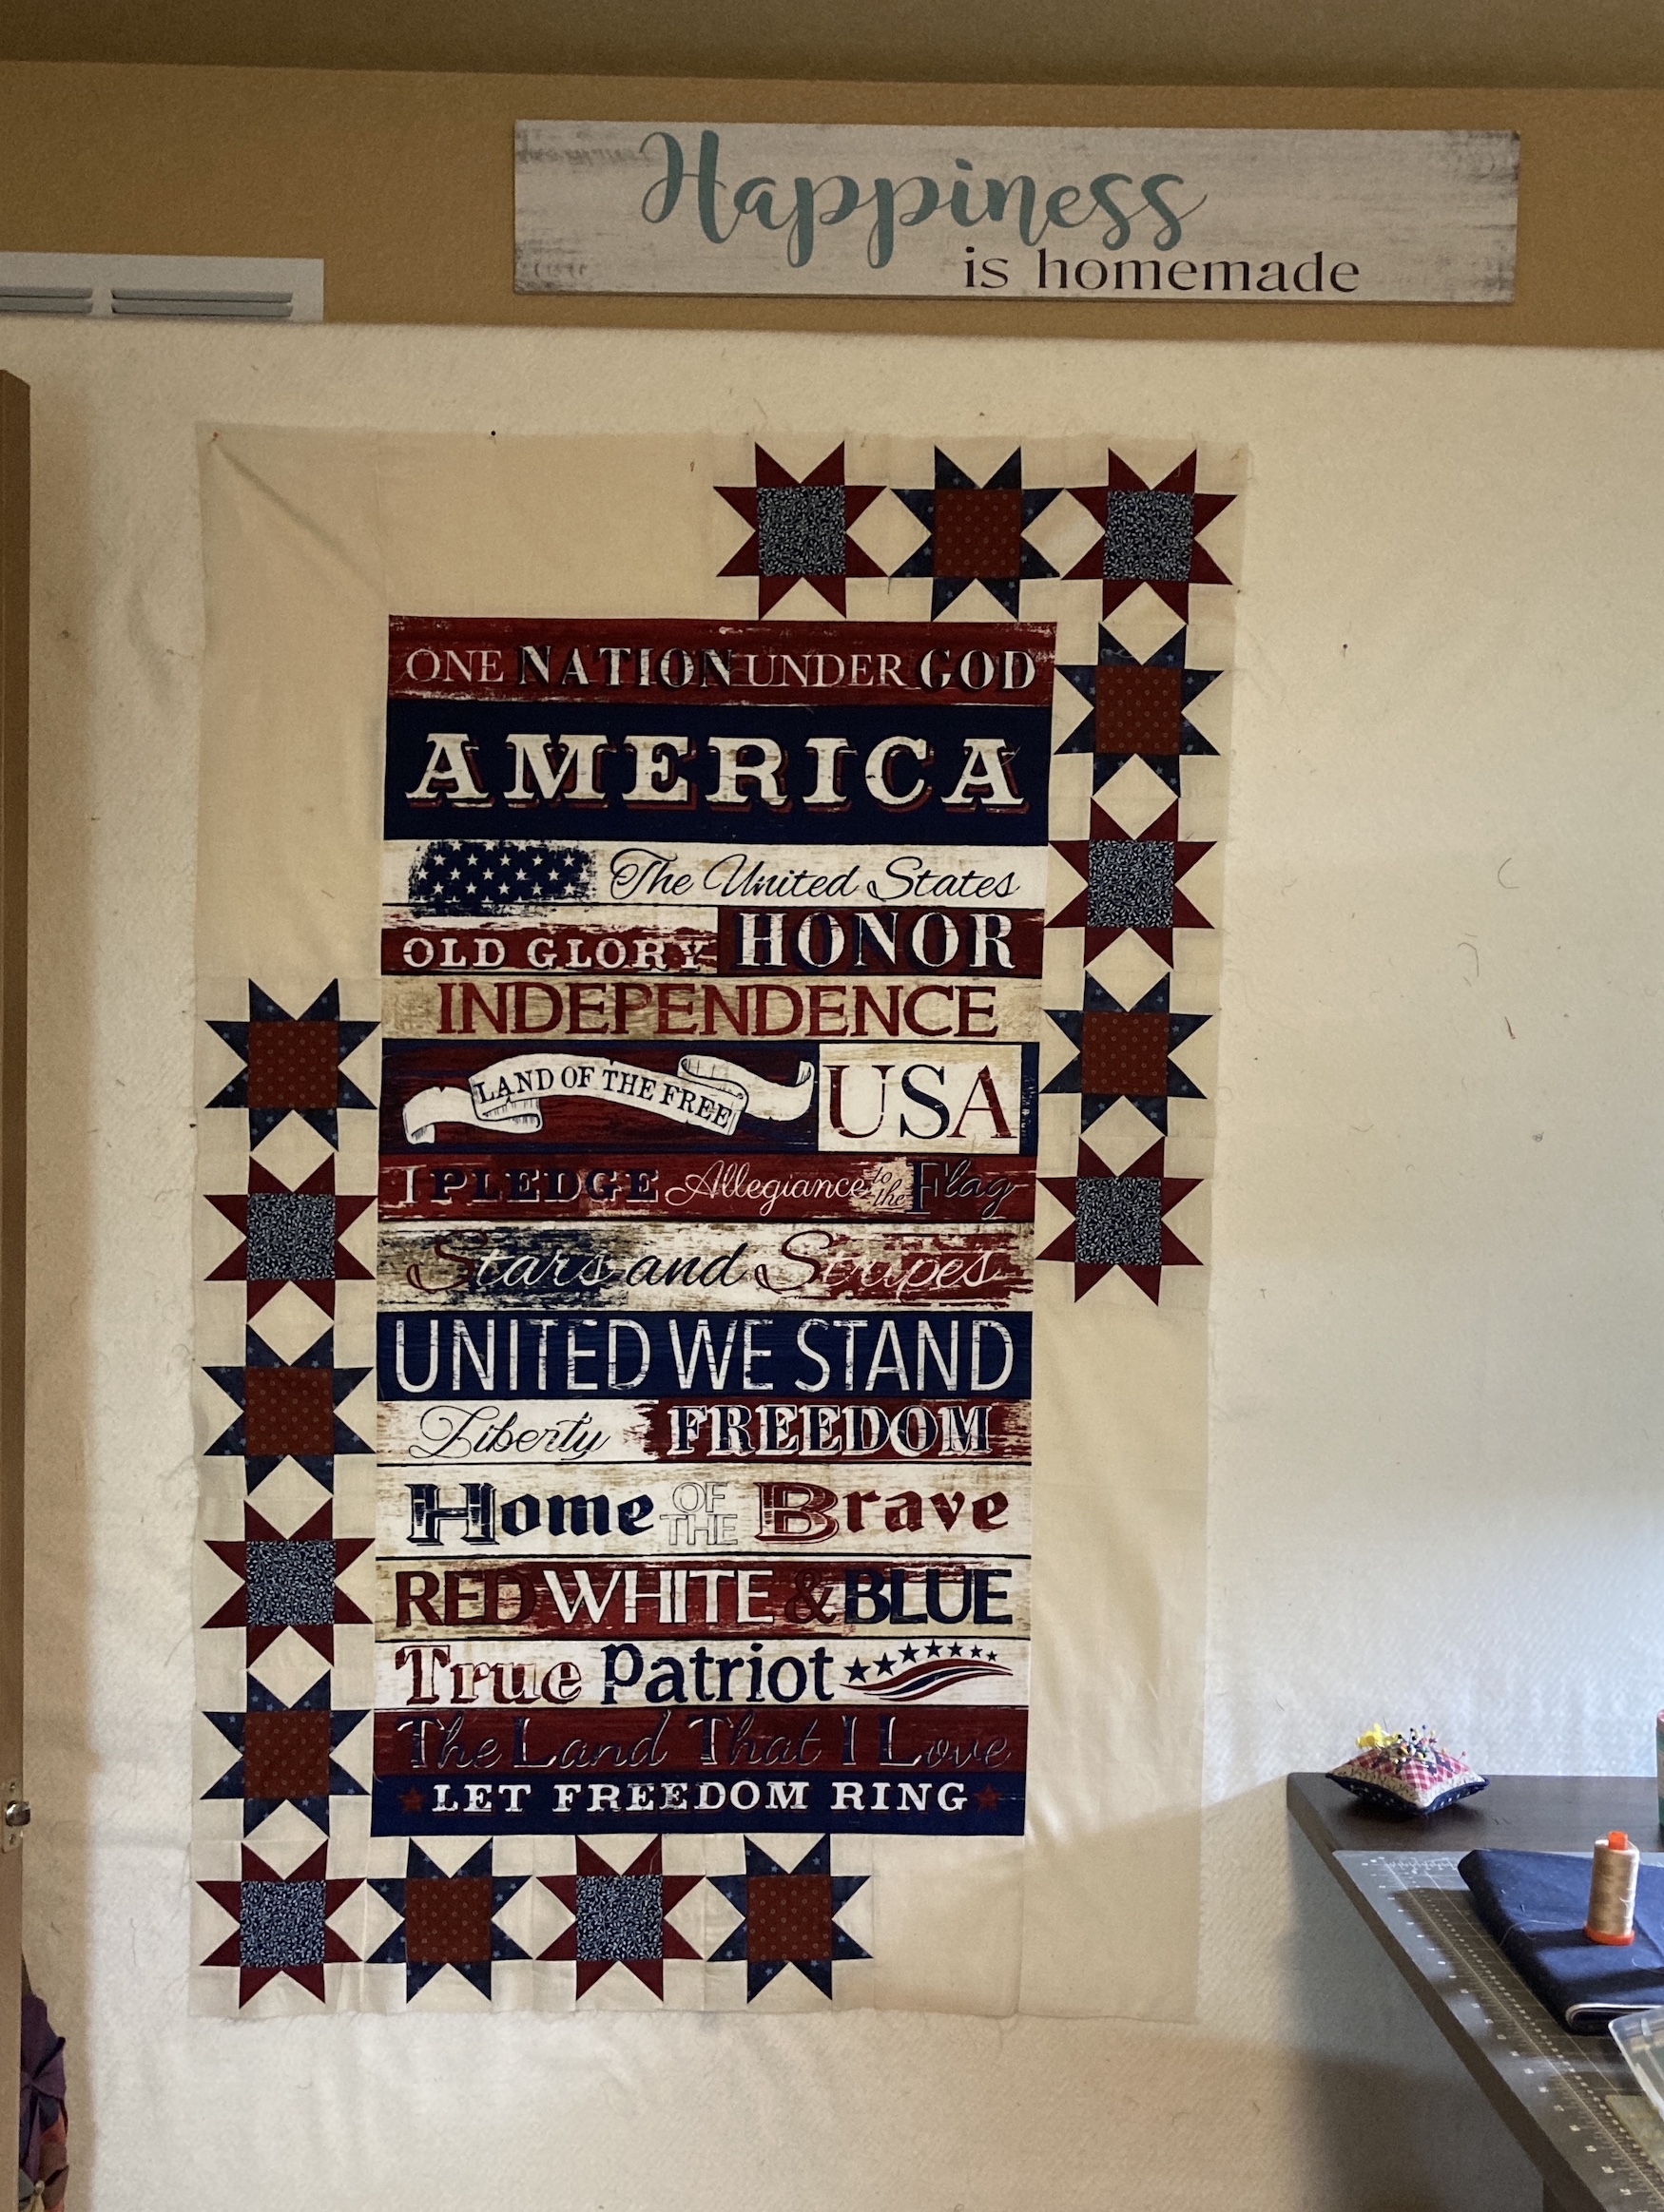
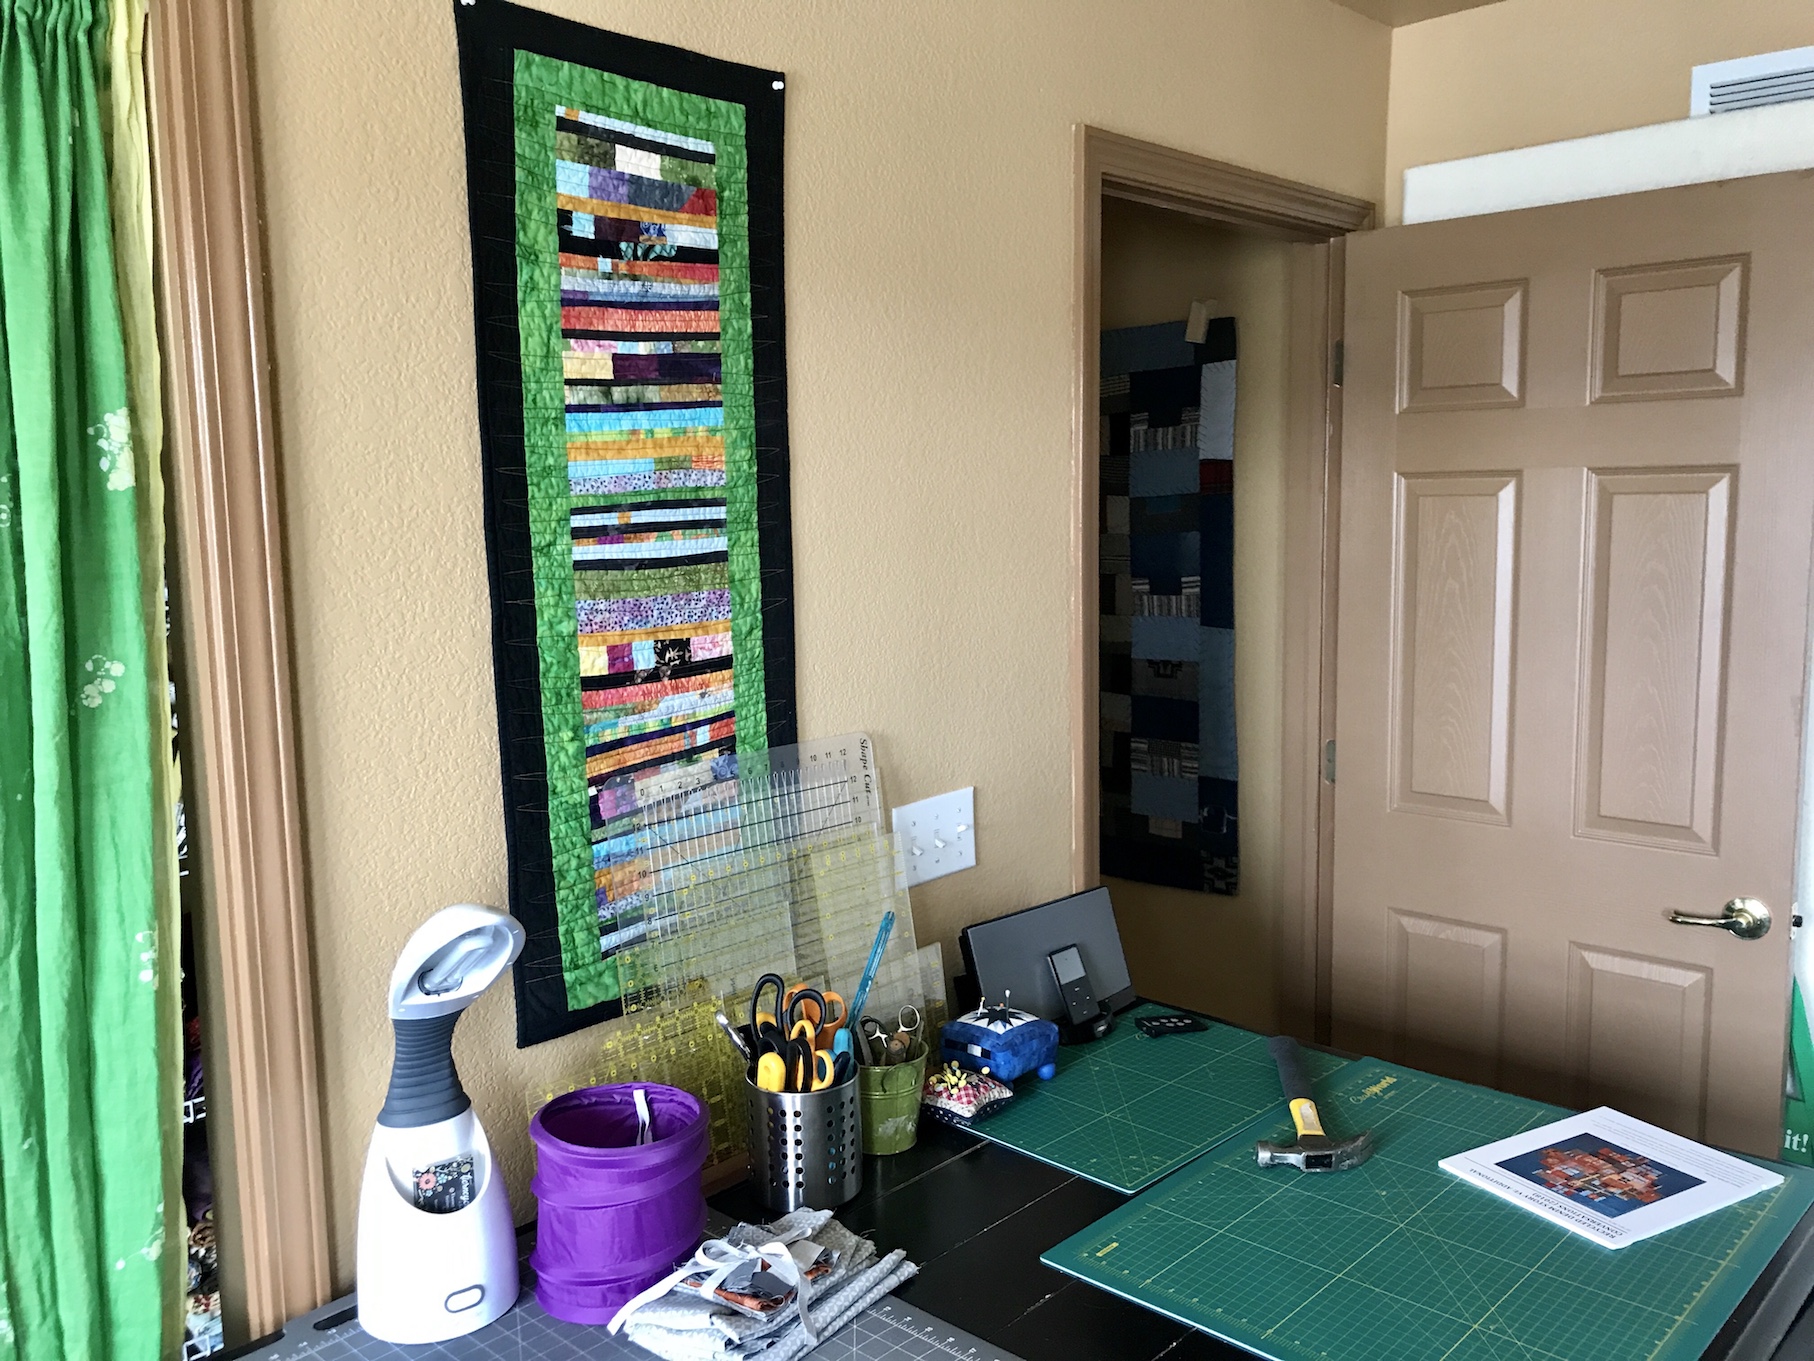
 Here is the finished quilt next to the framed mission flag:
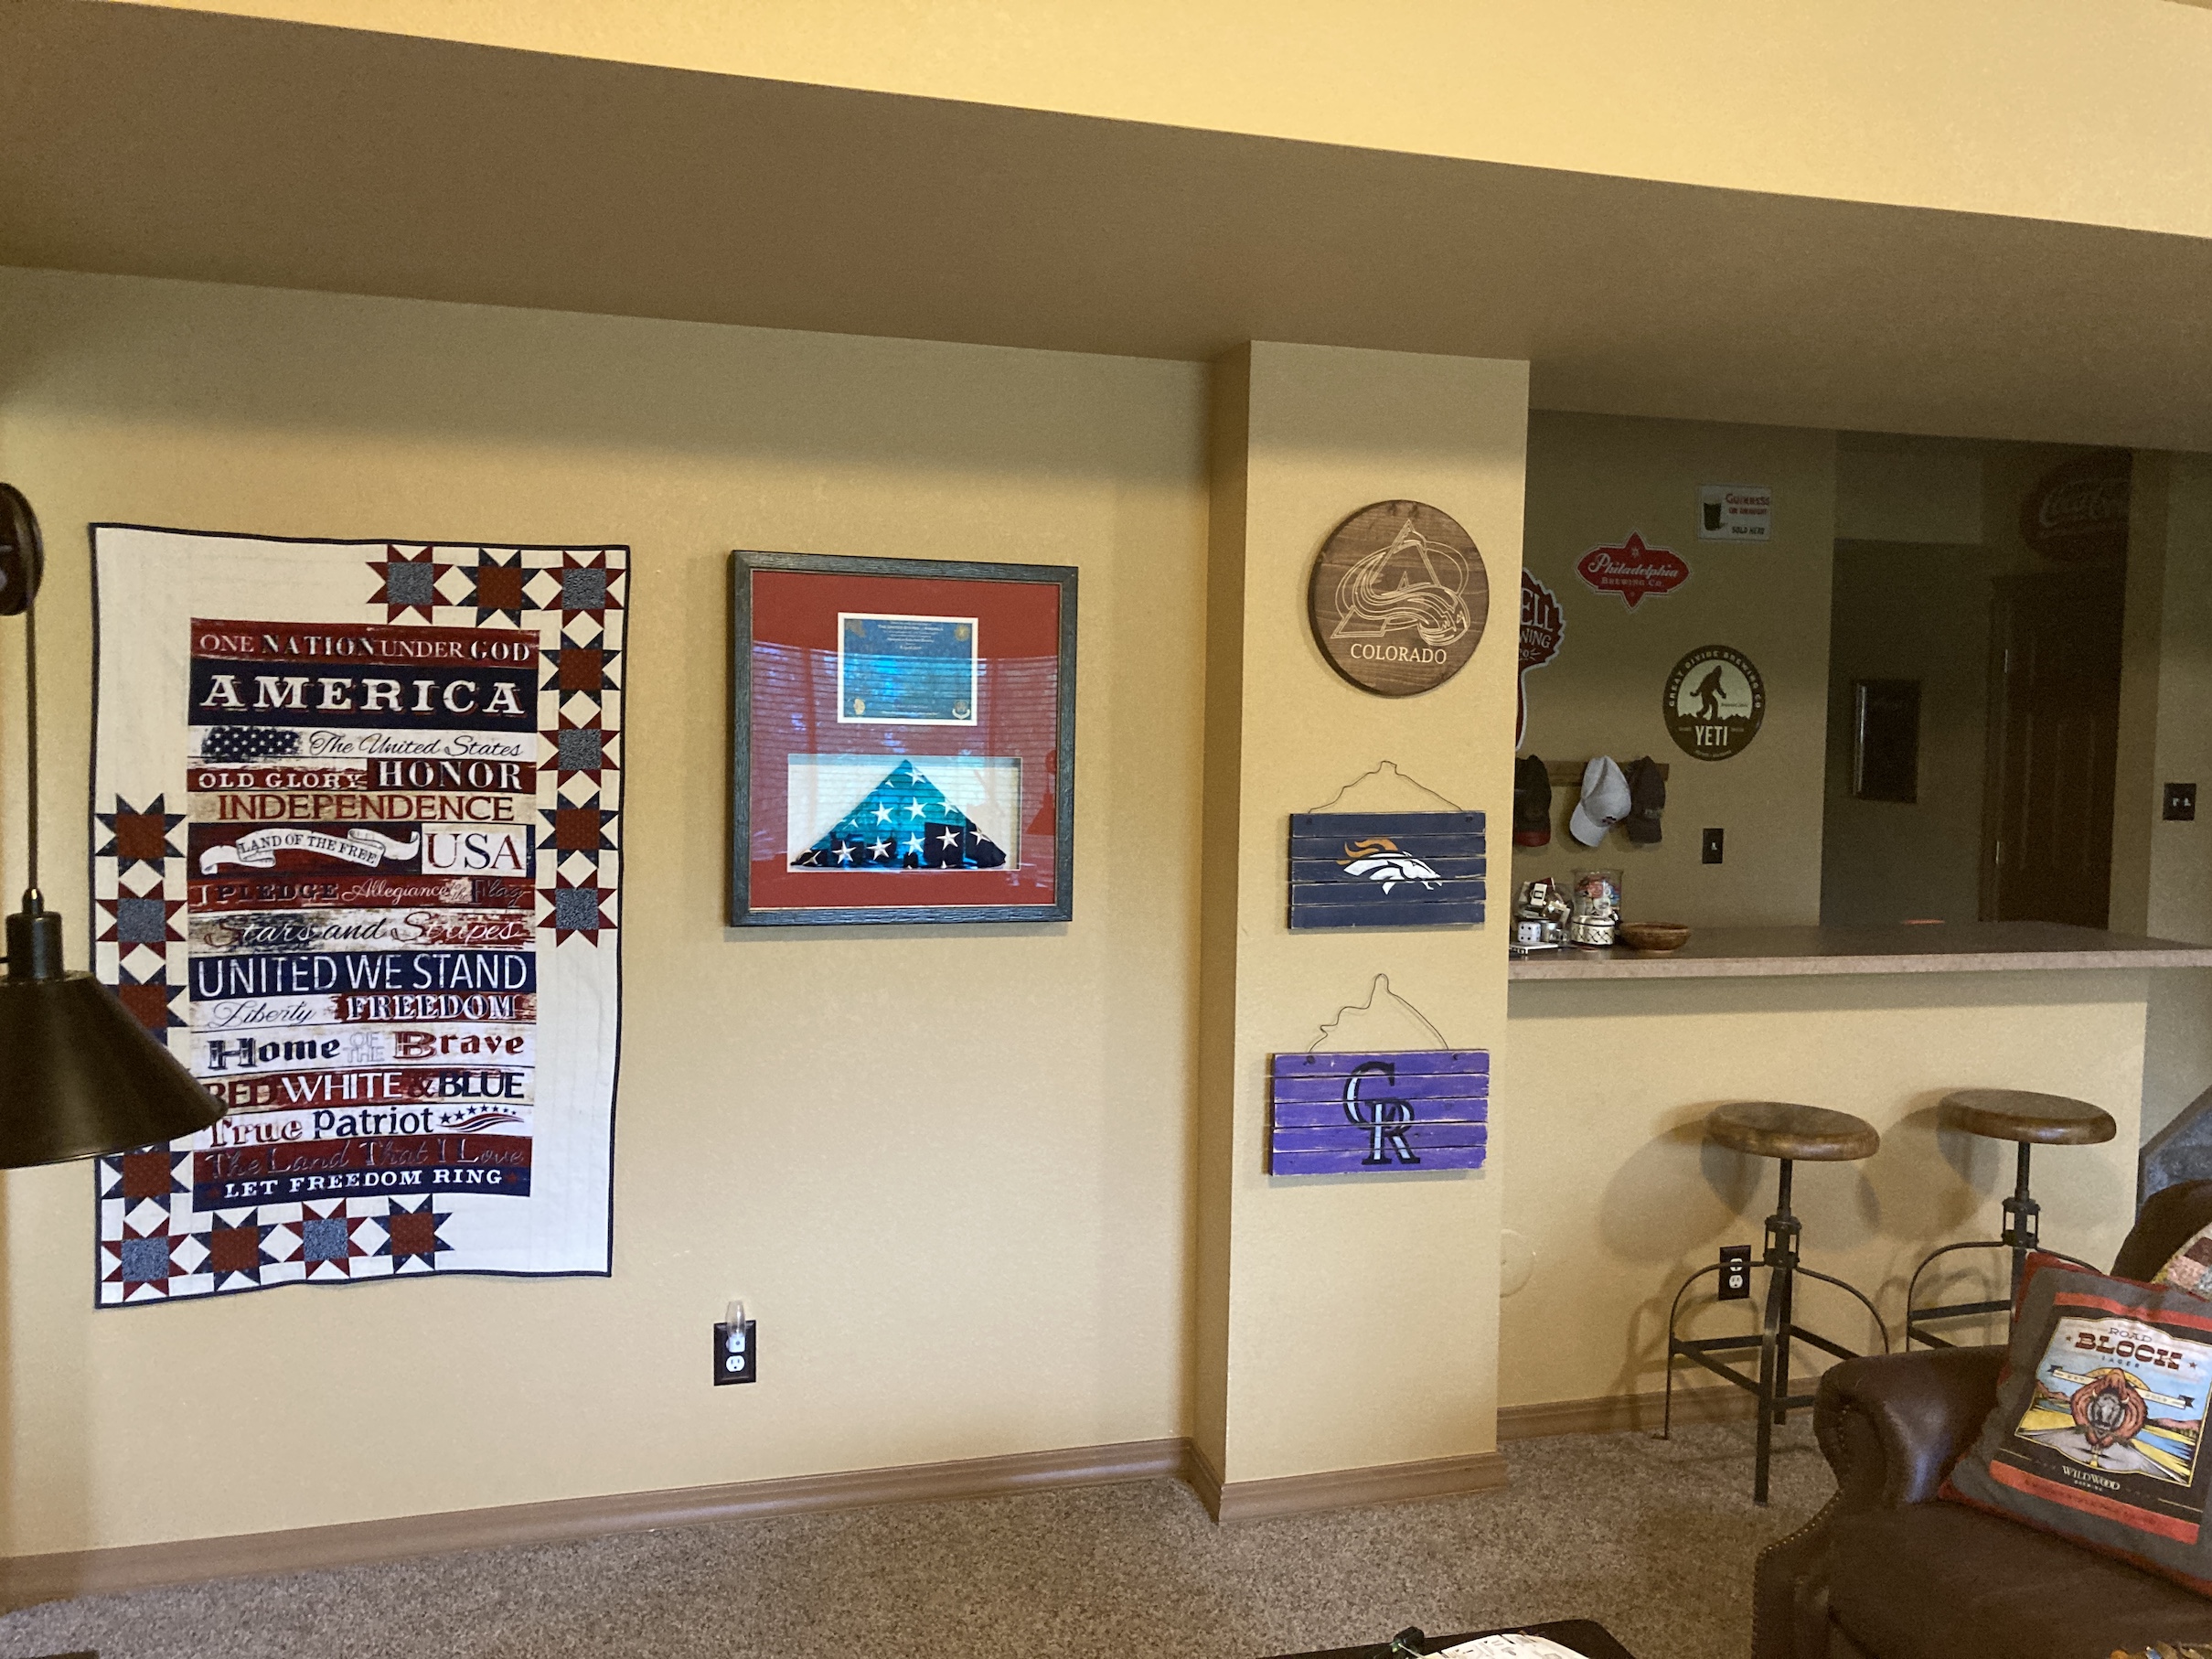
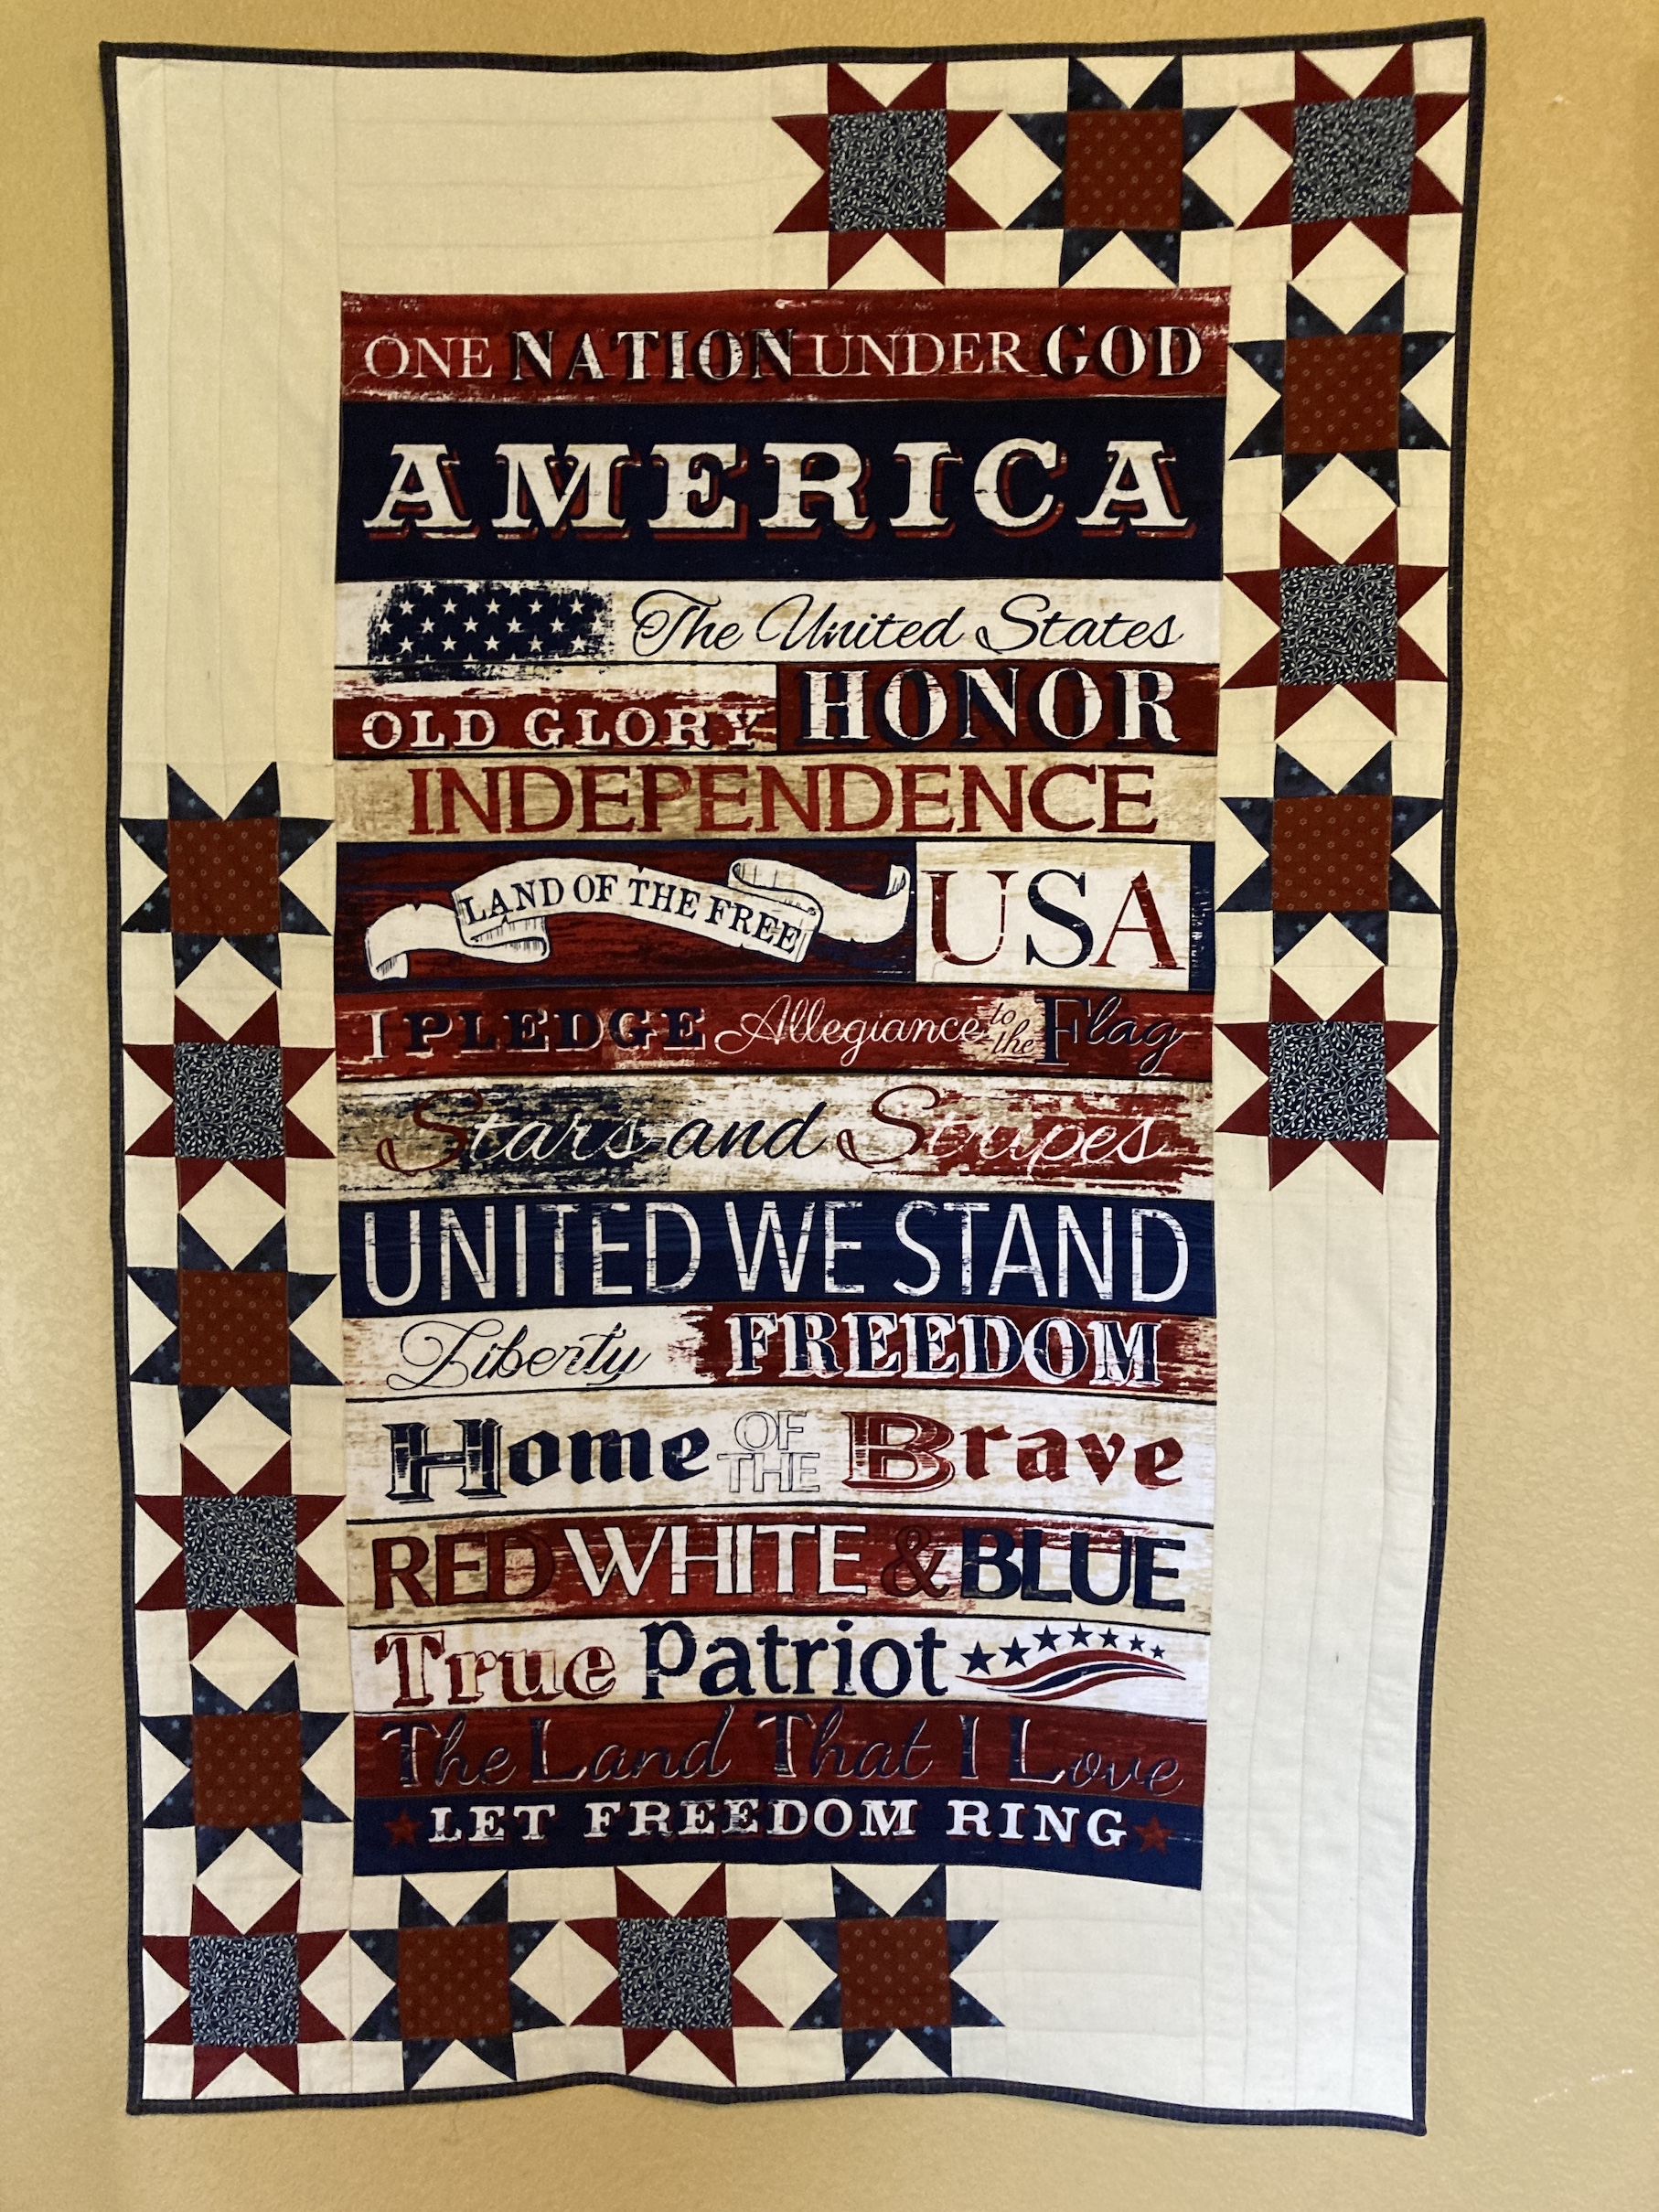 As you can tell, I machine quilted it myself (smile).


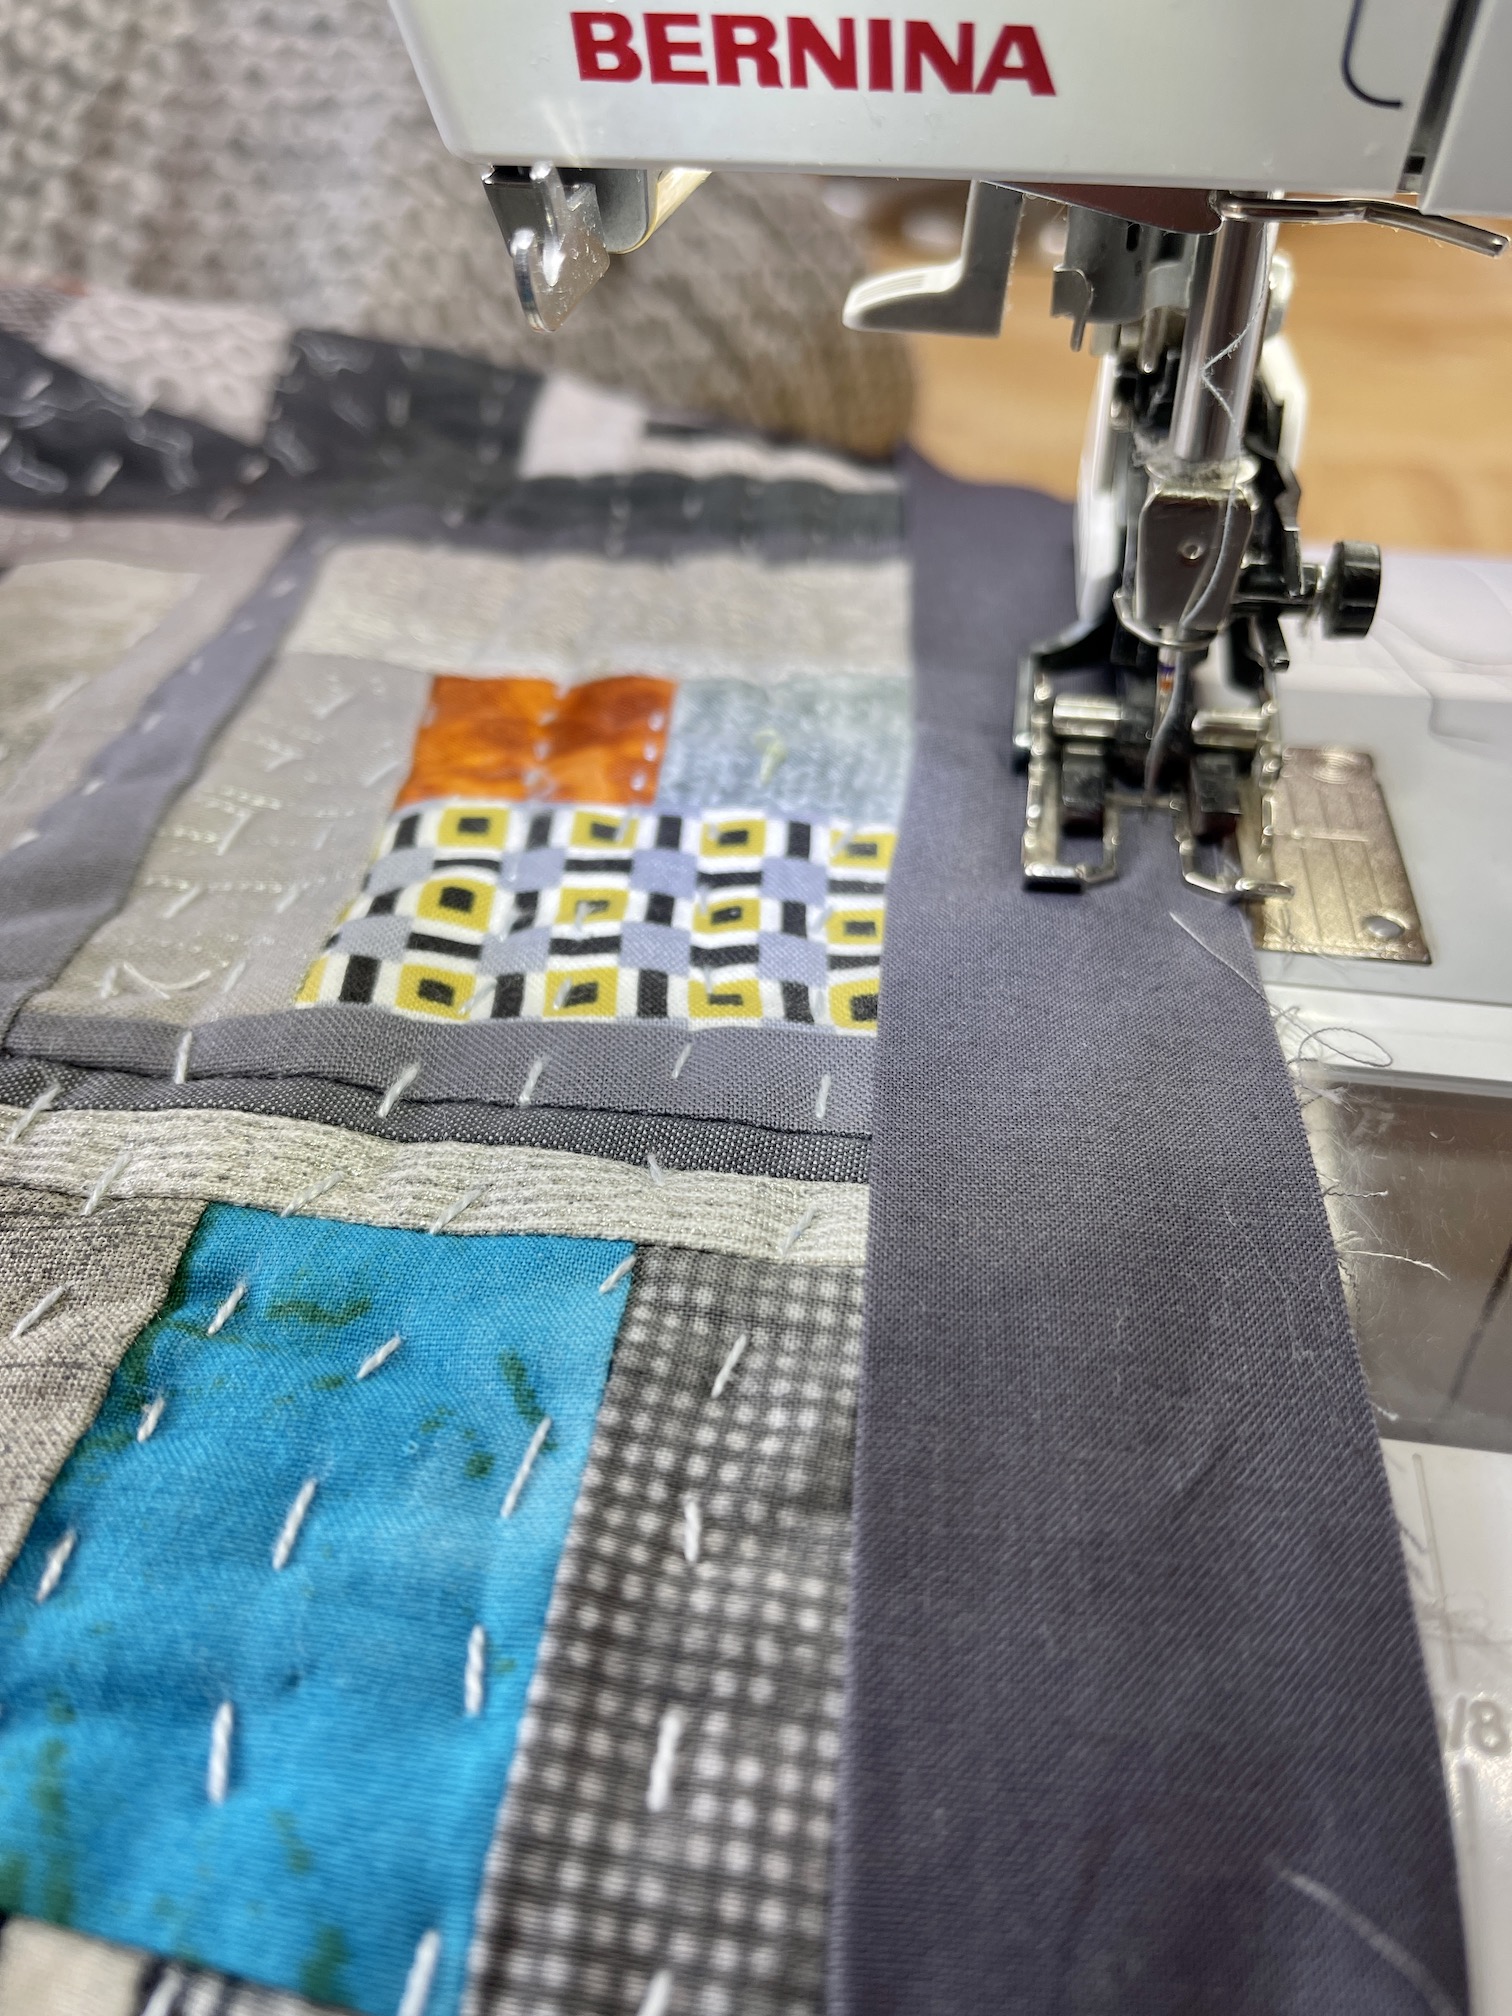
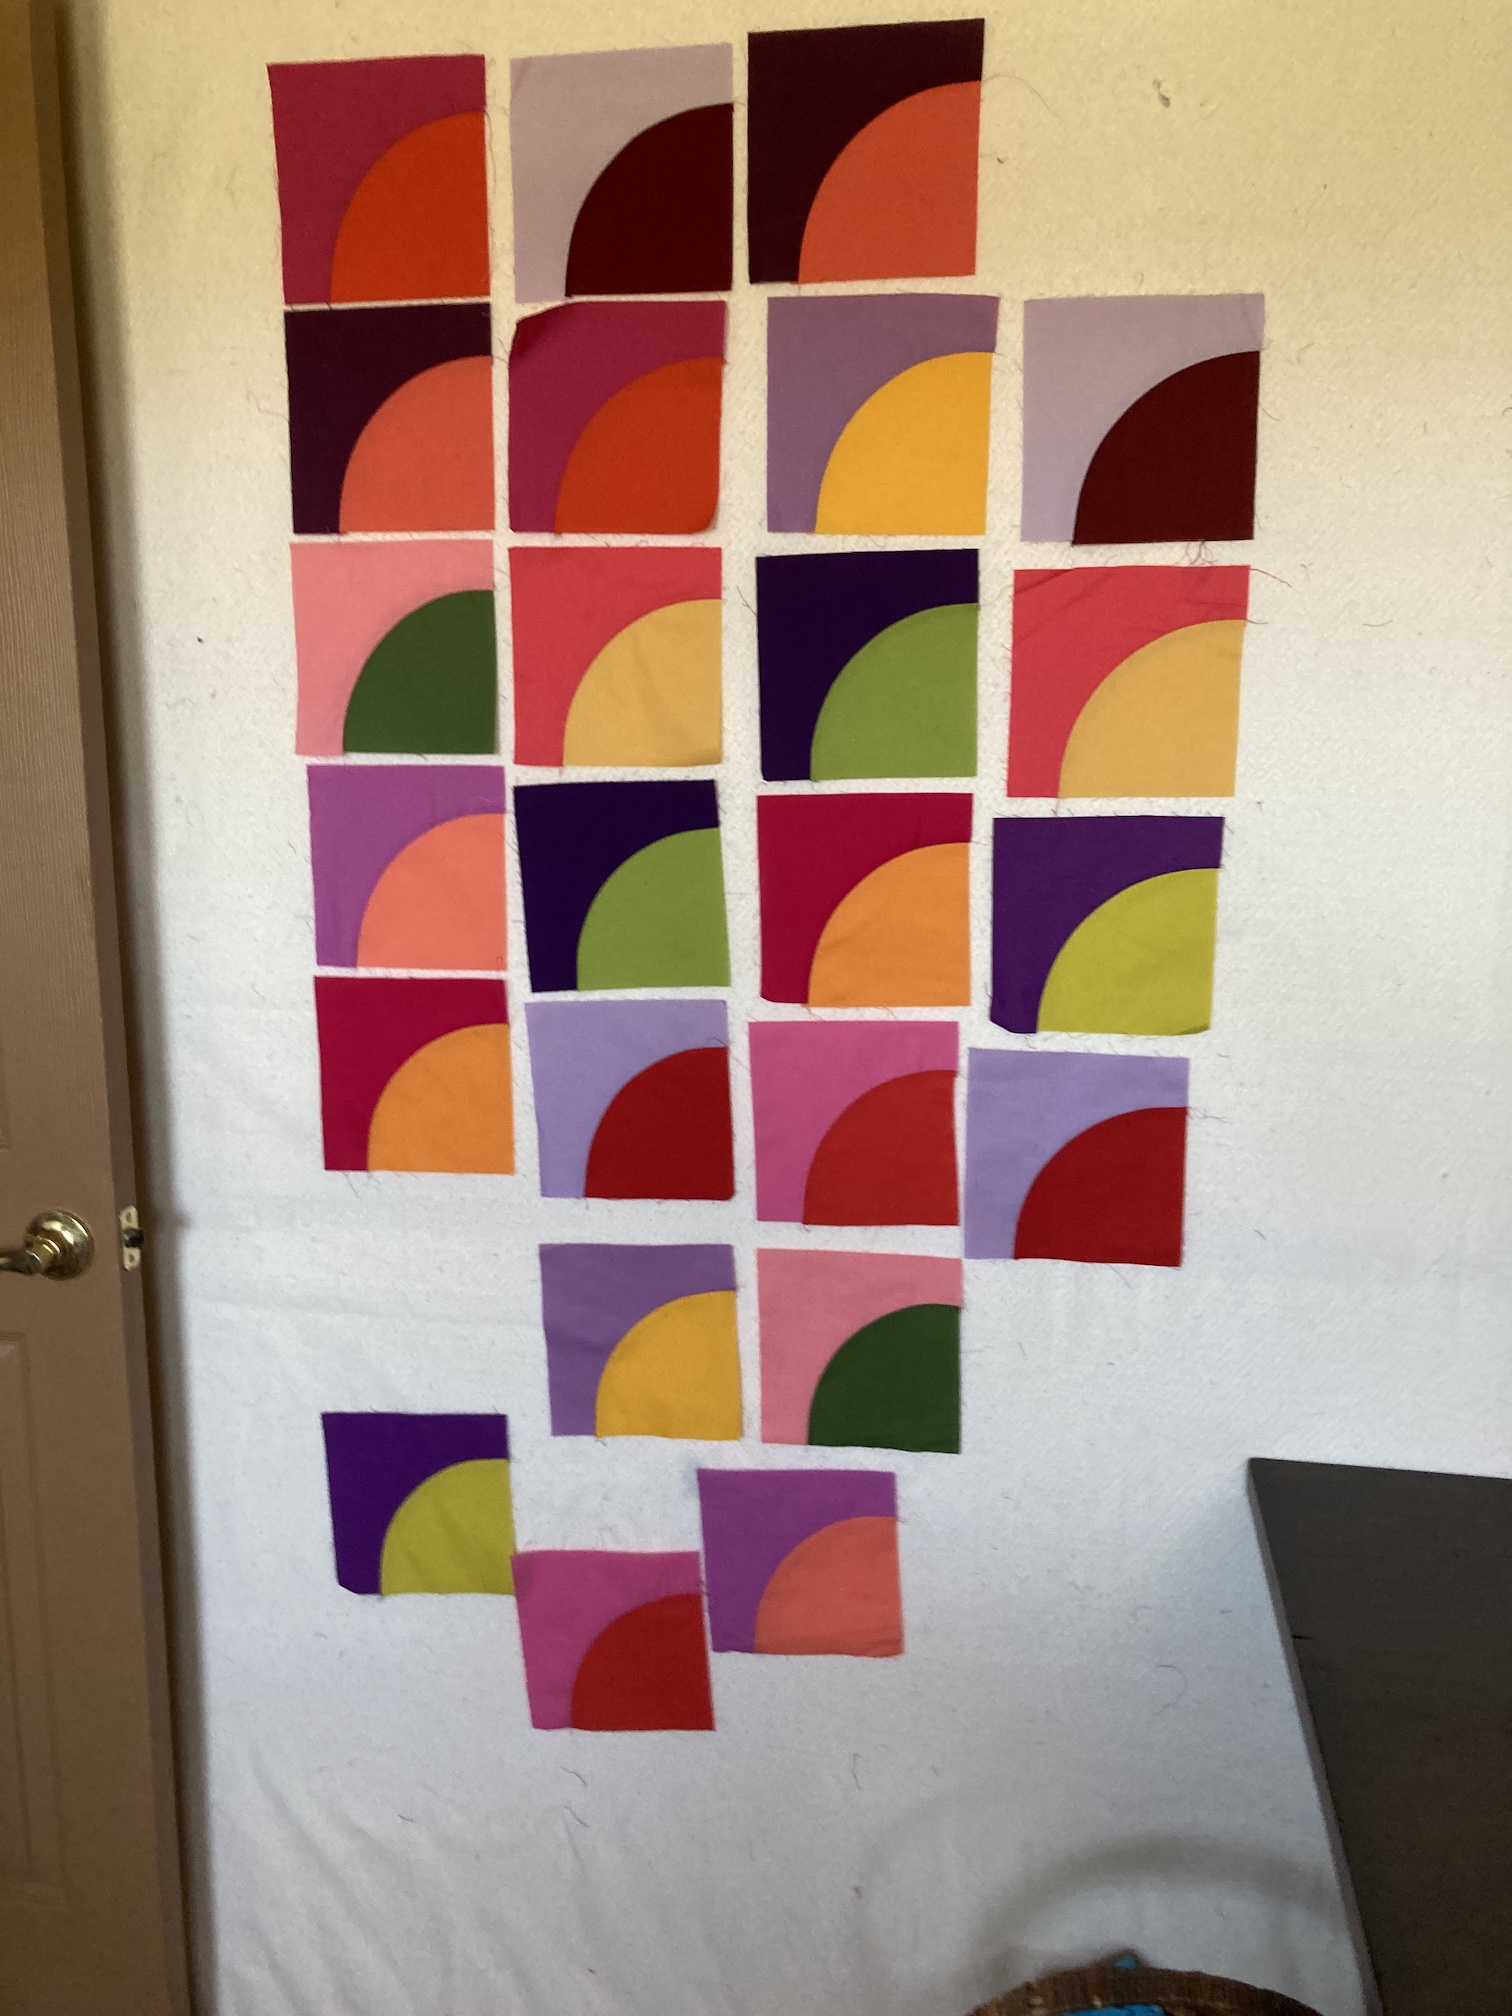
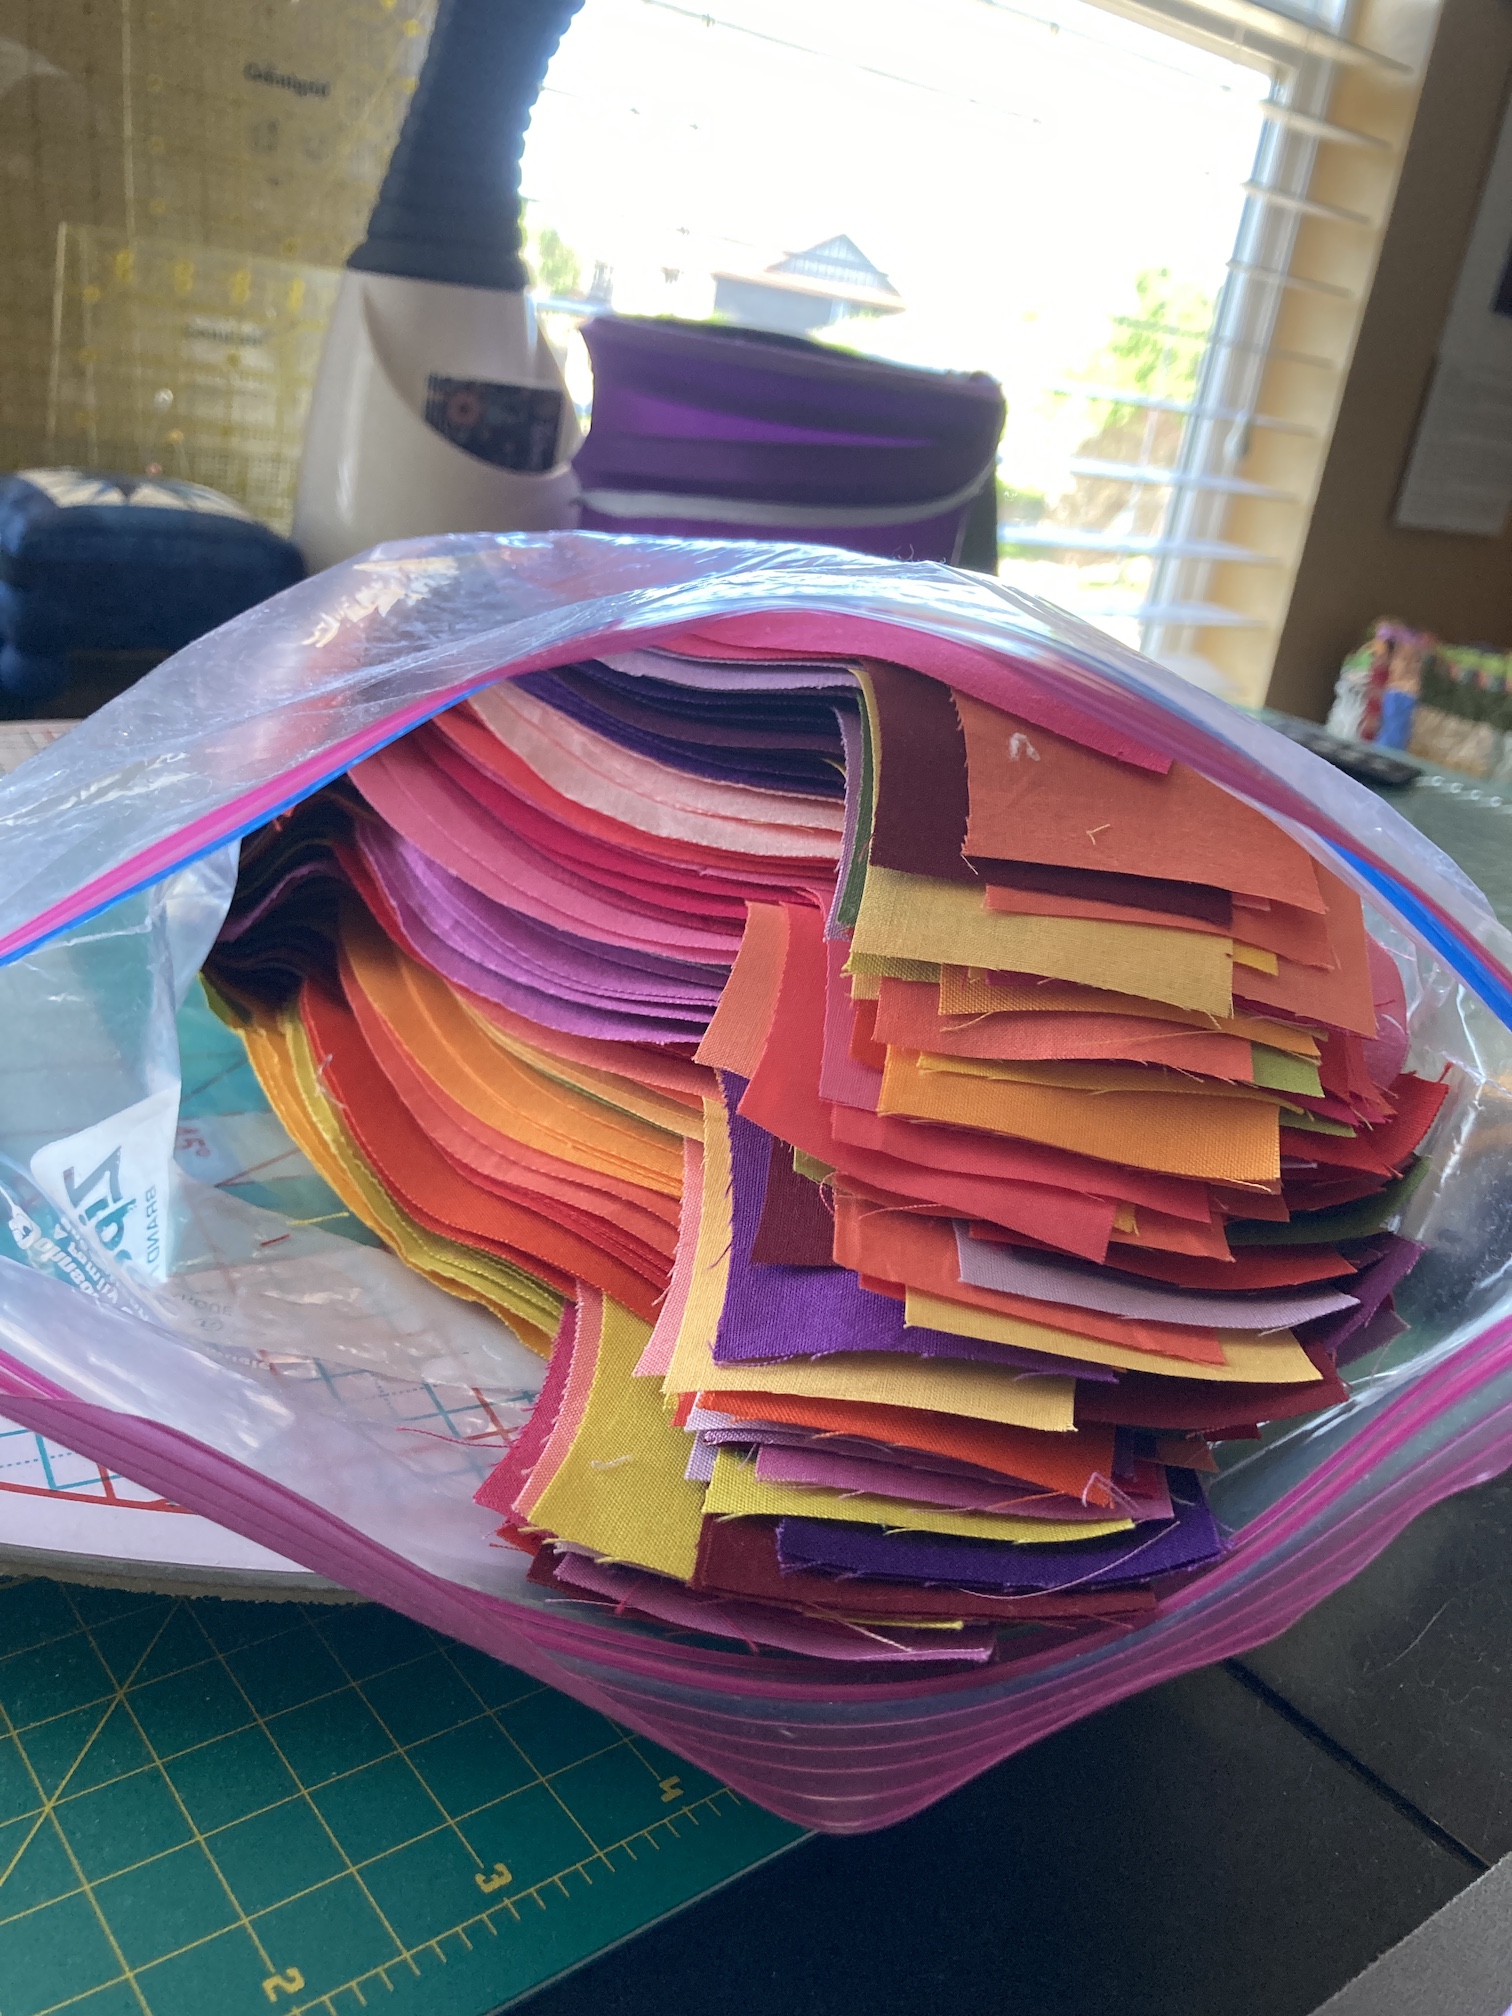
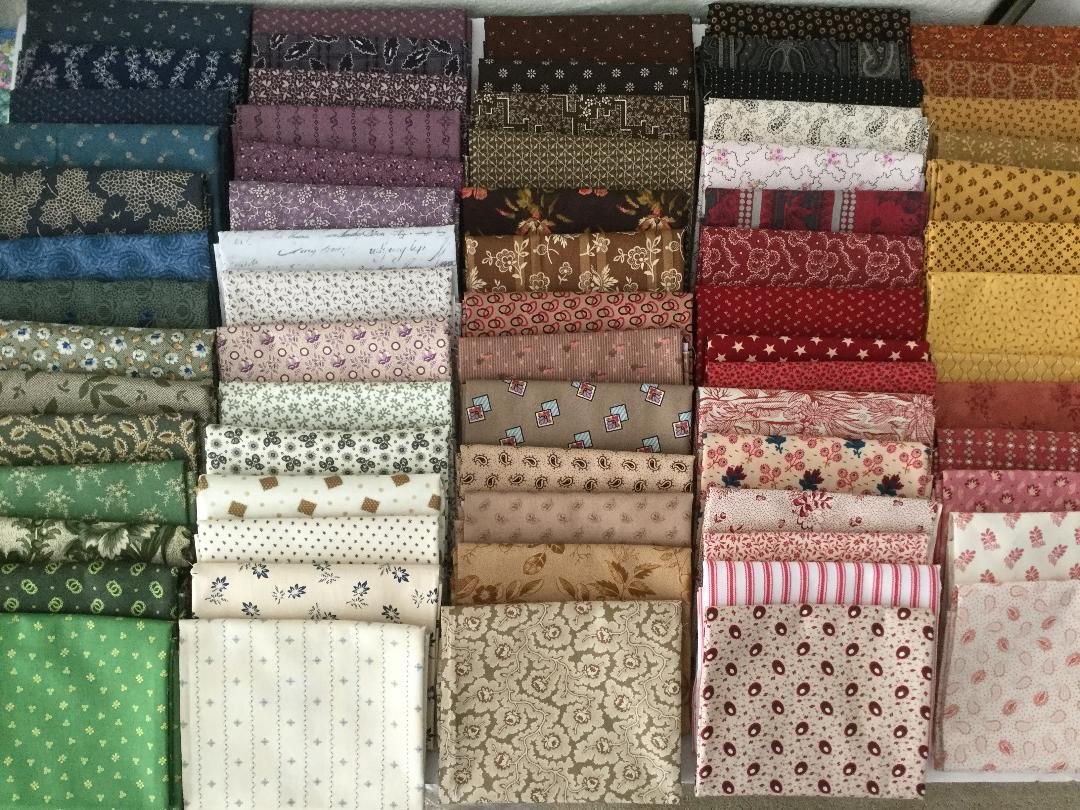 Somewhere in the late 2000s as I began to make quilts with batik fabrics, I became attracted to strong/bold colors.


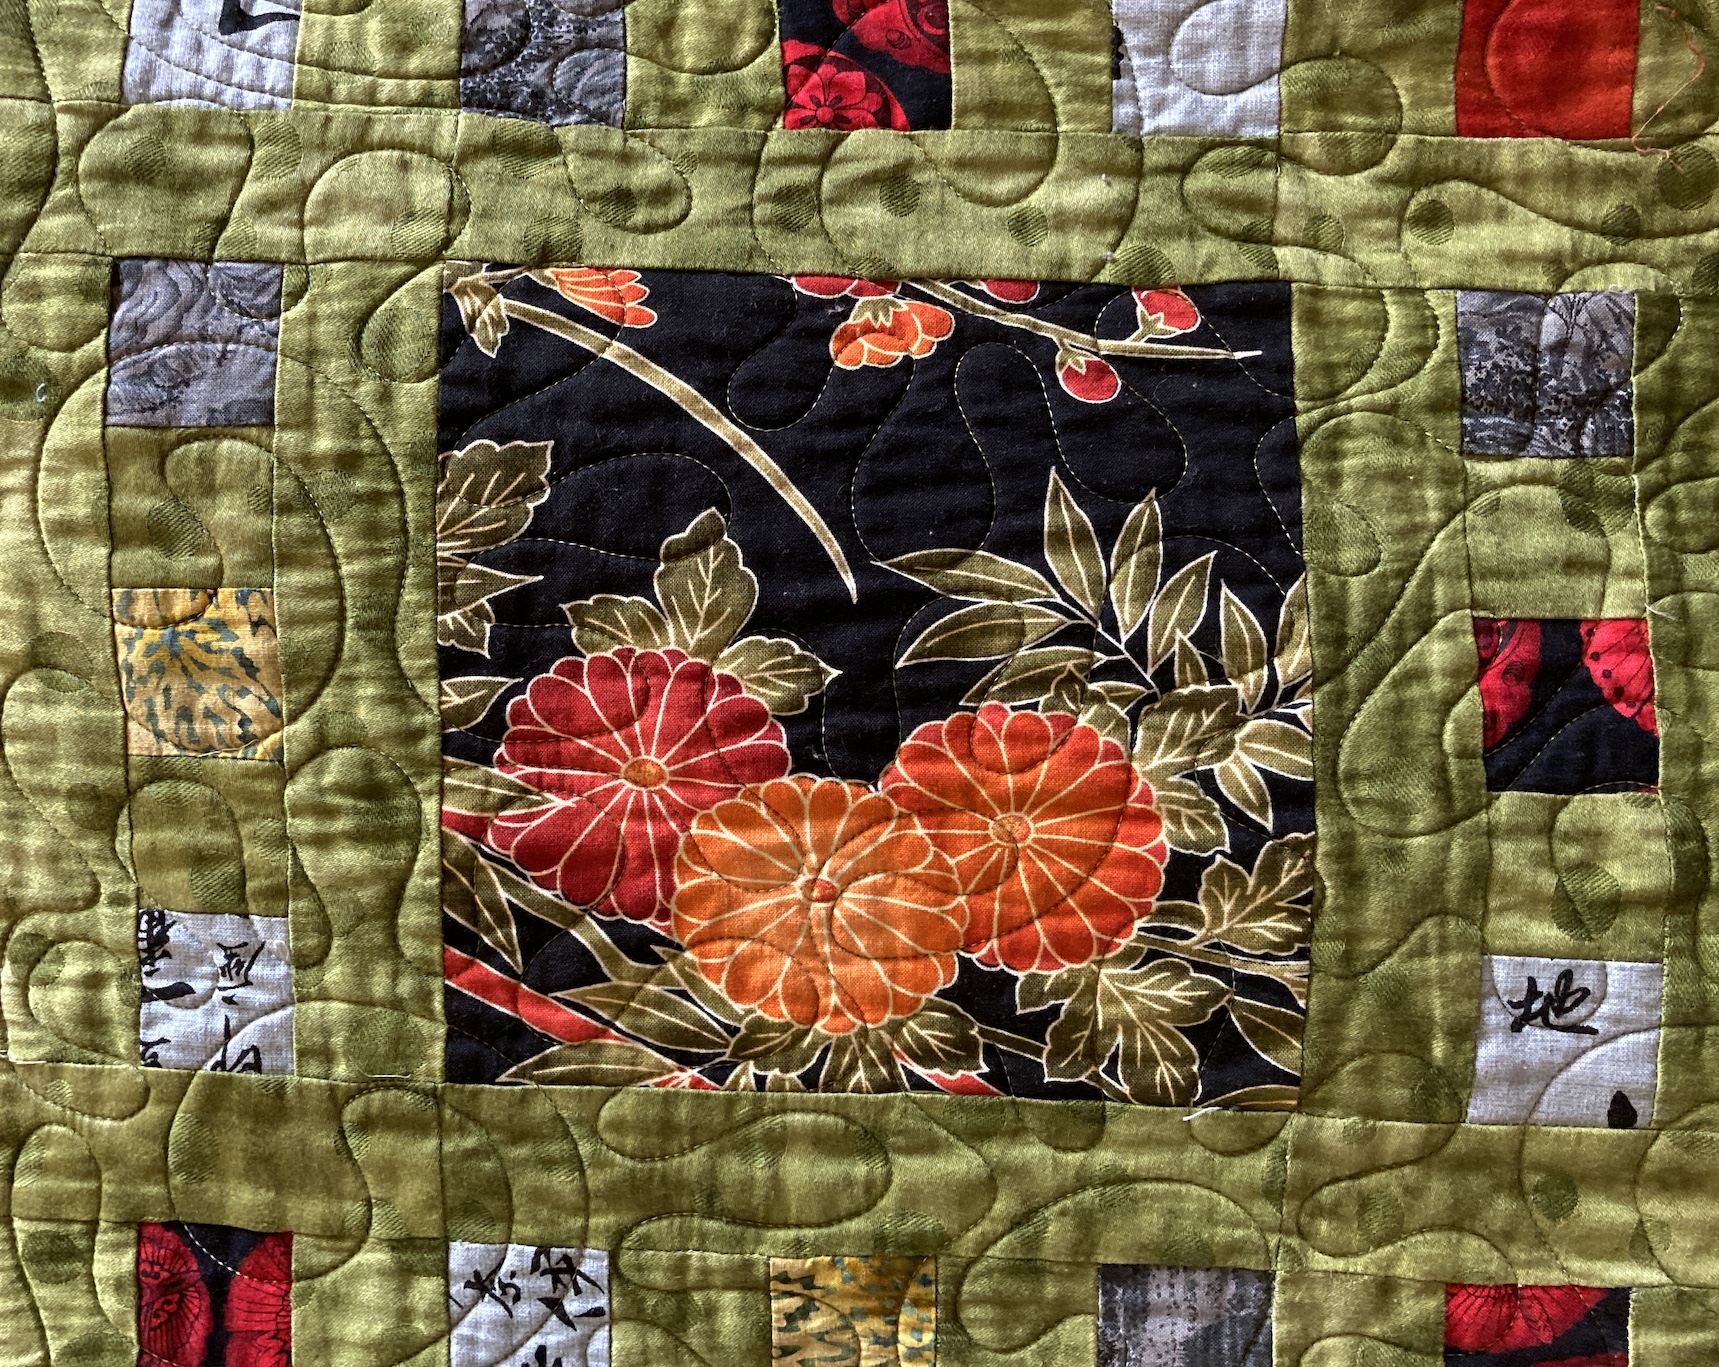


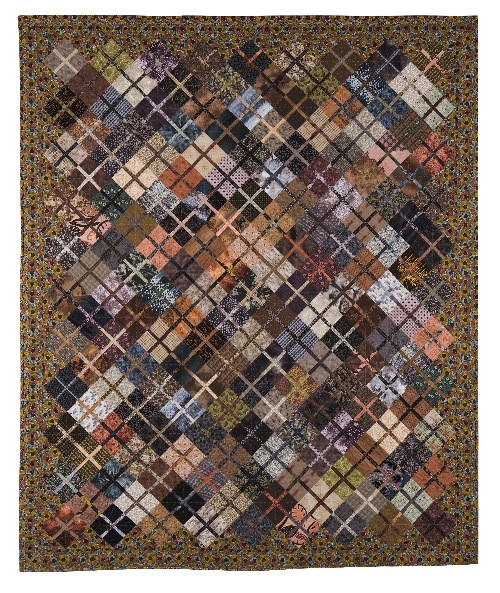
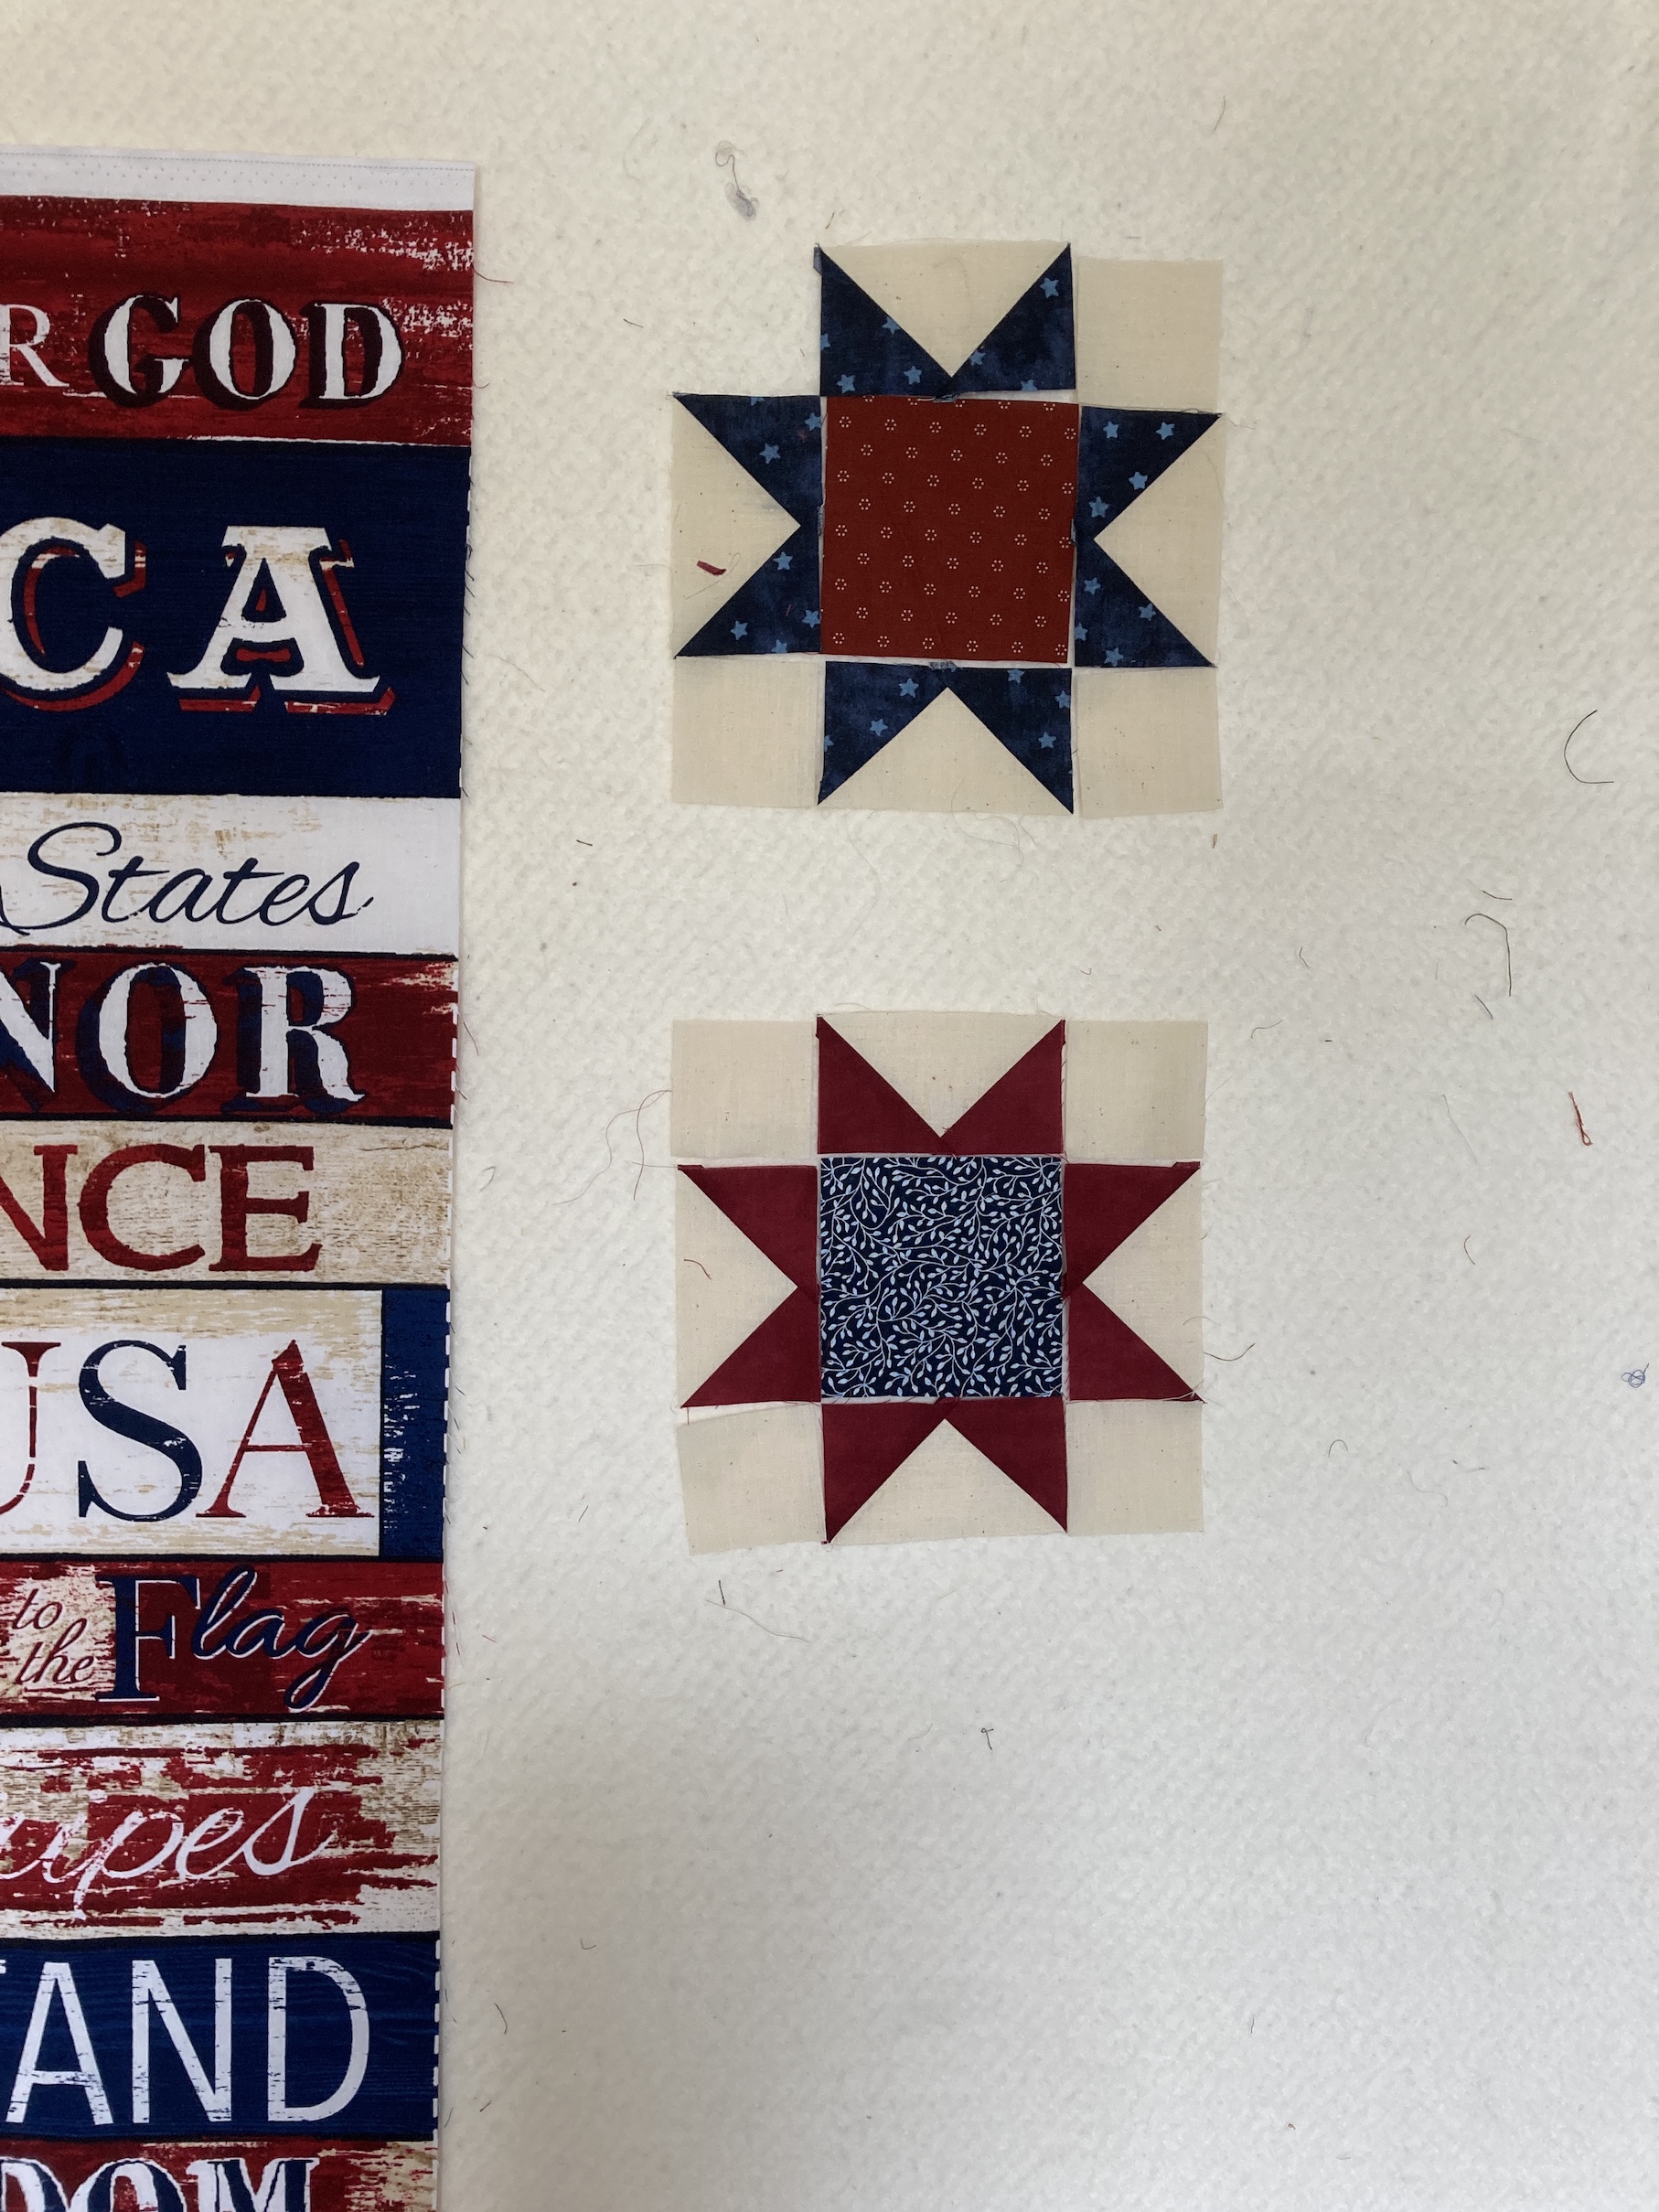
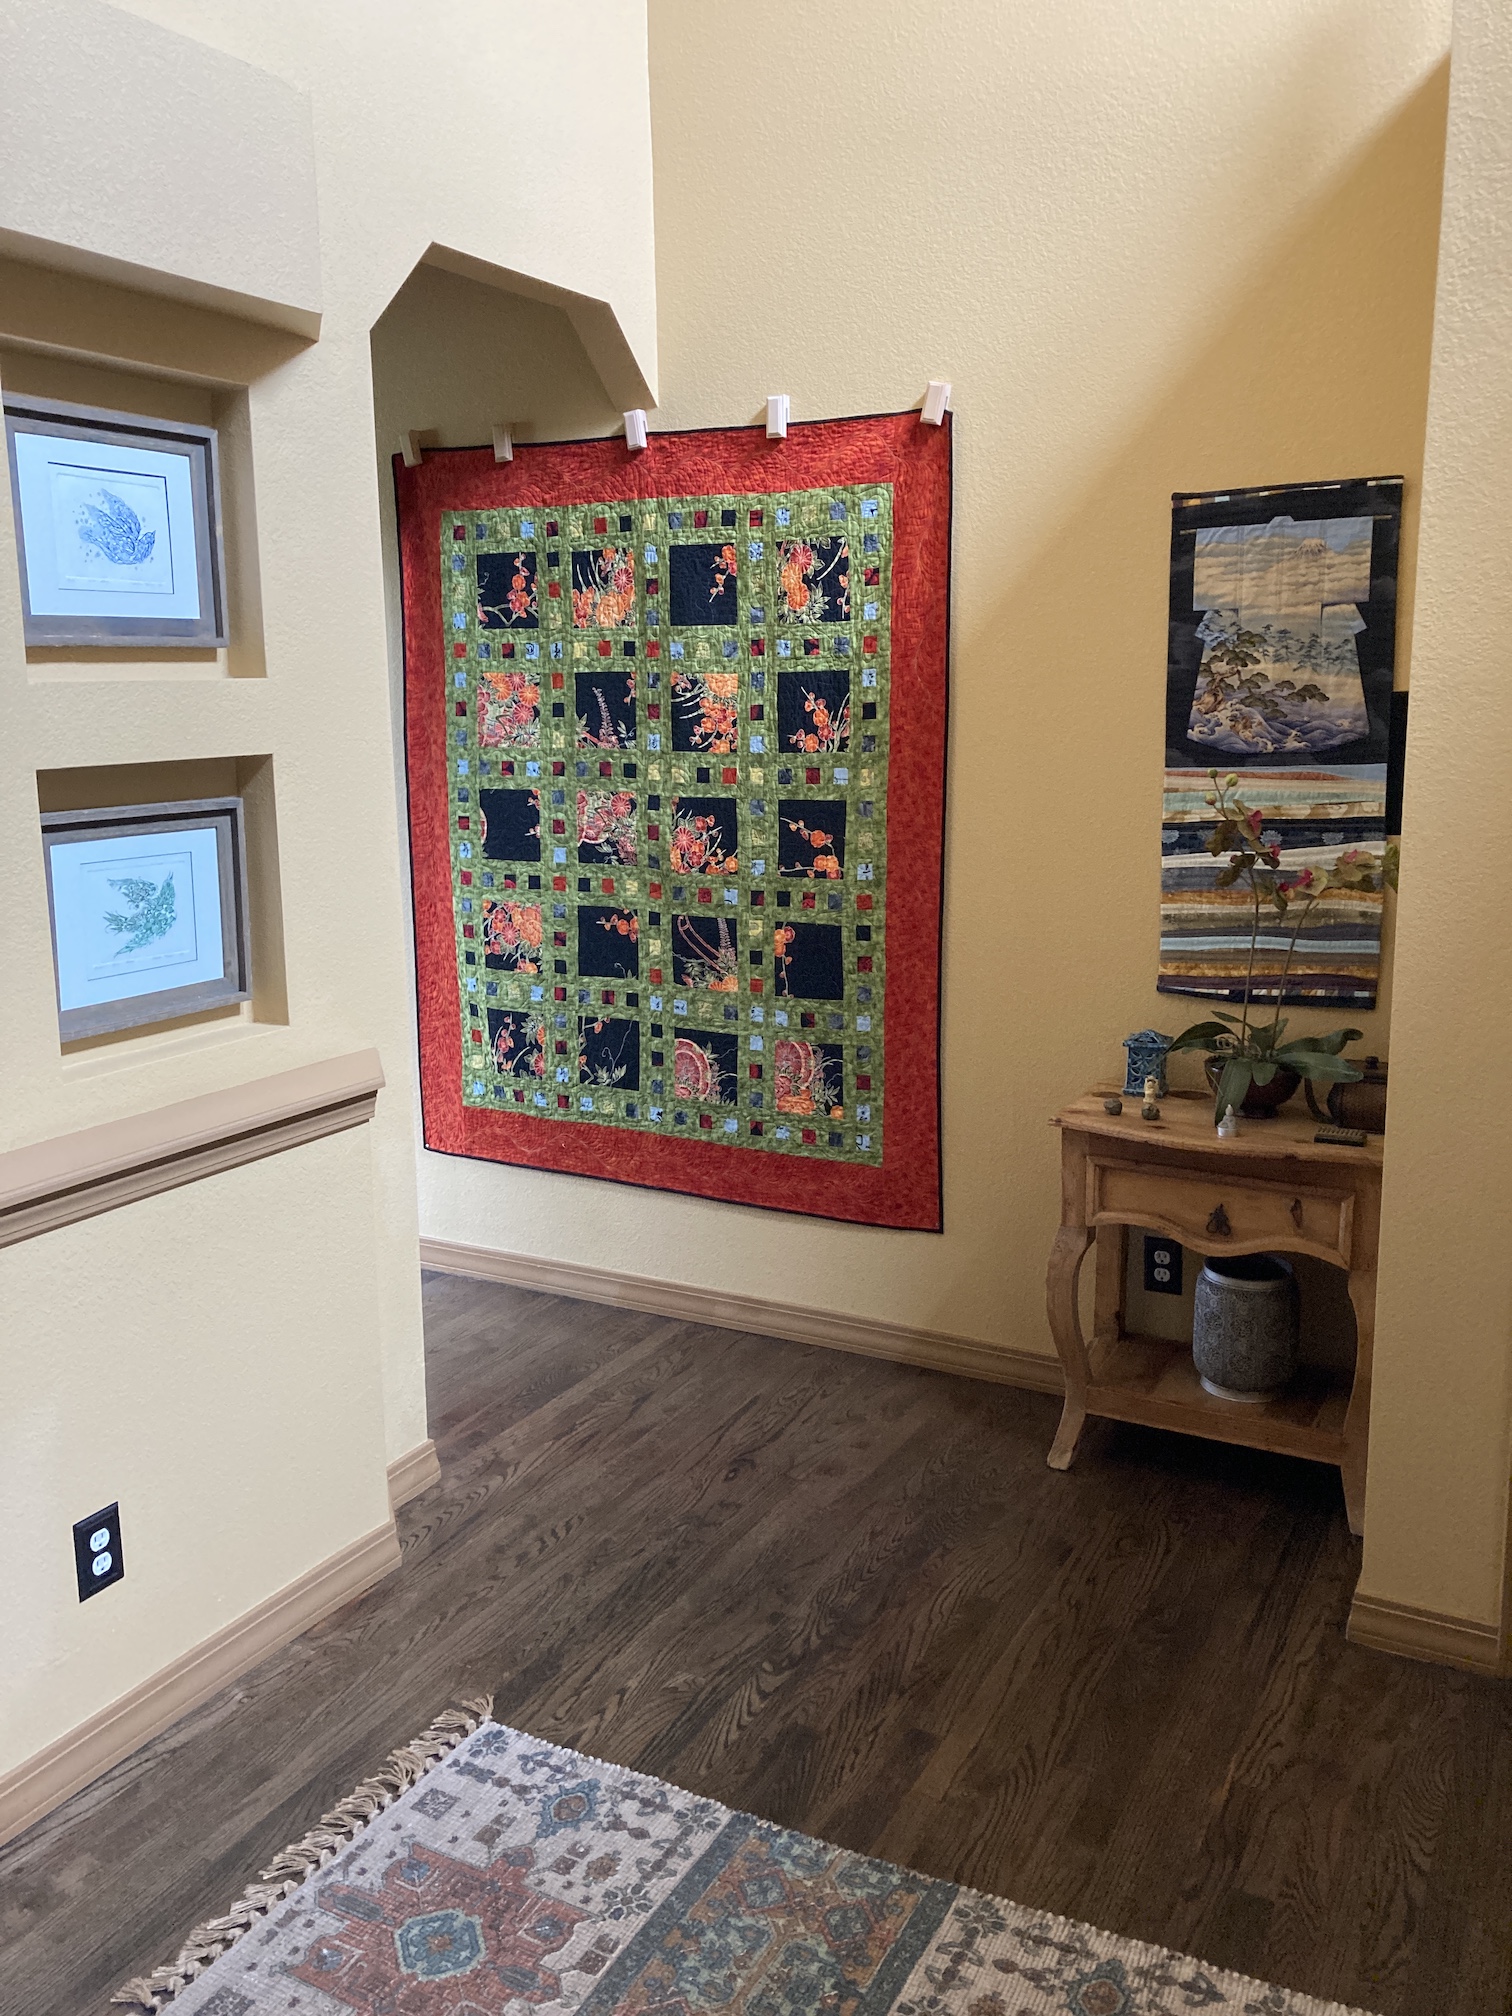
 For the little blocks surrounding the larger squares, I decided to experiment with adding a fabric that WAS NOT in the featured fabric but added a pop of color that appeared to go well with the other fabrics which were coordinated.
 Then I got really crazy with the quilt and added a very strong deep orange as the border. I’d never used this much orange in a quilt before. In the past I would have used the green I used in lattice or a black as the border. I am not sure what got into me but I decided to make the border really pop!
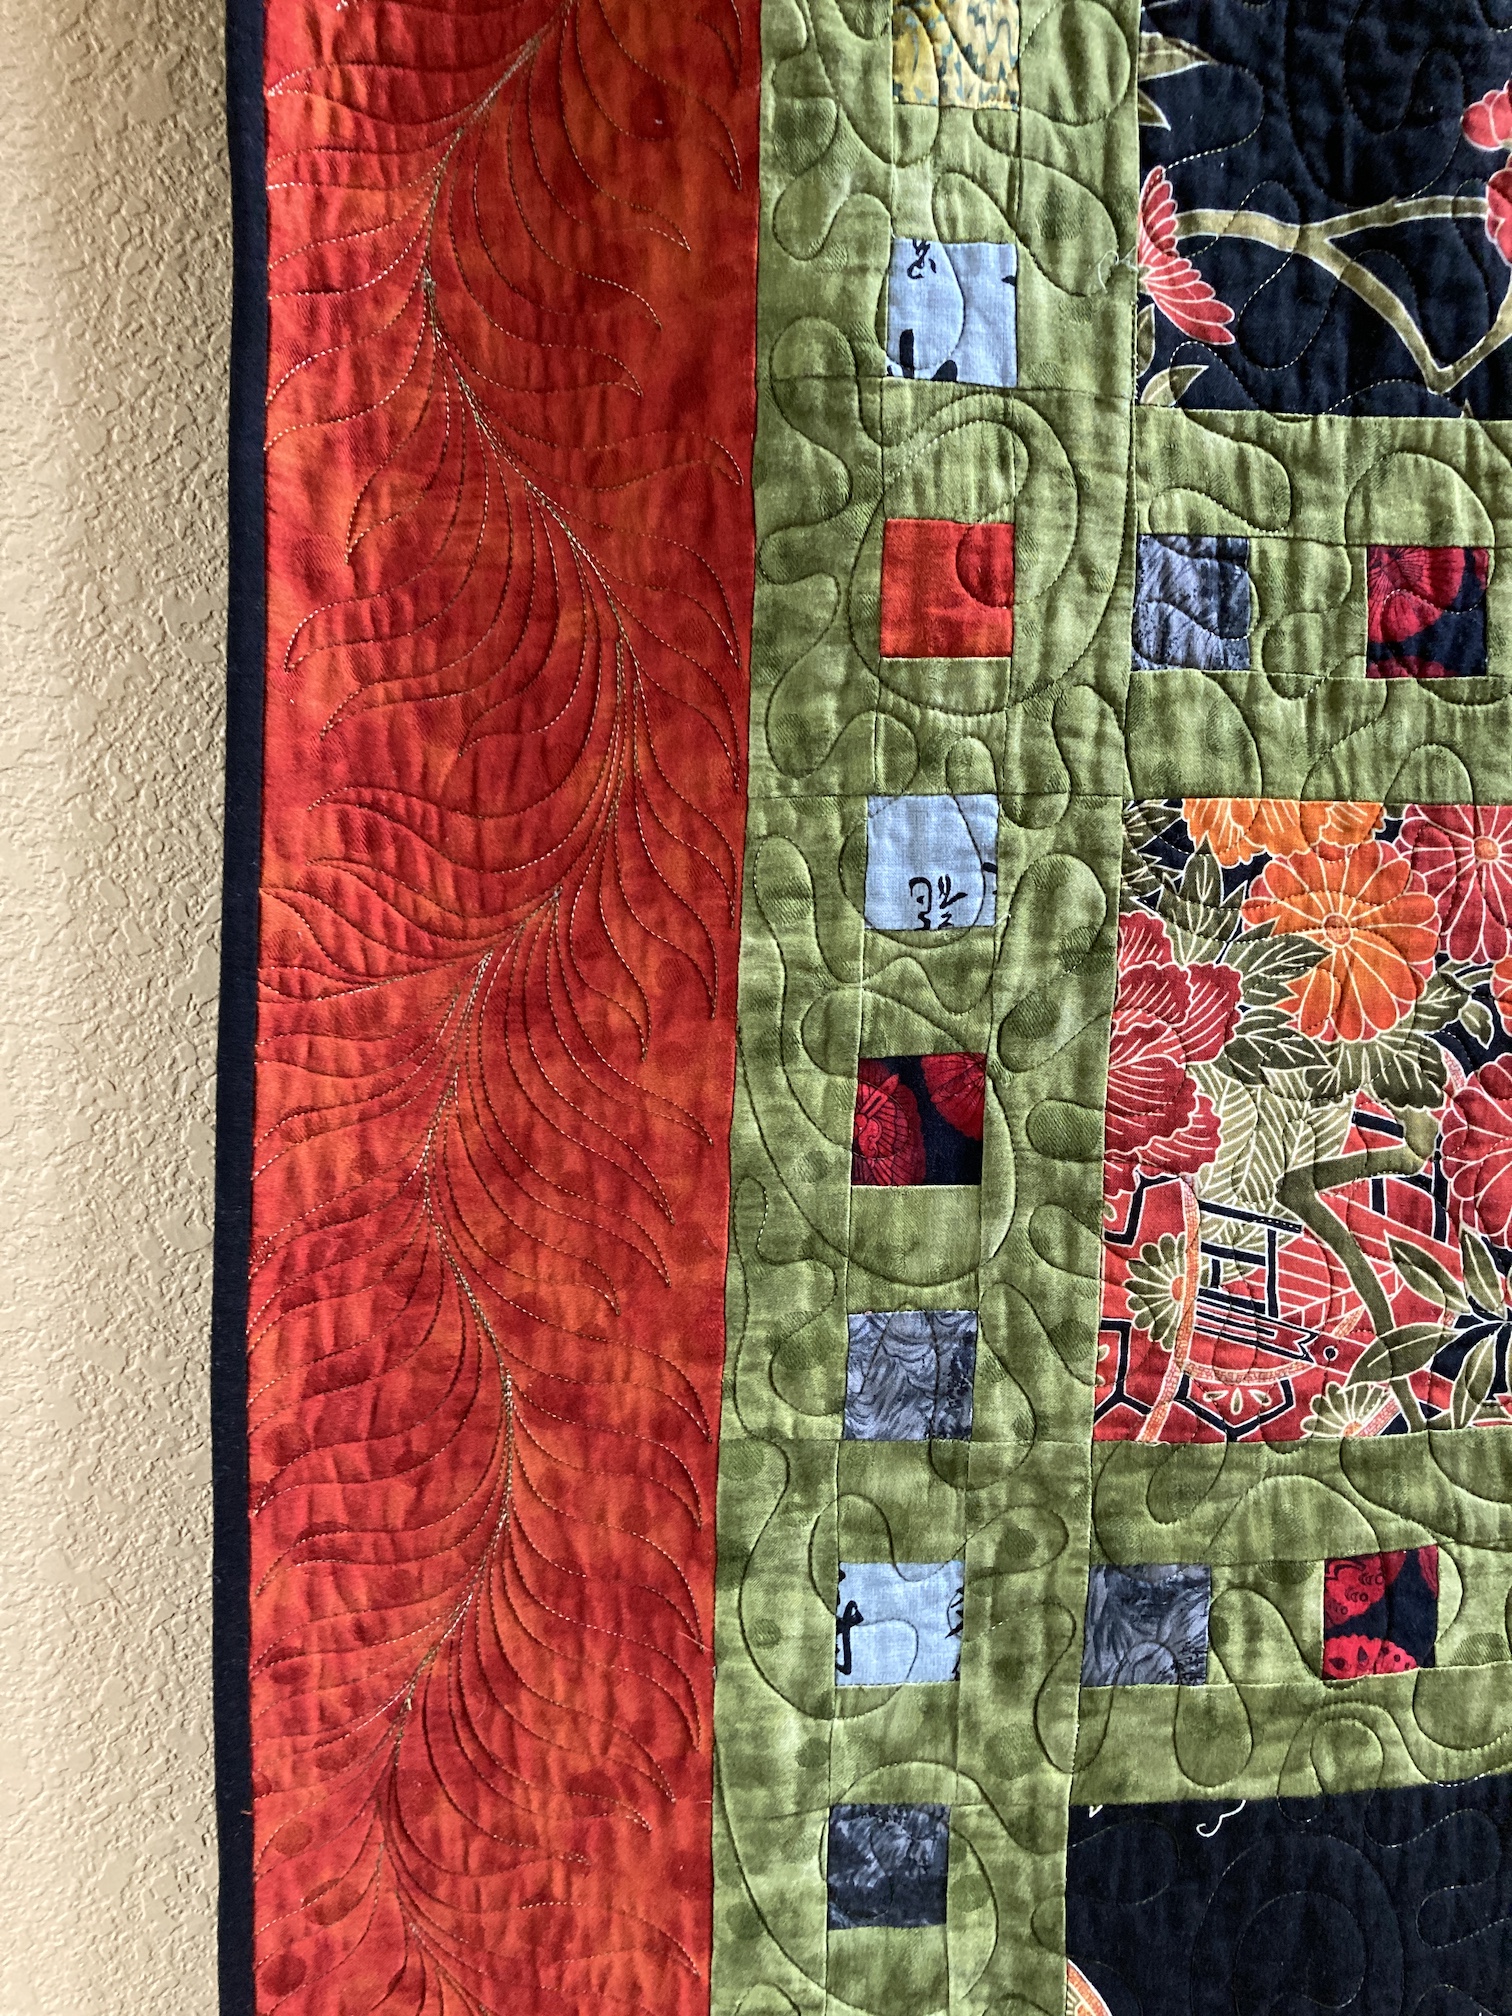
 It wasn’t until I recently rotated the quilts in the hallway that I remembered this part of my quilt journey.

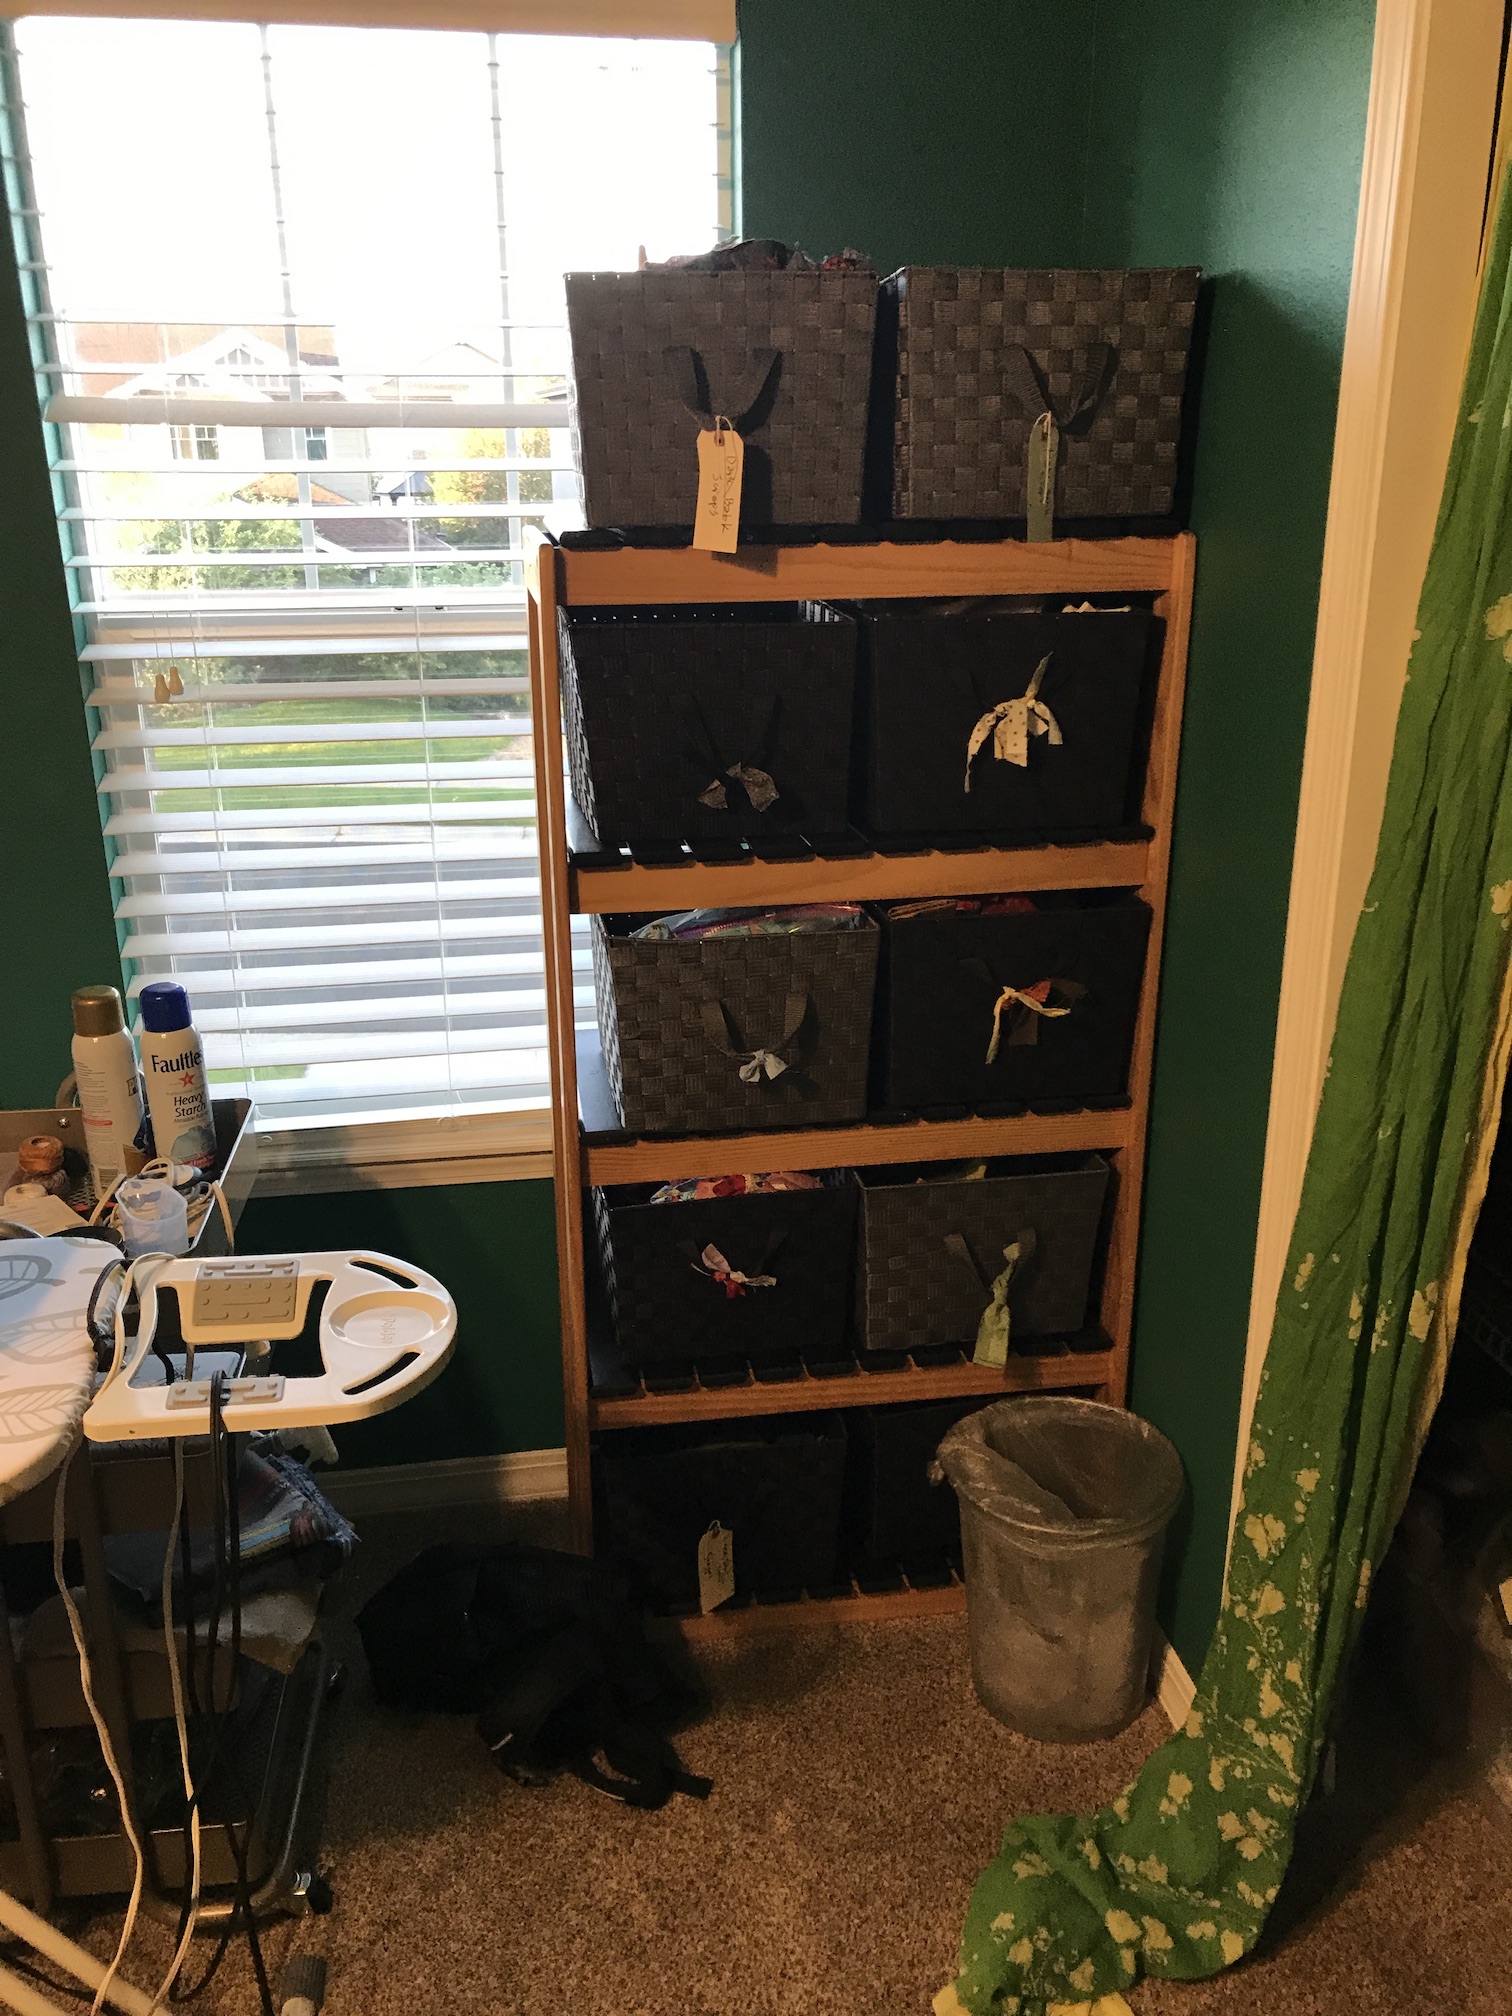
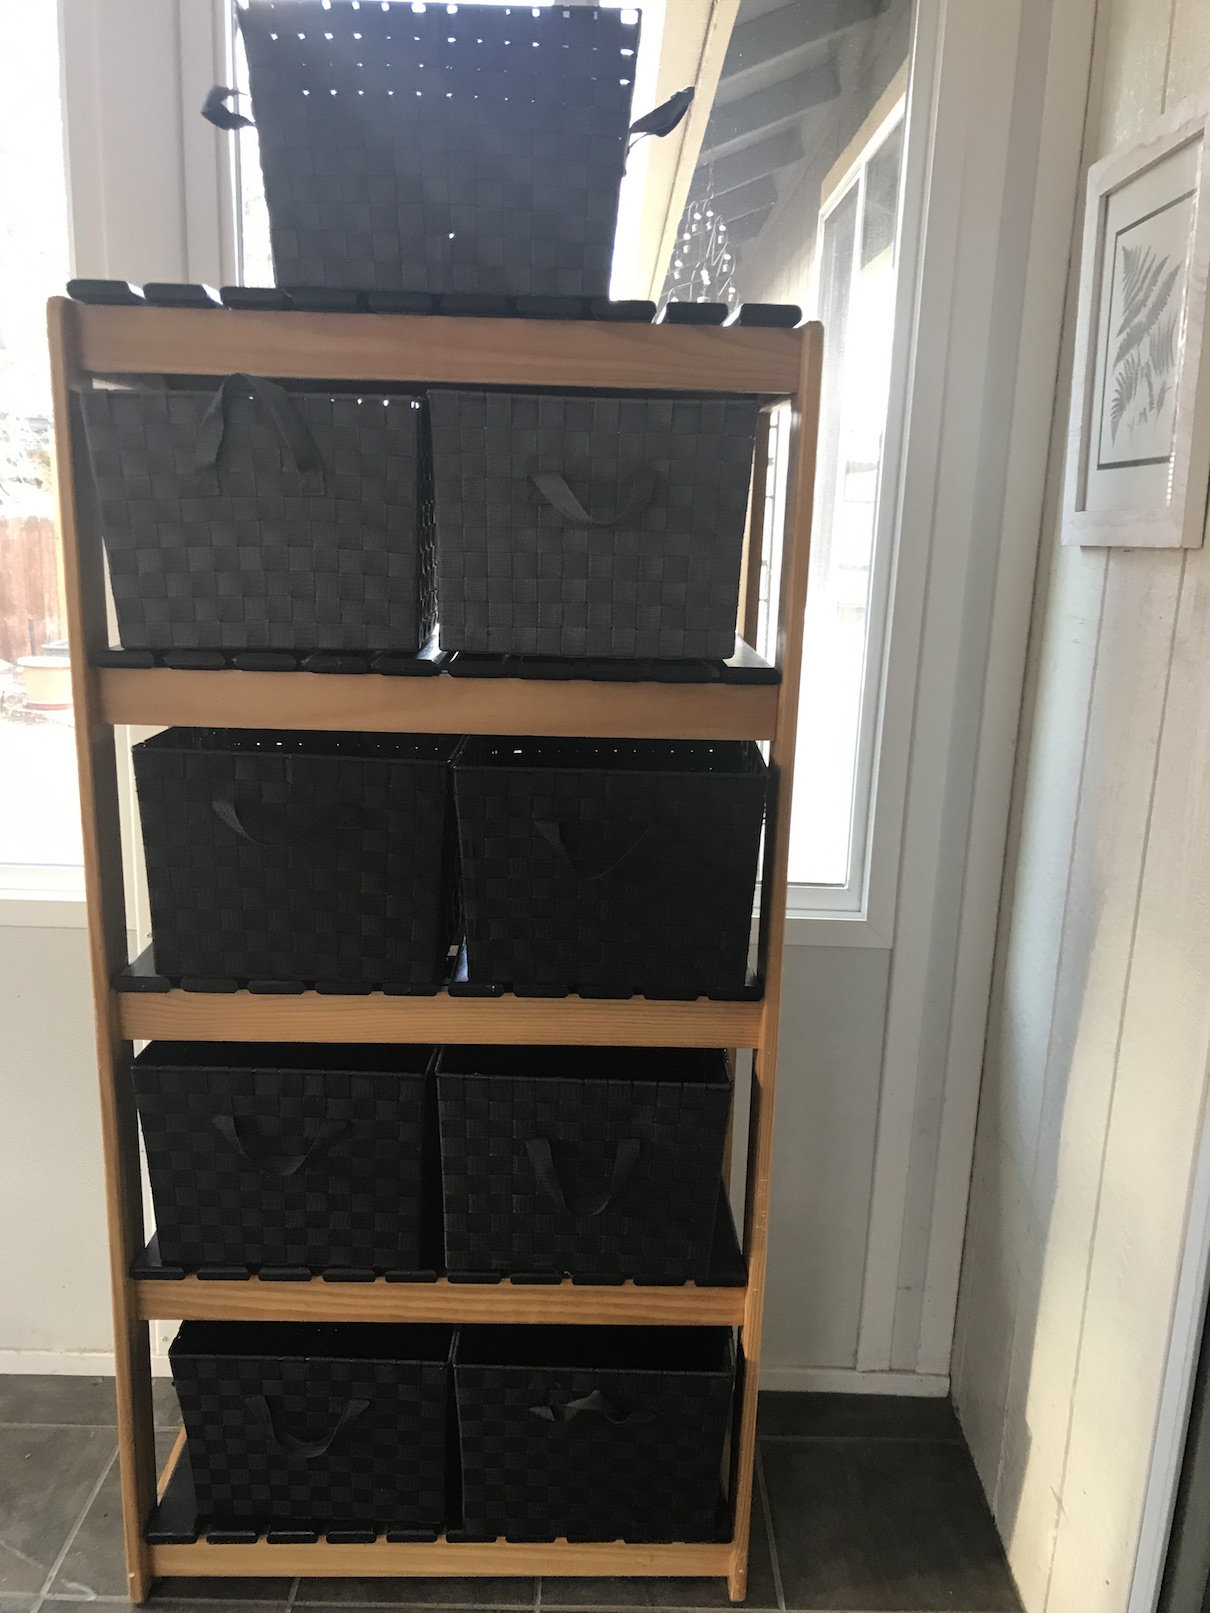
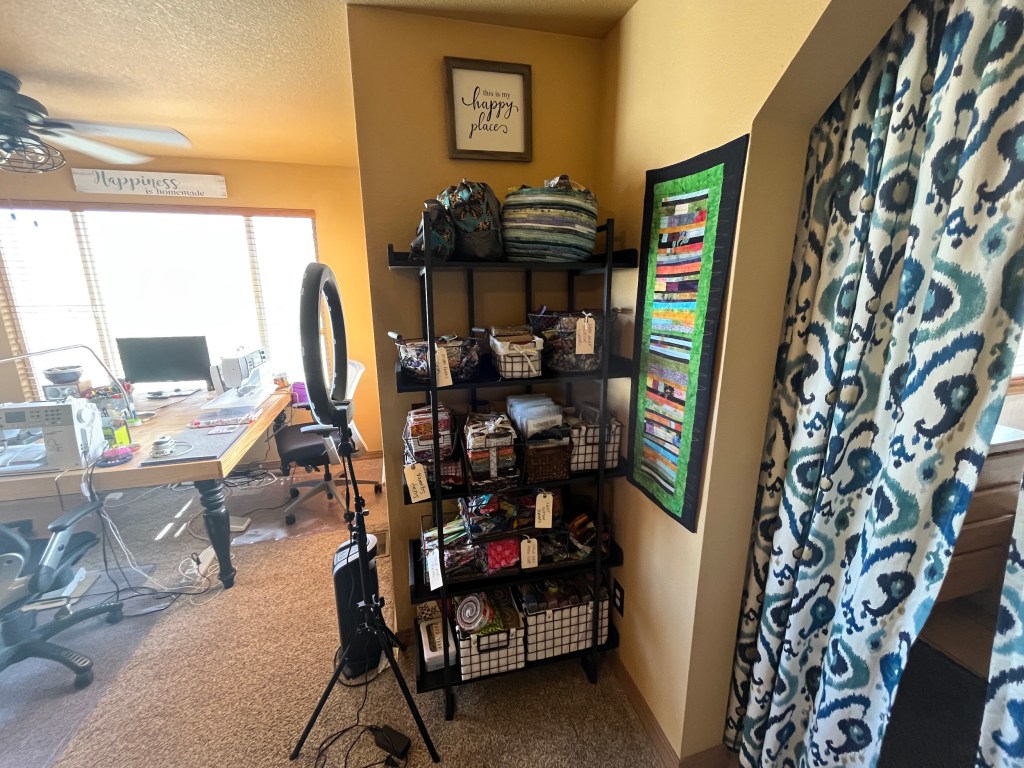
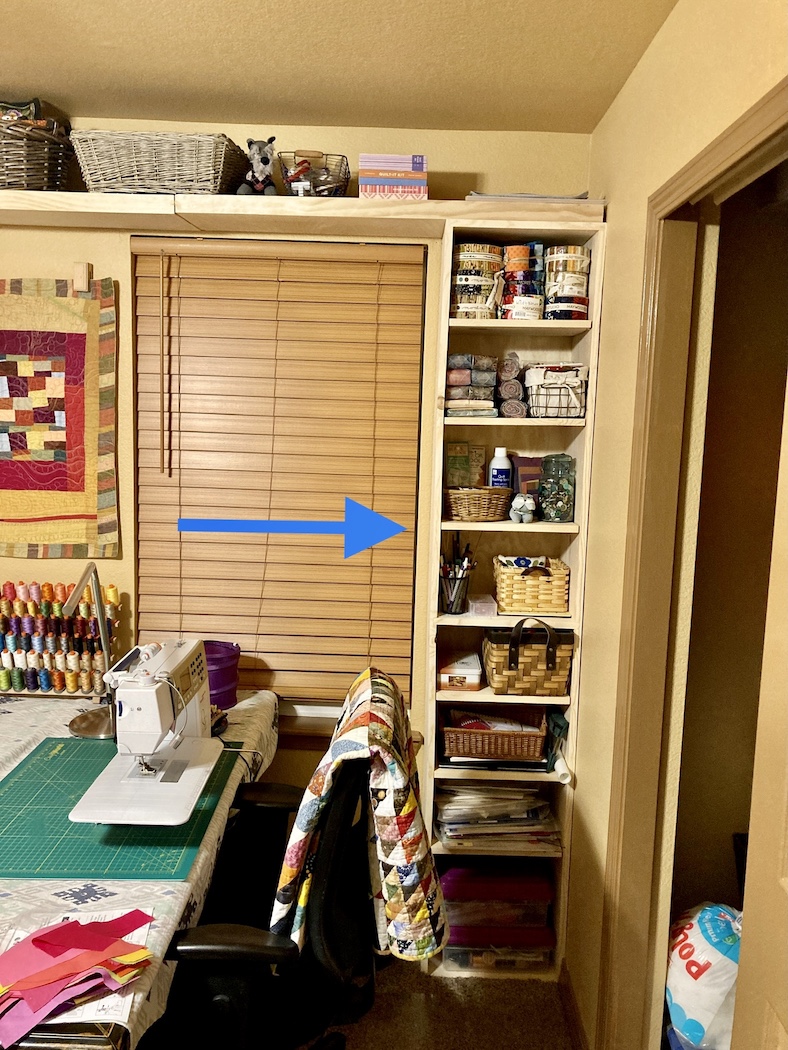
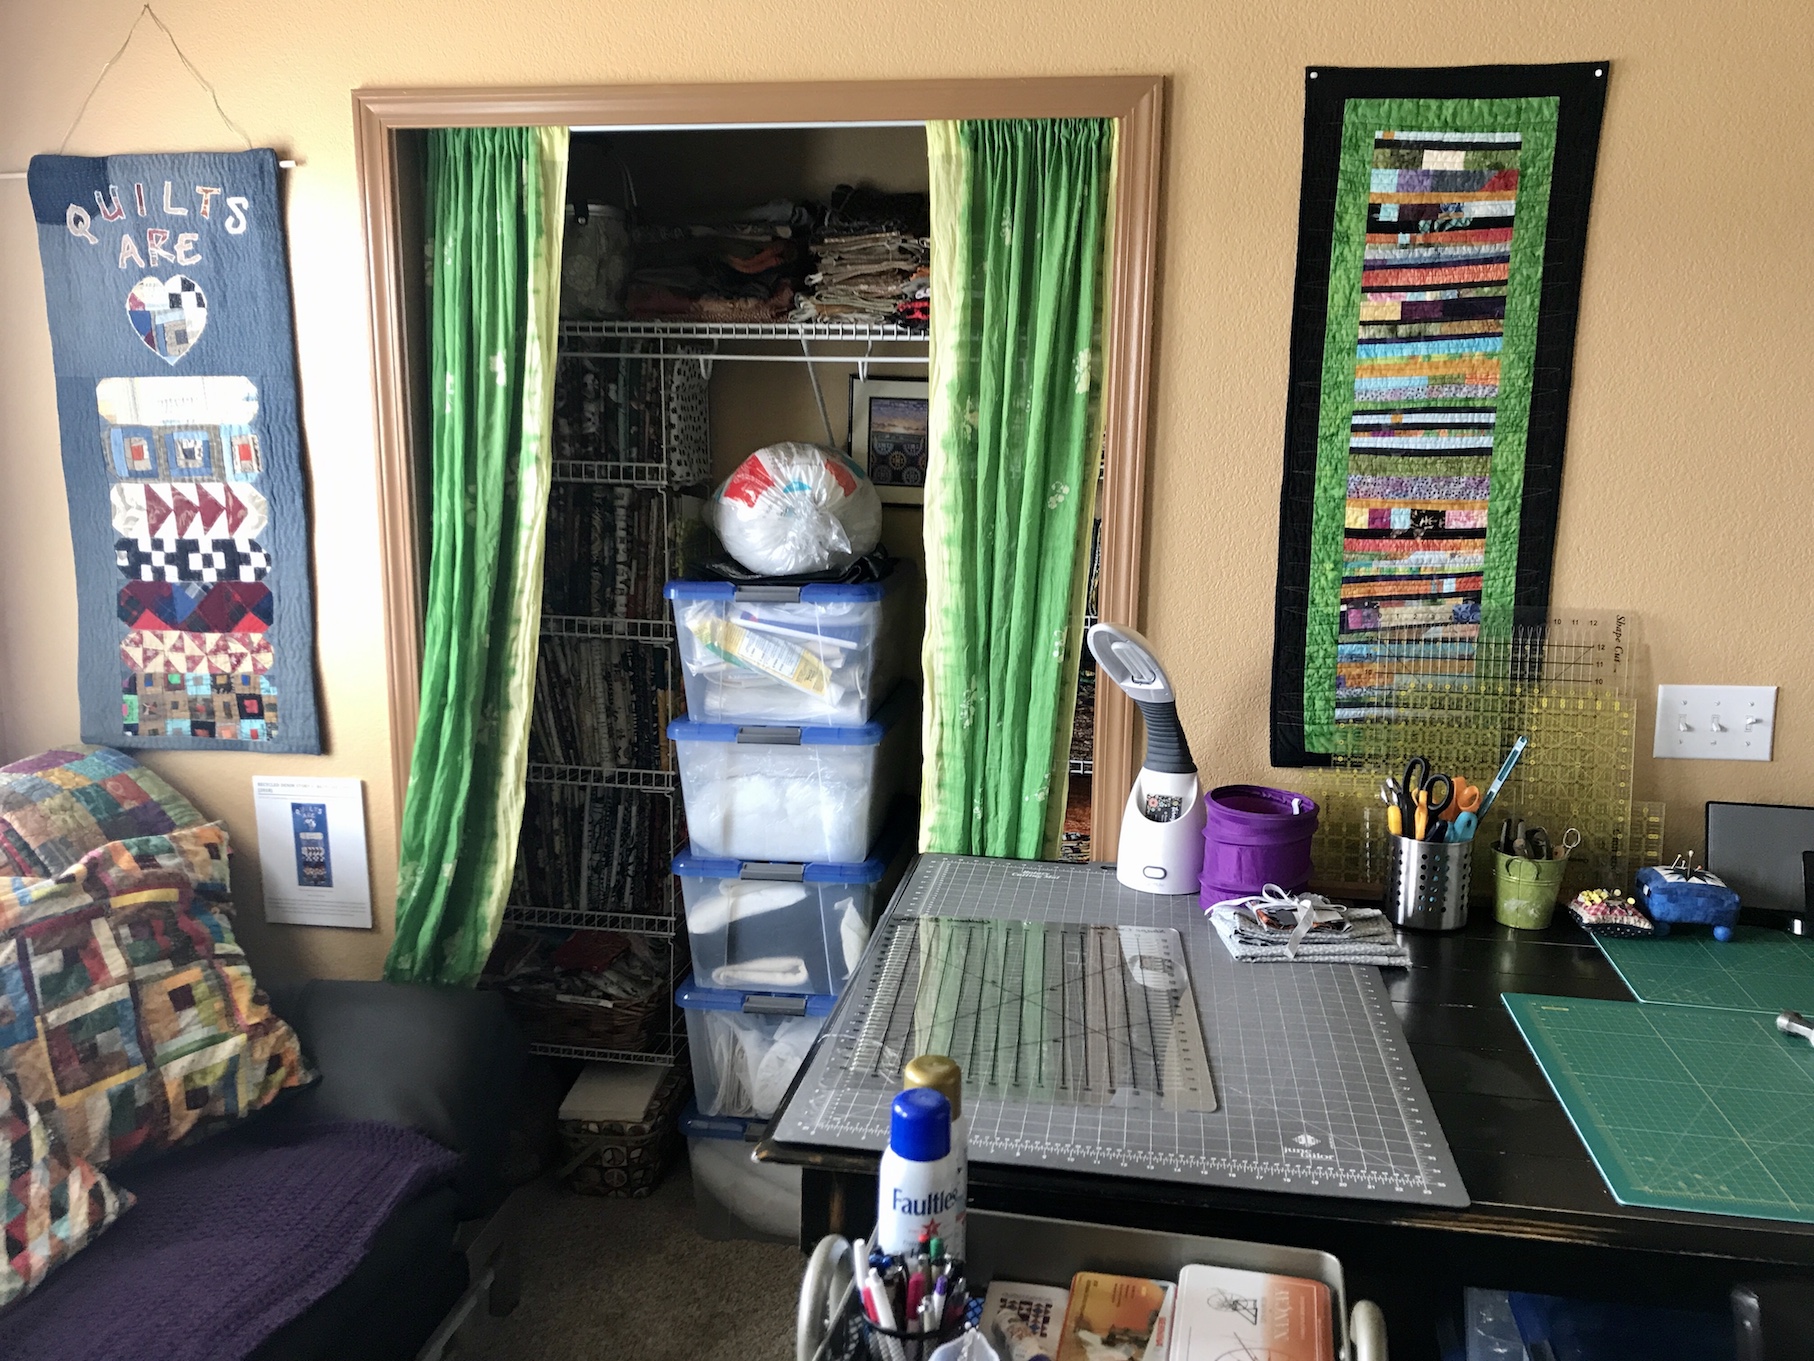
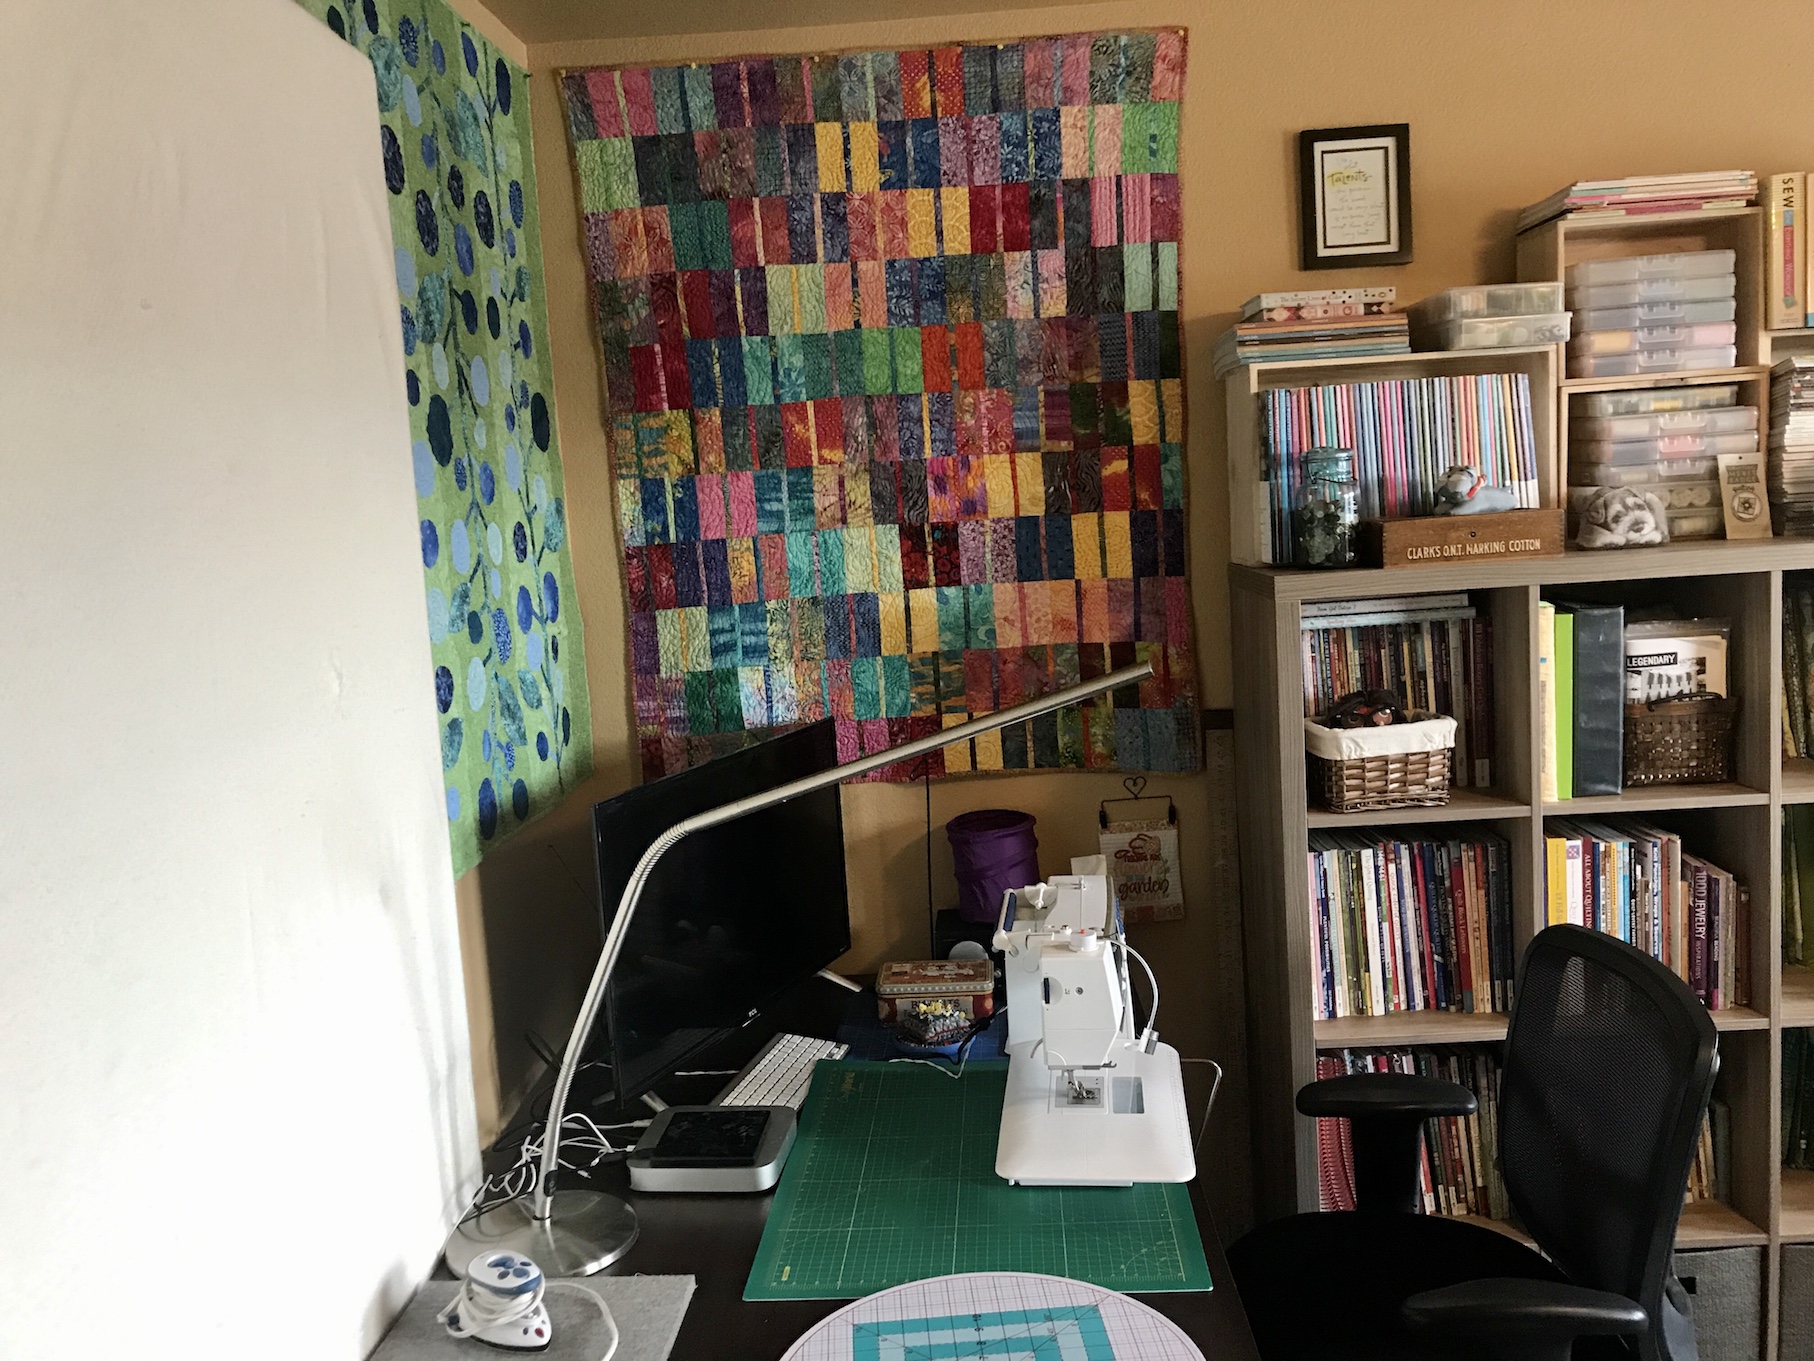
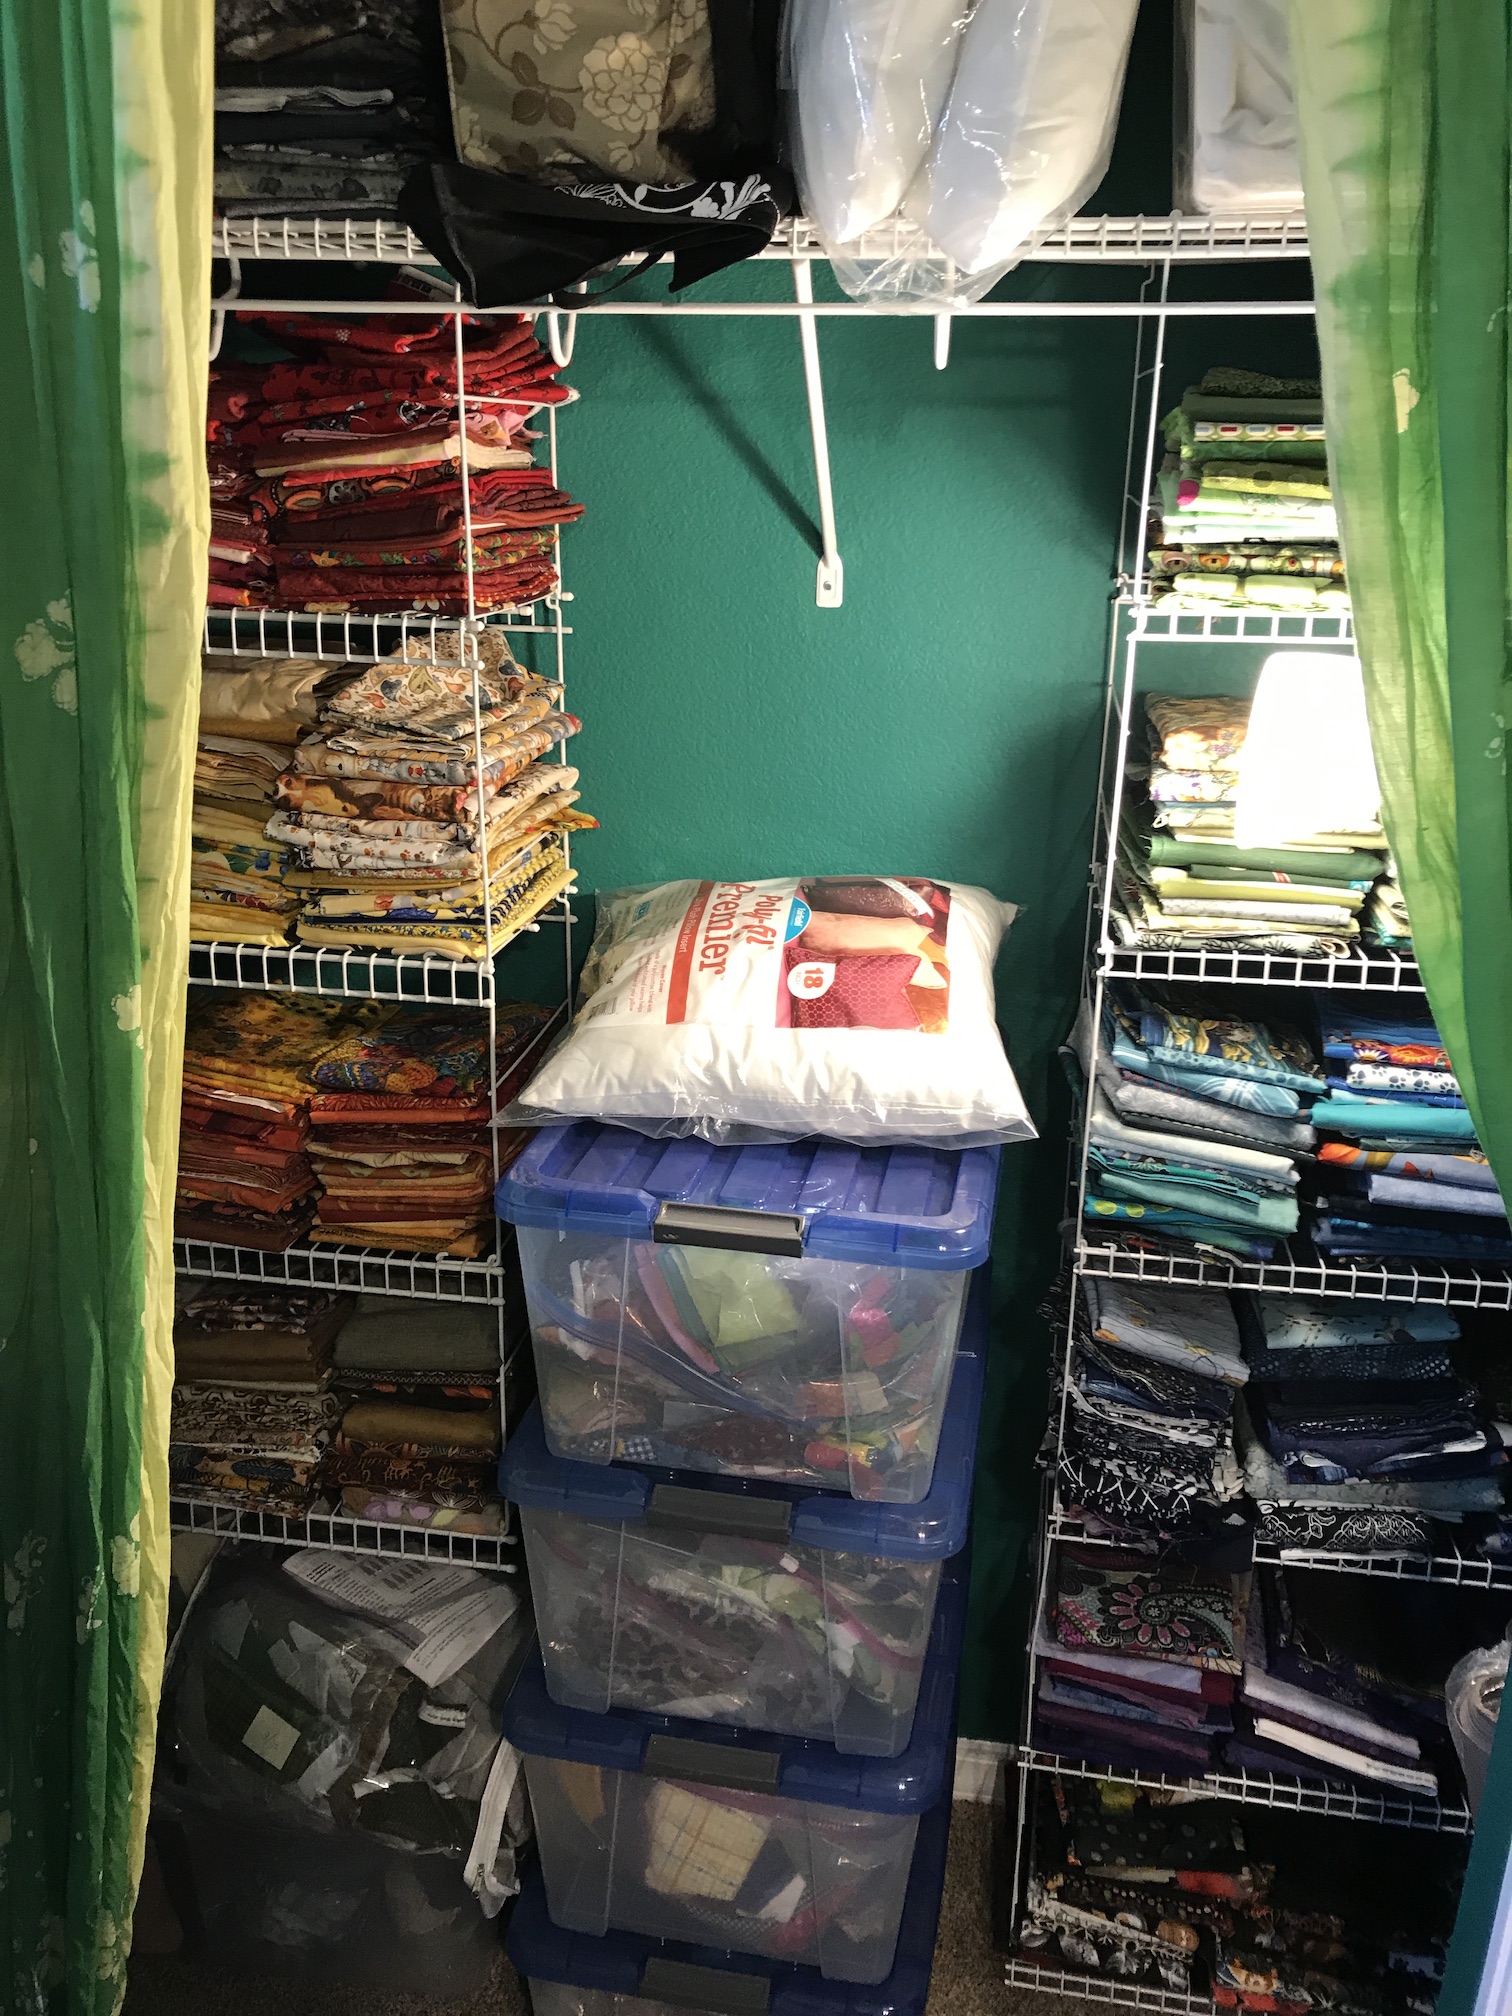
 After (gave the Eurolounger next to the window to the pre-teen next door for her room remodel):
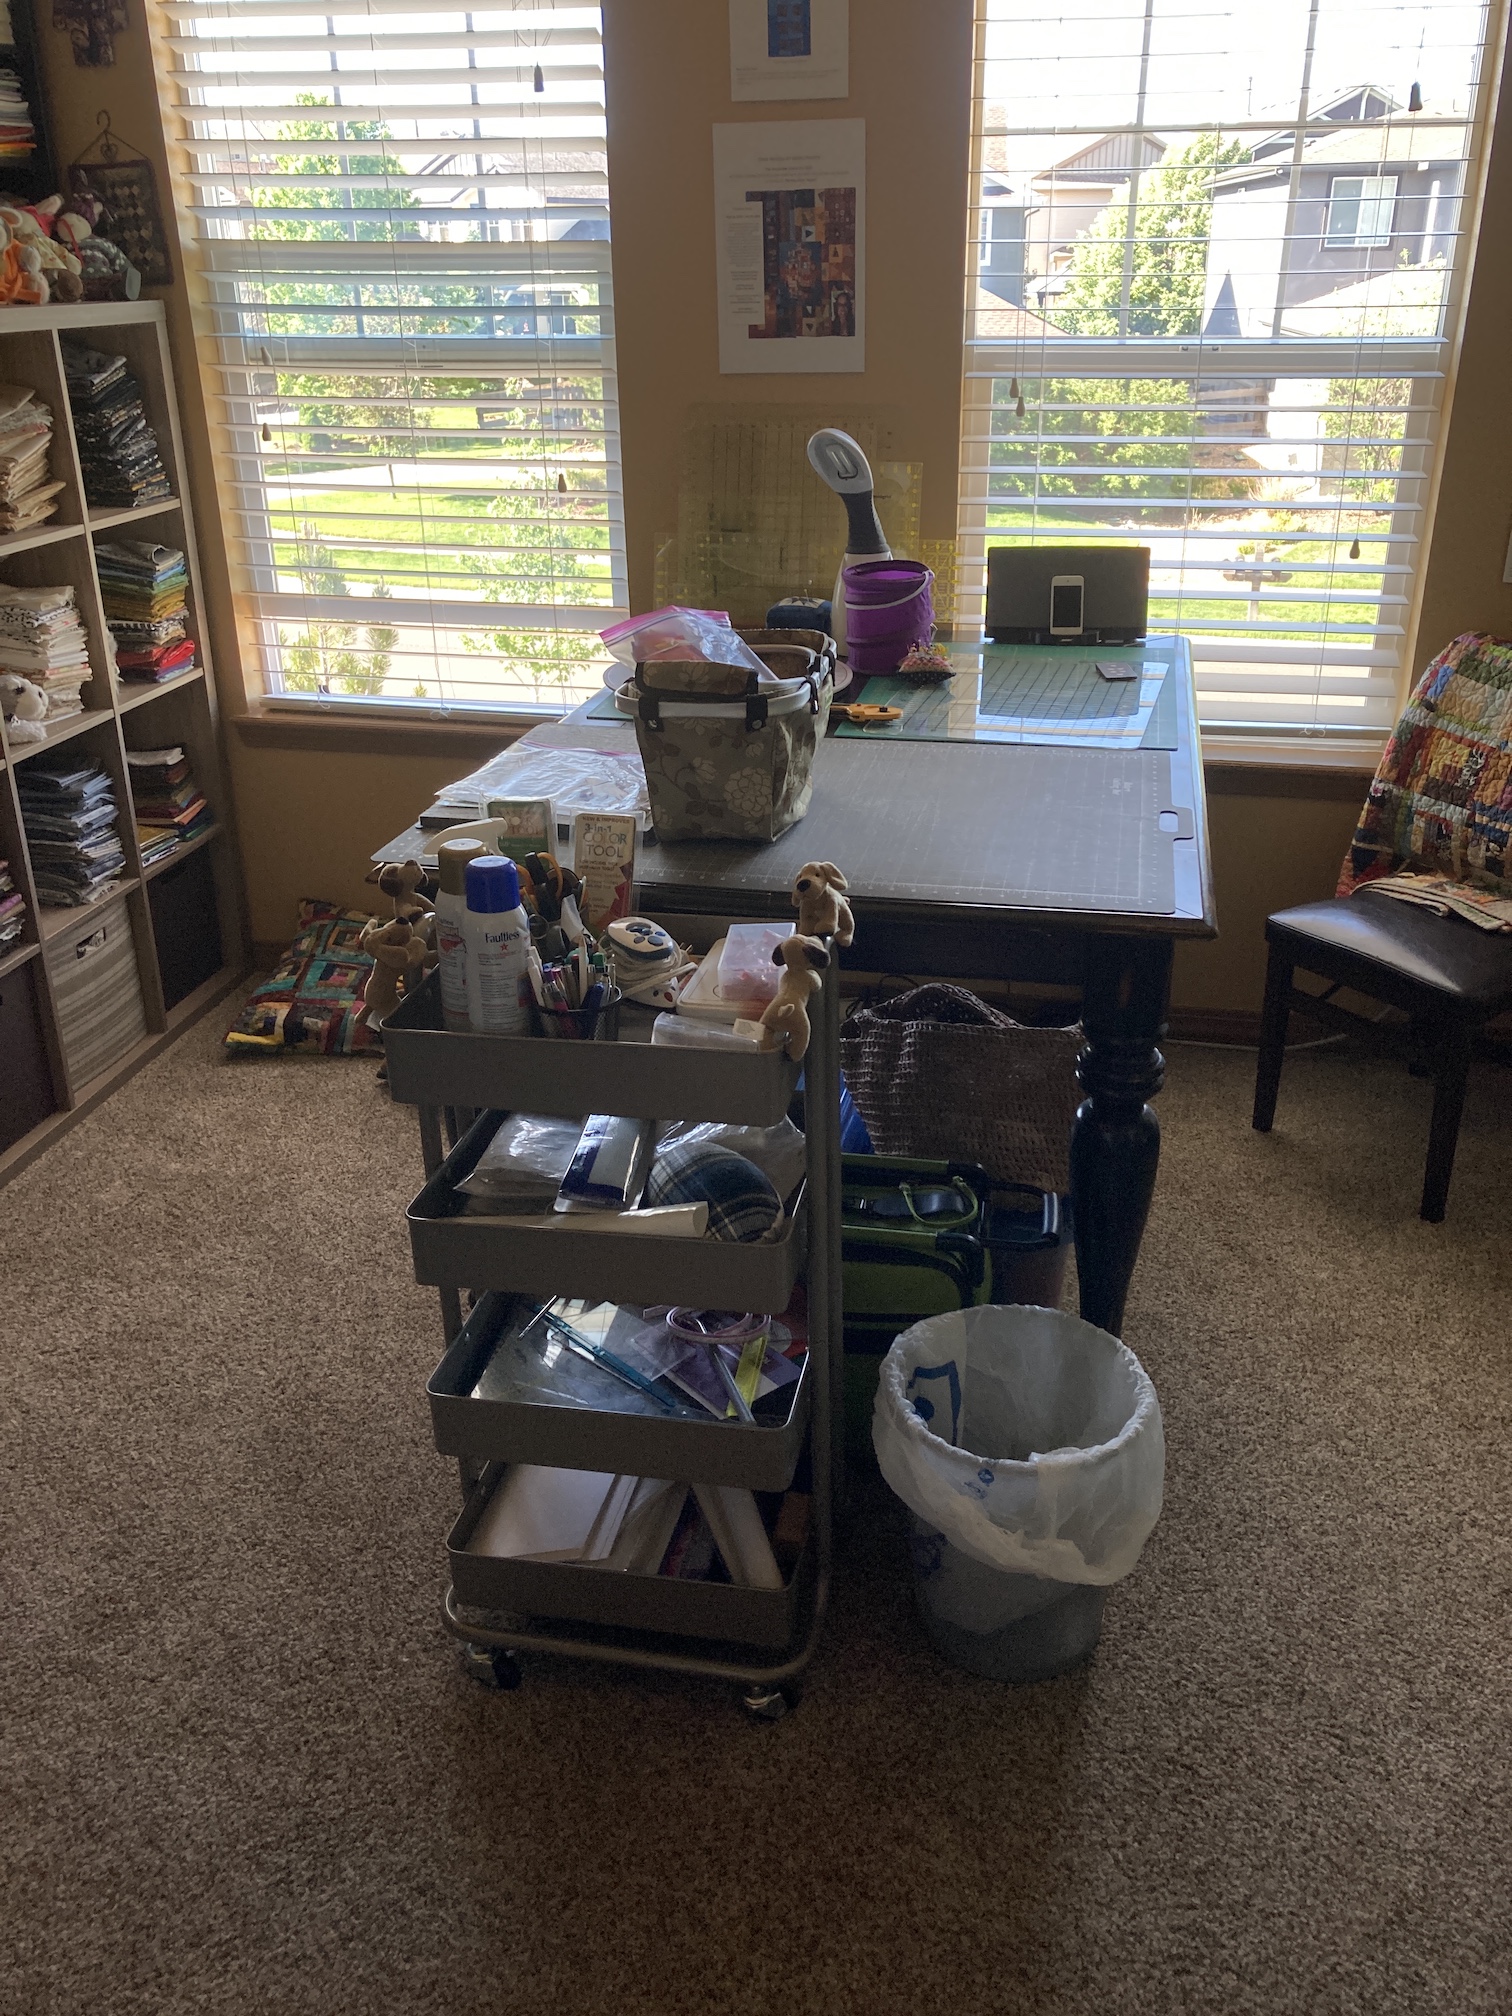 I had a feeling when I first re-did my studio after moving back into it after we decided in the early COVID days not to sell the house and to stay put (see post
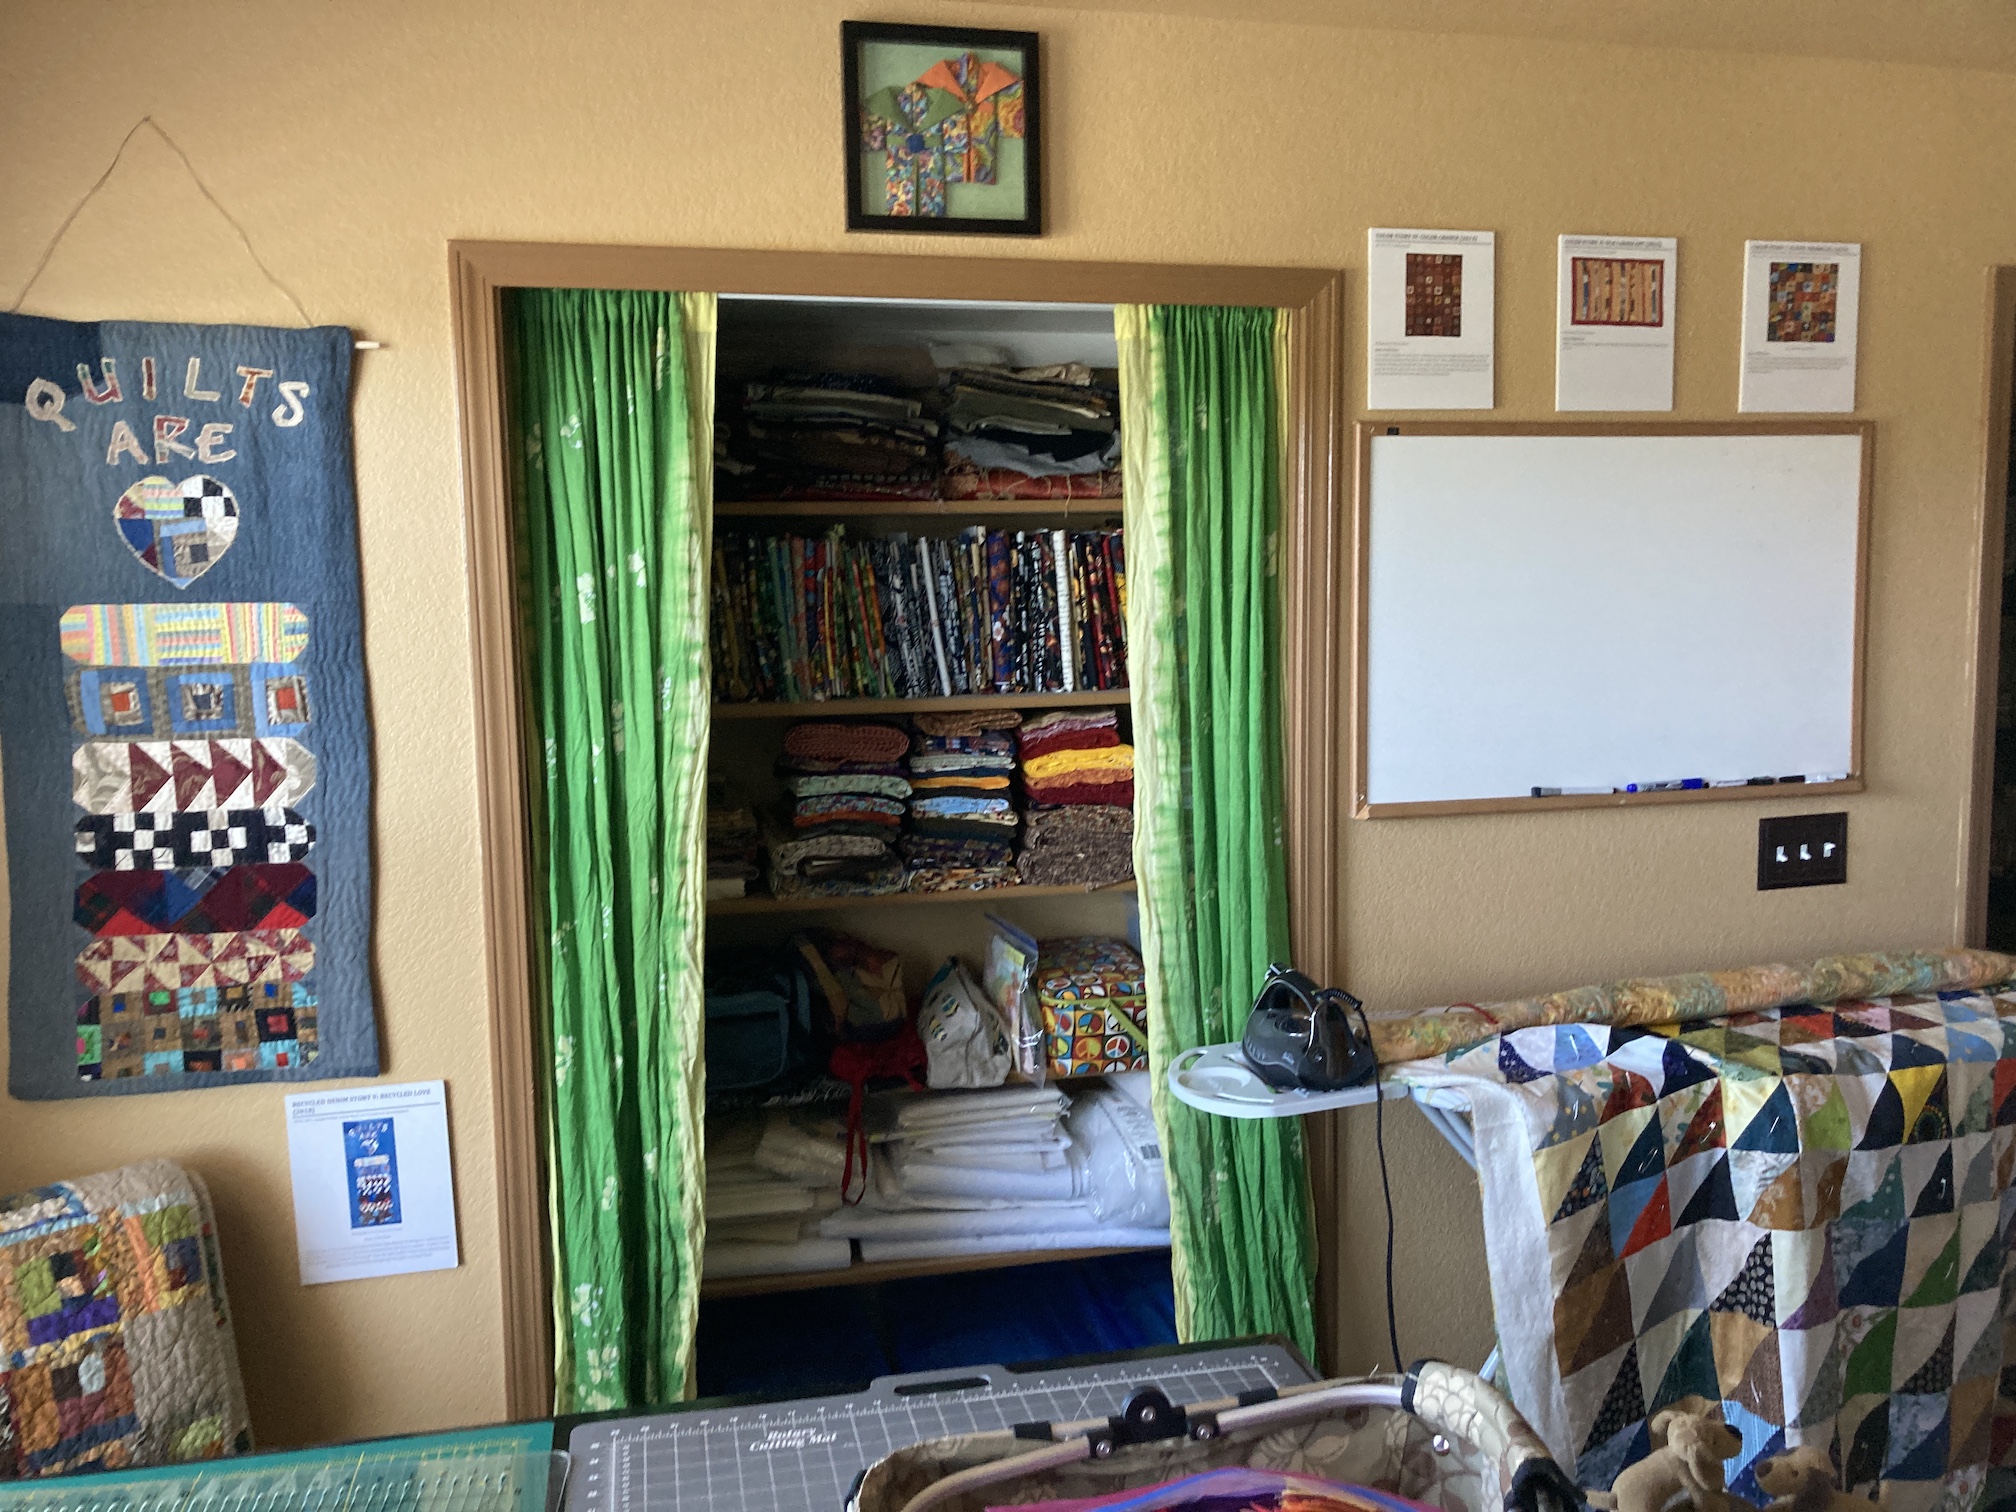
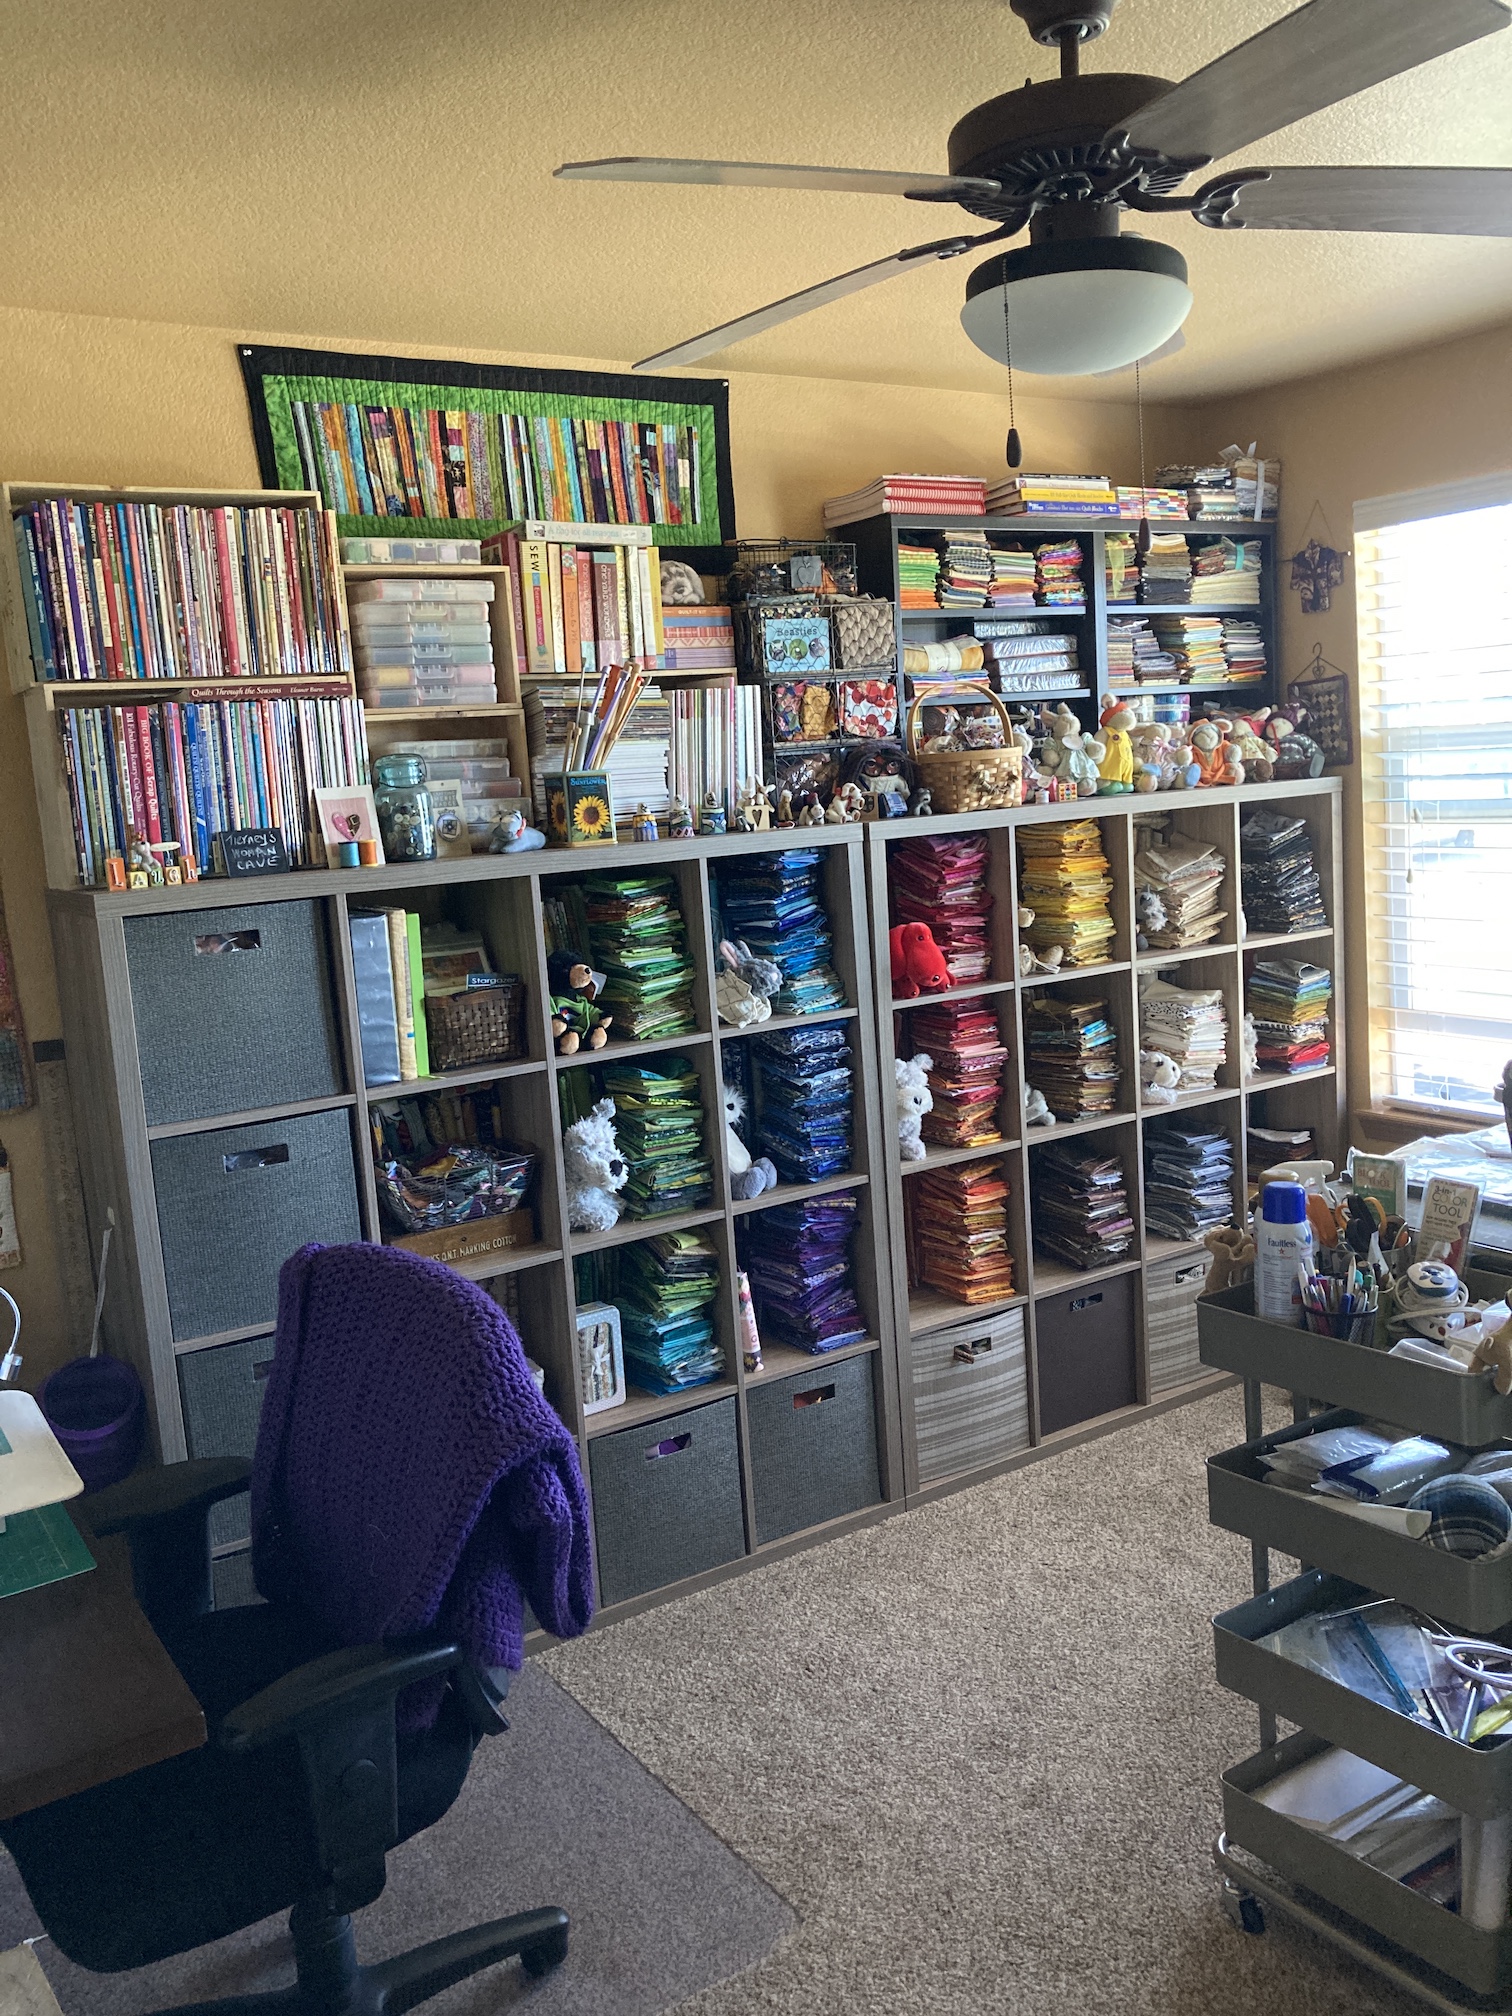
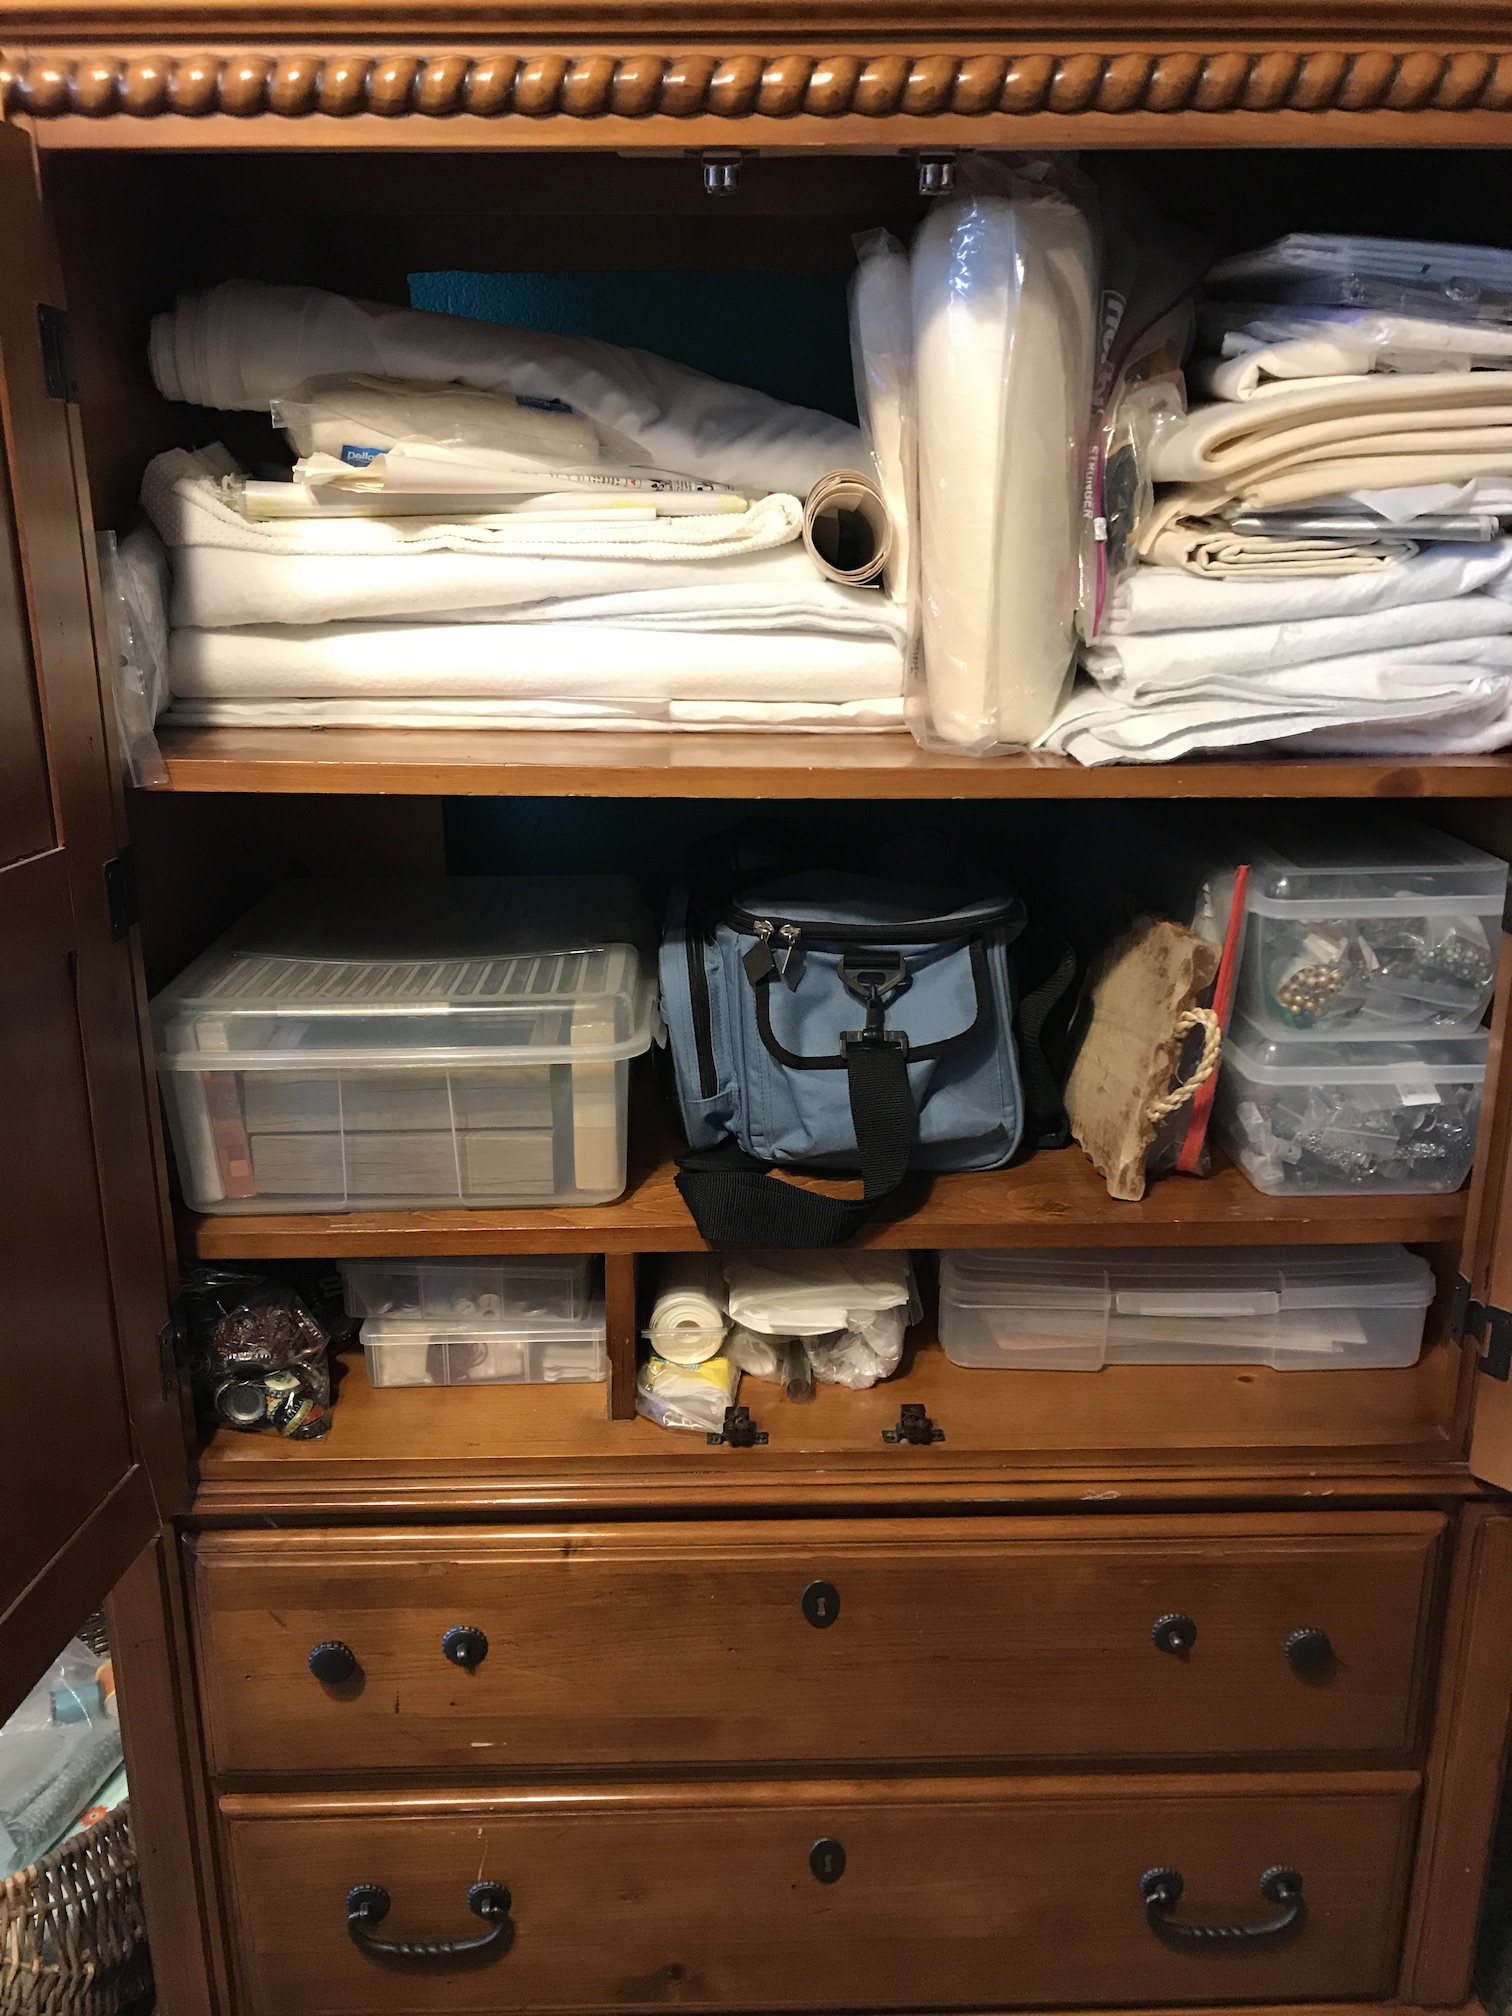
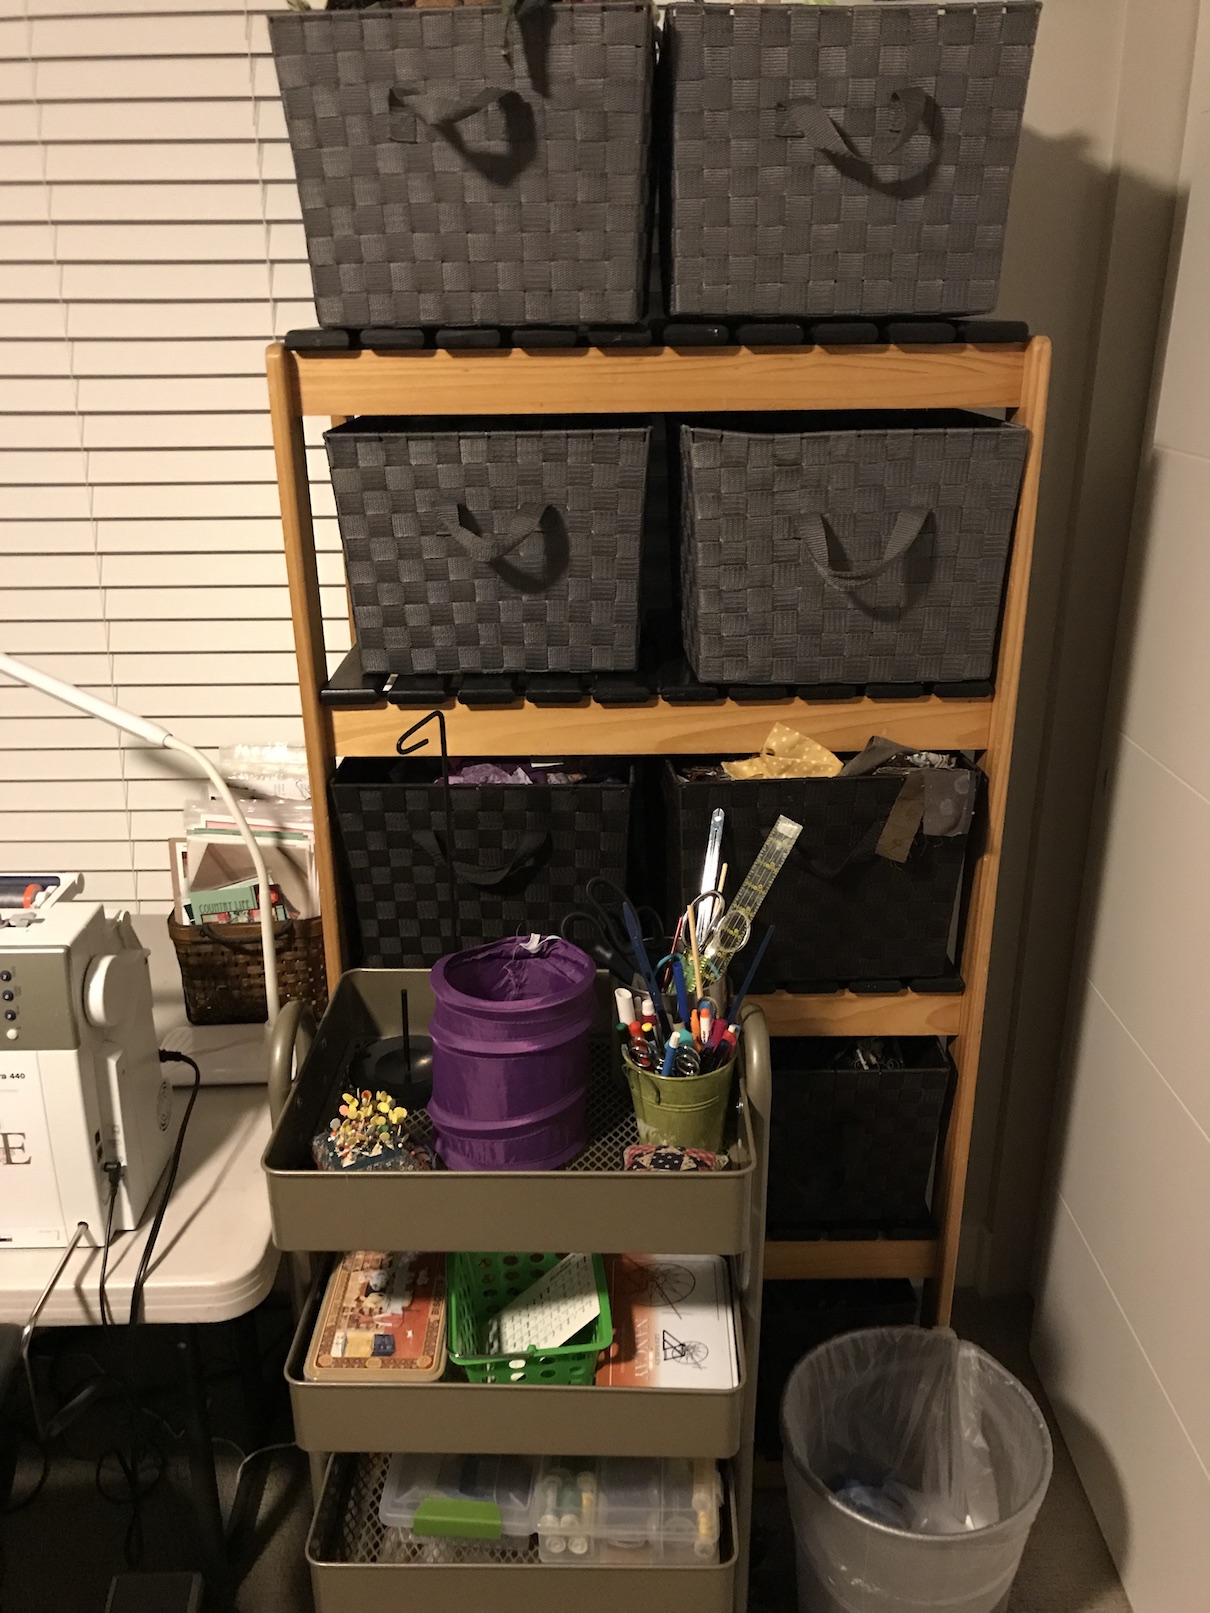
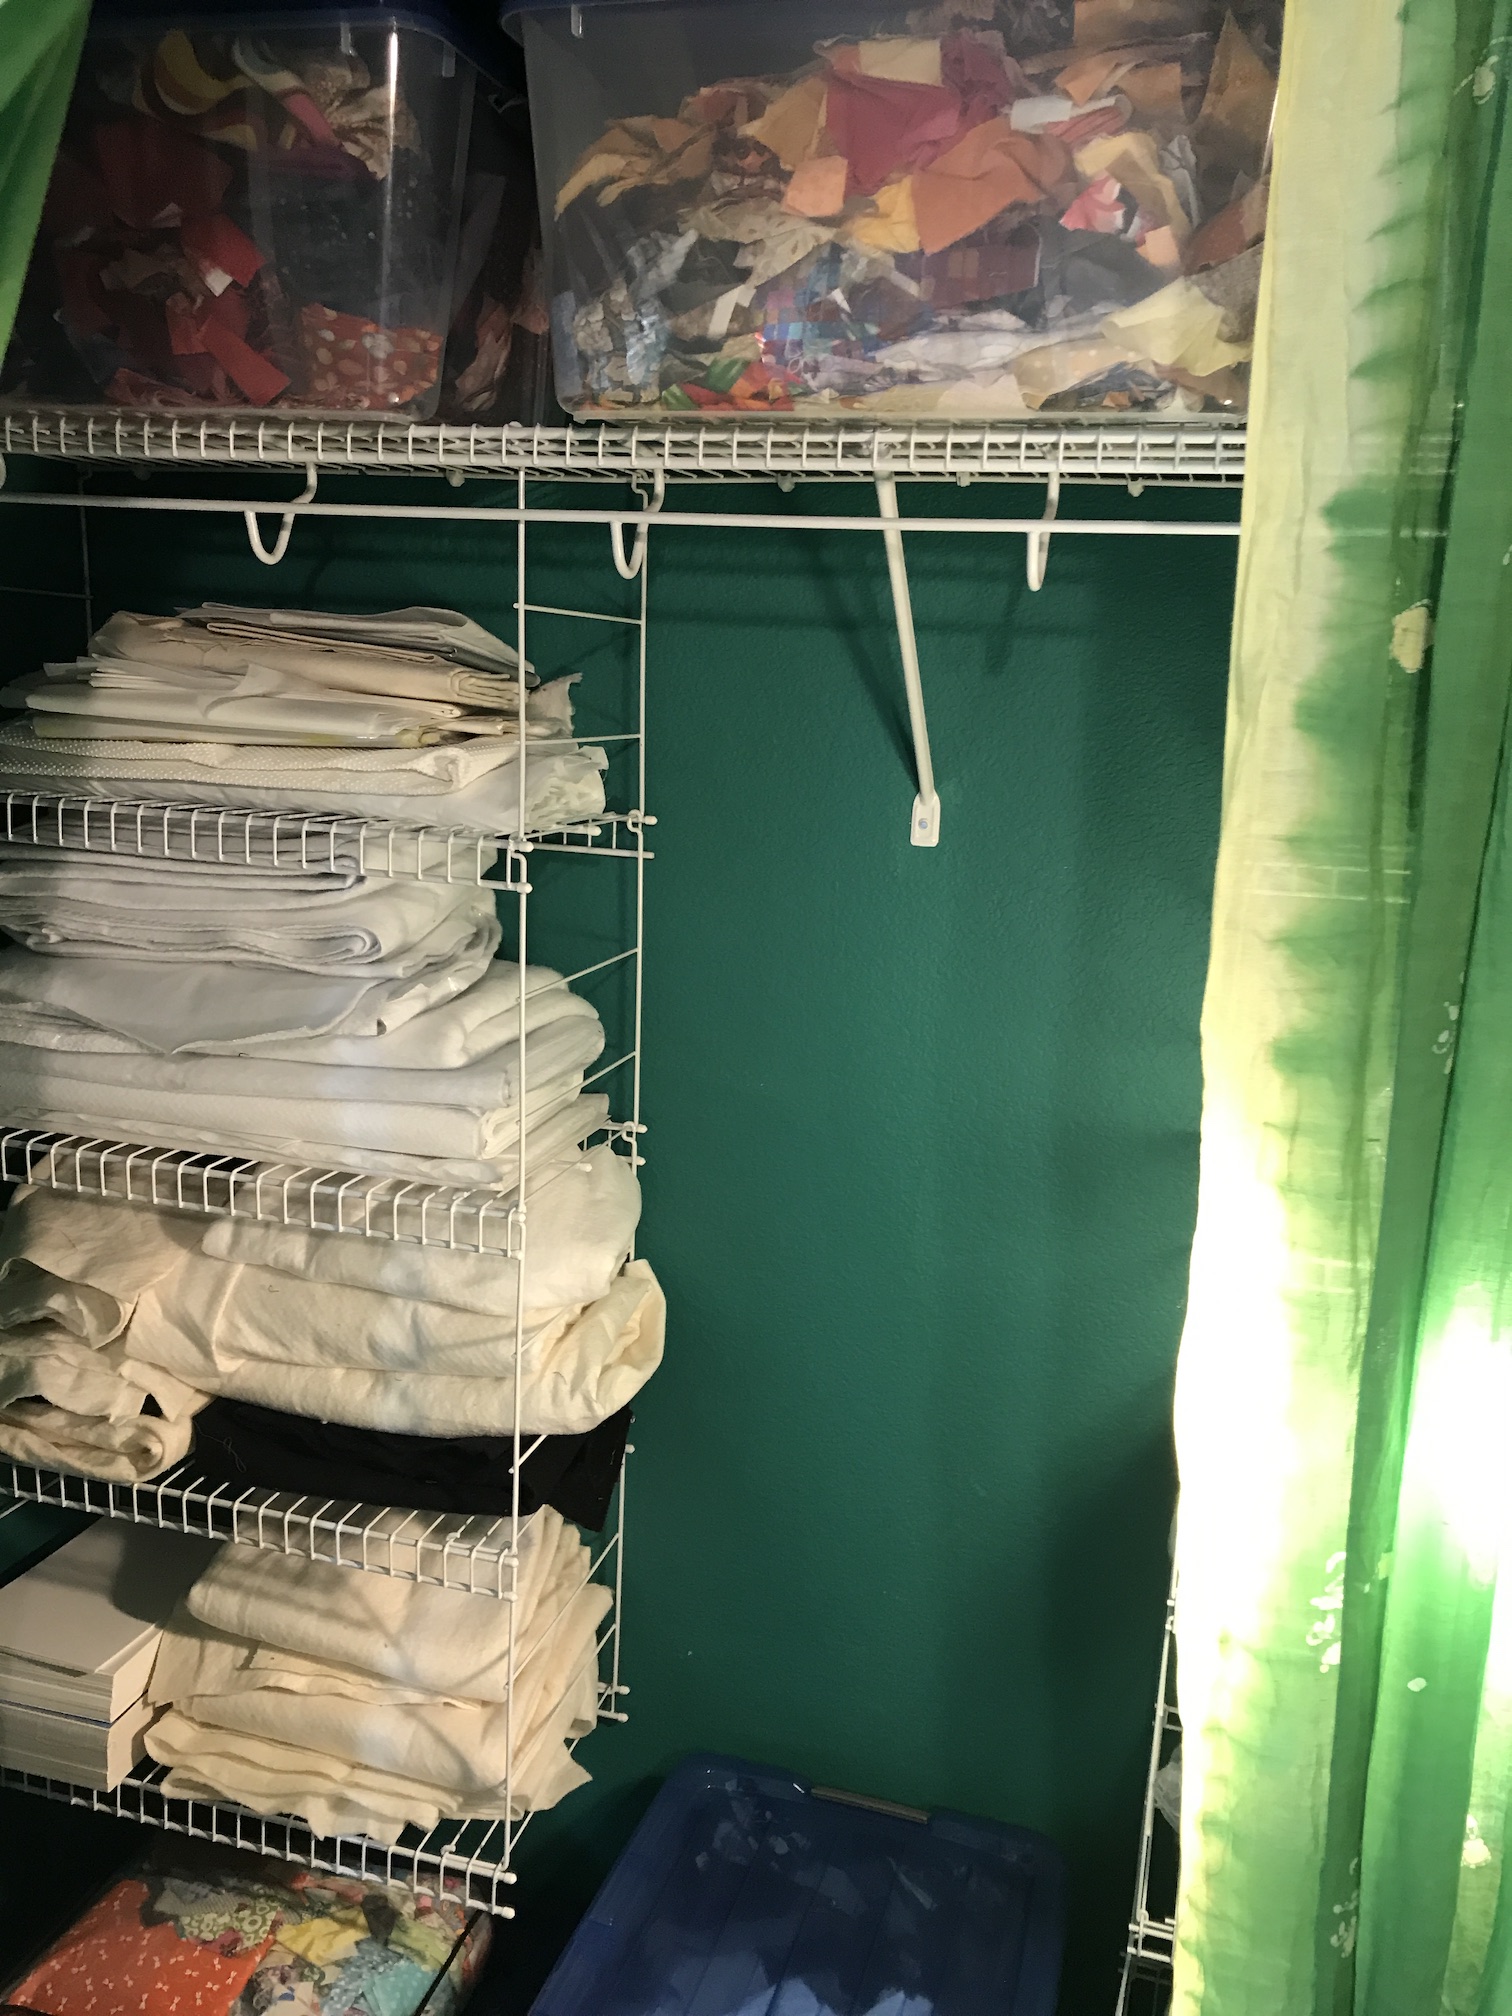
 After:
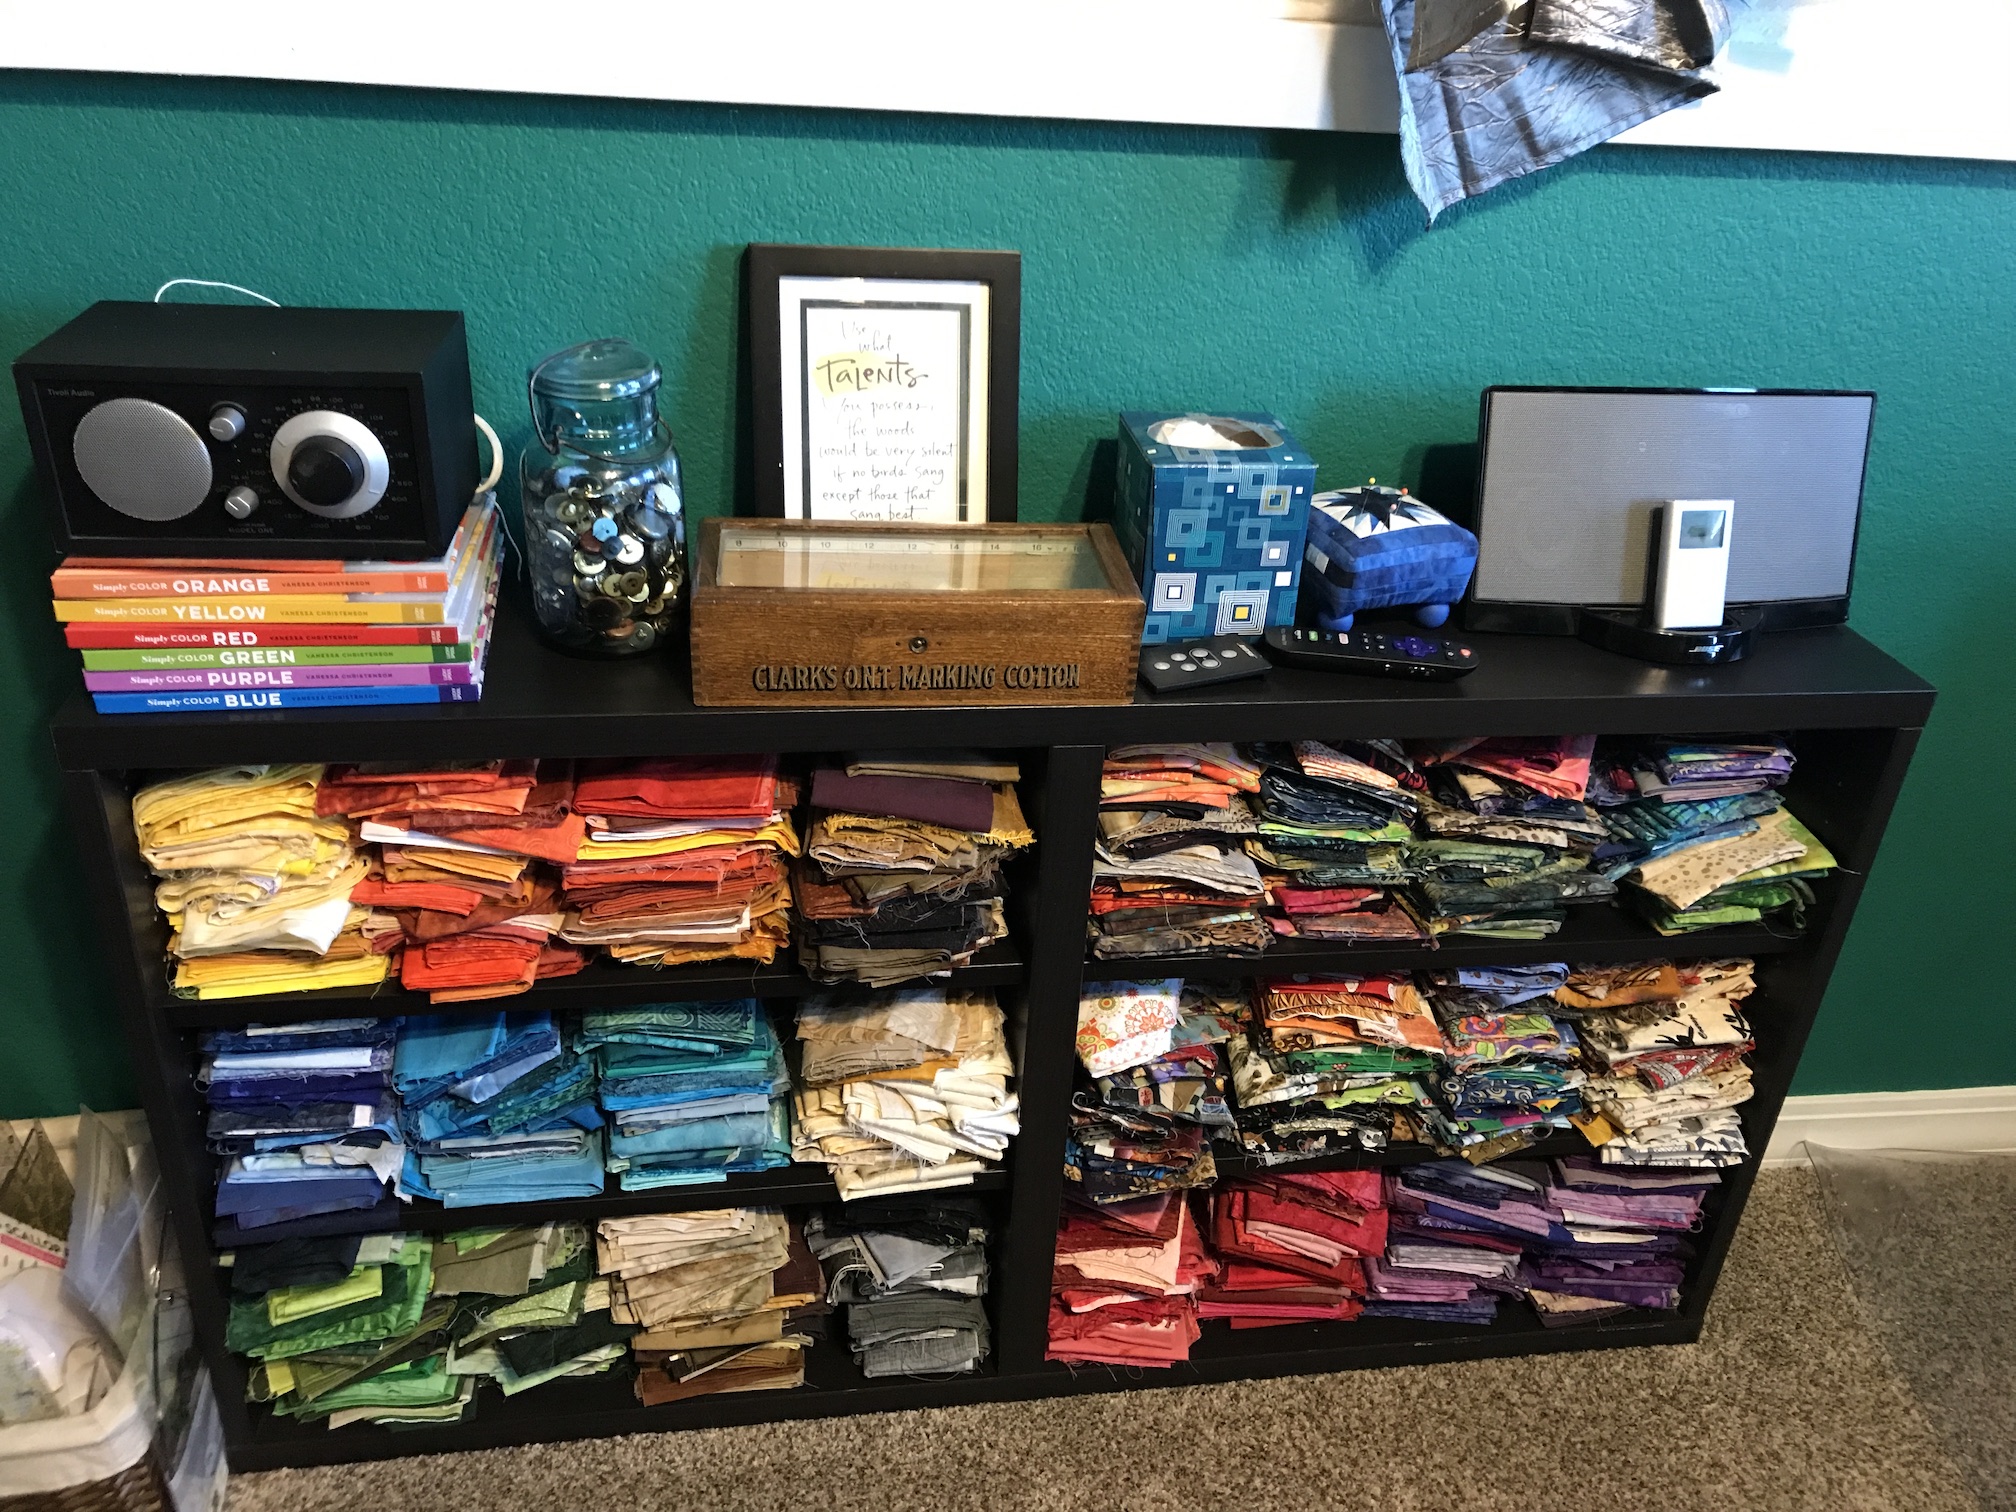
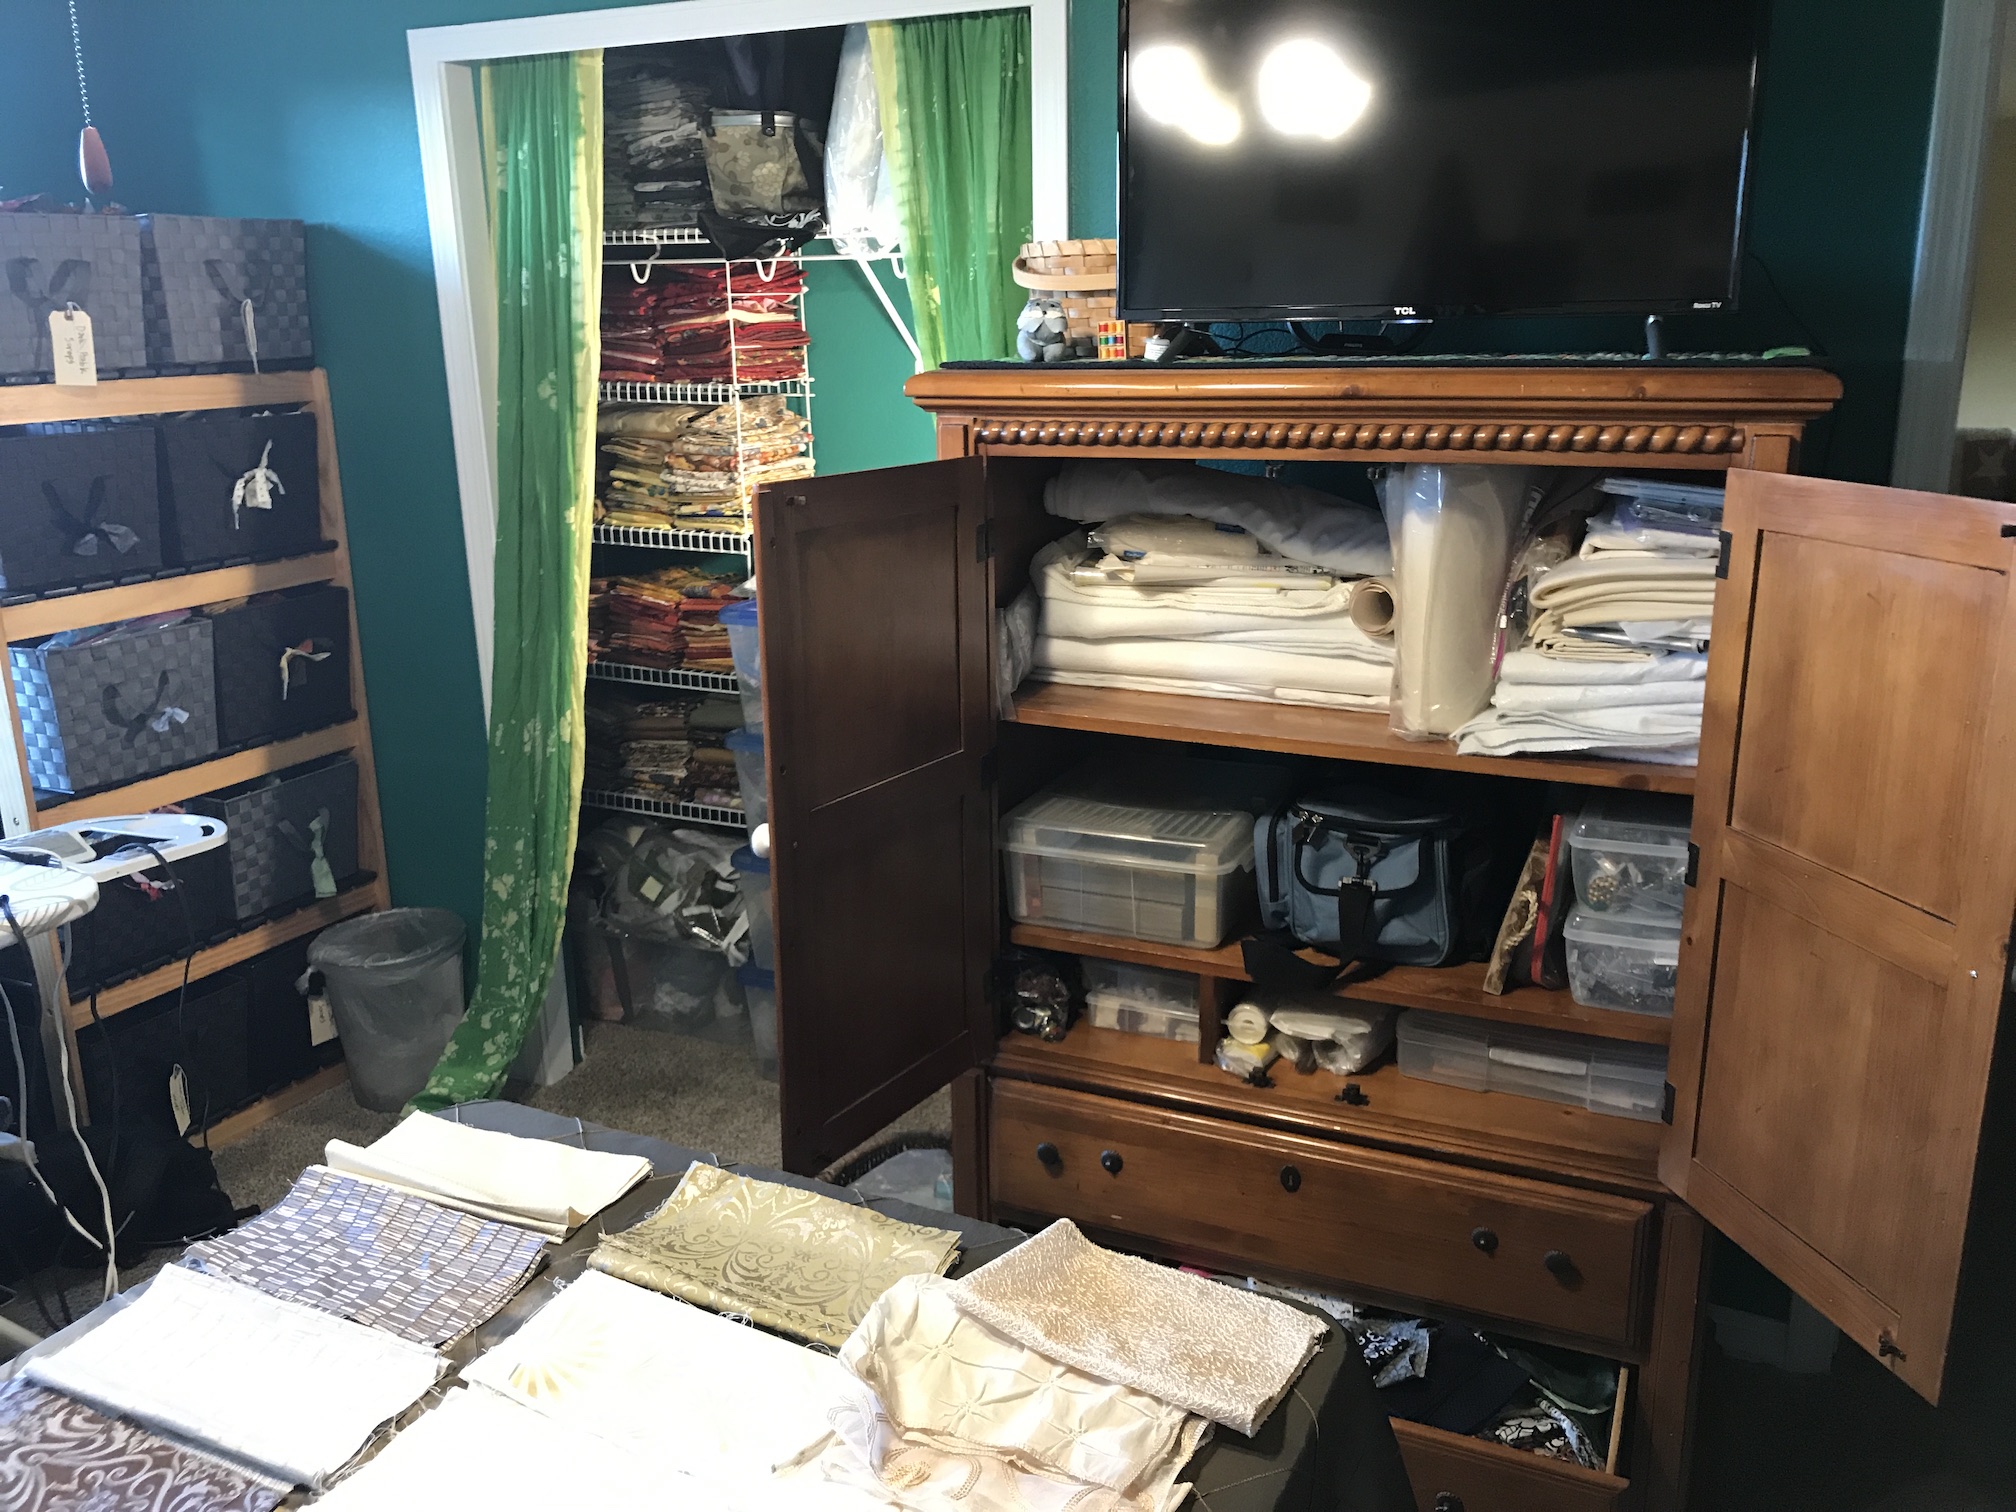
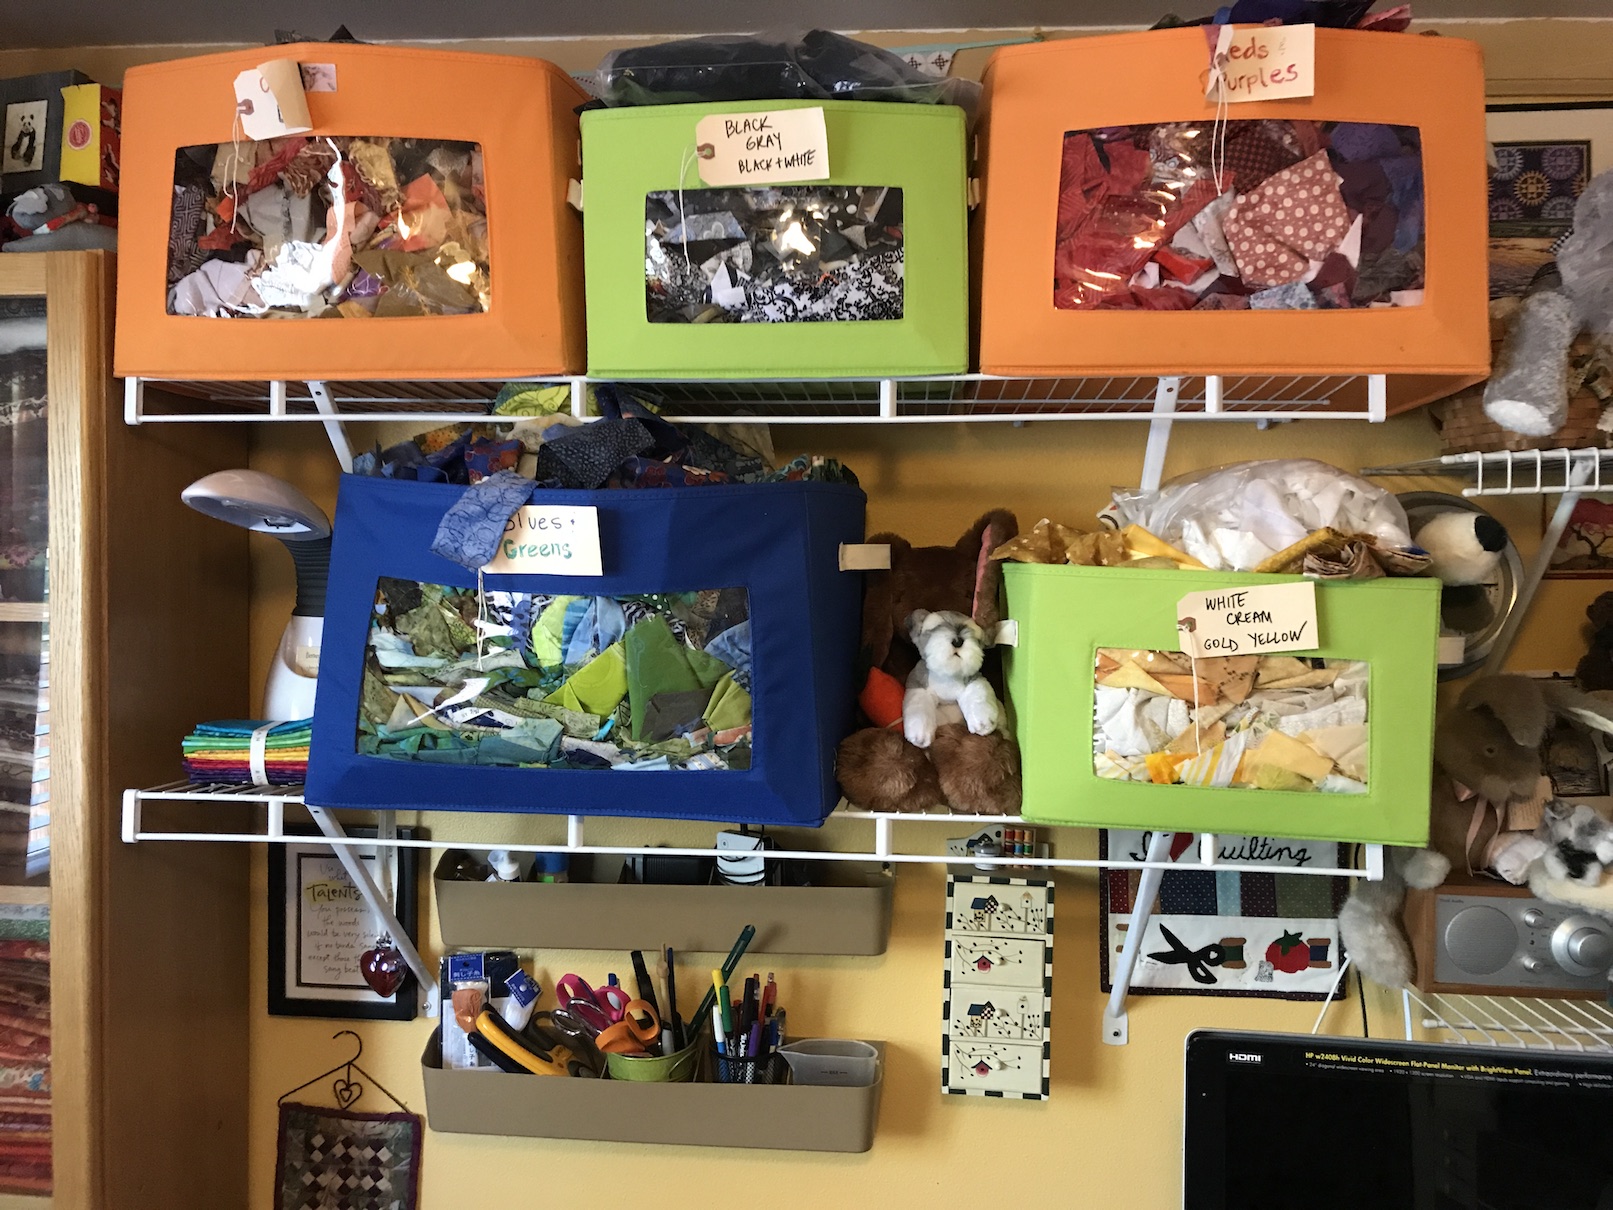
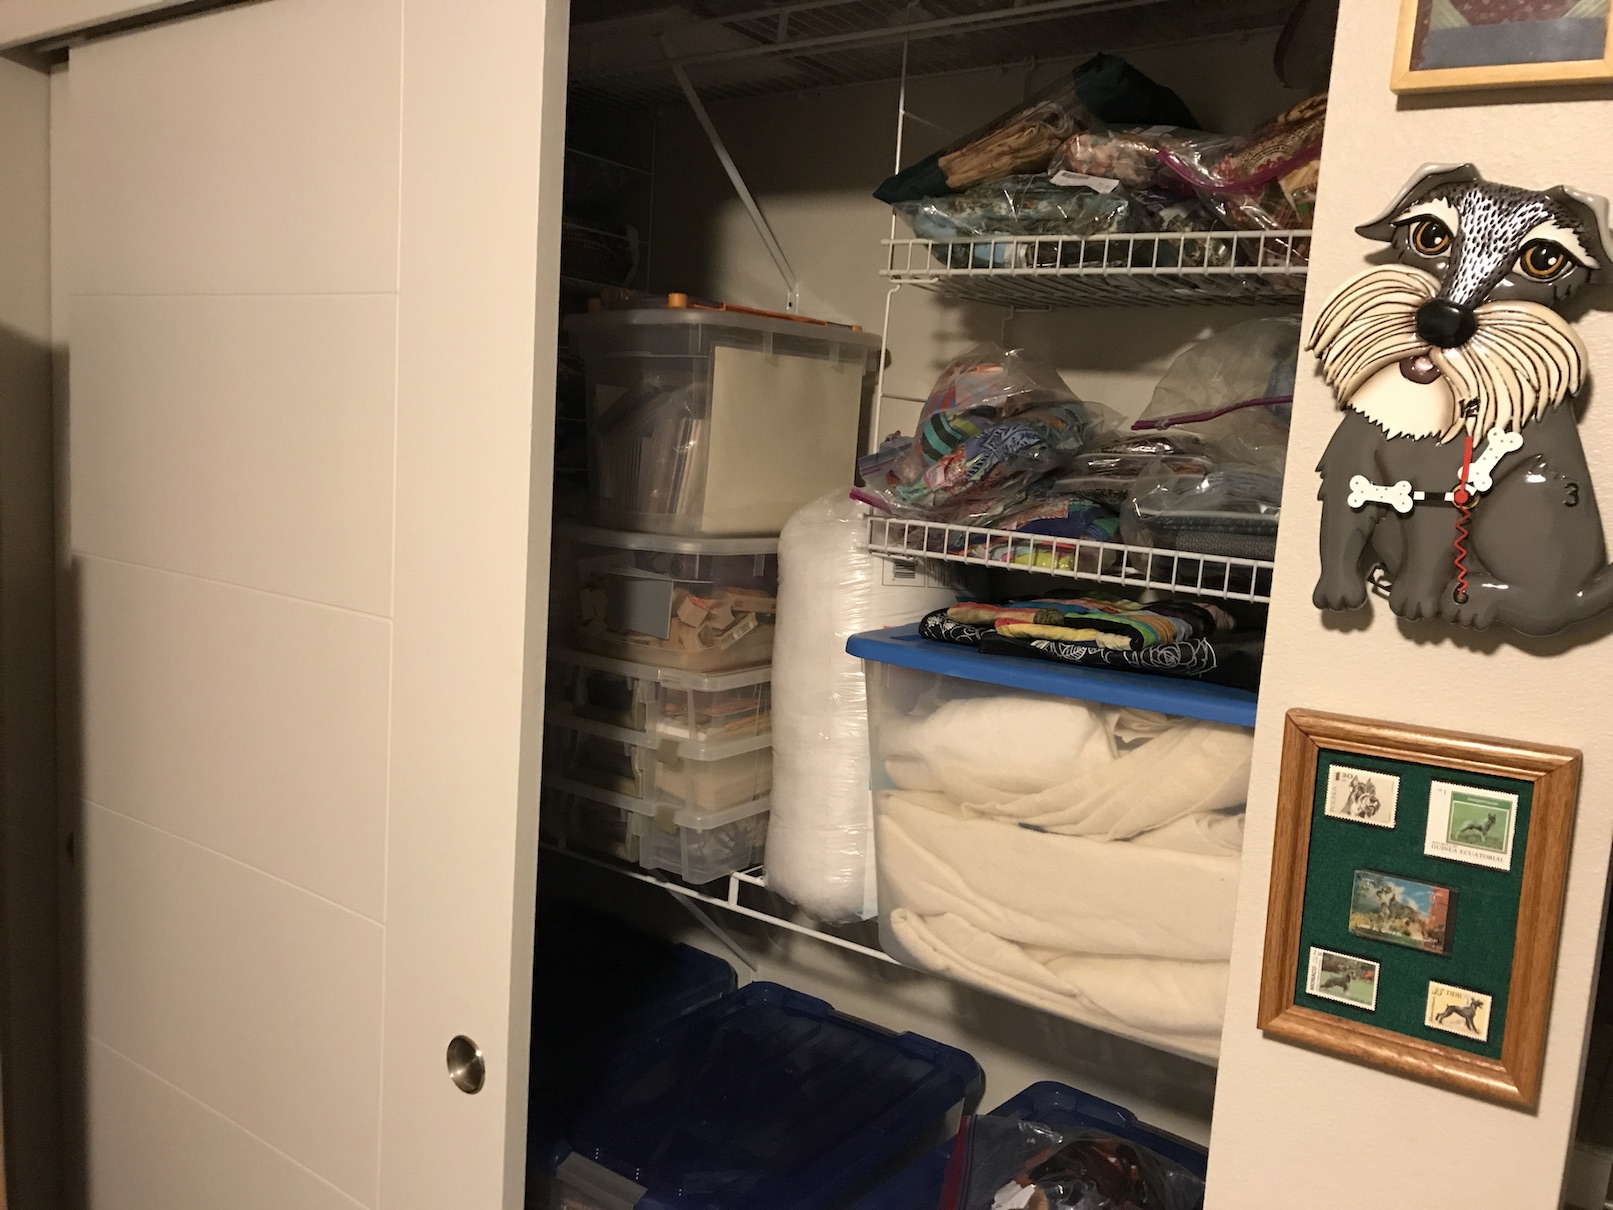
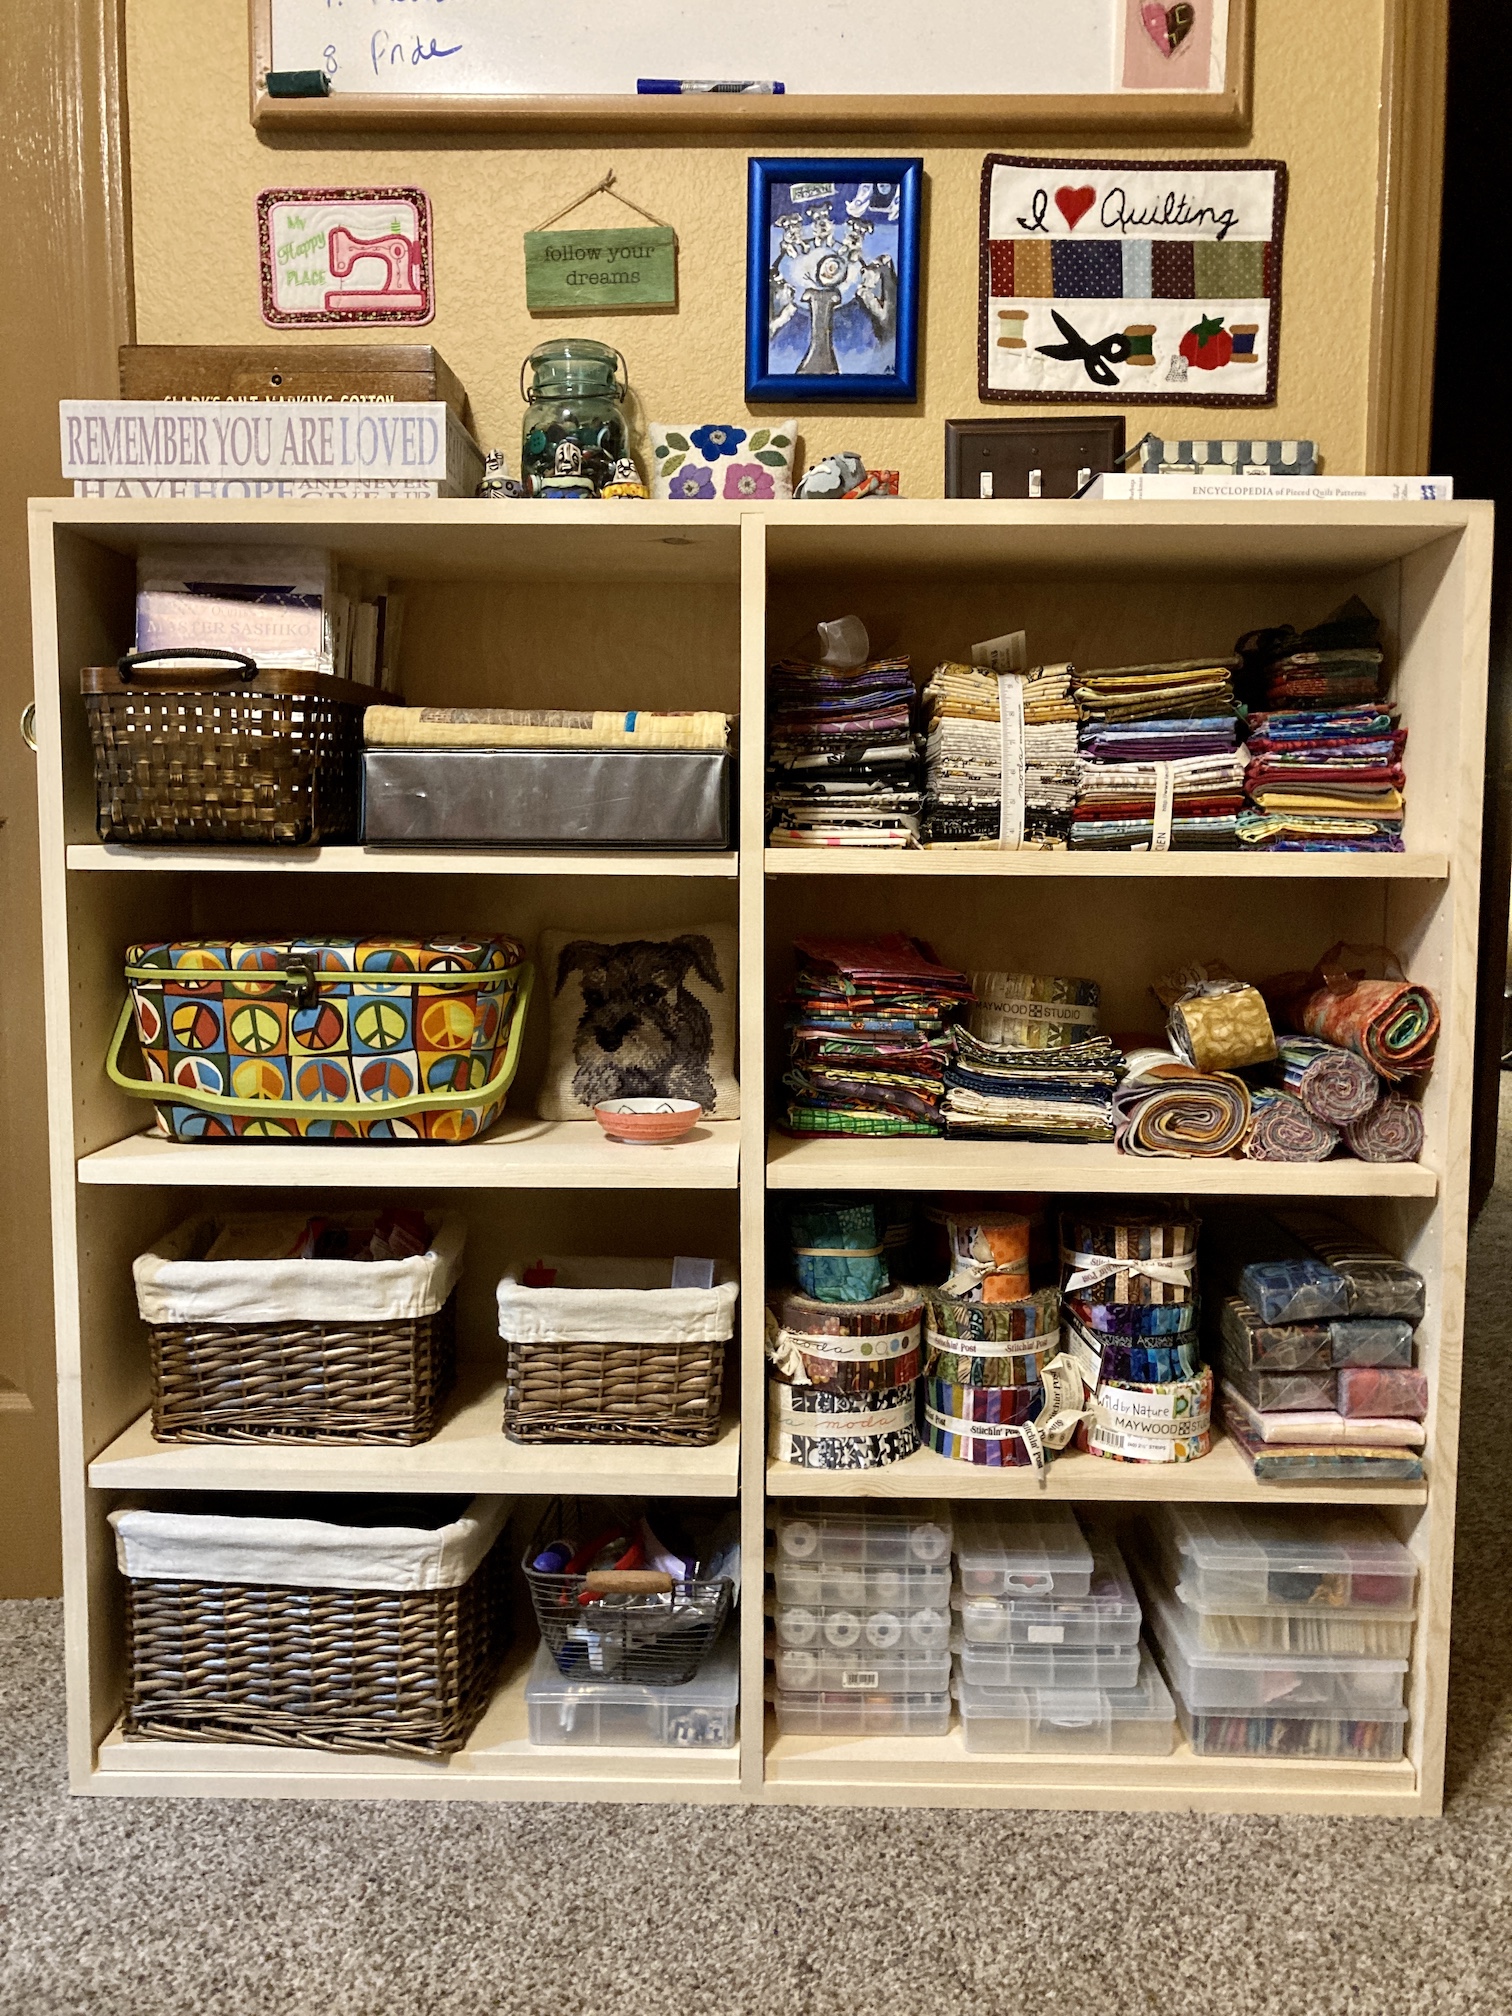
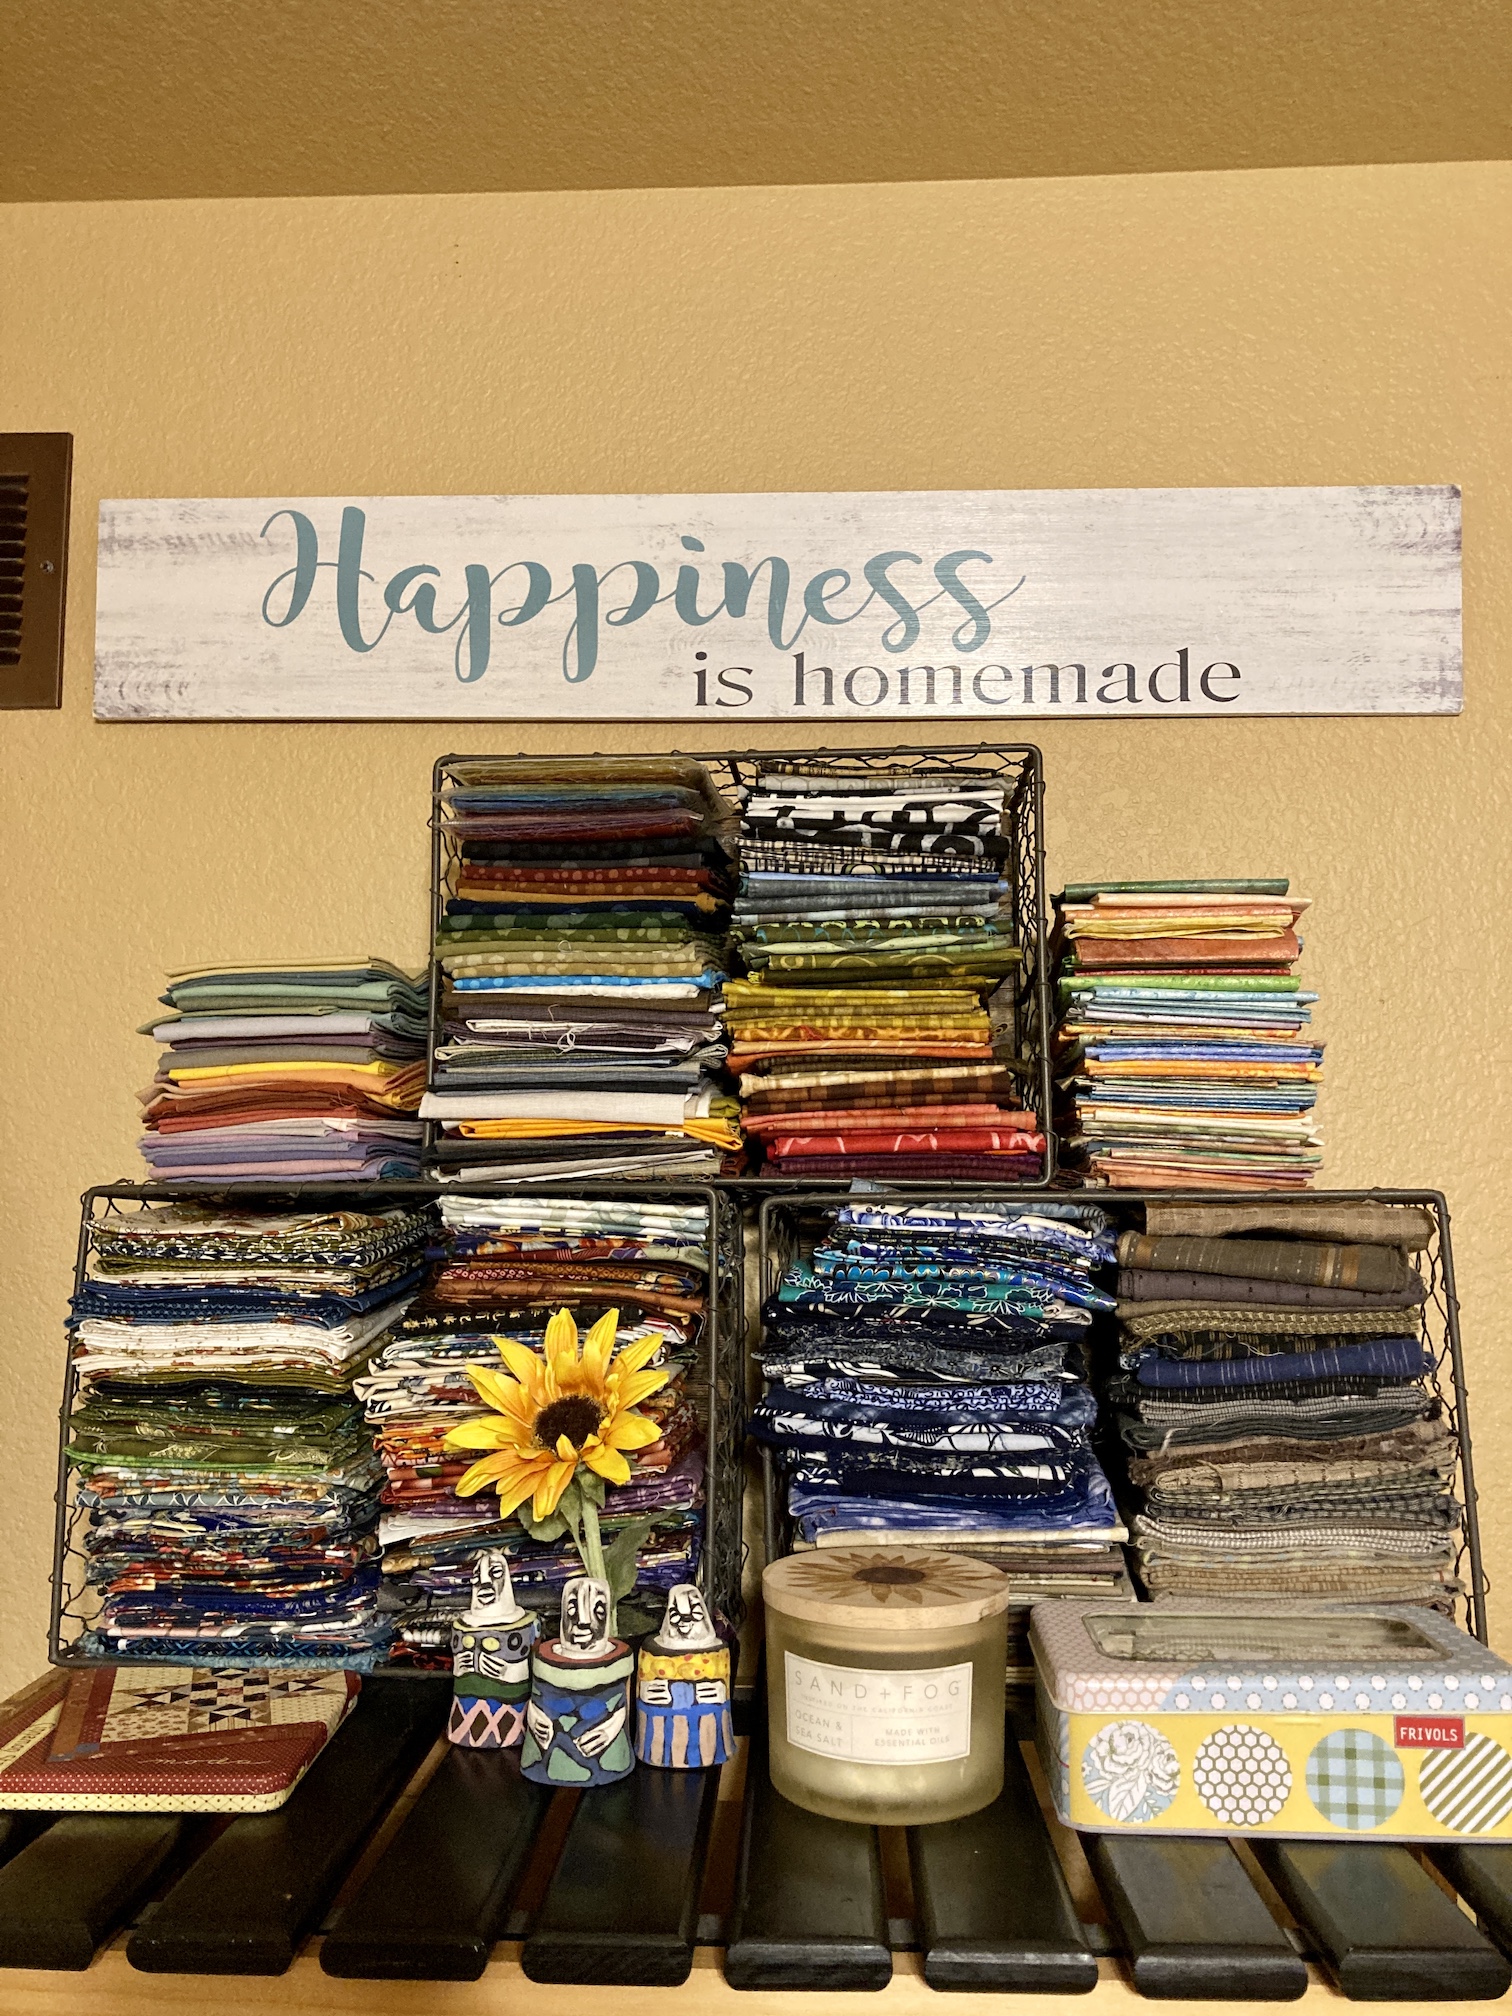
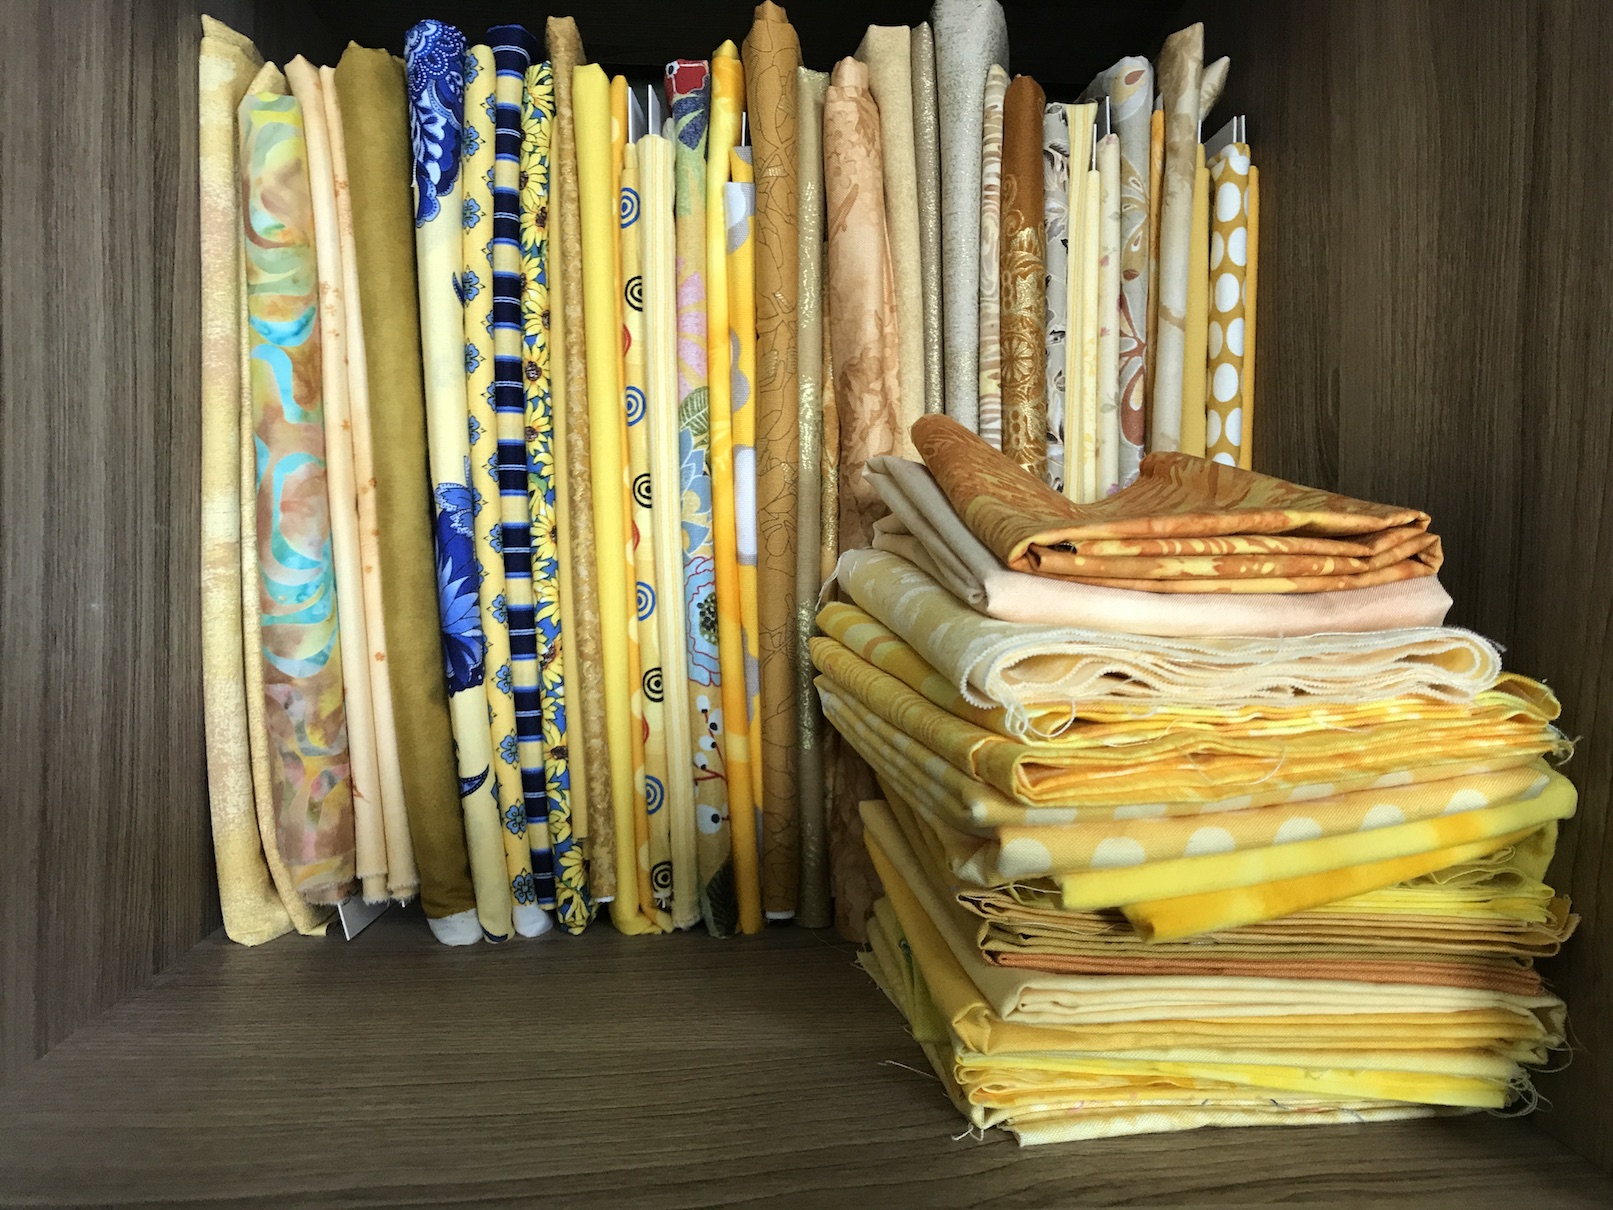
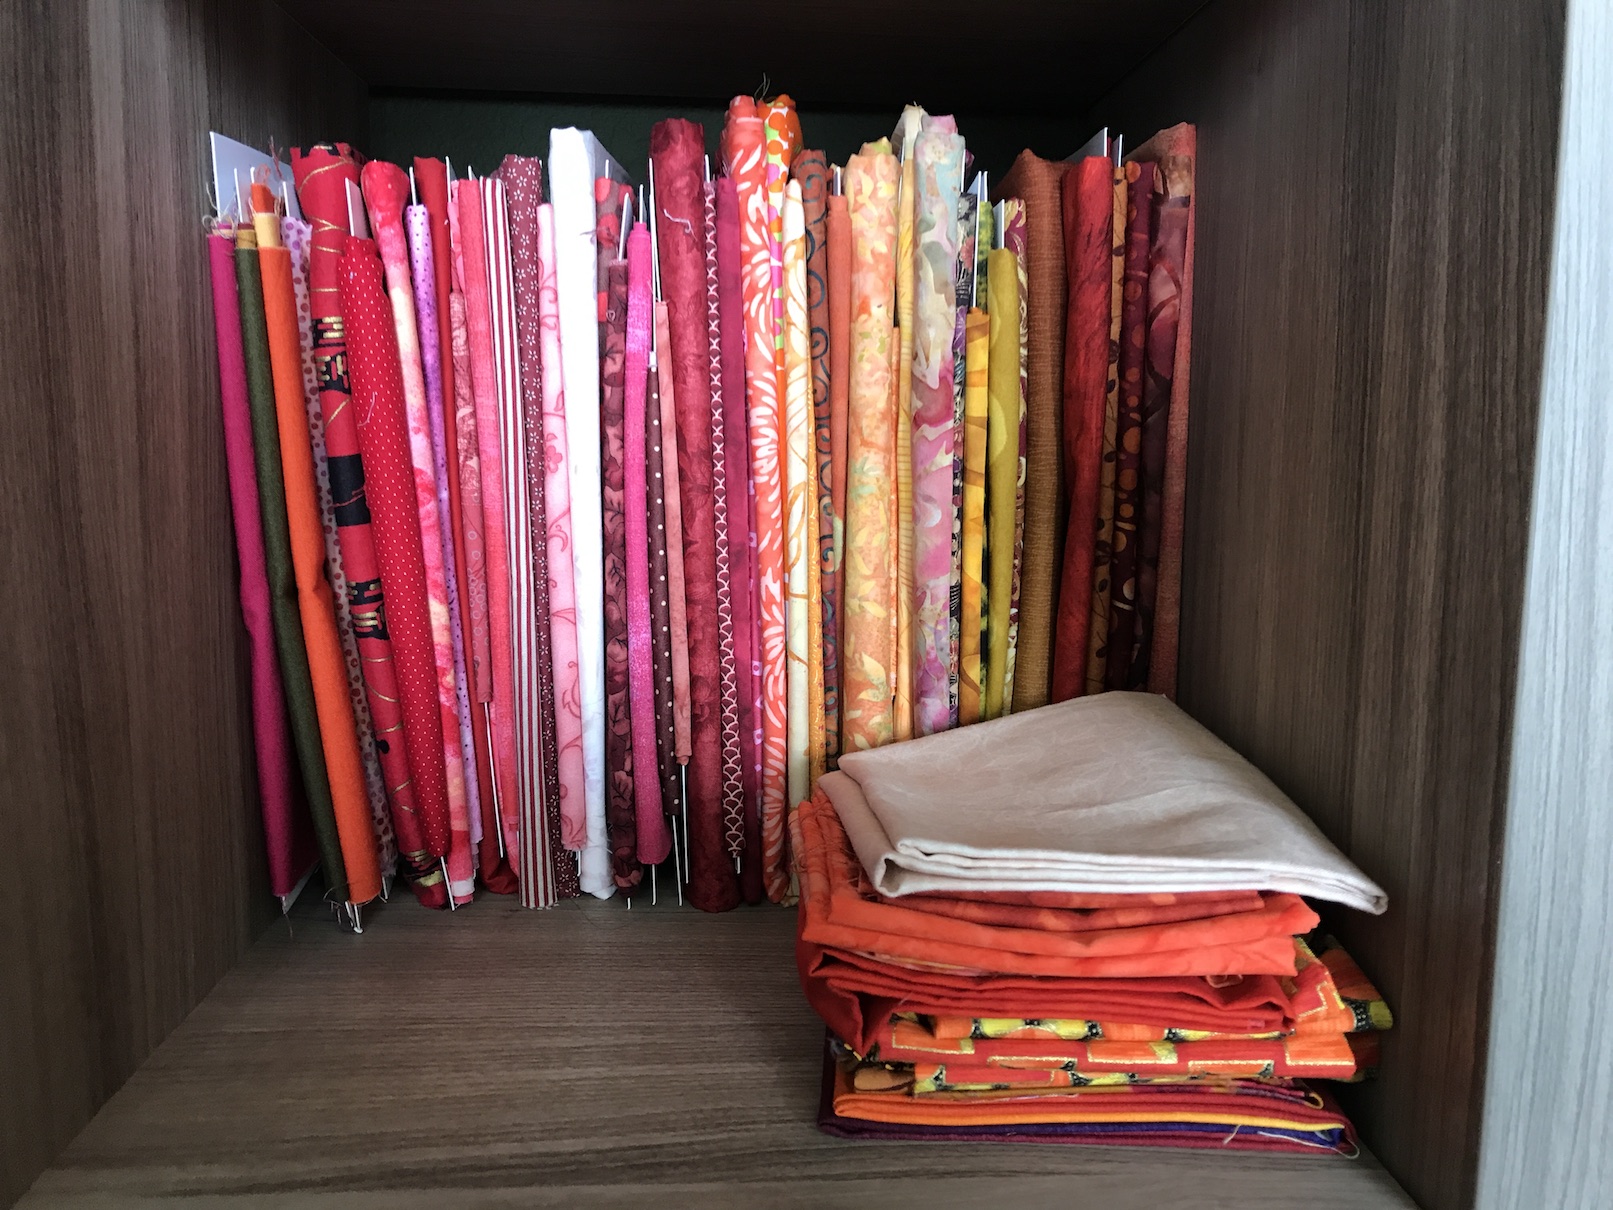
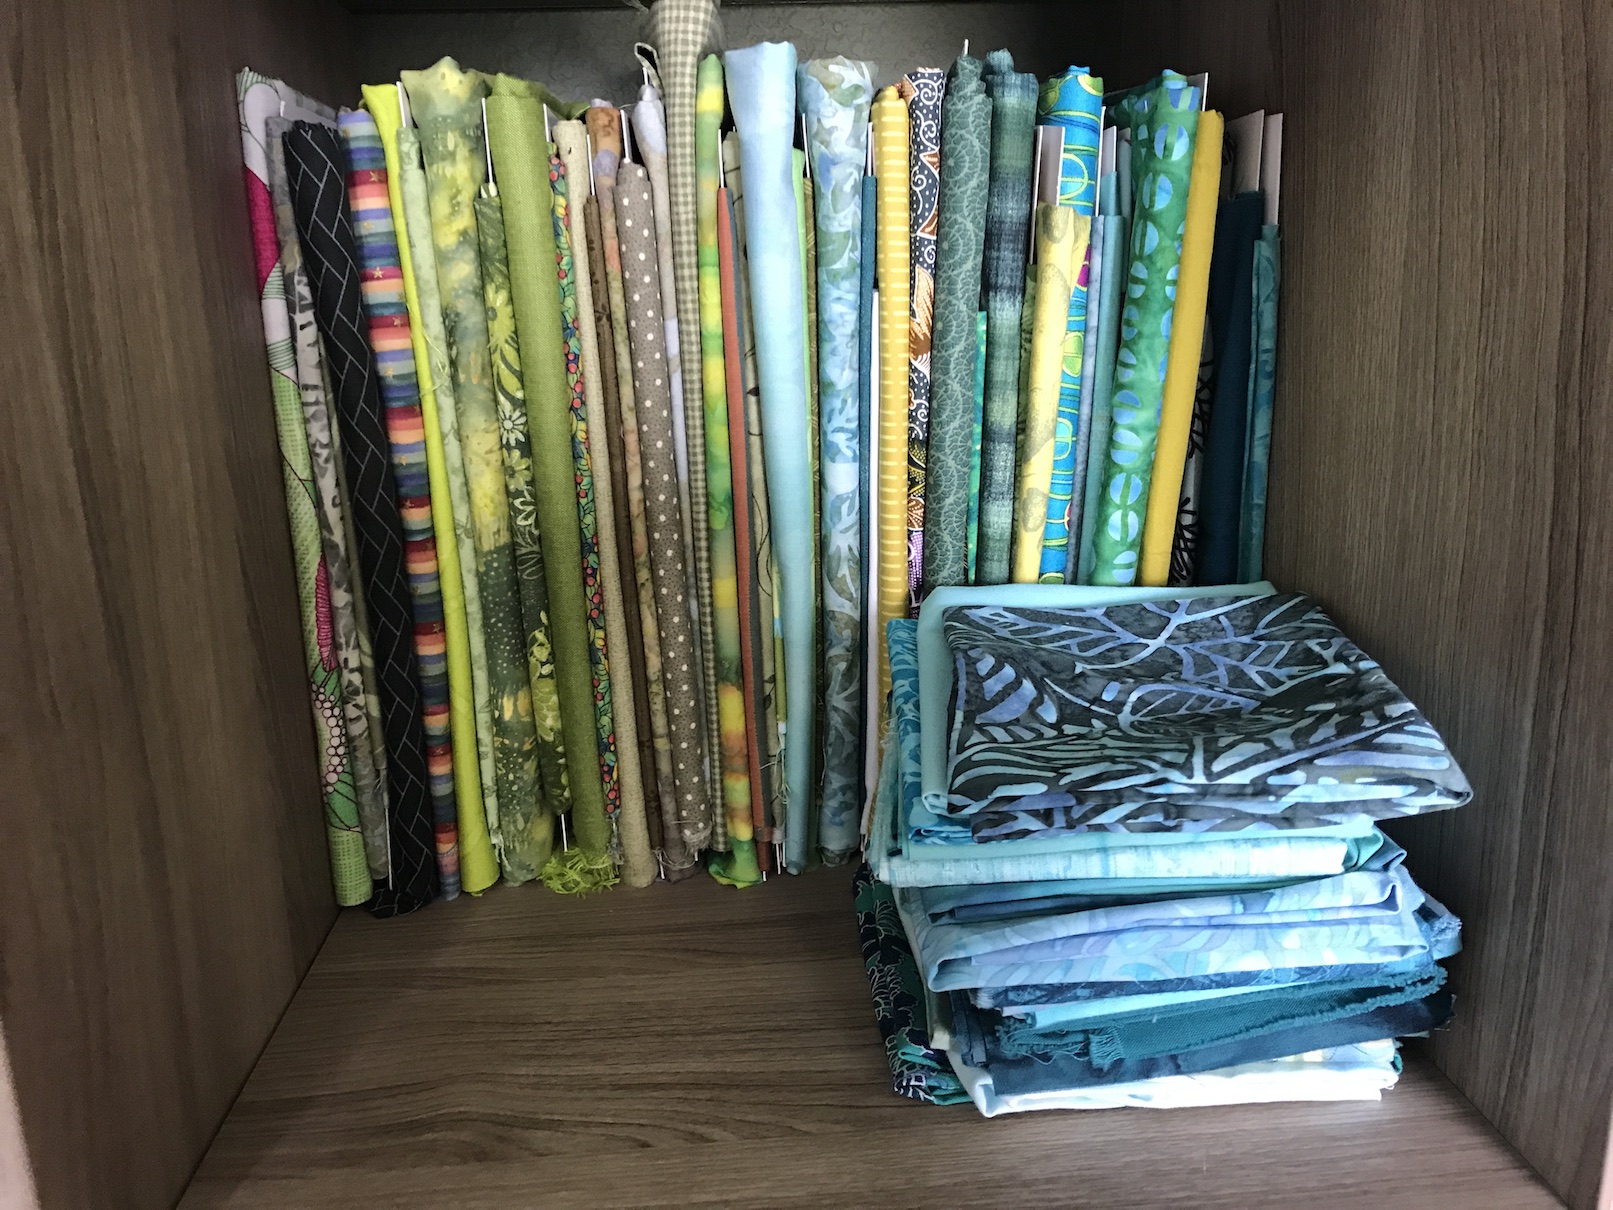
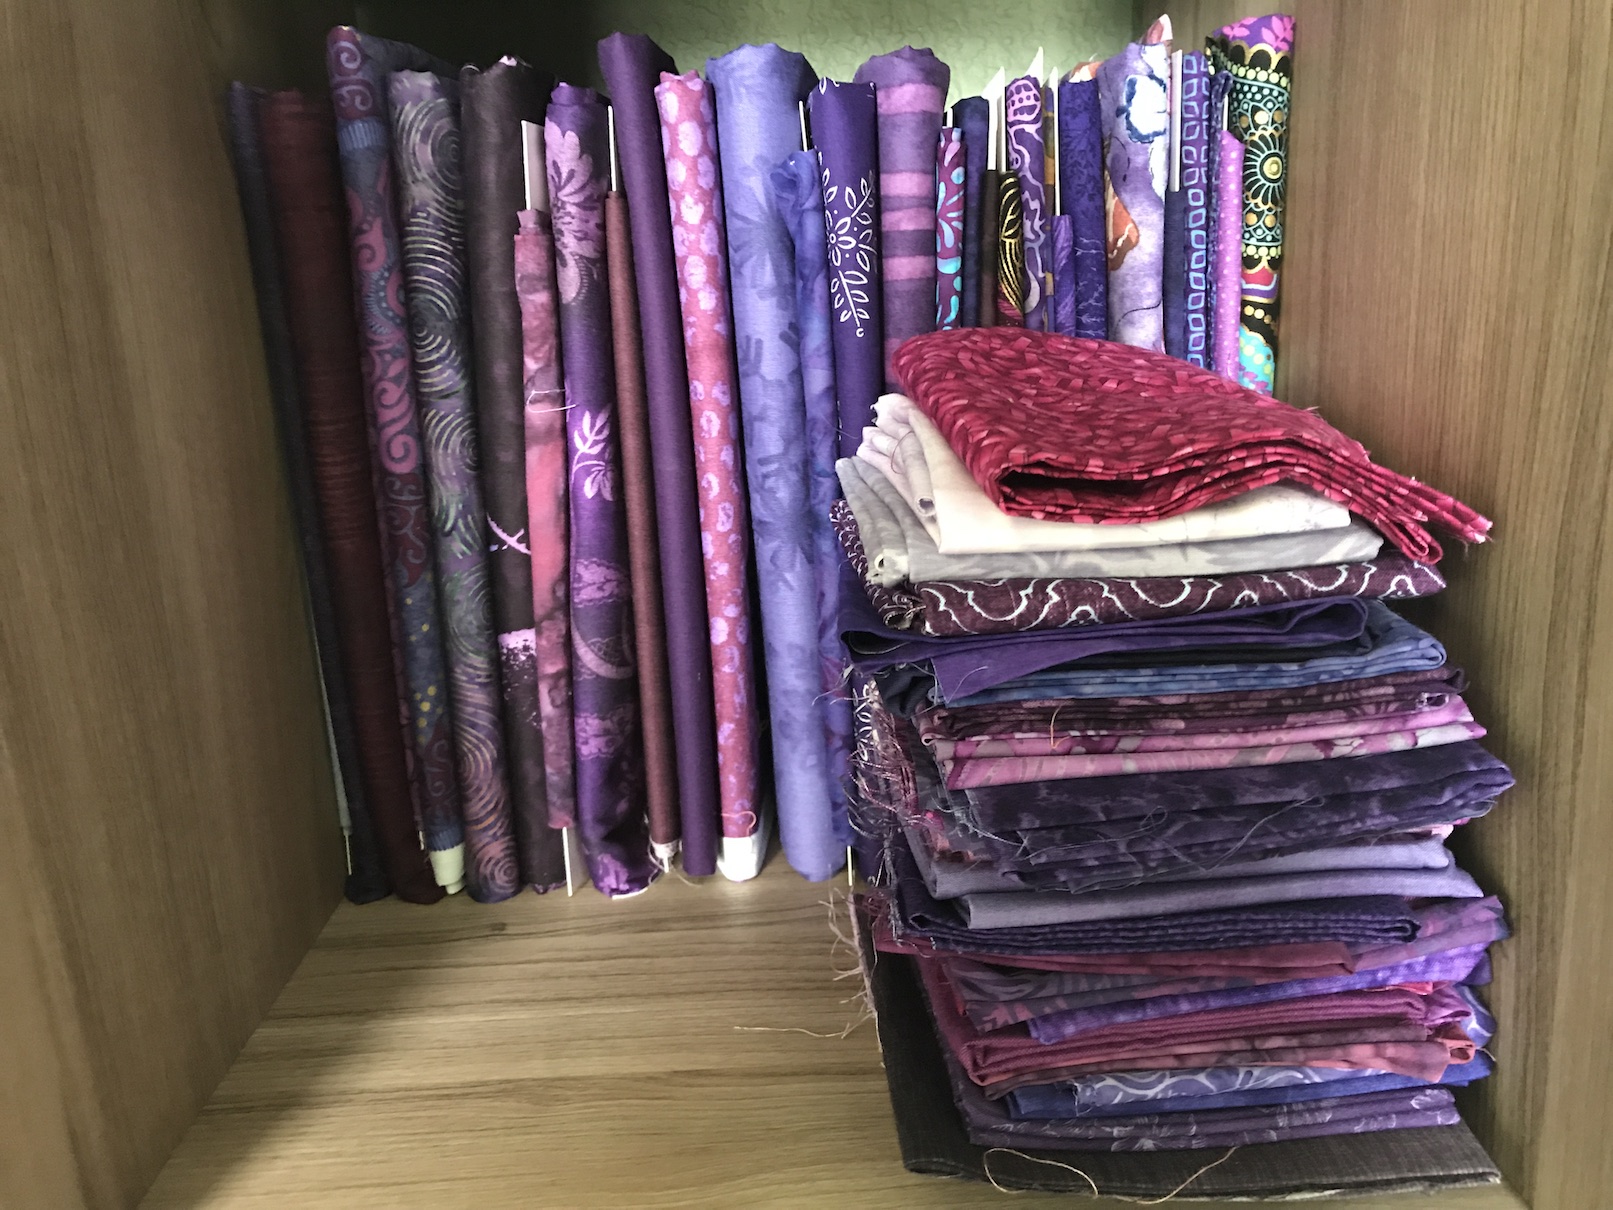
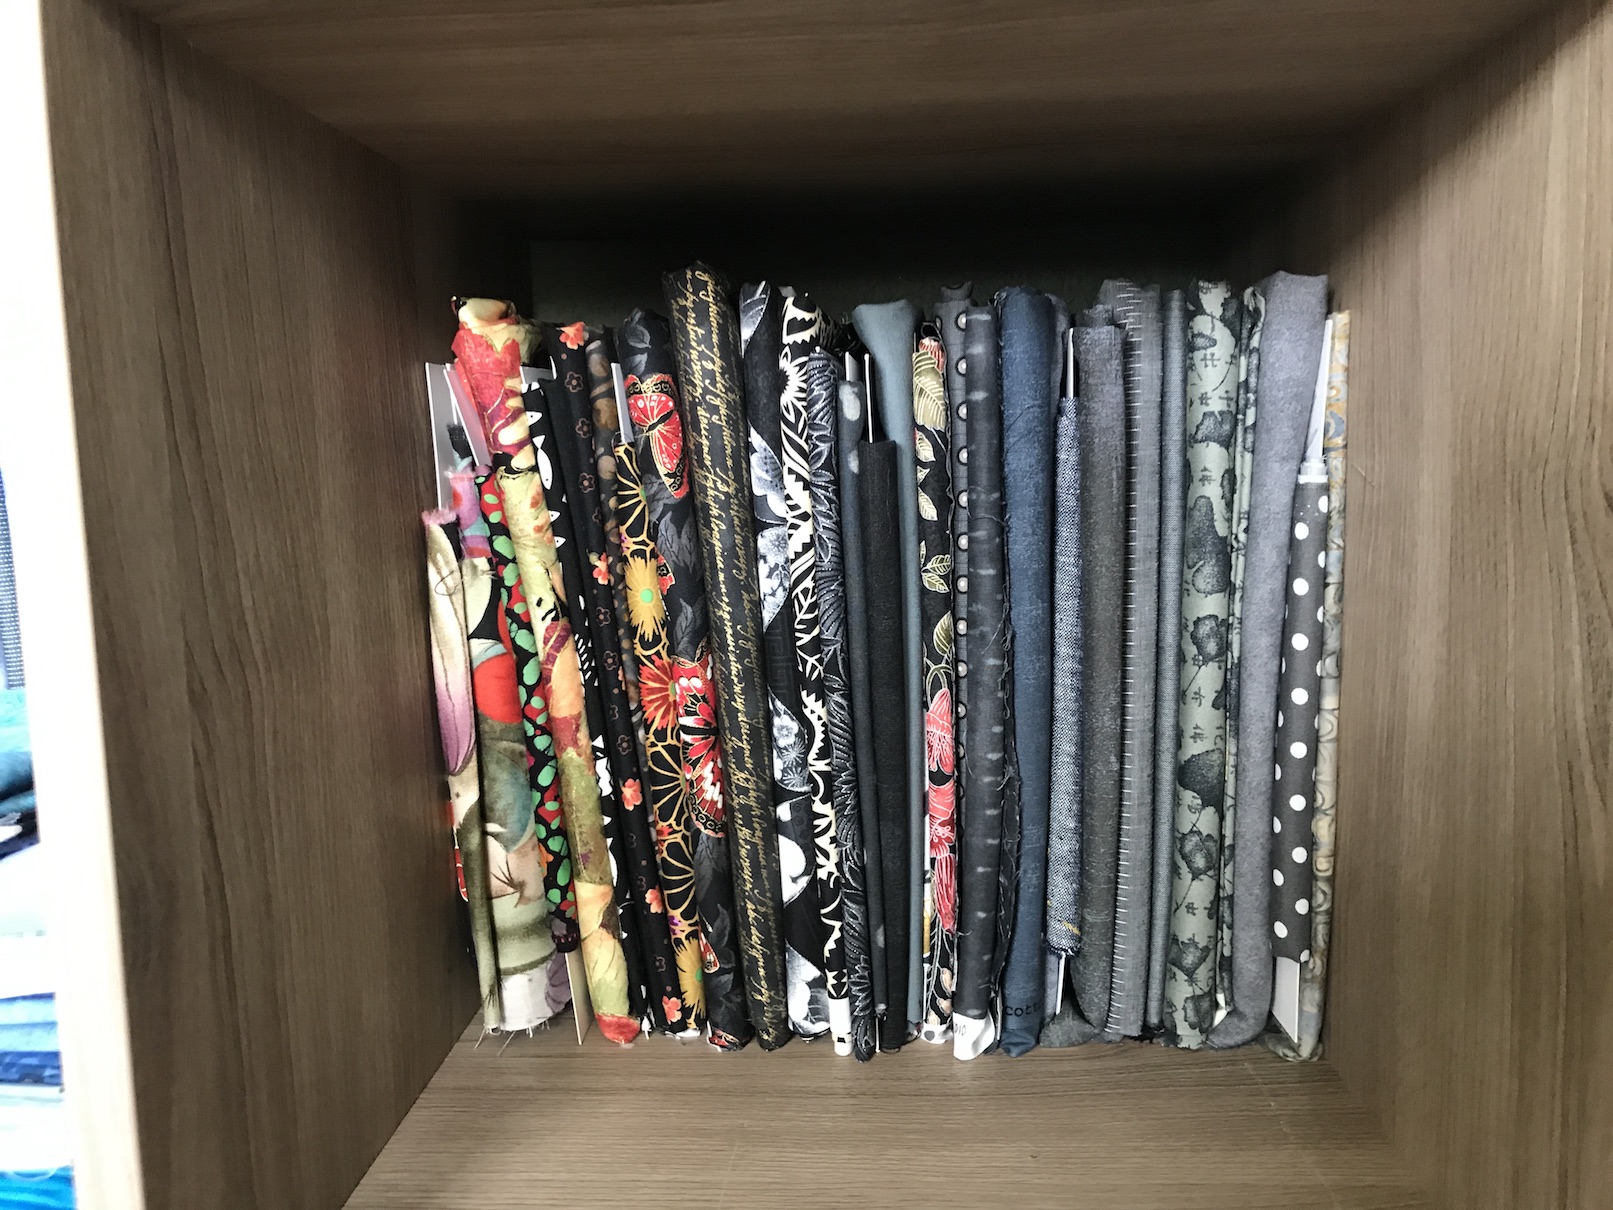
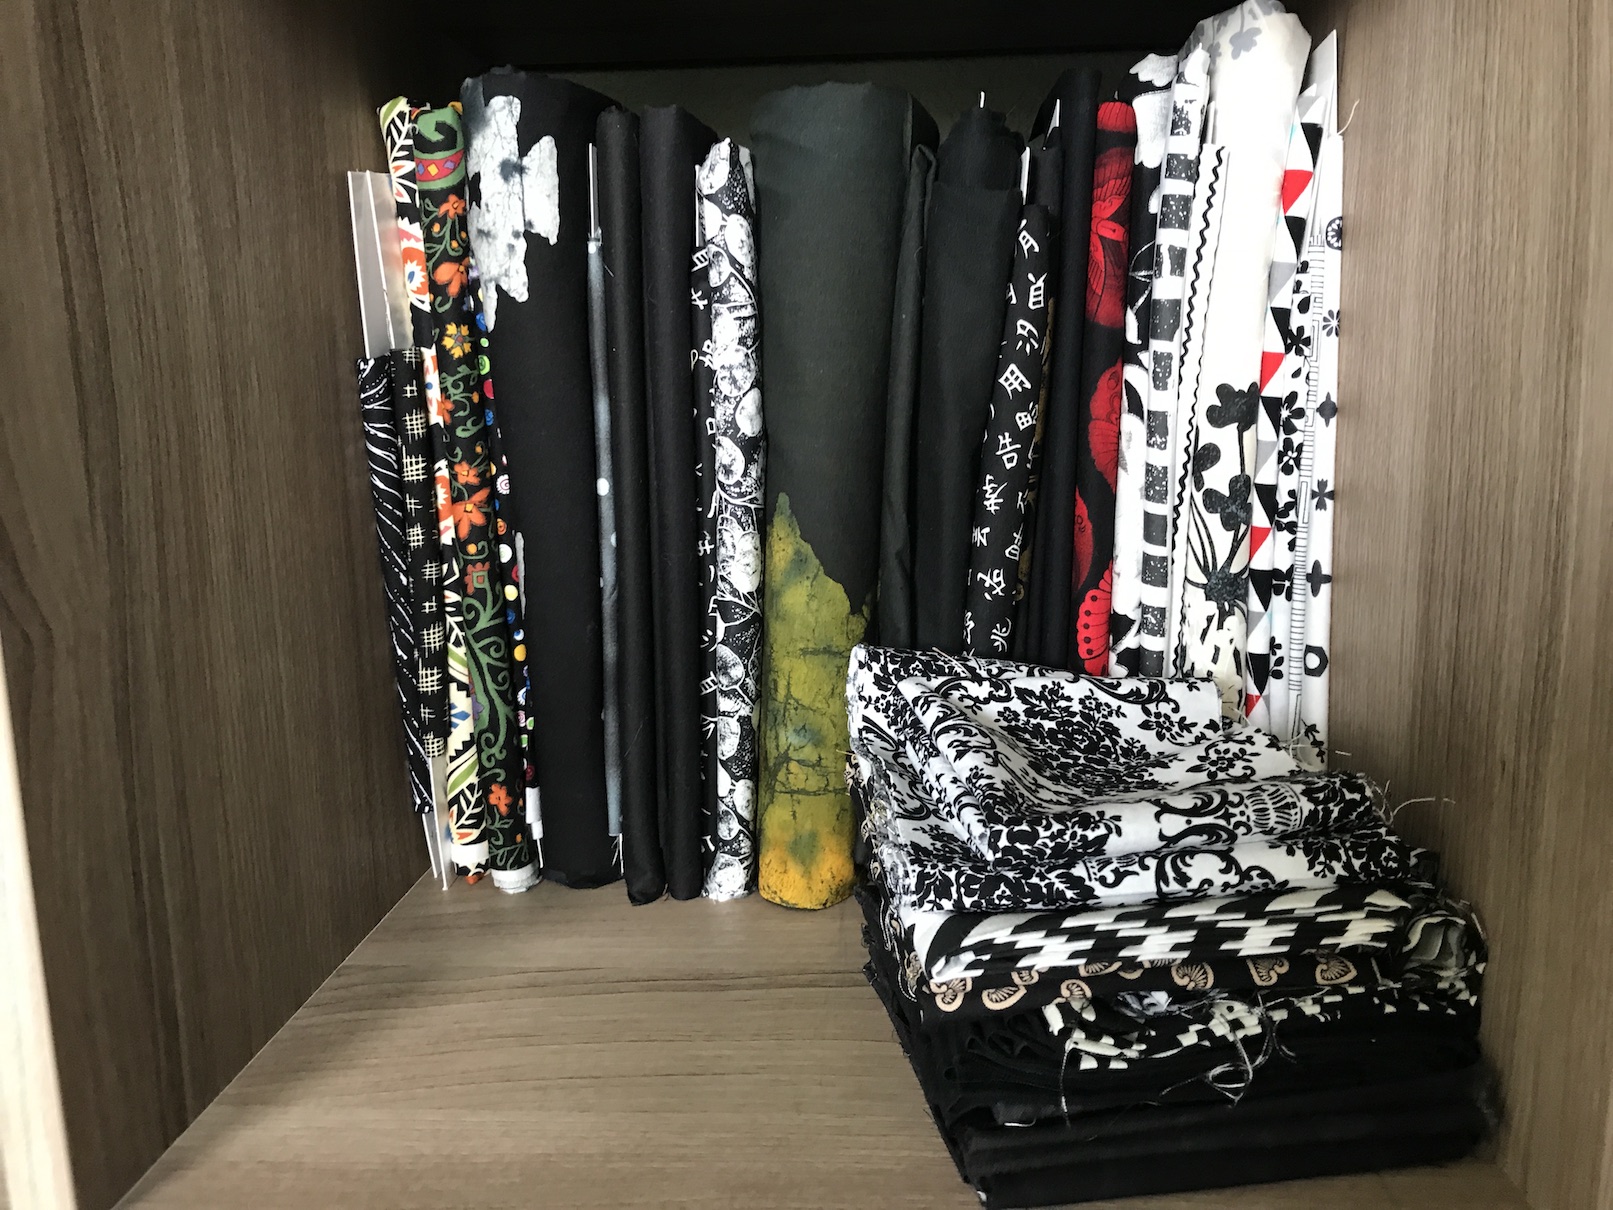
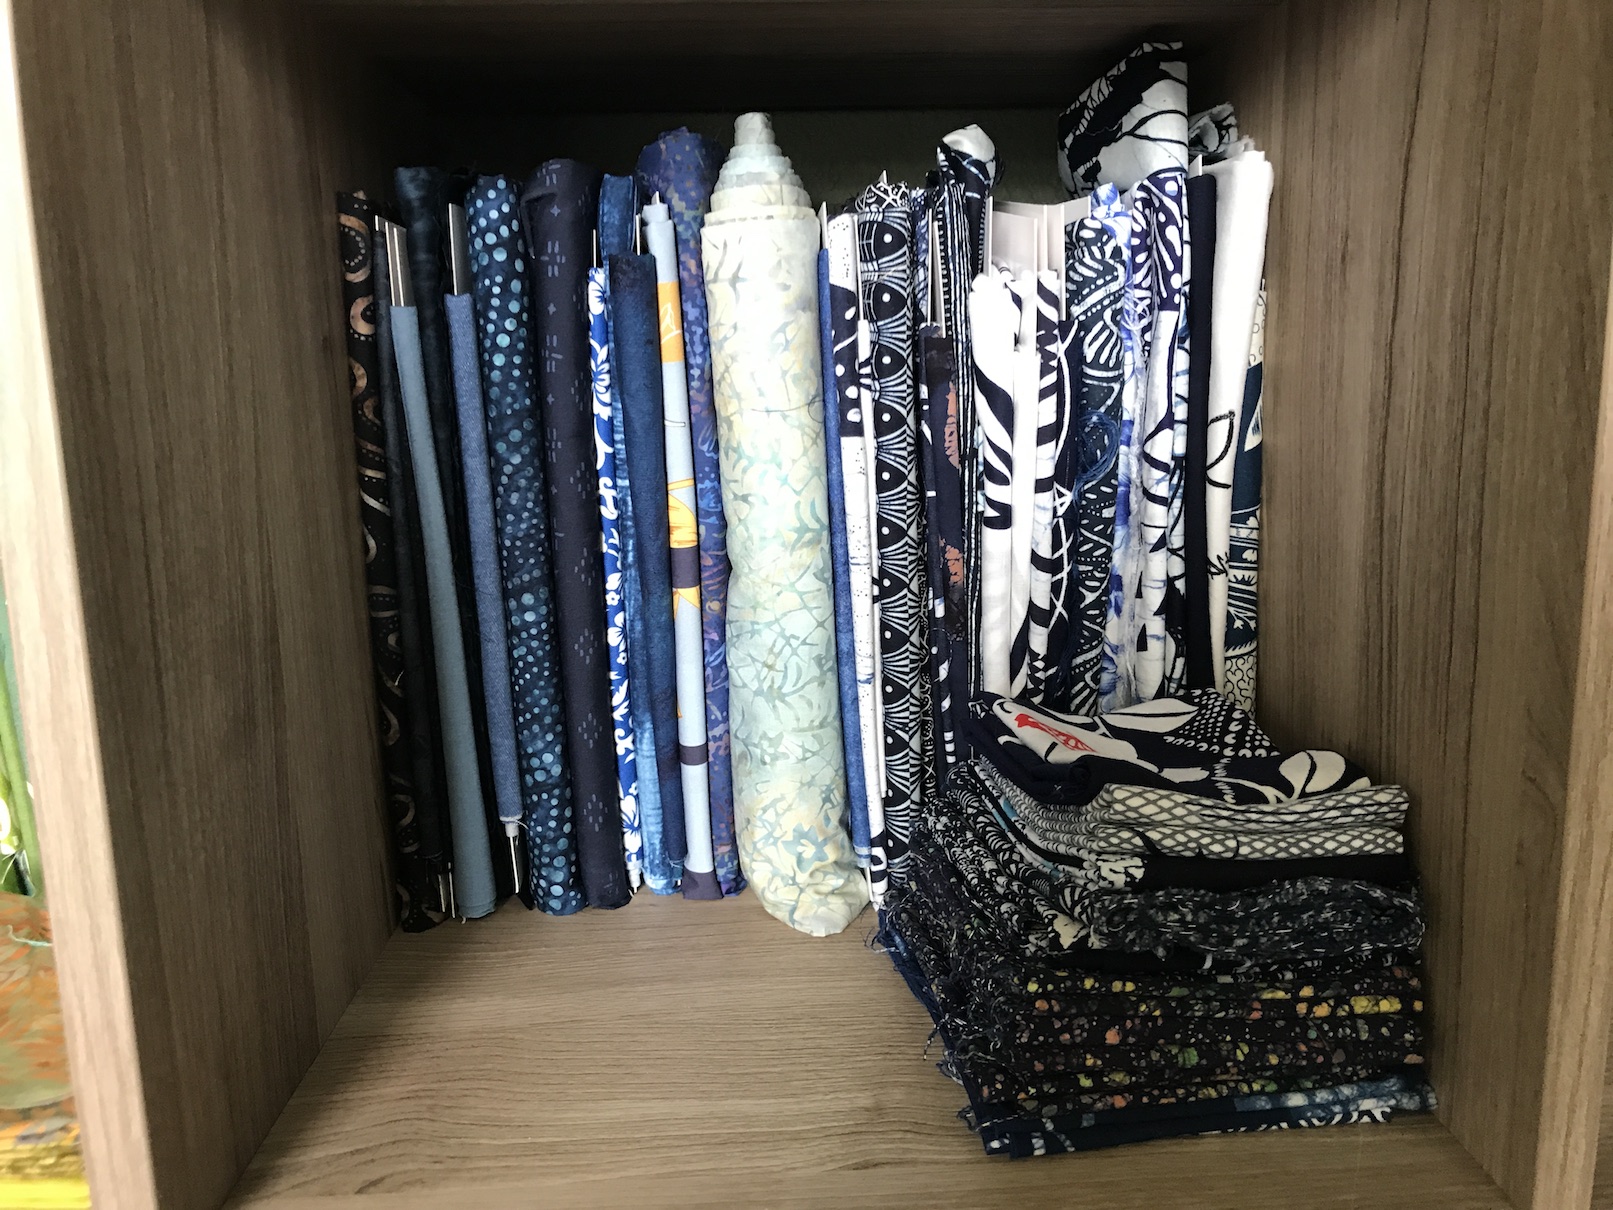
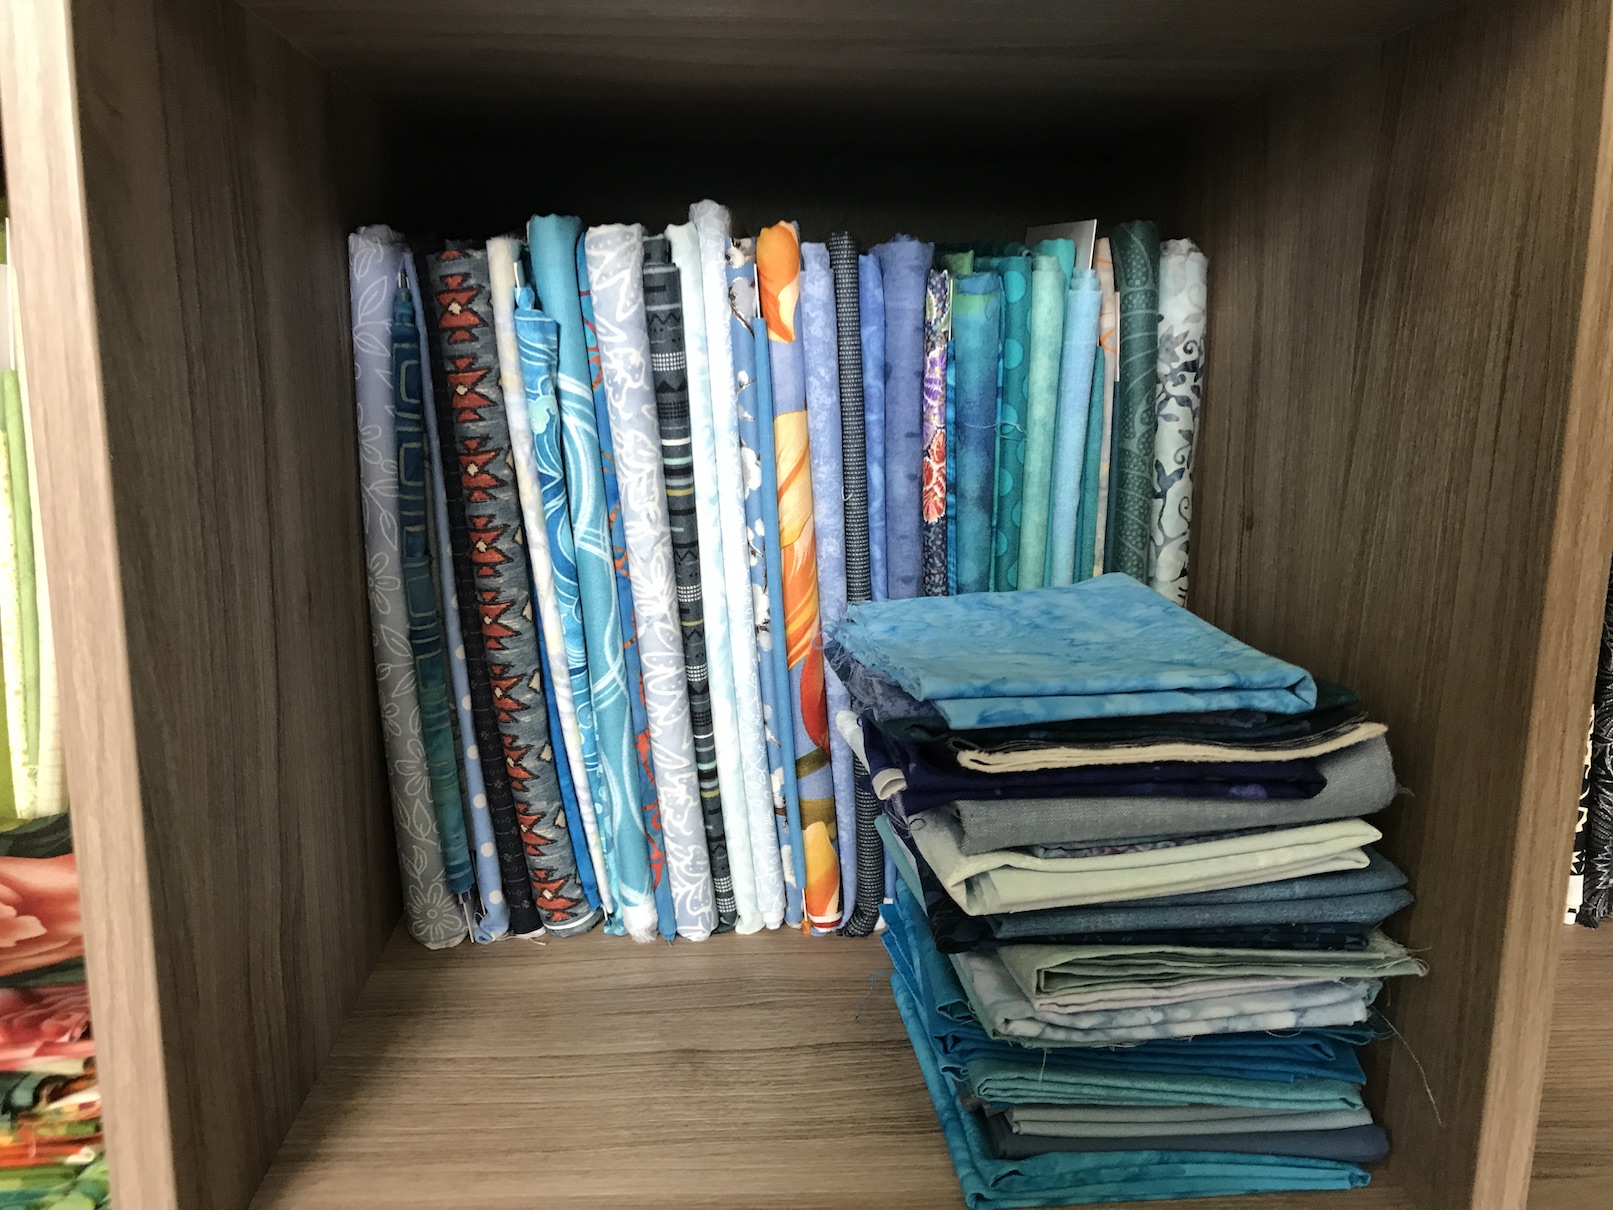
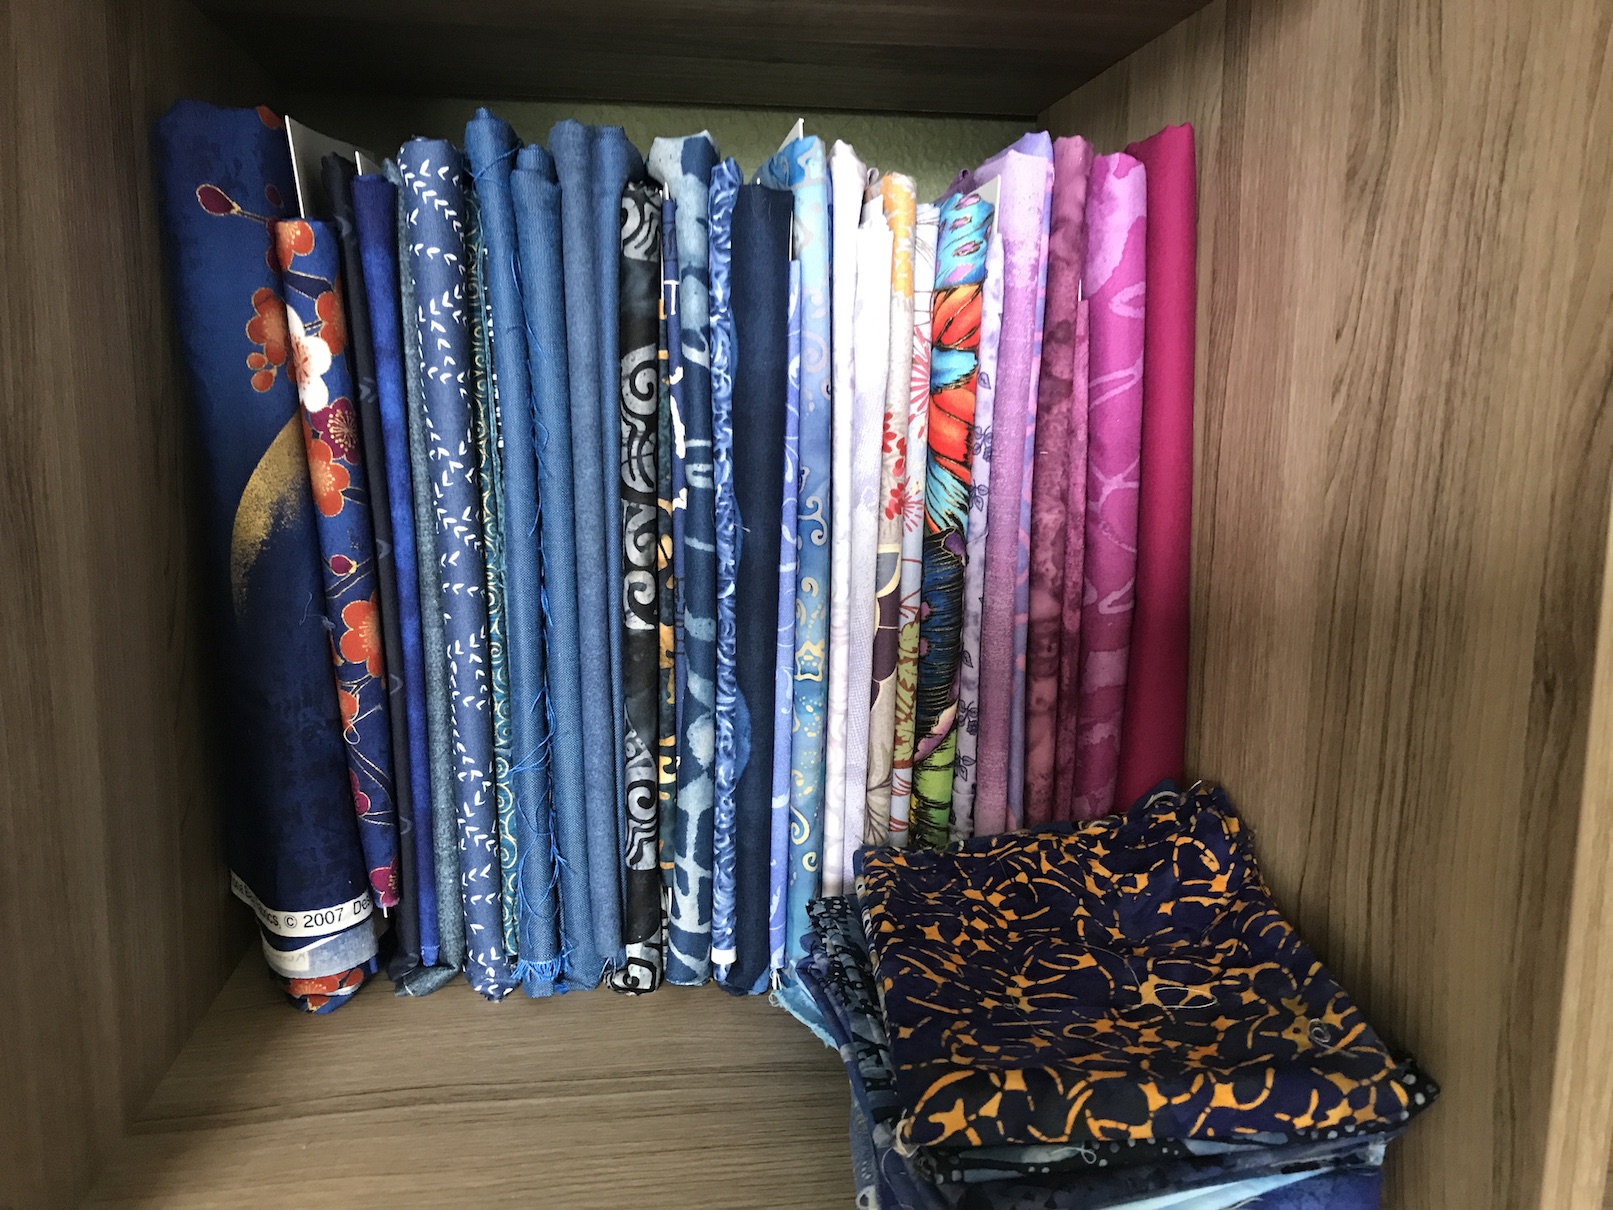
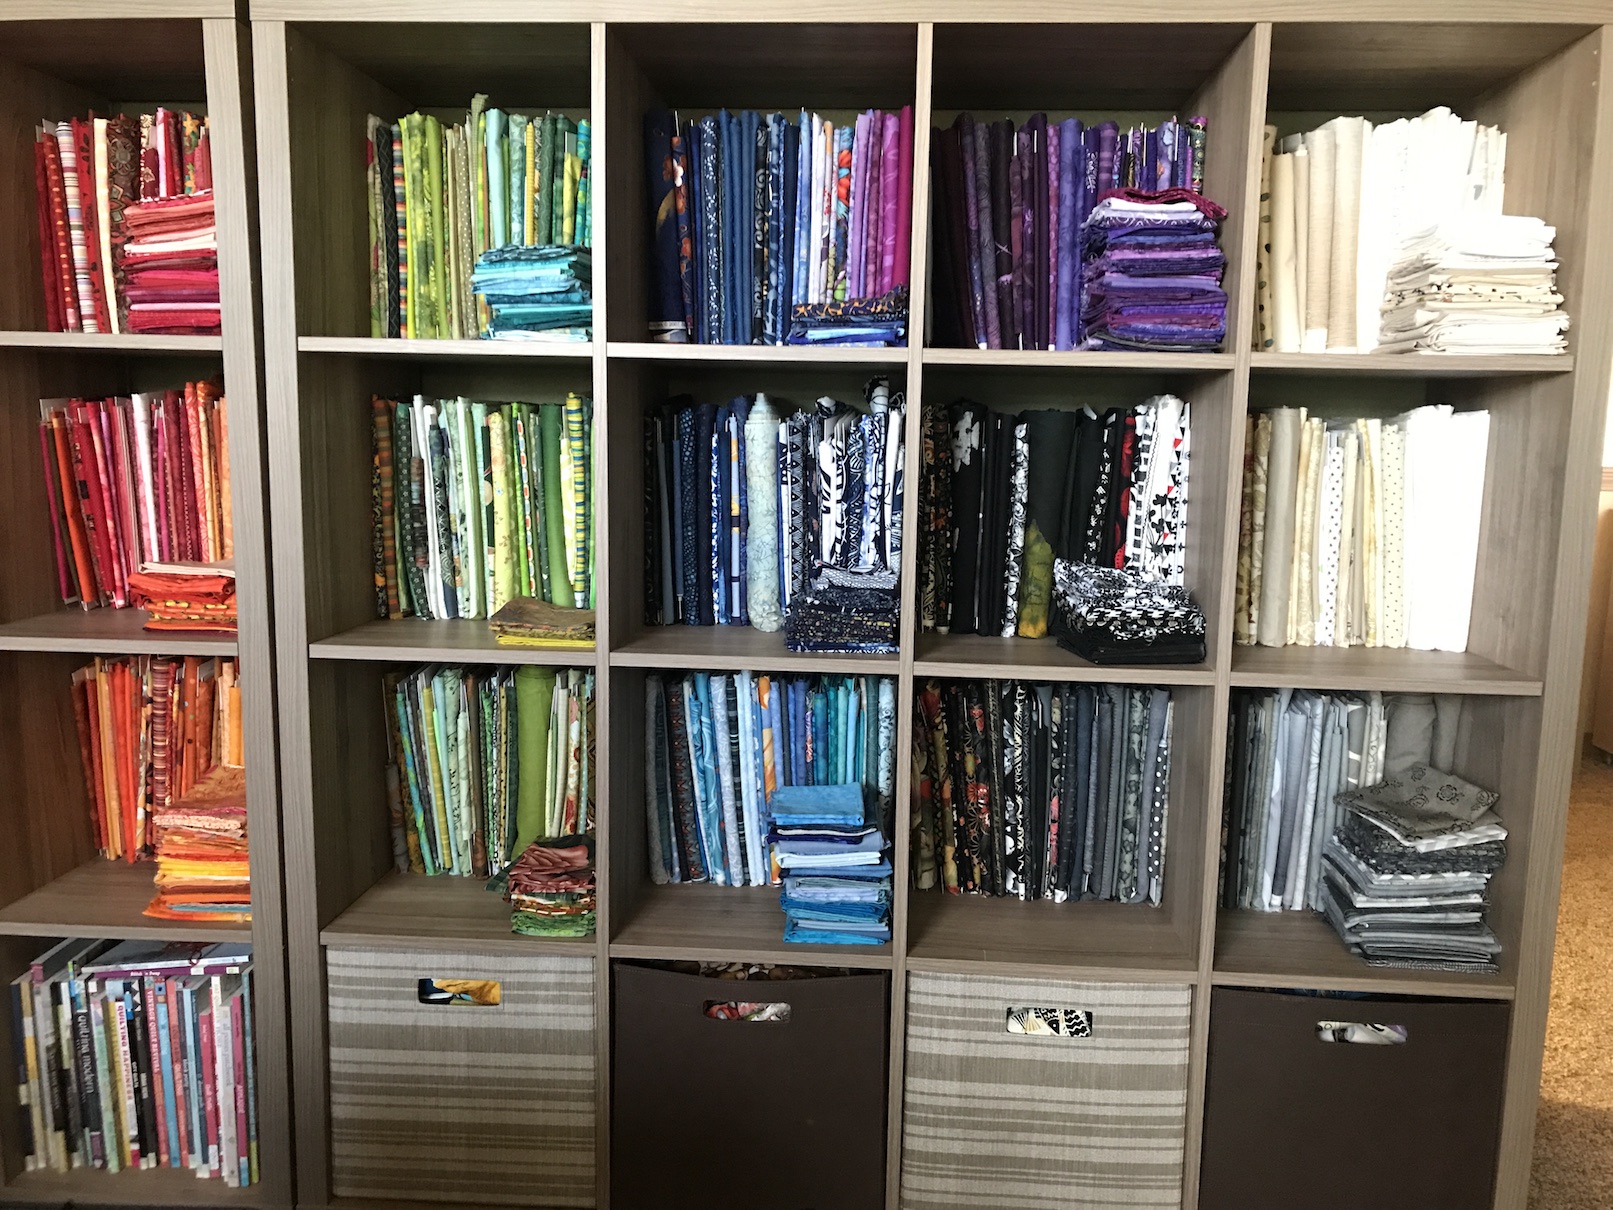
 I love my new closet and had so much fun organizing it!
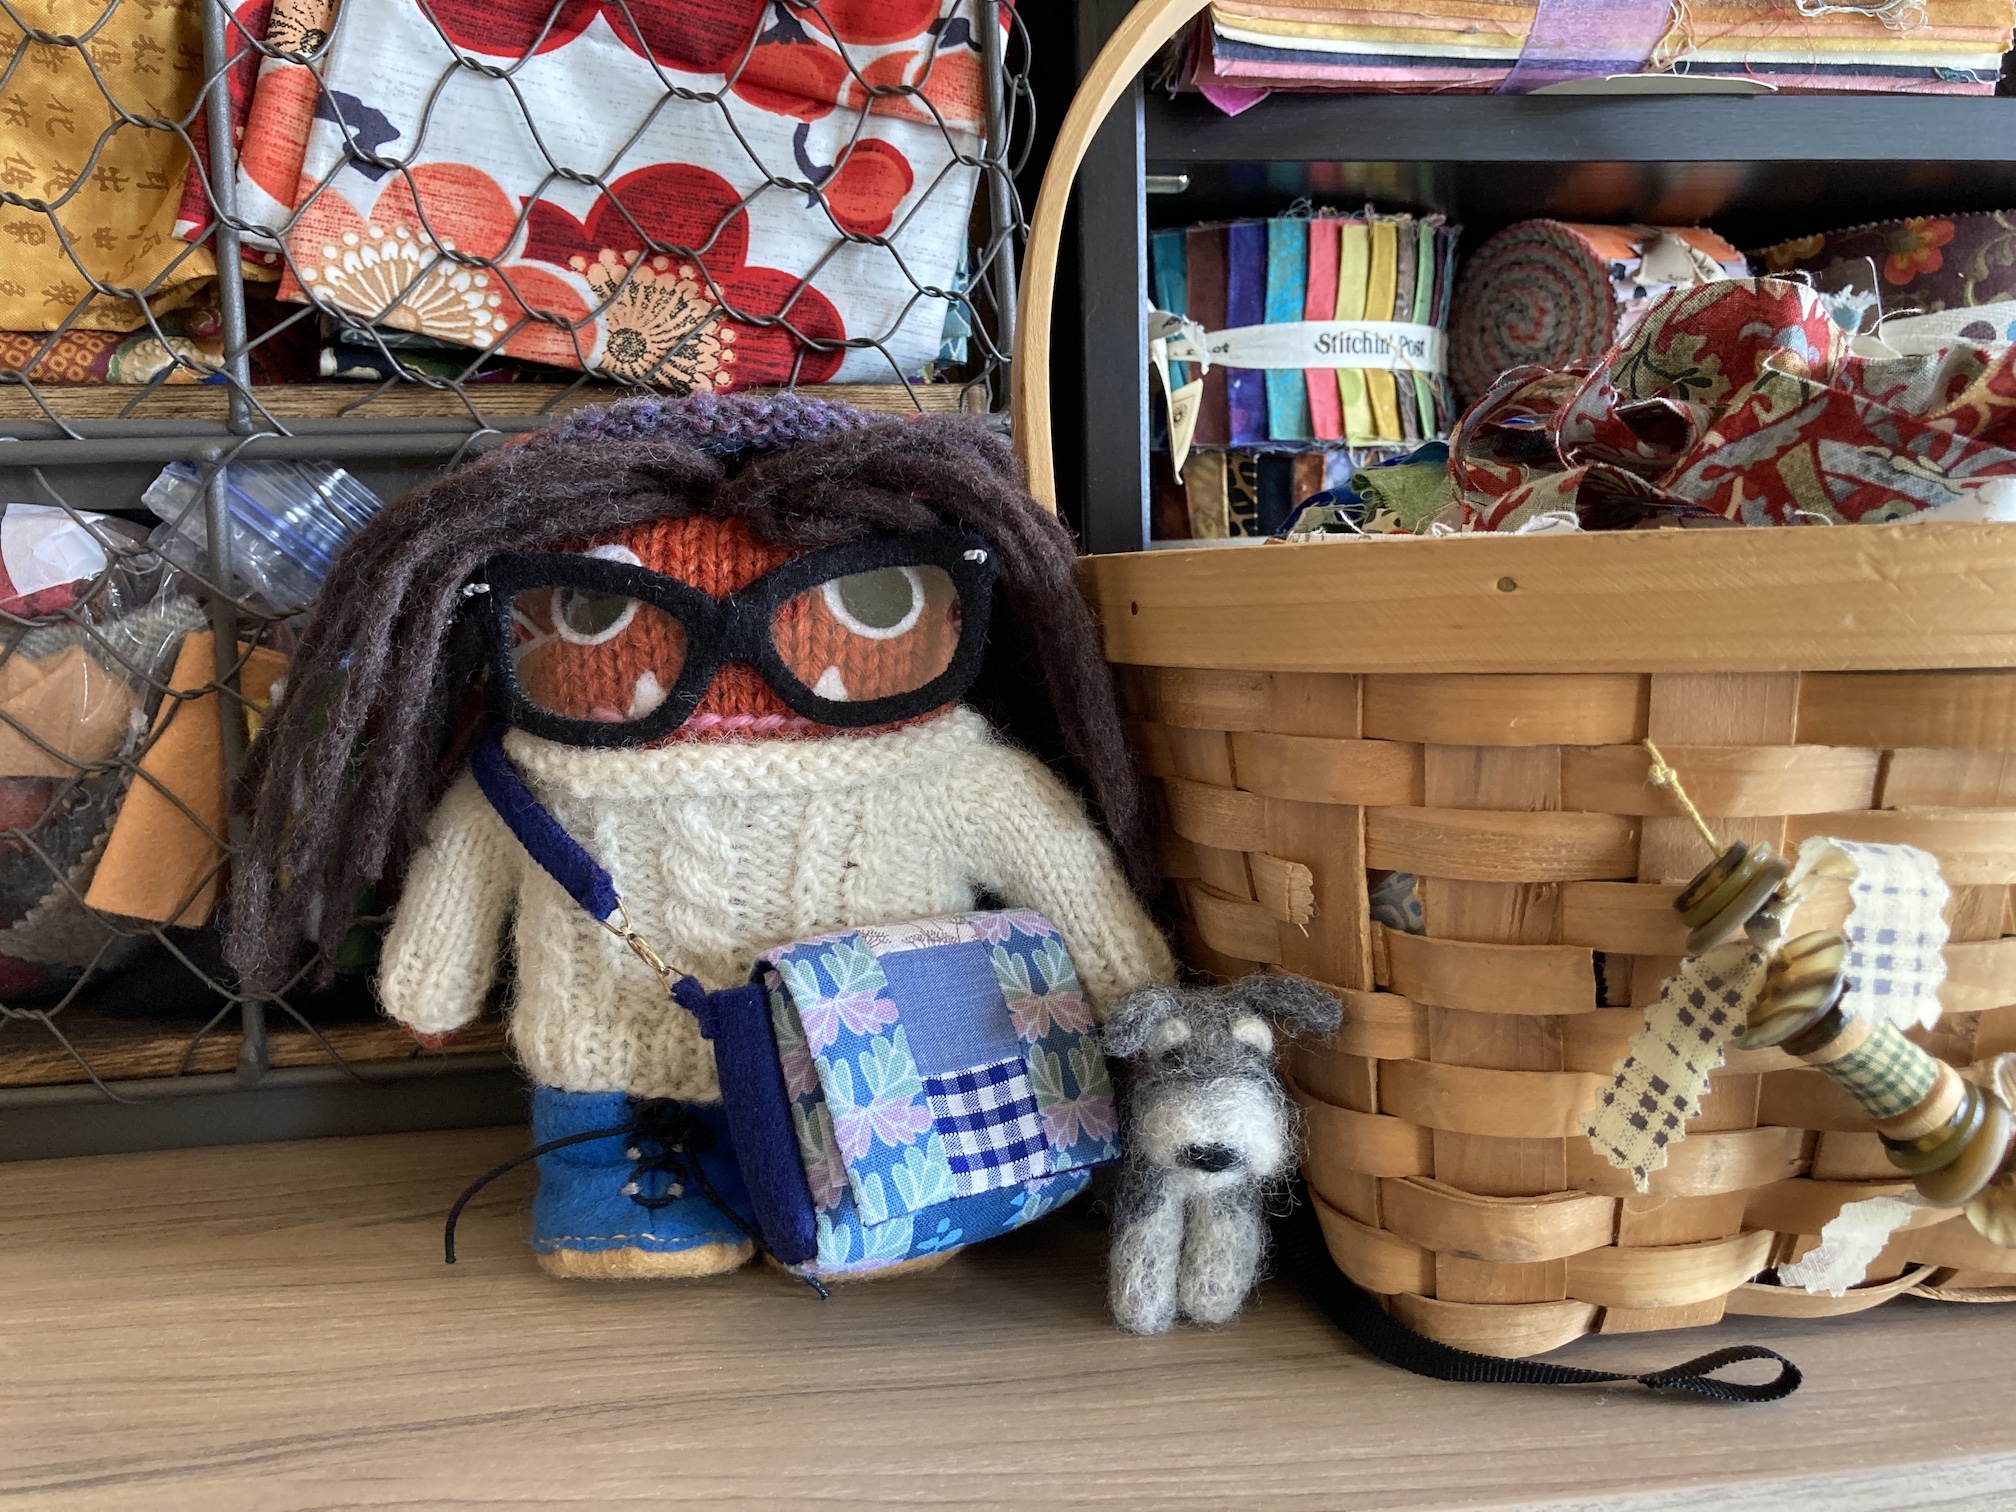

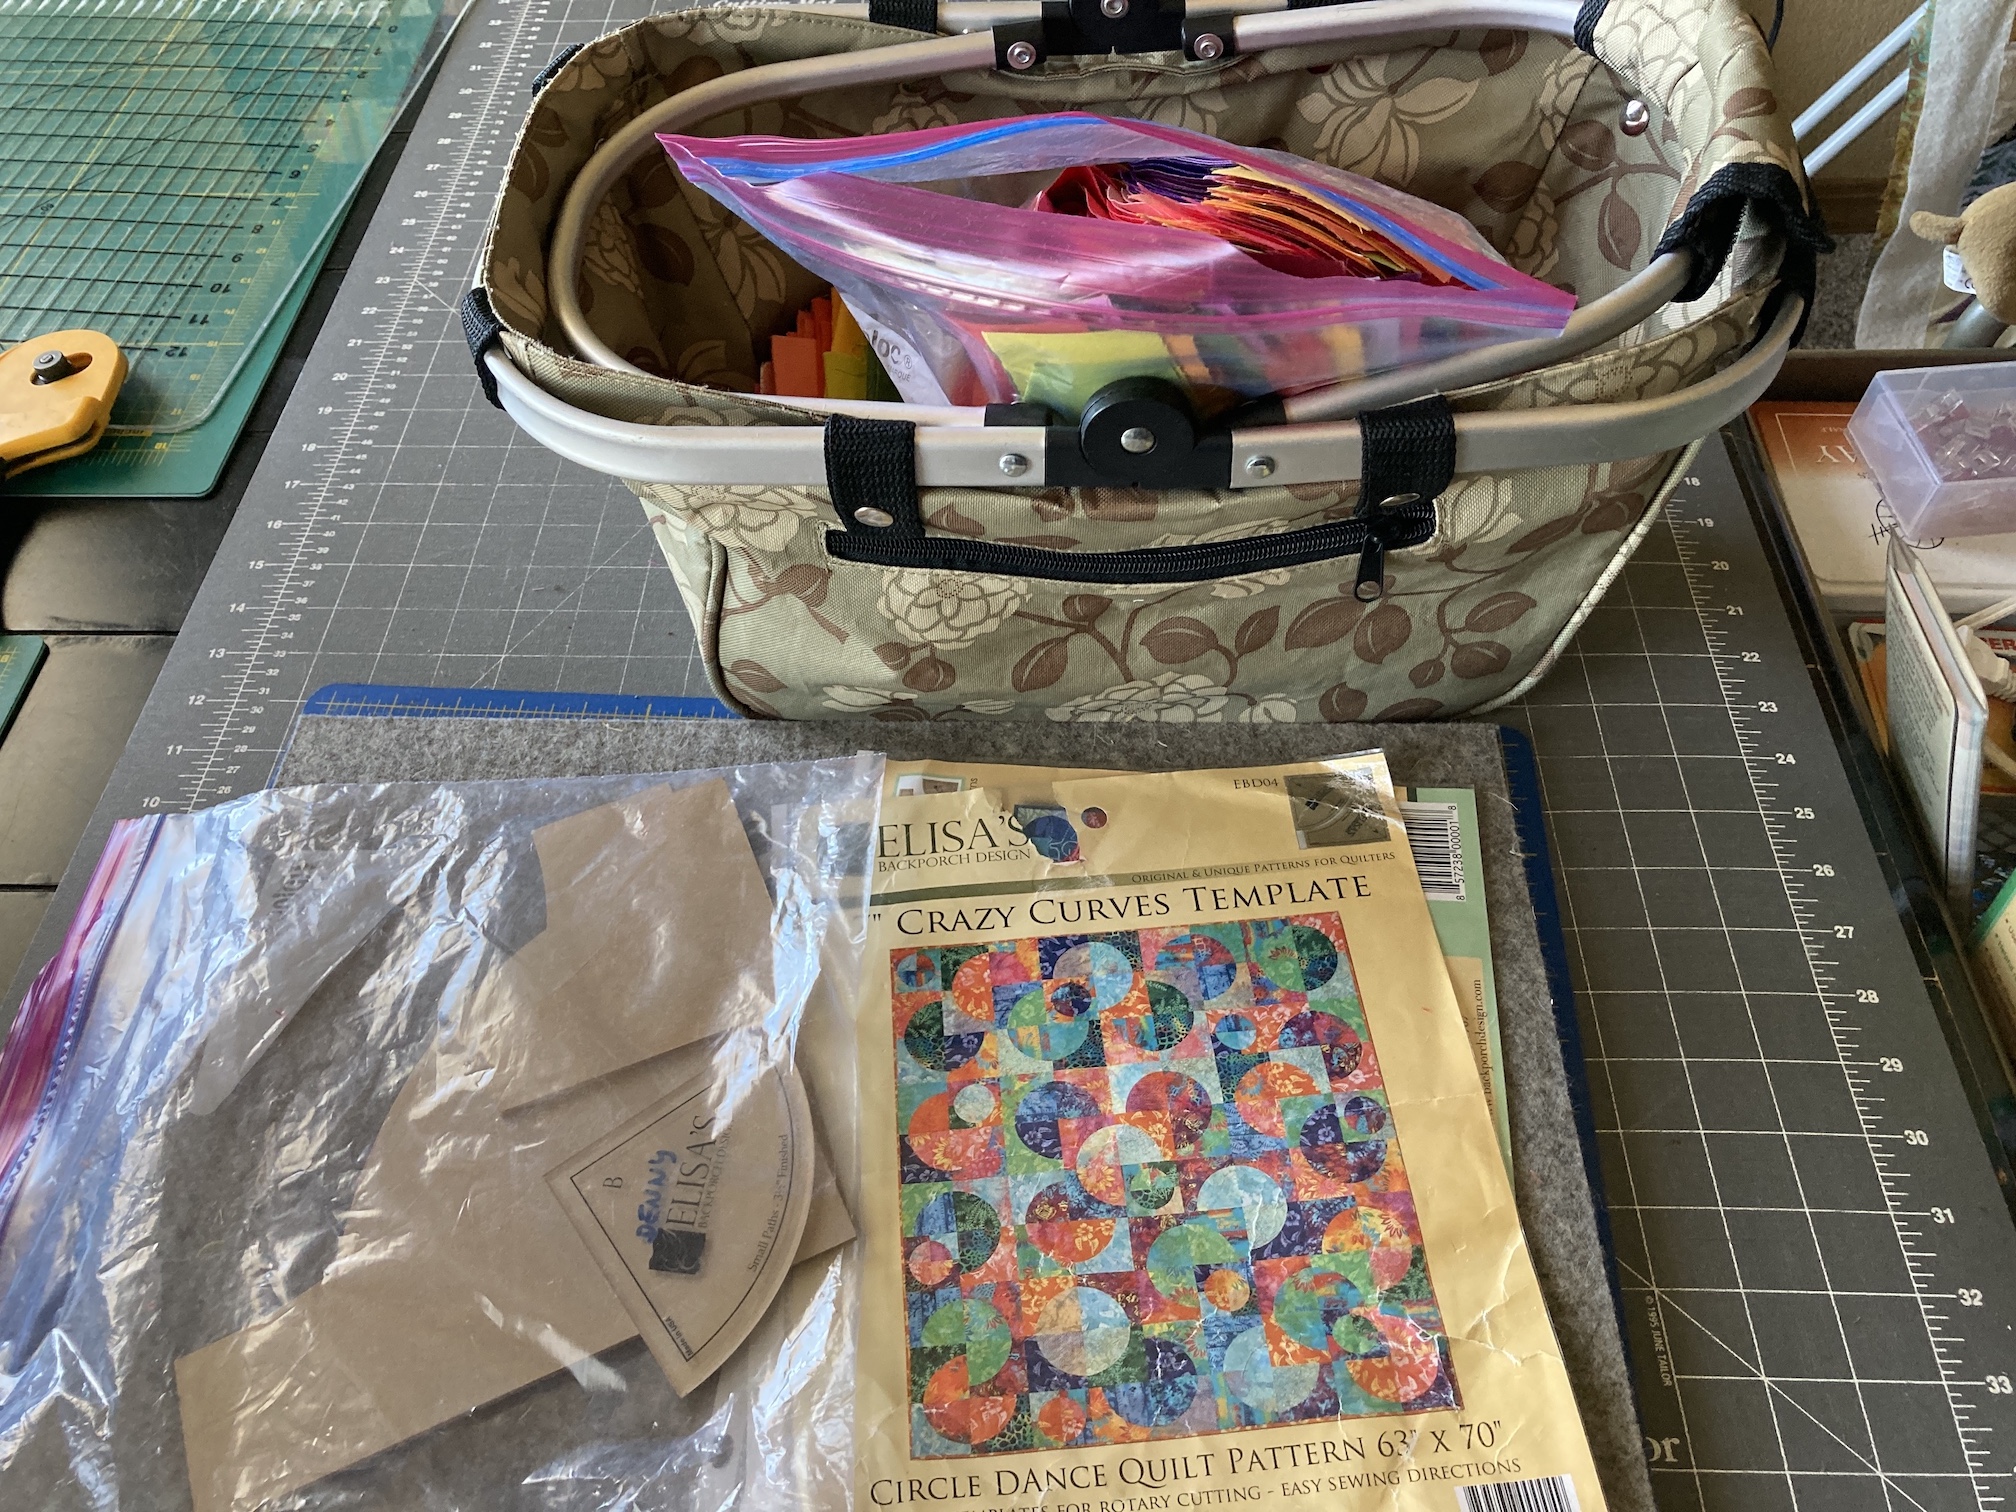
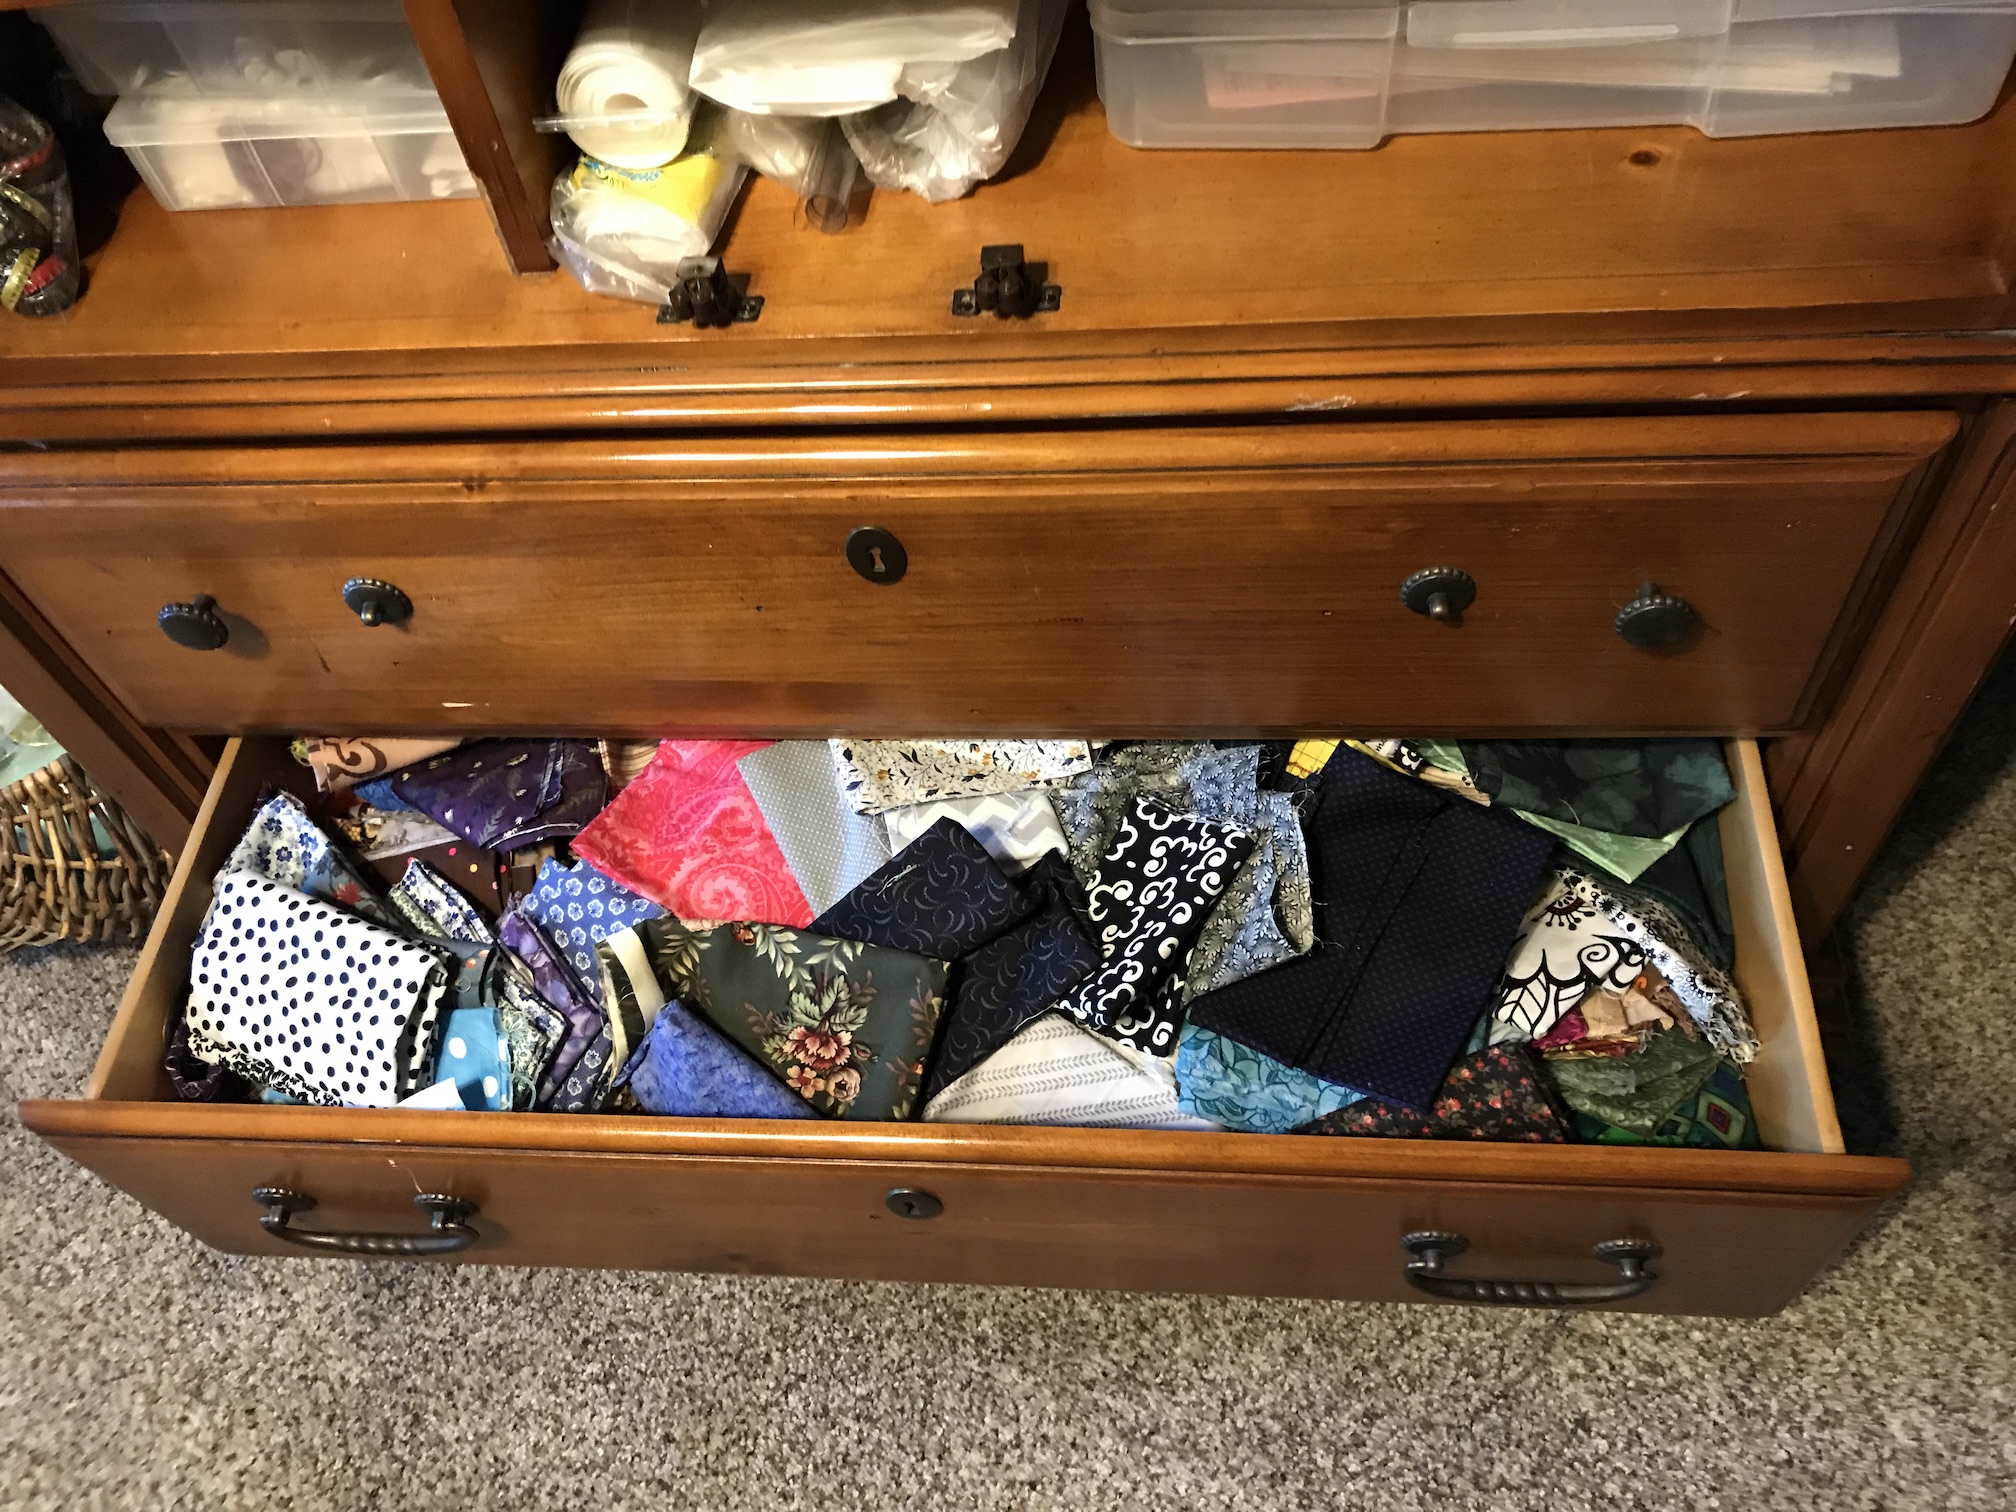
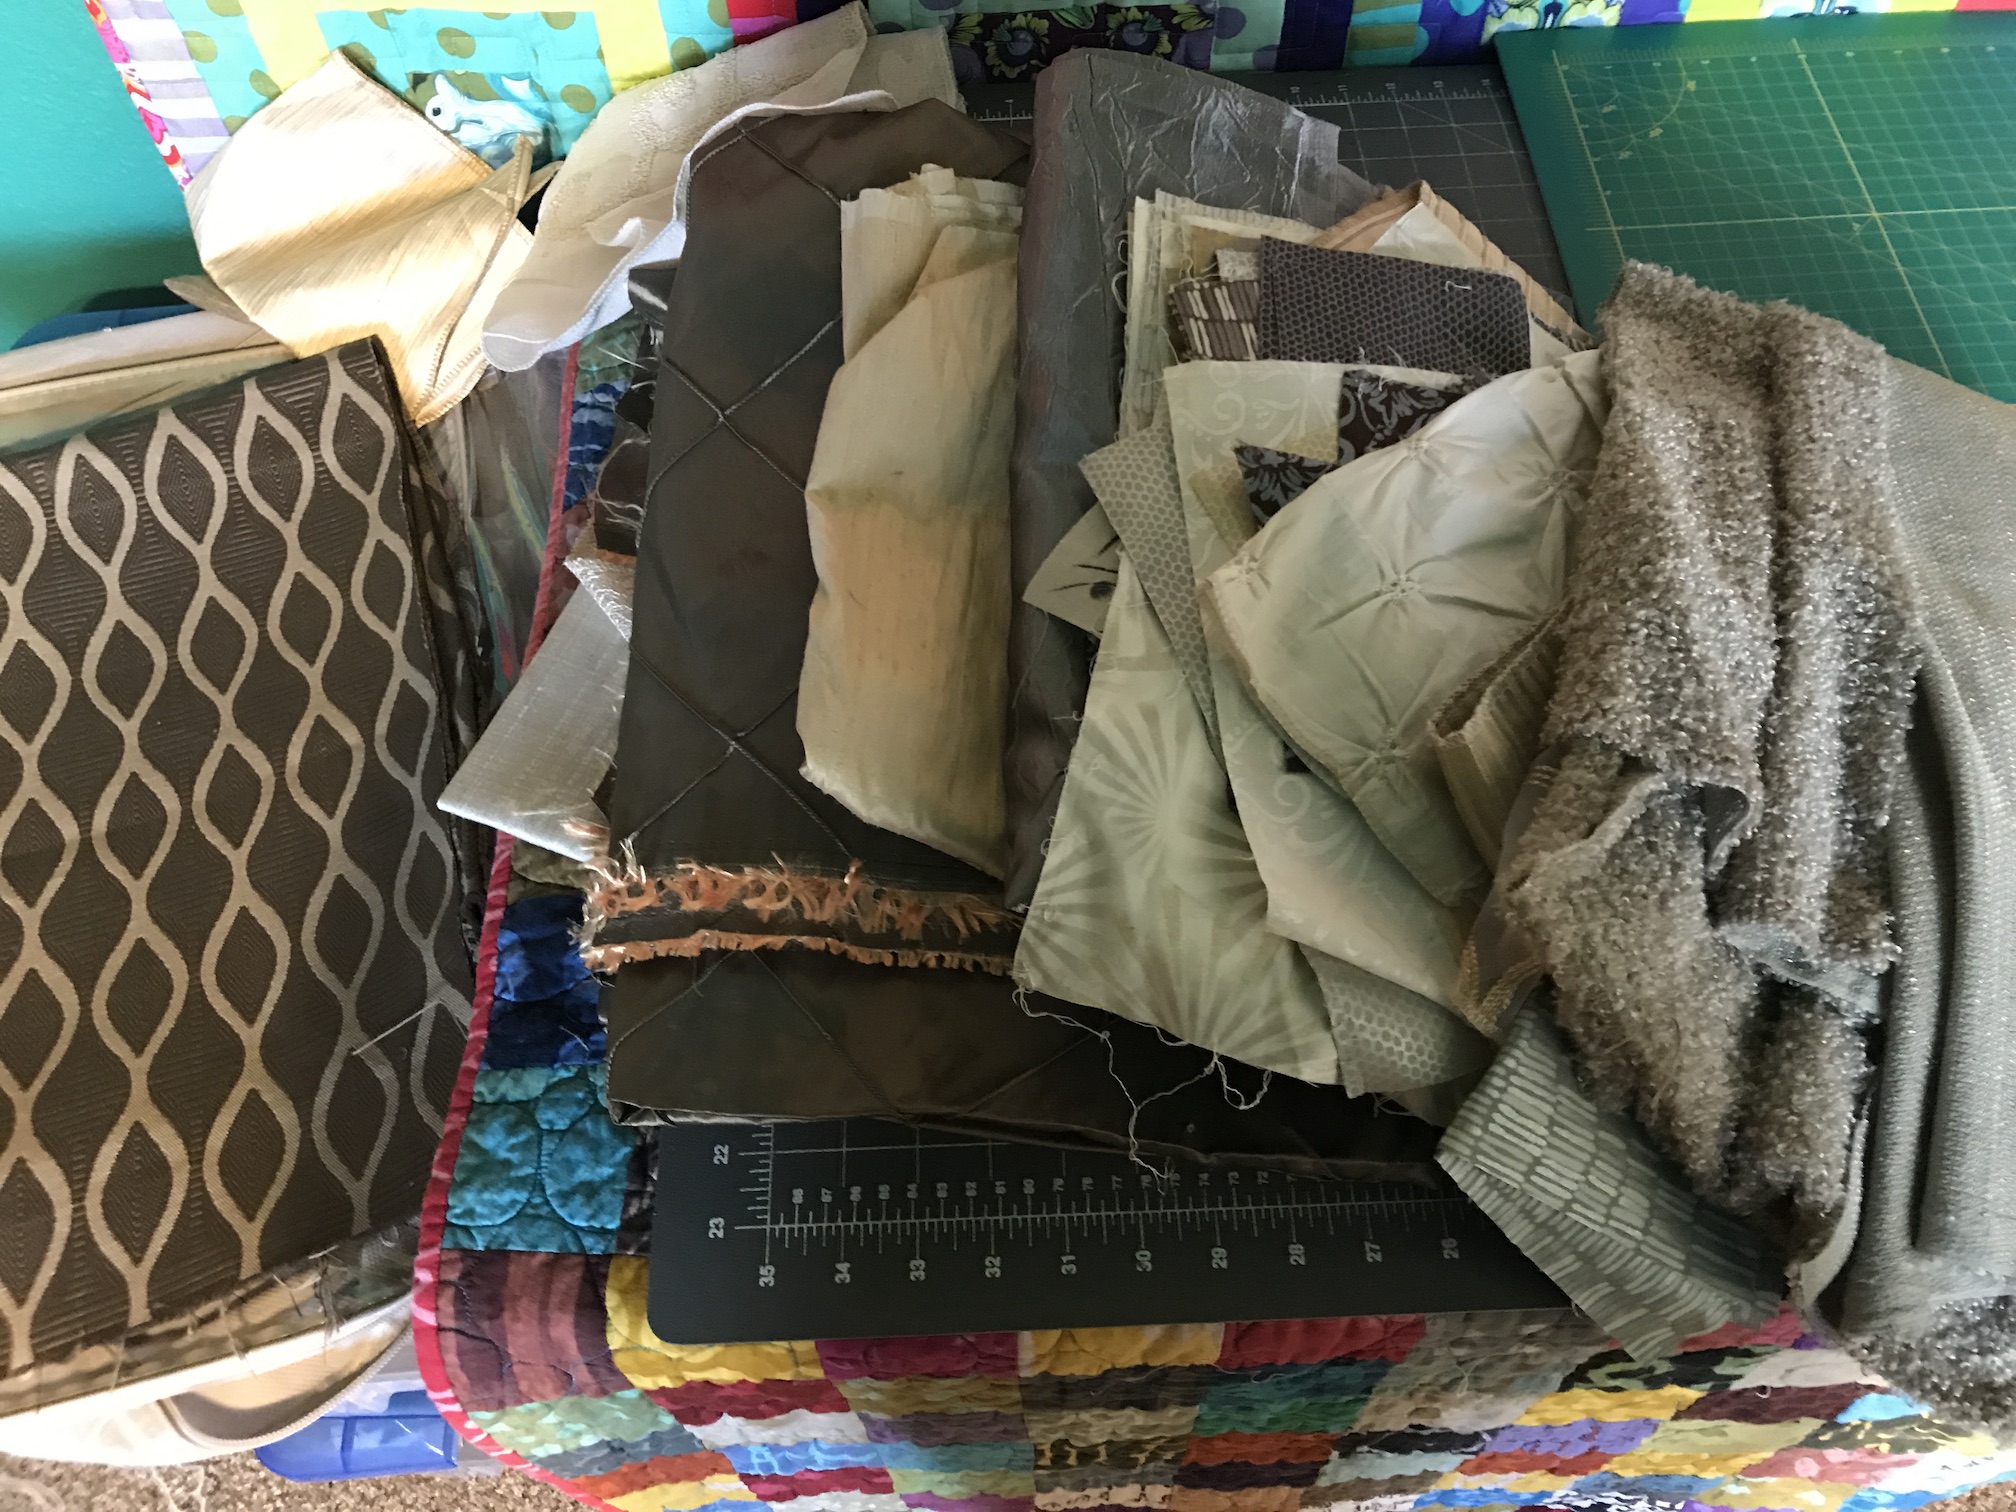
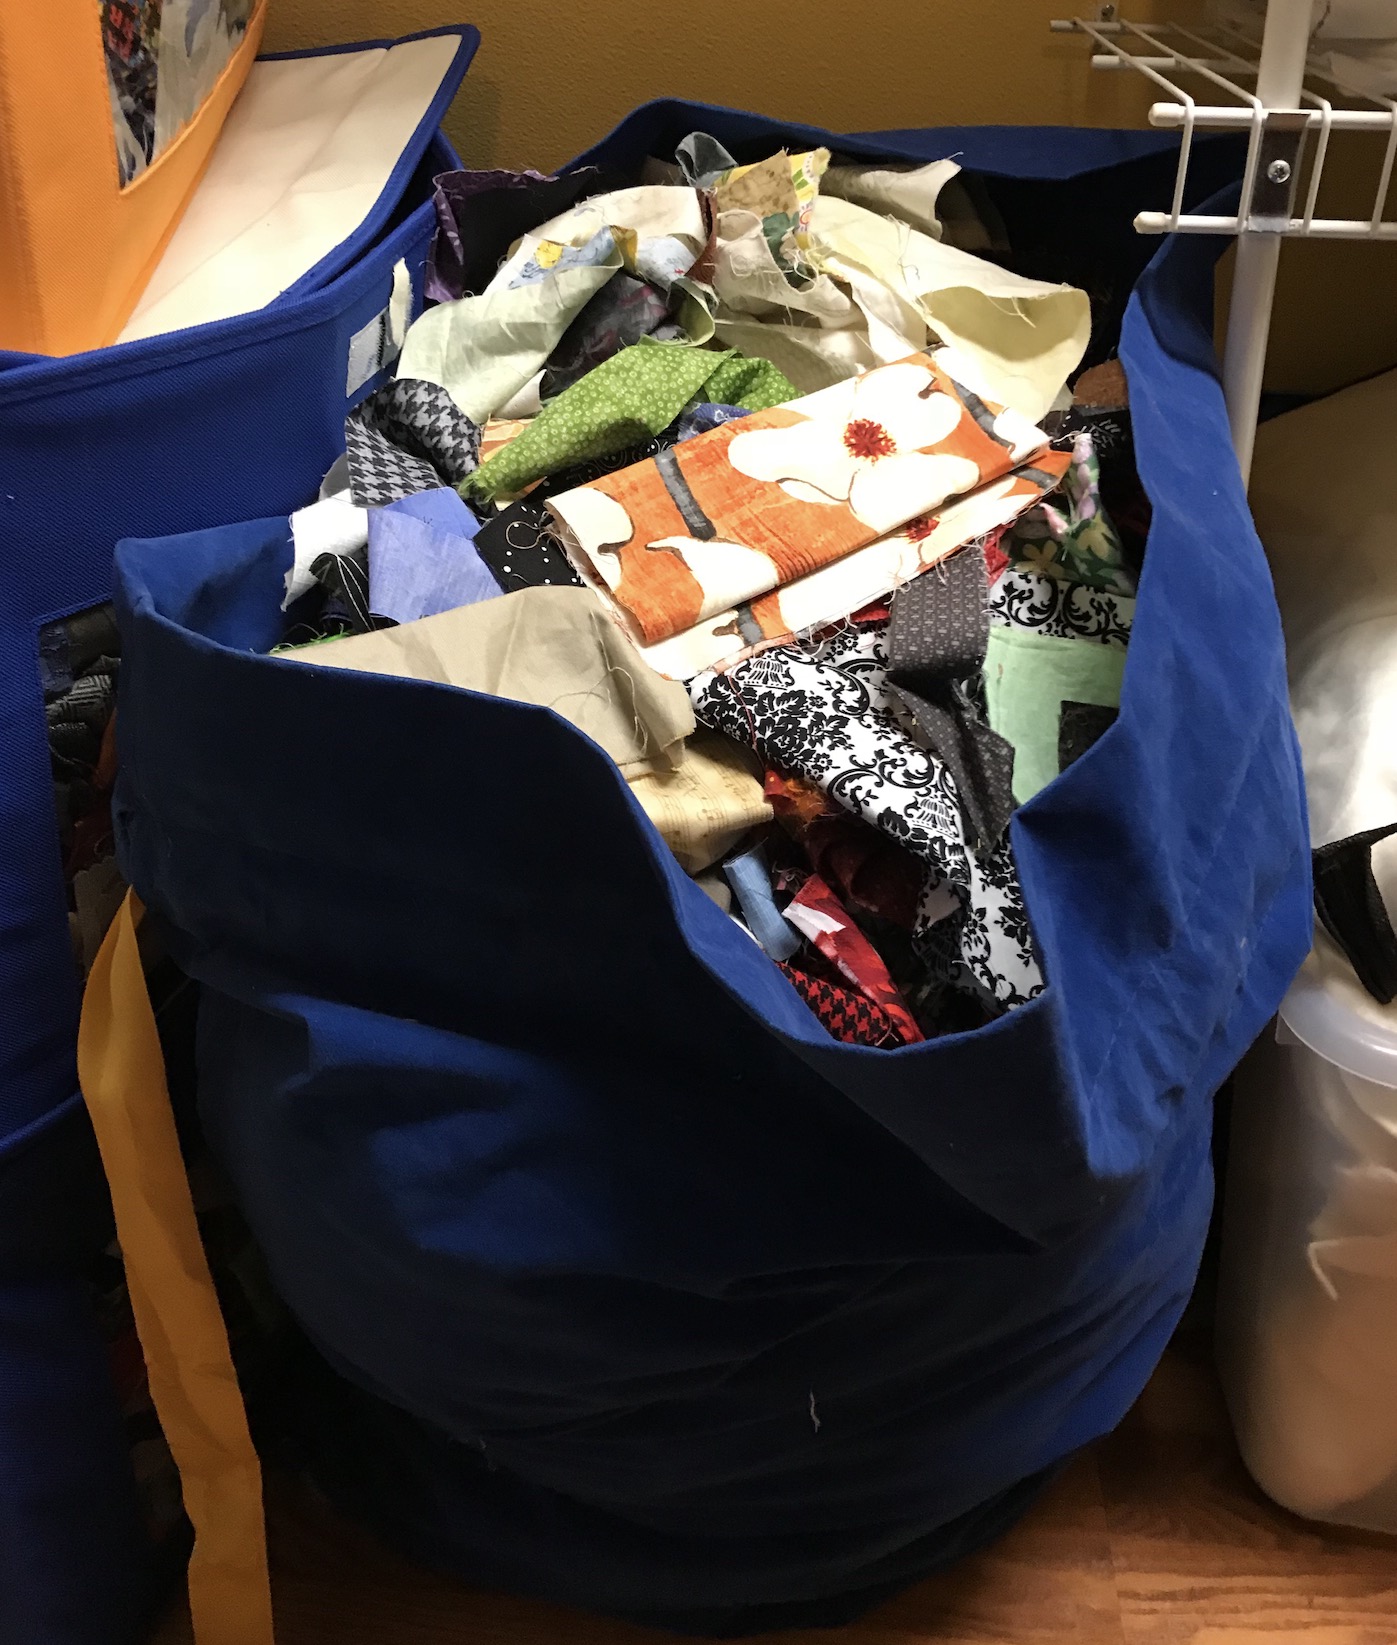
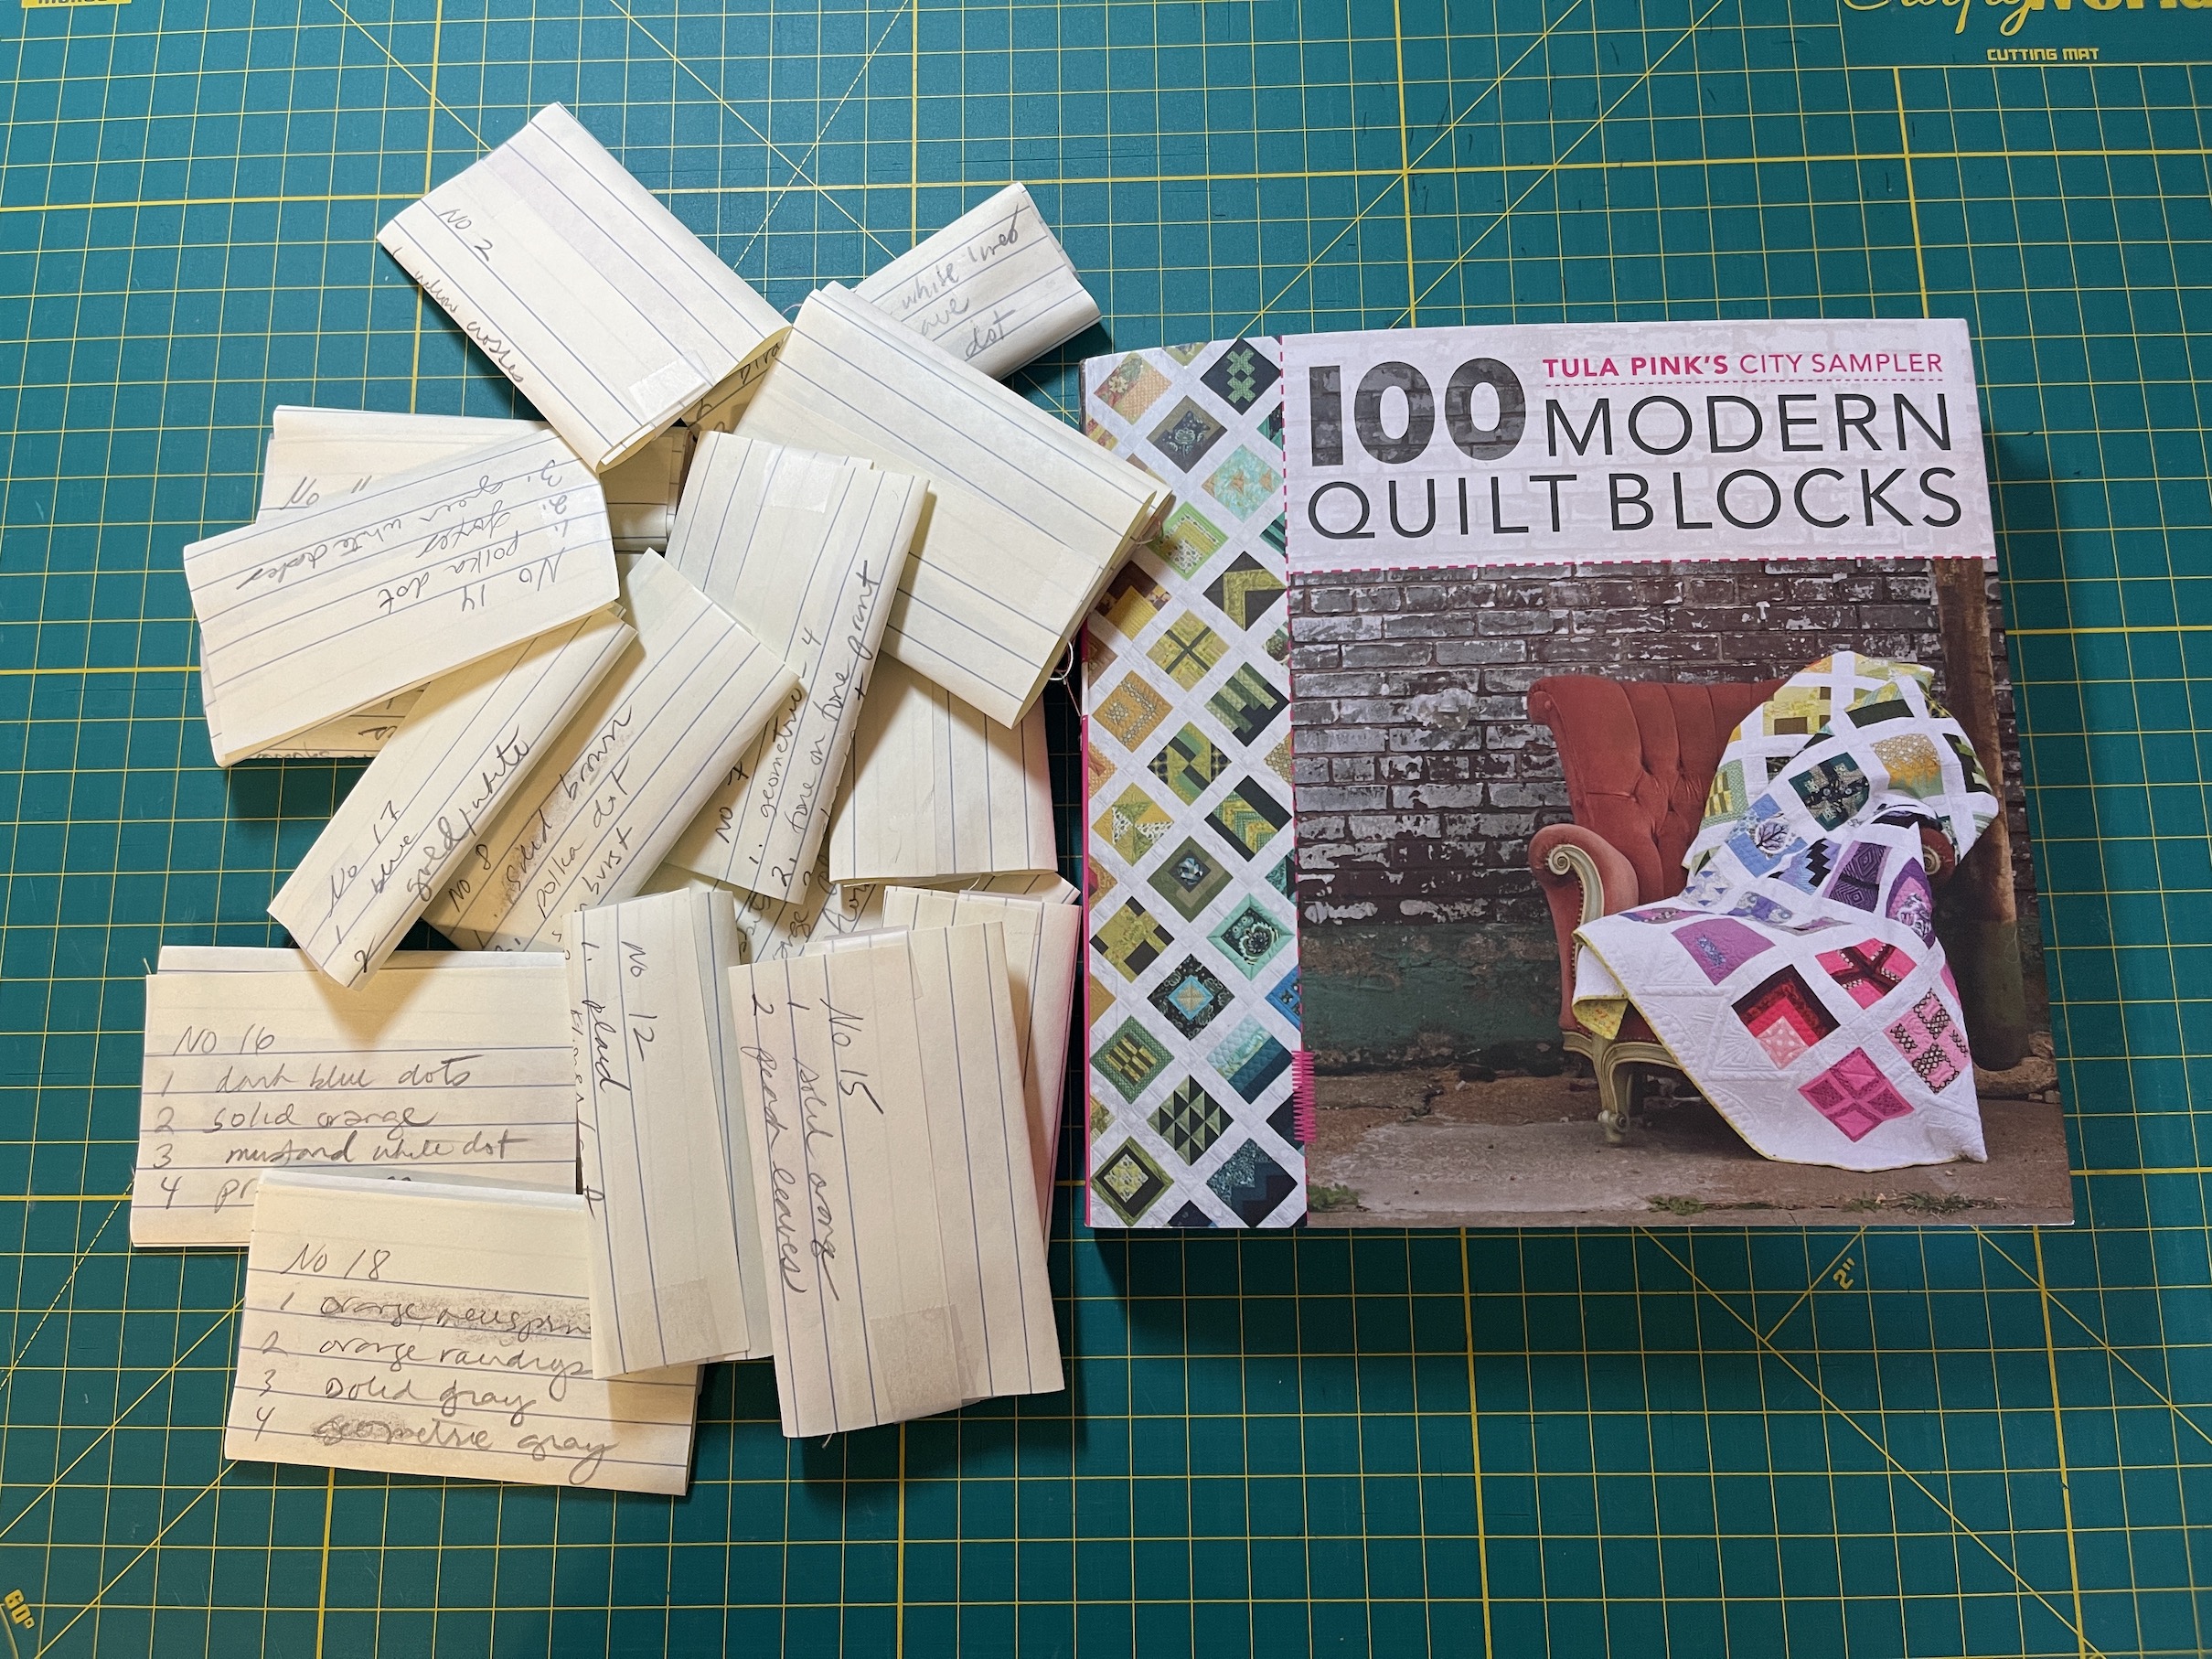
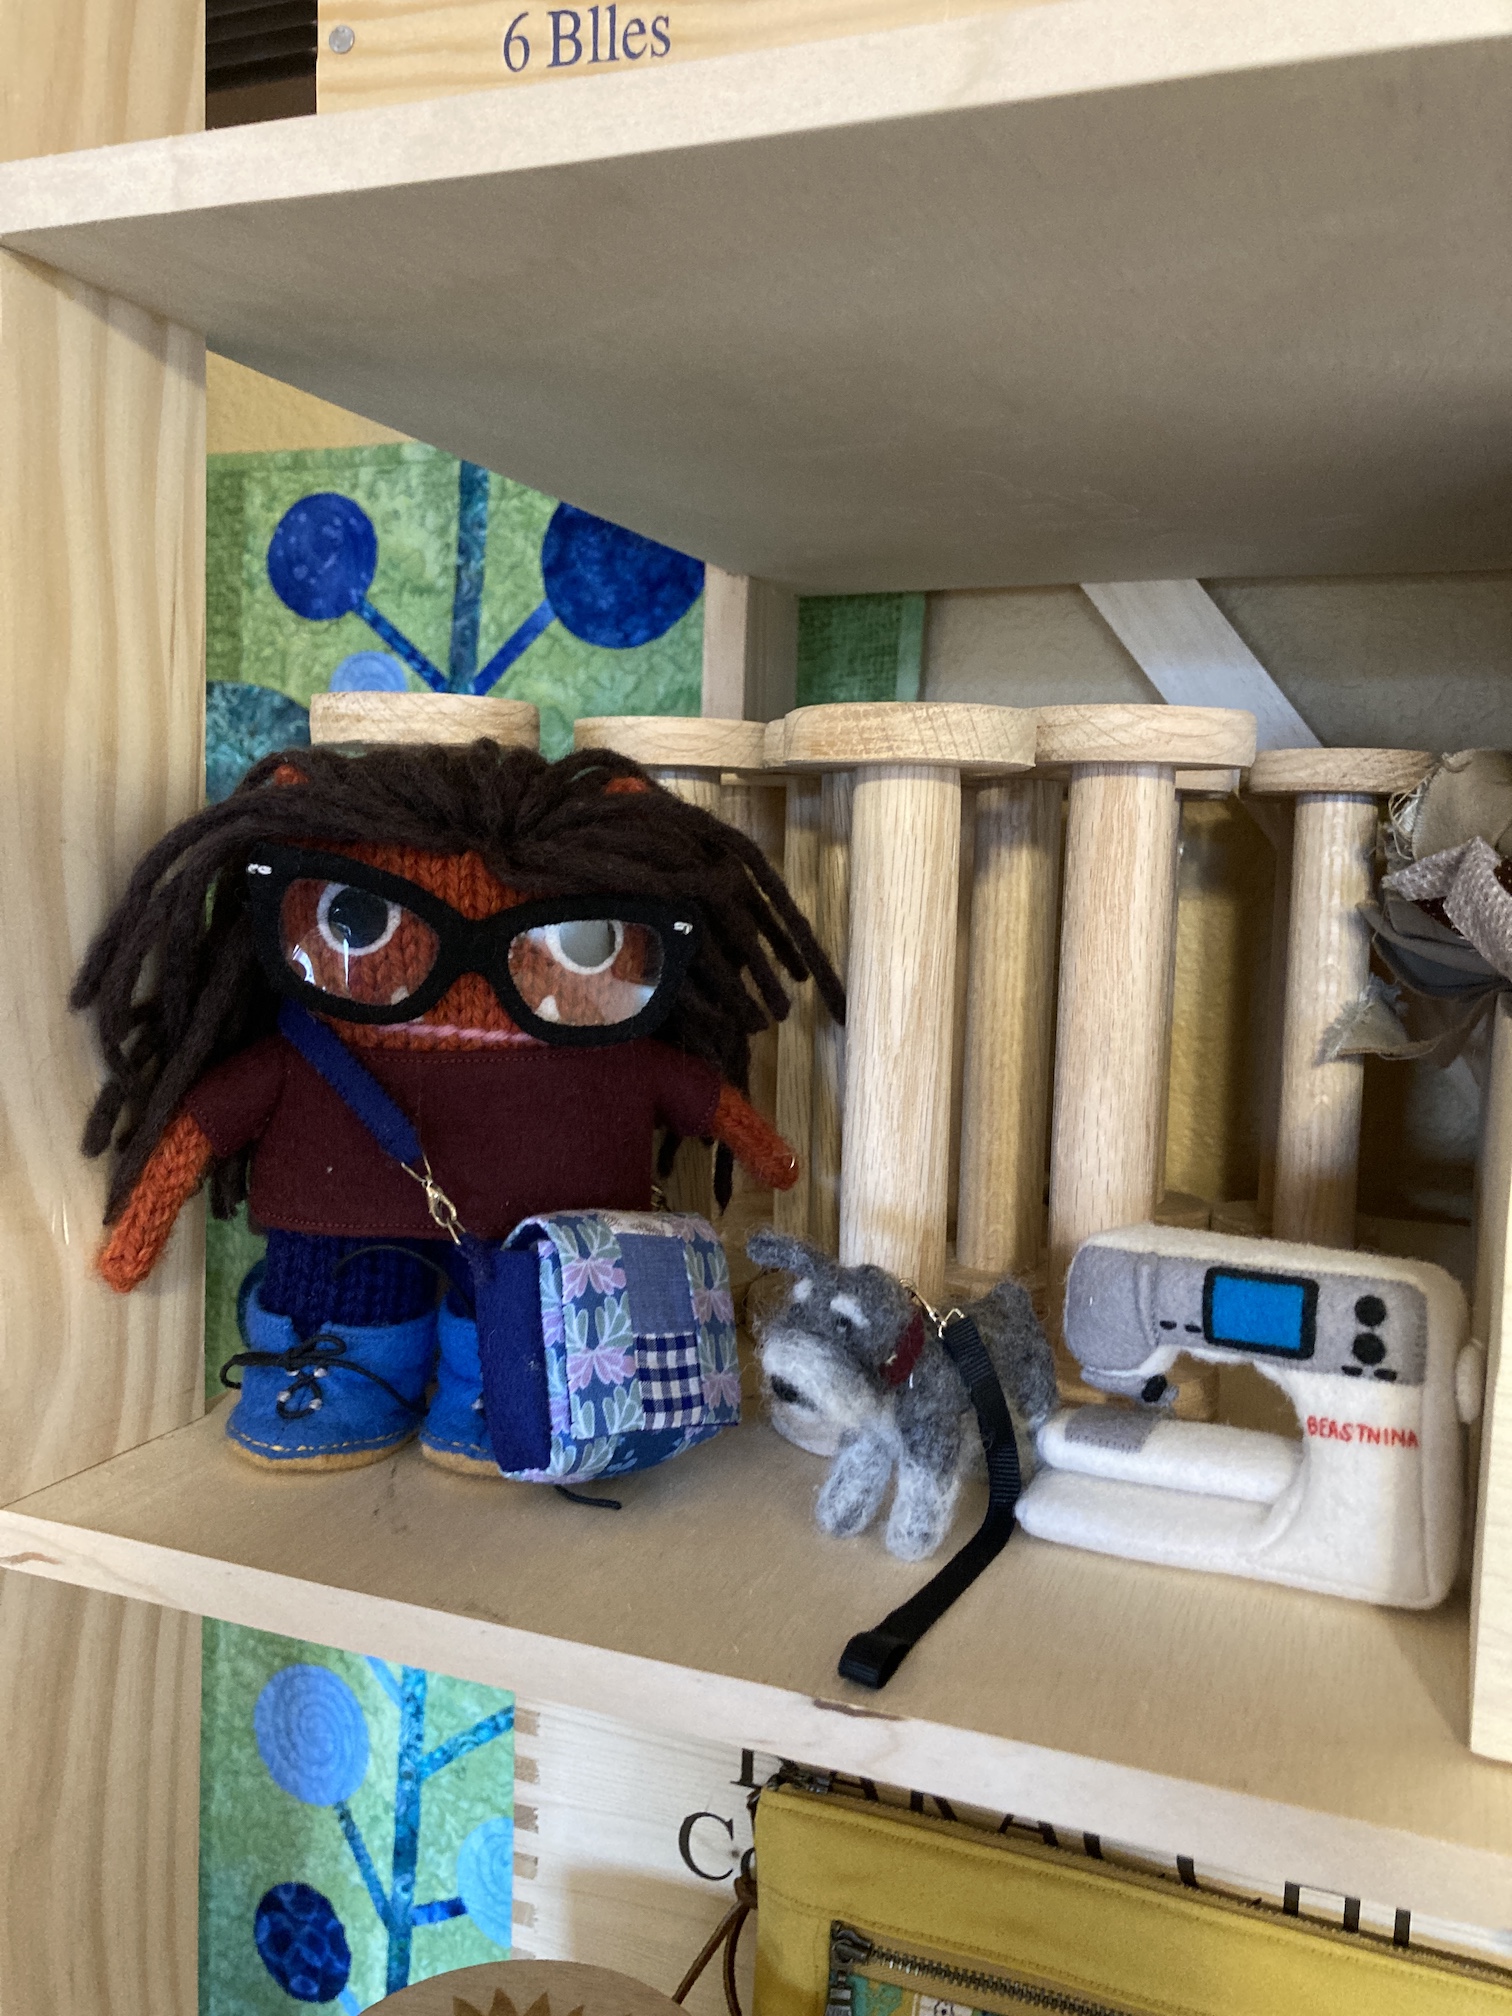
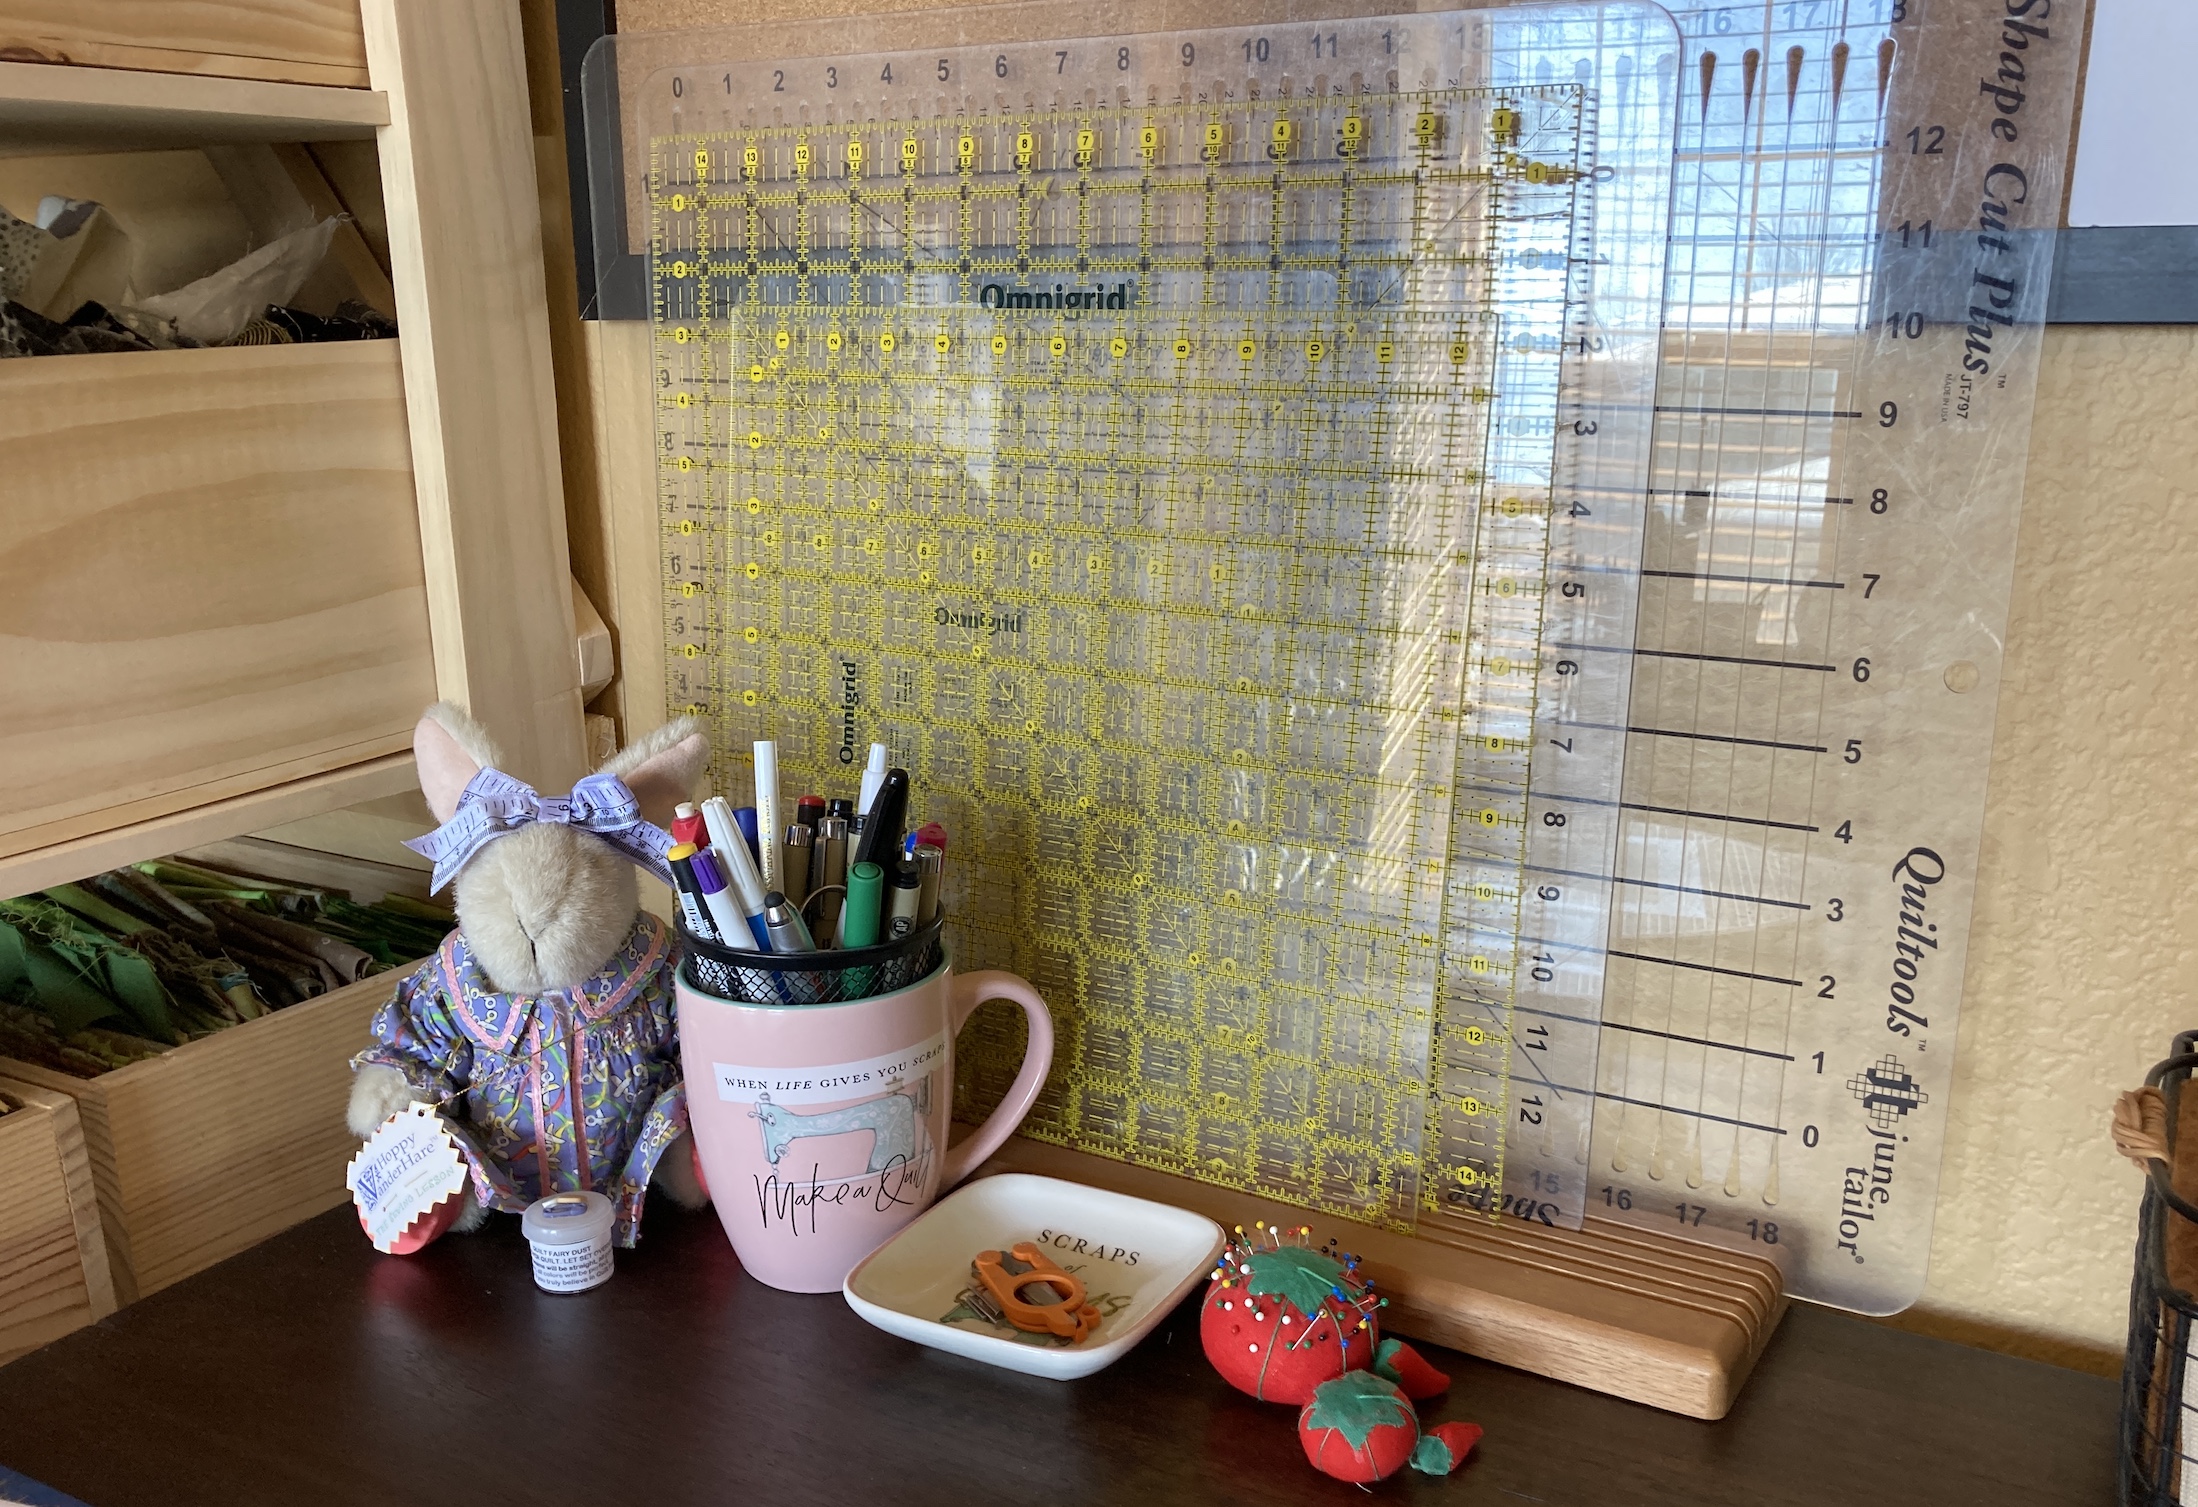
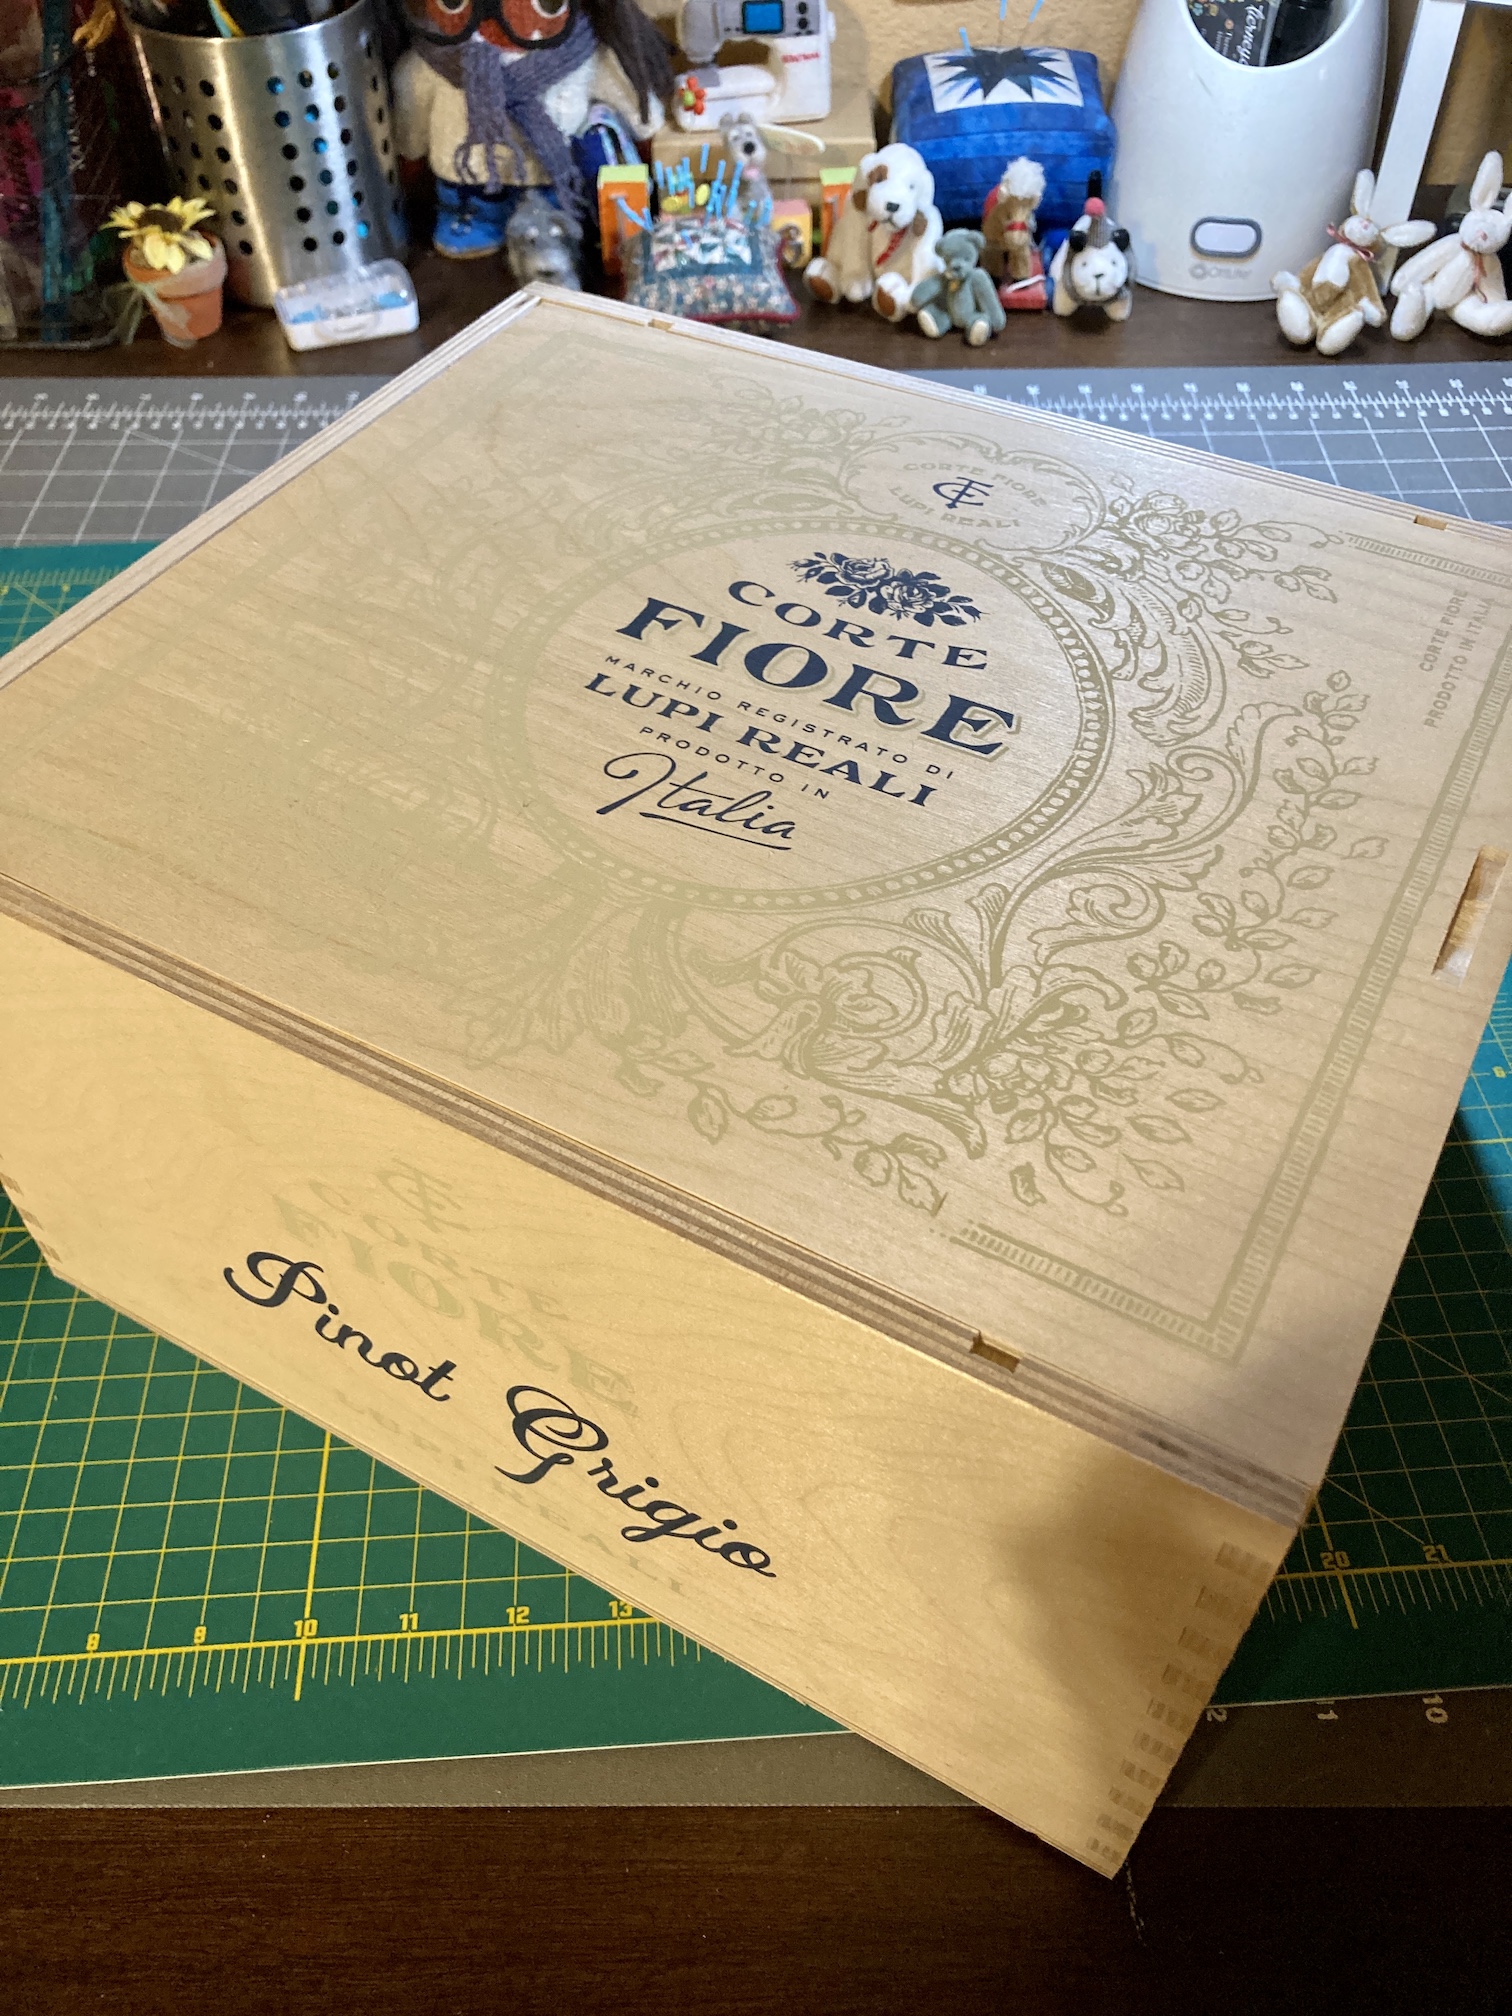
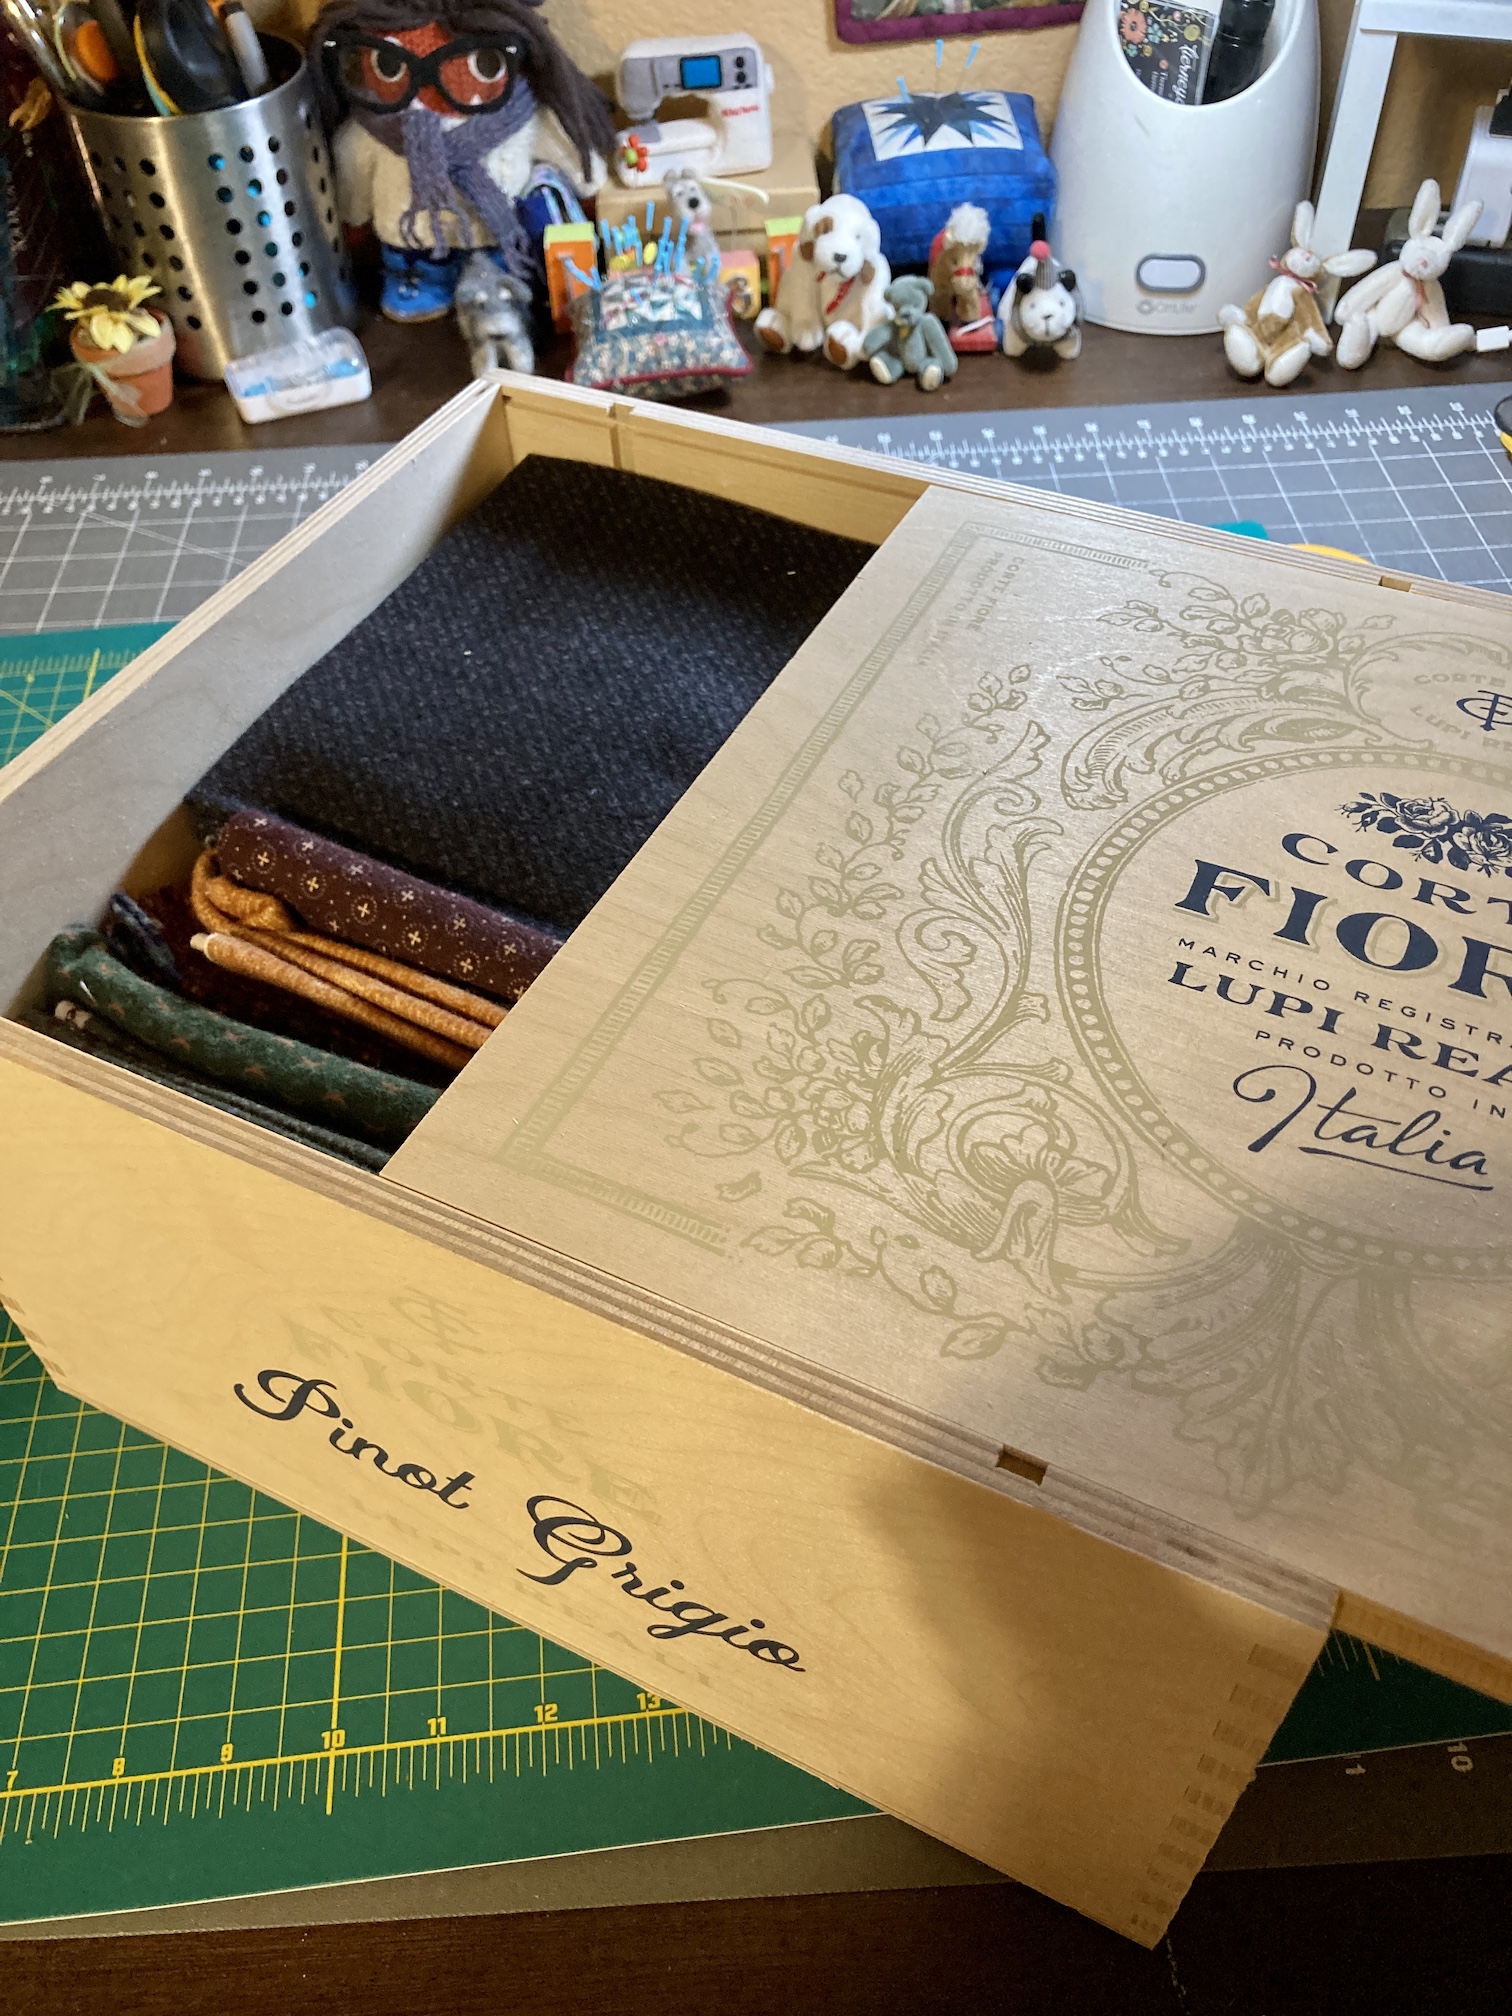
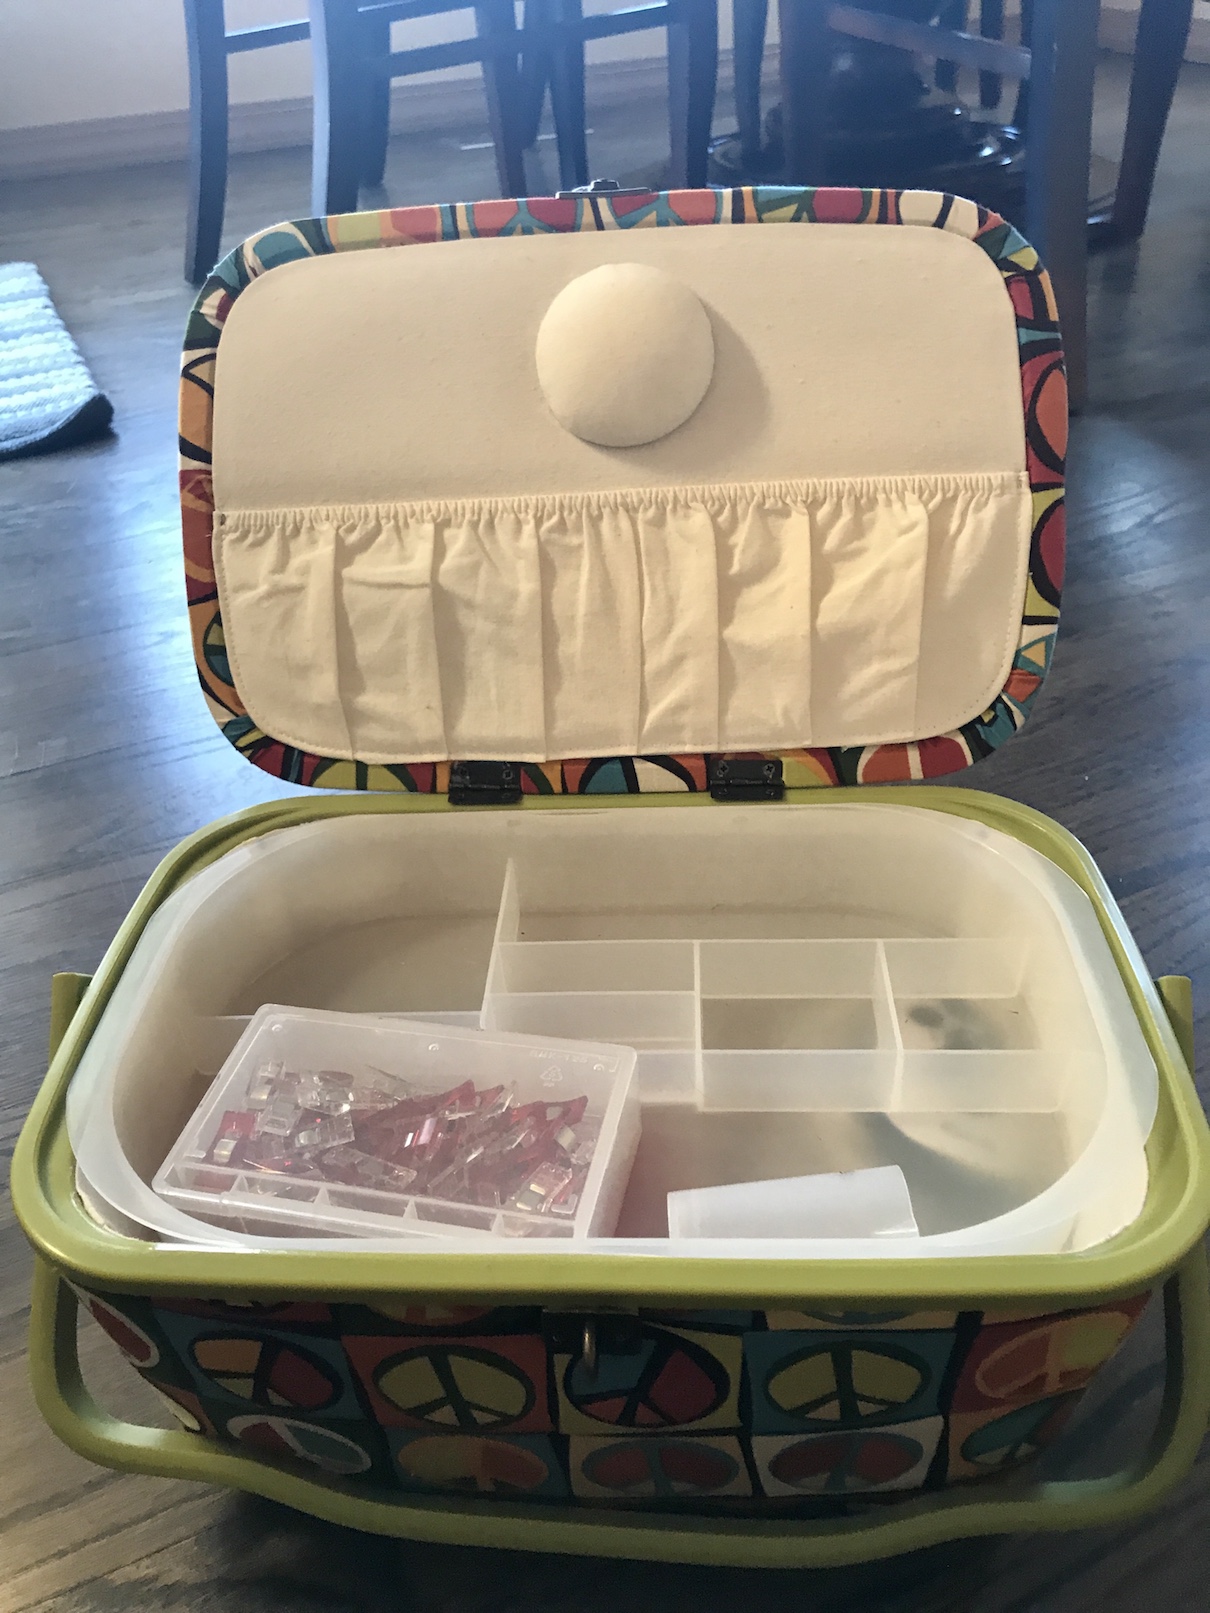
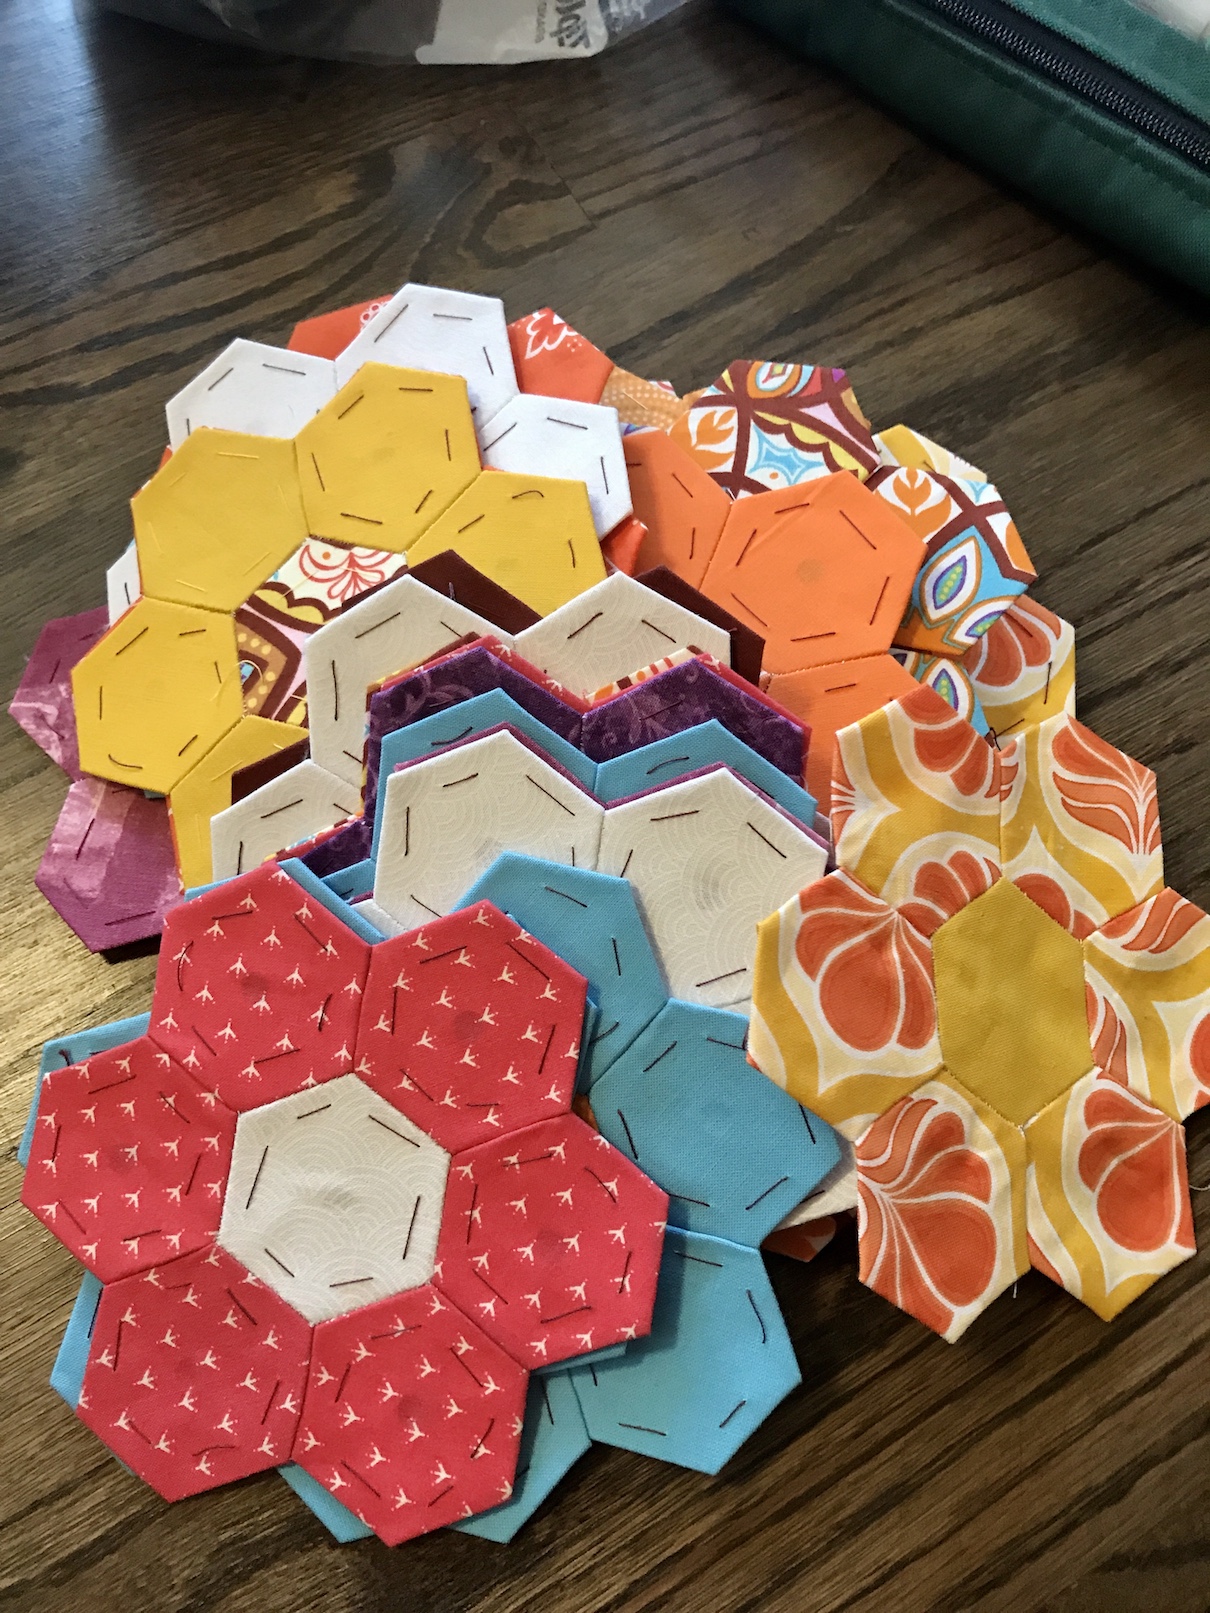
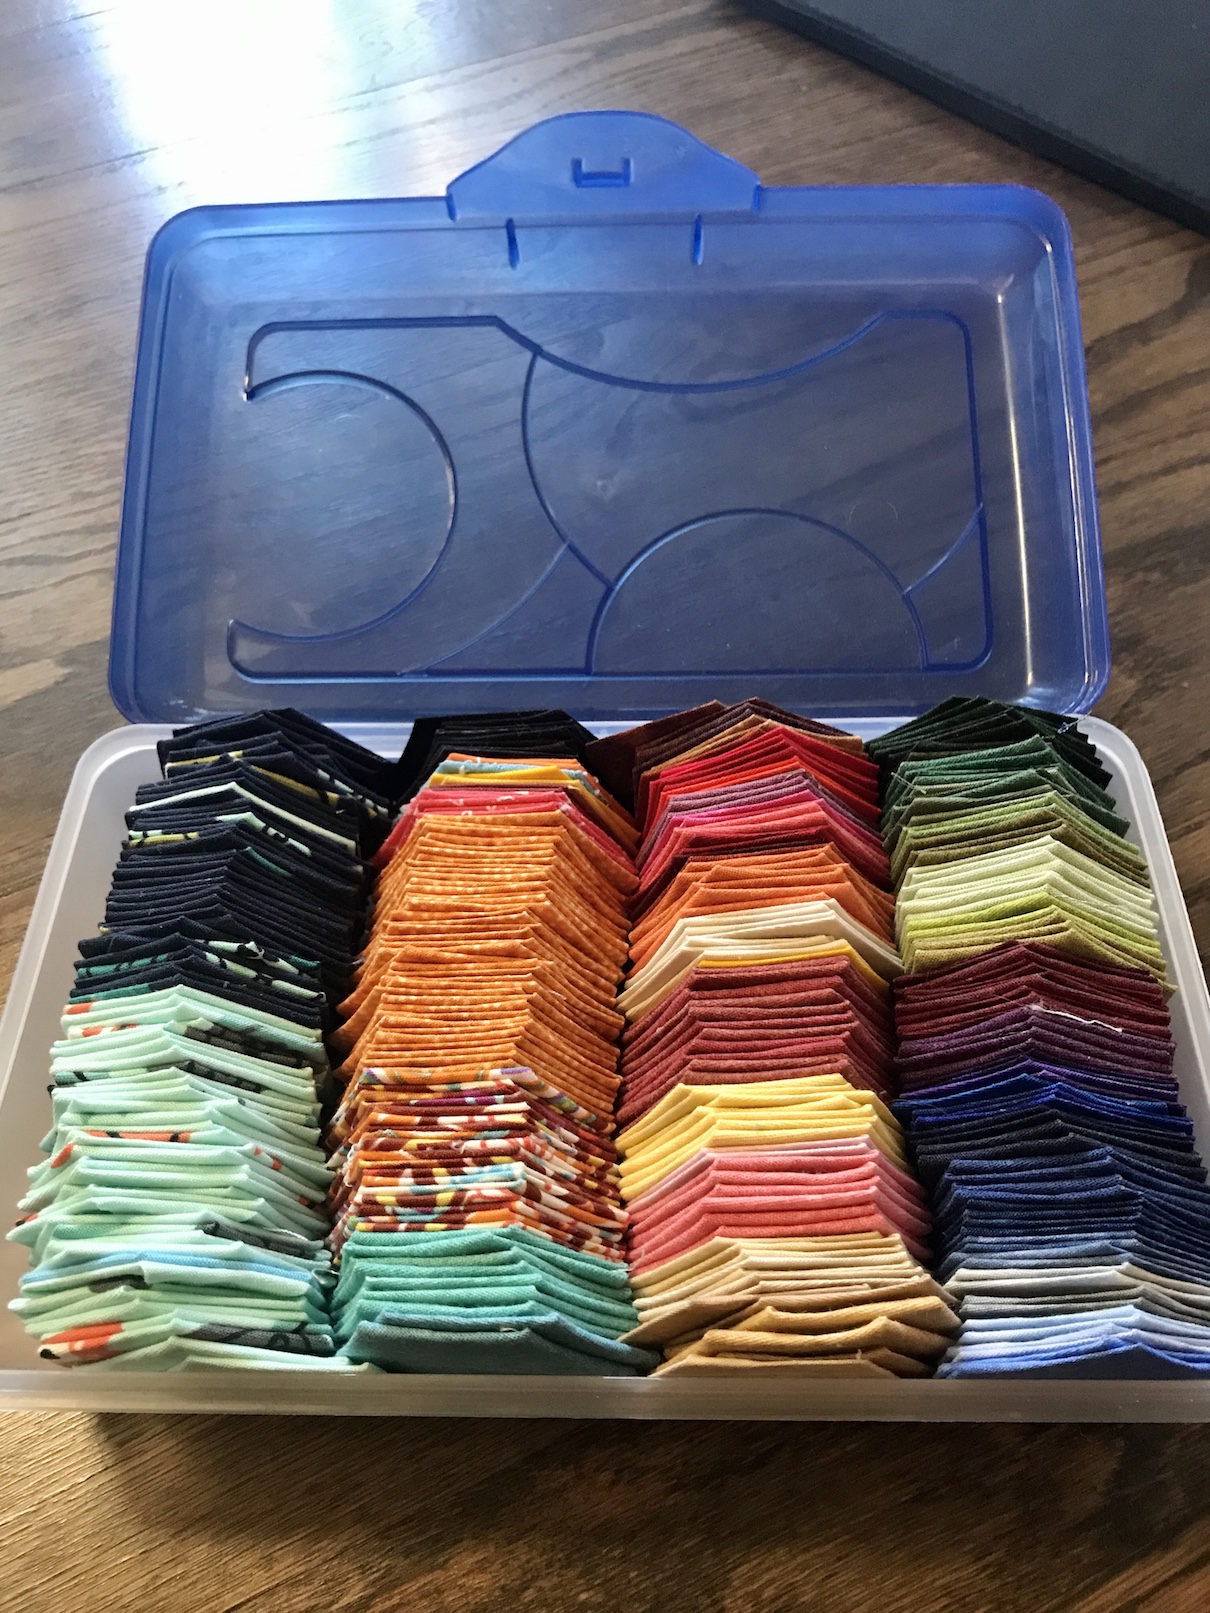
 I originally put the box in my cubby bookcase without even checking the contents, but took a closer look the other day.

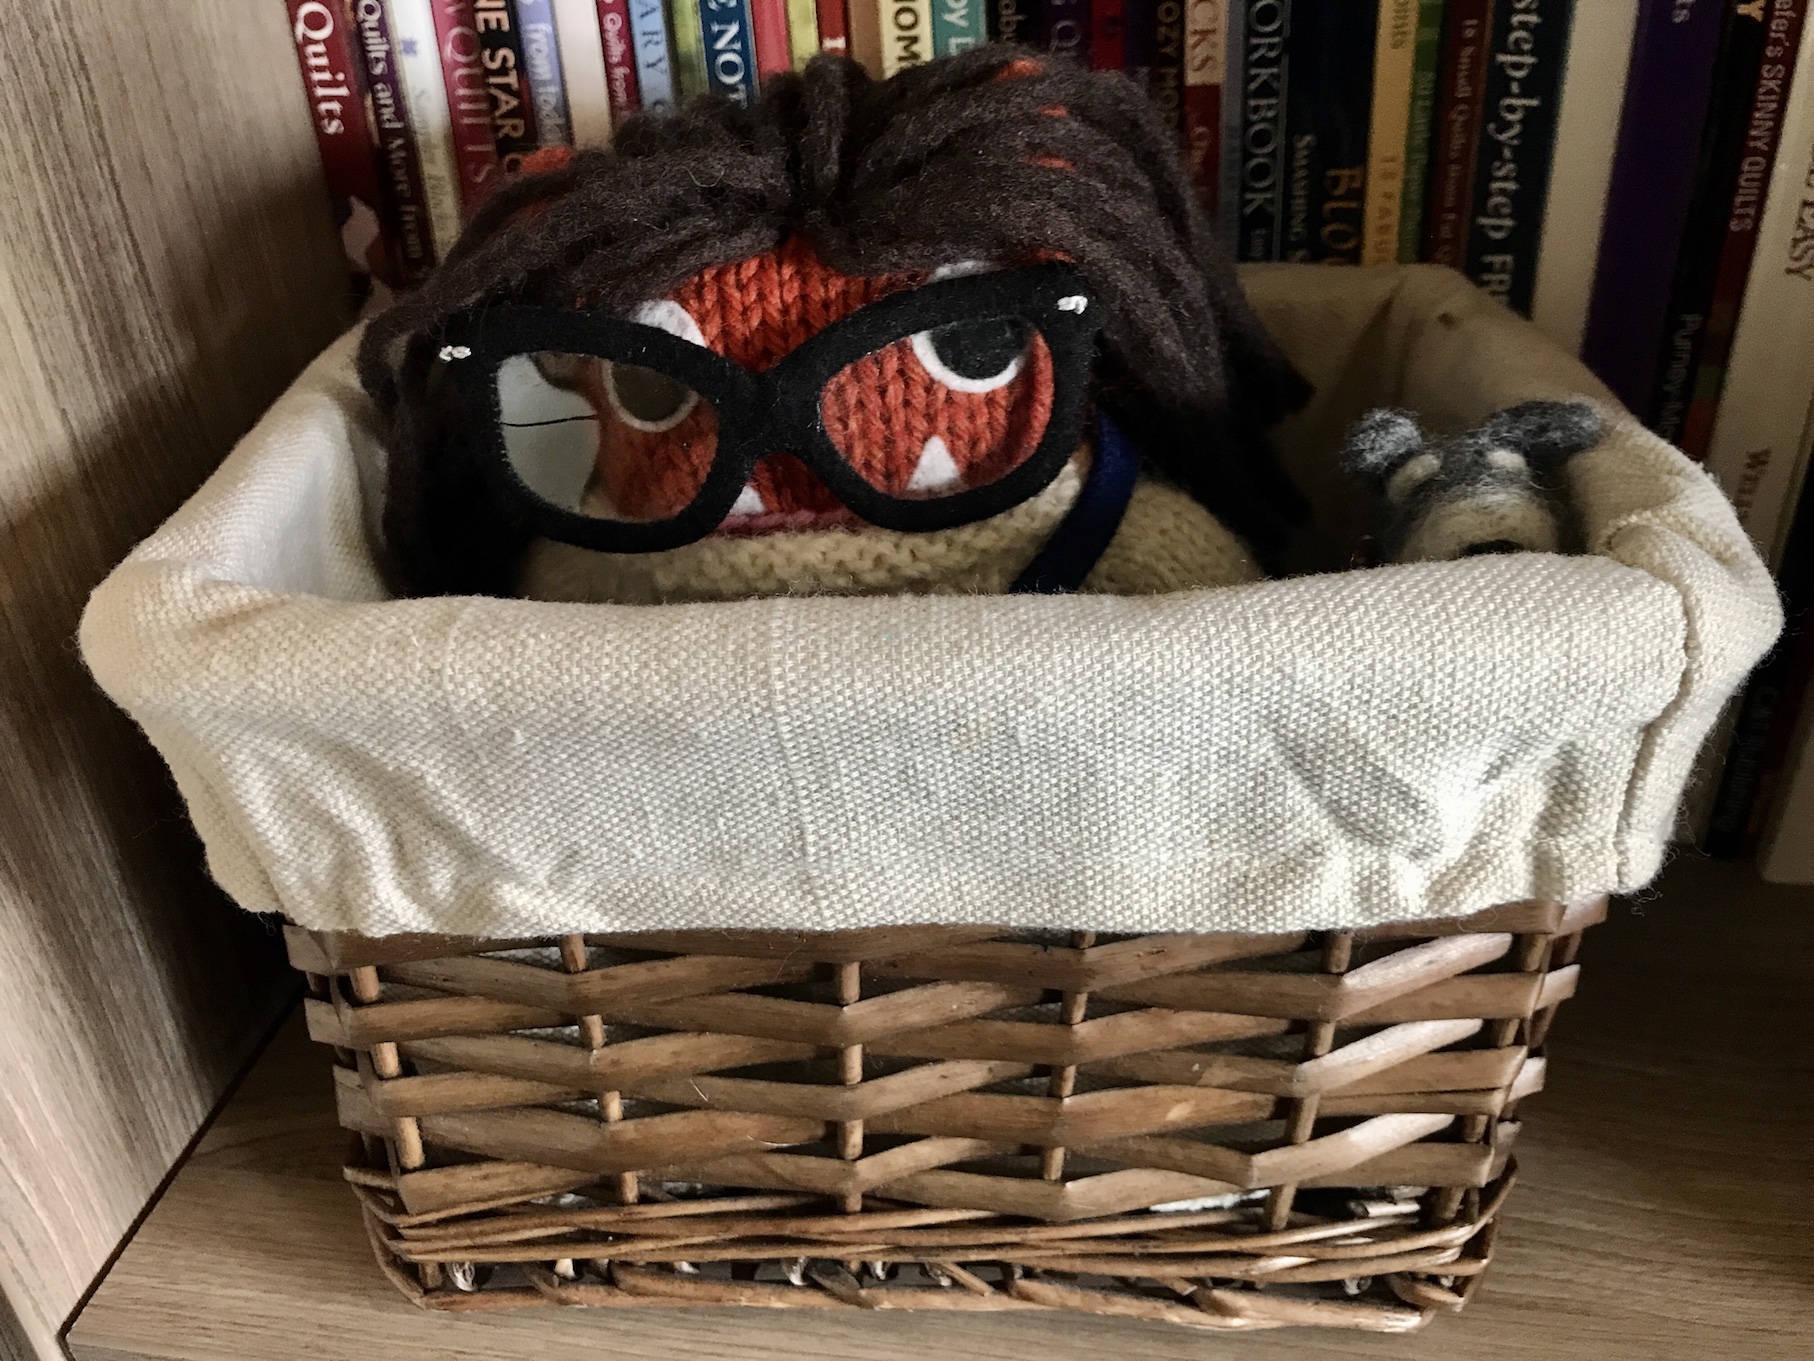
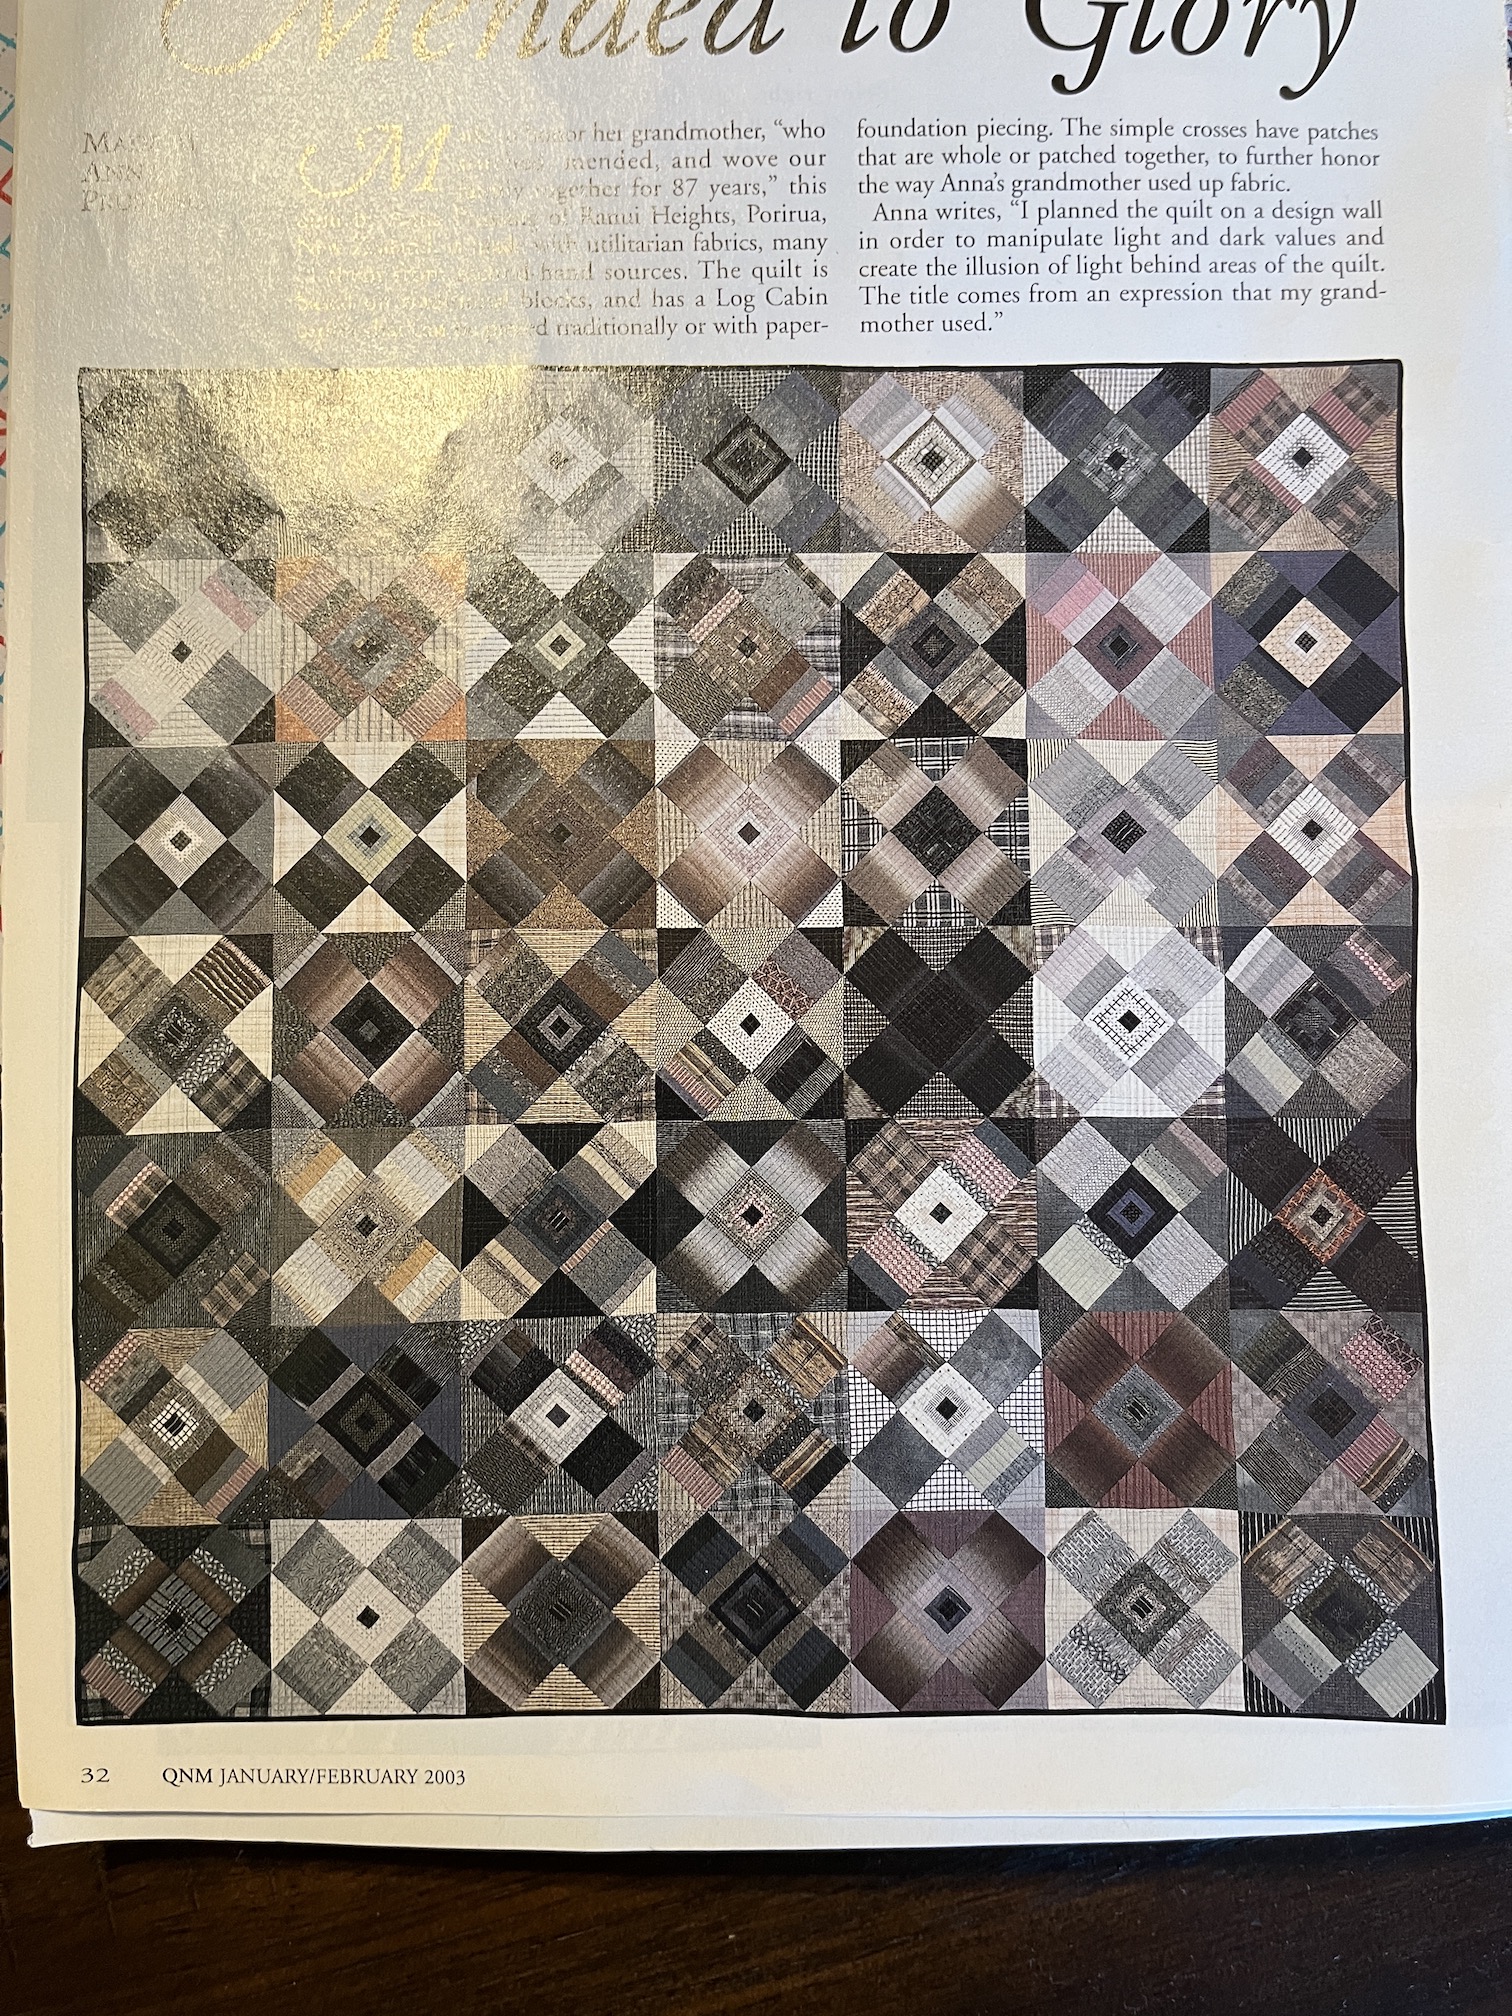
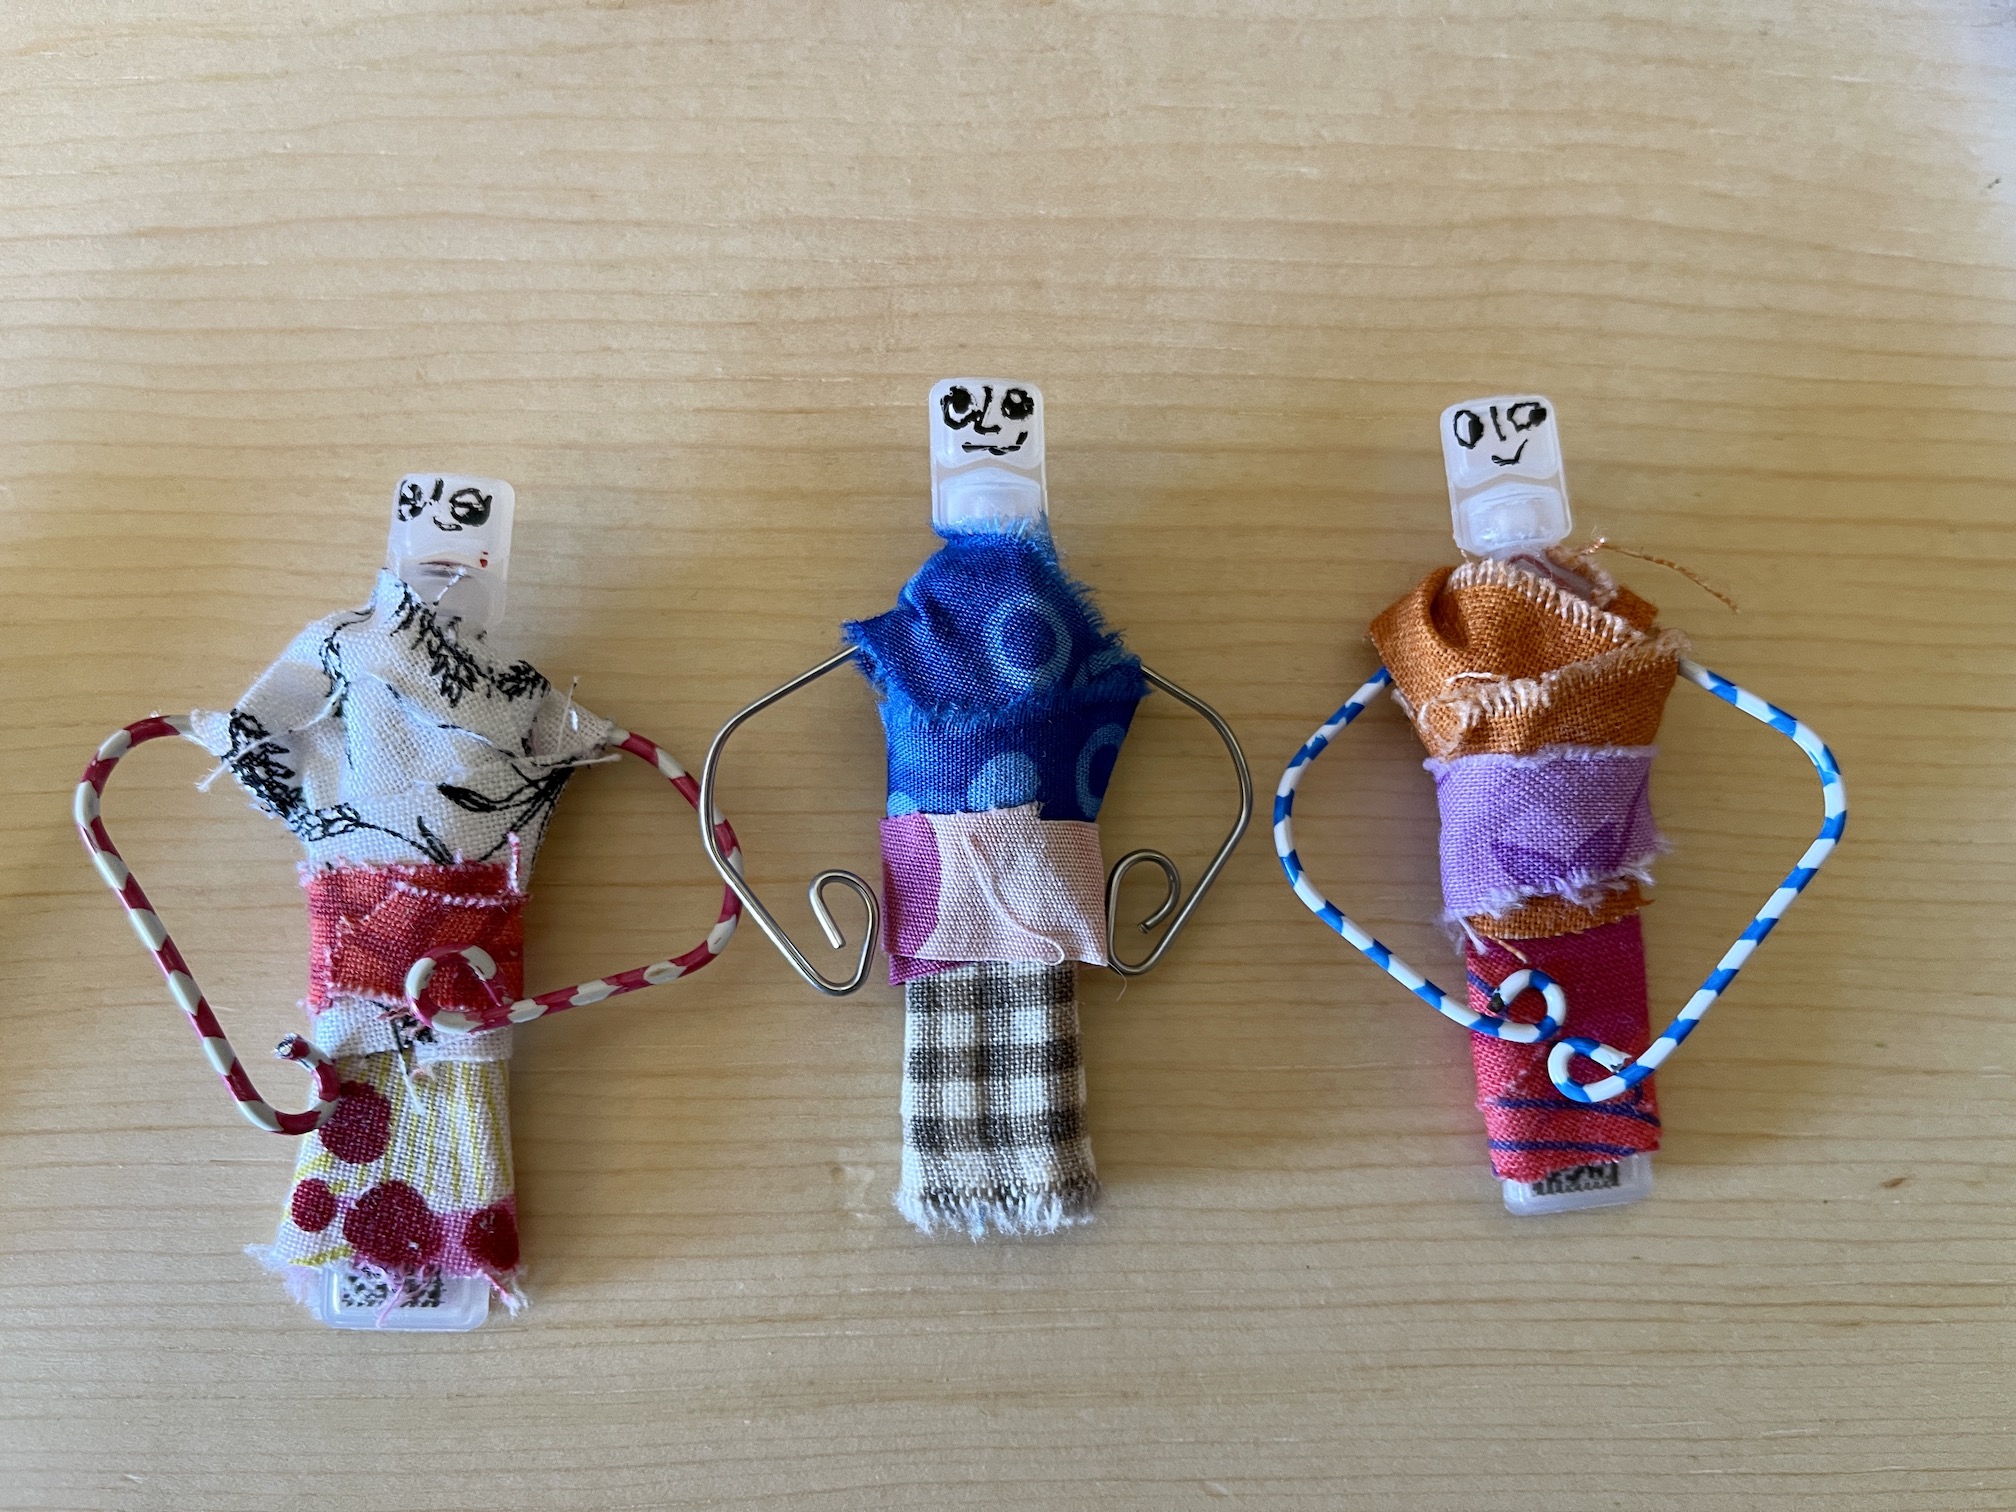
 We were created by the very, very, very talented Helen of
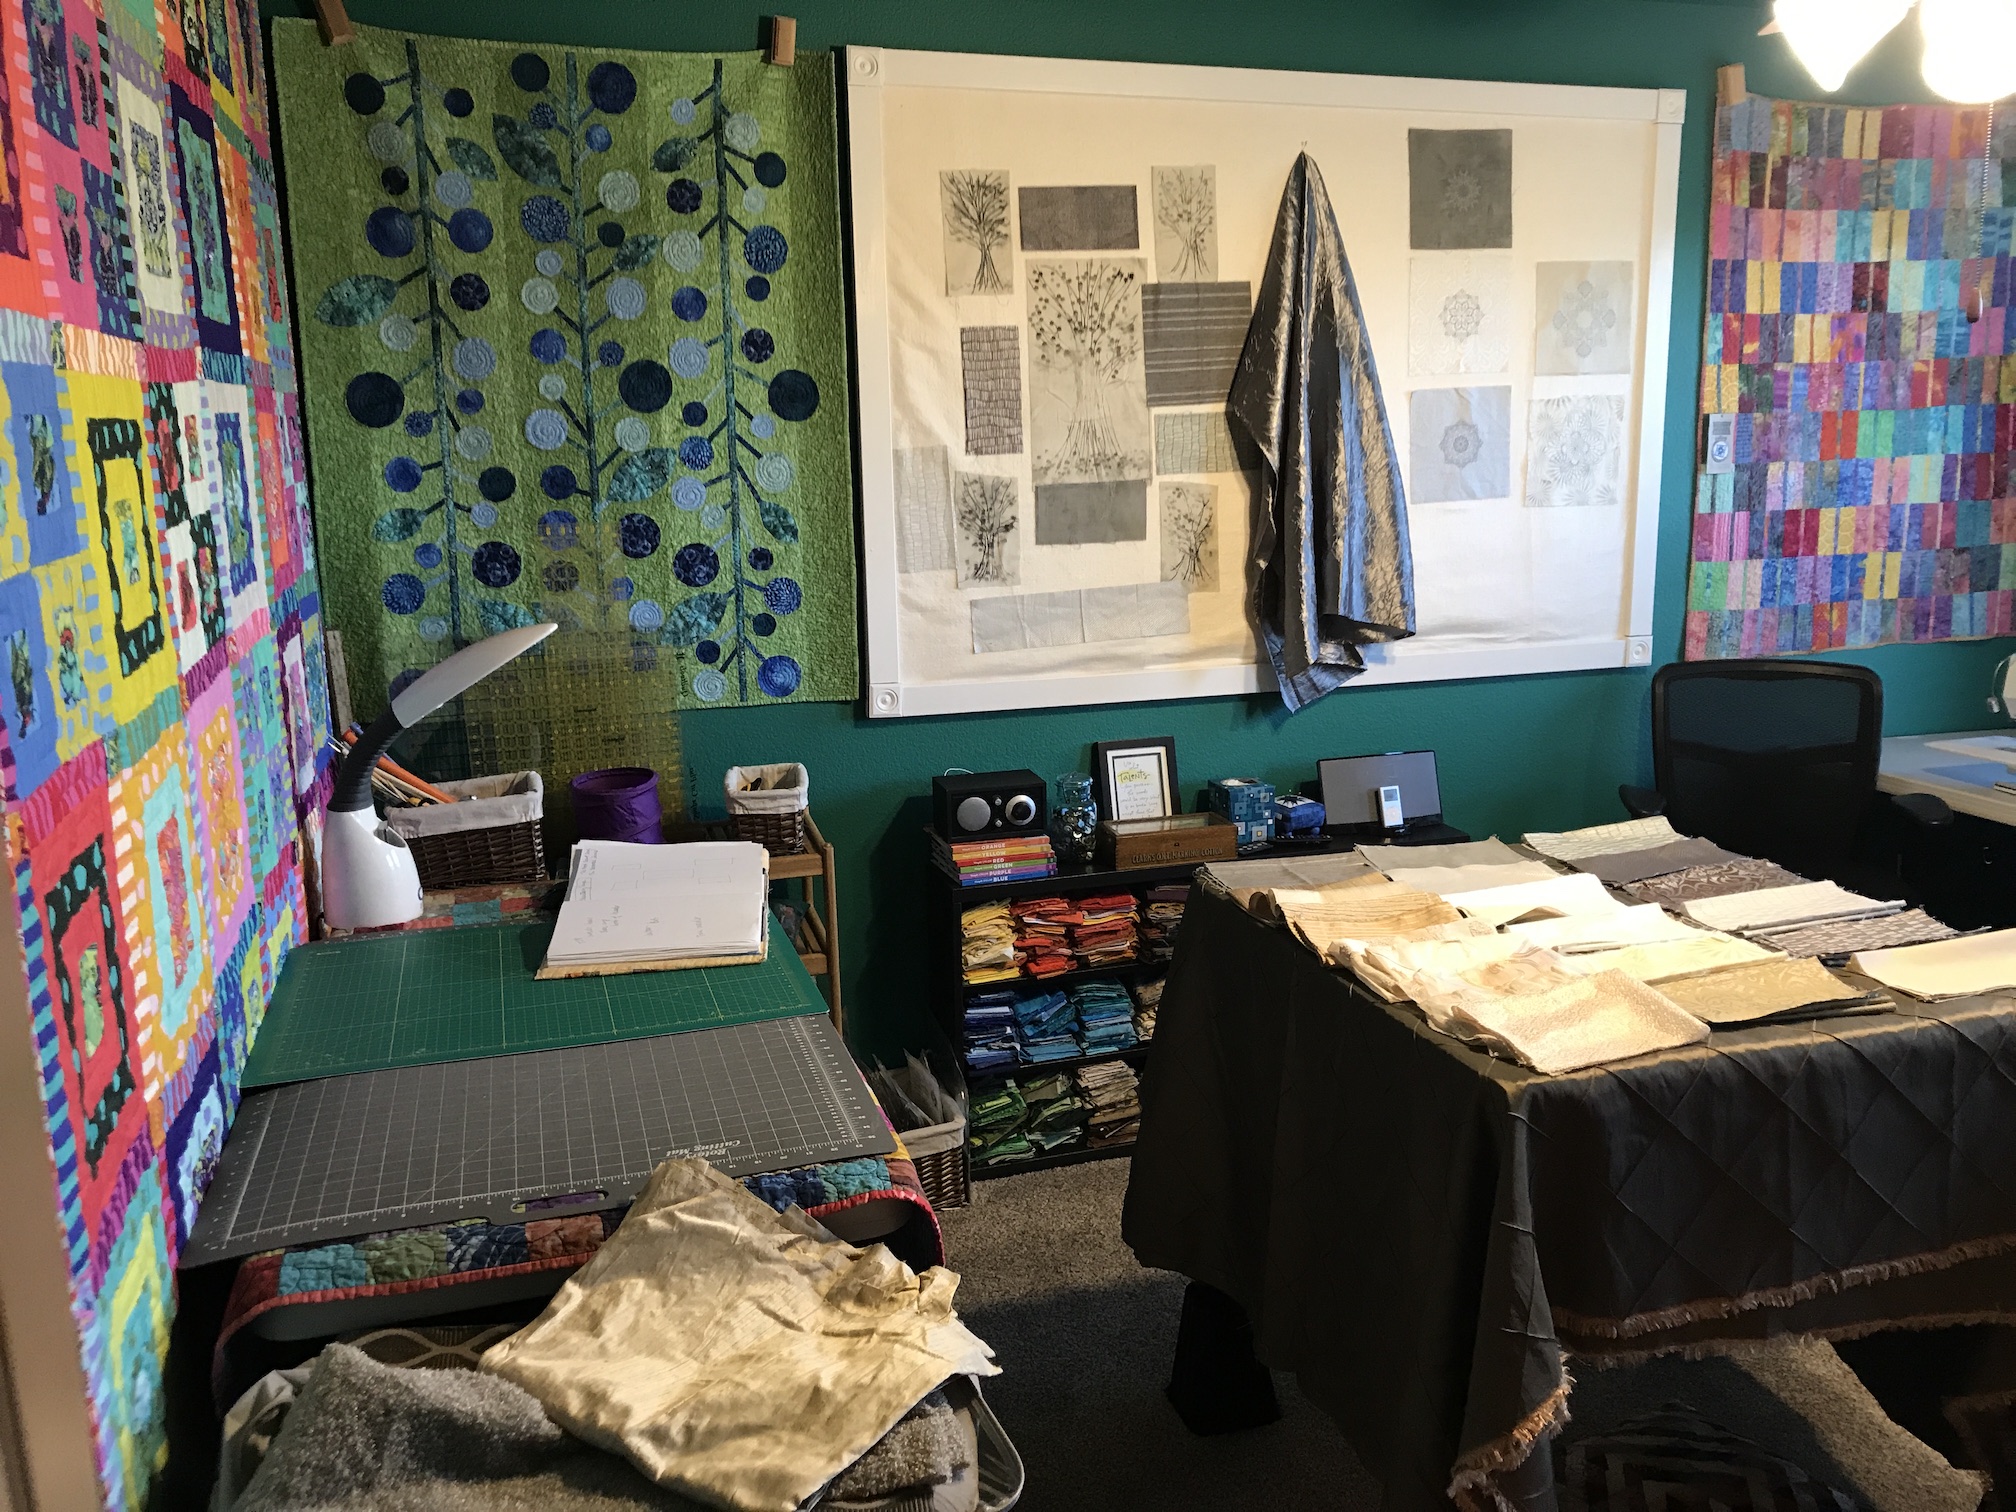
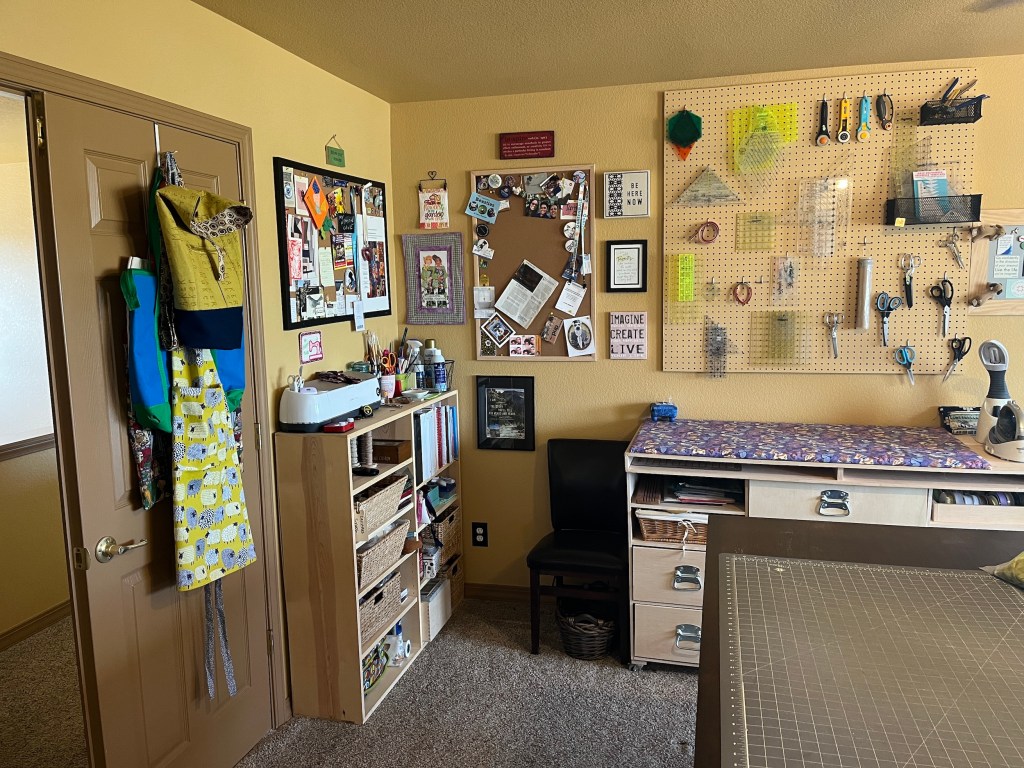
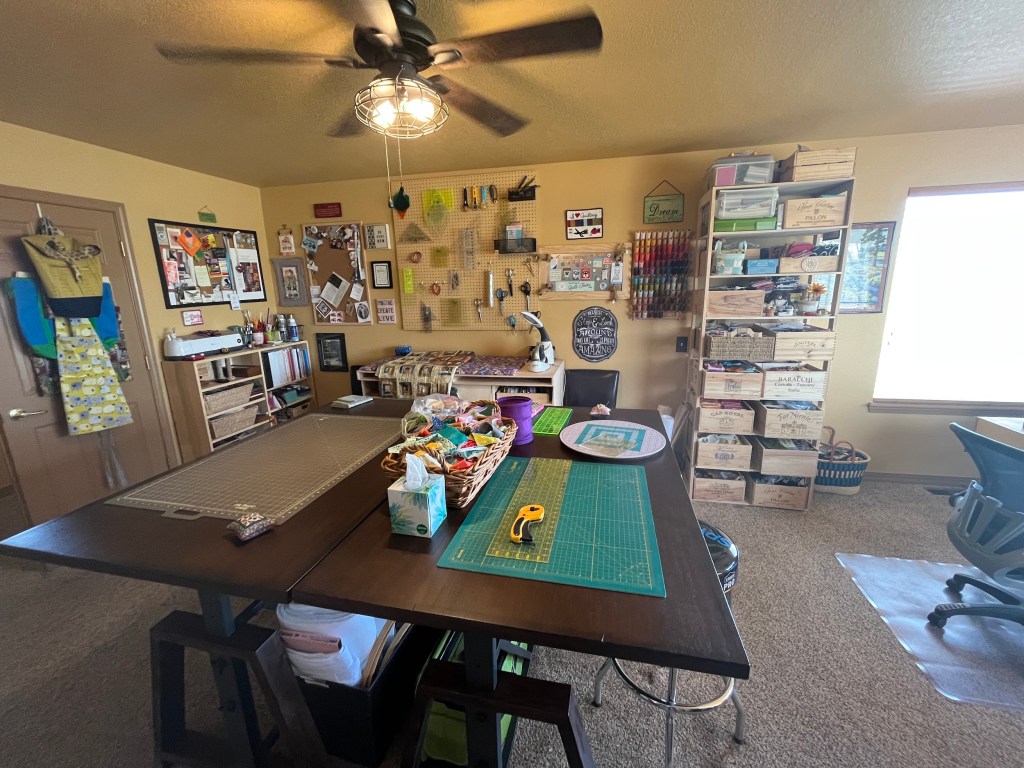
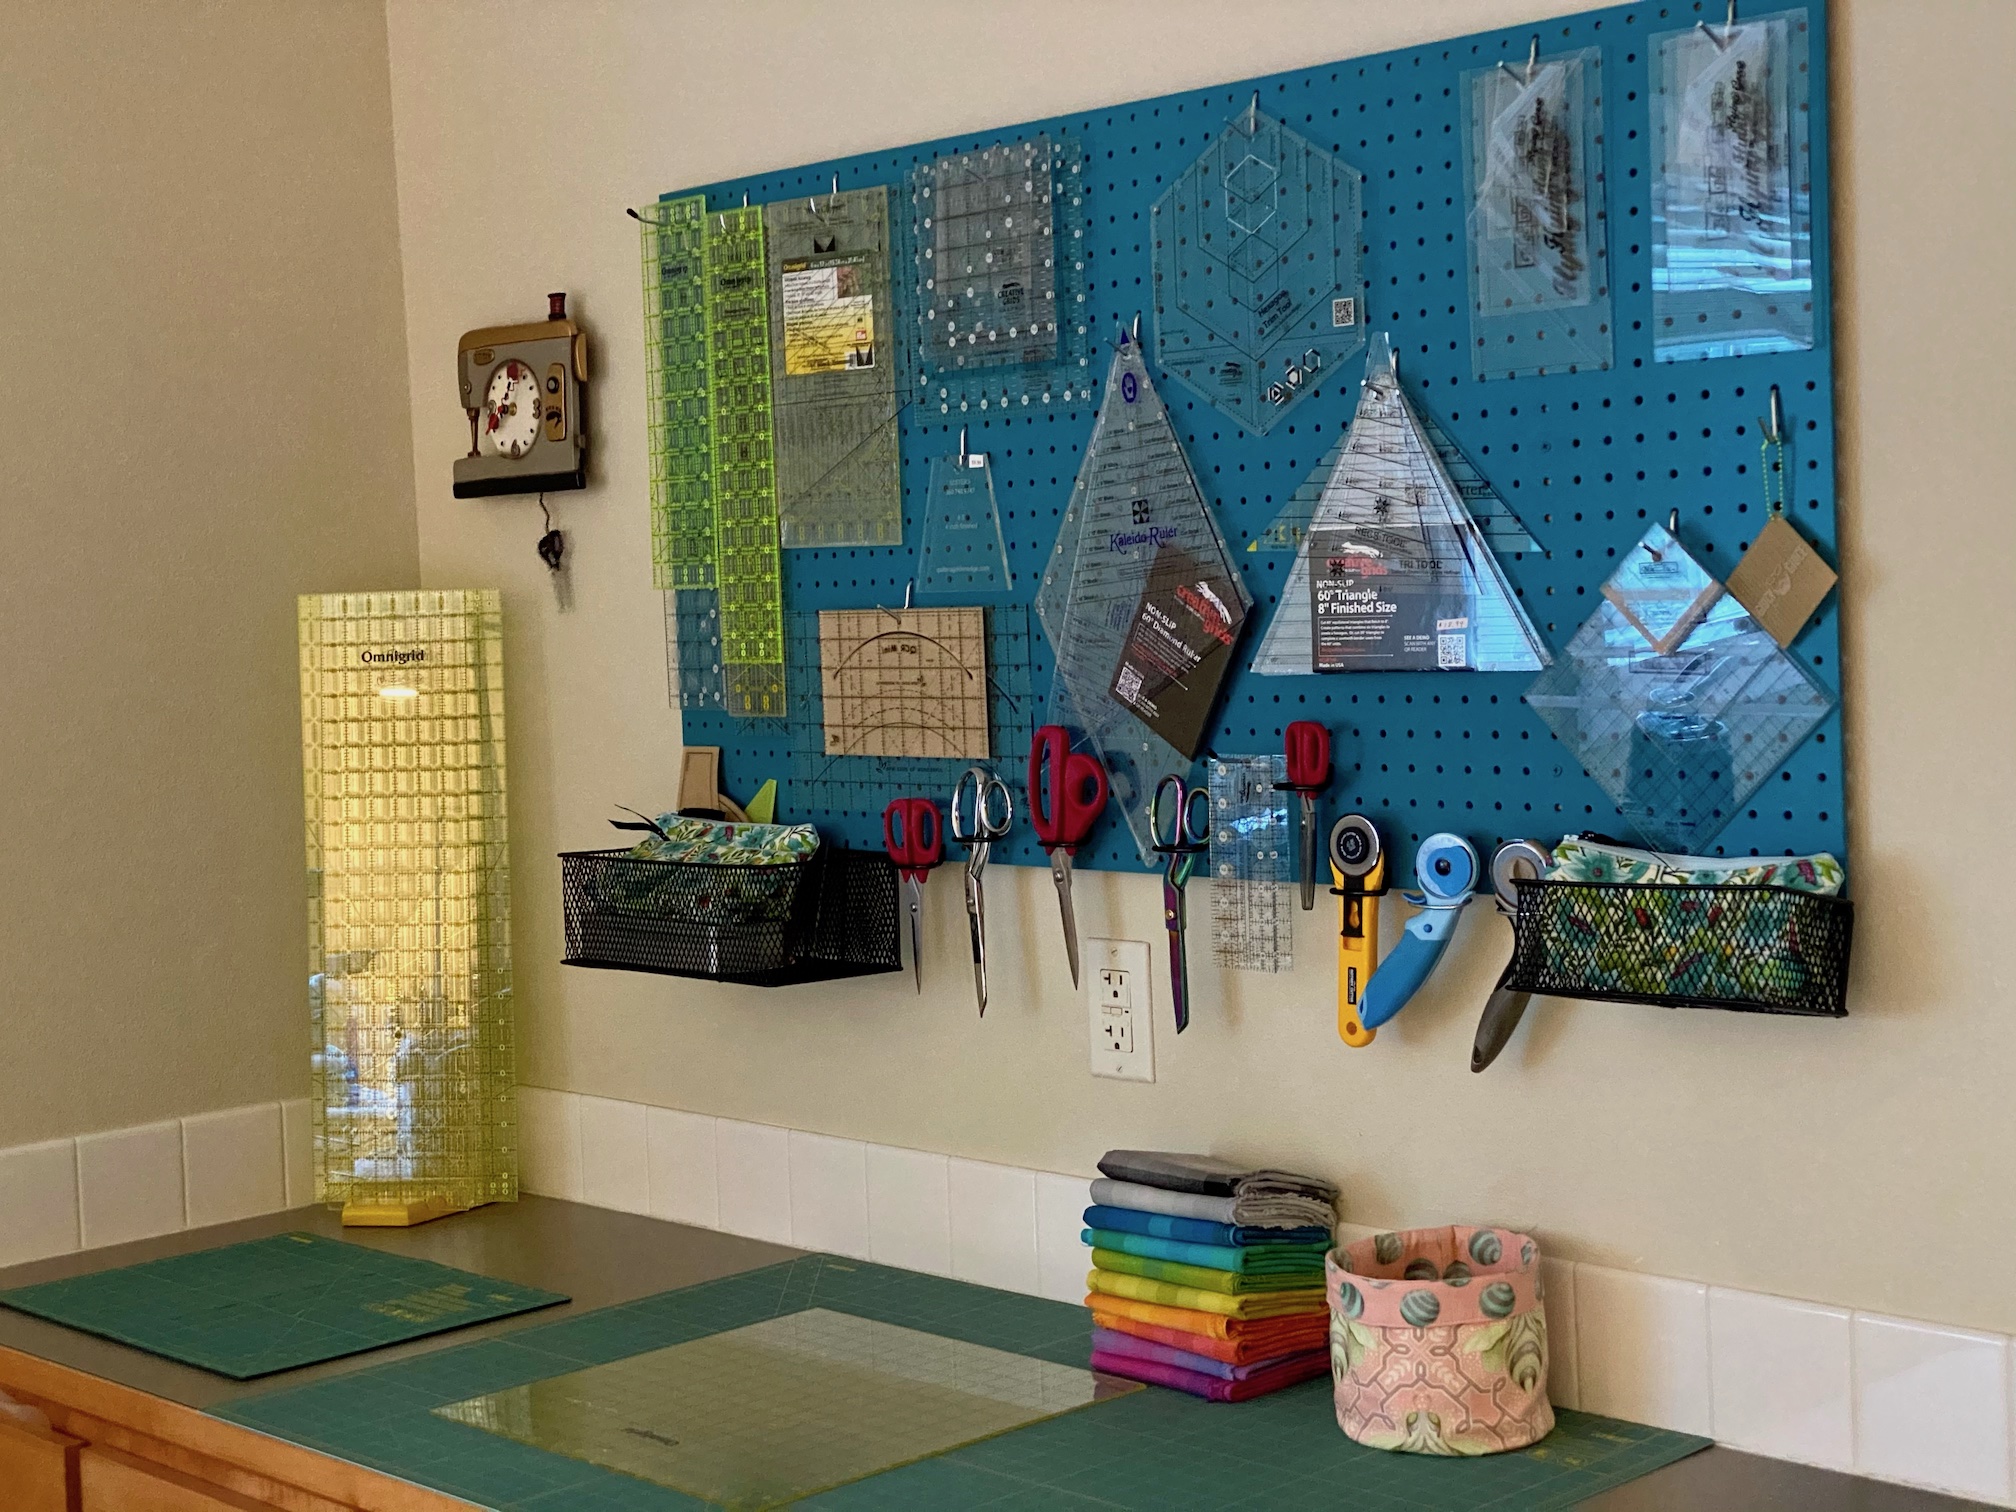
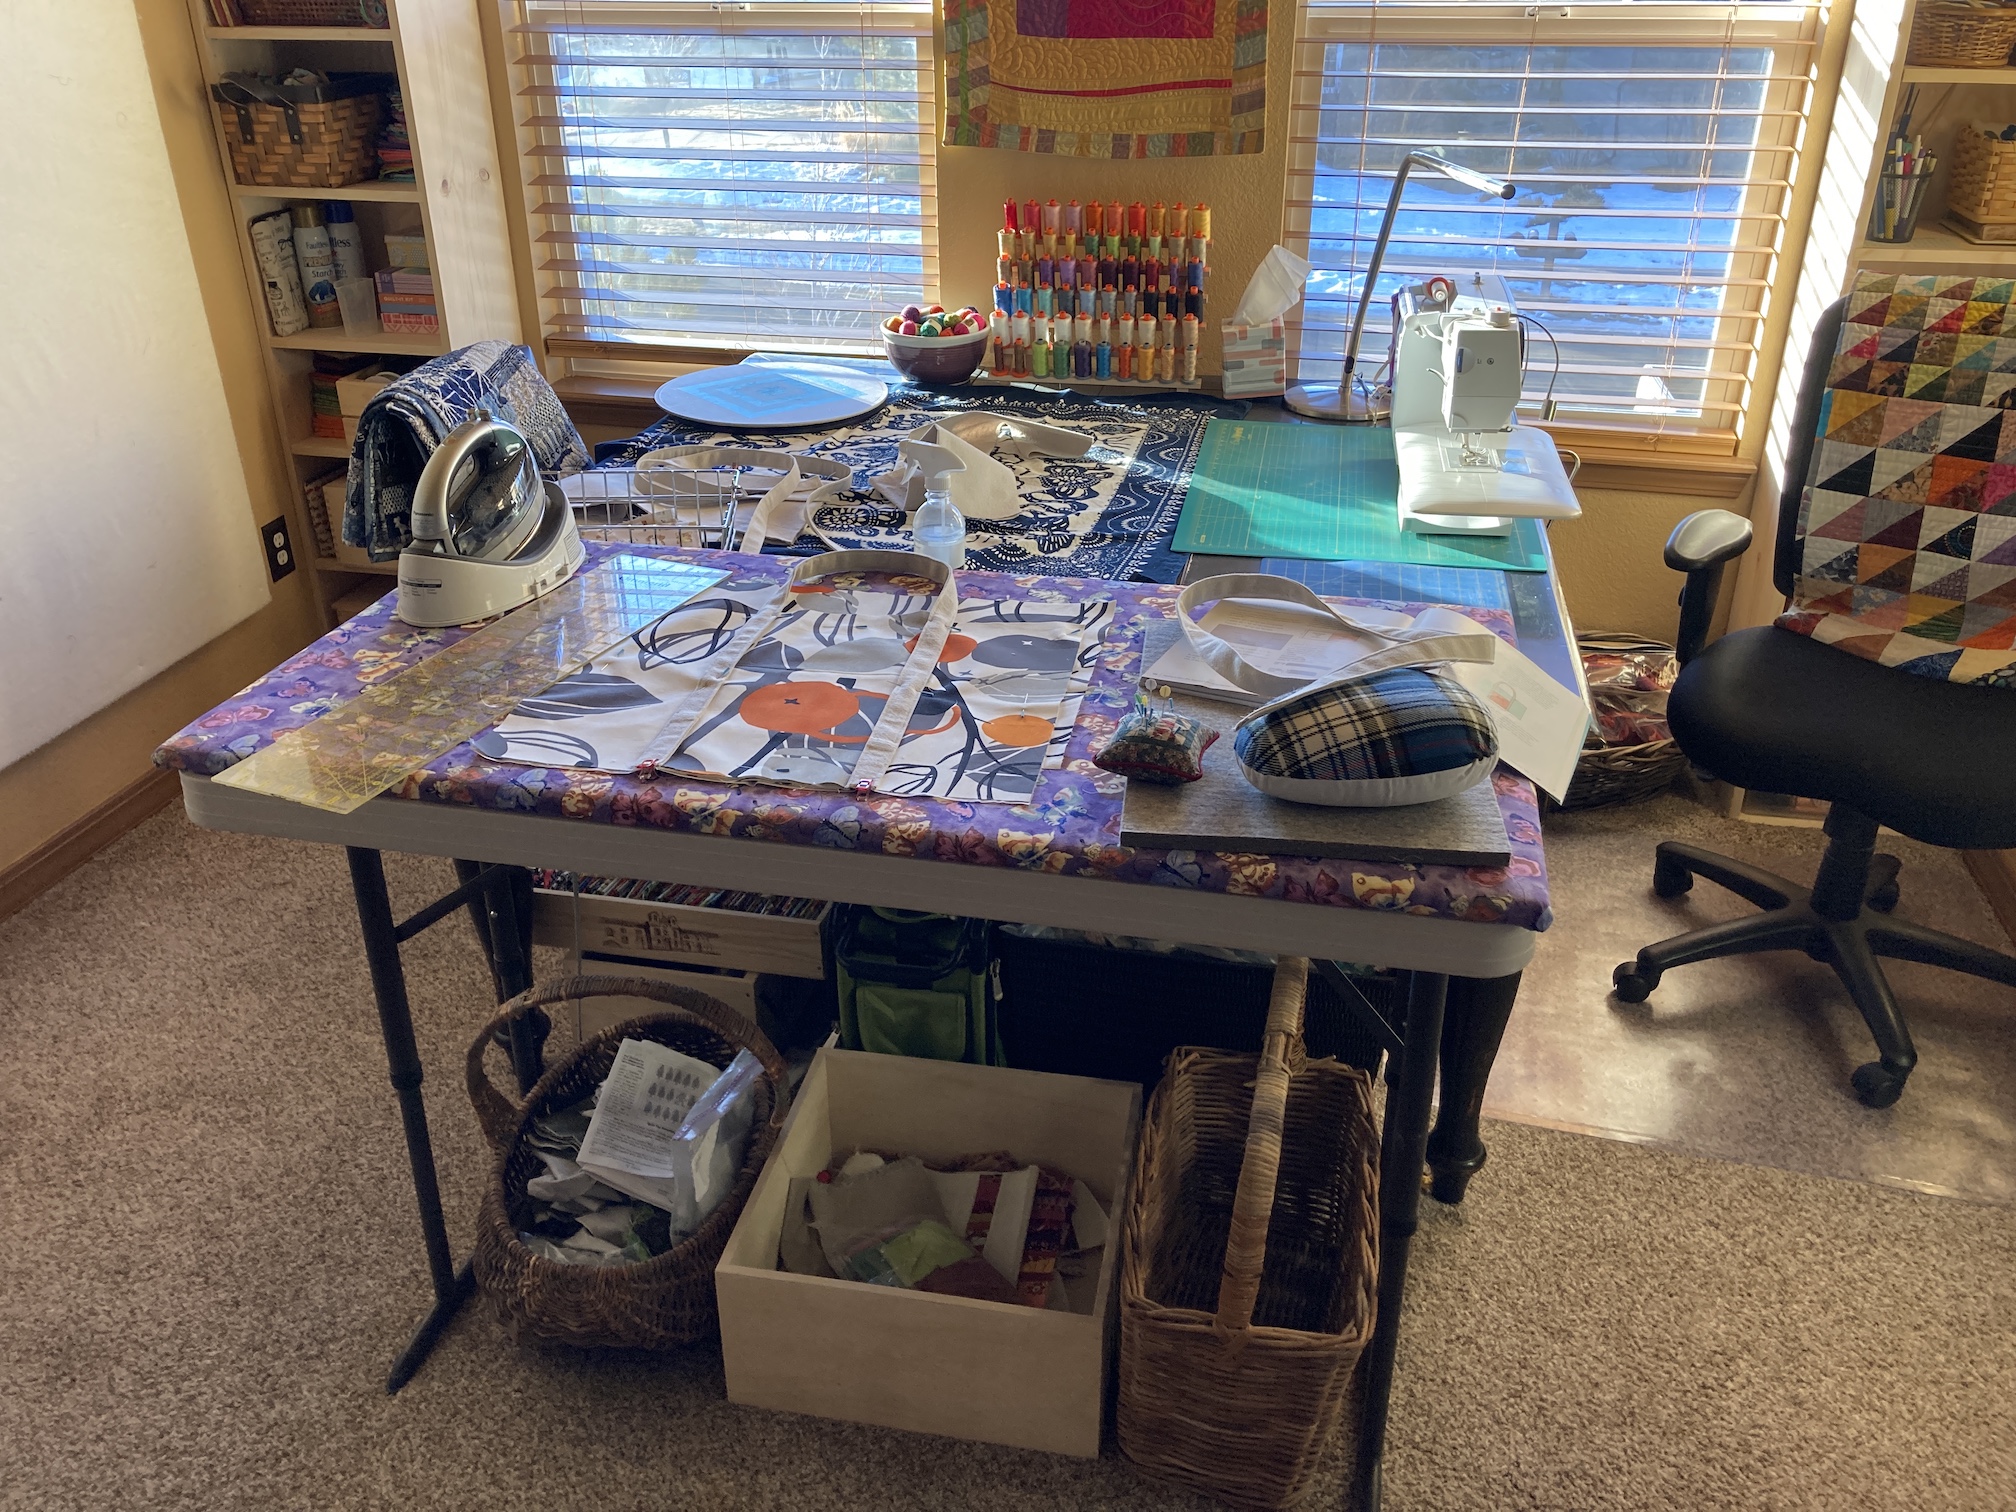
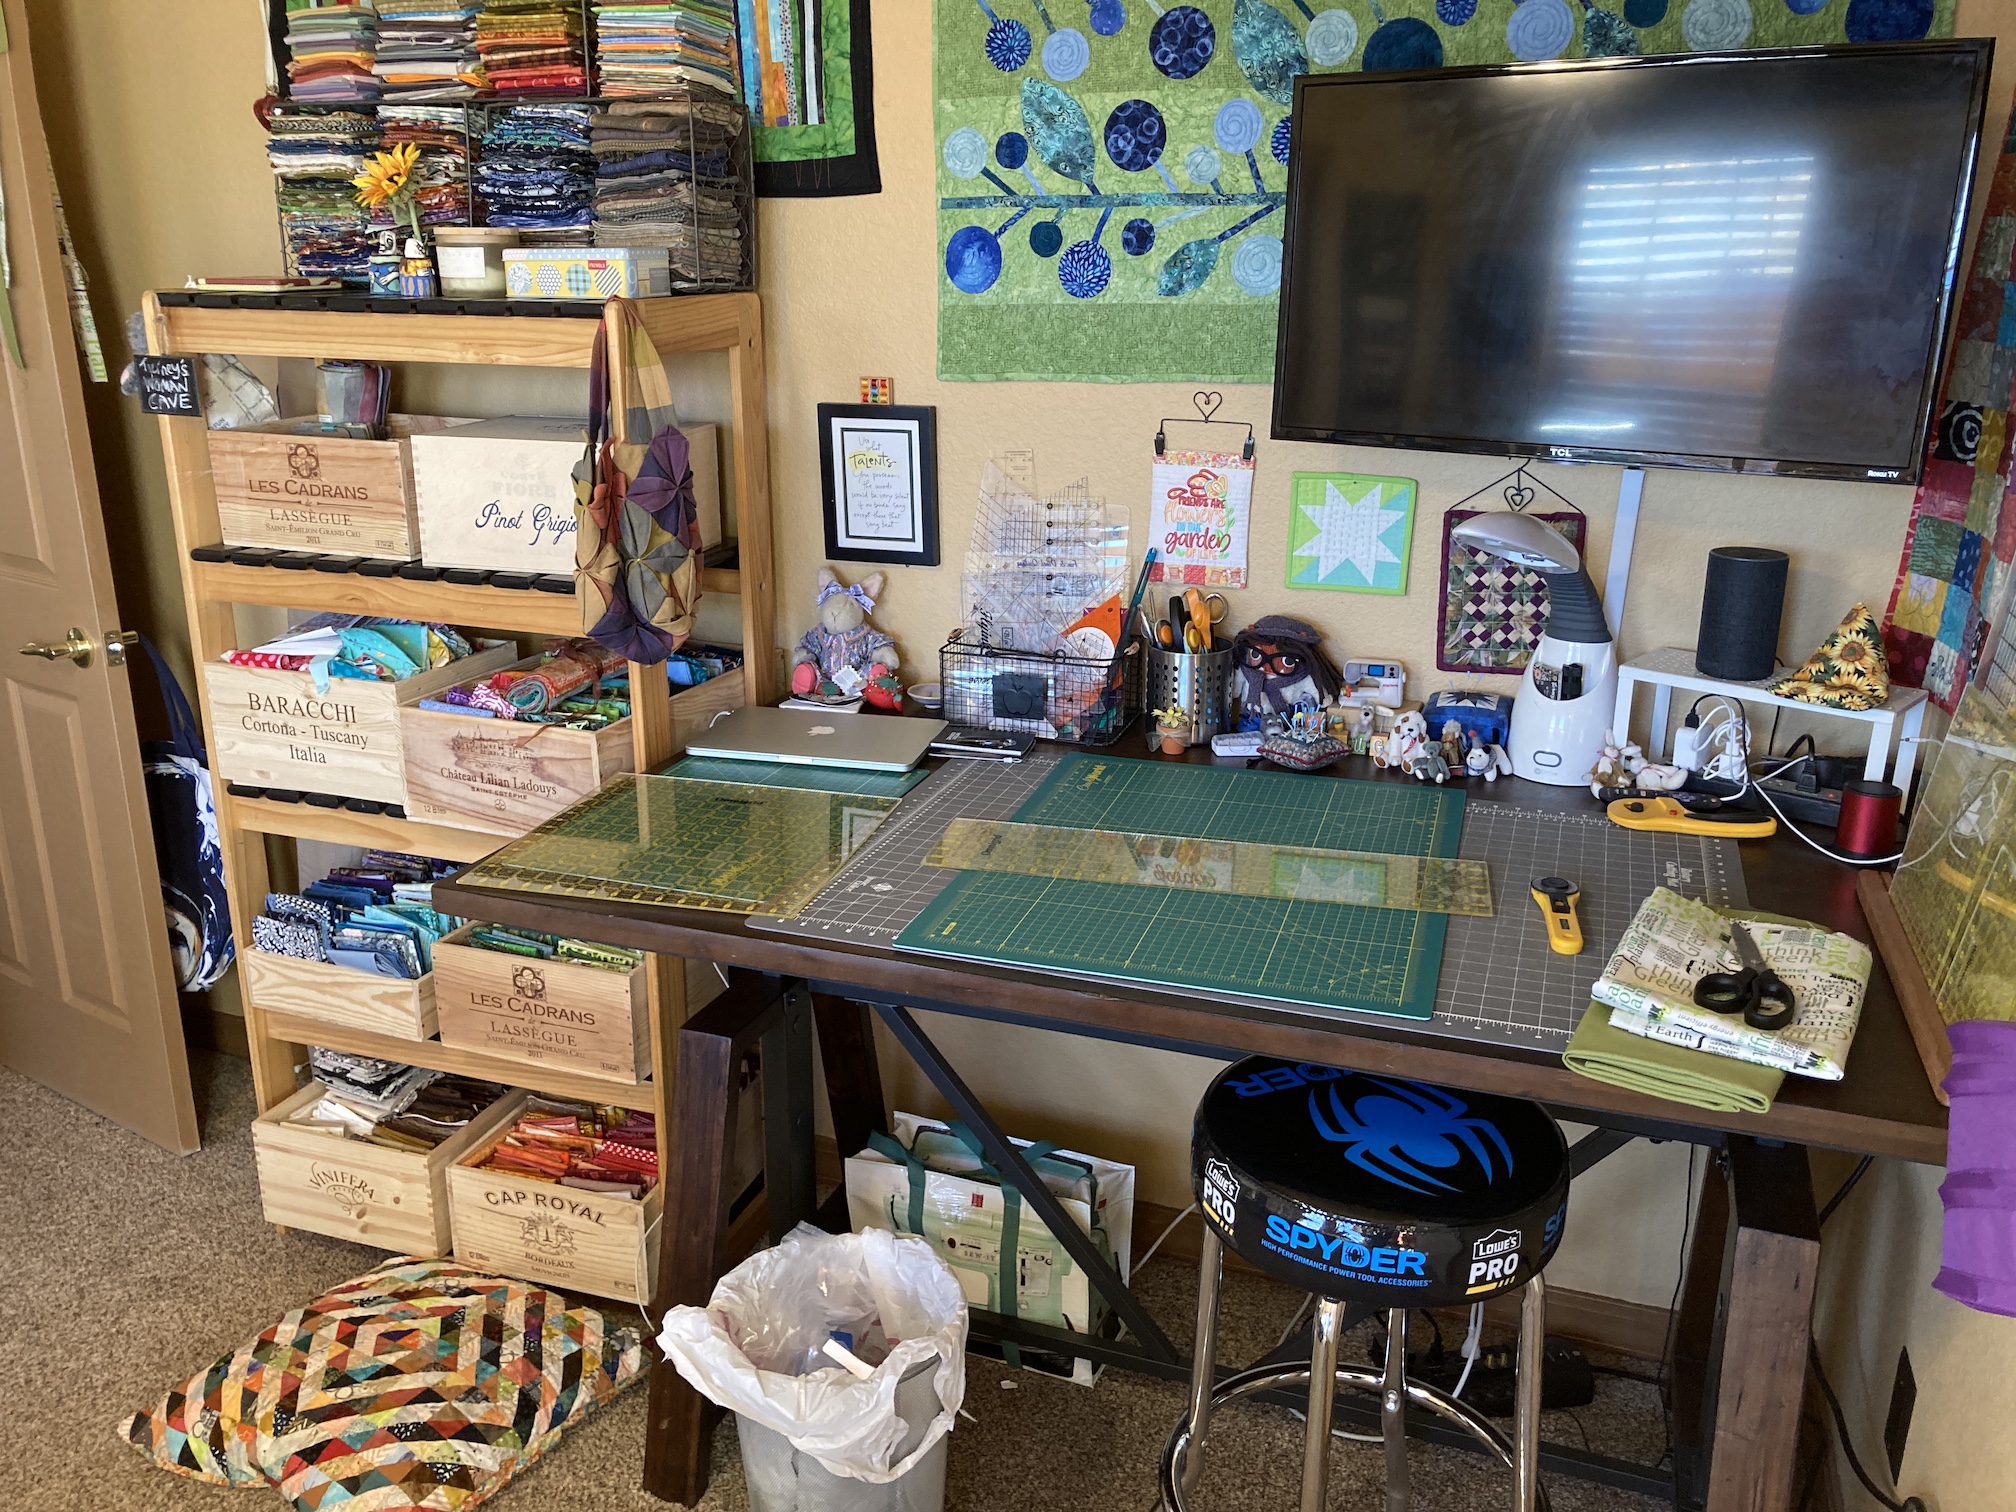
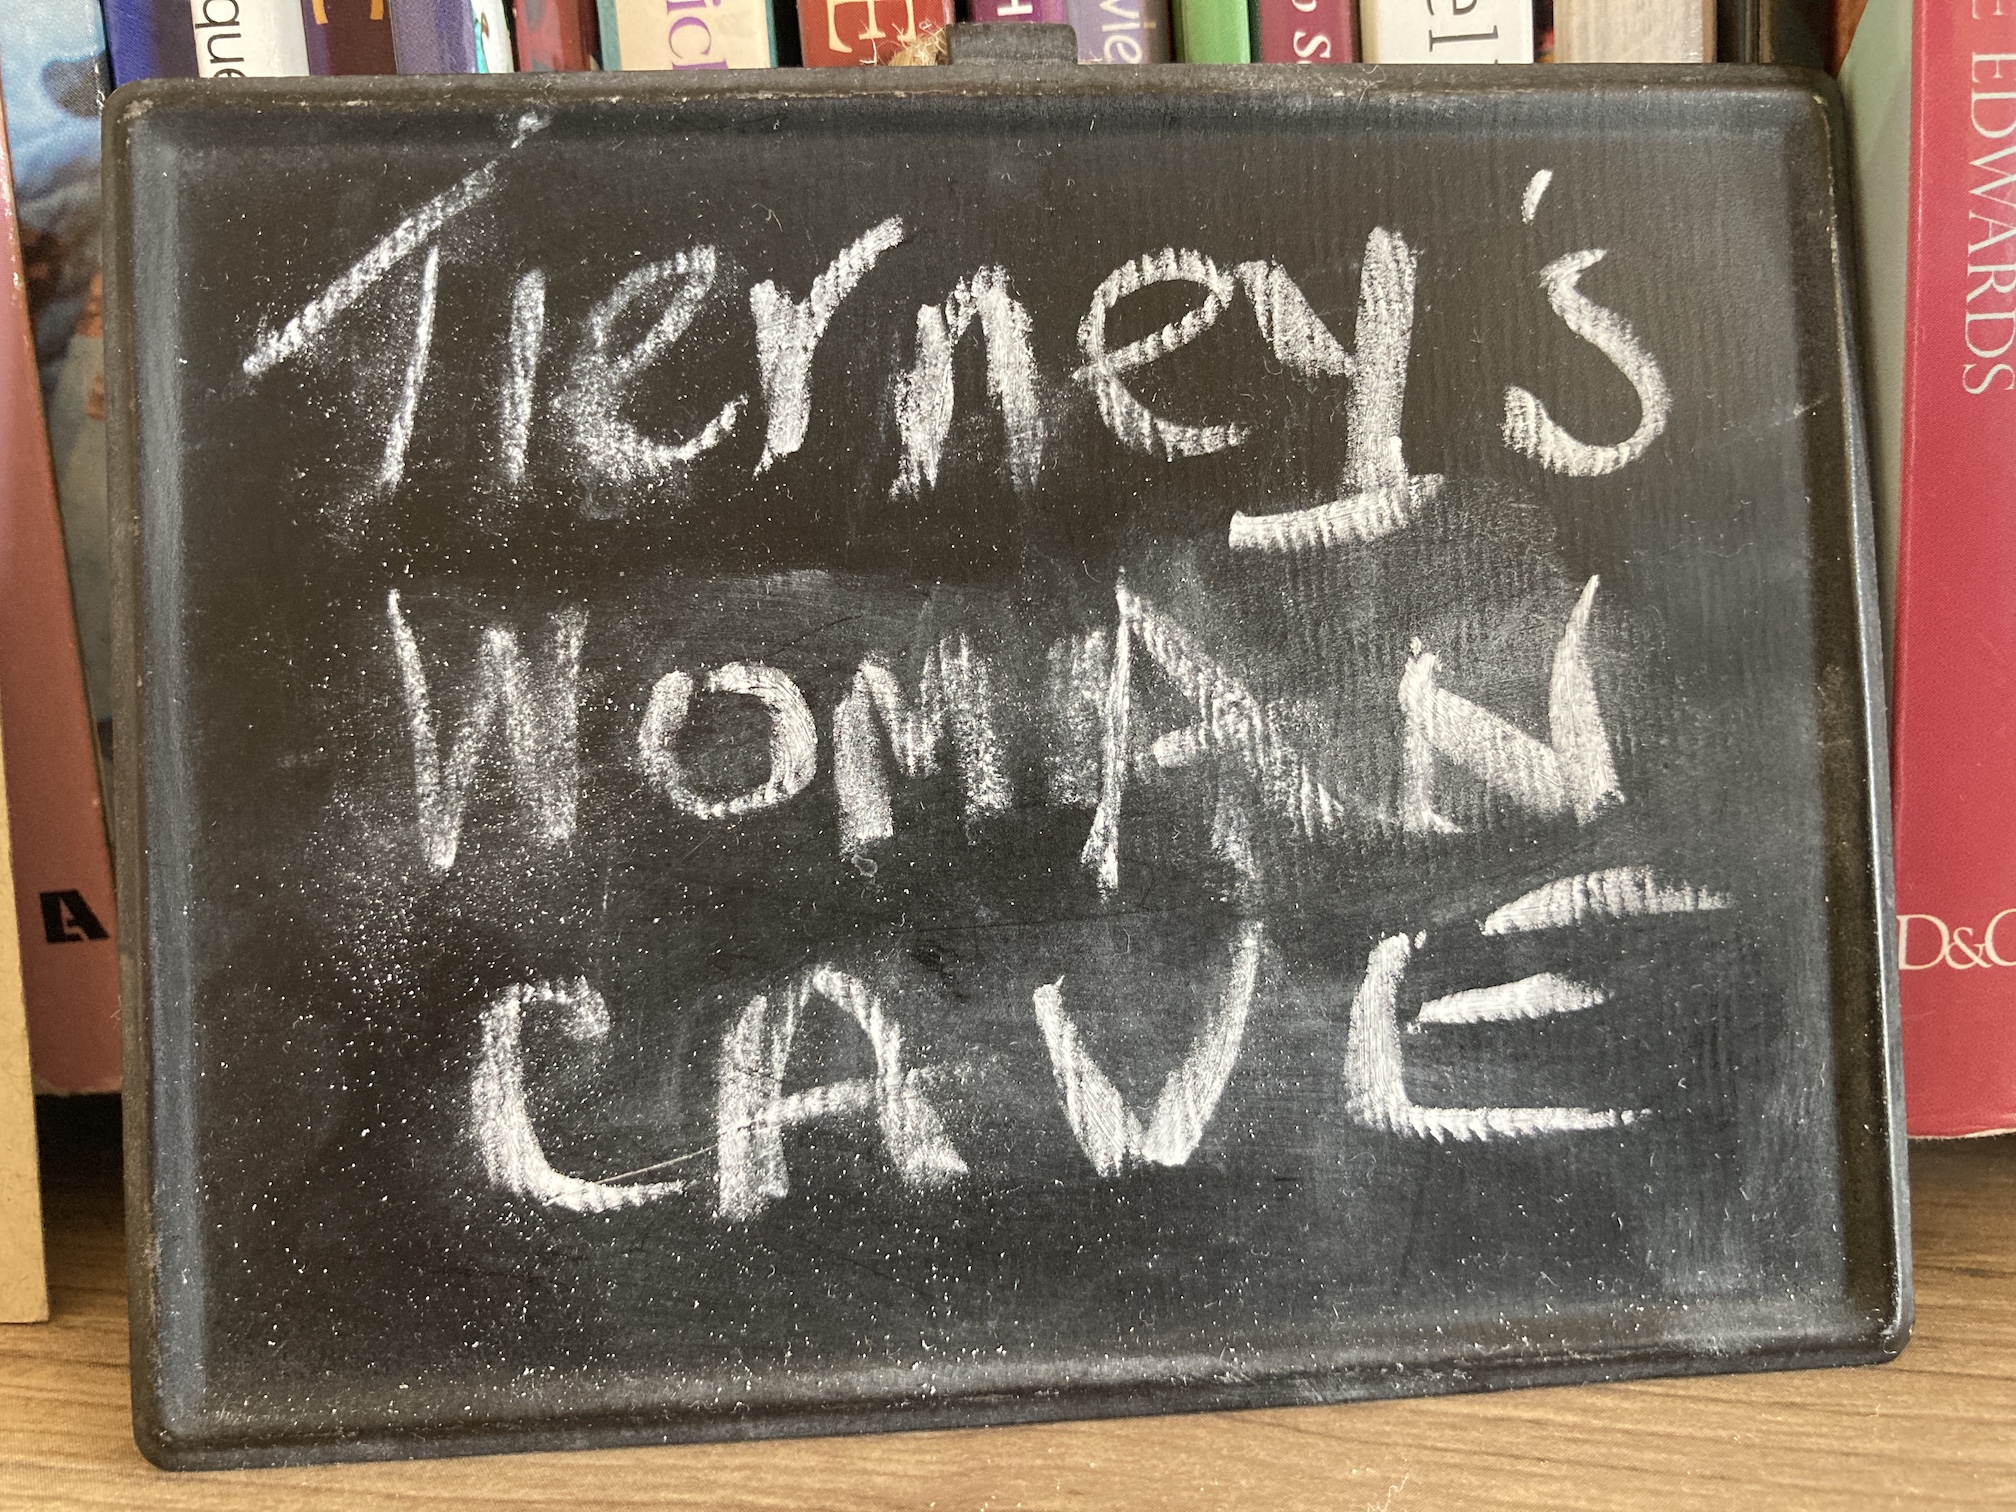
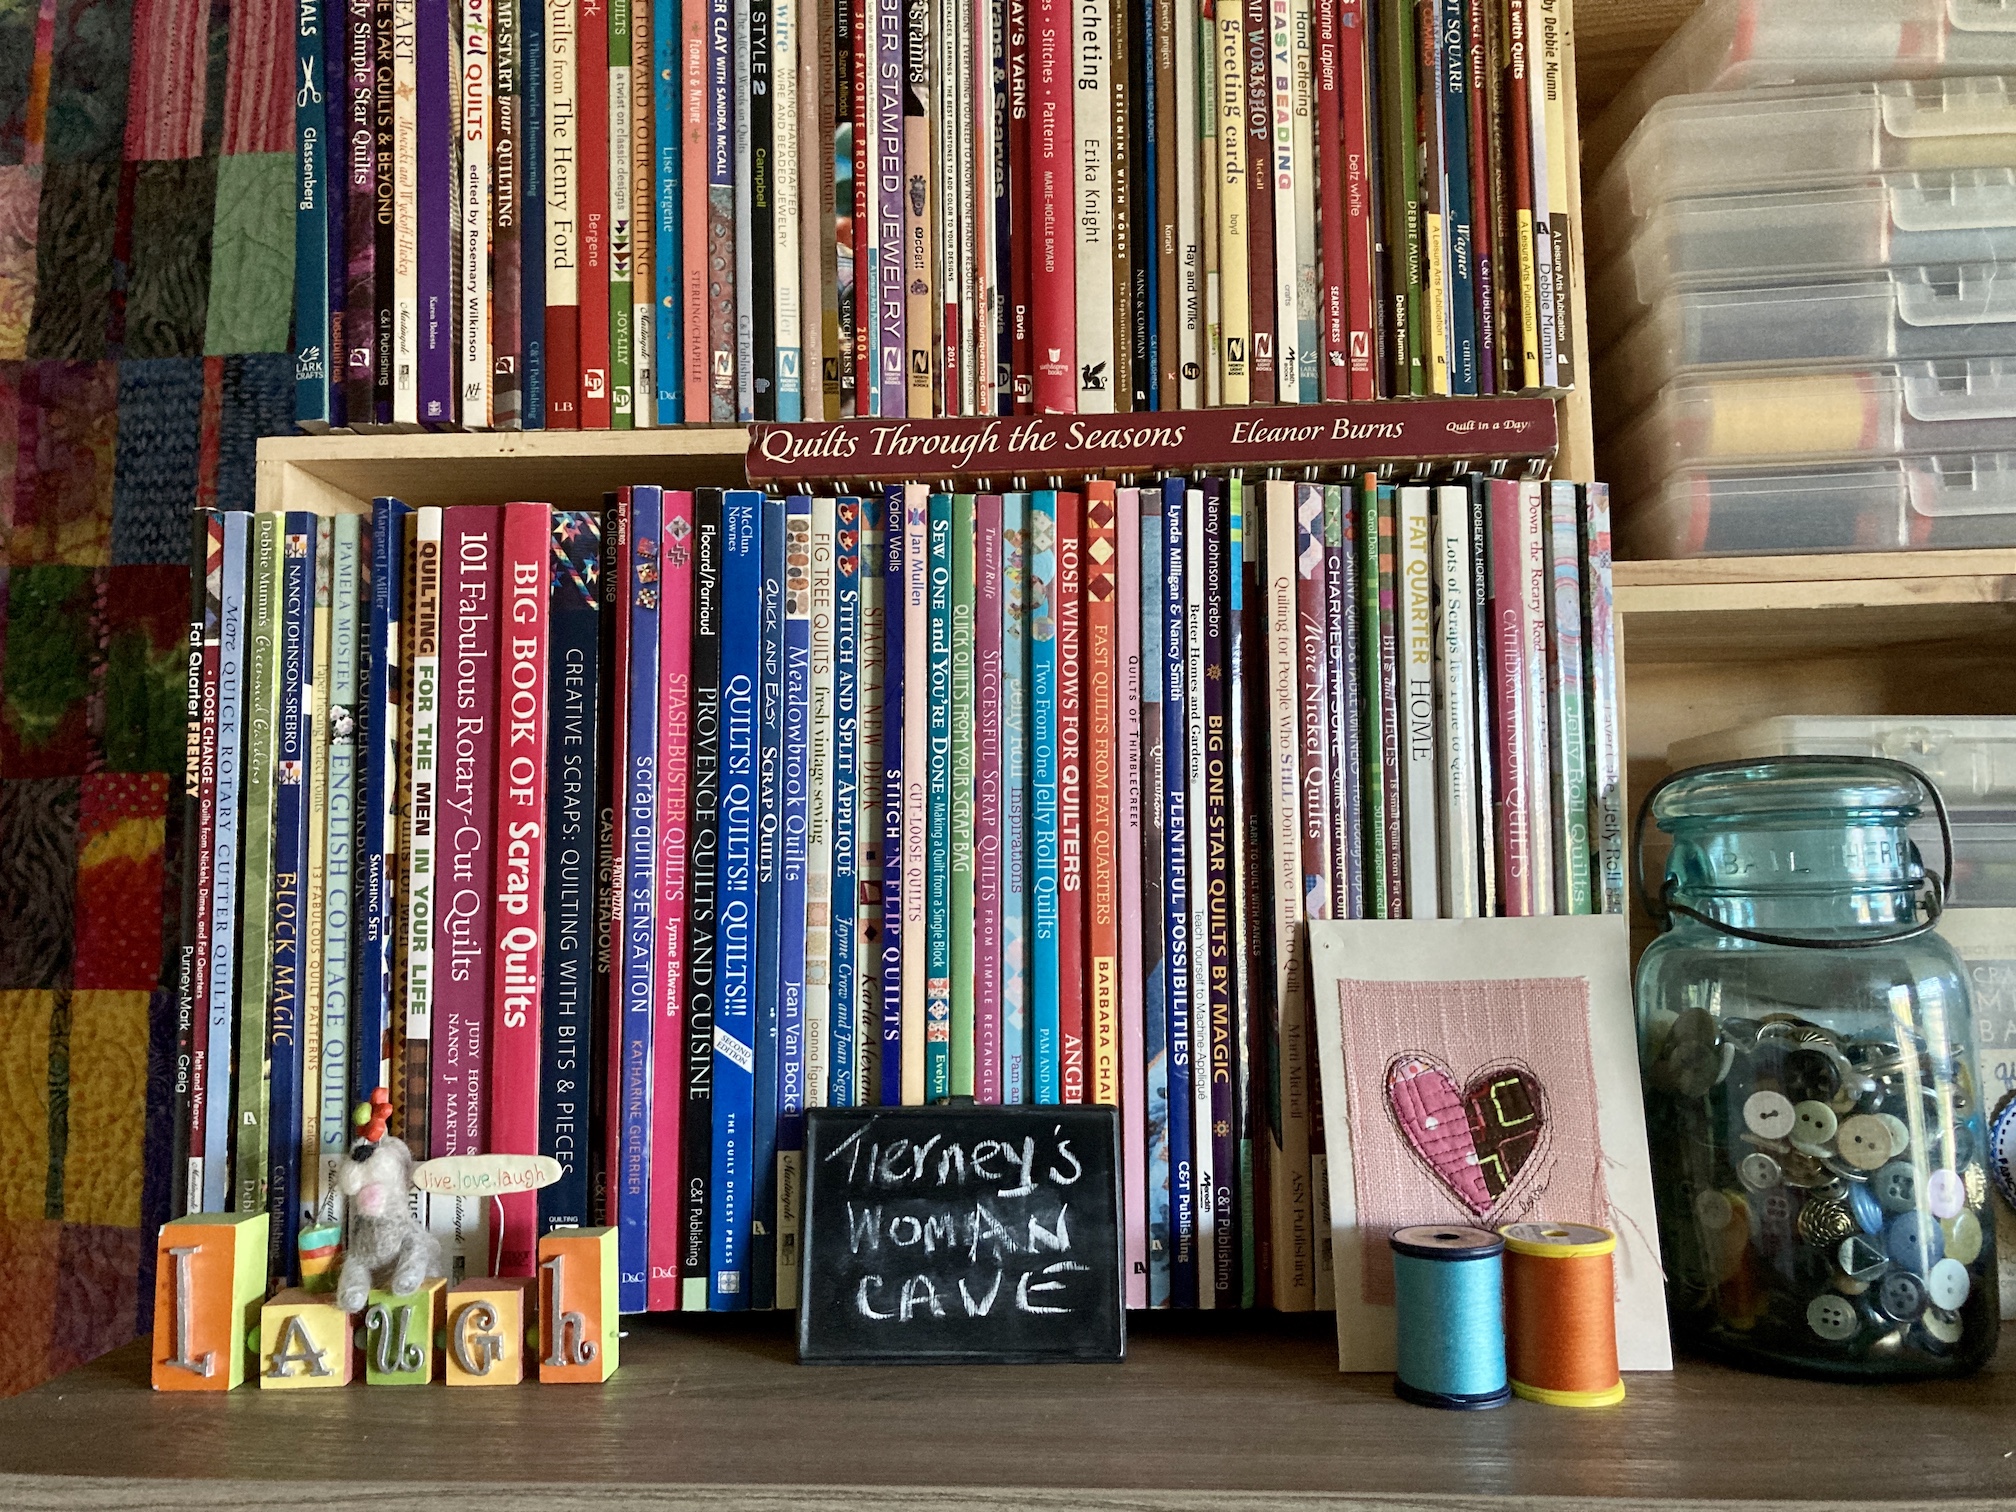
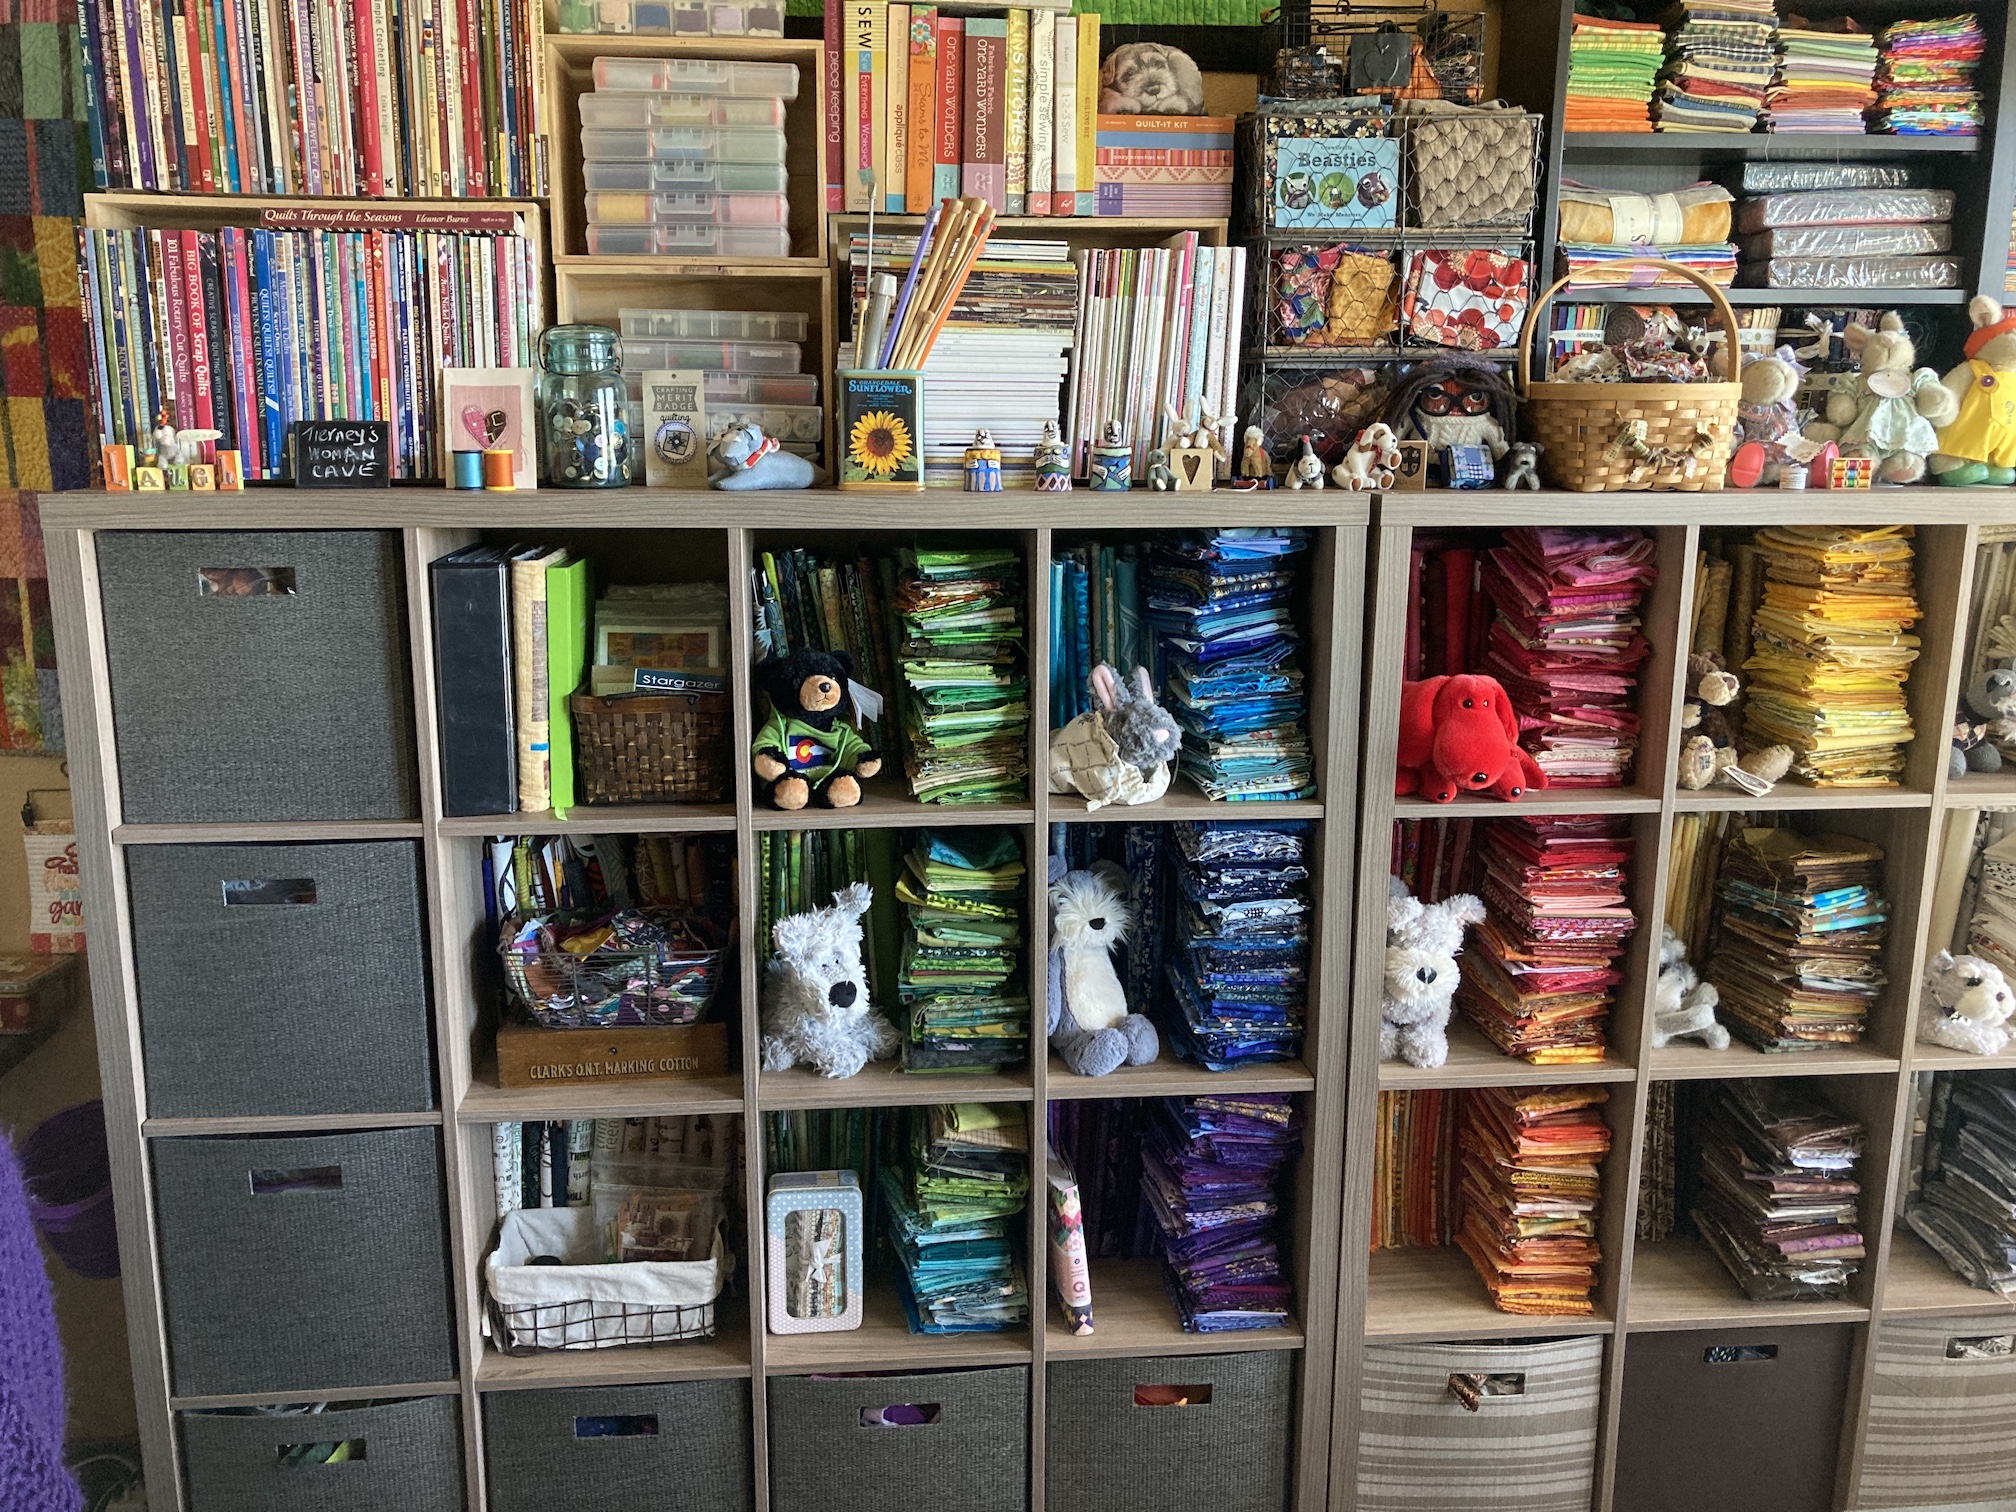
 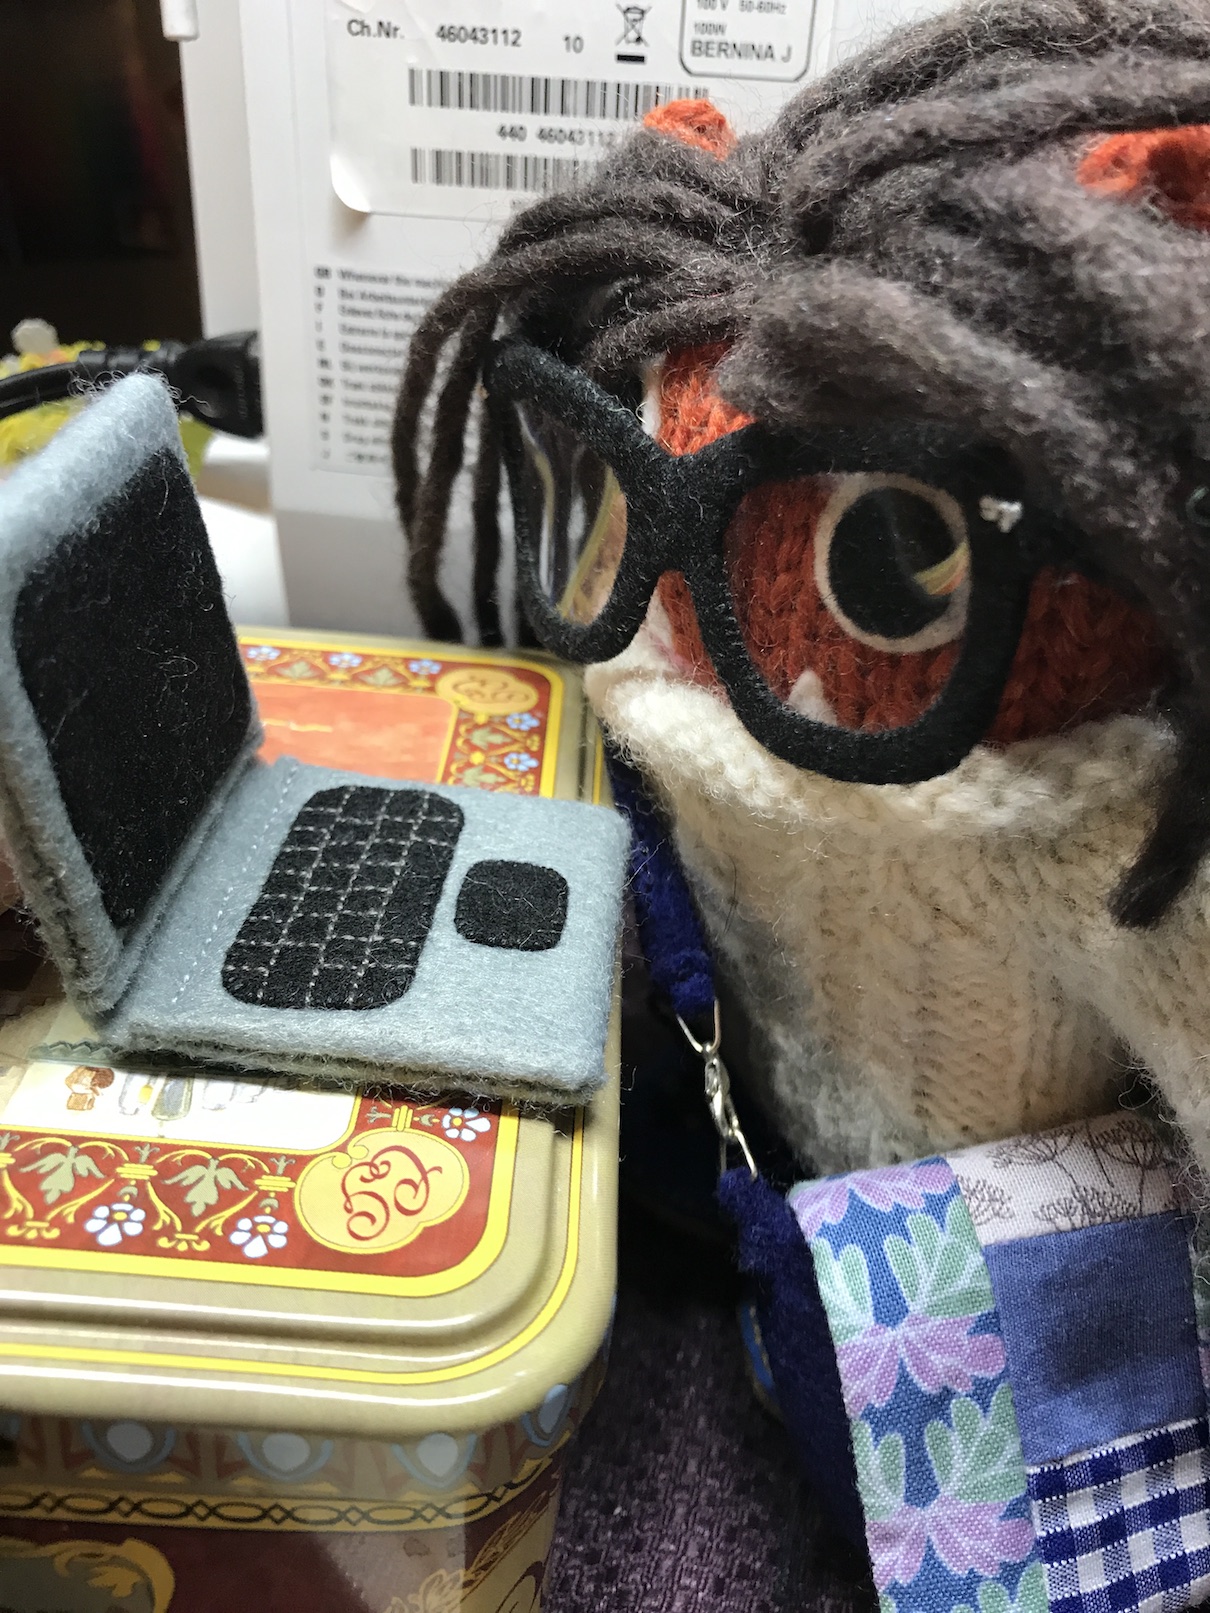 Well enough about me (even though I am very interesting) and let’s get to the tour of Tierney’s “new” studio.
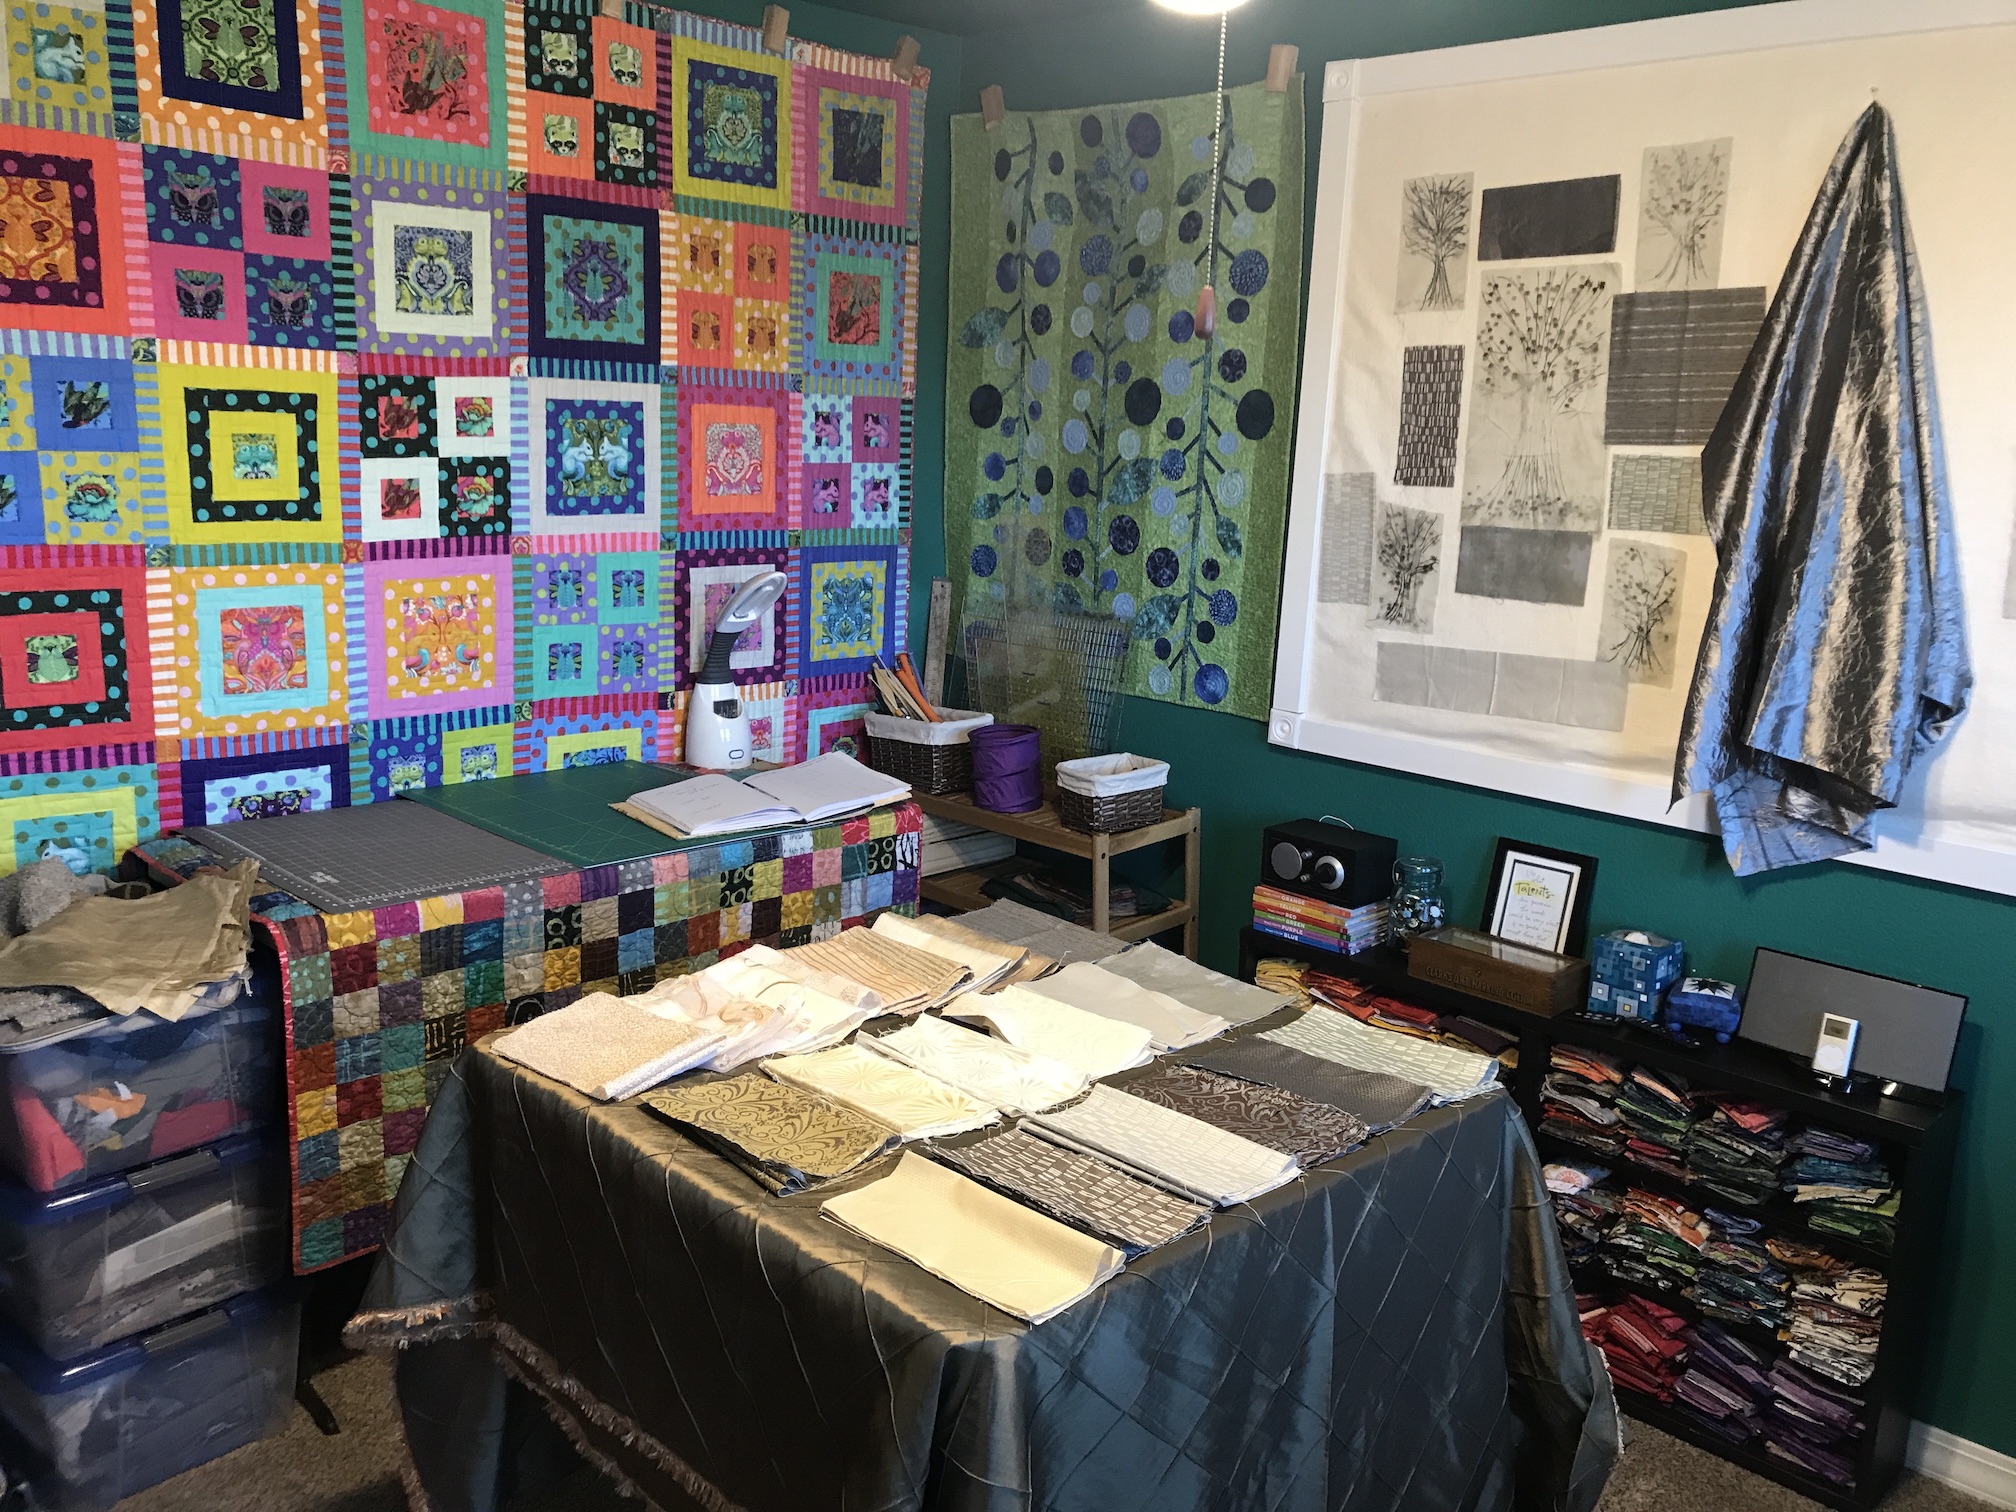
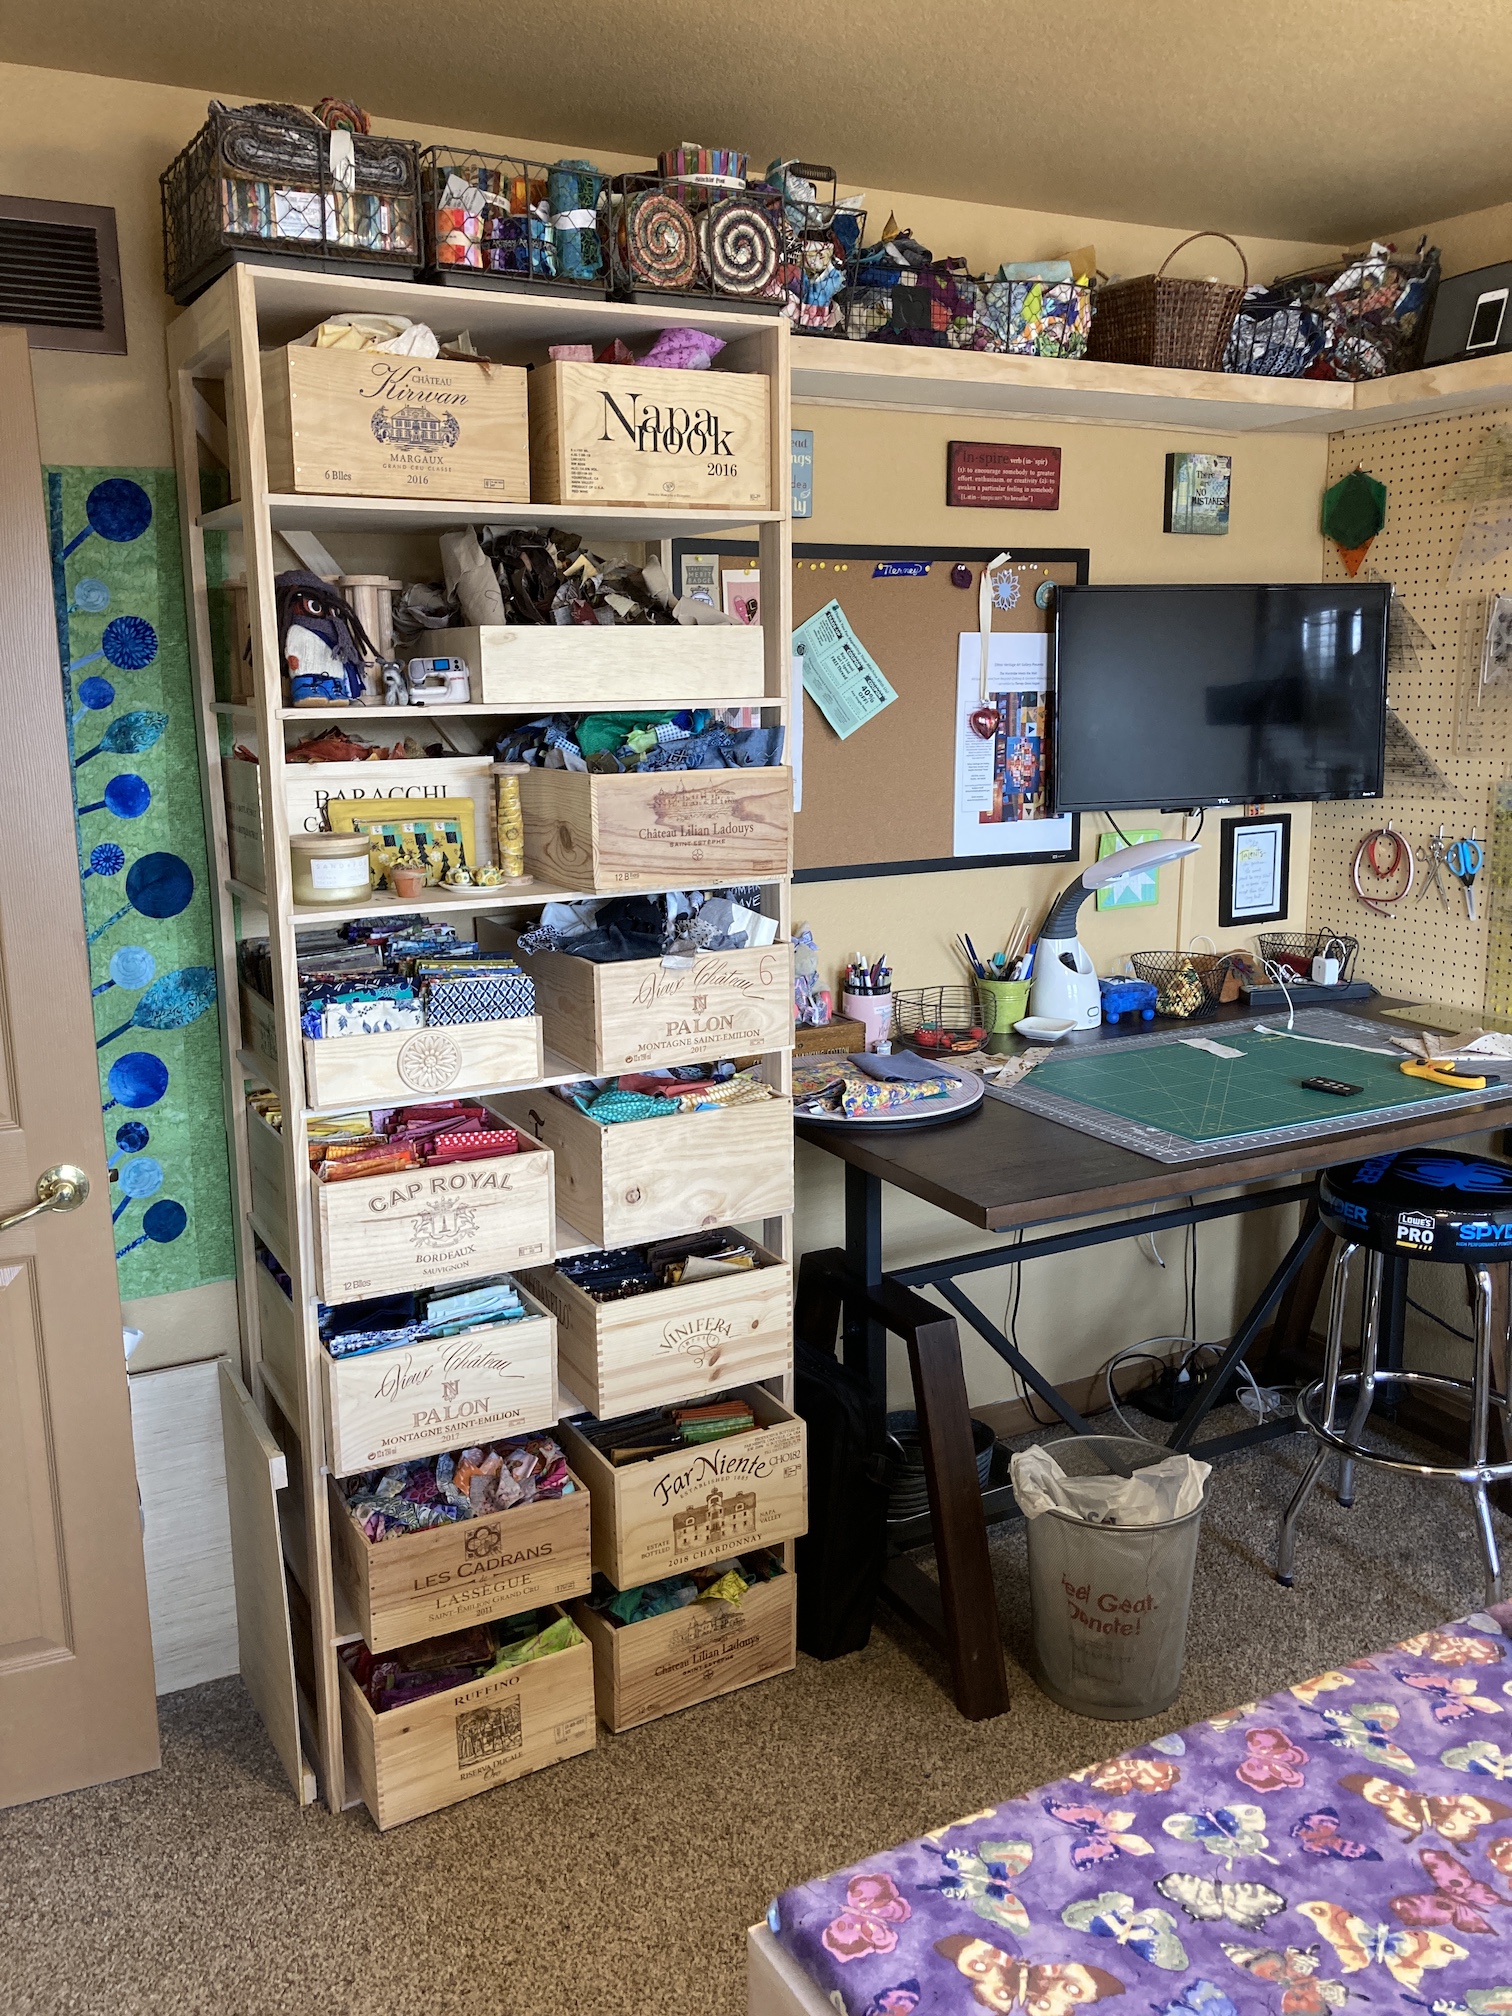
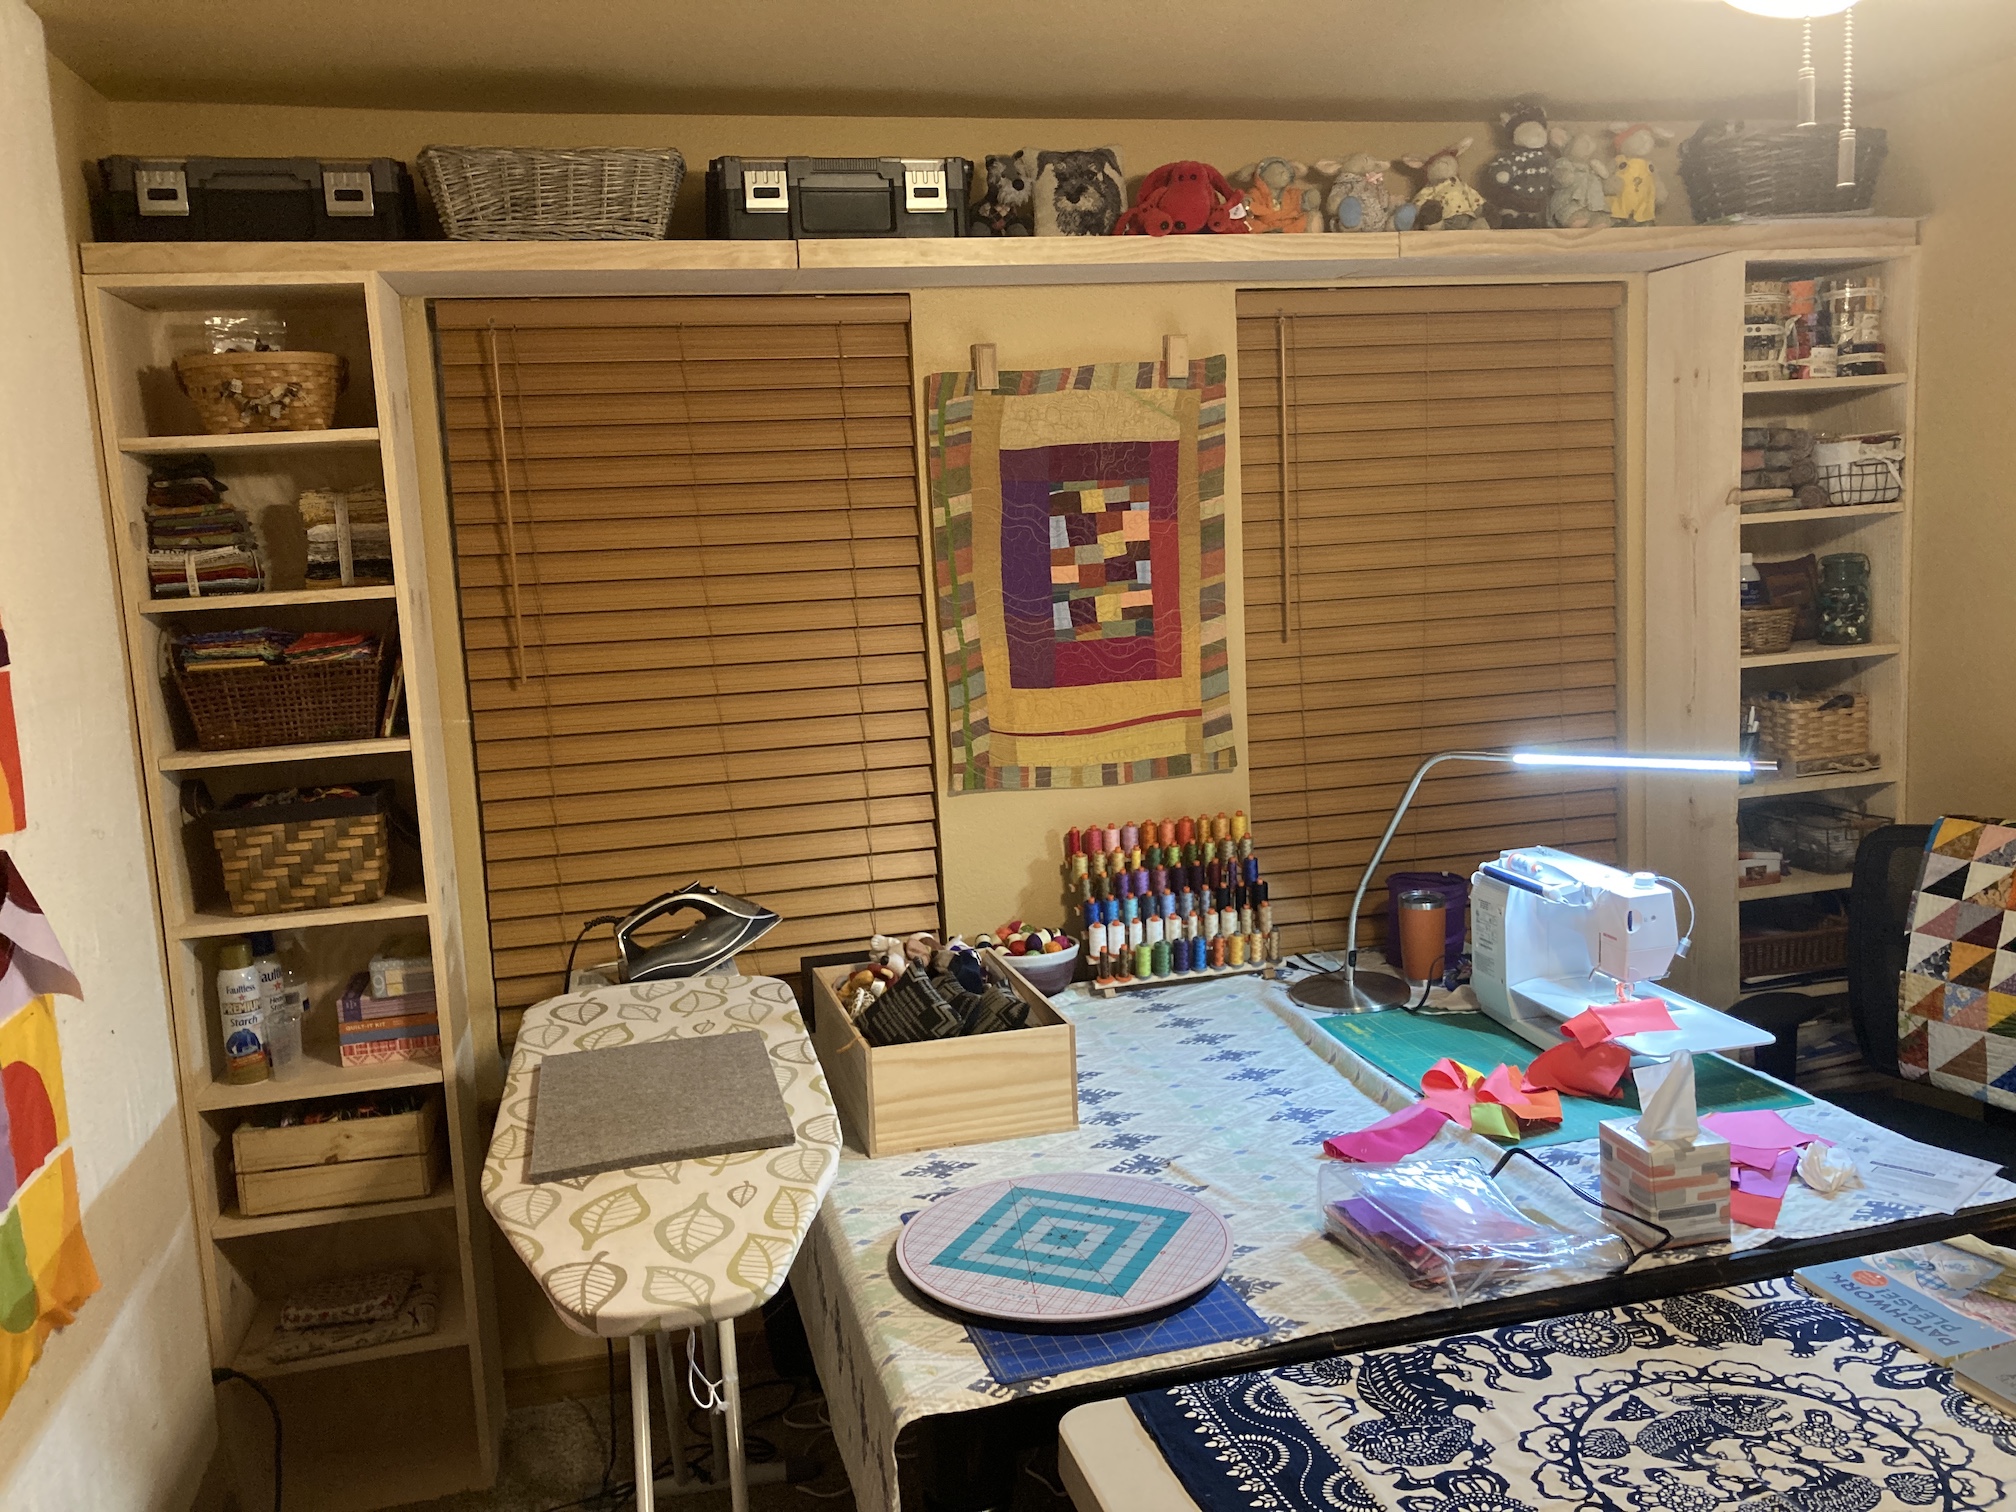
 So when they decided not to buy the new house/not to move, Tierney had to unpack her studio and in unpacking her studio, she decided to reimagine the layout.
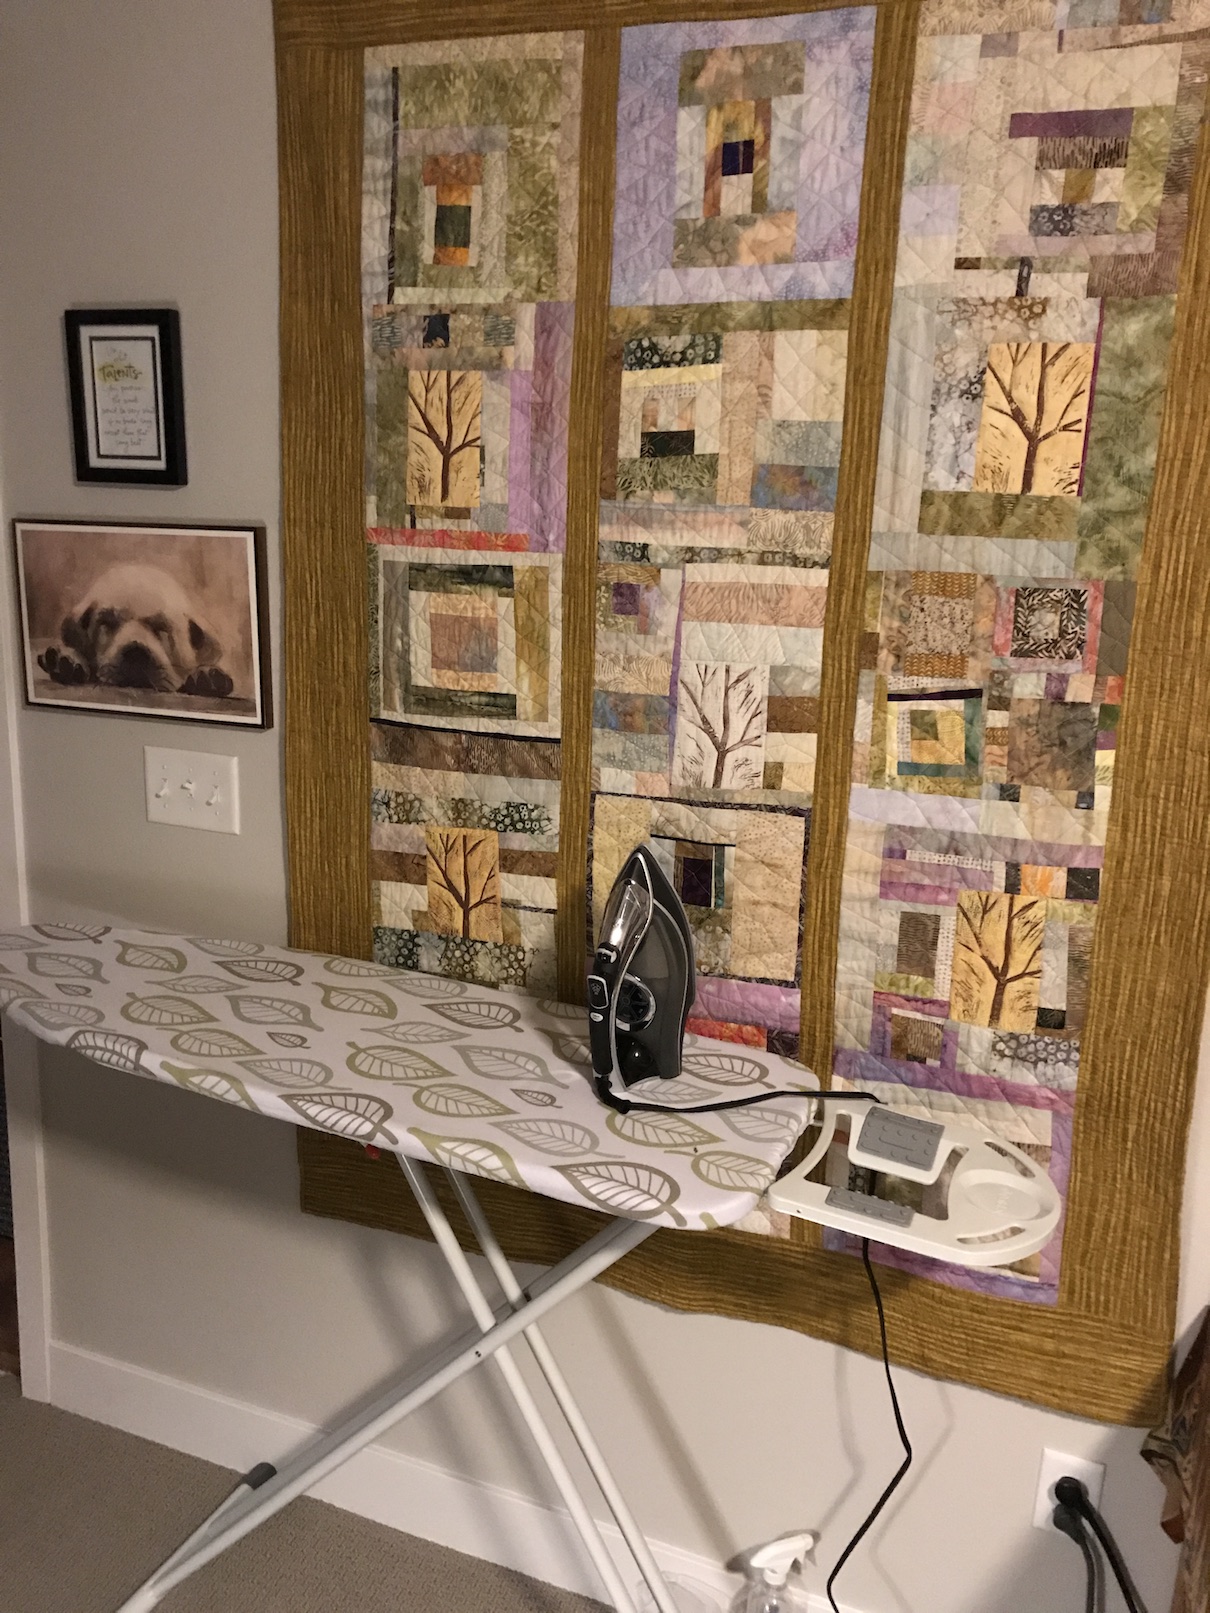
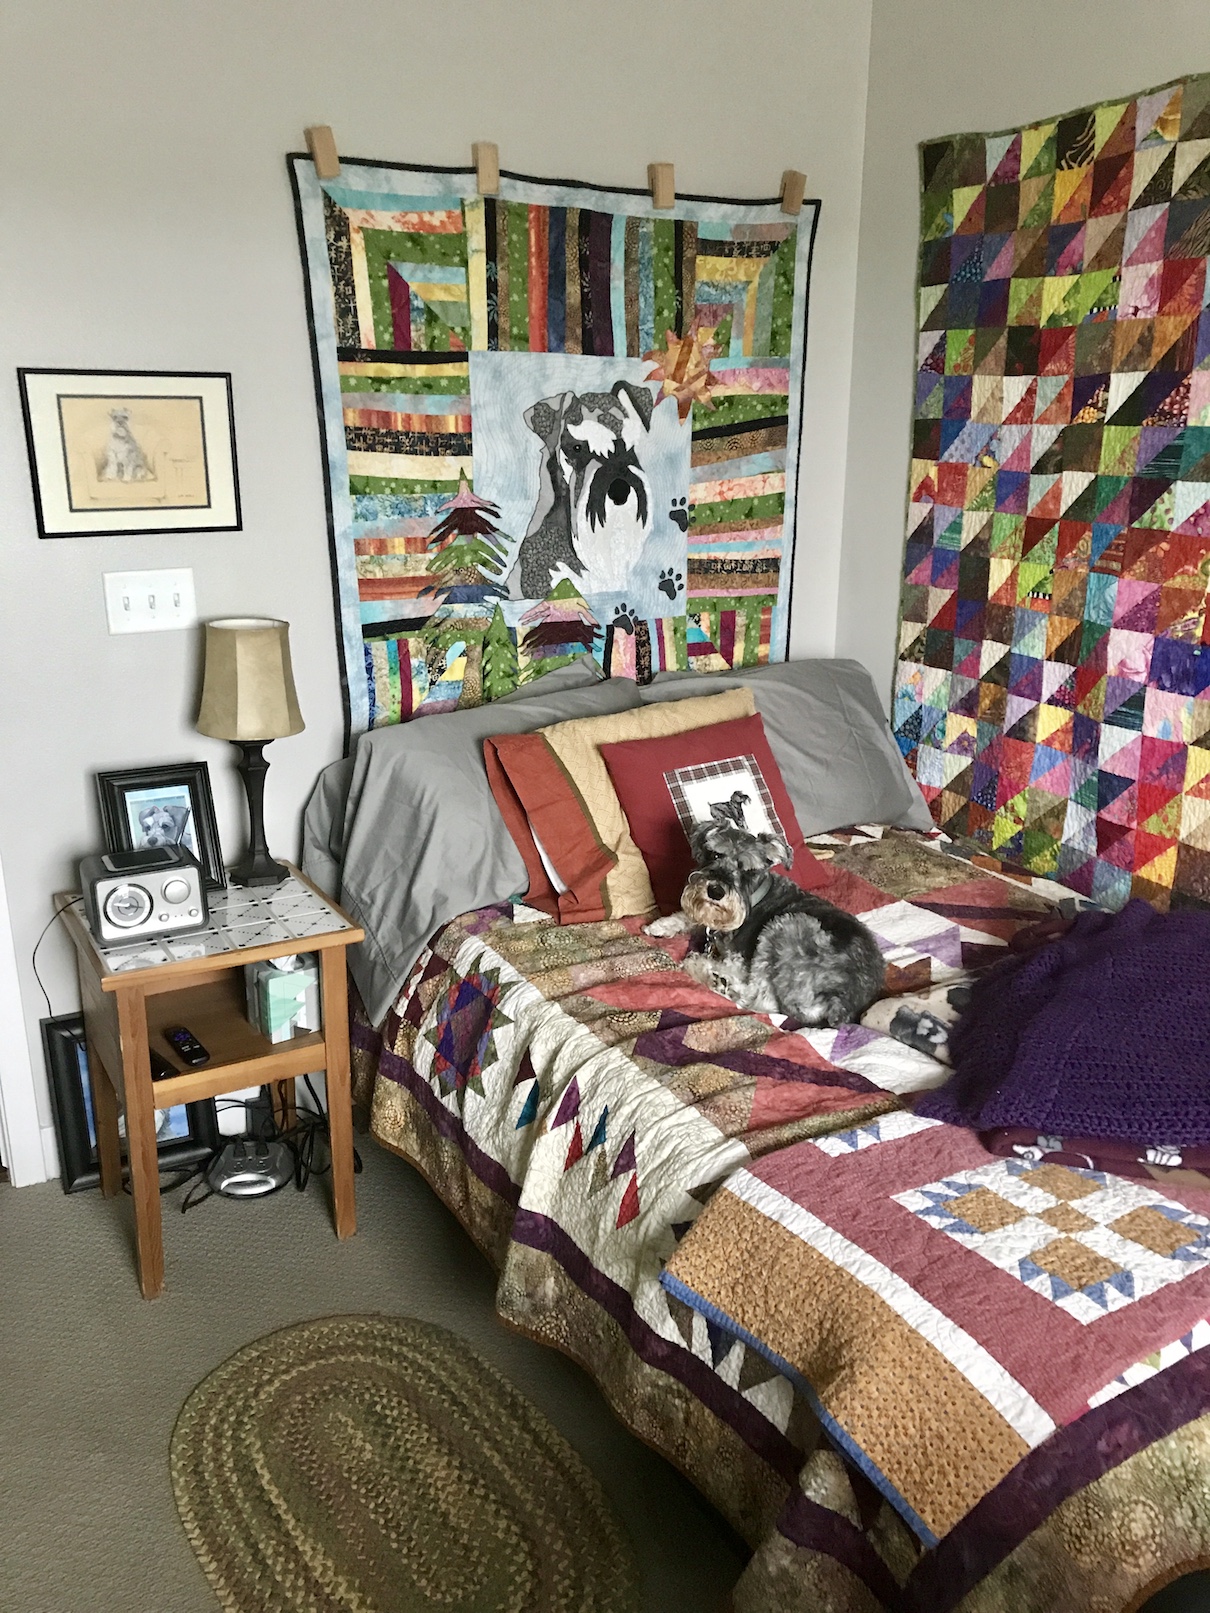
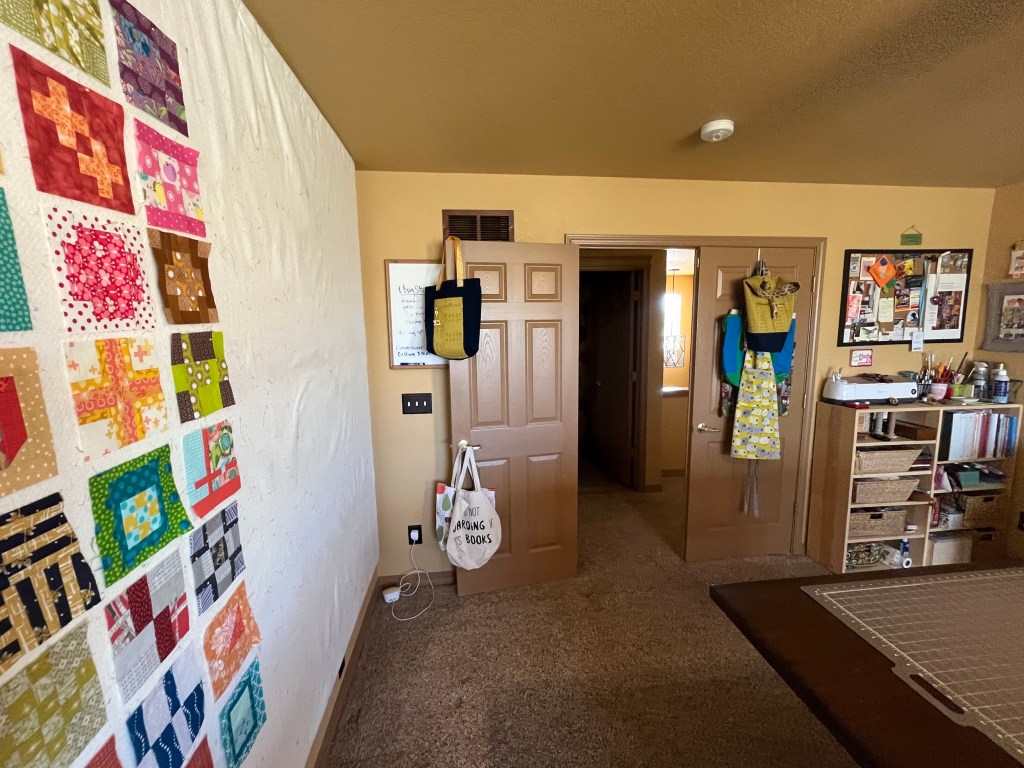
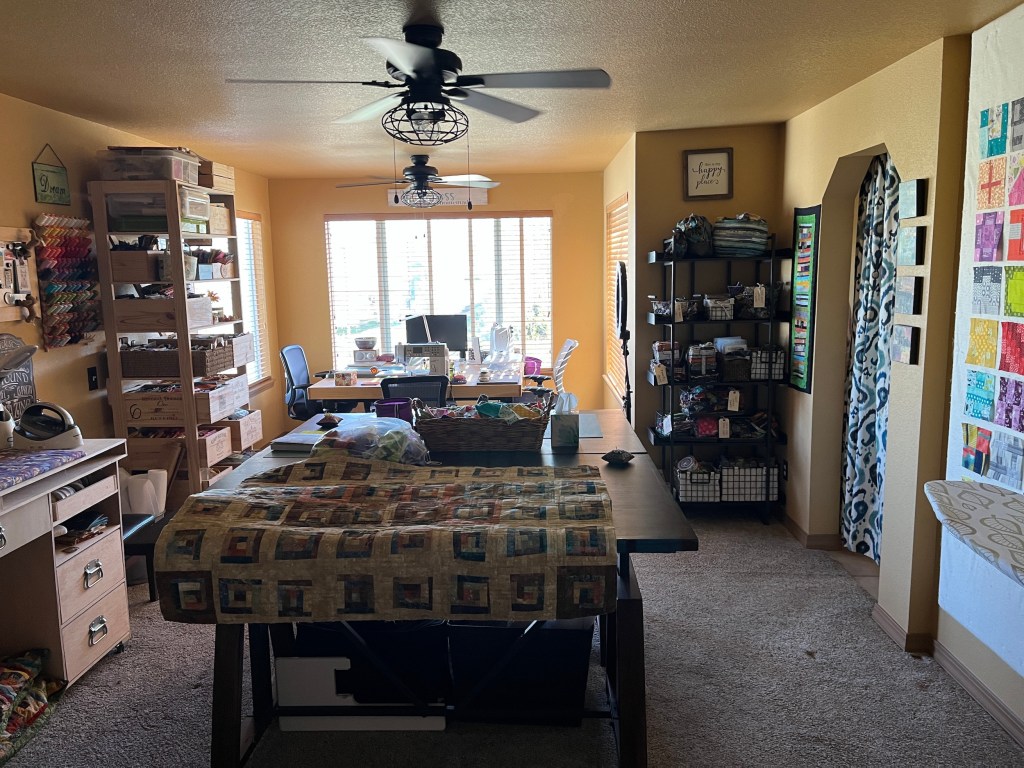
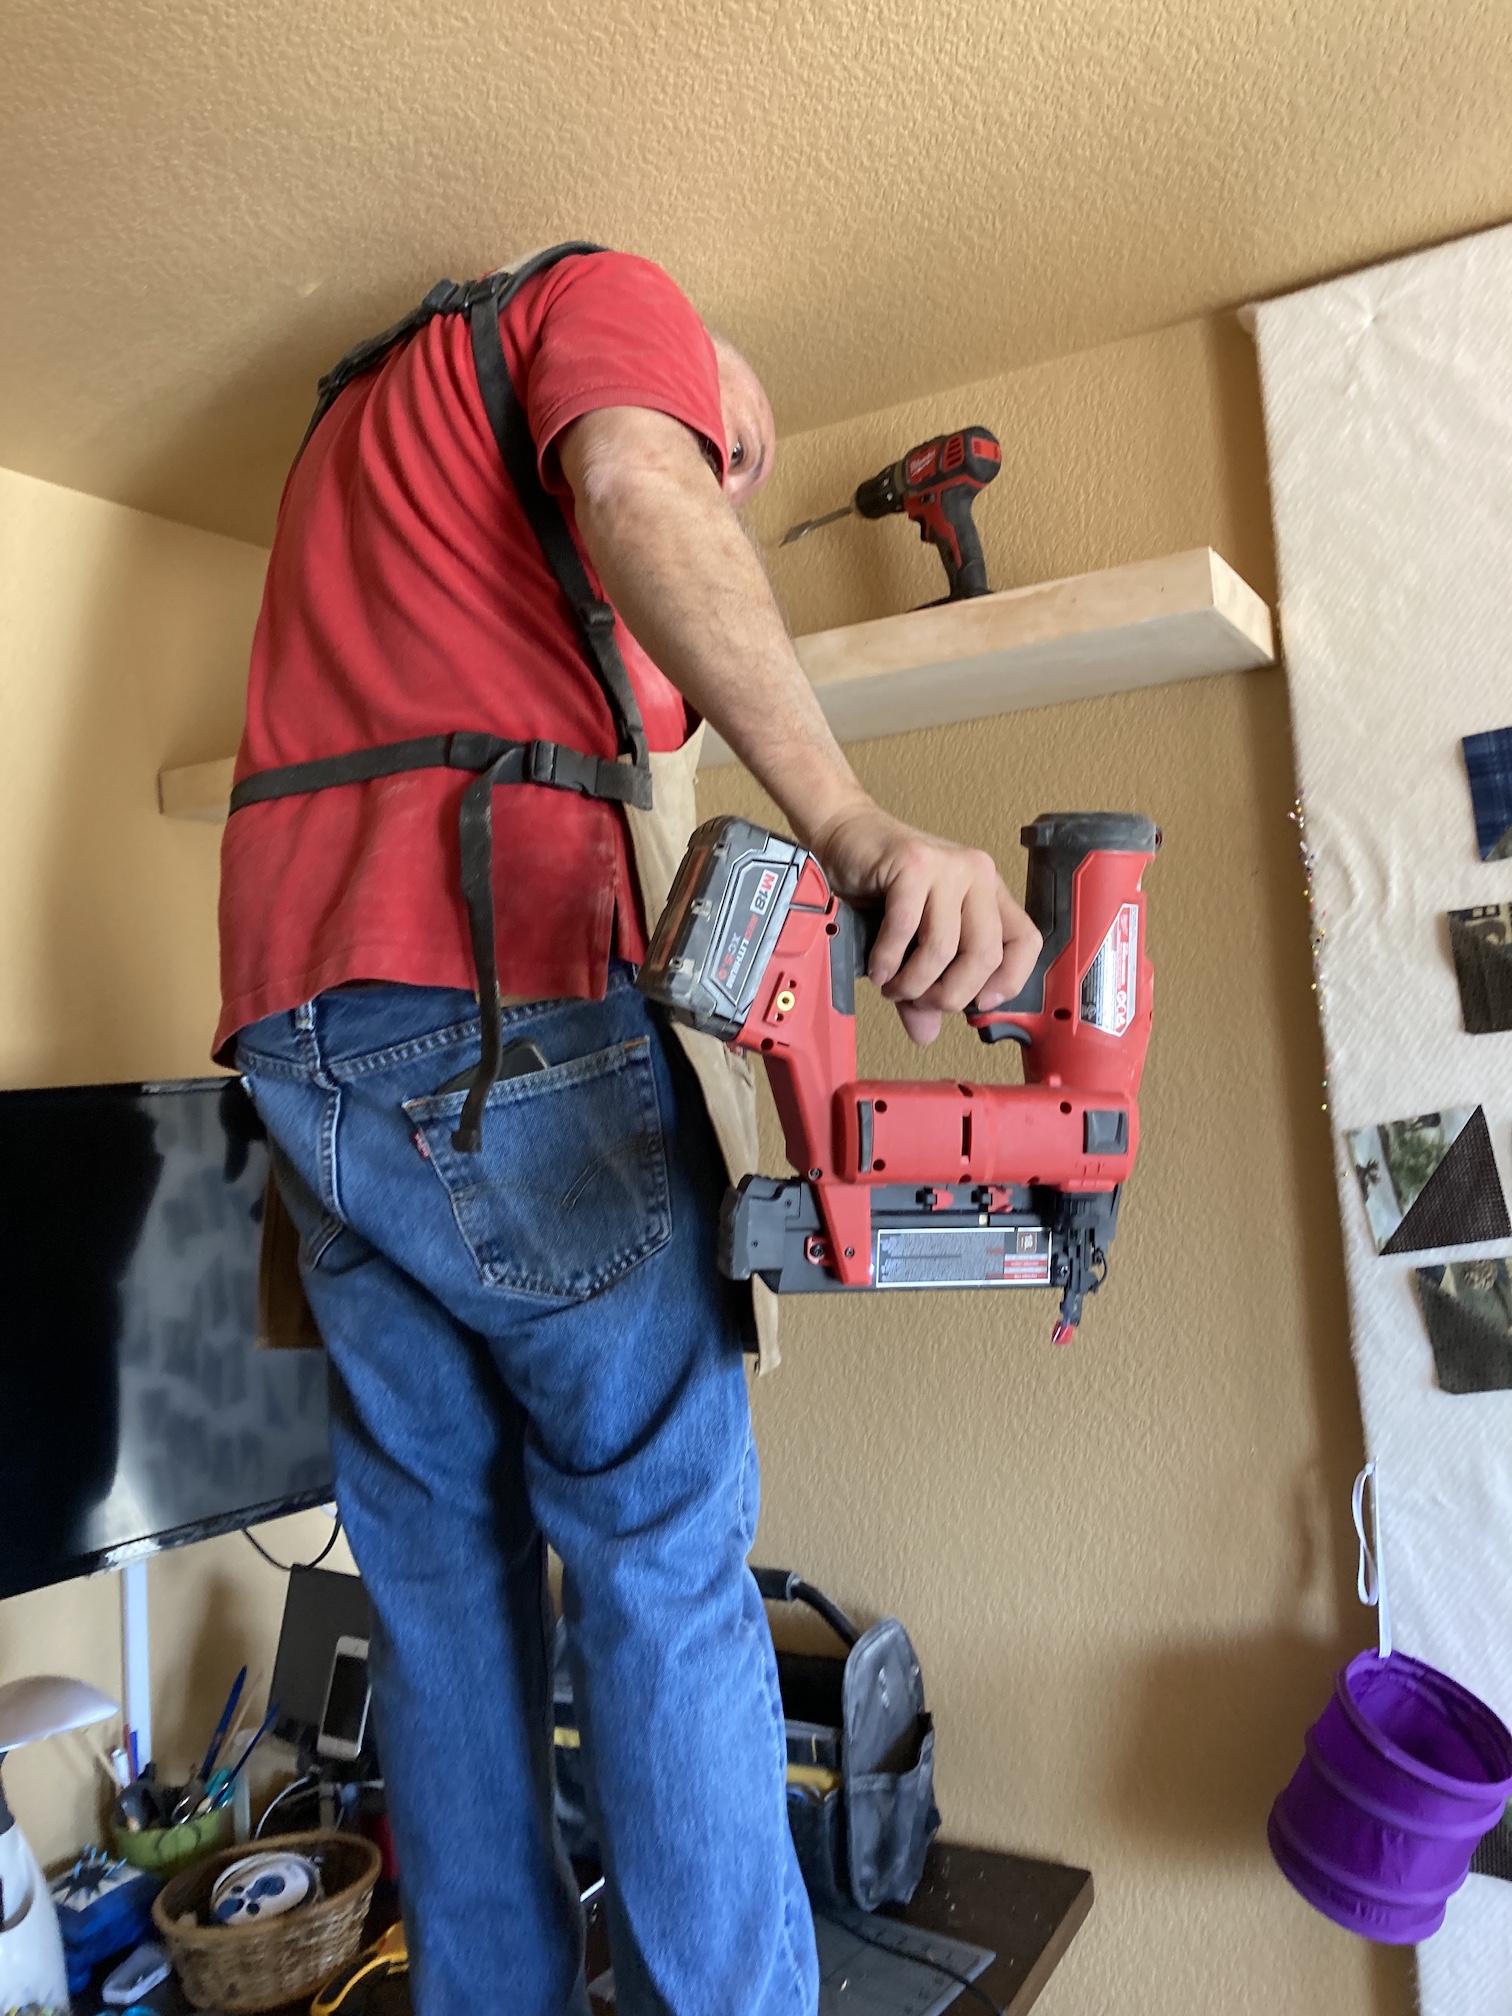
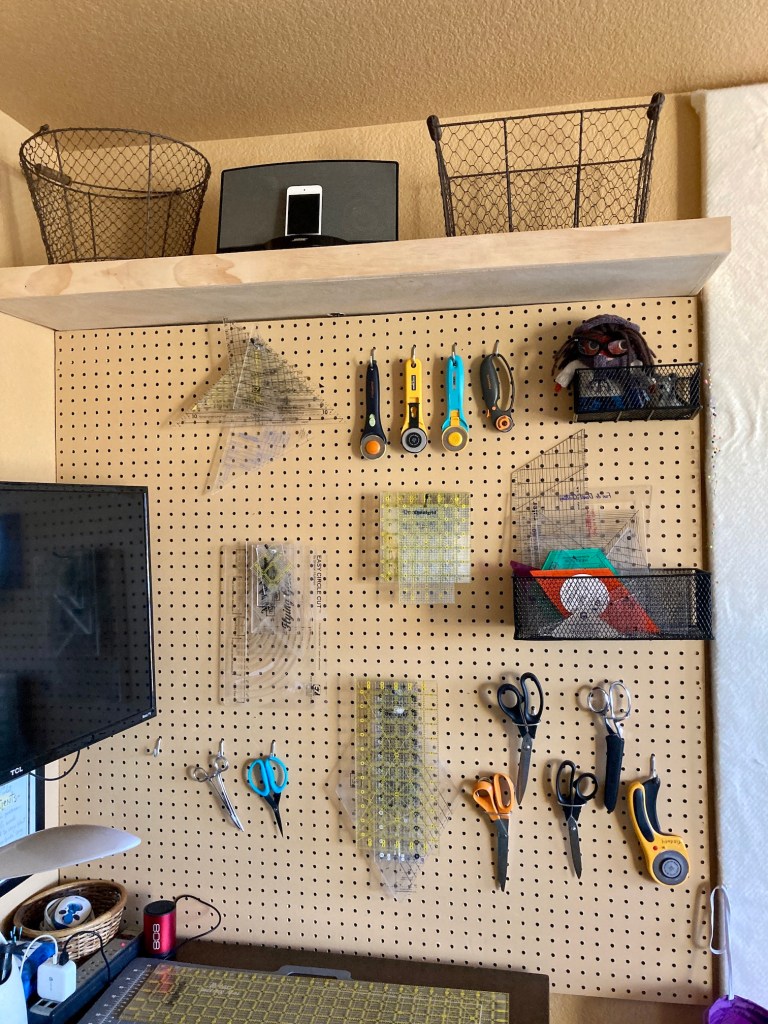
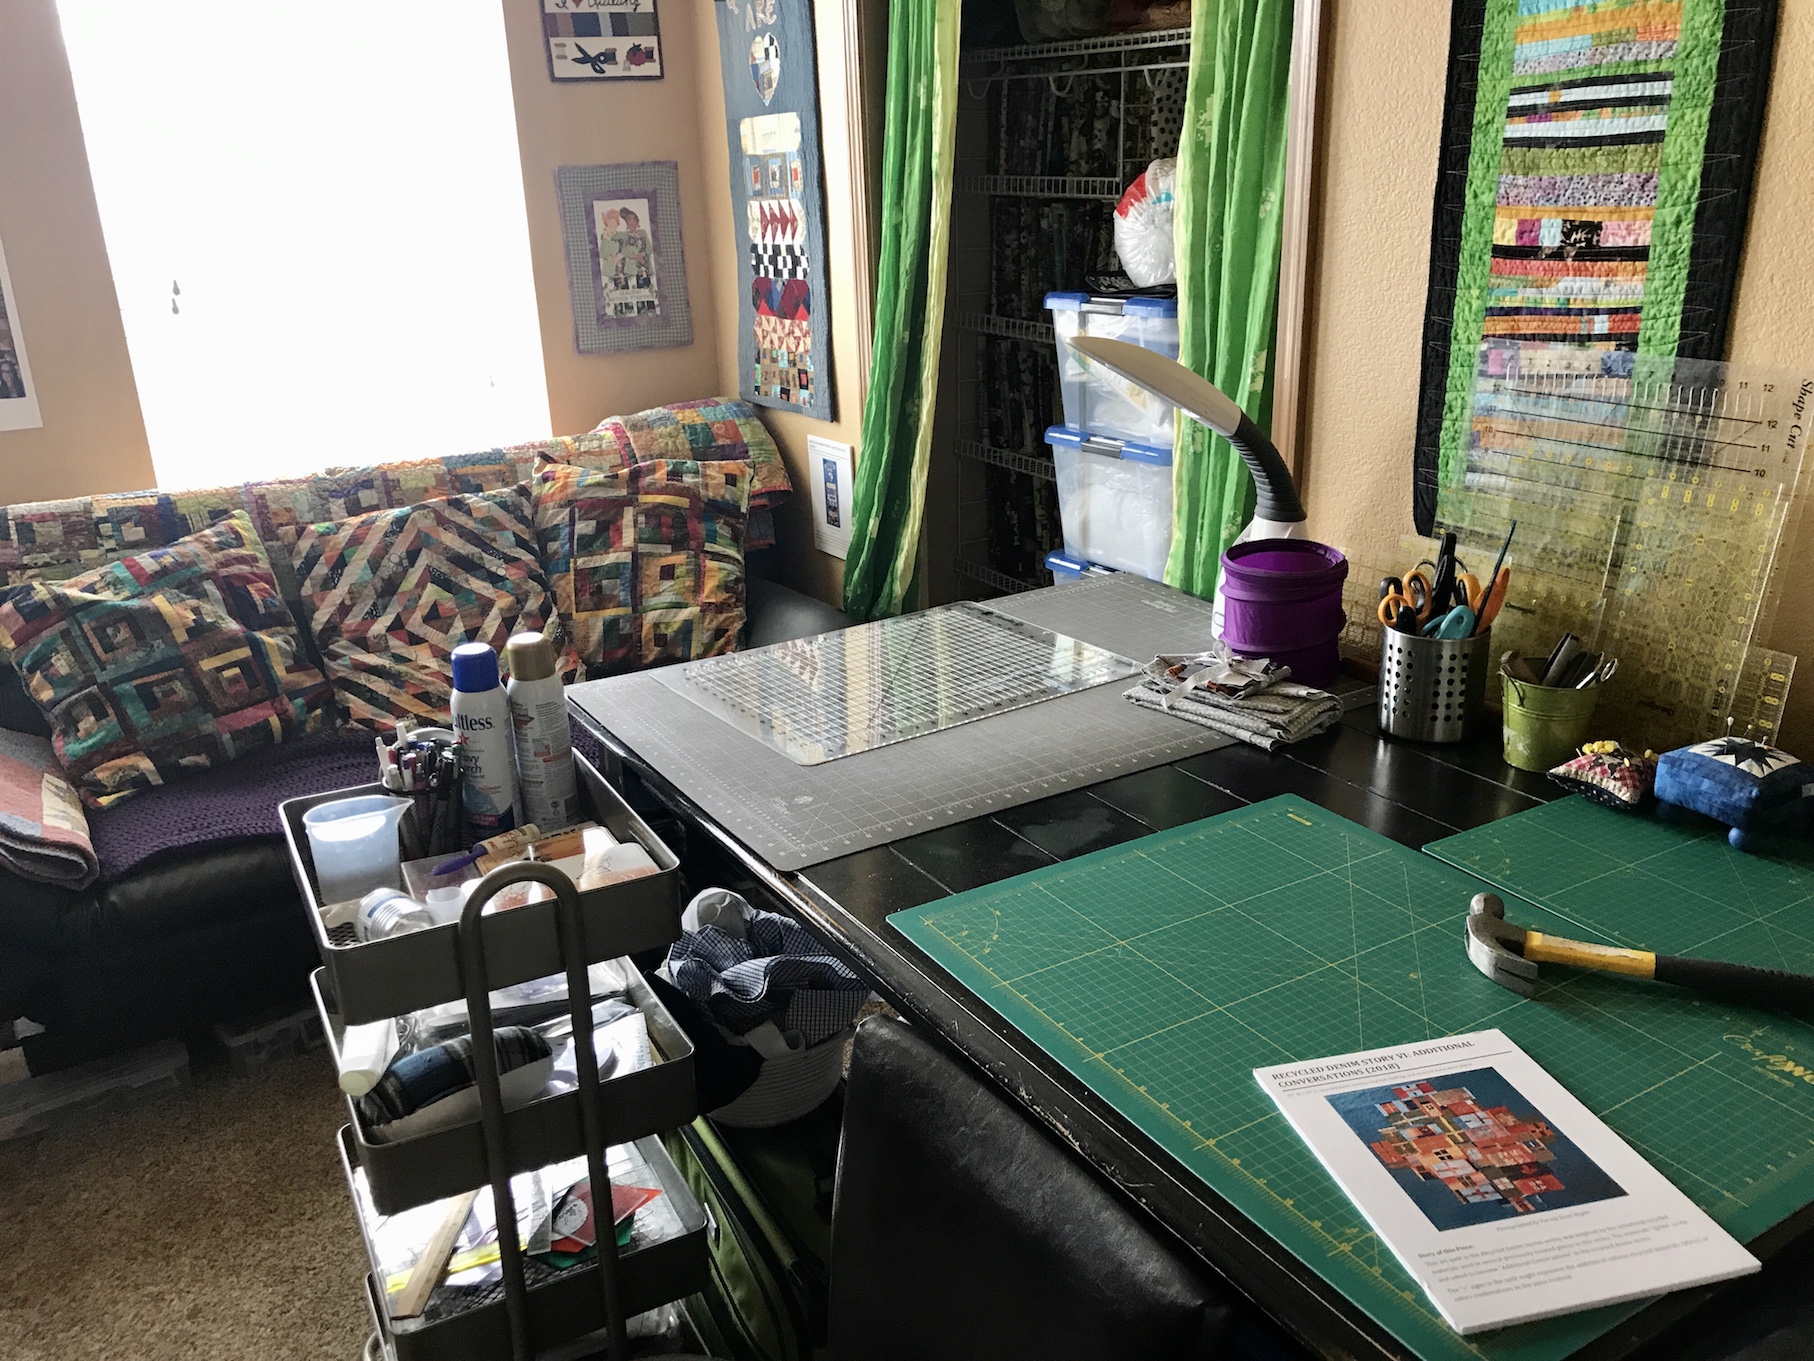
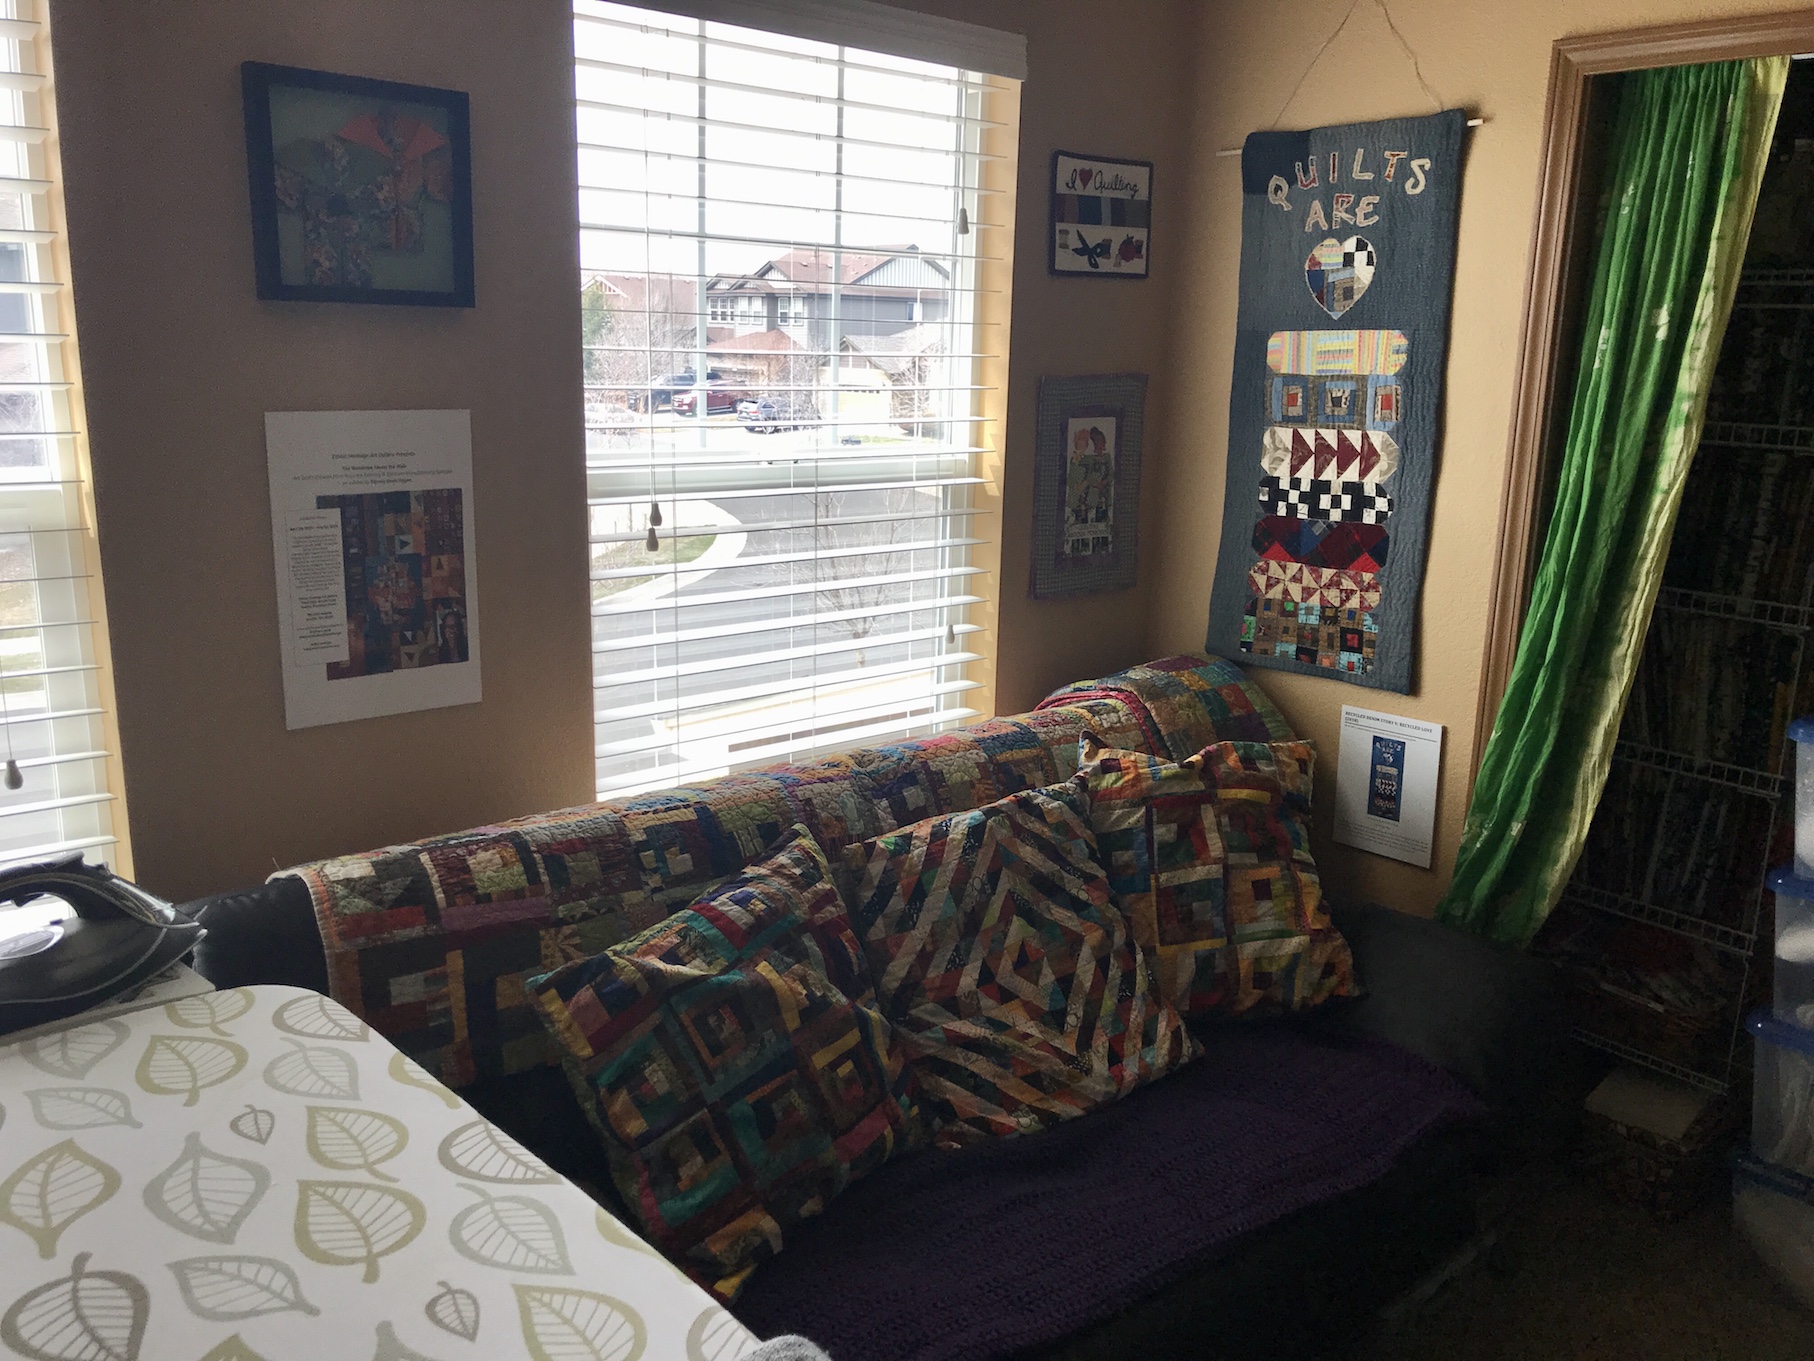
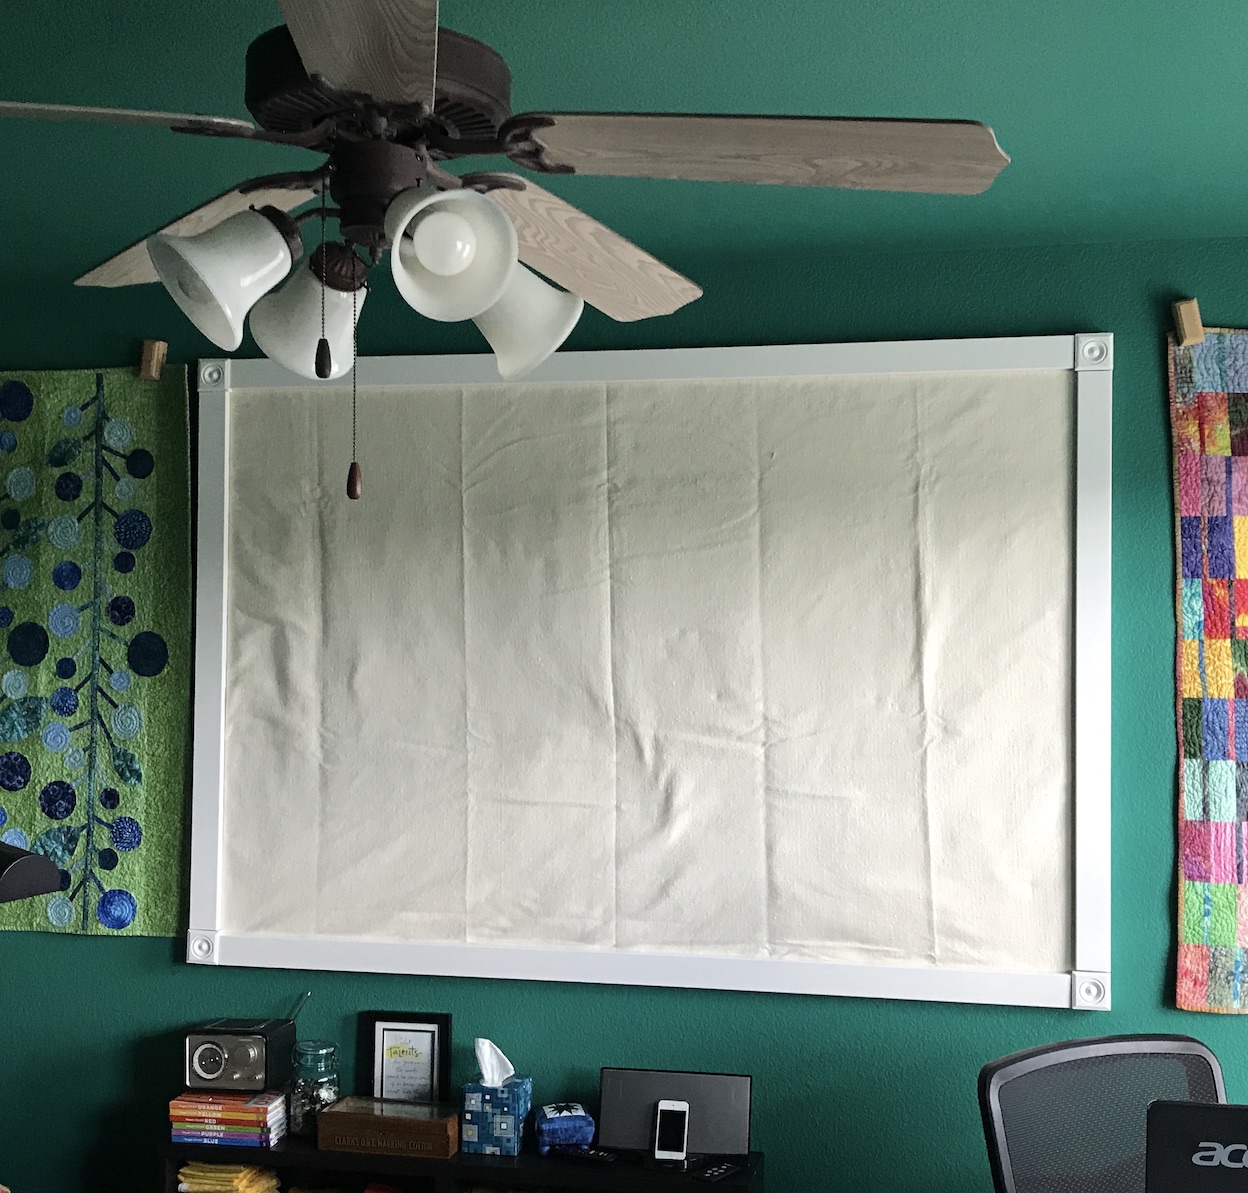
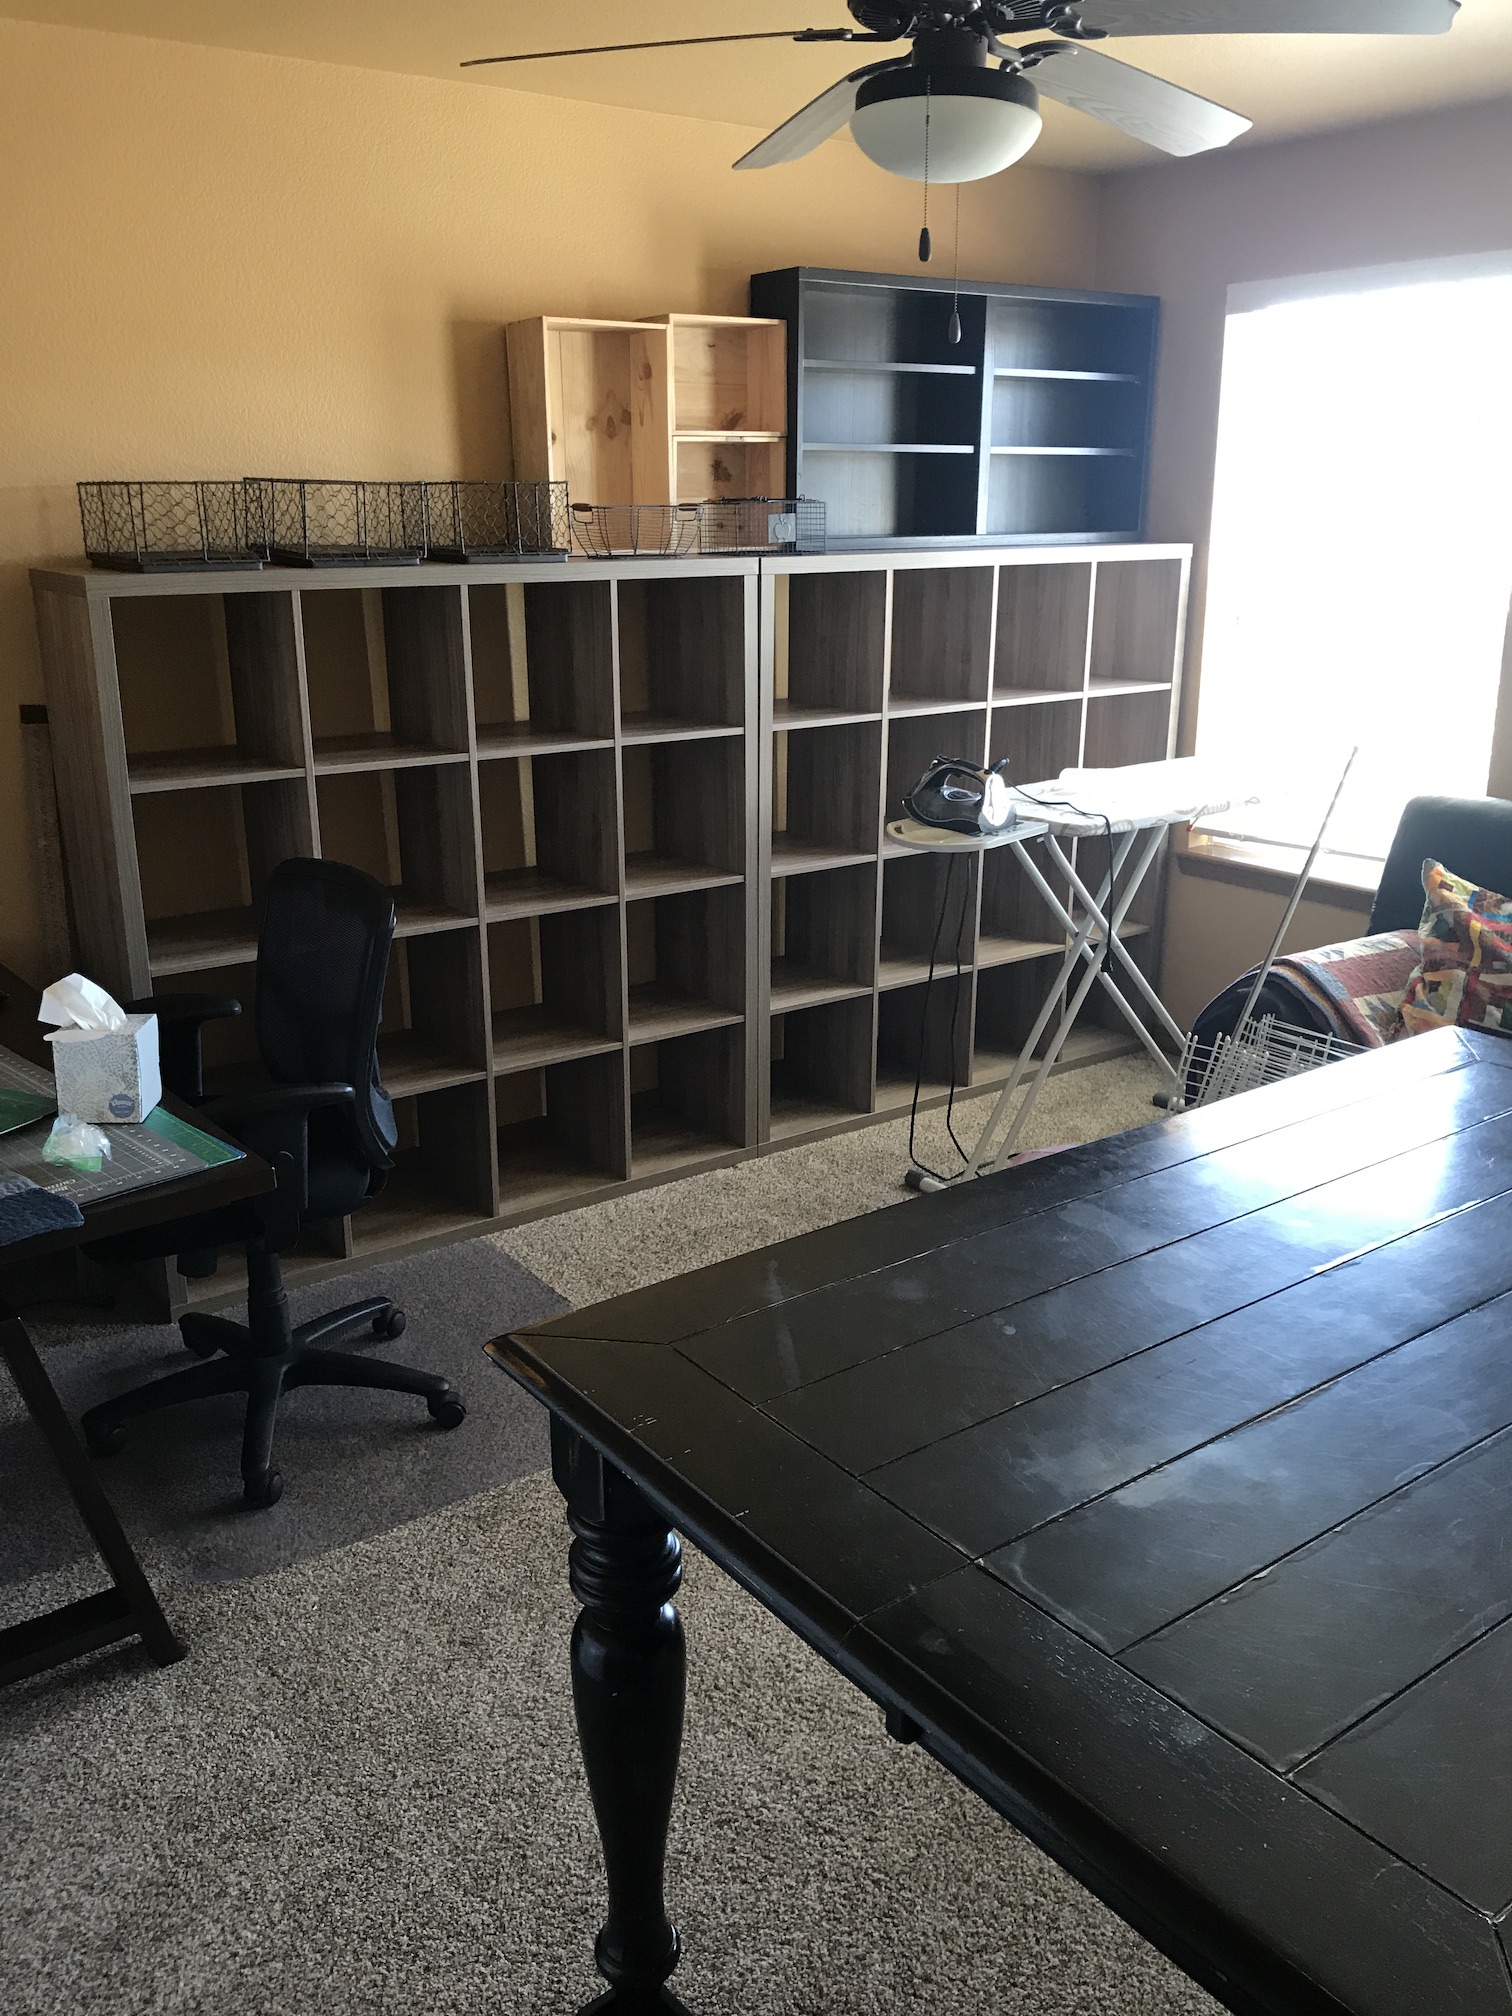 Over the next several days she unpacked her boxes (which seemed like they would never end), hung up some art and quilts on the studio wall and found a place for the large design wall her partner John built her.
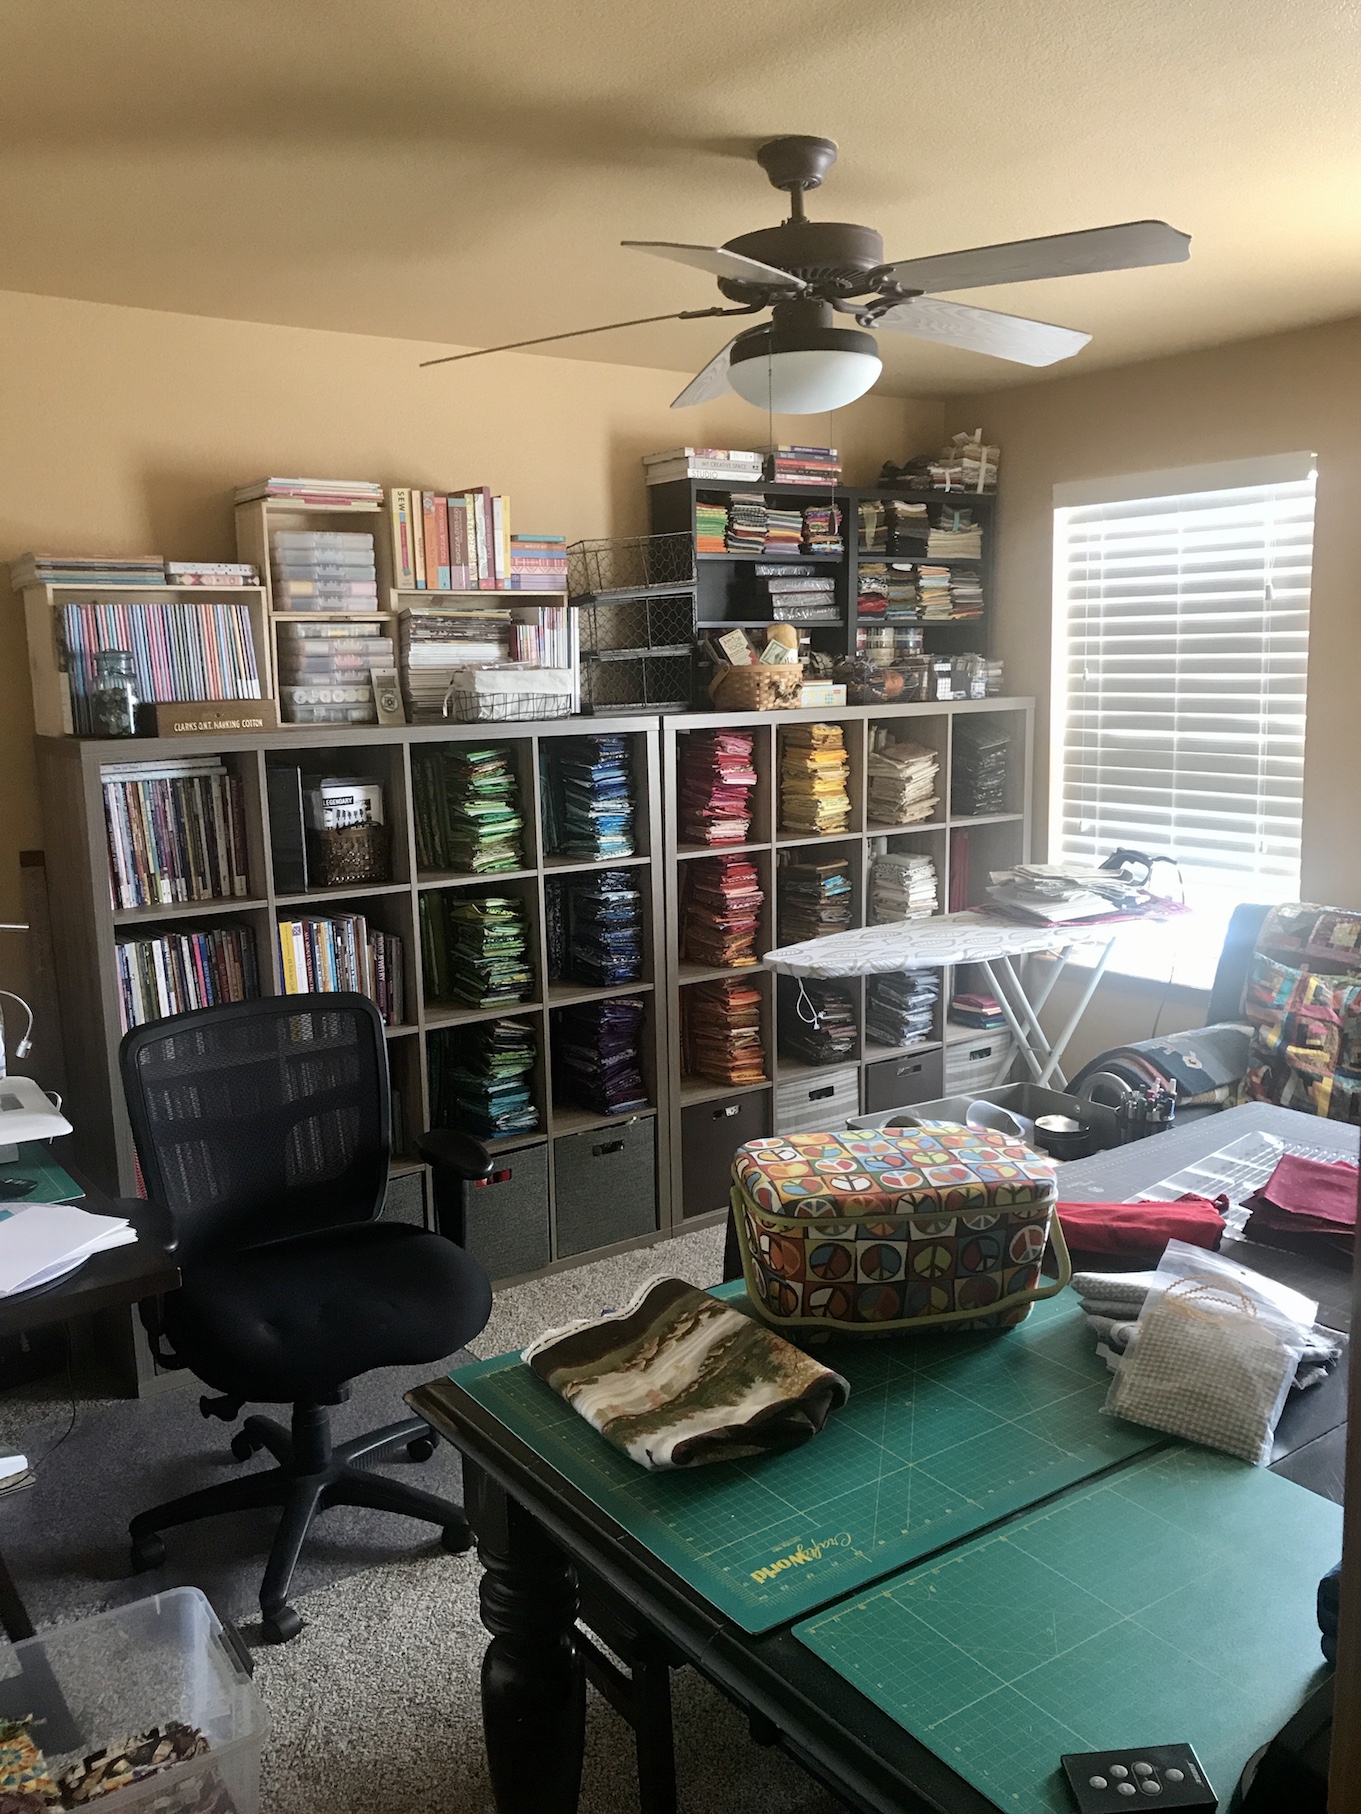
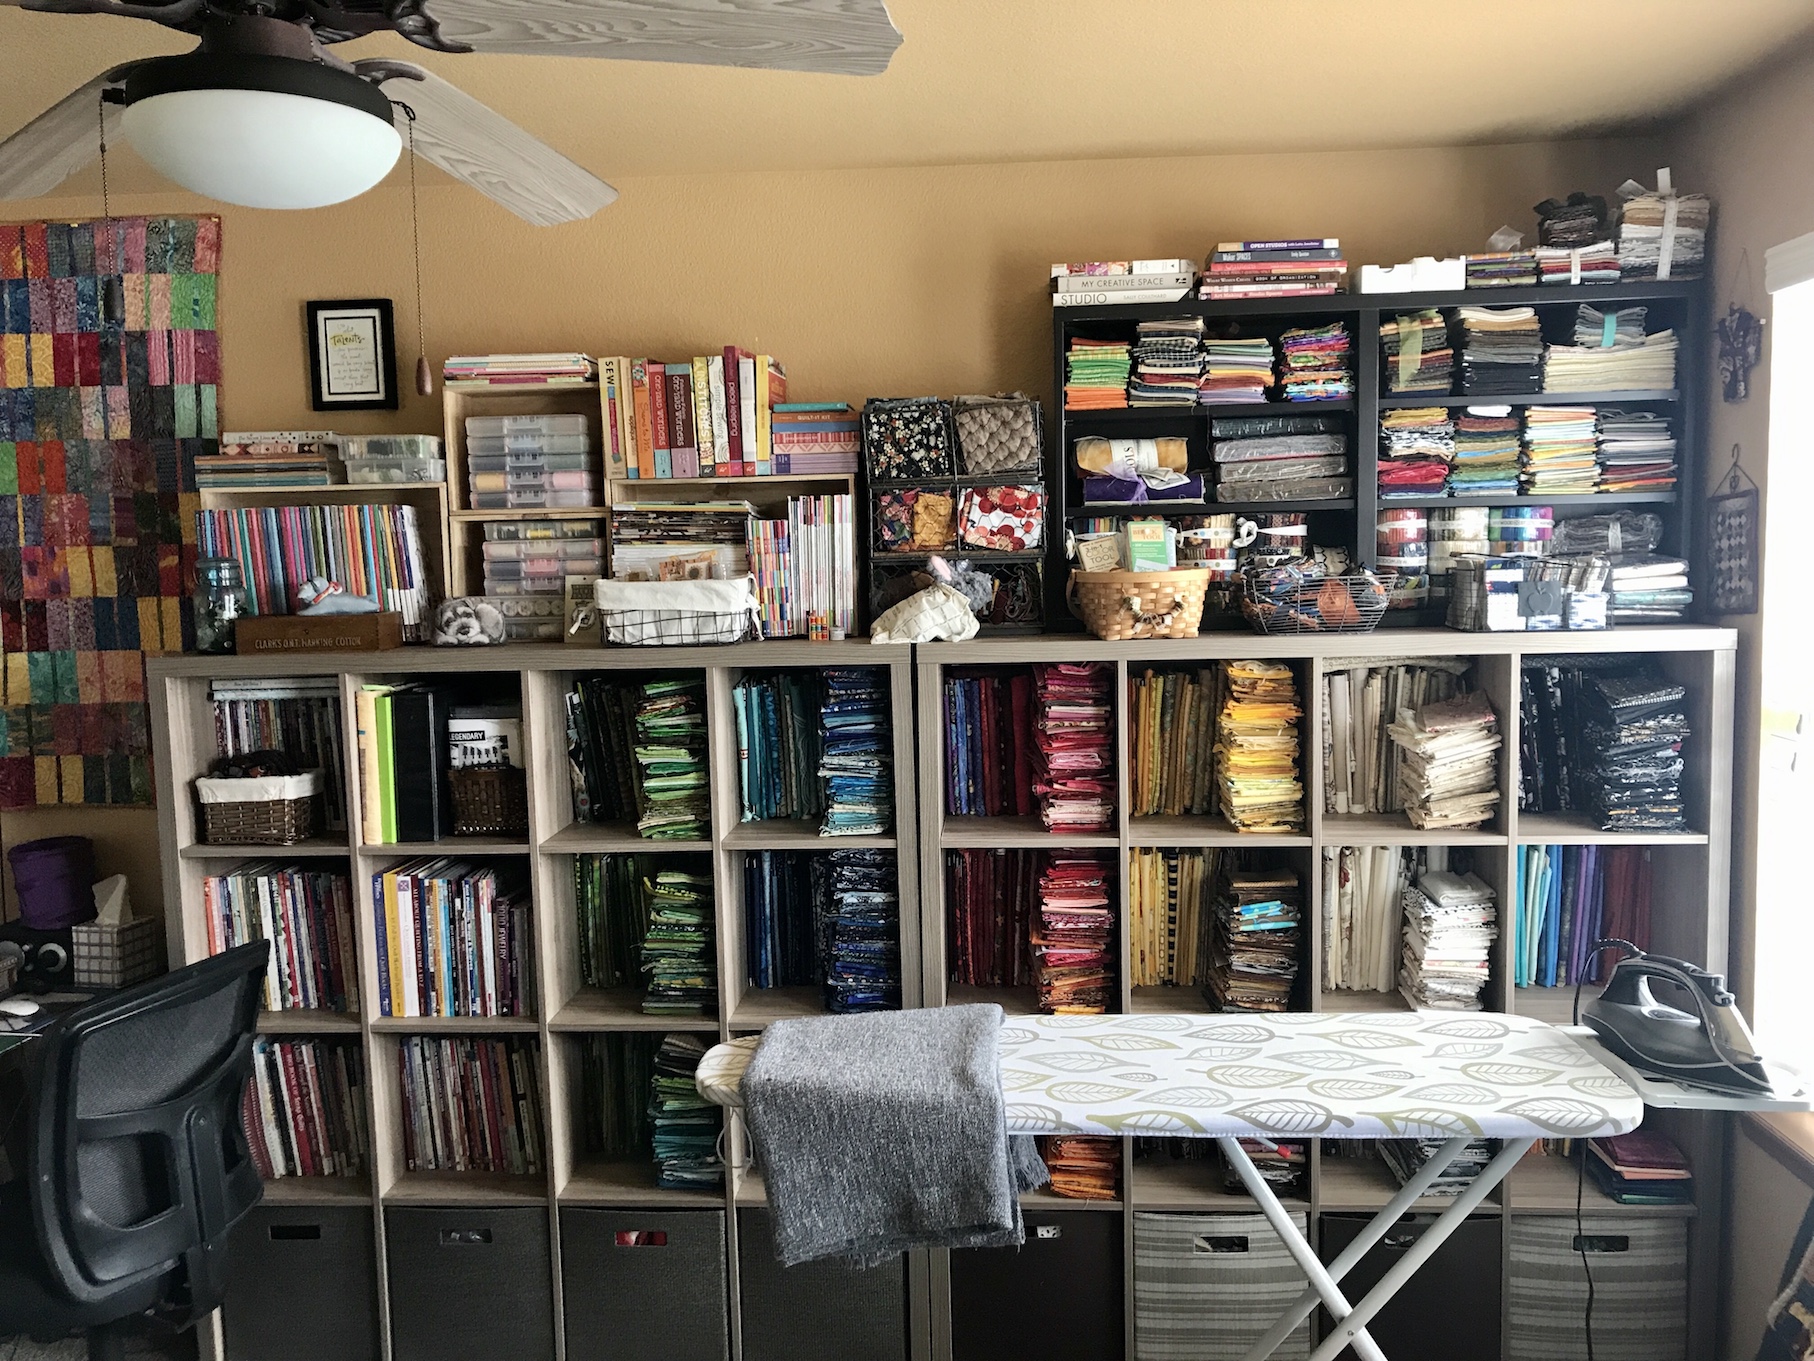
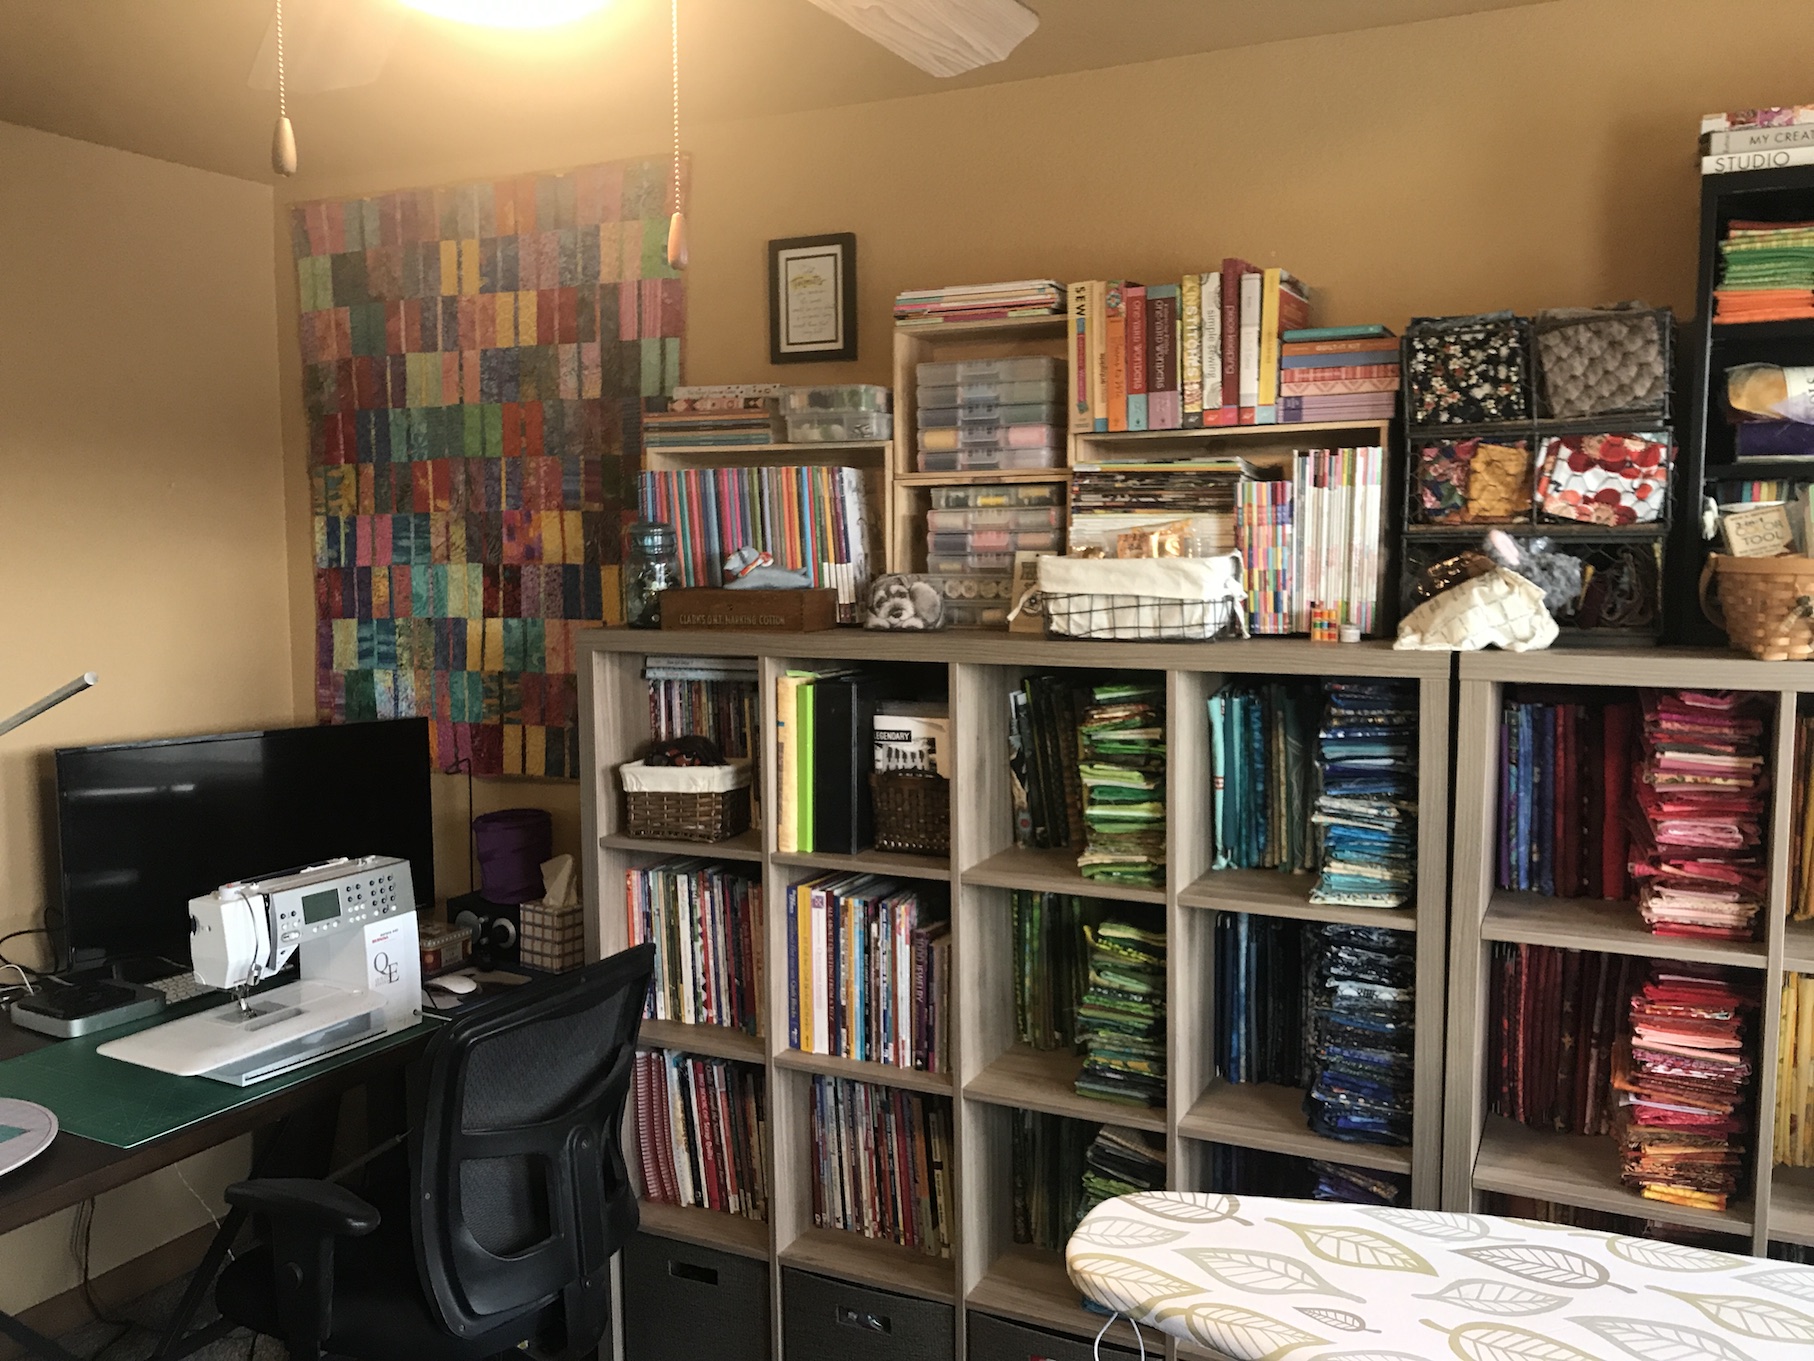
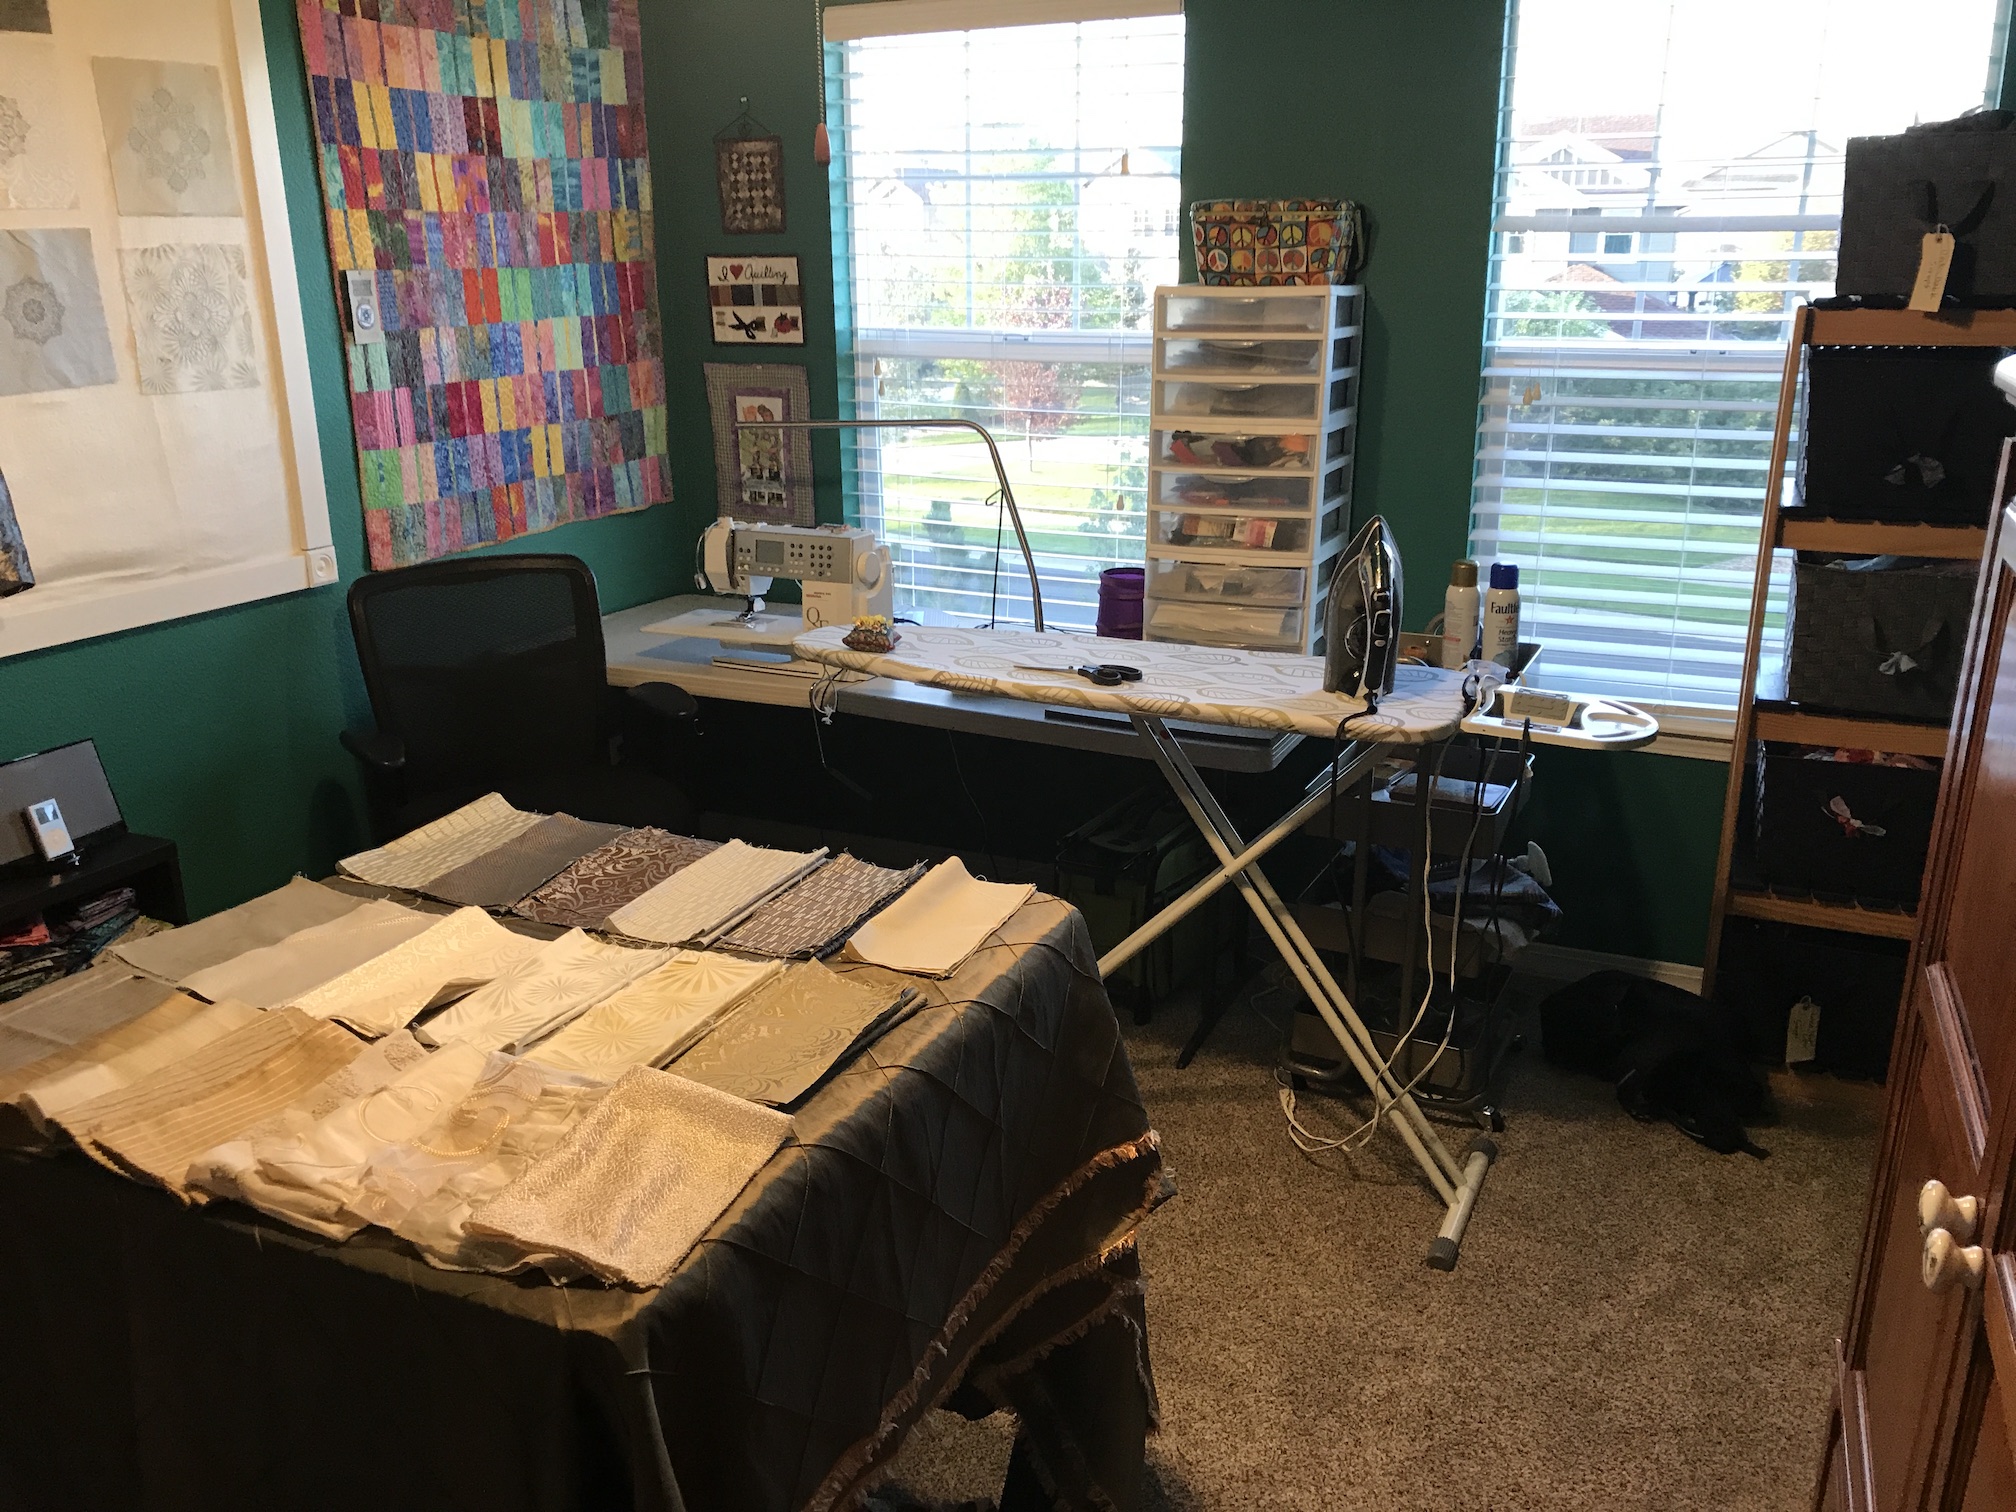
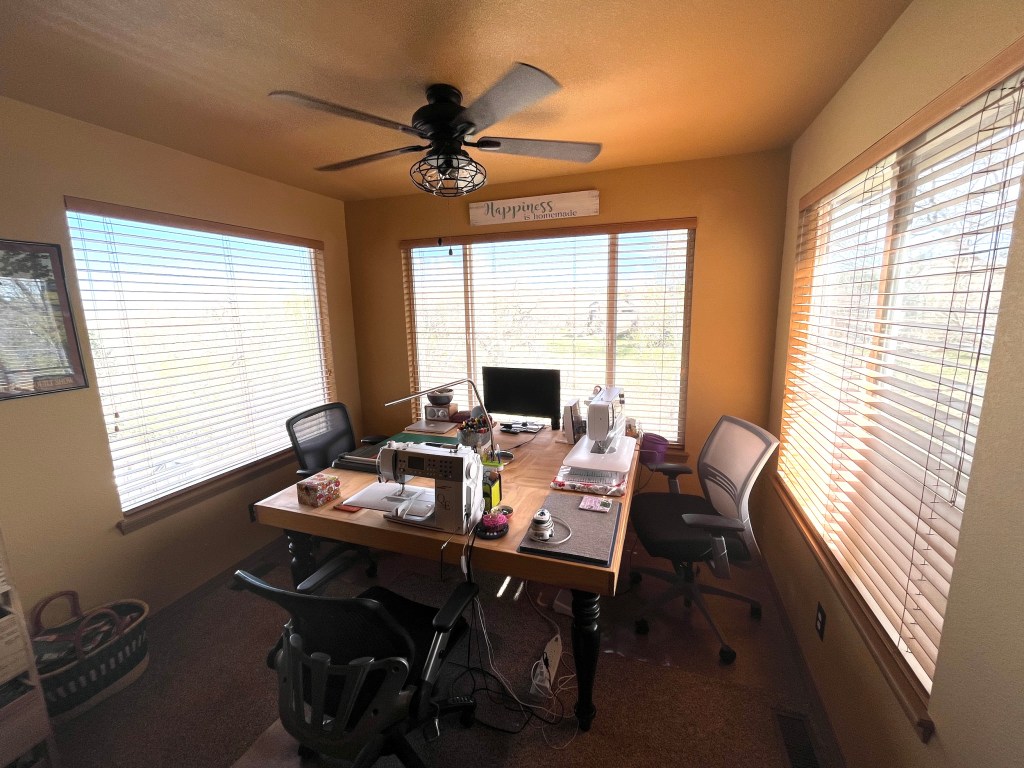
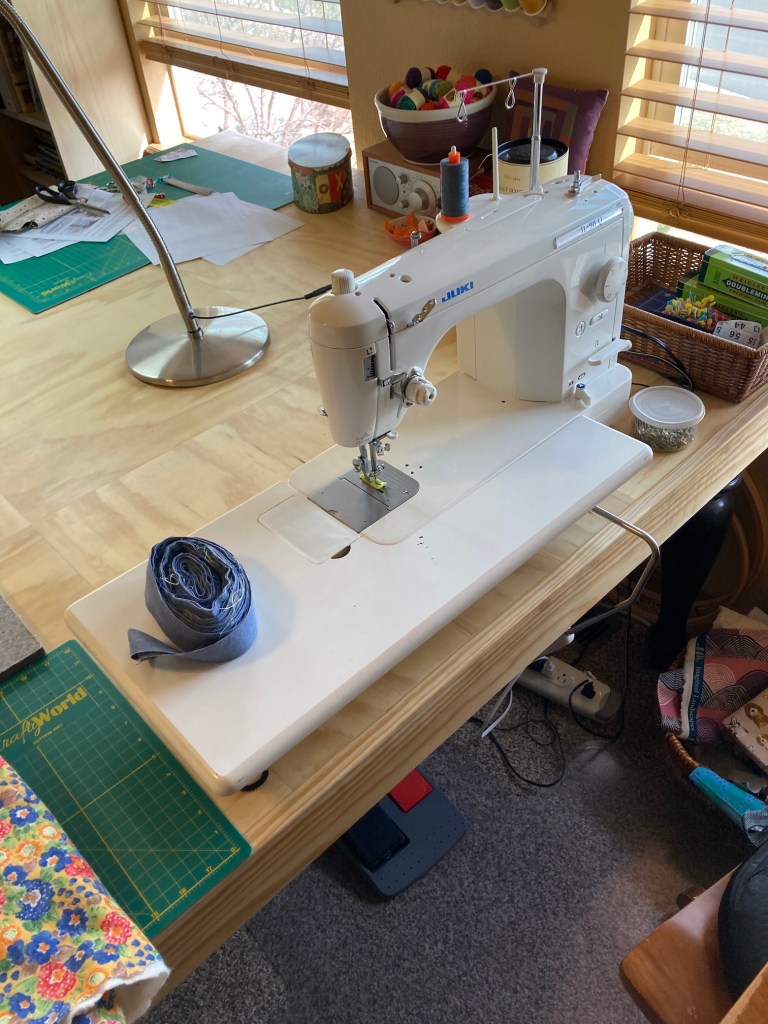
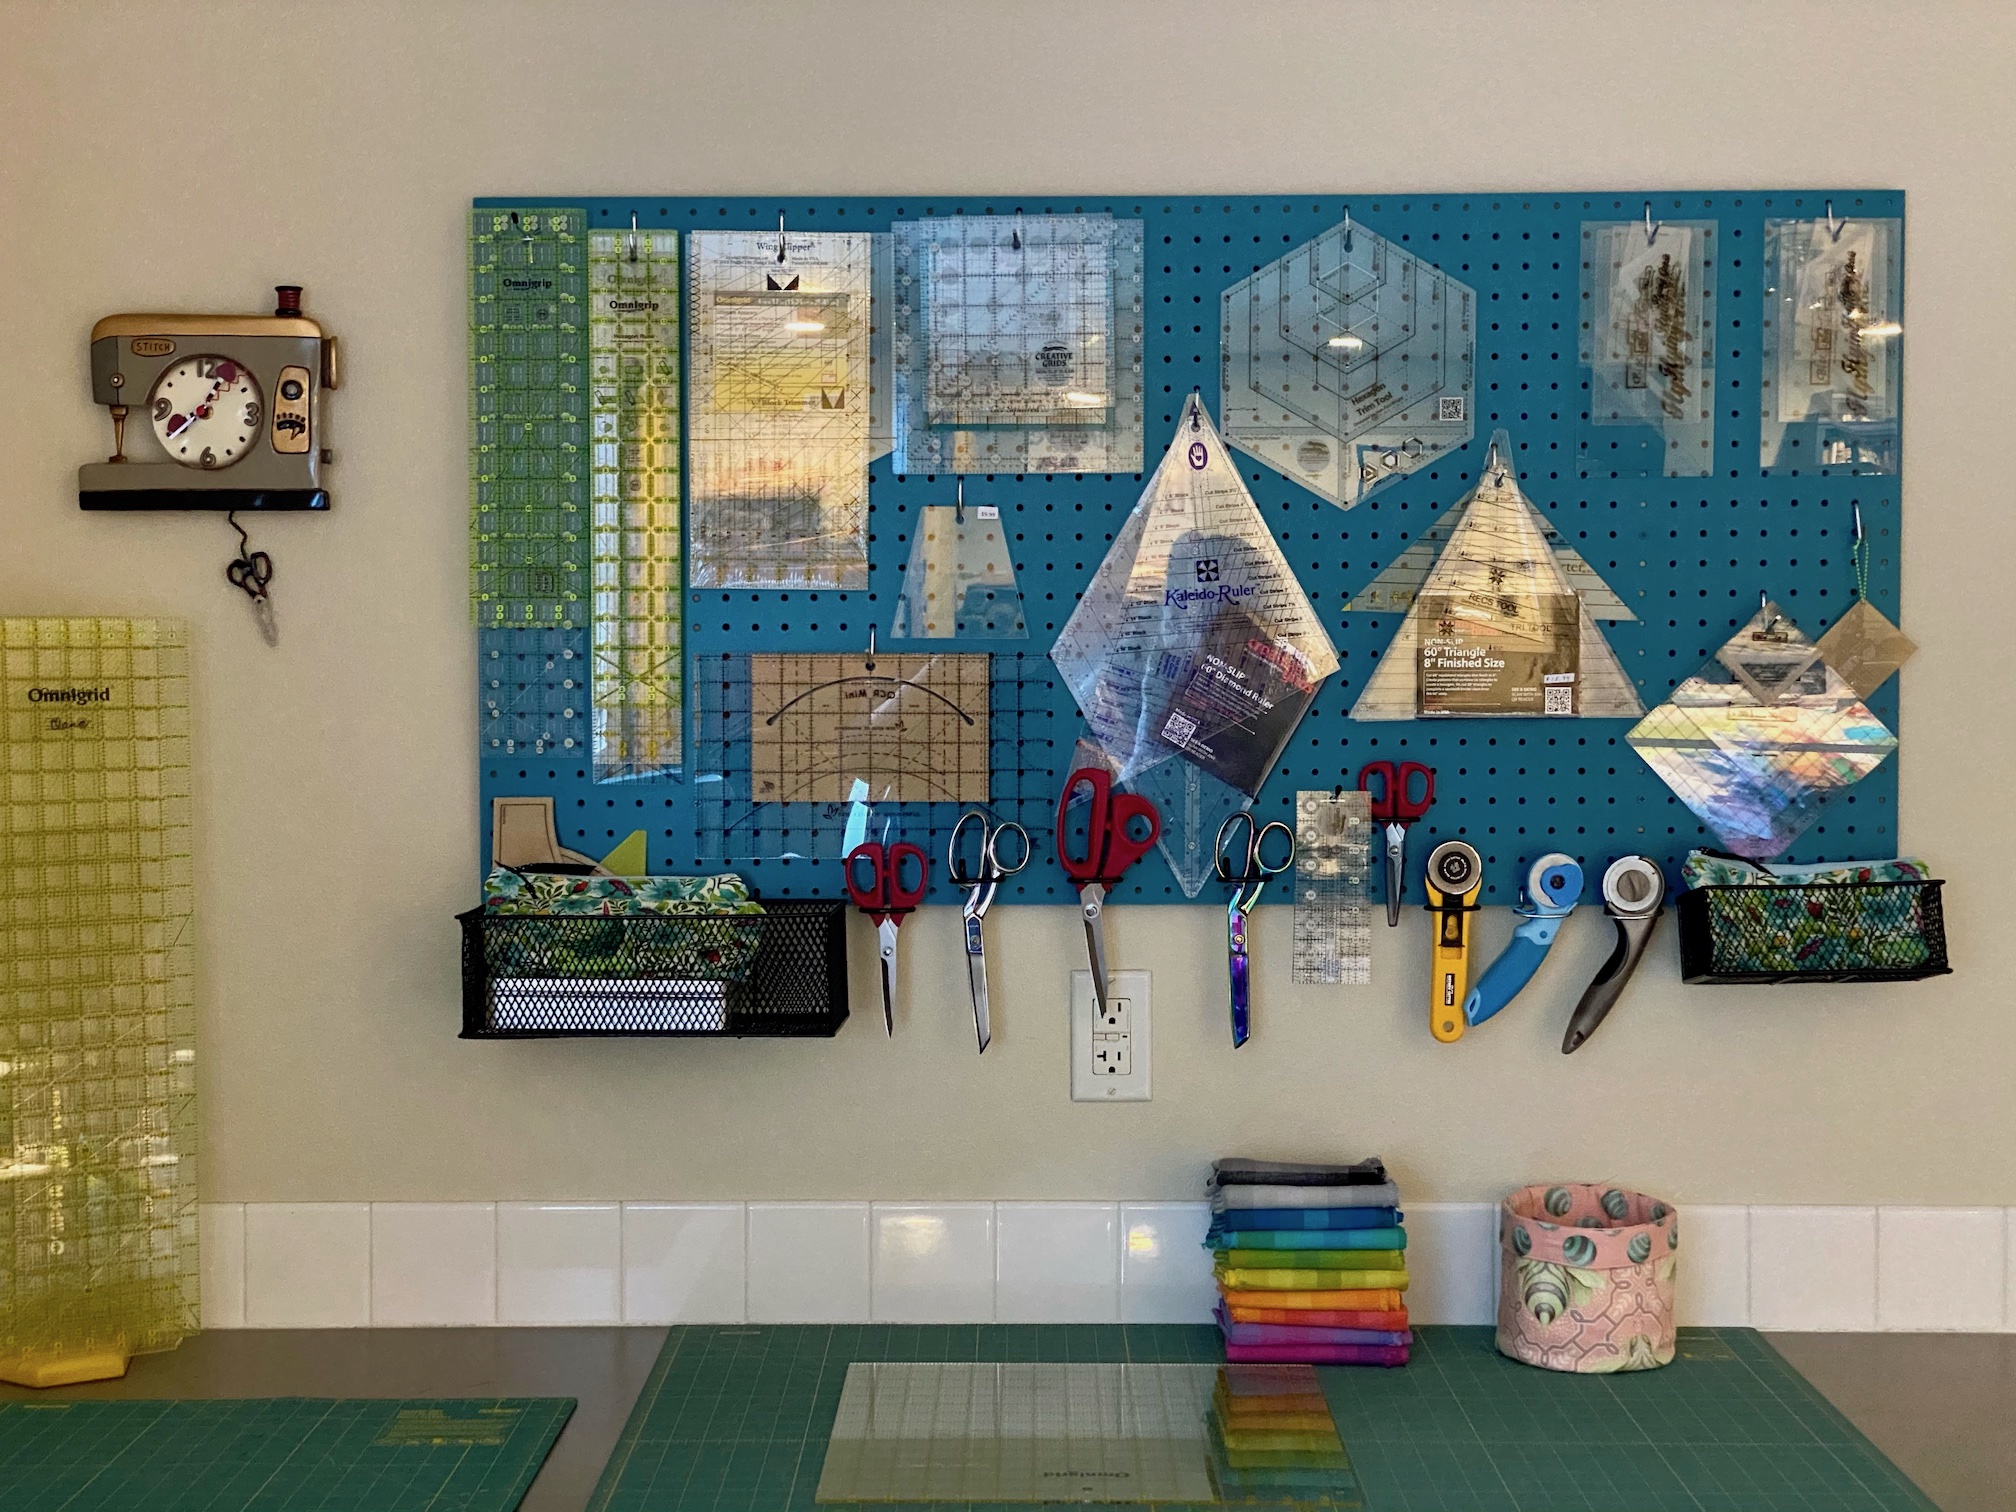
 So Tierney is ready to create (she can be tierneycreates again) in her new studio! She is so happy to have her sewing machine unpacked!
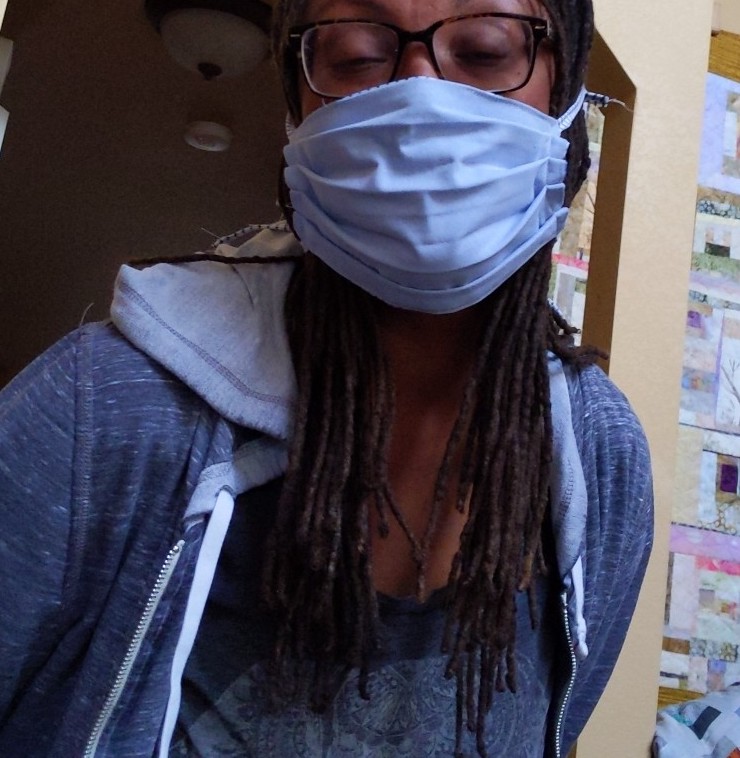 But she is hoping to start sewing a bit more fun things in the near future than masks…
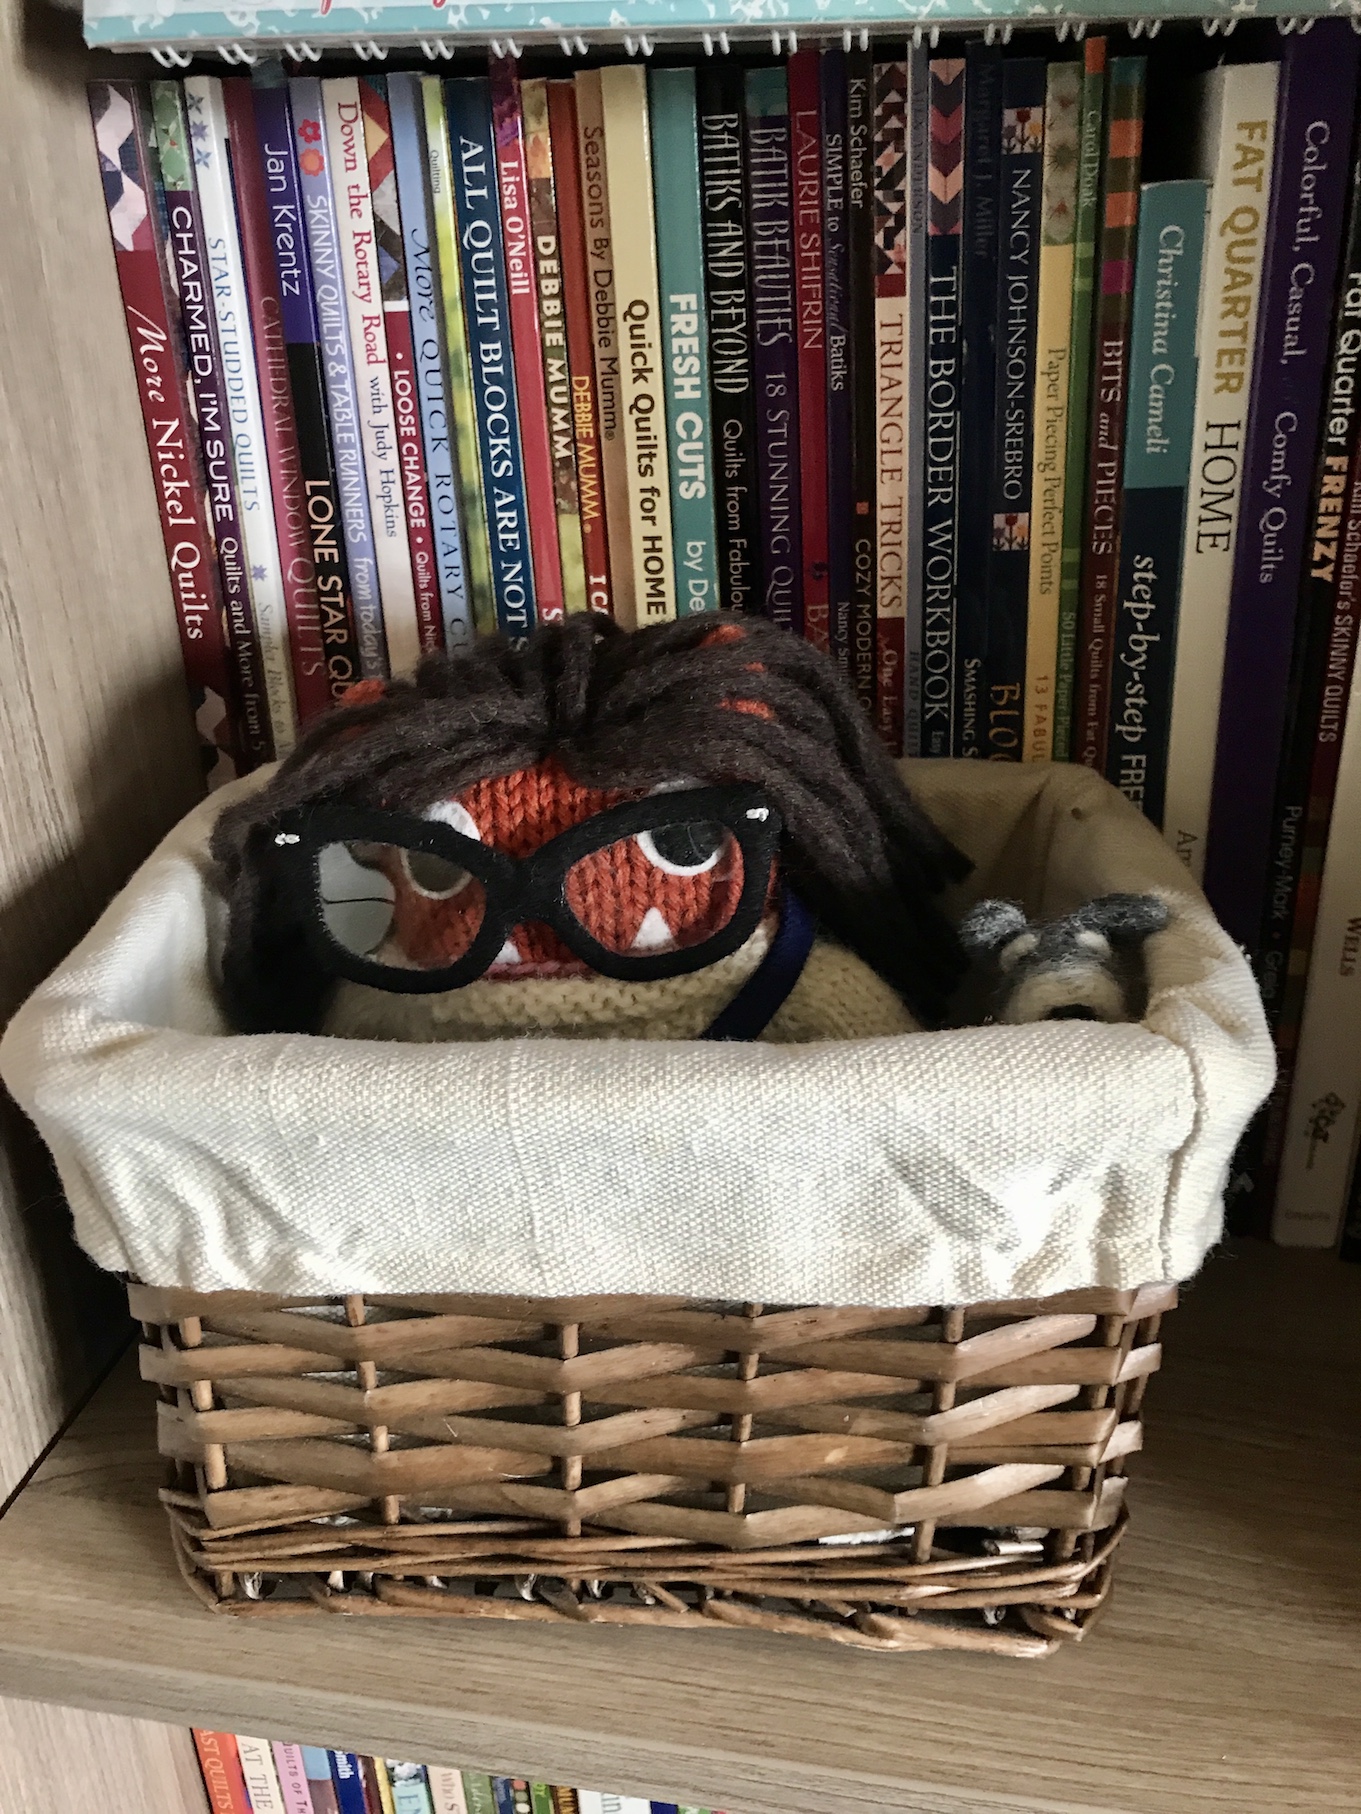 Which of course should have been her first priority from the beginning of setting up her studio!


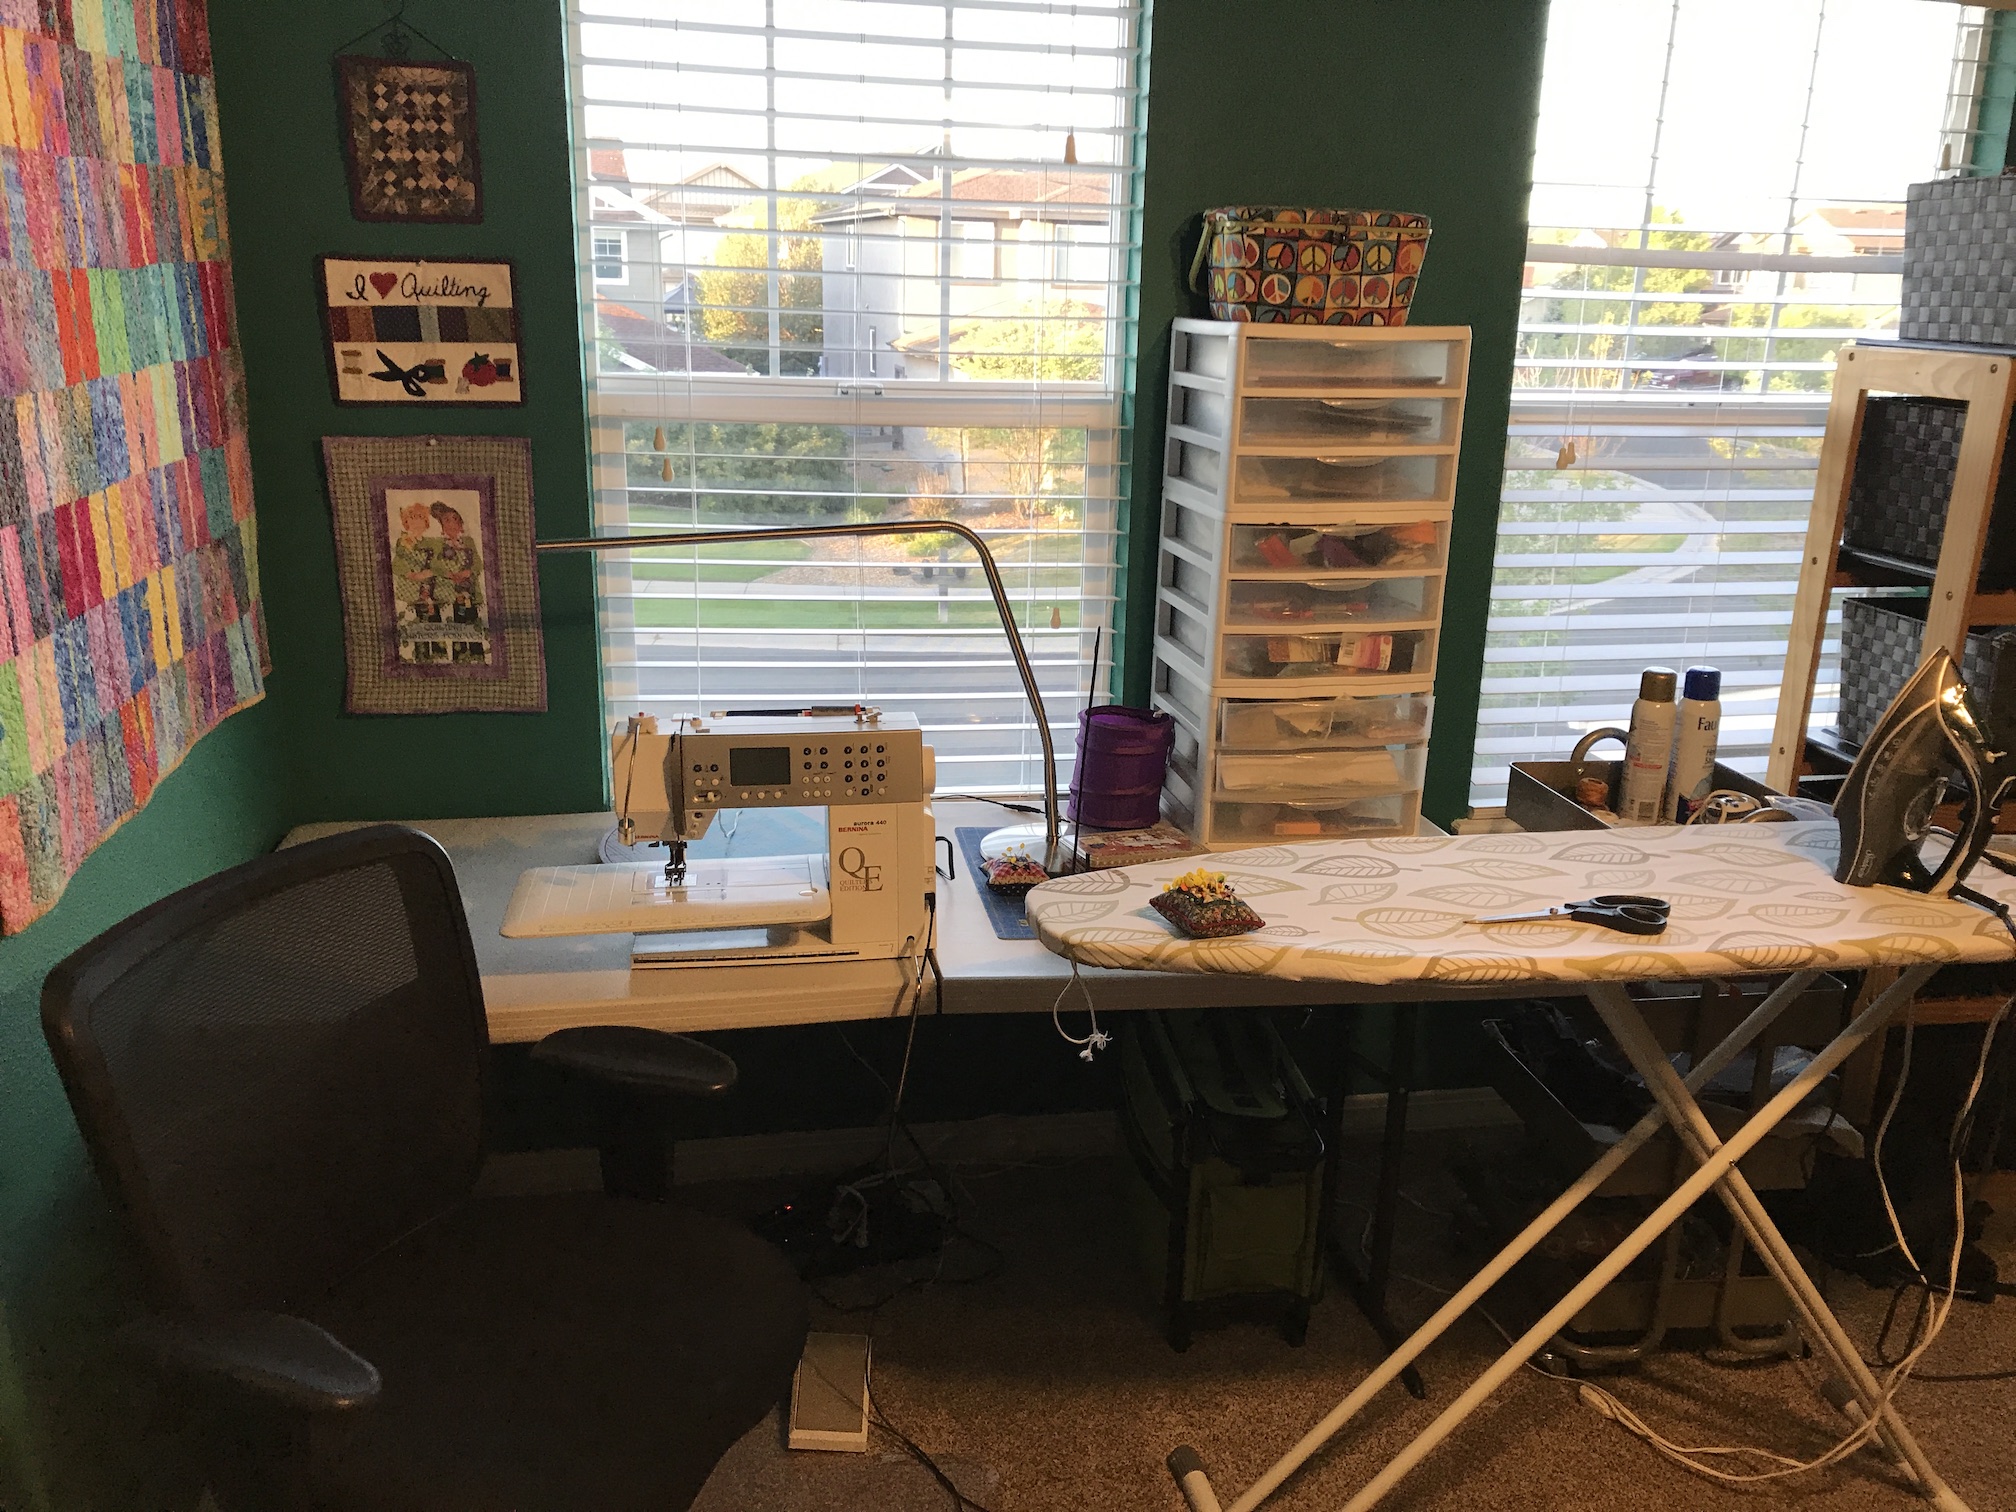
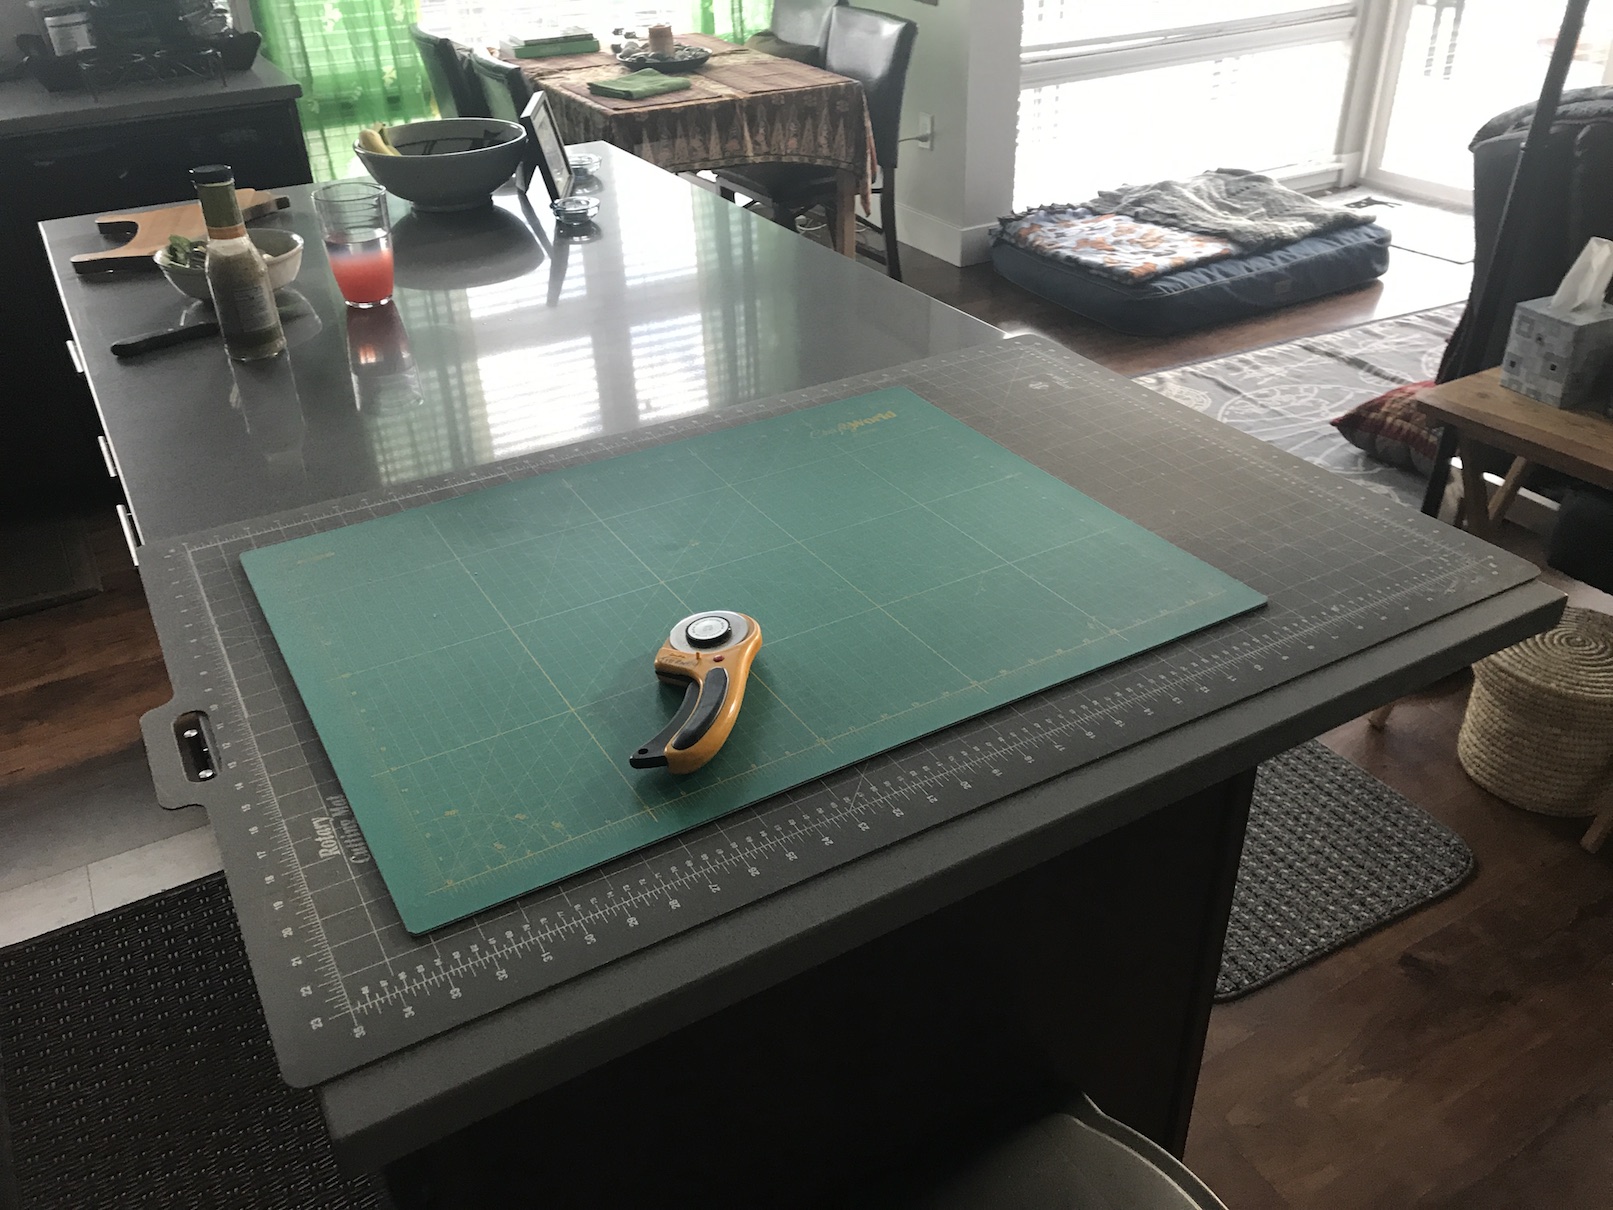
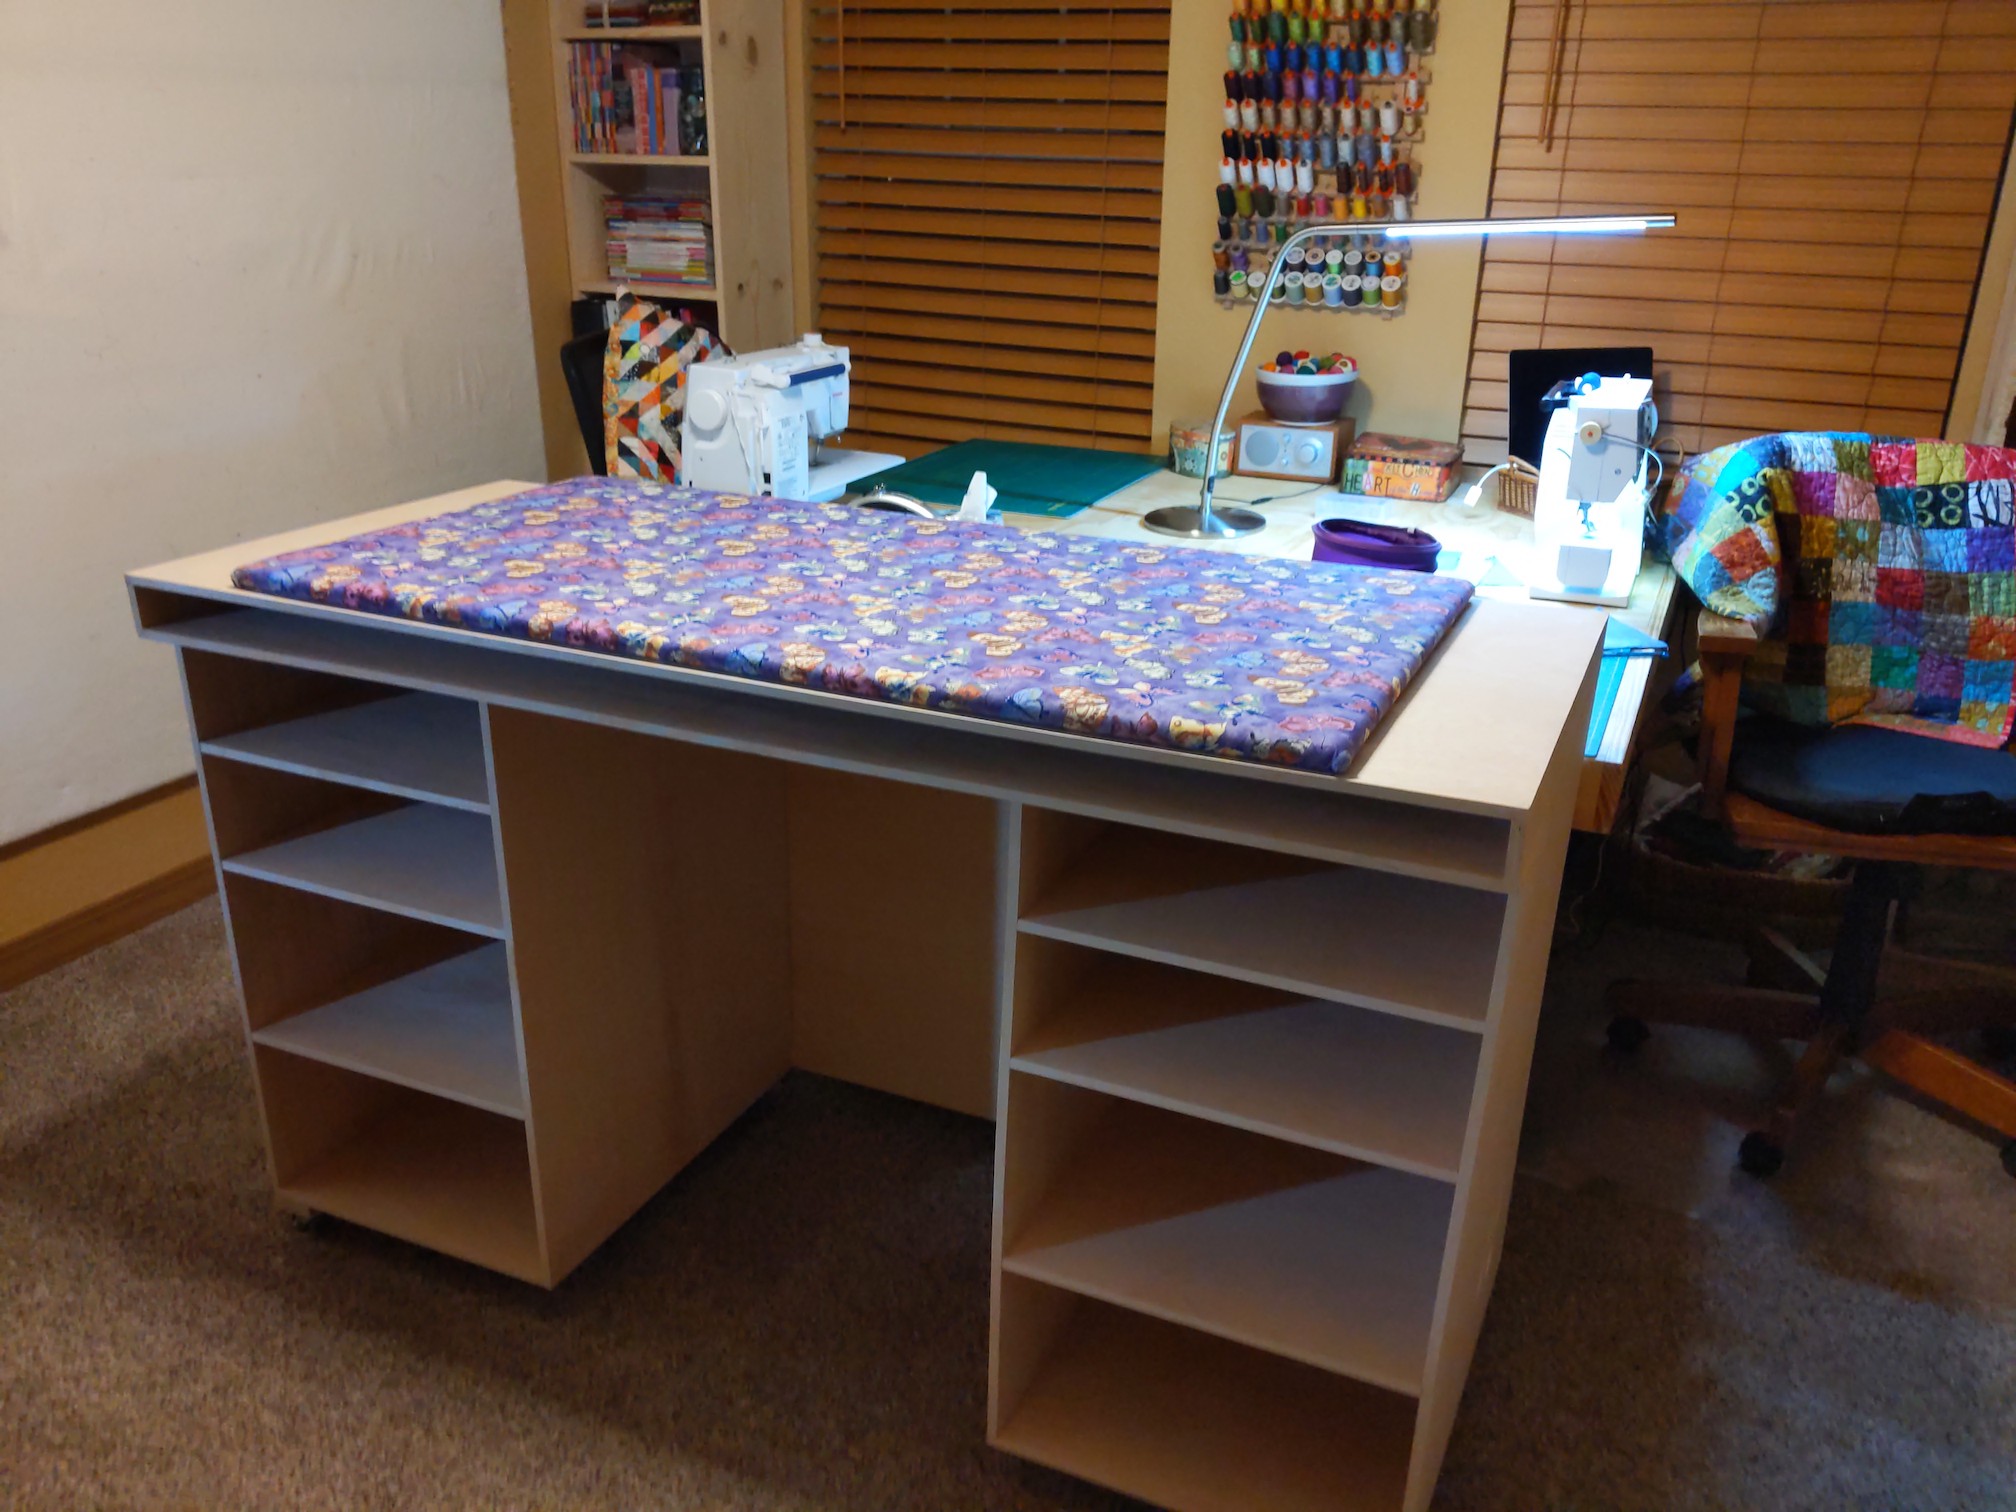
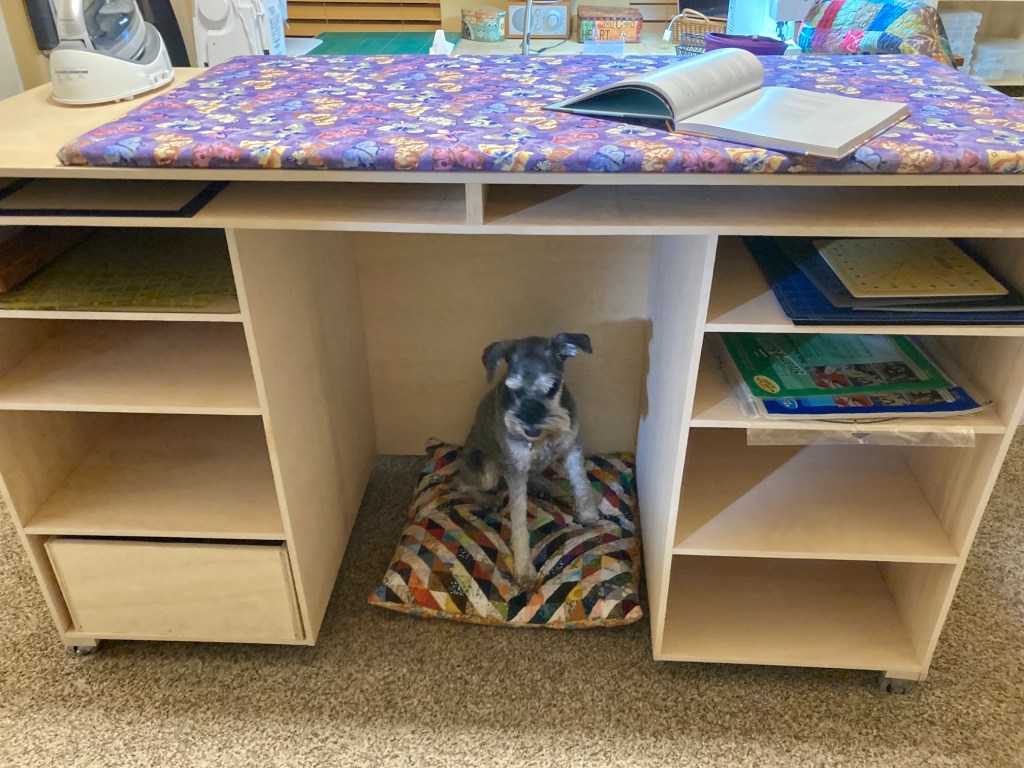
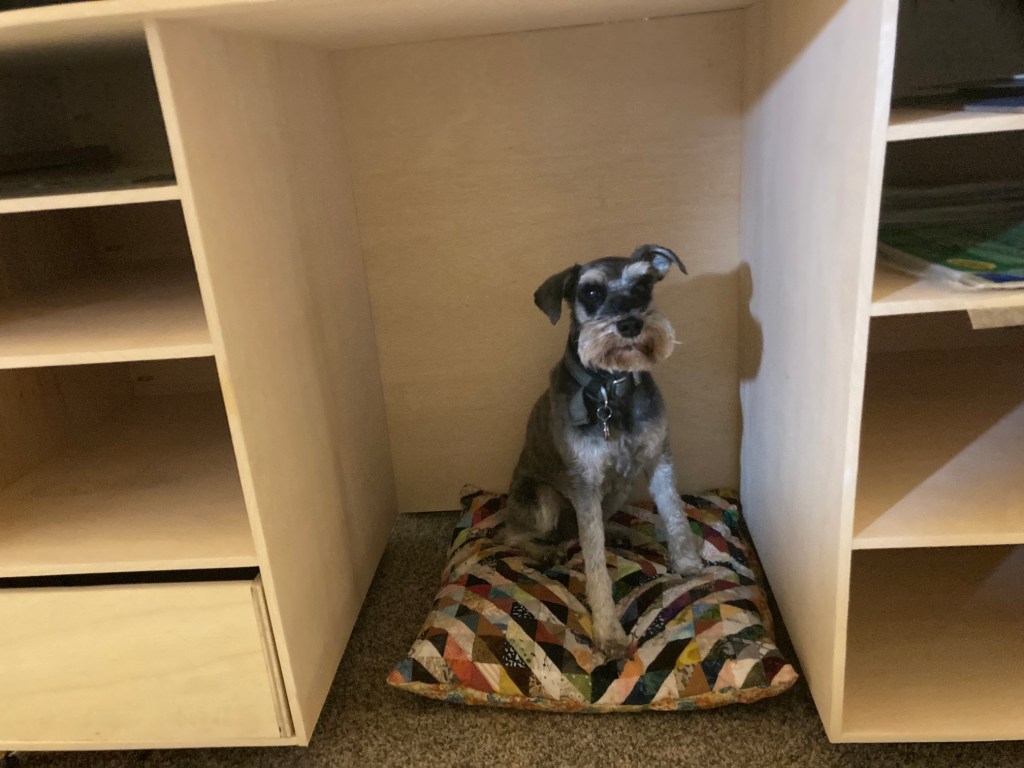
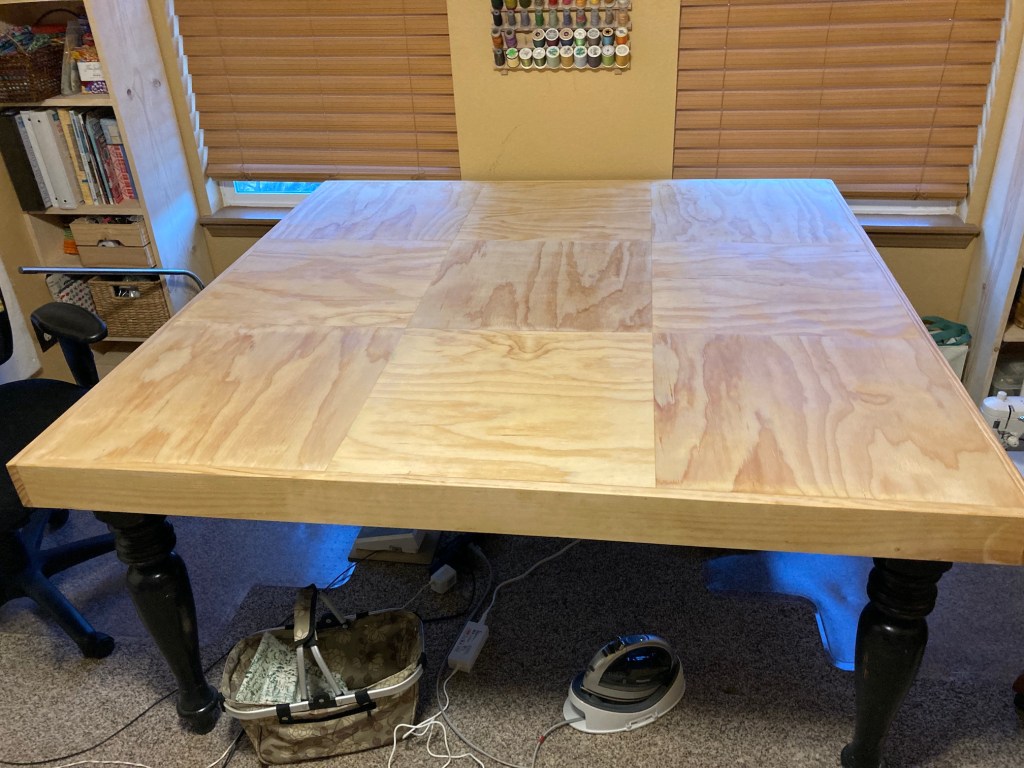
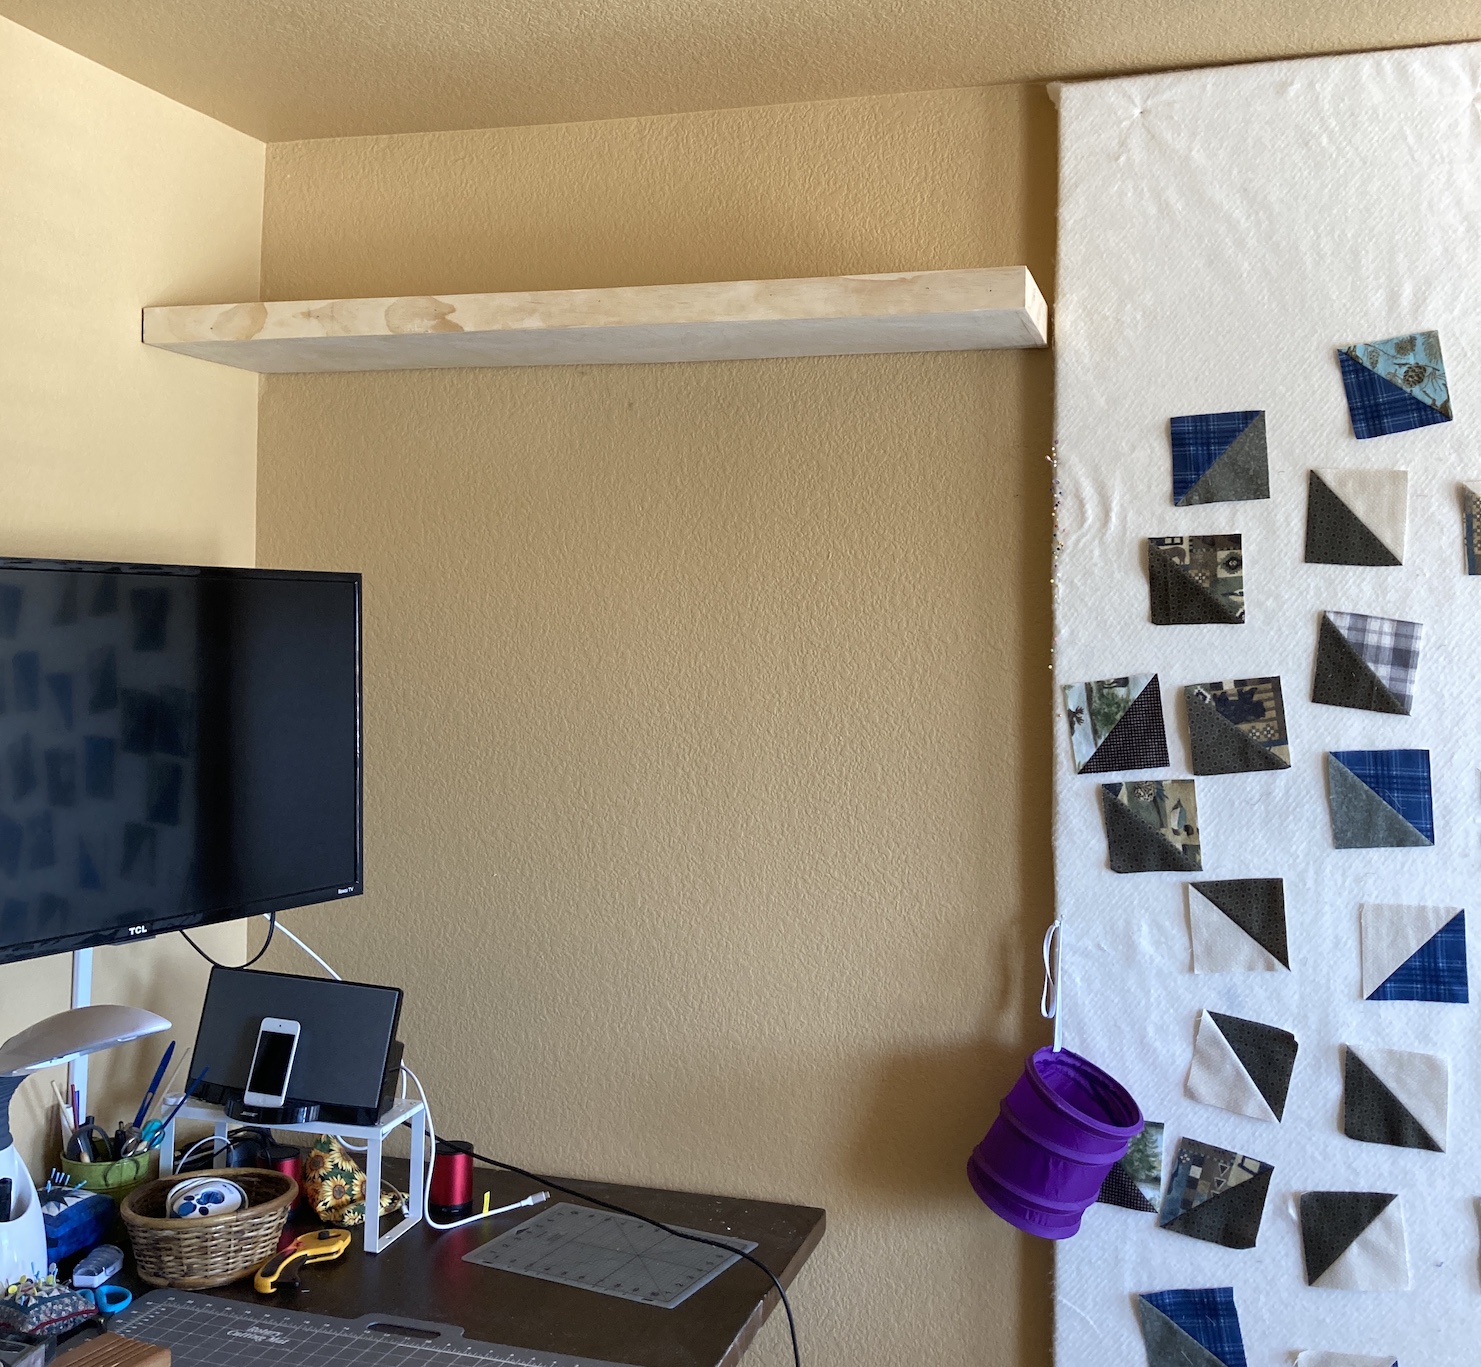
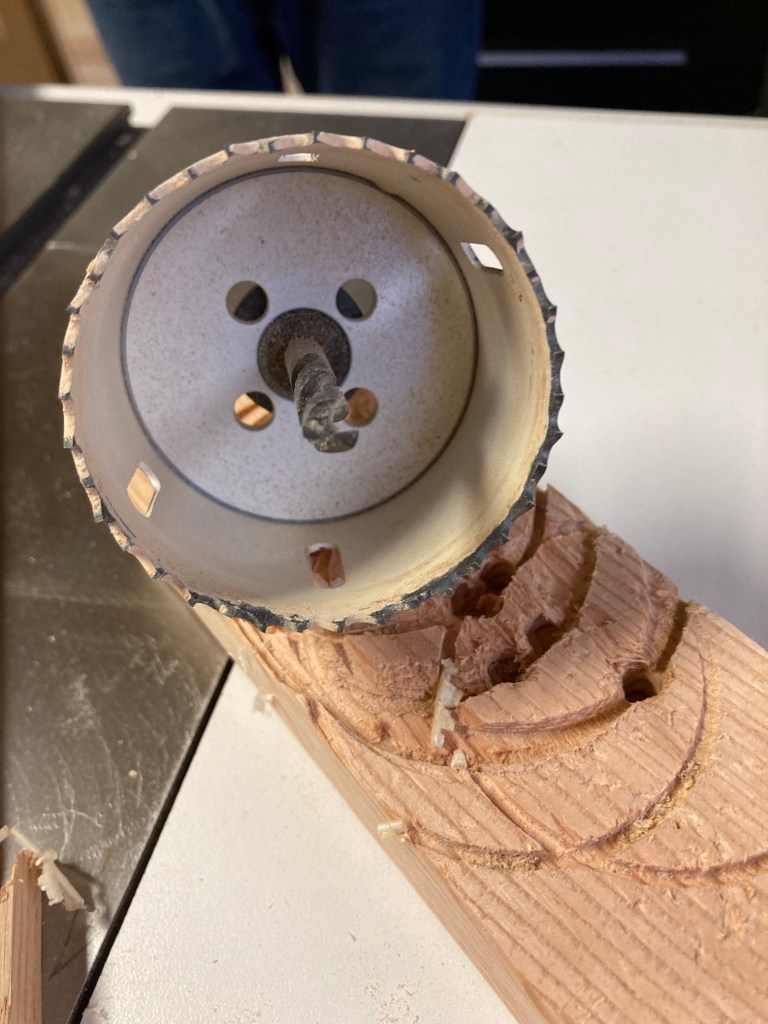
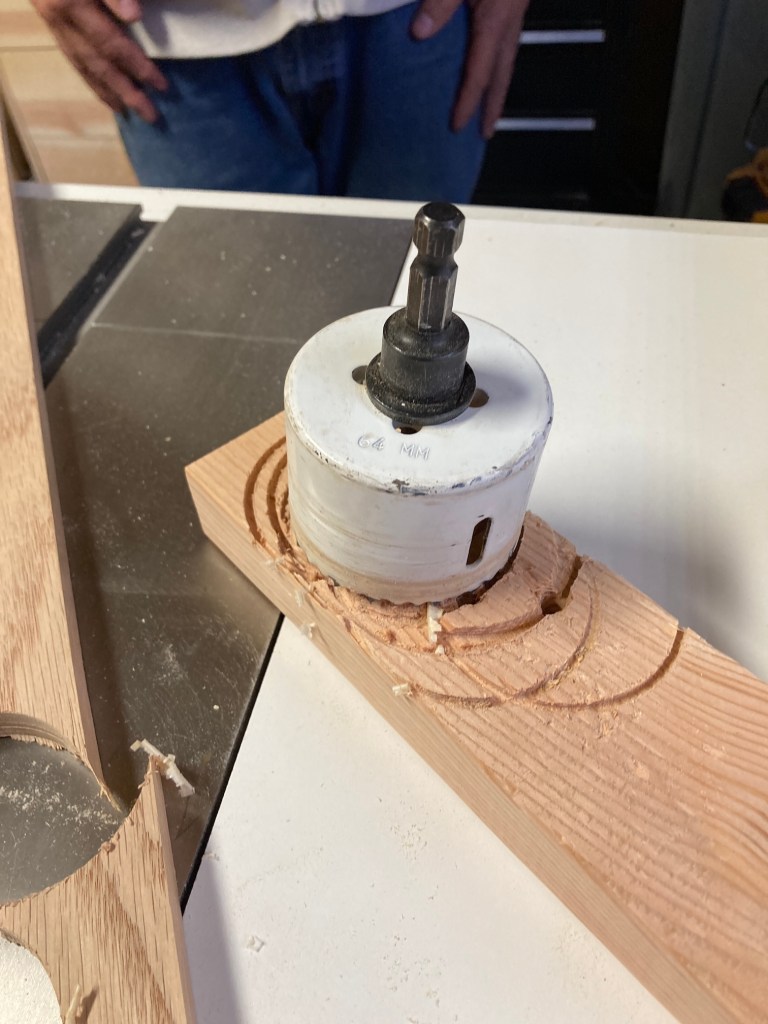
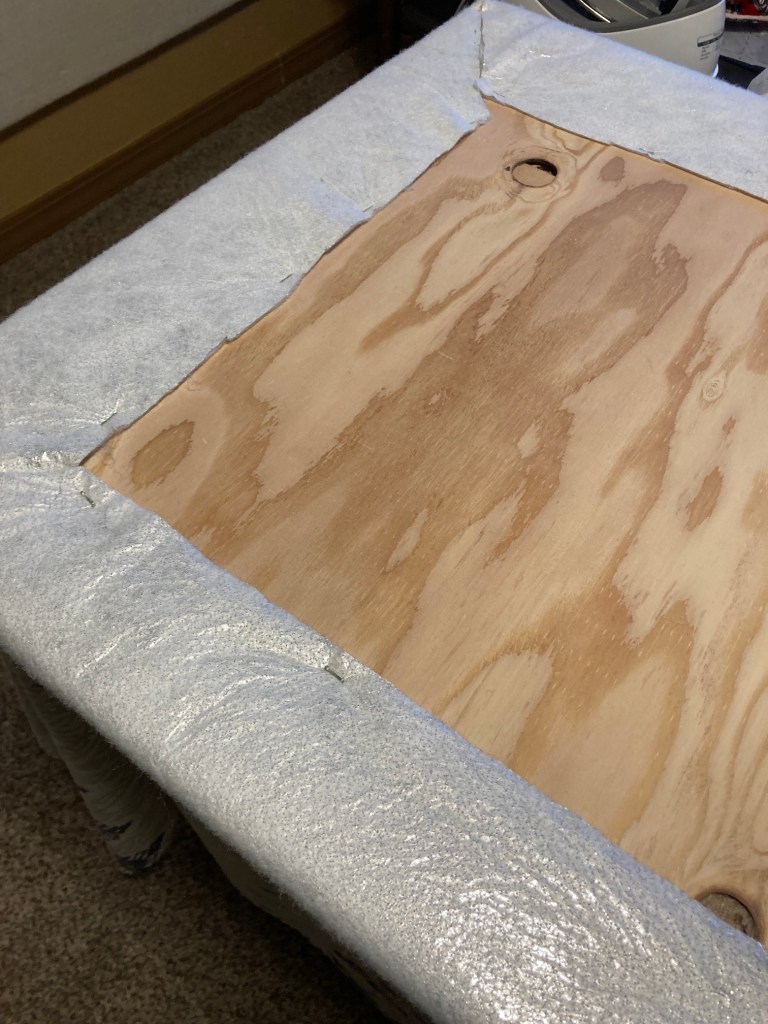
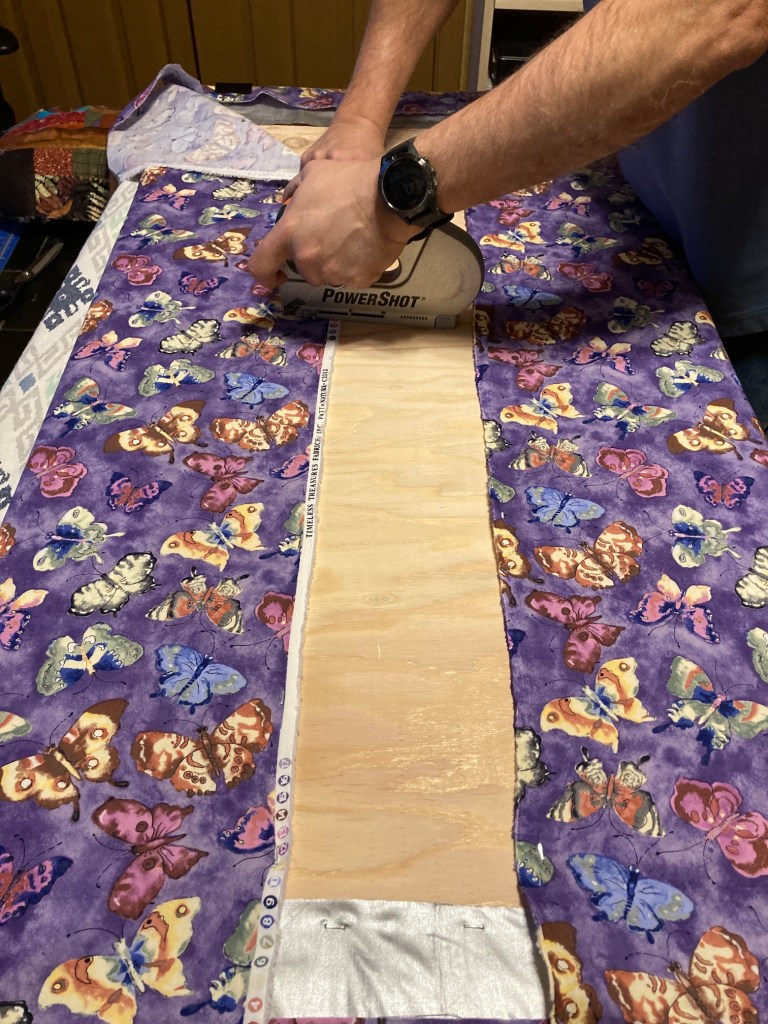
 One of his hobbies is wood working and he also offered to build me a center cutting table. I said “let me use what I brought with me for now (fold up tables) and see how the rooms develops”.