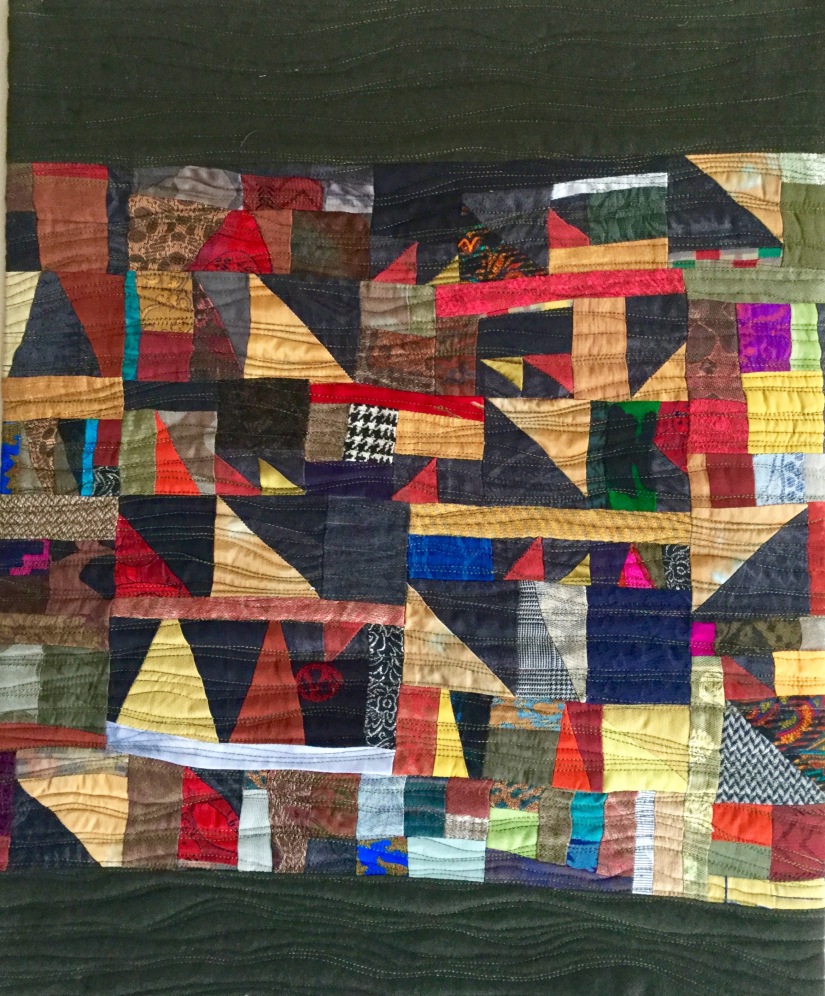
This post is actually a continuation of my series “What’s on the Design Wall” in addition to Part III (well actually Part IV) of my series of posts about taking a break from improvisational quilt design and piecing, and returning to make meditative traditional blocks.
Here are the other posts in this series to bring you up to date. I decided to make a “sampler” quilt by making blocks from the Ladies’ Art Company Block Tool:
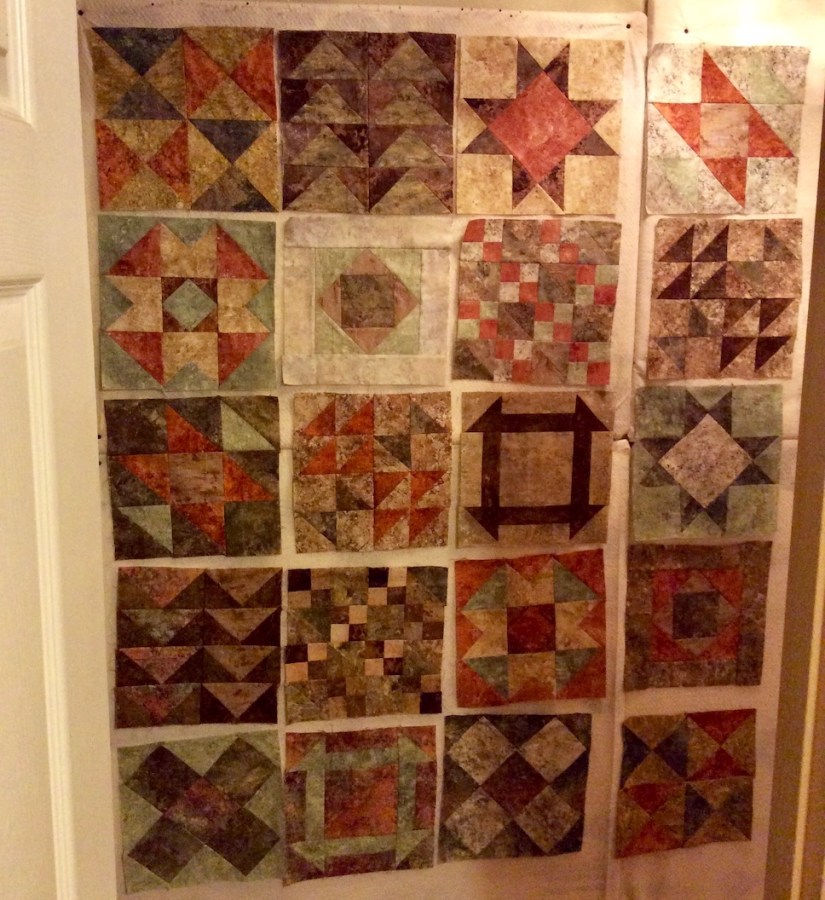
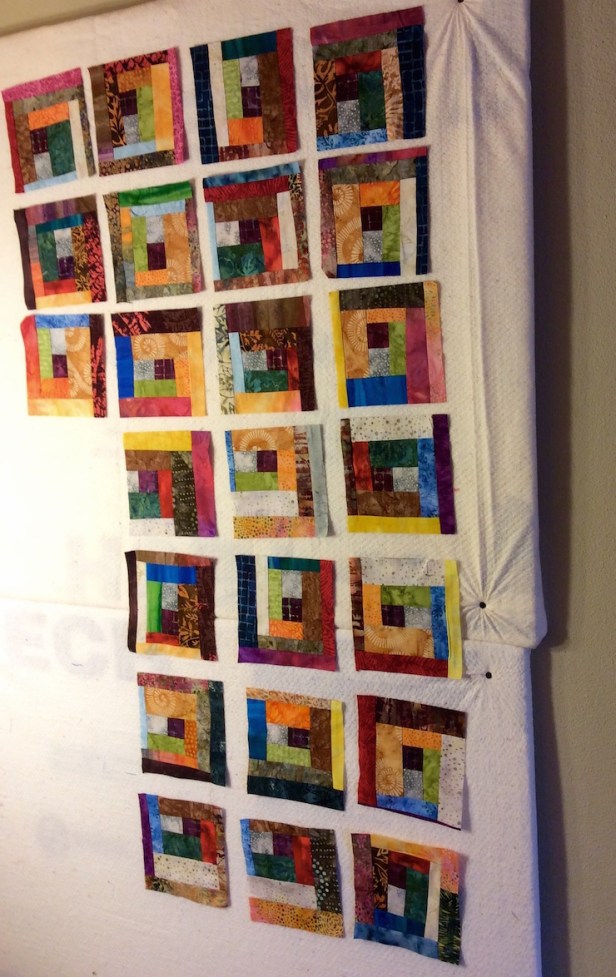
In the previous post in this series, I had only 4 more blocks to go into order to have 20 blocks to create a 4 x 5 type of layout.
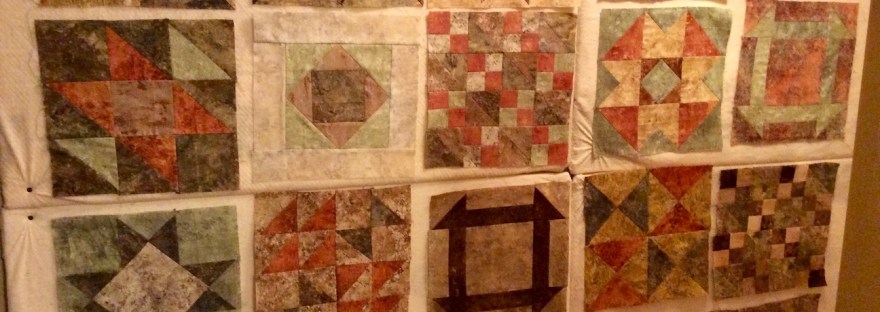
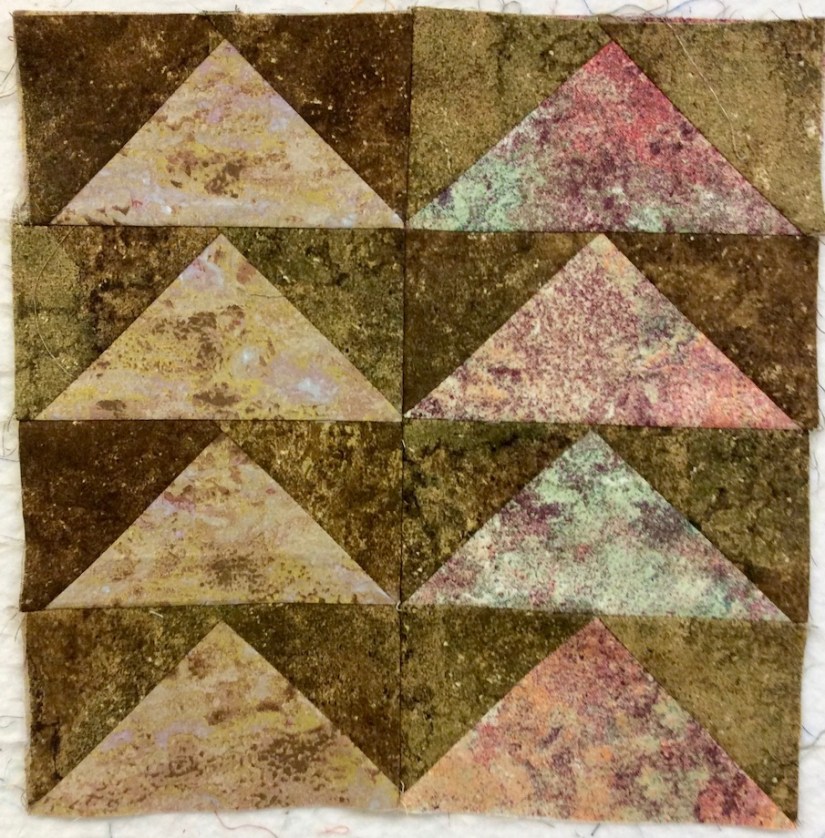
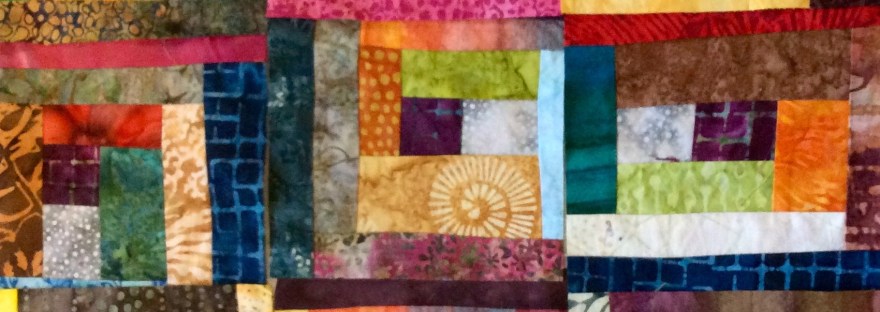
I completed four additional blocks, of two different block patterns in different color ways:
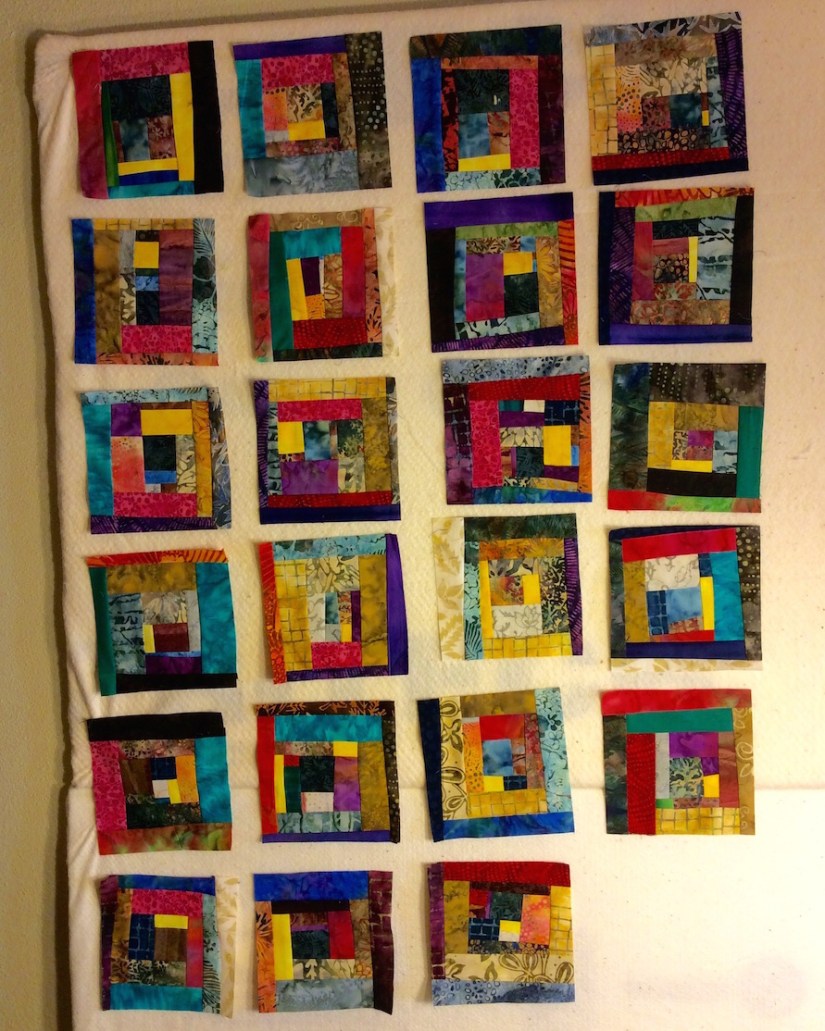
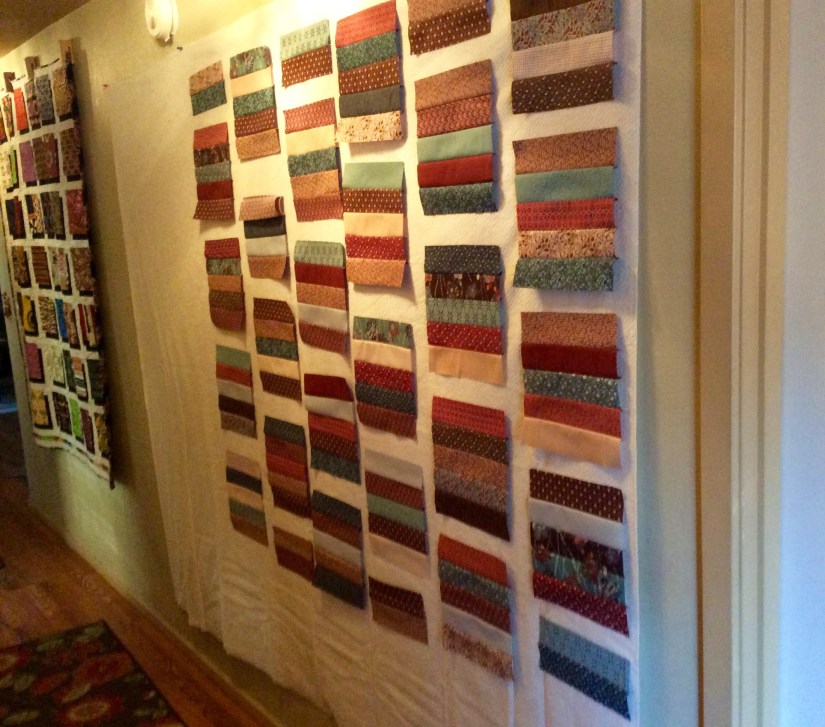
So here is what all 20 blocks look like on the design wall in our hallway (disclaimer – I do not have the best lighting in my hallway and it is narrow so I can only take photos from an angle or by standing in the laundry room!):
My plan is to set them in a light fabric from the same line (Stonehenge) and then do a cool border (well in my mind it will be cool) with the fabric scraps from the fat quarter set I used to piece these blocks.
The next time I post on this series about revisiting traditional piecing, I will show you the completed quilt.
But…for now…I have to put it aside (No! Please Don’t Go To the “UFO” pile!!!) and immediately work on a baby quilt for an upcoming baby shower.
I am feeling pleased as there is something on the design wall to talk about.
In my 09/23/2016 post, The Library Stack (and a little EPP), I mentioned that I was feeling a little stuck and had not done any creating lately (“tierneycreates” without the “creates” part…).
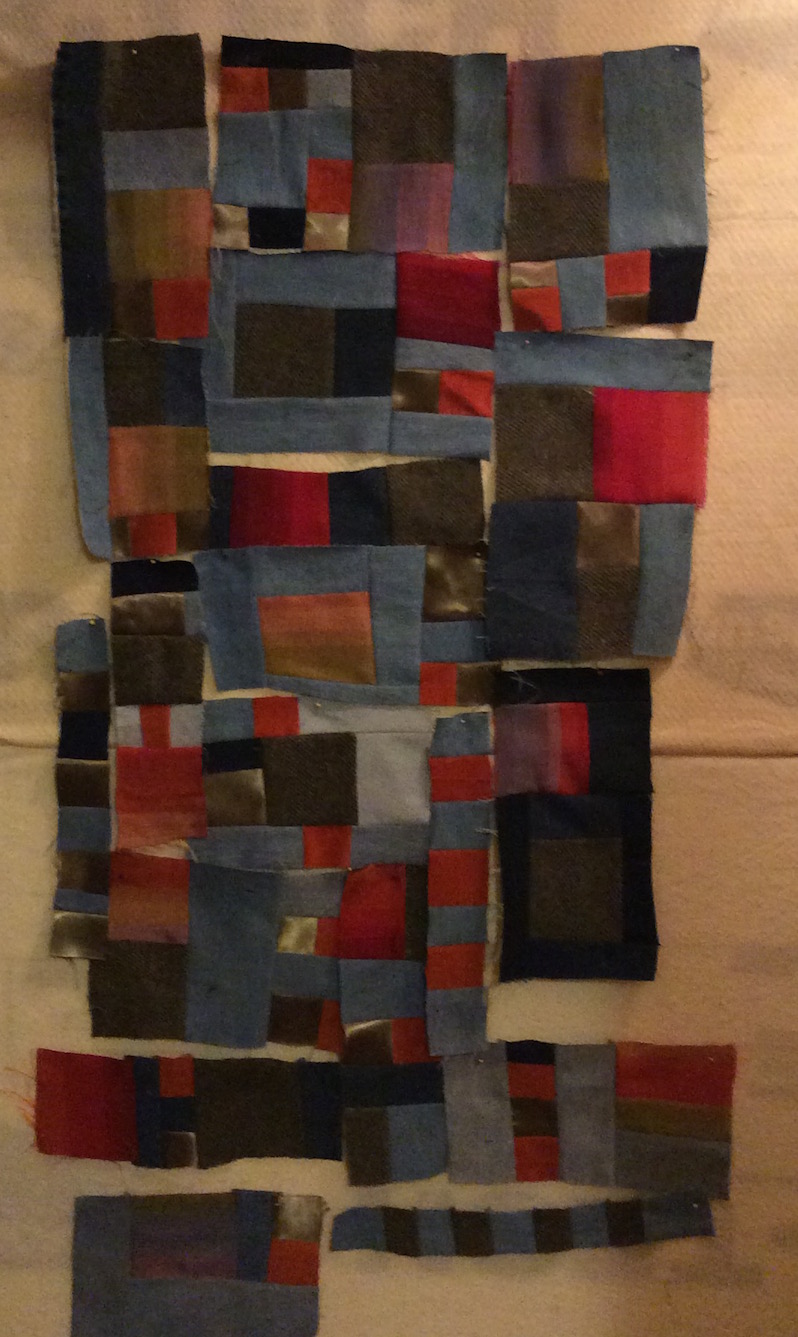
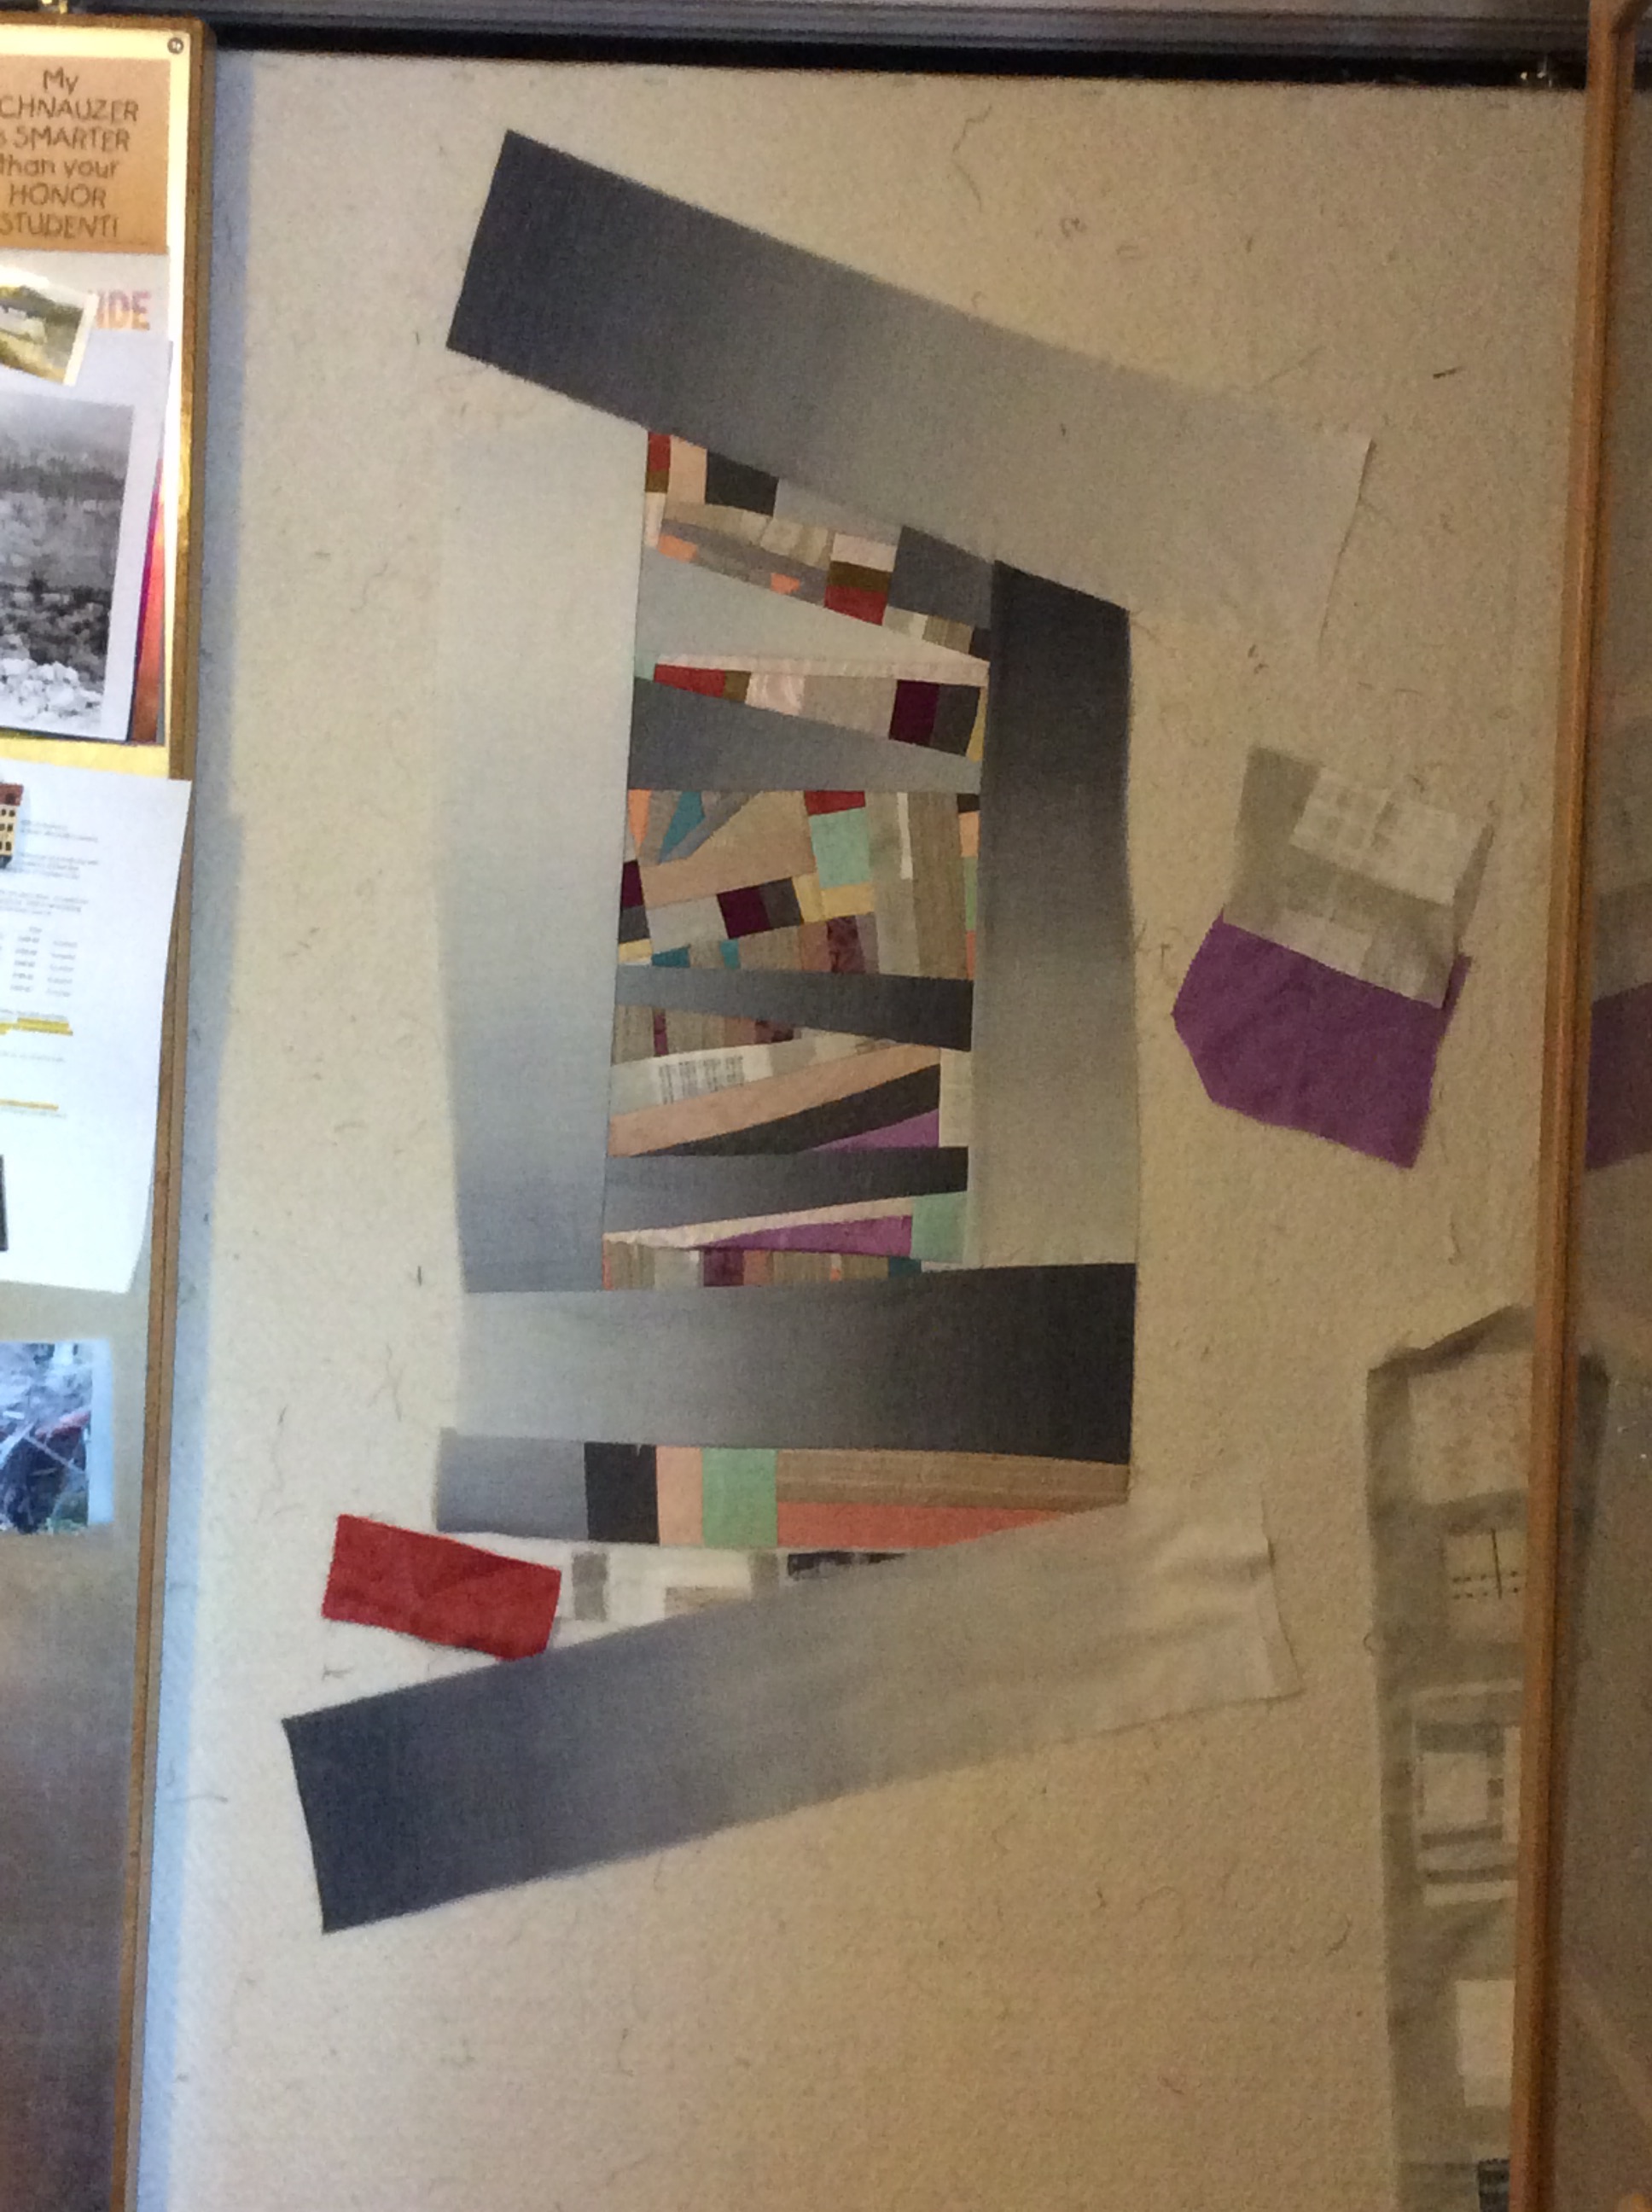
Well Monday I was feeling inspired and continued working on the piece I first shared in my post Make Do Quilt Challenge. Continuing my ongoing series: What’s on the Design Wall, I present where I am at on my piece, tentatively titled: Making-Do:
It’s not the best photo as I took it with low light. It is also still very much “in progress”.
I was feeling frustrated it at one point, not knowing where it was going. Then I remembered something one of my mentors, Jean Wells Keenan, said during one of her classes (paraphrased): – Even though you may not be happy with an art quilt and want to give up, you have to keep on pushing through and see where it takes you.
This is very true. The collaborative piece, Abandoned Water Structure, that was recently purchased by the City of Seattle (see post Seattle Public Utilities’ Portable Works Collection) was an art quilt that I actually gave up on and tossed aside. I later picked it back up and kept working on it starting with a late night marathon design and piecing session.
So I am hoping Making-Do turns out to be something interesting! Next time I share an update, I might even take a better photo…
POSTSCRIPT
Monday I went for another hike up Pilot Butte (see my Category “Pilot Butte Adventures” for previous posts on my adventures) and I started laughing as soon as I arrived at the start. They had this sign posted:
If you remember my post Monday, Again, my current time up Pilot Butte is not as good as the time for the record in the ages 95 & up category! So no I am not entering this year’s challenge…perhaps next year…
While walking up Pilot Butte, I took this panoramic photo of Bend Oregon and the surrounding area. If you are ever in Central Oregon, driving or hiking to the top of Pilot Butte for the 360 degree view of Central Oregon is a must!
I hope you do not mind that I frequently link to previous posts. I consider my blog an ongoing conversation.
Continuing my series of posts about what is on my design wall with a visit to the studio of quilt & fiber artist, designer, teacher, book author, and all around “Renaissance Woman”, Wendy Hill (and the piece of fiber art that came from that visit).
Thread-a-Bowls
I spent Monday 8/29/16 with Wendy Hill (wendyhill.net) , textile artist and author of quilting and fiber art books such as Creative Quilt Challenges (with Pat Pease), Easy Biased Curves, Two-for-One Foundation Piecing, On the Surface, and Fast Fun & Easy Incredible Thread-A-Bowls.
Wendy is a wonderful teacher and while I was visiting, she gave me an impromptu class on making a thread web/thread bowl from her book Fast Fun & Easy Incredible Thread-A-Bowls (2005).
Photo credit: Amazon.com
The amazing thing about the thread-a-bowls (and thread-a-vases, etc.) are that they use scraps of thread and snippets of fabric scraps. I never thought about recycling thread snips! A lot of thread as made it into my trash over the years of sewing that could have become – FIBER ART!
Here are photos from creating my first “thread web” and shaping it into a bowl:
I took the bowl home with me while it was still wet from rinsing out the Solvy (Sulky brand) water-soluble stabilizer; and draped over a form to dry into a bowl shape.
Thread-a-Future Art Piece
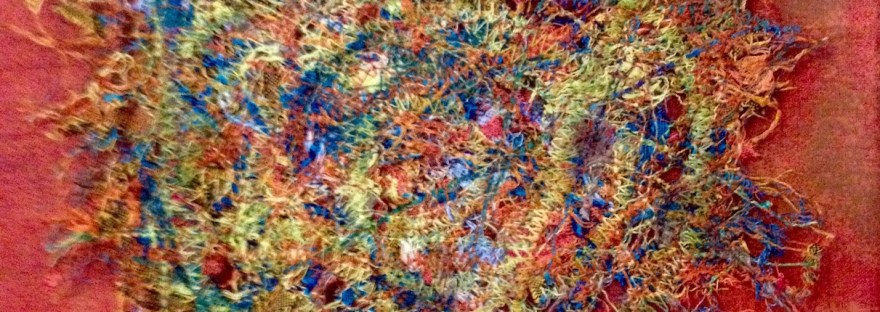
After the bowl dried, I was not pleased with how I had shaped it. It was too shallow and misshapen. I did however like the concept and the look of all those fibers interlaced (I had scraps of thread, tiny snips of scrap shot cotton, and scraps of yarn), so I re-wet the piece and flattened it to dry again.
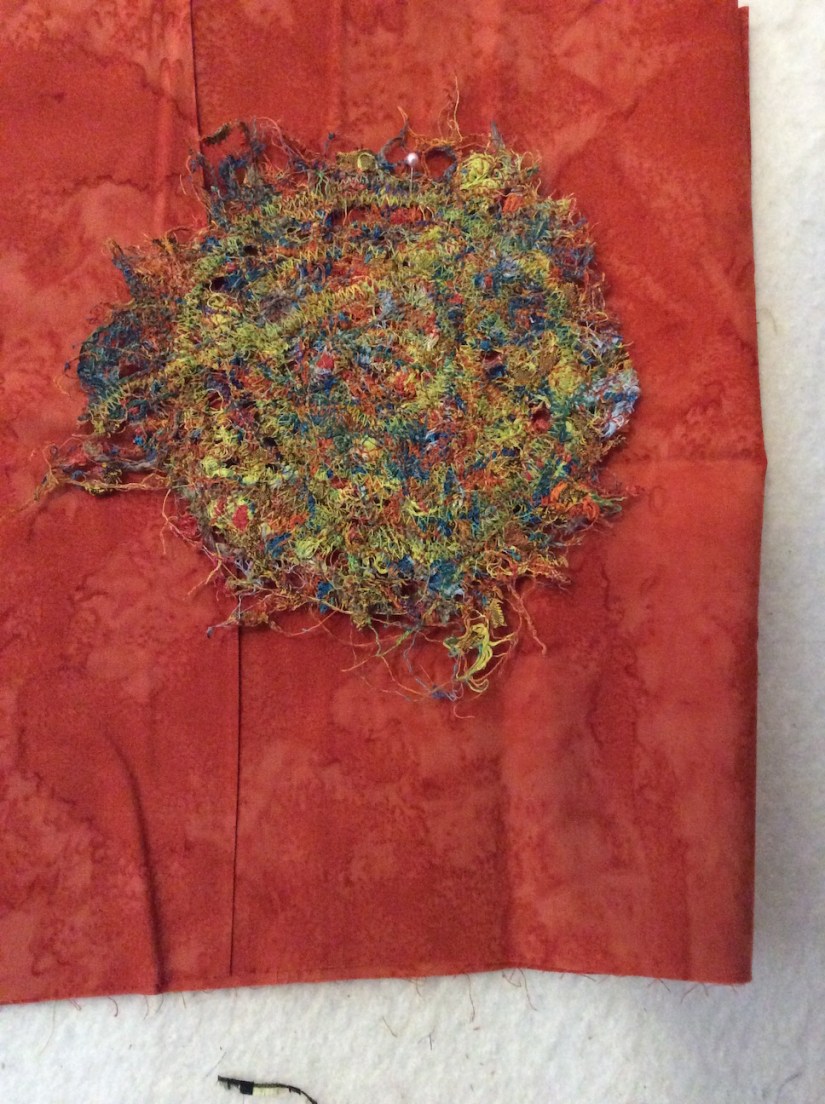
I ended up with this version of the piece, which I have on my design wall and I am playing with floating it in some type of orange background and making a small art quilt that I will likely put in some type of frame.
Here it is with a Moda Grunge fabric line, deep-reddish orange:
and here is it with a deep orange batik:
I cannot wait to play with making my next “thread web”. I have a little Solvy thanks to Wendy to play with at home as well as I have copy of her book Fast Fun & Easy Incredible Thread-A-Bowls to read through and learn more about making these webs.
POSTSCRIPT
Wendy Hill’s home was the home of a true artist – even her light switch covers were artistic and handmade! I was fascinated by them and I wish I had photographed every one (every light switch and outlet cover was artistically covered), but here is a sampling:
Of course every cozy artist’s home needs a furry creature or two to keep the creative person company!
Kitty in a box!
POST POSTSCRIPT
Here is a little visual treat if I have not made you tired of photos from the 2016 Sisters Outdoor Quilt Show (SOQS):
A very talented Central Oregon art quilter, Kristen Shields (kristinshieldsart.com), has a wonderful blog (she is a very good photographer!). A recent post on her blog has great photos from this year’s show; and includes additional photos from the show (of incredible quilts) that were not in the links in my July 2016 series of posts about SOQS – Sisters Outdoor Quilt Show 2016
My next post was going to be about the cool projects other quilters were working on at the retreat (tuffets!) I attended last weekend. However, I do not want to lose the momentum from the project discussed in my Thursday 08/11/16 post –What’s on the Design Wall (Need Your Help).
I so appreciate all the enthusiastic responses, votes, and ideas. I have to tell those of you who commented: You made a MESS of my studio (smile)!
You should have seen my little studio – various fabrics pulled out from my stash in many different colors, from your suggestions, strewn about everywhere. It was like a tornado of fabric options had blown through.
Reading all the comments was very fun – it was like you all were crammed into my tiny studio (where would I fit you all?!??!) and we were looking through my stash together and throwing around ideas (and fabric).
Of course, I would have to plan a snack and beverage for all my studio guests crammed into the tiny room…but where would I set out the plates and cups? (Maybe I could go scavenge some more fruit from my neighborhood to serve as snacks…but that is an upcoming post: Fruits of My Neighborhood Part III!)
THE RECAP
This project began with a bag of colorful Batik scraps (that I embarrassinglyactually purchased…in a moment of weakness from the Stitchin’ Postquilt shop’s basket of scrap bags for sale..that shop is loaded with temptation!)
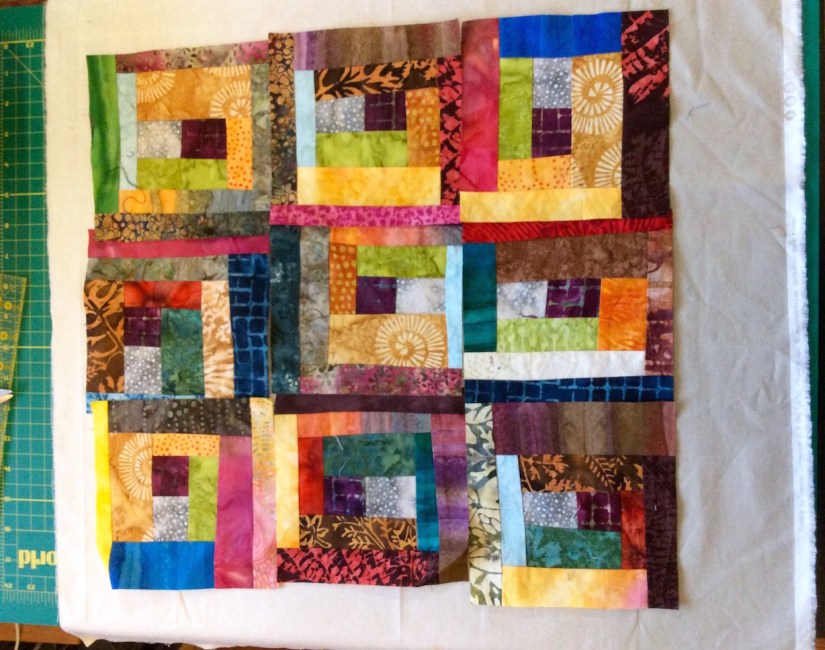
I turned many of those scraps into 24 6′ x 6″ blocks:
(BTW – I moved these blocks to my new hallway design wall which we created this weekend – but that is another post…)
I presented four (4) options for the layout on the blocks and here are the votes by Option:
OPTION 1A – Float the blocks individually in a neutral background: 2 Votes
OPTION 1B – Group the blocks together and then float the whole grouping in a neutral background: 0 Votes
OPTION 2A – Float the blocks individually in a gray background: 4 Votes
OPTION 2B – Group the blocks together and then float the whole grouping in a gray background: 2 Votes
In addition to voting on options I presented, many of you in your comments suggested different options(I hope I captured the essence of all the comments to date, my apologies if I left a summary of your comment out below):
Group them together on a neutral background not trying to make them perfectly square, use Misty Fuse to attach them
Stitch the blocks together, use a pieced binding to enclose them, they speak so well on their own!
Group them together on the grey but make sure all blue sides are facing opposite of the grey fabric and placed up against another block rather than up against the grey fabric not allowing a blue side to but up against another blue.
Float each block individually, with a PURPLE or RED background- keep the color going! And maybe put a yellowsquare at each “intersection”
Golden brown would be nice also (to float blocks).
I agree with some others are dark brown, plum, dark red, I’d be inclined to try them on different ones and see which calls loudest.I start to wonder if it’s be even better on the dark brown.
I think a chocolate brown would be so cool.
I would make more blocks, group them without sashing or a border, and bind with a pieced binding (NOTE: I did make more blocks, see below!)
If you do want separation, don’t set them straight, in rows and columns. Use your separator in more random sizing — perhaps framing each one with the same fabric but in wonky widths. It might be easiest to pull off with a fabric that has some pattern so the seams between newly framed blocks disappear a bit.
If you really want to set them apart on a different background, what about looking at either a gold dupionior a deep purple dupioni?
(from a text to my phone, not posted to the blog) What came to mind was floating blocks in a round of neutral logs then a round of gray logs – maybe alternate with the reverse – round of gray first then neutral – then you float and have blocks side by side – and I’m thinking of a neutral acid yellow or lime greenor maybe an acid yellow orange – a crisp bright marigold color – all would look good with the blocks and gray.
Option Z: I love love love the blocks, but am partial to flashy colorsmounted on a white background. I also like sashing between the blocks because it makes each one pop.
While I like both versions of placing all the blocks together and placing with sashing, I would need to try the sashing version using a variety of sizes and different shades of either the light or the grey.
One fellow blogger, Melanie @ Catbird Quilt Studio was kind enough to e-mail me a photo of one of her lovely scrappy log cabin quilts, “Broken Pains” as an example of a layout she used:
Photo courtesy of Melanie McNeil, Catbird Quilt Studio. Used with permission; all rights reserved.
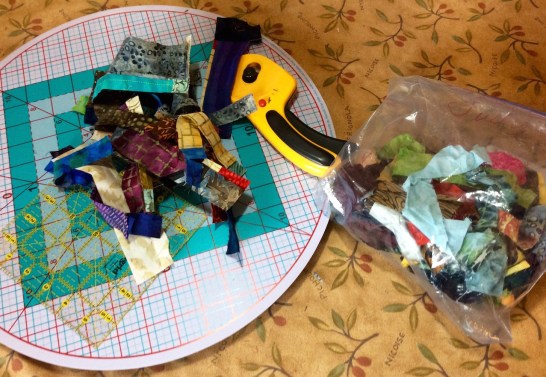
In addition to showing you the scraps I started with, in the previous post I shared the pile of scraps I had left over from trimming the original set of blocks down to a 6″ x 6″ size:
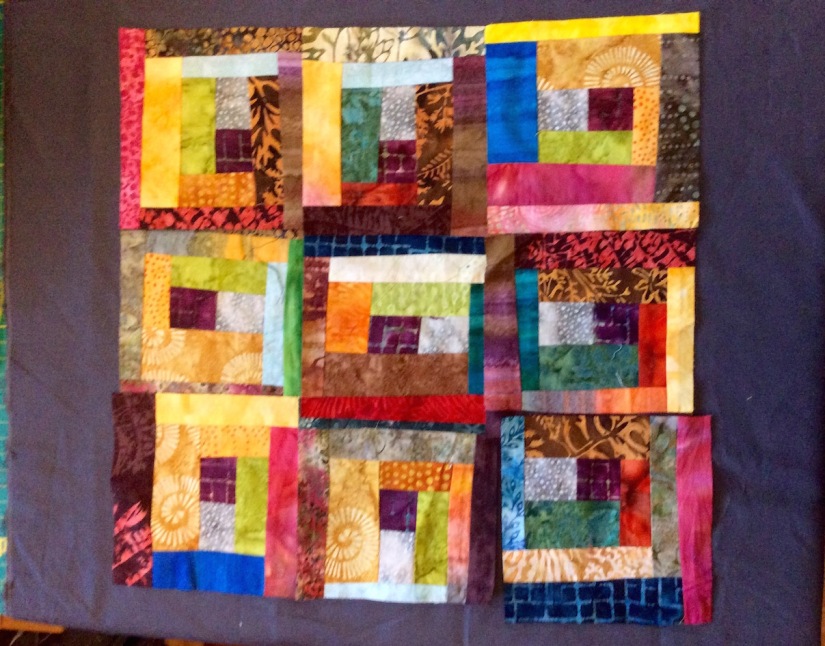
In the evening on Friday and Saturday, I turned the trimmings from those scraps and some of the remaining scraps into 23 more 6″ x 6″ blocks:
(Now why didn’t I make 24 more instead of 23 more? I guess I lost count while piecing!) As you can see, these blocks are somewhat darker and have more piecing. I tried to use all the scraps from the trimmings which had piecing within the scraps.
I now have scraps left over from trimming the latest blocks and the remaining original scraps that started it all…and yes, I am going to make more blocks out of them! (Besides 47, 24 + 23, is an usual odd number of blocks. )
THE EXPERIMENTS
I tried out many of your color suggestions. To save time, I had a “pocket full of scrappy blocks” as I experimented. I never imagined walking around my house with a pocket full of quilt blocks!
Now, try and use your imagination as you look at my experiments. Although I tried to put strong lighting on the design wall, if you have been following my blog for a while, you know I am not the best photographer (if I tried to make photography a career I would be very hungry).
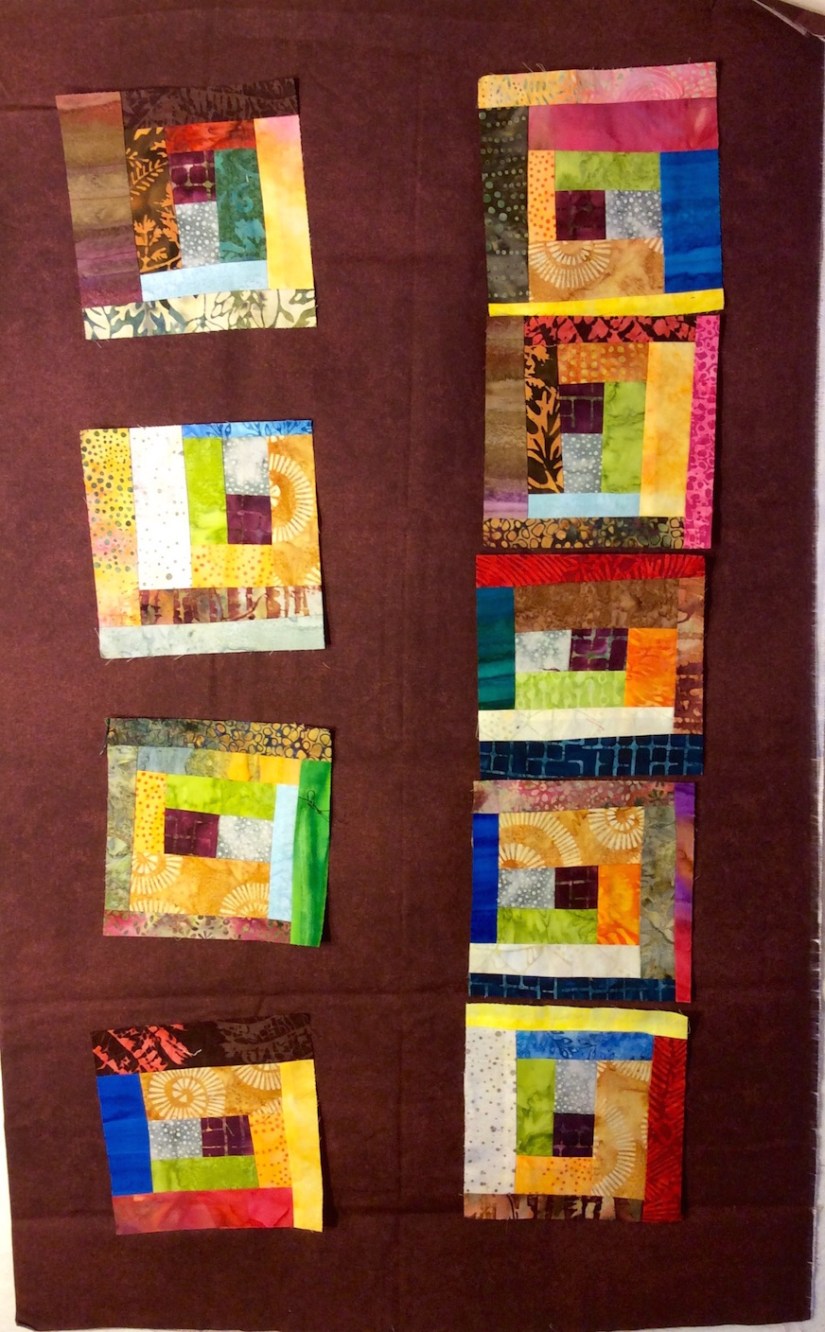
I provide two layouts on each test background fabric: 1) floated and 2) grouped together with a border.
More disclaimers (soon you will be frightened to even scroll down and look…): I did not iron the fabric I used as the test background and I randomly selected the blocks to go onto the test fabric. (If this were a real quilt layout, I would have given more thought to the block placement and order.)
RED – I loved this!Brown – sort of a “milk chocolate” brown – could take it or leave it…Dark Brown – I guess the “dark chocolate” brown – I liked it!Gold – this is a new Moda fabric I picked up – I love it!Different shades of gray using an ombre fabric – could take it or leave itPurple – lovely!White – in concept sounded nice put I do not use large amounts of white in my piecesBlue-gray – sort of denim like – I liked it! This is one of the Peppered Cottons I have on my Etsy shopMARIGOLD! Well as close as I could get to marigold – this is a Moda Grunge line fabric and this is my favorite!Looked for an “acid green” in my stash but this bright lime green was the best I could find. I like it!
THE DECISION
Thank you so much for all the great ideas. I also appreciated all the layout and general design ideas.
My decision is as follows:
Make more blocks, trying to use up nearly all the remaining scraps.
Do not make a quilt with these blocks, instead make a SERIES of artsy table runners for my tierneycreates Etsy shop using various combinationsand layouts of these blocks and my favorites of the backgrounds above (red, marigold, gold, purple, dark brown, and lime/acid green).
Thanks for coming with me on this color and design adventure! I will update you all as I complete the table runners!
POSTSCRIPT
Here is a follow up on the post Mysterious Thrift Store Fabric Find: One of my blogger buddies, Claire @ knitnkwilt.wordpress.com, tapped into her resources and got a translation for the words on the selvage of my mysterious Asian fabric thrift store find:
ll the characters on the left say is ‘manufacturer/maker’. I’m guessing the ones just to the right of Watex are the company’s Japanese name. The handwritten characters say ‘Golden Age’
Thanks so much Claire for helping solve the mystery.
I had more ramblings for this Postscript, but you are likely exhausted after reading this very long post!
Check out Sassy the Highly Opinionated Miniature Schnauzer’s blog on SchnauzerSnips, for her latest musings…
BRIGHT COLOR!!!
One of my blogging-buddies, Laura @ Create Art Every Day, recently asked me in response to my comment on one of her post:
Have you ever done a quilt with lots of white or neutral (back)ground mixed with really bright brights?
Her timing on this question is amazing as I just returned from a four-day quilt retreat with some of my Quilting Sisters and some new quilting friends I met at the retreat. While at the retreat I worked on free-form piecing of log cabin blocks (“log jamming”).
First round of scrappy log-jam batik blocks
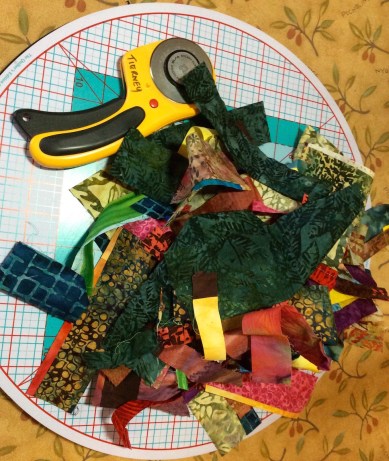
These blocks started as bag of colorful batik fabric scraps:
The bag of batik scraps that started it all
I trimmed each block to a 6″ x 6″ block and I have scraps left over from trimming the blocks and I am going to use those “trimming scraps” and the rest of the scrap back to make more blocks.
The leftovers from trimming the blocks
Now here is where I need your help – I am trying to decide what background color to set the blocks into and what layout. I would appreciate input from crafters and non crafters – I want to know what you find most aesthetically pleasing:
OPTION 1A– Float the blocks individually in a neutral background:
OPTION 1B – Group the blocks together and then float the whole grouping in a neutral background:
OPTION 2A– Float the blocks individually in a gray background:
OPTION 2B– Group the blocks together and then float the whole grouping in a gray background:
This dilemma is actually the fault of Laura @ Create Art Every Day (ha!) as originally I had purchased the gray fabric during the quilt retreat to float the blocks. Then I was inspired by Laura’s comment to float the blocks in a neutral background!
I am stuck and would appreciate your vote and any comments you want to make regarding your rationale. THANK YOU!
In my next post I will share what the other quilters were working on at the quilt retreat I recently attended and some cool fabric finds (in addition to the one mentioned in “Postscript”).
POSTSCRIPT
Frivolous Purchase
Speaking of “Bright Color“, while at the retreat, I bought a frivolous but cool piece of fabric – a panel by Hoffman Fabrics of their entire Hand-Dyed Batik Watercolor Palette:
It is now hanging in my studio.
I do love bright colors and here are the quilts I keep on the chair in my studio. The two on the left are made by my Quilting Sisters (Judy D. and Kathy R.) and I was rotating them as wallhangings in my studio prior to getting the Hoffman Batik panel. The one on the right is my first experiment with creating Half-Square Triangles with charm squares using a Batik charm back I bought in the early 2000s (I made this quilt around 2003).
A Blog Recommendation
I follow many wonderful blogs by other crafters, quilters, painters and other artists. I also follow inspirational blogs by non-crafters. Please see my “Blogs of Follow” list section of my Home page.
I was fortunate to discover (I think by a comment on one of my blog posts) a blog by a Nigerian quilter – Sola, called Alice Samuel’s Quilt Co. Her blog is very interesting to read from a quilter’s perspective outside the US. I have also come across various wonderful Australian and UK quilter blogs.
I love how quilting connects us across the globe!
In Sola’s latest post, she has a wonderfully researched (with lots of links to resources) post on:
Thanks to my fellow bloggers for their engaging blogs I love following; and thanks to the tierneycreates readers/followers (extra thanks to those who take the time to comment on posts). I feel very blessed! (huge smile).
This post is a follow up to the 07/14/16 post What’s on the Design Wall(as well as another post mentioned in the Postscript section)
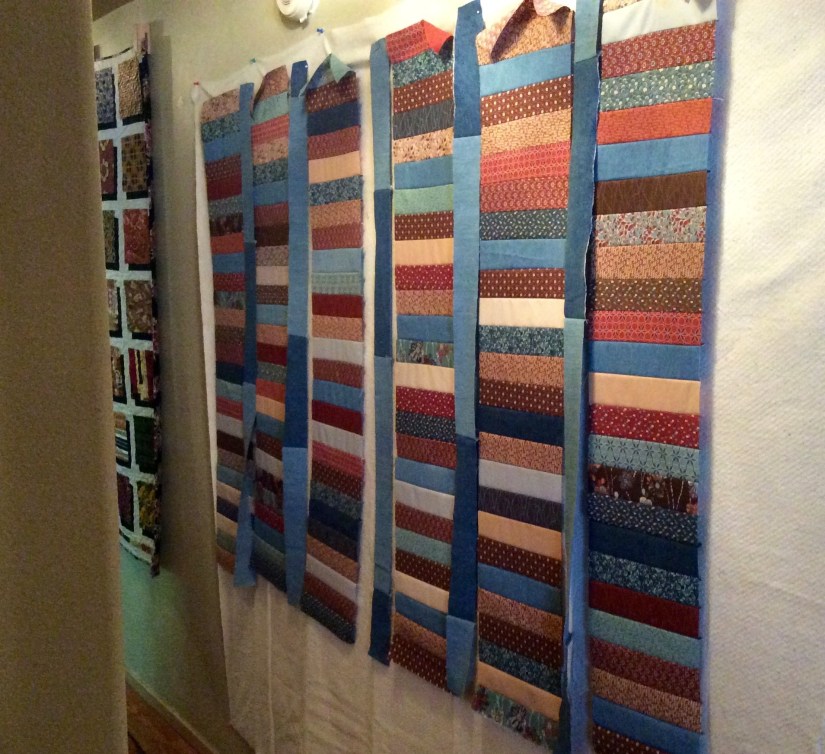
Terry, “The Quilting Husband”, continues his “take over” the large temporary design wall in the hallway (temporary until we install a permanent large design wall in the hallway) with his piece in progress. Here is his current progress from the 07/14/16 post – he has now inserted strips of pieced recycled denim between the rows.
We love recycling denim. Did you know how much it takes to produce a pair of jeans and the impact on the environment to create one pair of denim jeans?
I read an interesting article in the Winter 2015 edition of Interweave’s Stitch magazine, “Denim; Shaping the World, One Pair at a Time” by Kathy Augustine (pages 16 – 17).
Here are some interesting numbers from this article to give you a perspective of what it “costs” environmentally to make a pair of jeans:
An estimated 2 billion pairs of blue jeans are produced each year. It takes one bale of cotton (approximately 480 pounds of cotton) to produced 215 pairs of jeans, or 2.23 pounds of cotton per pairs. One acre of farmland produced approximately 740 pounds of cotton and cotton requires about 1,000 gallons of water per pound of fiber, so it took 2230 gallons of water to make that pair of jeans you are wearing and the average American has 7 pairs of jeans.
So I get pretty happy when I am involved in denim recycling and letting the effort all that water go towards something that can keep someone warm and cozy or decorate their house after the denim is no longer wearable.
I will wait and see what Terry does with the rest of the fabric for this piece he is working on (like an interesting border?) and then I would like to make a table runner with smaller pieces of recycled denim and the scraps from his piece. I think it would make an interesting “Country” style table runner.
Postscript
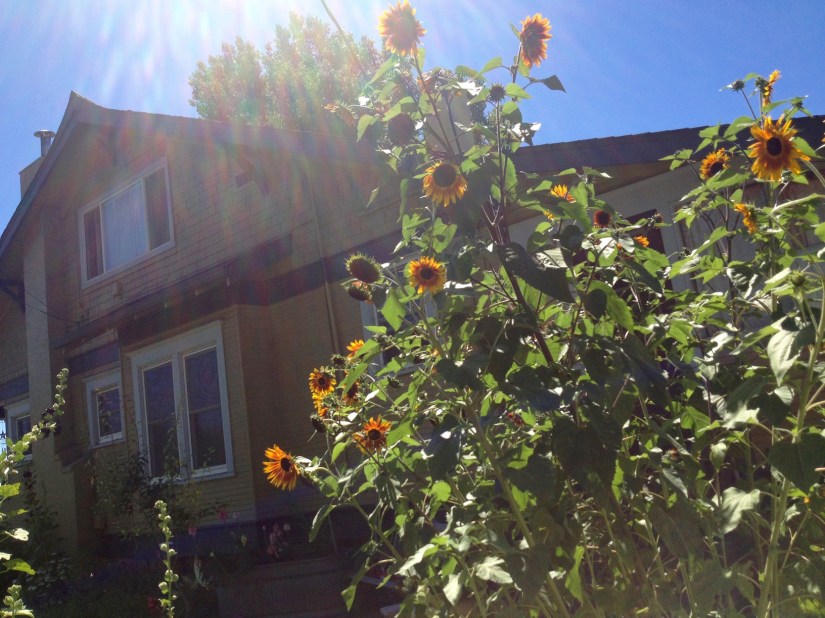
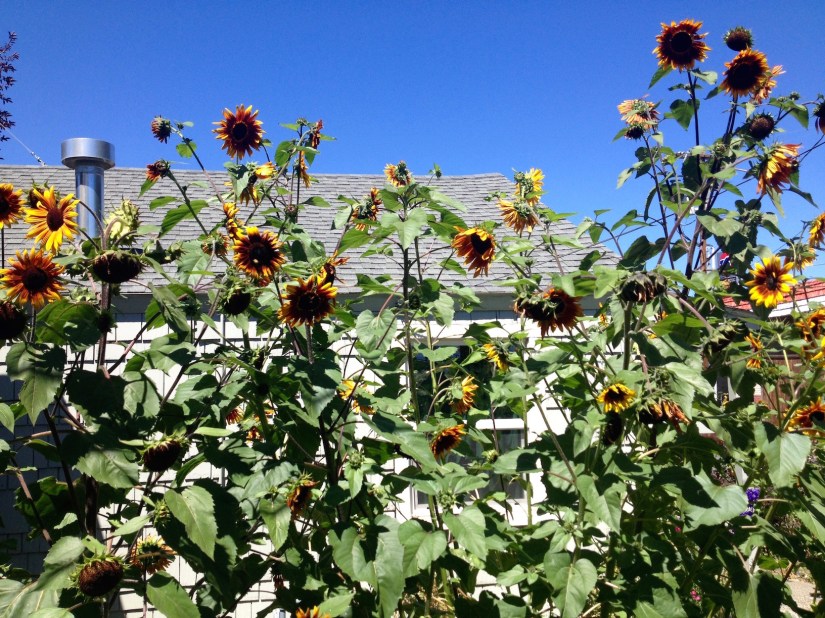
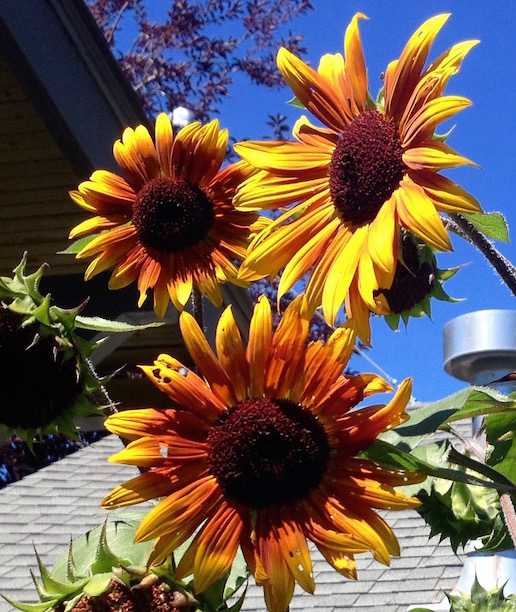
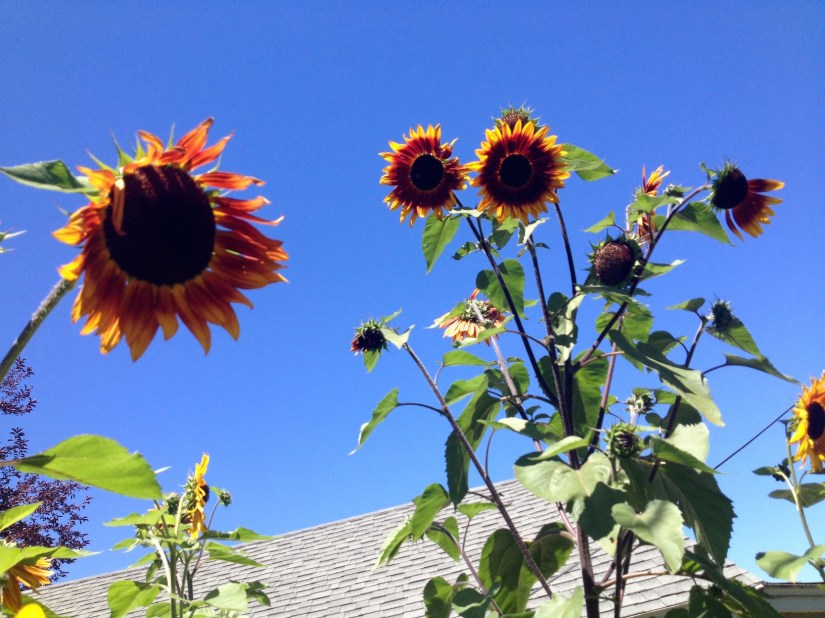
My sunflower obsession continues, as discussed in the post Waiting for the Sunflowers. This weekend I went over a friend’s house who had massive amounts of sunflowers in her front yard . Several of the sunflower plants had reached “Sunflower Tree” heights (nearly “house-size” sunflowers!).
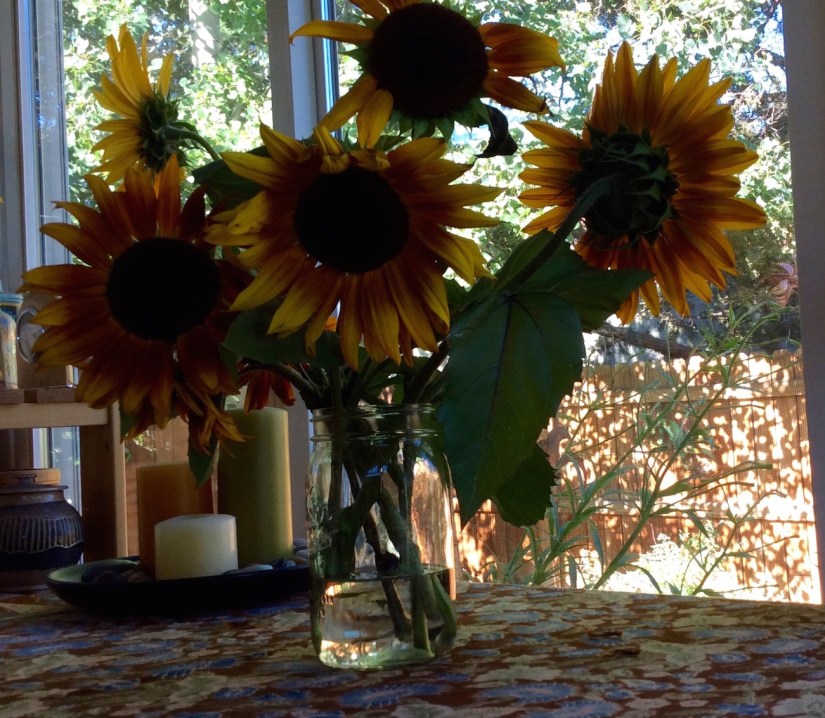
Here are some of my photos (note the sunflowers were towards the end of their blooming):
Of course I took some cuttings home to put in my sunroom!
(Okay Tierney! Enough with the sunflowers already, move onto another topic.)
Maybe. I cannot promise sunflowers won’t be mentioned again in a future post (smile).
Continuing my series on What’s on the Design Wall: Projects in Progress…
Terry the Quilting Husband, fresh from his sale of two of his quilts during the 2016 Sisters Outdoor Quilt Show, is eagerly working on a new piece (maybe for the 2017 Sisters Outdoor Quilt Show?).
Terry is using our new temporary “giant design wall” that I discuss in the post Whole House Crafting. Until we get the interior walls of our house repainted (someday) we are just using a package of Warm & Natural batting on one of our hallway walls. A future house project is to build a nice large design wall on this side of the one hallway in our little home.
Terry likes to work from parameters I start him off with and he does not like quilt patterns of any kind. I tried to help him learn how to follow quilt patterns, but he strongly prefers to work intuitively.
I had a stack of 2.5 inch strips from an old kit (for a very ugly table runner) that I was never going to make. After sewing sections of the strips together, he is going to inset denim between them some how. All his concept – I only gave him the strips.
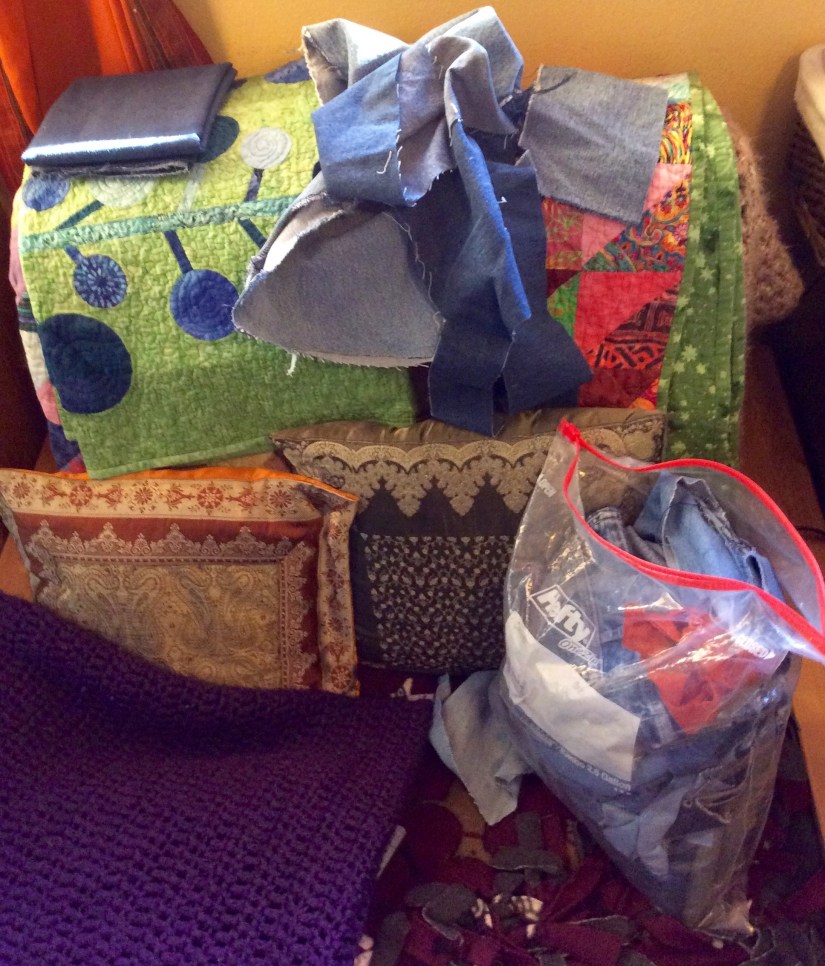
Here is my stash of recycle denim he is looking through to complete his design:
The chair in my studio with my stash of denim scraps
Congratulations to Beth T. who won the free copy of Creative Quilt Challenges from the random drawing of names from those who left comments on my Creative Quilt Challenges Blog Tour post – BLOG TOUR DAY 4: Unlikely Materials. Thank you to every who visited the tierneycreates blog for Day 4 of the tour and thank you to those who commented. I so enjoyed reading the comments and they got me inspired to keep experimenting with “unlikely materials”!
What’s on the…Table: “Ohio”
This post is a continuation of my ongoing series: What’s on the Design Wall.
However, this time I am going to share what is laid out on the table in my Studio, instead of up on my Design Wall. This post also demonstrates another example of using “Unlikely Materials” (recycled silk garment scraps) discussed in my Blog Tour post on 03/31/16.
Yesterday I posted about being inspired to create after a walk on a beautiful Spring day and inhaling the delightful fragrances of neighborhood Dogwood trees (Creative Inspiration: The Scents of Spring). Well later that day I pulled out the piece had I started a month or so ago (see post What’s on the Design Wall: Silk Squares) and got creating!
Here is the piece in progress, I am going to name it “Ohio“:
What do a bunch of miniature log cabin style patches (2″x2″ and 2.5″ x 2.5″) have to do with the State of Ohio? Absolutely nothing, but they are part of a story. An ongoing story. Here is a visual summary of that story:
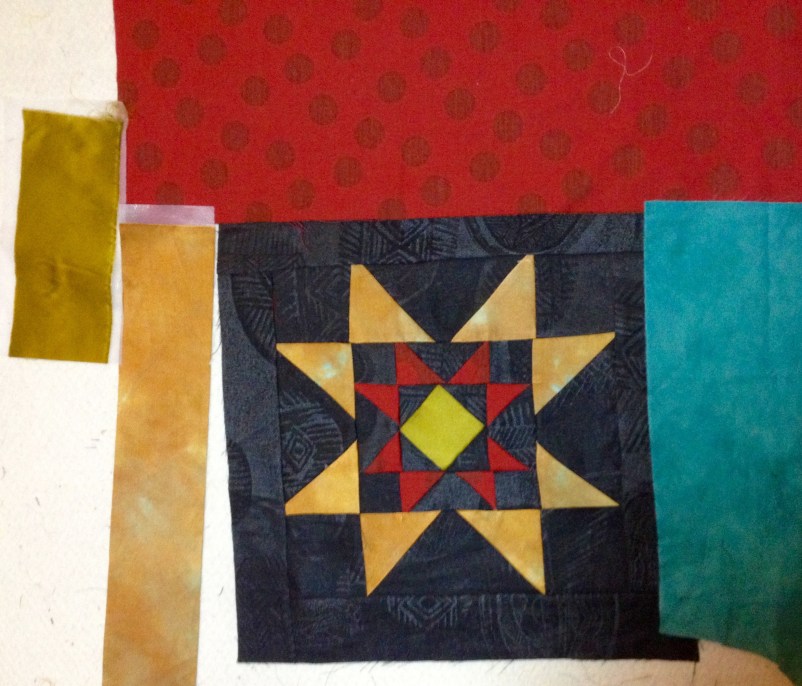
1) The piece started out as my attempt to create an Ohio Star (a traditional quilt block) from recycled silk
Ohio Star, recycled silks (in progress)
2) I was very unhappy with the accuracy of the points on the star (although I interfaced the back of the silks, I had some challenges with accurately piecing the points). So I attempted to save the piece by reimagining the piece, slicing up the Ohio Star and sewing it into a new configuration. I was still not pleased with it.
3) I gave the piece and the coordinated recycled silk pieces I have selected to a friend. She reimagined it into a completely new piece, while integrating all the elements from the original Ohio Star into the piece.
Ohio Star (2016). Designed, pieced and quilted by Betty Anne Guadalupe.
4) My friend gave me the leftover scraps from this piece which included scraps from my original piecing and new scraps from additional recycled silks she used in the piece. She challenged me to make something from those scraps!
5) So, I started working on this piece over a month ago, and I am calling it “Ohio”
Right now I am just continuing to make tiny blocks (2″ x 2″ and 2.5″ x 2.5″) and enjoying the challenging of using up small pieces of recycled silk. I find it to be meditative to quietly work on small slow piecing.
Will post about this piece again when it is nearly complete.
Also debuting in this show will be the piece that Betty Anne created from my abandoned recycled silk Ohio Star project she rescued (see post Surrendering My Piece to “Rescue”).The piece is amazing – she used all my original piecing and reworked it, with additional recycled silks and linens, into a completely new and deliciously intuitive design. I will post a photo after it debuts at the show. We were so inspired by this “handing off of the start of a piece” to another person to reimagine the piece, that Betty Anne gave me her start of another piece based on the same group of recycled silk and linens scraps. This will be a new challenge – I will create a piece based on her leftovers from her work on my piece that I abandoned …but that is another post…
Well, I have started on the piece inspired by the scraps my friend Betty Anne gave me (from her reworking of a piece I had started and then abandoned). She also gave me a small “square within a square log cabin style block” she had made from the scraps. I used this block as the starting point for my challenge.
It is now in progress on the Design Wall.
Here is the story of it’s evolution to date, in photos:
The stash of recycled silk and linen scraps that Betty Anne gave me from her silk piece (which was a reworking of a piece I started, then abandoned)
I made approximately 56 – 58, 2 x 2 inch and 2.5 x 2.5 inch free form “log cabin” style blocks. (I do not remember exactly which one of the blocks is the one Betty Anne originally gave me to start the challenge; but I know it is one of the black silk blocks with a bright center.)
I played around with potential layouts (like floating them in a solid silk like you see above photo) and I am leaning towards grouping them all together. I love the intensity of all the colors together.
Here is a close up of one of my favorite 2.5 x 2.5 inch blocks – I am having so much fun coming up with combinations from the limited fabric options I was given. I enjoyed the tiny piecing challenge and many of the silks had to be backed with interfacing to stabilize their delicate weaves.
Now the blocks are on the Design Wall.
Now I can decide, from the remaining fabrics, what additional blocks I need to add and their color combinations.
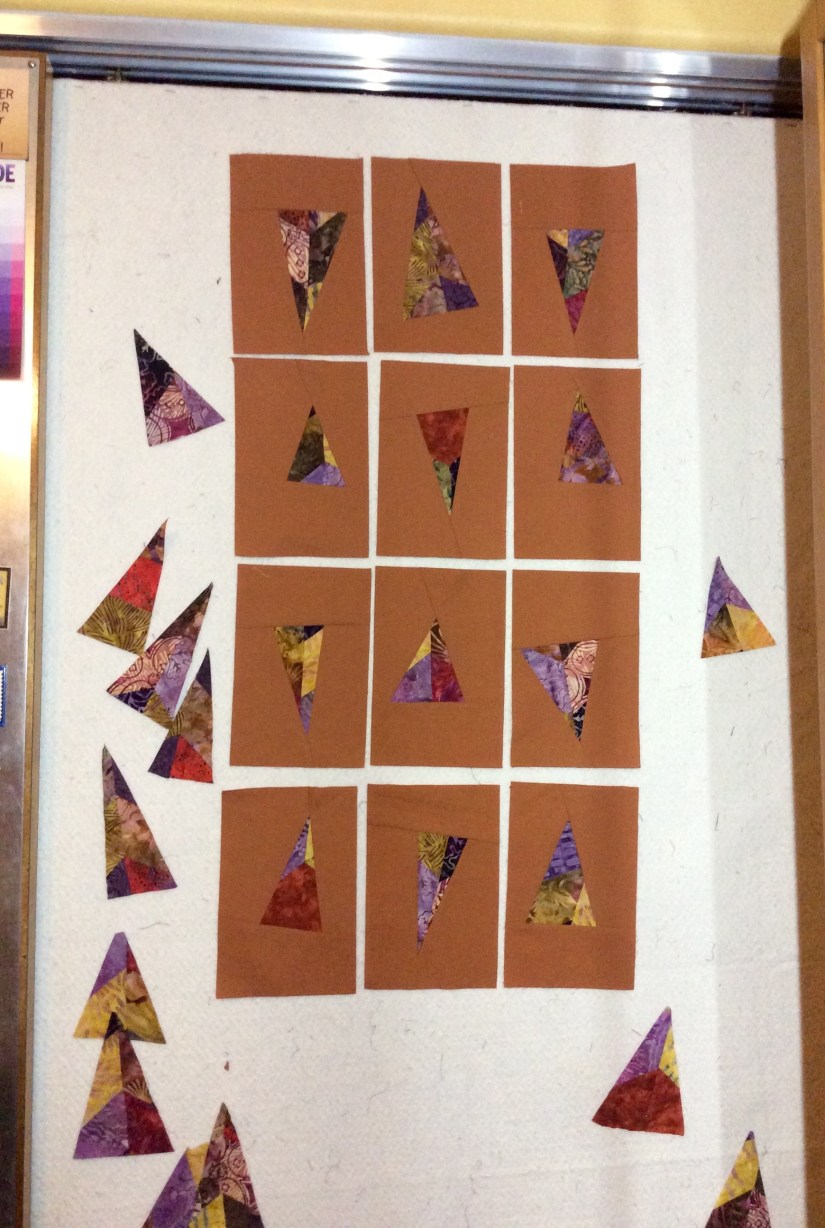
I have been working on assembling the blocks designed from discards, from another quilter’s block piecing, and a solid coppery-rust fabric, into a piece called “We Will Not Be Discarded”.
I am playing with the block arrangements and looking at two different arrangement options for the 15 blocks in progress:
OPTION #1 – All blocks pointing the same way:
OPTION #2 – Blocks pointing opposite ways:
I am leaning towards Option #2 as it makes the piece appear to have more “movement”. Once I finish all 15 blocks, I will play again with the final arrangement.
We Still Will Not Be Discarded!
I am playing with the idea of making a second piece (“We Still Will Not Be Discarded!”) from the discards/trimming of the original discards! (And the scraps from the solid fabric they are set in)
That would be taking recycling to the extreme, right? The challenge does seems interesting…
Trimmed discards from the “trimmed discards” in my little trash basket – tempting!
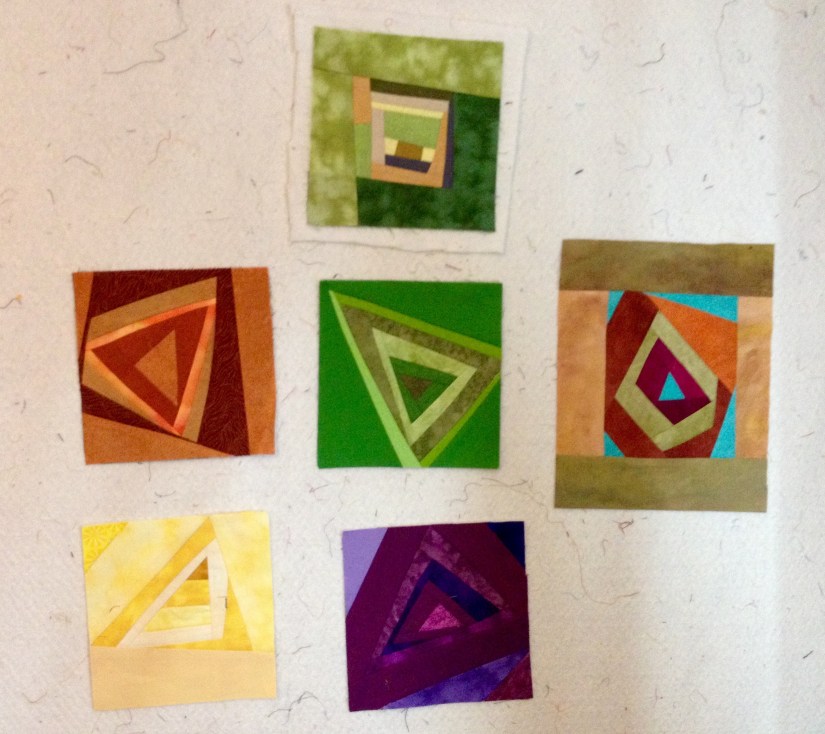
Interested in experimenting with solids, I made these 6.5 – 8.5 inch pieced blocks a couple of months ago. I recently put them up on the design wall to decide what I wanted to do with them.
I am thinking of making them a series of little decorative modern art pillows to sell on my tierneycreates Etsy shop.
(In addition to the oranges, greens, yellows and purples blocks I did, I also made one with blues and one with reds but I did not like the combination of shades of the blues or reds so they got recycled.)
Not all quilters are like me: saddled with a backlog of projects. I know quilters who (they are freaks!) work on ONE project at time, seeing it through completion, and not starting another project until their current project is complete.
My mind does not work that way. I am basically that golden retriever in the movie Up, who says “Squirrel!“when I see a new project to start. I am easily distracted and I tell myself I will get back to the current/previous project eventually.
I was having a bit of creative block on designing a new art quilt and I realize I need to work through my project backlog. So here it is sitting up the cutting table, festering:
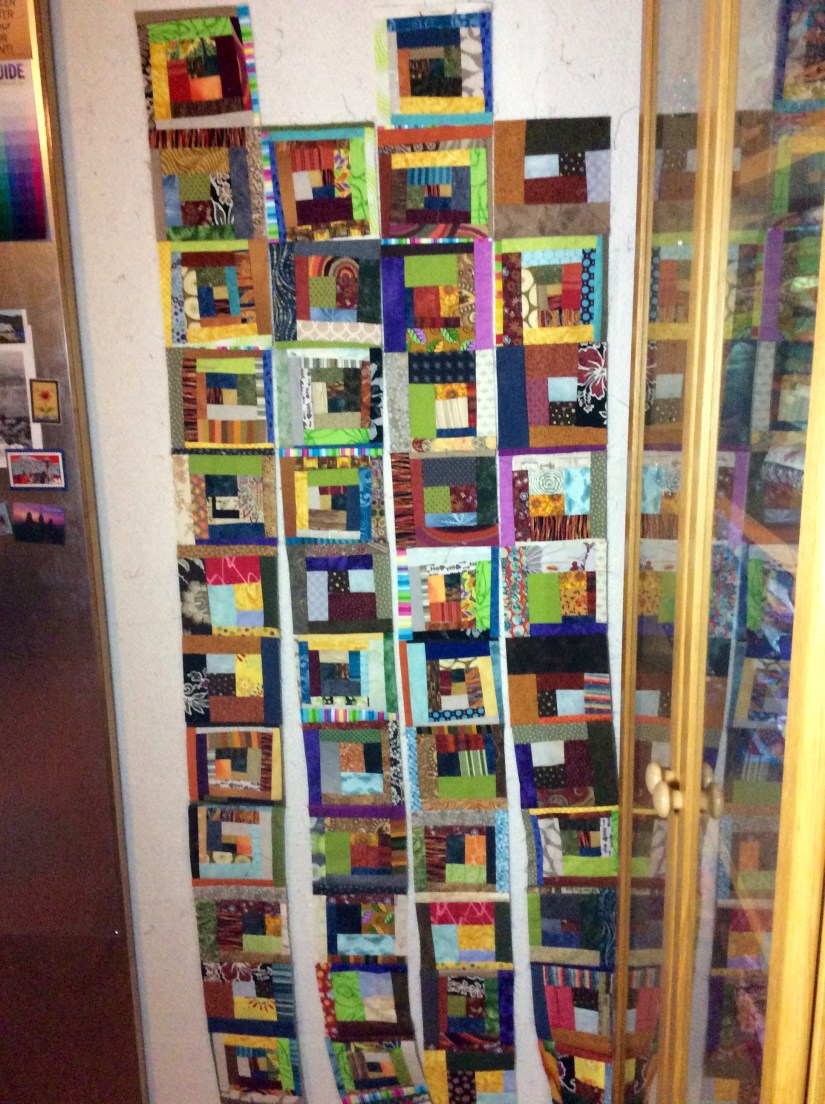
In this pile under the cutting table, I discovered 120+ 6.5 inch log jam blocks (scrappy pieced log cabin style blocks) that I had pieced earlier this year. With the assistance of Terry the Quilting Husband, I got them sewn together and now they are on the Design Wall awaiting assembly of the rows.
I have a total of 10 rows with 12 blocks in each row. I am hoping that by floating the pieced blocks in a solid color border, I can make it a twin, full or queen size quilt top. I will post a photo when the top is complete (before it journeys to the long-arm quilter).
“Never put off till tomorrow what may be done day after tomorrow just as well.” – Mark Twain
This post is really the “Part II” of the previous post: “Creative Inspiration: Where I Started…” in which I discuss my inspiration to create series of small recycled clothing quilts based on the first quilt book I owned: Quilts! Quilts!! Quilts!!! (McClun & Nownes, 1998).
The “Big Magic” of Creativity
I am currently listening to a wonderful audiobook by Elizabeth Gilbert, read by the author – Big Magic: Creative Living Beyond Fear (2015). In the inspirational book Gilbert proposes that Ideas are entities unto themselves that move among us searching for a home/host to bring them fully into existence.
If an idea visits you and you do not grab onto it, it will move to someone else. She also discusses the concept “multiple discovery” (simultaneous inventions by different individuals not aware of what the other is working on). She proposes that when an Idea is ready to “be born”, it will visit numerous people to find someone who is going to bring it into existence. This is all part of the “Big Magic” and mystery of creativity and the creative process.
The Ohio Star Idea (magical “multiple discoveries”?)
In the previous post, “Creative Inspiration: Where I Started…“, I share my recent experience of being in a thrift store with friends and having the idea to do some traditional pattern small quilts using recycled clothing for The Wardrobe Meets the Wall collection.
The traditional quilt pattern “Ohio Star” popped into my head. I mentioned to my creative partner on The Wardrobe Meets the Wall my idea of making some recycled clothing/garment manufacturing samples quilts based on the Quilts! Quilts!! Quilts!!! book. I did not mention that the traditional pattern, “Ohio Star” had popped into my head.
At first she hesitated on the concept and then remarked: “An Ohio Star done with the recycled silks would be interesting”.
The Quilts! Quilts!! Quilts!!! book does not contain the Ohio Star pattern. It was like we both just came up with the same idea at the same time! I was completely overwhelmed that she randomly mentioned “Ohio Star” when I was thinking it at the same time. There are so many traditional quilt block patterns – why did “Ohio Star” pop into both of our minds.
The Ohio Star Silk Experiment
Of course, I had to try and make a small recycled clothing quilt with the Ohio Star quilt block pattern! I found an image of an “Ohio Star” on the web and reverse engineered it.
My challenge: The quilts I have made so far from recycled clothing materials, such as silk garment manufacturing samples, have been using free form, intuitive piecing techniques. In order to create a traditional Ohio Star block, I had to use more accurate piecing techniques.
Using a special interfacing, I backed on the thinner silk pieces to stabilize them for cutting into specific small shapes (such as triangles). Silk is not as forgiving as cotton when piecing a block and it was a new experience to try and make a traditional block with silks!
On the design wall photo below, you will see I have completed the basic Ohio Star block. I am working on an inner border and outer border for this piece. I will post the completed small quilt top in the future.
Ohio Star, recycled silks (in progress on the Design Wall)
I consider this experiment a warm up for the project to make a series of small quilts from recycled clothing inspired by traditional quilt patterns from Quilts! Quilts!! Quilts!!!
Yesterday the long-arm quilter, Guadalupe Designs, unveiled the quilting done on my piece Abandoned Structure, which is based on an abandoned power plant in Central Oregon that I photographed many years ago.
Once I got it home I stuck it up on the Design Wall (a sort of homecoming from where it originally was born). I have not yet trimmed the batting from the edges or put the finish on the edges, but I am enjoying just looking at the piece as it came off the long-arm quilting machine.
I am excited to add it to my collection of art quilts made from recycled clothing and garment manufacturing scraps.
Abandoned Structure (2015, in progress). Designed and pieced by Tierney Davis Hogan, Quilted by Guadalupe Designs
I found an organic branch-like/wood grain-like tone on tone fabric from my collection of Marcia Derse fabrics and placed it between the columns and then as the border.
So now the quilt top is done!
I am looking forward to seeing what it looks like once the machine quilter works her magic!
Some photos below…
NOTE: In the last photo, the quilt top looks a little askew, that is just because The Quilting Husband is trying to hold it still for the photo while the wind is blowing.
A close up of one of the blocks with the setting fabricThe Tree Outside My Window under a tree outside my window!Quilt Top completed on The Tree Outside My Window
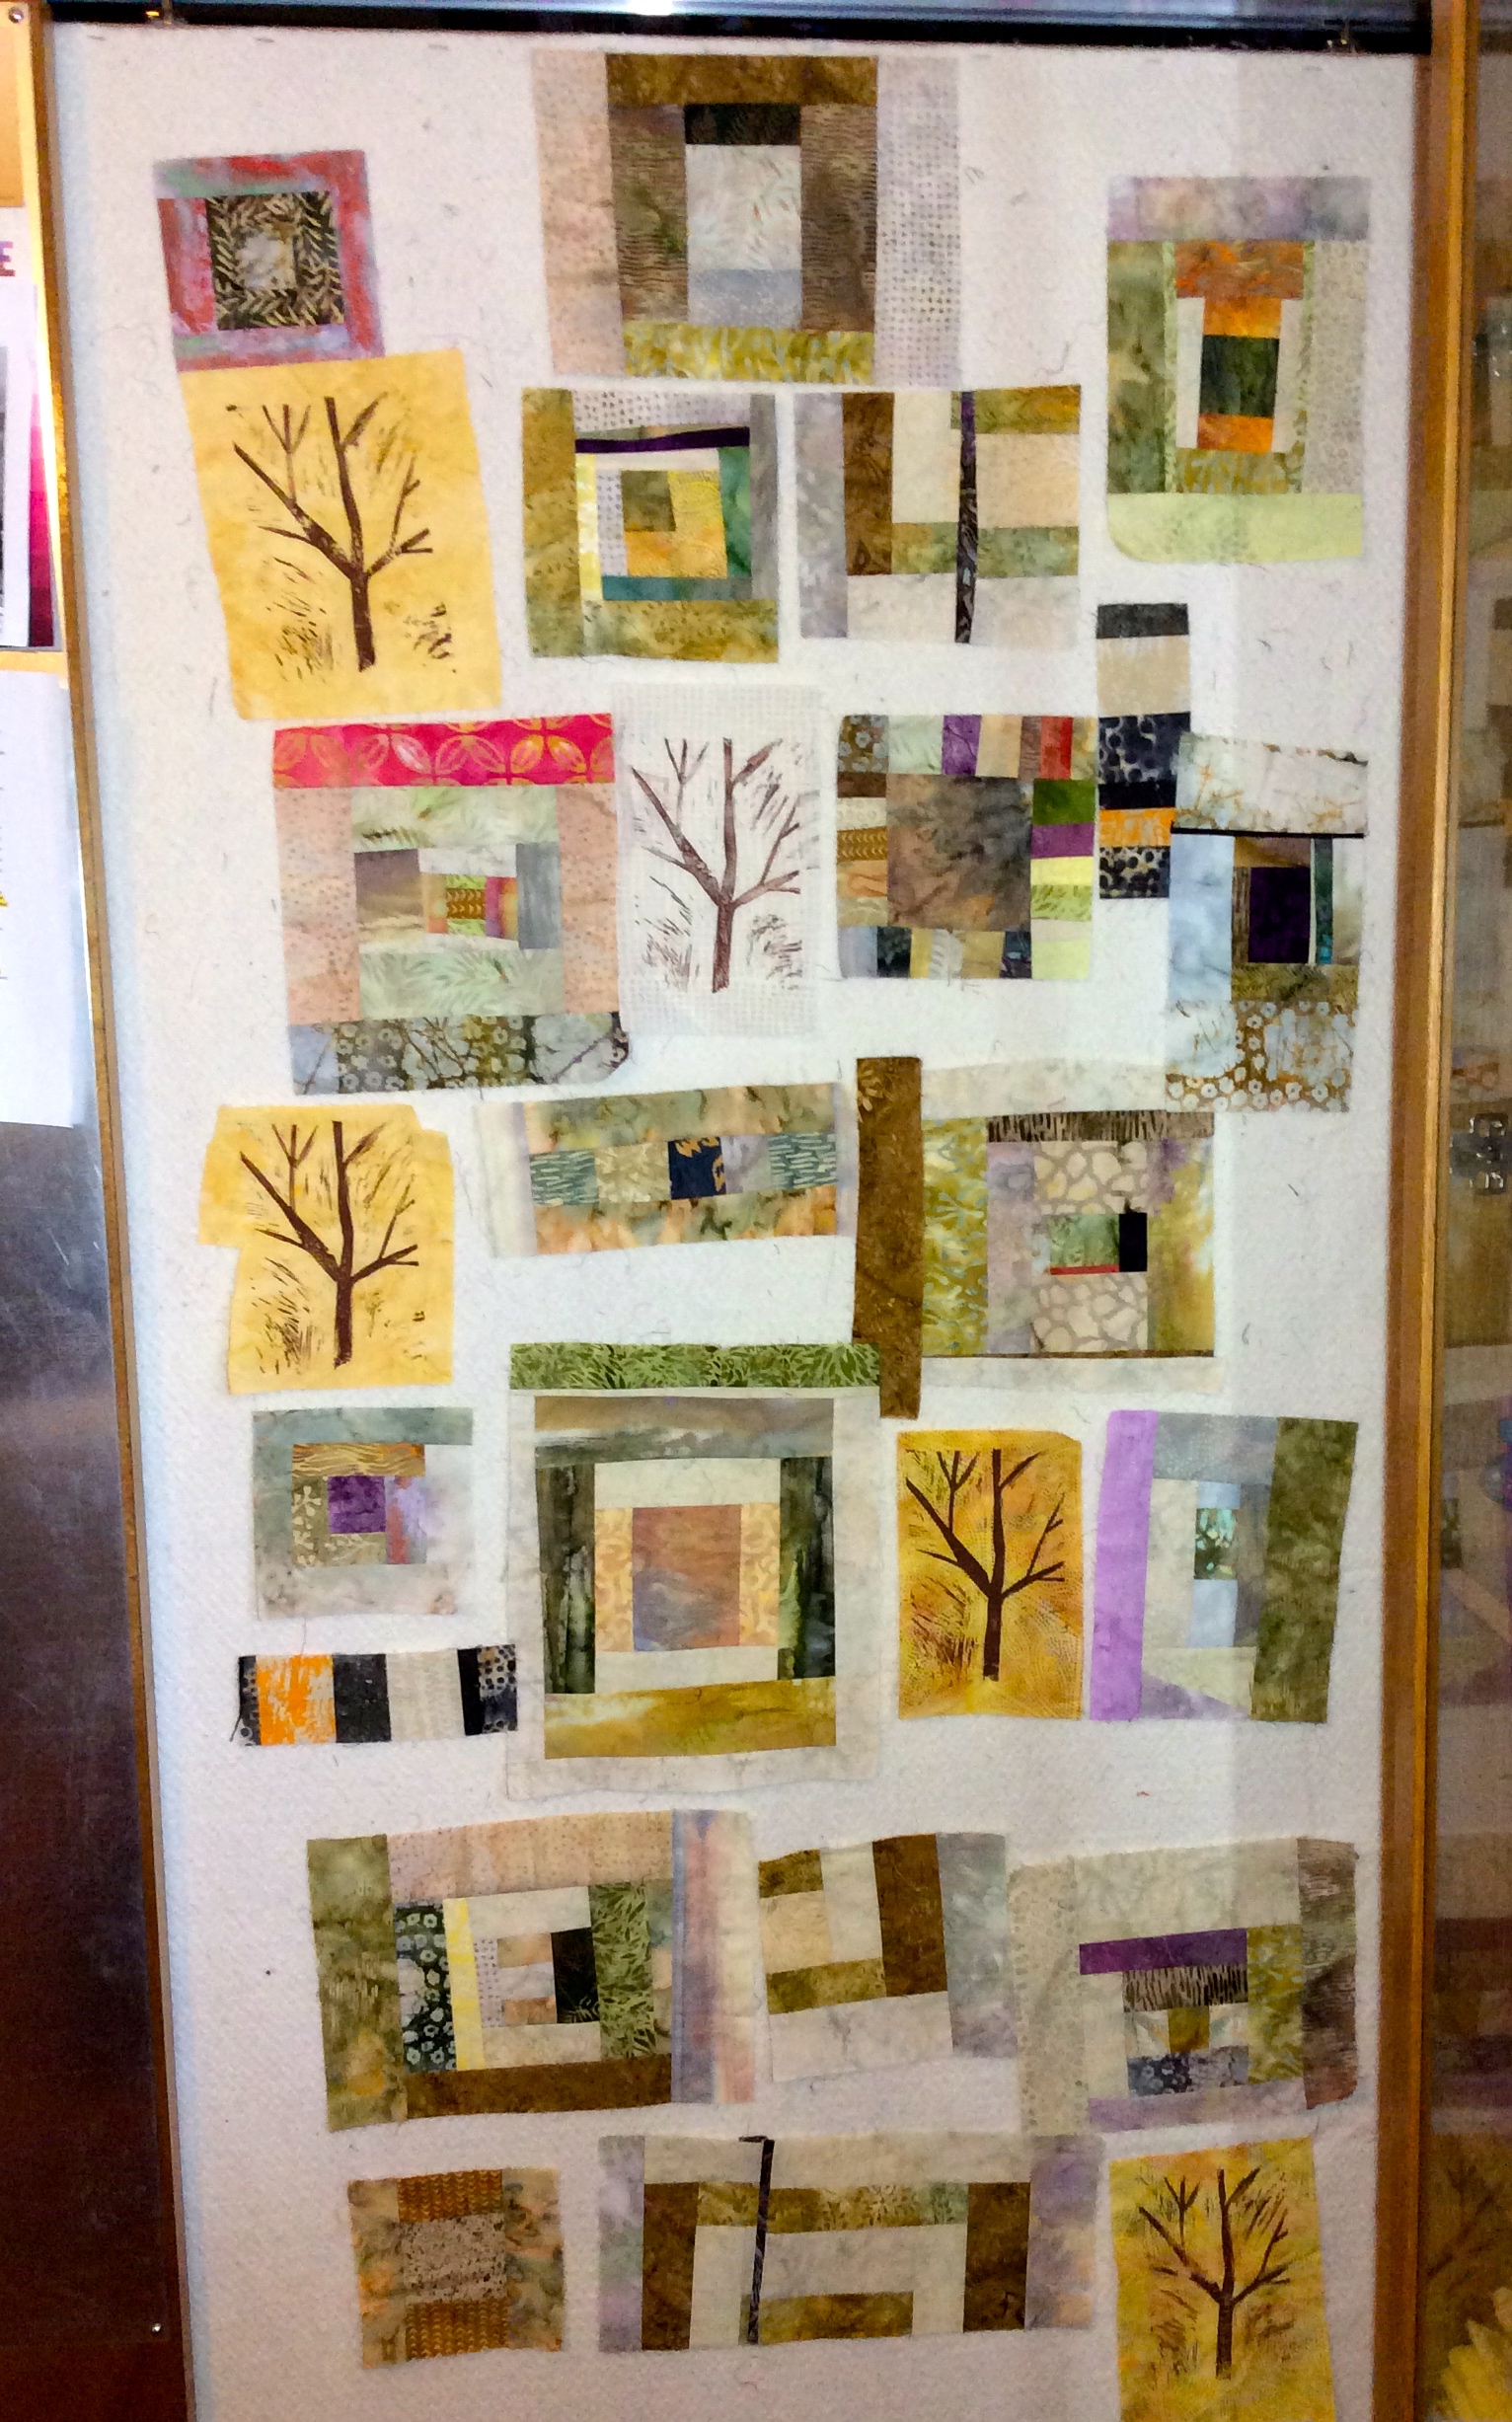
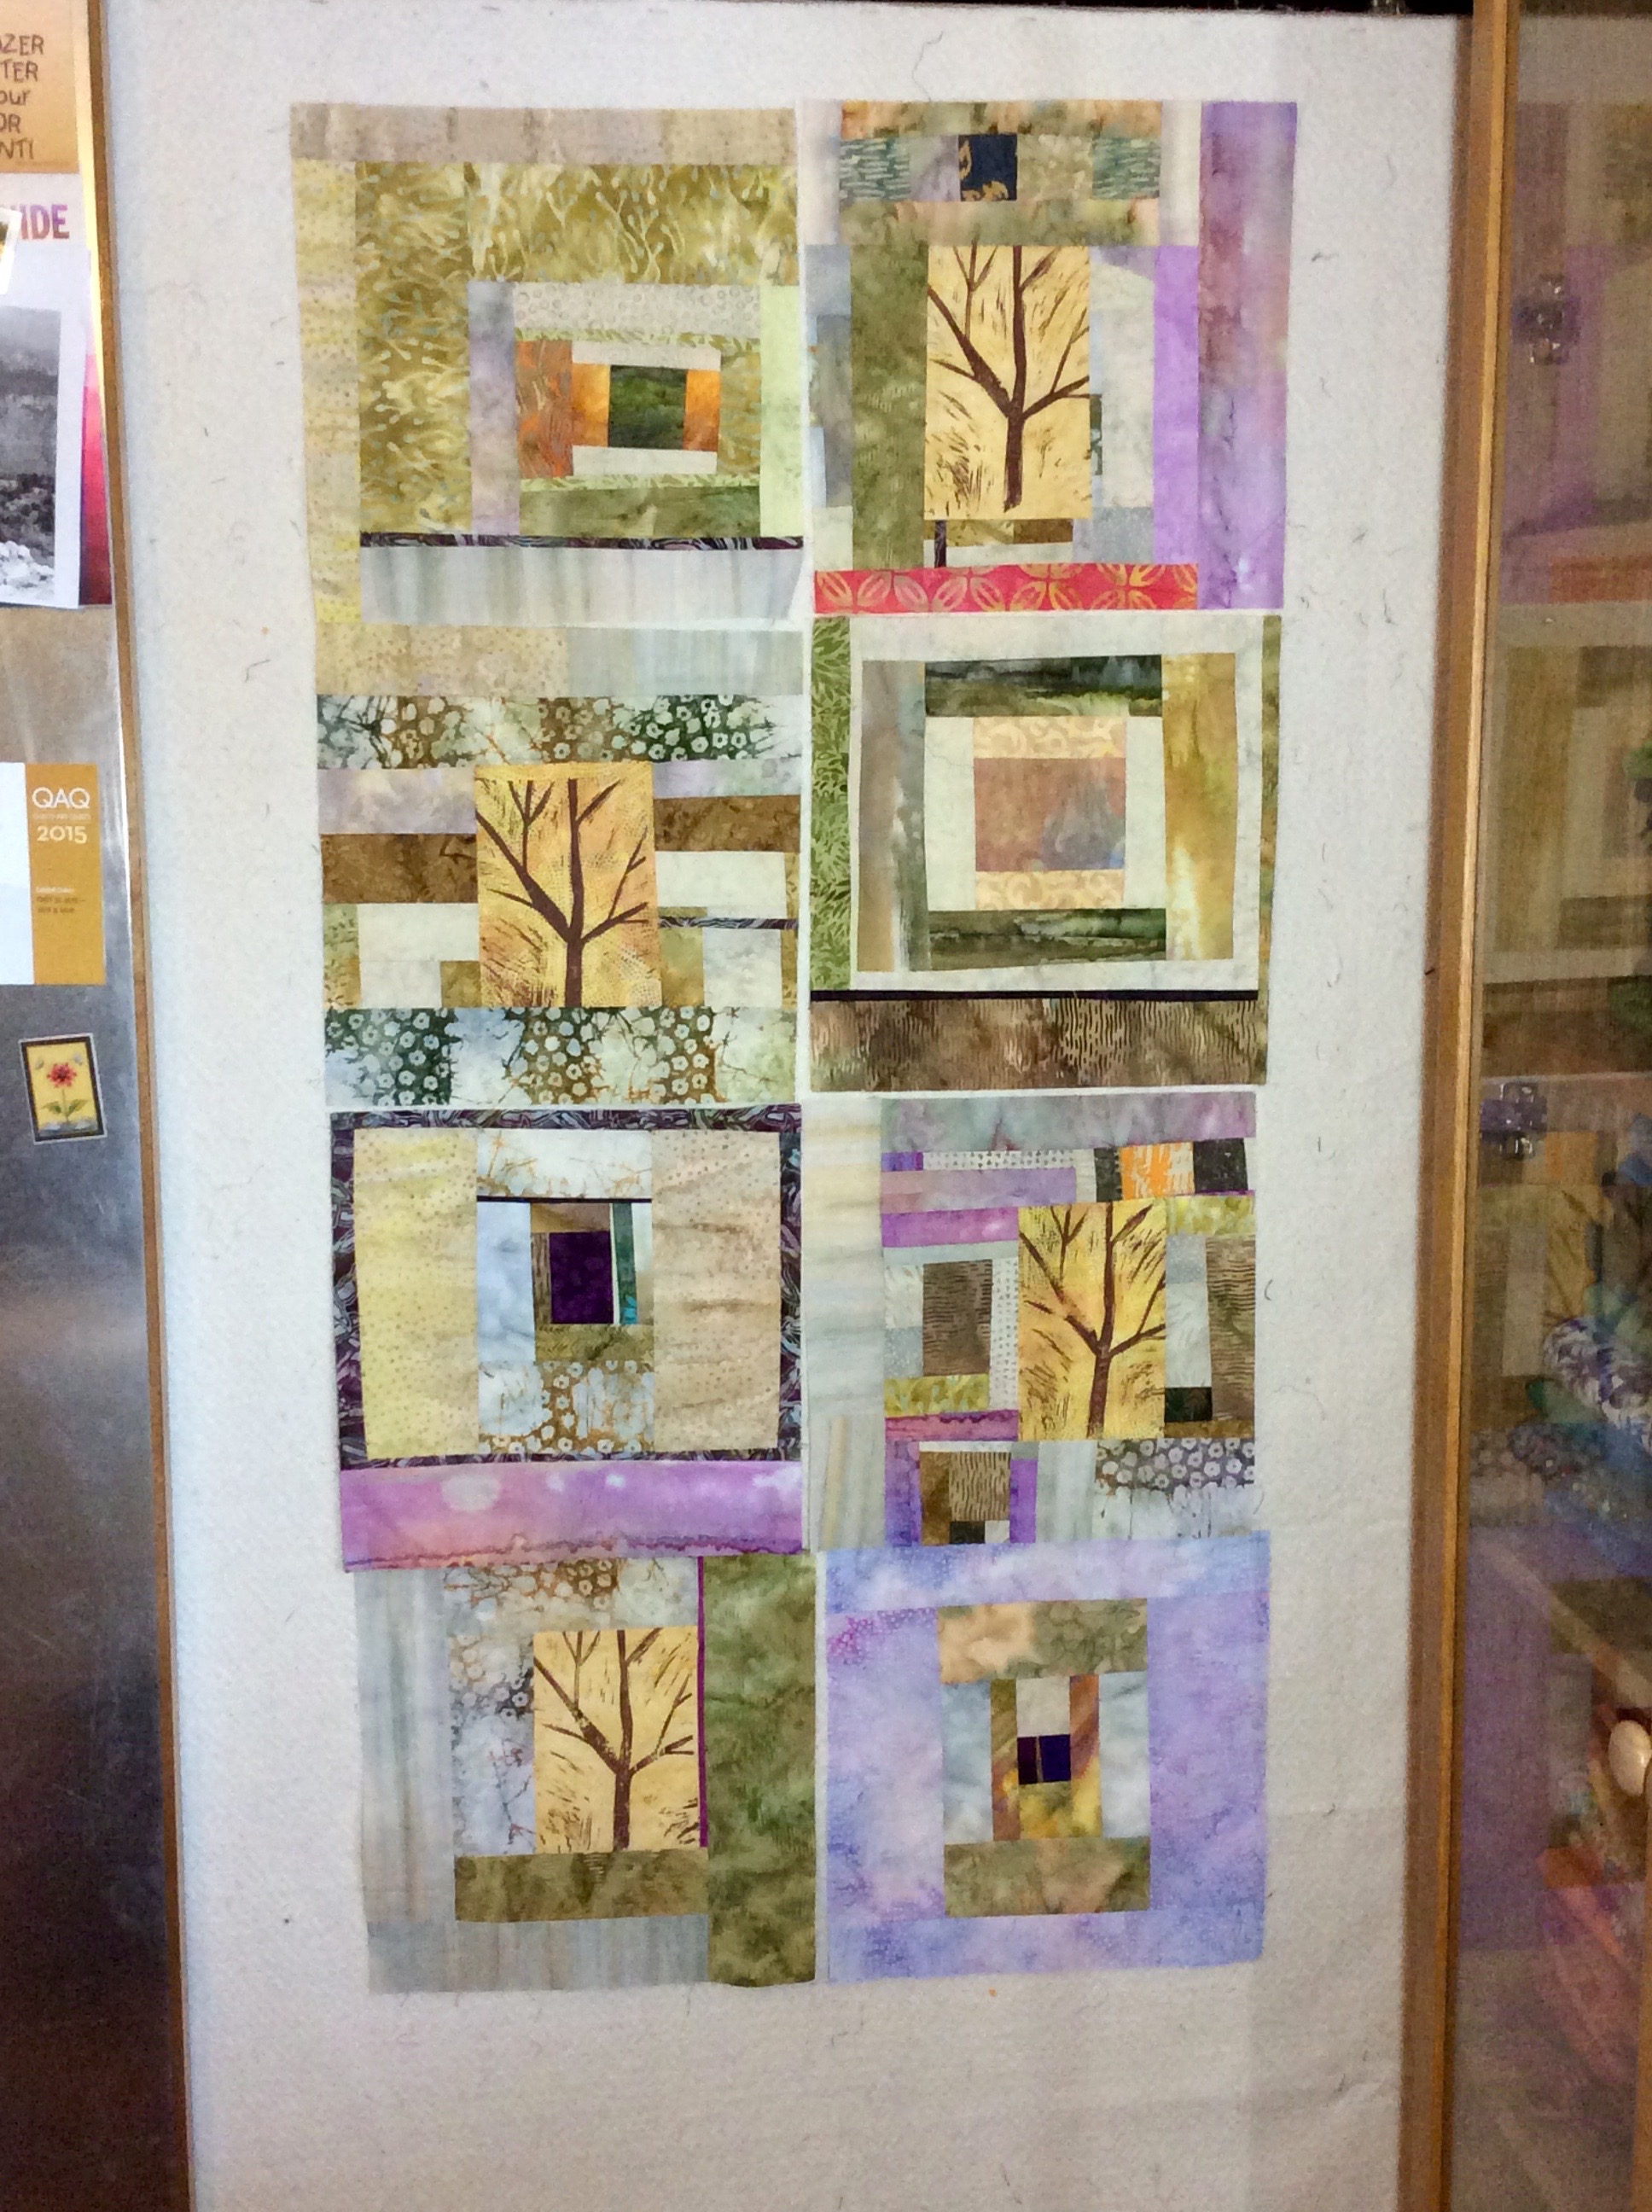
Continuing my series “What’s On The Design Wall” with an update on where I am in my design and piecing of a new piece that I first introduced in the post: “What’s on the Design Wall: Rescued Blocks II“.
Recently, the name for this piece came to me – “The Tree Outside My Window” as I completed 15 blocks to create this art quilt.
As you will see in the photos below, this piece has FIVE images of trees in it (the post “What’s on the Design Wall: Fabric Surface Design Experimentation” discusses how these trees were created) but “The Trees Outside My Window” did not sound right on my tongue. I believe when naming a piece, it has to sound right to you when you say the name aloud.
After creating fifteen 12.5 inch by 12.5 inch blocks from: 1) 4 inch – 10 inch blocks originally pieced by a friend (“Rescued Blocks”): 2) scraps from my friend; and 3) five printed trees from a surface design workshop, I decided to piece the blocks into 3 columns of 5 blocks each.
Now I am deciding what I want to do next with my design. I am leaning towards putting a strip of solid (or solid like) fabric in between each row and then floating it in the same color as a border. Originally I was going to use a cream batik but it did not look right. Next I thought: “Ah a brown batik with texture would work”, but alas, I only had brown batik scraps in my stash.
Then my fabric stash spoke to me (which is good because I did not want to go out and buy more fabric as I am trying to use my stash)! I spotted the perfect fabric – mono color textured design yardage from my collection of Marcia Derse Riverwoods Collection from Troy Corporation. (At one point I was addicted to this amazing collection and tried to be a sample of all fabrics in this line from The Stitchin’ Post in Central Oregon.)
I am going to leave it a mystery for now which fabric from this beautiful collection I selected for the strips between the three rows and the border. You have to wait until the next post on this piece!
Here are photos from my design wall to include some close-ups:
Continuing my series of posts on what is on the design wall…
THE QUILTING HUSBAND IS BUSY AGAIN
I had some of my blocks up on the design wall and Terry “The Quilting Husband” was getting impatient. He kept giving me subtle hints (and not too subtle hints) about moving my stuff off the design wall so he can put his blocks up on the design wall (we have a small house and can only make 1 shared design wall work).
The Quilting Husband is working on a new “Log Jam” quilt (see my other posts on “Log Jamming” and “Log Jams” which are free form pieced log cabin style blocks) made with flannel scraps. I have a large box of flannel scraps from making flannel quilts and flannel quilt backs, and Terry came up with the idea of trying to use of the scraps making flannel log jam quilts.
As his confidence grows as a quilter, he gets comfortable with making his own design decisions. He found a stash of dog and cat themed flannel scraps and used them as the center so each block would feature a dog and/or cat face. Very creative!
In my post What’s on the Design Wall: Rescued Blocks II I shared that a quilter friend gave me a cool stack of batik freely pieced abstract fabric blocks that she no longer wanted to work on, and a pile of coordinating scraps of fabric. I was planning to combine those blocks and scraps with a couple trees stamped on batik fabrics, from a fabric surface design workshop I took earlier this year.
Here is what I started with:
After playing with the pieced blocks and assorted scraps for awhile, I decided to create 12.5 inch blocks. I am aiming for 15 blocks, so far I have 8. I am looking into non-traditional block settings once I complete the 15 (or more blocks).
Here is what it looks like now (so far):
in progress
Occasionally I wish I had a larger design wall to put more blocks up on during the design process, but I can use the top of a bed to continue my design layout when I have 15 blocks (or more). All sorts of ideas have been running through my mind (the fun of designing a piece) such as spacing out the blocks by setting them at wide intervals in a neutral fabric, etc. We will see how it turns out and of course I will post future photos!
POSTSCRIPT
I love good quotes! I came across this quote the other day that made me smile and reflect:
“Continual is the journey: Past sunset towards morning.” – Willis Eberman
Is this quote referring to my marathon art quilt design sessions where I lose track of time? Or perhaps my ongoing journey on my “tierneycreates” path!
In a previous post What’s Was On the Design Wall: Rescued Blocks I discussed the pleasures of working with “abandoned blocks“. Abandoned quilt blocks are blocks that another quilter does not want and gives to you or you find at a thrift shop or garage sale and decide to adopt!
Recently a quilter friend gave me a cool stack of batik freely pieced abstract blocks that she no longer wanted to work on in addition to a pile of coordinating scraps of fabric. I love batiks and I love her combination of colors so I was very excited to adopt these blocks! As a bonus I discovered that the trees that I printed on batik fabric during a fabric surface design workshop I took in April (see post What’s On the Design Wall: Fabric Surface Design Experimentation), appear to work well with the newly adopted blocks!
Below is the piece in it’s very early stages (I threw all the adopted blocks and my tree printed blocks up on the Design Wall in a random manner) and we’ll see how the piece progresses. You know I will post updates.
My friend who also likes working with abandoned blocks (she collects them from thrift stores, garage sales and guild meetings) and I joke about someday having an exhibit of our collection of pieces made from other’s discards!
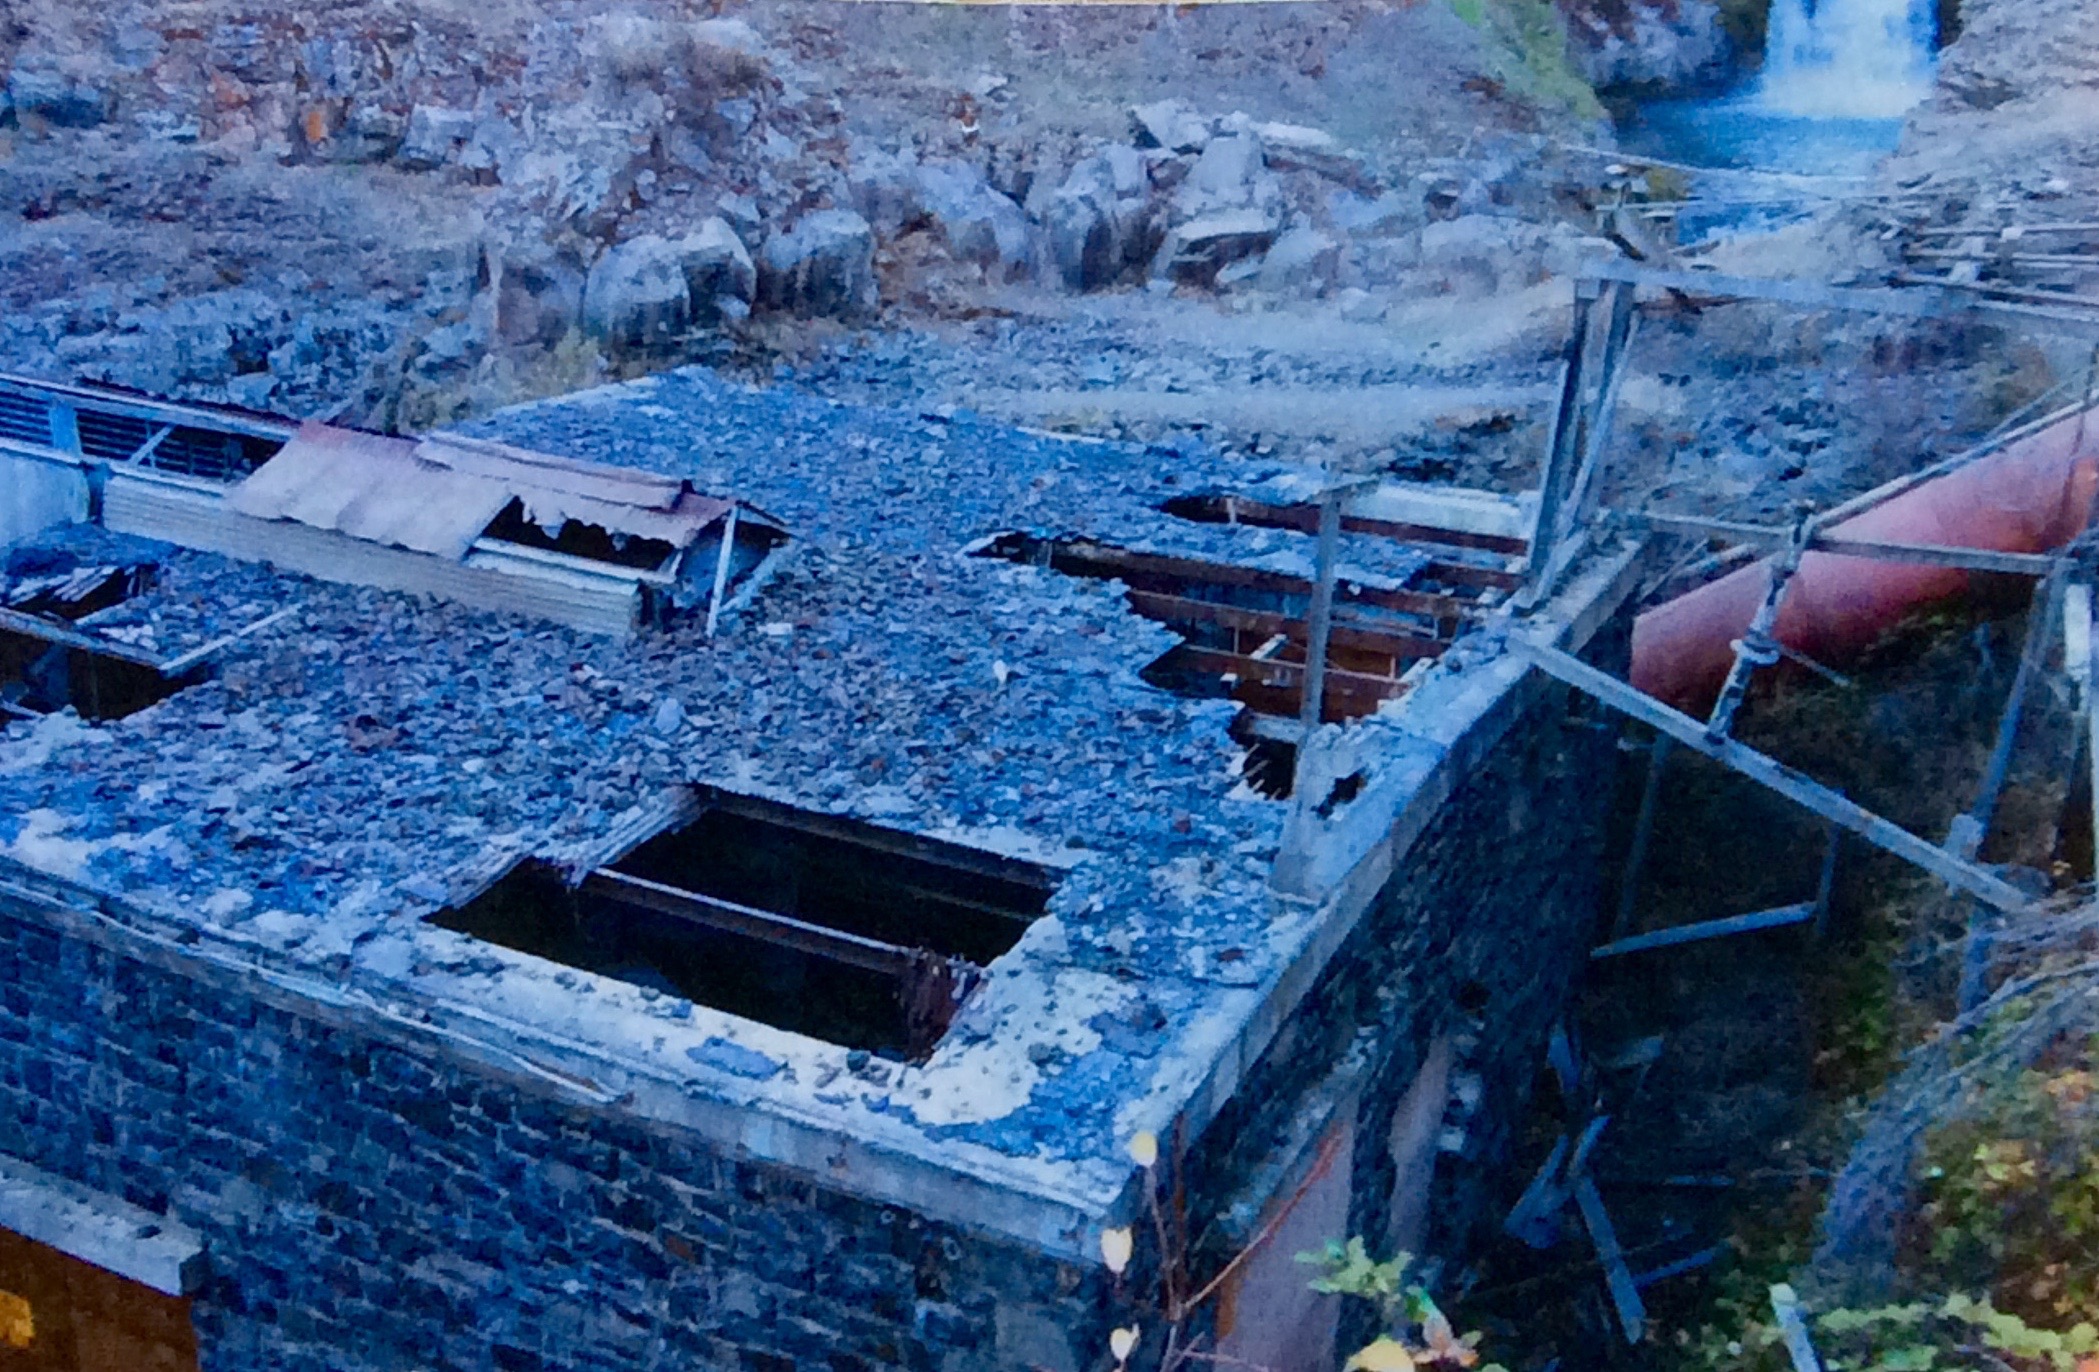
This weekend I worked on a new abstract silk art quilt piece: Abandoned Structure, inspired by a photograph of an abandoned water power plant in Central Oregon.
The water plant is called White River Falls Power Plant and it is located at White River Falls State Park in the Tygh Valley of northern central Oregon. Here is a link to an article, Nature and modern history mix at White River Falls, by station KATU on the history of the hydroelectric dam and powerhouse that was built in 1910 and decommissioned in the 1960s.
Around 6 – 7 years ago, while attending a “Quilt & Cast Retreat” (the wives attend a quilt retreat while the husbands go on a fly fishing day trip) in Maupin, Oregon, we went on a day excursion to White River Falls and I fell in love with abandoned power plant. I took many photos and the photo below inspired the art quilt I am working on:
White River Falls Power Plant
By the way, this post could have also been a continuation of my series on Creative Inspiration, as here is an example where I was inspired by a structure to create an abstract art quilt. Note: I refer to the piece I created as “abstract” as it is not a pictorial recreation of the structure but my interpretation of the feeling I get from the photograph.
Here is the quilt in process on my design wall:
Abandon Structure in progress
I am using recycled garment silks, recycled lines, and some of the Elite Gelato variegated gray fabric I used to carry in my Etsy shop (the bolt ran out except for the 2 yards I kept for my own use).
I will post the completed quilt top on The Wardrobe Meets the Wall blog as it will be part of that collection.
Check out Sassy the highly opinionated miniature schnauzer’s blog on the page Schnauzer Snips for her latest thoughts and adventures.
This is the last of my series of posts on the 4-day quilting retreat I attended last weekend. In my post Getting Ready to “Retreat” I shared photos of the projects I was bringing to the quilting retreat to work on during the retreat.
So one would expect that they would see on my Design Wall a work in progress (or near completion) that I worked on during the retreat – right?
Nope.
What is on my Design Wall is what should not be on my design wall: a quilt I started at the retreat because someone else was working on it and I liked it! This is how new UFOs (unfinished objects) are born!
My Quilt Sister Barb was working on a pattern called Right on Target by A Quilter’s Dream (2013) at the retreat. It involved taking 2 1/2 inch strips from say a pre-cut jelly roll and making a quilt by essentially making one giant log cabin square-in-a-square block. I happened to have a Hoffman Bali Pop on me (a set of 40 pre-cut 2 1/2 inch coordinated batik fabric strips) which was perfect for this pattern. Next thing you know, I had abandoned what I was working on for the afternoon at the retreat and borrowed her pattern and started making the same quilt!
“Right on Target” quilt made by my Quilt Sister Barb at the Retreat
What is on my Design Wall now
Bali Pop of 2 1/2 inch strips pulled apart for quilt
Of course this only reinforces what I discussed in my post Creative Inspiration: What Others are Working On! I know I am not the only quilter to do this – there is something so engaging when you see a quilt in progress that is very appealing and the pattern is very easy!
What became of the projects that I brought to the retreat? Well the two UFOs in boxes (in the photos in the Getting Ready to “Retreat” post) I did not even touch (I guess I brought them as decoration for my assigned work table). Instead I worked on a log jam project (refer to my numerous posts on Log Jamming), started a new project as mentioned above, went on a quilt store shop hop, ate way too much naughty food, and in general goofed off and visited with quilt friends. My kind of retreat weekend!
Check out Sassy’s related post on her blog Schnauzer Snips about her time napping in flannel shirt material Okay, I promise – no more posts about log jamming for a while after this post…maybe. The log jamming continues and now I have a new recruit: If you read the post This is the Story of a Quilting Husband, you read that my husband Terry recently learned to quilt. This past weekend I taught him to log jam (see posts What’s on the Design Wall: “Log Jamming” and “Log Jamming”: The Sequel). On the Design Wall are his first batch of log jamming blocks, made from Flannel Shirt Flannels!*
First set of shirt flannel log jam blocks by Terry, the Quilting Husband
*The shirt flannels were rediscovered during part two of my purge of fabric (see post The Fabric Purge!). This time I worked through my flannels and weeded out those no I no longer needed and rediscovered my tucked away collection of shirt flannels.
No there is not a word missing in the title -.this post is about what is on an actual wall (house wall) not the design wall in my studio (as I normally post on).
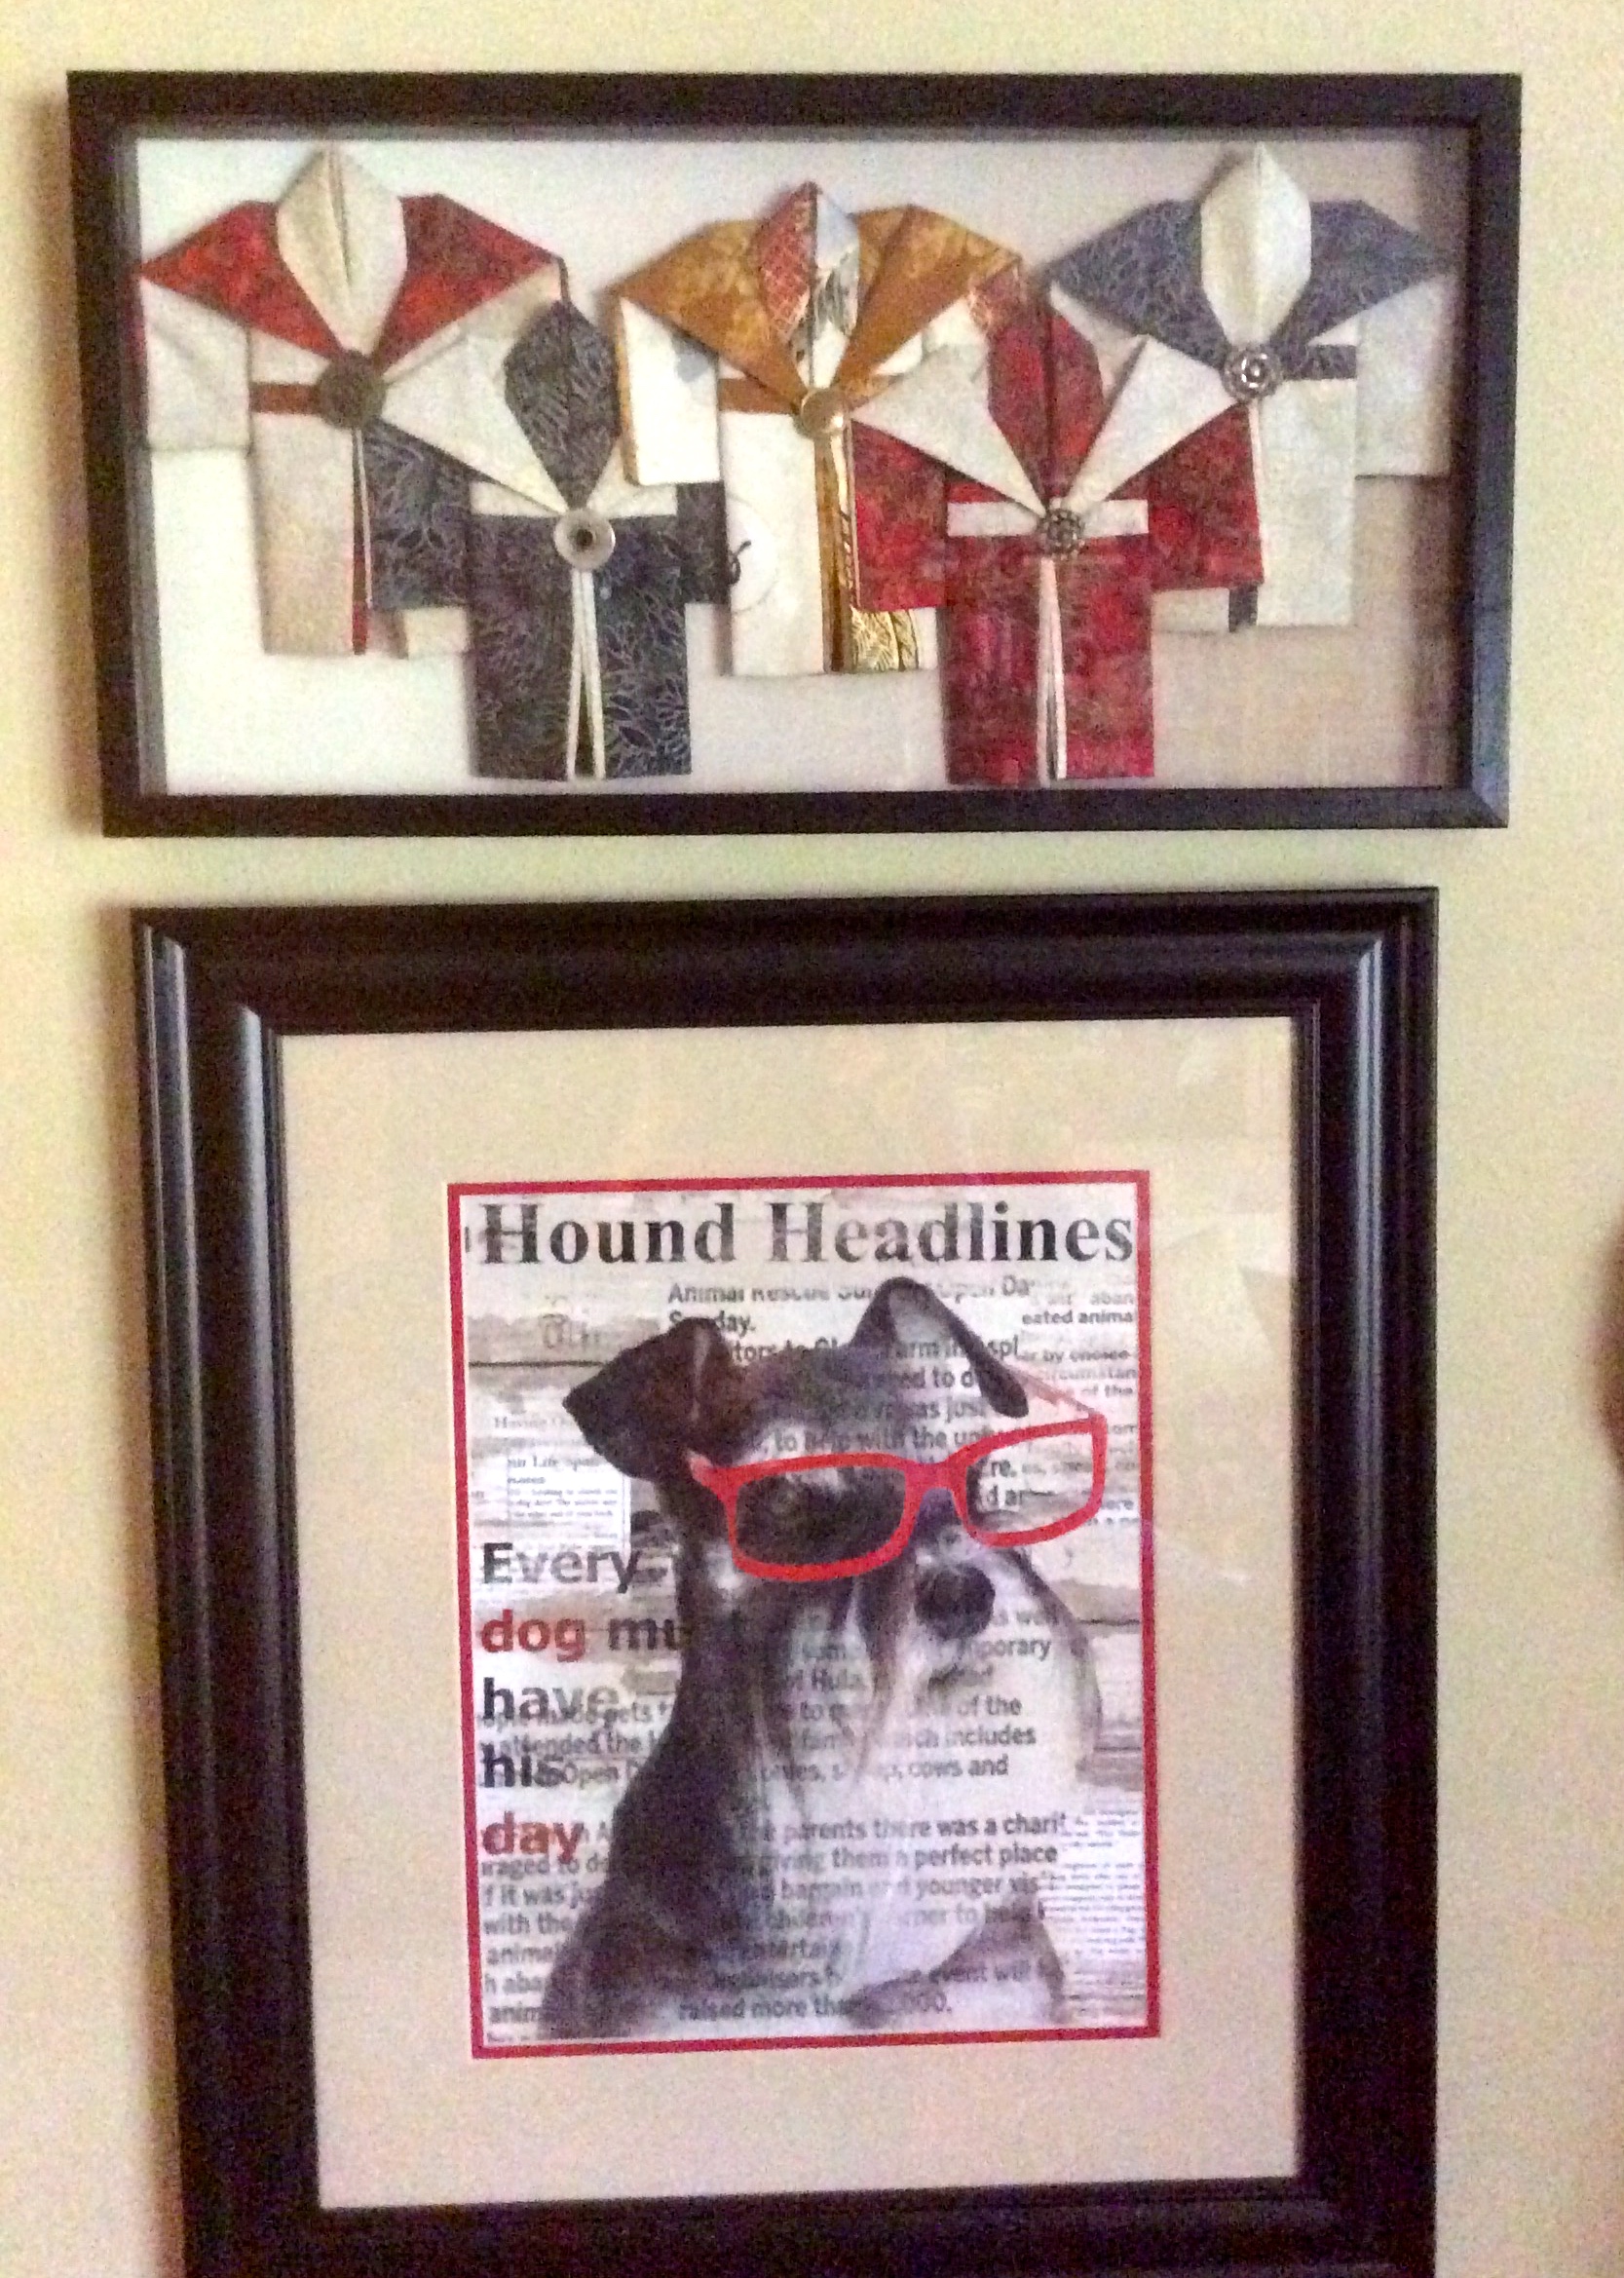
New Wall Art: Miniature Kimono Shadowbox
I have been making miniature kimonos for years – they involve an origami-like folding of fabric to create a kimono shape and measure about 6″ x 7″. Miniature kimonos make great little gifts and I have given them as gifts to friends and family for years. I have also framed a single kimono alone in a shadowbox or in coordinated set of 2-4 kimonos, as gifts.
They were the first items I made for my tierneycreates Etsy shop. Then one day, I abruptly burned out on making them. It has been many months since I thought about making a miniature kimono.
Until the other day: On a whim, I decided to make myself a shadowbox set of kimonos. I chose red, black, cream and gold Asian fabrics to coordinate with a fun schnauzer print I have on the wall where I wanted to hang the kimono wall art.
I made myself a set of 5 miniature kimonosAnother viewAuditioning buttonsFinalized buttomsPreparing the inside of the shadow boxMounting on the shadowbox background with small pins at top and bottom of each kimonoOn the wall in the entryAbove the whimsical schnauzer print
I love making gifts for family and friends as well as items for the Etsy shop, but sometimes you need to just make something for yourself!
Usually I post about what’s on the design wall – what I am currently working on. I was looking through some digital photos and came across photos from when I was working on the 1930’s Block Quilt, made from rescued blocks. So this is sort of a “design wall retrospective” post!
I am fascinated with recycling fabric, especially fabric intended for other purposes (clothing, blankets, upholstery, etc.). I also enjoy finding abandoned blocks and rescuing them!
What are “abandoned blocks”? They are quilt blocks leftover from making a quilt (when too many blocks were made than needed), or when a quilt was started but not finished and the quilter just gave up on the blocks. You can rescue sets of abandoned blocks from thrift stores, friends, and even inside your own stash! Betty Anne had a friend who found a set of block from the 1930s in her attic and did not want them. Betty Anne rescued them and then let me adopt them!
Originally these rescued blocks did not fit together and were in a strange pattern (so strange that no matter what I did I could not make them fit together). So I redesigned the blocks, cutting off the left and right corners (which I recycled into the quilt’s border). After trimming down the blocks they fit well together into a small lap size quilt (41″ x 44 1/2″).
The abandon blocks are now rescued and part of a quilt (I bet they are a lot happier than they would be just sitting around an attic all alone!)
1930’s Block Quilt – pieced by Tierney Davis Hogan, quilted by Betty Anne Guadalupe
Check out Sassy’s page Schnauzer Snips for her latest adventures!
Last Thursday I took the day off from work and participated in a Fabric Surface Design Workshop (actually more like a play day!) through my local SAQA (Studio Art Quilt Associates) chapter. There were four workstations set up for the participants to watch demos on the following surface design techniques:
Fabric printing (using fabric ink and stamps)
Fabric painting (using special fabric paints to achieve a structured or an abstract watercolored-like designs)
Using decolorant to achieve unique surface designs (by removing color from different areas of a fabric in specific patterns)
Mono printing (one time printing using unique found items and special textile techniques)
All the techniques demonstrated were wonderful but I was most drawn to the fabric printing using fabric ink and stamps. The demo involved using manufactured stamps or designing and carving your own. After the demos were complete we had time to play with the new techniques. I ended up carving my own custom stamp with a with a special carving block and a linoleum cutter/carving tool. On SAQA member had a beautiful hand carved tree stamp I fell in love with so I tried to model my hand carved stamped after it.
Below are some photos from my play day! I have an idea already on the piece I am going to design around these printed squares…eventually…